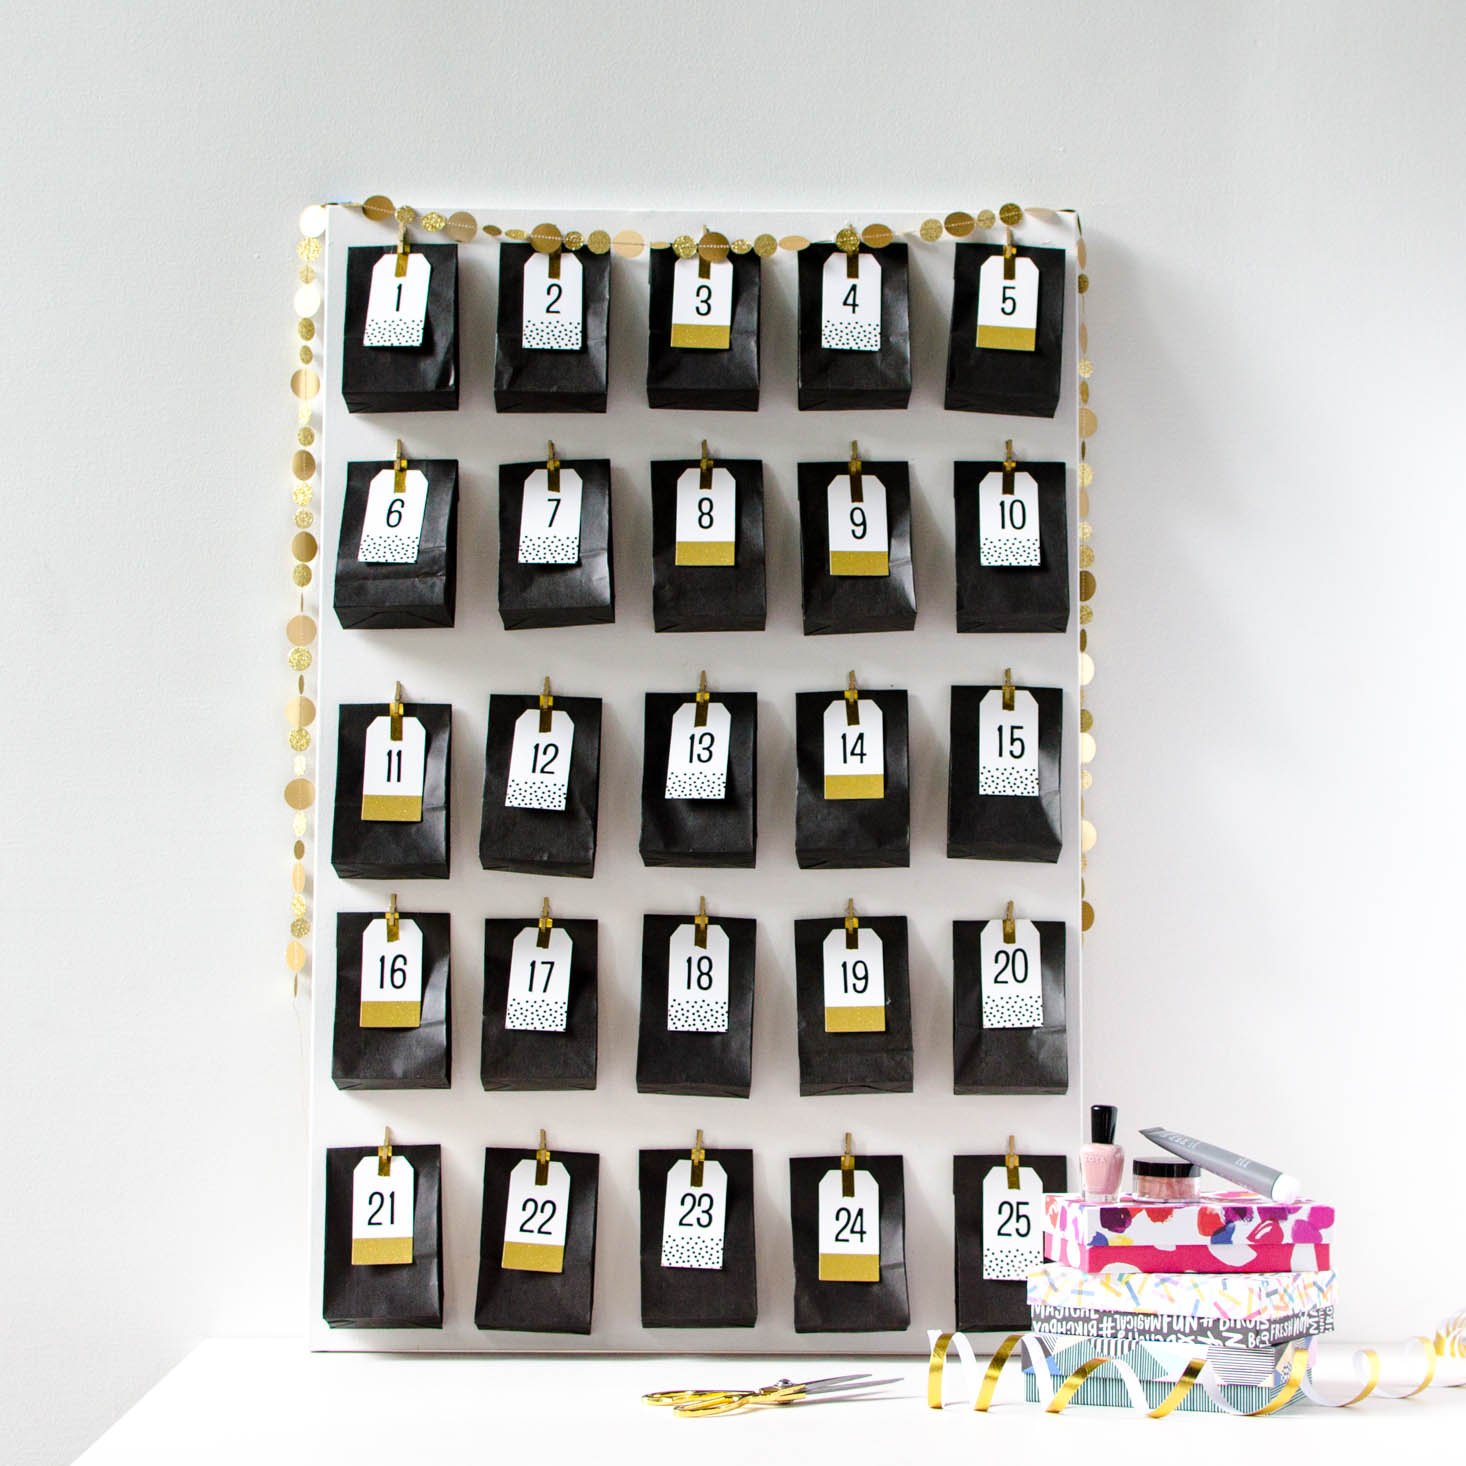
Note from Liz: The other day Emily and I were talking about how popular (and awesome) Advent Calendars are when Emily had an amazing idea... Why not make an advent calendar using some beauty samples from subscription boxes?
If you are like me and have samples you haven't gotten a chance to use yet, or ones that just aren't for you, this could be a great way to share them with a friend or family member in a really thoughtful and fun way!
To do this calendar, the first step was to assemble the goodies!
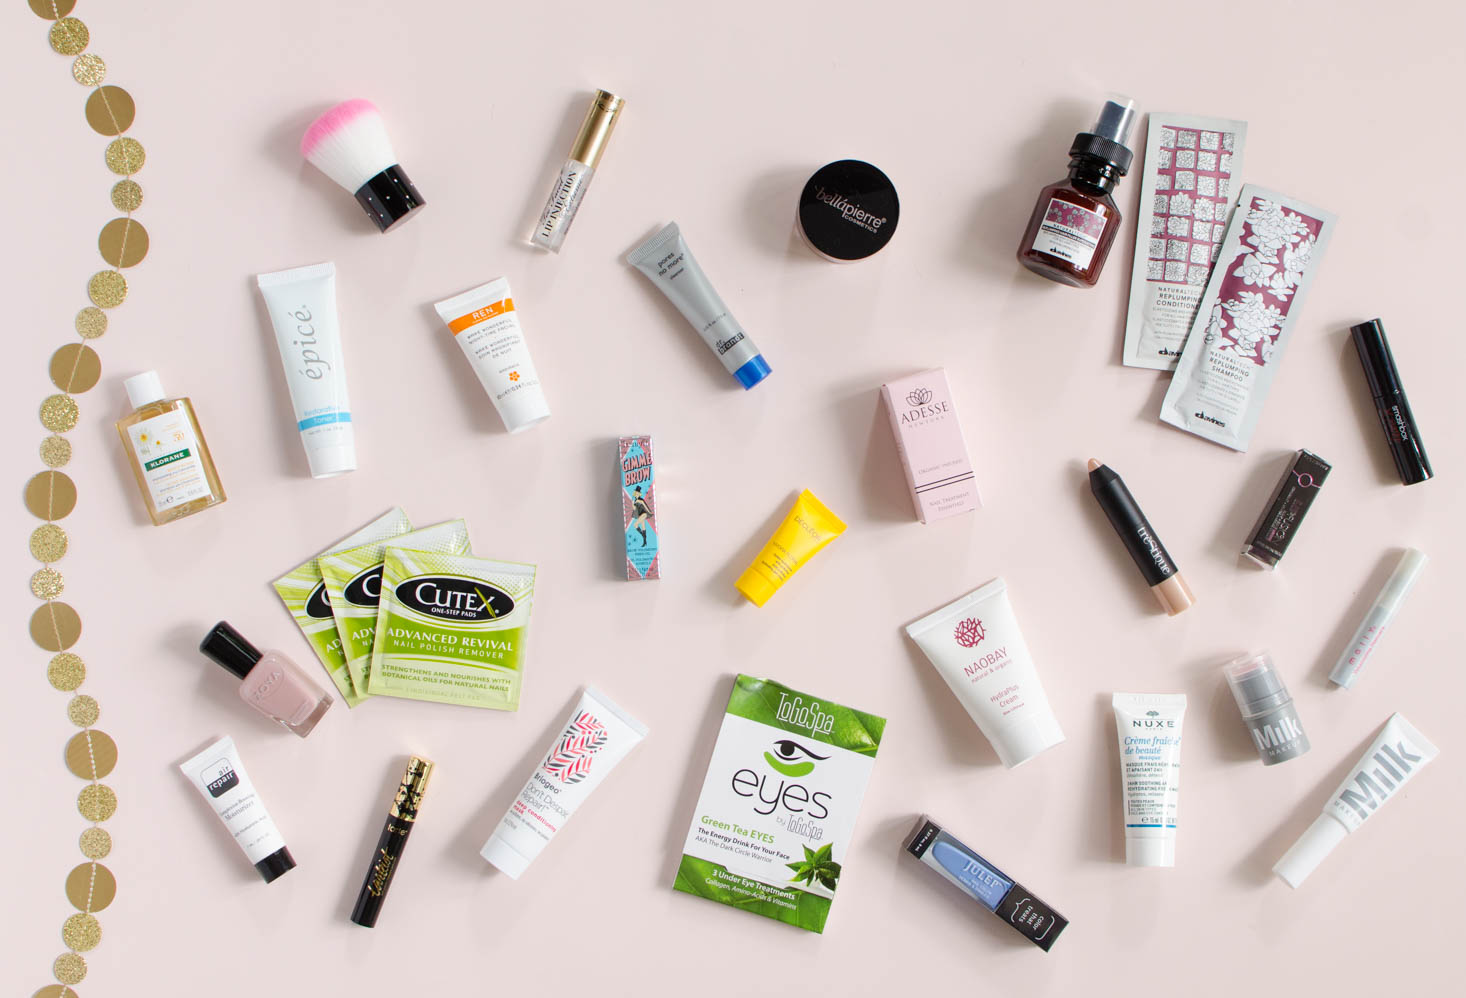
I went with a mix of makeup, skincare, haircare and nail polish samples. (This could also be a good way to get your favorite people hooked on subscription boxes!)
I'll let Emily take it from here to walk you through the steps of putting your DIY Advent Calendar together!
Materials:
- 1 24 x 36 inch stretched canvas
- 25 6 3/4 x 3 1/2 inch paper bags
- 25 mini clothespins
- 25 paper tags
- 2 packs of number stickers (or enough for all your bags, you'll need 11 1's and 8 2's)
- 24-25 beauty samples
- Pencil
- Hot glue gun and glue sticks
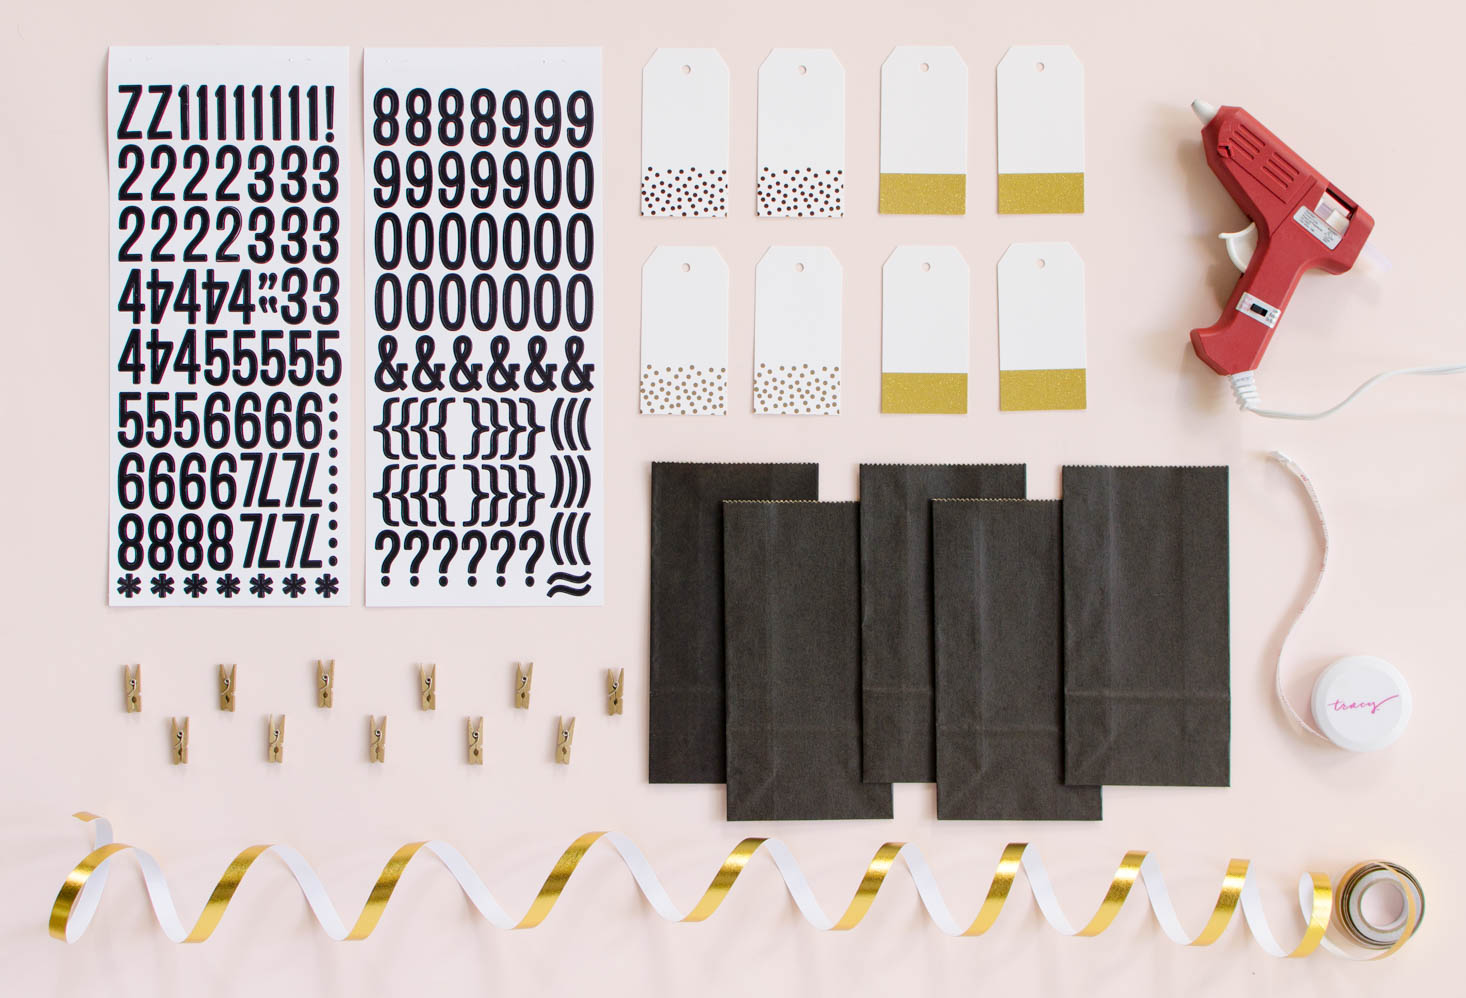
I was able to pick up everything I needed at Michaels (get those coupons, girl) but wanted to provide links in case you wanna grab everything online.
We went with black and gold for a crisp and festive look but the possibilities are endless.
Round up your samples and let's get making!
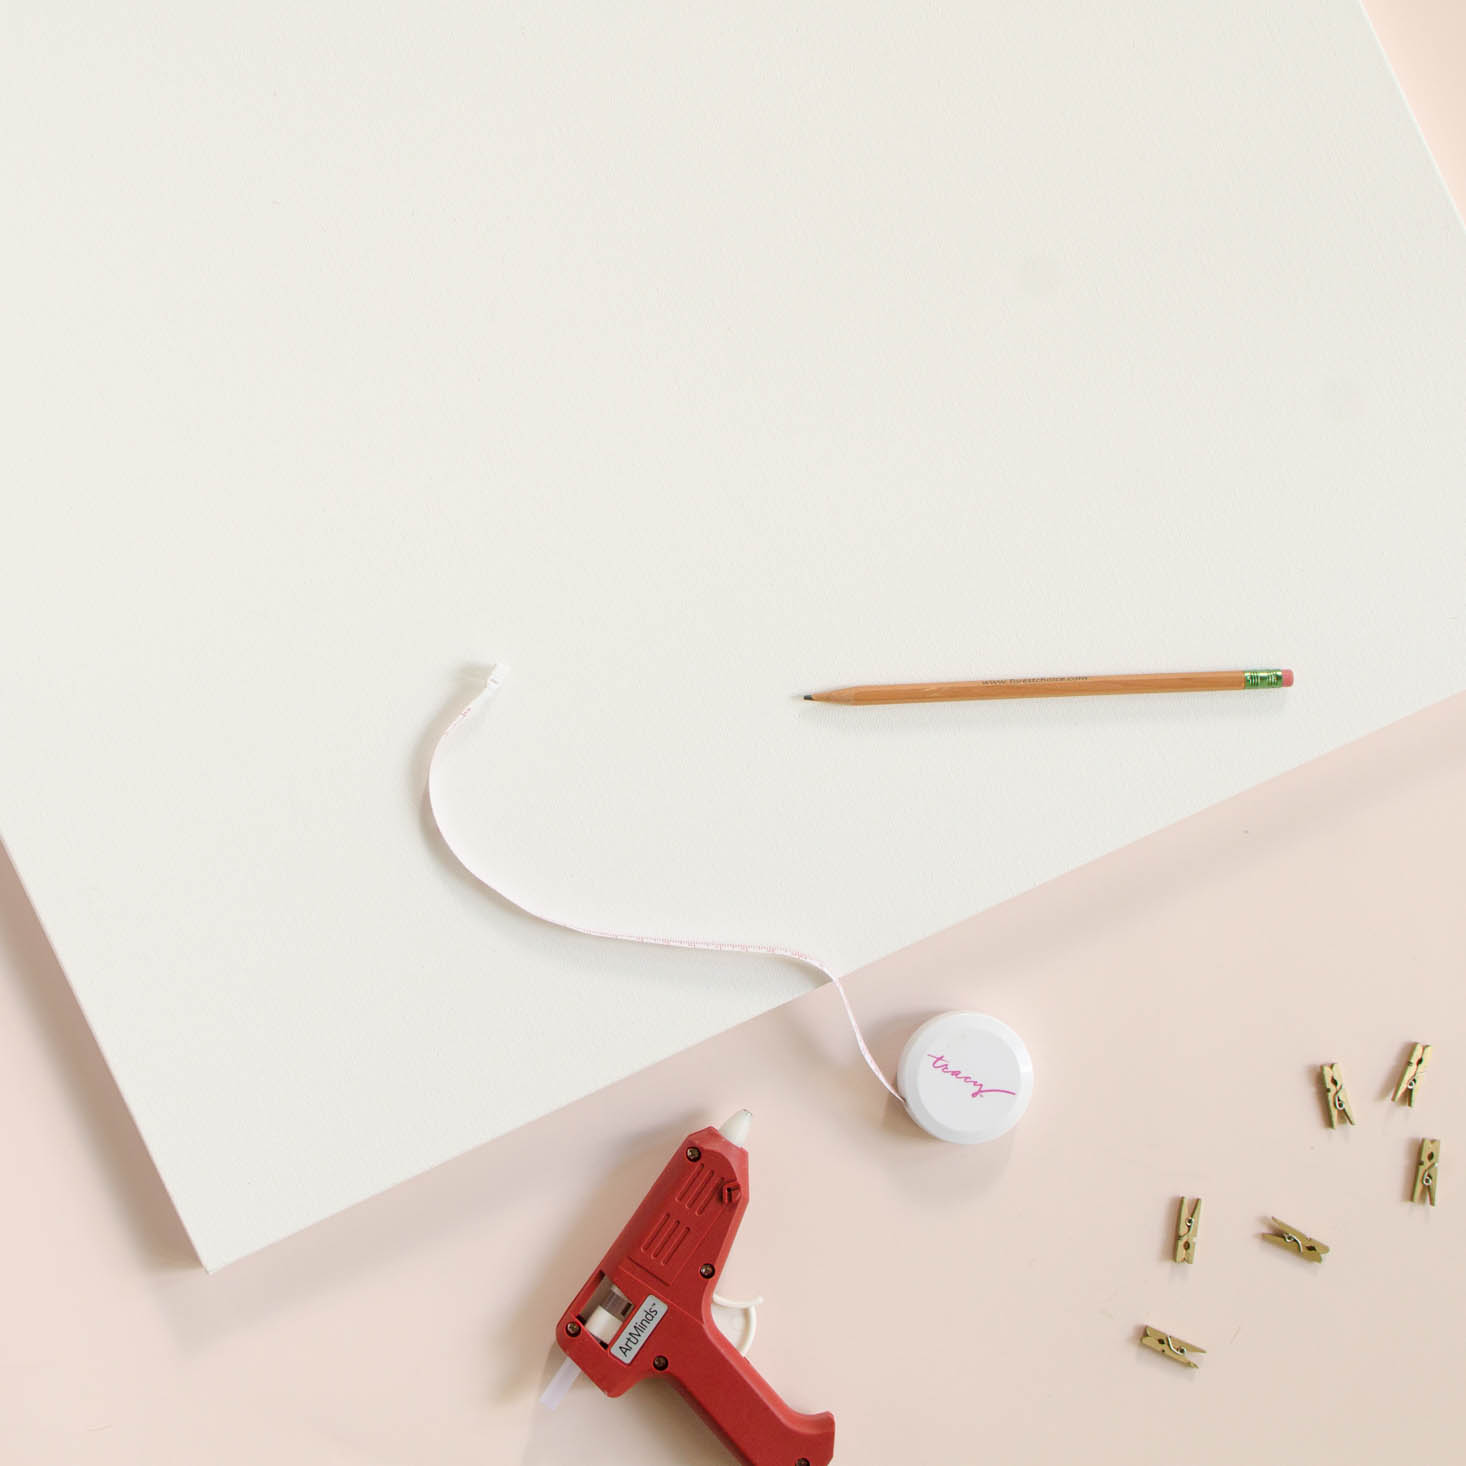
First, you'll need to measure out where all of your clips will go so your gift bags are evenly spaced across your board. This took some doing but if you use the same canvas and same bag size, here's what you'll need to do:
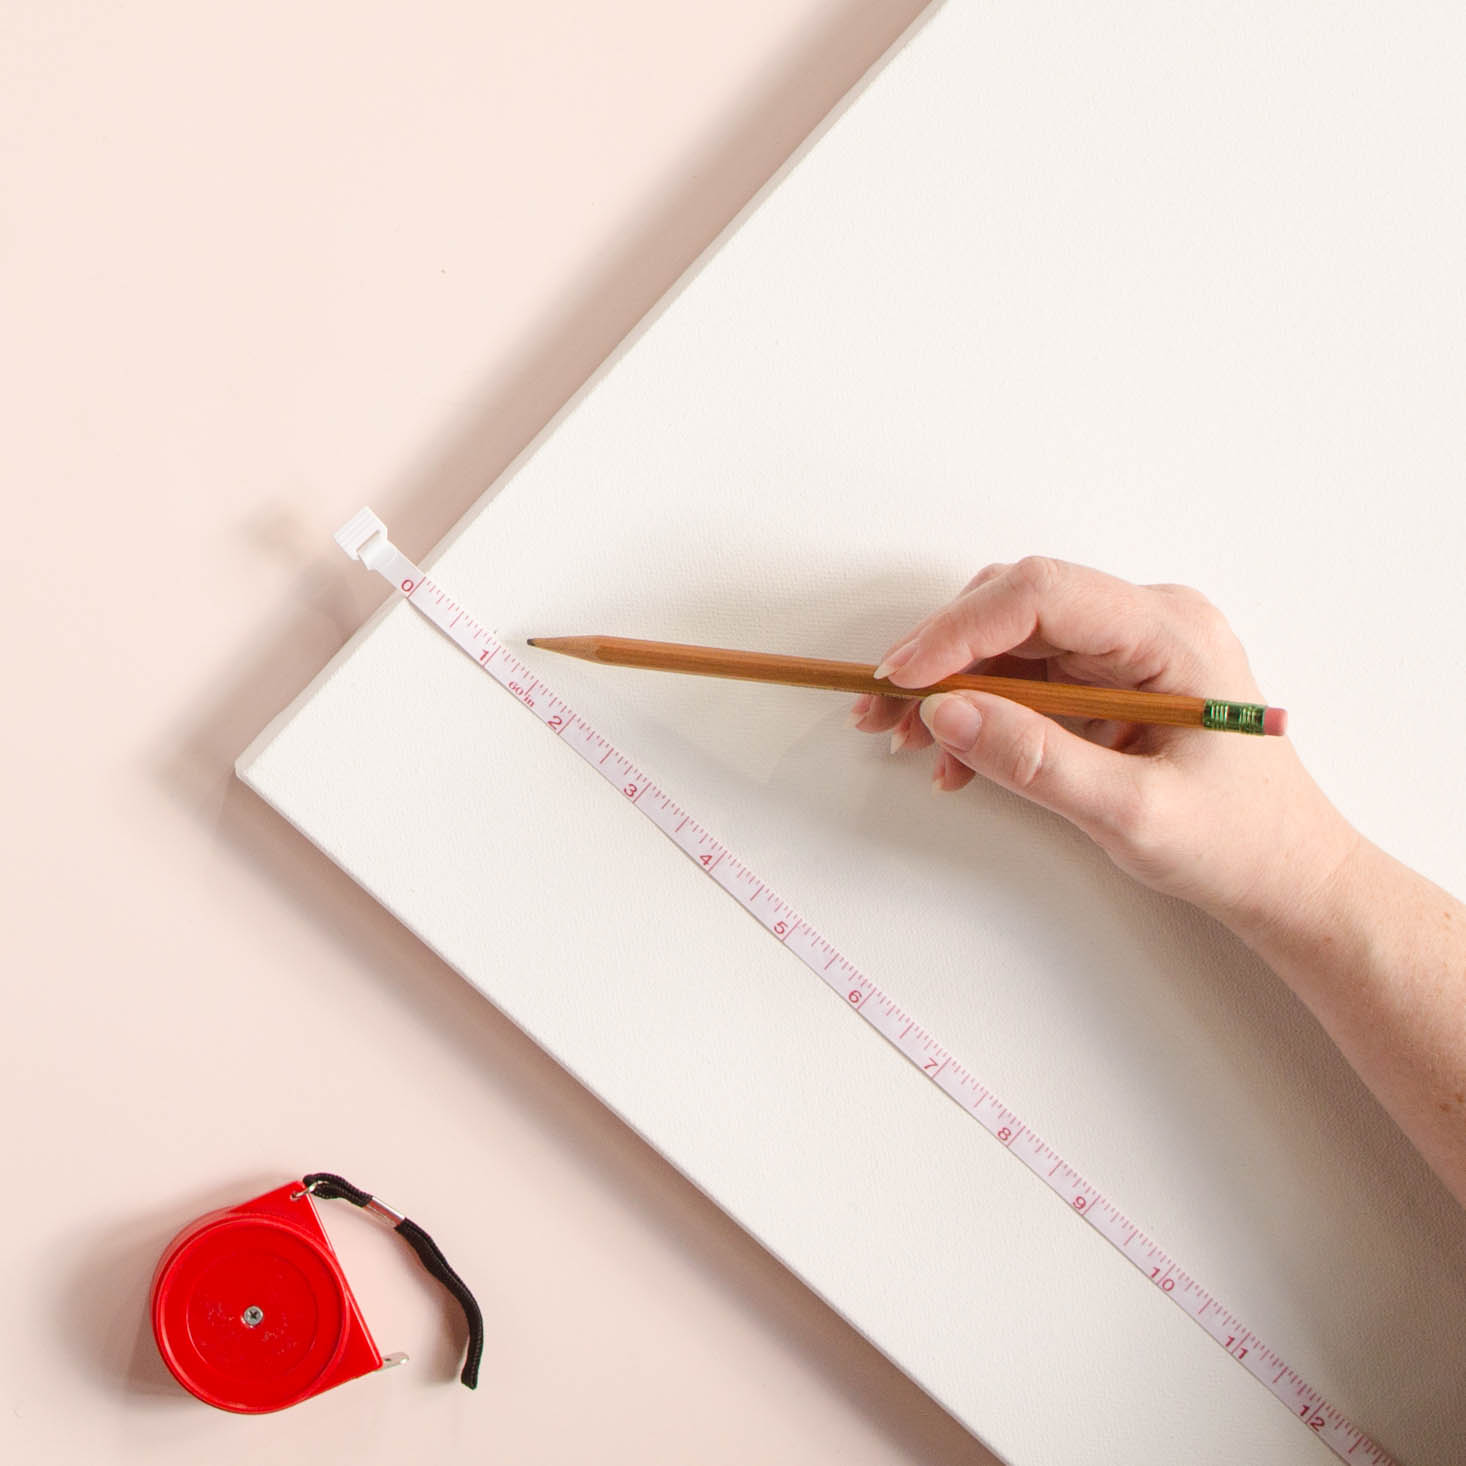
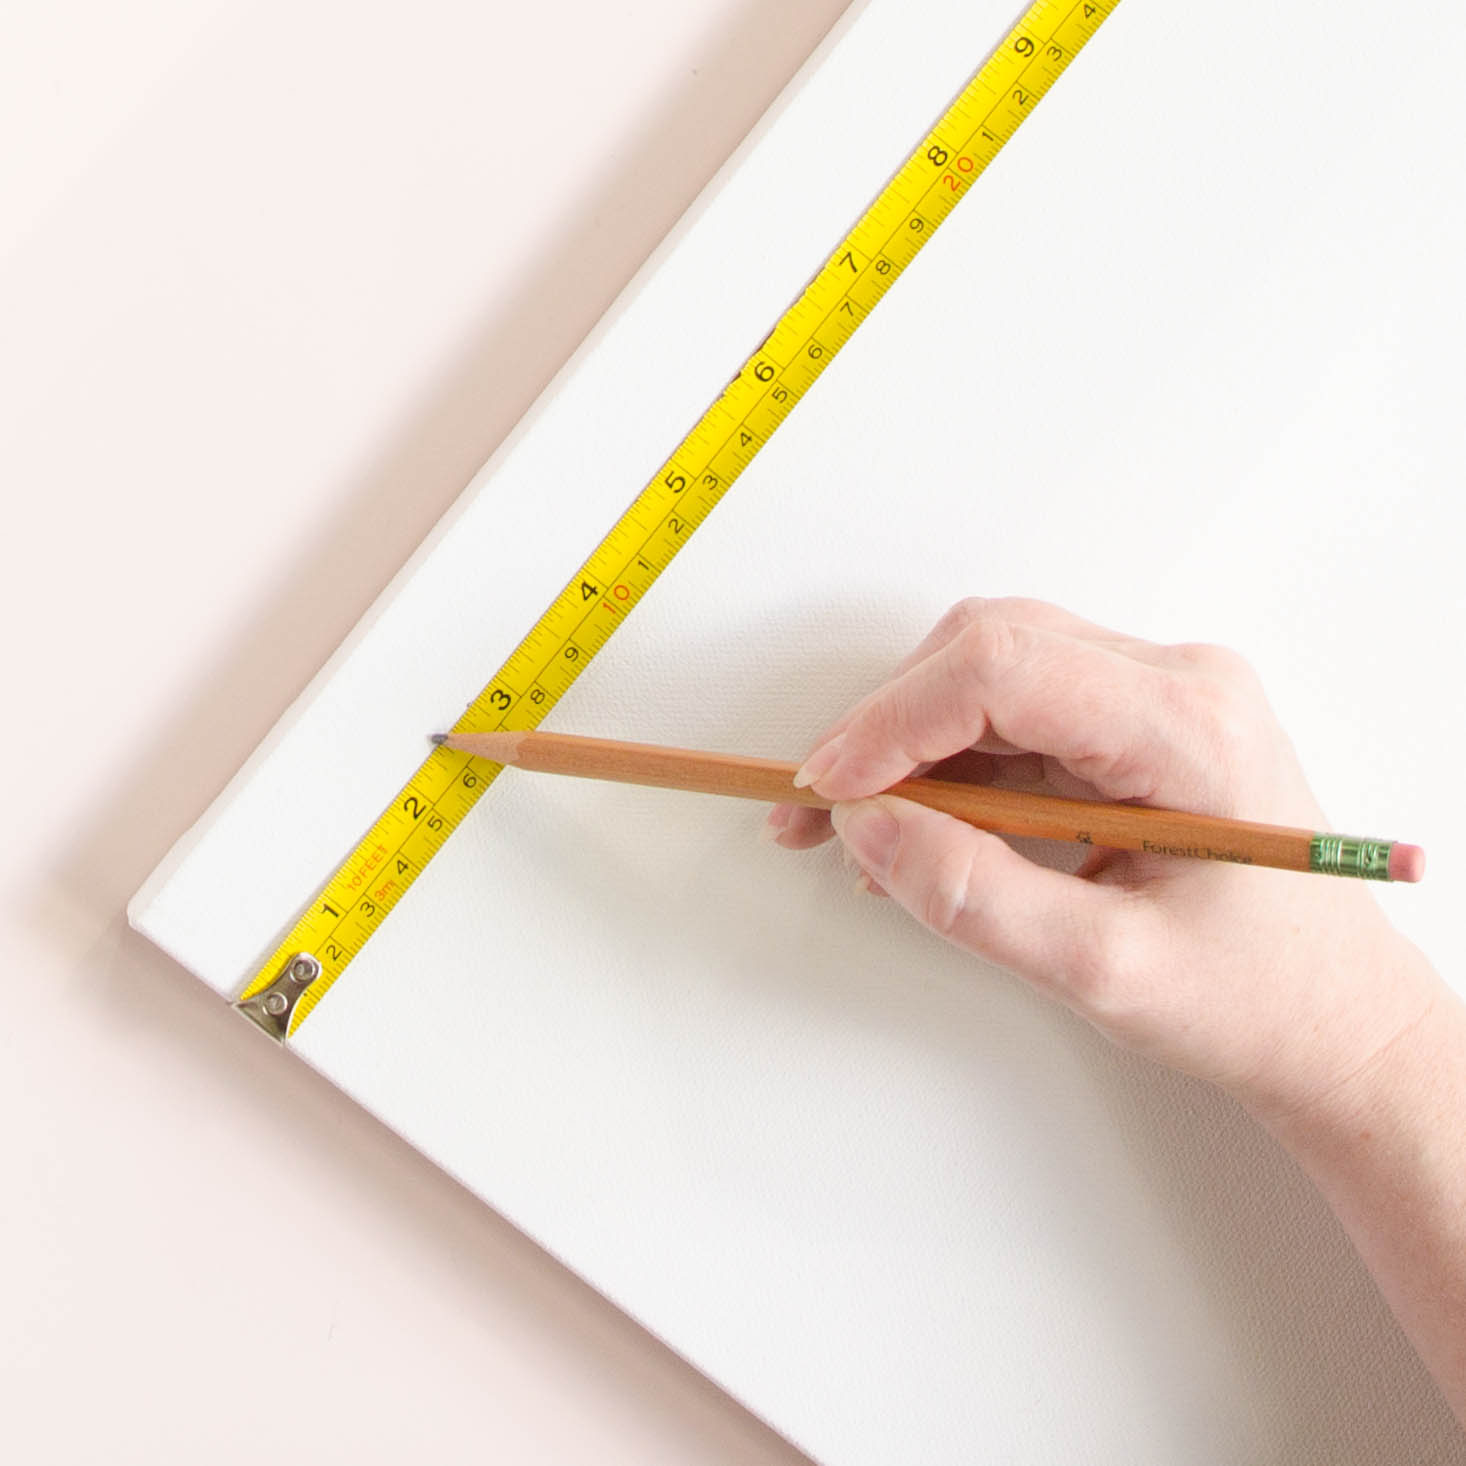
From the top of your canvas, measure down 7/8" and mark in 2 or 3 places across your canvas. Lay a straight edge or tape measure across your board, lining it up with your marks so it's 7/8" from the top edge of your canvas. Measuring from the left edge, make a mark at 2 3/8", 7 3/16", 12", 16 5/8" and 21 5/8". That's your first row!

For the next row, measure down 8" from the top of your canvas. Make 2 or 3 marks that will help you line your straight edge so it's perfectly straight across the canvas. Make the same marks as you did for the first row at 2 3/8", 7 3/16", 12", 16 5/8" and 21 5/8".
For the 3rd row, you'll start at 15 1/4" from the top and then make your same marks across the row. For the 4th row, you'll make your marks 22 7/16" from the top edge. For the 5th and final row, make your marks at 29 5/8" from the top of the canvas.
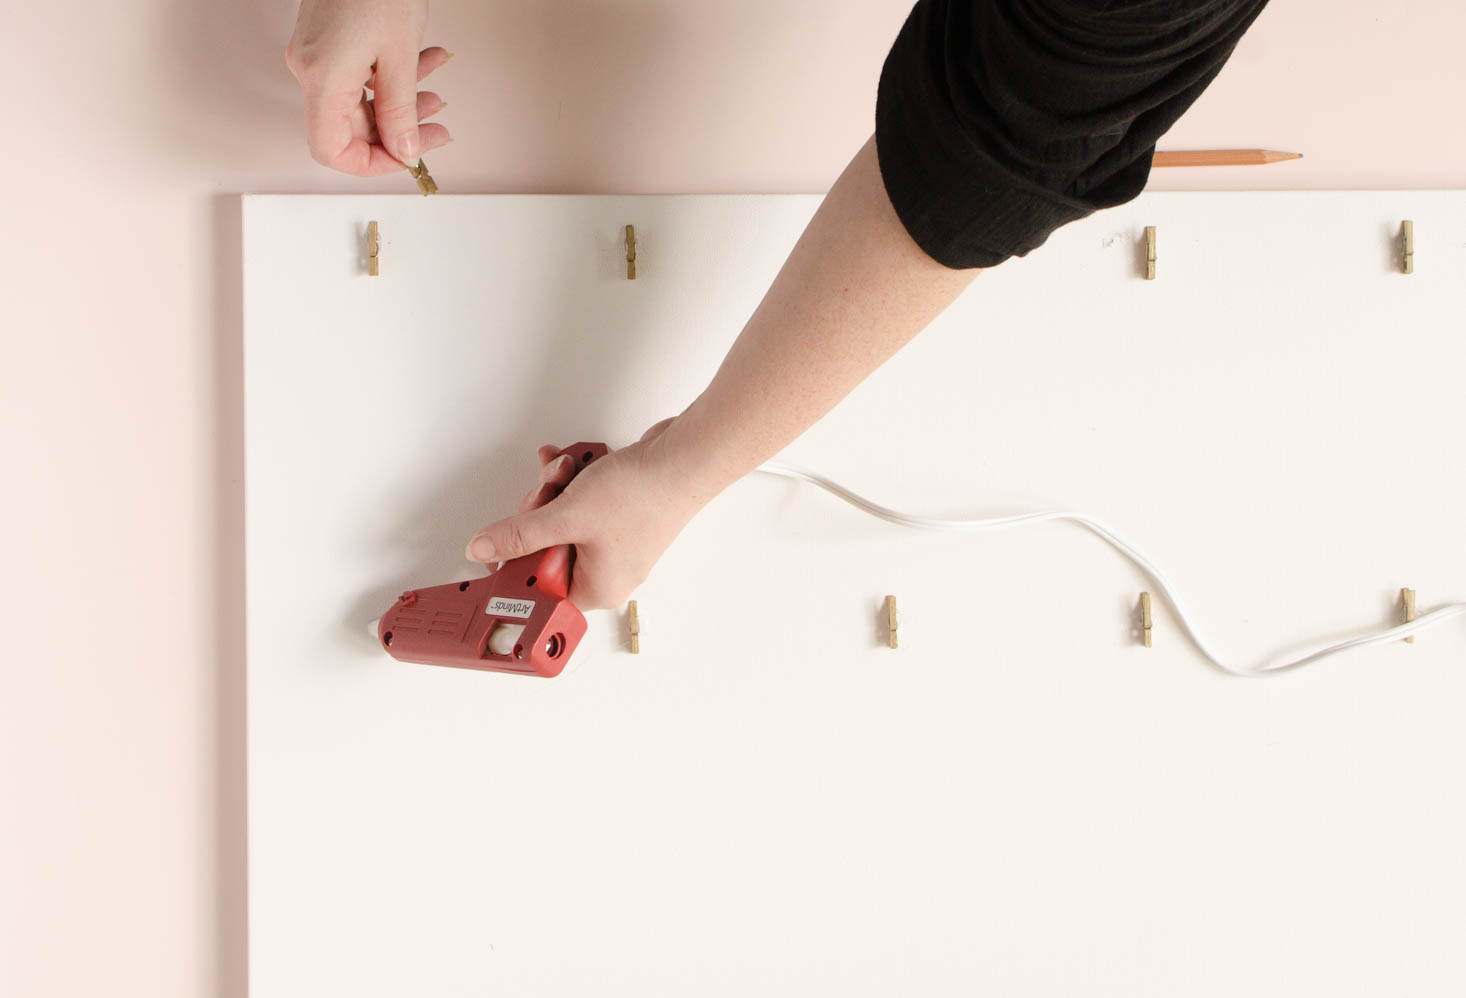
Nice! That's the hardest part, I promise. Next, gather up your mini clothes pins and heat up your hot glue gun.
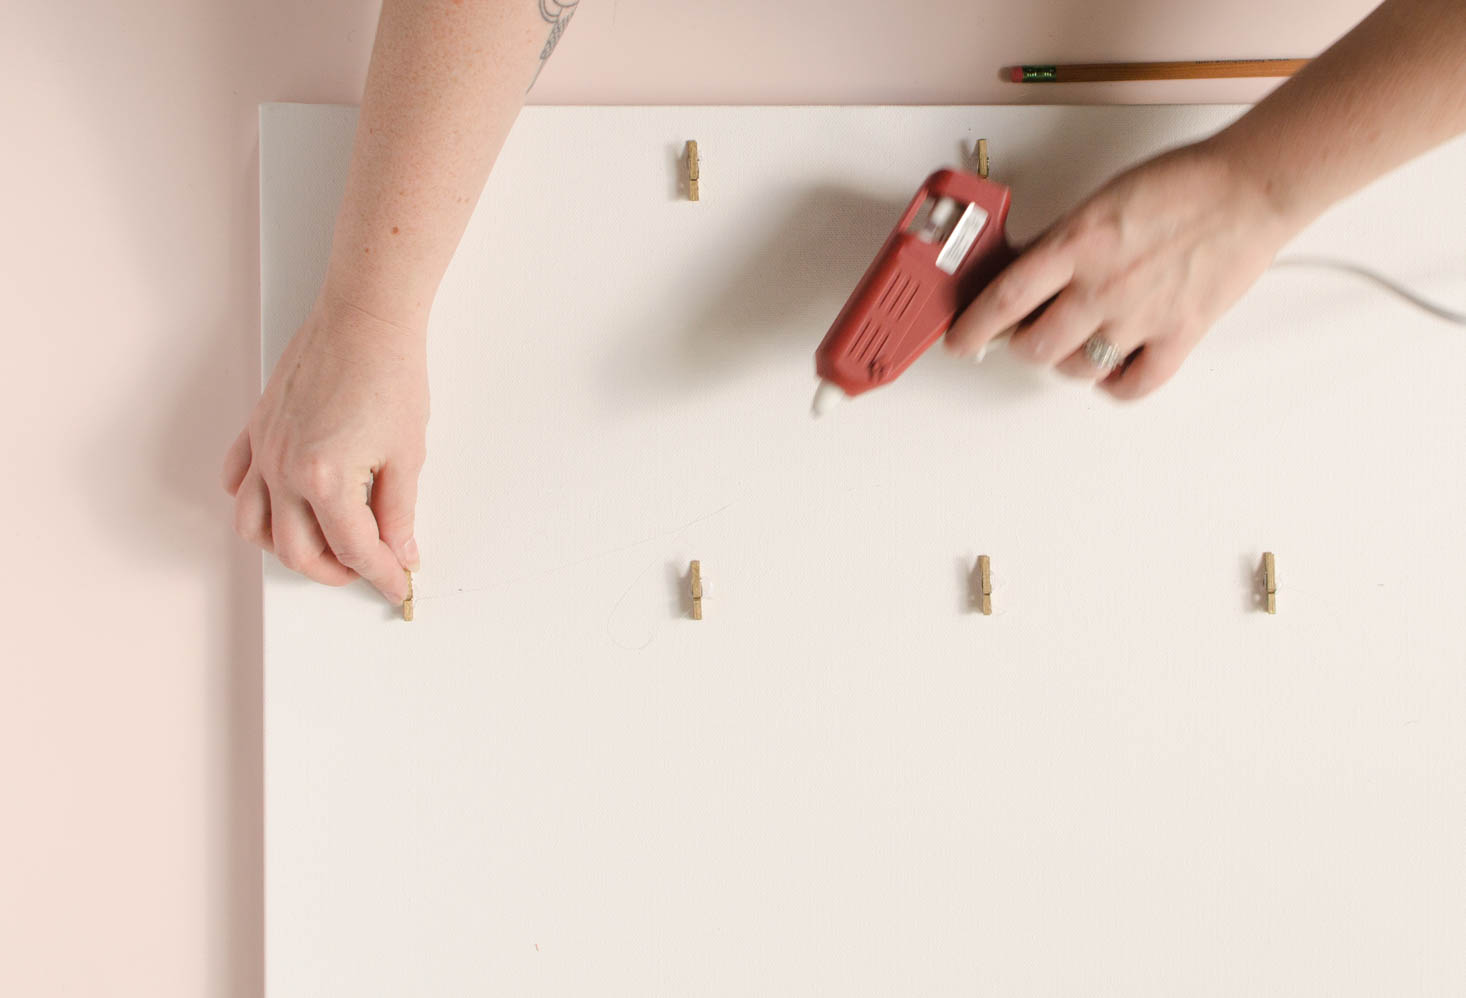
Put some glue on your first mark on your first row and quickly pop a clothespin on your glue. Don't burn yourself!
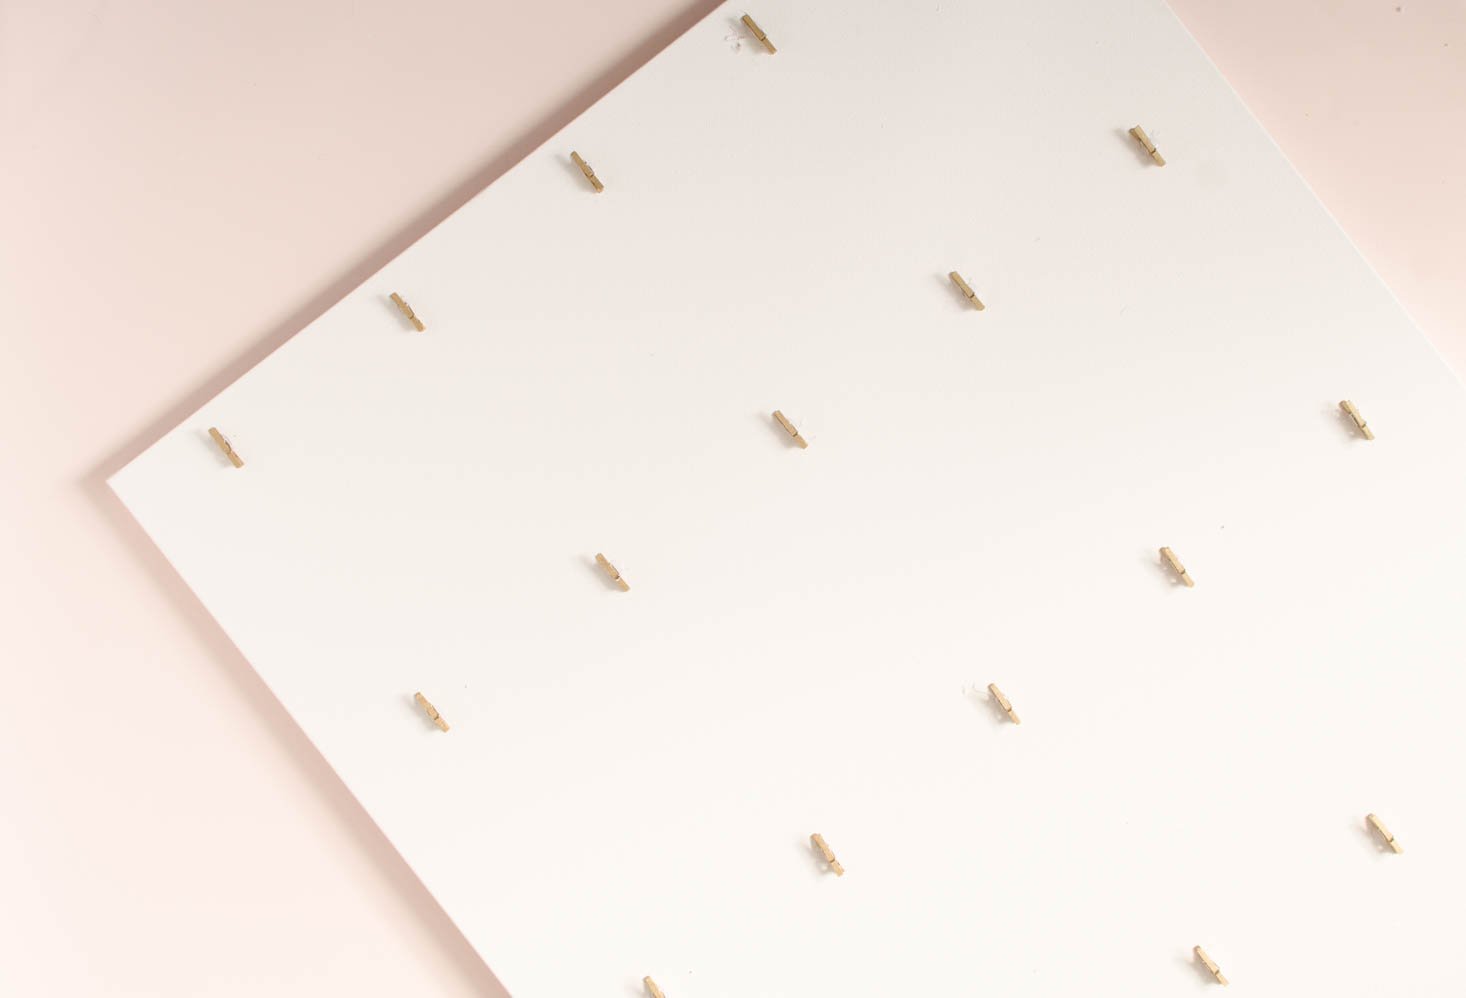
Work across your rows (5 clothespins per row) until you've completed all 5 rows (25 pins.)
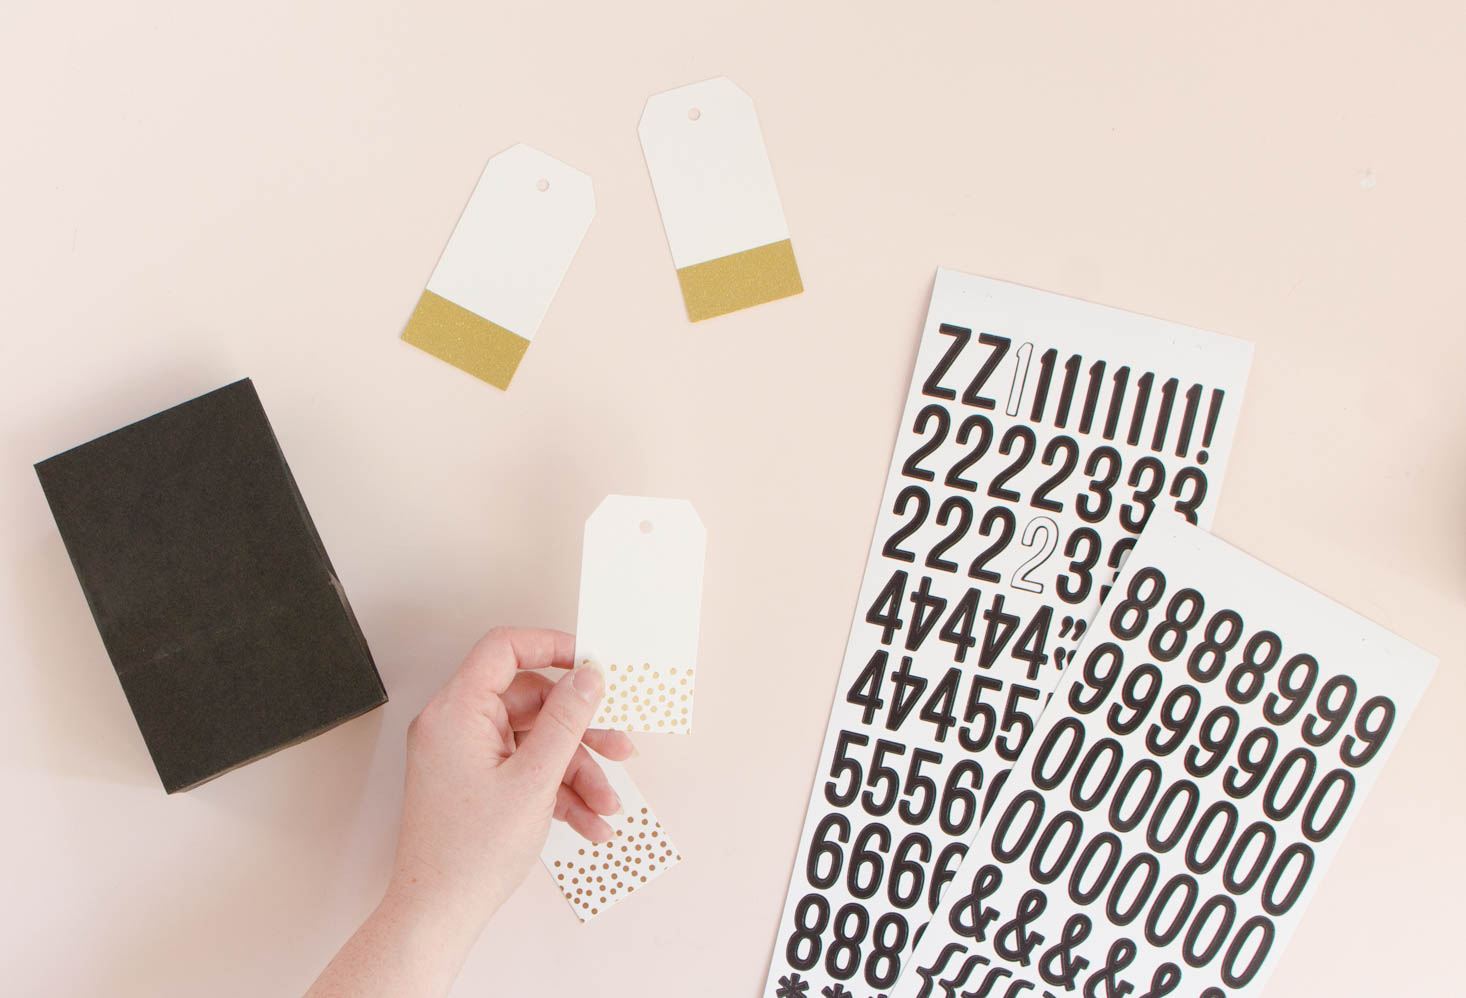
Time to decorate and assemble your bags.
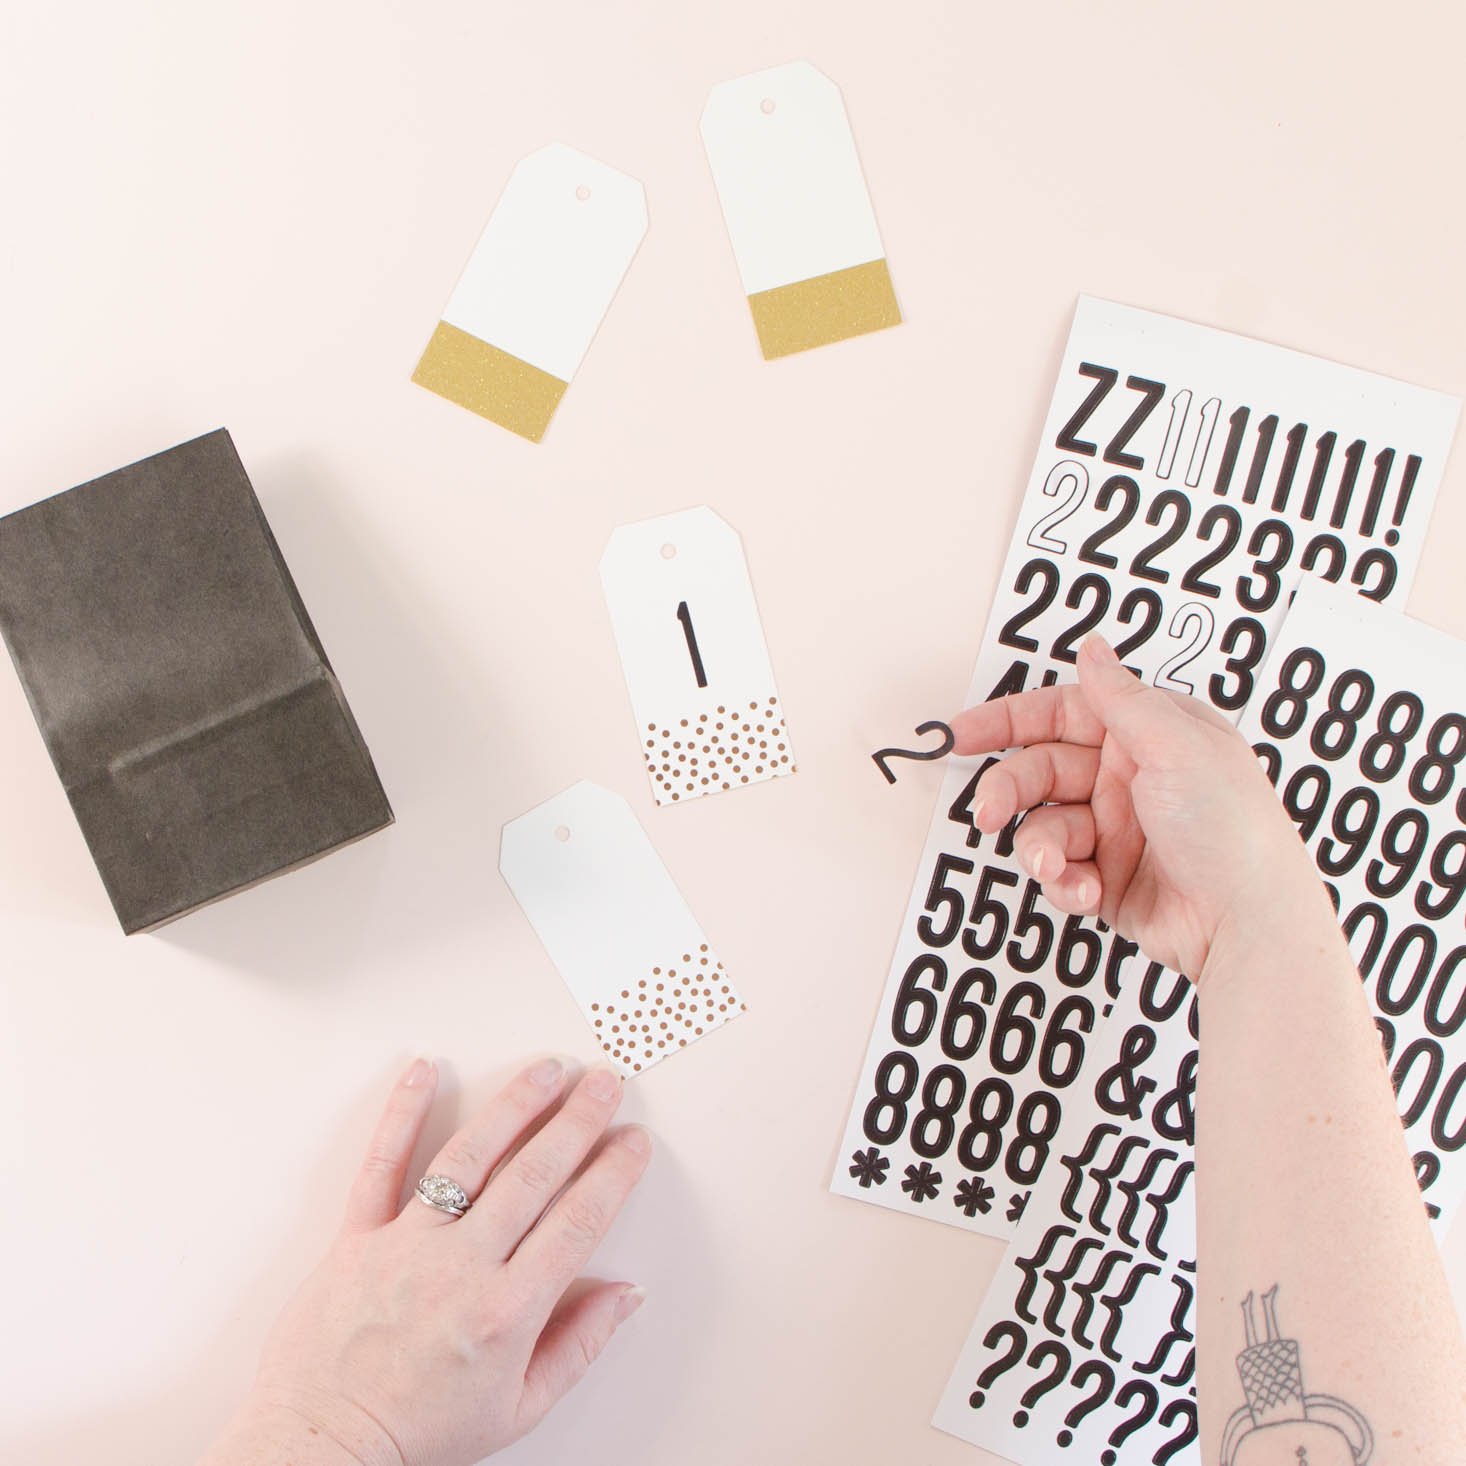
Grab your gift tags and your sticker numbers.
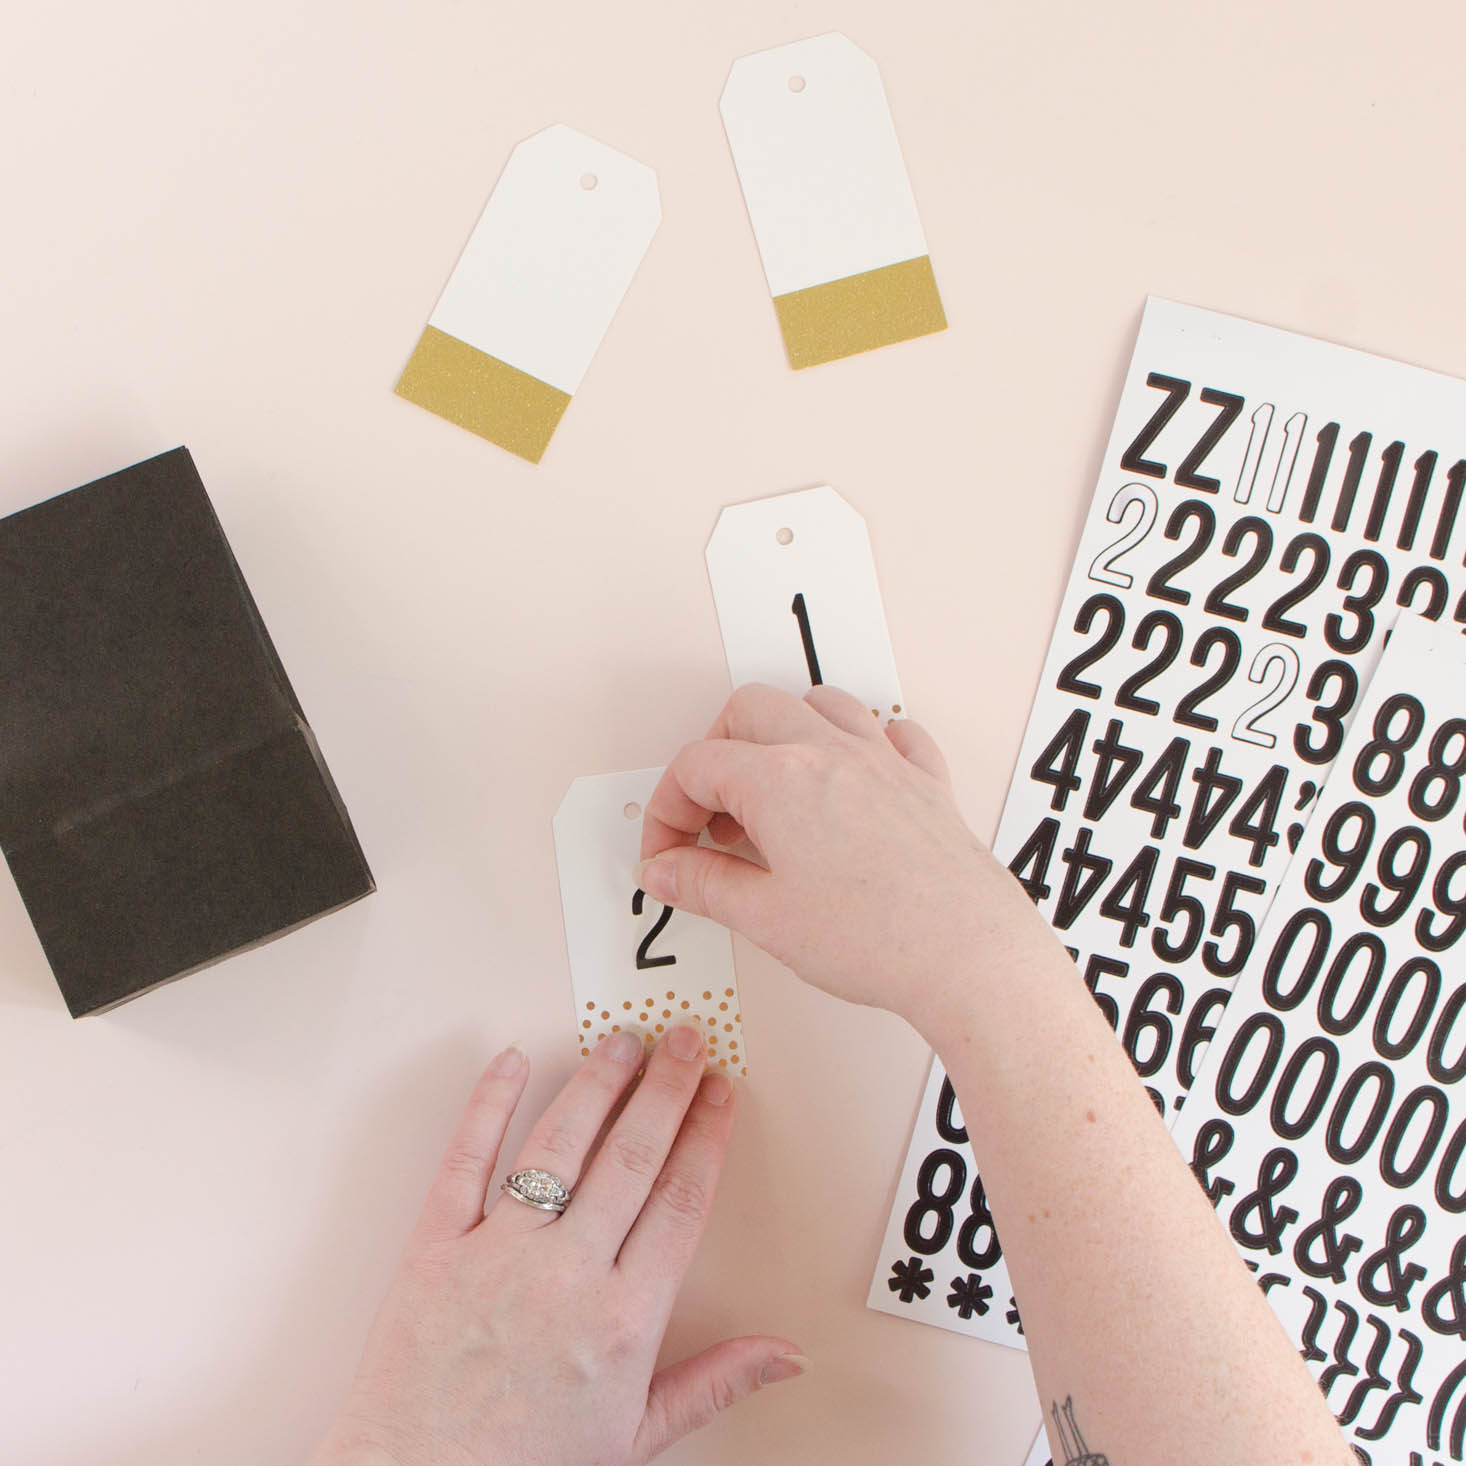
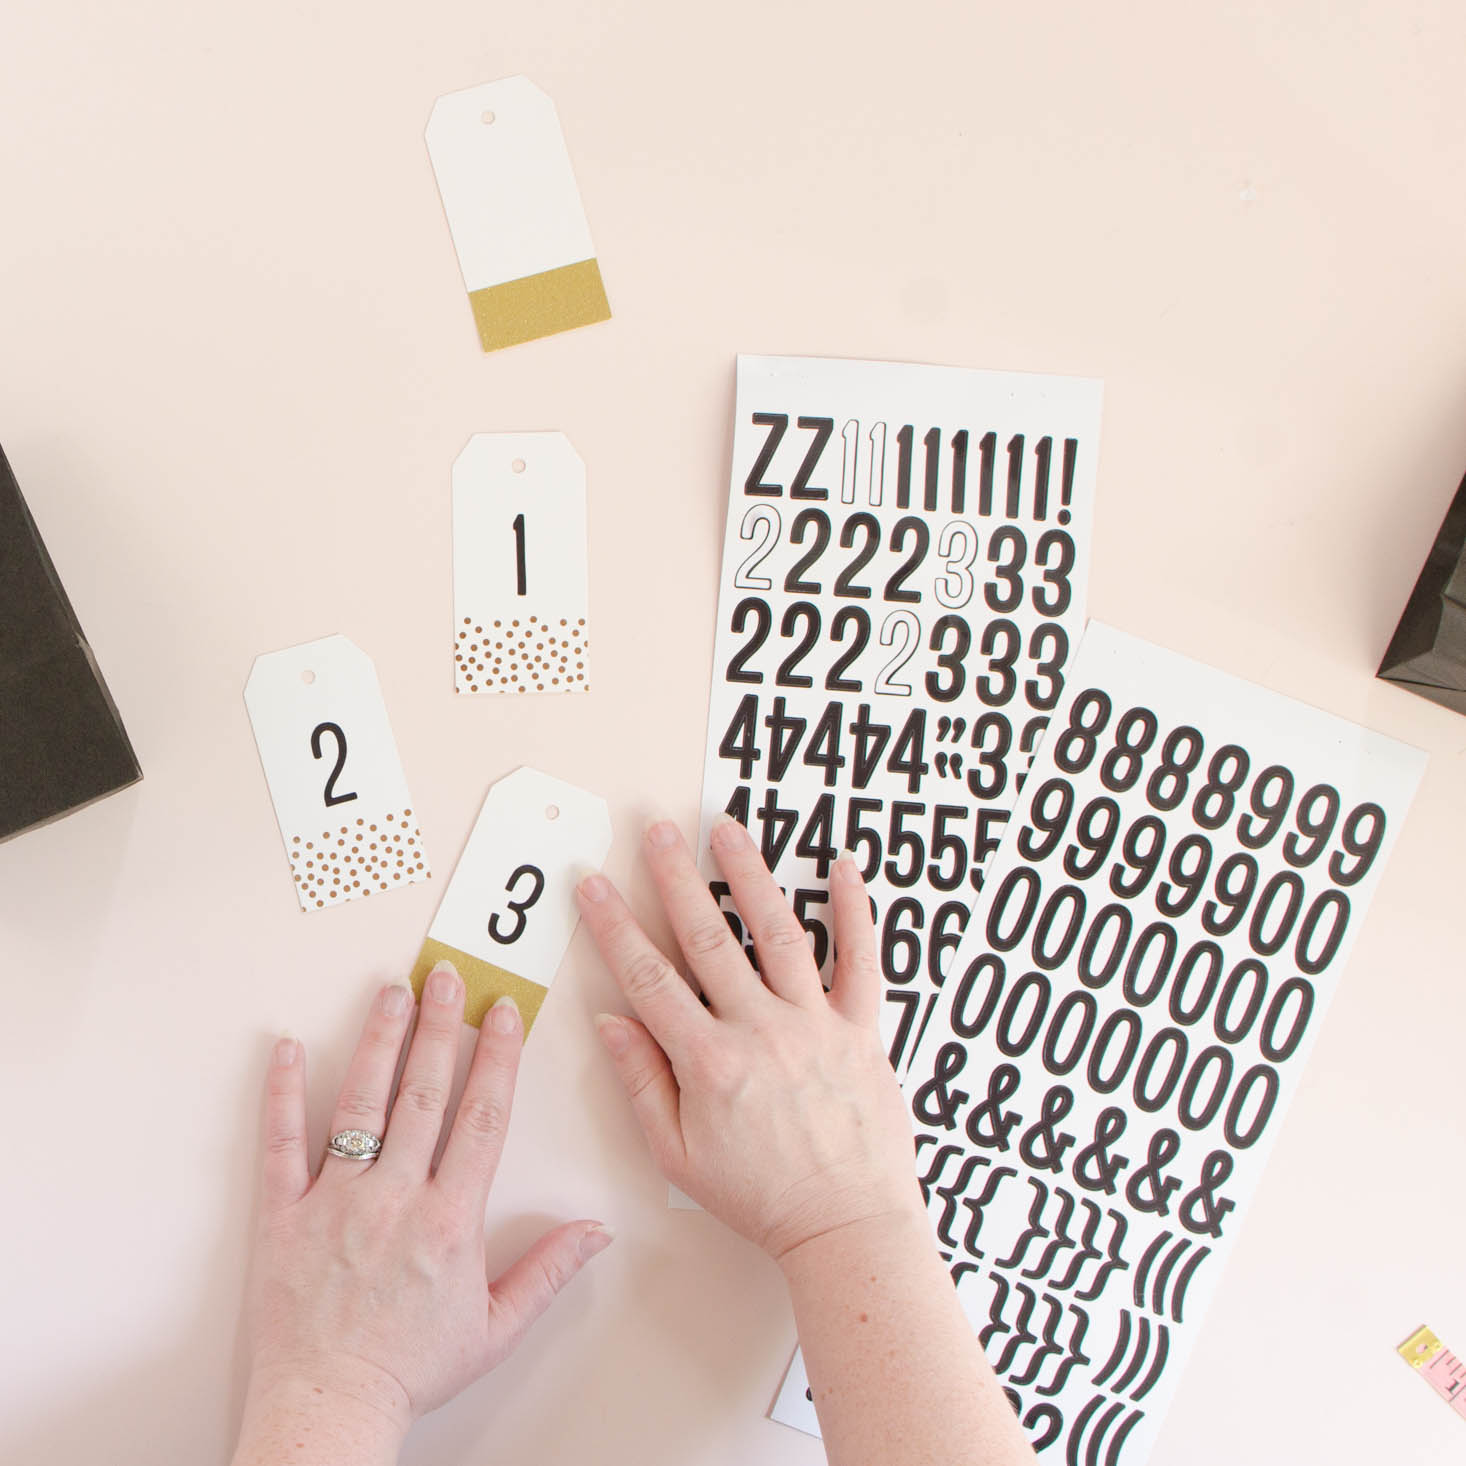
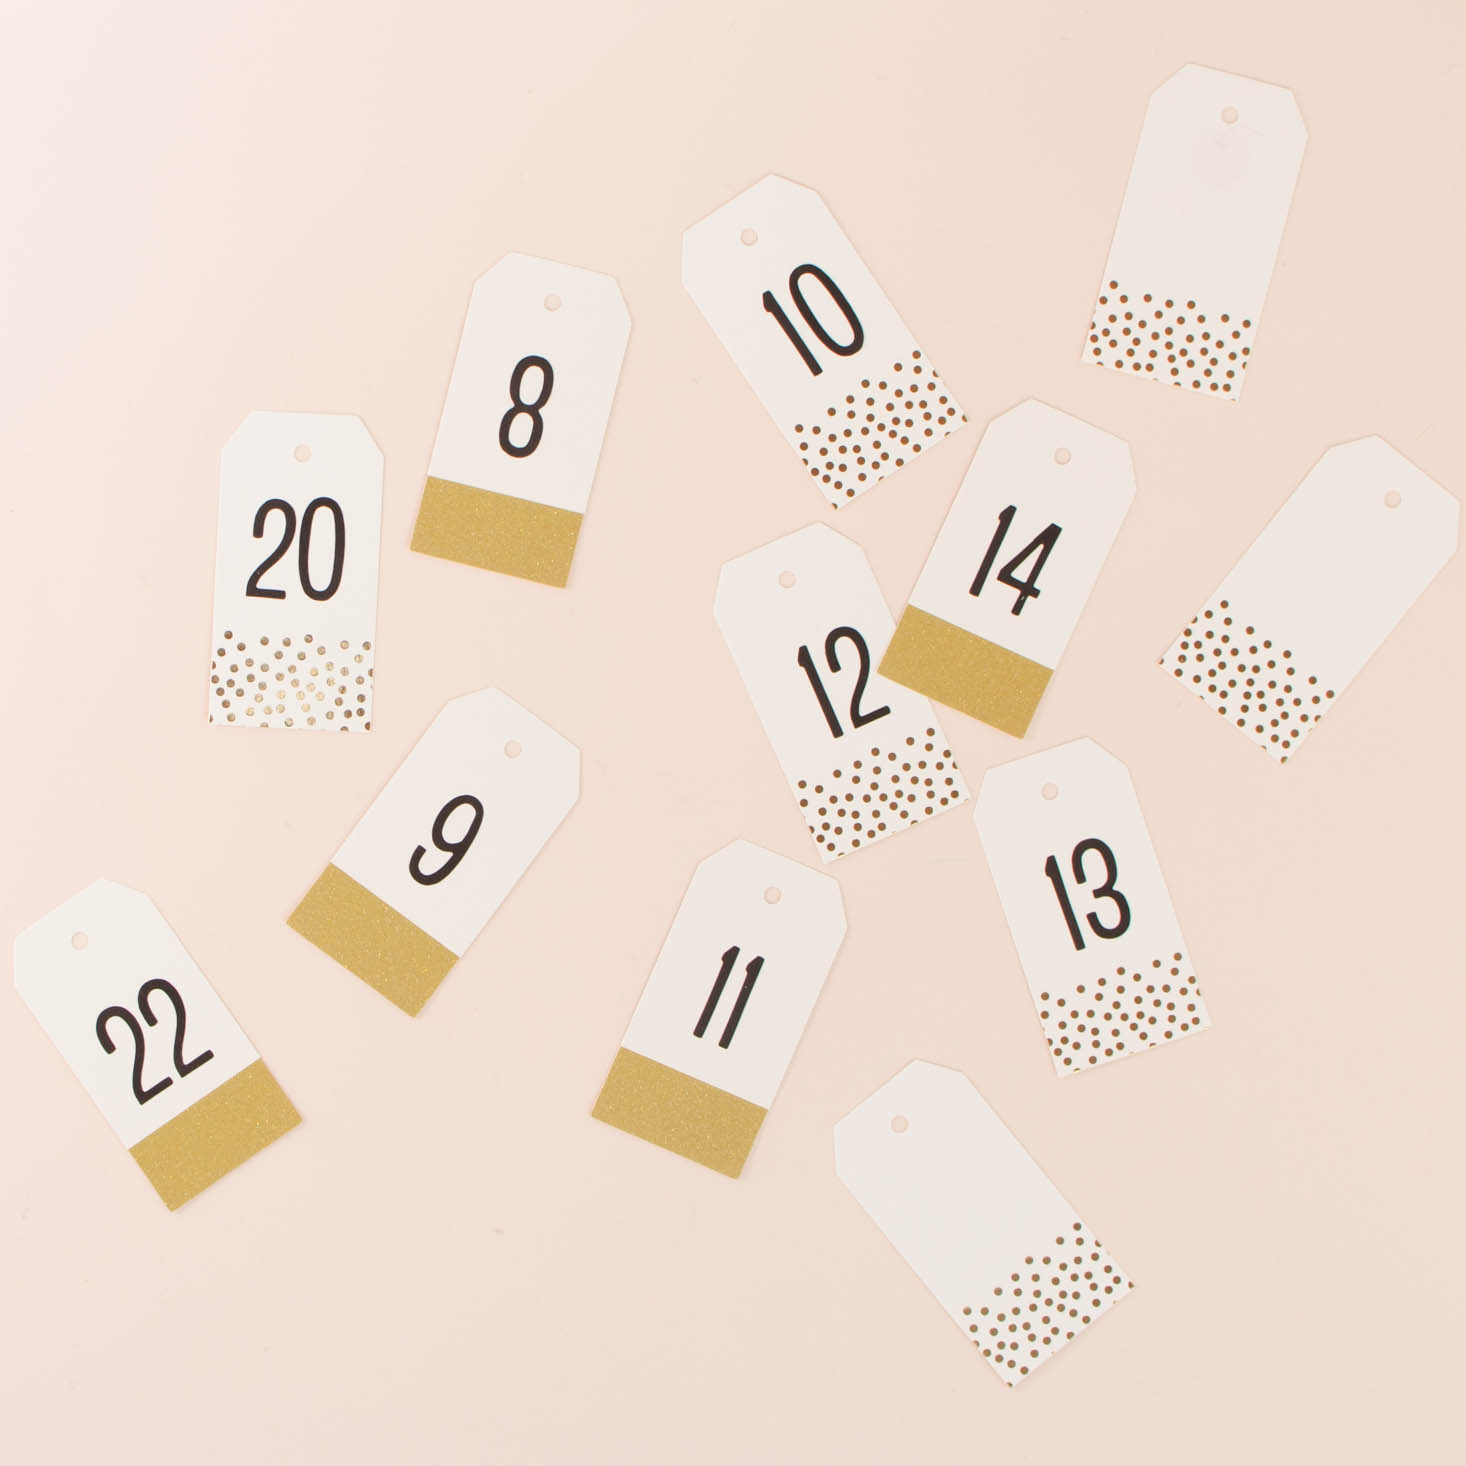
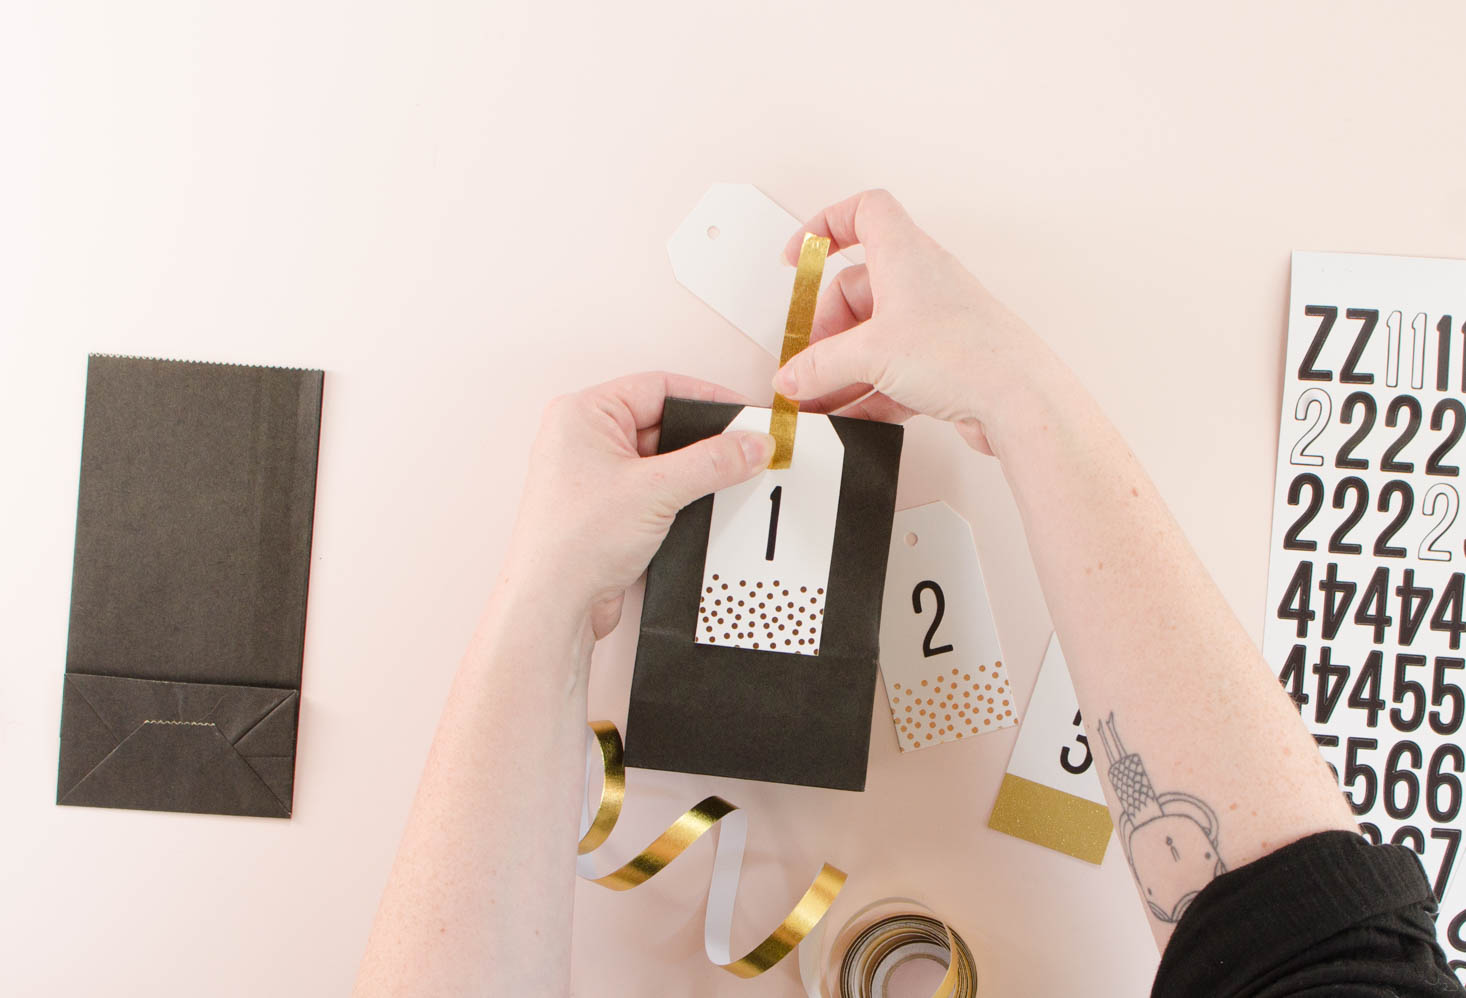
Carefully peel off your numbers and place in the middle of each gift tag. Make 25 tags numbered 1-25.

To make sure all of your bags look the same, you'll need to fold them all the same.
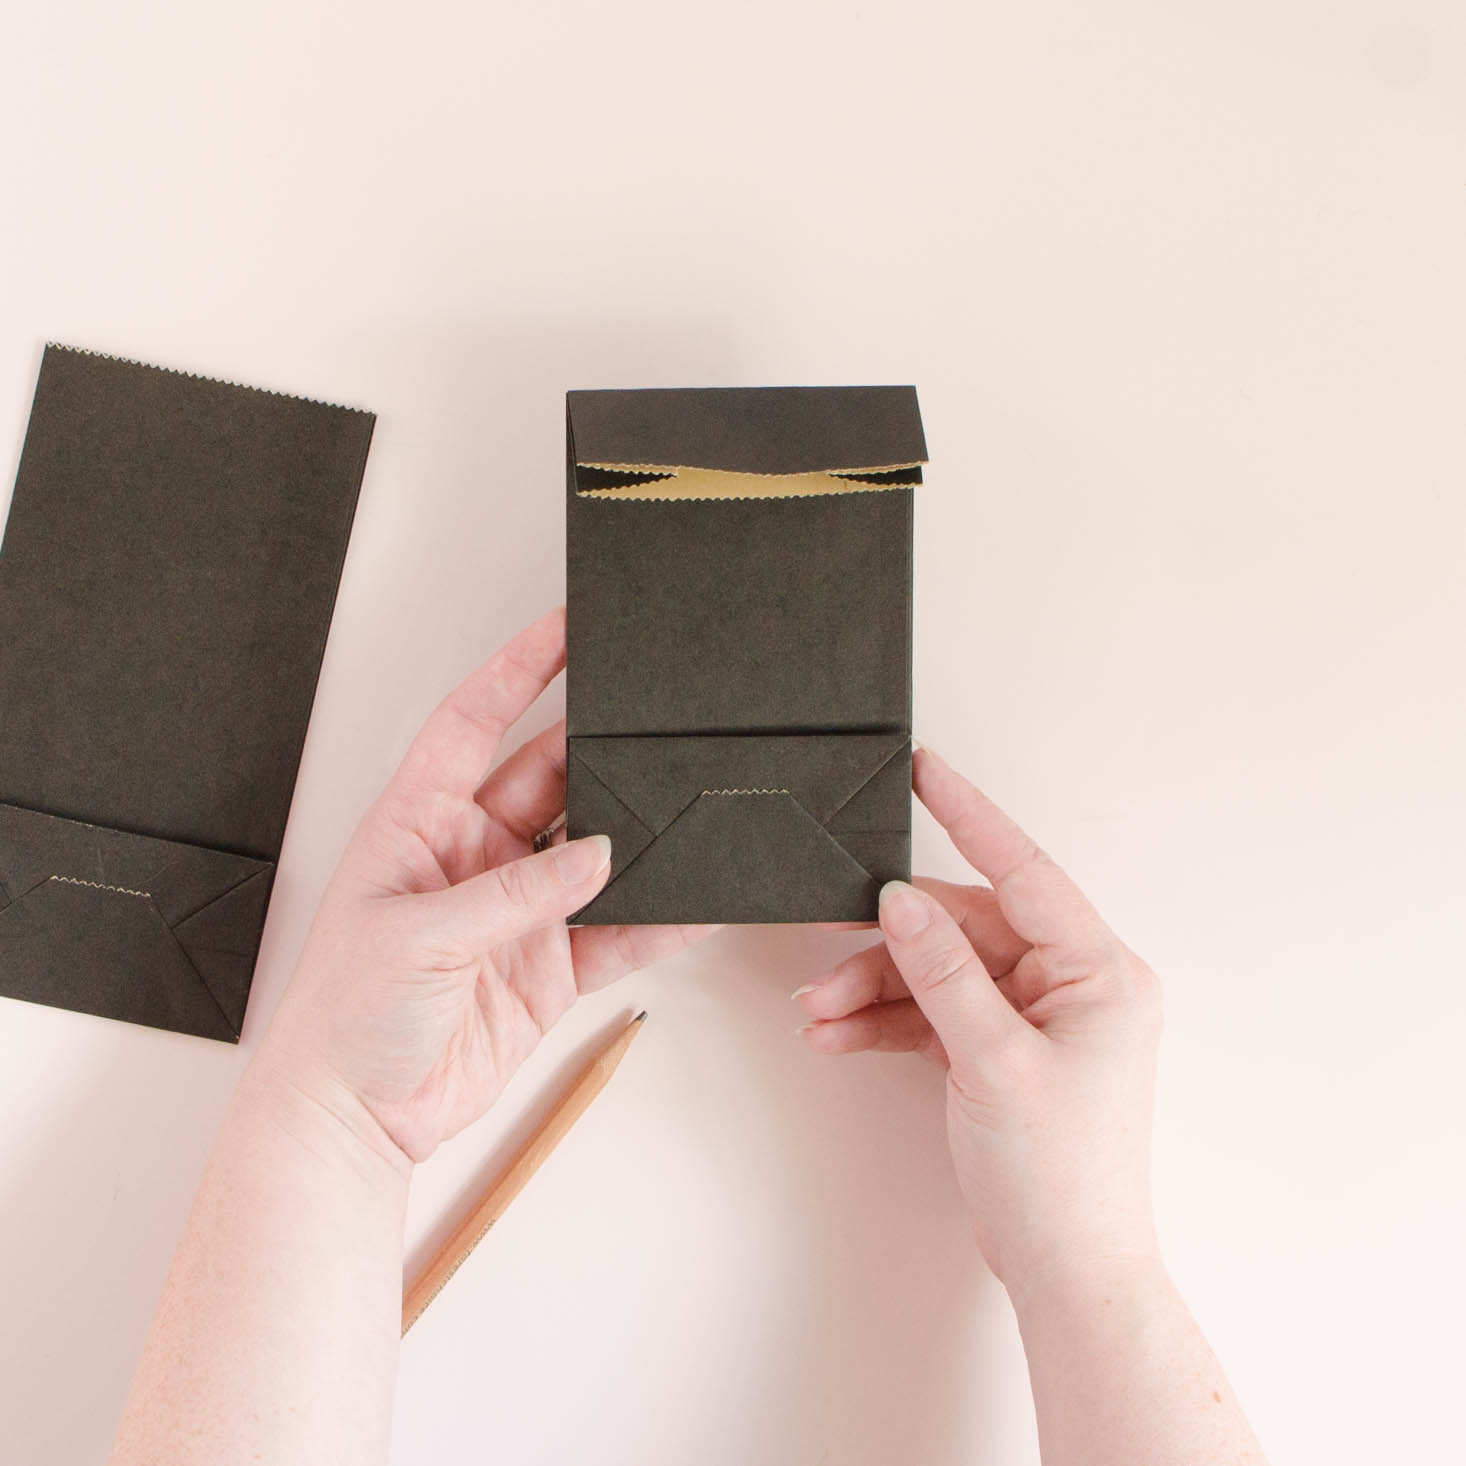
I folded each of my bags to a height of 5 1/2" inches.
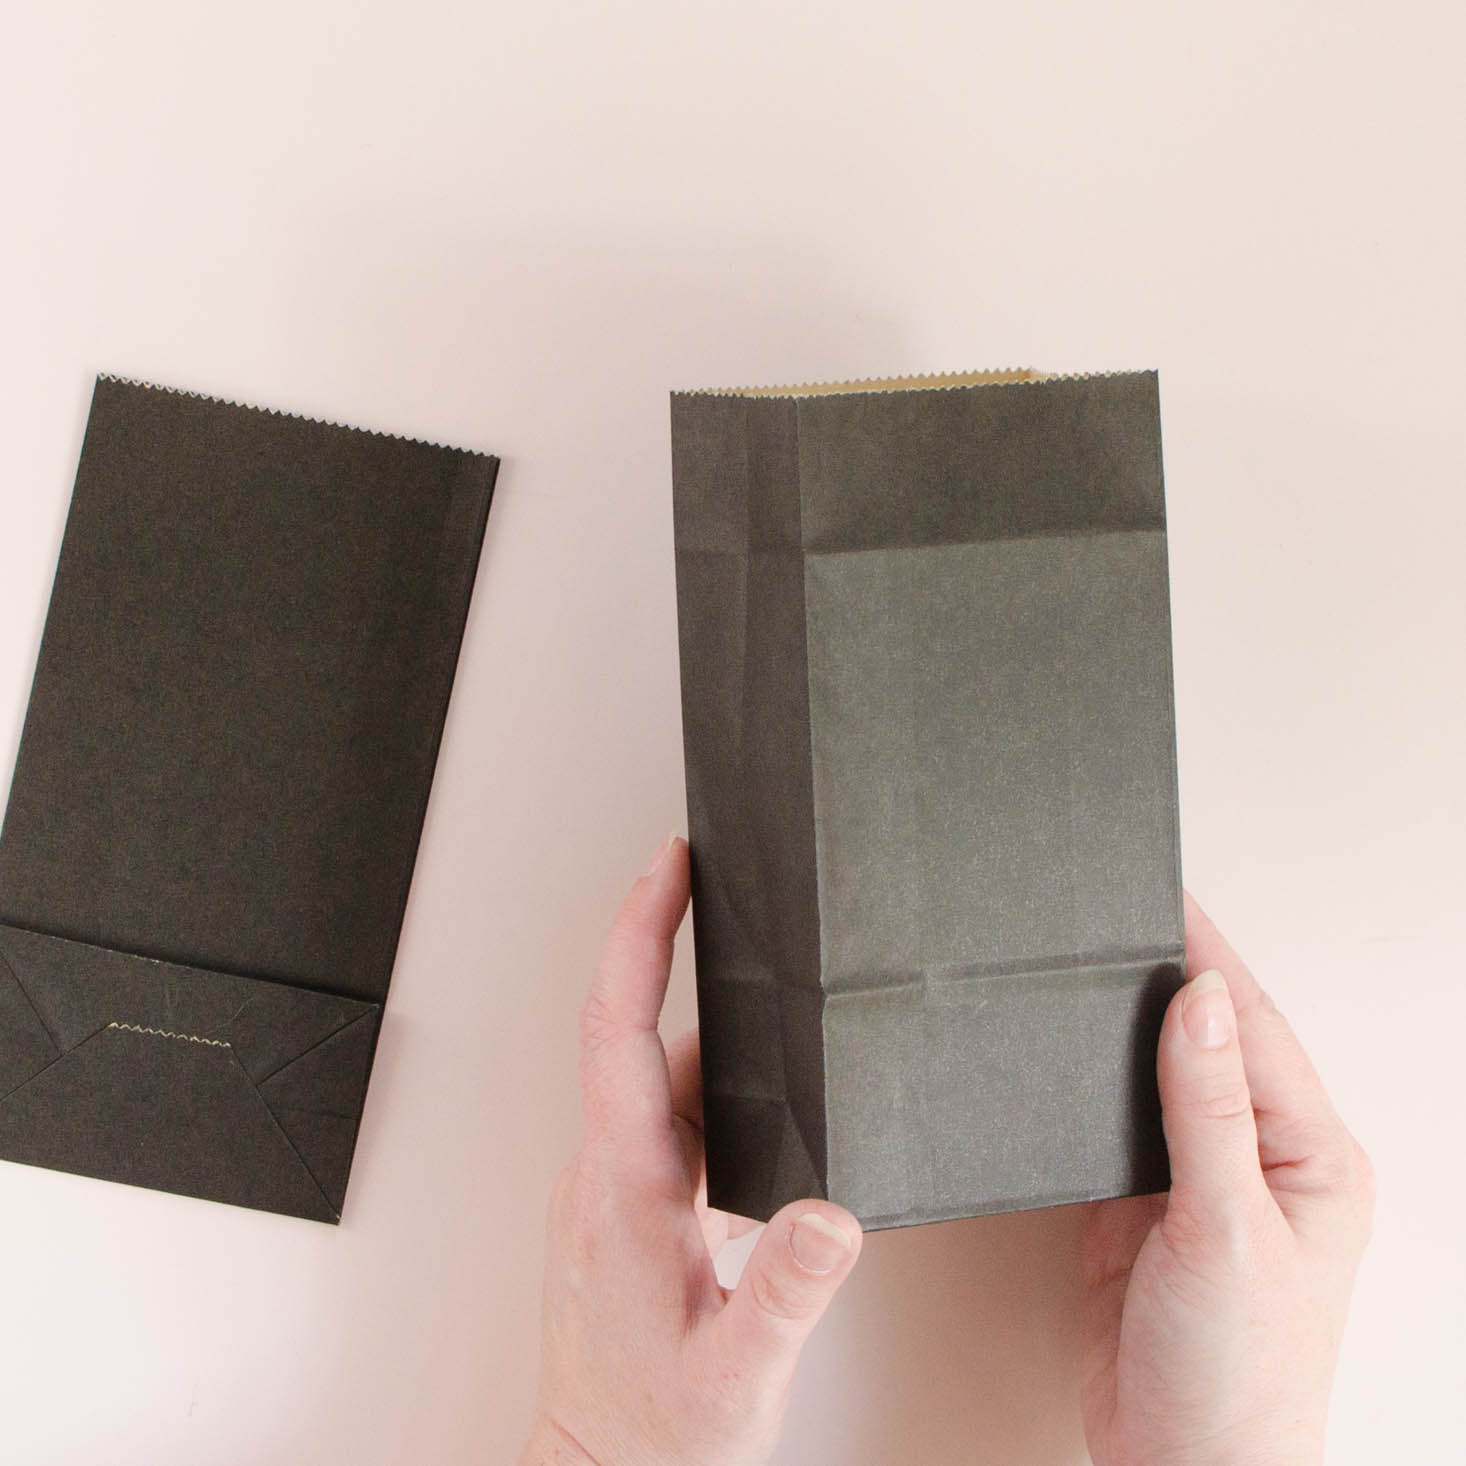
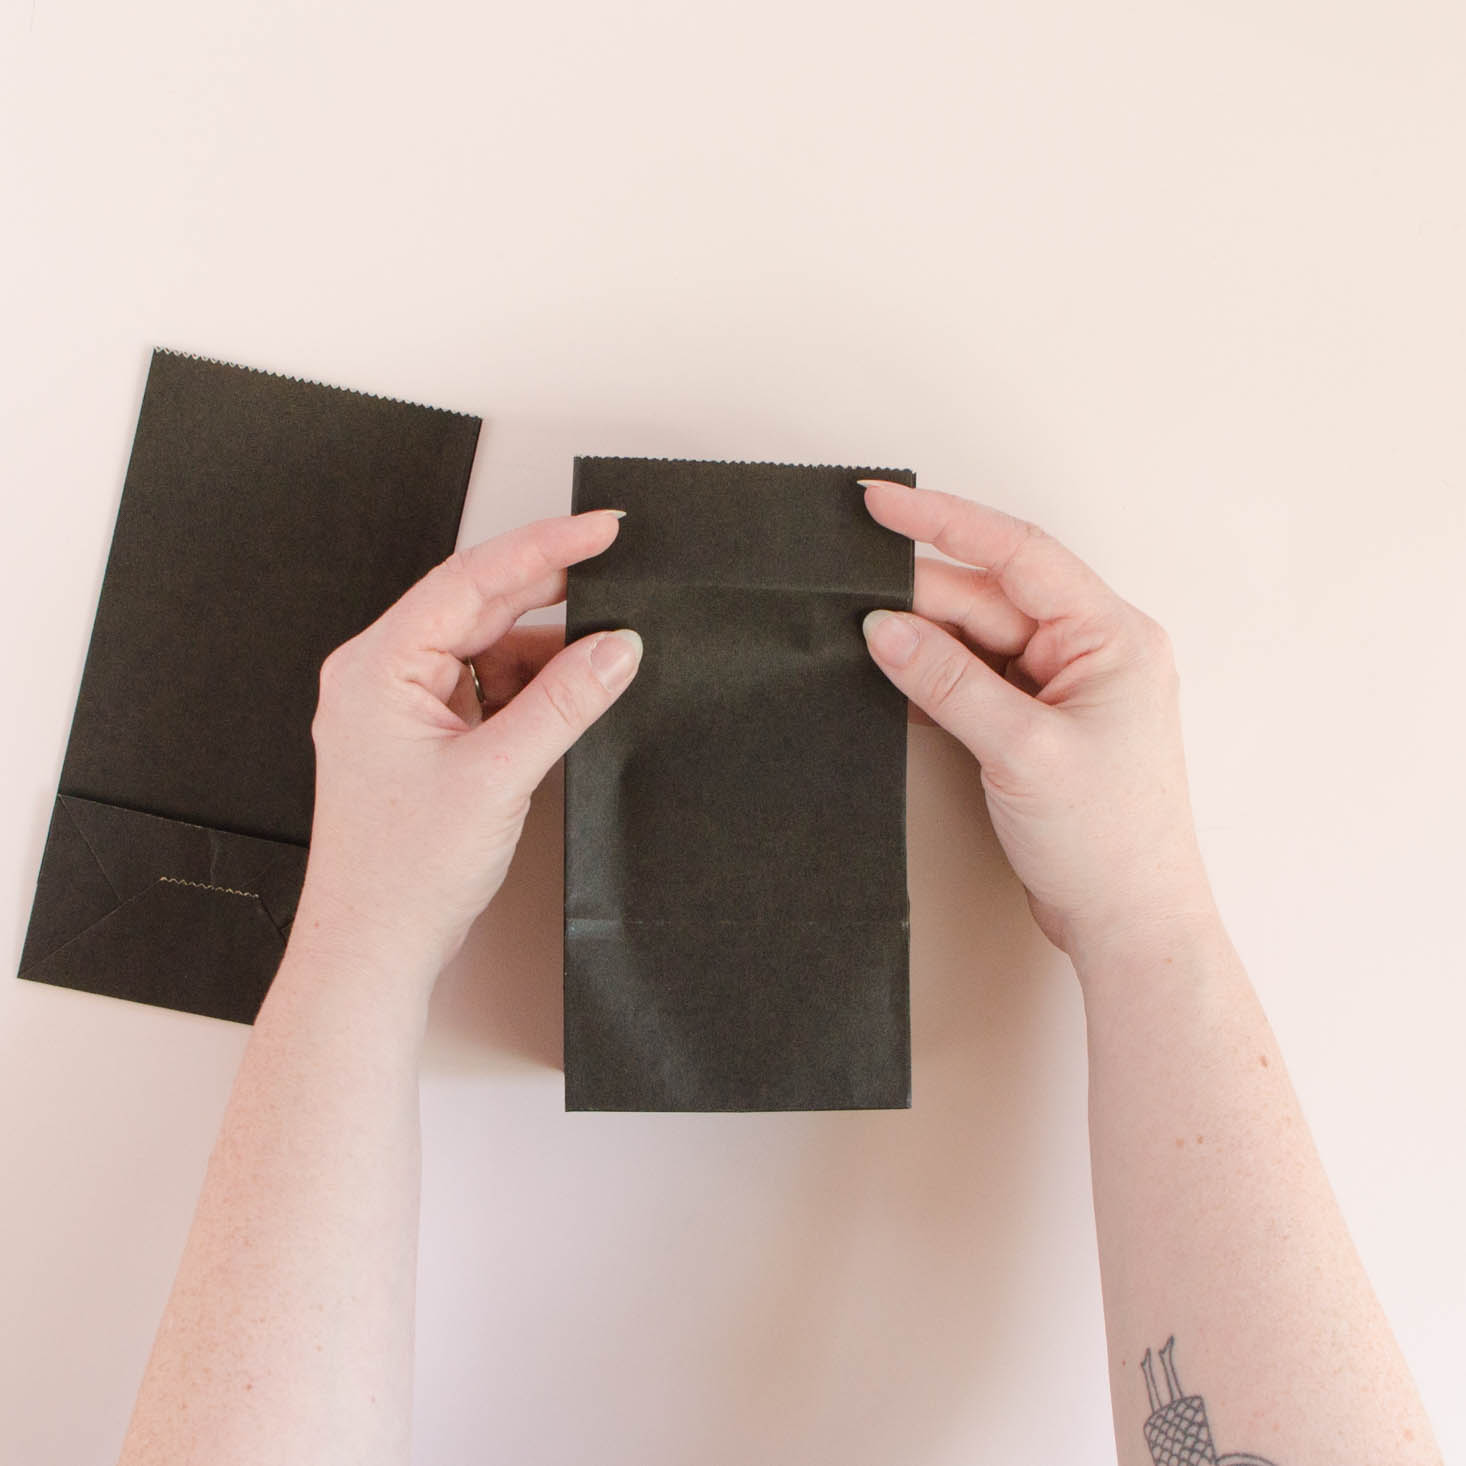
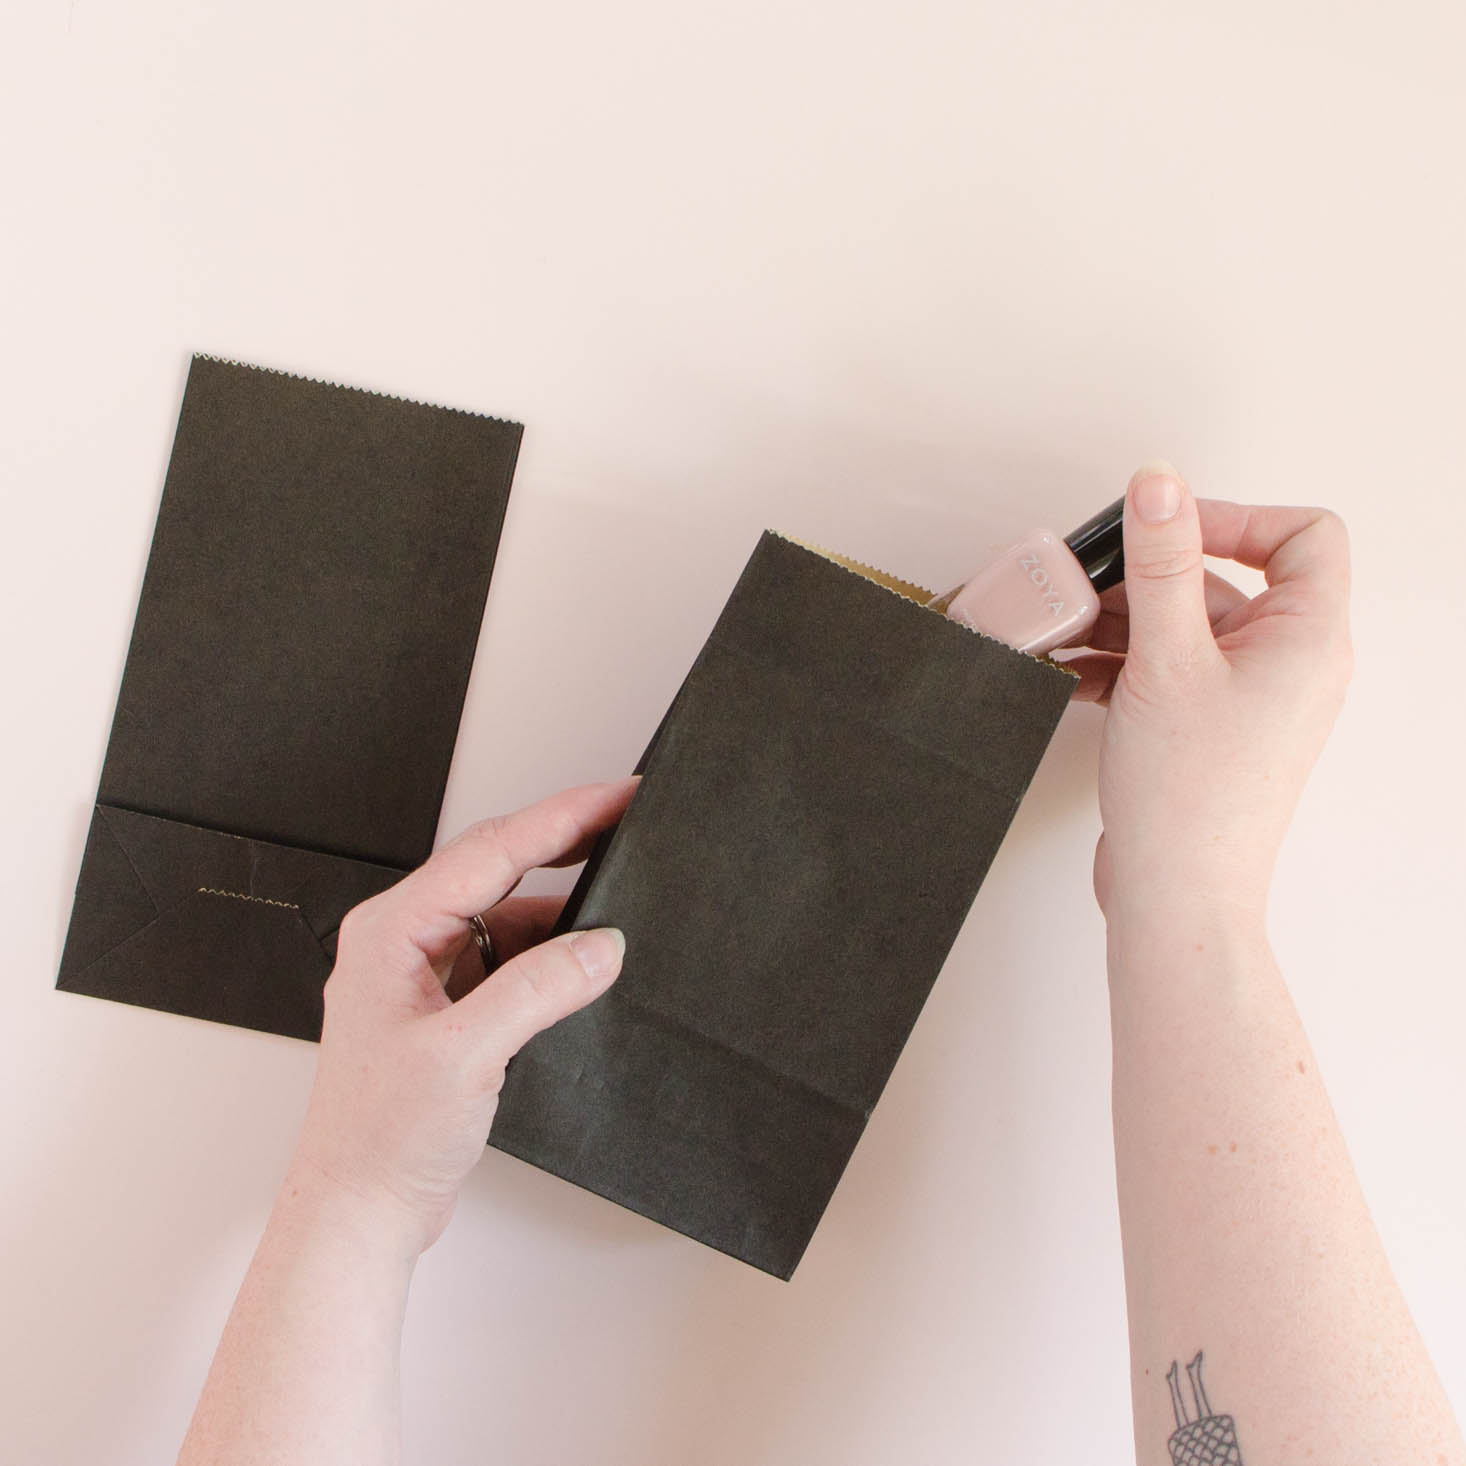
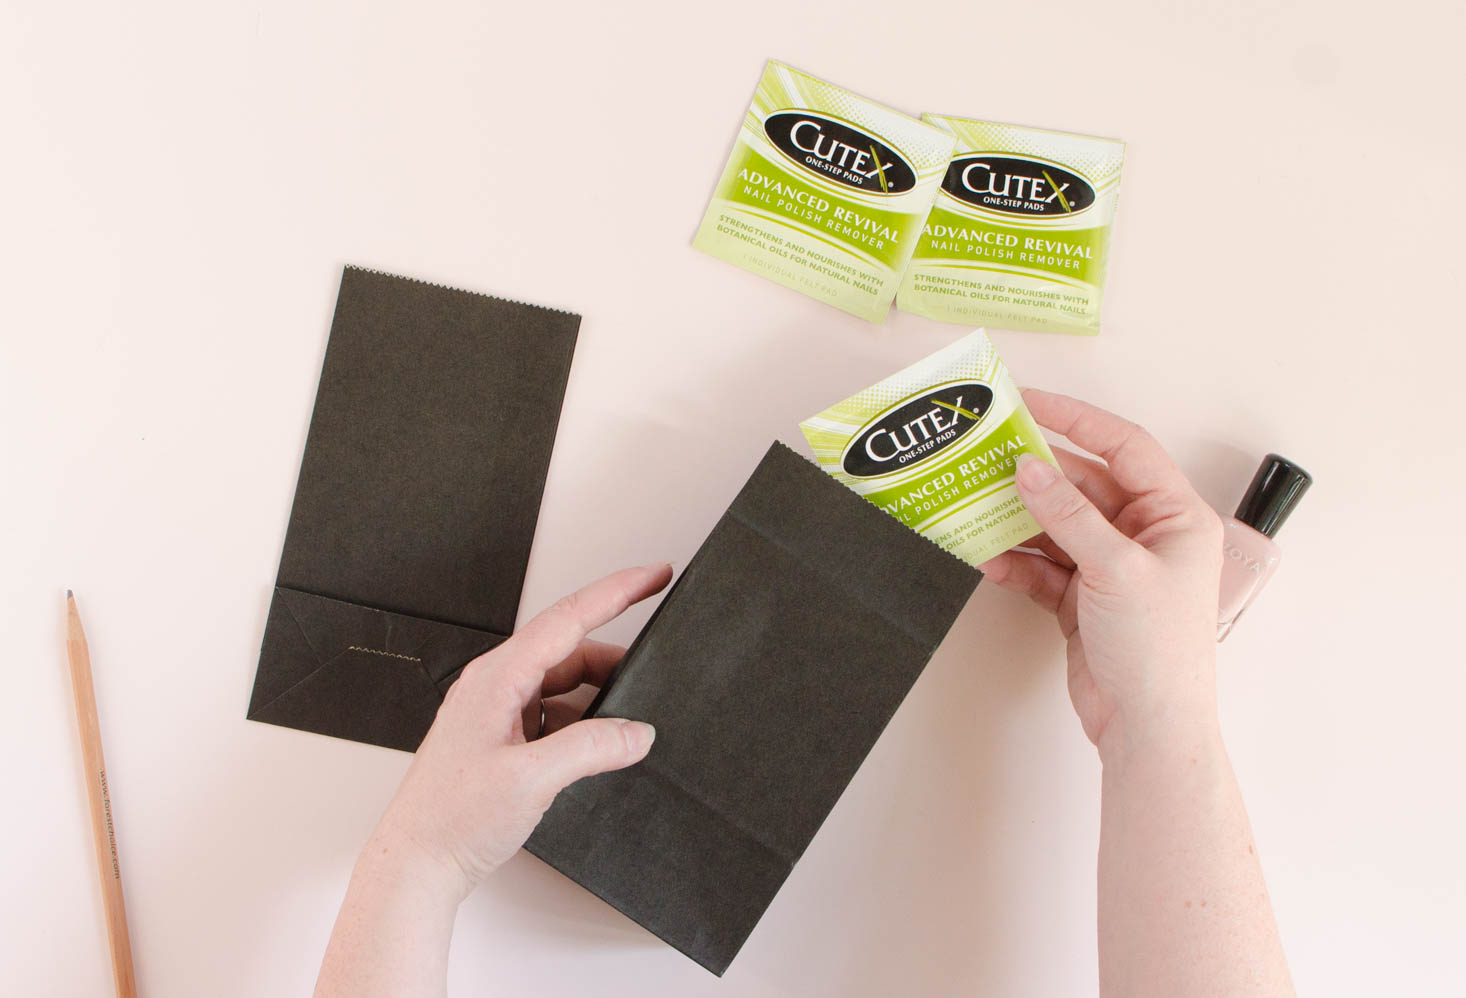
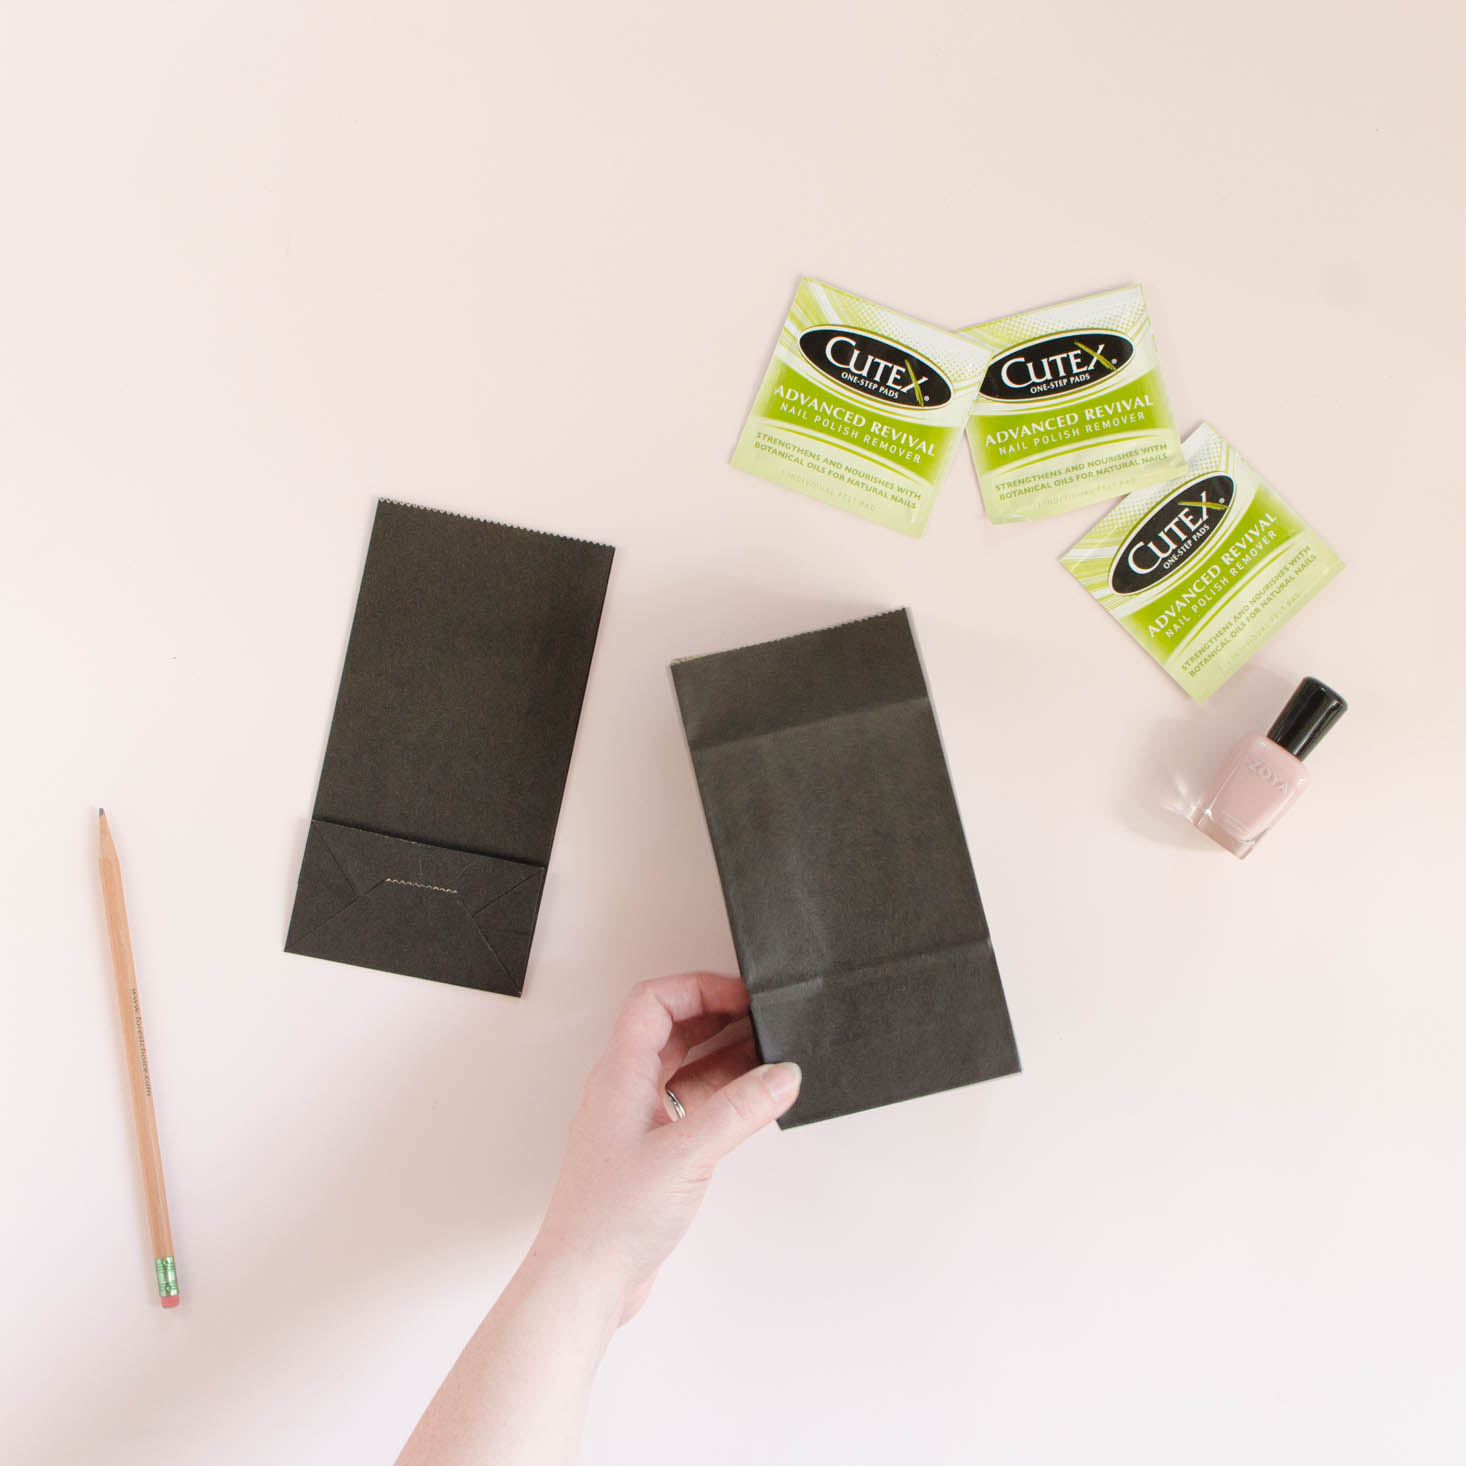
Unfold your bags, pop in a beauty sample, fold again.
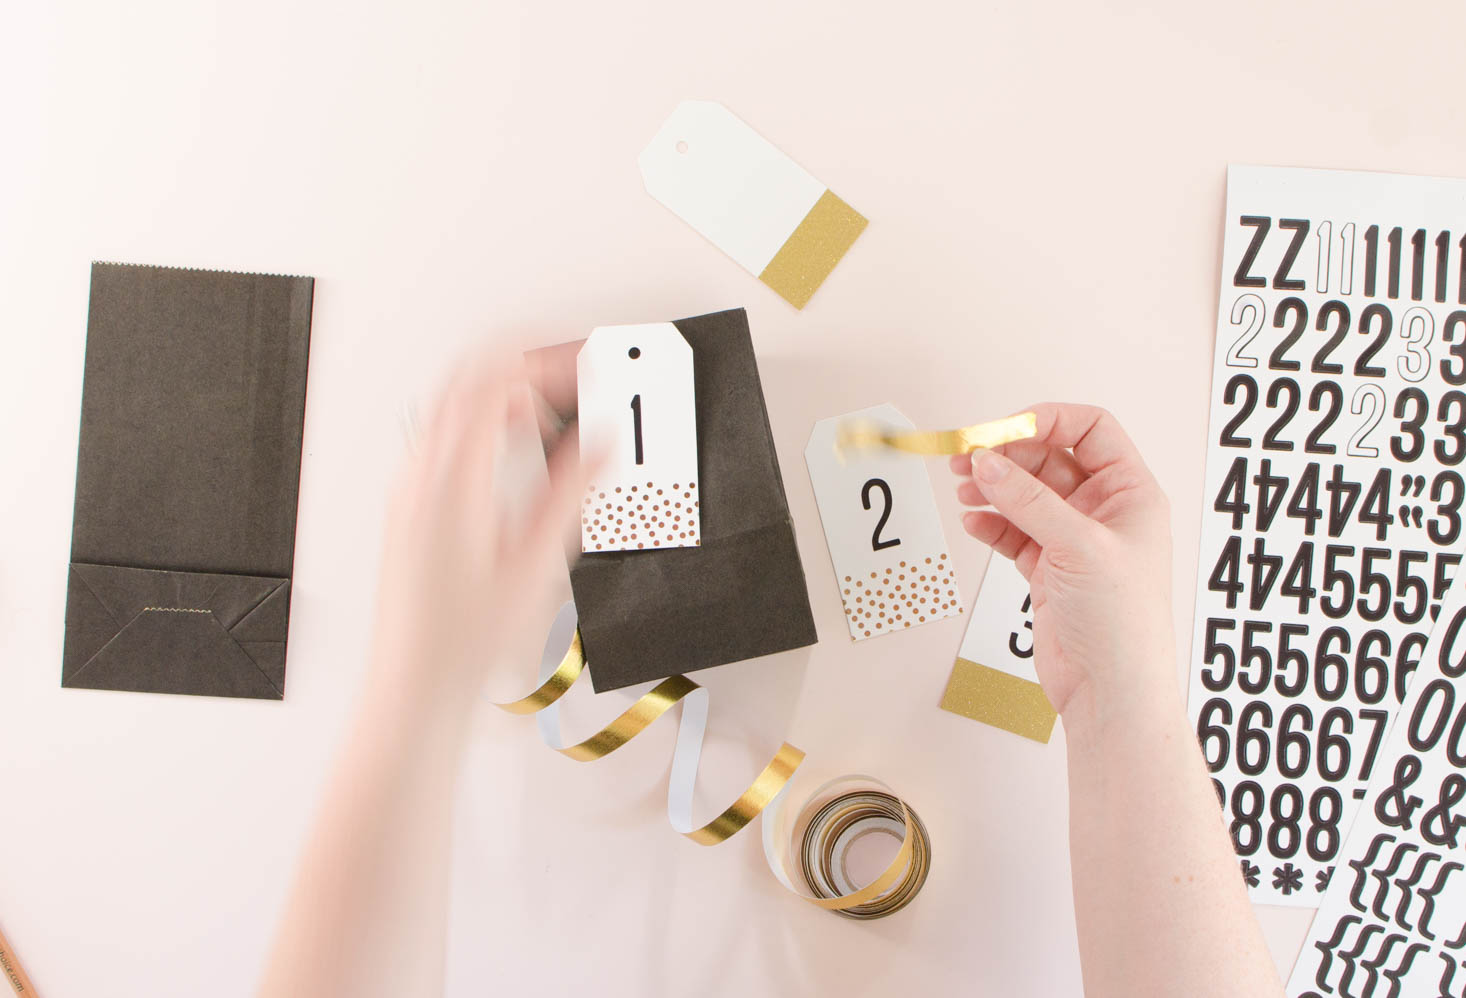
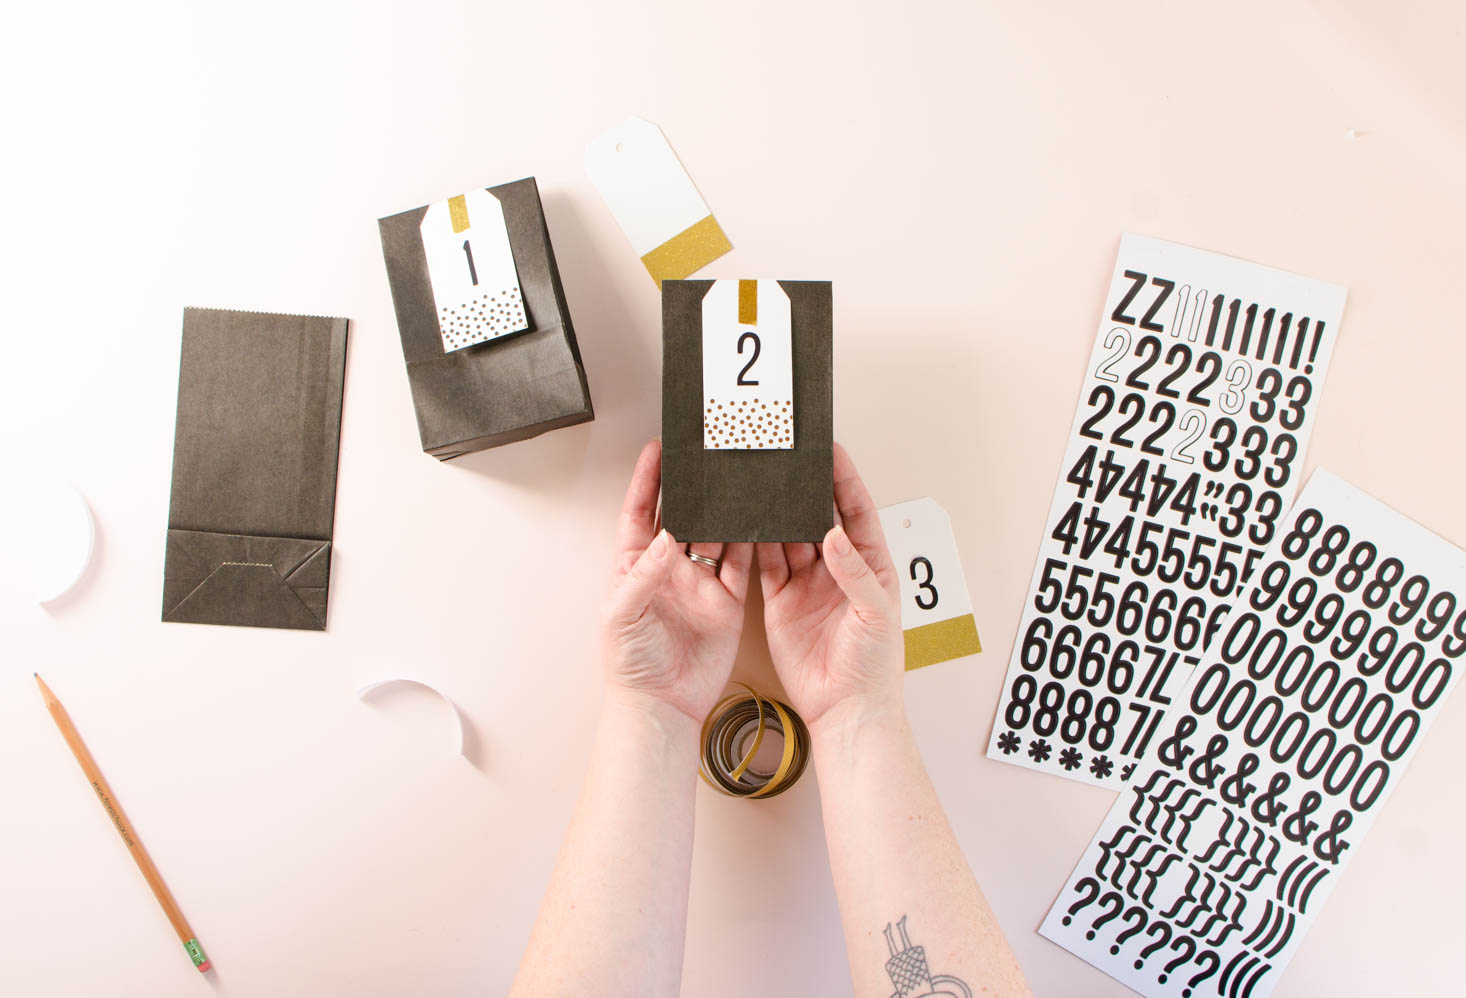
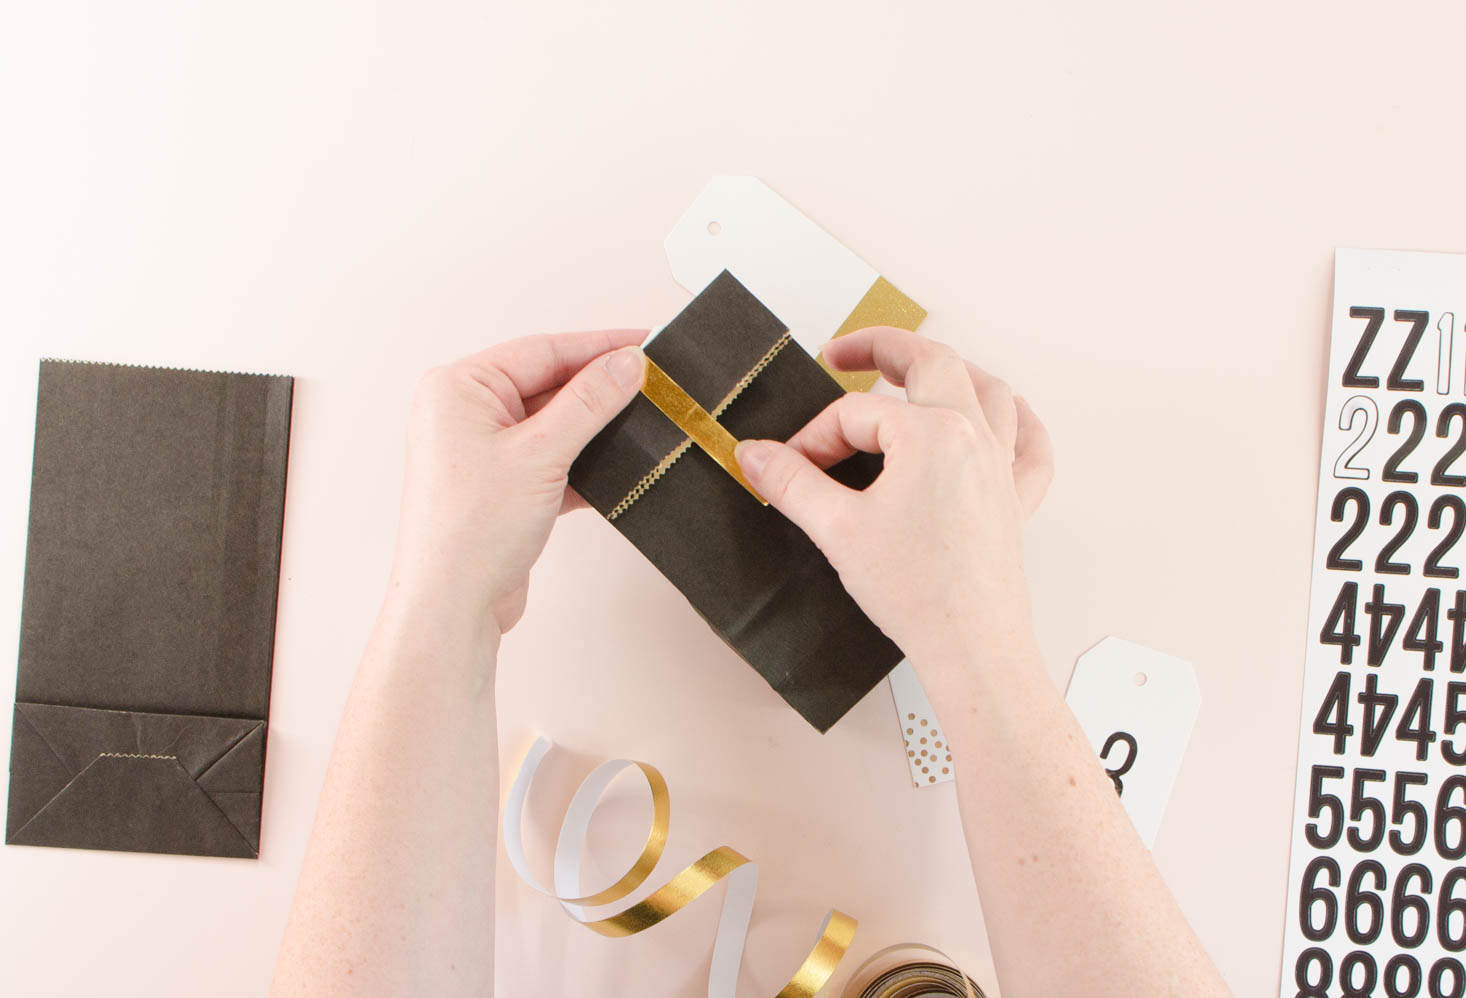
Use a single piece of washi tape to adhere your gift tag to the bag and secure your bag closed.
Ideas for each bag:
- A single, well-chosen sample
- A set of items that go together like a nail polish and some acetone sheets (be careful about total weight when bundling items)
- A beauty sample bundled with individually wrapped candies or chocolates
- Pop some sizzle or confetti in your bags along with each sample
- For the 25th day, you could include another sample OR a gift card and handwritten note
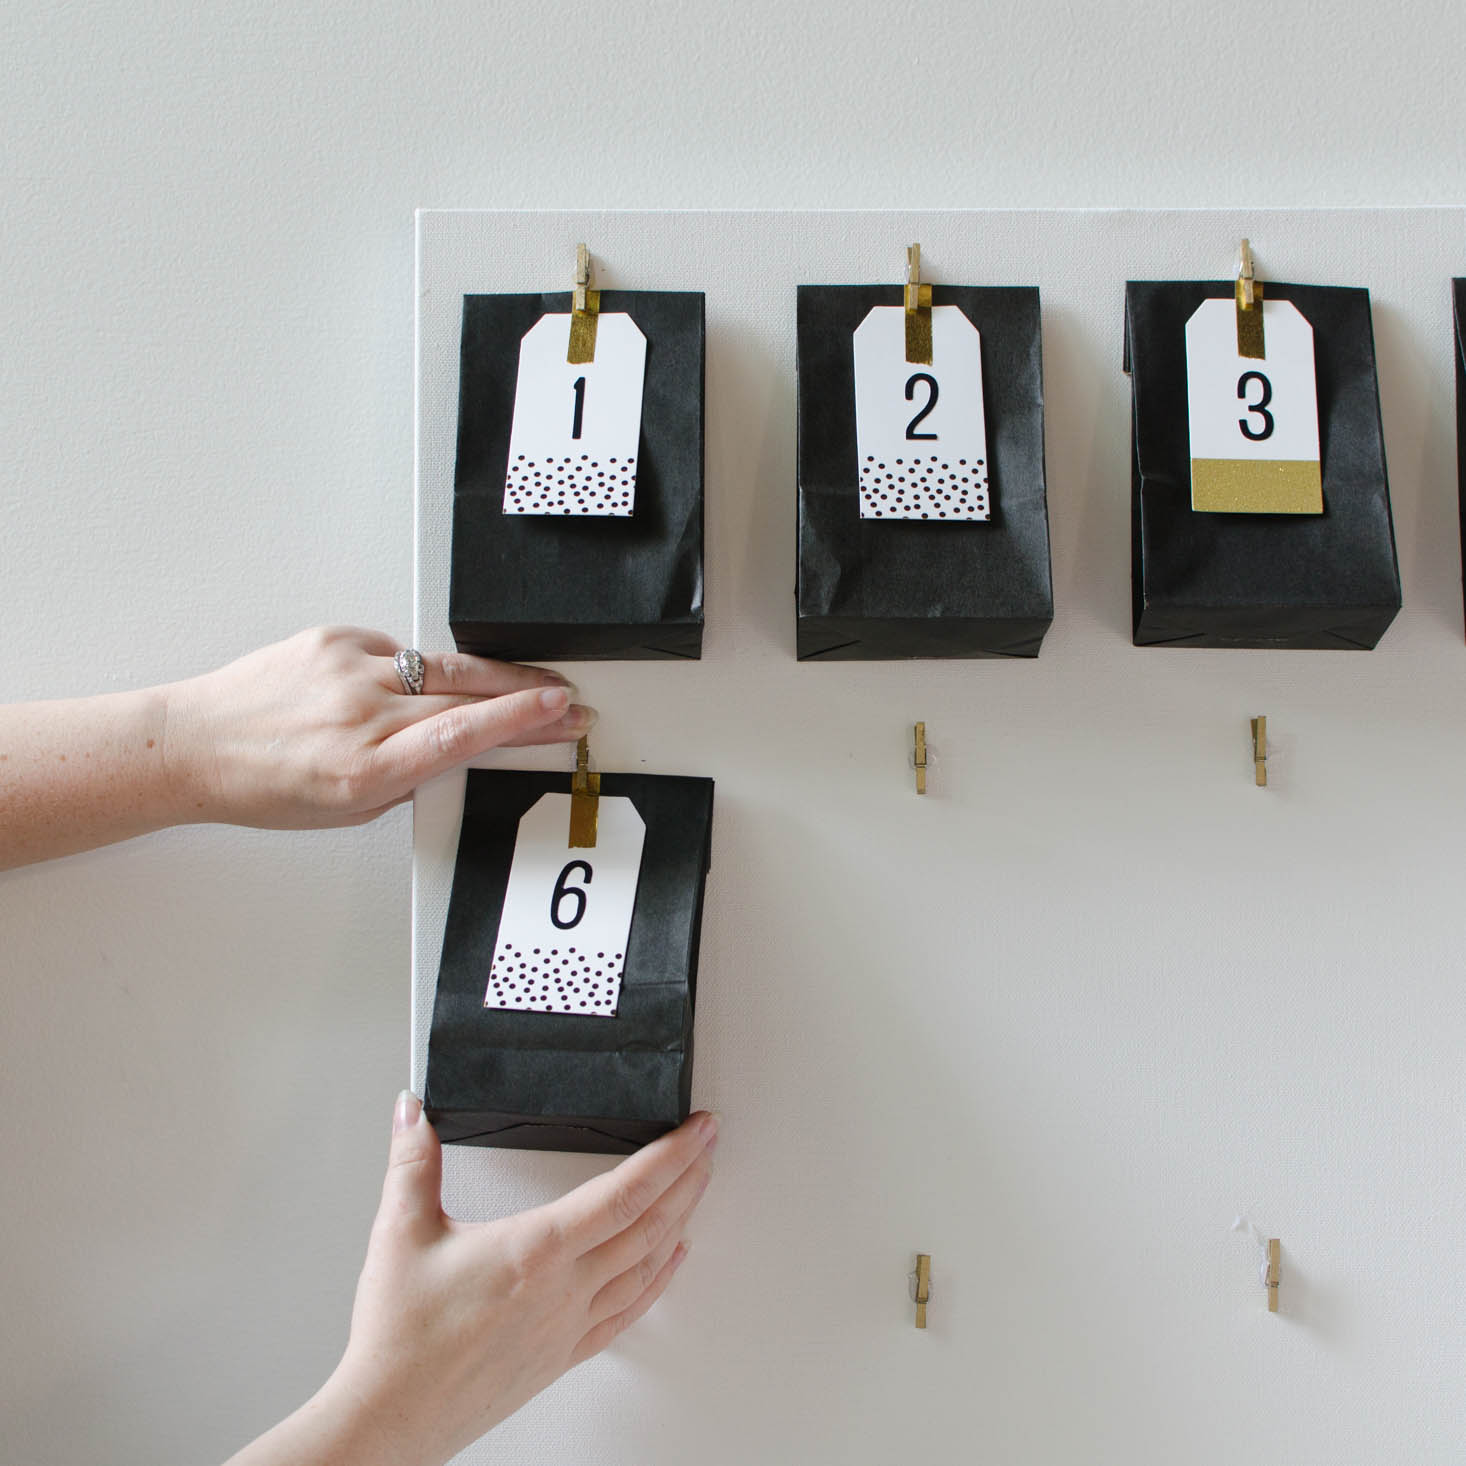
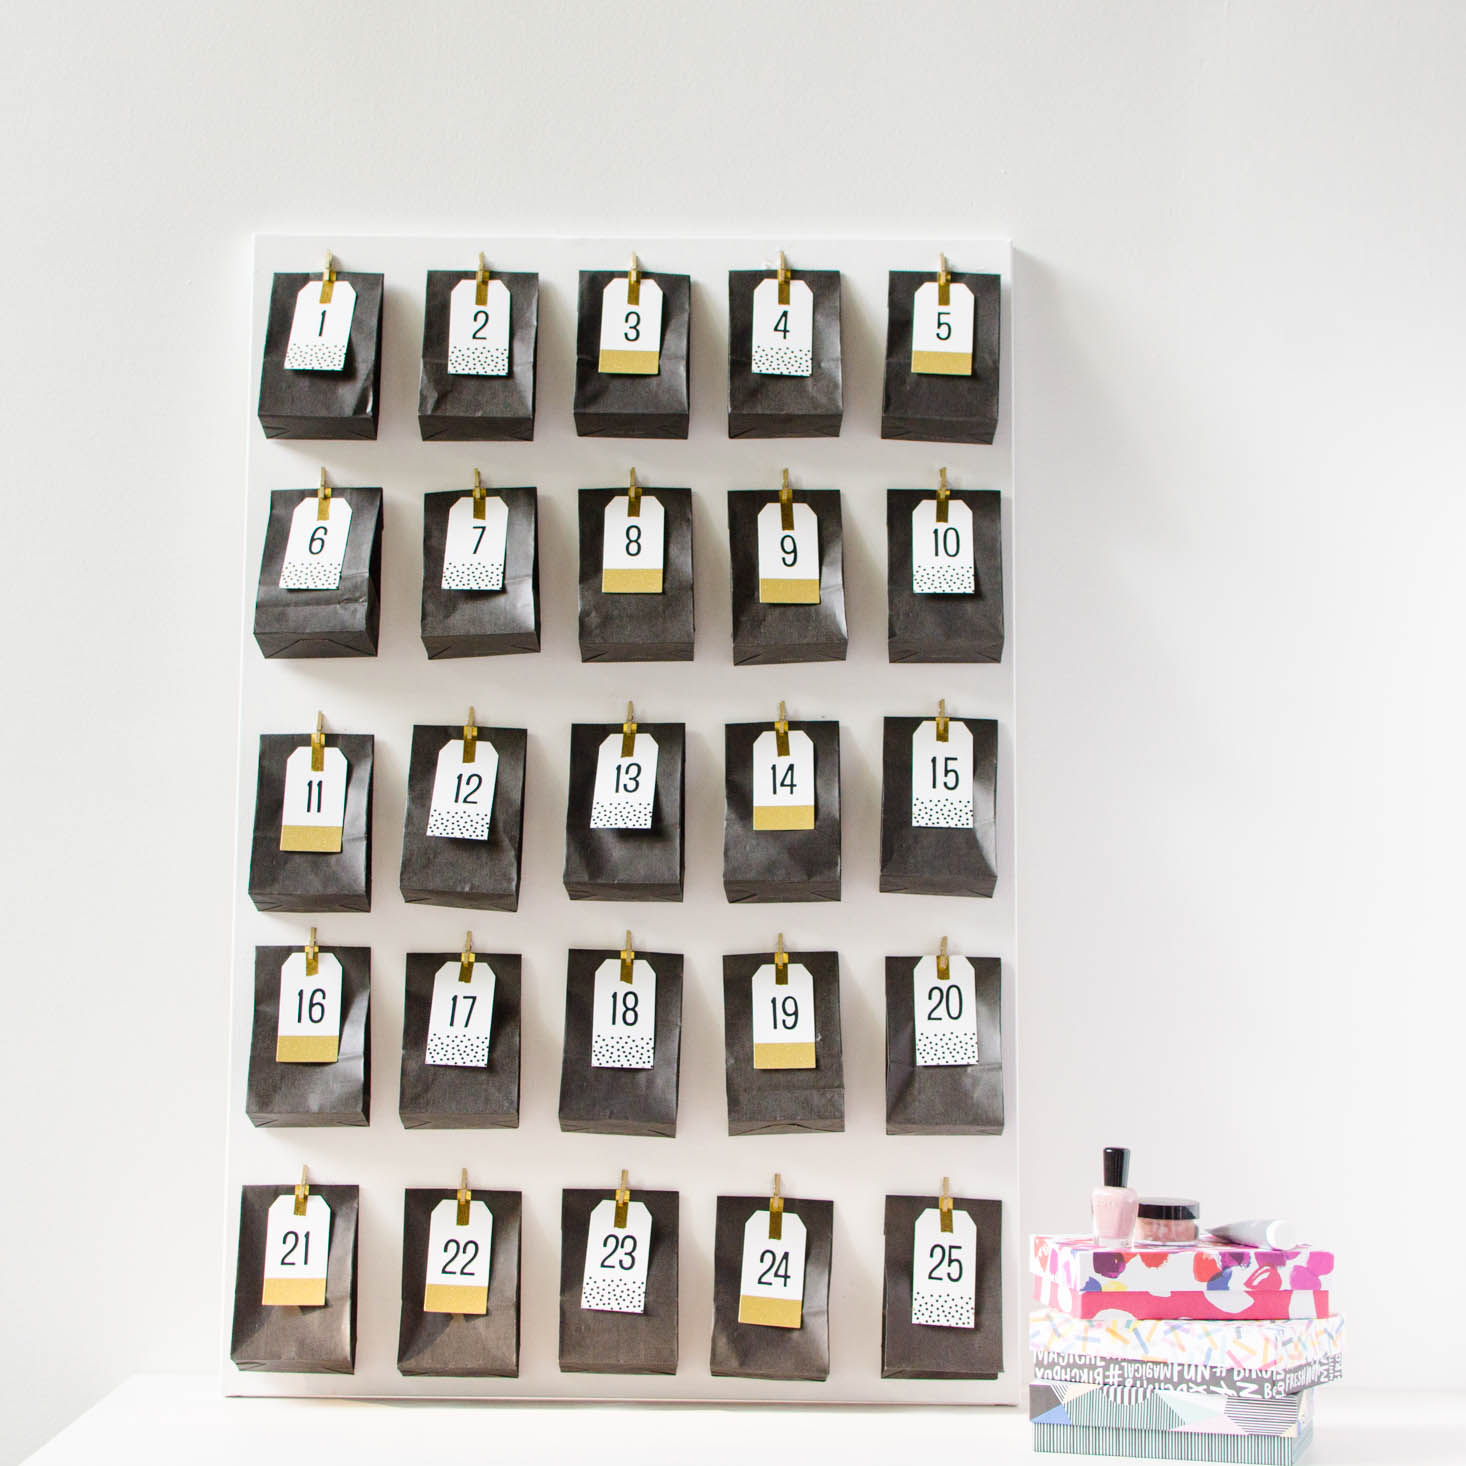
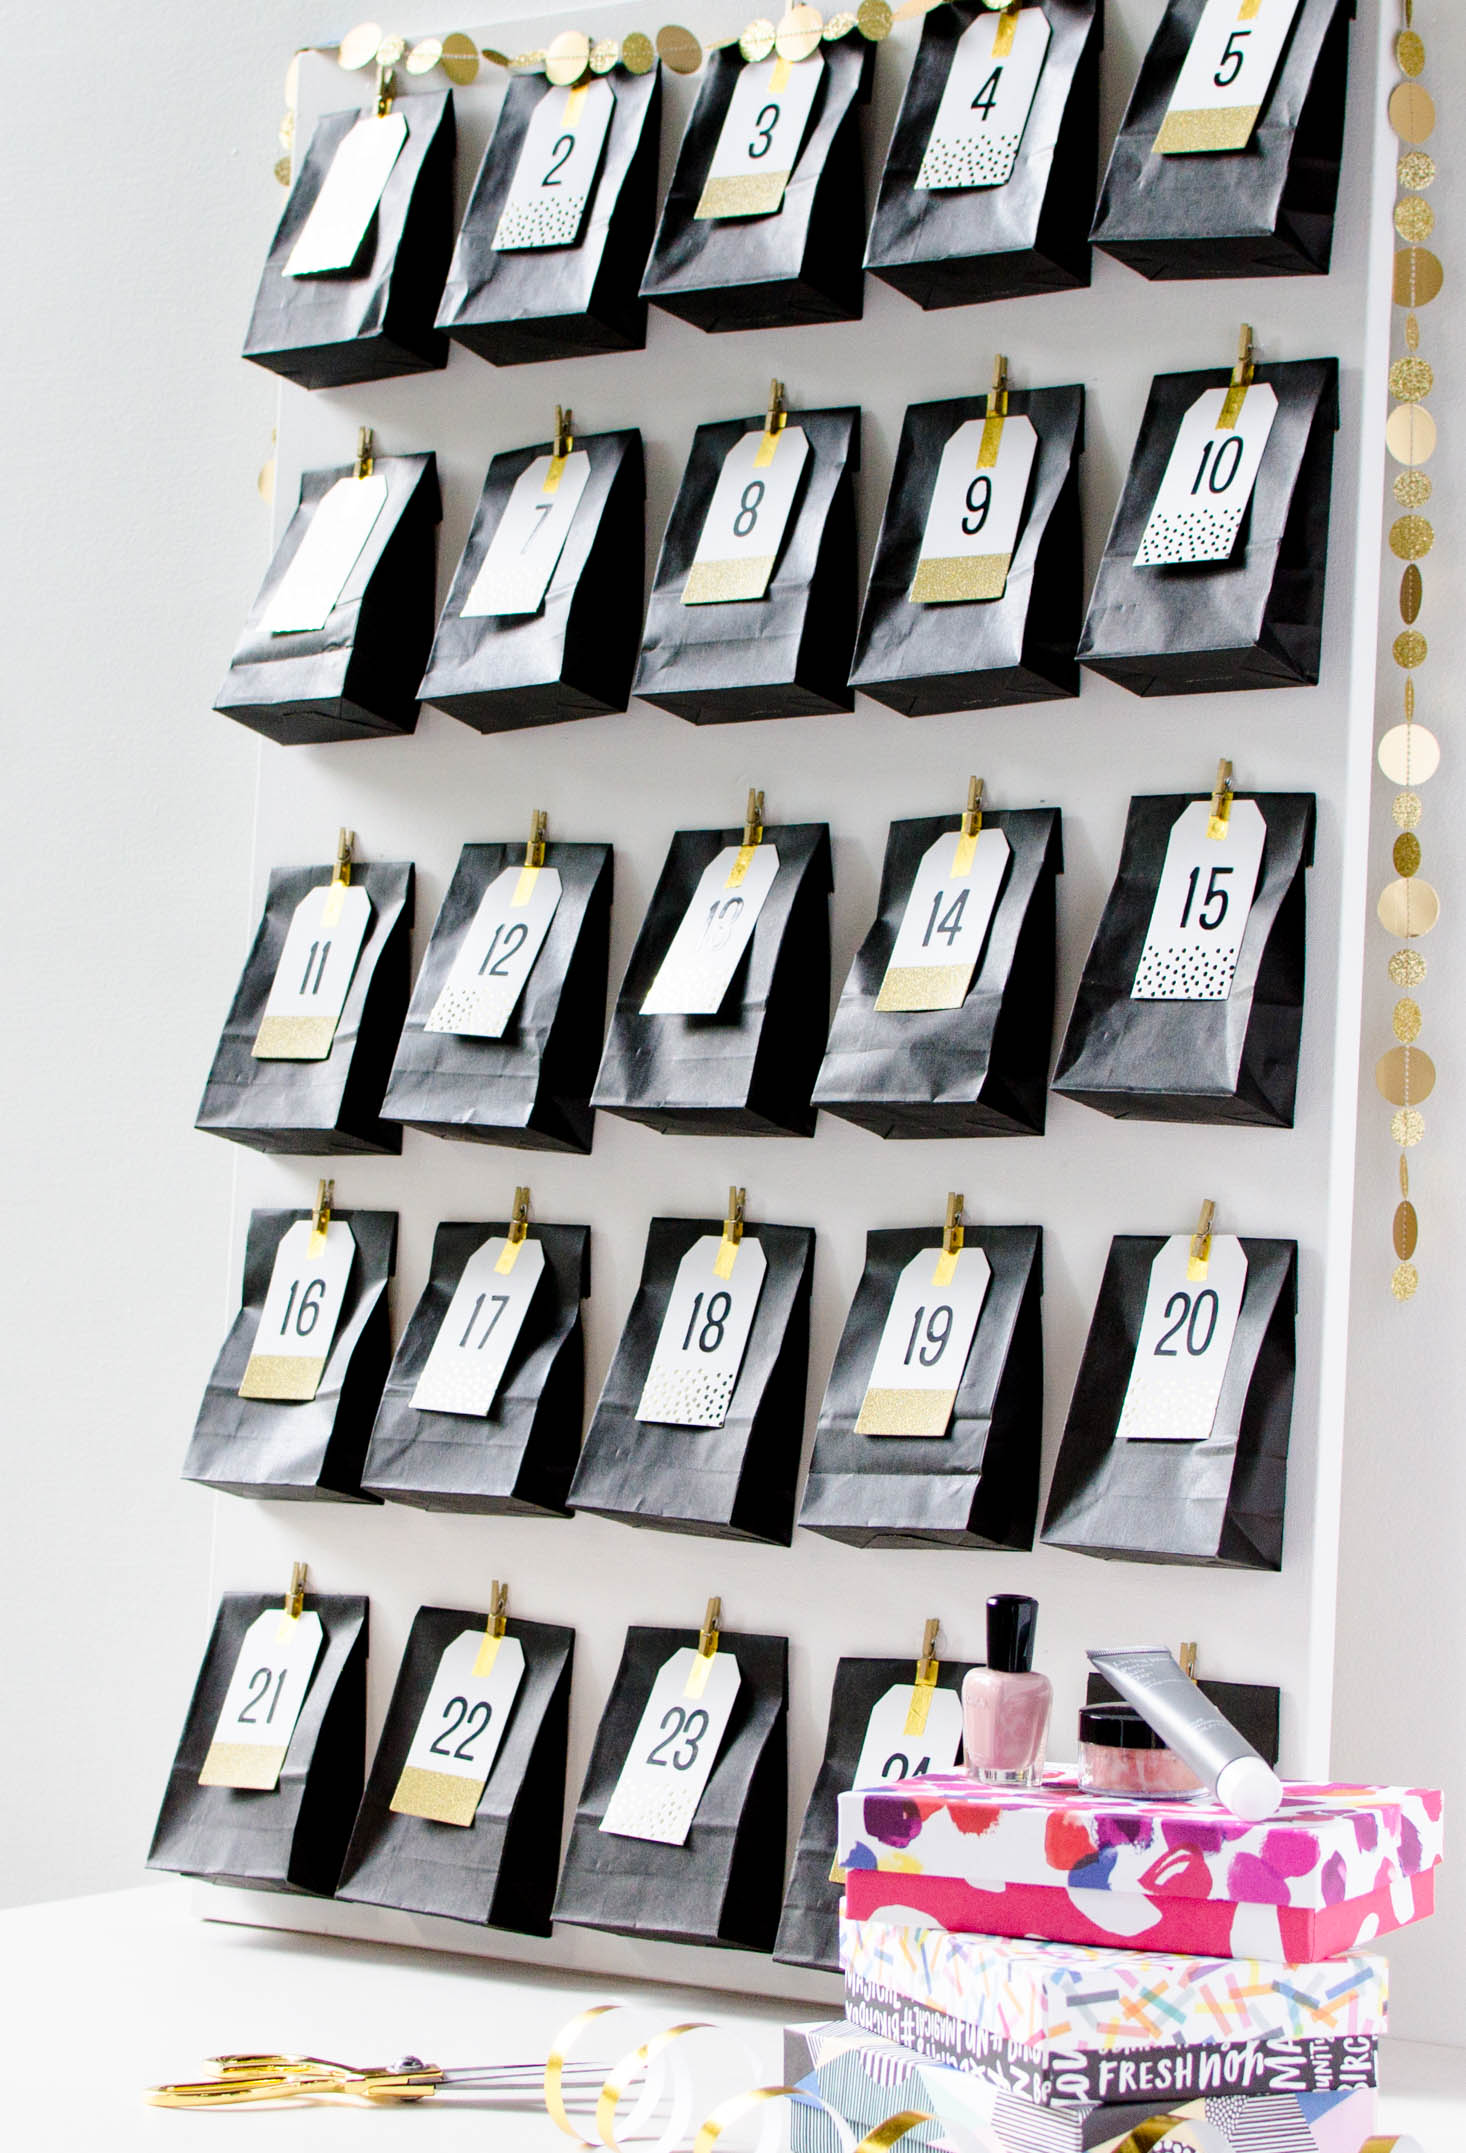
For the last step, attach each bag to the canvas using the clips
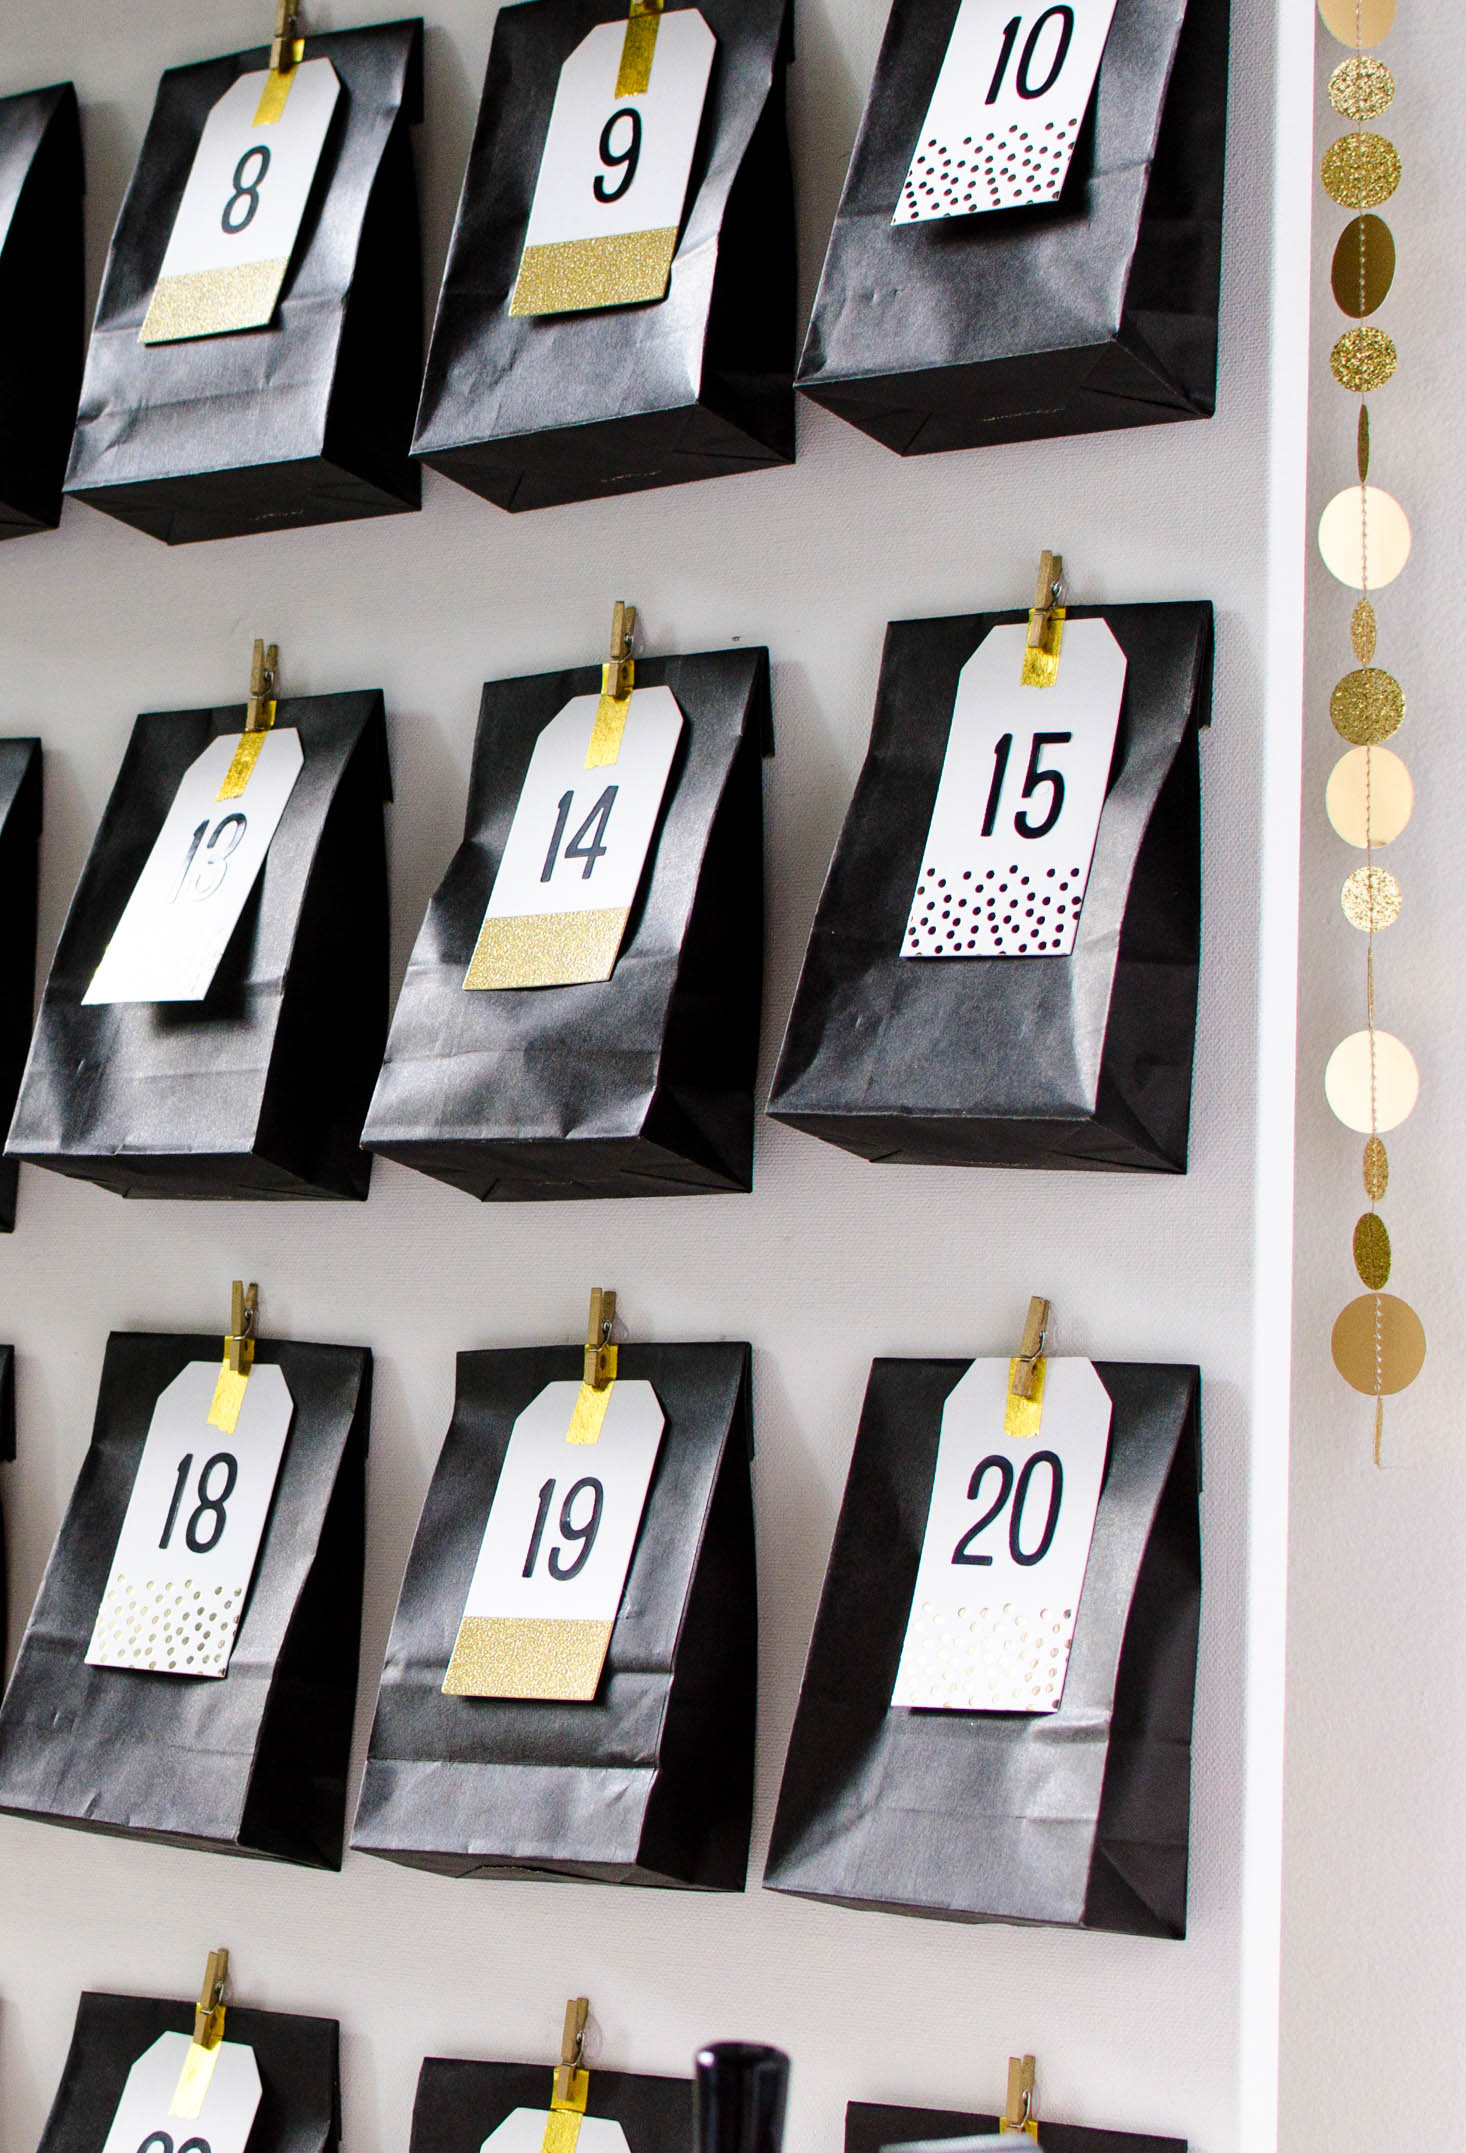
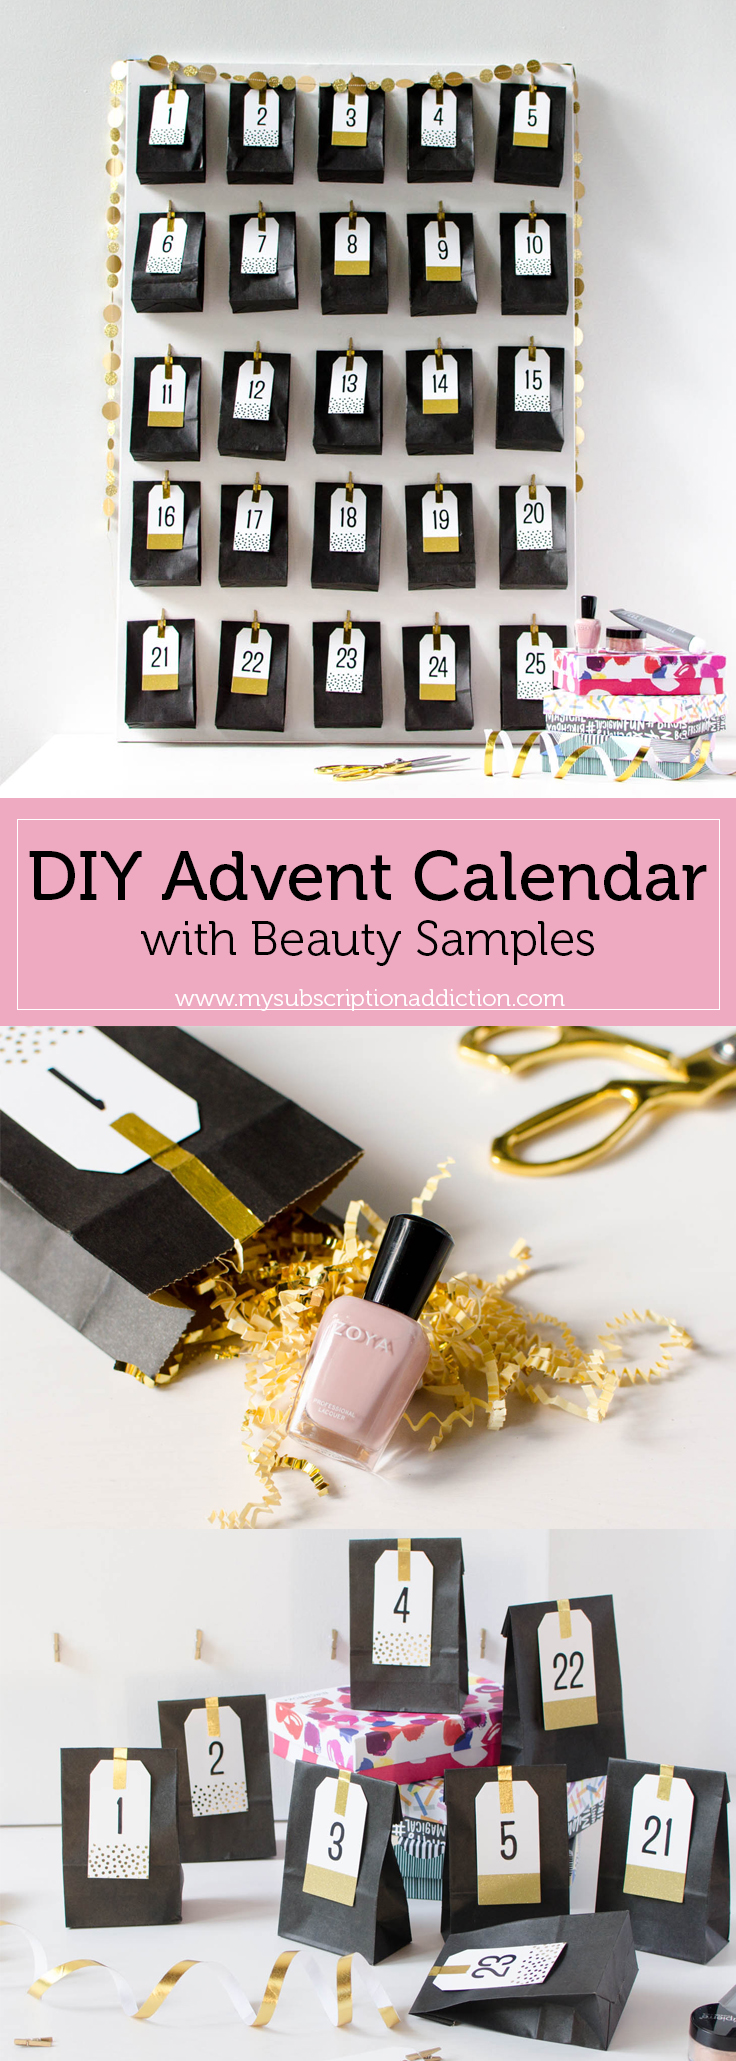
Your new advent calendar is pretty enough to display!

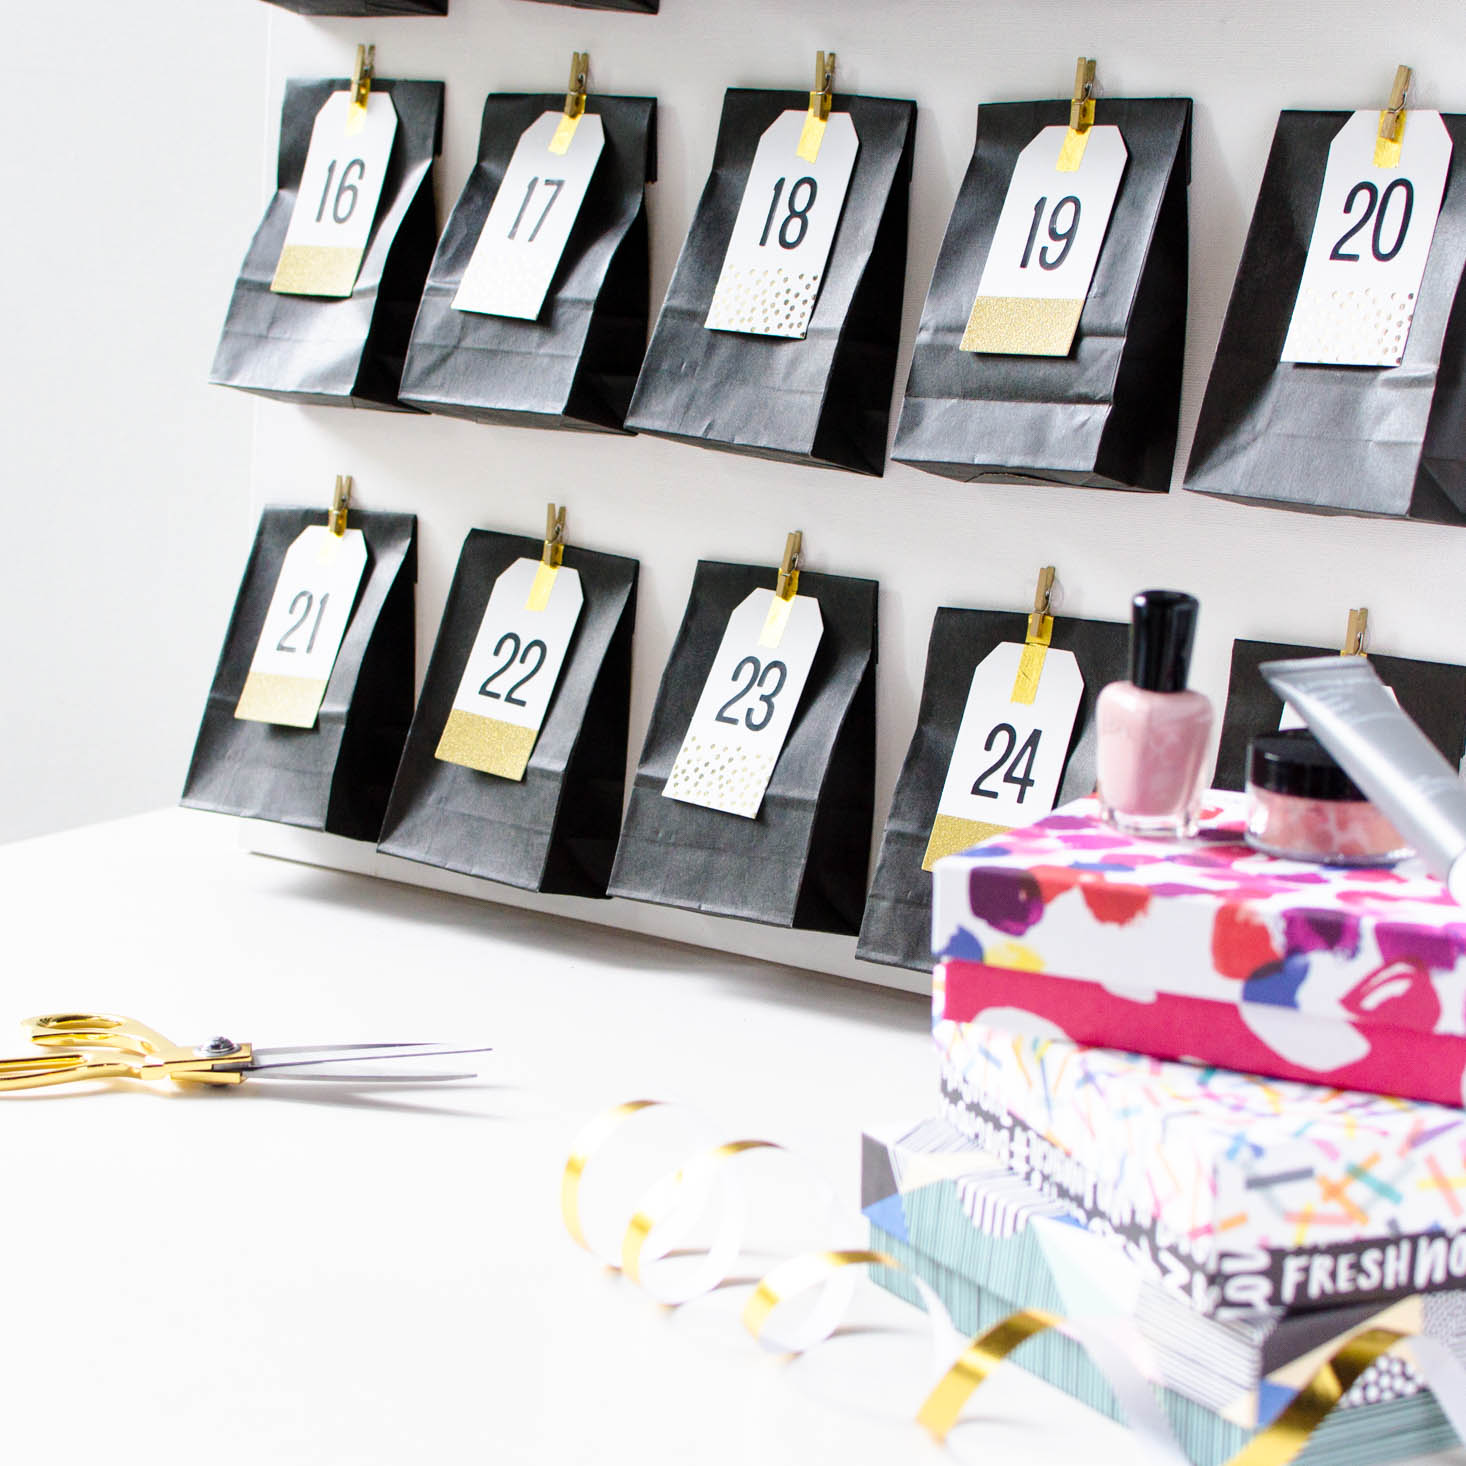

What do you think of our first DIY project inspired by subscription boxes? Are you thinking of making (or buying) any Advent Calendars this year?


Please do not enter your email address in the Name field or in the comment content. Your email address will not be published. Required fields are marked *. Remember to post with kindness and respect. Comments with offensive language, cruelness to others, etc will not be approved. See our full comment policy here.