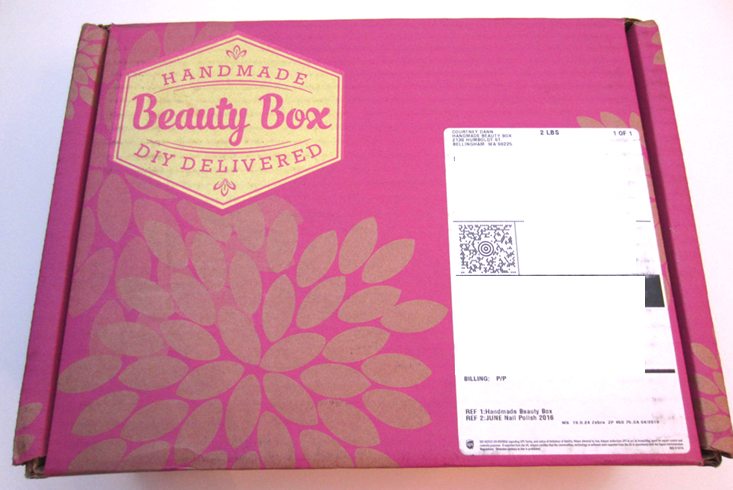
Handmade Beauty Box is a subscription that sends you everything you need to make your own beauty supplies (one product type per month, often with the possibility of making scent or color variations).
This box was sent to us for review purposes. (Check out the review process post to learn more about how we review boxes.)
The Subscription Box: Handmade Beauty Box
The Cost: $32 per box on the month-to-month plan (save with longer subscriptions)
COUPON: Use code ADDICTION15 to save 15% off all subscriptions and single boxes!
The Products: All the ingredients and instructions you need to make DIY beauty projects from scratch!
Ships to: US only
Check out all of our Handmade Beauty Box reviews and the Craft Subscription Box Directory for more great craft supply and DIY project boxes!
Keep Track of Your Subscriptions: Add this box to your subscription list or wishlist!
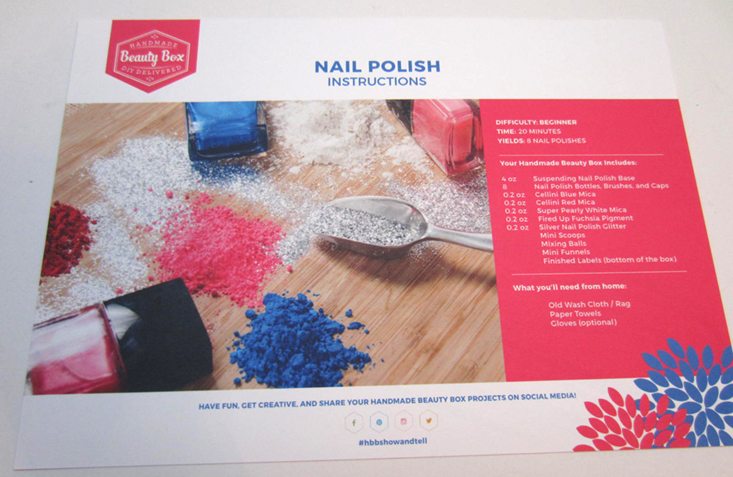
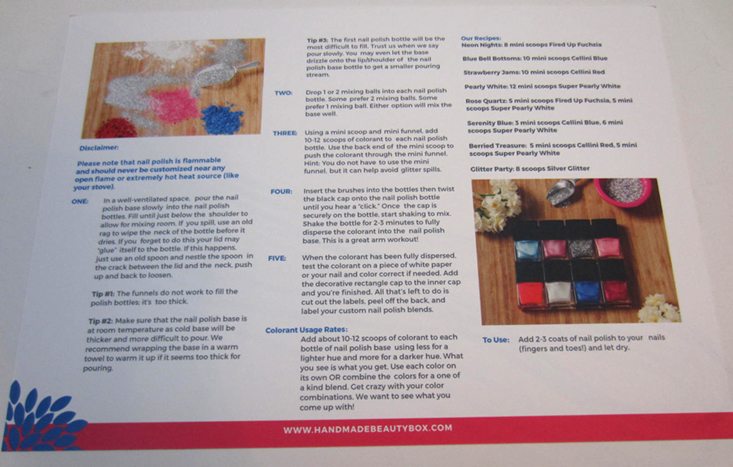
The instructions for this month’s project – nail polish – were printed on the information card, along with a list of items you’ll need to provide from home (basically rags, paper towels, and potentially gloves). I do like getting printed instructions since I don’t use a smartphone or tablet and don’t want to spill stuff all over my MacBook Pro!
Please note, this is June’s box. Handmade Beauty Box shipped on time (they generally ship late in the month) but UPS did something strange and decided to return the box to them (in Washington state) after it reached Georgia, instead of sending it on to me. So Handmade Beauty Box sent a new package, but because of this snafu, it got here a bit late. Customer service was friendly, prompt, and effective, though!
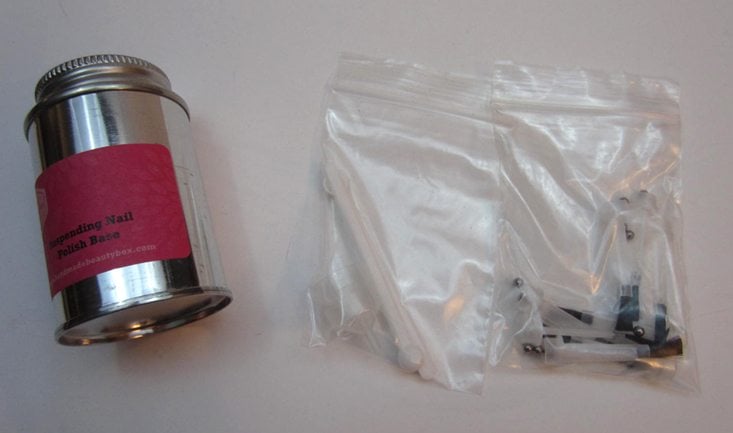
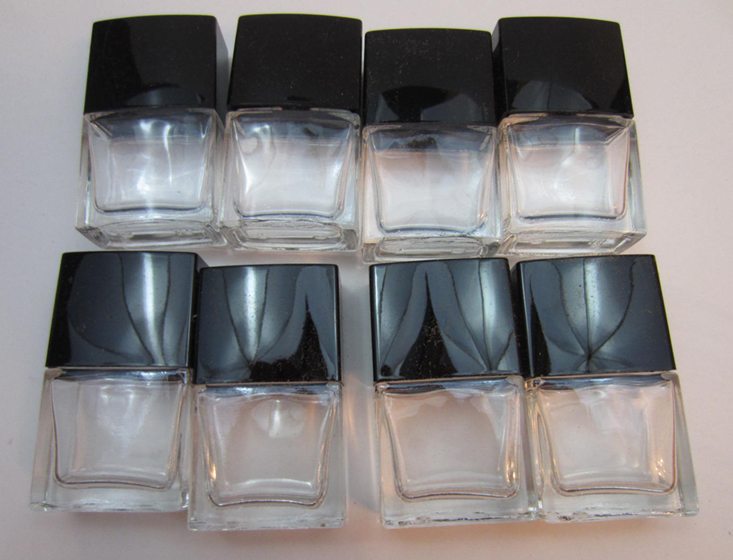
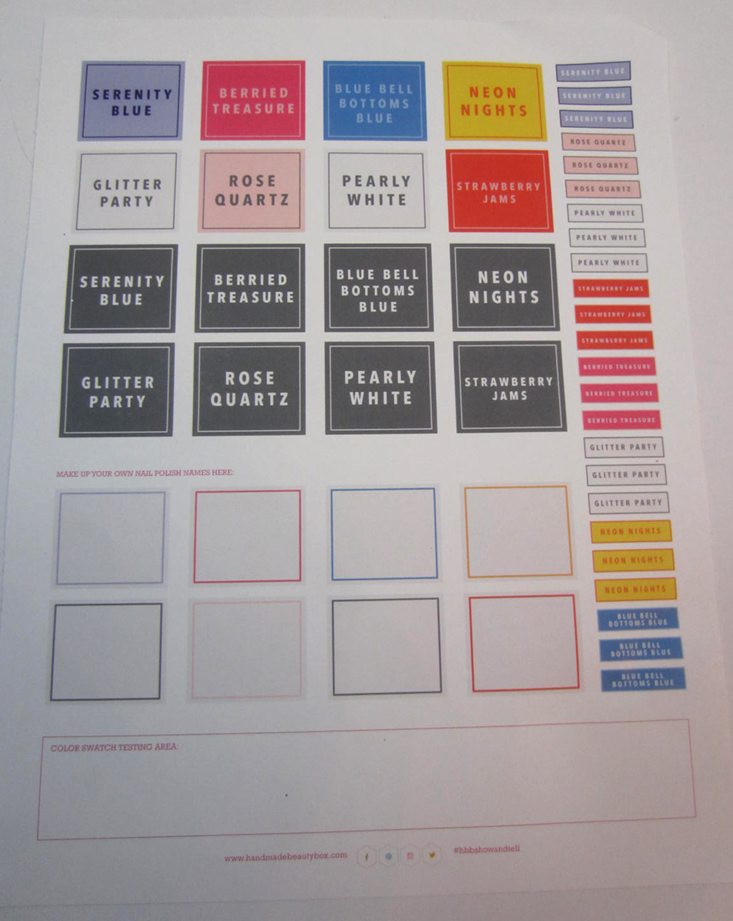
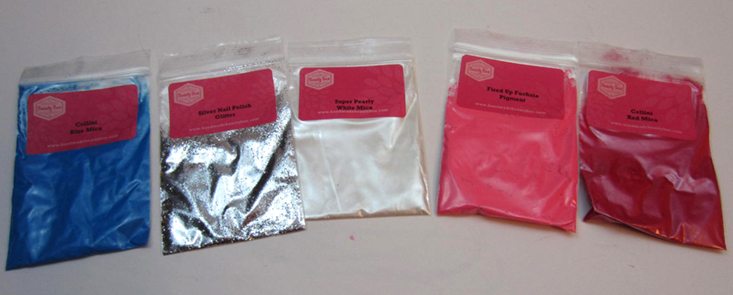
Here are the materials that came in the box. You got a 3-free polish base, 8 bottles (they look just like the ones from Butter London), mixing balls, brushes, scoops, glitter and four pigments, labels, and instructions. At first I wasn’t sure what I thought about the colors, and then I opened my most recent Zoya order…
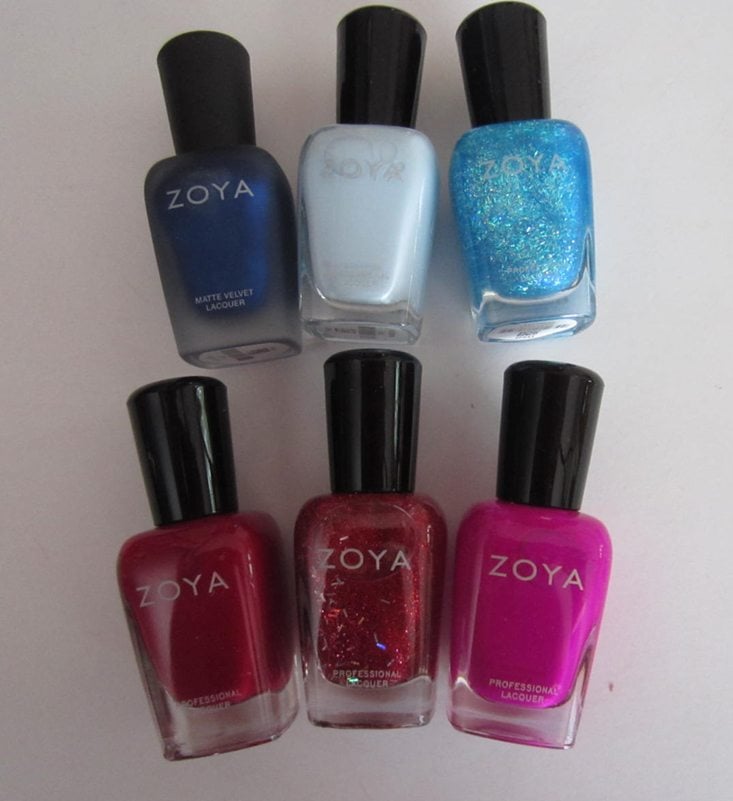
So I guess those colors have been on my mind lately anyway!
Moving on, I prepared my work area.
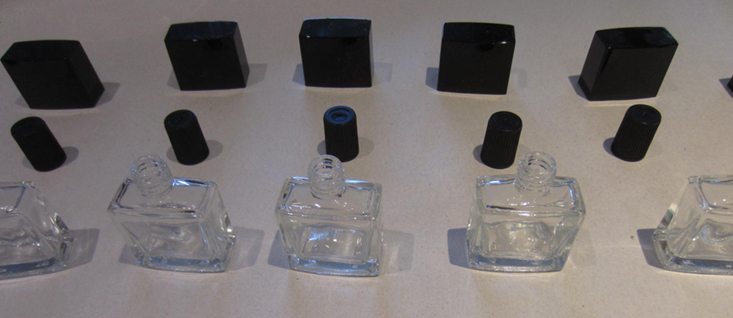
This is my kitchen counter. I put down a large piece of packing paper before I got started. As it turns out, this was an excellent idea (more on that later).
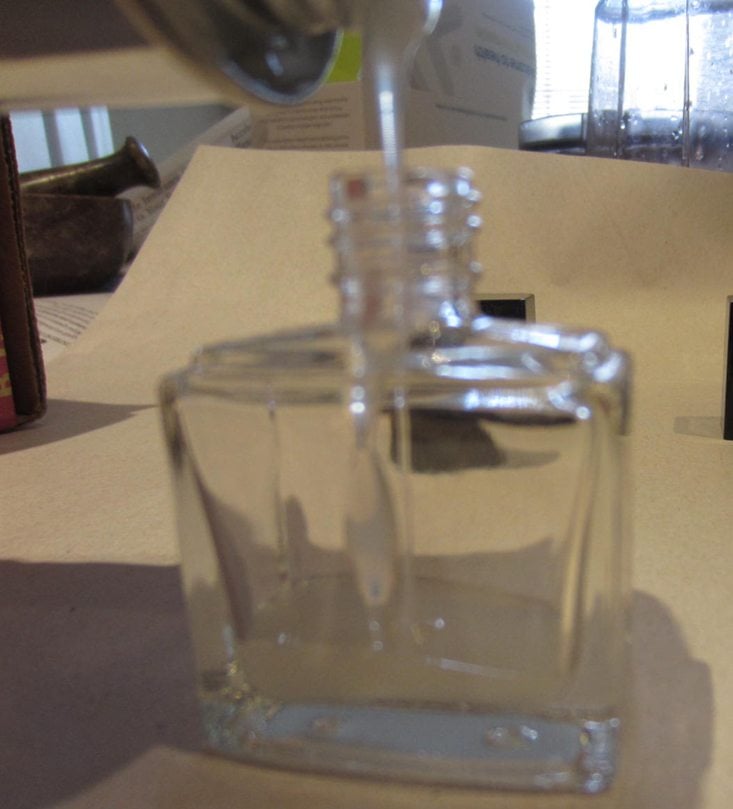
The first step was to pour the nail polish base in the bottles. Sorry the picture is blurry but it is difficult to pour that stuff without making a mess while simultaneously taking a photo!

Here are some filled bottles. You were supposed to leave a little room at the top for the pigment.
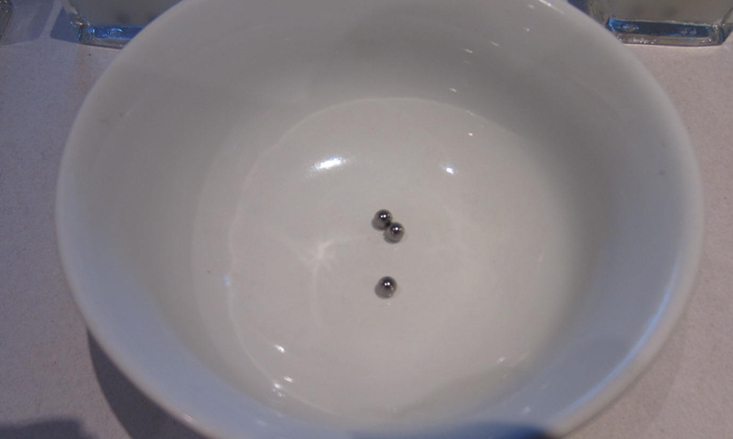
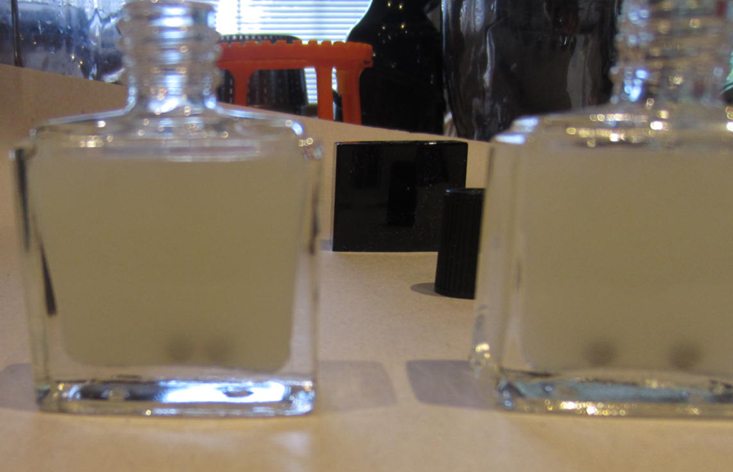
Next you put the little mixing balls in each bottle. You could use one or two. 16 total were provided.
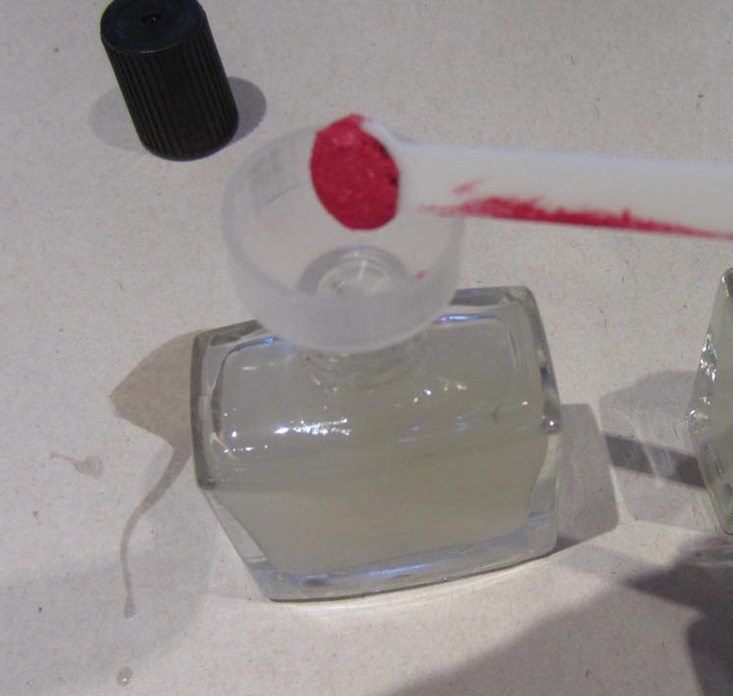
You then used the little scoop (two were provided) to put pigment into the funnel.
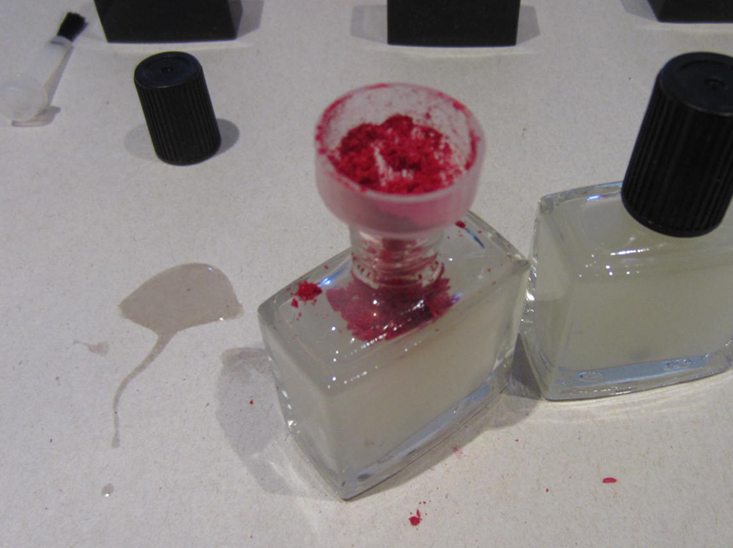
Only, the pigment packed into the nose of the funnel and wouldn’t easily come out. I tried pushing it with the scoop, as suggested, but I also tried poking it through with a toothpick. Neither worked well so I abandoned the funnel after a few minutes.
Once you put the pigment into the bottle, you fitted a brush to the cap, closed it, and shook it. And shook. And shook. It took quite a long time to mix. Actually, because of the way the pigment sat in the necks of the bottles, I had to stop and shake multiple times during the process of adding pigment.
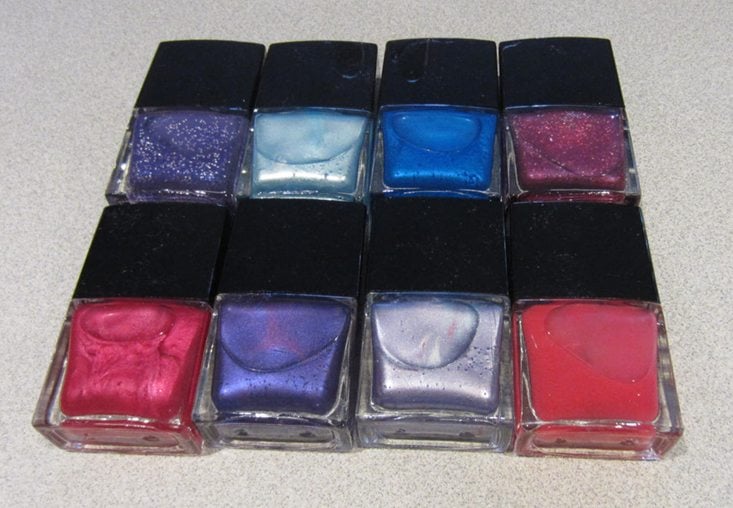
Here are my completed polishes. As you can see, I need a bit more mixing – some of that red, in particular, really stuck to the side of the bottle. I was clearly interested in purple this day, although I think the light blue one is my favorite. The purples weren’t quite as vibrant as I had hoped, but perhaps with multiple layers or over white they will improve! (You could either make up your own colors or use formulas that were provided on the information card.)

And here are swatches of my completed polishes!
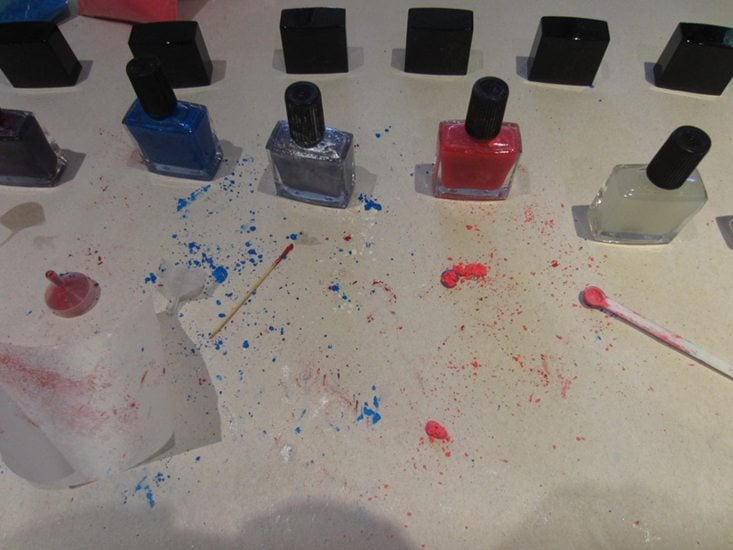
As I mentioned earlier, I’m really glad I put down the paper. Because this was messy! I would also strongly recommend putting a drop cloth down on the floor. I spilled pigment on the floor twice and a bit of it ended up getting rubbed into my kitchen rug. I couldn't really vacuum it all out again.
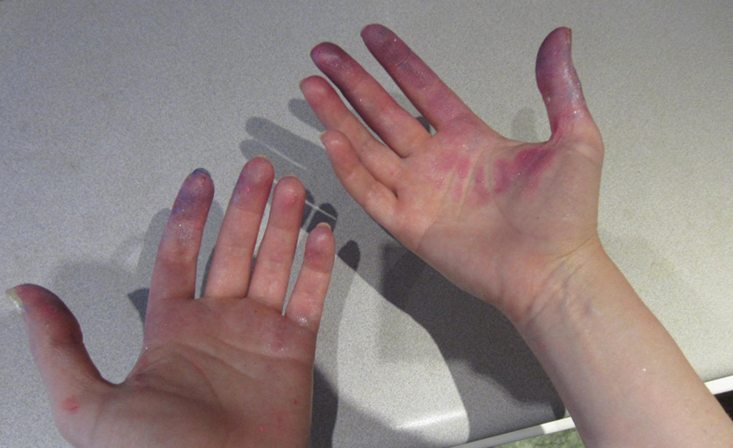
And, I didn’t wear gloves but I really should have. Here is what my hands looked like partway through.
Verdict: I did not calculate a value for this Handmade Beauty Box. If you went out and bought eight full size bottles of nail polish, you’d probably pay more than $32. I think this was a fun project and it was also basically successful, although I would probably change a few things. I also note that the colors were chosen wisely. Not only did I like them, but it is hard to make something ugly by combining the colors that were provided, so even if you don’t have a great grasp of color theory, you can come up with some pretty shades.
As for changes, first, I would love it if there was a better way to put pigment in the bottles. The funnel didn’t work well (maybe if I’d had four hours to do this…) although I appreciate a funnel with a wider nose wouldn’t fit into the bottle. When I just used the scoop, it mostly worked, but I did dump quite a few scoops out on the work surface rather than into the bottles, too.
Second, I would recommend putting the pigment in the bottles first, then pouring the nail polish base in. Because of the relatively high level of polish base in the bottles, when you did get pigment in the neck of the bottle, it kind of stayed there (creating a bottleneck in the true sense of the word, I guess). So you’d close the bottle and shake, but pigment would get all over the brush (if you had the brush in yet) or the inside of the lid. This would’ve been easy to wipe off if it was dry, but it kind of got everywhere when it started mixing with the polish base. This made it messy to actually USE the polish later. Plus, I think it would be easy to mix around different colors of pigment in the dry state so each color was more evenly distributed prior to putting the polish base in.
Anyway, despite a few issues, I thought this was a fun project and I felt that the value was definitely there.
What did you think of the June 2016 Handmade Beauty Box? Do you subscribe to any DIY or craft boxes?



Please do not enter your email address in the Name field or in the comment content. Your email address will not be published. Required fields are marked *. Remember to post with kindness and respect. Comments with offensive language, cruelness to others, etc will not be approved. See our full comment policy here.