
Paper Pumpkin is a monthly paper crafting subscription box from Stampin’ Up! They send everything you need for a creative paper project right to your door.
This box was sent to us at no cost for review. (Check out the review process post to learn more about how we review boxes.)
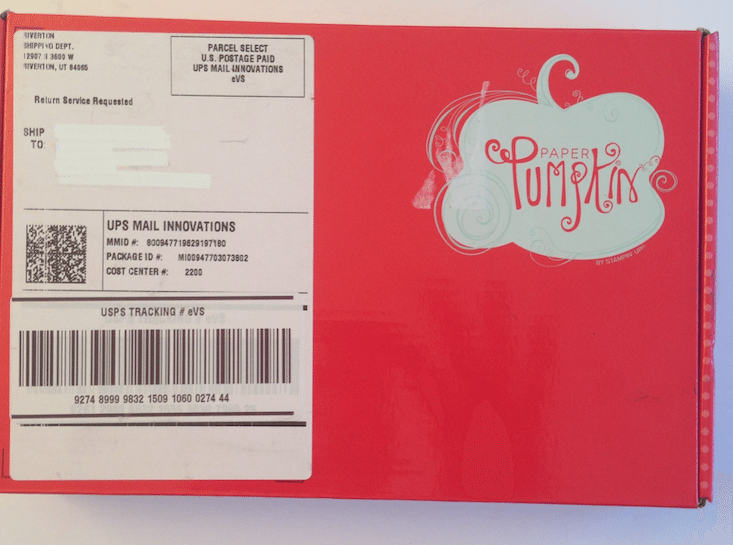
The Subscription Box: Paper Pumpkin
The Cost: $19.95 per month + free shipping in the USA, $24.95 CDN in Canada
The Products: Everything you need to design a creative paper project with stamps, ink, accessories and more. (Please note per their FAQ you will need adhesive for some monthly projects.)
Ships to: United States & Canada
Check out all of our Paper Pumpkin reviews and the Craft Subscription Box Directory!
Keep Track of Your Subscriptions: Add this box to your subscription list or wishlist!

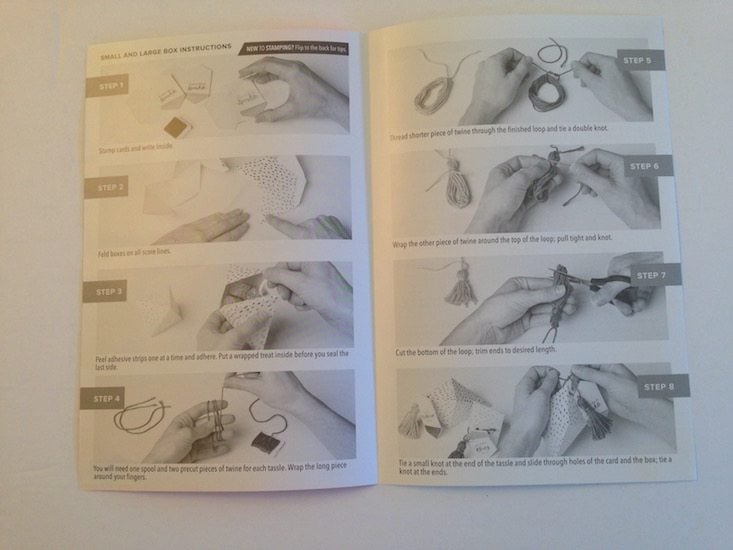

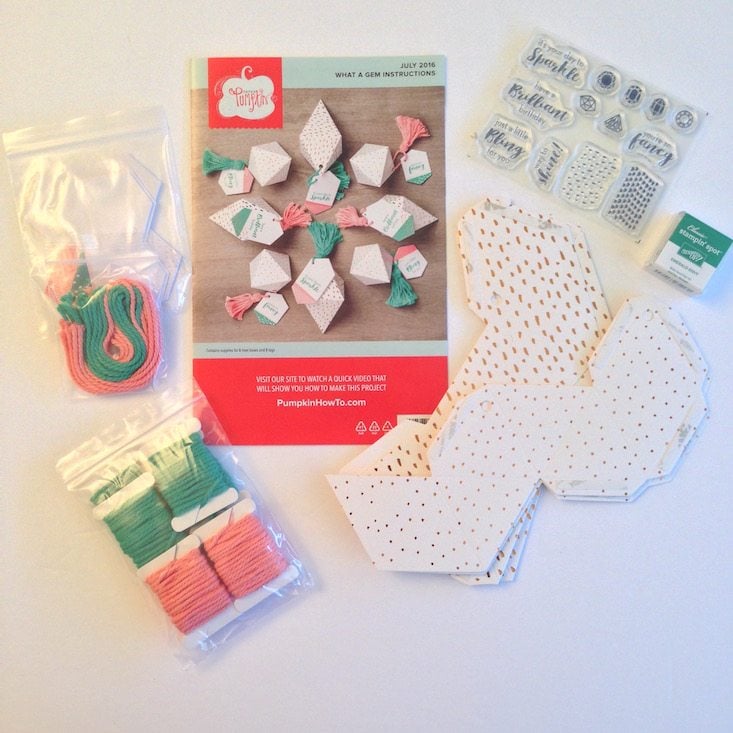
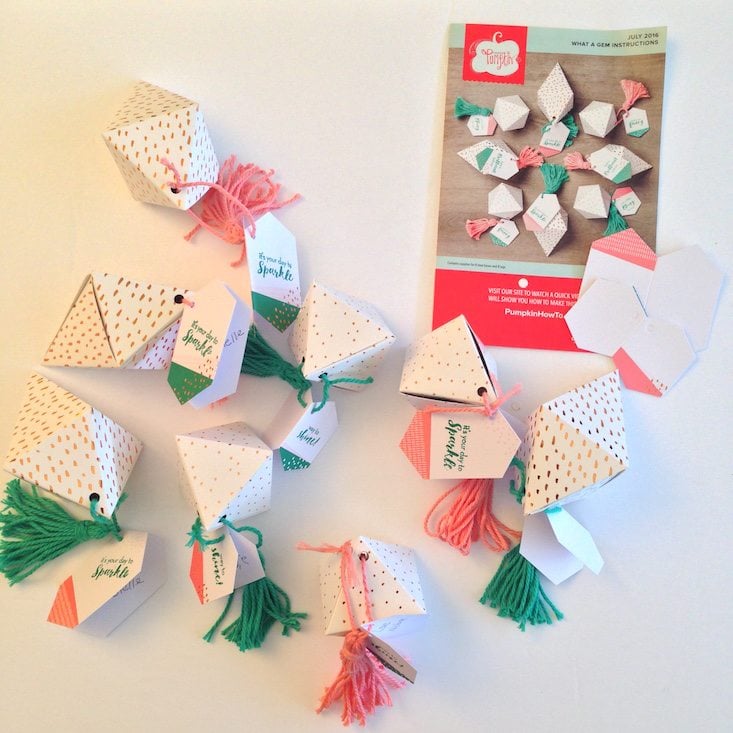
Each month’s box comes with an informative leaflet that lists what’s included in the kit and step-by-step instructions. Also there is an instructional video that you can access on their website. Paper Pumpkin’s July project is “What A Gem”.
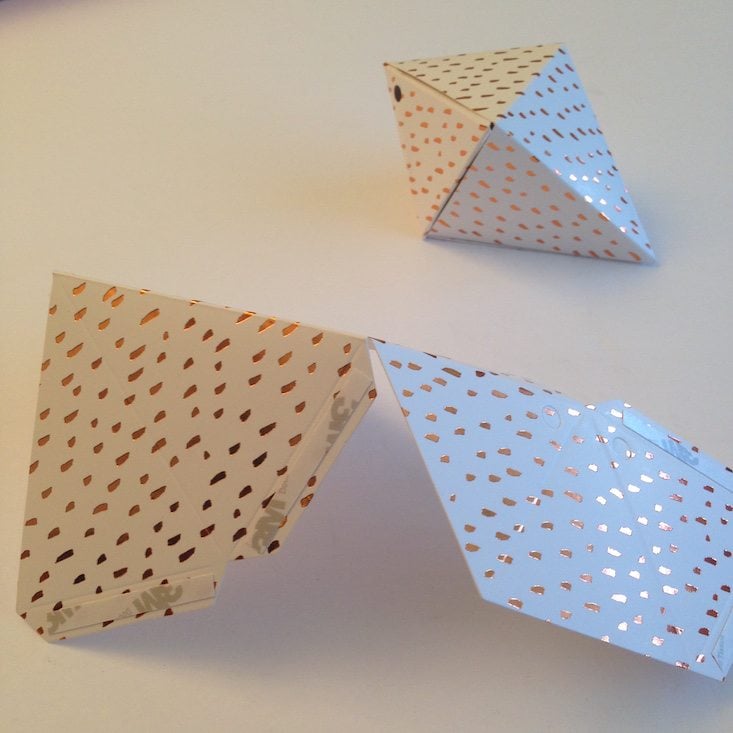
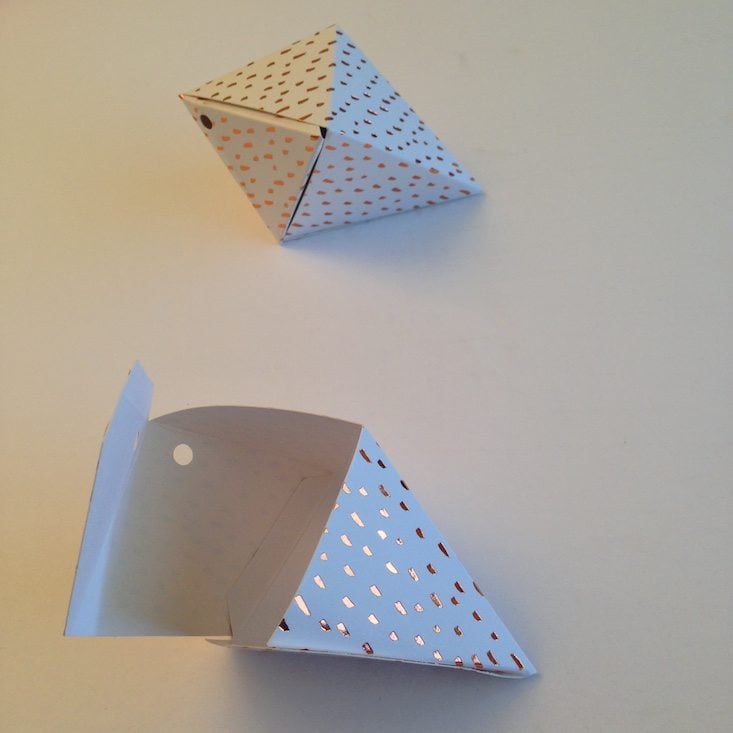
Here are the boxes being folded.
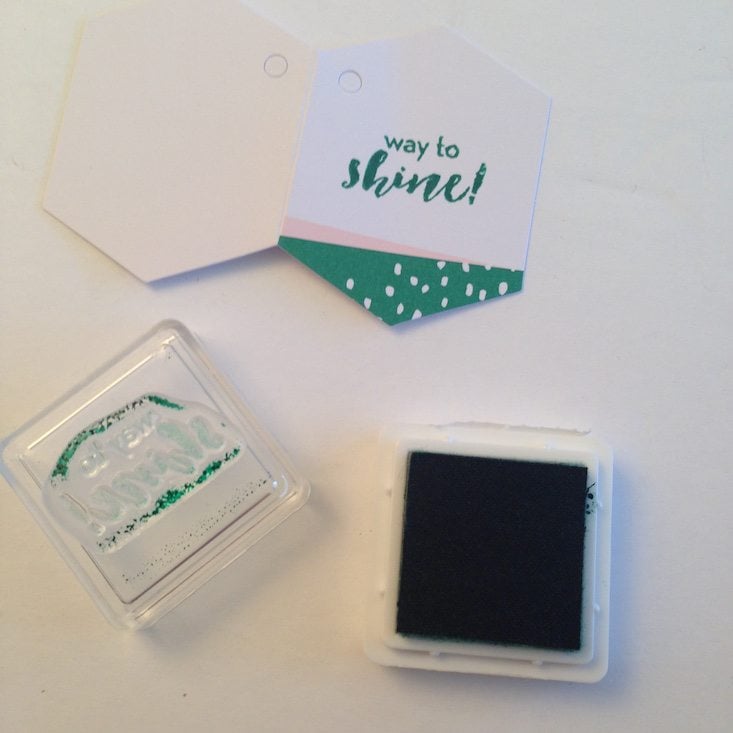
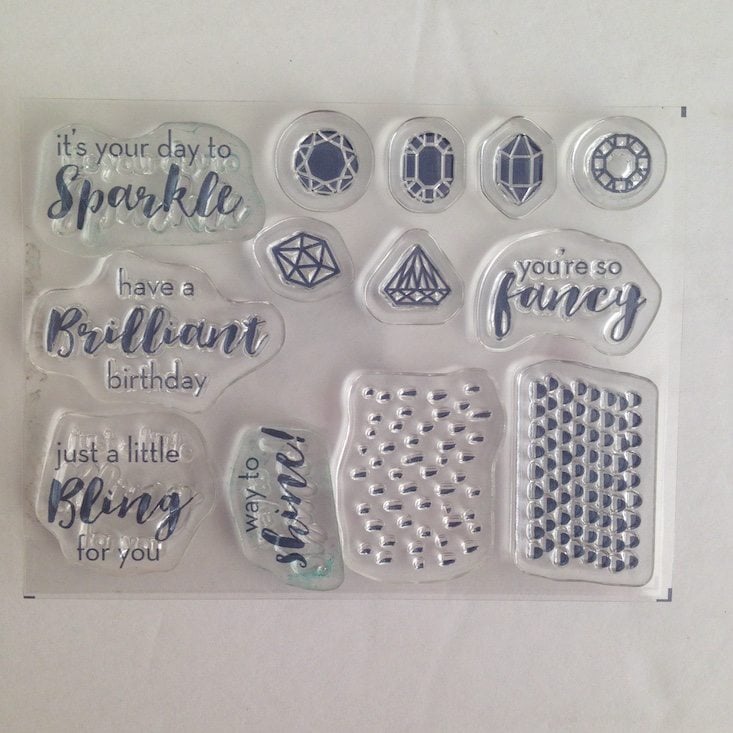
The stamps came with 5 sayings: “it’s your day to Sparkle”, “have a Brilliant birthday”, “just a little Bling for you”, “way to shine”, and “you’re so fancy”, plus some additional shapes for more creative stamping. Since I did not receive a clear block in the kit to adhere to Photopolymer Stamps, I stuck them on the top of the cover from the inkpad. This worked just fine for the smaller Photopolymer stamps, but wasn’t big enough for all the sayings. I used “way to shine” and “it’s your day to Sparkle”.
UPDATE: Paper Pumpkin let us know that the clear block is sent in your Welcome Kit and since this is a review of the July box, it was not included.
The project was very easy and had all the materials included in the kit, minus the clear block. Really all I needed was scissors to cut the twine to make the tassel’s. The boxes came in two sizes (4 of each) and were easy to assemble. Just fold along the scored lines and press together with the attached adhesive strip. I enclosed a pre-wrapped square of chocolate in each box, which fit perfectly!
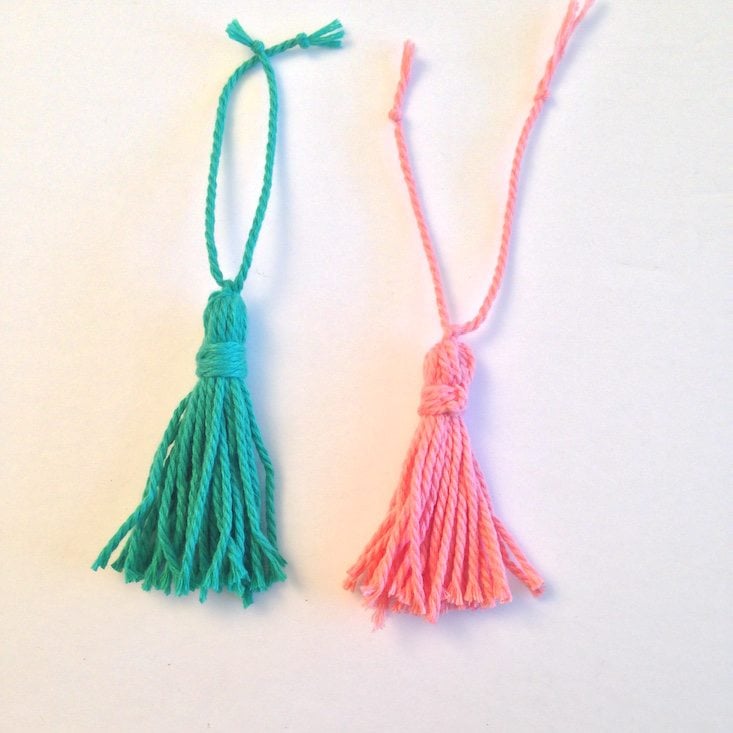
I love how the exact amount of twine needed for each tassel was individually wound on a cardboard “spool”, and any extra twine needed for tying was perfectly measured and pre-cut. (Although the directions indicated Bakers twine, it’s more like yarn.) Once I got the hang of wrapping, tying and cutting, it went quickly with the help of my friend. (I thought it would be nice to have a crafting afternoon with a buddy). The only tricky (and irritating) part was threading the twine through the pre- punched holes in the cards and through the two holes in the boxes.
Verdict: All in all, it was a fun activity, and I enjoyed making the “What a Gem” boxes. These gems are going to be perfect party favors for my up-coming Christmas in July party! Extra cards are leftover, which I will definitely make use of. The stamps are reusable, have universal sayings, and look like they will last a long time. I like that I can continue to use the supplies in this kit for future creative projects.
This being my first project with Paper Pumpkin I was impressed with the low level of difficulty, the low level of mess, and the convenience of having all the materials included. This was a fun creative activity to enjoy with my friend.
What do you think of the “What a Gem” boxes for July’s Paper Pumpkin box? Have you tried a monthly crafting box before?

Please do not enter your email address in the Name field or in the comment content. Your email address will not be published. Required fields are marked *. Remember to post with kindness and respect. Comments with offensive language, cruelness to others, etc will not be approved. See our full comment policy here.