
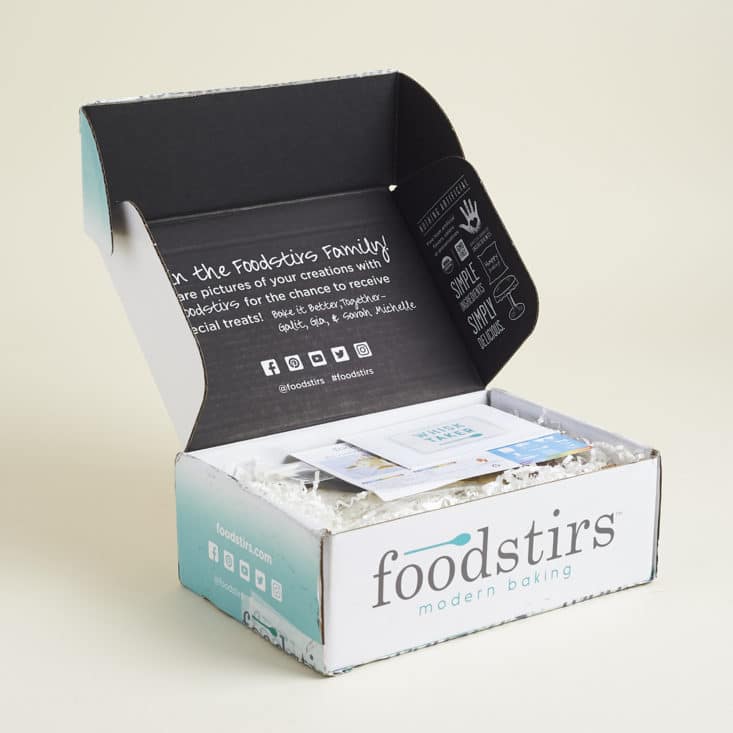
FoodStirs is a baking subscription box that ships baking mixes kits to your door! Co-founded by Sarah Michelle Gellar, this subscription is all about high-quality, pre-made mixes with no preservatives or artificial ingredients.
My Subscription Addiction paid for this box. (Check out the review process post to learn more about how we review boxes.)
The Subscription Box: FoodStirs
The Cost: $19.99 per month with free shipping. Discounts are available for longer subscriptions.
DEAL - Use coupon code MSA30 to get a 3-month subscription for $29 (regularly $59) and free shipping. That brings the total down to just $9.66/month for 3 months!
The Products: High quality, pre-made mixes with no preservatives or artificial ingredients.
Ships to: United States, but they have an international waitlist, so be sure to sign up if you're interested!
Check out all of our FoodStirs reviews and the Food Subscription Box Directory!
Keep Track of Your Subscriptions: Add this box to your subscription list or wishlist!
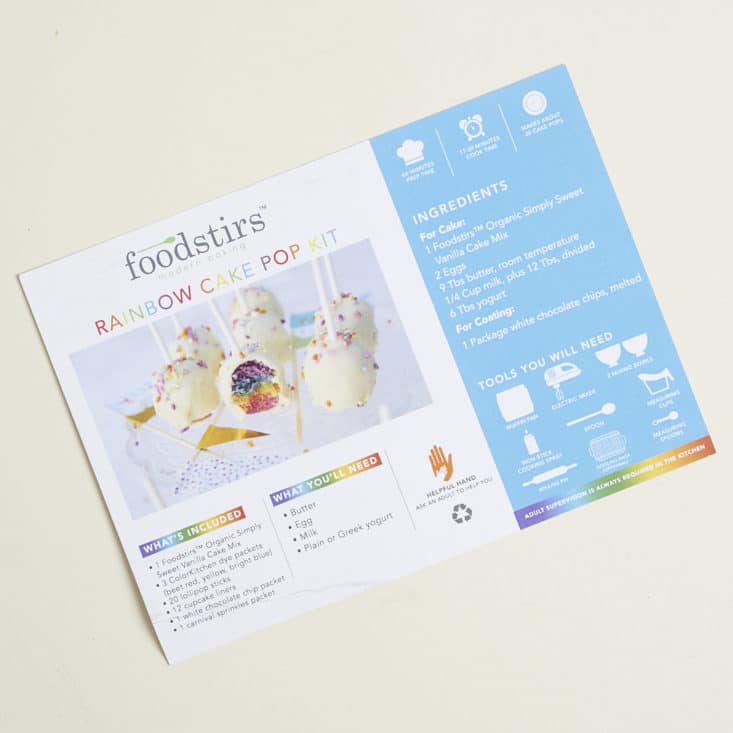
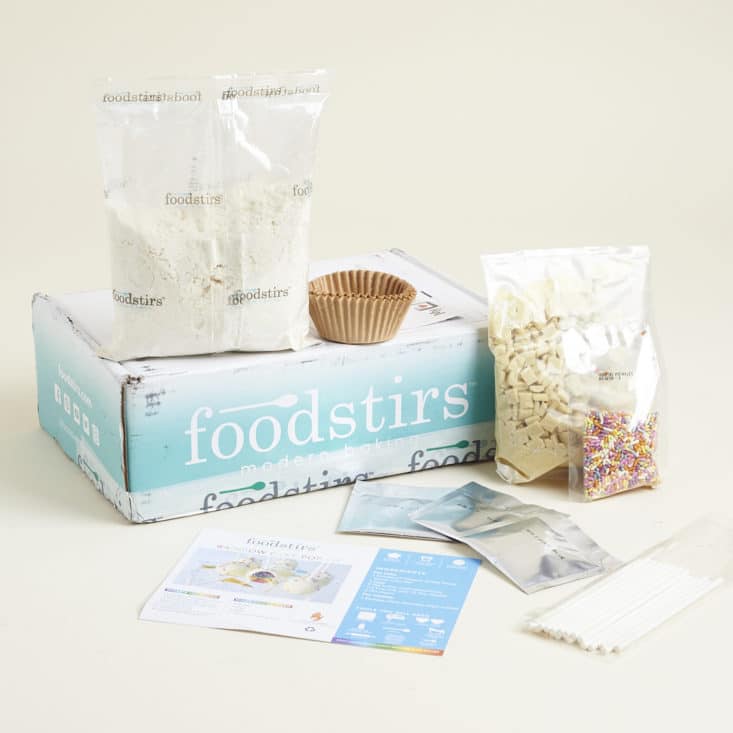
This month's recipe is for Rainbow Cake Pops! The first card tells you what's included in the box, what you'll need to buy, and what kitchen tools you'll need. It is here that I sighed relief that the cupcake papers came with this package, because I don't have any on hand, and if I bought them, they'd sit in my cupboard for years. In other words, I'm an eager, yet very, very amateur baker.
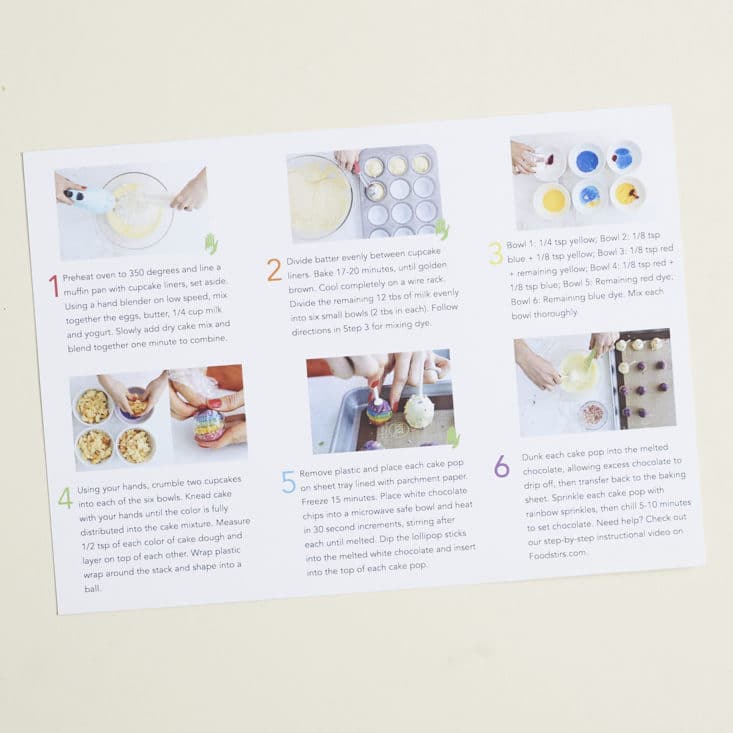
On the flip-side, there are step-by-step instructions on what you'll be doing. I got my first glimpse at the 6 different bowls of dye and started to worry that I got myself in over my head already.

The next card has a few tips on one side...
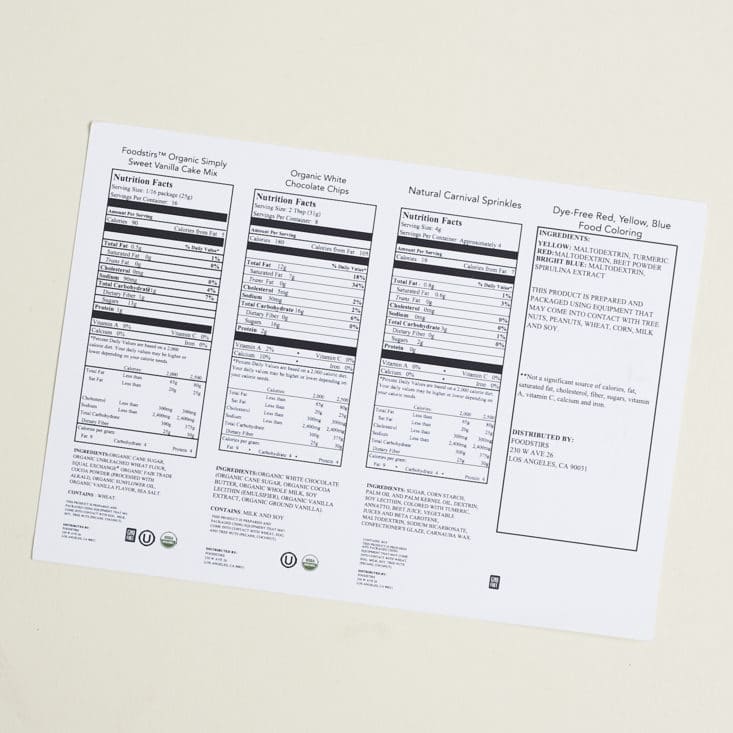
...and nutrition facts and ingredients on the other.

Let's get started with the cake mix! First things first, you're going to make the cake batter by combining the provided vanilla mix with the eggs, butter, milk, and yogurt. That's the easy part that I am well-versed in.

The next items we have are the cupcake papers. Once you have your cake mix ready, you'll divide it all up evenly in the 12 cups (in a cupcake pan). Then you pop it in the oven for about 20 mins while you prep your food coloring!

You have three packets of food coloring, which you'll be using to make the 6 colors of the rainbow while those cupcakes are baking. Here's where the 6 bowls come into play. You start with a measured-out amount of milk in each (they mentioned this tip on the card: warm milk will mix easier), then follow the recipe's dye ratios to get the desired colors. You'll end up with the basic yellow, blue, and red/pink, as well as green, purple, and orange! I was worried that I'd mess up the ratios, since it called for 1/8 teaspoon, which I had to sort of guesstimate with my smallest 1/4 teaspoon. It turned out great though!
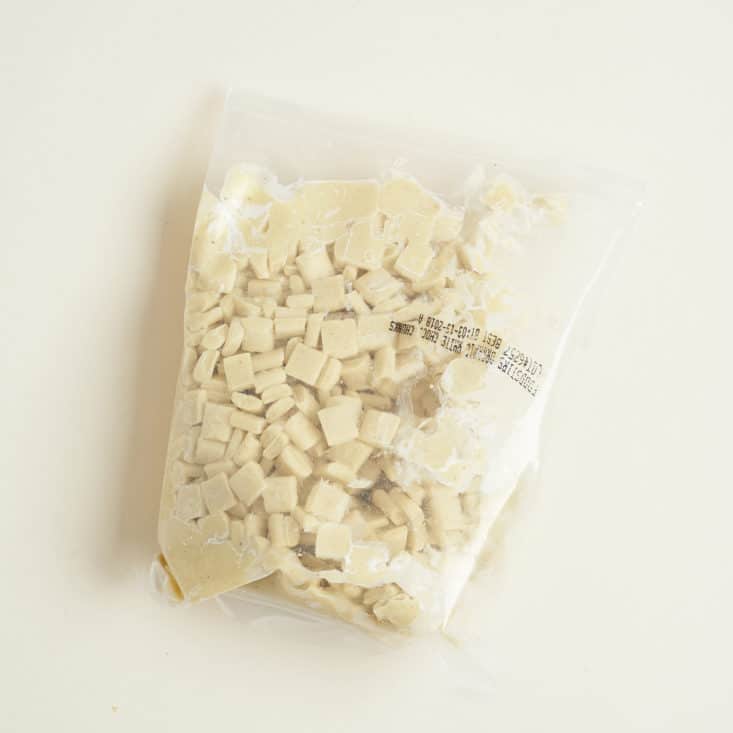
Ack! The white chocolate chips. This is where things went a little awry for me. I thought I'd get a jumpstart on melting the chocolate while I was waiting for the cupcakes to cool, especially since you know I don't have a microwave (which is how the recipe called for you to melt them). I knew I'd have to go double-boiler style on my stove, so I knew it'd take a little longer. Bad idea. Basically, I got it all melty and gooey, and I grossly underestimated how long it'd take to make and form the actual cake balls.
Once the cupcakes are cool, you crumble two into each bowl of milk/food coloring, kneading it around with your fingers to form a mushy dough. Once you've done this six times, you will begin assembling the cake balls one by one. The recipe says to take a 1/2 teaspoon of each color, plopping one on top of another, on a sheet of plastic wrap. Once you get the colors stacked up, you wrap it up to form a little ball, then take it out of the plastic and place it on a cookie sheet. The recipe says this makes 20 cake pops, but I set a mere goal of 10, realizing how involved the process was.
I had to turn down the chocolate for fear of it burning, and then when I went to reheat it again, it was not as free-flowing as it was the first time. Live and learn, I suppose. Maybe if any of you out there are bakers, you have a tip for me? I'm a chocolate-melting novice.
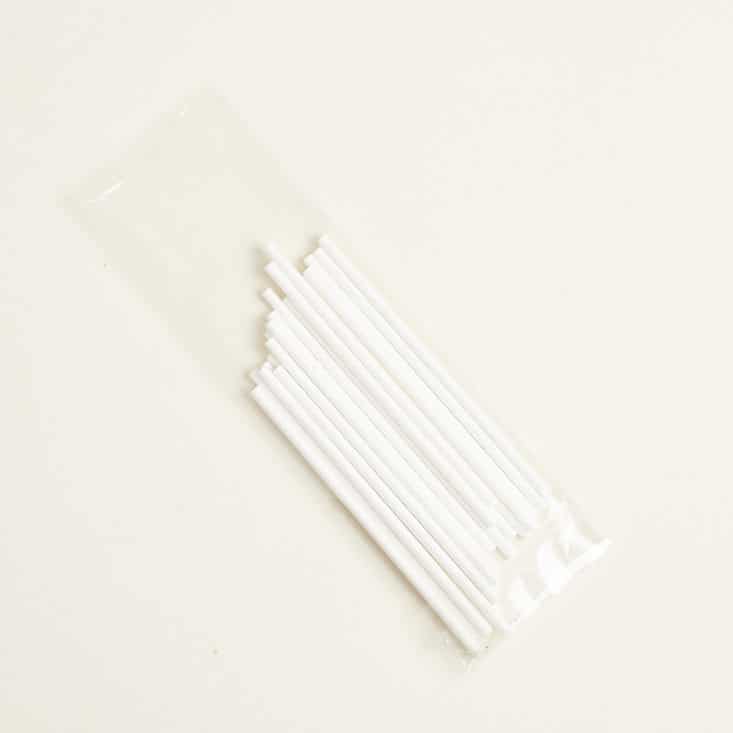
After cooling all of those rainbow cake balls in the freezer for a few minutes, you're going to take your cake pop sticks and dip them into the melted white chocolate before thrusting them into the center of the cake pop. Once you've got it in there, you'll twirl that little pop in there as well as you can to coat it in creamy white sweetness. I used a spoon to help cover it as well.

Finally, the easy and fun part! Once you've got your cake pops dipped and put back on the cookie sheet, you're free to toss some of these colored sprinkles atop your creation (or as I lovingly called mine, "monsters").

Here we have my little creatures. Perhaps only a mother could love them, but we went through a lot together. All in all, they came out pretty decent.
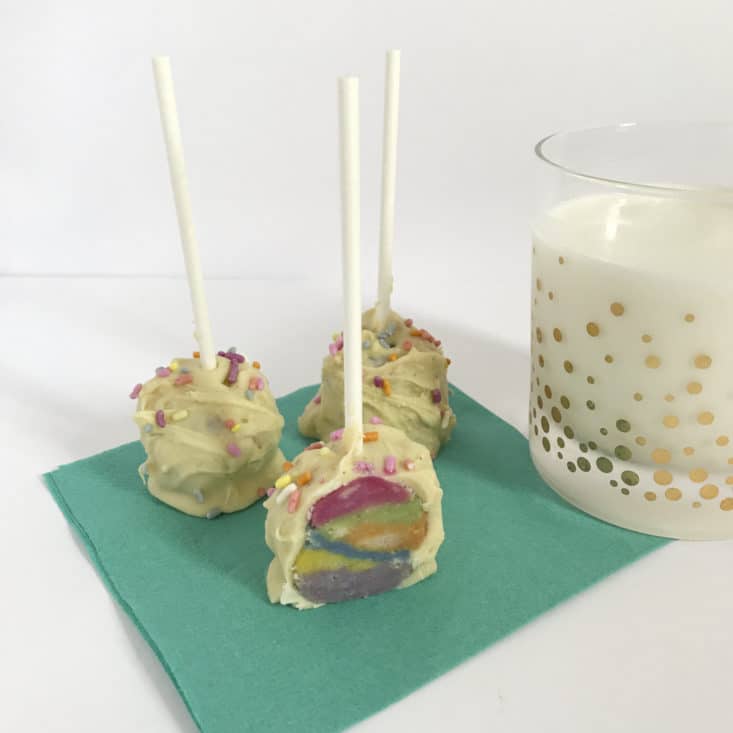
They probably won't make it to the cover of a magazine, but I made them with my own two hands, which is cool!
Verdict: Real talk, these were very time consuming to make by myself (I'll probably stick to the ones at Starbucks if I get a craving), but I could see this being a fun project with a loved one. A friend of mine and I totally thought since we watched a lot of baking videos on Instagram that we could easily open up our own bakery. That is, until we had a cookie bake-off, and I had a very serious meltdown several hours in. Baking is NO JOKE! That being said, the value is absolutely here, since it's only $19.99 and it makes 20 pops, which would probably cost you around $2.00/each at a store.
And if you sign up for 3 months with our MSA30 coupon code, this box is under $10 a month! That's definitely a good value if you want to try it for yourself!
What do you think of Foodstirs? Did you make this month's cake pops? Do you have any secrets about melting chocolate?


Please do not enter your email address in the Name field or in the comment content. Your email address will not be published. Required fields are marked *. Remember to post with kindness and respect. Comments with offensive language, cruelness to others, etc will not be approved. See our full comment policy here.