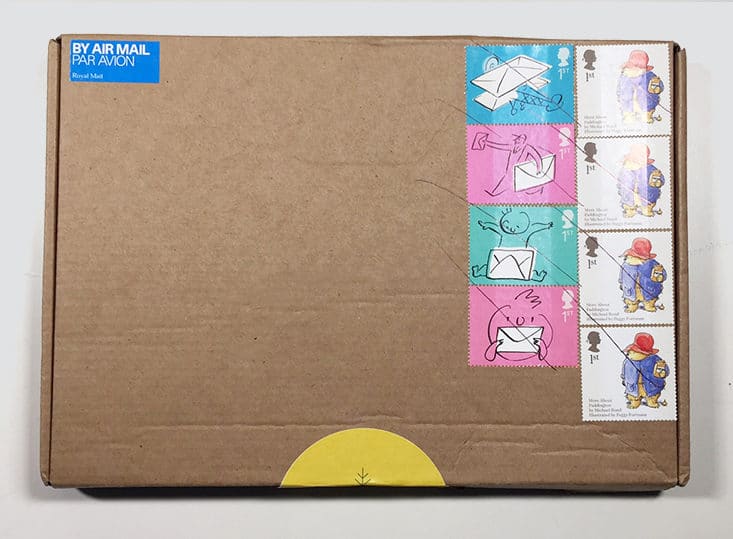
Craftpod is a quarterly UK-based subscription box that sends small craft projects, including "sewing, baking, and other surprises."
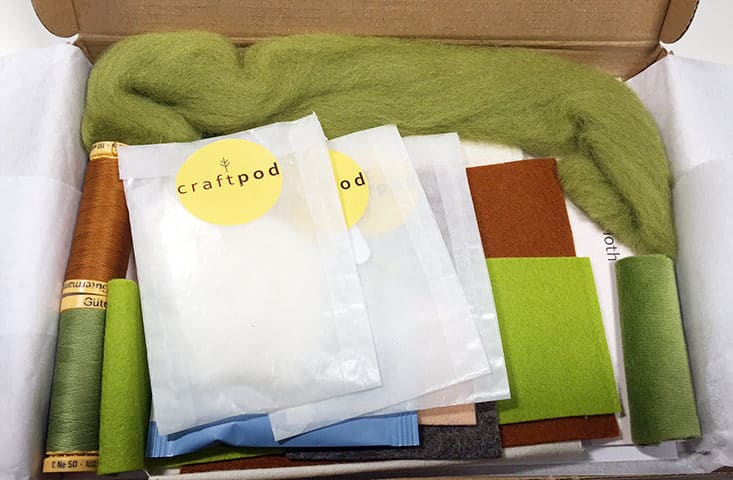
My Subscription Addiction paid for this box. (Check out the review process post to learn more about how we review boxes.)
FYI - this box is still available for sale!
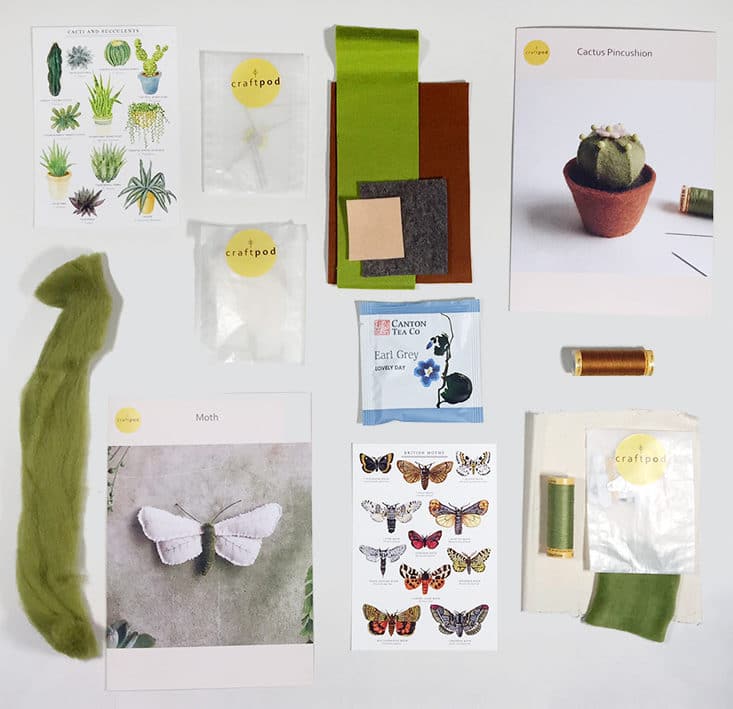
The Subscription Box: Craftpod
The Cost: $23.36 USD (£18) per seasonal box/ $88.23 USD (£68) for an annual subscription of four boxes. Shipping for International customers is $6.49 USD (£5) per box. The price in USD may vary depending on the exchange rate, but the cost of the Summer box worked out to $30.55 USD.
The Products: Each box contains two small craft or baking projects.
Ships to: Worldwide from the UK
Check out more DIY and project subscription boxes in the Craft Subscription Box Directory!
Keep Track of Your Subscriptions: Add this box to your subscription list or wishlist!
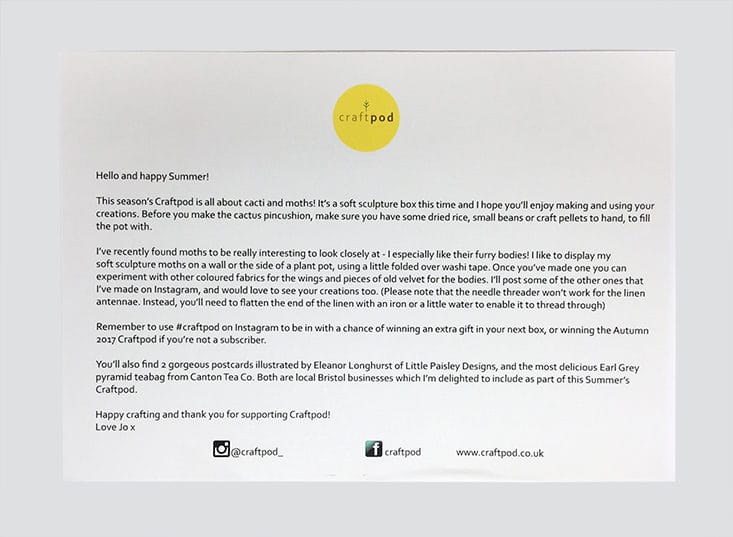
This note from Jo, the box's curator, was on top, explaining that the summer box is "all about cacti and moths"!

Canton Tea Co Earl Grey – Value $0.52 USD (buy 50 packets for $29.95 USD)
This tea was delicious and made a nice companion to the crafting projects in this season's box. I was hoping to buy some online, but unfortunately, it doesn't seem to be available in the US.
Project #1: Cactus Pincushion
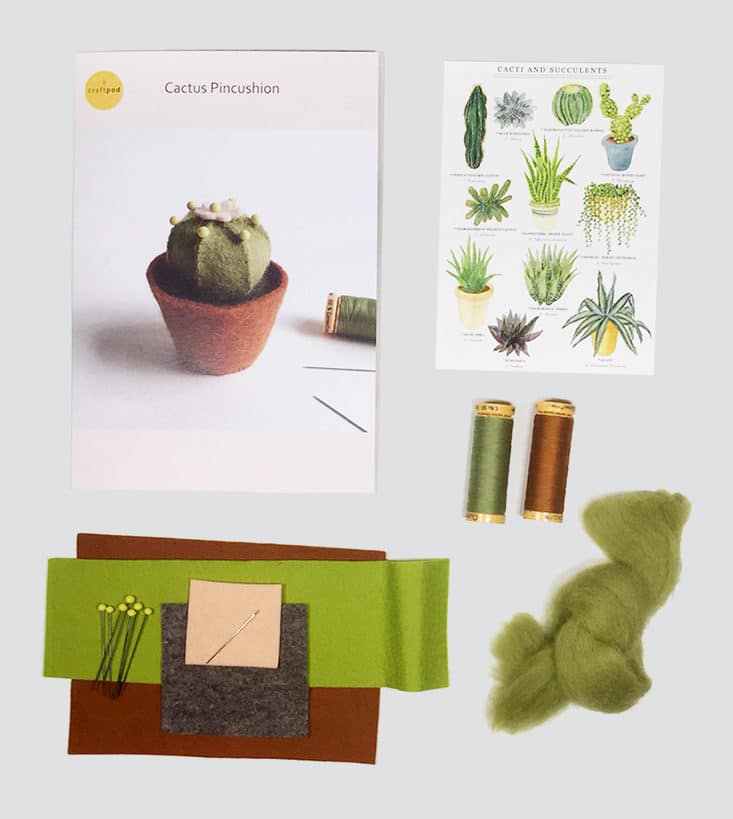
The first project is a cactus pin cushion. The supplies included felt, roving for stuffing, thread, a needle and glass-head pins. The only thing I had to supply was some dried rice or beans to fill the base.
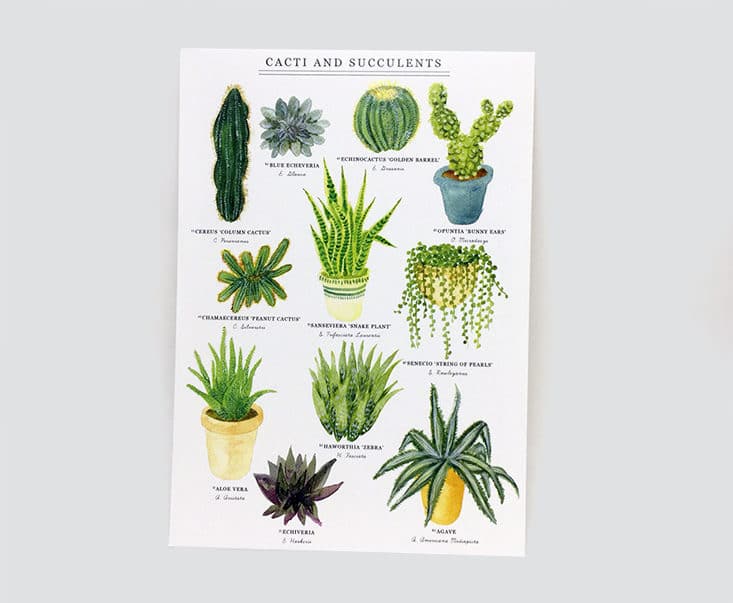
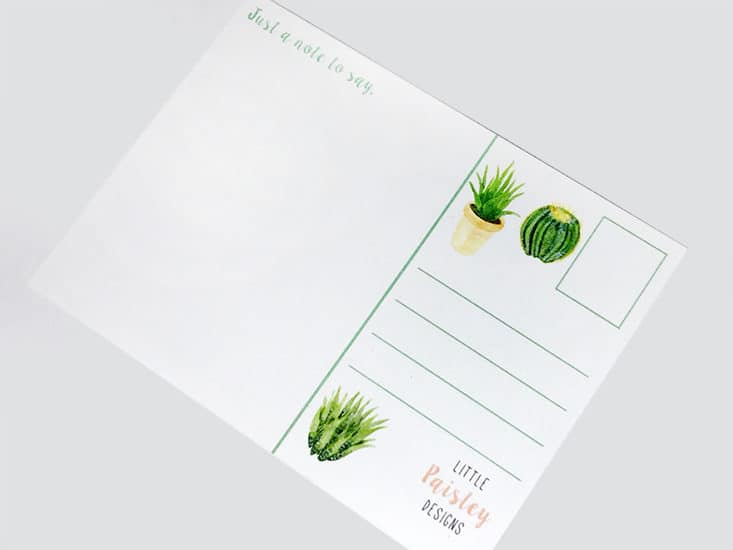
Little Paisley Designs Cacti and Succulents Postcard – Value $1.46? (based on similar item in their shop)
I'm in love with Eleanor Longhurst's beautiful botanical illustrations! I kept this postcard on display while I was making the cactus.
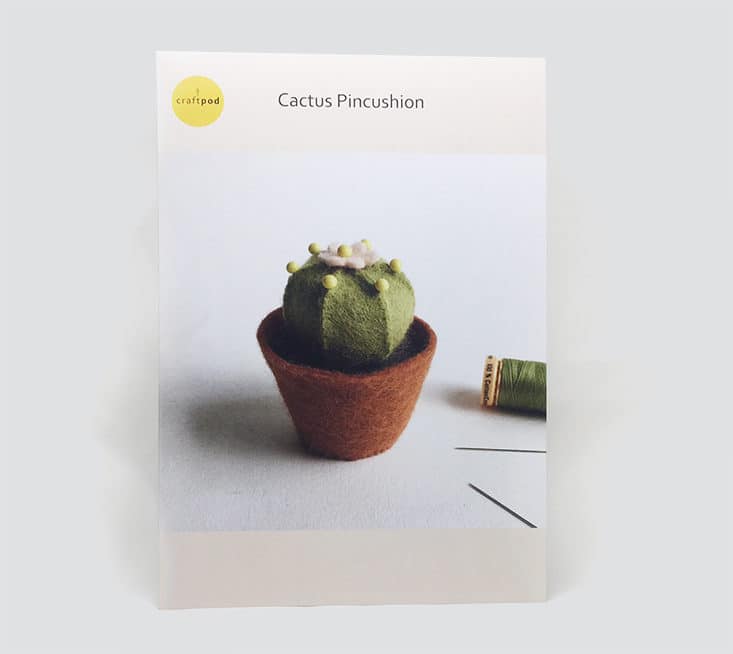
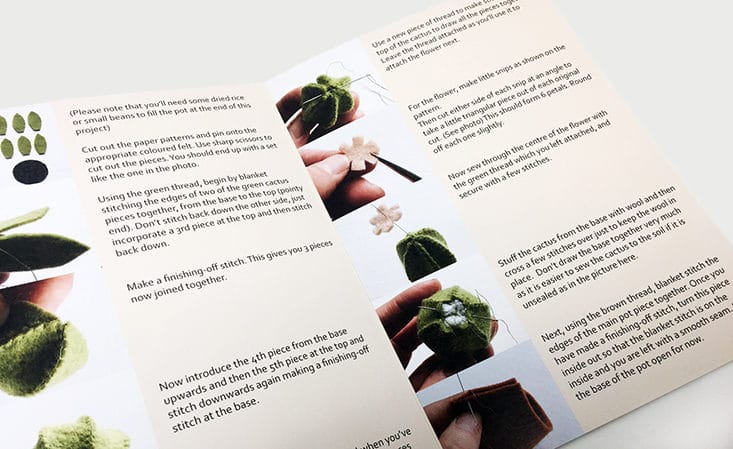
The booklet gives step-by-step instructions with clear photos for every stage. This project is suitable for patient beginners. There isn't a stitch guide, but the stitches are simple and it's easy to look them up online.
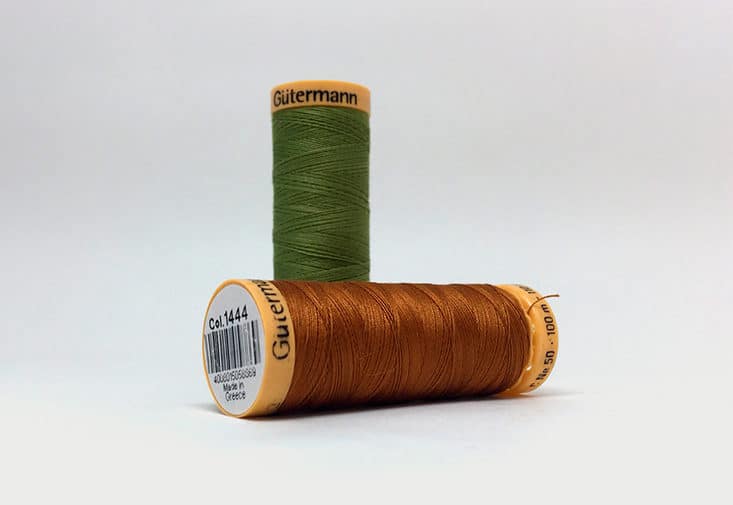
Gütermann 50wt Cotton Sewing Thread, 100m – Total Value $3.90 ($1.95 each)
This 100% cotton thread was strong and rarely tangled. It is the only supply I could find a clear retail value for, as the other supplies are small scraps of cloth and a few small notions.
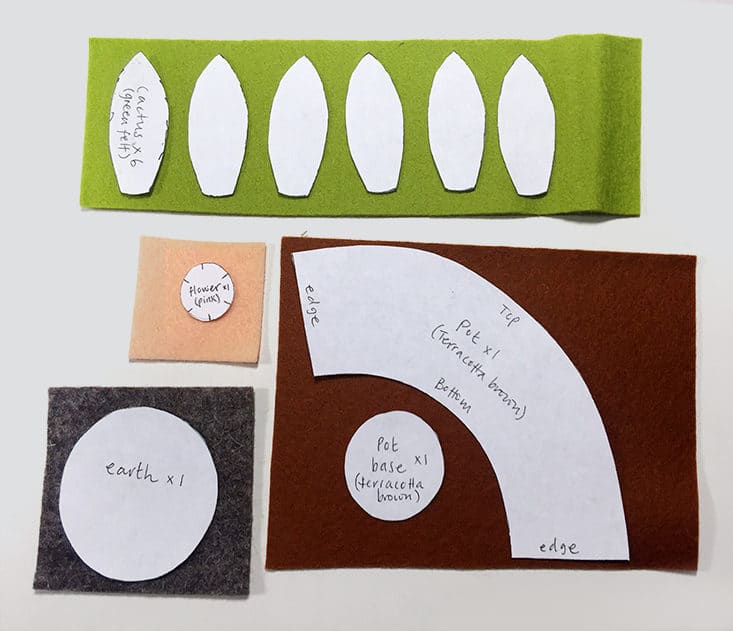
The first step was to cut out all the pieces using the included pattern. The pattern pieces are clearly labeled – every part of this project had a strong attention to detail.
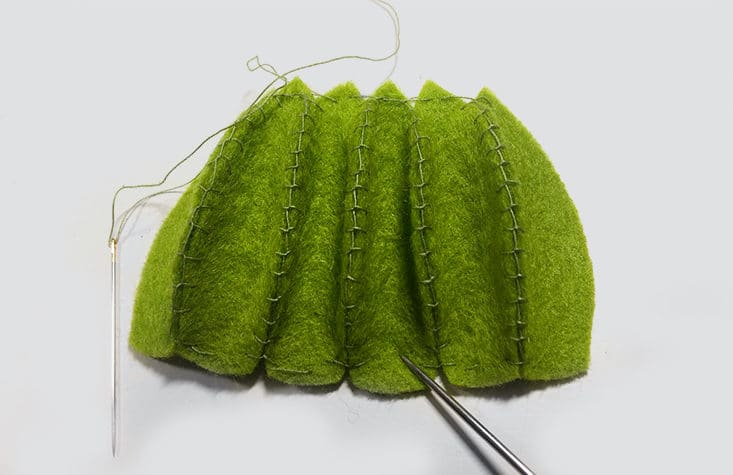
Next, I stitched the cactus pieces together using blanket stitch. This is easy but probably takes longer thank you expect if you don't hand sew often.
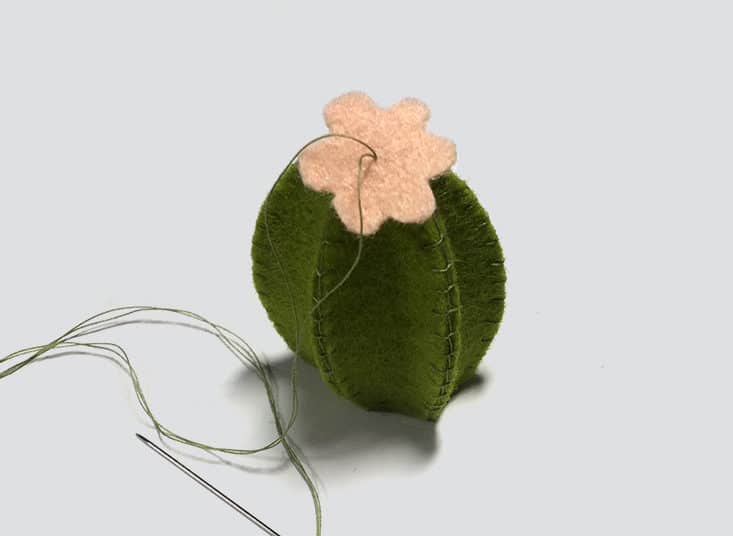
The flower goes right on top! It's starting to look like a cactus, ready to be stuffed with wool.
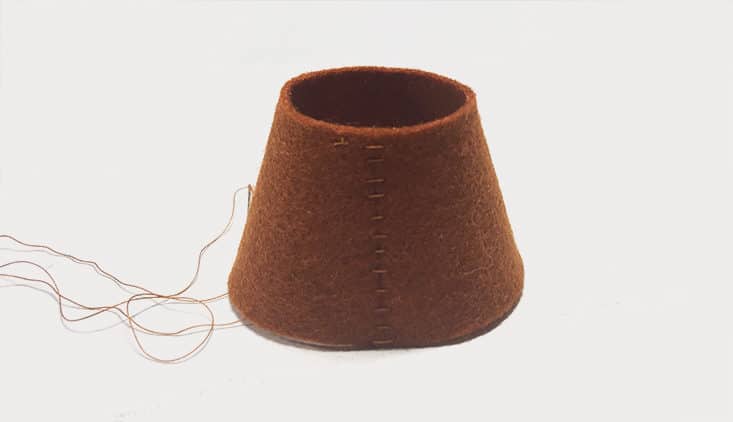
The pot gets a simple stitch to make a cone.
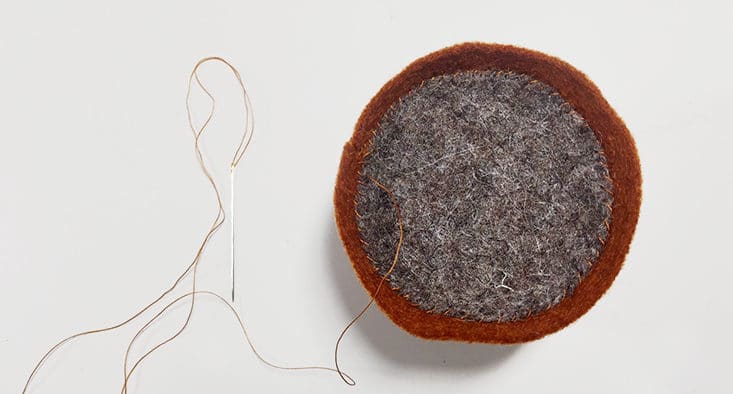
Here's the 'soil' is added to the top. After this step, I filled the bottom of the pin cushion with rice to give it weight, and sealed it off with the bottom piece. Then I sewed the stuffed cactus to the base.
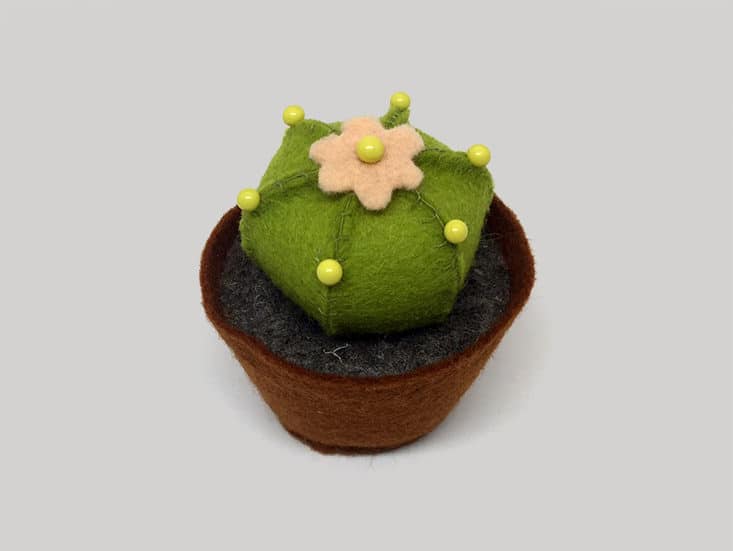
The yellow glass-head pins are the finishing touch! My cactus is slightly uneven, but it still turned out pretty close to the sample in the photo. The clear instructions and simple pattern made it easy to achieve nice results.
Project #2: Moth
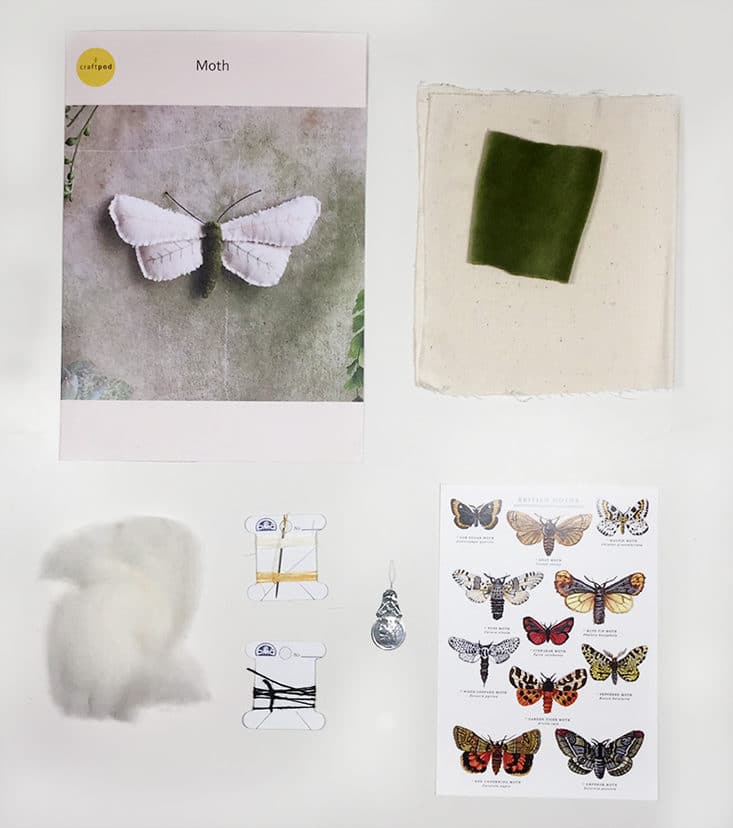
The second project is a cloth moth – this was what prompted me to buy this box within two minutes of discovering it. I love all insects, including moths, so I knew I had to make this! The supplies are simple: cotton cloth, a little bit of stretch velour, wool stuffing and thread. This project also used some of the same thread from the cactus. I liked that a needle threader was included – it came in handy!
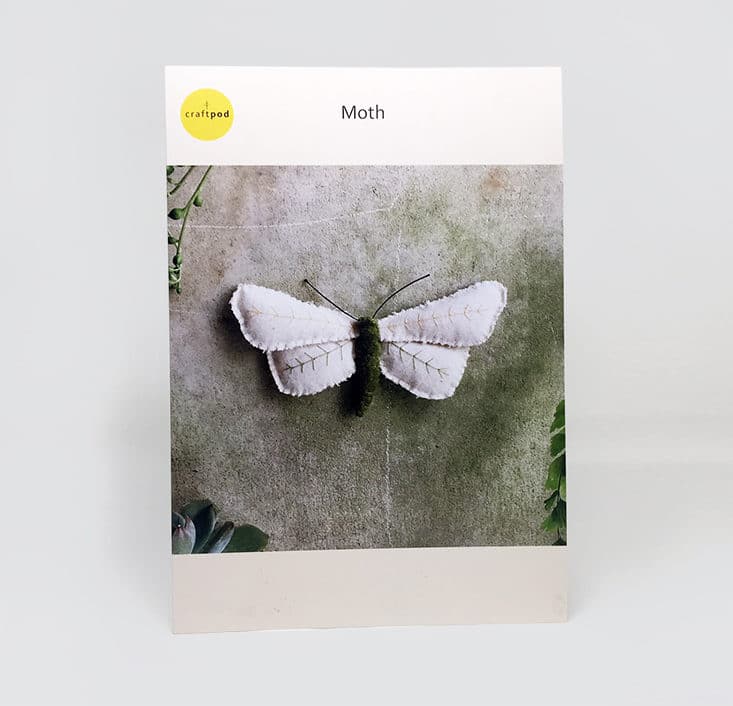
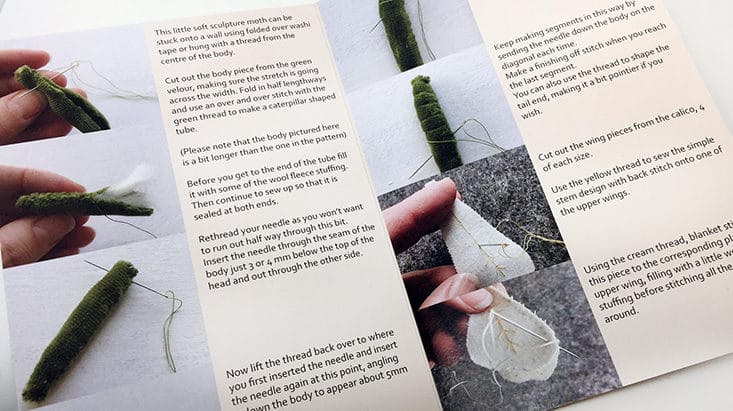
This is an easy project – you really can't mess this one up, as any handmade imperfections just add to the charm. Once again, the instructions were clear and detailed.
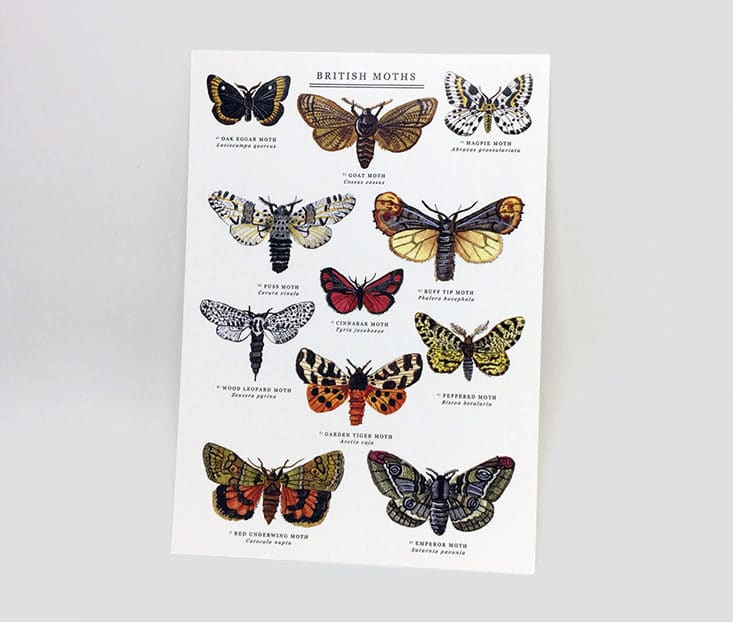
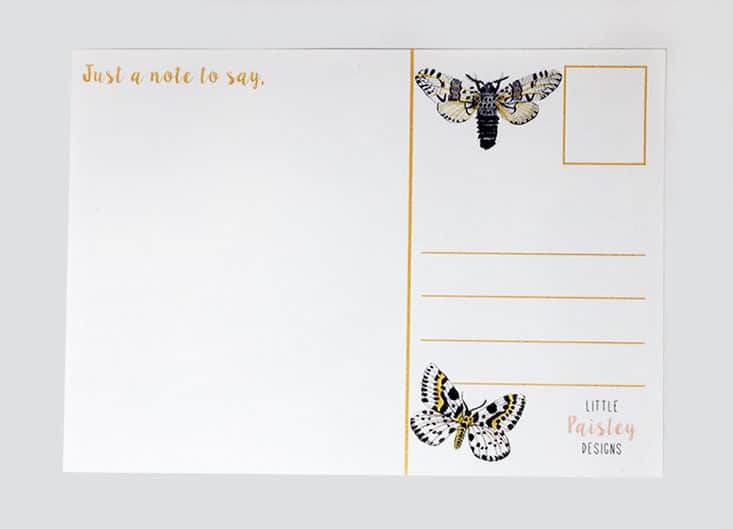
Little Paisley Designs British Moths Postcard – Value $1.46? (based on similar item in their shop)
Another beautiful postcard! I love how the back is decorated too.
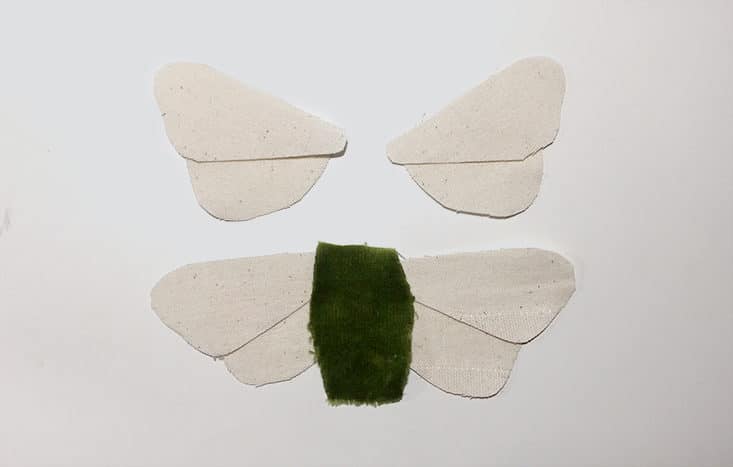
Here are the pieces cut out and ready to be sewn. Each wing has front and back pieces that will be stitched together later.
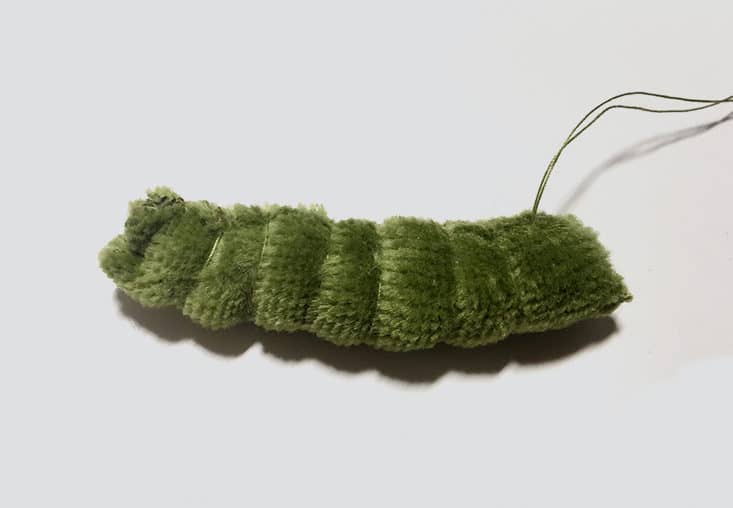
The body is just a little tube of velour sewn shut and wrapped tightly with thread to create a segmented body. It's a caterpillar at this point!
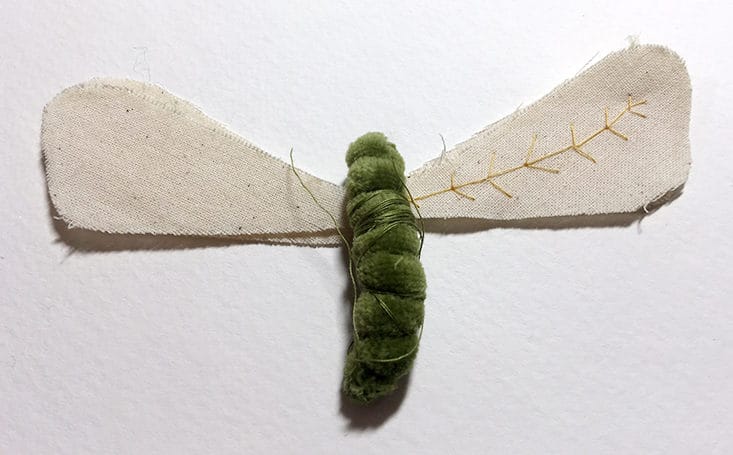
The wings are stitched with simple cotton thread. Normally I would have chosen embroidery floss for something like this, but I liked the delicate quality of the thread with the cotton cloth.
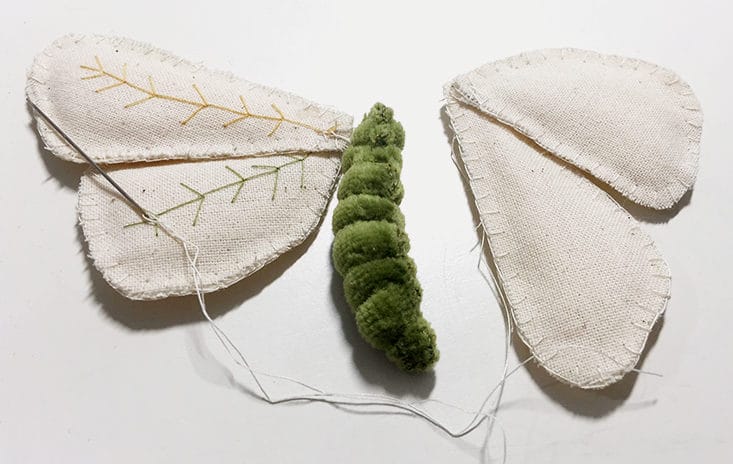
After stitching decoration on the wings, they were lightly stuffed and sewn around the edges with a blanket stitch.
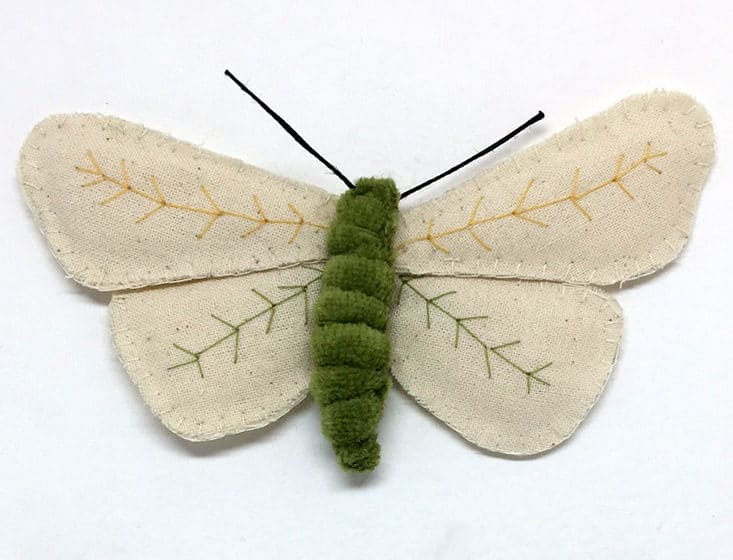
The final step was to add thick black thread for antennae. Once again, the project turned out like the sample with little effort. However, like the cactus, it did take time. One might assume that little items like this would only take a few minutes, but I spent several hours making the projects in this box. Each made a pleasant afternoon project.
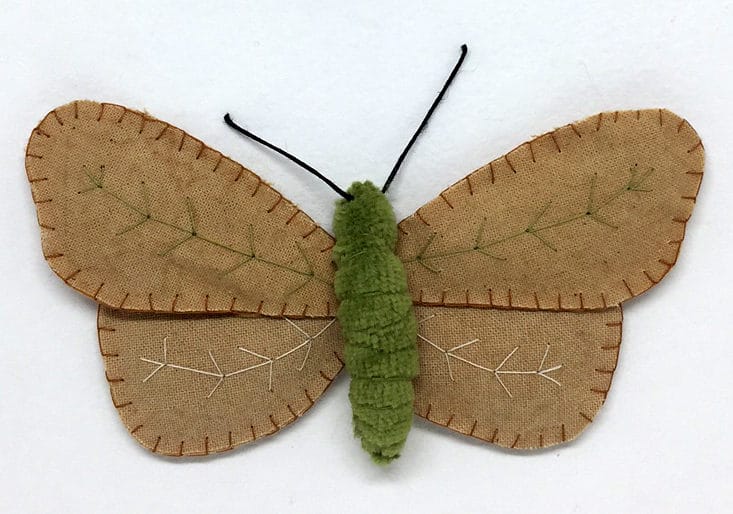
I was delighted to find that if I cut very carefully, I'd have (barely!) enough fabric to make a second moth. This time, I dyed the wings by soaking the fabric in a mixture of tea and salt for an hour or two. Then I sewed it all together exactly the same as the first moth.
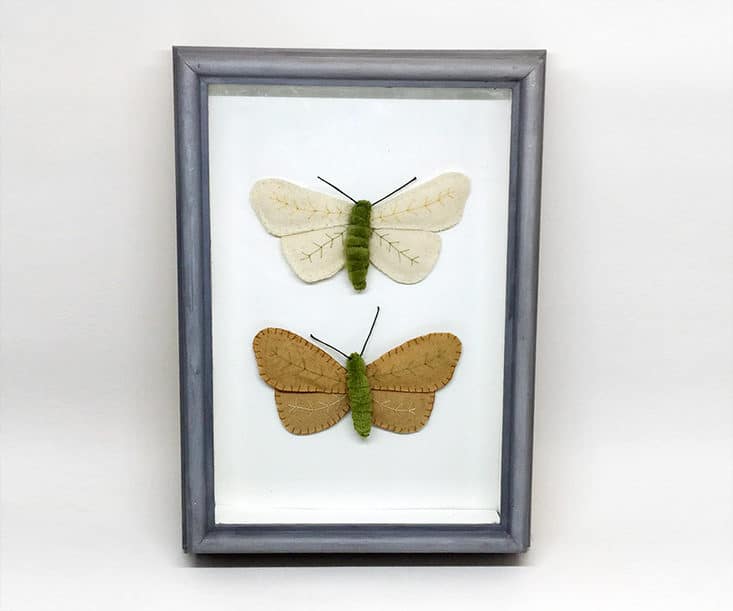
Jo suggests using washi tape to affix the moth to the side of a plant pot. There was also enough thick black thread included to make a hanging loop, or you could use the cotton thread to stitch it to something. I decided to mount mine in this shadow box that I found at a resale shop last year.
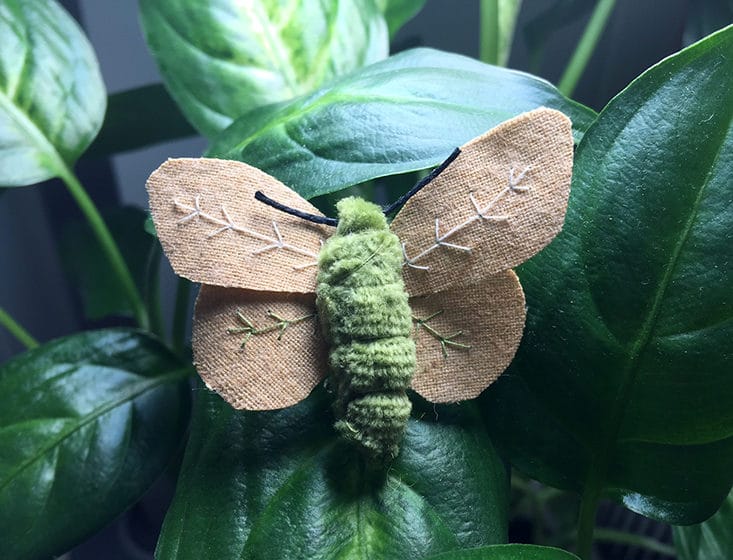
A small bonus – I had just the tiniest scraps of cloth left, but it was enough to make this baby moth. I attached a little pinback to turn it into a brooch.
Verdict: The price of this box works out to about $15 per project, which I think is very fair considering the skillful design, detailed photo instructions and quality materials. I've done a lot of craft kits and the care that went into these is top notch. I'm not sure that I'd really pay $15 for a completed felt pin cushion, but cloth moths are surprisingly expensive on Etsy, and I think the end results are worth it. I'm already a big fan of this box and can't wait until the next one.
What do you think of the summer Craftpod? Which project do you like more – the cactus or the moth?


Please do not enter your email address in the Name field or in the comment content. Your email address will not be published. Required fields are marked *. Remember to post with kindness and respect. Comments with offensive language, cruelness to others, etc will not be approved. See our full comment policy here.