
Foodstirs is a baking subscription box that ships baking mixes kits to your door! Co-founded by Sarah Michelle Gellar, this subscription is all about high-quality, pre-made mixes with no preservatives or artificial ingredients.
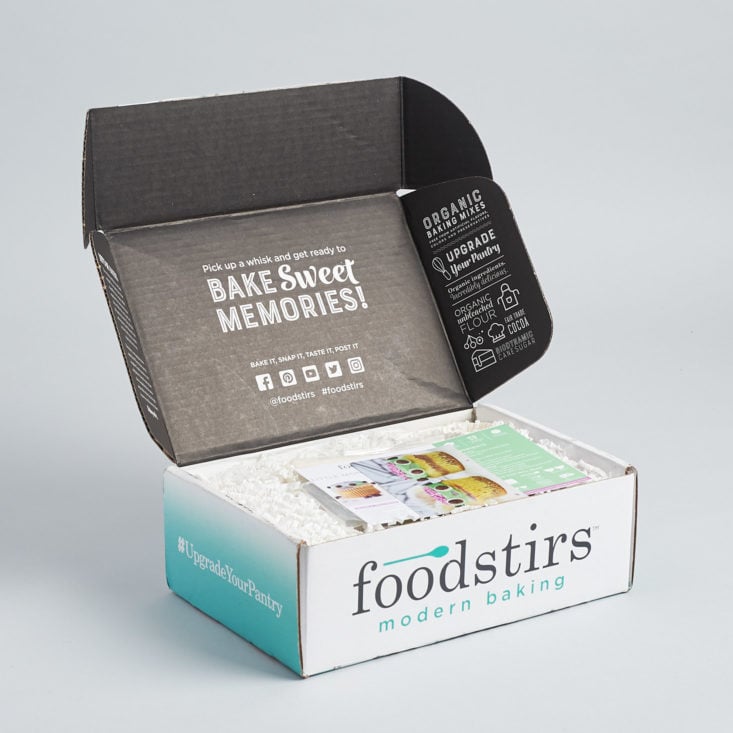
We received this box for review purposes. (Check out the review process post to learn more about how we review boxes.)
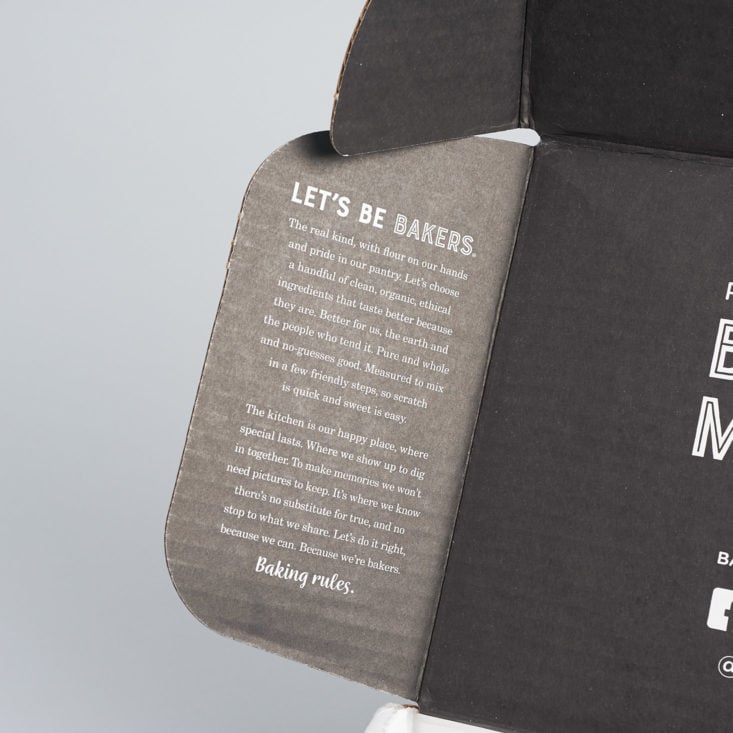
The Subscription Box: Foodstirs
The Cost: $14.99 + $5.99 shipping on the month-to-month plan, with discounts and free shipping on 3, 6, and 12 box prepaid plans.
LIMITED TIME DEAL: Get your first Foodstirs box for FREE, just pay $5.99 shipping! No coupon code necessary, just use this link! (Regularly $14.99 + $5.99 shipping per box)
The Products: High quality, pre-made mixes with no preservatives or artificial ingredients.
Ships to: United States, but they have an international waitlist, so be sure to sign up if you're interested!
Good to know: Foodstirs was previously monthly, but now ships bi-monthly. You should get your first box right away when you sign up, then they ship in August, October, December, February, April, and June.
Check out all of our Foodstirs reviews and the Food Subscription Box Directory!
Keep Track of Your Subscriptions: Add this box to your subscription list or wishlist!
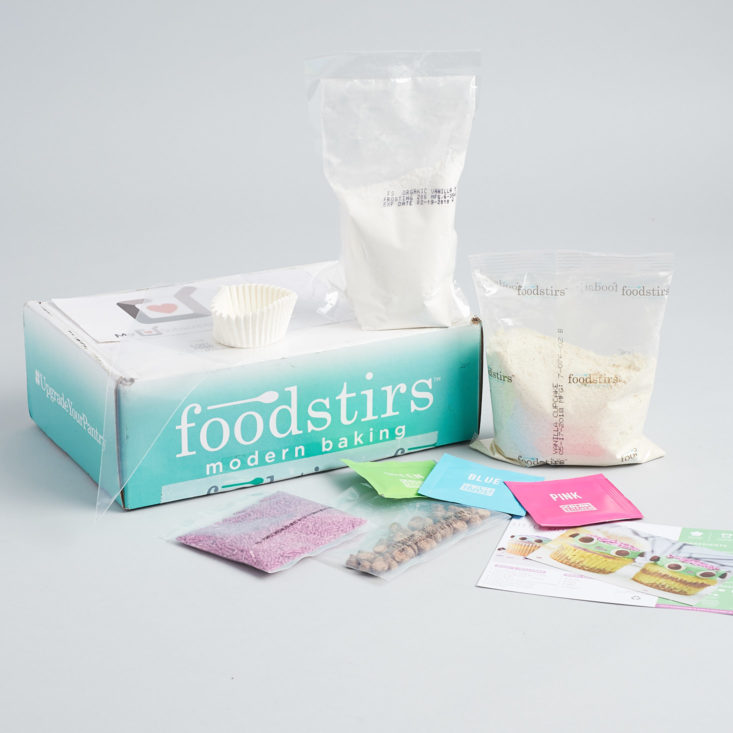
This month's Foodstirs kit is a very Halloween-appropriate Little Monsters Cupcake Kit! Here's everything that comes in the box. You will need to supply a few wet ingredients and some basic baking tools, but otherwise, everything is included.
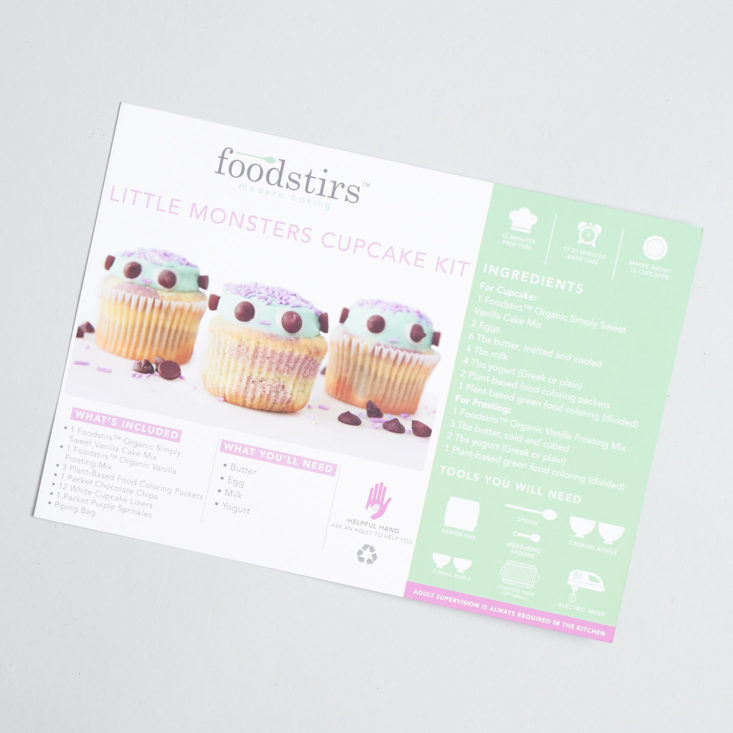
How cute are these cupcakes?
The intro card explains what ingredients are included, what ingredients you'll need to buy yourself, and then how much of everything you need for different parts of the recipe. I needed to add eggs, milk, butter, and yogurt to complete this recipe. They also give you a rundown on equipment you need from home, including bowls, mixers, etc.
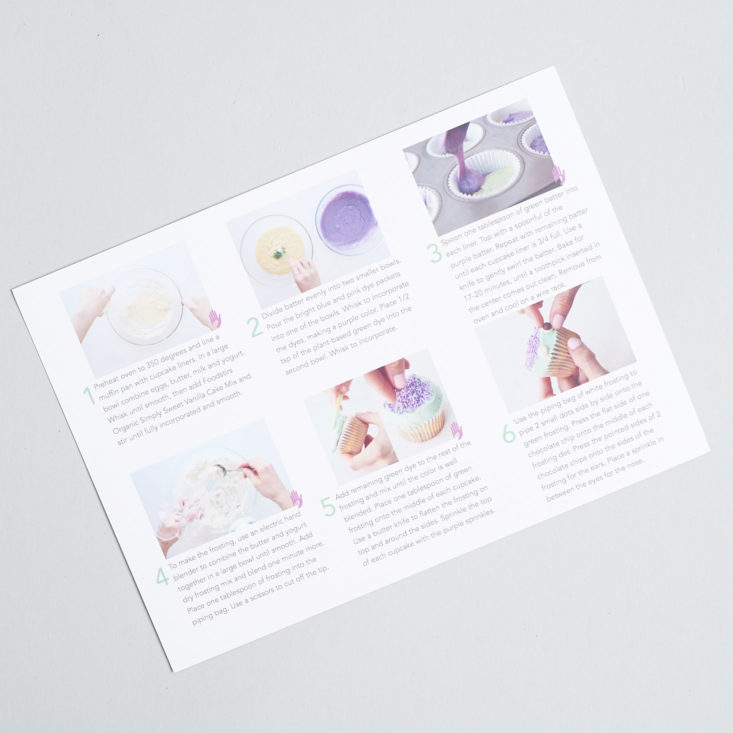
The step-by-step instructions are on the back, with lots of photos. All Foodstirs kits come together in six steps, which makes them pretty straightforward to do by yourself or with kids.
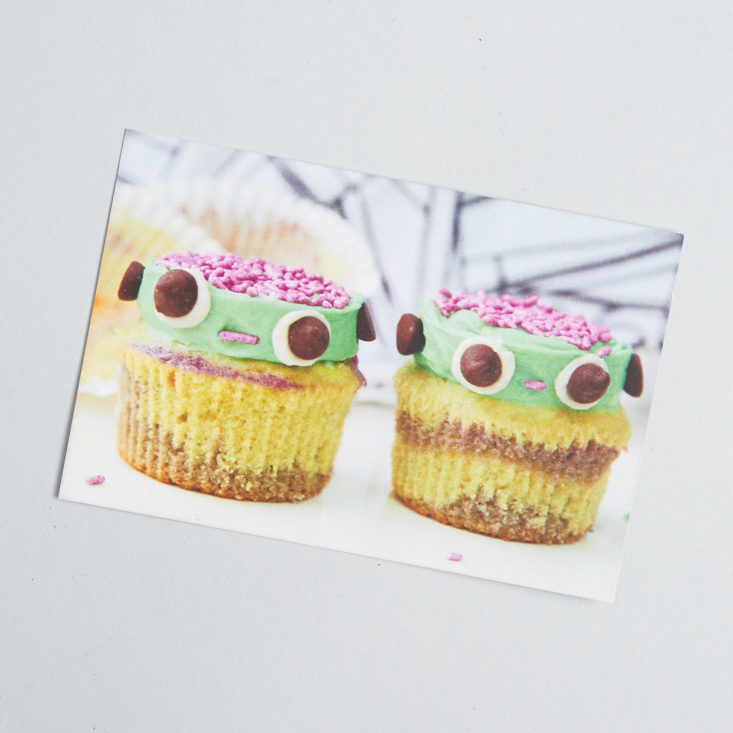
This smaller card includes a closer look at what we're baking and some info about where to find Foodstirs on social media.
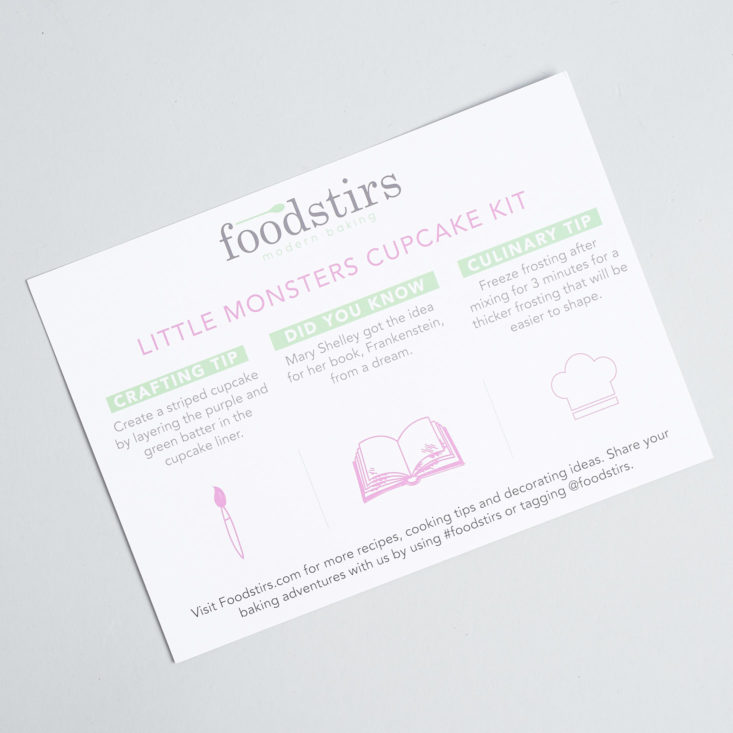
This last insert always has a couple of quick tips and fun facts.
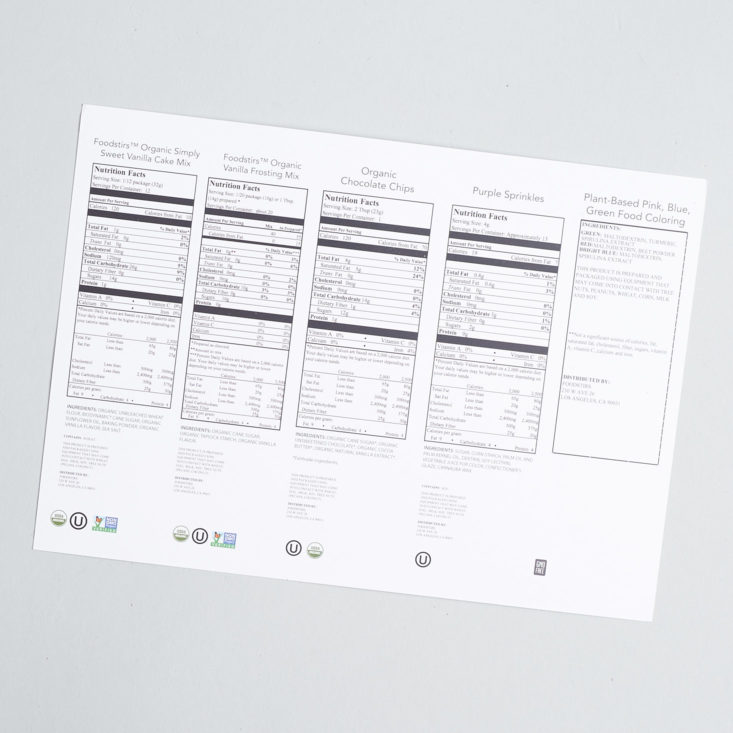
On the back, there are nutrition facts with the calories and ingredient listings for each mix. As usual, the calories for the wet ingredients that you add (eggs, butter, milk, yogurt) are not included here, so you need to do that math yourself if you want to see how these stack up.
I'm personally of the mind that this is a delicious, buttery, sugary baking subscription box, so calories are definitely going to happen! This is not a health food box 😉
Here are all the ingredients in the box and a quick rundown of how the kit comes together. This month, I attempted the project with my 2.5 year old, so we have lots of fun process photos for you too!
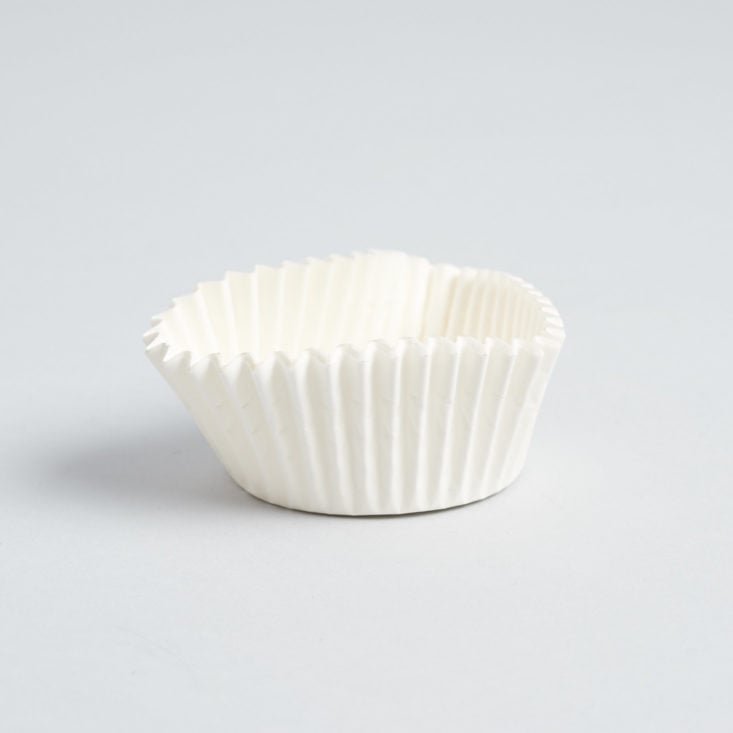
12 Paper Cupcake Liners
I almost never have these things on hand! In previous months, we've gotten foil liners that don't require a muffin tin, but these ones did need the extra support.
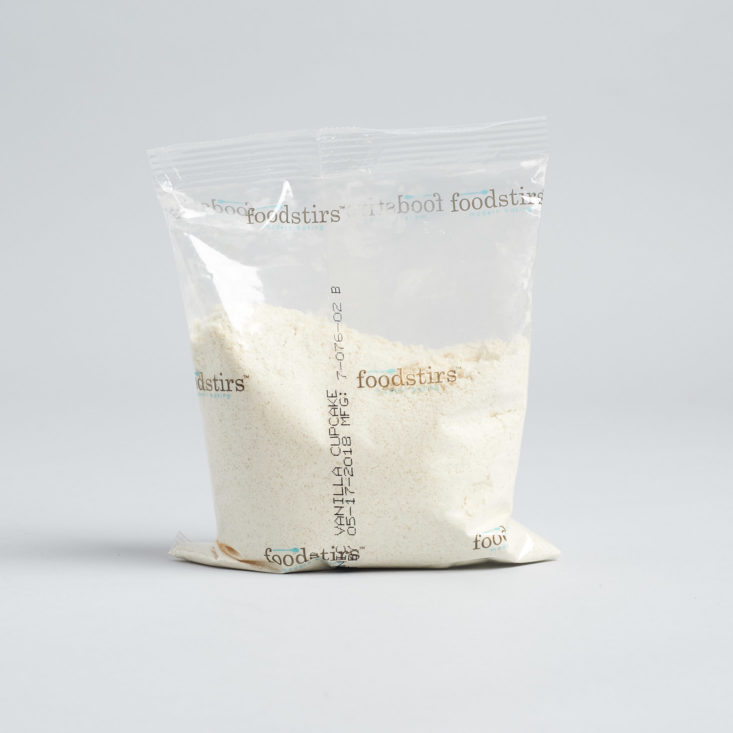
Vanilla Cupcake Mix
The first step is to preheat the oven and mix up this vanilla cupcake mix with eggs, yogurt, milk, and melted butter.
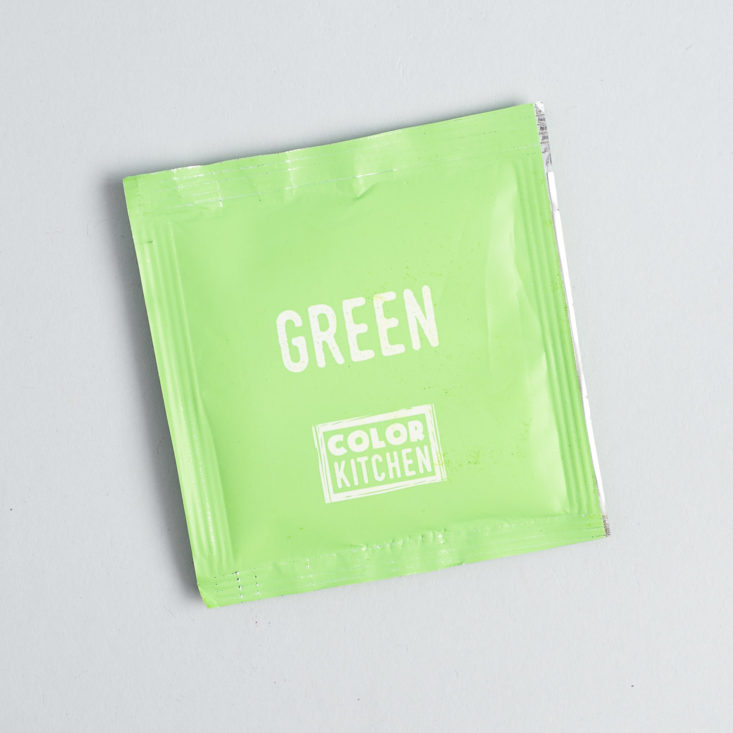
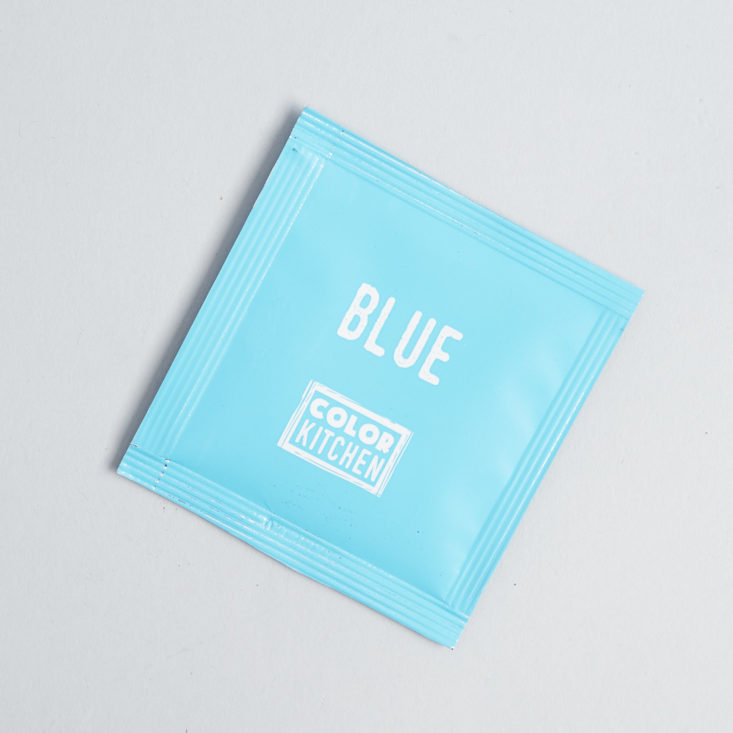
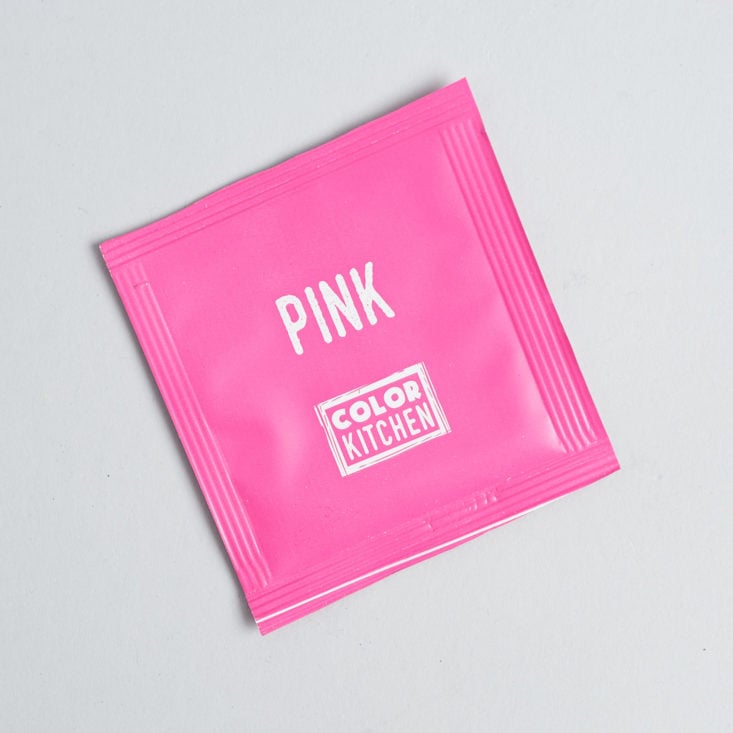
Color Kitchen Natural Food Dyes
Then comes the first really fun part—you get to divide the batter and dye it purple and green!
These natural dyes are colored primarily with spirulina and beet juice. I can't believe how vibrant they are! We mixed pink and blue to create purple...
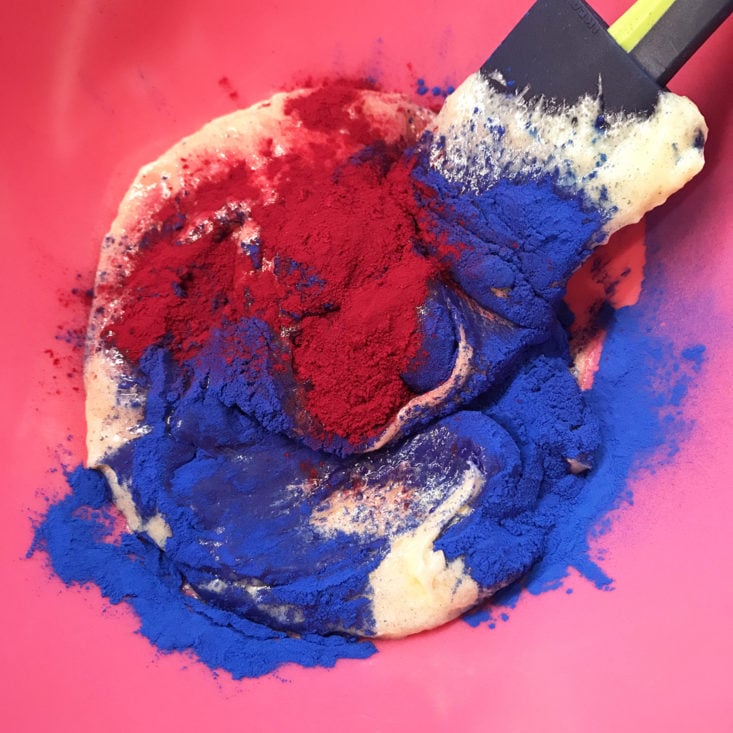
...and then we used about half of the green dye for the batter (the other half is for the icing).
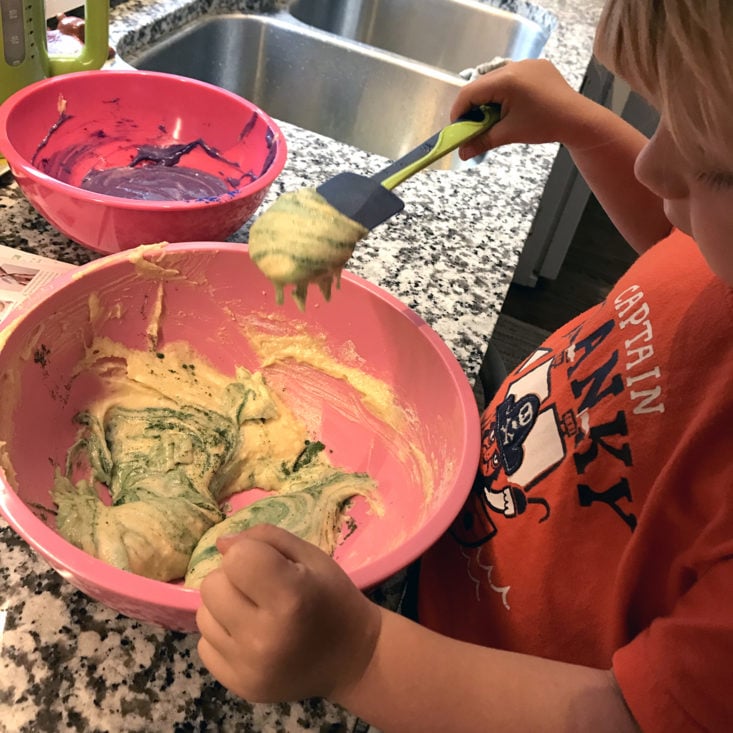
My son was very interested in this part of the process and loved watching the colors change!
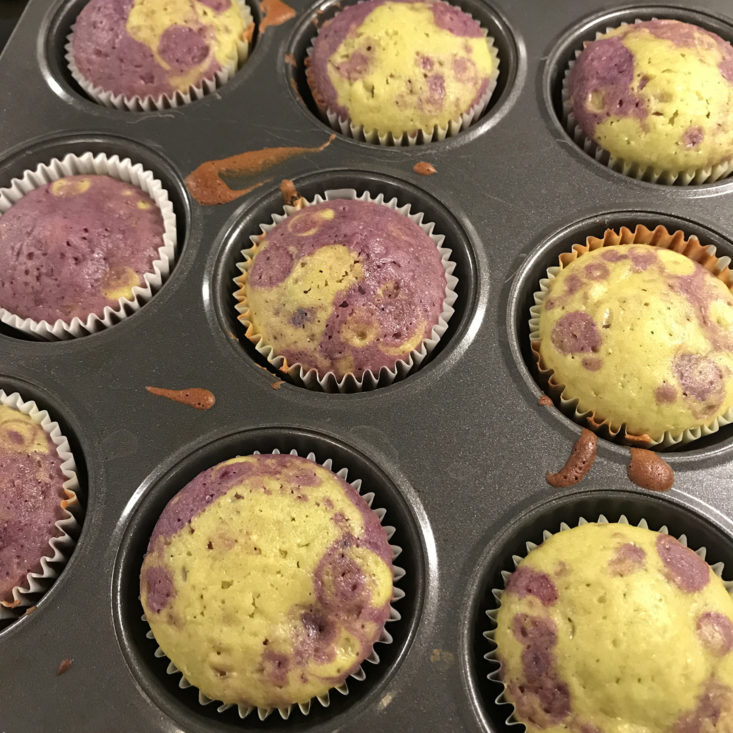
Then you spoon the two colors of batter into the cups and bake. I didn't get an unbaked shot, but you can see how the colors appear after baking. There's still a lot of contrast, and they were way brighter than I expected natural dyes to be!
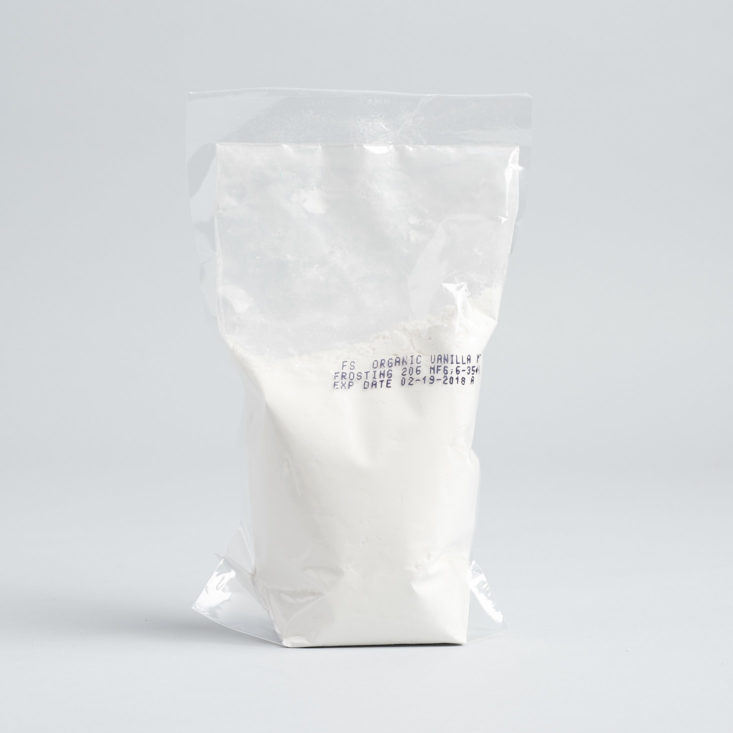
Organic Vanilla Frosting
While those were in the oven, we got to work preparing the icing. This is a product we've had in lots of Foodstirs kits, and it's really easy to mix up. You just add yogurt and butter. This time we also dyed it with the rest of the green packet.
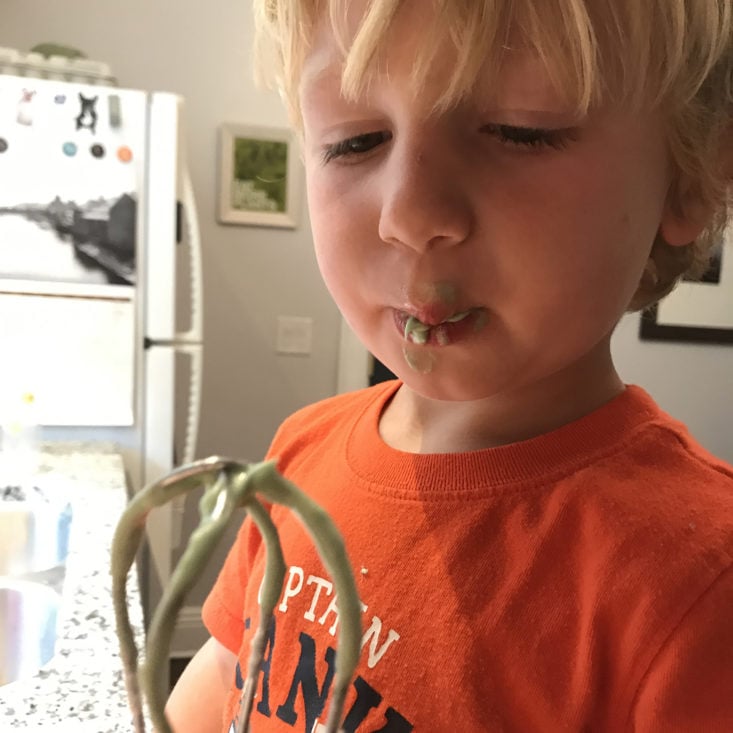
Since there were no eggs in this part, I let my son lick the beaters. He may have licked this one clean and then dunked it back in the bowl when I wasn't looking...
For decorating, Foodstirs includes a few different things in this box:

Piping Bag
These kits never use fancy icing tips; you just use a regular plastic pastry bag and cut the tip off for a little bit of control.
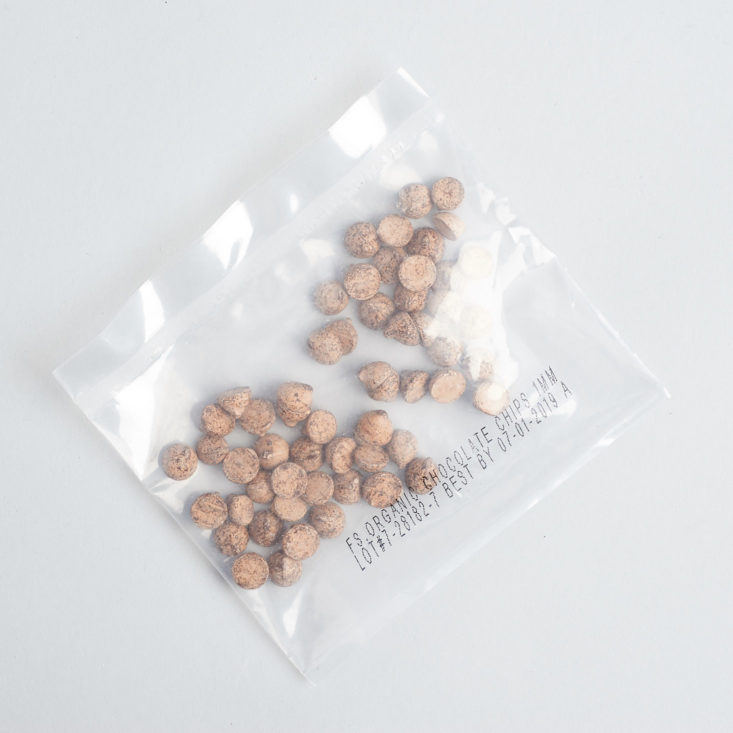
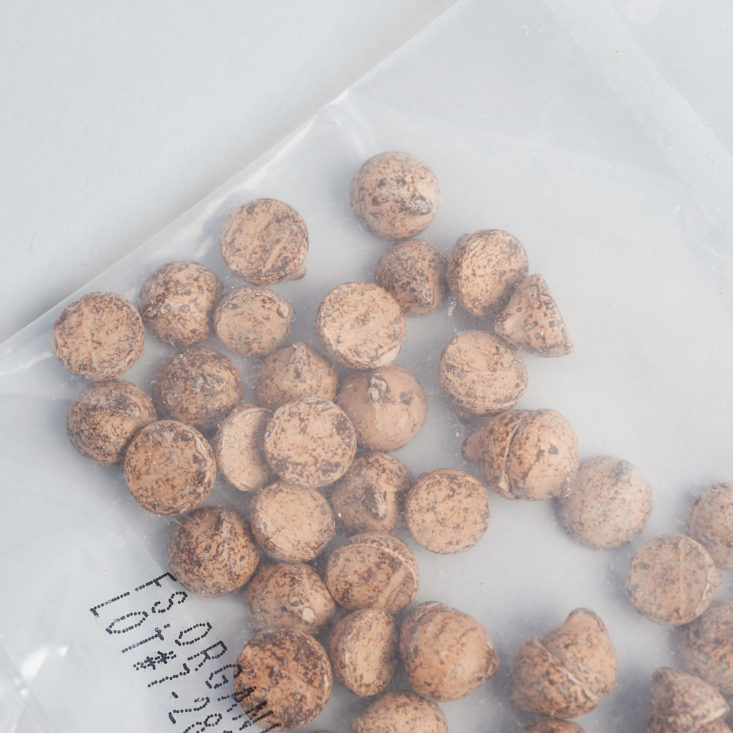
Organic Chocolate Chips
These were a little chalky, but that's something that I've had happen with other natural chocolates before. (Justin's Peanut Butter Cups always seem to be like this when I buy them!) They tasted fine, though.
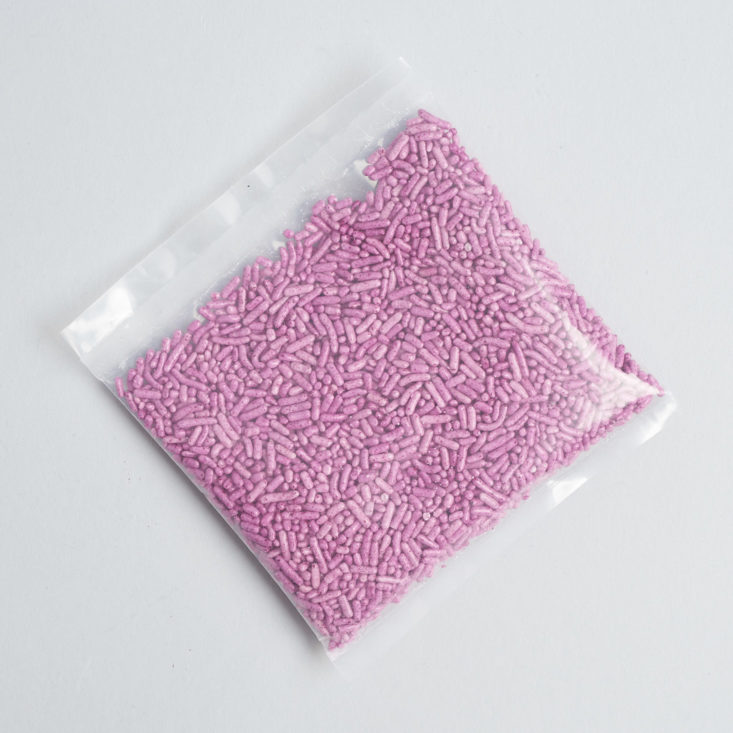
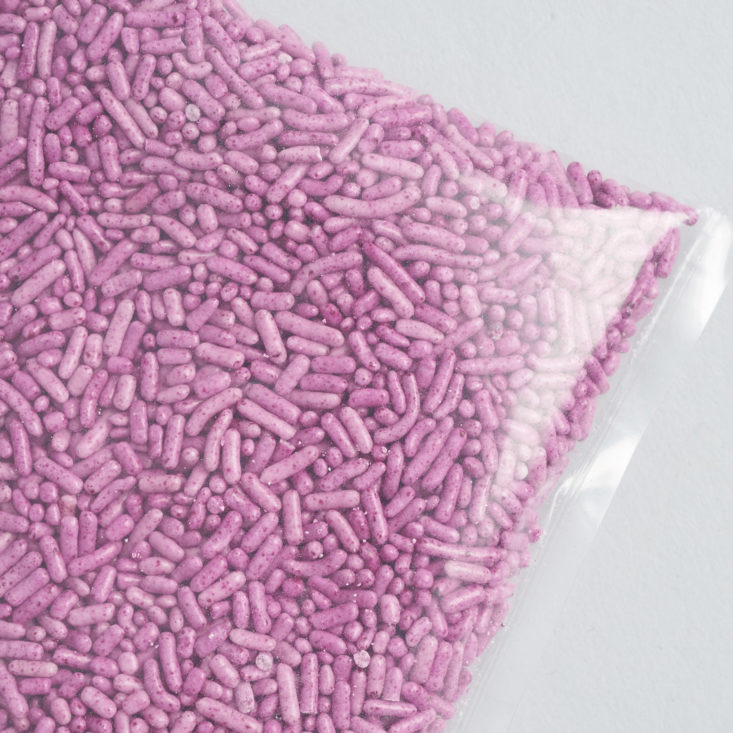
Purple Sprinkles
And finally, there were these natural purple sprinkles for Frankenstein's hair (and nose).
We let the cupcakes cool and put the icing in the fridge while we finished dinner. Then it was time to decorate! Basically, you ice the cupcakes, put some purple sprinkles on top, and add chocolate chip eyes and ears.
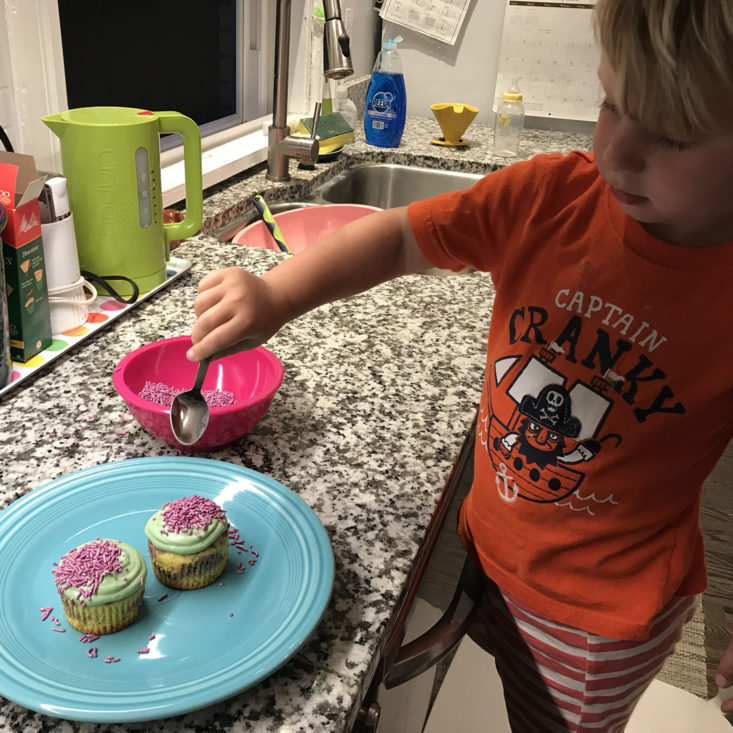
I put the icing on, then let my son go to town with the sprinkles. He loves anything related to digging and pretending to be an excavator, so he did a great job with this.
Mommy however, did make two little mistakes somewhere along the line.
First, I forgot to reserve 1 tablespoon of white icing for our monster eyeballs! This is obvious in the instructions, but my son had thrown them on the floor at some point so I wasn't reading them super carefully.
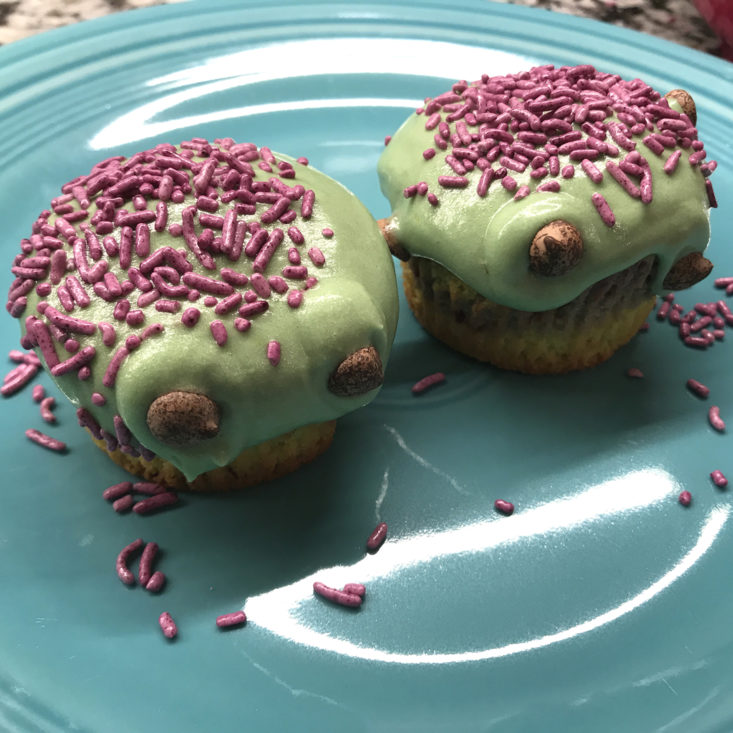
Second, even though I had chilled the icing and let the cupcakes cool completely before we decorated, it turned out very runny... which sort of made our monster faces turn into melting wicked witch puddles.

I'm not sure if I accidentally added too much yogurt or if the kitchen itself was just too warm, but this is the first time I've had this issue with this icing. And we had it in the freezer for 5 minutes, then in the fridge for another 30 at least before we decorated!
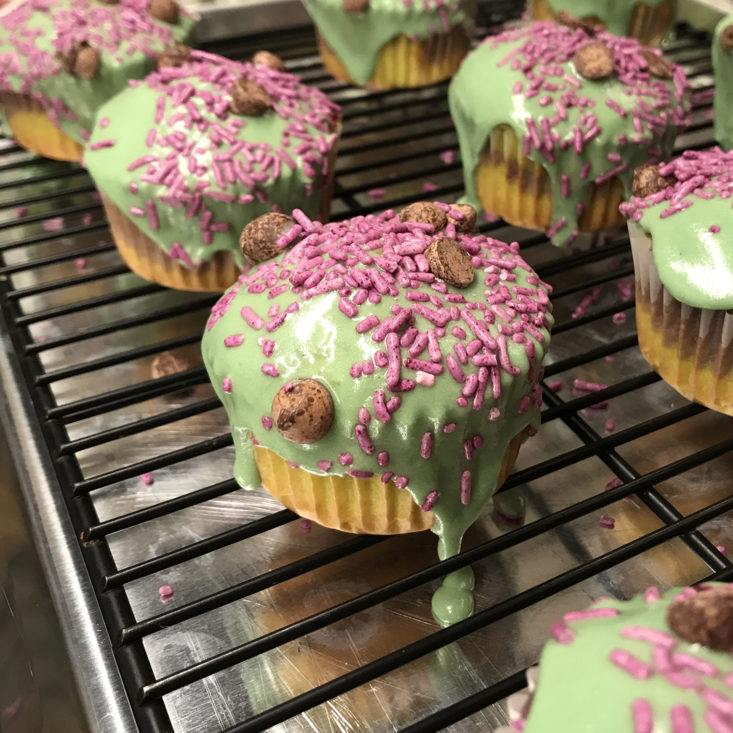
We ended up just free-form decorating the rest of them. After we put them all into the fridge again, the icing set and they were all good. Thanks to the bright colors, they are still plenty fun for a Halloween-themed treat! I just wish I knew what I did wrong!
Taste-wise, these were another winner. This icing does tend to be on the sweet side, but the cake really balances it out. The servings are on the small side for a cupcake, too, so it was a nice size for my son to indulge in after dinner without me feeling like it was too much.
Verdict: Despite my decorating fail with Foodstirs this month, I had so much fun mixing these up with my toddler! He used to always stand and "help" me cook dinner, but this is the first time in about six months he's been really really engaged in making food with me. We had a blast, and the pre-measured mixes plus the fact that all the kits take just six steps really helps make this project manageable overall.
To Wrap Up:
Can you still get this box if you sign up today? Yes, this should be your first box if you sign up in September 2017.
Value Breakdown: At $14.99 for this box + $5.99 shipping, and 12 servings this month, each cupcake costs about $1.75 each.
What do you think of Foodstirs?


Please do not enter your email address in the Name field or in the comment content. Your email address will not be published. Required fields are marked *. Remember to post with kindness and respect. Comments with offensive language, cruelness to others, etc will not be approved. See our full comment policy here.