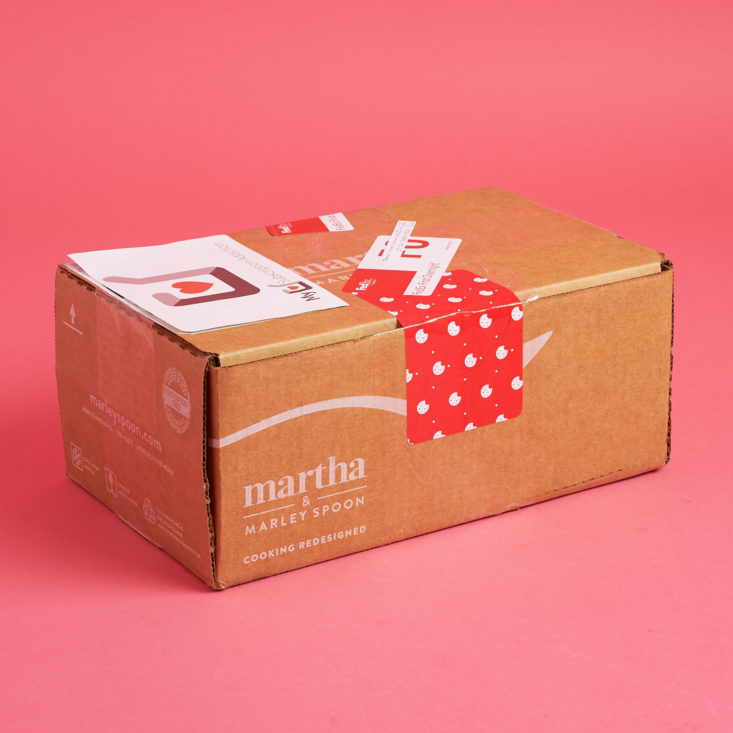
Martha & Marley Spoon is a meal kit box that offers fresh, seasonal recipes delivered weekly to your home, featuring Martha Stewart's recipes and techniques. They occasionally do some special boxes, such as their Thanksgiving box, and this box: Martha's Holiday Cookie Box!
This box is available from November 11th, 2017 through January 6th, 2018.
We received this box for review purposes. (Check out the review process post to learn more about how we review boxes.)
This review is of the Martha & Marley Spoon Martha's Holiday Cookie Box, $38.99 each (one time purchase).

The Subscription Box: Martha & Marley Spoon Holiday Cookie Box
The Cost: $38.99, one time purchase
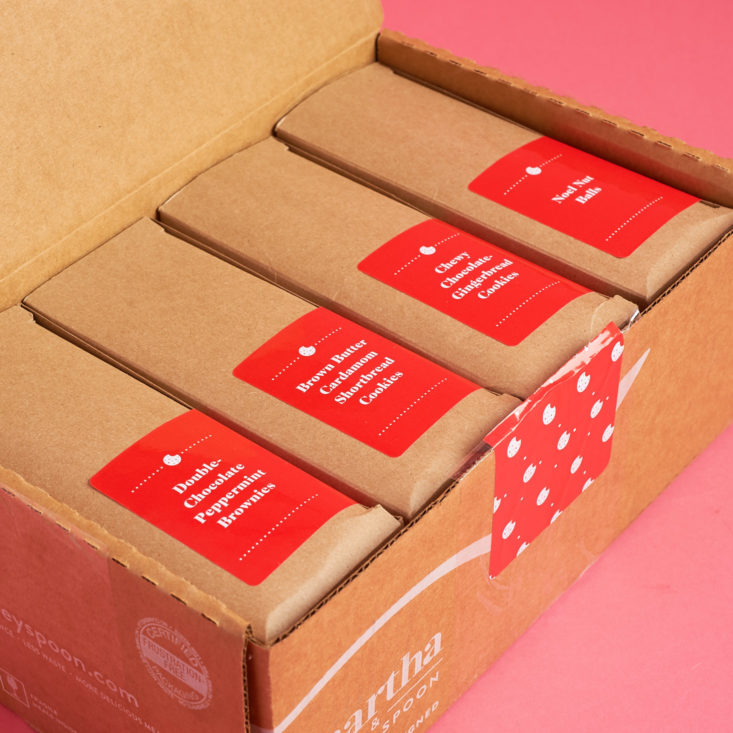
The Products: Pre-portioned ingredients and recipes to make 4 different varieties of holiday cookies
Ships to: Most of the contiguous US states; please see website for current details.
Check out all of our Martha & Marley Spoon reviews and the Meal Food Subscription Box Directory for other great meal kits and boxes to try.
Keep Track of Your Subscriptions: Add Marley Spoon to your subscription list or wishlist!


After having a great experience trying Martha & Marley Spoon's grilling recipes this past summer, I was pretty excited to hear about Martha's Holiday Cookie Box! This is a one-time-purchase box that makes 140 (!) cookies of four different types.
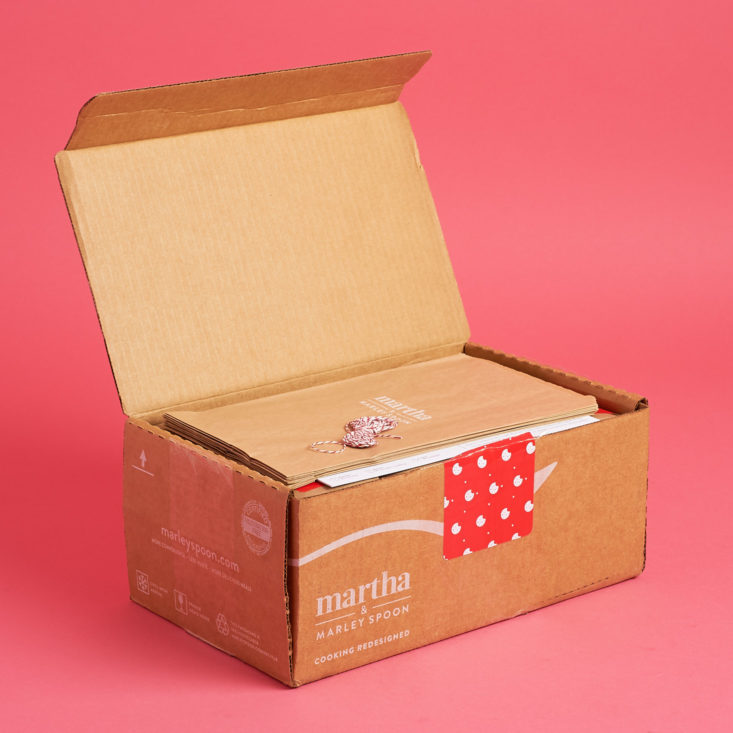
Like other baking boxes, this delivery is shelf stable, and you'll need to supply a few things from home: butter (lots of it!), eggs (just a few), and salt. This box is super neatly organized, too, with each individual recipe packaged in it's own inner box. Martha even suggests that you can share the mixes themselves as gifts, which is a great idea if you don't have time to bake them all!
I used my trusty stand mixer for most of these recipes, and while I'd say it's definitely not required, it did come in handy to whip and cream the butter for the shortbread and gingerbread recipes.
Get ready, get set... bake!
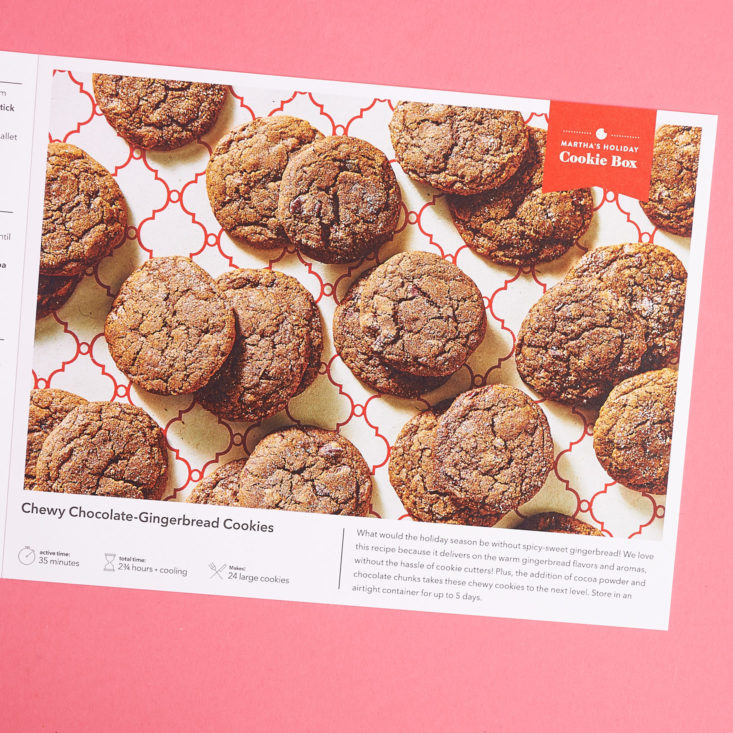
Chewy Chocolate-Gingerbread Cookies
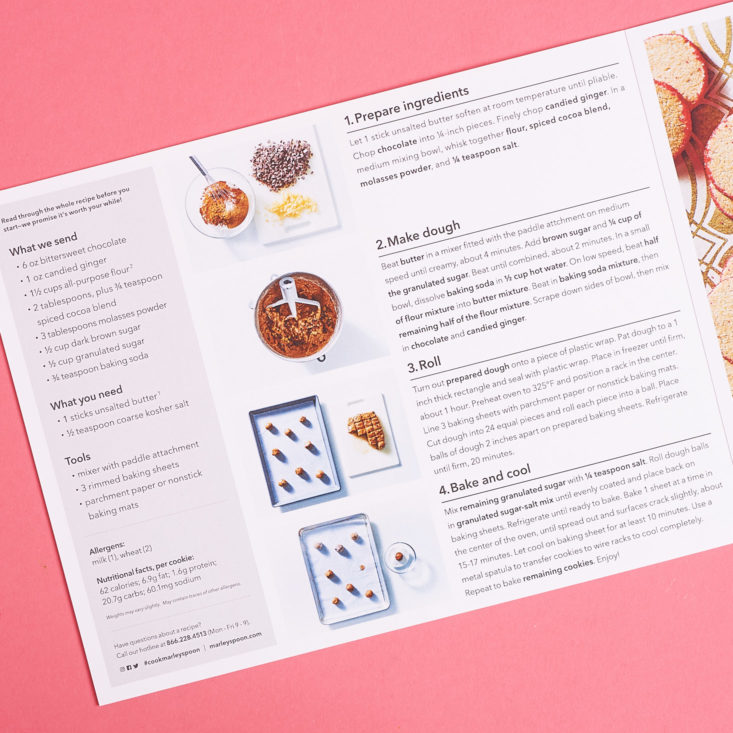
Since I was baking all of my cookies in one evening, I decided to start with this recipe so I could get it into the freezer to chill while I got my son ready for bed. I've absolutely never had chocolate gingerbread anything before, so I was curious about these flavors, too!
The instructions are super clear and have some helpful photos, too. I read through them all ahead of time and organize all my ingredients from the box on my counter:

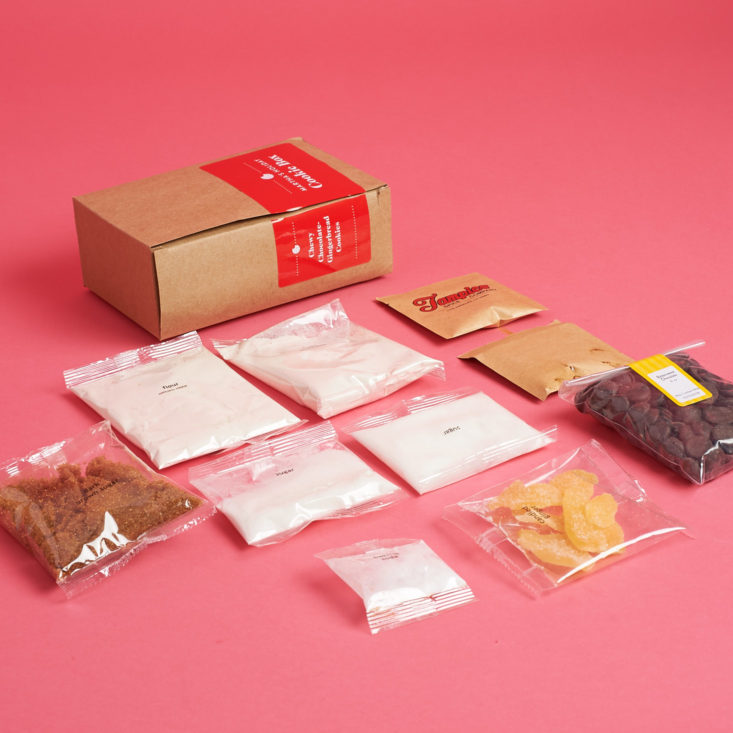
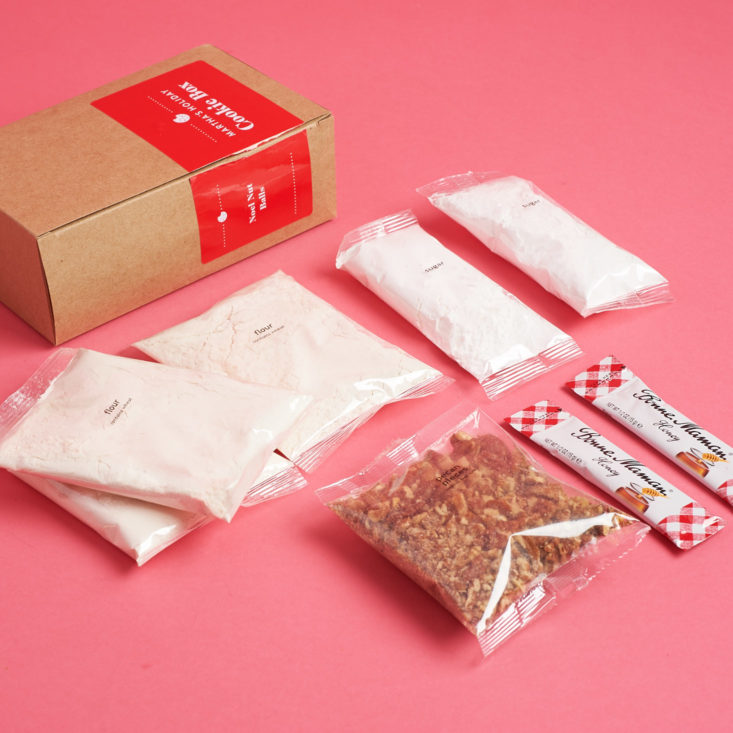
Here we are! Except for the salt that you'll be adding from home, there is zero measuring required for these recipes. In some cases, the dry ingredients are separated into smaller bags which you either use all at once, or use in different parts of the recipe– in this case, one bag of sugar (1/4 cup) goes into the dough, and the other bag (also 1/4 cup) is used for coating the outside of the cookies before baking. I loved that it was already separated for me!
These cookies took a surprising amount of prep, between chopping the chocolate and dicing the candied ginger. After those steps, though, they came together pretty fast.
After chilling for an hour, you can slice the dough and form it into round balls, which you roll in sugar. You'll need to keep these chilled right up until baking.
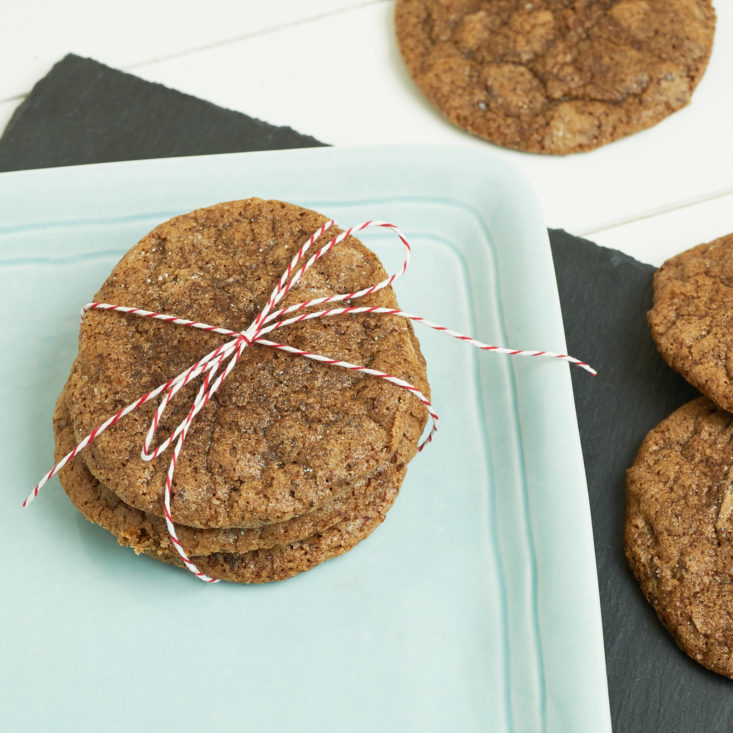
In the end, my cookies didn't get quite as crackle-y as the photos on the recipe card, but otherwise, I thought they turned out well. They were chewy and had a lot of flavor!
I honestly didn't taste the chocolate that much and would have rather had them as a straight gingerbread type cookie in the end, but these were definitely worth trying. Friends who tried them felt similarly; the chocolate kind of got lost
Timing wise– these took me about 5 more minutes to prep than the recipe suggested, but the cooking times were spot on.
Double-Chocolate Peppermint Brownies

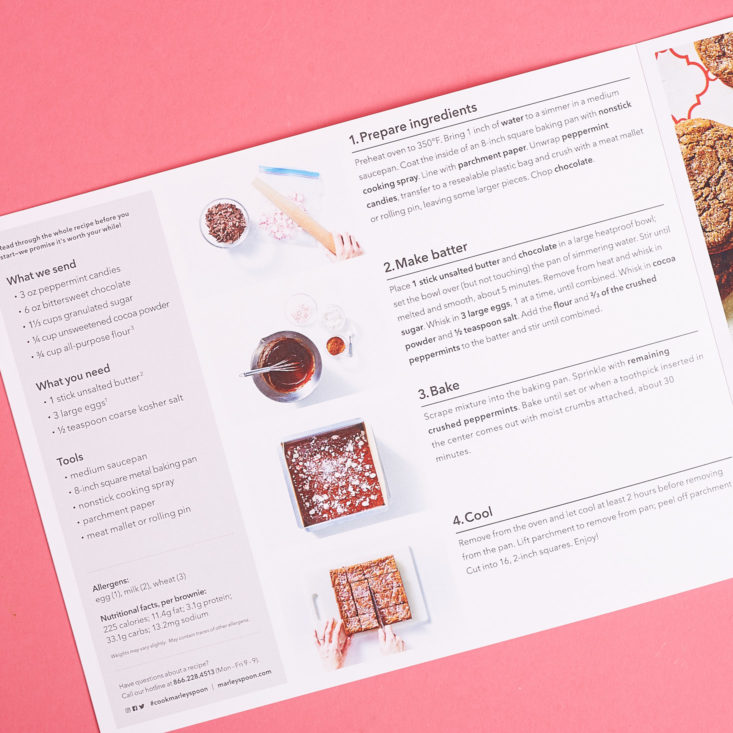
I love brownies, but I've never actually made them from scratch before– just from box mixes. When I saw that this involved melting chocolate and butter over a double boiler, I knew they were going to be amazing!
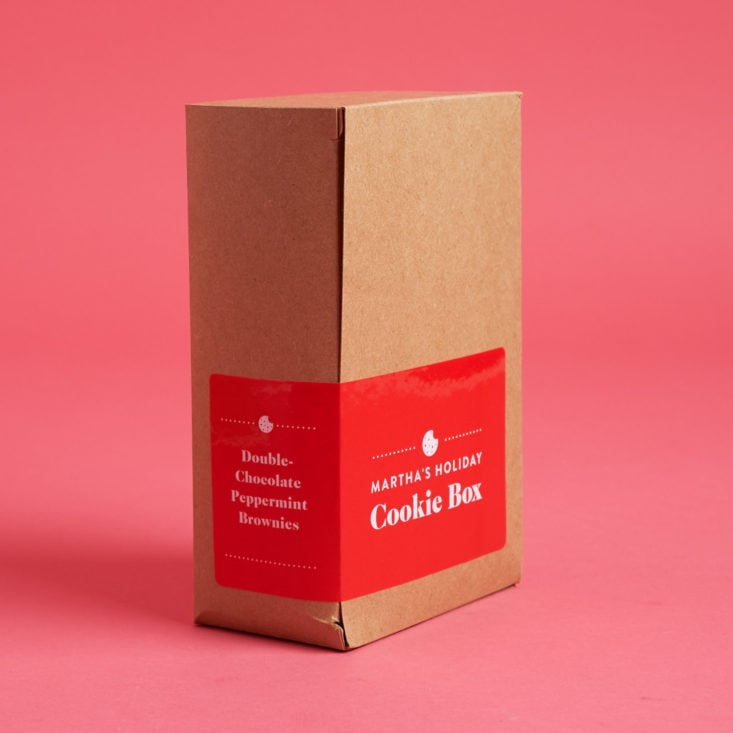
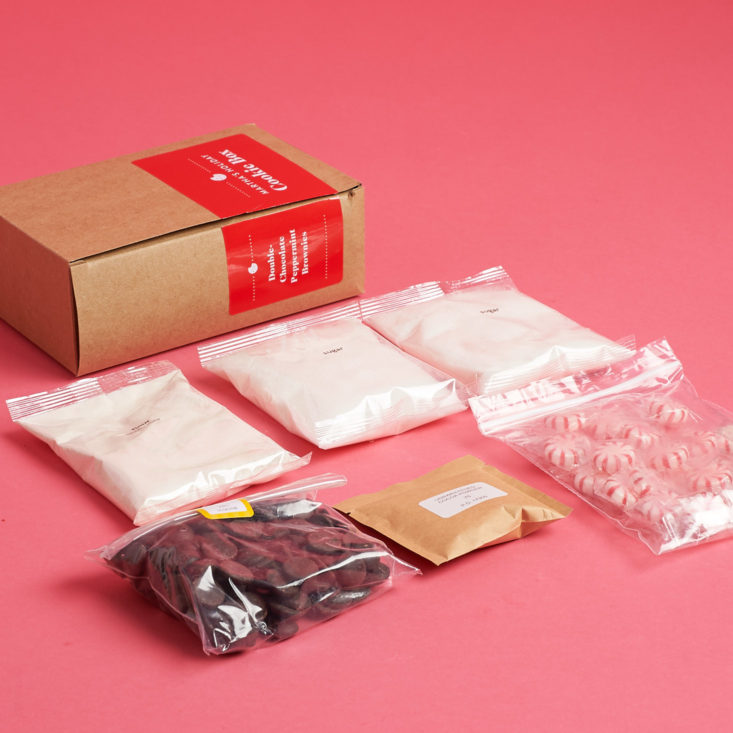
After crushing up the starlight mints, I got to work melting the chocolate and butter over some simmering water on the stove. (All the while defending the mint candy and chocolate from my 2.5-year-old, who wanted to 'help' by eating as many ingredients as he could!)
The melted chocolate is combined with dry ingredients and eggs, and 2/3 of the crushed mints are mixed in. Then you simply spread in the pan, scatter the remaining mints on top, and bake!
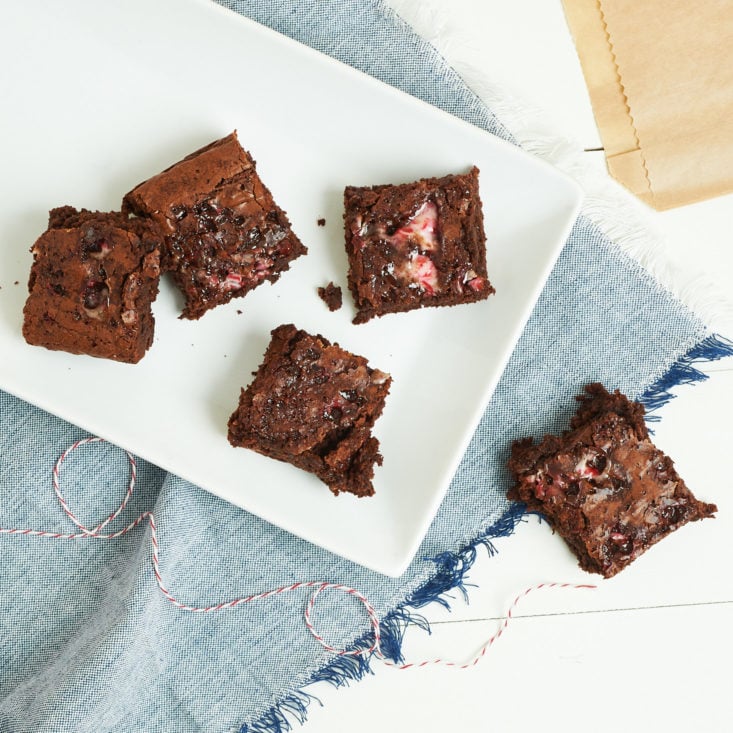
These were everything I hoped they would be. Absolutely rich chocolate flavor with just a hint of peppermint. And the candy isn't hard, either, it seems to melt and get kind of gummy/chewy inside from baking. My husband waited very patiently for the two hours of cooling recommended by the recipe before I cut them up, and then he immediately stole two. These got two thumbs up from everyone in the house and the office!
Timing wise, I think again they took me about 5 extra minutes to prepare than the recipe card indicated (This might have been the "toddler helper" factor, though). I had to bake them about 5 minutes longer, possibly because I used a glass baking pan, but the texture was so unbelievably good.
Definitely making all of my brownies from scratch from now on! I've been ruined for box brownies. Thanks, Martha!
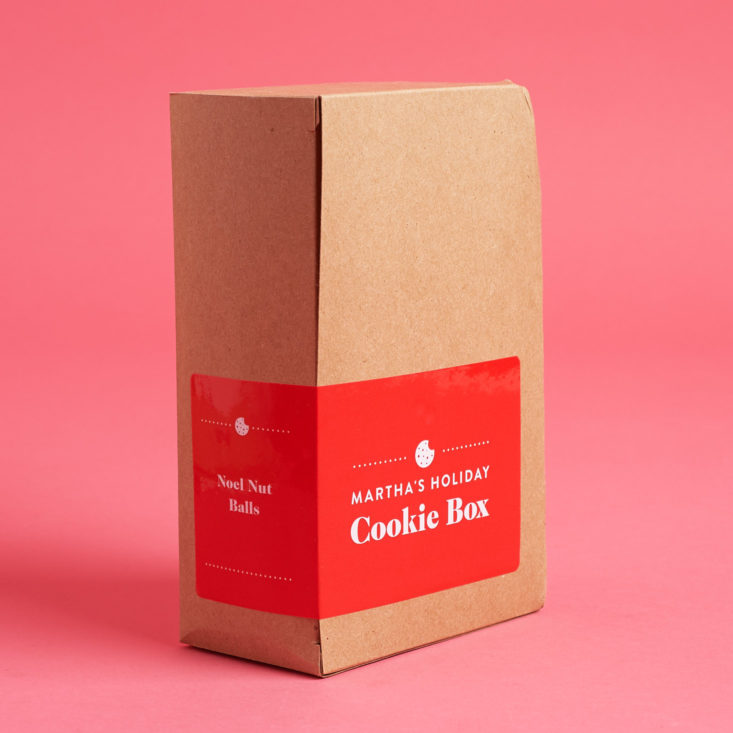
Noel Nut Balls

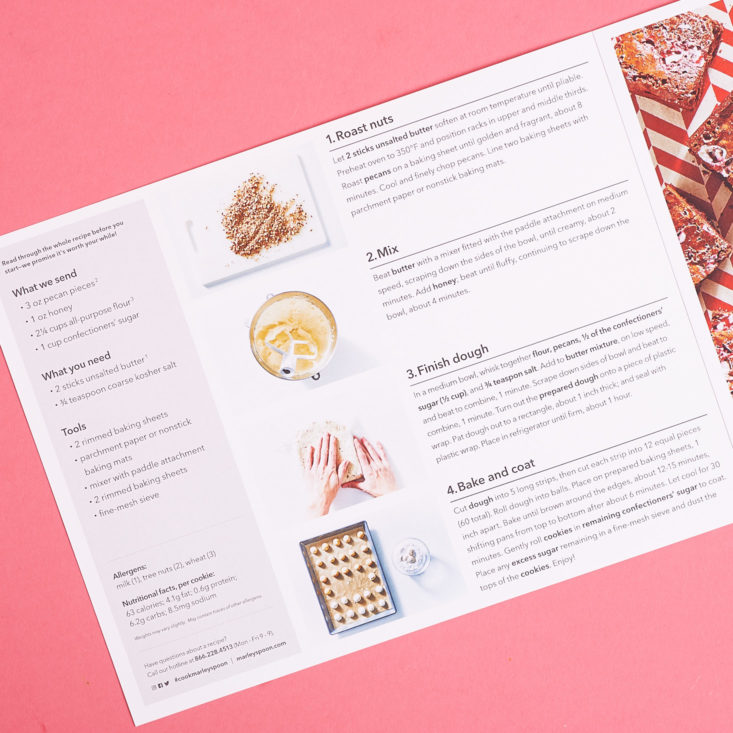
I've never made a cookie like this before, but in my mind I think they're similar to Mexican Wedding Cookies? These petite cookies are made with toasted pecans and rolled in powdered sugar after cooking and cooling.
Once again, I started these cookies a little early so I could chill them in the fridge. This recipe uses honey and butter to start instead of a creaming butter and sugar, but there's also powdered sugar in the dough (in addition to on the outside of the cookies). This might have been the easiest dough of the night!
But of course, I accidentally put my dough into the freezer instead of the fridge, so after an hour it was frozen solid. That turned slicing the dough and rolling the balls into quite a bit of hand exercise, so I'm sure that step took me longer than it should have!
After they come out of the oven, you let them cool for 30 minutes and while still slightly warm, they get coated in powdered sugar. I did about half of them one by one before I realized I could just dump the cookies into the bowl and toss to coat... which worked much better.

So how'd they turn out? SO GOOD. They're like tiny bite-sized puffs of butter and nuts that just dissolve in your mouth! It was hard not to eat them by the handful. I was seriously proud of myself for how these turned out because I've never made anything like them before! #starbaker
Brown Butter Cardamom Shortbread Cookies
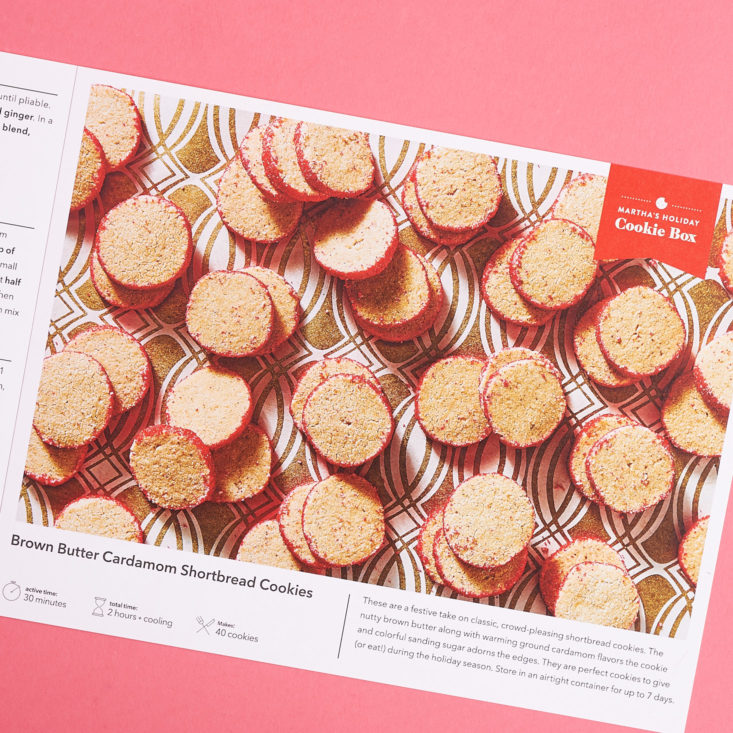
These were love at first sight. 😍 Brown butter? Cardamom? Festive holiday sugar? 🙋 I'm swooning!
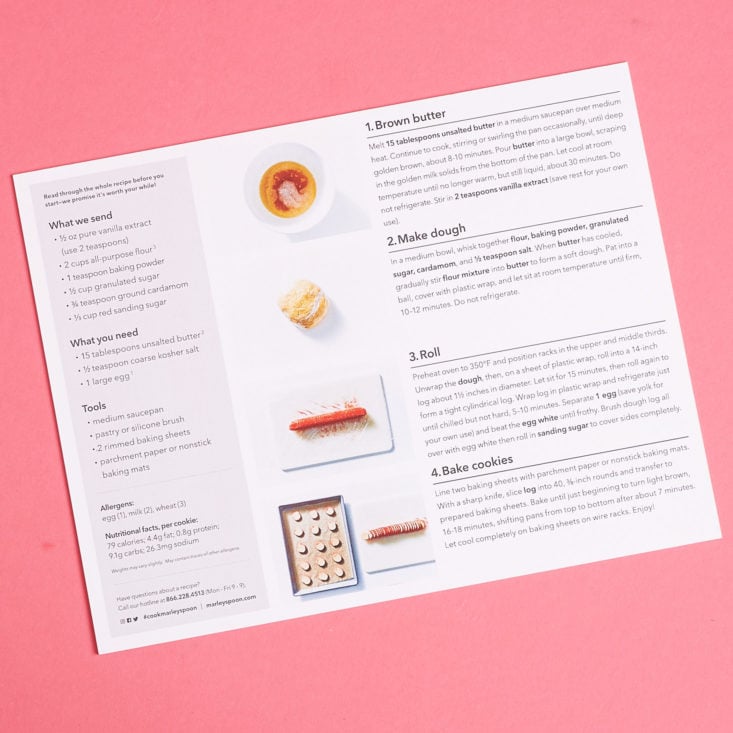
This is a shortbread cookie that you slice and bake. This recipe was the most finicky for me because it included a lot of resting... some of which was on the counter and some of which was in the fridge. I kept losing track of time while I was waiting between different steps!
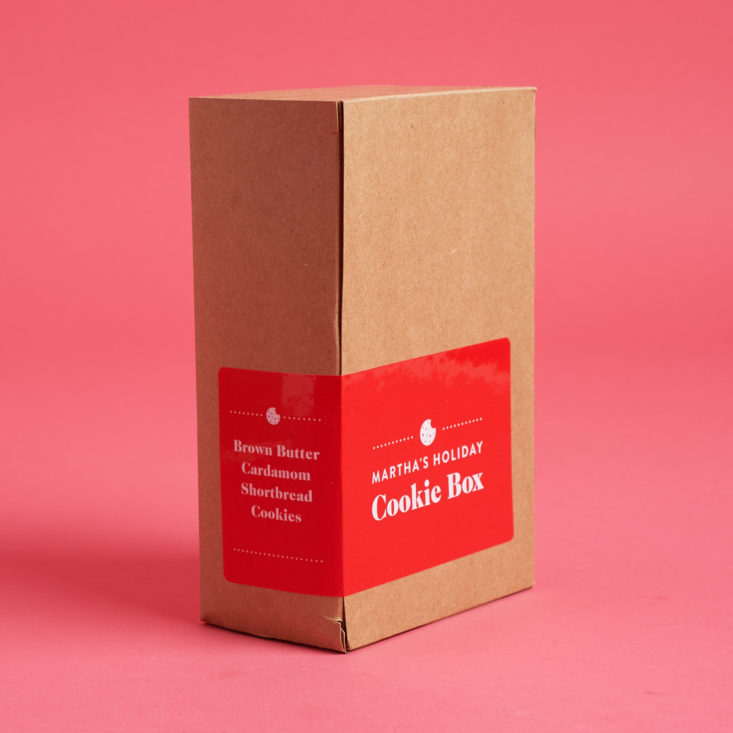
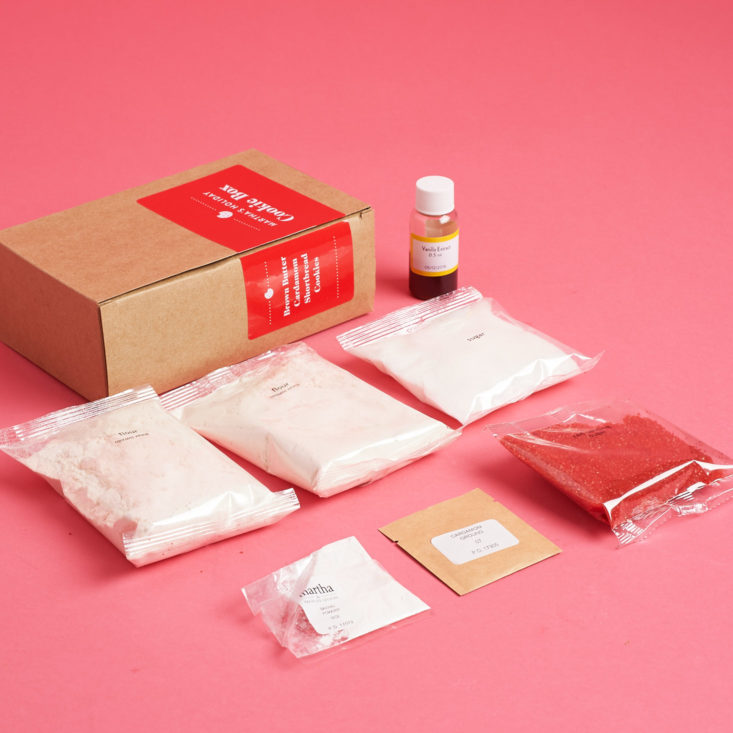
This recipe kicks off by browning just shy of two sticks of butter. Luckily I have browned butter before, so I was prepared, but for those who have never browned butter before I'd recommend looking up more detailed instructions online so you know what to expect. (Your butter will spurt and sputter in a crazy way and you'll need to stir almost constantly!)
Once the butter is browned and cooled, you combine it with your dry ingredients to make your shortbread. Then rest, then shape, then rest, then shape, then refrigerate!
Finally, you'll brush your cookie log with egg whites and roll in decorative sugar, then slice and bake. The recipe calls for 3/8 inch slices but a few of mine were on the heavy side, so I ended up with about 32 cookies instead of 40.
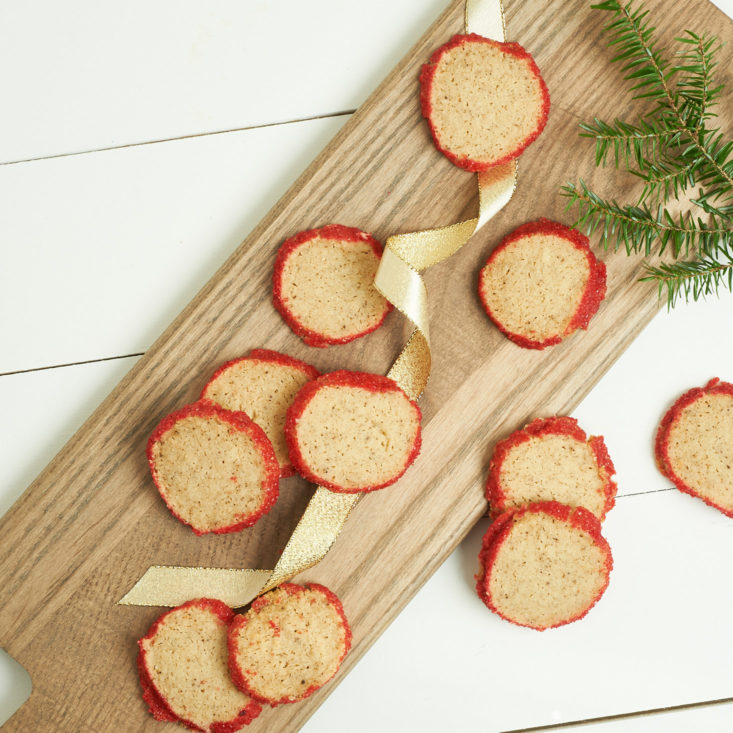
These cookies happily lived up to my expectations! A sandy texture (in a good way), with buttery, melt-in-your-mouth cardamom goodness, plus a bit of a caramel taste from the brown butter. These pair wonderfully with coffee and are a nice twist on a shortbread cookie for the holiday!
And, they look so festive! I'm a big fan of baked goods that look nice without being too fussy, and I feel like these are totally my style. I am definitely baking these again this winter (and working on perfecting my slicing technique).
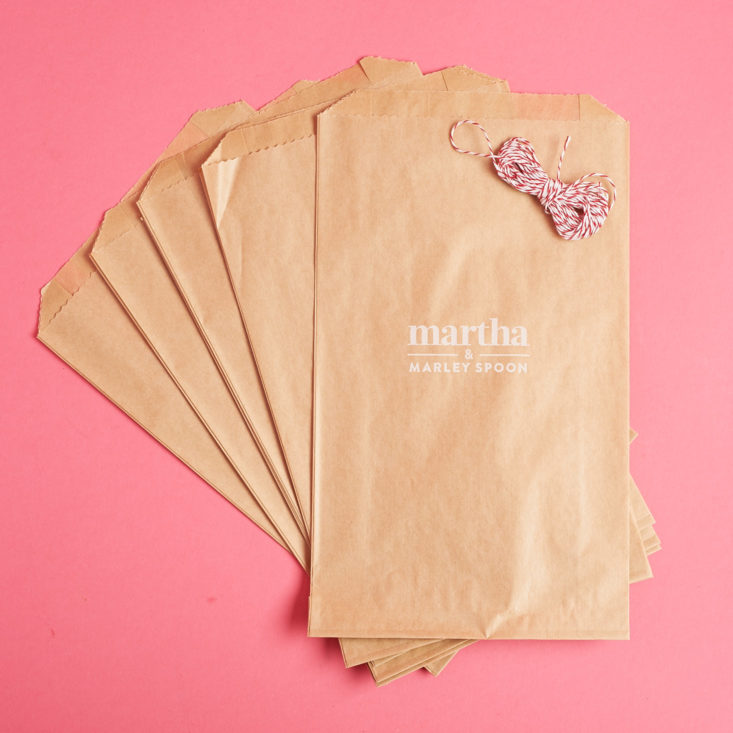
Martha & Marley Spoon also included a few brown paper bags and some colorful twine, in case you want to gift your finished cookies (or let guests take home a goodie bag). This is a small touch but it's super cute, and I love the idea of having simply bags like this available after holiday parties or in the office for people to take home!

Simple and festive but not fussy. Love it!
Verdict
All in all, I really enjoyed the Martha's Holiday Cookie Box from Martha & Marley Spoon. Aside from the chocolate in the gingerbread cookies, everything else was perfect, and the recipes weren't too difficult to follow. All the different flavors were amazing!
I baked all of these cookies in a single evening over the course of about 6 hours, including taking an hour-ish break (with brownies in the oven and other dough chilling in the fridge) while I got my son ready for bed.
This box costs $38.99, or about $9.75 per type of cookie, and about $0.27 per cookie. I spent less than $5 on the butter and handful of eggs that I needed to supply from home. Could you make these cookies totally from scratch for less? Absolutely! But as someone who really only bakes once or twice a year, the convenience factor is huge for me. I didn't have to spend time researching interesting recipes and going grocery shopping for sometimes tough to find ingredients like candied ginger. Plus, I'm not left with tons of leftover pecans and cardamom and decorative sugar that I would be unlikely to use again anytime soon.
All in all, I liked this kit and would totally pick one up next year to get ready for the holidays. And I'm really happy to have a few new recipes to add to my arsenal as well.
Is this box still available to purchase? Yes! This box is available from November 27th, 2017 through January 3rd, 2018.
What do you think of Martha & Marley Spoon? Would you pick up a kit like this for your holiday baking?


Please do not enter your email address in the Name field or in the comment content. Your email address will not be published. Required fields are marked *. Remember to post with kindness and respect. Comments with offensive language, cruelness to others, etc will not be approved. See our full comment policy here.