
Amazon has launched a STEM Club Toy subscription box! This monthly subscription delivers "handpicked, high-quality Science, Technology, Engineering, and Math toys" to your door for $19.99/month.
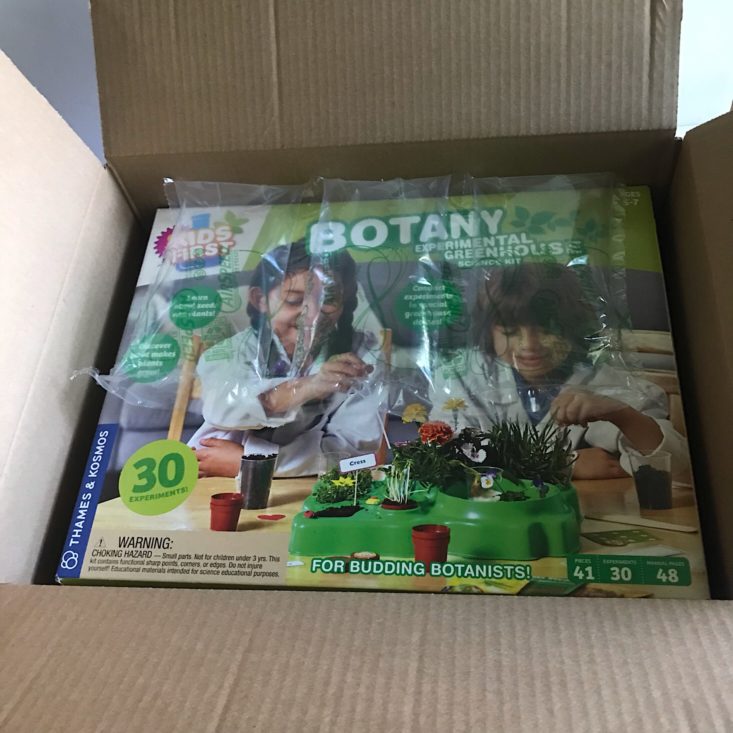
This subscription looks like any other shipment from Amazon, with no exterior branding on the box or special insert.
There are 3 age range options:
- 3-4-year-olds (counting, building, and cause and effect)
- 5-7 year-olds (hands-on experiments and explorations of electricity, earth science, and simple math)
- 8-13-year-olds (more complex projects and experiments based on principals of physics, chemistry, and engineering)
This is a review of the 5 to 7-year-old age range Amazon STEM Club, $19.99/month.
My Subscription Addiction paid for this box. (Check out the review process post to learn more about how we review boxes.)
About This Educational Subscription Box for Kids
The Subscription Box: Amazon STEM Toy Club
The Cost: $19.99 per month
The Products: Each month you will receive a different, age-appropriate STEM toy.
Ships to: U.S. (free shipping)
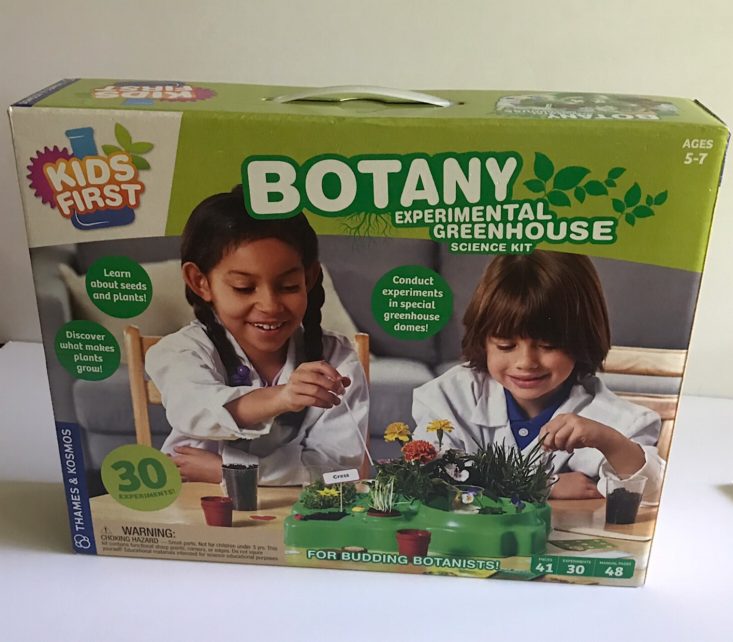
October’s Toy: Kids First Botany Experimental Greenhouse Kit
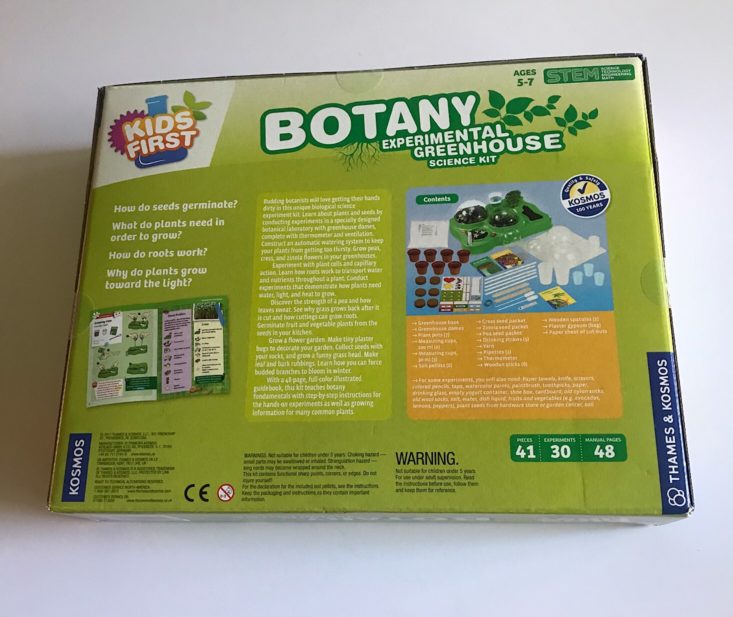

Kids First Botany Experimental Greenhouse Kit - Retail Value $39.99
This toy is so cool! Having our very own greenhouse that we can keep indoors is such a unique learning experience. I am not much of a gardener and have a tough time keeping any plants alive in my house, so maybe I'll learn something too!
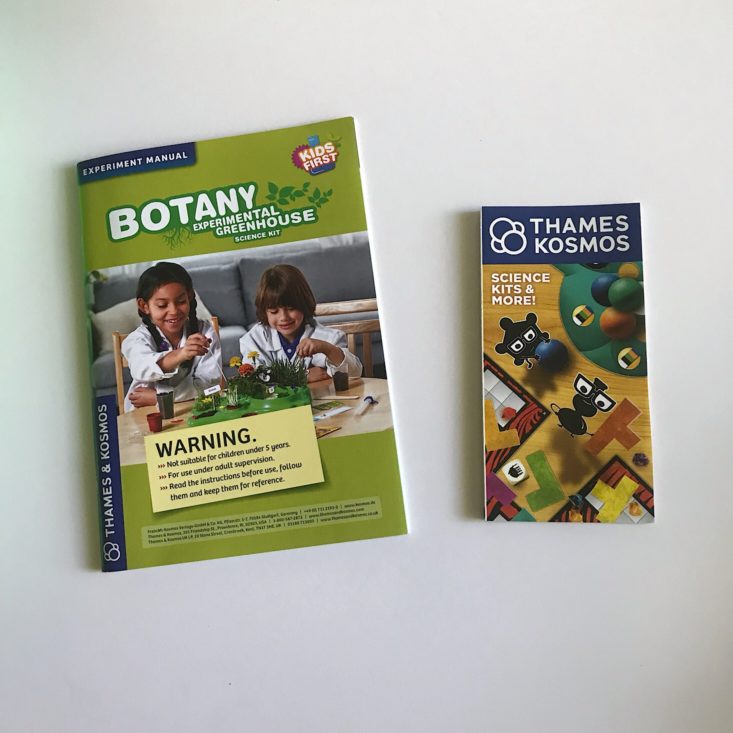
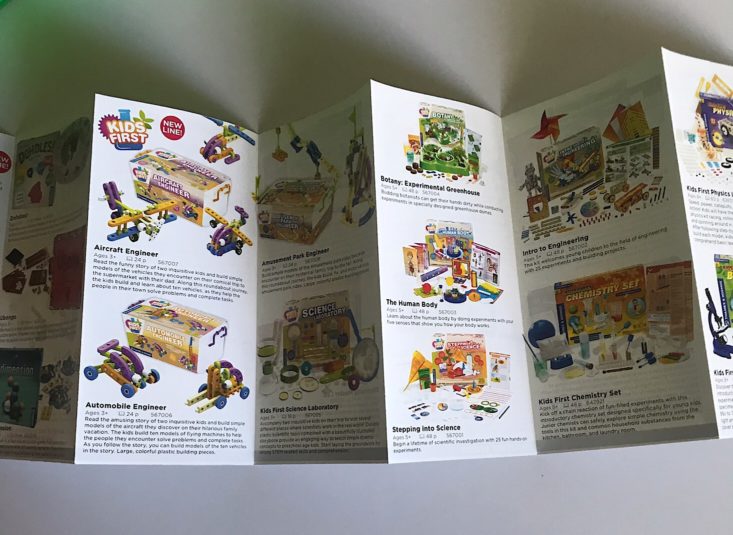
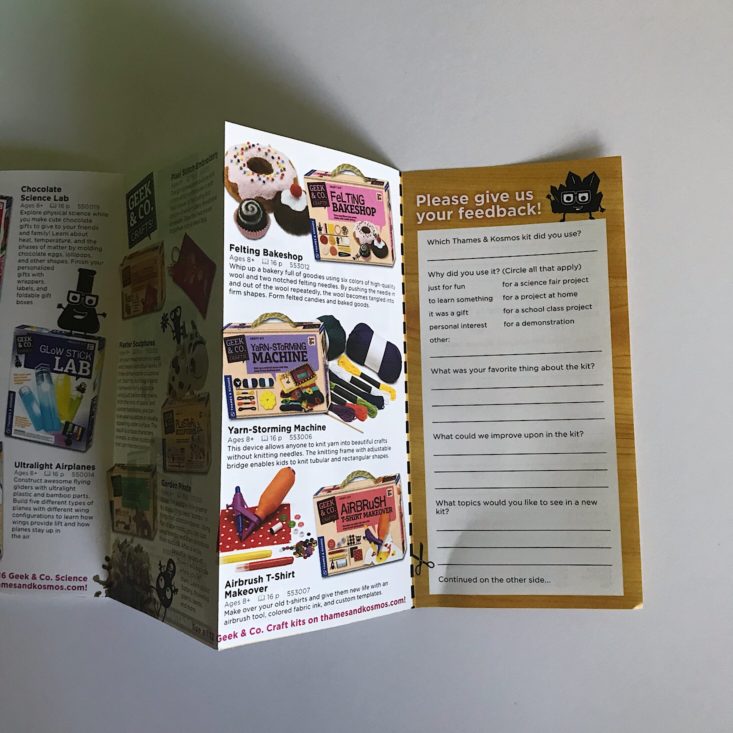
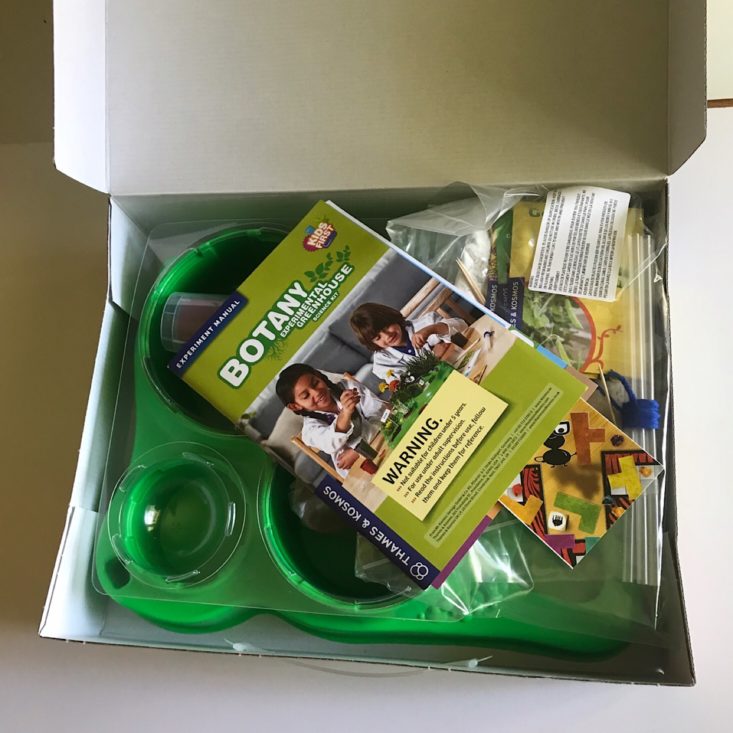
These are the inserts that we received in the box. The smaller one showed a lot of different toys that the parent company, Thames & Kosmos, offers as well as a form where you can provide feedback.
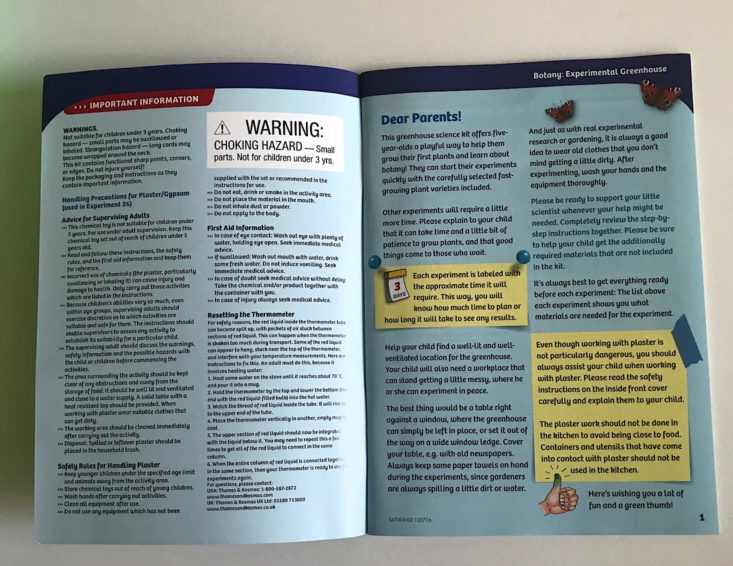
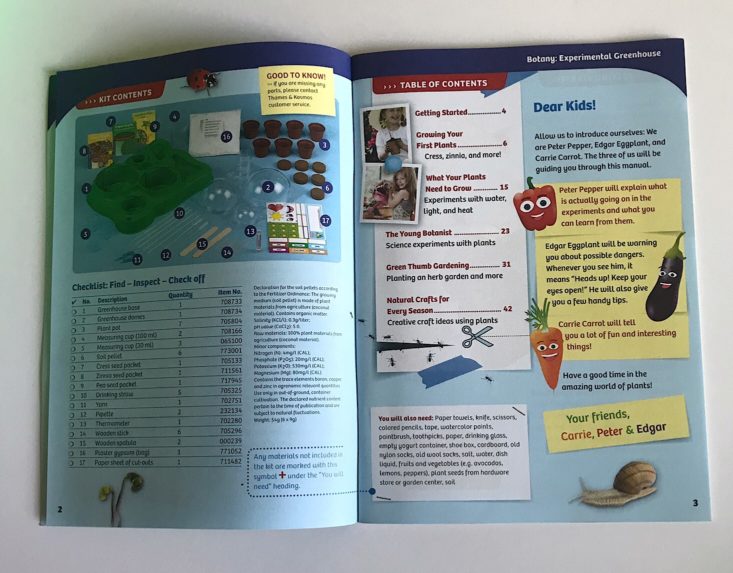
The first two pages of our instruction booklet contained some general warnings and information, a letter for parents and a table of contents. They also introduce some characters named Carrie Carrot, Peter Pepper and Edgar Eggplant. Peter explains the science behind the experiments, Edgar warns of possible dangers, and Carrie provides some fun facts along the way. This is pretty cool so that you can know what to expect when you see each of them throughout the book.
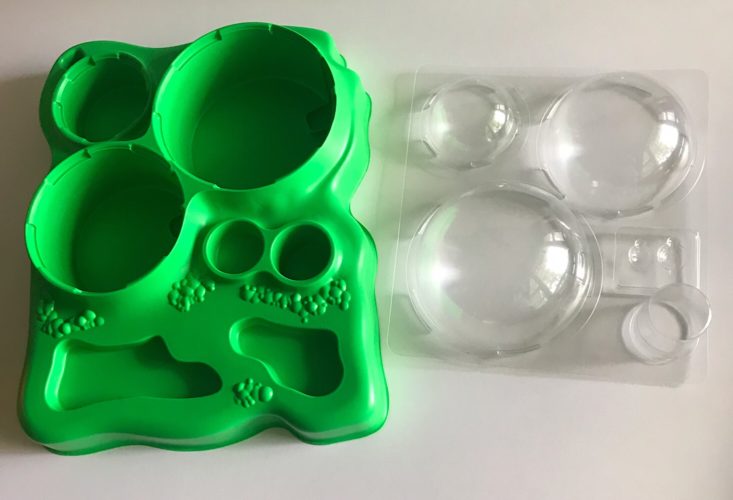
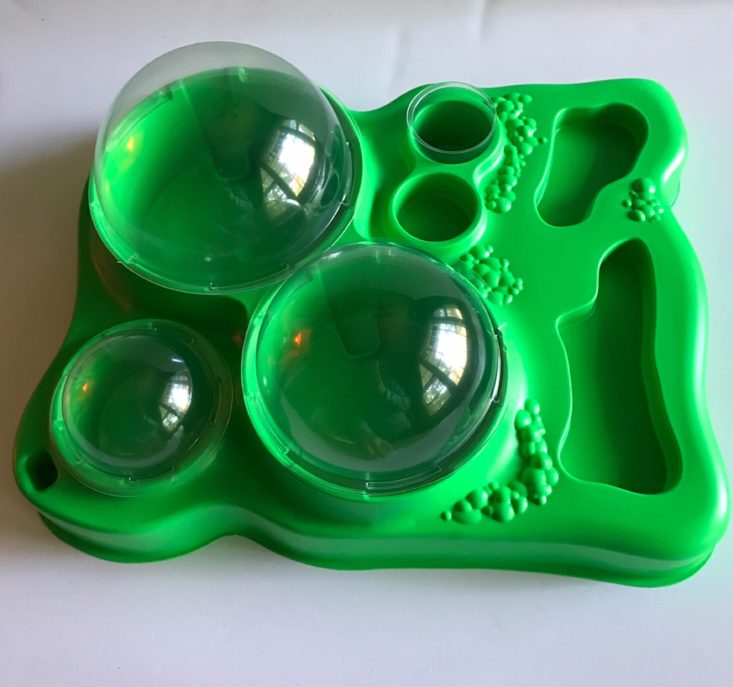
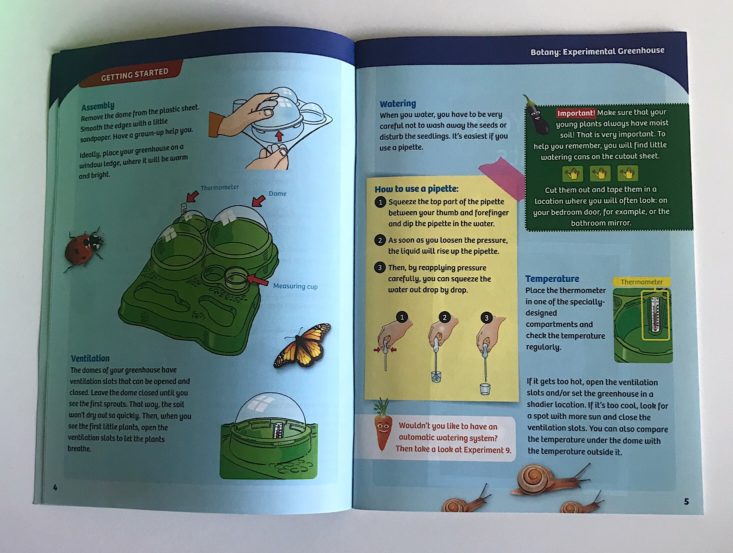
The first step to getting started was to set up our little greenhouse. They even provided some simple instructions for how to use a pipette when you need water and a guide for how to place the little thermometer that we received inside the greenhouse to keep track of the temperature.
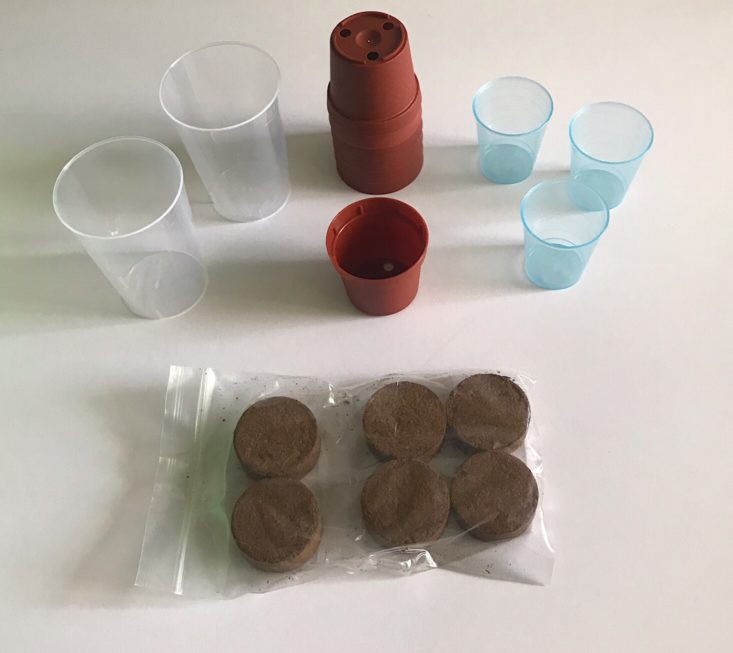
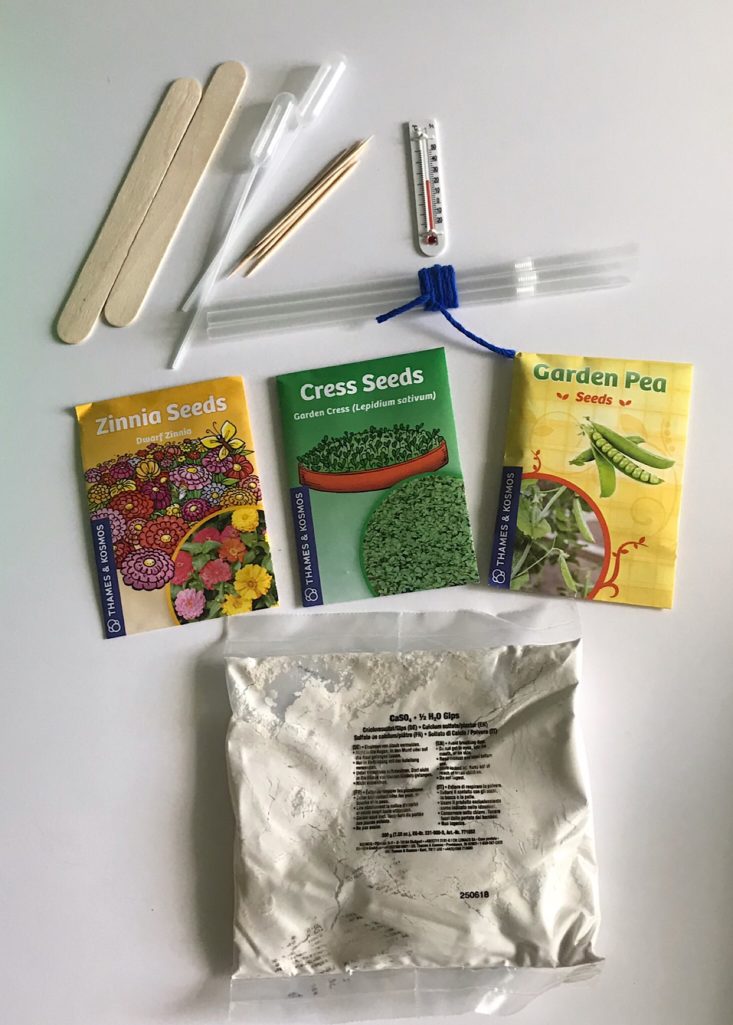
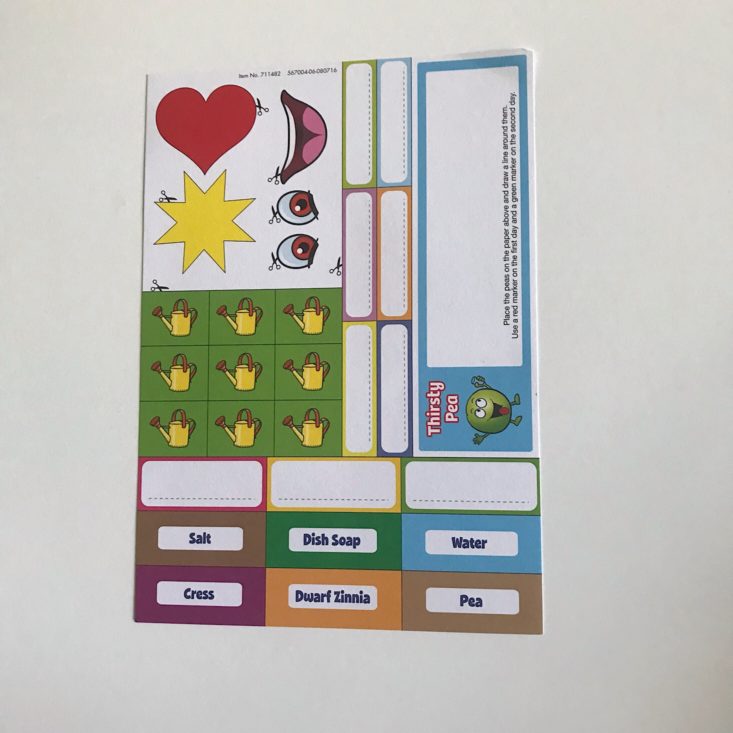
These are the rest of the materials we received; several cups, including measuring cups, mini planting pots, soil pods, pipettes, seeds, plaster and labels along with a few other items. These are all for various experiments throughout the booklet.
Section 1: Growing Your First Plants
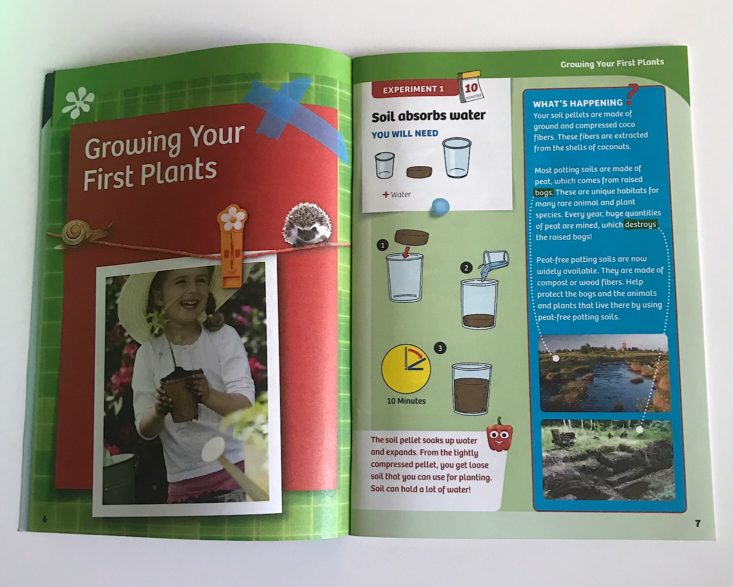
The book was divided into various sections. The first of which was Planting Your First Plants. This is where the seeds we received come into handy. Unfortunately, most of the experiments in this book are meant to be done in spring or summer, so I had to flip through and pick the few things we could do now. While it seems like it would be ideal to receive this toy in the spring, I don't mind receiving it now because it will give us time to get familiar with some of the materials and also plan ahead for a spring greenhouse!
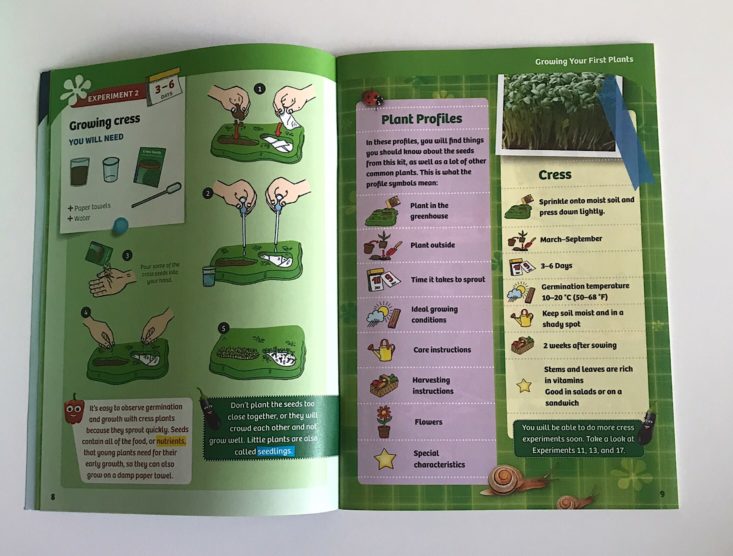
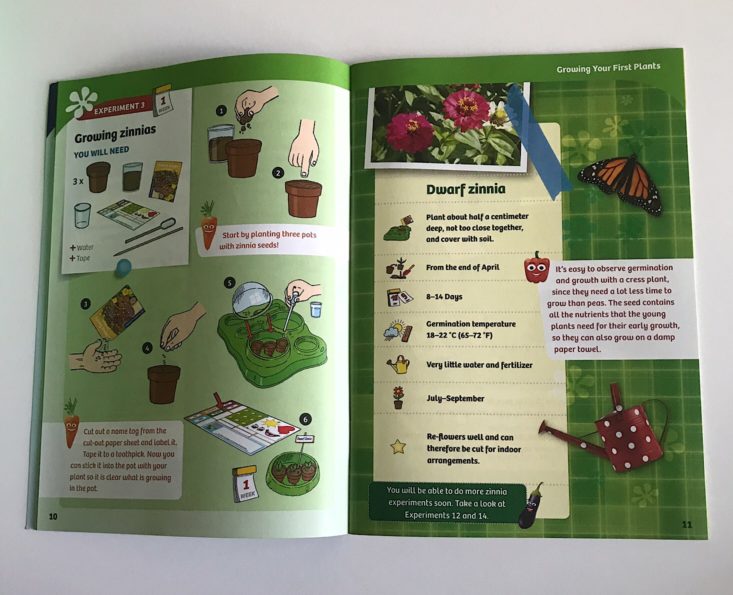
This section included details for growing cress, zinnias and peas, which are the seed packets they included. They also included a mini experiment where you observe a pea seed growing as it soaks up water. This is a great way to show how water helps plants grow and change as you give them the things that they need. Each experiment has a little note about the length next to it and they range from minutes to hours to days and weeks! This was helpful as I decided which experiments to complete.
Section 2: What Your Plants Need to Grow
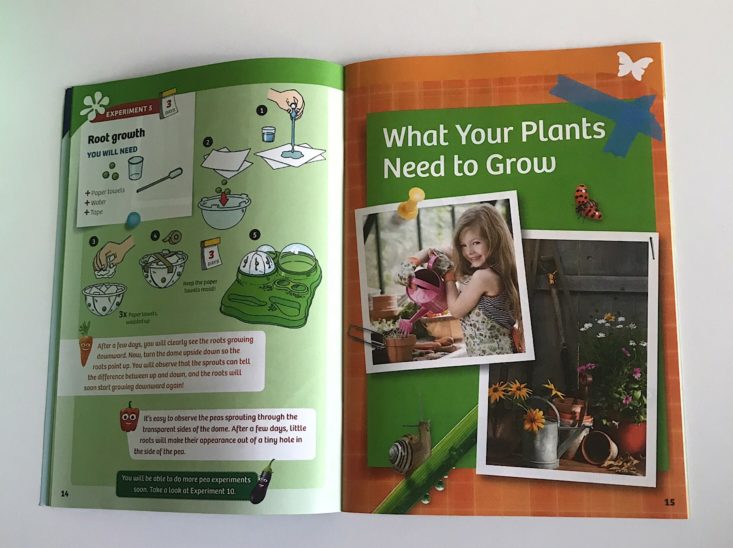
This section explores what your plants need in order to grow.
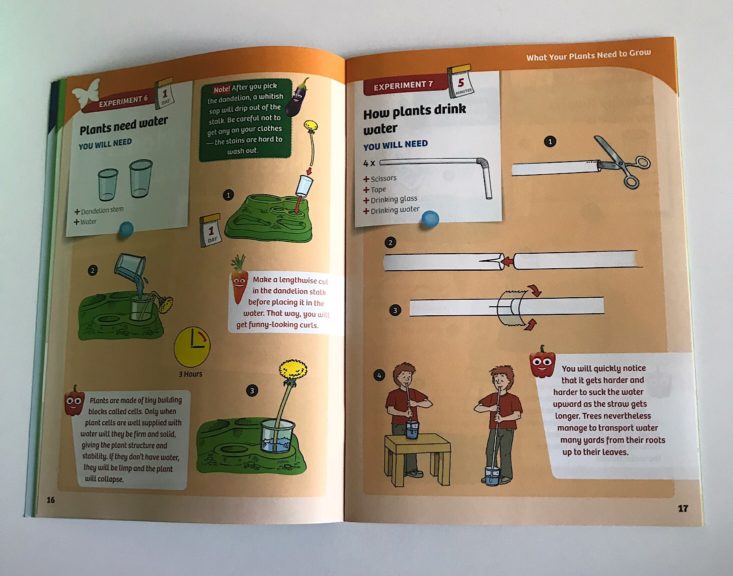
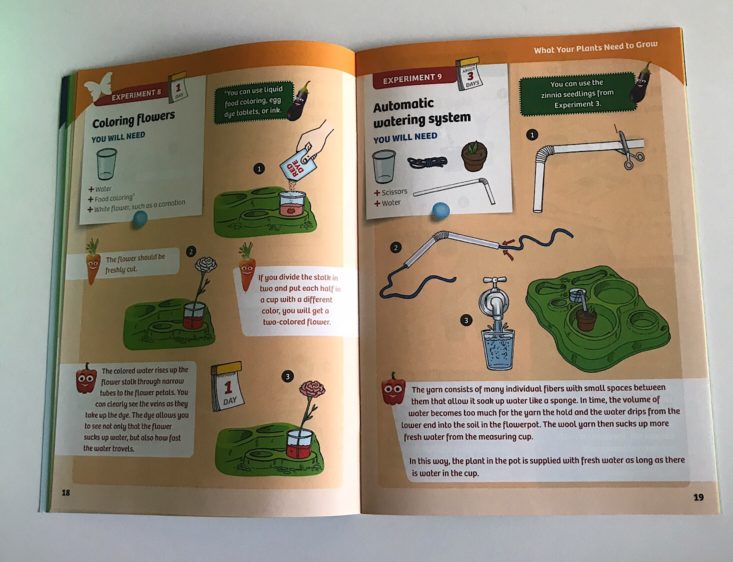
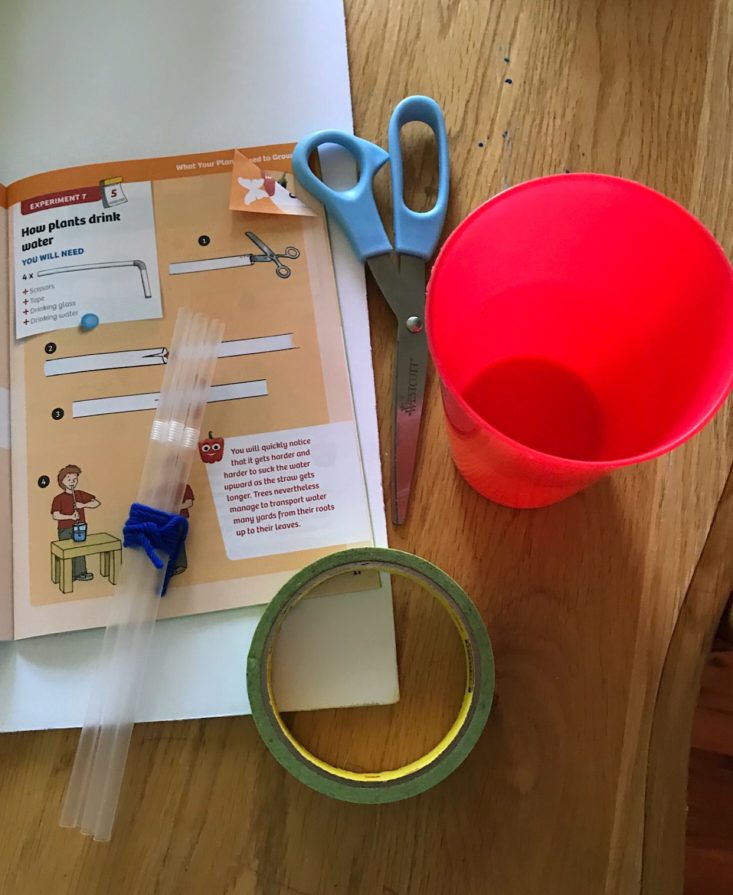
First, we explored how plants drink water and they gave instructions for how to create an automatic watering system for your plants using the straws and yarn that they provided. We were actually able to do an experiment from this section to observe how a plant gets water through its roots. We needed tape and scissors and water.
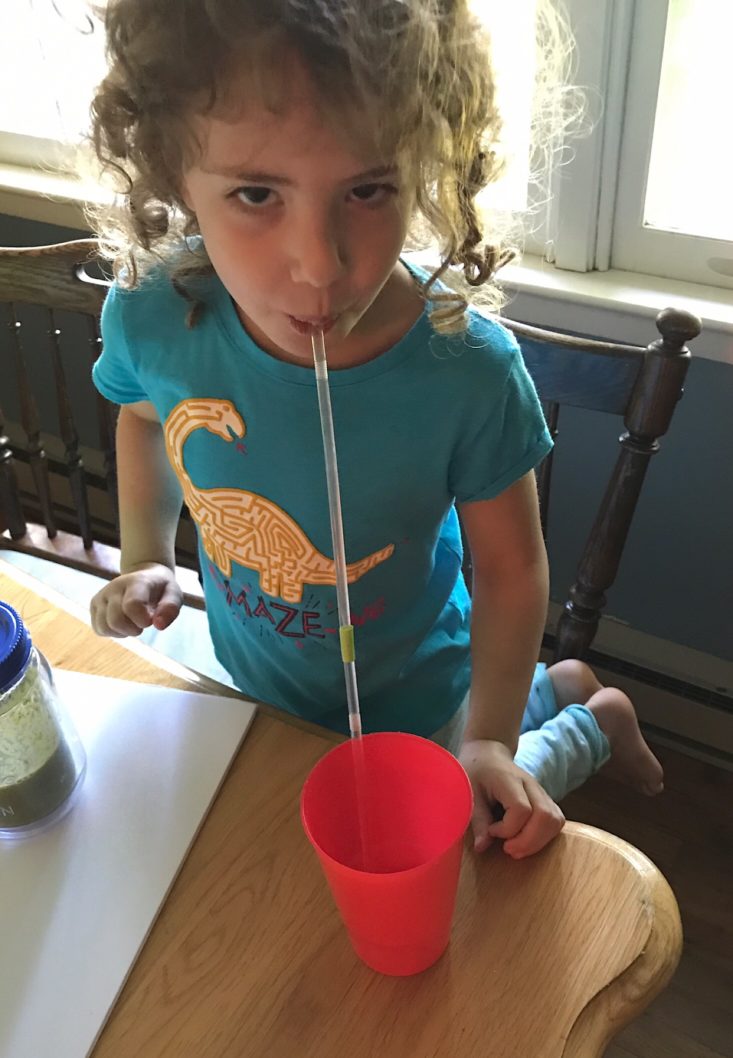
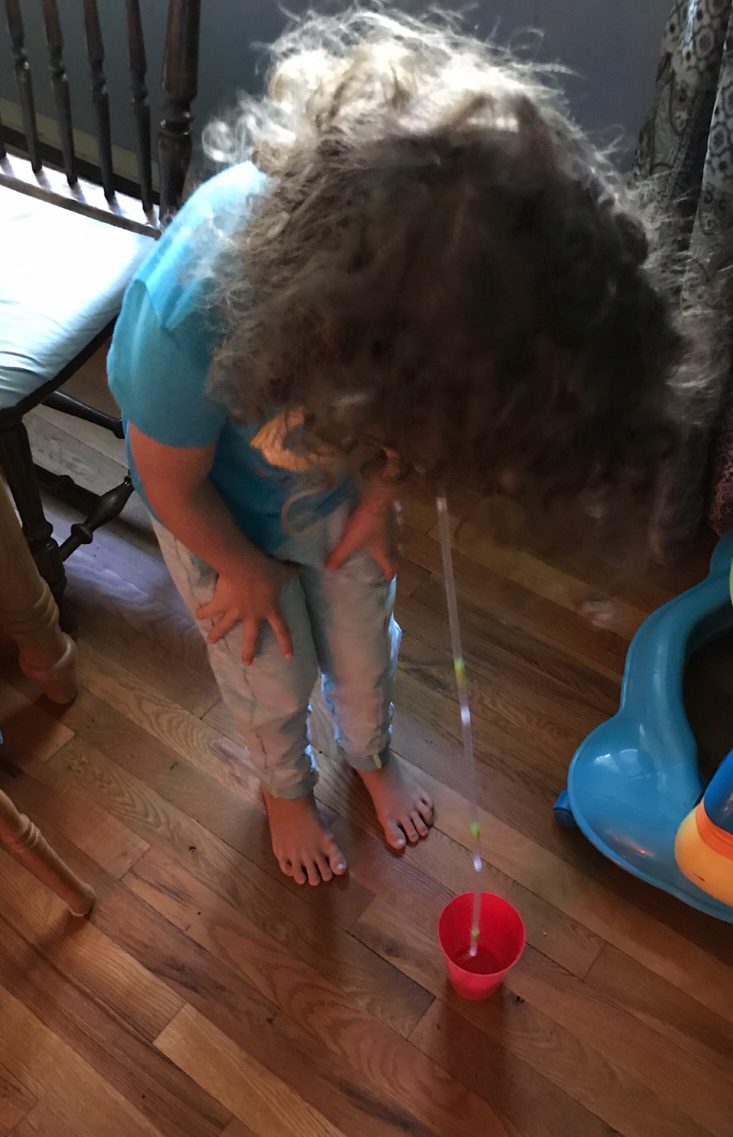
We started with just two straws and added more until we had four straws taped together. Then we tried to drink using the various lengths of straws. This showed us how it got harder to get water to our mouths the longer our straw was. It was a great way to show how strong and magical plants are as they soak up water and transport it all the way to their leaves.
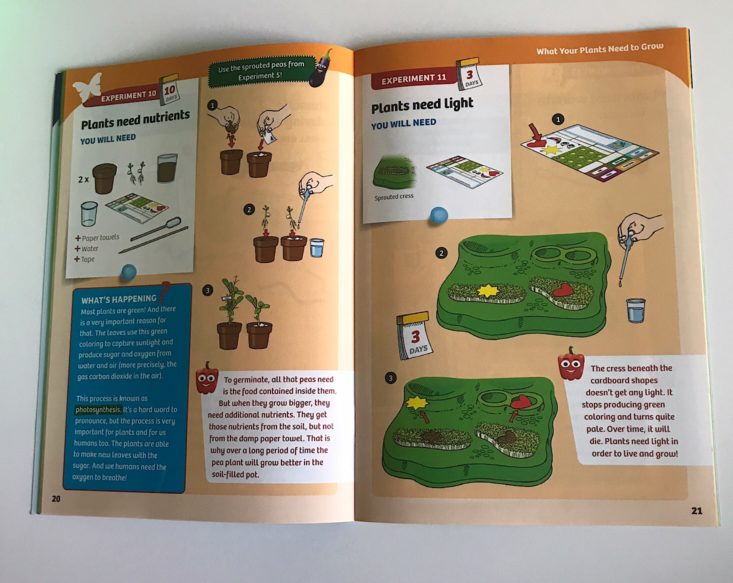
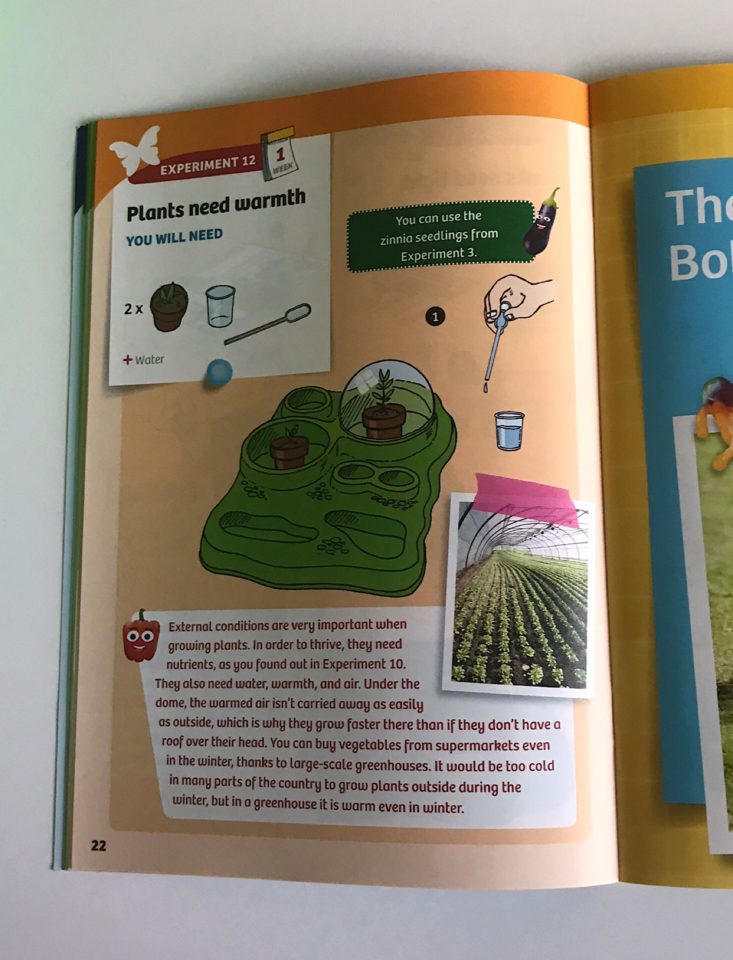
This section also explored how plants need light. They all sort of build upon one another, so while the straw experiment was a great mini-lesson, it would be even more effective when we are doing it in conjunction with everything else. But at least you can get a general idea of the format and flow of this kit!
Section 3: The Young Botanist
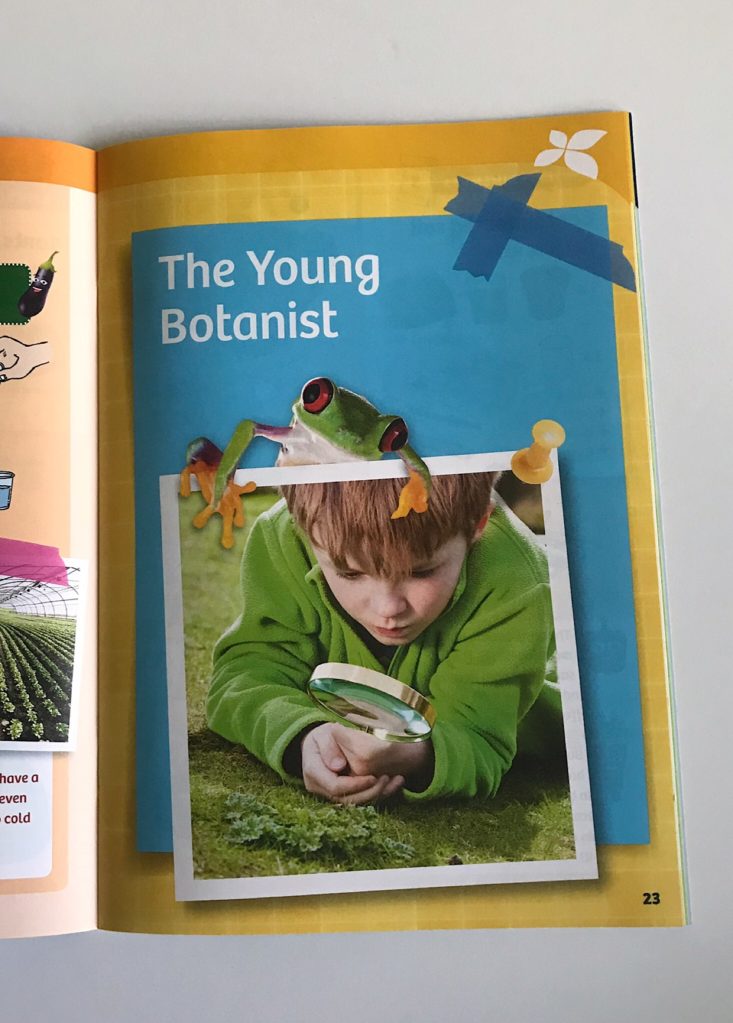
The next section is about the young botanist and involves several explorative activities.
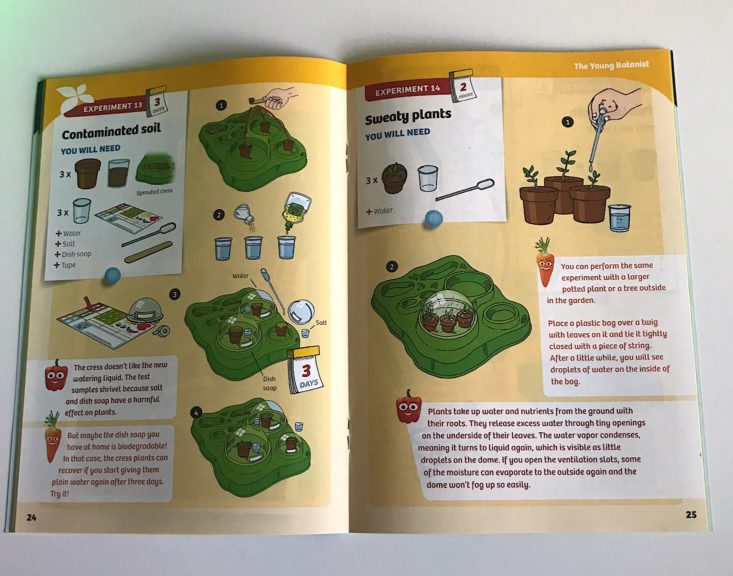
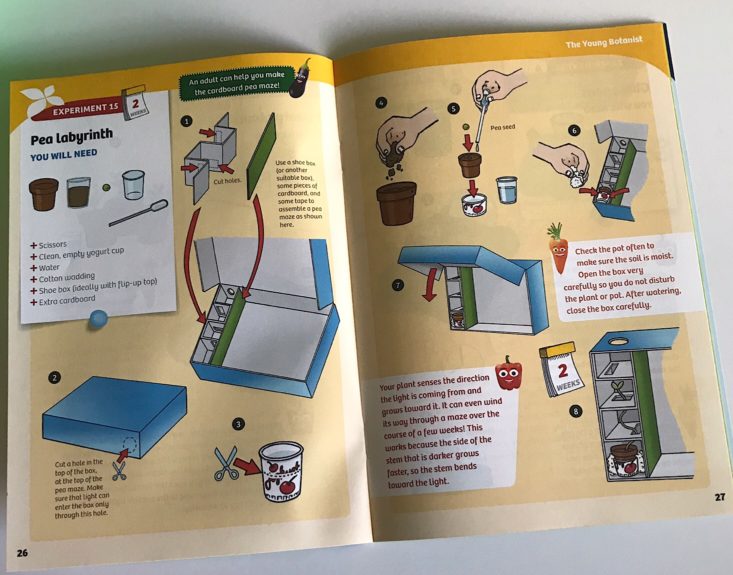
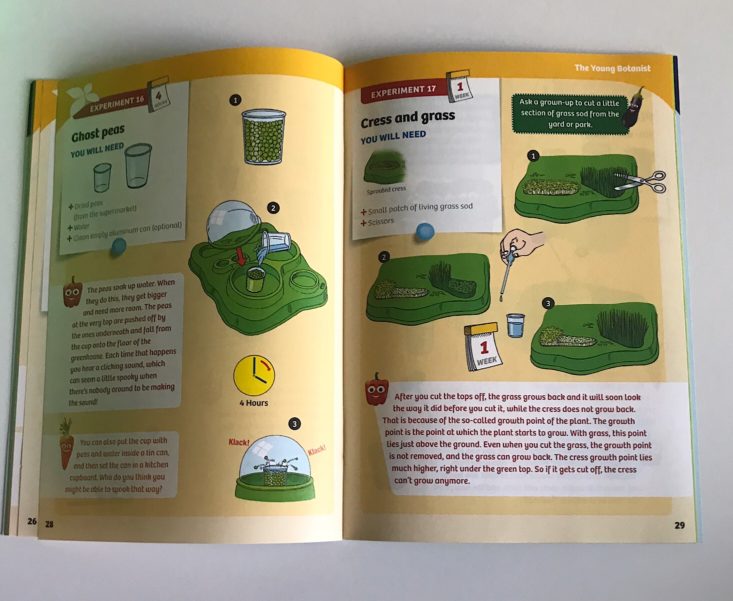
These included observing contaminated soil creating a pea labyrinth and a section on cutting your cress and grass once they have started growing and observing what happens. Again, these build upon some of the basic activities that we should have begun in section one after planting our seeds.
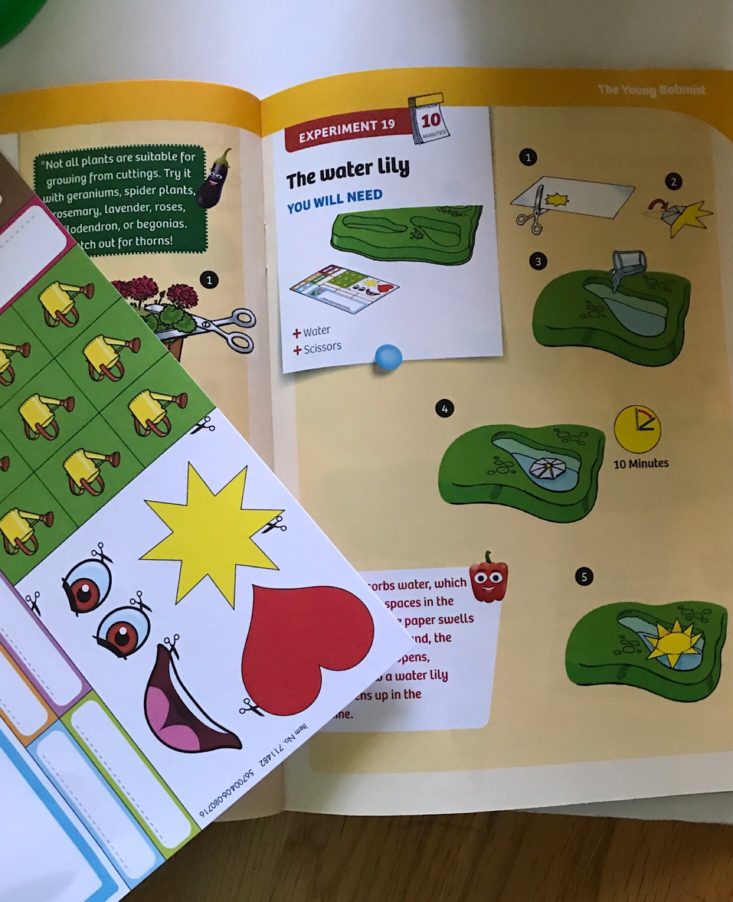
We were able to do an experiment in this section to explore how flowers open up in the sunshine. We cut out the little yellow lily from our labels sheet and added some water to one of the sections on our greenhouse base.
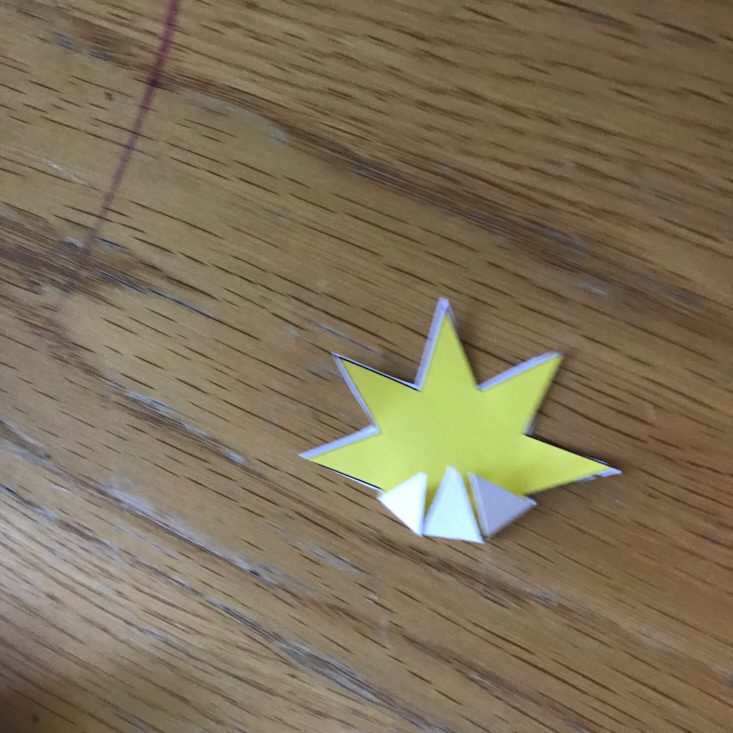
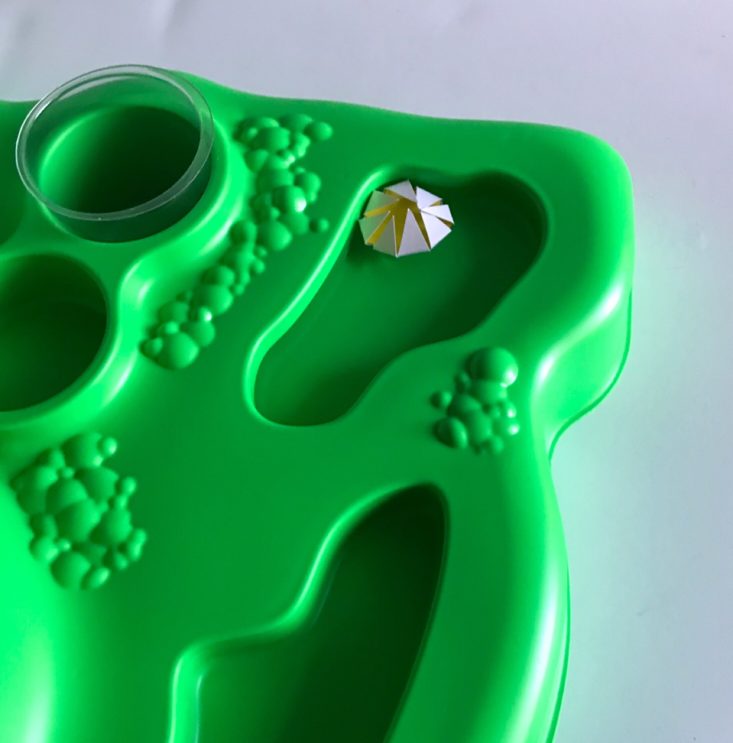
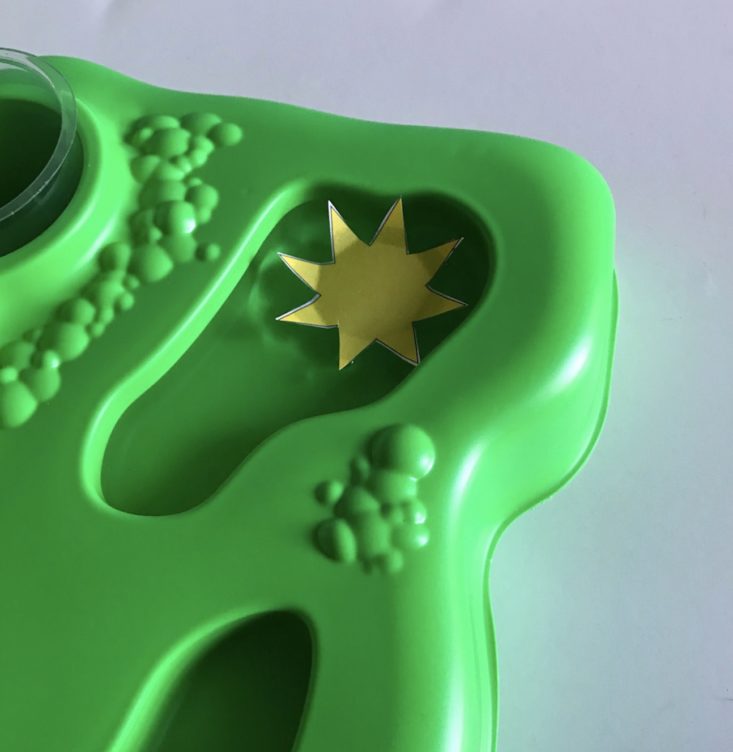
We folded the edges in and then placed it on the water and just like magic, the paper absorbed the water and it opened up. My daughter was able to make the connection immediately and I liked how simple it was to show it to her!
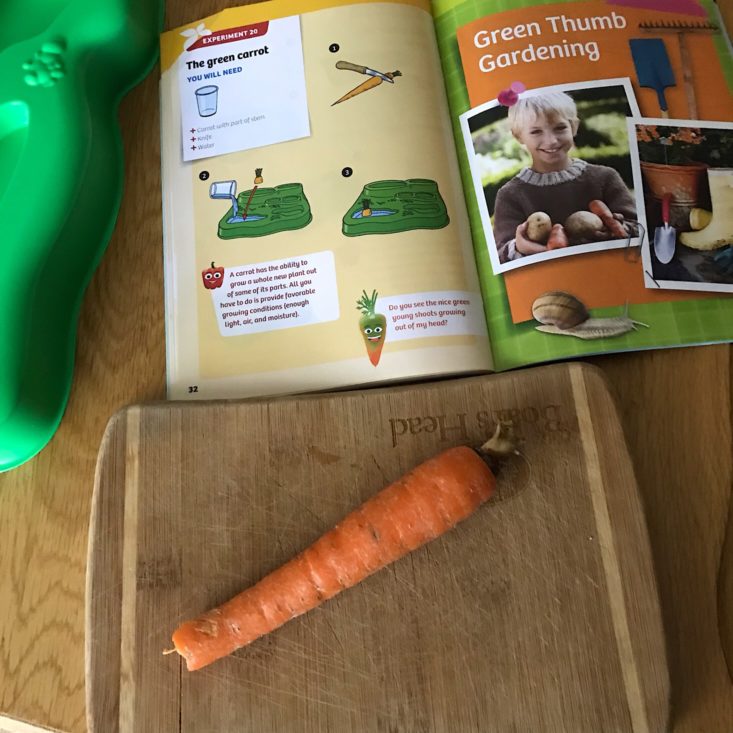
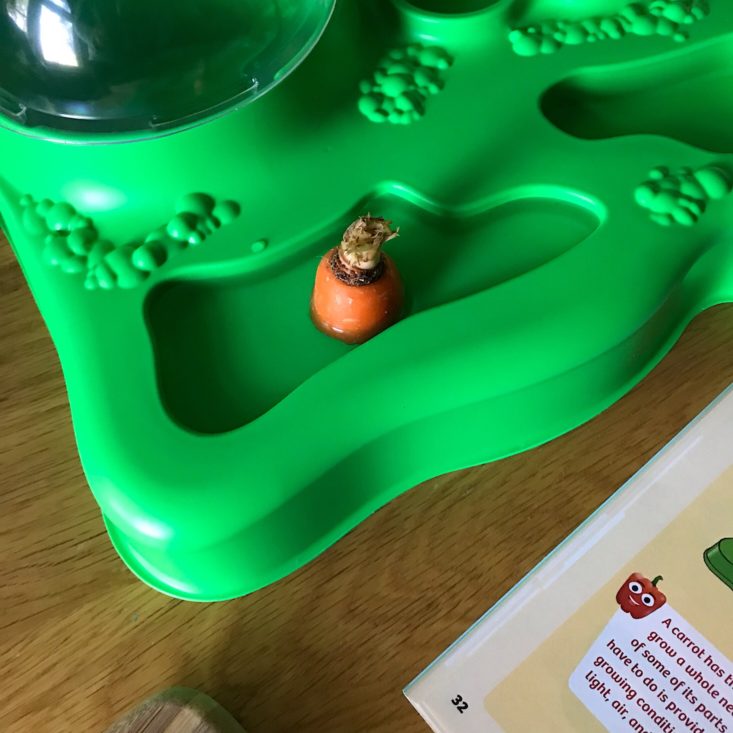

We tried one more experiment from this section. It involved chopping off the top of a carrot and placing it in some water and providing the right conditions- warmth and sunlight- to see if we could sprout some fresh growth from the top. It's really hard to see, but we had some new green sprouts the very next day! Very cool and a quick way to see growth for those who are a bit impatient!
Section 4: Green Thumb Gardening
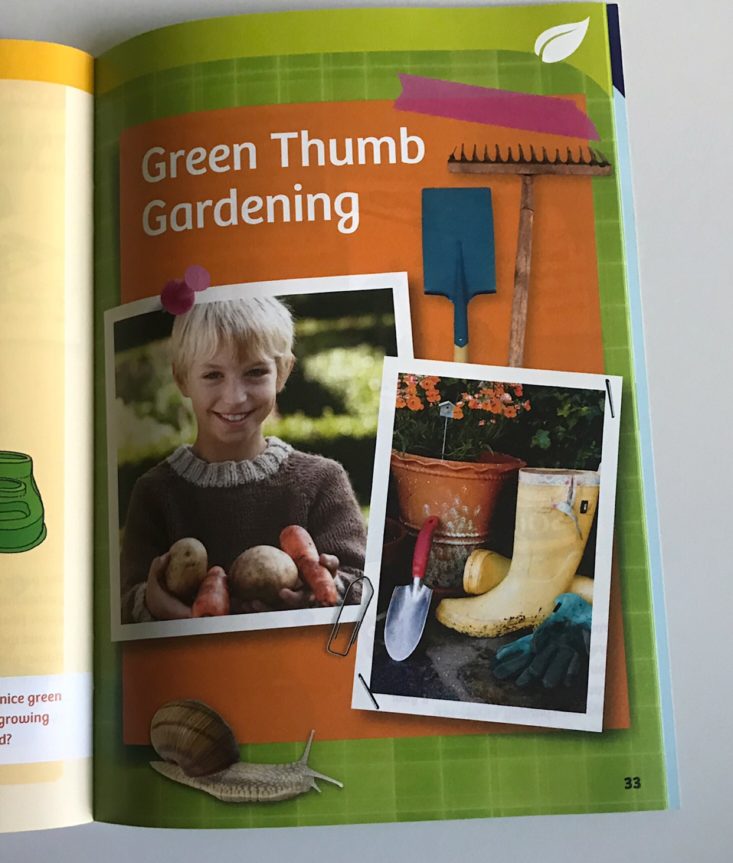
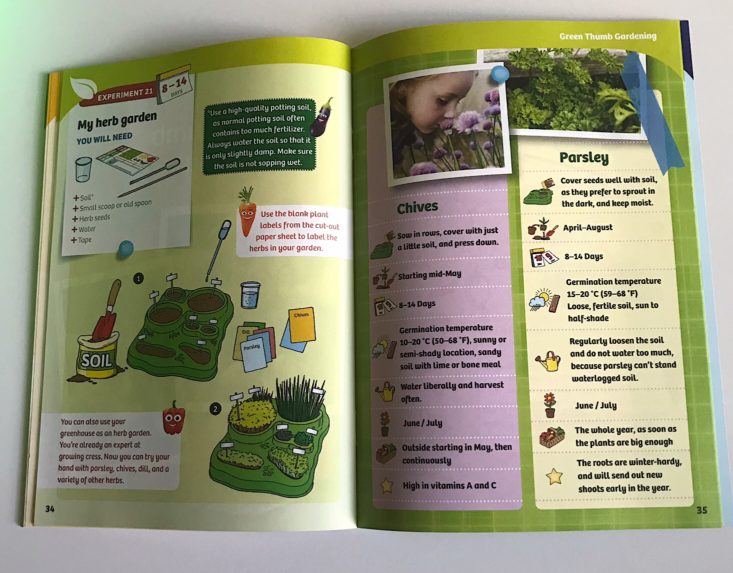
The next section on Green Thumb gardening involves turning your greenhouse into a miniature herb garden. We would have to get our own seeds, but this one really appeals to me because I love having fresh herbs to use for cooking!
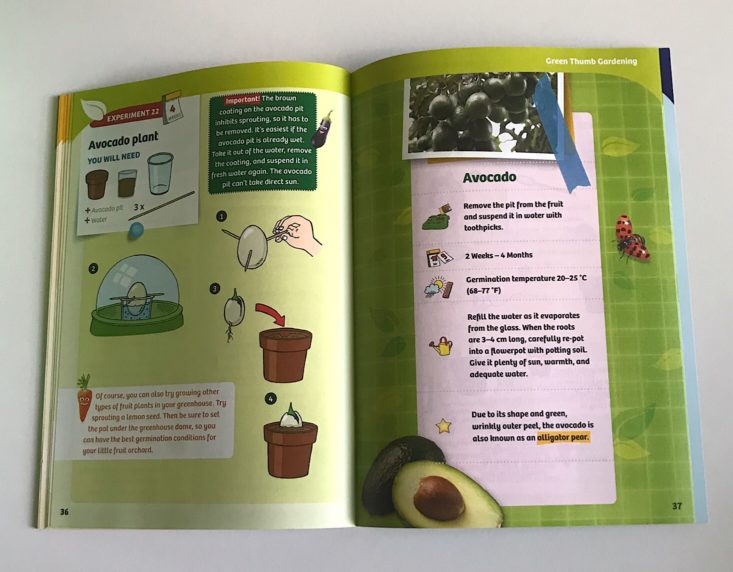
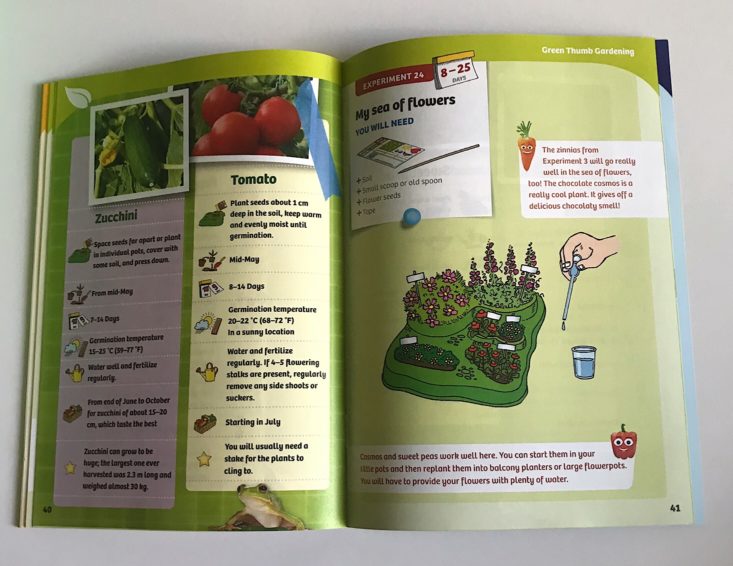
There is also a section on growing tomatoes, zucchini and avocado as well as several pages on planting different types of flowers such as sweet peas and cosmos.
Section 5: Natural Crafts for Every Season
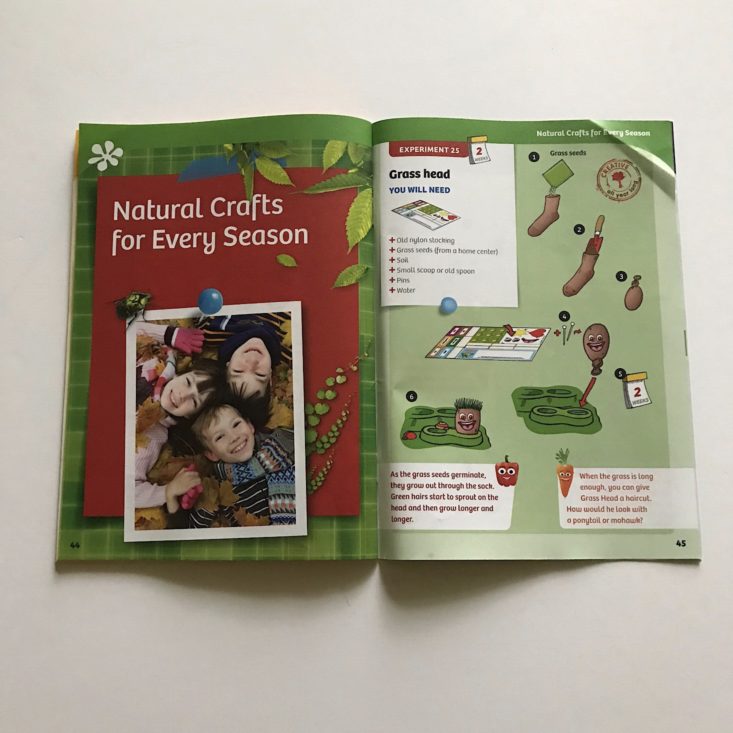
This section involved some experiments that you could try during different times of the year.
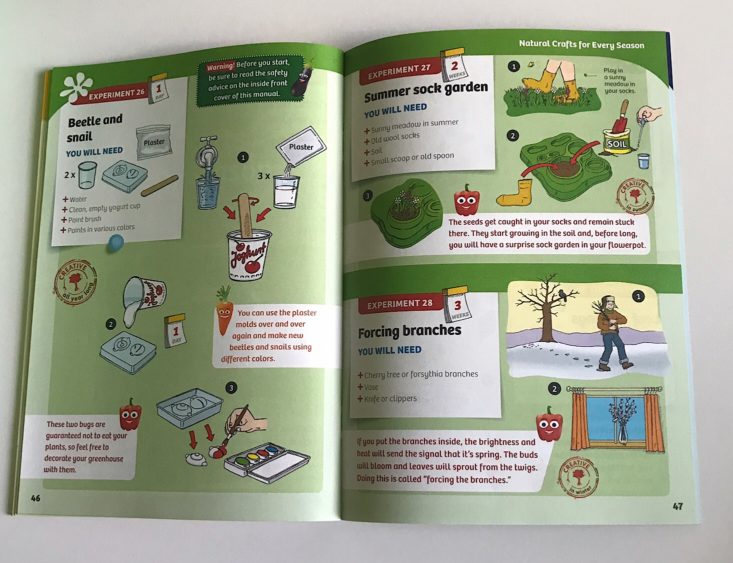
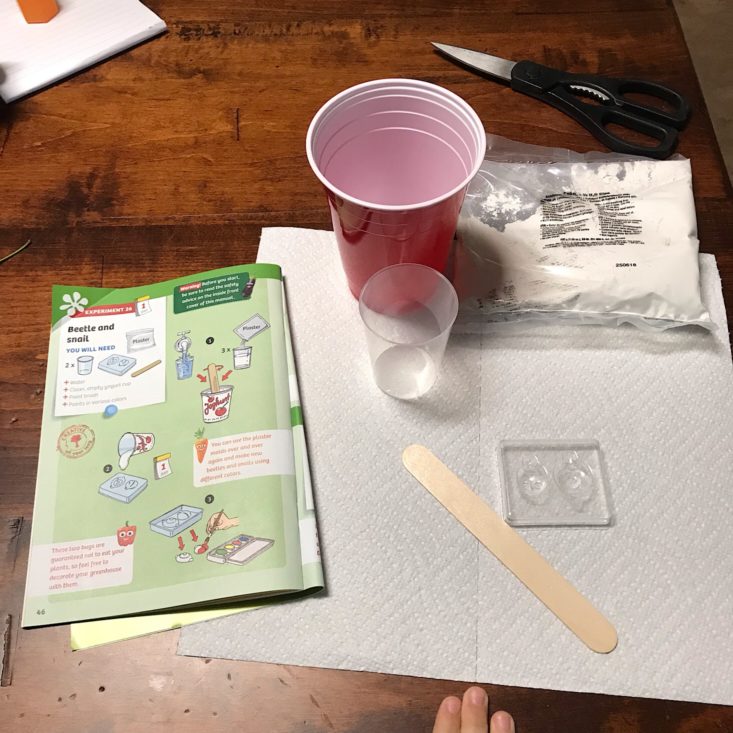
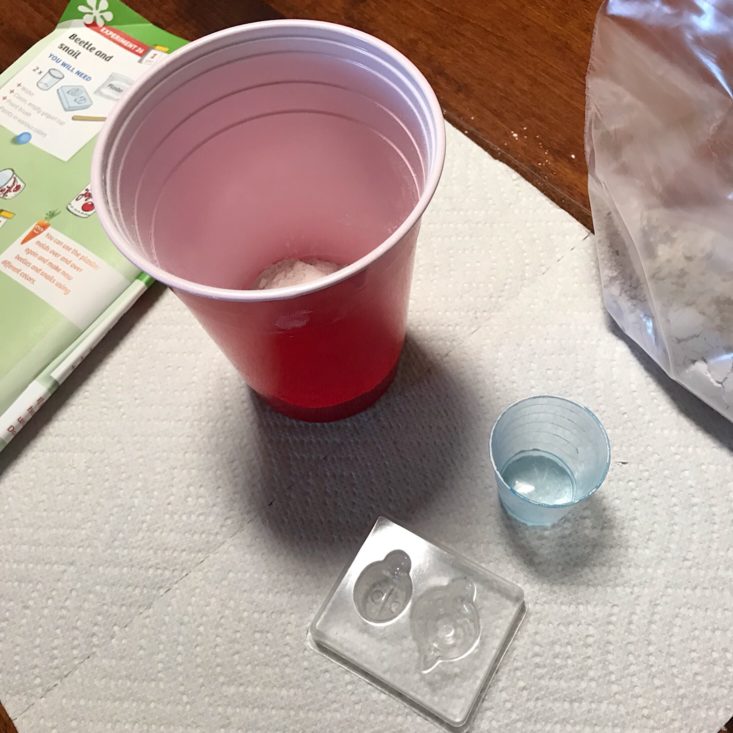
The first activity was to make a plaster beetle and snail so that you can decorate your garden. They provided the plaster, molds, cups and a stick to stir with. We just needed water and a large yogurt cup, but I opted to use a solo cup since we had none. All I had to do was use the little blue cups to measure out the plaster and water and stir it with a stick to mix it.
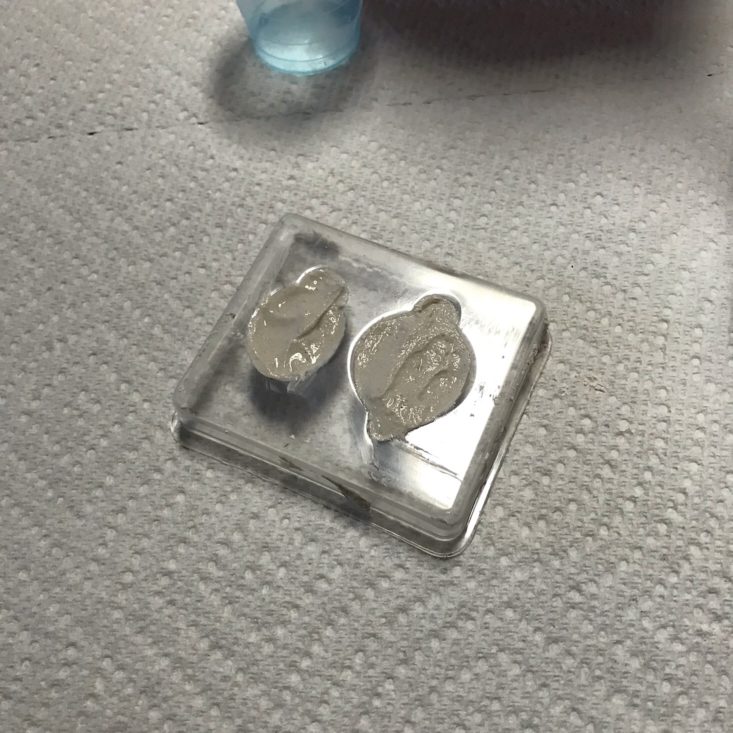
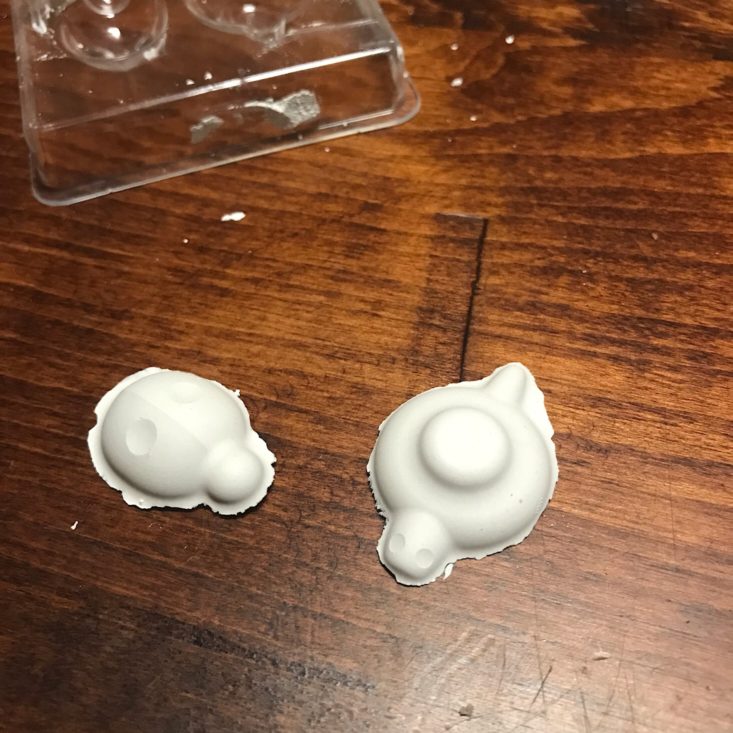
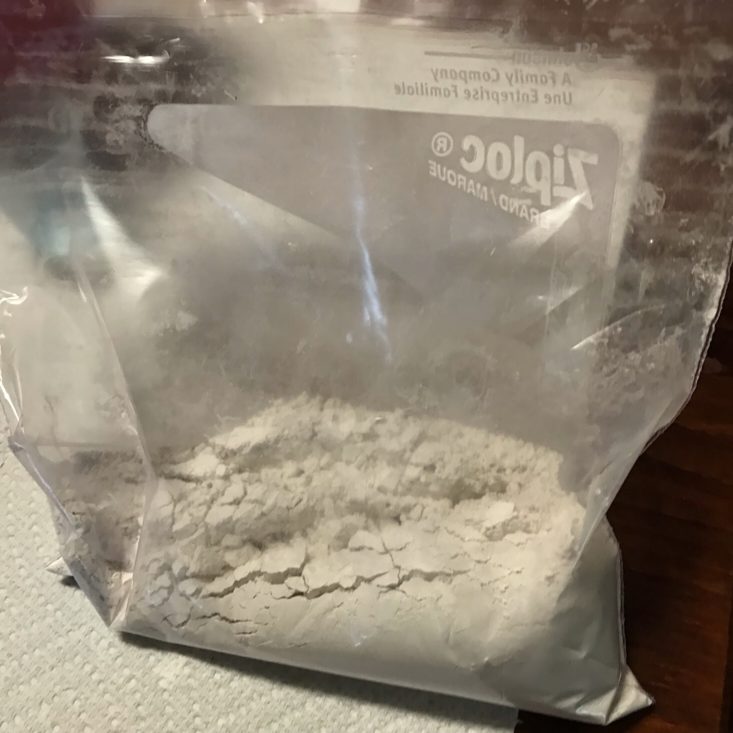
Then I spread it into the mold and let it dry overnight. They popped right out of the mold and now are waiting for us to paint them which will be a good rainy day activity. There was plenty of plaster left over so that we can make many molds if we wanted to and I think I'll do that before I get the paint out so that we can extend the activity a little longer since they are so small (about the size of a quarter).

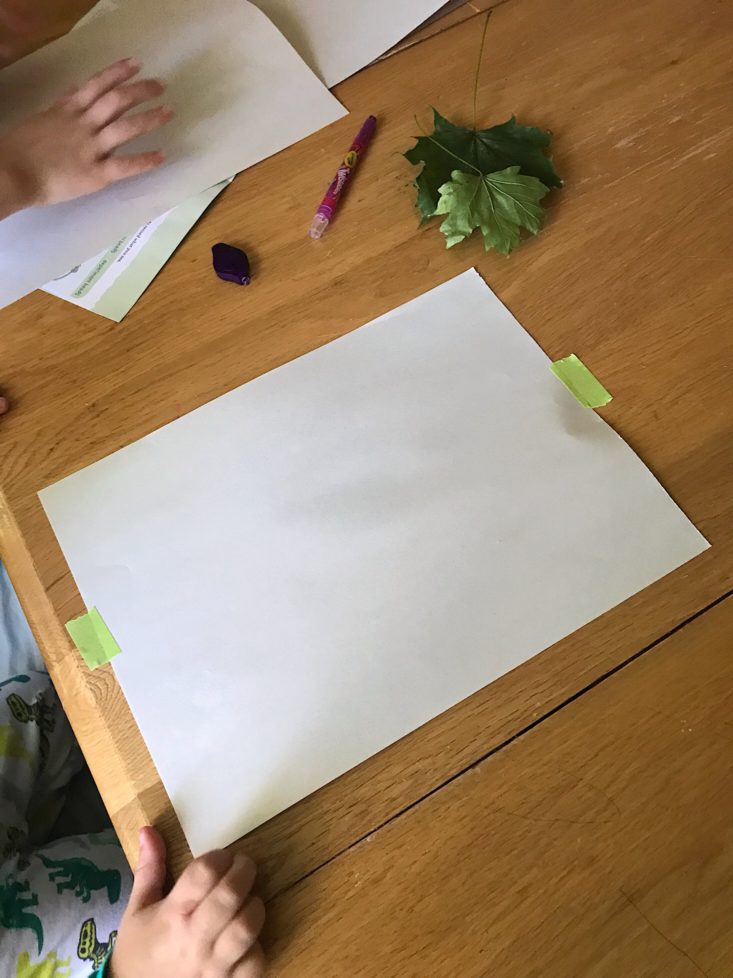
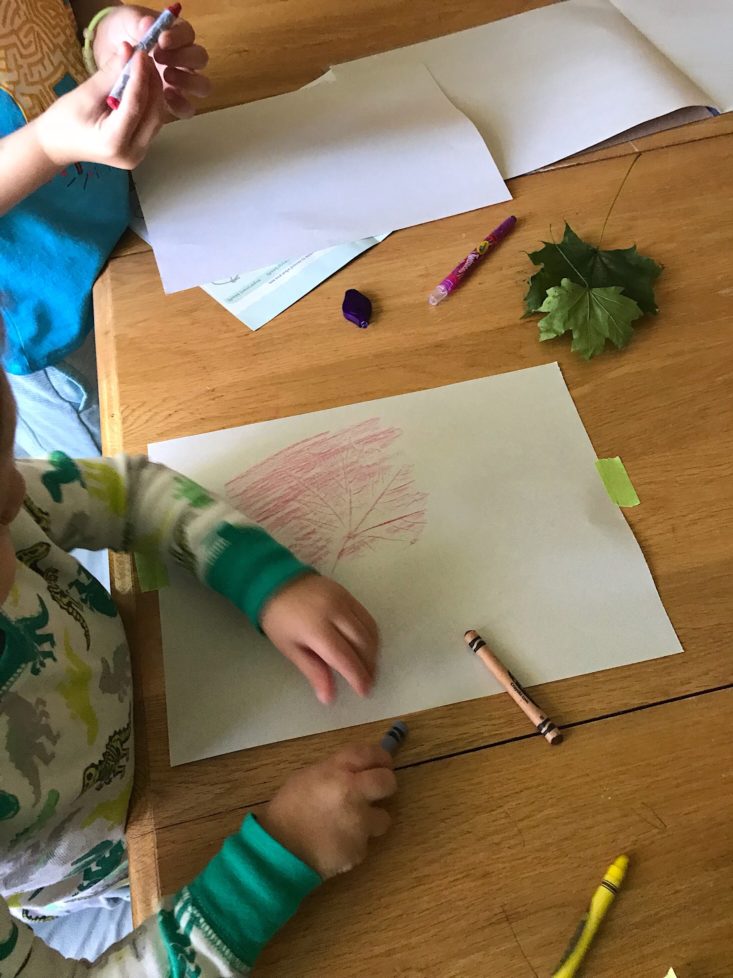
We were able to do the last two activities in this section, which were planting an acorn and doing leaf rubbings. It was interesting trying to do the rubbings with my 2 and 4-year-old, but it was a great activity for fall that went with our botanist theme!
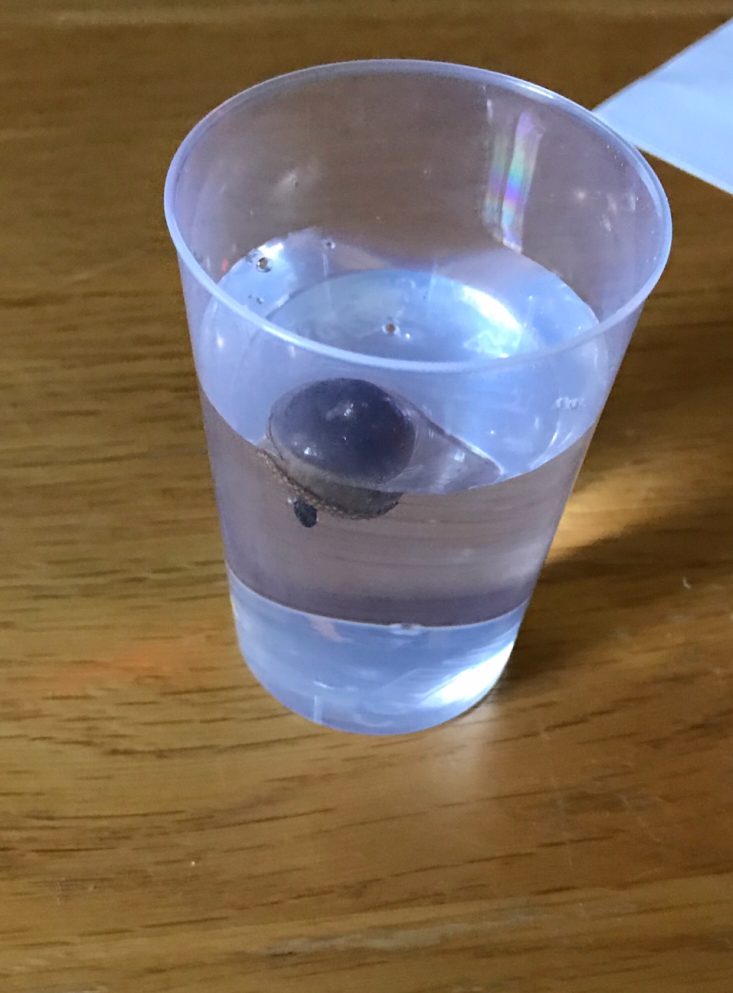
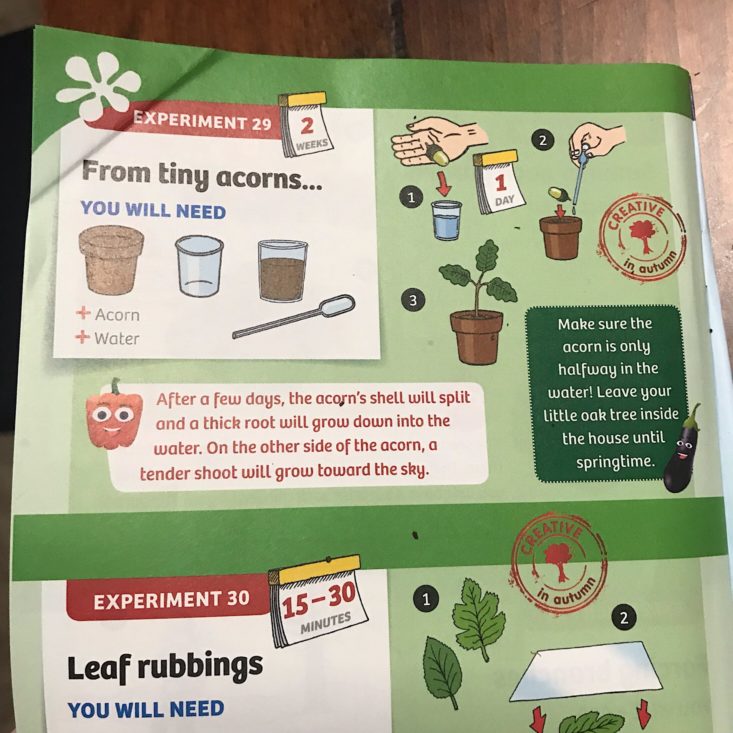
The first step for our acorn was to let it soak in water for a day. At least that's how I interpreted the instructions. This is where it was a little confusing since there were mostly pictures instead of directions, but I assume that's because it's such a simple activity and hopefully there isn't much room for error.
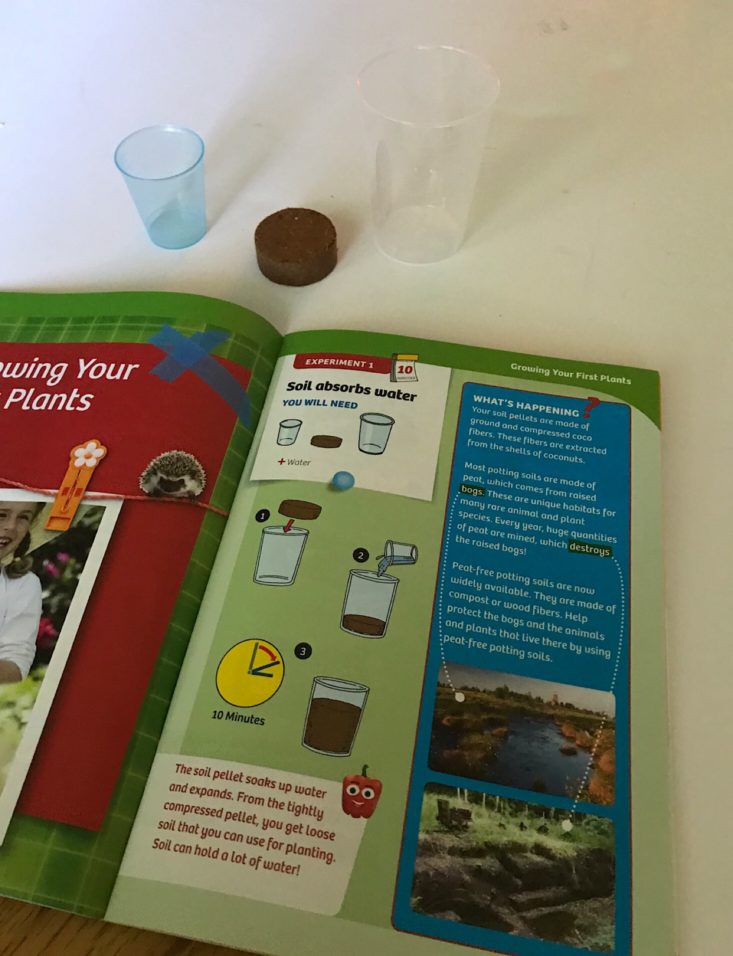
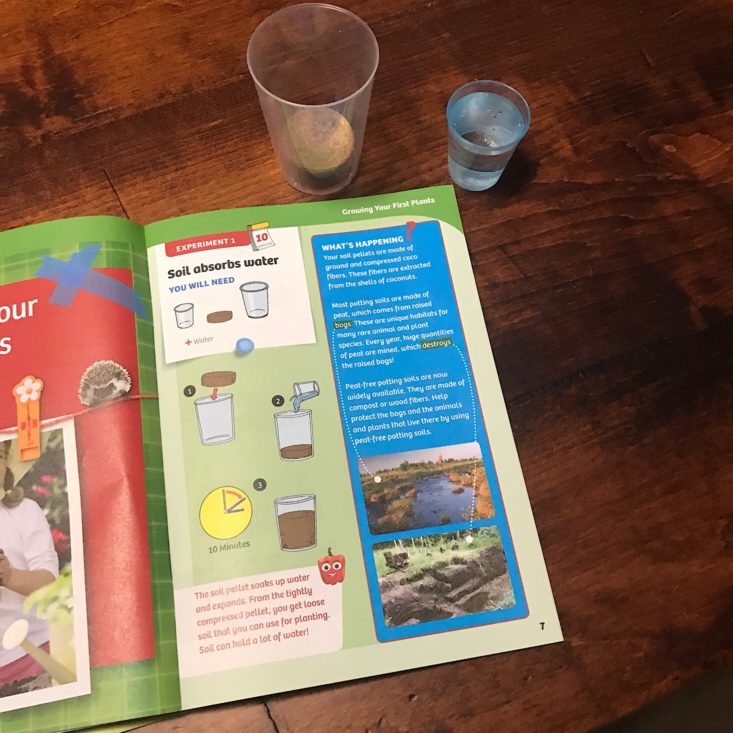
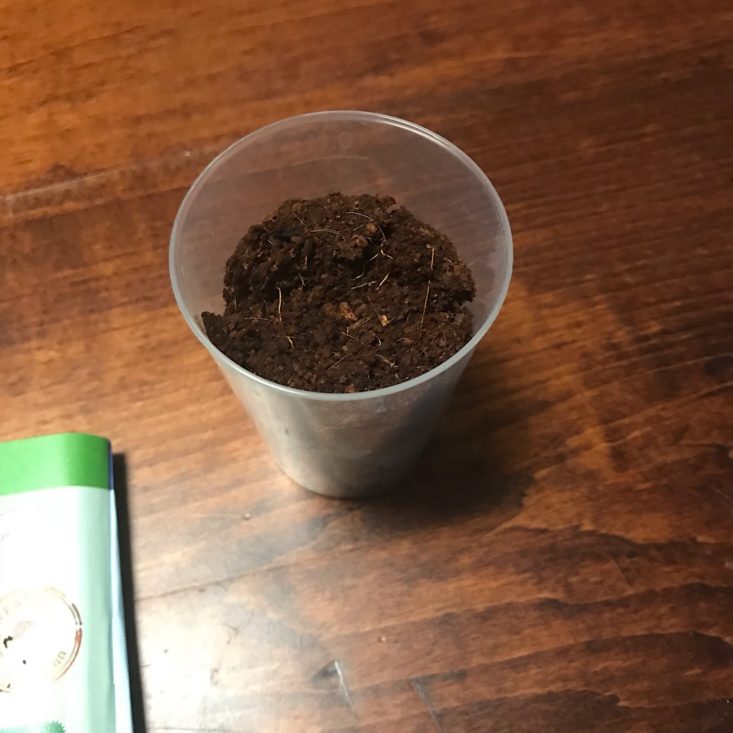
We had to refer back to the first section of our book for how to get the soil set up for planting. We used the larger cup, placed our soil pod inside and added water then waited for it to absorb it and expand.
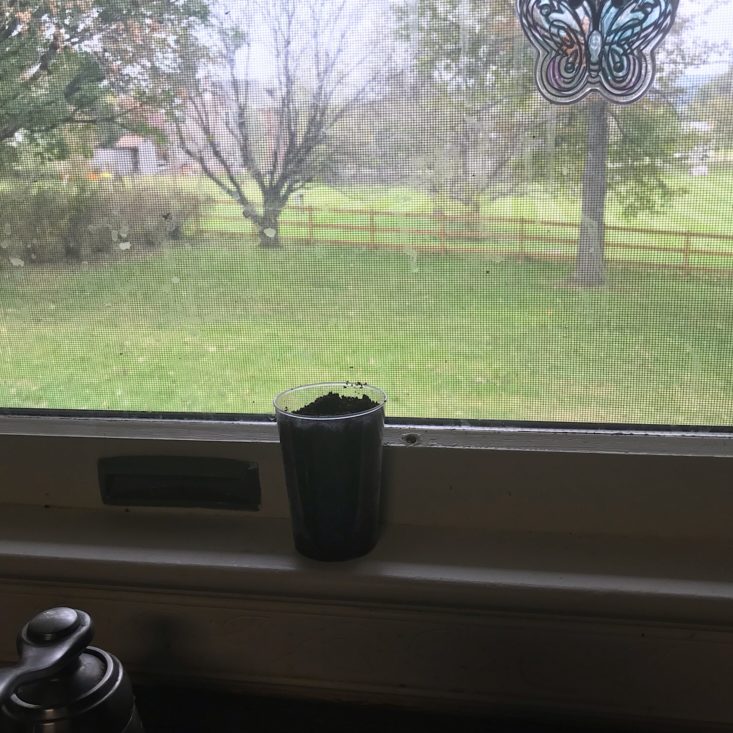
Then I added our acorn and planted it and set our cup in the window so that it can grow. It was a bit confusing though because it looks like it says the acorn should be in the water for one day, but then Peter Pepper tells us that after a few days the acorn roots will grow down into the water. I guess we'll see what happens!
Verdict: This was such a great toy from Amazon’s STEM Toy Club toy. I love that each month I never know what to expect, but they always find a fun and exciting way to encourage STEM learning! While we couldn't really make the most of our greenhouse this month, I'm looking forward to really getting into it this spring when we can start at the beginning and build upon each experiment as we learn more about gardening and botany together. I think this would be an awesome resource for homeschooling or a classroom and an easy way to get a few minutes of STEM learning in each day that will eventually yield some physical results when your plants bloom and grow! This was a great educational toy and I love that they really made connections to show the science behind what was happening so that hopefully your little botanist will be able to garden independently once they know what's going on. This Botany Experimental Greenhouse Kit originally retails for $39.99, but we only paid $19.99, including free shipping, which is an amazing deal!
To Wrap Up:
Value Breakdown: The cost of the subscription was $19.99 and we received a toy valued at $39.99. That’s a savings of $20.00 on this toy!
If you like this box, you might also like: Tinker Crate (ages 9+), Groovy Lab in a Box (ages 8+), Bitsbox (ages 6-12)
Check out all of our Amazon STEM Toy Club reviews, more educational and STEM subscriptions for kids, and all Amazon subscription boxes in our subscription box directory!
Keep Track of Your Subscriptions: Add this box to your subscription list or wishlist!
What do you think of this month's toy from the Amazon STEM Club Toy subscription box?


Please do not enter your email address in the Name field or in the comment content. Your email address will not be published. Required fields are marked *. Remember to post with kindness and respect. Comments with offensive language, cruelness to others, etc will not be approved. See our full comment policy here.