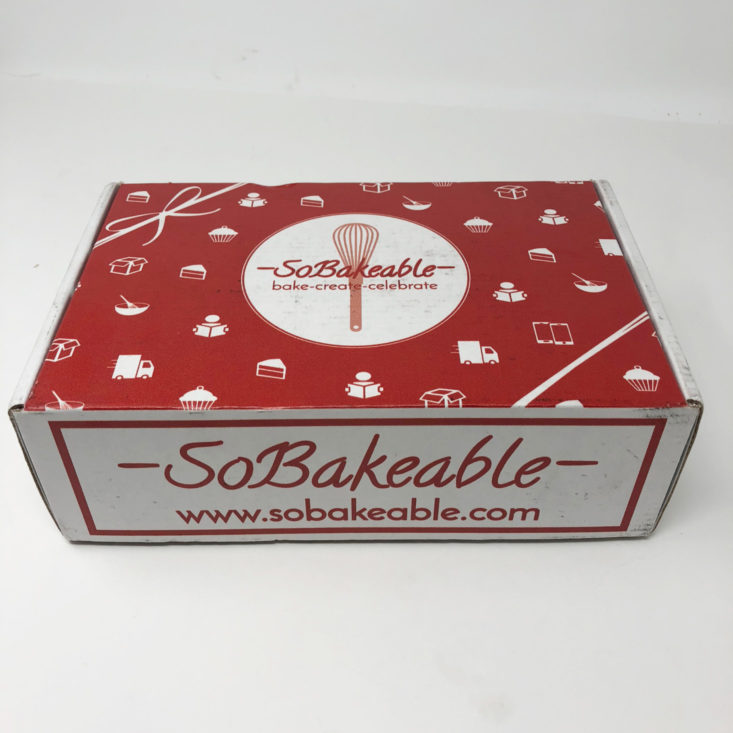
SoBakeable is a dessert baking subscription box. Every month, they'll send you pre-measured ingredients, recipes, decorations, and the tools needed to bake two decadent desserts. All you need to provide is milk, butter, and eggs!
This is a review of the Surprise Me, $36.95 every-other-month, box.
This box was sent to us at no cost for review. (Check out the review process post to learn more about how we review boxes.)
About SoBakeable
The Subscription Box: SoBakeable
The Cost: $36.95 every other month + free shipping
The Products: Everything you need (except dairy) to make a spectacular DIY dessert from scratch. You can choose a "Chocolate Lover's" subscription, which centers around recipes involving chocolate, caramel, toffee, and vanilla, or a "Surprise Me" subscription, which will feature a sweet variety of different flavors, from fruity and tart, to rich and decadent.
Ships to: U.S.
SoBakeable October 2018 Review
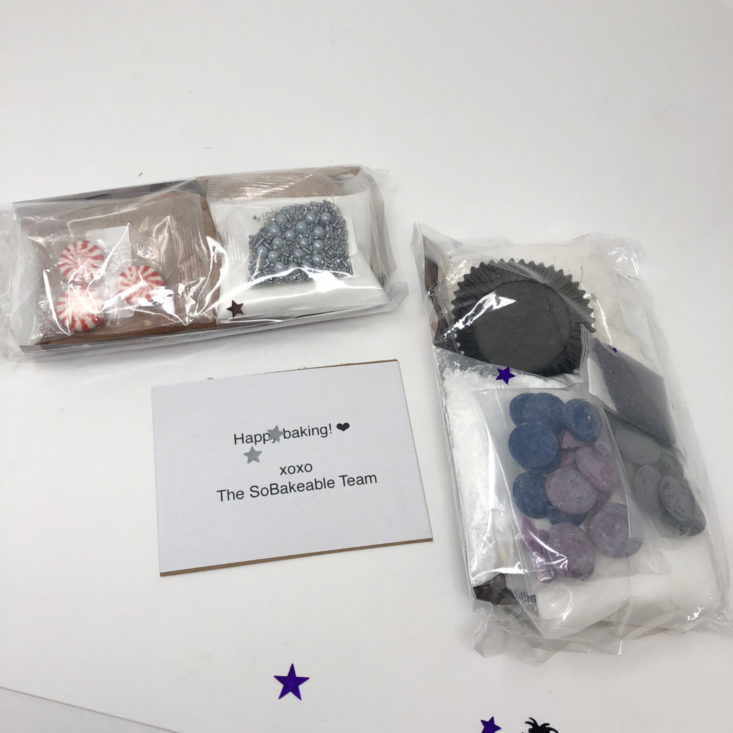
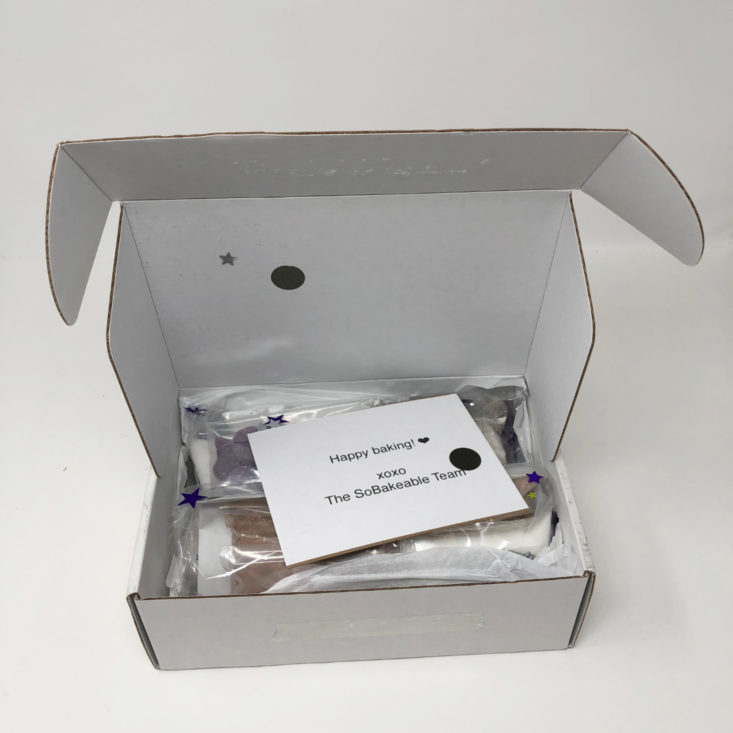
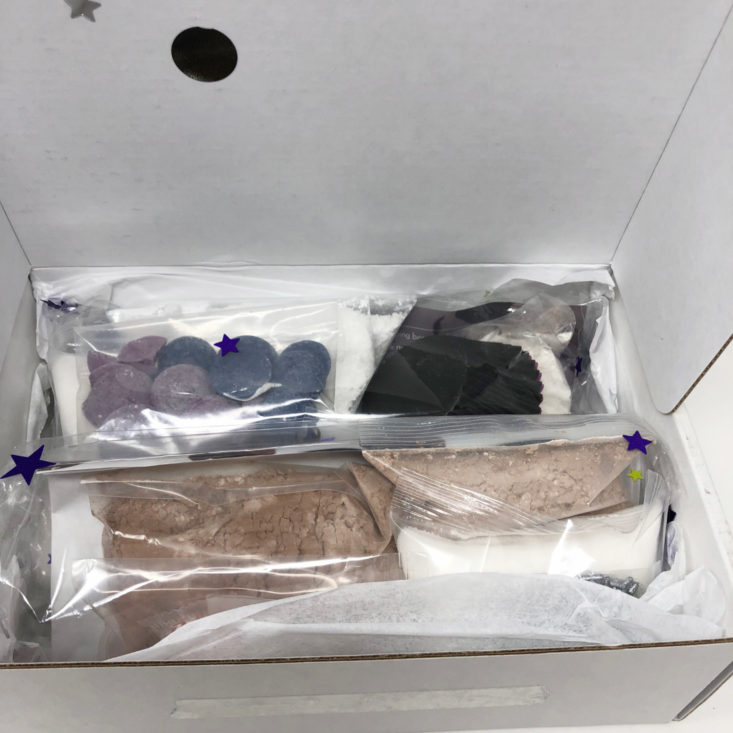
Everything sent by SoBakeable is pre-portioned and clearly labeled. A separate card is included for each recipe and lists step-by-step instructions and any equipment that may be needed along with color photos. Their recipes are designed “for the beginner to the advanced baker,” with elevated ingredients and styling that anyone can execute thanks to detailed direction!
SoBakeable also has an app available that helps demonstrate certain steps used in their recipes, which is an awesome way to help support beginners who may be unfamiliar with certain techniques.

The first recipe to try is to make 10 spiced swipe cupcakes. These spiced cupcakes are topped with a cream cheese frosting and decorated with black and purple swipes to celebrate Halloween.
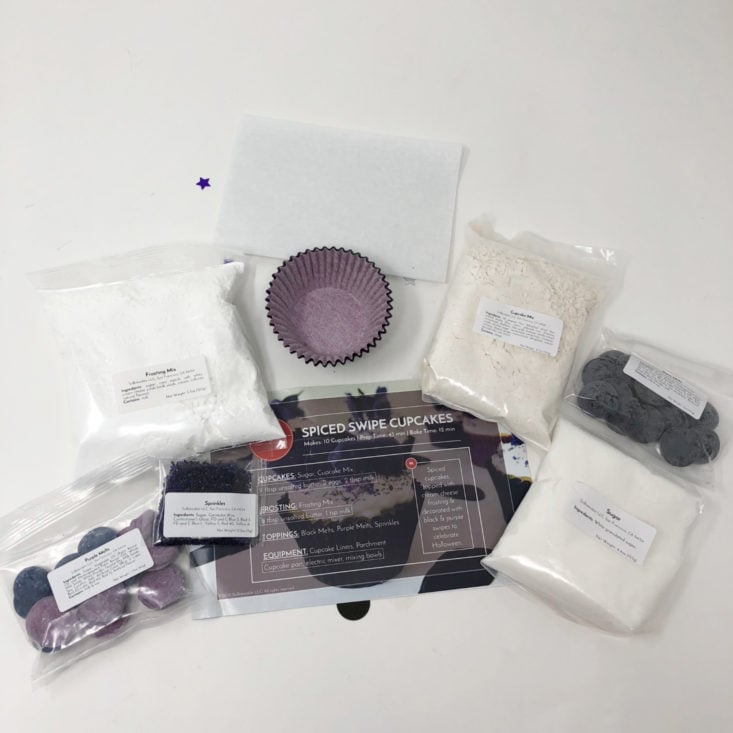
Spiced Swipe Cupcakes
Prep Time: 45 Min
Bake Time: 12 Min
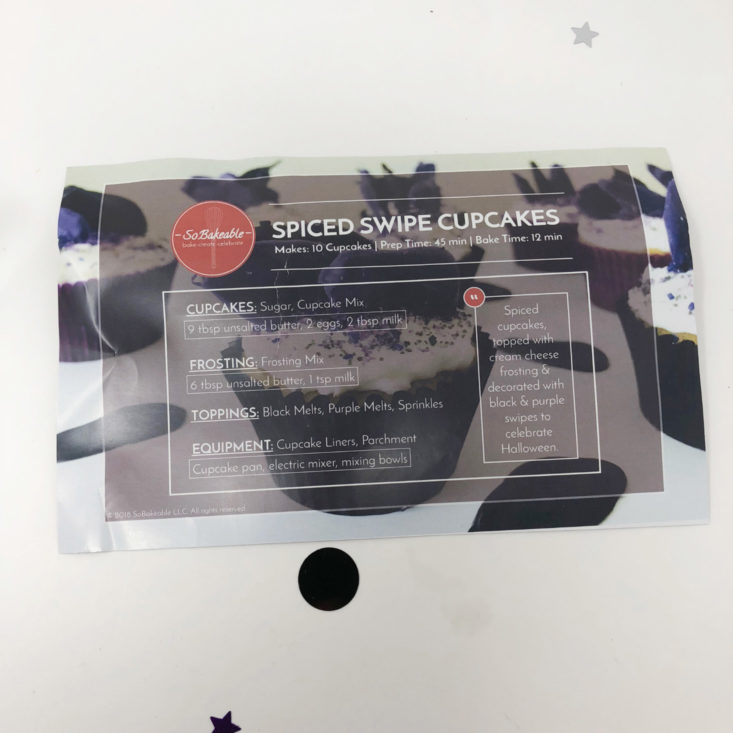
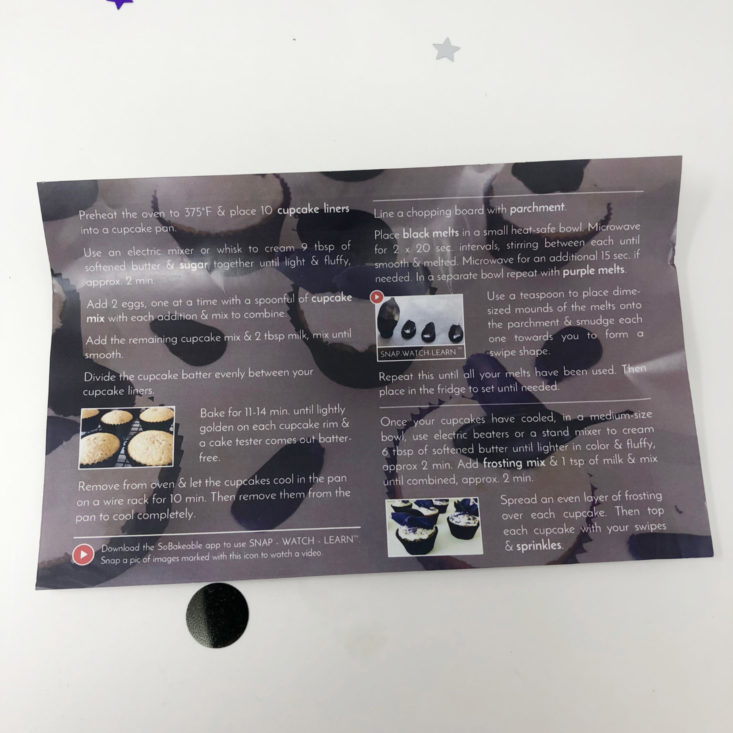
For this recipe, I needed 15 tbsp of unsalted butter, 2 eggs, and 3 tbsp of milk in addition to what was included in the kit. Unfortunately, I was short on butter so I had to run to the store to get enough!
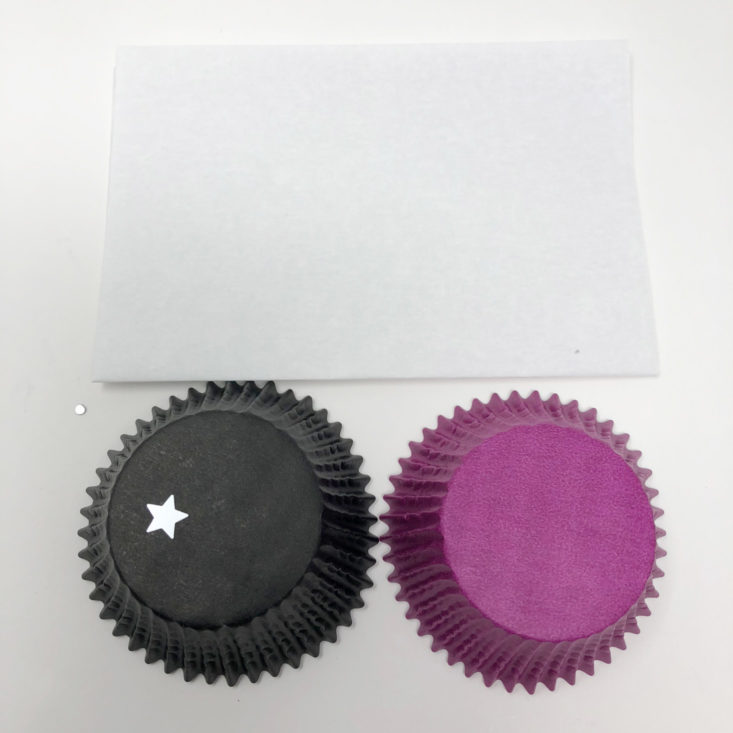
The first step is to preheat your oven to 375 degrees and line a cupcake pan with the included liners. The purple and back liners coordinate with the Halloween theme, and the chocolate “swipes” (more on that later!)
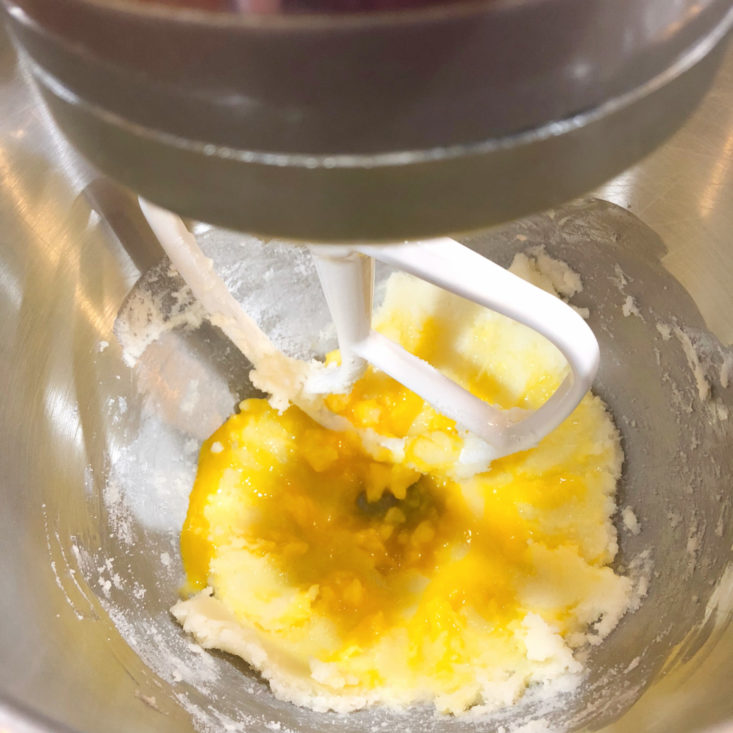
Next, you cream the butter and sugar together, and then slowly add your eggs and cupcake mix to combine into a lump free batter.

You then add the milk and mix until smooth and creamy.
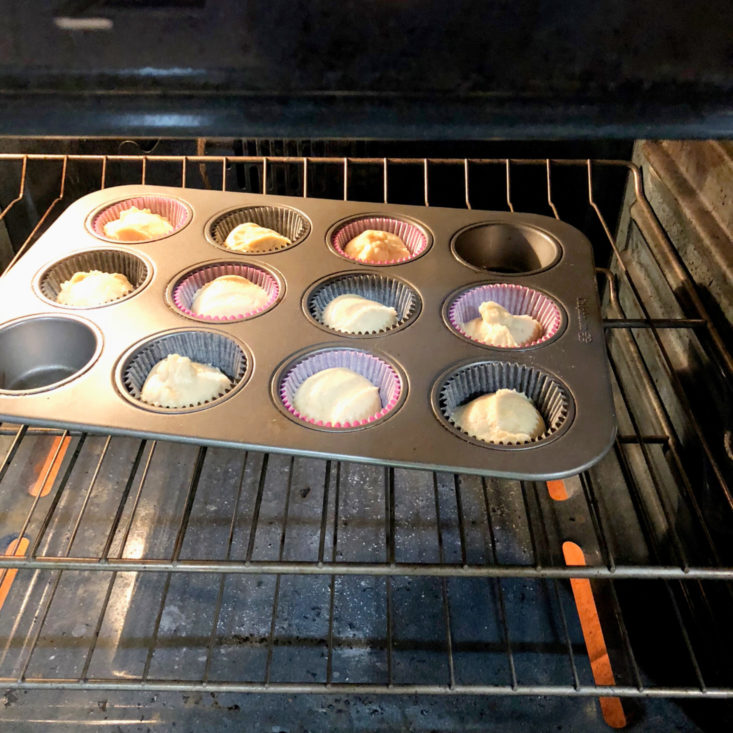
I used an ice cream scoop to scoop even portions into my 10 cupcake liners and then baked in my preheated oven for about 12 minutes.
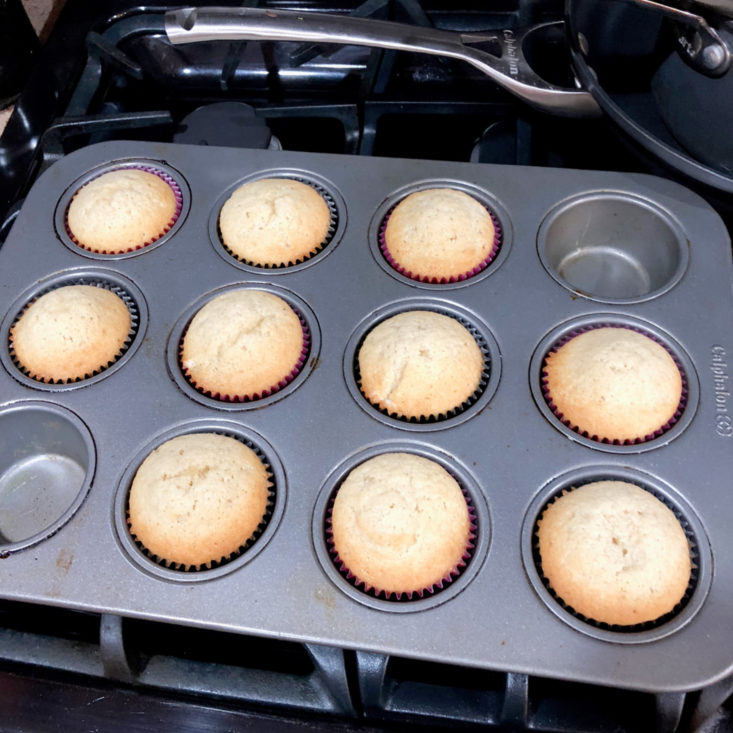
I pulled them from the oven when the sides were golden and a toothpick came out clean when inserted into the center. They look perfect to me!

While the cupcakes were baking, I tried my hand at the “swipes.” You simply melt the chocolate in the microwave (under 1 min for each color, stirring frequently throughout the process). You then place a small mound on your parchment paper and swipe it flat with the back of a spoon. I think this is probably more of an “art” and requires some practice. I ended up smashing them and forming them a bit with my fingers so that they were remotely usable and not just a giant mess. This was by far the hardest part of the recipe!
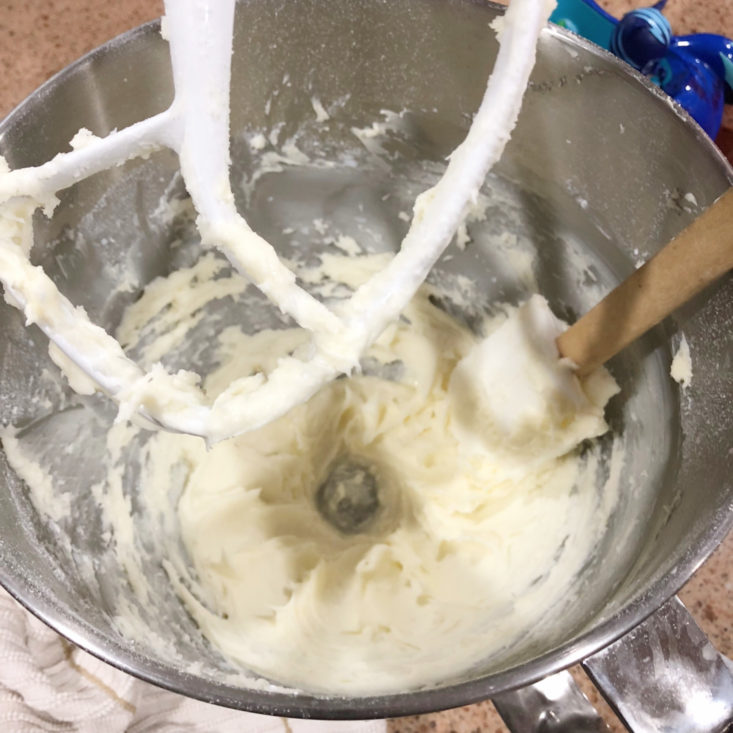
Finally (after a butter run) I was ready to make the frosting while the cupcakes cooled on a wire rack and the chocolate swipes hardened in the refrigerator. I used my stand mixer to cream the butter until it was light and fluffy and then added the frosting mix and some milk. I ended up adding about 3 extra tsp’s of milk to make the frosting the consistency that I wanted it to be. I was surprised at how much it actually tasted like a good cream cheese frosting, without calling for cream cheese.
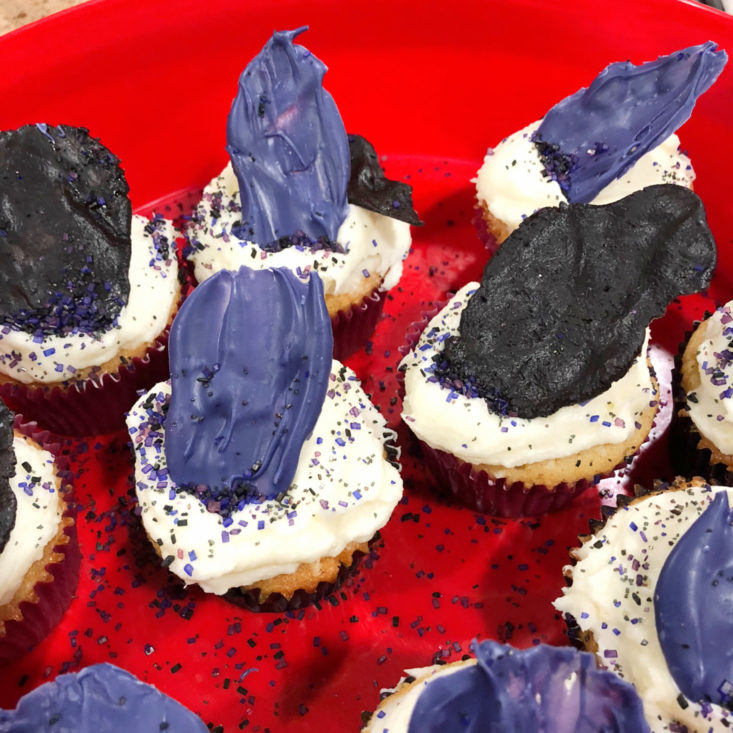
Finally, I iced my cupcakes and added the swipes. I let my toddler put the sprinkles on them and although they don’t look professional, they were tasty and looked pretty cute for Halloween! I loved the spiced cupcake batter and the cream cheese frosting combo, and the white chocolate swipes added a fun twist and pleasant complementary flavor.
Time for recipe #2!
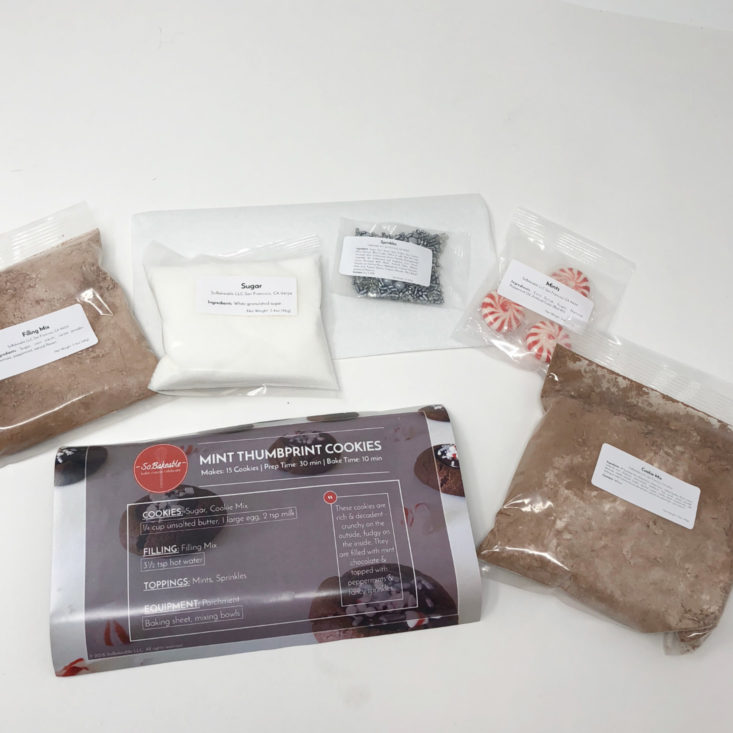
I was especially excited to do the mint thumbprint cookies, as chocolate thumbprints are my favorite Christmas cookie! The card says that these cookies are “rich and decadent – crunchy on the outside, fudgy on the inside. They are filled with mint chocolate & topped with peppermints & fancy sprinkles.” This recipe was to make 15 cookies. Let’s get started!
Mint Thumbprint Cookies
Prep Time: 30 Min
Bake Time: 10 Min

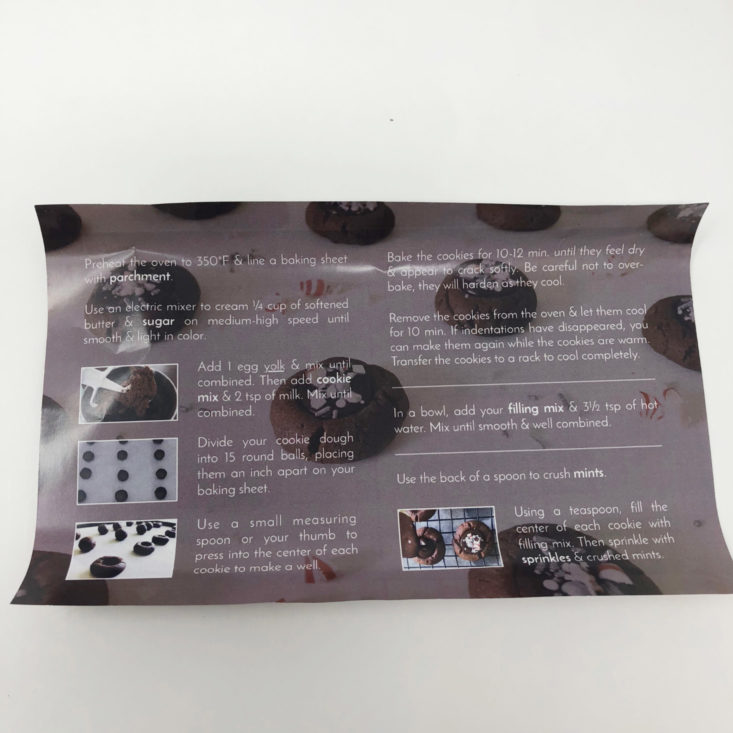
For this recipe, I needed ¼ cup of unsalted butter, 1 egg, and 2 tsp of milk in addition to what was included in the kit.
The first step was to preheat my oven to 350 degrees and line a baking sheet with parchment. I love that this was included in the box!
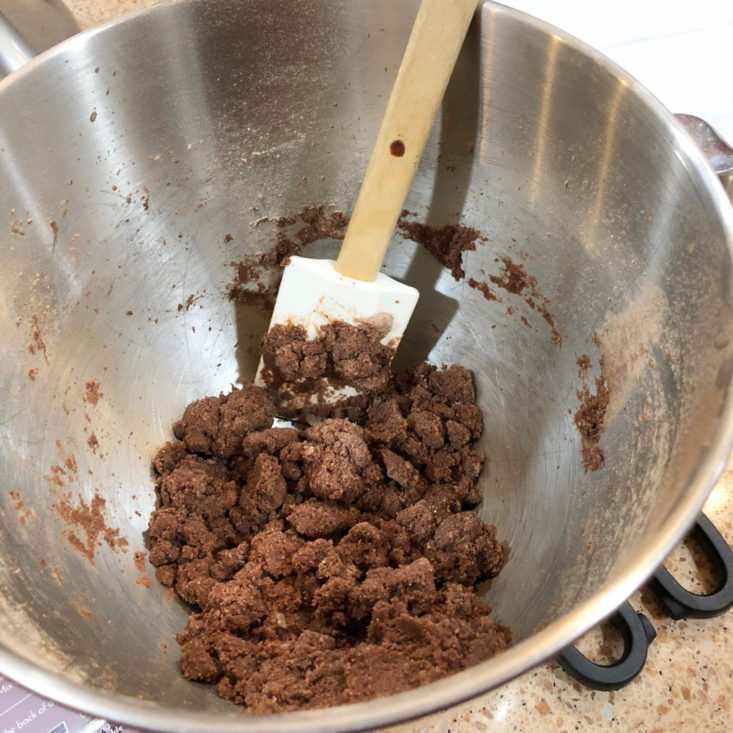
Next, you cream the butter, sugar, and an egg yolk until smooth and light in color. Then you add your cookie mix and milk and combine until your dough forms.
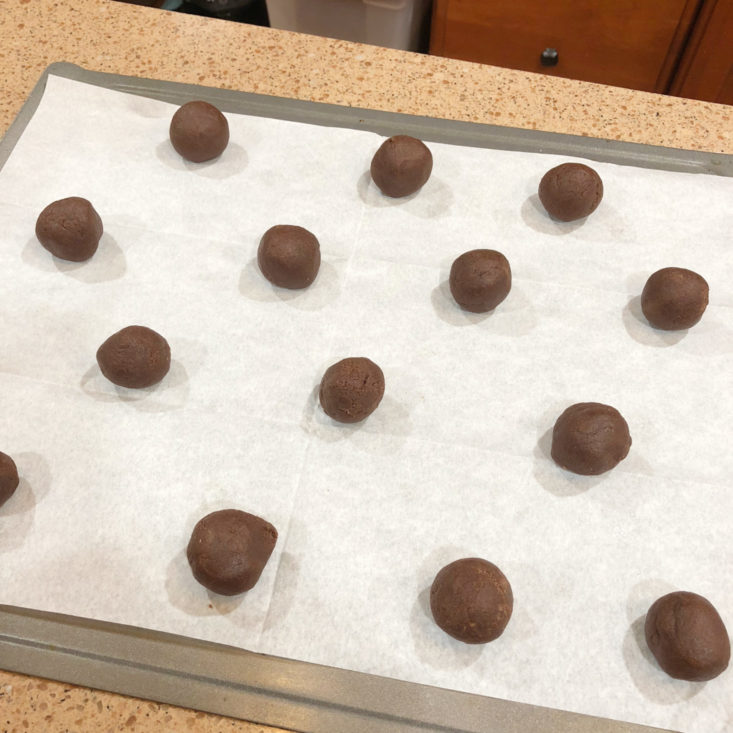
Using a small cookie scoop, I was able to make 14 uniform size cookie balls which I then spaced on the parchment paper.
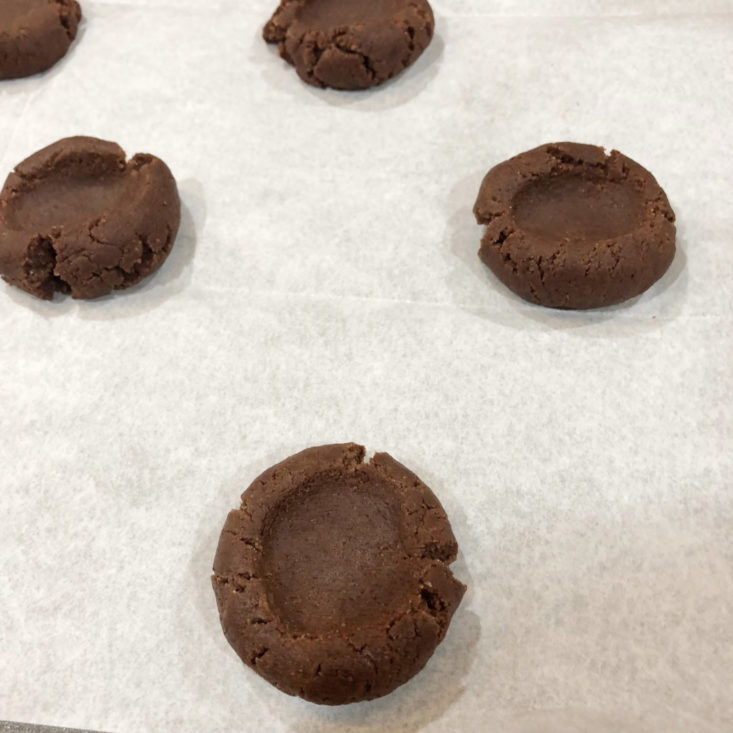
Using my thumb, I made my "thumbprint" by pressing down the center of the ball. This is where the delicious filling will go after the baking is done!

My cookies took 11 minutes to bake, per the directions there were to feel dry and appear to crack softly.

Those cracks proved to be a problem during the filling step! For the filling, you simply take the packet of filling mix and add a small amount of hot water. This made my filling really thin and it ran right off of the cookie cracks! My grandmother’s thumbprint recipe is filled with actual chocolate icing, so I didn’t expect this texture. It almost soaked entirely into the cookie, leaving it soft and chewy but not exactly what I was expecting. You can see, it made a bit of a mess on my cookie sheet!
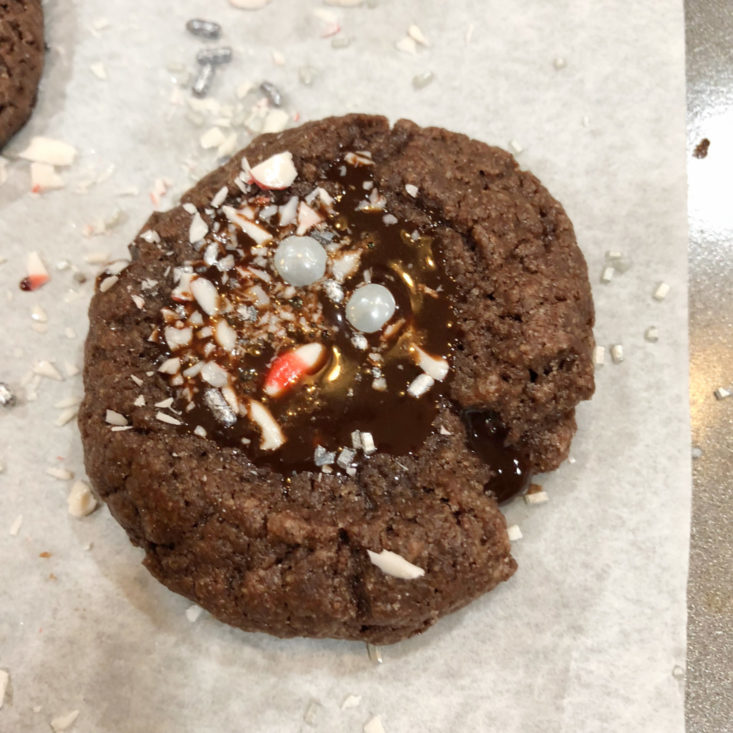
In the end, the cookies ended up looking pretty and tasting great!
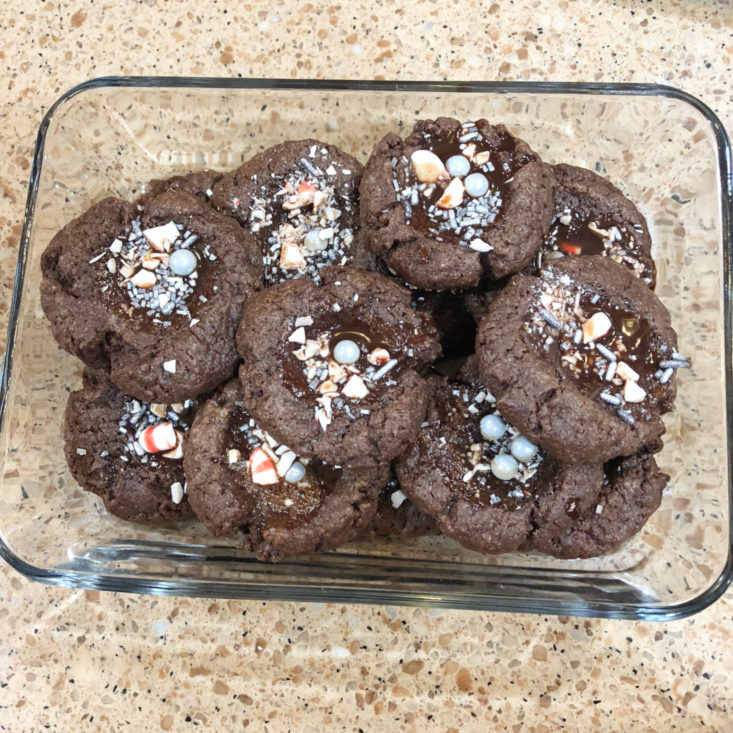
I took these to a family party to share, and they were a big hit! Who doesn’t love the chocolate and peppermint combo? These also worked up quickly, they were ready to eat in less than an hour!
Verdict: This was my first SoBakeable box, and I was pleased with the flavors of both baked good varieties but do wish they turned out a bit prettier. I would have liked the icing to be thicker on the thumbprints, and the sprinkles to have more of a glittery or metallic finish to them. The cupcakes were good, but I wasn't super pleased with my embellishments and thought that even the cupcake wrappers were a little basic – I would have liked something with a little more pizazz! I also thought that I needed to have quite a bit of stuff on hand to complete these recipes and although I appreciate "whole" ingredients being used I do think that the novelty is in the convenience and me having to run to the store to get additional butter kind of eliminated that benefit. For $36.95 (not including the cost of the ingredients I had to add or my time) I only got 10 cupcakes and 14 cookies out of this box. That price feels a bit steep, since nothing in the box, including the recipes, are reusable (the dry ingredients are premeasured and don't contain quantities).
To Wrap Up:
Can you still get this box if you sign up today? Because this is the "Surprise Me" subscription, which is $36.95 total, it's not guaranteed that you'll get this specific combination of recipes. You can also buy individual one-off boxes on their site like the Bars & Bites box for $29.95 or the Crazy About Cookies box for the same price.
Coupon – Use code MSA10 to save 10% off your first box!
Value Breakdown: At $36.95 for this box, you’re ultimately paying about $1.54 per baked good (not including the cost of the additional required items). This is probably on par with what you’d pay at a local bakery, however, my guess would be that the fresh professional baked good would look a bit prettier!
The bi-monthly box, although it may seem steep in cost, has a value that’s comparable to similar boxes like Foodstirs, which is $18.99 + $5.99 shipping for a single dessert kit, rather than two.
Check out all of our SoBakeable reviews and the Sweets Subscription Box Directory!
Keep Track of Your Subscriptions: Add this box to your subscription list or wishlist!
Which of these SoBakeable desserts looks the tastiest to you?


Please do not enter your email address in the Name field or in the comment content. Your email address will not be published. Required fields are marked *. Remember to post with kindness and respect. Comments with offensive language, cruelness to others, etc will not be approved. See our full comment policy here.