The Paper Crate: Card Making Kit is a monthly DIY subscription that helps subscribers learn how to make unique and beautiful greeting cards.
Each monthly box contains kits to make four beautiful cards including a stamp set, embellishments, instructions and a variety of other items to complete your cards. Some boxes will even include a special surprise. You will learn new techniques as you master your card making craft.
This box was sent to us for review purposes. (Check out our review process post to learn more about how we review boxes.)
About The Paper Crate
The Subscription Box: The Paper Crate: Card Making Kit
The Cost: $29.99 / month with discounts for longer subscriptions
BLACK FRIDAY DEAL: For a limited time, use code CJBLACKFRIDAY to save 30% off any subscription!
The Products: Instructions and materials to make four unique cards
Ships to: Free shipping to the United States. Worldwide shipping available for an additional fee.
The Paper Crate Card Making Kit November 2018 Review
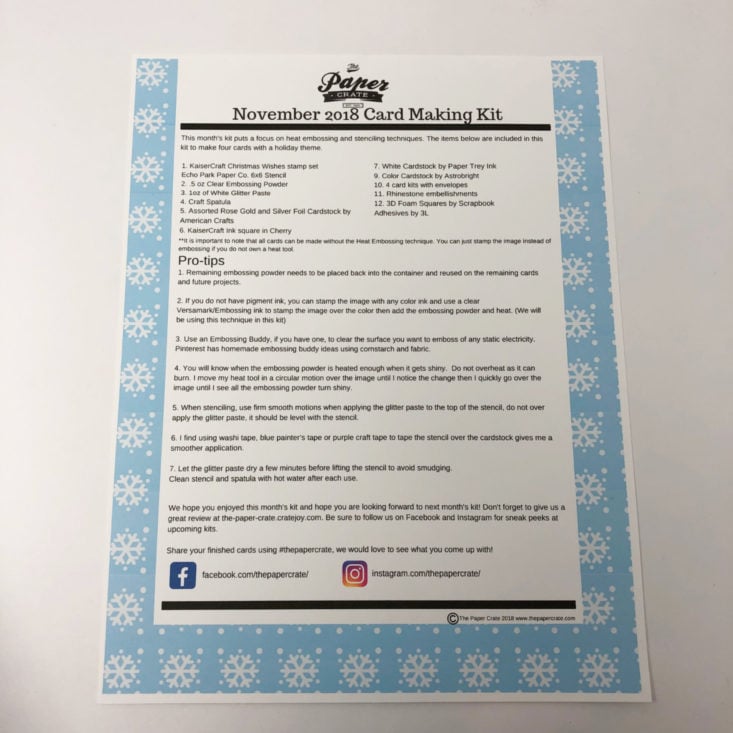
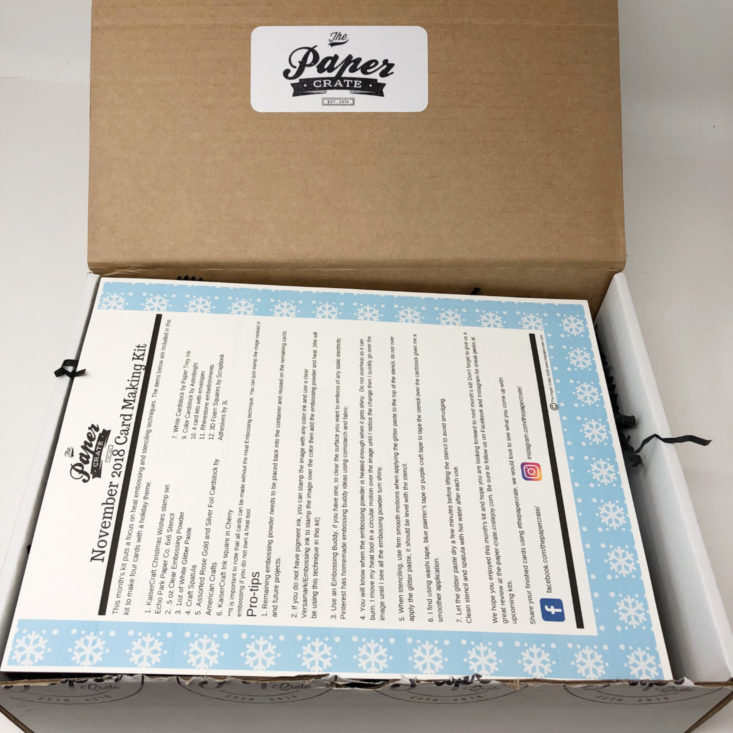
The first item I saw when I opened the box was a helpful guide explaining the contents of the box and listing out some Pro-tips.
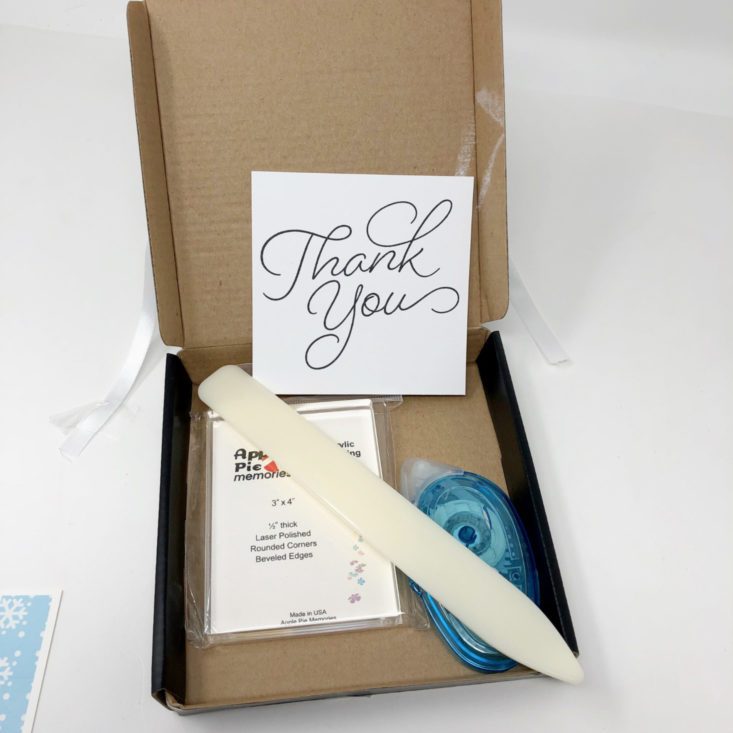
Welcome Kit Contents
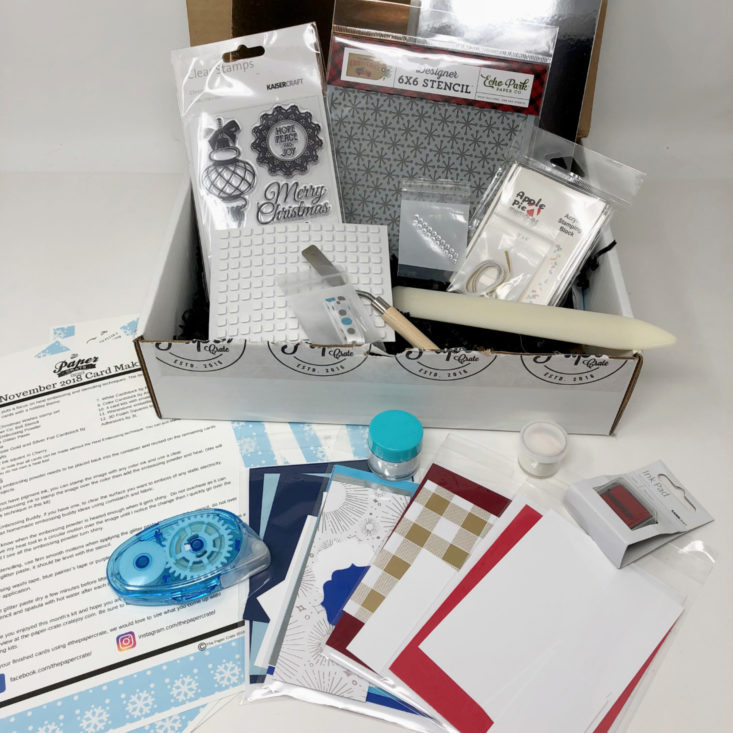
All new subscribers (this is my first box) will receive a welcome kit containing a few essentials: a bone folder for expert creases in your cards, an acrylic stamp block, and an adhesive tape runner.
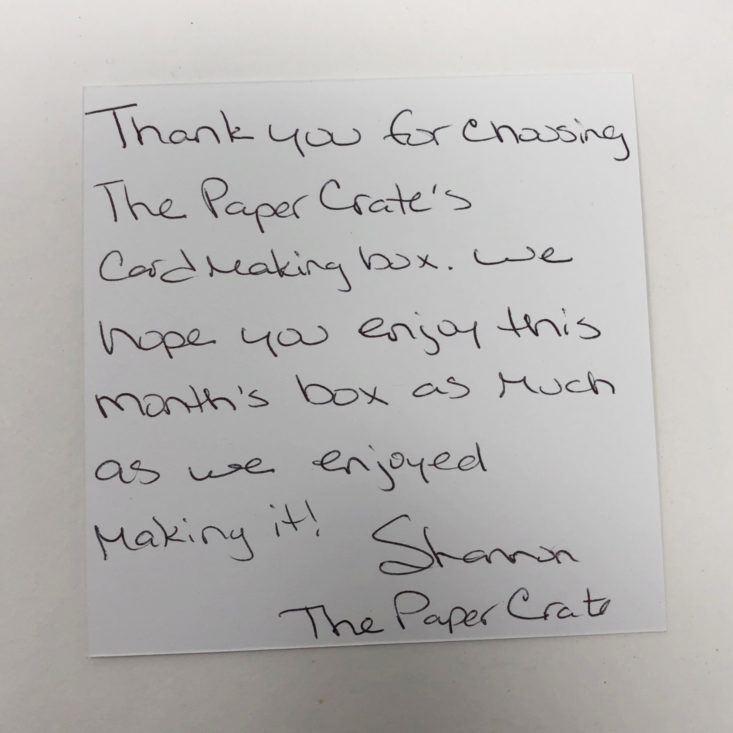
I also received a sweet handwritten notecard thanking me for my subscription.
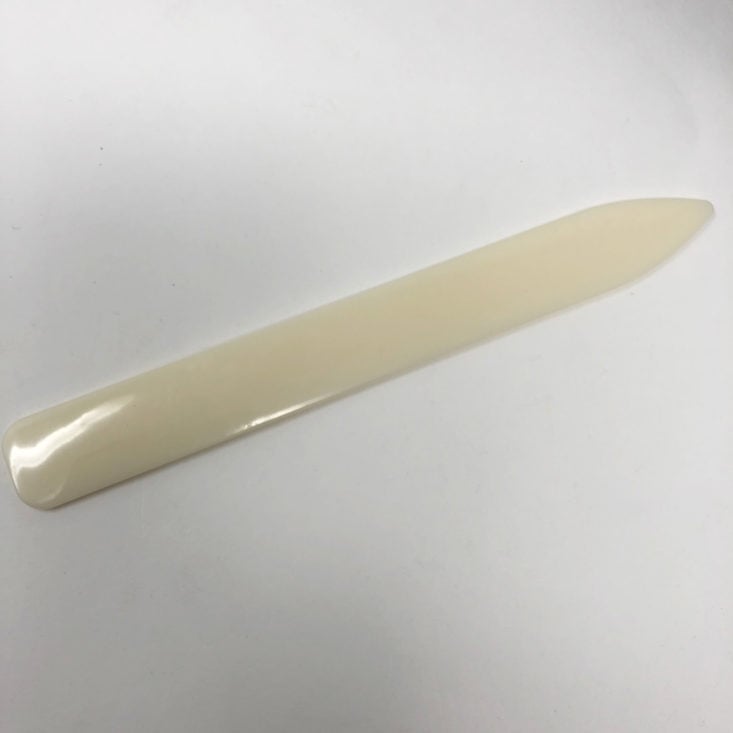
Bone Folder
Here’s the bone folder (I didn’t use this item this month). To be honest, until I wrote this review I didn’t know what it was at all. It isn’t marked in any way.
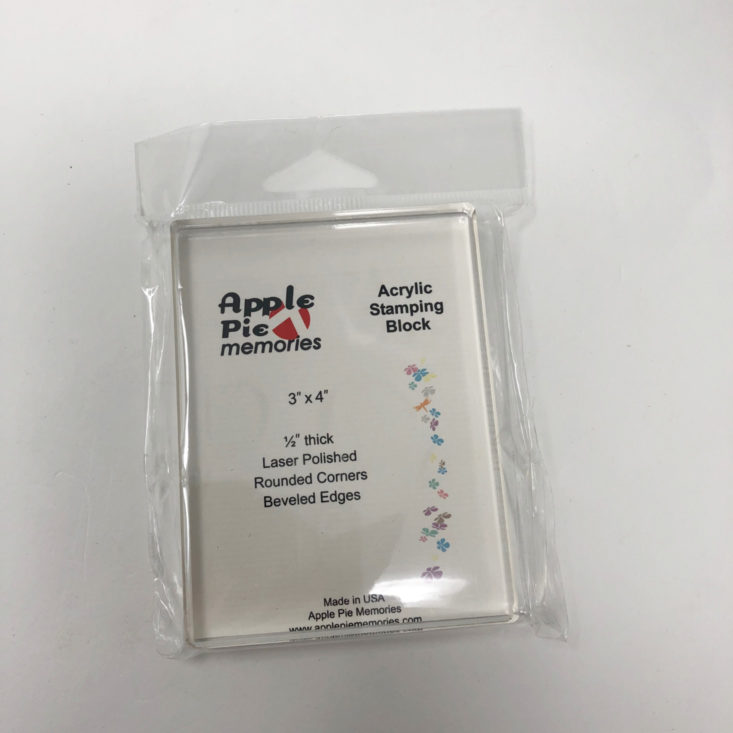
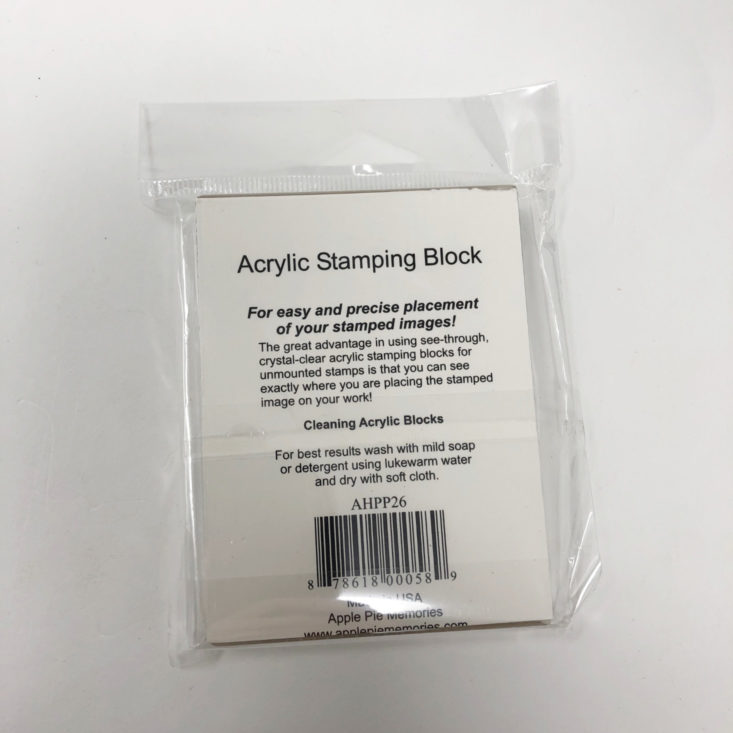
Apple Pie Memories 3x4” Acrylic Block – Retail Value $4.96
This is the acrylic block. I ended up using this on every card and thought it was a quality item.
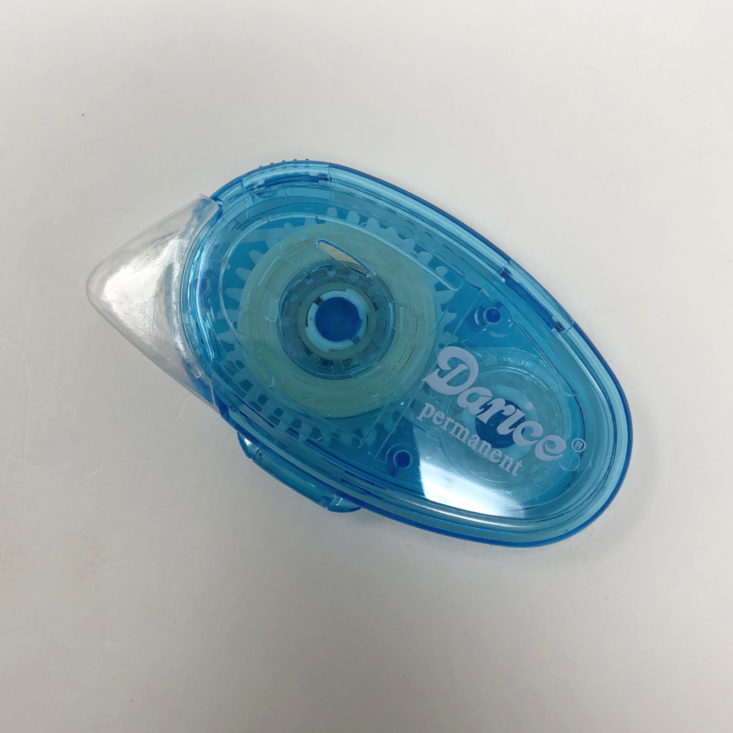
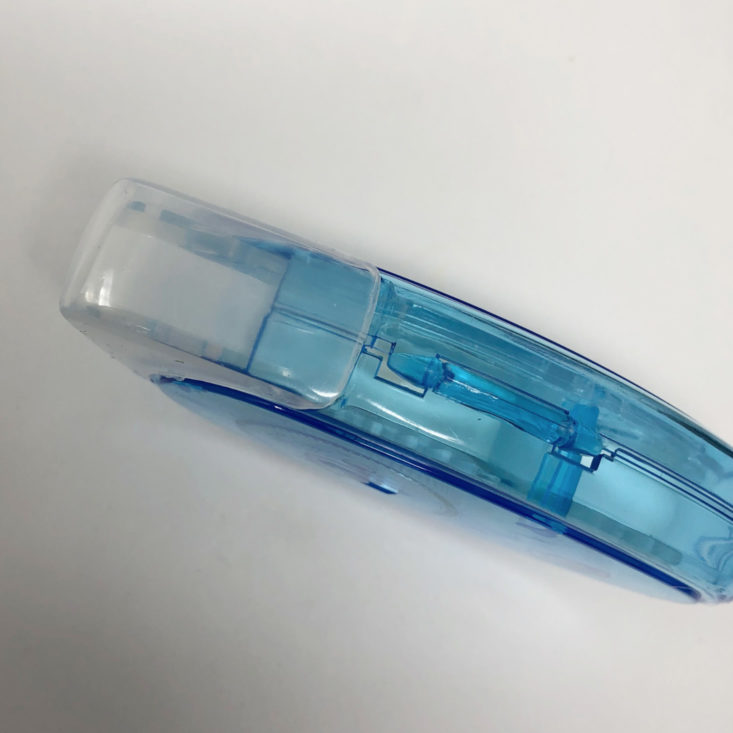
Darice Double Sided Tape Runner – Buy 6 for $7.56
I’ve always loved adhesive tape dispensers like this – I used quite a bit of this in my card making this month!
The rest of the items are listed on the card insert and are included in all of the November boxes:
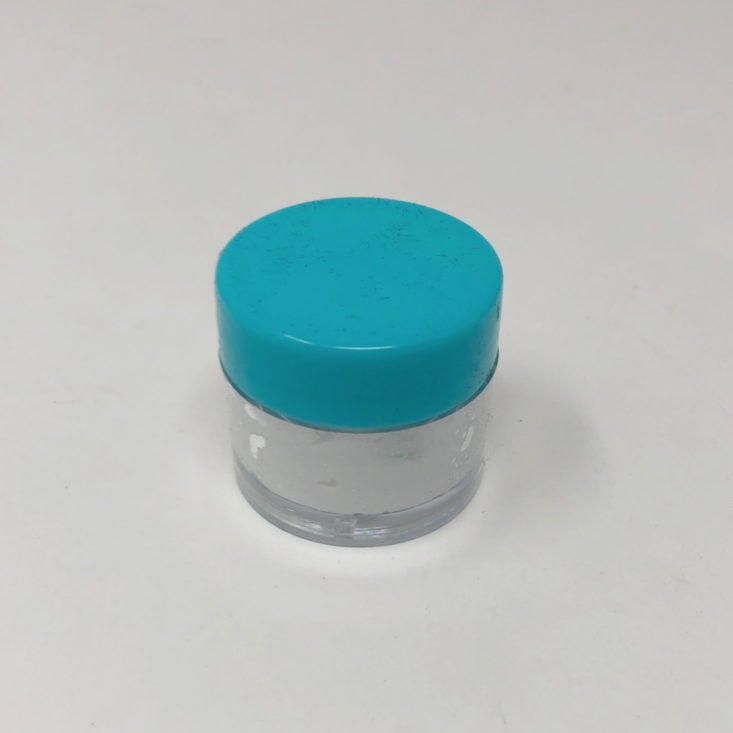
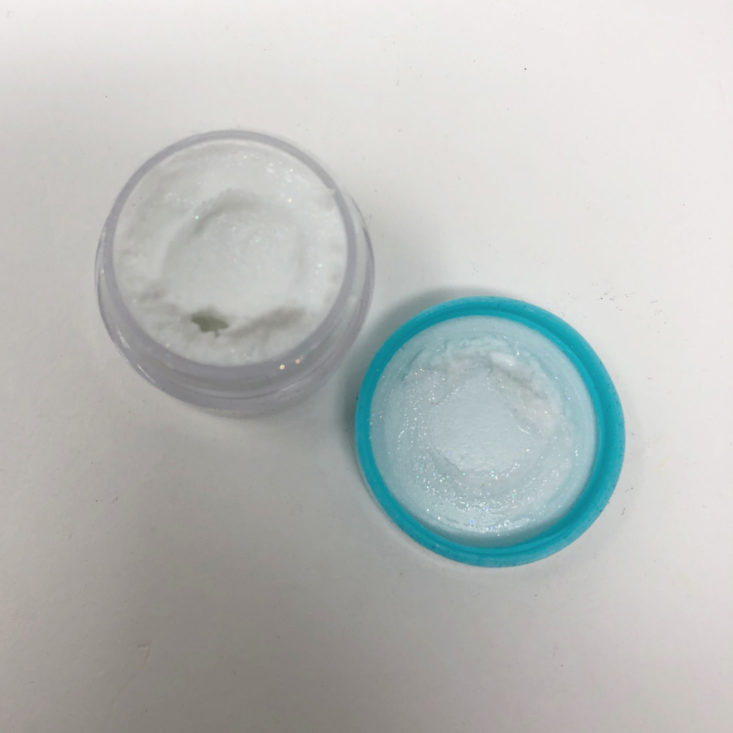
White Glitter Paste (1 oz)
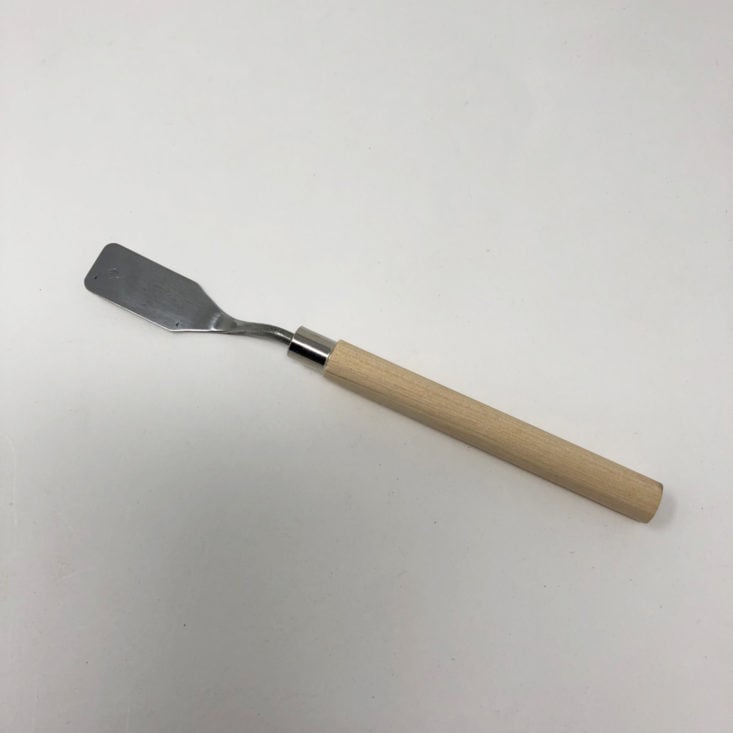
Craft Spatula
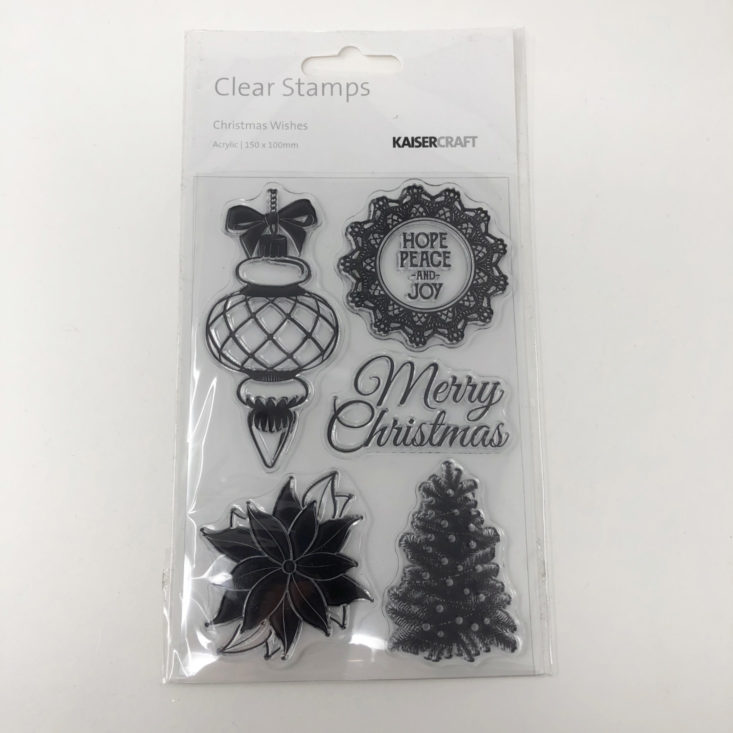
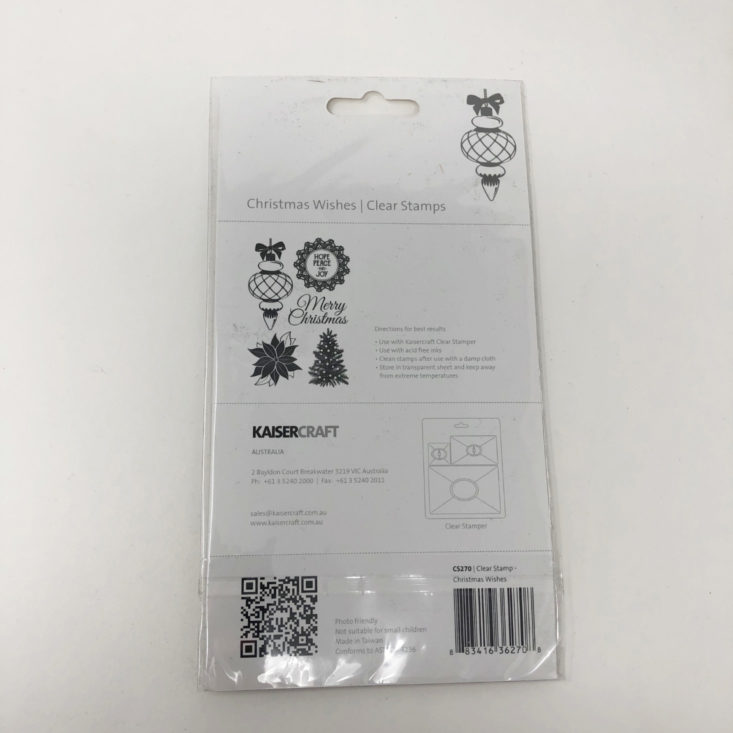
KaiserCraft Christmas Wishes stamp set – Retail Value $5.29
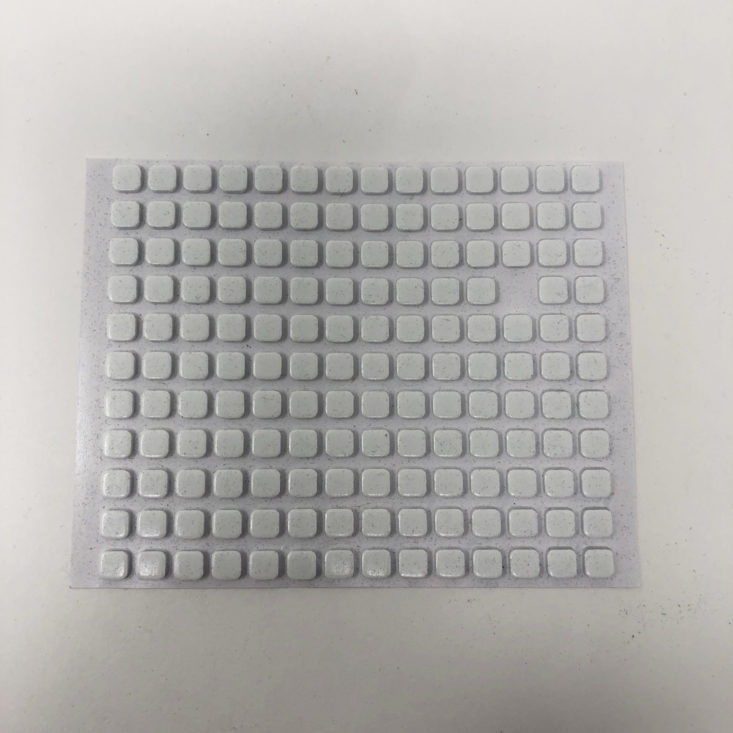
3D Foam Squares by Scrapbook – Retail Value $5.26
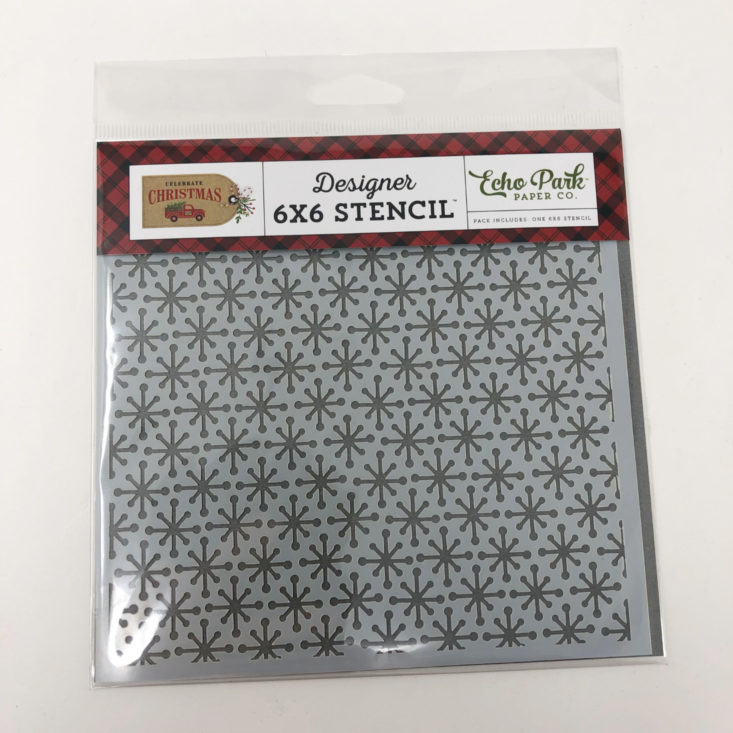
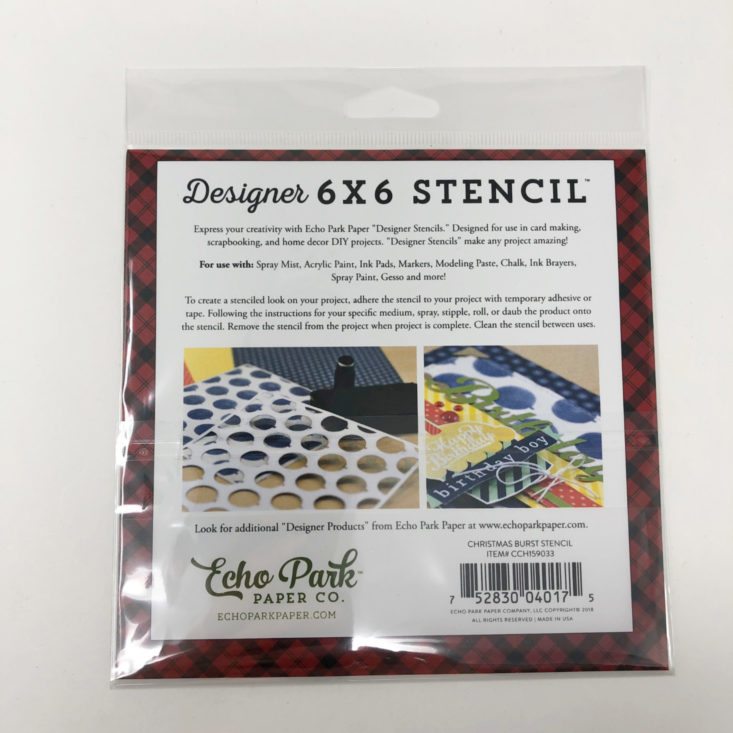
Echo Park Paper Co. 6x6 Stencil in Christmas Burst
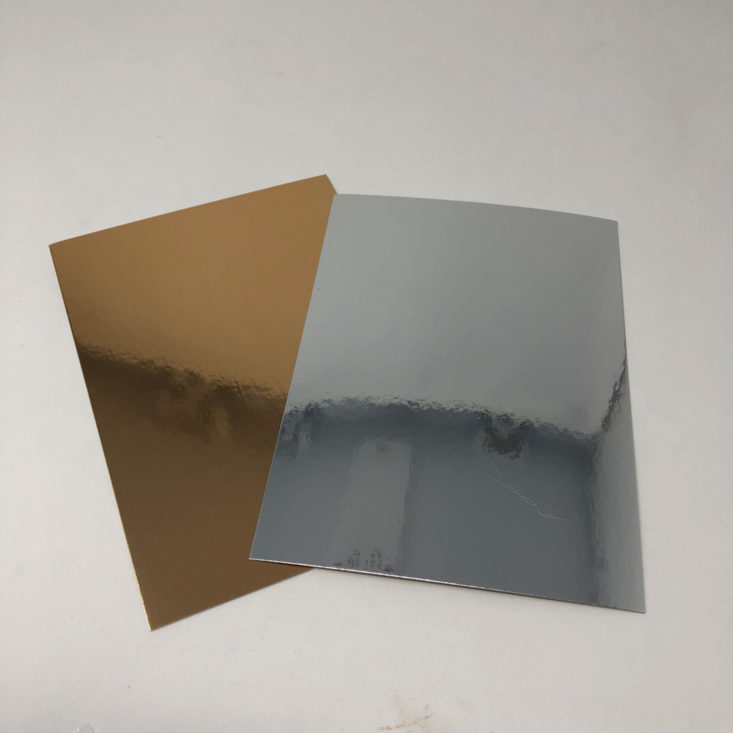
1 Rose Gold and 1 Silver Foil Cardstock by American Crafts
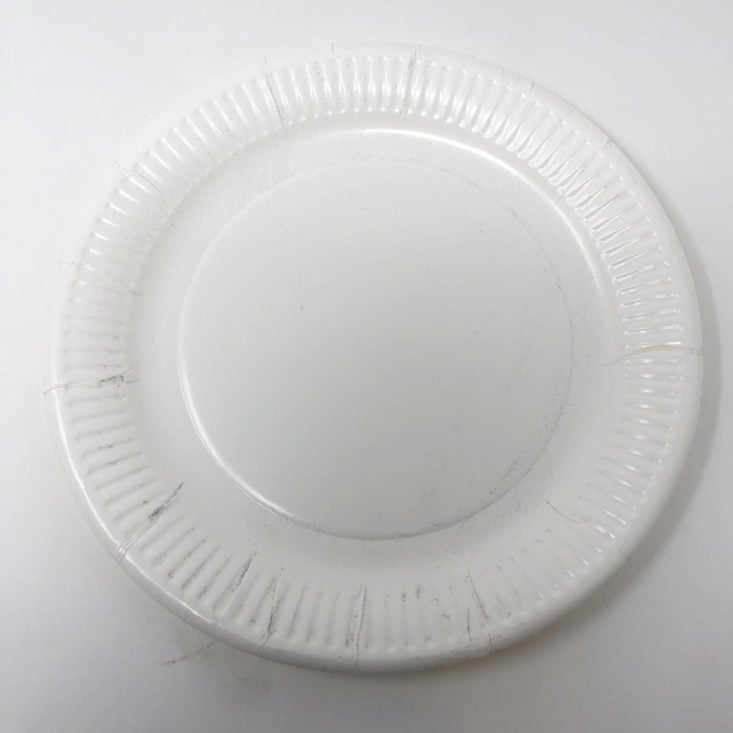
1 Paper Plate
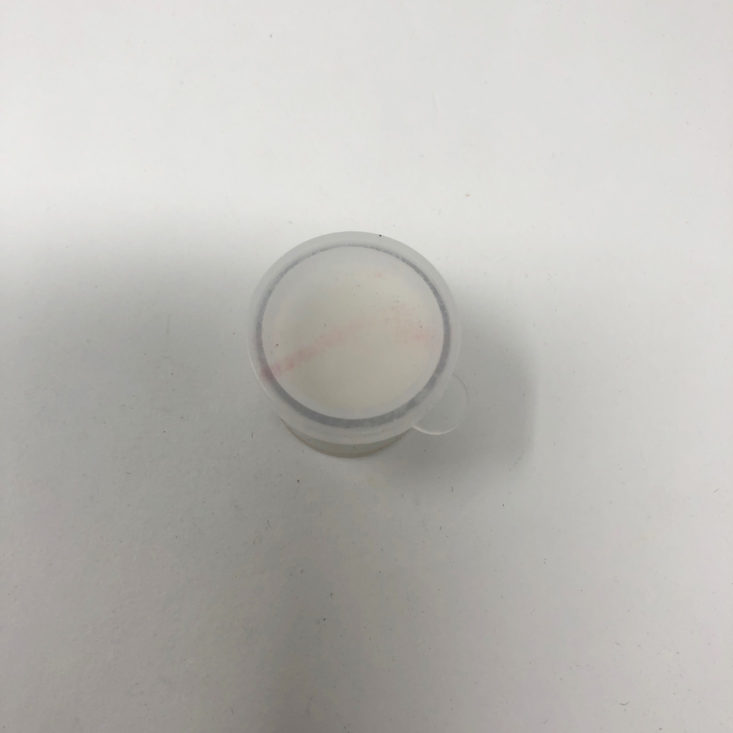
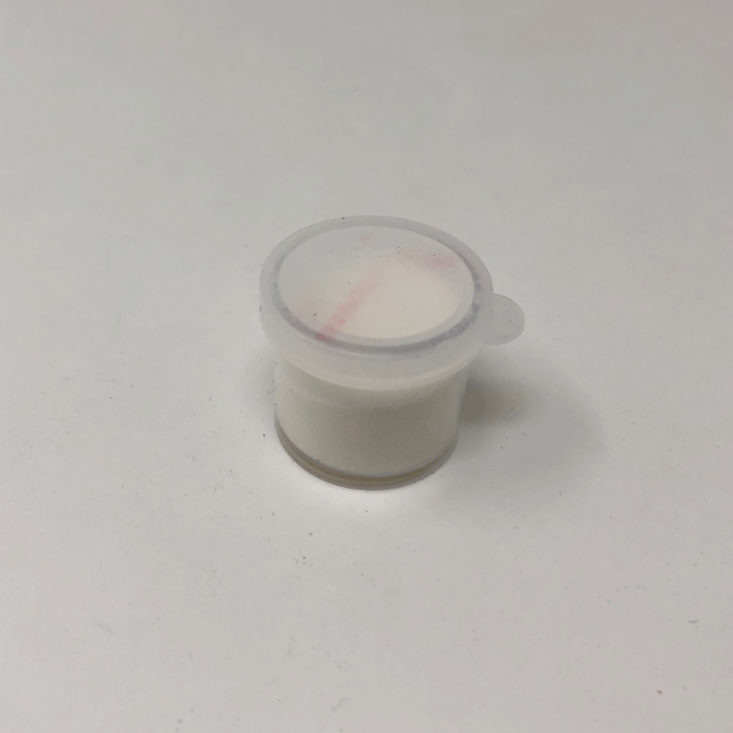
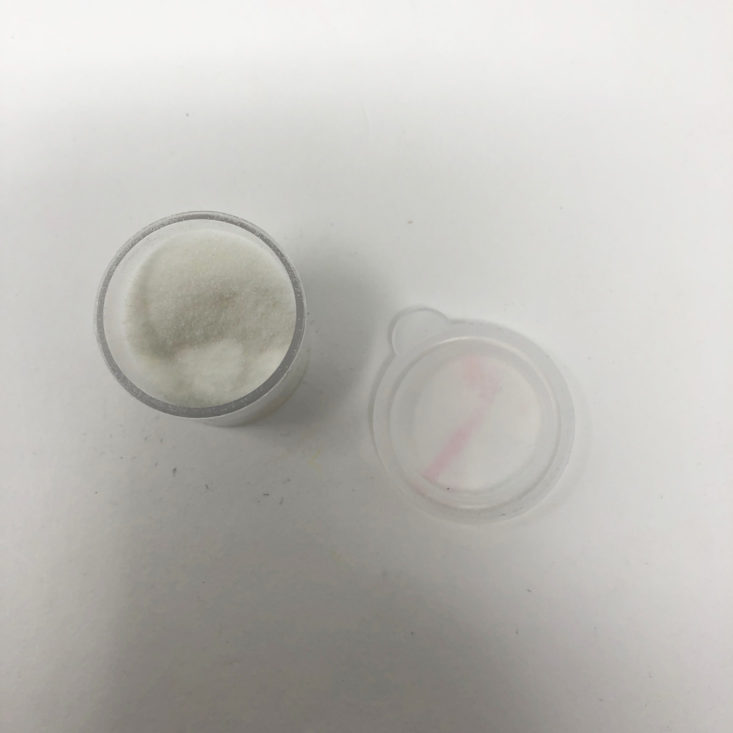
0.5 oz Clear Embossing Powder
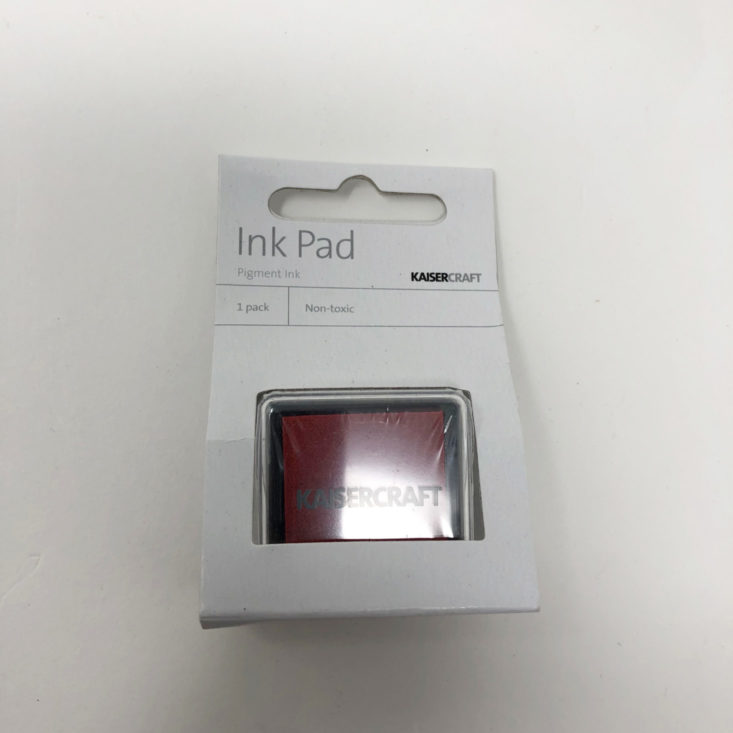

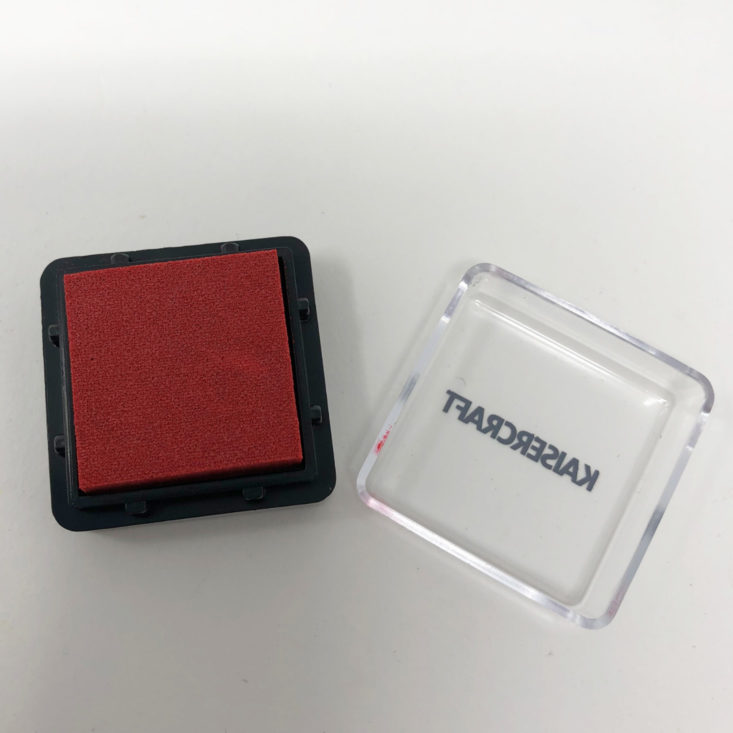
KaiserCraft Ink Square in Cherry – Retail Value $2.19
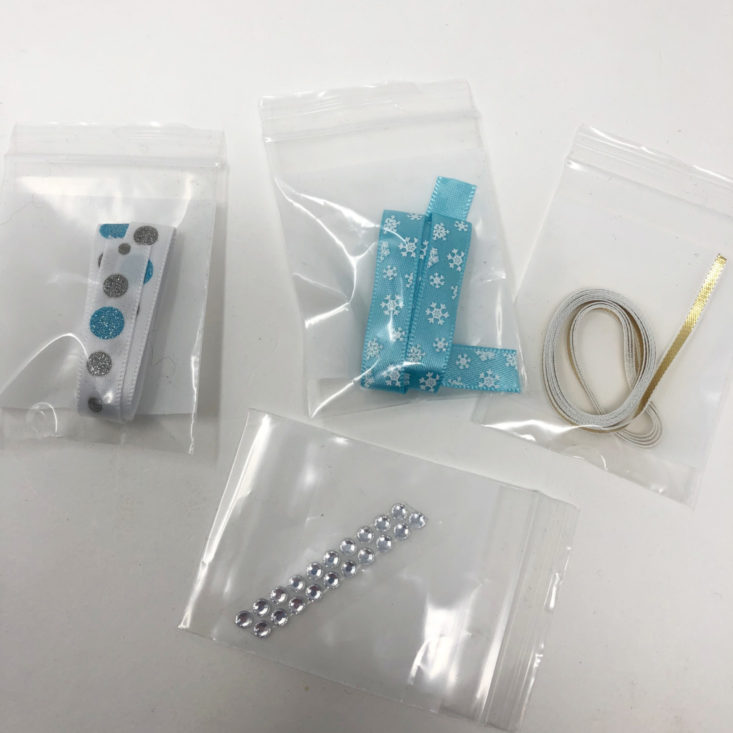
Assorted Rhinestone and Ribbon Embellishments
… and of course, the instructions and “card kits” themselves!
Card #1
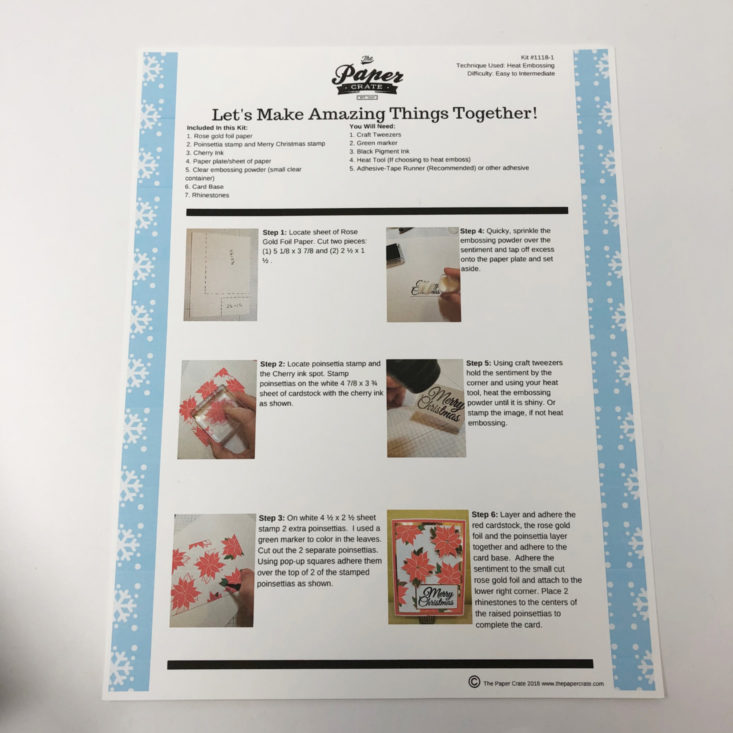
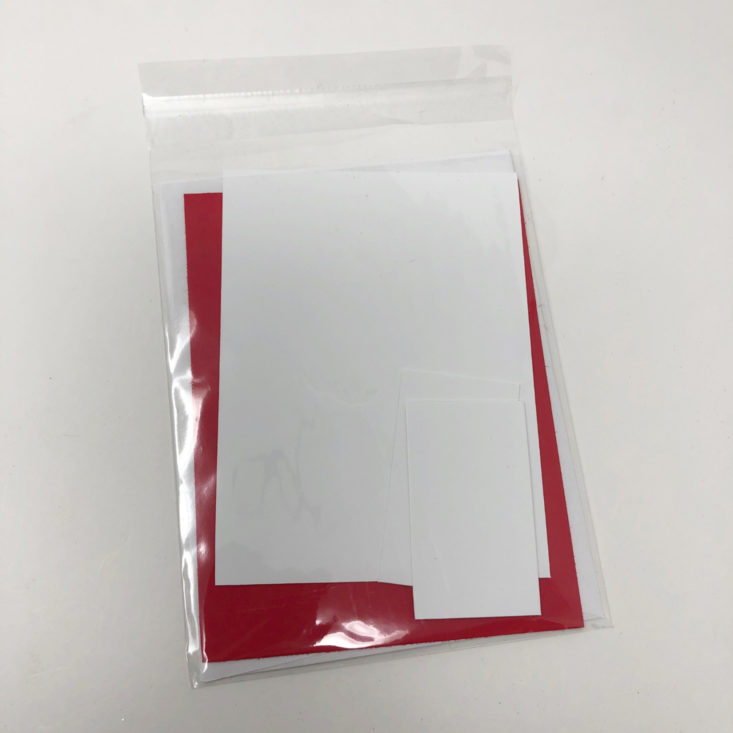
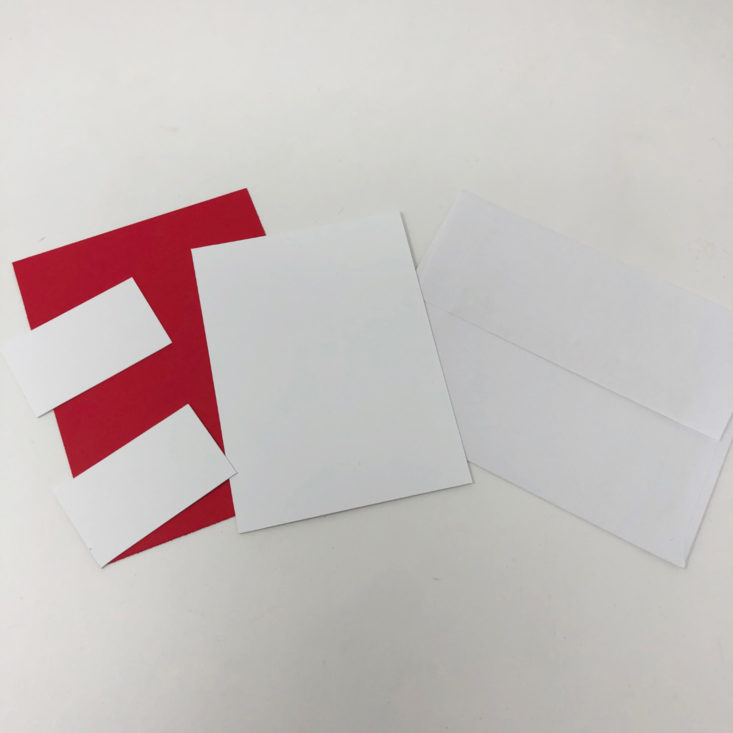
This card was easy to make. After I sorted out my materials, I simply used the acrylic block and the poinsettia stamp to make images on the larger white piece of included cardstock.
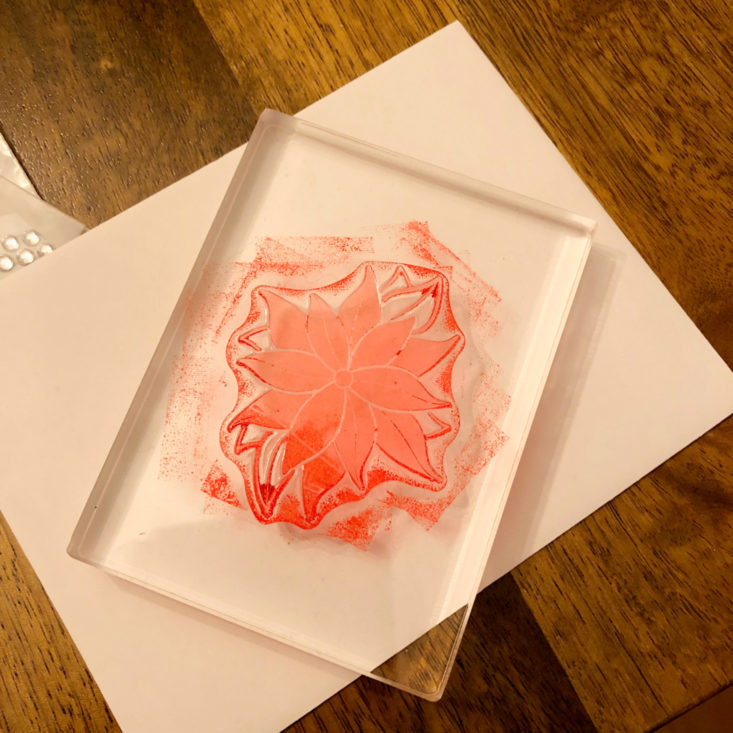
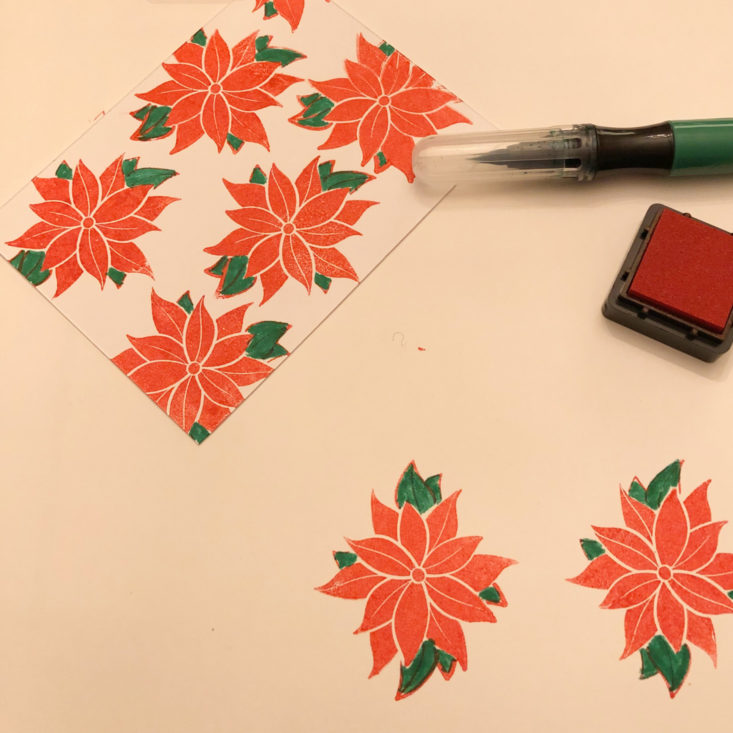
I decided to add some flair and color the leaves green. In addition to stamping the card, the instructions indicate that you should make a few extra that you will lay on top with the 3D foam squares, giving the card a dimensional look. I also added small crystals to the center of the poinsettia to add a bit of sparkle.
Next, I trimmed the cards down to the right size and layered them together (red, then rose gold, then white to give a matted look to the card. Finally, I stamped the “Merry Christmas” onto the small piece of white, matted it onto rose gold, and adhered it to the card.
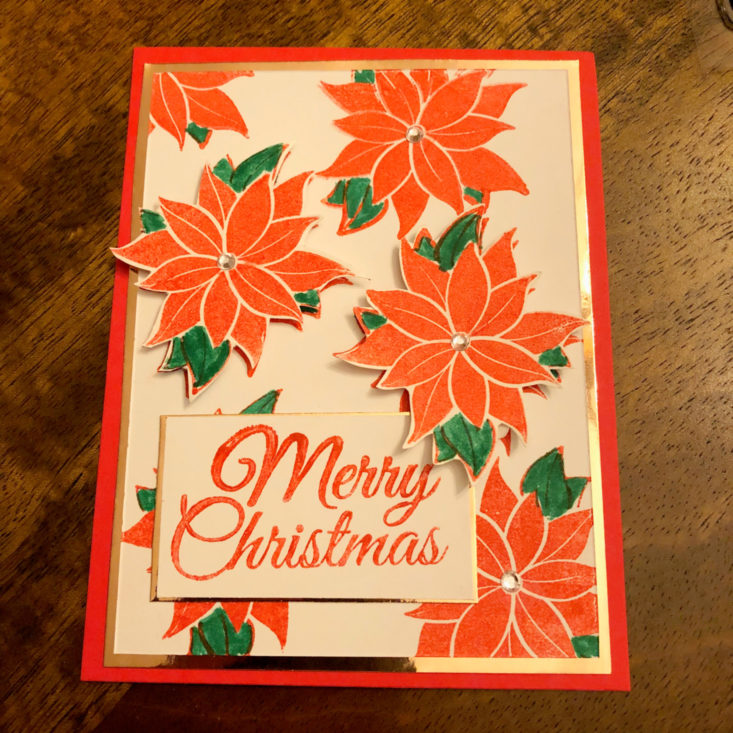
Here’s Card #1 - I’m very pleased with how it turned out!
Card #2
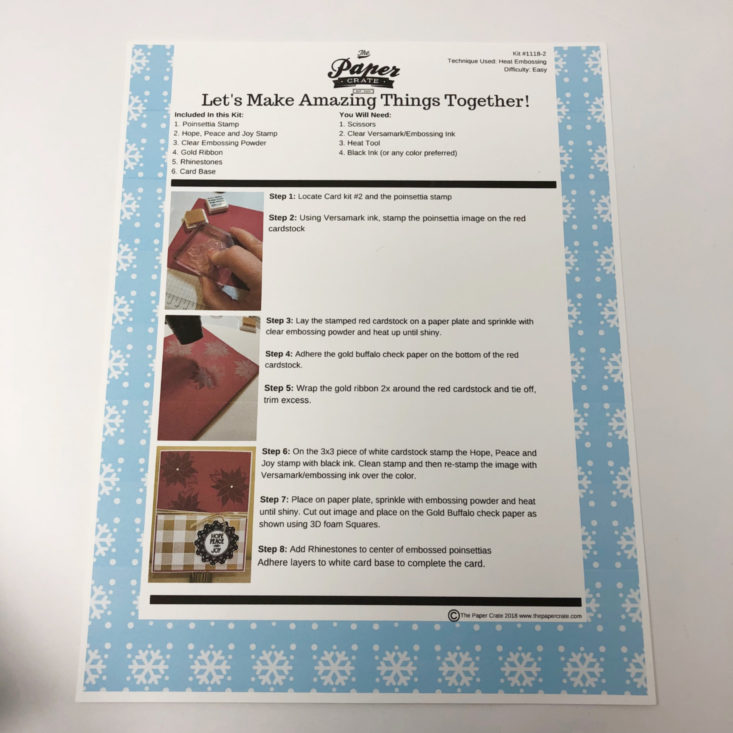
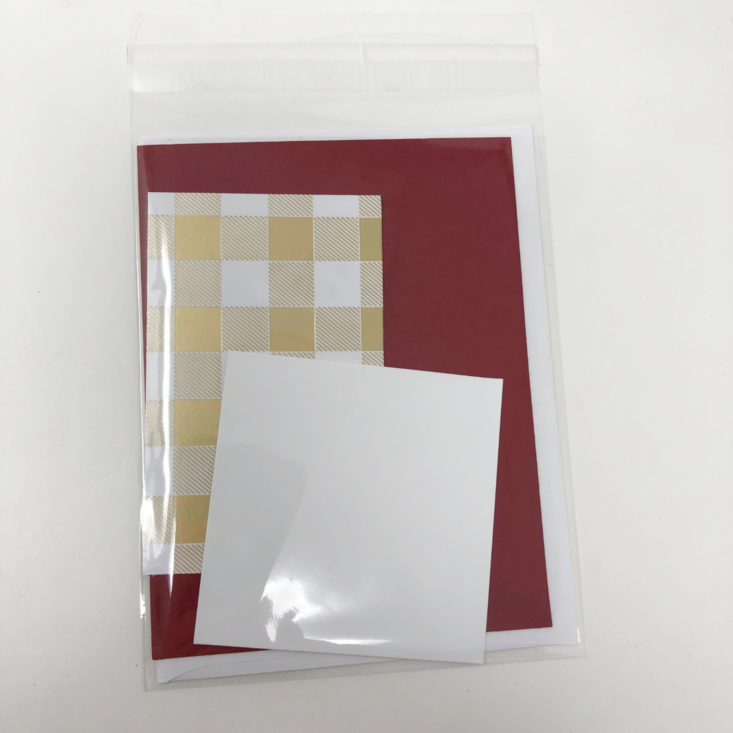
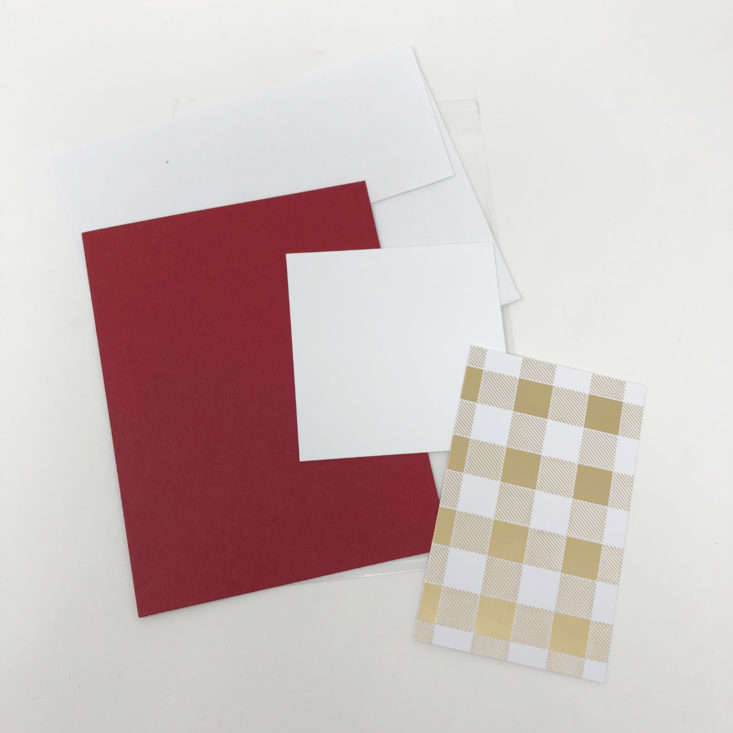
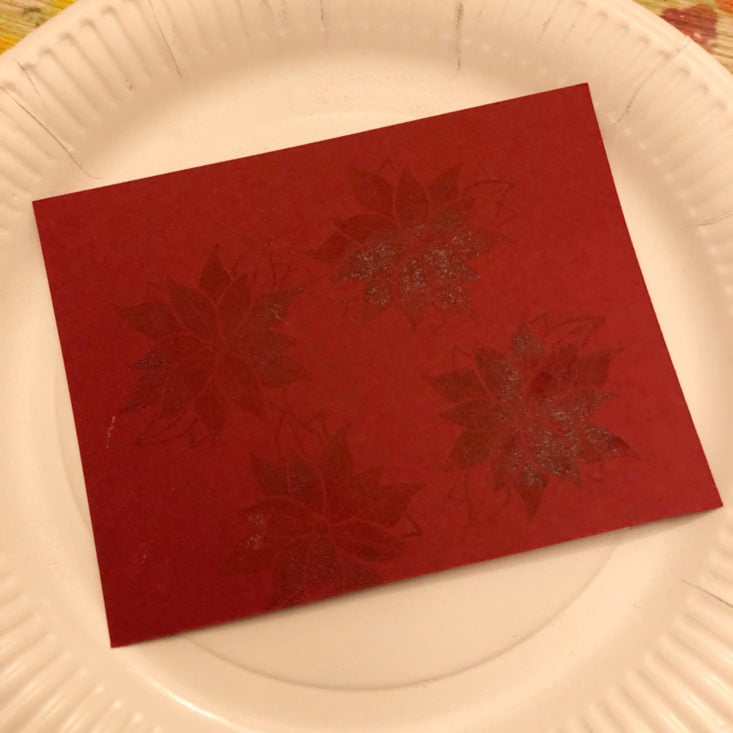
To start this card, again you stamp the red poinsettia several times onto the red cardstock. Then, you do the head embossing step – you simply sprinkle the powder onto the wet ink, tap off the remainder, and then use a heat tool to basically melt the embossing powder until it’s shiny. I used my hairdryer – I decided to make all of these cards using only materials that I had on hand and not buy anything new to see how they turned out. I’ll keep noting what I did differently as I continue this review.
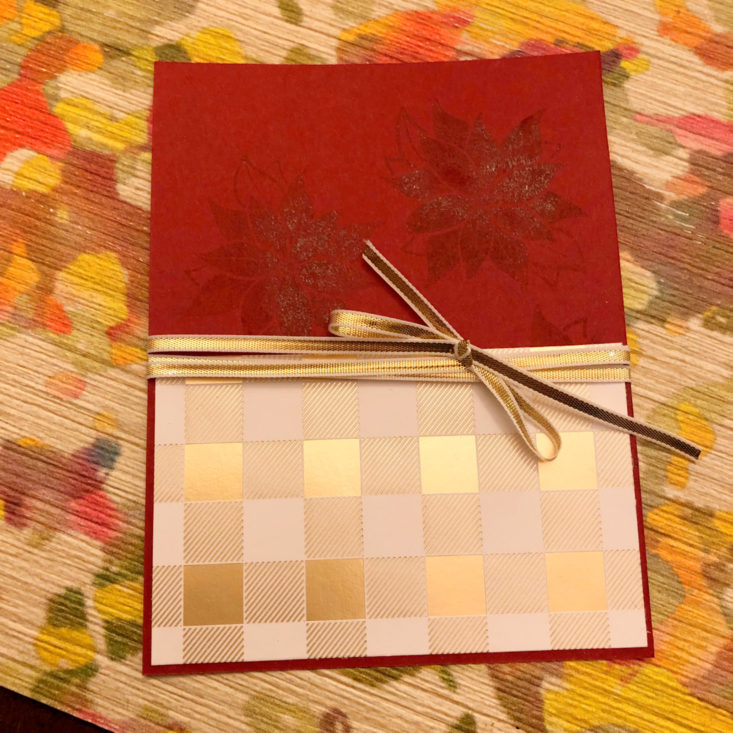
The next step is to glue the plaid paper to the card, and then wrap the gold ribbon around and tie into a little bow.
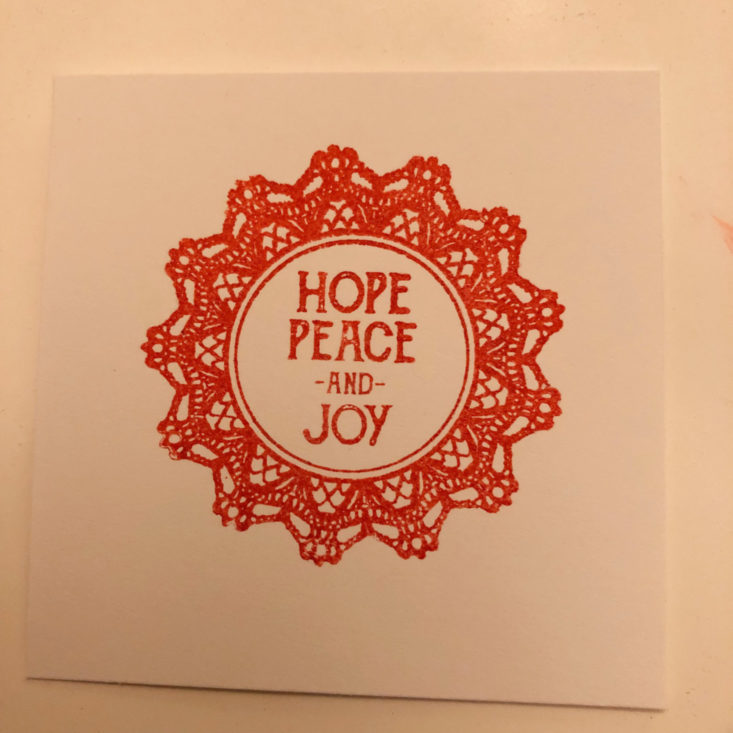
Then, you stamp your card messaging. You could use the one that I selected, or you could use Merry Christmas again, or even another poinsettia. I love that you can be creative in a structured way. You can follow the same steps above to head emboss -which I did.
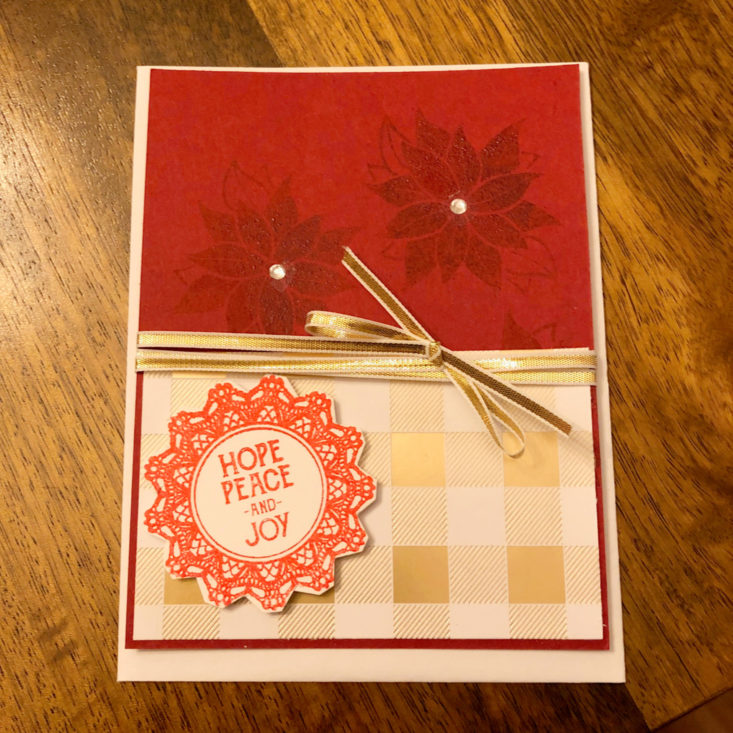
Finally, I added the crystals to the centers of the poinsettias and adhered the embellishment using the foam squares. Again, I think this is an adorable card that I look forward to sending to a friend.
Card #3

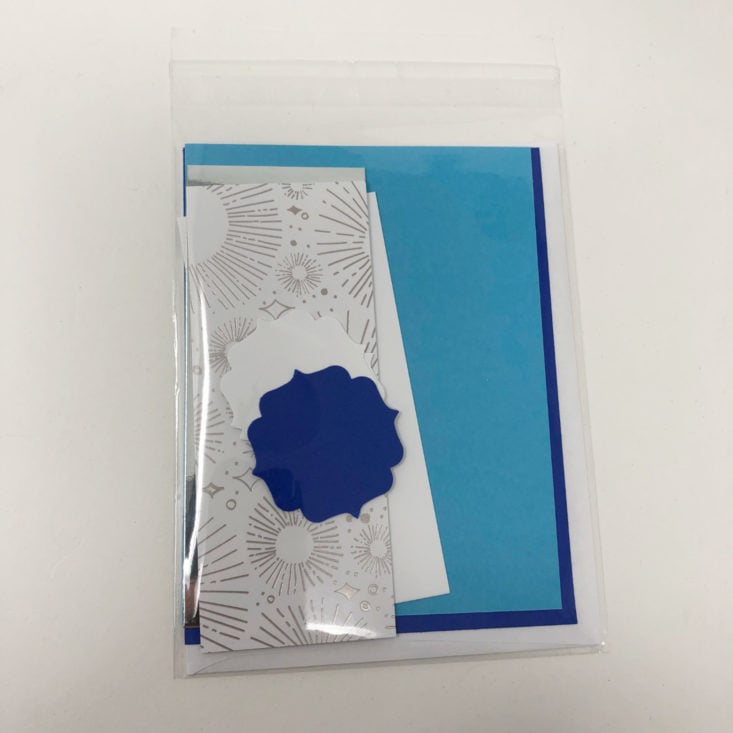
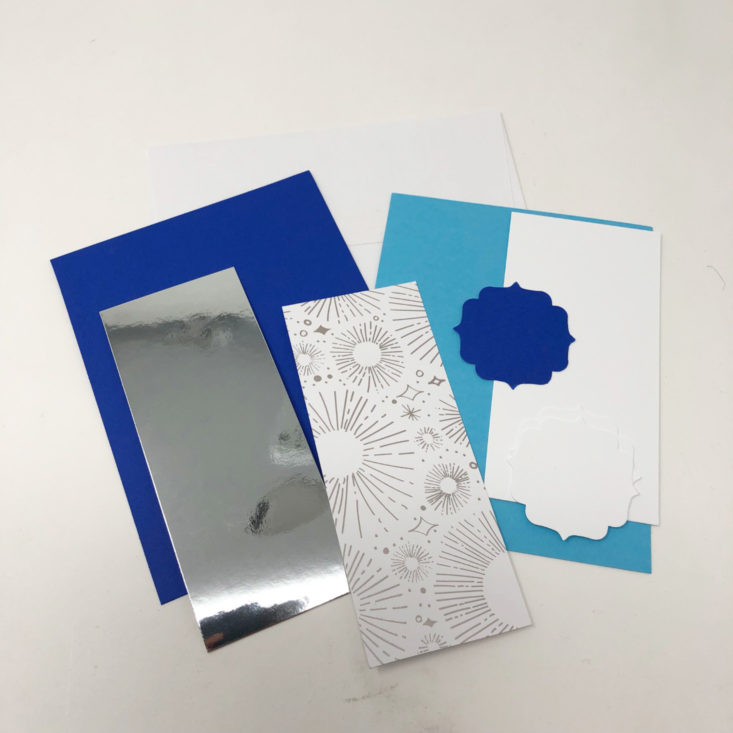
I was bummed when I read the instructions for this card that blue ink and the peace on earth stamp were not included in this kit. I had to use some creative liberty, and I don’t think it ended up turning out as nicely as the example.
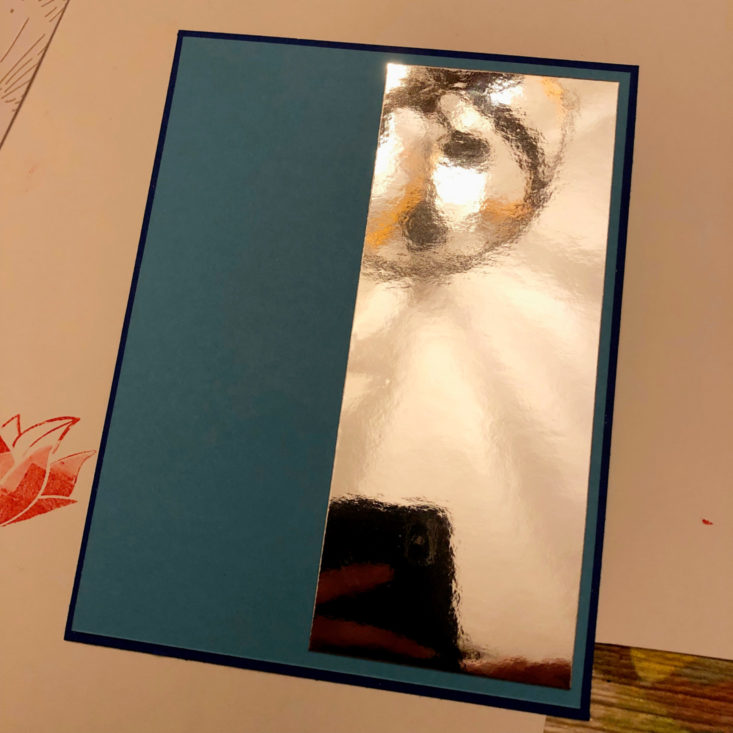
First, you mount the light blue to the dark blue and then adhere the silver card sliver to the light blue.
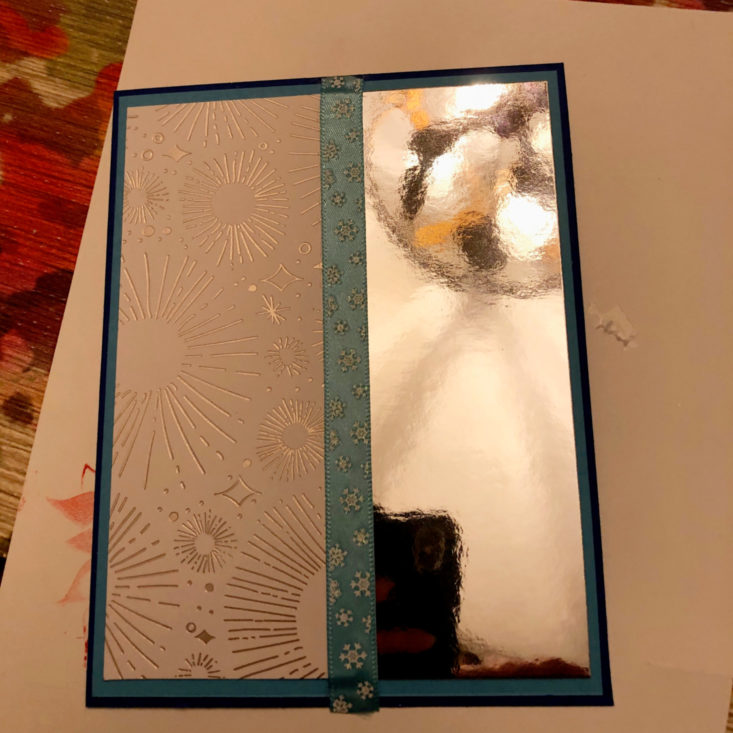
Next, you layer the embellished paper on the other side and cover the seam with the blue ribbon.
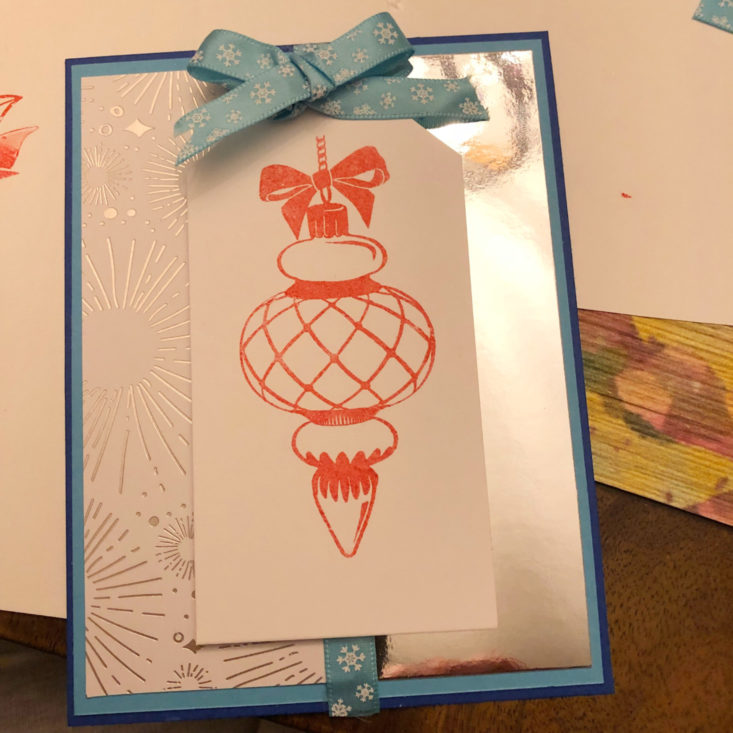
Next, I stamped the ornament stamp onto the white cardstock, and cut it to look like a gift tag. I added a bow at the top, to add some movement to this card. I would have liked this better if I had an ink other than red to use.
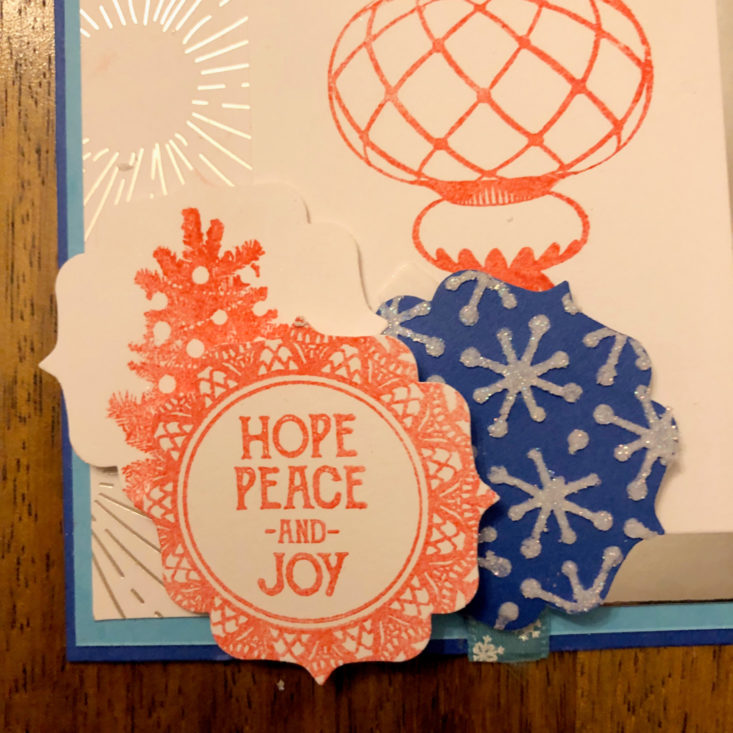
Next, I doctored up some of the embellishments using materials I had on hand. I tried to make the red look less weird, by adding some other stamps and shapes.
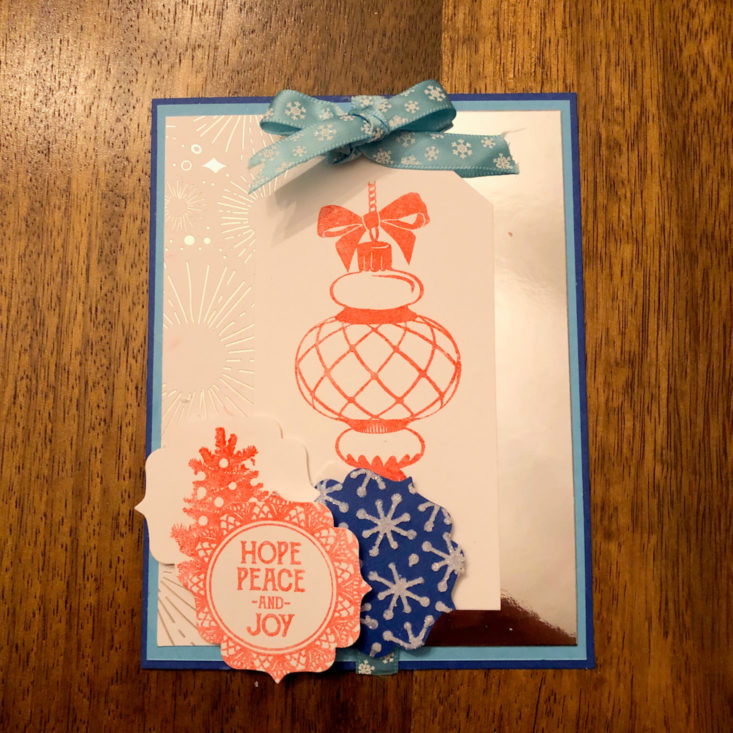
Here’s the final card. It’s just ehhhh to me. Maybe I’ll send it to someone that I know isn’t judgy-wudgy…(e.g. not my mother)
Card #4
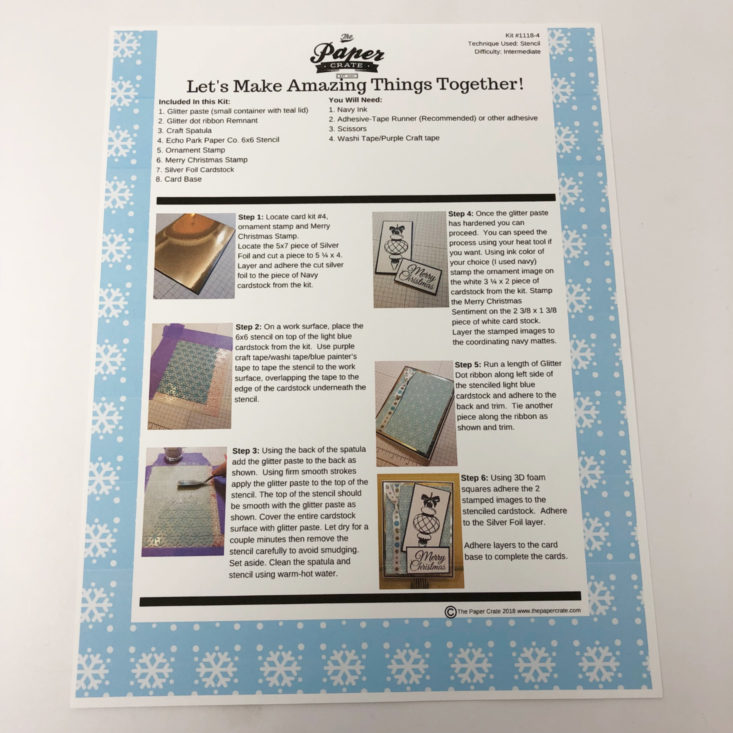
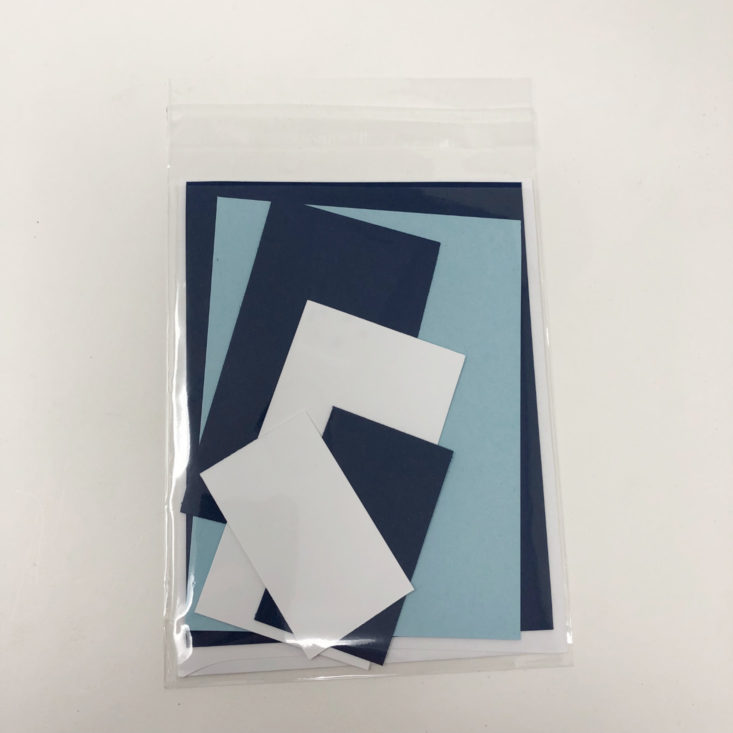
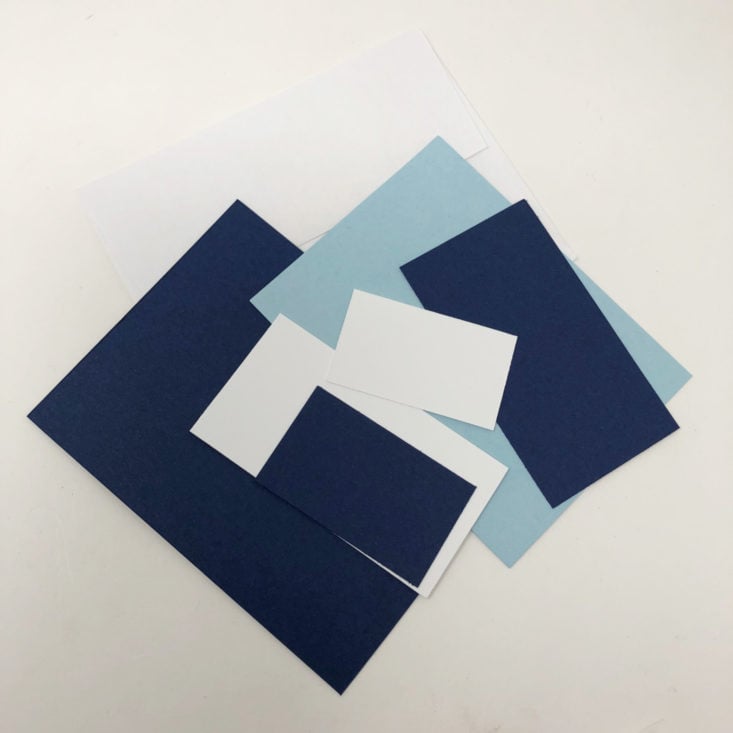
I finally get to use the glitter paste! Whoop whoop.
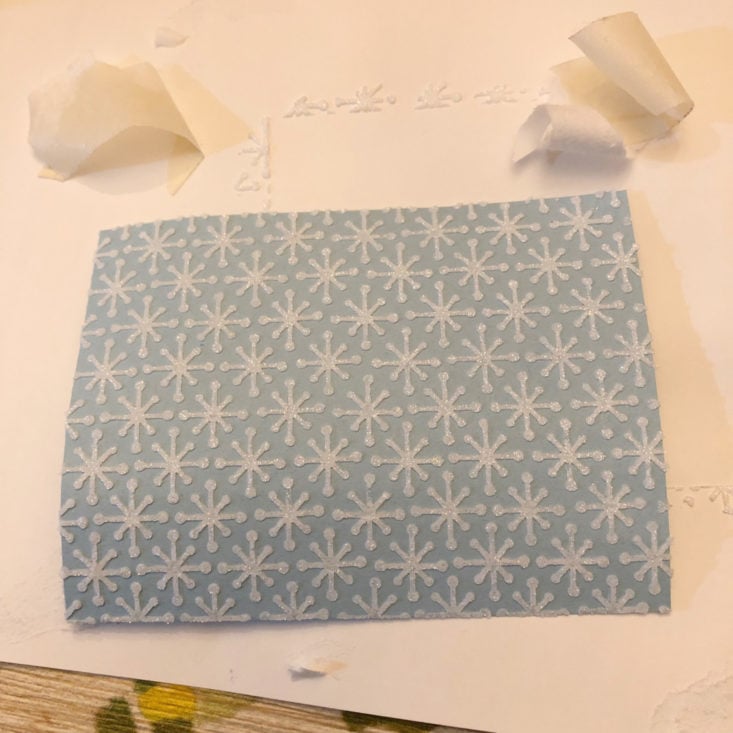
I loved doing this step. You simply tape the stencil down to a sheet of paper, over the blue cardstock. Then using the spatula, I smeared the glitter paste evenly across each of the snowflakes. I walked away, forgot about my project, and ended up peeling it off about a day later. I was so glad that even after drying for that long that it came off easily!
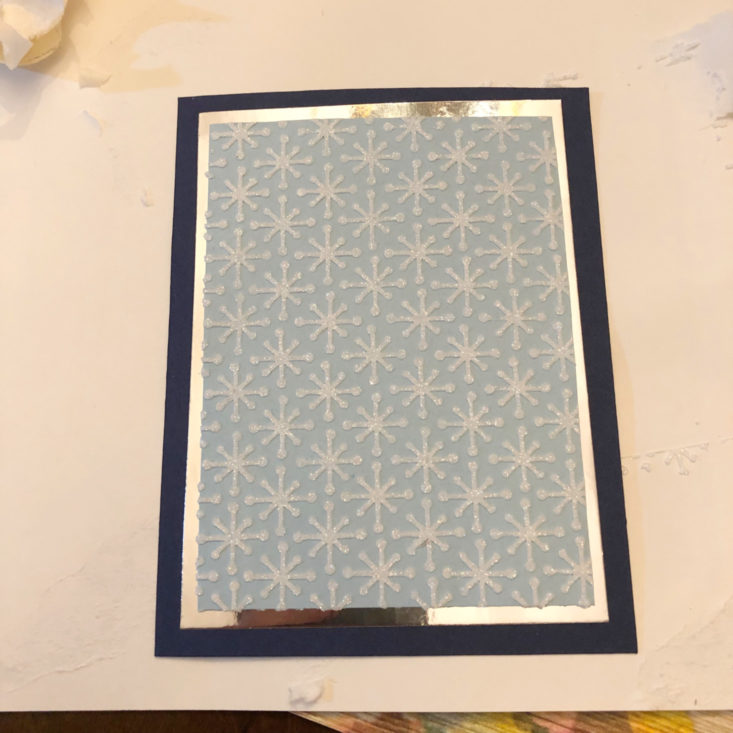
Next, I mounted the stenciled card onto the silver cardstock, and then the dark blue.
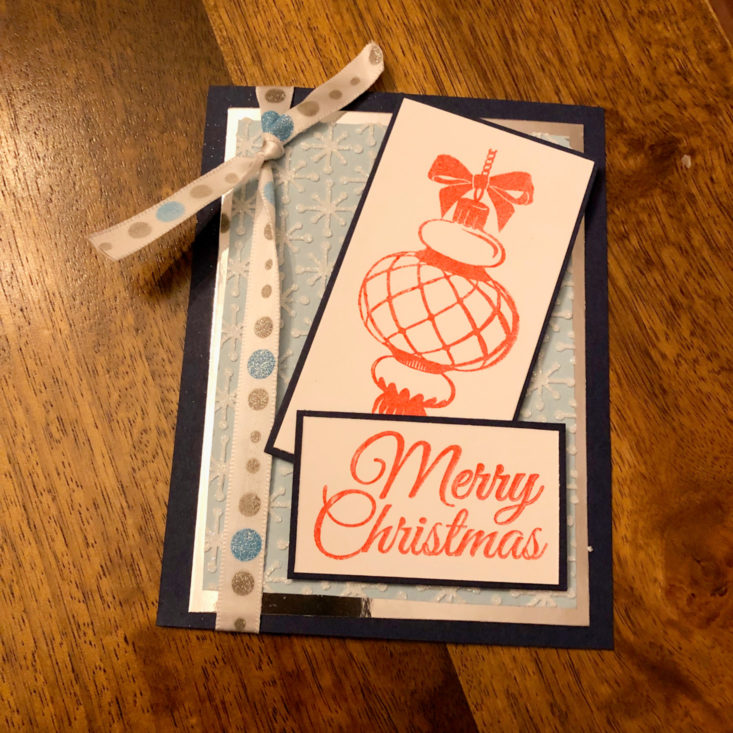
Finally, I added some other embellishments and ribbons. Again, I wish I had blue or silver ink – even black – something other than red to blend in better with this design.
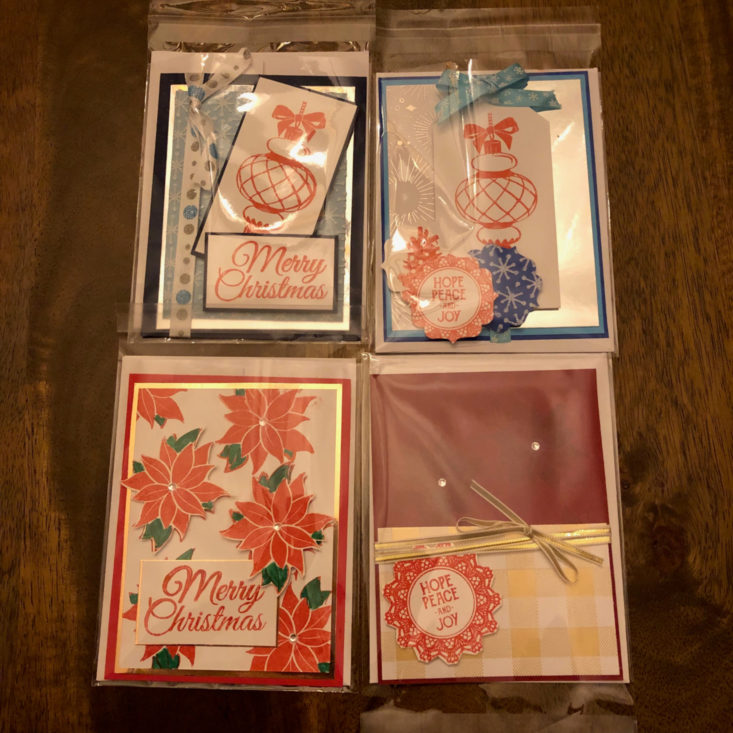
And finally, here are all 4 of my cards together.
Verdict: This craft project was fun and not too difficult. I’d estimate that I spent around 2 hours total on all the cards. Overall, I like the items included and the cards that I was able to make. I wish all of the needed materials were included so that I had the option to make the cards exactly like they were shown in the instructions. I like that in the value department, I didn’t receive just one and done items, some of the items are reusable and can be added to my crafting collection – so it feels like a better investment.
To Wrap Up:
Can I get this box if I sign up today? Yes, you can order this box as a one-time shipment for $34.99 here. If you sign up for the monthly subscription, your first box will be December.
BLACK FRIDAY DEAL: For a limited time, use code CJBLACKFRIDAY to save 30% off any subscription!
Coupon - Use code MSA10 to save 10% off your first box!
Value Breakdown: The cost of this box is $29.99 and creates four cards, breaking down to about $7.50/card. This does not account for the materials that can be used for future crafting, so I do feel like it’s a fair value.
Check out more crafty subscription boxes in the DIY + Crafting Subscription Box List!
Keep Track of Your Subscriptions: Add this box to your subscription list or wishlist!
What do you think of November's The Paper Crate: Card Making Kit?




Please do not enter your email address in the Name field or in the comment content. Your email address will not be published. Required fields are marked *. Remember to post with kindness and respect. Comments with offensive language, cruelness to others, etc will not be approved. See our full comment policy here.