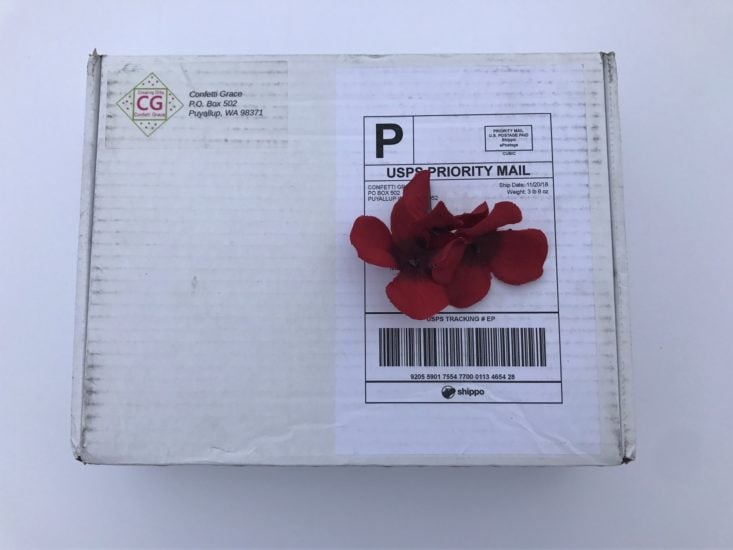
Confetti Grace is a DIY craft subscription that sends a box filled with enough craft supplies to create 2 of the same featured projects. That way, you have one to keep for yourself and one to give away. “Throw Kindness Around Like Confetti” is this companies motto, and these projects give the gift of quality time with family and friends. To top it off, 20% of net profits are donated to worldwide charities!
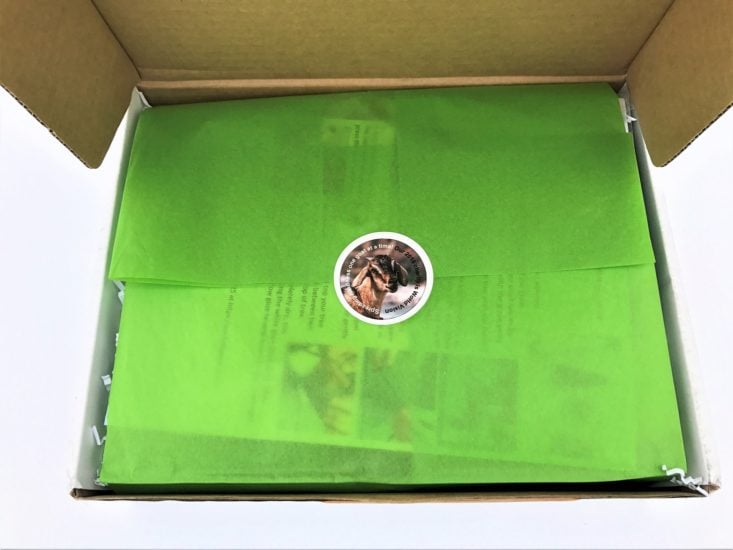
There are multiple subscription options, including longer commitments, an option to add on an additional project set, and even a party box!
This review is for the Original Subscription DIY box, which is $28.95 per month (plus free shipping to the continental US)
This box was sent to us at no cost for review. (Check out the review process post to learn more about how we review boxes.)
About Confetti Grace
The Subscription Box: Confetti Grace Original DIY Box
The Cost: $28.95 + free shipping
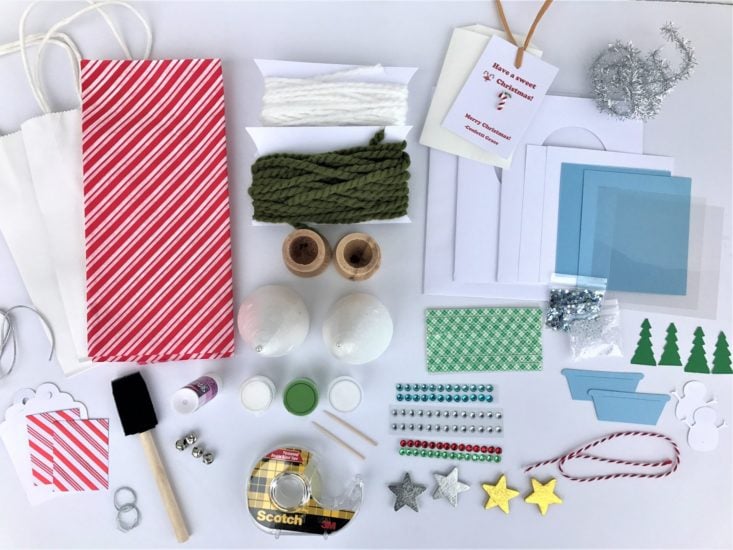
The Products: A specially curated box filled with enough craft supplies to create 2 of one project. One to keep, and one to give away, or to share with a friend! (Recommended ages are 8-adults)
Ships to: U.S. Only. Free shipping to the continental US!
Good to know: In 2018, Confetti Grace donates 20% of net profits to is World Vision. This charity helps purchase dairy animals for families in need.
December 2018 Confetti Grace Original DIY Box
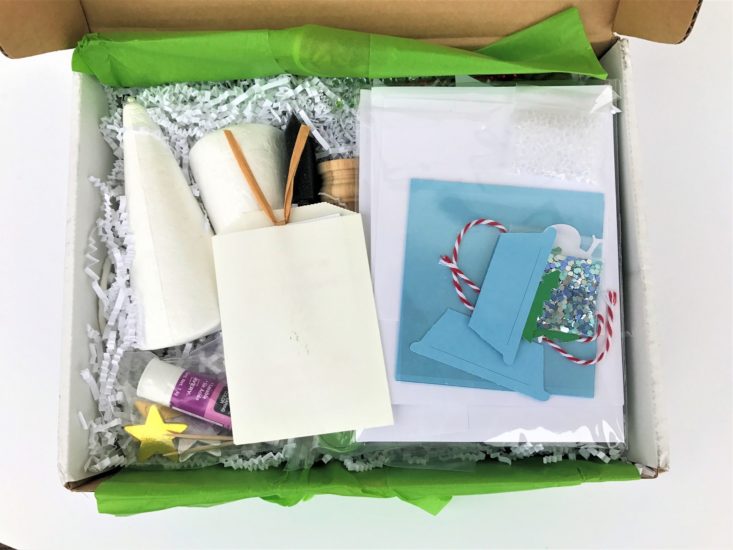
This is the first time that Confetti Grace has been reviewed on MSA, and I must say, we had a blast with it! My 5-year-old, Hank, was my crafting buddy, and we got started as soon as we took it out of the mailbox! This month included 2 tree projects, 2 snow globe cards, 2 gift tags, and 2 gift bags with tissue.
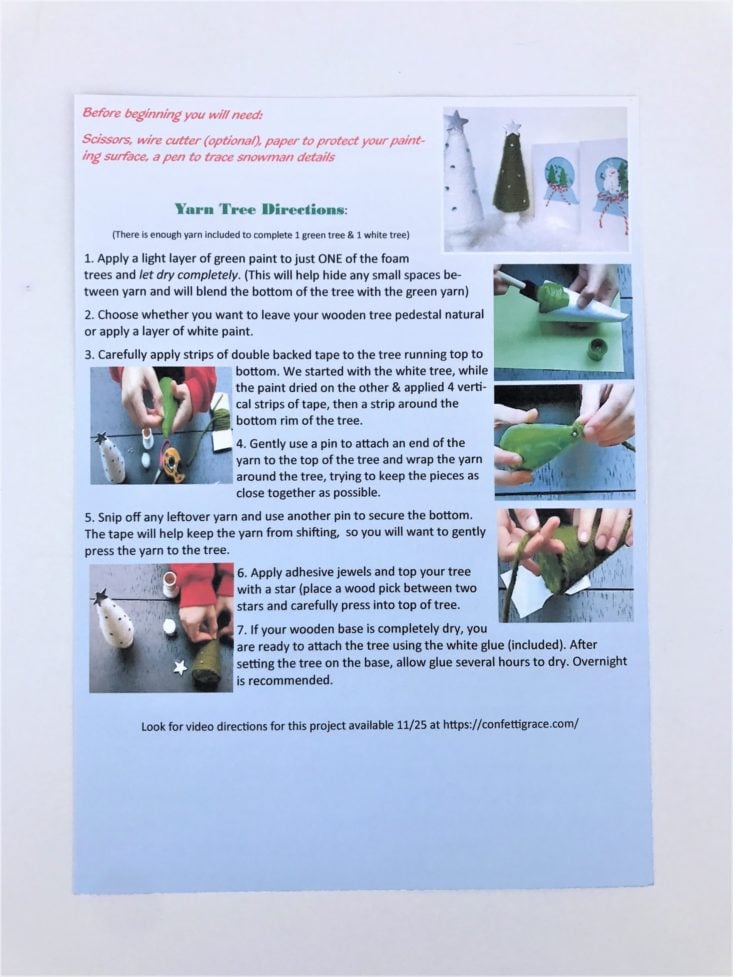
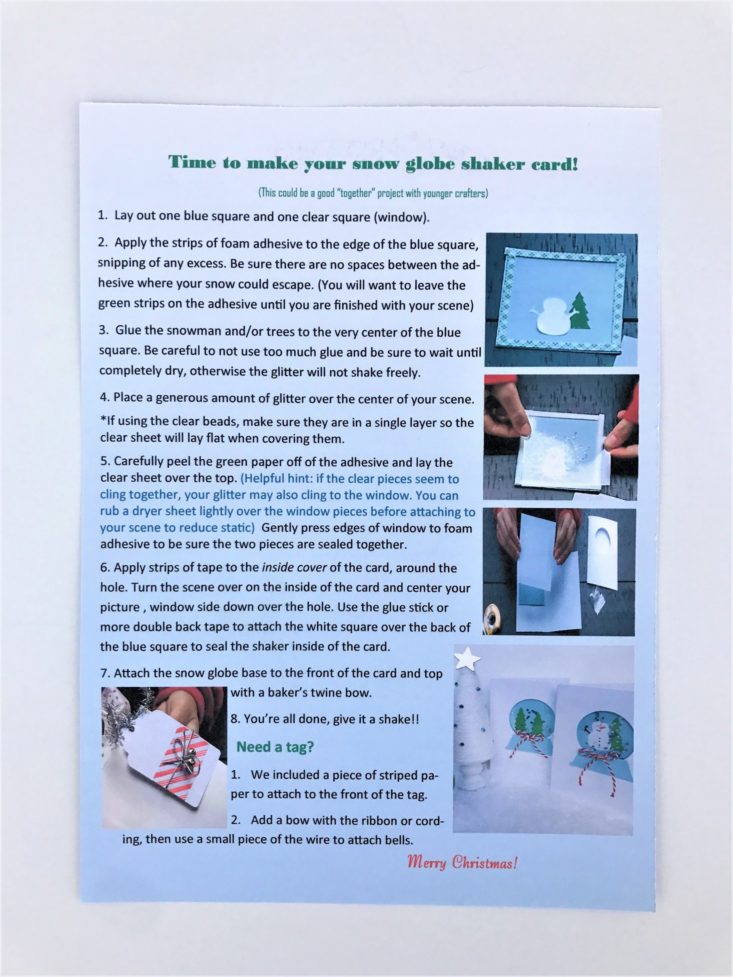
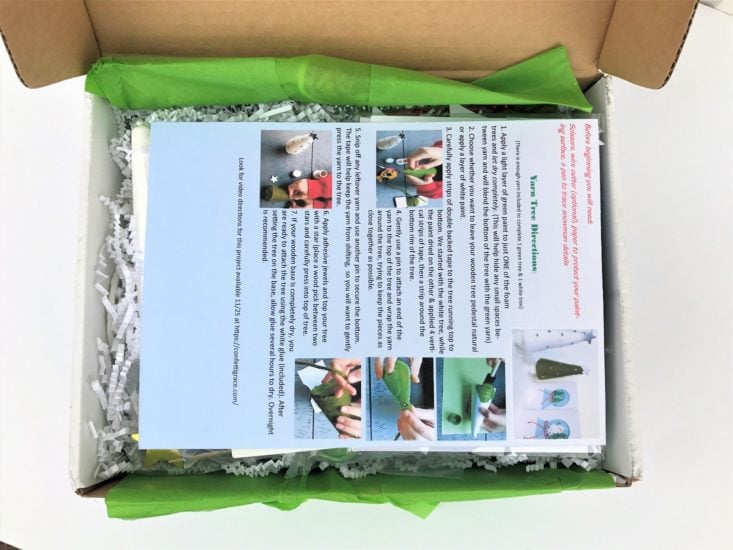
The box comes with an instructional card that includes written details and pictures on how to create the featured projects. They have also included a link to video directions that can be pulled up online for extra instructions.
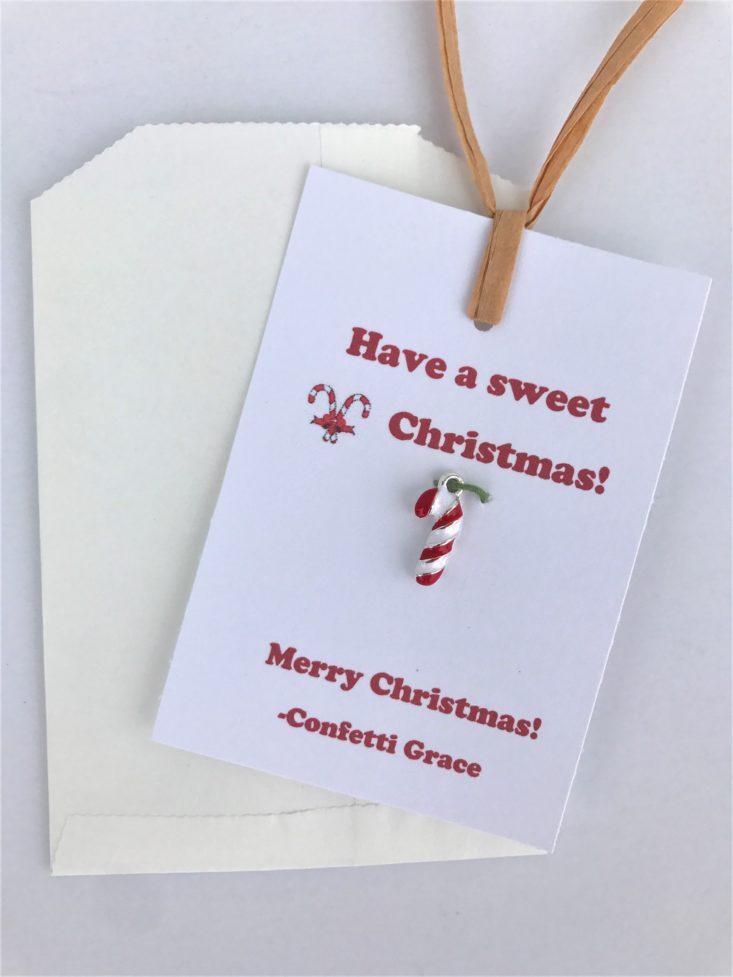
This month included an extra paper tag with a little candy cane charm wishing the subscriber a Merry Christmas fromConfetti Grace. A welcome and lovely little gesture! I may just use it to make a little Christmas bracelet for my niece!
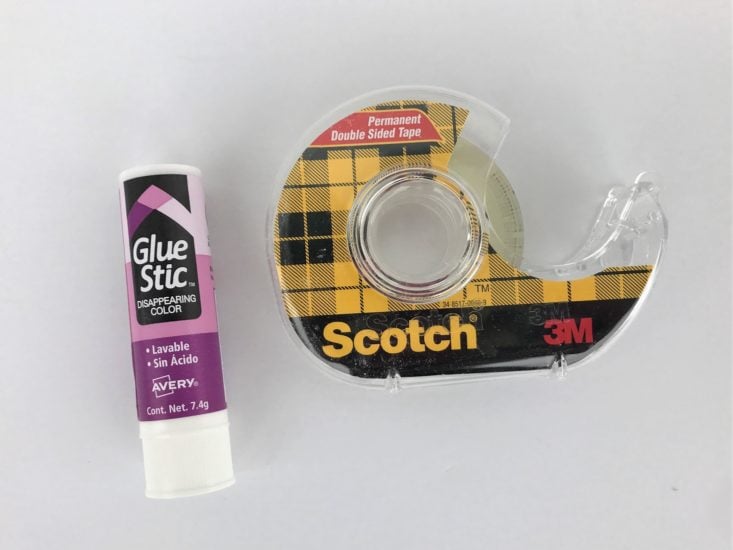
Avery Disappearing Color Glue Stic - Retail Value $1.97
Scotch Permanent Double Sided Tape - Retail Value $2.47
I was pleasantly surprised to find they included a glue stick, and double-sided tape, along with (almost) everything you need to create these projects. The supplies not included are a scissor, a wire cutter (optional), paper to protect your painting area and a pen or markers to trace the snowman details.
Project #1: Snow Glow Shaker Card
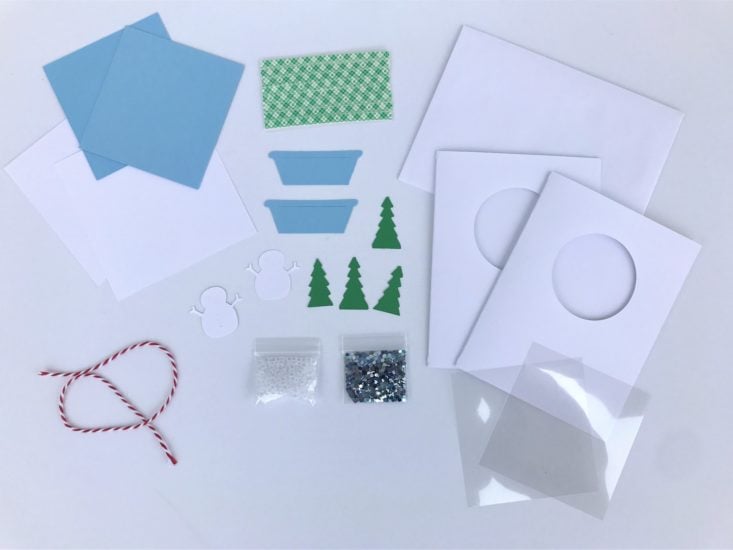
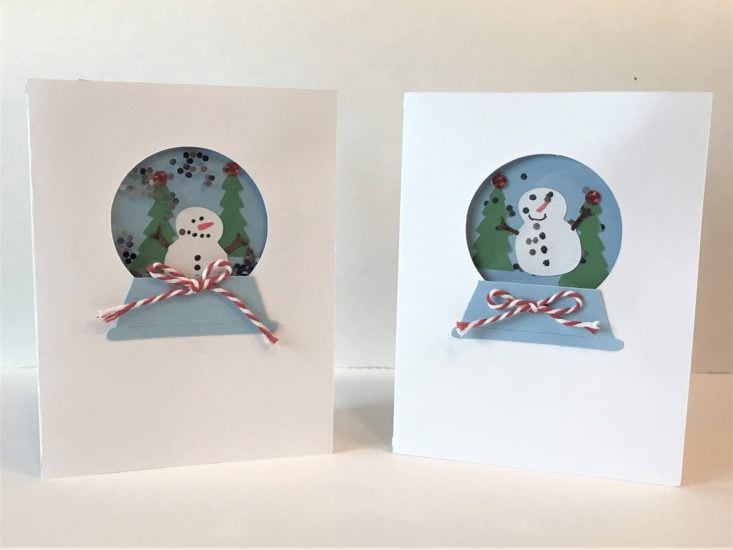
The first craft my son and I completed was the snow globe shaker cards. These cards are so absolutely adorable! Hank loves his so much he can’t bear to give it away. I recommend reading through the directions before you start, because the glue is extremely sticky, and once it is placed, it will be very hard to move!
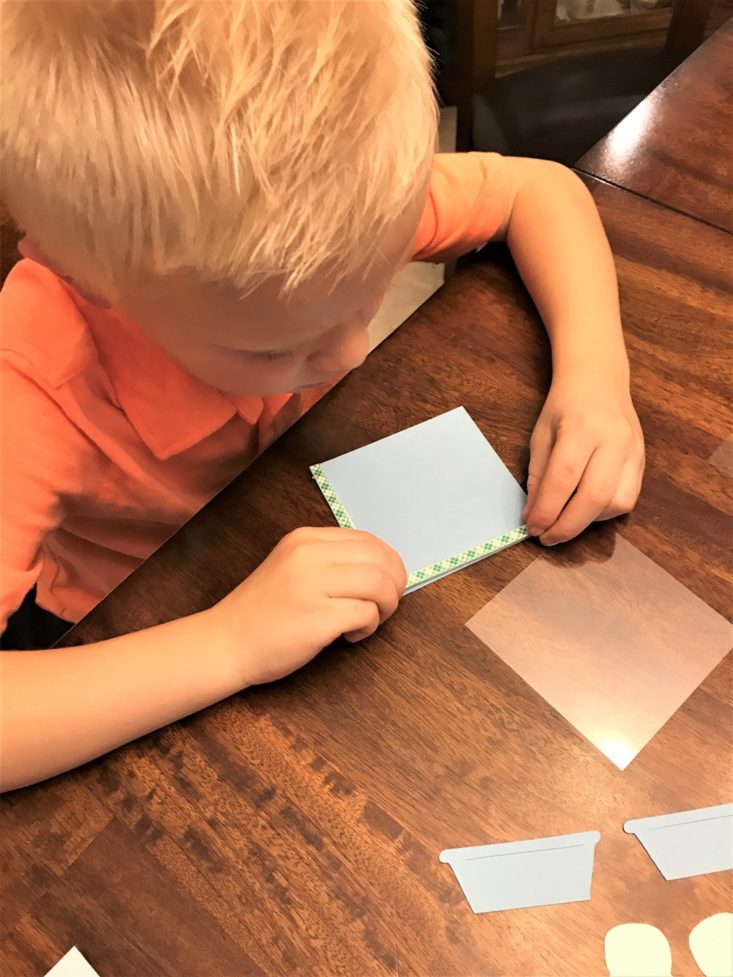
The directions for these cards were extremely easy to follow. My son actually did a better job placing the foam adhesive than I did. Just a note, it is EXTREMELY sticky. I actually had a hard time pulling a couple of them off the plastic backing. You also want to make sure there are no gaps in between the adhesive, otherwise, your glitter or beads will fall out.
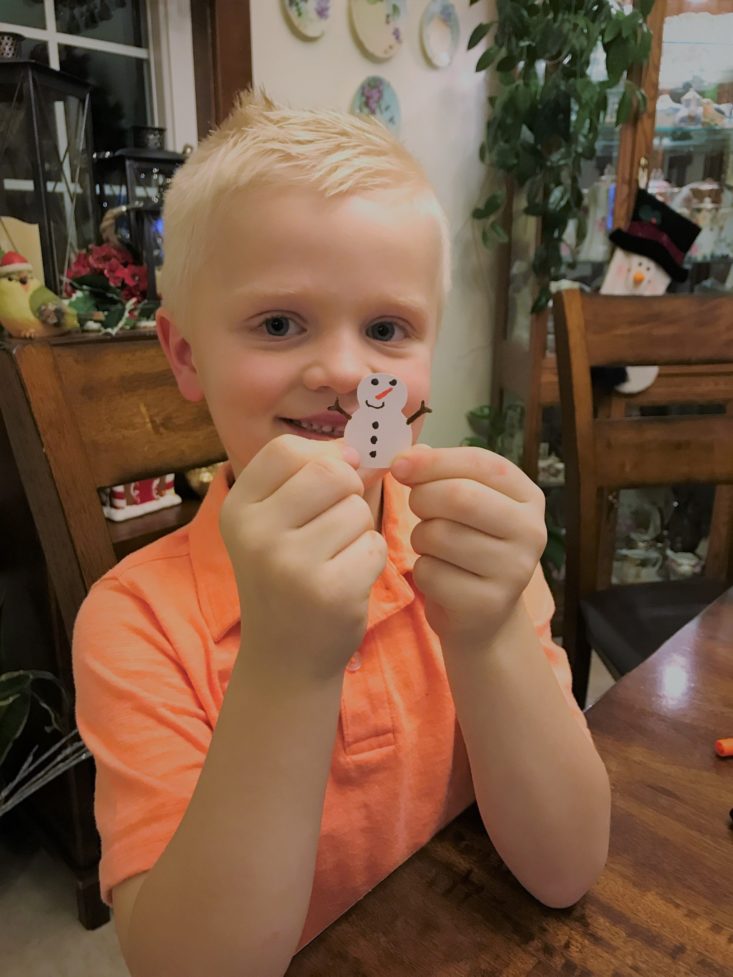
After you have your adhesive placed, make sure to leave the green strips on until after you have added the detailing to your snowman, glued your pieces on, and added your glitter or beads. Hank did such a great job on his snowman detailing. His only complaint was that the snowman didn’t come with a hat.
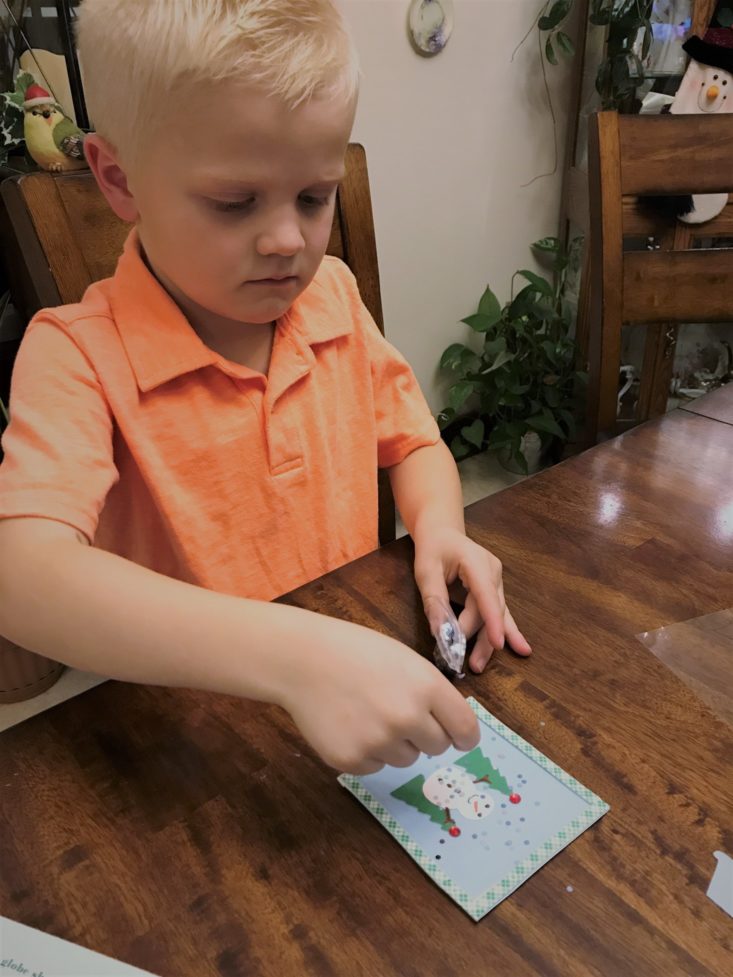
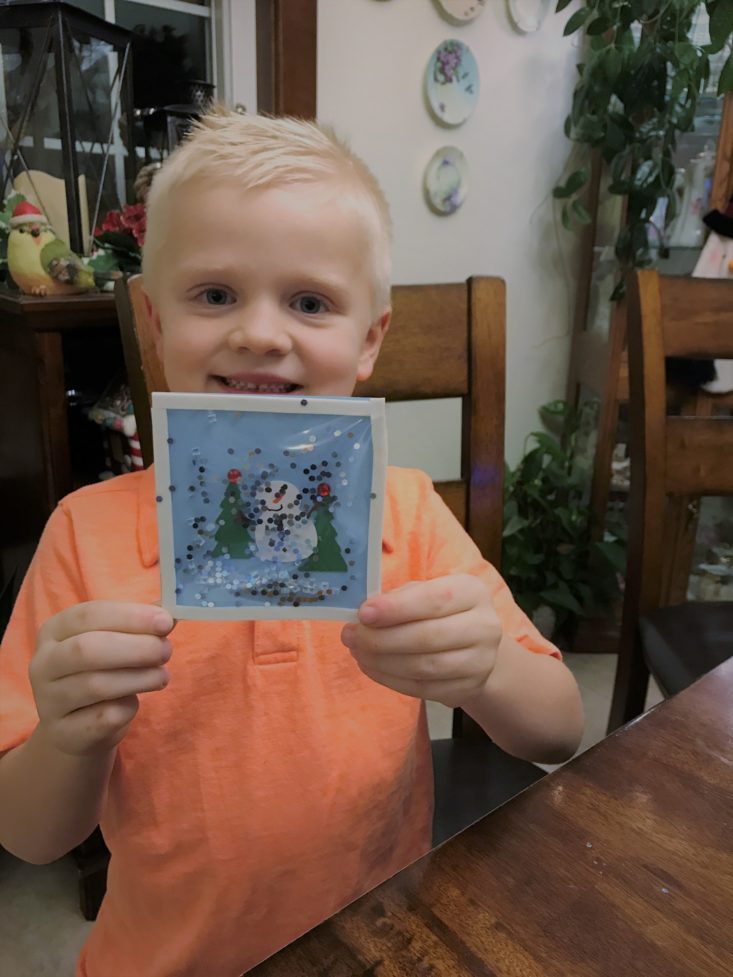
The most exciting part of this project was adding the glitter and beads. We couldn’t wait to open these little sparkling baggies up! There was no instruction as to how much to use, so Hank used a little of each, while I used a lot of blue glitter. After they were finished we found we liked the card with more glitter a little bit better. After all, pieces are glued in and the glitter is poured, it is time to take off the green strips and place on the clear, plastic film.
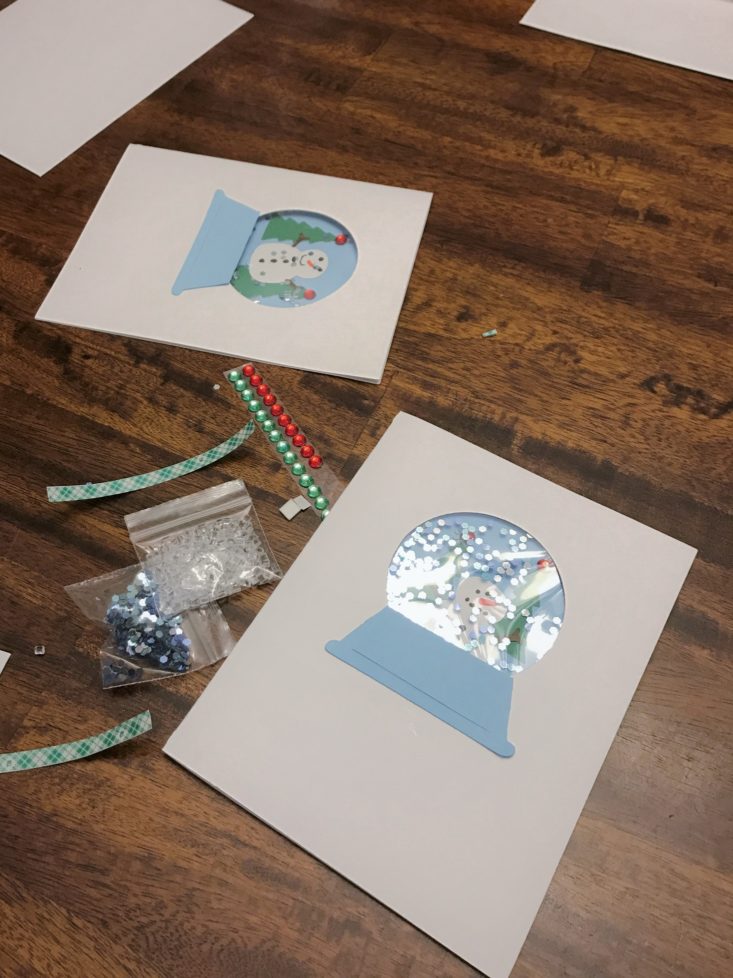
After the snowglobe part is complete, you add strips of double-sided tape around the inside circle of the card and line up your snow globe in the window. They also include a white piece of paper to cover the blue for a more finished look. When that is done, you can go ahead and glue on the snow globe base and the bow. This step completes the card!
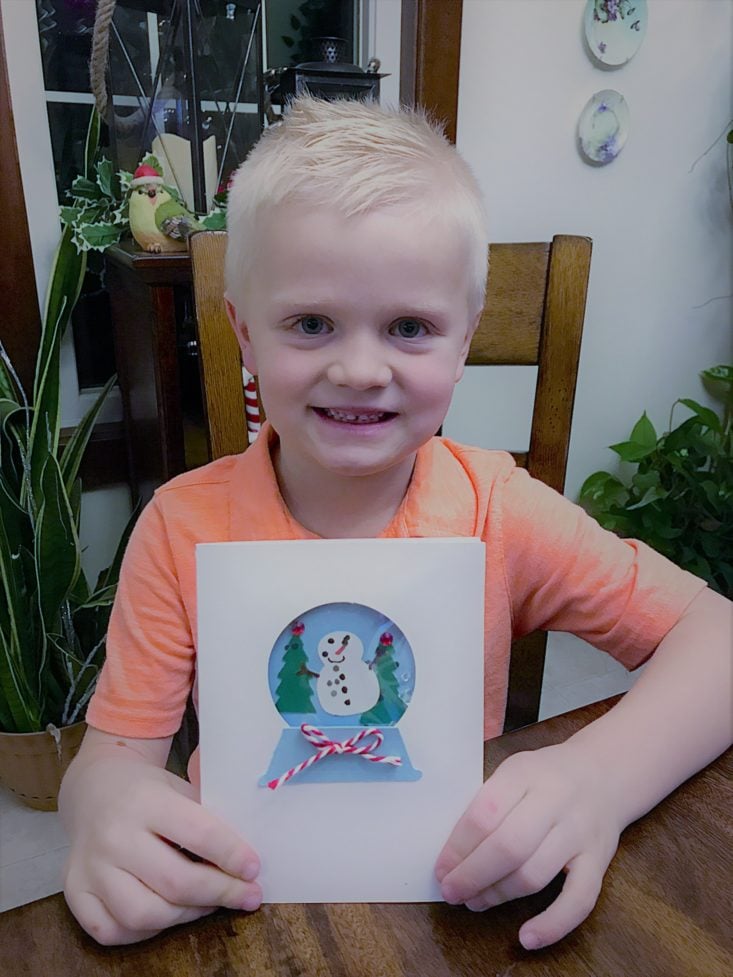
These cards turned out so cute! We really had a good time putting them together and it only took about 15-20 minutes to finish. Hank wants to keep his, while I think I will be sending the one I made to my 93-year-old grandma who adores getting mail! While this subscription is recommended for 8 and up, my 5-year-old was able to complete this with adult supervision.
Project #2: Yarn Tree
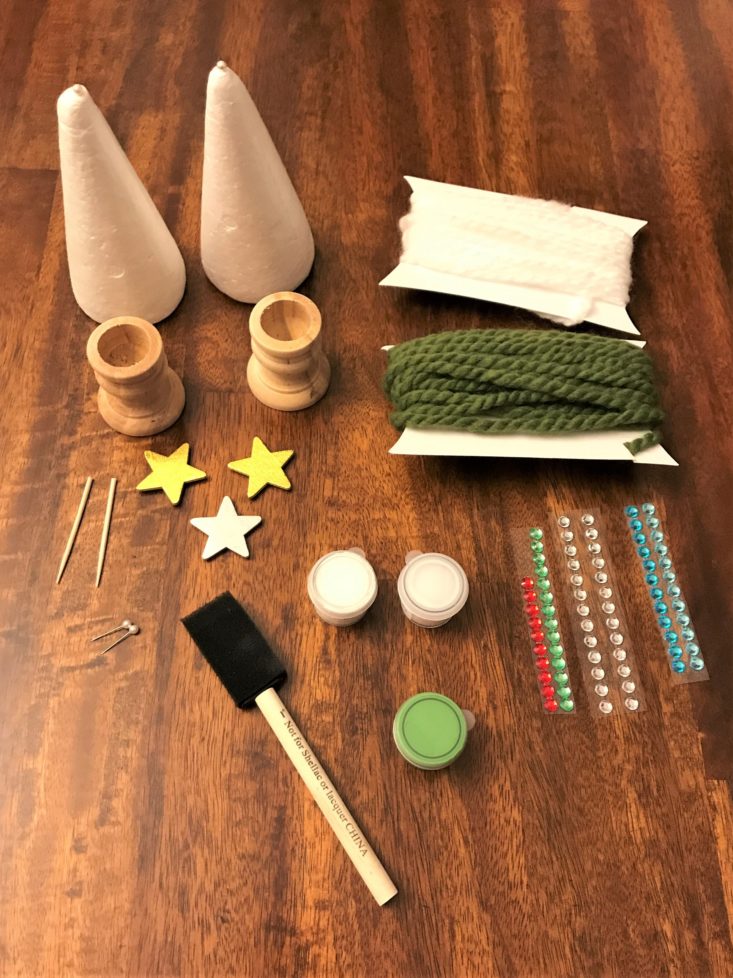
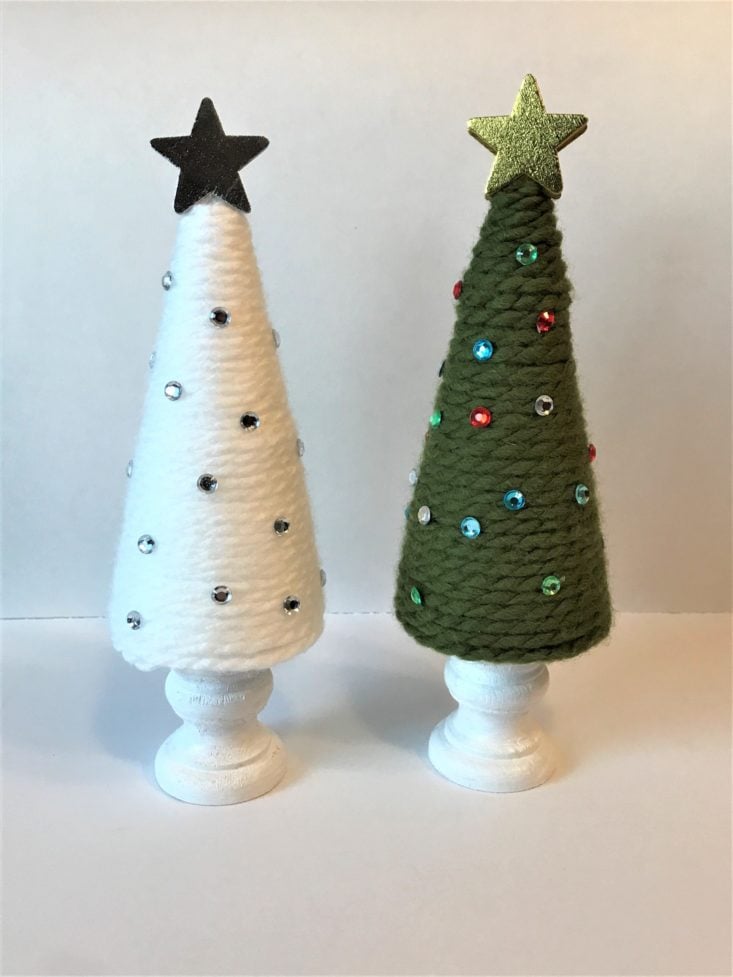
The next projects we tackled were the yarn Christmas trees. This project took a little more time because both painting and drying time were involved. My son needed a little more assistance with this one, but they turned out really cute! My grandma is a collector of trees, so this will be the perfect gift for her!
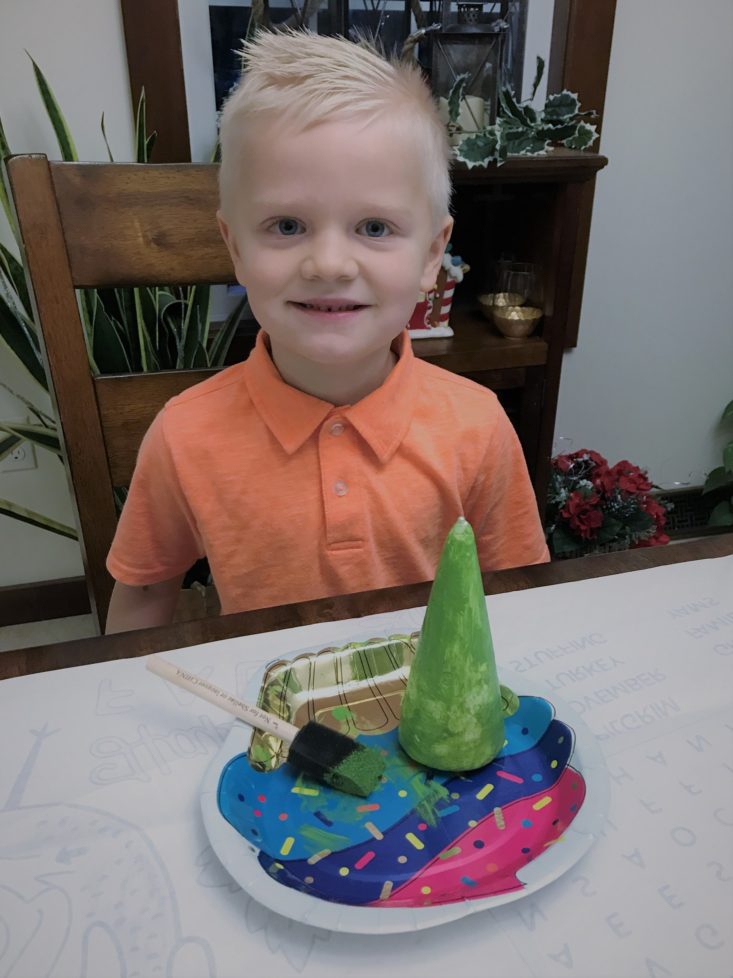
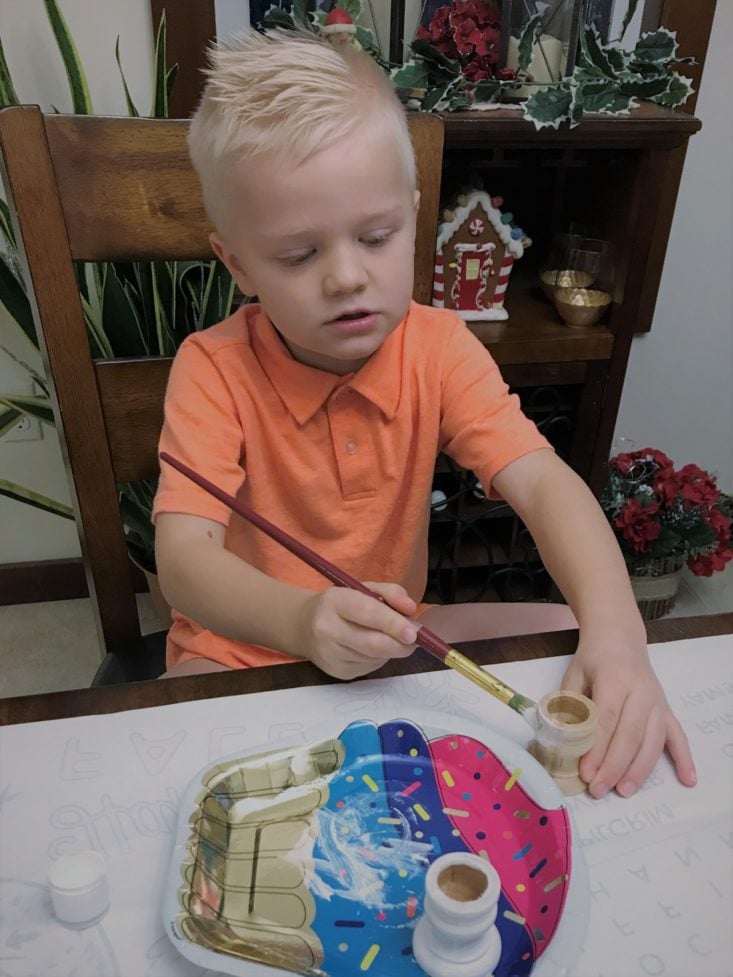
This kit includes enough yarn to make one white tree and one green tree. As a note: you do not paint the styrofoam form for the white tree. You only paint the green one so the white doesn’t show through against the green yarn. Hank loves painting so he chose to do the green tree. After painting the green tree, he painted the wood pieces that are used for the tree stand white. For a more finished look, we went ahead and did a second coat. Then we let everything dry for 2 hours.
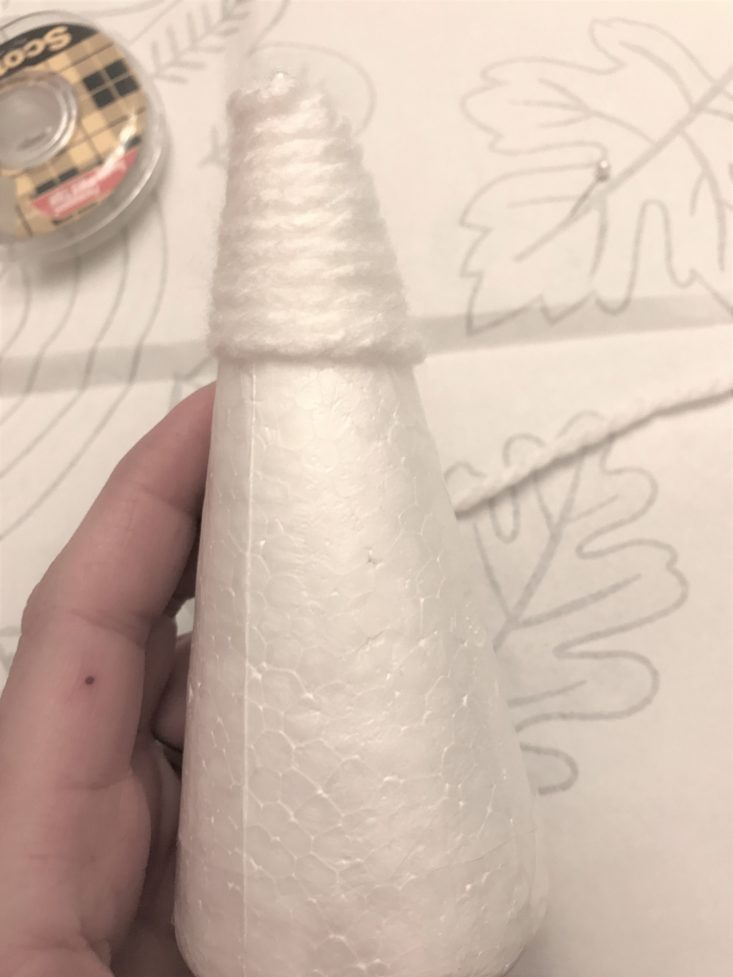
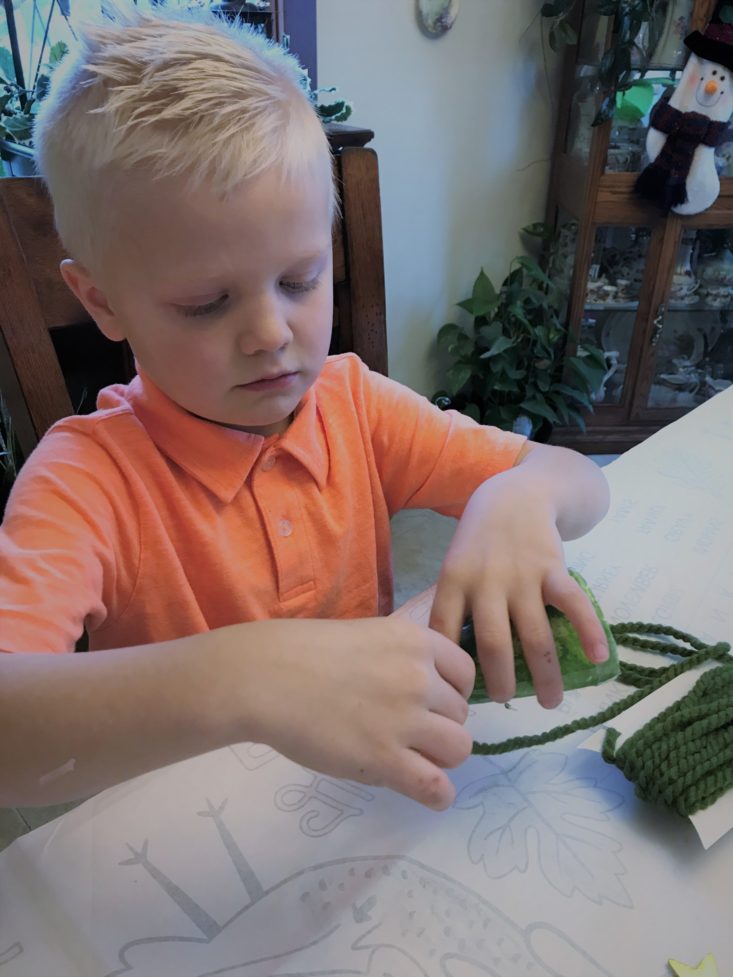
After our pieces had dried, we went ahead and following the instructions for applying the yarn. First, you use the double sided tape and put 4 strips down the sides of the tree, with one along the bottom. Using the pin at the top of the tree you pin the yarn at the top and slowly work your way down keep the yarn tight and close together. Once it has made it to the bottom you use the pin to keep it in place. This was the part Hank needed the most assistance on, but he was too busy planning out his gem decorations to care!
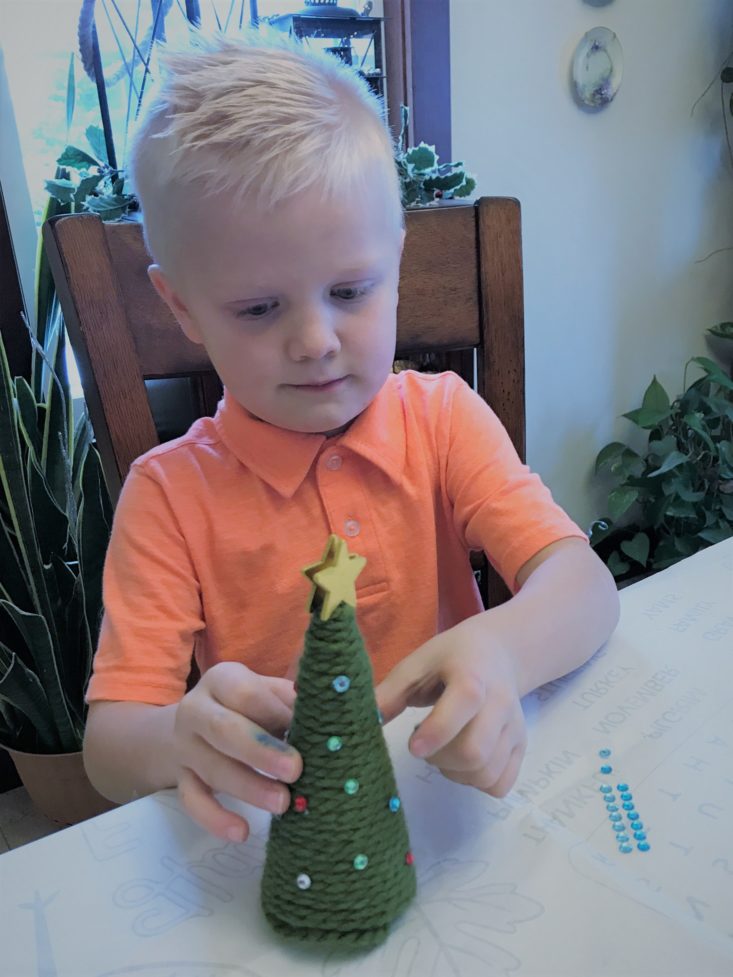
Once the tree is covered in yarn, we were able to decorate the trees. Hank chose to use the colorful gems and the gold star, while I used the silver gems and silver star. Once we were done embellishing, it was time to glue on the base and let dry. In a couple of hours, they were ready to be displayed!
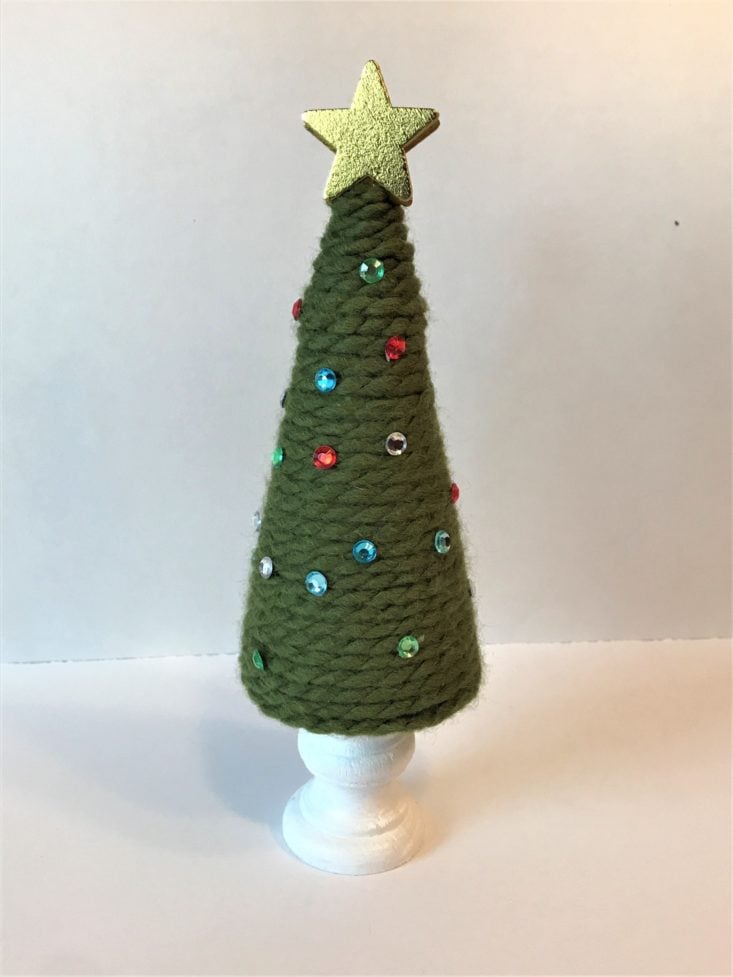
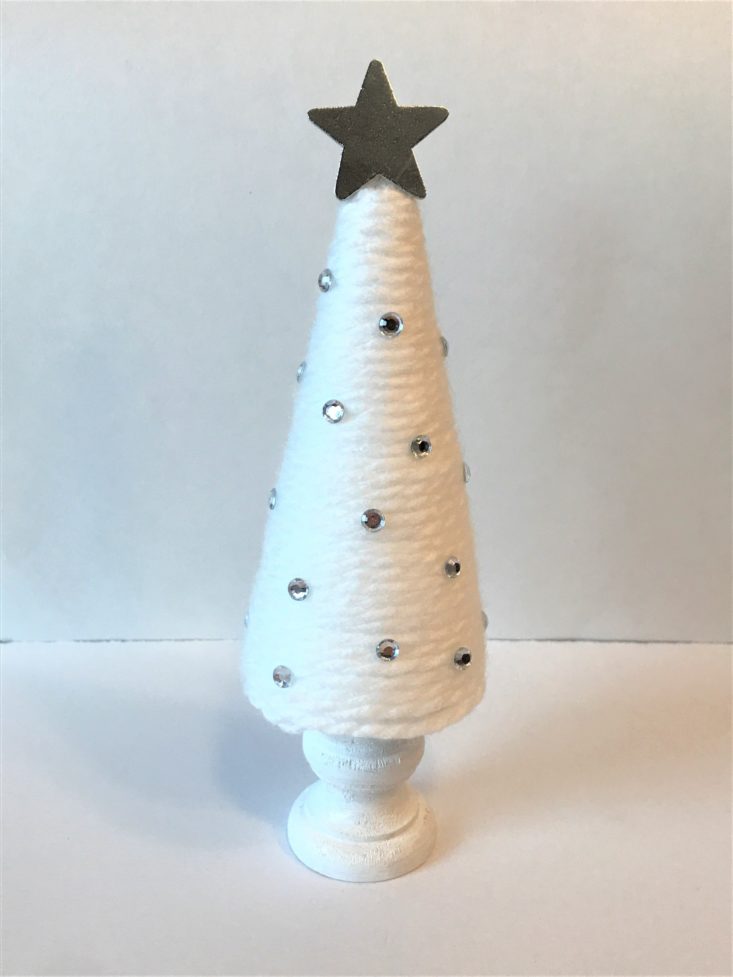
I love the way these little trees turned out. They really are prettier in person than the photos and instructions show. The little wooden bases really add a lot to this craft, as do the gems. With all of the double sided tape and glue, these trees feel very well put together and sturdy. The will definitely make a beautiful display!
Project #3: Holiday Gift Tags
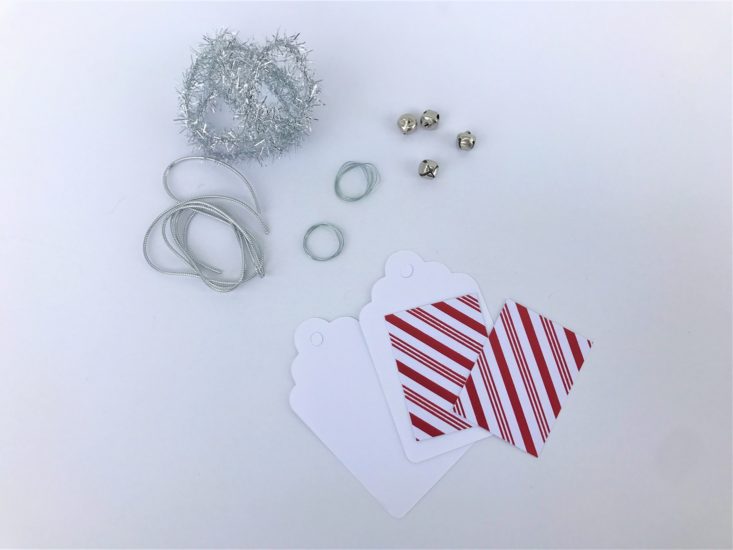
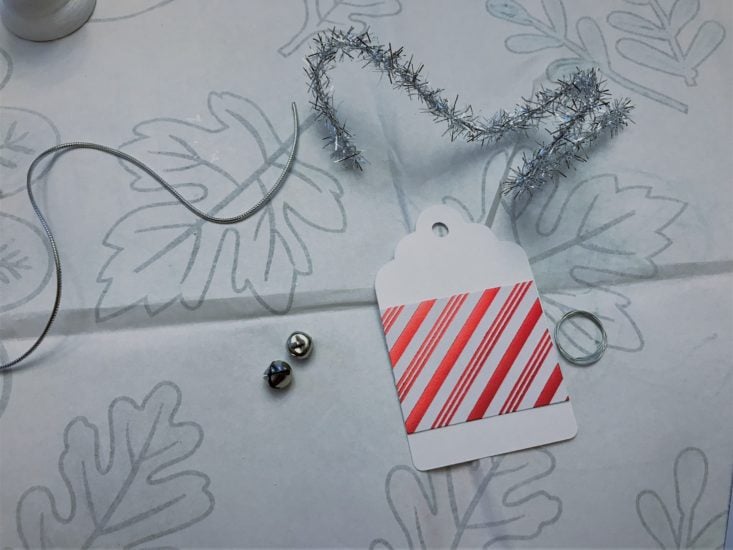
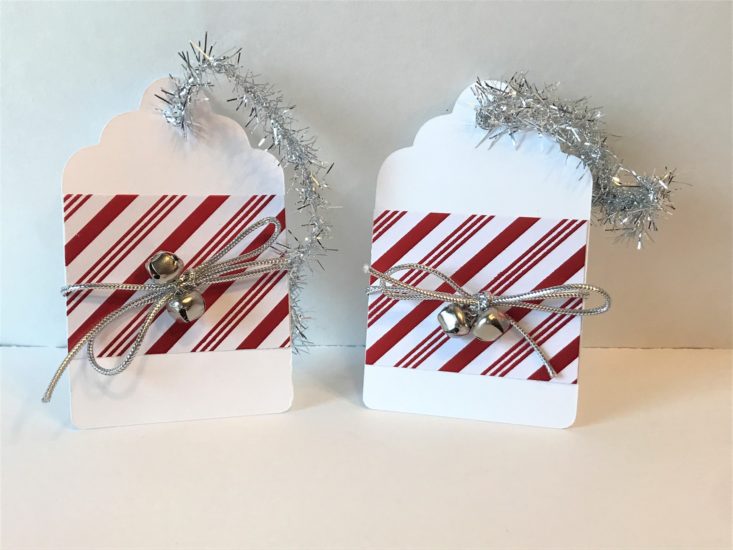
The last little project was gift tags to place on the provided bags if you are giving your projects away. This project only took a couple of minutes to put together, and they turned out darling. I love how the included tissue paper matches the candy cane stripes of the tags! It makes everything look so put together and professional, while still being homemade!
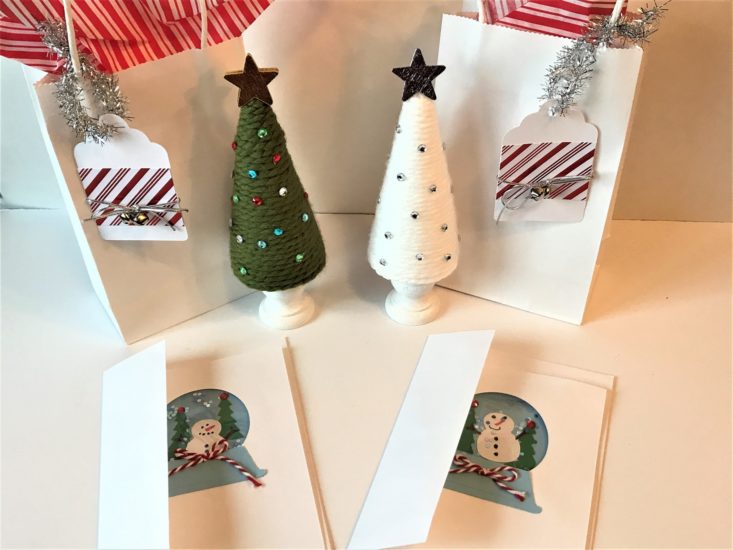
And here are all of the completed projects! In total, we probably spent 2 hours creating these unique and beautiful crafts, not including drying time.
Verdict: We had such a blast with this box! I love how it had everything included to make and give a Christmas gift. While Hank wants to keep all of his to himself, I will be giving mine away. When I put the card in the envelope, filled out the tag, and tucked the cute little tree in the candy cane tissue paper, it looks so fancy! I really like the fact that this craft box is geared towards ages 8 and up, so they are not exactly kids crafts, but kids can still make them. I love how each month is themed, so I will have gifts to give those hard to buy people no matter when their birthday may be! I also appreciated the fact that I had some leftover craft supplies that I will be able to use on other craft projects.
Since Confetti Grace costs $28.95 a month, it averages out to about $14.48 per gift package, with 20% of those proceeds going to the World of Vision charity. It does seem a little on the high side, but once you factor in the extra craft supplies, and the quality time you have spent with your family member or friend, I think it is worth it. I had a great time crafting with my son, and he gets a gift, and I have a gift to give.
To Wrap Up:
Can you still get this box if you sign up today? Yes! If you subscribe before 12/15 your subscription will begin with the December project. Orders that are placed after 12/15 will receive the January subscription box as their first shipment.
Visit the Craft Subscription Box Directory to find other craft boxes!
Keep Track of Your Subscriptions: Add this box to your subscription list or wishlist!
What do you think of this month’s Confetti Grace? Who did you share your project with? Tell us in the comments!


Please do not enter your email address in the Name field or in the comment content. Your email address will not be published. Required fields are marked *. Remember to post with kindness and respect. Comments with offensive language, cruelness to others, etc will not be approved. See our full comment policy here.