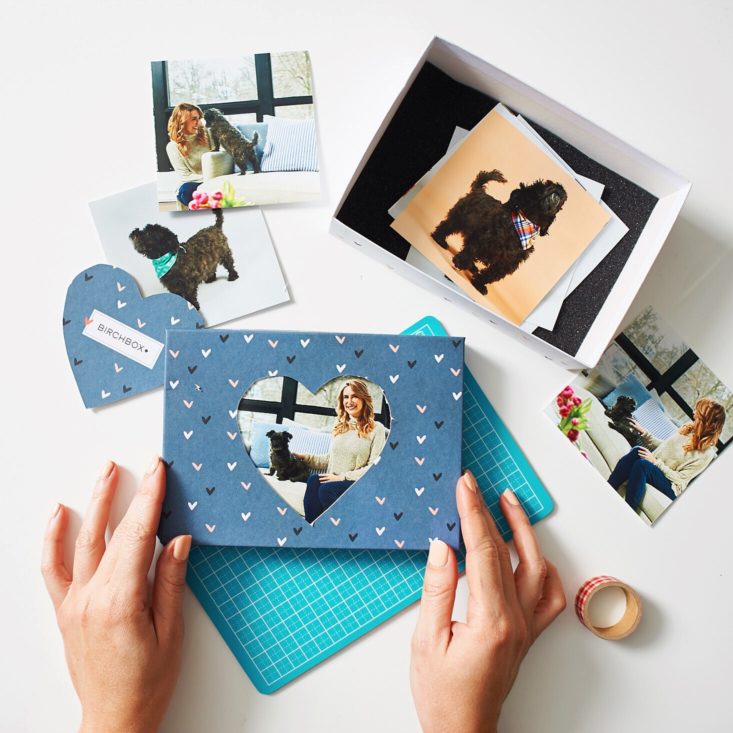
Do you a collection of super cute Birchboxes like I do? (The designs are too lovely to not keep in my opinion!) I decided to think of other ways to use these boxes - and turning them into picture frames worked out so well!
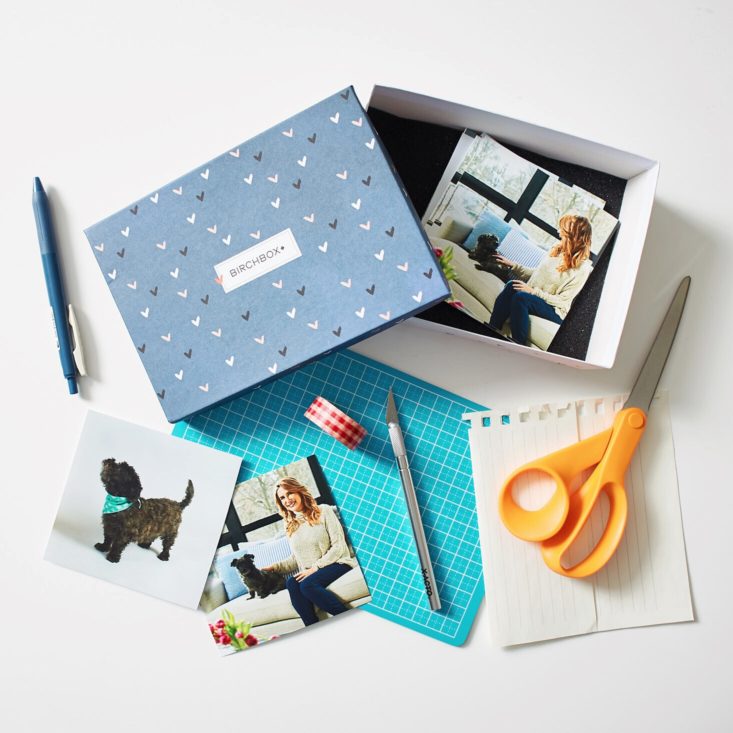
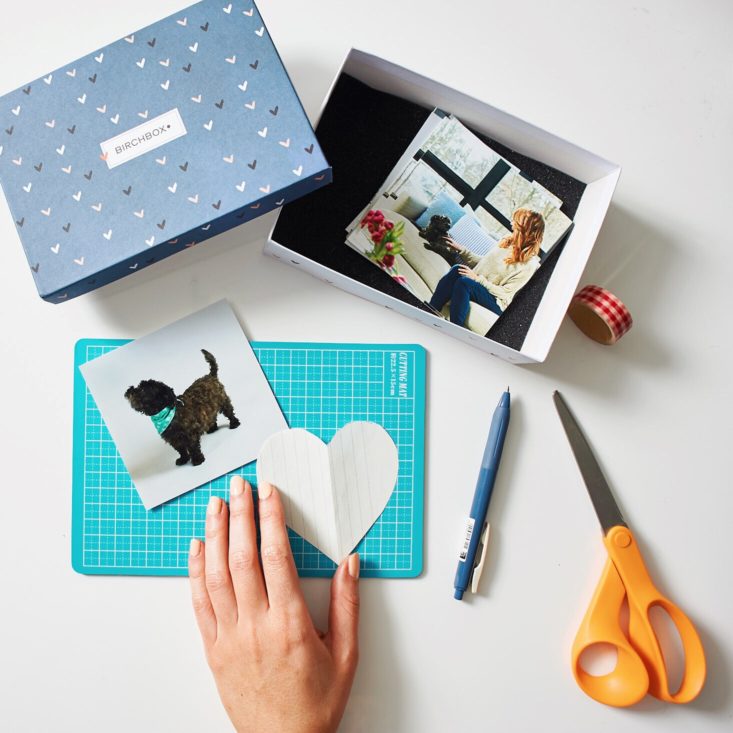
To do this project, I used scissors, paper, a pen, a craft knife, washi tape, and a craft cutting board.
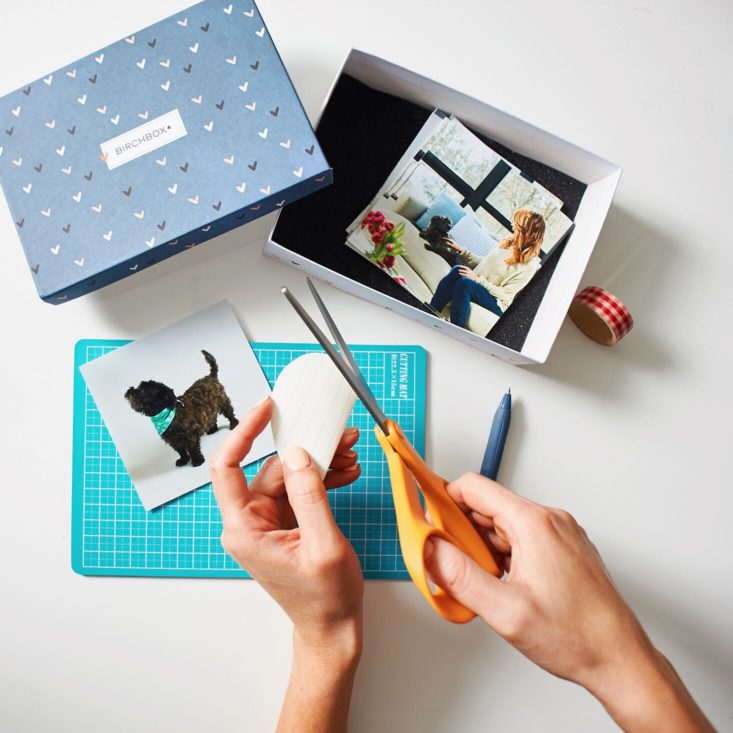
Step 1: Cut out the shape you want for your frame. For this frame, I decided to do a heart shape. I folded the paper in half and cut to get a symmetrical shape.
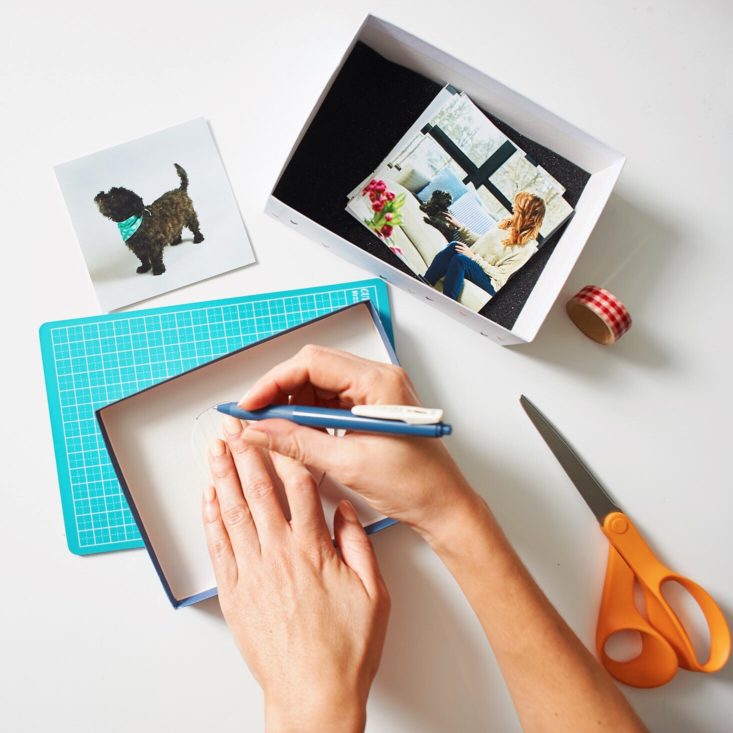
Step 2: Trace the shape on the side of the lid:
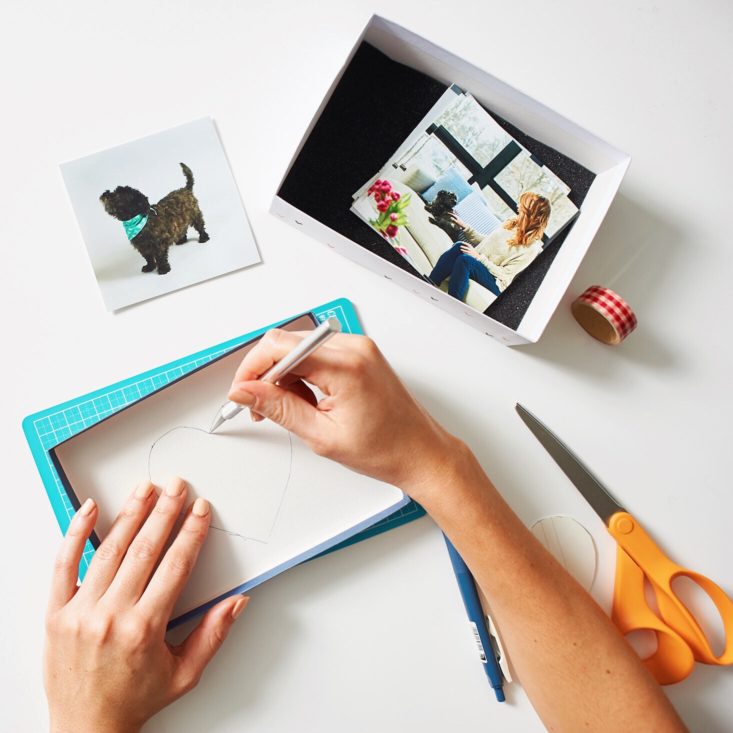
Step 3: Cut the shape out with a craft knife:
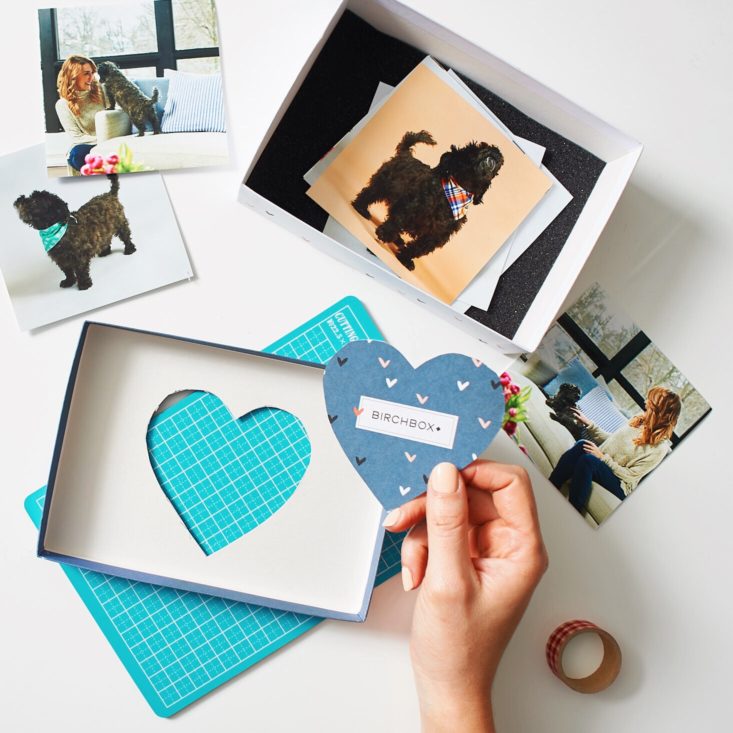
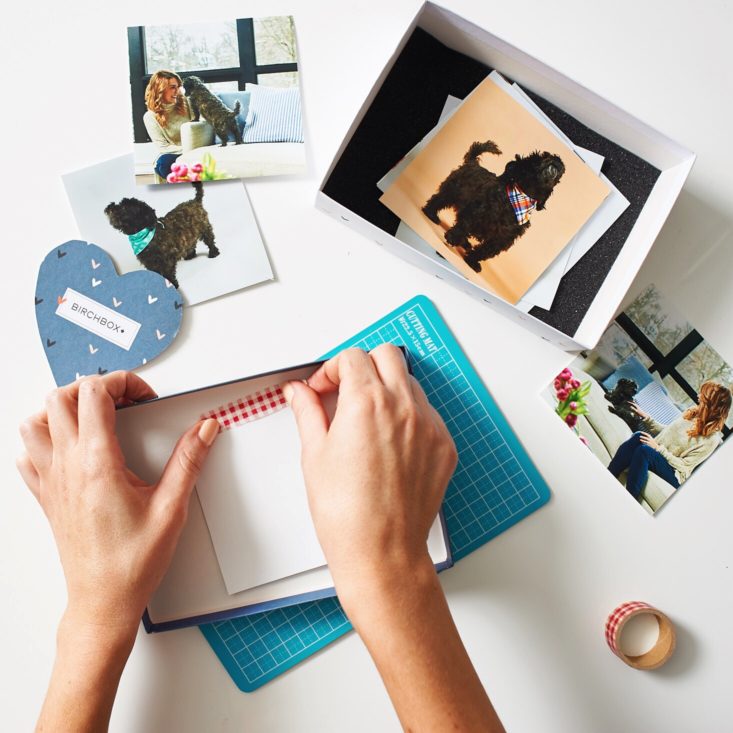
Step 4: Tape the photo to the inside of the lid with washi tape. (This way it's easy to swap pics out in the future!)
And you can keep other photos in the box to change out whenever you like!
Step 5: Add two pieces of tape to keep the lid attached to the box. And you're done!
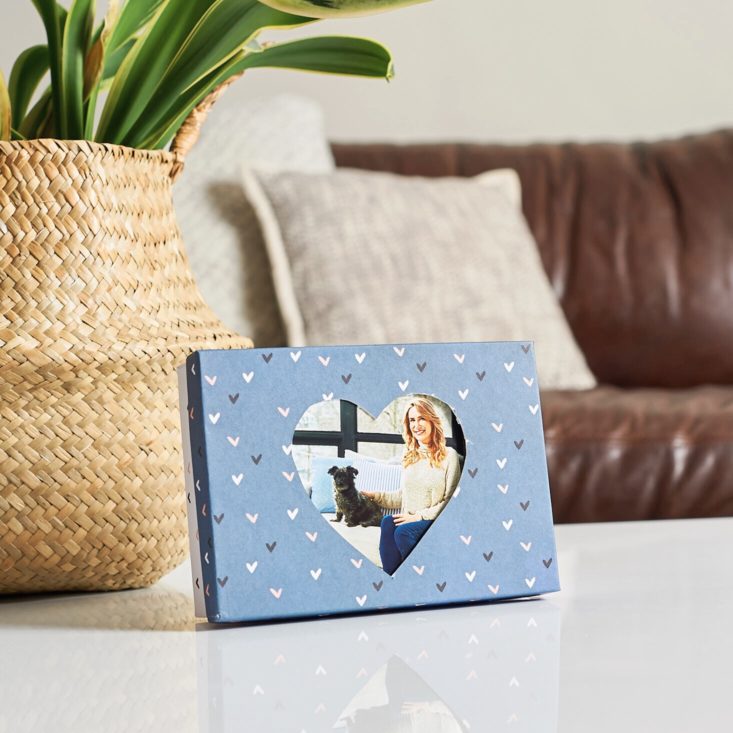
What do you think of this quick DIY tutorial for how to re-use Birchbox boxes?
Birchbox is $10 a month. Check out our reviews of Birchbox to learn more about this monthly beauty subscription box!
If you haven’t signed up yet, use coupon code PINKLITE to get a FREE deluxe sample of M·A·C Cosmetics Strobe Cream in Pinklite with your first Birchbox!




Please do not enter your email address in the Name field or in the comment content. Your email address will not be published. Required fields are marked *. Remember to post with kindness and respect. Comments with offensive language, cruelness to others, etc will not be approved. See our full comment policy here.