Confetti Grace is a DIY craft subscription that sends a box filled with enough craft supplies to create 2 of the same featured projects. That way, you have one to keep for yourself and one to give away. “Throw Kindness Around Like Confetti” is this companies motto, and these projects give the gift of quality time with family and friends. To top it off, 20% of net profits are donated to worldwide charities!
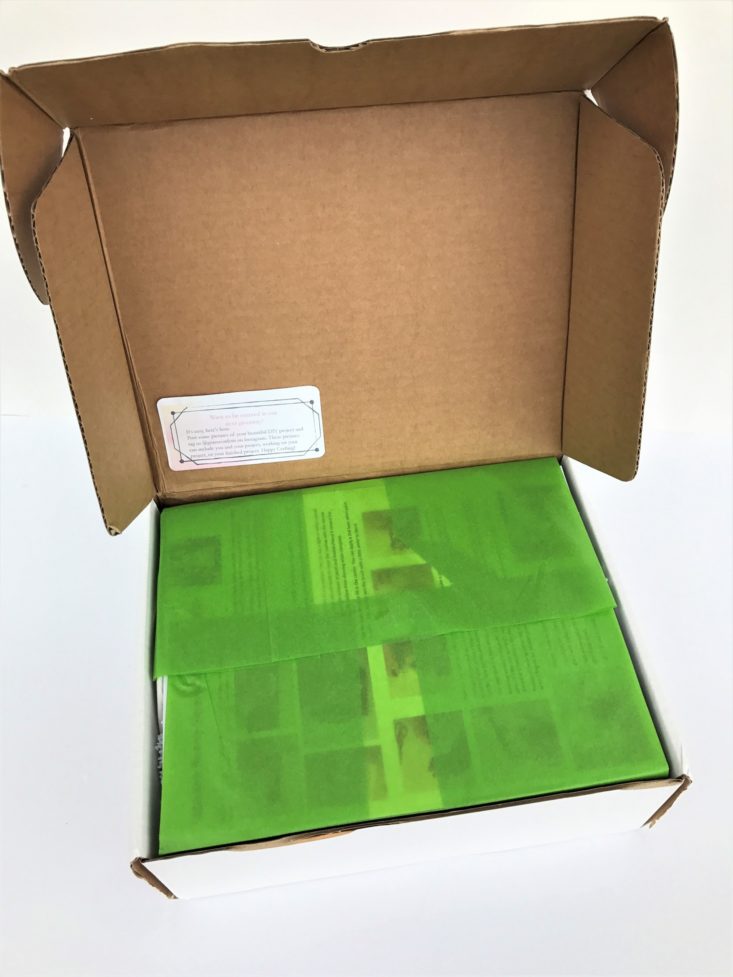
There are multiple subscription options, including longer commitments, an option to add on an additional project set, and even a party box!
This review is for the Original Subscription DIY box, which is $28.95 per month (plus free shipping to the continental US).
This box was sent to us at no cost for review. (Check out the review process post to learn more about how we review boxes.)
About Confetti Grace
The Subscription Box: Confetti Grace Original DIY Box
The Cost: $28.95 + free shipping
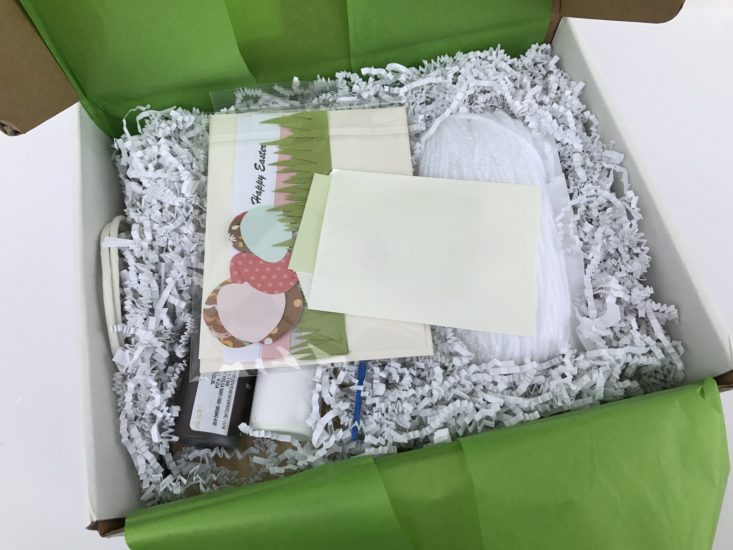
The Products: A specially curated box filled with enough craft supplies to create 2 of one project. One to keep, and one to give away, or to share with a friend! (Recommended ages are 8-adults)
Ships to: U.S. Only. Free shipping to the continental US!
Good to know: The 2018 charity Confetti Grace donates to their 20% of net profits to is World Vision. This charity helps purchase dairy animals for families in need.
March 2019 Confetti Grace Original DIY Box
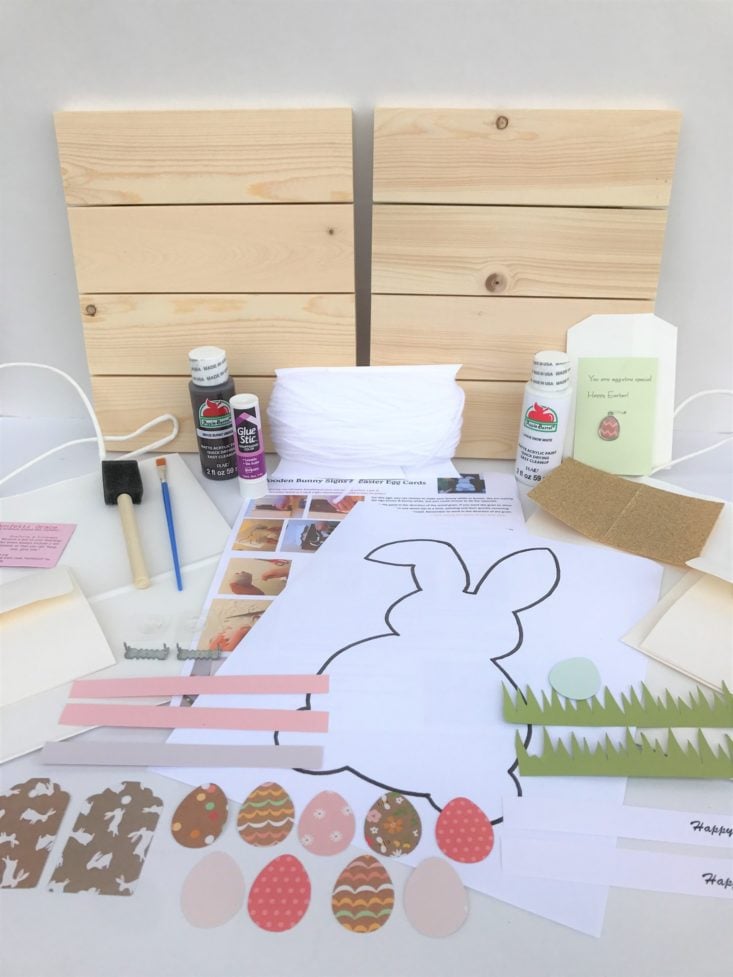
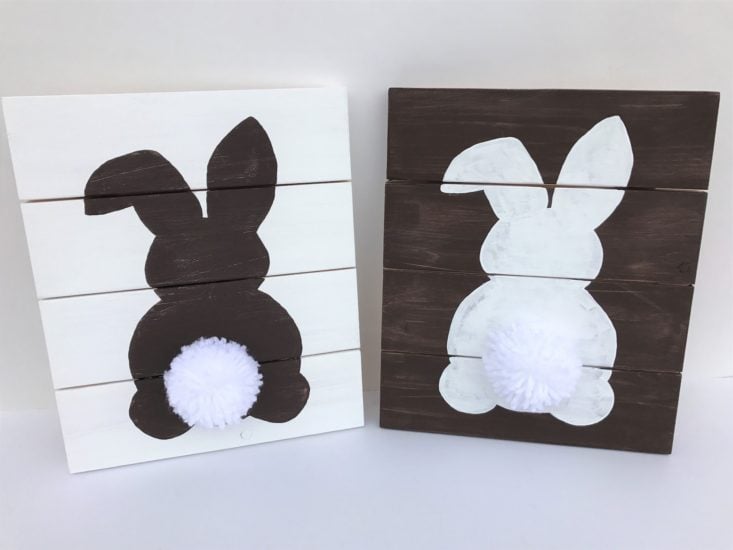
Since my oldest son (Hank) helped me review the December Confetti Grace box, I promised my 4-year-old, (Charlie) that he could help with the next one, and he loved it! This month included 2 wooden bunny signs, 2 Easter egg cards, and 2 gift bags.
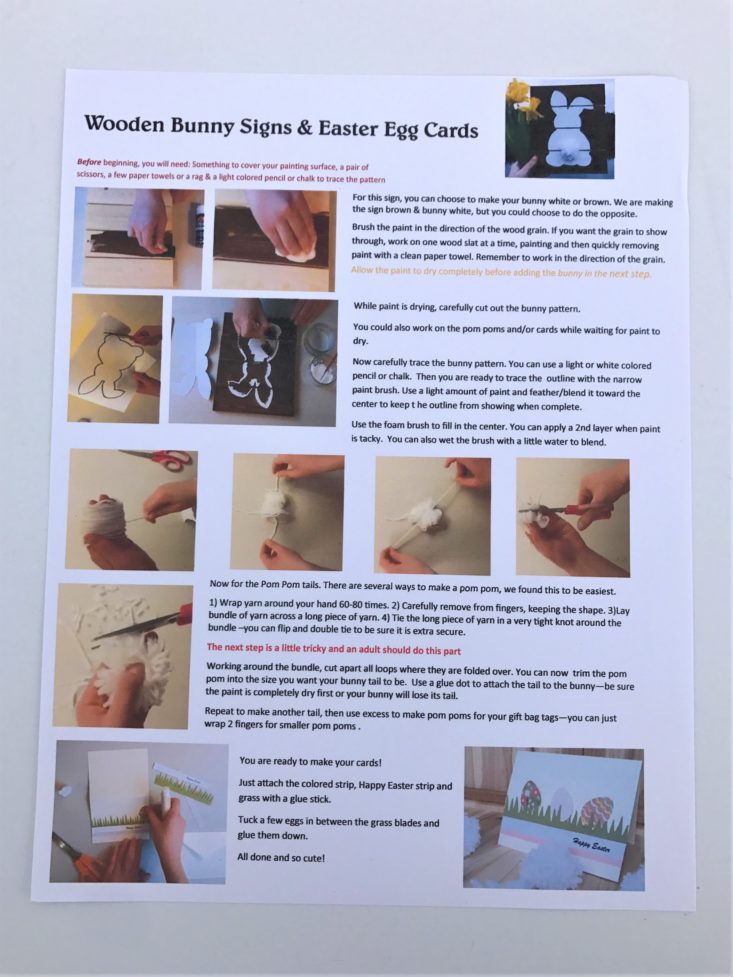
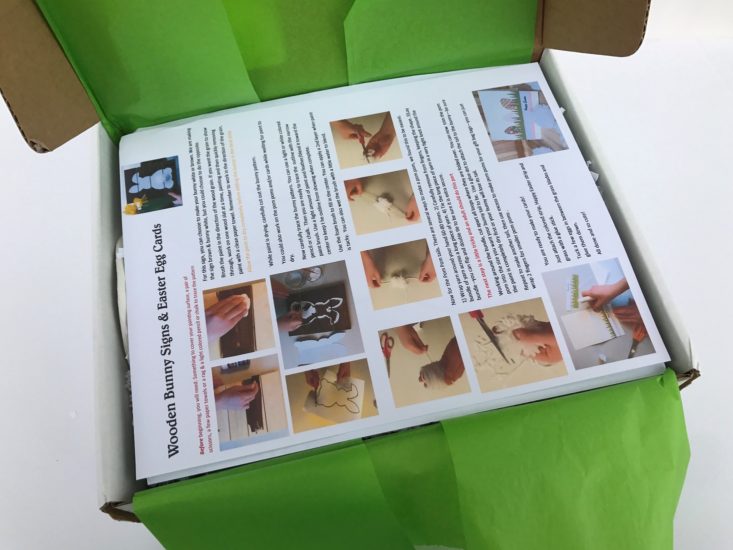
This box came with a detailed instruction sheet that includes written details and photos on how to create this month’s projects. I have also found their website to be extremely helpful if you need extra direction.
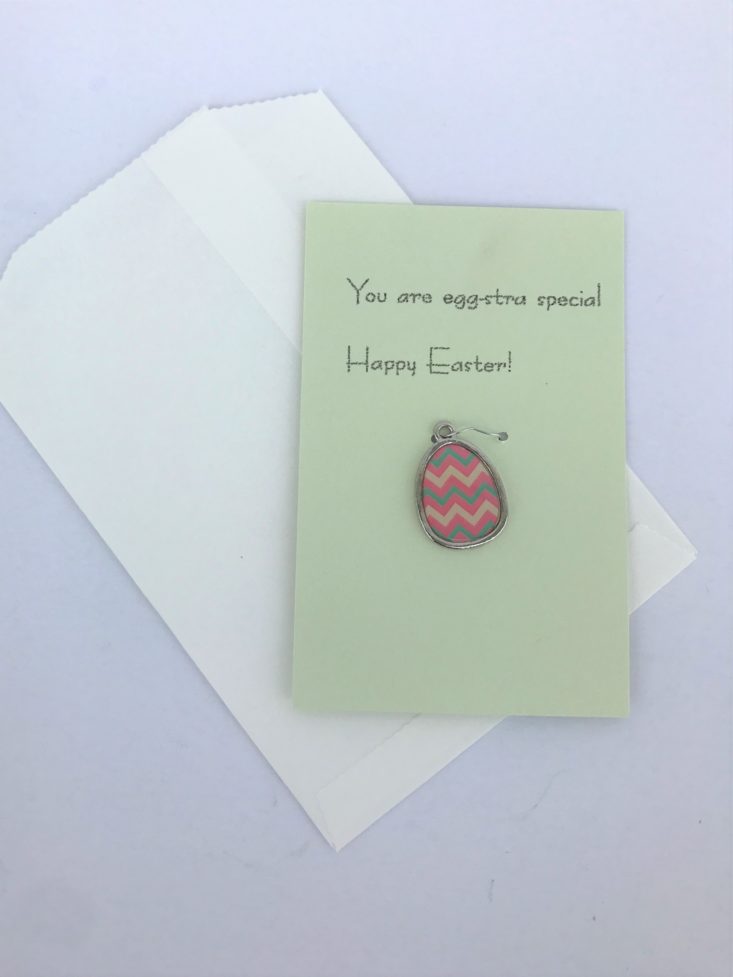
This month also included a sweet little note and charm wishing the subscriber a Happy Easter and stating “You are egg-stra special.” I’m not sure what I will use this little egg charm for, but it sure is darling and adds such a sweet touch to this box.
Project #1: Wooden Bunny Signs
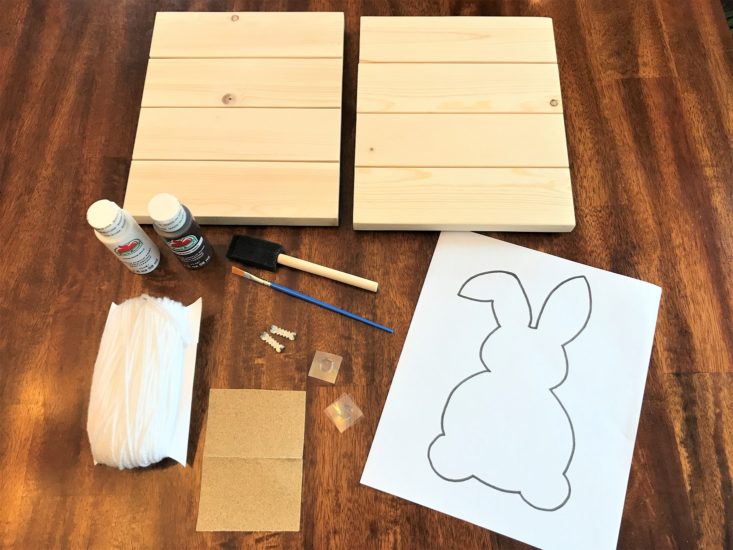
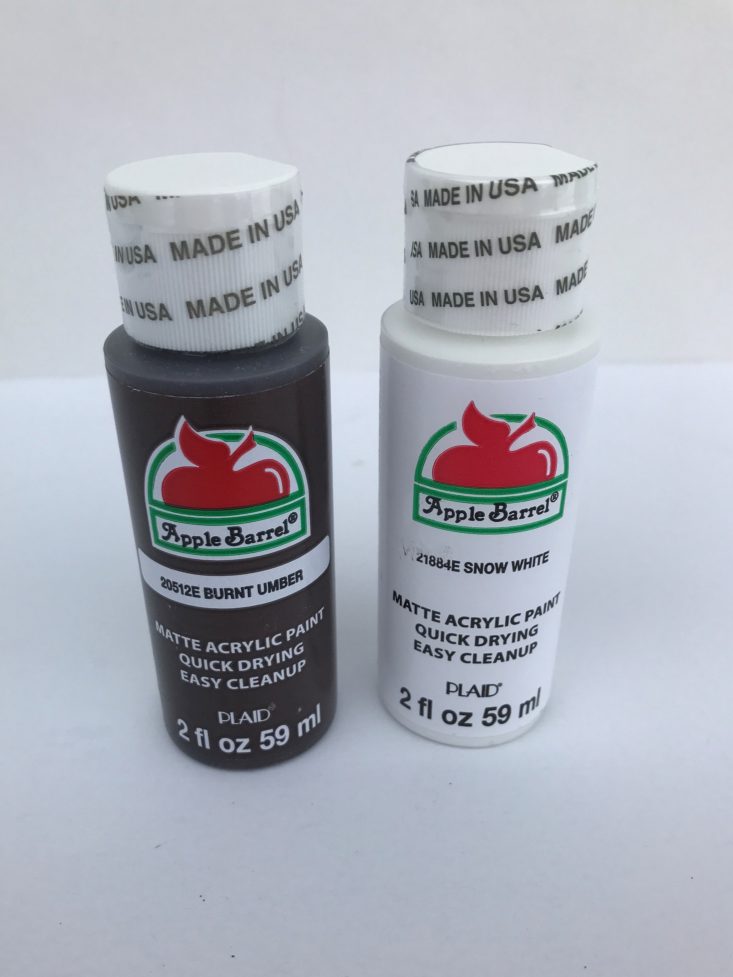
Apple Barrel Burnt Umber Acrylic Paint (2 o.z.) - Retail Value $1.99
Apple Barrel Snow White Acrylic Paint (2 o.z.) - Retail Value $1.99
I love this brand of acrylic paint! I use it in all of my crafting projects that involve paint. It dries really fast, and is made in the USA!
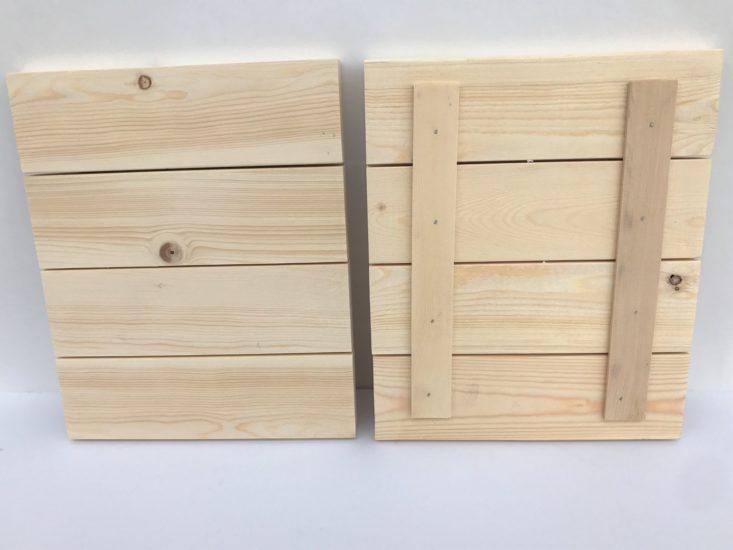
8” X 10” Unfinished Wood Signs - Similar style found here for $4.97
These wooden signs did not include a label, so I’m not sure what brand these are or where to find the exact ones. After a quick search online, you can find thousands of different options!
Note: Before you start your project, they do recommend getting something to cover your painting surface, a pair of scissors, a few paper towels, and a pencil or chalk.
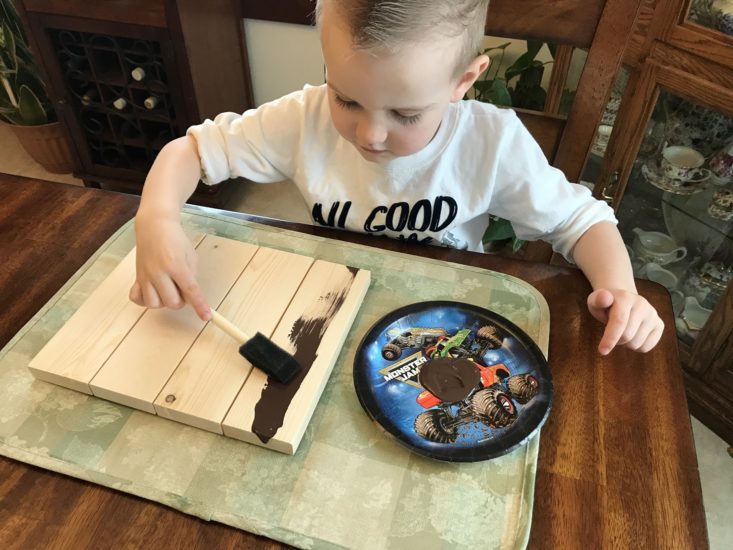
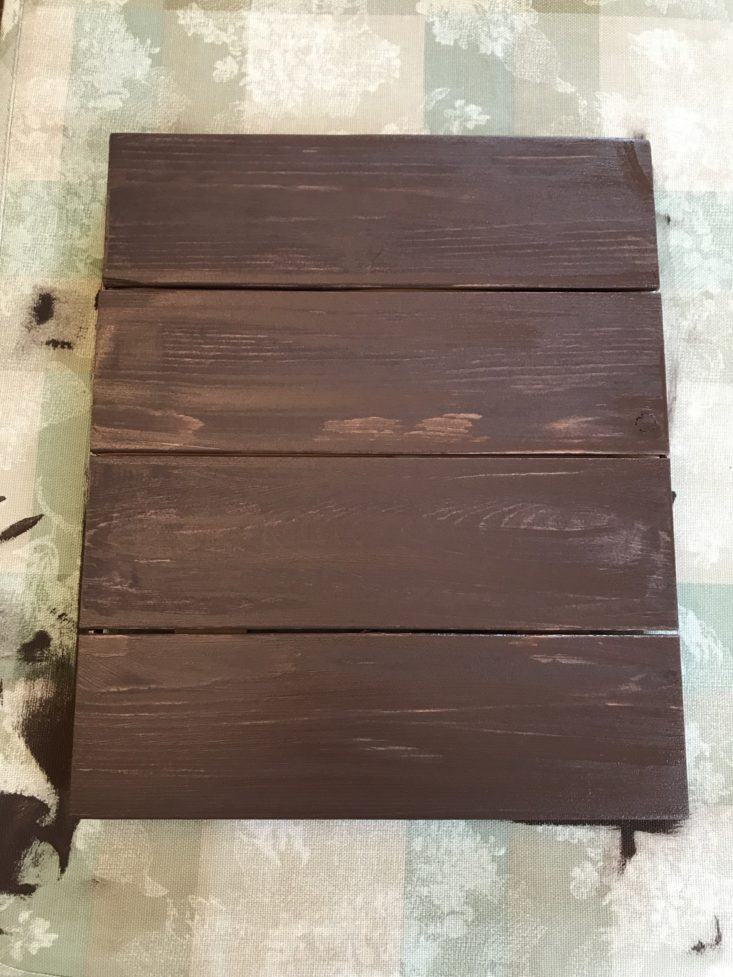
The first project we started with was the wooden bunny signs. I highly recommend you cover your painting surface because this is a little messy, especially when painting the edges of the sign! (We used old stained placemats) This project was fairly straight forward, and Charlie loved painting! After the signs were painted, Charlie laid down for a nap while we let our plaques dry.
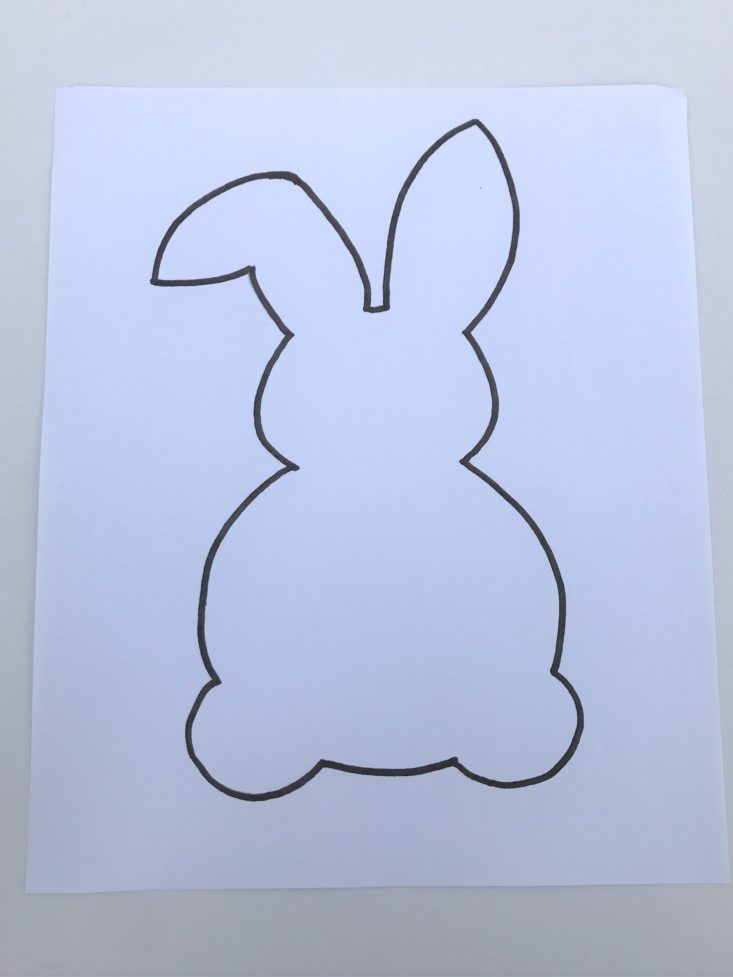
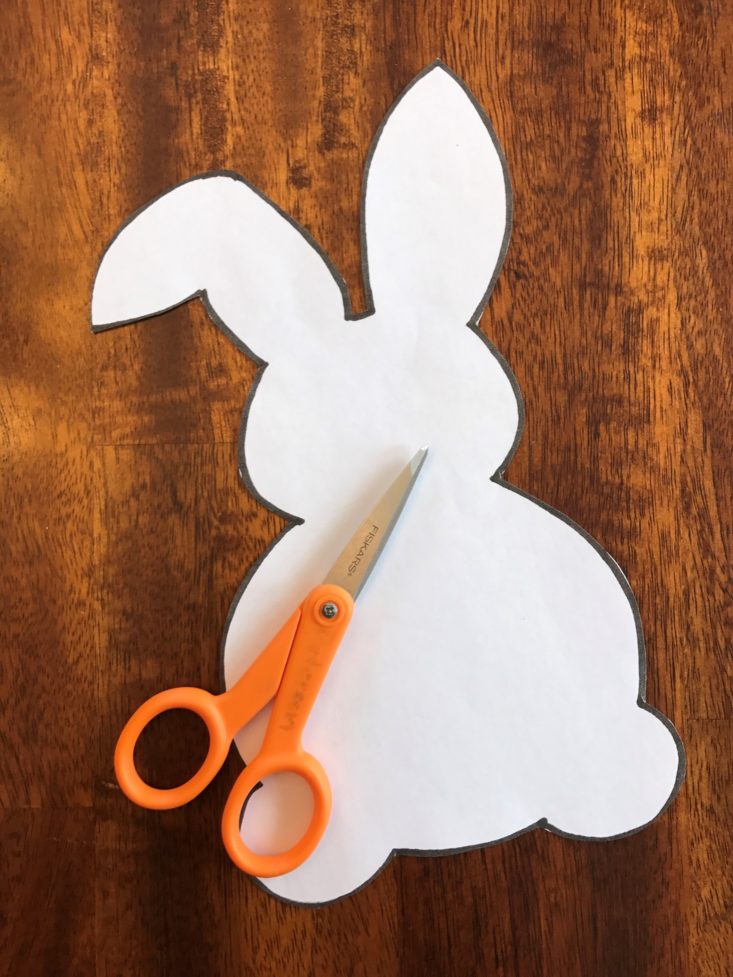
After Charlie took a much-needed nap, we started the bunny process. I used a small scissor and cut out the bunny pattern - easy peasy!
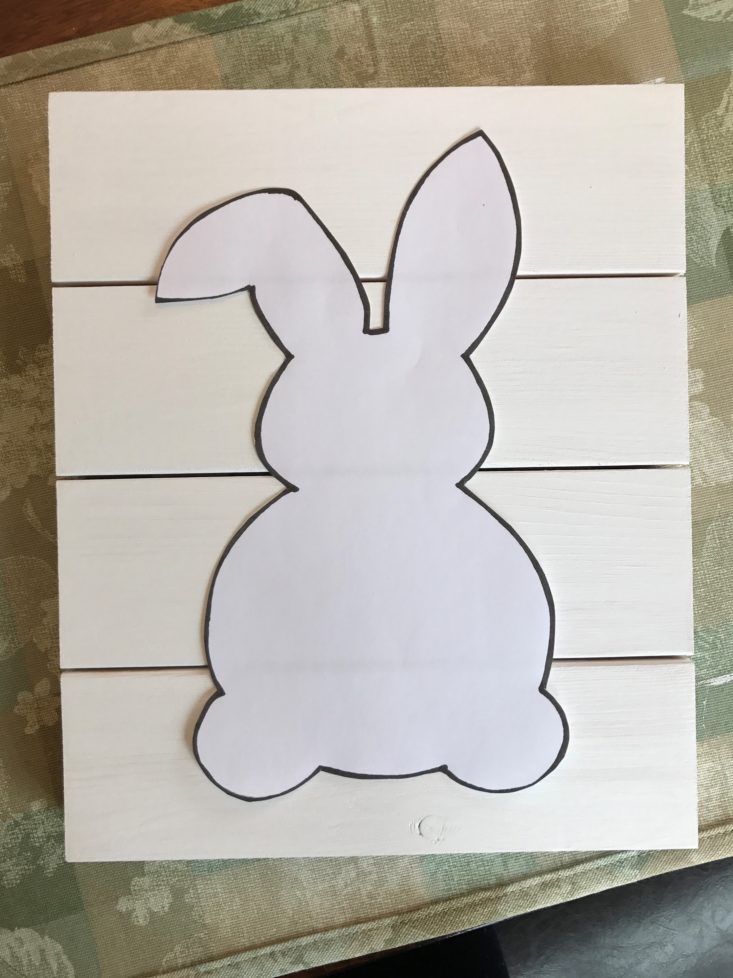
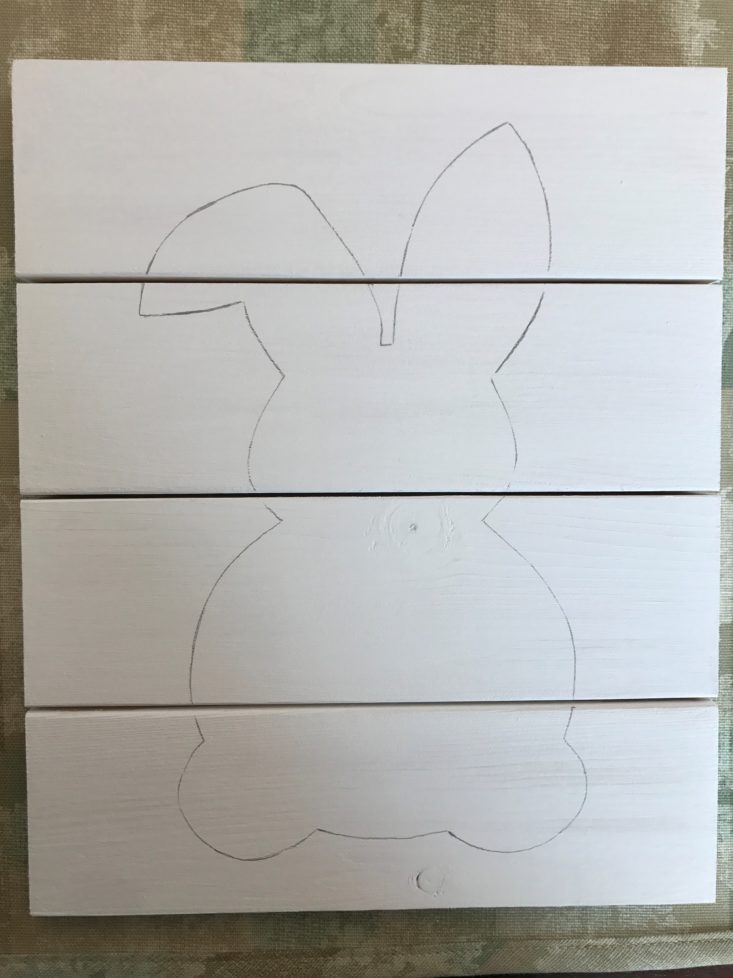
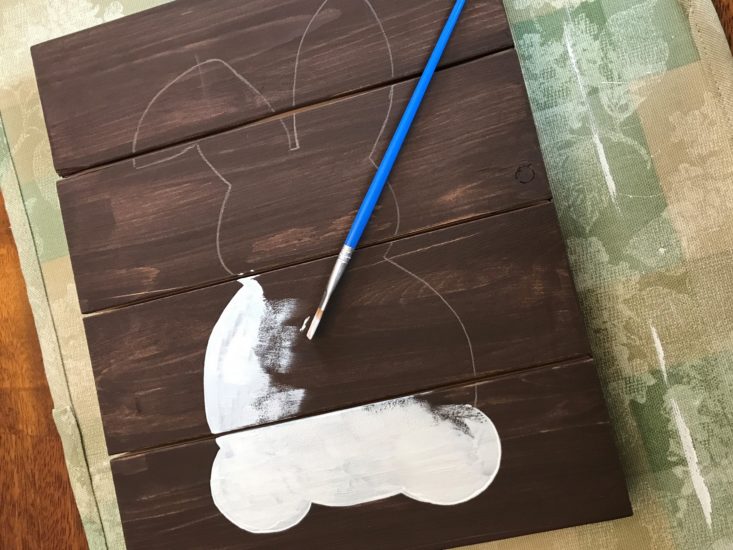
After I laid out the bunny pattern in the correct position, I used a pencil and lightly traced it. We then started painting. When painting the bunny, you want to try and use a light amount of paint to blend it in without having thick lines of paint around the edges. Charlie struggled with this, so I did most of this part. We then used the foam brush to fill in the center. We applied a few layers to get our desired look.
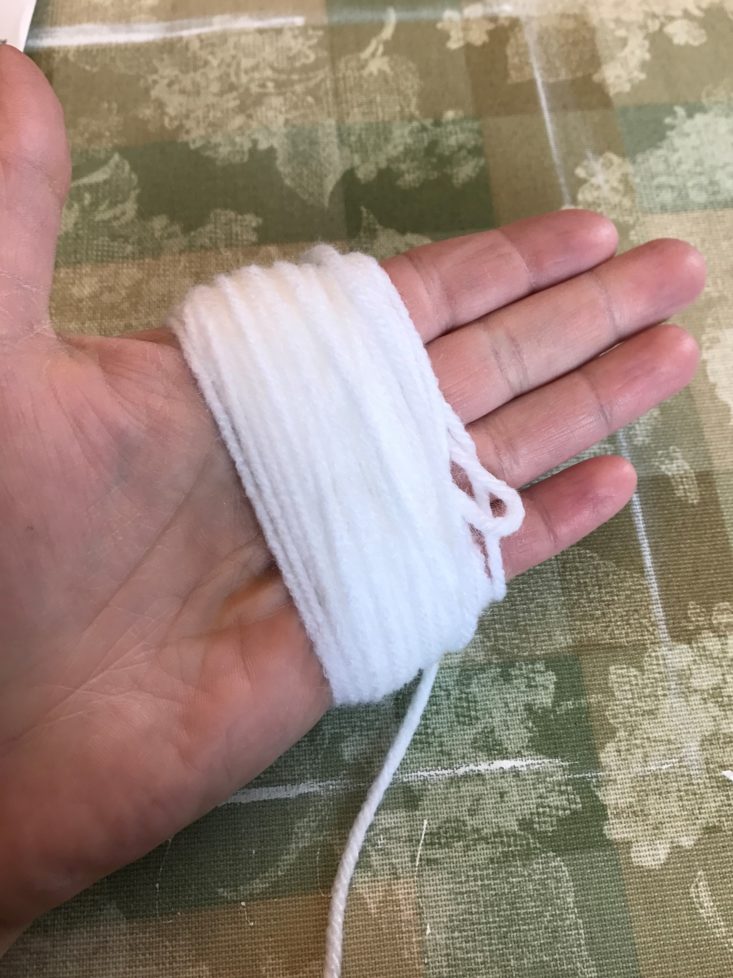
The next step was to create the pom-pom bunny tails. The instructions say to wrap the yarn around your hand 60-80 times. I wanted to play around with different sized tails and make 2 different size yarn balls so the first one I made I wrapped 80 times, and the second I only wrapped 50. There was a definite difference! 80 times made a really full, fluffy tail, while 50 was a little more sparse.
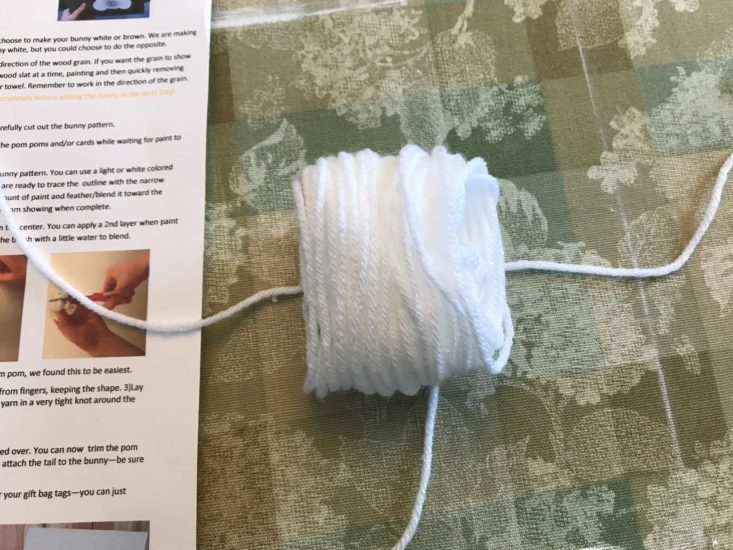
After wrapping the yarn around your hand, you gently take it off and lay it down as carefully as you can. I found it easiest to cut a large piece of yarn to lay down first so you can easily tie the knot around the bundle of yarn.
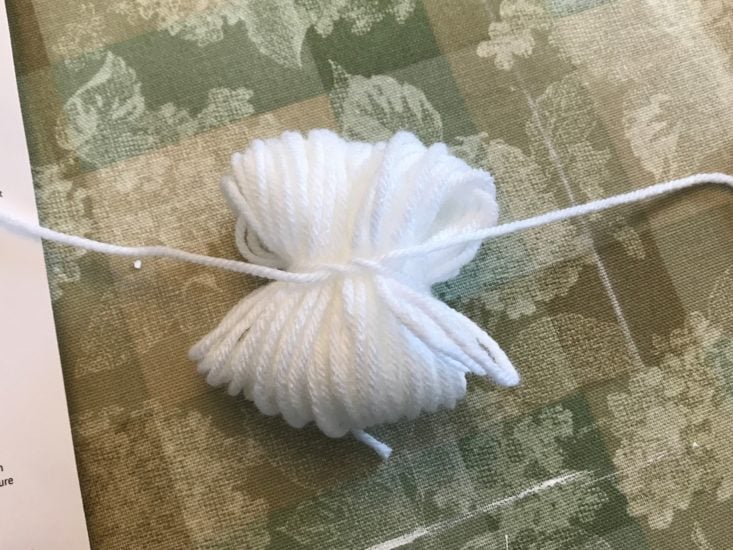
After you lay your bundle of yarn down, you tie the tightest knot you can. I double knotted and flipped it over and knotted it again to keep it from falling apart.
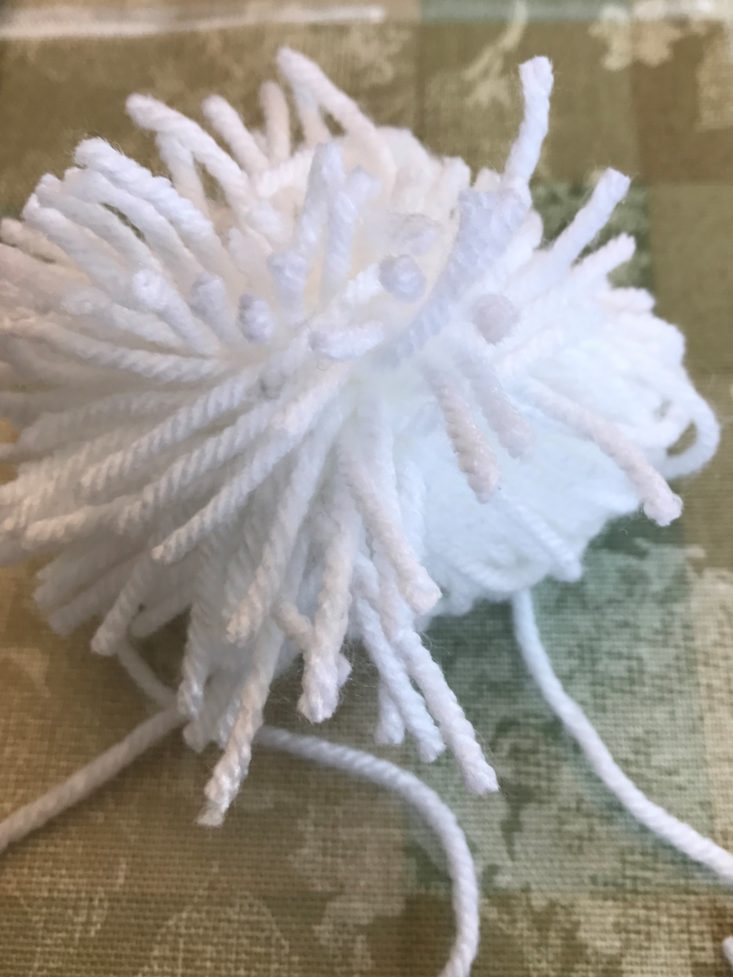
This photo shows the yarn ball. It looks pretty scruffy so I trimmed and trimmed and trimmed.
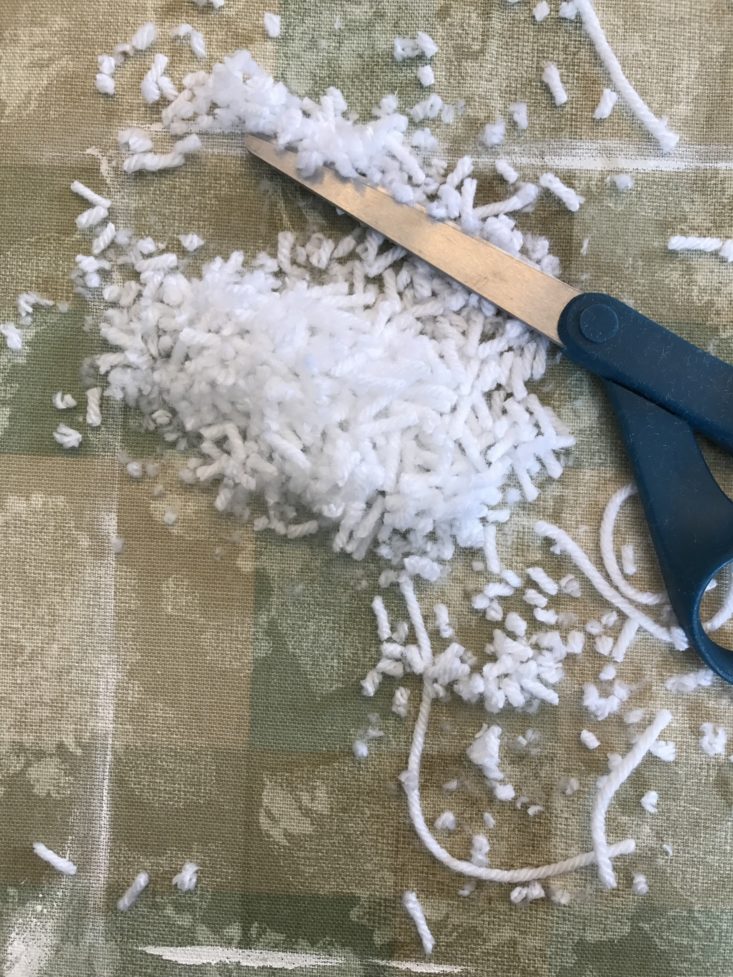
Seriously, do not be afraid to trim, I think I cut off half of the yarn to make my desired bunny tail!
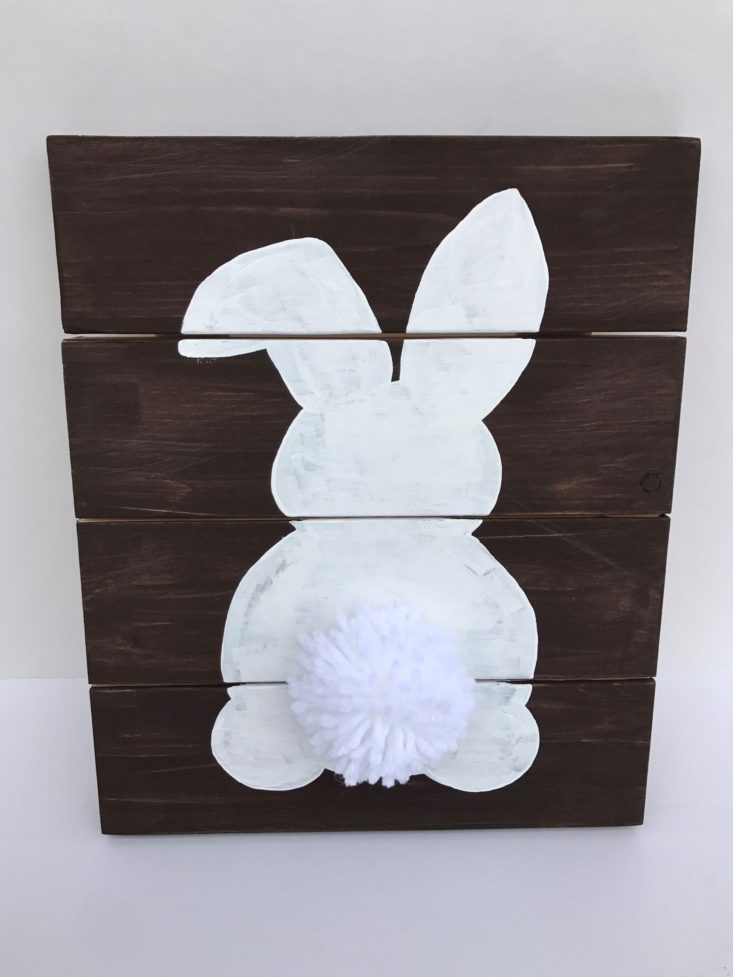
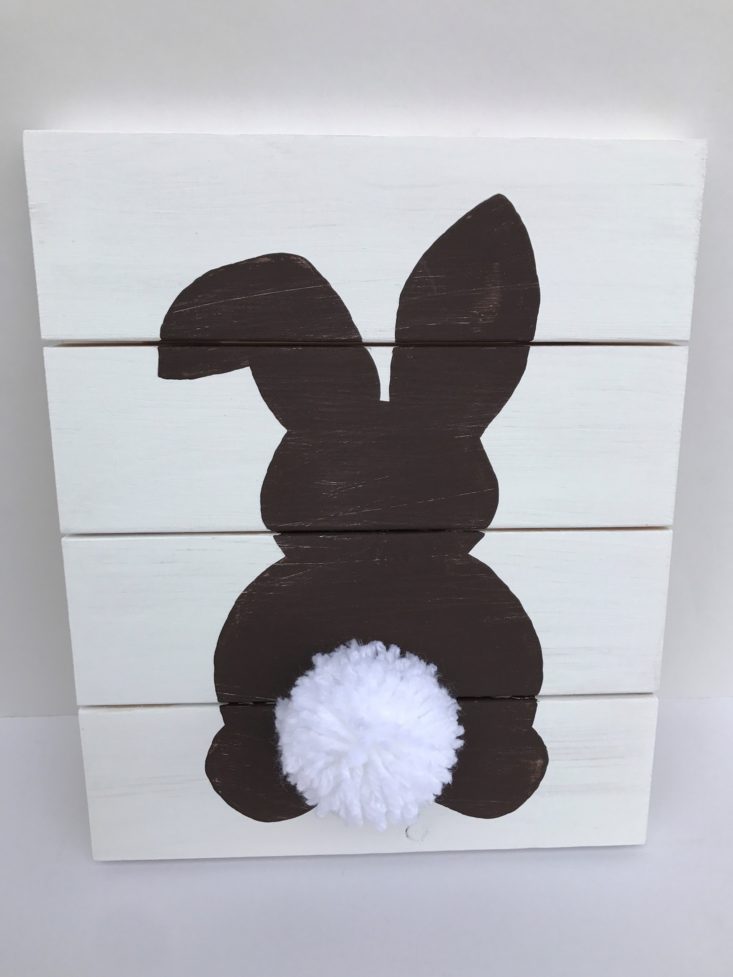
The instructions say you can choose to make your bunny white or brown, but didn’t include a photo of the brown bunny. We decided to make one of each just for fun. They both turned out so cute that we had a hard time deciding which one we liked better! This was such a fun project, and was a perfect way to spend a rainy afternoon!
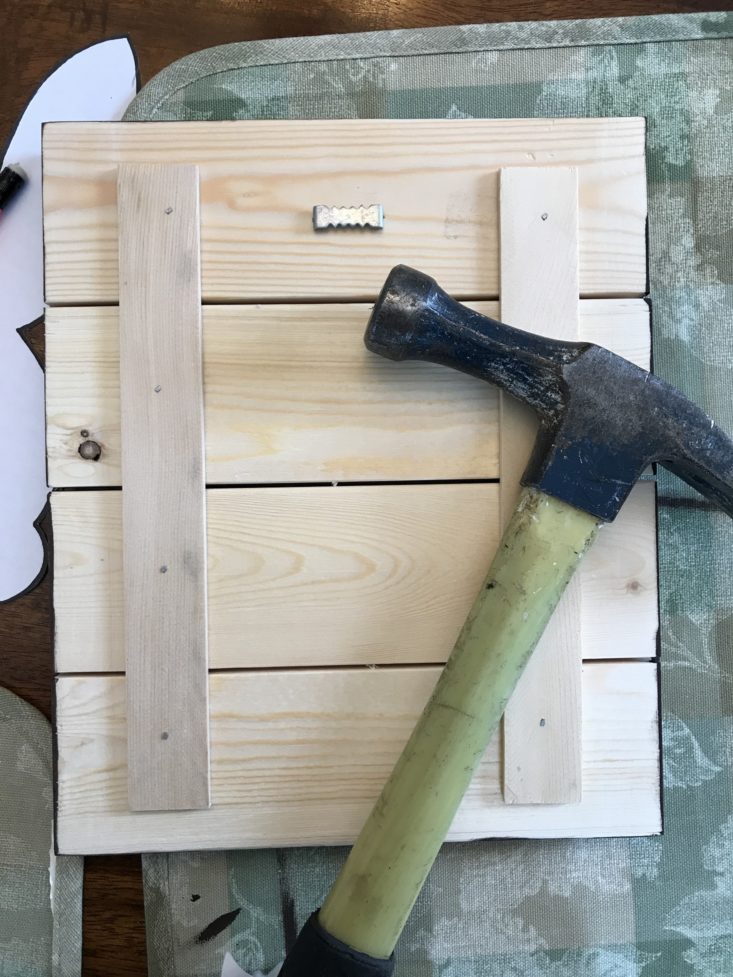
They included hardware to hammer into the back of the sign, and even though they didn’t include instructions, it was easy to figure out. I just lightly hammered the hardware into the middle of the back of the sign and voila, it’s ready to hang!
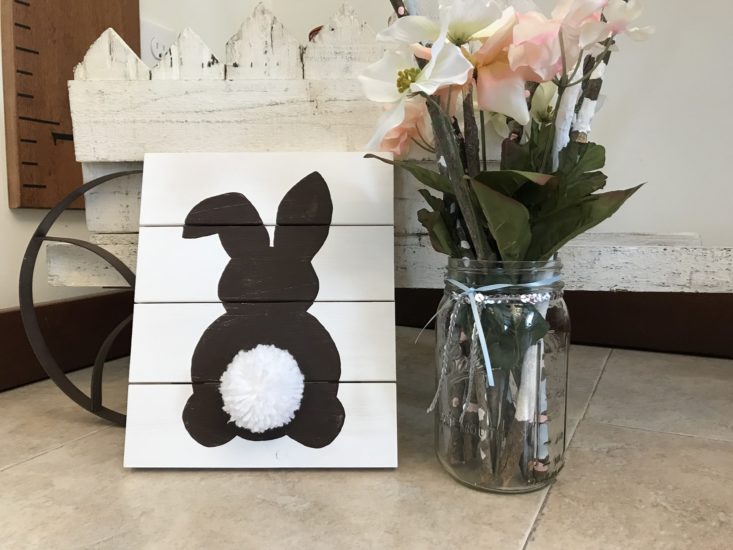
Spring is definitely in the air, and I just love decorating my house to coordinate! How cute is this with the wagon and pastel-colored flowers? I am in love!!
Project #2: Easter Egg Cards
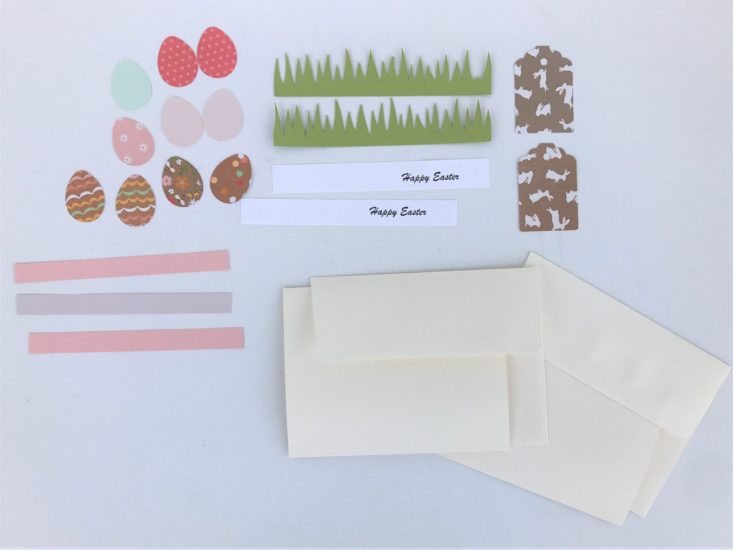
The next project was these cute cards. They included all of the necessary pieces and all you have to do is glue and assemble. Very easy, and very cute!

Avery Disappearing Color Glue Stic - Retail Value $2.07
I love that they included the glue stick! We go through these so fast at our house, we always are running out and always welcome more!
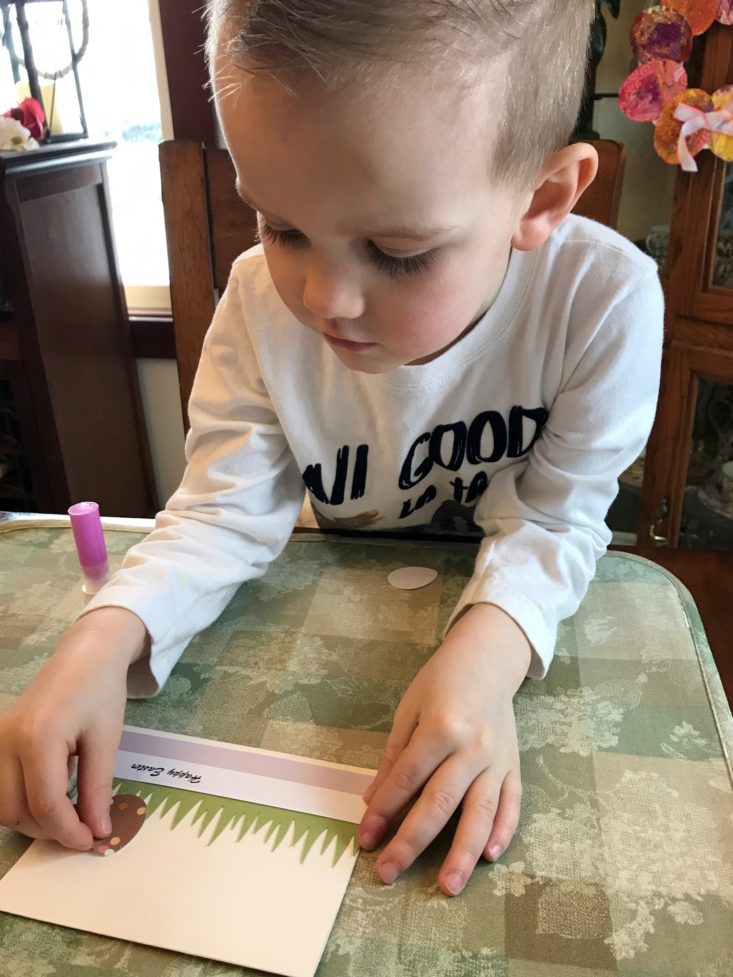
For this project, we just followed the photo on the instruction sheet, and it took less than 4 minutes from start to finish. The most time-consuming part was Charlie trying to decide which color Easter eggs to add to his card.
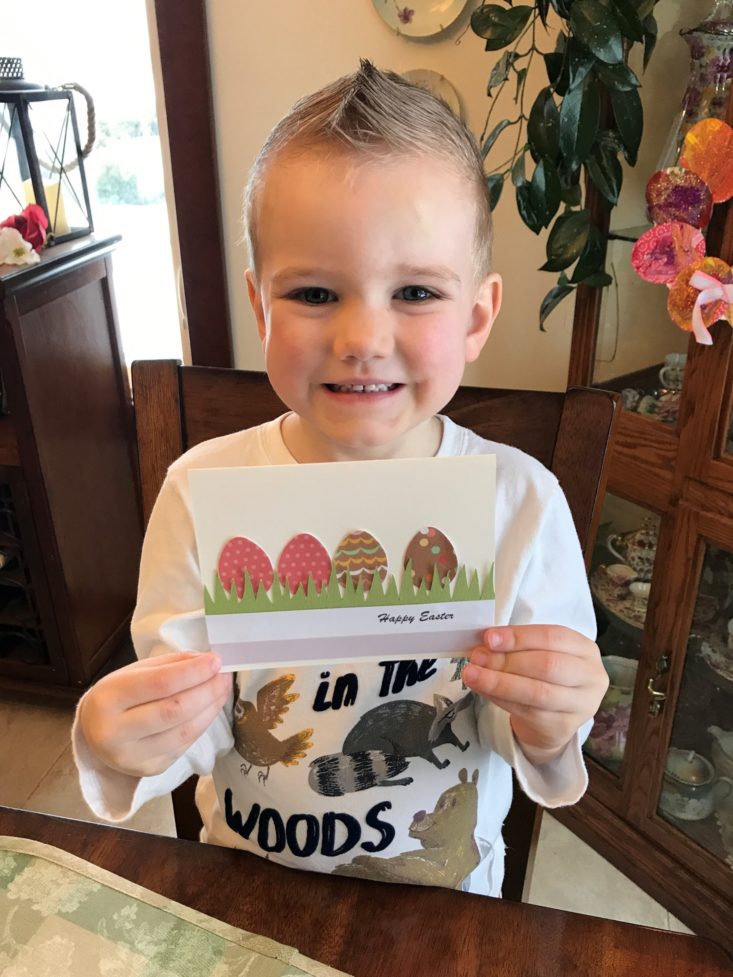
He was so proud of his finished project! He is definitely having a hard time trying to decide if he should keep this card for himself, or if we should share it with someone special. Good thing we have two!
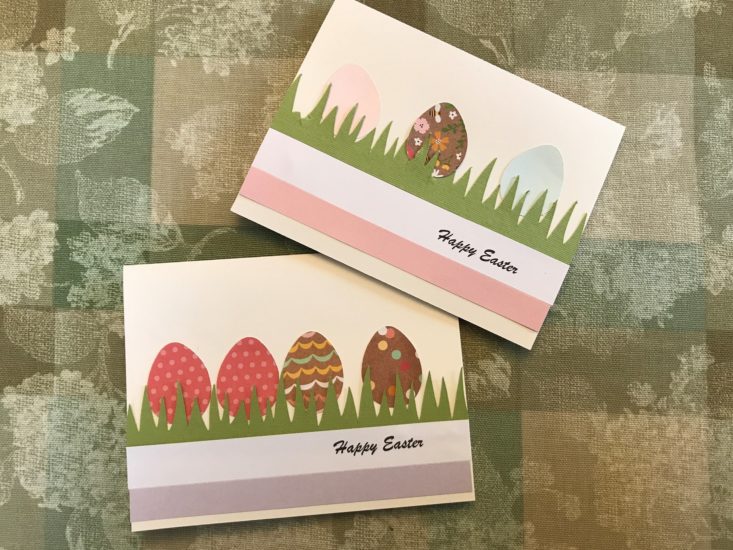
And here are the finished projects. They were super easy and turned out really cute. Charlie was very happy that he was able to create this card all by himself without any help. It was also fun they included different colored eggs to choose from to really customize it to your liking. The only thing I was a little bummed about was one of the grass cutouts: it must have jammed a little bit in their cutting machine because it was slightly jagged and ripped in a tiny spot, but I didn’t find that a big enough deal to contact customer service about. I think these turned out really cute and can’t wait to send at least one of them someone for a little Easter surprise!
Project #3: Gift Bags

For the gift bag project, no instructions were really given, except a note about making pom poms for your gift bags. I made 2 extra pom poms and added the tags they included in the card making kit and called it good. They are simple but cute, and the perfect size to fit the wooden bunny sign and card. I did notice they didn’t send tissue paper like they did in the December box. It may seem like something so small, but the patterned paper really added to the project and I was a little disappointed.
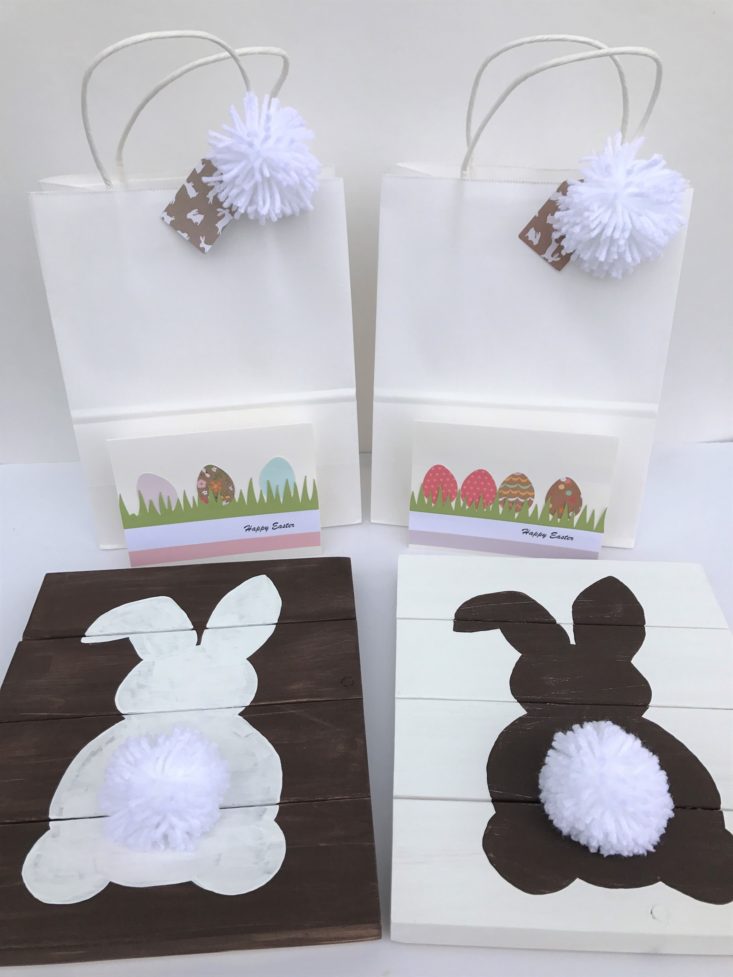
And here are all of the finished projects in their glory!
Verdict: We really enjoyed this month of Confetti Grace. Not only is this a fun subscription box, but it also meant quality time with Charlie. We were able to make 2 really fun crafts that we are able to share with someone who will cherish it forever. Charlie decided he wants to keep his but wants to share the one I made with grandma. We had such a great time talking, laughing, and crafting together! I also like how these boxes are themed and give us gifts to give for hard to buy for people. Another great feature is that I had leftover craft supplies that can be used on future craft projects.
Since Confetti Grace costs $28.95 a month, each gift package averages out to about $14.48. I feel that is fair because everything is homemade, beautiful, and goes together perfectly. It is a great gift idea and also includes 2 hours of quality family bonding time. I can’t wait to see what they send next month!
To Wrap Up:
Can you still get this box if you sign up today? No, orders that are placed after 3/15 will receive the April subscription box as their first shipment.
Check out all of our Confetti Grace reviews and the best art subscription boxes of 2019!
Keep Track of Your Subscriptions: Add this box to your subscription list or wishlist!
What do you think of this month’s Confetti Grace? Who did you share your project with? Tell us in the comments!


Please do not enter your email address in the Name field or in the comment content. Your email address will not be published. Required fields are marked *. Remember to post with kindness and respect. Comments with offensive language, cruelness to others, etc will not be approved. See our full comment policy here.