BoxyCharm is a popular full-size beauty and makeup subscription box. (Check out our full review of the April 2019 Boxycharm box to learn more about each of the items this month.)
Today, I’ll be showing you how I used some of the items in my April BoxyCharm box! I’d love if you shared what products and techniques worked for you in the comments as well! What items were your favorites? Which products have you been reaching for all month? Let’s talk about all things April BoxyCharm.
About BoxyCharm
The Subscription Box: BoxyCharm
The Cost: $21 a month
The Products: 5-6 beauty items that will include nail care, skin care, makeup, hair care, fragrance and more. (At least 4 of those items will be full-sized).
Ships to: The US and Canada
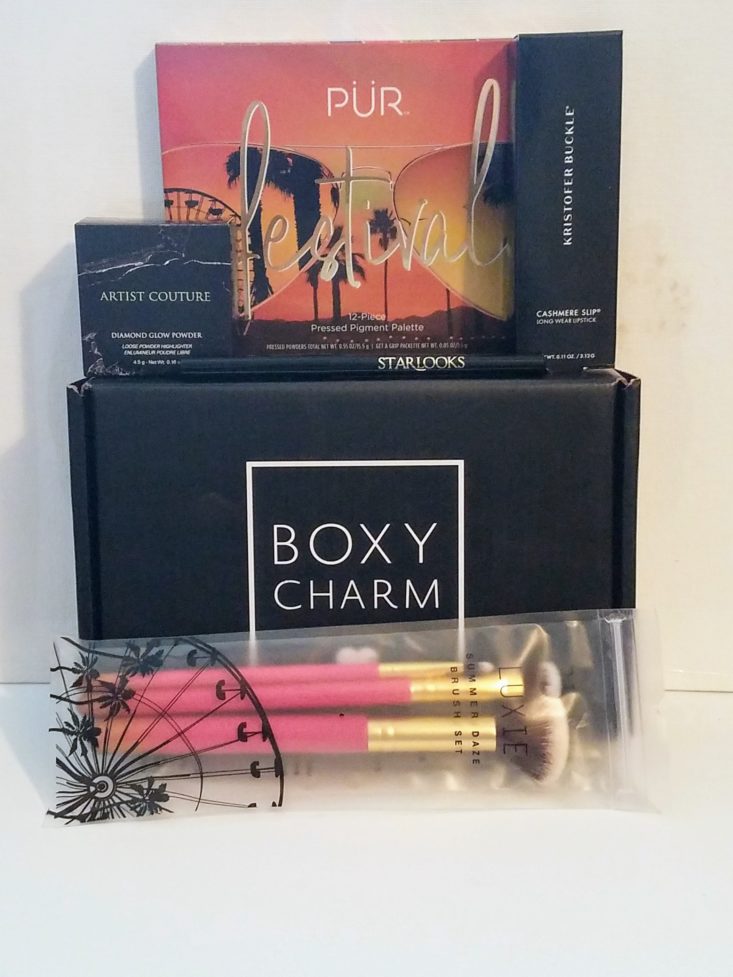
BoxyCharm April 2019 Review
- PUR Cosmetics Festival Pressed Pigment Palette
- Artist Couture Diamond Glow Powder
- Kristofer Buckle Cashmere Slip Longwear Lipstick
- Starlooks Cosmetics Ultra-Gem Longwear Eye Pencil
- Luxie The Summer Daze 3PC Brush Set
This month’s BoxyCharm theme is “Peace, Love & Boxy” and it's a nice play on words with a sort of laid back feel. This month, BoxyCharm did not hold back on color and it is in perfect timing for the Easter Holiday! We have a lot to go over so, let's get started to see what all in this month's BoxyCharm:
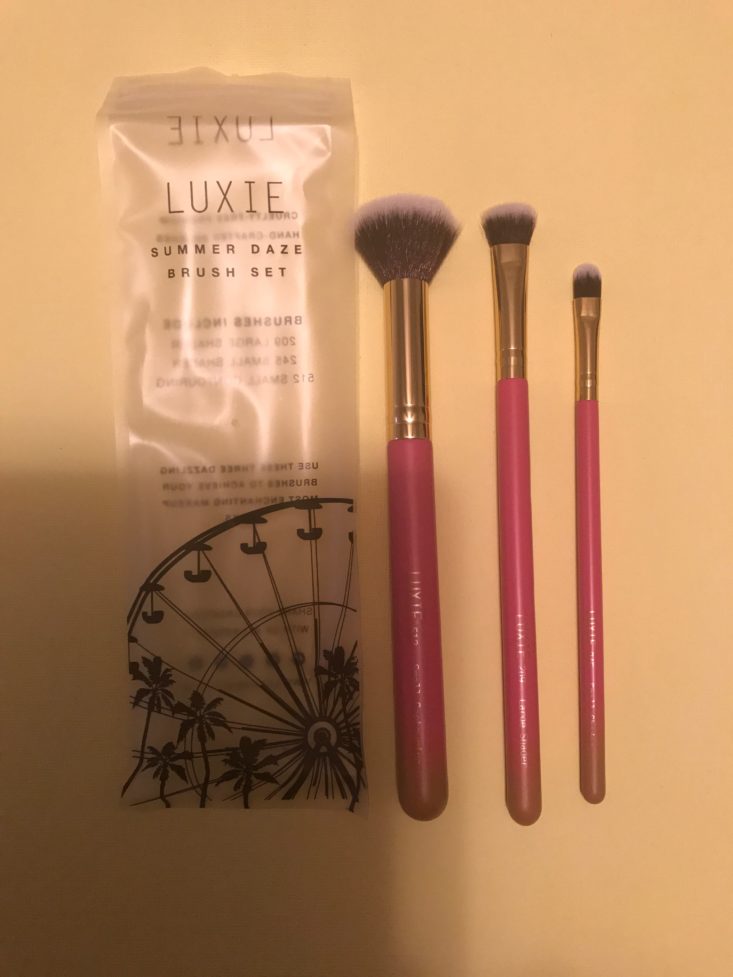
Our very first product is from Luxie Beauty and it's their Limited Edition Summer Daze Brush Collection. It's a colorful start to introduce their festival theme. I love how fun this packaging is with the ferris wheel and palm trees. It's a very cute two colored 3-piece brush set. All three are a hot pink and neon orange ombré color that go perfectly together. I'm picking up on the fun carnival vibes that BoxyCharm is giving us this month. This is going to be perfect for our next product and I can't wait to try these two products out together!
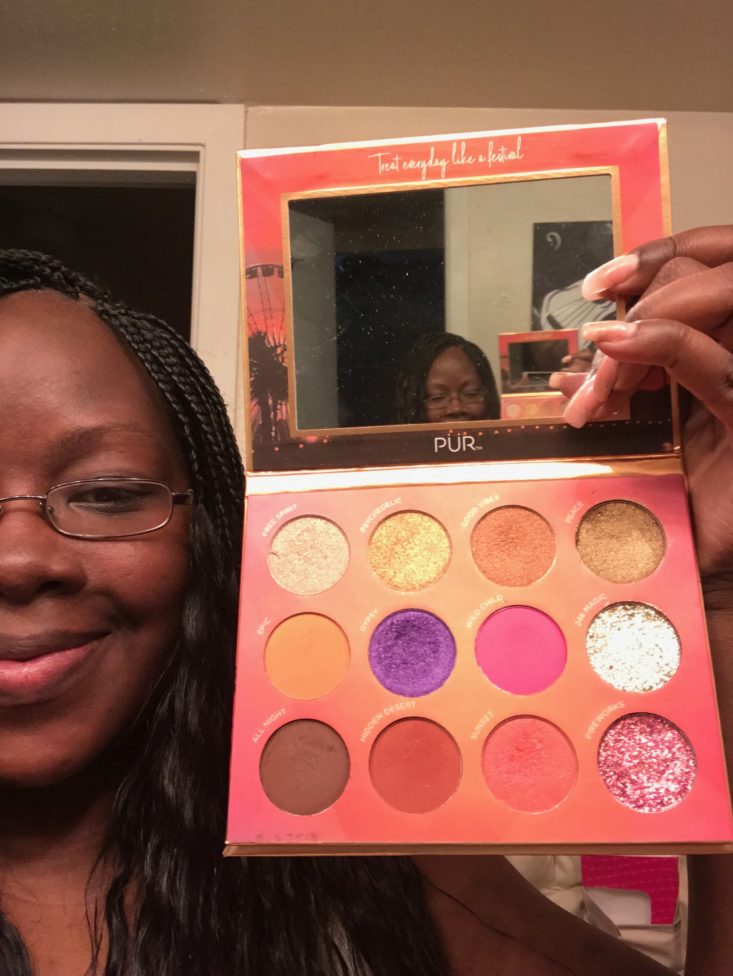
This month we received a palette from PUR Cosmetics. It's their limited edition 12-piece Festival Pressed Pigment Palette. It's also in a super fun packaging with the words, “Treat Everyday Like A Festival” on top. It goes perfectly with this months festival theme! It's complete with 12 nice sized pans of shimmer, matte, and glitter shades. There is a mixture of everyday shades and plenty of pops of color. The shades are supposed to be highly pigmented and easy to blend. I can hardly wait to test these claims out for myself and share them with you guys. With 12 shades like these, it's easy to come up with tons of fun party or evening time looks that are full of bold color. I normally make my eye looks for daytime wear, but this time I wanted to focus on more of a night time look. Day makeup looks can be more natural with muted colors, while nighttime makeup is usually more defined and intense with color. I thought it would be fun since we have so many fun colors to play with. However, I won't be getting too detailed, I still want to create a look that won't be too difficult for our makeup beginners to complete. And if you are a busy mother like me, then you will appreciate something a bit more simple but fun to wear out, so let's get started.
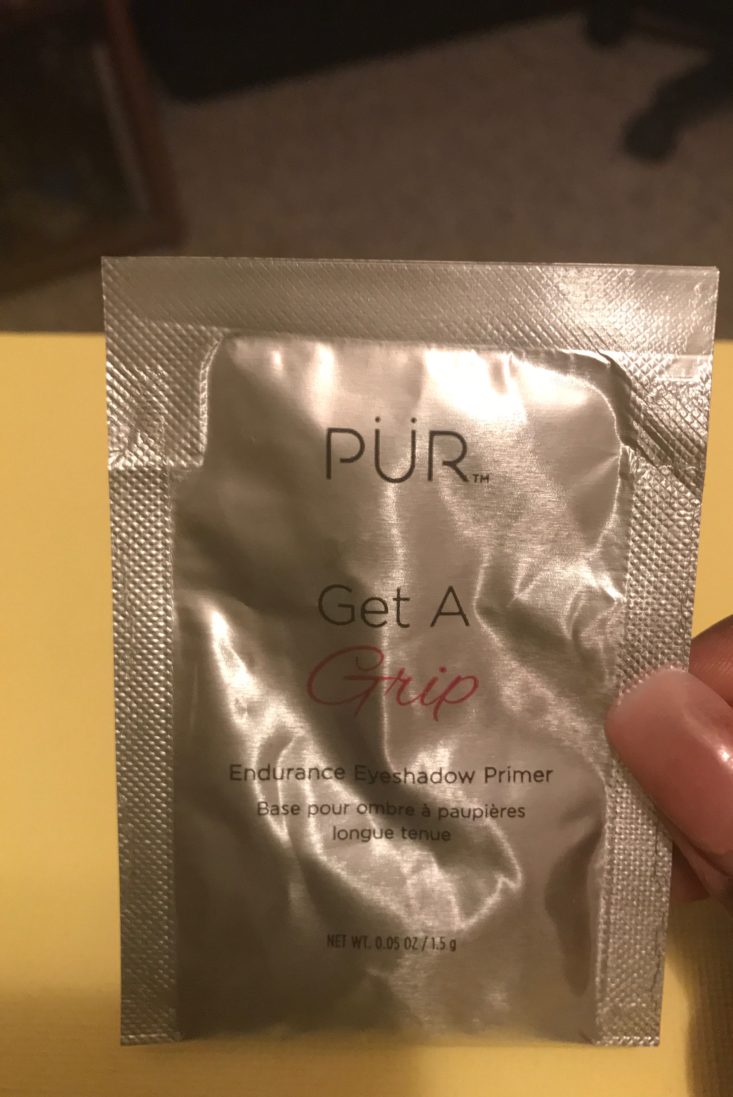
I was surprised to see that inside our festival palette there was a small sample packet of their Get A Grip Endurance Eyeshadow Primer. If you read my makeup tutorials you would know that I'm a huge fan of face and eyeshadow primers, so I'm super excited to try out a new one. Eyeshadow primers can also help with shadows that may not have the best pigment and of course, helps shadows to wear longer, so yay to the primer sample.
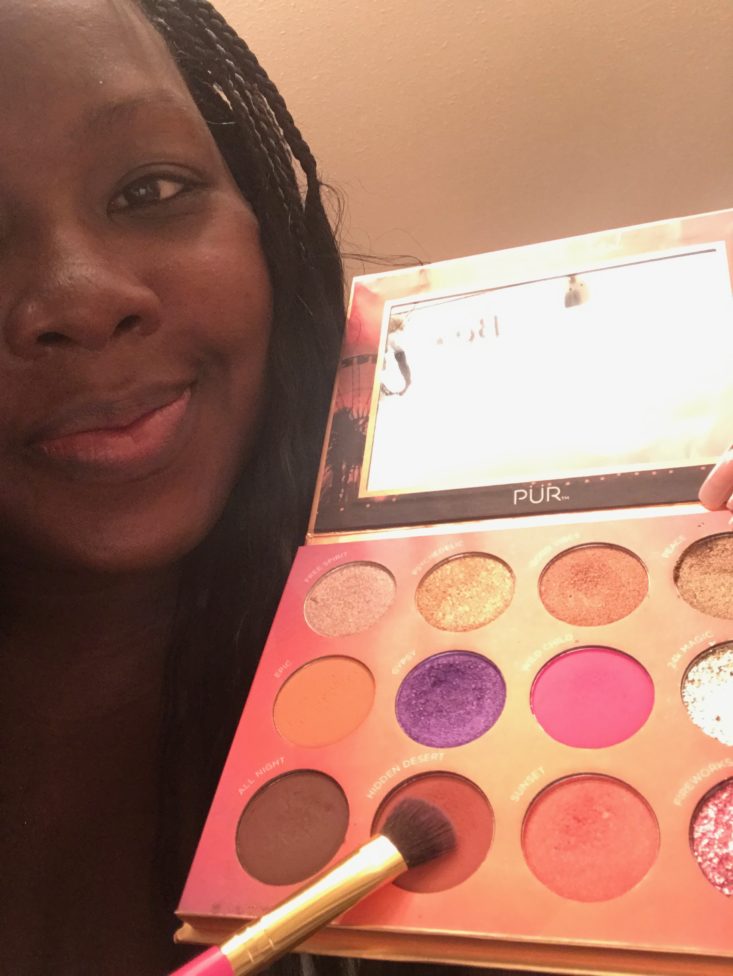
To begin I'm going to be using the Luxie 245 small Shader brush and the color Hidden Dessert as my transition shade. A transition shade should always be something close to your skin tone.
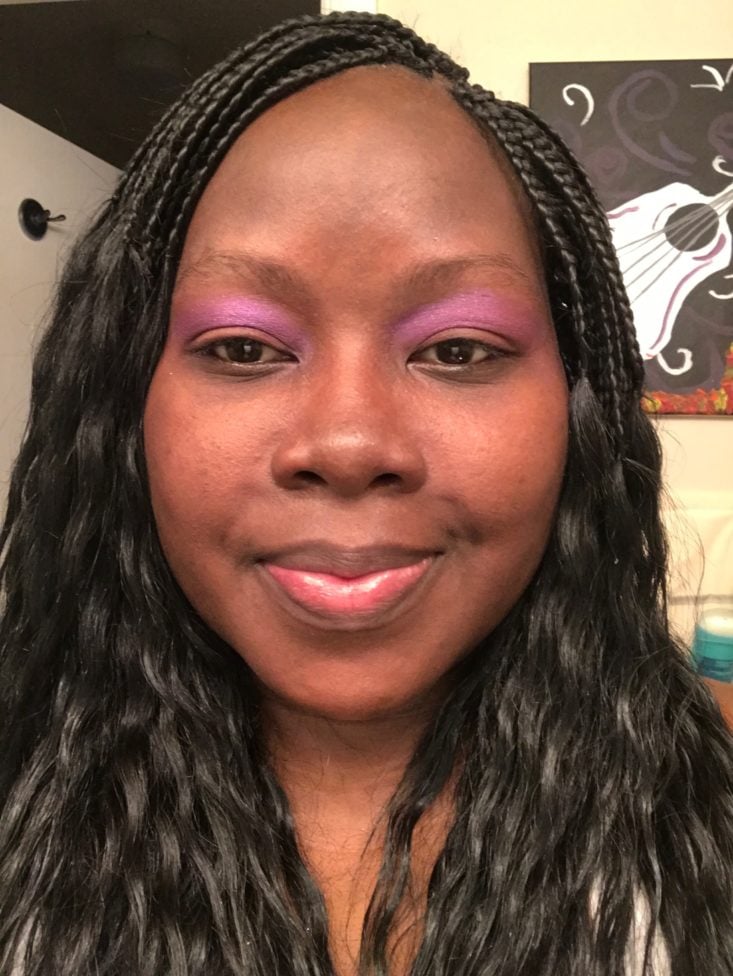
After cleaning the same brush off, I'm going to use it again to add the shade Gypsy right into my crease jumping right into some bold color!
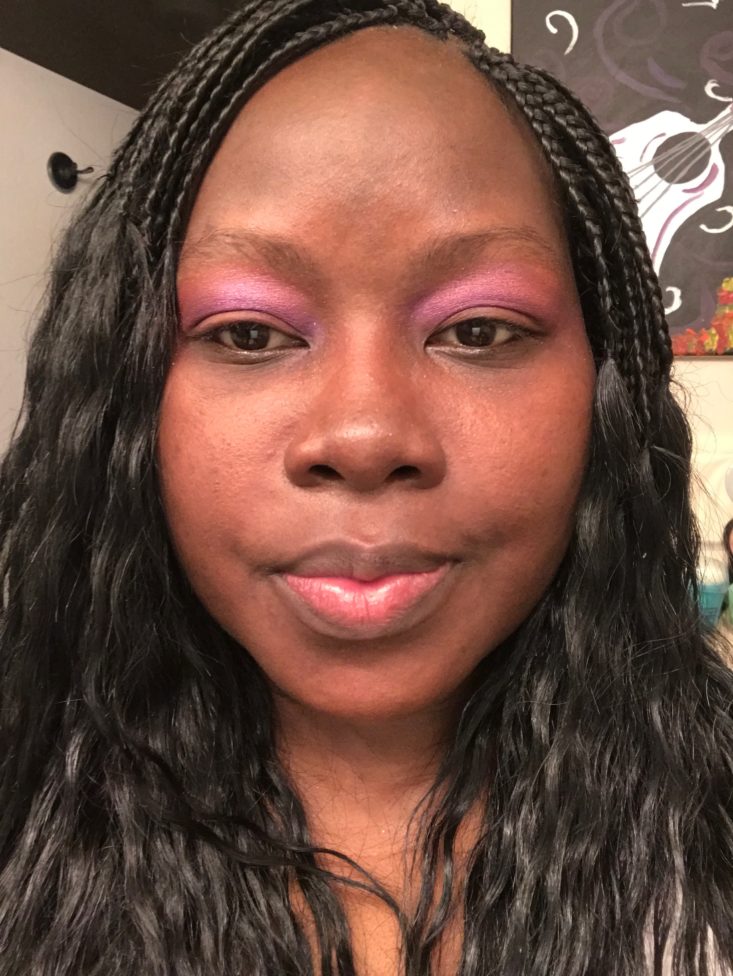
Next, I'm taking the Luxie brush 209, the large shader brush, and right on top of my crease color Gypsy, I'm adding the color Sunset right on top. Notice I'm not bringing the shade up to my brow, I'm leaving this area bare so I can later add my highlighter.
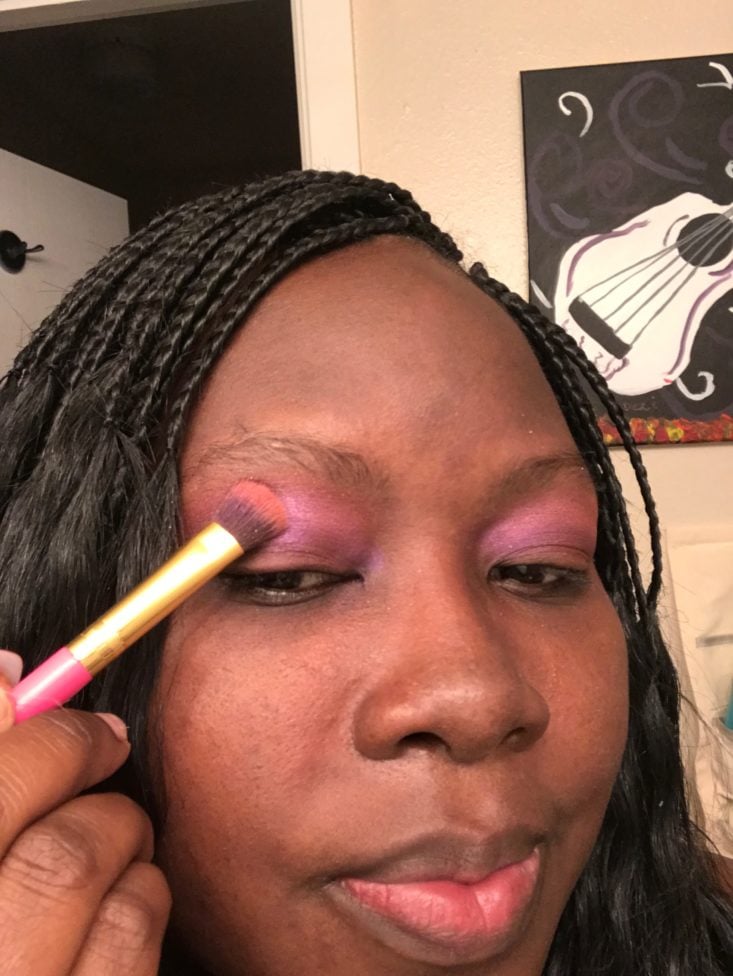
After blending Gypsy and Sunset I noticed together they create an iridescent color in my crease. Since the shade Sunset is a bit light you may lose the color after blending but don't worry, we can always add more towards the end.
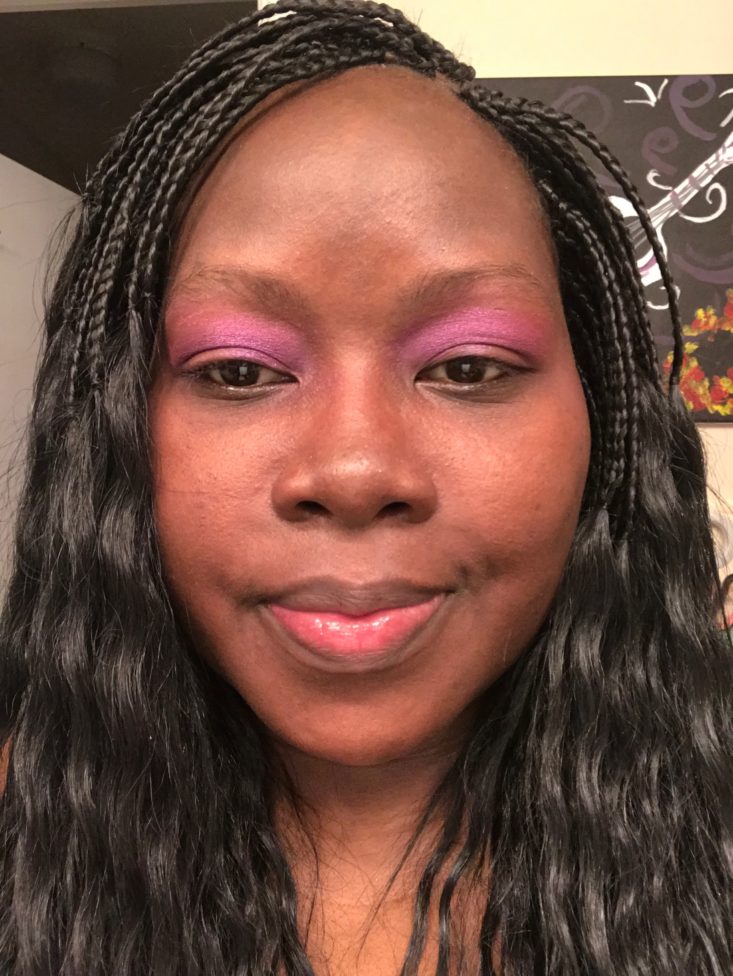
Here is how it should look after blending.
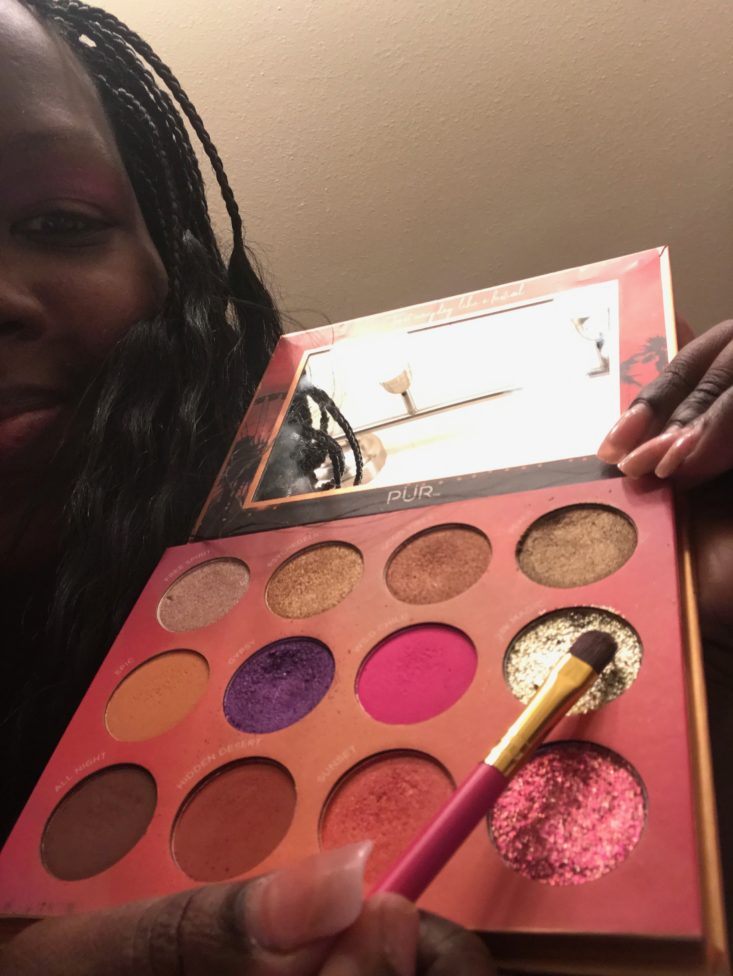
It was hard to decide which glitter color I wanted to use but the gold color won. I took a small flat brush and added the shade 24K Magic across my lid. Please be careful because the glitter gets everywhere if you don't. I found that patting the glitter into place works a lot better than using a swiping motion.
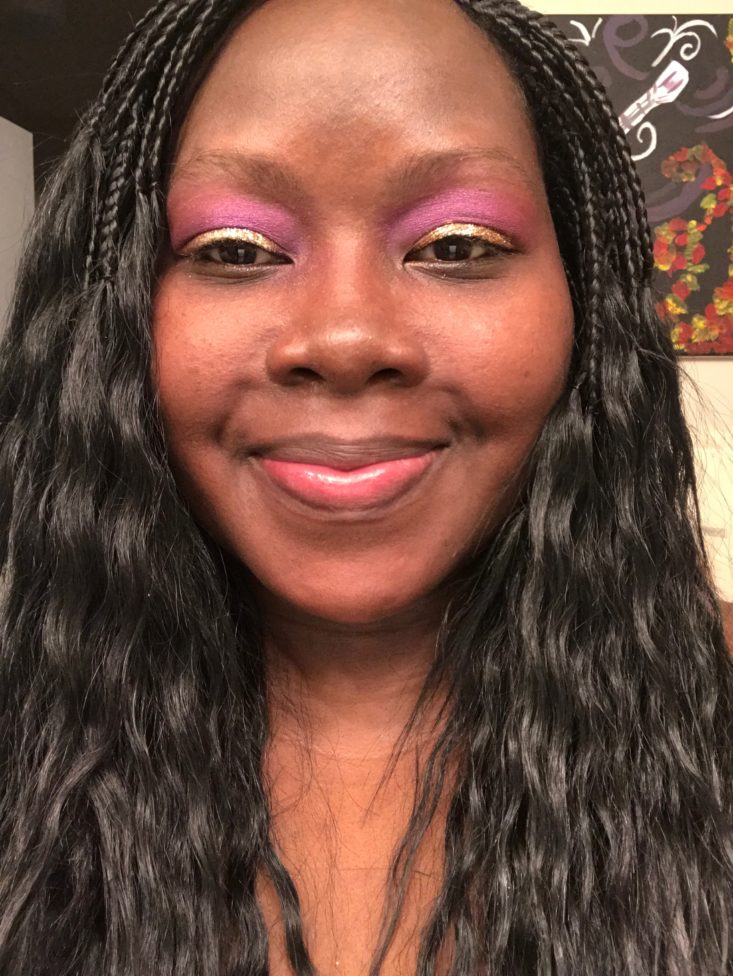
Here is how it looks so far with the gold glitter on both eyelids.
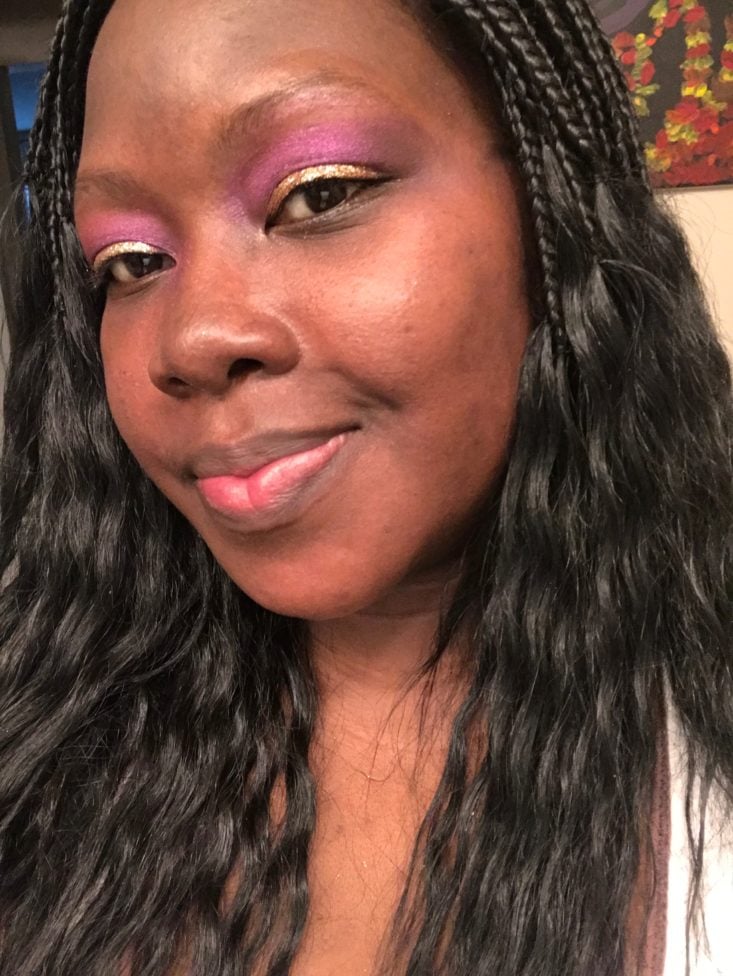
After cleaning my small shader brush, I used it to clean up any harsh lines and edges. Then I took a much smaller brush and added the shade All Night to the outer corners of my eyes. Adding this darker matte shade to my outer corners helps to neutralize all the brighter colors and marry them together. I took a photo of the side of my face so you can see the shade All Night in the corner of my eye.
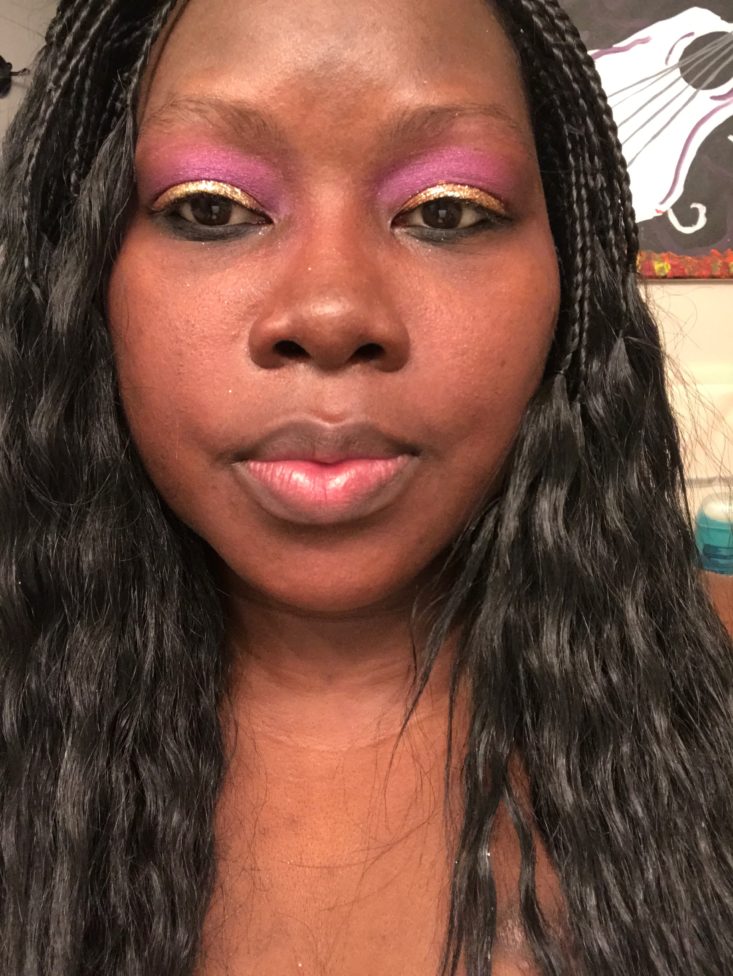
After adding some black eyeliner, I used a tiny brush to smudge it out. Here is how the eye looks so far.
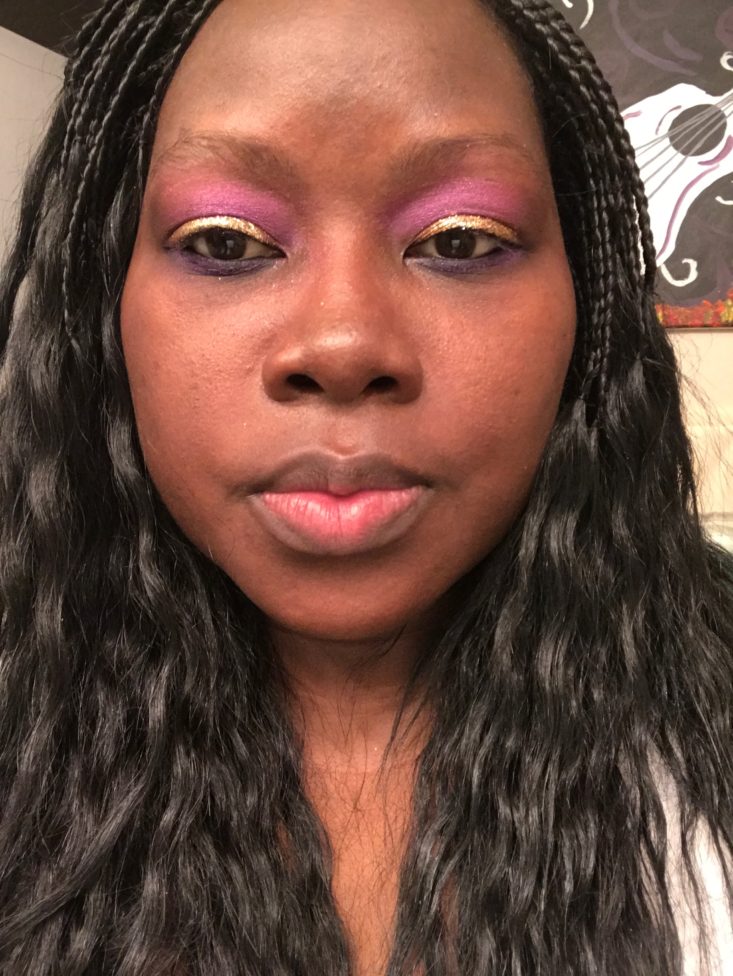
After carefully smudging my black eyeliner, I took a small brush and added the color Gypsy onto my lower lash line to bring out the purple shade a bit more. Here is how it looks so far.
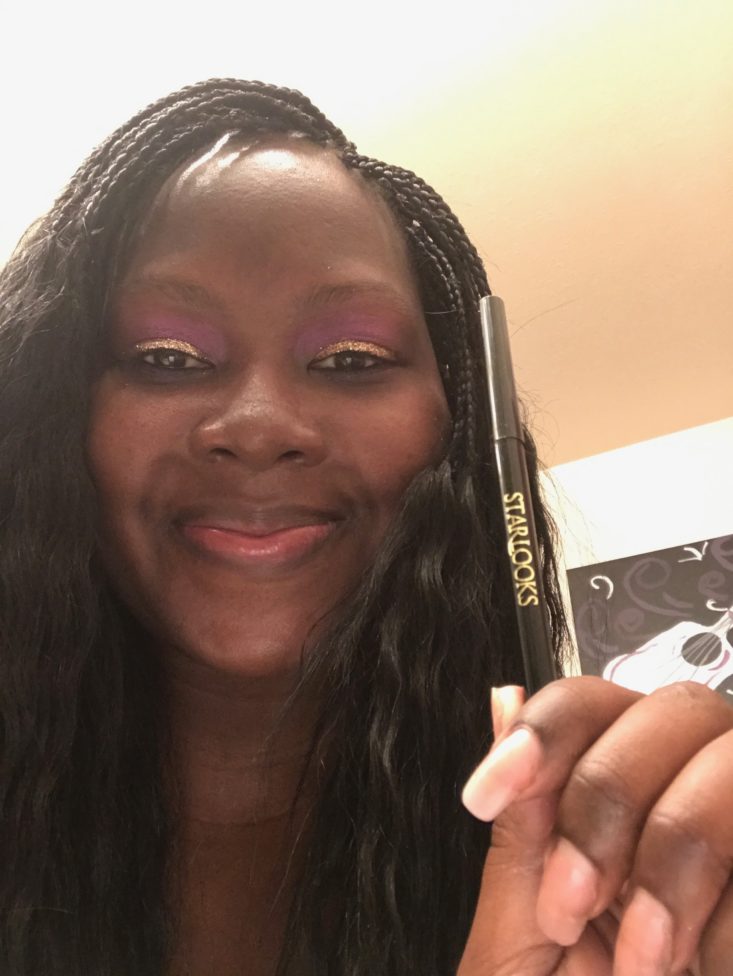
Our next product is from Starlooks cosmetics and it's their Ultra-Gem Longwear Eye Pencil in the color Celestial. It's a mint green color and it has an intense pigment that is supposed to last all day. It also comes in four other shades. I went on the website to find out more about it and almost all of the reviews were positive, so I can't wait to try it out for myself. When I first saw the color I was a bit disappointed because I wanted either black or brown, something I could use on a daily basis, but I'm hoping it will complement the colorful eye look I created. I choose to use this in the corners of my eyes to highlight the area and compliment the bright colors. It was very soft and creamy which is a plus since I'm adding it to a sensitive eye area.
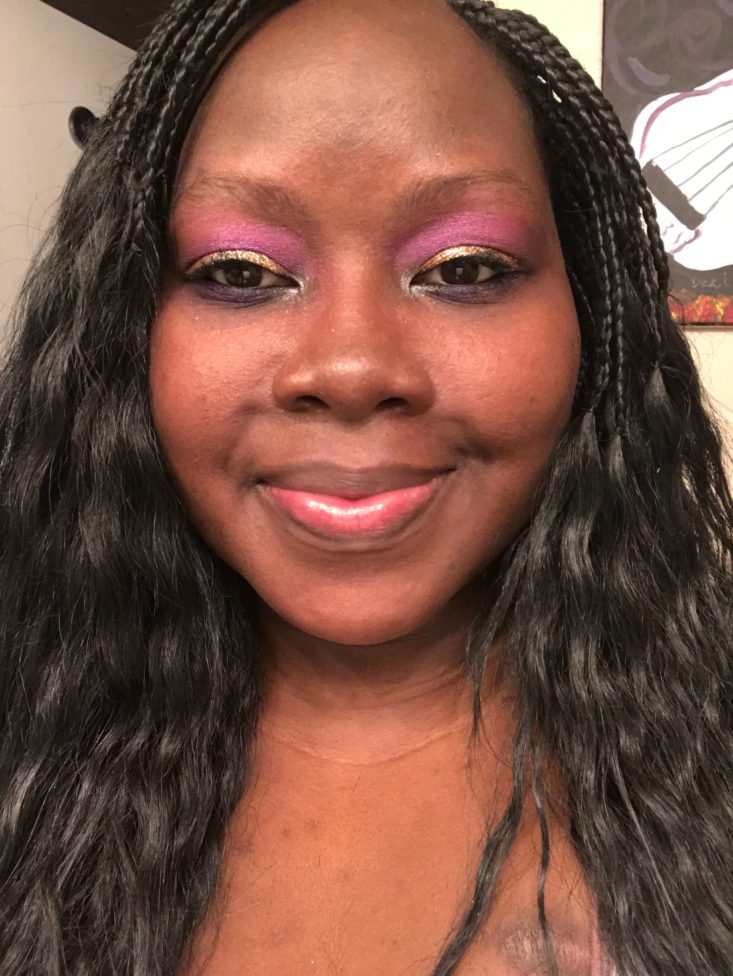
After adding two coats of black mascara, I went ahead and added a bit more of the color Sunset on top of our purple shade where we lost it earlier. And here is how my eyes look completed.
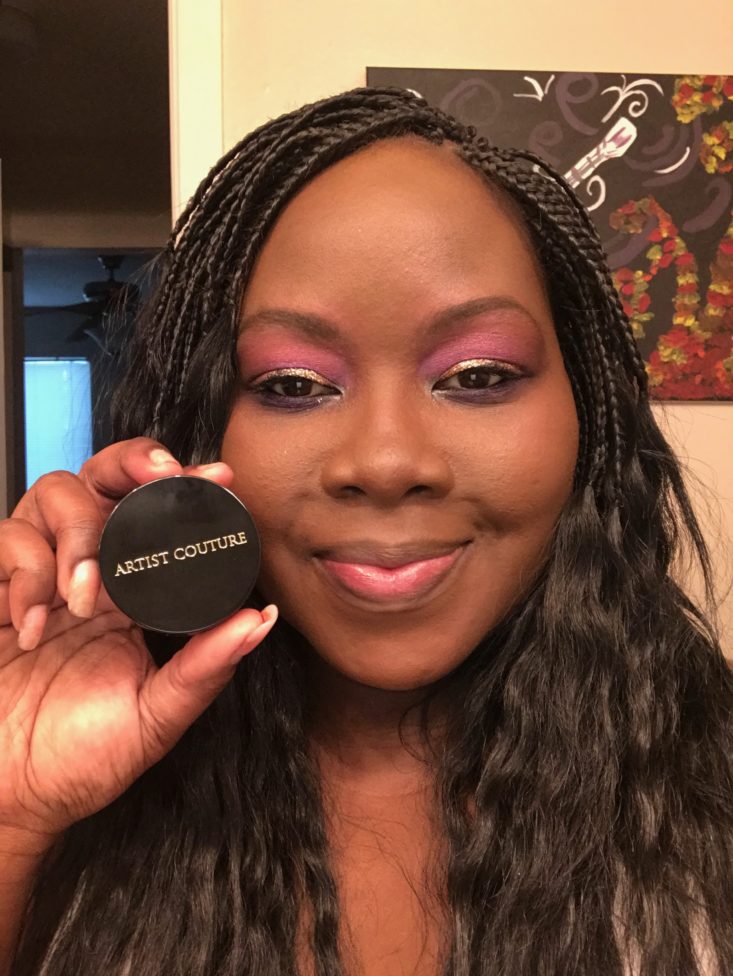
Before moving on to our next product, I added a primer and foundation. I also filled in my brows a bit darker than I usually do for our evening look.
Our next product is from Artist Couture and it's their Diamond Glow Powder in the shade Summer Haze. It is a Shimmering gold loose powder highlighter with reflective and iridescent pearls for a glow within look.
I am familiar with this brand and happen to own this powder in a different shade, so I know from experience that you only need a very light hand with these products. These Diamond Glow Powders are pretty easy to work with, you just have to be careful not to apply too much. You don't want to show up to an event looking like a disco ball, trust me I learned from experience. You can start with a subtle luminous sheen and if you want more, gradually build up for a more intense highlight. It's made to look good on all skin tones and looks great in pictures. You can even mix these powders for a different glow altogether, taking your highlight game to the next level. You can apply it on your face, eyes, lips, and body.
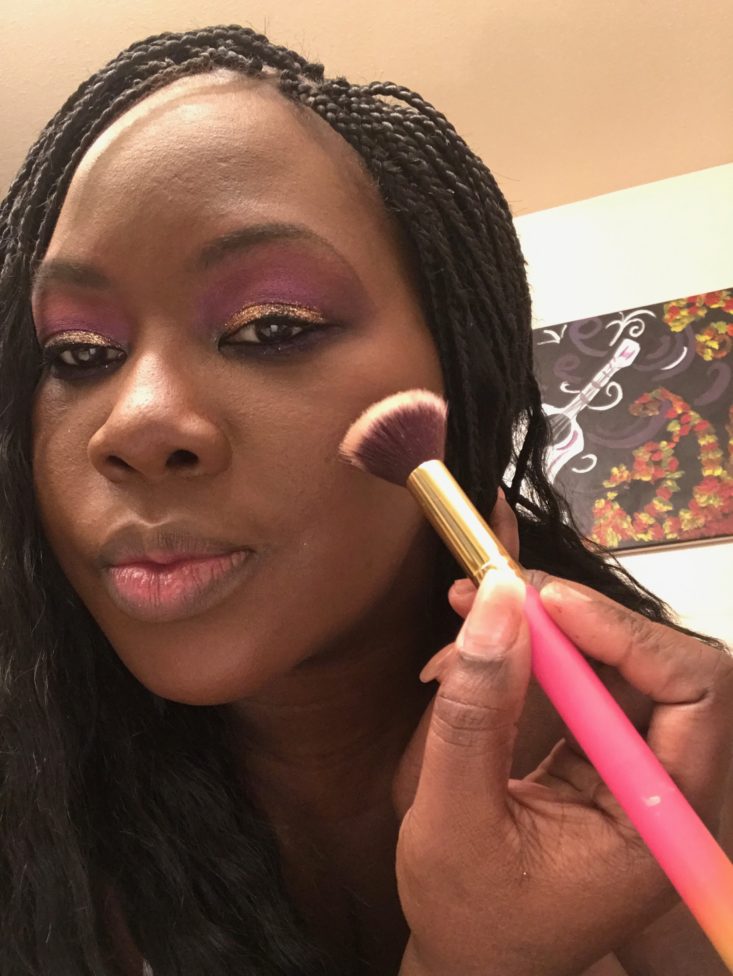
I took the Luxie 512 Small Contouring brush and added Summer Haze to my cheekbones, tip of my nose, cupids bow, and under each brow.
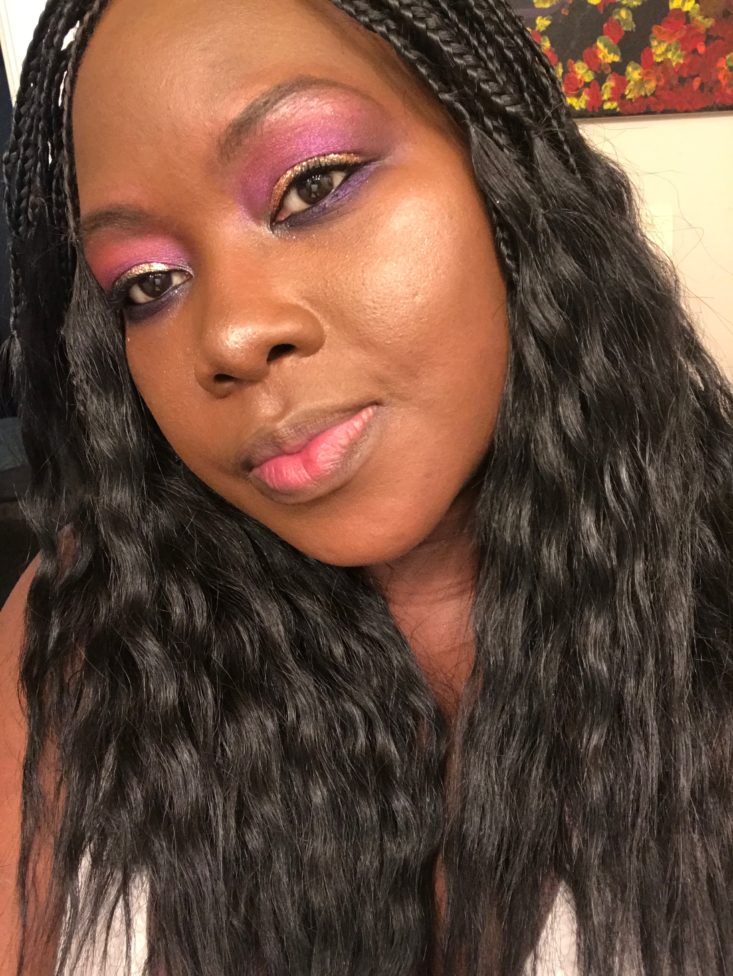
Here is how it looks after adding the diamond glow powder. As you can see, it catches the light perfectly and looks great for selfies.
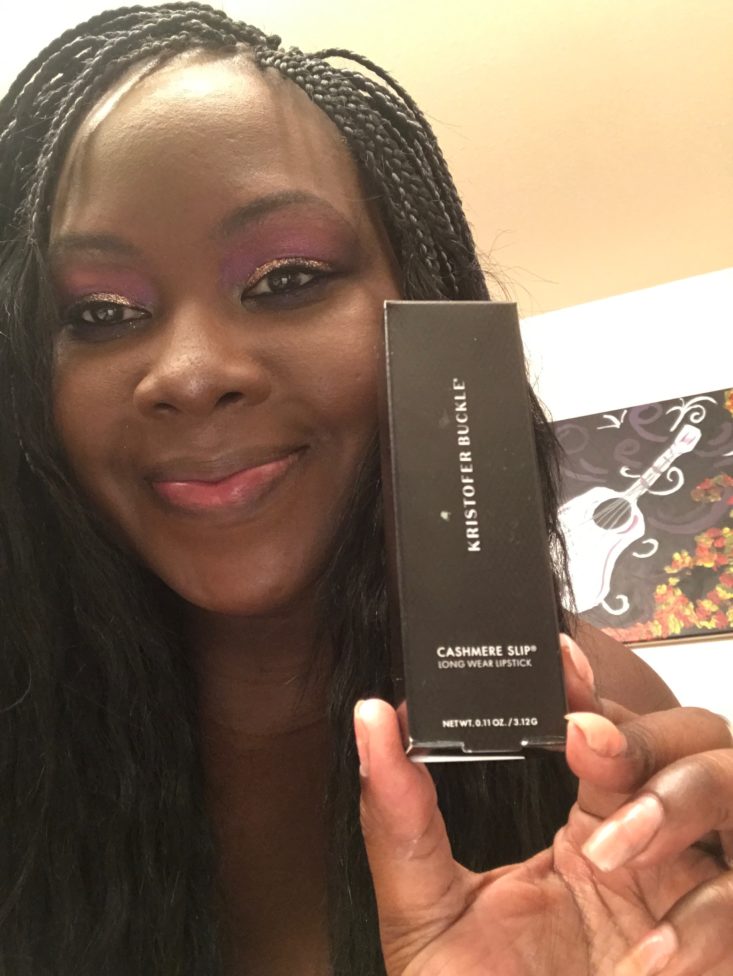
Our final product is from Kristofer Buckle a brand I'm not too familiar with but absolutely love the packaging. It's their Cashmere Slip Longwear Lipstick. It's a classic silver almost geometric type lipstick tube. I received the shade Renaissance which is a deep rose tint with a slight pink hue. I think this will go great with the colorful look we created.
Before we apply this to our lips, let's check out the claims on this product. It's an easy to apply creamy and rich formula that promises bold color for up to 8 hours, plenty of time to get you through the night. I decided that this lip color would look great with a lip liner added to it. So, as usual, I will have two photos, one without the lip liner and one with, so you can decide which one you prefer best. However, what I love about this product is how easy the formula glides on so smooth and wears comfortably. So comfy it almost feels like I'm wearing a nice lip balm, which in my book is a good thing!
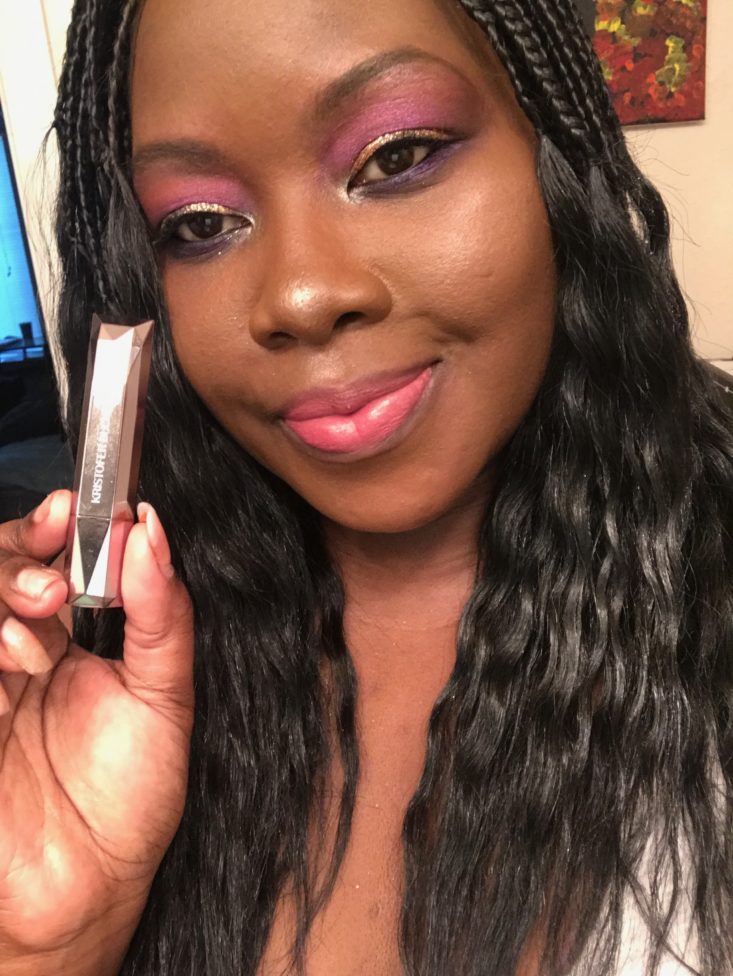
Here is how it looks with the lipstick alone.
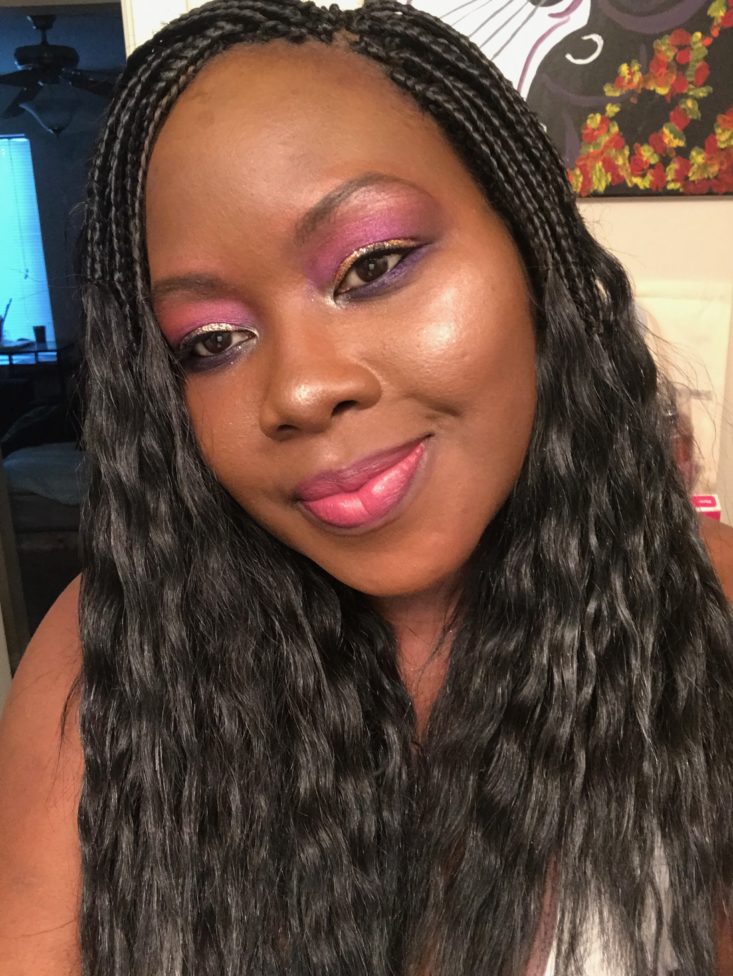
Here is the final evening makeup look with a MAC (color currant) lip liner added too to it.
Verdict: BoxyCharm gave us some pretty cool items to play with this month, making it really hard to find a favorite. I wasn't disappointed with any product this month and was super impressed with the festival palette. I can't wait to experiment with different eye looks!
Check out all of our BoxyCharm reviews and the best beauty subscription boxes of 2019, as recommended by our readers!
What’s your favorite item from the April BoxyCharm Box?



Please do not enter your email address in the Name field or in the comment content. Your email address will not be published. Required fields are marked *. Remember to post with kindness and respect. Comments with offensive language, cruelness to others, etc will not be approved. See our full comment policy here.