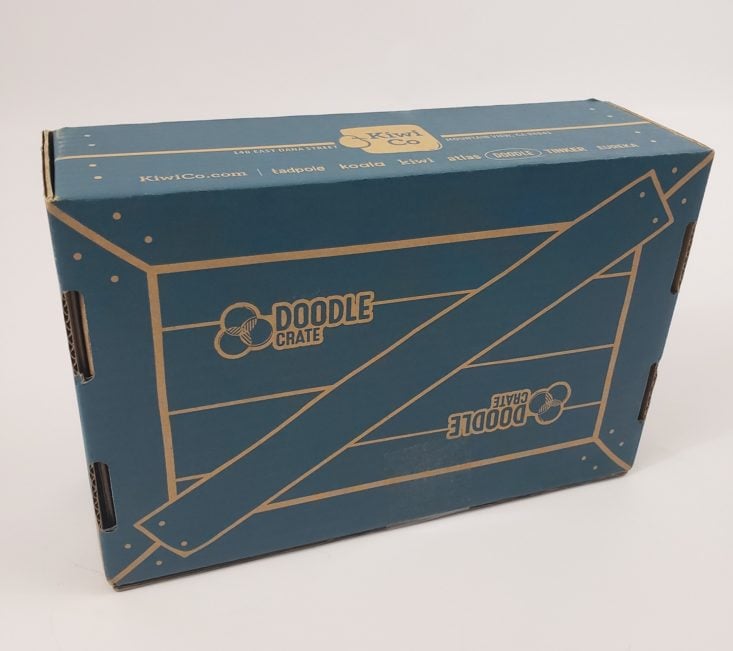
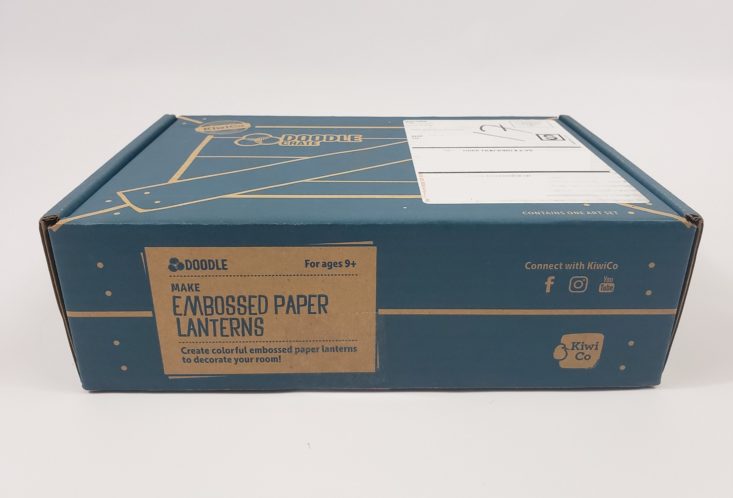
Doodle Crate, by KiwiCo, is a subscription box targeted to older children aged 9-16 that delivers a monthly art project. They describe themselves as “a studio for hands-on creativity delivered every month.”
KiwiCo offers boxes for different age groups: Tadpole Crate for 0-36-month-olds, Koala Crate for 3-4-year-olds, Kiwi Crate for5-8-year-olds, Atlas Crate for 6-11-year-olds, Doodle Crate and Tinker Crate for 9-16+-year-olds, and Eureka Crate for ages 14 and up. There really is something for every age with this company.
This box was sent to us at no cost for review. (Check out our review process post to learn more about how we review boxes.)
About Doodle Crate
The Subscription Box: Doodle Crate
The Cost: $19.95 per month with discounts available for longer subscription commitments.
The Products: Instructions and supplies for children aged 9-16 to create one new art project each month.
Ships to: U.S. for free, Canada for $6.95
Doodle Crate “Embossed Paper Lanterns” Review
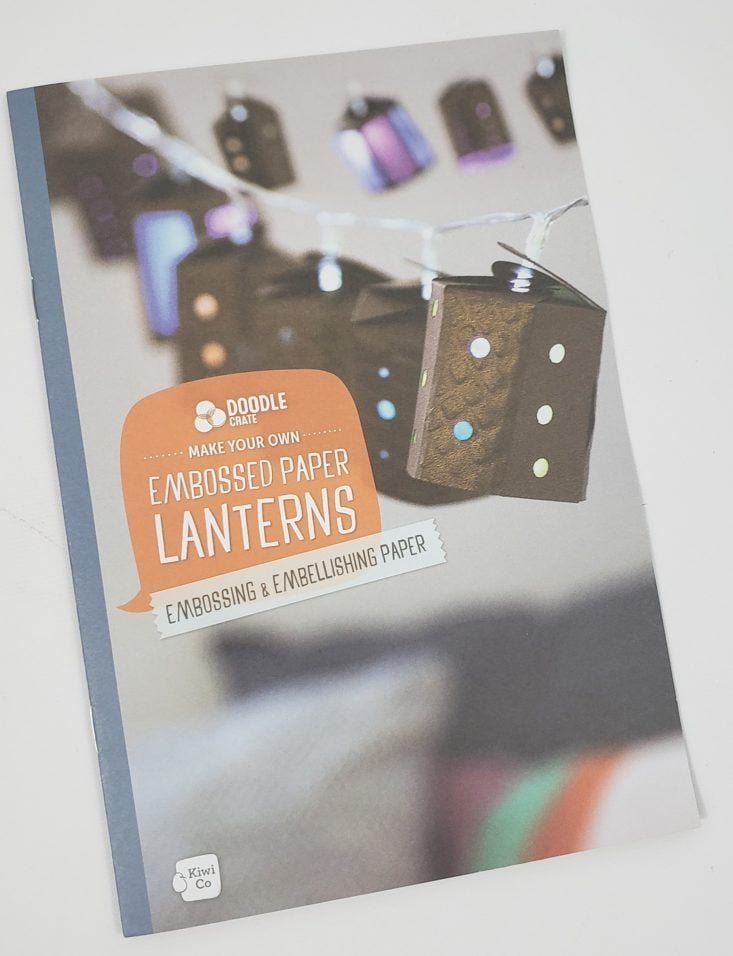
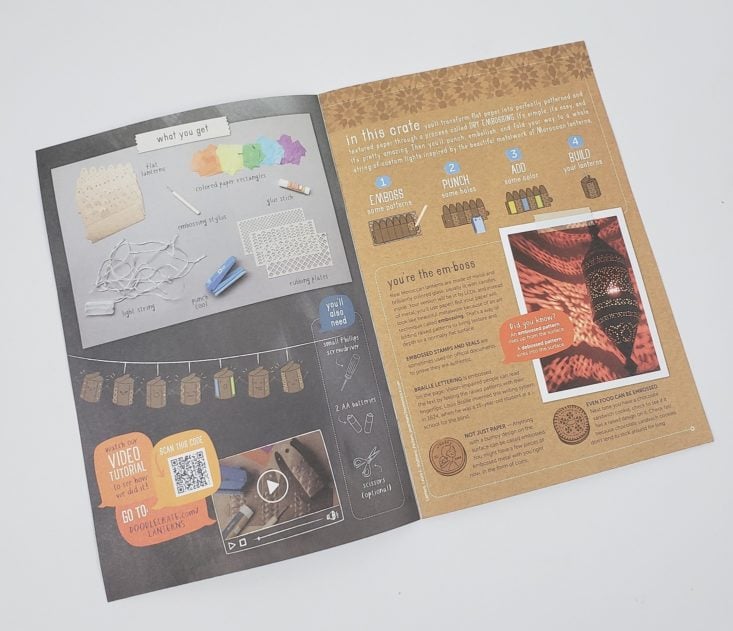
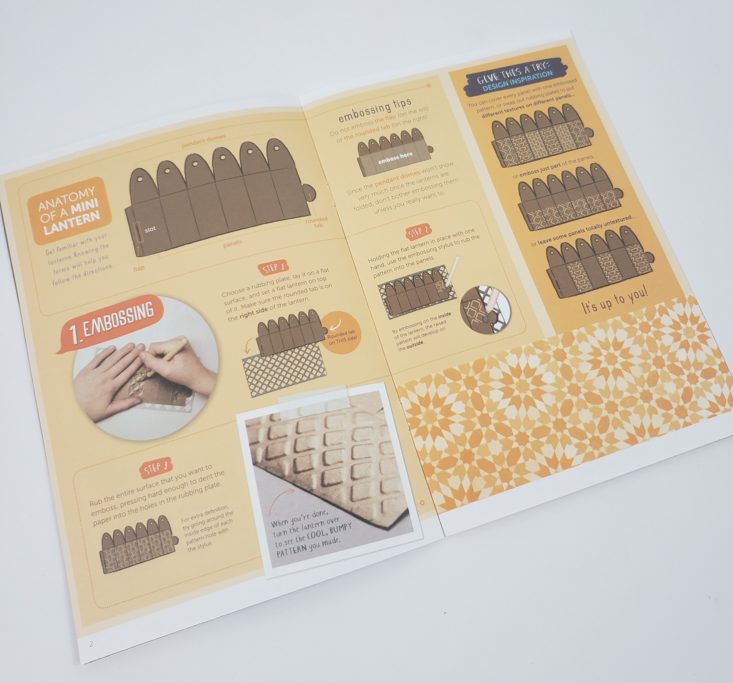
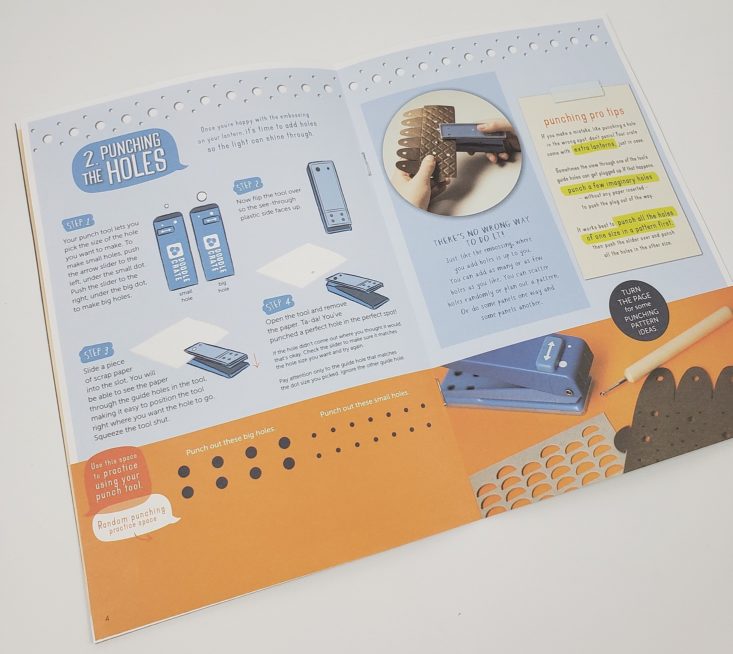
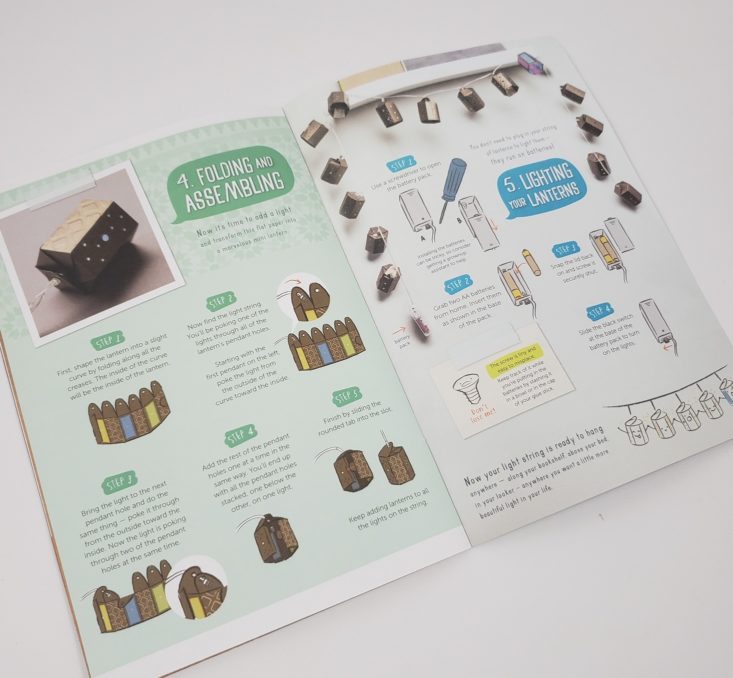
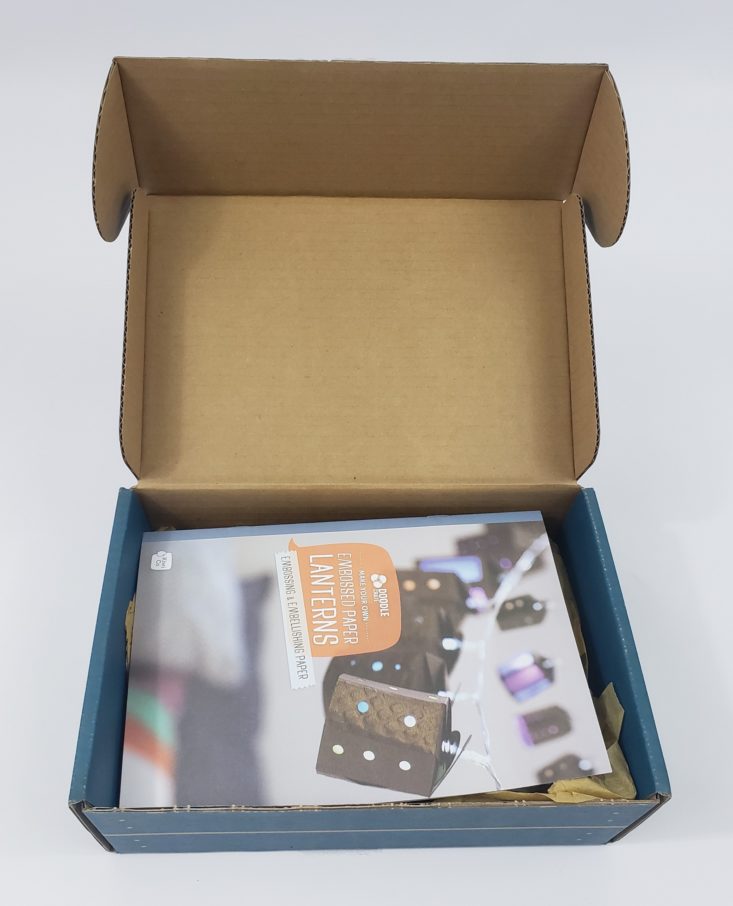
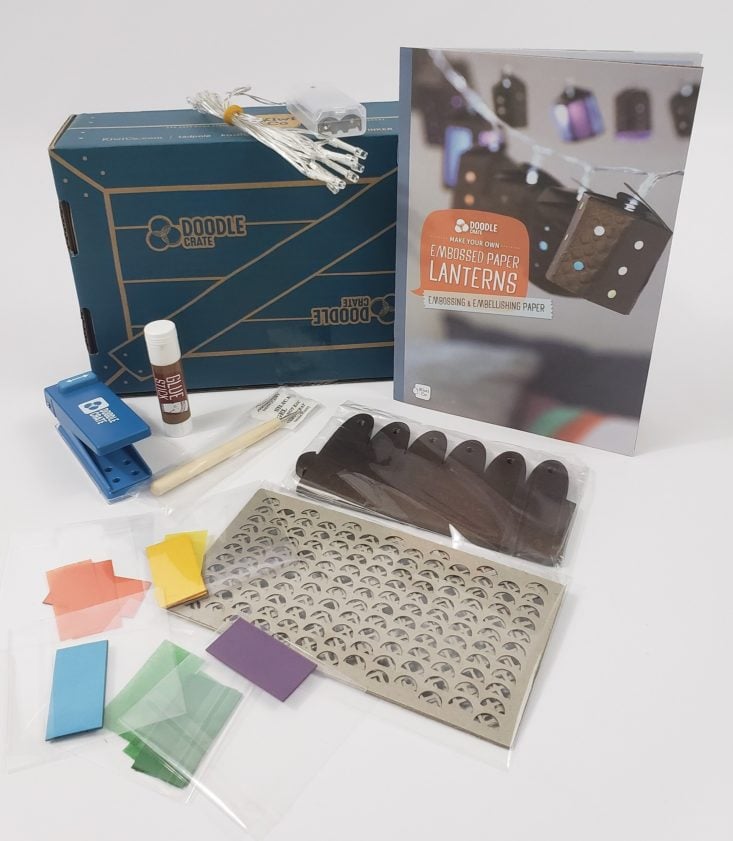
The first thing on top of our box is this wonderful instruction manual. I love the way this company lays out and explains everything, it is really easy to read and follow. The pictures are detailed and are step-by-step which is appreciated. I was also super stoked to see that we are making lanterns this month after reader Susan commented on our last box that they had made these!
Paper Lanterns
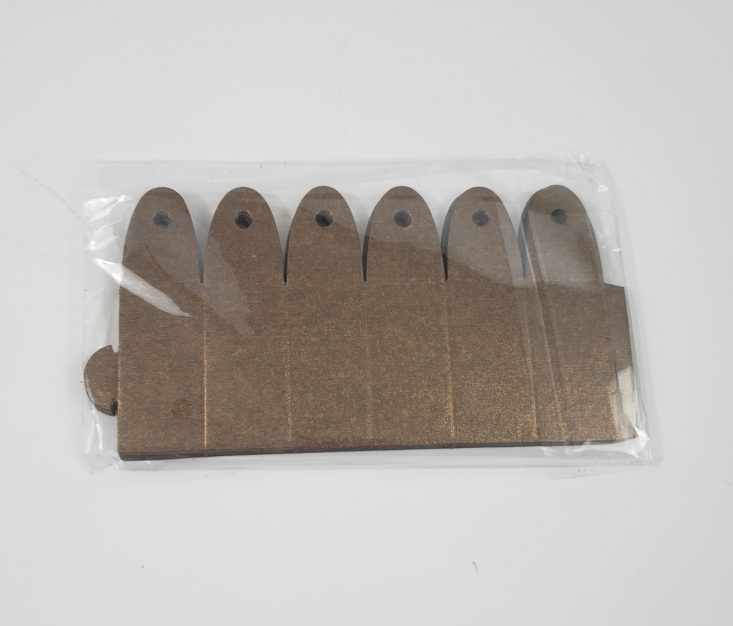
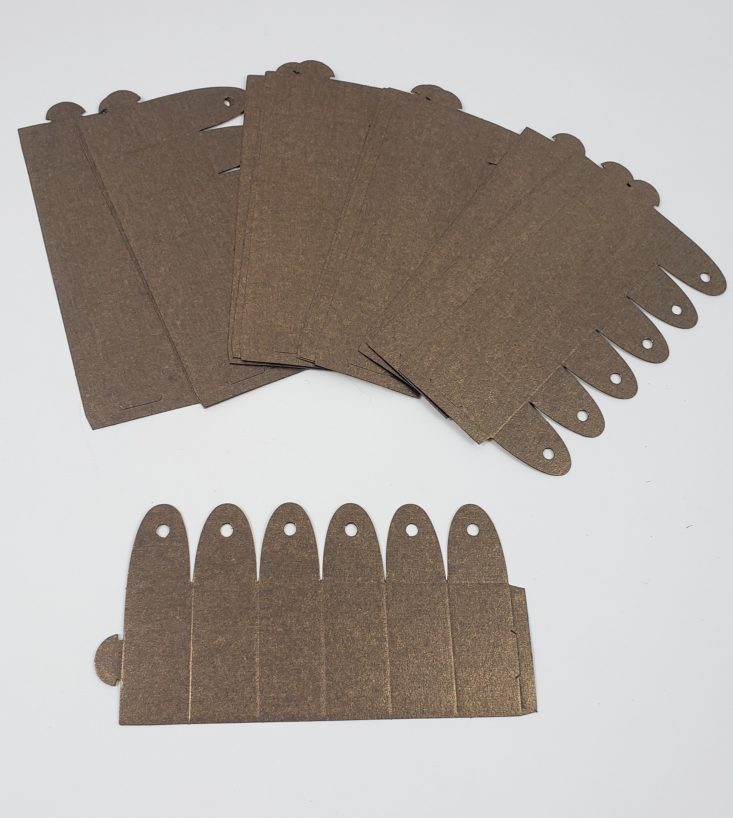
The next item in our box are the paper lanterns. We received 18 of these bronze lanterns with gold specs – I love the color!
Colored Paper Rectangles
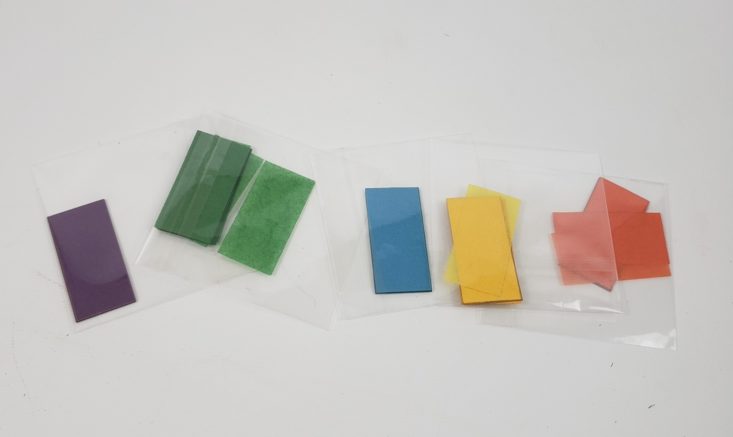
We also received these colored pieces for the inside of the lanterns in purple, green, blue, yellow and orange. They were individually packaged and pre-cut making for easy setup and clean up.
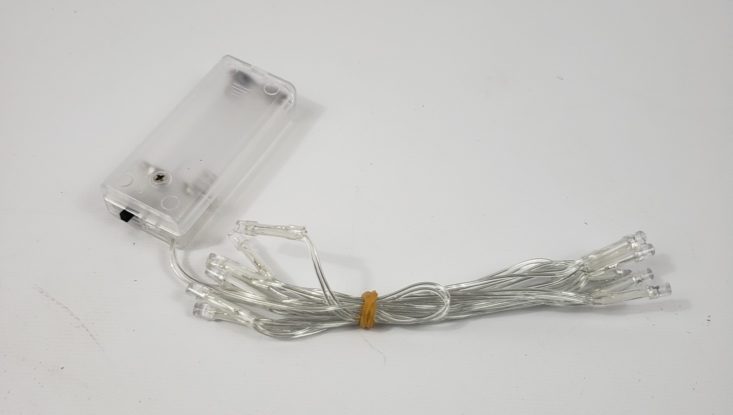
Light String
Our box included the light strings that the lanterns will hang from. It is battery operated but doesn’t include the batteries: 2 AA. I keep some on hand for my projects and subscriptions so we don’t have to wait around or run to the store.
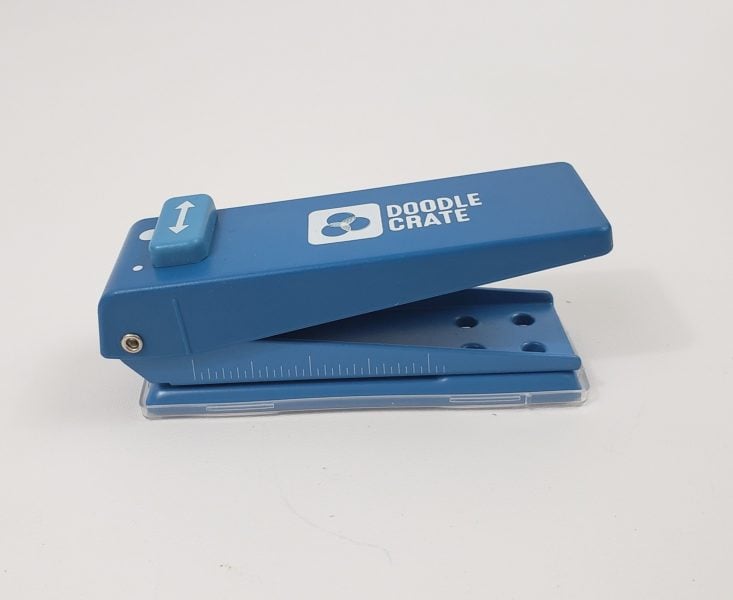
Punch Tool
We also got this punch tool. It has settings for a big hole and a smaller hole with a button on the top that we just slide to use. It was a little hard at first to use, but we really got a method down and used it pretty easily. The instruction manual suggests practicing first on another sheet of paper.
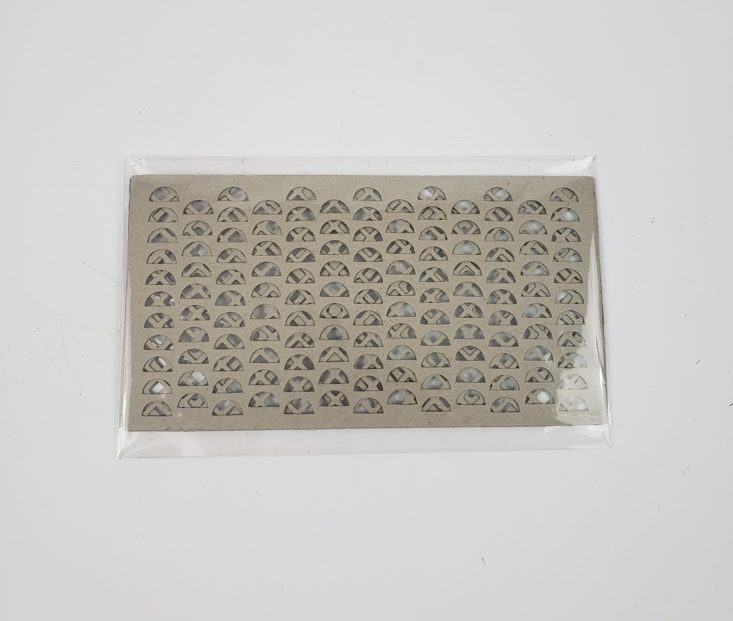
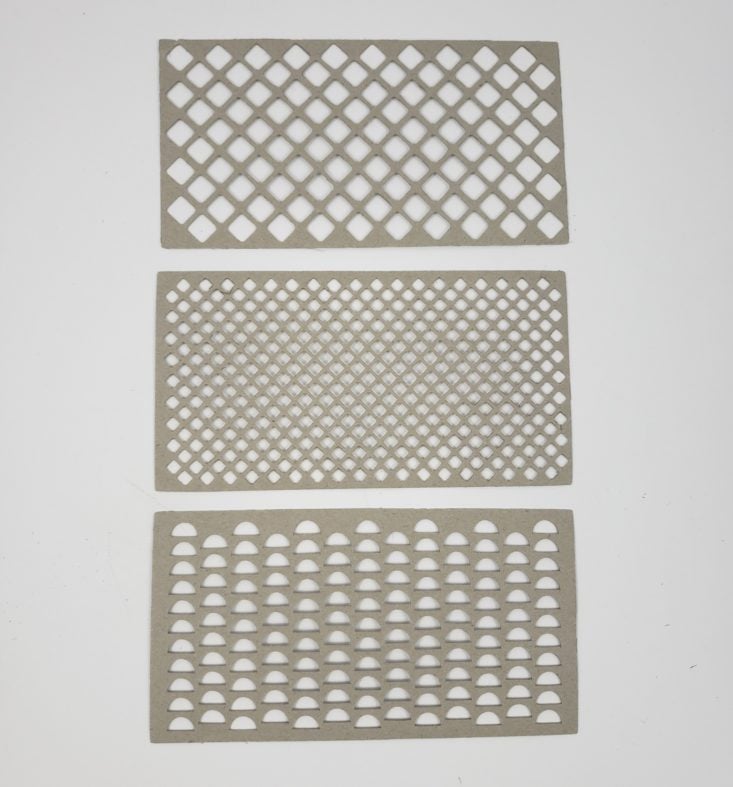
Rubbing Plates
We also received these cardboard rubbing plates in three different designs. We will use these to emboss the lanterns.
Embossing Stylus
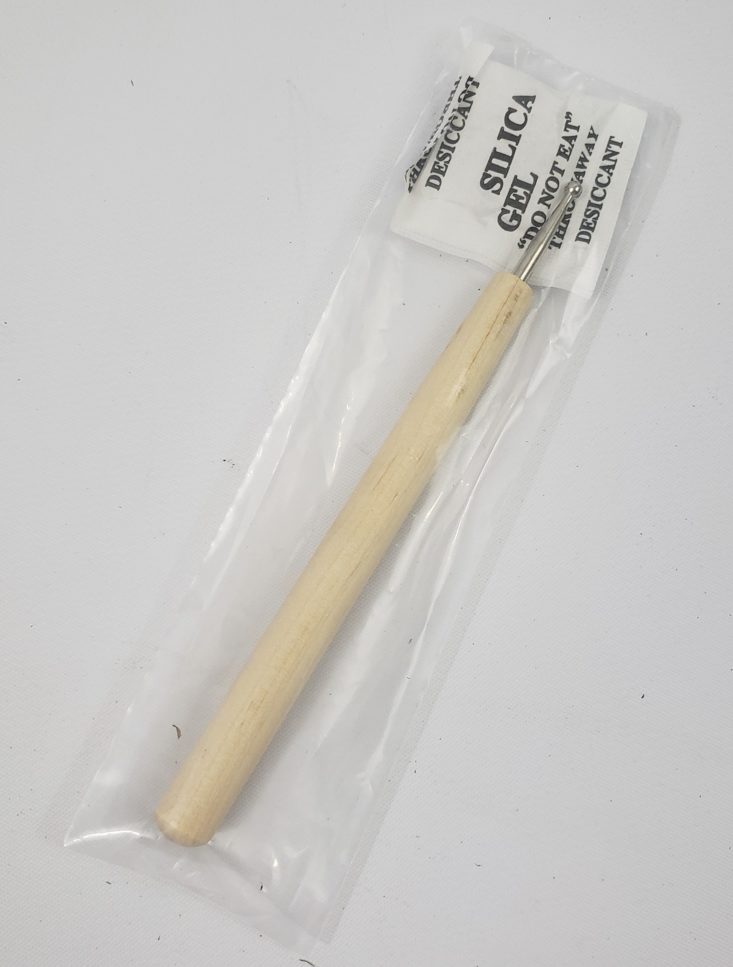
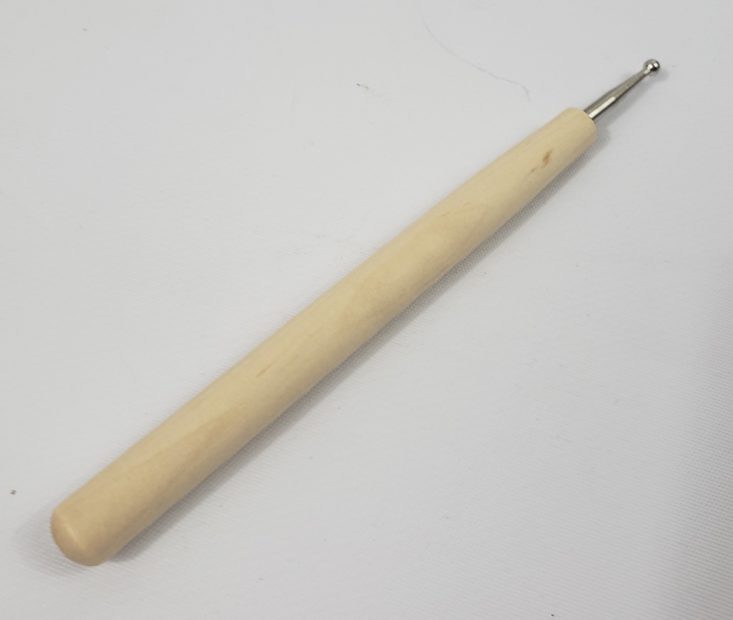
We also received this stylus pen which has a wooden handle and a metal piece with a round ball. We will be using this to rub the lanterns against the rubbing plates for embossing.
Glue Stick
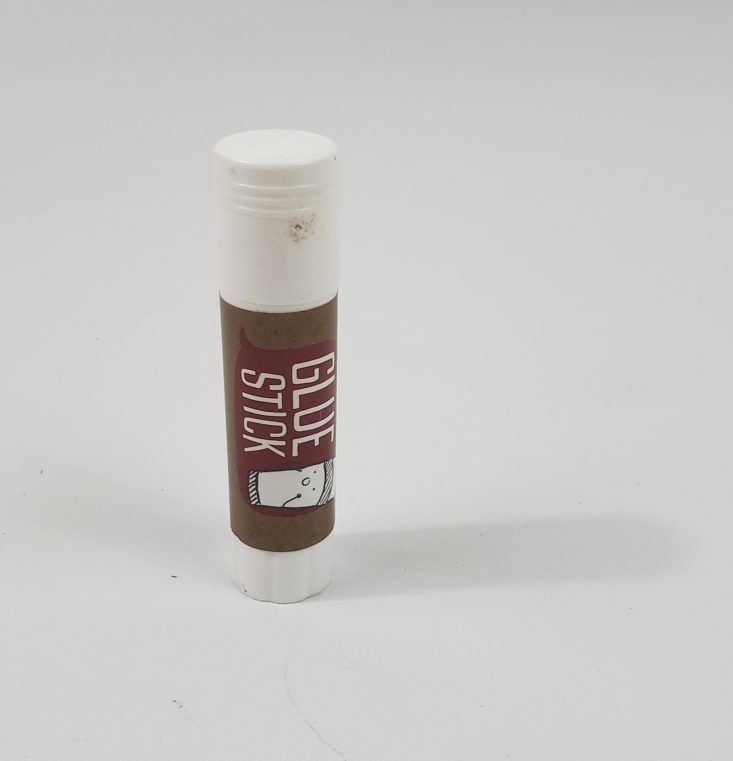
The last item in our box was a glue stick. Easy to use, no mess.
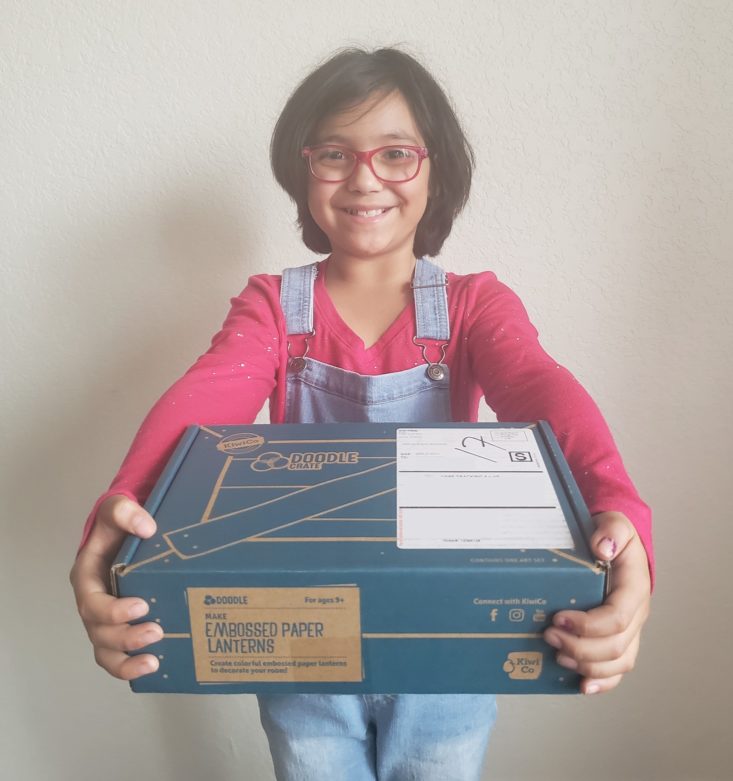
Bella is our artist today. She is 8 years old, going on 15, and loves to create art whether it’s a picture, a painting or crafting. I cannot walk through the living room without finding a craft of Bella’s. We love this box as it really speaks to her artistic side and allows her to create lots of things.
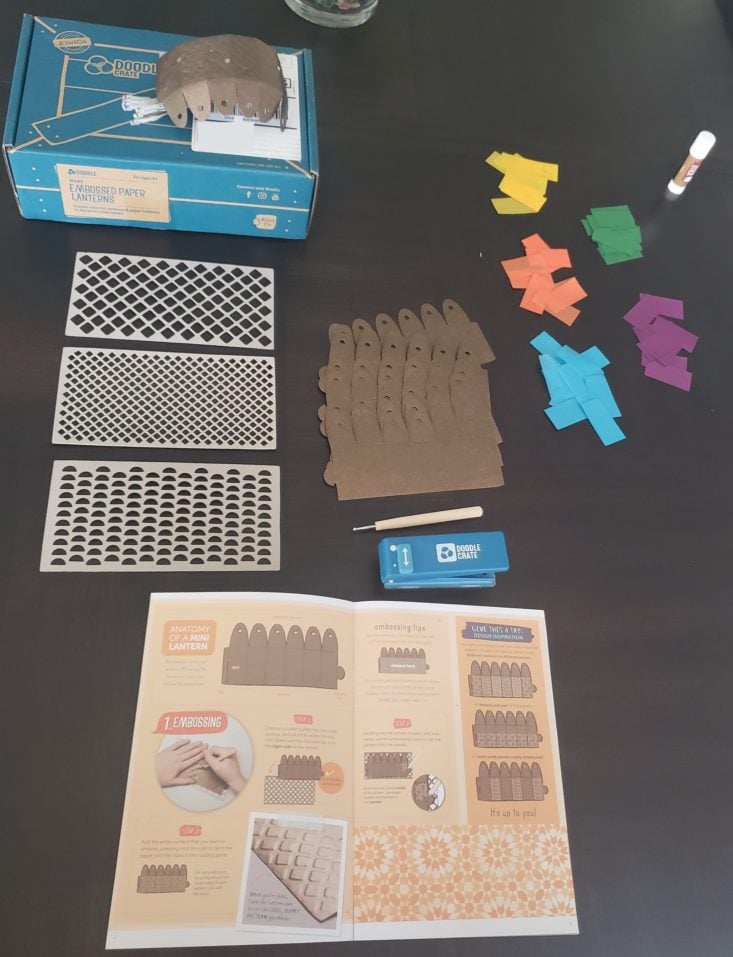
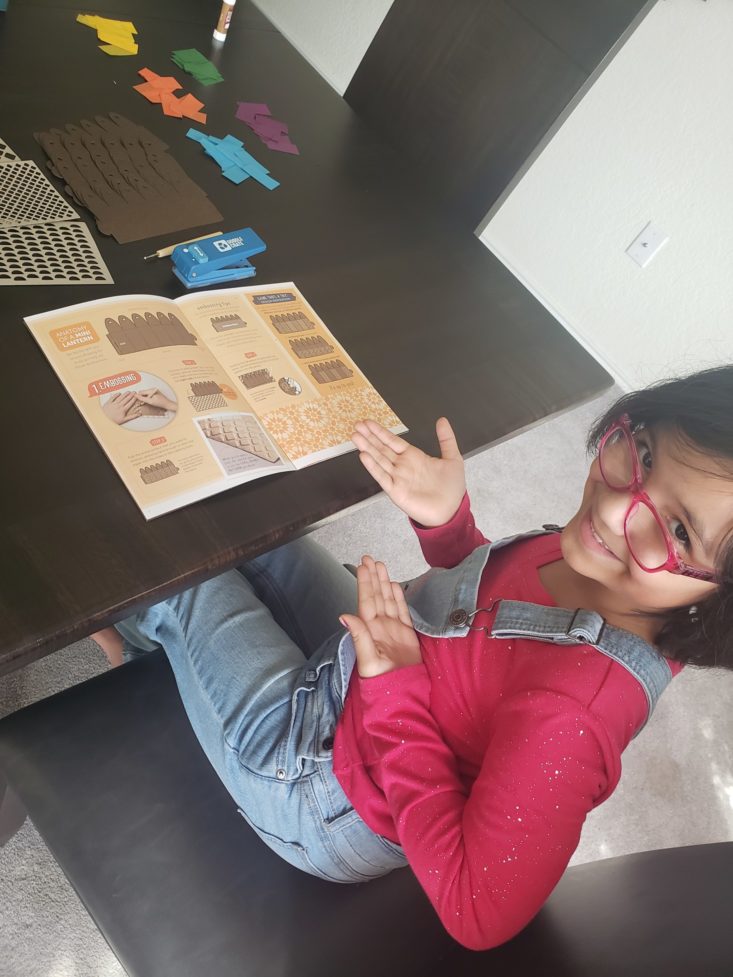
We started by setting up all our supplies on the dining room table. As I set things up, I had her read through the instructions to get familiar with what we were about to do.
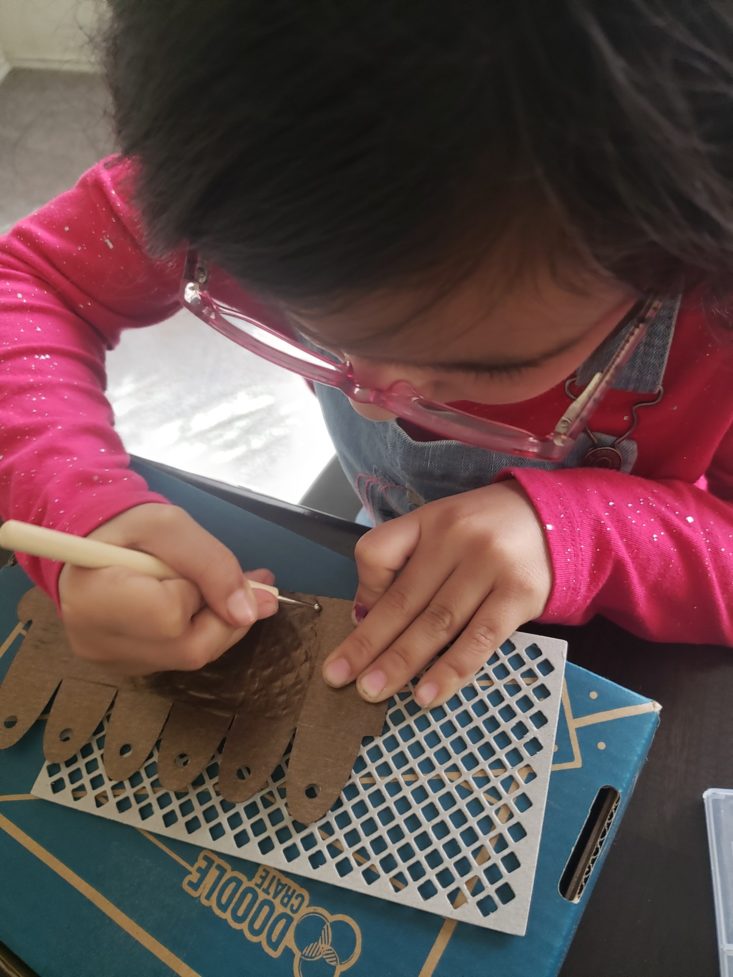
The first step was to emboss. We took the lantern and put it over the pattern of our choice and used our stylus to rub over the rubbing plate. This was actually the hardest and most time-consuming part of the project.
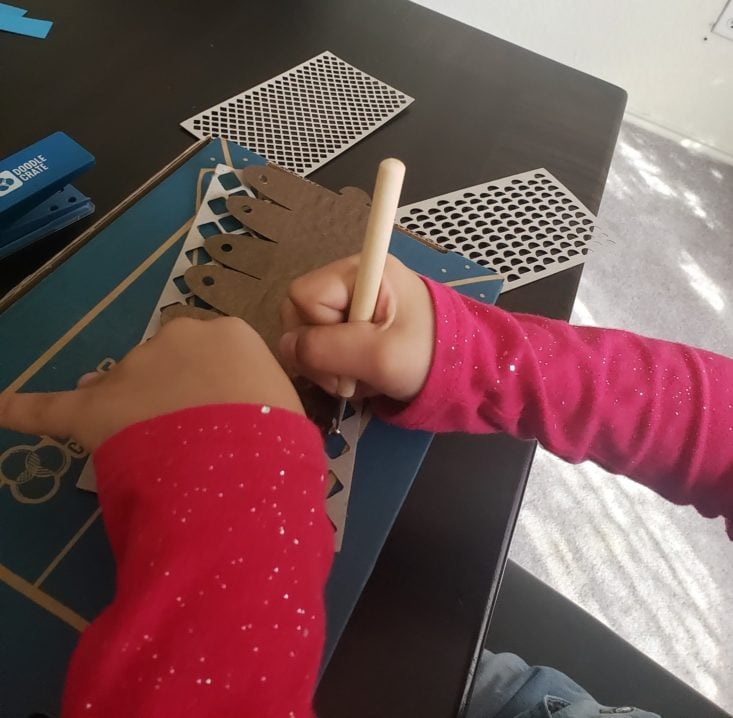
We had to press down really hard to get a good imprint of the plate onto the lantern. Our instruction manual gave us some ideas to work off of which was nice. I wanted to make sure that each one was different and special in its own way.
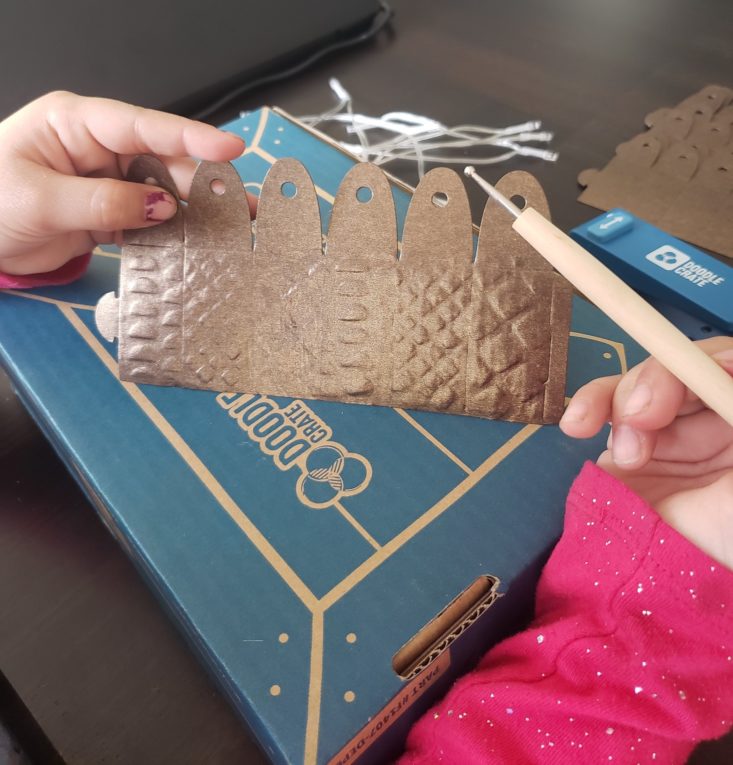
Bella used all the rubbing plates on the first lantern to see what they looked like. She embossed about four of them then grew tired, so I did the rest. We counted the lights on the light string and knew we had to make 15 lanterns, so I was stuck making 11.
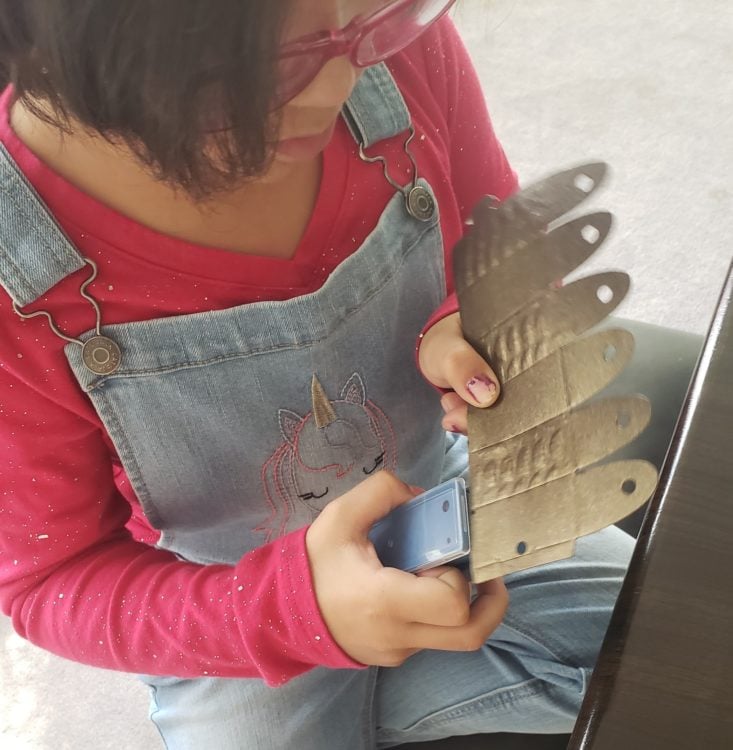
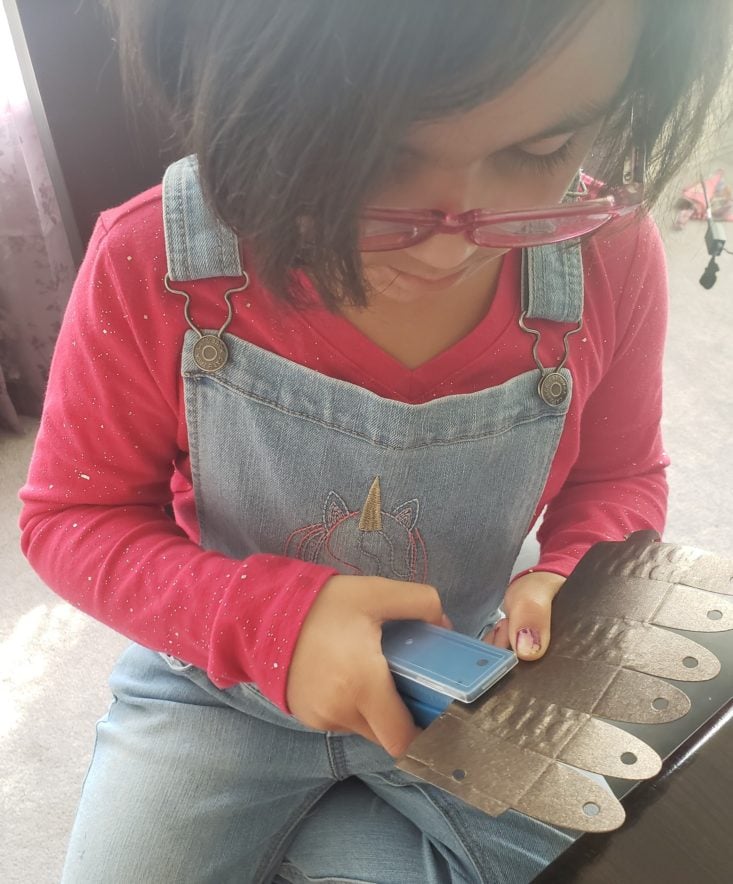
The next step was the punch holes in the lanterns using the punch tool we received. We also brought out one of our punchers, a small snowflake one. The placement of the holes is important as the colored paper will go behind it and the light will shine through. Like the embossing, the instruction manual offered some examples, but we totally did our own thing. I think this was the most fun part.
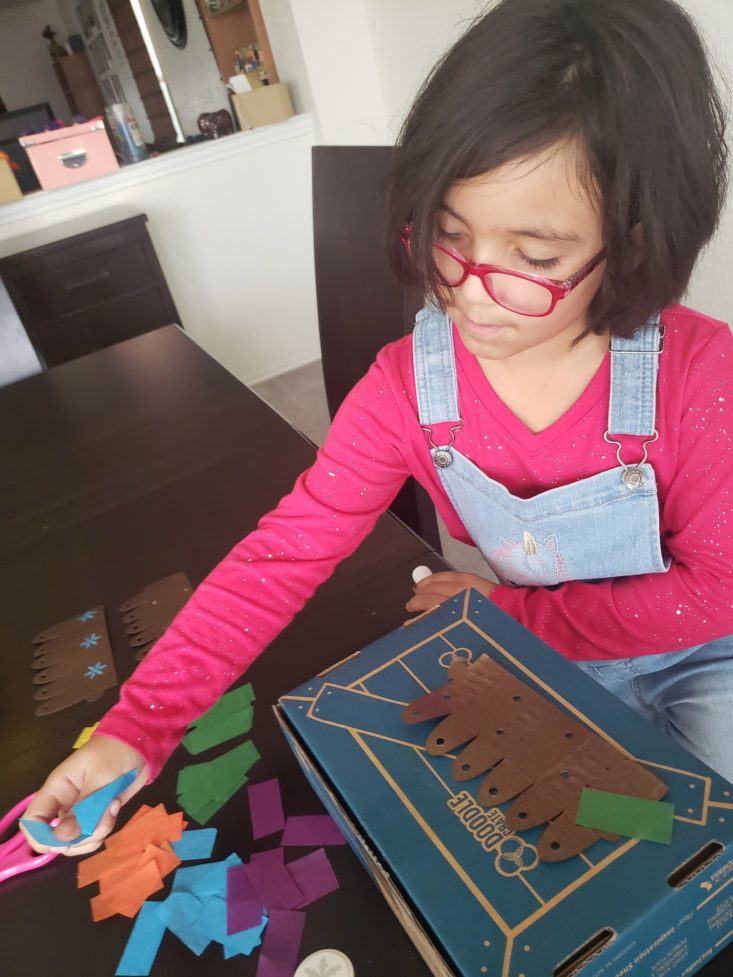
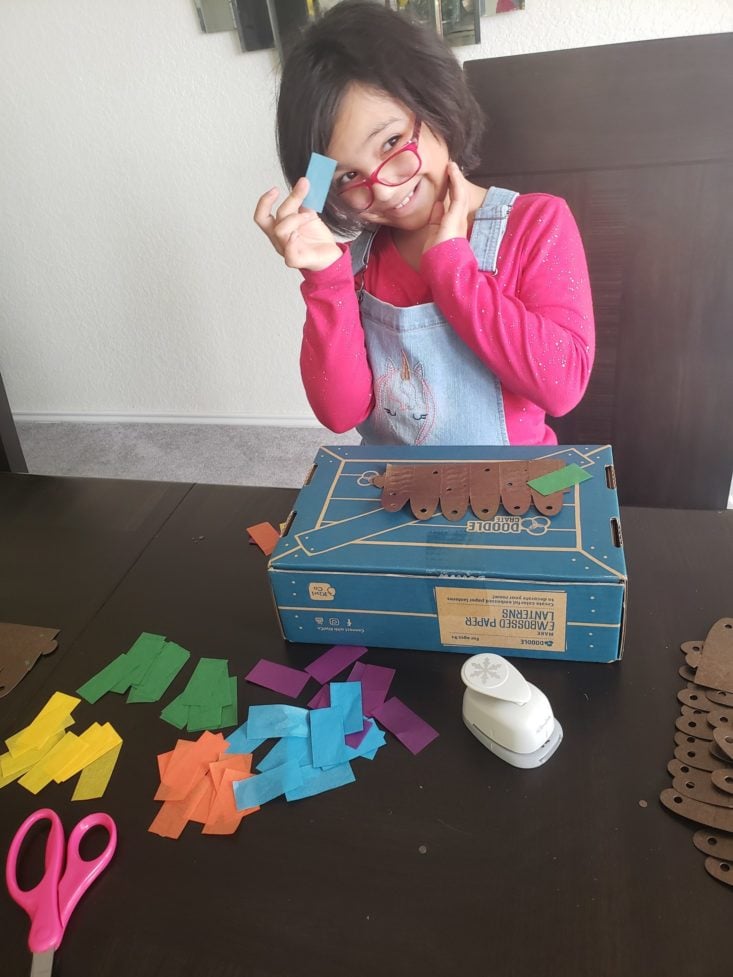
The next part to creating our lanterns was to pick pieces of colored paper and glue them (with our included glue stick) to the back of the lantern. When we started punching holes, I let Bella know that where ever there was a hole, there would be a colored piece of paper behind it, so she glued the paper accordingly.
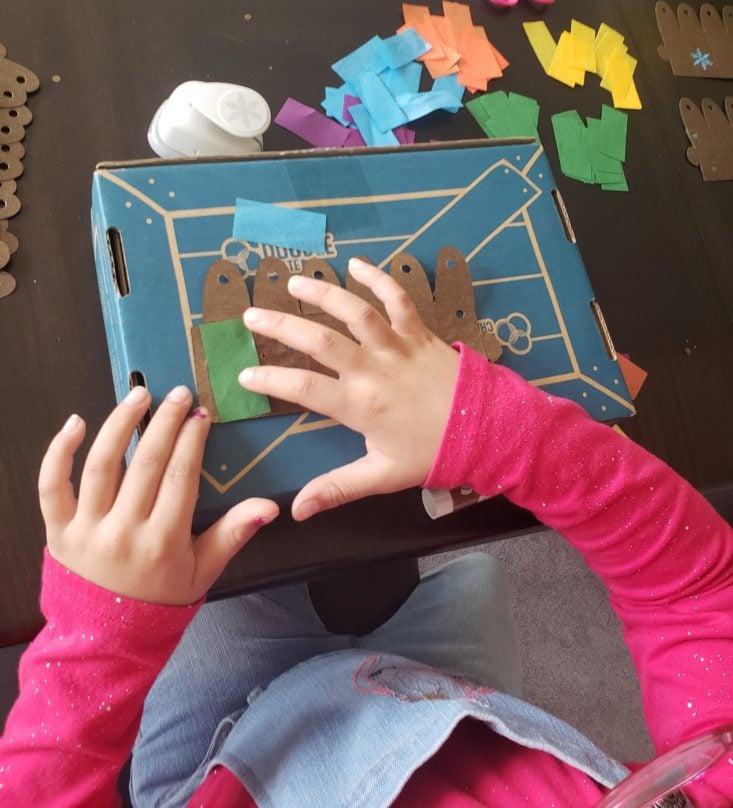
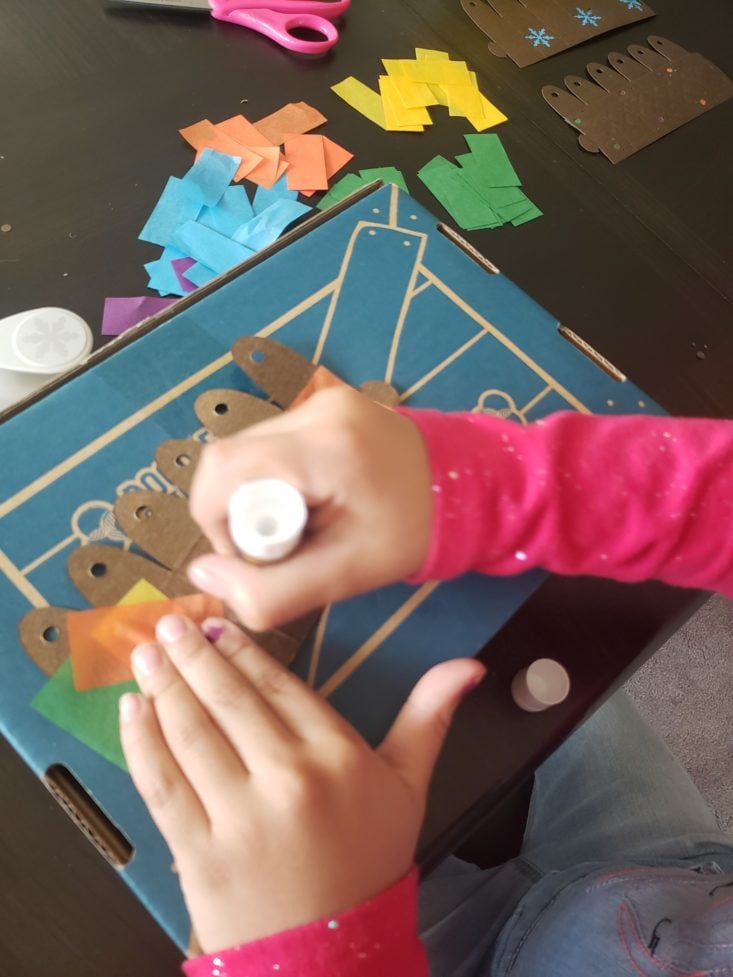
She would pick the colors, then place them on the lantern then went back to glue them down. We used the box so that no glue would get on my table. A paper plate would work too, but I definitely would not glue on the table!
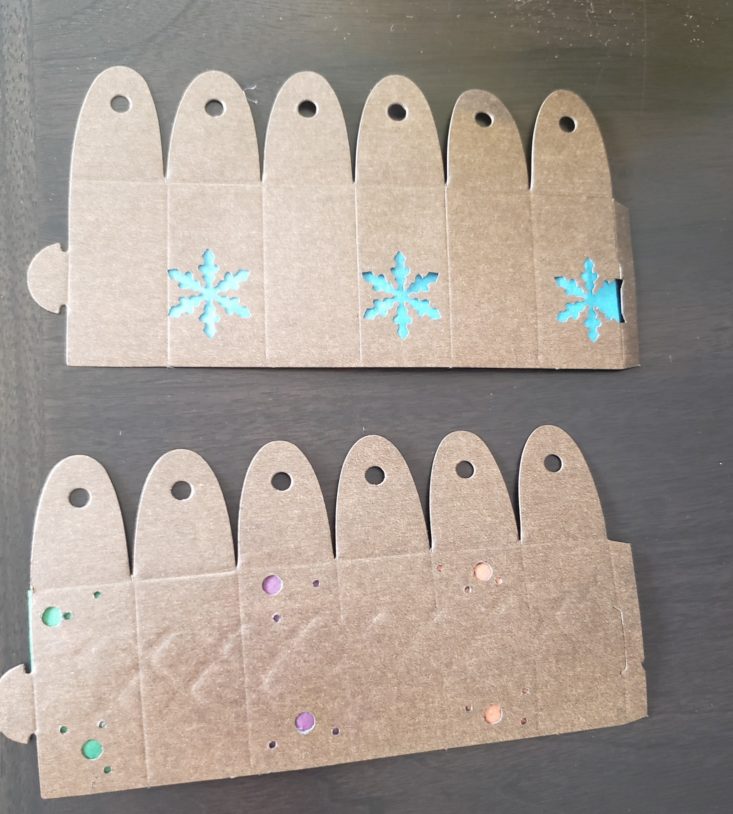
Here is a sample of our lanterns embossed, punched then colored (the top on I didn’t emboss, just punched, but hey, it still looks fabulous!)
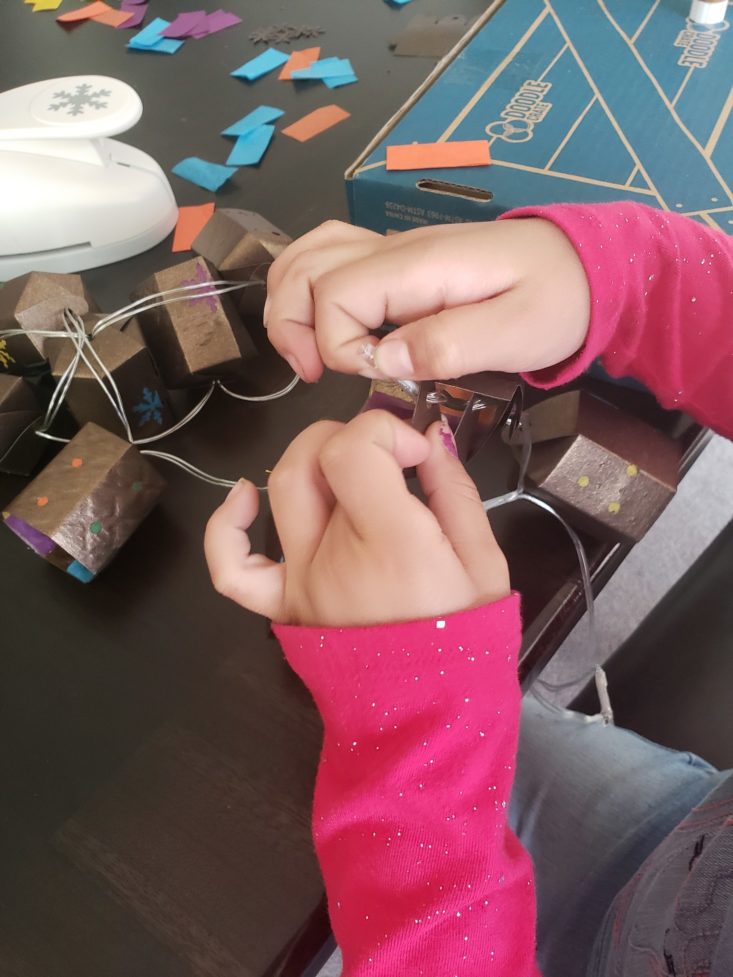
The last step to making the lanterns were to string them up. We started by folding over the creases, then inserted the light and strung them up. It was fairly simple and the instruction manual offered laid out, pictured examples making this easy and enjoyable.
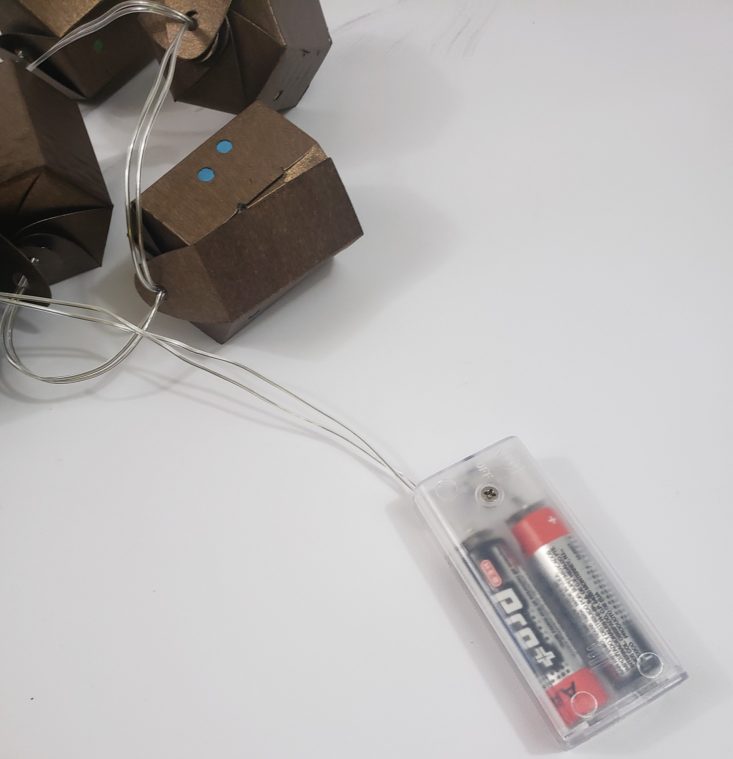
Before we could light em up, we needed to put the batteries in the light string. We needed a really small screwdriver (I used the one for our Ring doorbell) and 2 AA batteries.
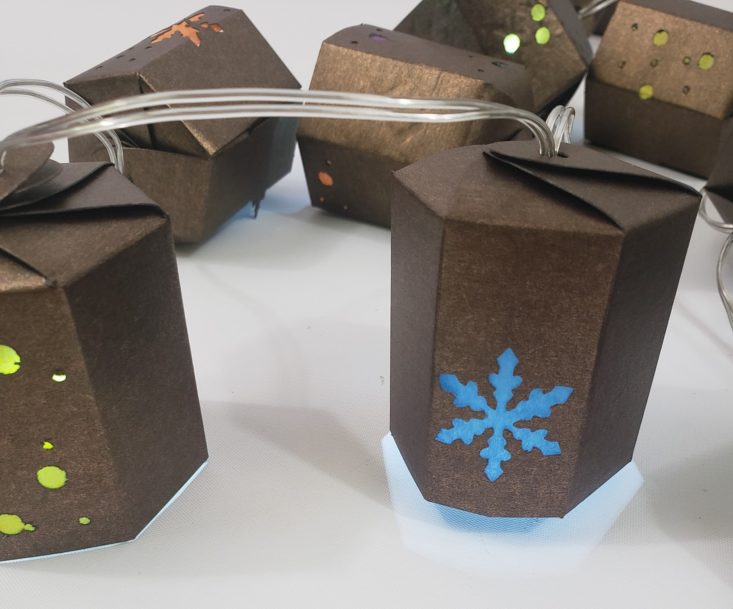
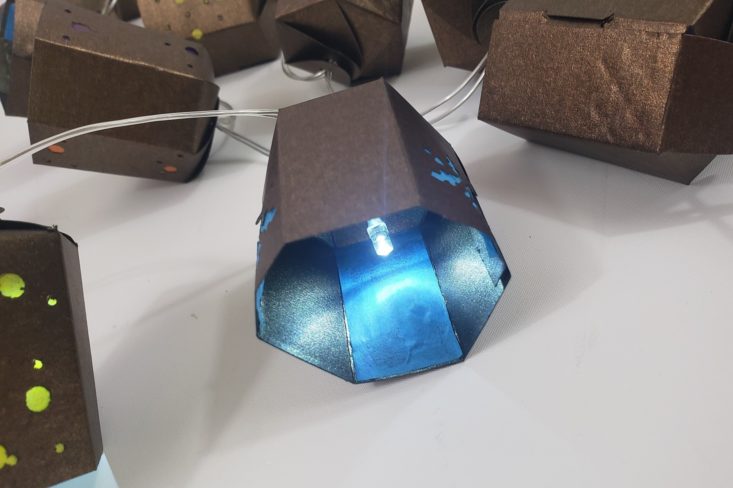
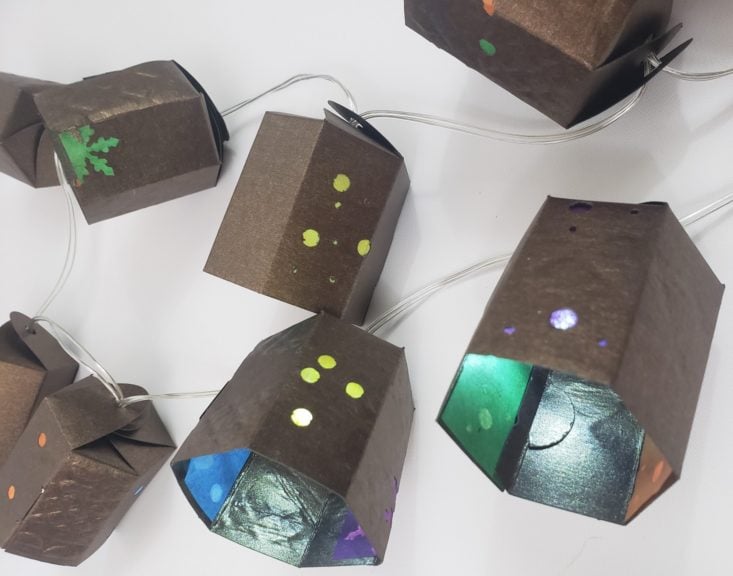
Here are our lanterns! They look so awesome!! I love the different designs, and the different colors and just love the way the light colors up against the colored paper.
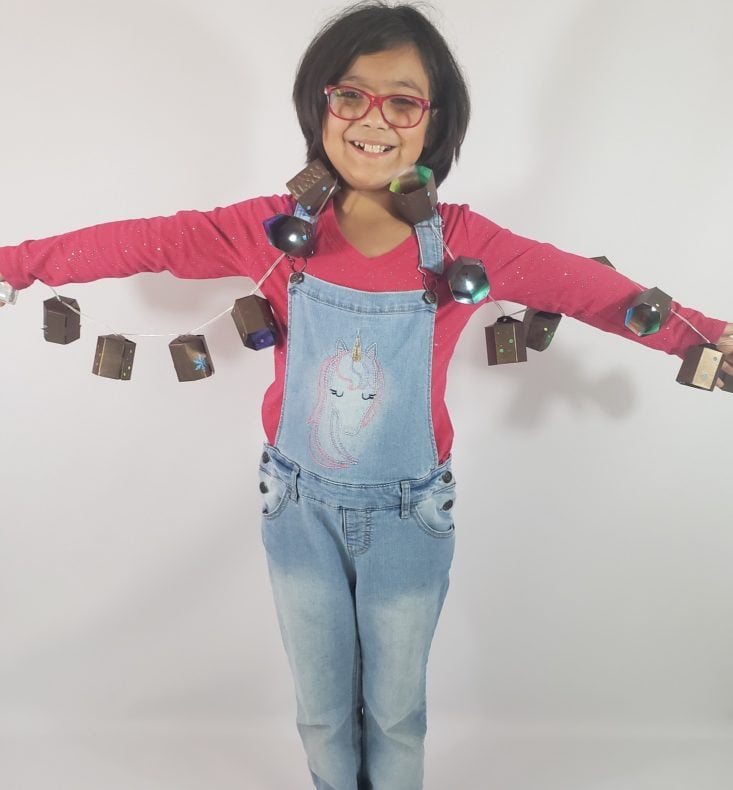
Here is Bella with her lanterns! I wanted to show how long they were!! They were able to go arm to arm but still hung down.
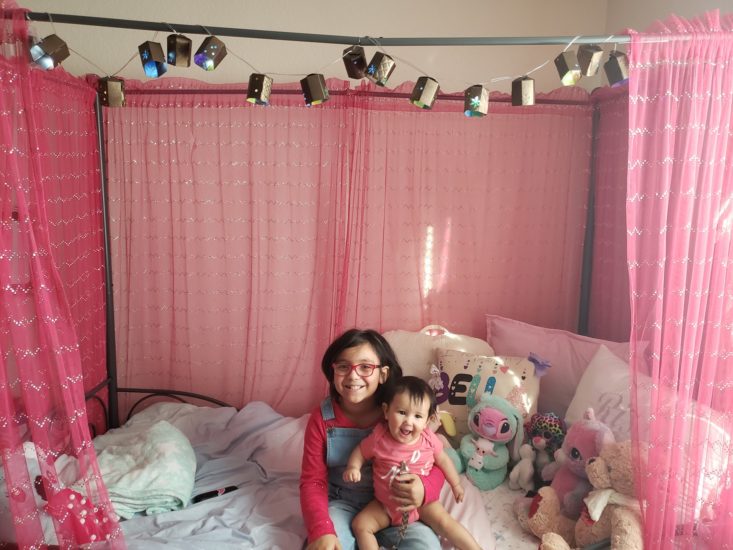
We found the perfect spot for these draped around the front of her bed. They hung up easily when wrapped around a pole and the lightbox stayed put. Its also easily accessible for her to light up and turn off. Maleah wanted in on the pictures!
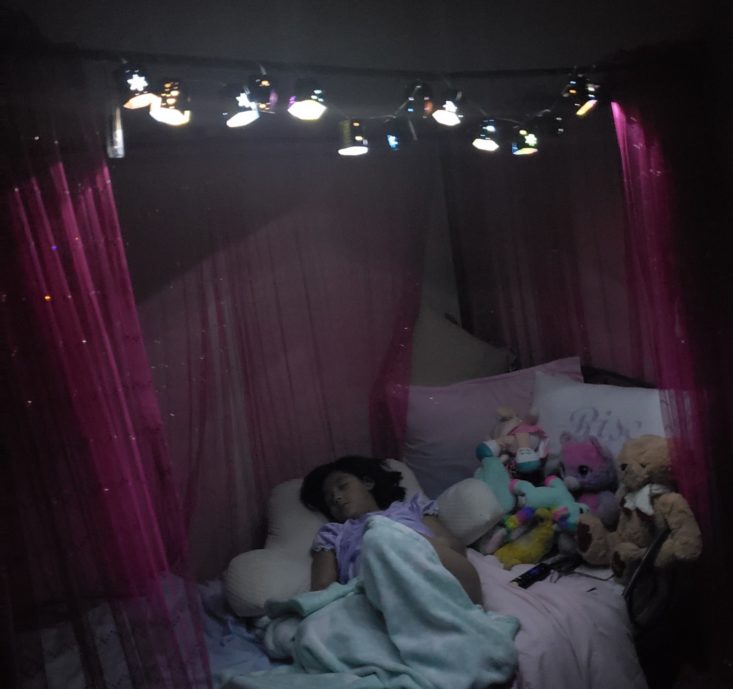
I snuck in that night to see what they looked like and they were just magical. I am really glad we used our snowflake puncher too.
The Verdict: This was our second Doodle Crate and if I HAD to choose a favorite, it would be this one. The lanterns were fun and they are original. They fit perfectly with Bella’s artistic personality and she pretty much created these all on her own. She can keep these forever since all we have to do is change the batteries out when they die. Except for the screwdriver and battery, everything we needed was included in the box. The instruction manual did also mention we would need batteries on the first page, so we were prepared. Doodle Crate is becoming a favorite in our home, Bella looks forward to creating and I look forward to the time with her. This project took us approximately two hours with the most time spent on embossing.
To Wrap Up:
Can you still get this box if you sign up today? It is possible you might get this crate, but it is not a guarantee. From KiwiCo:
Crates are assigned each month based on availability and your crate history – not all subscribers receive the same theme each month.
Check out all of our Doodle Crate reviews and the best subscription boxes for tweens and teens!
Keep Track of Your Subscriptions: Add this box to your subscription list or wishlist!
What do you think of the Doodle Crate portfolio?




Please do not enter your email address in the Name field or in the comment content. Your email address will not be published. Required fields are marked *. Remember to post with kindness and respect. Comments with offensive language, cruelness to others, etc will not be approved. See our full comment policy here.