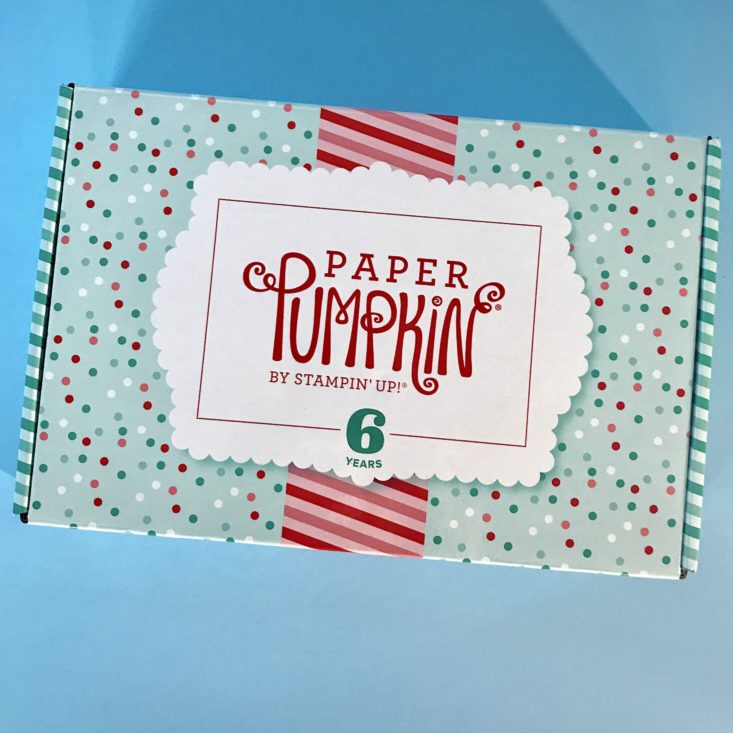
Paper Pumpkin is a monthly paper crafting subscription box from Stampin’ Up! They send everything you need for a creative paper project right to your door.
This box was sent to us at no cost for review. (Check out the review process post to learn more about how we review boxes.)
About Paper Pumpkin
The Subscription Box: Paper Pumpkin
The Cost: $19.95 per month + free shipping in the USA, $26.95 + free shipping in Canada
The Products: Everything you need to design a creative paper project with stamps, ink, accessories and more. (Please note per their FAQ you will need adhesive for some monthly projects.)
Ships to: U.S. & Canada
Paper Pumpkin "Poppin’ Birthday" Review
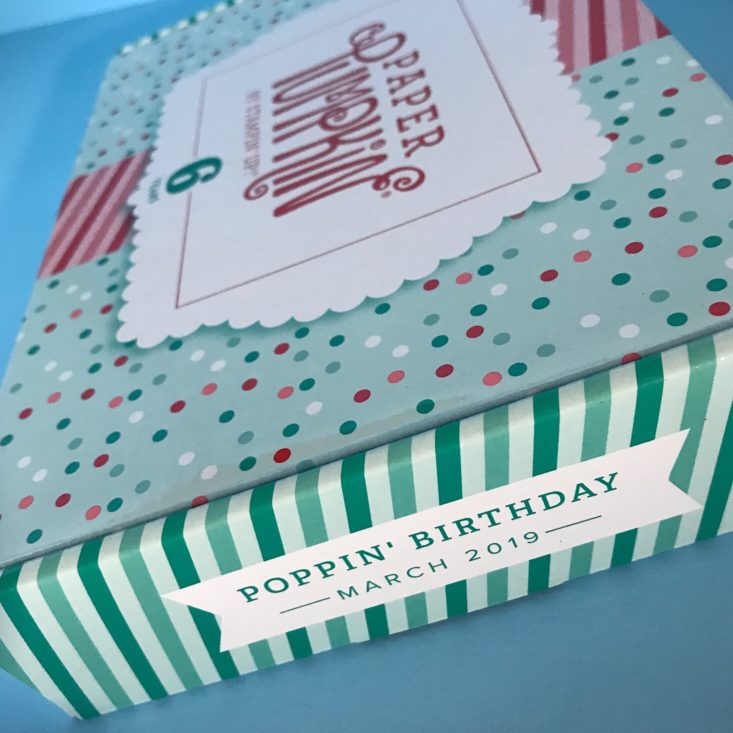
This month’s theme is “Poppin’ Birthday”:
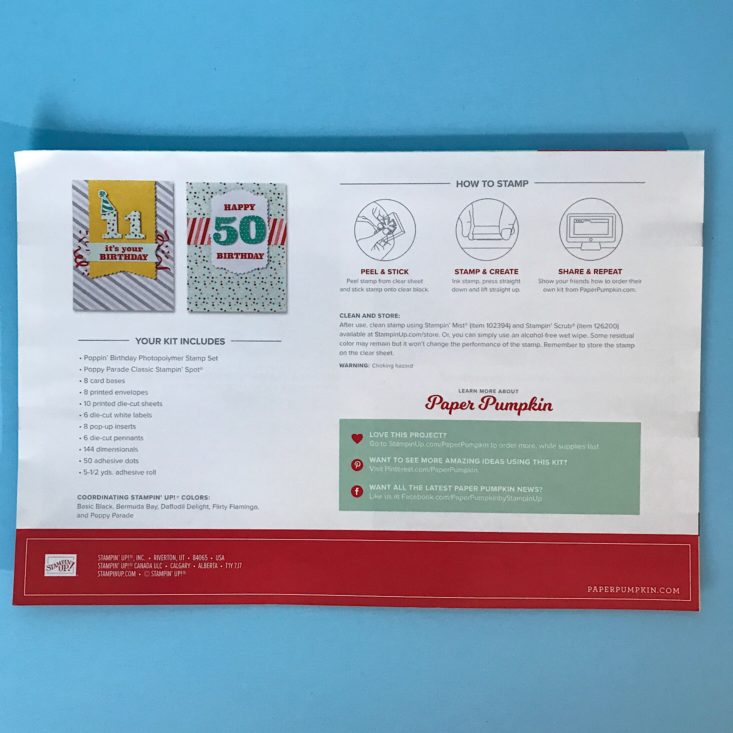
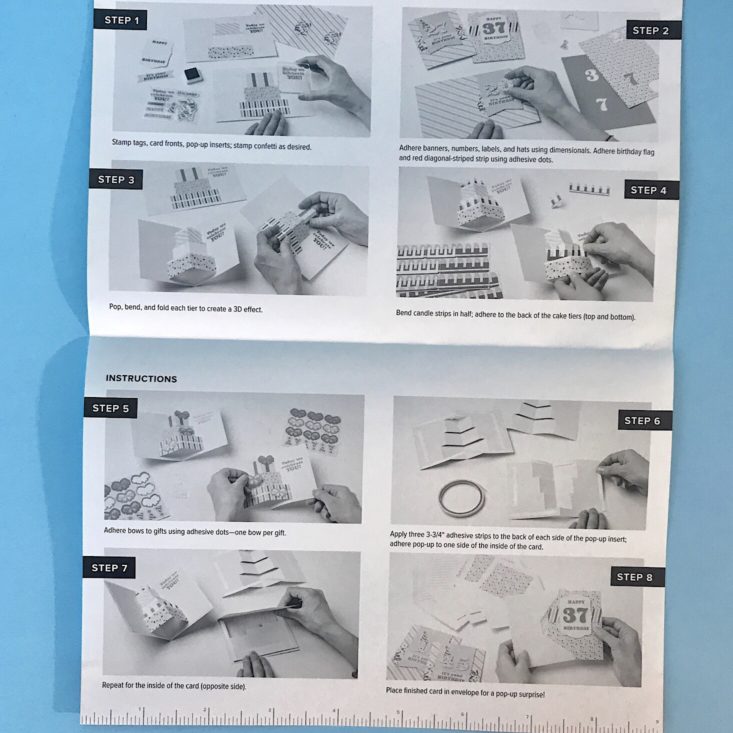
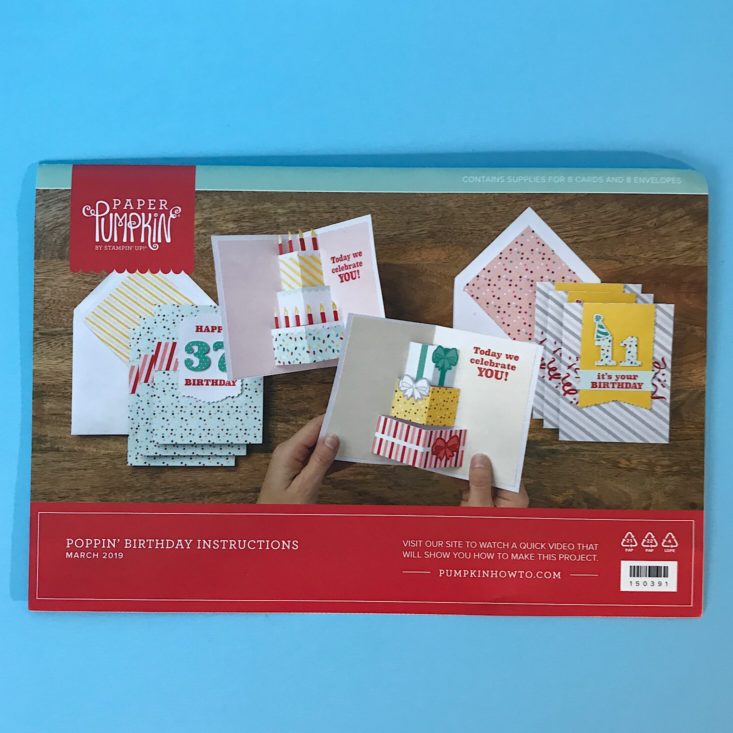
The instruction leaflet is not as informative as the how-to-video on YouTube, which I prefer to watch before starting the project. I use the instruction leaflet as a guide when I get stuck on a step.
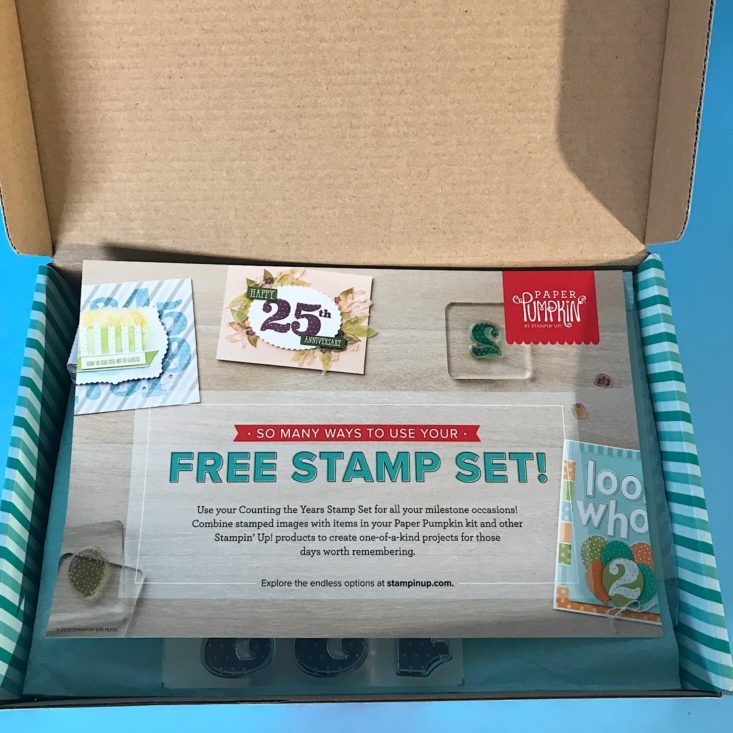
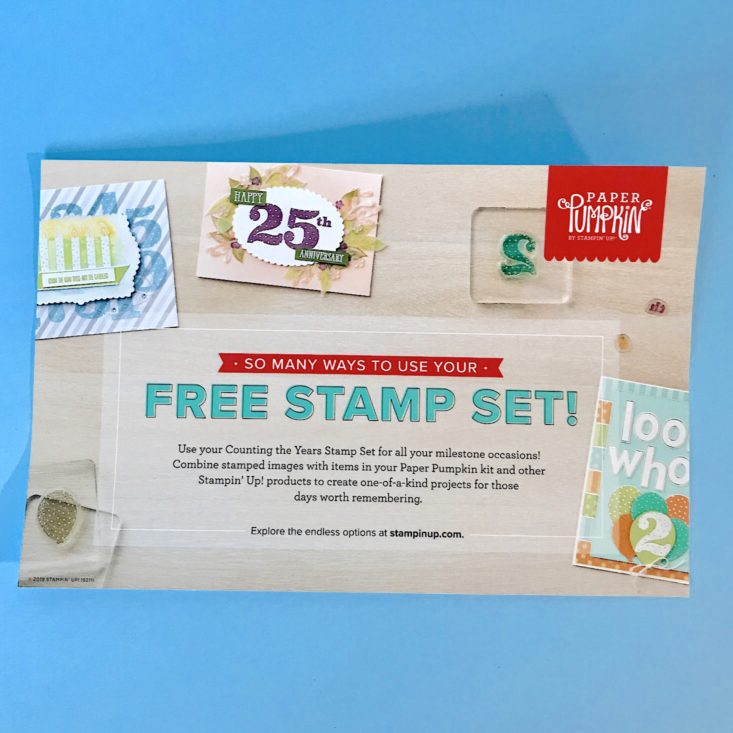
Enclosed is a leaflet with their website address letting the subscribers know to go to their site for endless ideas on using the stamp set.
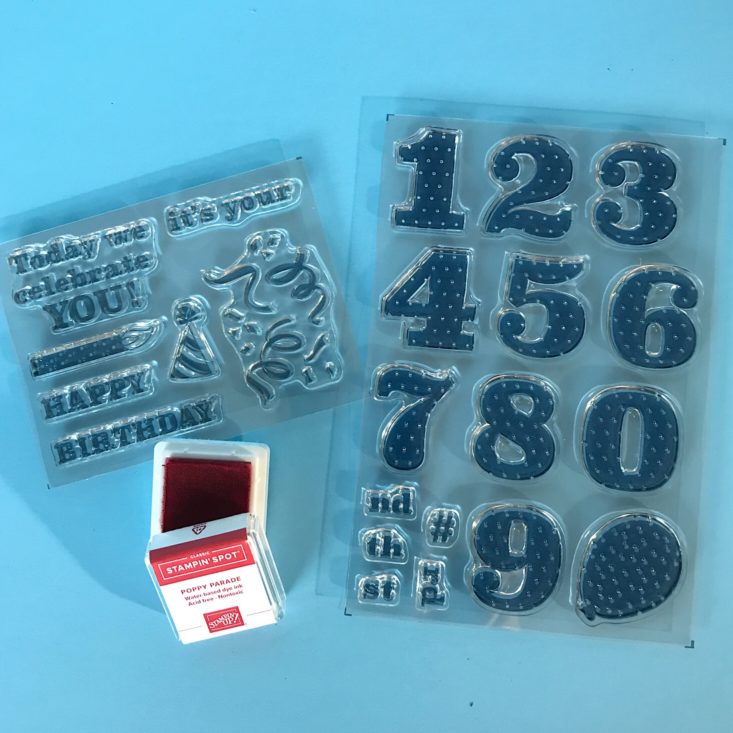
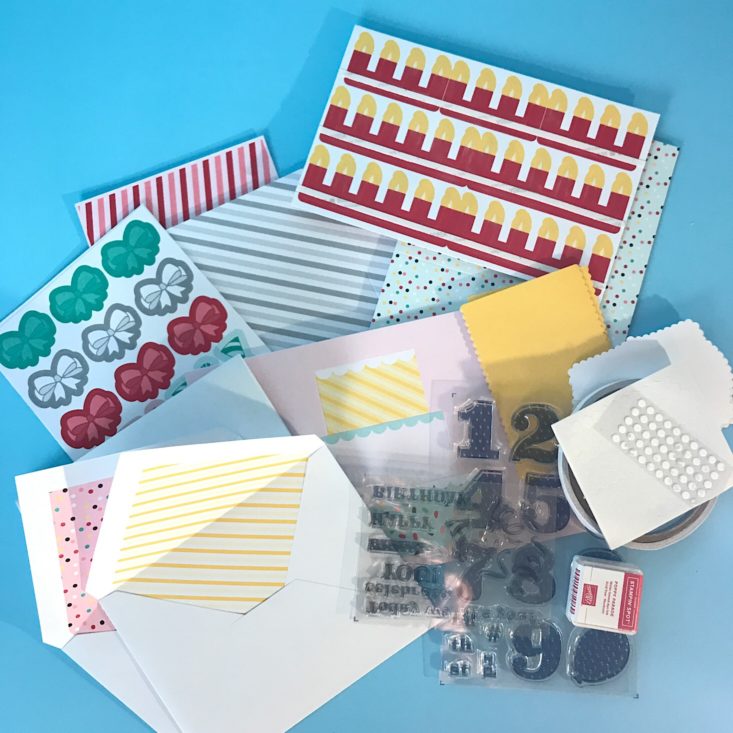
Enclosed in each monthly kit is a water-based dye ink stamp pad, this month’s color is poppy parade and two photopolymer stamp sets. The photopolymer stamp set has numerals zero to nine with a word bubble, nd, th, st, rd, and #. The second stamp set has a birthday hat, confetti-like designs, a candle, “Today we celebrate YOU!”, “HAPPY”, “BIRTHDAY”, and “it’s your”. It would have been nice to have a stamp say “Today I celebrate YOU”, in case the giver is single or it’s just one individual sending the greeting to another.
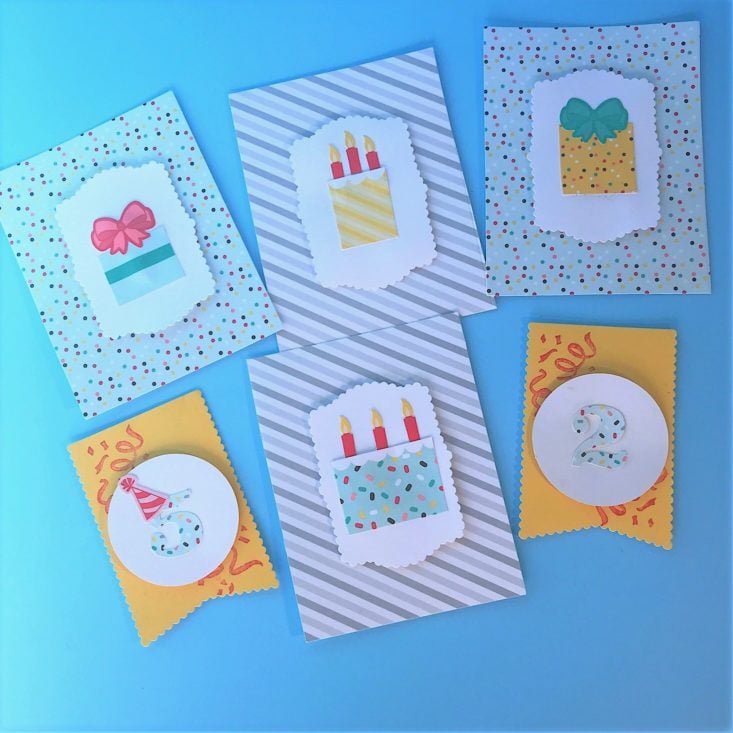
Here I decided to deviate from the usual card making and use some of the materials for a birthday banner. I got the idea from Paper Pumpkins Instagram account. I used the die-cut pennants, cut the cards in half and placed the white circle cut-outs, and the white die-cut labels that I decorated with cut-outs of birthday gift boxes, cake with candles, and five and two representing the age of my upcoming birthday. This was an easy assemble and a fun idea for my birthday decorations.
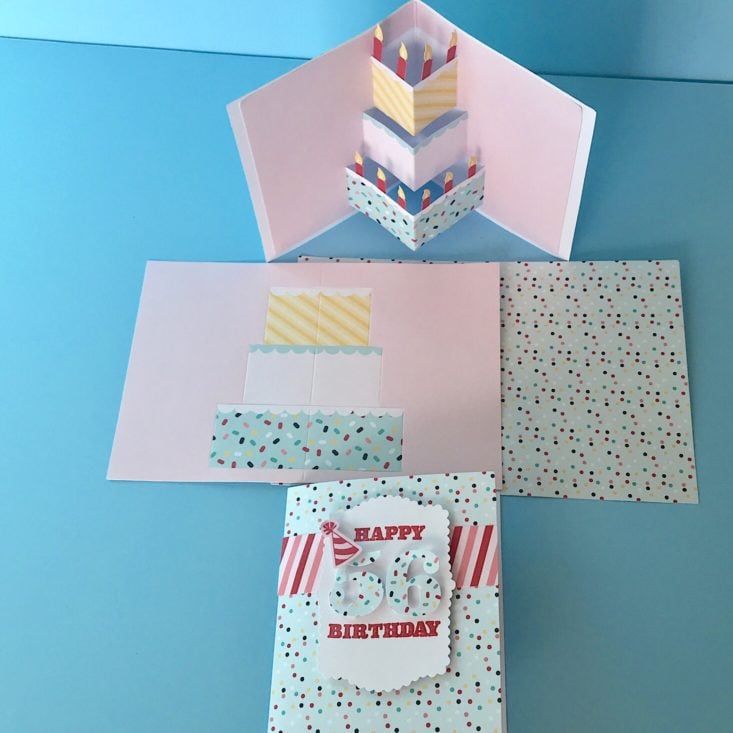
Next, the top of the photo is the inside of the card with a pop-up birthday cake, the middle photo is the pop-up sheet for the inside of the card with the card design, and the bottom photo is the finished product of the front of the card. I decided to make a card for my friend’s upcoming birthday. The only tricky part about this month’s craft was getting the pop-up sheet to align to the card base as well as, lining up the sticker (the sticker is a set of candles) to the pop-up cake sheet inside the card. I had to take the adhesive roll, cut and measure to fit the back of the pop-up card to adhere to the base of the card. It was tricky to align it properly and my estimate of the length of the adhesive was off and I had to start over. The next attempt was a success.
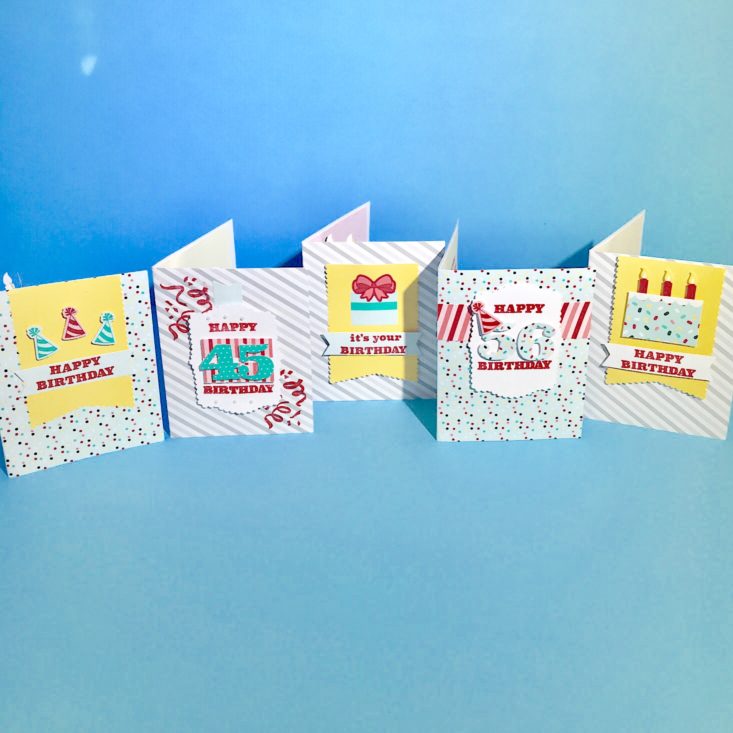
Here is the front of the cards finished, and I added stamping, die-cut outs, and little pearls to the front cover of the birthday greetings.
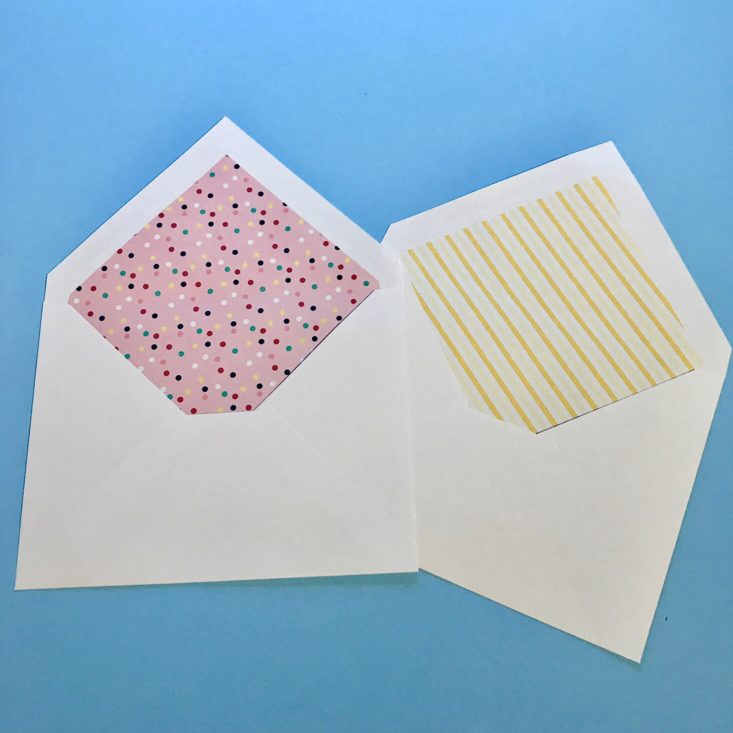
Here is a closer look at the design of the inside flap on the envelope.
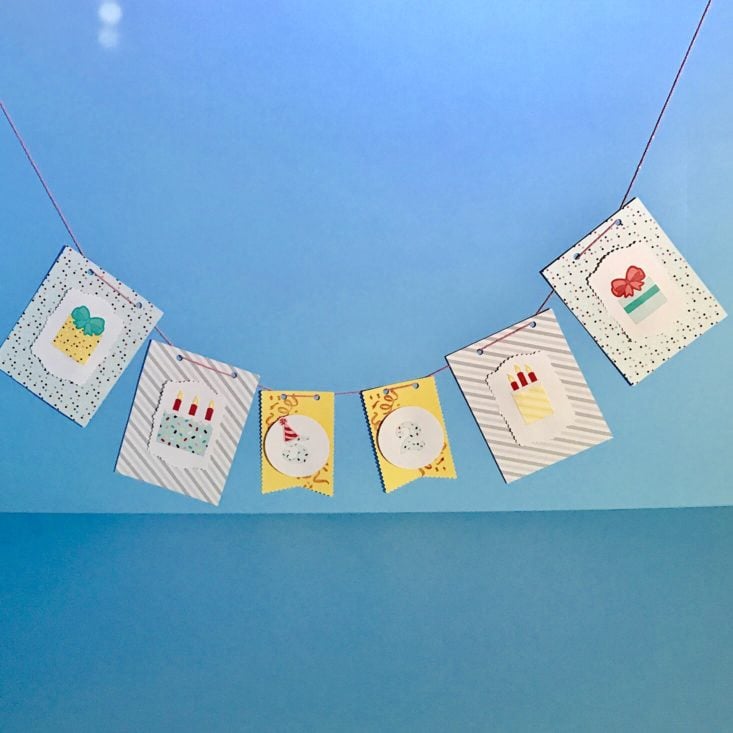
The finished look of my birthday banner.
Verdict: This month’s Paper Pumpkin was fun and the designs were creative. I’m glad I changed up the craft and included something a little different. The banner turned out great and I was able to still craft some cards. I’m always sending birthday greetings to friends and family so I was happy to add more to my stash. This craft kit sends quality paper products and all the materials to make a variety of cards well worth the $19.95 a month subscription cost.
The Wrap Up:
Can you still get this box if I sign-up today? No, you will receive the April box. Sign up by the 10th of the month to receive that month’s kit.
Check out all of our Paper Pumpkin reviews and the best arts & craft subscription boxes of 2019!
Keep Track of your Subscriptions: Add this box to your subscription list or wishlist!
What do you think of this month’s Paper Pumpkin box? Have you tried a monthly crafting kit before?



Please do not enter your email address in the Name field or in the comment content. Your email address will not be published. Required fields are marked *. Remember to post with kindness and respect. Comments with offensive language, cruelness to others, etc will not be approved. See our full comment policy here.