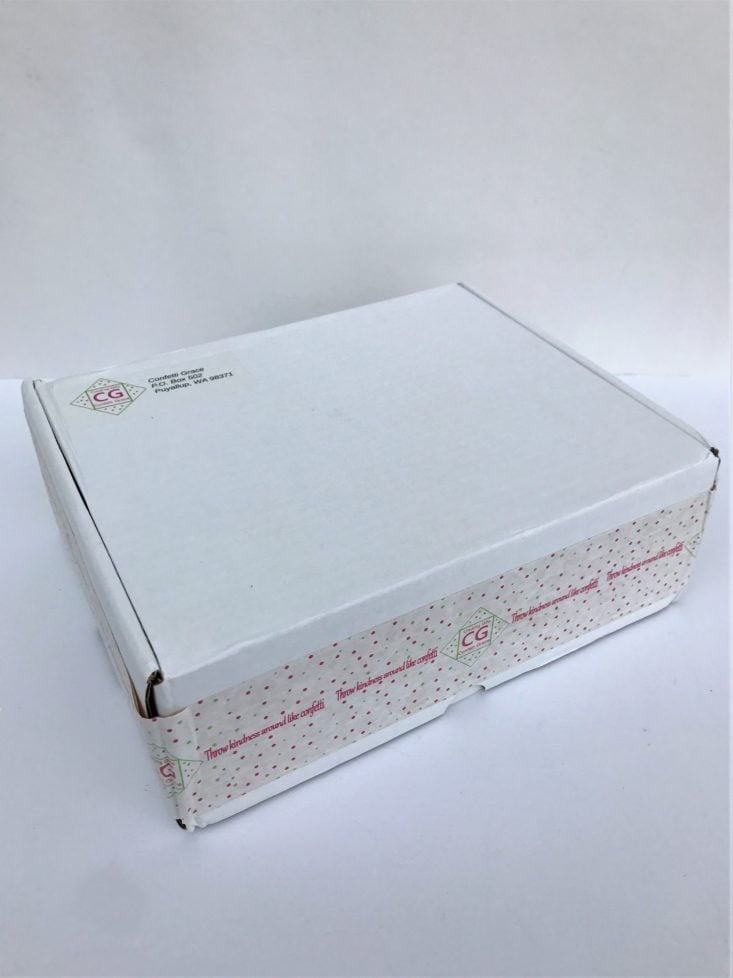
Confetti Grace is a DIY craft subscription that sends a box filled with enough craft supplies to create 2 of the same featured projects. That way, you have one to keep for yourself and one to give away. “Throw Kindness Around Like Confetti” is this company's motto, and these projects give the gift of quality time with family and friends. To top it off, 20% of net profits are donated to worldwide charities!
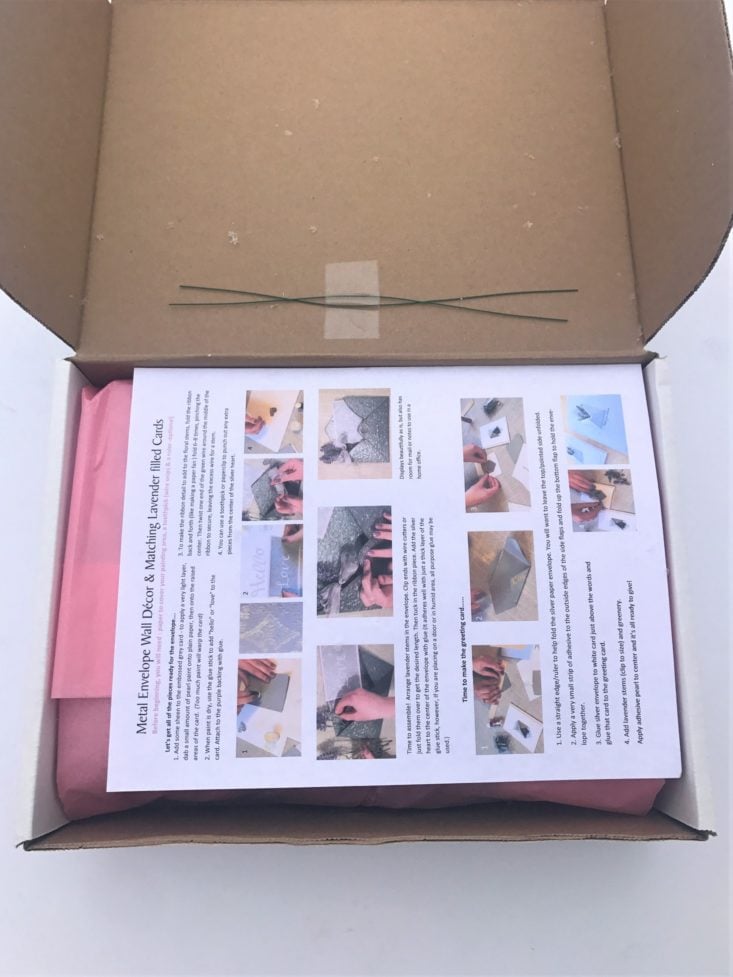
There are multiple subscription options, including longer commitments, an option to add on an additional project set, and even a party box!
This review is for the Original Subscription DIY box, which is $28.95 per month (plus free shipping to the continental US)
This box was sent to us at no cost for review. (Check out the review process post to learn more about how we review boxes.)
About Confetti Grace
The Subscription Box: Confetti Grace Original DIY Box
The Cost: $28.95 + free shipping
The Products: A specially curated box filled with enough craft supplies to create 2 of one project. One to keep, and one to give away or share with a friend! (Recommended ages are 8yrs-adult)
Ships to: U.S. Only. Free shipping to the continental US!
Good to know: The 2018 charity Confetti Grace donates to their 20% of net profits to is World Vision. This charity helps purchase dairy animals for families in need.
April 2019 Confetti Grace Original DIY Box
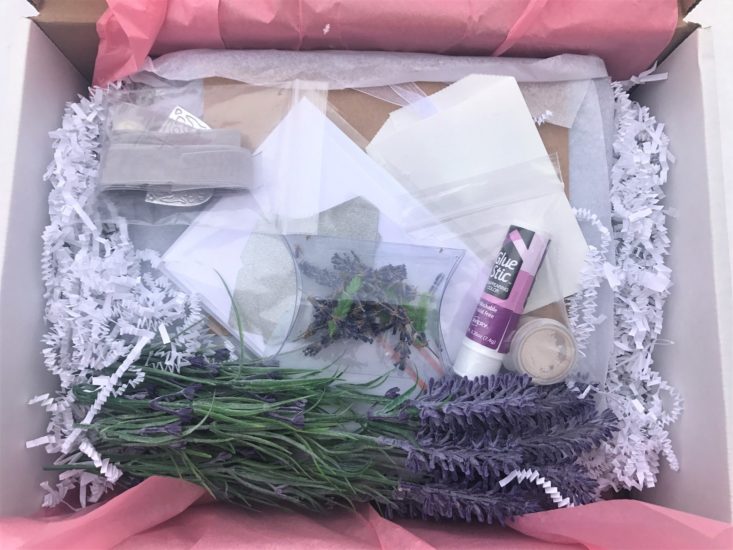
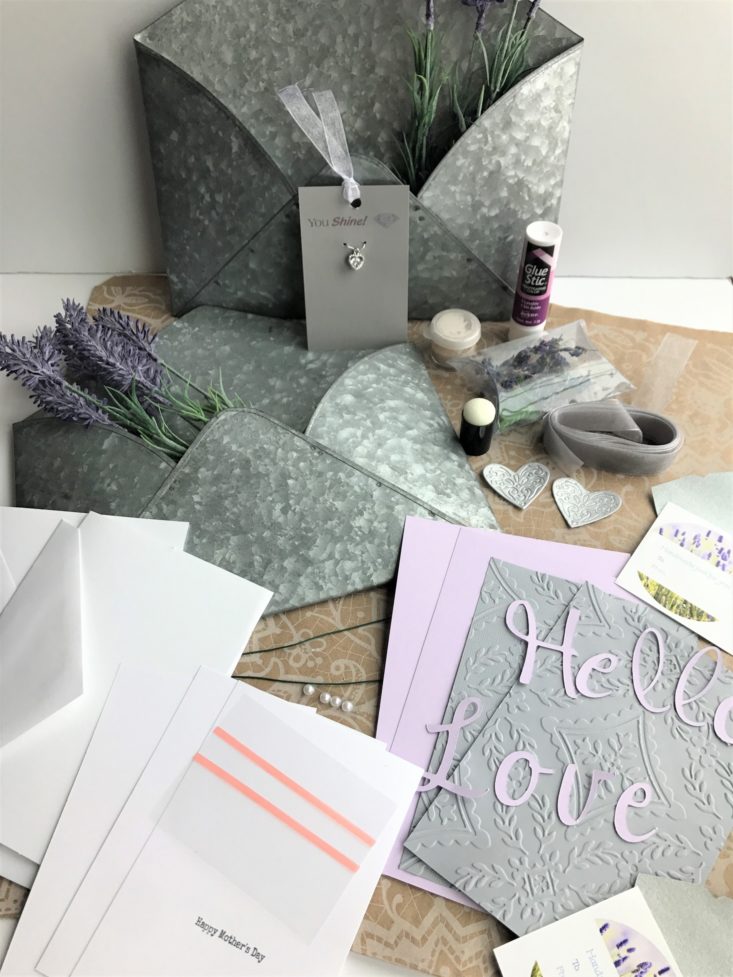
For this month's Confetti Grace, my oldest son, Hank, was my craft partner. He BEGGED me to let him skip rest-time so he could create a “surprise” Mother’s Day present for me. April included 2 metal envelope wall decor pieces, matching lavender filled greeting cards, and 2 gift bags:
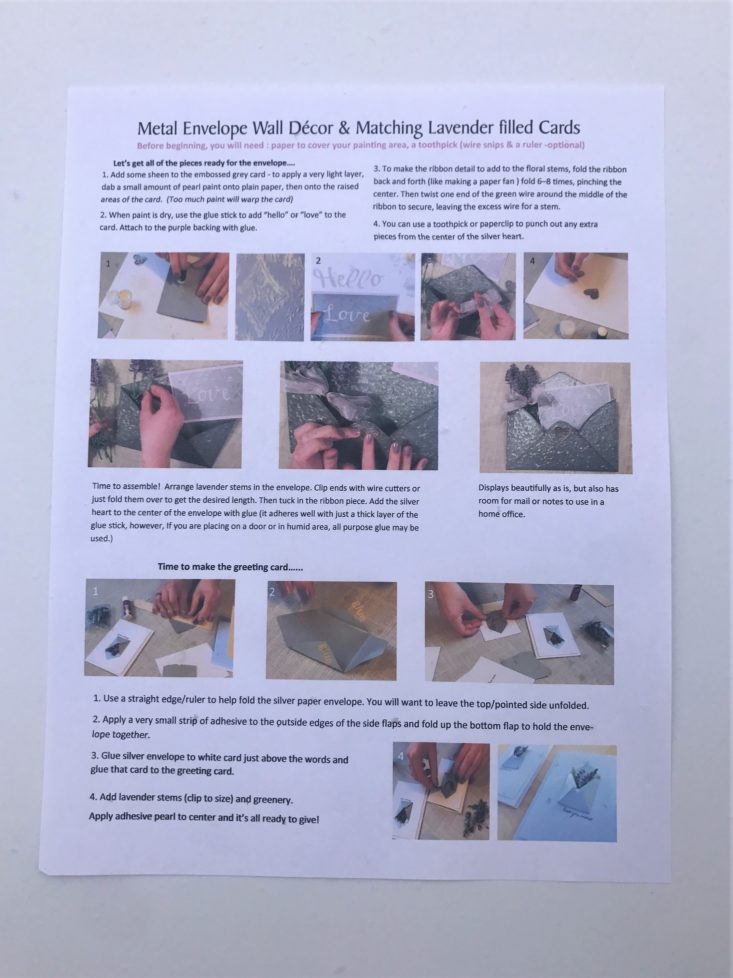
Each month, this box comes with a detailed instruction sheet that includes written details and photos to create the month’s projects. If extra help is needed, I have found their website to be extremely helpful.
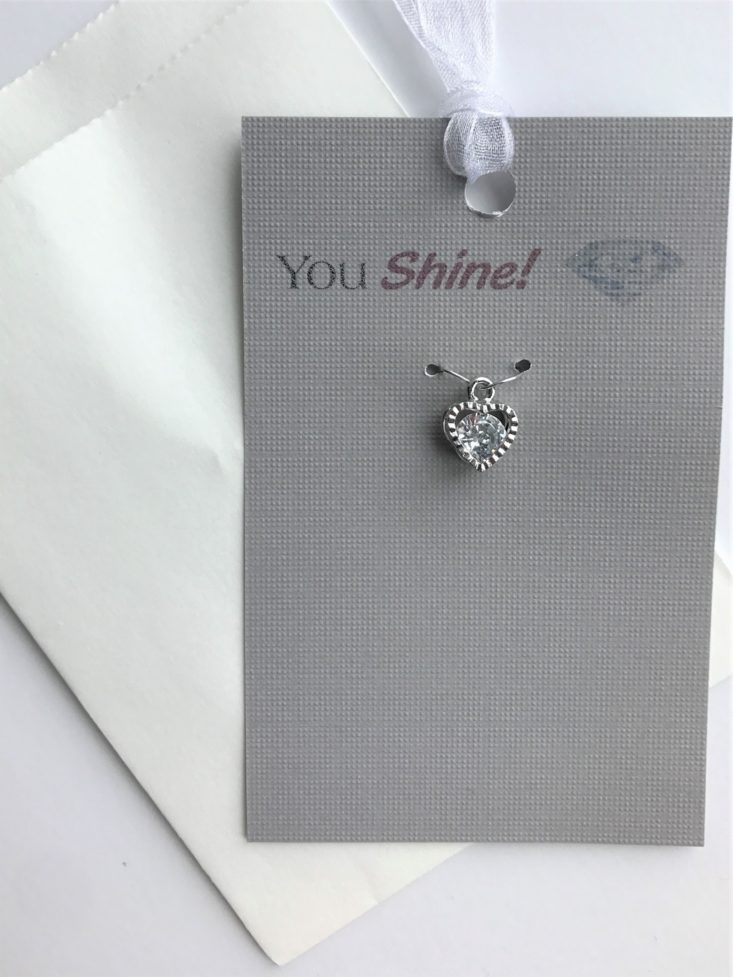
As a little bonus each month, Confetti Grace sends a charm in a small separate envelope. This month’s charm says “You Shine!” and is a silver textured heart with a floating gemstone in the middle. I think this is my favorite charm yet! I may make it into a necklace.
Project #1: Metal Envelope Wall Decor
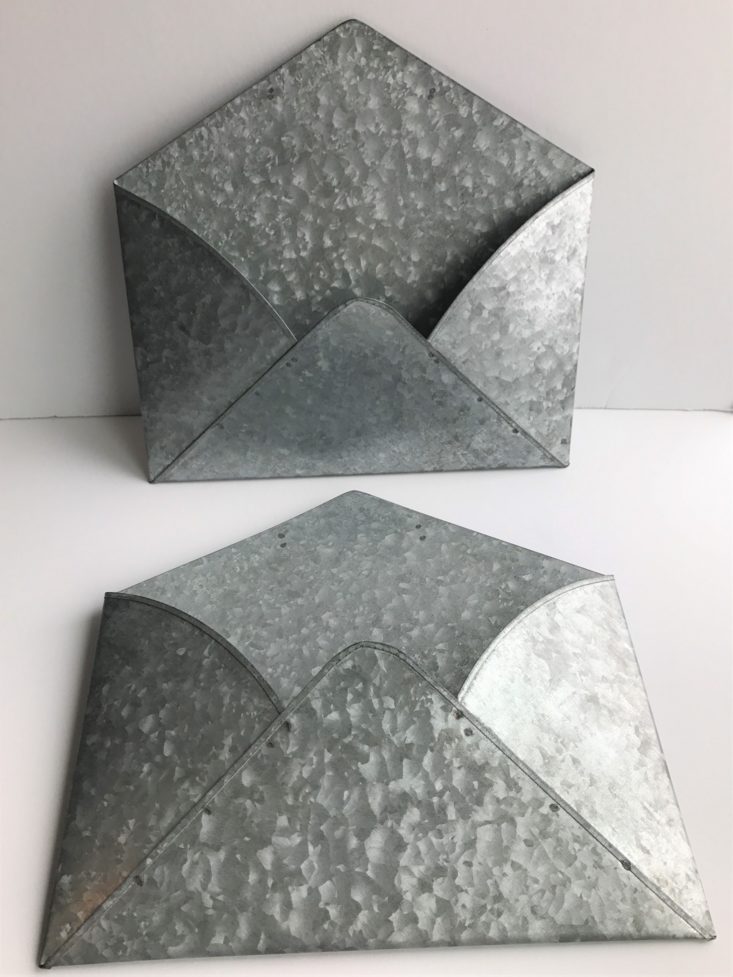
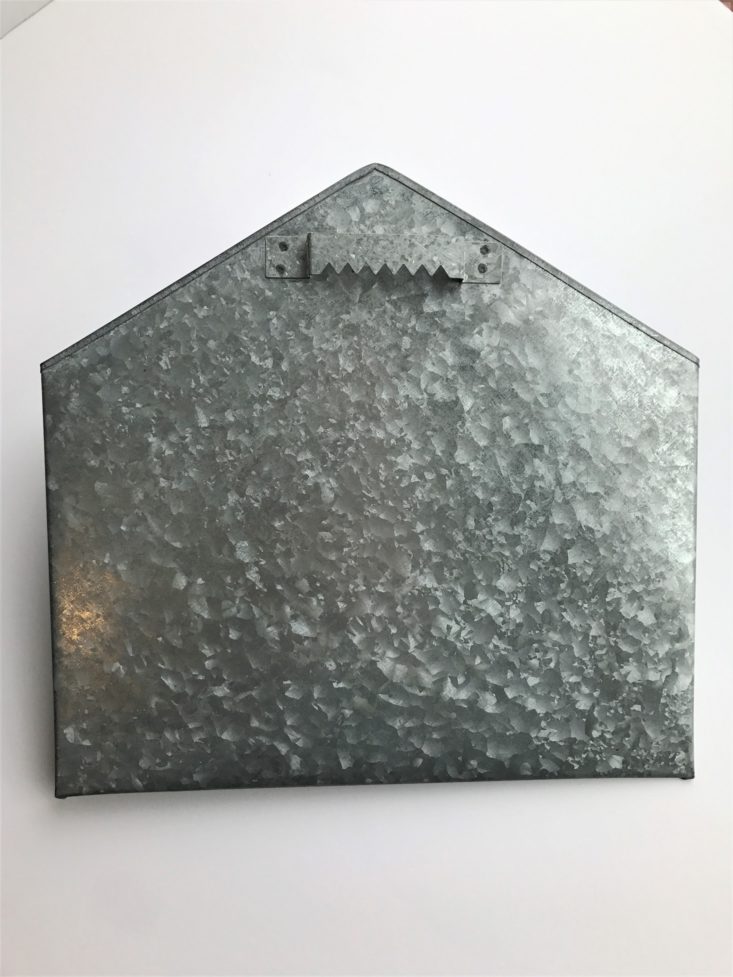
Galvanized Metal Envelope Decor, 2 - Estimated Retail Value $22.63, Buy a set of 3 here for $33.95
These envelopes are adorable! My son was very impressed with the 9” X 9.5” size. You can get varying shapes and sizes of these all over the internet, but the link above is for the ones that are exactly the same as what we received.

We got hammered in the Midwest by an April snowstorm, so these lavender stems are so very welcome to our home! I cannot wait to see green grass!! This pop of purple will look lovely in our entryway. If April showers bring May flowers, what do April snowstorms bring?!
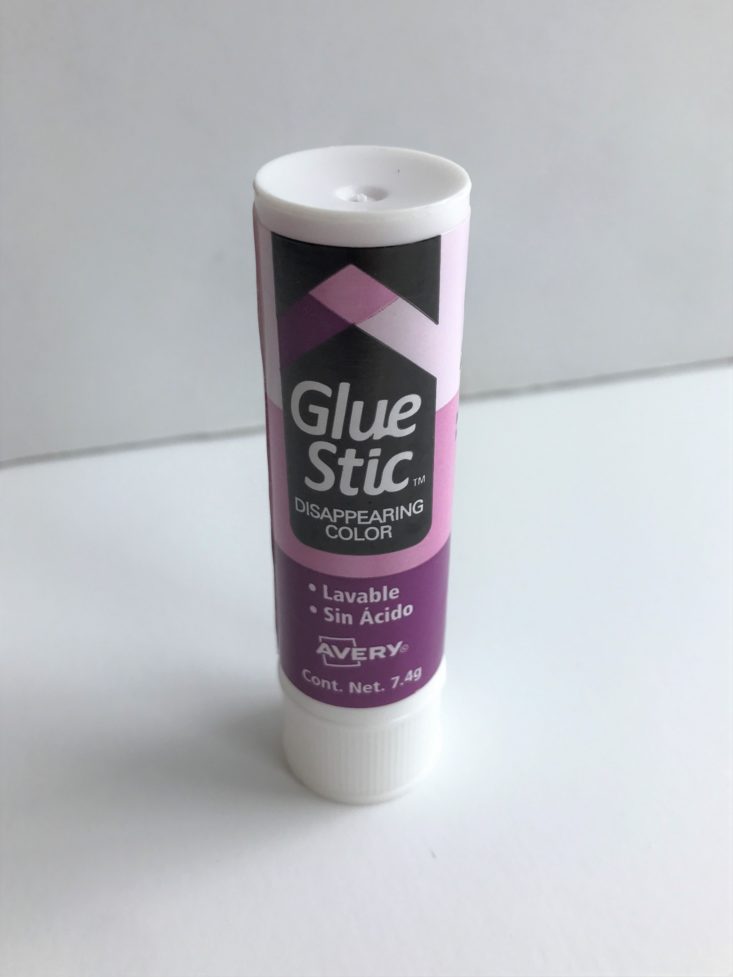
Avery Disappearing Color Glue Stic - Retail Value $2.07
Confetti Grace is great about sending everything you need to create a project. It’s nice to receive a supply like this because we can use it over and over again.
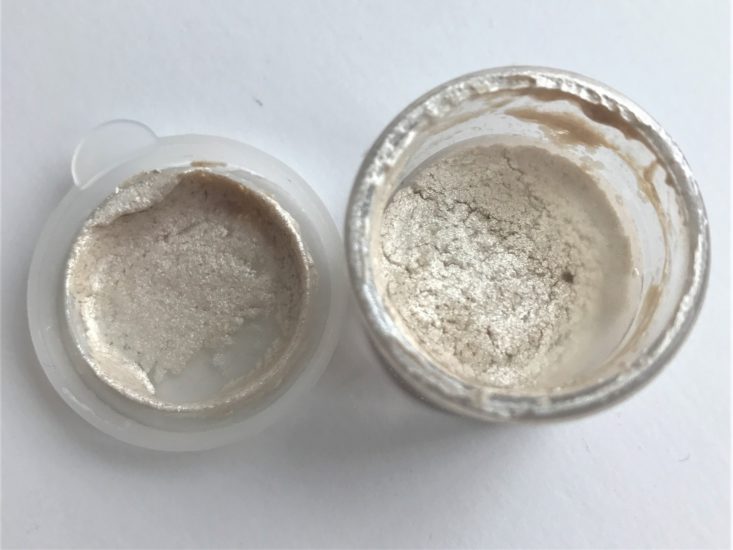
This was a small pot of metallic silver paint. I’m not sure of the brand, but it is very beautiful! We also have enough left over for another project.
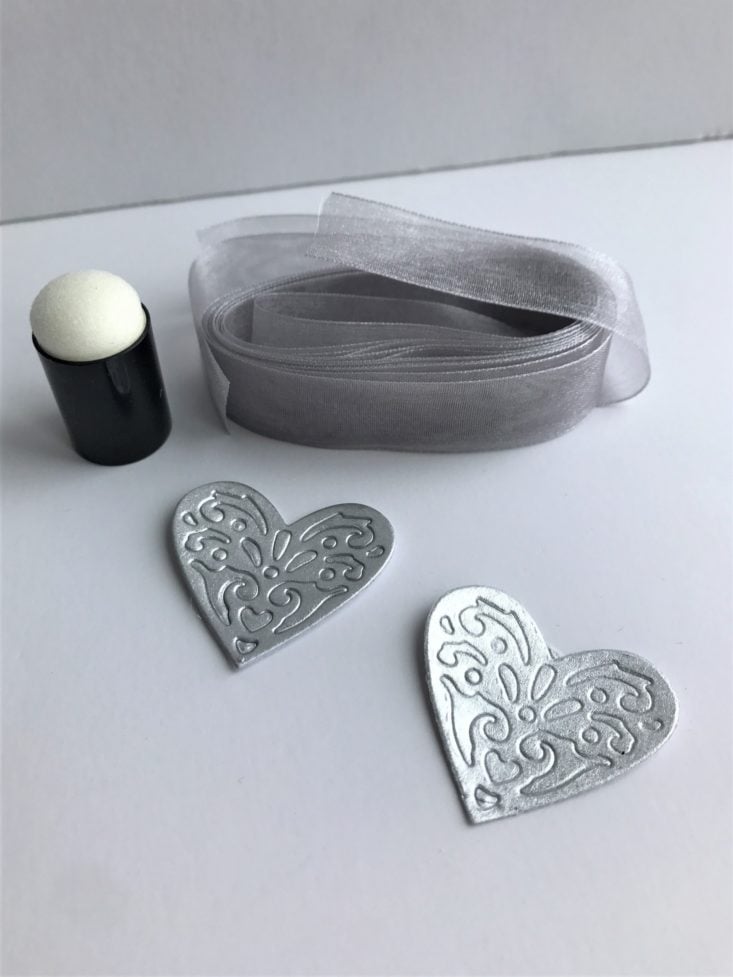
In a separate bag, we received heart embellishments, ribbon, and a paint sponge.
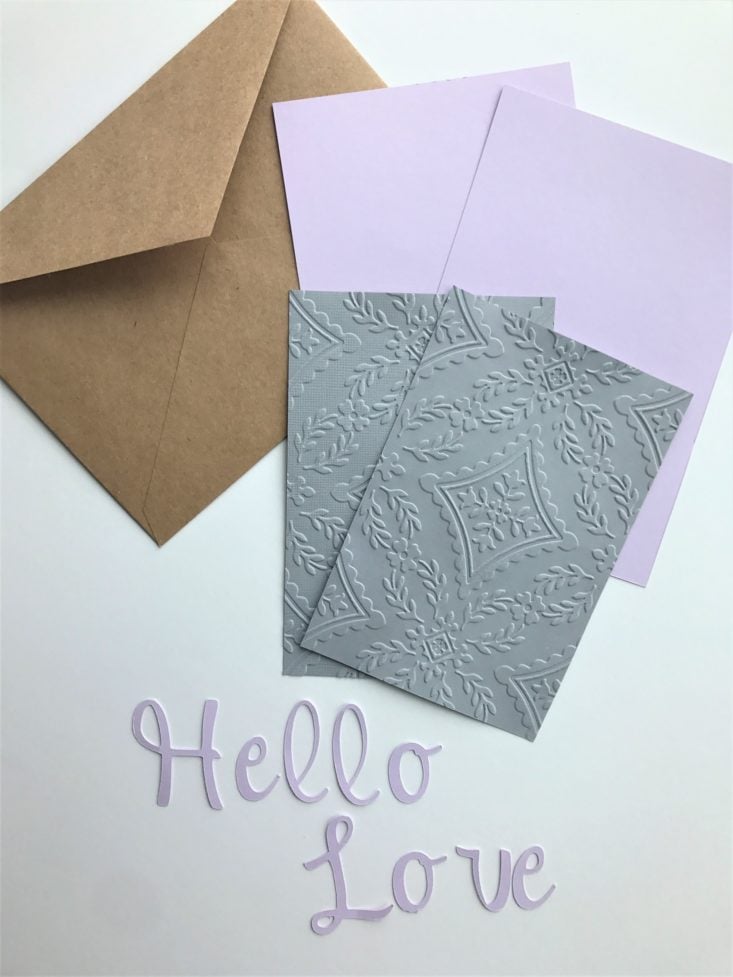
This pretty brown envelope contained our paper and lettering needed to decorate the card that goes into the envelope.
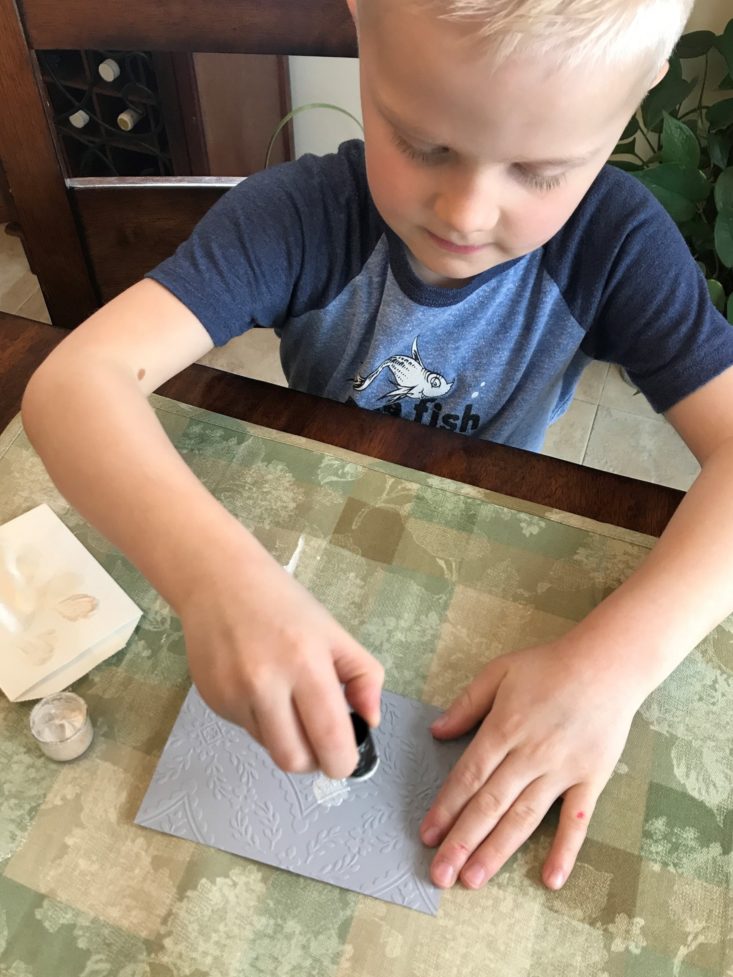
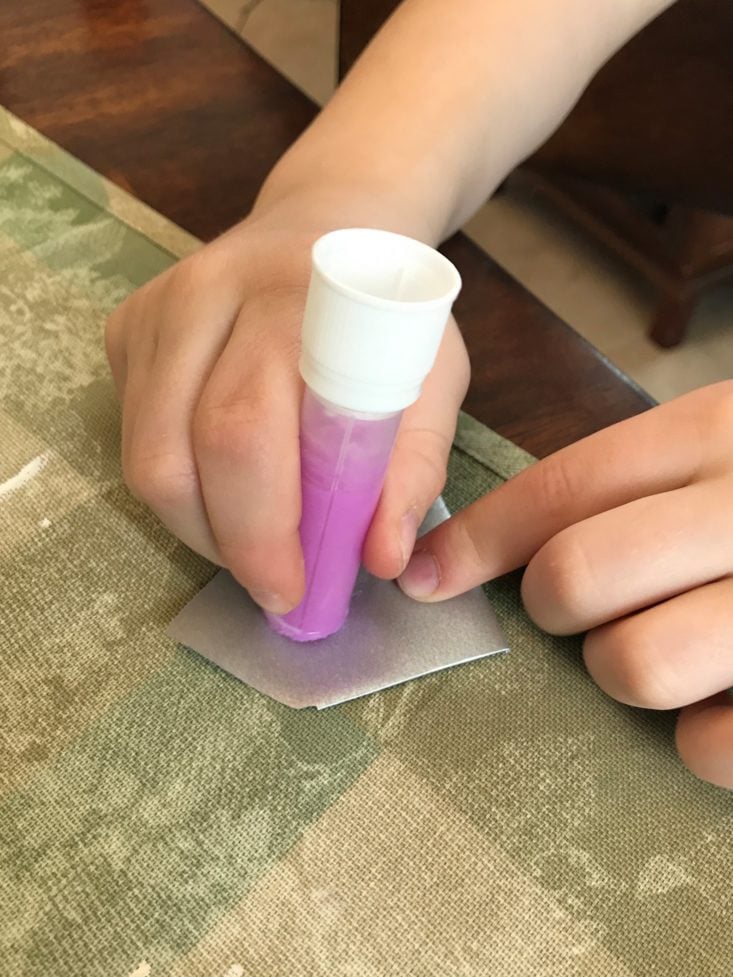
Our first step was to paint the silver embossed paper. They recommend you lightly dab on only the embossed areas. I did this technique, but Hank wanted it to be all metallic silver, so he went ahead and painted the entire card. It does warn that too much paint will warp the card, but we did not experience that.
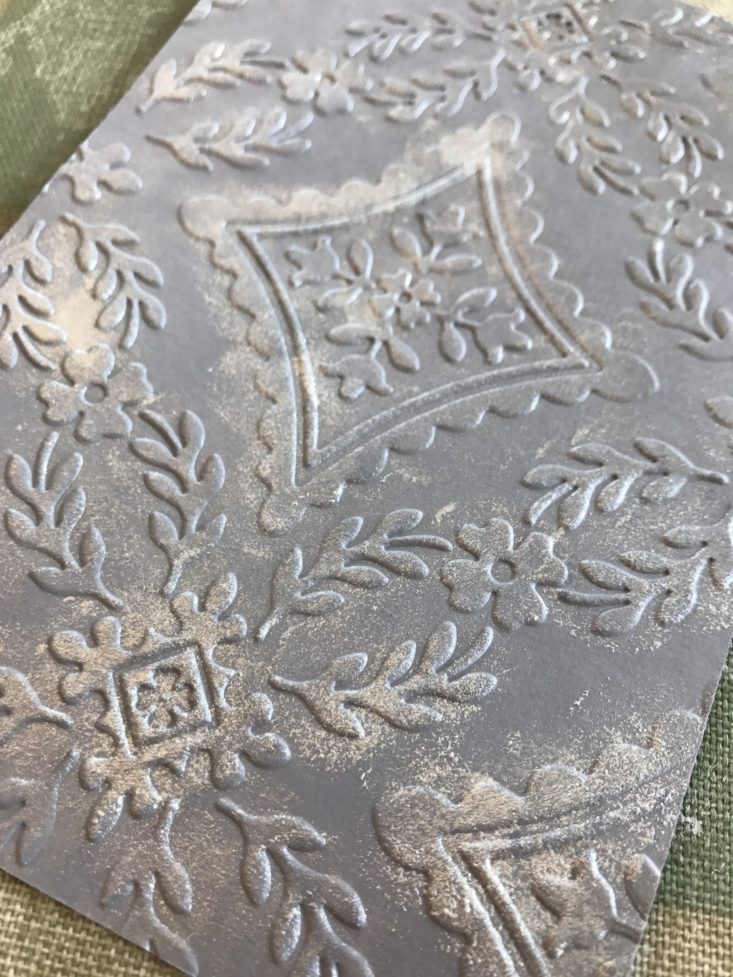
Here is the painted card. We let them dry for about an hour before we continued onto the next step.
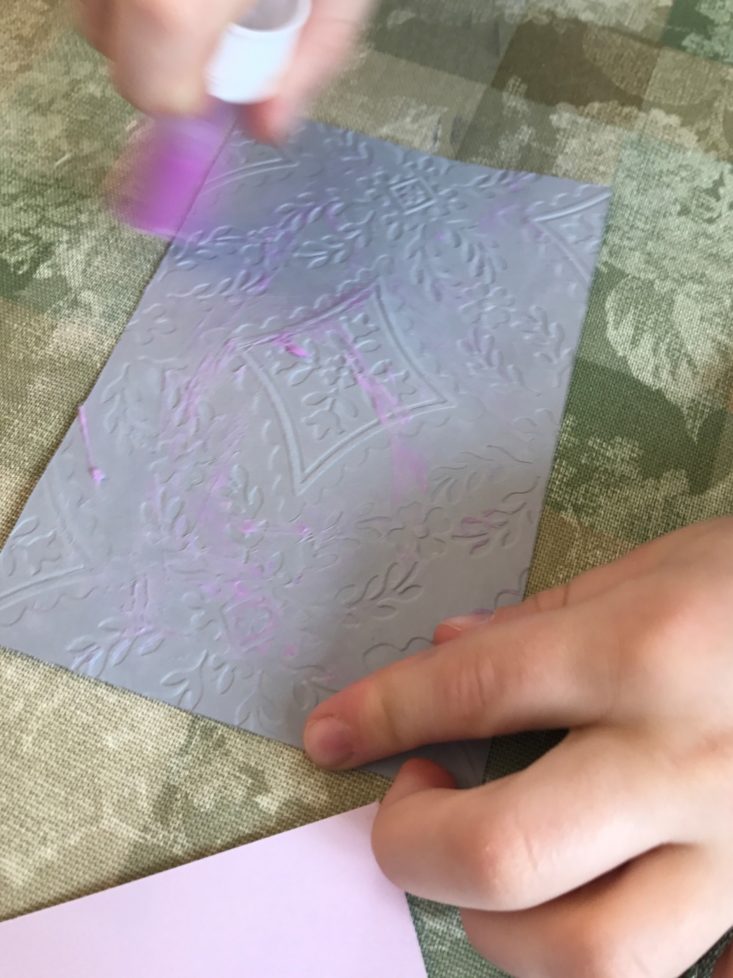
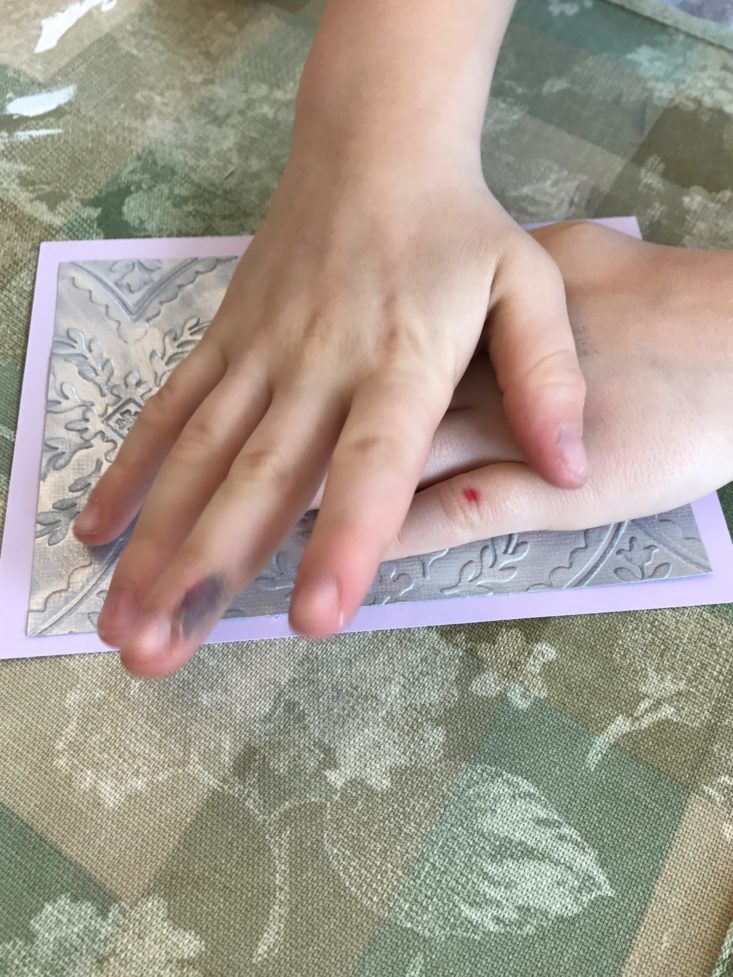
After the paint dried, we glued the silver cards onto the purple cardstock.
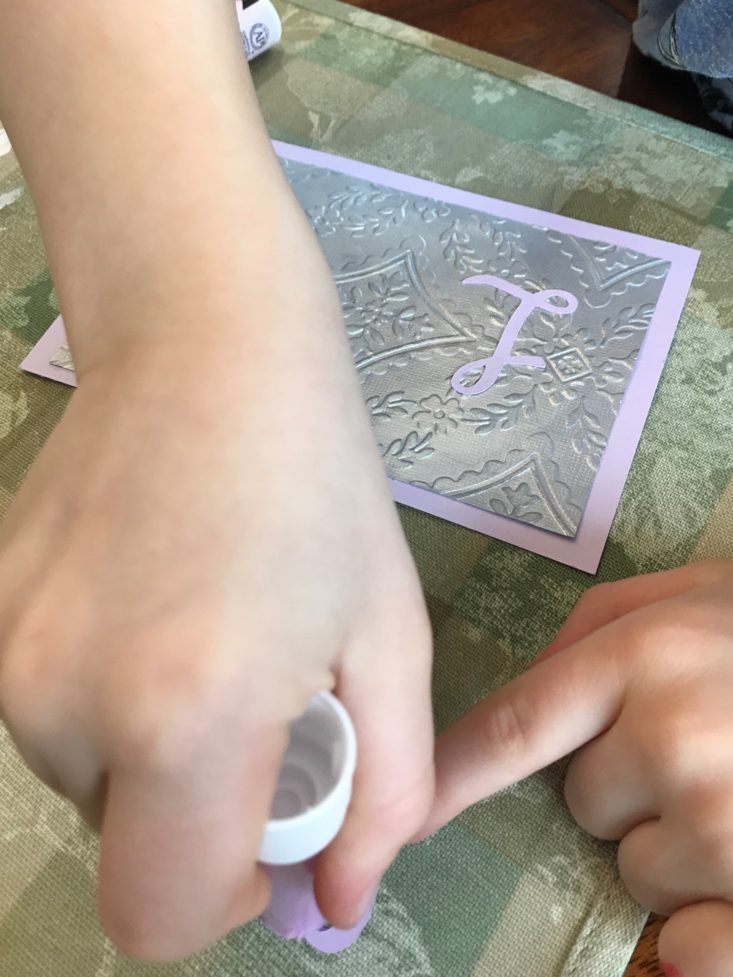
Our next step was to put the letters on the card. This step was a little difficult for Hank. The glue was everywhere, and the cursive letters kept tricking him. I hope the glue stick glue is strong enough to keep these letters on!
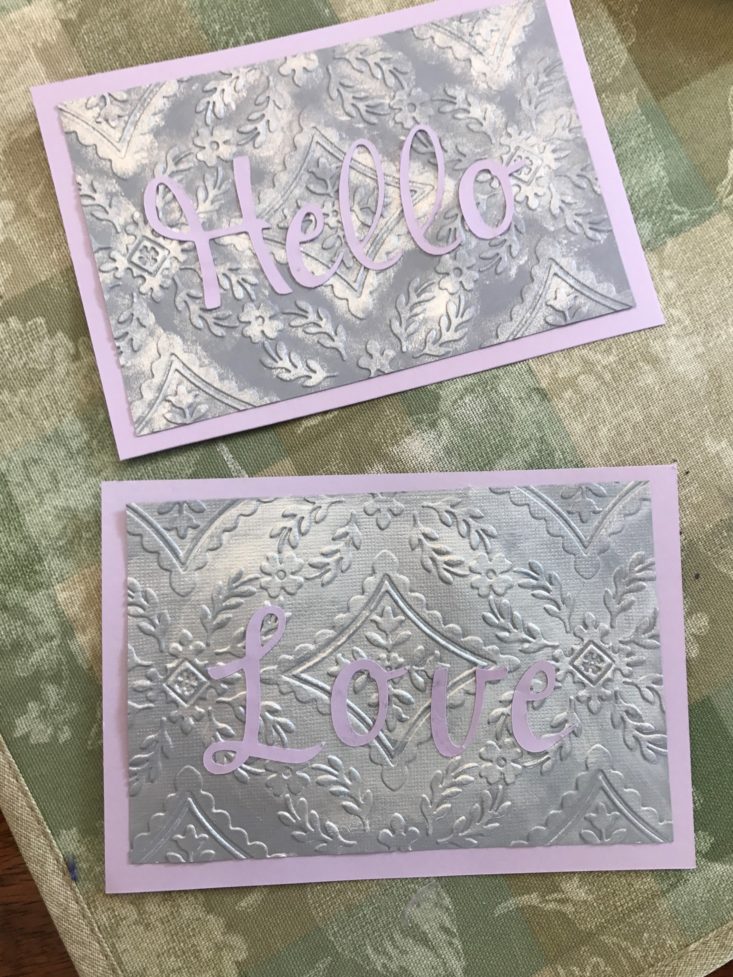
And here is the finished card for our envelope! Onto the next part!
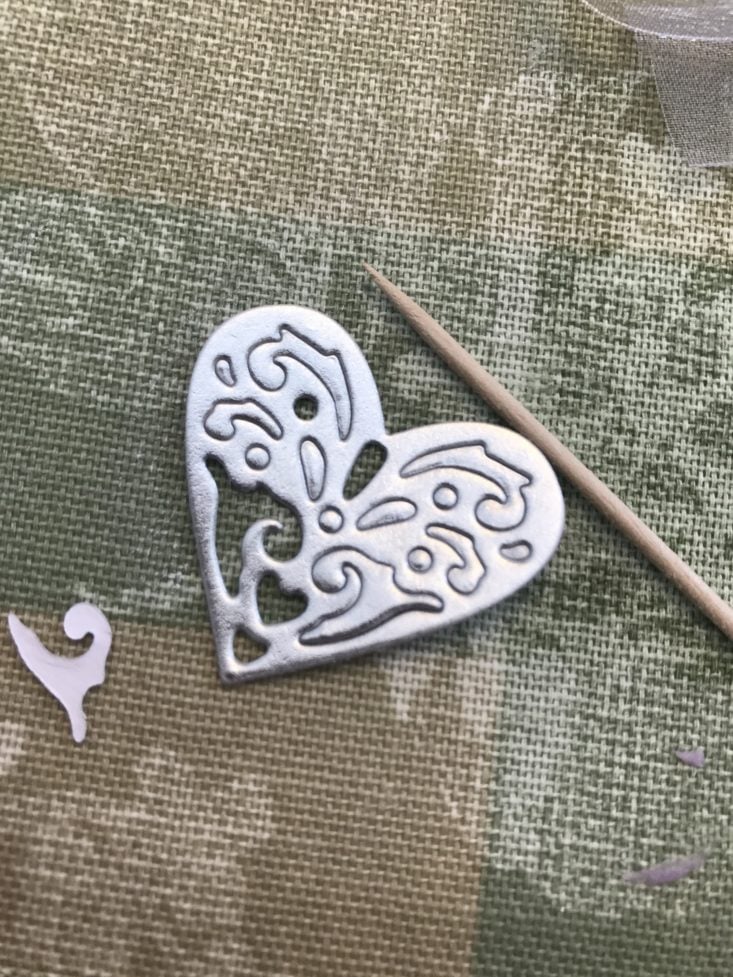
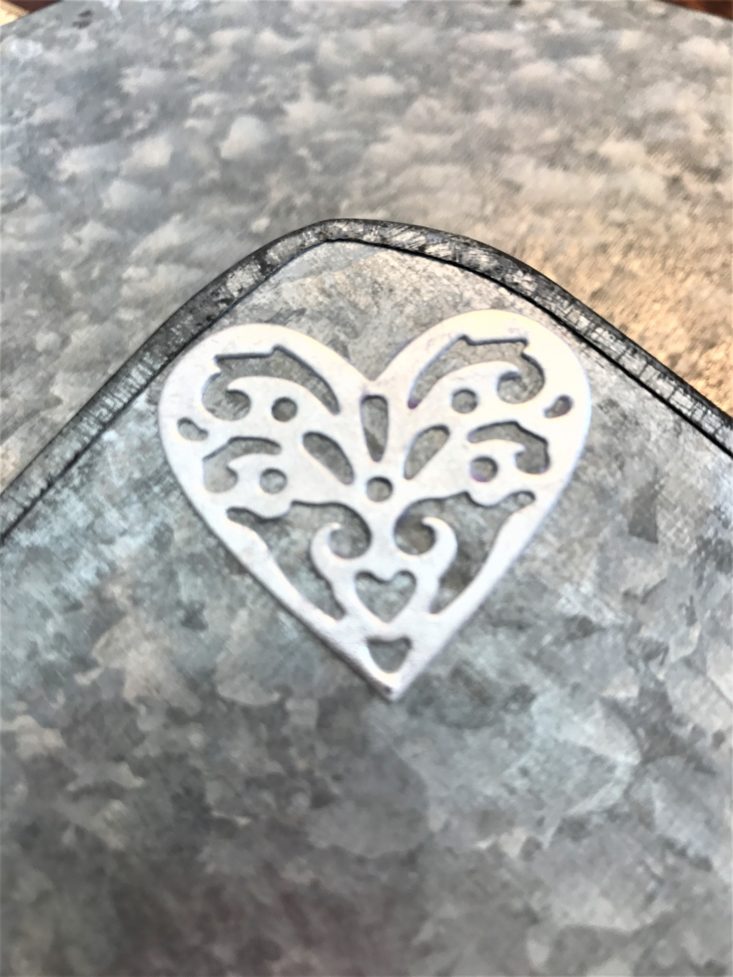
We received the small heart embellishments and used a toothpick to poke the extra pieces from the center of the heart. We did find the cuts on one heart weren’t deep enough for the pieces to come out so we had to glue it on the envelope with the pieces left in it.
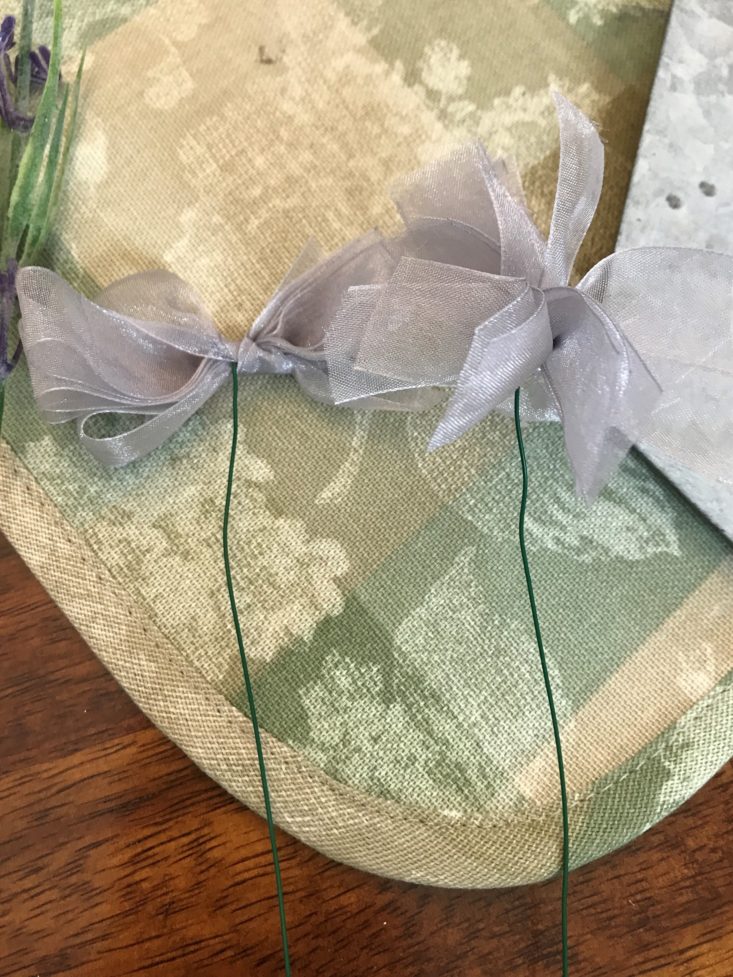
They give instructions on how to fold the ribbon to make the bow, but we kind of did our own thing here.
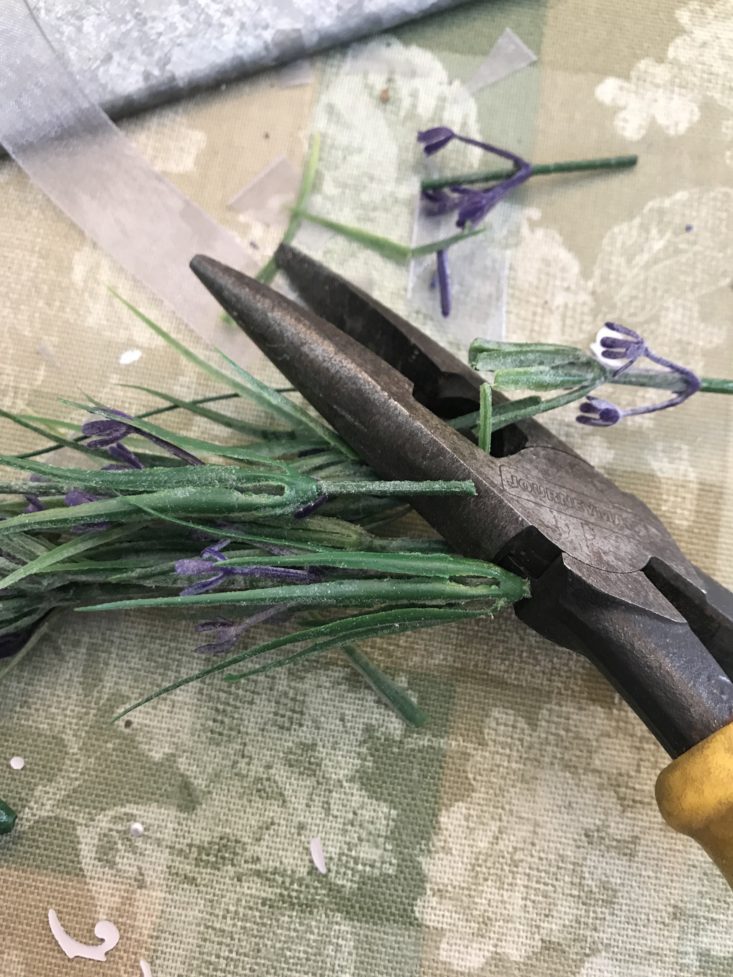
Not included in this box are a pair of wire snips. These aren’t deemed necessary, but to get our lavender in our wall decor to look like the photo, a little snipping was needed.
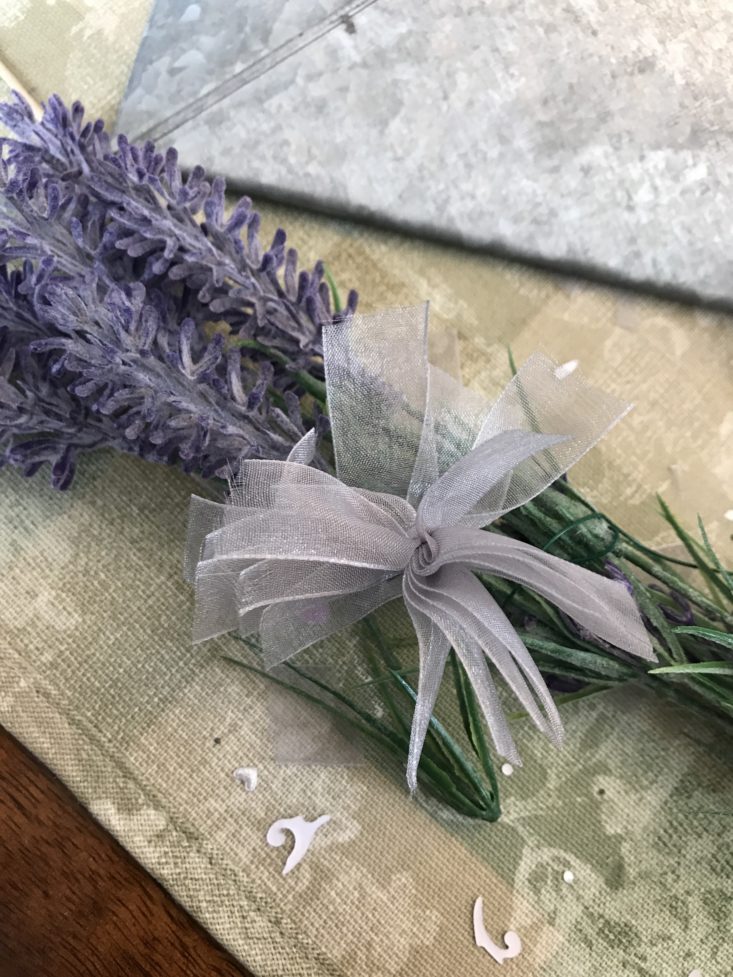
Next, we took our bow with the floral stem and wrapped it around our lavender bouquet.

And here is the final product. Hank was so proud of himself! He can’t wait to give it to me for Mother’s Day! 🙂

This was my finished product. My mother-in-law's birthday is soon, so this craft kit came just in the nick of time!
Project #2: Lavender Filled Cards
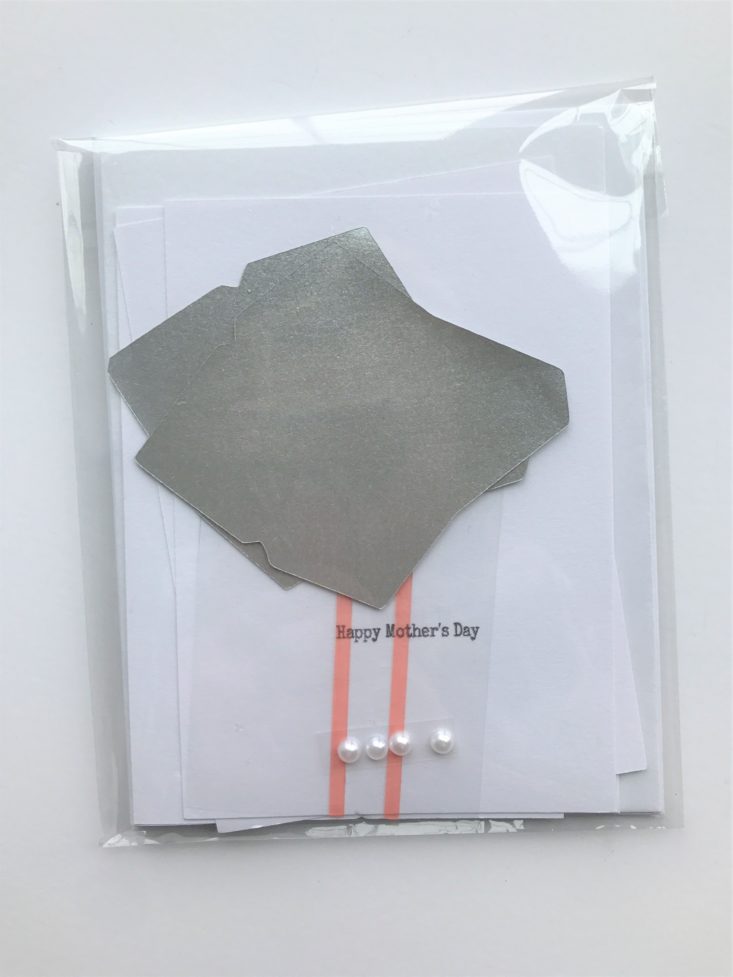
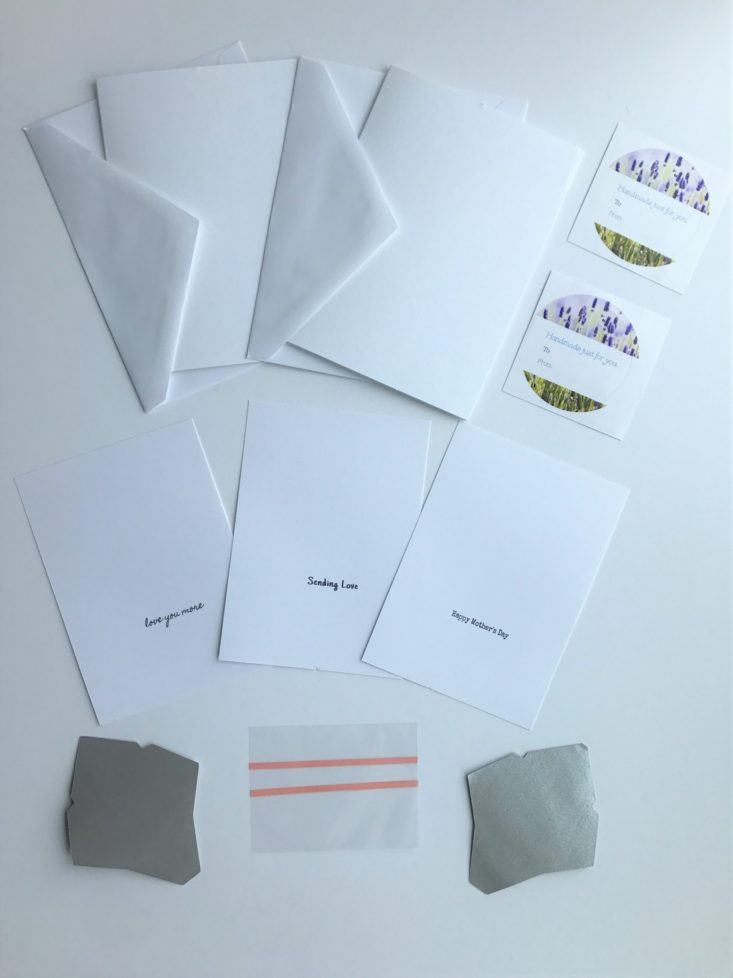
All of the card supplies came organized in a clear bag for easy setup!
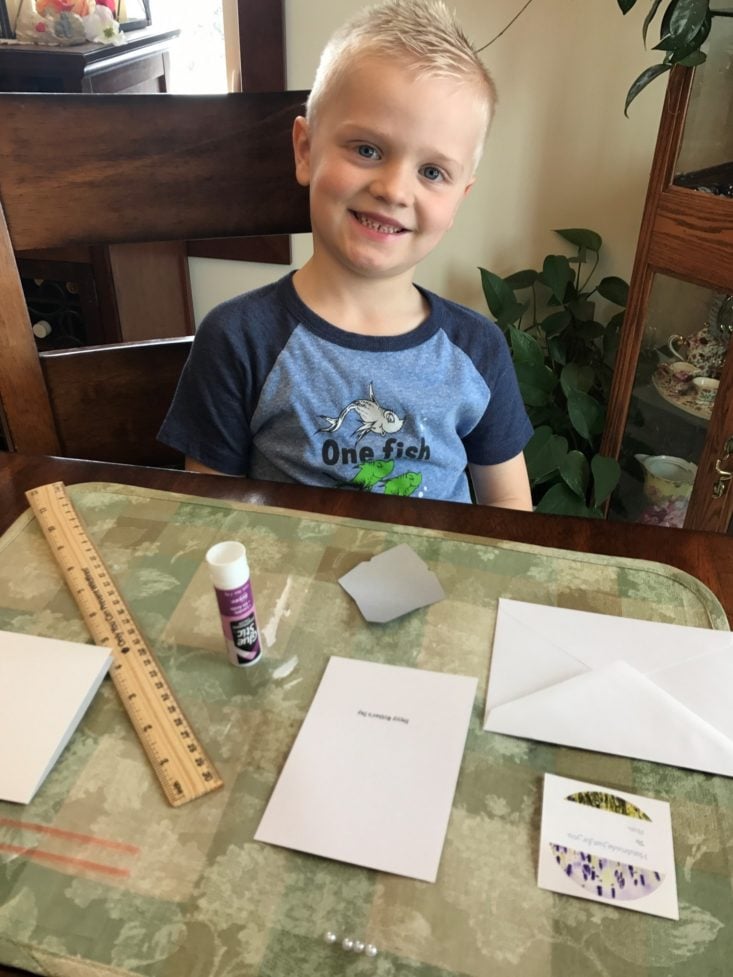
We like to do our work on old placemats to protect the table from glue and paint.
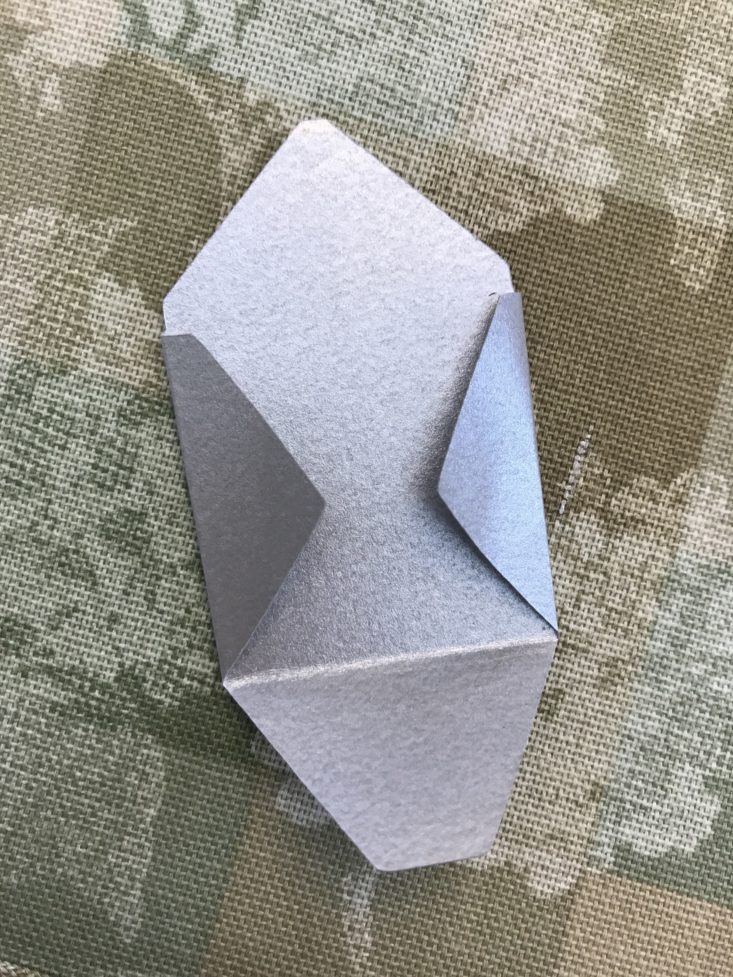
The first step in making this project was to fold the silver paper into an envelope. You could use a ruler for precision, but we eyeballed and it worked just fine. They sent strips of tape to adhere the sides of the envelope. It is VERY sticky, and I needed to use a scissor to cut it small enough.
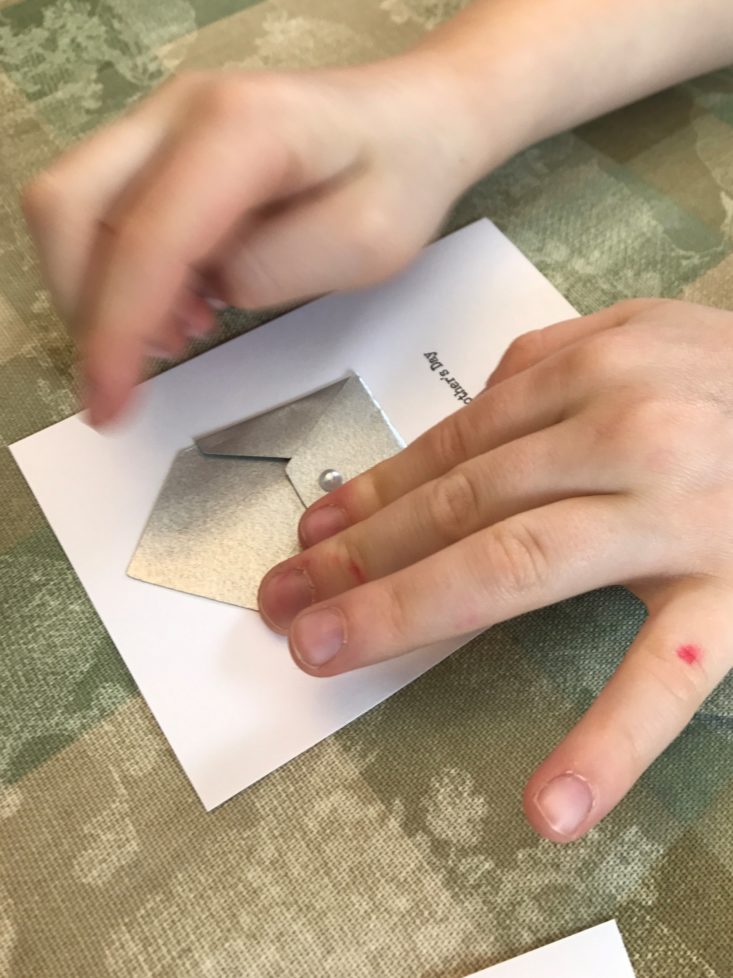
After the envelope is finished you glue the entire back and adhere it to the printed paper of your choice. They included 3 different sayings so you had different options including: “Happy Mother’s Day,” “love you more,” and “Sending Love.”
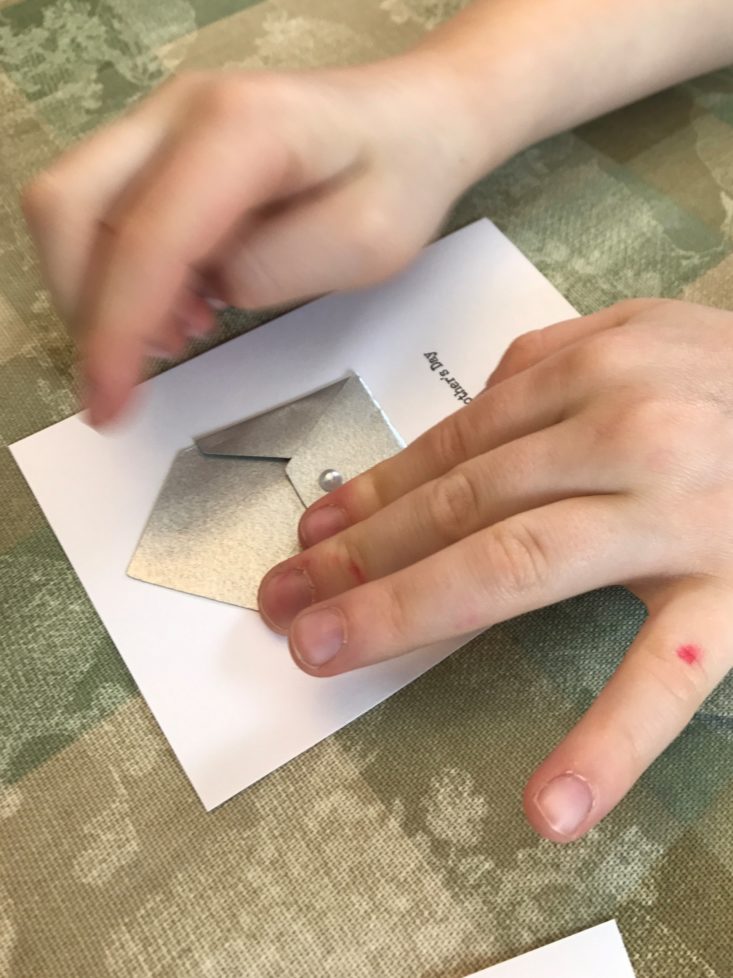
Then comes more glue! Hank is a professional at this!
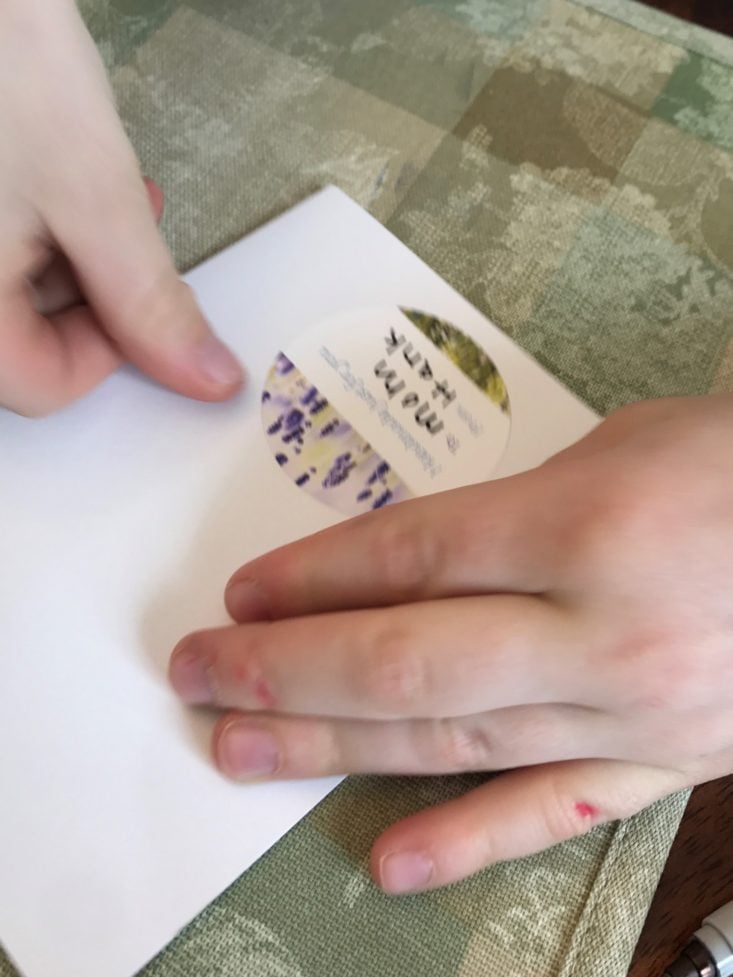
We then filled out our homemade sticker and put it on the back of the cards.
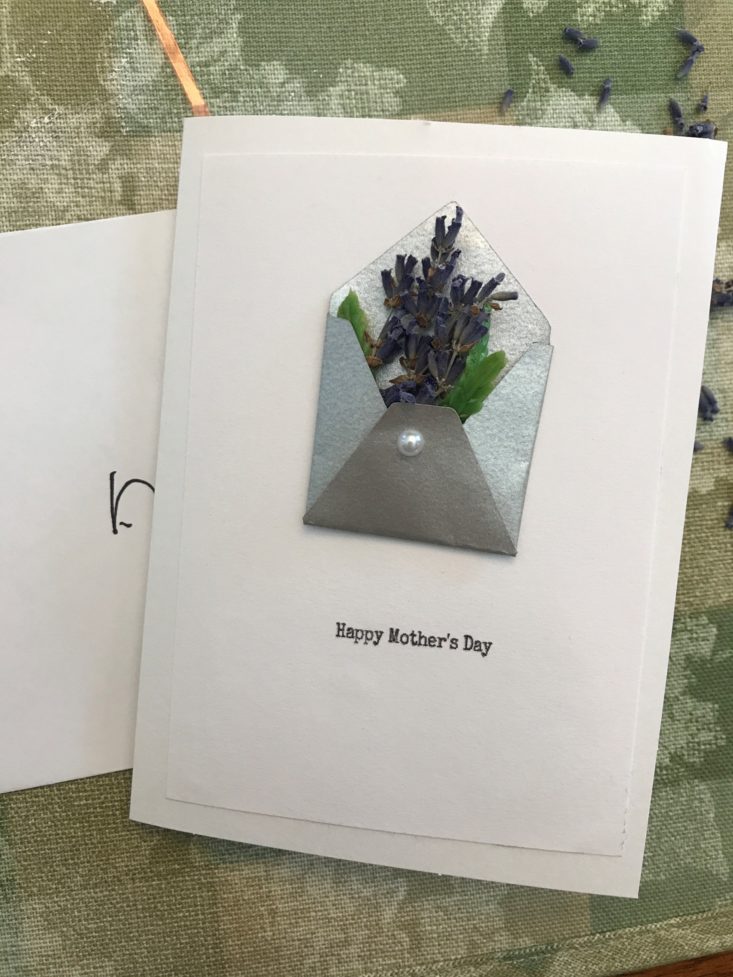
With a little difficulty, we put the lavender in the envelope. Unlike the wall decor lavender, this lavender is real and breaks apart very easily. I’m a little concerned about what it will look like once it comes out of the envelope. I definitely wouldn’t want to mail this card!
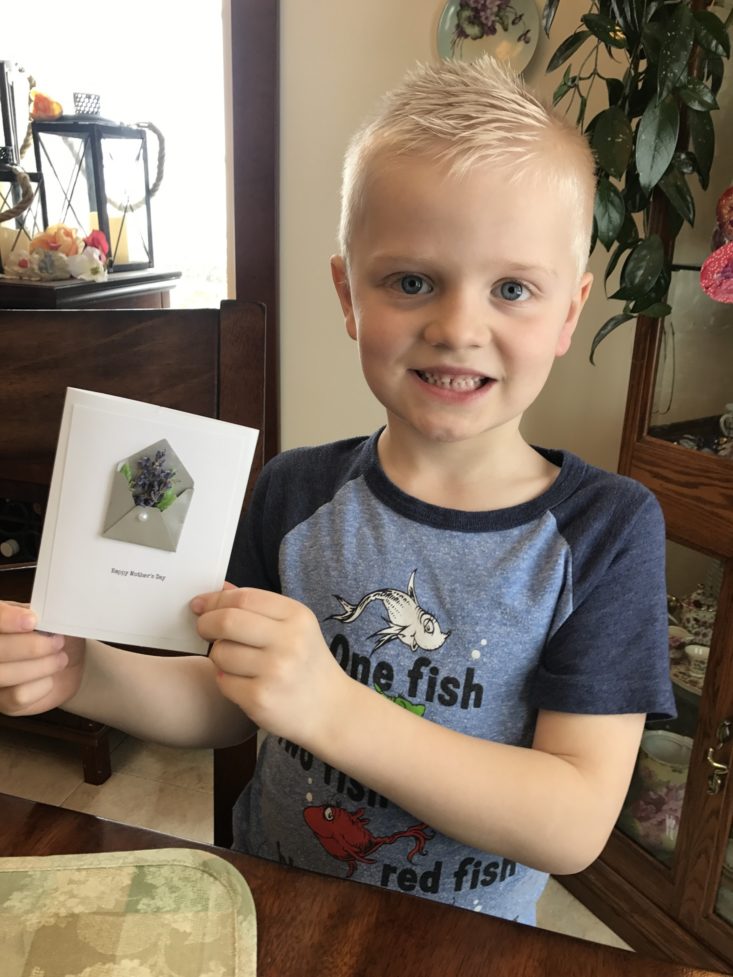
And here is the finished card. Hank was very proud, but wouldn’t let me peek inside, because of course, this is my surprise Mother’s Day card!
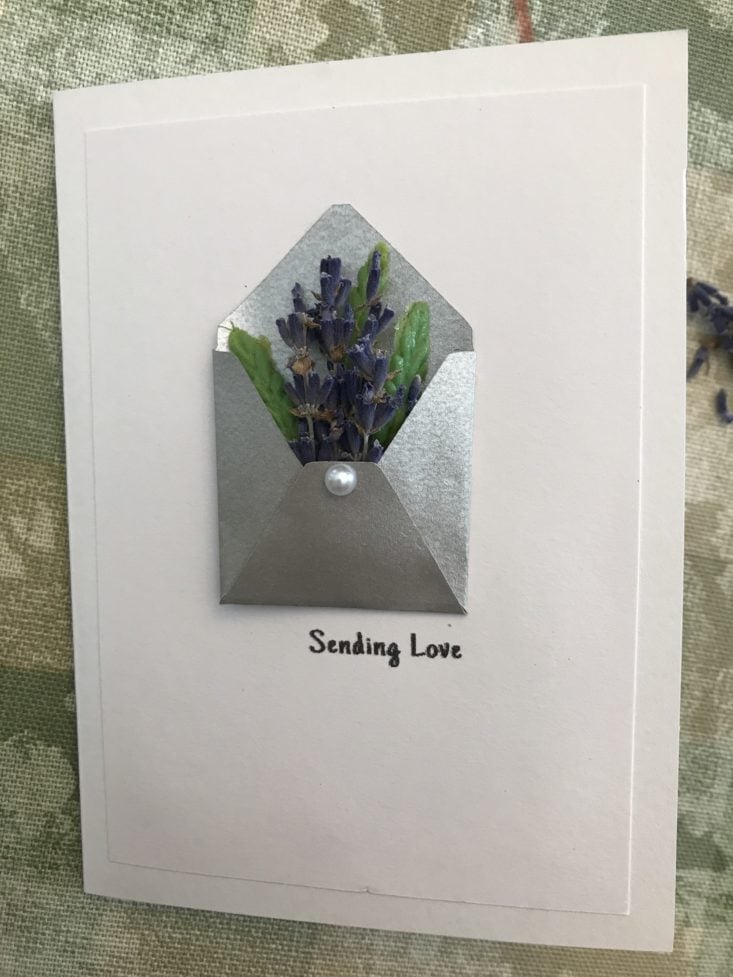
This is a photo of the card I created. My mother-in-law will love it!
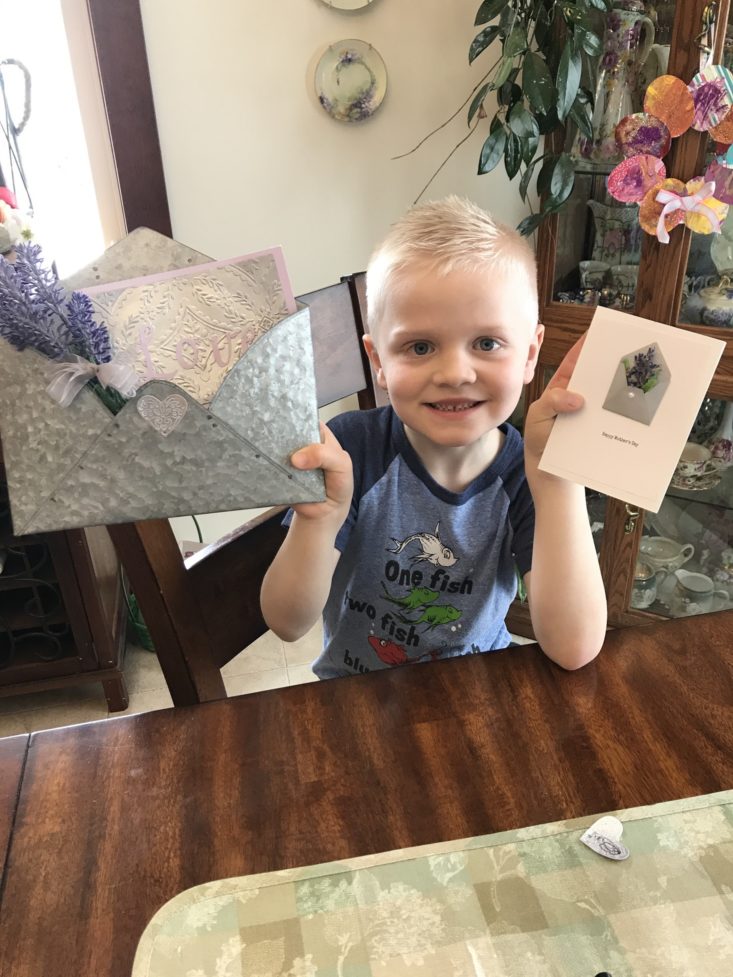
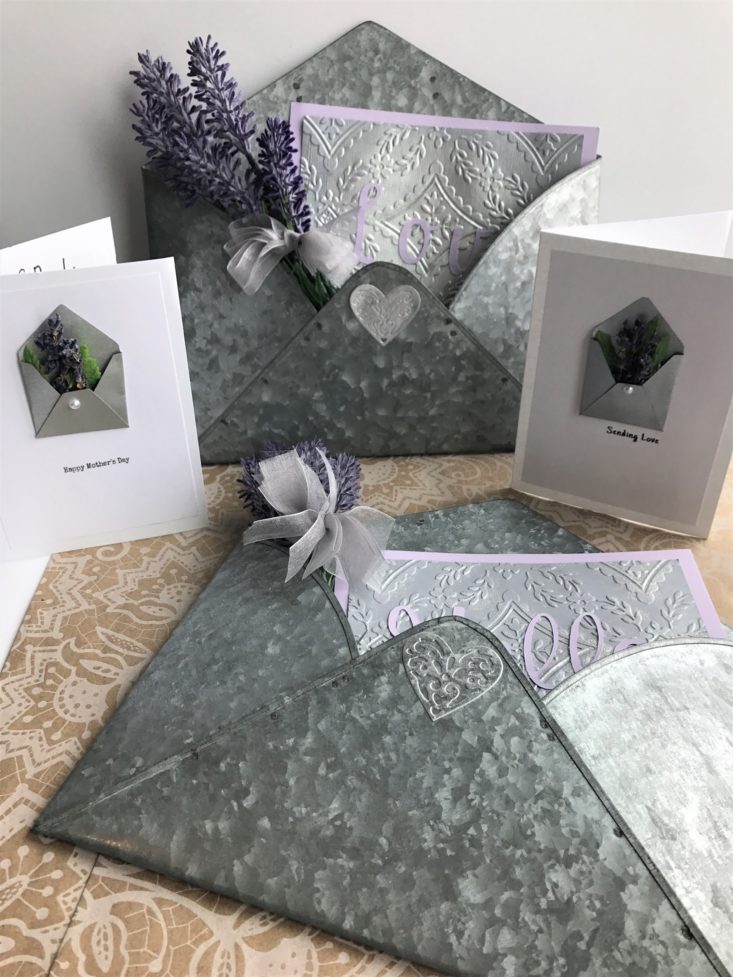
Voila! Our projects are complete! Now they can be packed into our pretty patterned gift bags and given away. I can’t wait until Mother’s Day!
Verdict: This month of Confetti Grace was so much fun! Hank and I loved the thoughtfulness of the curation, and how well everything fits together. It took us about an hour to create these projects, not included drying time. I love that 2 people are able to create the crafts and share them with others. Hank has decided to give his to me (which I was secretly hoping for) and we are giving the one I created to my mother-in-law for her birthday. It is such a joy watching my son create these pieces, and even add his own flair. I can’t wait to see what they send next month!
Since Confetti Grace costs $28.95 a month, each gift package averages out to about $14.48. Honestly, I feel this is an extremely good value because those metal envelopes can cost almost that by themselves. I love how everything went together so well this month, and my son and I had such a great time doing it together!
To Wrap Up:
Can you still get this box if you sign up today? Possibly. If you subscribe before 5/4, your subscription will begin with the April project. Orders placed after 5/4 will receive the May subscription box as their first shipment.
Check out all of our Confetti Grace reviews and our top craft box subscriptions as voted on by our readers!
Keep Track of Your Subscriptions: Add this box to your subscription list or wishlist!
What do you think of this month’s Confetti Grace? Who did you share your project with? Tell us in the comments!


Please do not enter your email address in the Name field or in the comment content. Your email address will not be published. Required fields are marked *. Remember to post with kindness and respect. Comments with offensive language, cruelness to others, etc will not be approved. See our full comment policy here.