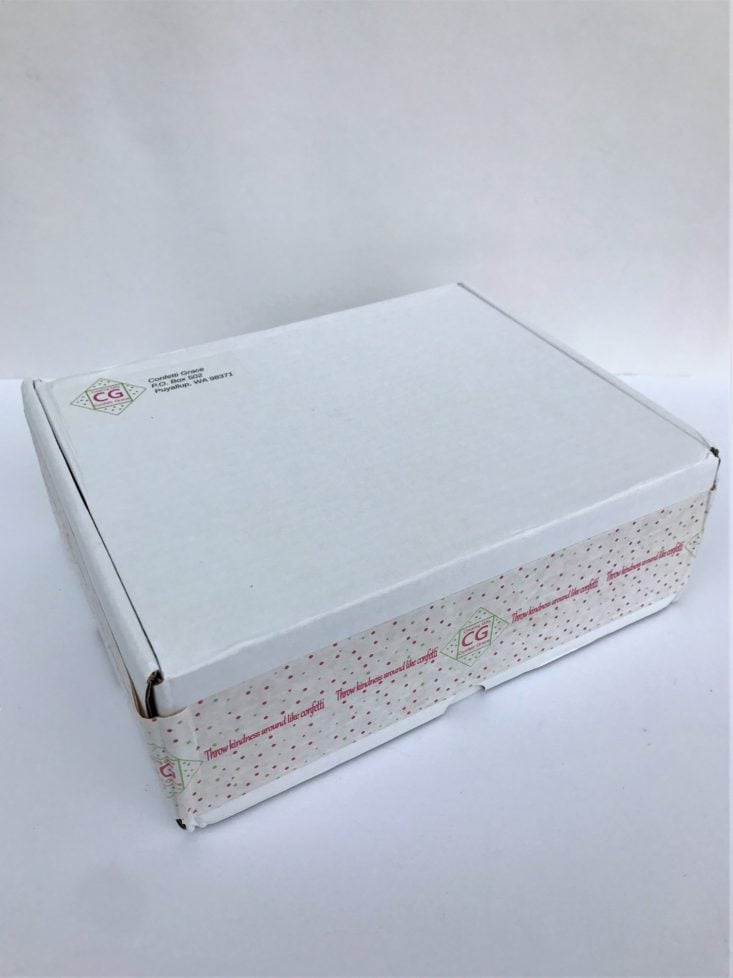
Confetti Grace is a DIY craft subscription that sends a box filled with enough craft supplies to create 2 of the same featured projects. That way, you have one to keep for yourself and one to give away. “Throw Kindness Around Like Confetti” is this companies motto, and these projects give the gift of quality time with family and friends. To top it off, 20% of net profits are donated to worldwide charities!
There are multiple subscription options, including longer commitments, an option to add on an additional project set, and even a party box!
This review is for the Original Subscription DIY box, which is $28.95 per month (plus free shipping to the continental US)
This box was sent to us at no cost for review. (Check out the review process post to learn more about how we review boxes.)
About Confetti Grace
The Subscription Box: Confetti Grace Original DIY box
The Cost: $28.95 + free shipping
The Products: A specially curated box filled with enough craft supplies to create 2 of one project. One to keep, and one to give away, or to share with a friend! (Recommended ages are 8 years - adult)
Ships to: U.S. Only. Free shipping to continental US!
Good to know: The 2018 charity Confetti Grace donates to their 20% of net profits to is World Vision. This charity helps purchase dairy animals for families in need.
May 2019 Confetti Grace Original DIY Box
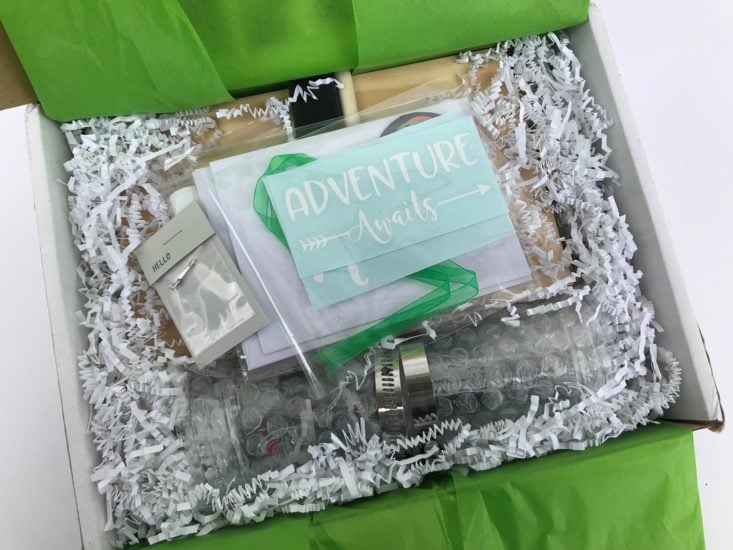
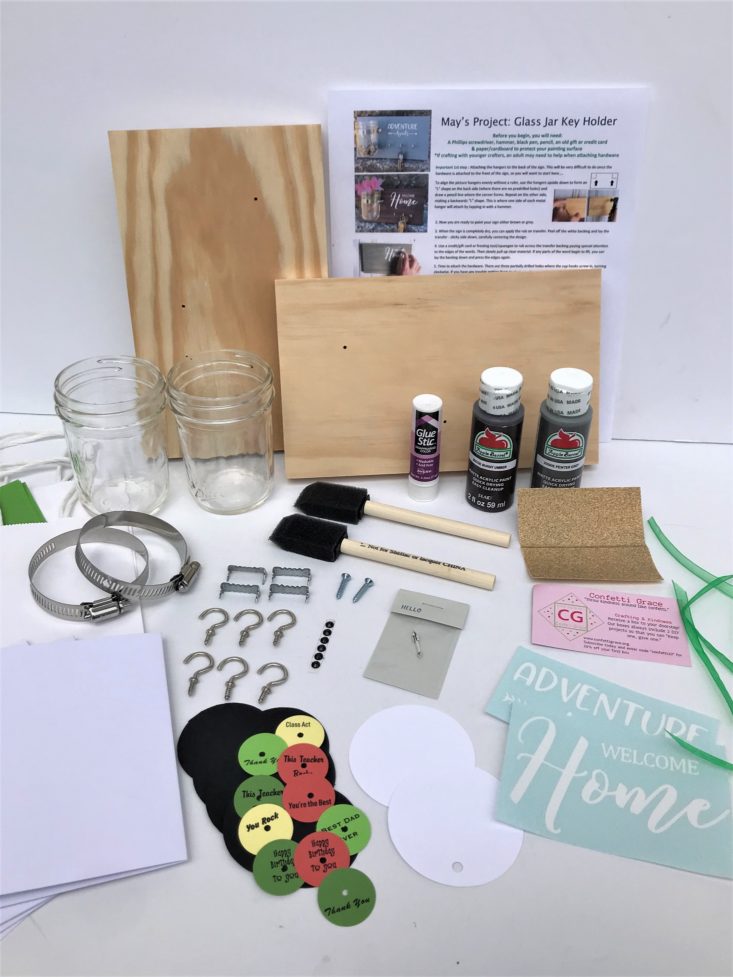
I usually have a craft buddy for my Confetti Grace box, but both of my boys wanted to spend some “man time” with my husband outside instead. It wasn’t quite as fun without a little helper, but this month’s project included a lot of hardware that they probably would have struggled with anyways. May included 2 beautiful glass jar key holders, 2 greeting cards, and 2 gift bags with tissue paper and tags.
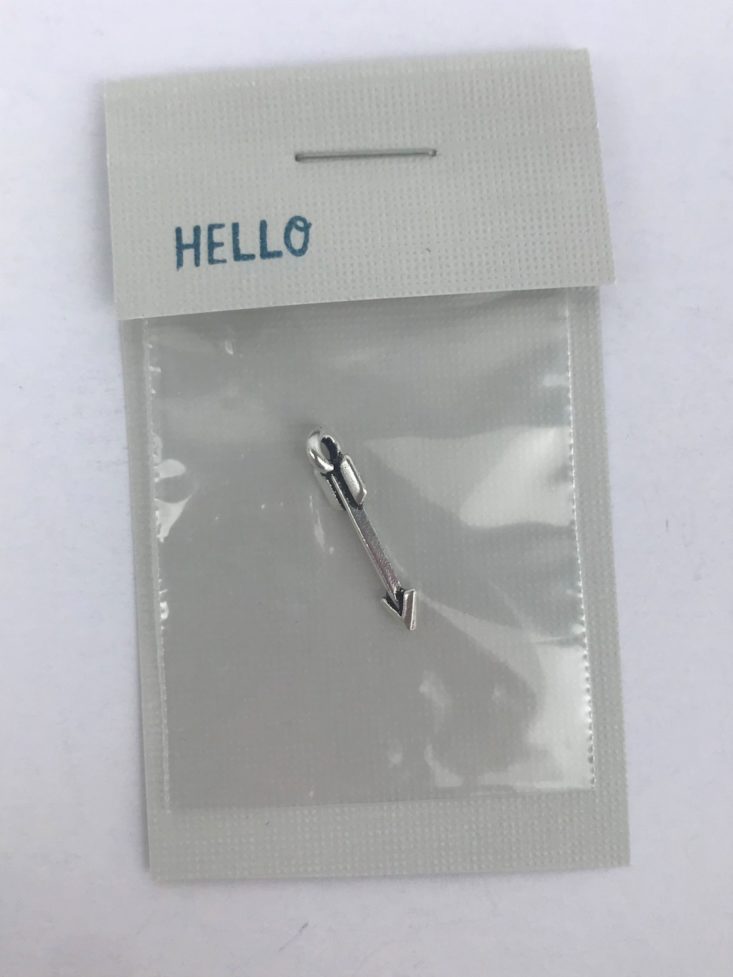
Each month, Confetti Grace sends a sweet charm as a bonus item. This month we received a little silver arrow with packaging that says “Hello.” I love these charms, and as an archery enthusiast, I can’t wait to make a bracelet featuring this one!
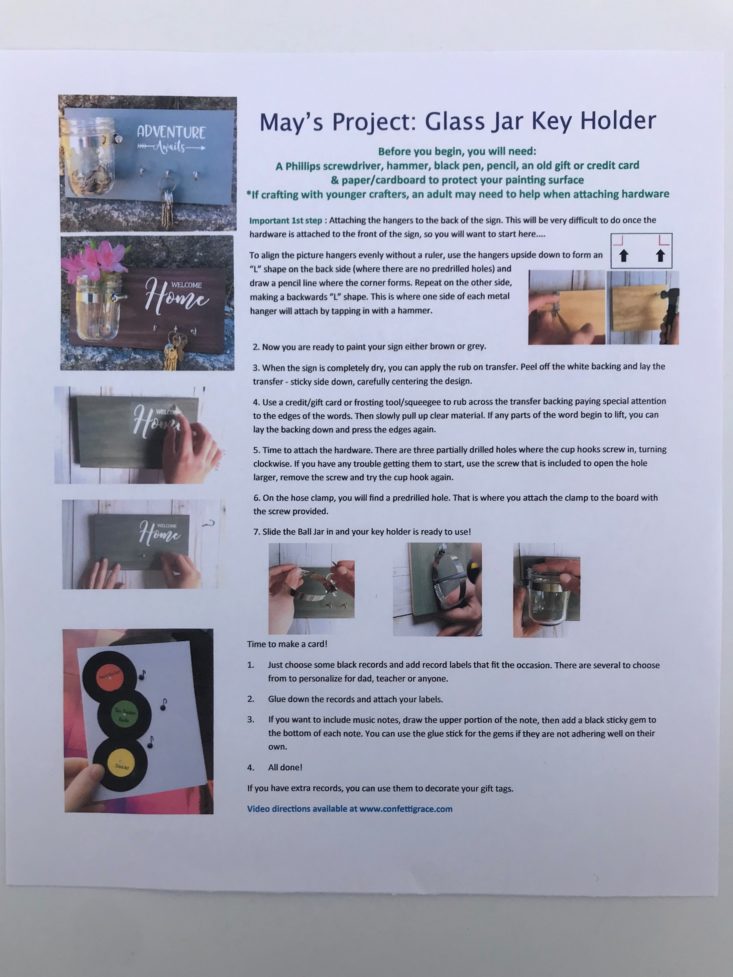
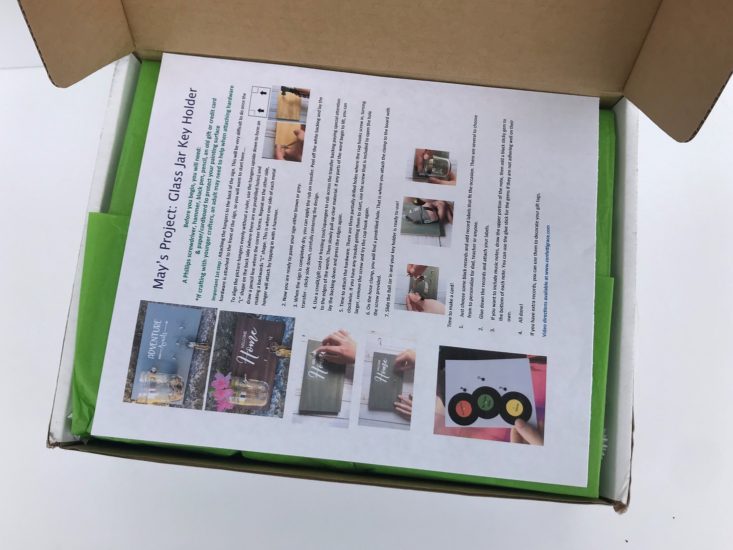
Every month, this box comes with a detailed instruction sheet with written details and photos to create the month’s projects. Their website is also very helpful if extra assistance is needed.
Project #1: Glass Jar Key Holder
The main project for this month were these beautiful glass jar key holders. They are perfect for hanging keys on the hooks, and collecting change, or displaying flowers in the mason jar! A perfect addition to any foyer or entryway!
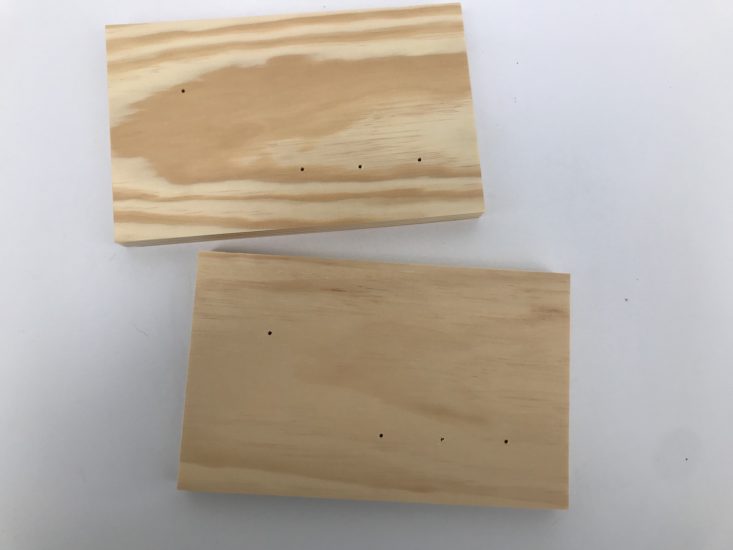
Here we have the main part of the glass jar key holders: two 9” X 6” sanded wood boards with 4 pre-drilled holes.
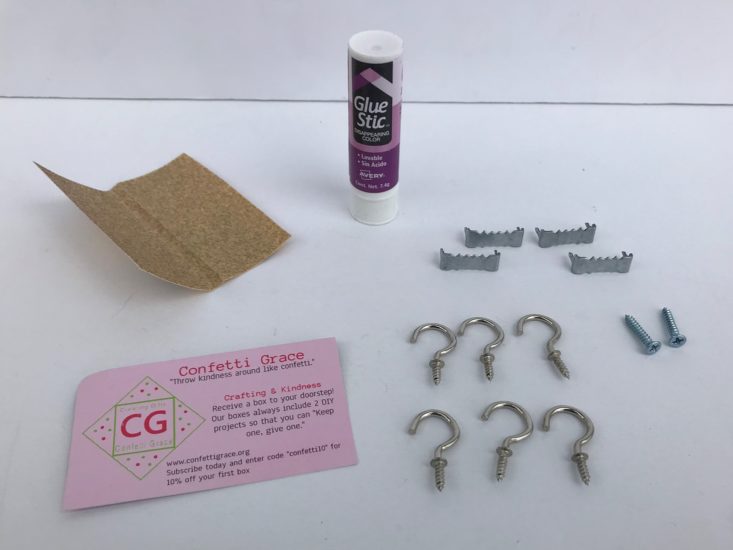
Avery Disappearing Color Glue Stic- Retail Value $1.97
The next items are the glue stic needed for the card, the hangers for the back of the key holder, the hooks for the front of the key holder, screws for the hose clamps, sandpaper for the boards, and an informational card with detailed information about the Confetti Grace box.
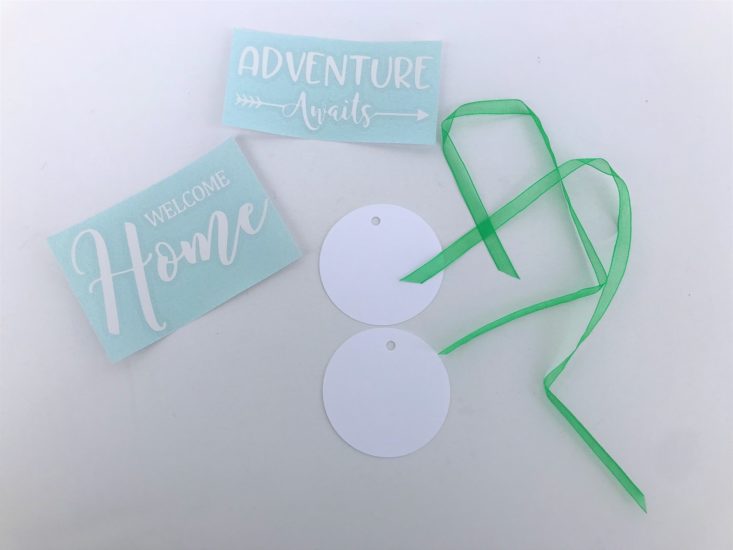
These are the tags and ribbon for the finished gift bag, and the decals used to embellish the glass jar key holders.
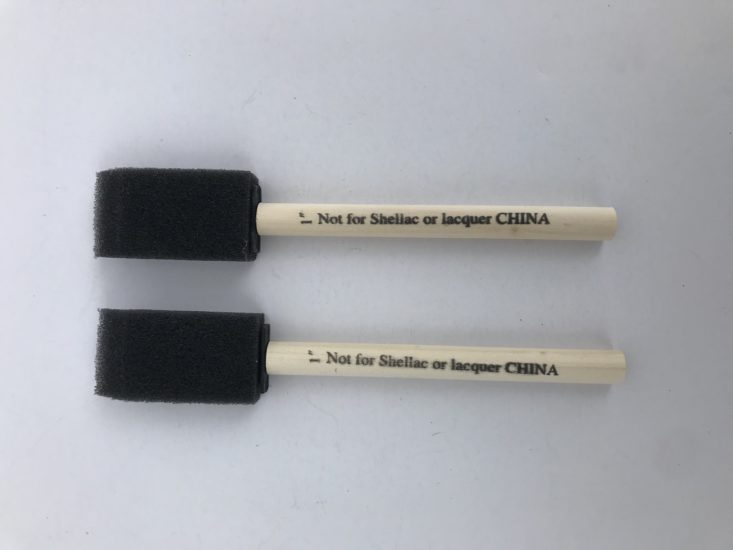
We also received 2 foam paint brushes for each color of included paint. I can’t have enough paint brushes! I love that they include almost everything you need to complete a project!
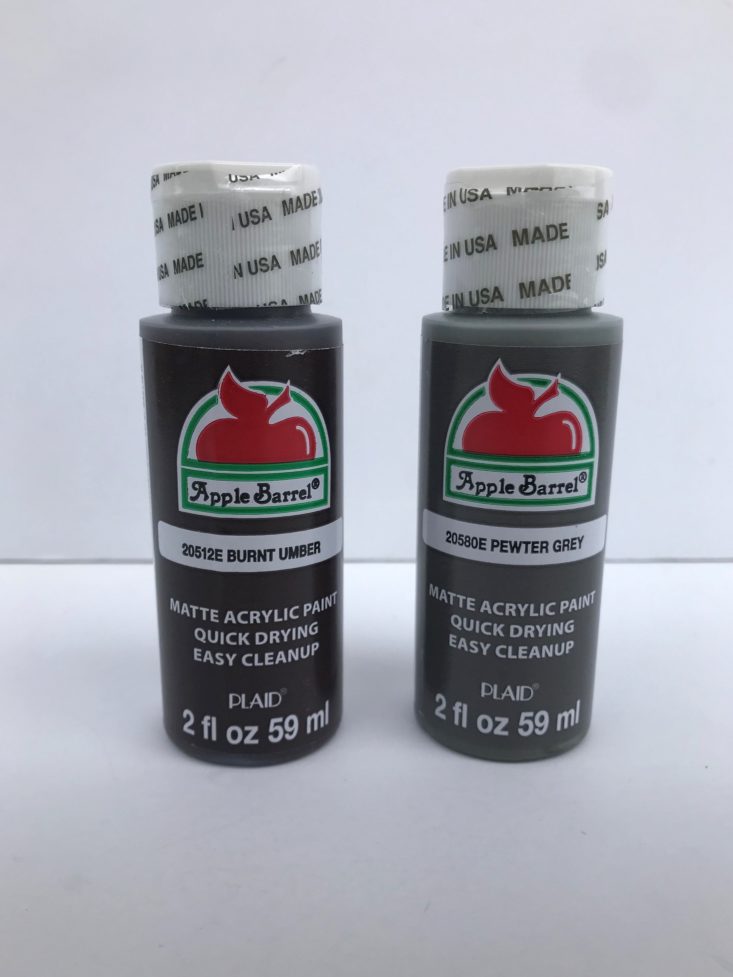
Apple Barrel Burnt Umber Acrylic Paint (2 o.z.) - Retail Value $0.99
Apple Barrel Pewter Grey Acrylic Paint (2 o.z.) - Retail Value $0.99
I love this acrylic paint! I use this all the time and love it! The coverage is great, and it lasts forever! It dries really fast and is made in the USA. You can’t beat that! (I have found you can buy this paint at Walmart cheaper, but it is in stores only)
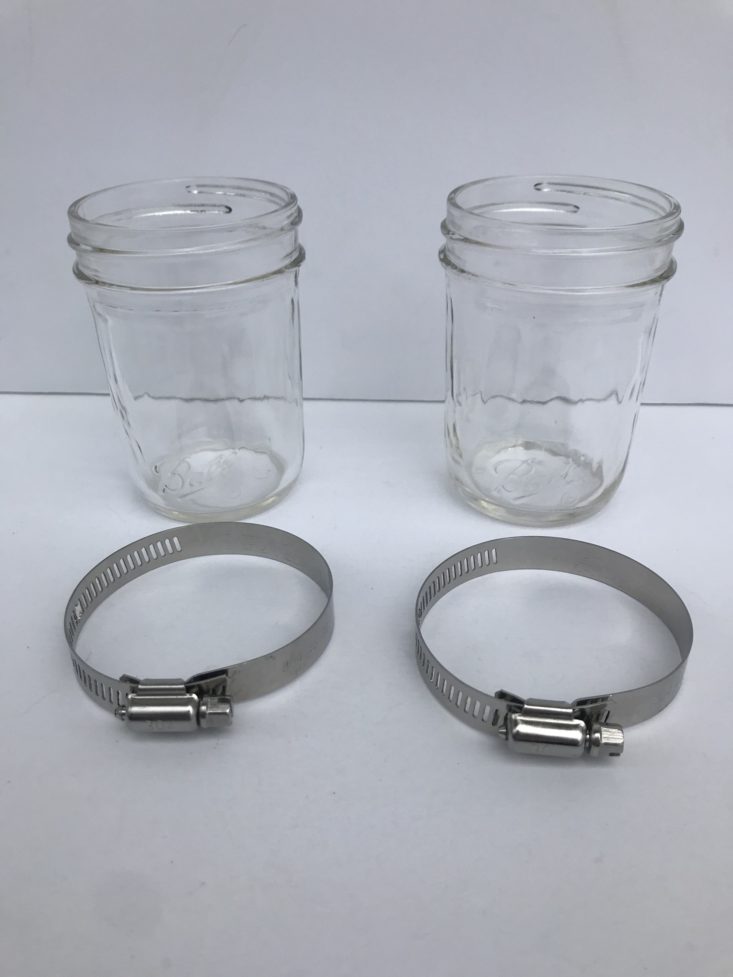
We also received 2 wide mouth Ball mason jars with 2 hose clamps.
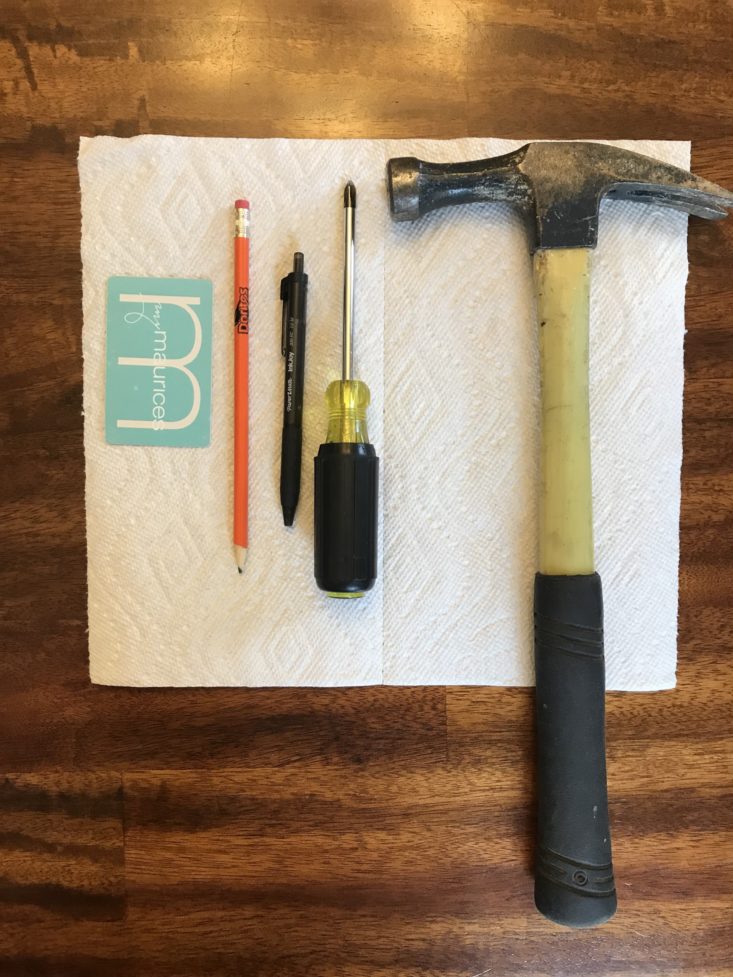
Now to start the project: when you read the instructions they note It is MUCH easier to hammer in the hanging clips BEFORE you do anything else. This month we needed a lot more supplies from home than in previous months, but I think the end months are worth it! I had to find a hammer, screwdriver, black pen, pencil, old gift card, and something to protect your painting surface.
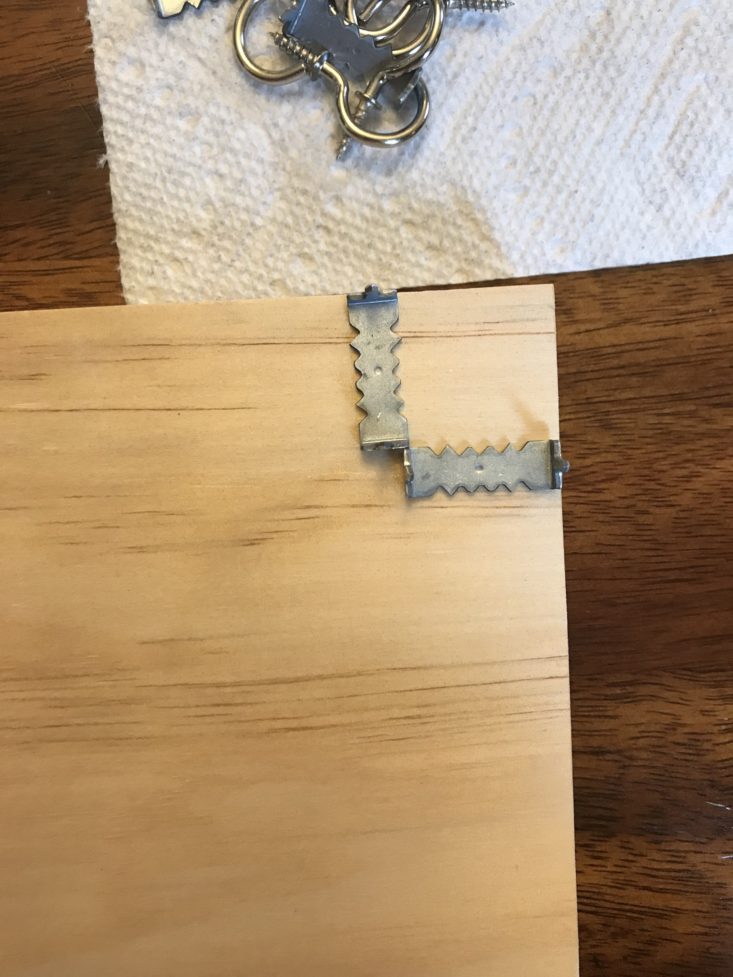
They also had some helpful tips in the instructions to attach the picture hangers. You take both hangers and for a backward “L” on the left side and a regular “L” shape on the right side and mark in the corner.
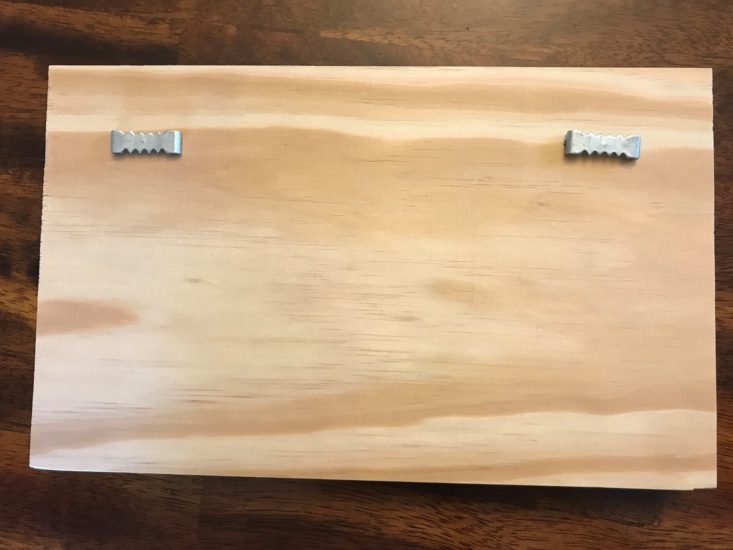
The next step is to line up the picture hangers and pound them in. They went in really nice and were lined up perfectly.
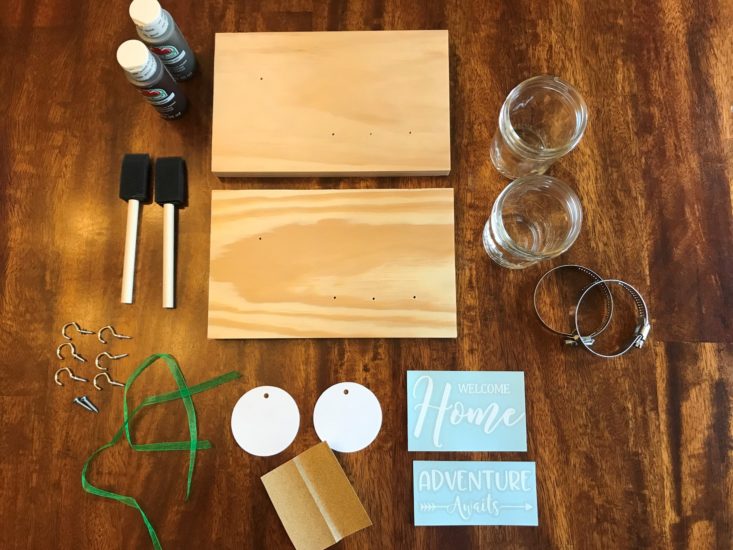
Before I took the photo of all the supplies that are needed, I pounded in the boards so I didn’t forget. This is a photo of the wood boards with the hangers, and all of the rest of the supplies needed to complete this project.
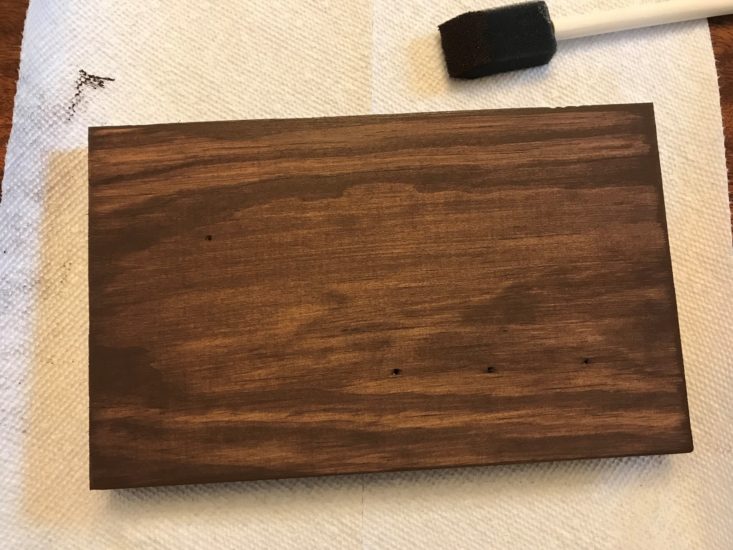
The next step is to paint the boards, I did both at the same time so I have photos of both. I did one in the grey paint, and one in the brown. I just did a light coat so the wood grain showed through and added some depth; this also helped speed up the drying time.
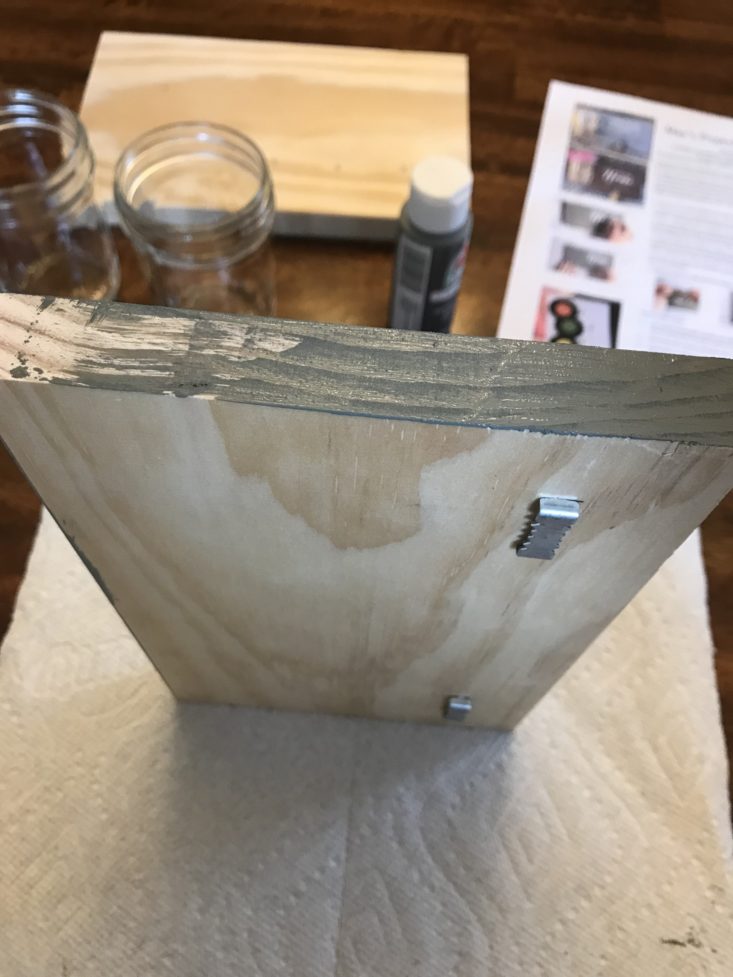
I painted the edges of the boards extremely carefully so I didn’t get paint on the back of the boards. I wanted these to look as professional as possible!
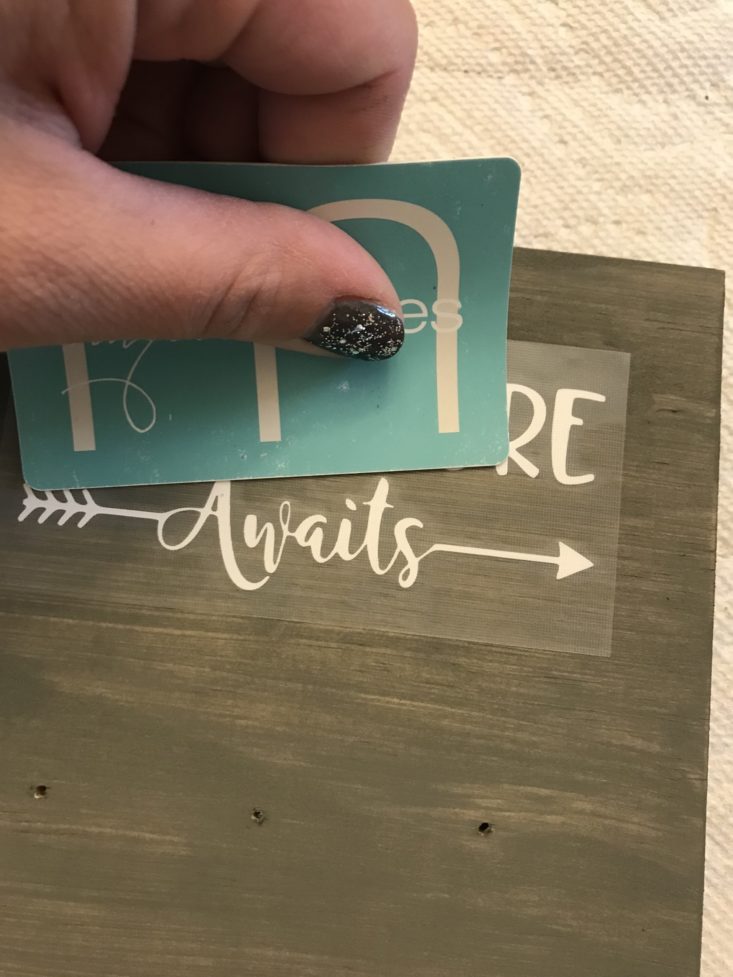
Next, I picked my decal, peeled the backing off, and set it exactly where I wanted it. I then used an old gift card and rubbed on the decal to get it to adhere well.
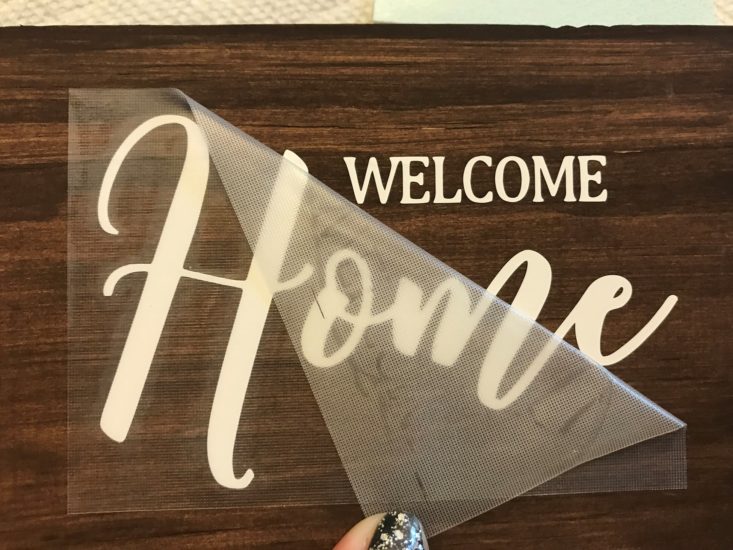
After I felt like the decal adhered, I very gently pulled the backing off in a slow and steady manner. If it didn’t stick, use the card and gently press more.
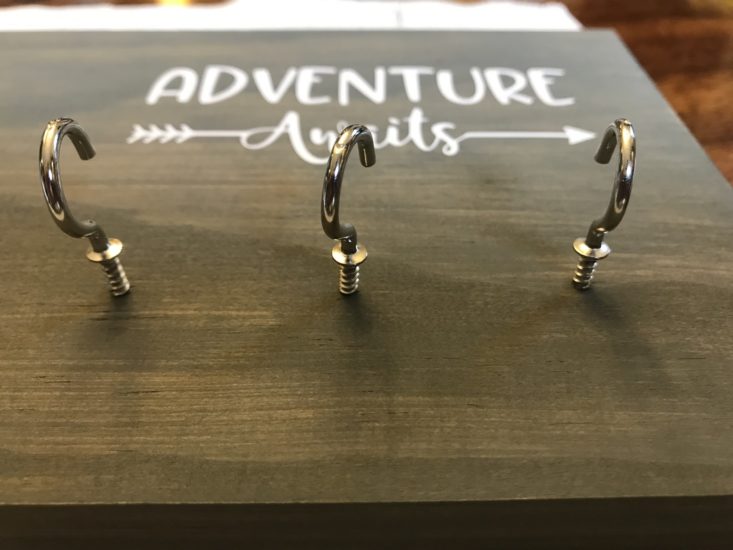
Each project includes 3 hooks for hanging keys. They have graciously pre-drilled the holes, so all you have to do is gently turn the hooks in clockwise until tight.
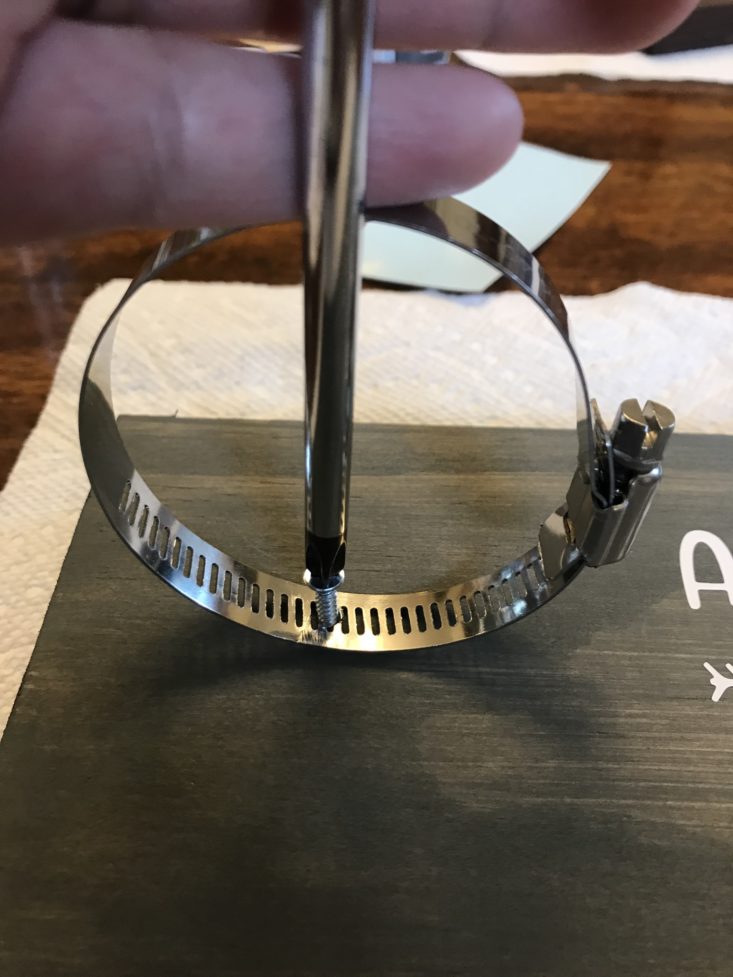
After the hooks are attached, you can move onto screwing in the hose clamp. This was a lot easier than I initially thought it would be because they pre-drilled a hole in the hose clamp as well as in the board. All I did was line up the holes and use my Phillips screwdriver to attach. Easy peasy! After this is attached, you can gently set your mason jar in the hose clamp and you are finished!
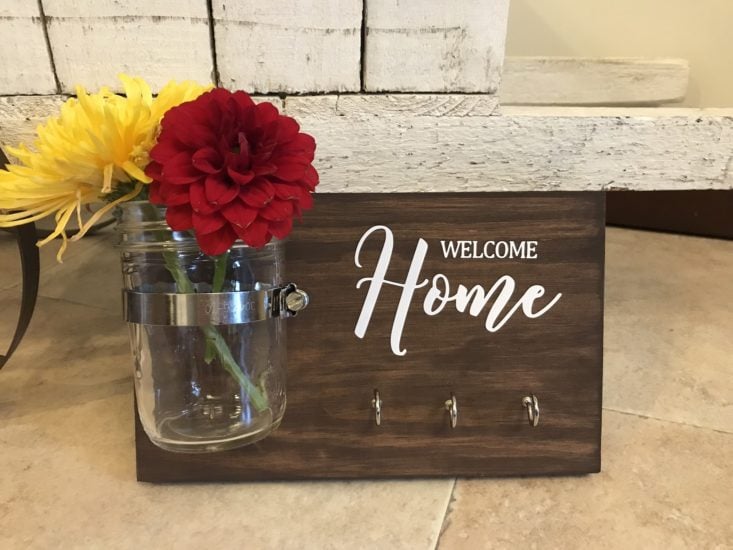
This is the brown glass jar key holder completely finished. It turned out even better than I thought it would! I would have modeled it with a set of keys, but I’m not 100% sure where I’m going to hang it yet, so I just set it on the floor for the photo.
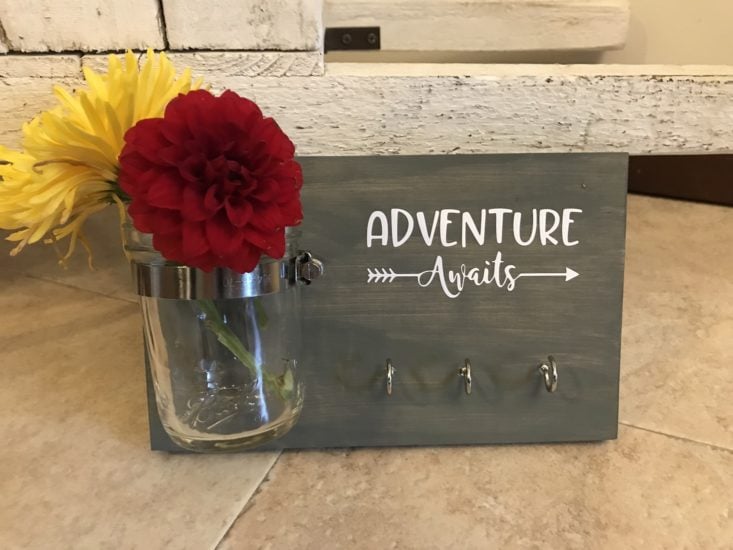
And this is the gray finished glass jar key holder. It turned out great, and my son asked if we could give it to his kindergarten teacher as a farewell gift. I hope she likes it as much as I do!
Project #2: Record Greeting Cards
The next project was cute record greeting cards. They included labels to personalize for teachers, dads, or anyone you want to give a card to!
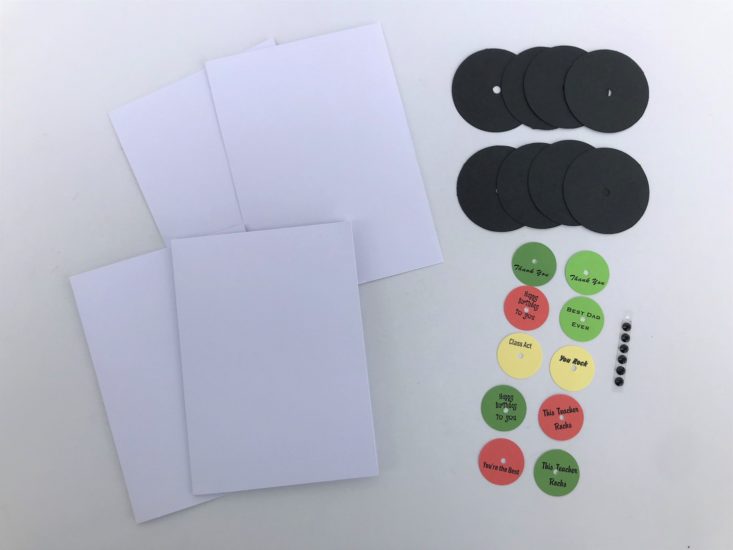
Packaged in a nice clear envelope we had all of the supplies we needed to assemble the cards.
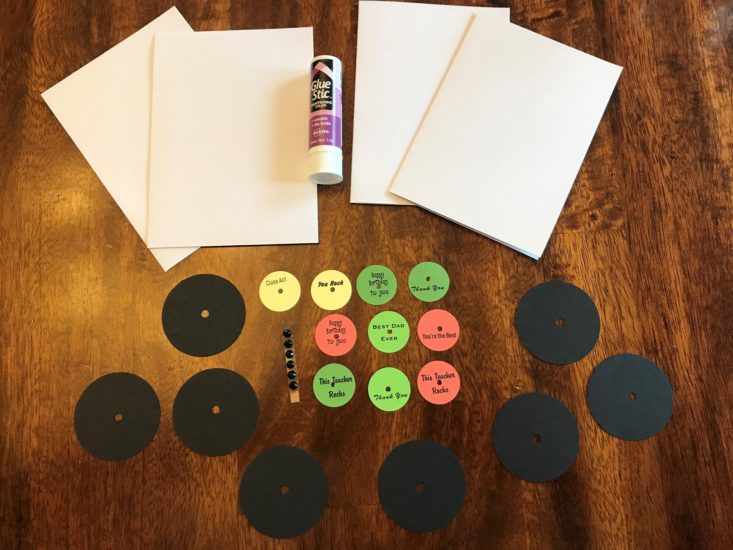
Before I started, I laid everything I needed out, just to make assembly easier.
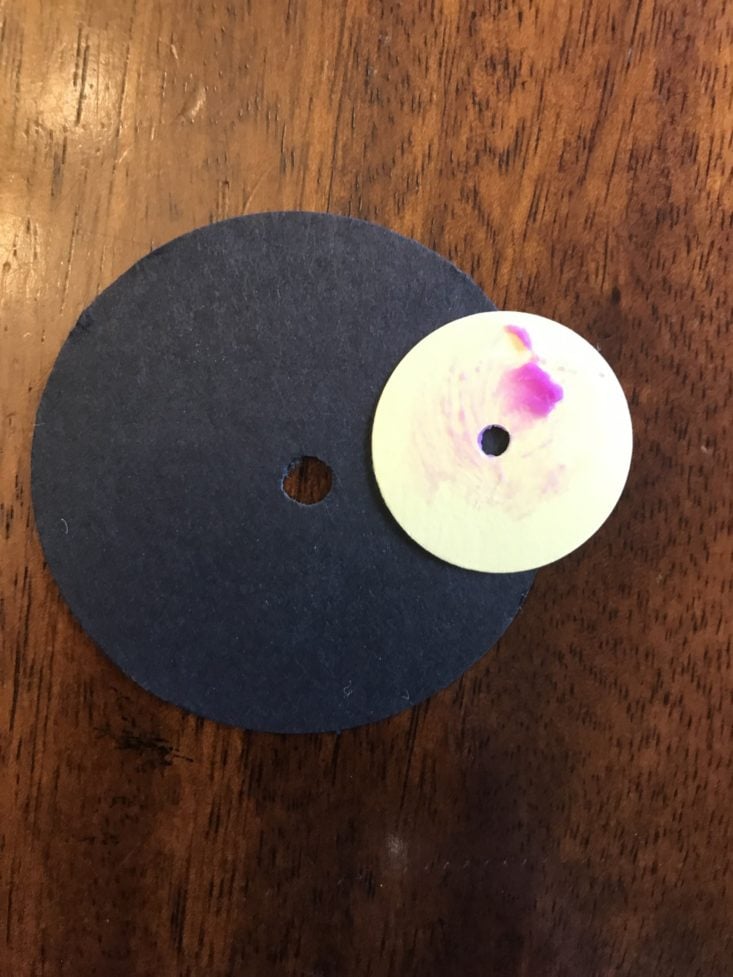
These cards were super simple to make: You start out by gluing the phrases of your choice onto the large, black circles.
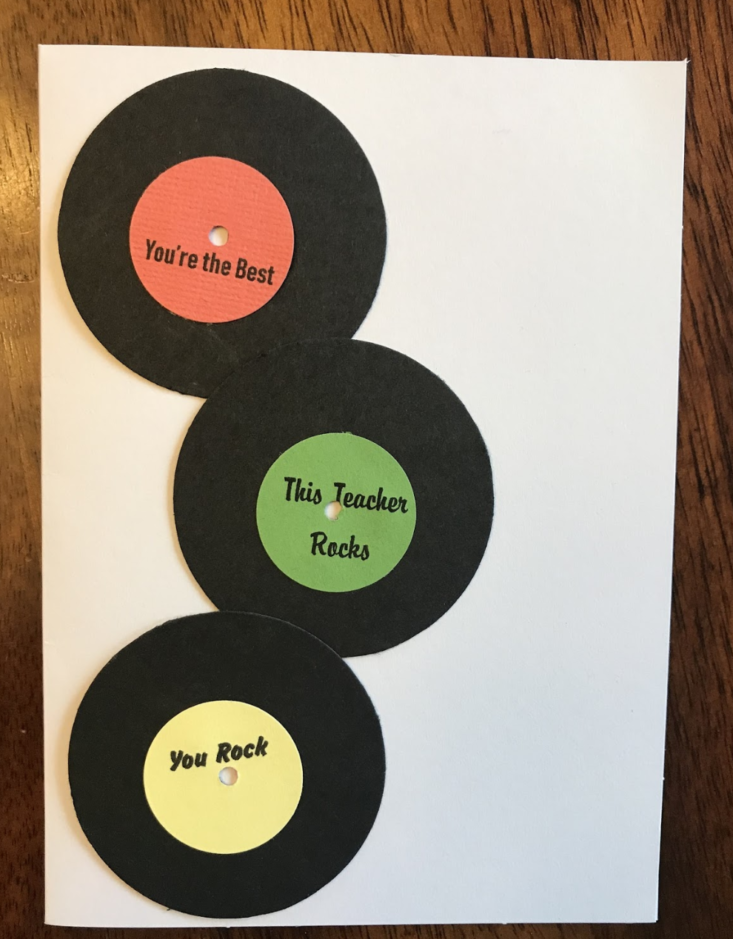
Next, you glue the large records onto the card wherever you would like. I followed the instructions, and used 3, but there are extras in case you want to add more.
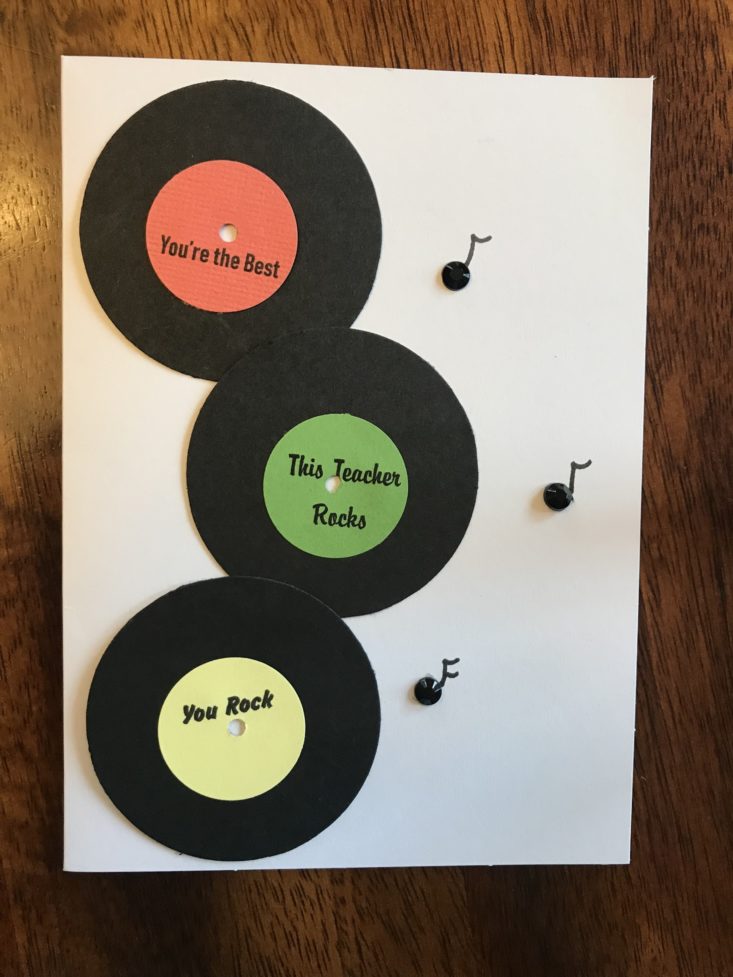
They also included pretty black gems to use as the music notes. I found it was easier to add the music note decor and then add the circles, but you could add it after adhering the gems as well.
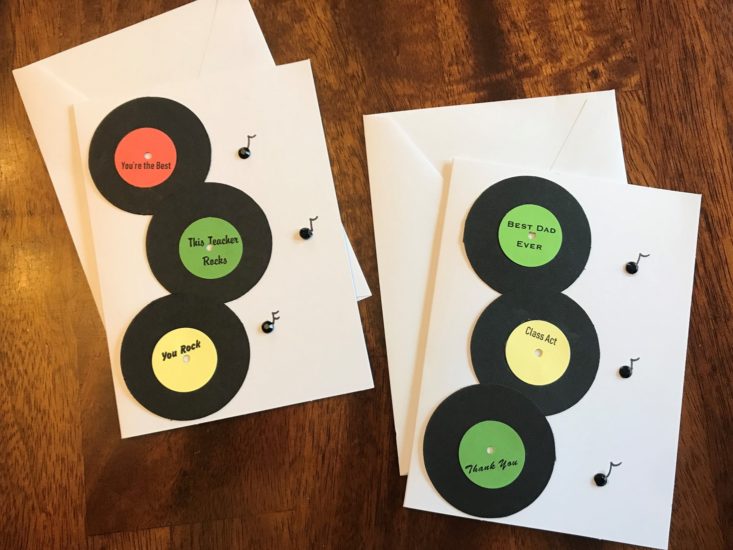
And here are both of the cards finished. Since my son wanted to give one gift to his teacher, we used the teacher phrases for card and saved the dad phrases for a Father’s day card. I think they turned out really cute and very retro!
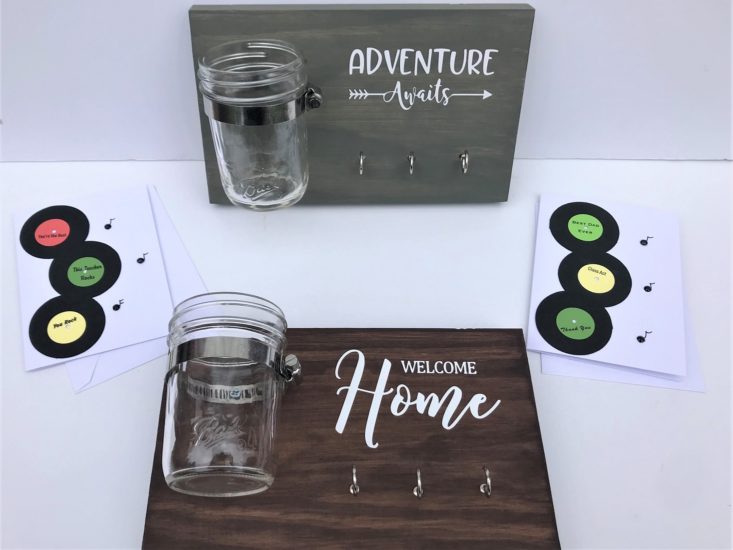
Here are all of this month’s projects completed. I am extremely happy with how they turned out, and how easy they were to assemble! The whole box took me less than an hour to complete, and I have 2 great gifts that I think anyone would enjoy!
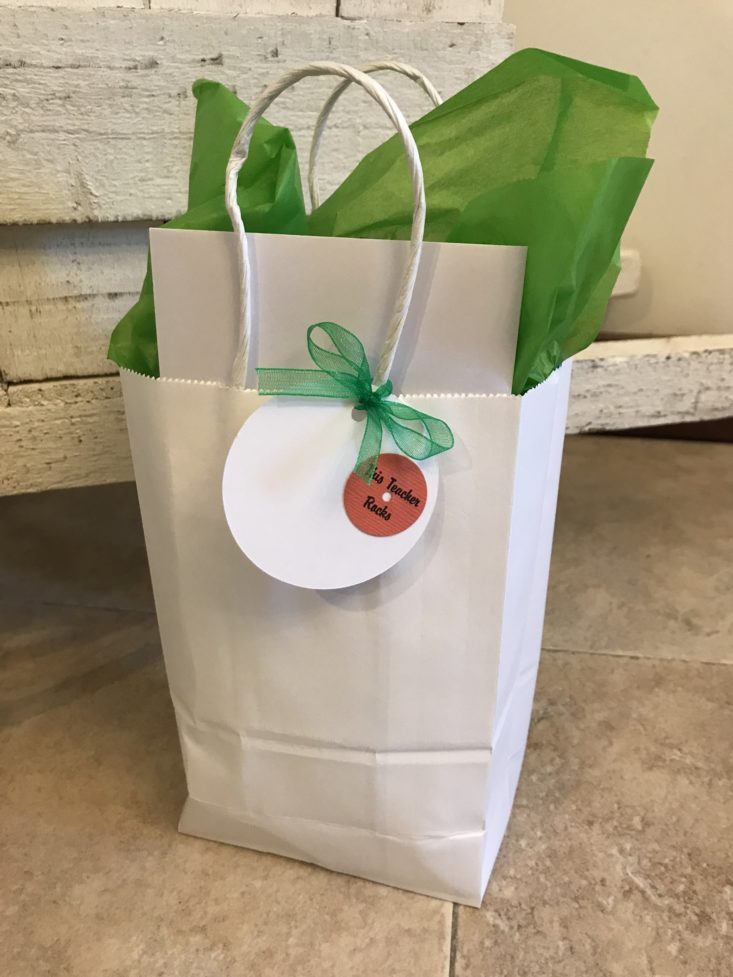
Lastly, we assembled Mrs. A’s gift. I must say, they could have sent a gift bag that was a little bit bigger; I almost ripped it putting the gift in! It was nice that they sent coordinating tissue paper, and ribbon. My son wrote out the card all by himself- I can’t wait for him to give it to her!
Verdict: This month of Confetti Grace was a lot of fun, even though I didn’t have any company to help. These gifts turned out really professional looking, and I feel proud giving them away. Like I said above, it took me less than an hour to complete all 4 projects including drying time. Everything seems so high quality with this box, and they curate it so beautifully. Every month they amaze me! Hank is giving one to his teacher, but I think I’m going to keep the other one for myself- I just love it so much! Next time Hank said he will skip “man time” to help me with the projects (especially because he missed out on using the screwdriver and hammer,) so I can’t see what comes next month!
Confetti Grace costs $28.95 a month, so each gift package averages out to about $14.48. Honestly, I feel this is a good value because the finished projects come out extremely professional looking, and are something I would love to receive! Plus it includes the works: bag, tissue paper, gift tag, gift, and card. You really can’t beat that! And when you have someone to create with, it adds that quality time as well! I love Confetti Grace!
To Wrap Up:
Can you still get this box if you sign up today? You will receive the June box. If you must subscribe before 6/8 your subscription will begin with the May project. Orders that are placed after 6/8 will receive the June subscription box as their first shipment.
Check out all of our Confetti Grace reviews and our top craft box subscriptions as voted on by our readers!
Keep Track of Your Subscriptions: Add this box to your subscription list or wishlist!
What do you think of this month’s Confetti Grace? Who did you share your project with? Tell us in the comments.


Please do not enter your email address in the Name field or in the comment content. Your email address will not be published. Required fields are marked *. Remember to post with kindness and respect. Comments with offensive language, cruelness to others, etc will not be approved. See our full comment policy here.