
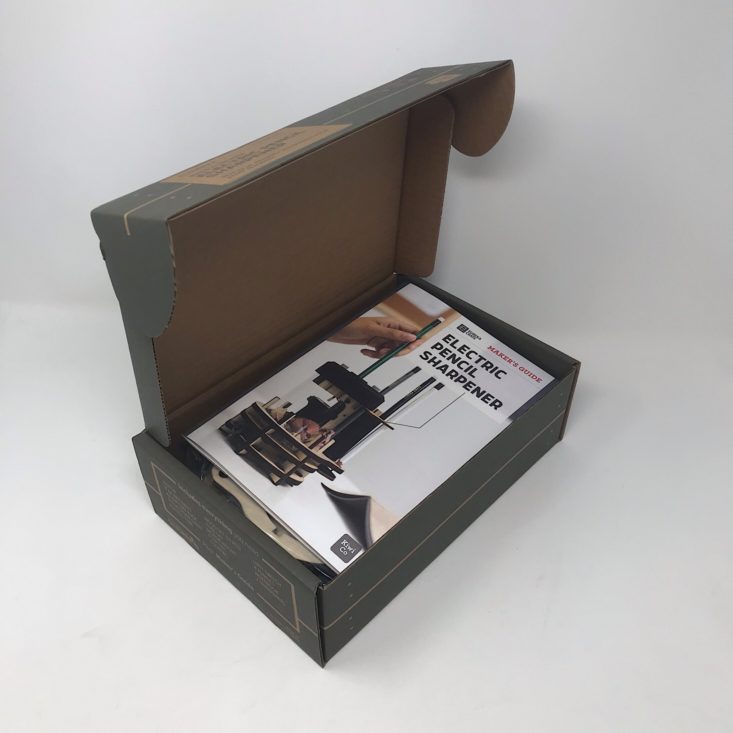
Eureka Crate (from parent company KiwiCo) is a subscription box for teens and adults ages 14-104. It arrives every month with all the materials and instructions needed to create a functional, lasting object with a focus on engineering. The goal of these projects is to use science and math to solve real-world problems while inspiring them to become creative innovators.
KiwiCo offers boxes for different age groups: Tadpole Crate for 0-36-month-olds, Koala Crate for 3-4-year-olds, Kiwi Crate for 5-8-year-olds, Atlas Crate for 6-11-year-olds, Doodle Crate and Tinker Crate for 9-16+-year-olds, and Eureka Crate for ages 14 and up. There really is something for every age with this company.
This review is of the $29.95 a month Eureka Crate, for 14-year-olds and up.
This box was sent to us at no cost for review. (Check out the review process post to learn more about how we review boxes).
About Eureka Crate
The Subscription Box: Eureka Crate
The Cost: $29.95 per month + free shipping
The Products: Detailed instructions and all of the high-quality materials needed to create a unique, lasting and functional engineering project as well as a Maker's Guide that explains the science and technology behind it.
Ships to: U.S. for free, Canada for $6.95 per month
KiwiCo Eureka Crate "Electric Pencil Sharpener" Review
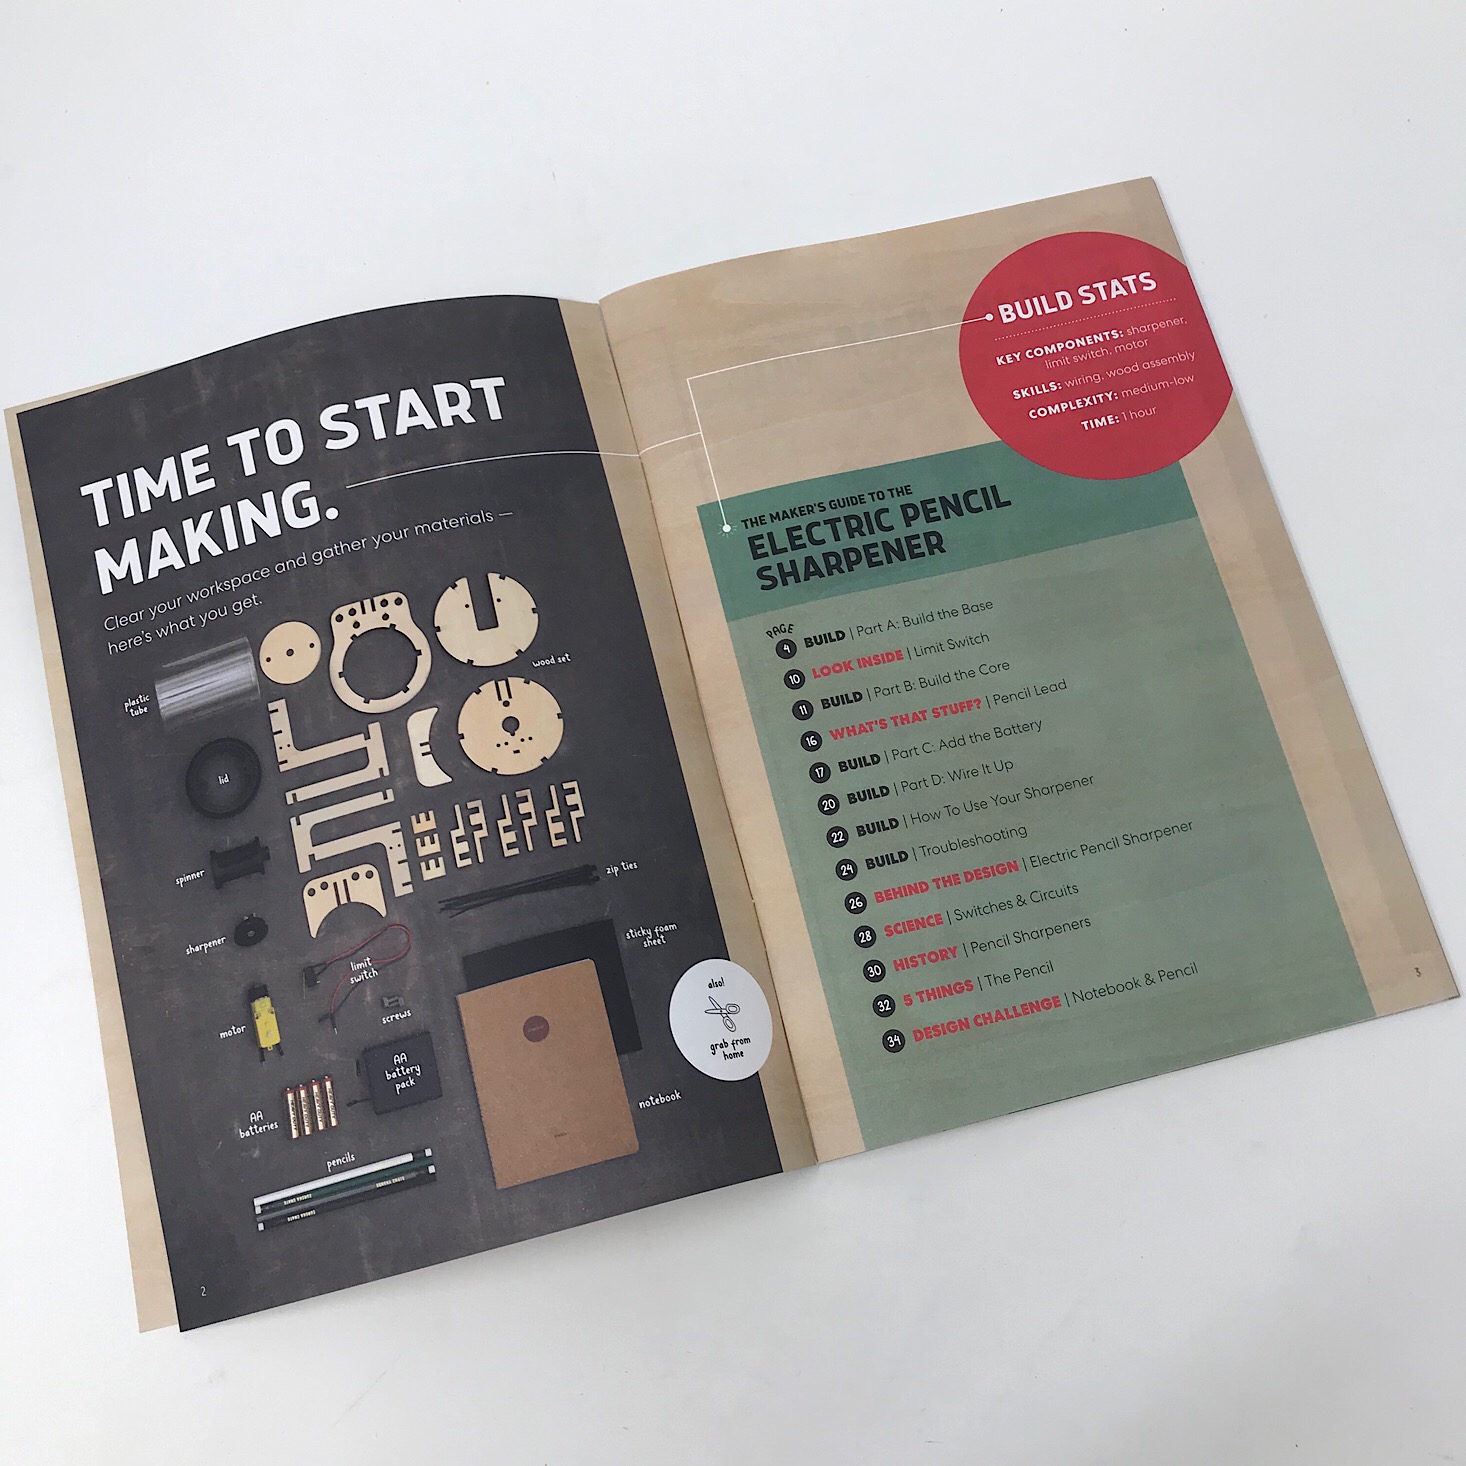
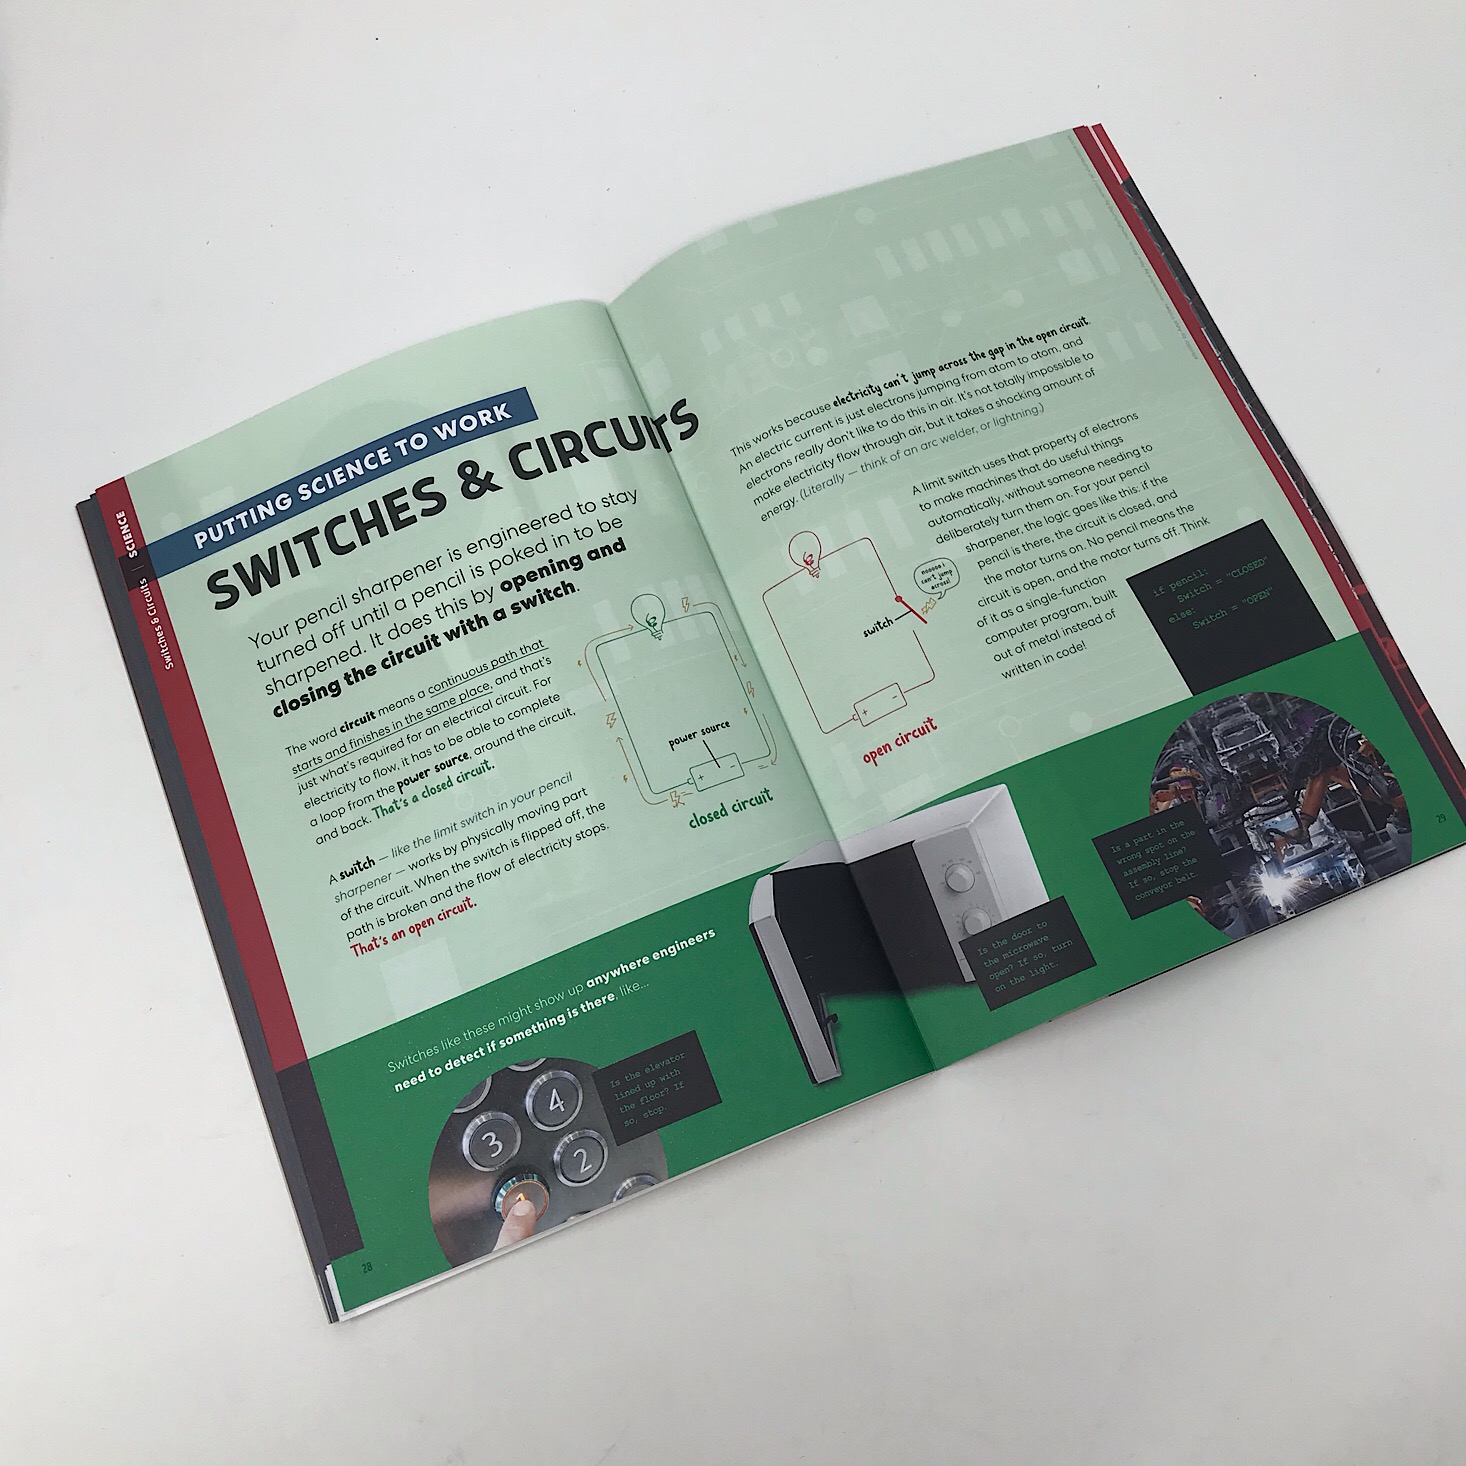
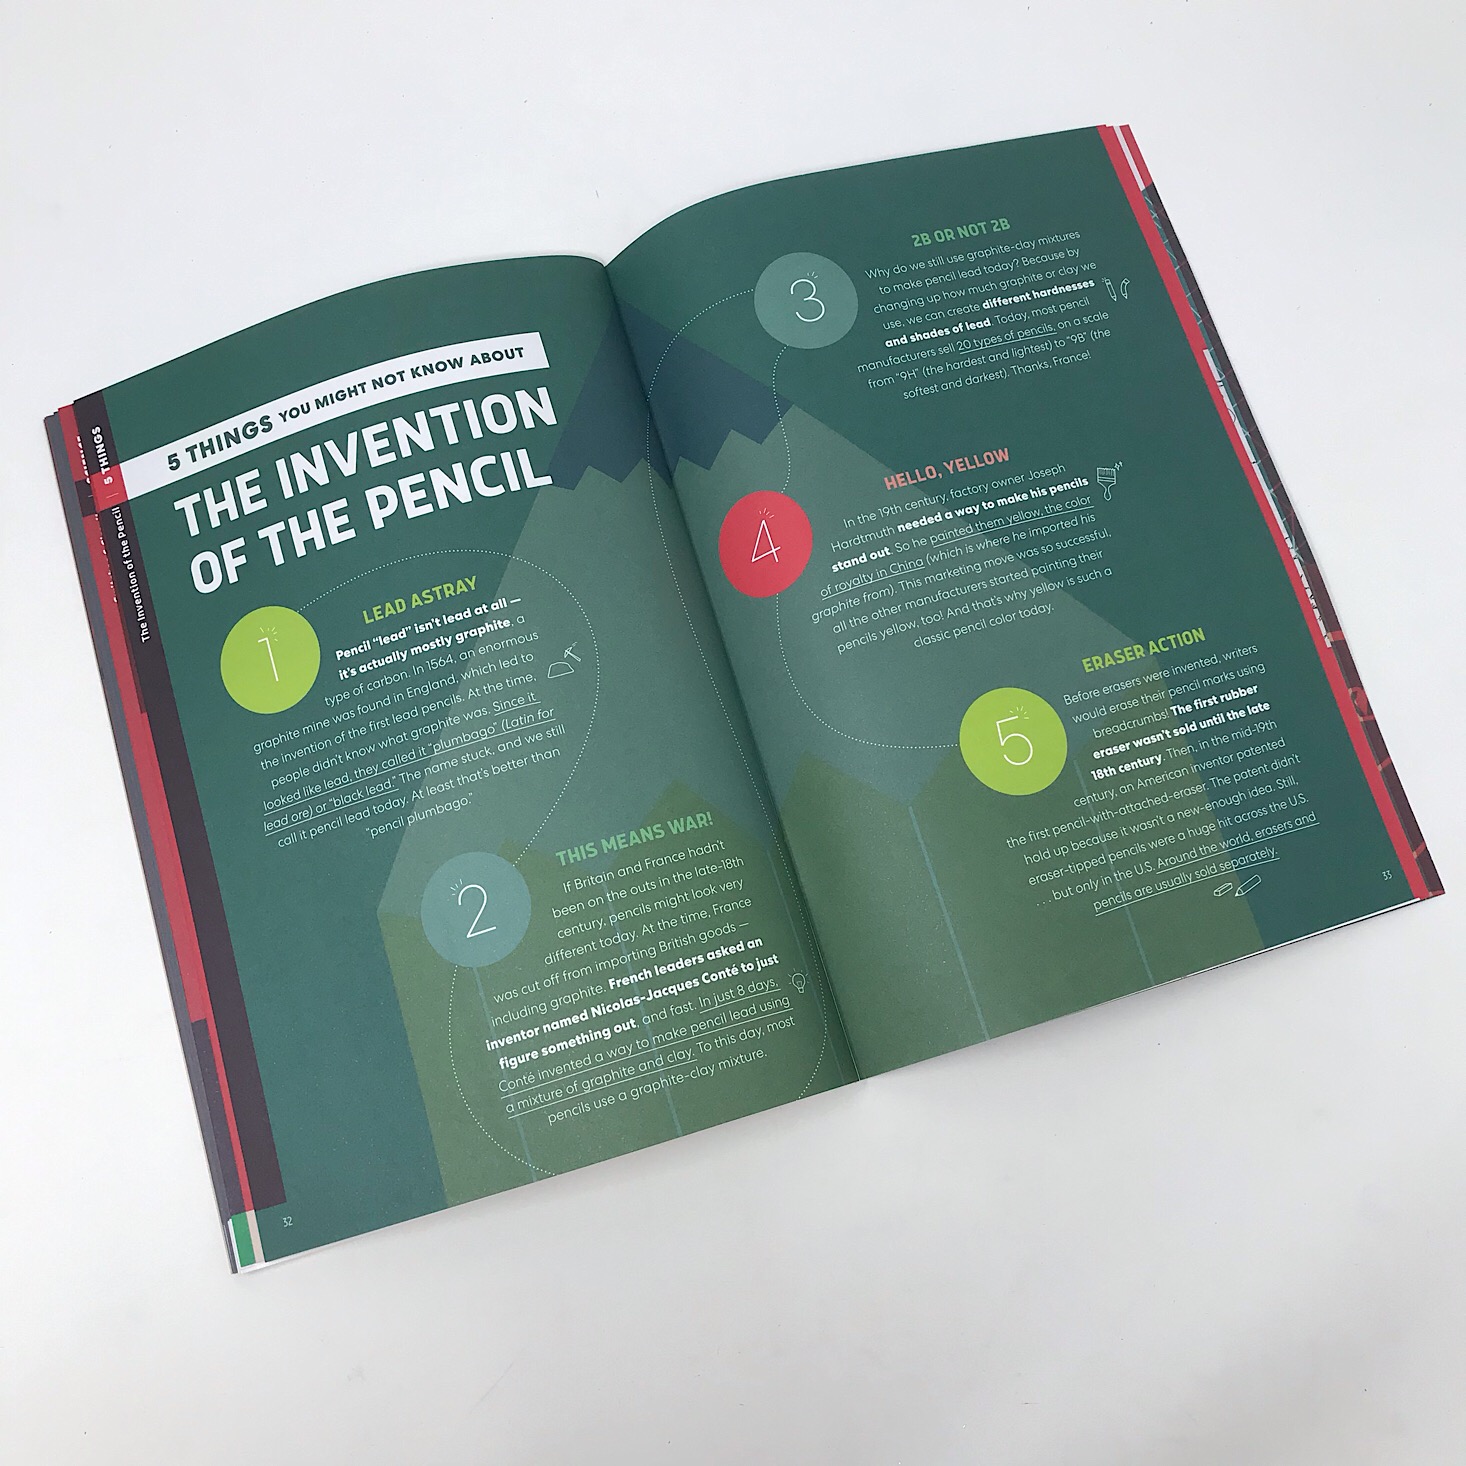
The project for this month is to make our own Electric Pencil Sharpener. We received this Maker's Guide which is full of helpful information related to our project along with the directions. My favorite section is the "Behind the Design" page where they go into detail about their own process in creating this month's project!
Our directions are separated into various sections which makes it so much easier since it breaks it down into smaller, more manageable tasks. The instructions are always clear and easy to follow with detailed, colorful pictures to reference. They even include information on troubleshooting, which can be very helpful!
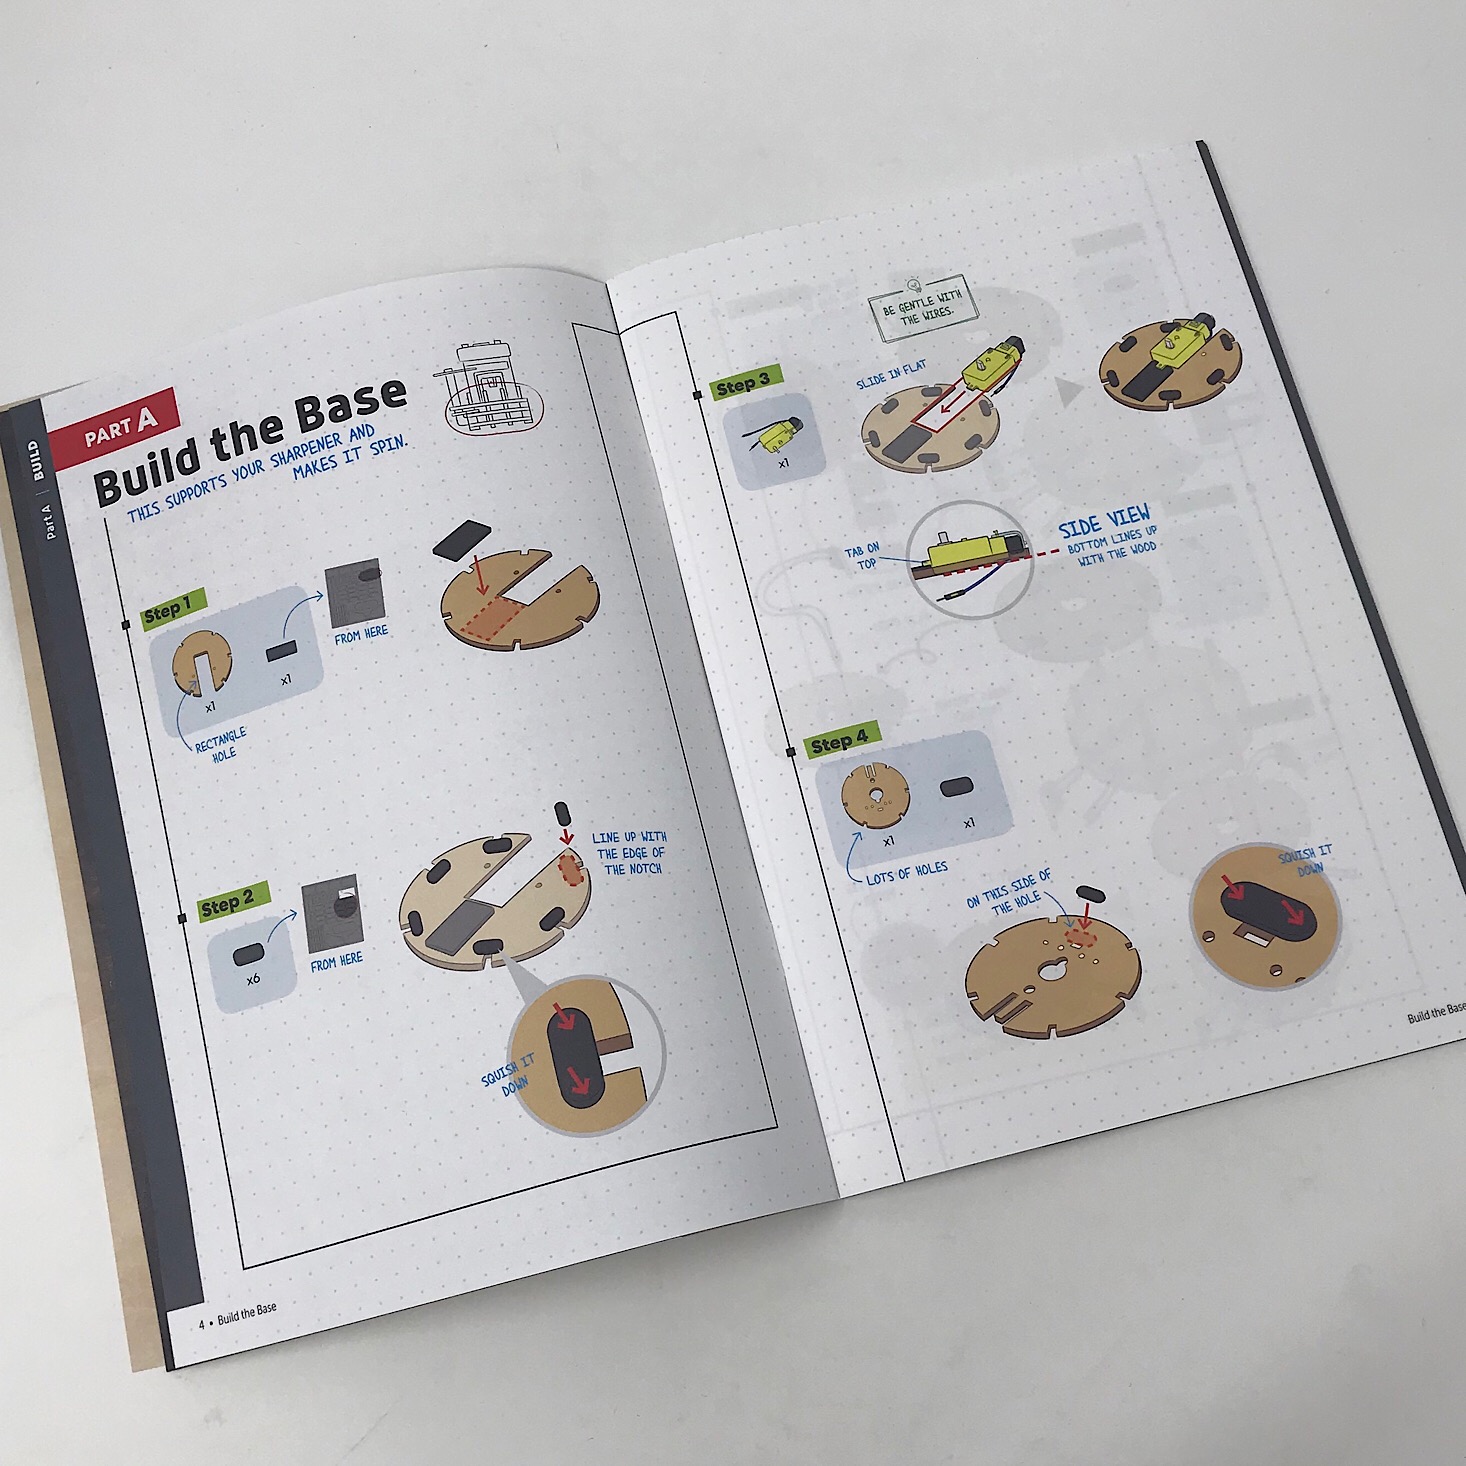
Part A: Build the Base
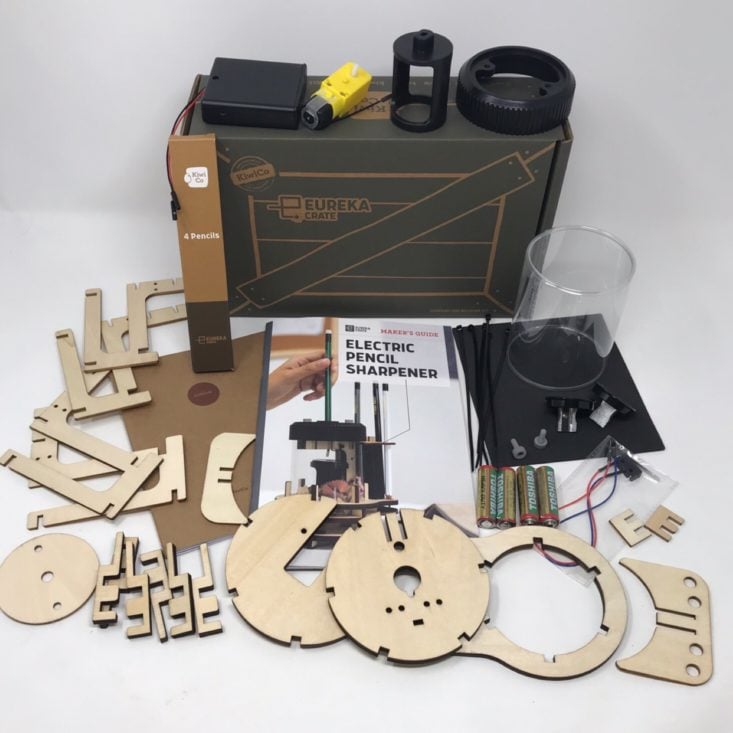
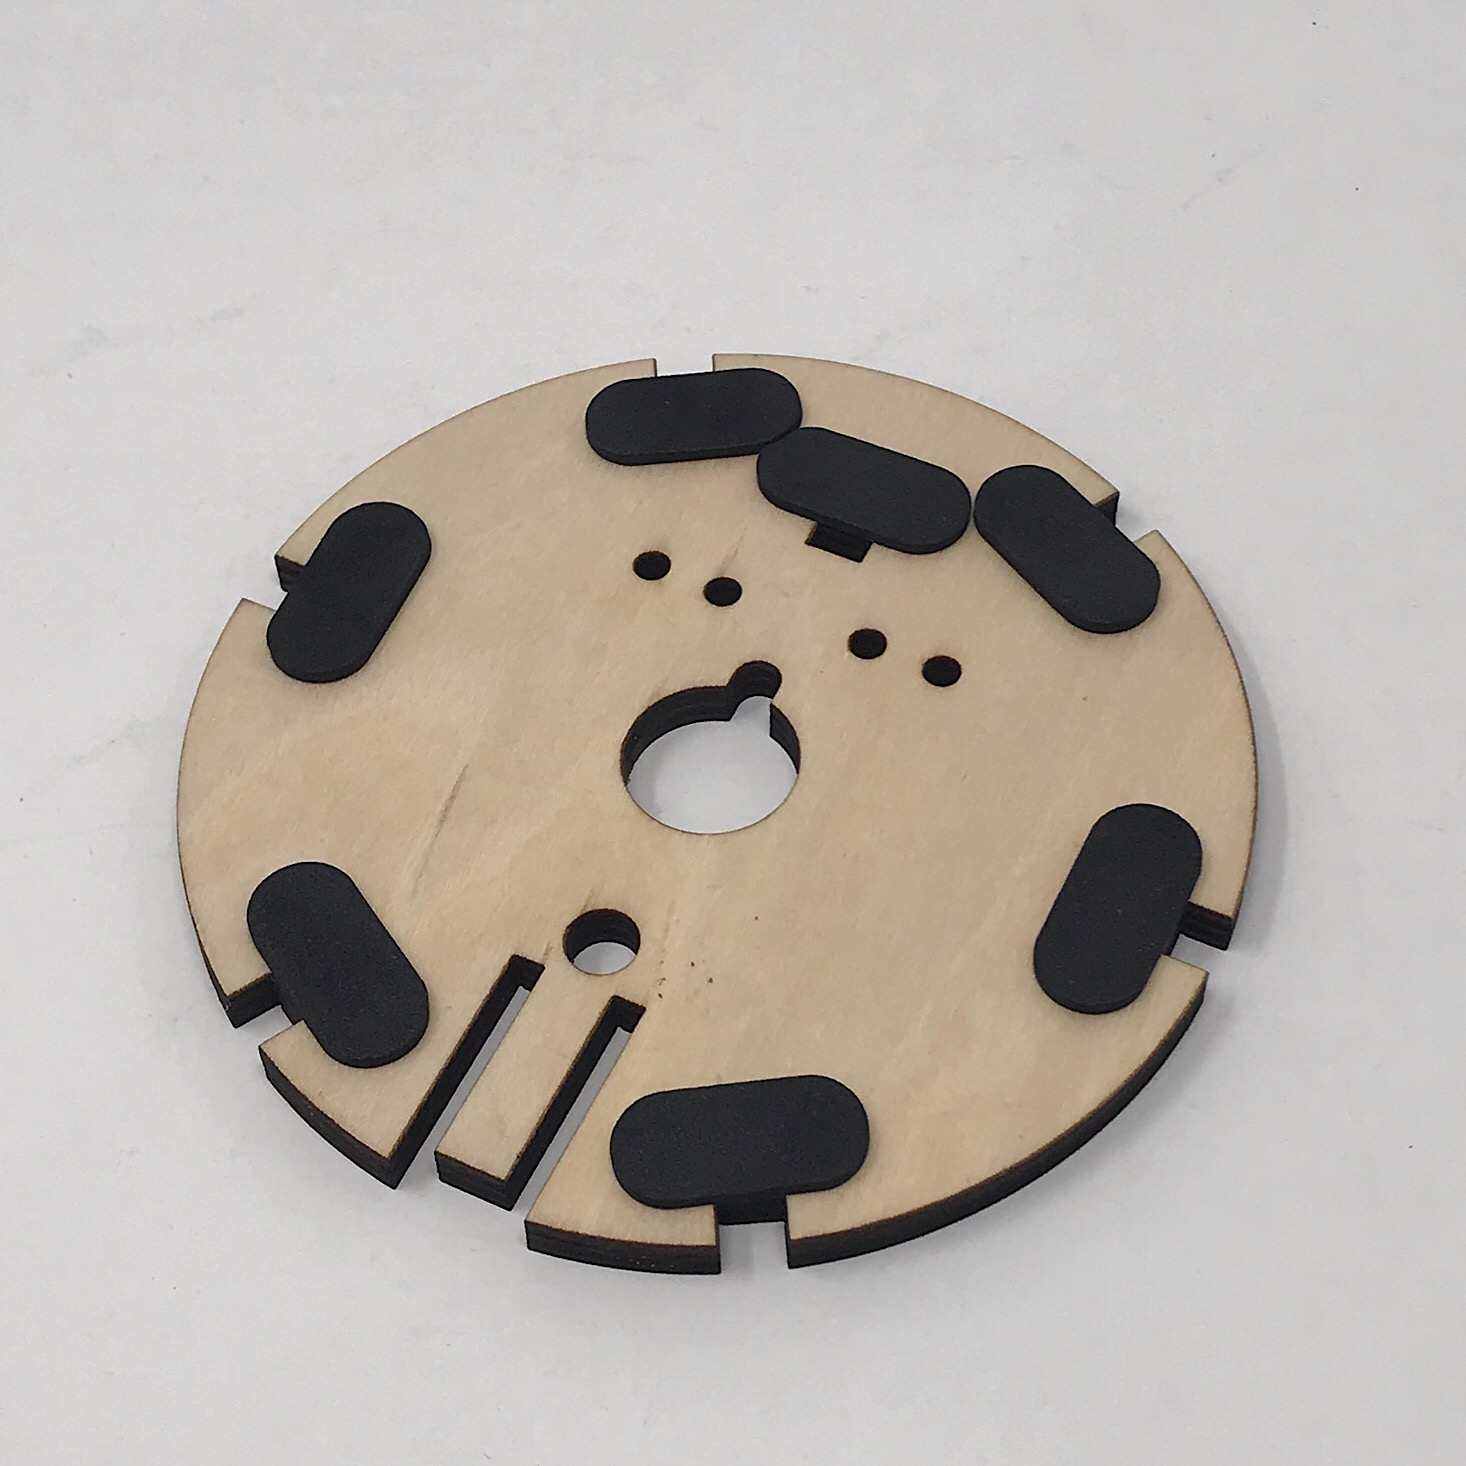
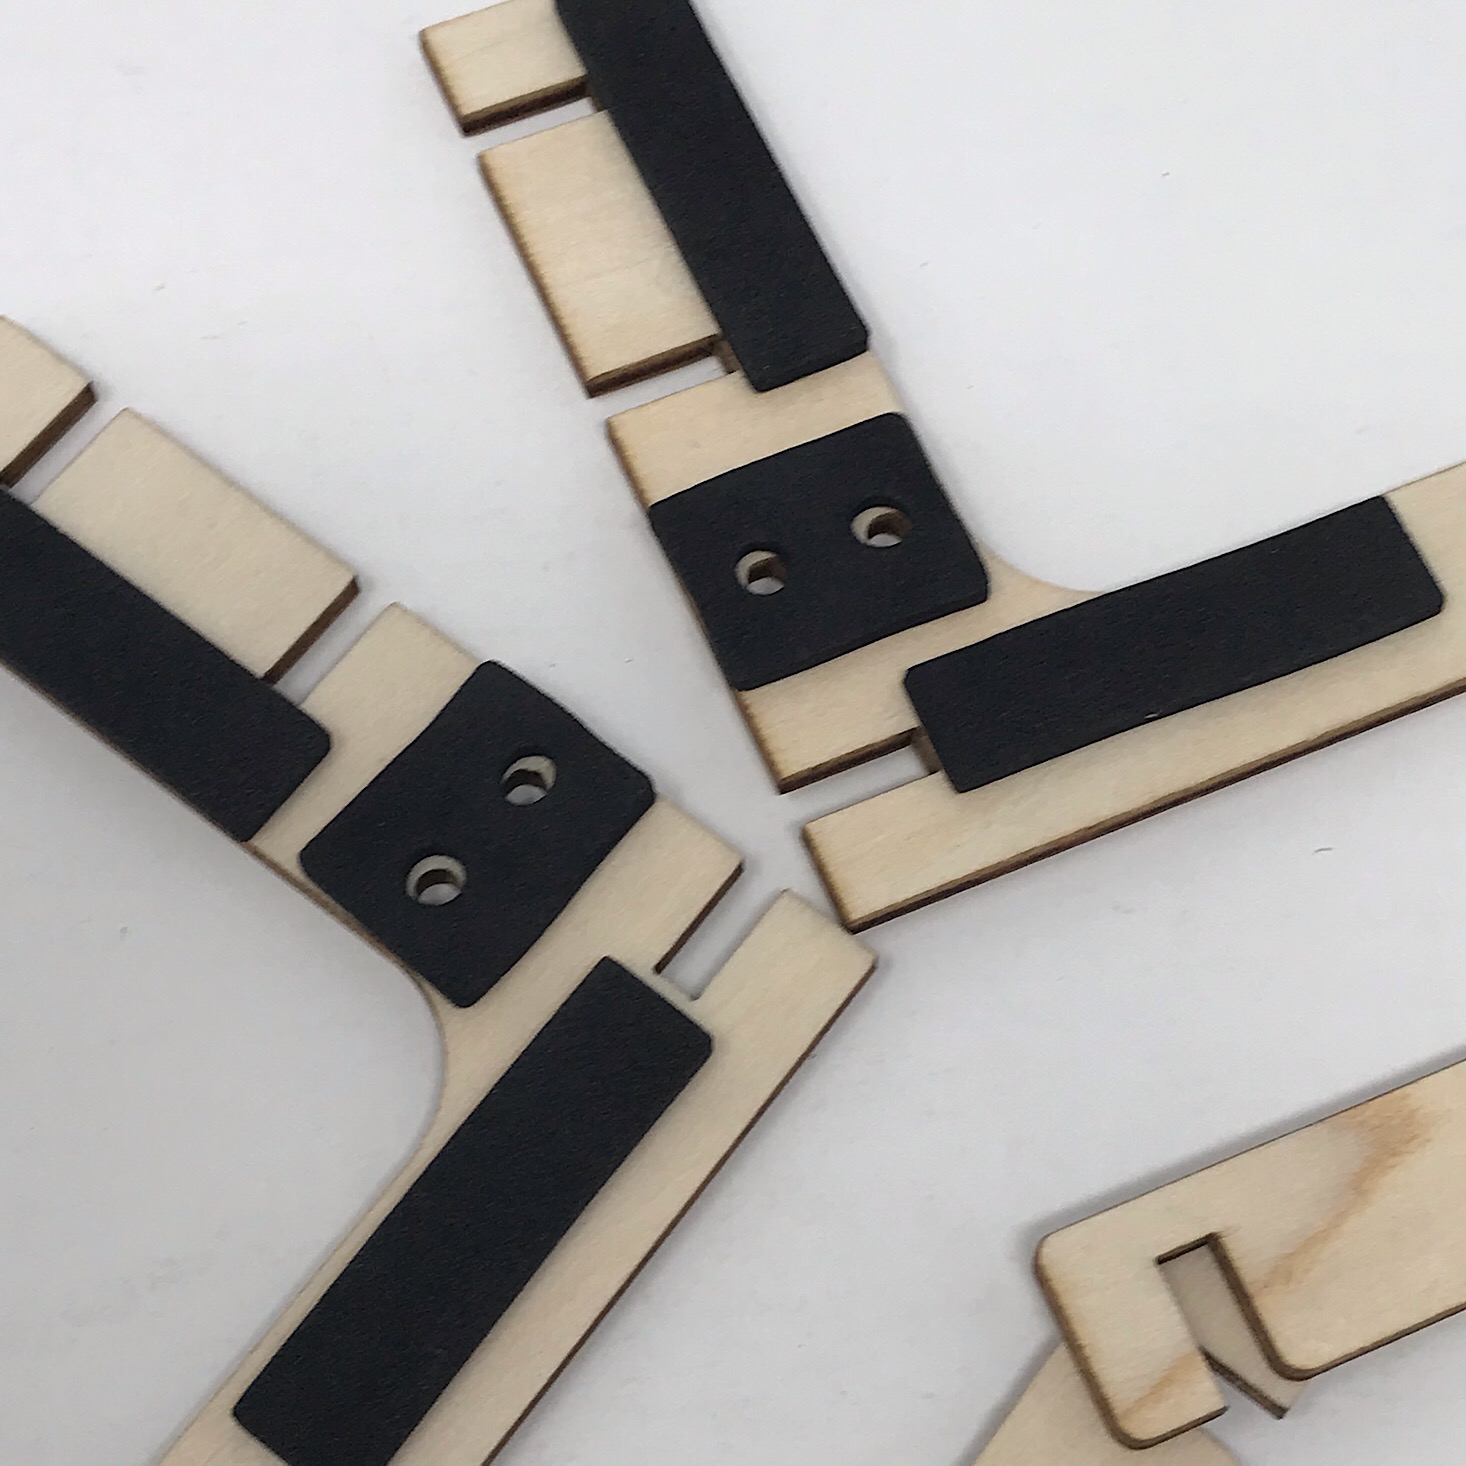
The first part of this month's project was to build the base. They provided several sturdy wood pieces that are already notched out making everything fit together easily. They also provided these black foam adhesive pieces for us to use to make it smooth when sliding the pieces together and to ensure a snug fit. Our first few steps were preparing these wooden circles by adding the foam stickers underneath the notches in our circles.
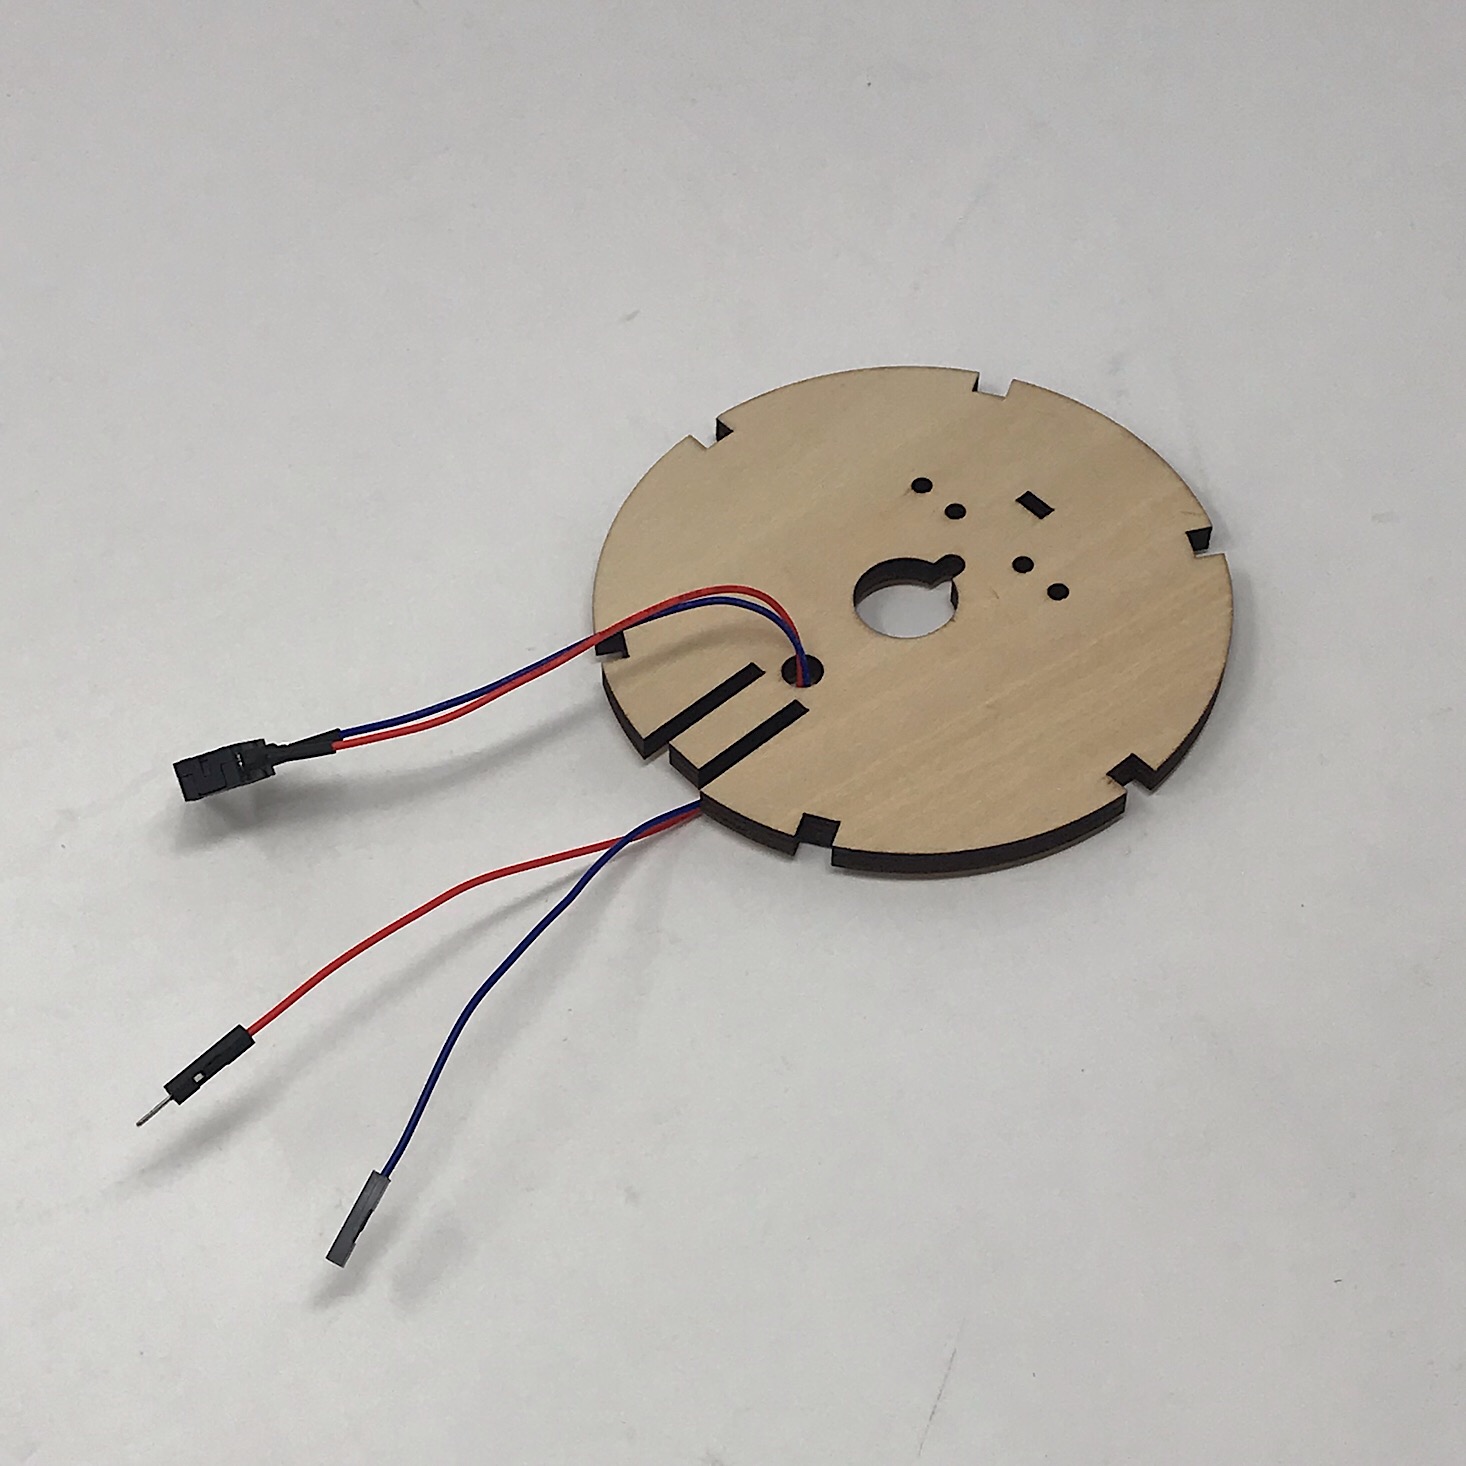
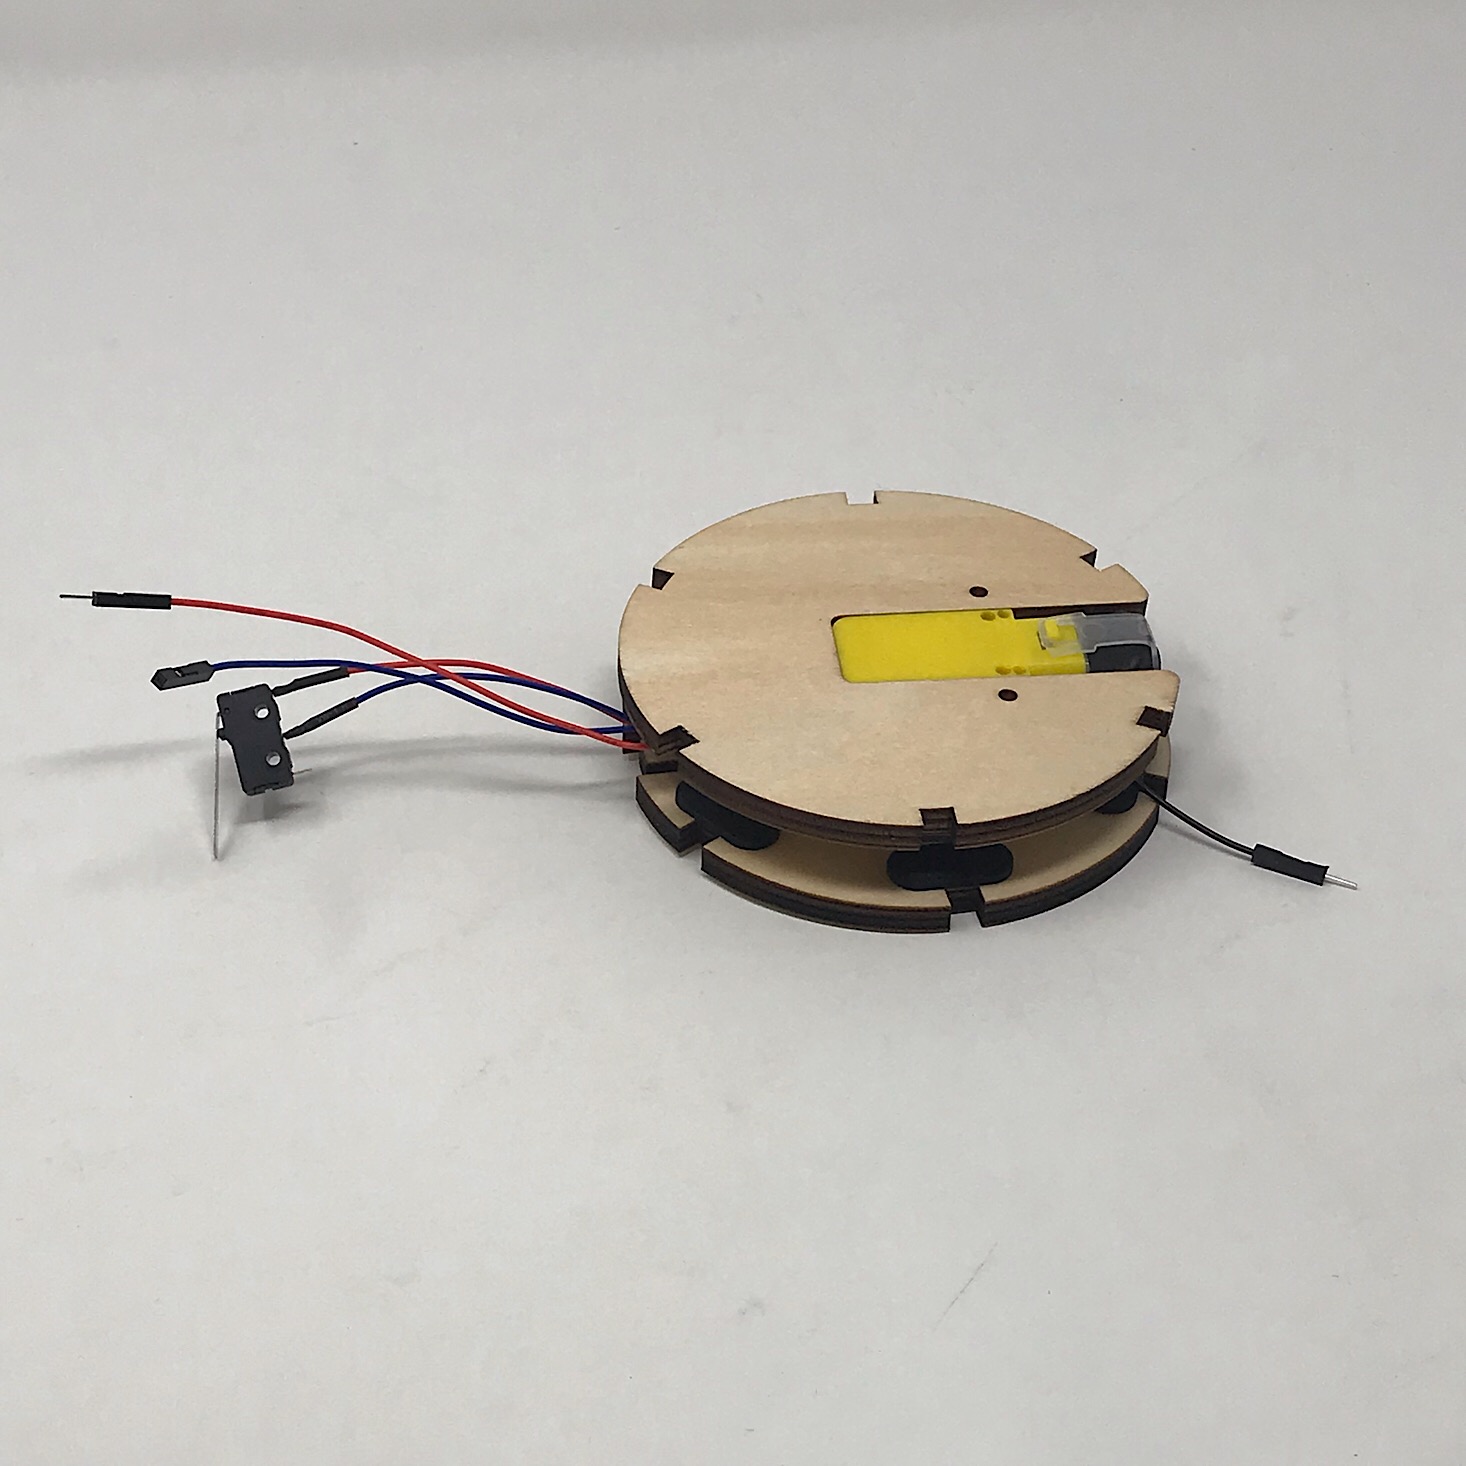
Next, I added these wires to one of the circles by threading it through the hole.
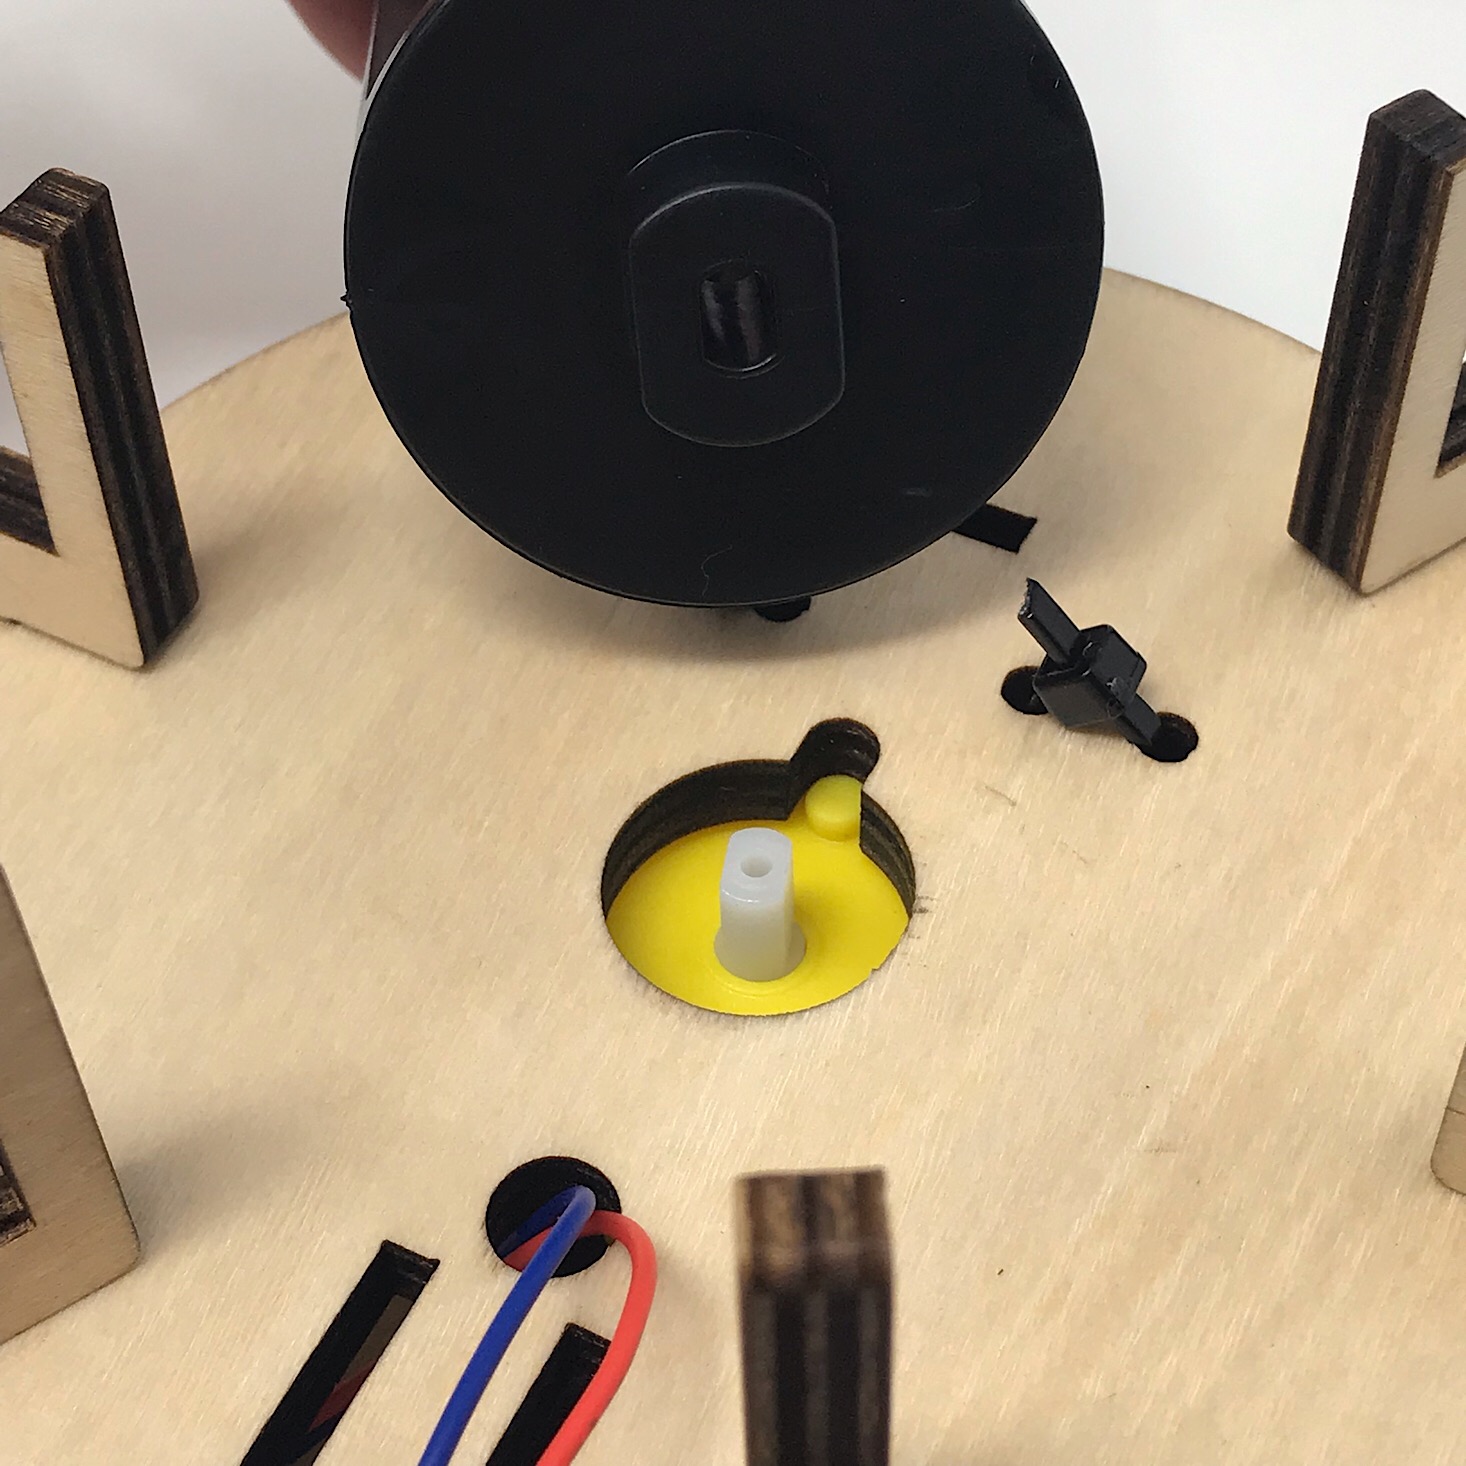
They provided this yellow motor with two wires on one end which I slid into the perfectly sized rectangle on one of our circles. Then I placed them on top of one another to prepare for the next part.
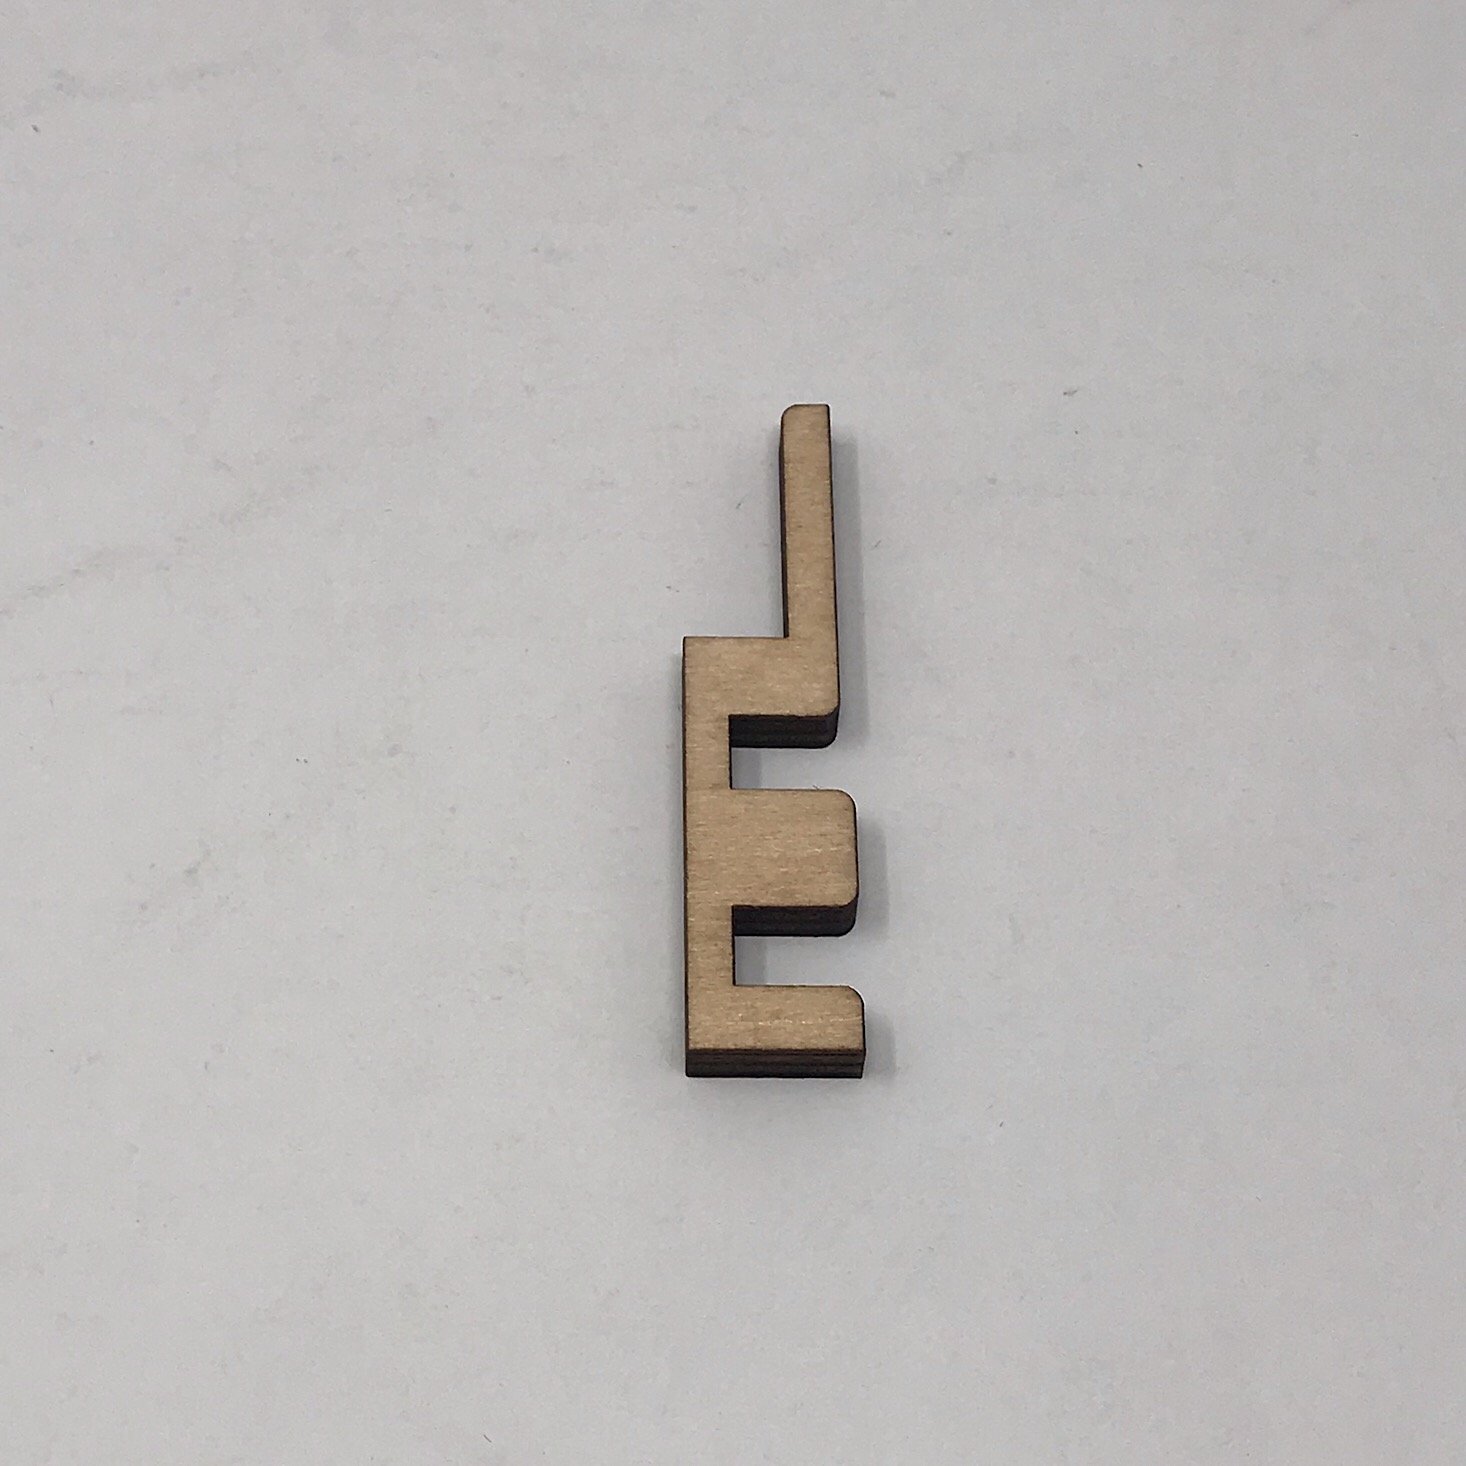
They provided six of these little wooden pieces which I prepared by adding a thin foam sticker to the bottom of before sliding it into the notches around the edges of our circle. I continued this step until each notch was filled and the base was secure.
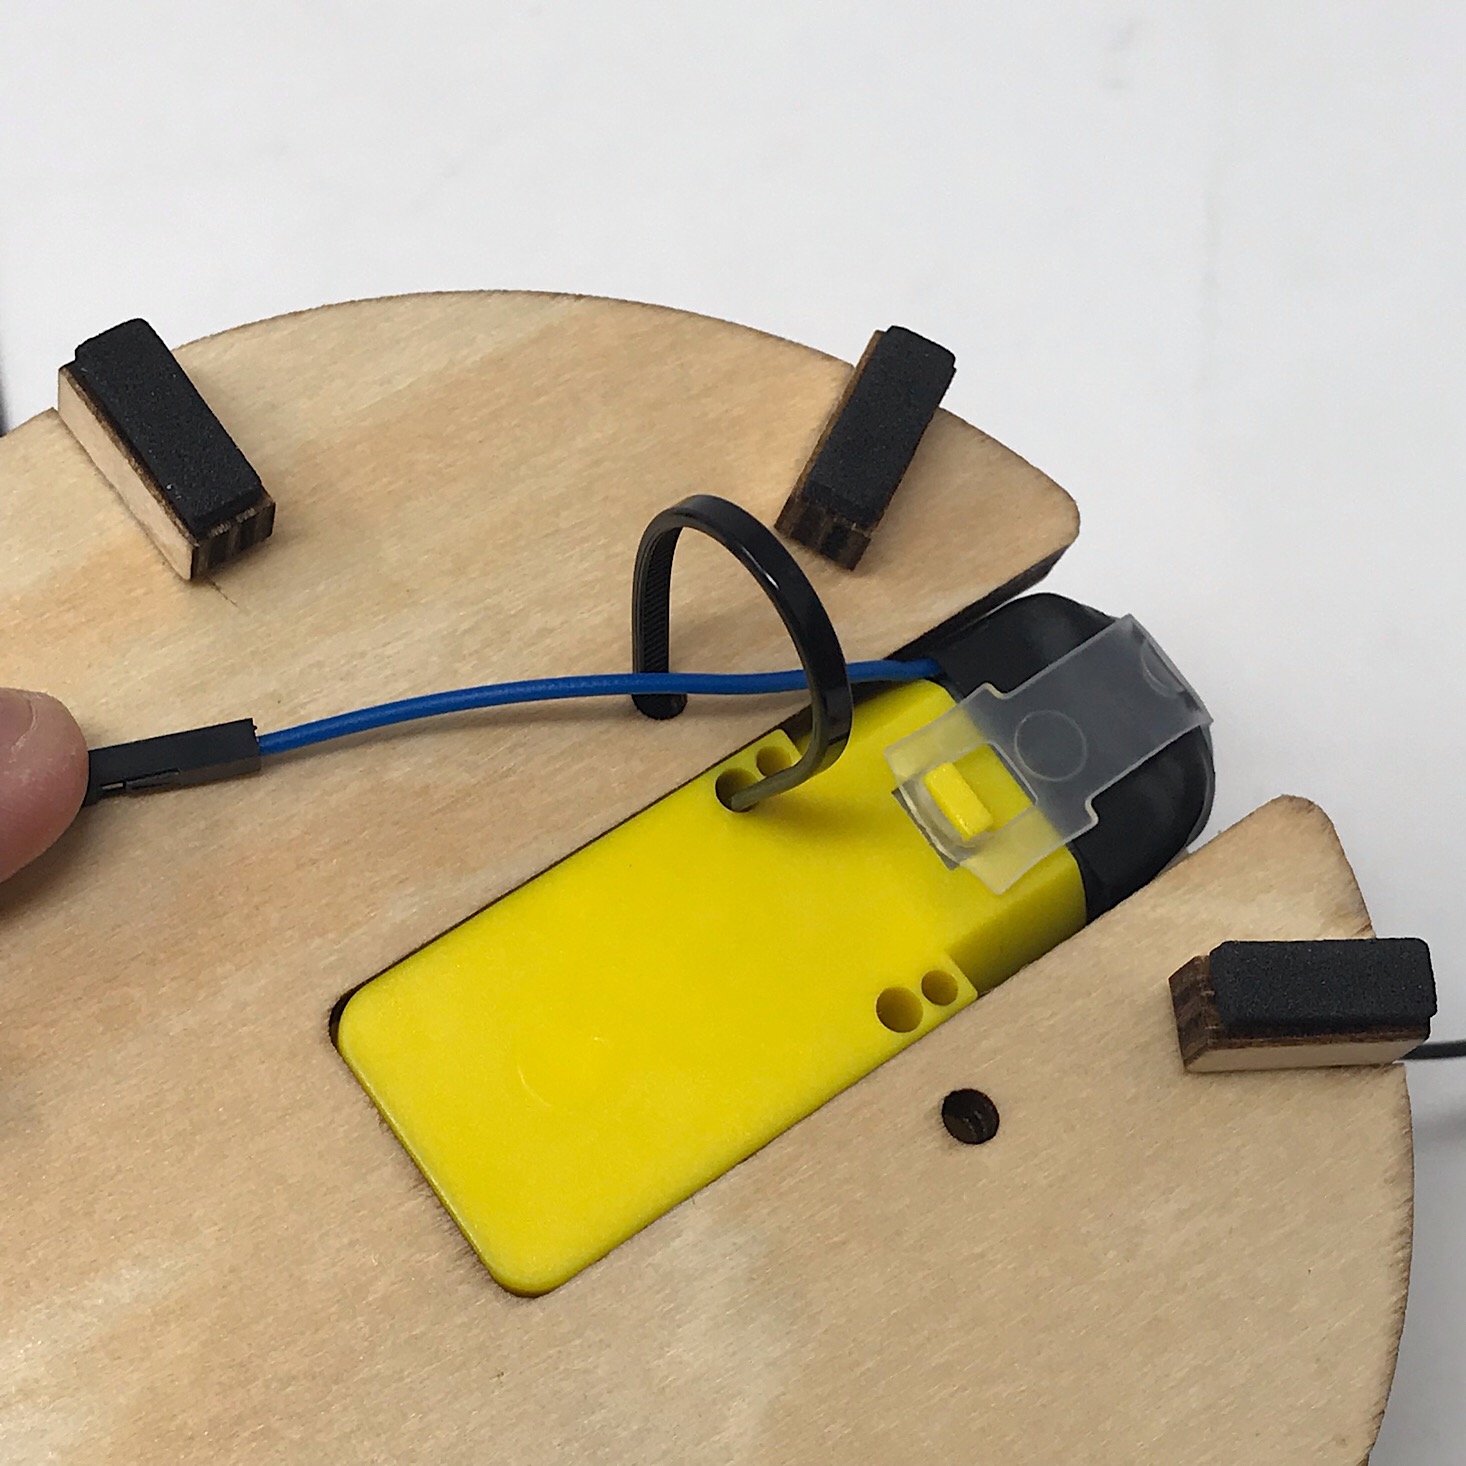
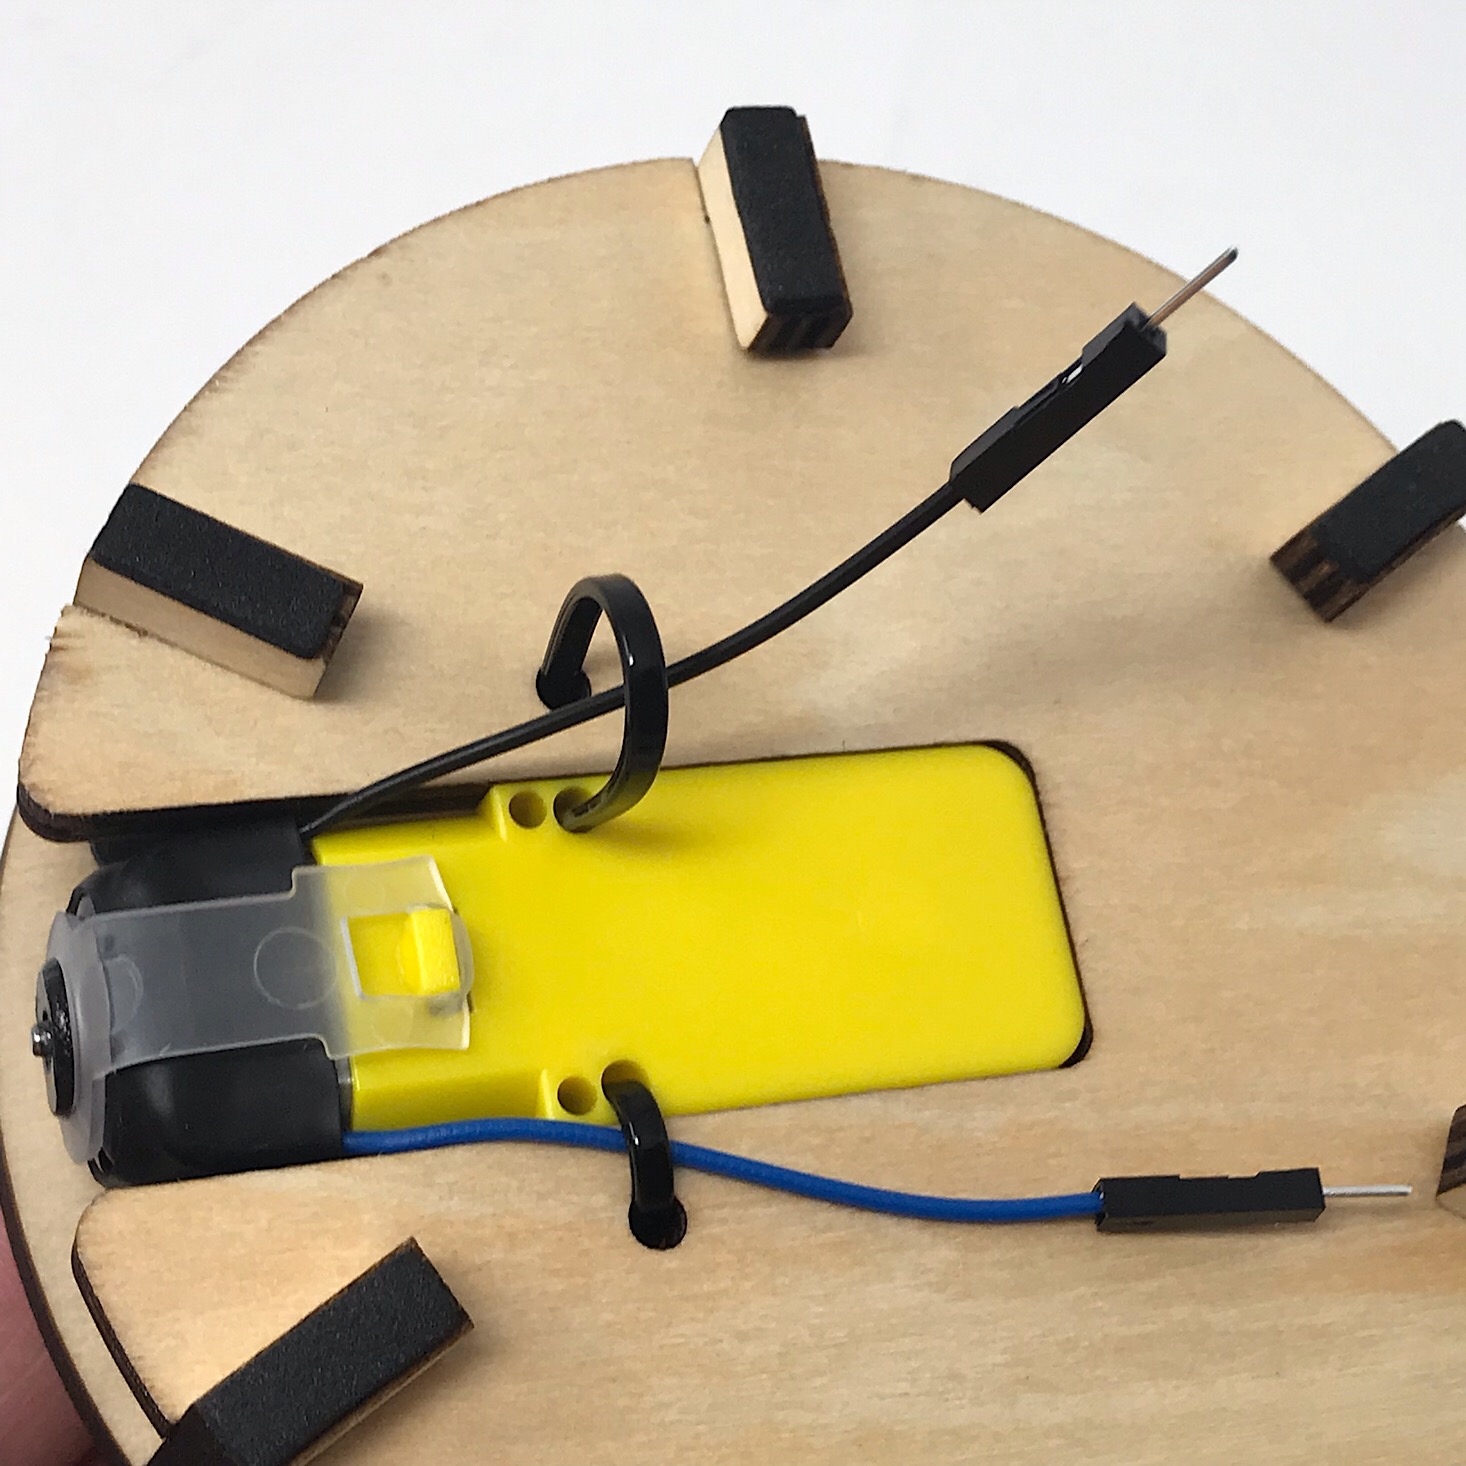
Next, I used two of the zip ties they gave us to thread through the holes in the motor and our circles to secure the two wires attached to the motor onto the bottom of our base. Once I tightened them, I trimmed the edges with scissors from home.
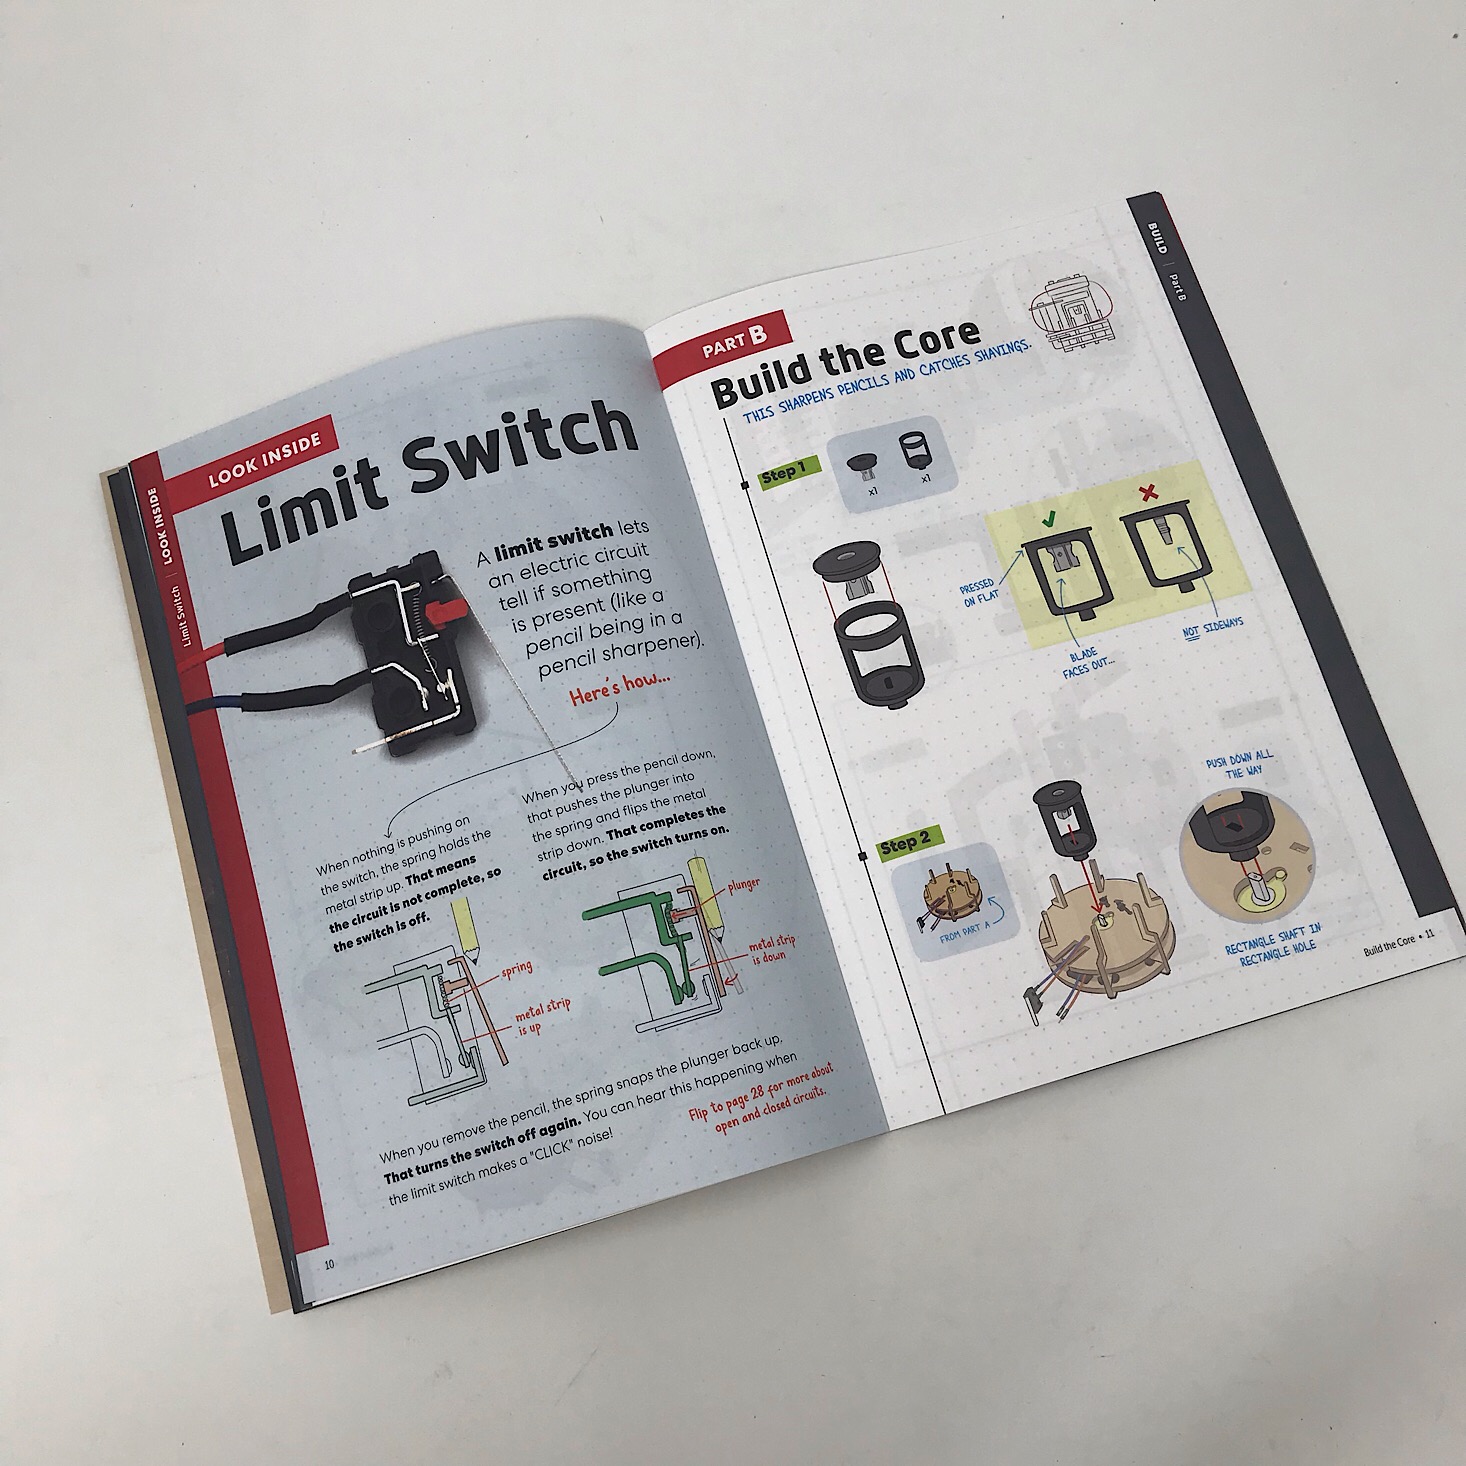
Part B: Build the Core
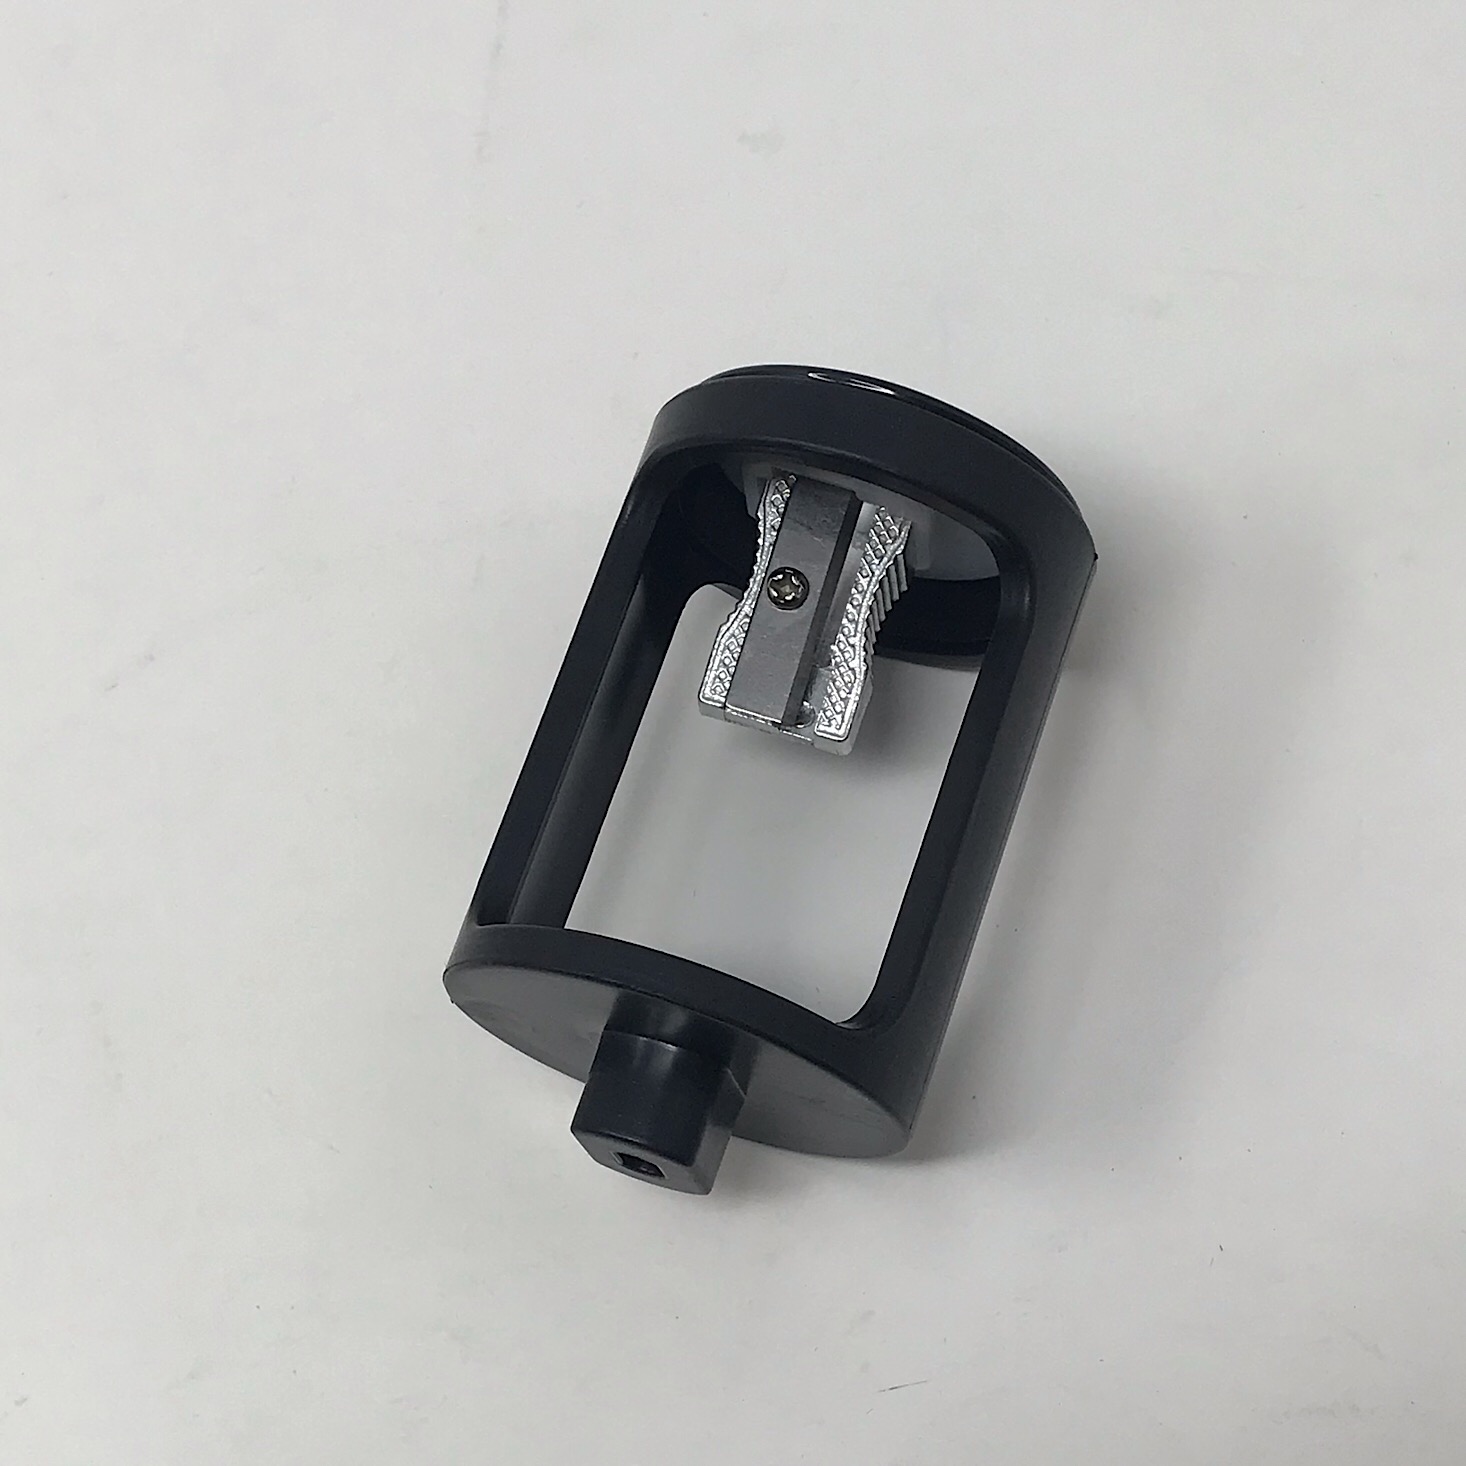
The next part of our project was to build the core. They provided this plastic piece and two sharpener pieces for us. I simply popped the sharpener into the plastic piece and then popped the entire thing into the wooden base we had built.
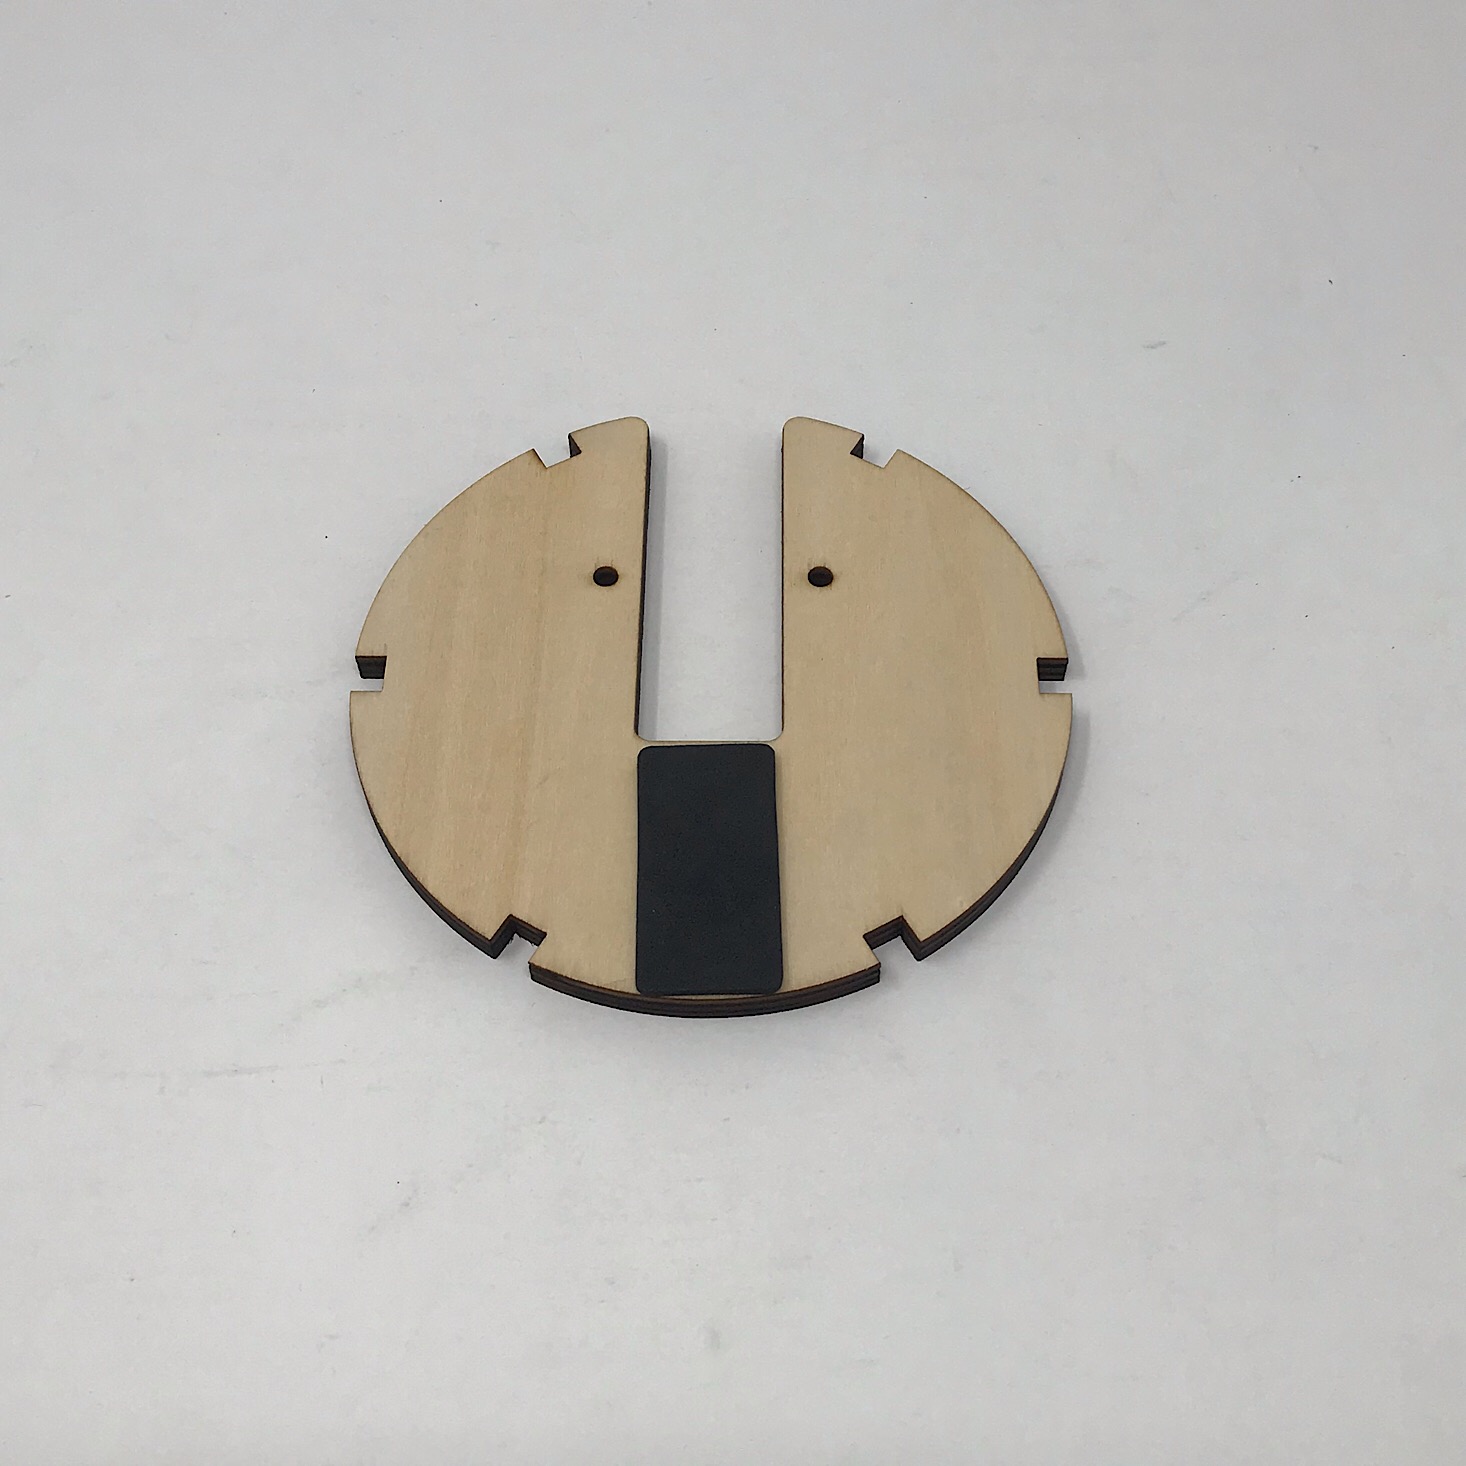
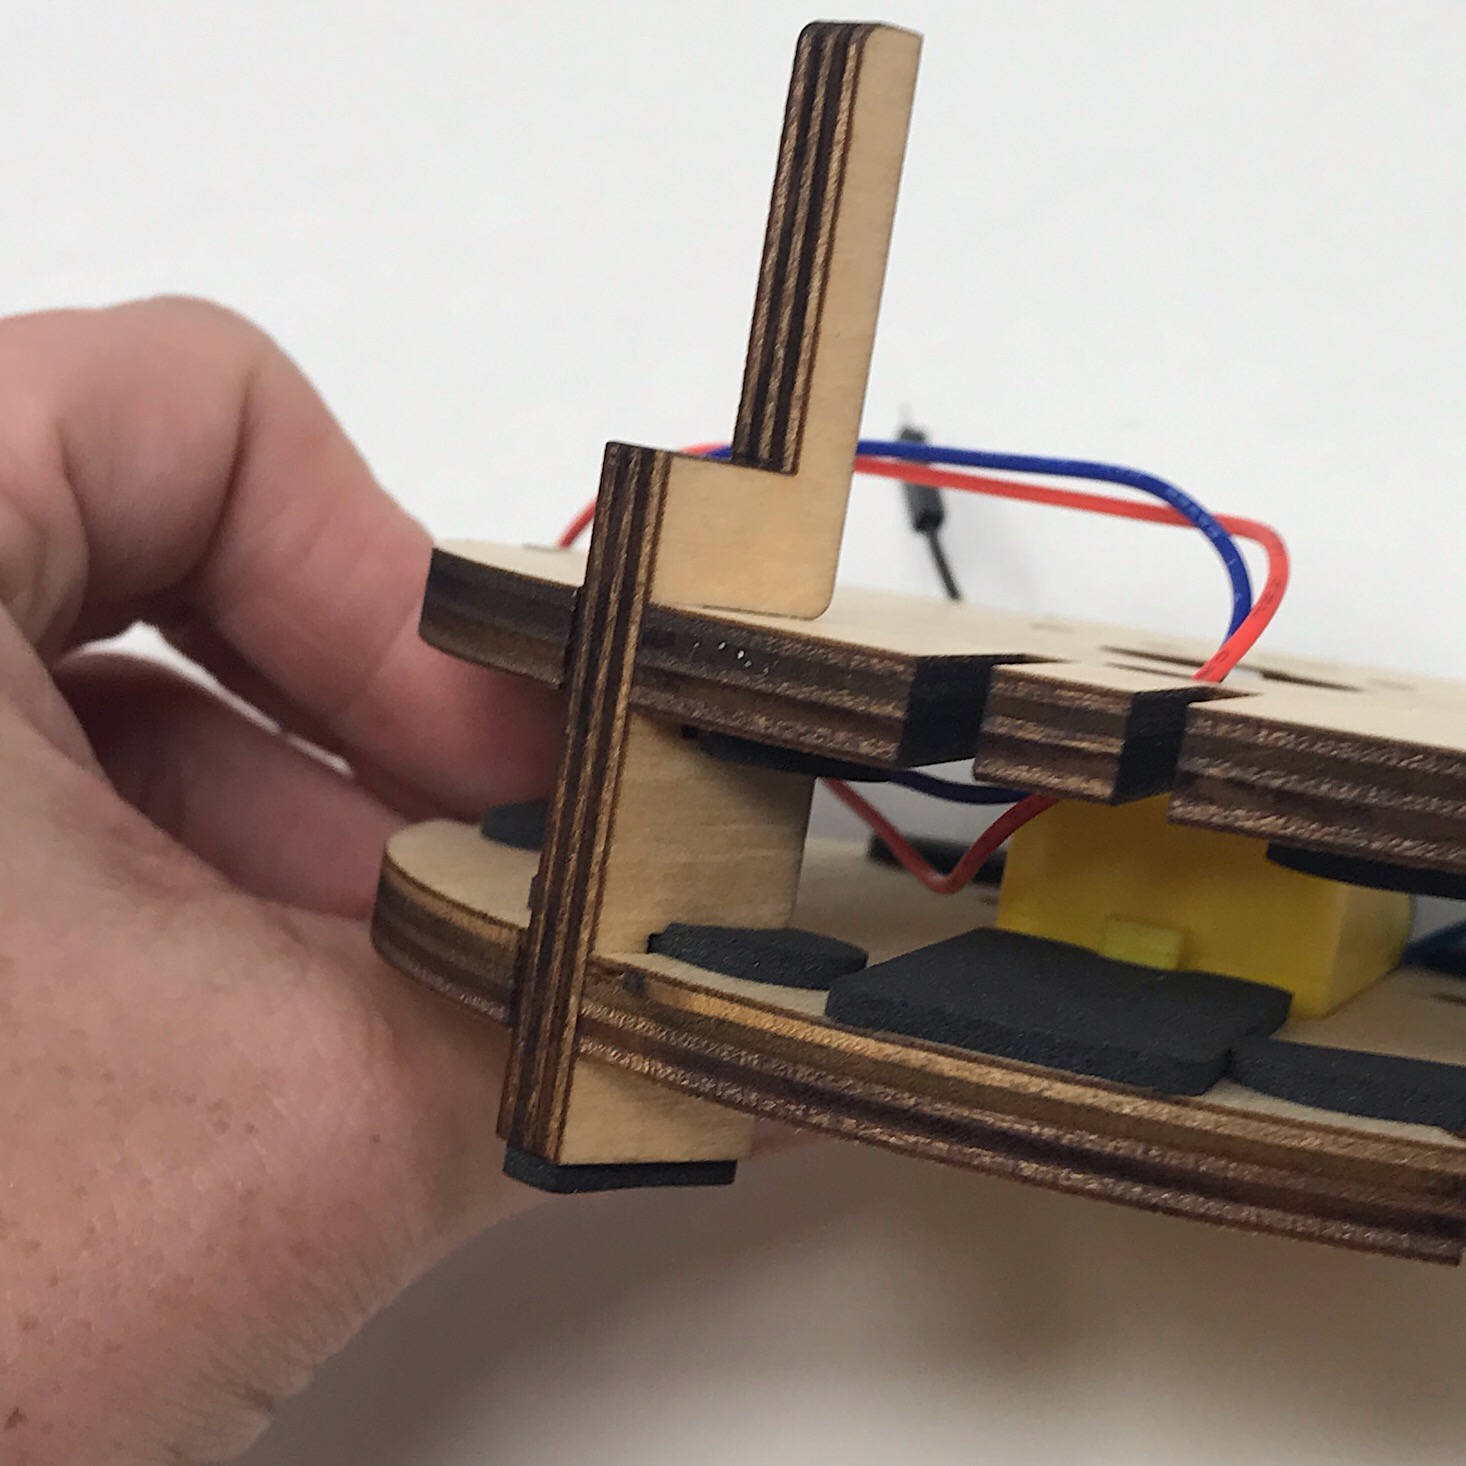
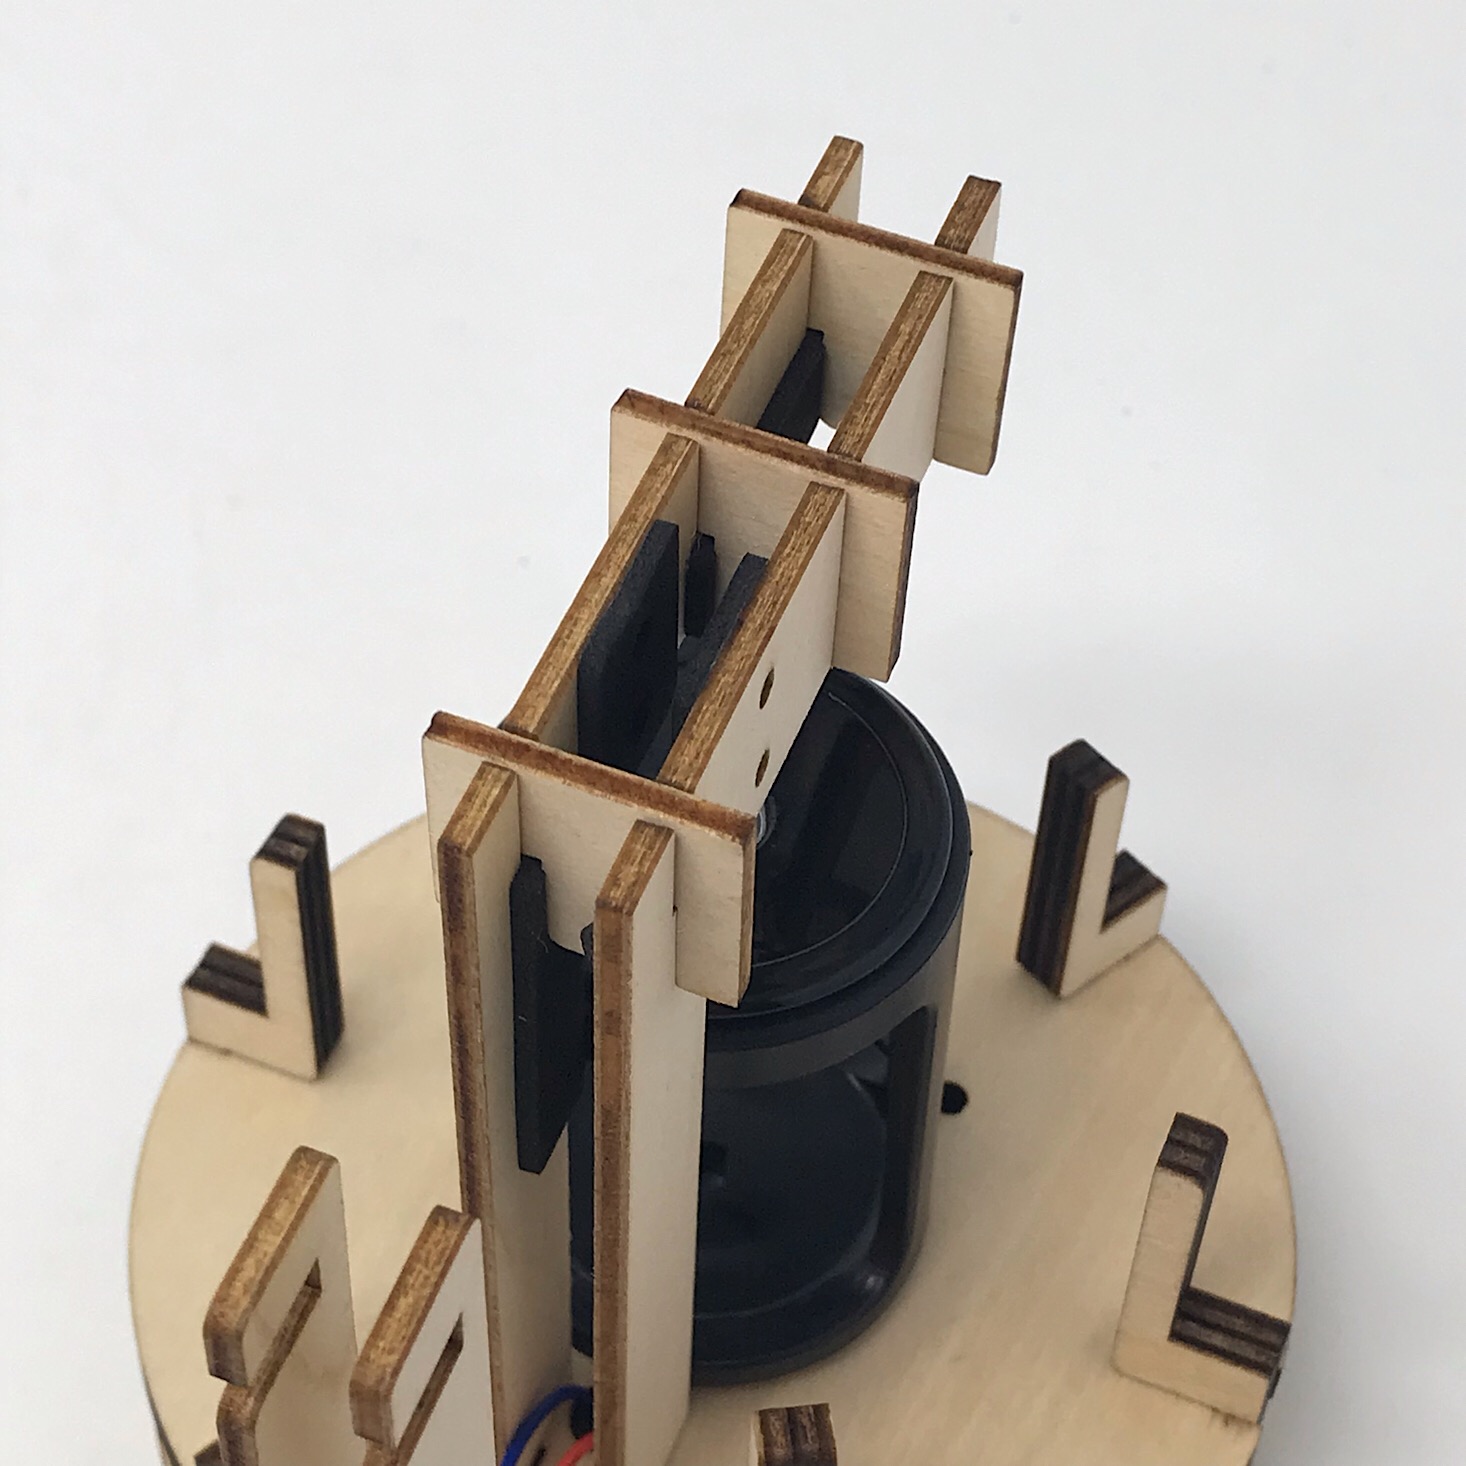
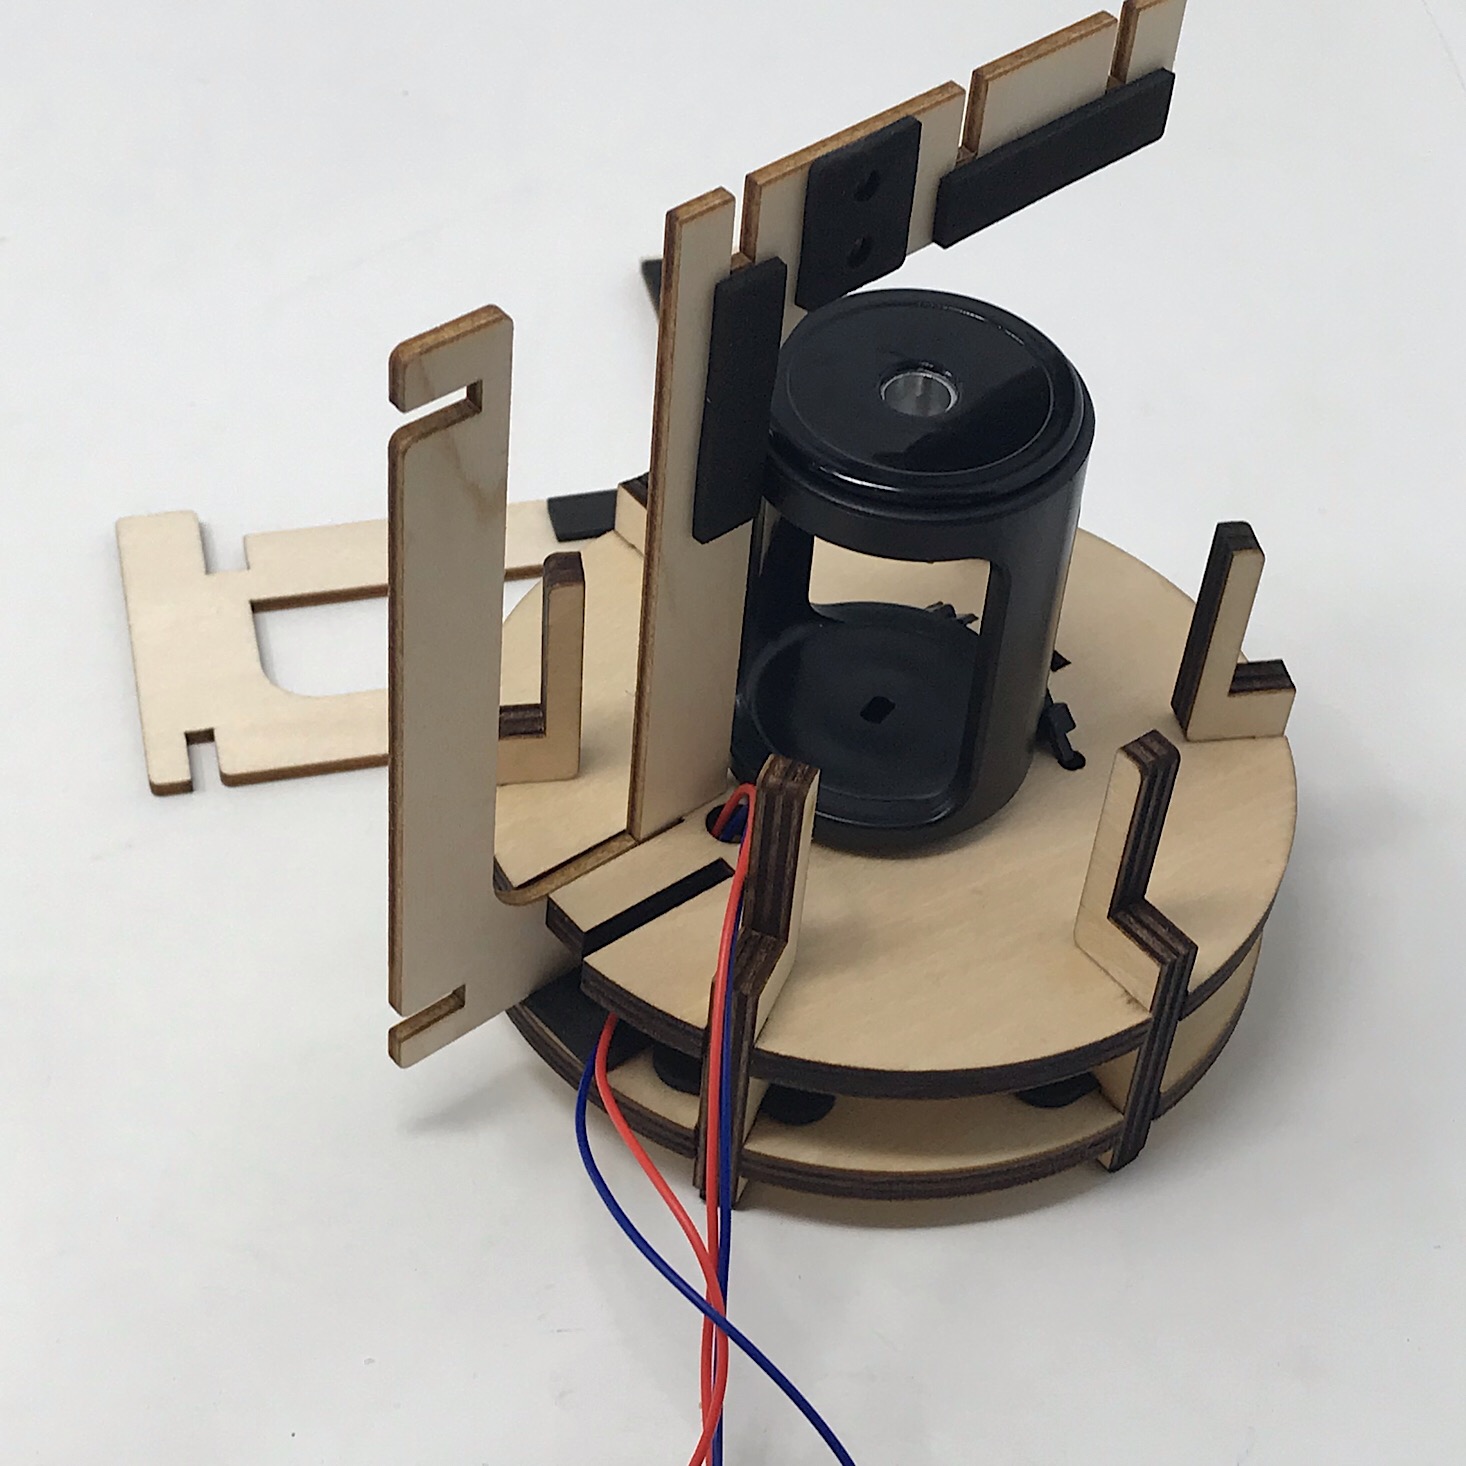
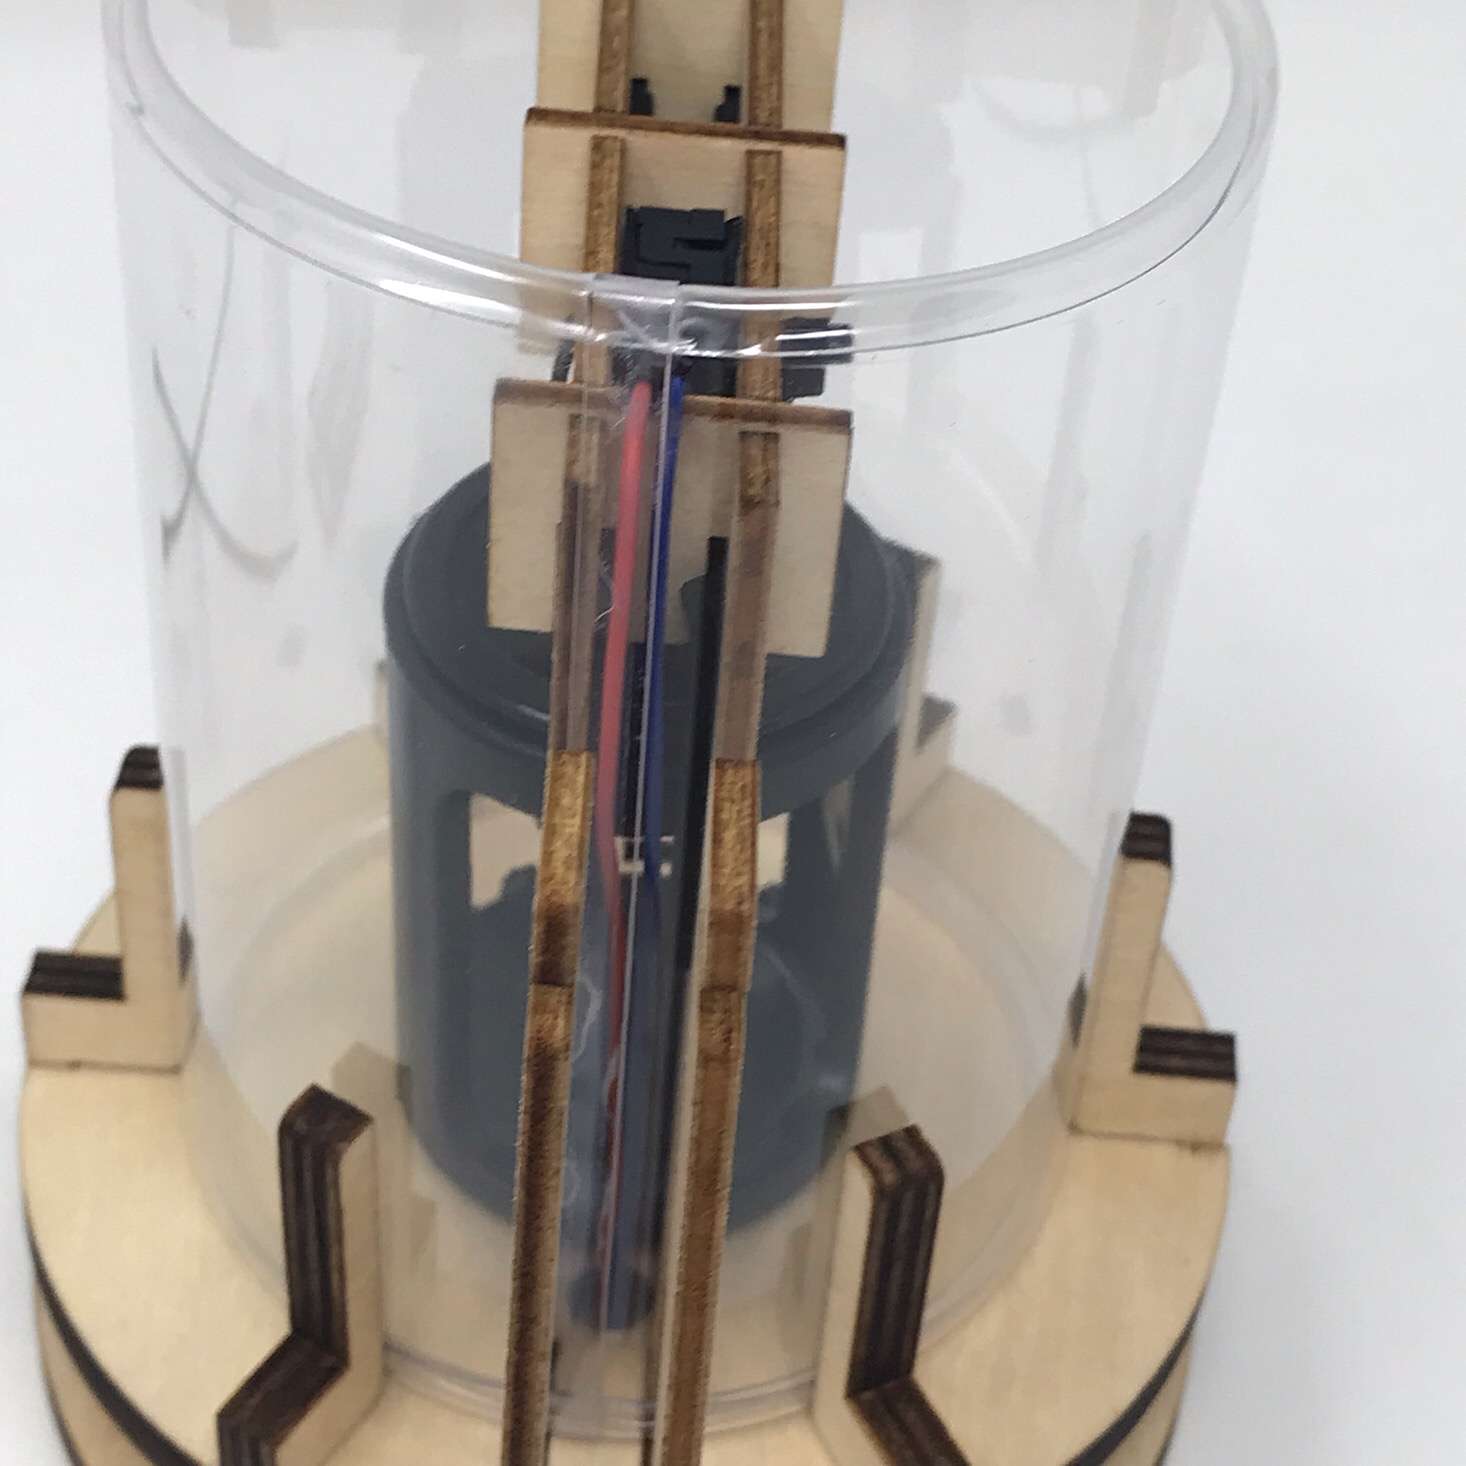
To build up our core, I prepared the two wooden arm pieces with foam stickers and then slid them into the notches on the base making sure to keep the wires in the center of them. To hold those in place, I added the three smaller wooden m-shaped pieces to the notches in the top.
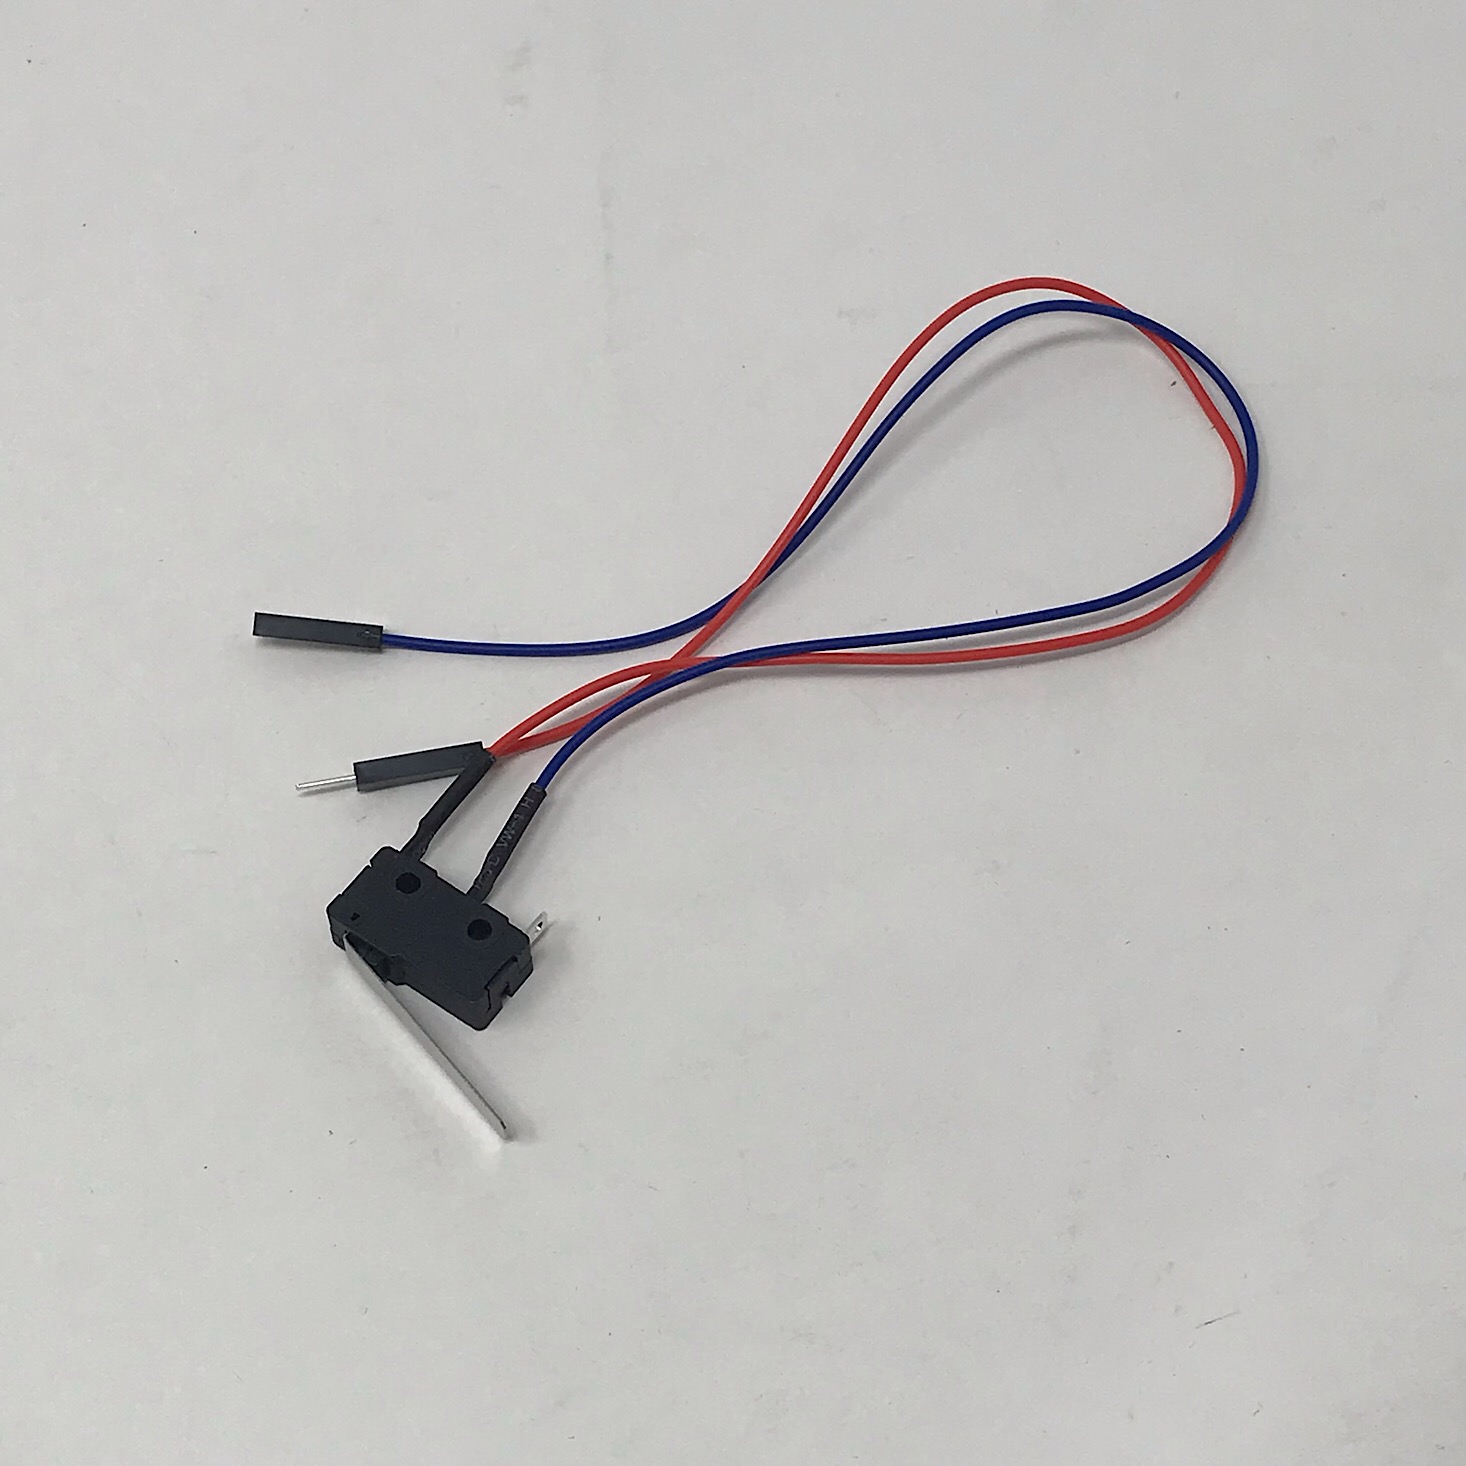
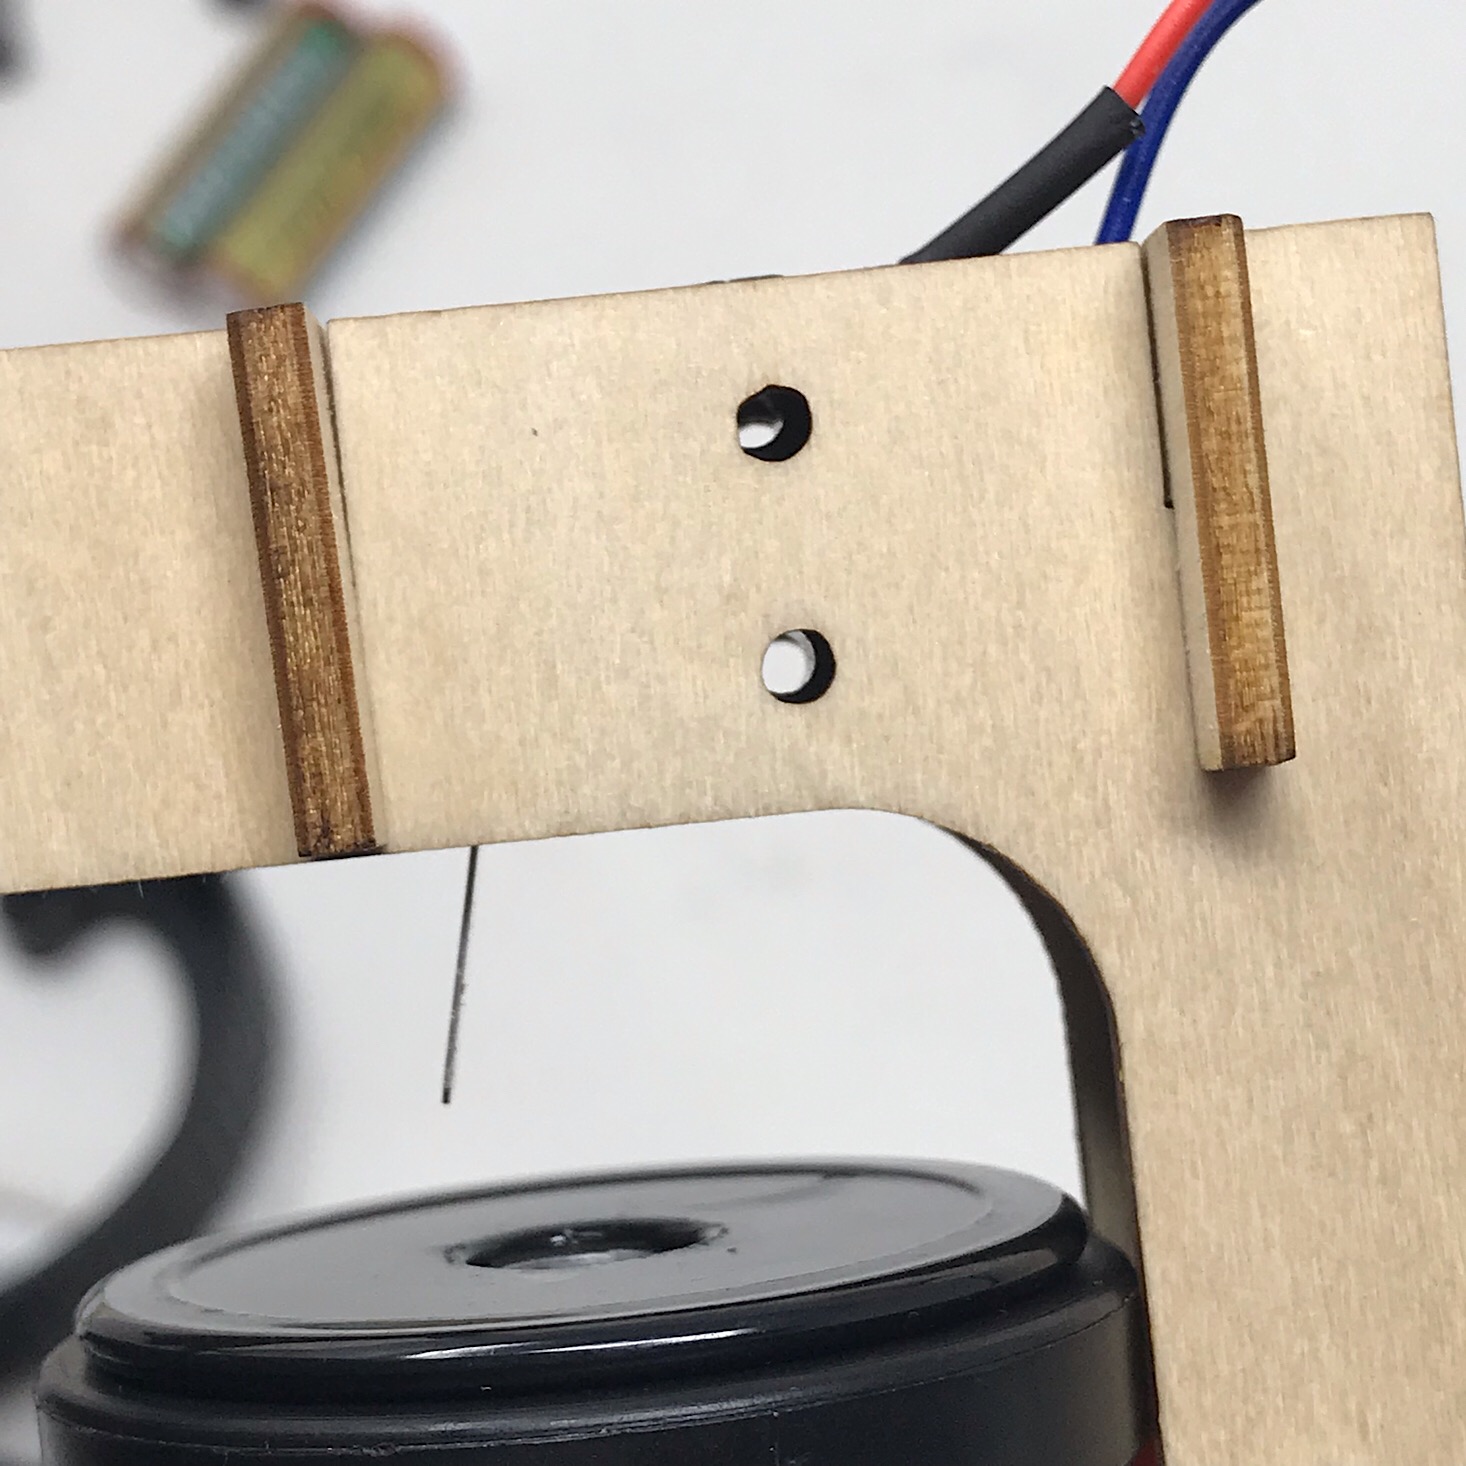
Then I brought the limit switch up from the bottom and slid it in between the pieces until the holes lined up. I then secured that with a zip tie and trimmed it.
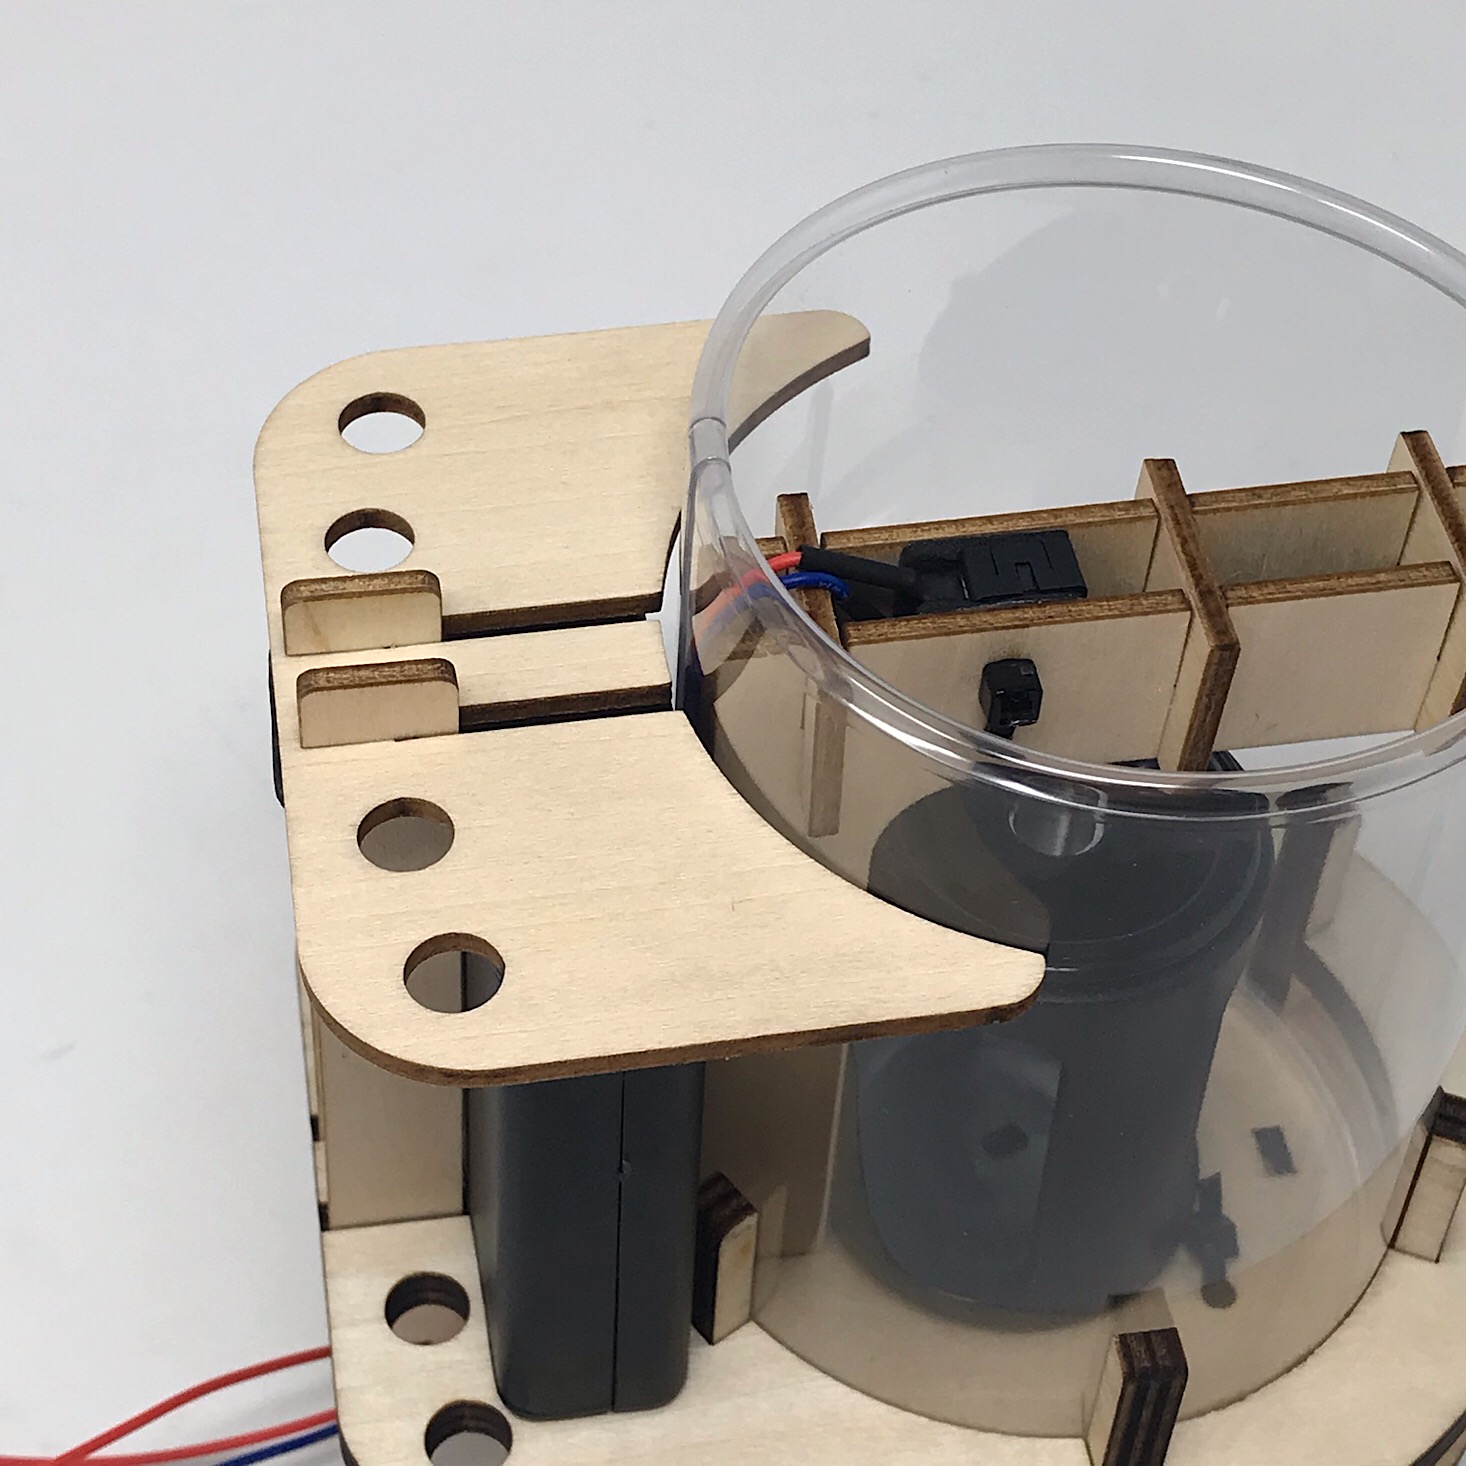
I added this plastic cylinder over the top of the core and in between the pieces around the base which held it in place. I made sure that the seam of the cylinder was slid around to the back of the sharpener so we couldn't notice it.
Part C: Add the Battery Pack
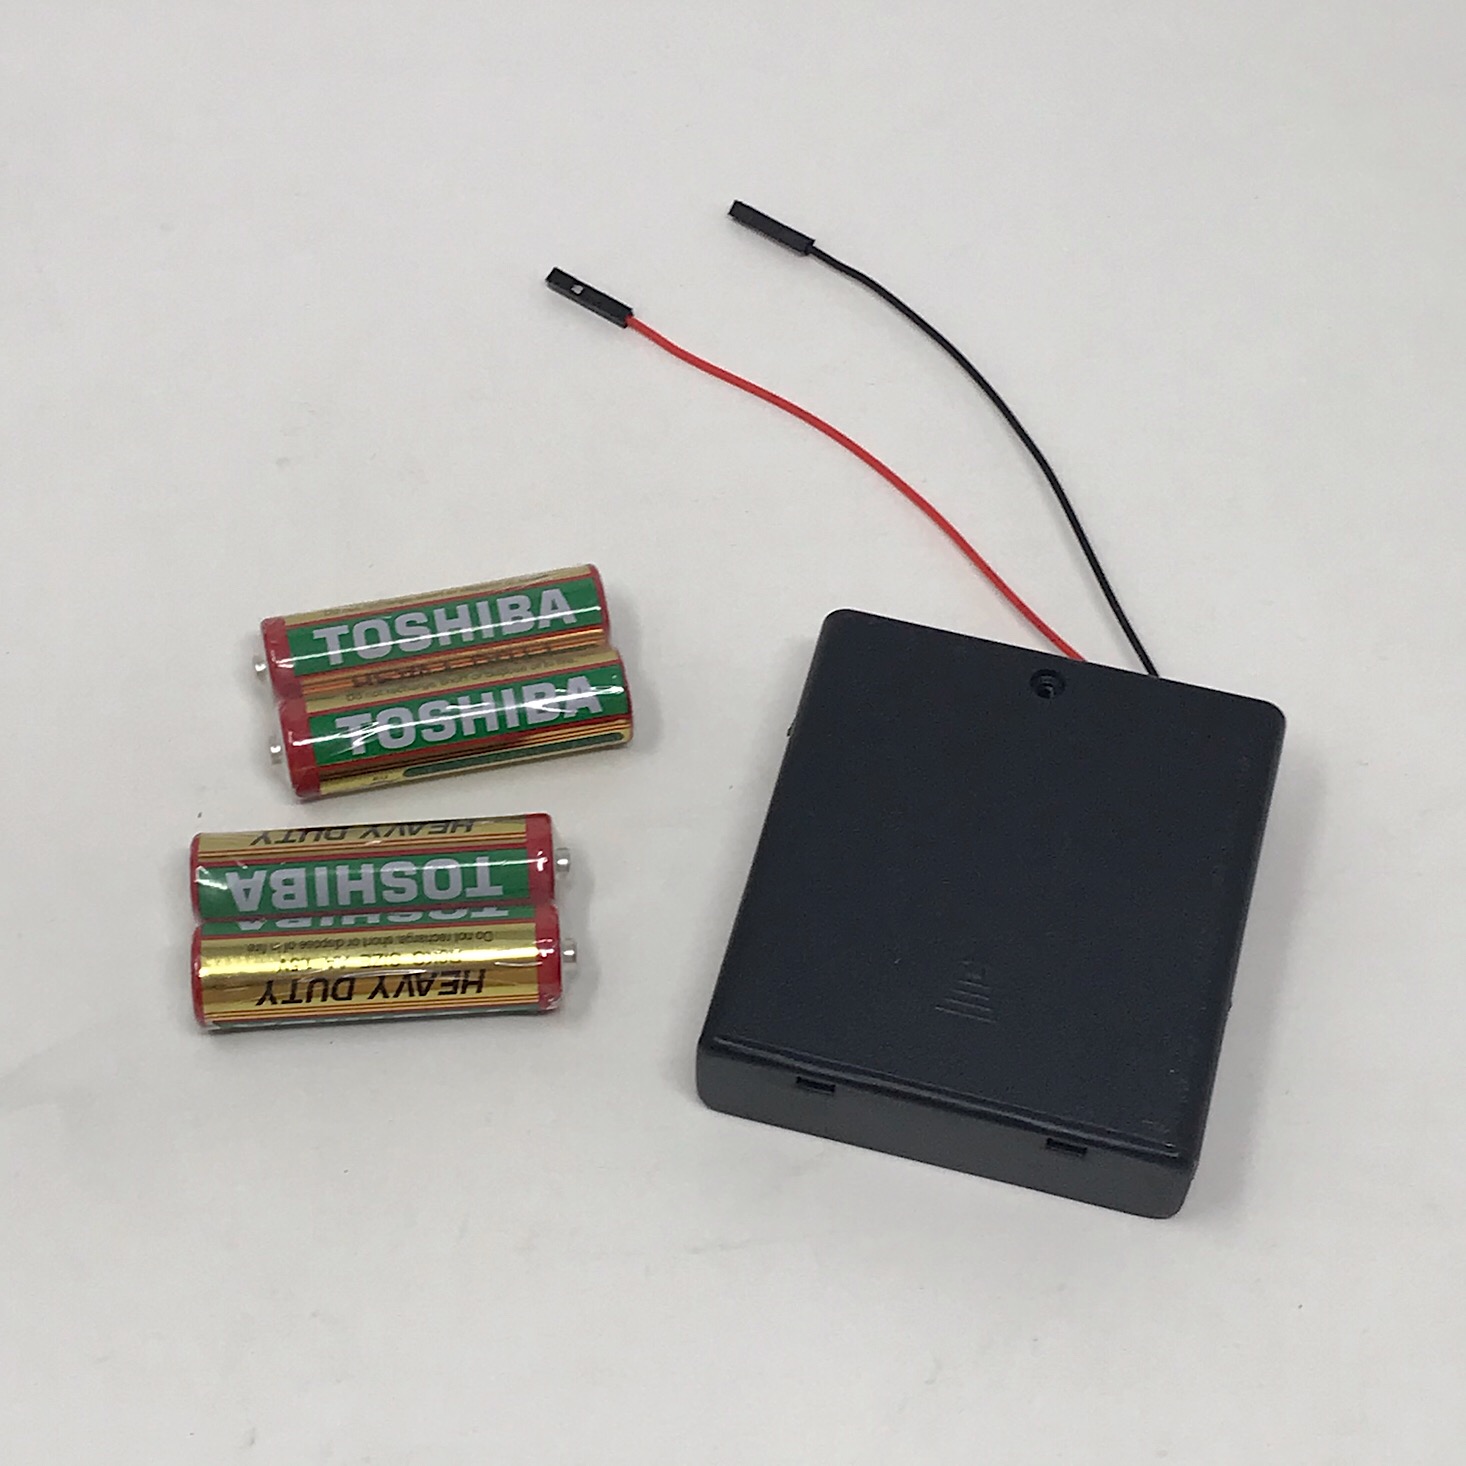
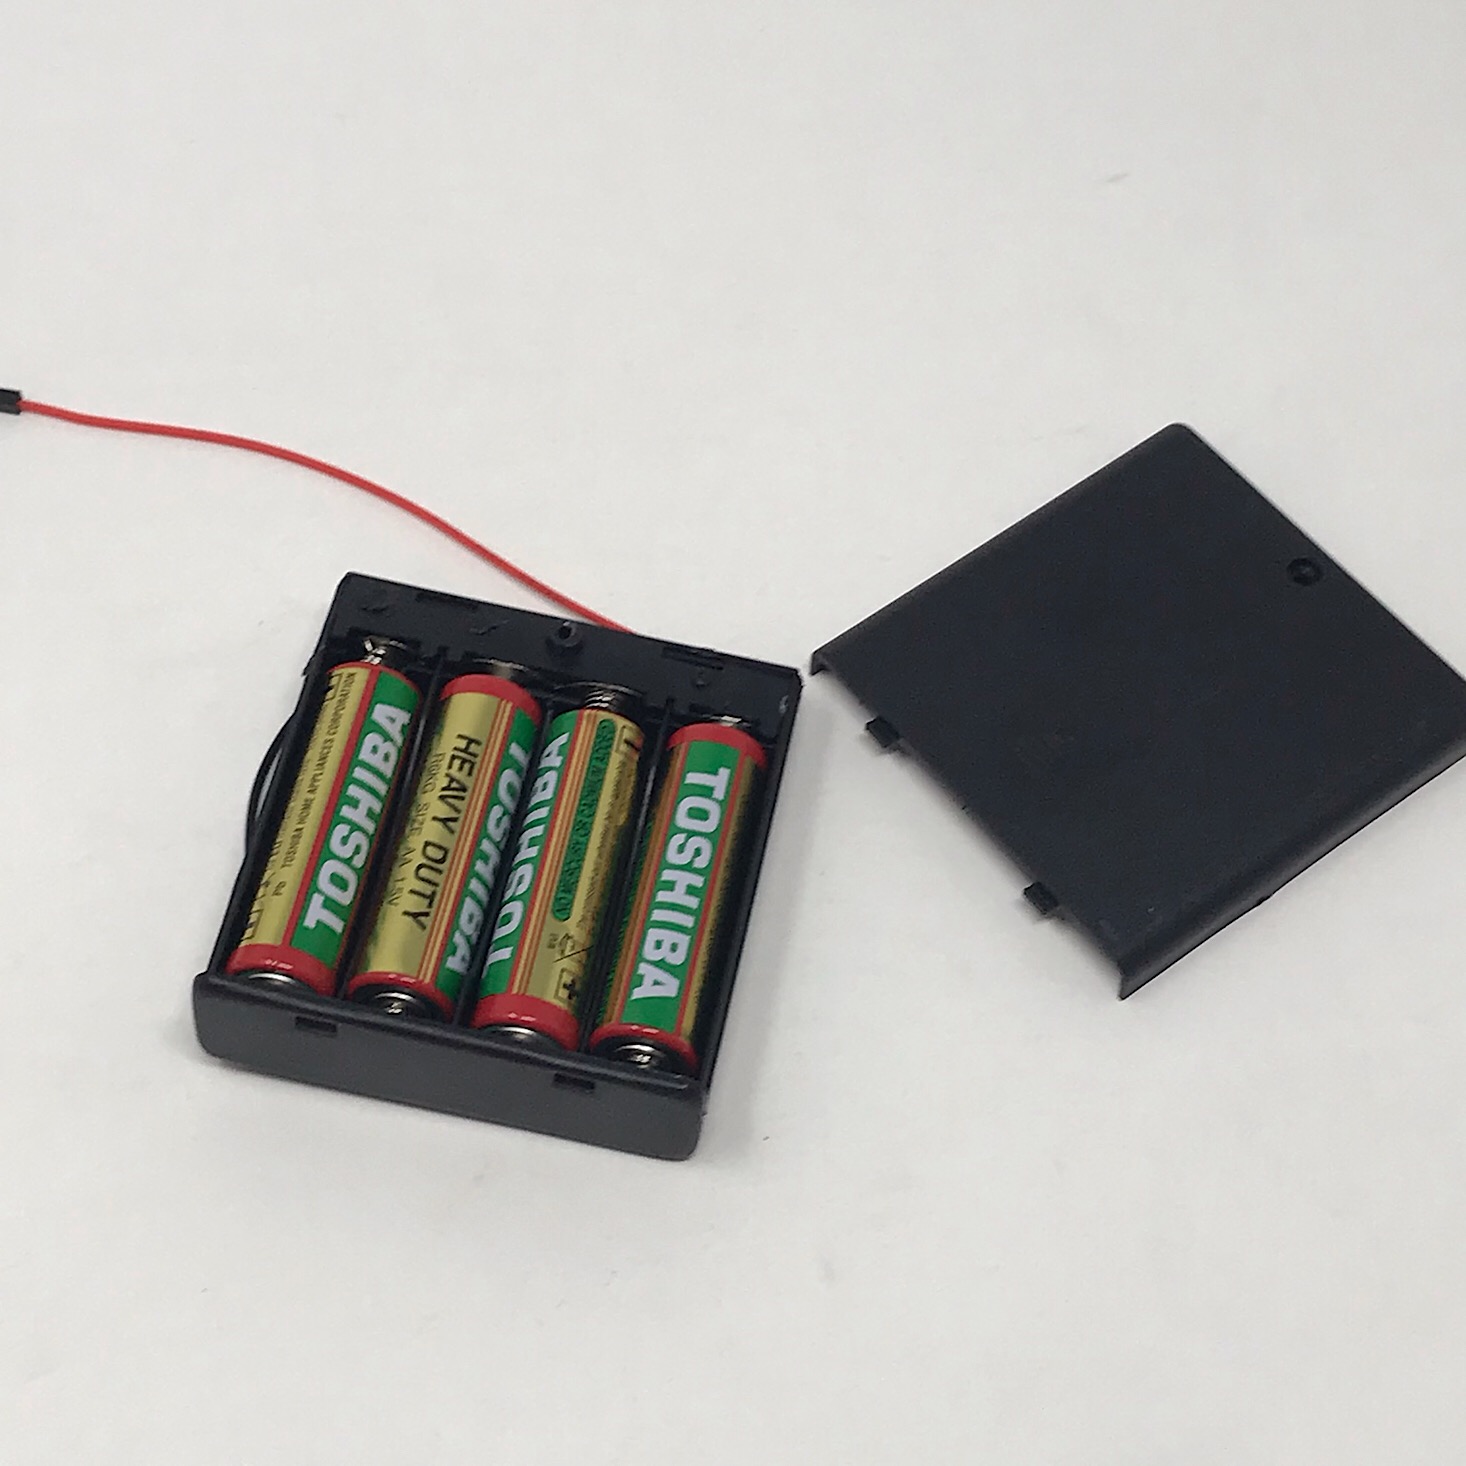
I prepared the battery pack by adding the four AA batteries they provided and then adding a foam oval to the top of the battery pack door.
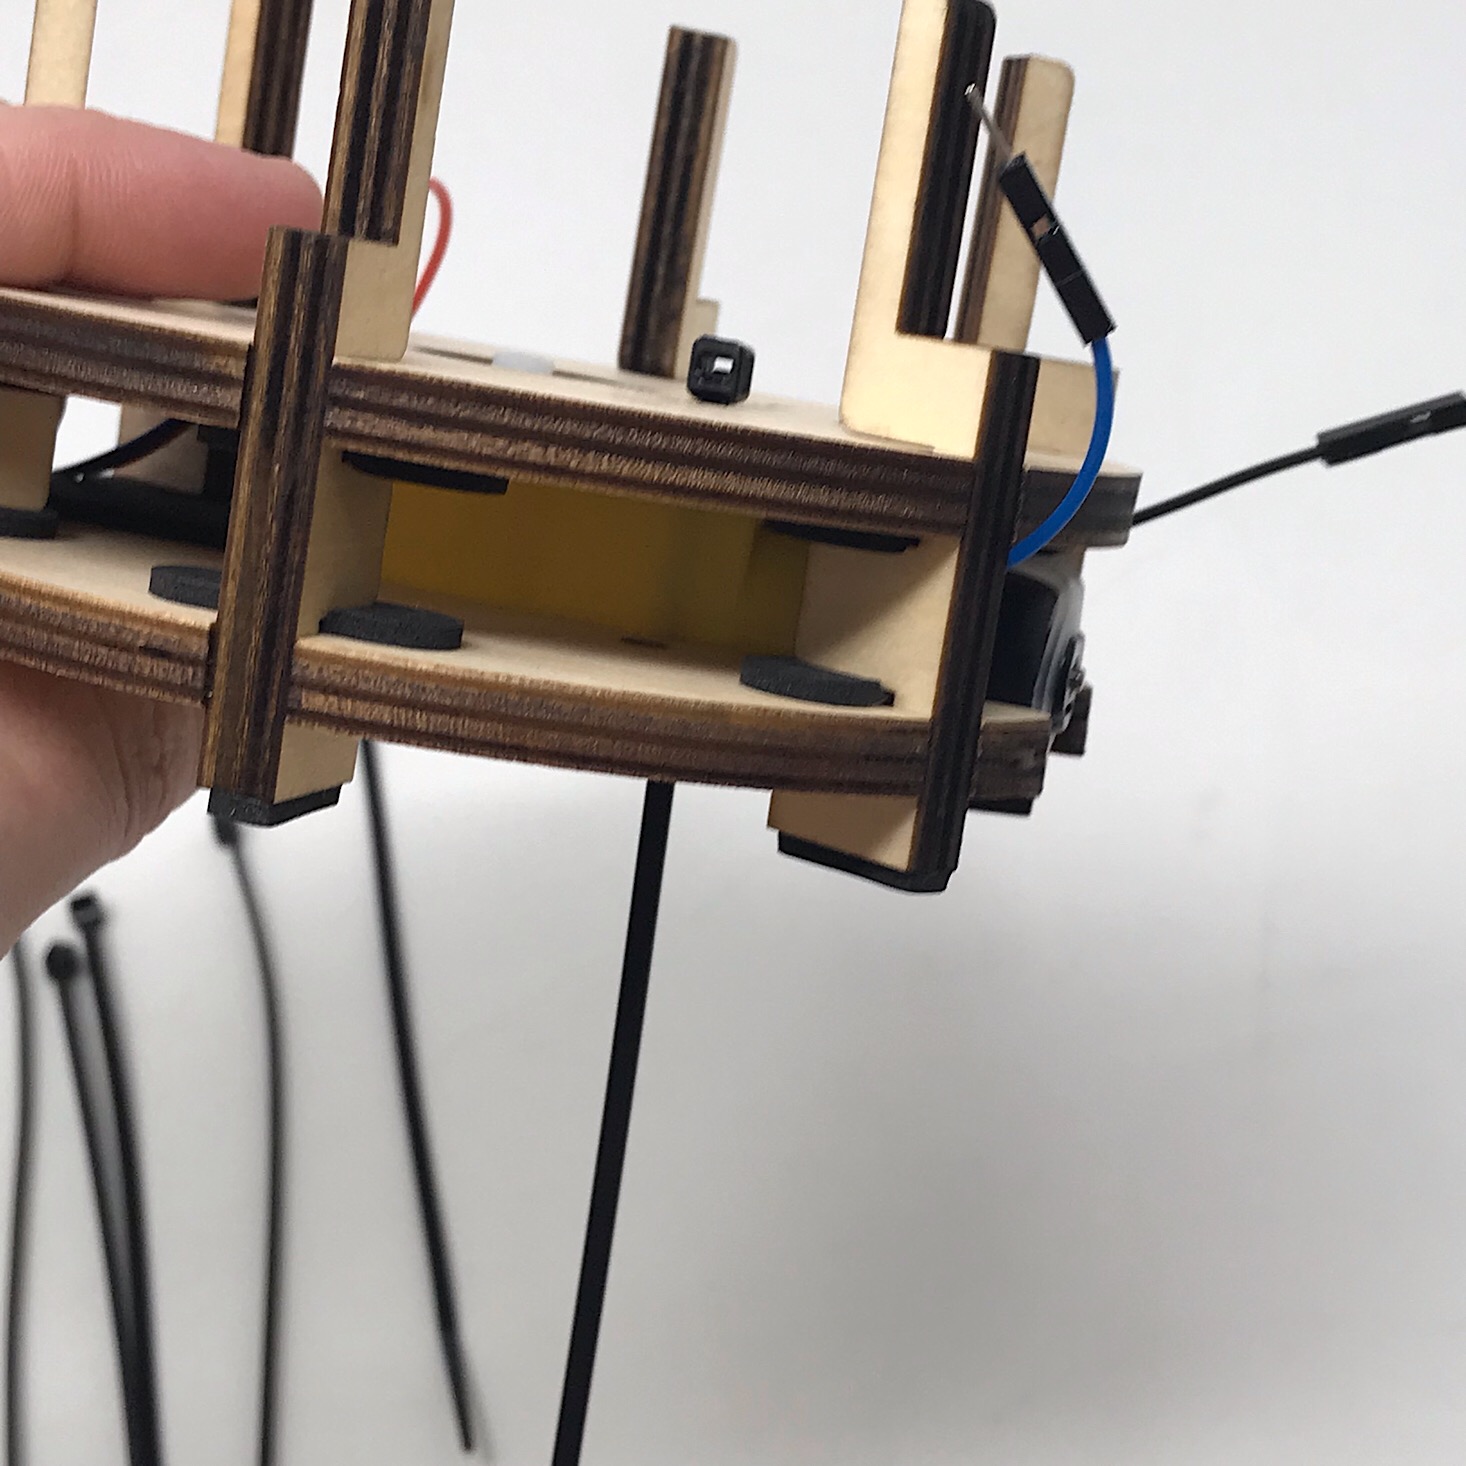
I slid this wooden ring down over our cylinder and then lined it up with the notches. I stopped halfway and then slid the battery pack in vertically with the wires facing down threading them underneath so that they would be accessible and then continued sliding it the whole way down.
I added a foam sticker to this piece and then slid it on using the notches so that it cupped our cylinder.
I did the same with a smaller piece for the bottom of the cylinder making sure to keep the wires tucked underneath and sticking out still so that I could access them.
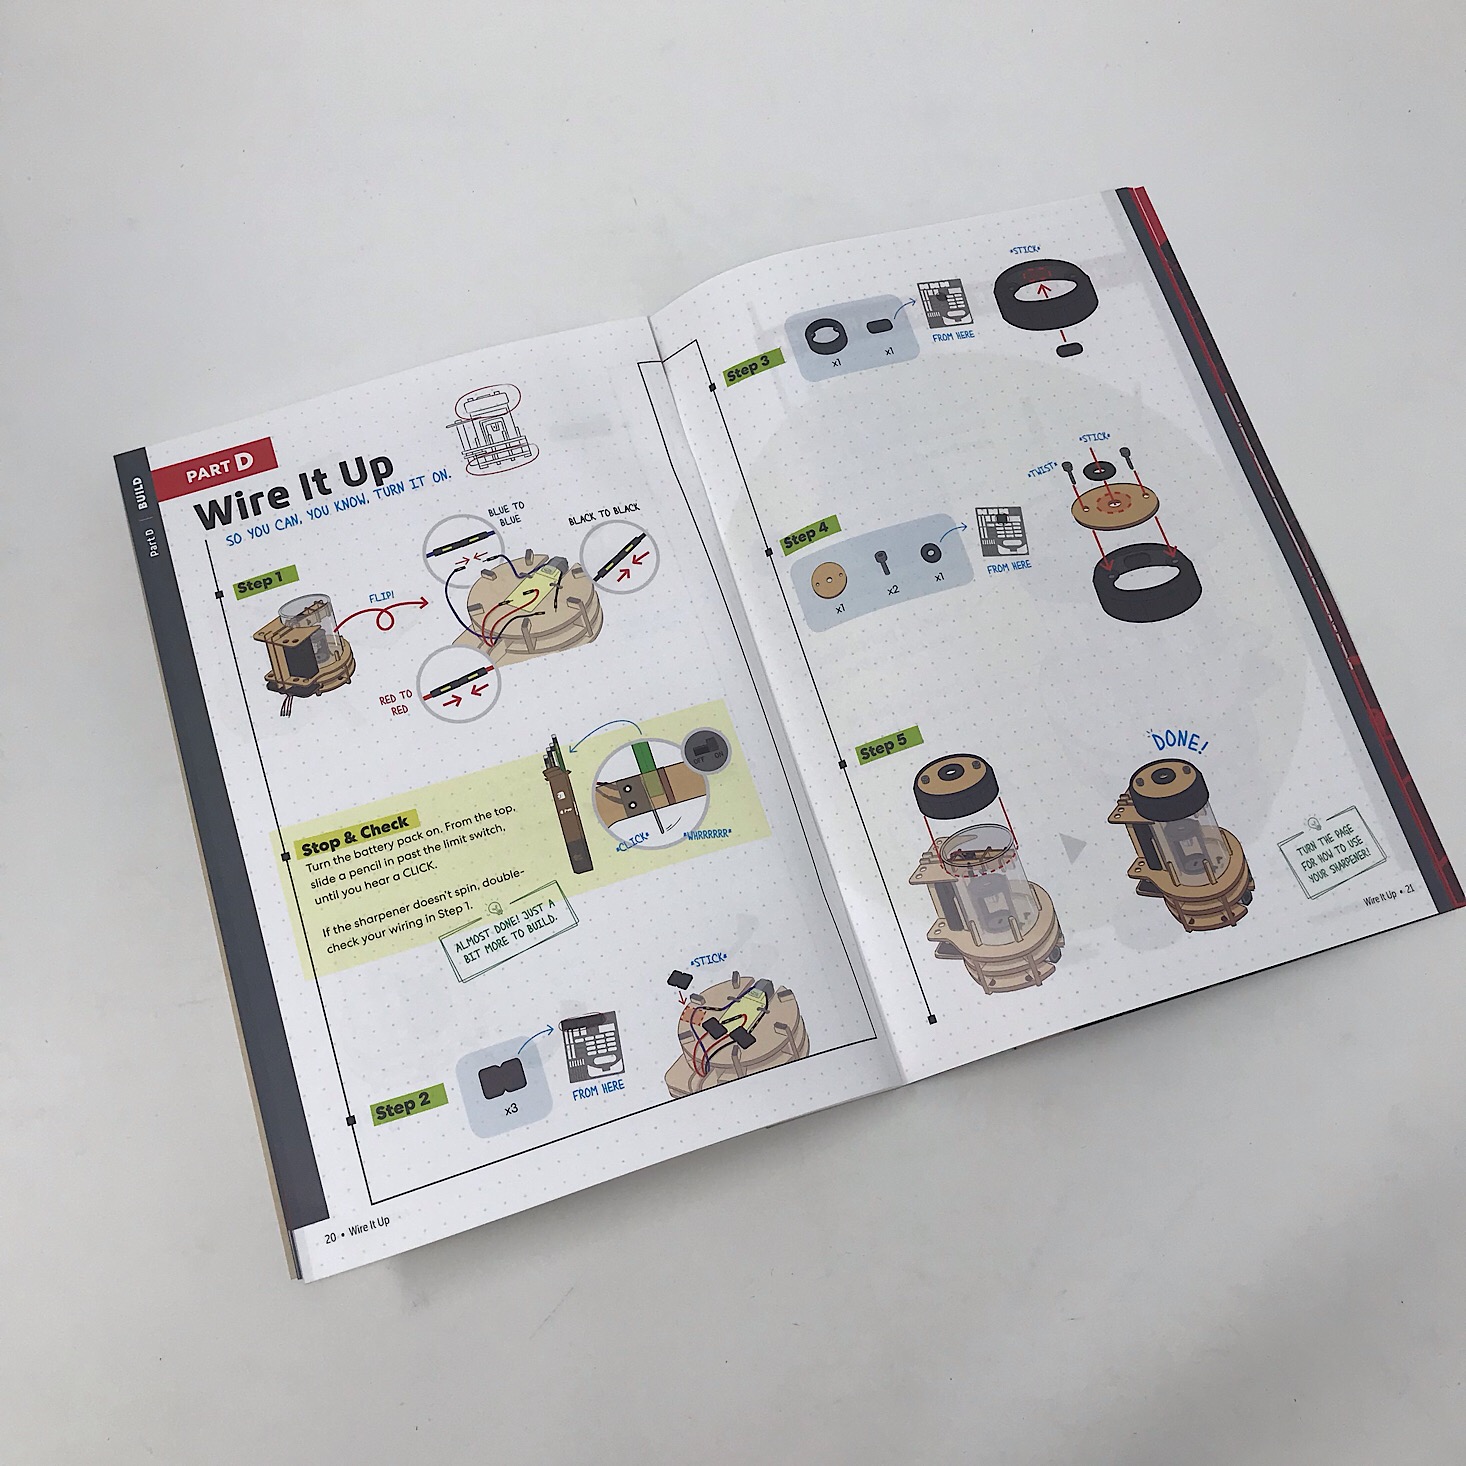
Part D: Wire it Up
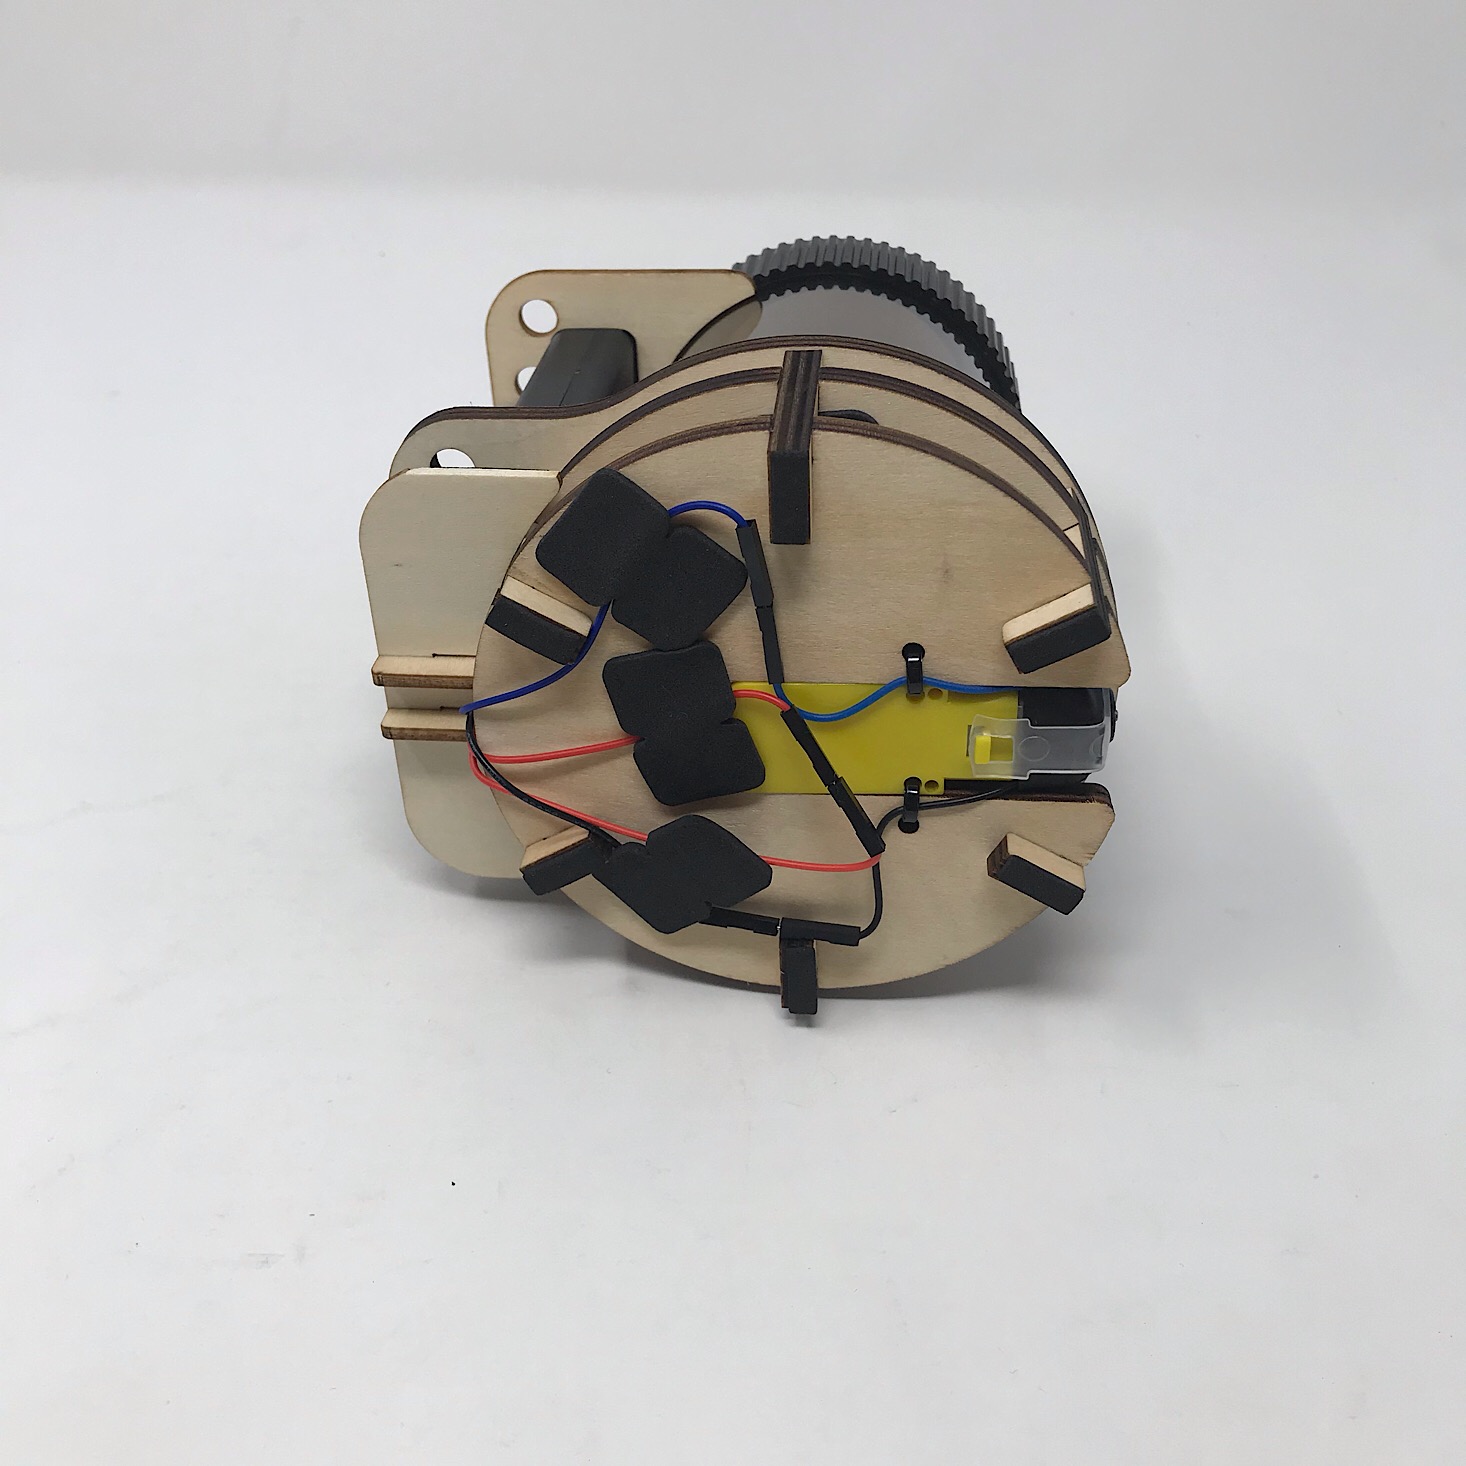
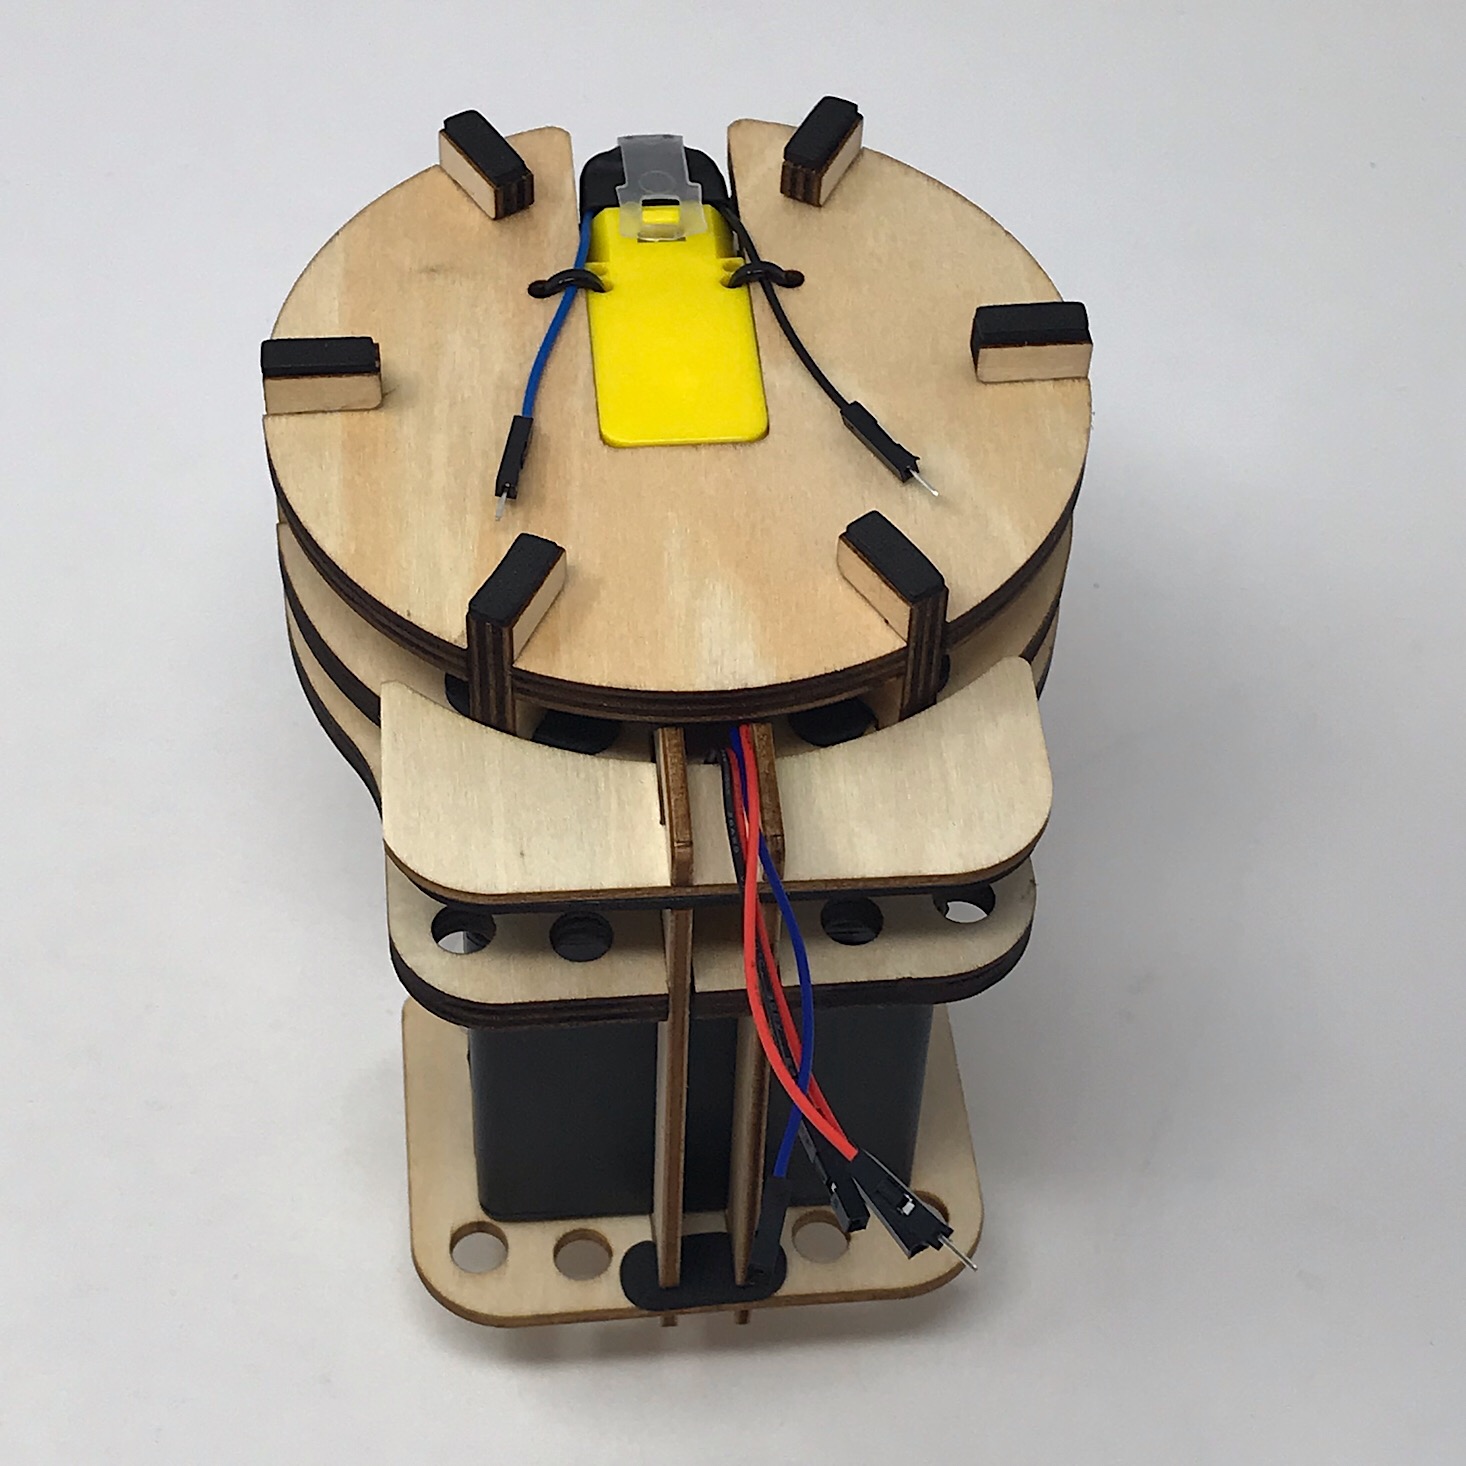
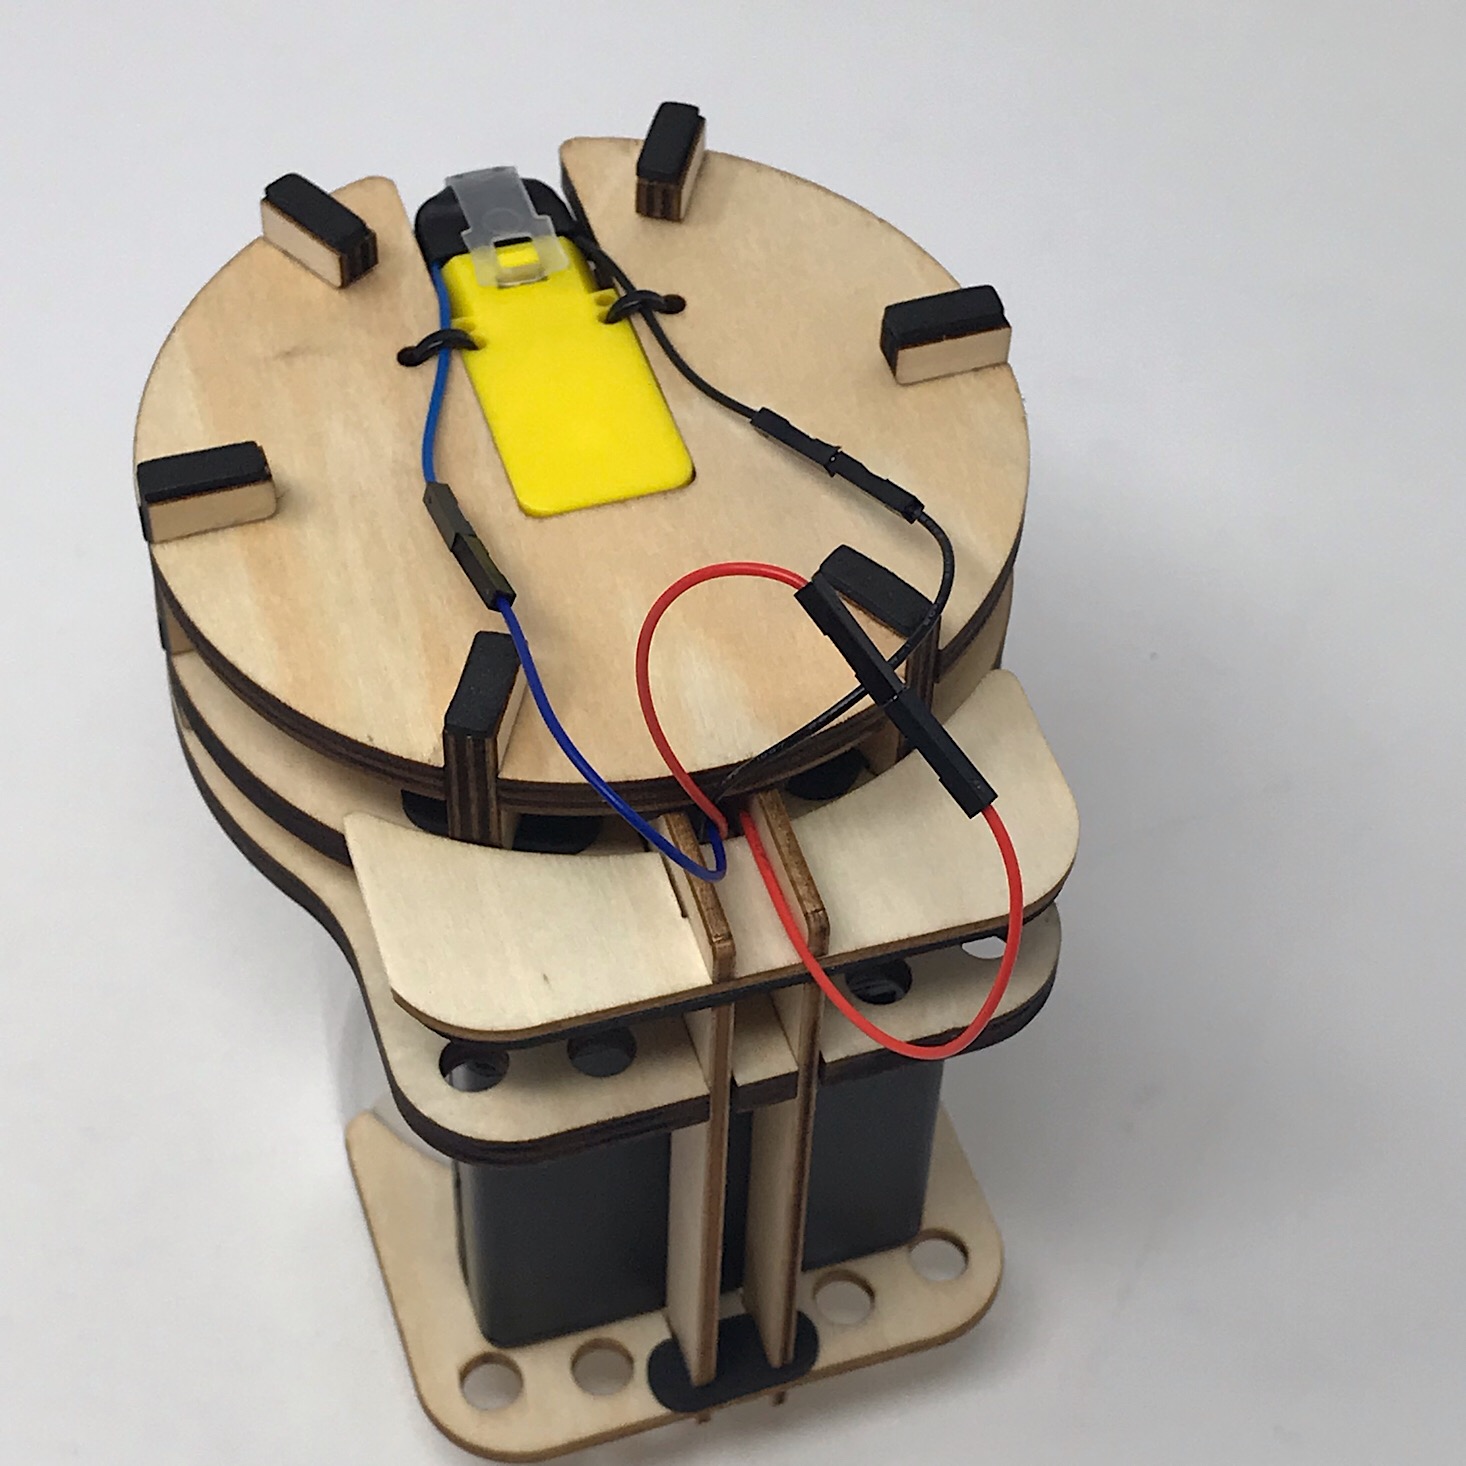
The last step was to complete the wiring. I flipped the unit over and matched up the wires according to color: blue to blue, red to red and black to black. I used the stickers they provided to stick them to the underside so that they would be secure and hidden.
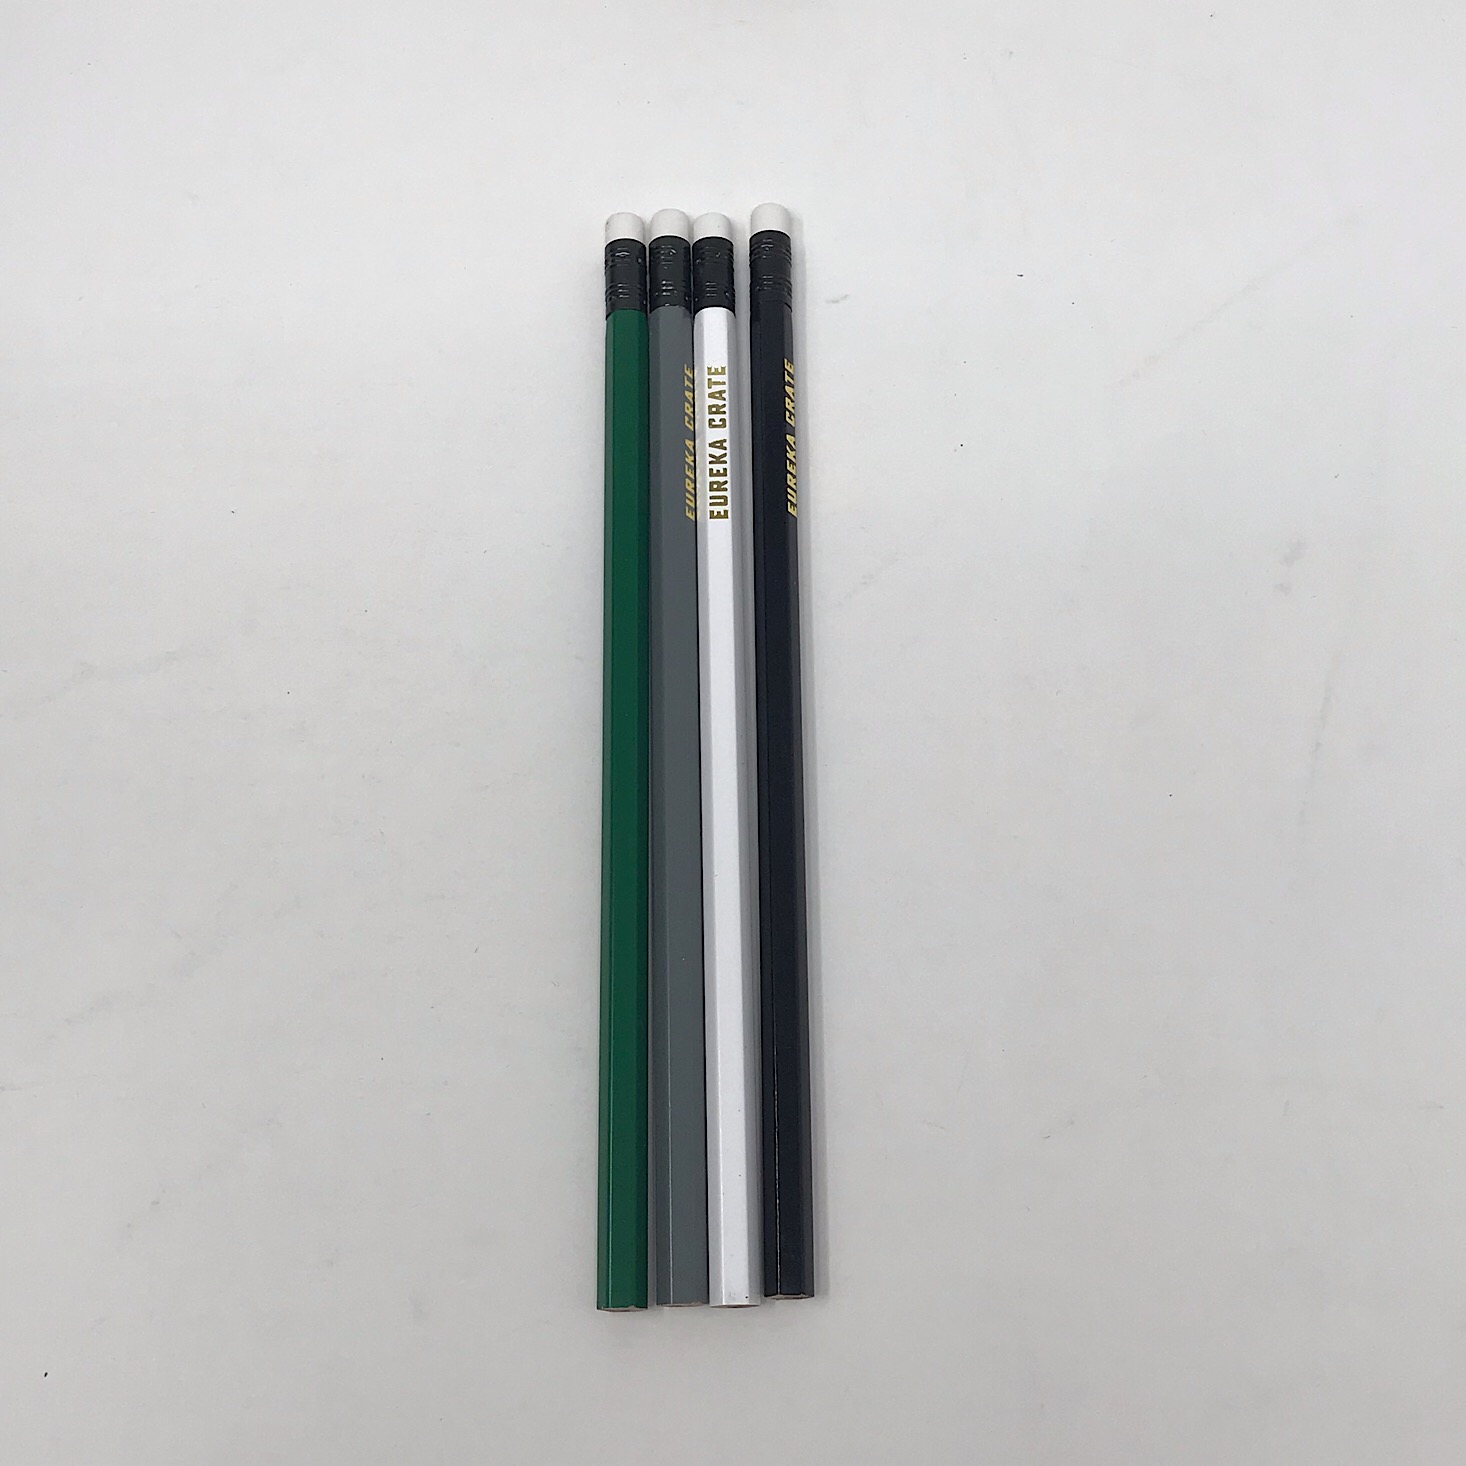
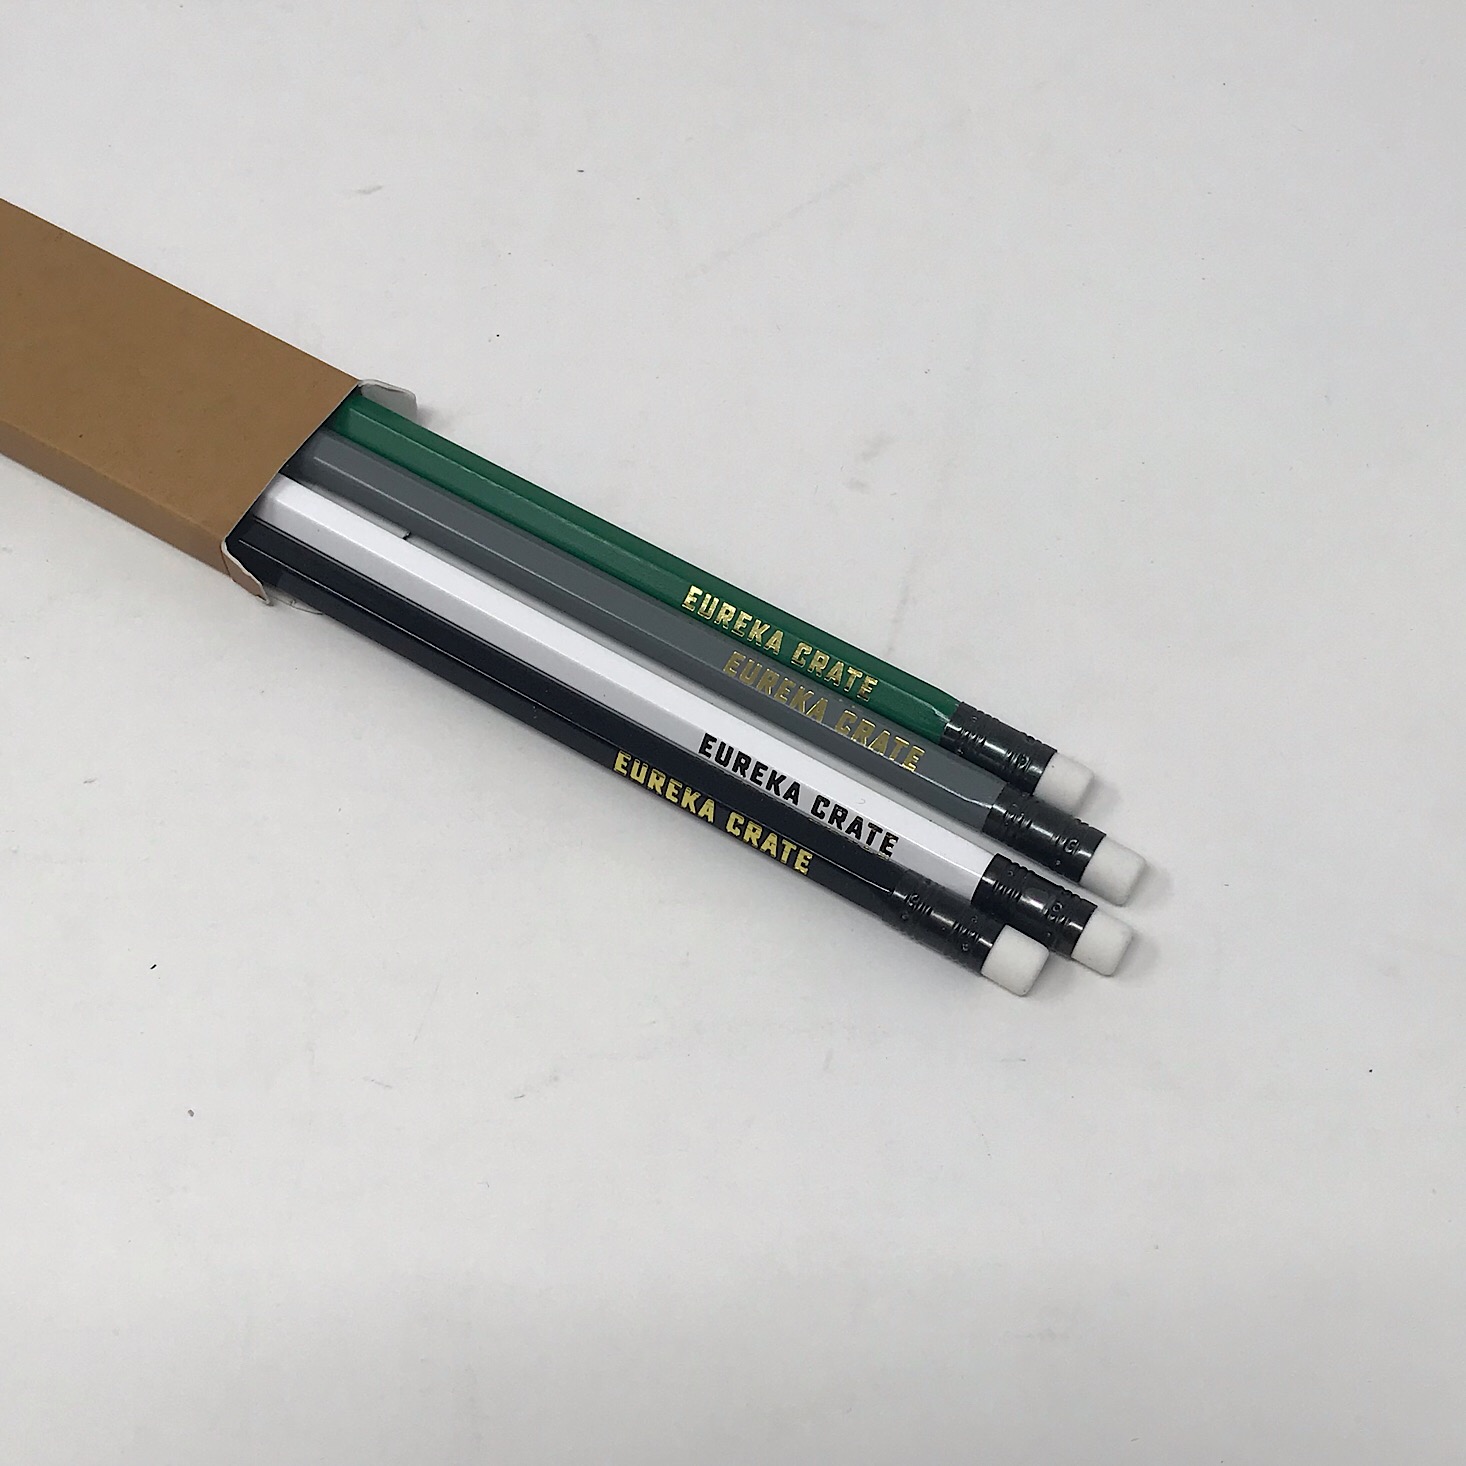
They provided a pack of four Eureka Crate pencils for us to use to test out our sharpener.
I switched on the battery pack and stuck one in to test it out. It worked!
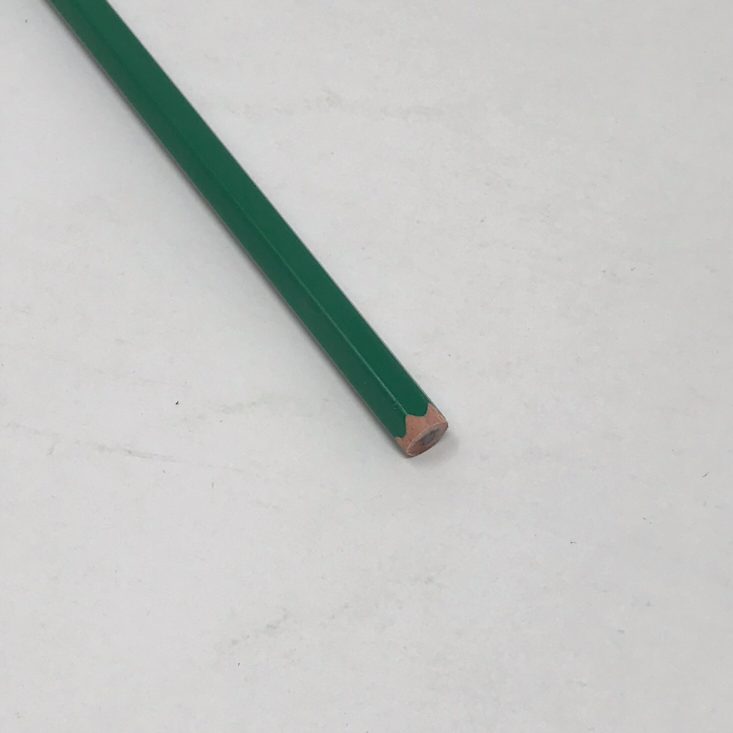
Here's the proof!
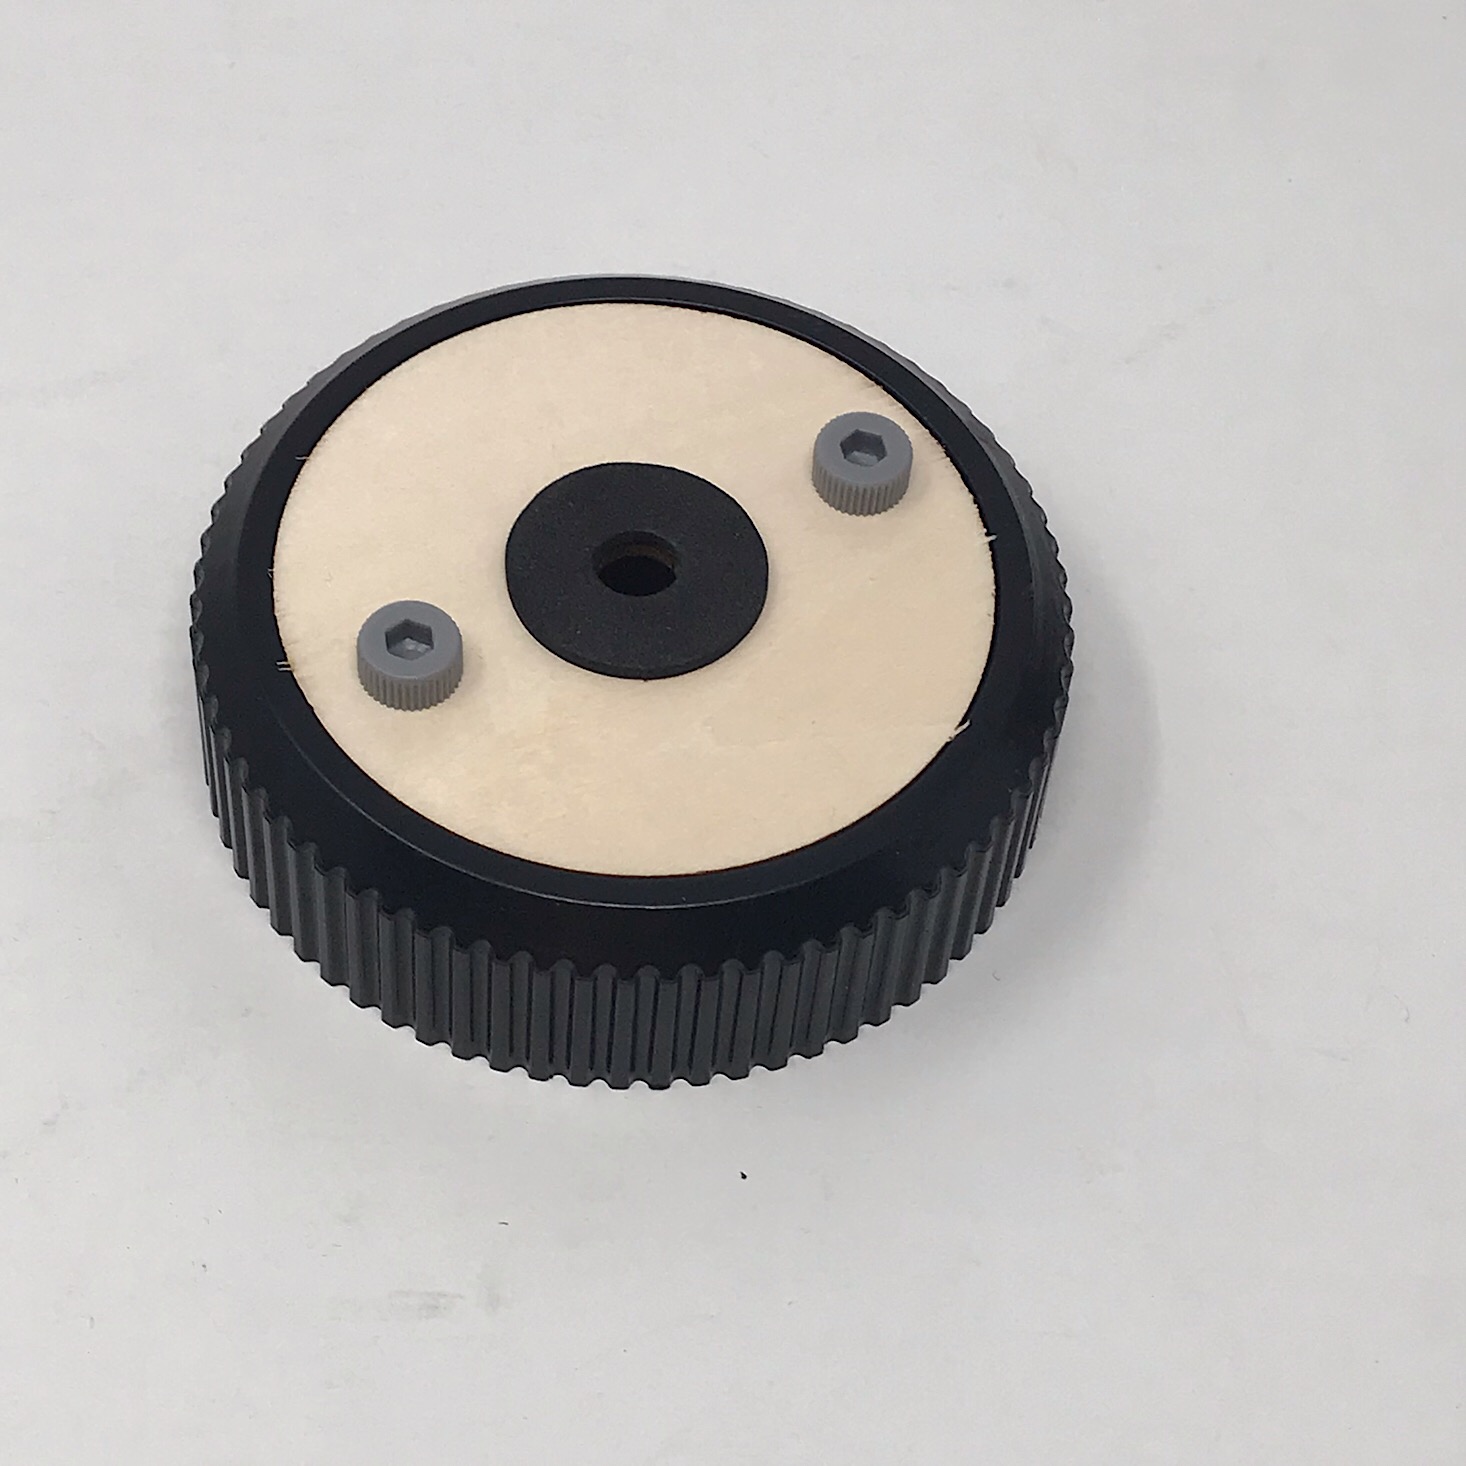
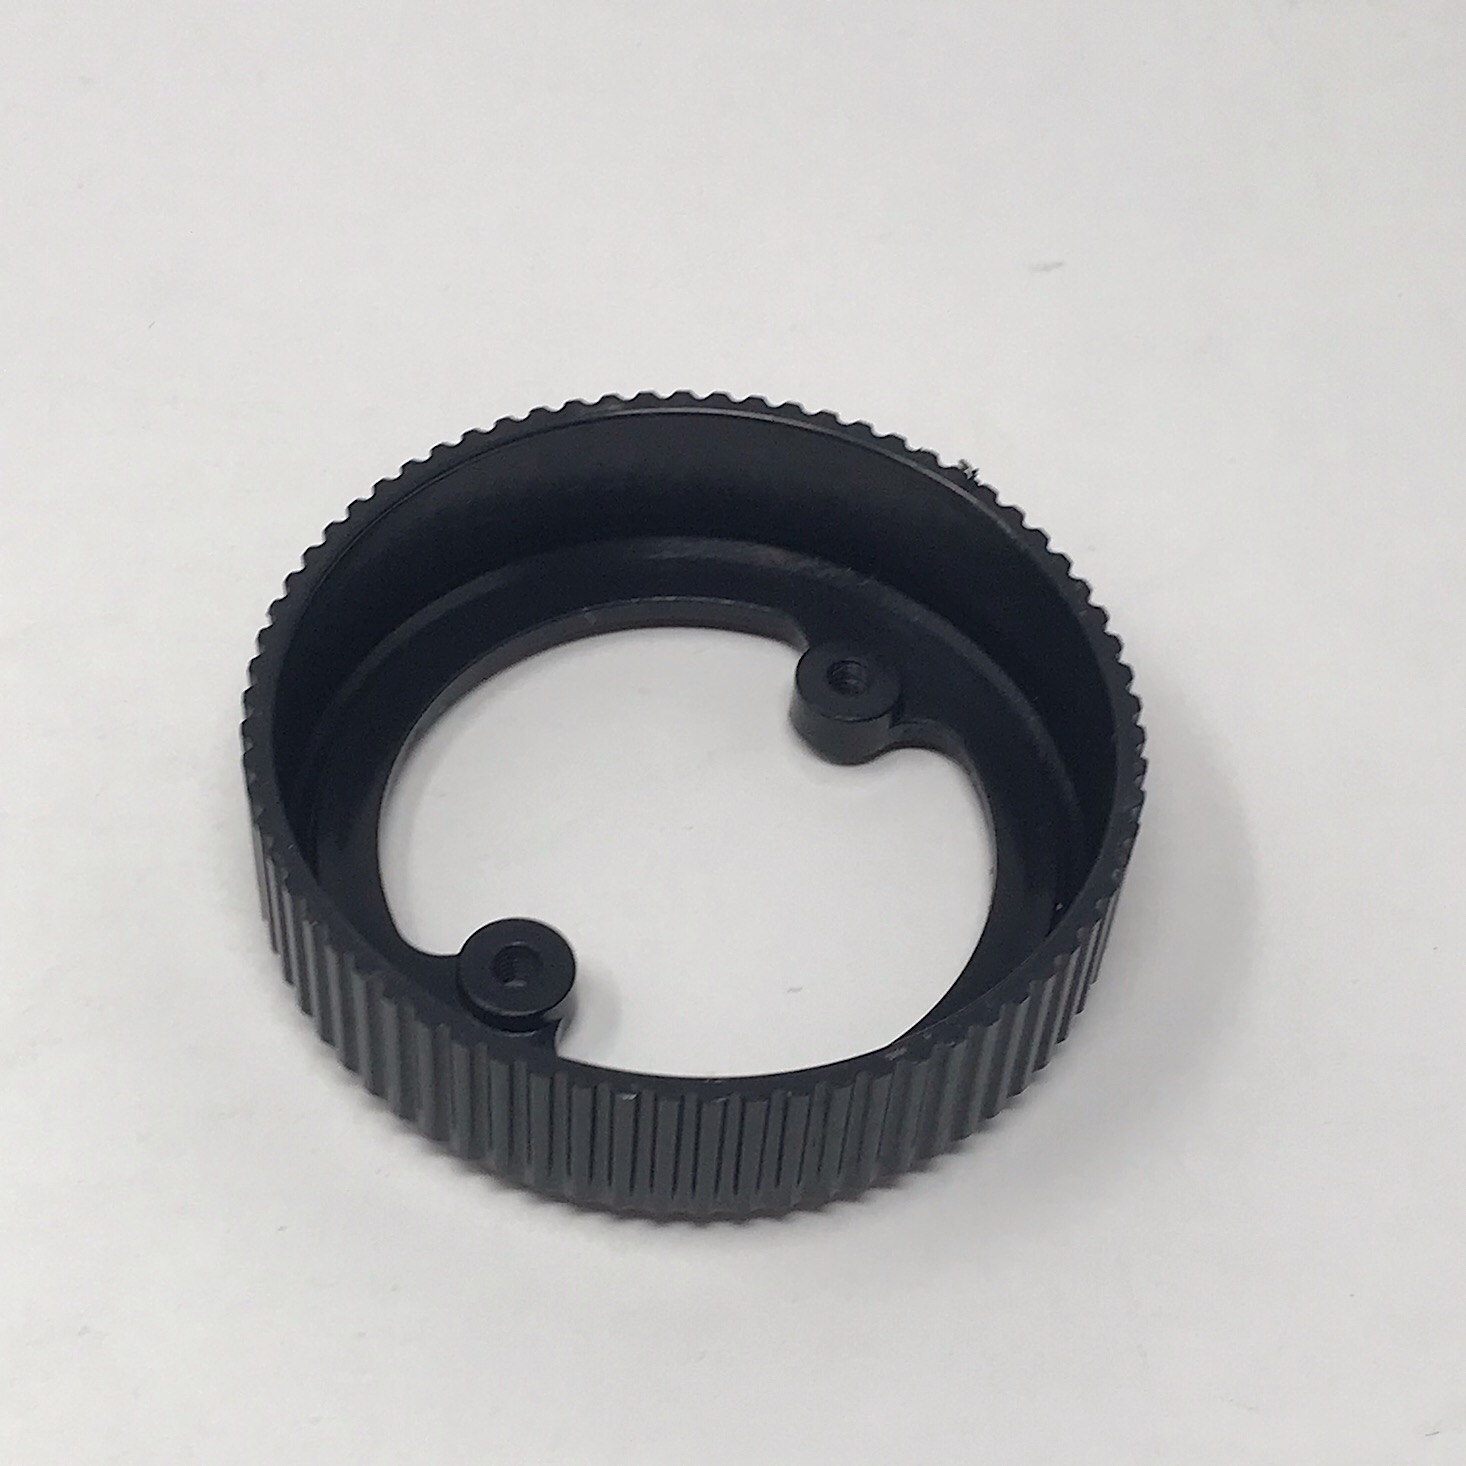
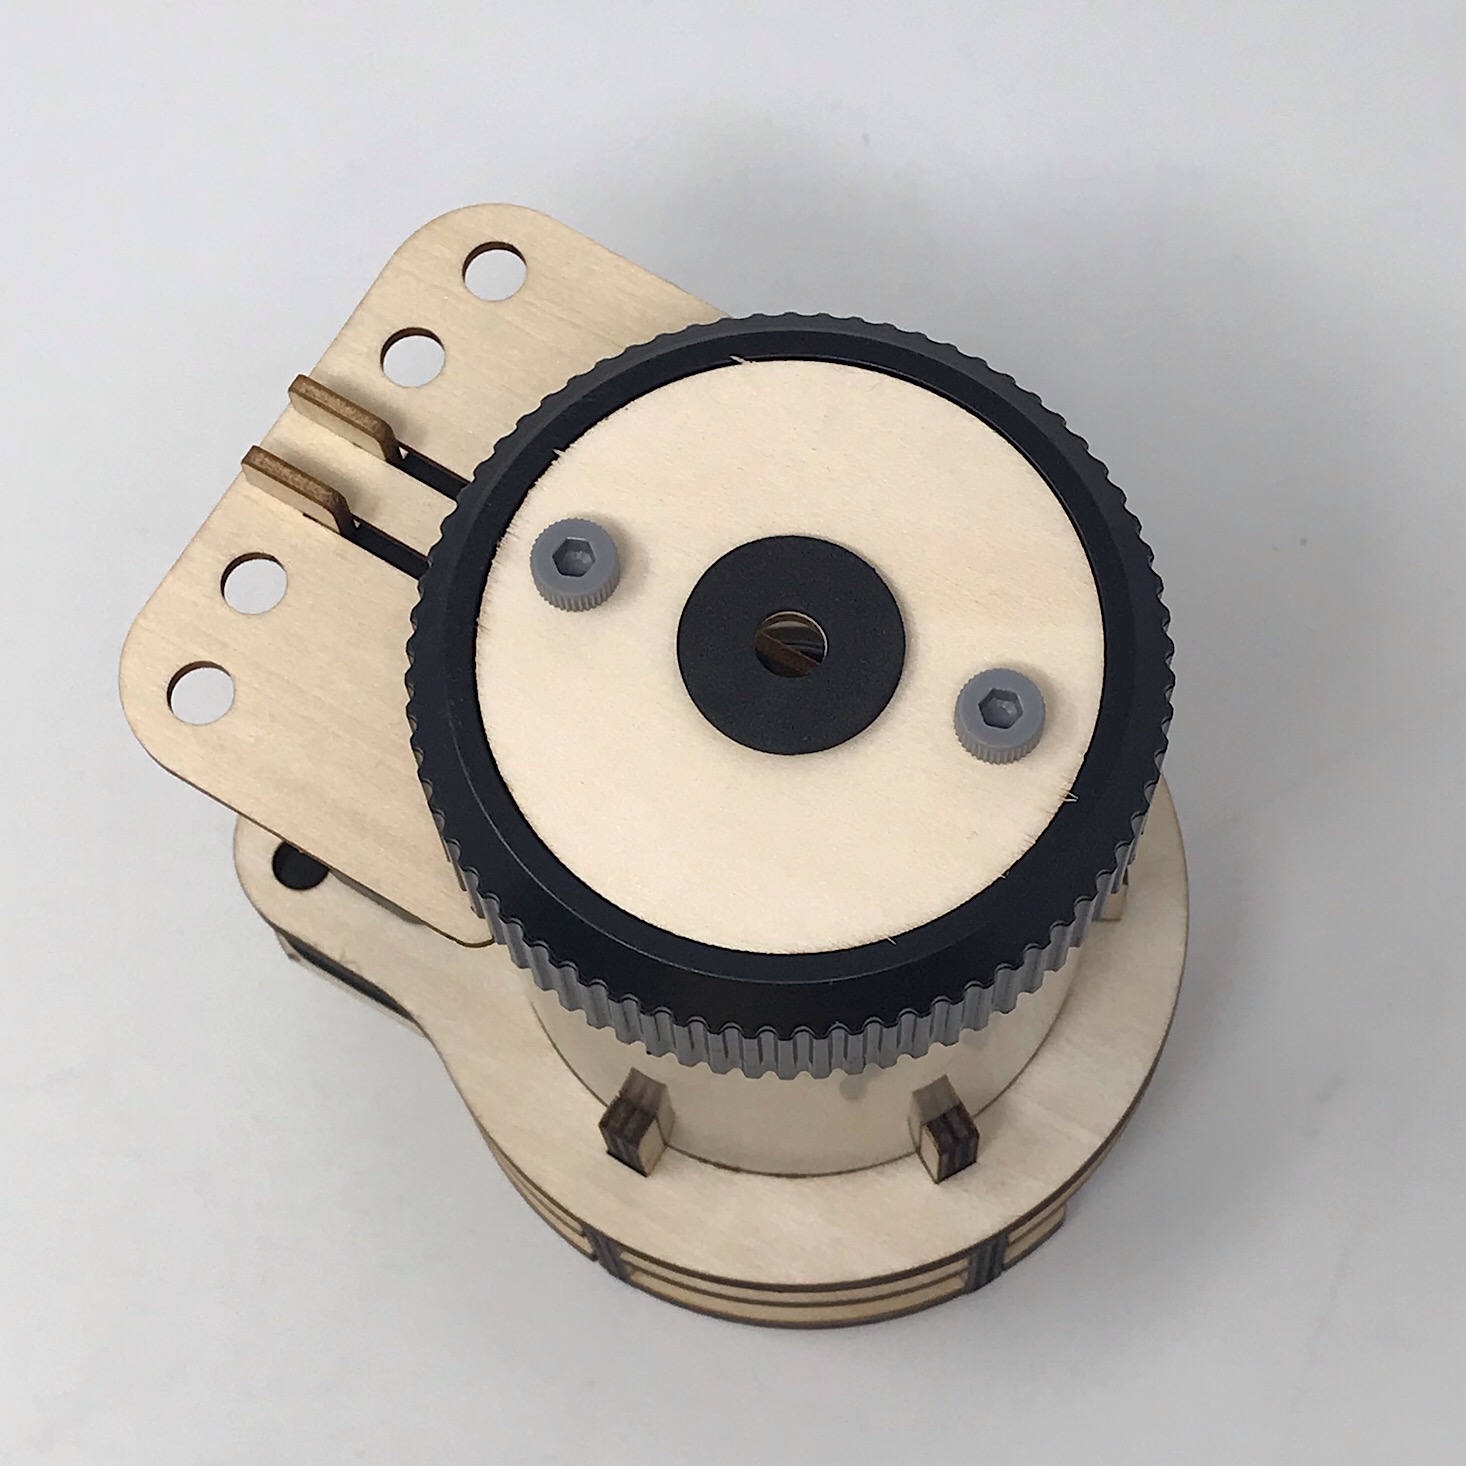
The last step was to prepare the top of the sharpener. I added a foam oval to the inside of the black rim, then I simply added a foam circle to this wooden circle and then screwed it down.
I added the lid to the top and we had our nice, new electric pencil sharpener! I love the minimalist design and the fact that the cylinder is clear allowing us to see it working.
The sharpener works well, although a little slow this round since we are sharpening a brand new pencil.
They included some information in our booklet about how to sharpen our pencils and when to clean out the shavings. This page pointed out that the holes on the back of our sharpener can be used to hold the extra pencils.
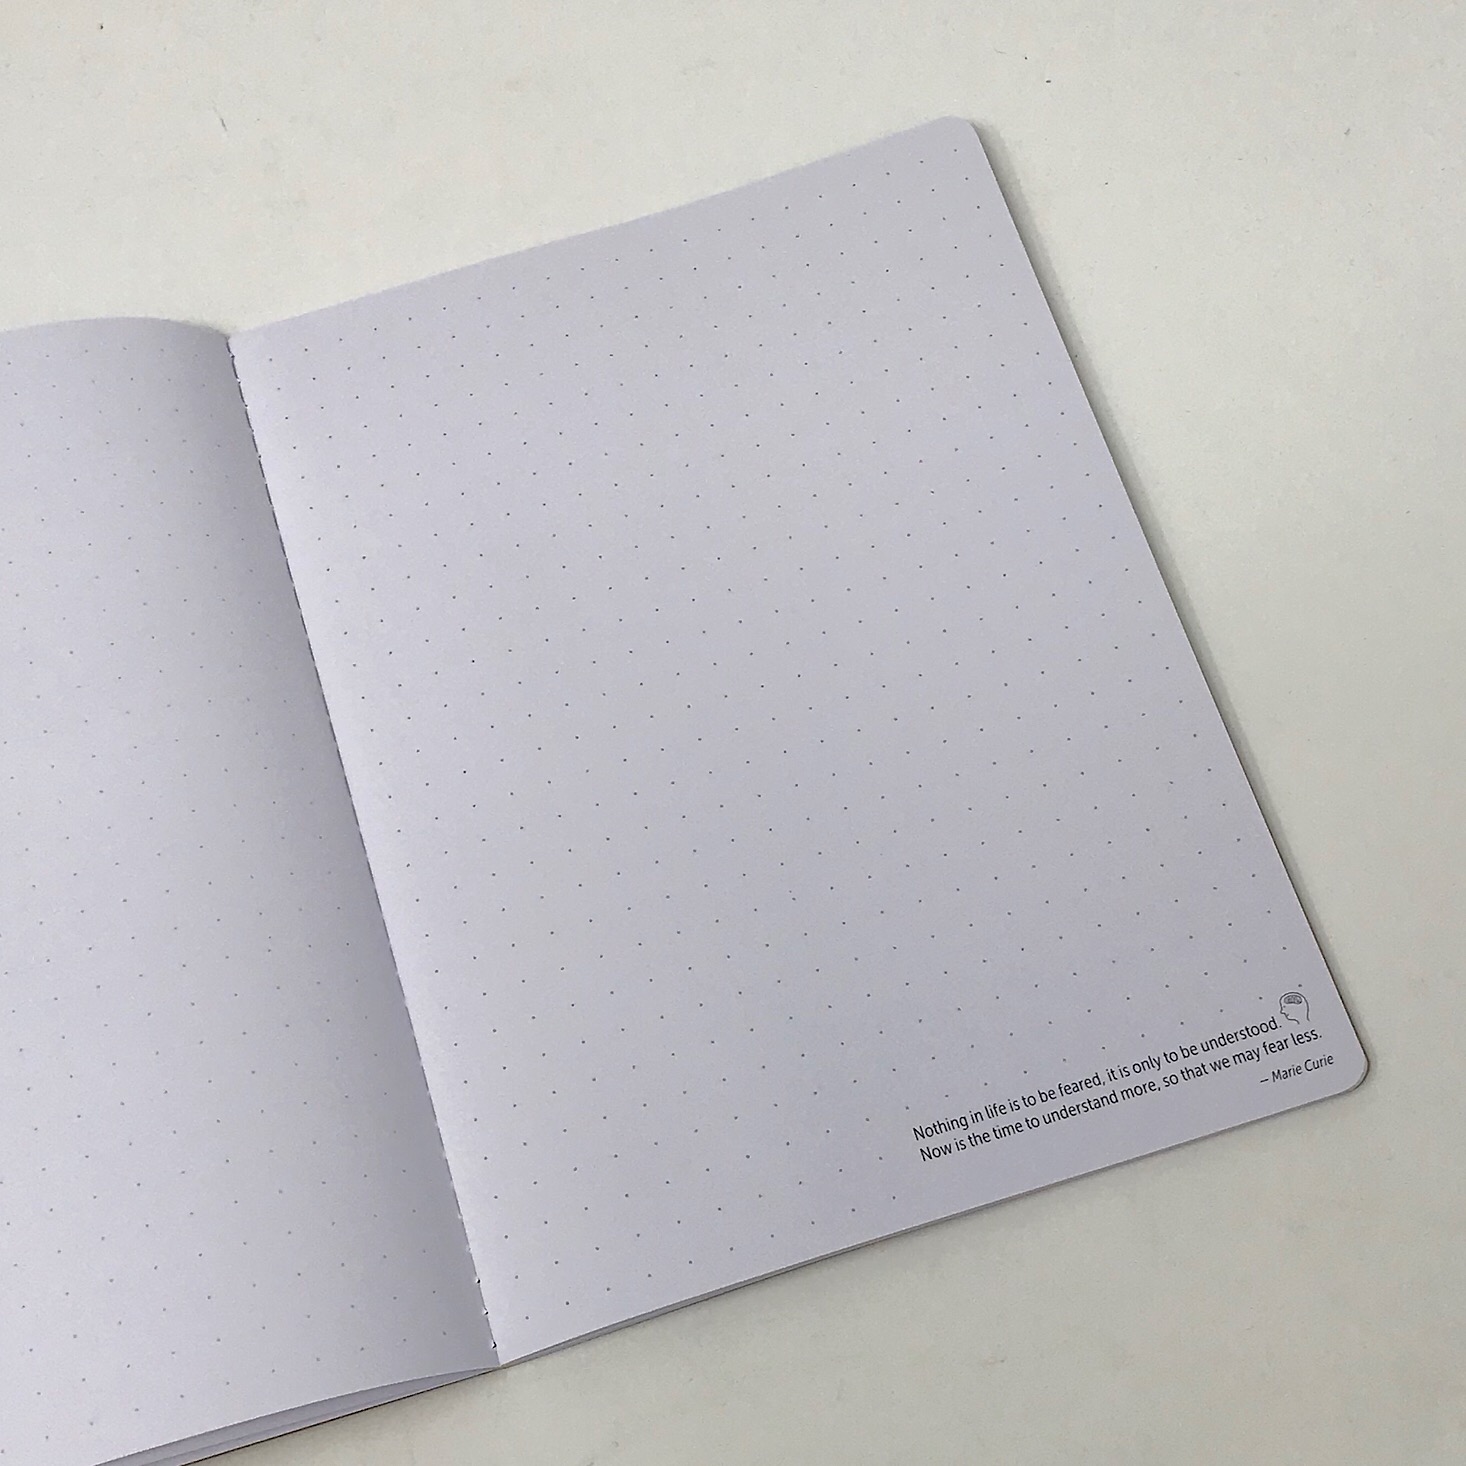
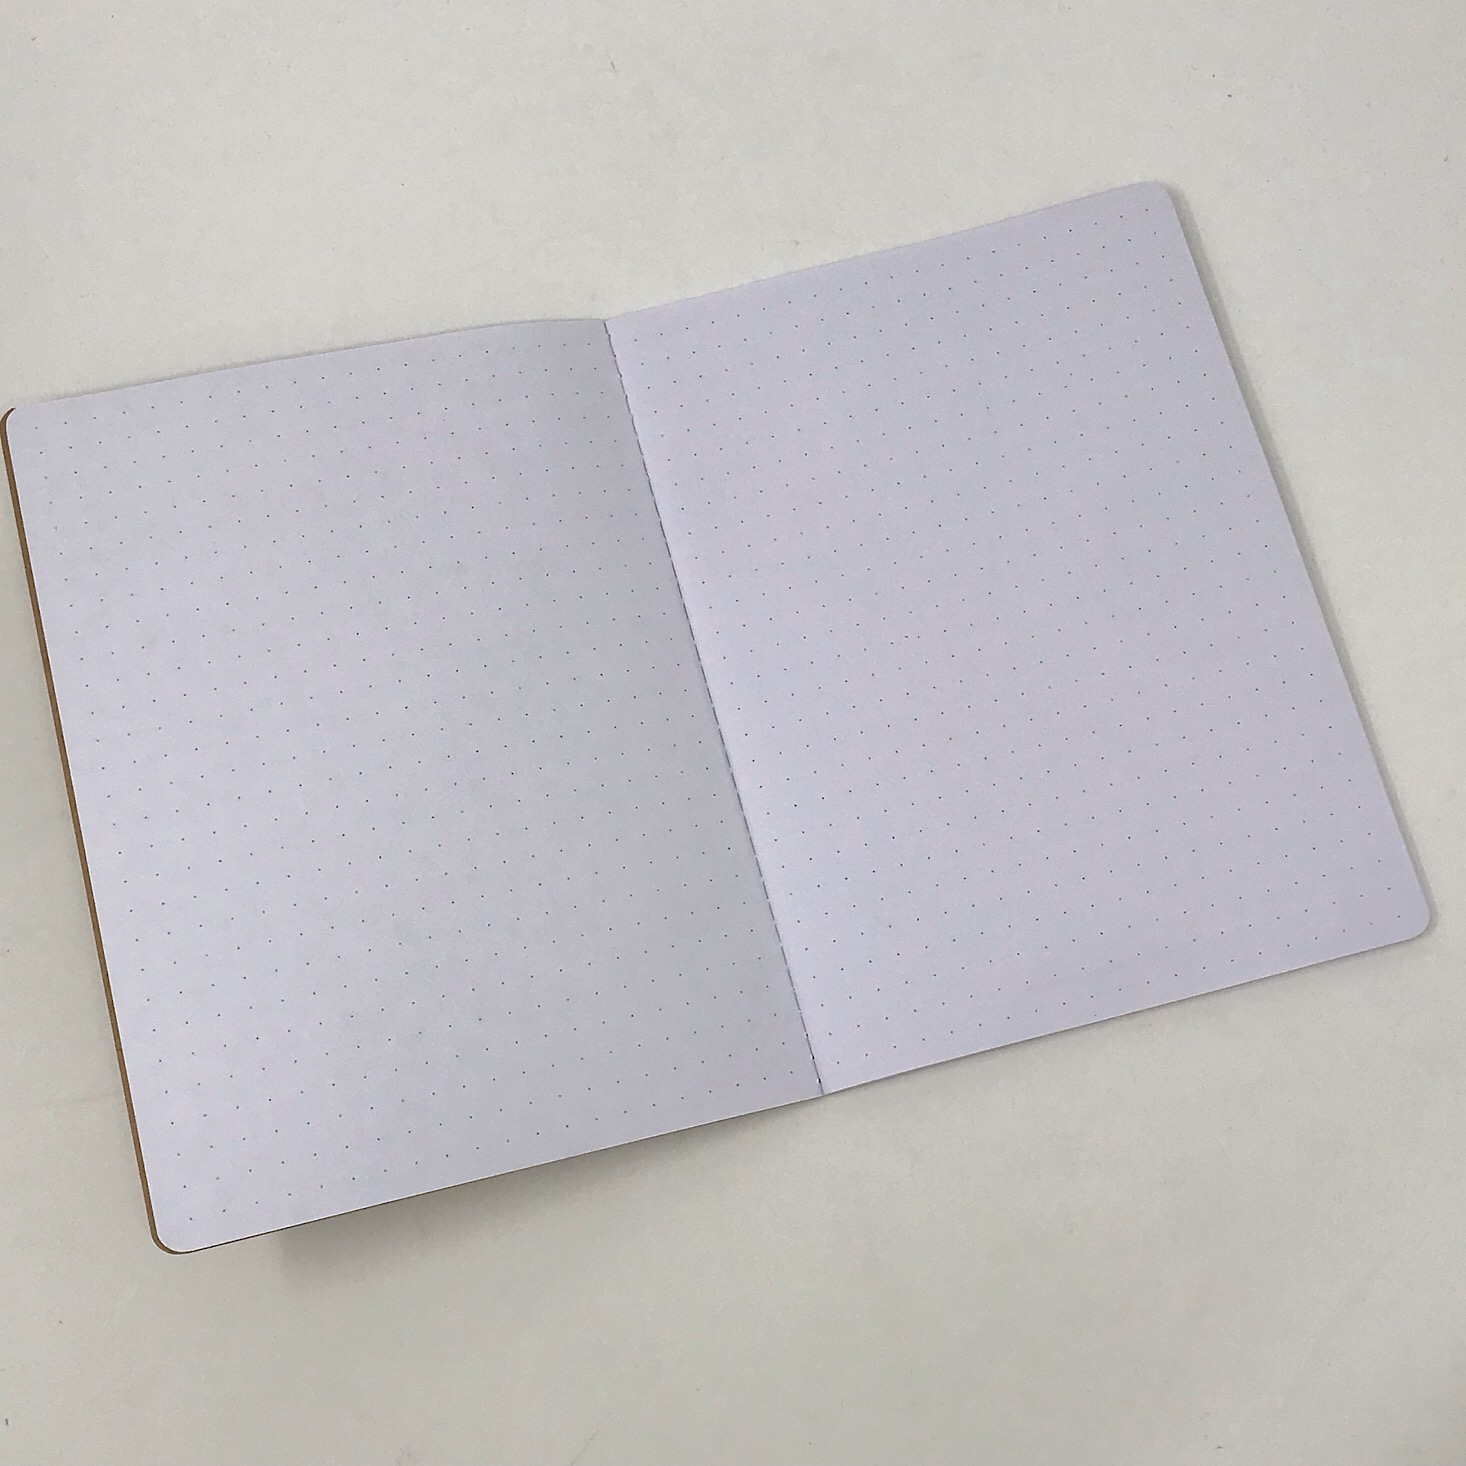
They also provided this notebook for us to use with our pencils. It features several quotes placed sporadically throughout the book and instead of being lined, it has some guide dots so you can easily use this for writing or drawing!
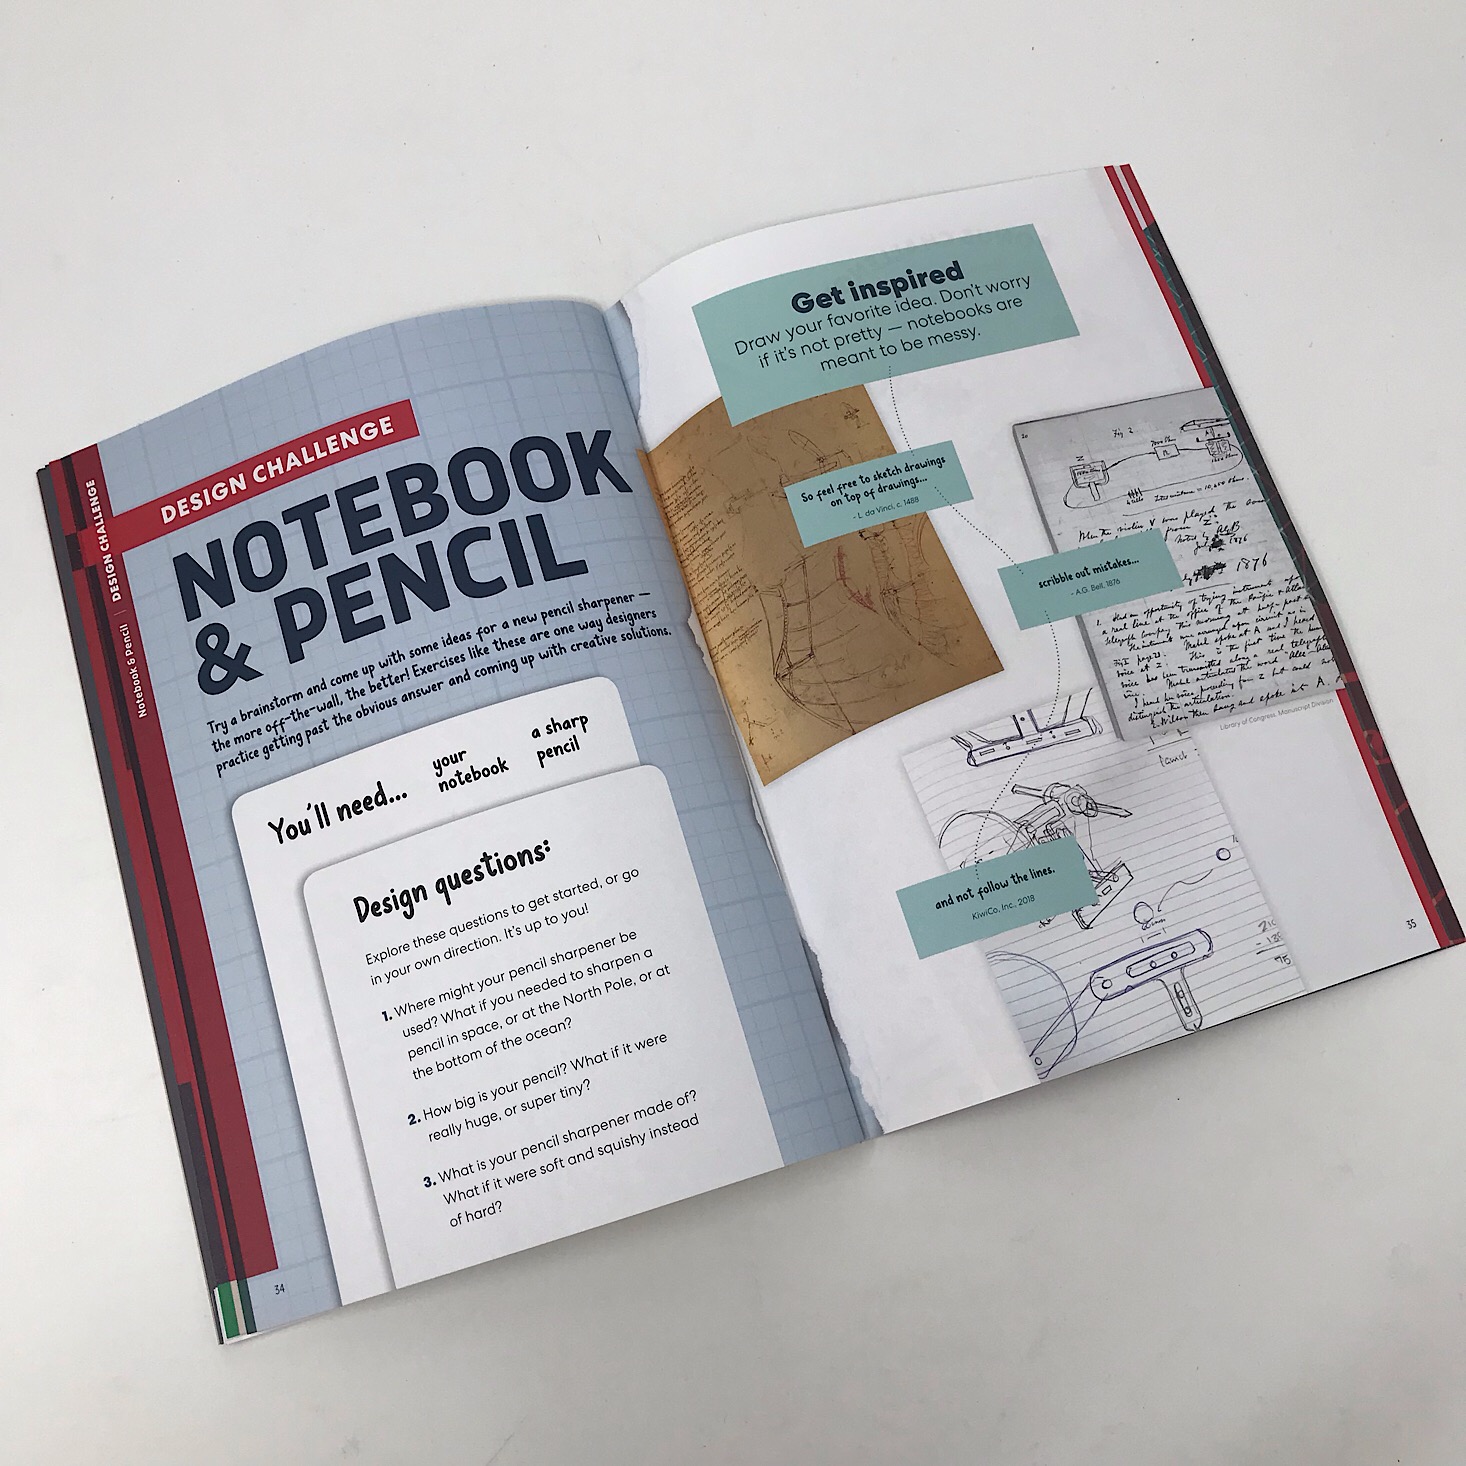
In our booklet, they even provided some pages of design challenges using our new notebook and pencils. I love that they always include that little something extra for us!
Verdict: I wasn't sure how I'd feel about making an electric pencil sharpener this month, but with Eureka Crate they always manage to make it interesting and fun! I love that they included the notebook and pencils for us and there was so much information in our guide this month. They really go above and beyond creating projects that are easily completed thanks to the work they put into the design and the detailed directions they provide. We don't own an electric sharpener, so this battery operated one is perfect since we can place it anywhere. Once again, I think this was a great STEM project that was worth the $29.95 + free shipping cost of the box!
To Wrap Up:
Can you still get this box if you sign up today? It is possible you might get this crate, but it is not a guarantee. From KiwiCo:
Crates are assigned each month based on availability and your crate history - not all subscribers receive the same theme each month.
Check out all of our KiwiCo reviews and the best boxes for teens!
Keep Track of Your Subscriptions: Add this box to your subscription list or wishlist!
What do you think of Eureka Crate?







































Please do not enter your email address in the Name field or in the comment content. Your email address will not be published. Required fields are marked *. Remember to post with kindness and respect. Comments with offensive language, cruelness to others, etc will not be approved. See our full comment policy here.