Facebook PixelOmbre Nail Art Tutorial Featuring Orly Nail Polishes! | MSA
My Subscription Addiction
Our reviewers research, test, and recommend the best subscriptions and products independently; click to learn more about our editorial guidelines. We may receive commissions on purchases made through links on our site.

Ombre Nail Art Tutorial Featuring Orly Nail Polishes!

Jessica Hapak
ByJessica HapakJun 20, 2019 | 19 comments

Nail Art Tutorial - Group Shot

Julep Maven
3.8 overall rating
176 Ratings | 76 Reviews

In honor of both National Nail Polish Day earlier this month and reader feedback, I thought I would share a tutorial on how I do ombre nail art. In each step below, all of my favorites products to help achieve this look are included.

Getting started:

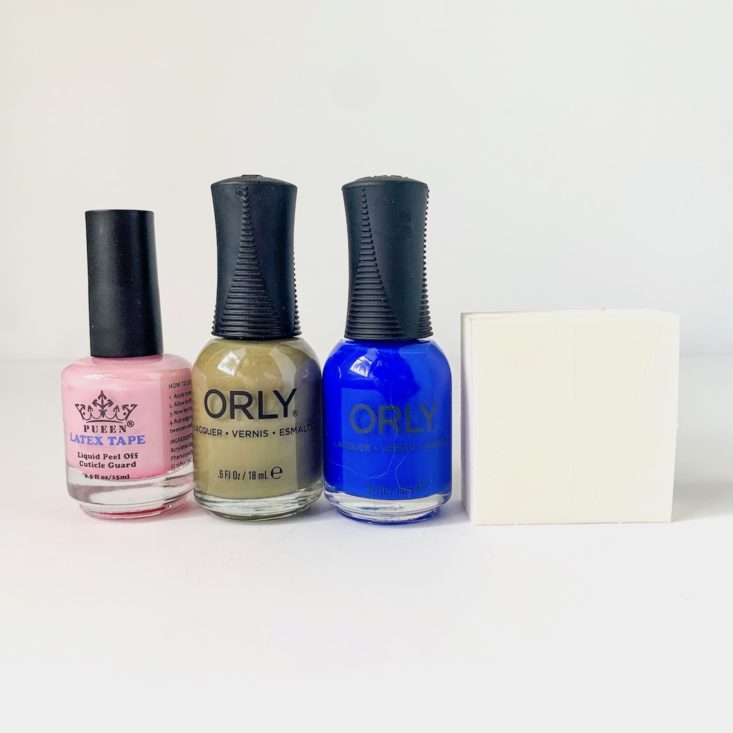
The supplies you need are minimal: two nail polishes that you like together (you’re going to have the best luck with polishes that have a crème formula), disposable makeup sponges (please, do not use your beauty blender here), and then a base coat, top coat, and liquid latex. You can do this without liquid latex, but it will be very messy. I use this one, but you can find a wide variety of options on Amazon.
Nail Art Tutorial - Step 1

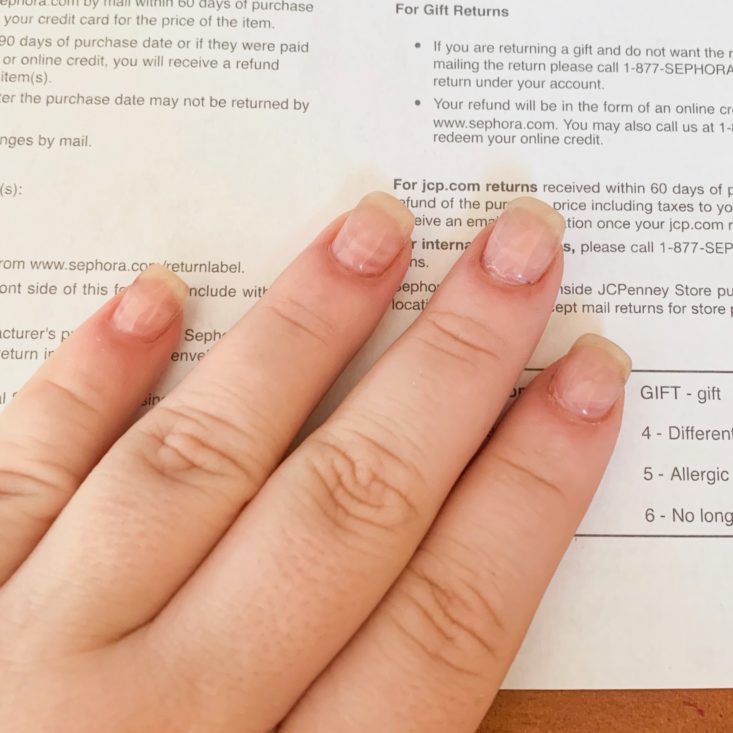
To start, lay down a piece of paper you don’t mind getting dirty (like the back of a Sephora receipt, for example), and prep your nails with your favorite base coat. I keep a coat of clear gel polish on top of my acrylic overlay, but before I had acrylics I would use Orly Bonder or OPI Nail Envy as my basecoats of choice (Nail Envy is a treatment for helping your nails to grow strong, but it worked surprisingly well as a base coat!)
Nail Art Tutorial - Step 2

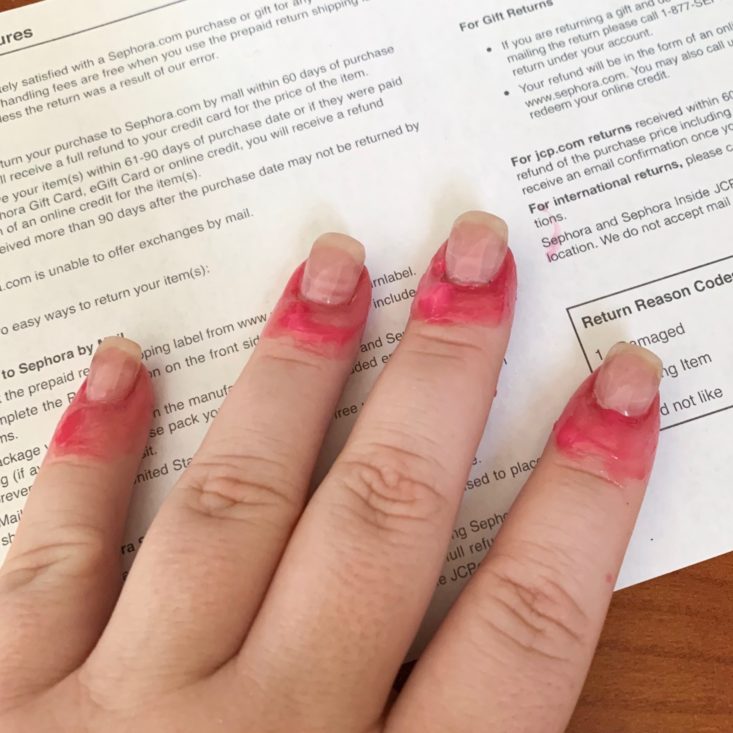
Next, I applied two coats of liquid latex around my cuticles. The one I use goes on light pink and turns dark pink when dry, and you definitely want to make sure the latex is fully dry before moving on to the next step.

Applying the polishes:
Nail Art Tutorial - Step 3

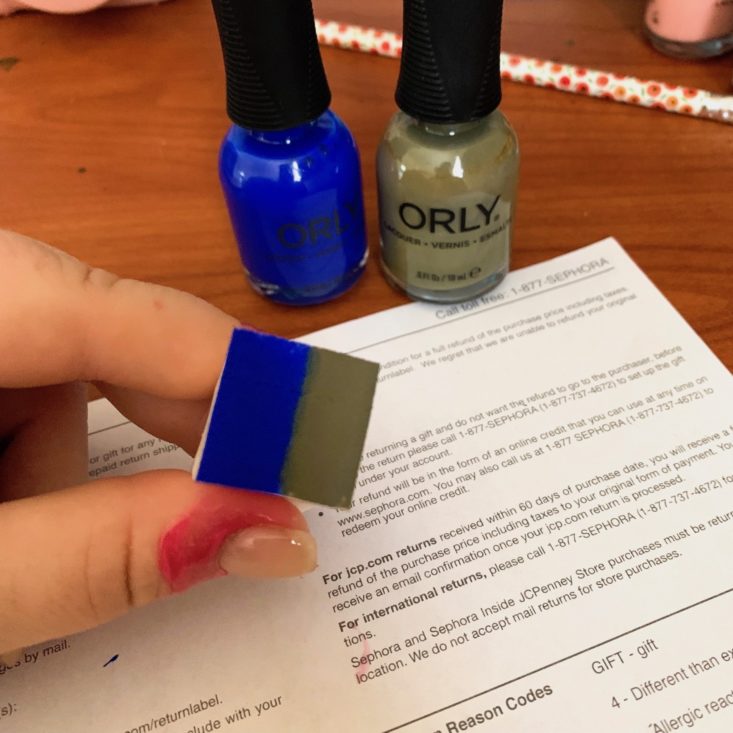
The next step is to take the flat end of your disposable makeup sponge and apply your polishes to them. I used Orly It’s Brittney, Beach from the Summer 2019 Color Pass and Orly Olive You Kelly from the Fall 2018 Color Pass. I like to leave the tops loose on the polishes at this step because you will be reapplying polish to the sponge frequently.
Nail Art Tutorial - Step 4

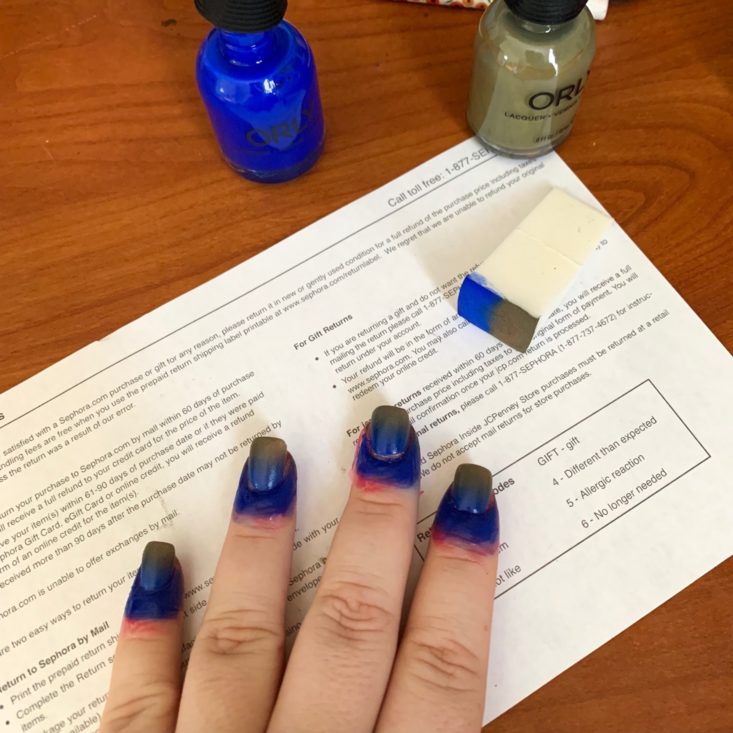
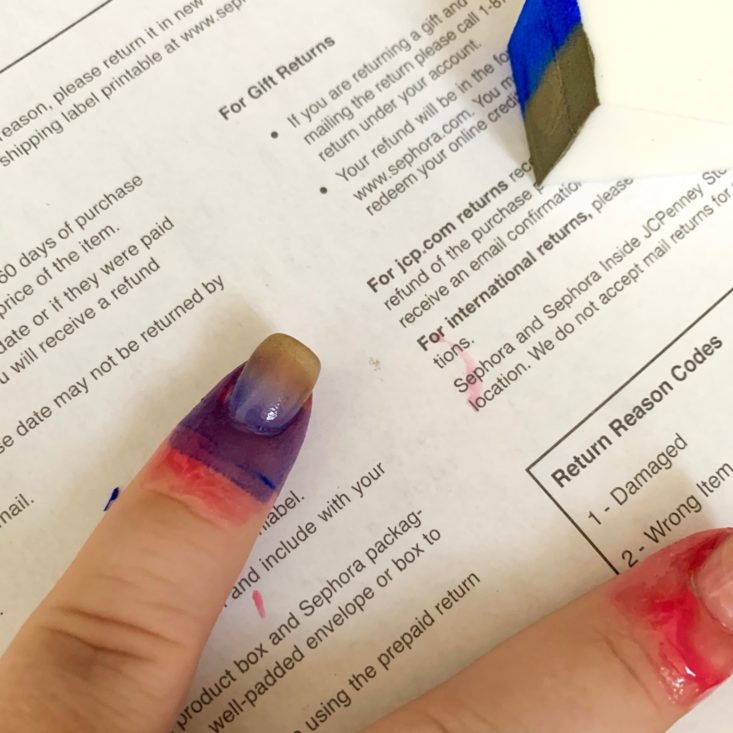
Next, you start painting! Just like you would a stamp, you press the flat end of the sponge onto your nail, aiming for where the colors meet on the sponge to be in the middle of your nails.
Nail Art Tutorial - Step 5

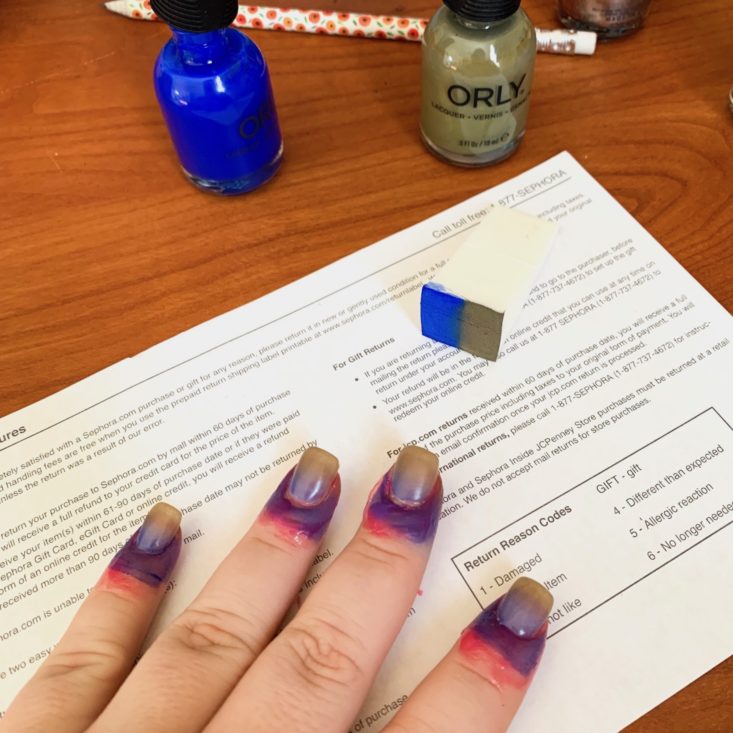
Repeat this step on all nails. Next, give your nails a minute or so to dry and reapply polish to the sponge.
Nail Art Tutorial - Step 6

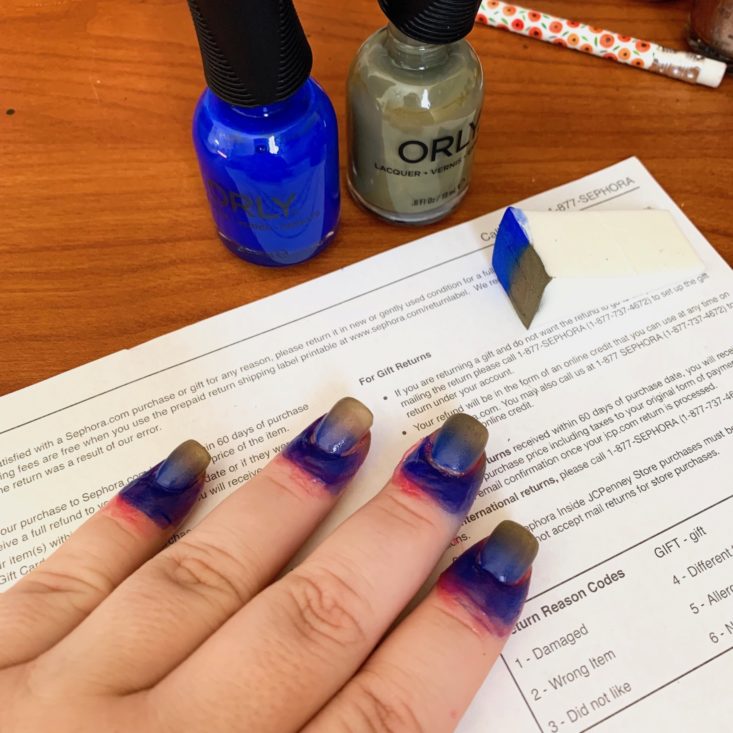
Then apply another layer.

Nail Art Tutorial - Step 7

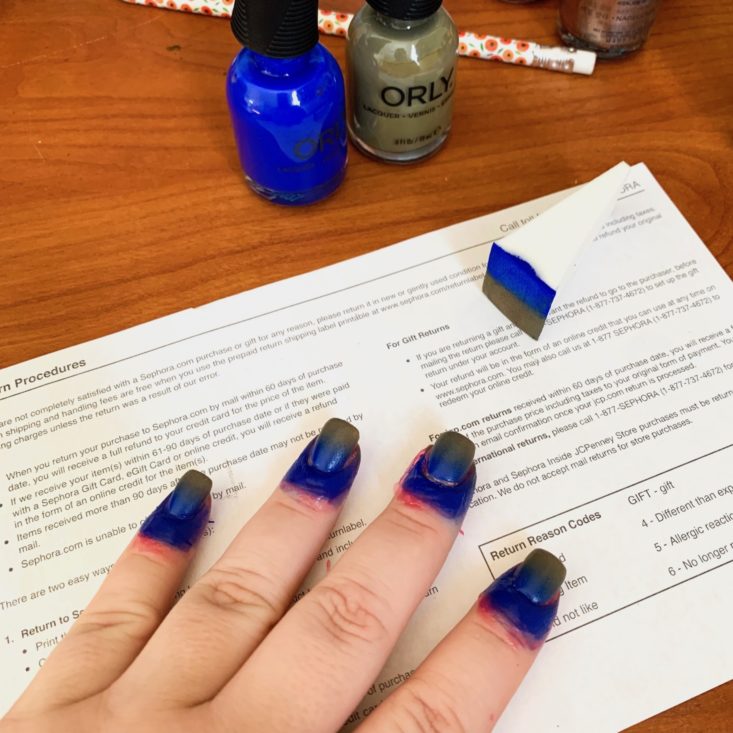
And another. As you are pressing down the sponge, move it slightly up and down to get the blended effect for the two shades.
Nail Art Tutorial - Step 8

You repeat this step until you are happy with both the opacity and the blended effect of the polish. Each layer is pretty thin thanks to the way we applied the polish, so it doesn’t get thick even though you’re doing multiple coats. I was happy with how it looked after four coats!

Finishing touches:
Nail Art Tutorial - Step 9

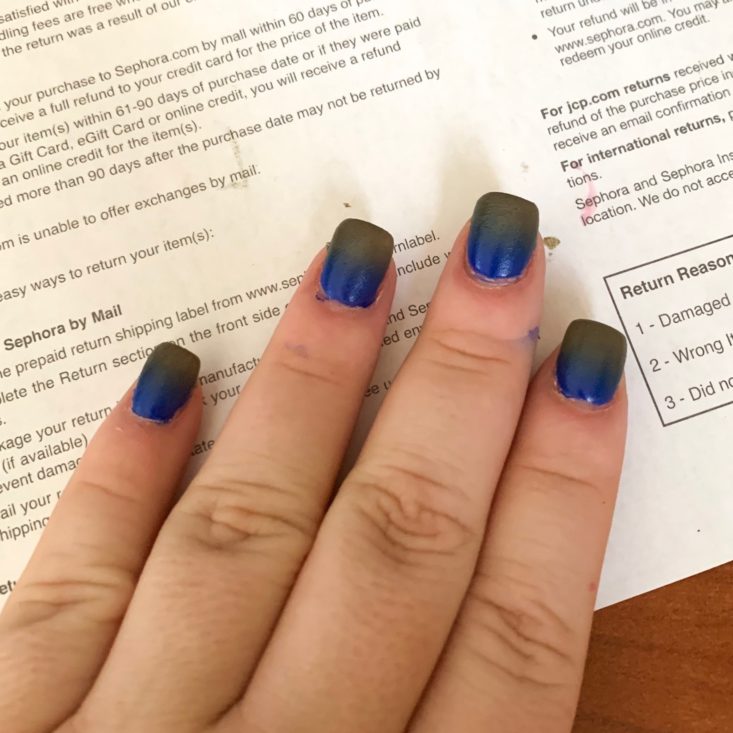
Once you’re done, remove the liquid latex (it comes off with ease!).
Nail Art Tutorial - Step 10

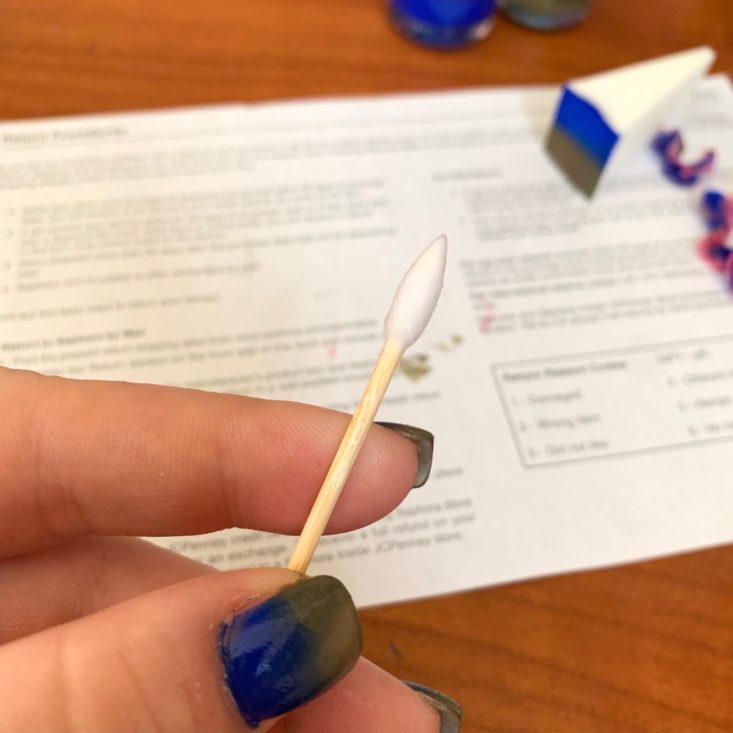
I then like to use the pointy end of a cotton swab dipped in nail polish remover (my favorite nail polish remover is by OPI- I have literally purchased a gallon of it before)  to clean up any stray polish, and then I finish with a top coat. My preferred topcoat is this one by Seche Vite.
Nail Art Tutorial - Finished Look

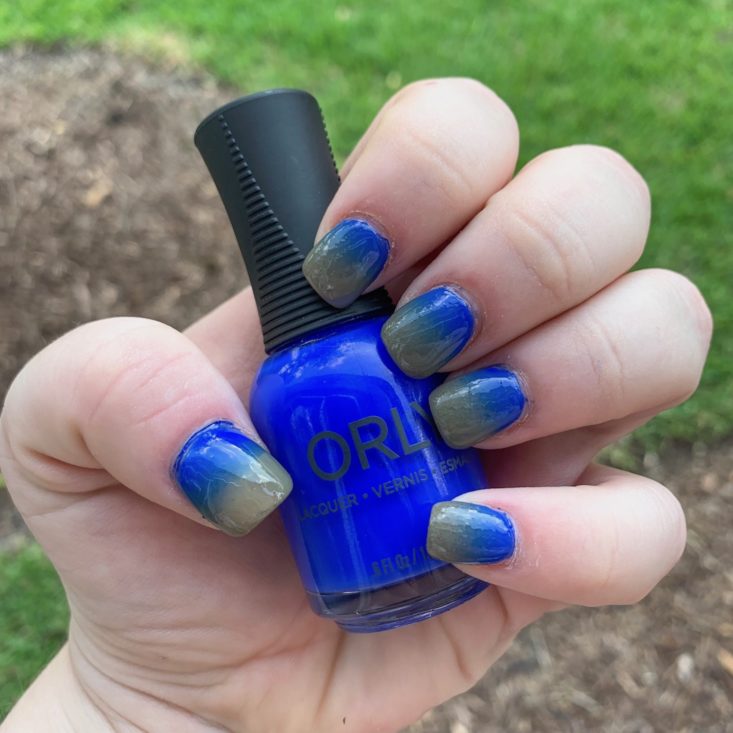
And there you have it! This is how I achieve an ombre nail art look. What do you think? If you give this a try, I would love to know your thoughts on how it went and what shades you used. Are there any other nail art tutorials you guys would like to see in the future? Let me know in the comments below!

Starting at $24.99
Active Deal
Get a 12-piece Polish Gift ($160+ Value) with your first box!
Use Coupon Code POLISHGIFT
Subscribe Now
Julep Maven is a nail polish and beauty subscription service. Each month you can choose one of five boxes, skip that month, or upgrade to the entire collection of beauty and nail polish products for an additional $30.
Jessica Hapak
Jessica Hapak
I am a staunch believer that pineapple doesn’t belong on pizza and when I’m not working as a family law attorney I enjoy hiking the Louisiana trails (alligator sightings are a favorite!) or relaxing with Duchess, my cat. I’m a sucker for anything labeled a mystery box and I’ve never met a bath bomb I didn’t like.

Join the Conversation

Please do not enter your email address in the Name field or in the comment content. Your email address will not be published. Required fields are marked *. Remember to post with kindness and respect. Comments with offensive language, cruelness to others, etc will not be approved. See our full comment policy here.

19 comments

Katty

Hi Jess! First of all, thanks for such detailed review. Secondly, want to specify how long did you wear this manicure chip-free? Bc I stick to gel coat usually to make them long-lasting ( I can get a guaranteed 2,5 weeks or so out of), that’s why I’m asking. Although for this ombre style some ORLY gel coat can be used, what do you suggest? I found more colours for it here: https://www.enails.eu/en/gel-nail-polish/orly-gel-fx.html Just I’m un doubts if gel coat + ombre nail lacquers are doable?

Reply ButtonReply

Jessica

Oh they turned out great! I use elmer’s school glue sometimes instead of liquid latex. It works almost as well, just takes longer to dry. I’ve been into nail stamping lately. Soooo many designs.

Reply ButtonReply

Luna

Awesome tutorial 🙂 I always wondered how people did that ombre effect. I do my nails weekly, and even though I think it would be so cool to do an ombre look, I already know that I’m too lazy (more like impatient) to go through the process. lol I can’t wait to see future nail tutorials from you! 🙂

Reply ButtonReply

Jessica Hapak

Thanks Luna!
I take requests!

Reply ButtonReply

Luna

I’d love to provide some, but I have no idea what sort of nail art is out there! Just spreading some Sally Hanson Crackle nail polish over another color is as fancy as I get. 😉

Julie

Fun! Too bad I recently threw away an old pack of those type of sponges… to the dollar tree!

Reply ButtonReply

DeeCee

Whoa this is so cool. Never in a million years I would have guessed that that’s how you do ombré nails! Thank you!!!

I have to try this but I will try doing two shades of the same color. Example dark pink and baby Pink.

Reply ButtonReply

Jen

Your nails look great and you make it look fairly easy!!

Reply ButtonReply

Nicole

Thank you so much for this tutorial! I appreciate the tips and pointers. They turned out so pretty!

Reply ButtonReply

Kristin

So you apply the nail polish to the sponge and then apply to nail? Sorry if that is a stupid question this is beyond my area of expertise.

Reply ButtonReply

Cassandra

Great review!

Reply ButtonReply

Mimi

What liquid latex do you use/recommend? Thanks!

Reply ButtonReply

Jessica Hapak

I currently use one by Pueen!

Reply ButtonReply

MicheleDeG

I really liked this tutorial. I now want to buy latex and sponges! How about a swirl or tortoise design?? 😊

Reply ButtonReply

Jessica Hapak

Hi MicheleDG!
By swirl do you mean marbling? I’ve never been able to master water marbling, but I can get pretty satisfactory results with a plastic bag! If that’s something readers would like to see I can make it happen.

Reply ButtonReply

MicheleDeG

Yes that’s what I meant.

Jackie

Never knew a product like liquid latex existed, need to try it, thanks!!

Reply ButtonReply

Jessica Hapak

It’s a game changer! If you’re heavy duty into nail art you can buy a big container of it (just search for liquid latex and it usually comes up under costumes) and refill a clean bottle with it (the brush makes it way easier to apply).

Reply ButtonReply

Leslie

Thank you! That is cool. I am not a “nail girl,” but occasionally polish my nails. Therefore I never even knew this latex existed. This will help so much when just doing plain solid dark colors, like red. I love the ombre effect and will be trying it. Plus sponges may be an easier way to paint solid nail color too!

Reply ButtonReply