Confetti Grace is a DIY craft subscription that sends a box filled with enough craft supplies to create 2 of the same featured projects. That way, you have one to keep for yourself and one to give away. “Throw Kindness Around Like Confetti” is this company's motto, and these projects give the gift of quality time with family and friends. To top it off, 20% of the net profits are donated to worldwide charities!
There are multiple subscription options, including longer commitments, and an option to add on an additional project set to make with a friend.
This review is for the Original Subscription DIY box, which is $28.95 per month
This box was sent to us at no cost for review. (Check out the review process post to learn more about how we review boxes.)
About Confetti Grace
The Subscription Box: Confetti Grace Original DIY Box
The Cost: $28.95 + free shipping
The Products: A specially curated box filled with enough craft supplies to create 2 of one project. One to keep, and one to give away, or share with a friend! (Recommended ages are 8 years - adult)
Ships to: U.S. Only. Free shipping to the continental US!
Good to Know: The 2018 charity to which Confetti Grace donates 20% of their net profits is World Vision. This charity helps purchase dairy animals for families in need.
Confetti Grace Original DIY Box June 2019 Review
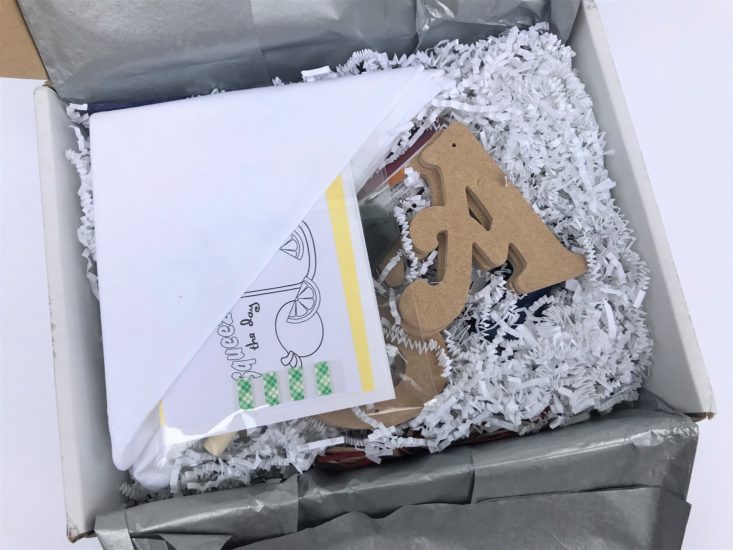
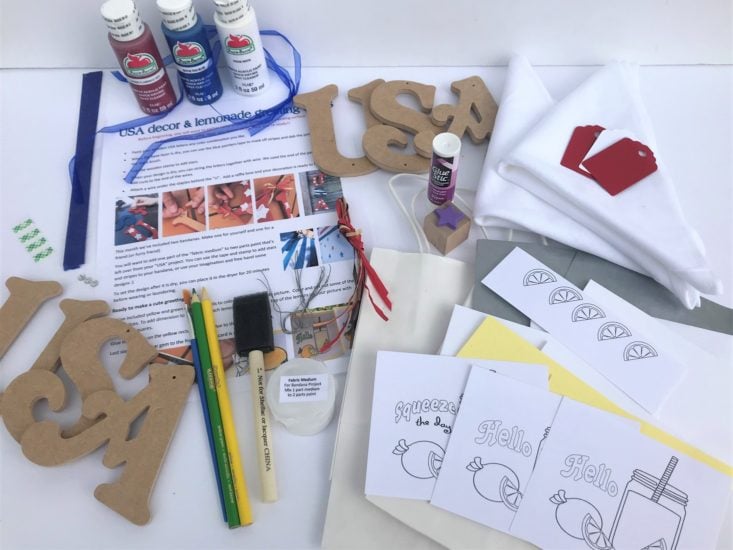
What an exciting month! I didn’t have any craft helpers with my last month of Confetti Grace, but this month I had two! June’s box included 2 USA wall hangings, 2 bandanas, 2 greeting cards, and 2 gift bags with tissue paper and tags.
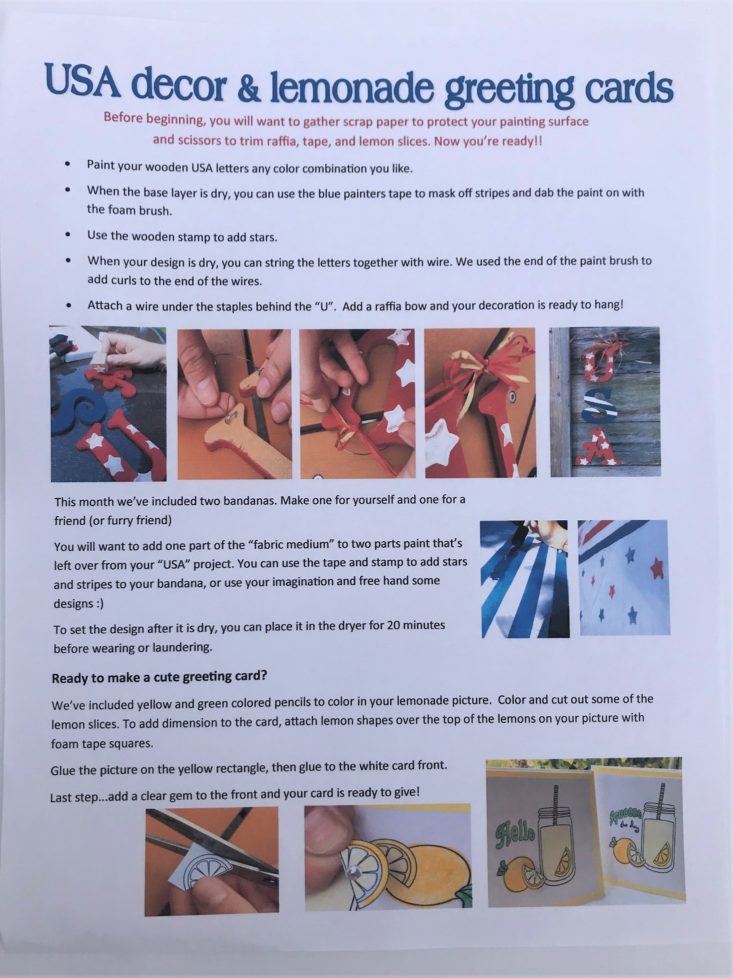
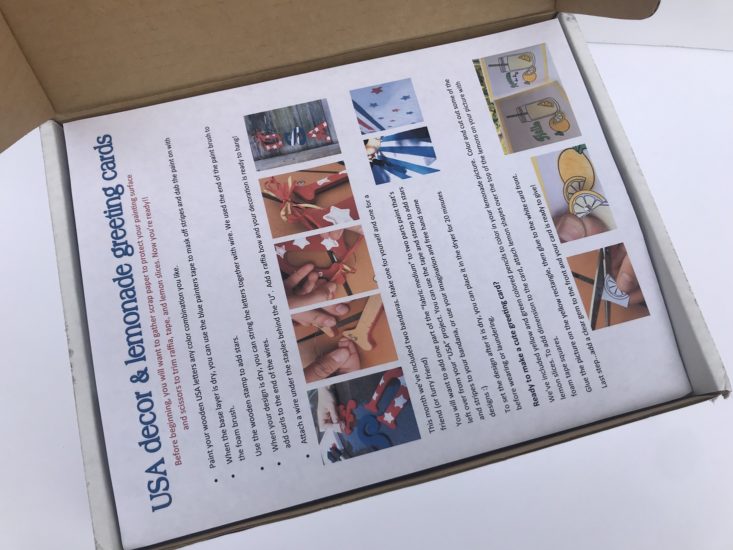
Each month, this box comes with a detailed instruction sheet with written details and photos to create the month’s projects. I have found their website to also be very helpful if extra assistance is needed.
Project #1: USA Wooden Signs
The first project we completed was these festive USA signs. I love how easy the directions are to follow, and the finished products turned out lovely! I also enjoyed this project because I don’t own a lot of 4th of July decor, so now my home is looking much more patriotic!
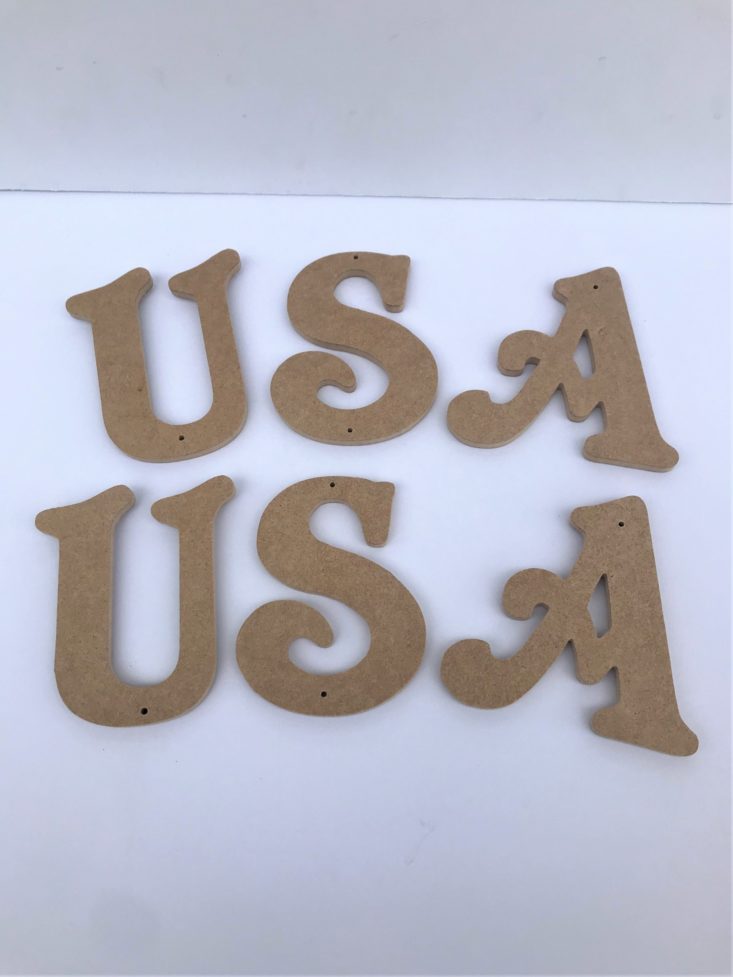
The bulk of the first project consists of these individual wooden letters. They are each about 4” tall, and feature a lovely cursive appearance. The options for these wooden letters online are endless, so I couldn’t find an exact price, but the included letters seem sturdy and all arrived in perfect condition, so I was satisfied!
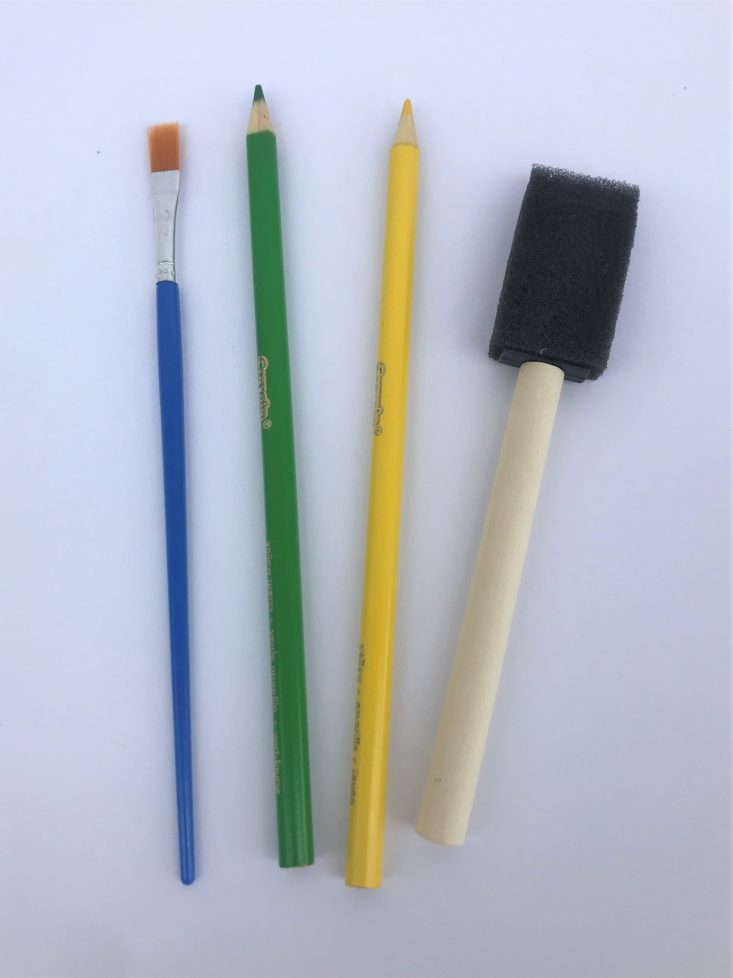
The next items in the box were a green and yellow Crayola colored pencil, a foam brush, and a smaller paint brush. While the colored pencils are to be used for the greeting cards, the brushes are needed to decorate the wooden letters.
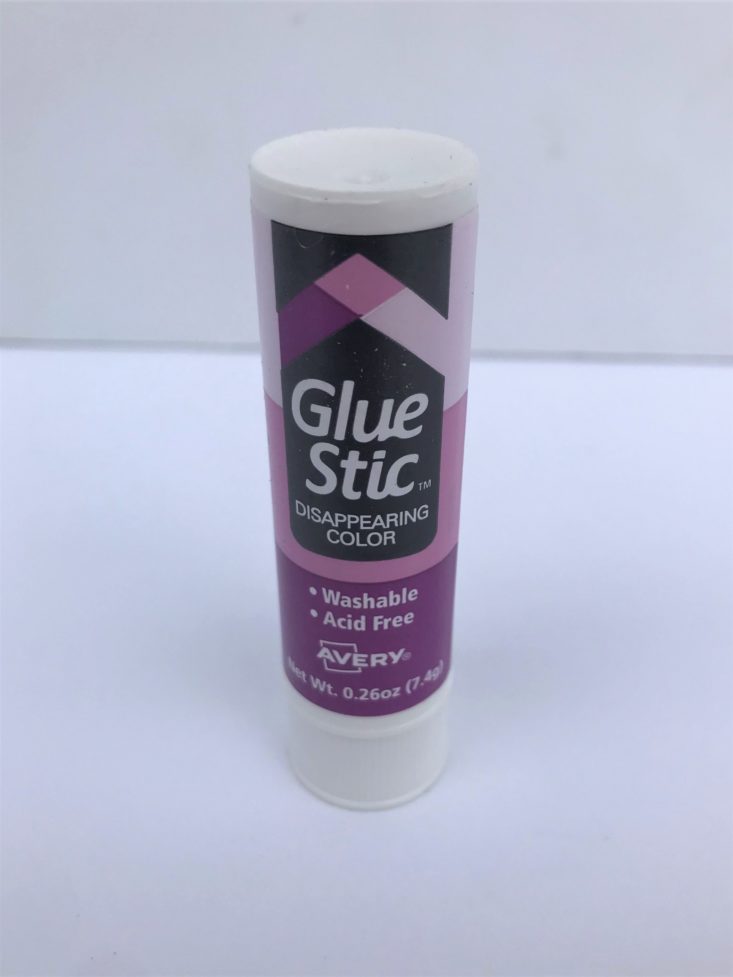
Avery Disappearing Color Glue Stic- Retail Value - $2.07
Next up we have the glue! I love how this subscription includes almost everything you need to create these projects. We use so much glue that we never seem to have it around when we need it, so this is a wonderful inclusion.
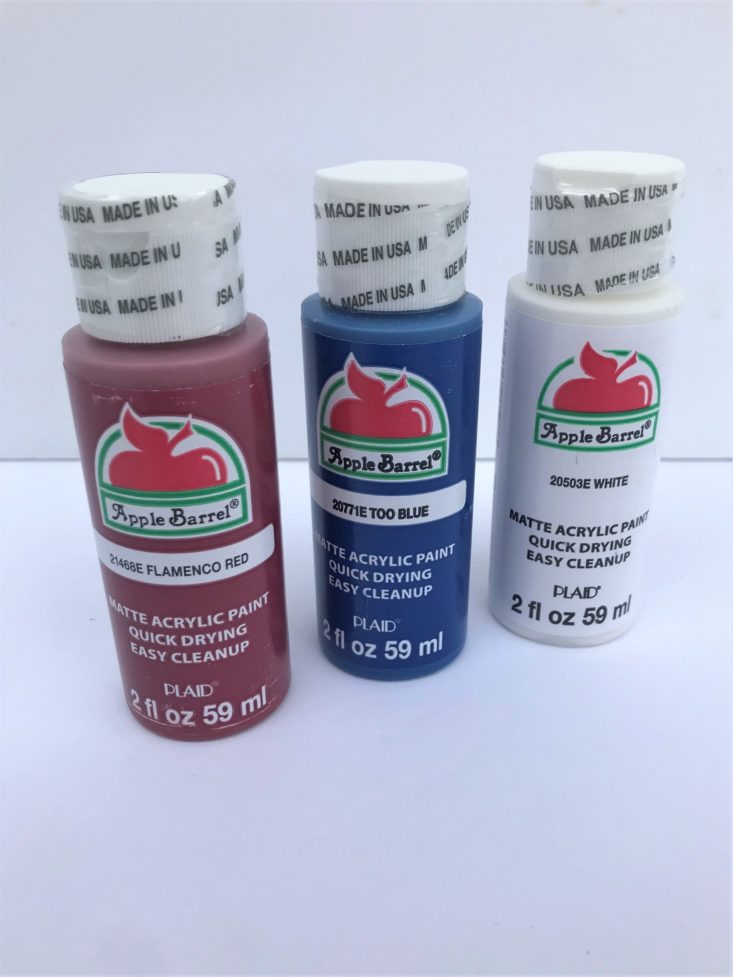
Apple Barrel Burnt Red Flamenco Acrylic Paint (2 oz.) Retail Value - $0.99
Apple Barrel Pewter Too Blue Acrylic Paint (2 oz.) Retail Value - $0.99
Apple Barrel White Matte Acrylic Paint (2 oz.) Retail Value - $0.99
I love Apple Barrel paint, so I was very excited to see the full-size paints included in this box. Apple Barrel covers well, washes off hands easily, and is made in the USA! Plus we had lots extra for many other projects!
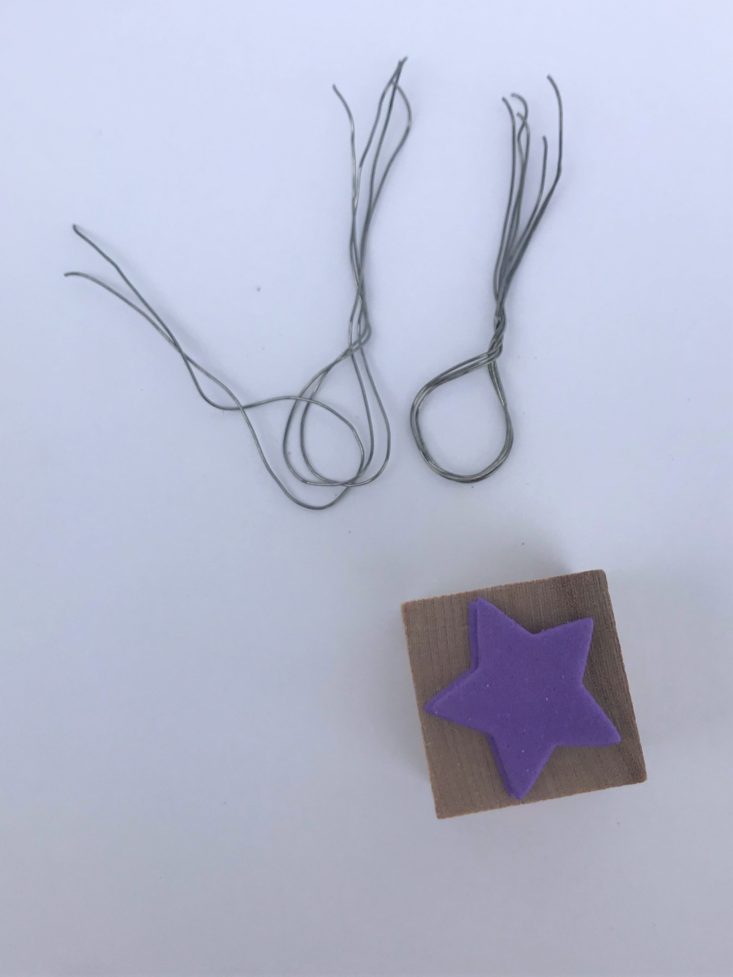
To fasten our letters together, they kindly sent pre-cut wire, as well as a star-shaped wooden stamp. This stamp will be used for the sign as well as the bandana.
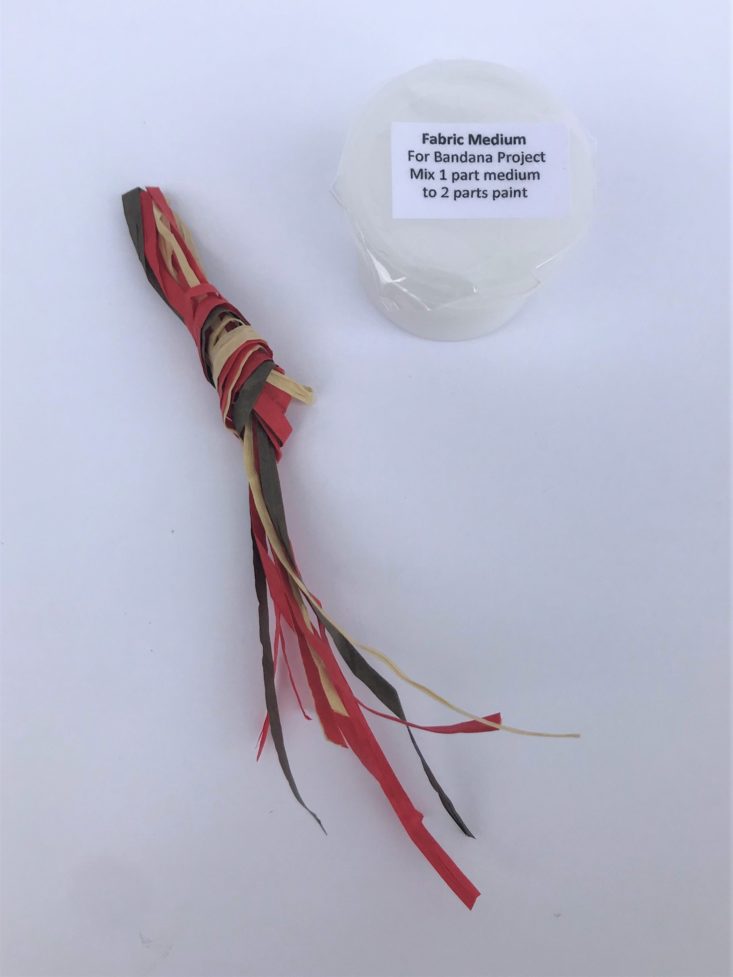
The last item needed for the USA sign is the raffia bow! Very simple and very pretty! Also pictured is the fabric medium to mix with the paint for the bandanas.
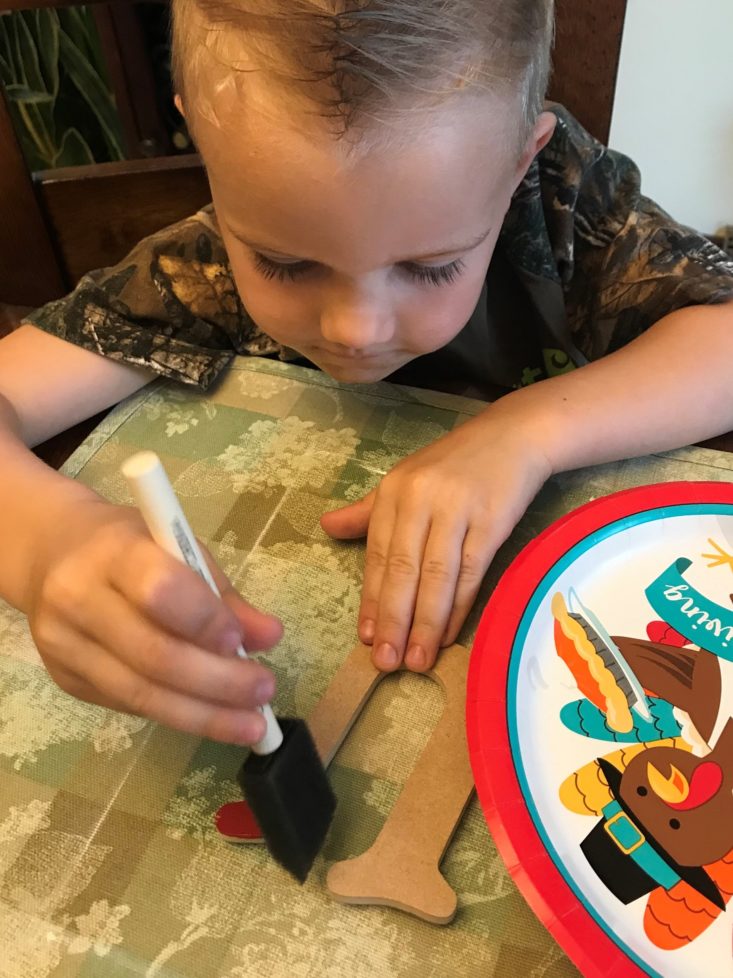
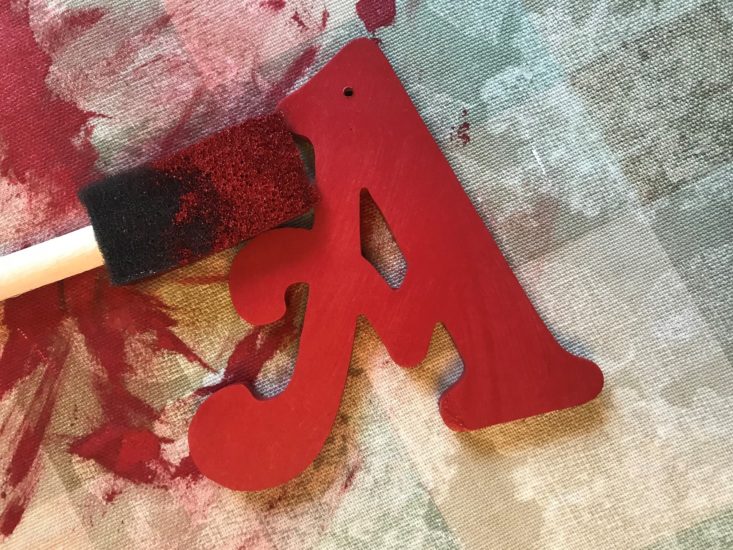
And off we go! The first step is to paint your wooden USA letters. We found it to be much easier to paint the sides of the letters first (so you can hold the letter in place on the top, without getting full of paint) and then paint the front. Because this is a bit messy, you will want to cover your painting area. We use old placemats and they work great!
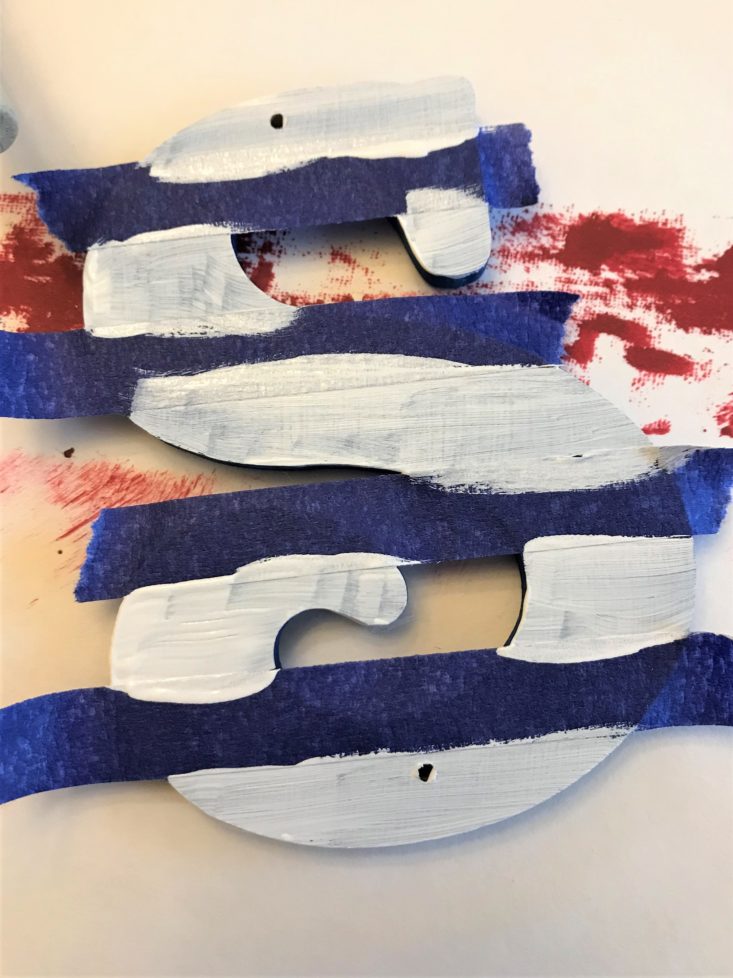
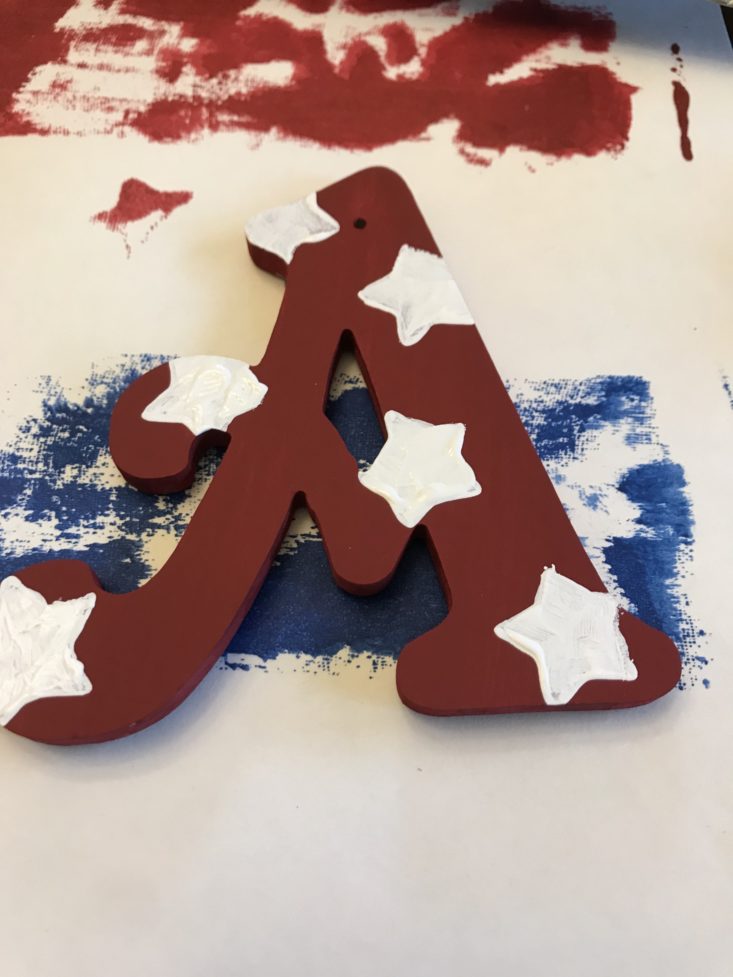
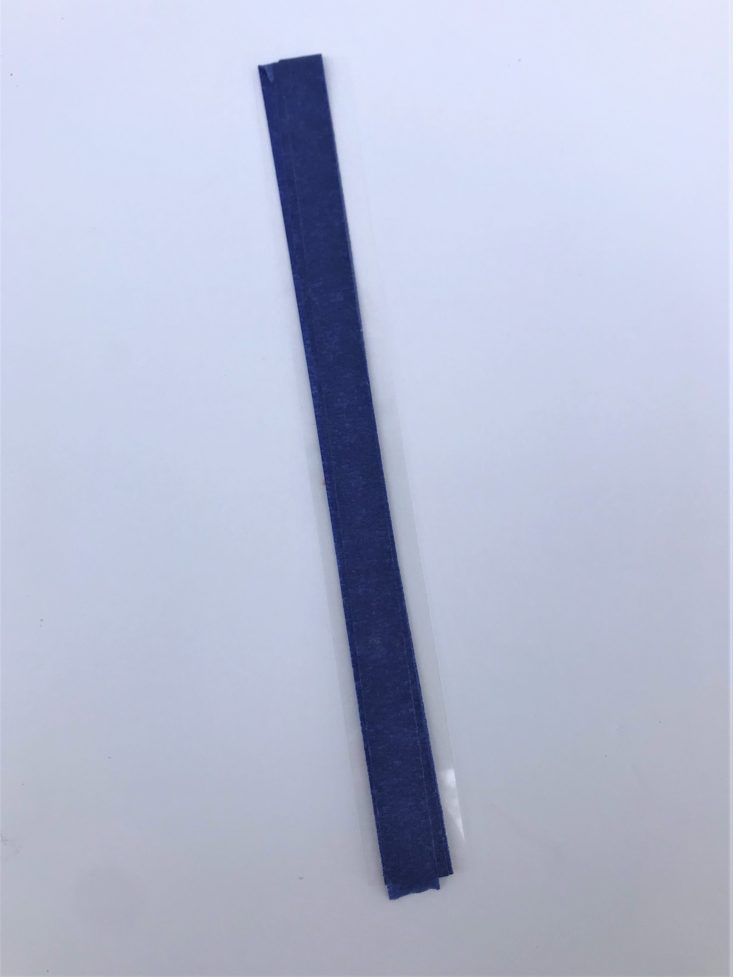
We liked the look of the decor that was featured in the instructional sheet, so we followed suit. I found that when we used the stamper, the paint sometimes didn’t stamp very thick- so we used the small included paintbrush to touch up the stars for a more uniform look. For the stripes, we used the included blue painter's tape to mask off where we didn’t want paint. White was a little more difficult to cover up the navy blue, but a couple of coats did the trick!
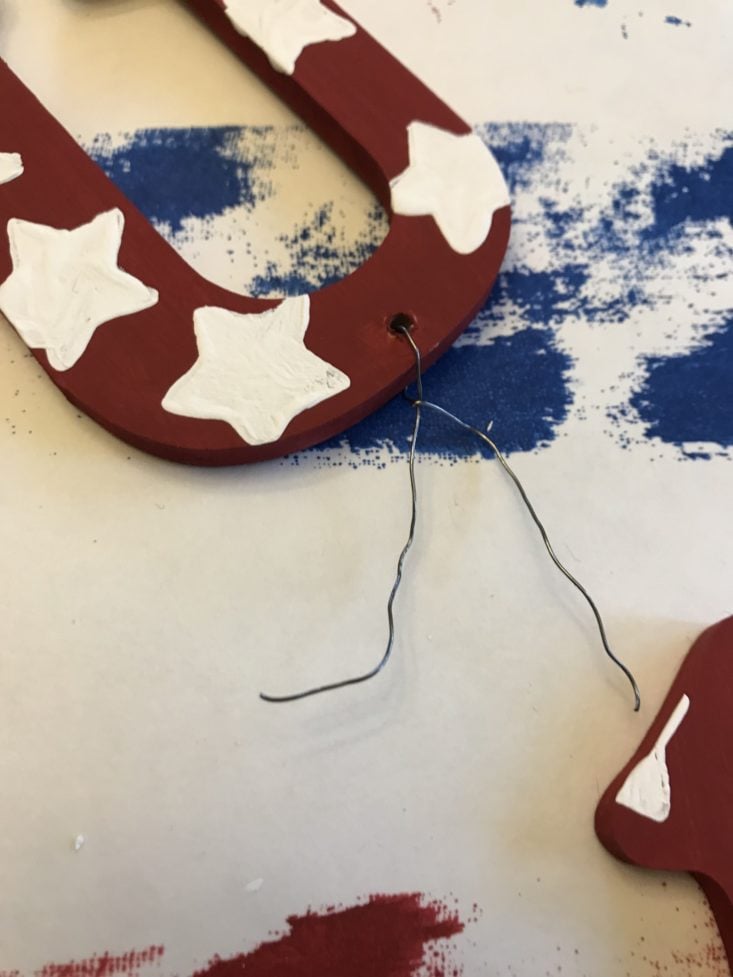
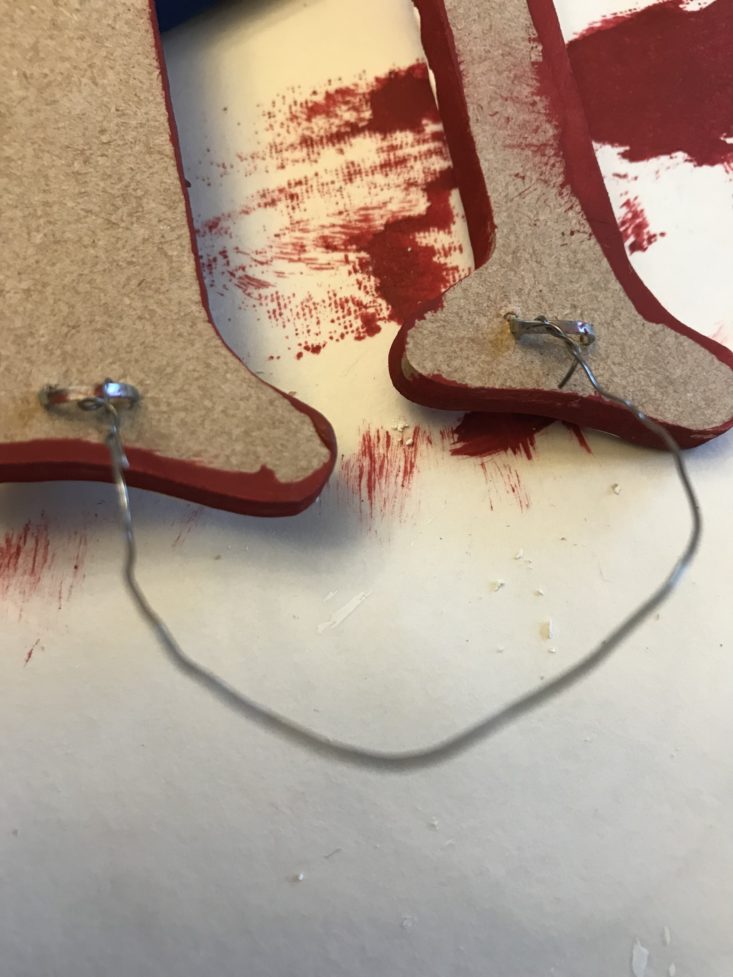
After letting all of the letters dry for a couple of hours it was assembly time. We used the included pre-cut wire to attach all of the letters together and make a hanger for the top. Easy peasy!
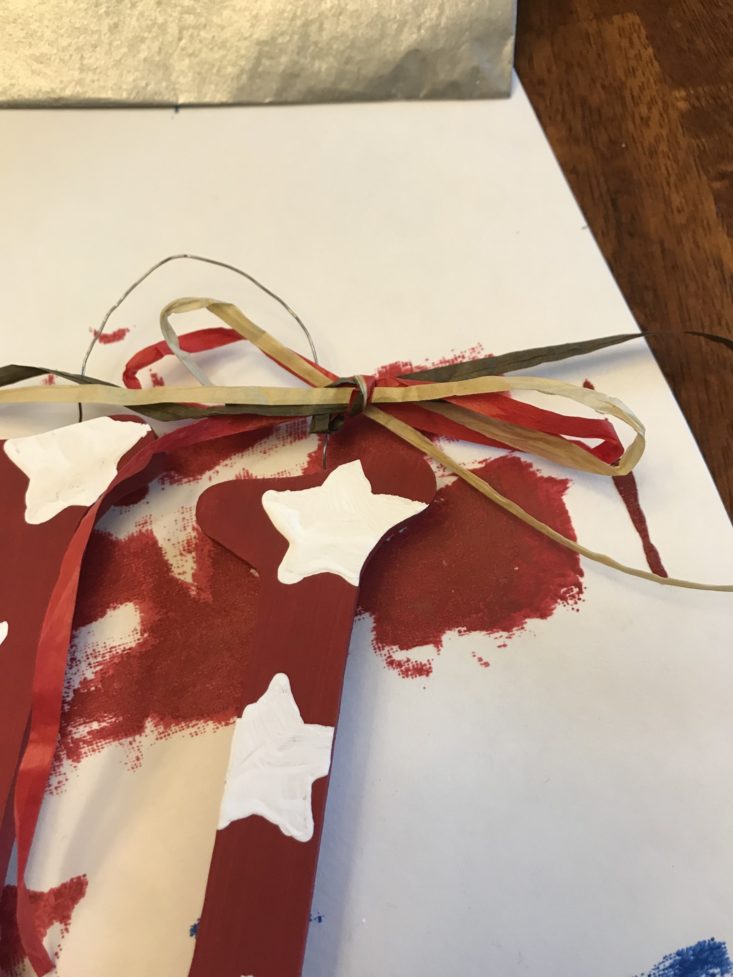
Our last step was to create the raffia bow. I just made a simple bow with long tails. I found it to really add charm to our creation!
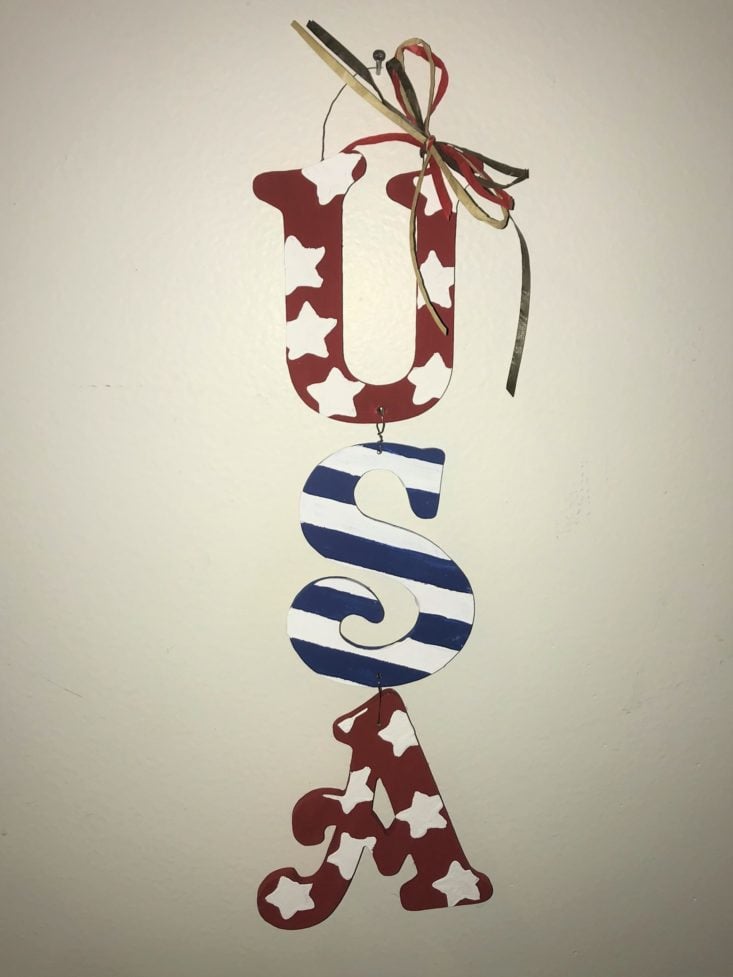
Here is the finished piece hanging on my wall. I am very pleased with how it turned out, and am happy to have more 4th of July decor throughout our home! Plus the kids had a BLAST!
Project #2: Patriotic Bandanas
Project number two is customizing your own bandanas! It suggests you can make one for yourself and one for a friend (or furry friend!) For this project, I let my boys work on one together, while I worked on the other.
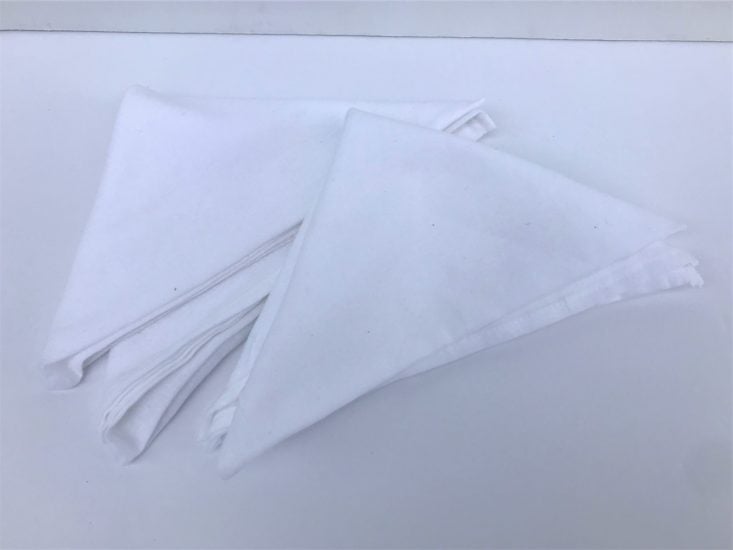
Here are the two white bandanas we received, ready to be customized!
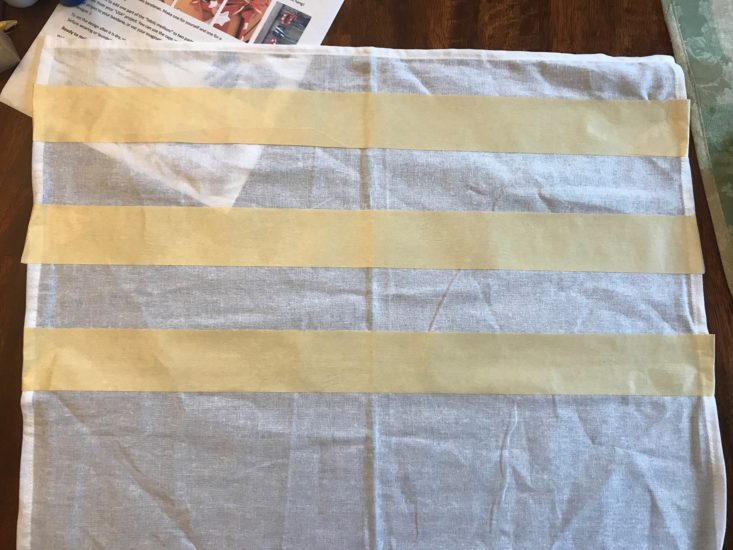
Although you can make your bandanas any way you want, I chose to follow the instructions and use painter's tape to make stripes, and add some stars. I wanted a wider stripe so I used my own tape.
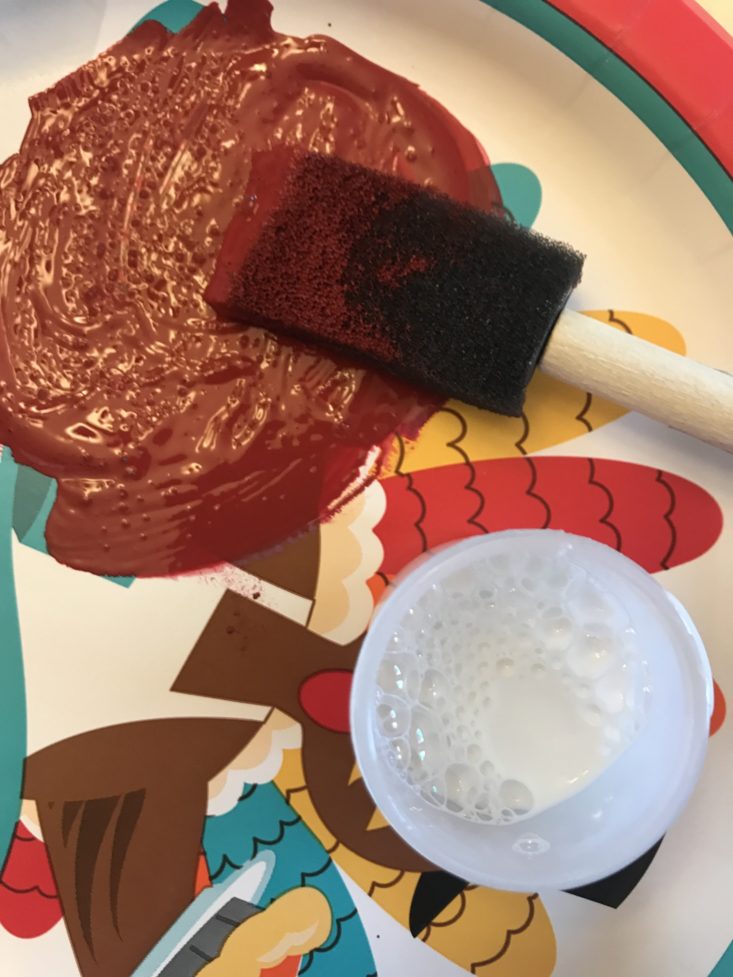
I like that they included the jar of fabric medium. They did a pretty good job of sealing it, but I did notice the bottom of the jar was slightly sticky. All that you have to do is add one part of the fabric medium to two parts paint.
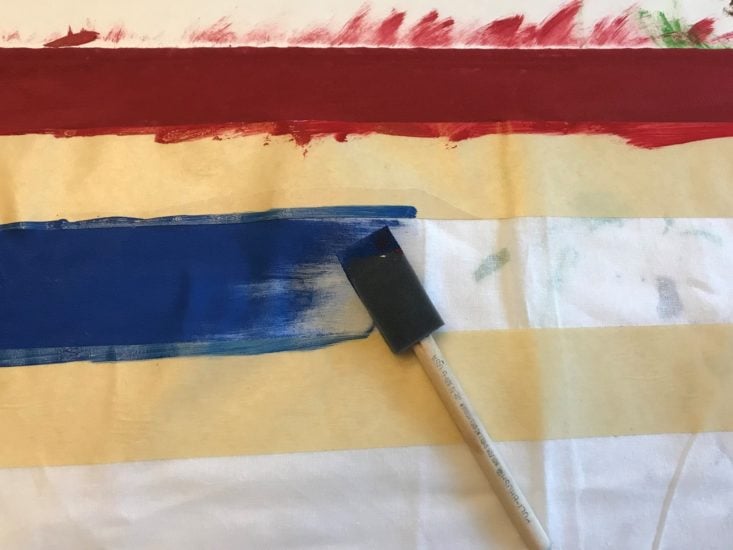
Here is our taped up bandana being painted. I want to note the bandanas are SUPER thin, so you MUST put something under them to paint or you will end up with paint all over your table.
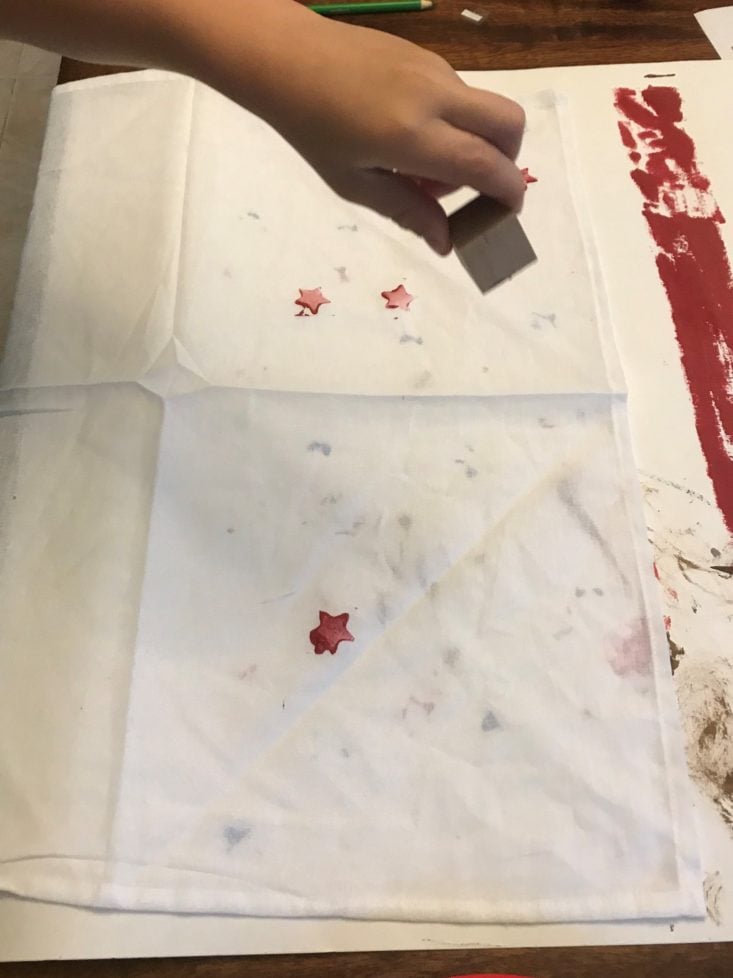
Here is Hank stamping away. The kids loved being able to decorate these bandanas on their own accord! Just a note: to set the design after the paint has dried, you place the items in the dryer for 20 minutes before wearing or laundering.
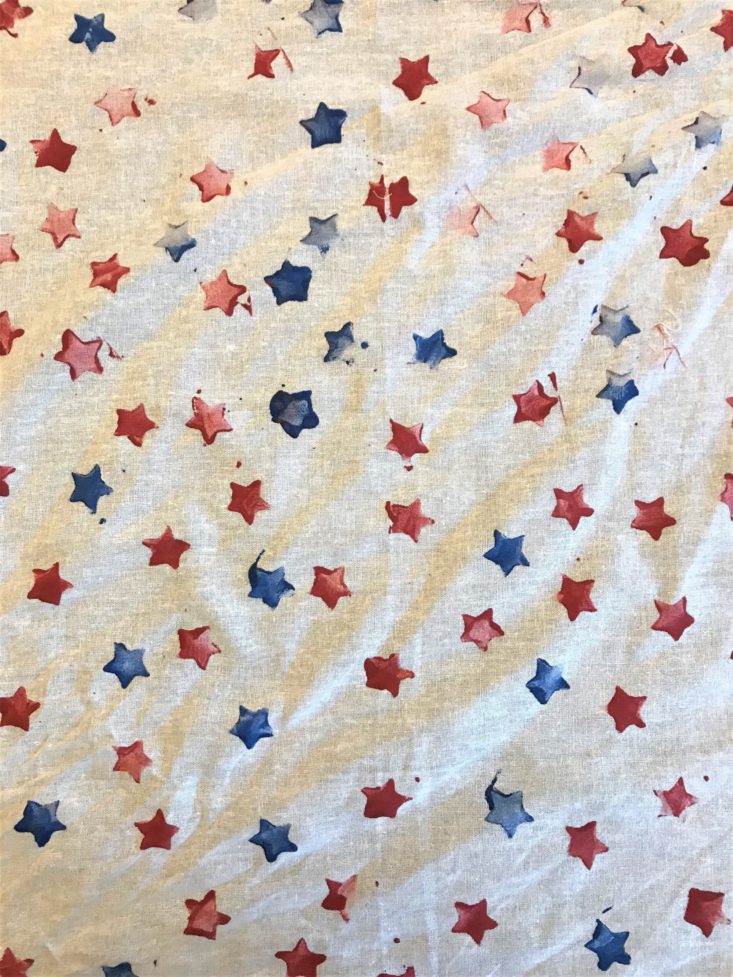
Here is the boys’ finished bandana.
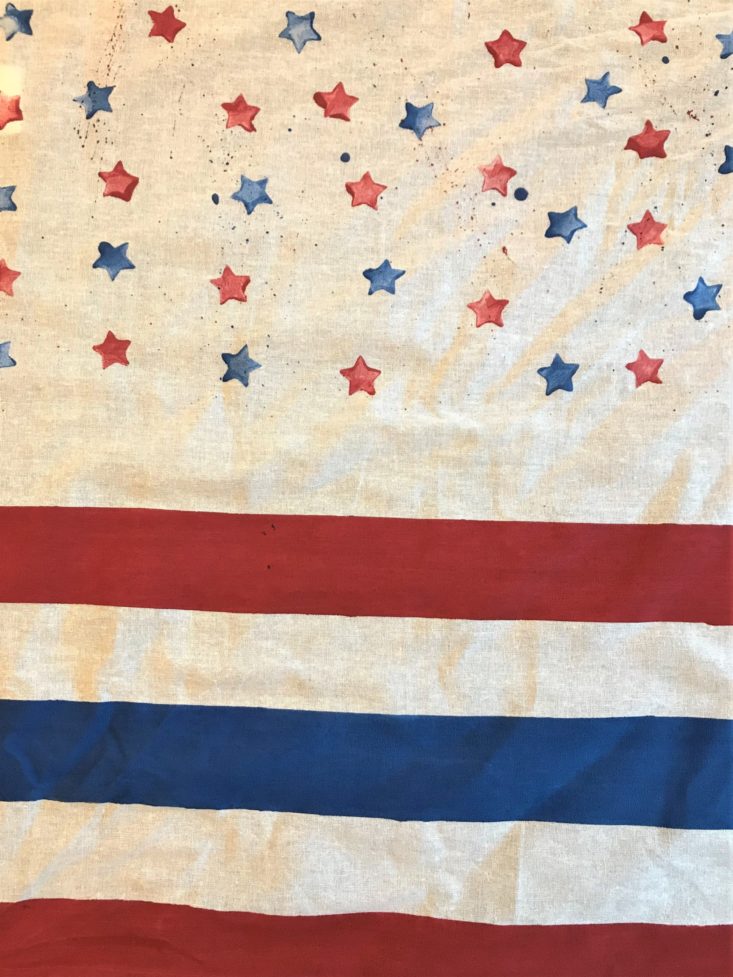
And here is my finished bandana. We can’t wait to wear these to the 4th of July parade!
Project #3 Lemonade Greeting Cards
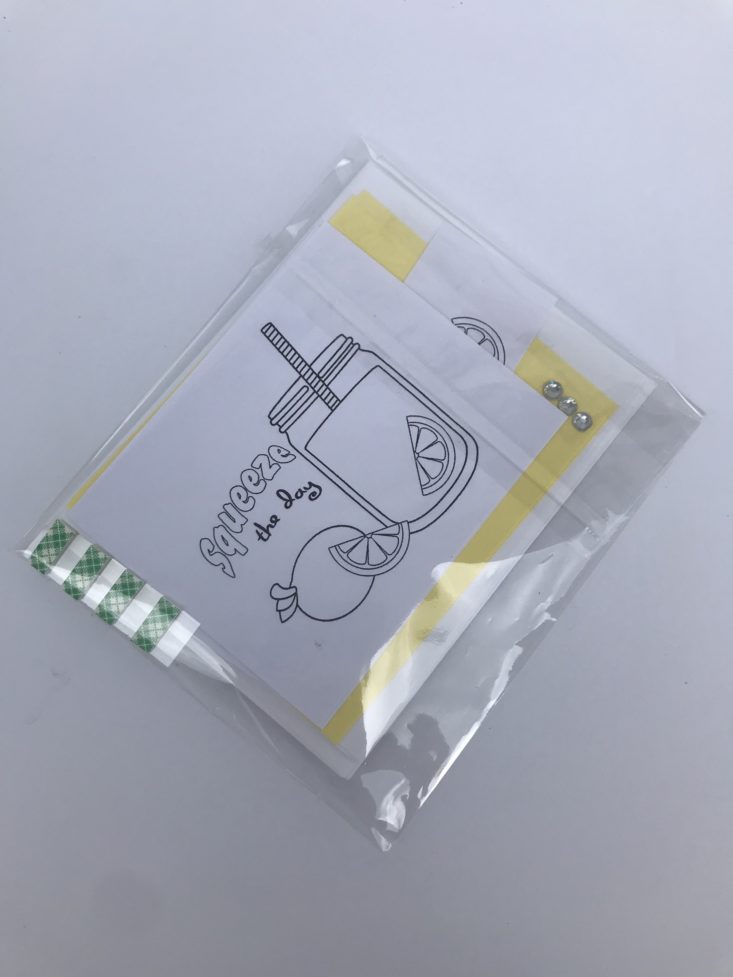
I like that they include all of the items for the greeting cards in one pack! Very easy to organize and put together!
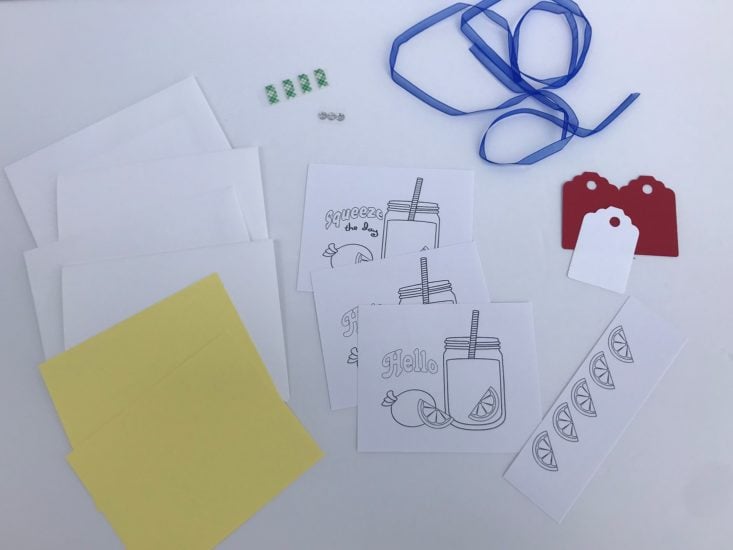
Here are all of the items laid out! You do need your own pair of scissors to cut out the little lemon slices.
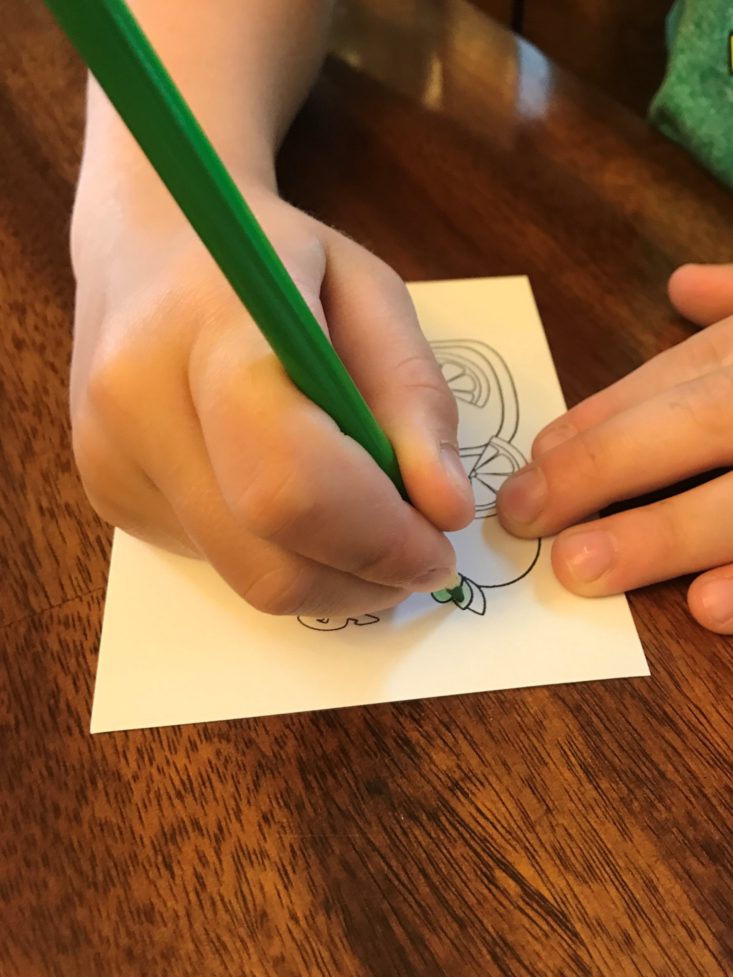
We loved coloring our lemonade pictures! They sent 3 so you could pick which ones you want.
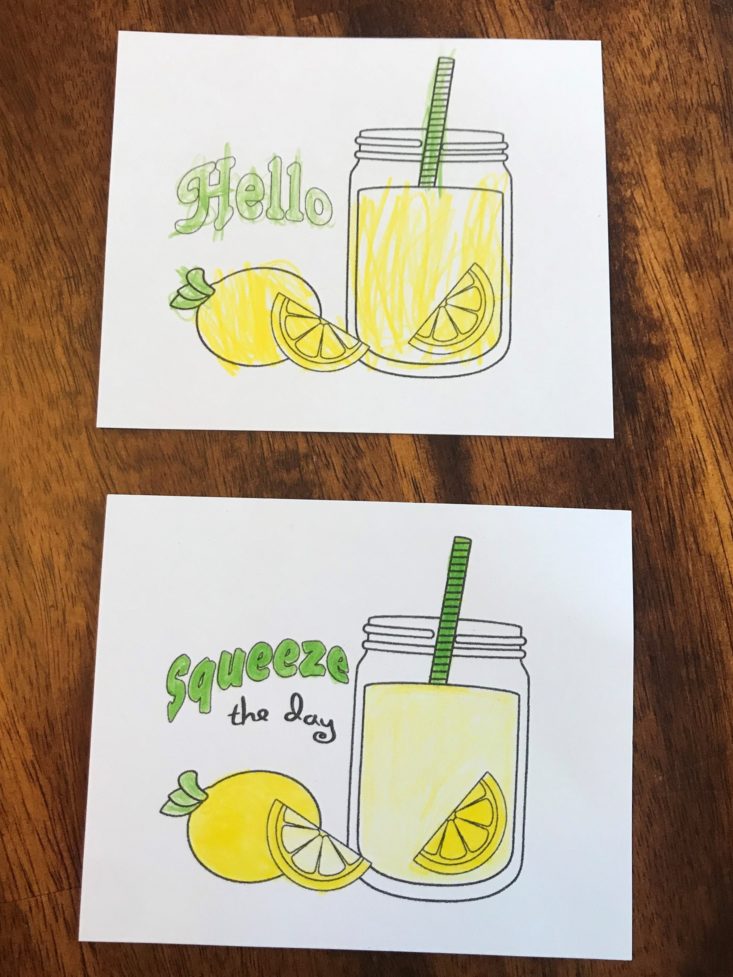
Our finished coloring sheets!
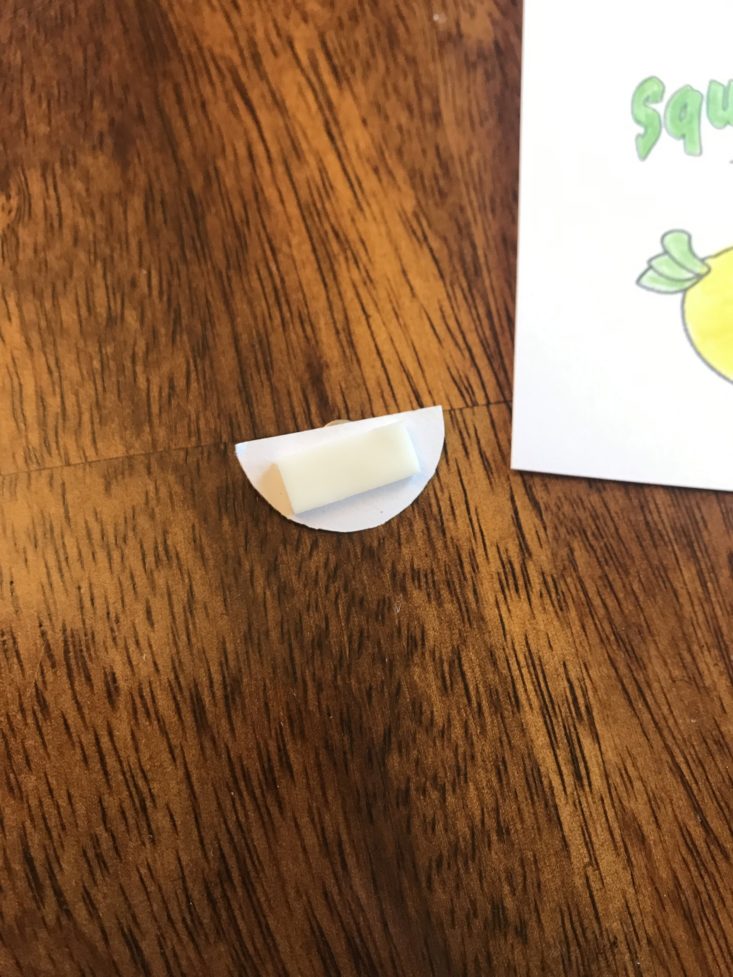
After you finish coloring, you can cut out the extra lemons and color them. Using the included foam stickers you can place the lemon slice right over the other colored lemon slice for a 3D effect.
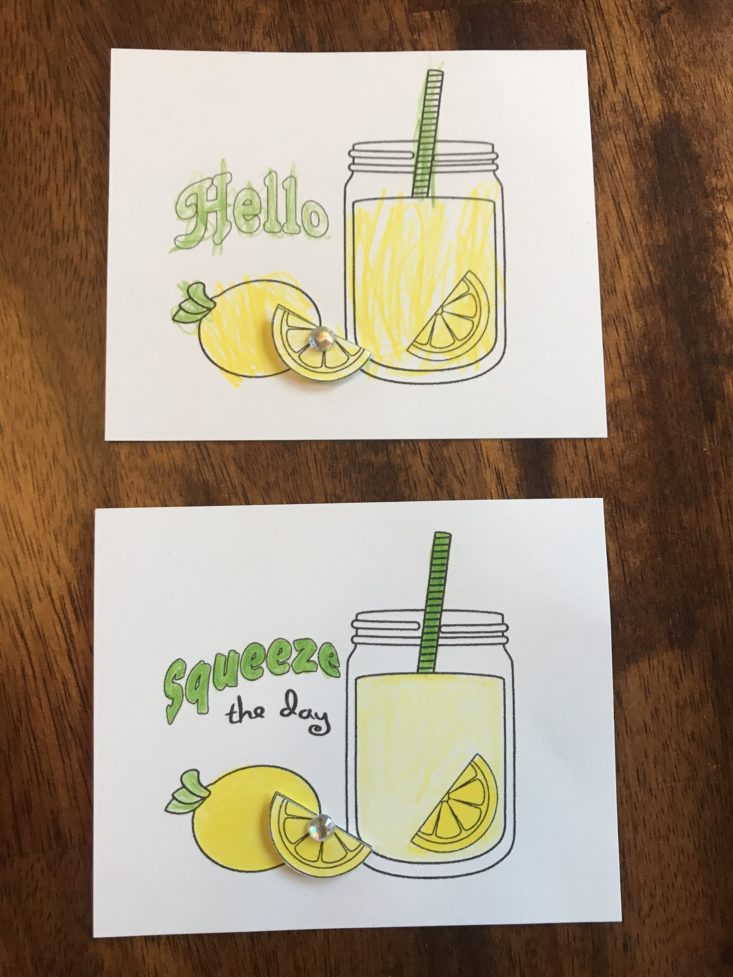
After you put on the 3D lemon, you can add a silver gem in the middle for a little sparkle!
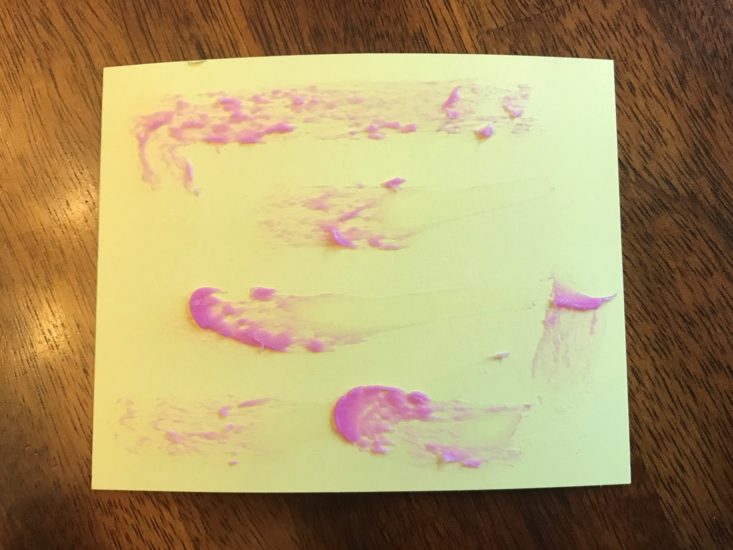
We then used the included glue stick to adhere the colored paper to the yellow paper, and the yellow paper to the card itself.
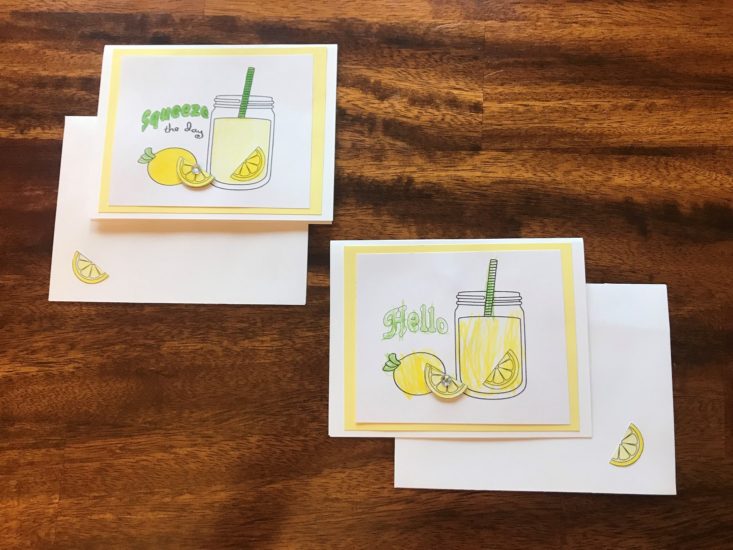
And here are our finished cards! We used the extra lemons to spice up the envelopes a little bit! Didn’t they turn out adorable?! The kids are so proud of these!
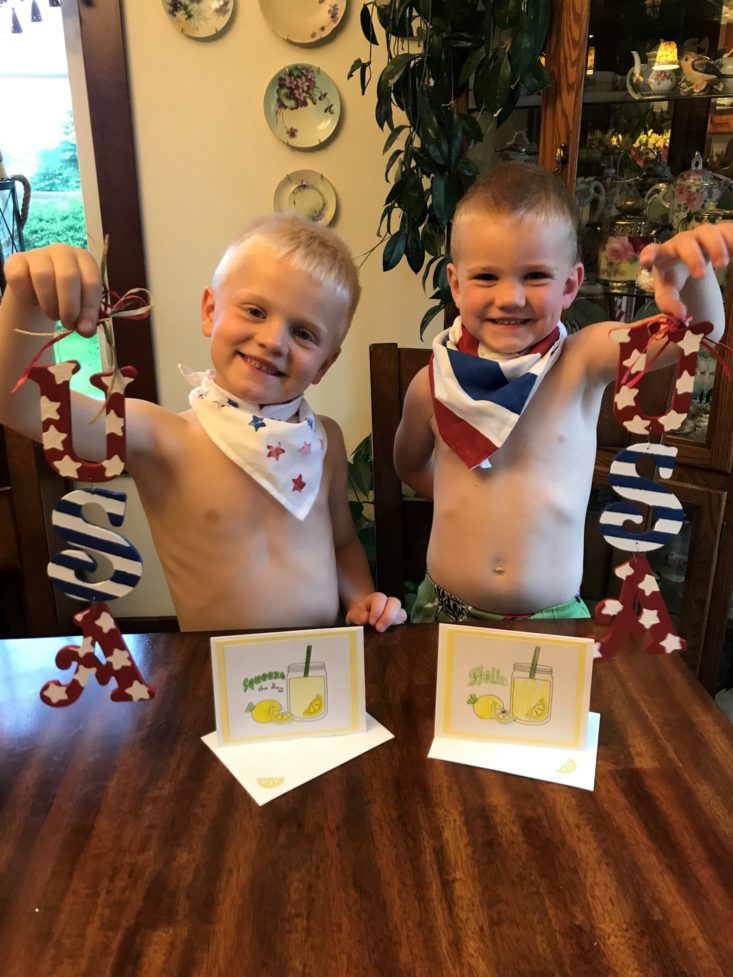
Here are the boys with their finished products. They are both so proud of their hard work! (Excuse the shirtless men, it was suuppper hot today!)
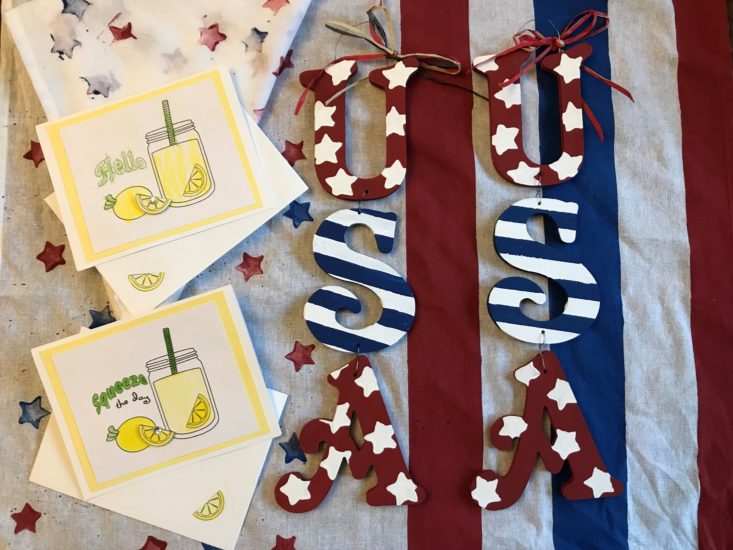
I love how patriotic our projects are! This month was so fun!
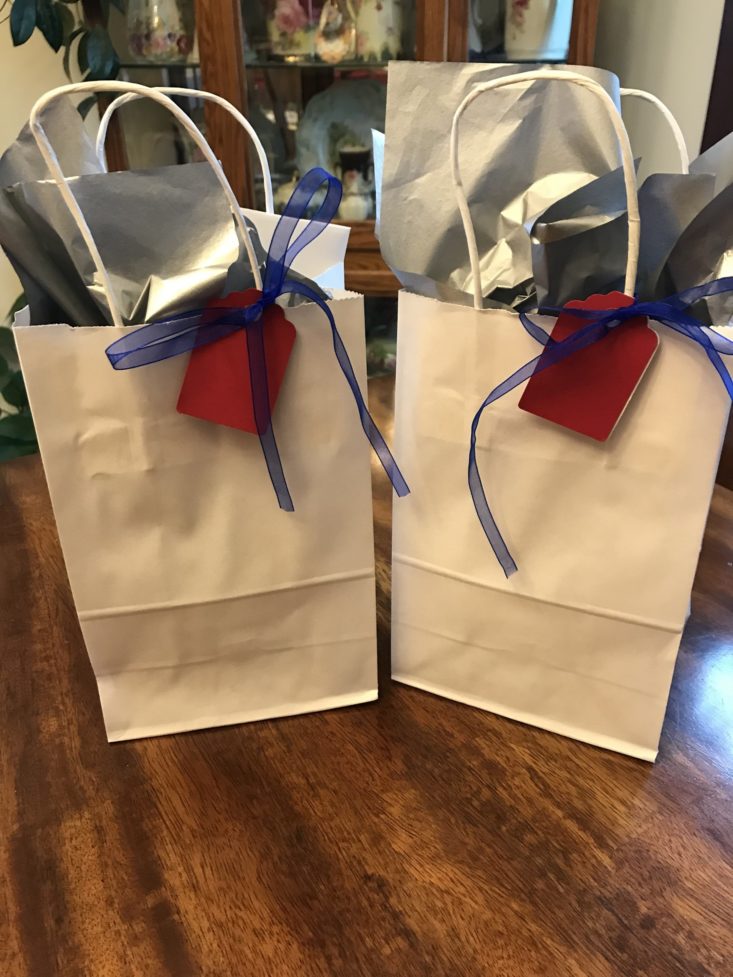
Last but not least are the gift bags. I love that they include all of the items to prep these items into gifts! We strung the tags on the blue ribbon, attached it to bag handle, and popped in the silver tissue paper. Voila! Completed gifts to give away or keep for yourself!
Verdict: Confetti Grace is always so much fun! This month was especially fun since both of my boys wanted to participate. We love spending time together, and crafting is definitely at the top of my hobby list. Like I said above, I don’t have much for 4th of July decor, so this was the perfect craft for this month! (And my birthday is on the 2nd, so the kids said they would give me one as a birthday gift!) My only qualm about this project is that we received it so late in June that we barely have enough time to finish it in time for the 4th. We look forward to receiving this subscription every month, so we can’t wait to see what comes in July!
Confetti Grace costs $28.95 a month, so each gift package averages out to about $14.48. I feel this is a good value because they include everything but the scissors and table protectant to create 2 beautiful homemade gifts. You also have to take into account the quality time you are spending with your crafting buddies, and the life skills they learn while they are doing it! We love Confetti Grace!
To Wrap Up:
Can you still get this box if you sign up today? Nope, but orders that are placed after 7/8 will receive the July subscription box as their first shipment.
Check out all of our Confetti Grace reviews and our top craft box subscriptions as voted on by our readers!
Keep Track of Your Subscriptions: Add this box to your subscription list or wishlist!
What do you think of this month’s Confetti Grace? Who did you share your project with?


Please do not enter your email address in the Name field or in the comment content. Your email address will not be published. Required fields are marked *. Remember to post with kindness and respect. Comments with offensive language, cruelness to others, etc will not be approved. See our full comment policy here.