

Tinker Crate is a subscription box for kids and tweens ages 9-16+ created by kids subscription box company KiwiCo. Each monthly Tinker Crate contains all the materials and instructions needed to create innovative, hands-on STEM projects, as well as a "Tinker Zine" full of educational information and additional activities.
KiwiCo offers boxes for different age groups:
- Tadpole Crate for 0-36-month-olds,
- Koala Crate for 3-4-year-olds,
- Kiwi Crate for 5-8-year-olds,
- Atlas Crate for 6-11-year-olds,
- Doodle Crate and Tinker Crate for 9-16+-year-olds, and
- Eureka Crate for ages 14 and up.
There really is something for every age with this company!
This review is of KiwiCo's Tinker Crate (for ages 9-16), which costs $19.95 per month.
This box was sent to us at no cost for review. (Check out the review process post to learn more about how we review boxes.)
About Tinker Crate
The Subscription Box: Tinker Crate
The Cost: $19.95 per month + free shipping
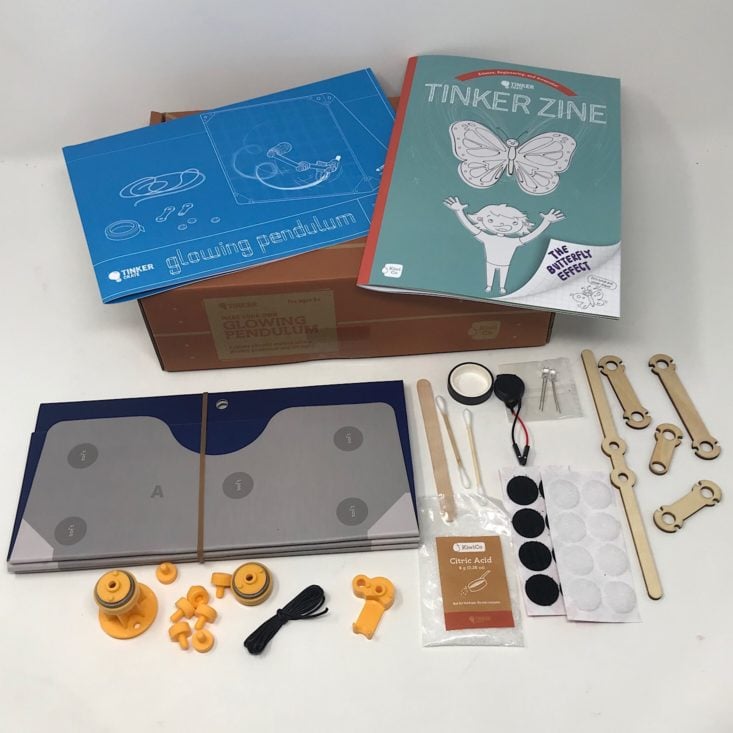
The Products: Innovative hands-on STEM projects for kids, plus the materials and detailed instructions your child needs to complete them. You'll also get a "Tinker Zine" full of educational information and additional activities.
Ships to: U.S. for free, Canada for $5.95 per month, worldwide from $6.95-$7.95.
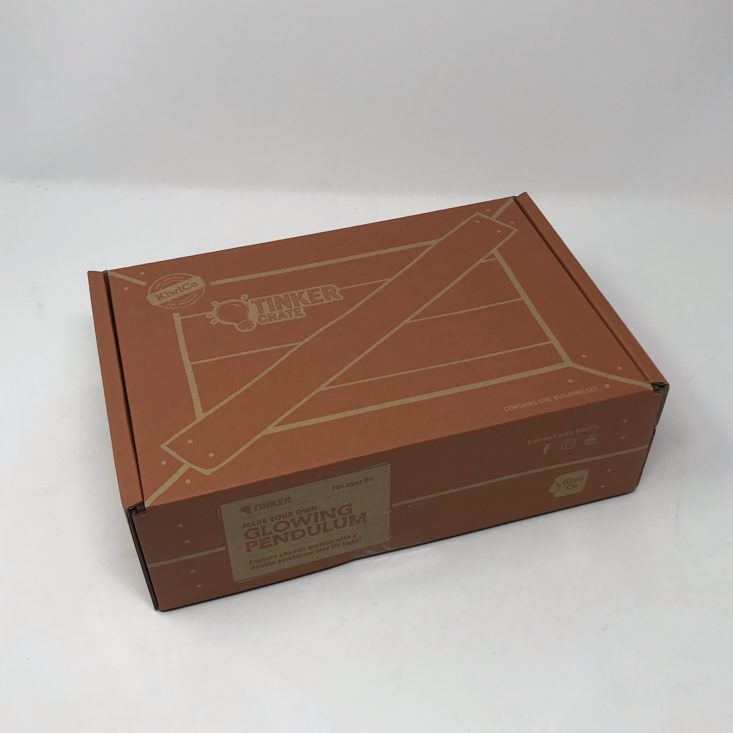
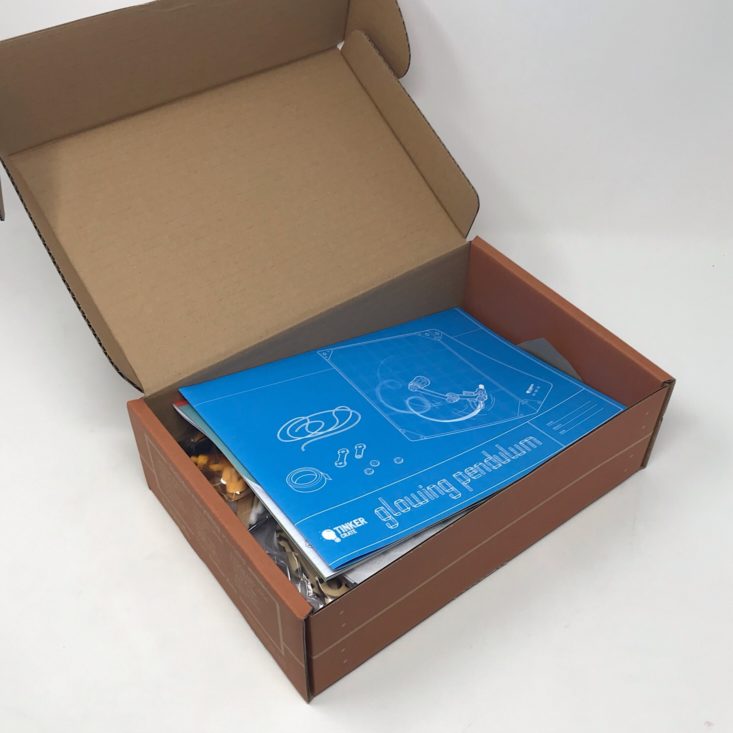
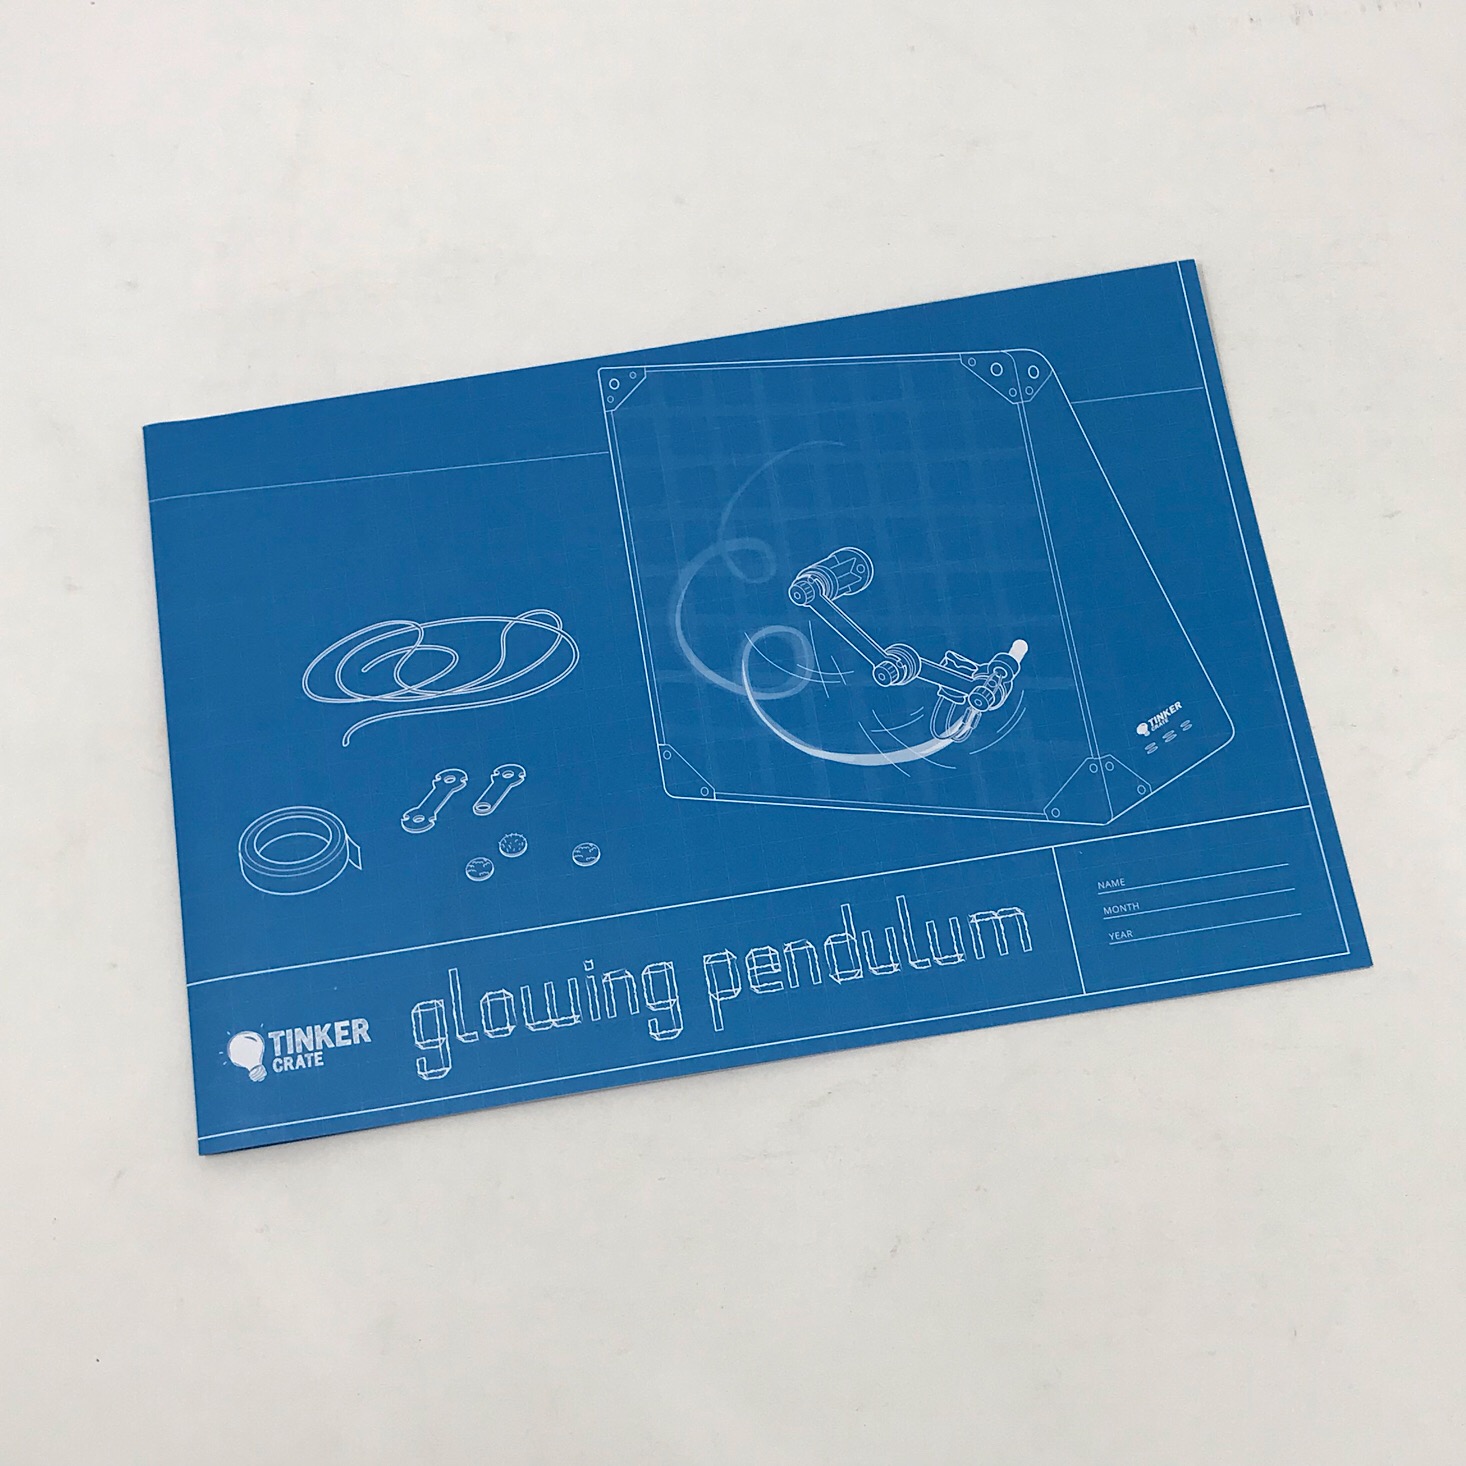
KiwiCo Tinker Crate "Glowing Pendulum" Review

1 of 9
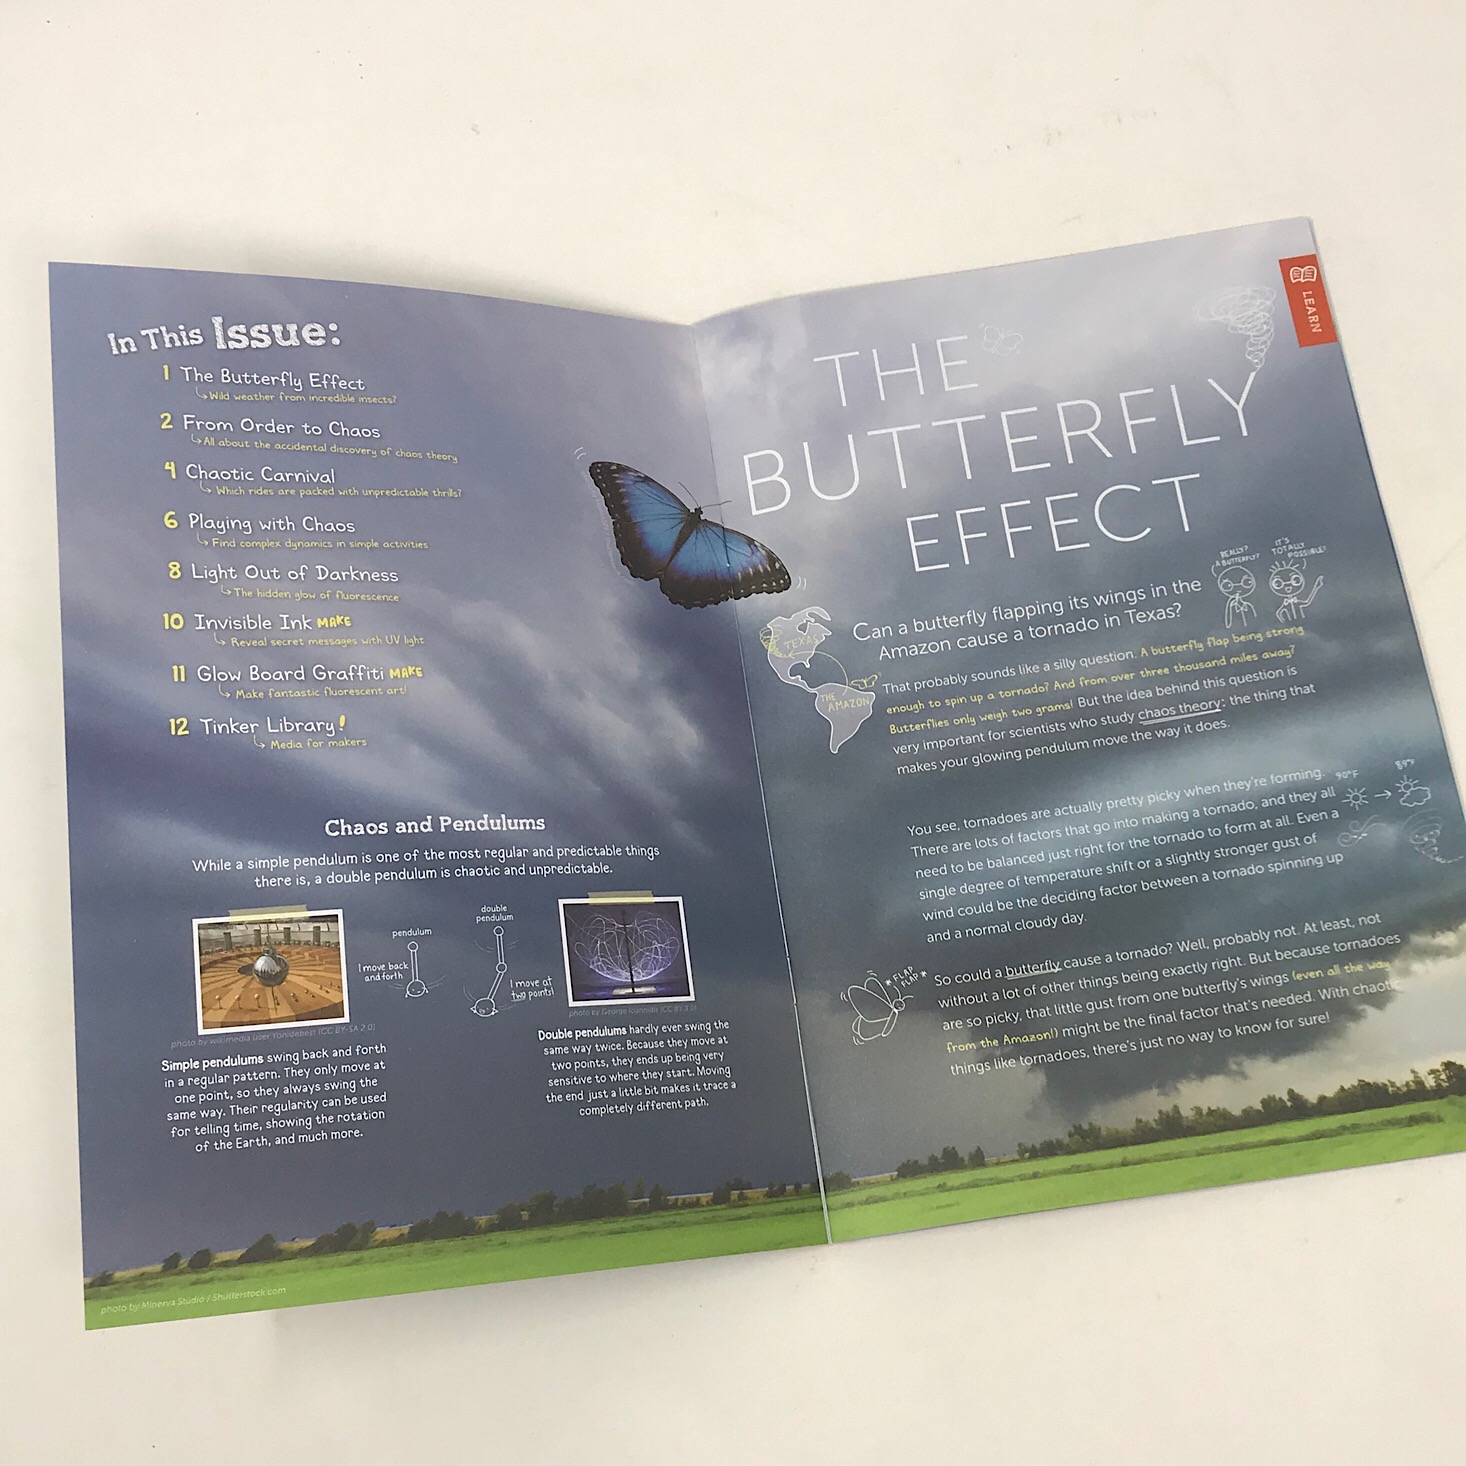
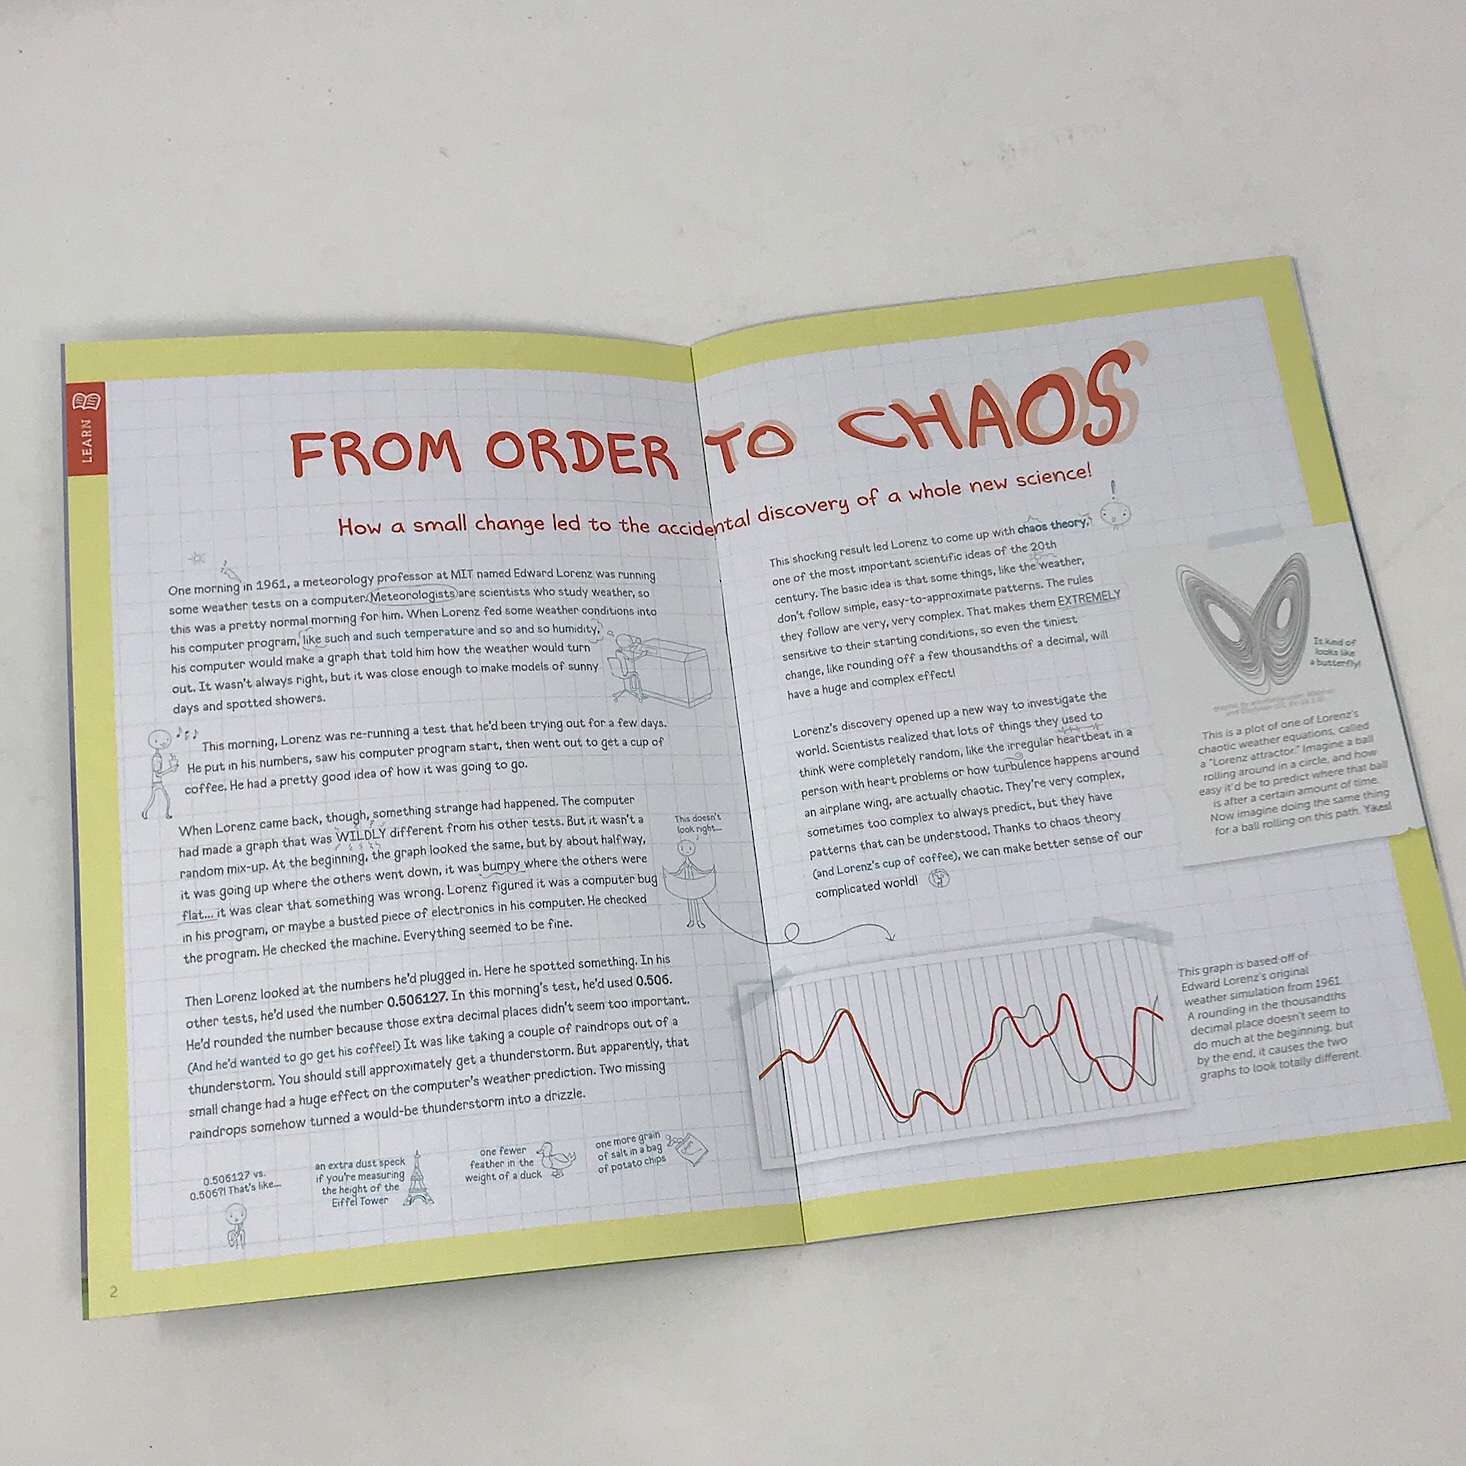
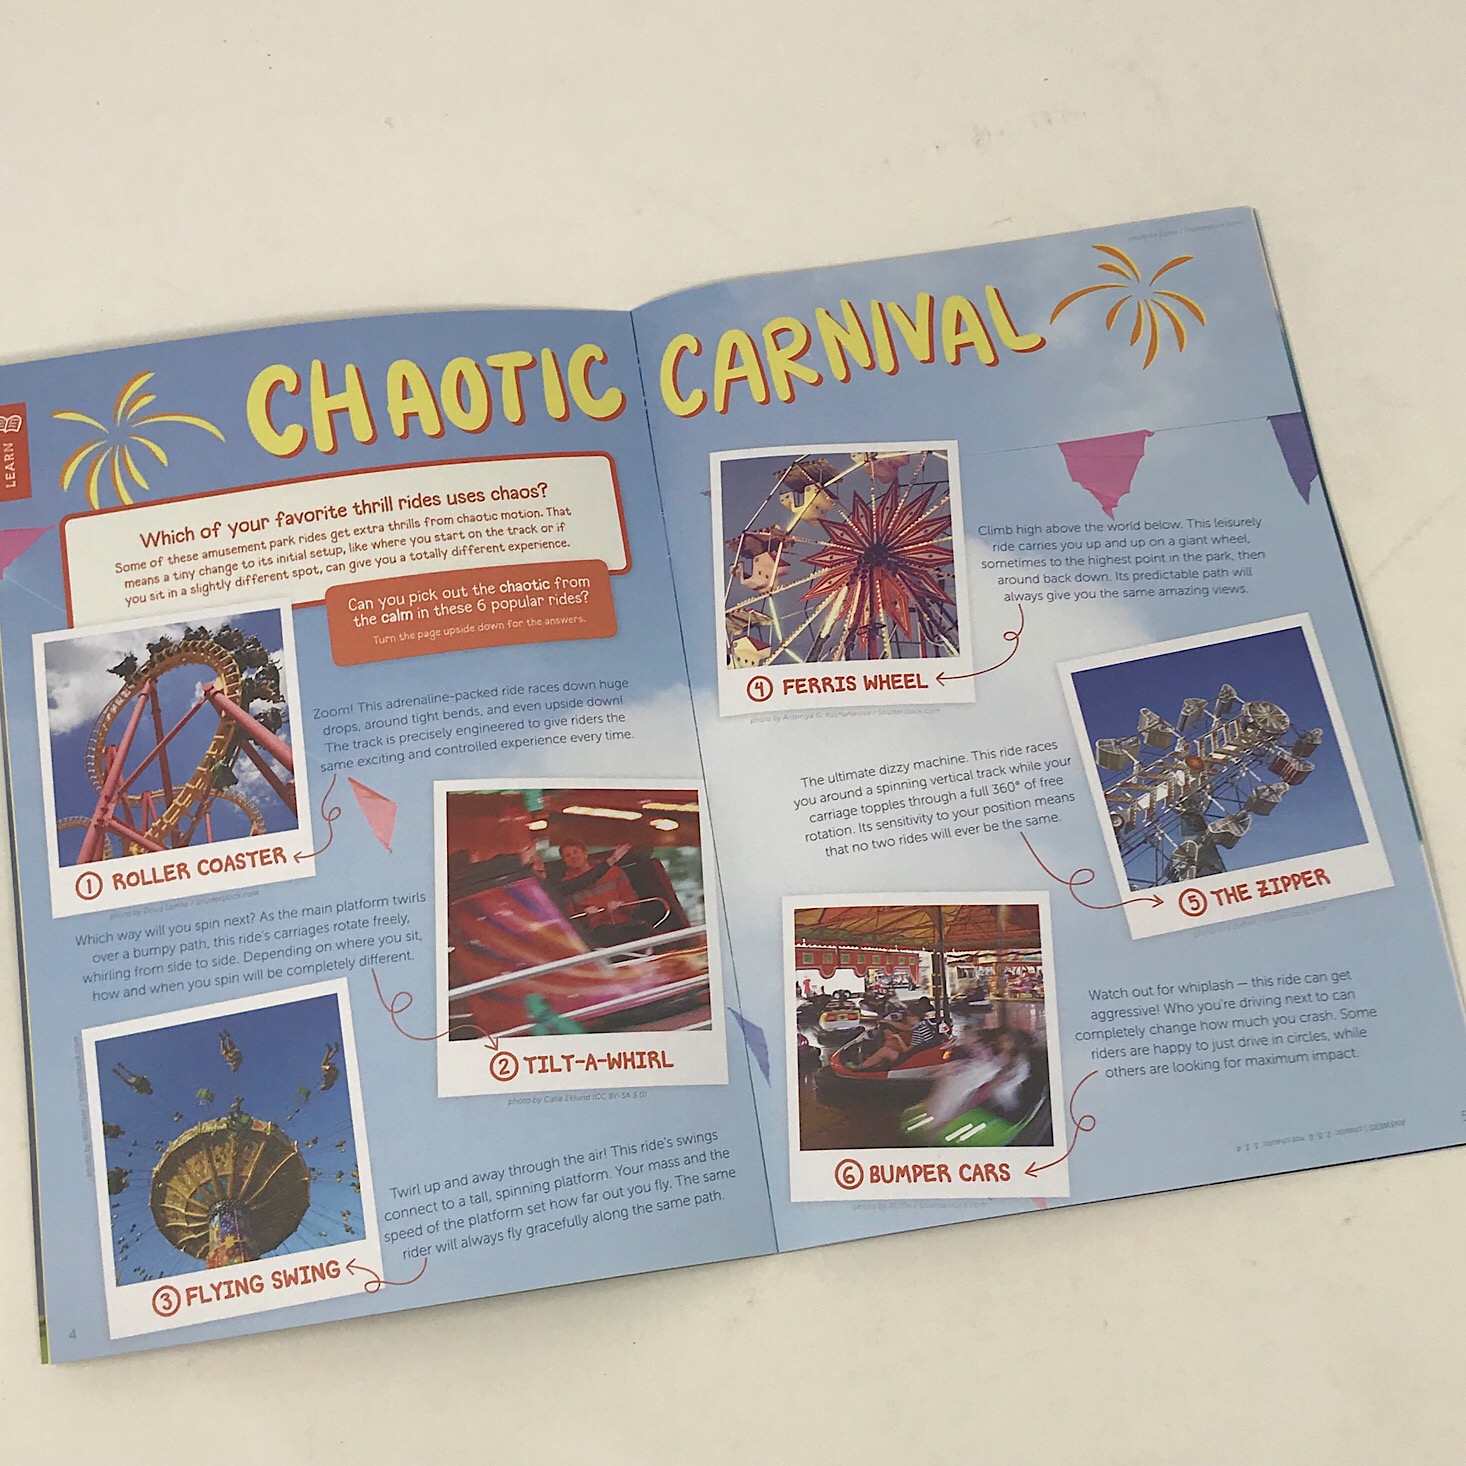
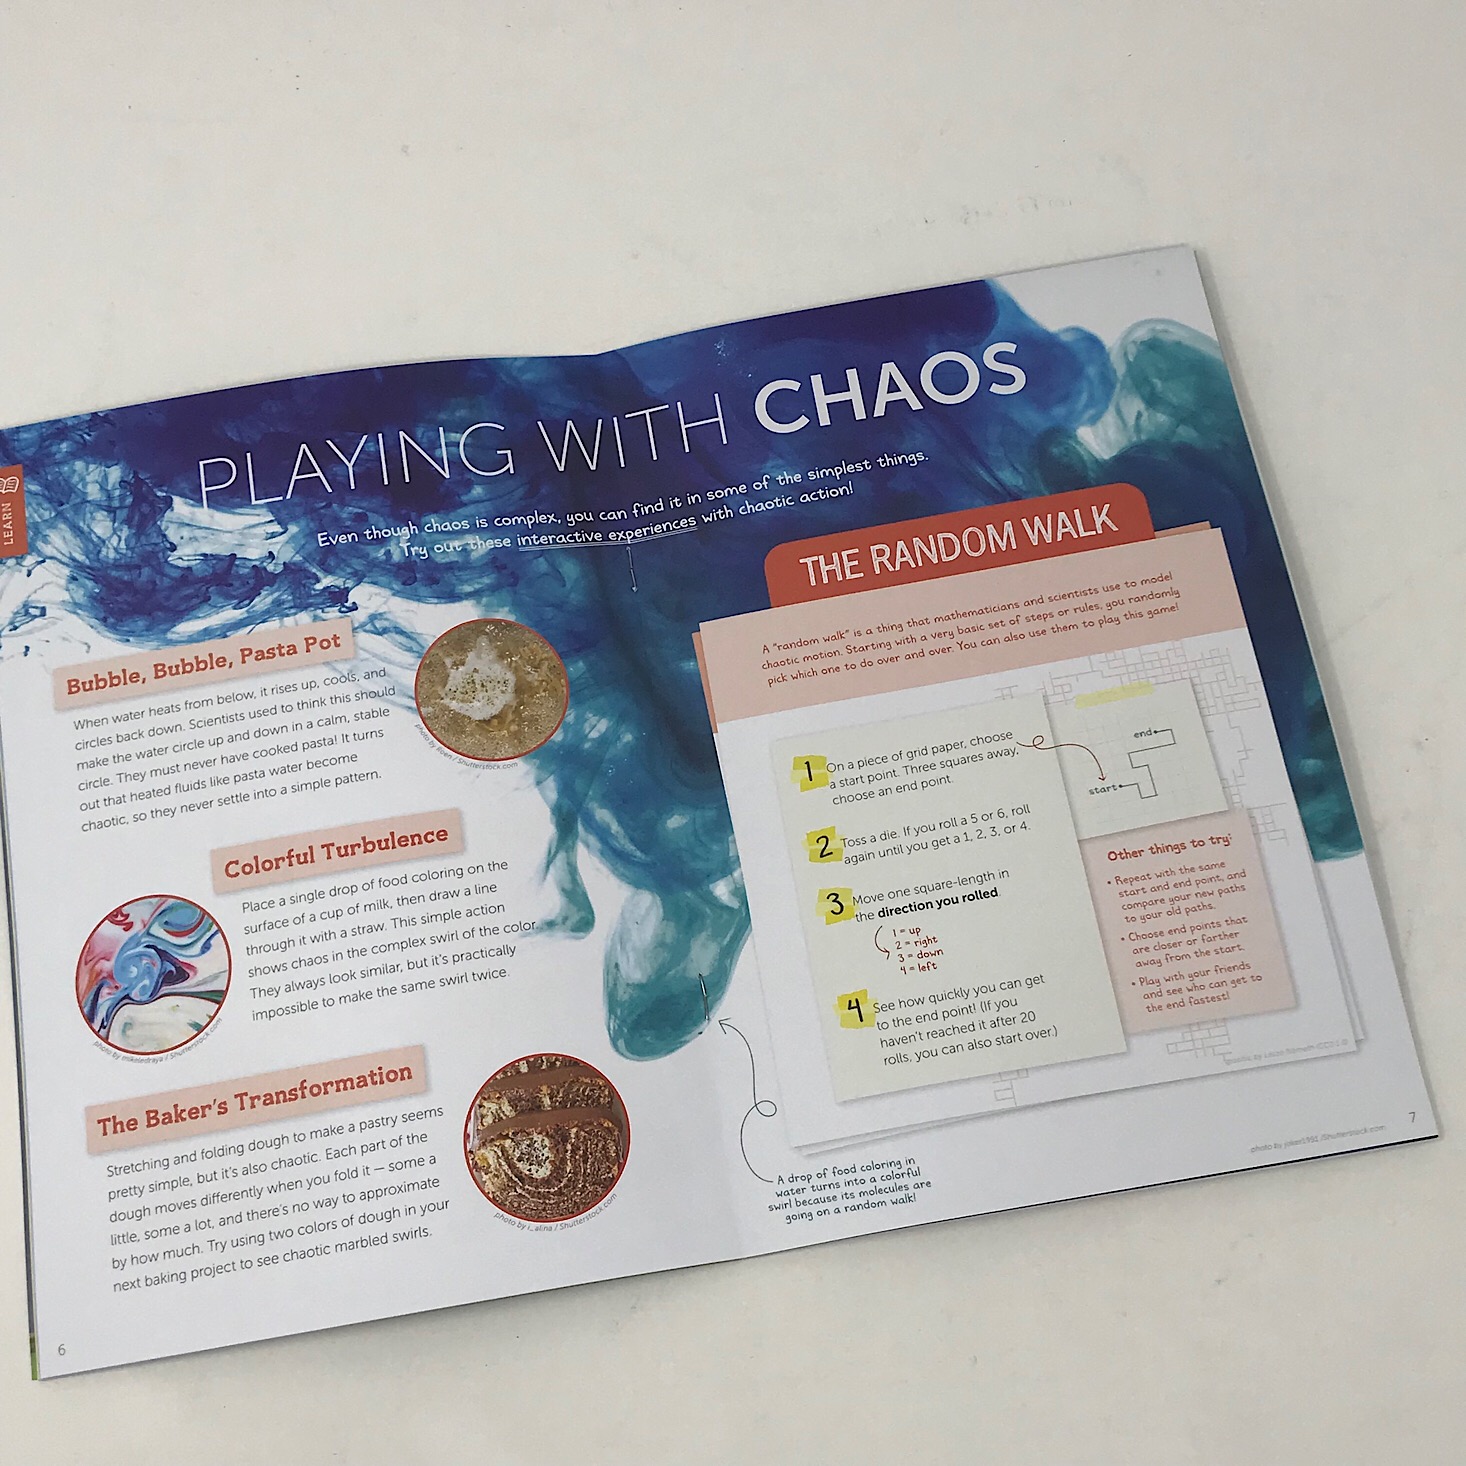


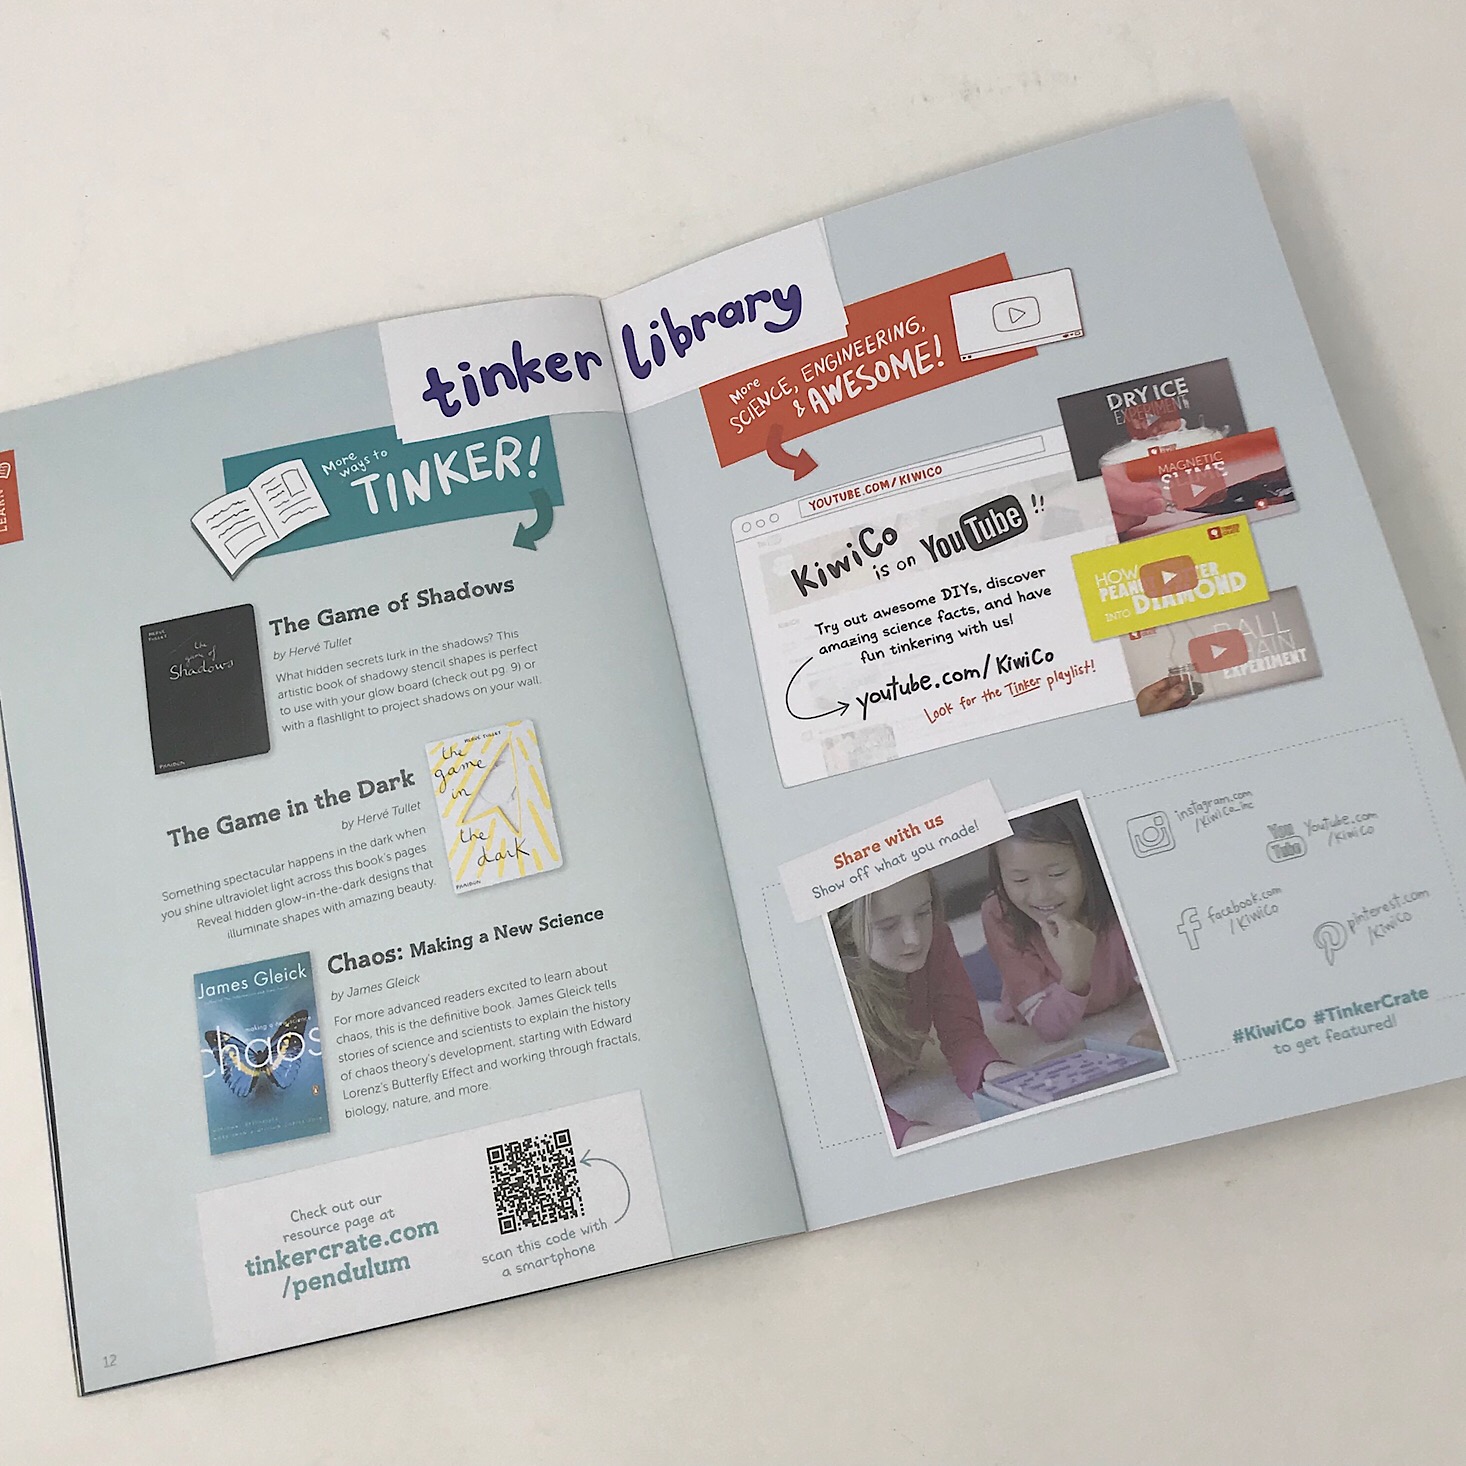
The theme of this month's Tinker Zine is "The Butterfly Effect" to go with our Glowing Pendulum. This zine is full of educational information about the science of chaos and even includes some extra projects we can try using our finished project.

1 of 6
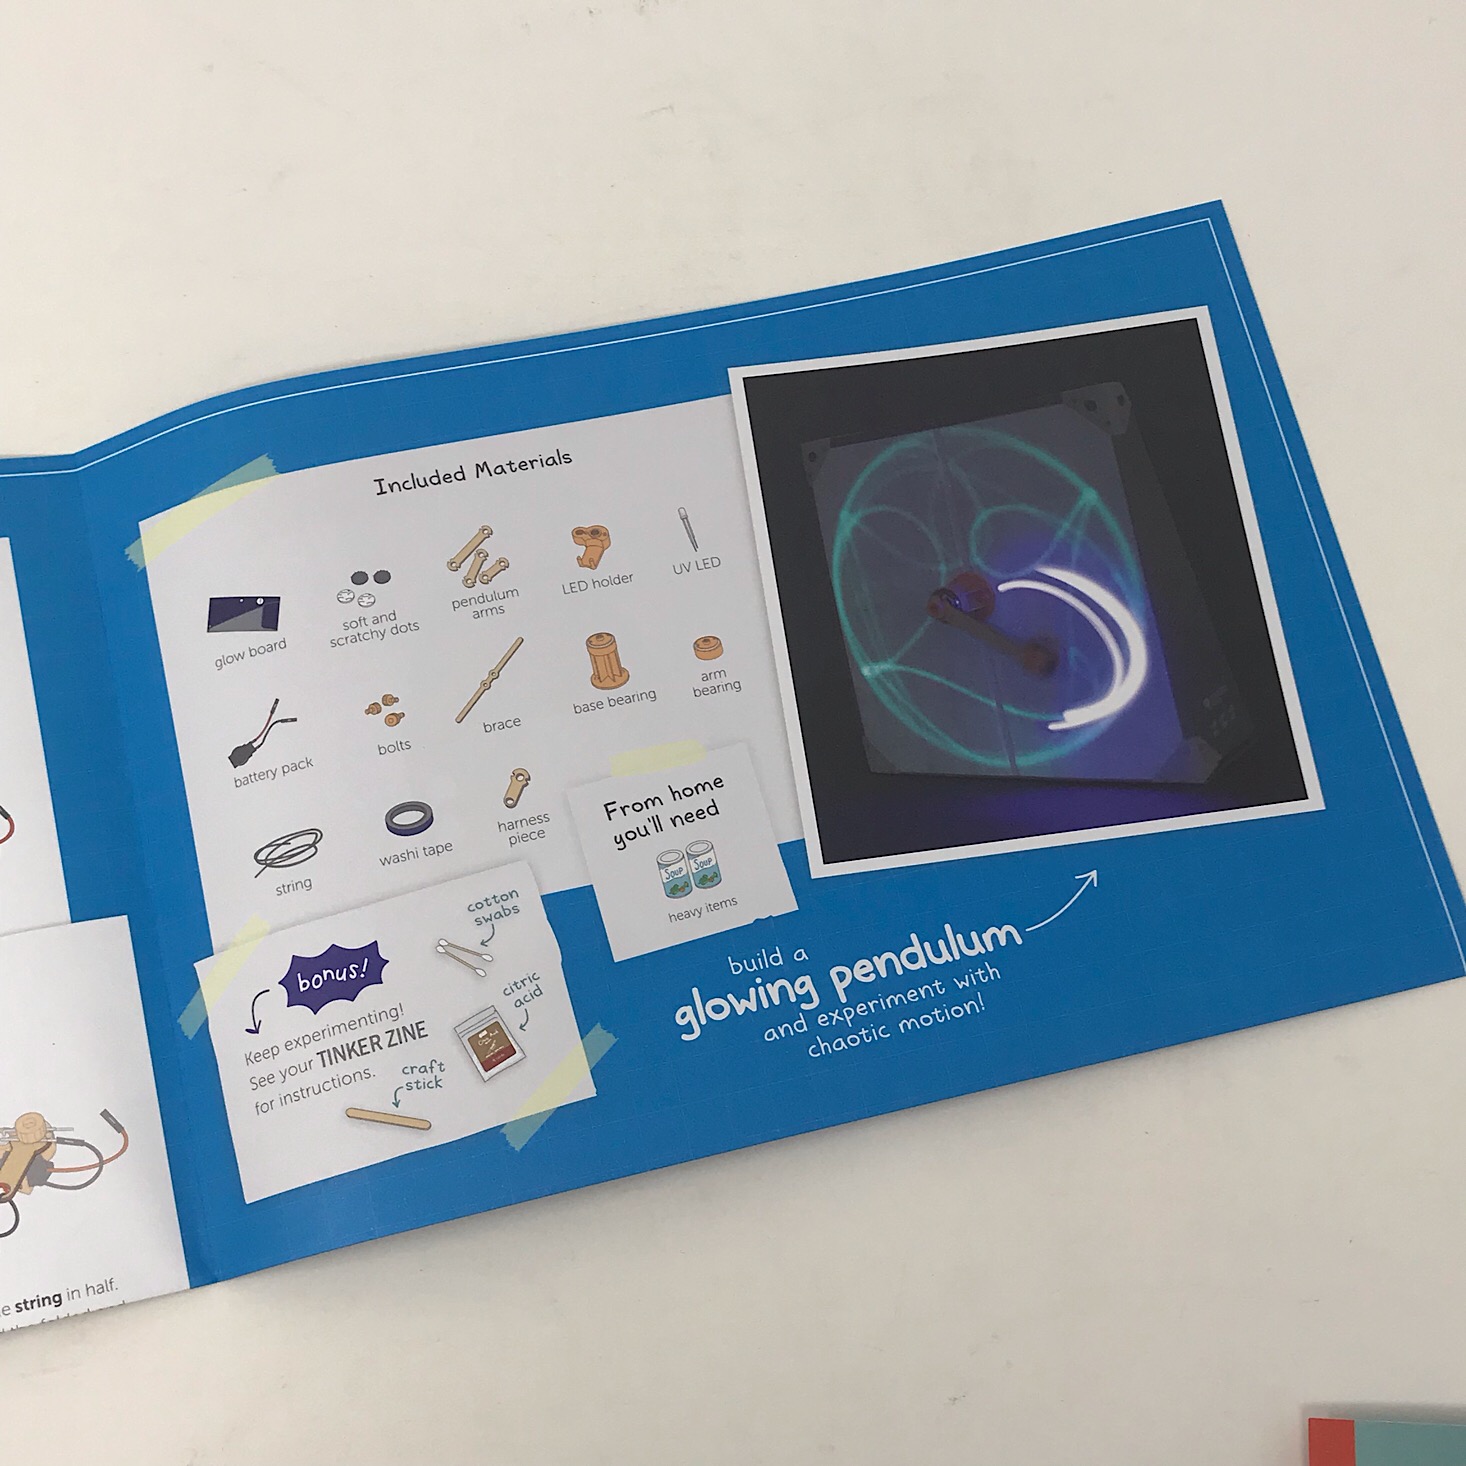
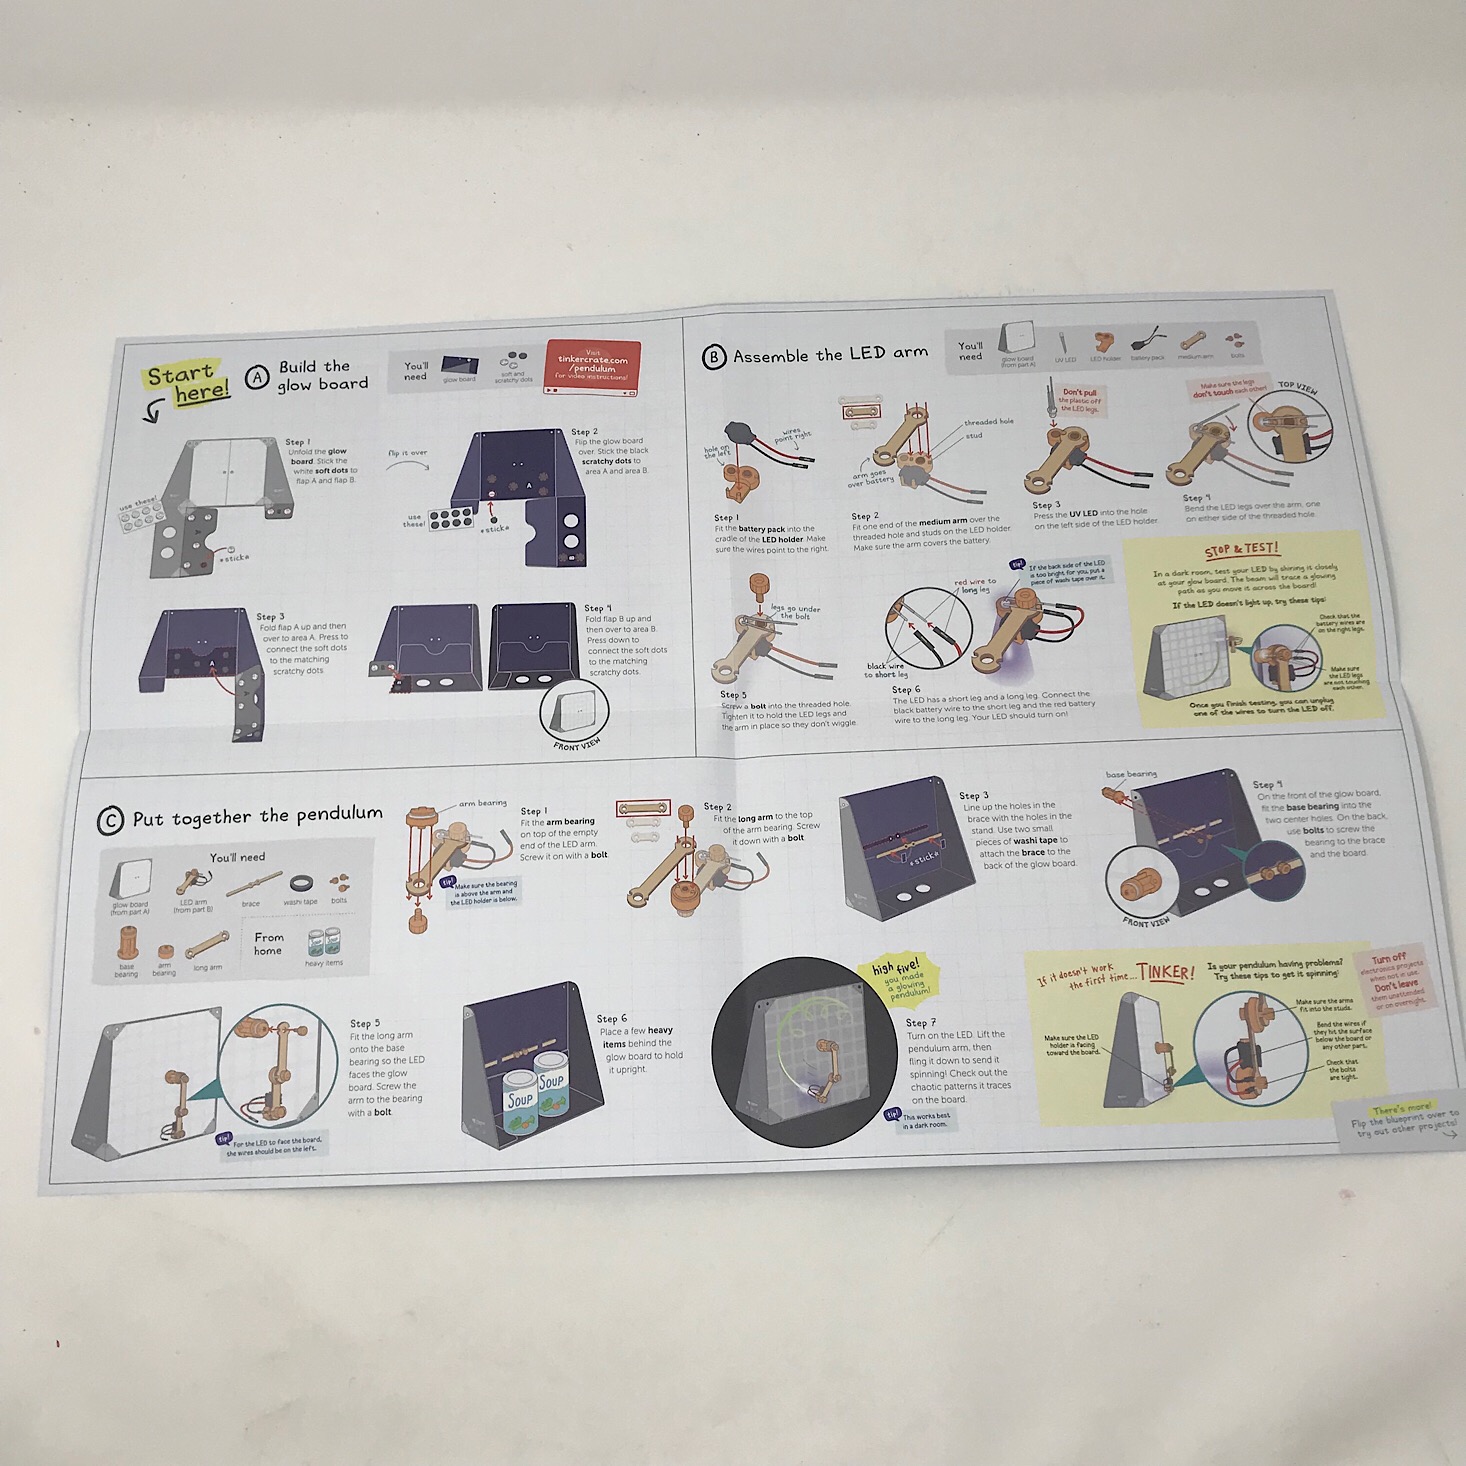
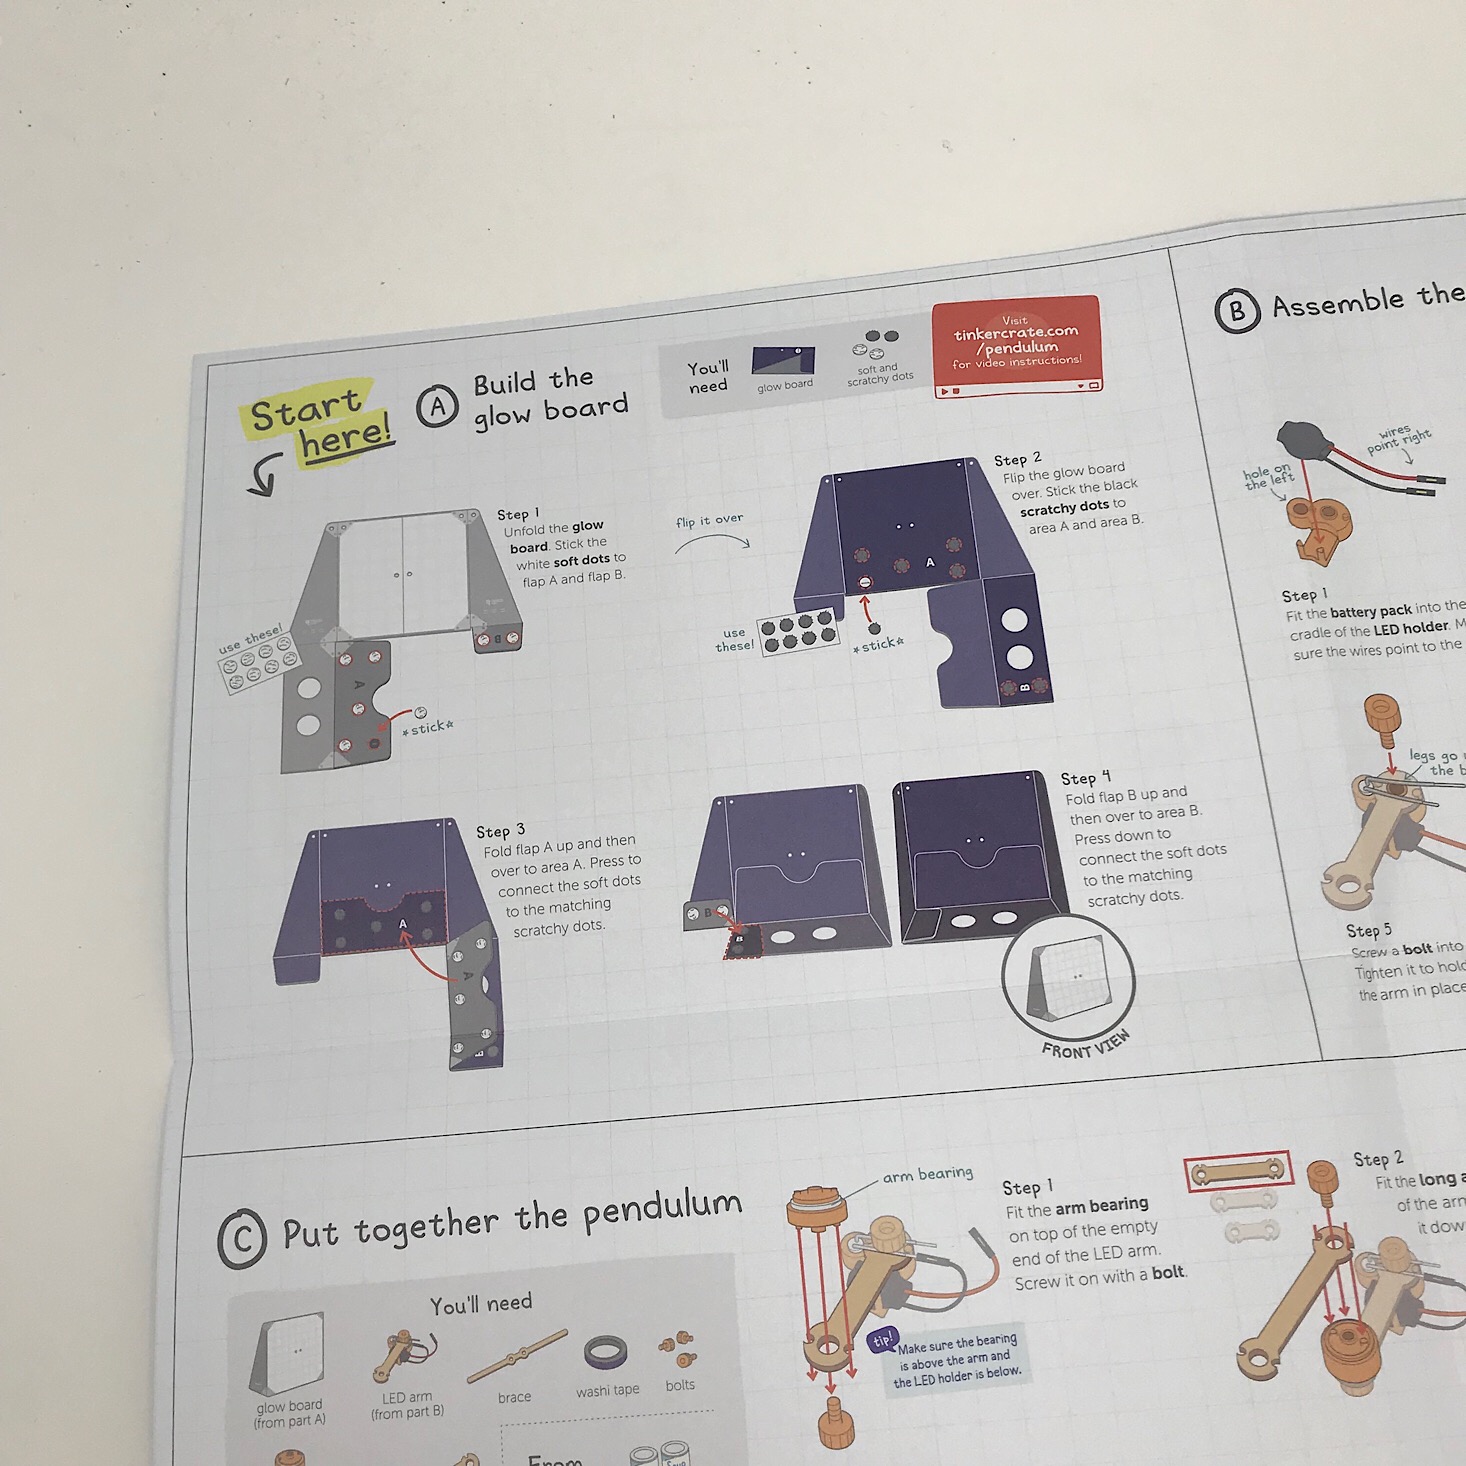

Our instructions come on a separate sheet and they include detailed directions along with color pictures for each step. They even include a section on troubleshooting each month which I find to be helpful although usually, these projects run pretty smoothly!
Part A: Build the Glow Board
1 of 5
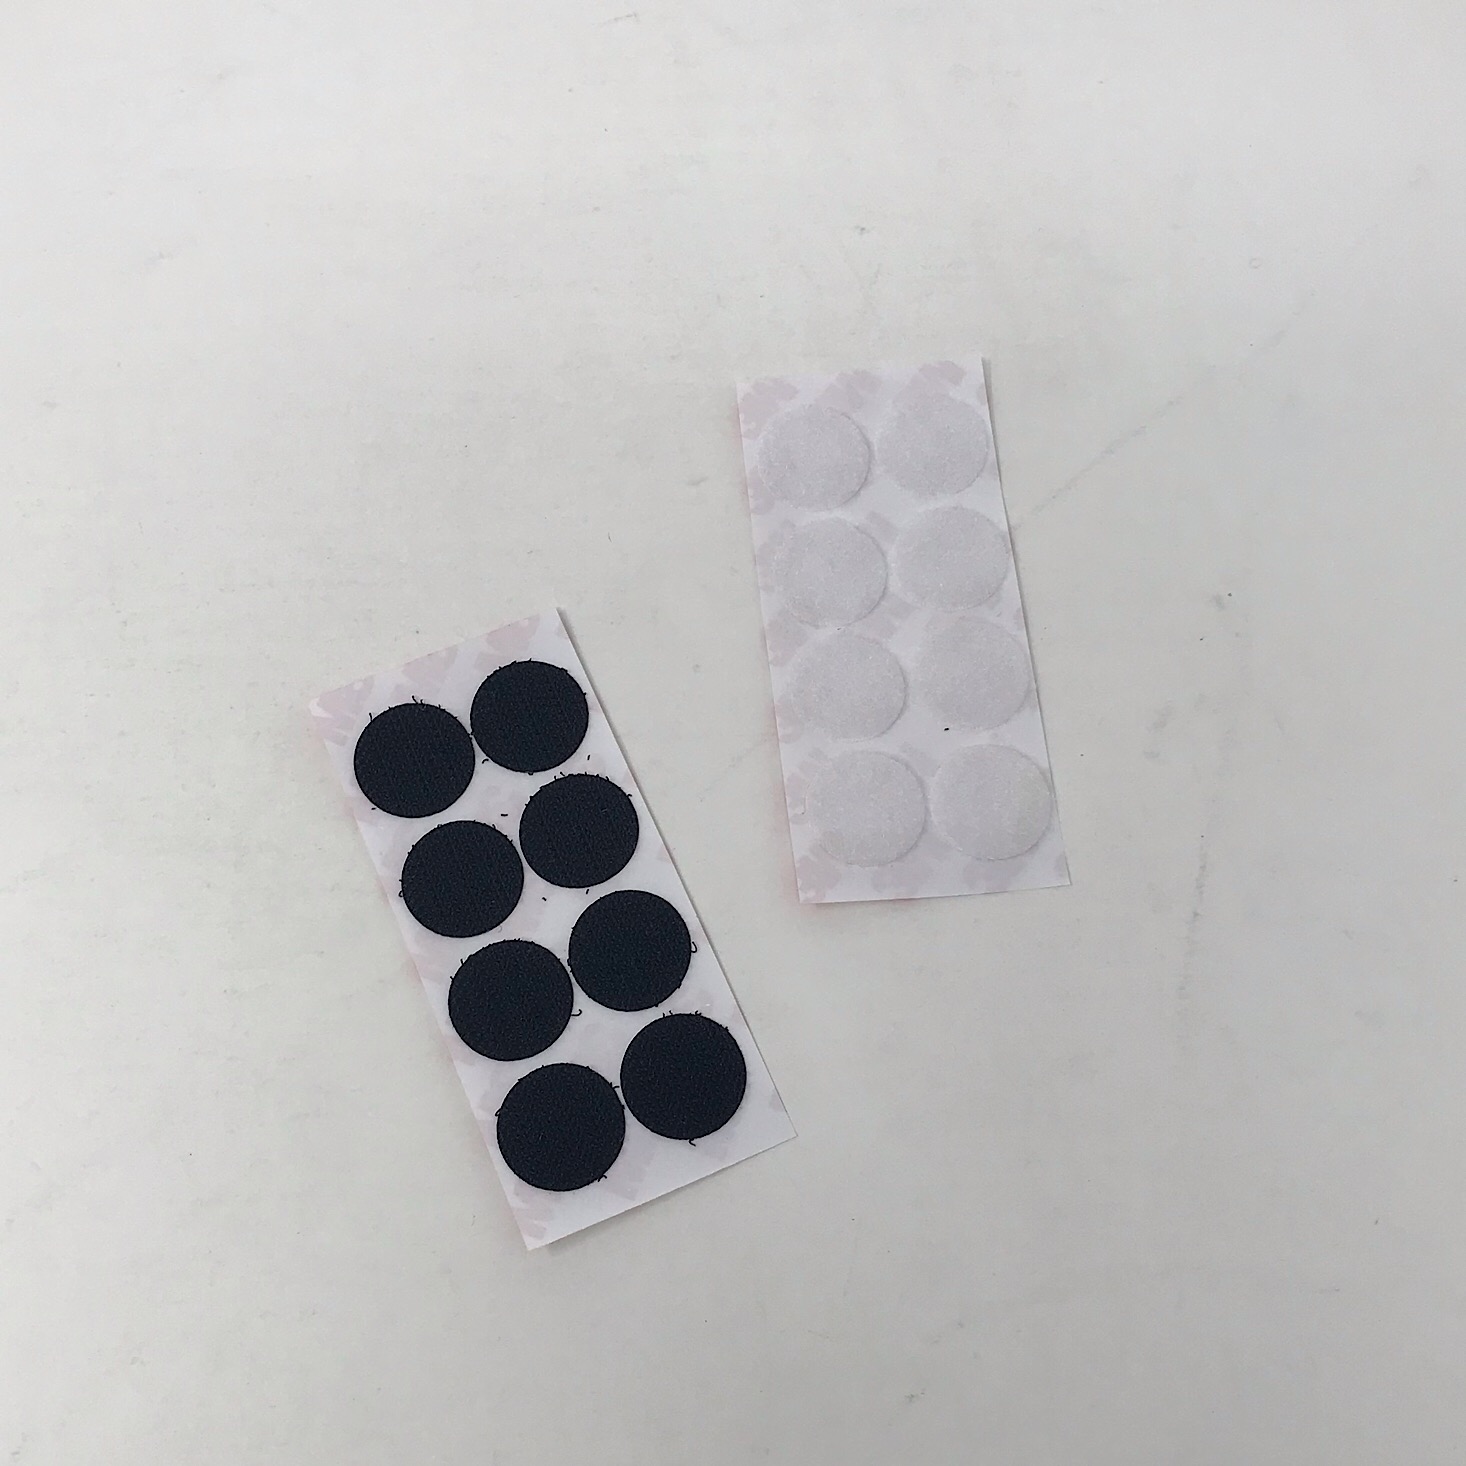

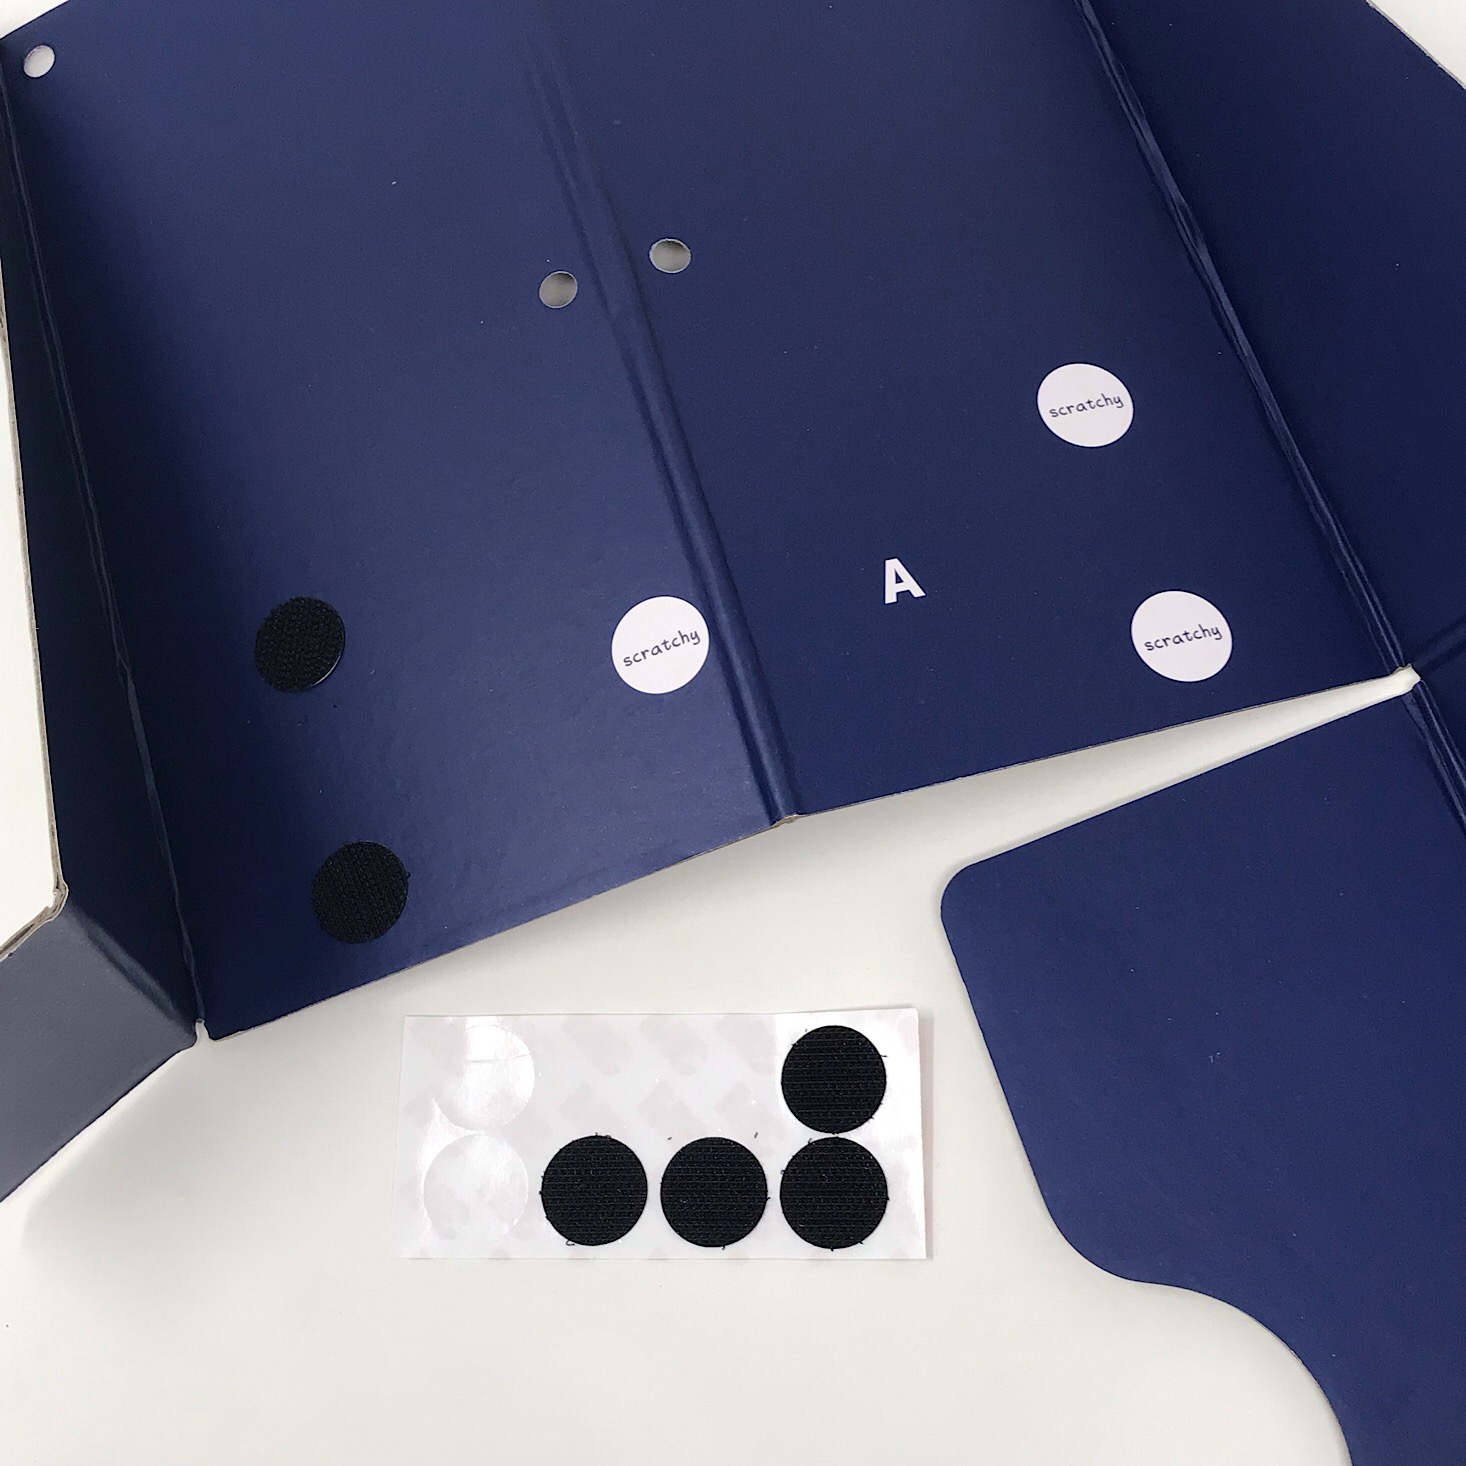
The first step in our project was to place the "soft" and "scratchy" Velcro stickers onto the marked circles on our glow board. We simply had to peel off the adhesive backing and stick them into place.


1 of 5


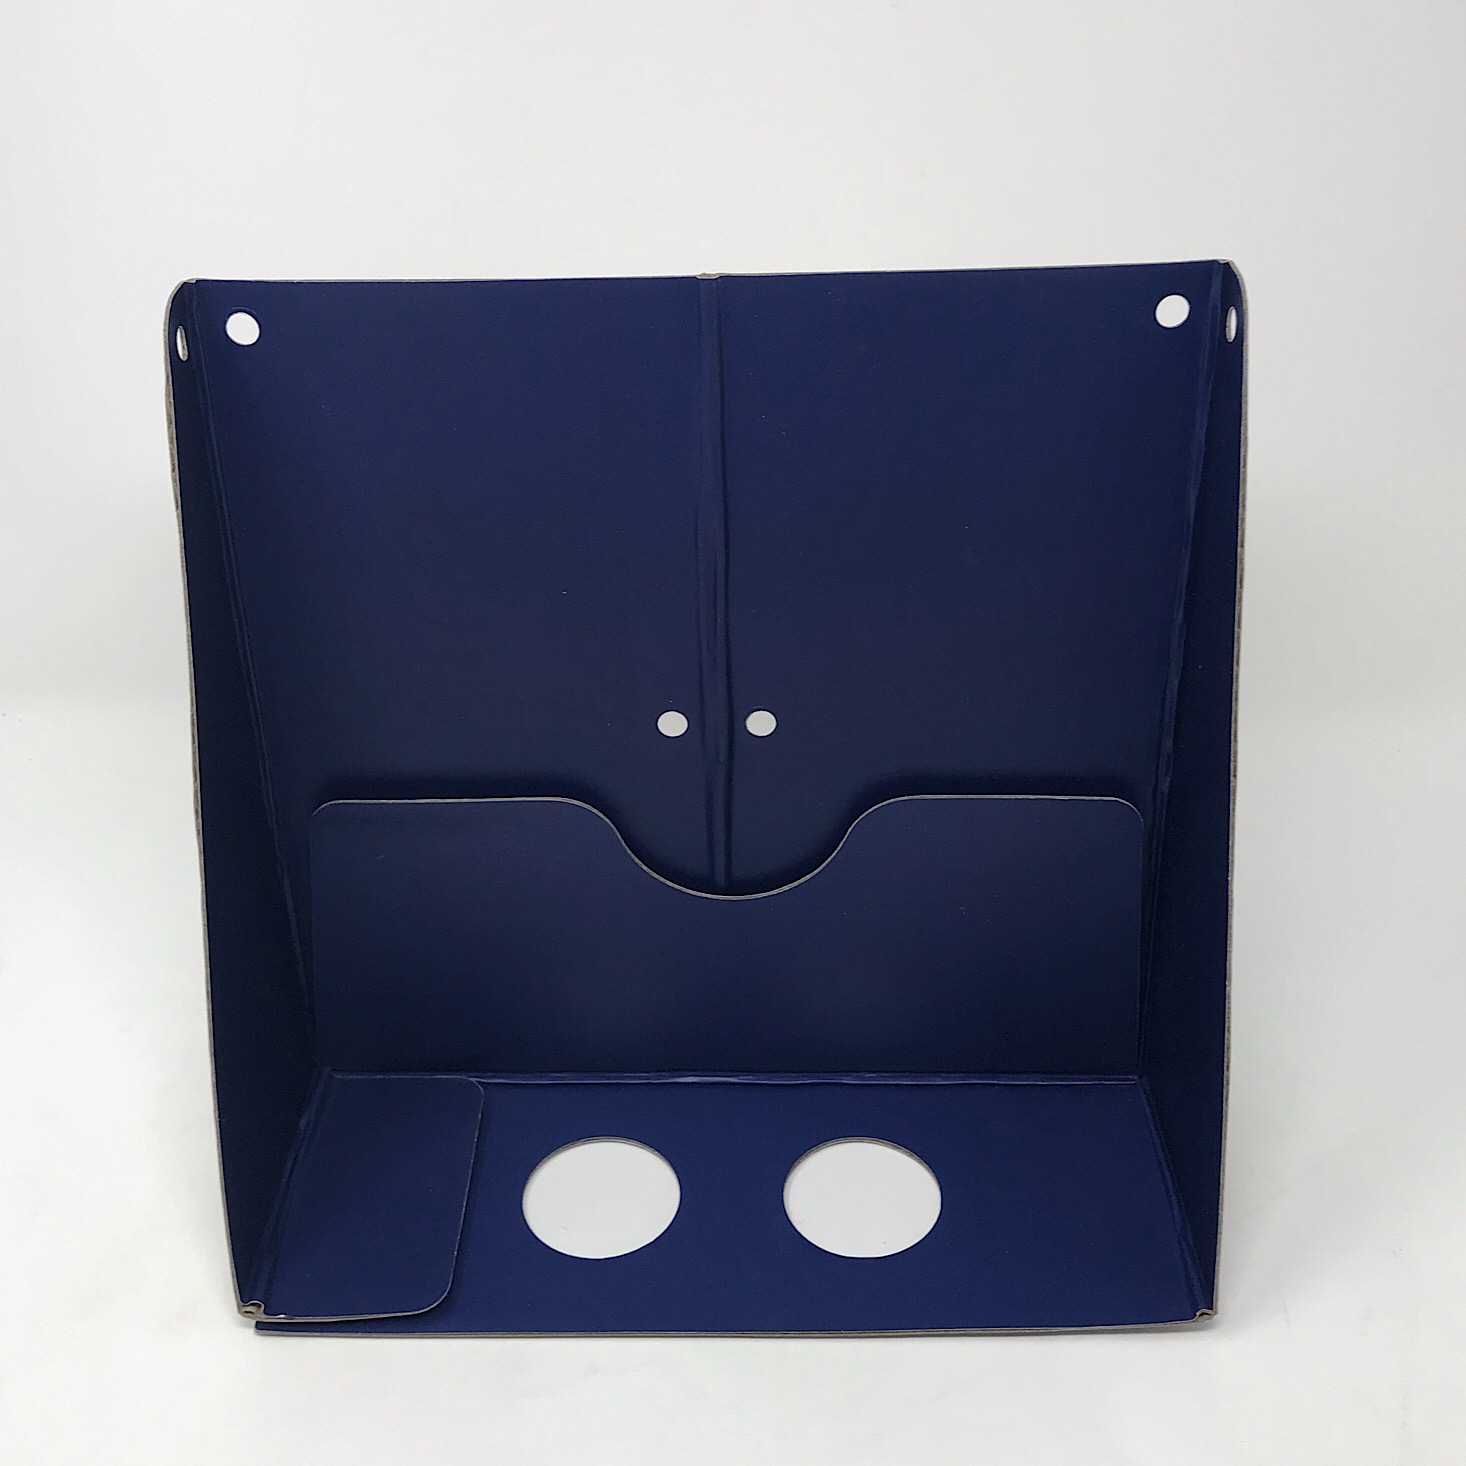
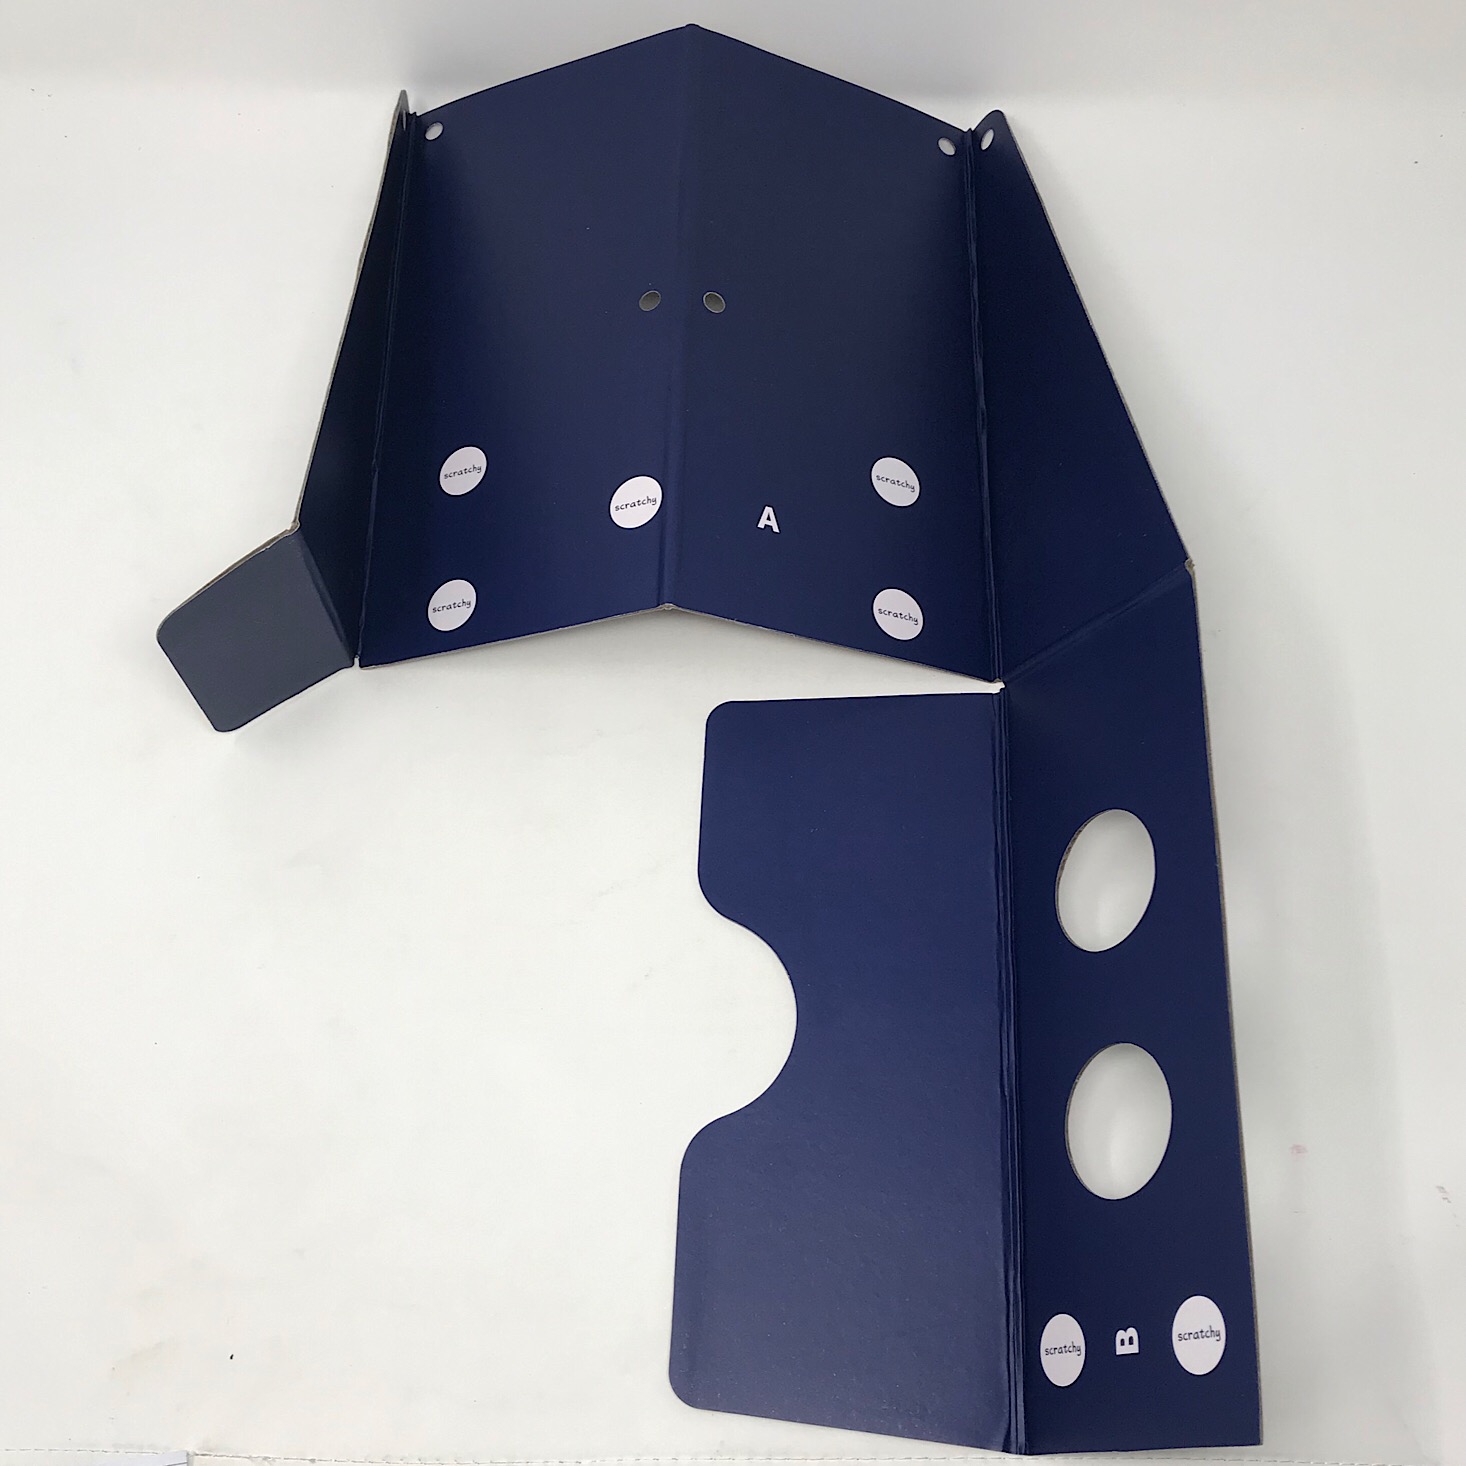
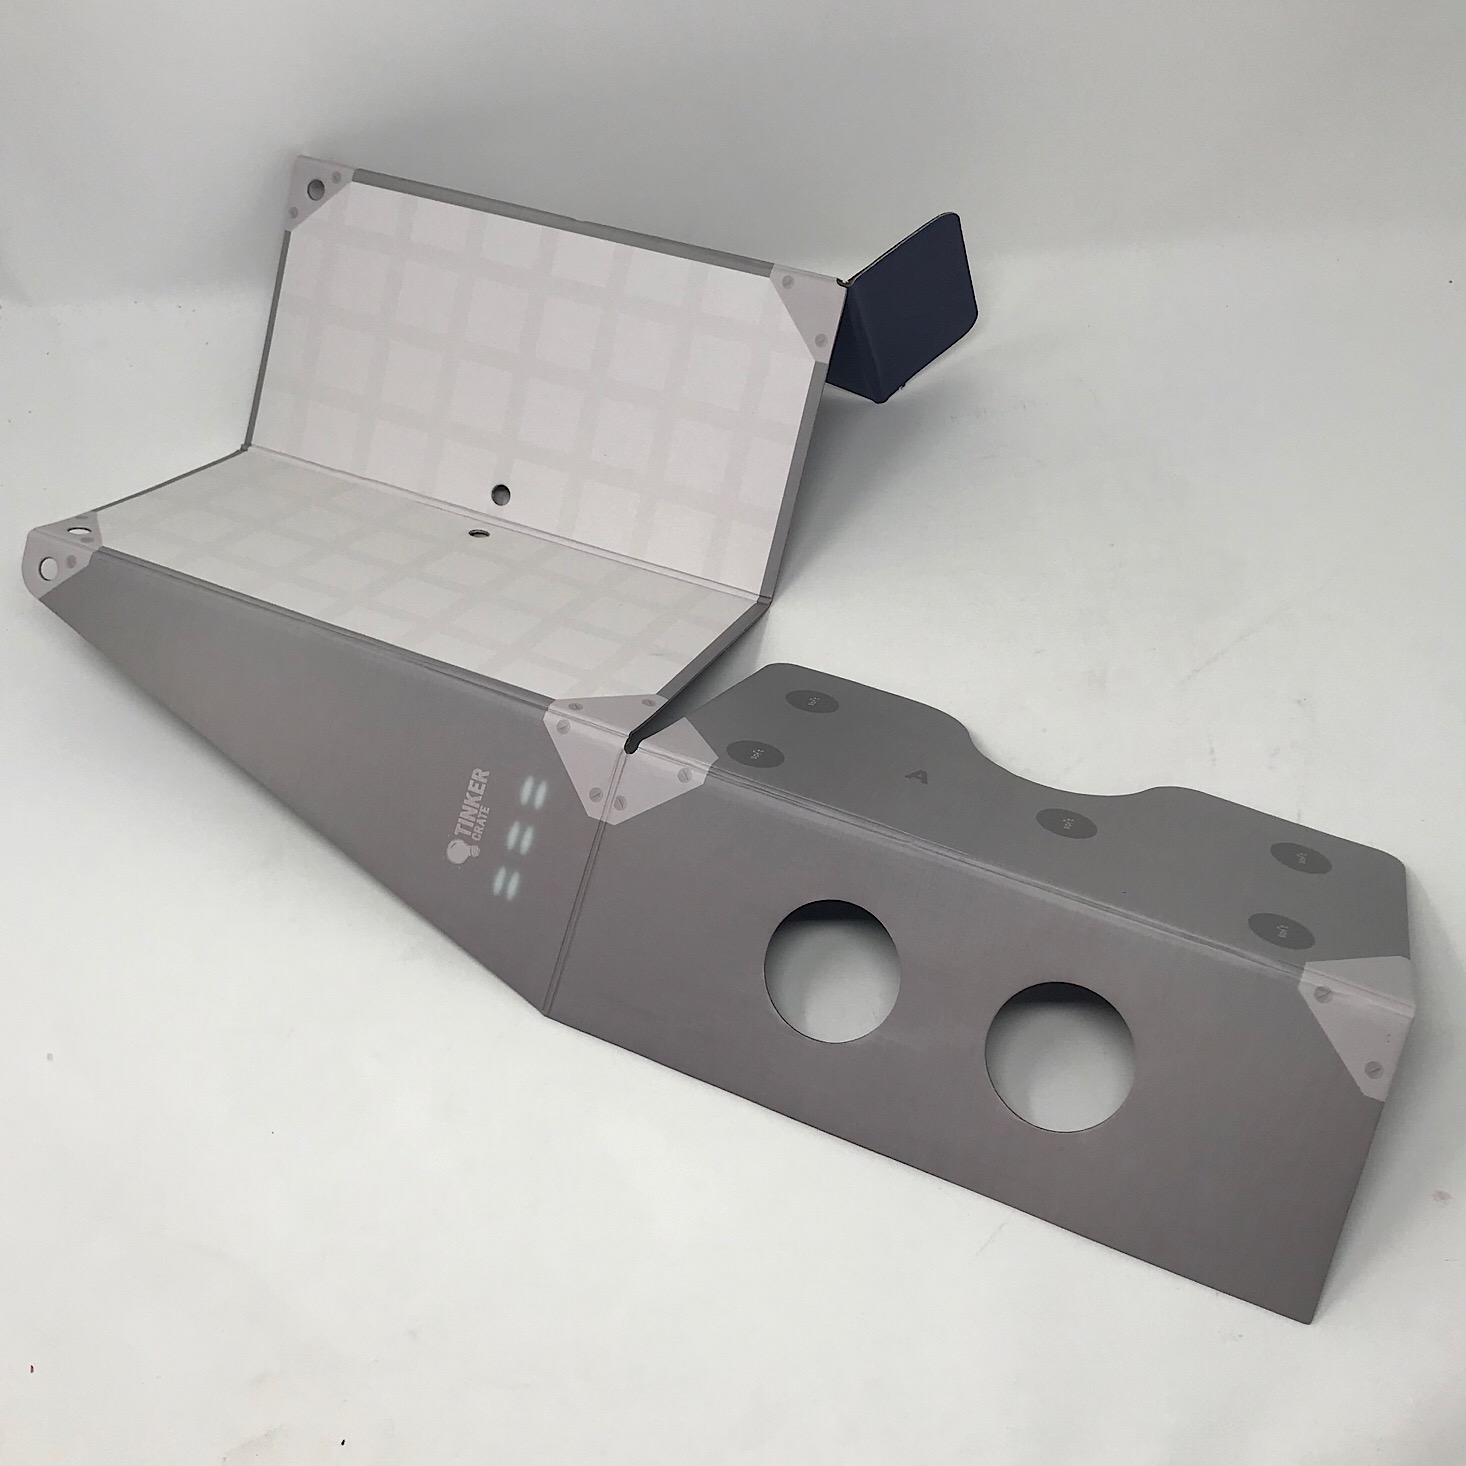
Then it was just a matter of folding it up and matching up sections A & B to their counterparts and sticking the Velcro pieces together. Super easy!
Part B: Assemble the LED Arm

1 of 3
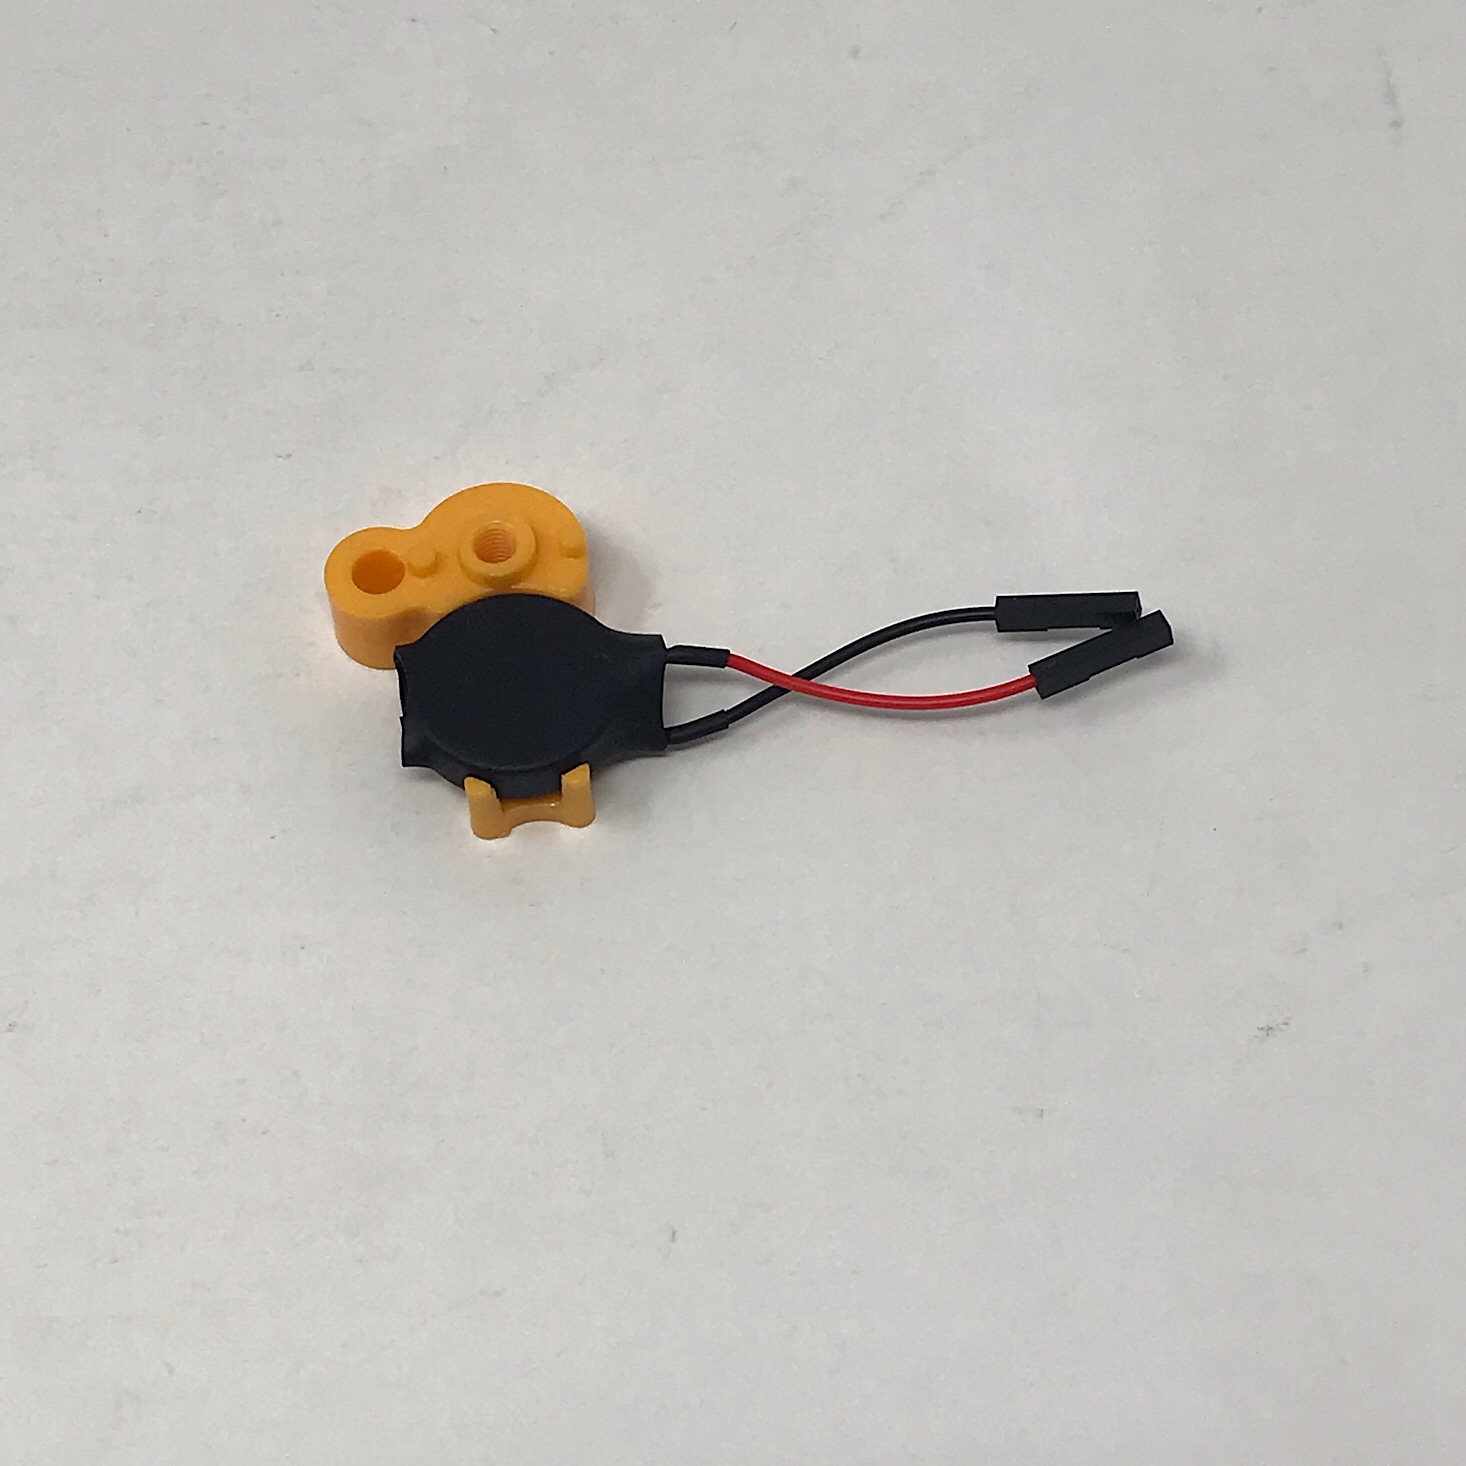
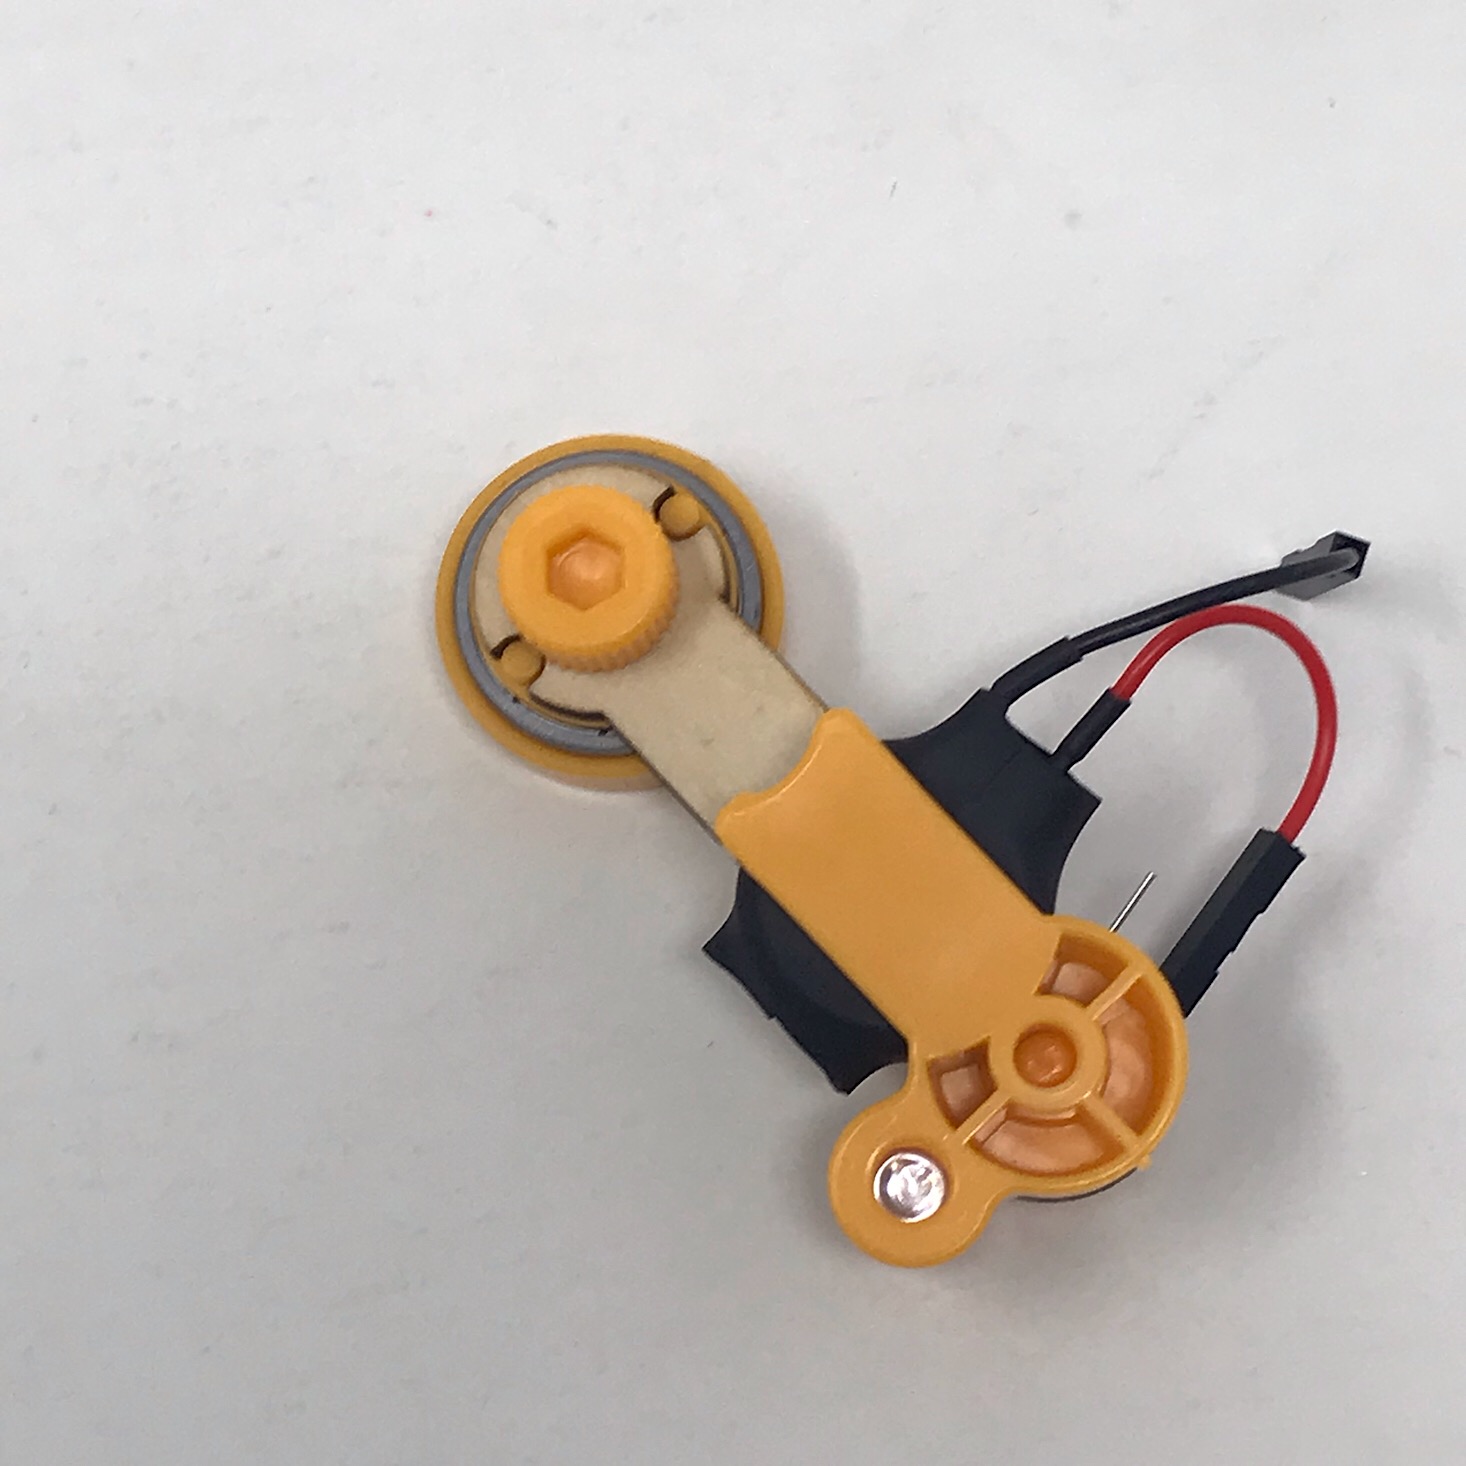
The next part was to assemble our LED arm. First, I inserted the battery pack into its holder.
1 of 3
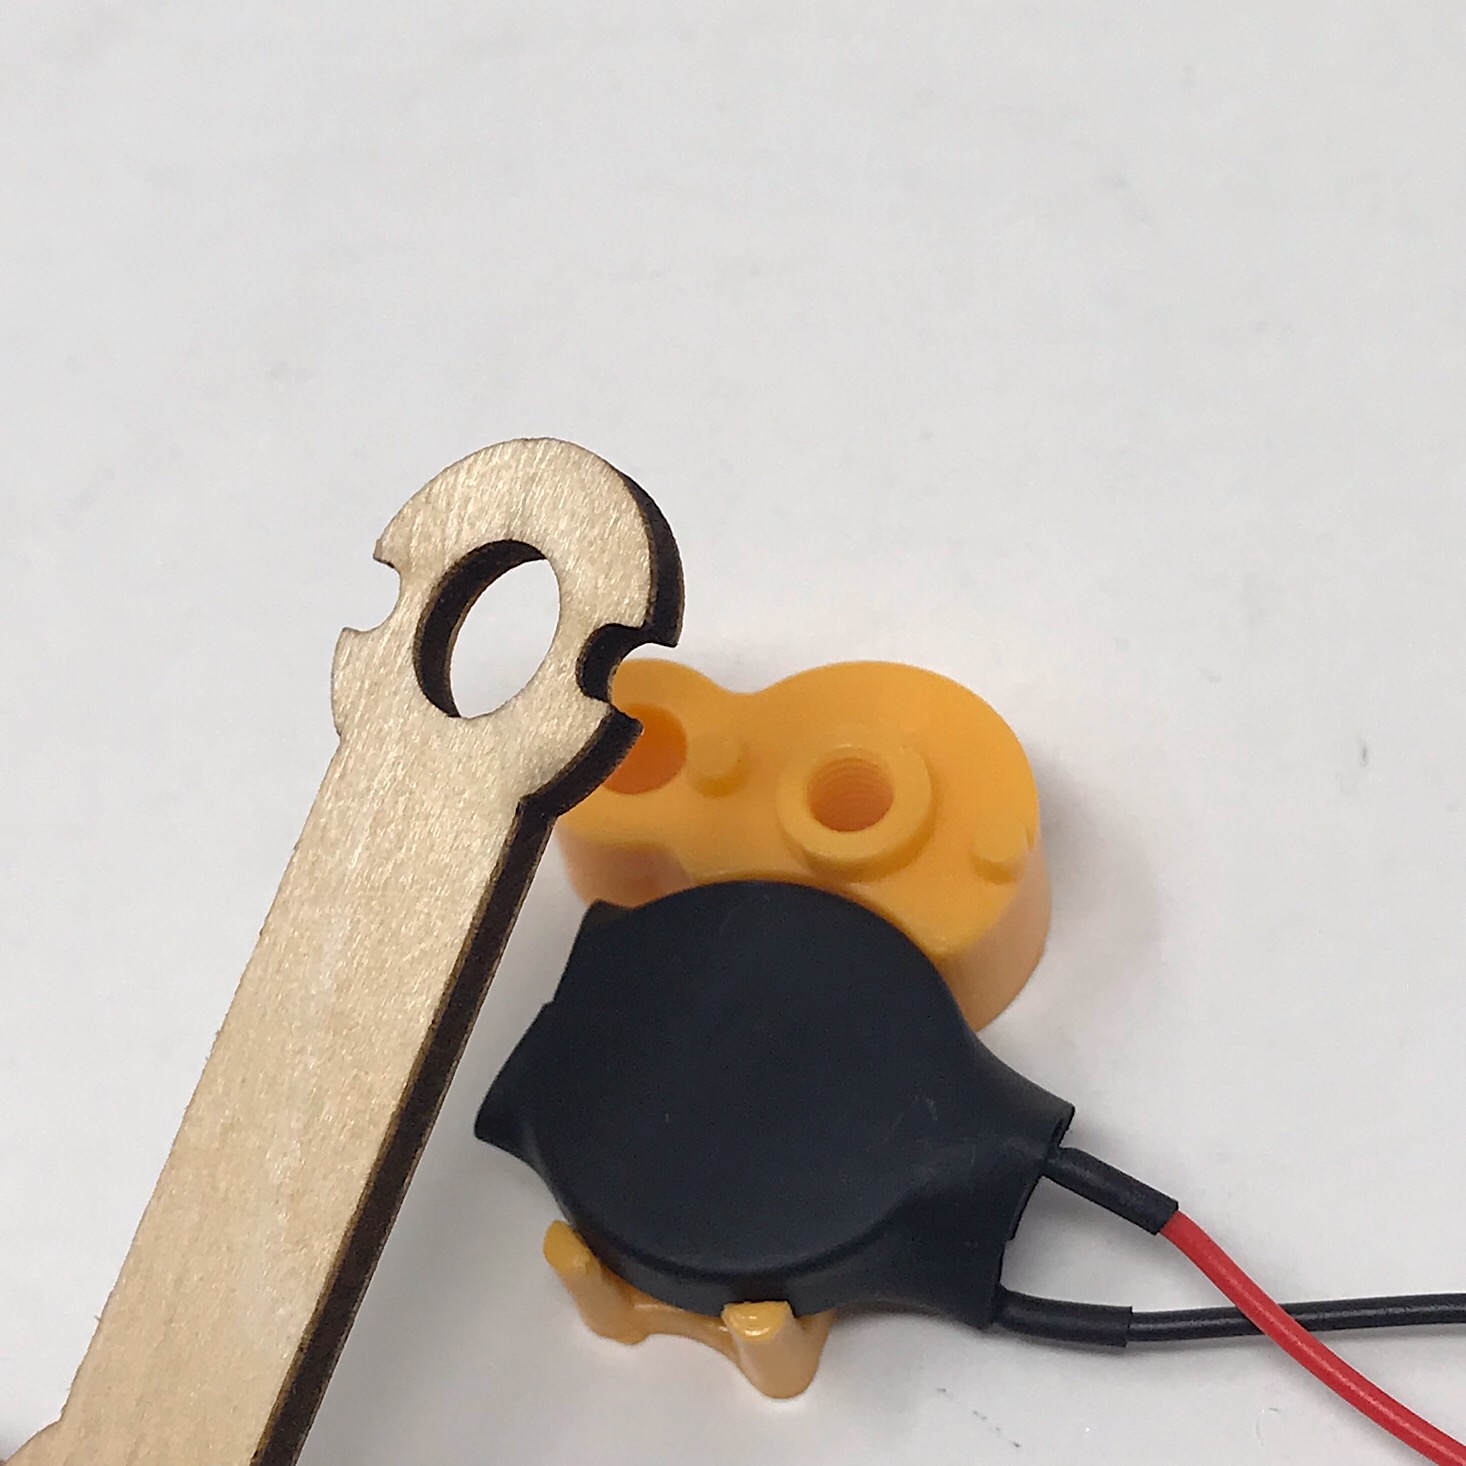
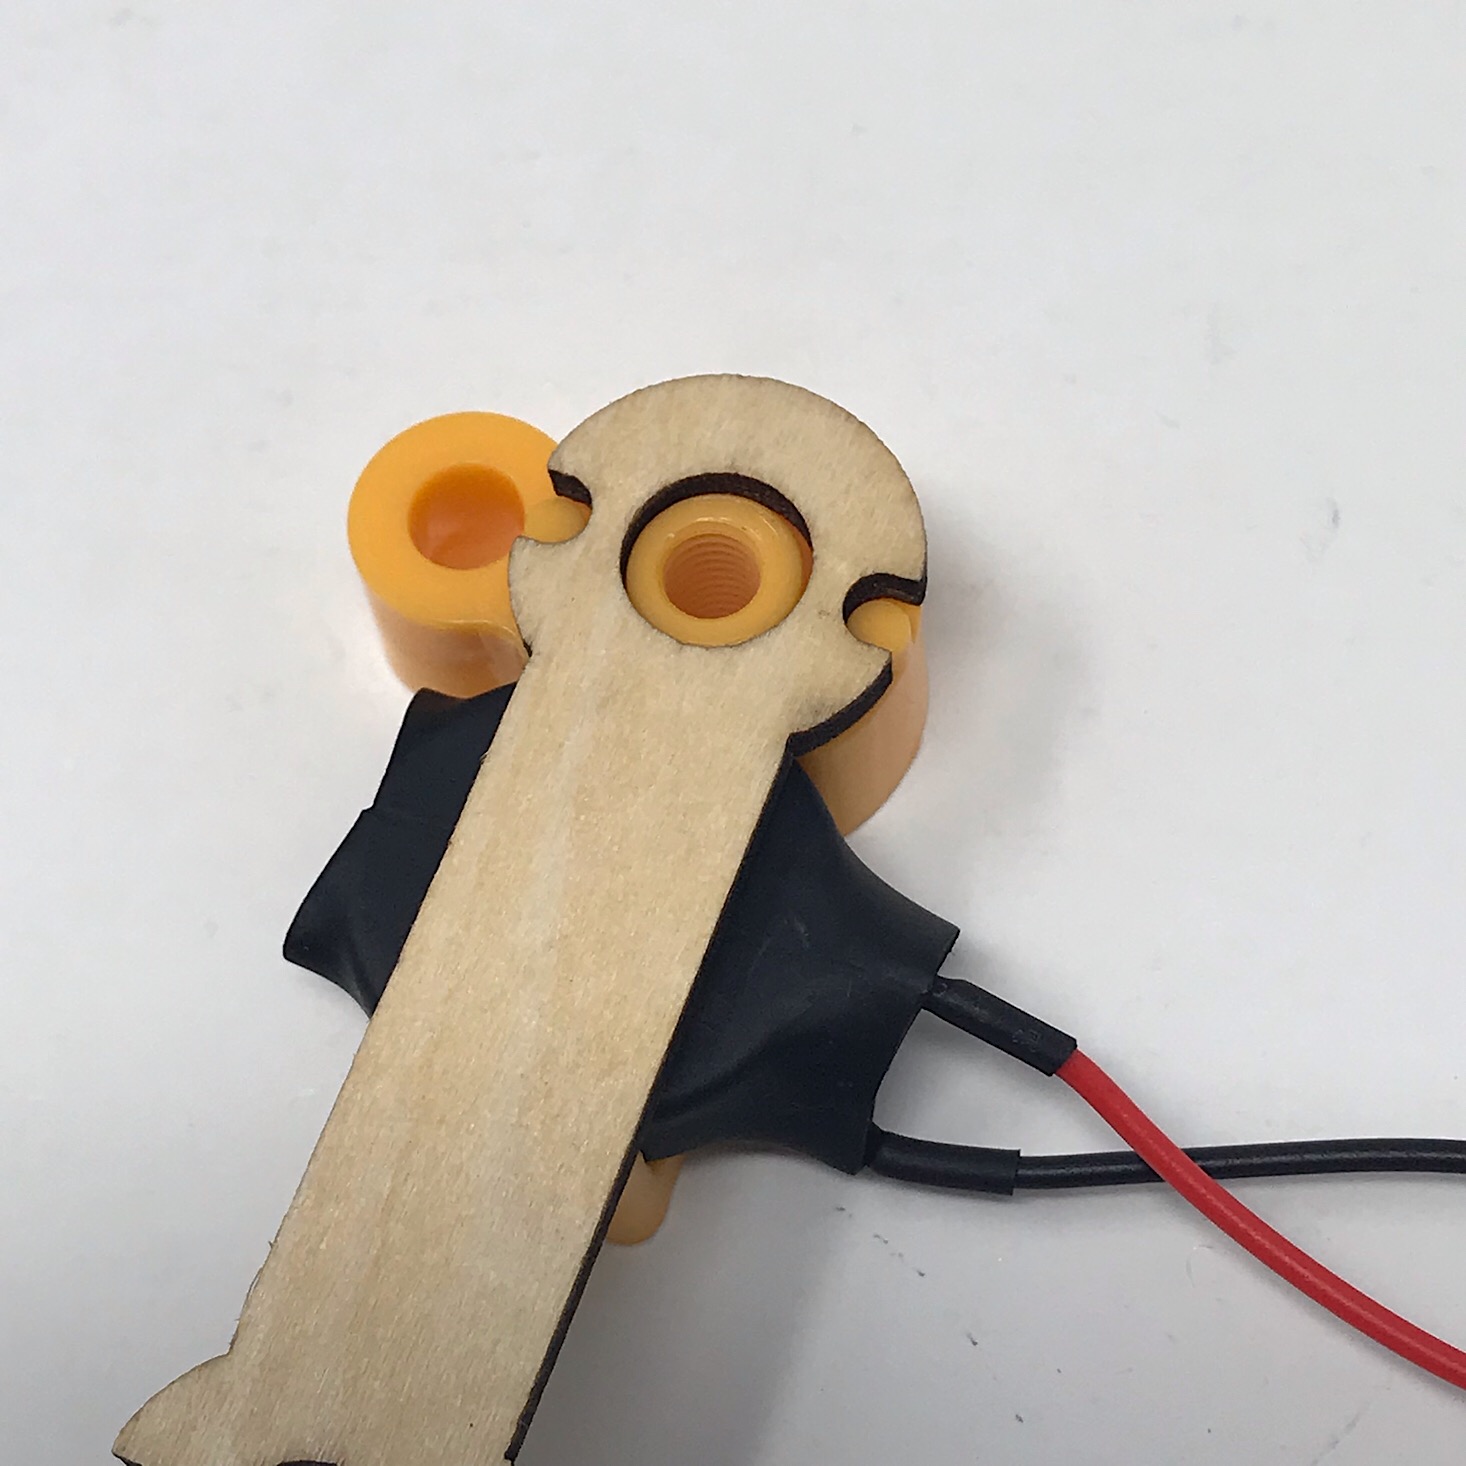
Then I placed the little wooden arm on top making sure to match the notches up with the raised circles on the battery pack holder.

1 of 5
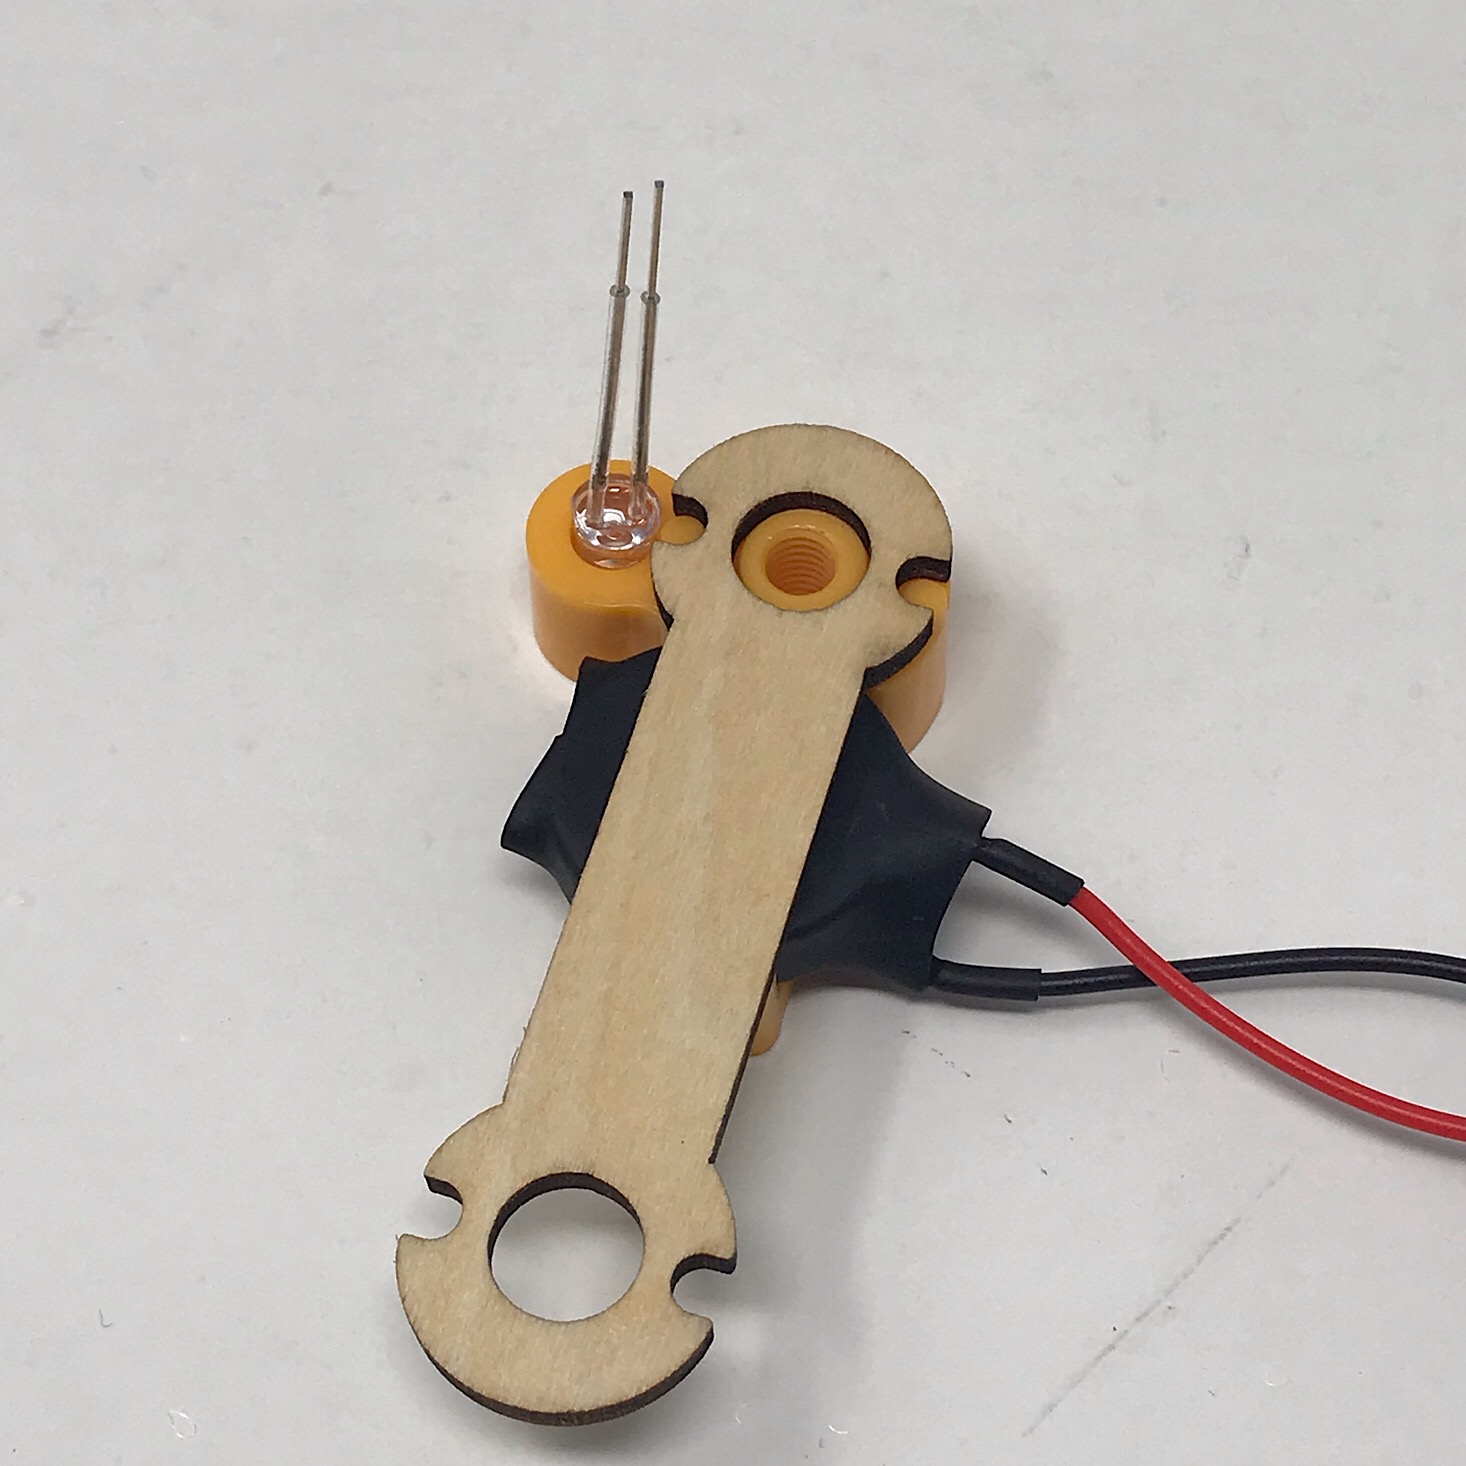
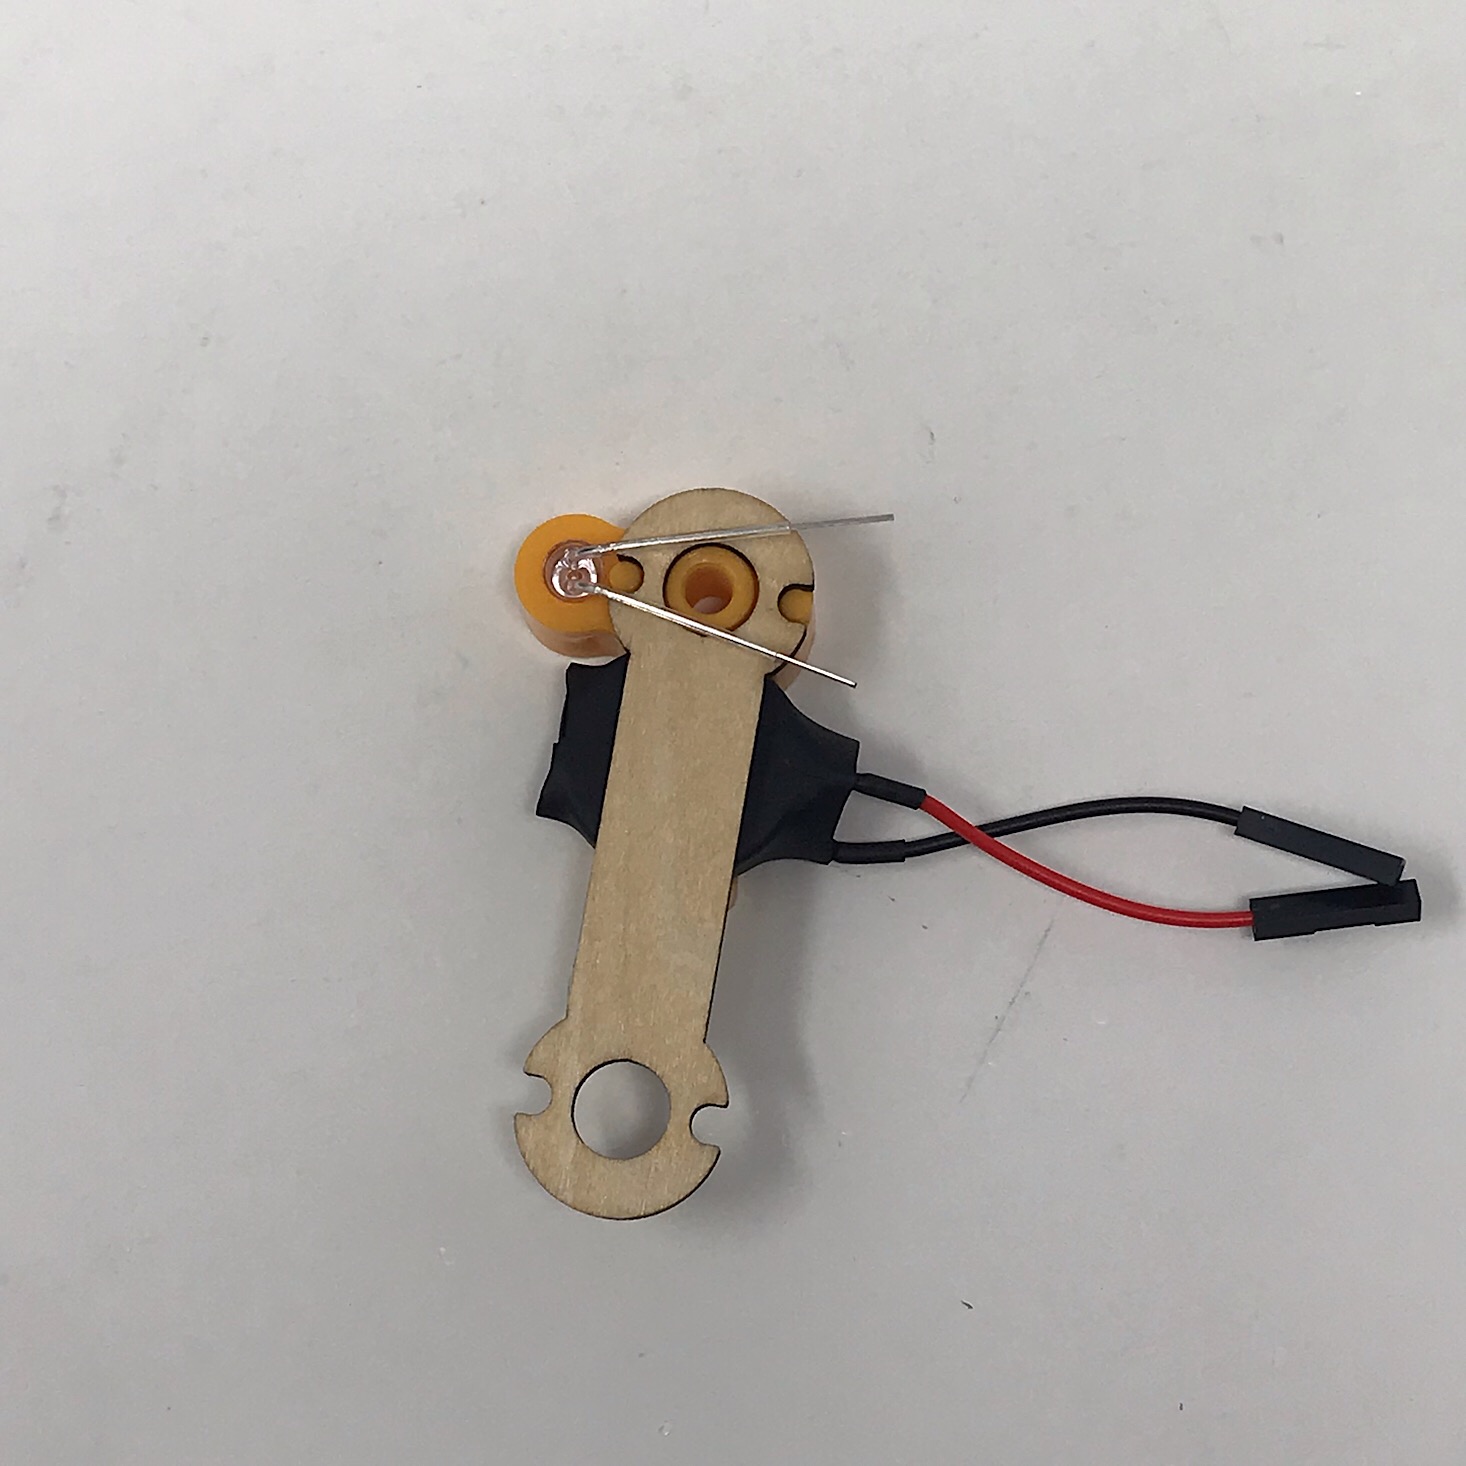
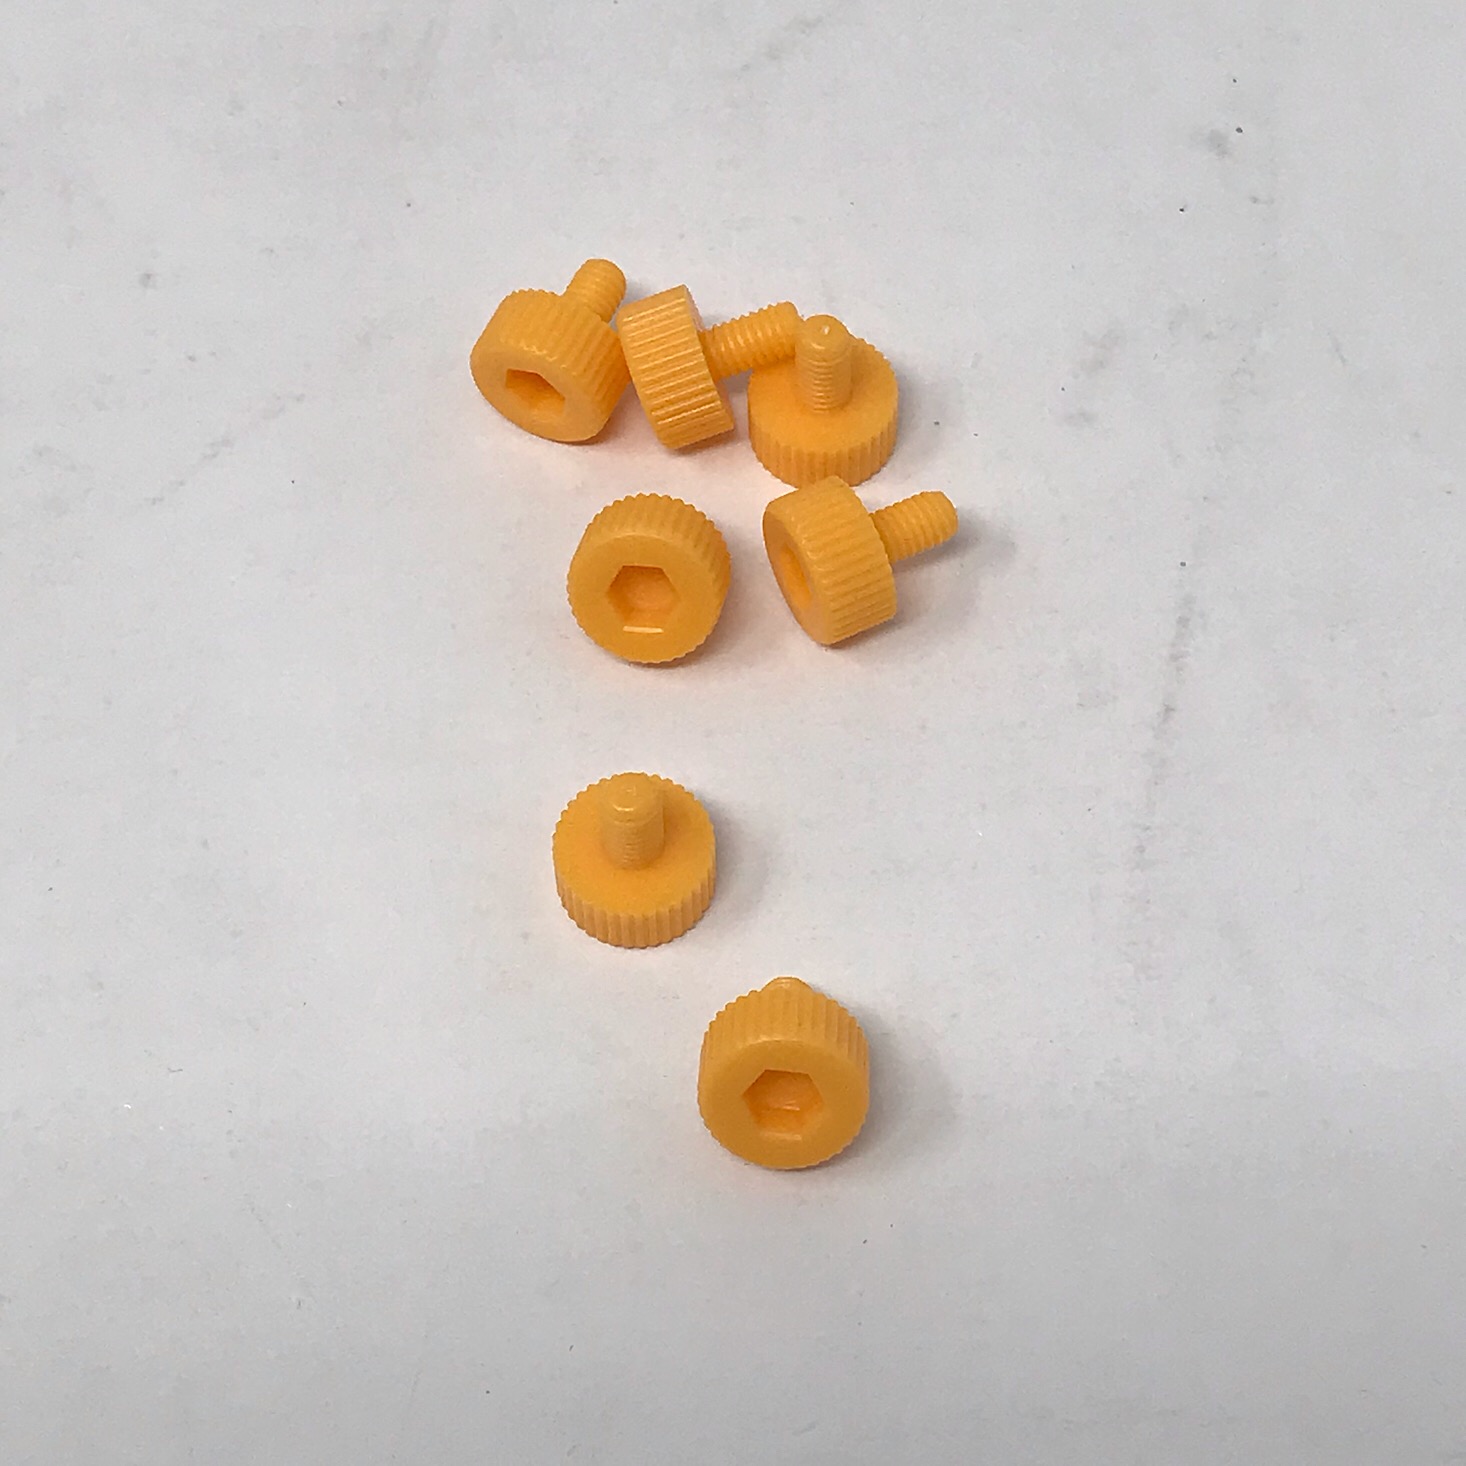
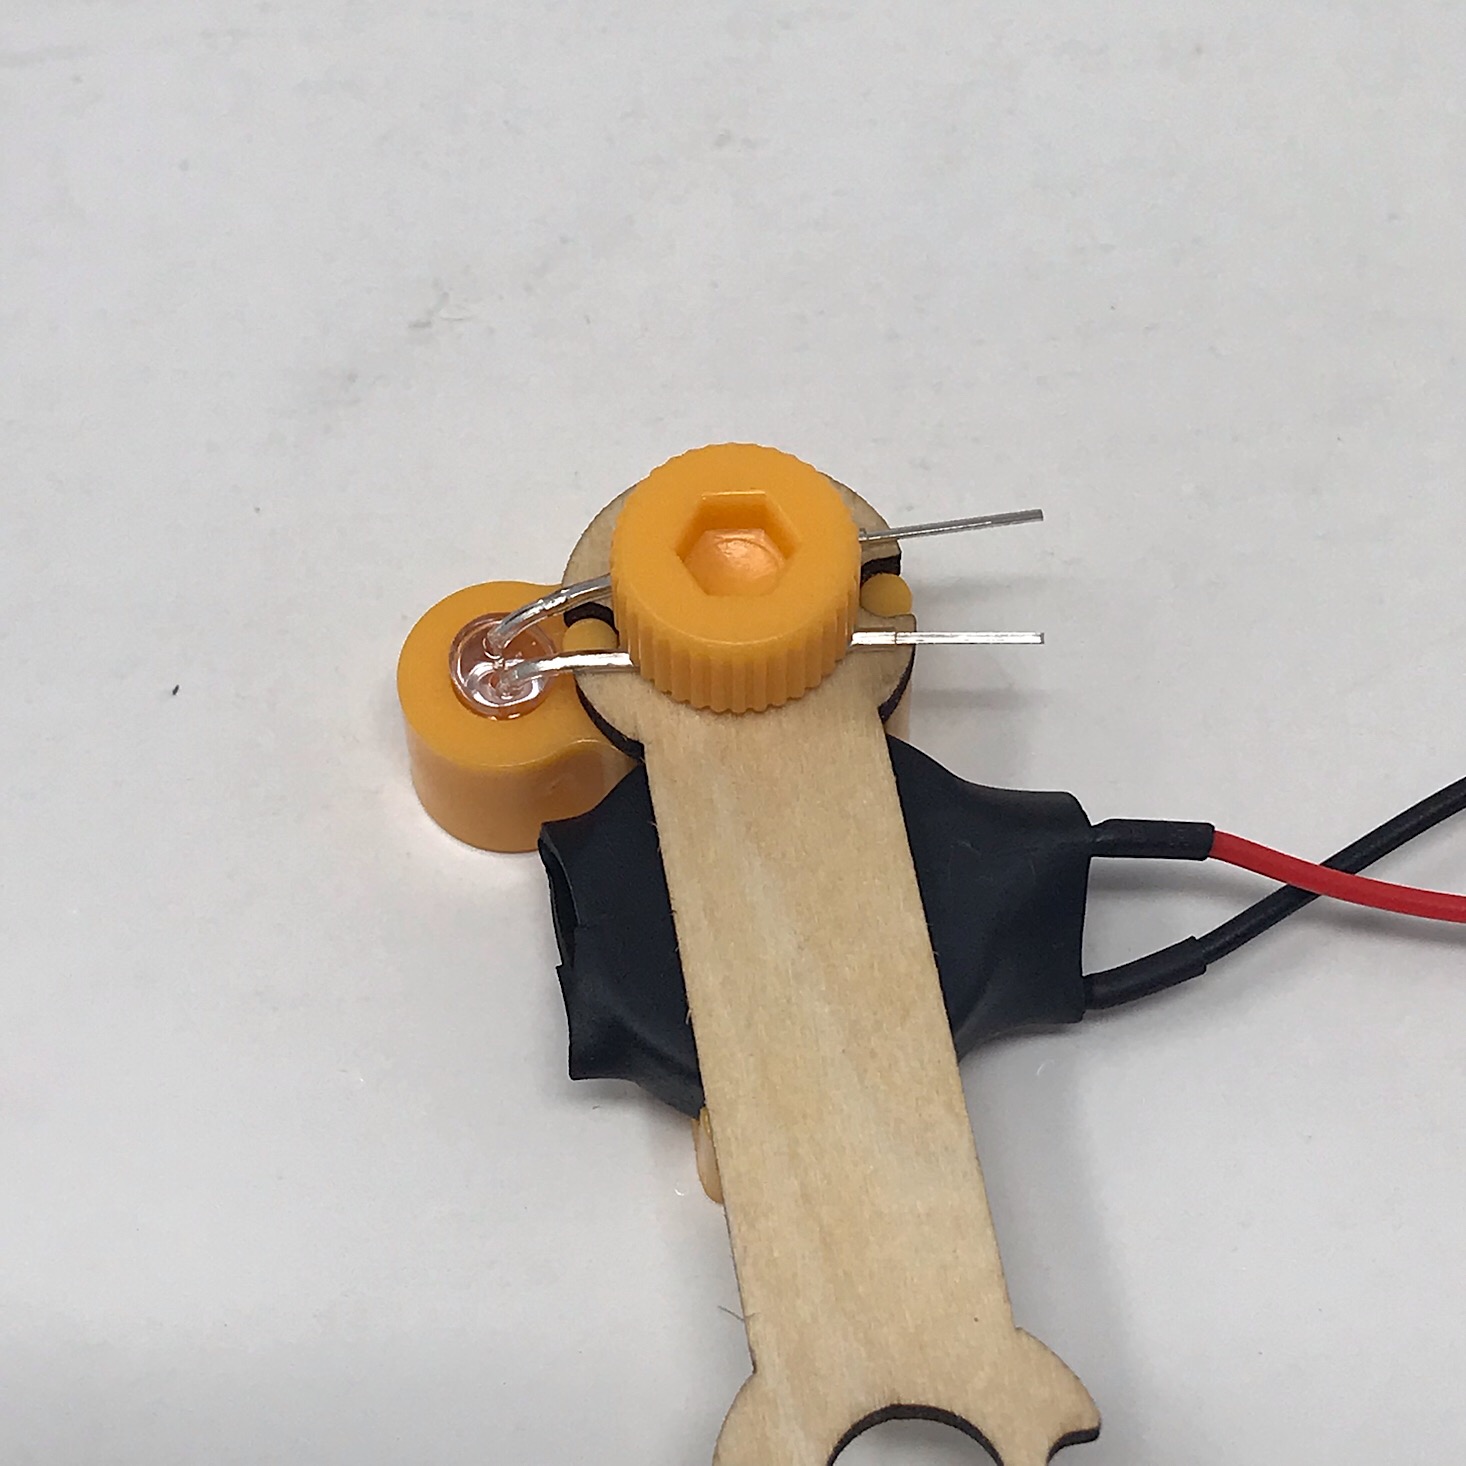
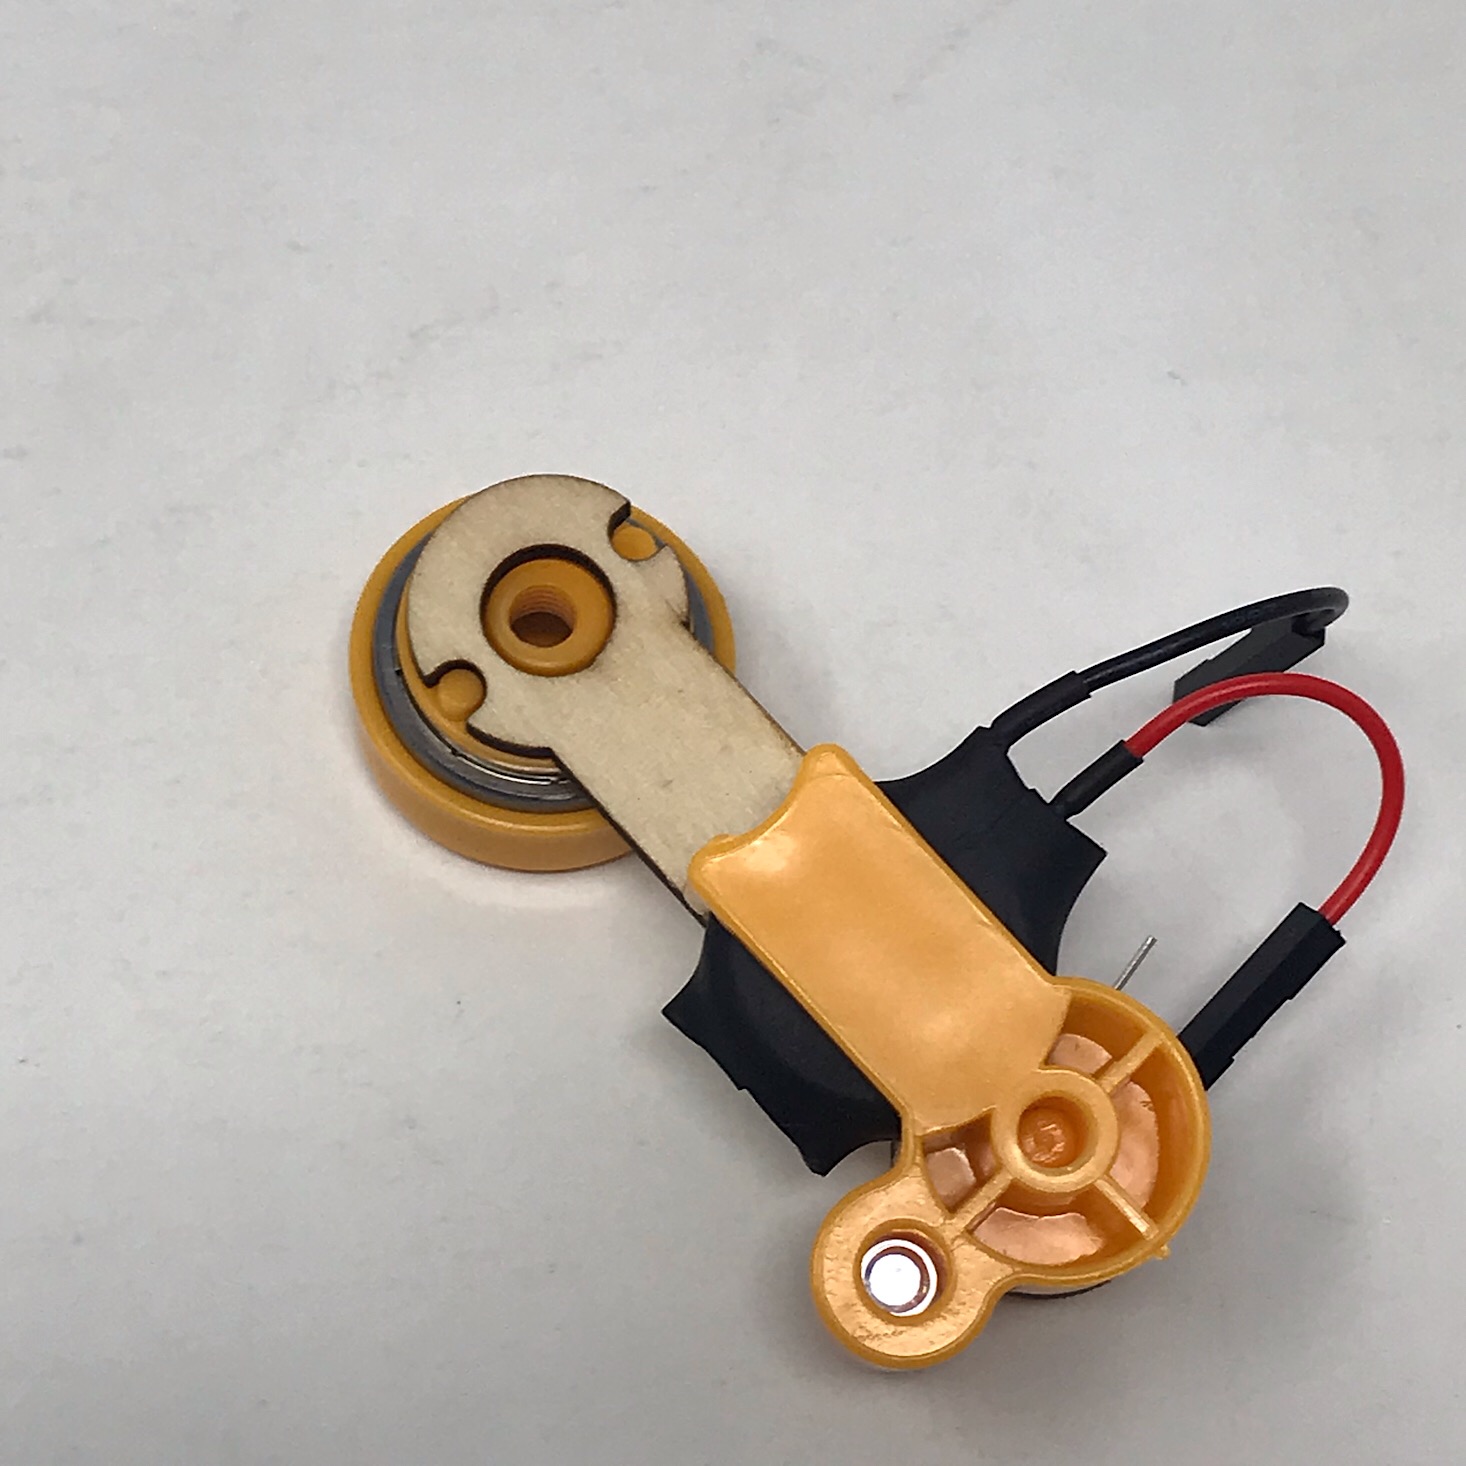
Then I used one of the two LED lights they provided and set it in the hole and bent the arms down on either side of the center of the battery pack. I secured it with one of the little yellow bolts they included making sure to keep the LED arms separate from one another.
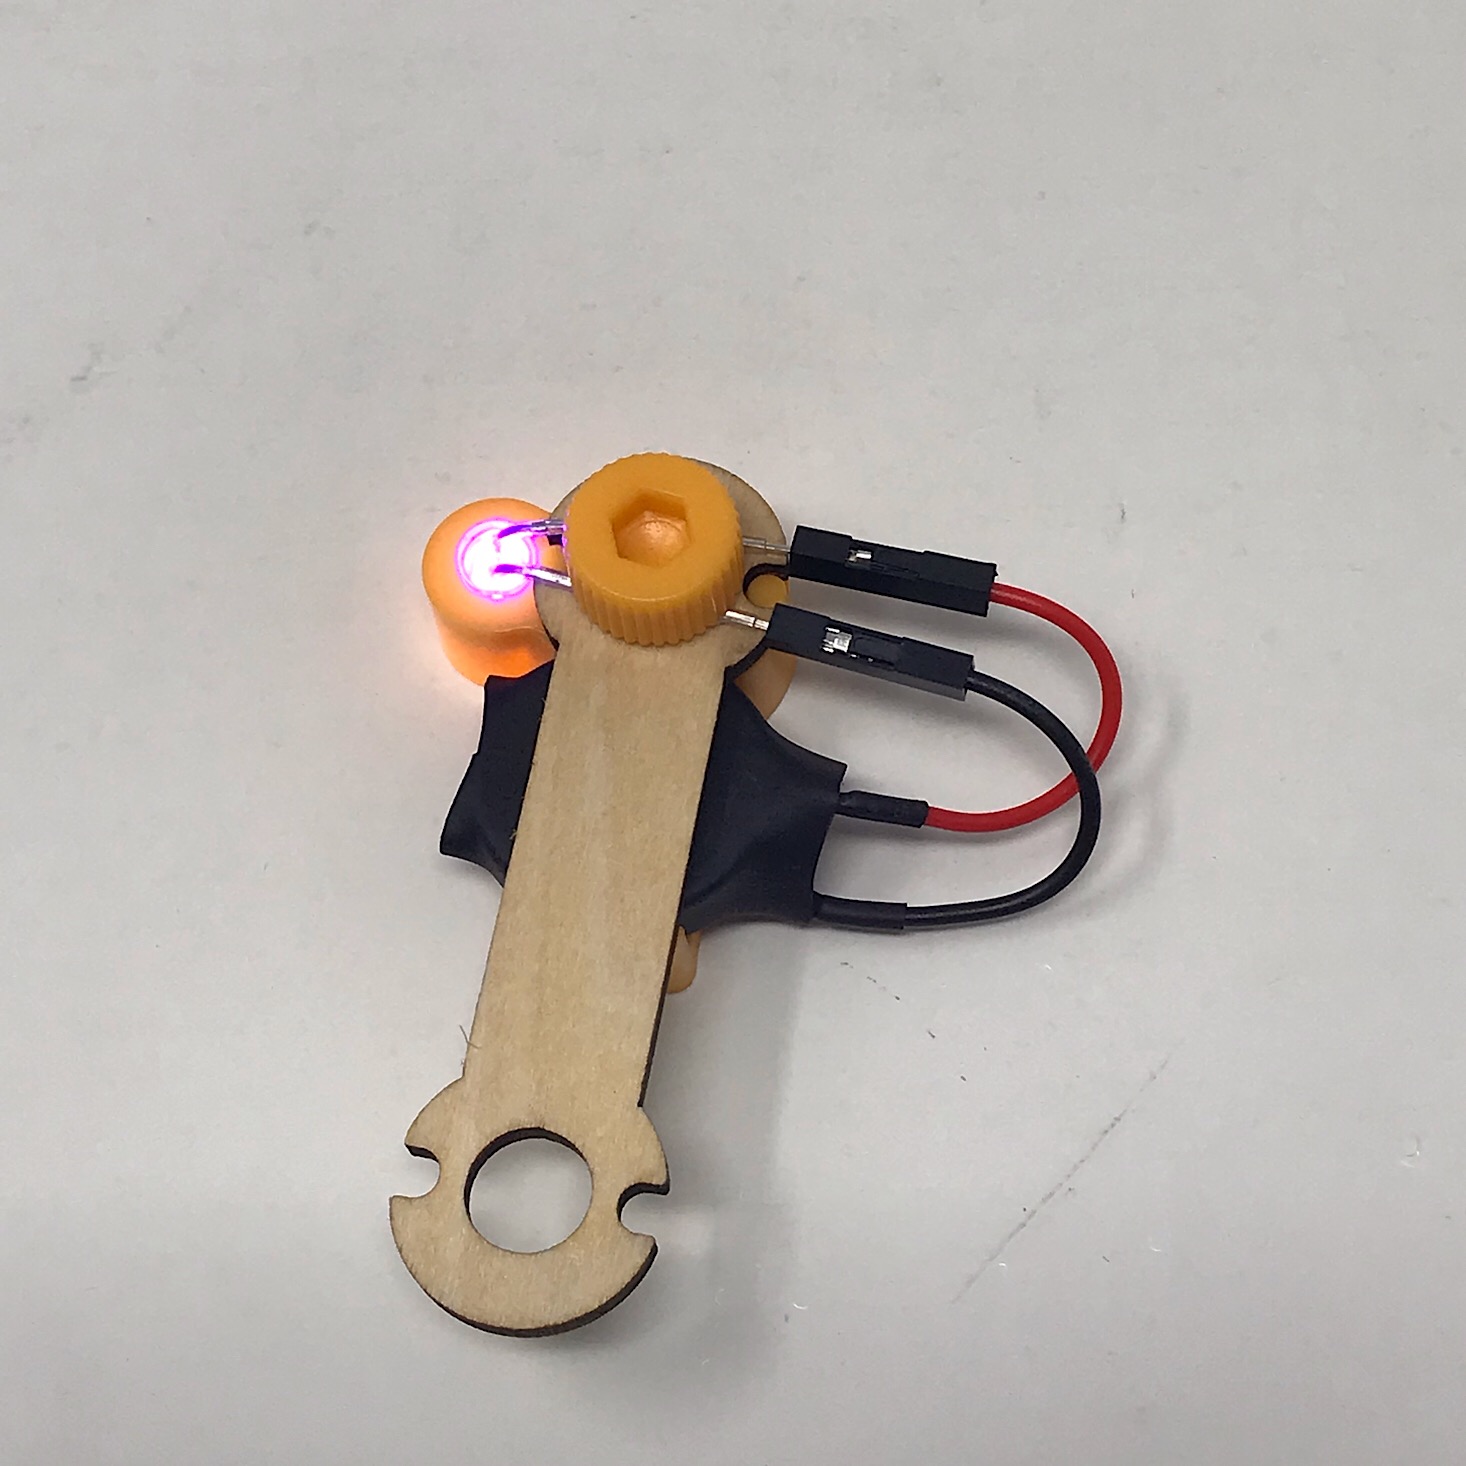
1 of 2
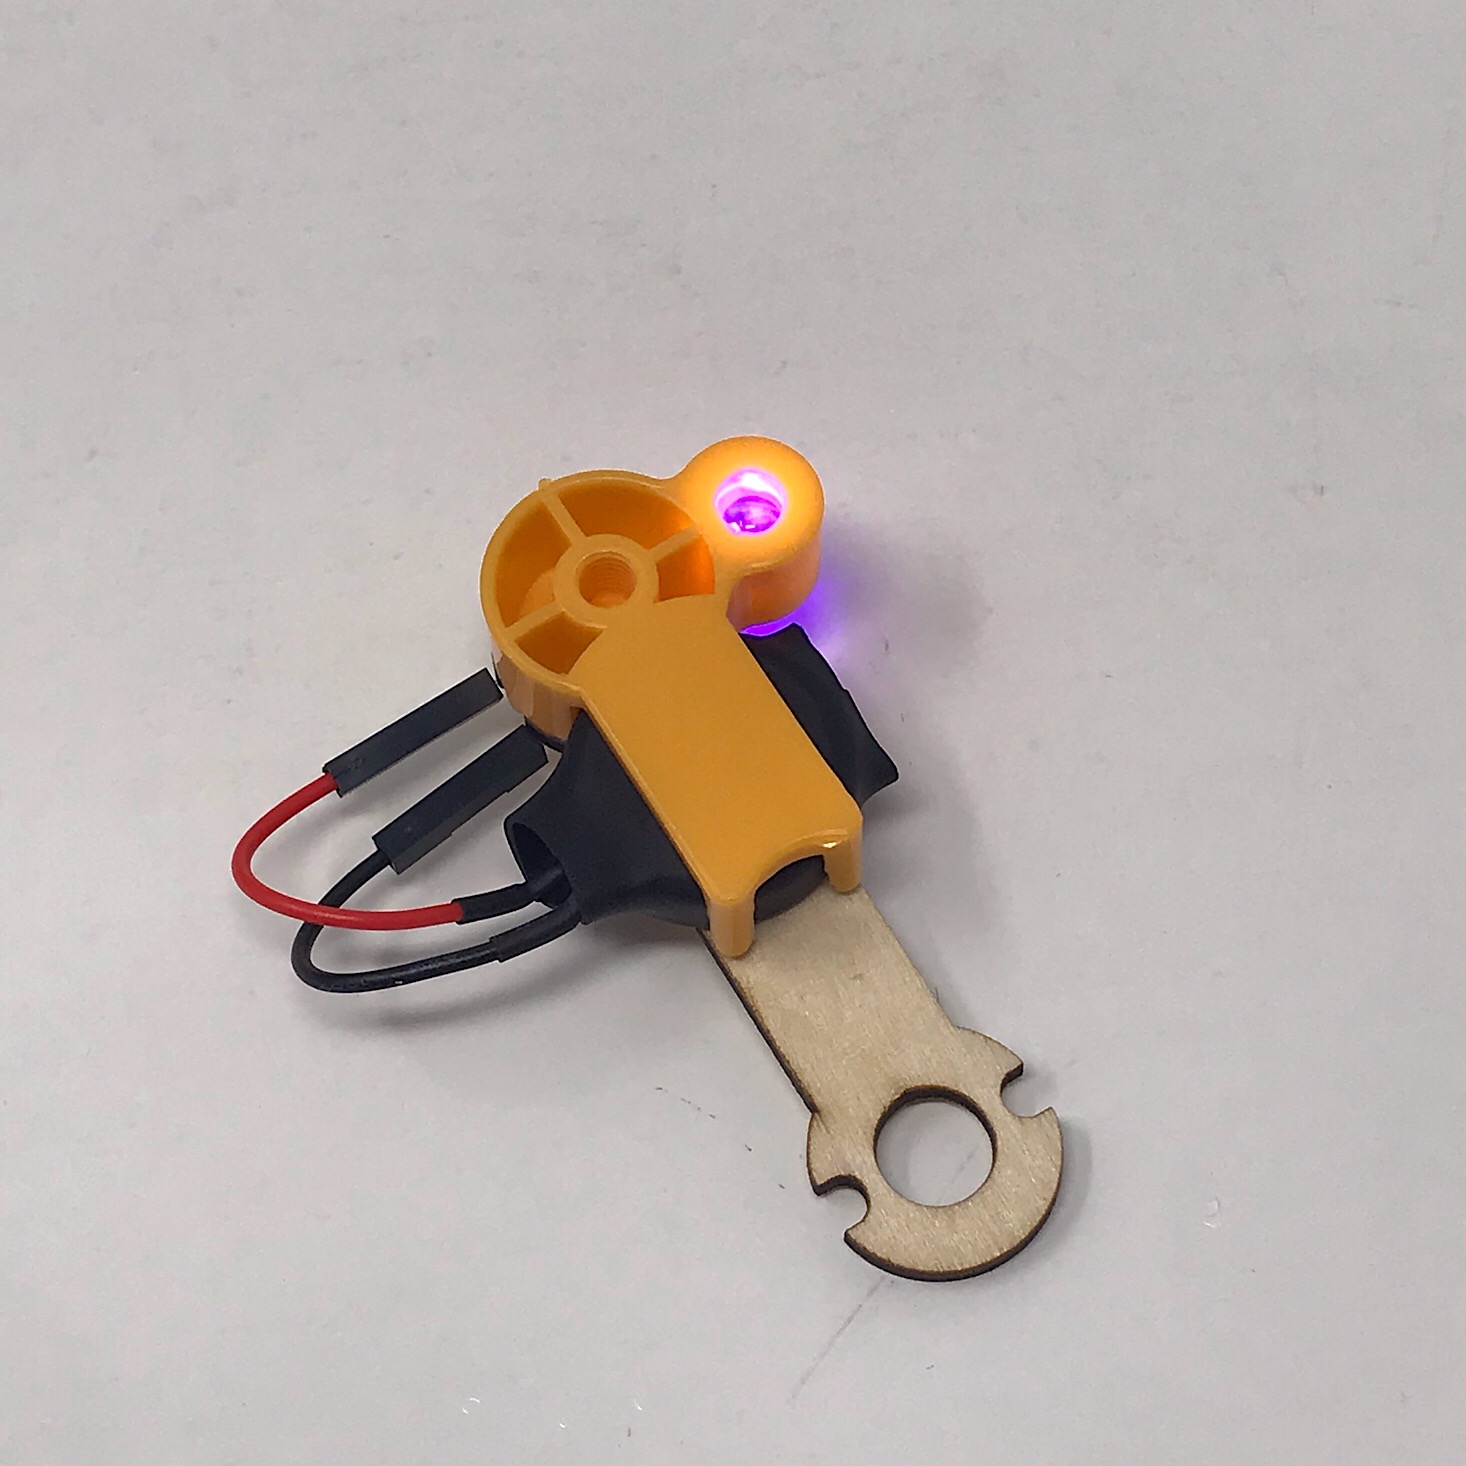
I then slide the wire ends onto the ends of the LED light and now I had a working light!

1 of 2
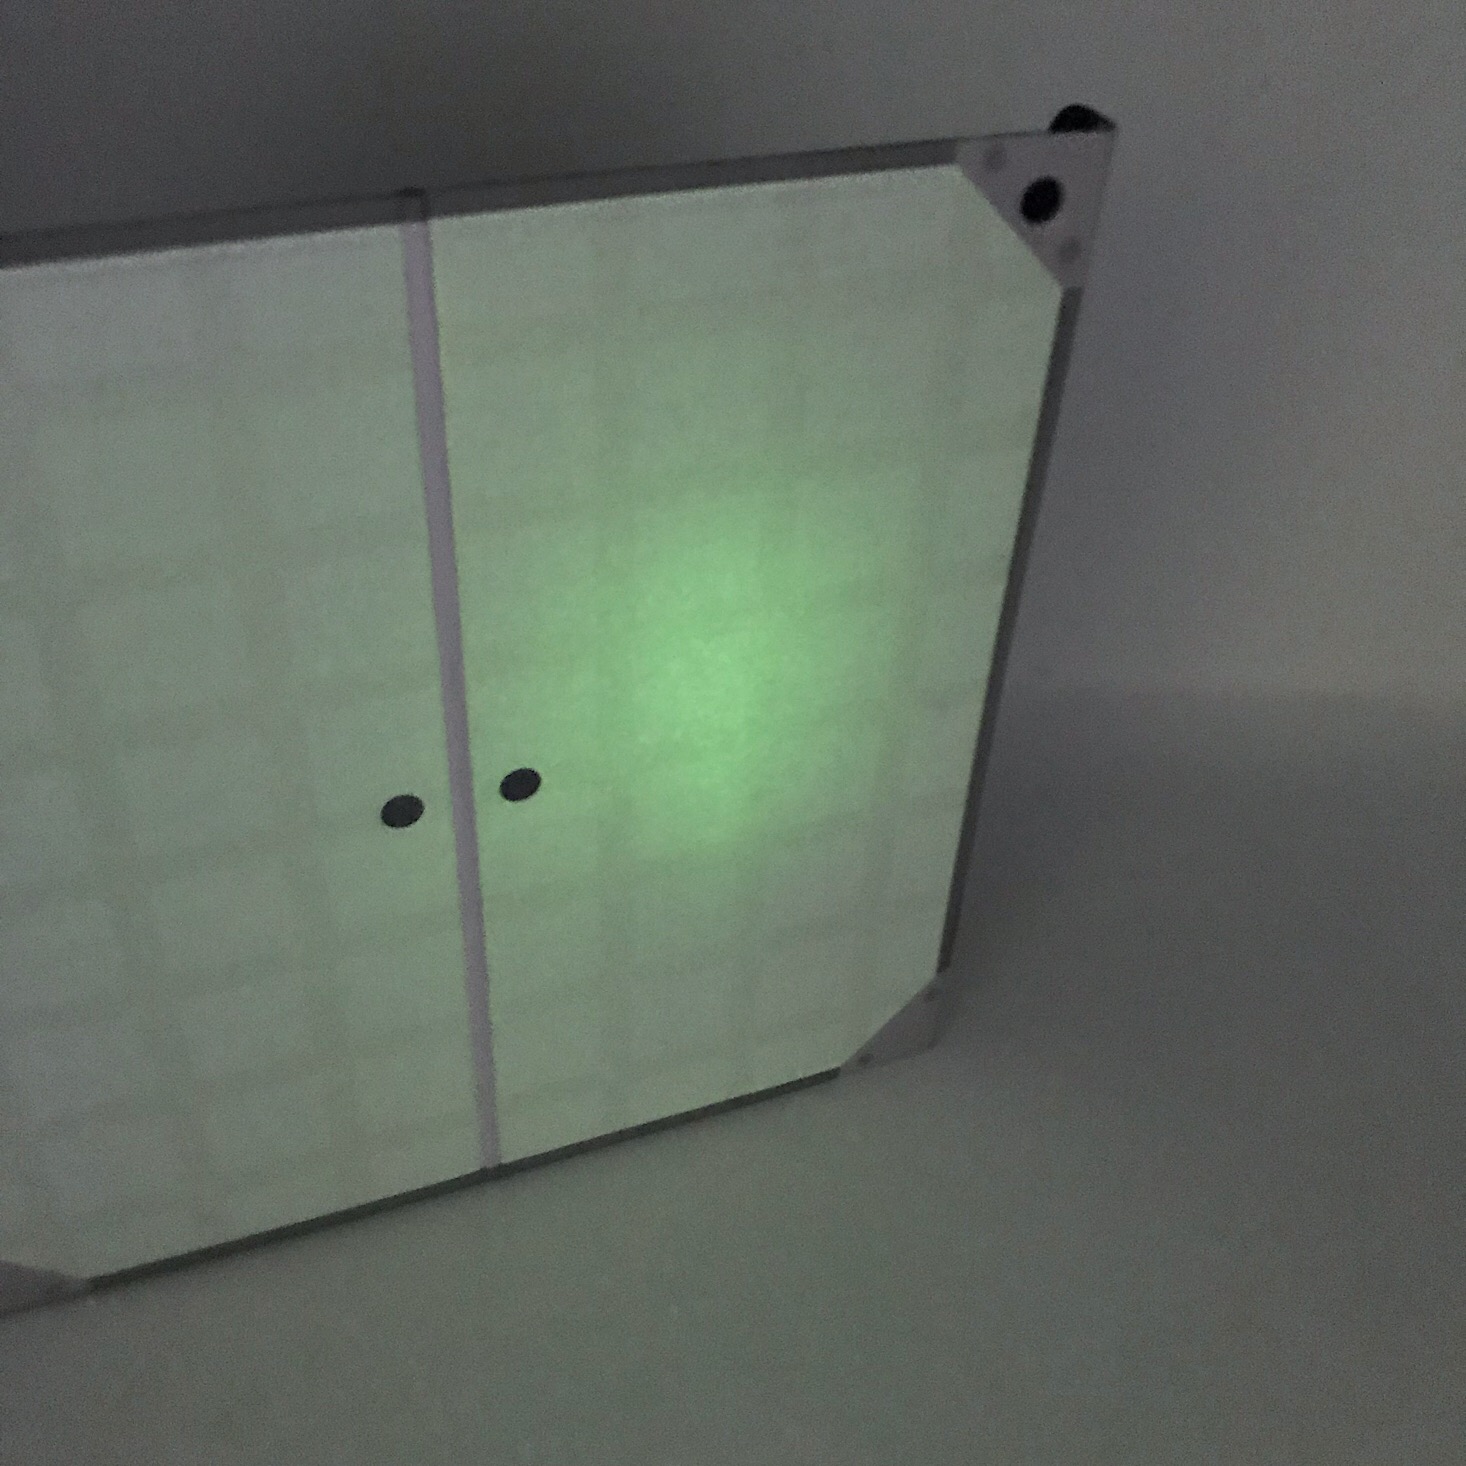
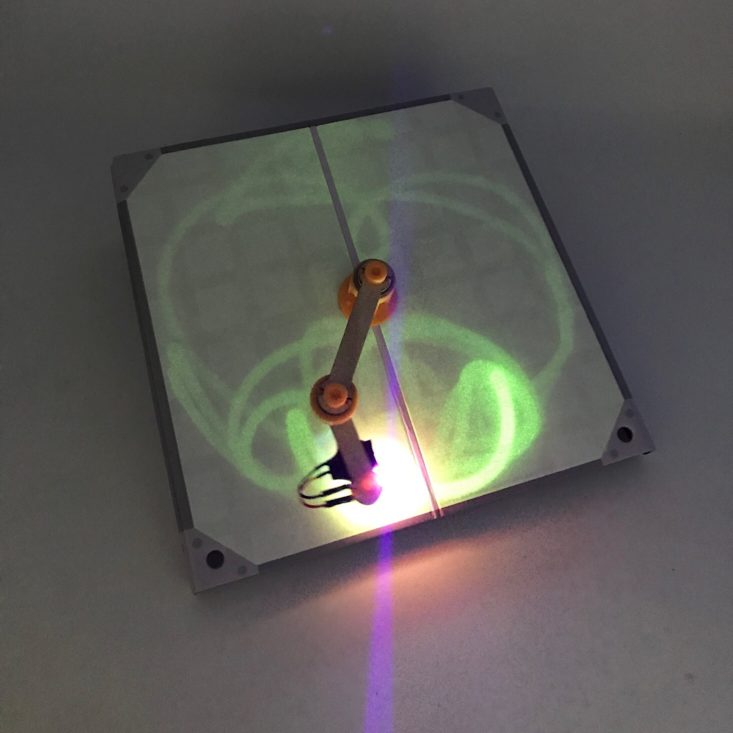
I tested it out by shining it onto my completed glow board and it left a nice green glow after the light hit it.
Part C: Put Together the Pendulum

1 of 5
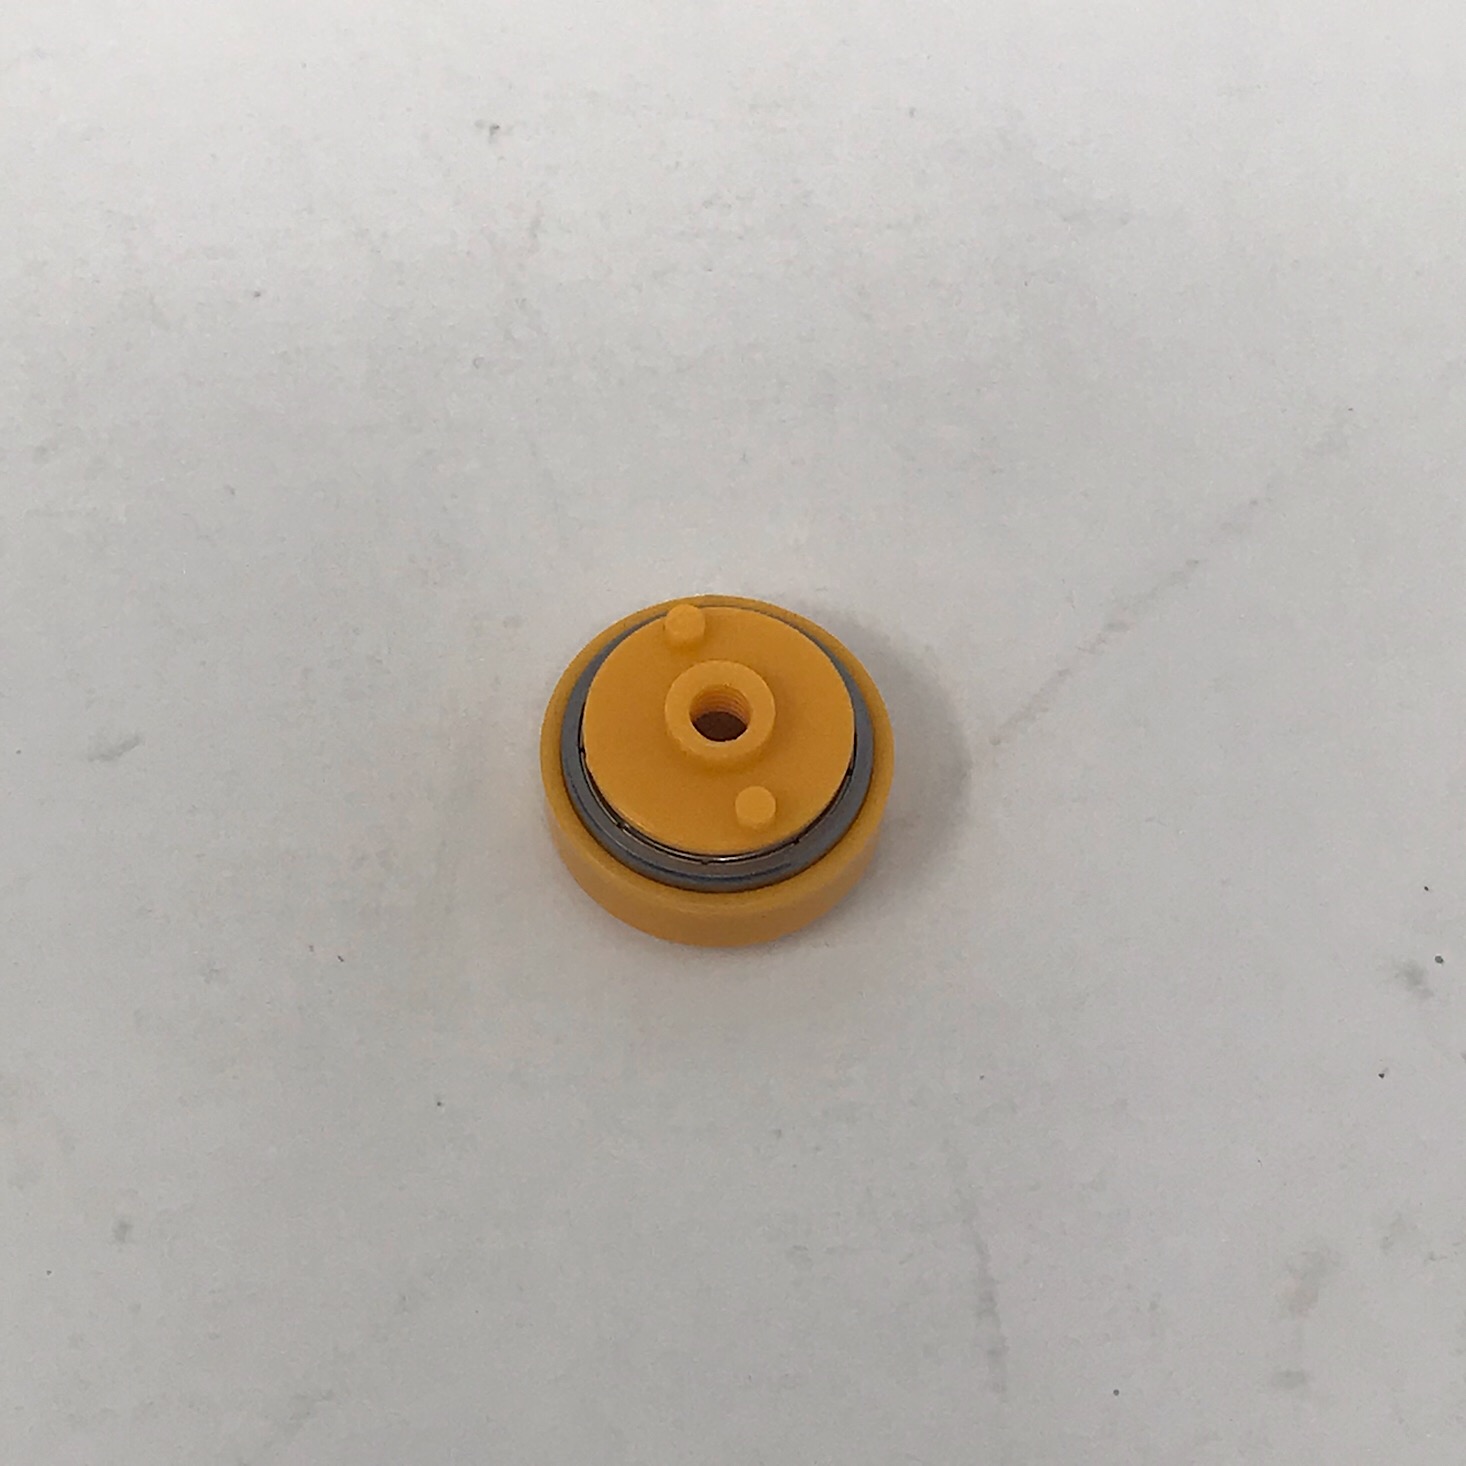

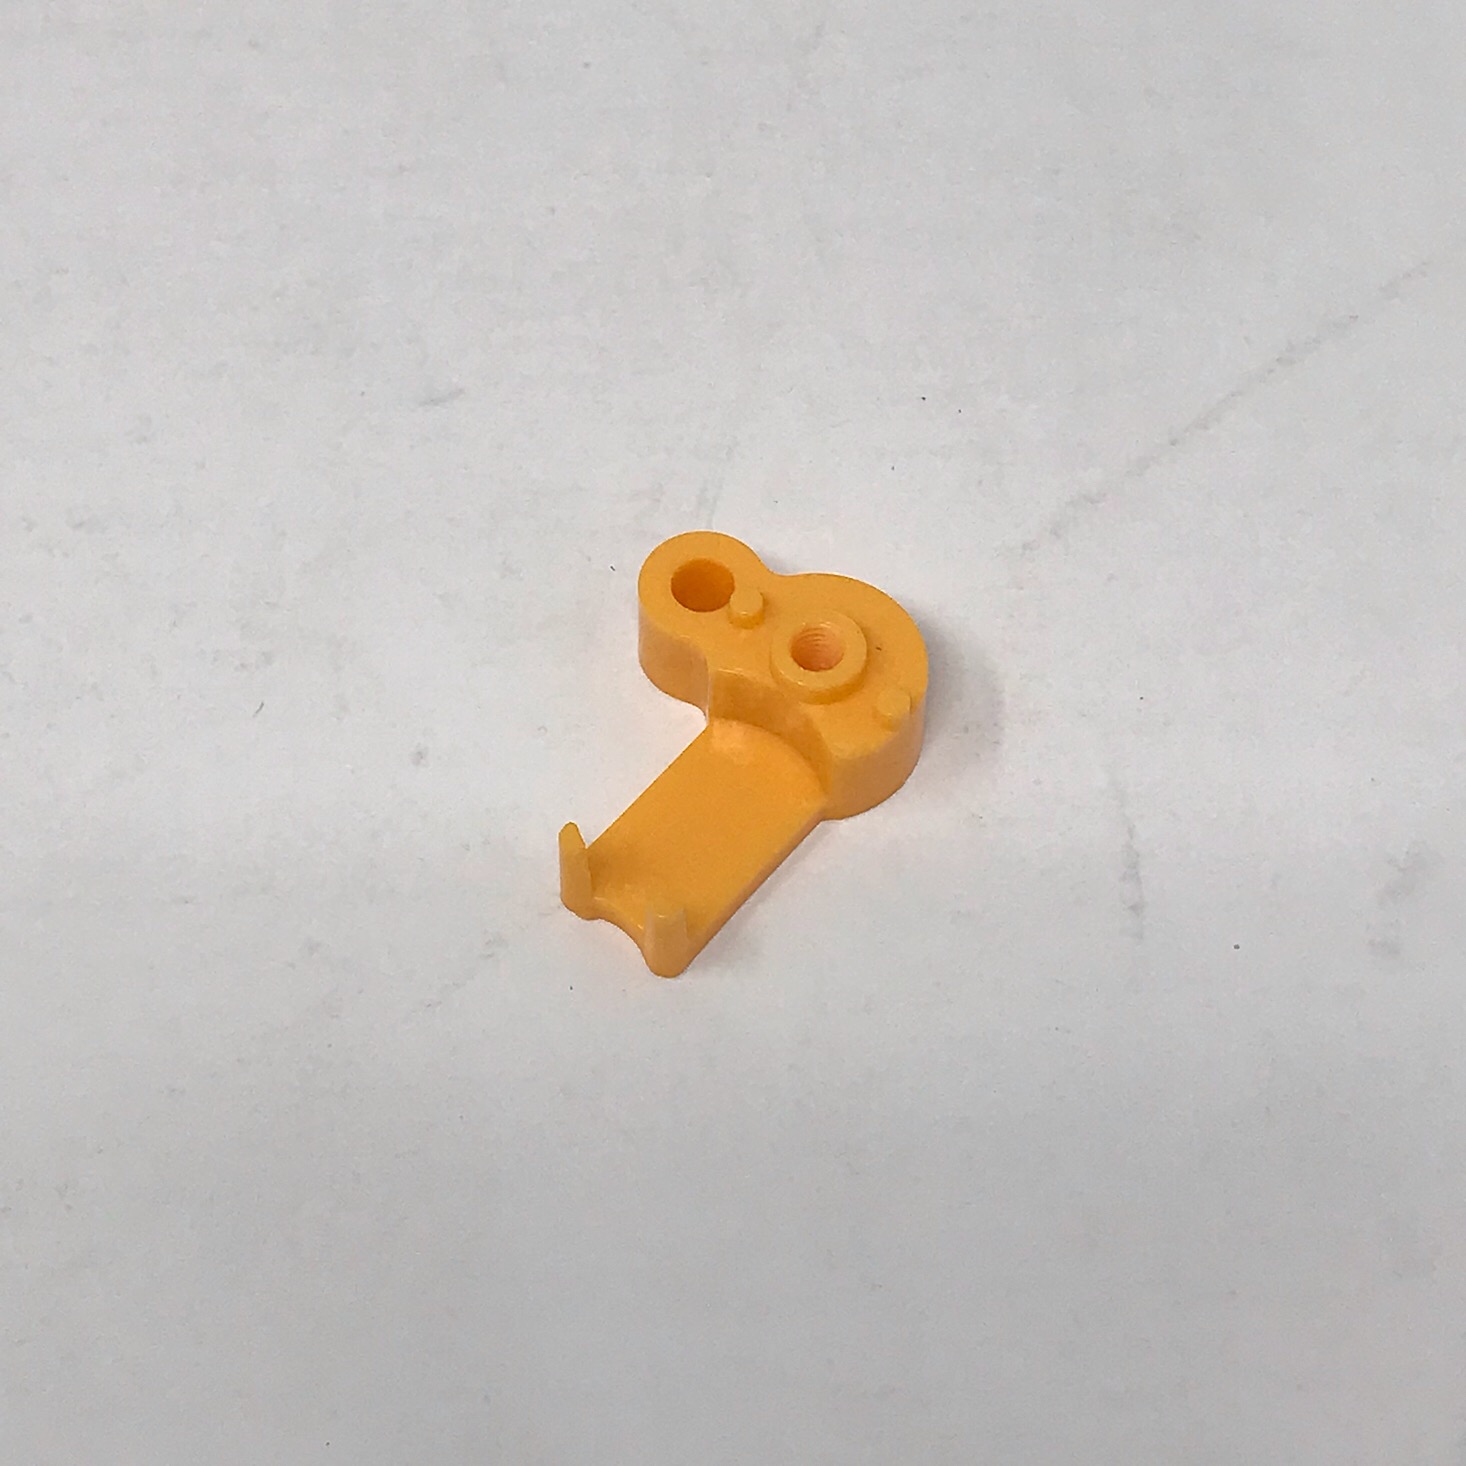
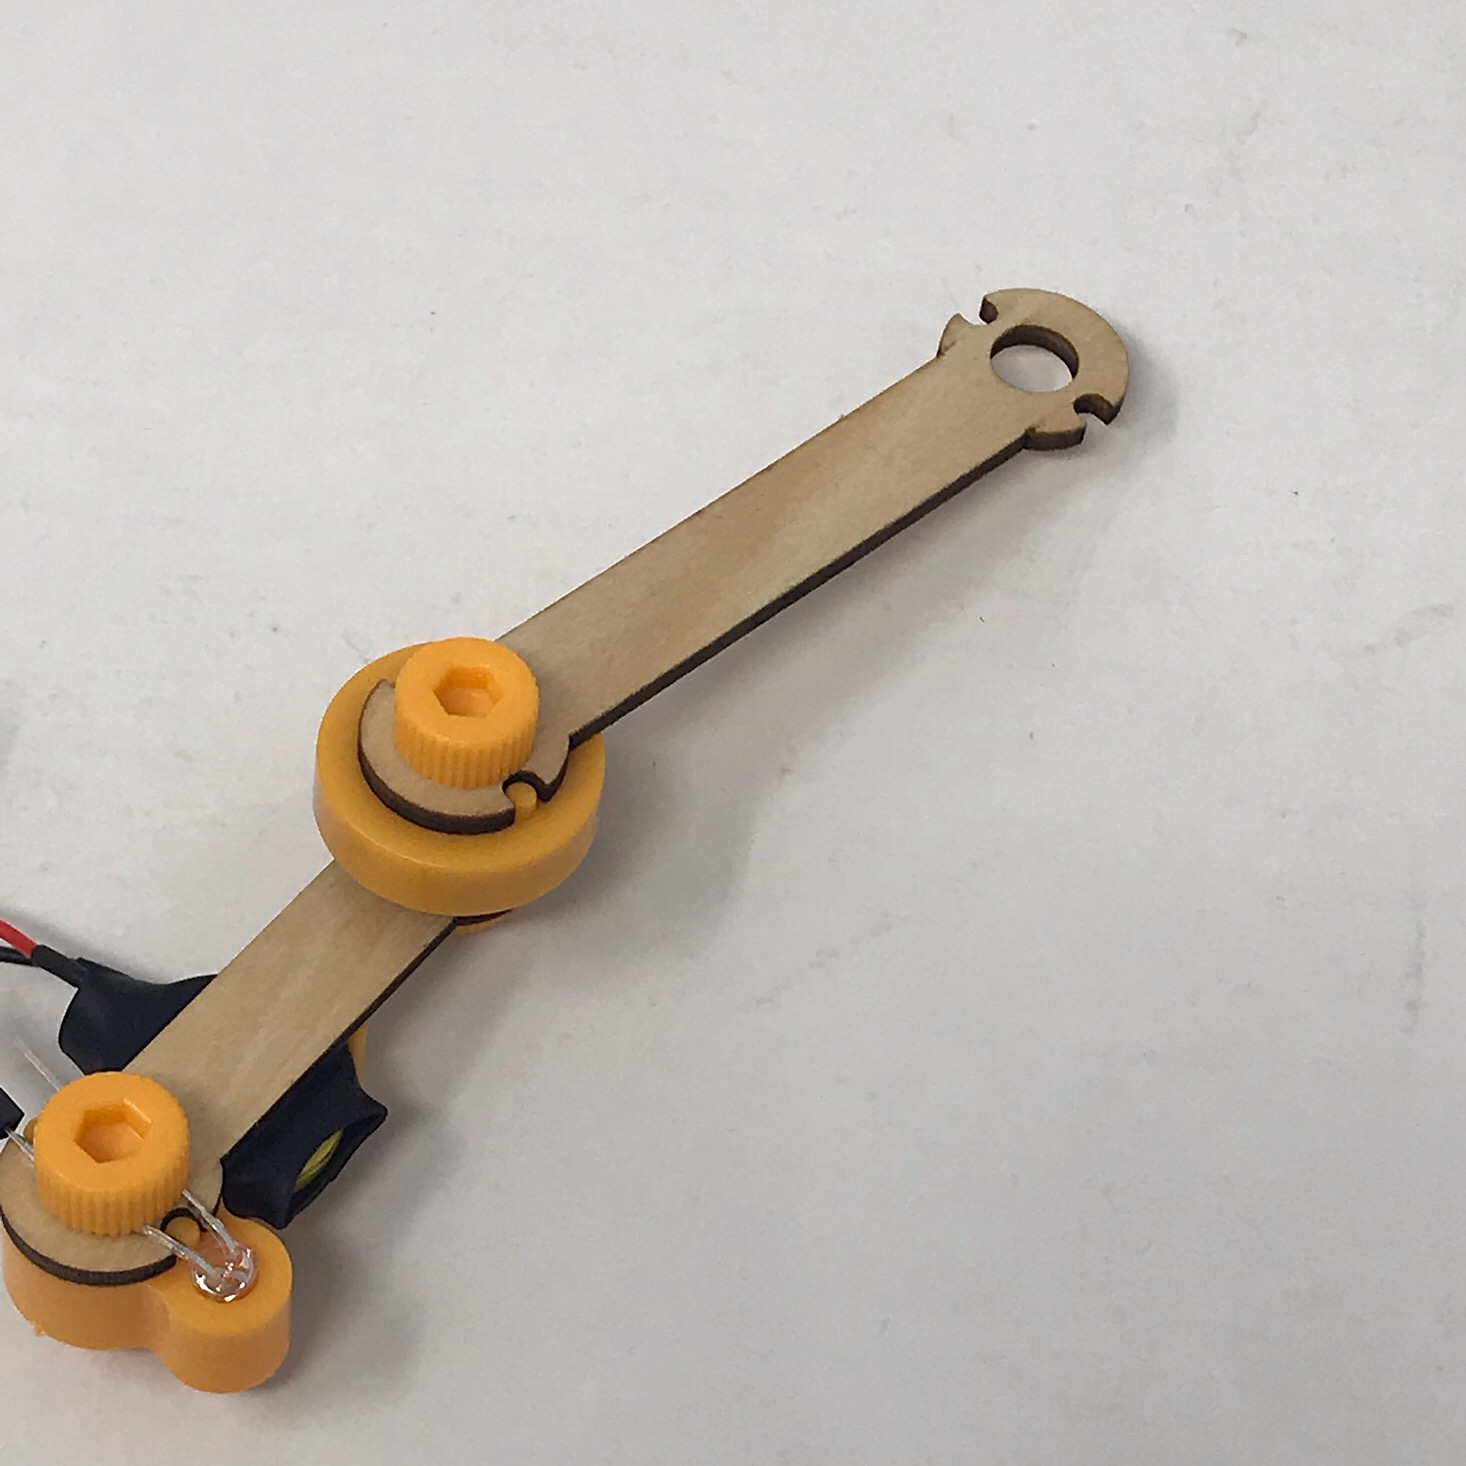
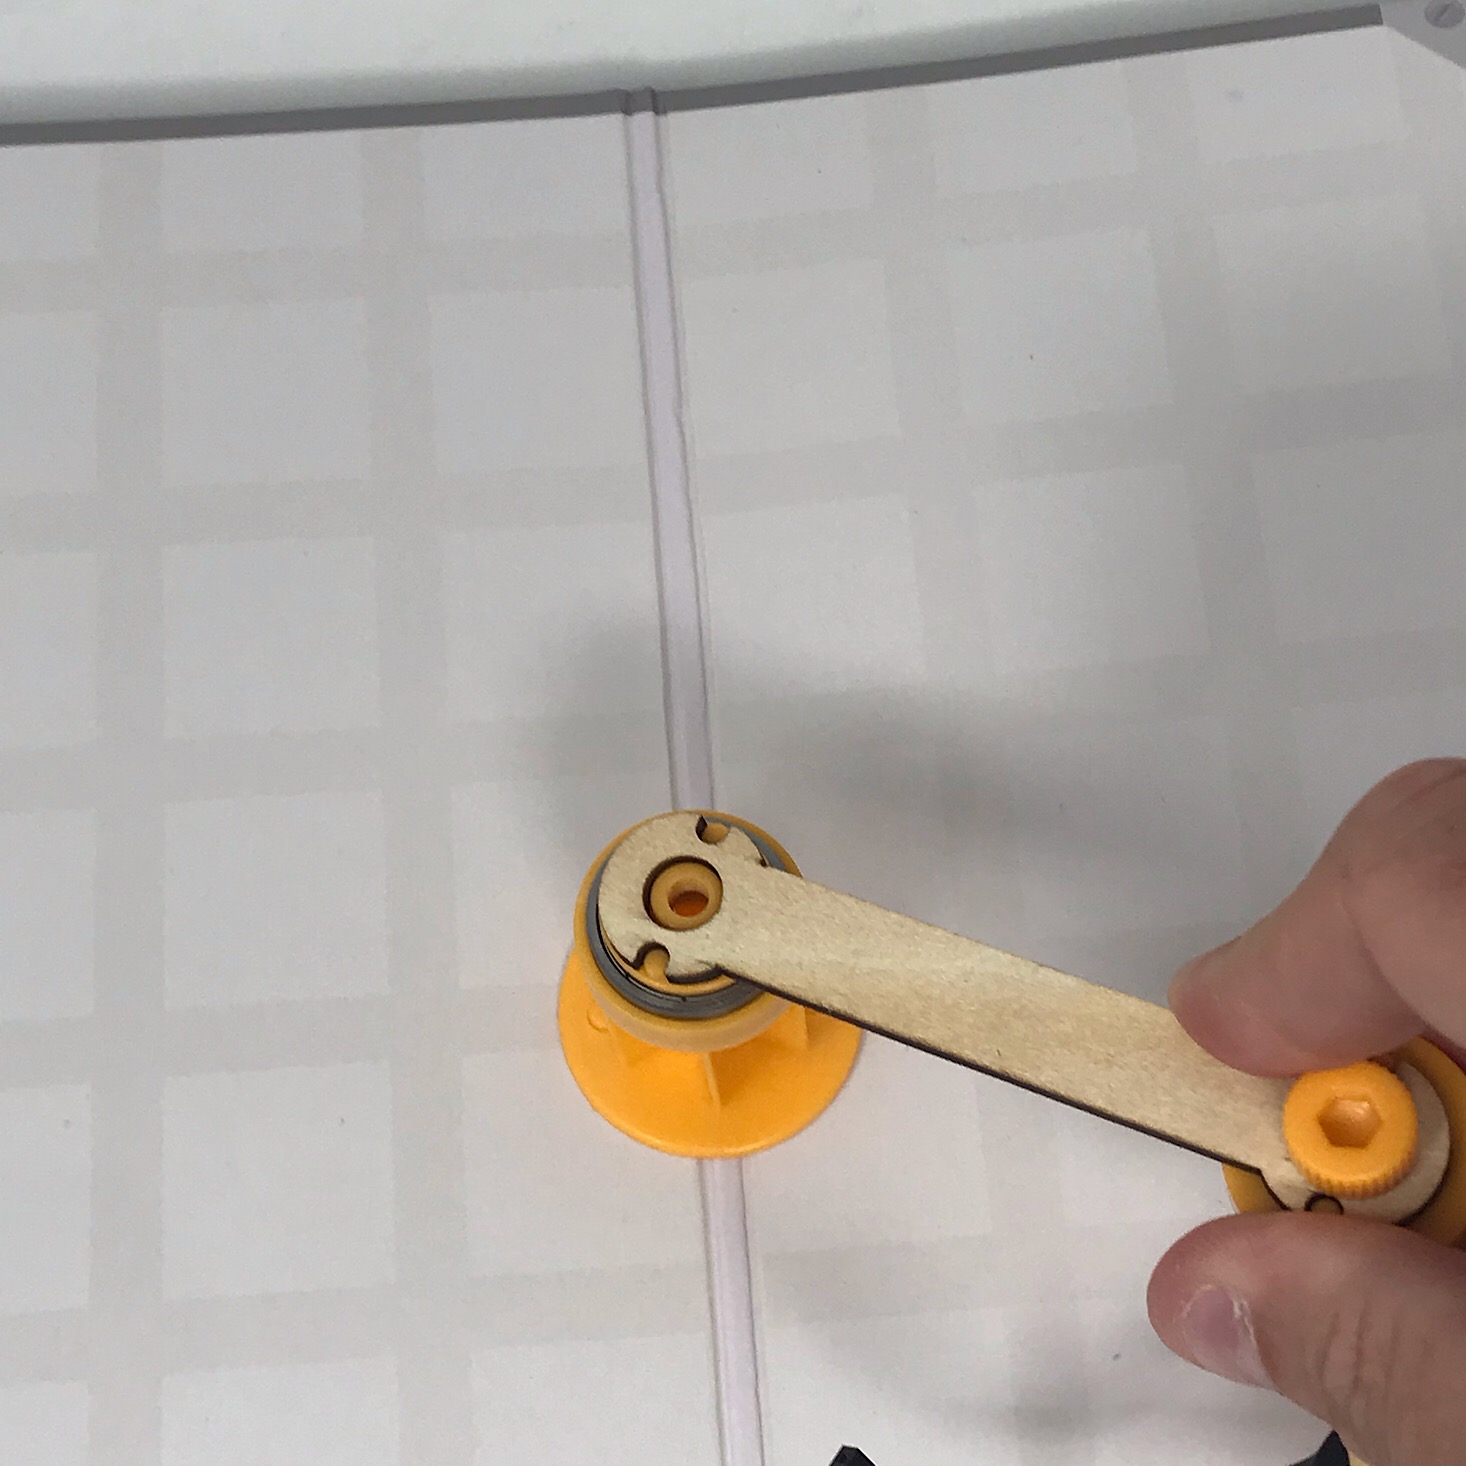
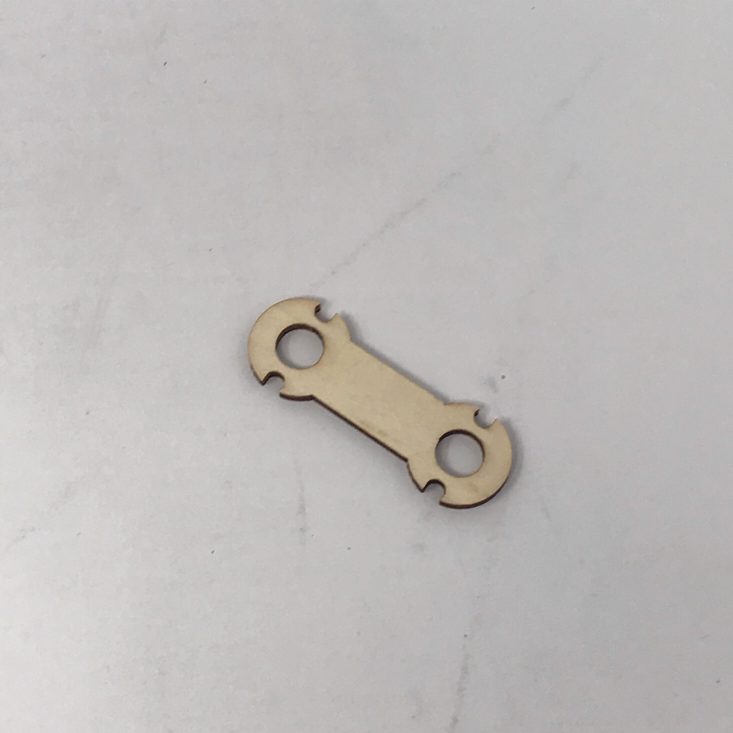
To create the pendulum I added this weighted yellow piece to the opposite end of my light using another bolt to secure it in place after making sure the notches and raised circles lined up.

1 of 3
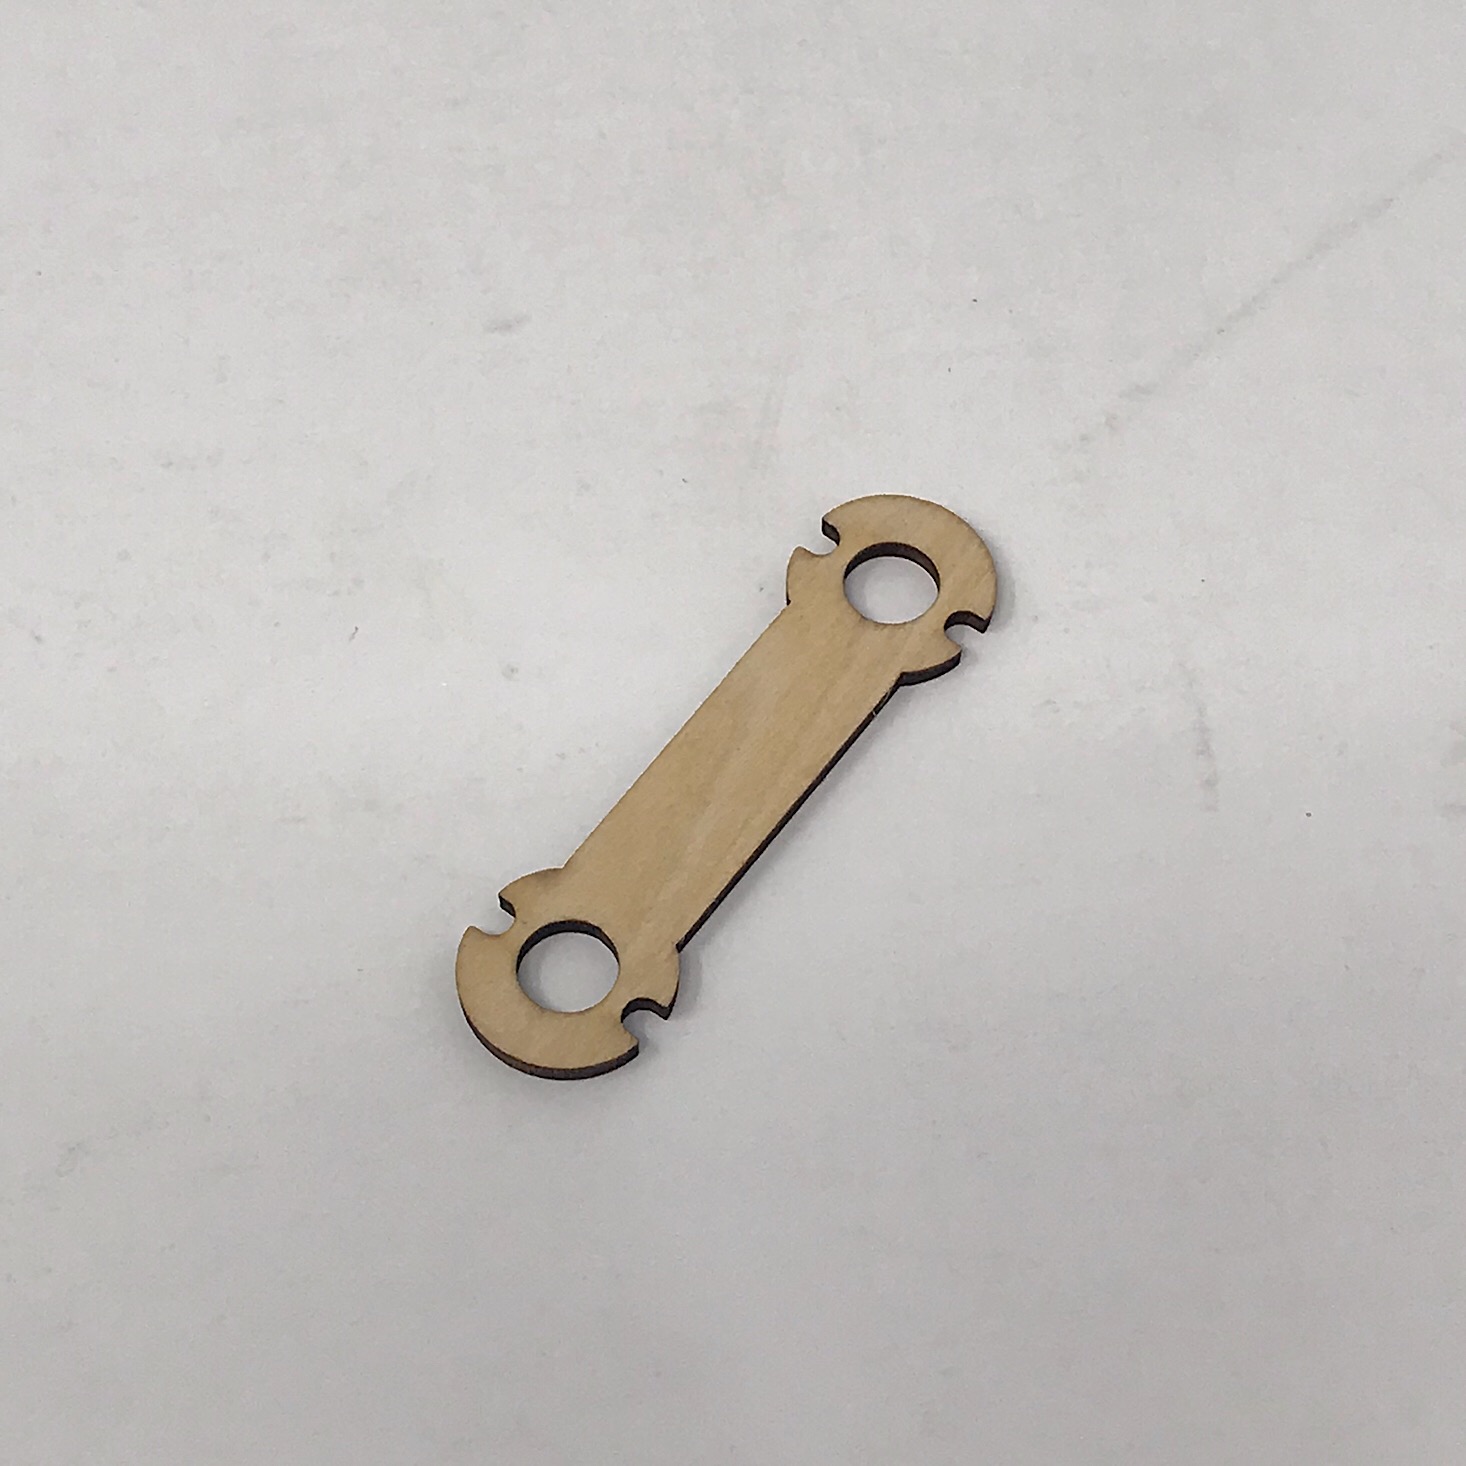
Then I connected a longer wooden arm to the top of that using another bolt.
1 of 4


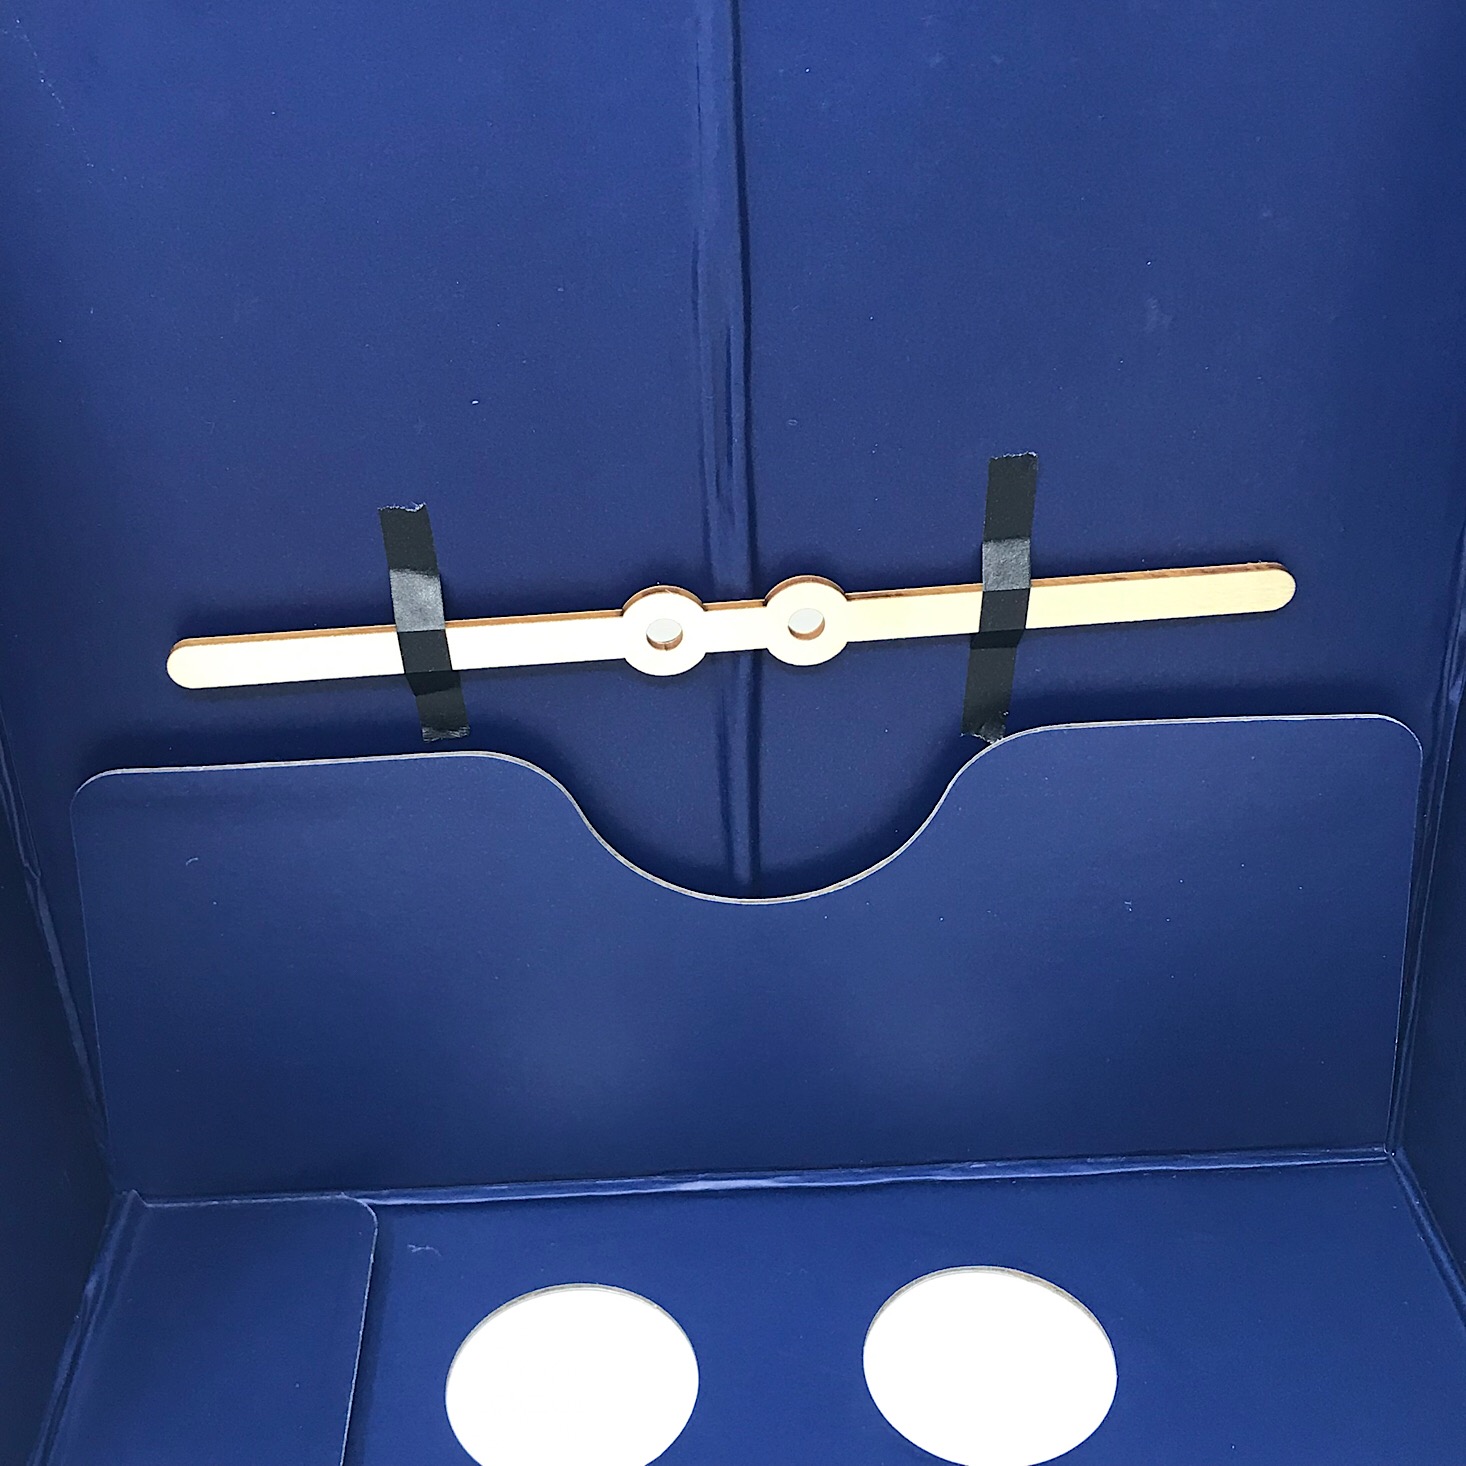
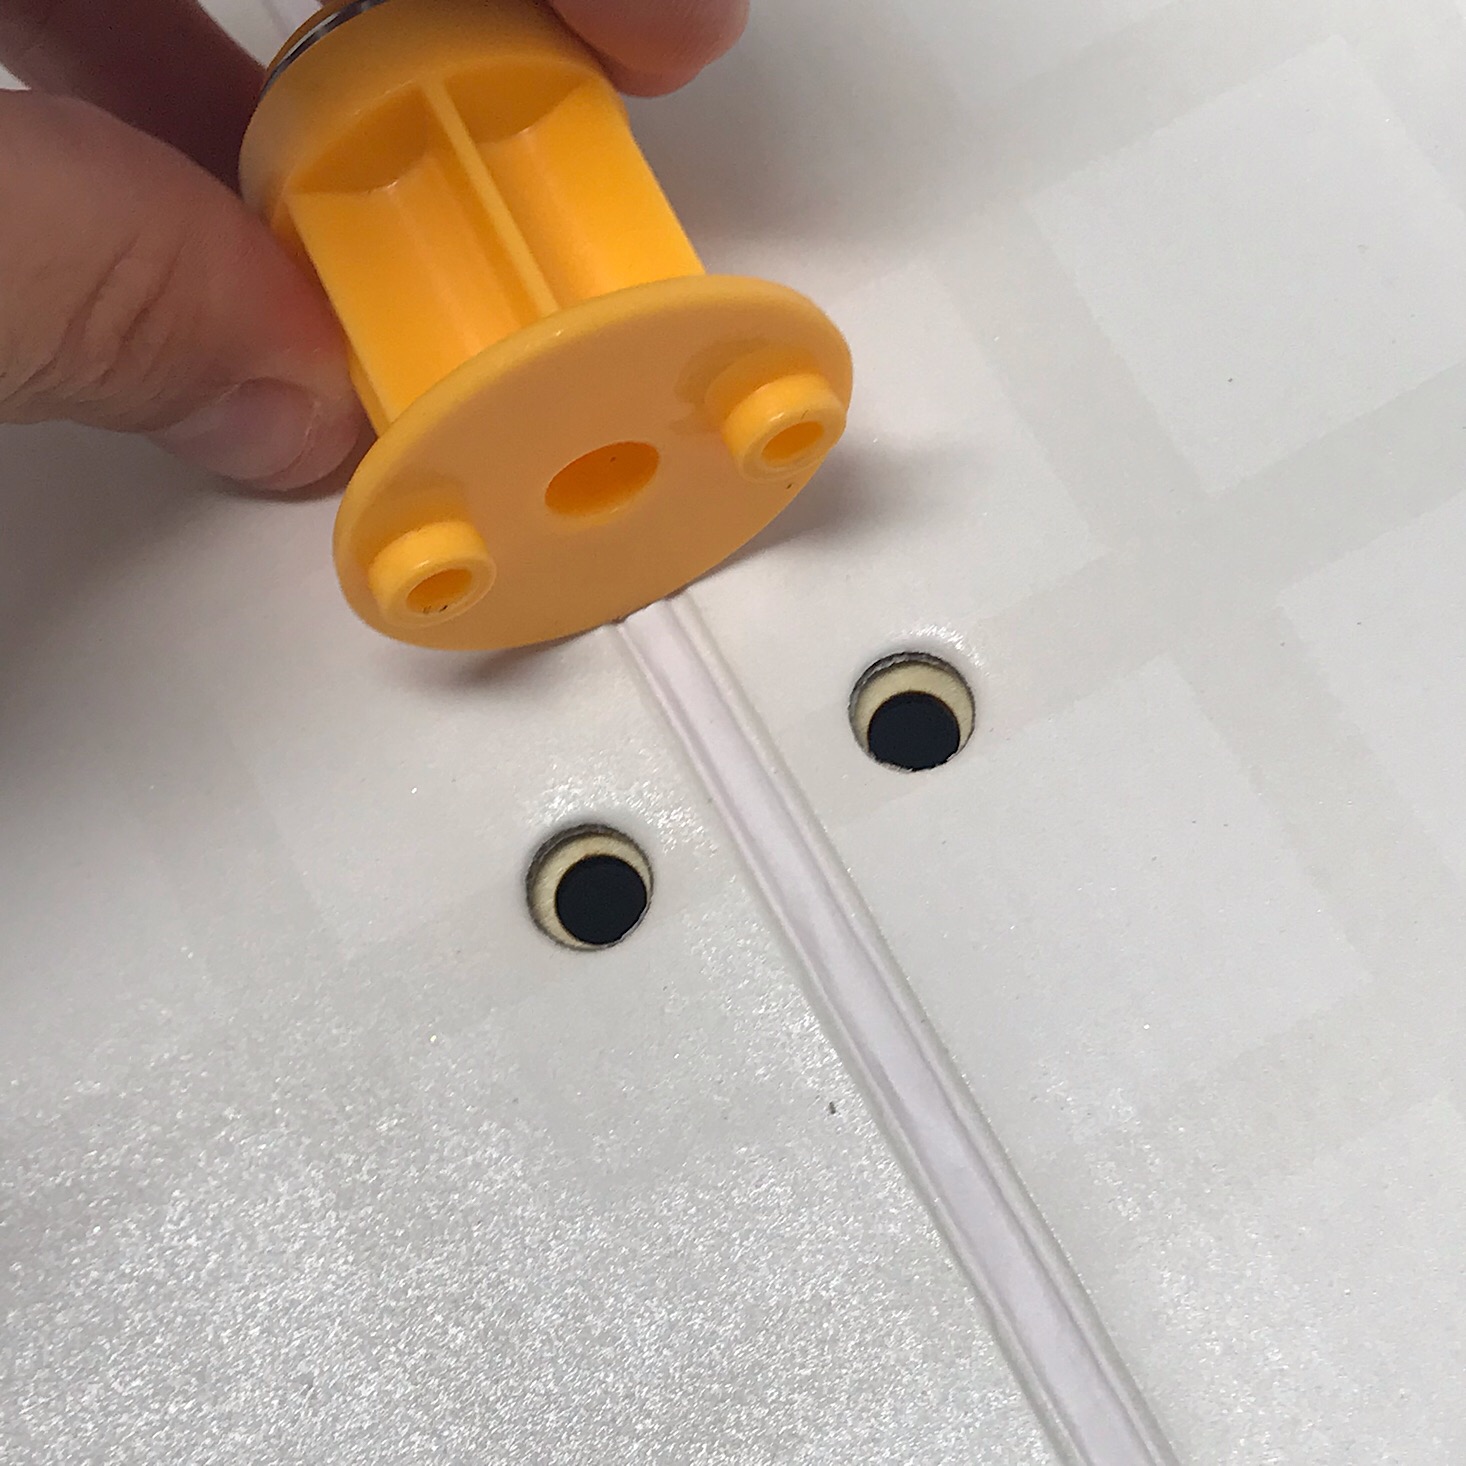
Next, I used this stick and the washi tape and added it to the back of my glow board making sure to line up the holes. The washi tape helped to hold it in place temporarily.
1 of 5

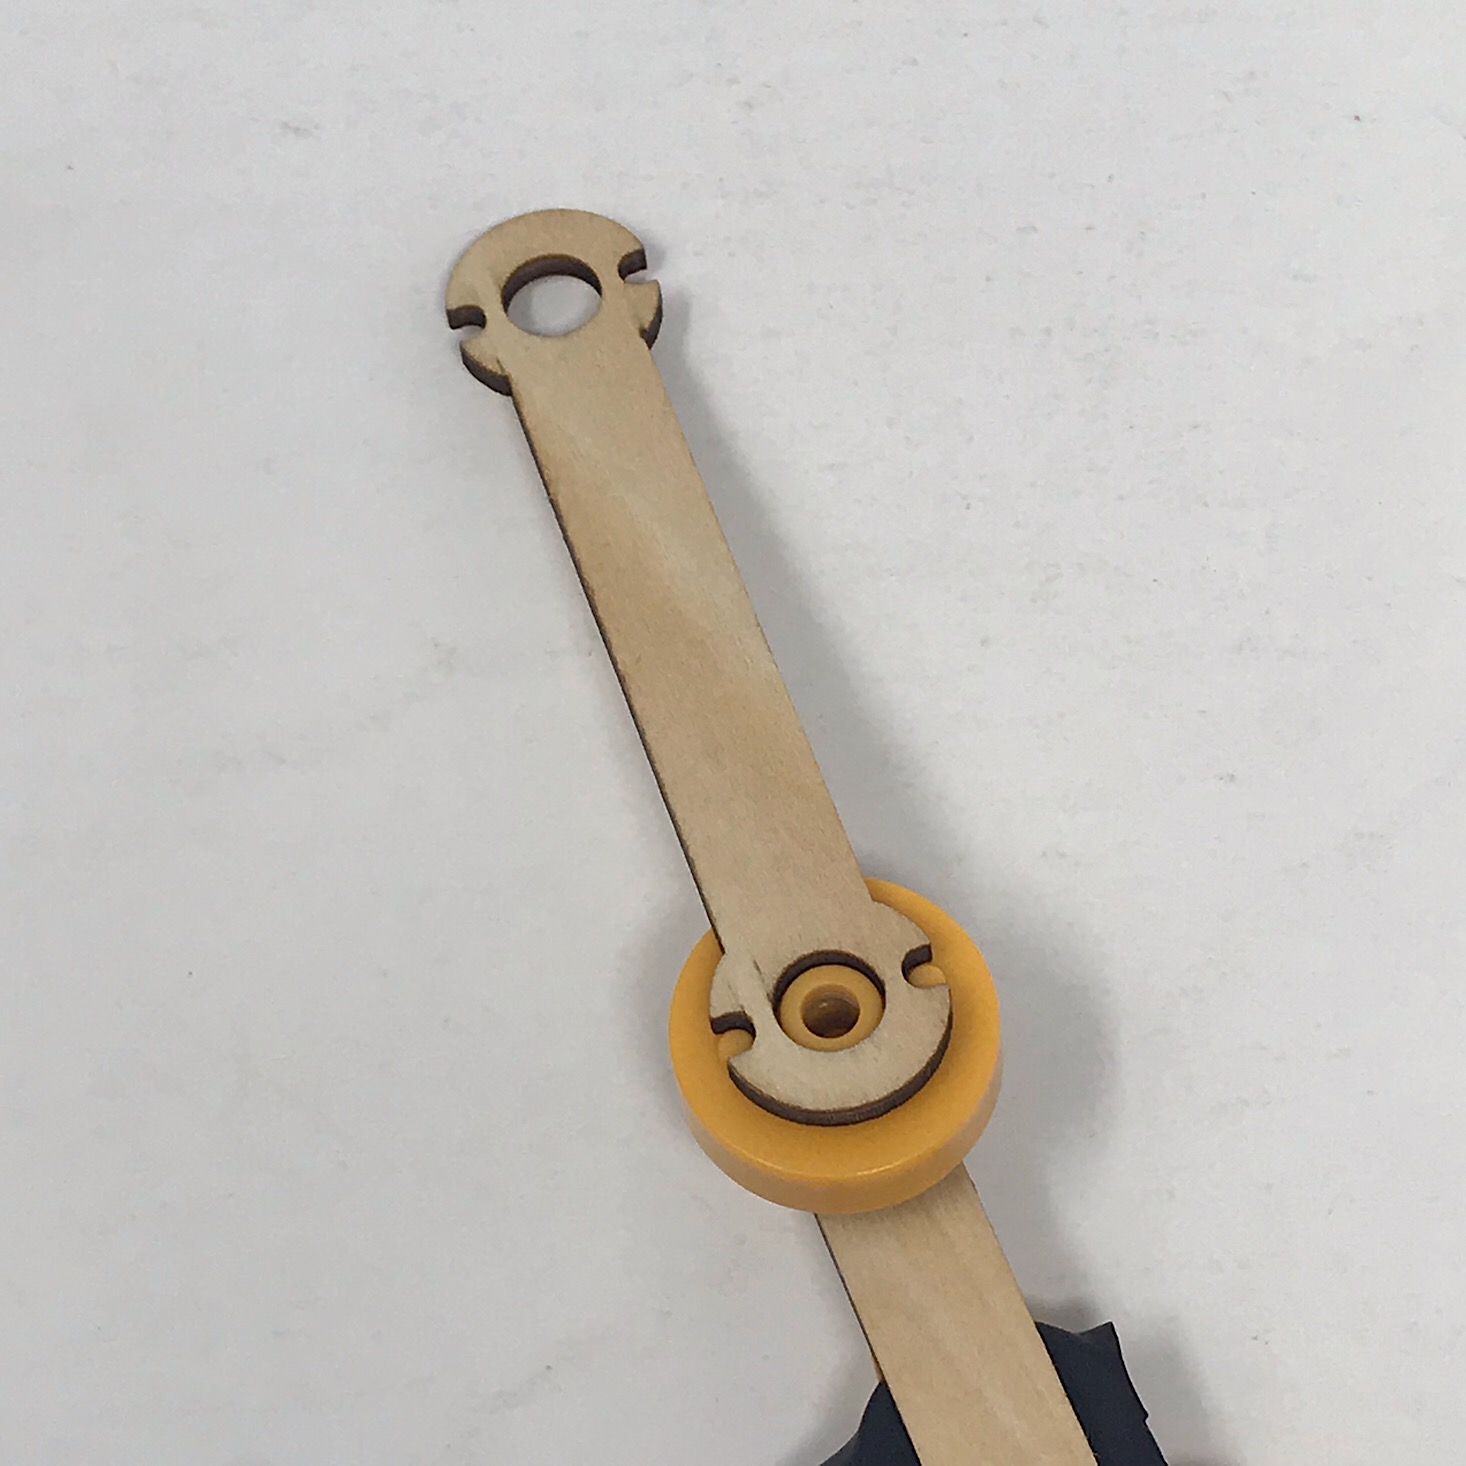
The next step was to take this yellow piece and line up the raised circles with the holes in the glow board and secure it with more bolts.
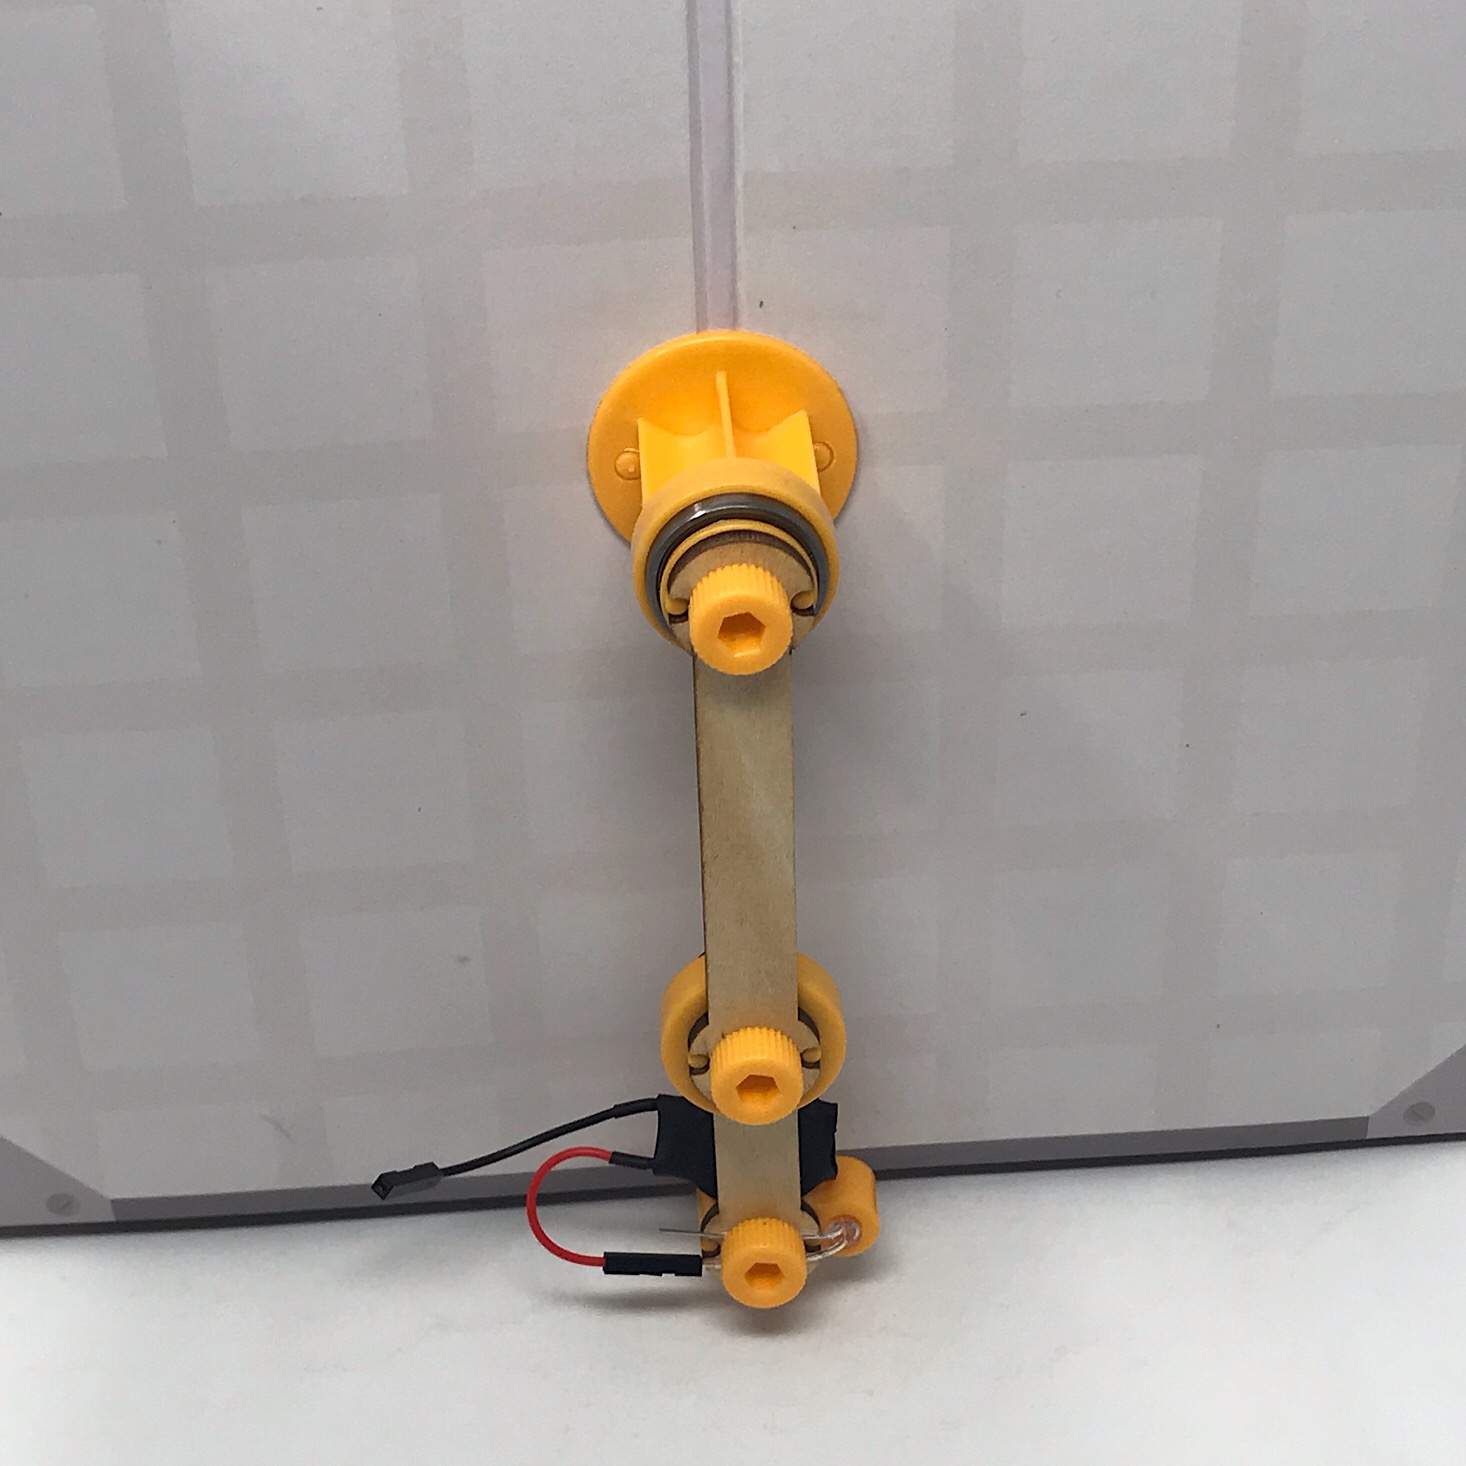
1 of 2
To this, I added my pendulum arm with one last yellow bolt to hold it in place.
1 of 3

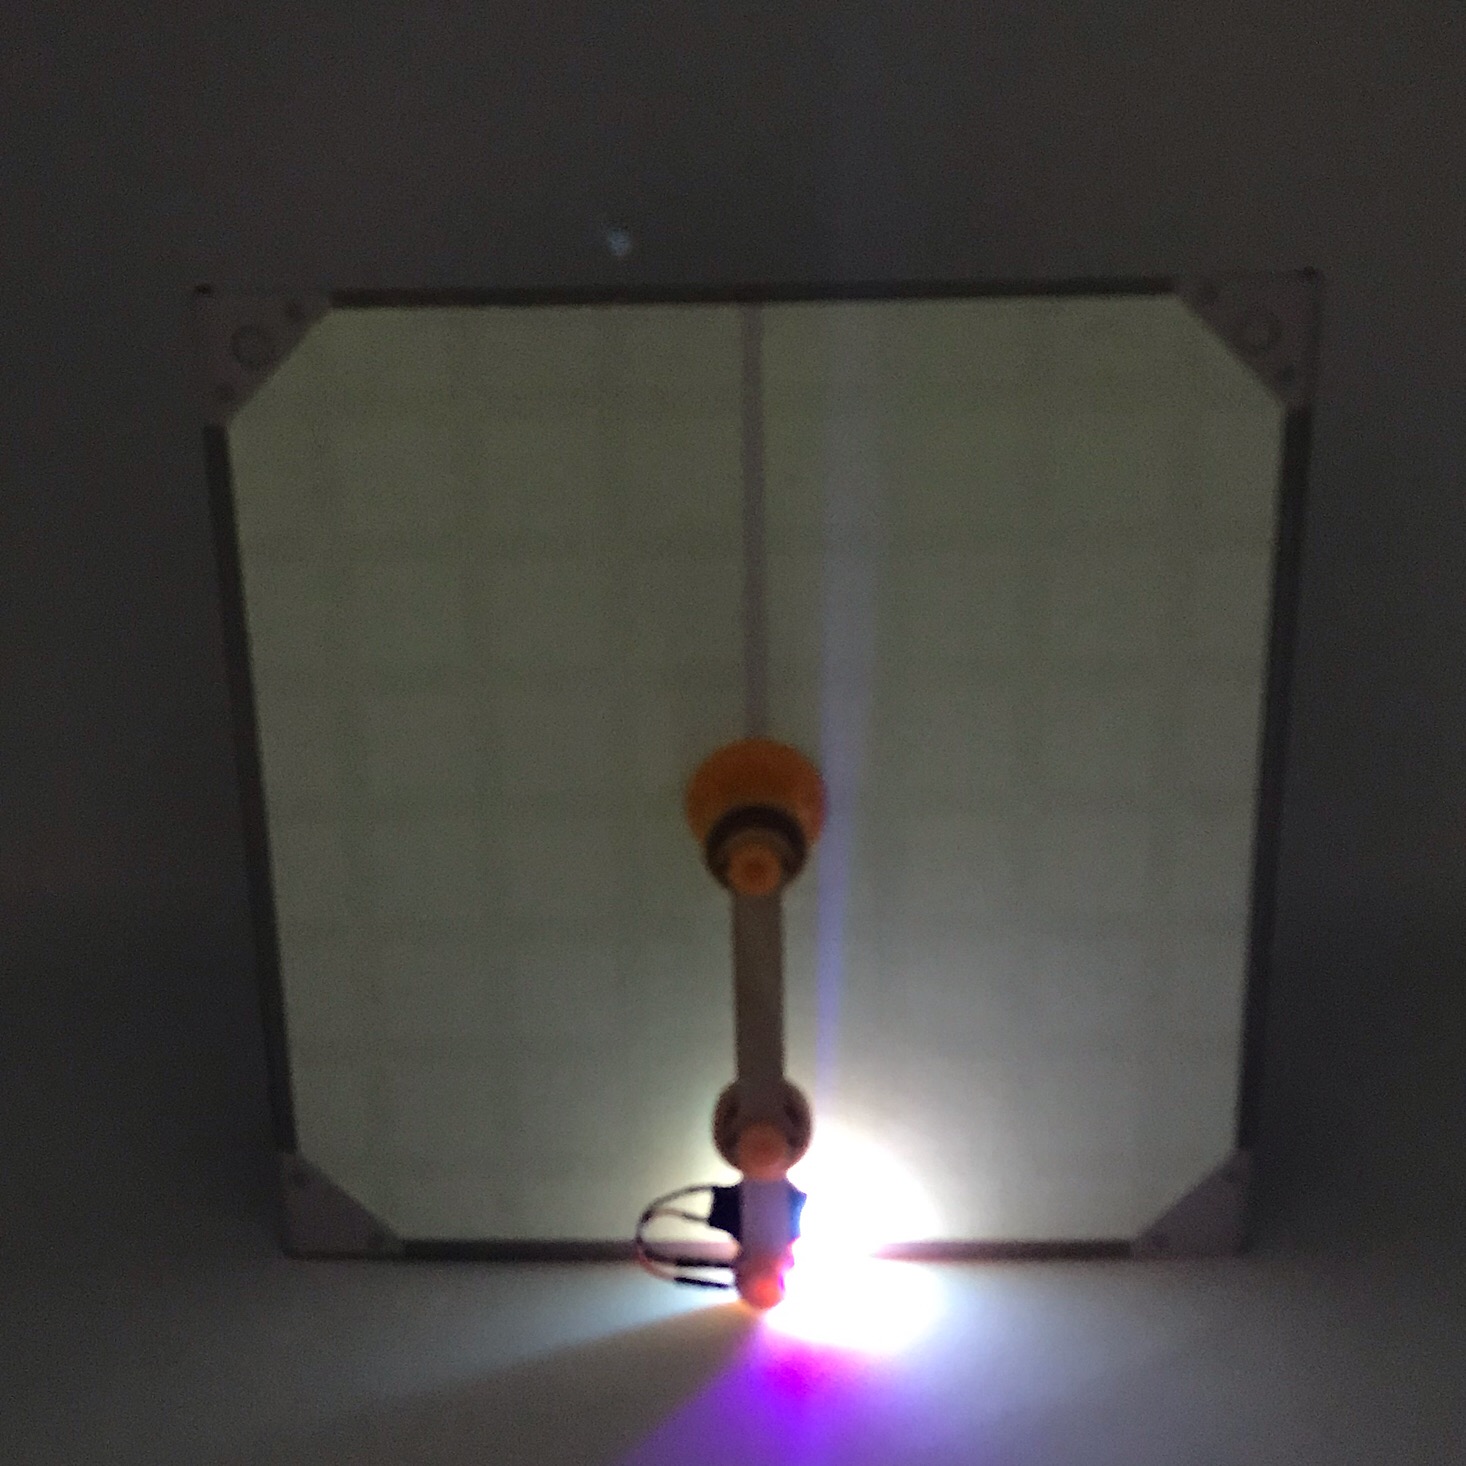
Since our pendulum had some weight to it they recommended adding some soup cans to the back to keep it upright, but I made do with a full mug of odds and ends to hold it in place while I tested it out.
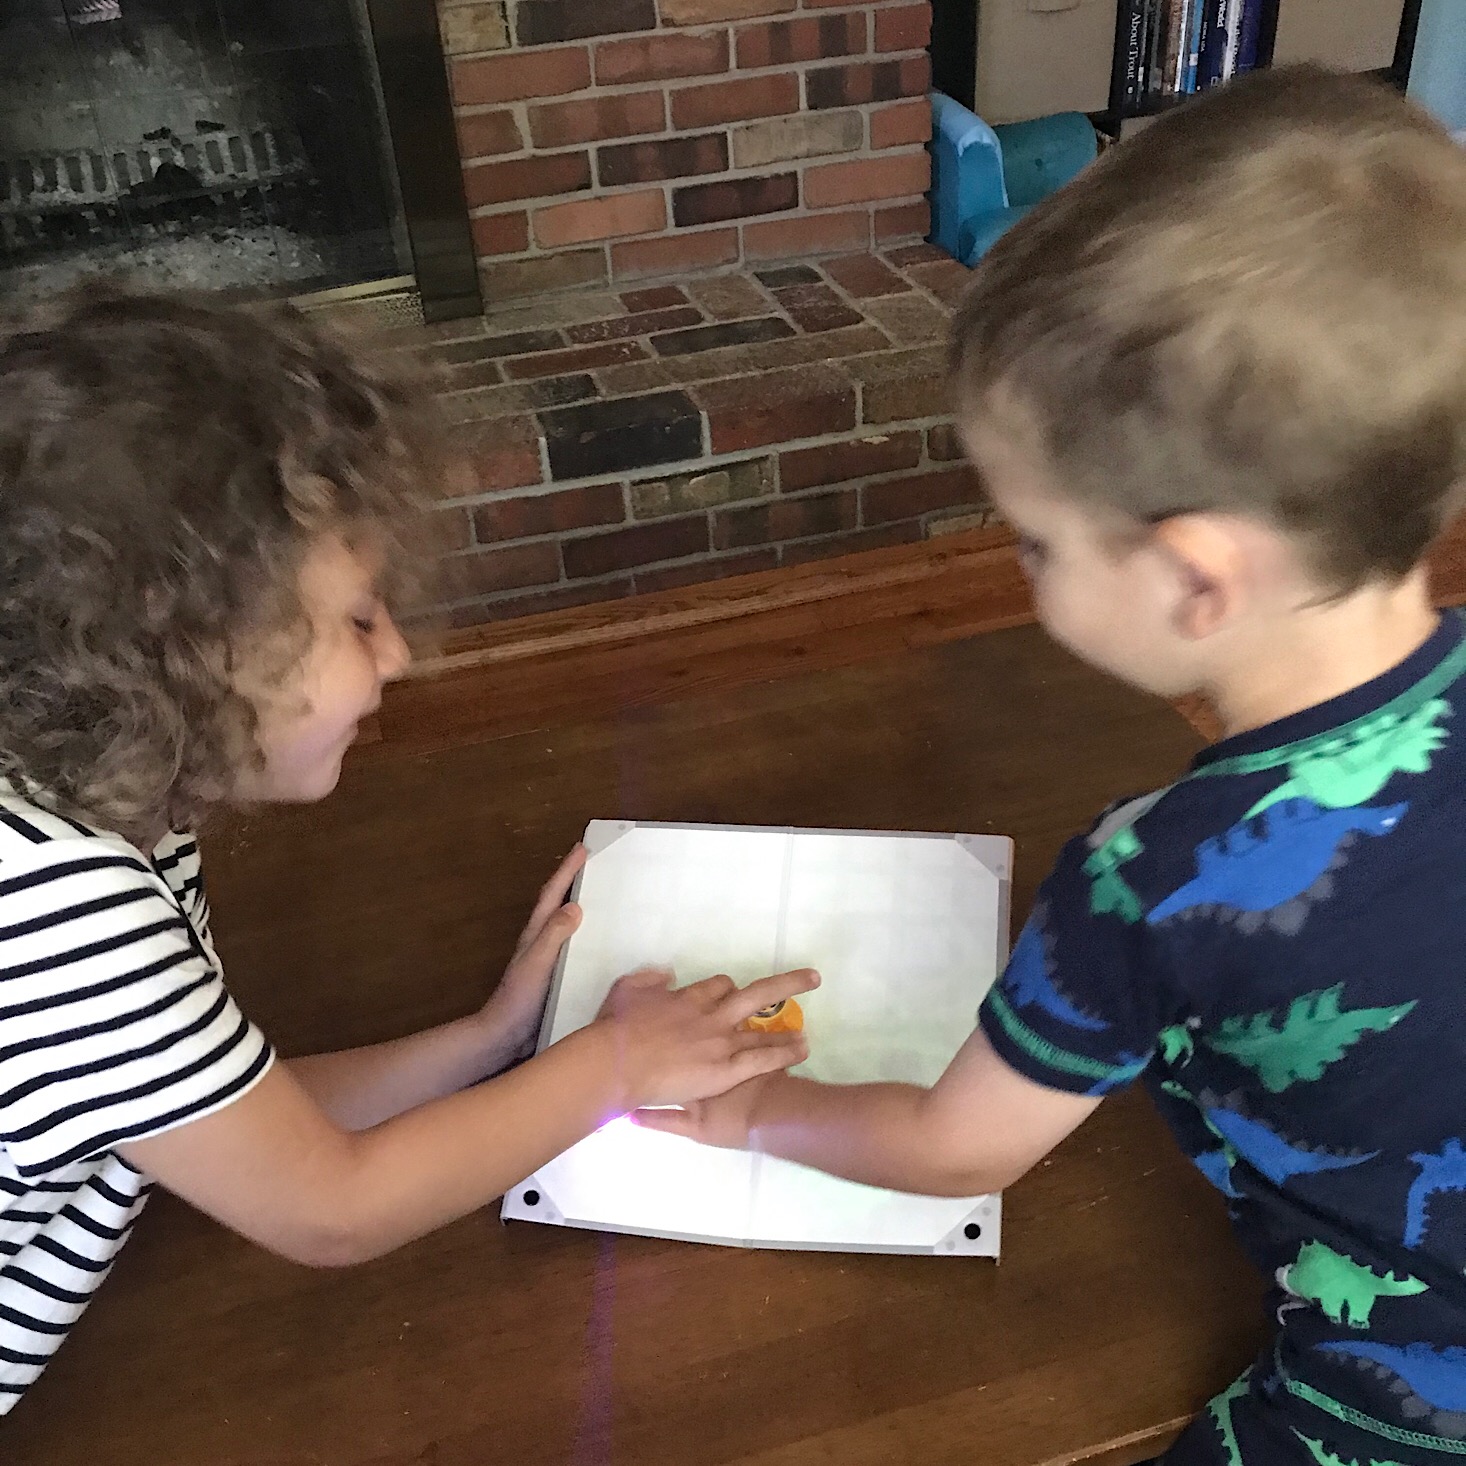
This worked so well and made some crazy movements with the weight of the pendulum!
1 of 2
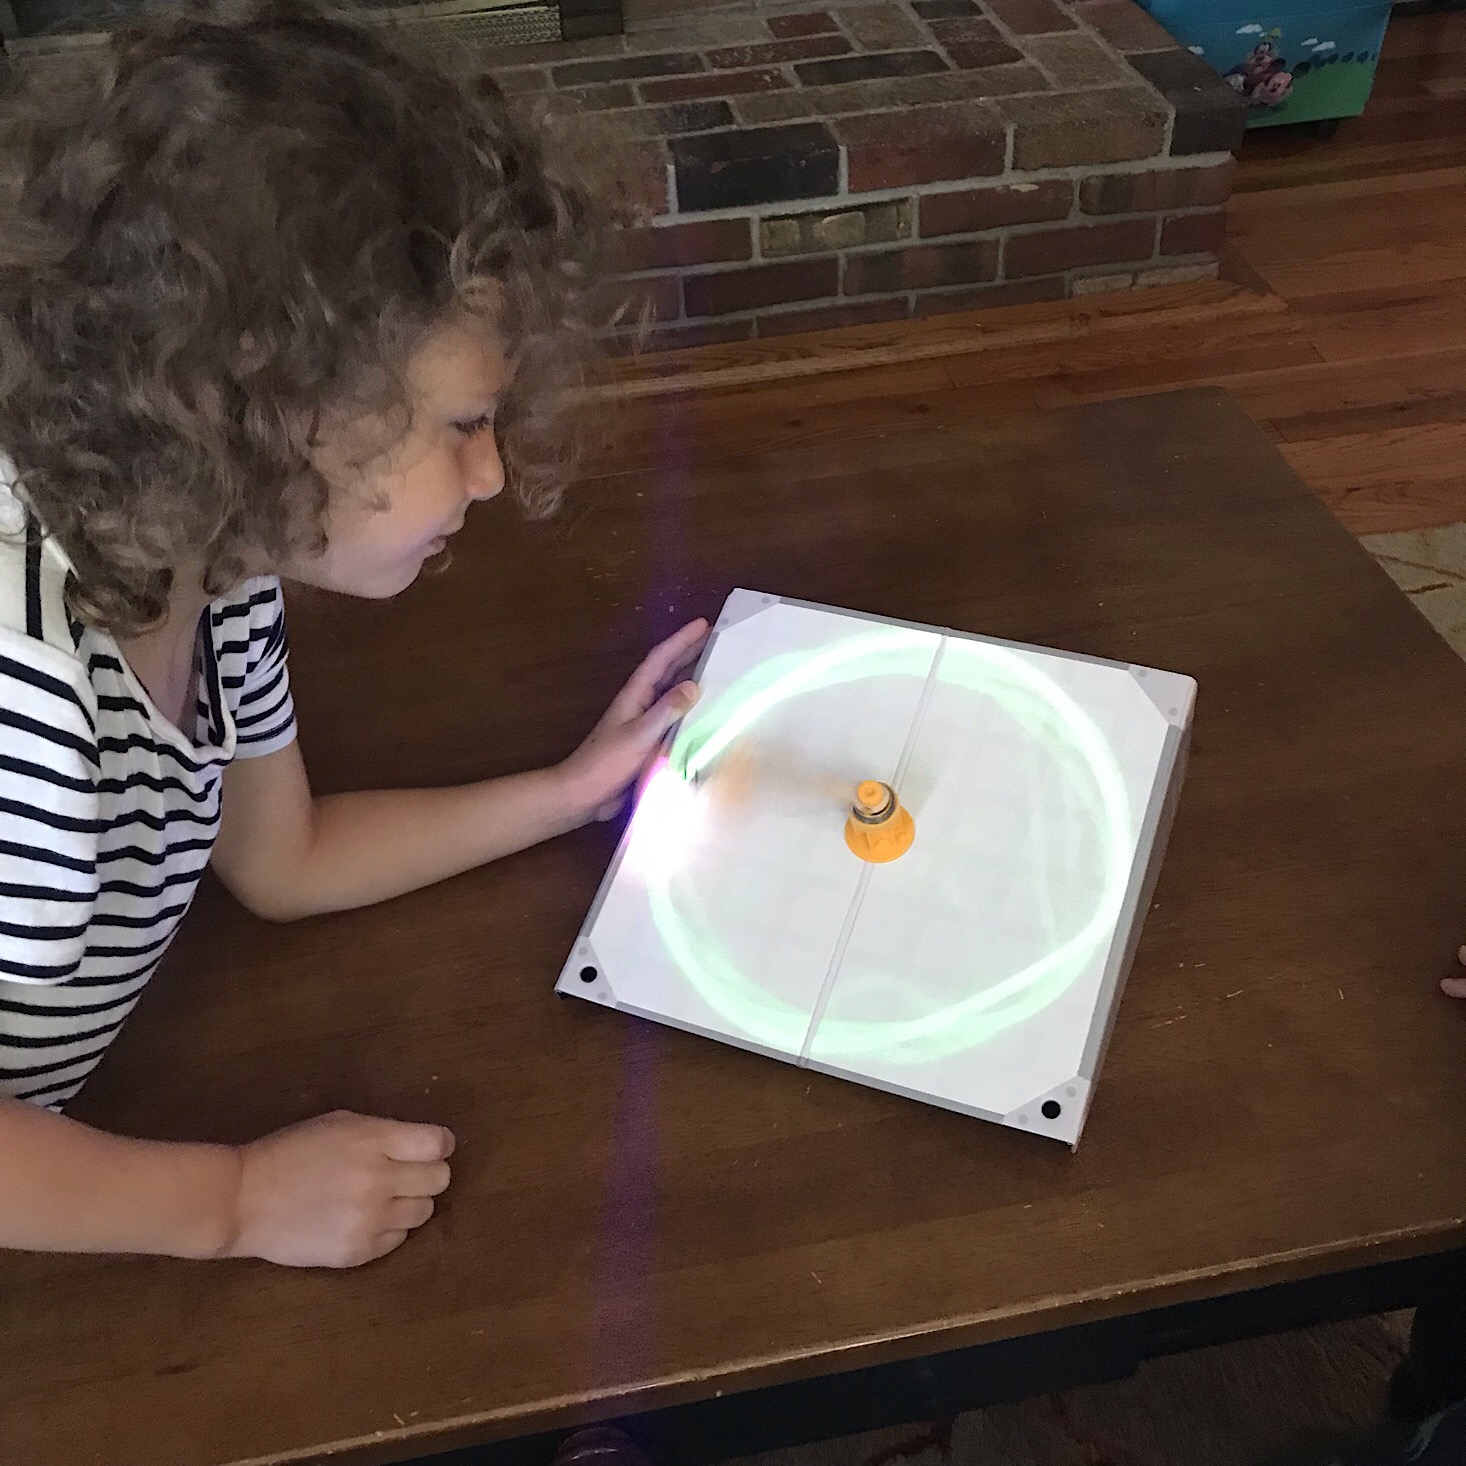
After playing around with it later we were able to get it to form full circles around the edge of the board. The kids had a lot of fun with it!
Since the board sits at an angle, we could also use it laying down to get a different effect from the pendulum.
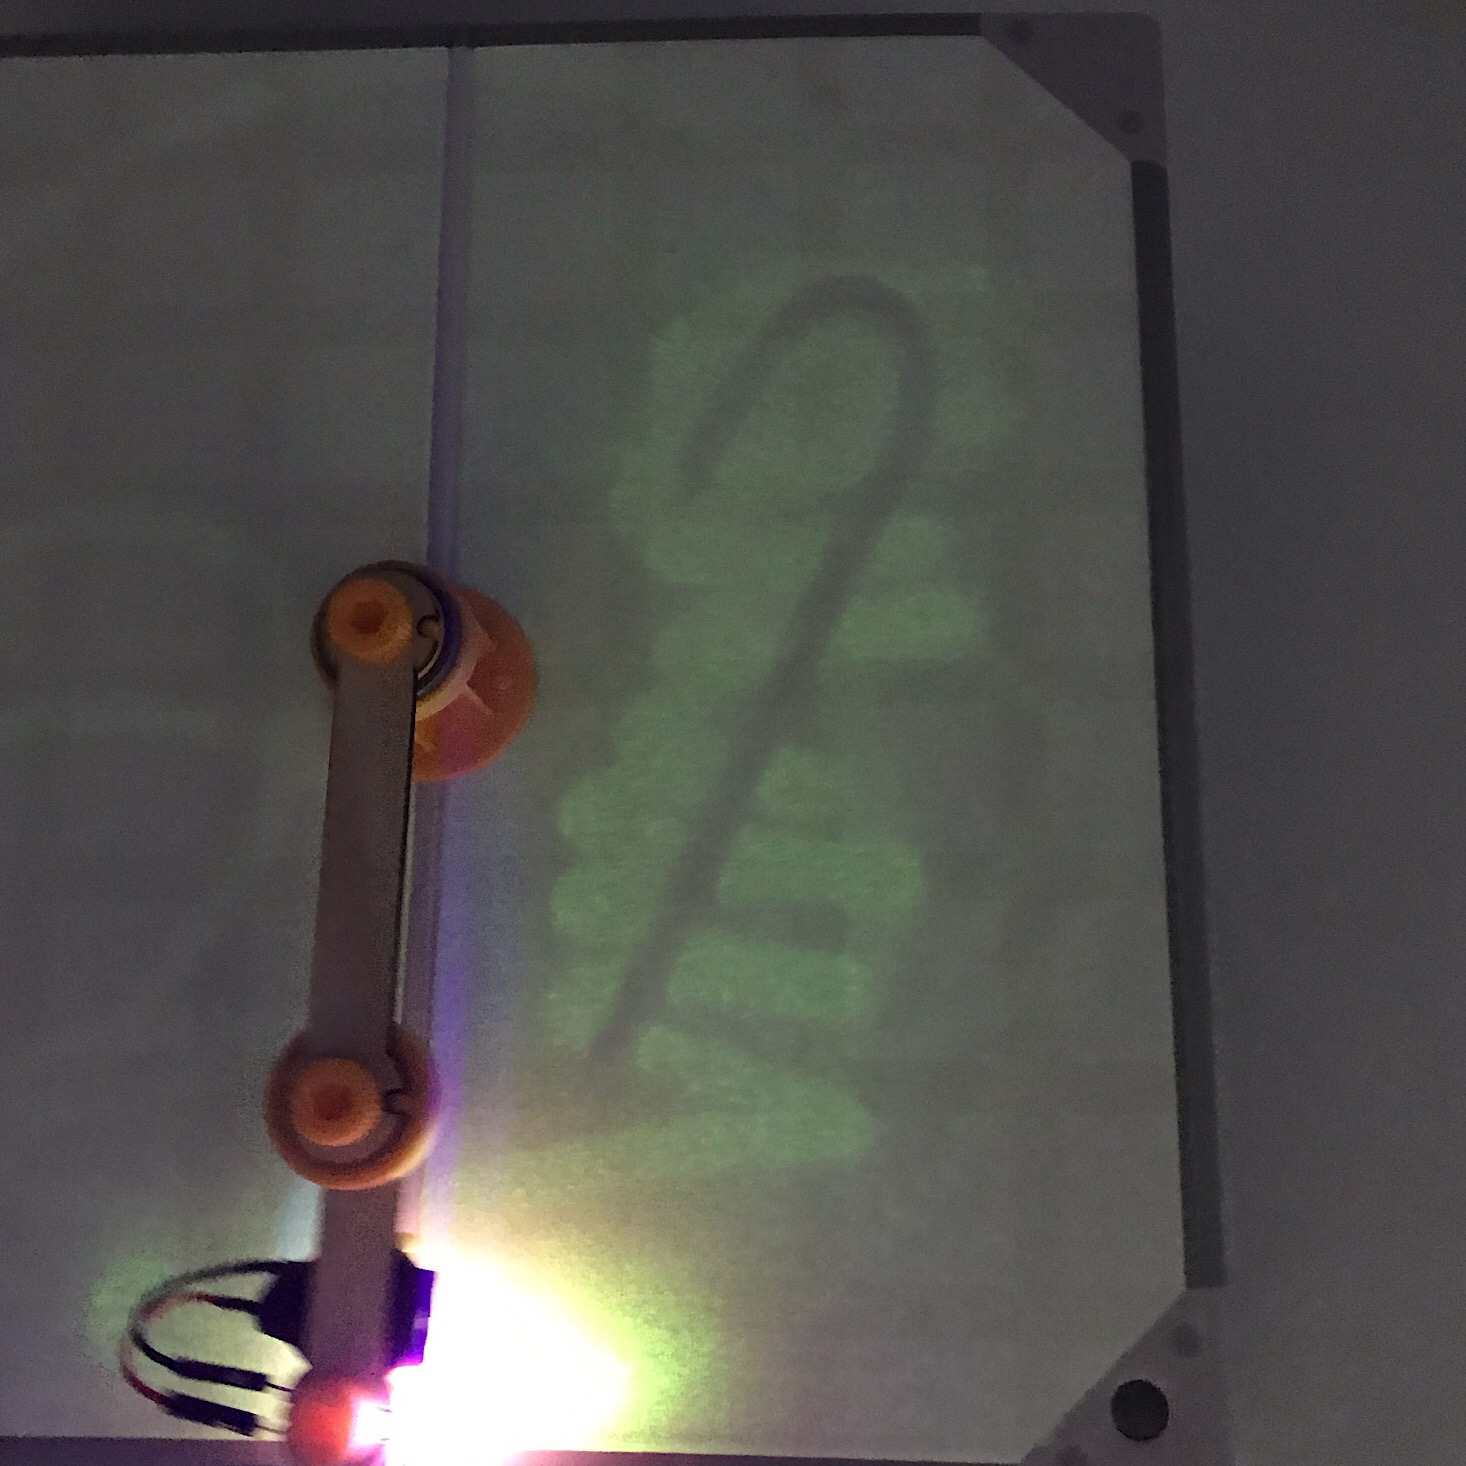
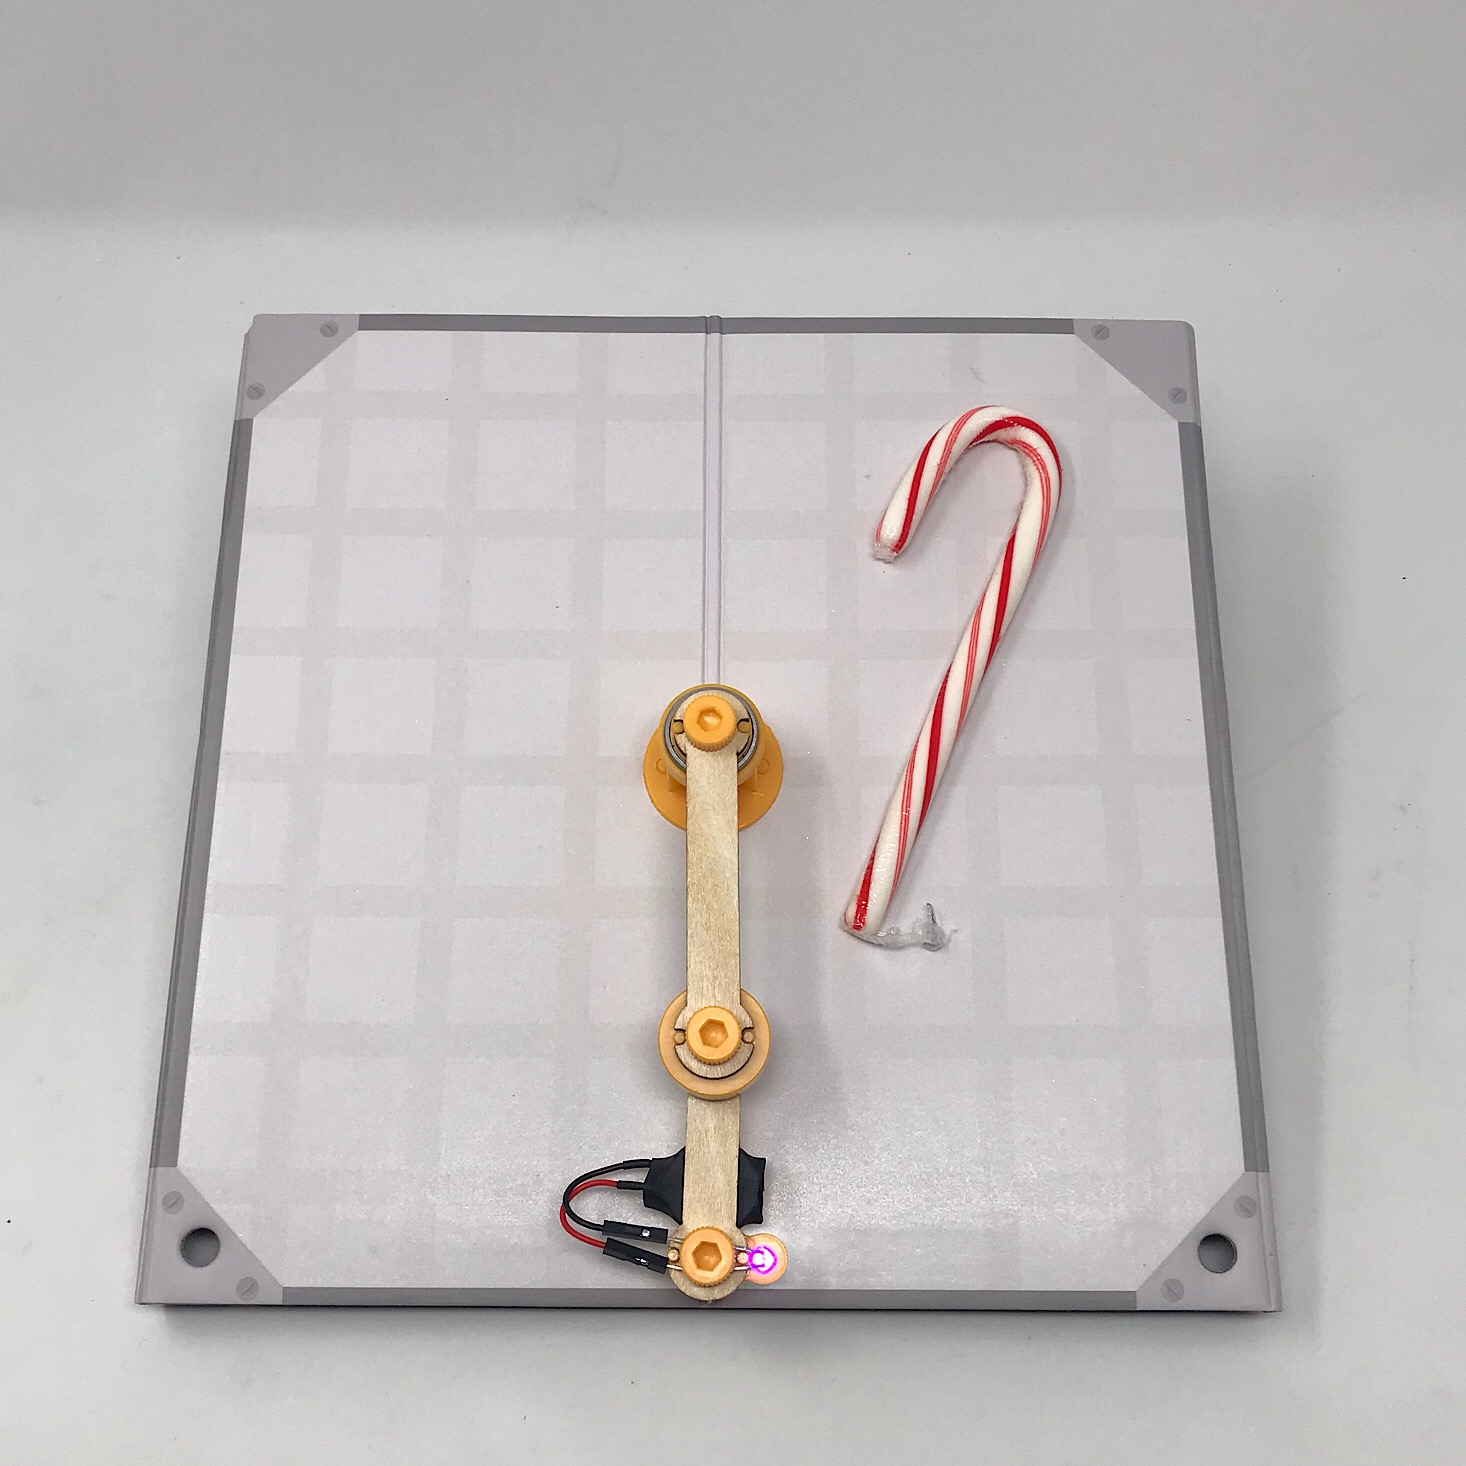
1 of 2
They gave a few extension ideas and one was to add some shapes to our glow board and shine the light across them and then remove them. I had a candy cane handy and you can see how well it worked!
They also included this shorter arm so that we can swap it out and experiment with a shorter pendulum.

1 of 2
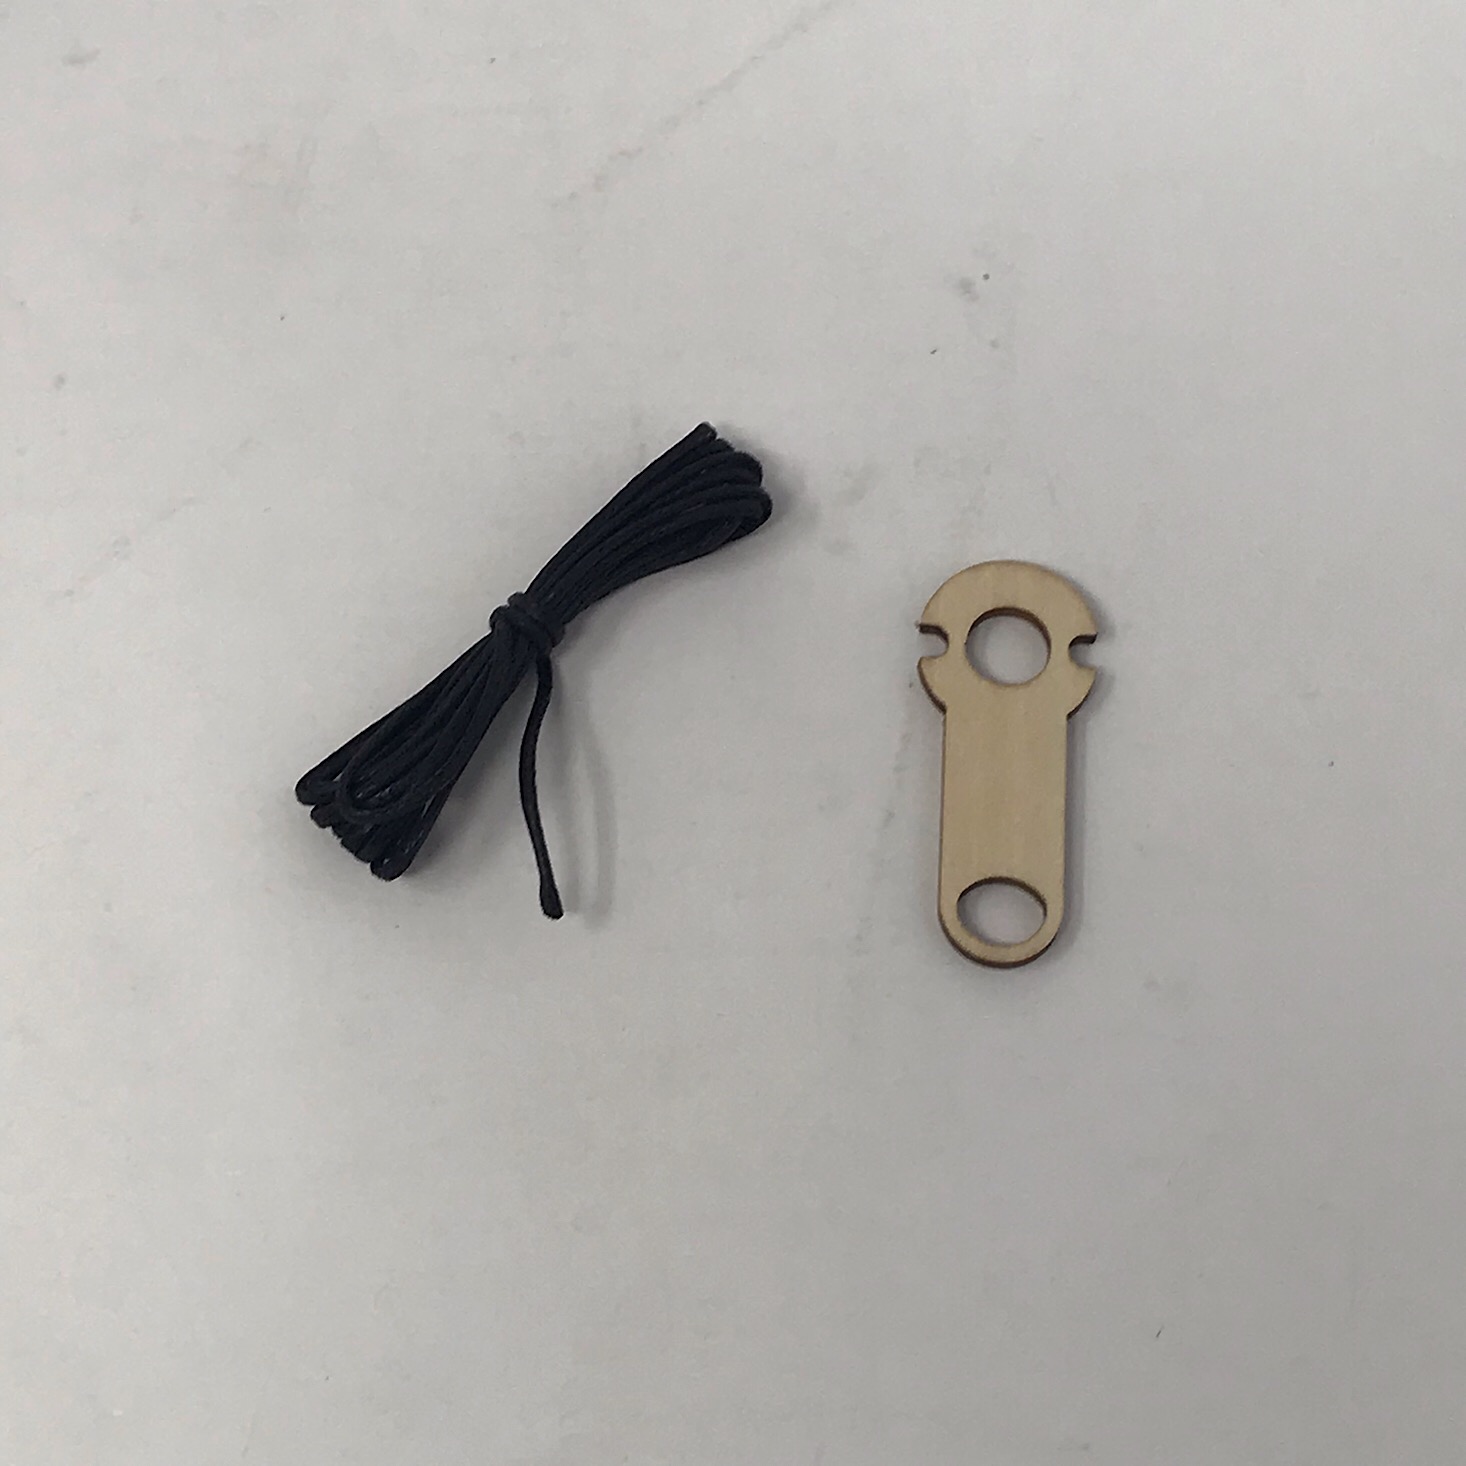
The last page of our directions had some information about how to set up your pendulum and board for a glowing maze race. They provided some extra supplies such as this wooden piece and this string that can be woven through the holes in our board. This seems like it will be a fun activity!
Bonus: Invisible Ink Activity

1 of 2
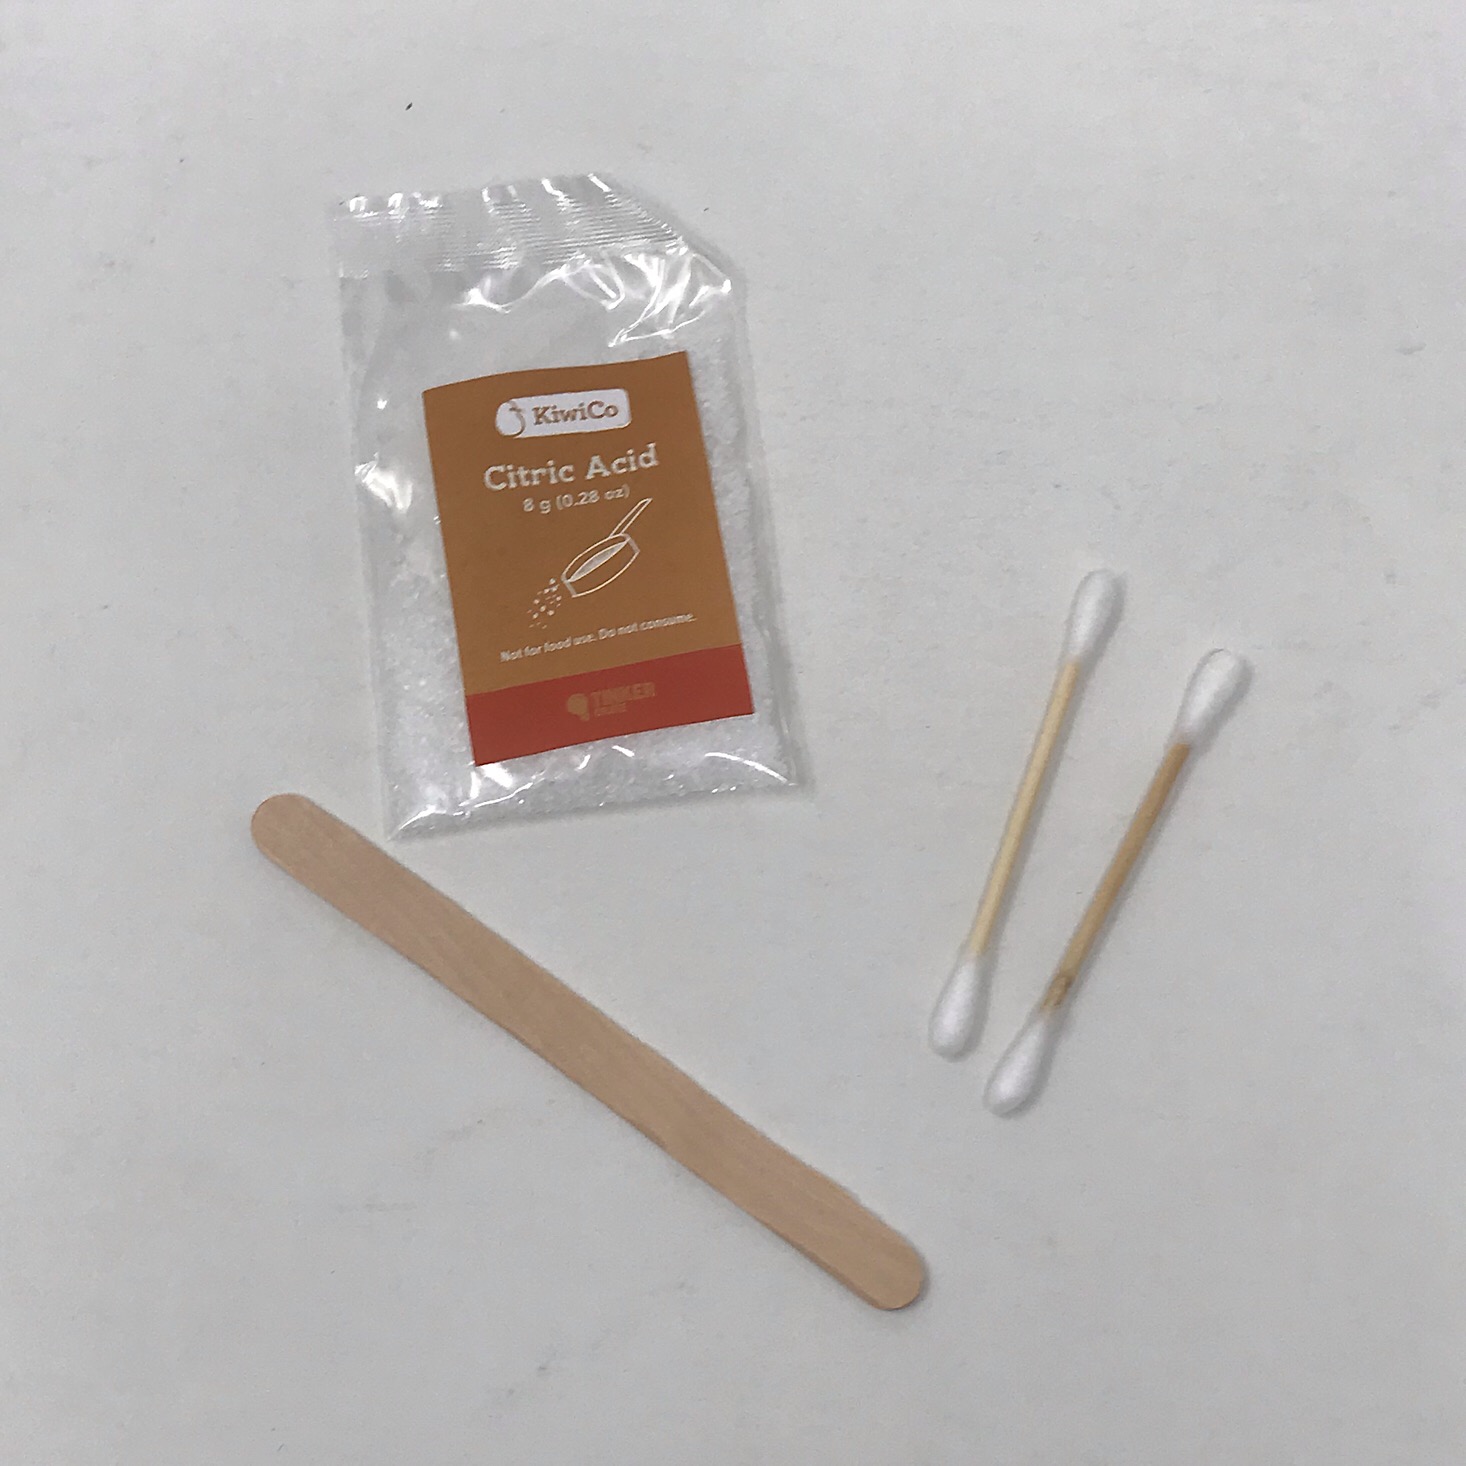
In our booklet, one of the extra experiments was to make our own invisible ink and they even provided the materials for us. We received a little packet of citric acid, two cotton swabs and a stick to stir it up with.

1 of 4

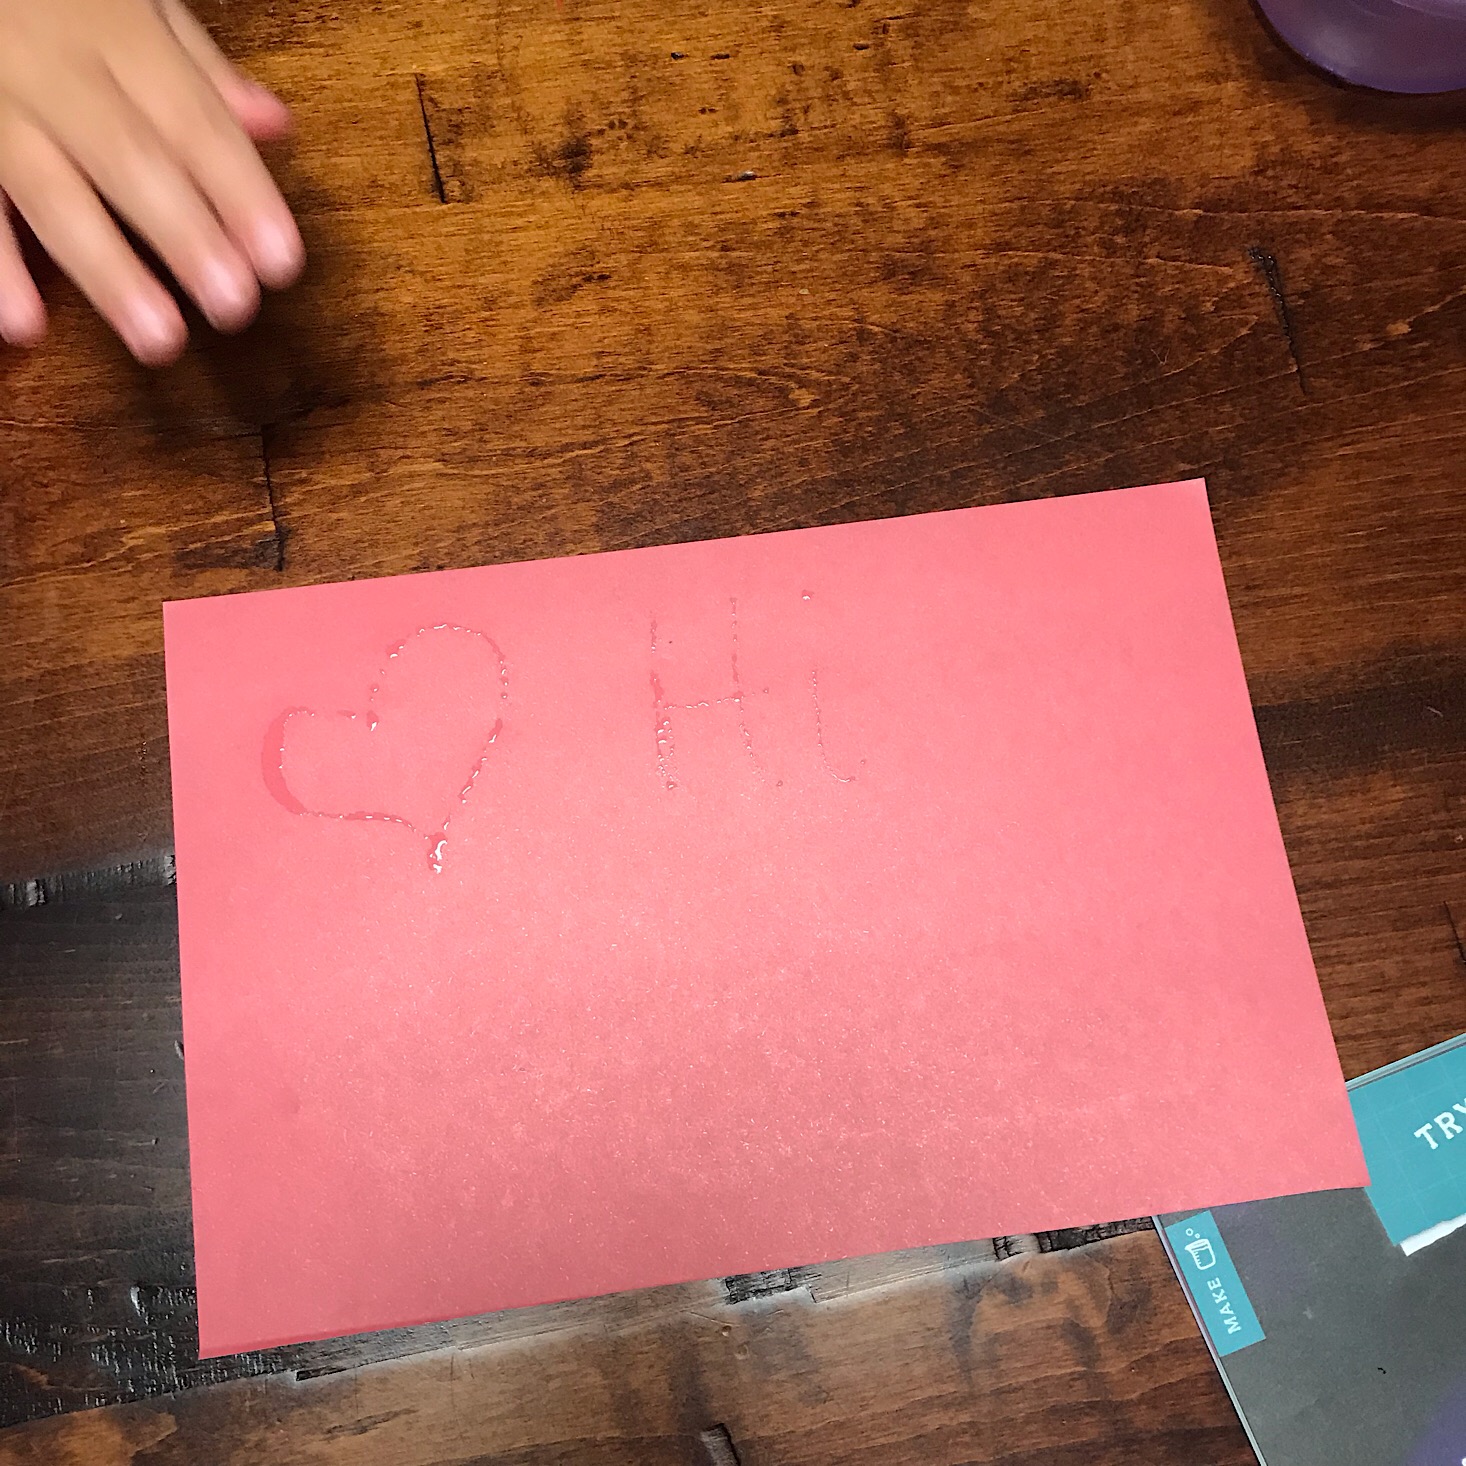
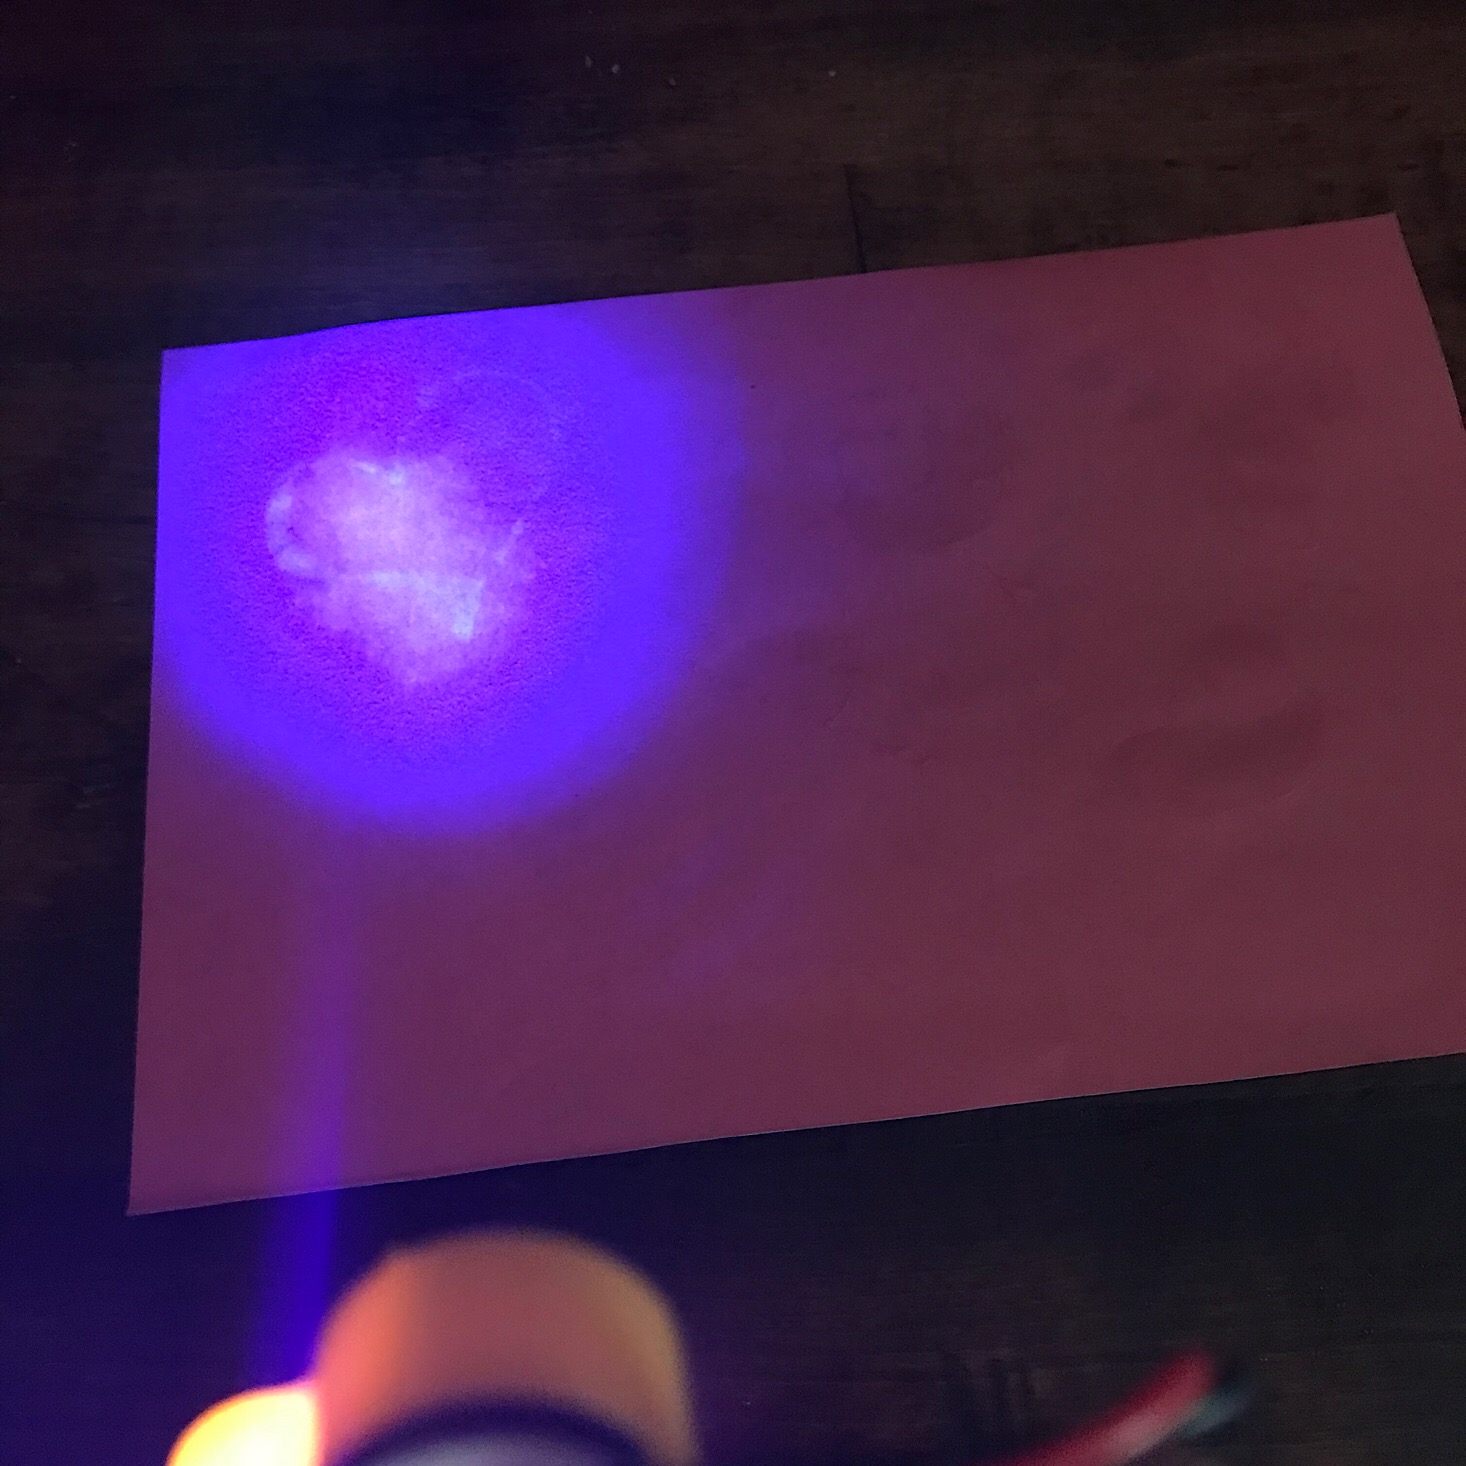
After mixing the citric acid with some warm water, we used the cotton swabs to write with it on some paper. Then we shone our LED light on it to read it. It didn't work quite as well as I hoped, but they also gave us some ideas of a few other household "inks" we can try!
Verdict: I wasn't sure what to expect from this month's Tinker Crate when I saw it was a glowing pendulum, but this super simple project was really cool and unique! It was very easy to put together and it works so well. The kids have been having a lot of fun with it and it may have even caused some arguing already since they are both enjoying it so much! I love that they also included some extra activities and even a few supplies for us to complete them. The box was well organized with easy to follow directions and they provided so much educational information in the booklet to go along with it all. This was another fun project and it feels like we got a great value for the $19.95 + free shipping cost of the box!
To Wrap Up:
Can you still get this box if you sign up today? It is possible you might get this crate, but it is not a guarantee. From KiwiCo:
Crates are assigned each month based on availability and your crate history - not all subscribers receive the same theme each month.
Check out all of our KiwiCo reviews and the best subscription boxes for kids!
Keep Track of Your Subscriptions: Add this box to your subscription list or wishlist!
What do you think of this month's Tinker Crate?
Please do not enter your email address in the Name field or in the comment content. Your email address will not be published. Required fields are marked *. Remember to post with kindness and respect. Comments with offensive language, cruelness to others, etc will not be approved. See our full comment policy here.