
Green Kid Crafts is a kids subscription box company that sends you up to six science and art kits each month for $29.95 (plus free shipping).
Green Kid Crafts strives to encourage the growth of the "whole child," which includes fostering a sense of care for our environment. Their process and products seek to have a minimal environmental impact, and the activities in each box aim to help kids engage with nature in creative ways. It's not surprising that Green Kid Crafts was actually founded by an environmental scientist!
Choose between the Junior Discovery Box (ages 2-4) or the Discovery Box (ages 5-10+), both of which are $29.95/month. Green Kid Crafts also offers a Sibling Discovery Box (ages 2-10+) for $49.95/month, which sends two of each project. All subscriptions include free shipping.
This is a review of the Discovery Box for ages 5-10+, which costs $29.95/month + free shipping.

This box was sent to us at no cost for review. (Check out the review process post to learn more about how we review boxes).
About Green Kid Crafts Discovery Box
The Subscription Box: Green Kid Crafts Junior Discovery Box
The Cost: $29.95 per month + free shipping. Save with longer subscriptions.
The Products: Materials and instructions for up to 6 science and art projects aimed at helping children ages 5-10+ get creative and engage with nature.
Ships to: The US for free, to Canada and select countries for a flat rate of $15.00/month
Good to Know: Their product offerings and pricing have recently changed!
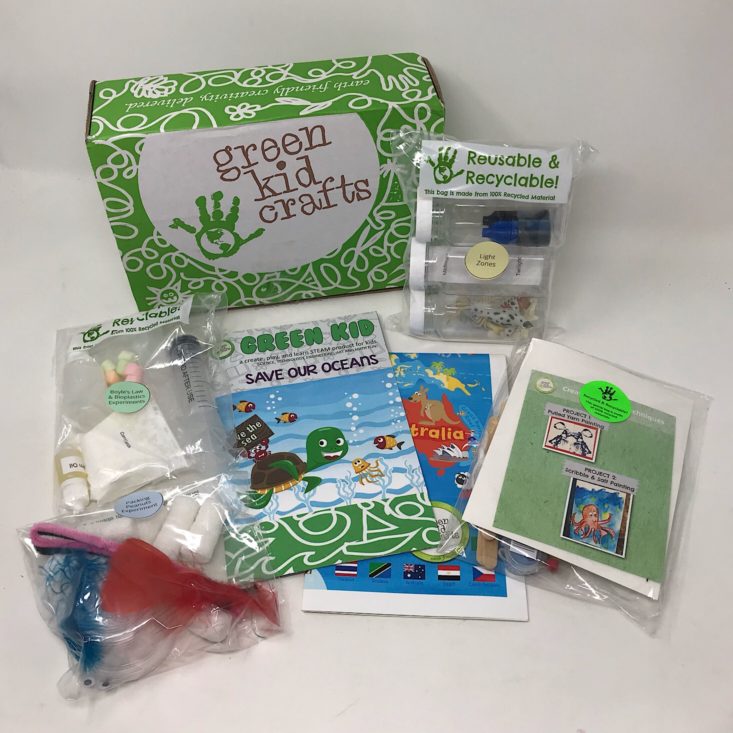
Green Kid Crafts "Save Our Oceans" Box Review August 2019
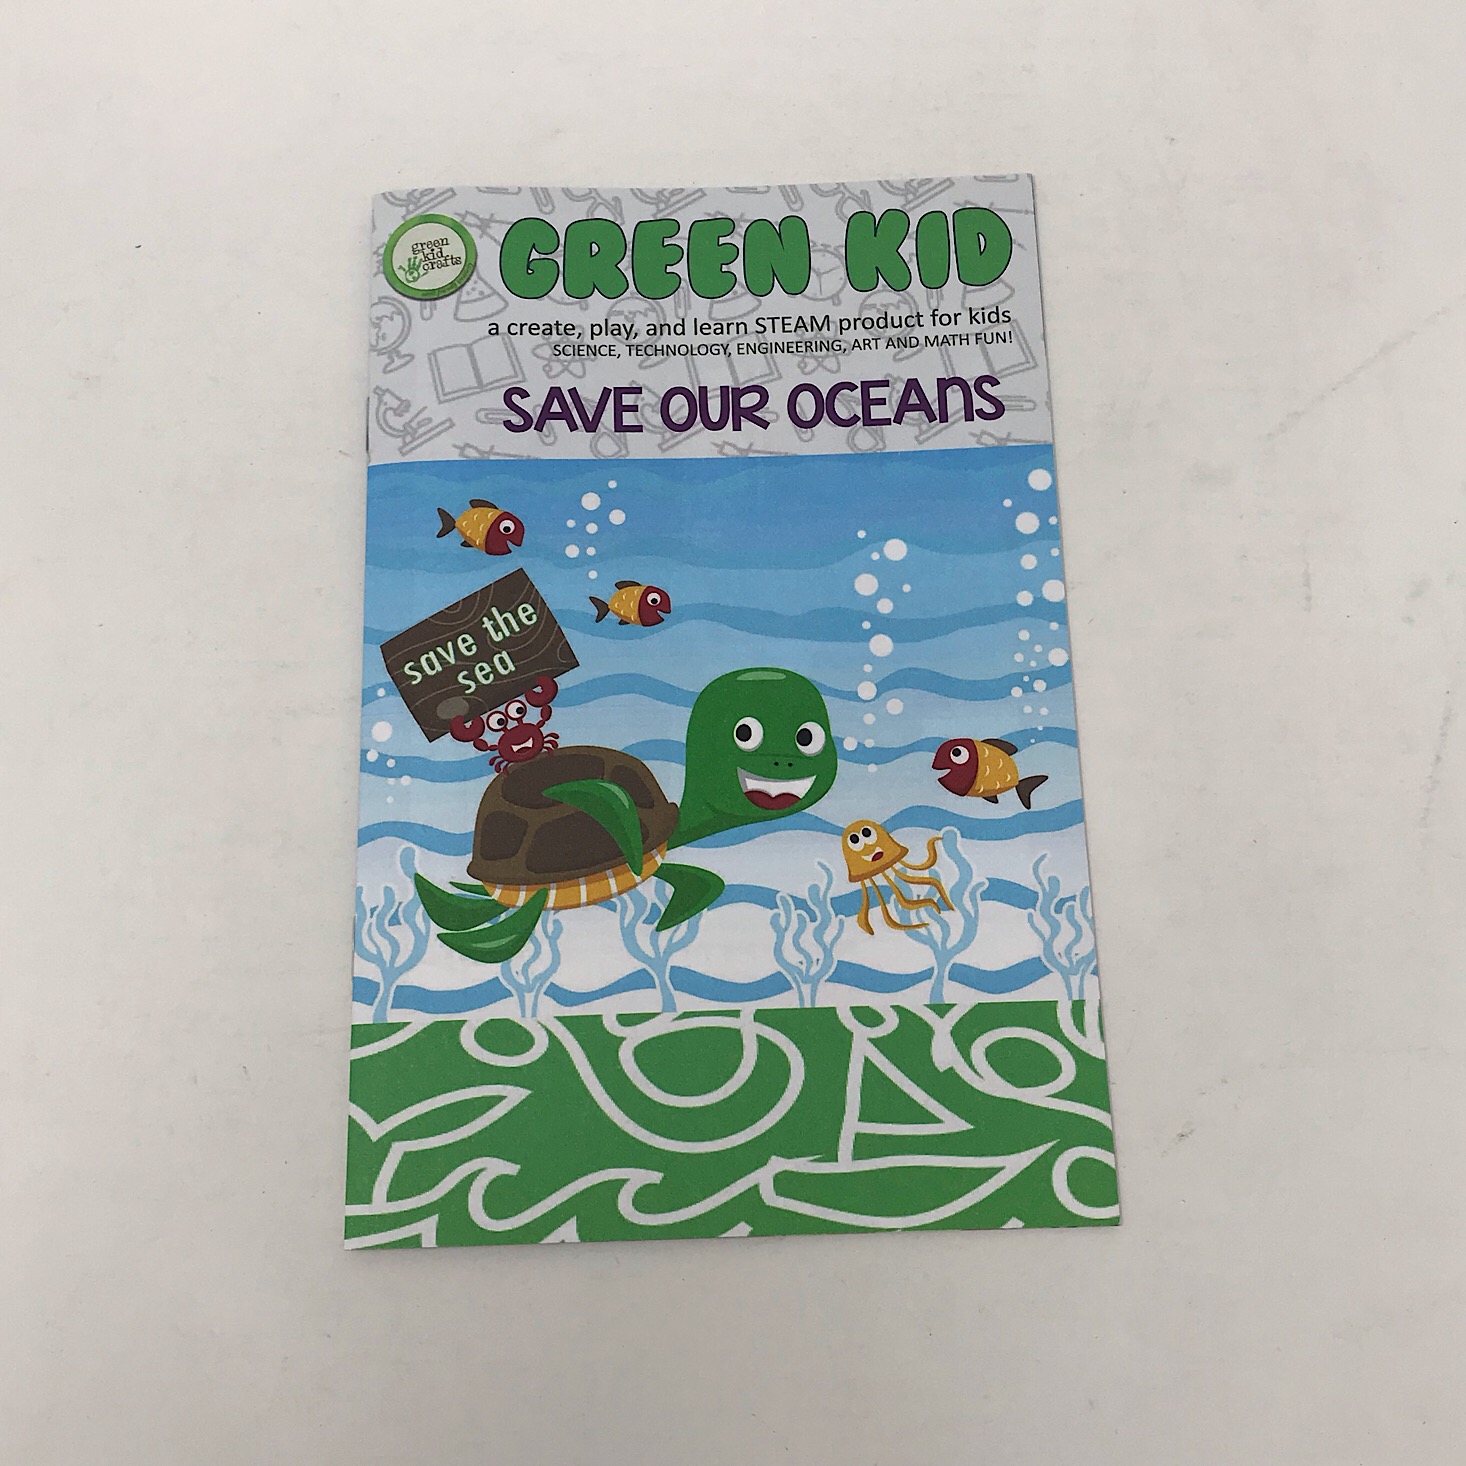
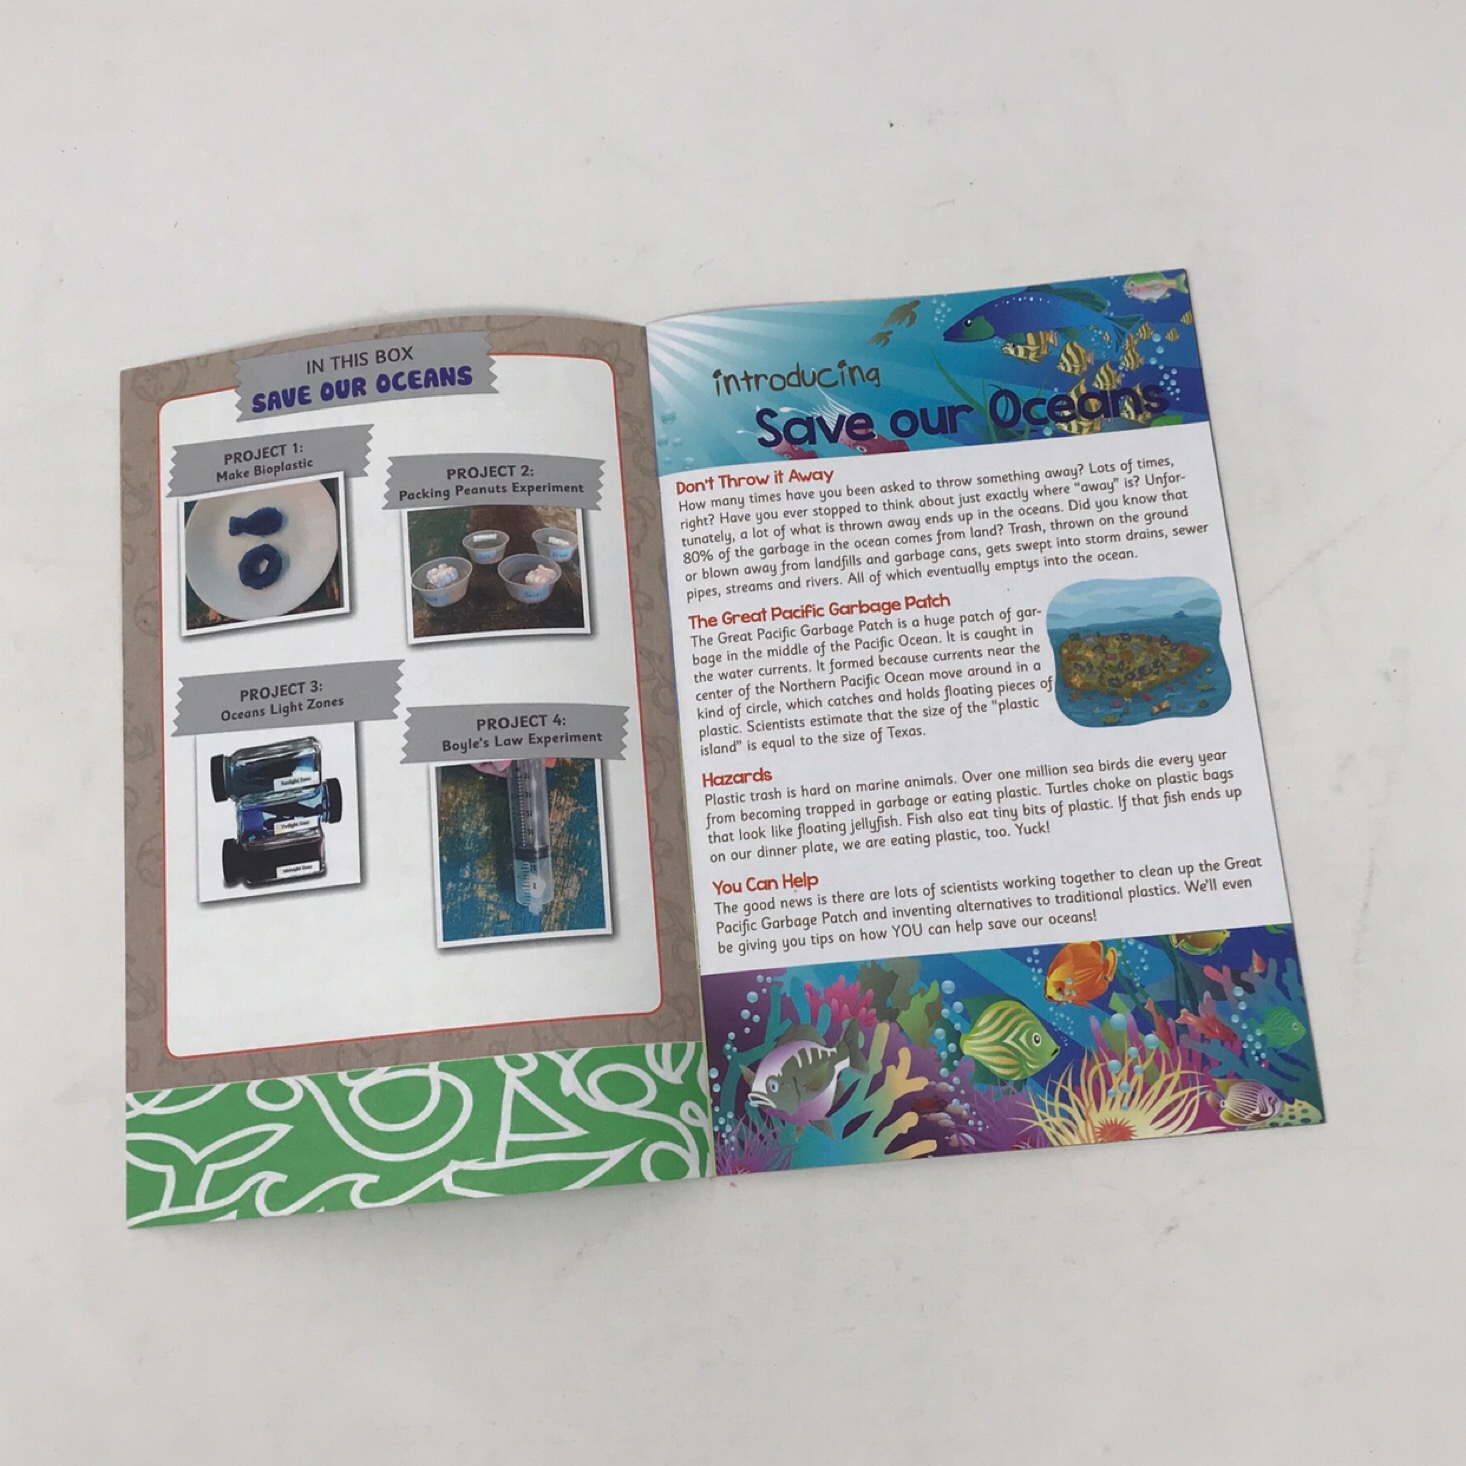
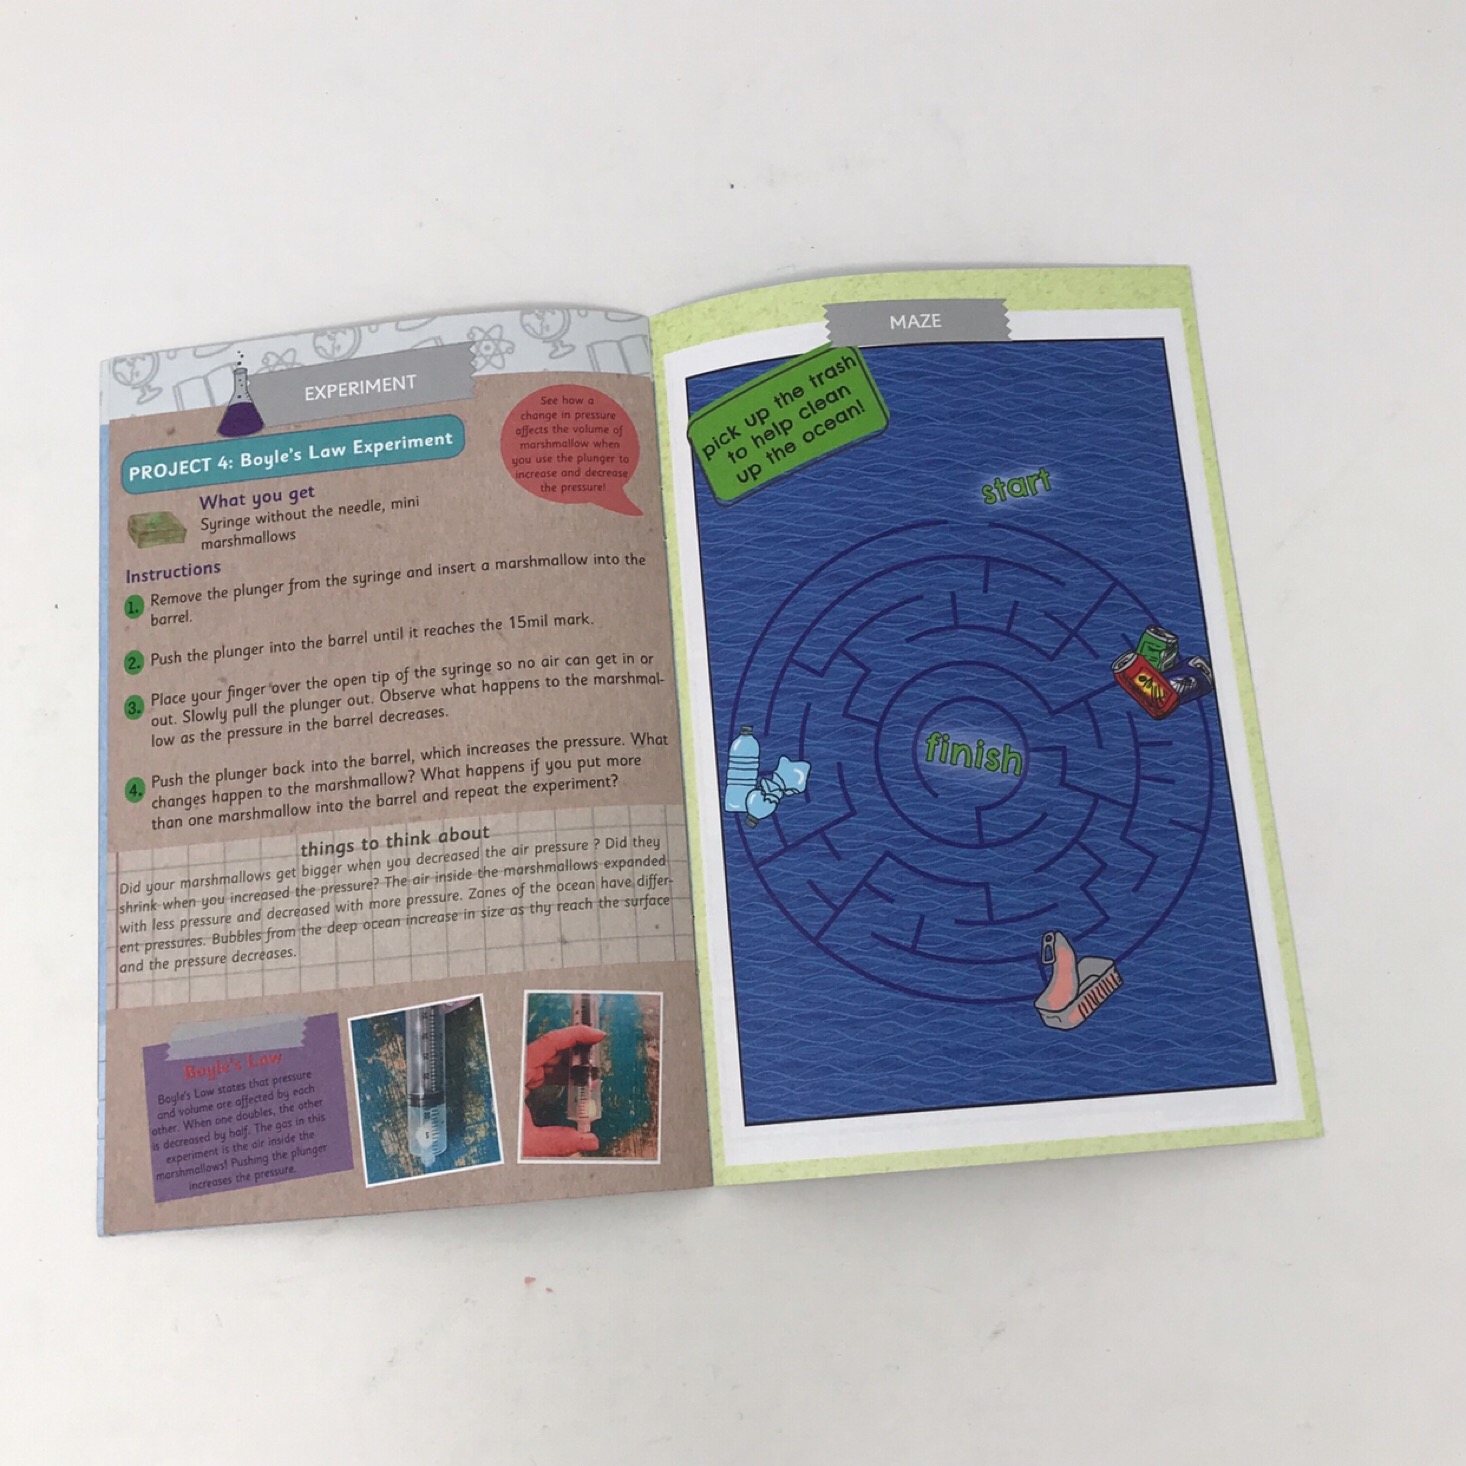
Included in our box was a booklet that highlighted our theme of "Save Our Oceans" and provided some great information about how trash can end up in our oceans that really got the kids engaged and thinking. They also included some fun activities such as a maze and a hidden pictures puzzle. The other pages gave instructions for our three projects.
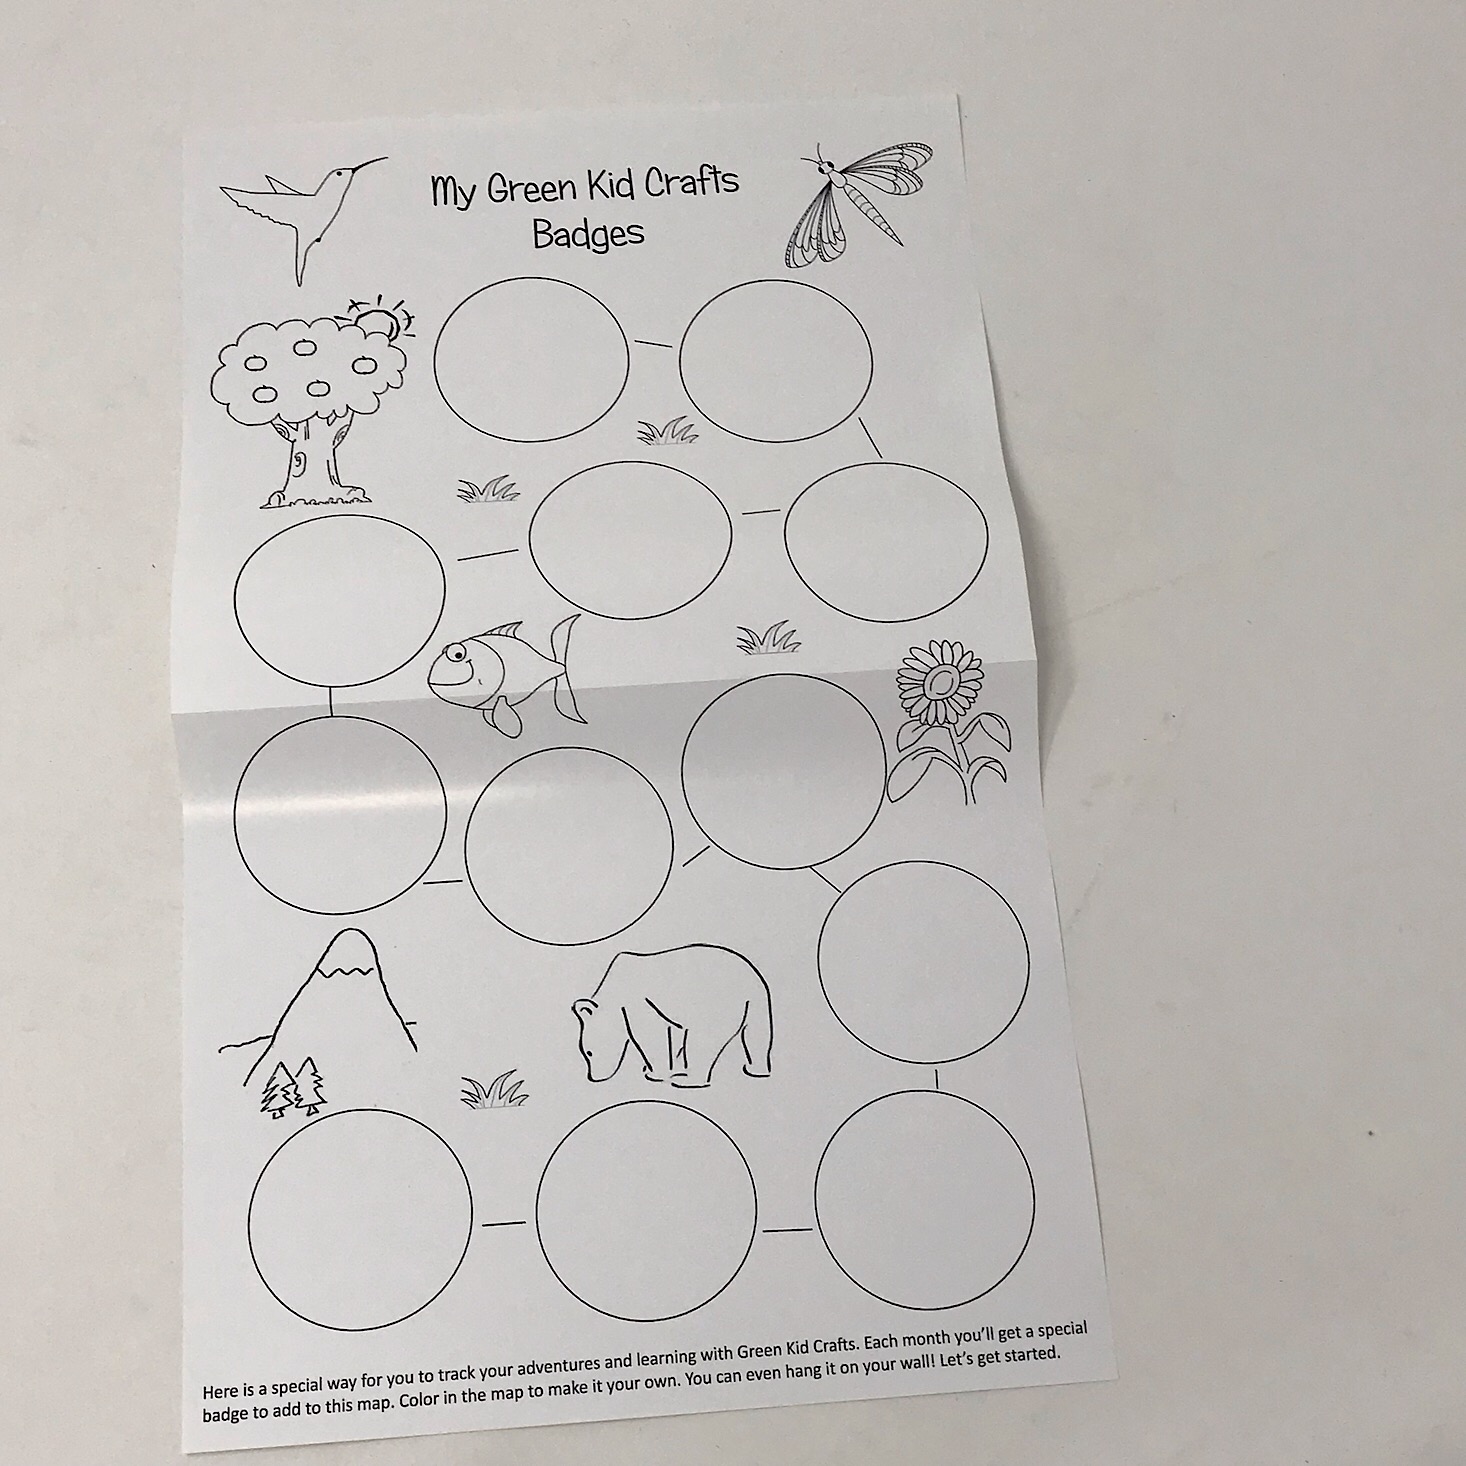
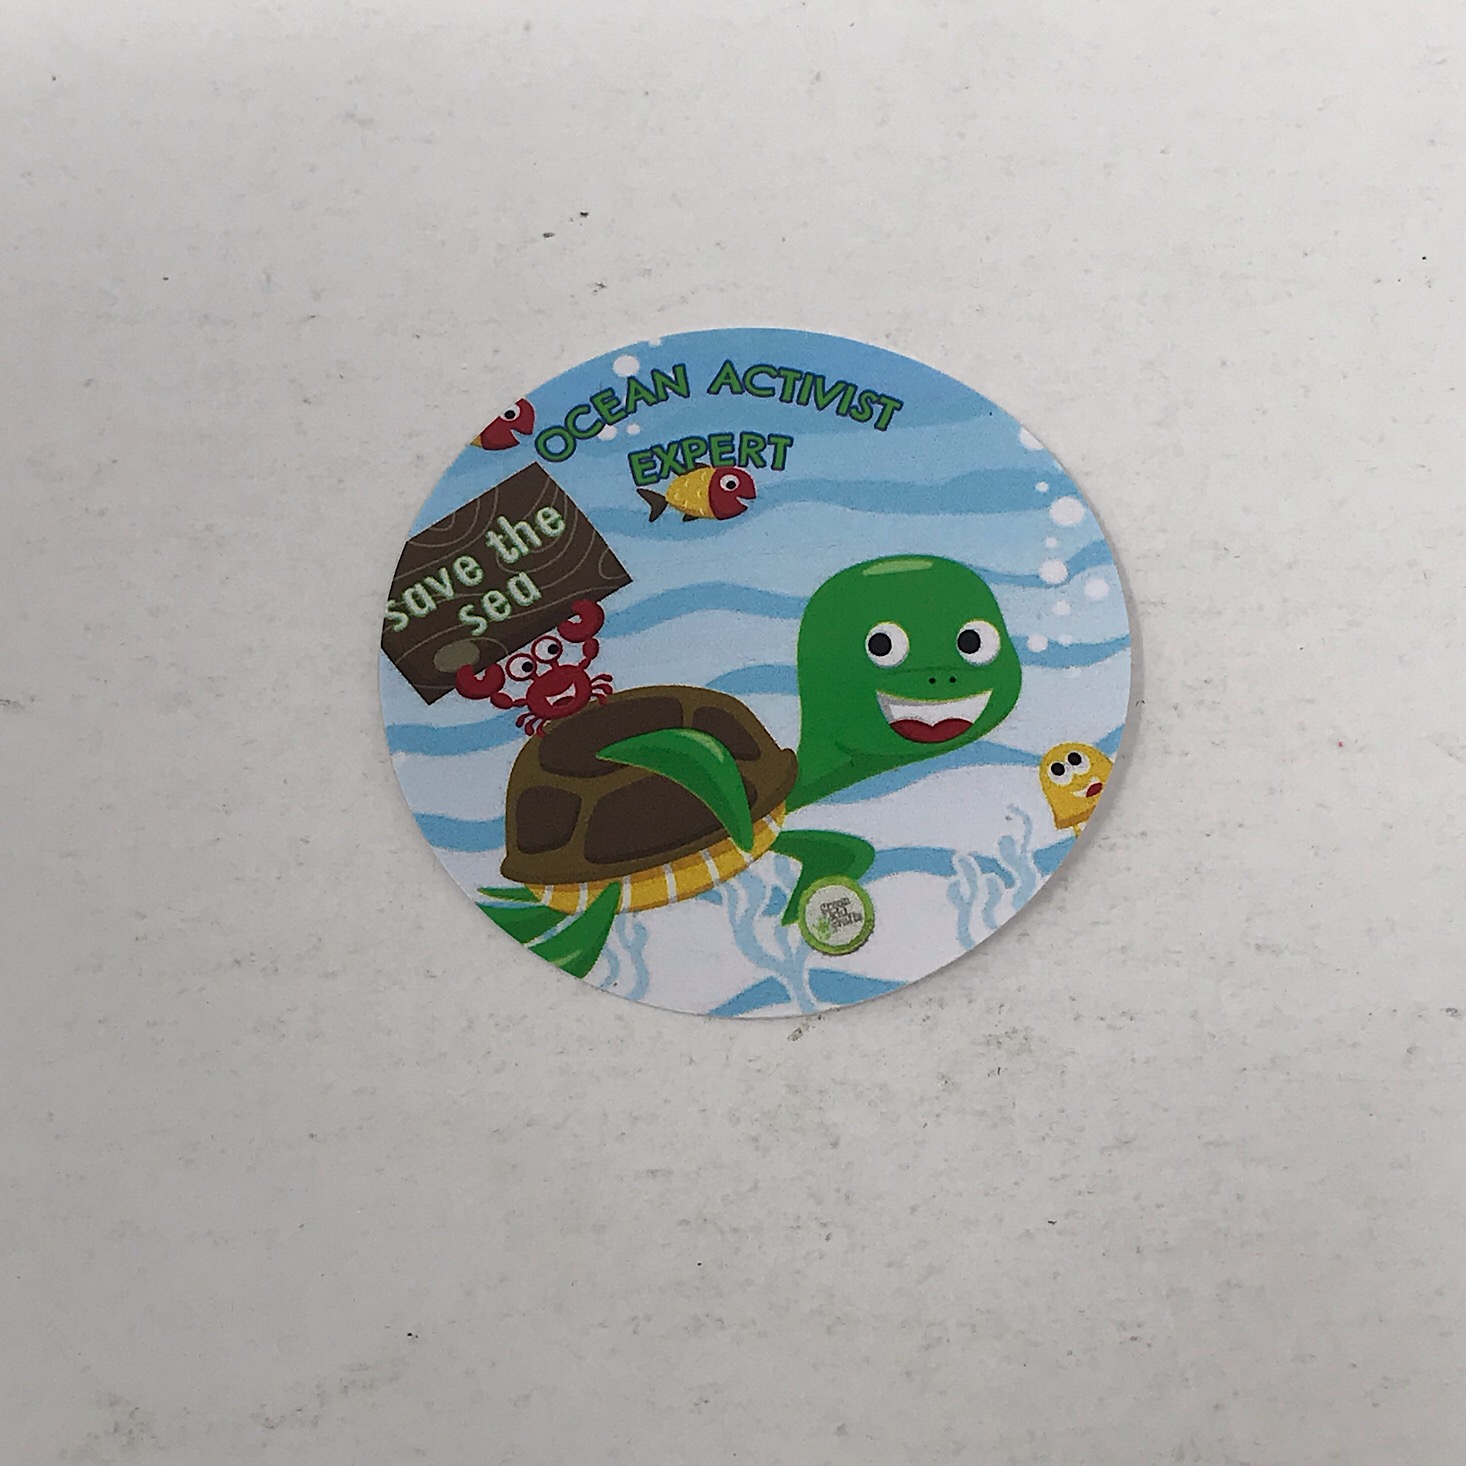
Each box includes a new sticker for us to add to our Green Kid Crafts badge chart. This month we received the Ocean Activist Expert badge.
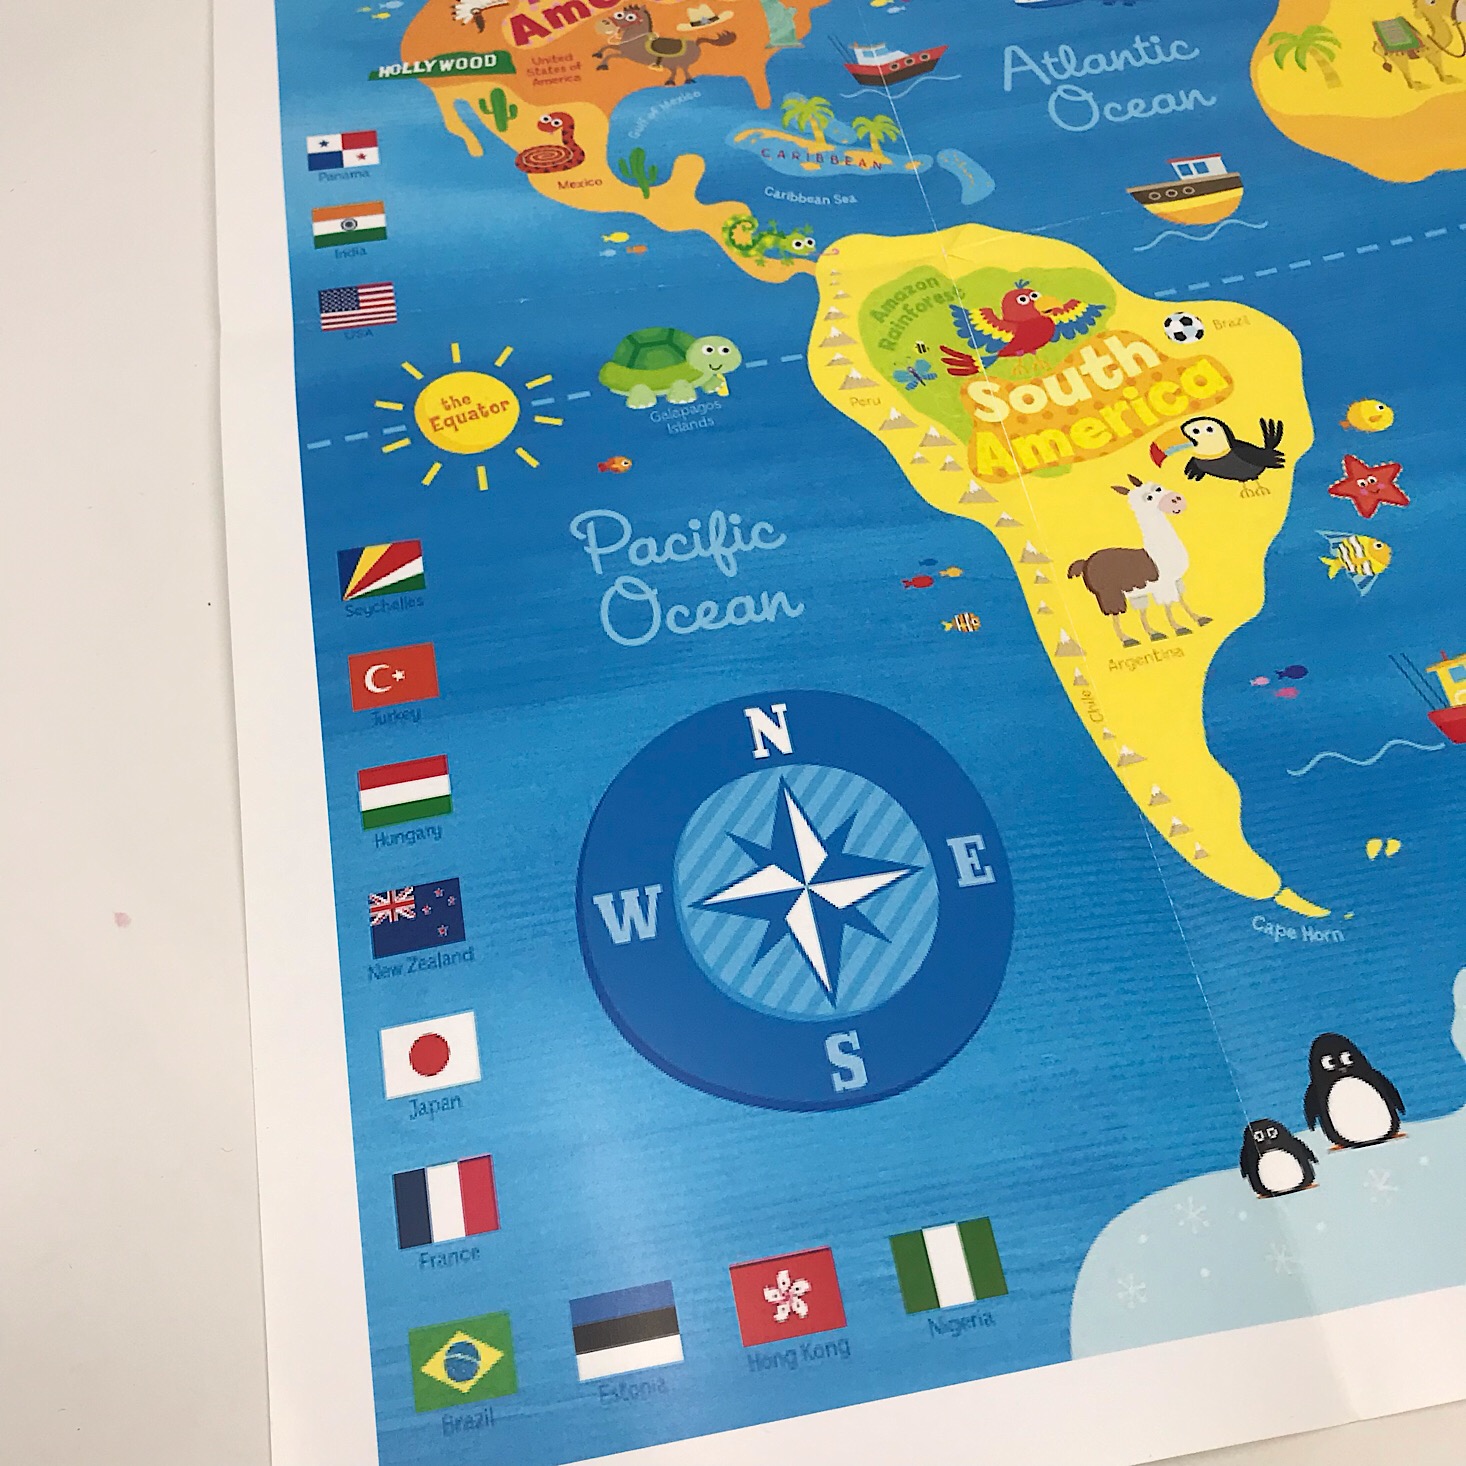
In our box was this large map of the world. This brightly colored map featured flags from different countries and showed where lots of animals live. My son loved looking at this and we found it helpful when we were discussing our oceans and The Great Pacific Garbage Patch. Visuals are always great!
Project 1: Make Bioplastic
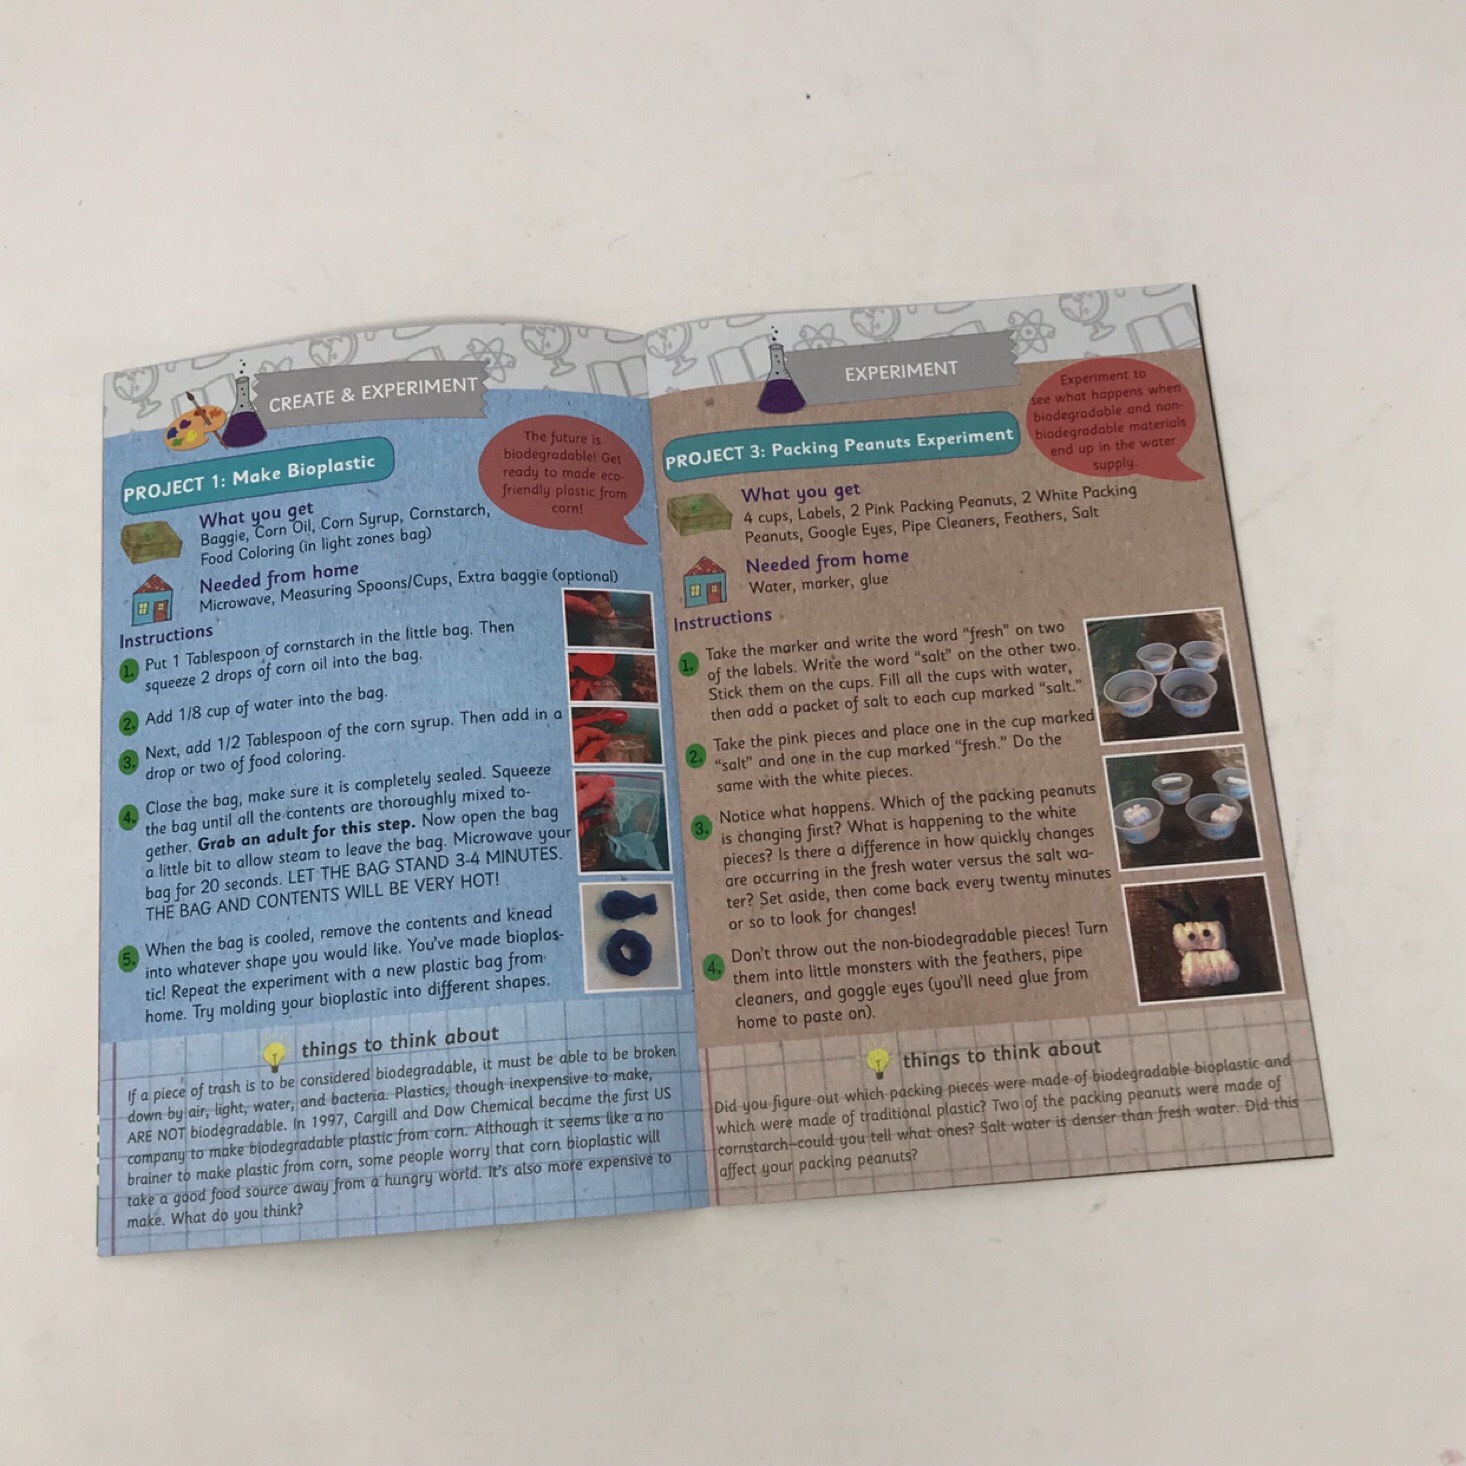
Our first project was to make our own bioplastic. Our instructions page included helpful information about what makes things biodegradable and how plastic is not biodegradable. They explained how making plastics from corn, such as what we are making, is an alternative to plastic, but not everyone is on board with it for different reasons. They finished by asking us what we think and I thought this was an effective way to get a conversation started or just to get kids thinking about these things since it is very relevant to our world today!
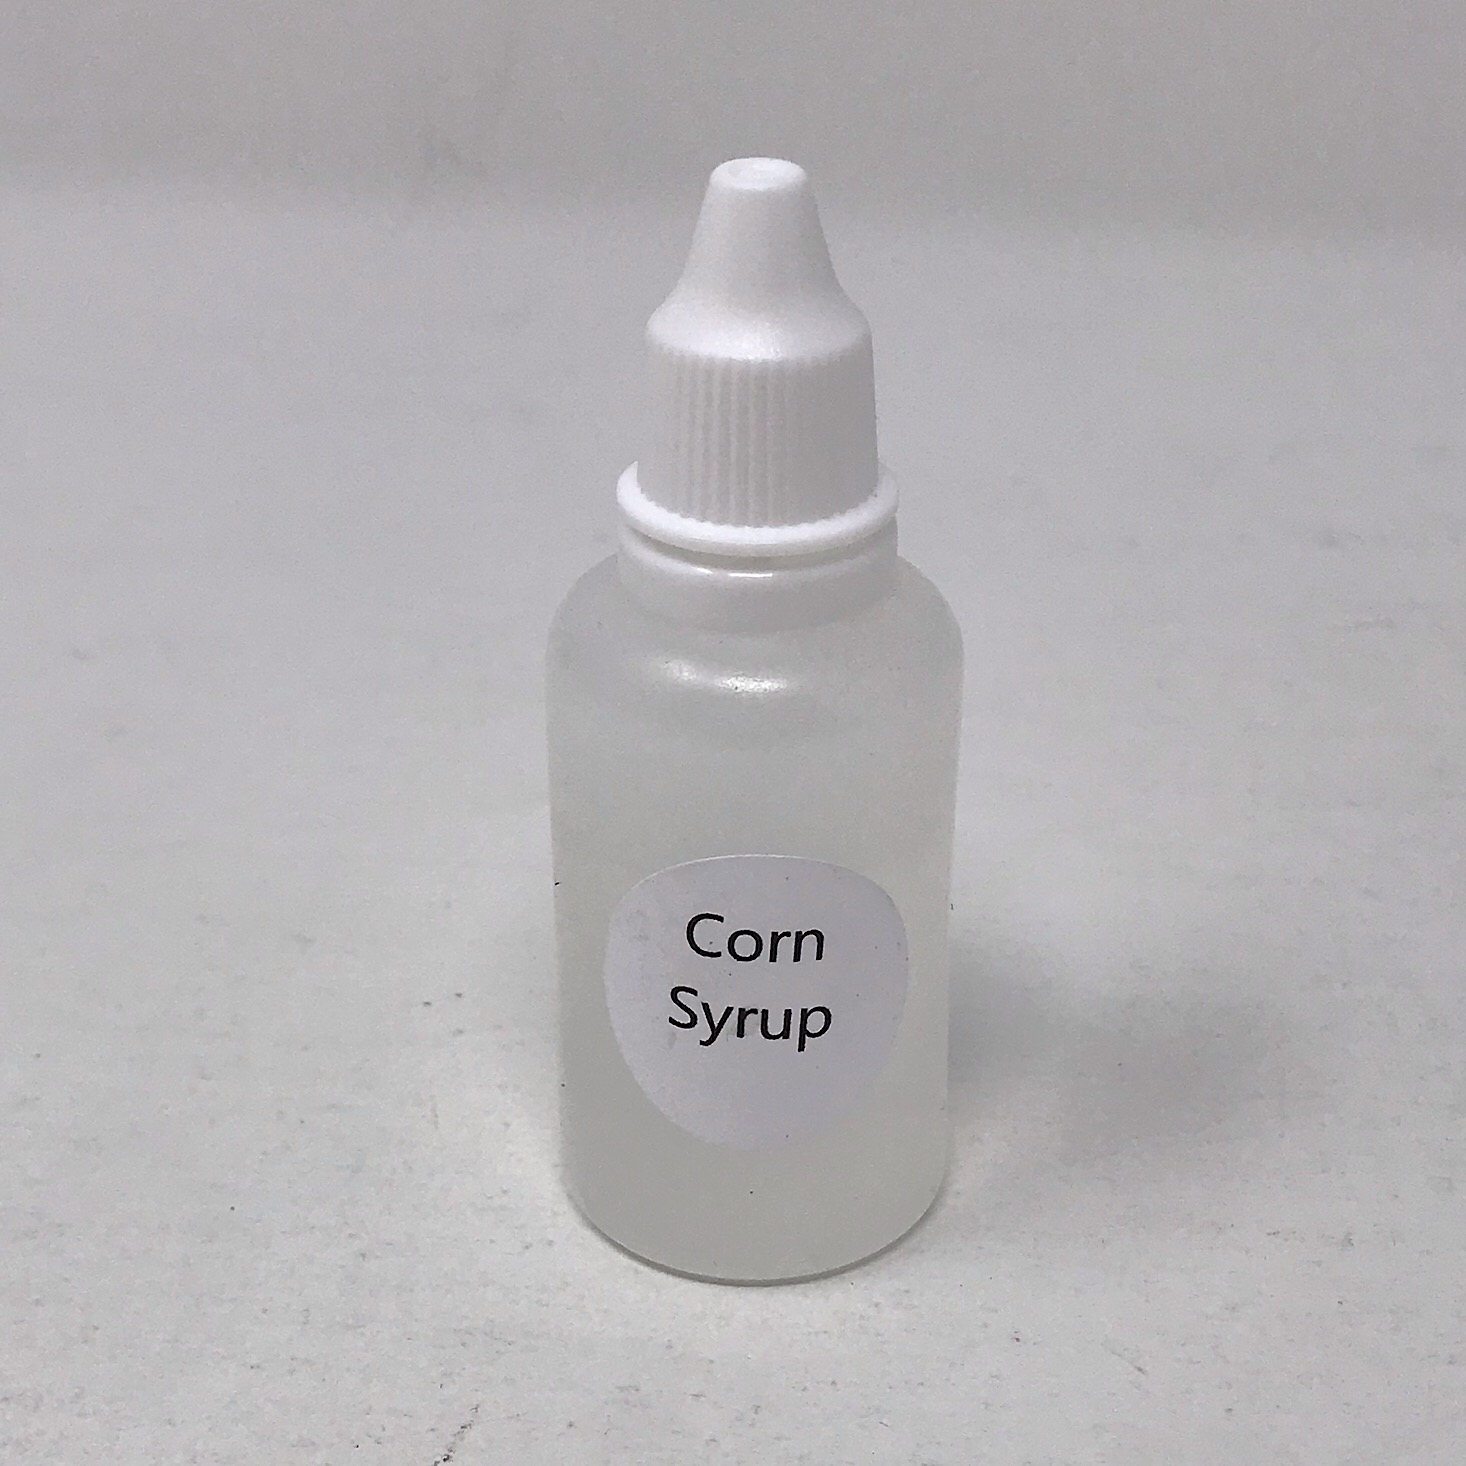
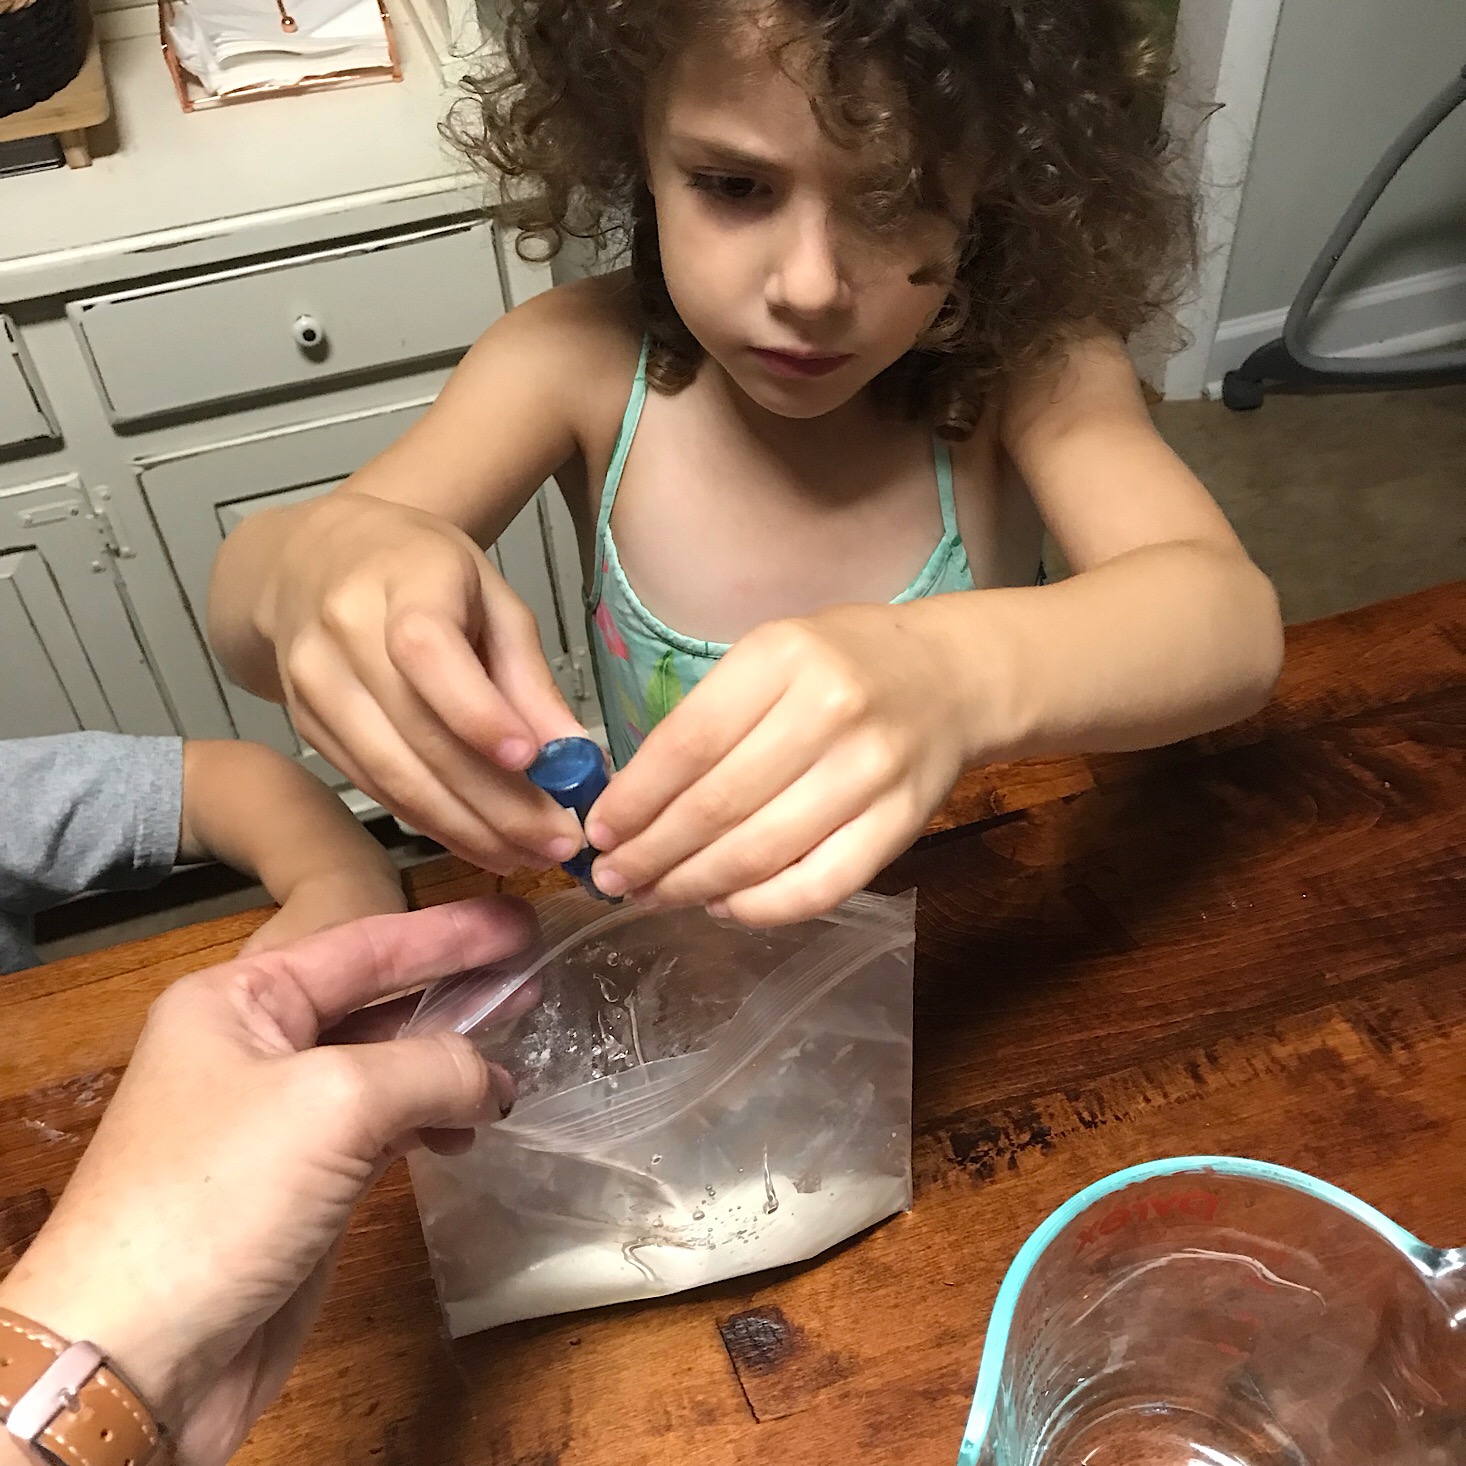
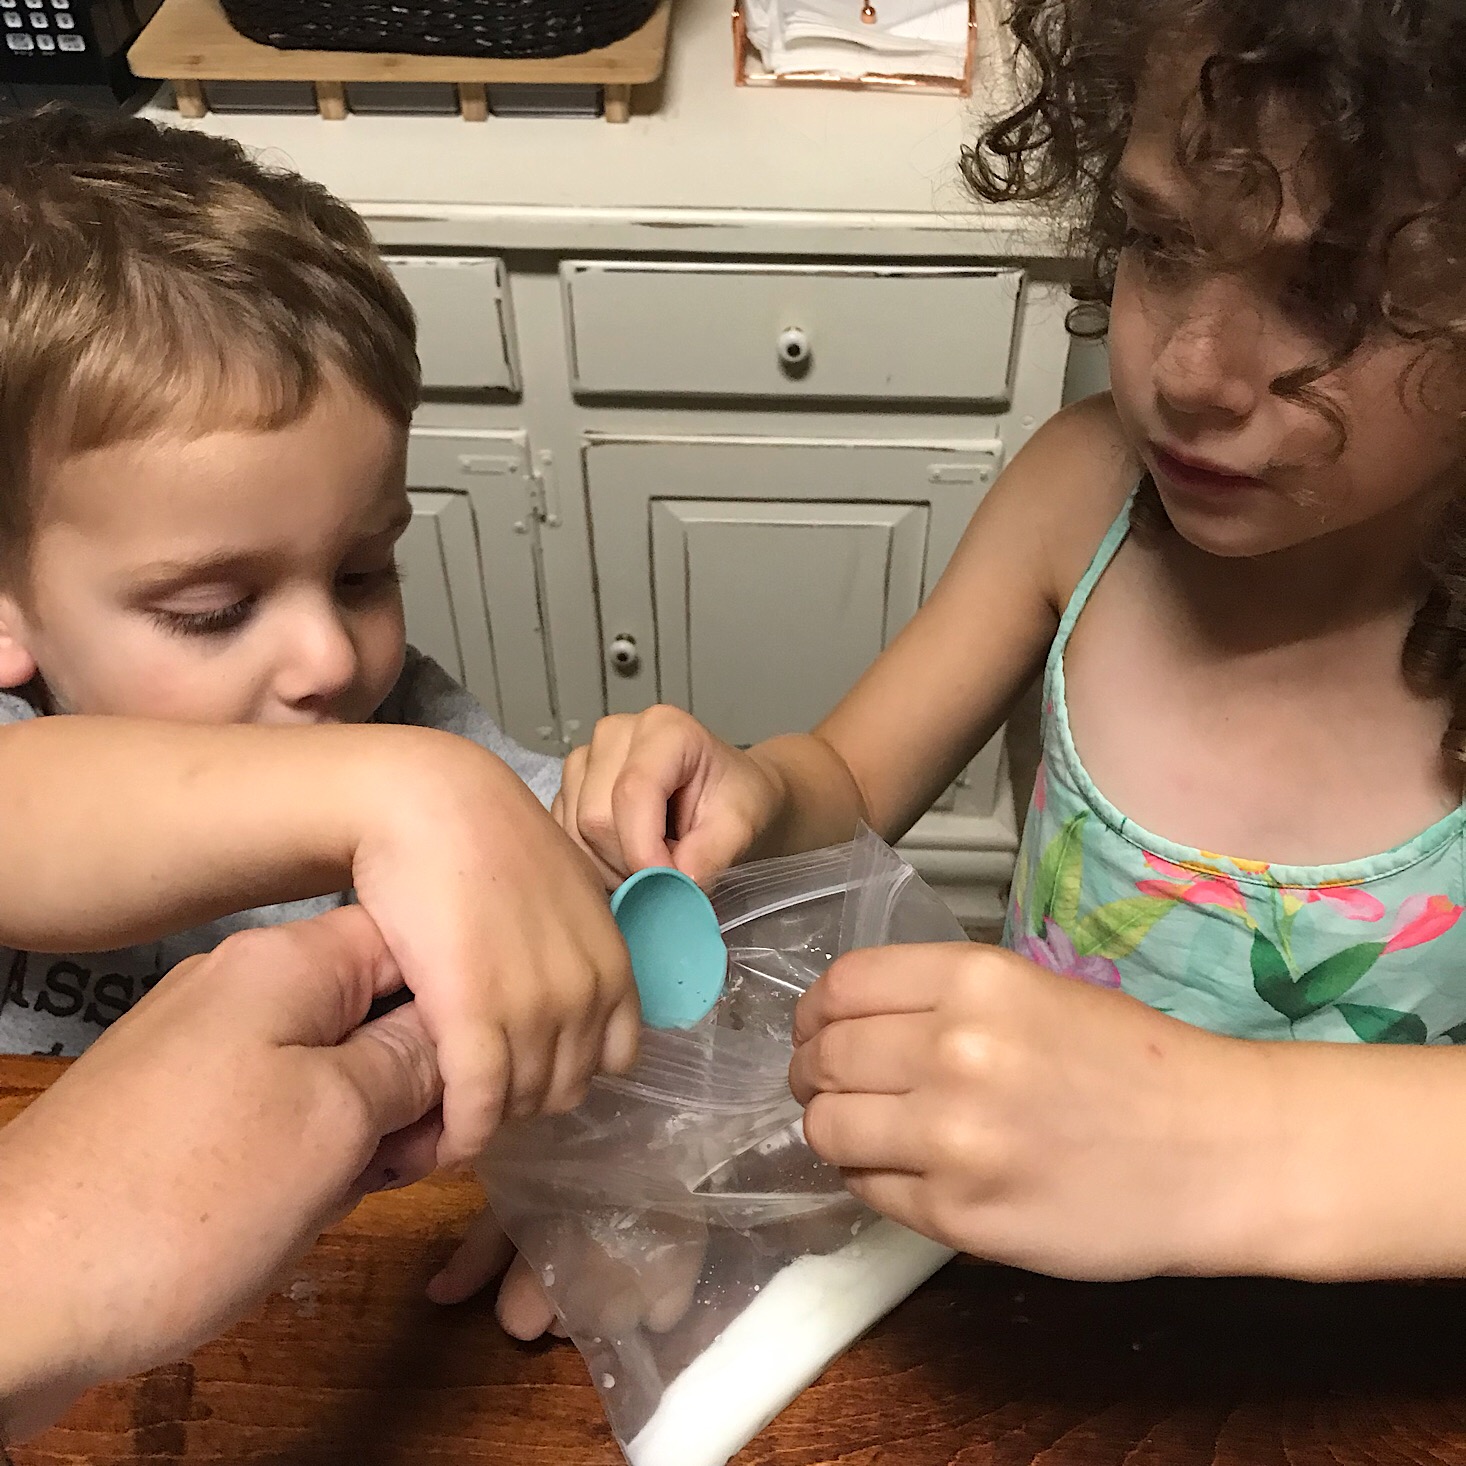
They provided a plastic baggie for us to make our bioplastic in. We measured and added the cornstarch, corn syrup, corn oil, and water plus a drop of blue food coloring.
Then we mixed it all up with our hands in the bag and I placed it in the microwave for the recommended time. It came out nice and steamy so we had to let it sit for a few minutes before we could play with it.
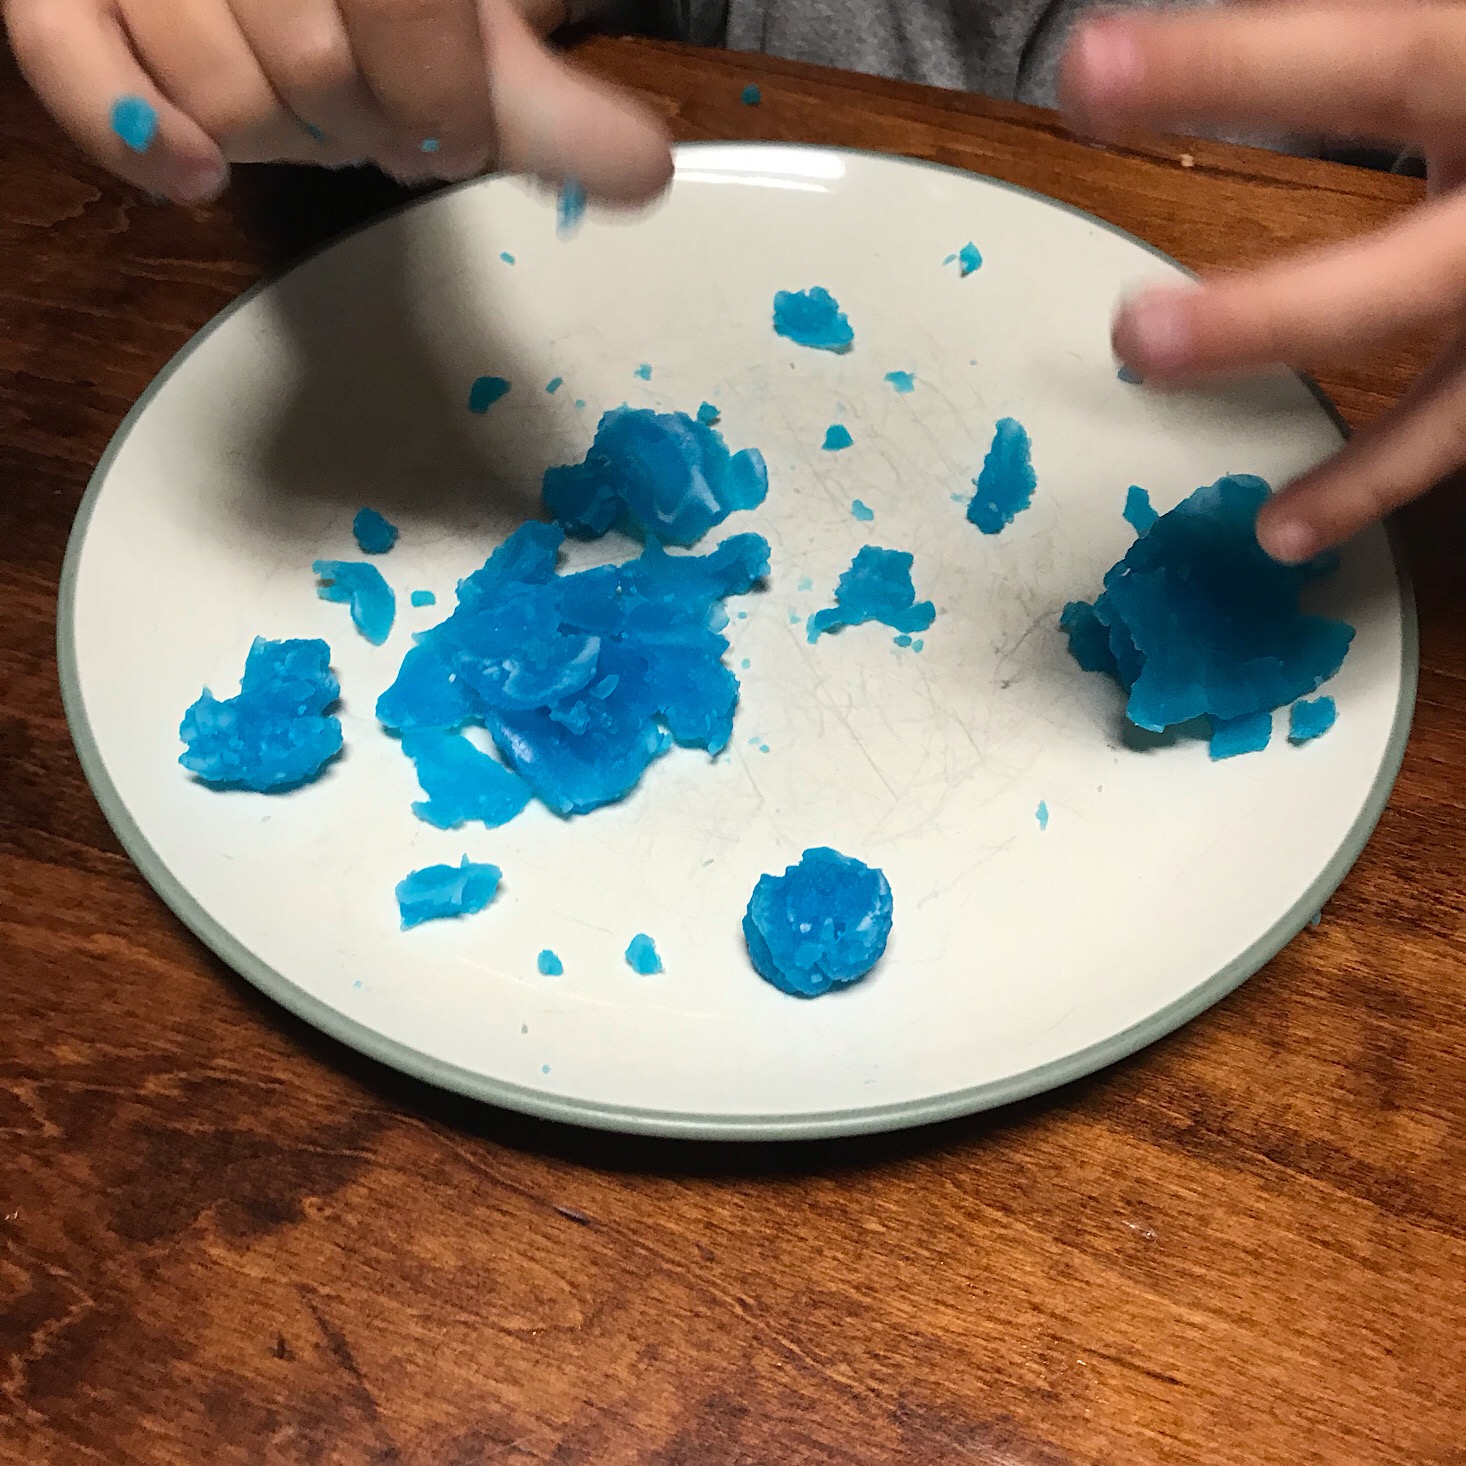
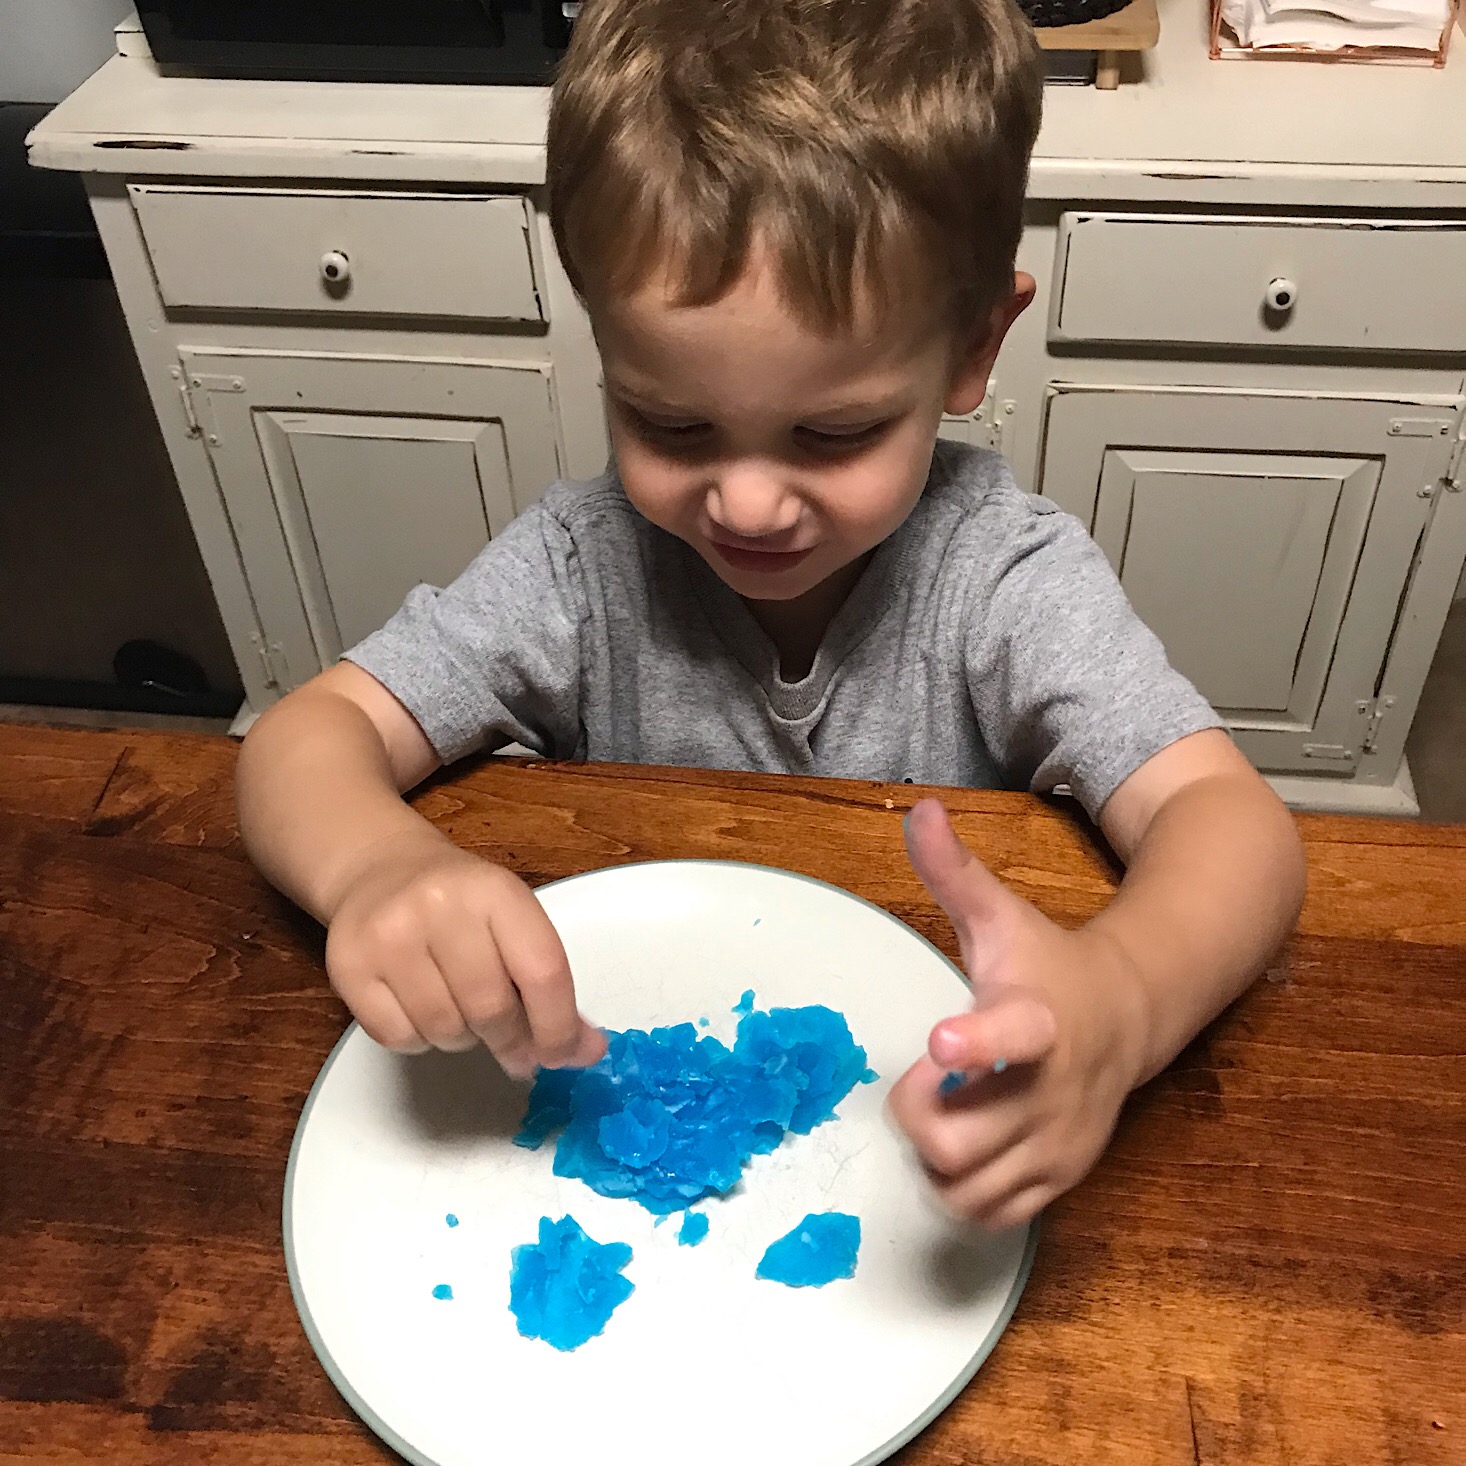
Our bioplastic was a little sticky and fun to play with! We were sort of able to mold it into shapes, but it was tricky since it was a little softer than I think it was supposed to be. We recently downsized to a smaller microwave with less power and I am still working on getting my timing right, so this probably could have used a few more minutes in there! Fortunately, we have enough supplies left over to complete this experiment again!
Project 2: Packing Peanuts Experiment
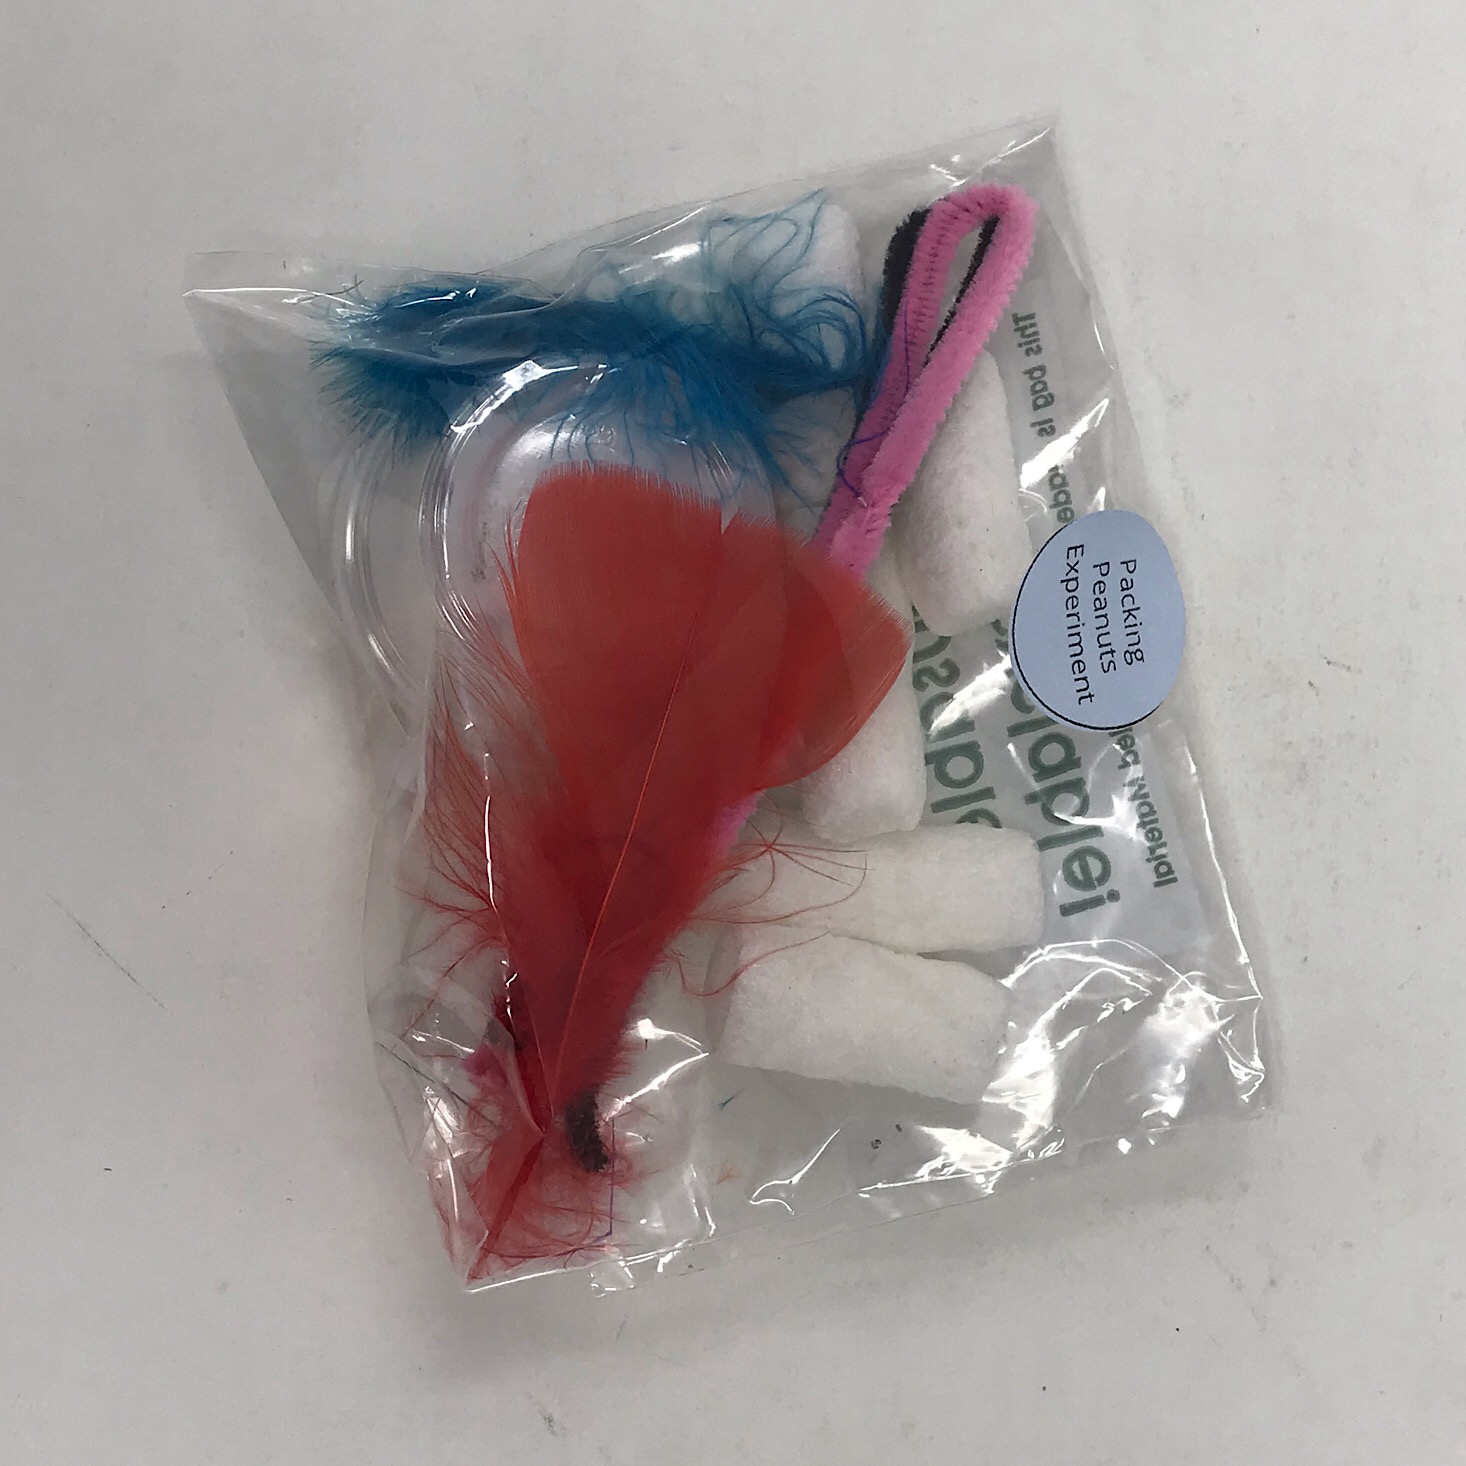
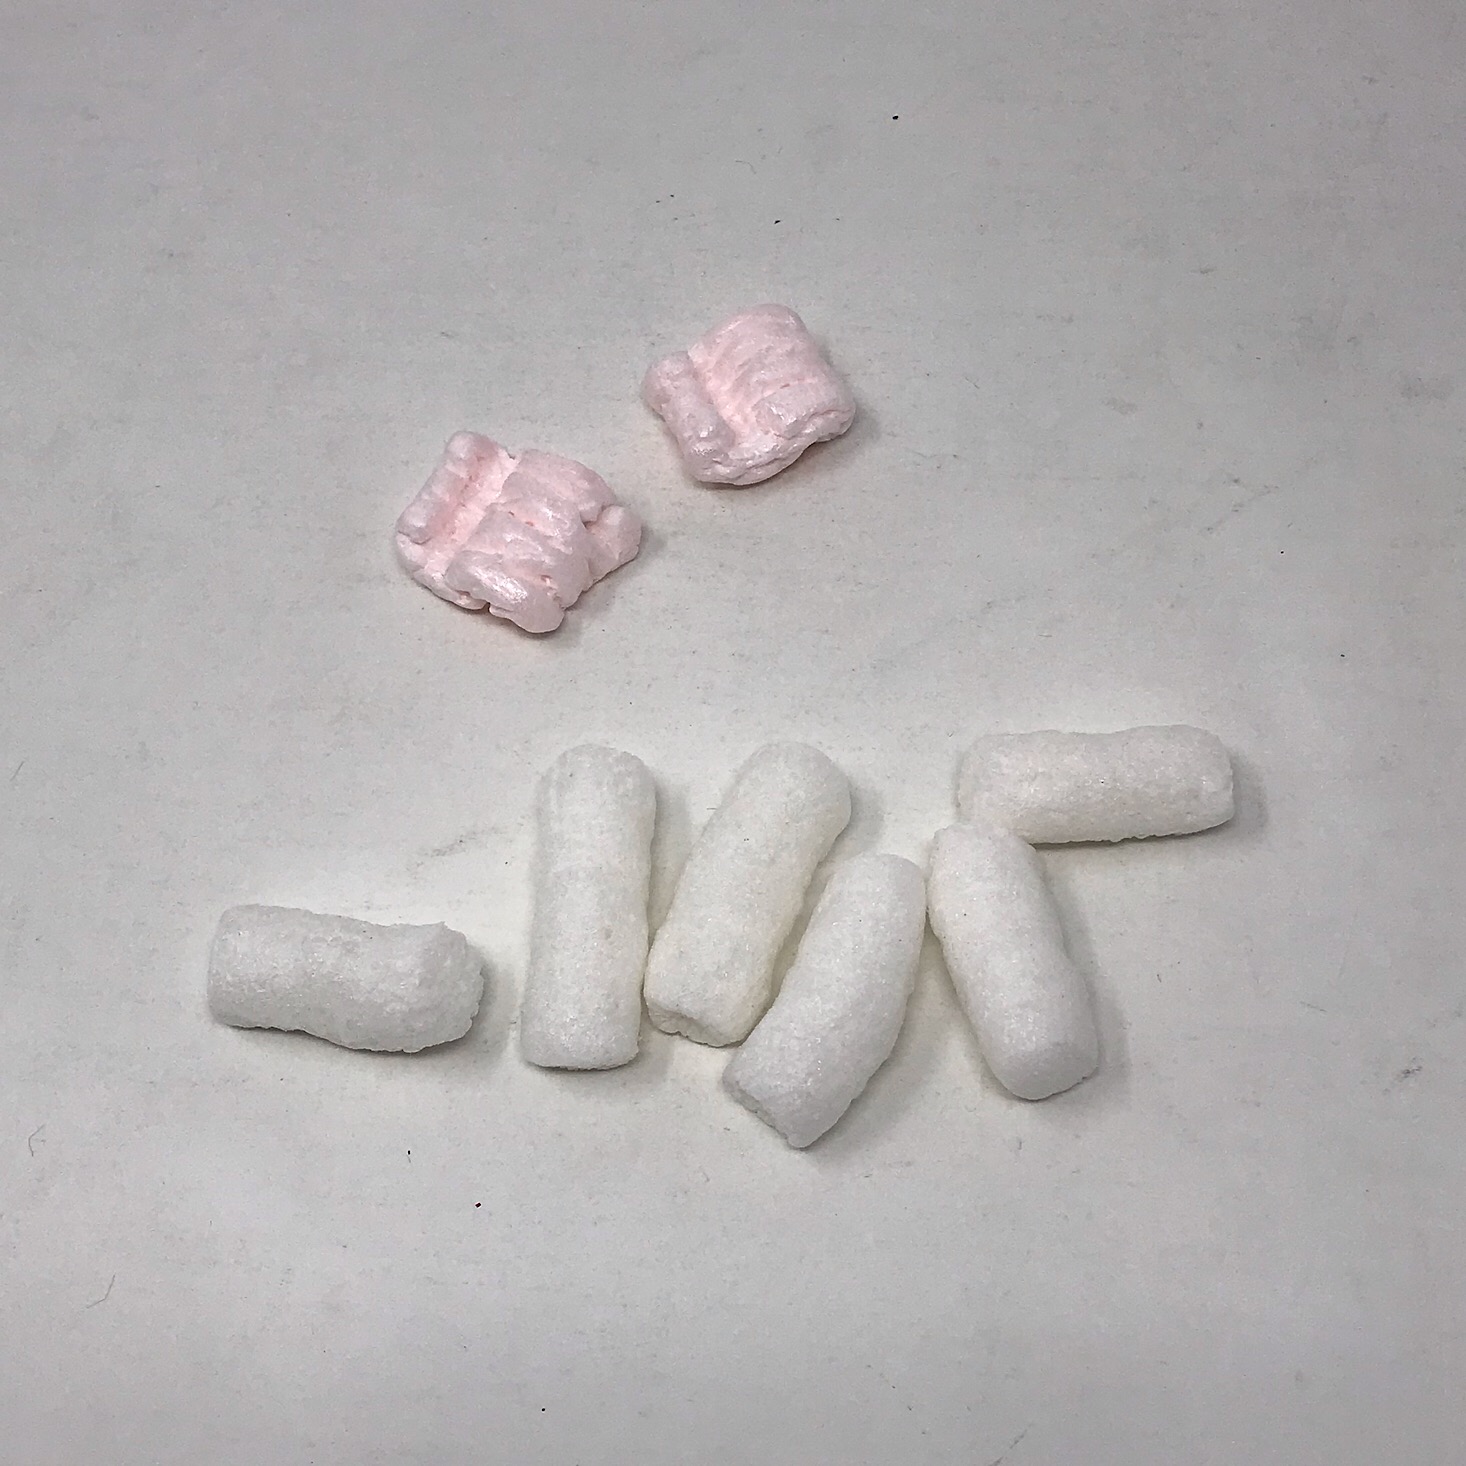
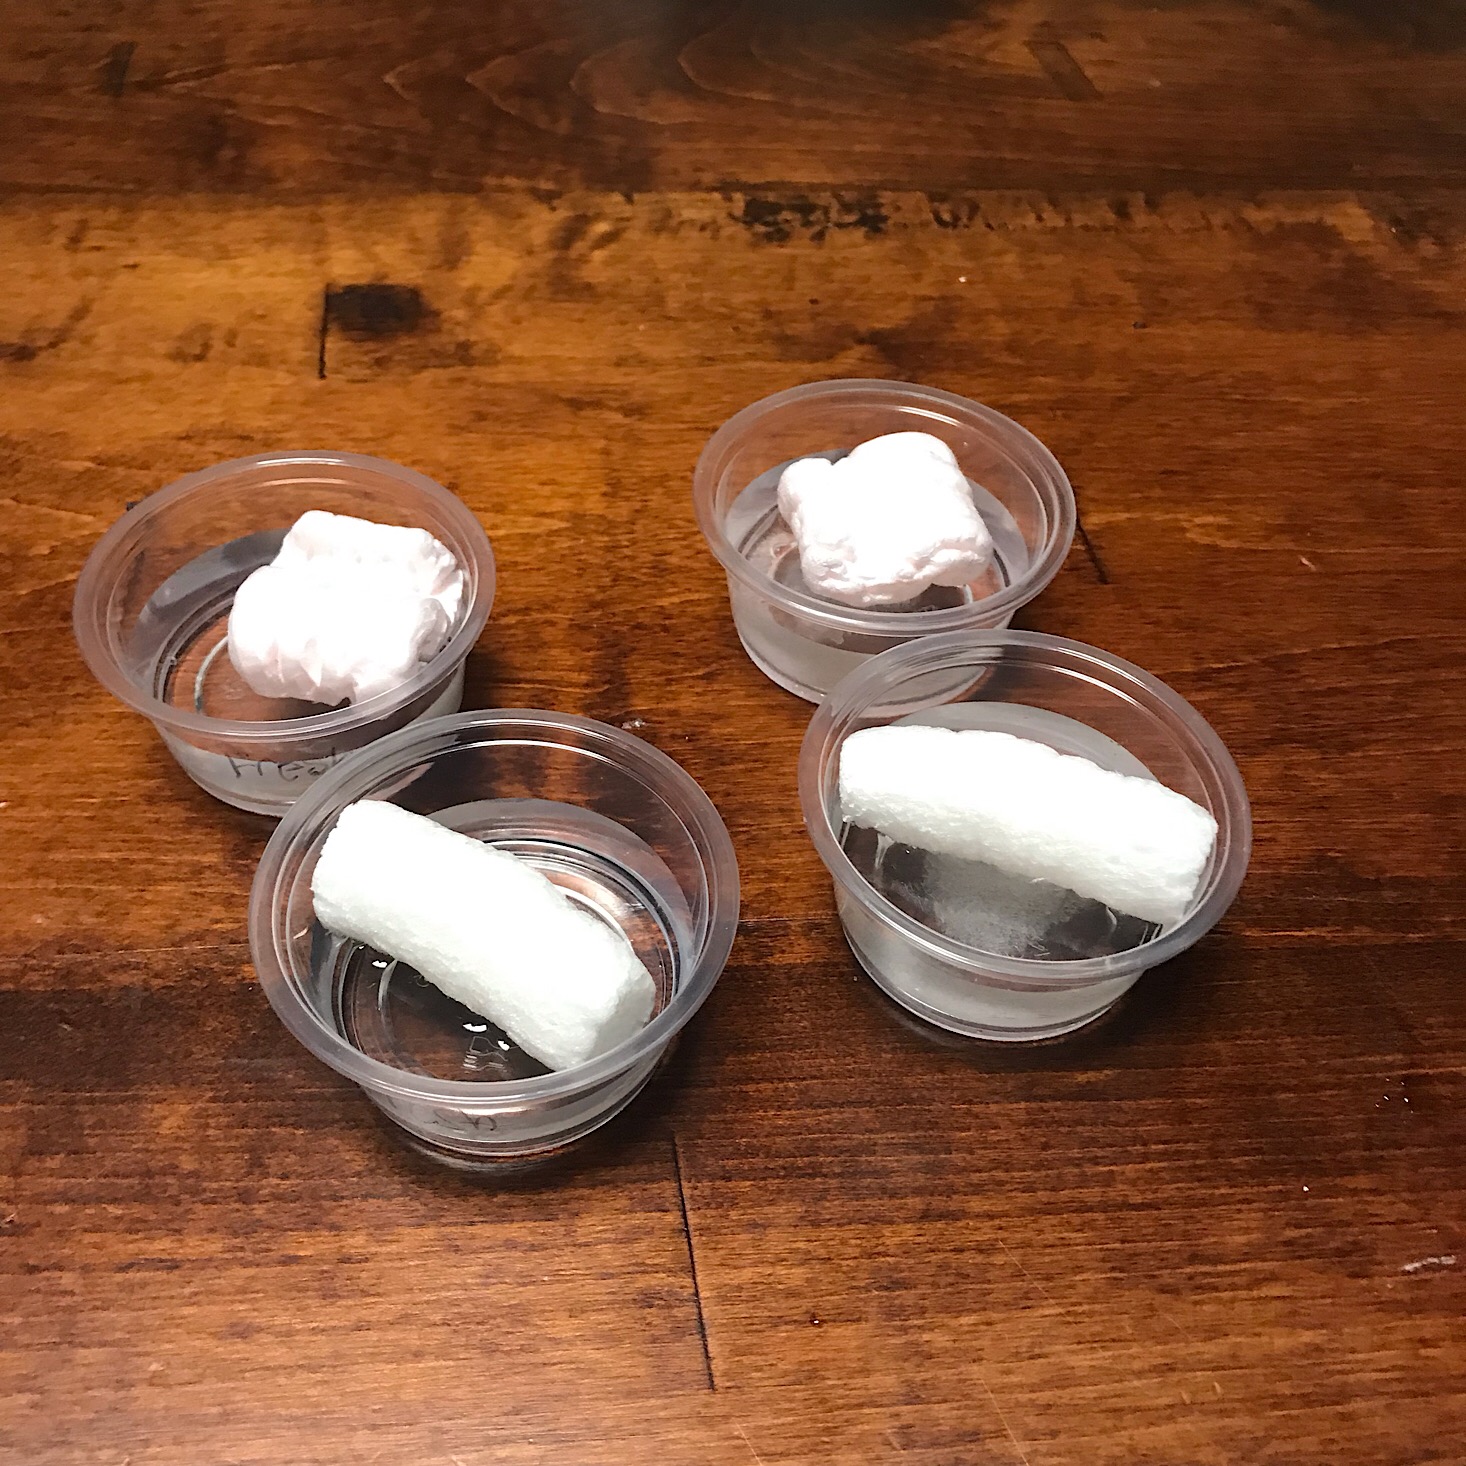
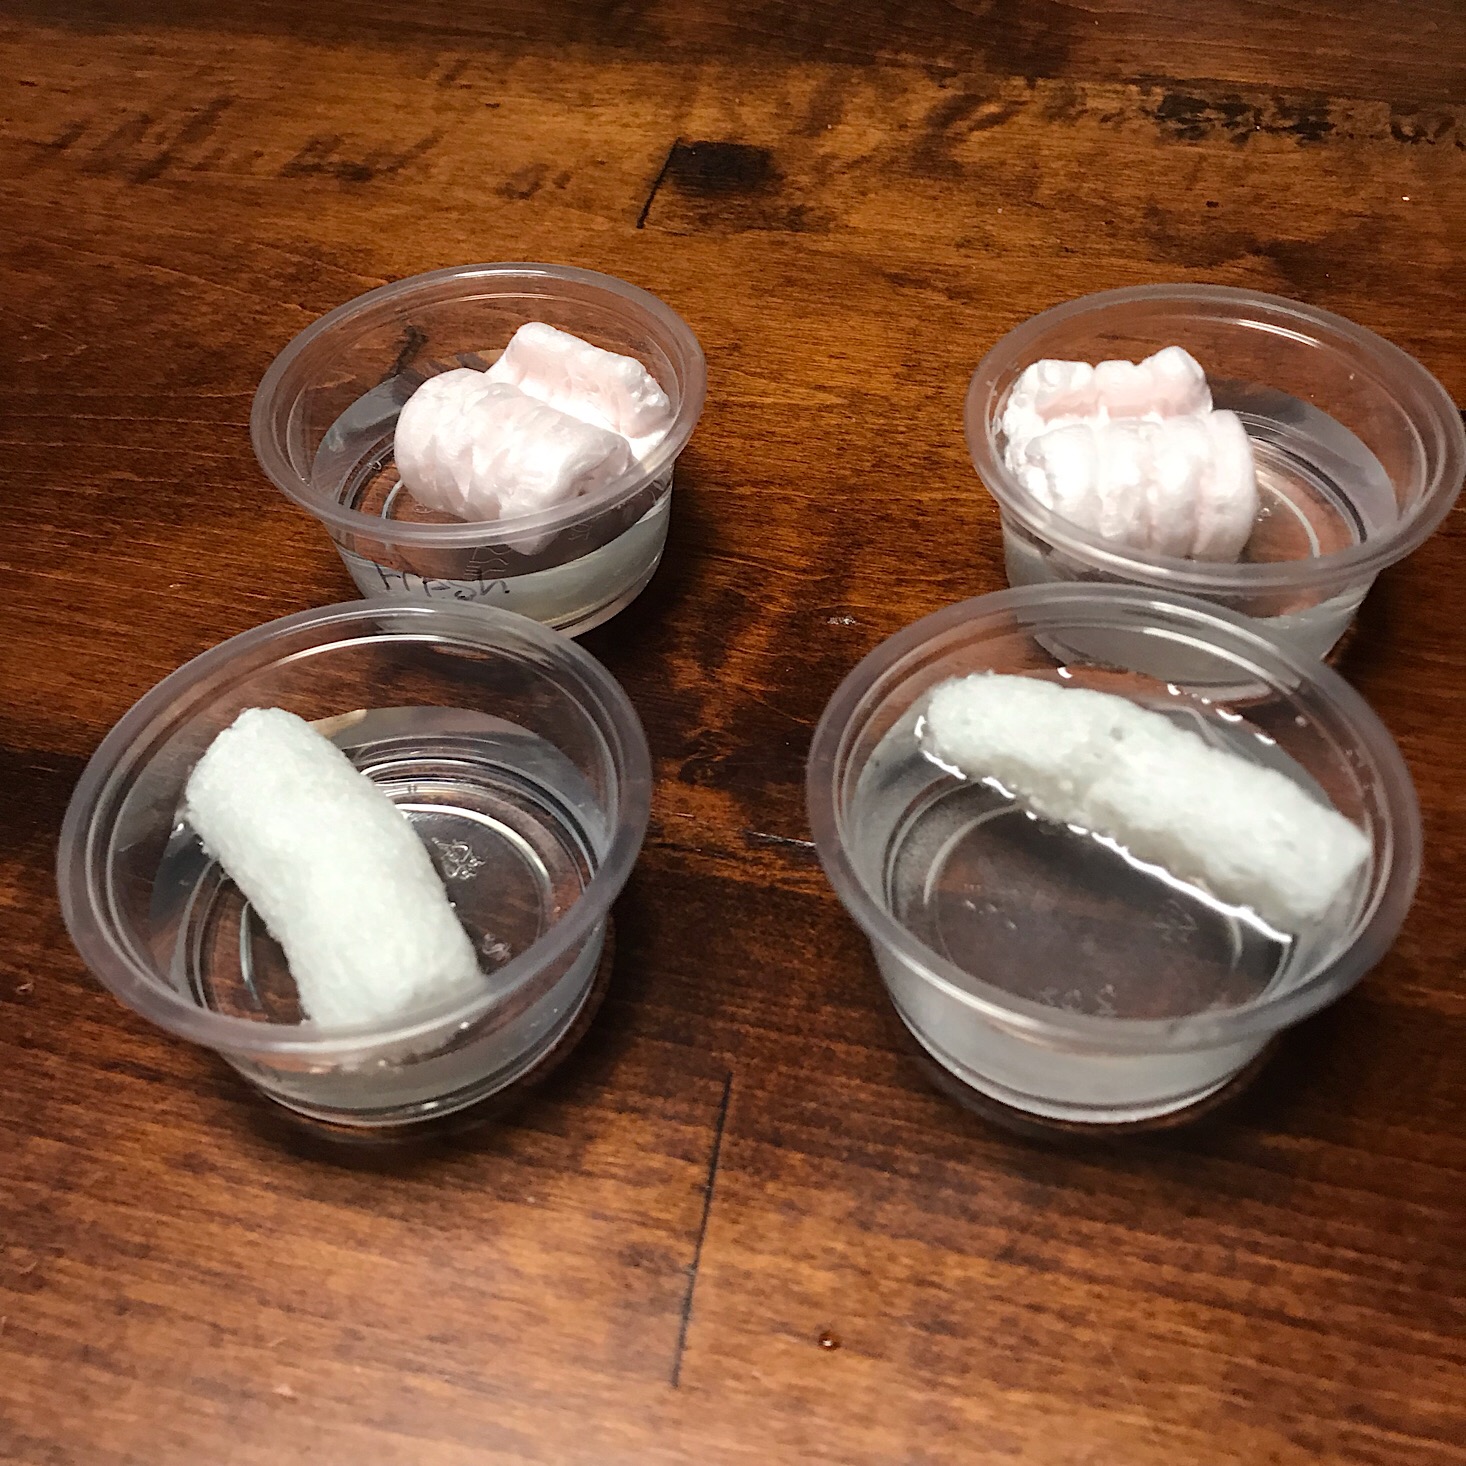
I have to say that our next project was one that I thought was extremely effective and also exactly the type of project I'd like to see in a "green" box such as this! For this one, we were doing an experiment to see how two different types of packing peanuts were affected when we put them in water. This was a great way to see exactly what happens when plastic makes its way into various bodies of water!
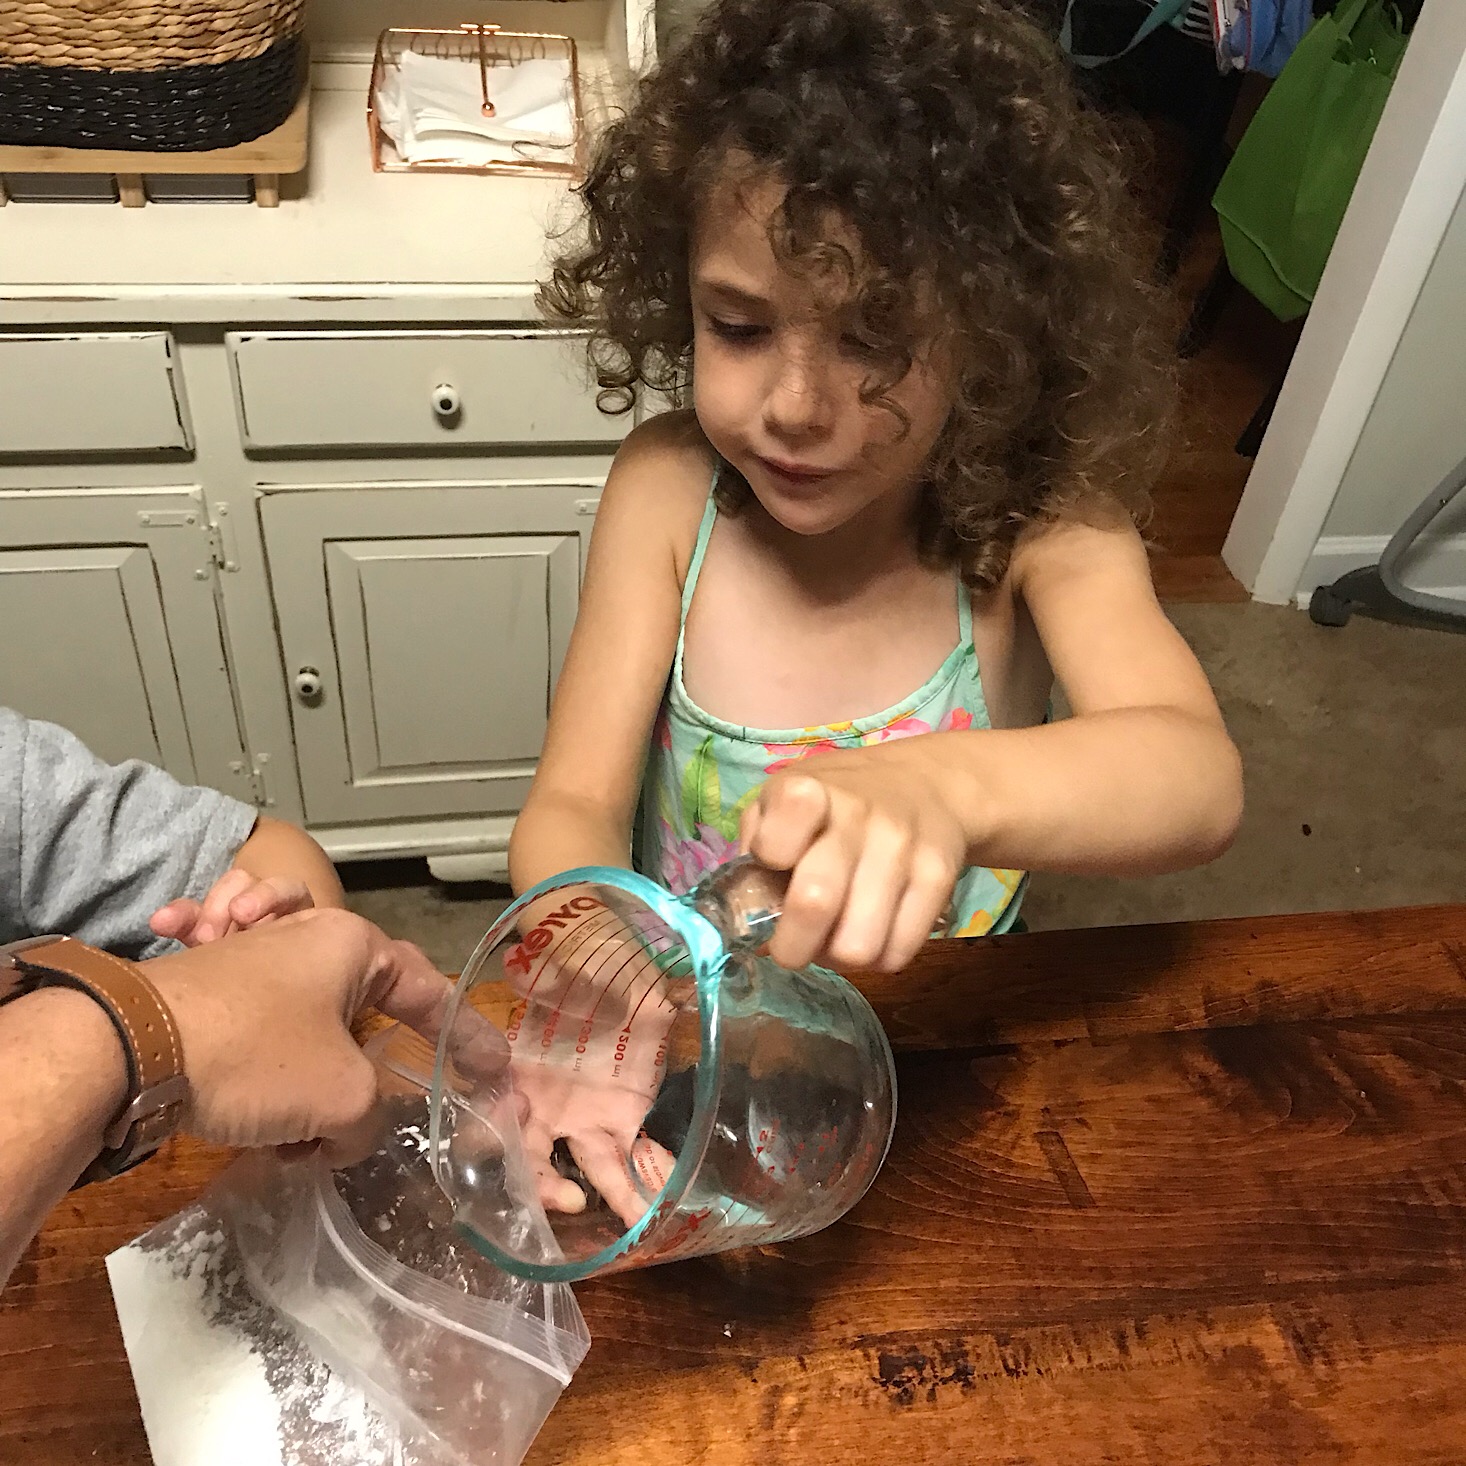
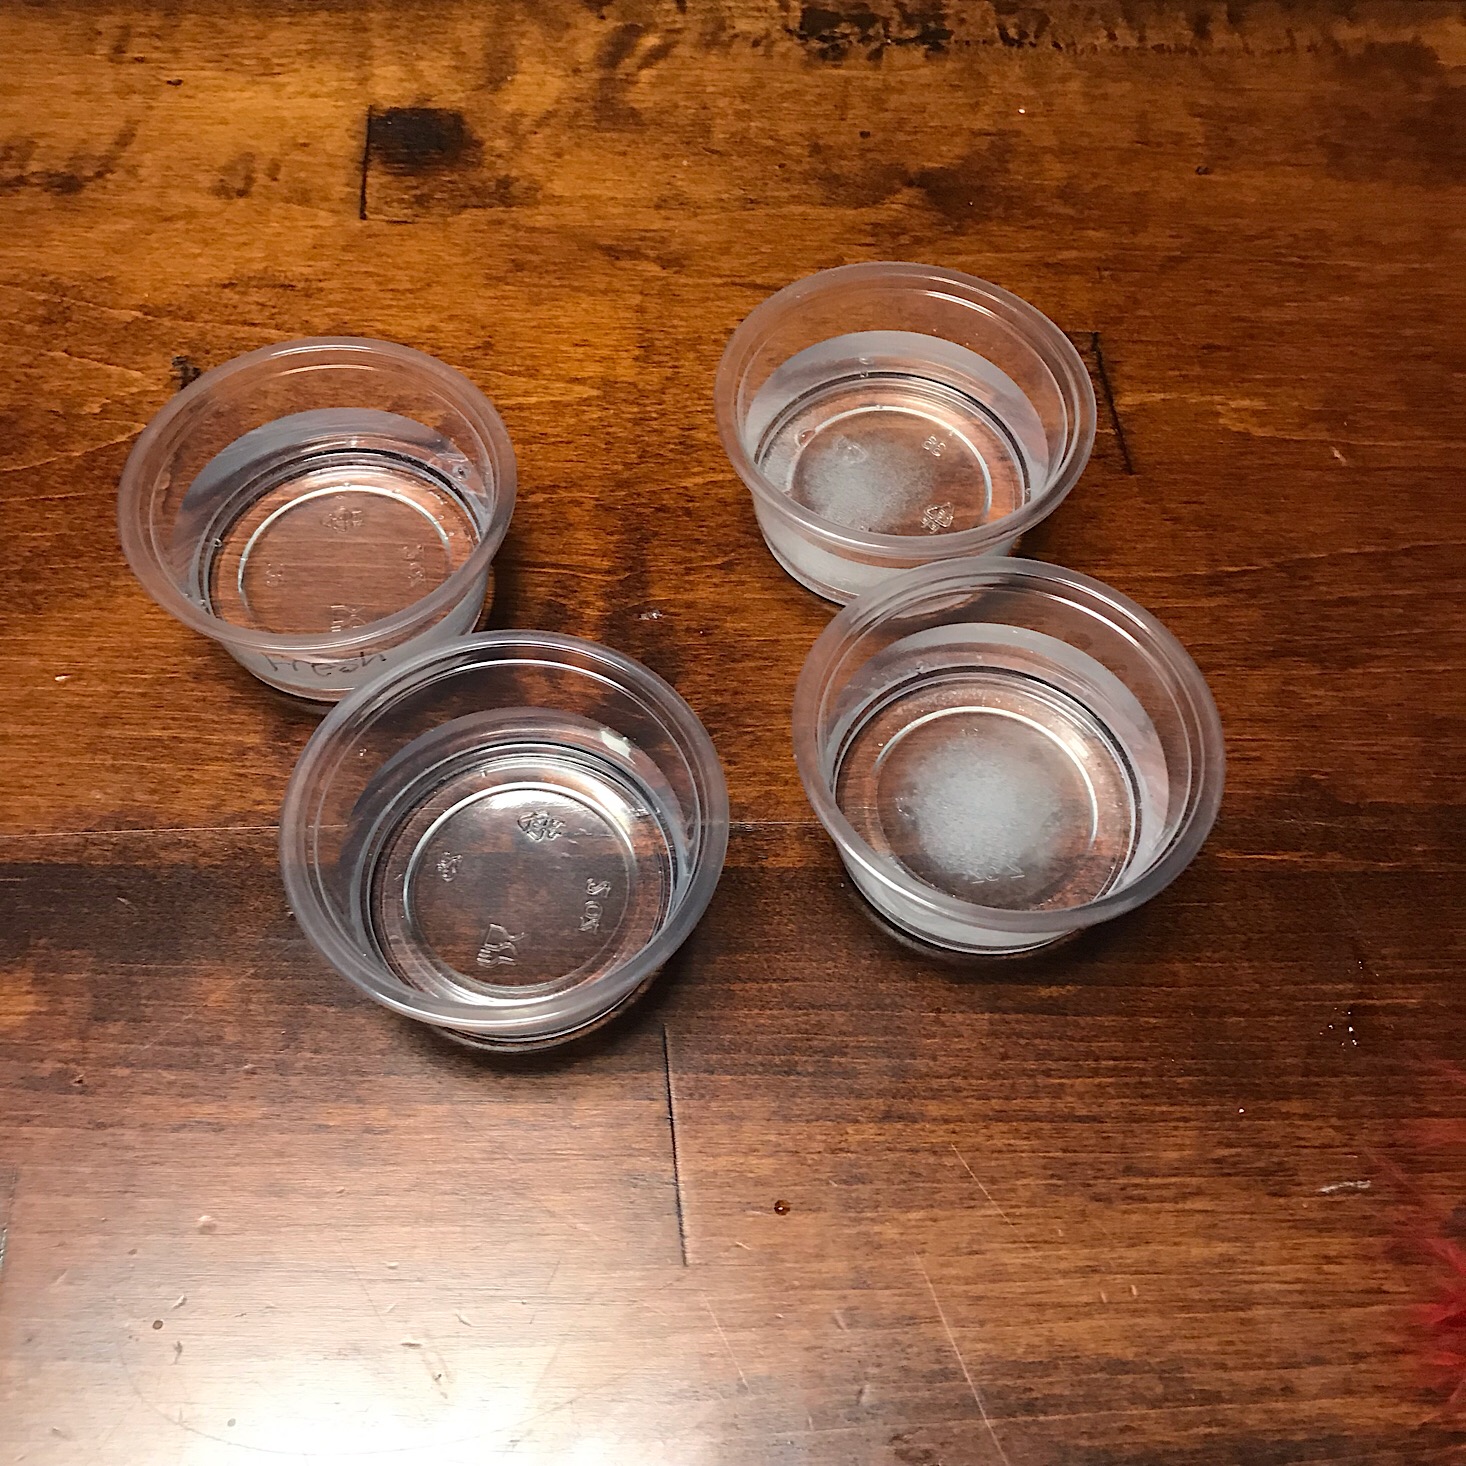
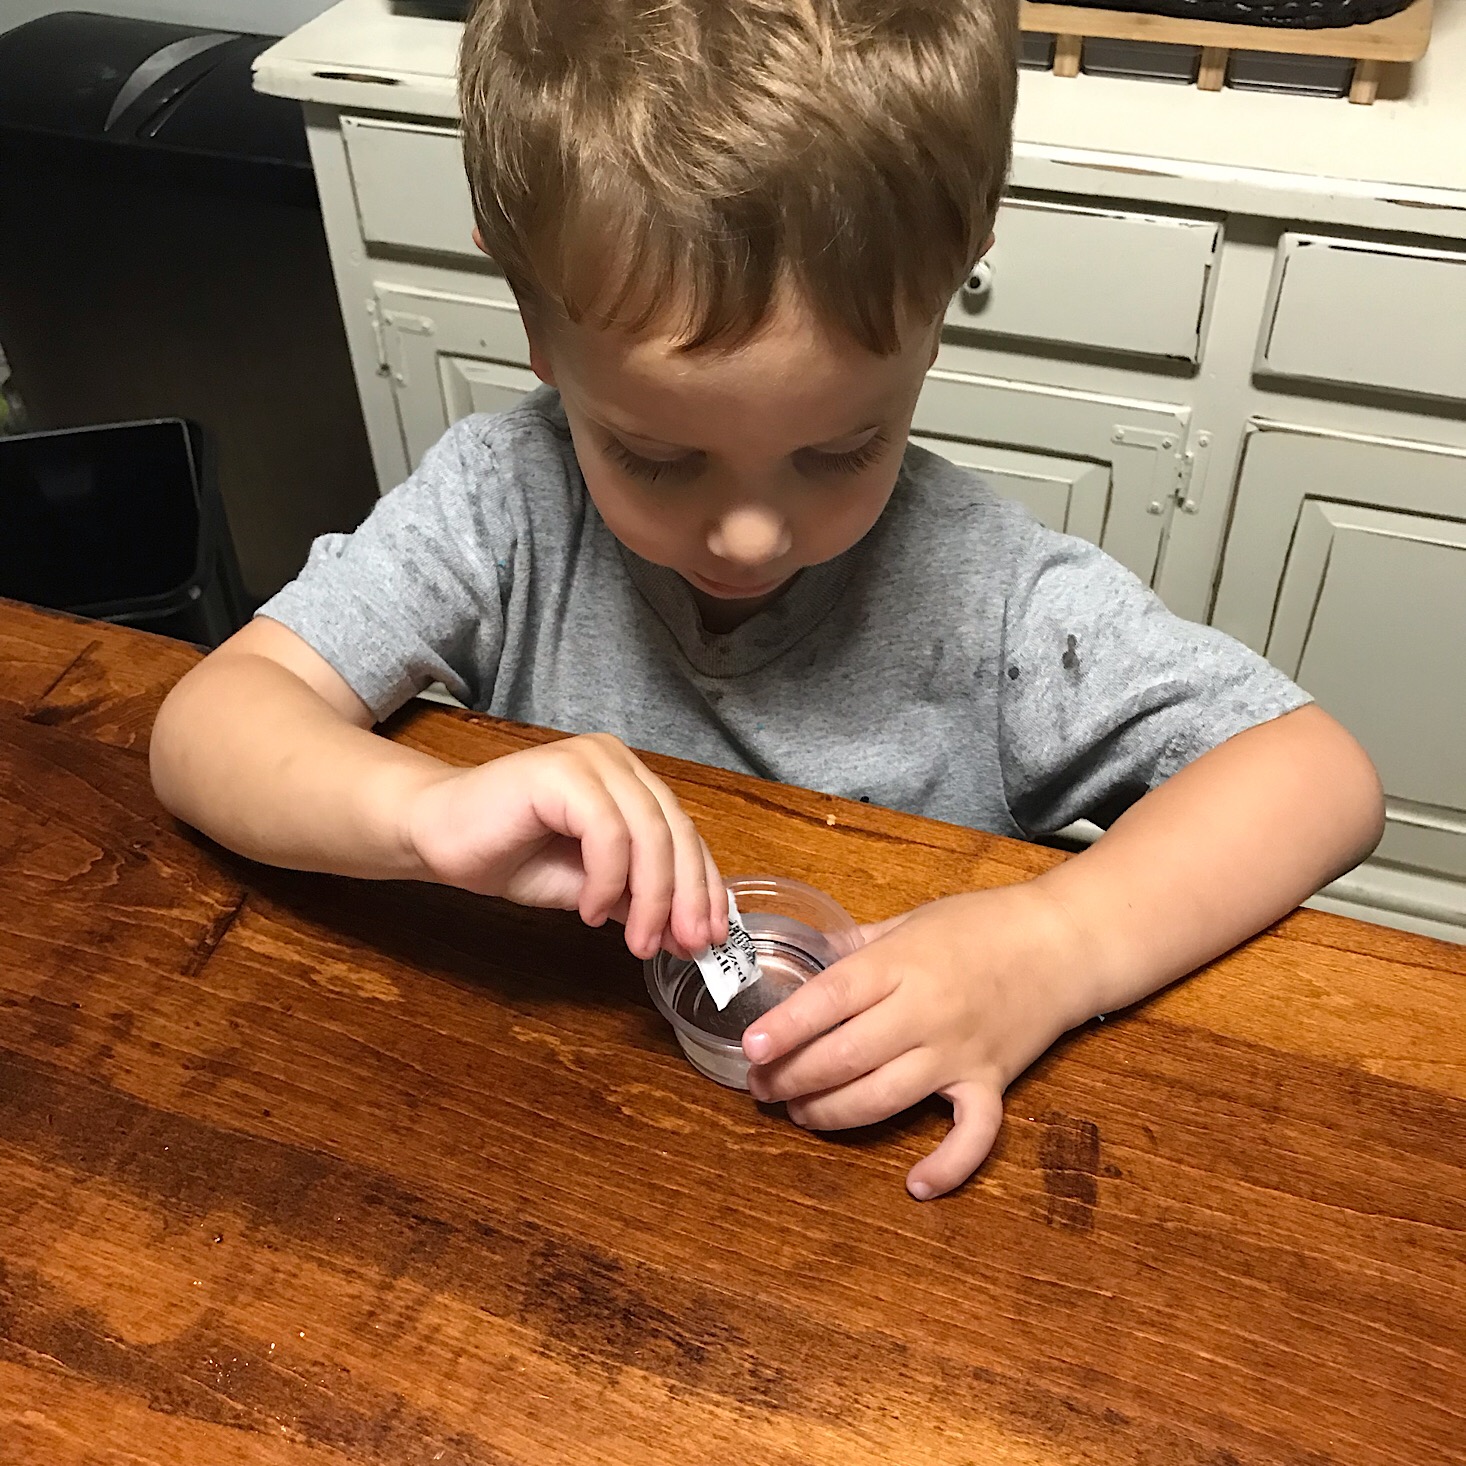
The booklet said that there were labels for us to place on our cups, but it looks like mine were missing. It was no biggie though, I just labeled mine with a marker. I labeled two cups as "fresh" and left the other two blank since these were our saltwater cups. My son poured the salt into our two blank cups and then we added water to all four of them.
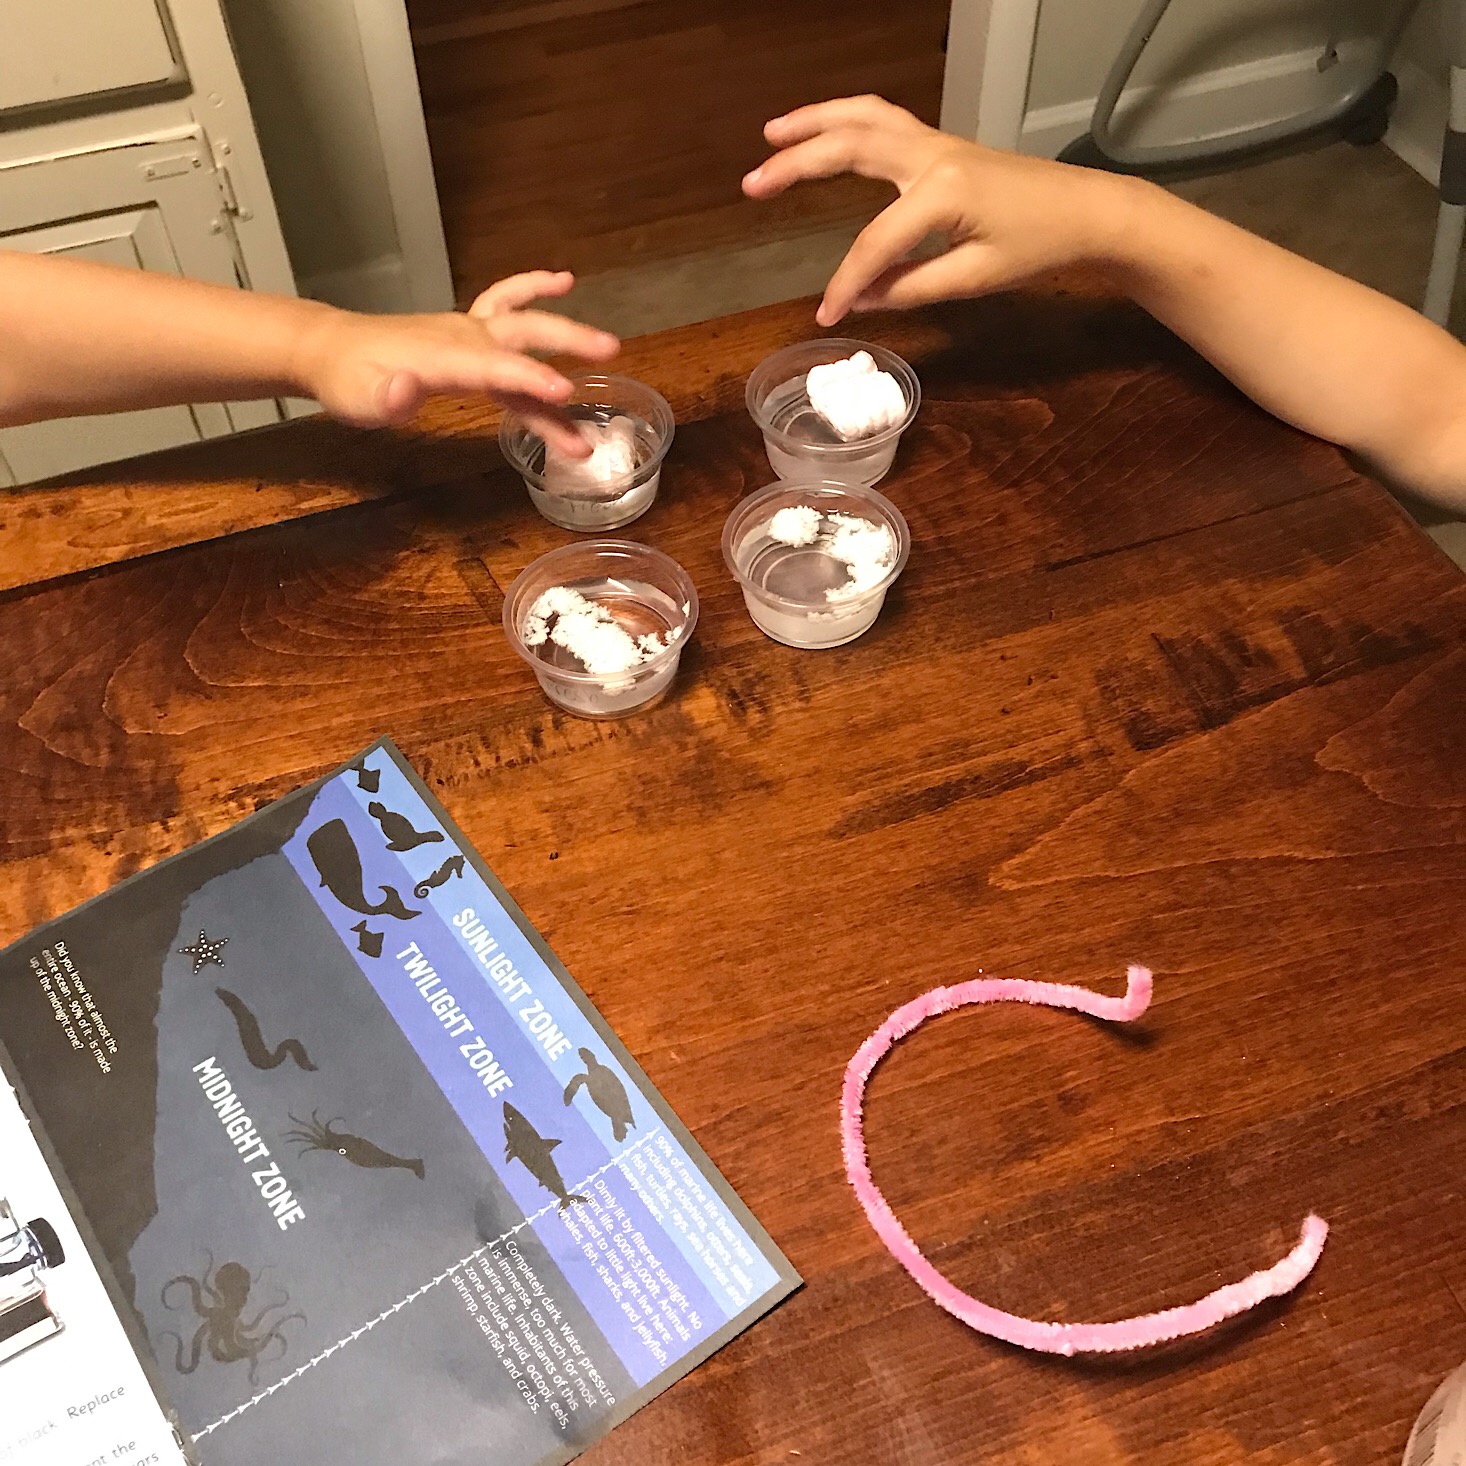
Then we placed one pink packing peanut in a freshwater cup and one in saltwater and did the same with the white biodegradable peanuts. We observed that the white peanut in the saltwater started to dissolve first. Then we set them aside and came back to observe them at various times while we worked on the rest of the activities. This was such a great way to show exactly what happens when plastic ends up in freshwater or the ocean. The kids could see exactly what was happening and I think this was an effective and memorable experiment that demonstrated the importance of recycling, not littering, and the advantage of using biodegradable materials!
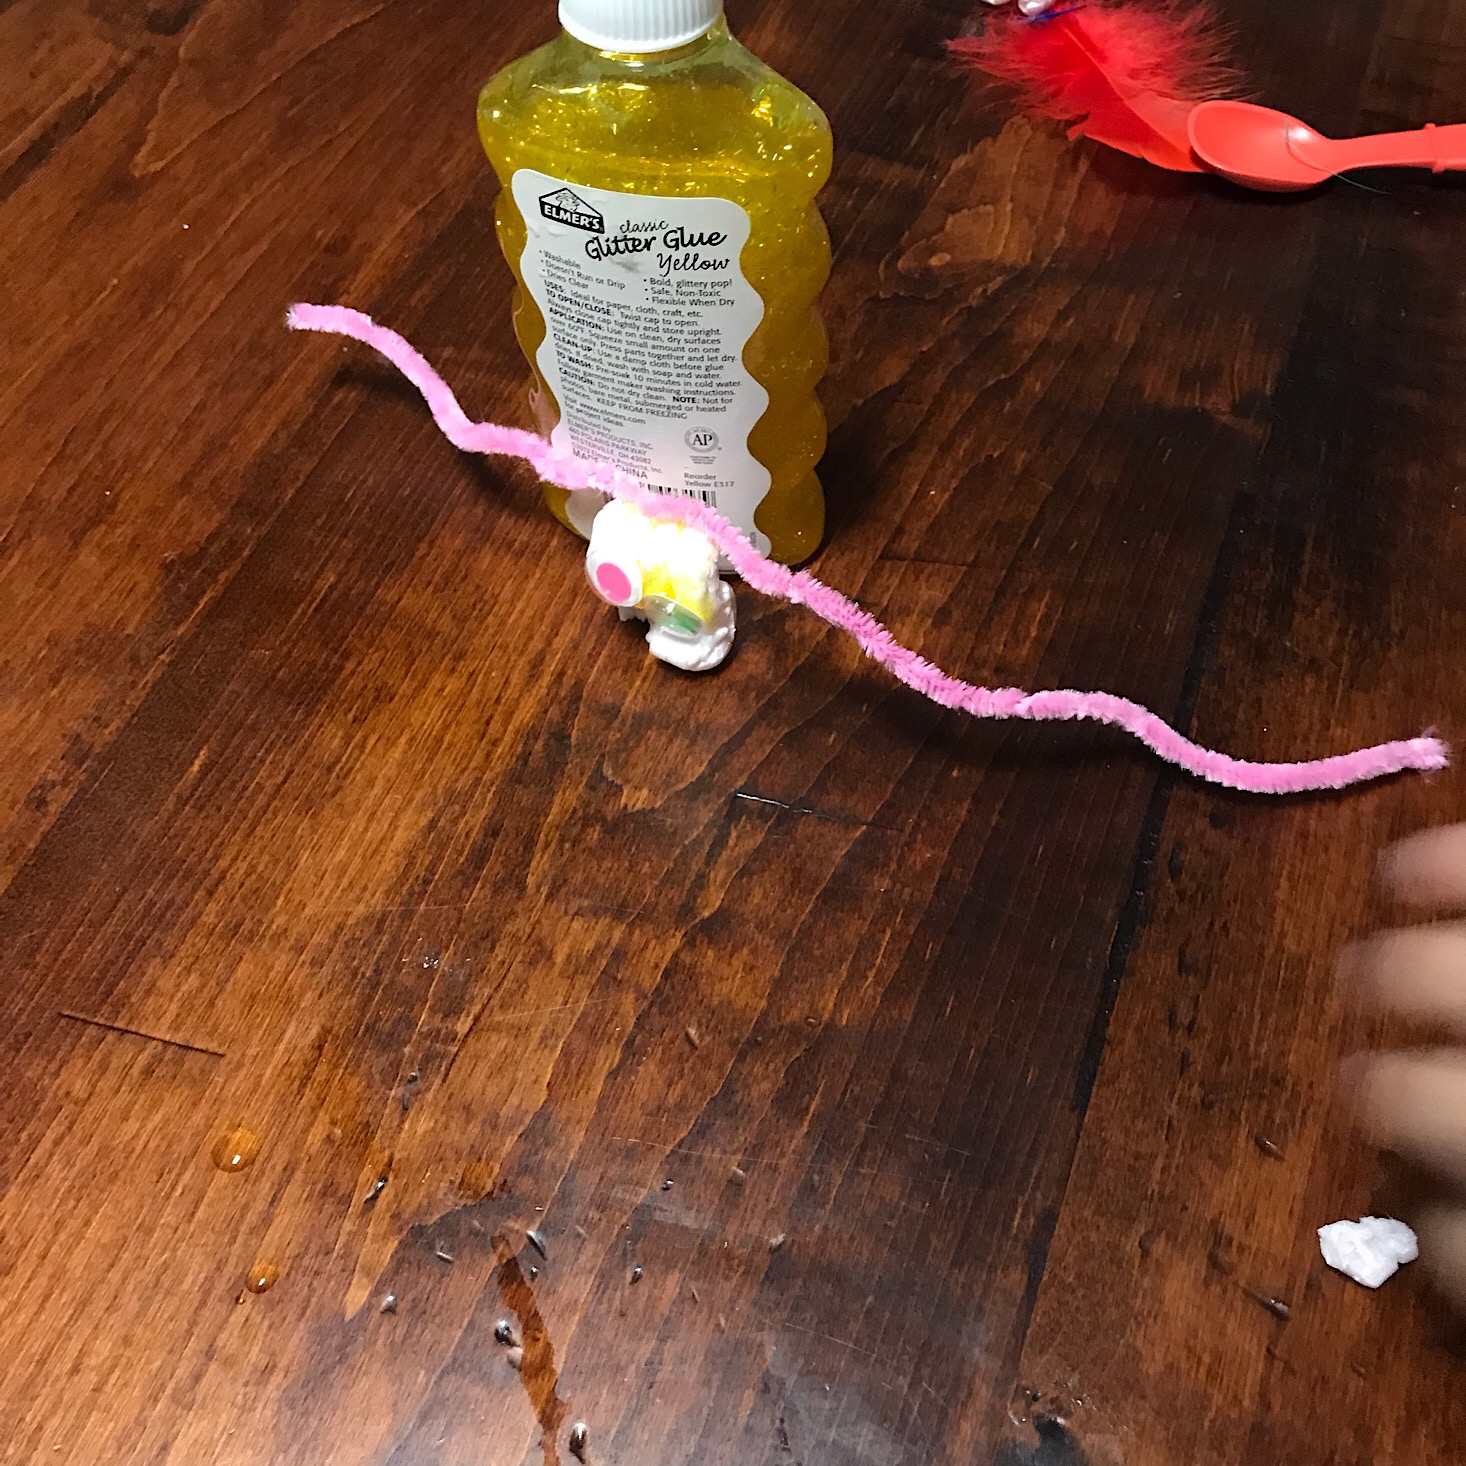
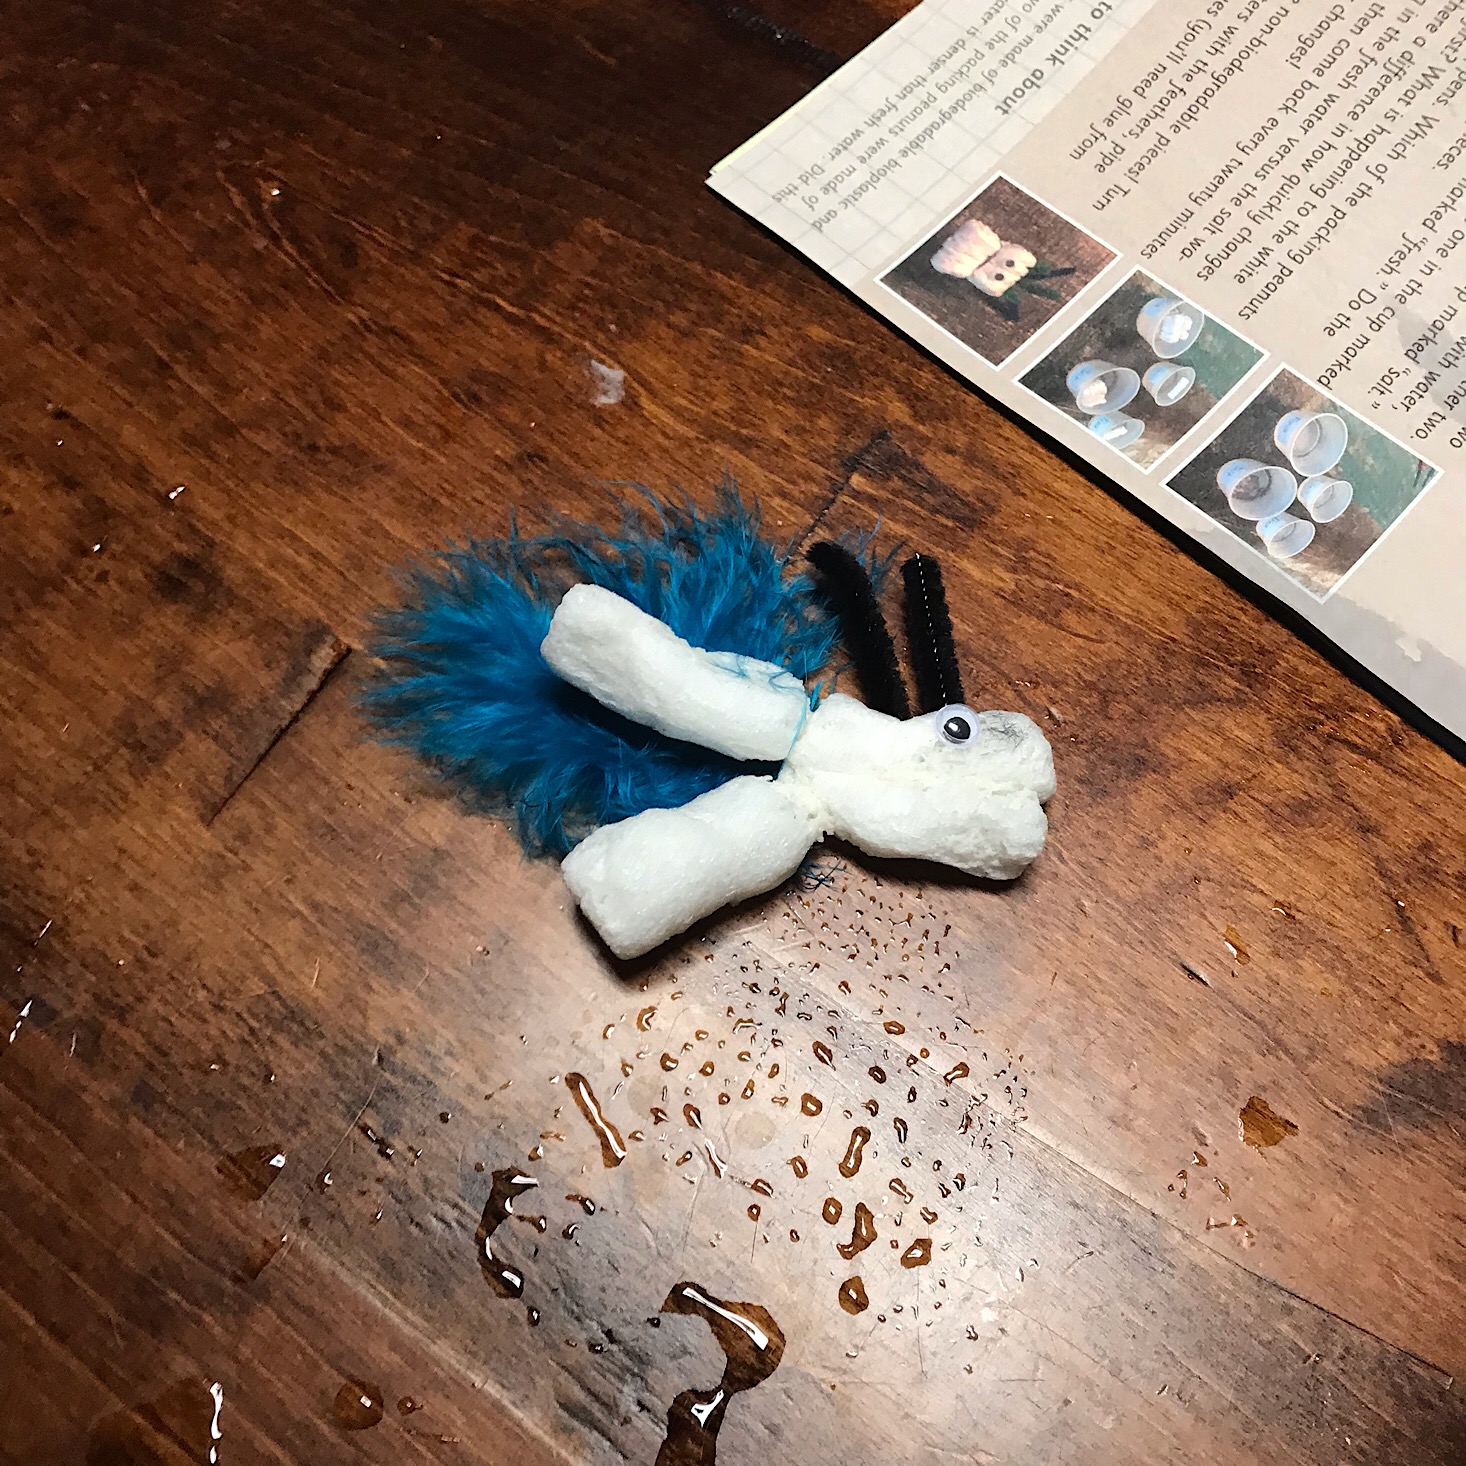
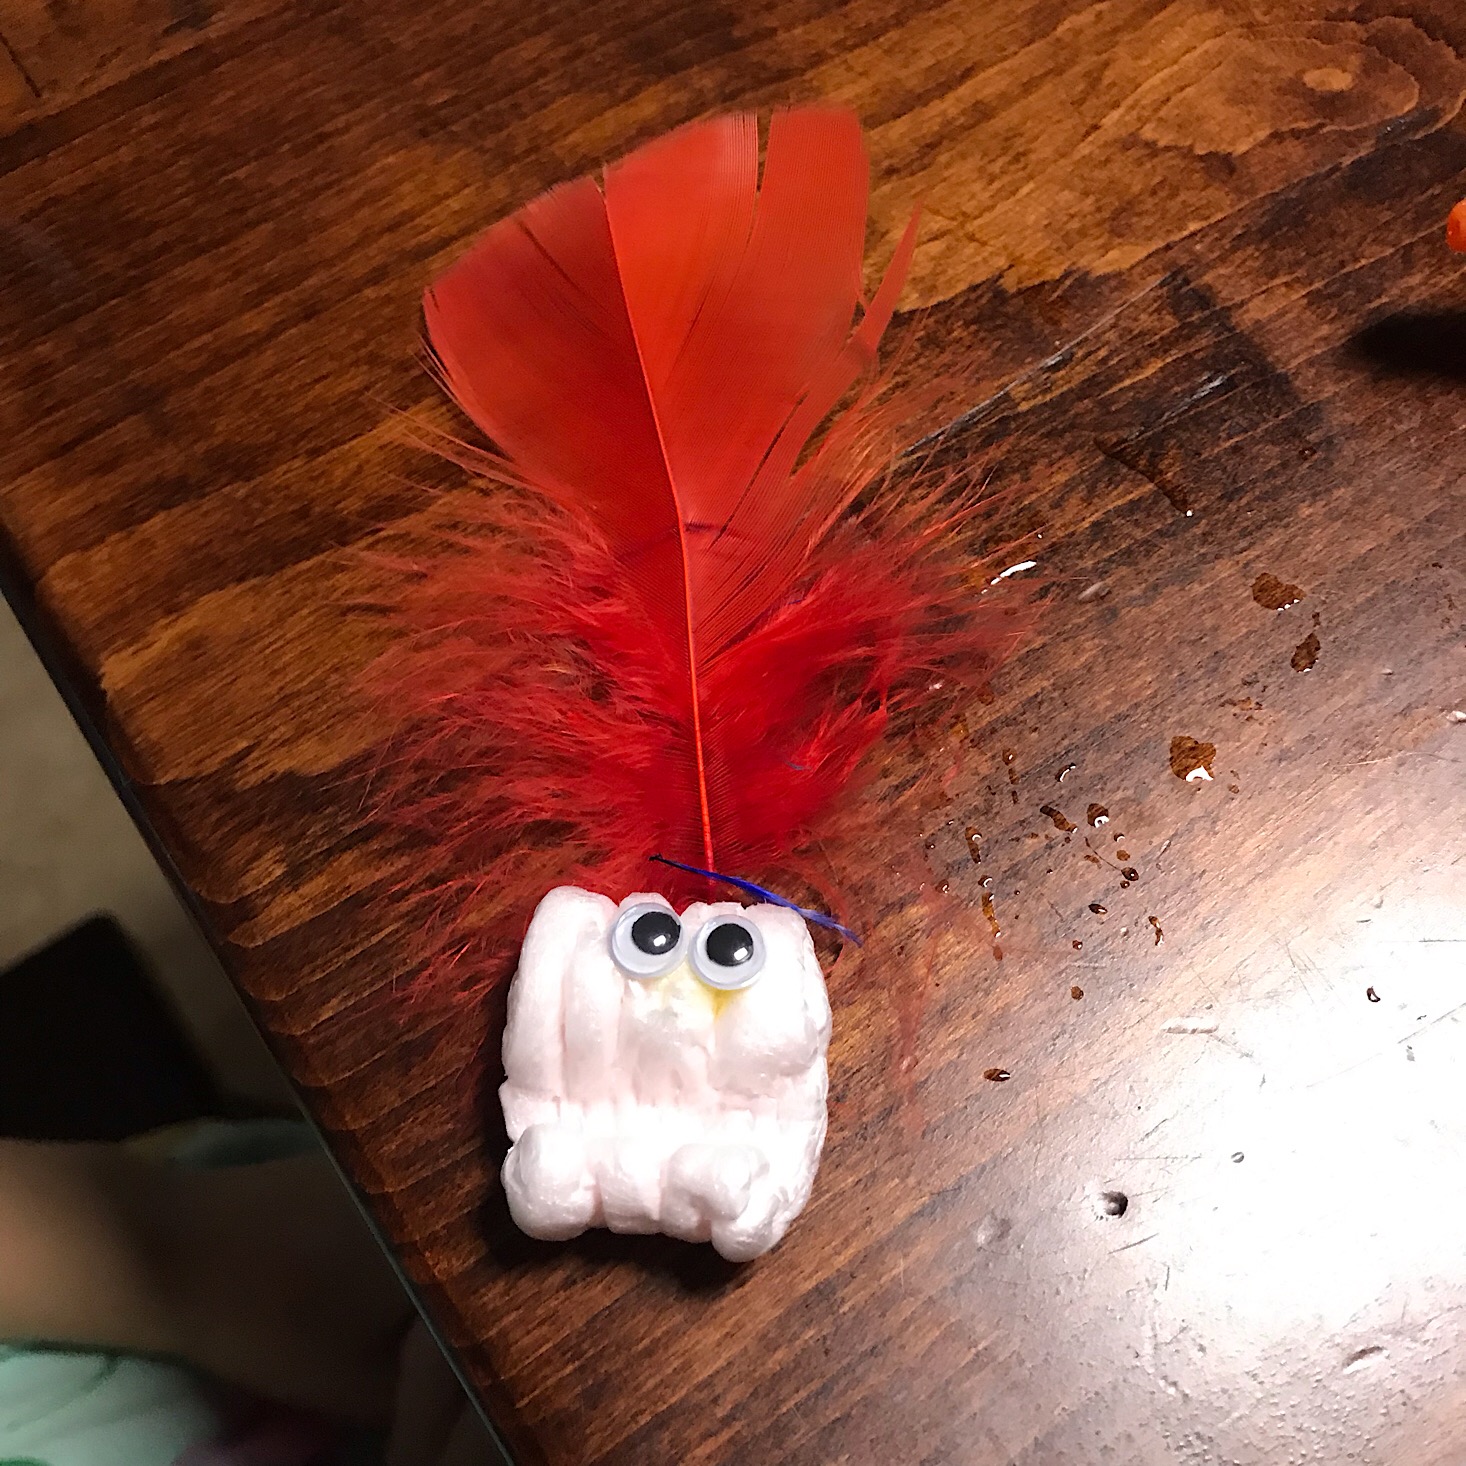
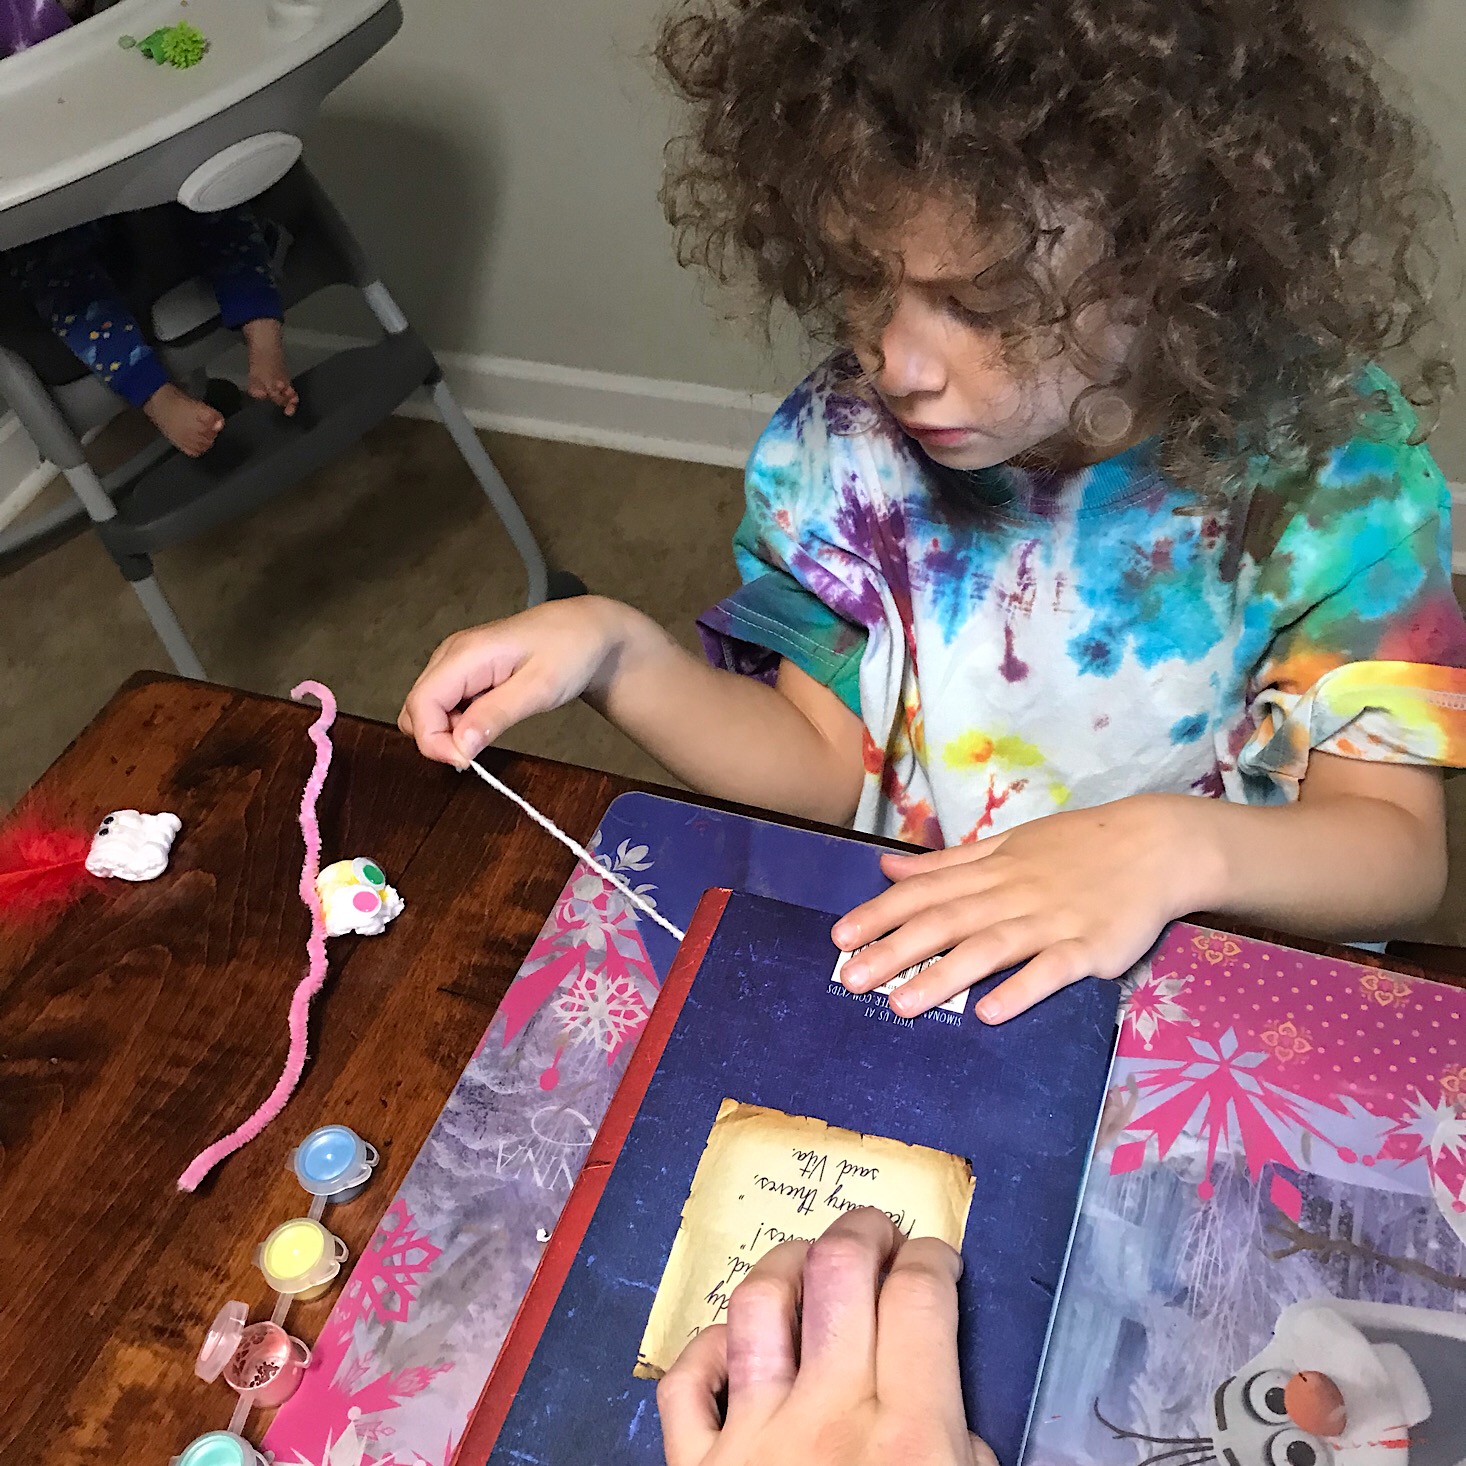
The second part of our project was to recycle the peanuts and use the art supplies that they provided.
The kids really enjoyed being creative and making their own little creatures. This was a great way to show that what you might consider trash can actually be turned into art. Although my kids are already quite familiar with this concept and tend to make a LOT of creations using things they find around the house!
Project 3: Ocean Light Zones
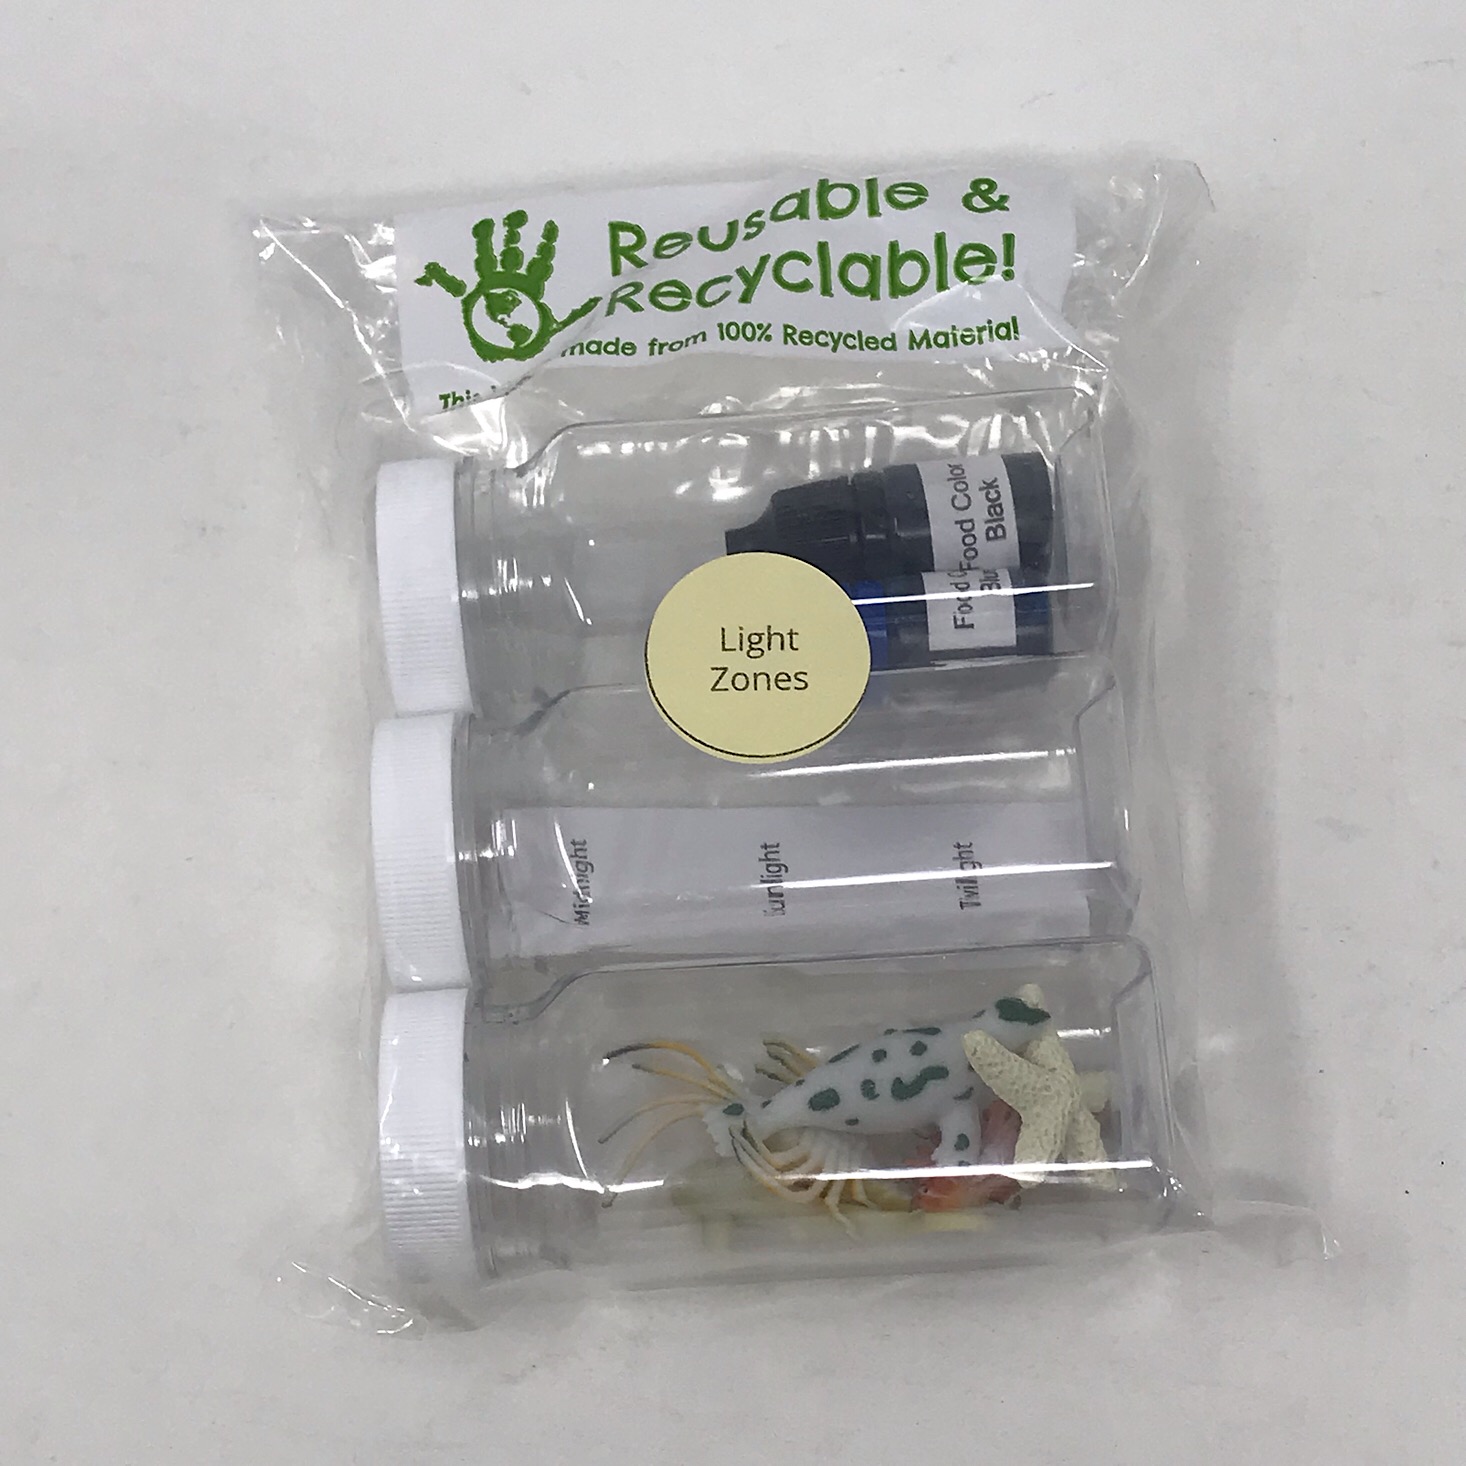
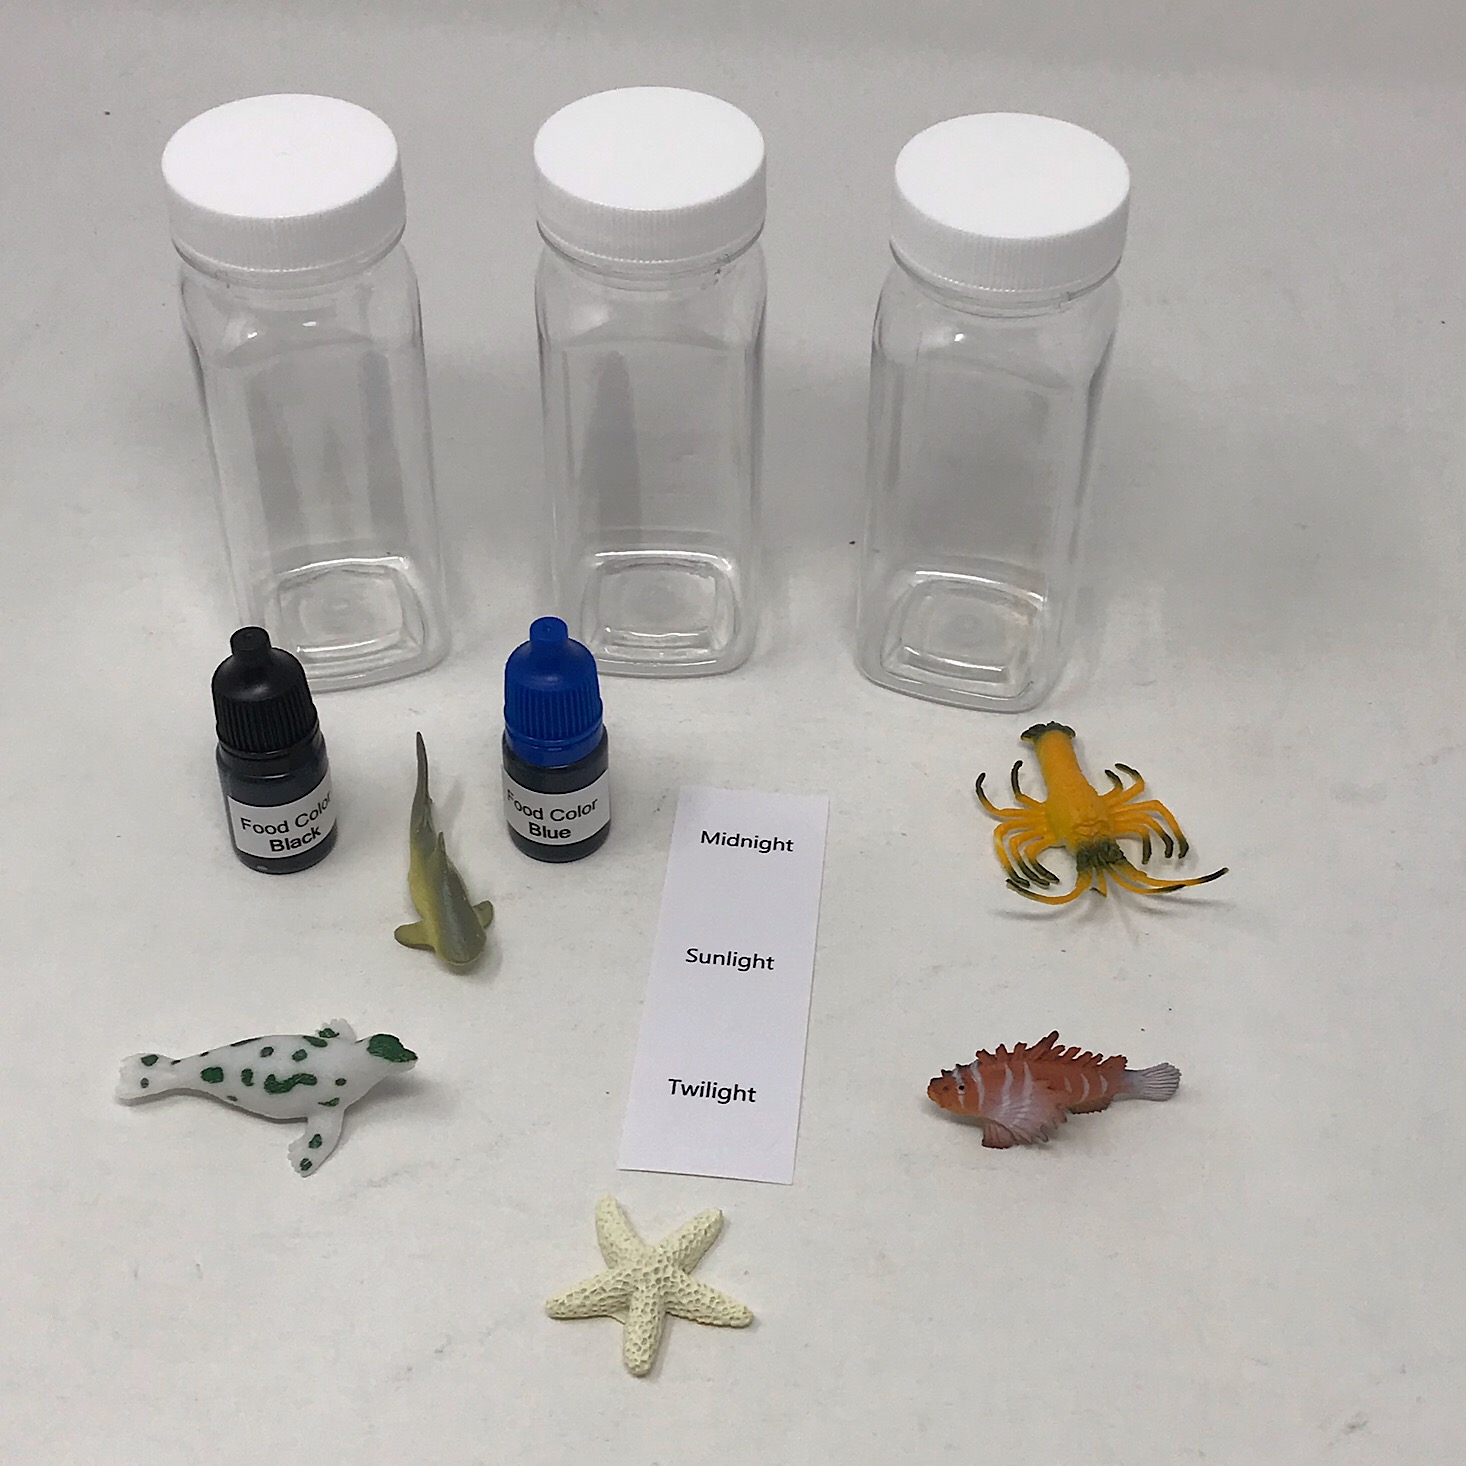
I was so happy to see this project in our box this month! I had seen similar ocean light zone bottles at a Discovery Station we had visited a long time ago and thought it was so cool. My kids were equally as excited when they saw the little sea creatures!
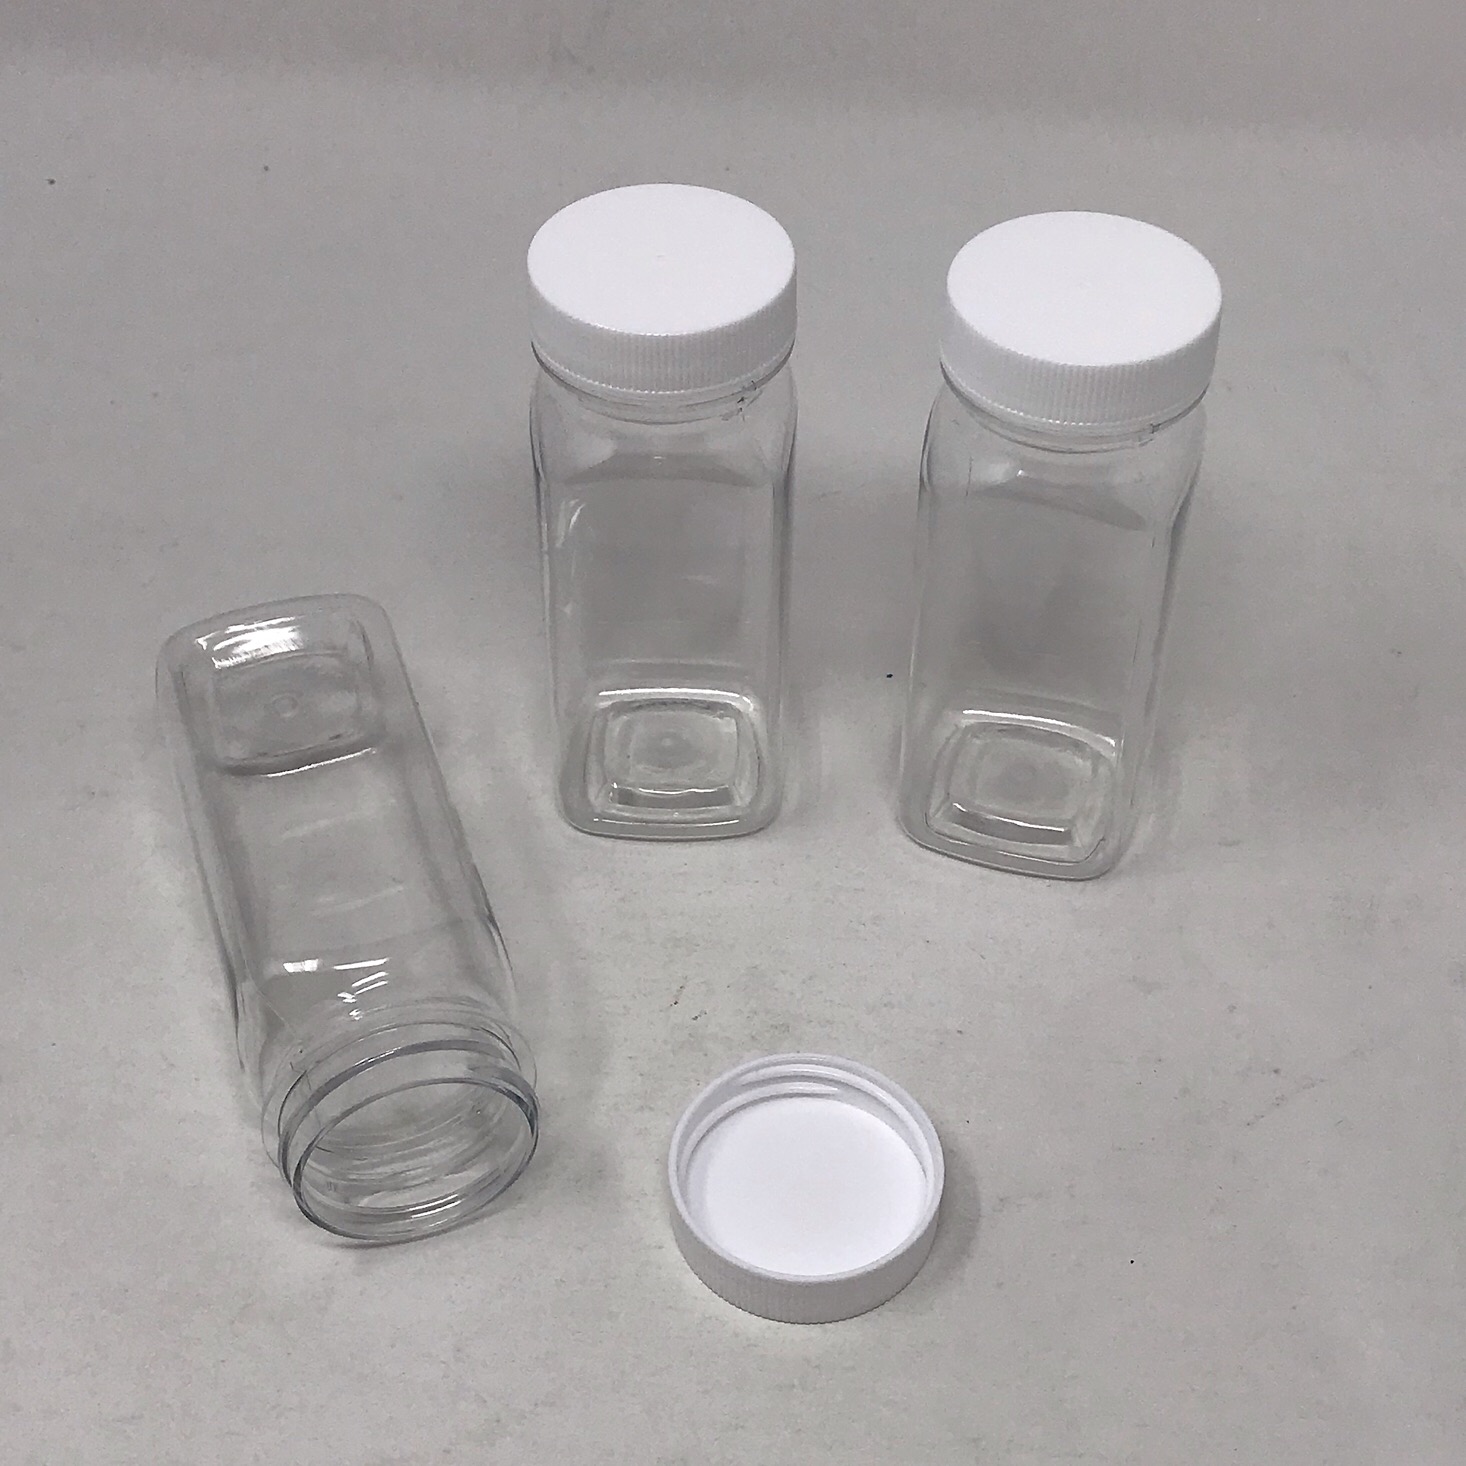
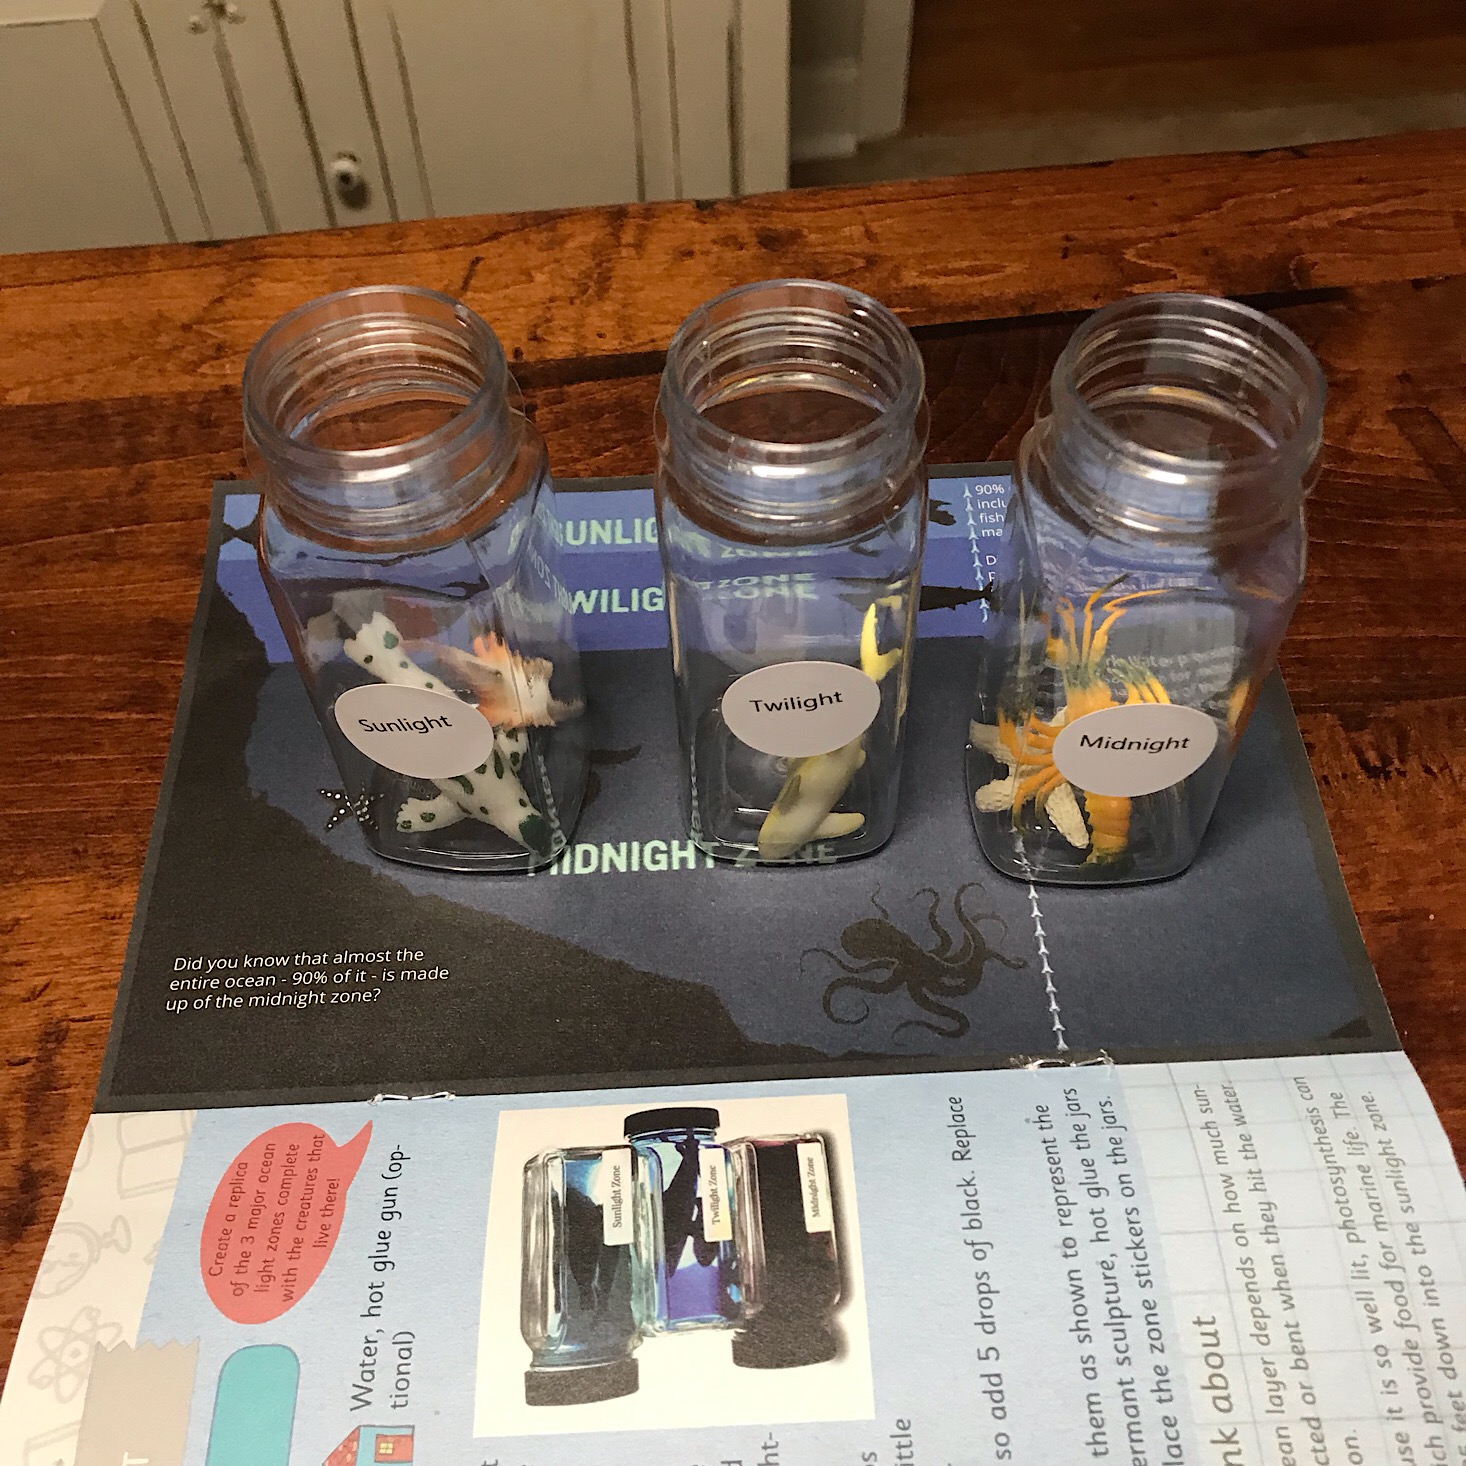
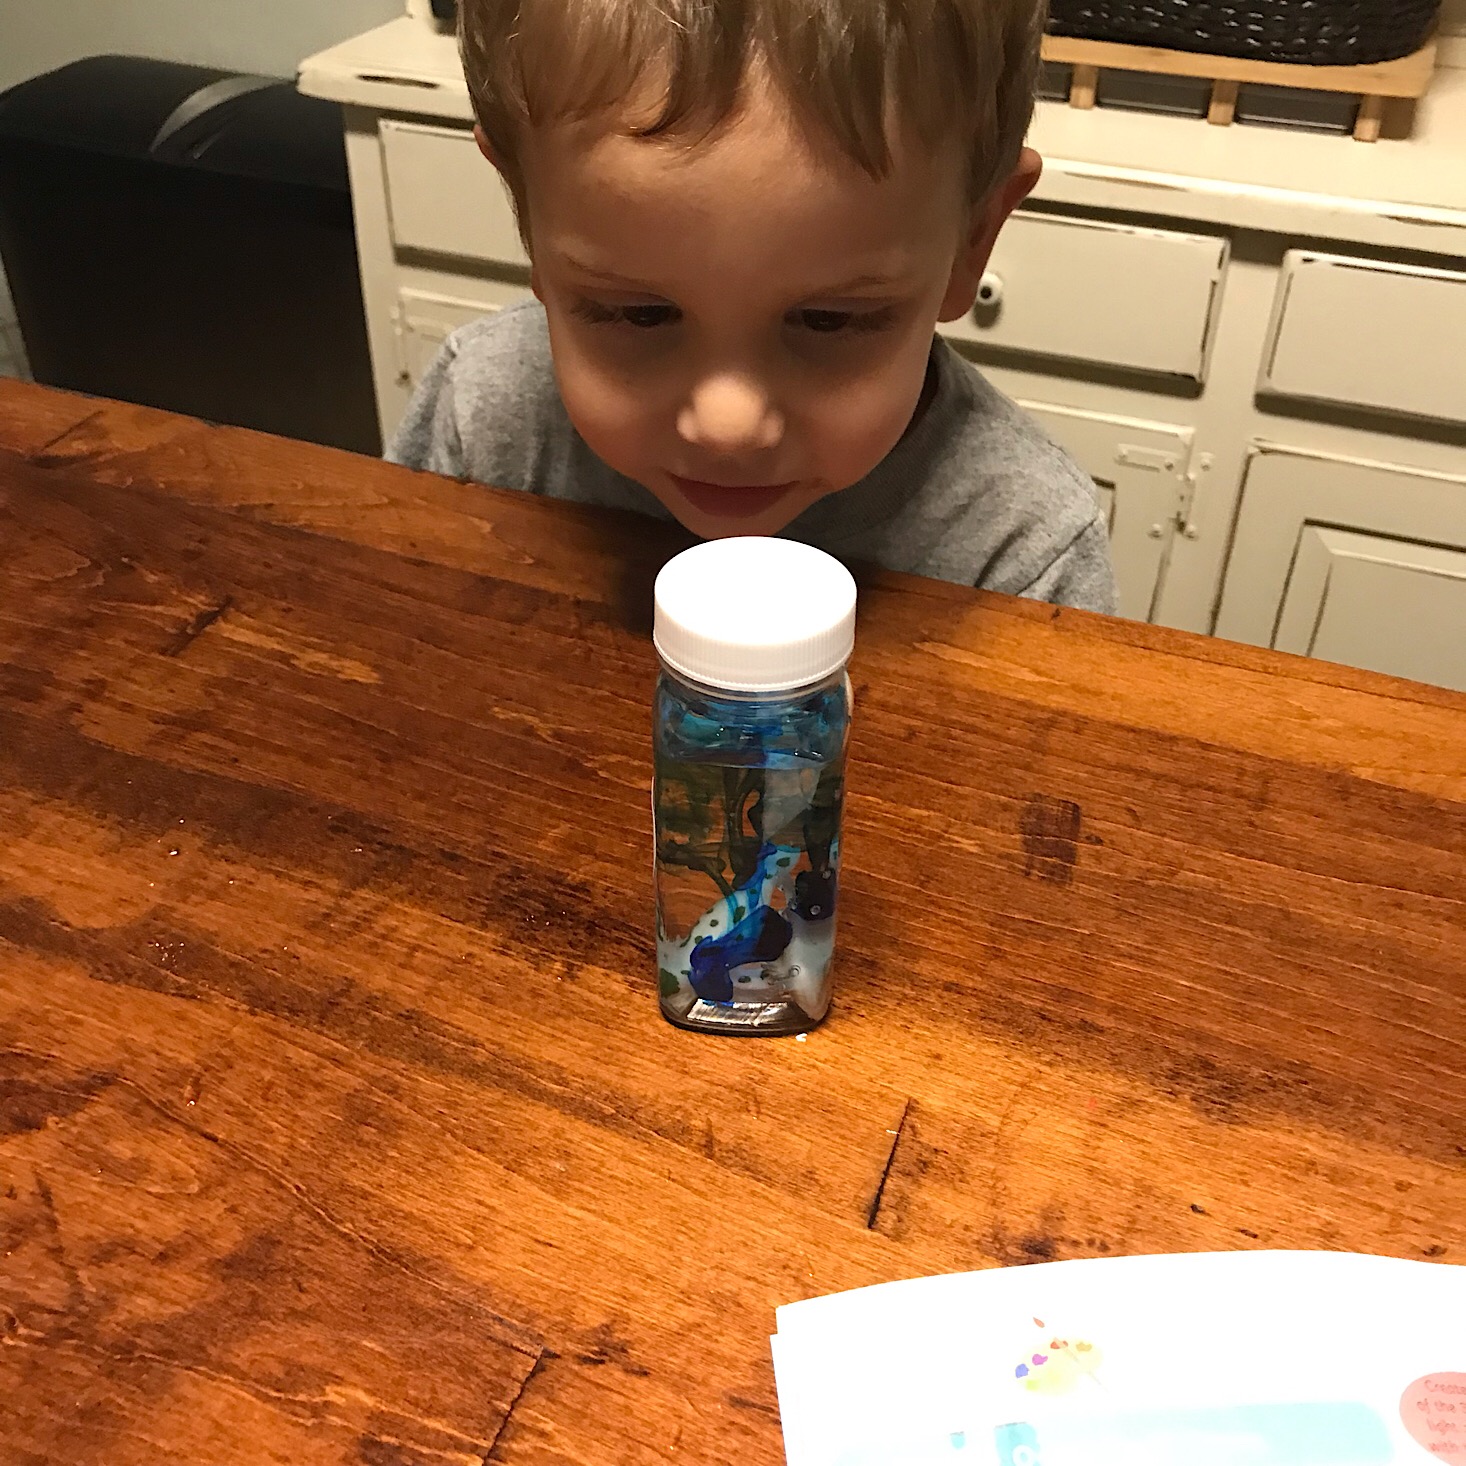
First, we had a great discussion using the information in our book about the different zones of the ocean and what can be found in each one. They provided labels for the three zones: sunlight, twilight and midnight and we placed a label on each bottle. Then we went through our sea creatures and sorted them according to what we learned, placing them inside the bottles.
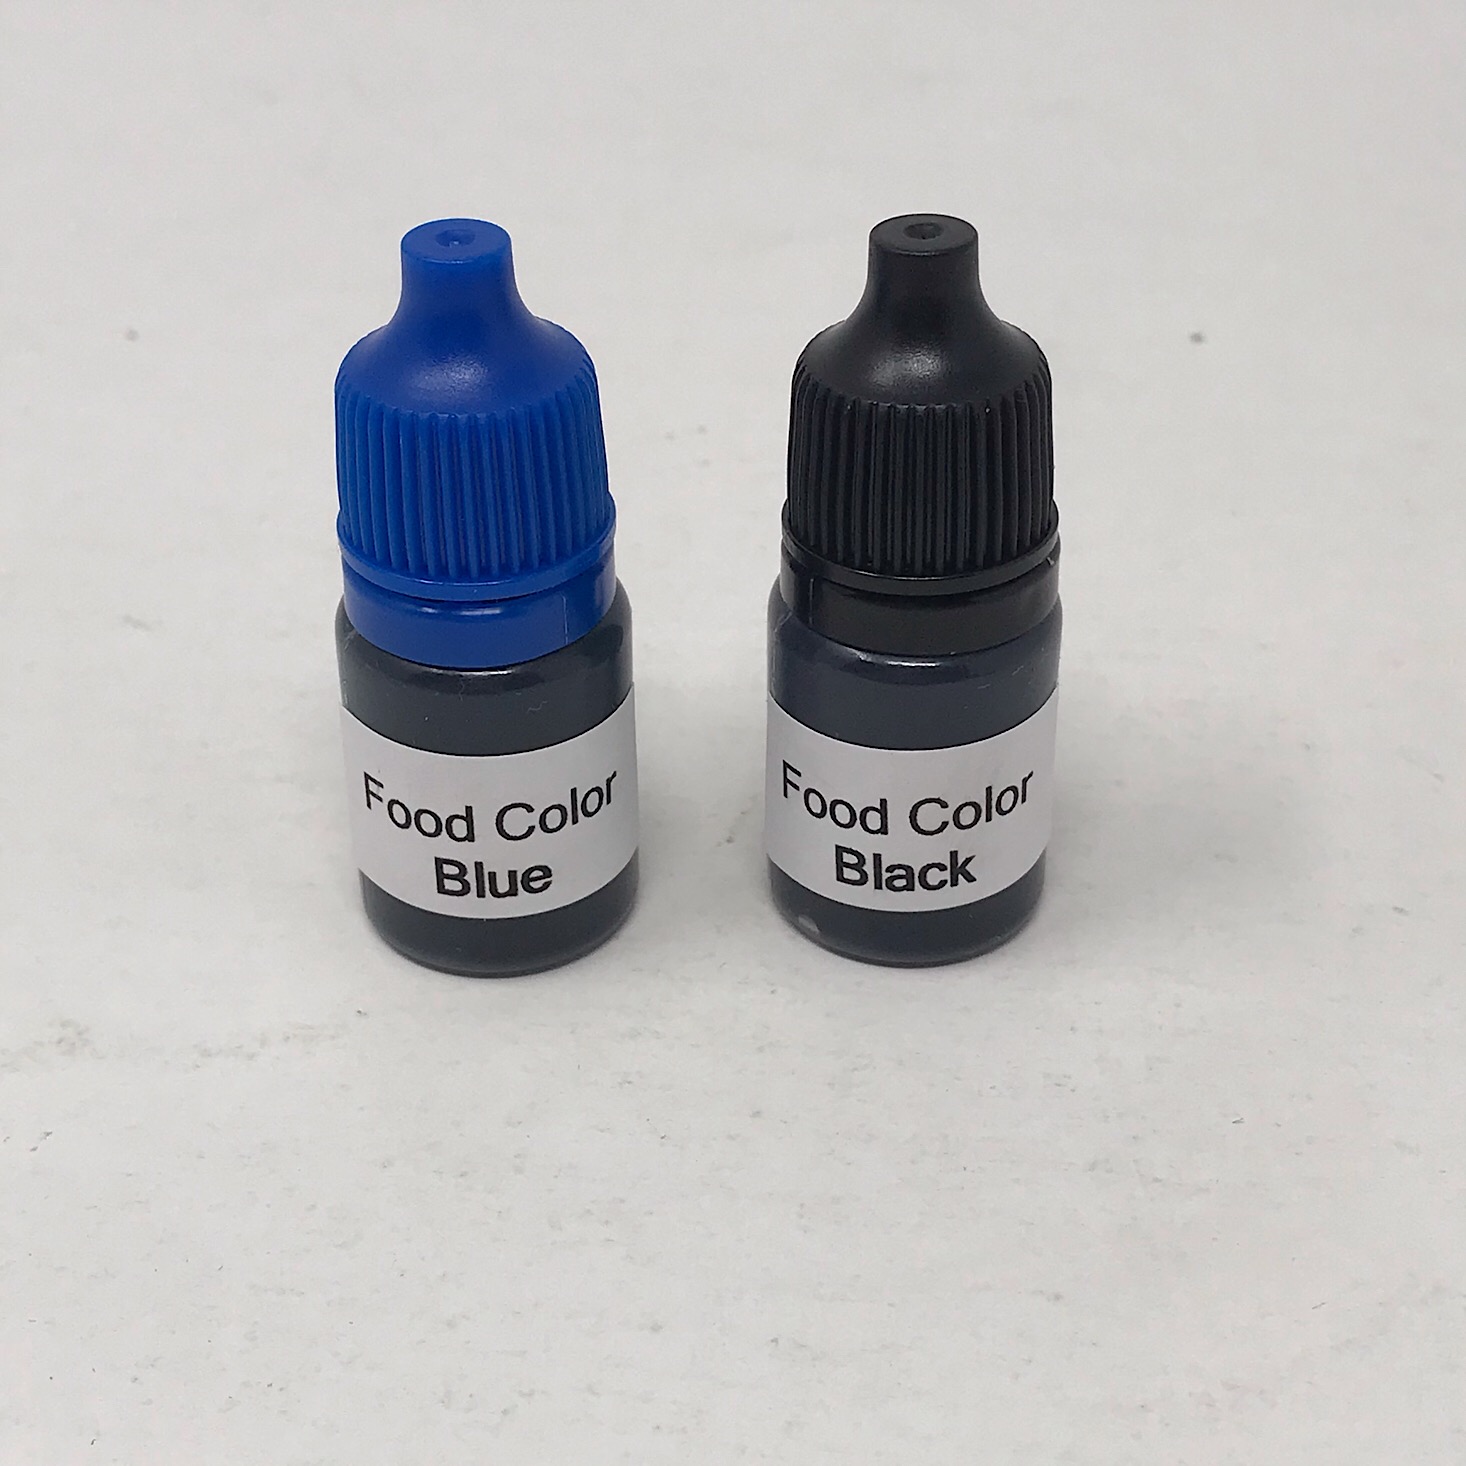
We filled the bottles with water and then added some of the blue dye to the sunlight and twilight zones which was fun to watch swirl into the water. We placed the lids back on and gave them a shake and made sure the colors for each one were different enough from one another.
For the midnight zone, my daughter added black food dye and then we replaced the lid and gave it a shake. This one was really cool because you could barely see the creatures and it was a great way to show just how dark the depths of the ocean can be!

Here are our three ocean zone bottles. They also recommended getting some hot glue and stacking them on top of one another for more of a sculptural look. I think we will just keep them separate for now because they are so much fun to look at. Although I might just hot glue the lids down so that no sea creatures (or black water!) can escape!
Project 4: Boyle's Law Experiment
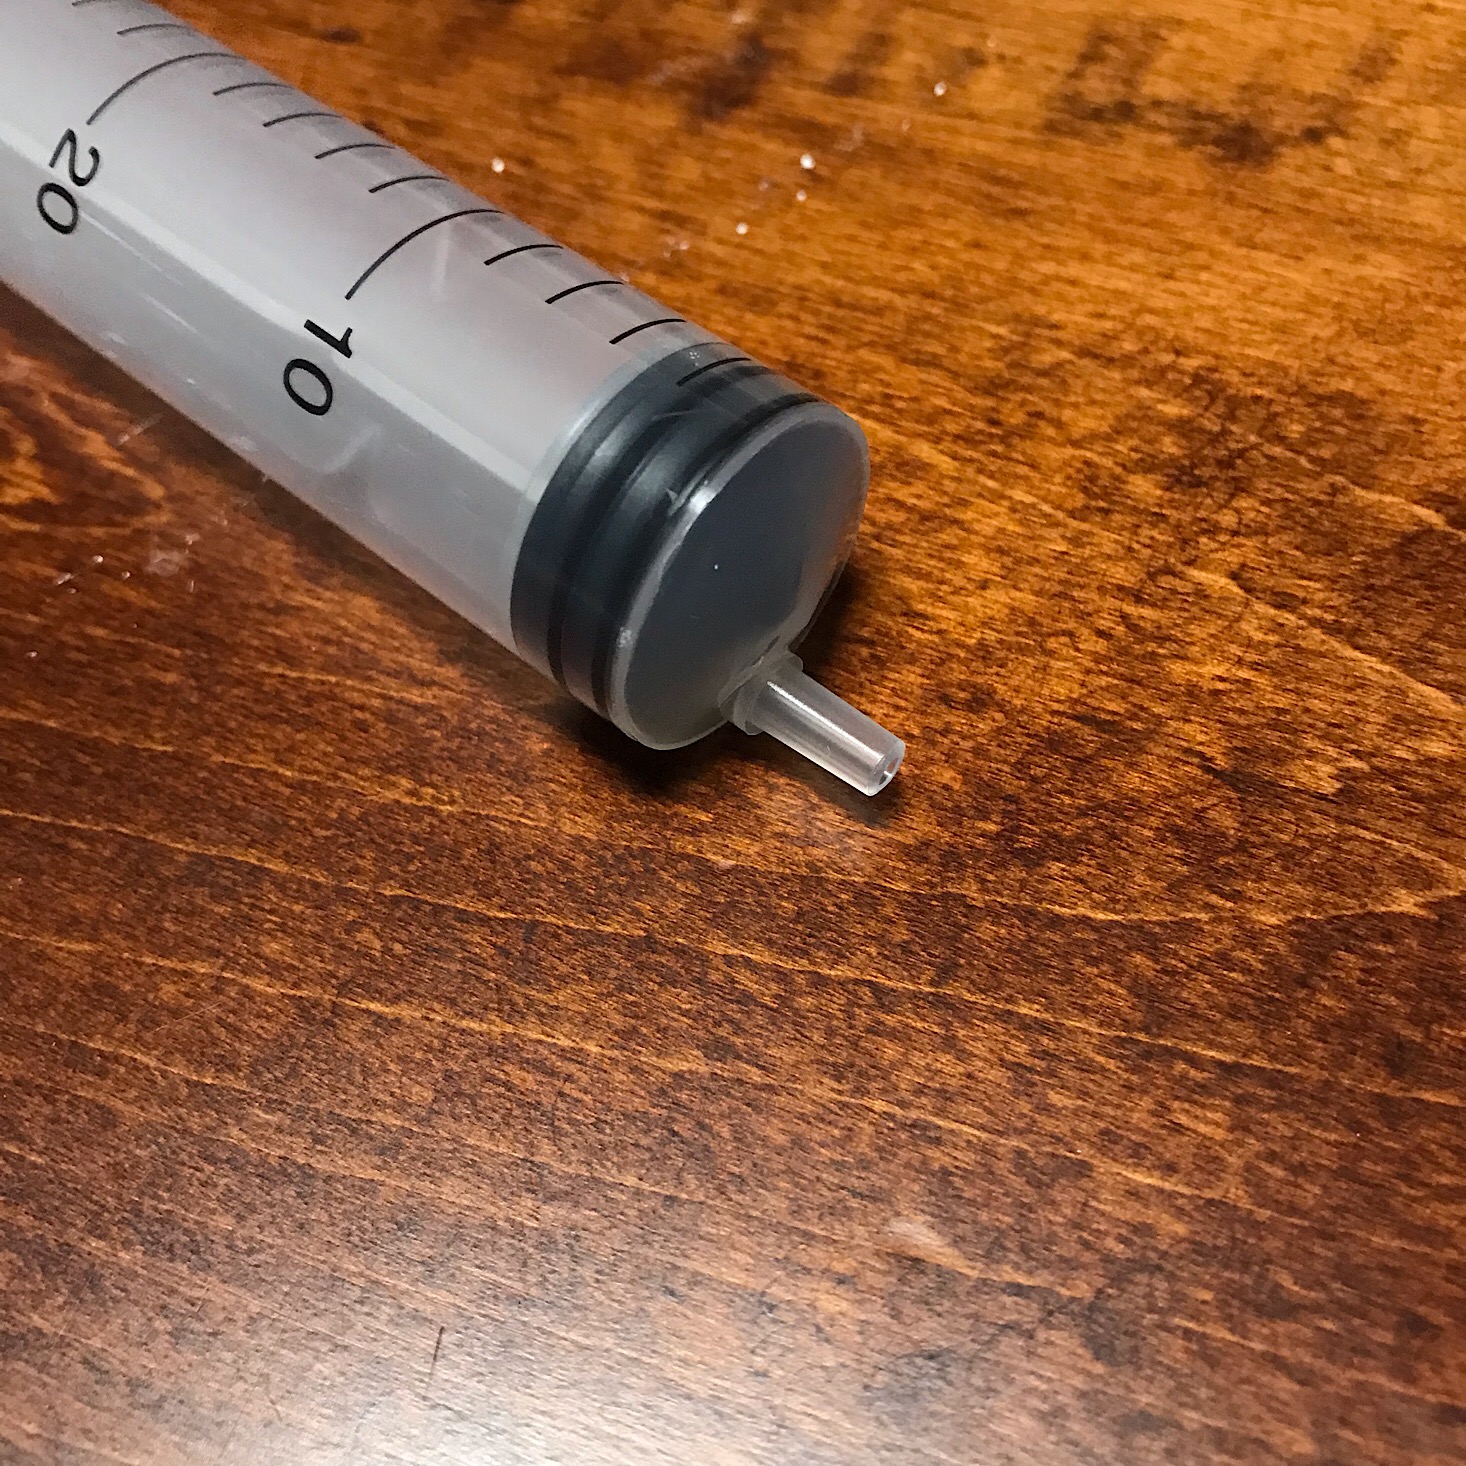
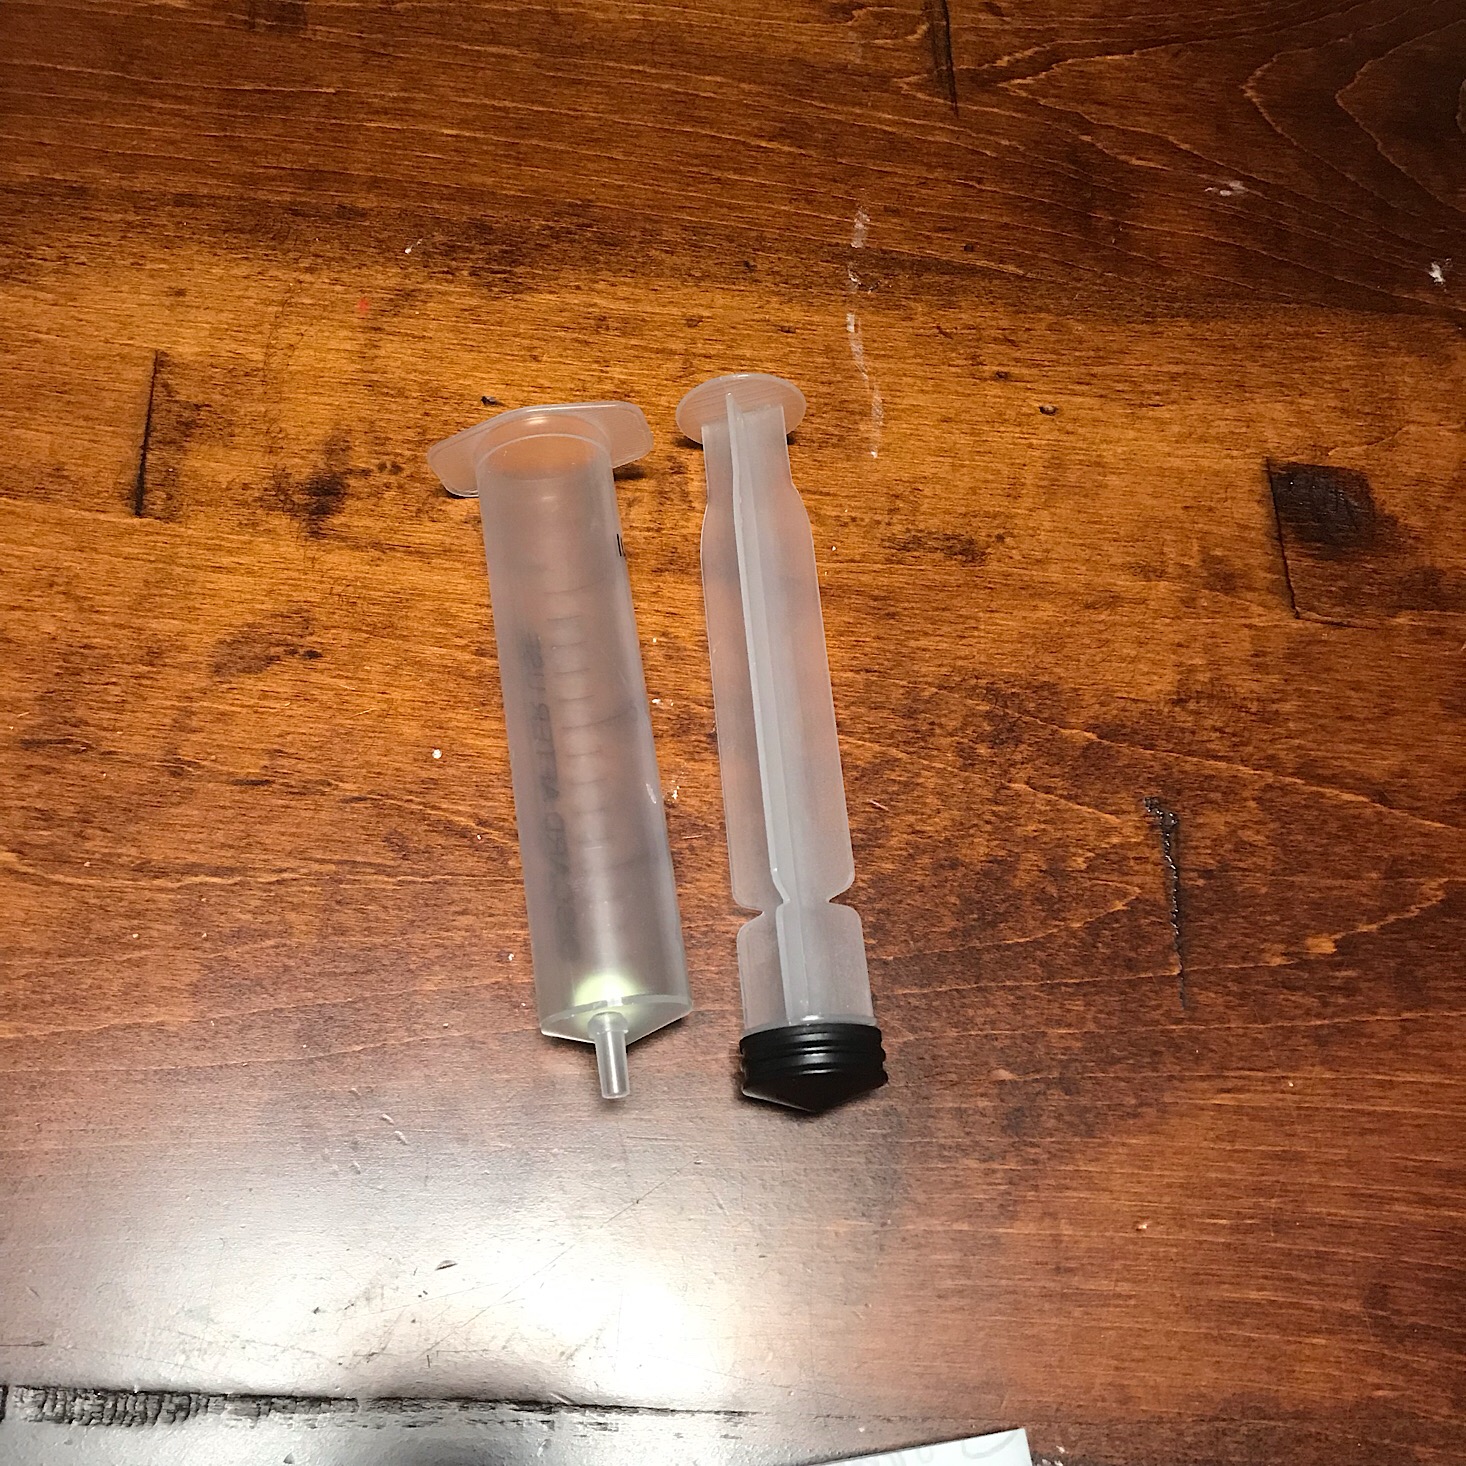
Our last experiment was to explore Boyle's Law using a syringe and a marshmallow. They related this to the pressure from the ocean zones which made it relevant to our theme!
This was simple enough! We opened the syringe, added a marshmallow and then pushed it down to about 15 ml. Then we plugged the small hole at the end with our finger and moved the syringe in and out to see what happened to the marshmallow. It got bigger and smaller depending on the air pressure inside. This was another cool experiment that was simple and easy to see the results.
Bonus (?) Activity: Creative Painting Techniques
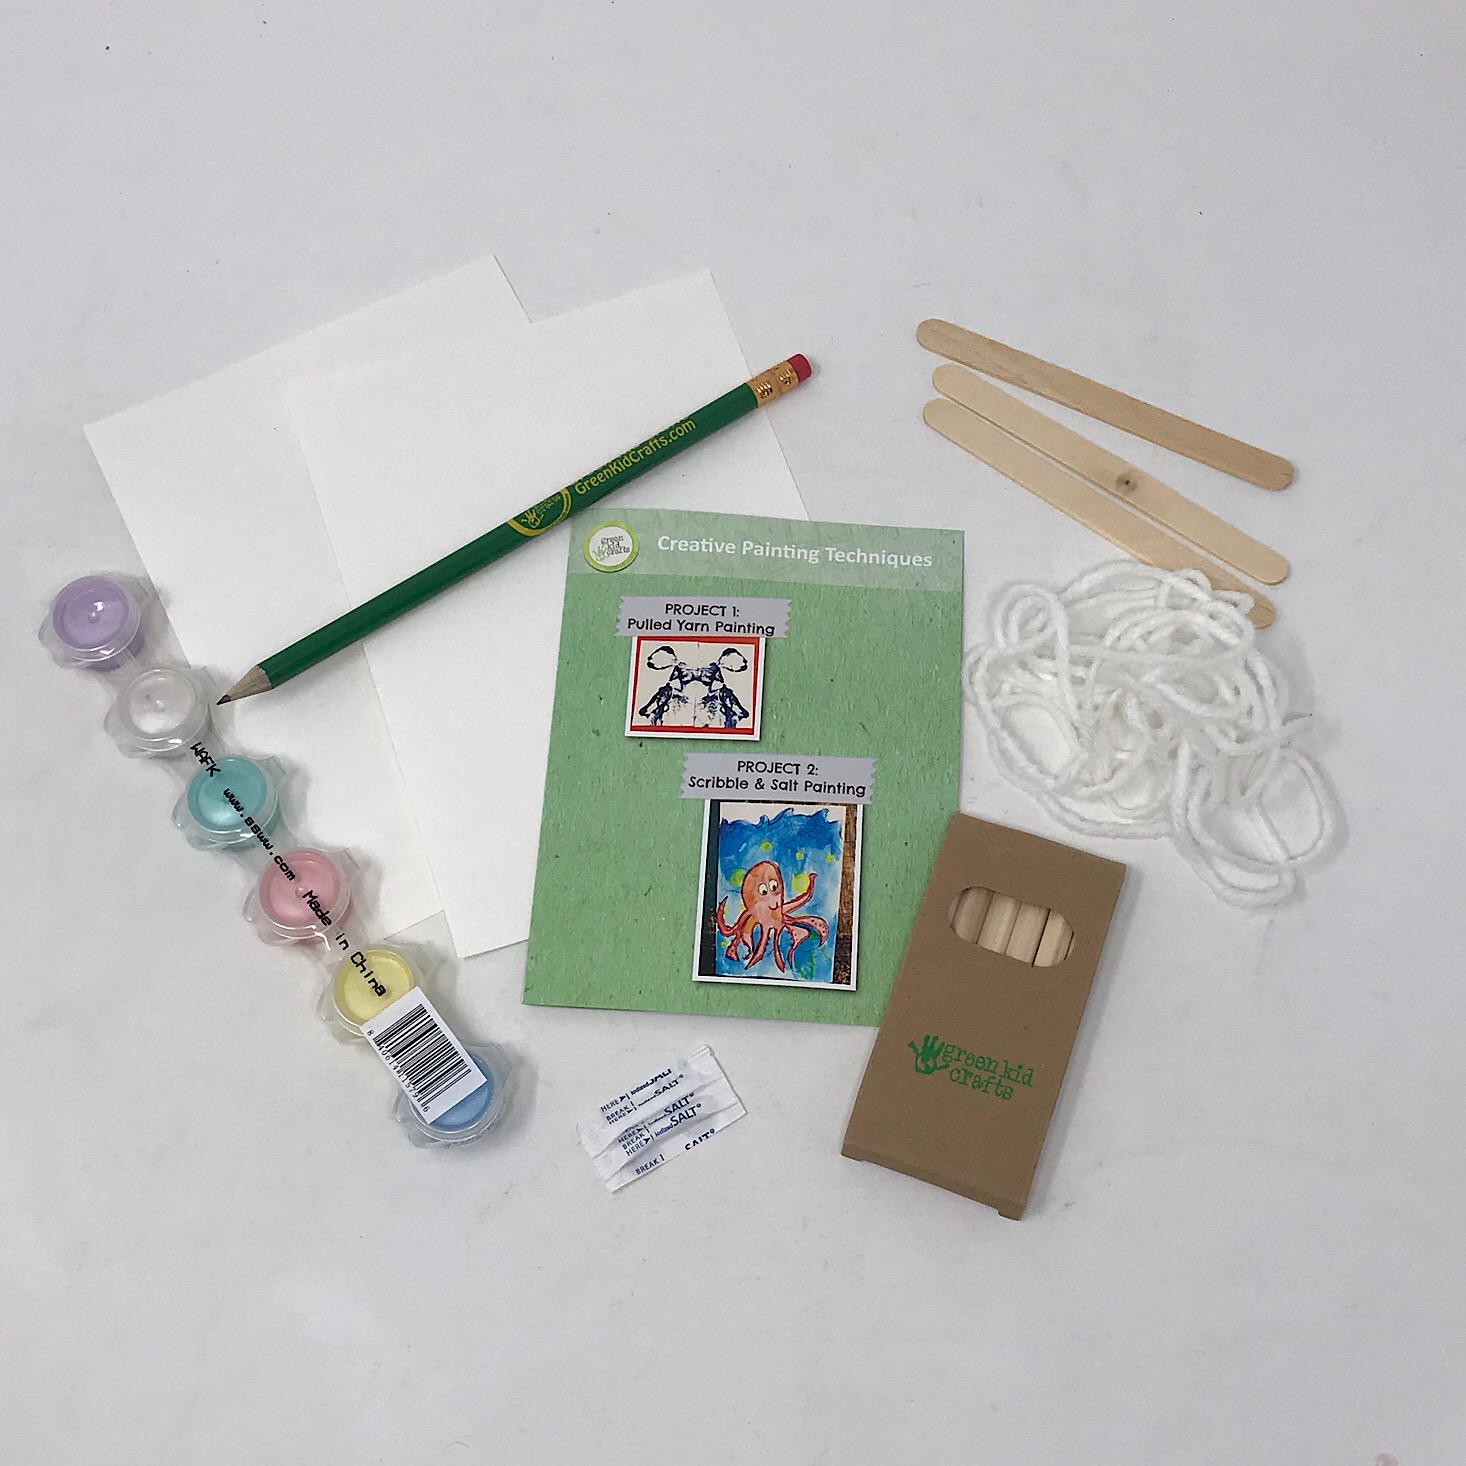
So I am not sure if this last activity was supposed to be in our box because we have done it before when we received our Art Lab box and we didn't receive all of the materials we did the first time (which was no big deal since we have plenty of our own supplies and even some from previous Green Kid Crafts boxes that we could use). I'm also not sure exactly how it ties into this month's theme, but my kids love art and the rest of our box really felt so complete that I definitely view these as bonus activities!
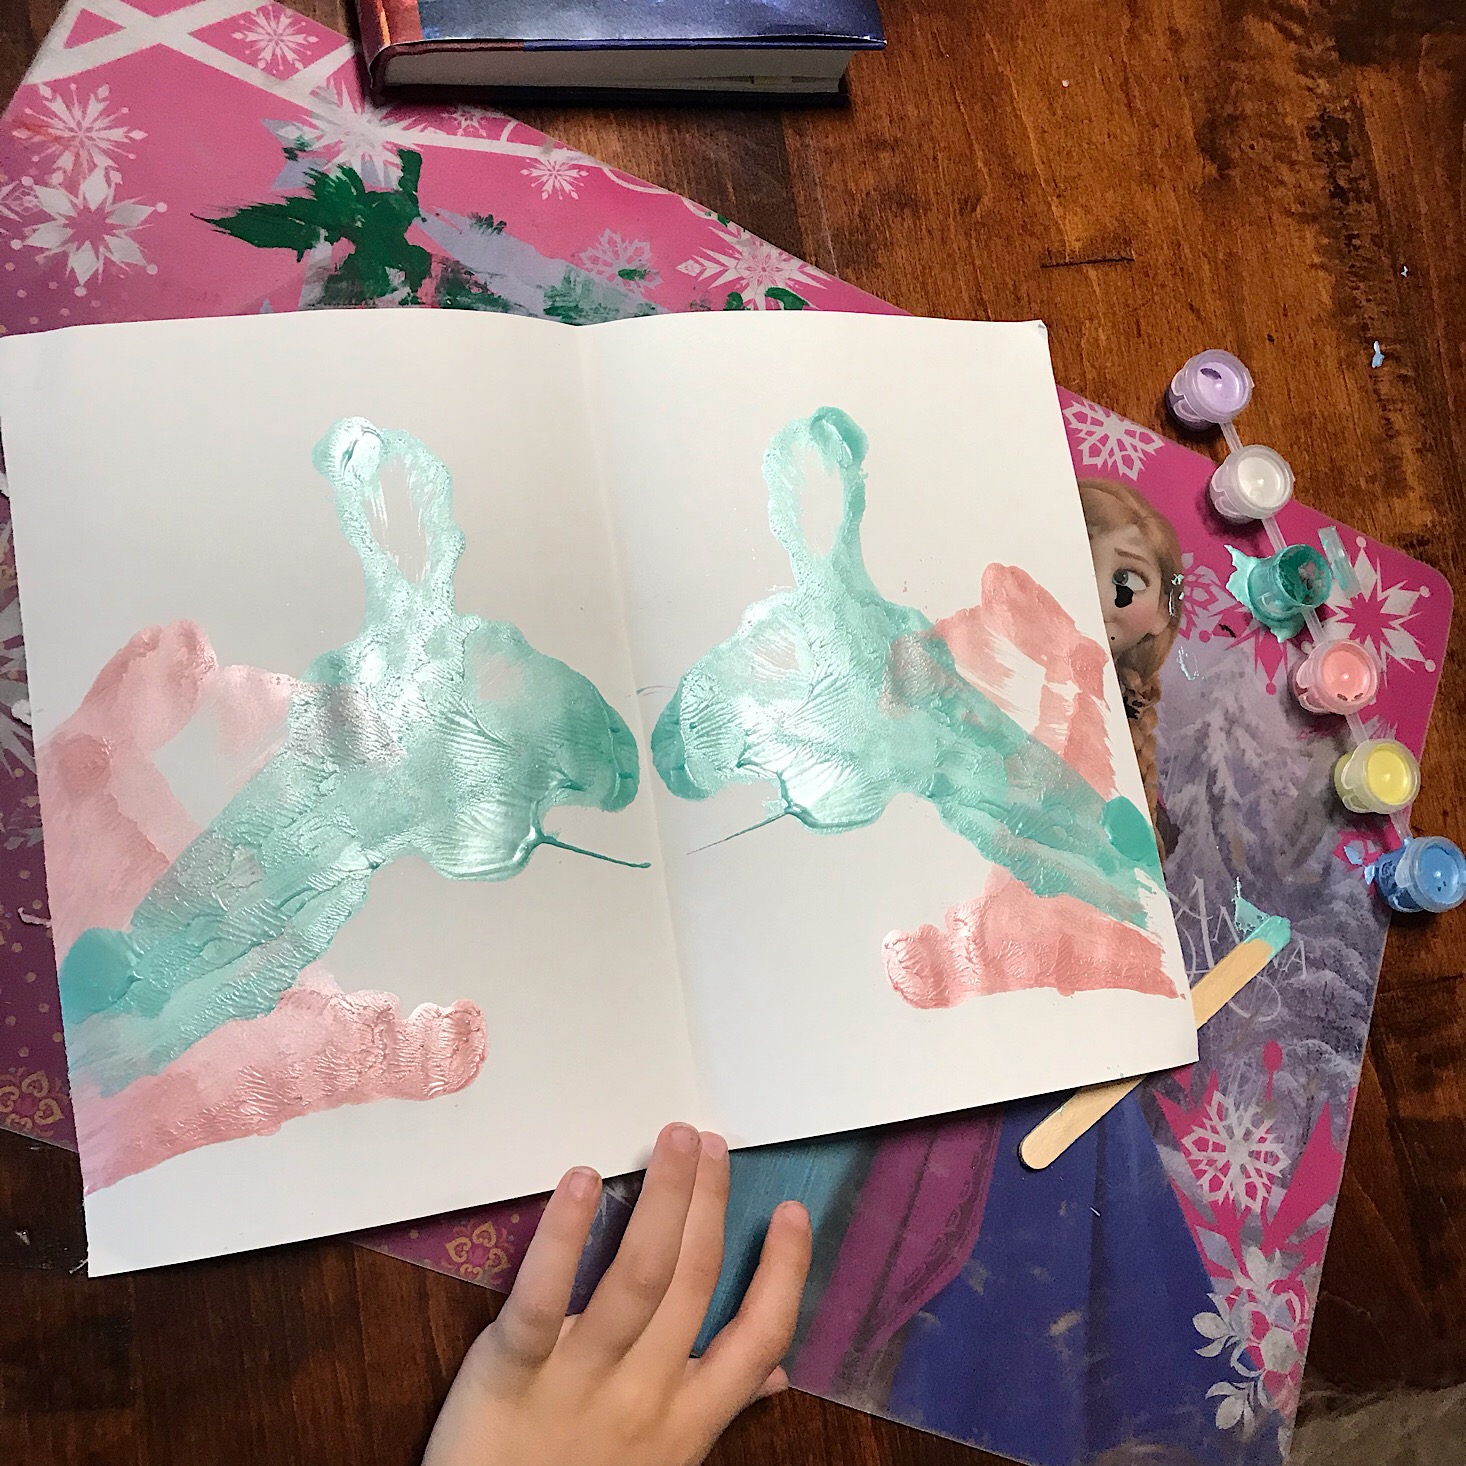
The first creative technique was a yarn painting. Previously, they had provided paper for us, but this time I supplied our own and folded it in half for this project.
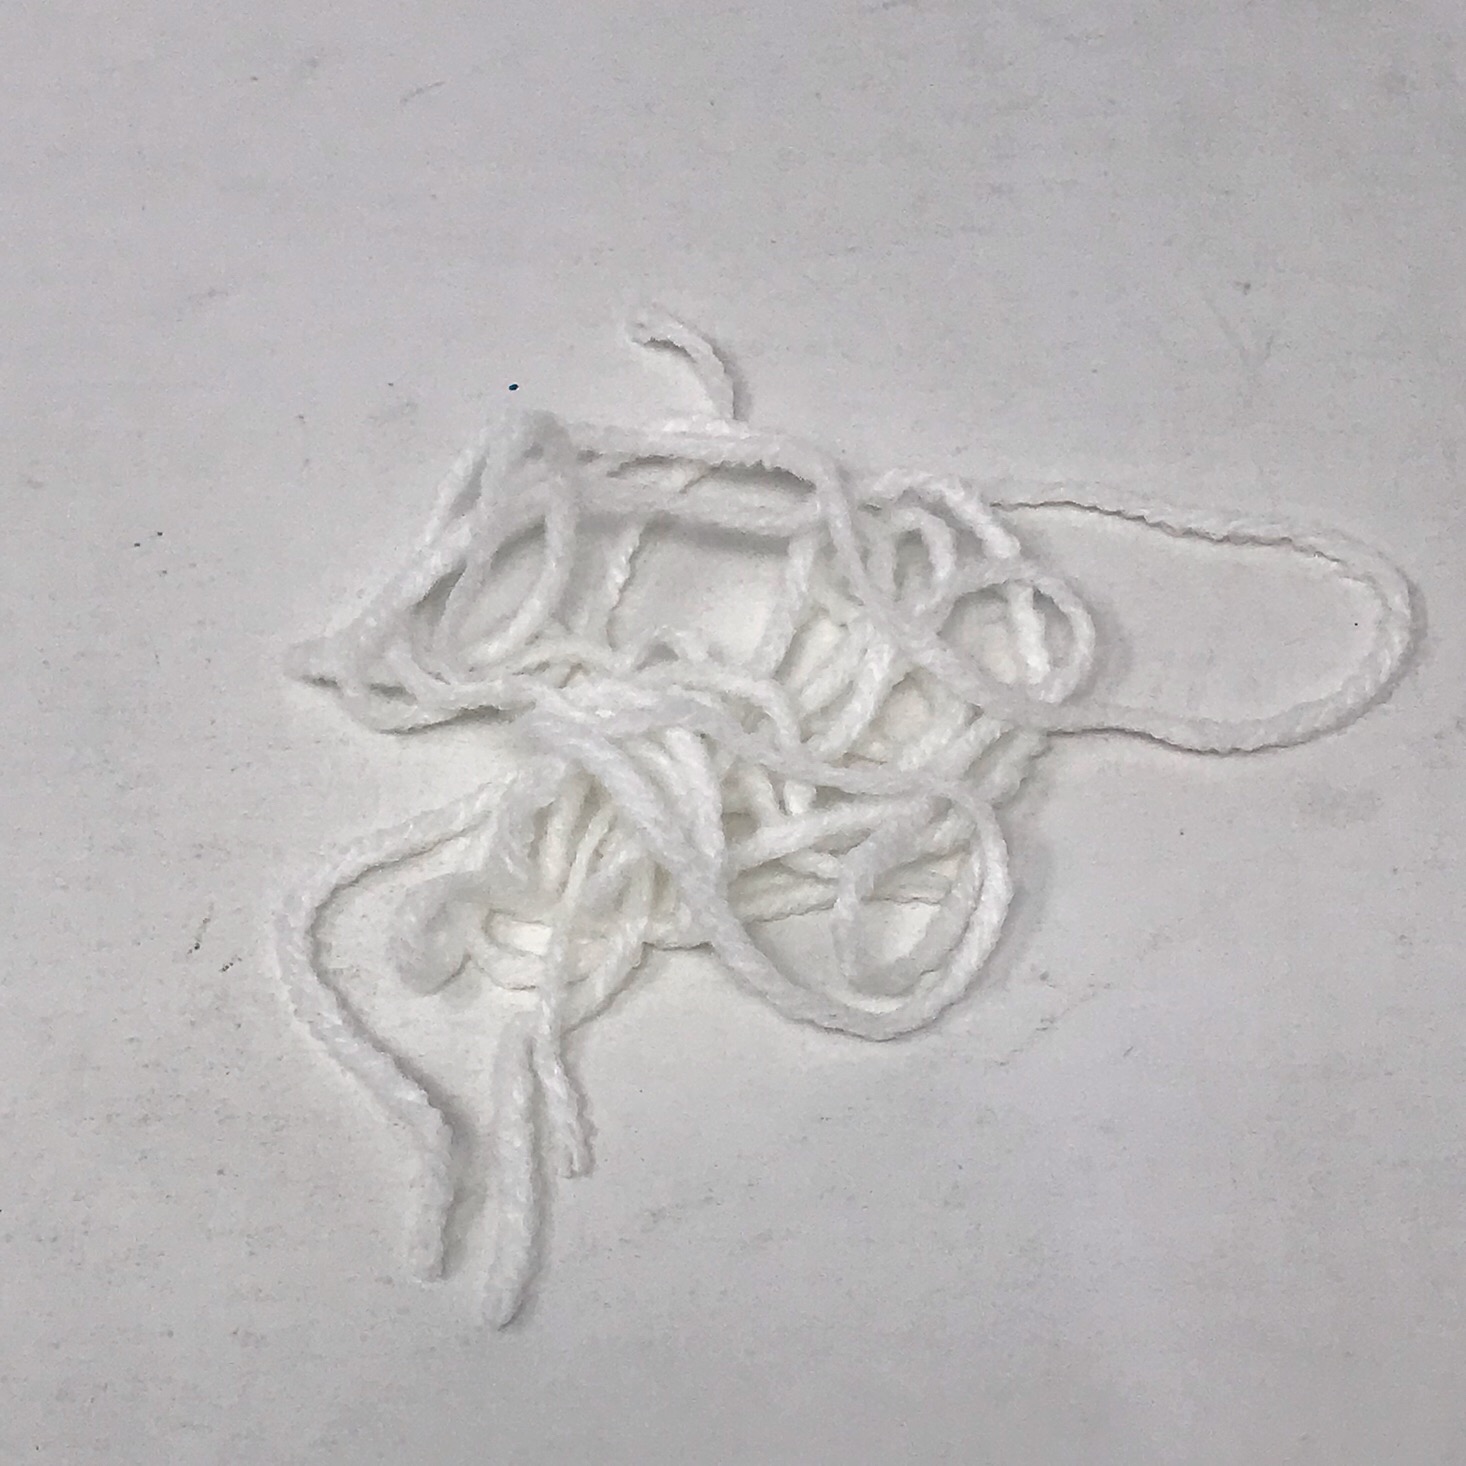
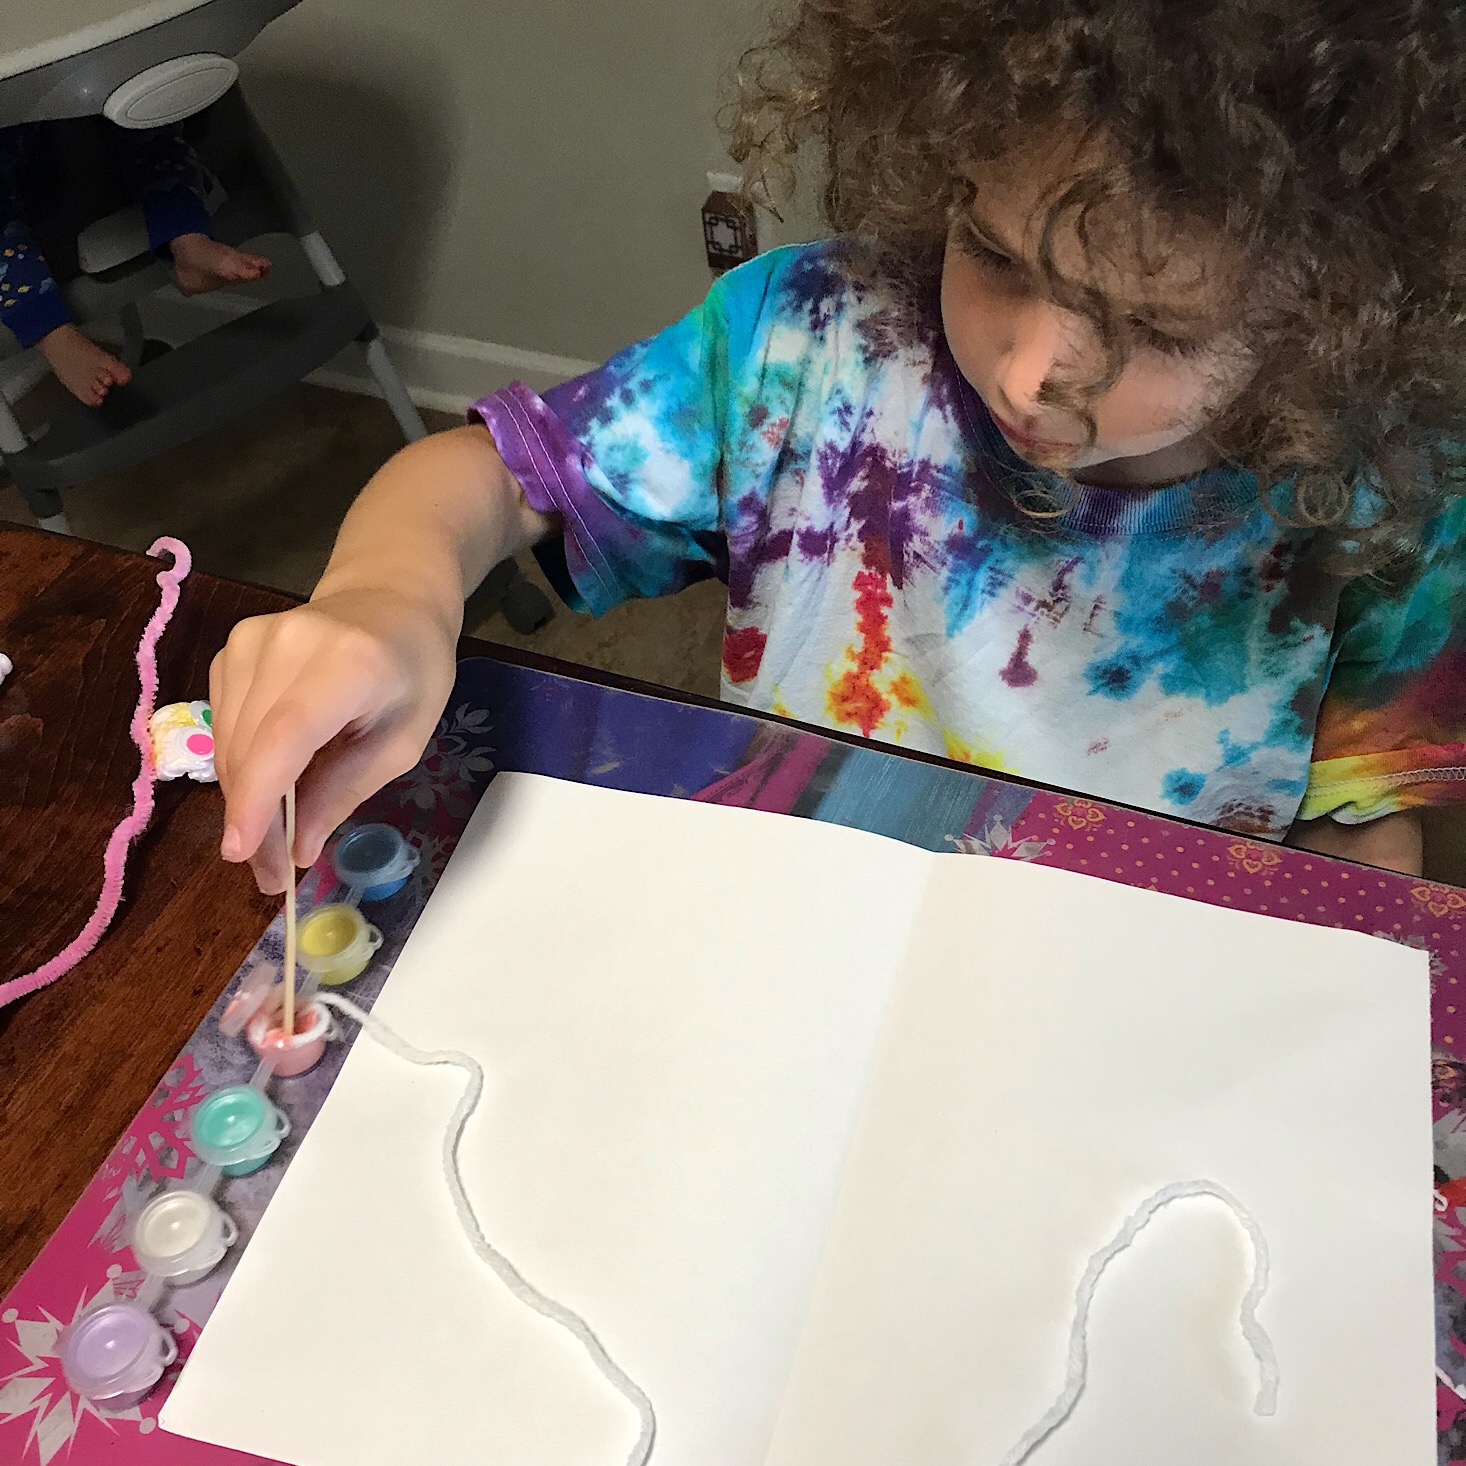
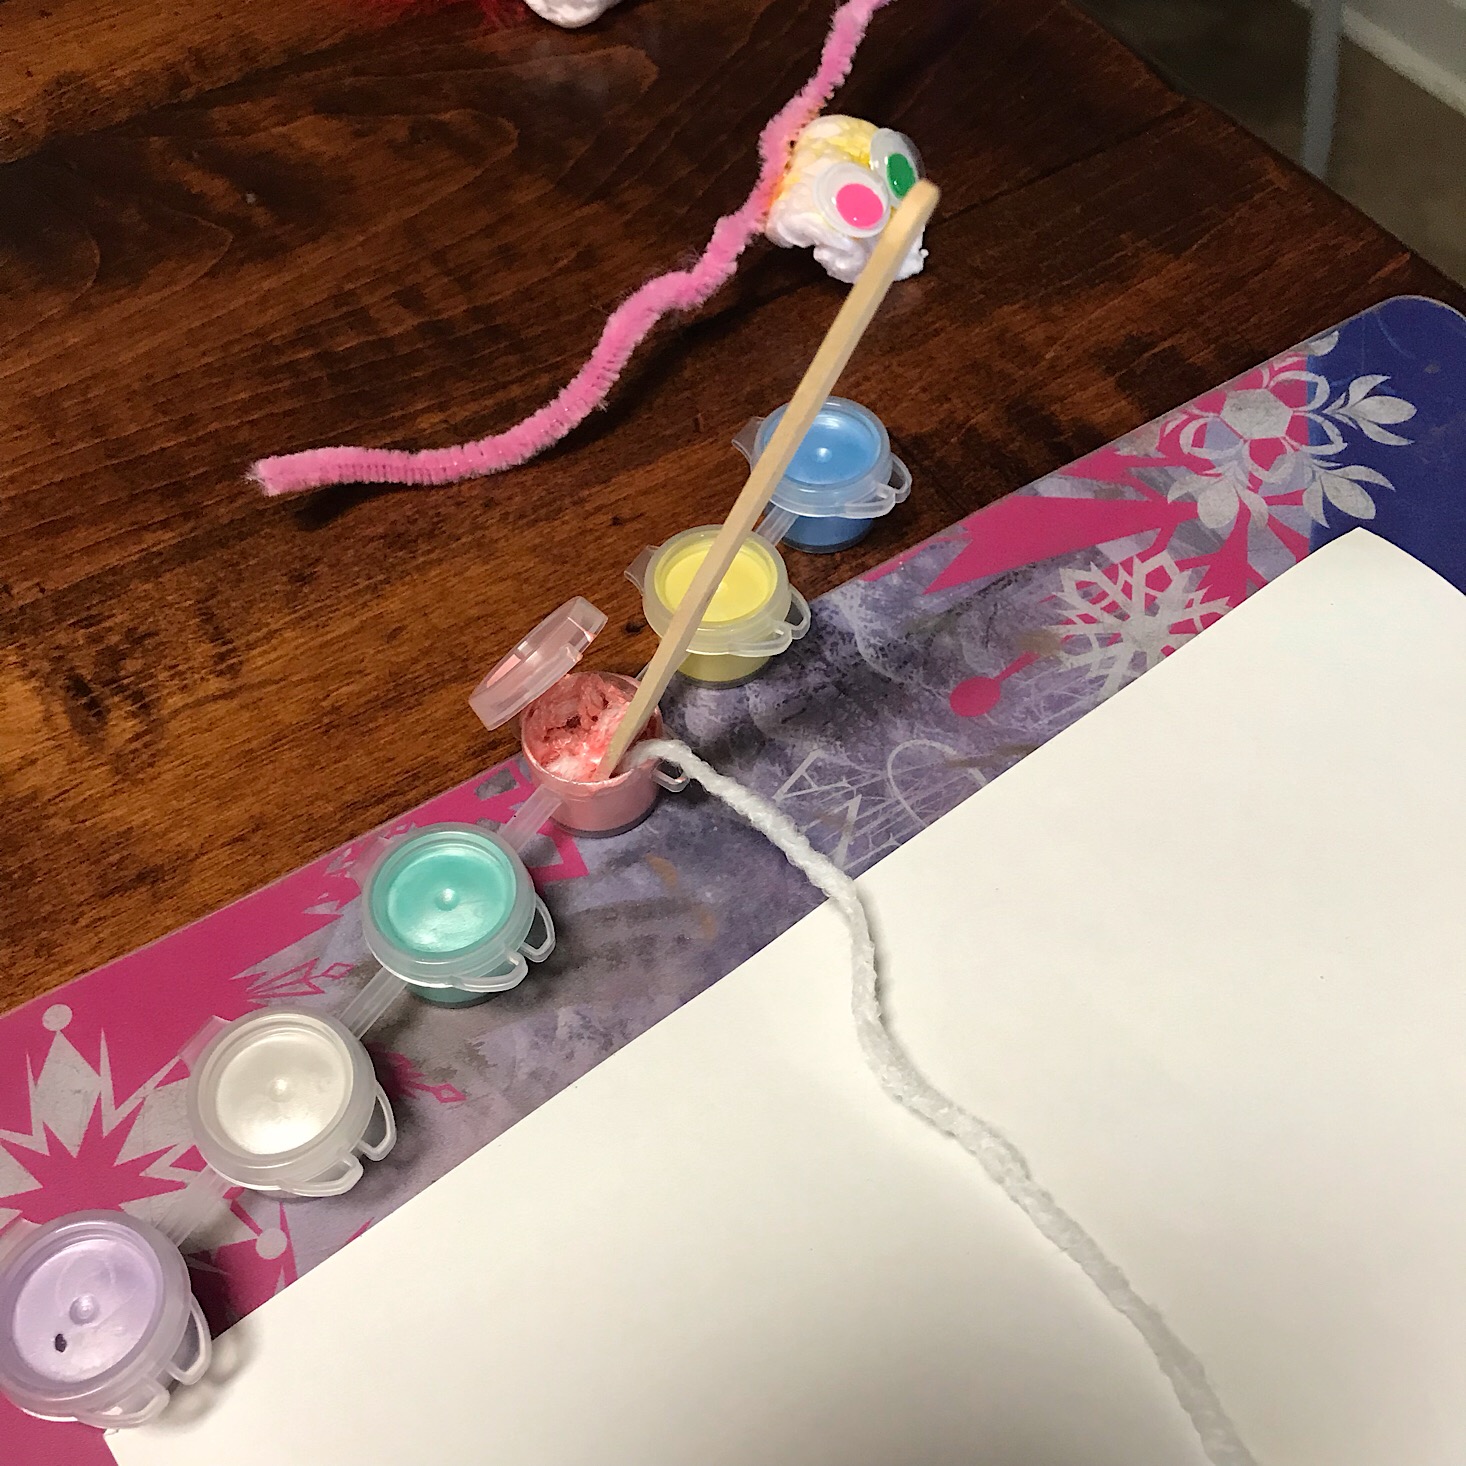
First, we took a piece of yarn and dipped it into the paint color of our choice using the popsicle sticks they provided. Then, we placed the yarn pieces on one side of our paper.
Then we folded the other half of our paper over the top of it and placed a book on top to add a little pressure and the kids pulled the yarn out from between the paper.
Then we opened it up to see the symmetrical paintings we had created. They turned out pretty cool and the kids had fun trying to figure out what their shapes looked like. We even added a second color of paint to my daughter's and she determined that it now looked like a llama! They enjoyed this activity and I think it will be fun for us to go back and use some markers or crayons on top of our paintings to give them a finished look.
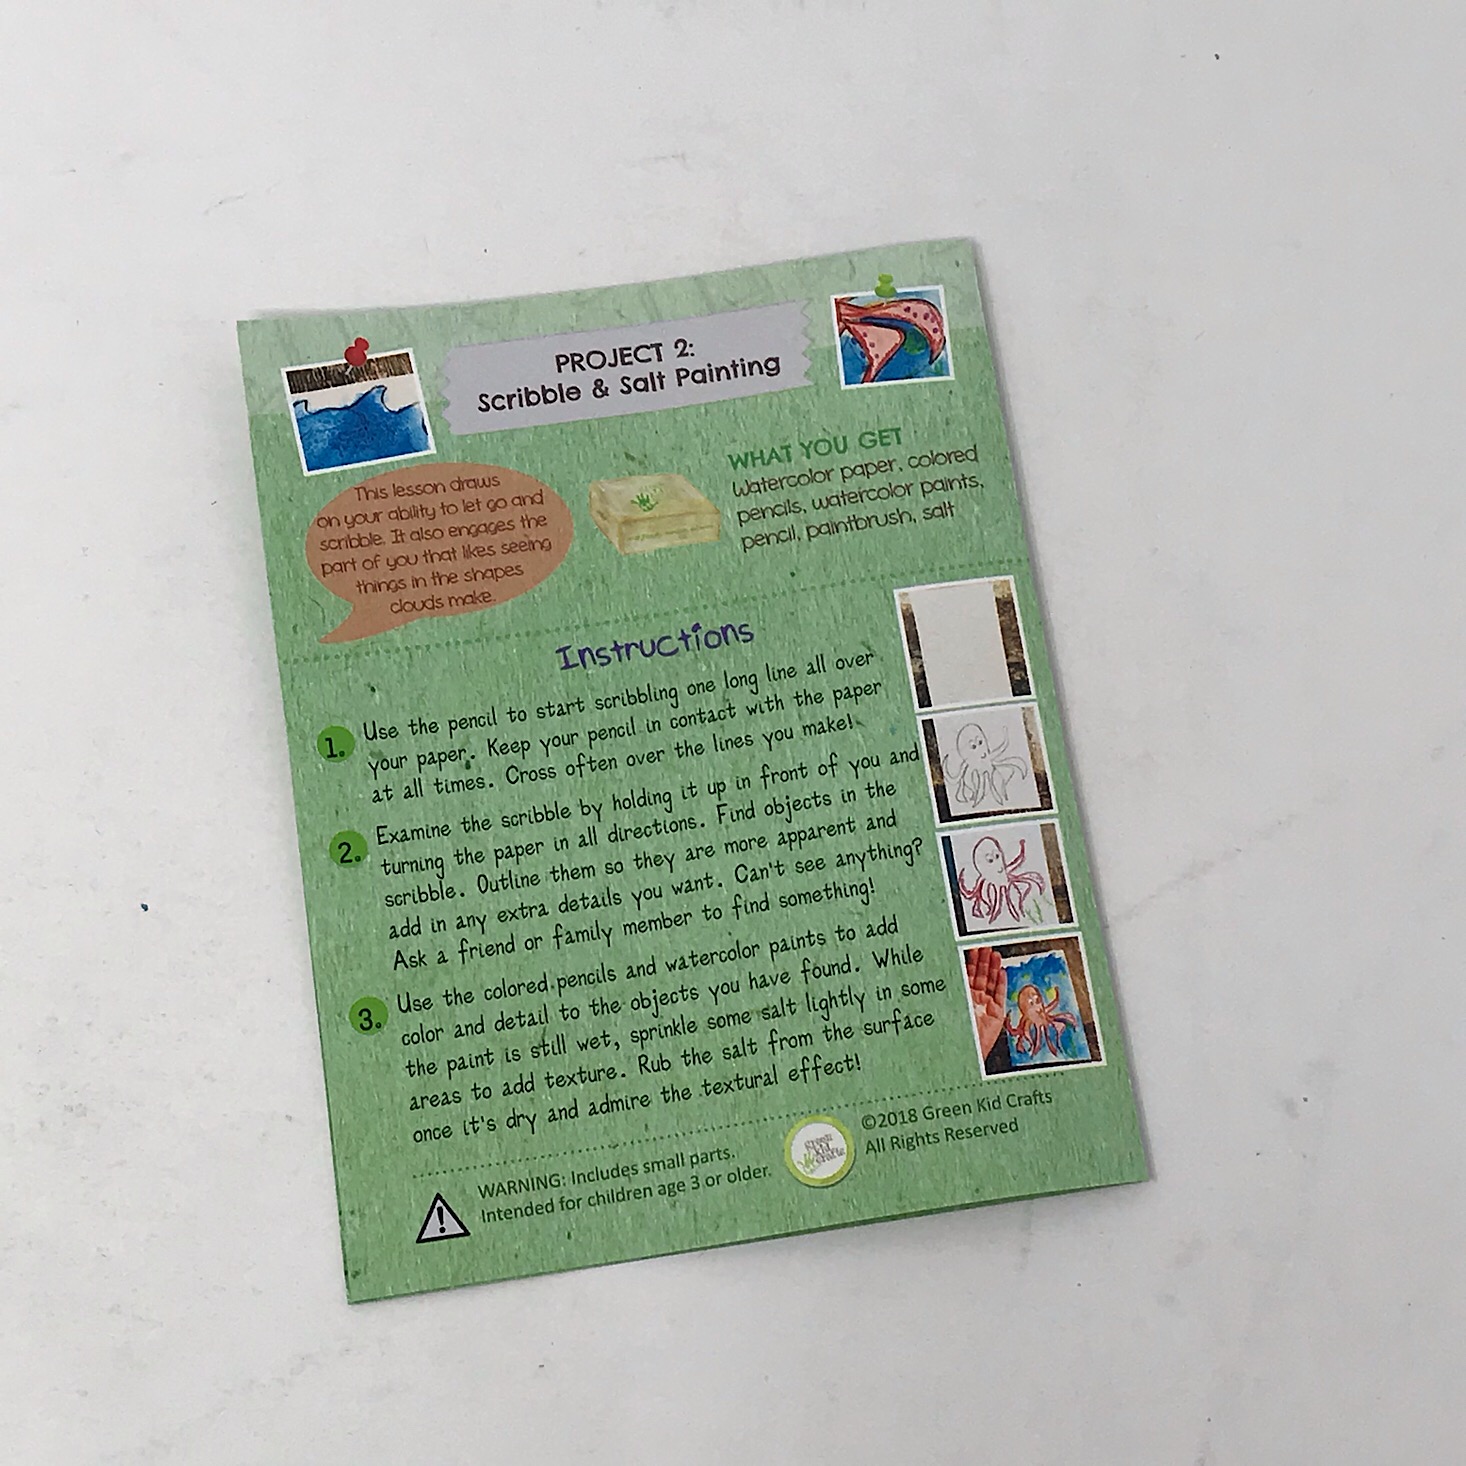
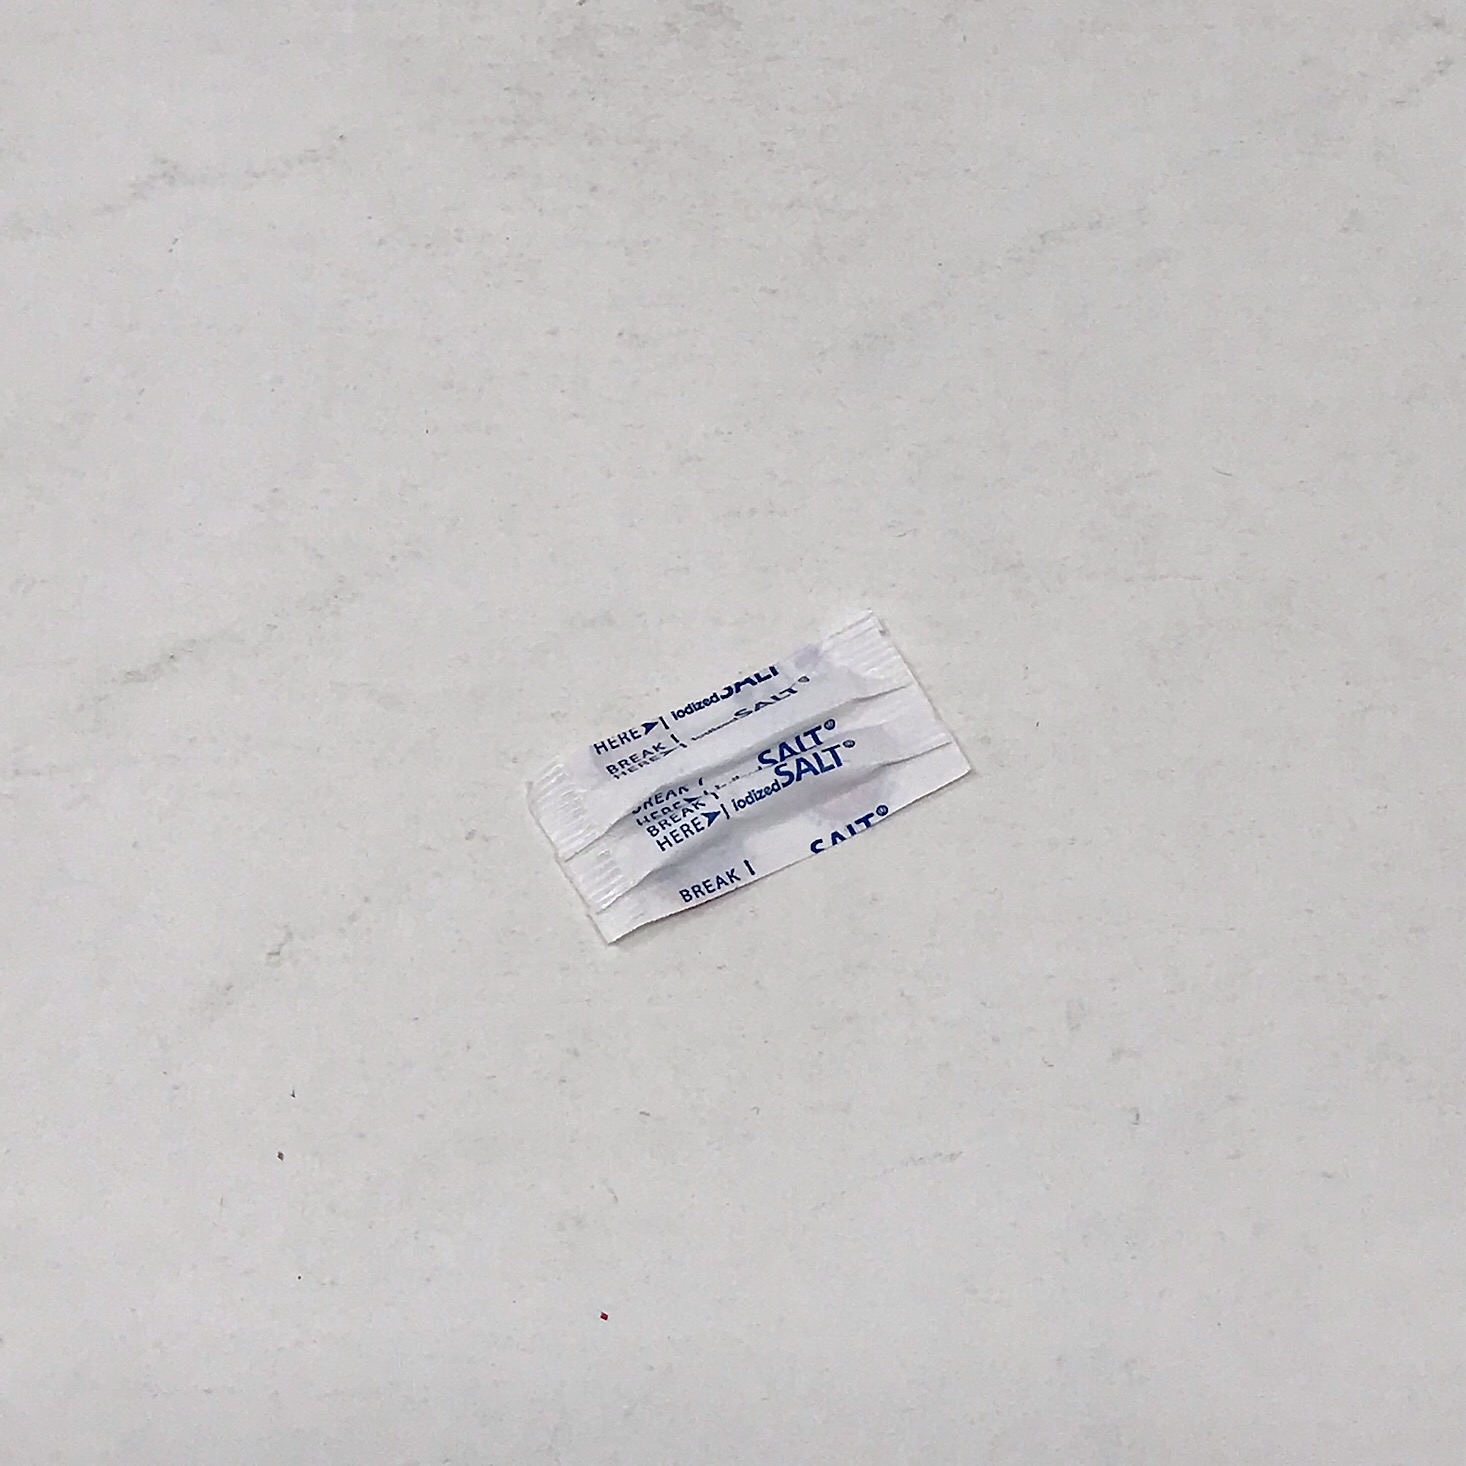
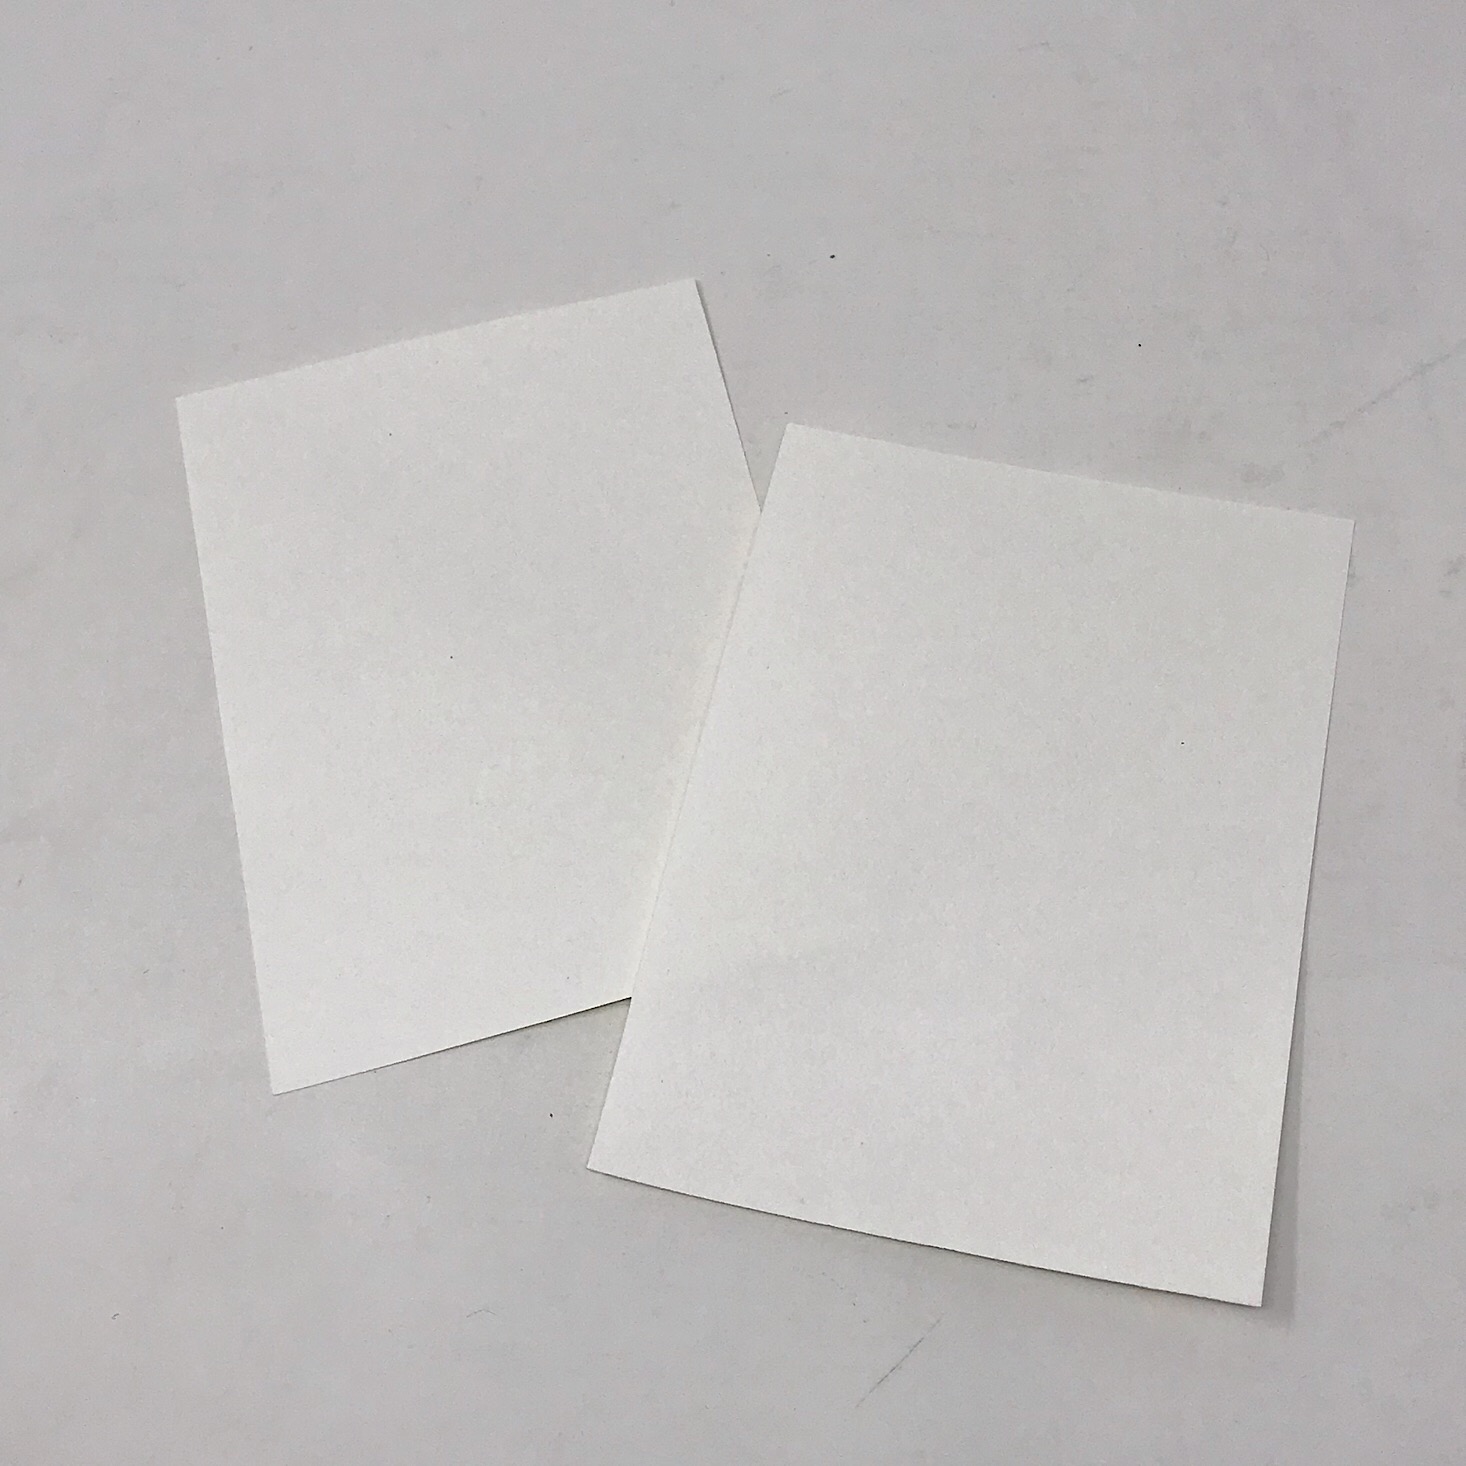
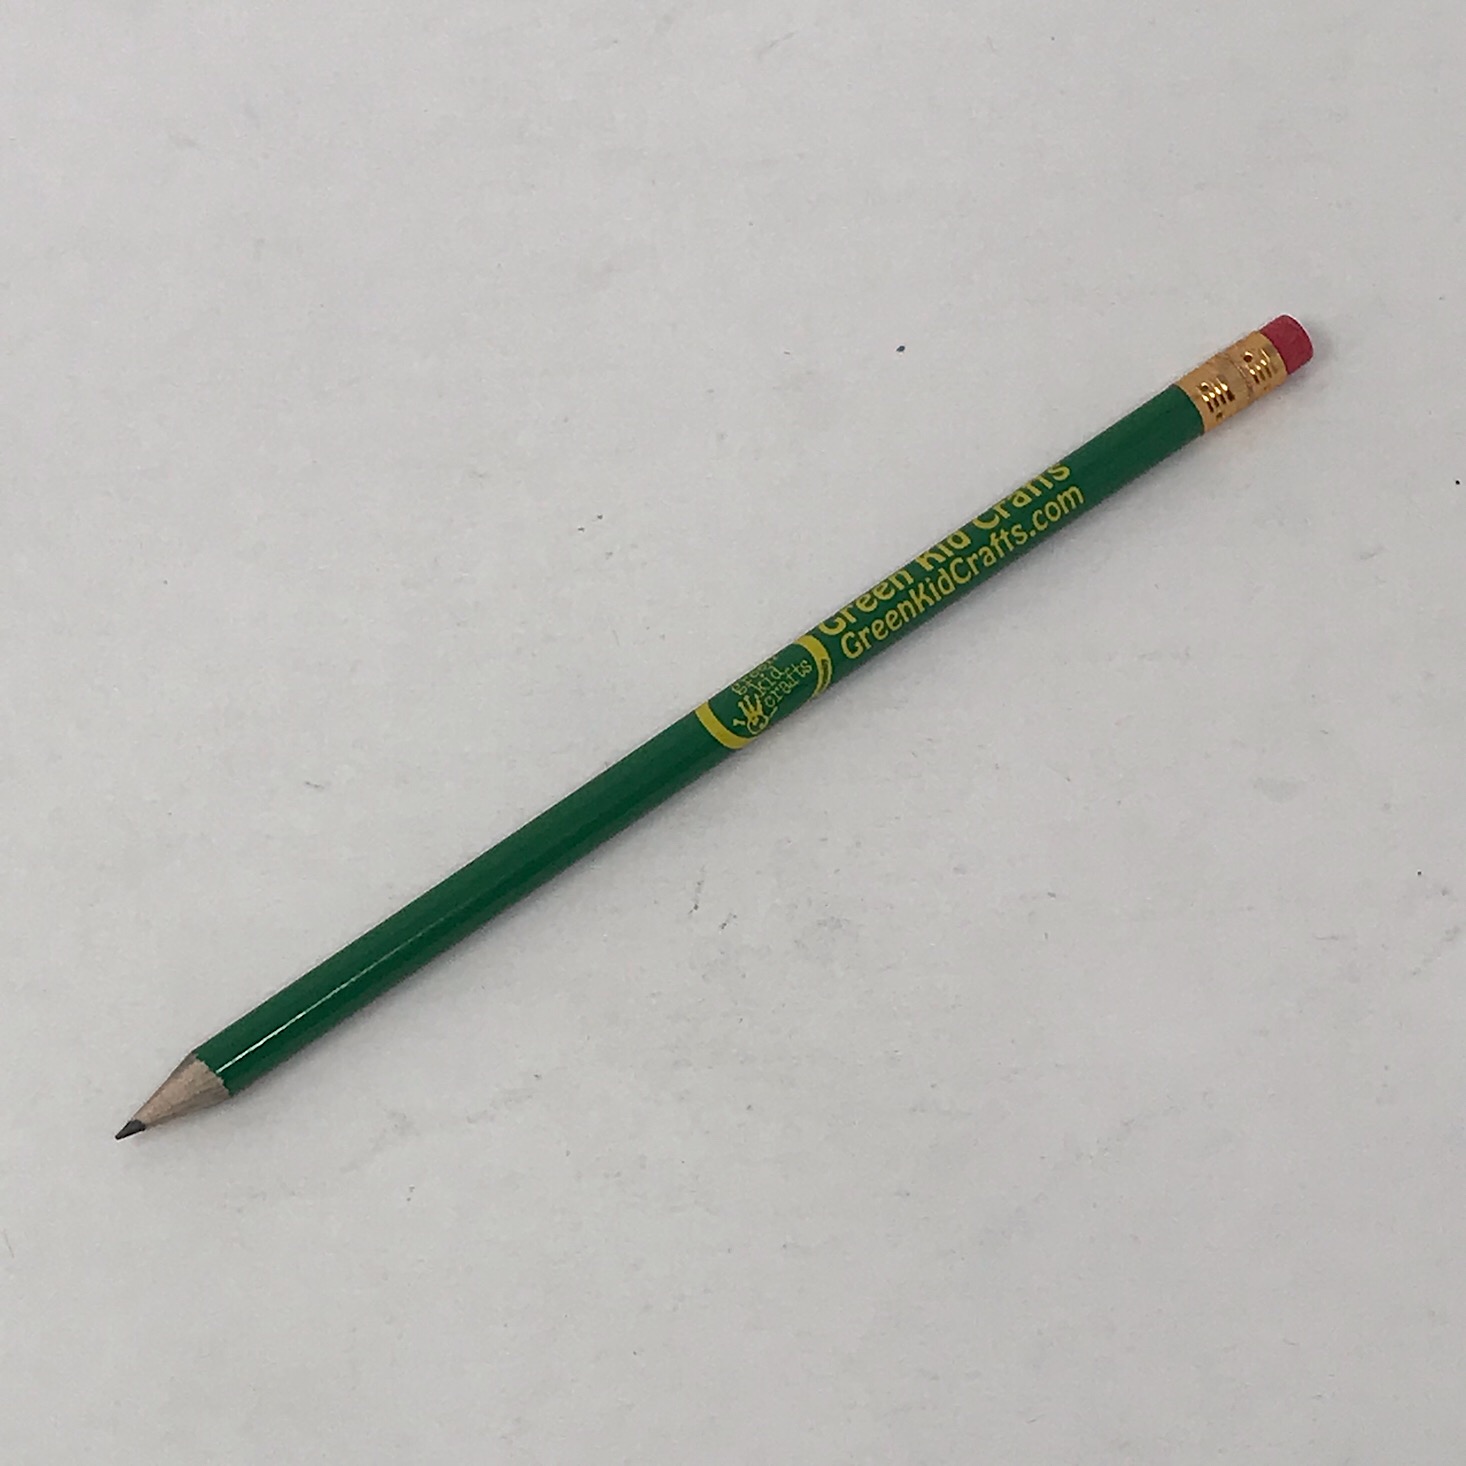
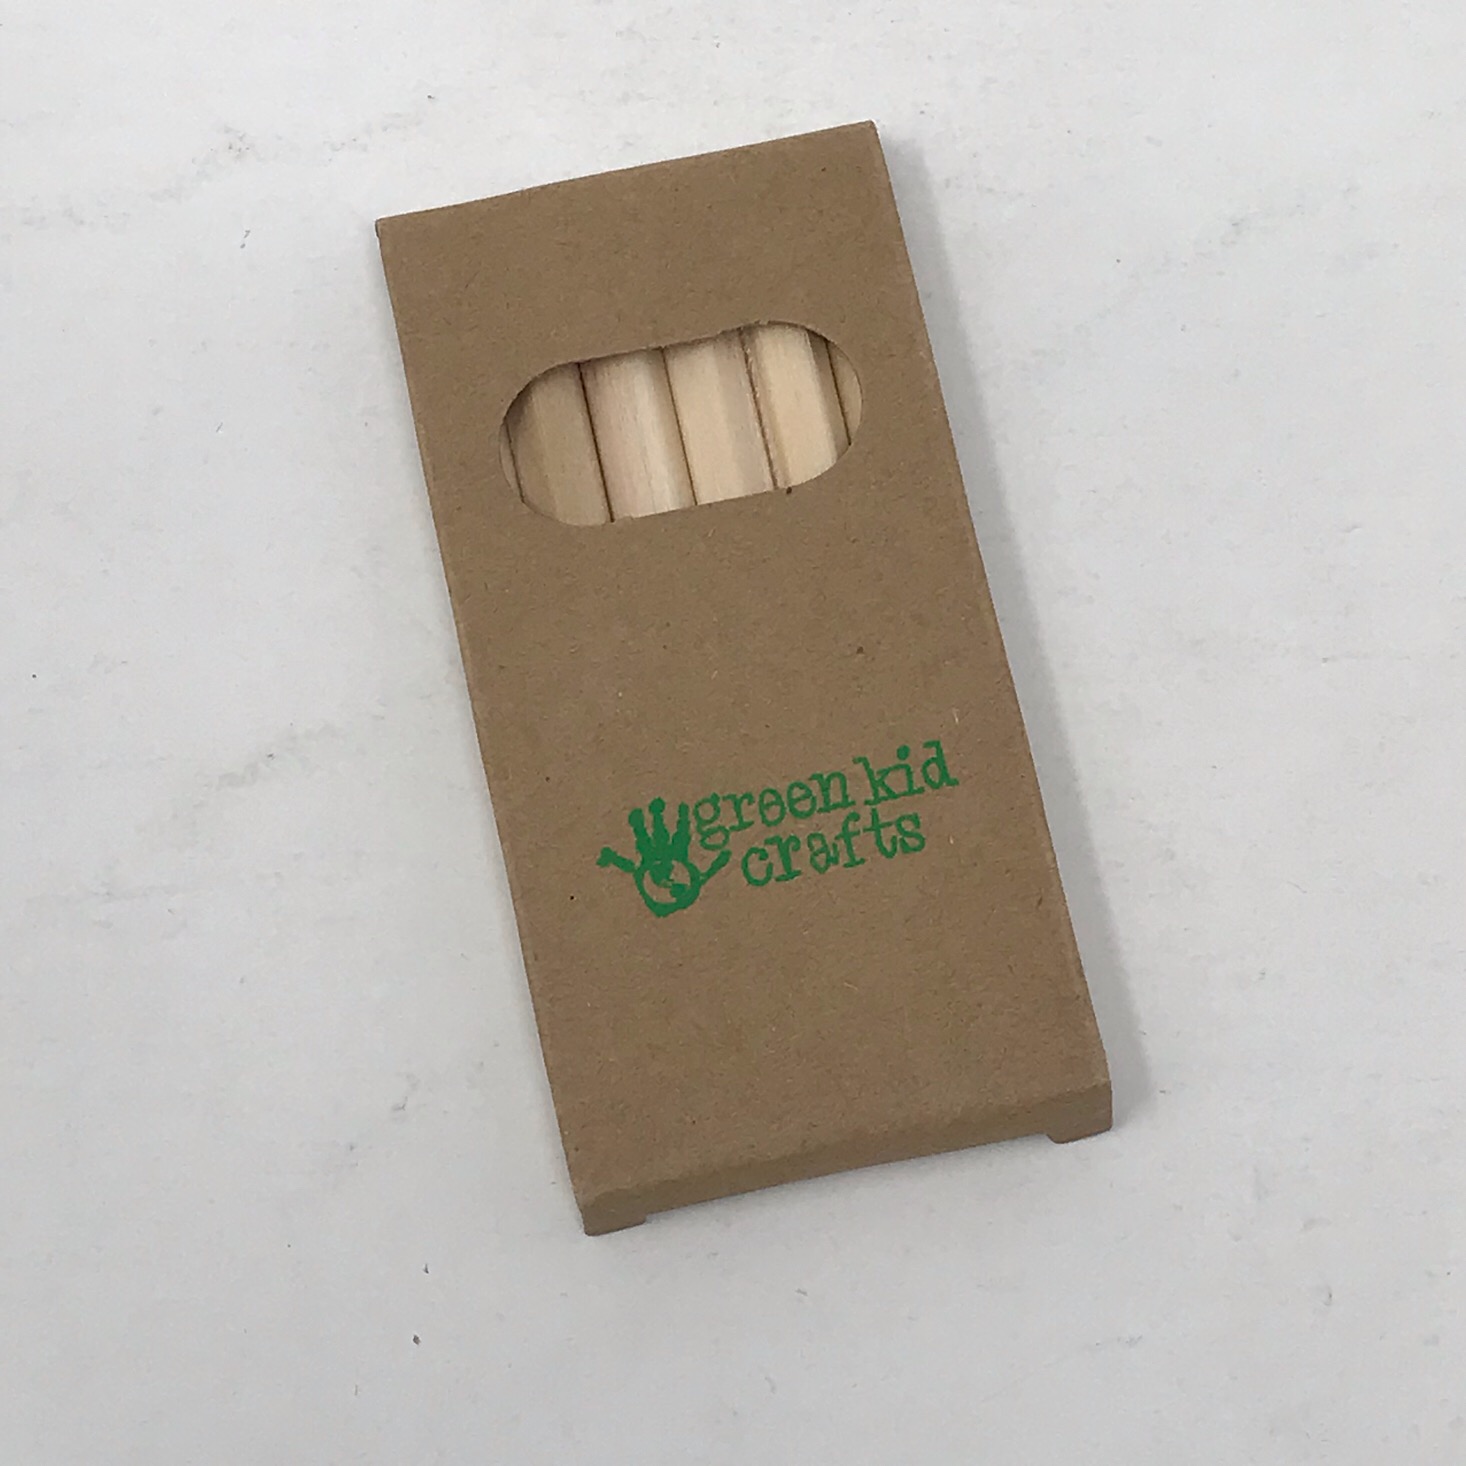
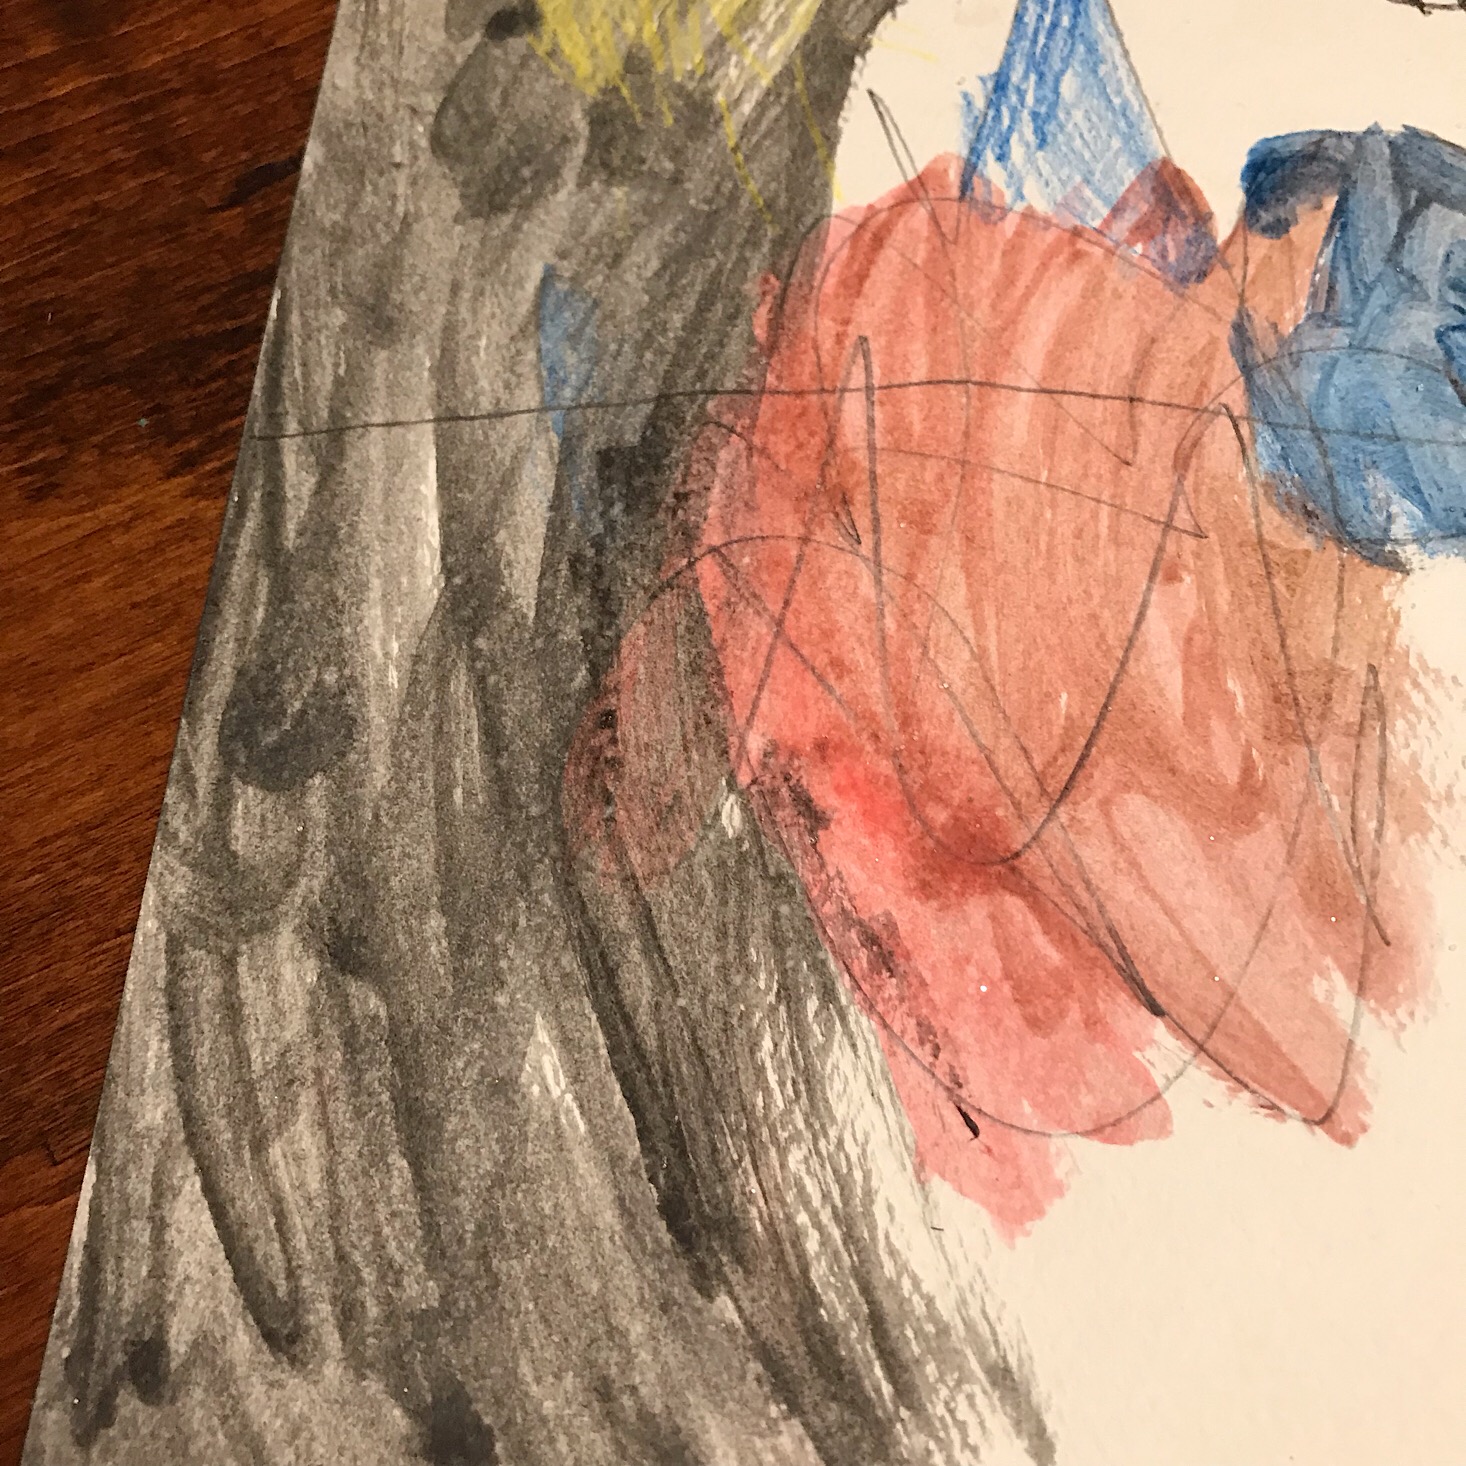
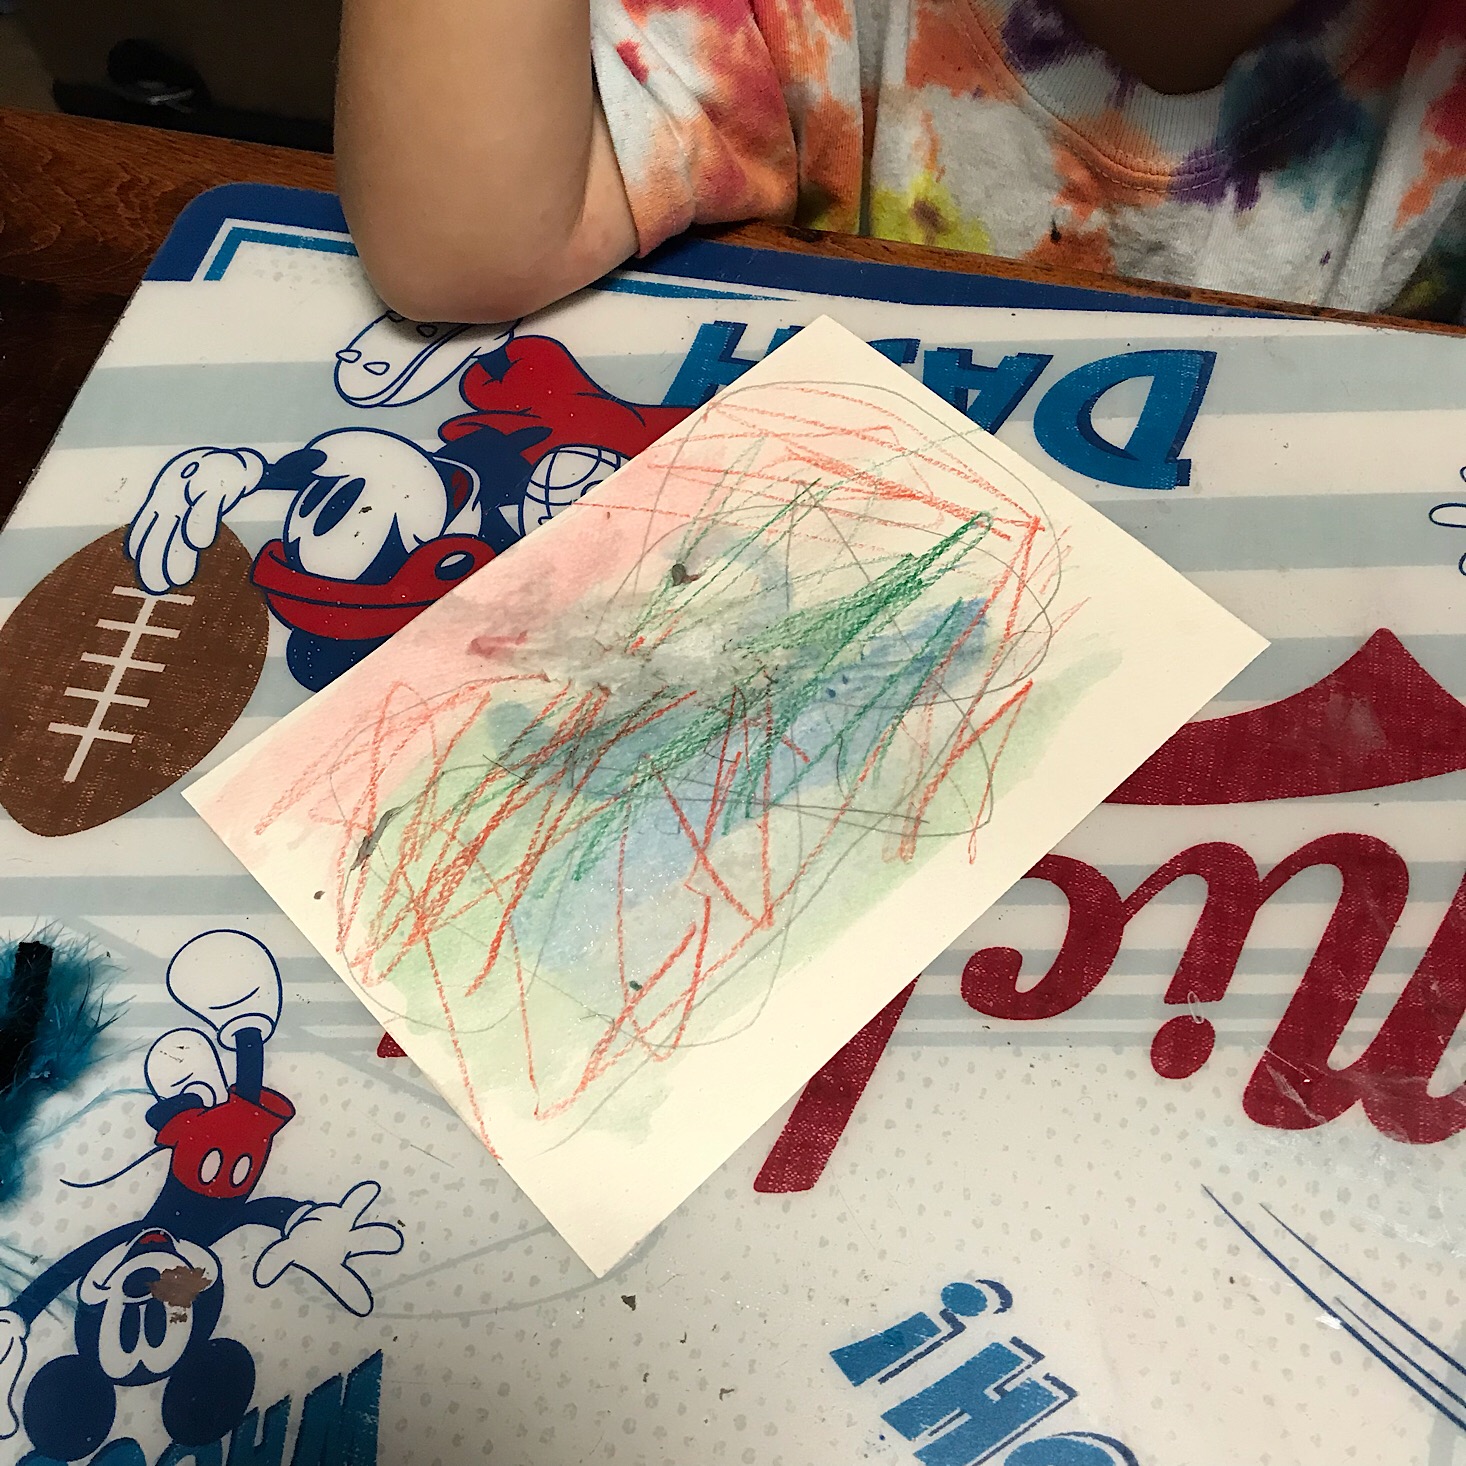
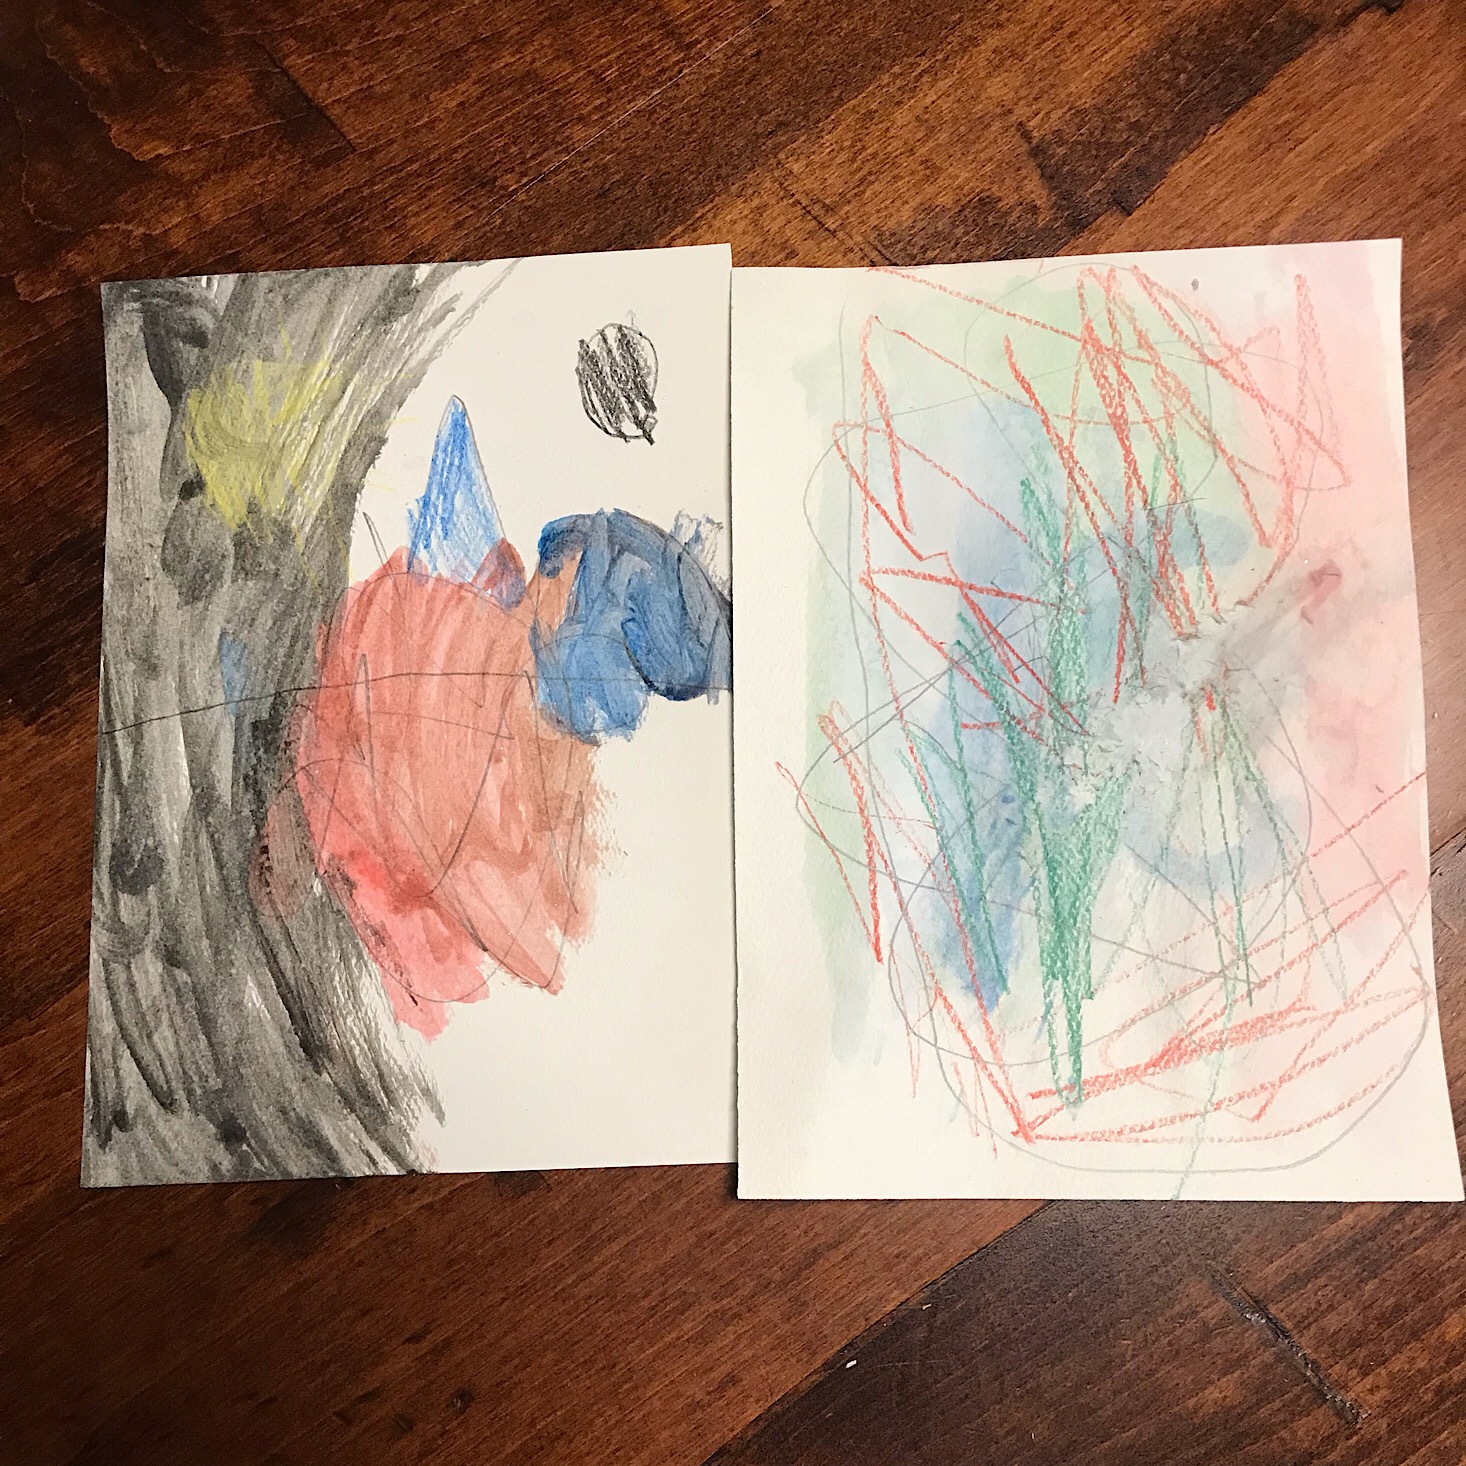
Next, we received some supplies to make a scribble & salt painting. They provided two sheets of watercolor paper, a pencil, a set of small colored pencils and a little packet of salt. We had to provide the watercolors and brush (which had previously been provided when we did this activity the first time in our Art Lab box), but fortunately, I have plenty of those around so this was easy to supply.
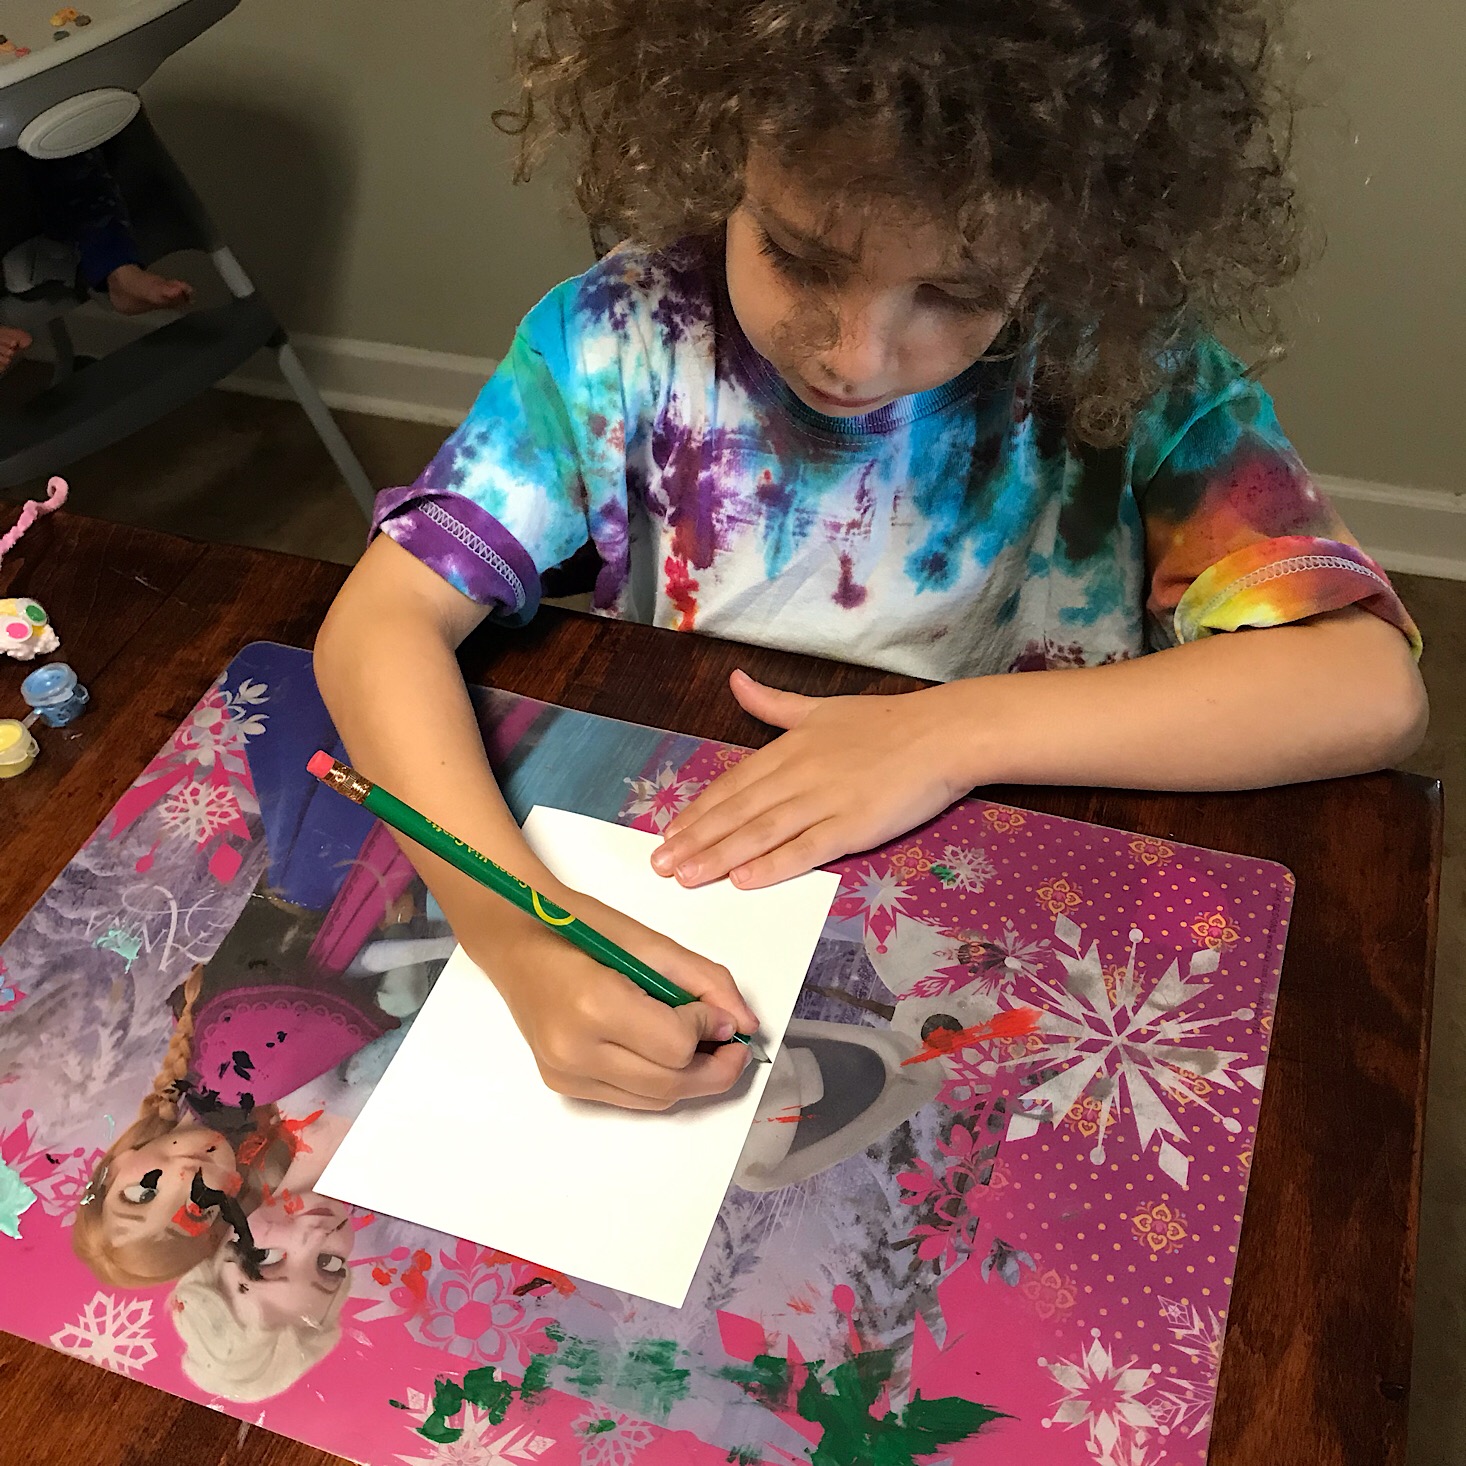
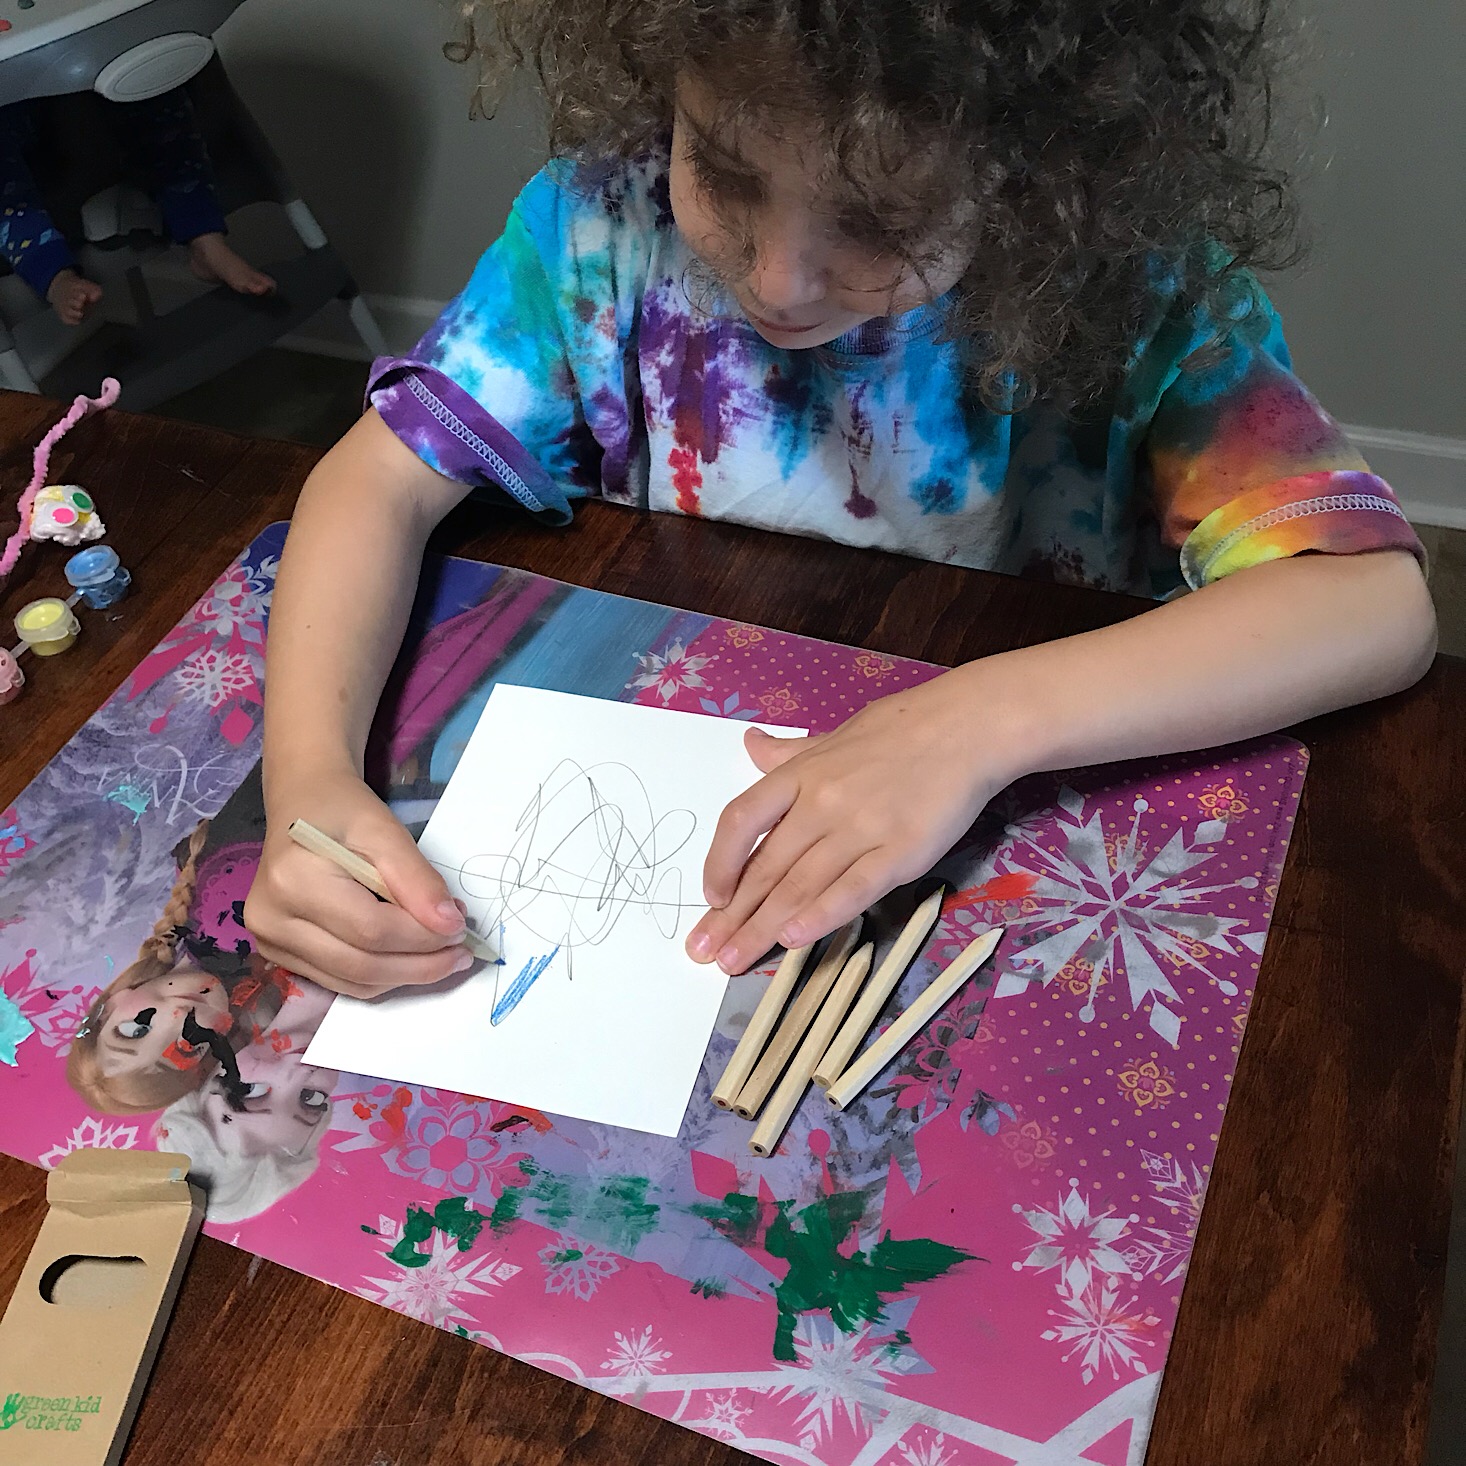
The kids scribbled a continuous line on their paper with the pencil while making sure to never let the pencil leave the paper. Then they looked and tried to figure out what they could see within their drawing and used the colored pencils to draw it out.
Then we painted the rest with watercolors and sprinkled some salt over the top and let them dry.
The salt was supposed to create a textured effect, but since the watercolor paper was already textured and it absorbed the watercolor so quickly, I don't think we could see too much of it. We will have to try this again with a different type of paper and see if we have better results! My kids always love an excuse to paint, so they enjoyed this despite the outcome.
Verdict: This month's Green Kid Crafts box was really great! I thought the theme of Save Our Oceans was an important one and they did a great job of making this concept engaging and relevant to kids. They provided a lot of educational information and I thought the inclusion of the map was nice. The activities were all very effective in helping us explore our oceans and ways we can help keep them safe. I especially loved the packing peanuts experiment and how easy it was to see what happens to plastic versus biodegradable materials in water and that they took it further by helping us recycle those materials in a fun way when the experiment was over. The kids love looking at our ocean zone bottles and so far they've retained a lot of the information they learned since they have that constant visual to reference. Even without the bonus activity that we received, I think it was plenty of materials to give us a great value for the $29.95 cost of this box!
To Wrap Up:
Can you still get this box if you sign up today? Here's what Green Kid Crafts says:
The first box of all subscription orders will ship immediately, through the 25th of the month. After the 25th, the initial box will ship with the following month’s mid-month shipment. After the first month, subsequent boxes will ship around the middle of the month.
Check out all of our Green Kid Crafts reviews and the best kid subscription boxes for more kids activities!
Keep Track of Your Subscriptions: Add this box to your subscription list or wishlist!
What do you think of the Green Kid Crafts box for kids?












































Please do not enter your email address in the Name field or in the comment content. Your email address will not be published. Required fields are marked *. Remember to post with kindness and respect. Comments with offensive language, cruelness to others, etc will not be approved. See our full comment policy here.