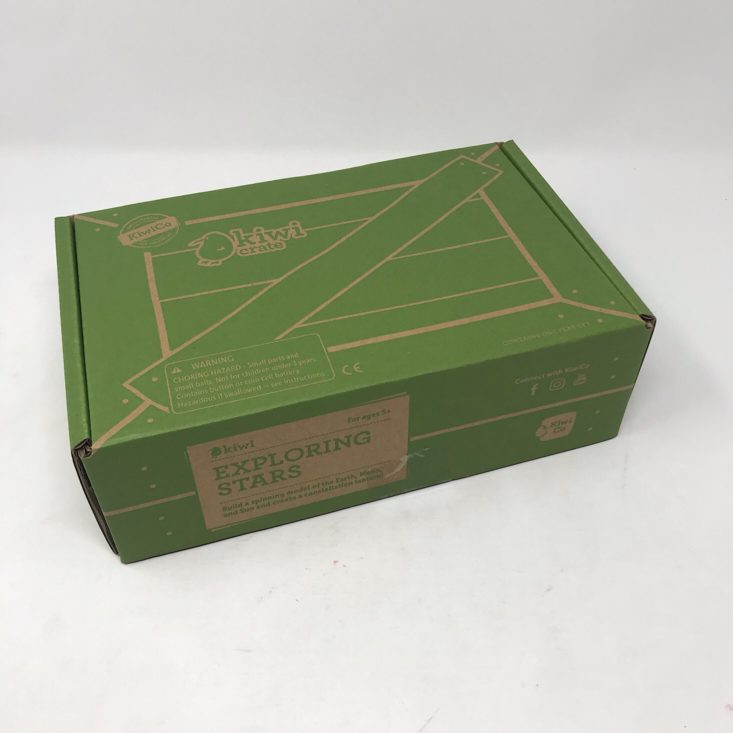
Kiwi Crate is a subscription box for kids ages 5-8 from parent company KiwiCo. It arrives every month with all the materials and instructions needed to complete 2-3 crafts centered on a theme, plus additional materials to help educate young learners!

KiwiCo offers boxes for different age groups:
- Tadpole Crate for 0-36-month-olds,
- Koala Crate for 3-4-year-olds,
- Kiwi Crate for 5-8-year-olds,
- Atlas Crate for 6-11-year-olds,
- Doodle Crate and Tinker Crate for 9-16+-year-olds, and
- Eureka Crate for ages 14 and up.
There really is something for every age with this company!
This review is of KiwiCo’s Kiwi Crate (for ages 5-8), which costs $19.95 per month.
This box was sent to us at no cost for review. (Check out the review process post to learn more about how we review boxes.)

About Kiwi Crate
The Subscription Box: Kiwi Crate
The Cost: $19.95 per month + free shipping
The Products: Crafts and DIY projects for kids, with supplemental learning kits, booklets, and activities. Crates are filled with materials and inspiration to encourage creativity and curiosity. Projects cover a number of developmental areas through art, science, and imaginative play.
Ships to: The U.S. for free, Canada for $3.95 per month, worldwide from $4.95-$6.95
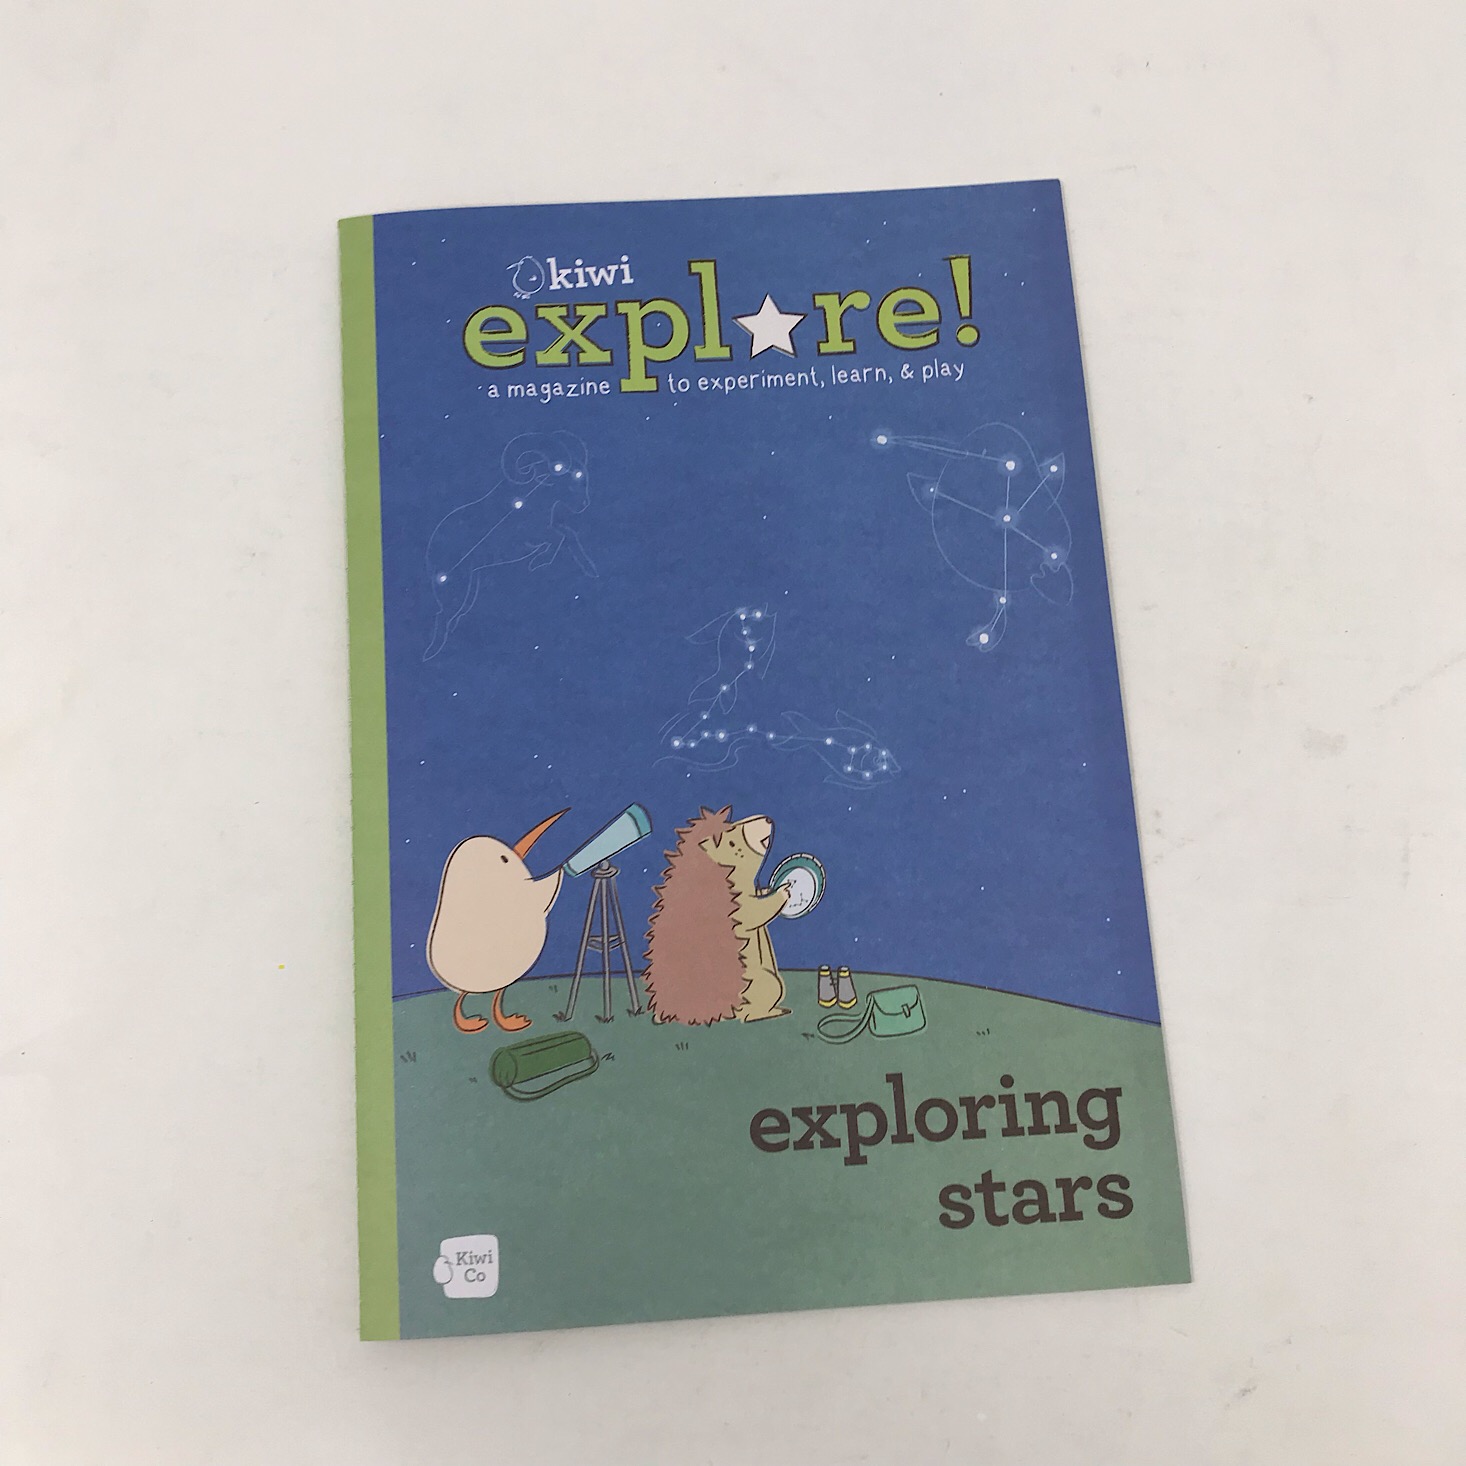
Kiwi Crate August 2019 "Exploring Stars" Review
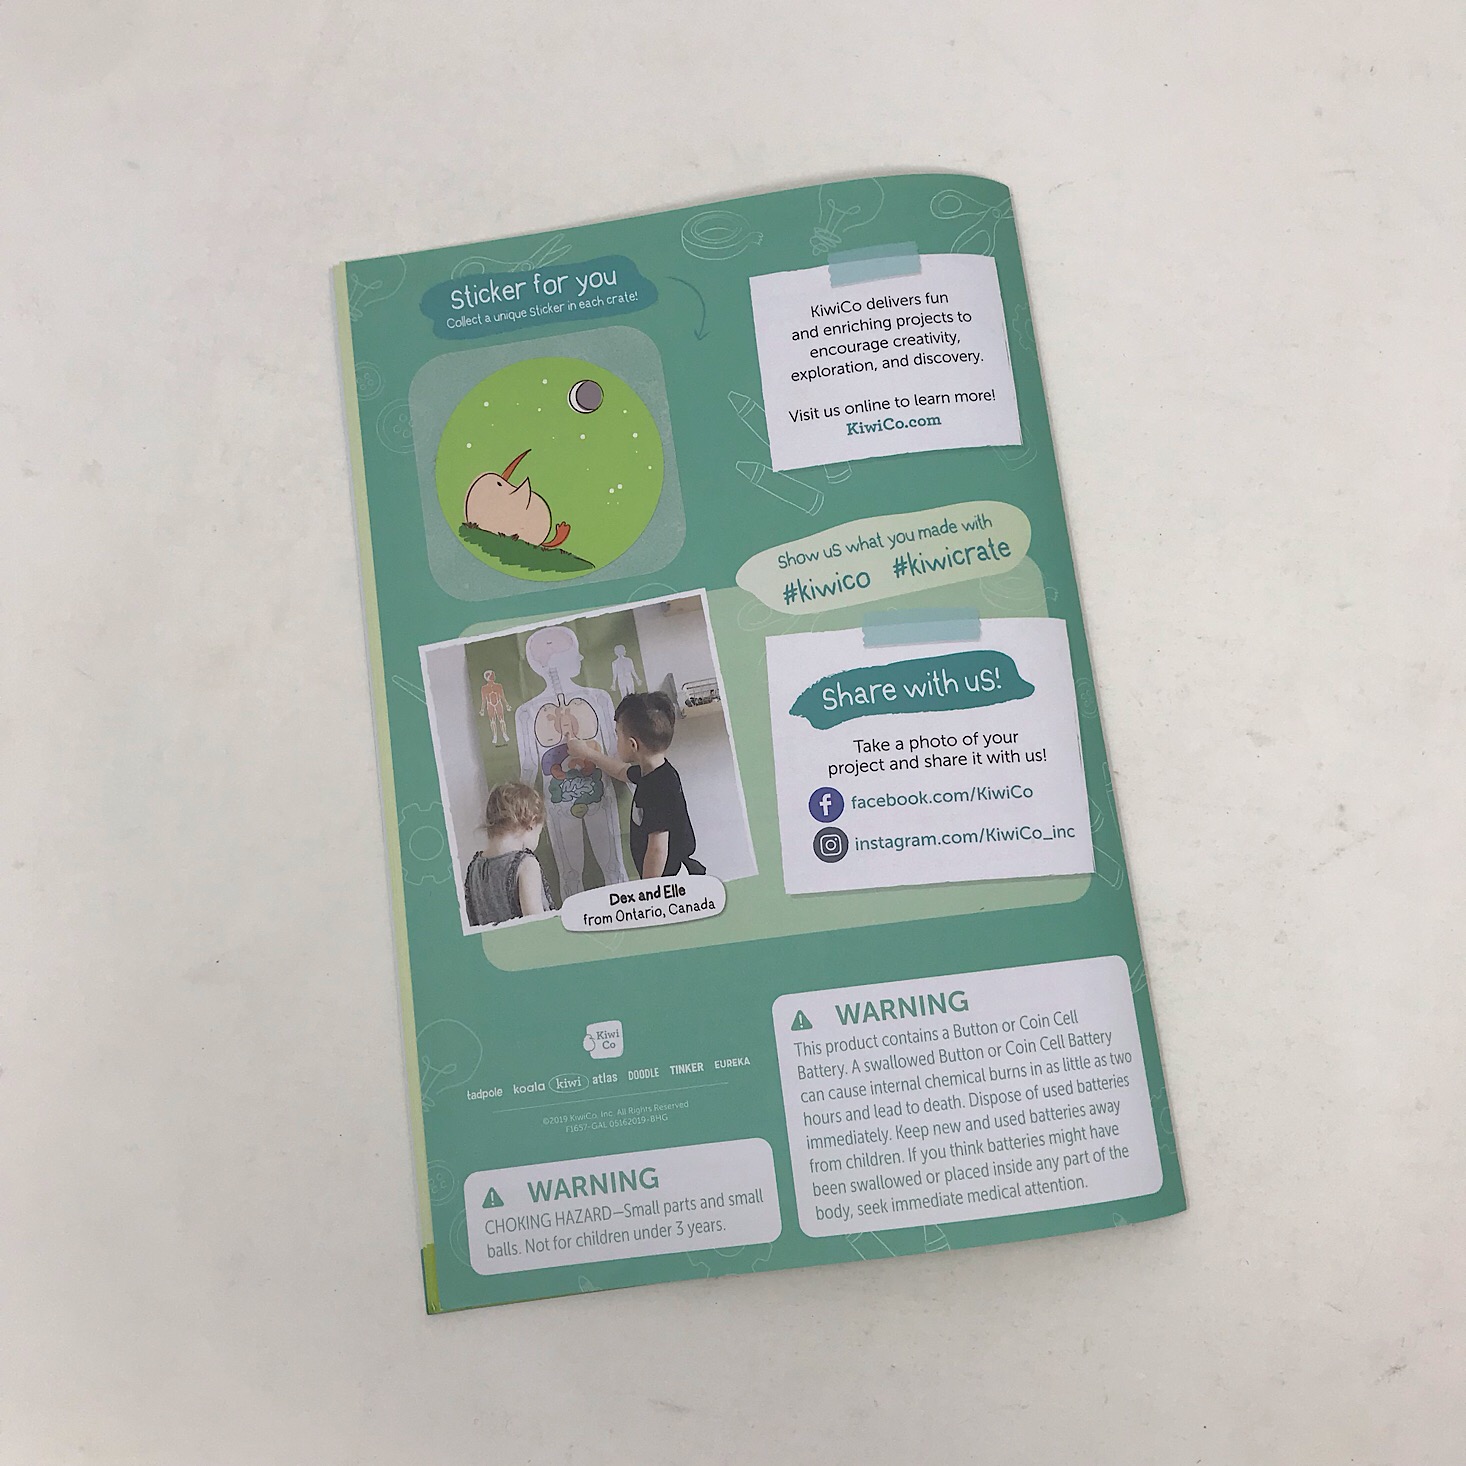
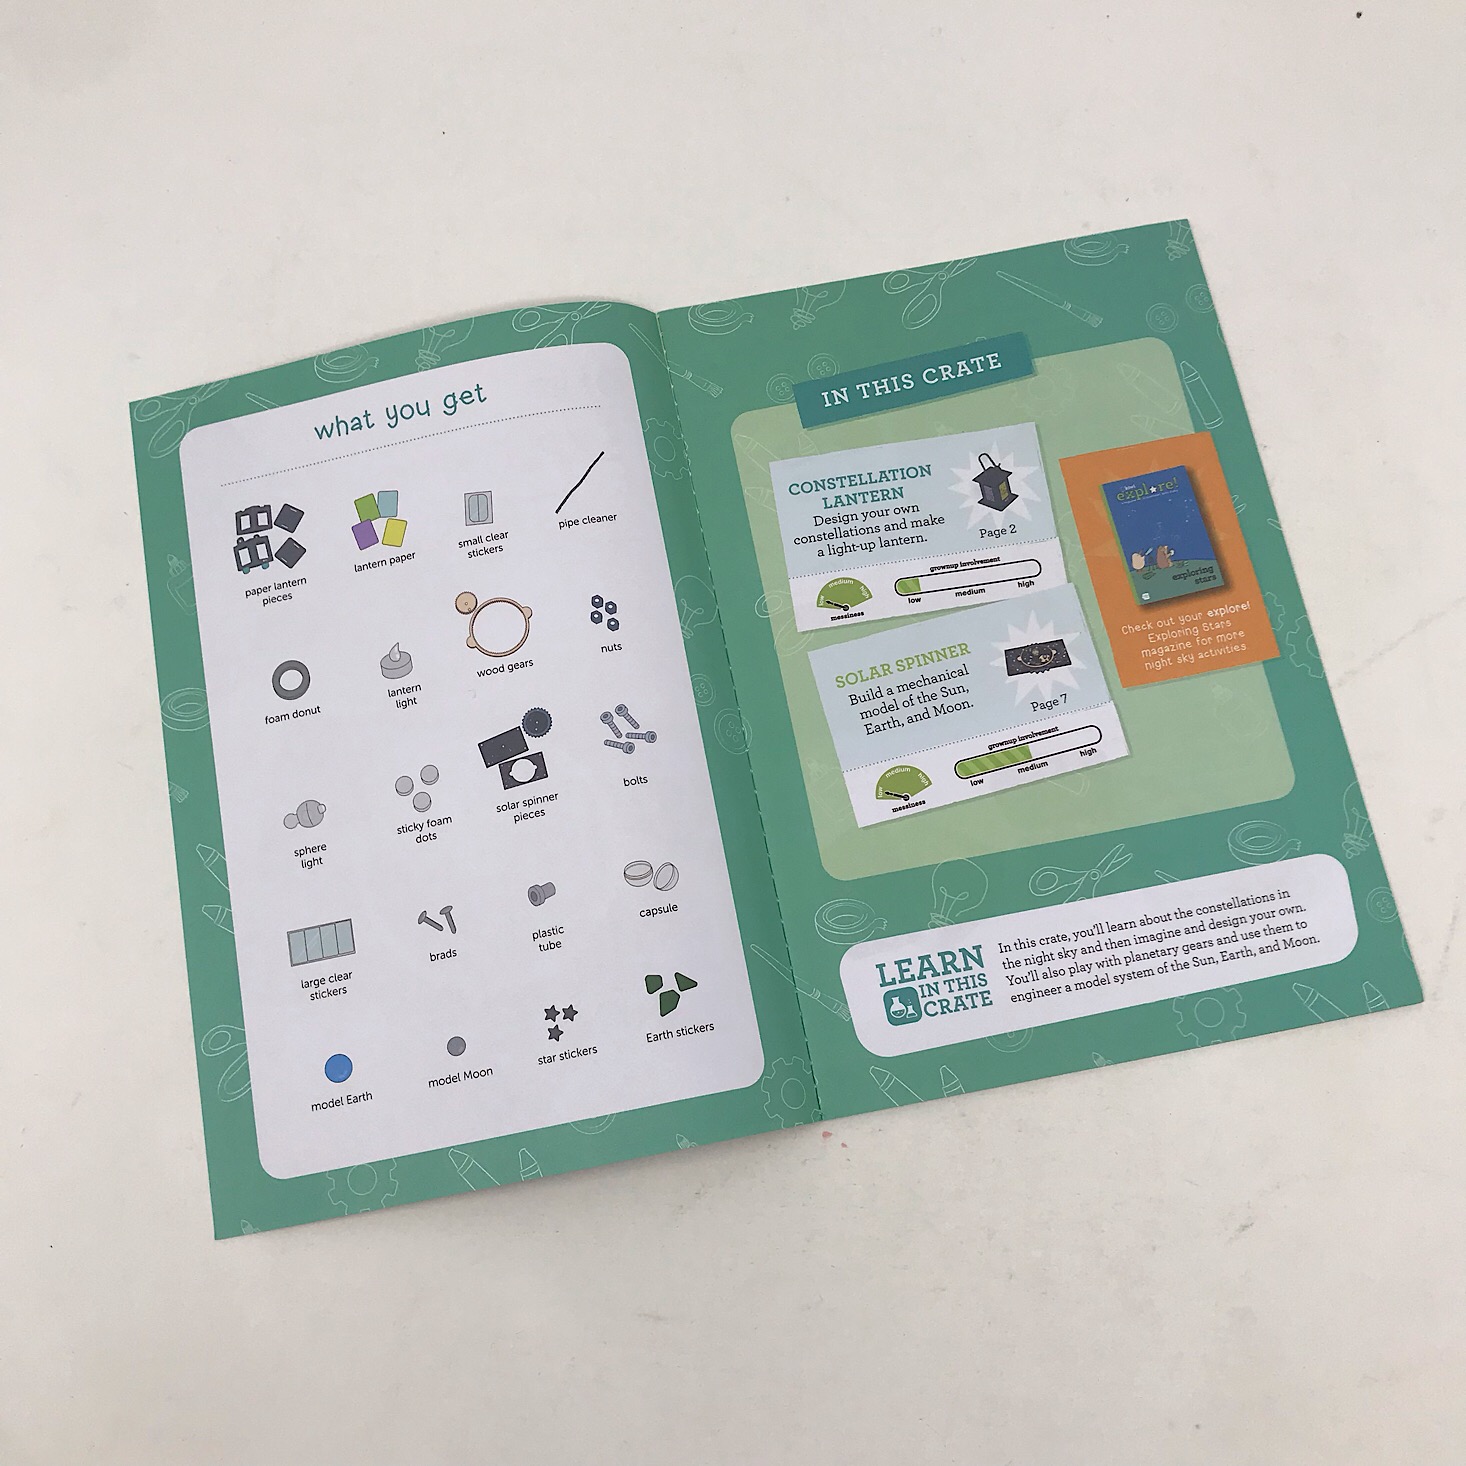
Our theme for this month is Exploring Stars and we received this booklet which contains the directions for our activities. This includes detailed, colored illustrations and clear instructions that are easy to follow. On the back of the booklet they include their social media links and a sticker for this month’s project.
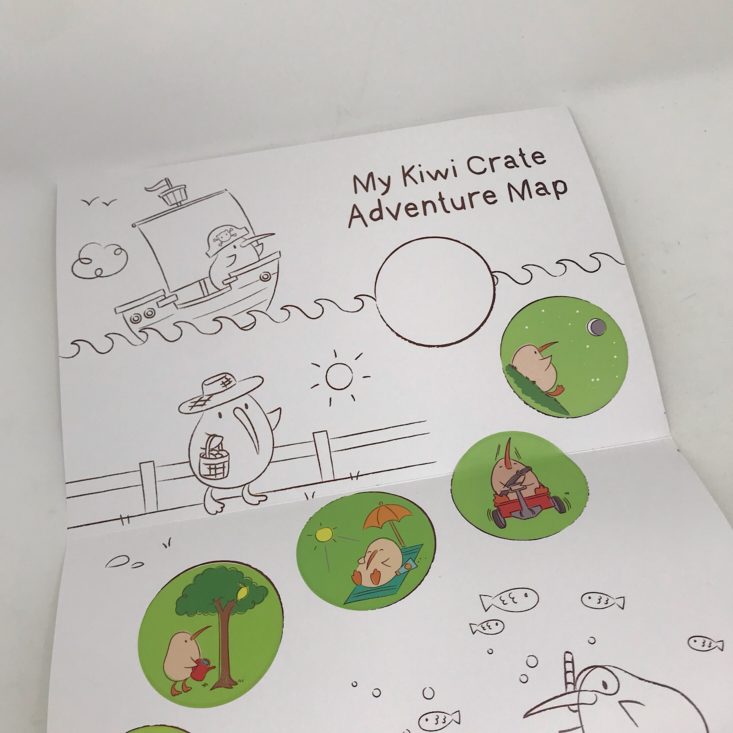
This is the little sticker chart that we received in our first Kiwi Crate along with our welcome note. This time we got to add our Exploring Stars sticker after we completed our projects.
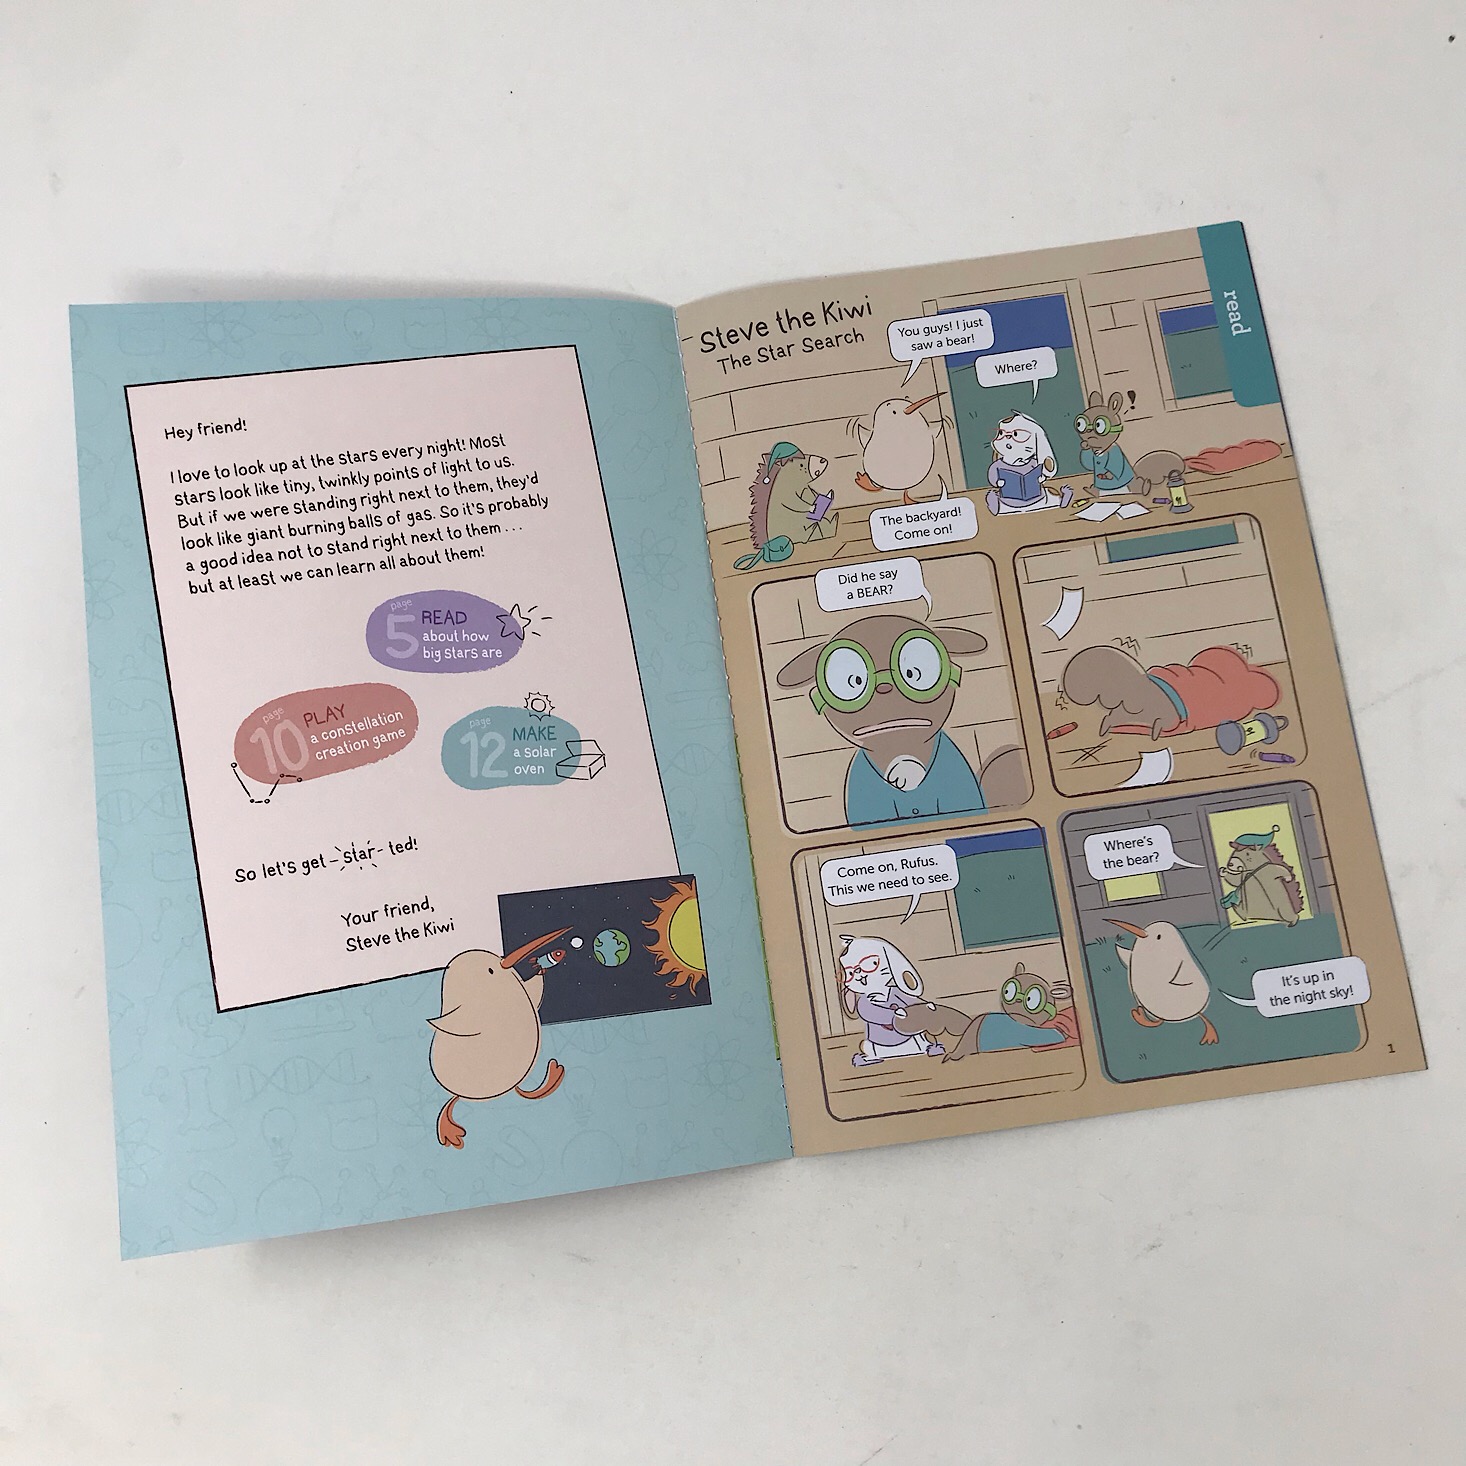
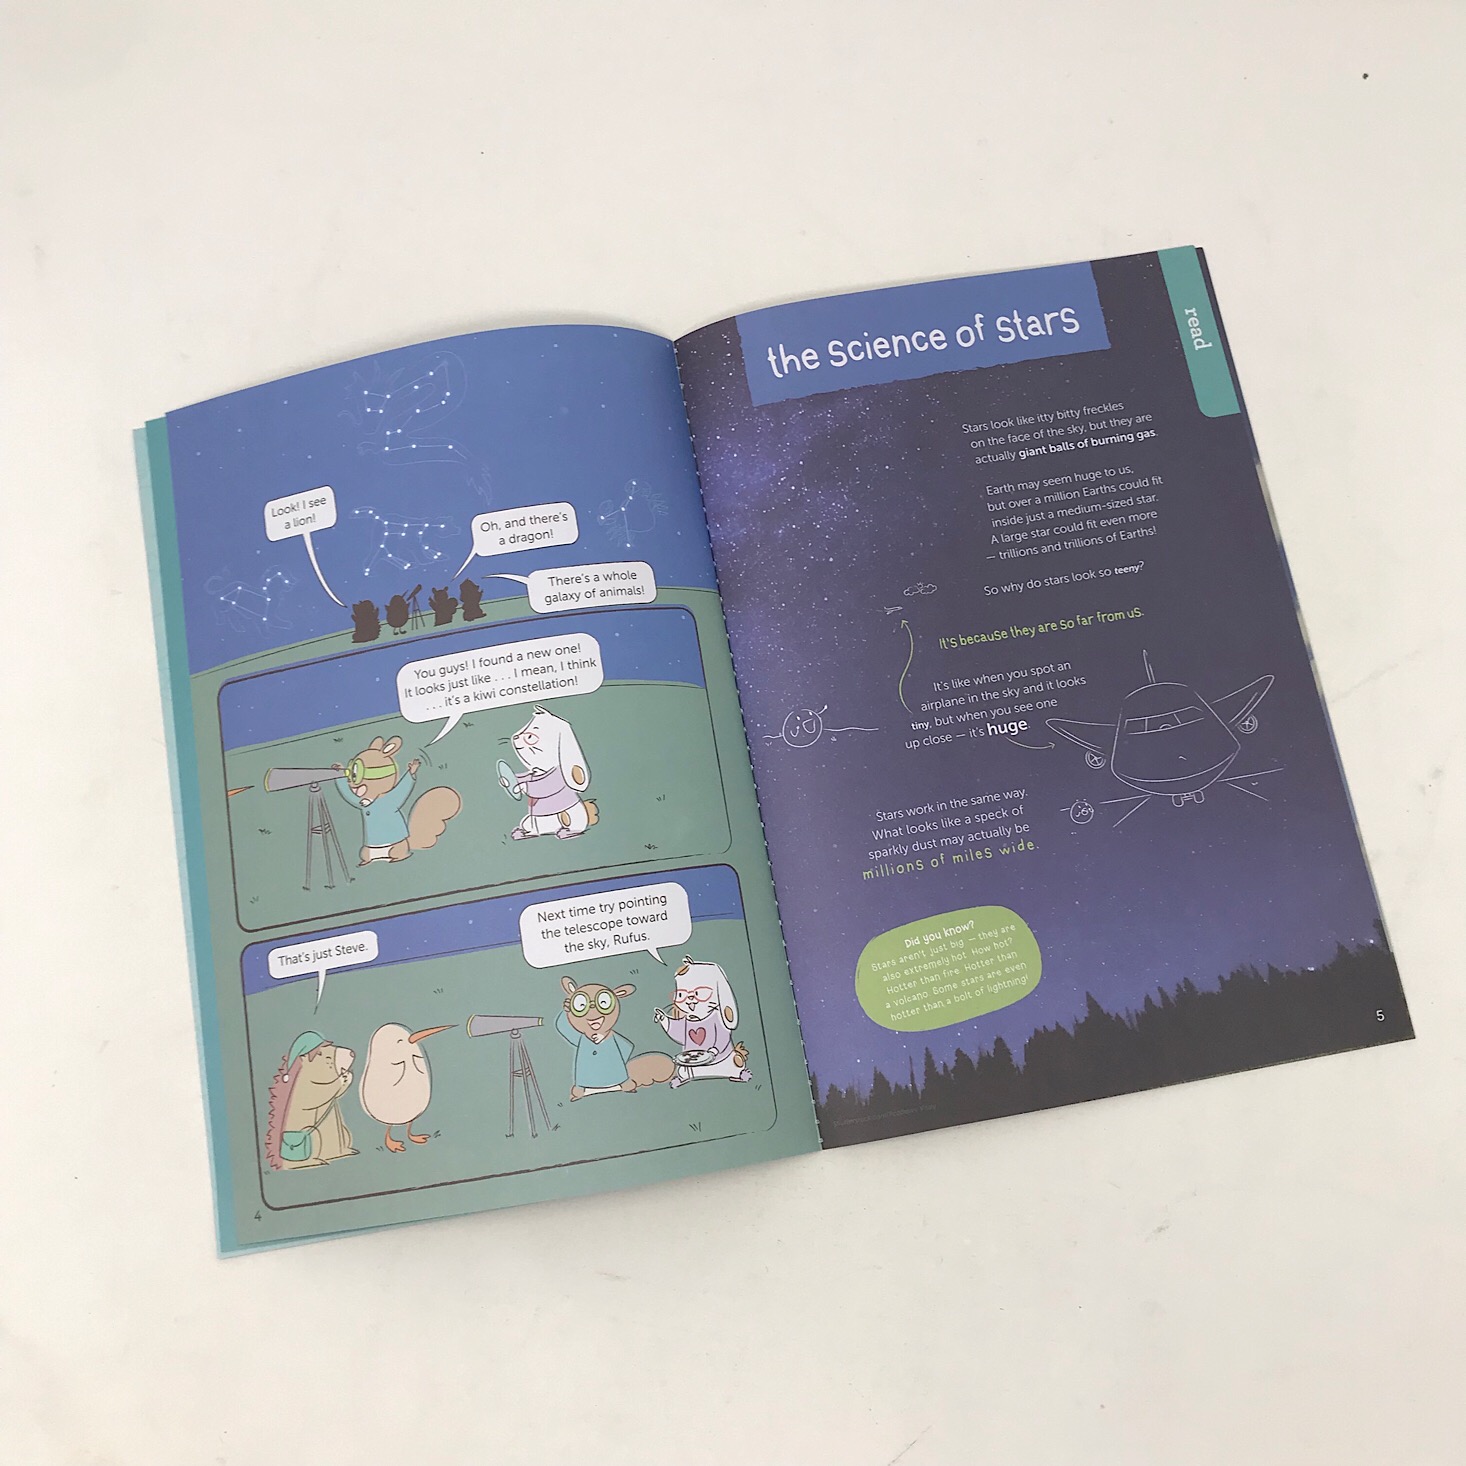
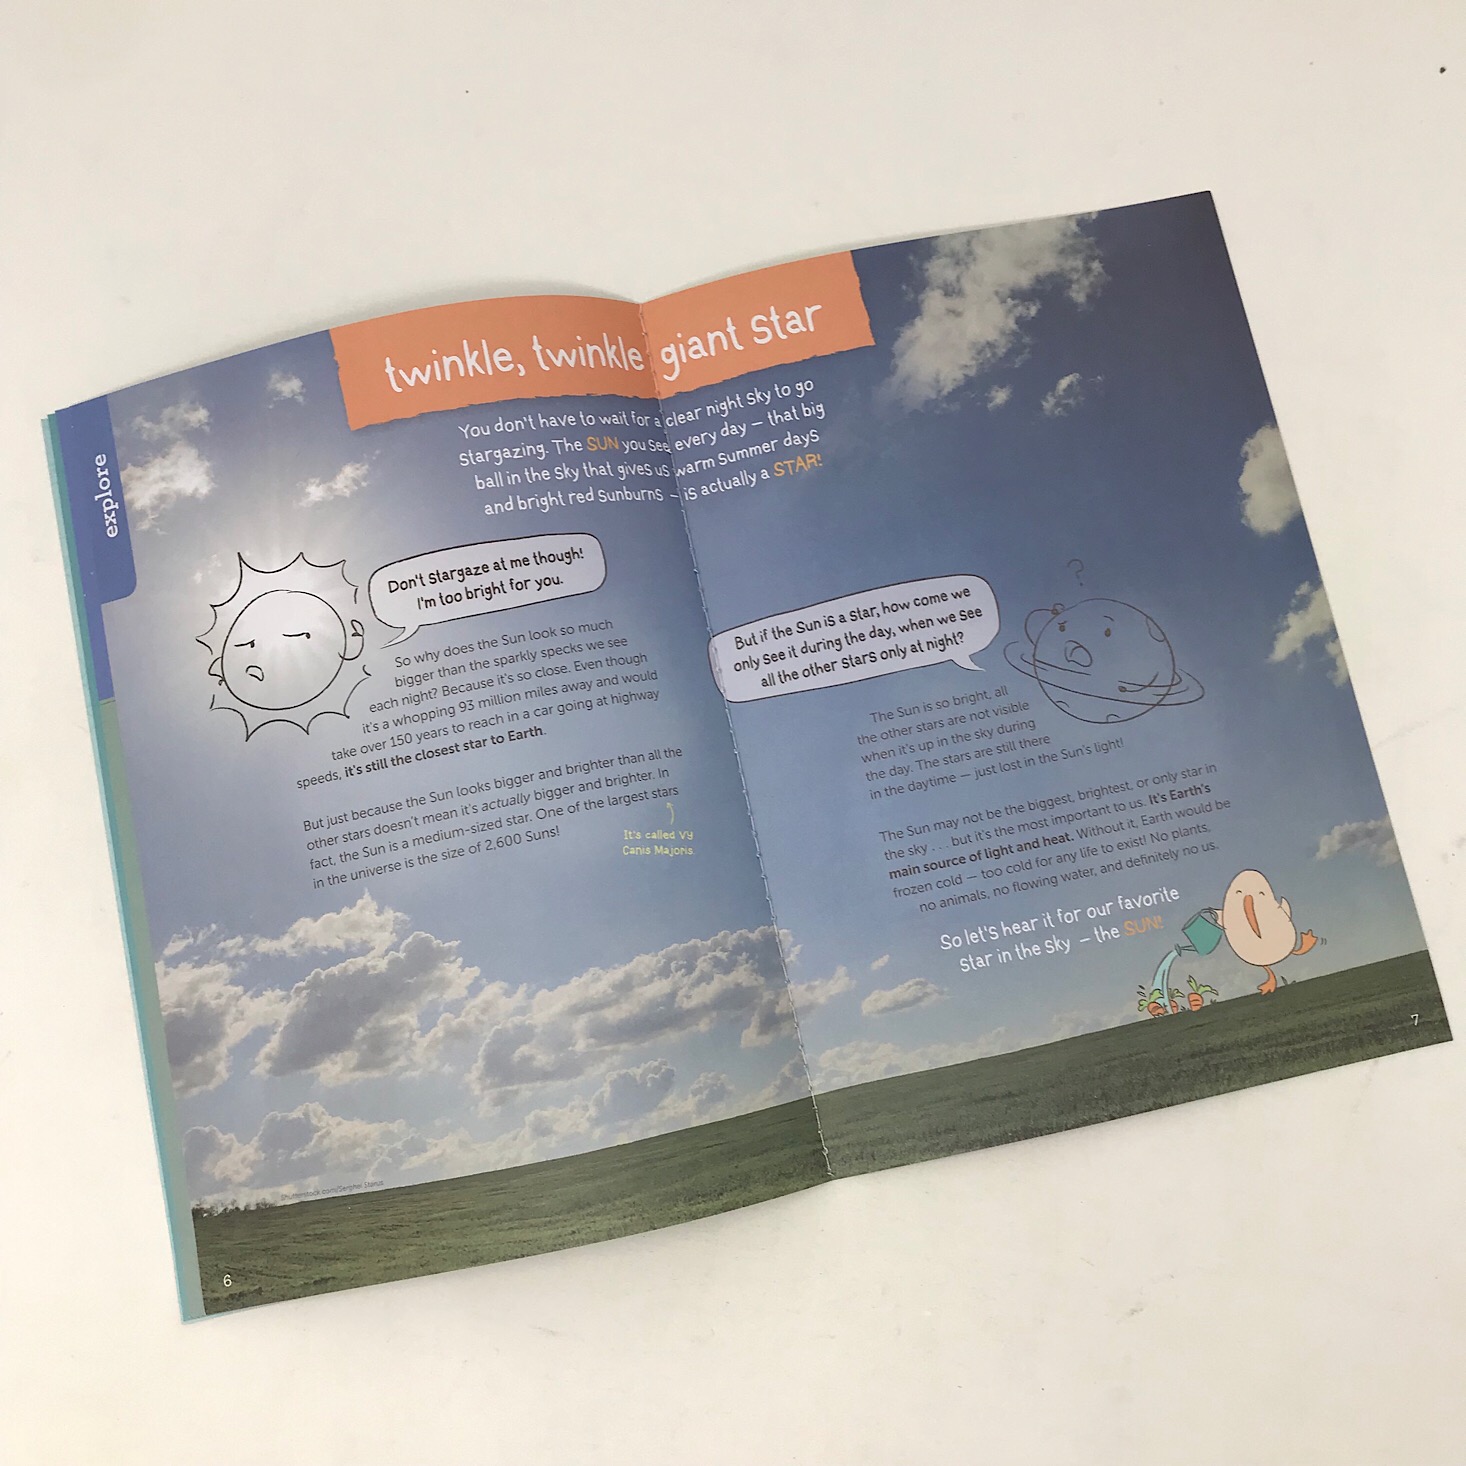
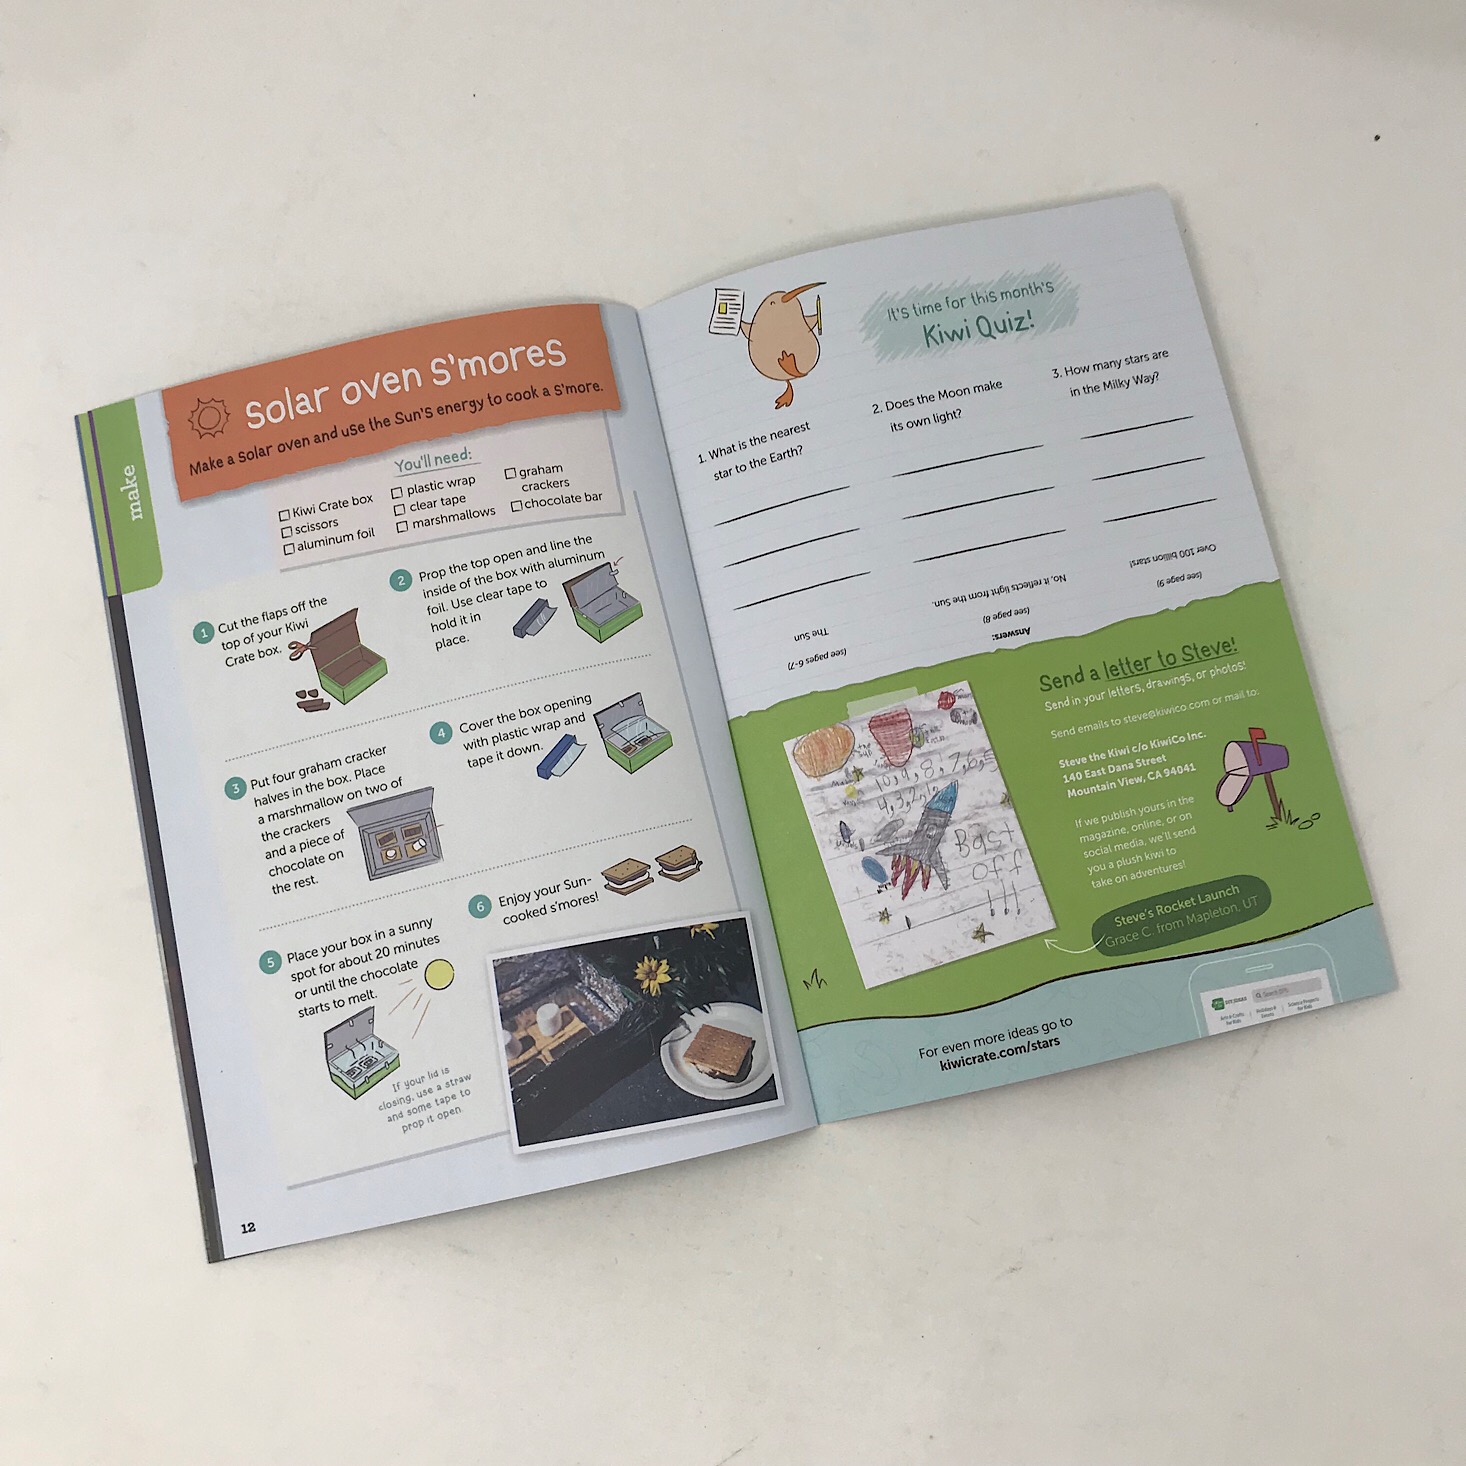
Each month you also get a Kiwi Explore! magazine with a letter from Steve the Kiwi and a little comic to go along with the theme starring some cute characters. This month the gang learns about constellations! The rest of the pages contain information related to our theme such as a page on the science of stars and a few extension activities for us to do including making solar oven smores, which the kids are already begging me to do!
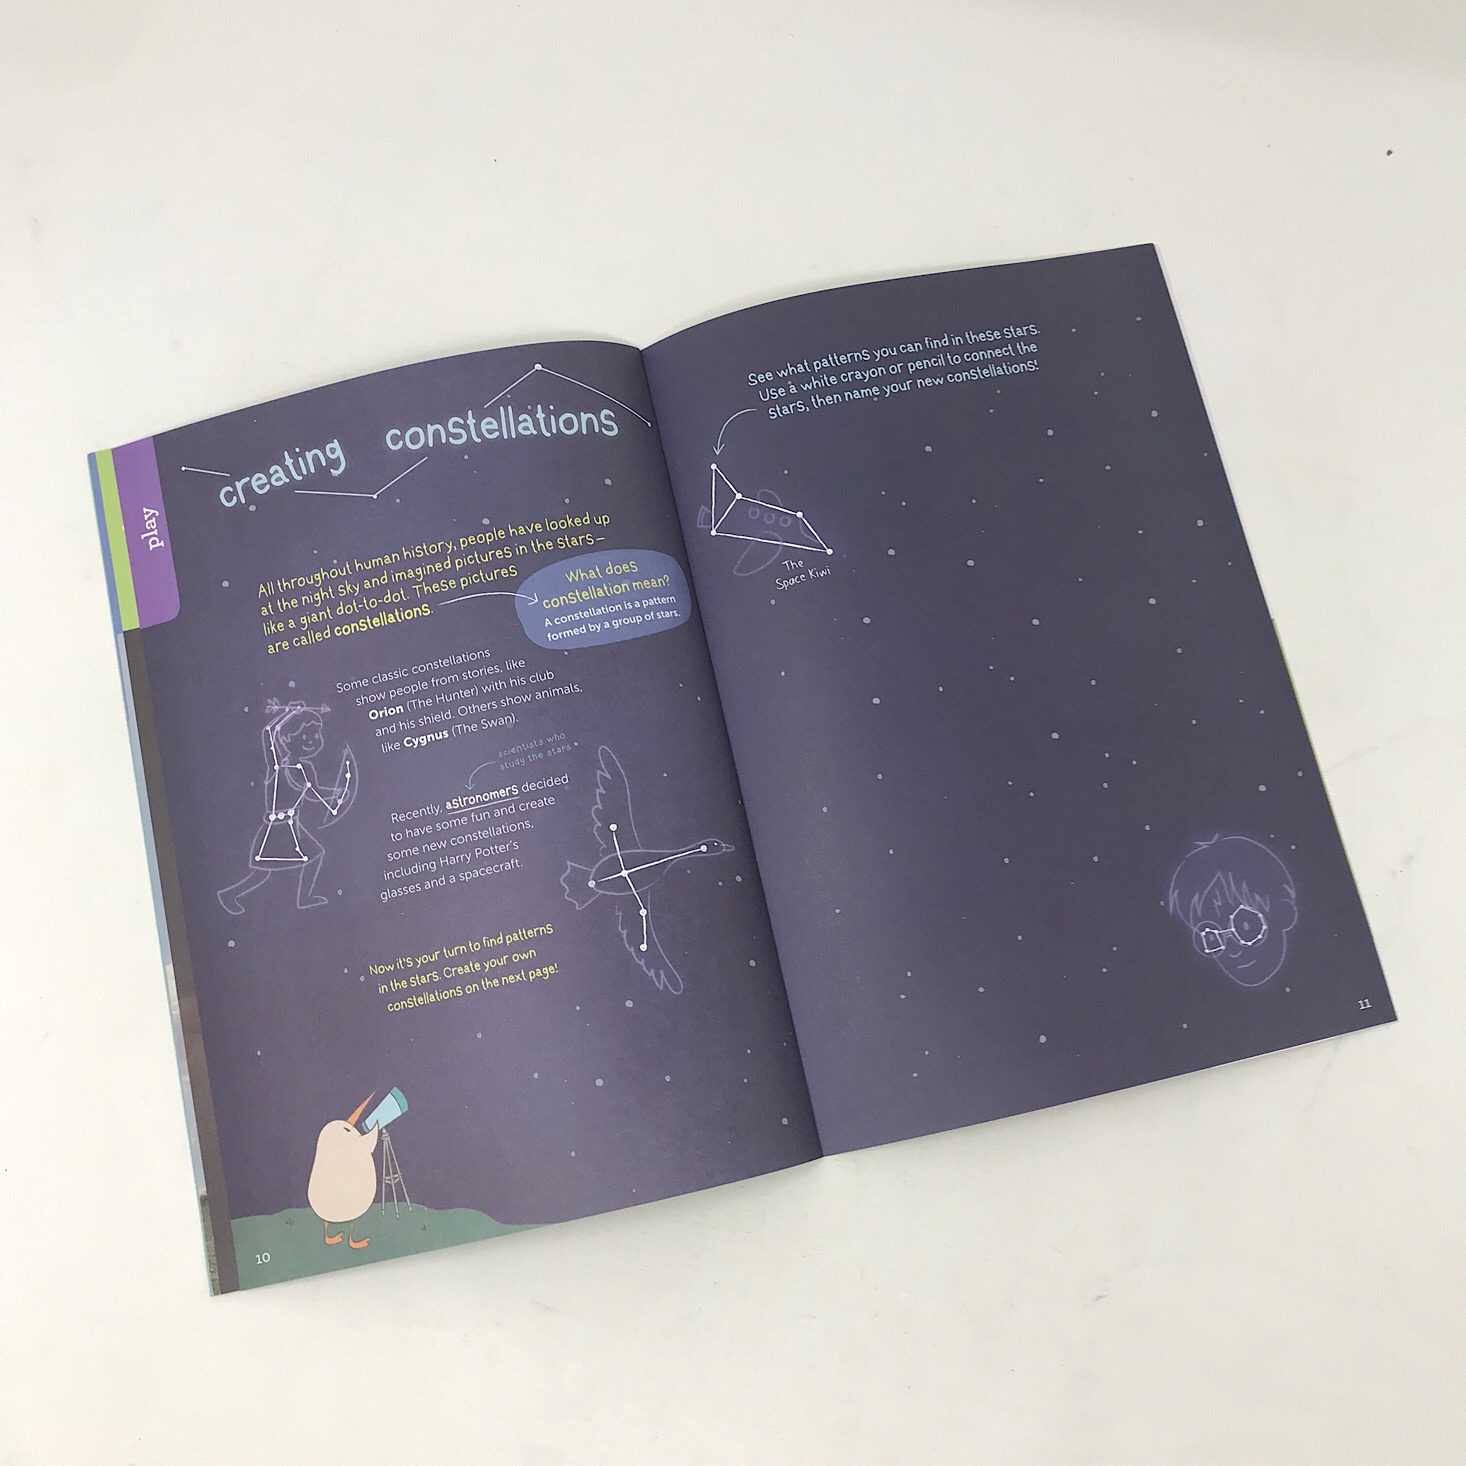
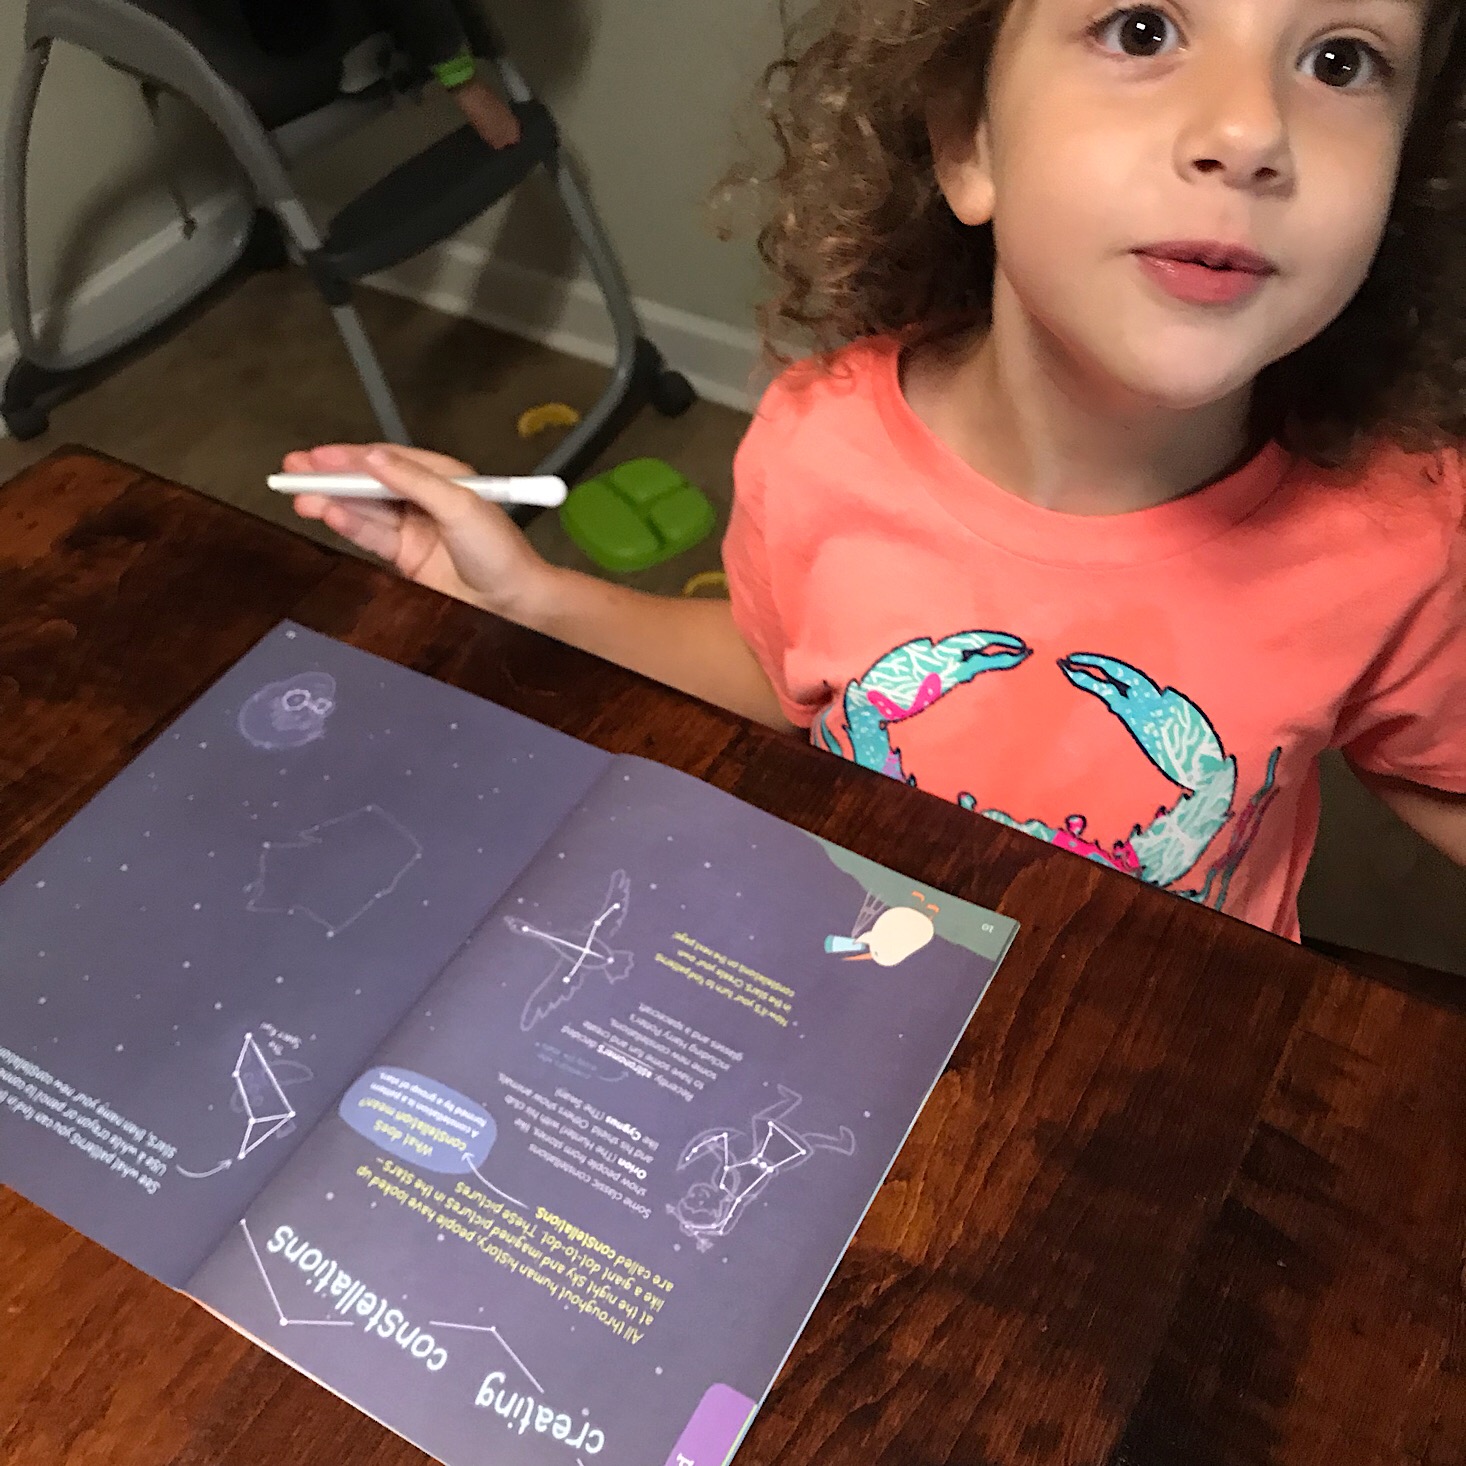
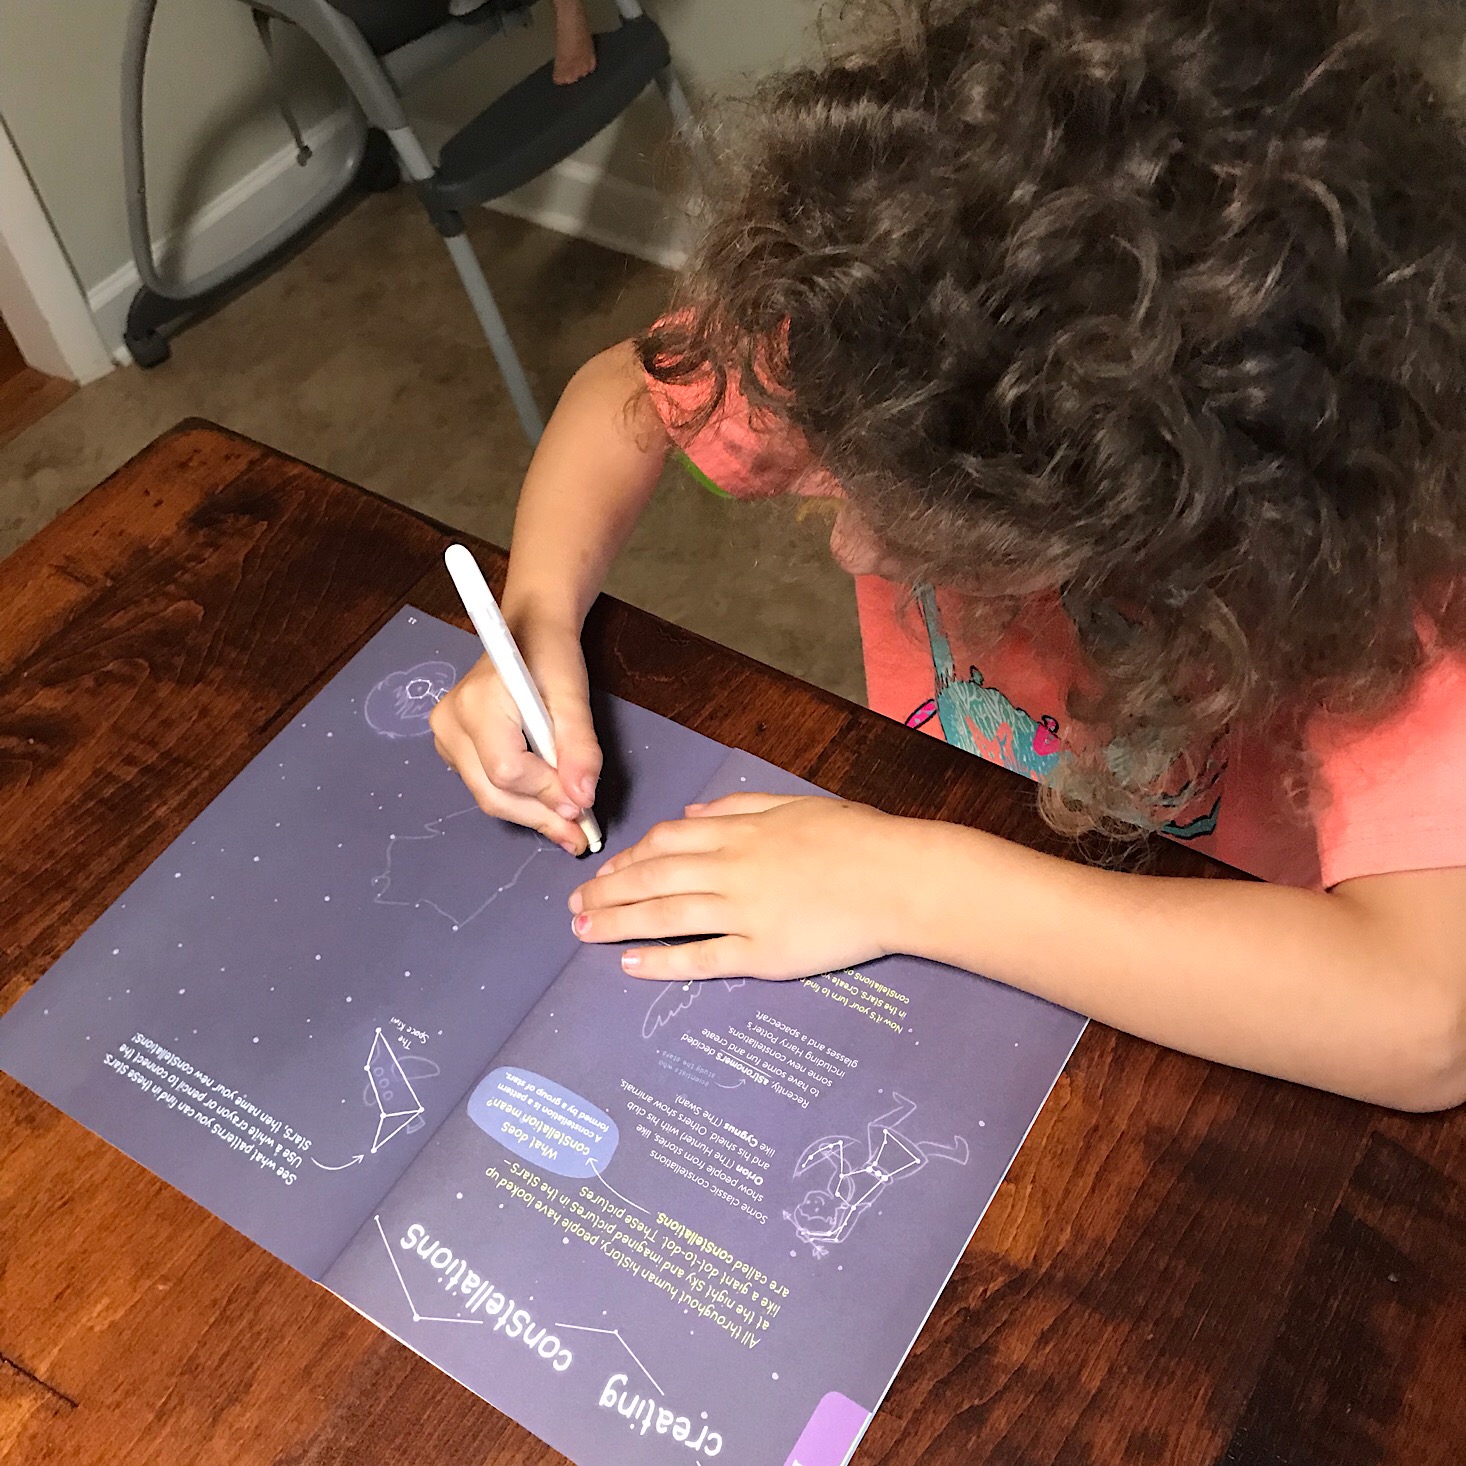
Before we got started on our activities, we read our Explore! magazine and learned all about stars. At the back, there was a page where my daughter got to find her own constellations among the stars. She had a lot of fun with this and I recreated it on a piece of paper for my son to make his own as well.
Constellation Lantern
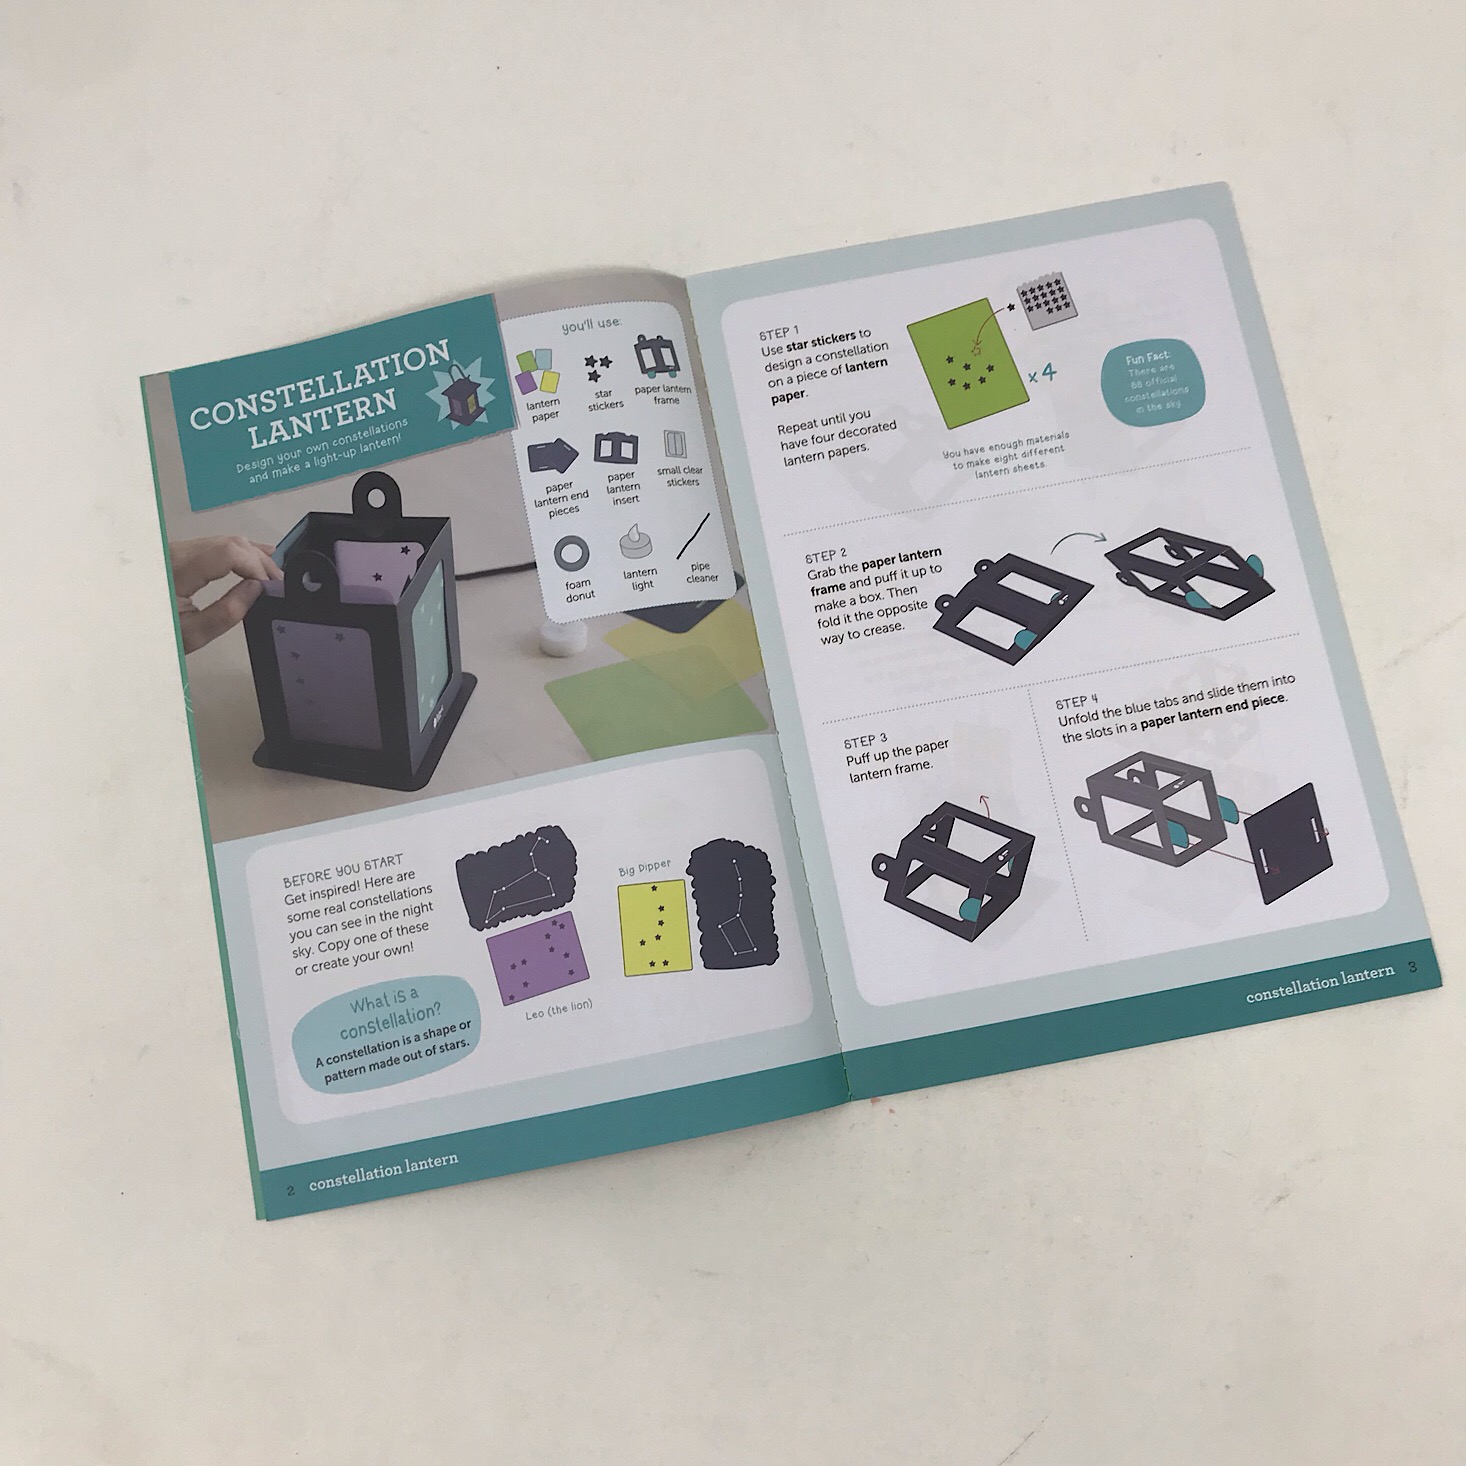
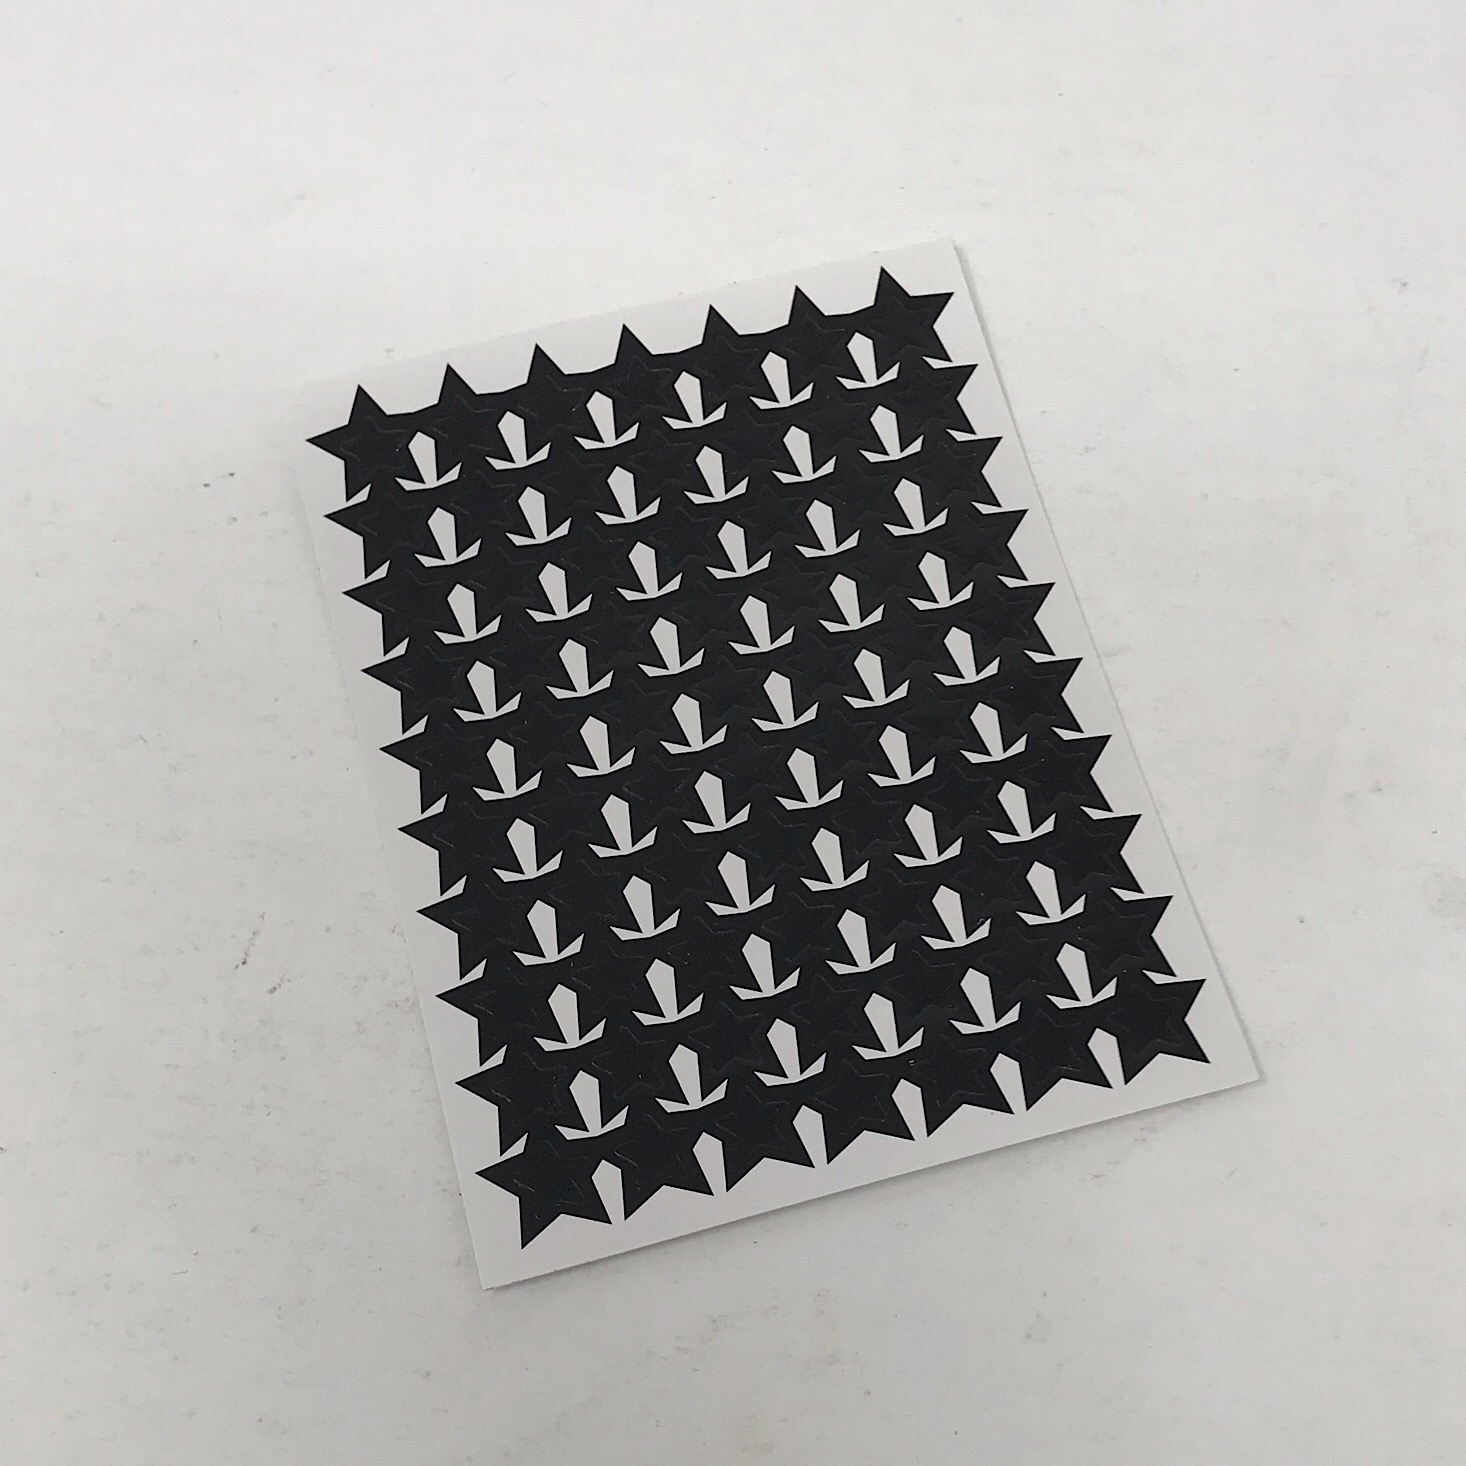
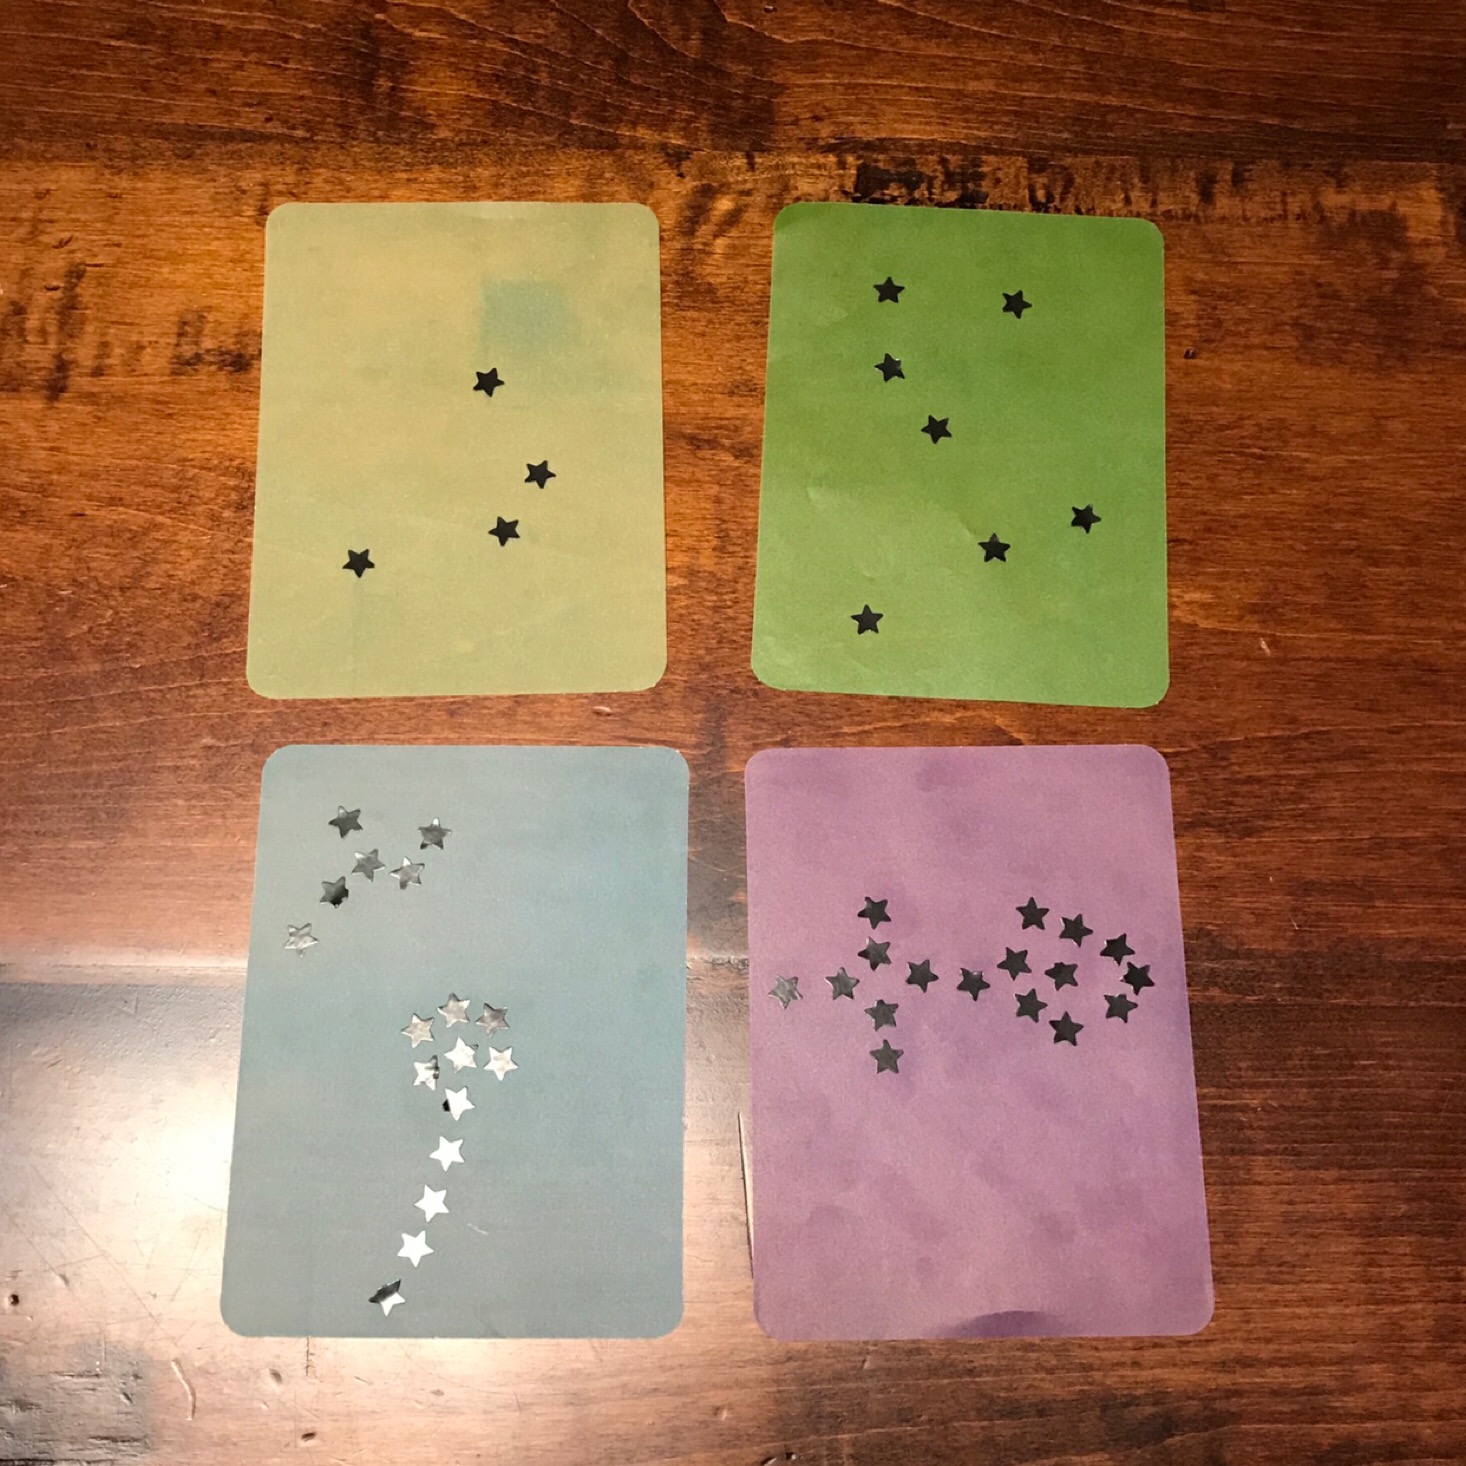
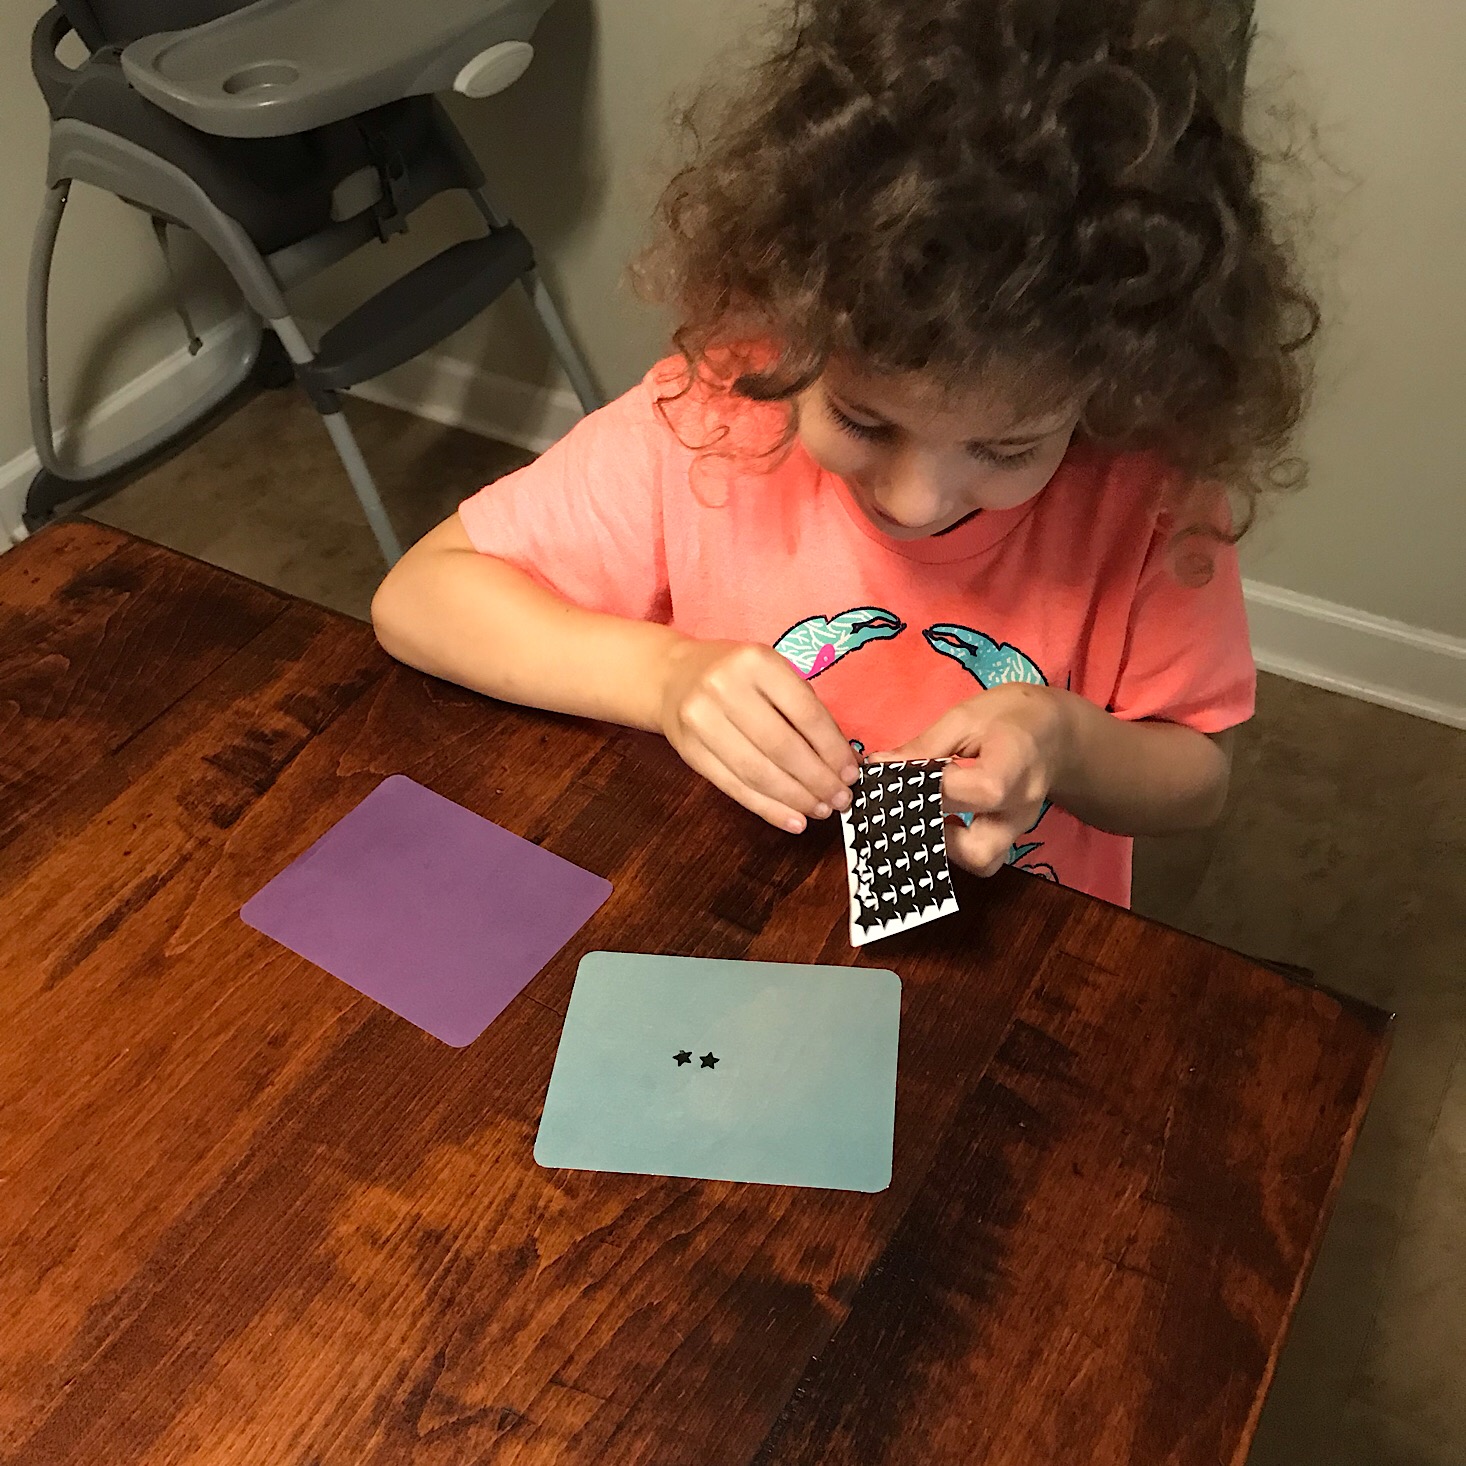
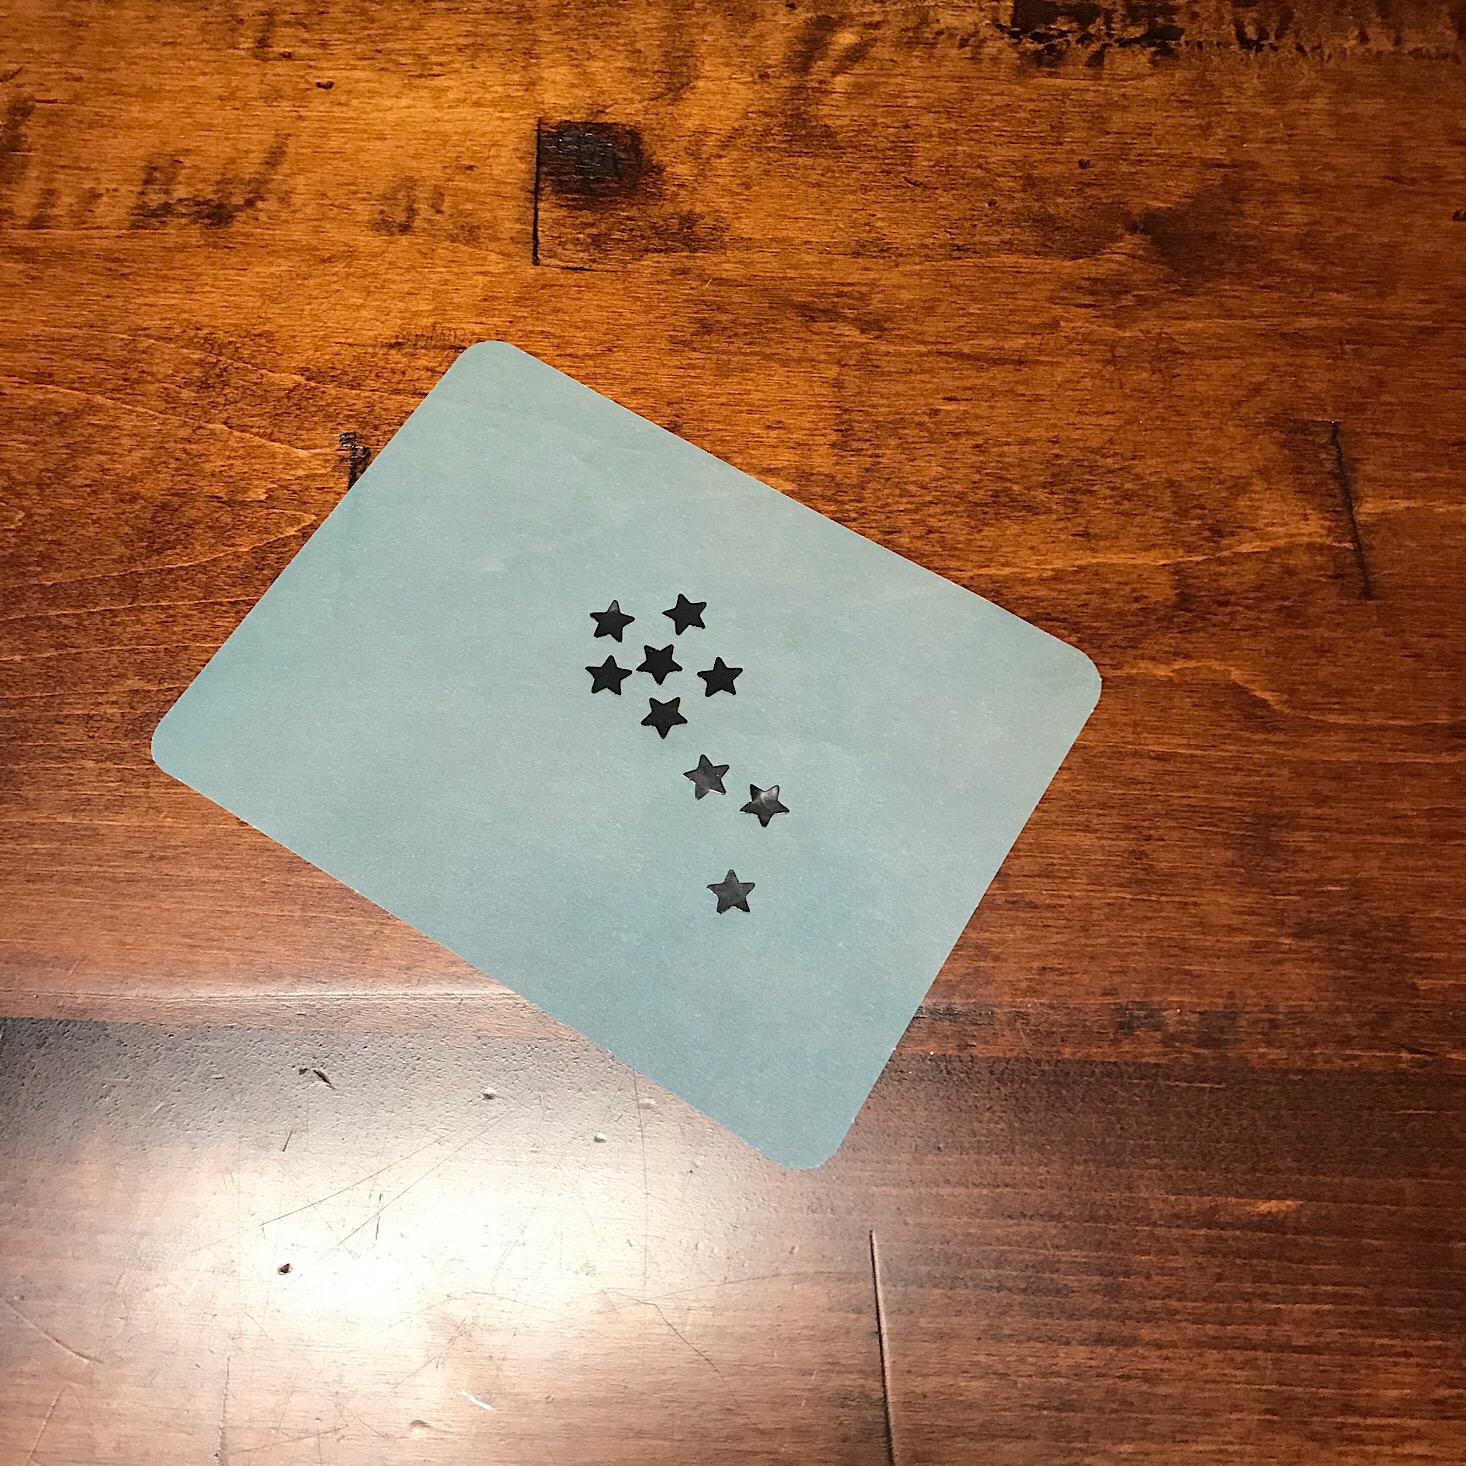
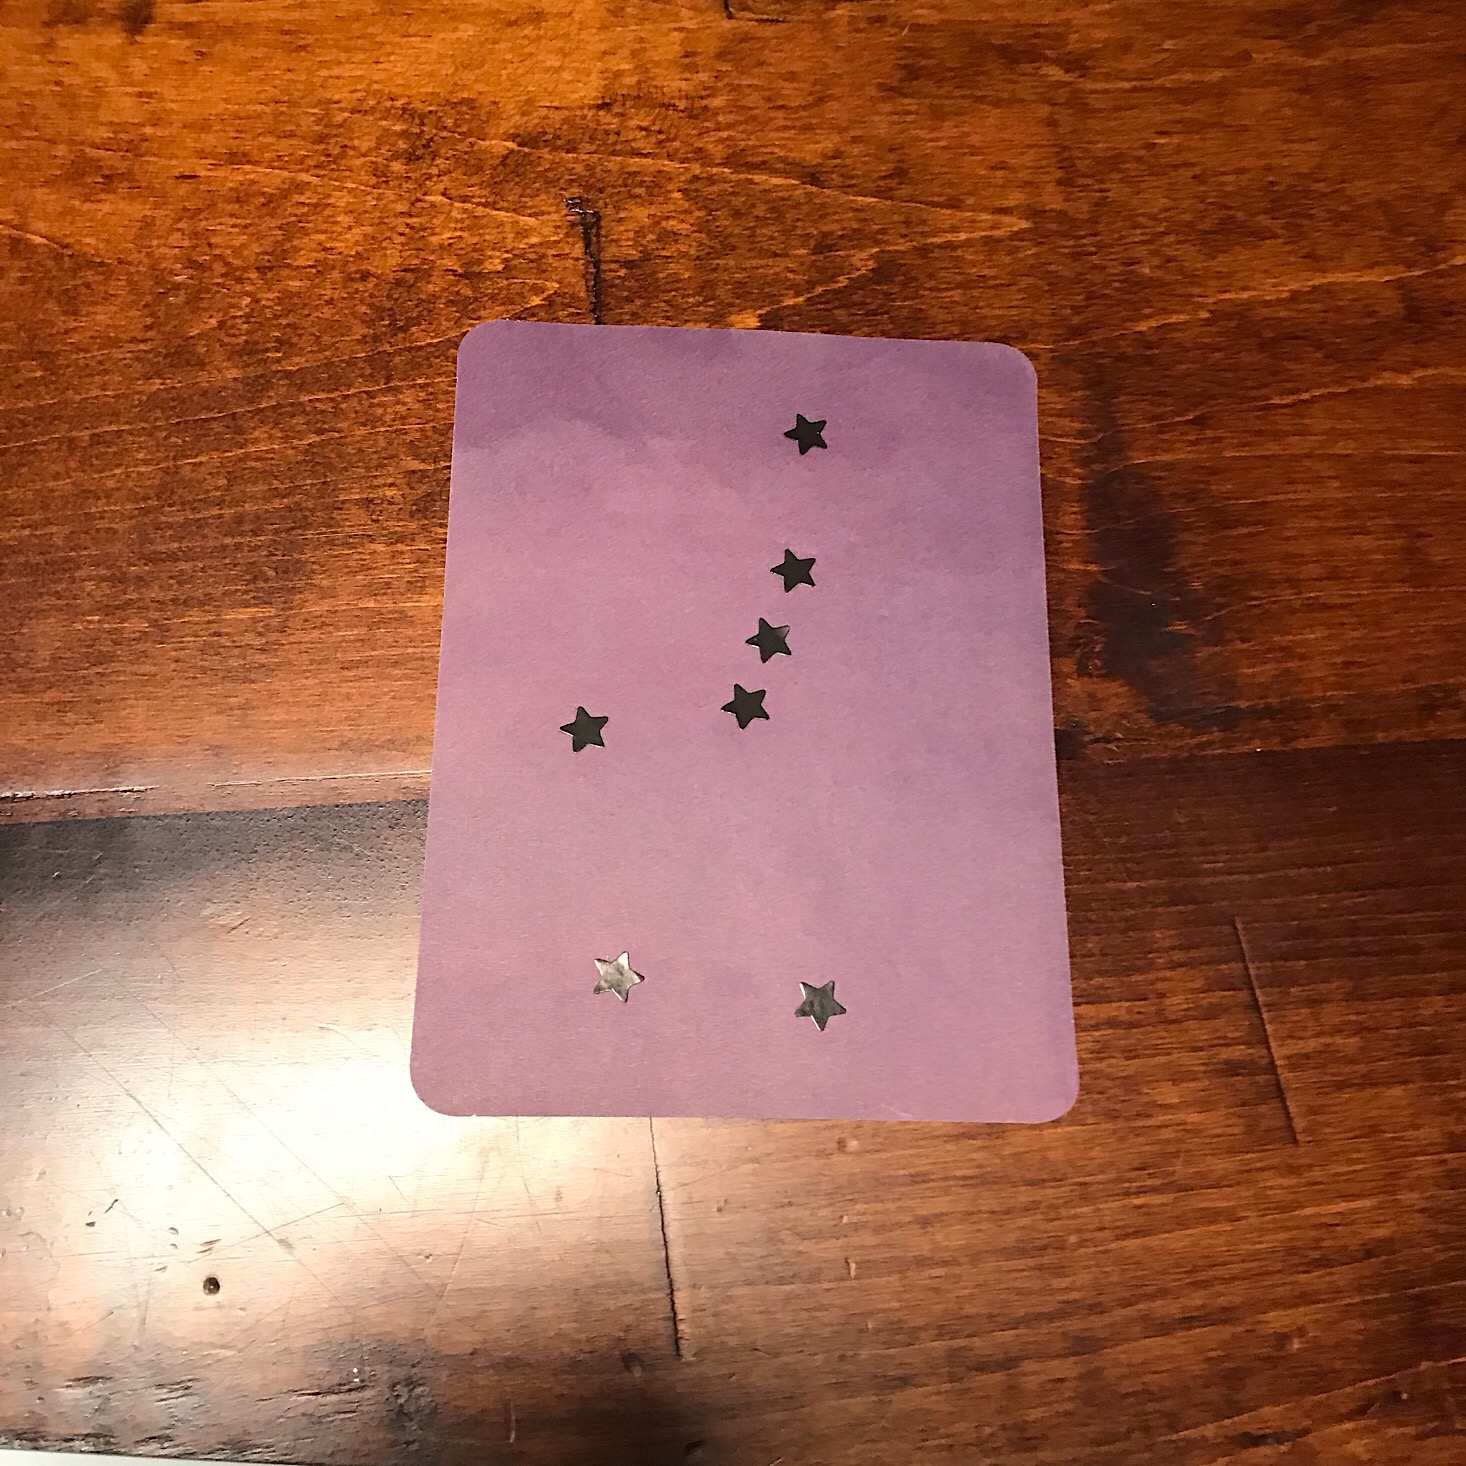
Our first project was to make a Constellation Lantern. They provided eight translucent sheets of paper in purple, green, yellow and blue for us to use along with a sheet of black star stickers.
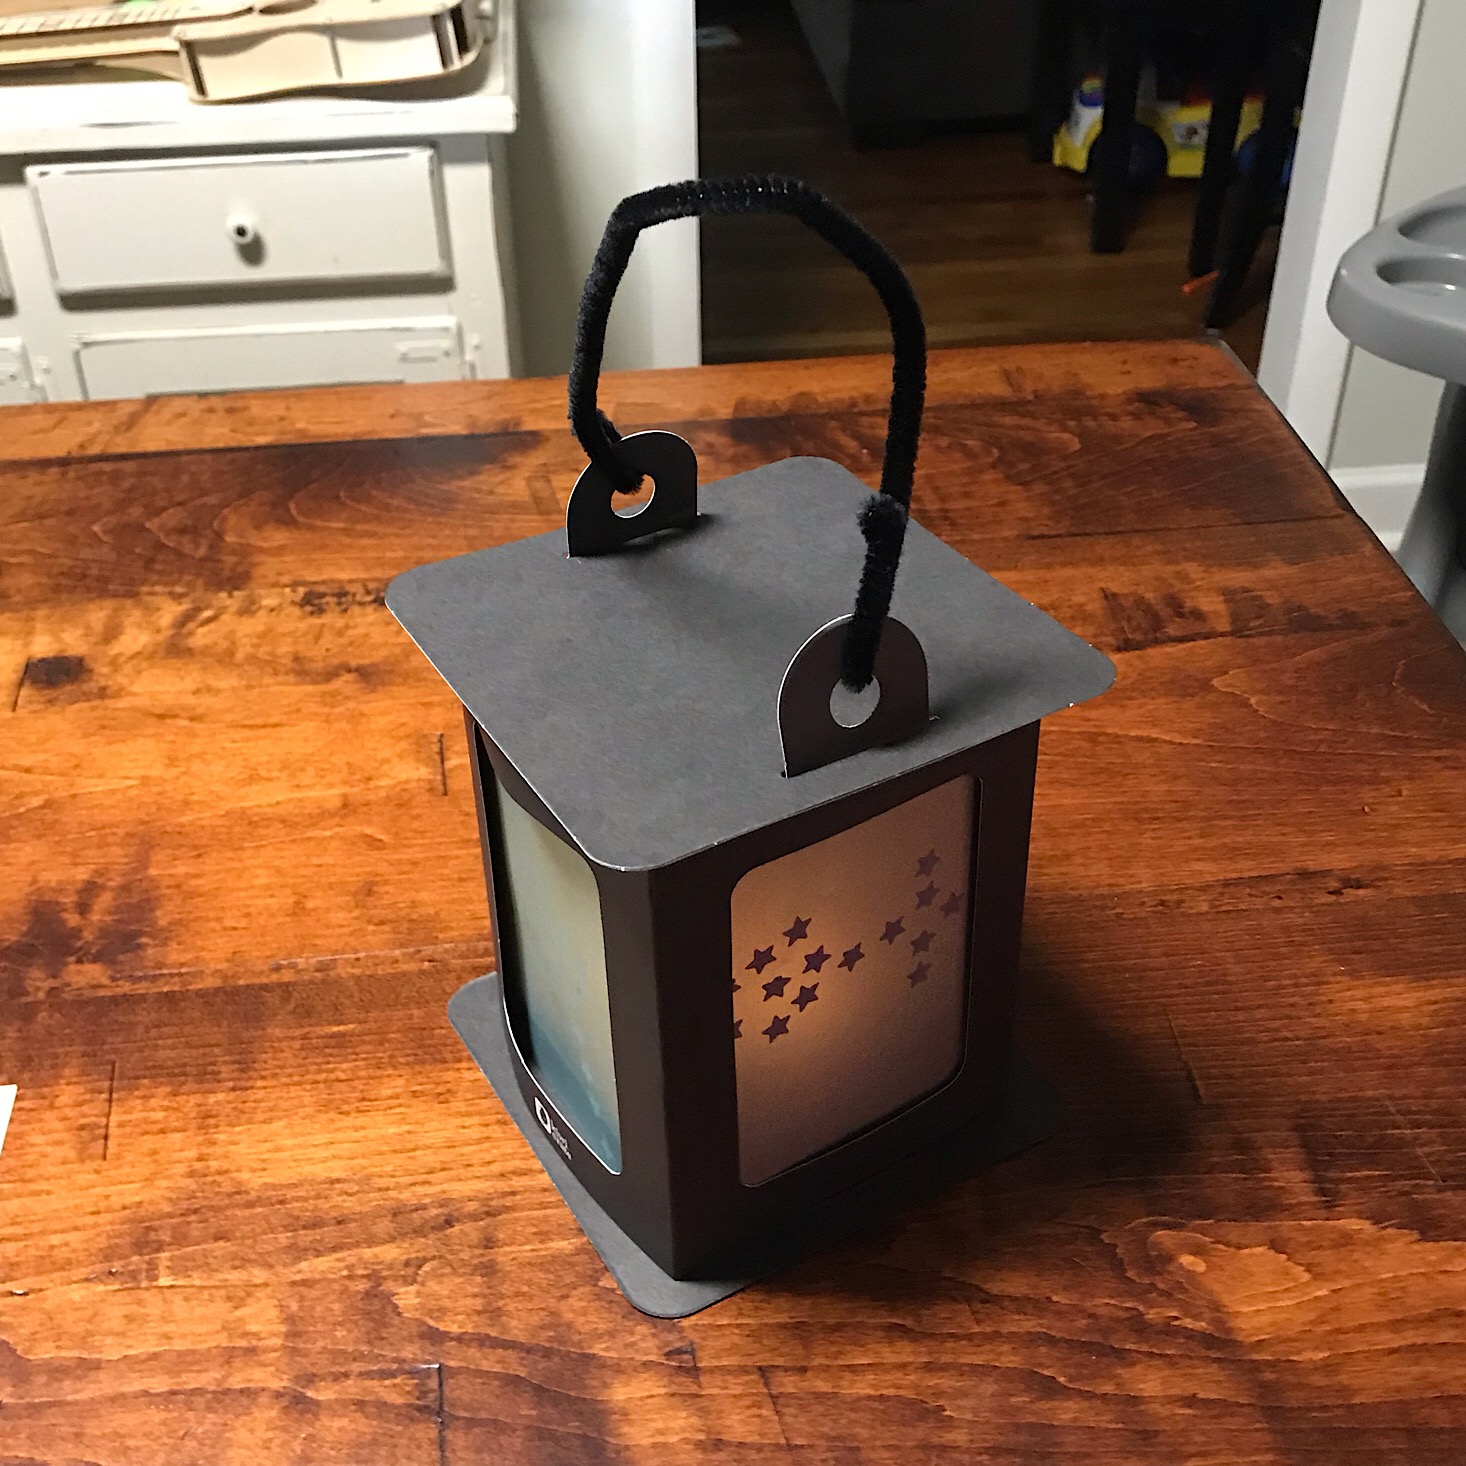
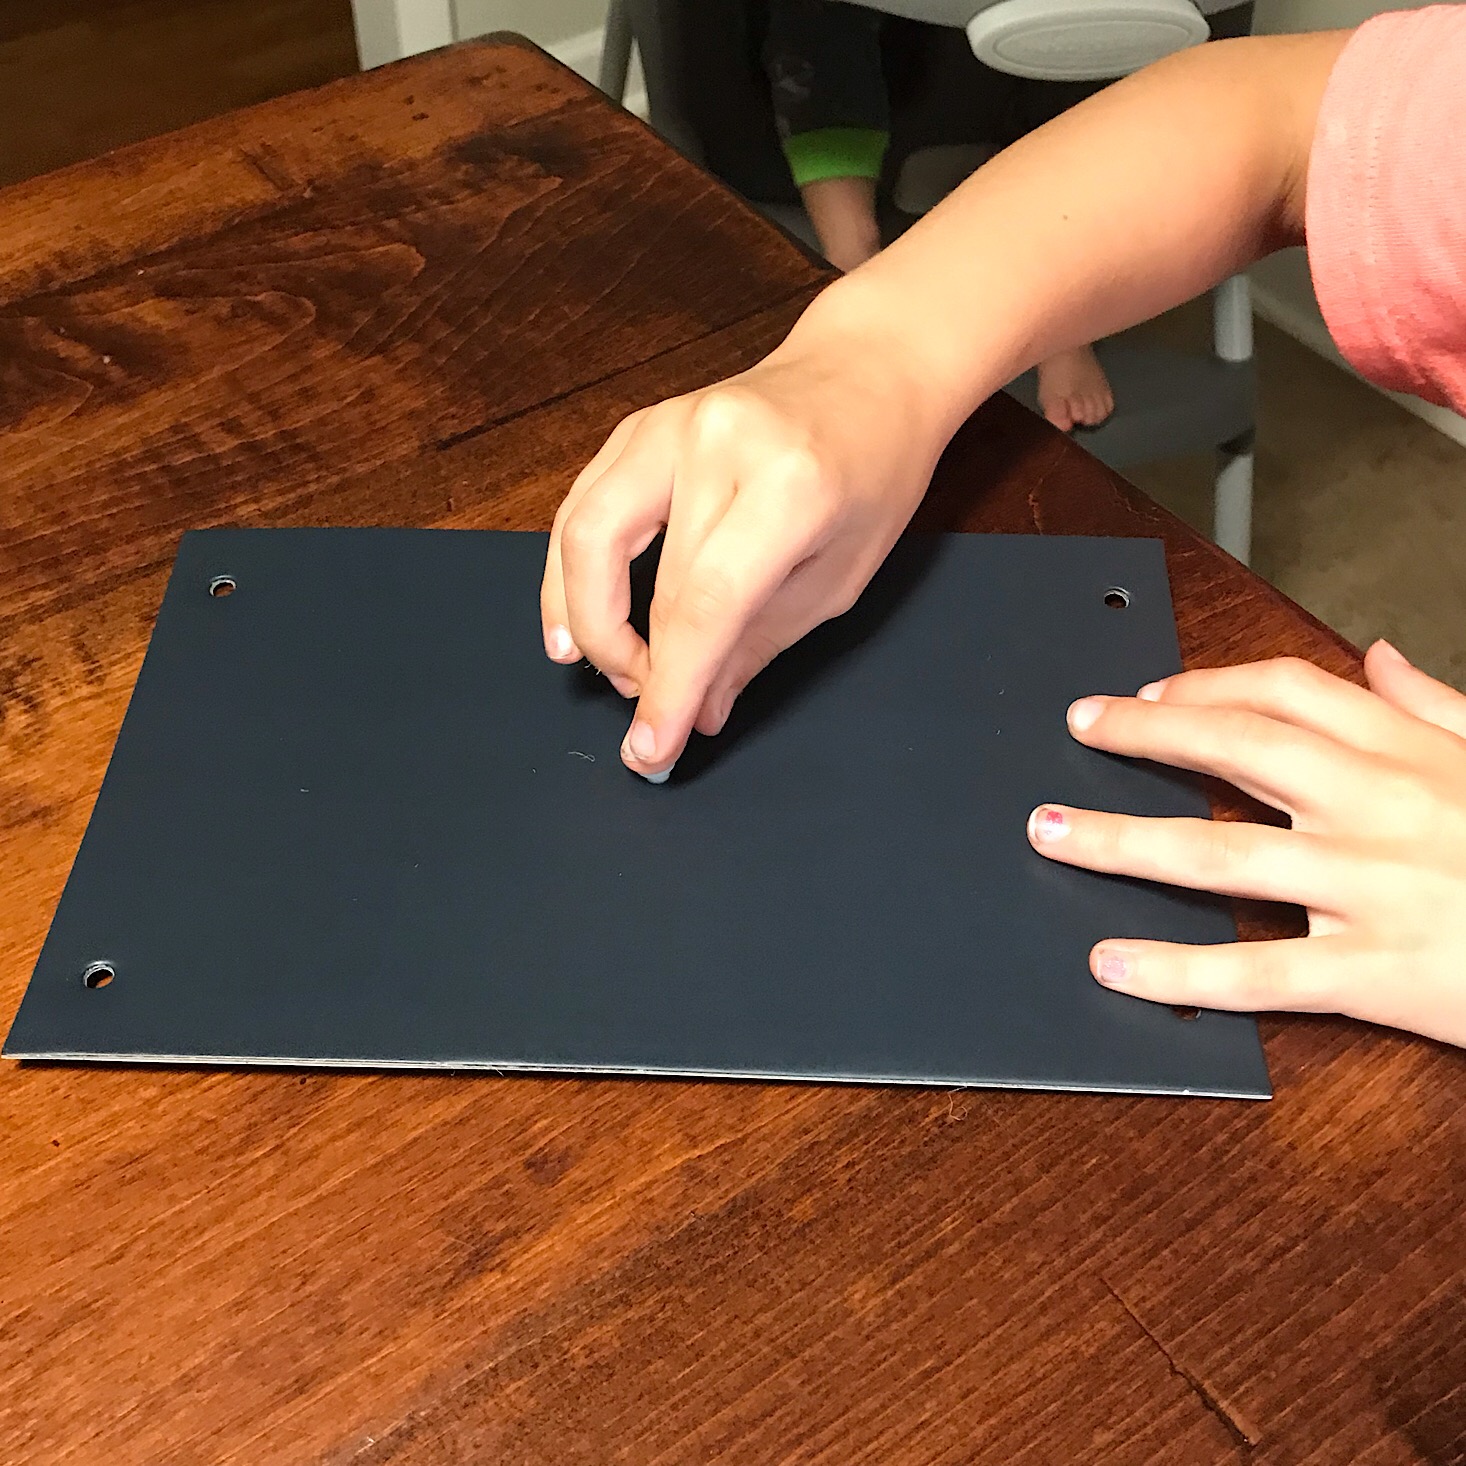
We got to work creating constellations on our panels using the black stars. While they provided eight sheets, we only needed four for our lantern, but we went ahead and completed all of the sheets so that we could trade them out and refresh our lantern whenever we want to. I love that they provided enough materials to allow us to do this!
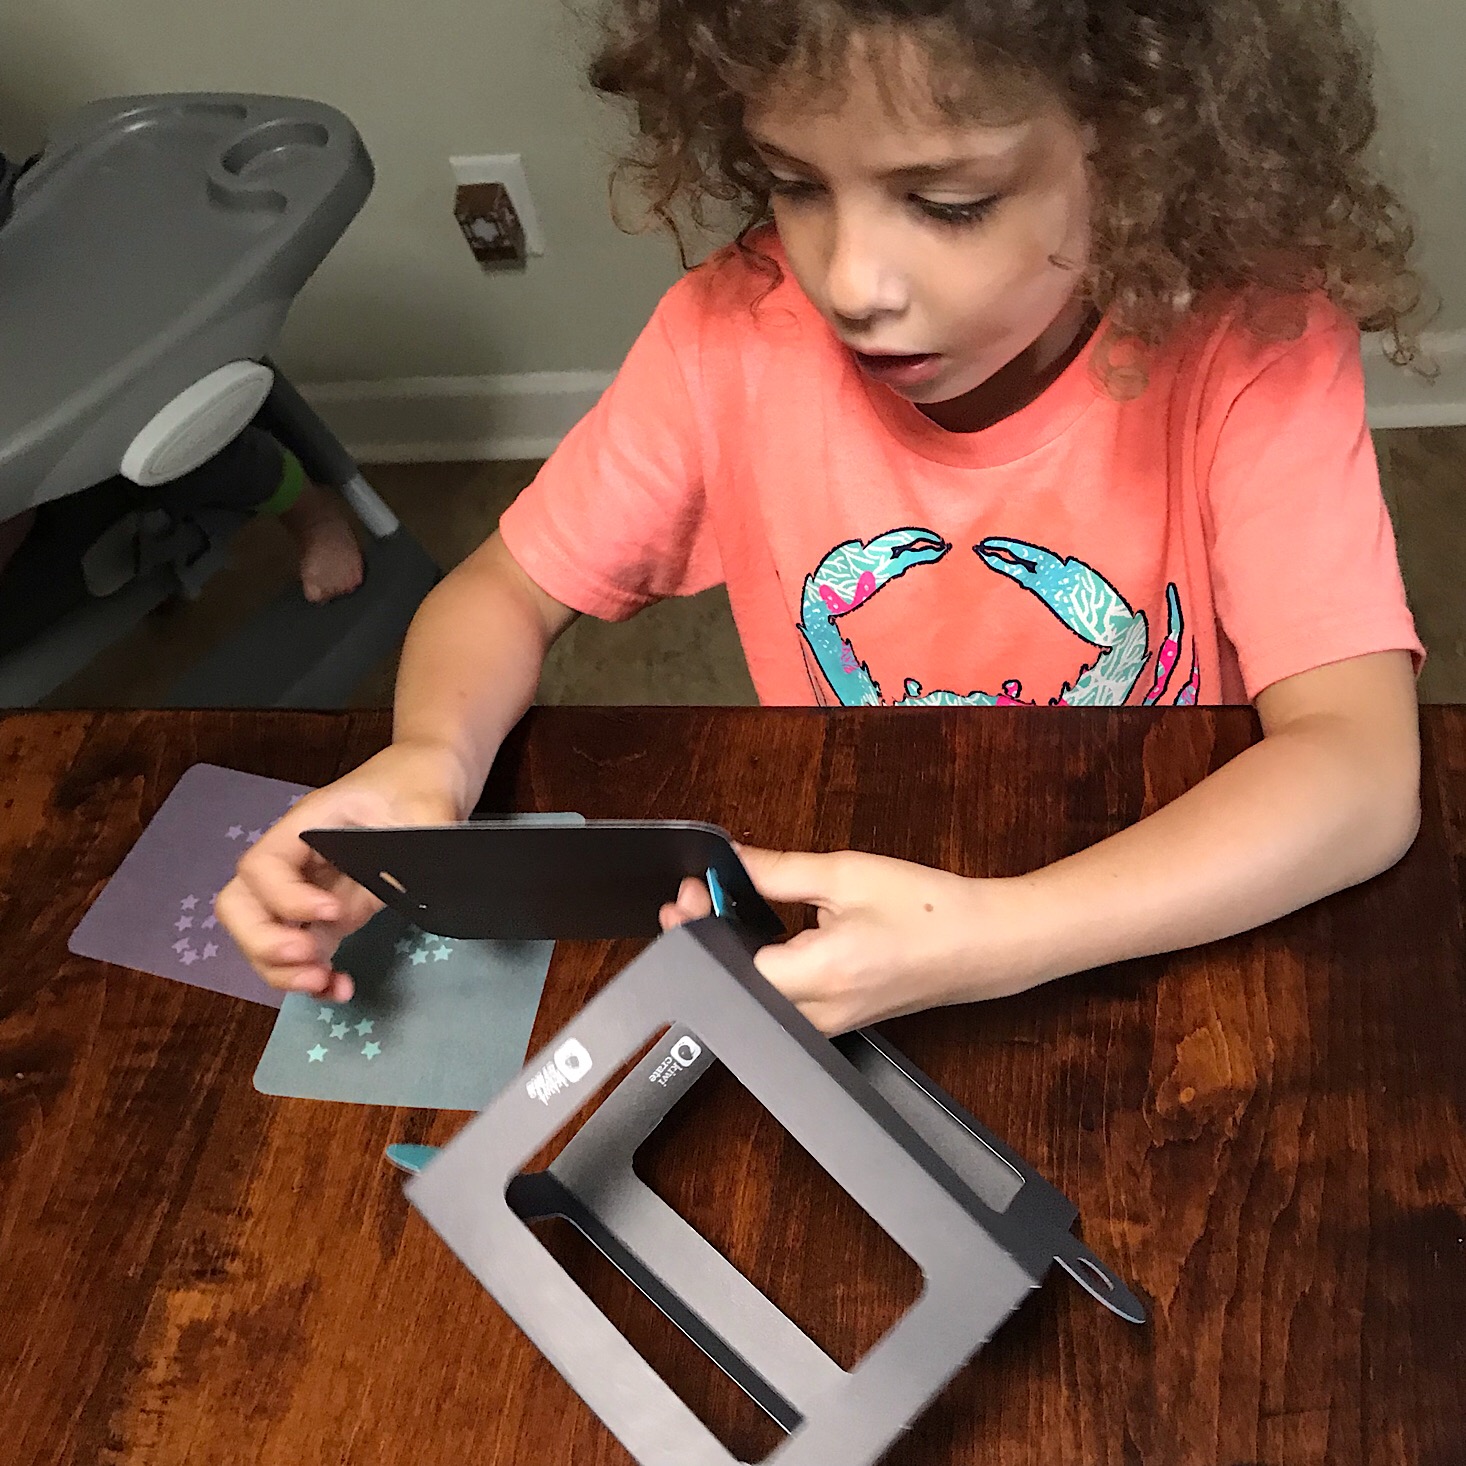
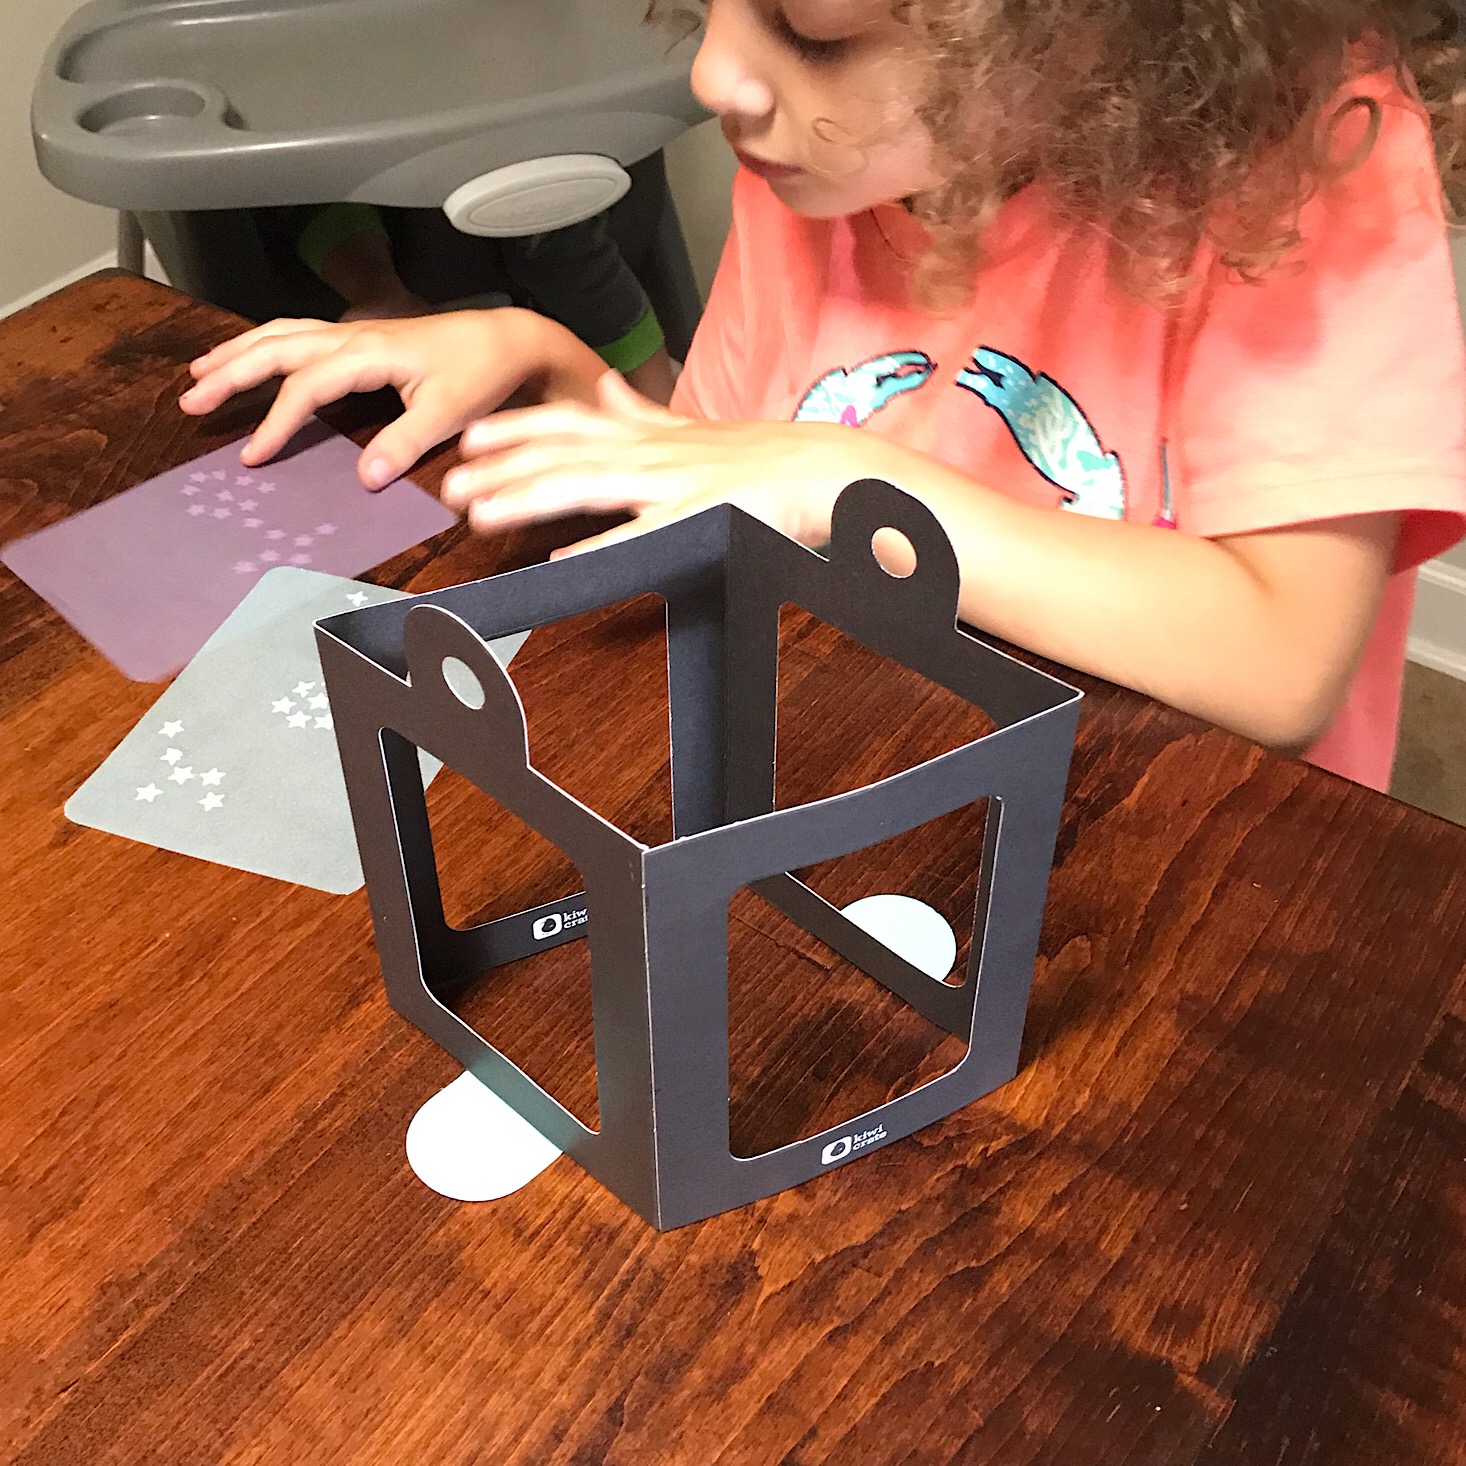
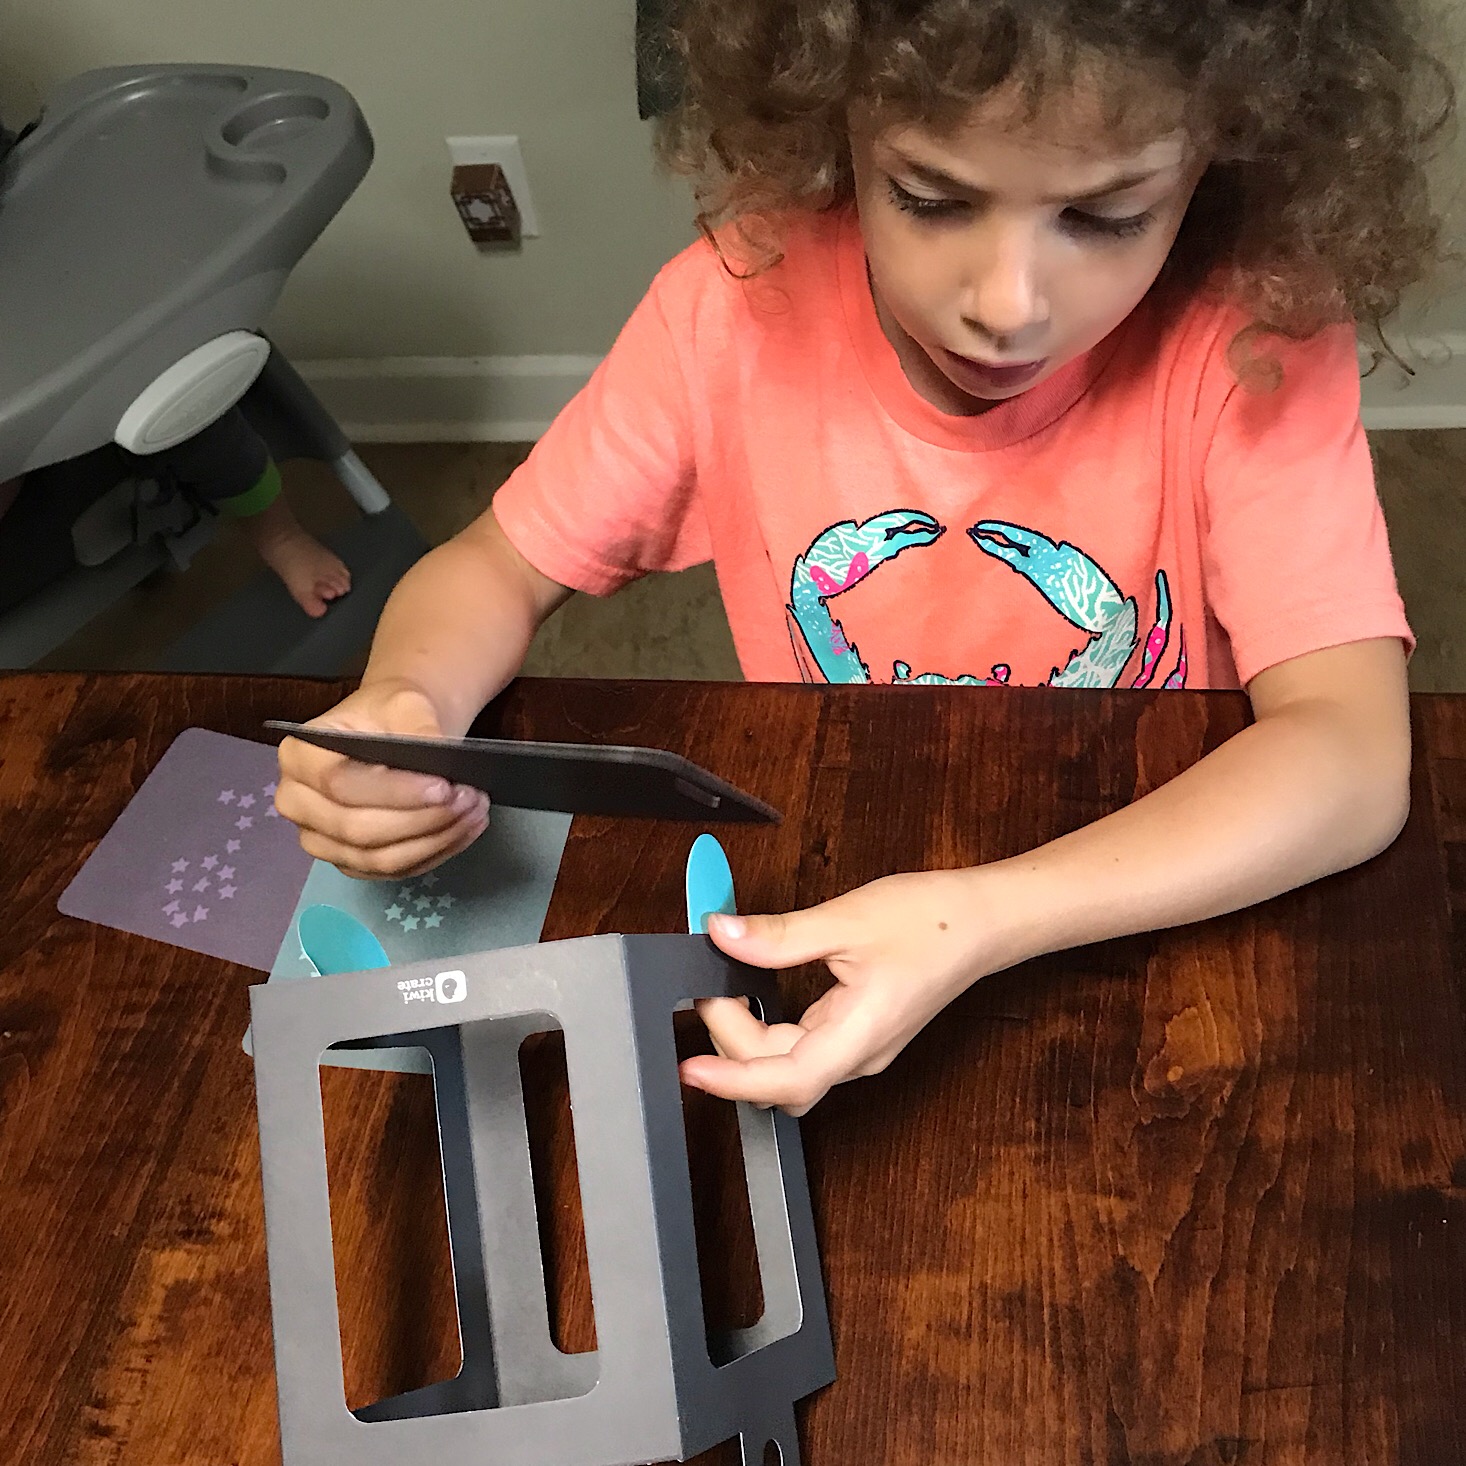
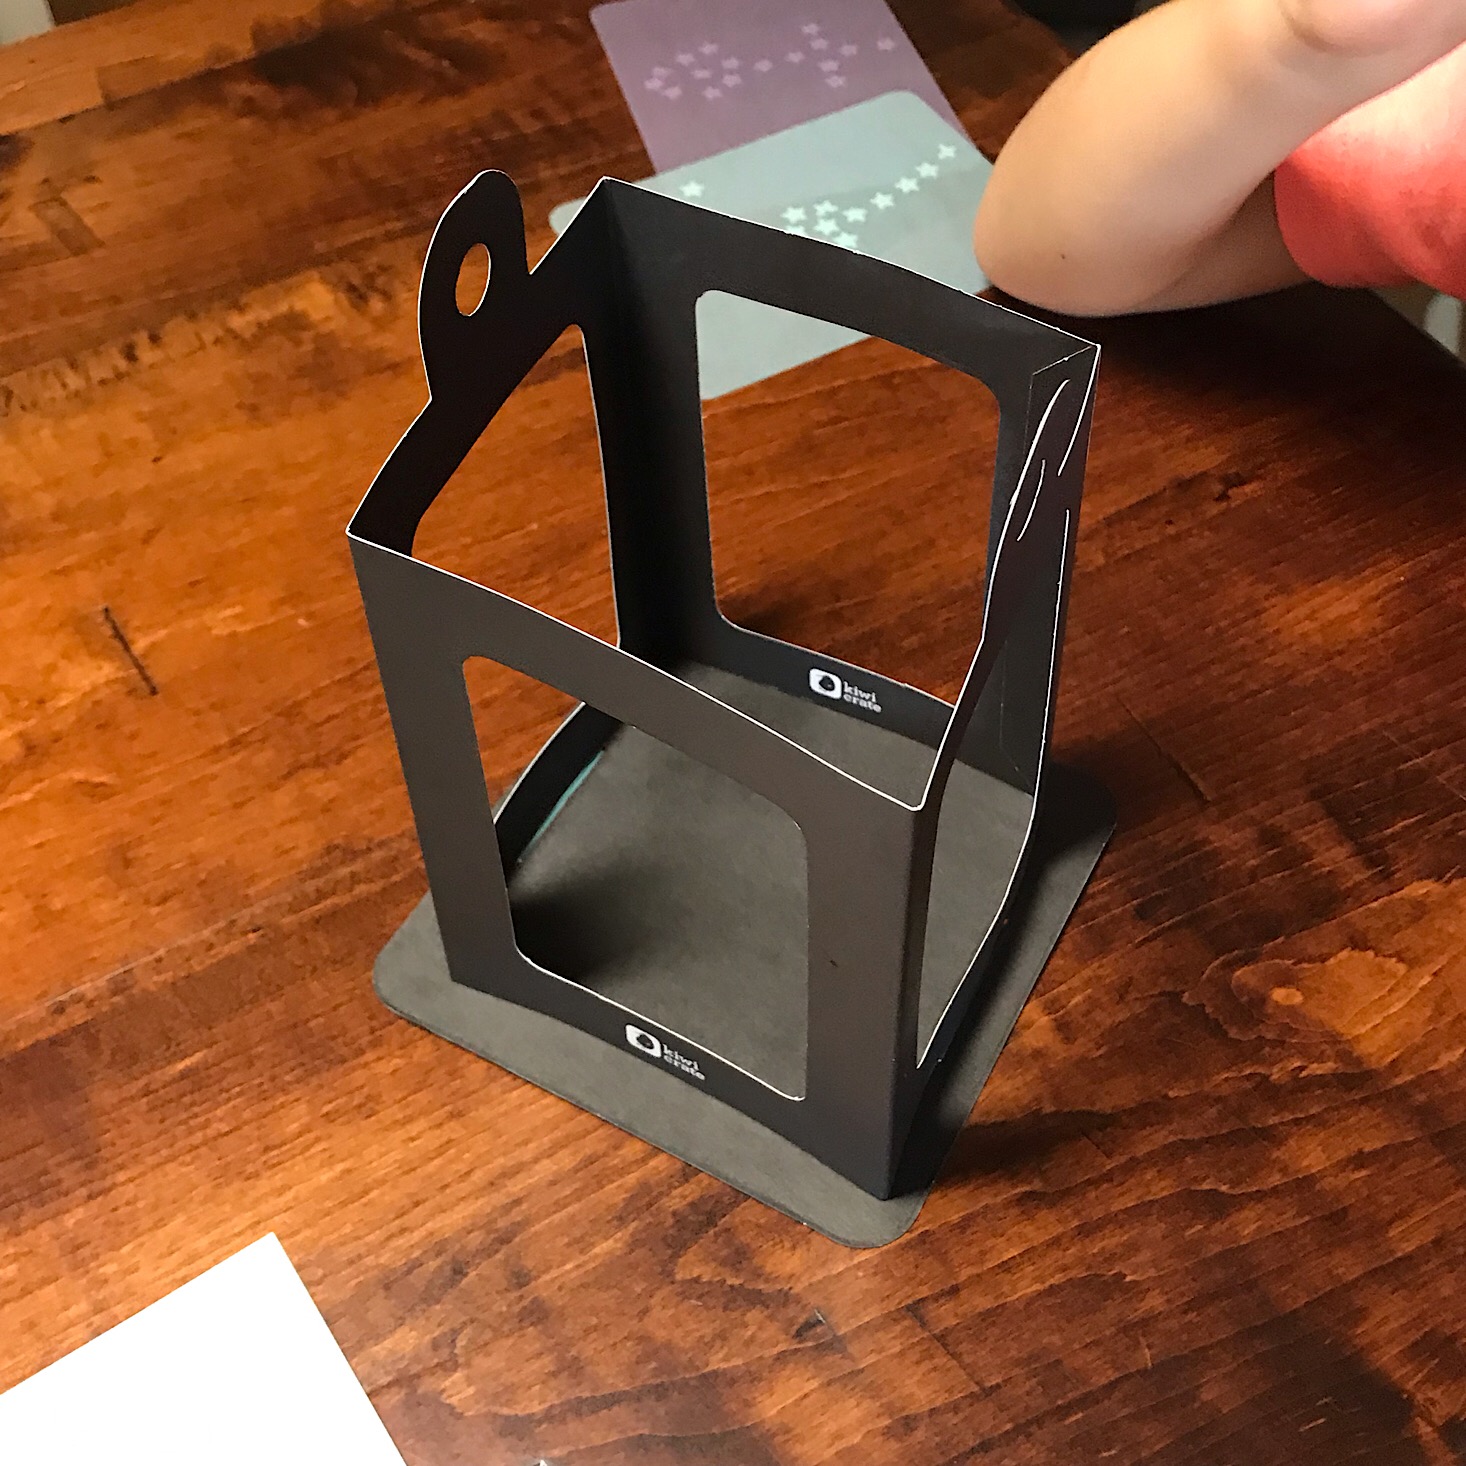
Once our panels were ready, we got our lantern shape set up. First, the outer layer had to be opened up and stood up. Then we flipped it over and my daughter added a square piece to the bottom by sliding the slits in it over the two blue tabs that protruded from the frame.
To hold the bottom of our lantern on, we laid the blue tabs flat and added a clear sticker over top of them. Then we flipped it upright for the next part.
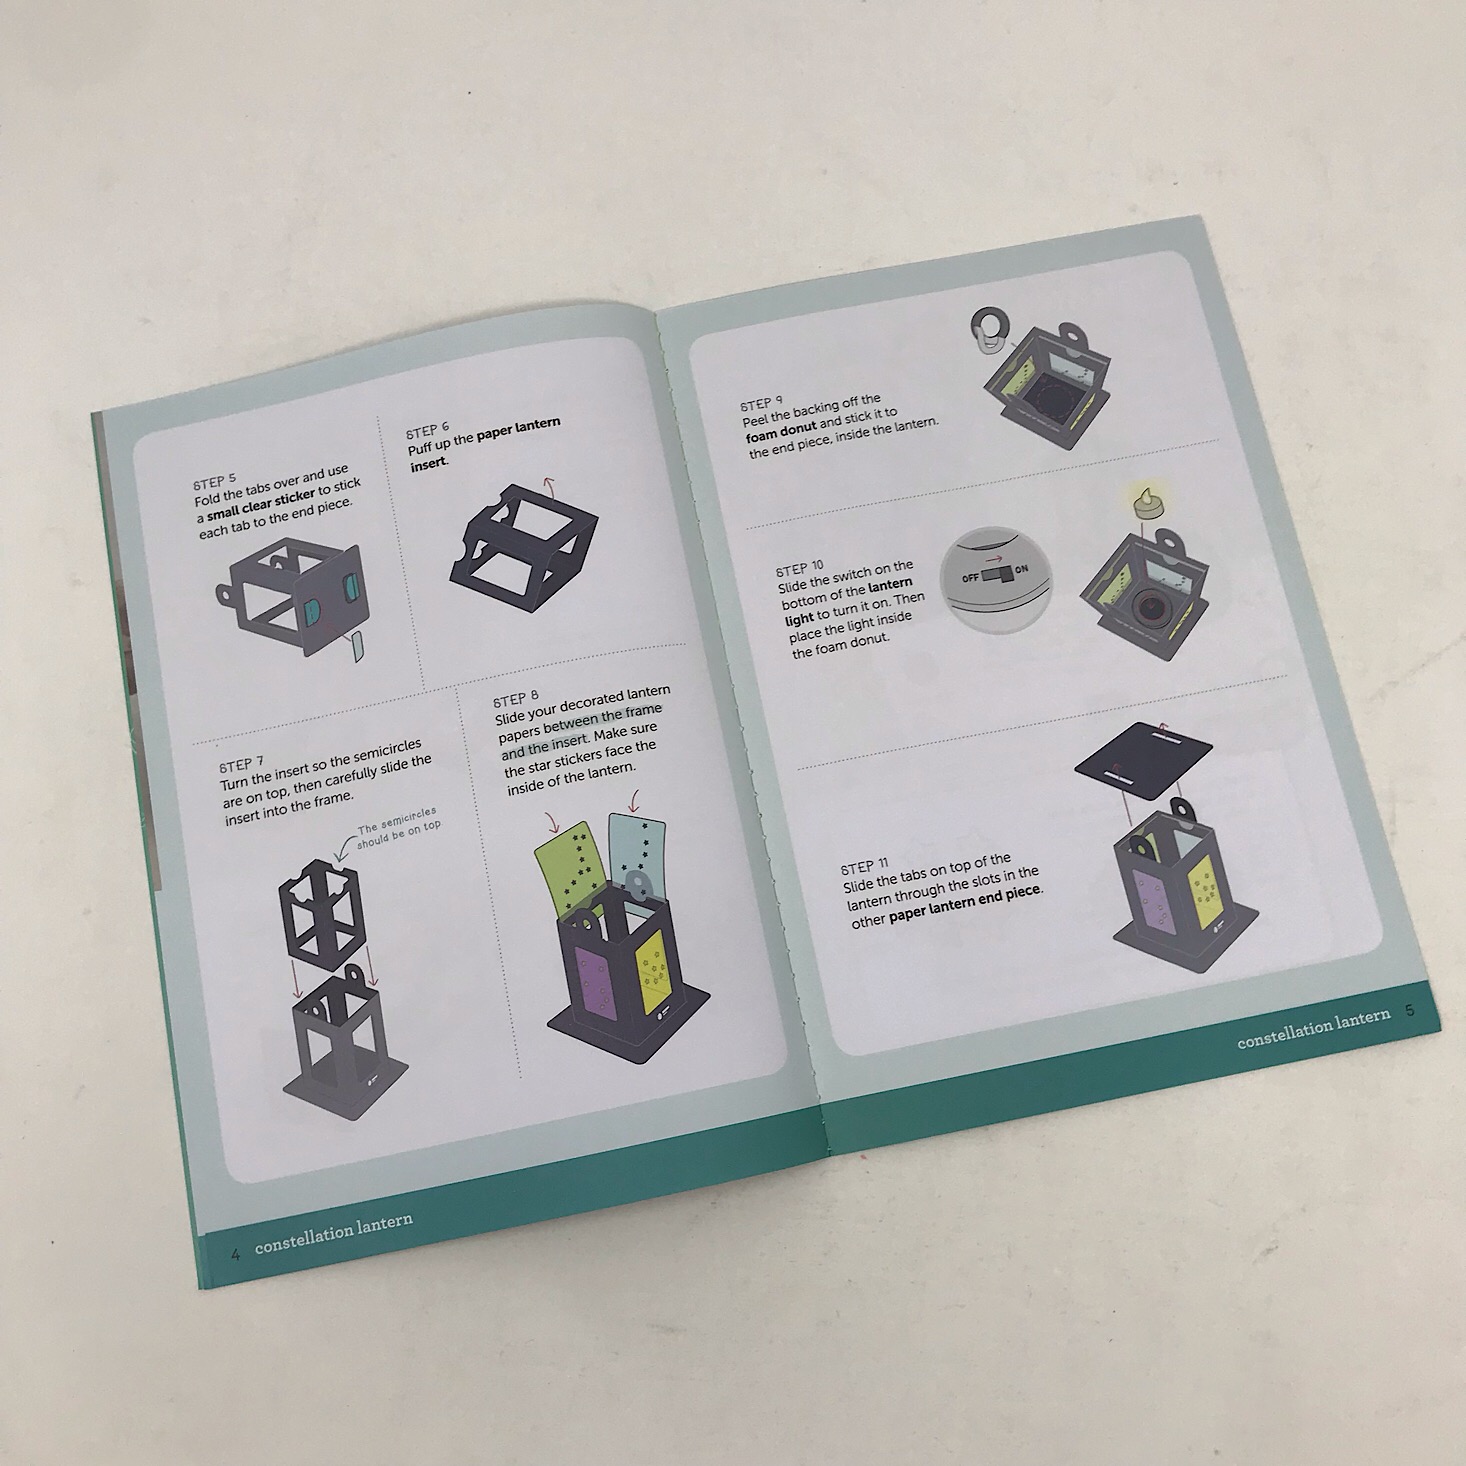
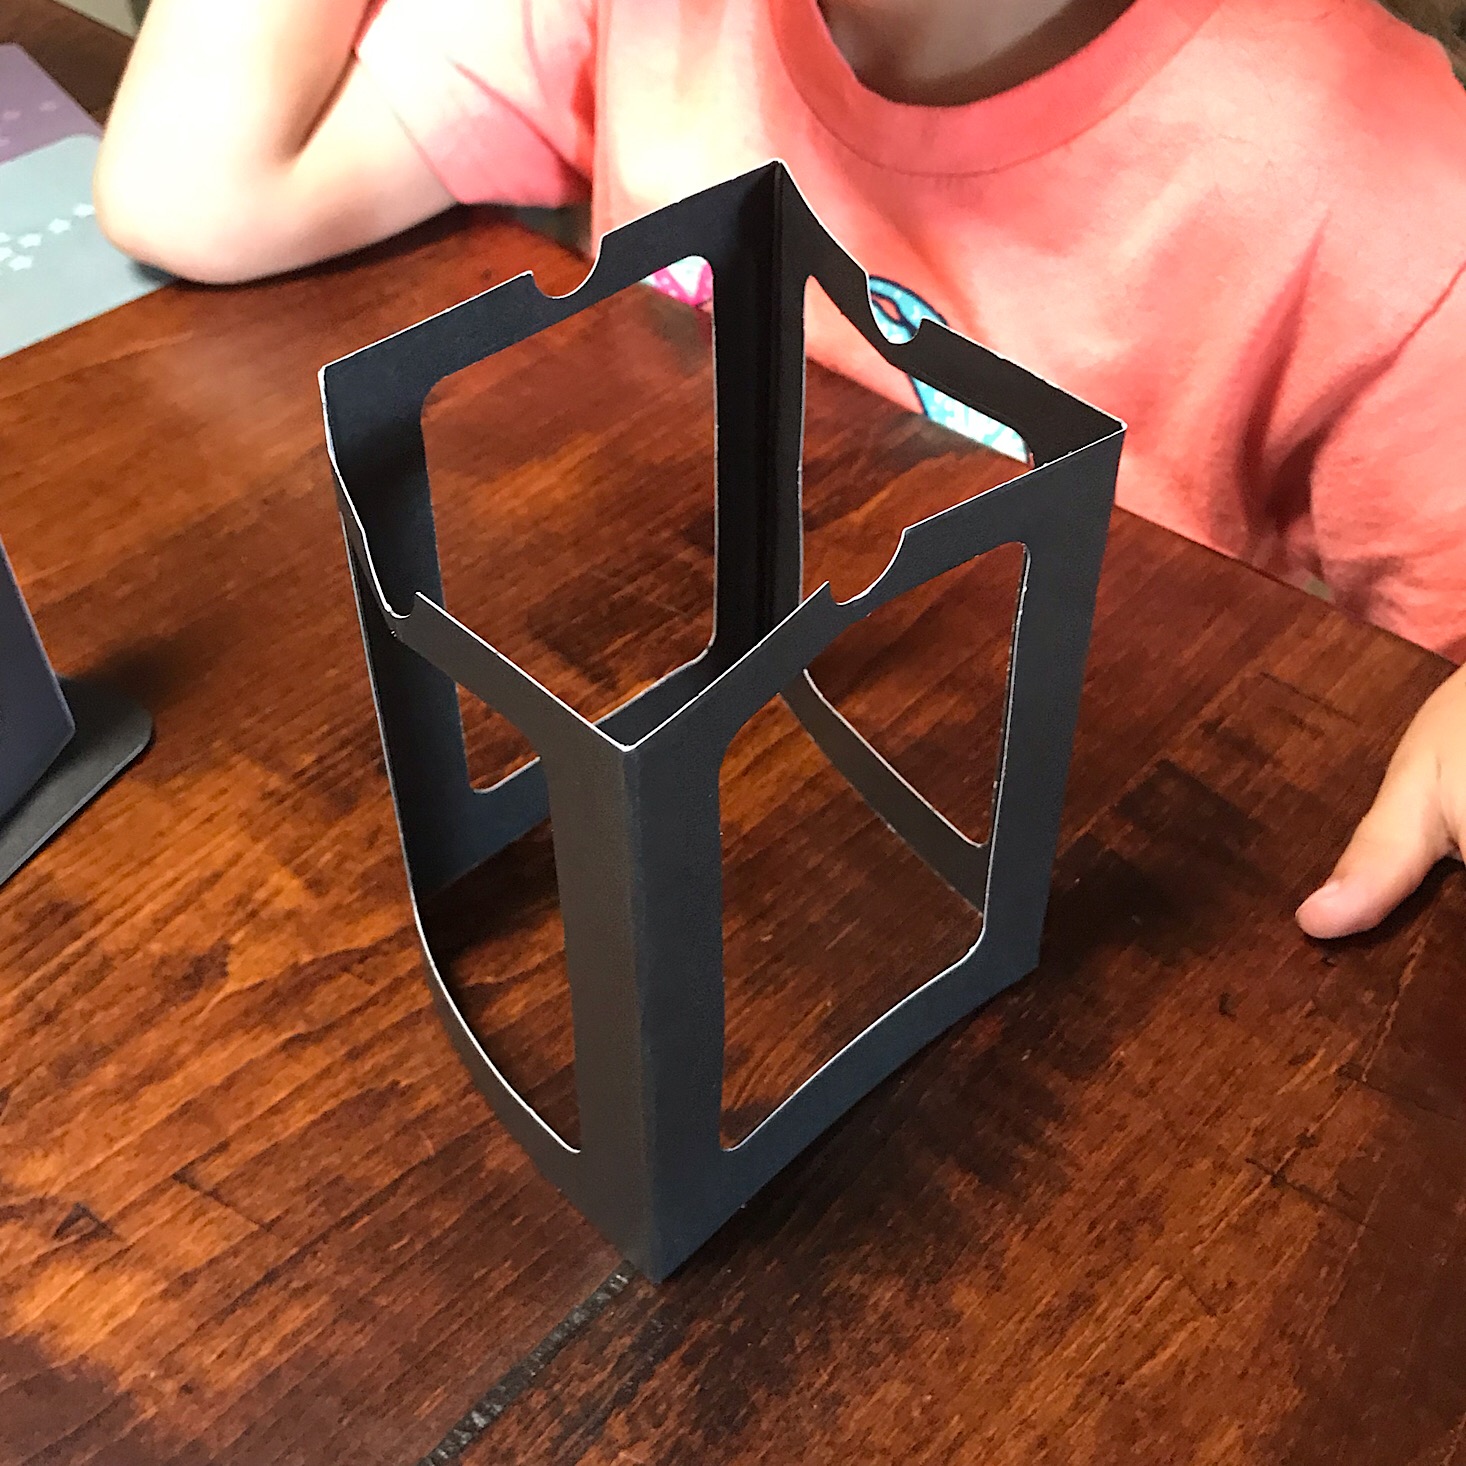
We then opened up the inner layer of our lantern and slid it inside of the first part we had prepared. I let my daughter do this project independently, so if I had taken over, I probably could have opened the parts a bit more so they weren't crooked and made a more sturdy base, but I wanted to allow her some freedom with it.
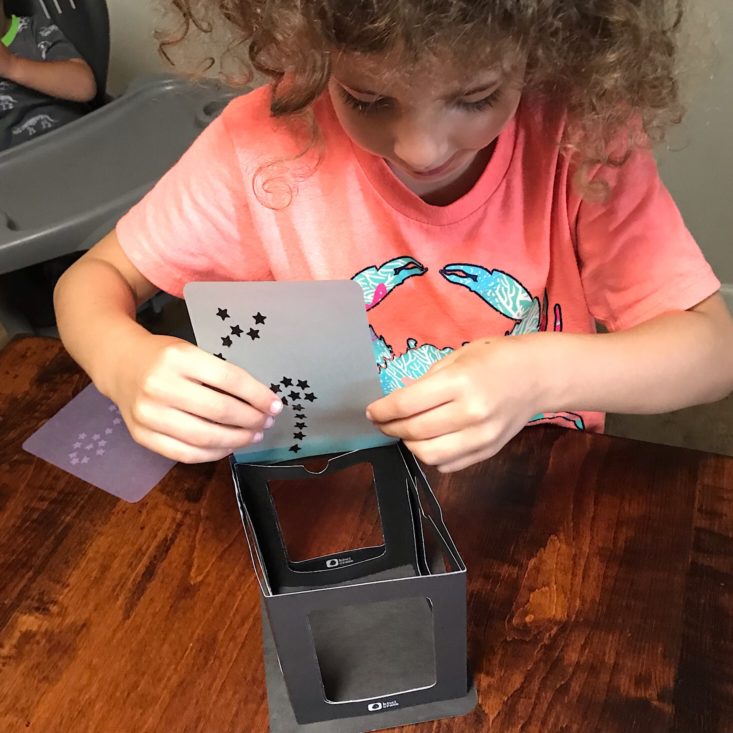
Next, she slid the panels in between the two different sections.
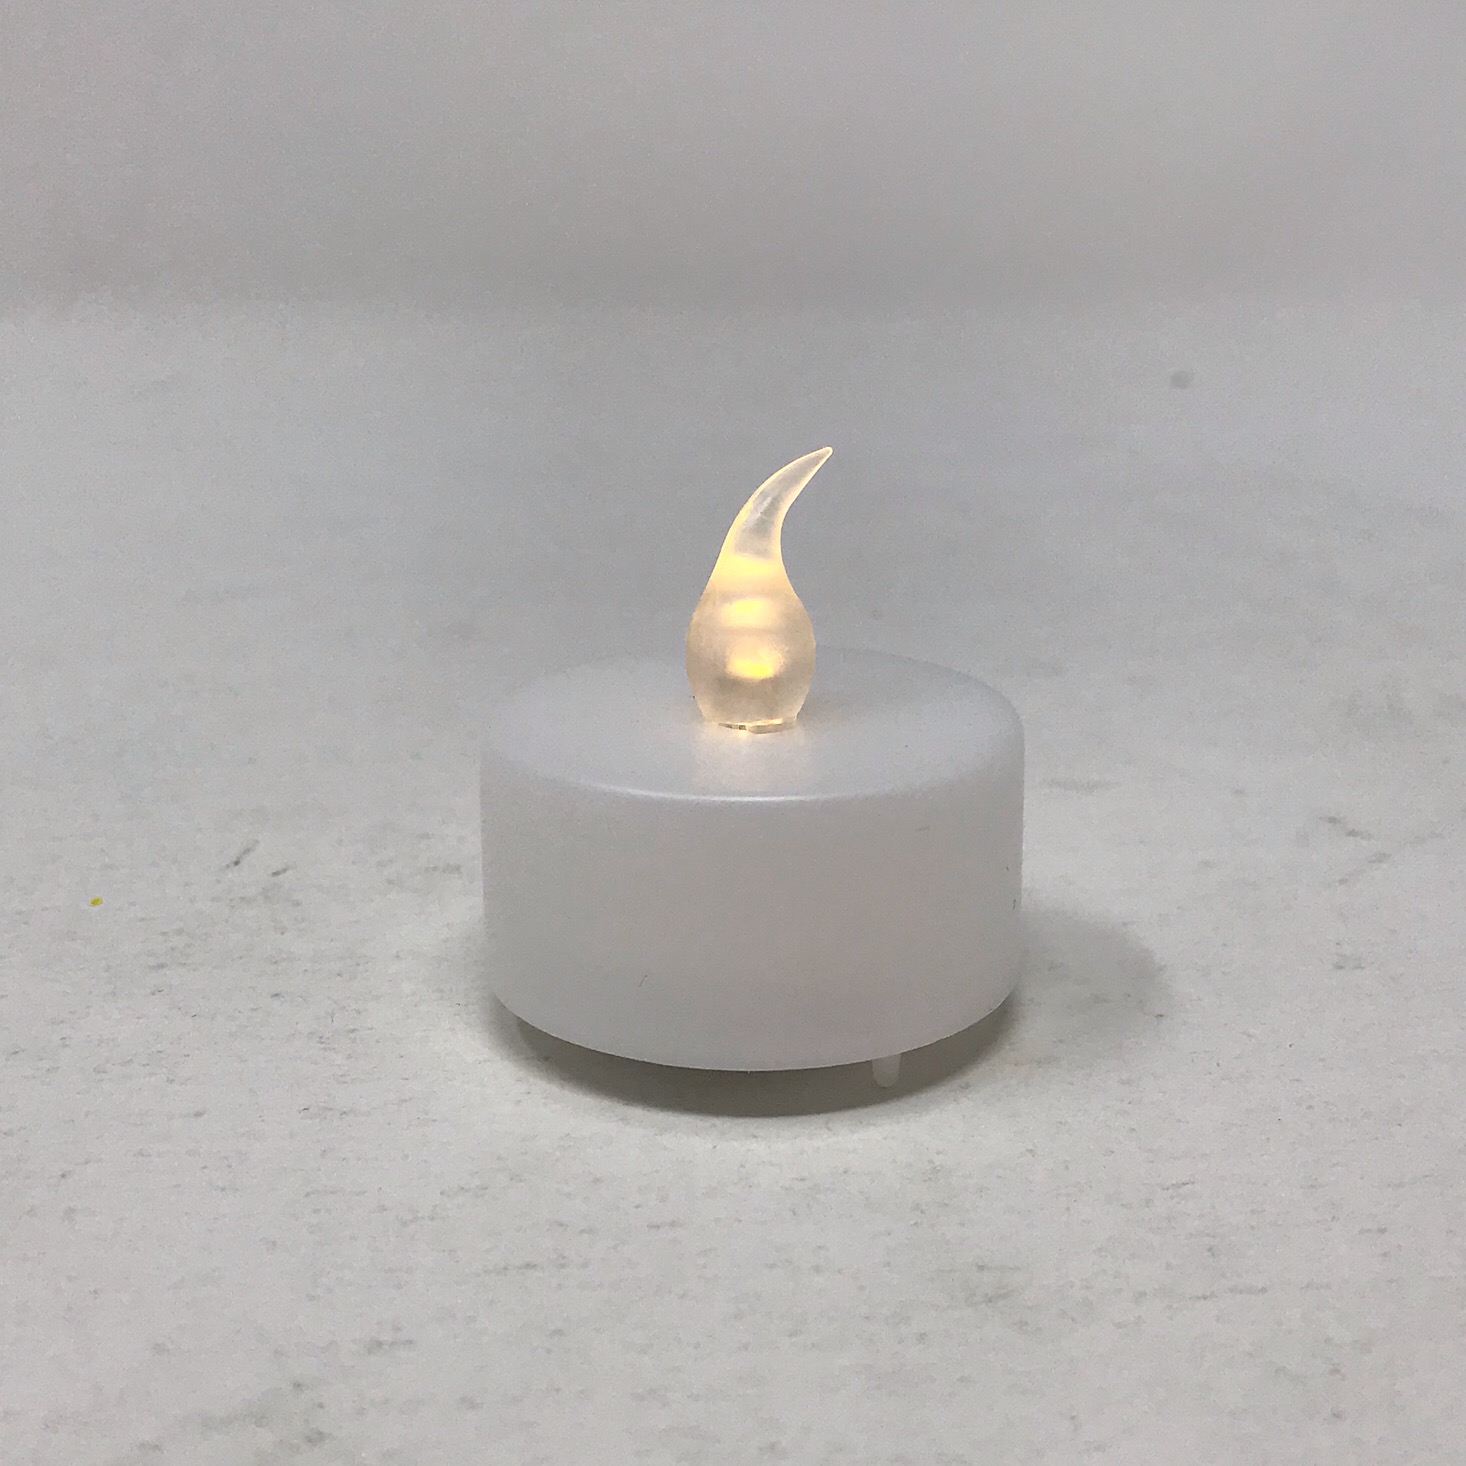
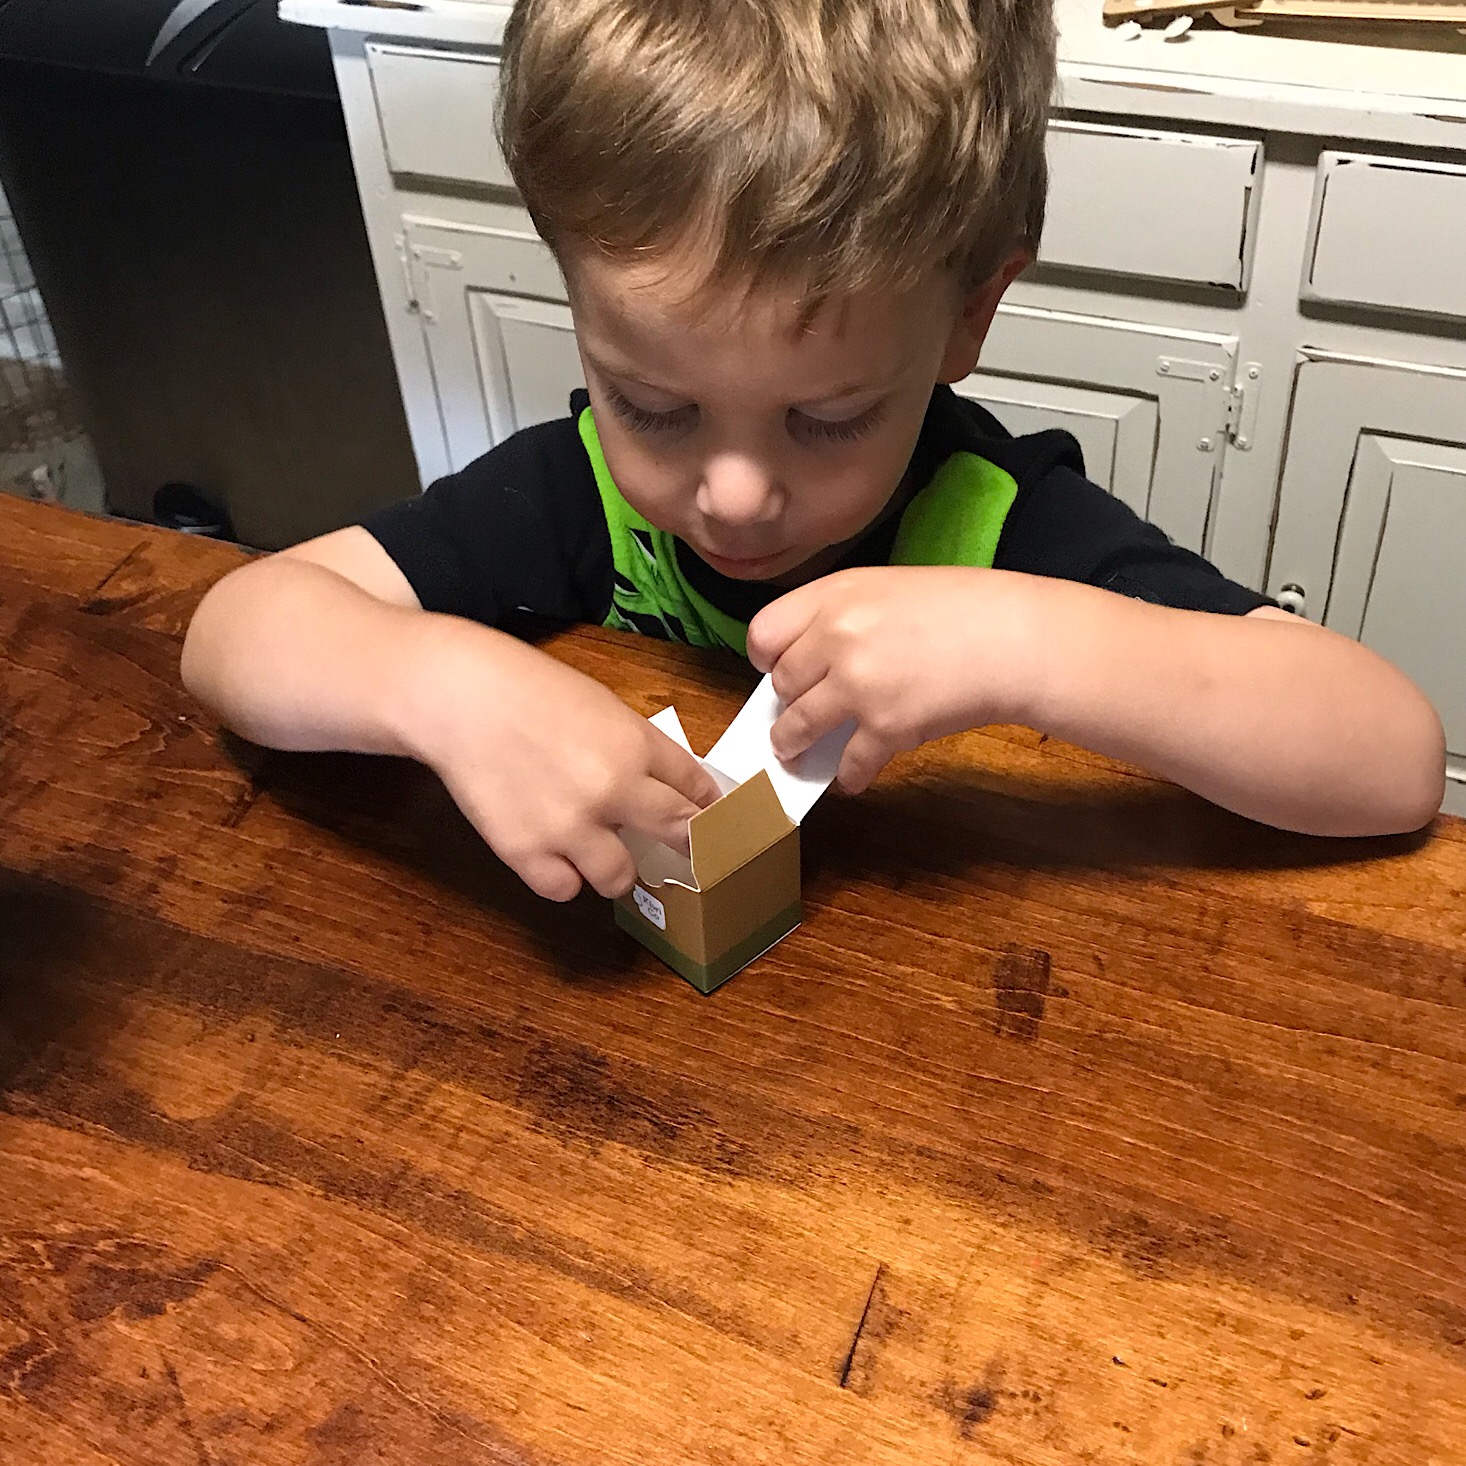
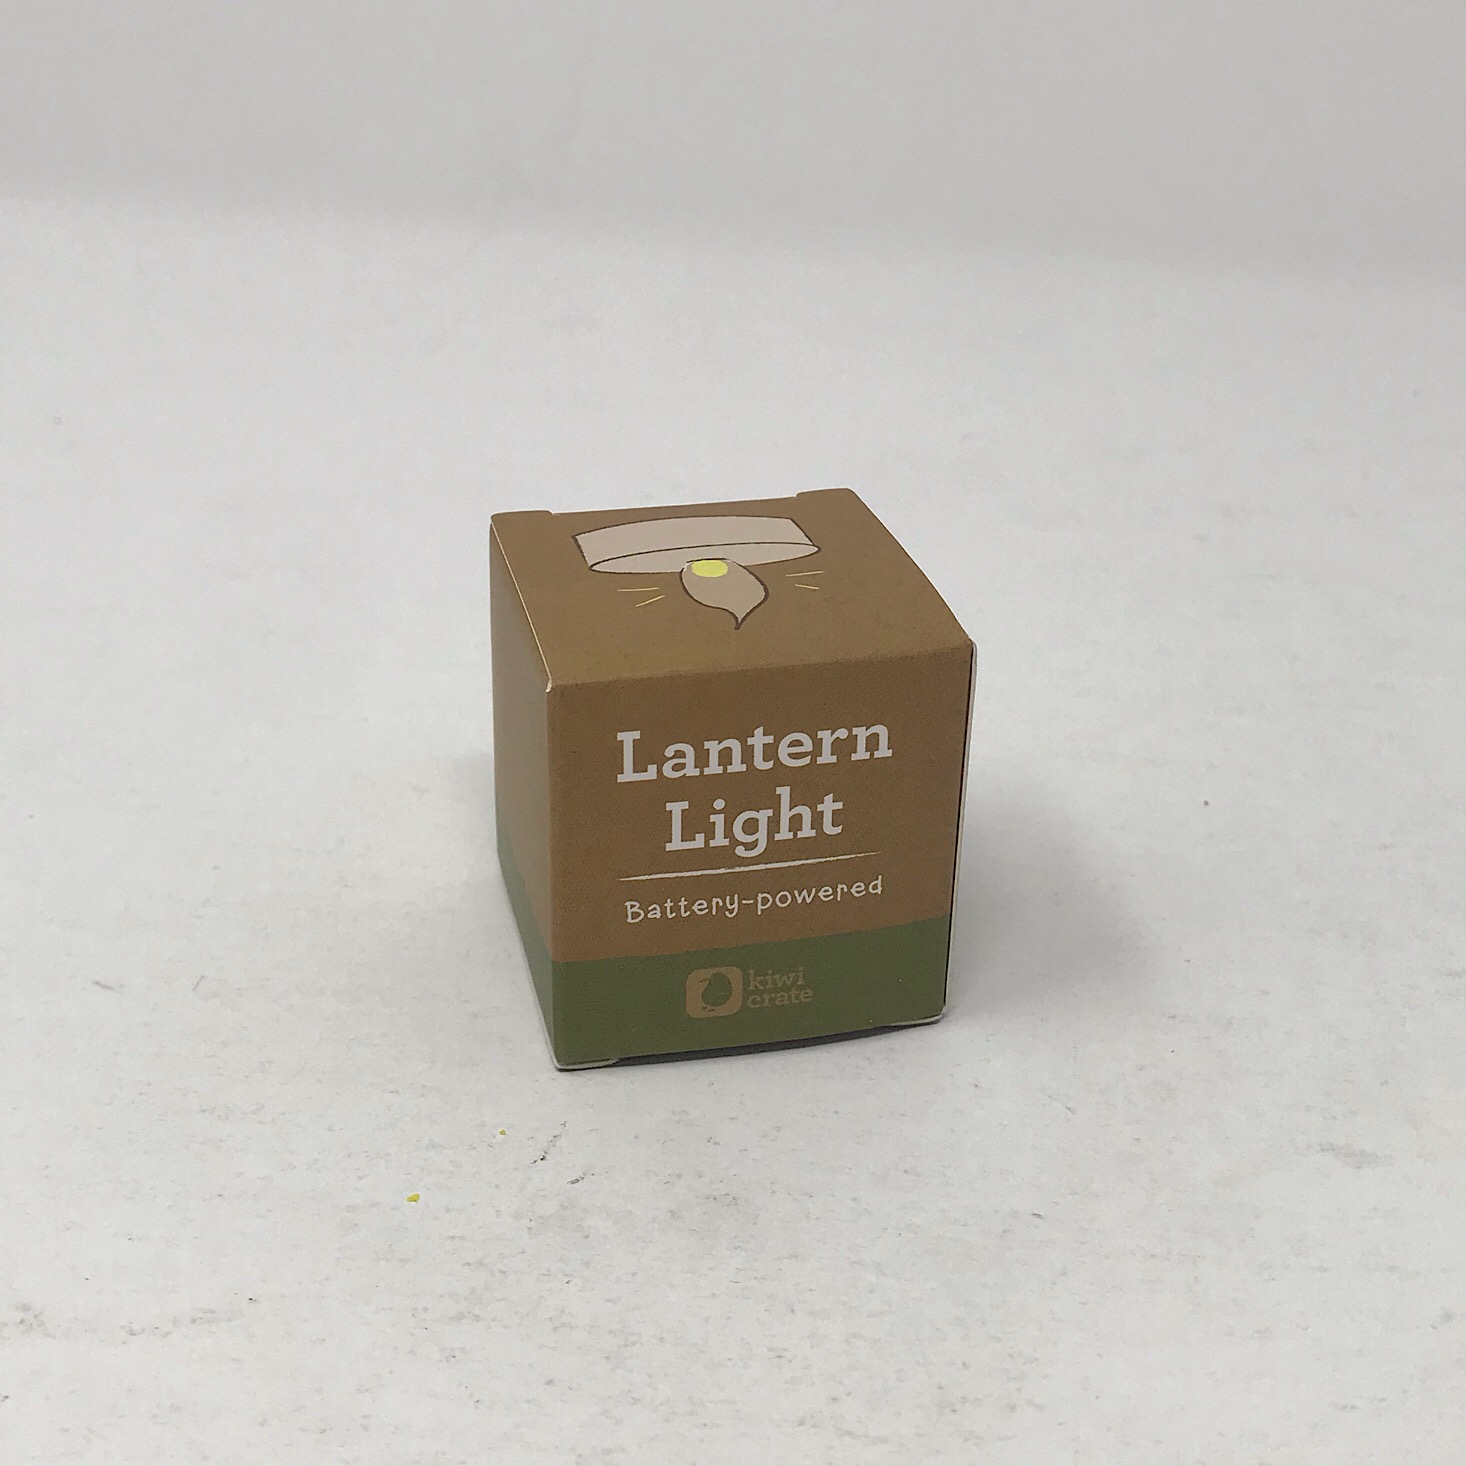
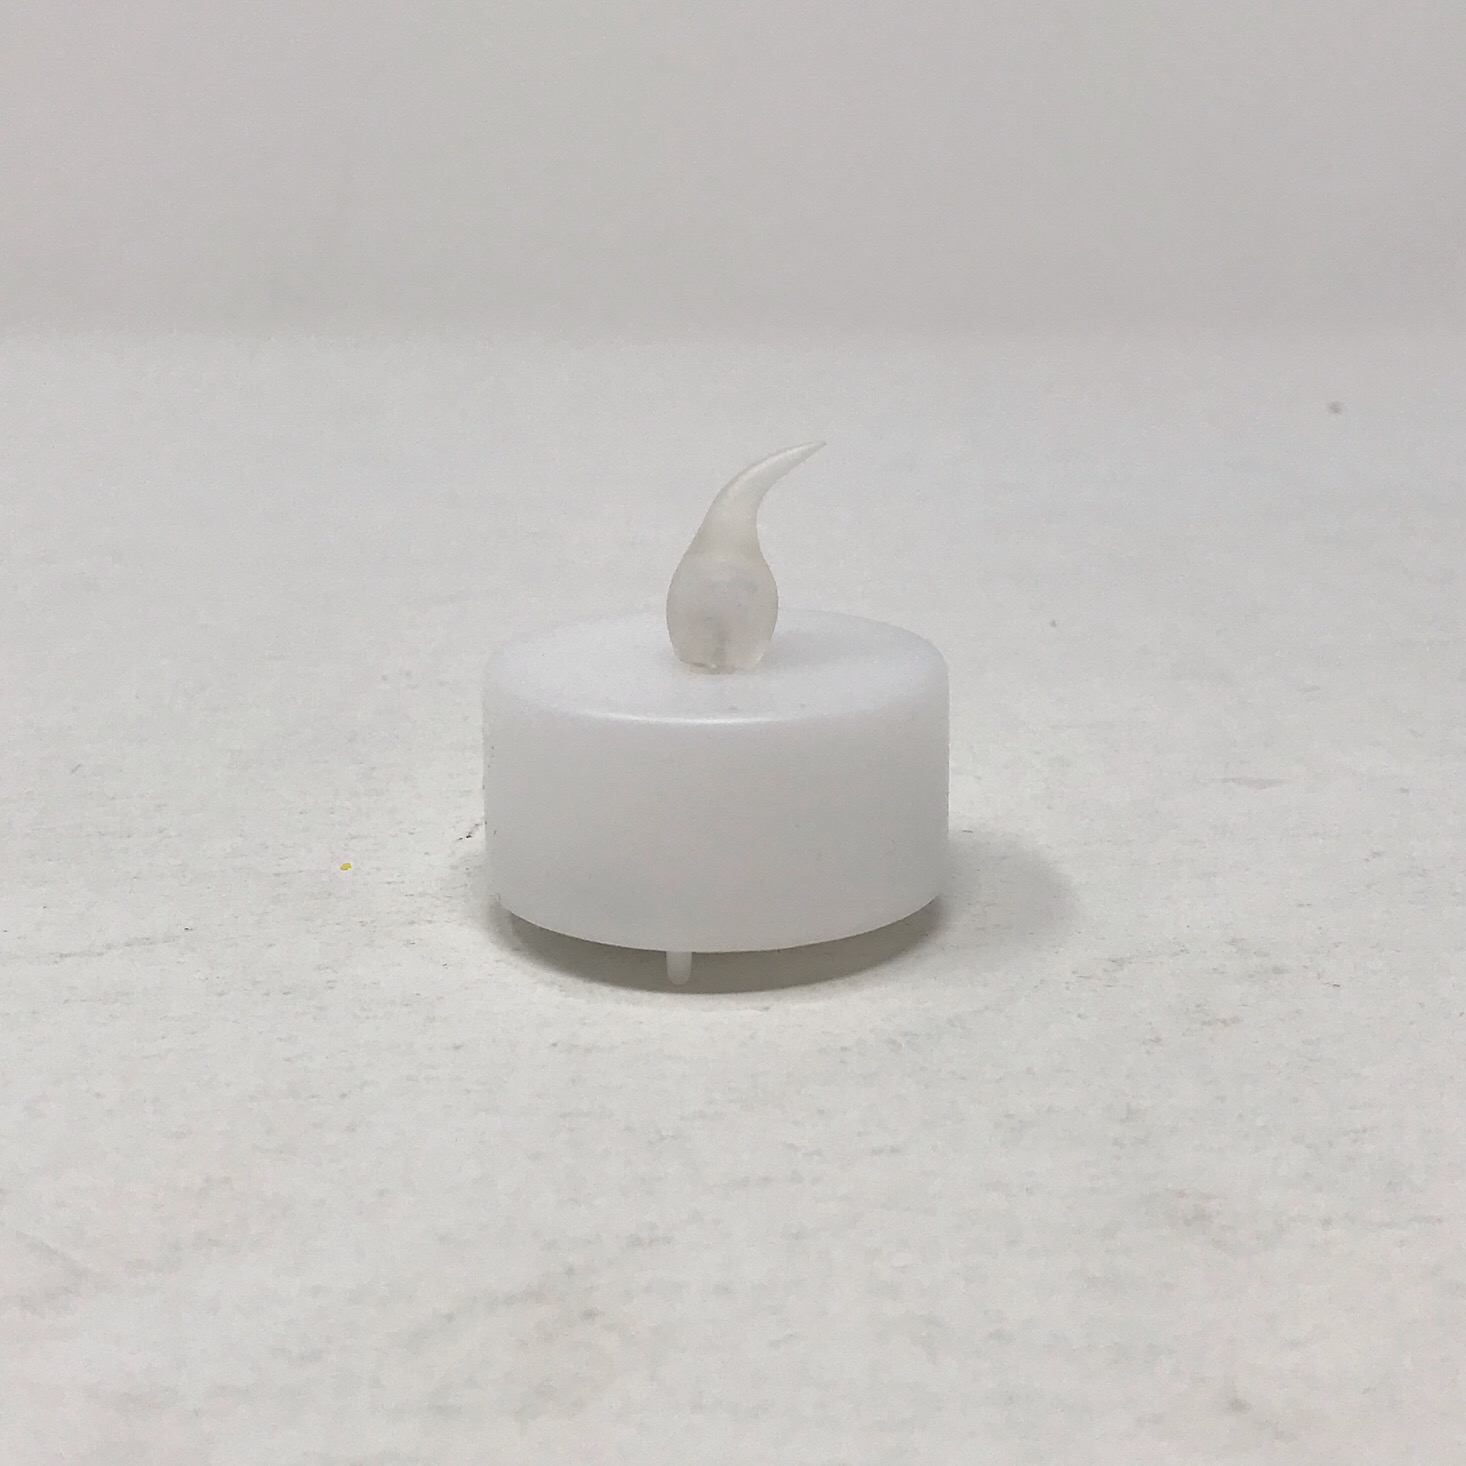
I had my son unpack our little tealight and turn it on for us.
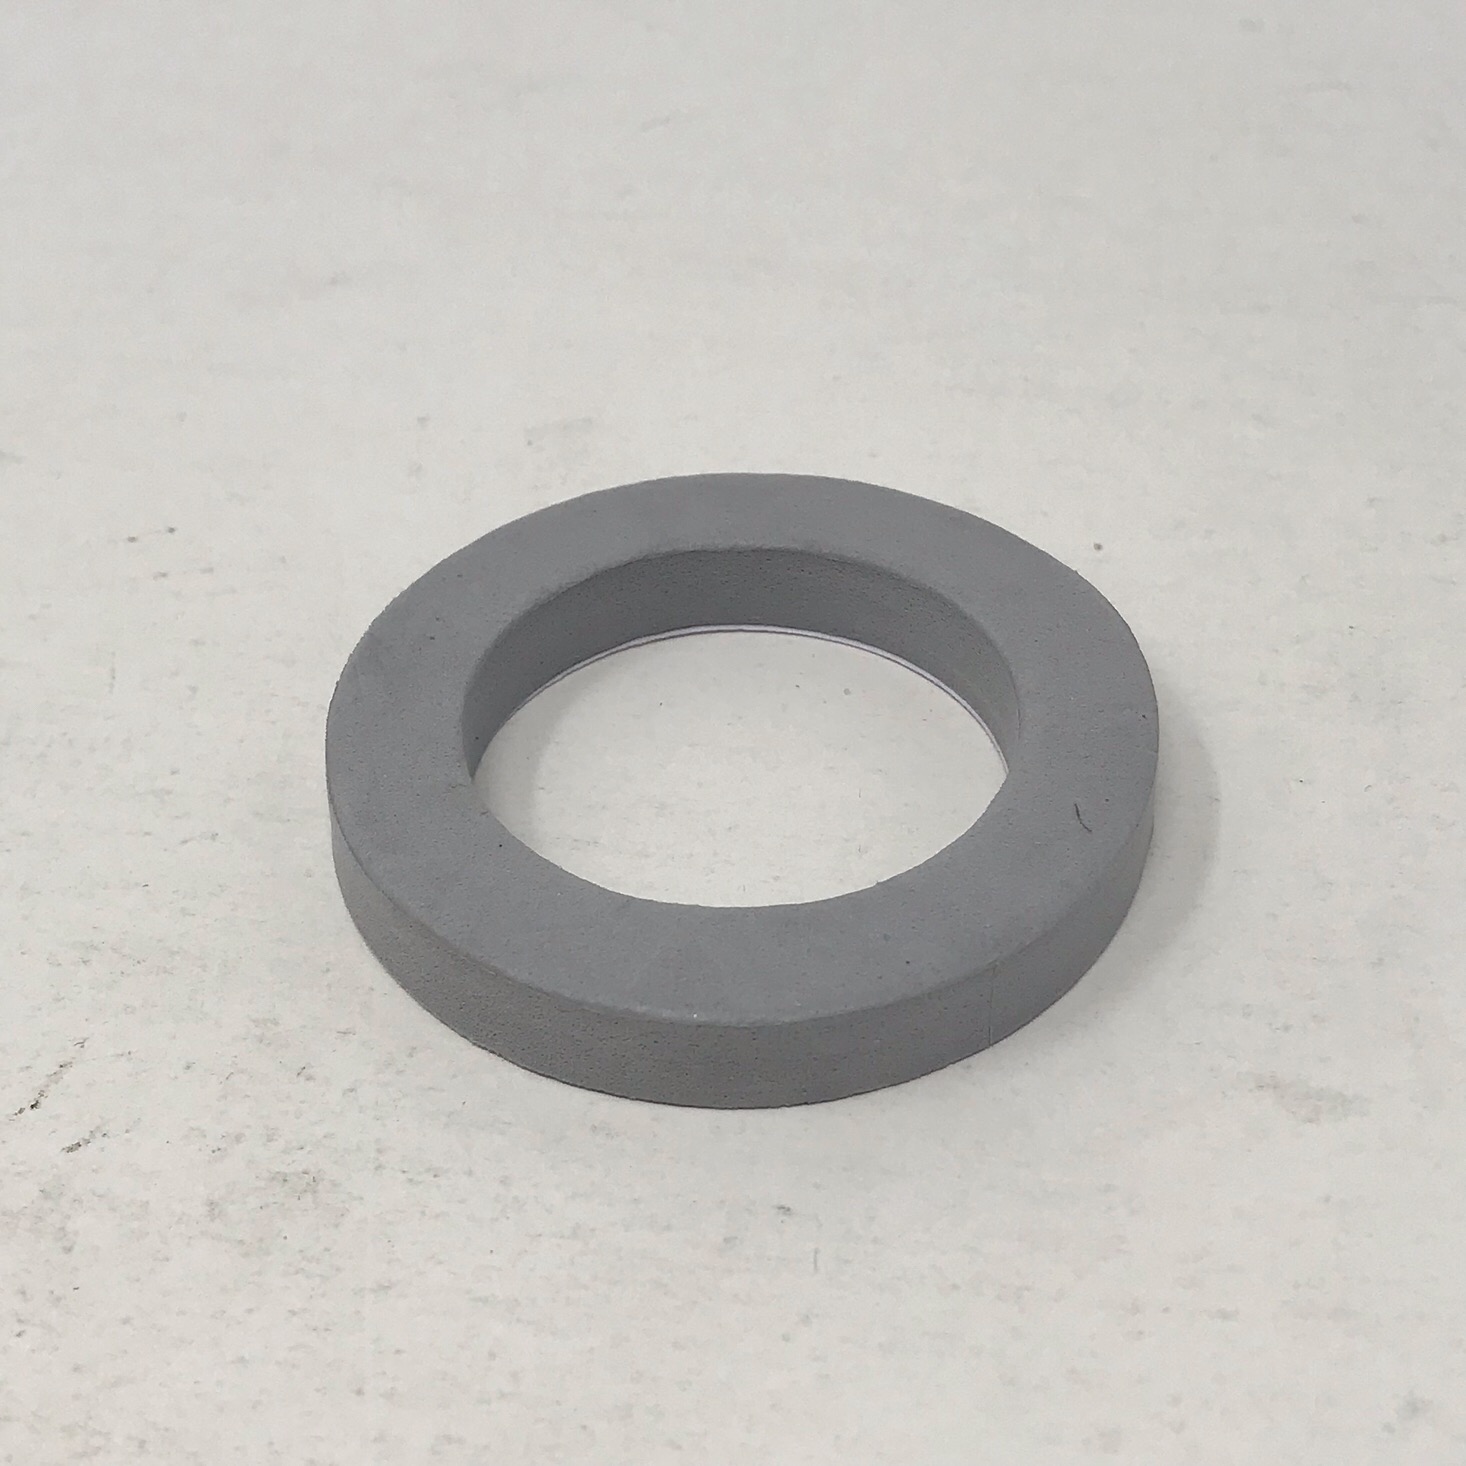
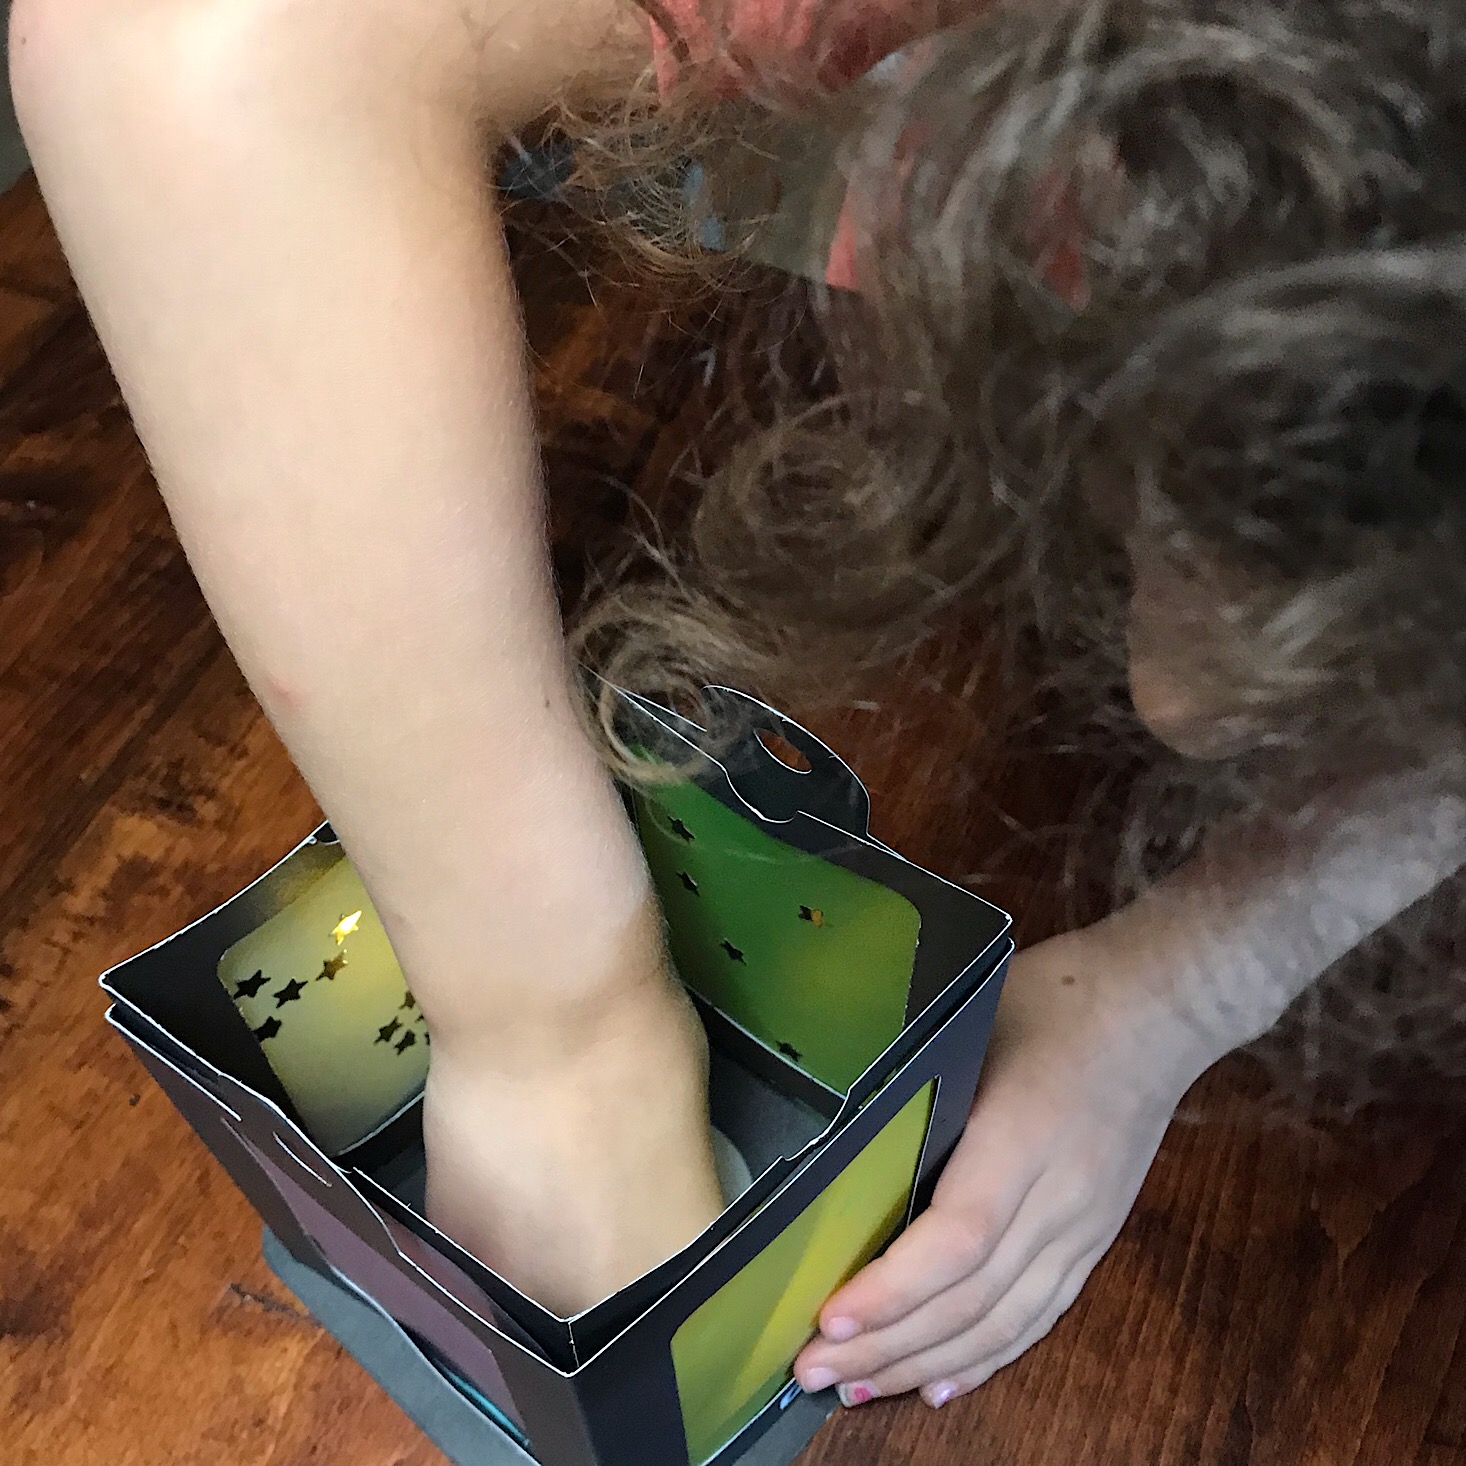
Liv removed the sticker from our gray foam ring and stuck it in the bottom of our lantern. Then we placed the tealight in the center of it so it was held in place snugly.
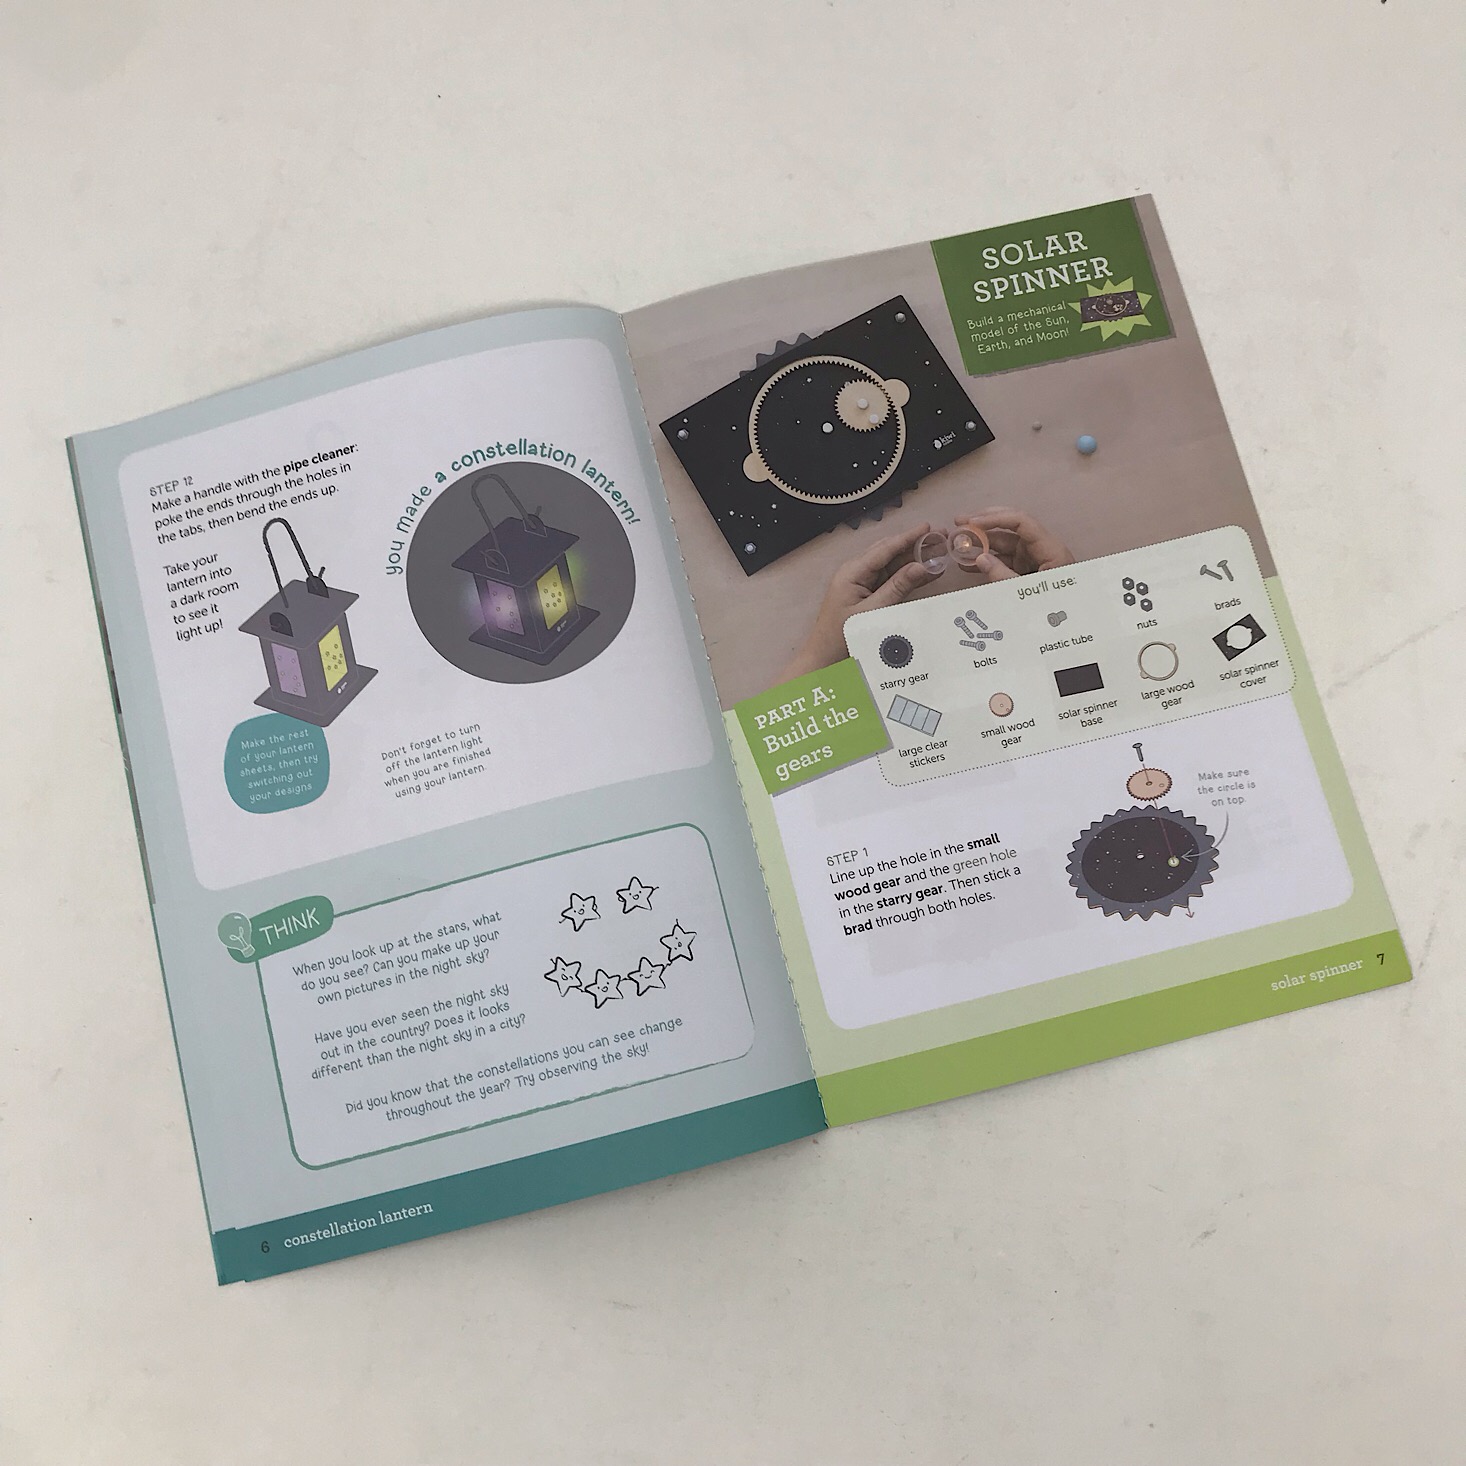
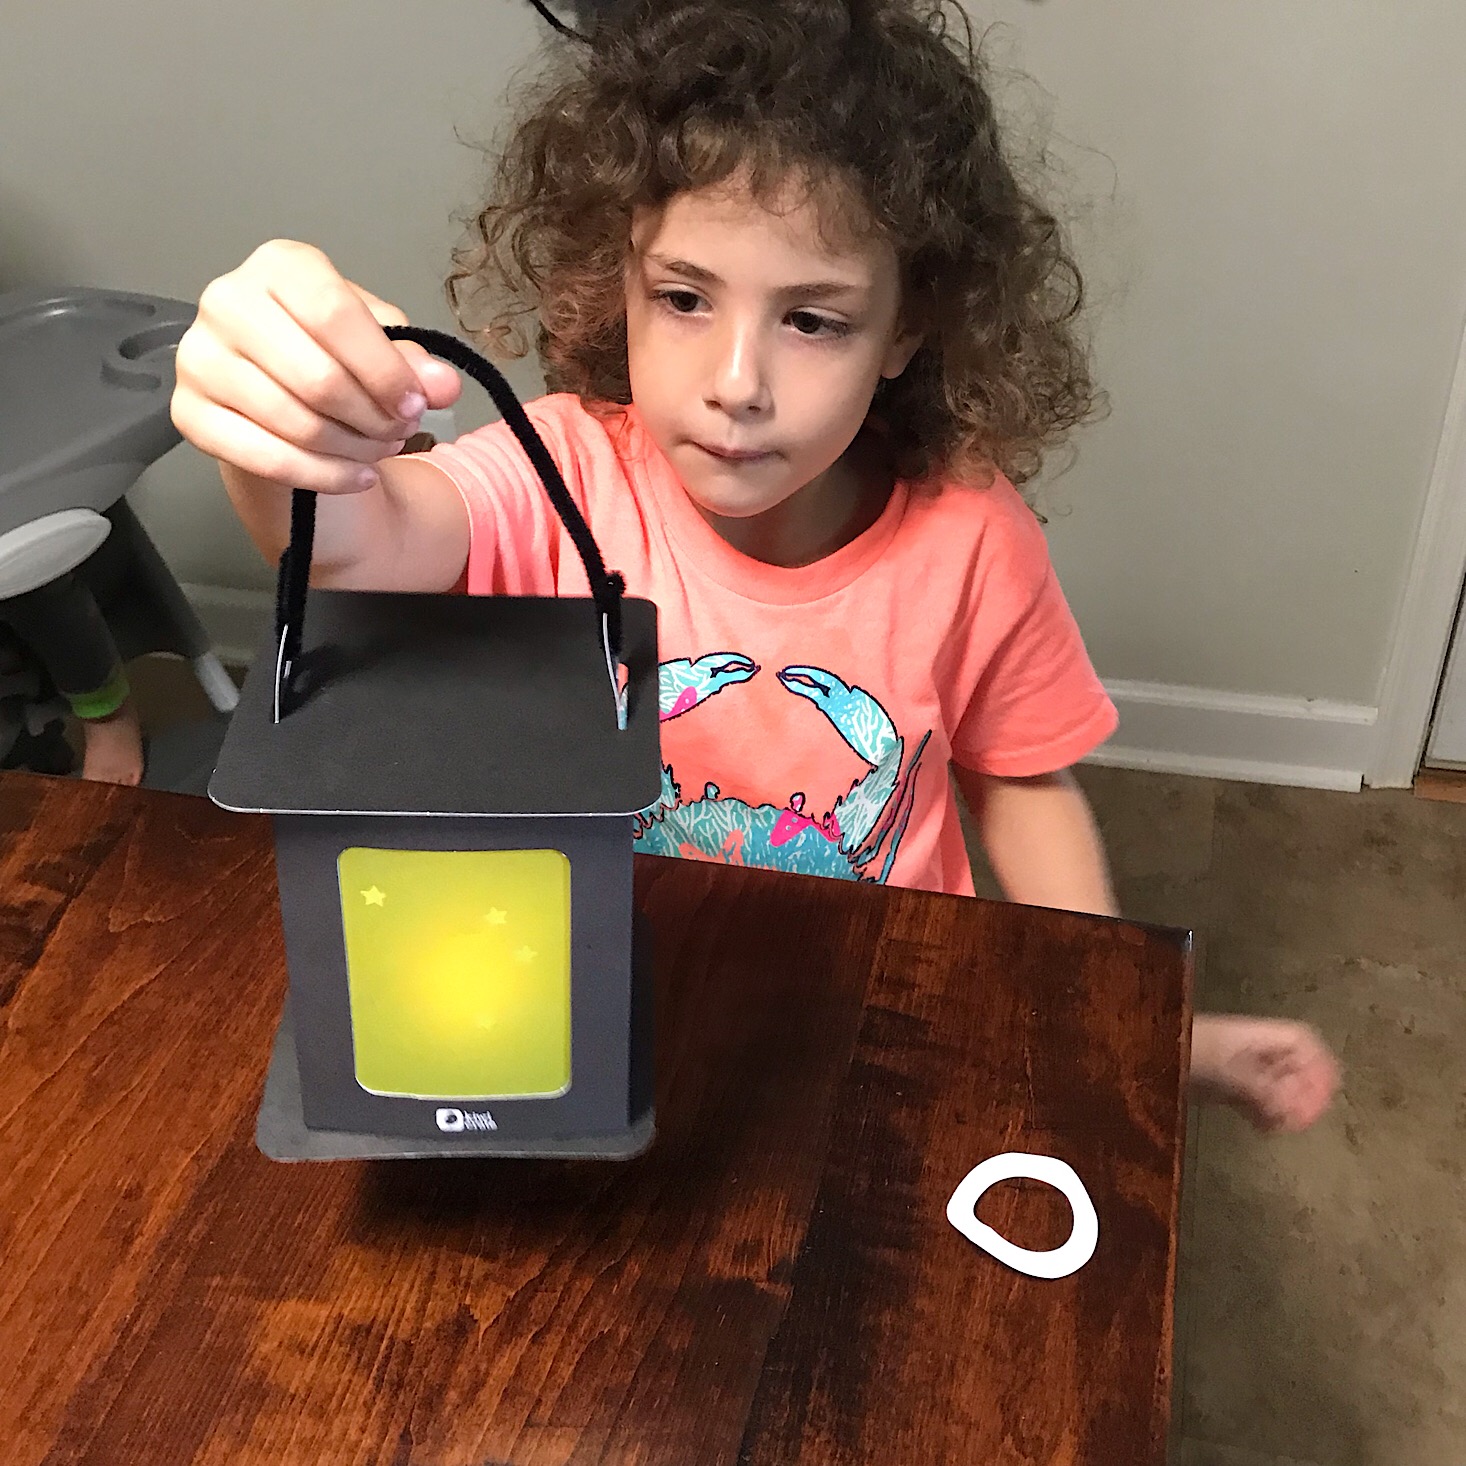
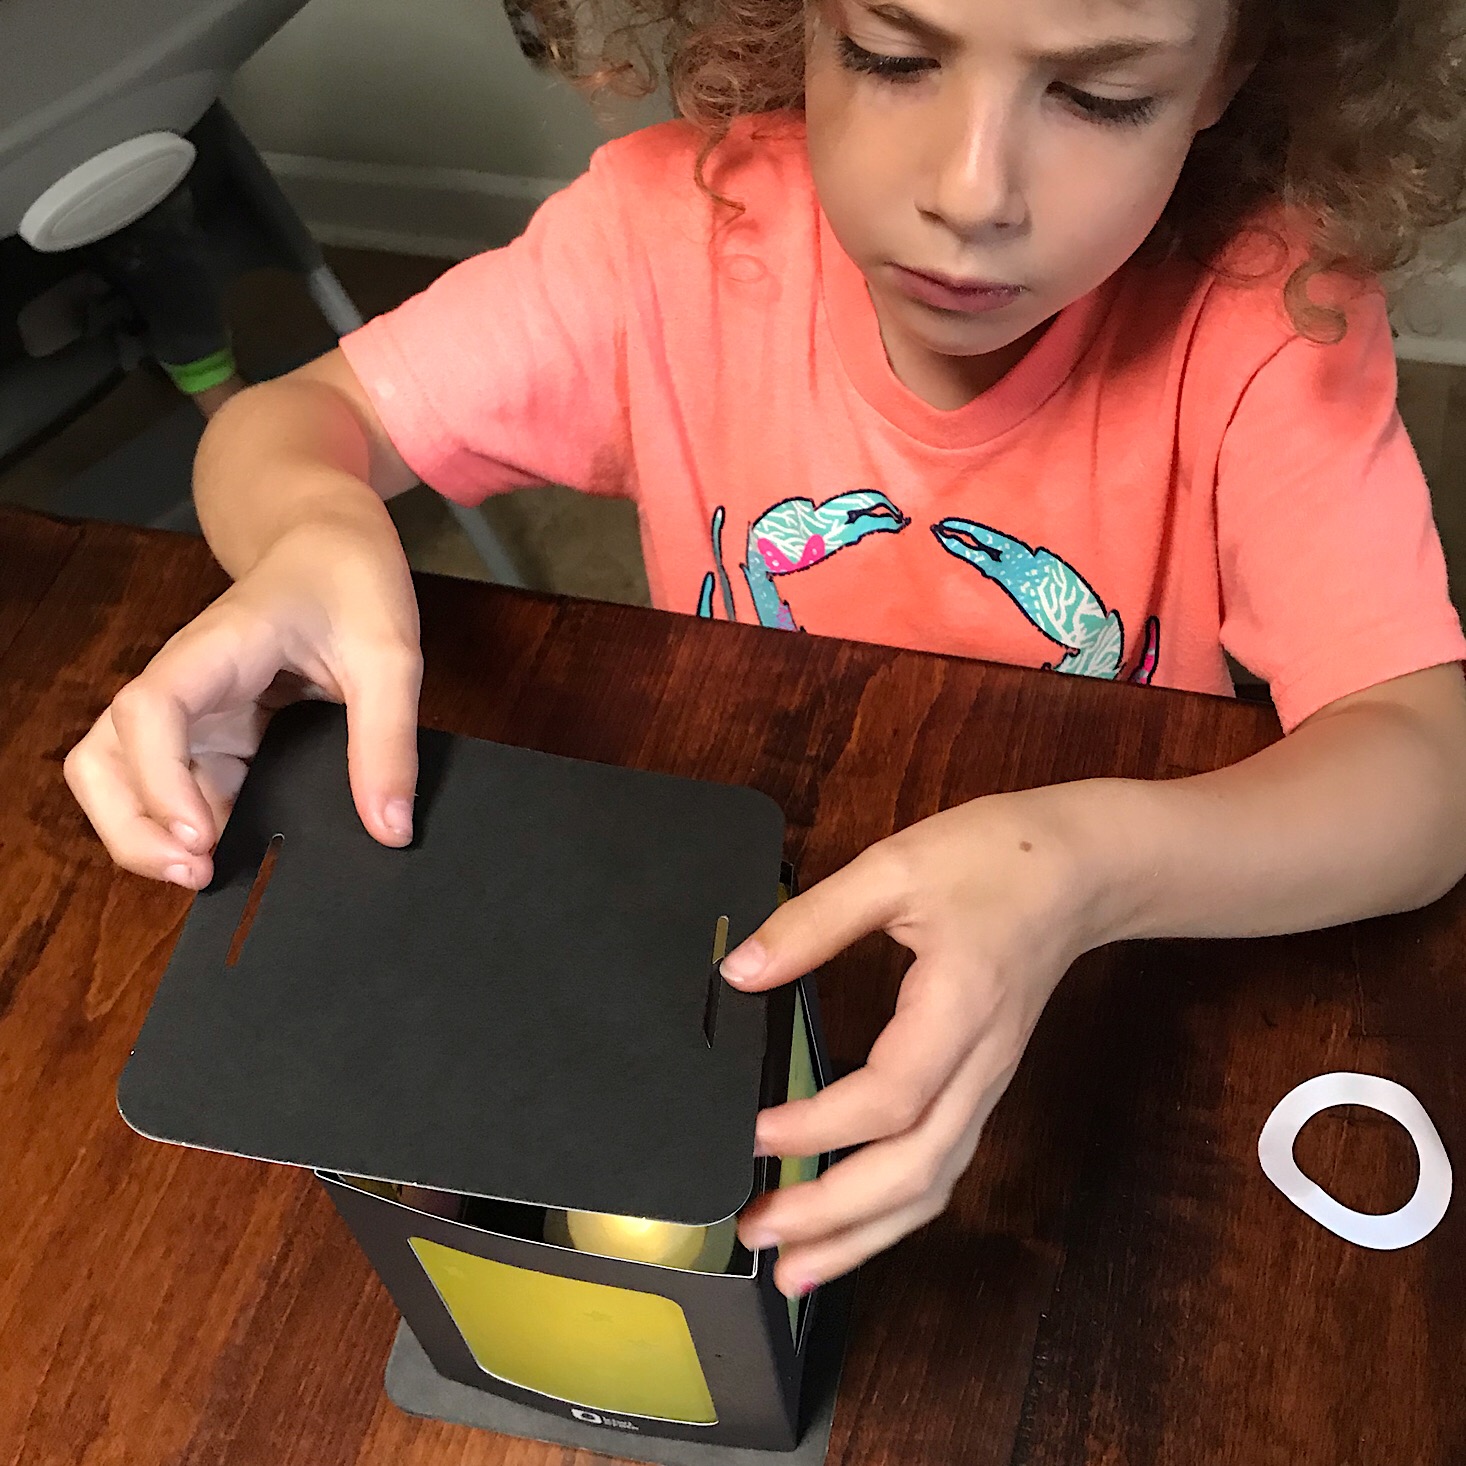
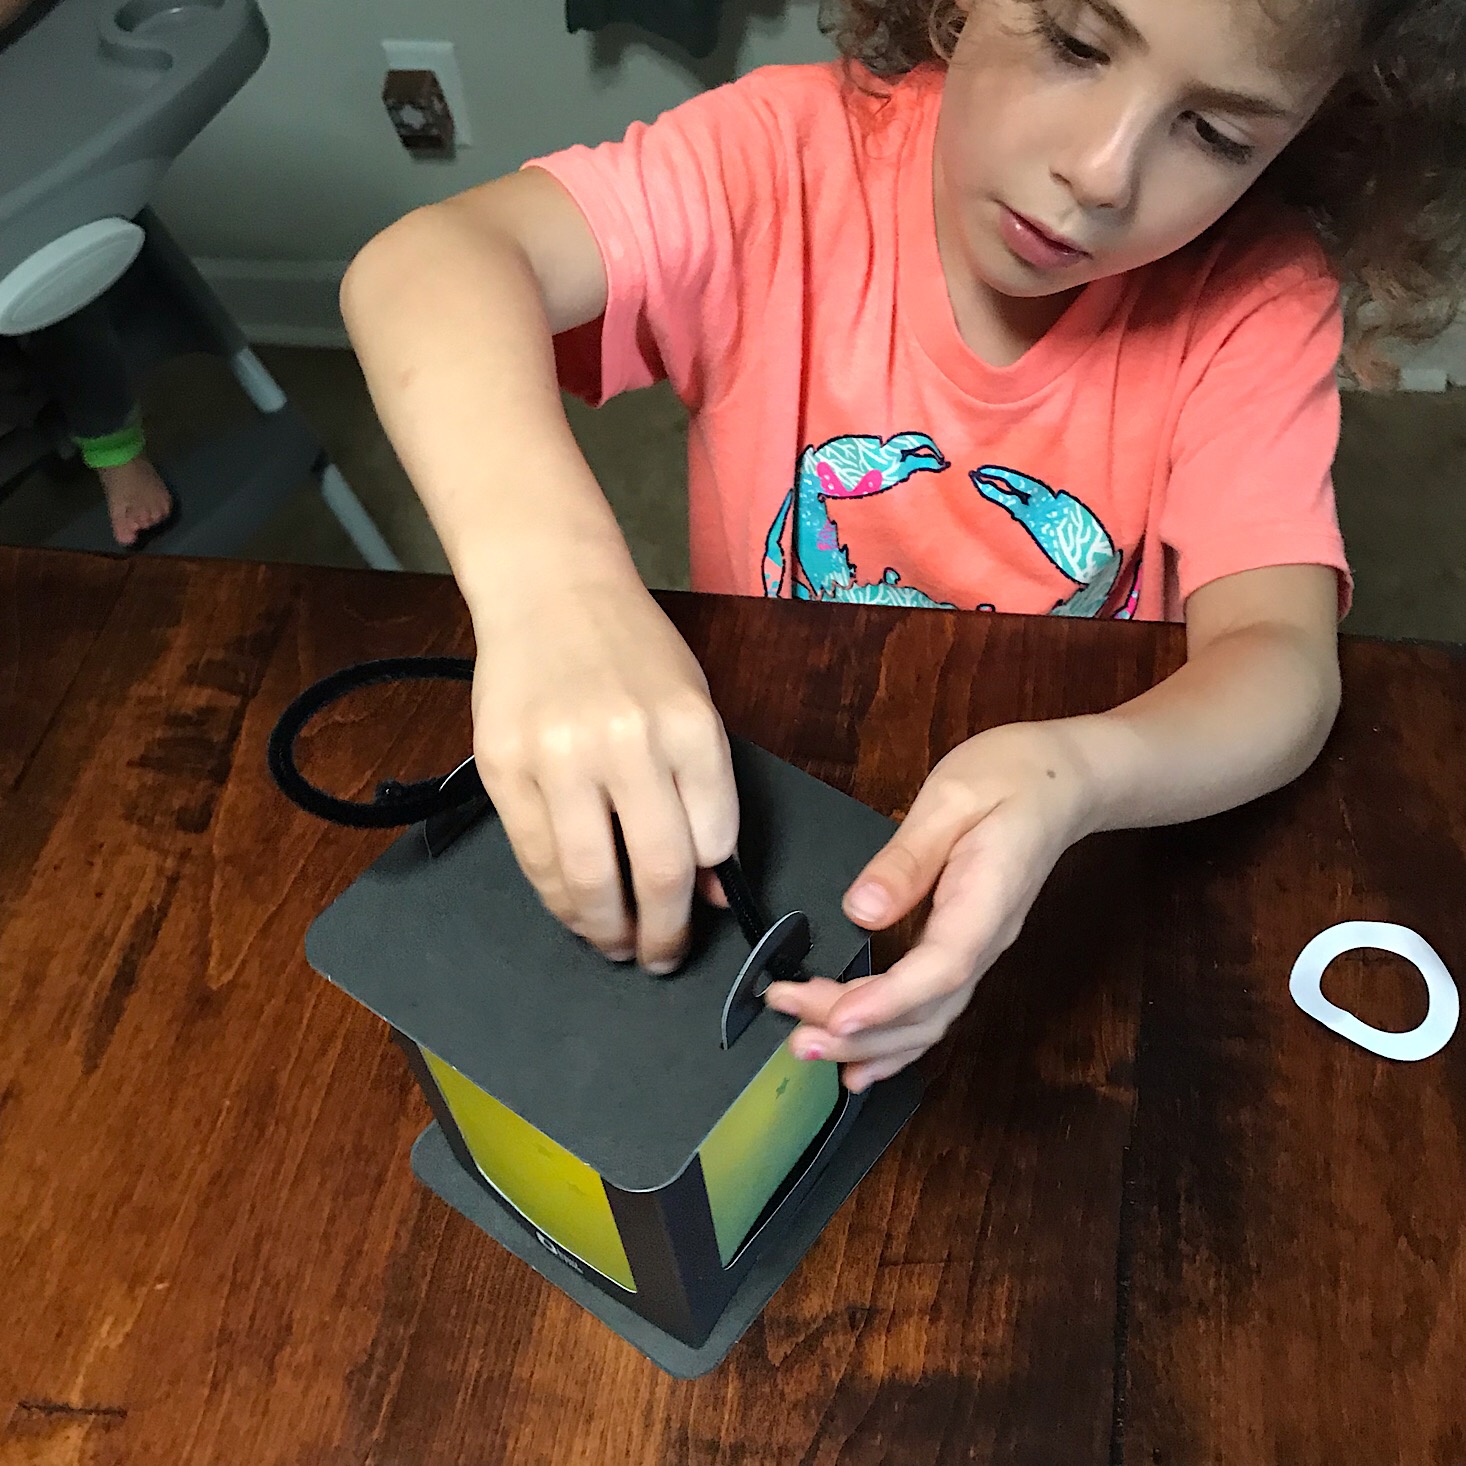
Liv then added a second square with slits in it to form the top of our lantern and wound the black pipe cleaner they provided through each of the holes at the top of our lantern to form a handle.
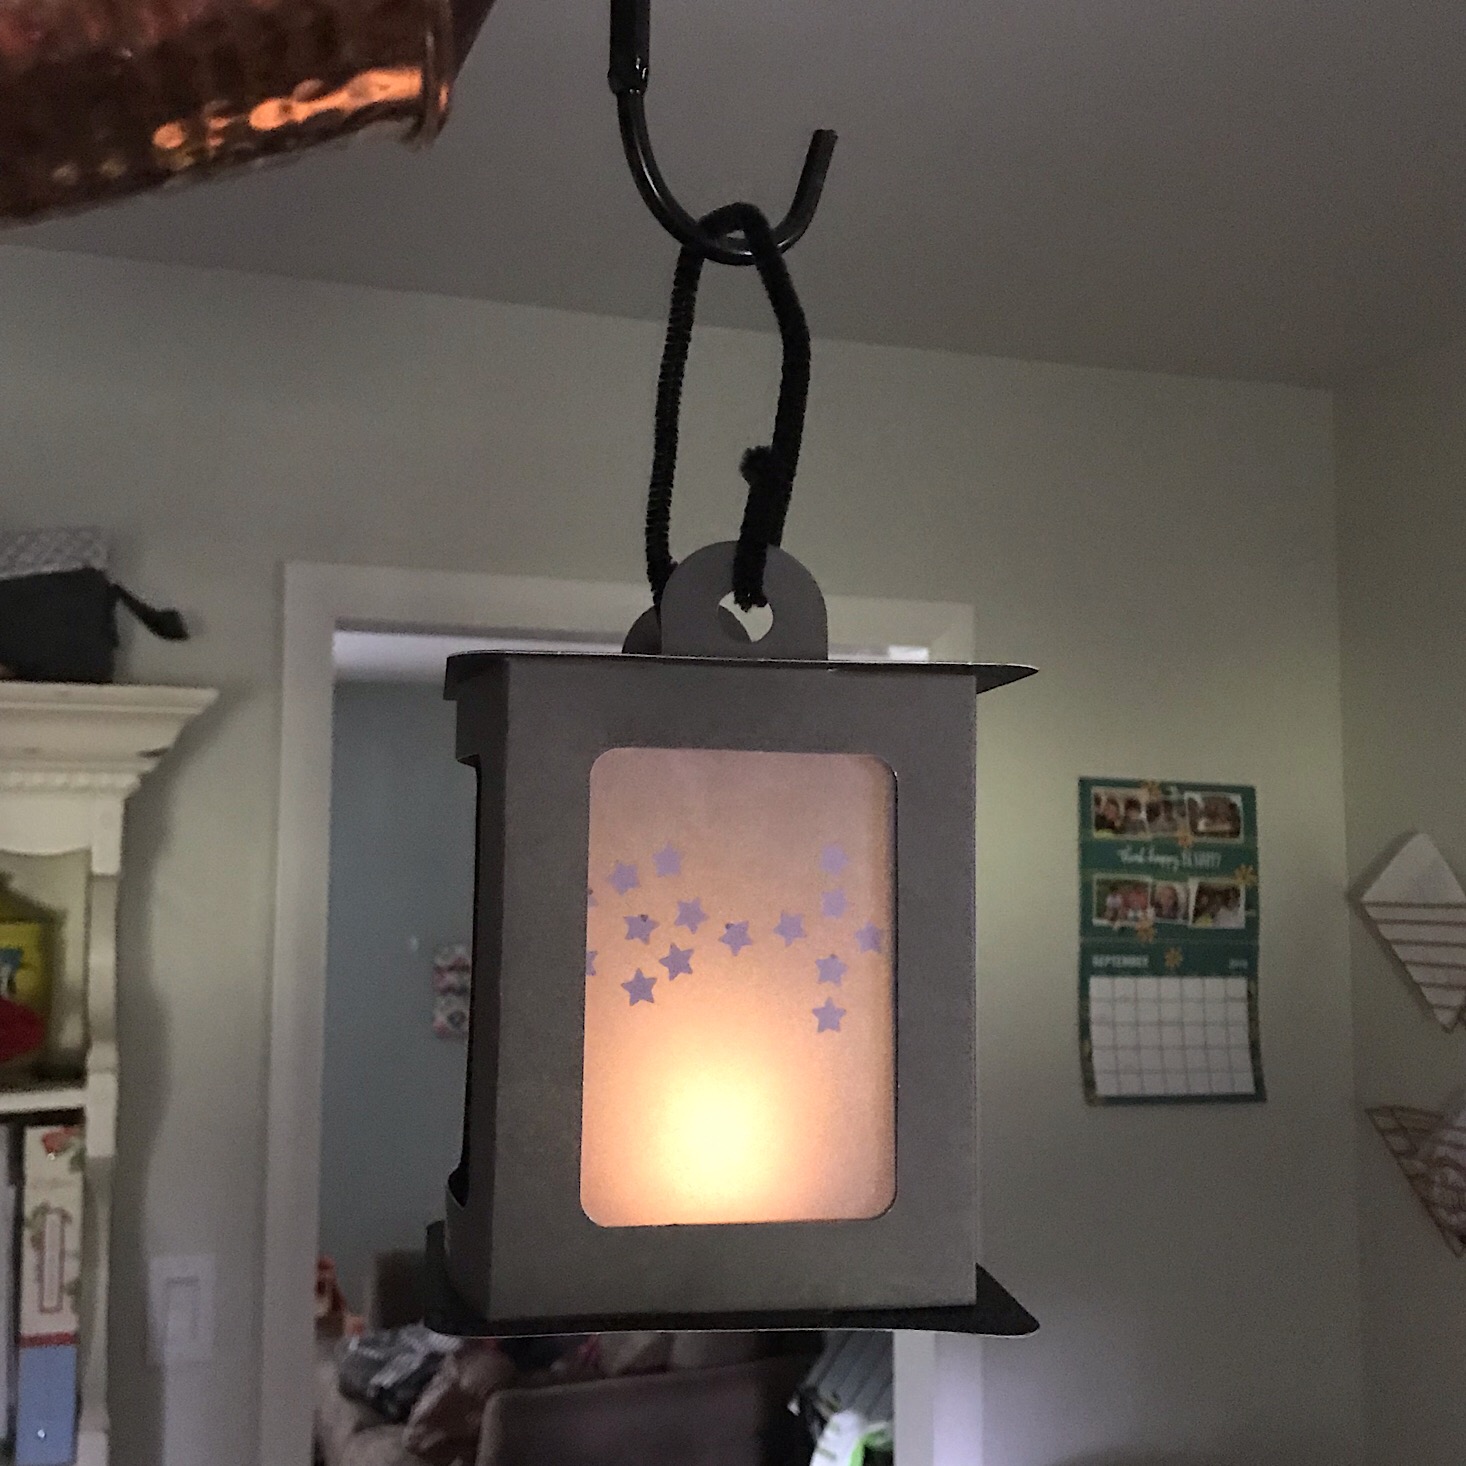
Here is our glowing lantern! It looks pretty nice and is very lightweight which will make it easy to find somewhere to hang it. I love that we can switch out the constellation panels any time that we want for a new look!
Solar Spinner
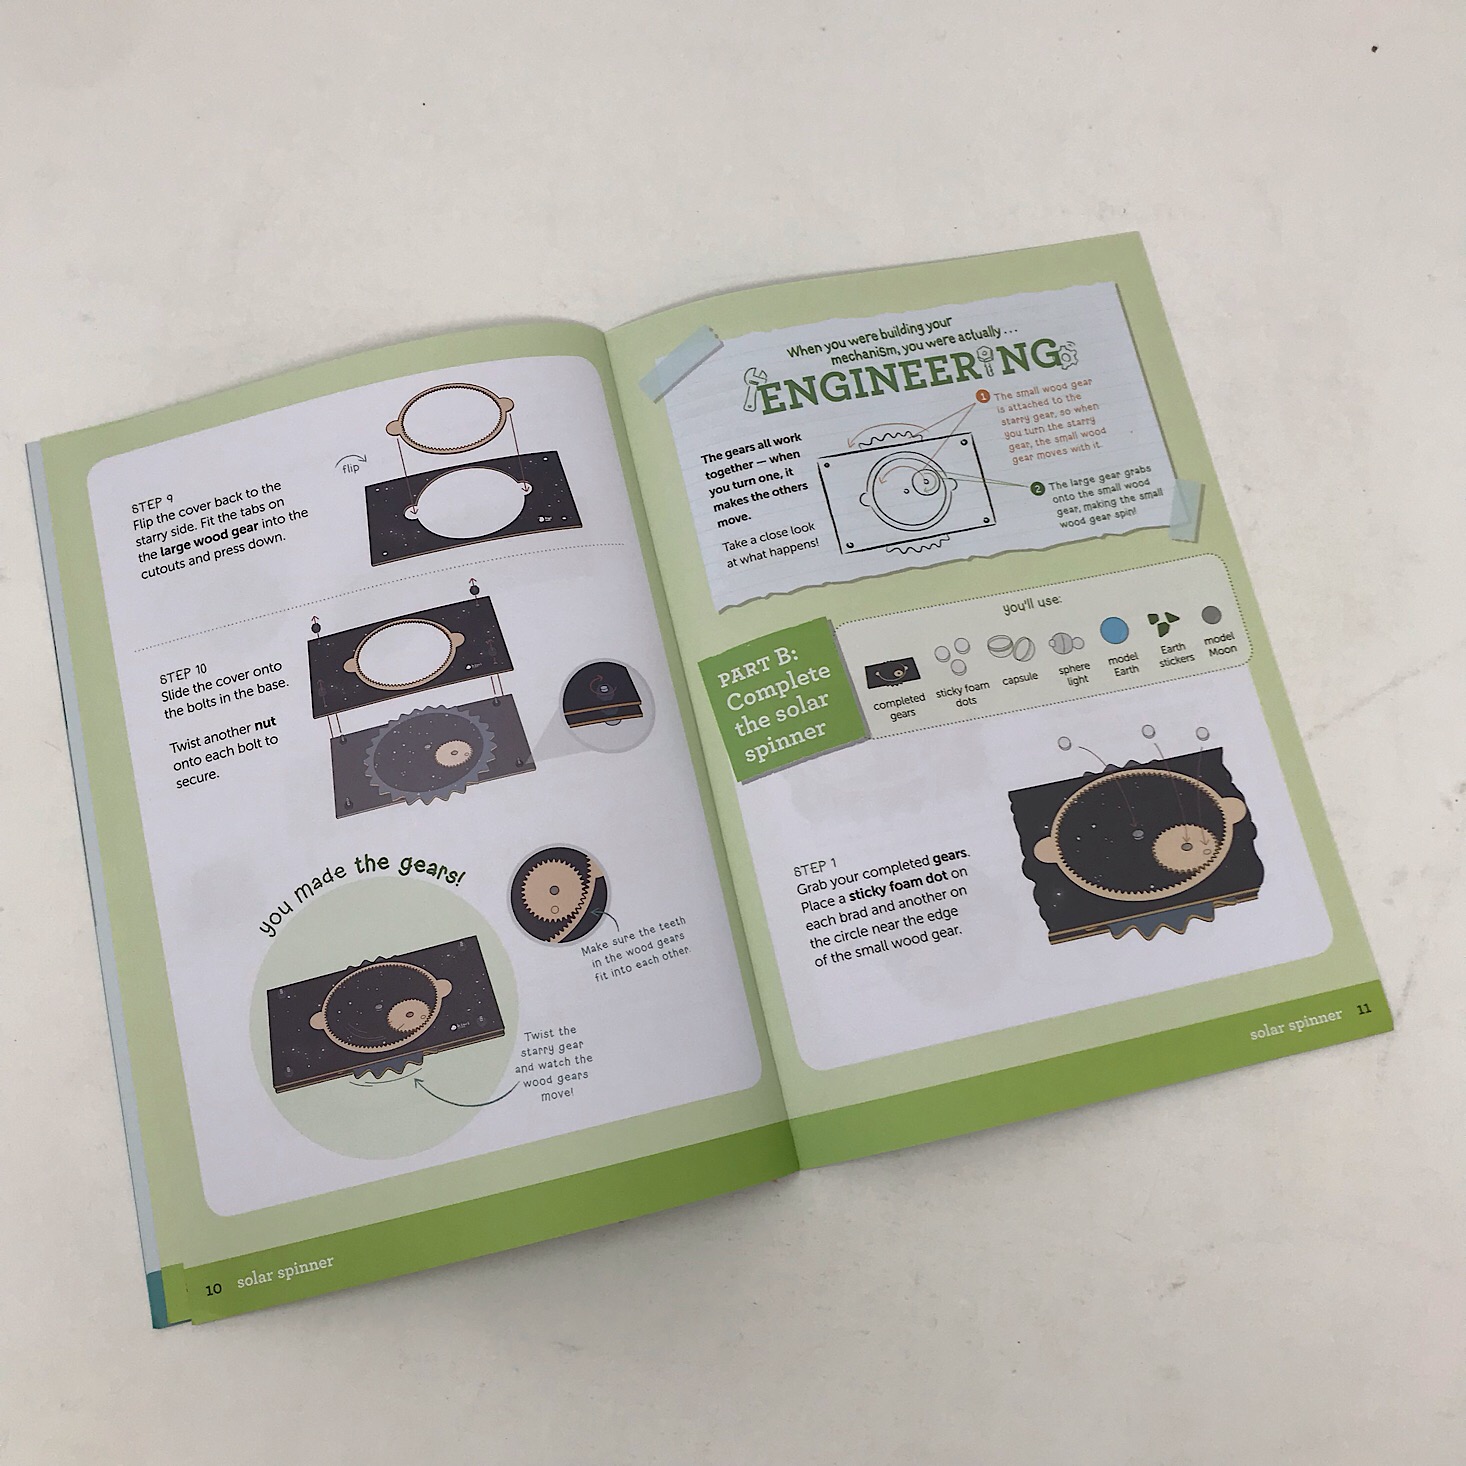
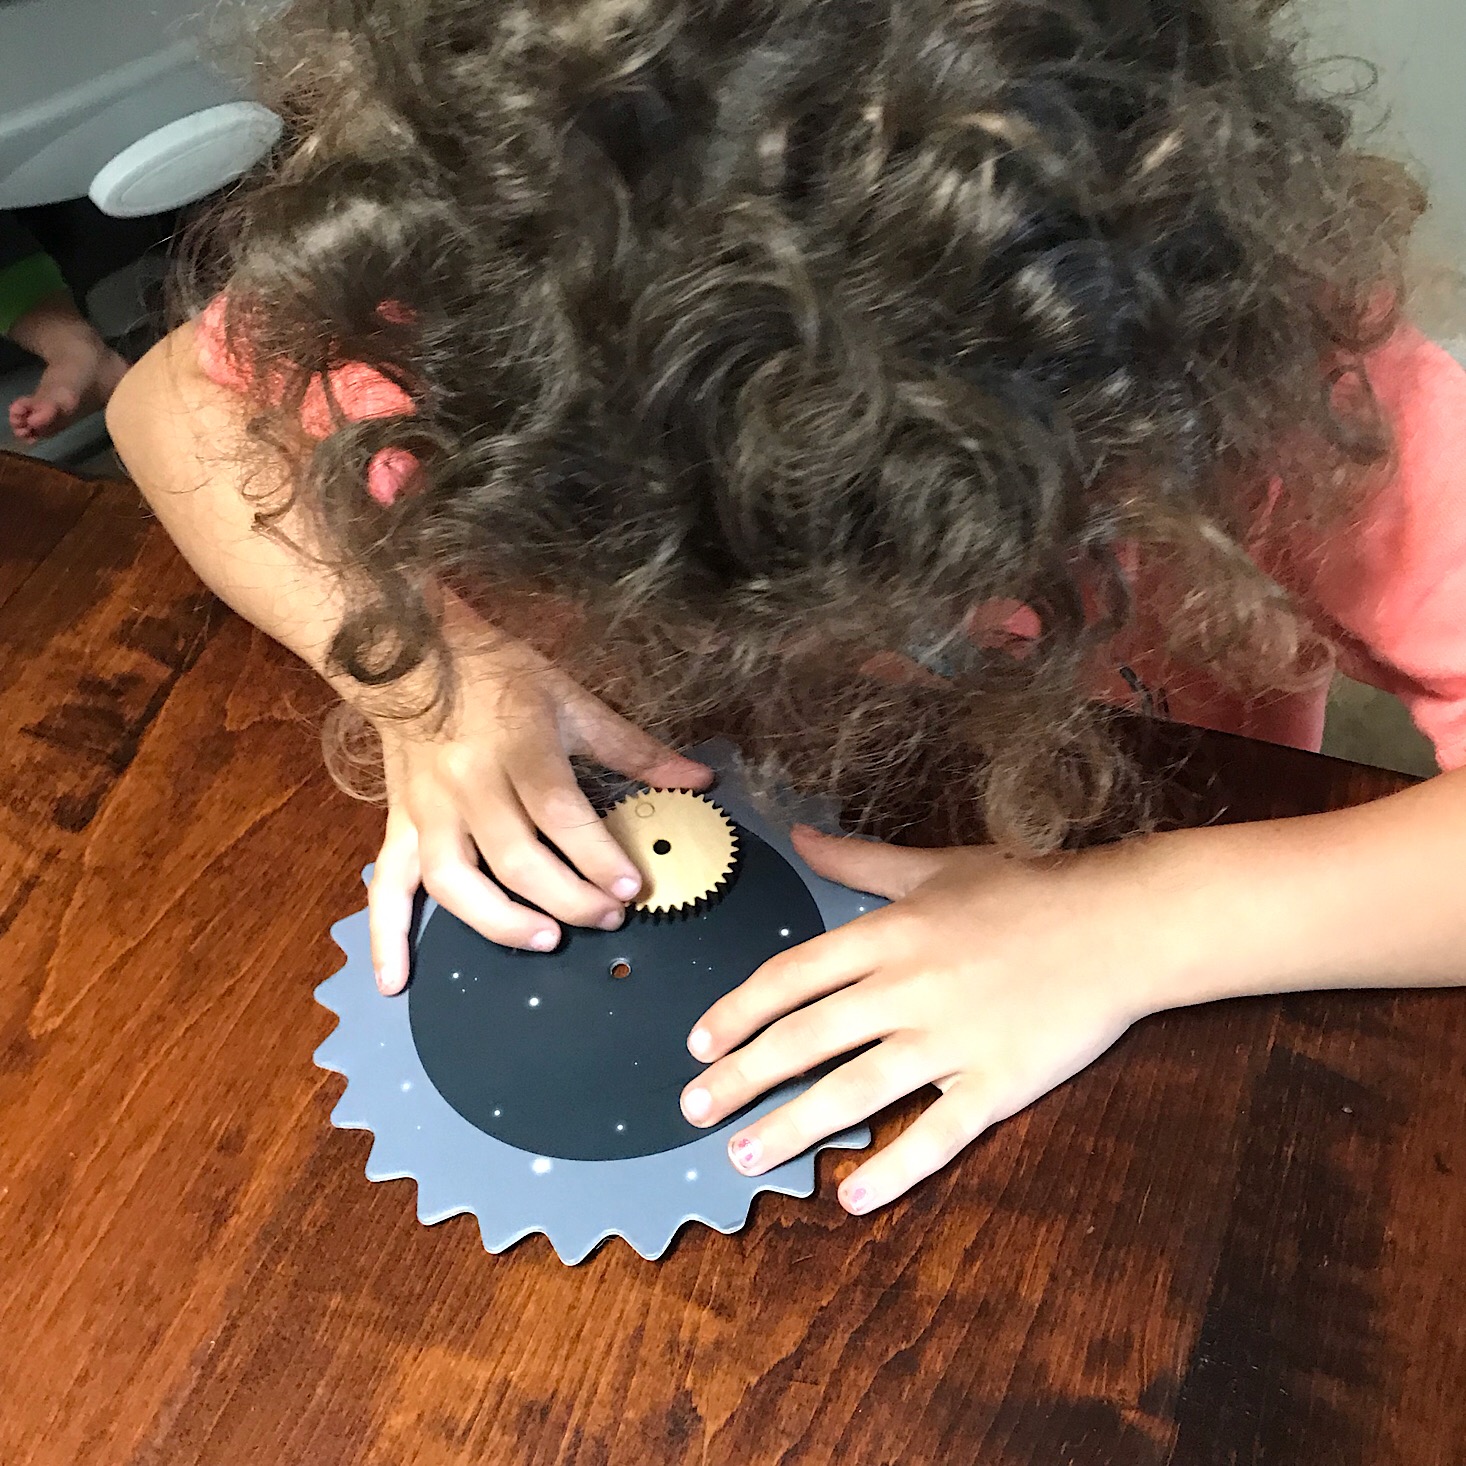
Our second project was to make a solar spinner. They provided all of the materials that we needed and the instructions were so clear and the process so simple that my daughter was able to complete this pretty much on her own as I read her the directions.
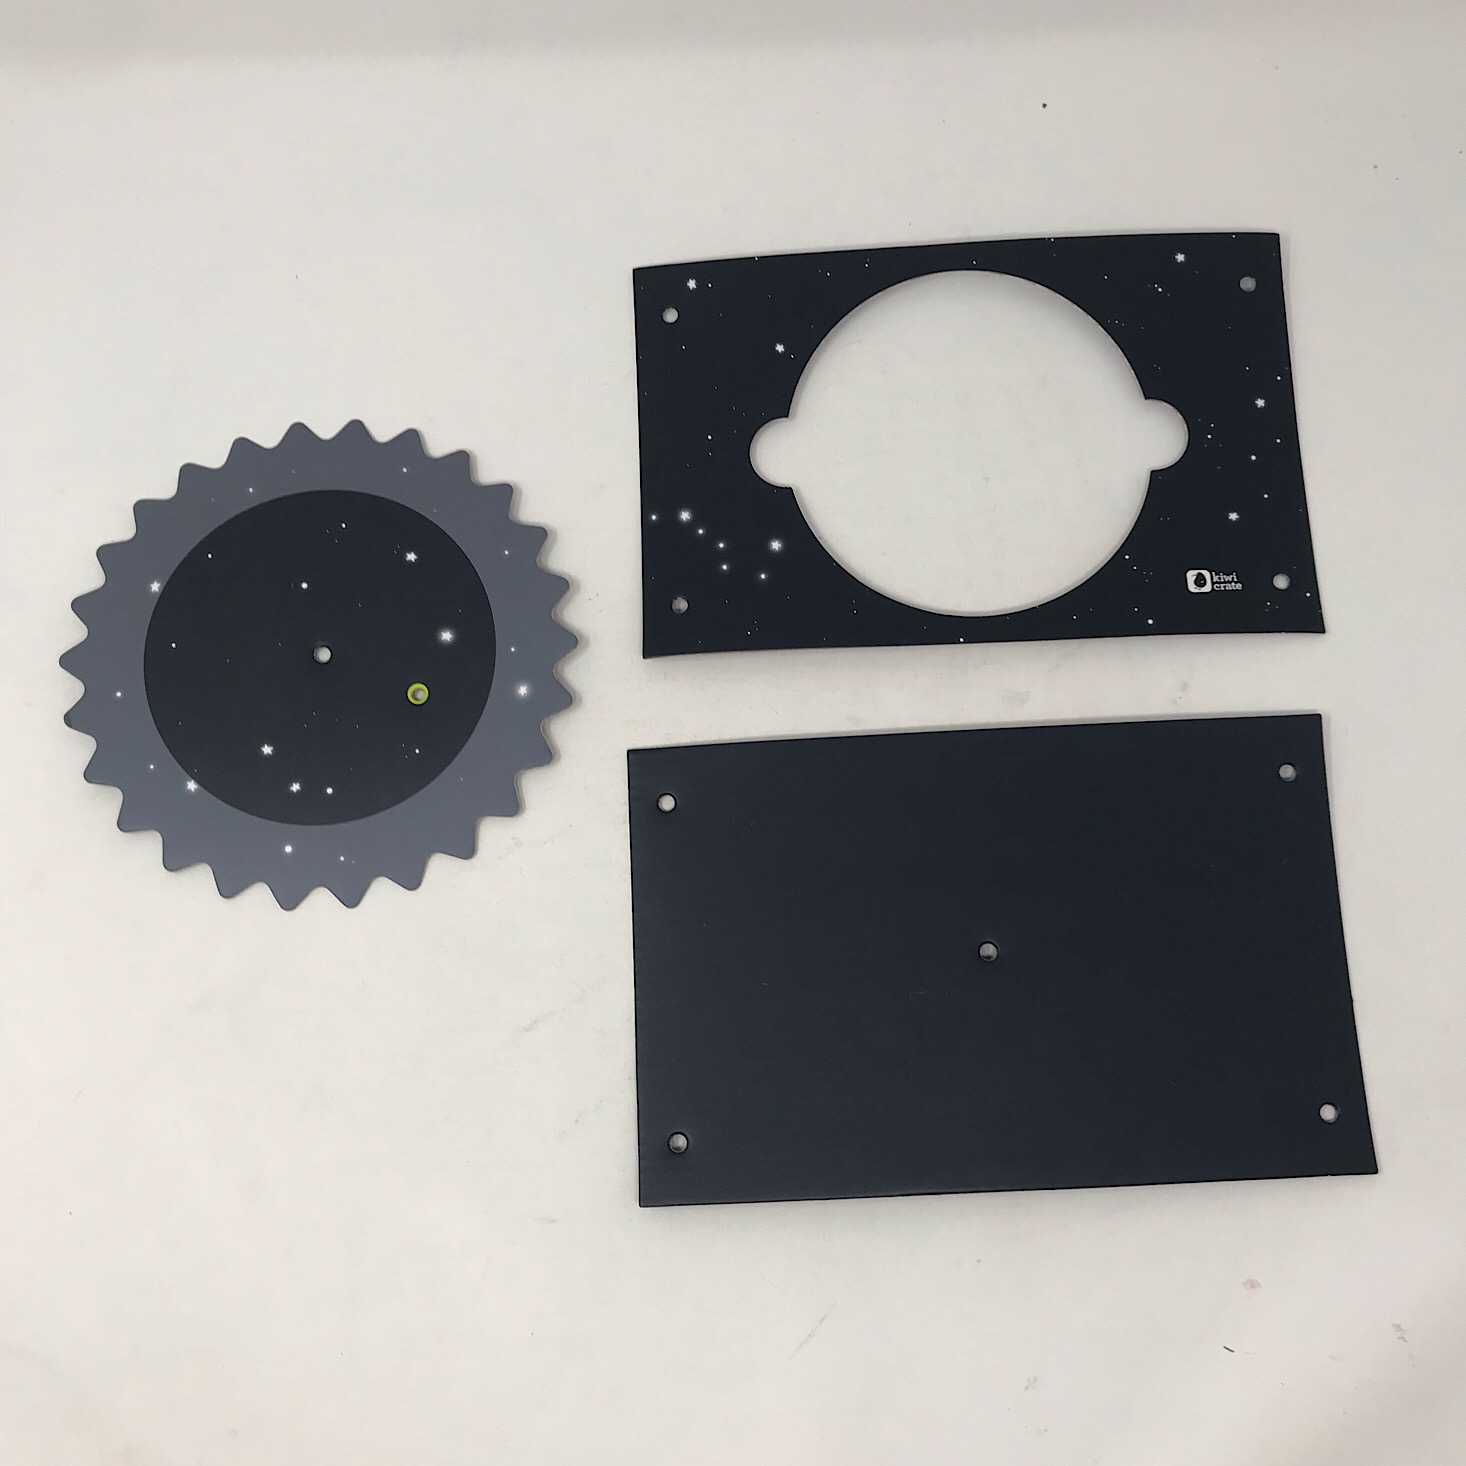
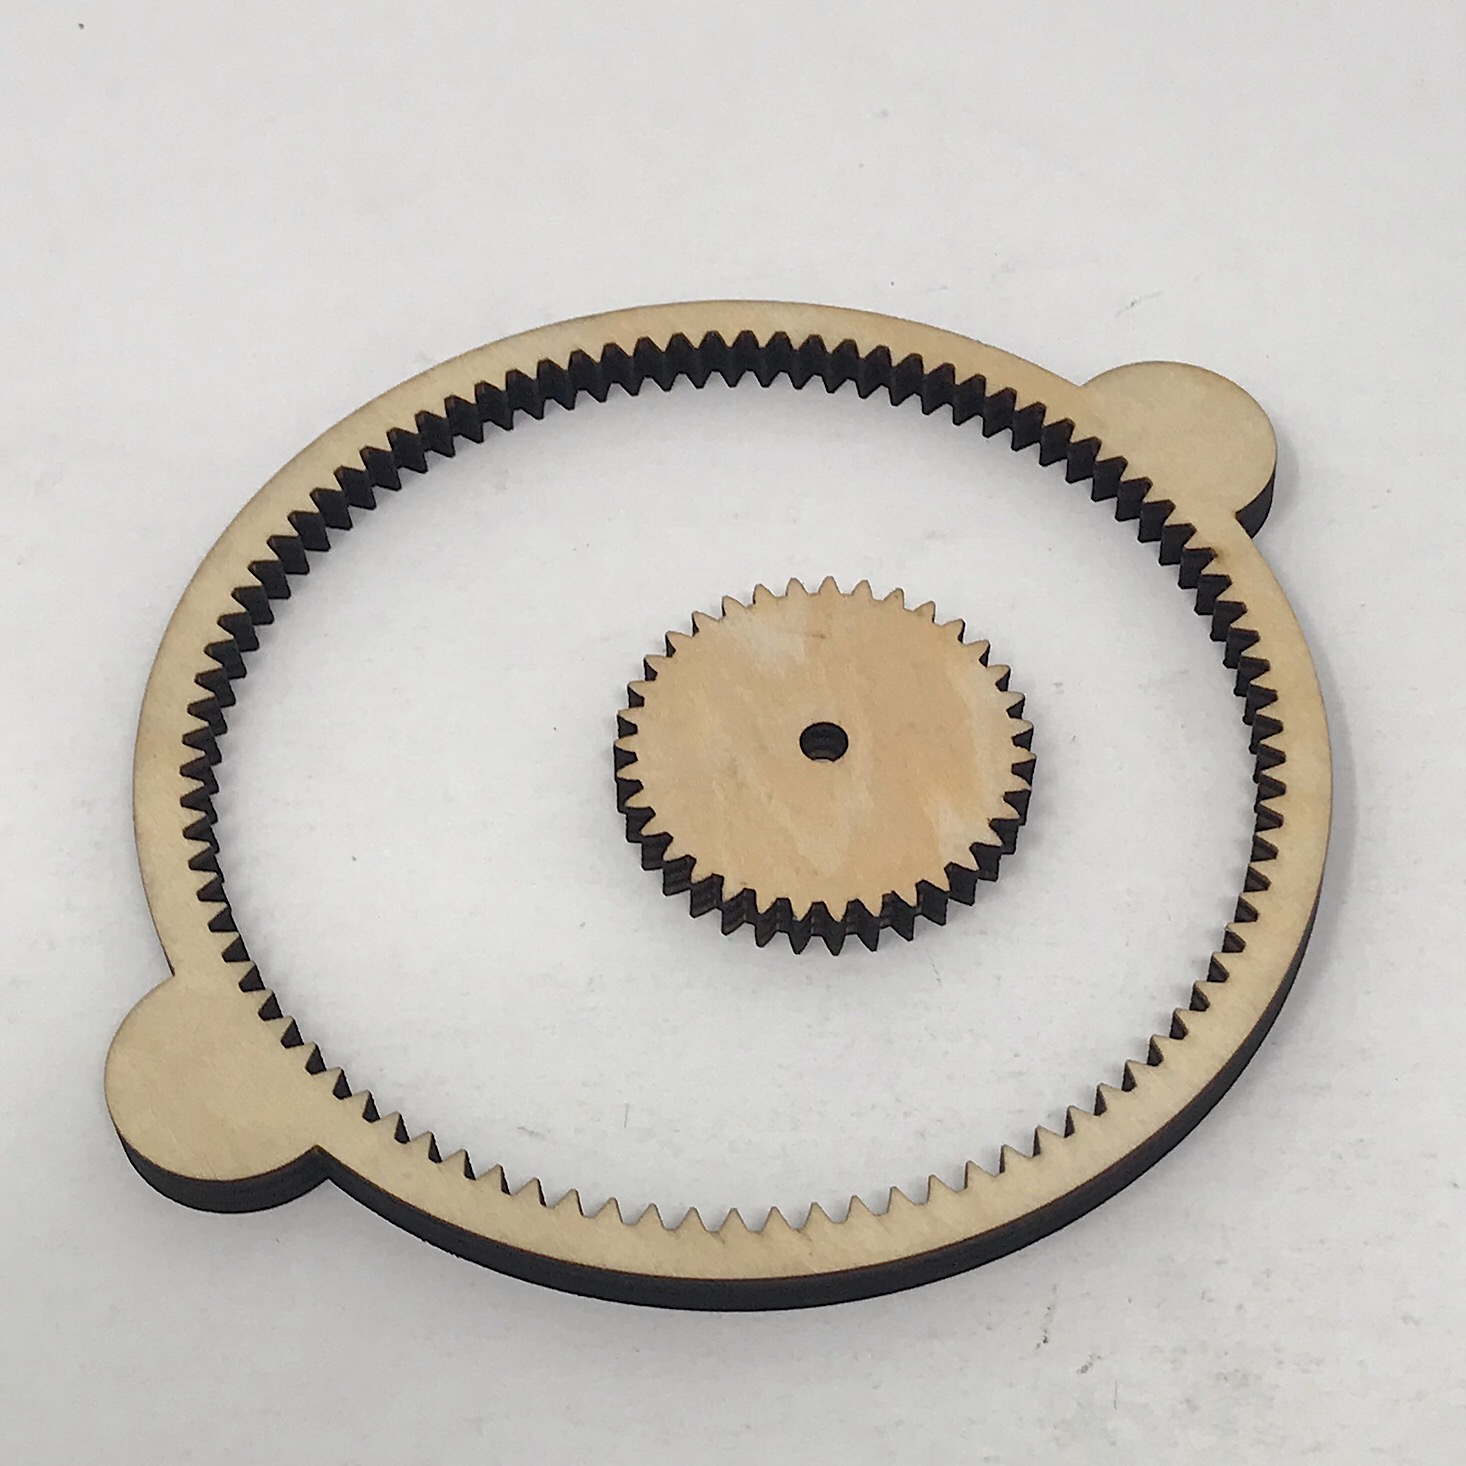
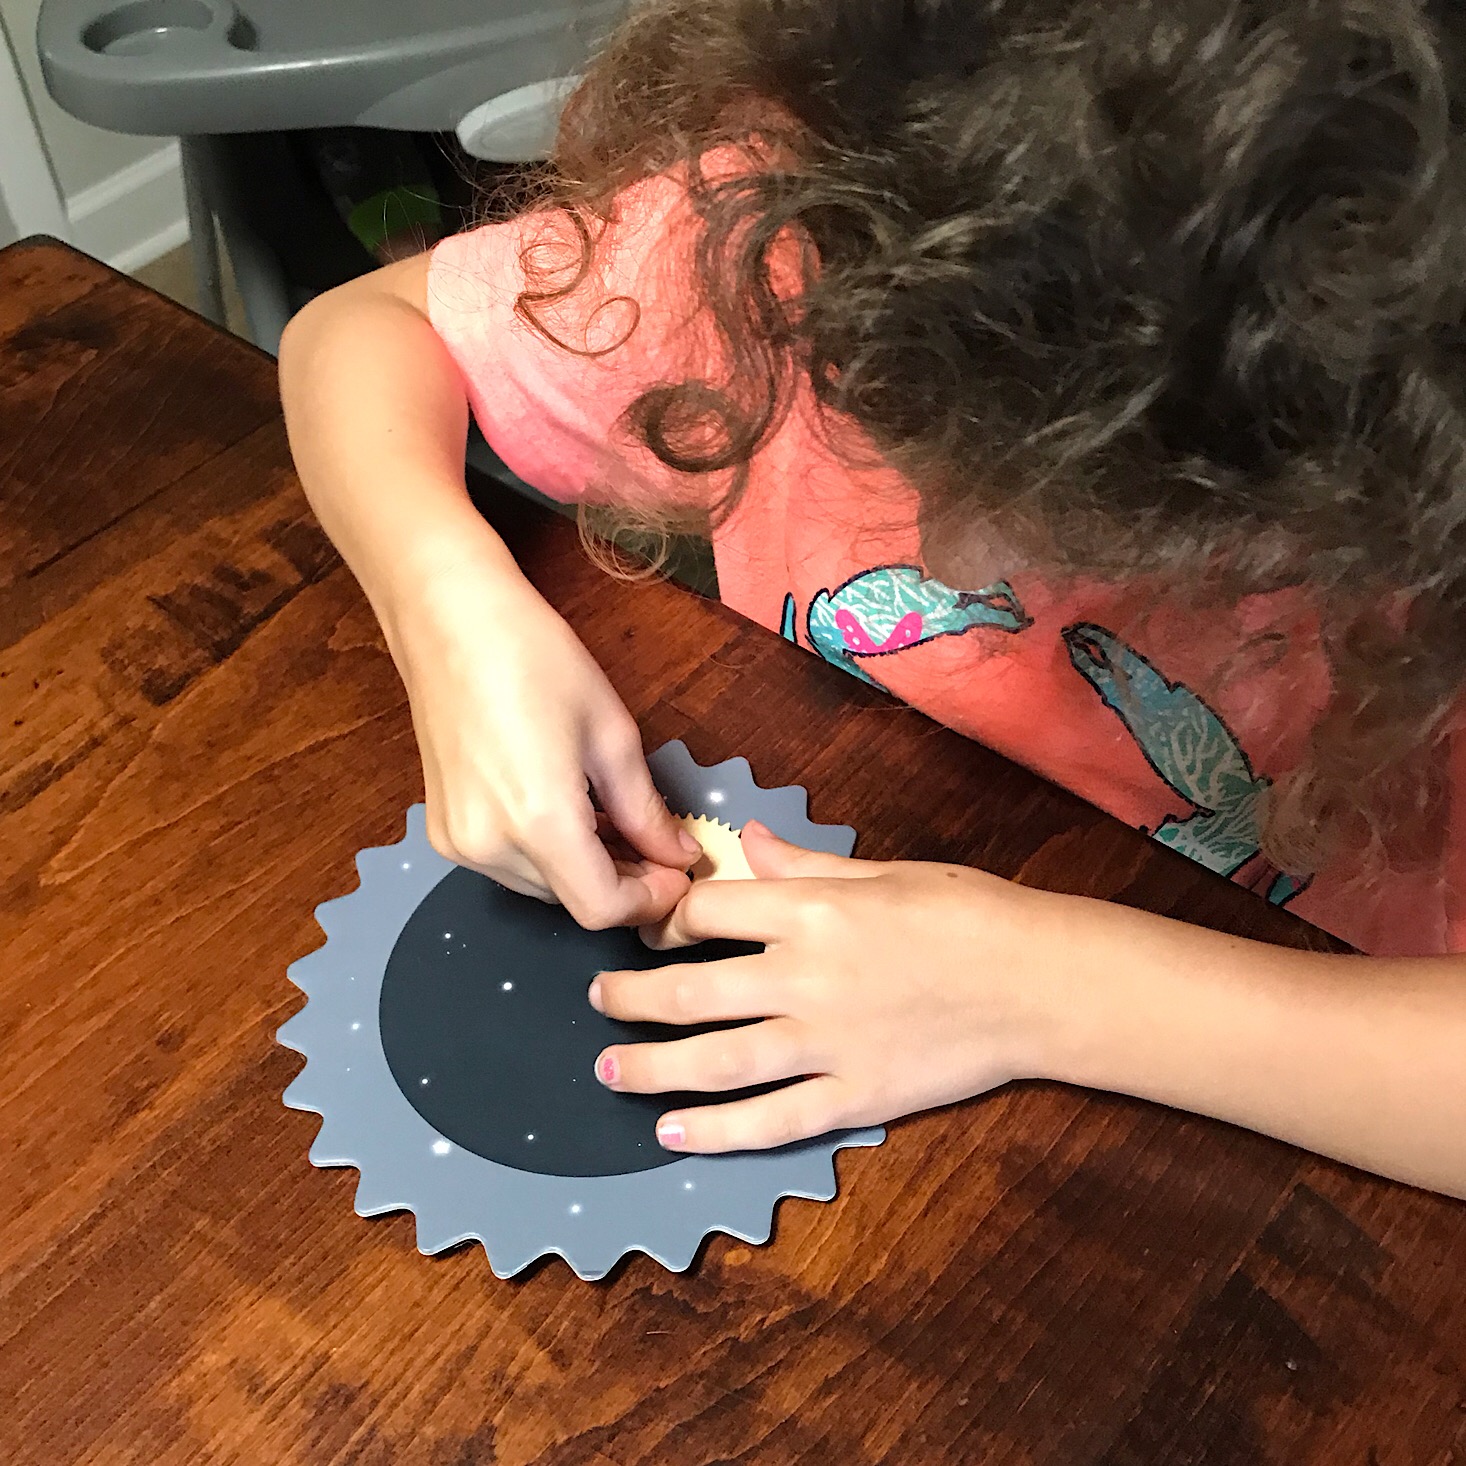
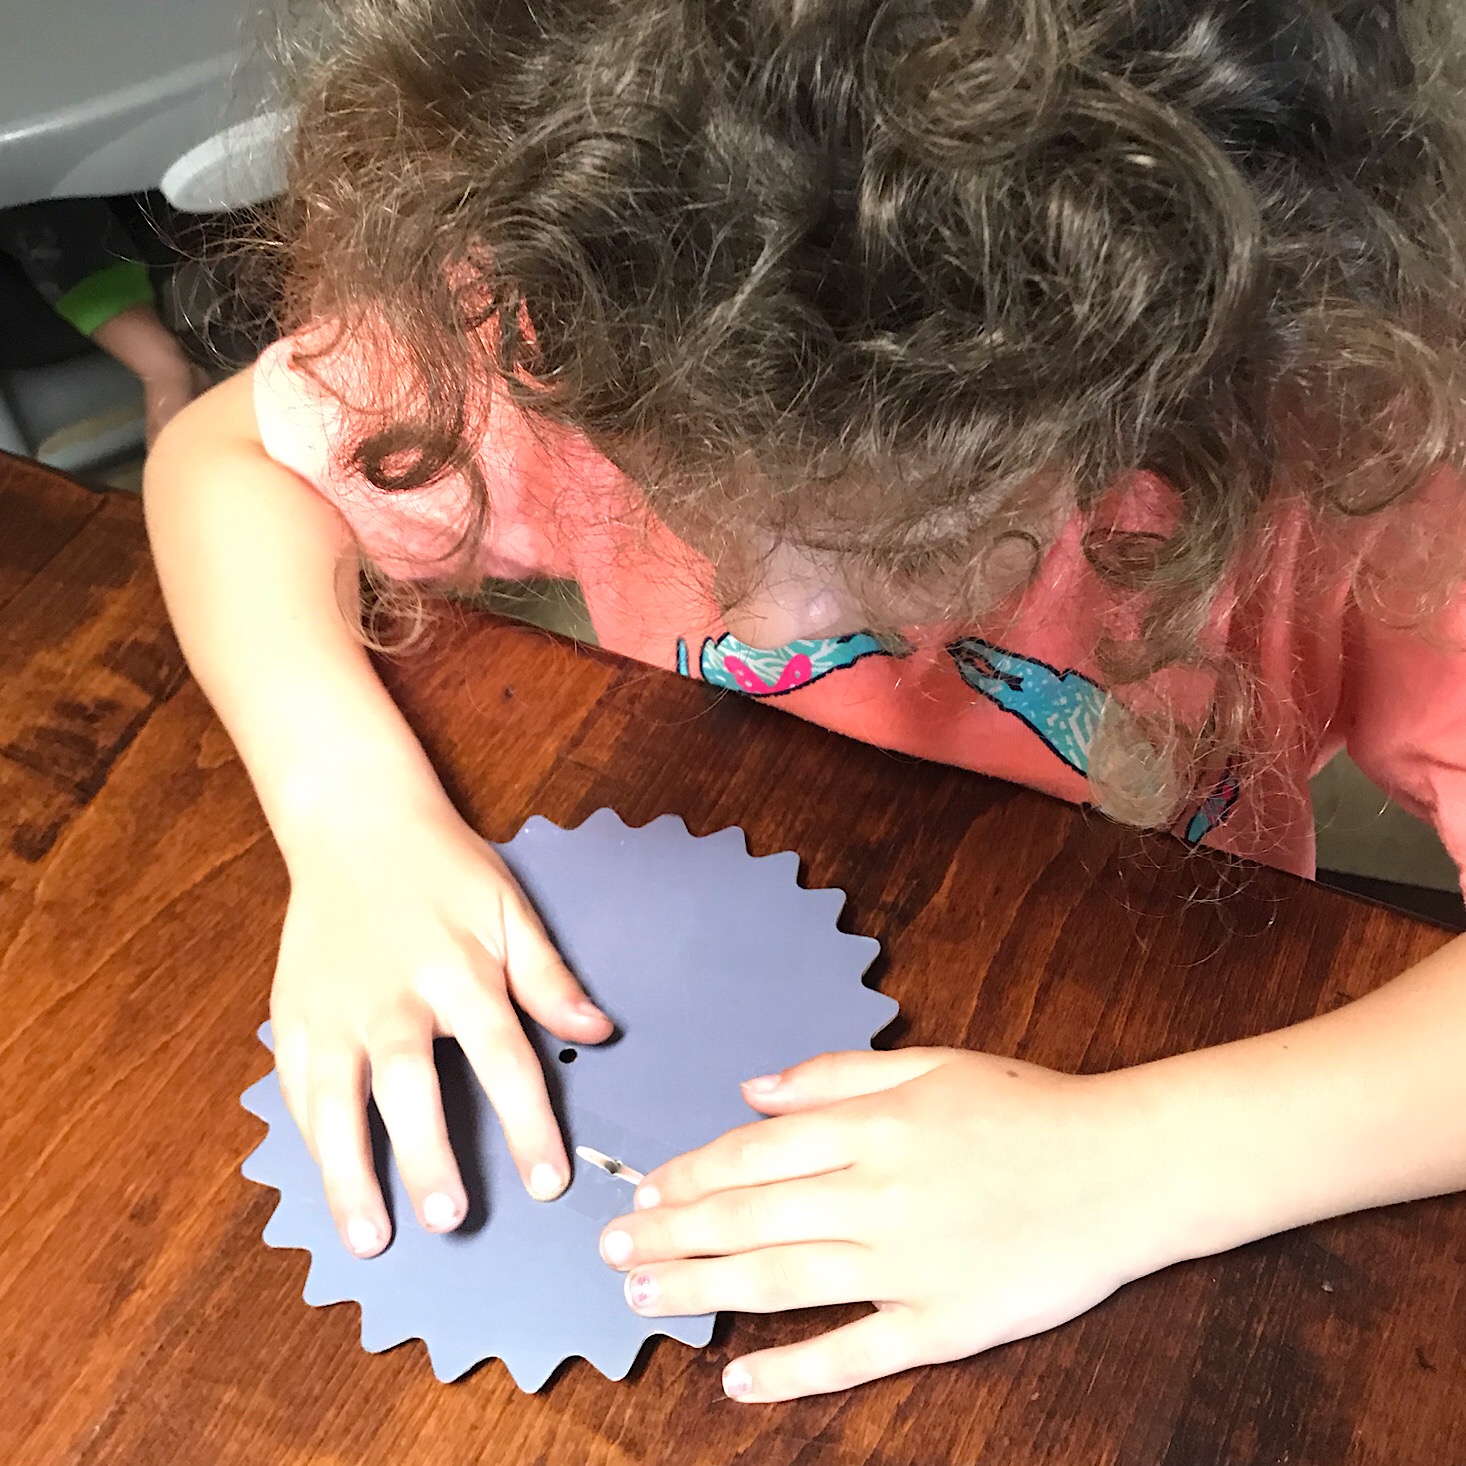
First, she lined up the small gear on top of the large cardboard gear by matching up the holes. I showed her how to insert and open up a brad to hold them together and then she placed a clear sticker over top of it.
Next, she connected the cardboard gear to the cardboard rectangle using a small plastic piece, another brad, and a clear sticker to secure it.
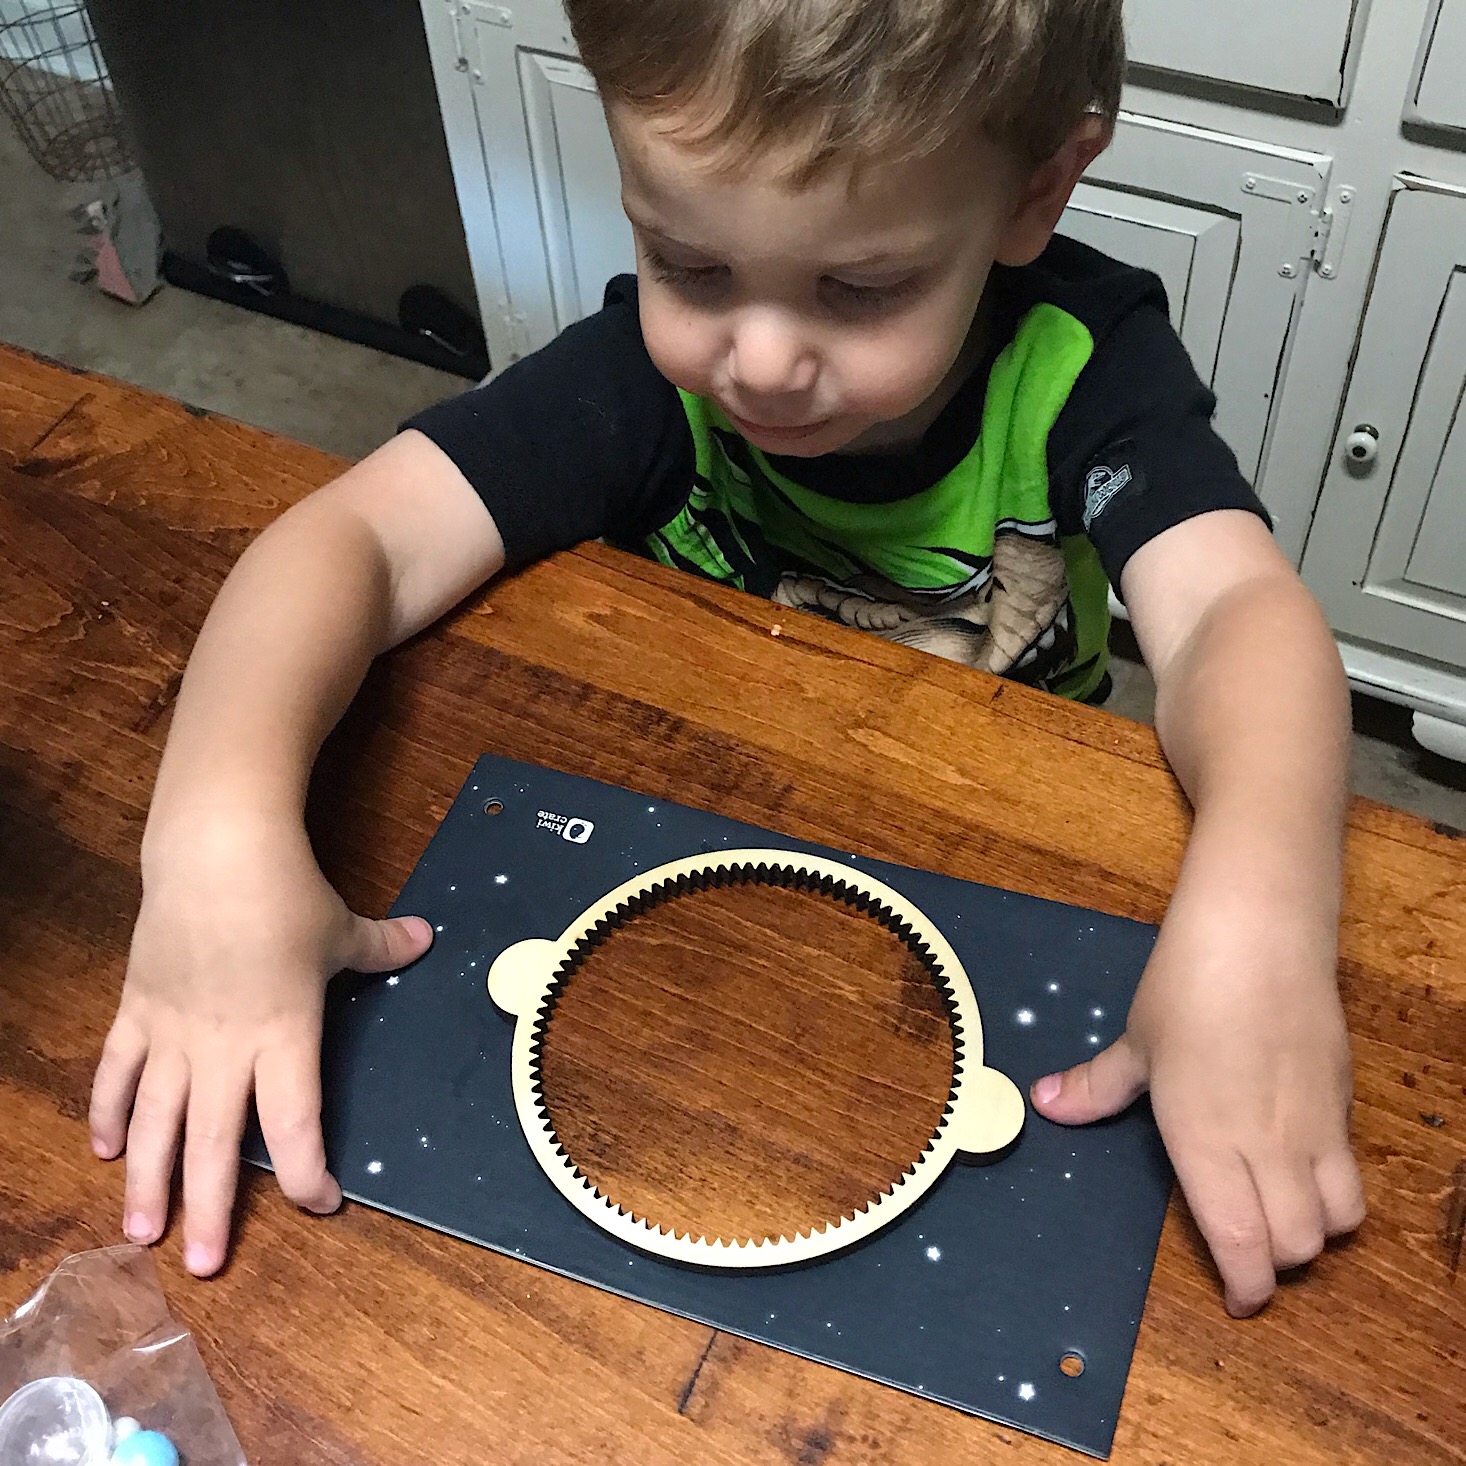
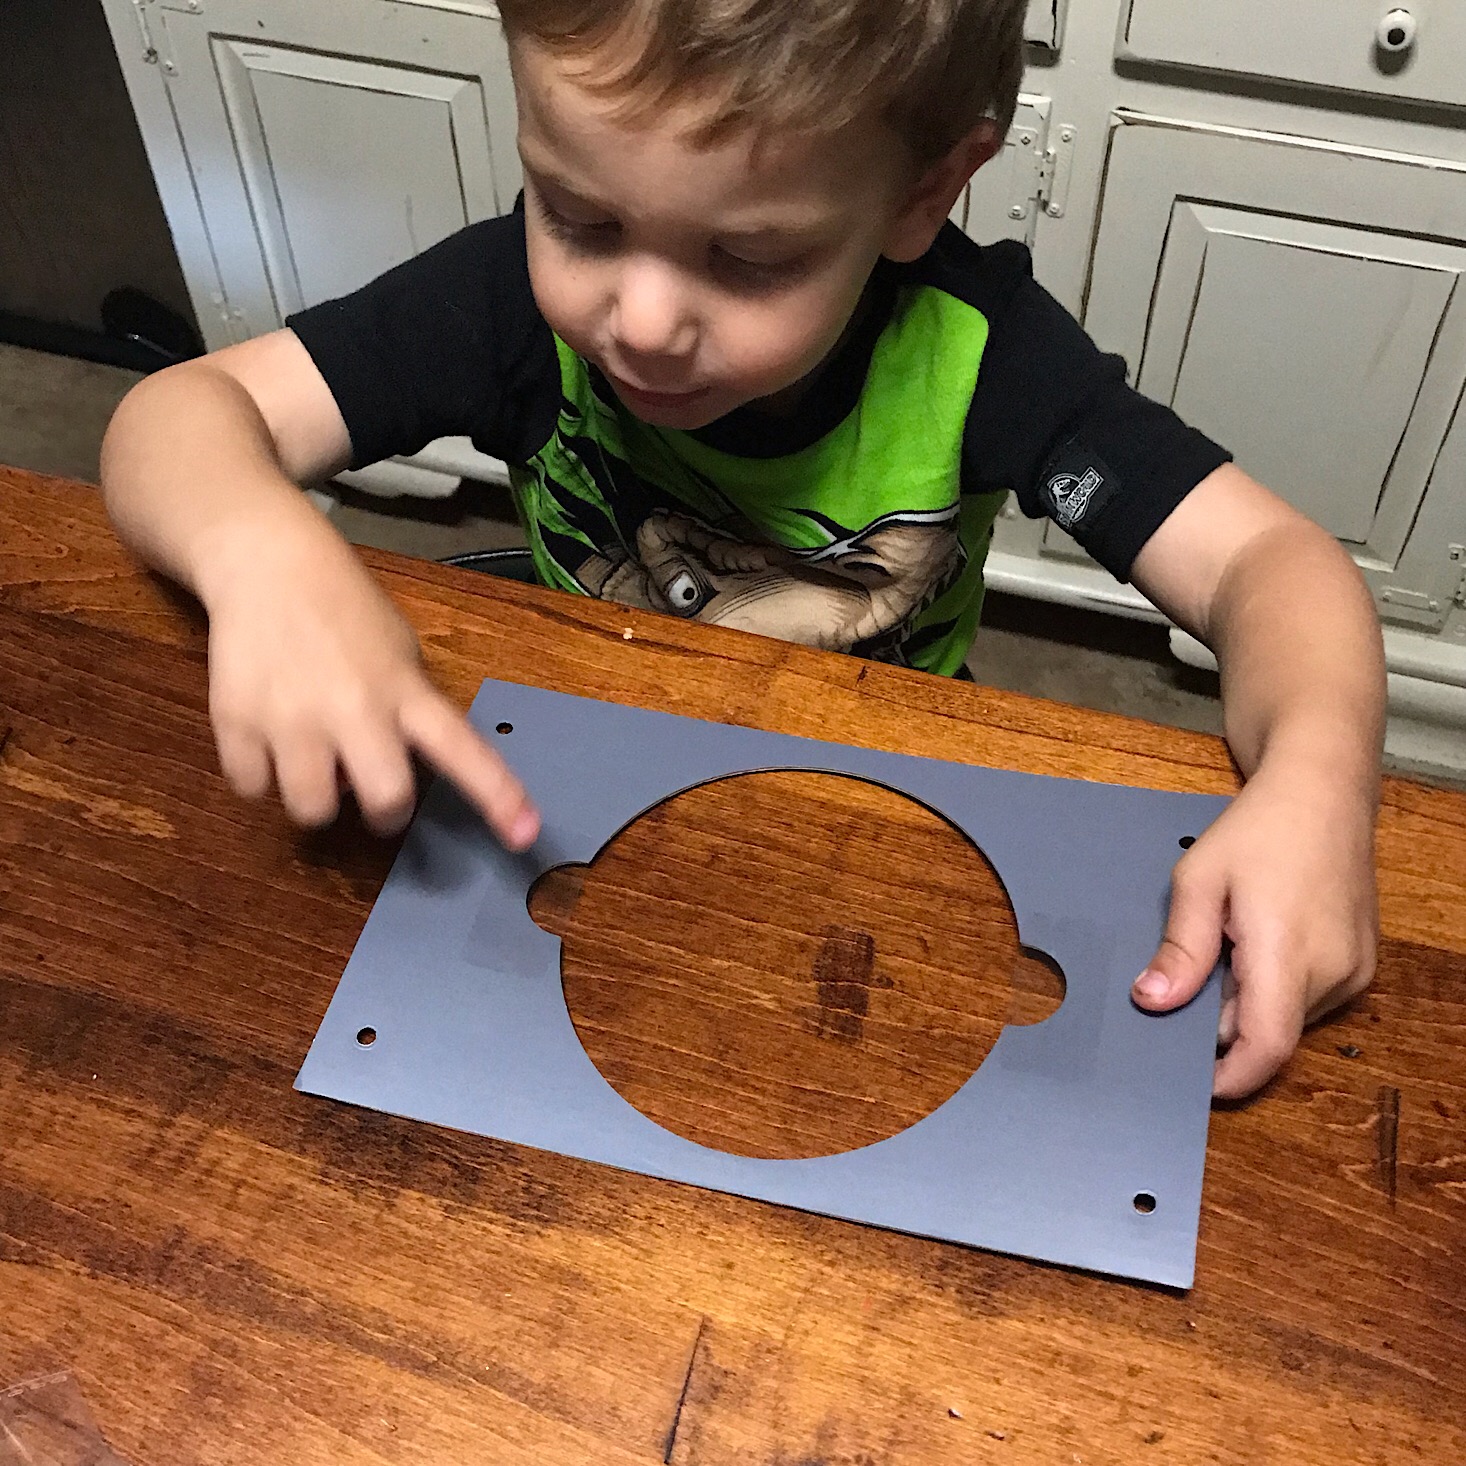
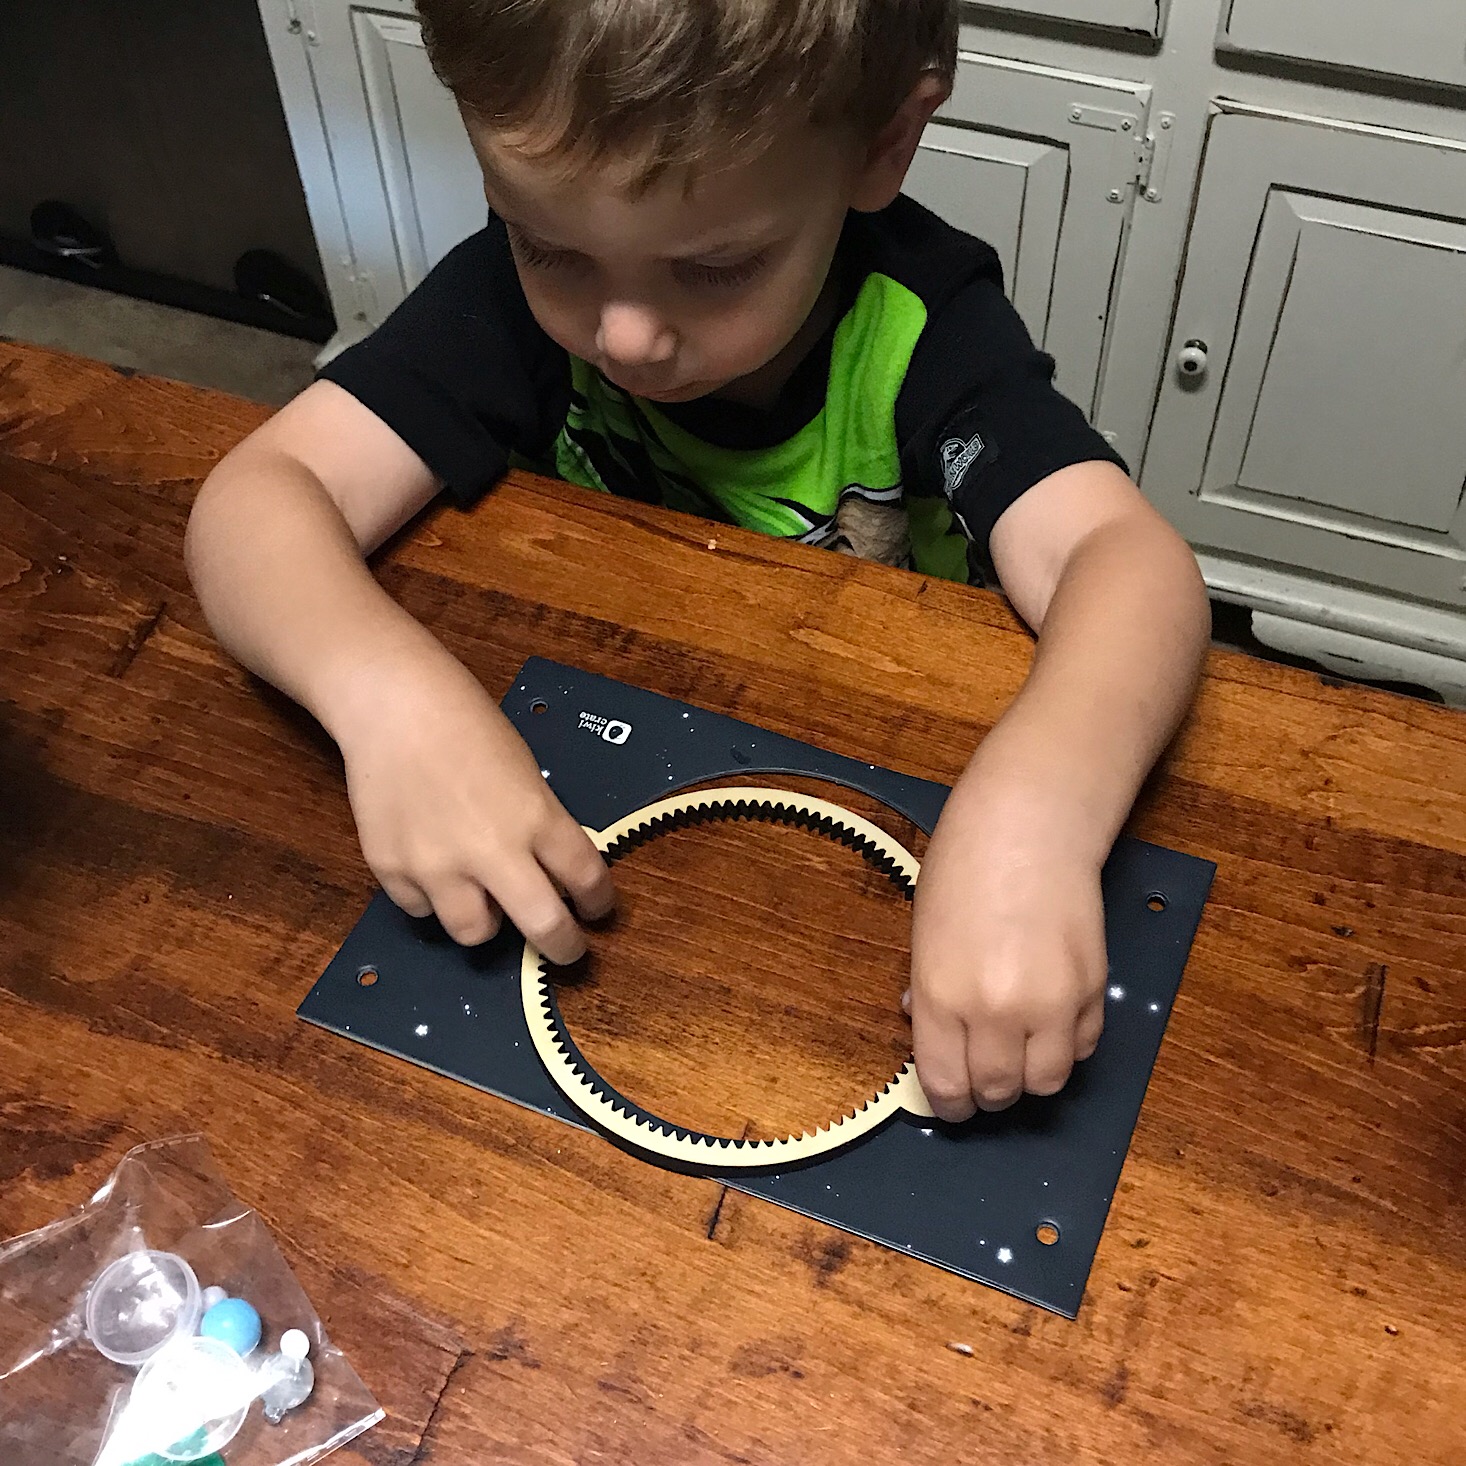
While she worked on that, I had my son add clear stickers to the back of this other cardboard piece behind the two little semicircles. Then he flipped it over and we added our large wooden circle to it and secured it in place by sticking it to the stickers.
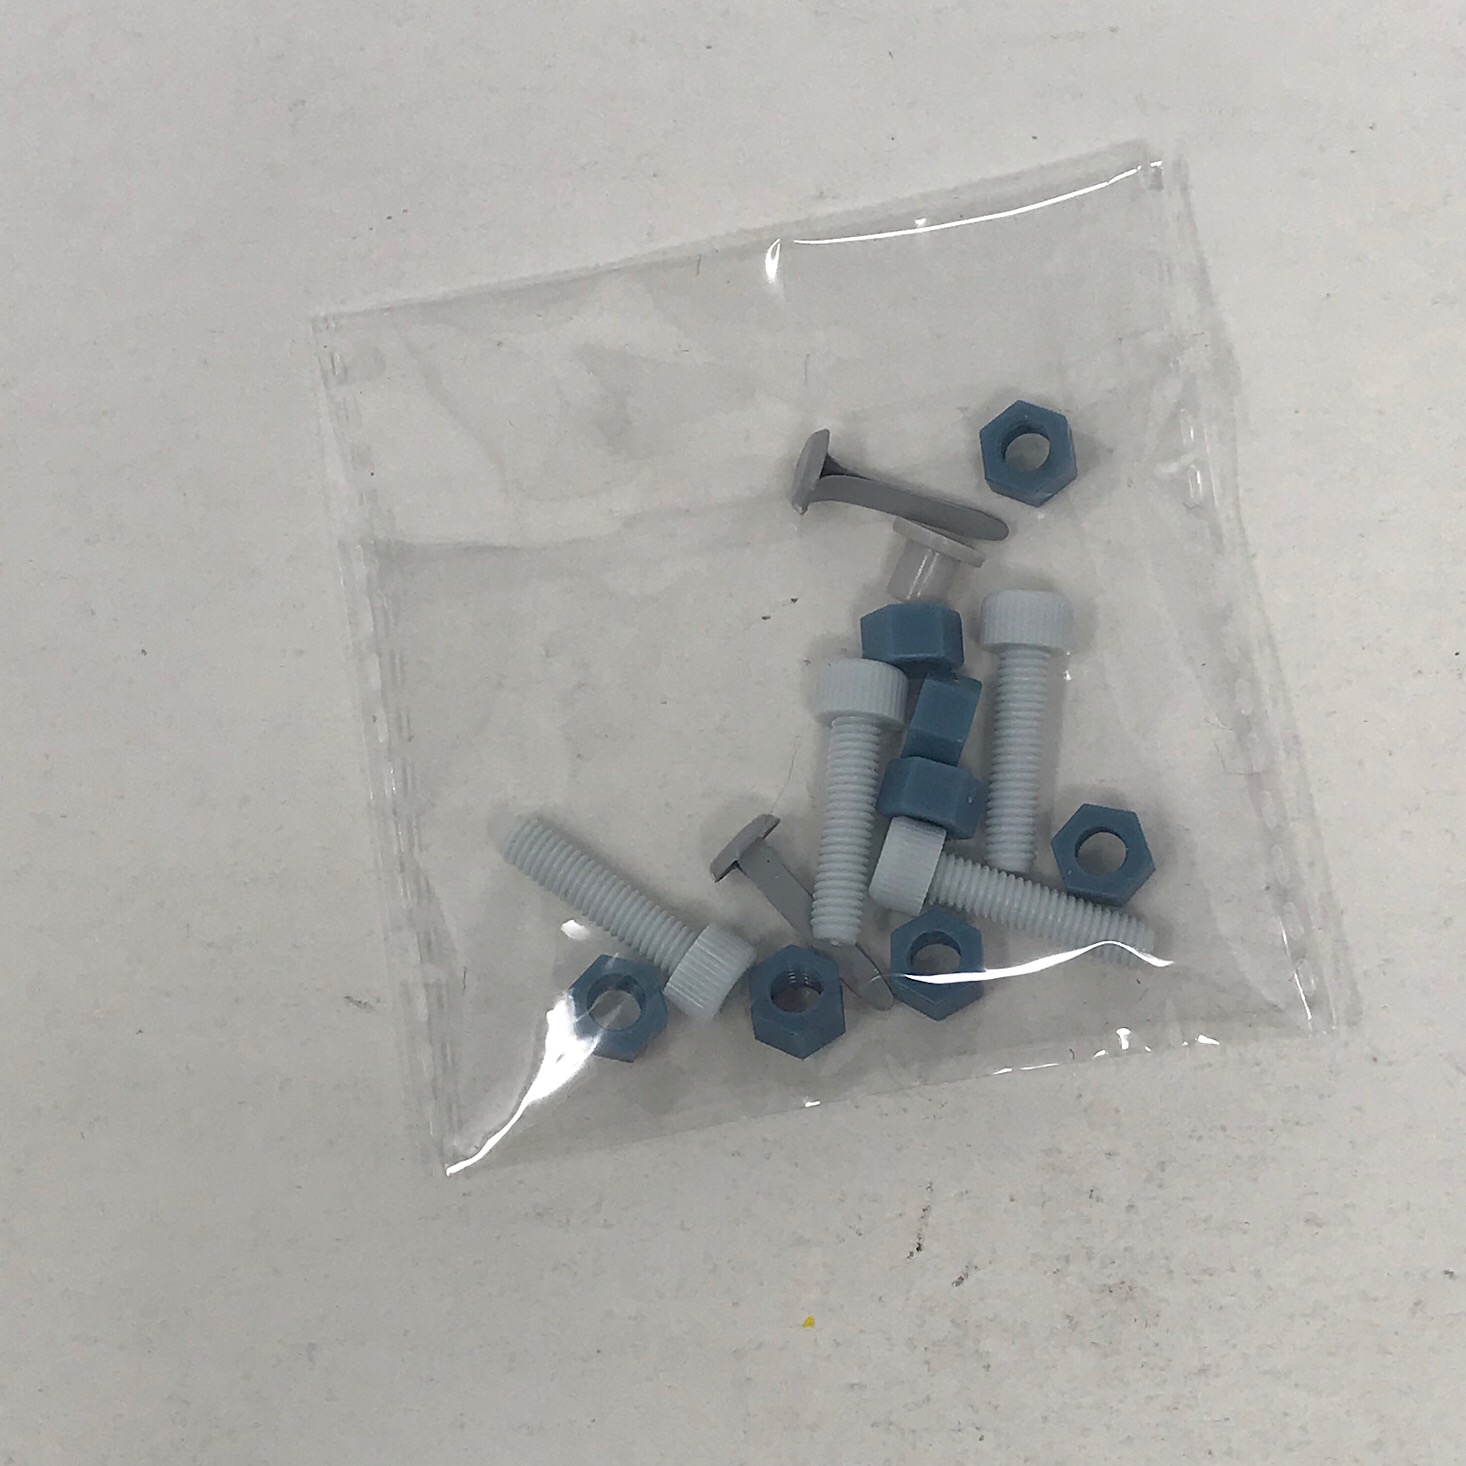
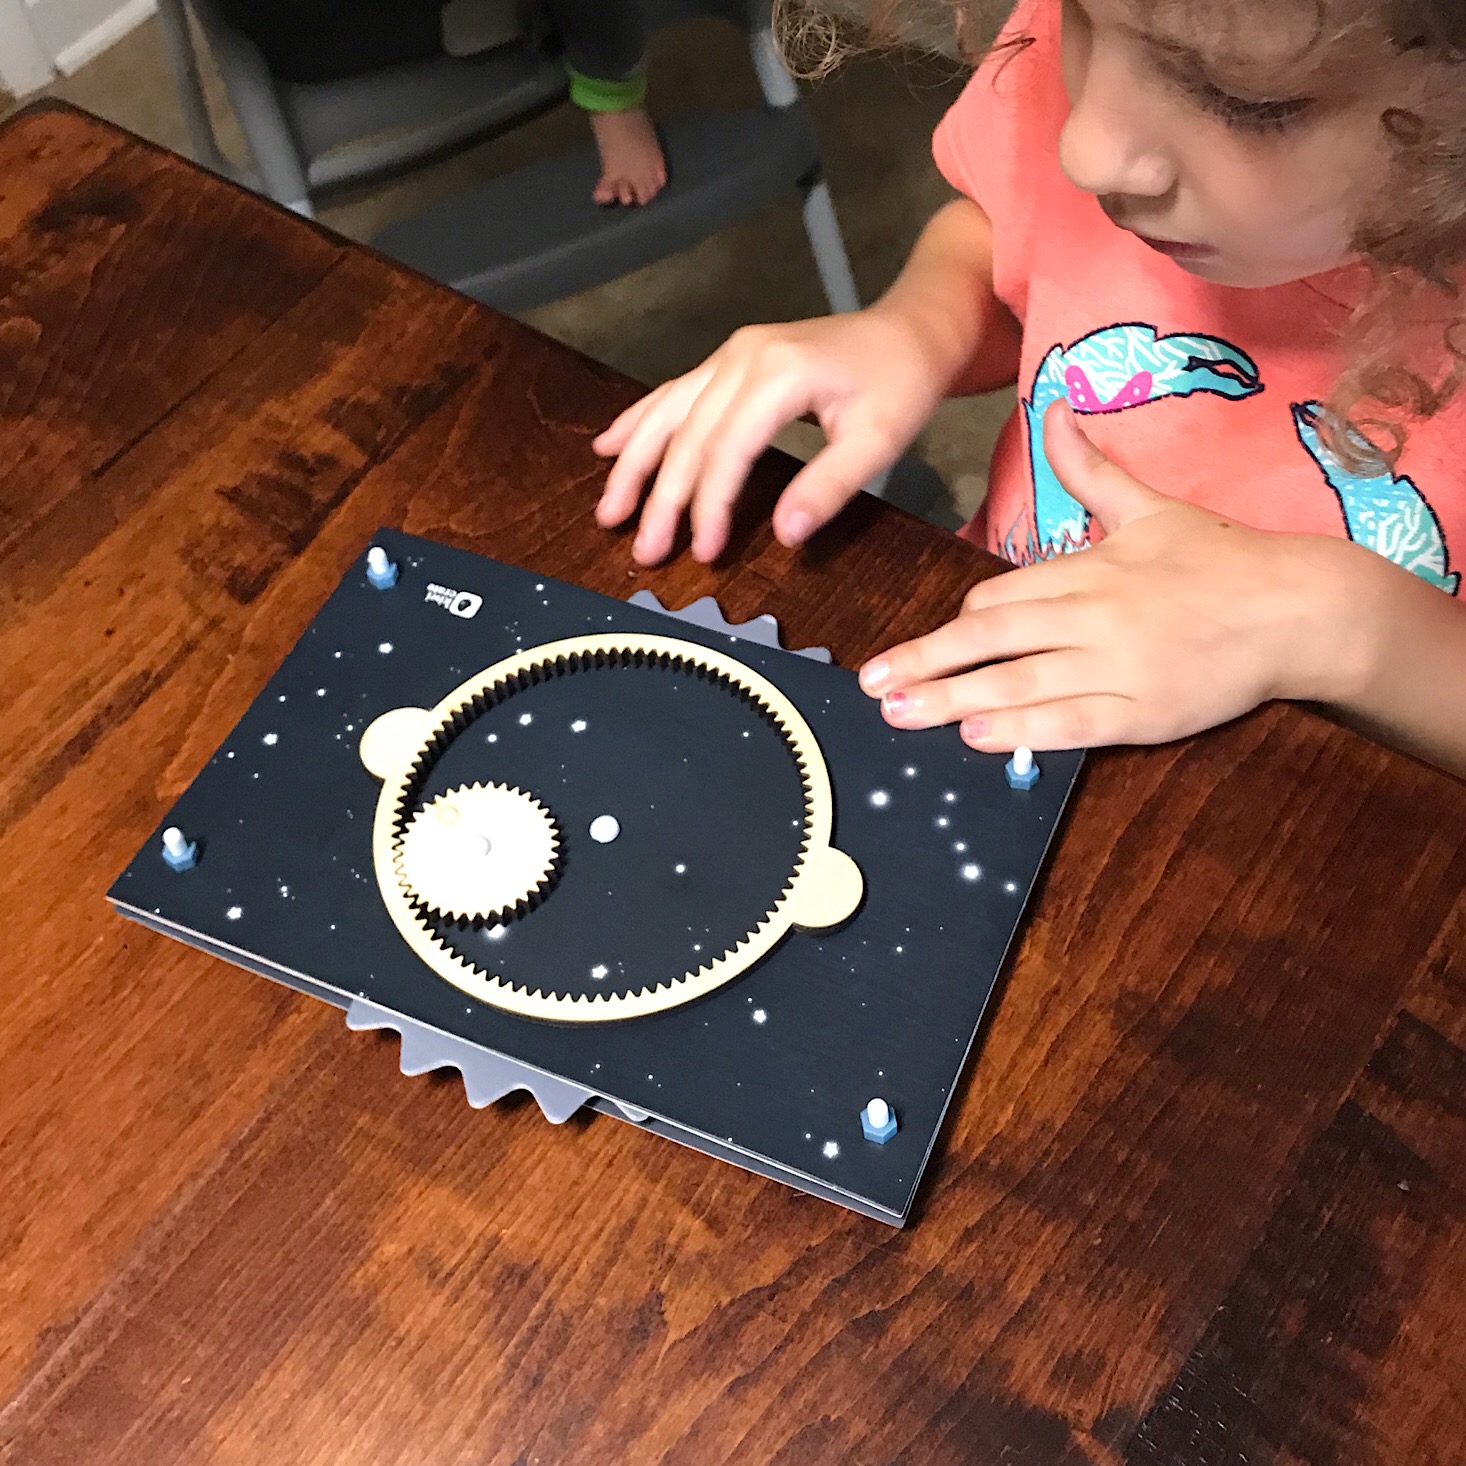
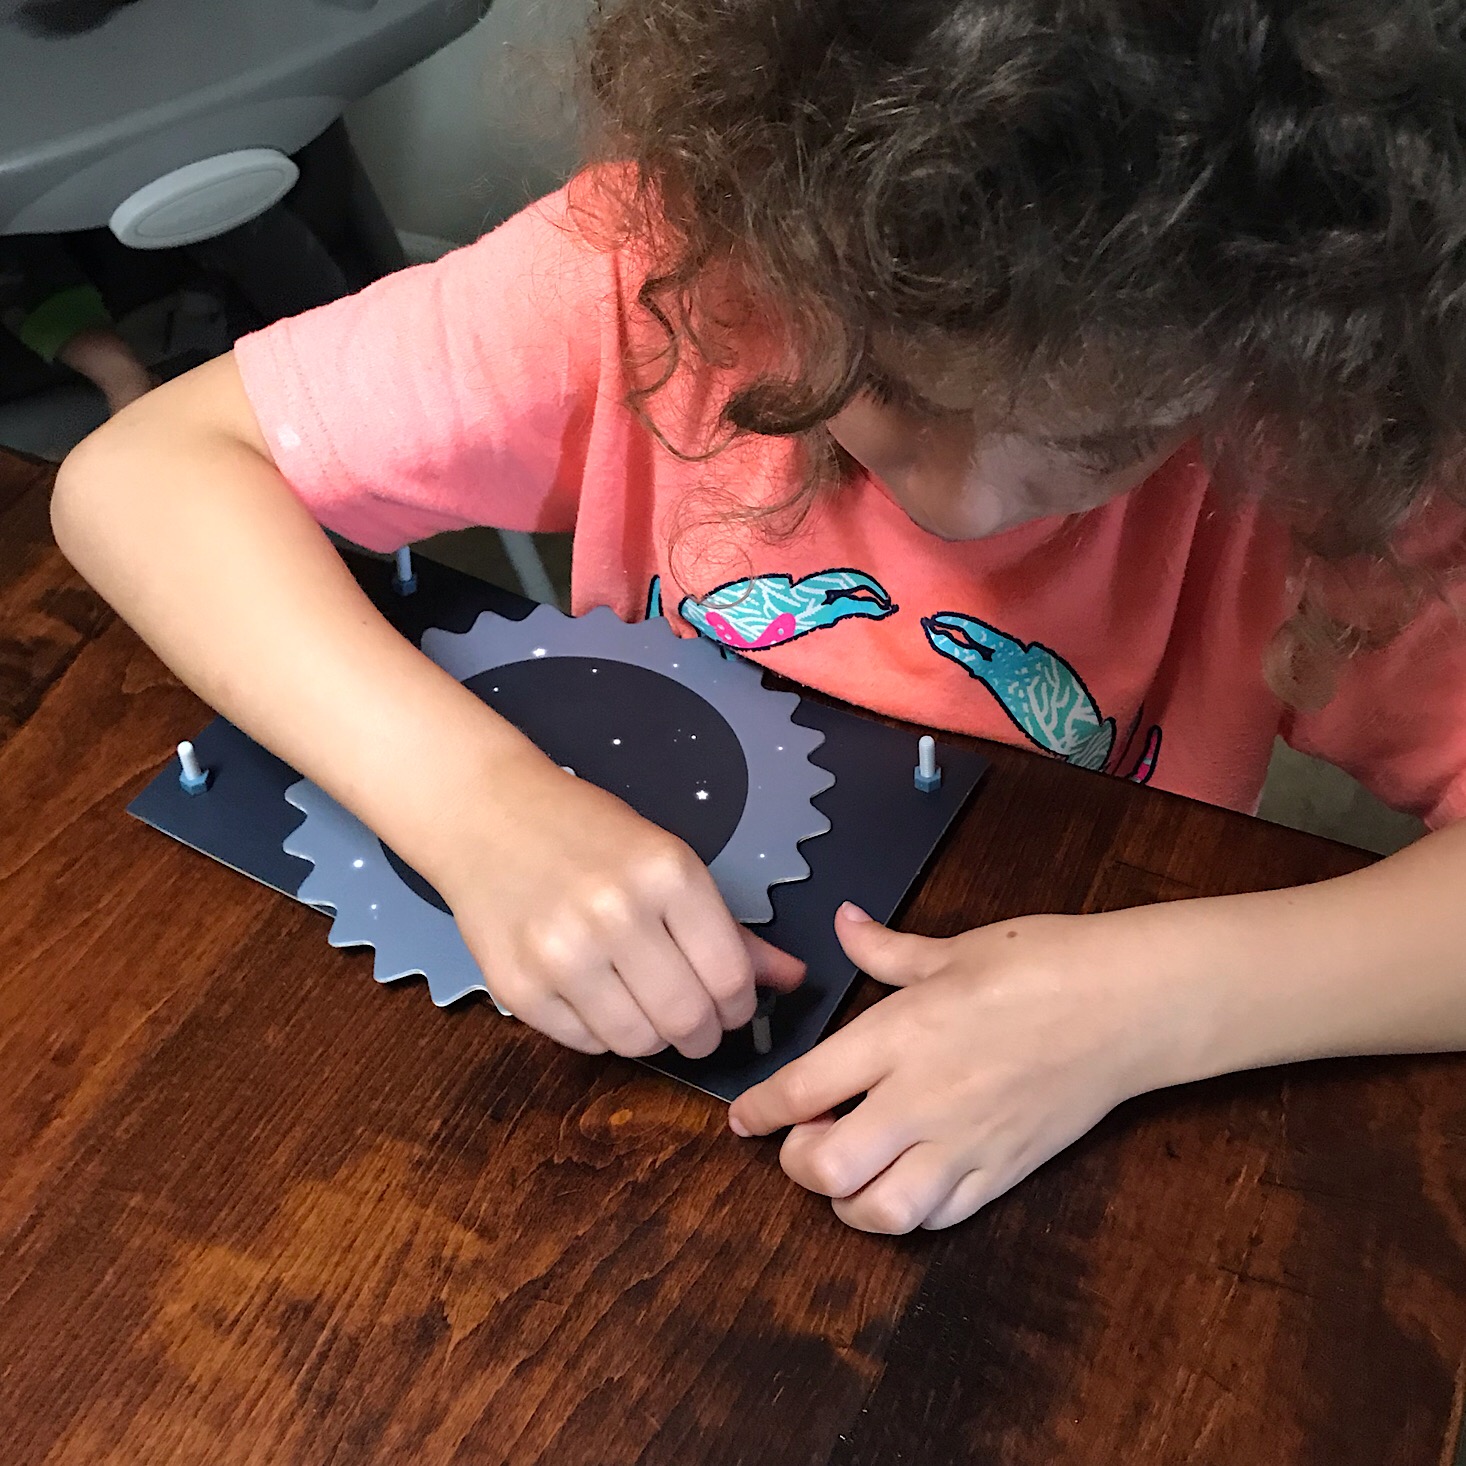
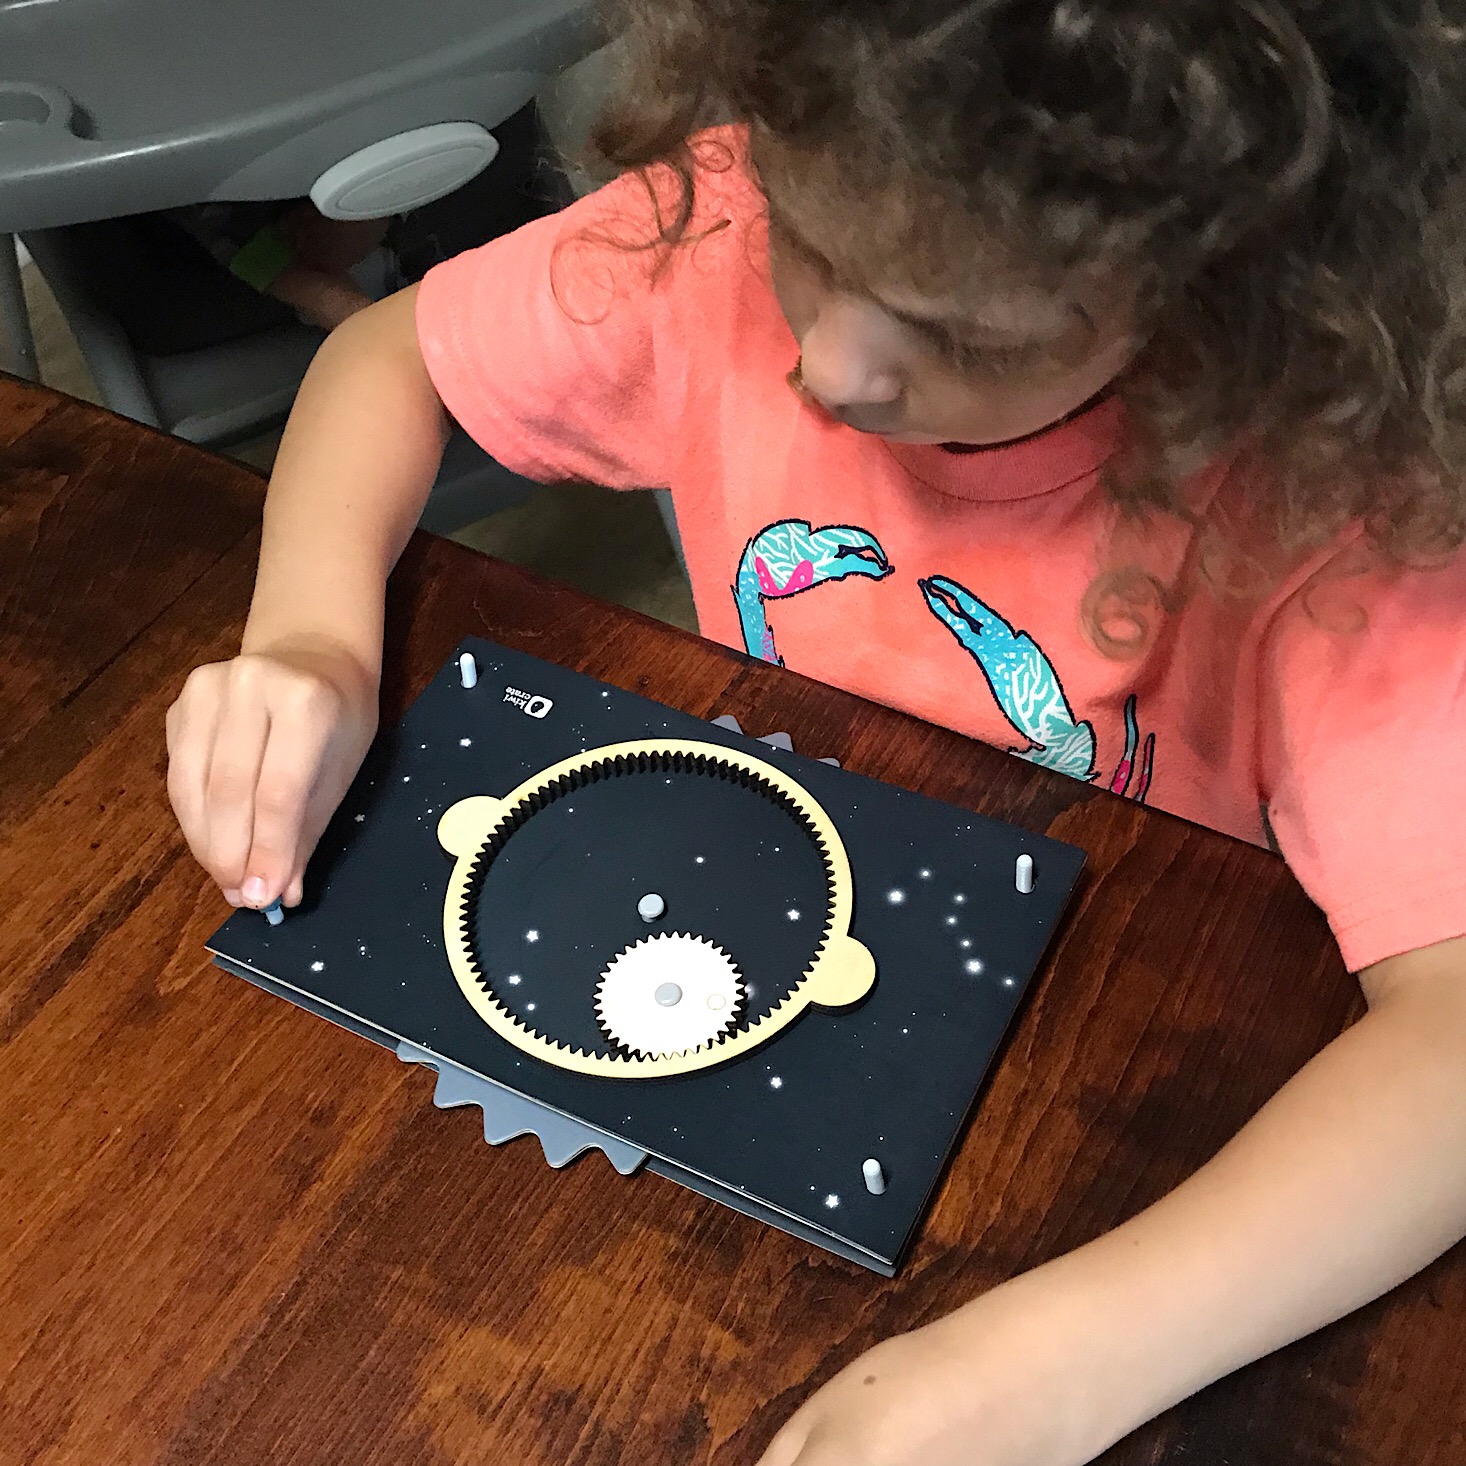
Next, my daughter added the longer bolts to the holes in the corner of the cardboard rectangle and screwed a nut onto each one. Then she slid the panel my son had prepared on top and screwed on another nut to the end of each bolt. Then she tested out our gears by spinning the cardboard at the bottom.
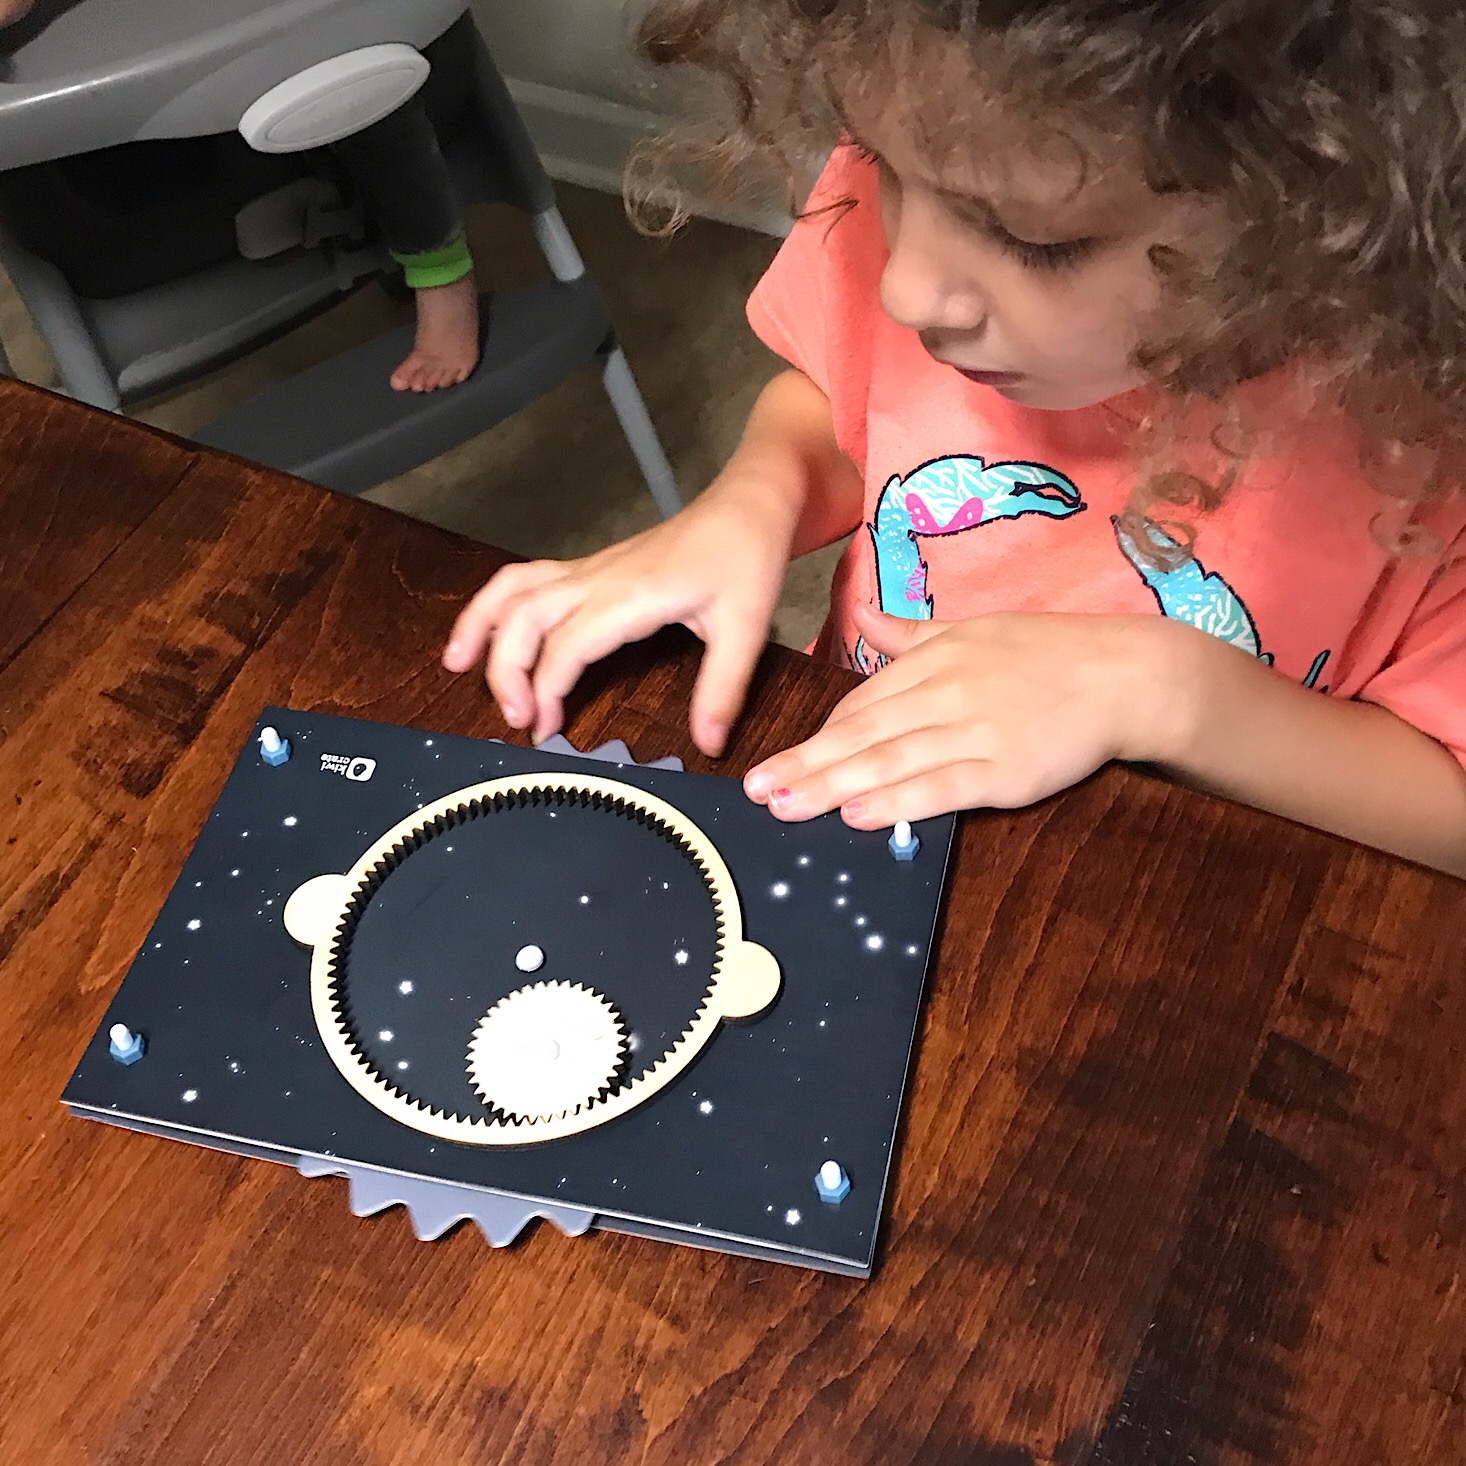
Our gears seemed to be working well!
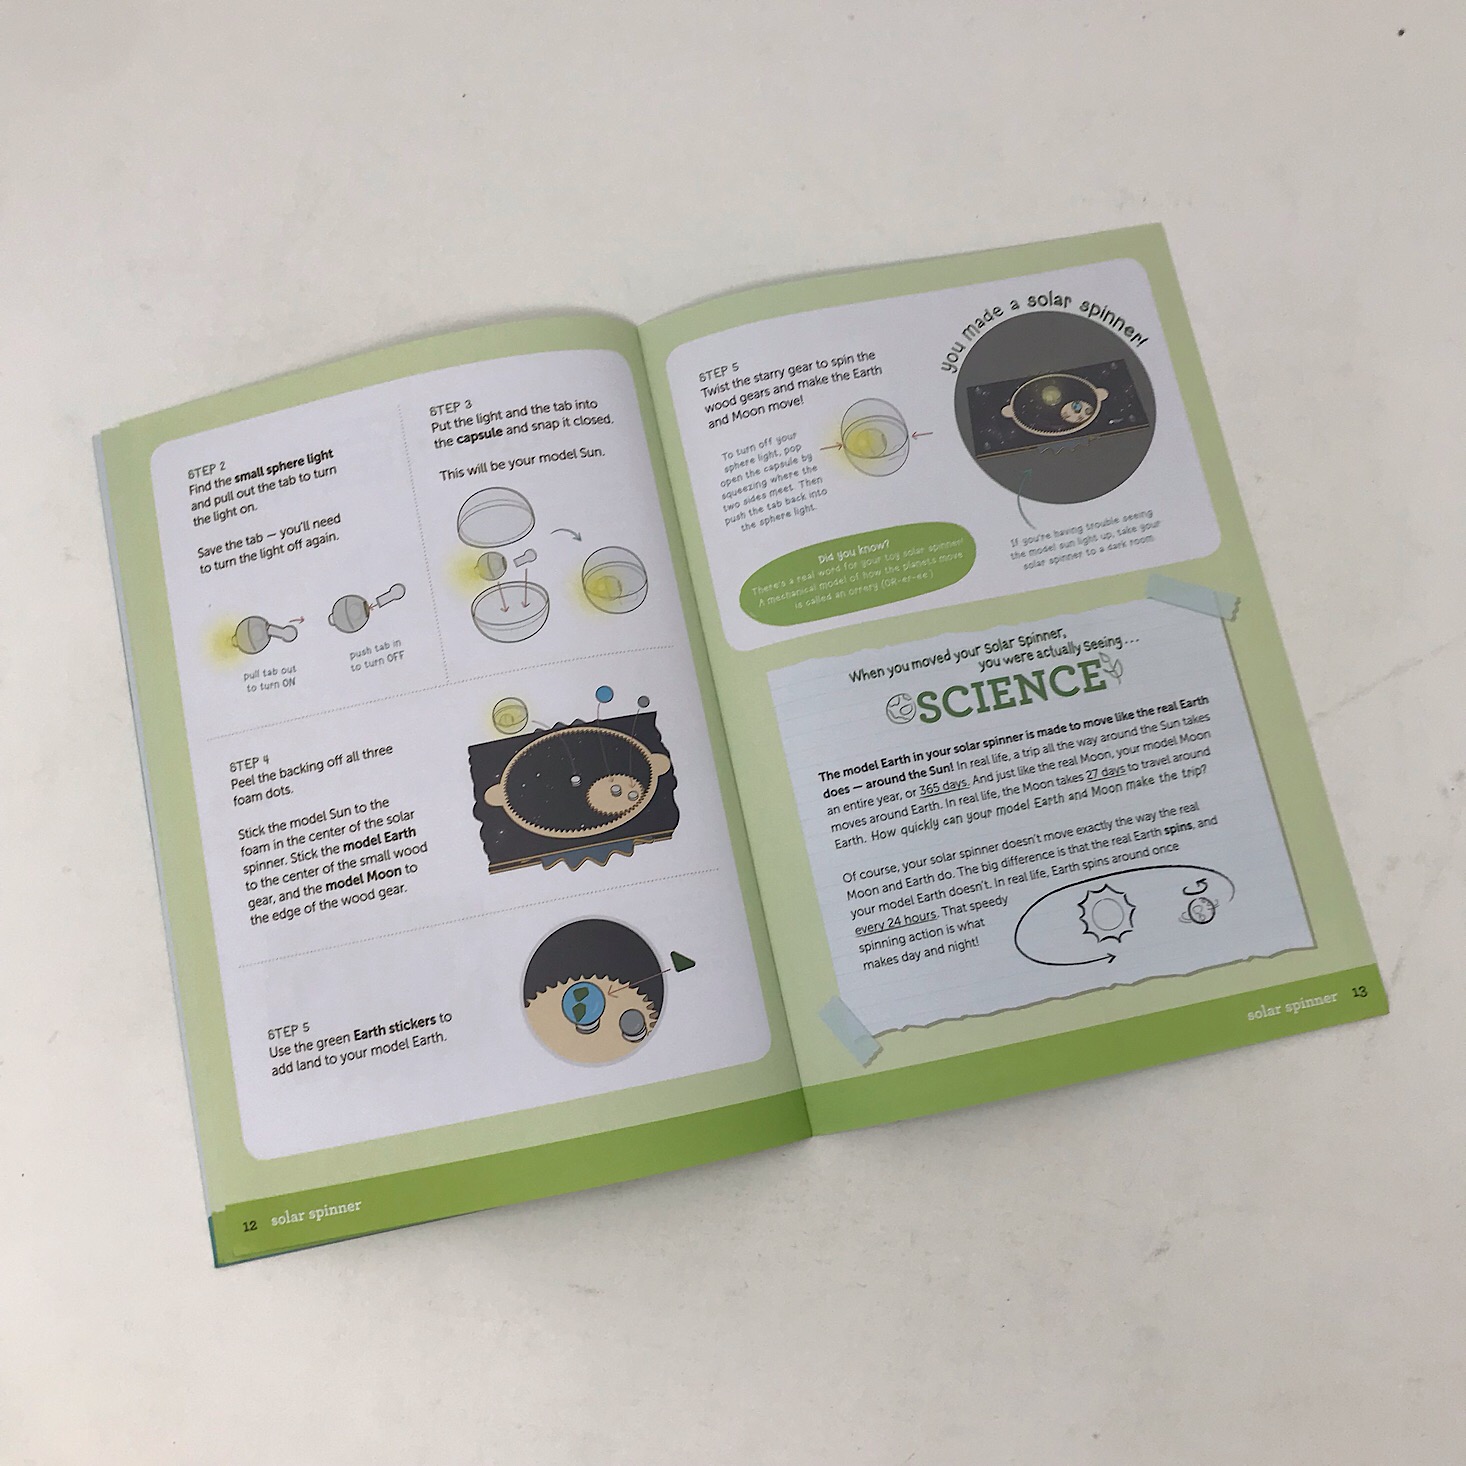
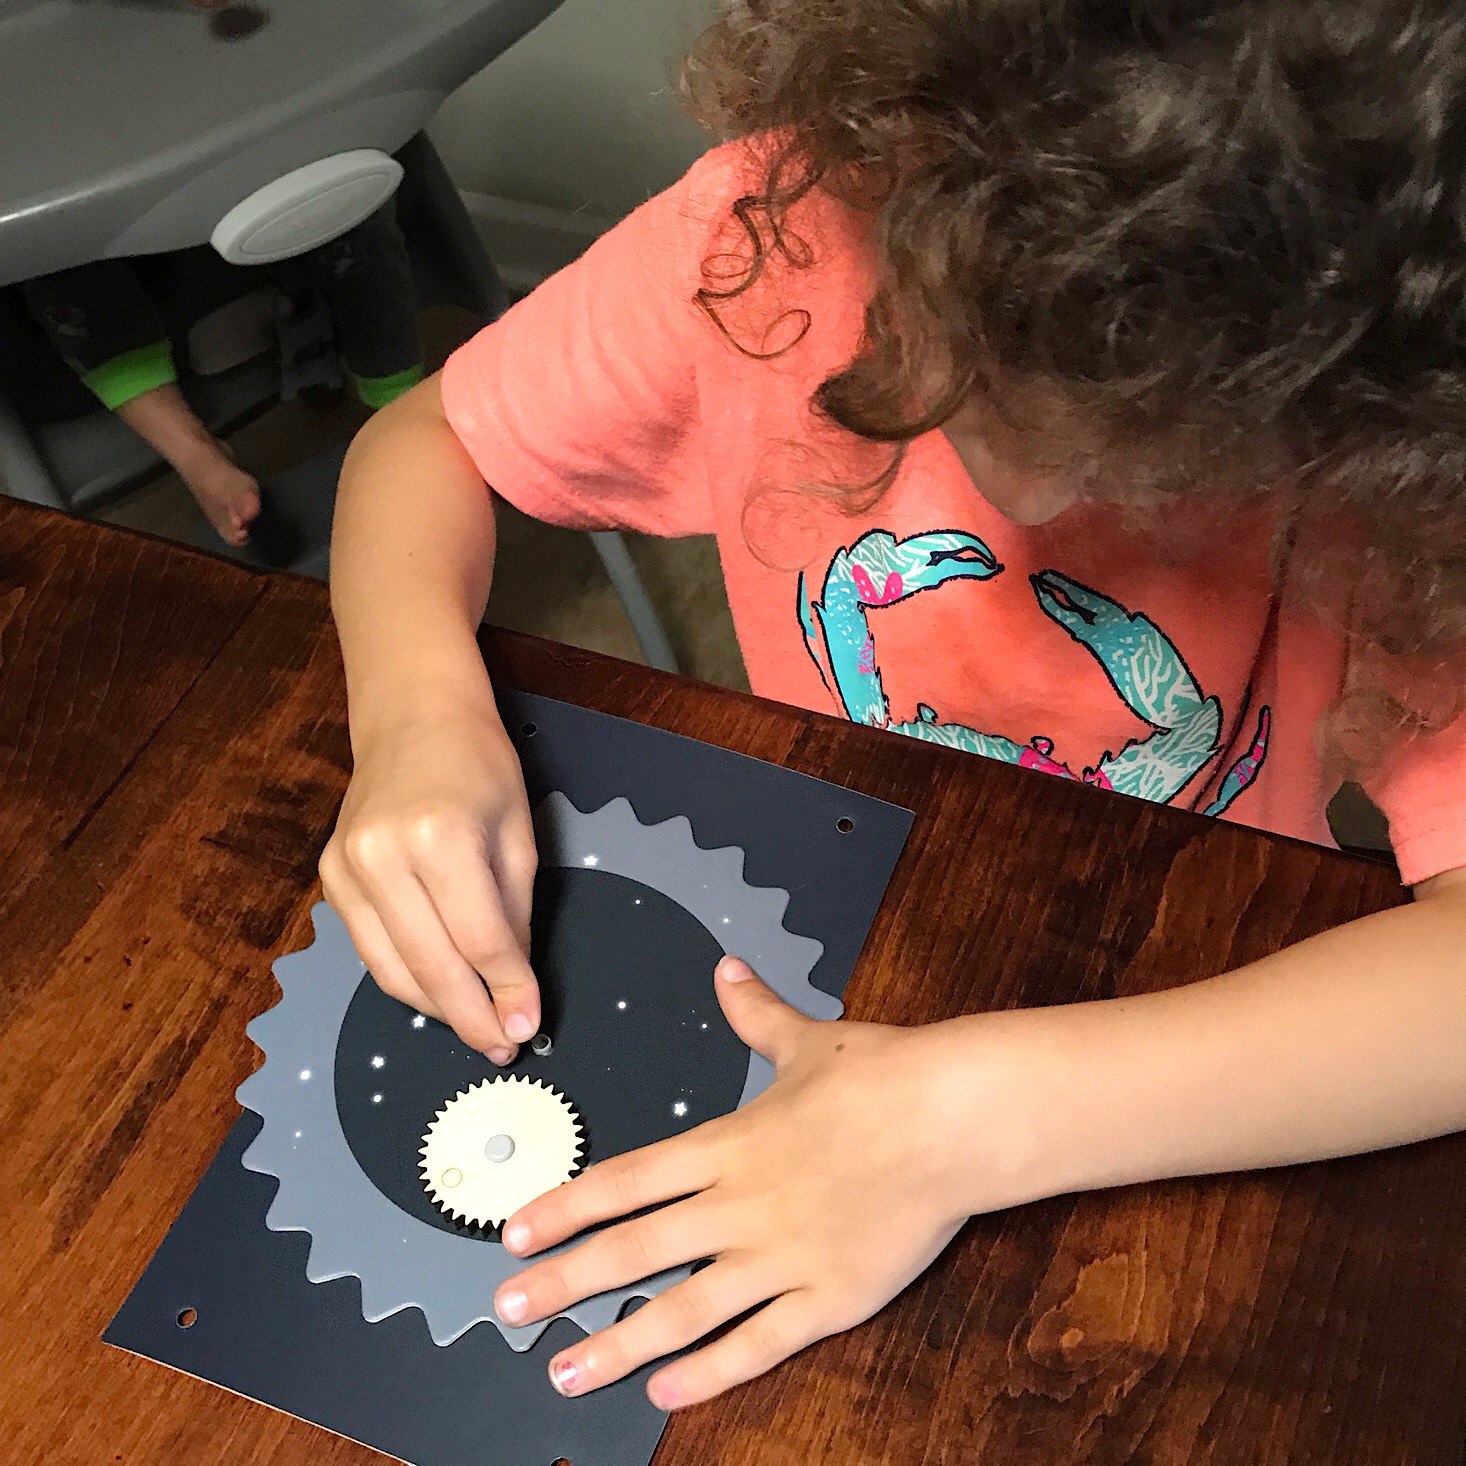
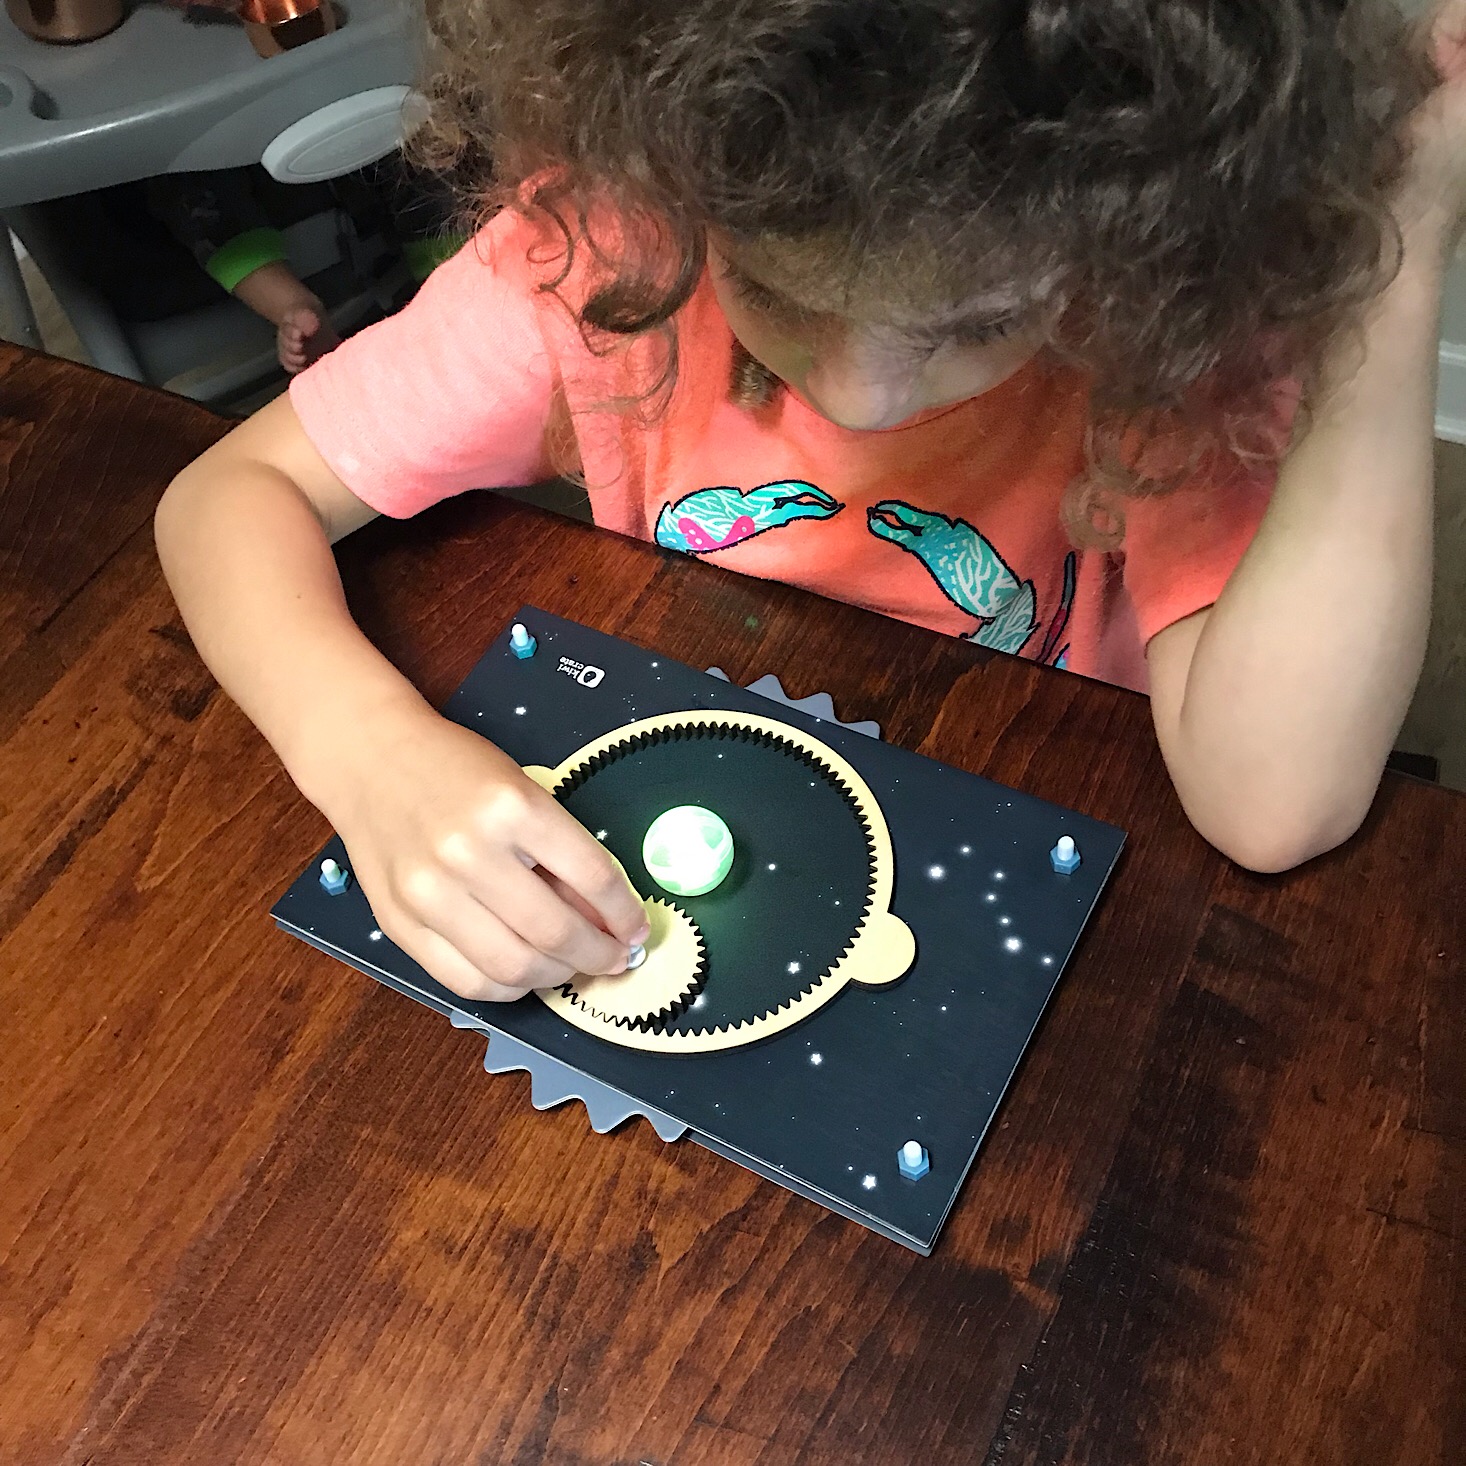
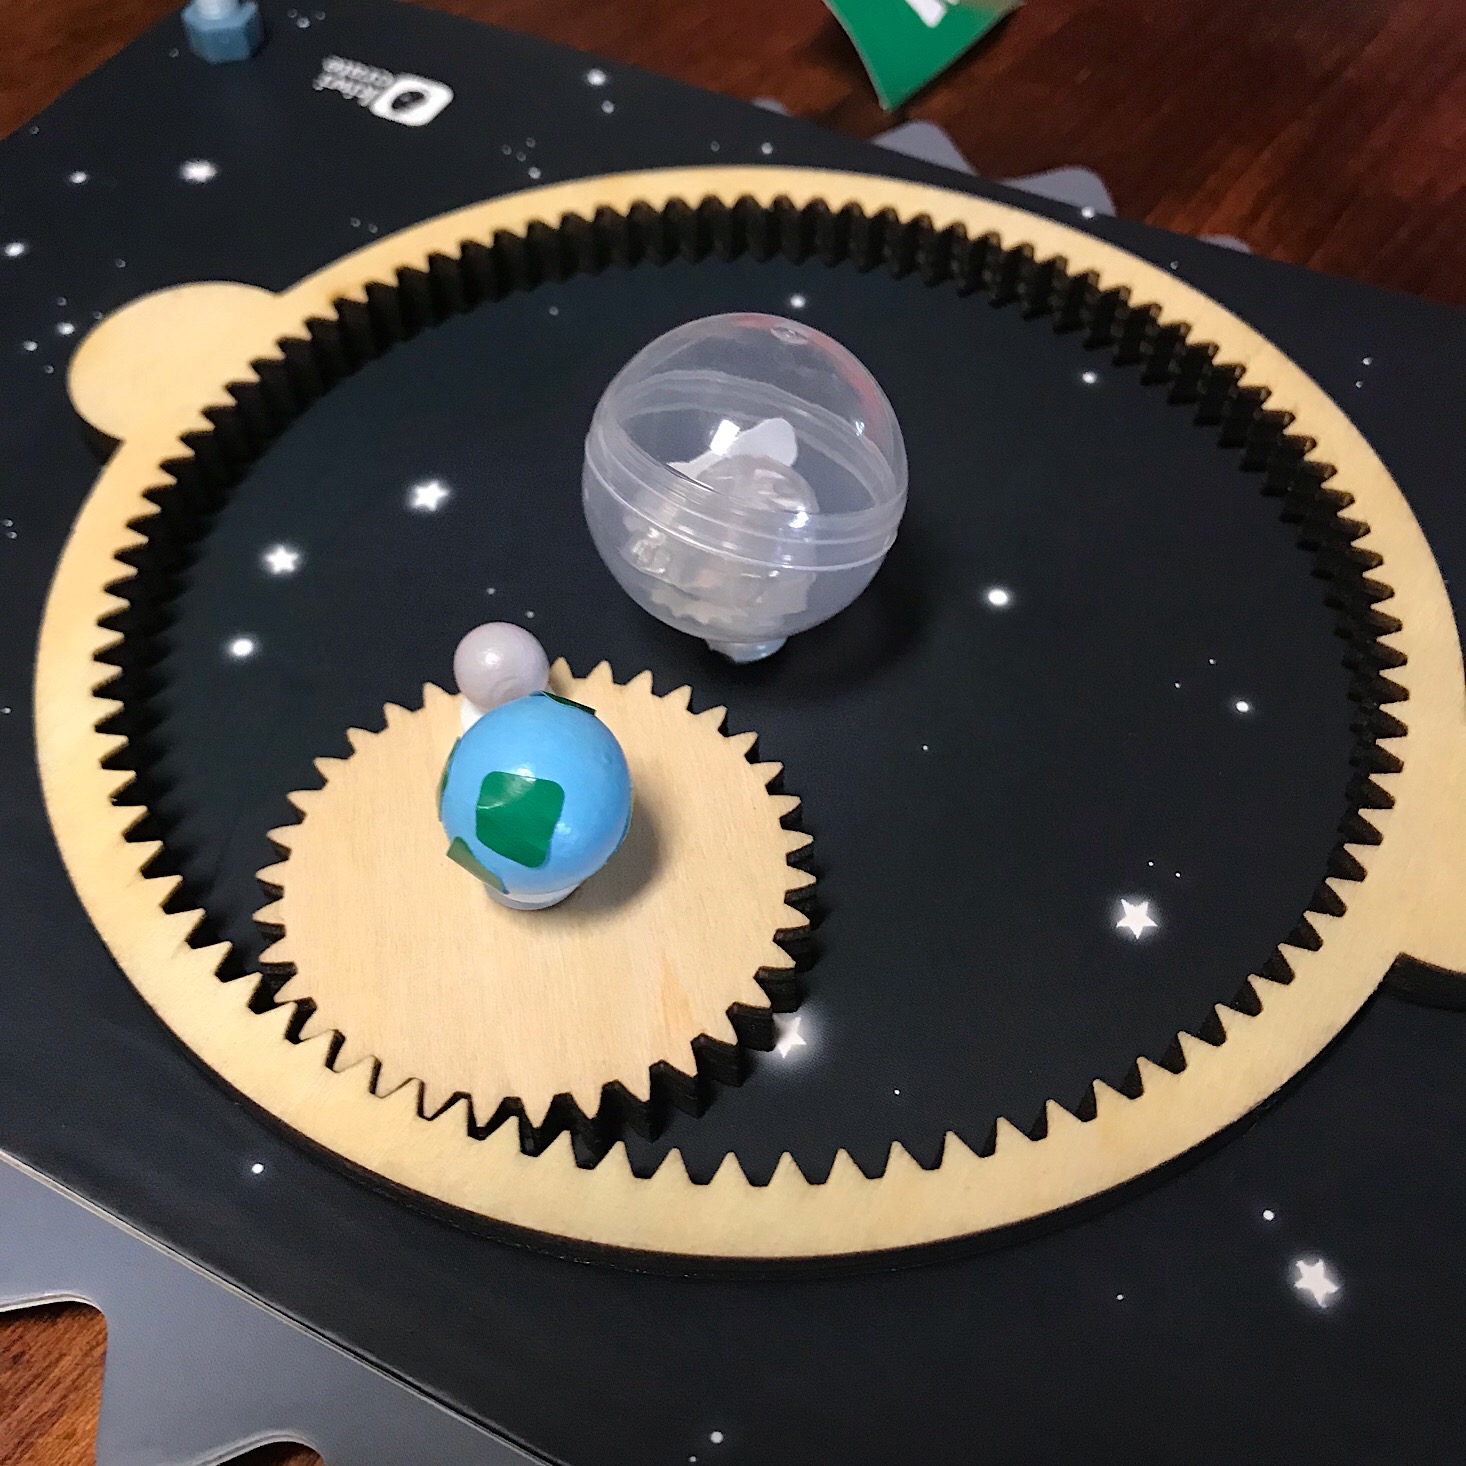
We added little foam circle stickers to the two brads on our board and one to the hole marked on our small gear.
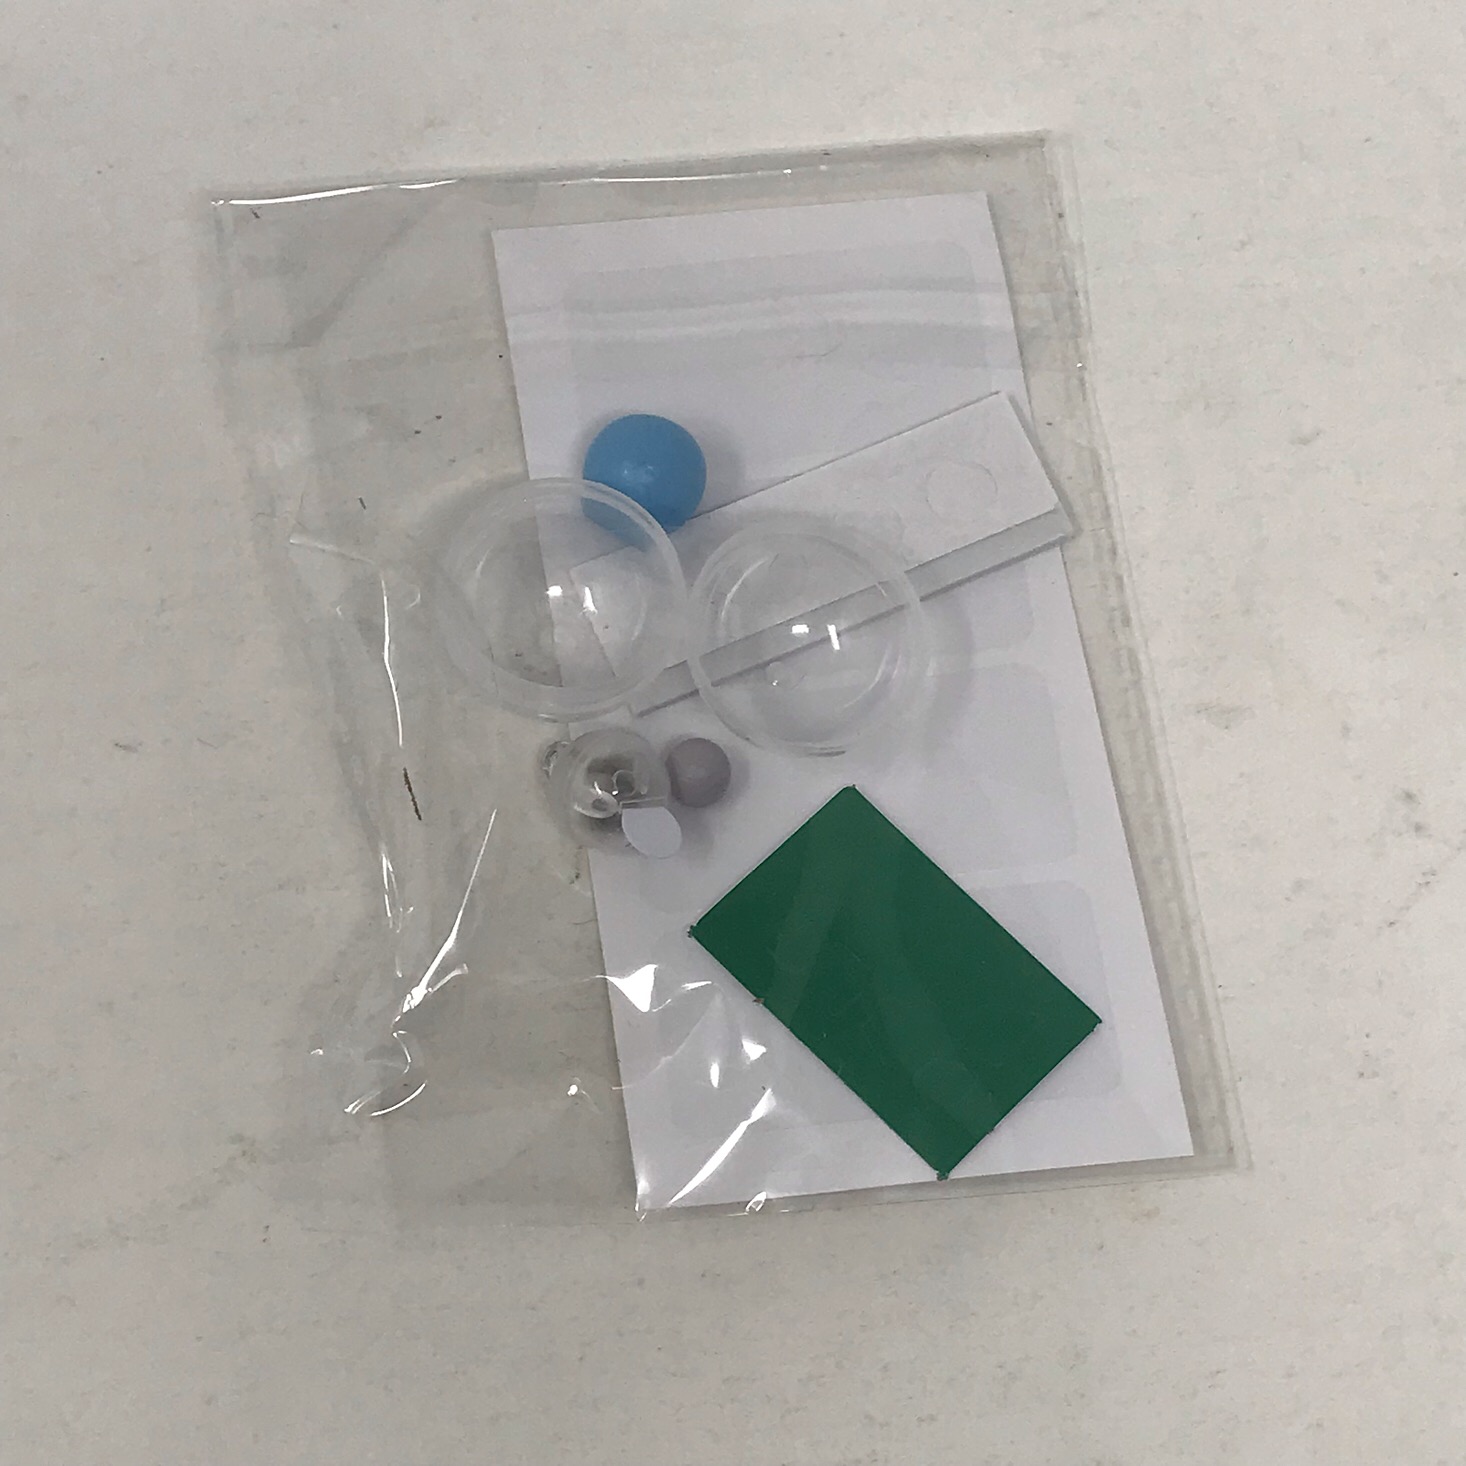
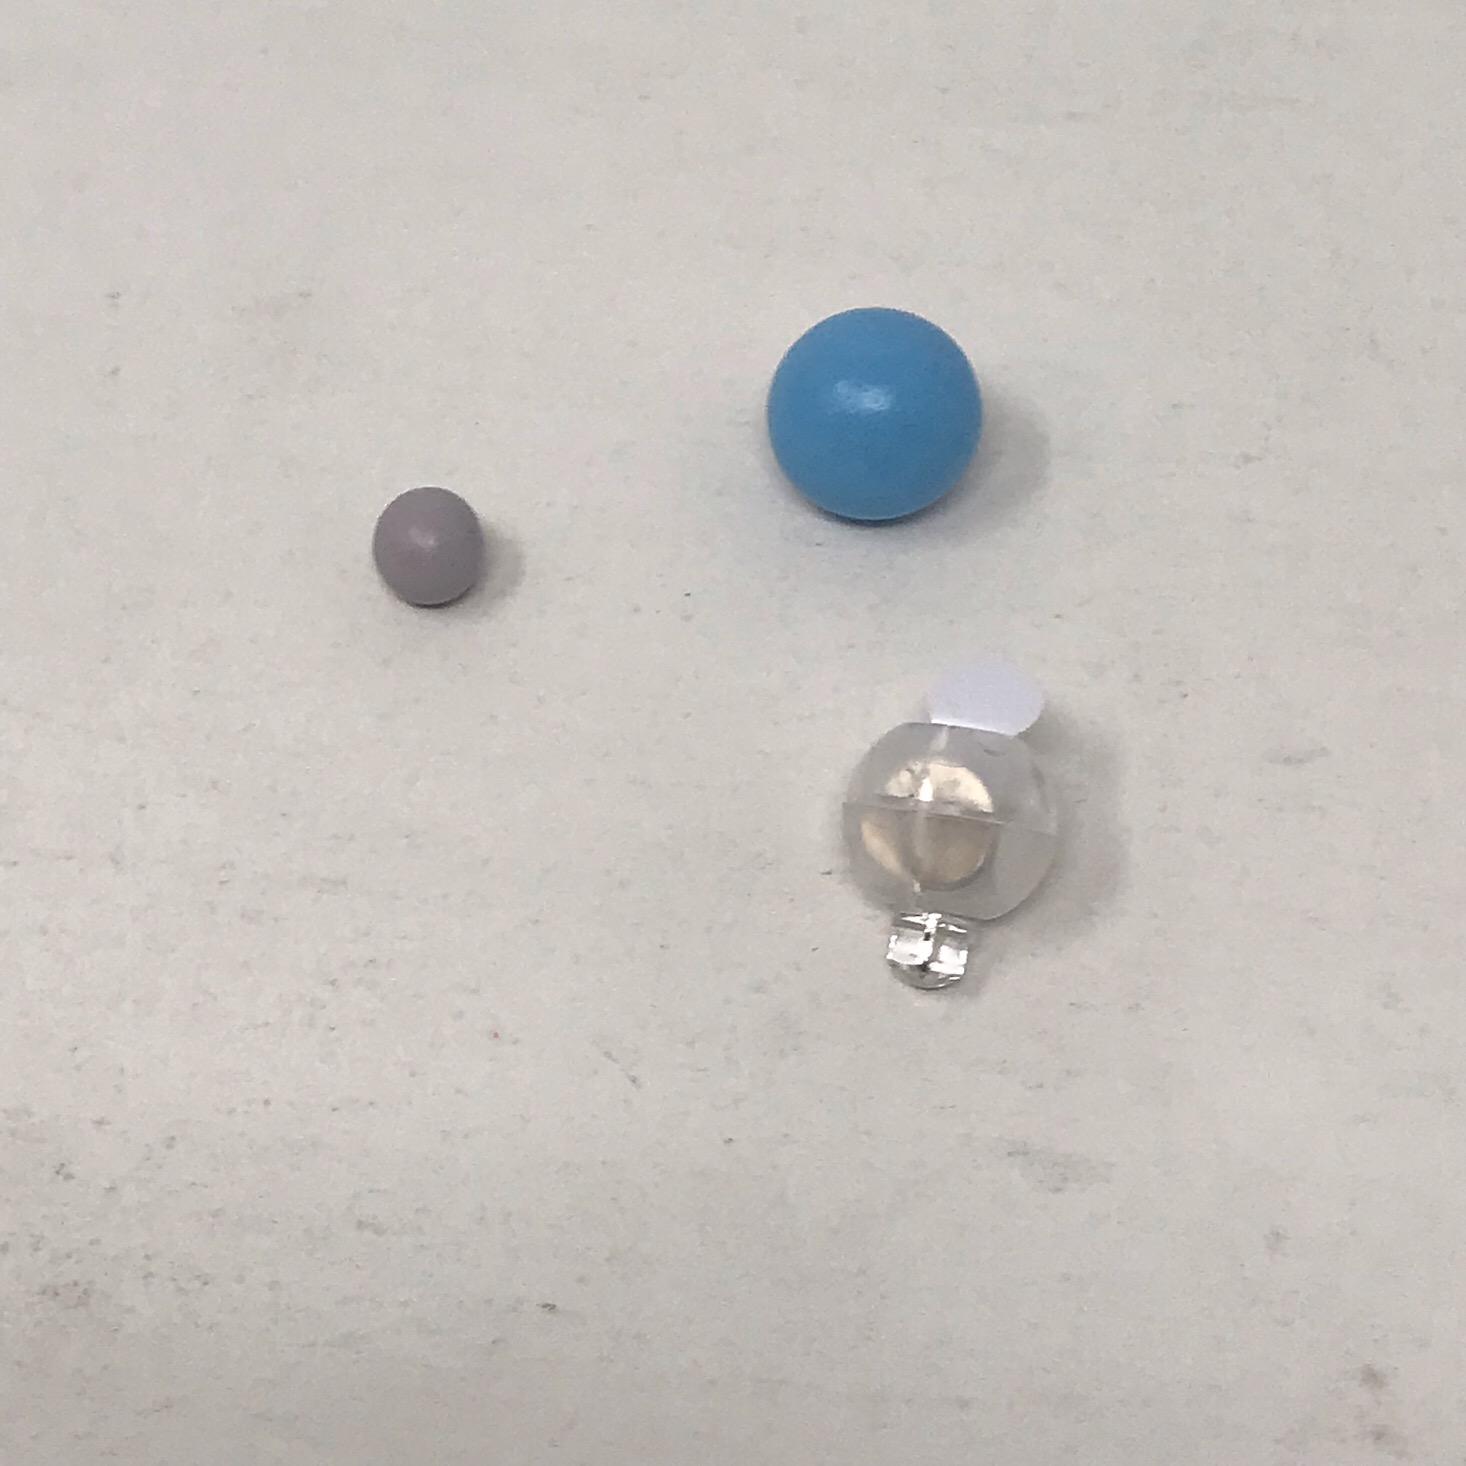
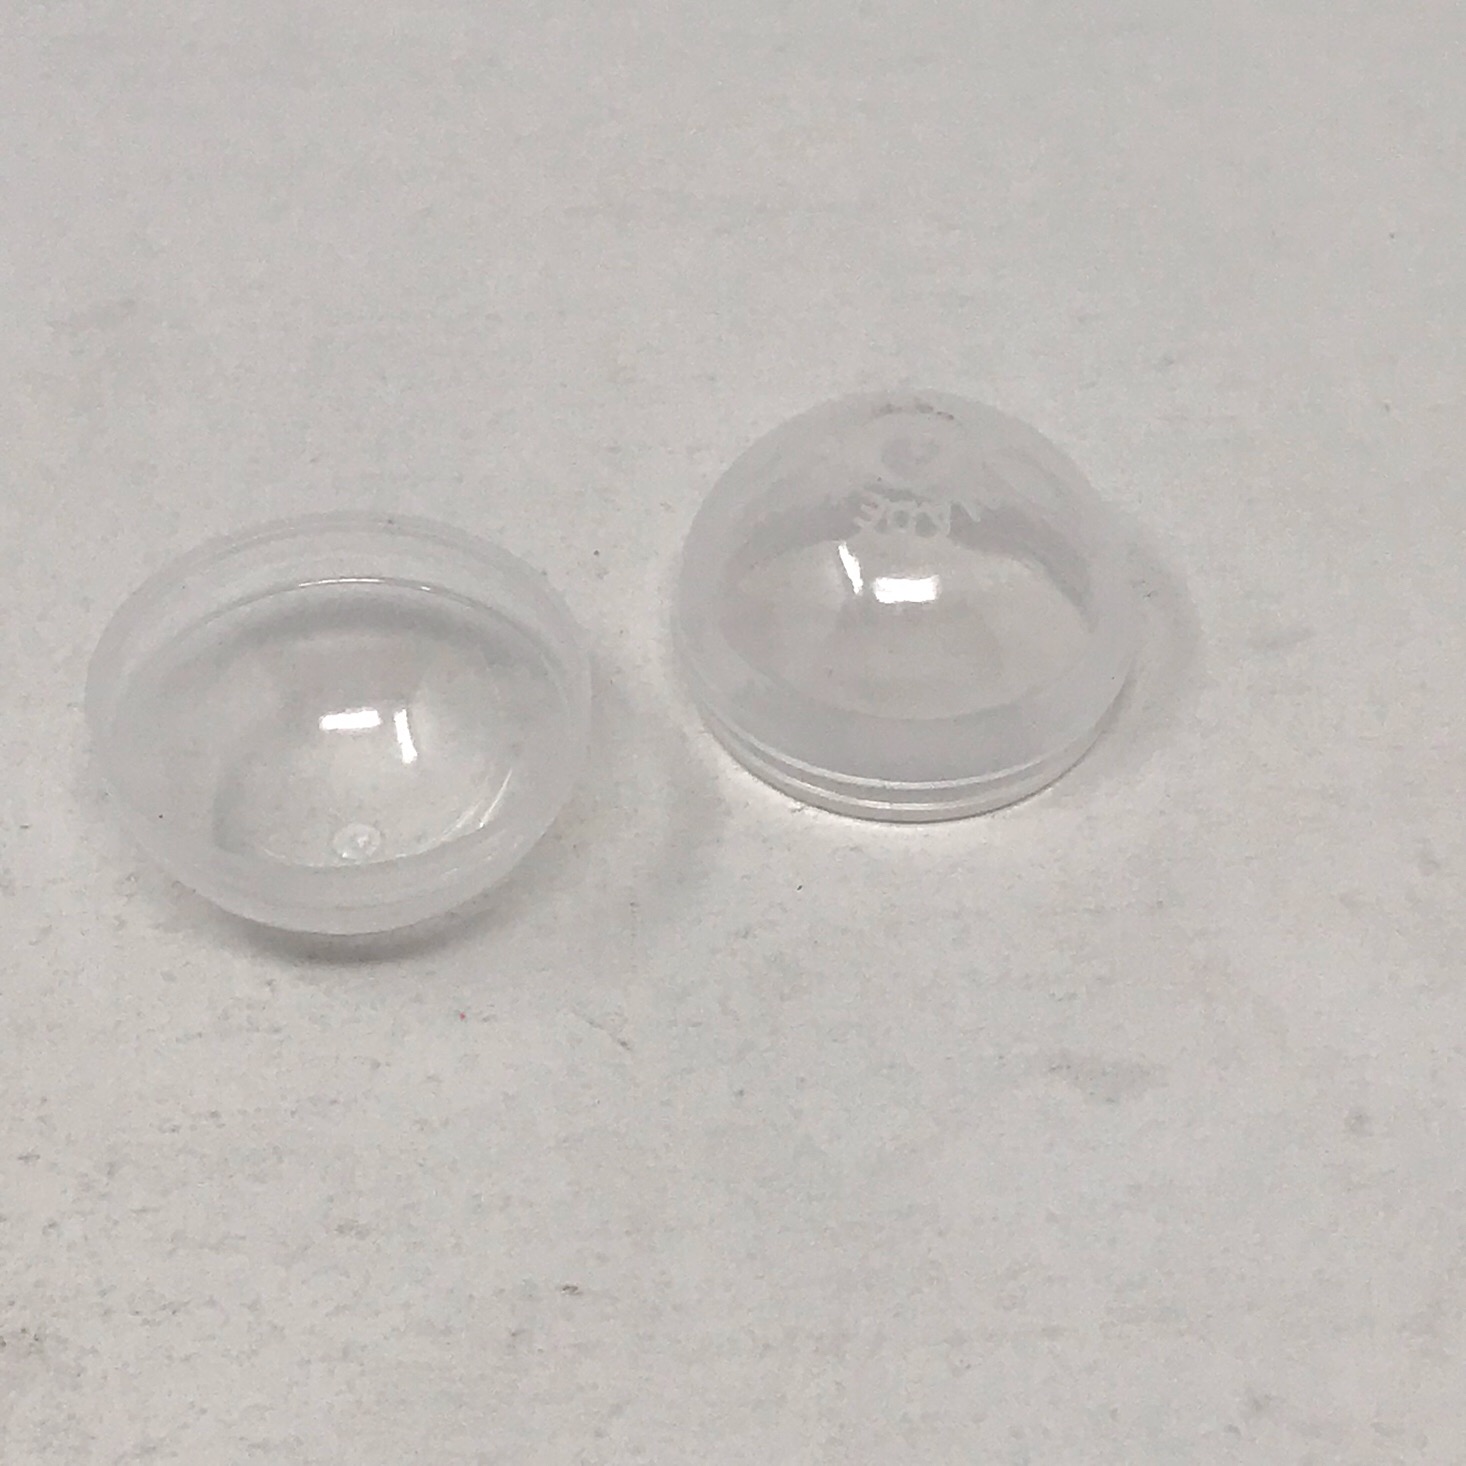
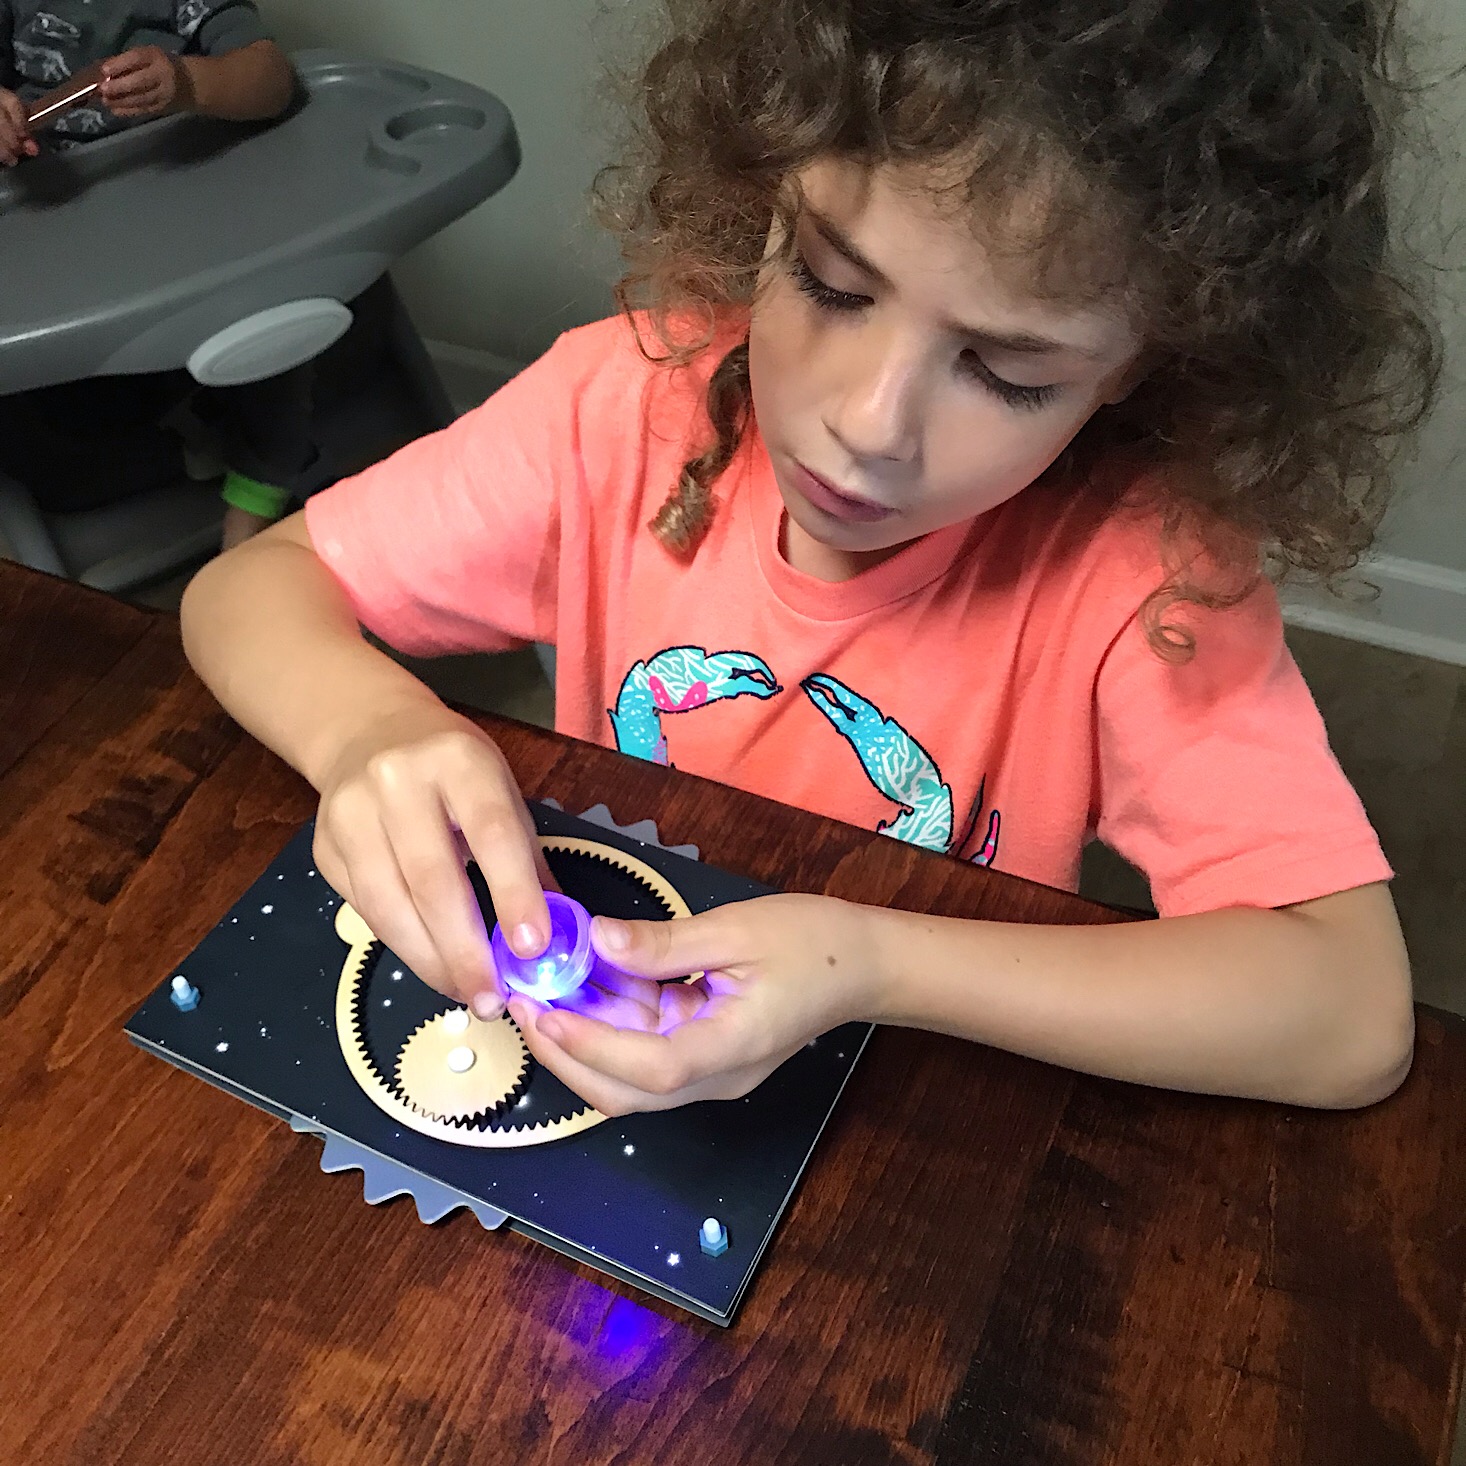
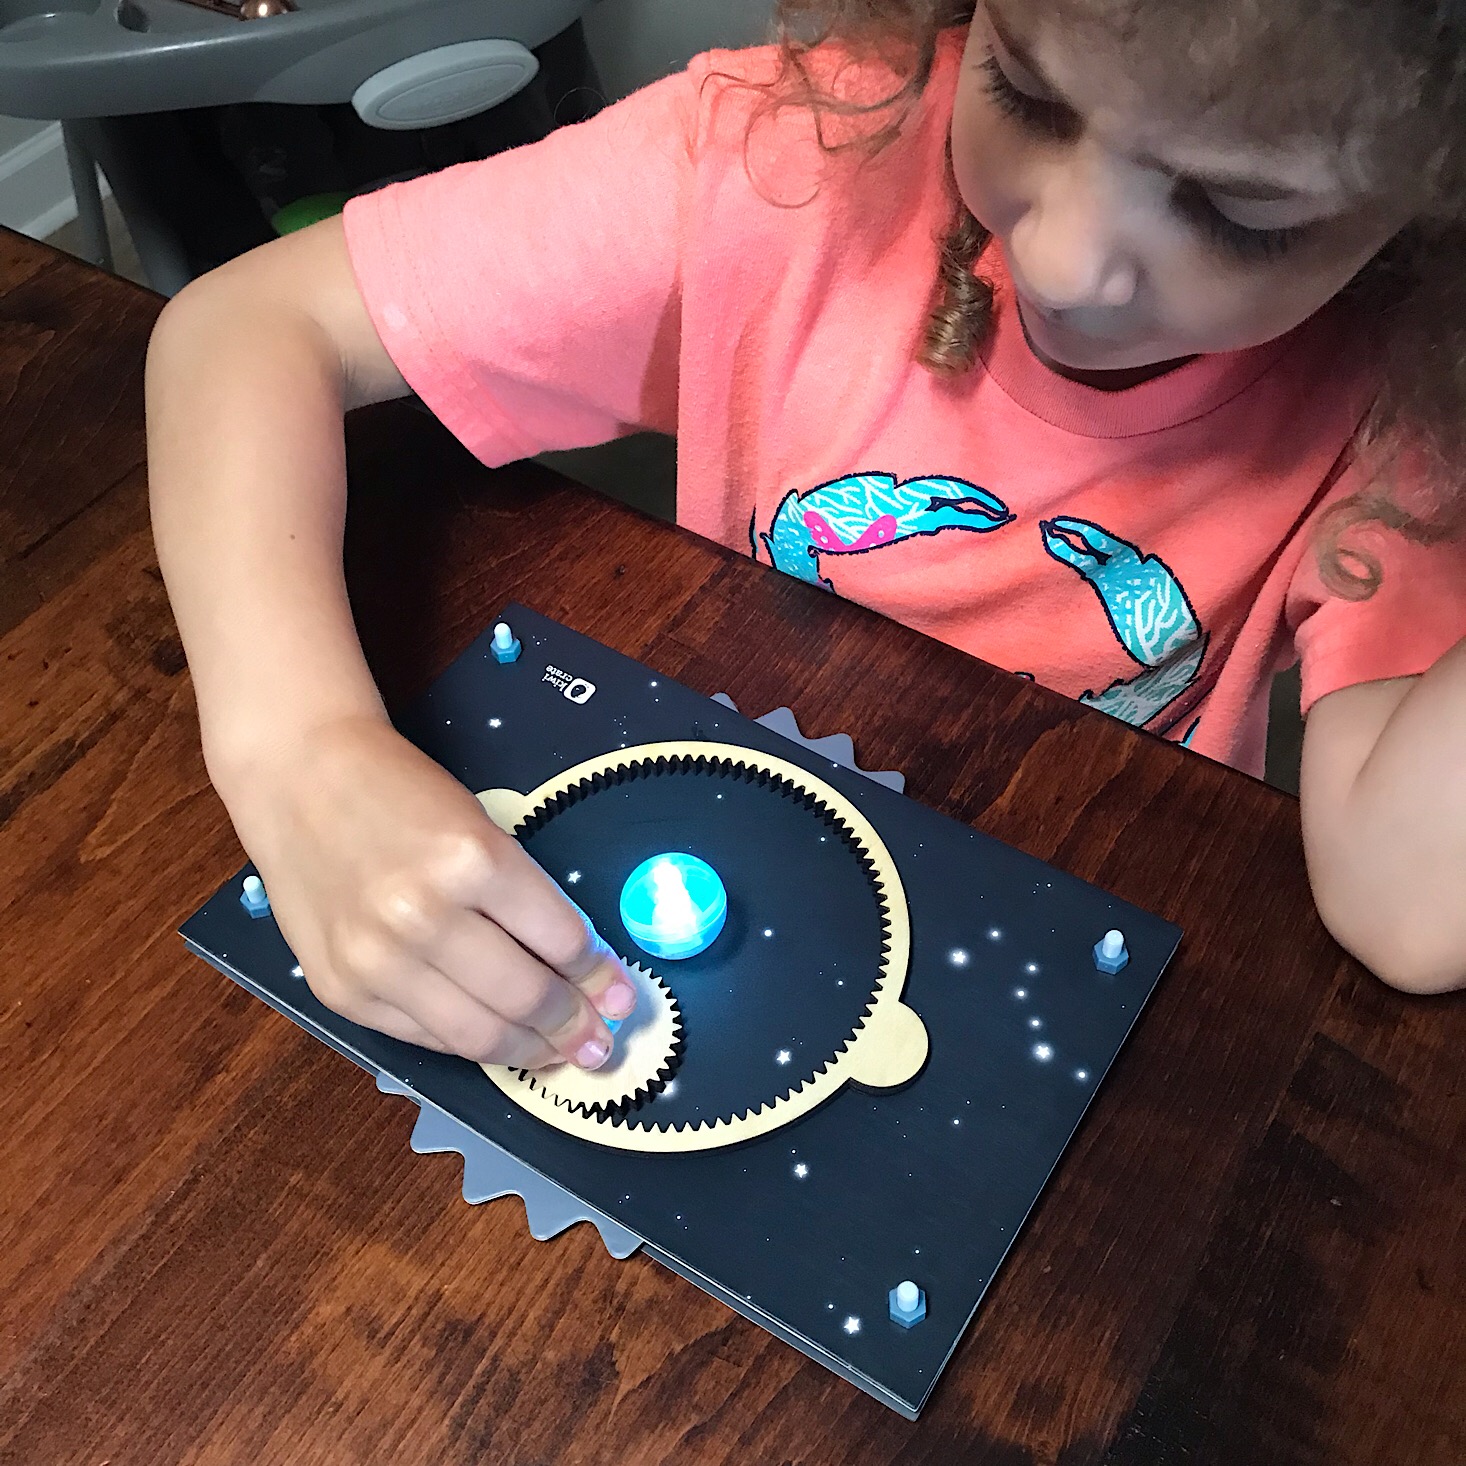
We pulled the little tab out of our clear light to turn it on and stuck it inside of the larger clear ball. This was our "sun" even though it flashed red and blue in addition to the yellow, and we stuck it to the center brad in our circle. I think our light was meant to be yellow only, but we don't mind and it didn't affect our understanding of the concept.
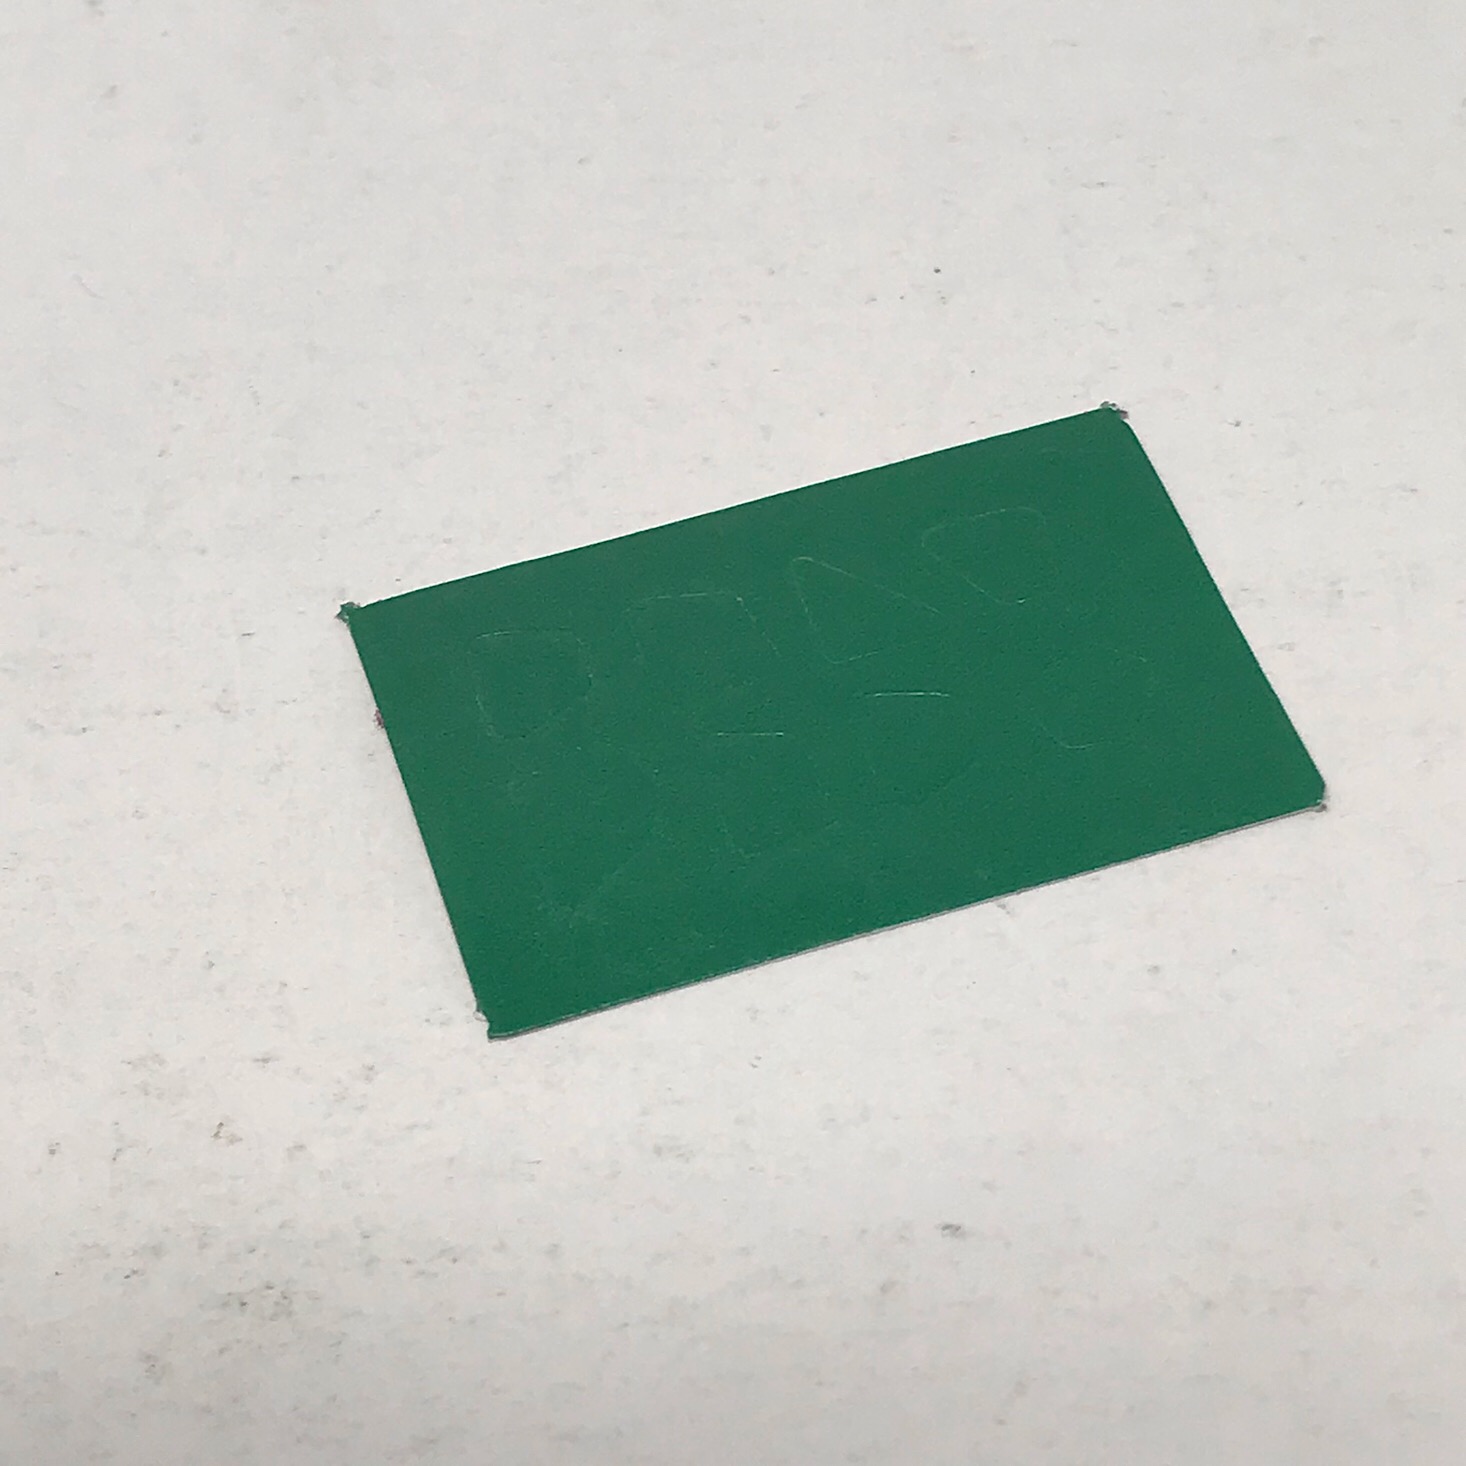
Then we stuck the gray ball on for our moon and the blue ball in the center of our small gear for our Earth. Then Liv added some of these tiny green stickers on to make it look more like an Earth.

Now it was time to give it a spin and see how our Earth revolves around the sun! What a great, simple way to demonstrate this to kids!
Verdict: We have not had the pleasure of completing a Kiwi Crate in a long time and when we first started reviewing this box, my daughter was younger so now that she is just about at the targeted age group of 5-8 I was excited to see what our experience would be like! The projects and subject matter definitely appealed to her and I found that she was easily able to complete the projects mostly independently which was nice for both her and myself. The way that the activities are designed it was easy for her to infer what her next step was and I didn't catch her getting frustrated at all. I love how well organized and thought out the projects are and for $19.95 plus free shipping, the fun learning experience we had was well worth it!
To Wrap Up:
Can you still get this box if you sign up today? It is possible you might get this crate, but it is not a guarantee. From KiwiCo:
Crates are assigned each month based on availability and your crate history - not all subscribers receive the same theme each month.
Check out all of our Kiwi Crate reviews and more boxes for ages 5-8 in the Kids Subscription Box Directory!
Keep Track of Your Subscriptions: Add this box to your subscription list or wishlist!
What do you think of Kiwi Crate?
































Please do not enter your email address in the Name field or in the comment content. Your email address will not be published. Required fields are marked *. Remember to post with kindness and respect. Comments with offensive language, cruelness to others, etc will not be approved. See our full comment policy here.