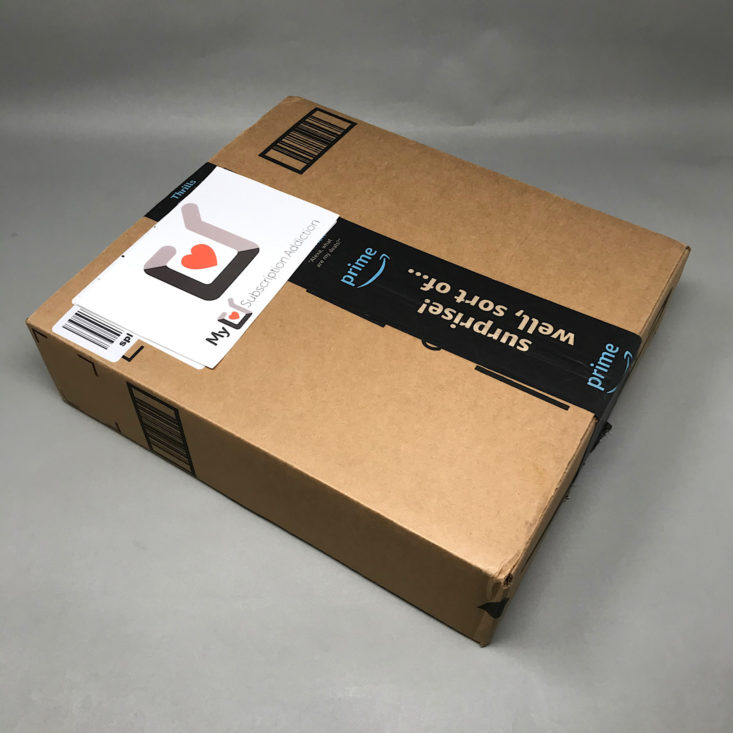
Amazon has launched a STEM Club Toy subscription box! This monthly kid's subscription delivers "handpicked, high-quality Science, Technology, Engineering, and Math toys" to your door for $19.99/month.
This subscription looks like any other shipment from Amazon, with no exterior branding on the box or special insert.
There are 3 age range options:
- 3-4 year-olds (counting, building, and cause and effect)
- 5-7 year-olds (hands-on experiments and explorations of electricity, earth science, and simple math)
- 8-13 year-olds (more complex projects and experiments based on principals of physics, chemistry, and engineering)
This is a review of the 5 to 7-year-old age range Amazon STEM Club for $19.99/month.
My Subscription Addiction paid for this box. (Check out the review process post to learn more about how we review boxes.)
About this Educational Subscription Box for Kids
The Subscription Box: Amazon STEM Toy Club
The Cost: $19.99 per month
The Products: Each month you will receive a different, age-appropriate STEM toy.
Ships to: The U.S. (free shipping)
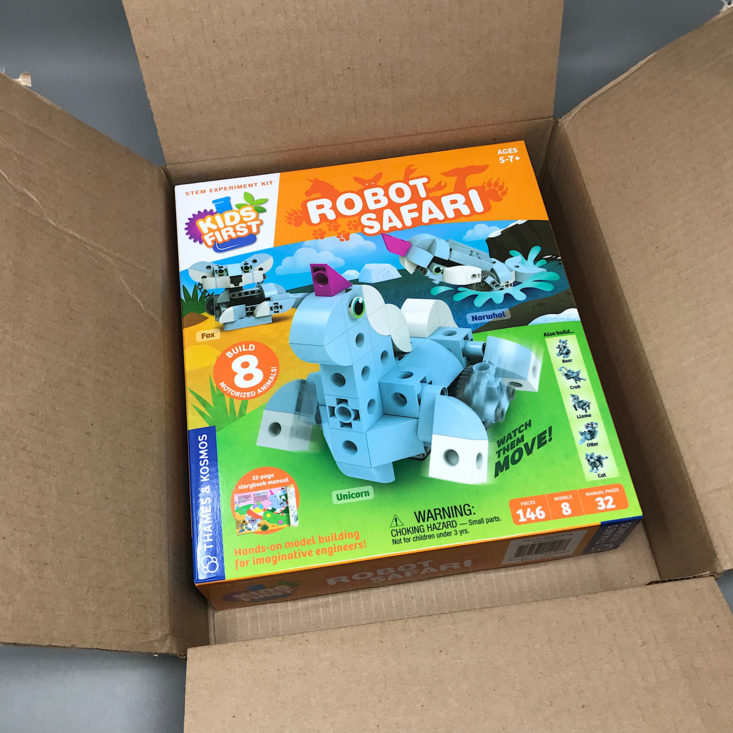
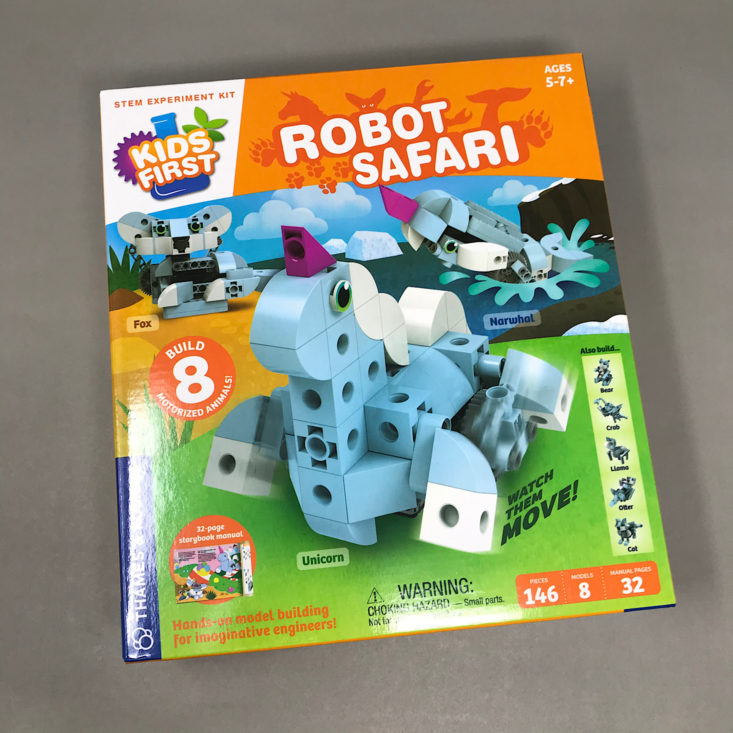
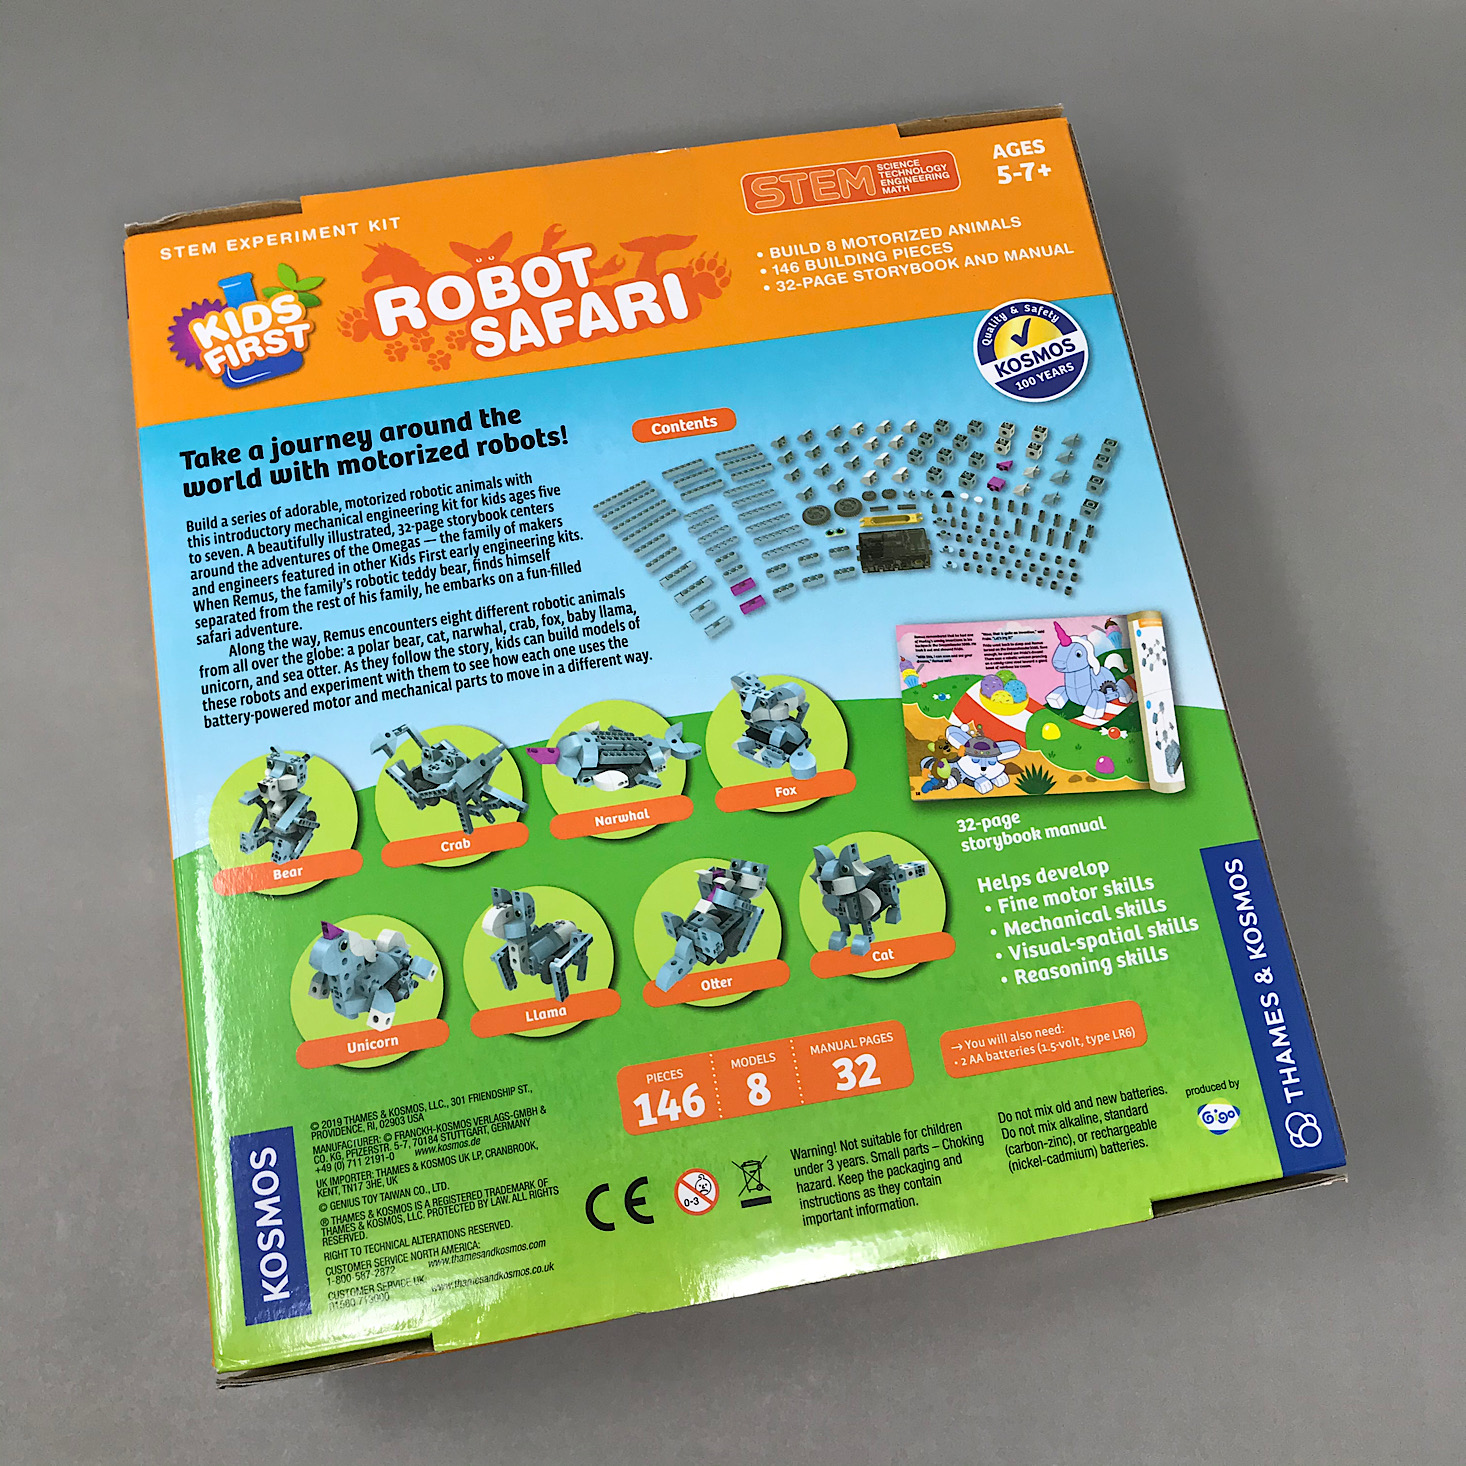
September's Toy: Thames & Kosmos Kids First - Robot Safari
Thames & Kosmos Kids First Robot Safari - Retail Value $29.95
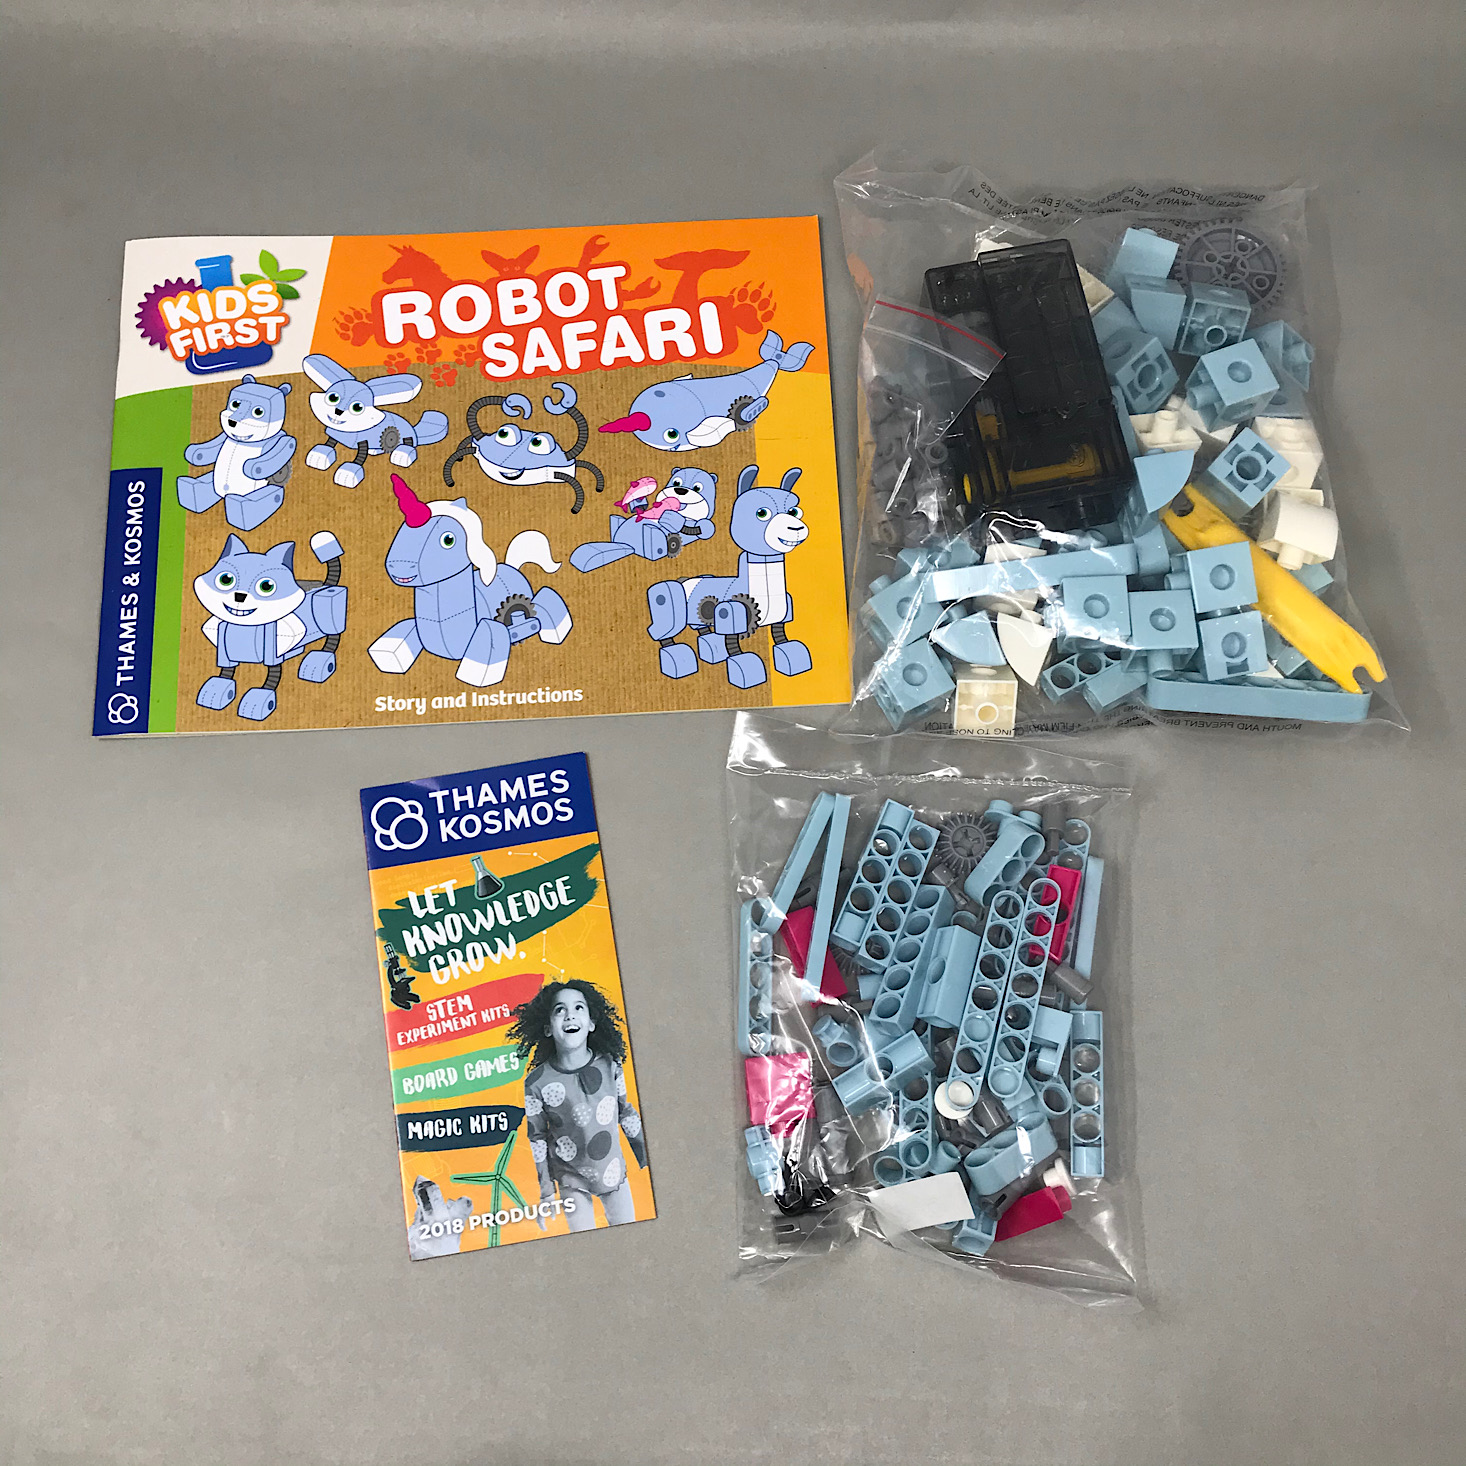
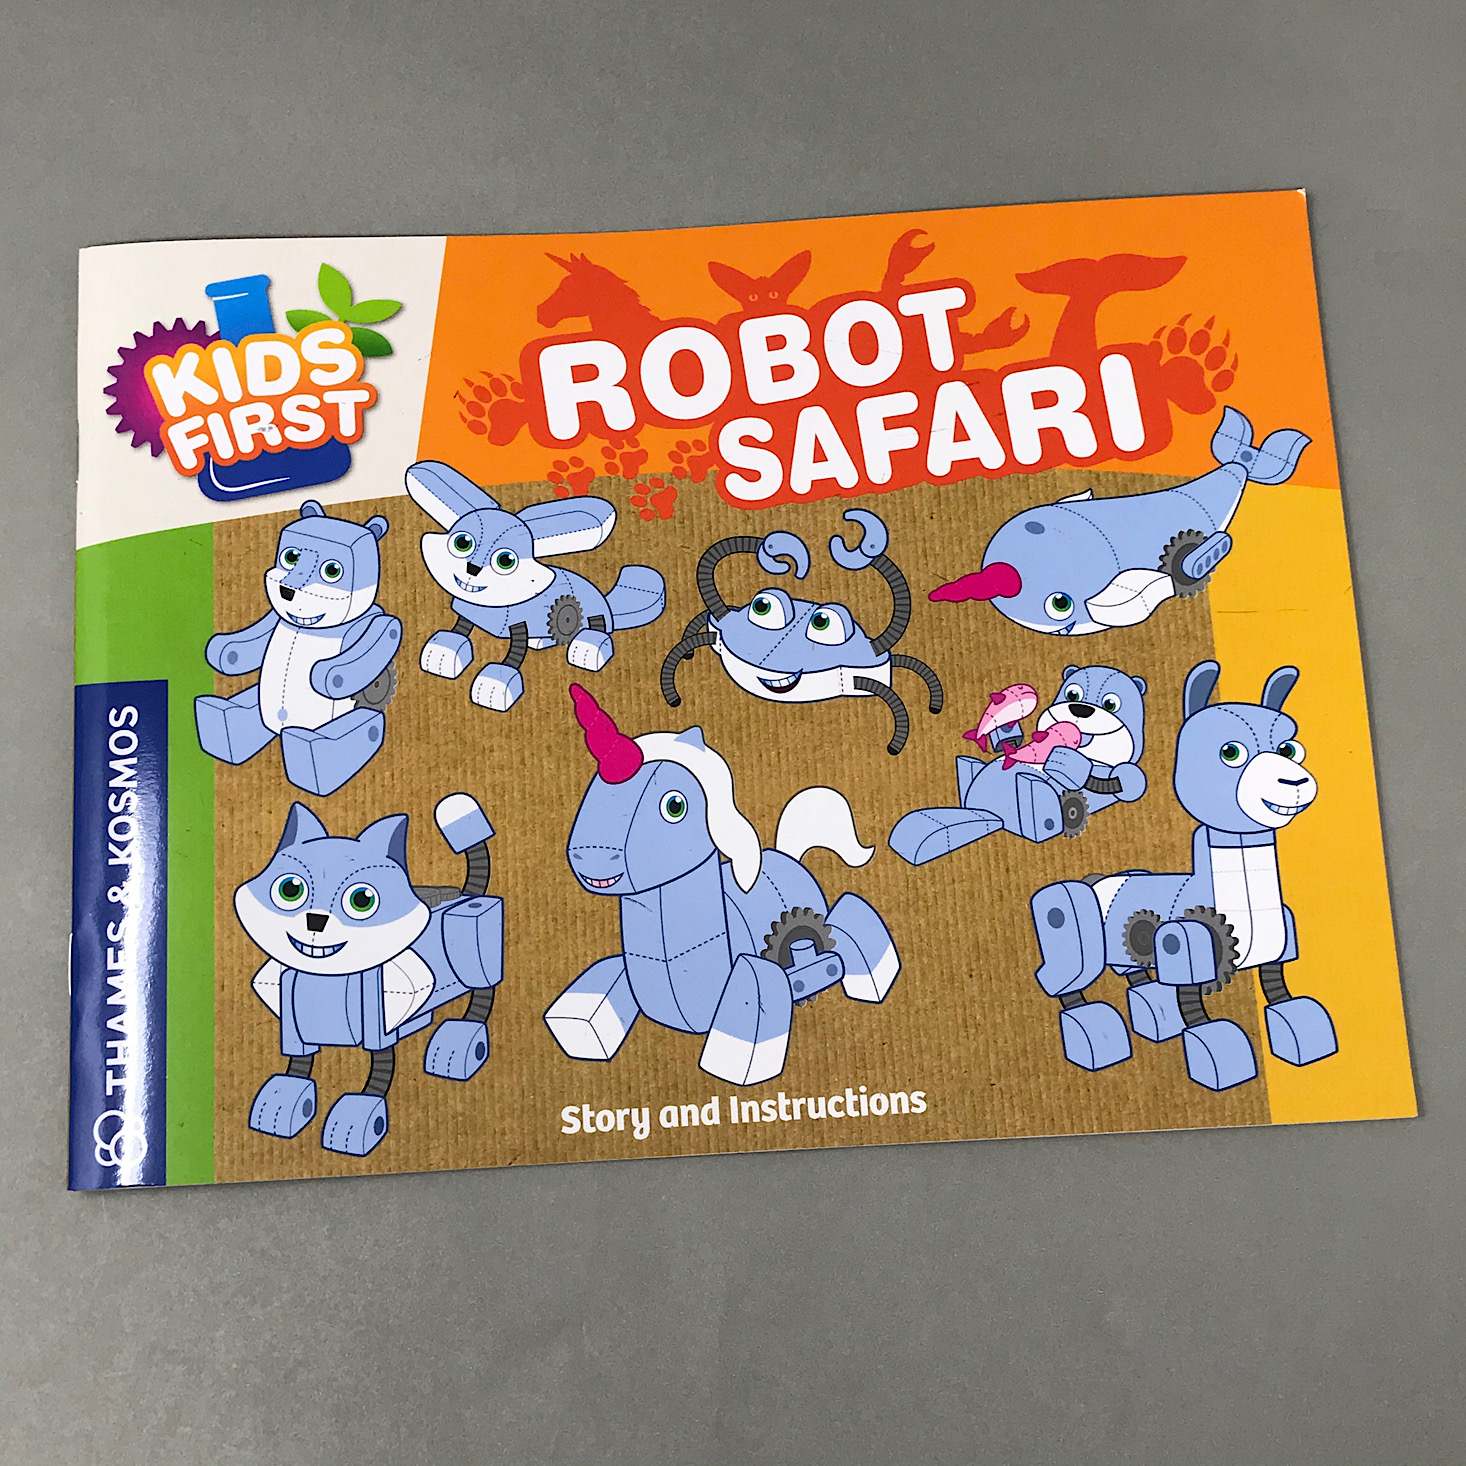
Our toy this month is very similar to what we received last month - building robot animals using a set of pieces that fit together over a motorized base. While the concept is the same, the approach and details are much different though, so this was still a welcome and exciting toy for us! This kit includes pieces for you to build 8 different robots: a polar bear, fox, narwhal, unicorn, llama, cat, otter, or a crab and it is designed for ages 5-7+.
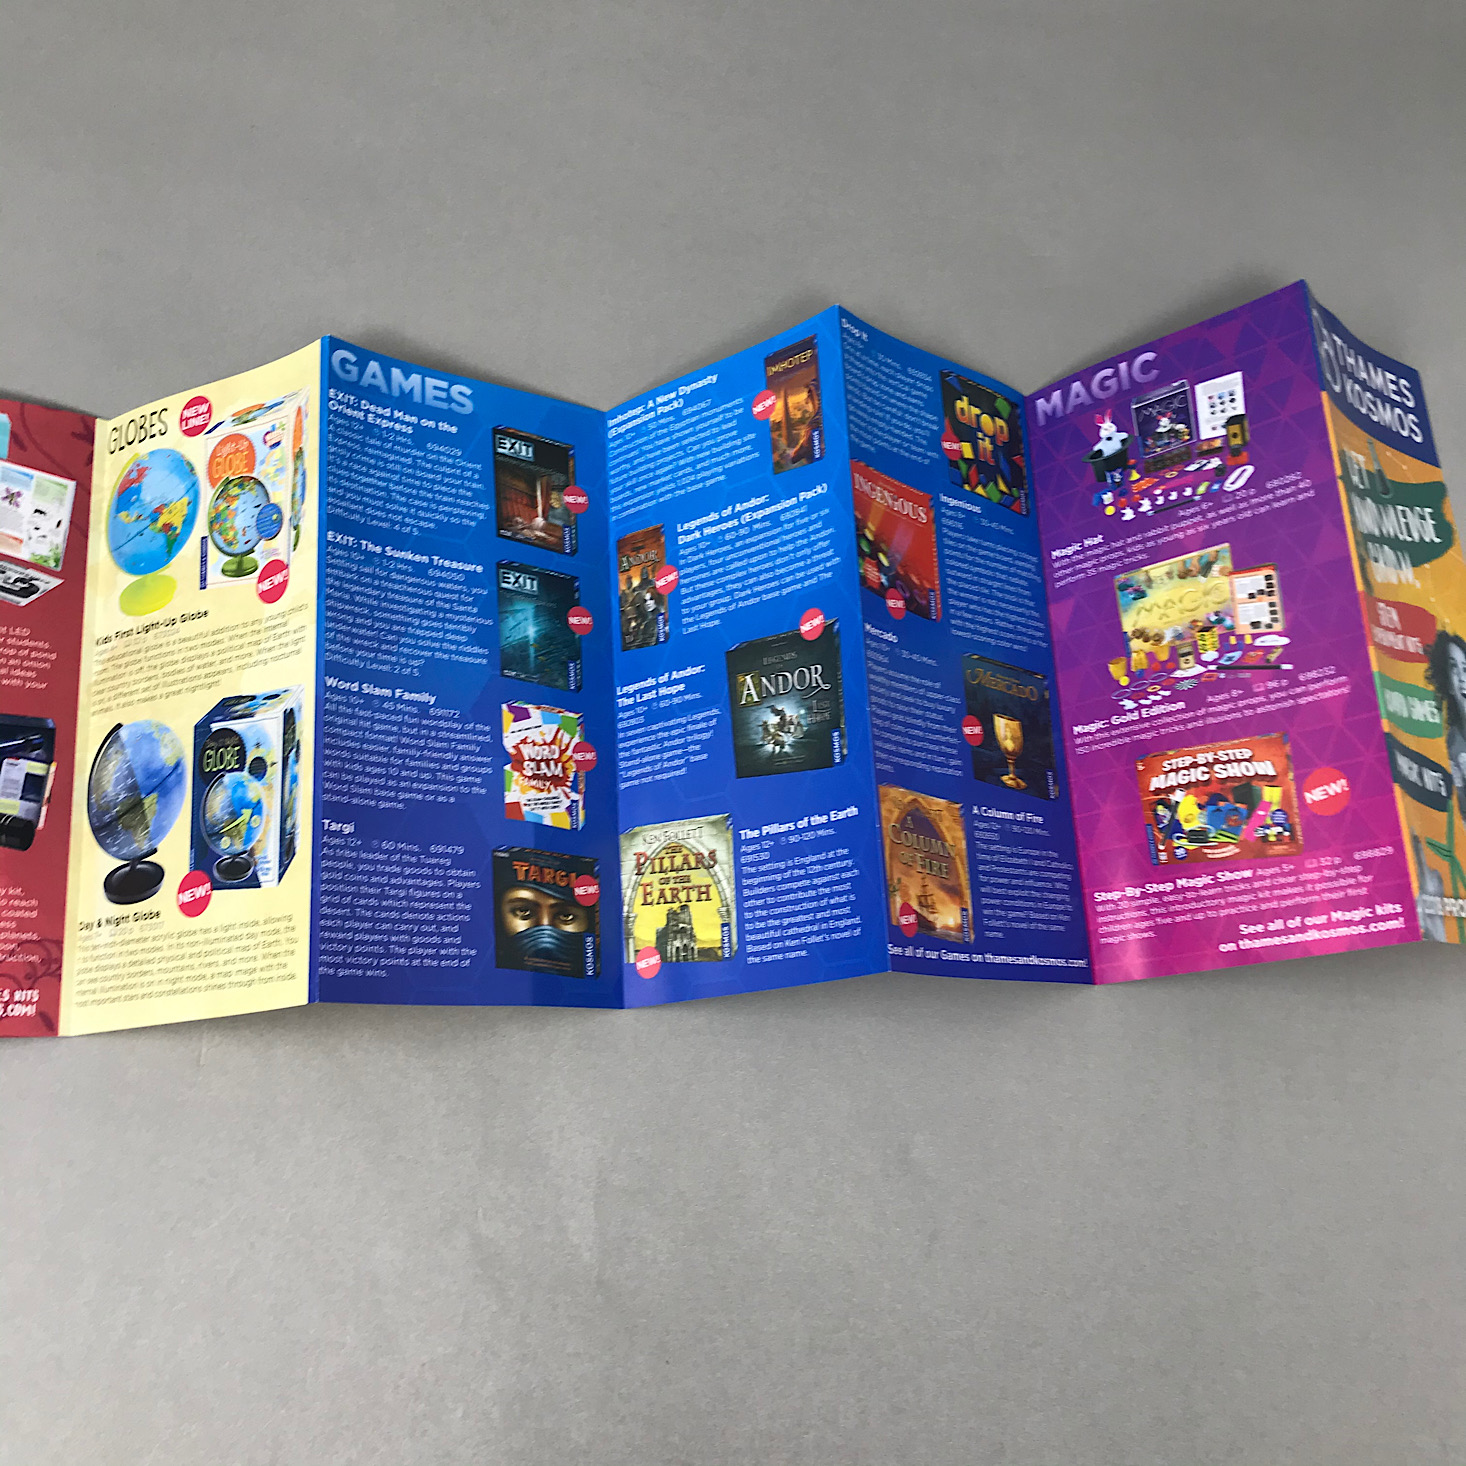
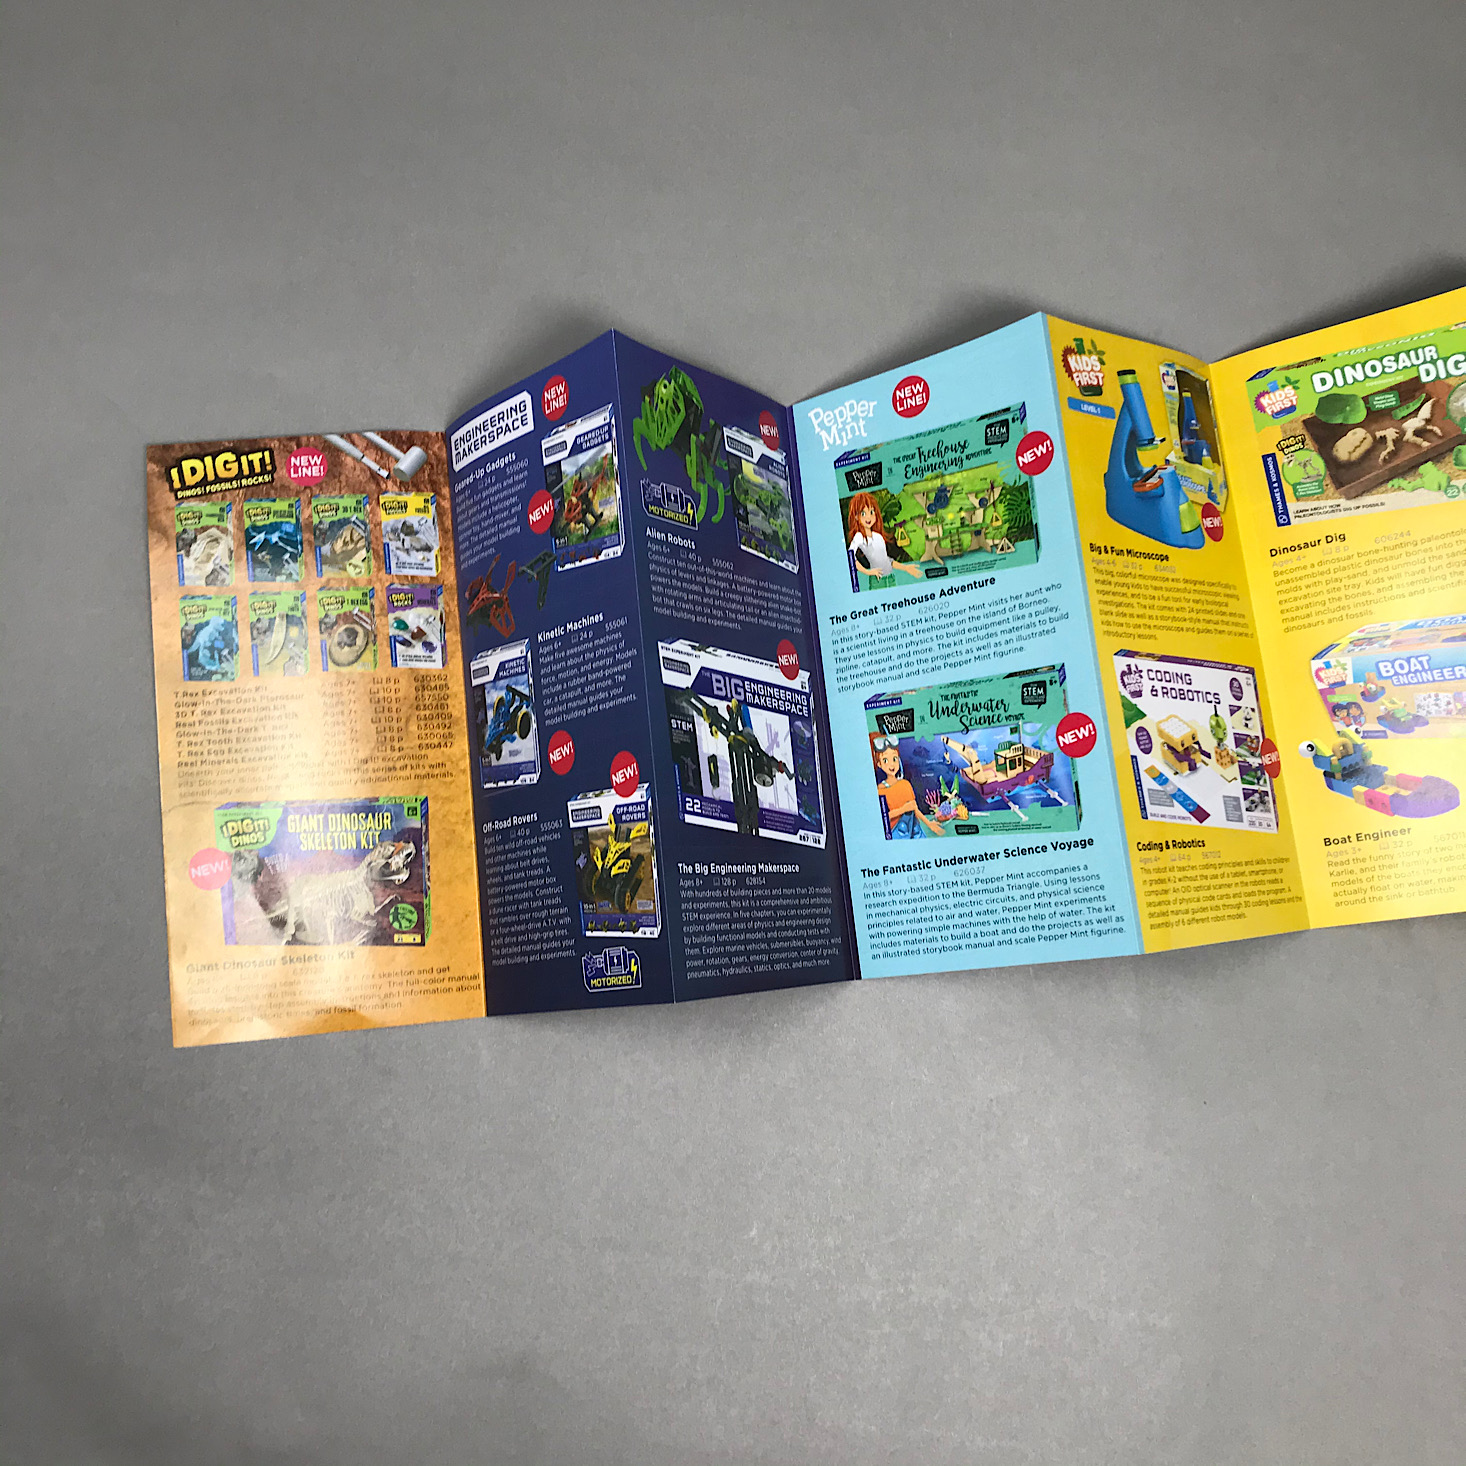
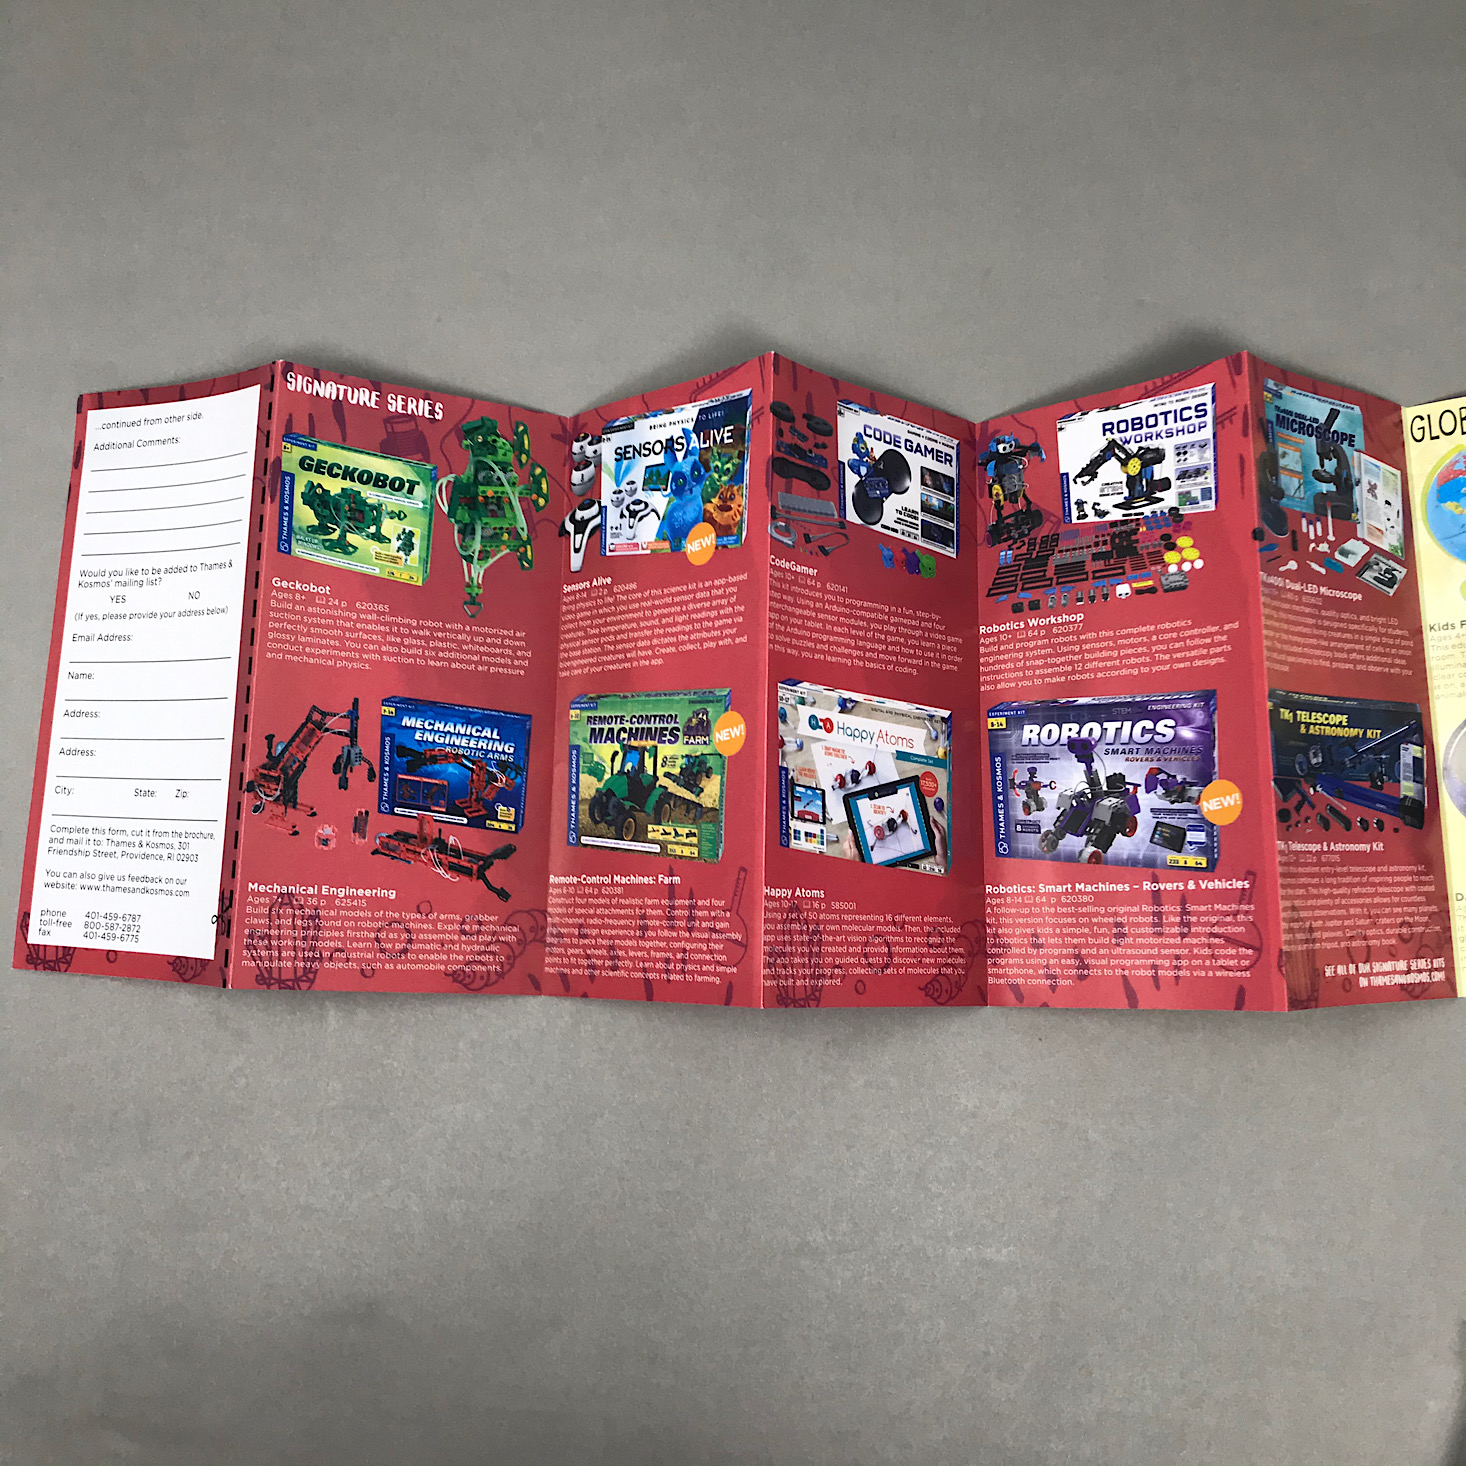
Inside our box was this little booklet highlighting all of the different toys this company offers.
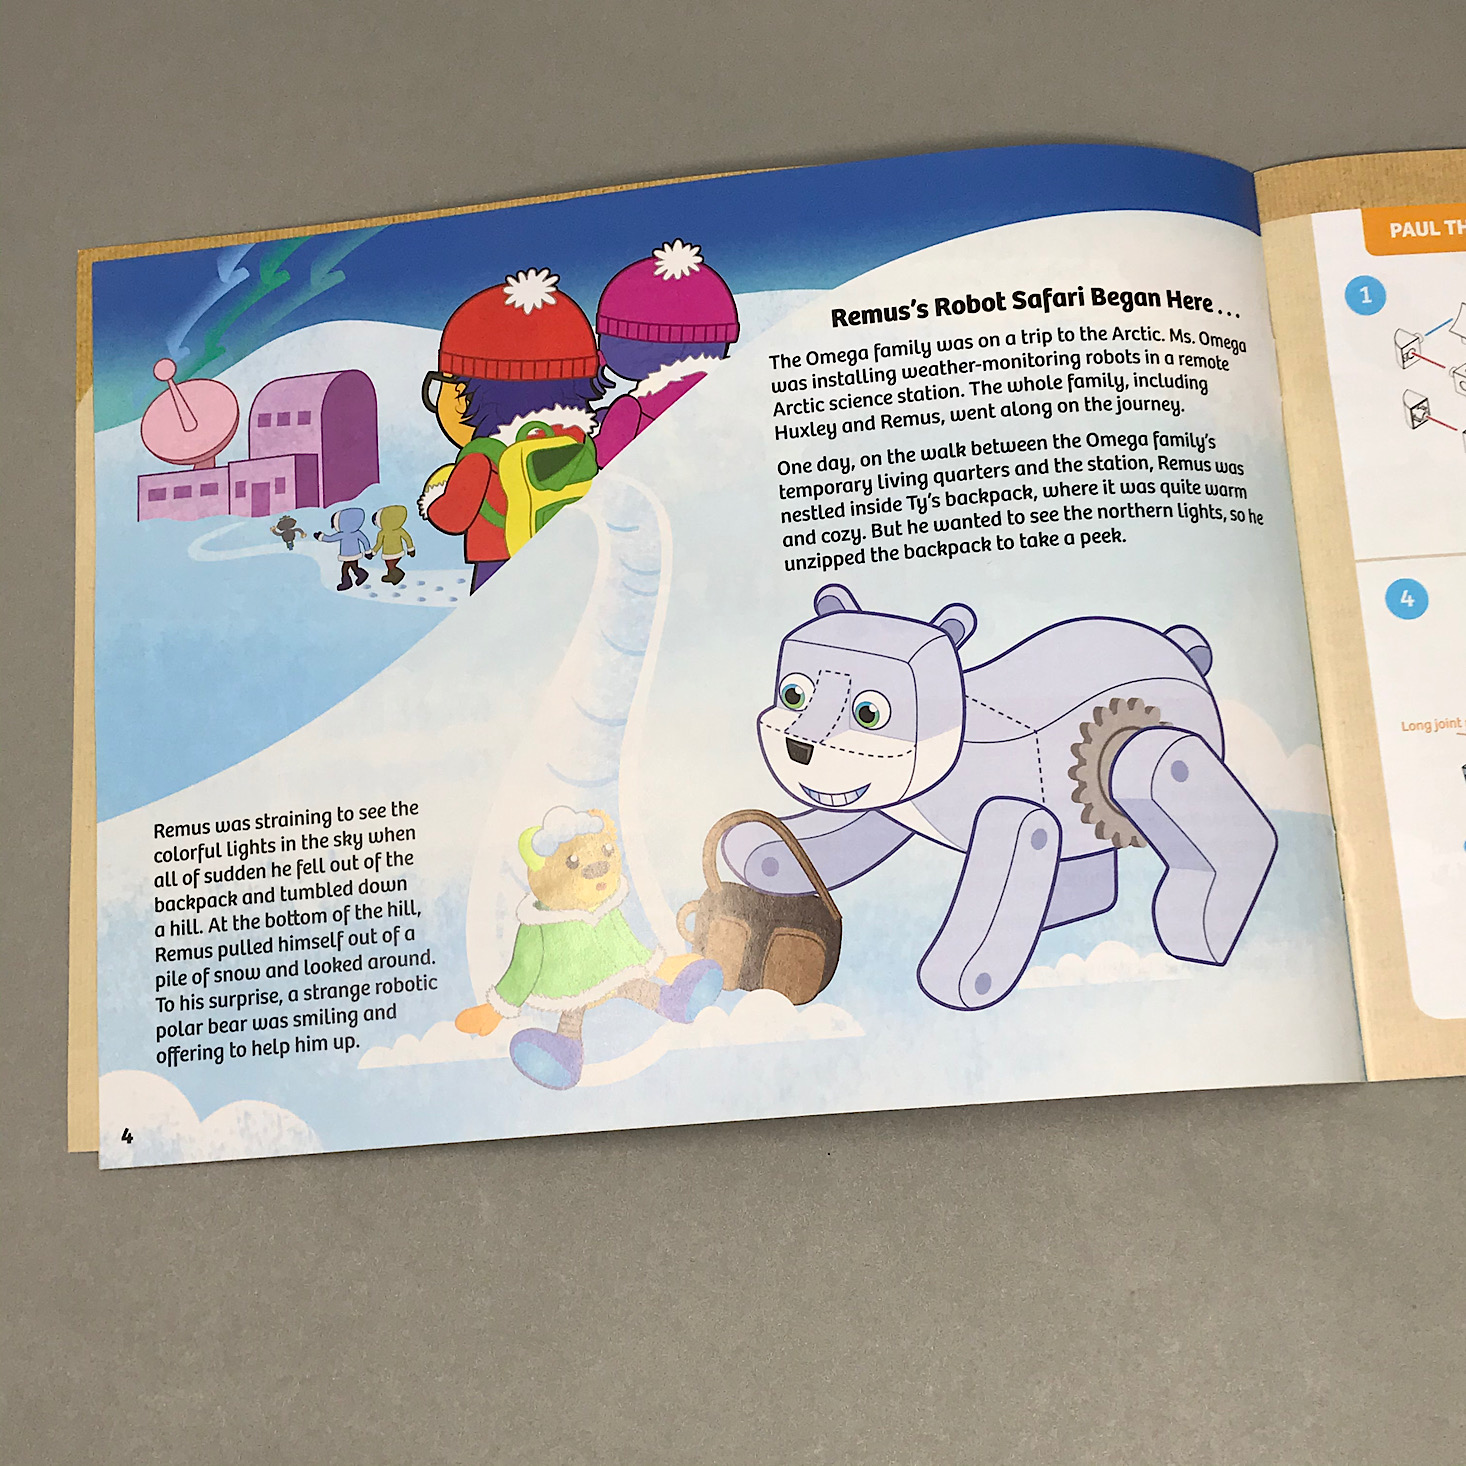
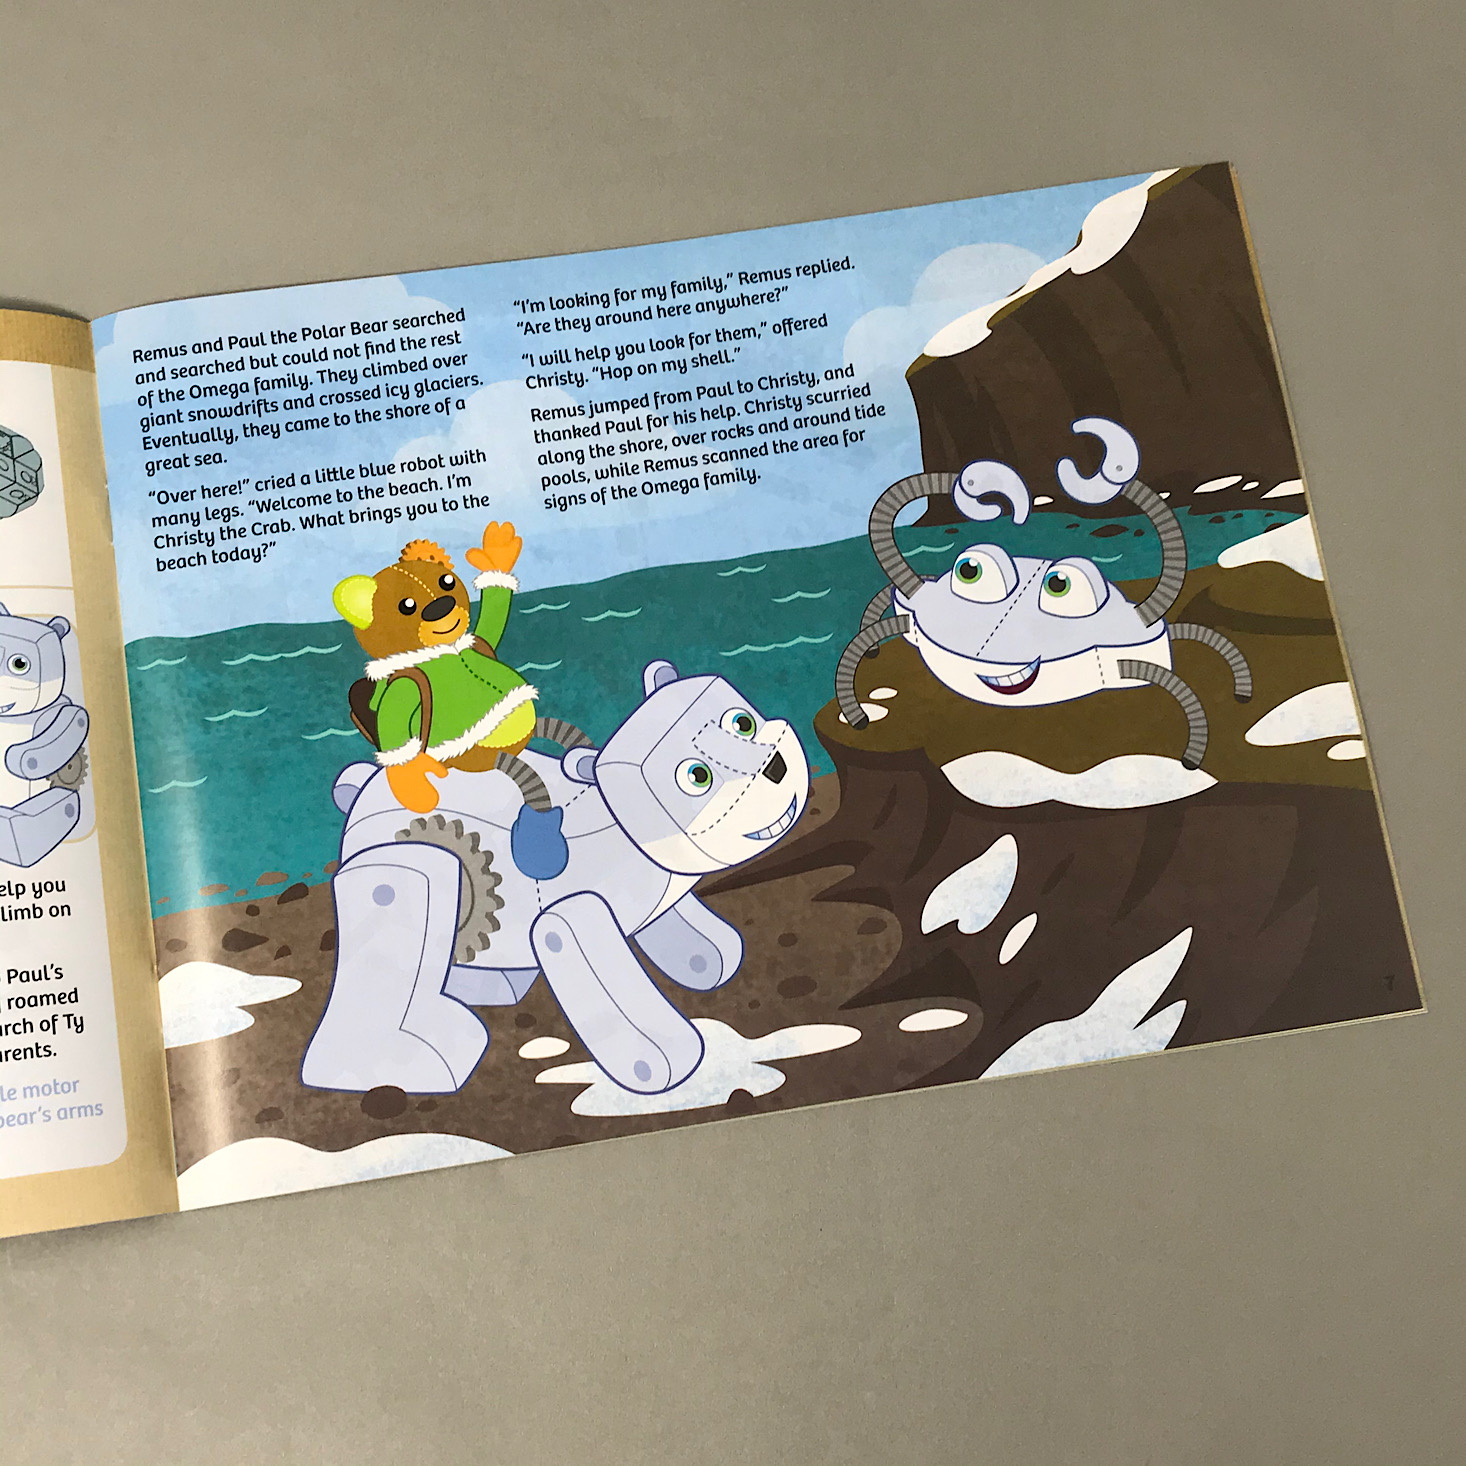
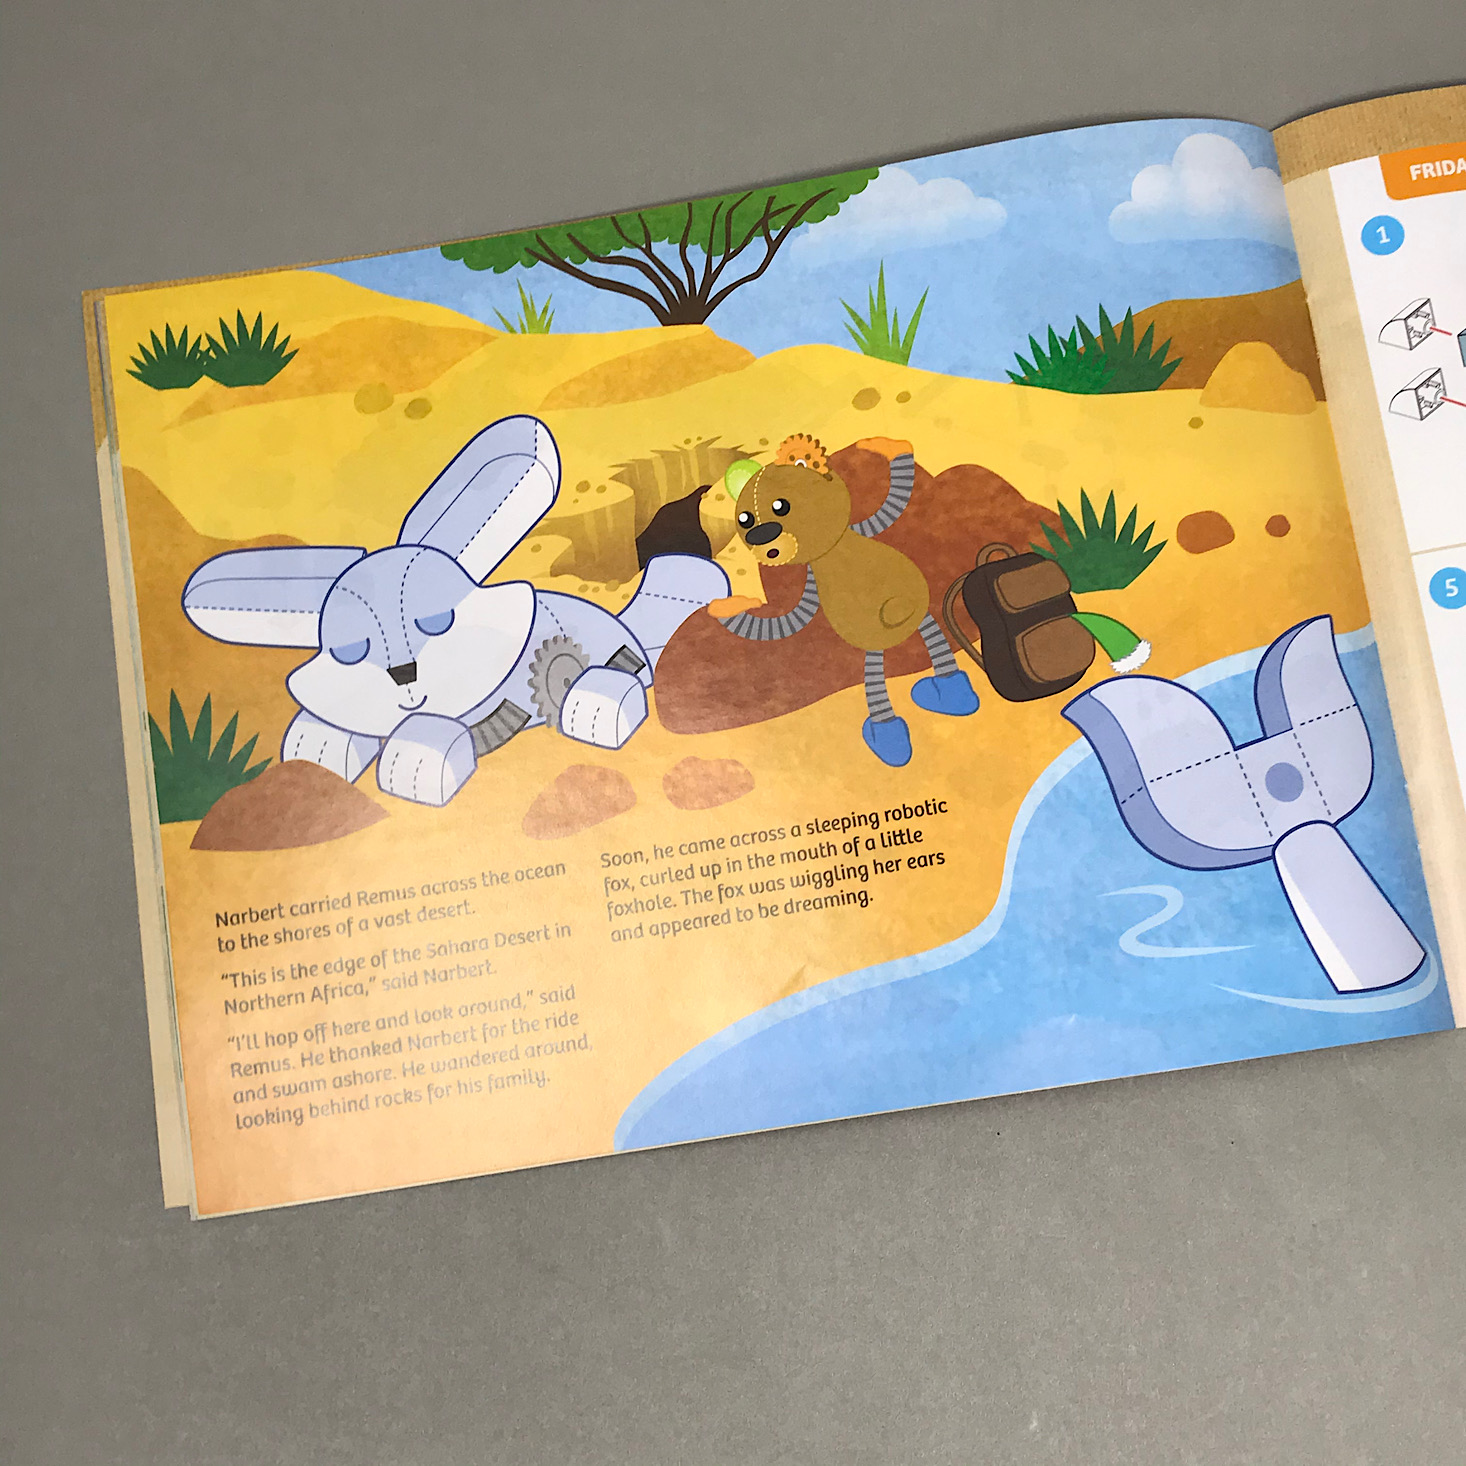
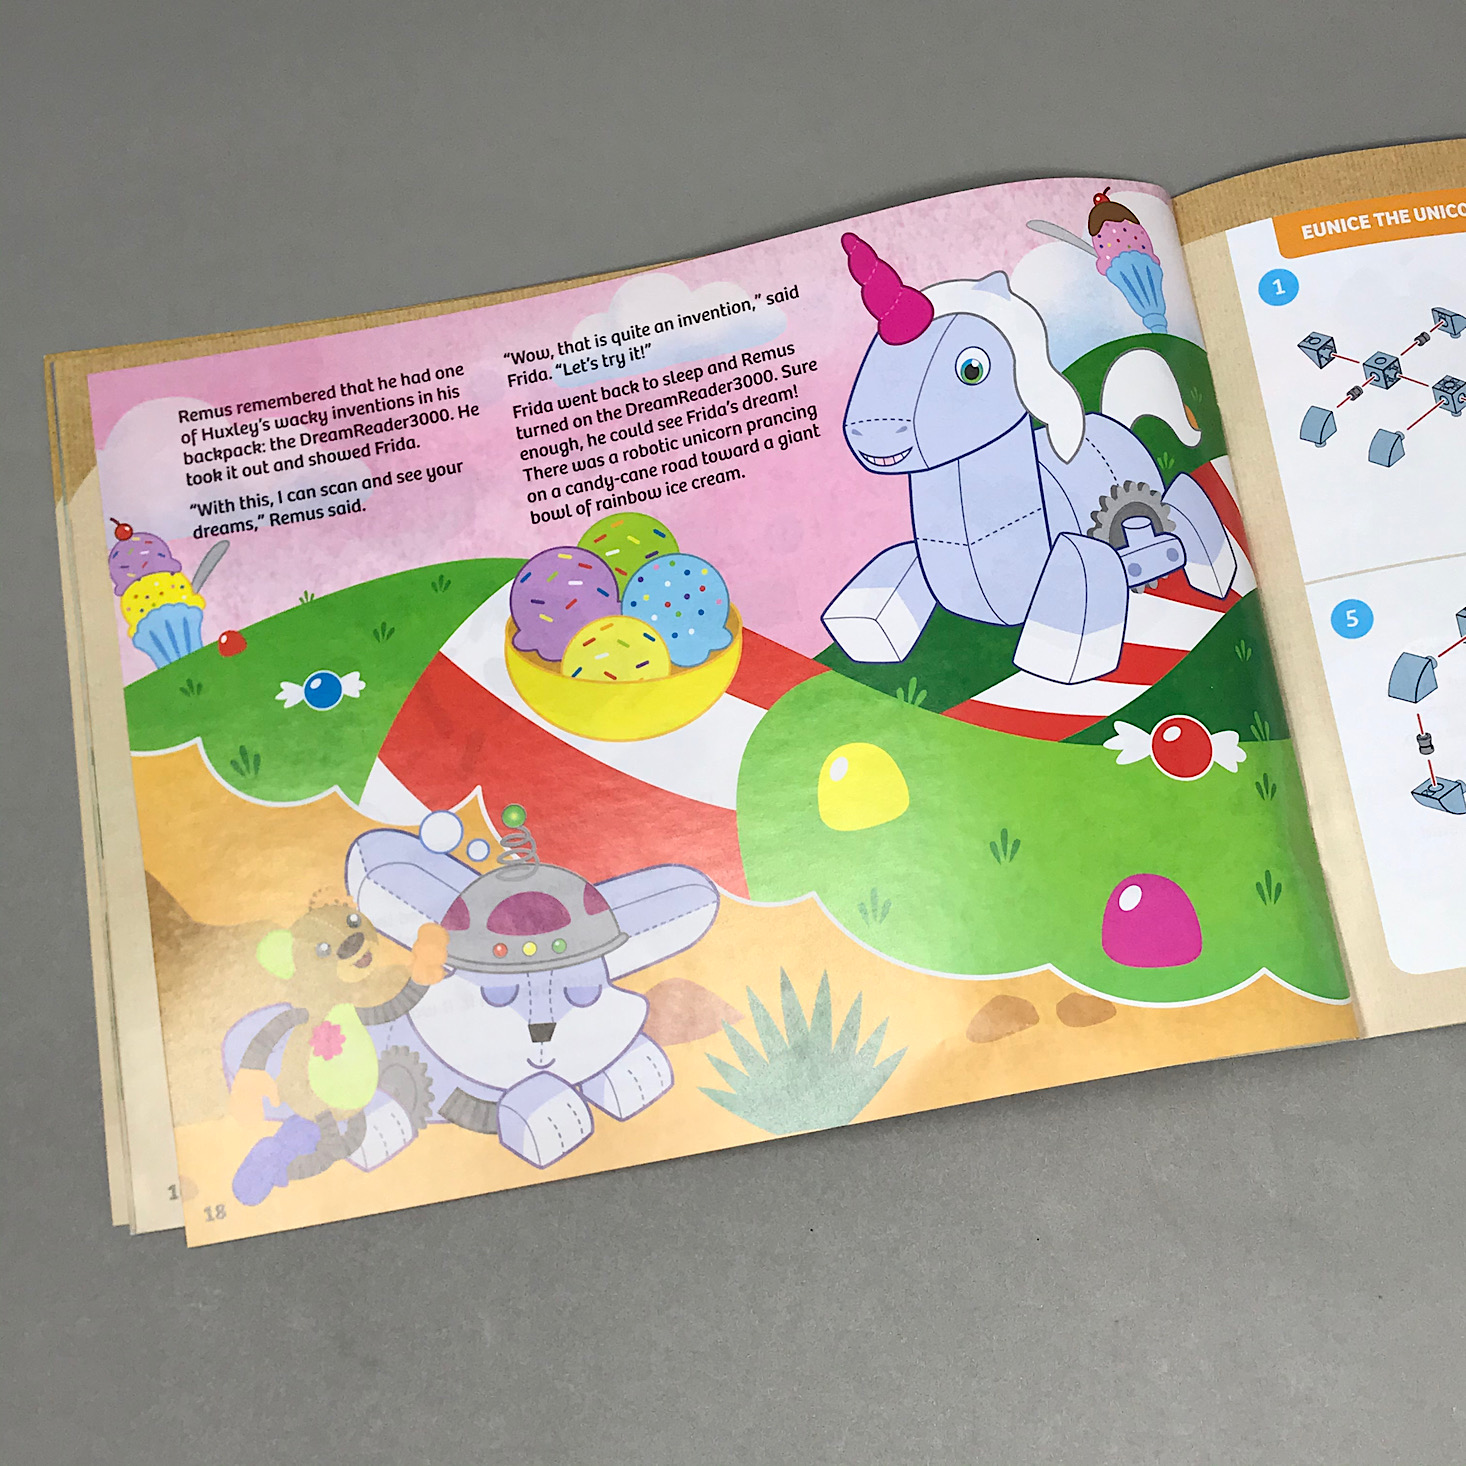
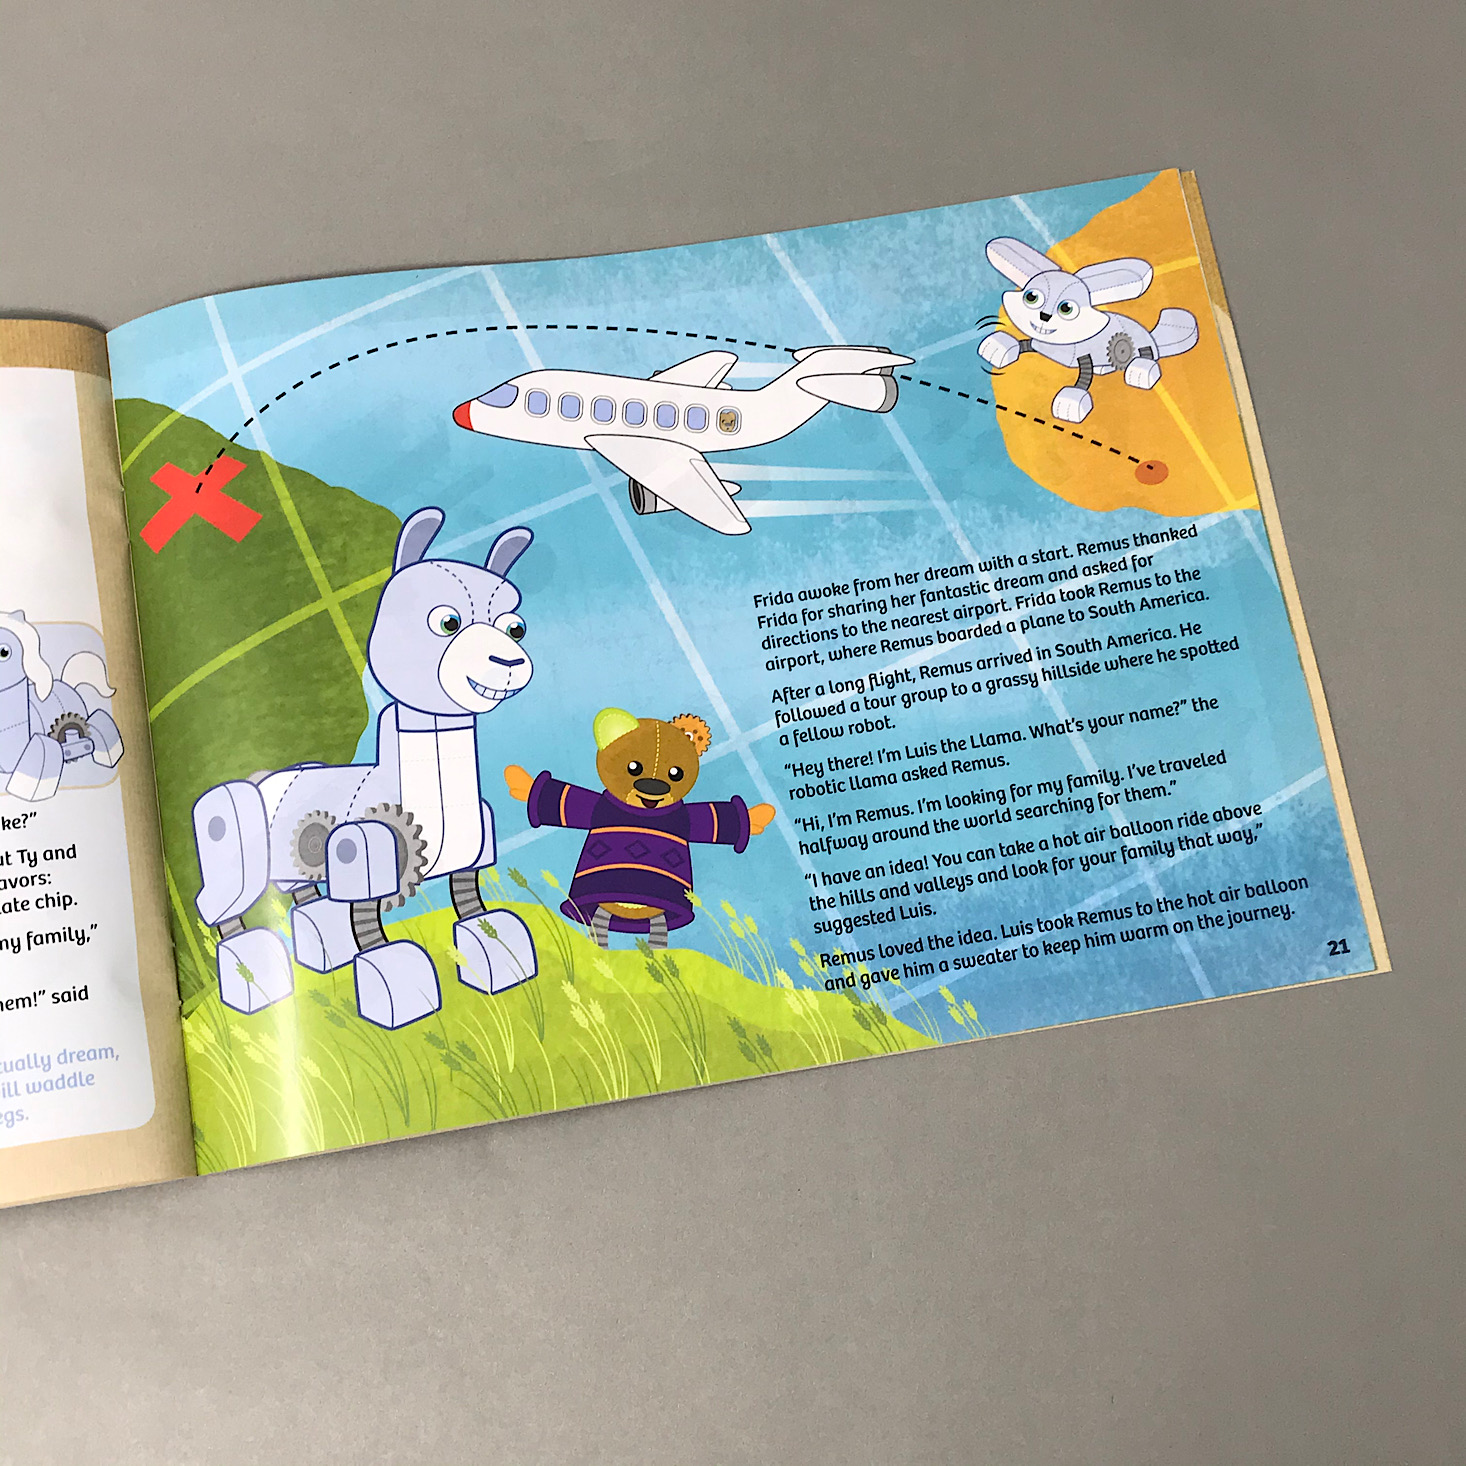
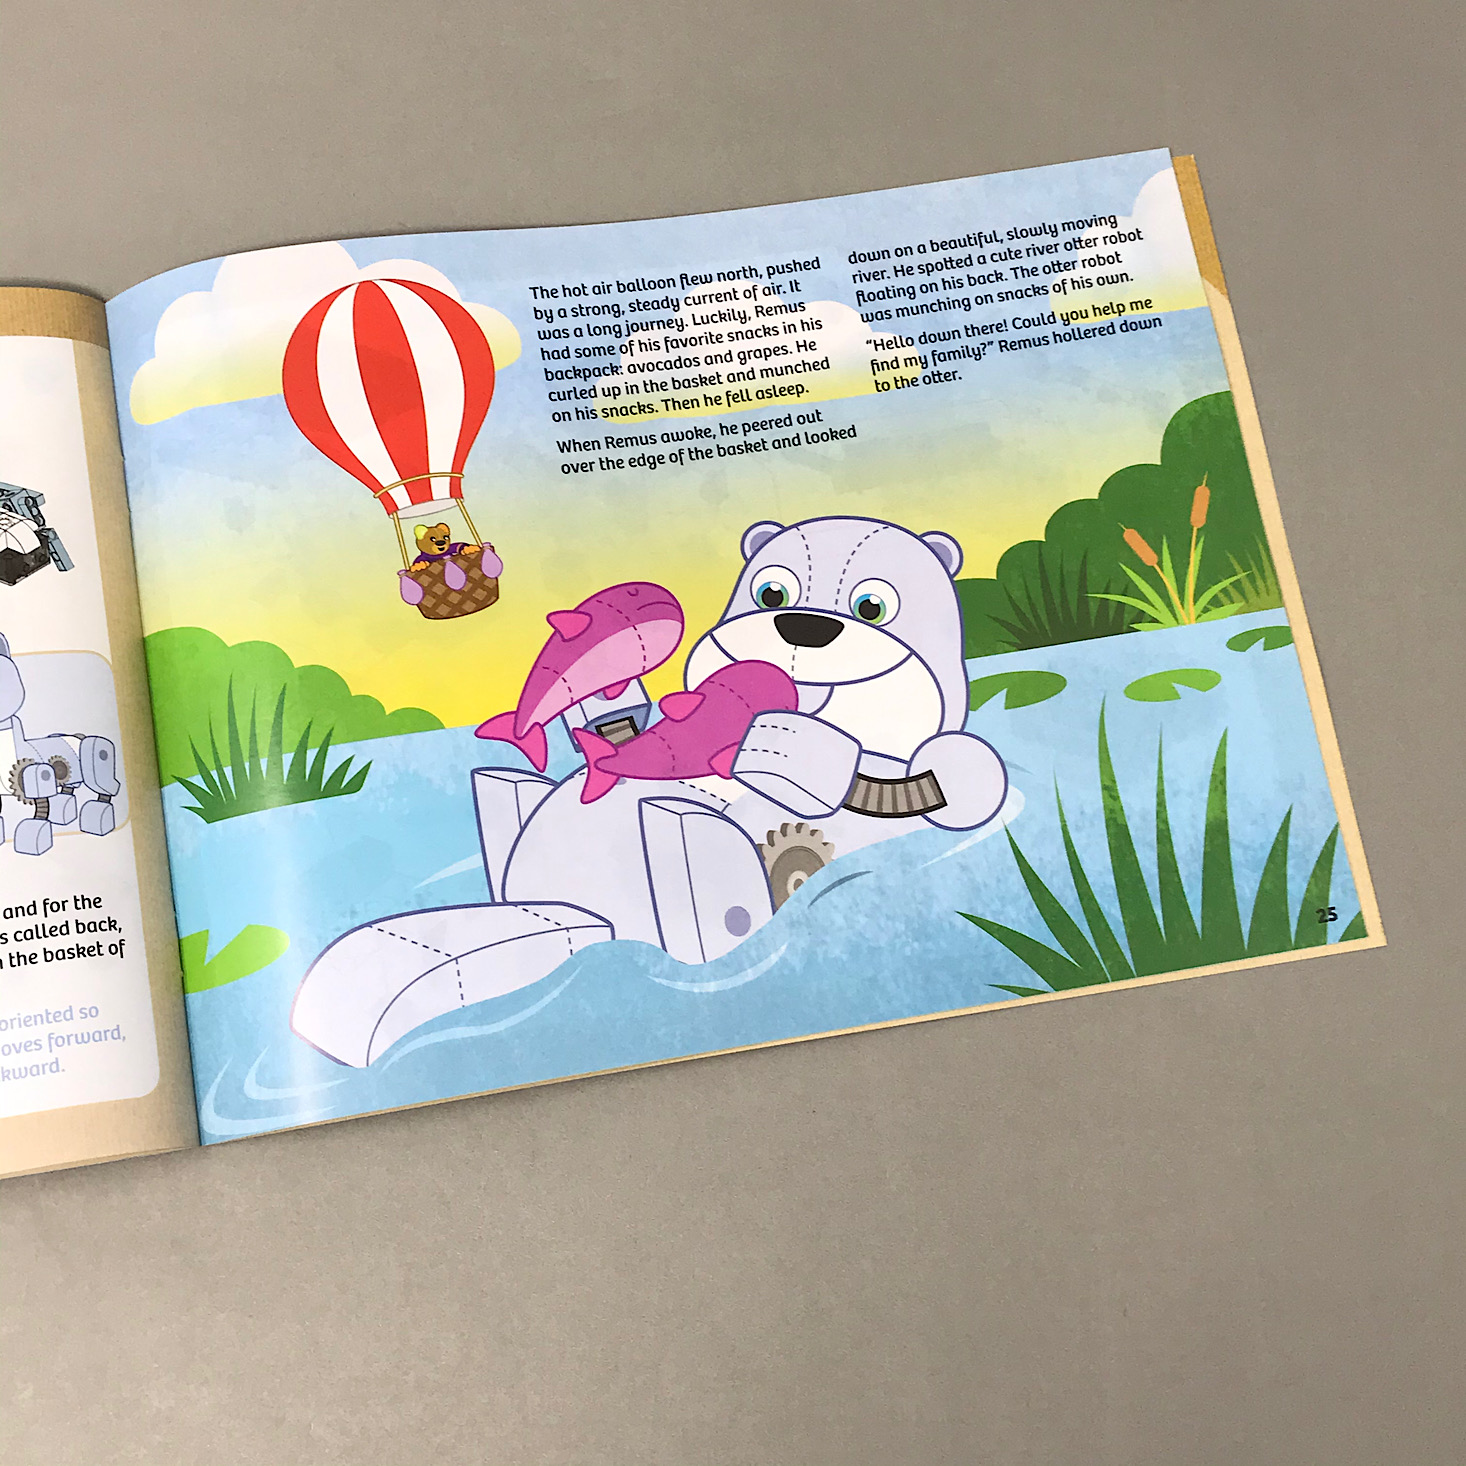
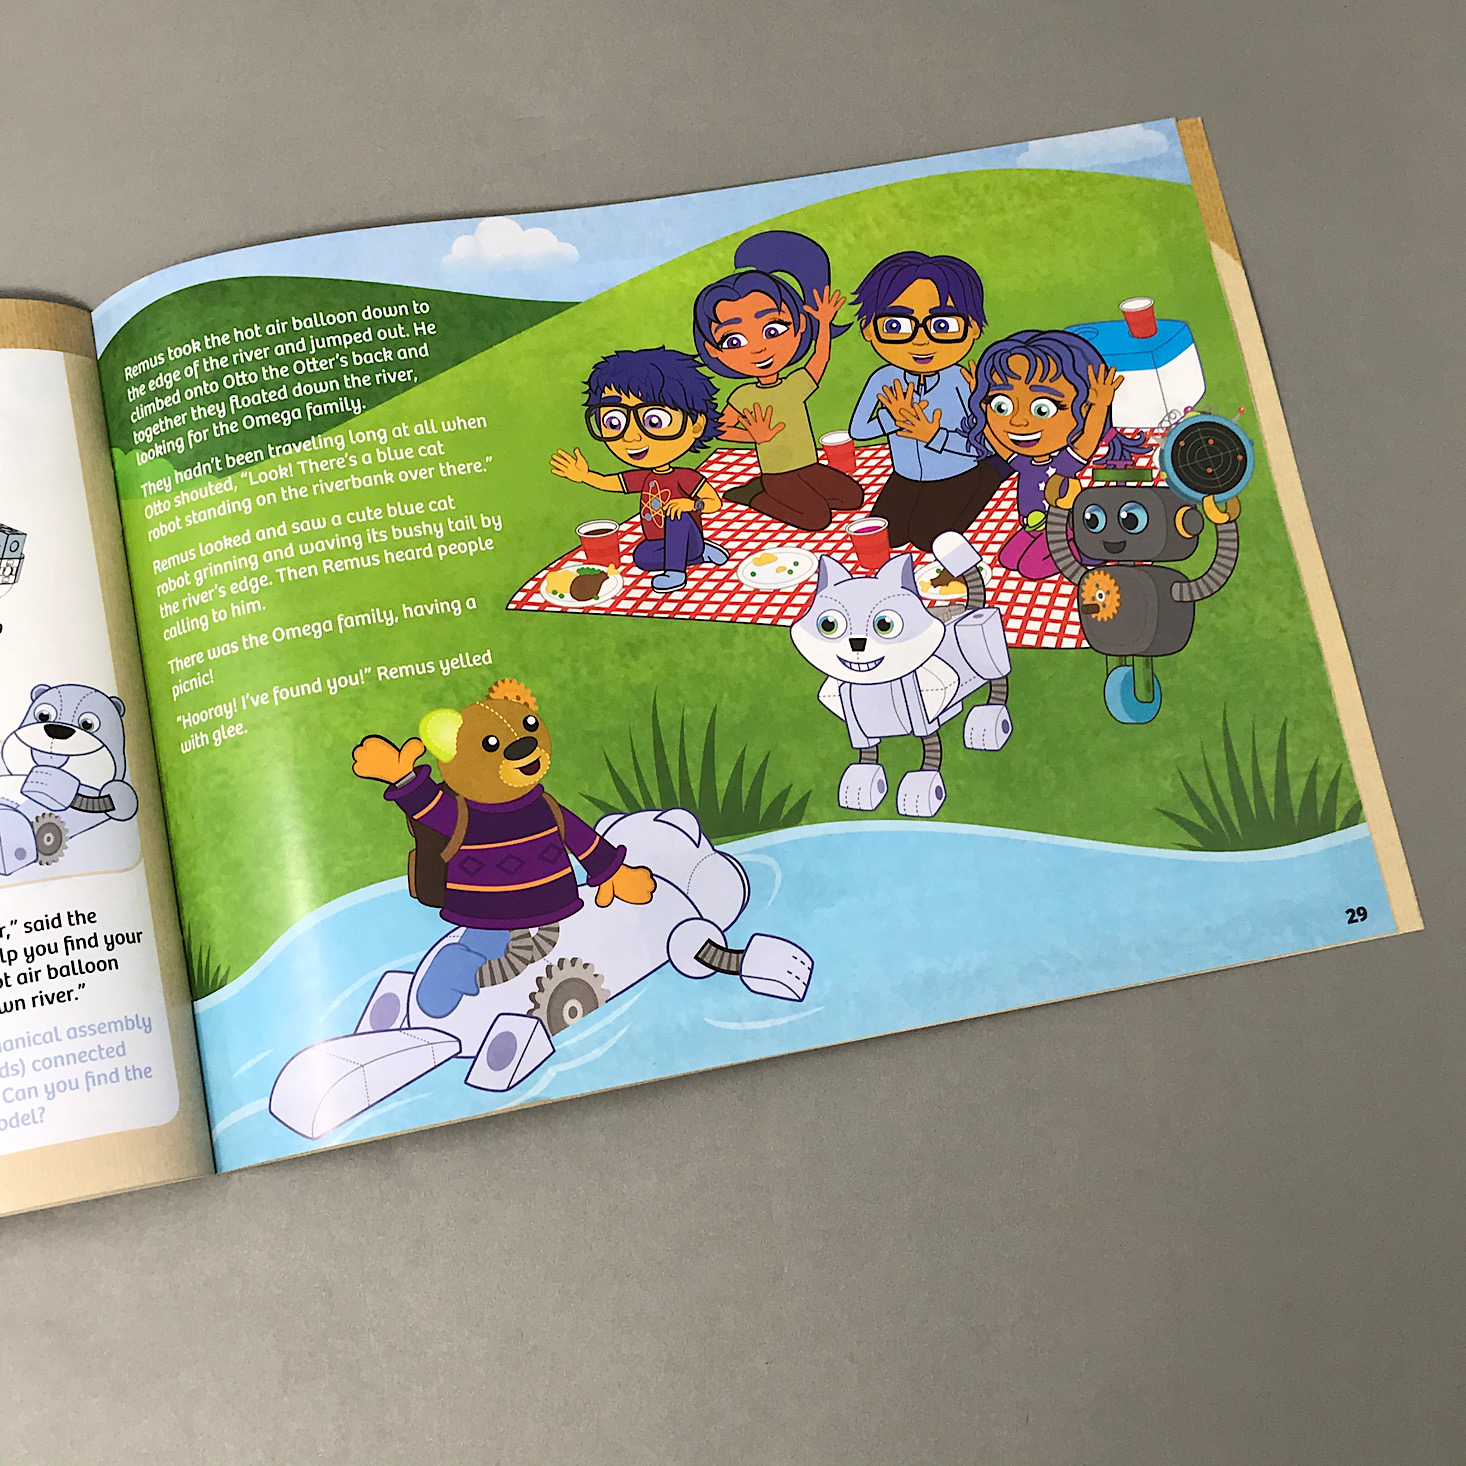
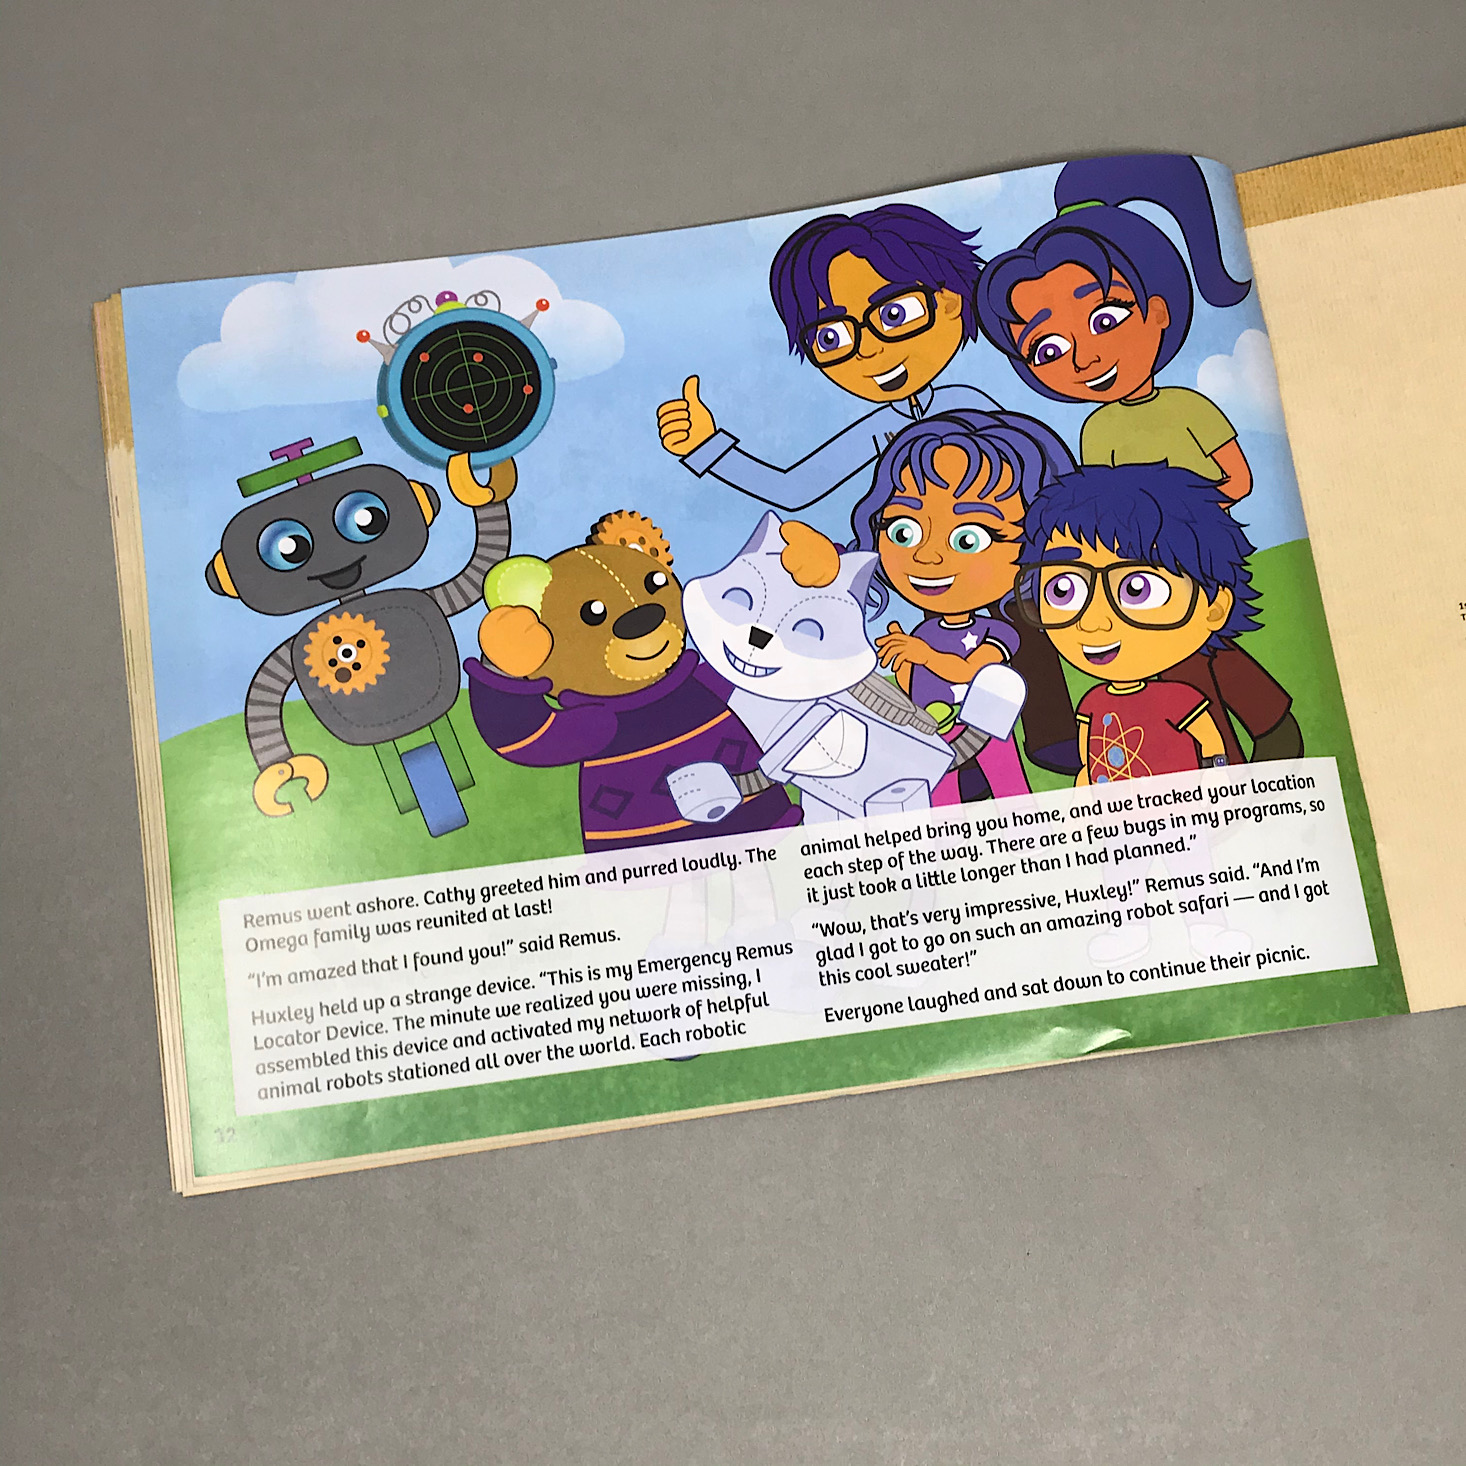
Our instruction booklet was very unique and fun! It was a large booklet with colorful illustrations and a story to accompany the instructions. This was a cute way to engage the kids in the project and a perfect way to incorporate some reading into it! It was also a cute way to introduce the various characters and robots we could create and give them all names.
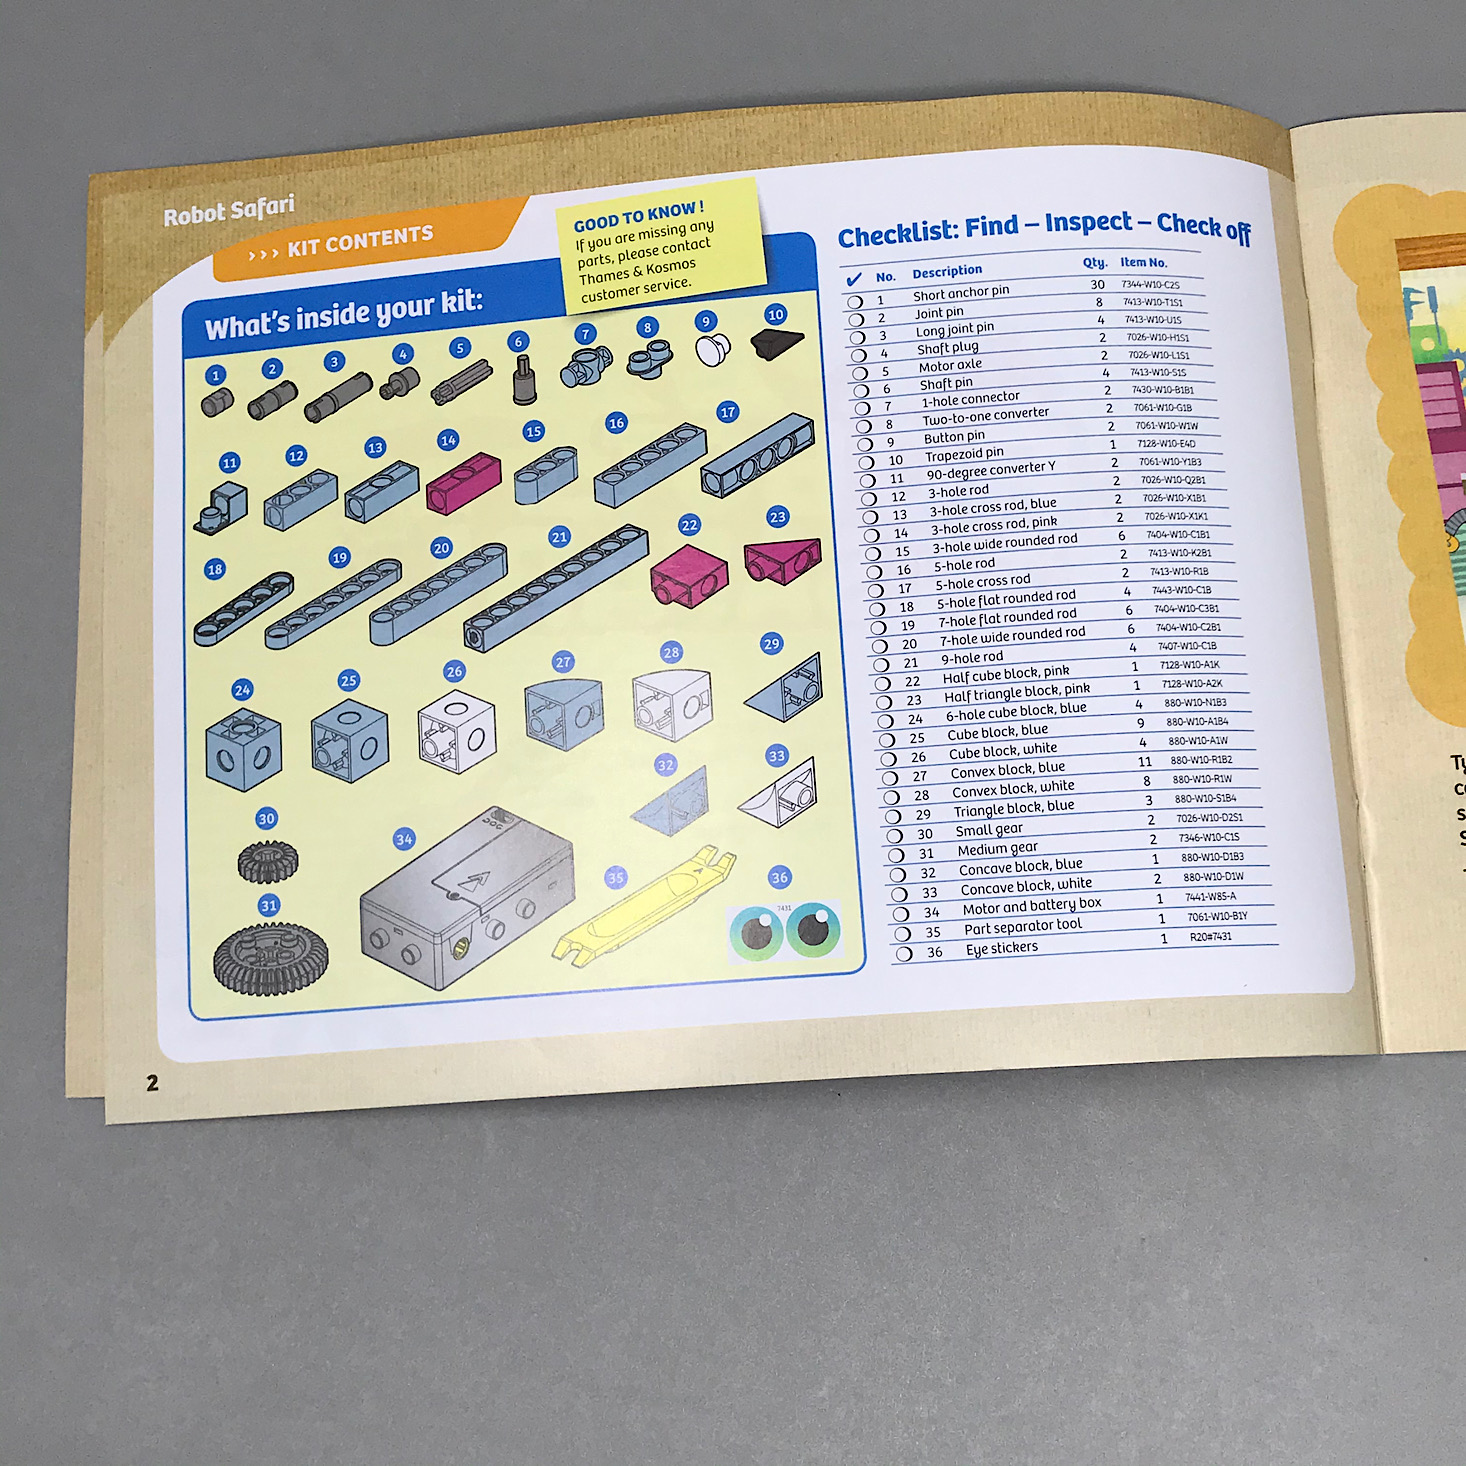
Inside the booklet, there was a section for parents with some safety warnings and advice about letting your child attempt the builds by themselves, which is sometimes easier said than done! There was also a complete parts checklist with illustrations to make sure you aren't missing anything.
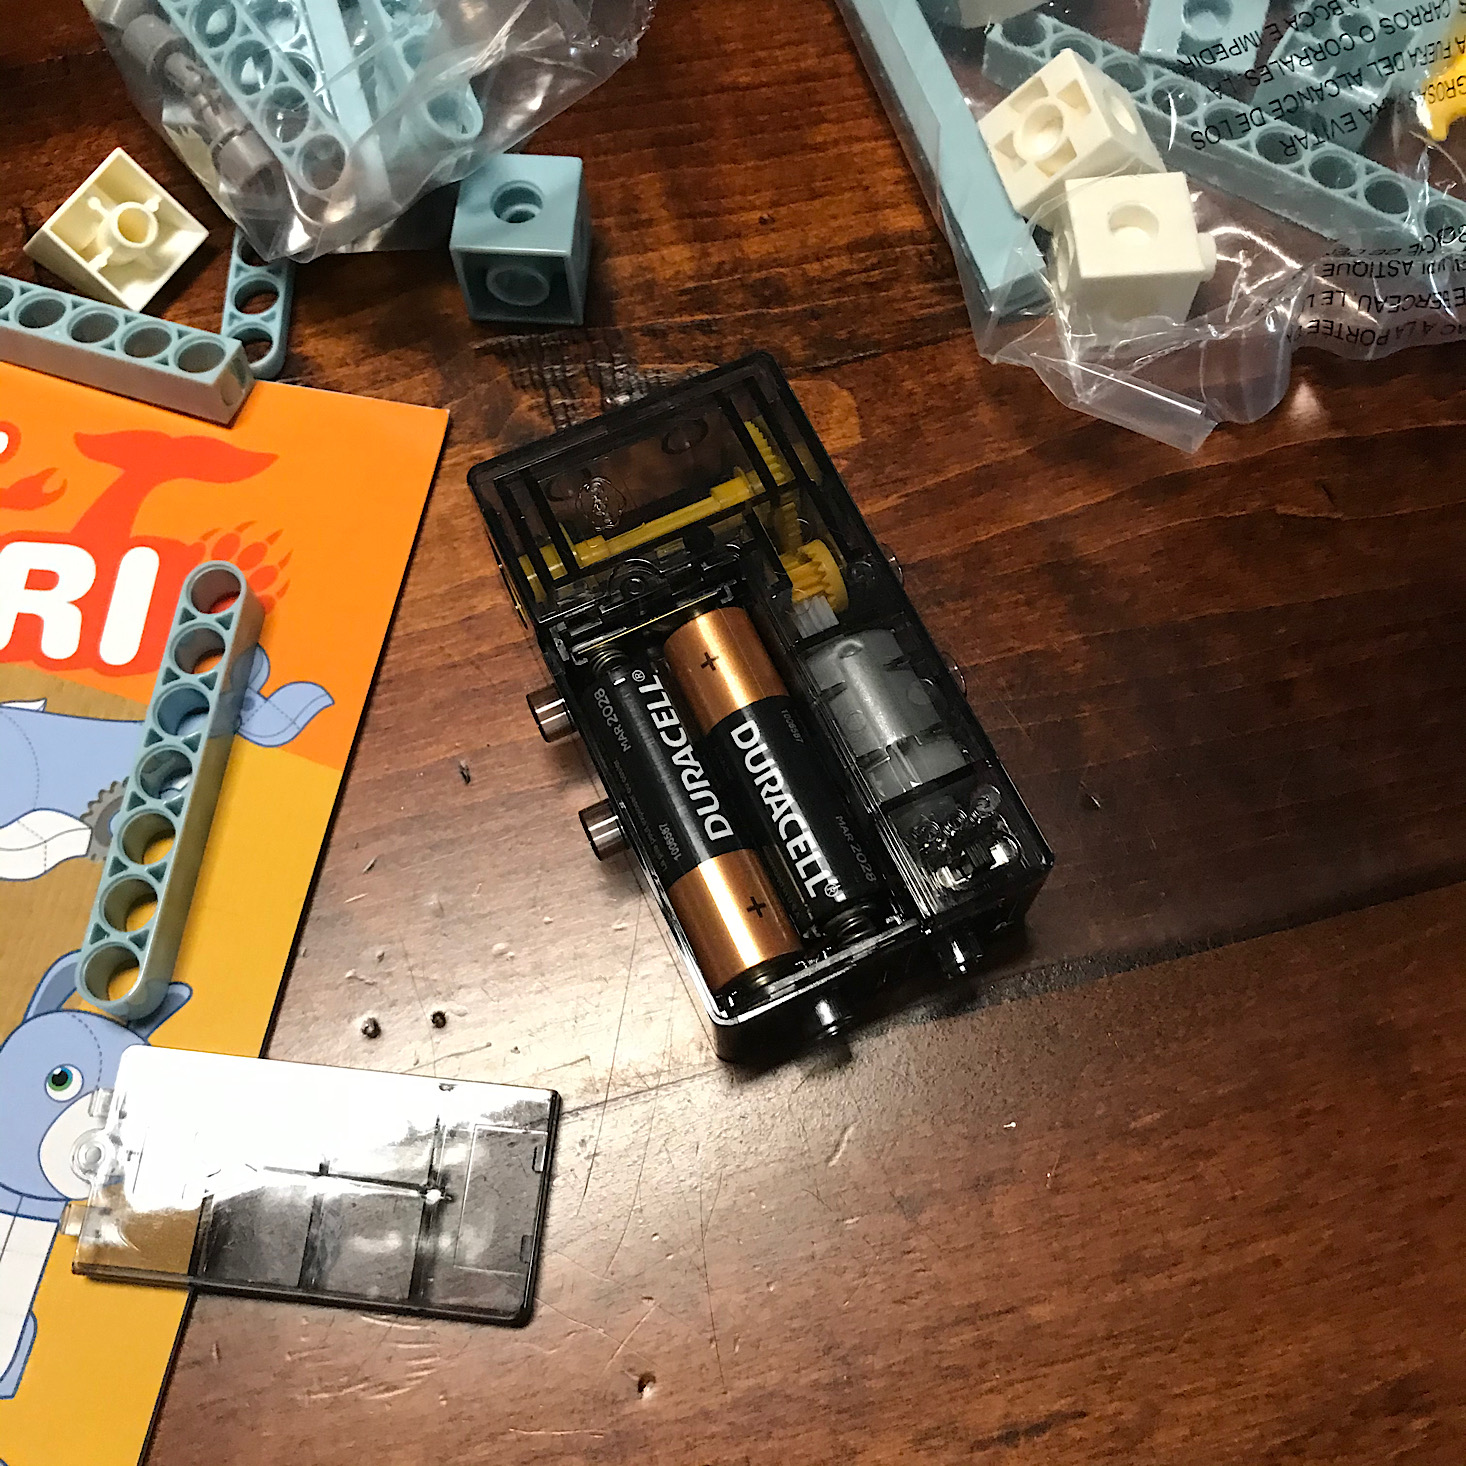
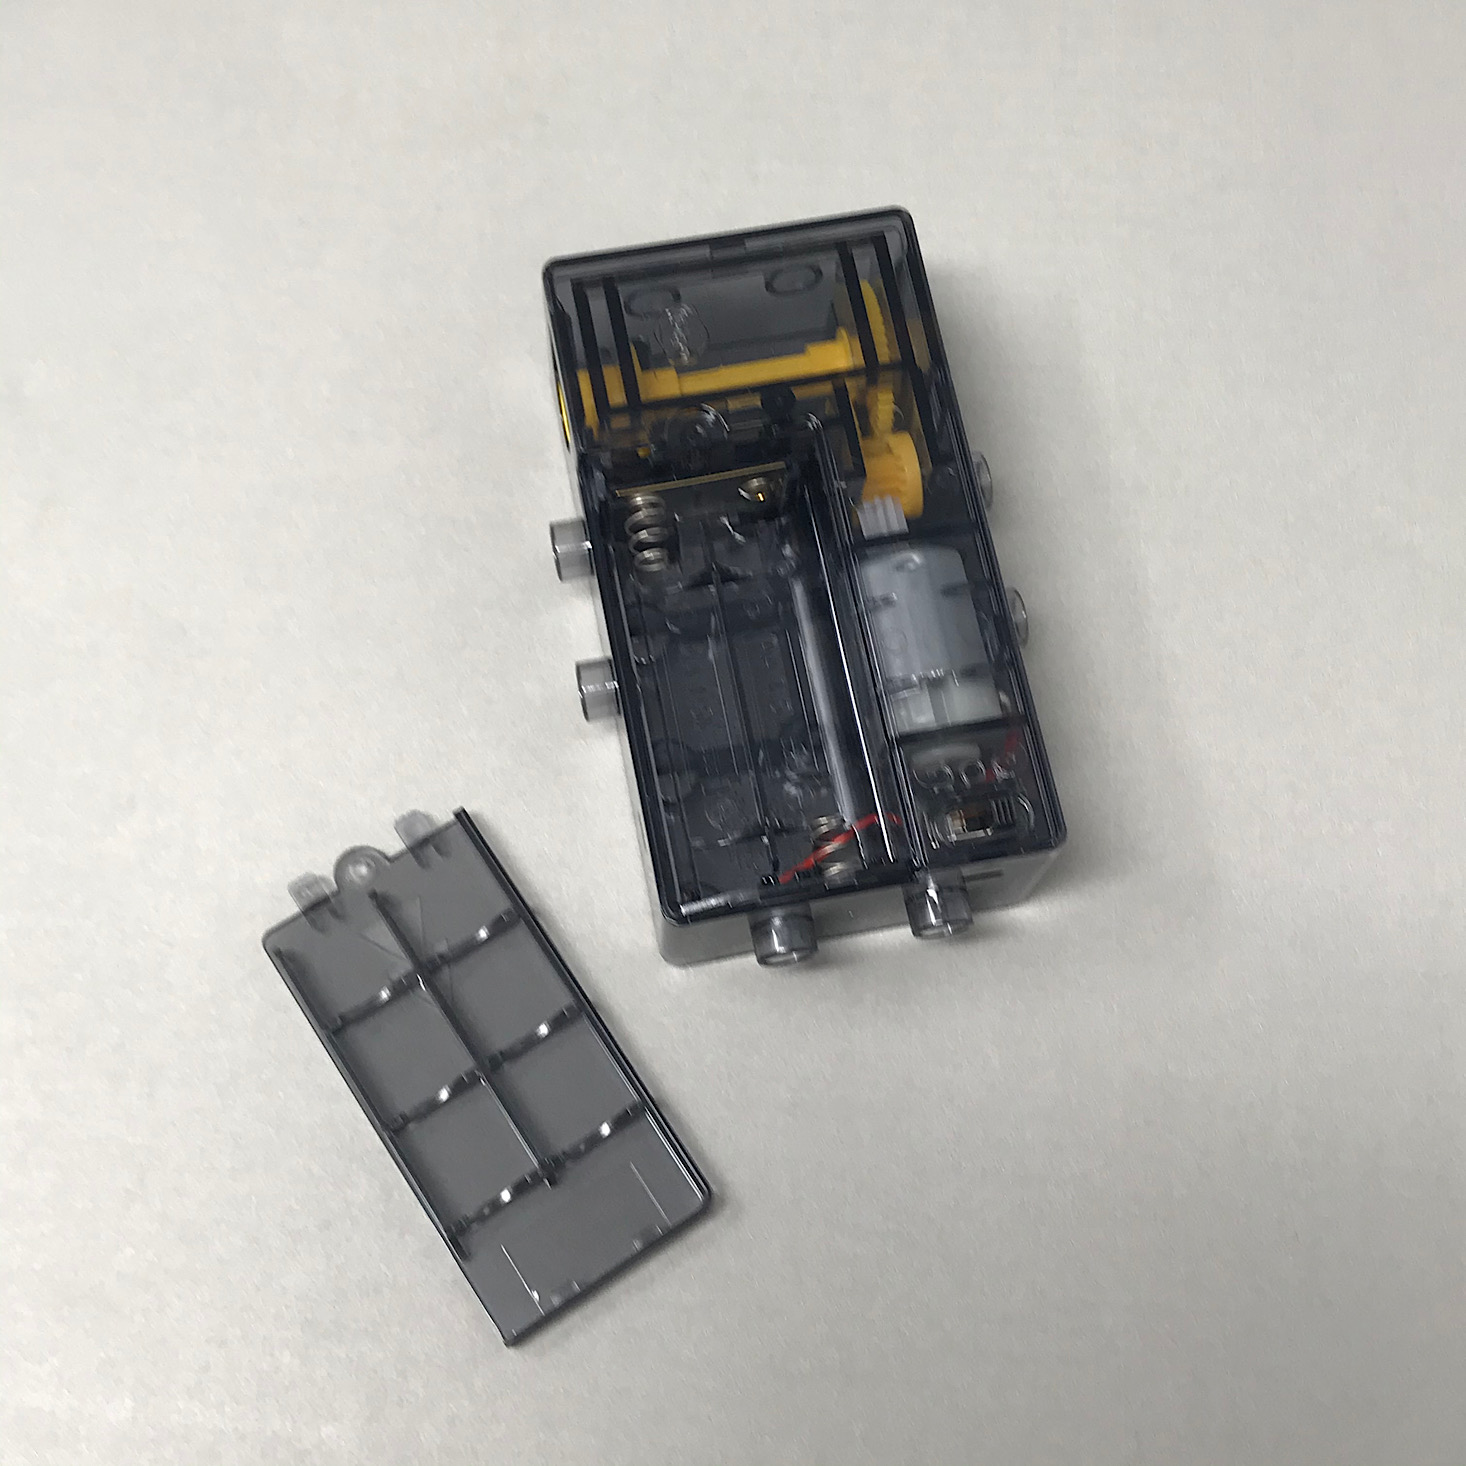
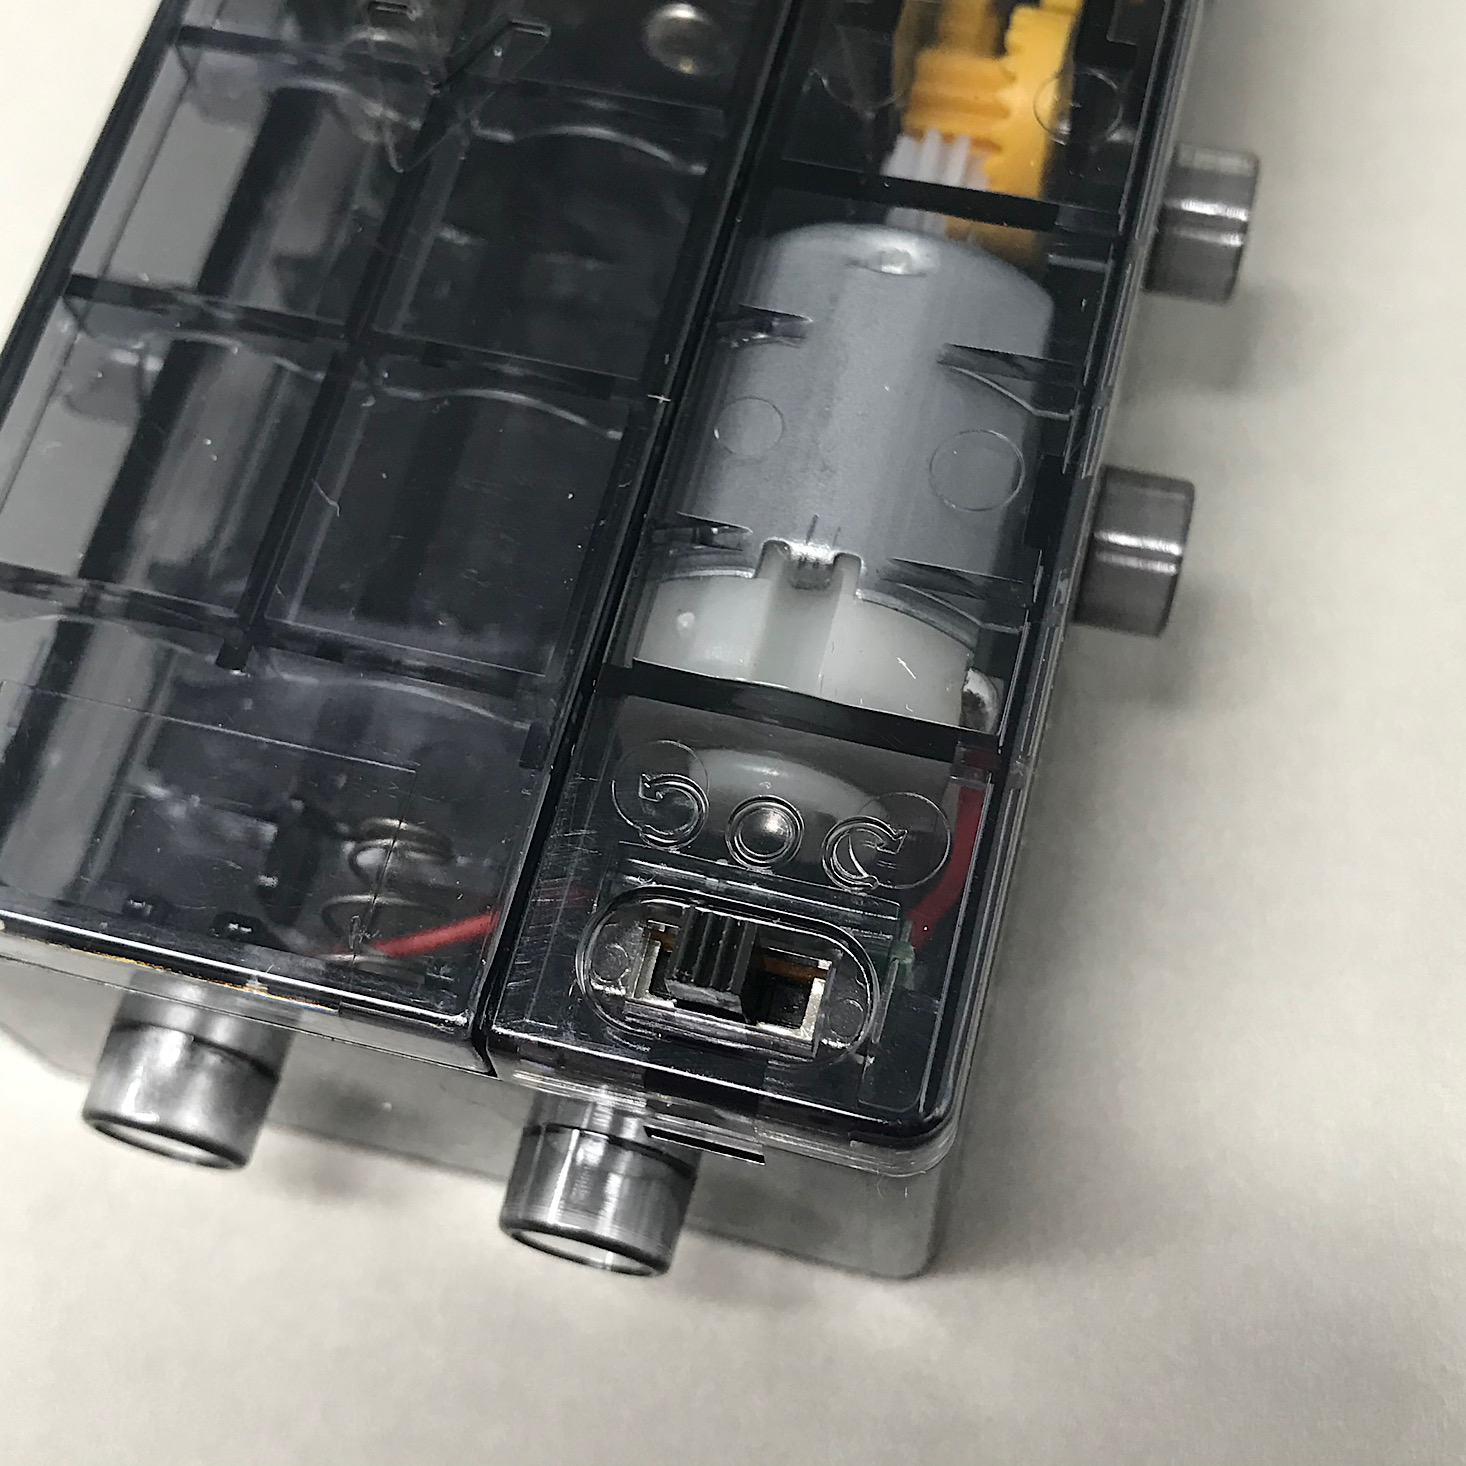
The motor for our animals required 2 AA batteries which we had to provide. I'll show you all of the other pieces we received as we go along since it will be easier to see their purpose this way!
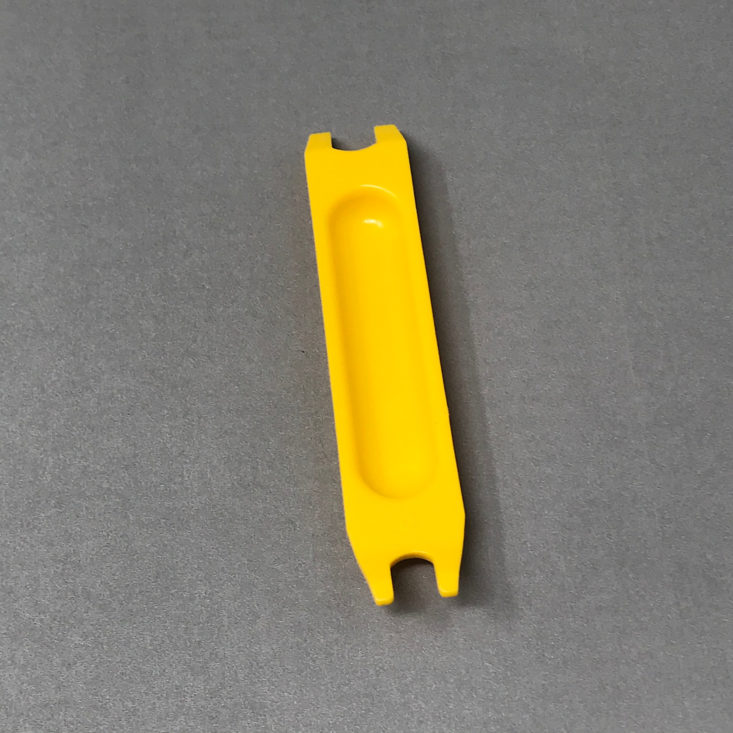
I will point out this little tool though because this is how we are able to get pieces apart when we are switching to a new animal. The two ends work with different shaped pieces to pull them out and one end features flat tabs to fit in between blocks and split them apart. This was definitely a handy tool that was needed! Now let's meet our first robot!
Remus the Polar Bear Robot:
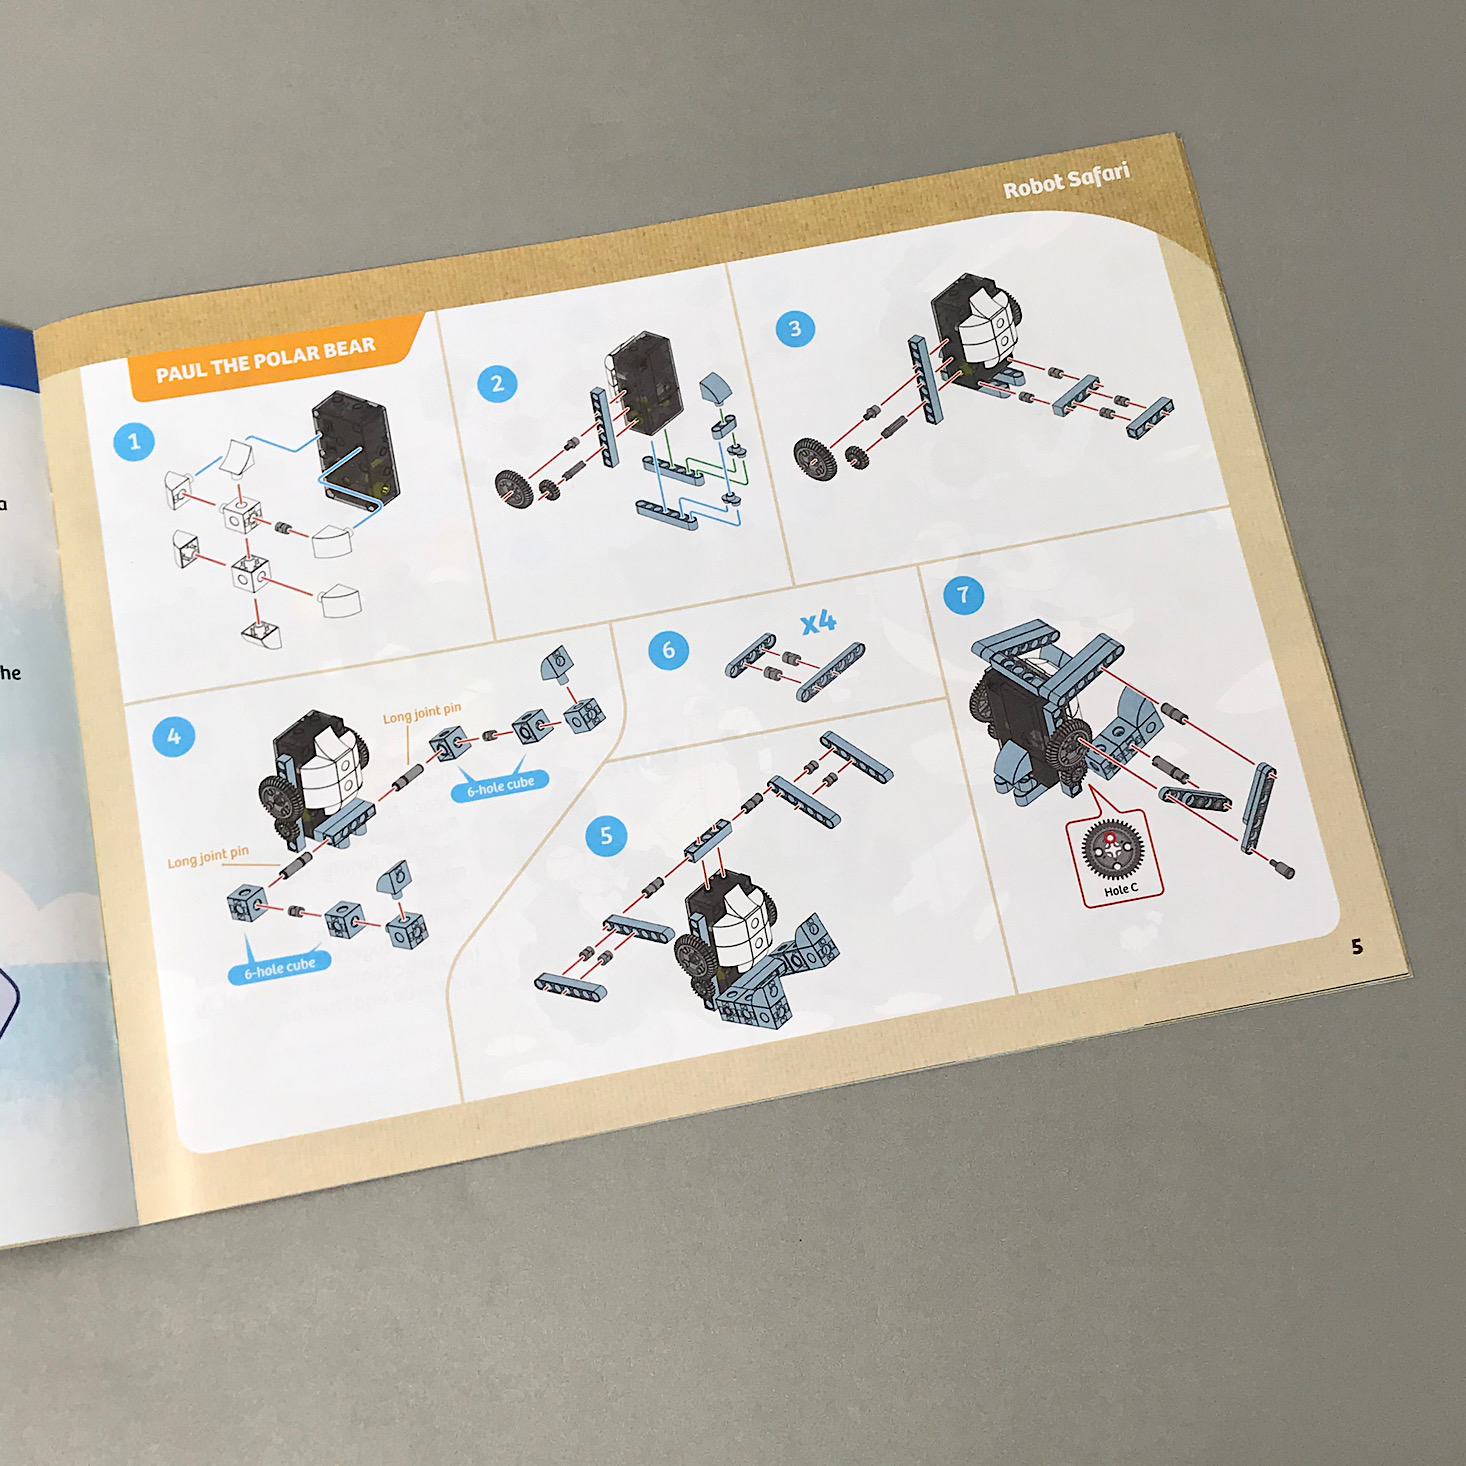
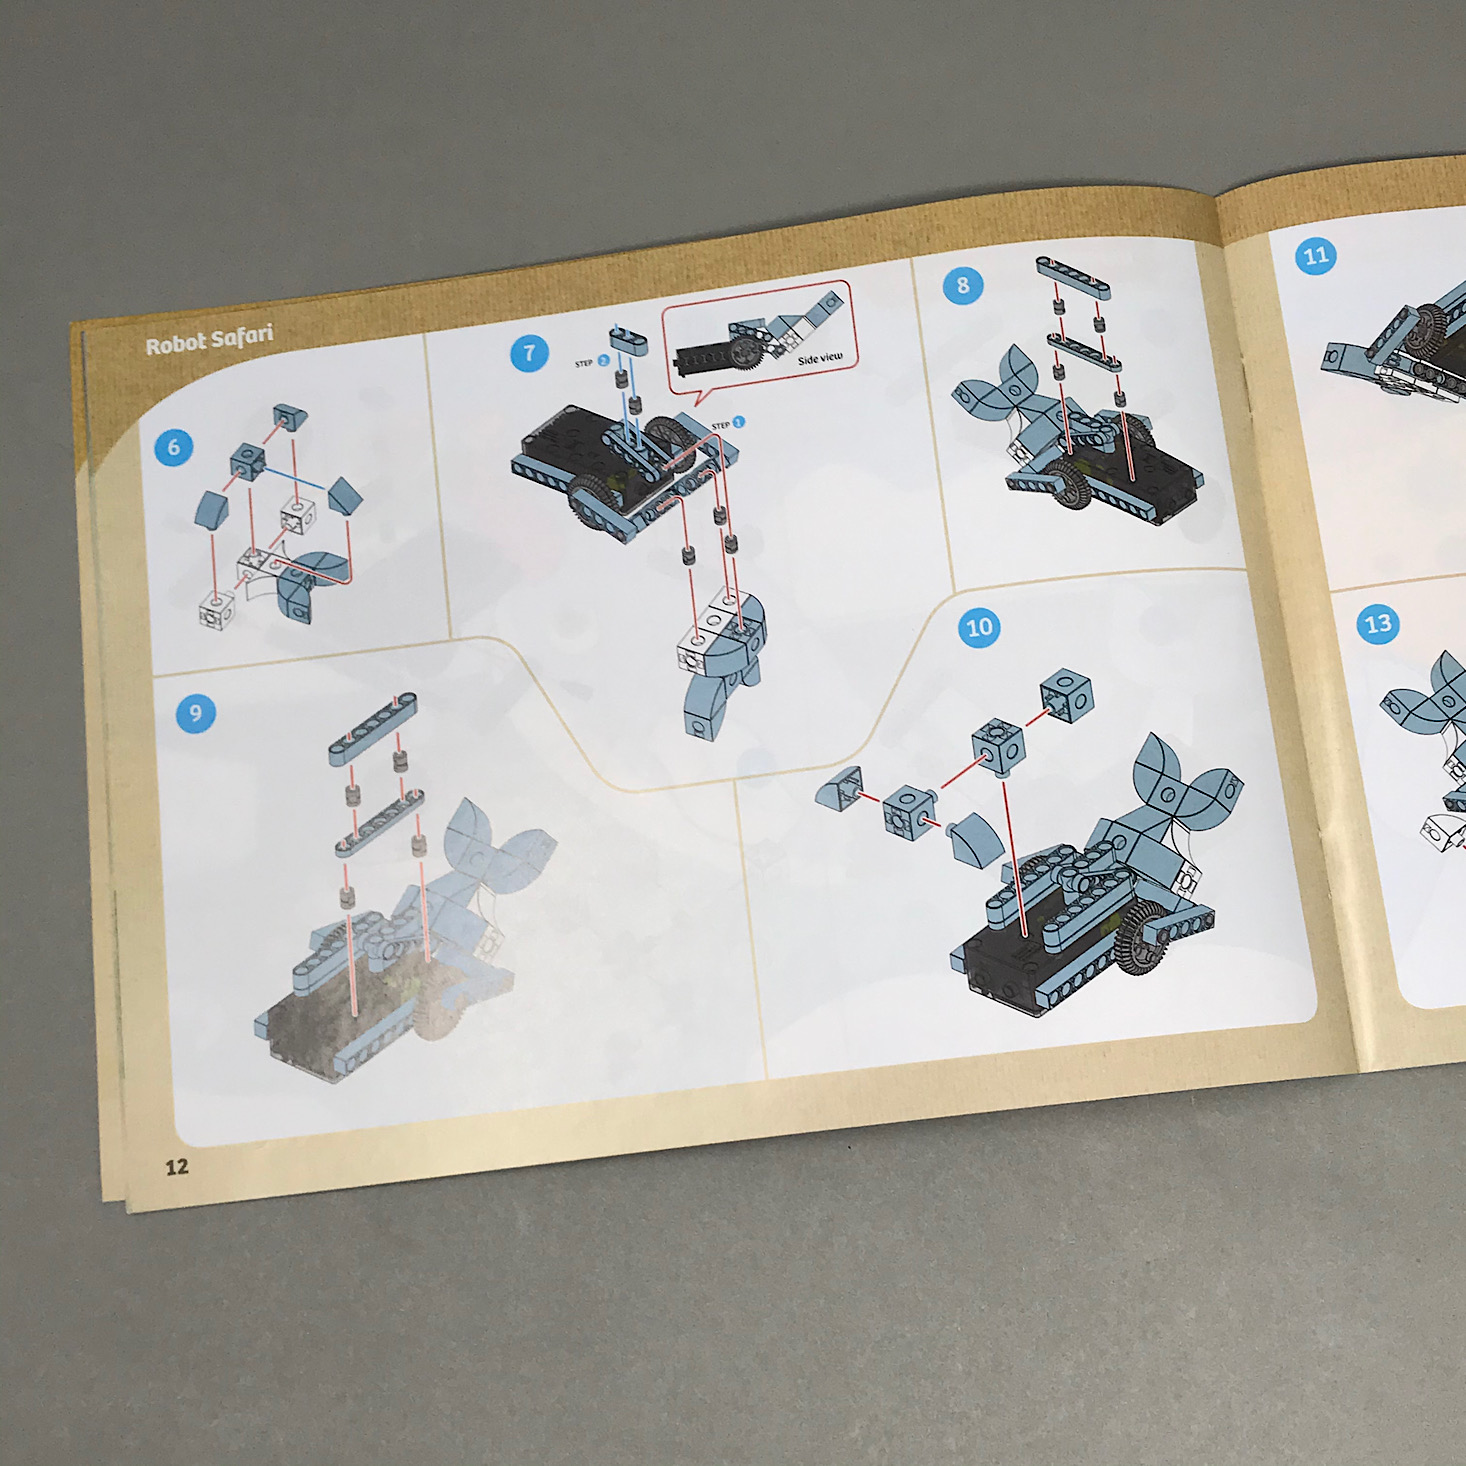
The first character we are introduced to and asked to build is Remus the Polar Bear. The directions are numbered and include detailed illustrations, although I have to admit, I did still find them to be confusing at times, but we'll get into that later.
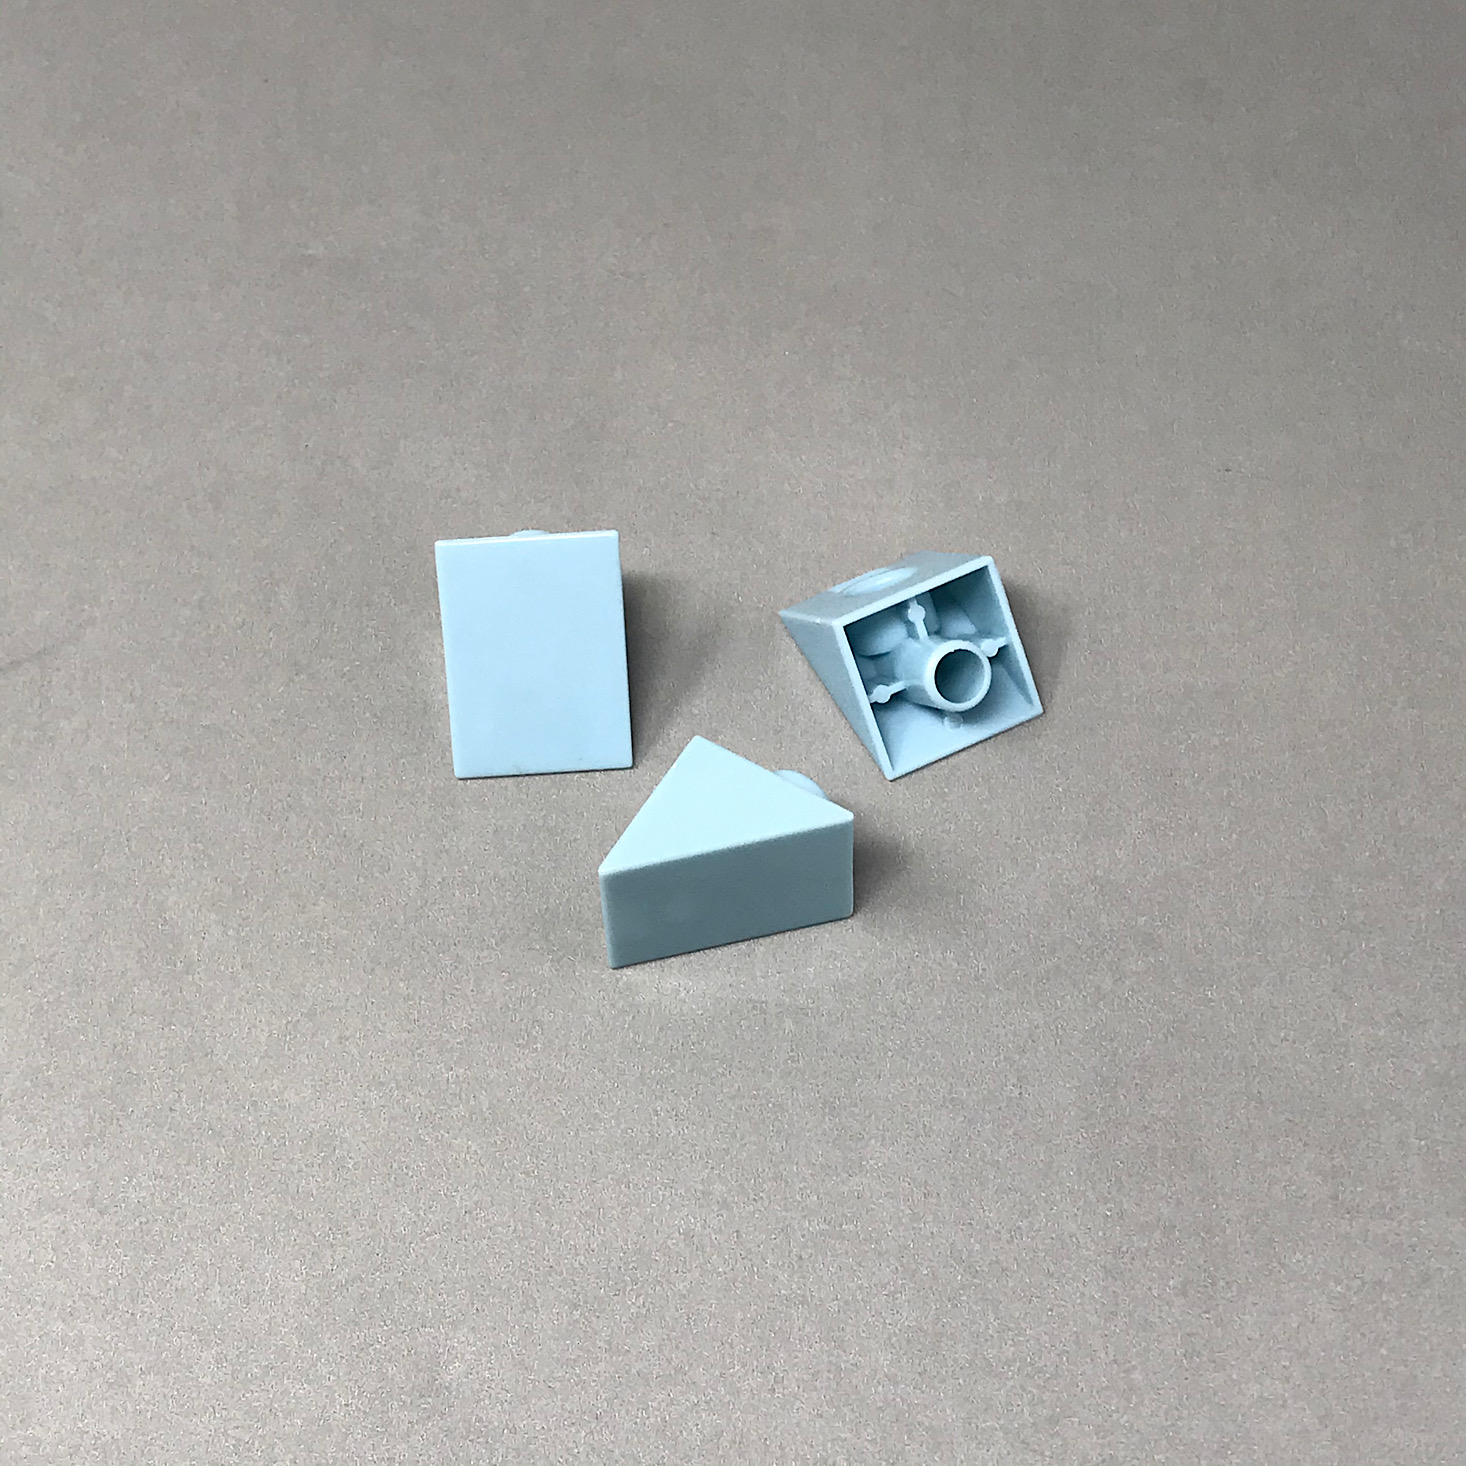
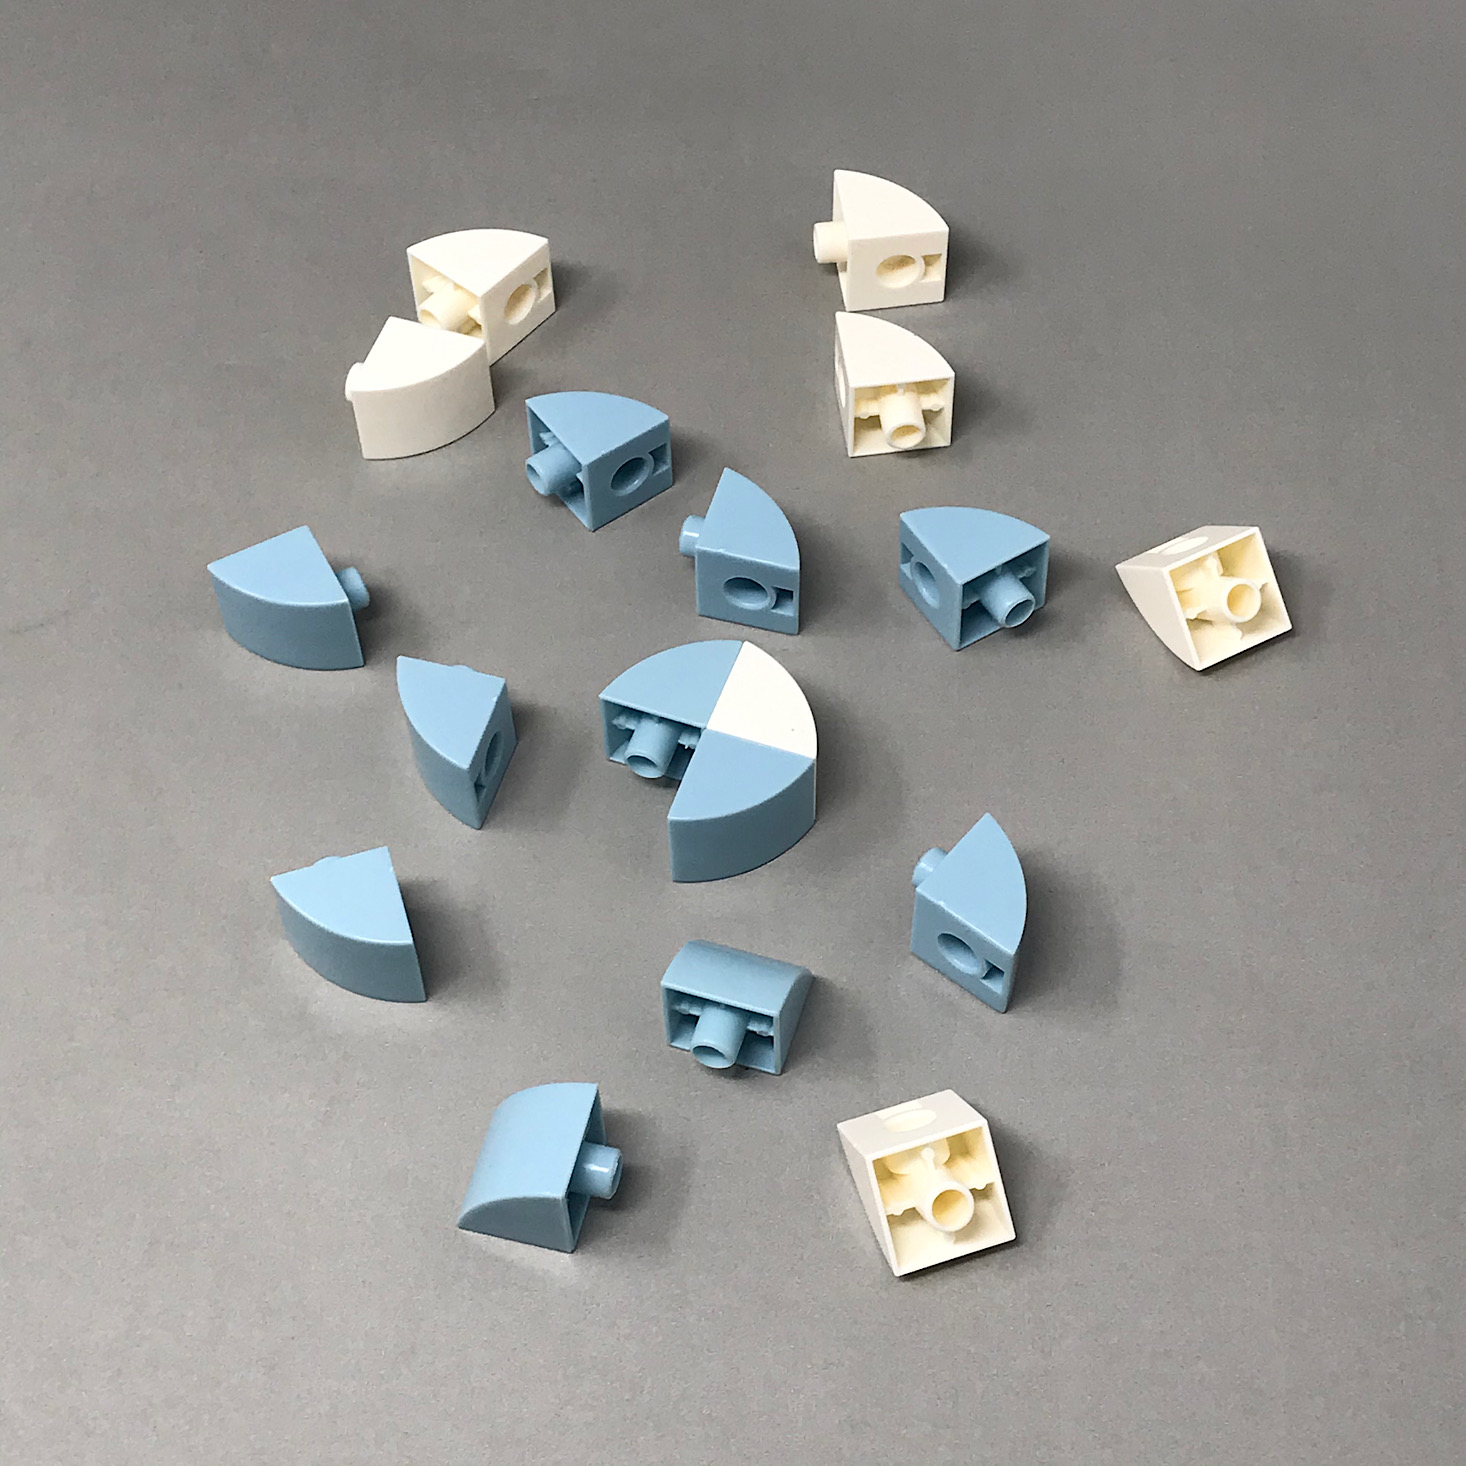
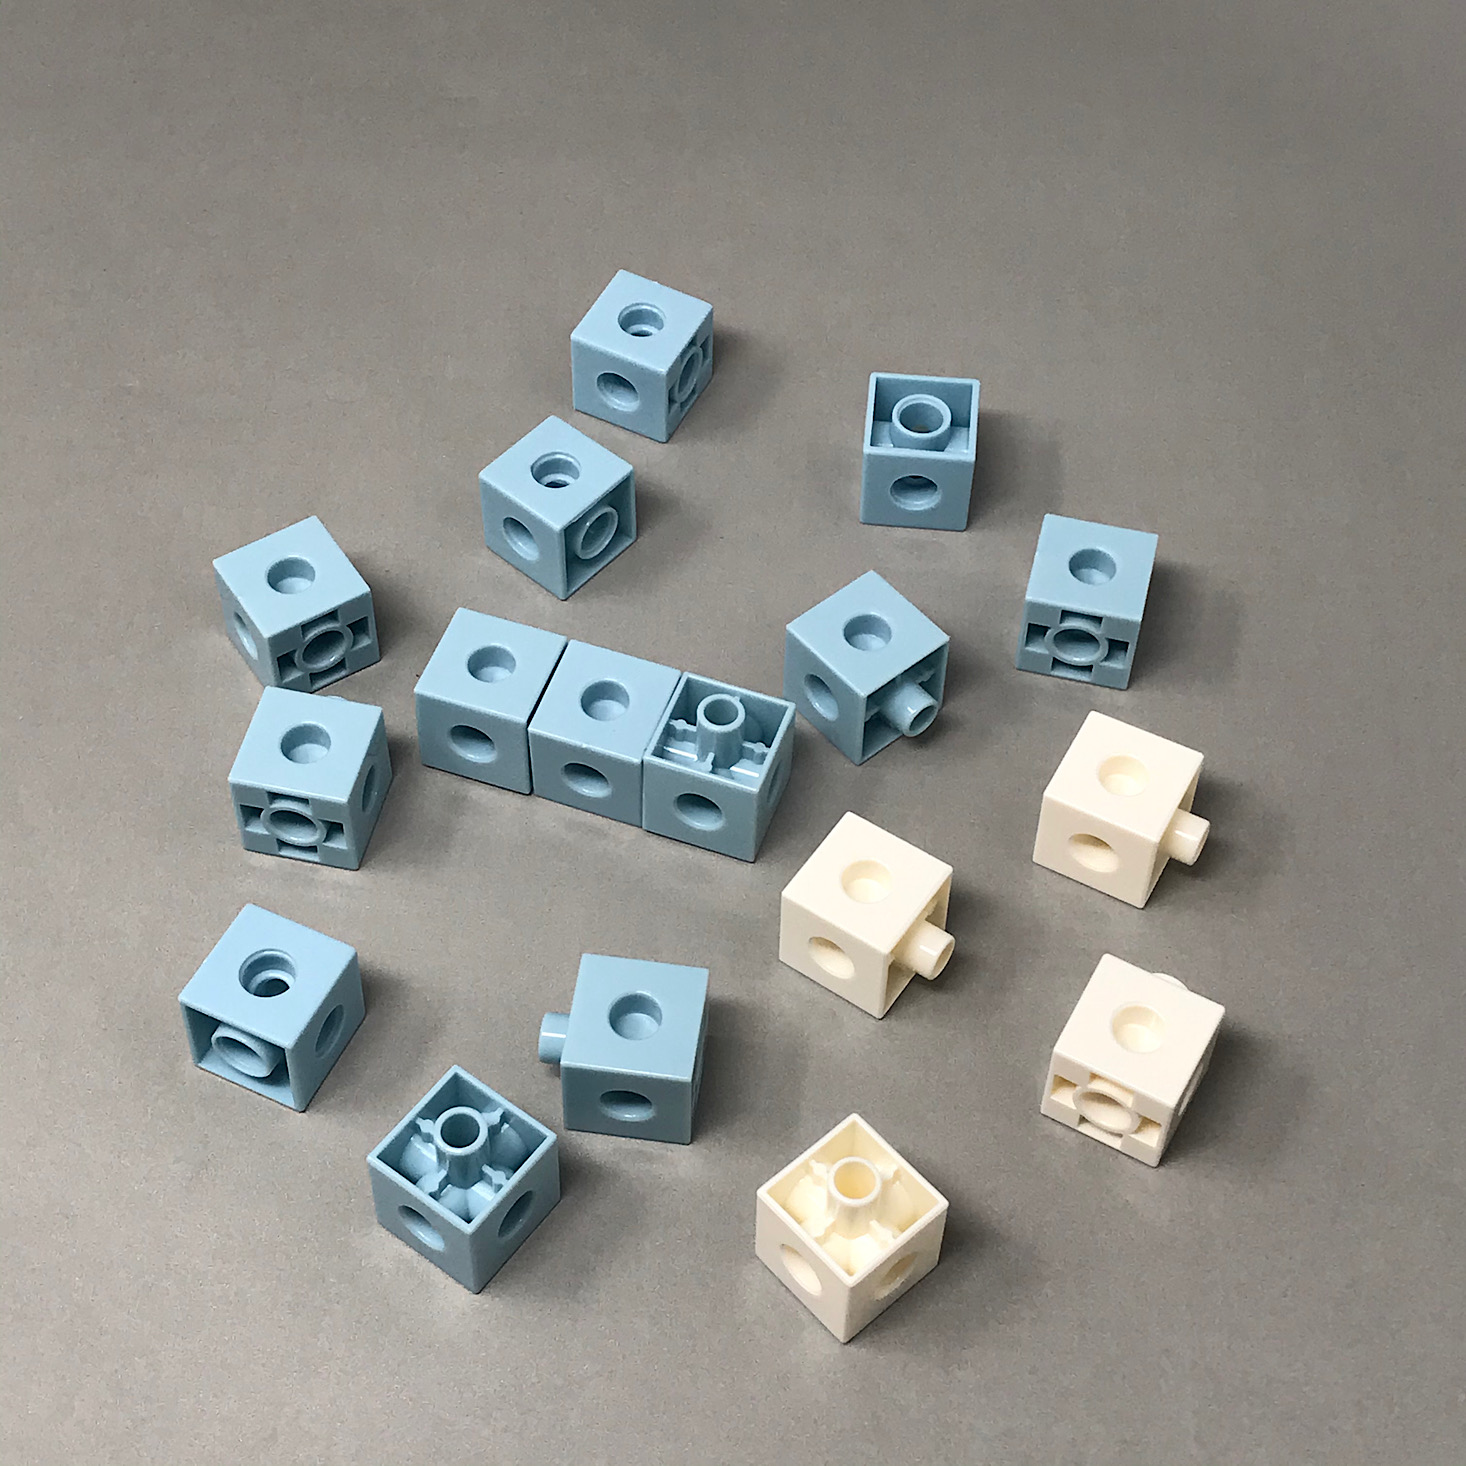
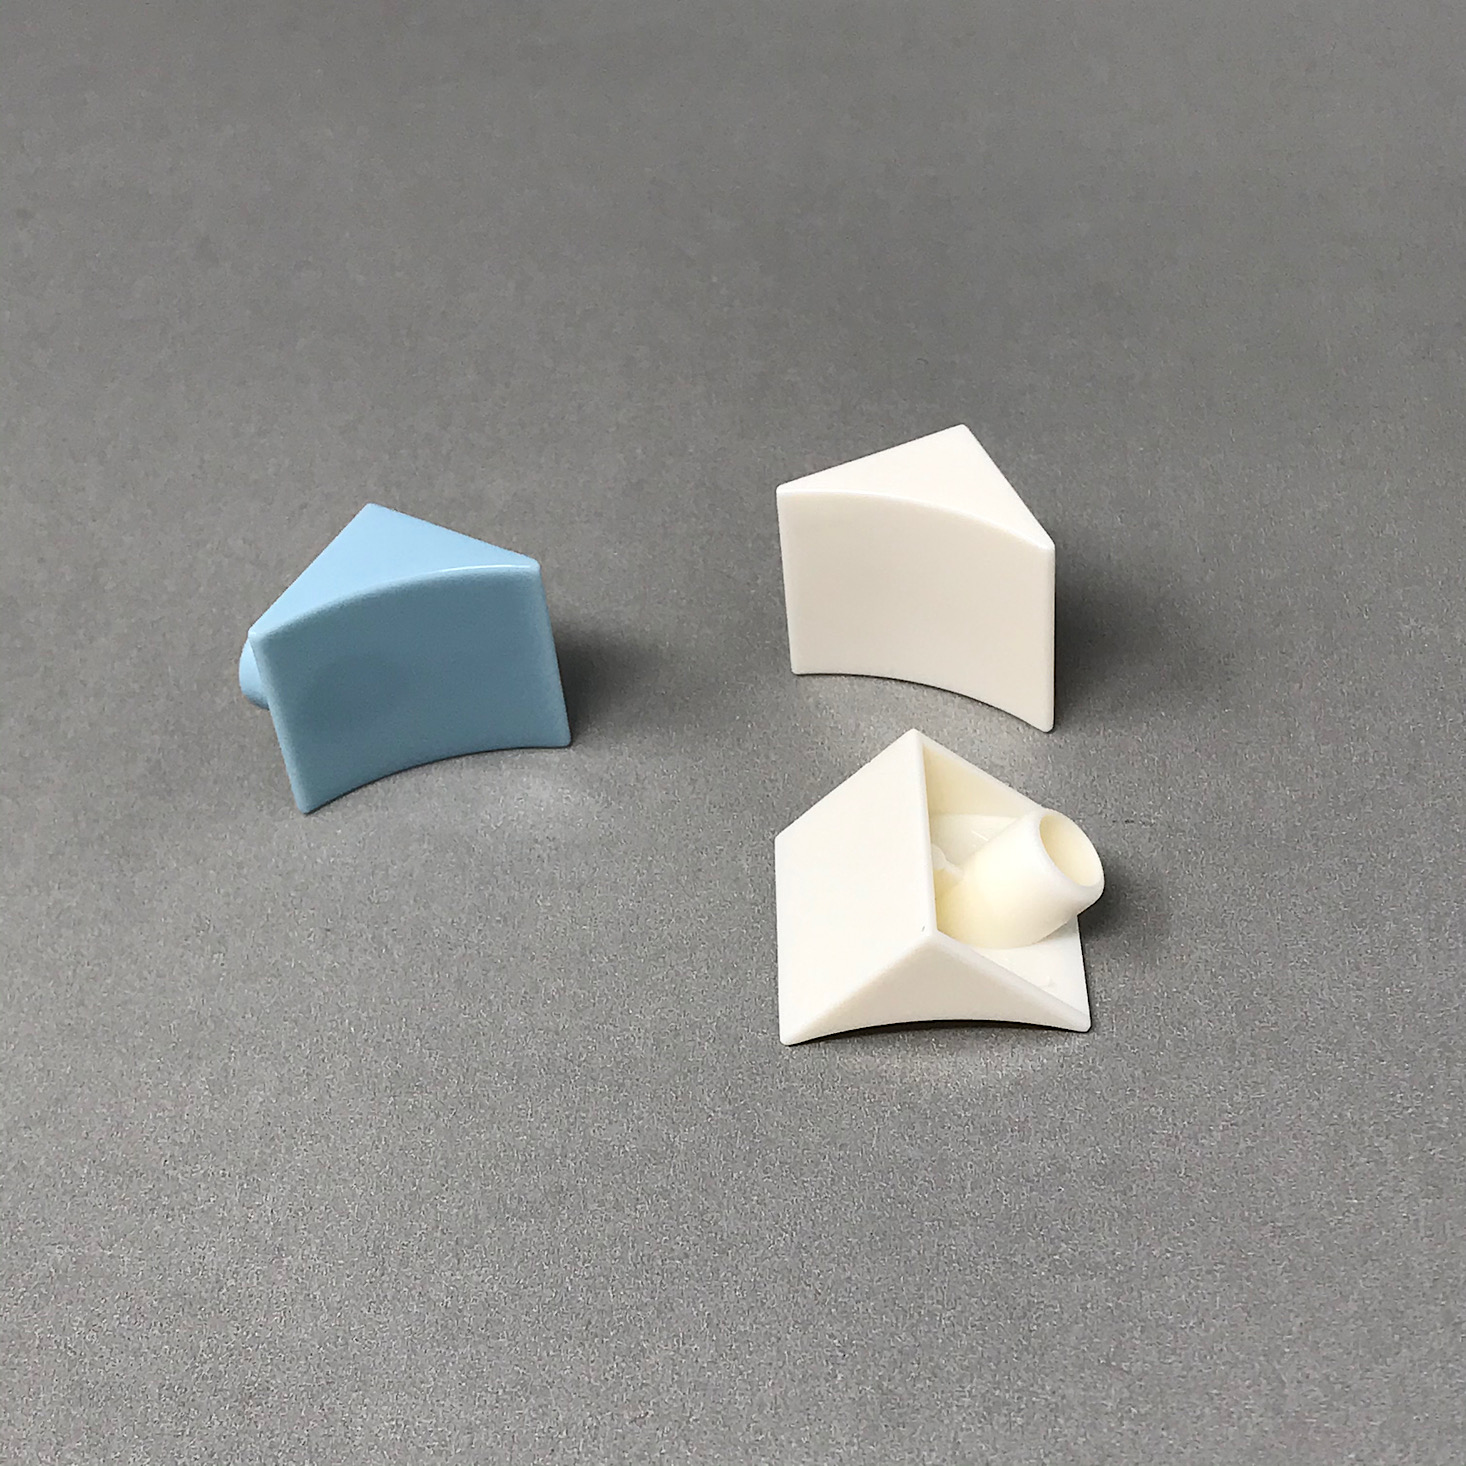
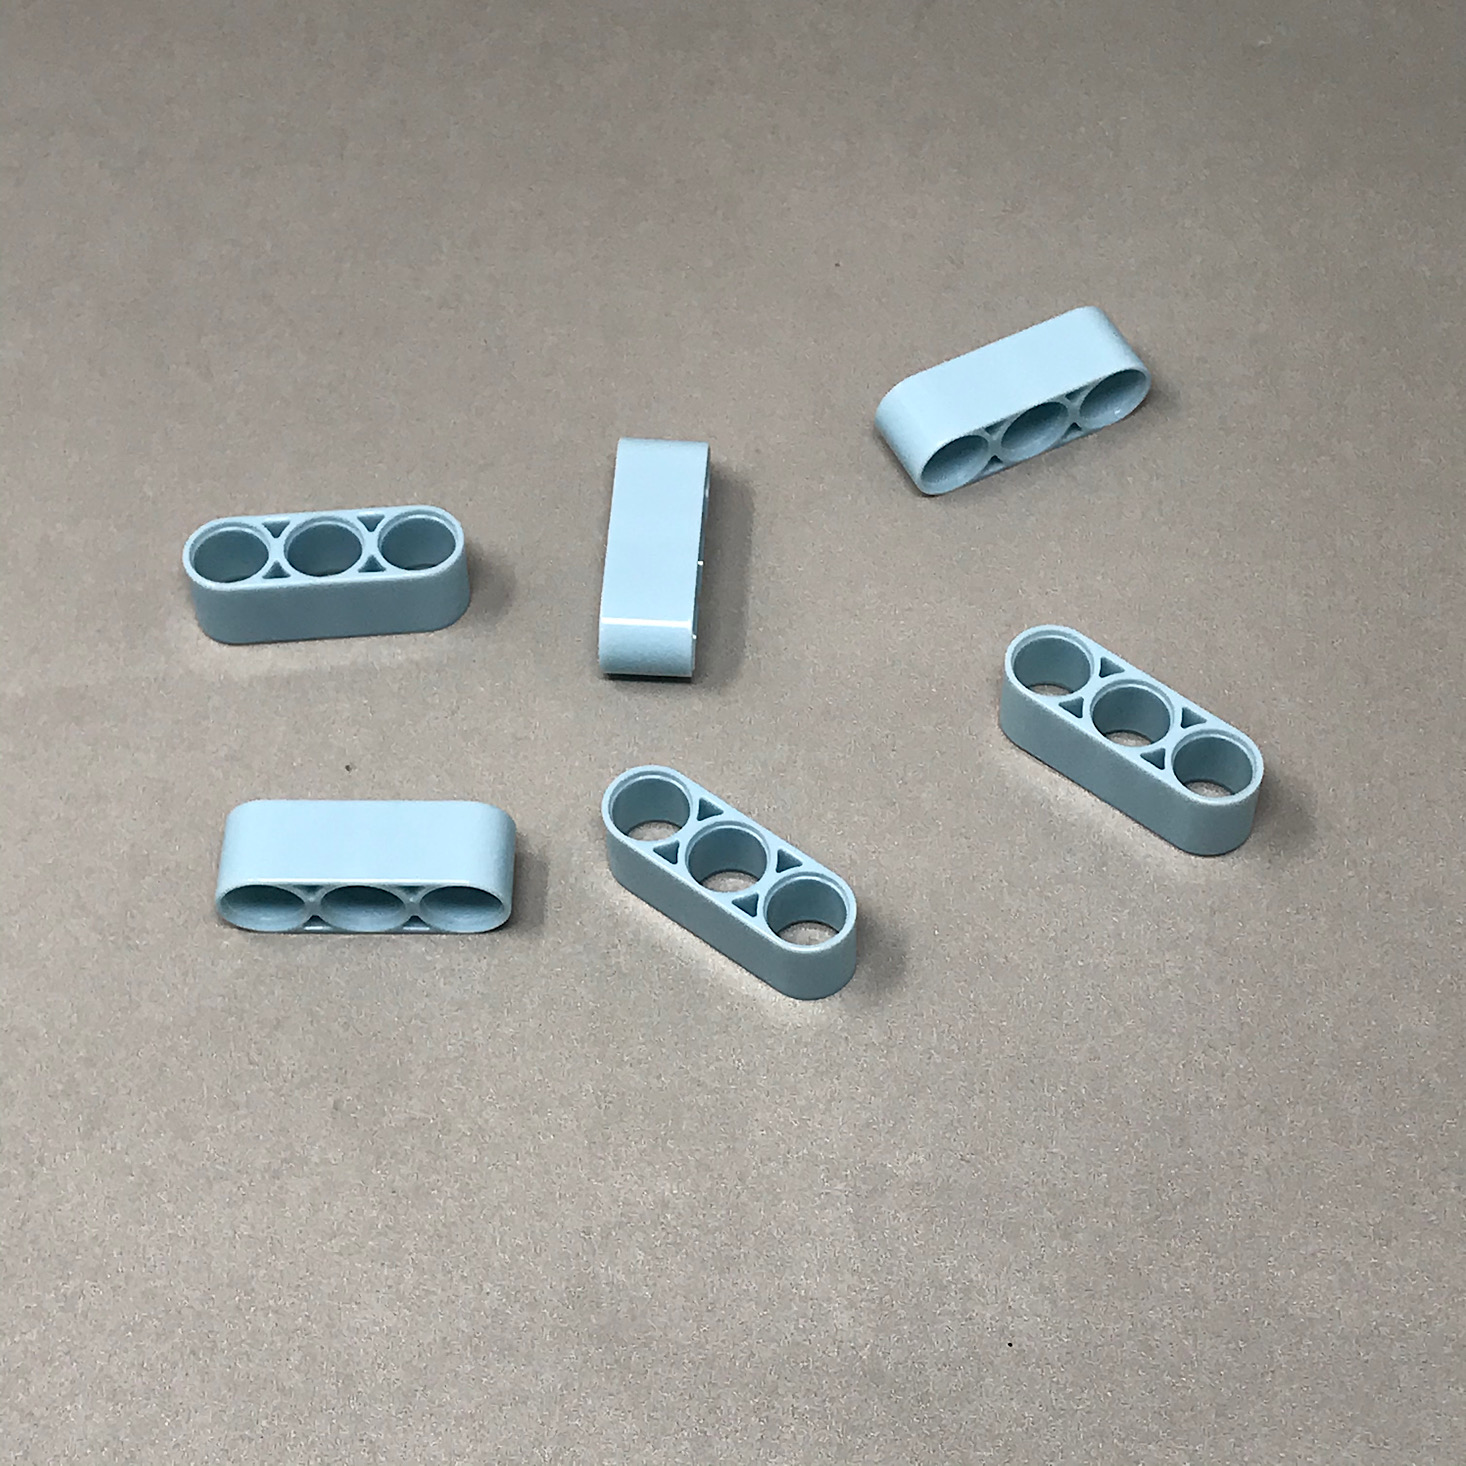
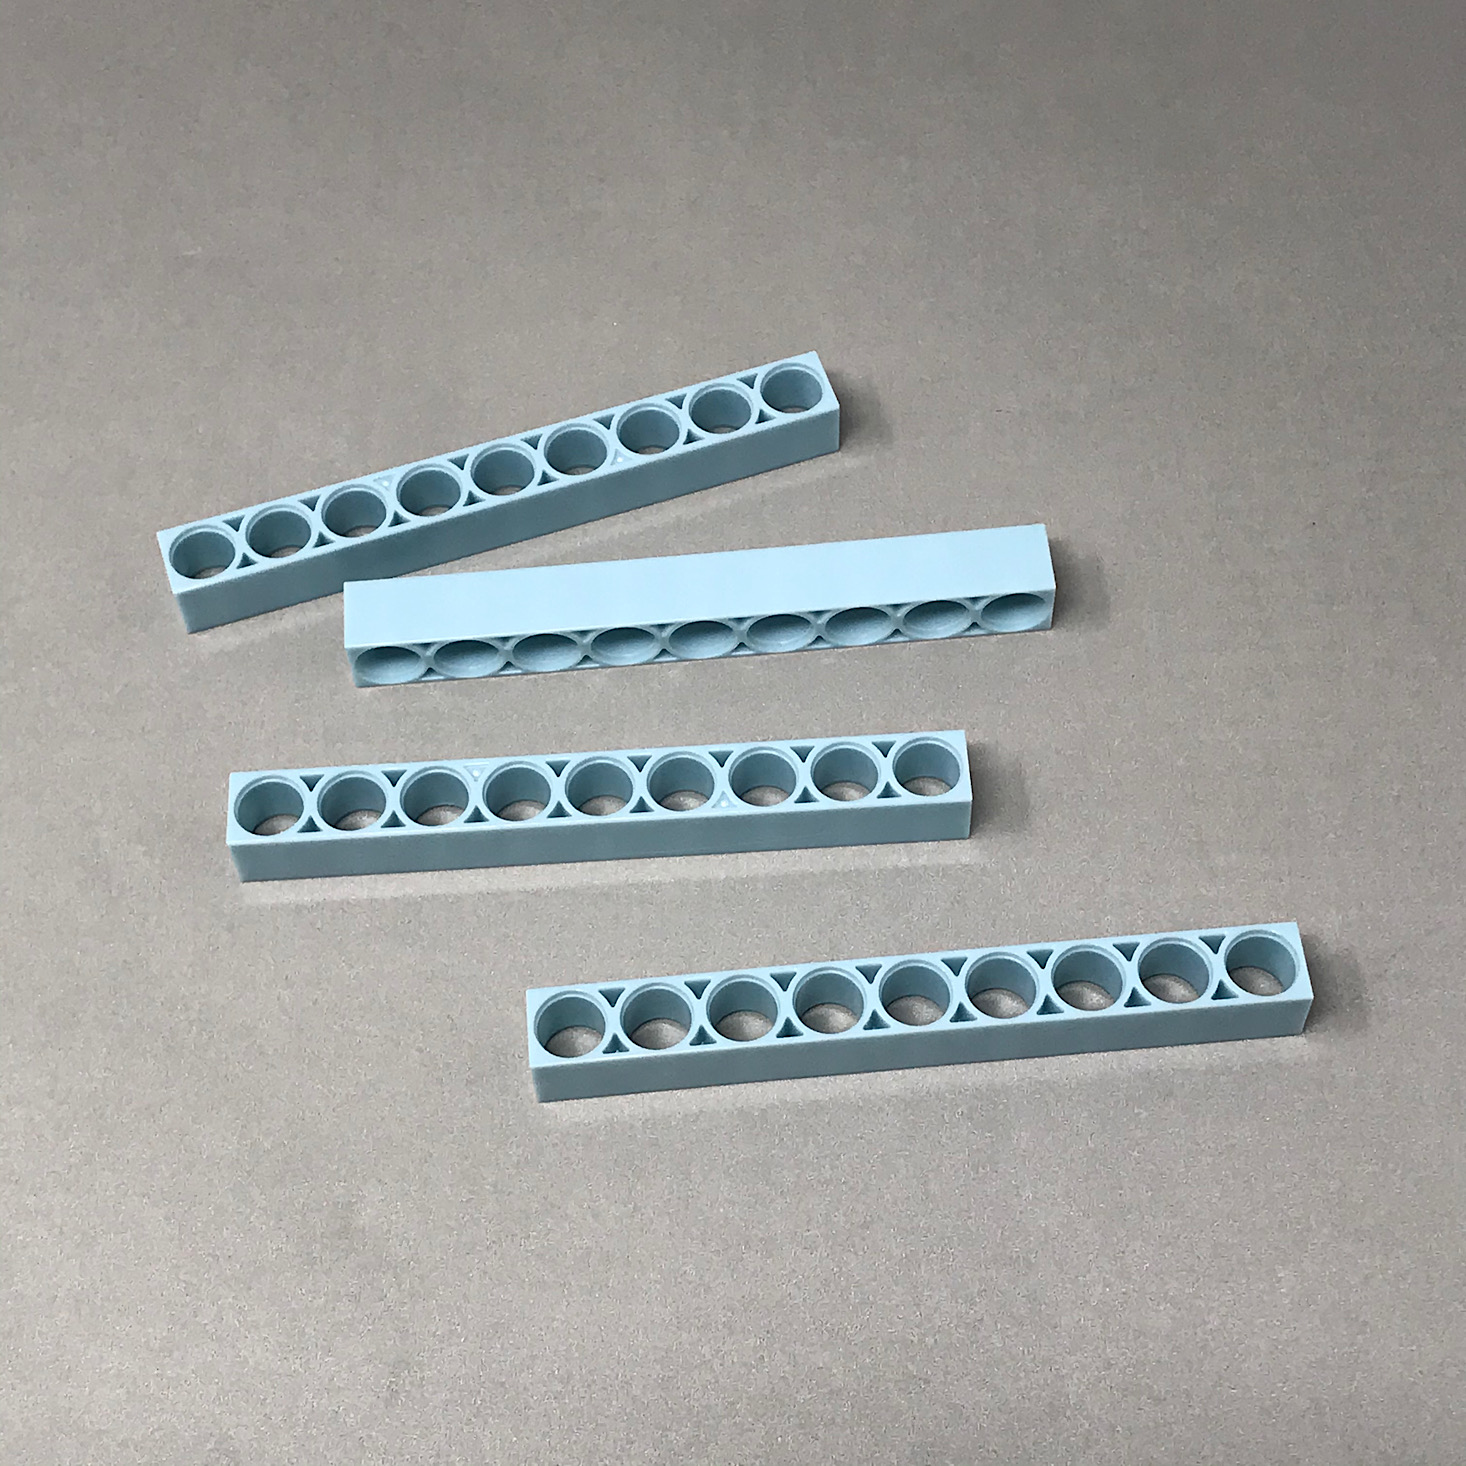
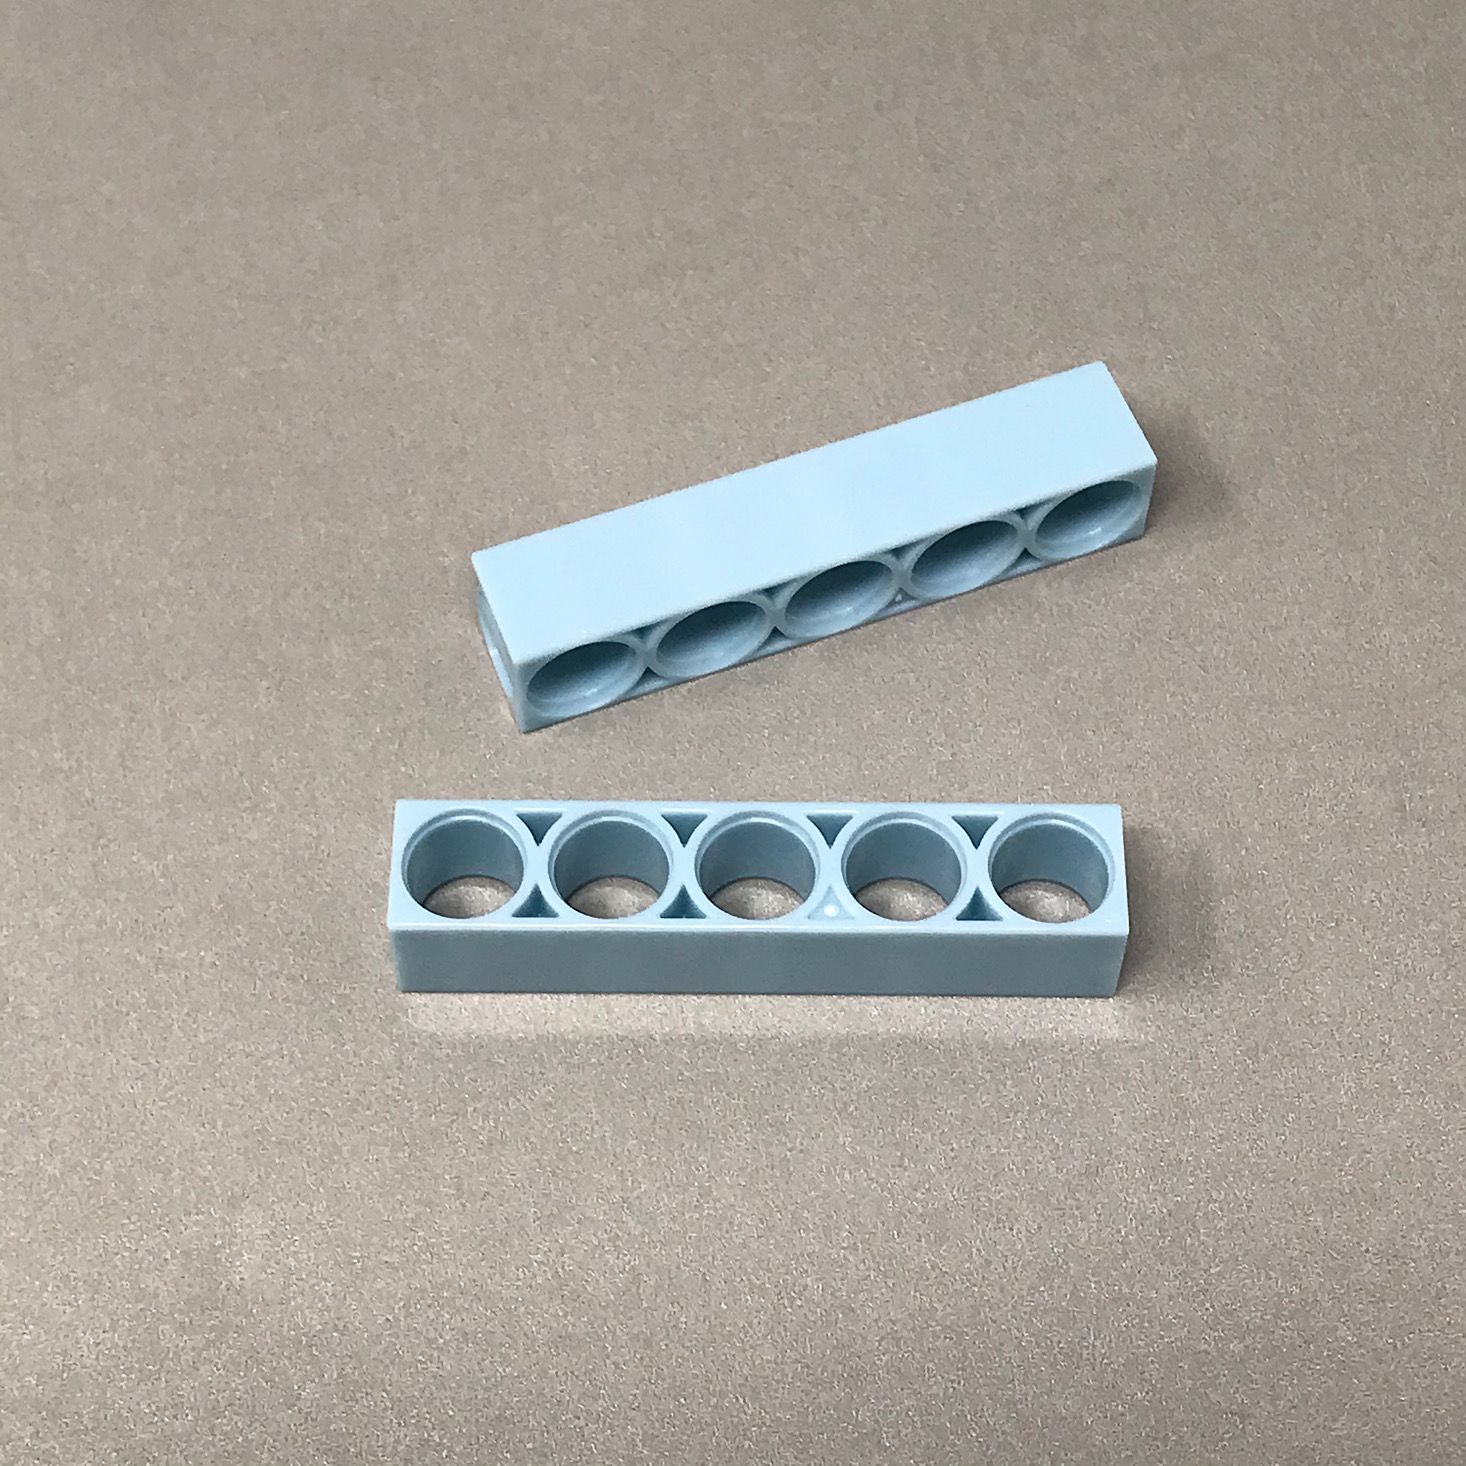
These blocks of various shapes, sizes, and colors are the main pieces of our robots. There are triangular pieces, curved pieces, blocks with several holes and pegs sticking our or simple cubes all made up of holes. They fit together easily and it's very important to get the right piece since there are not a ton of them and since each one serves a different purpose within our robot designs.
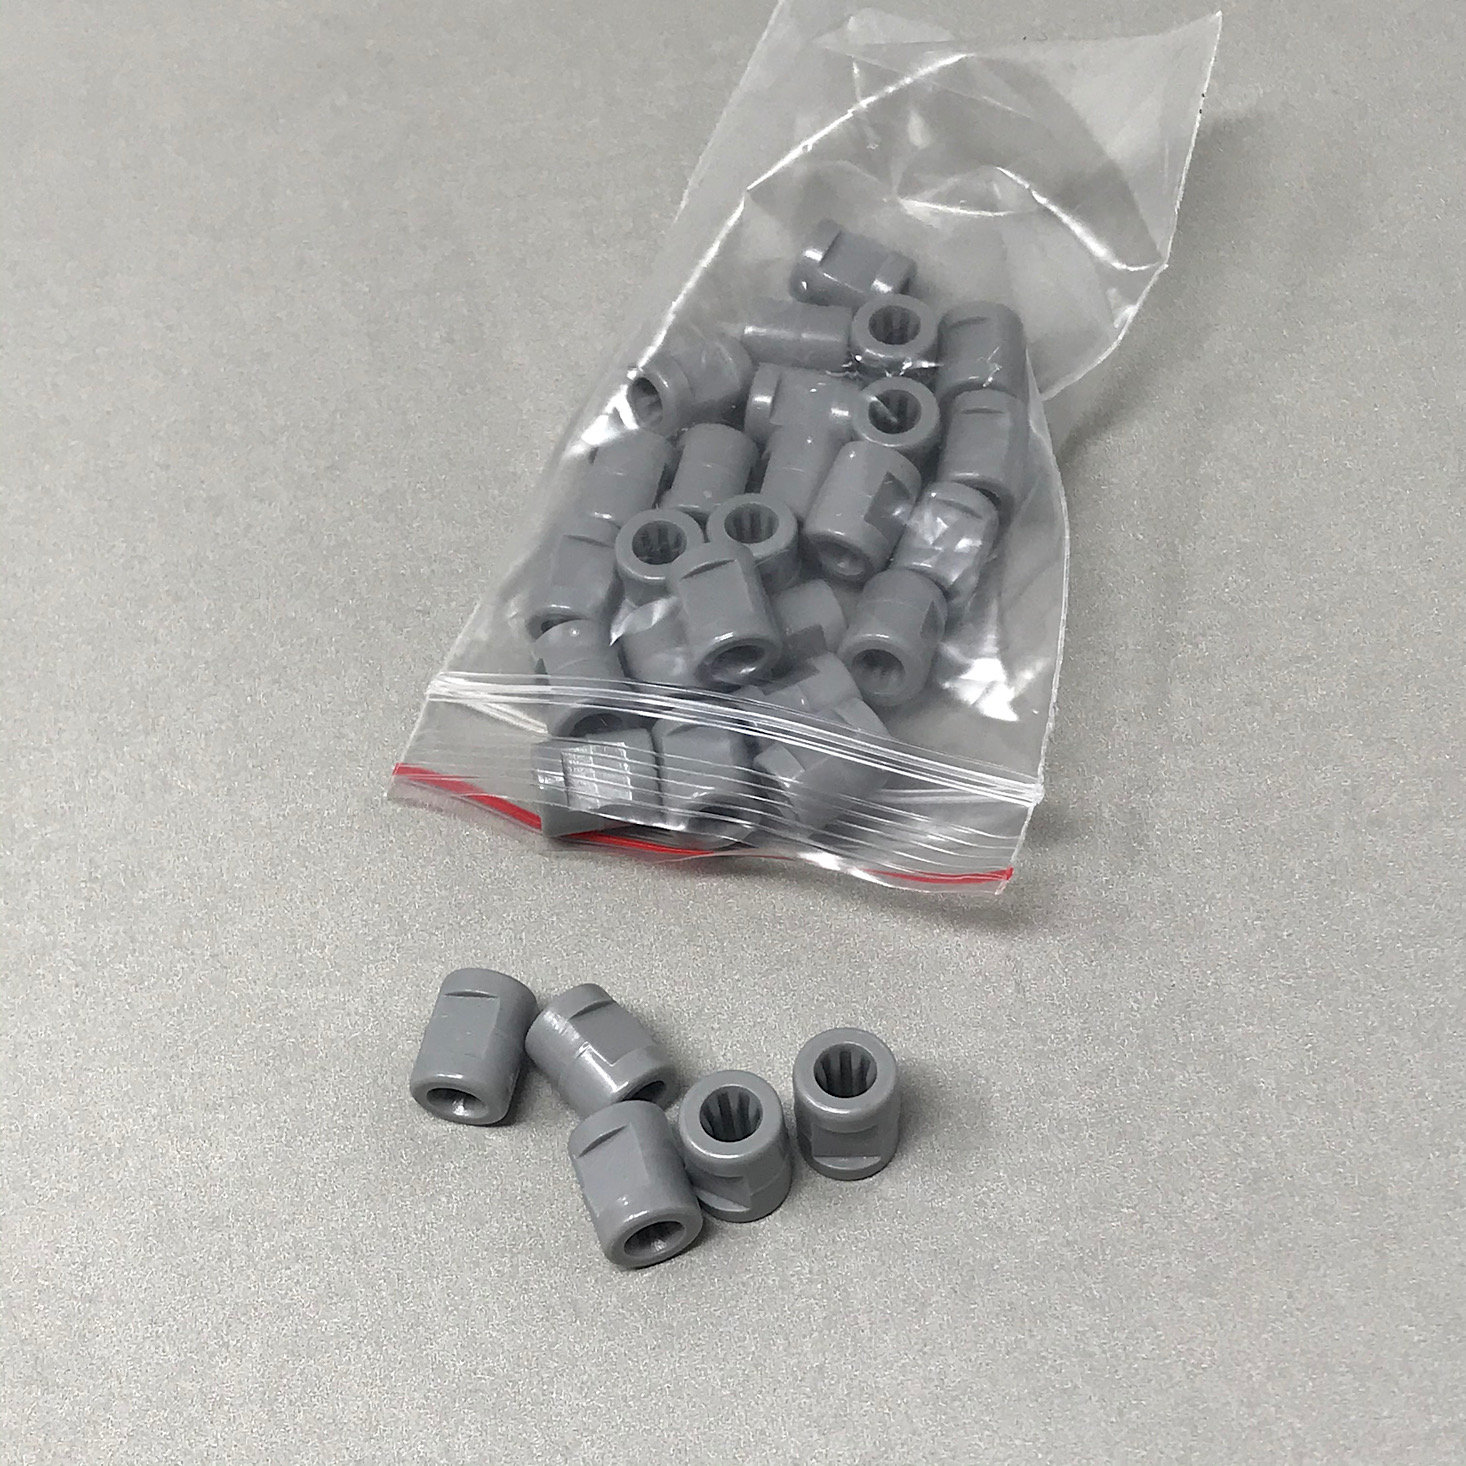
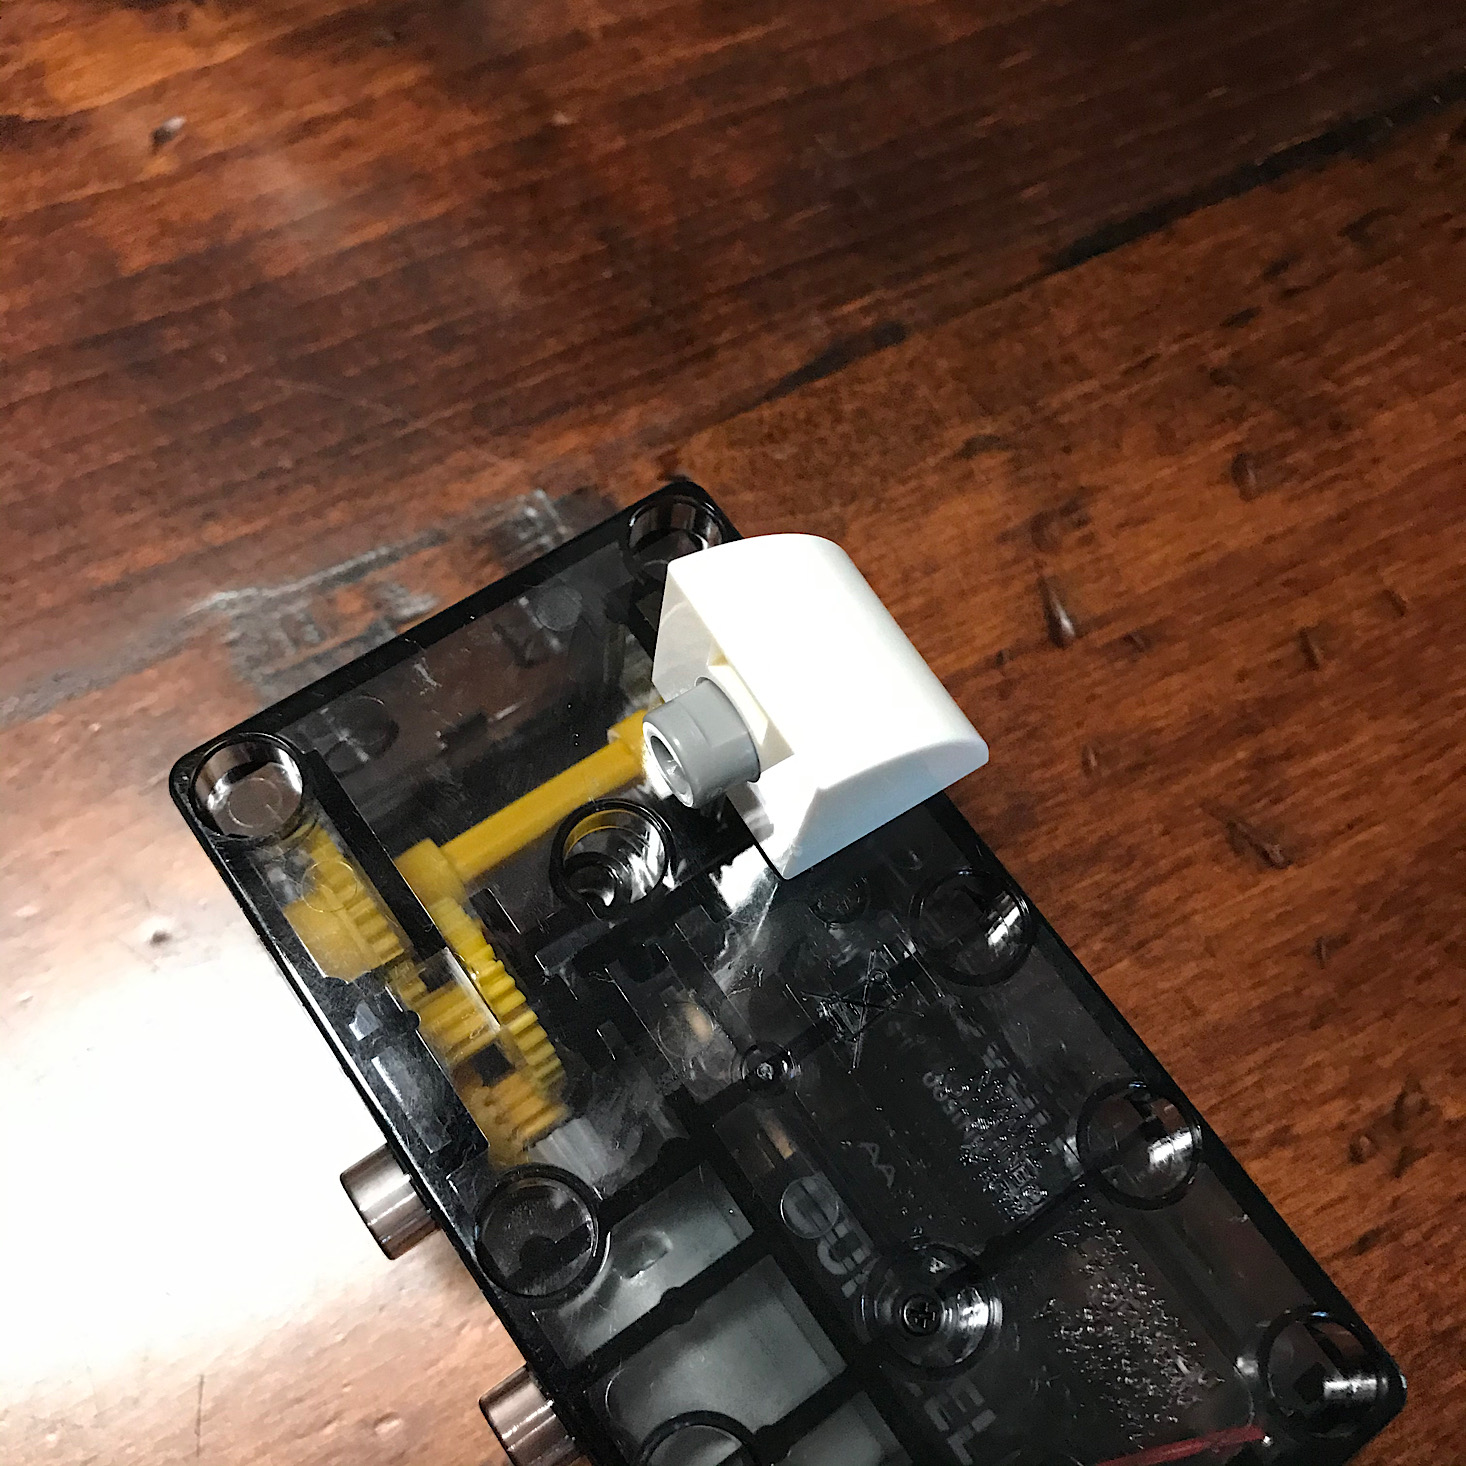
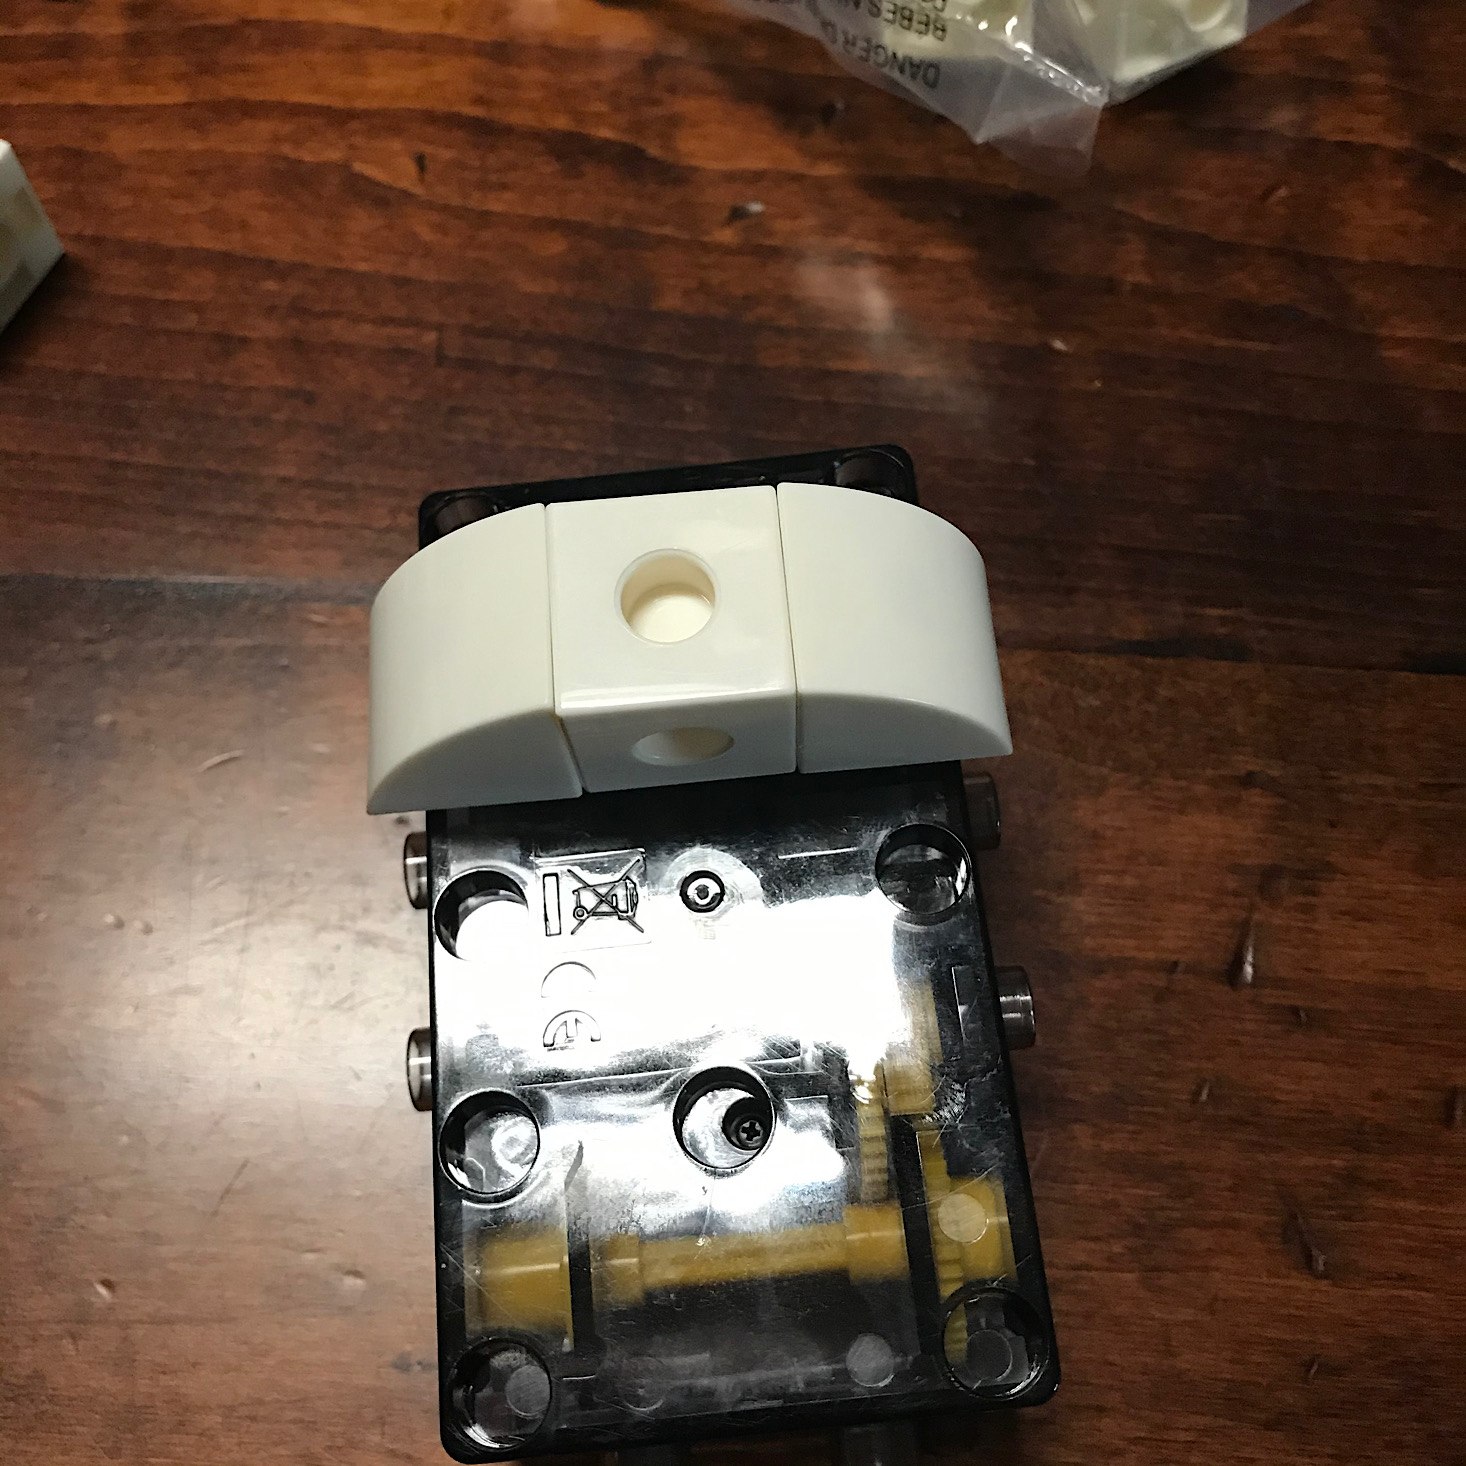
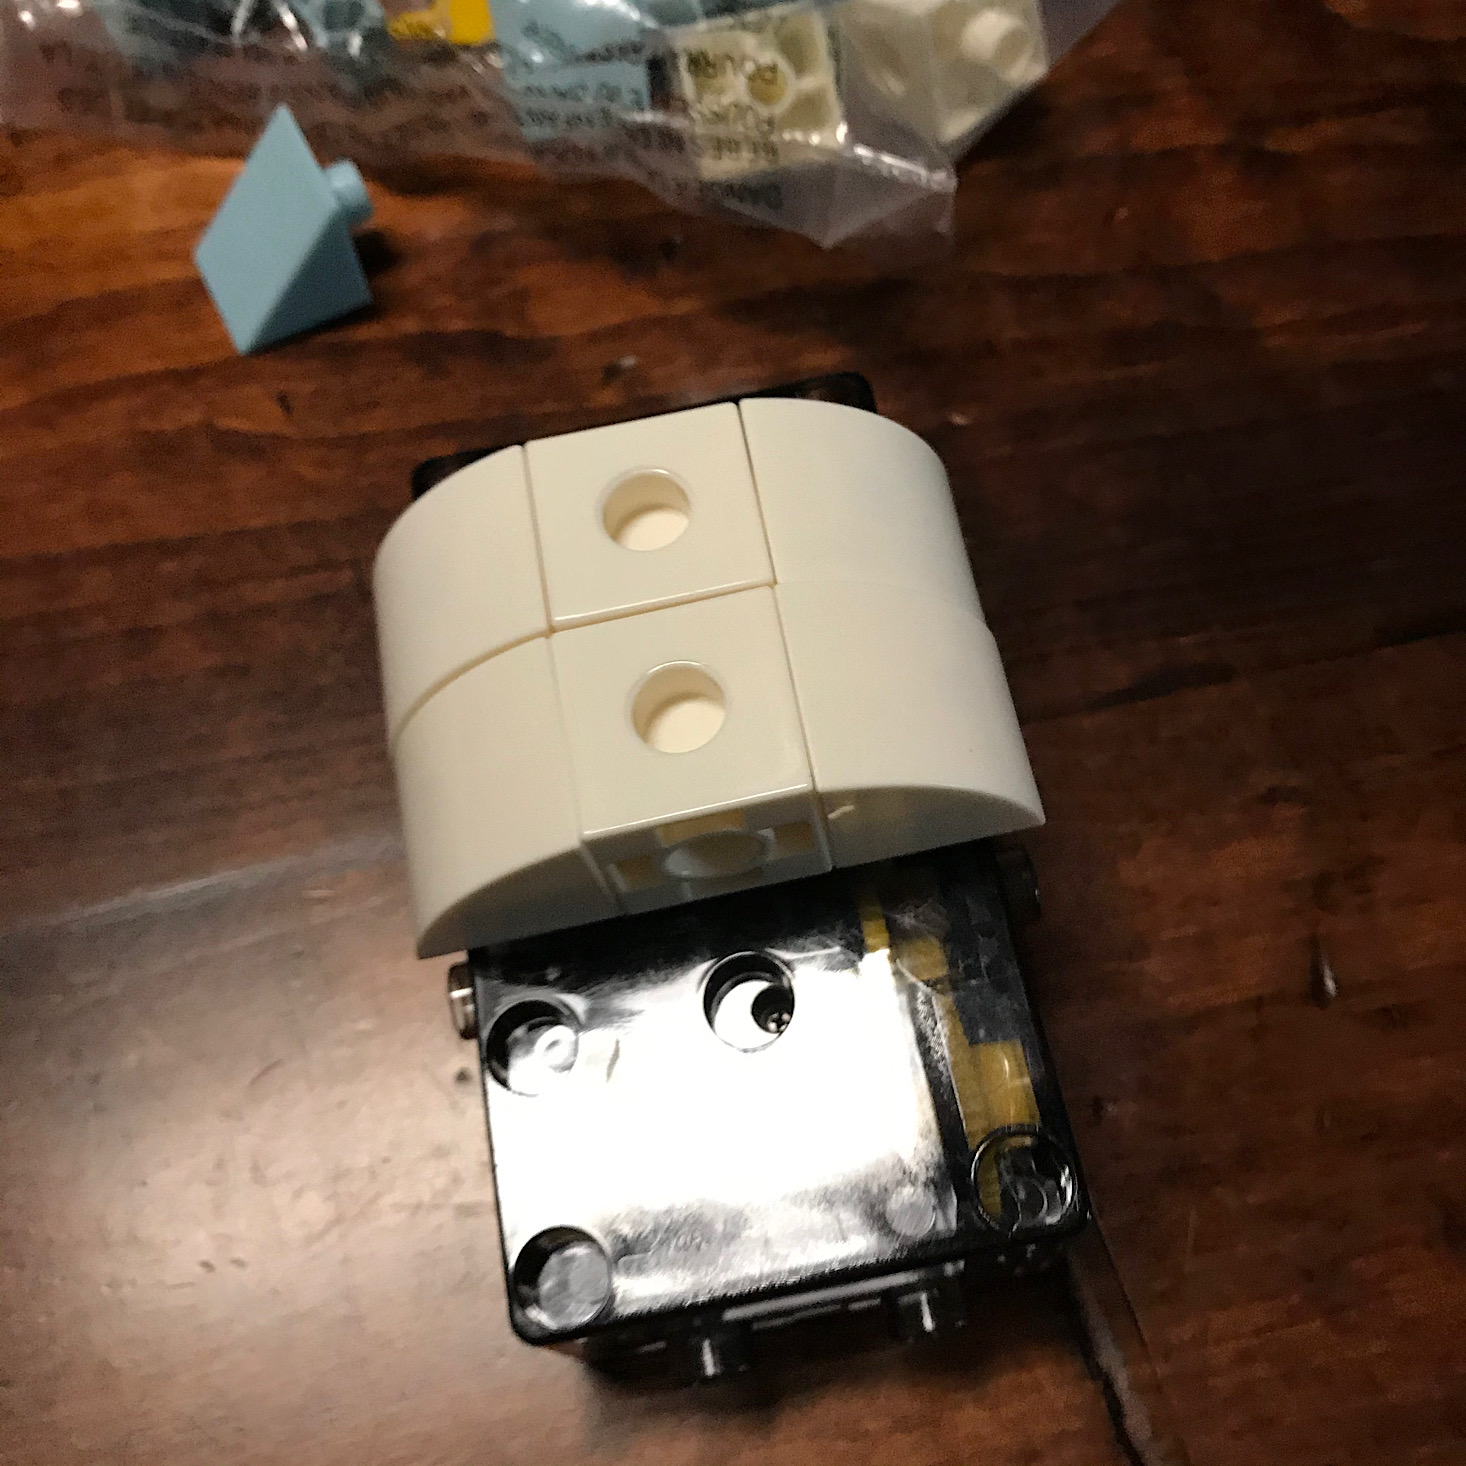
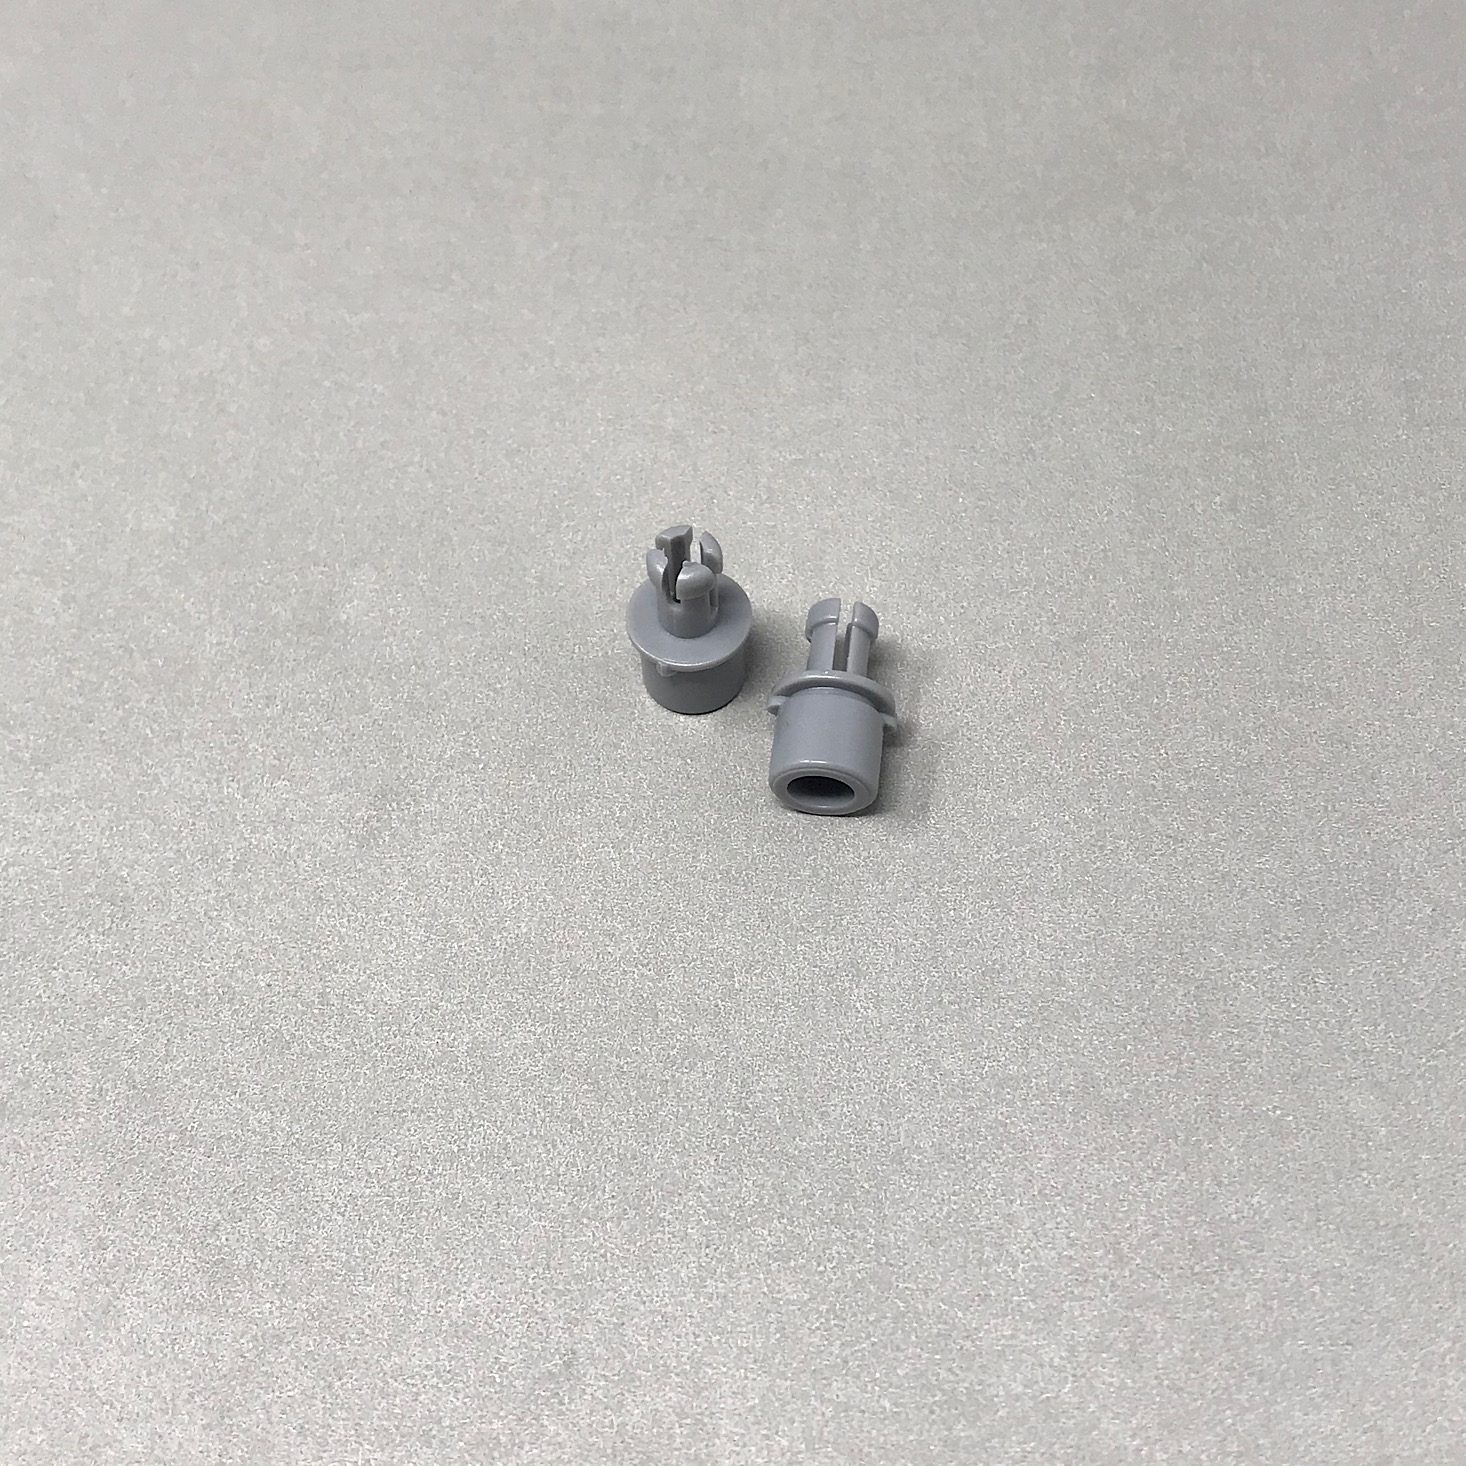
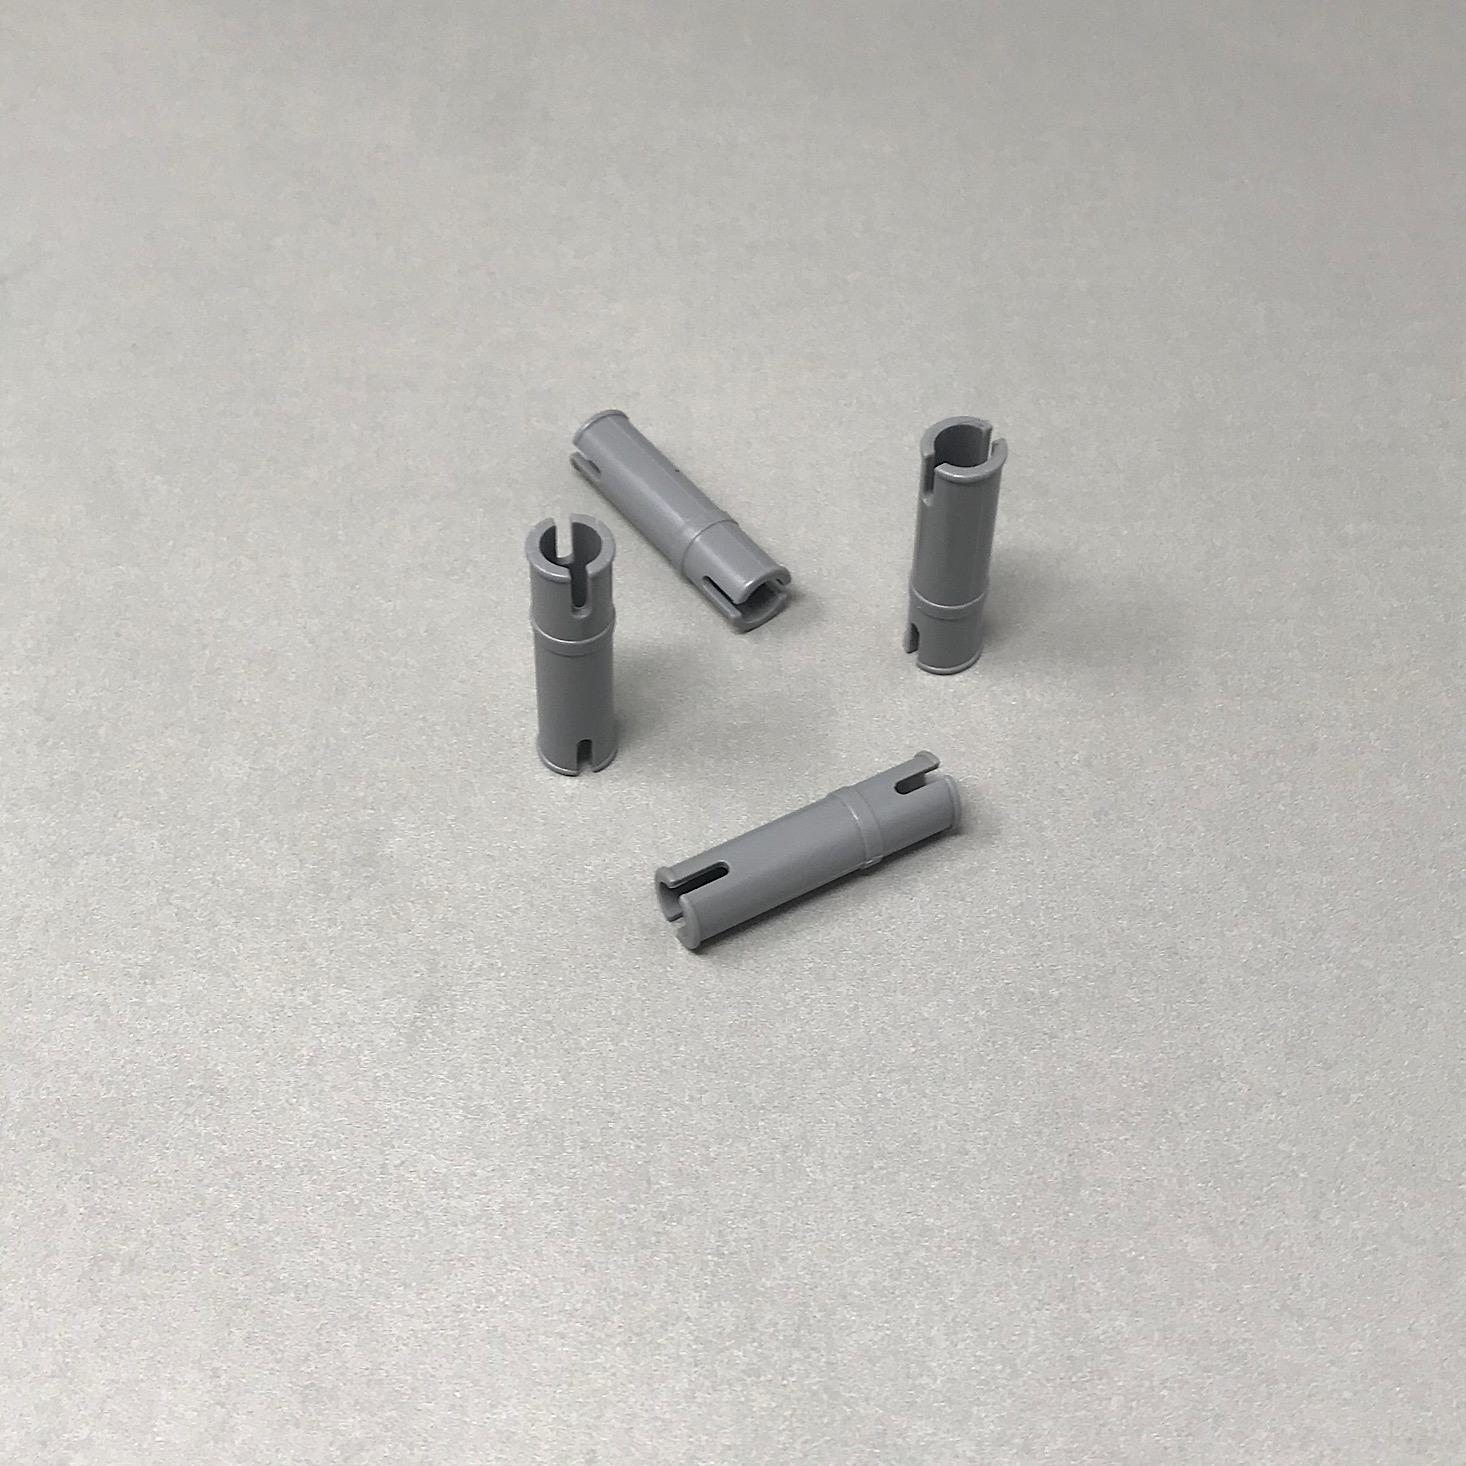
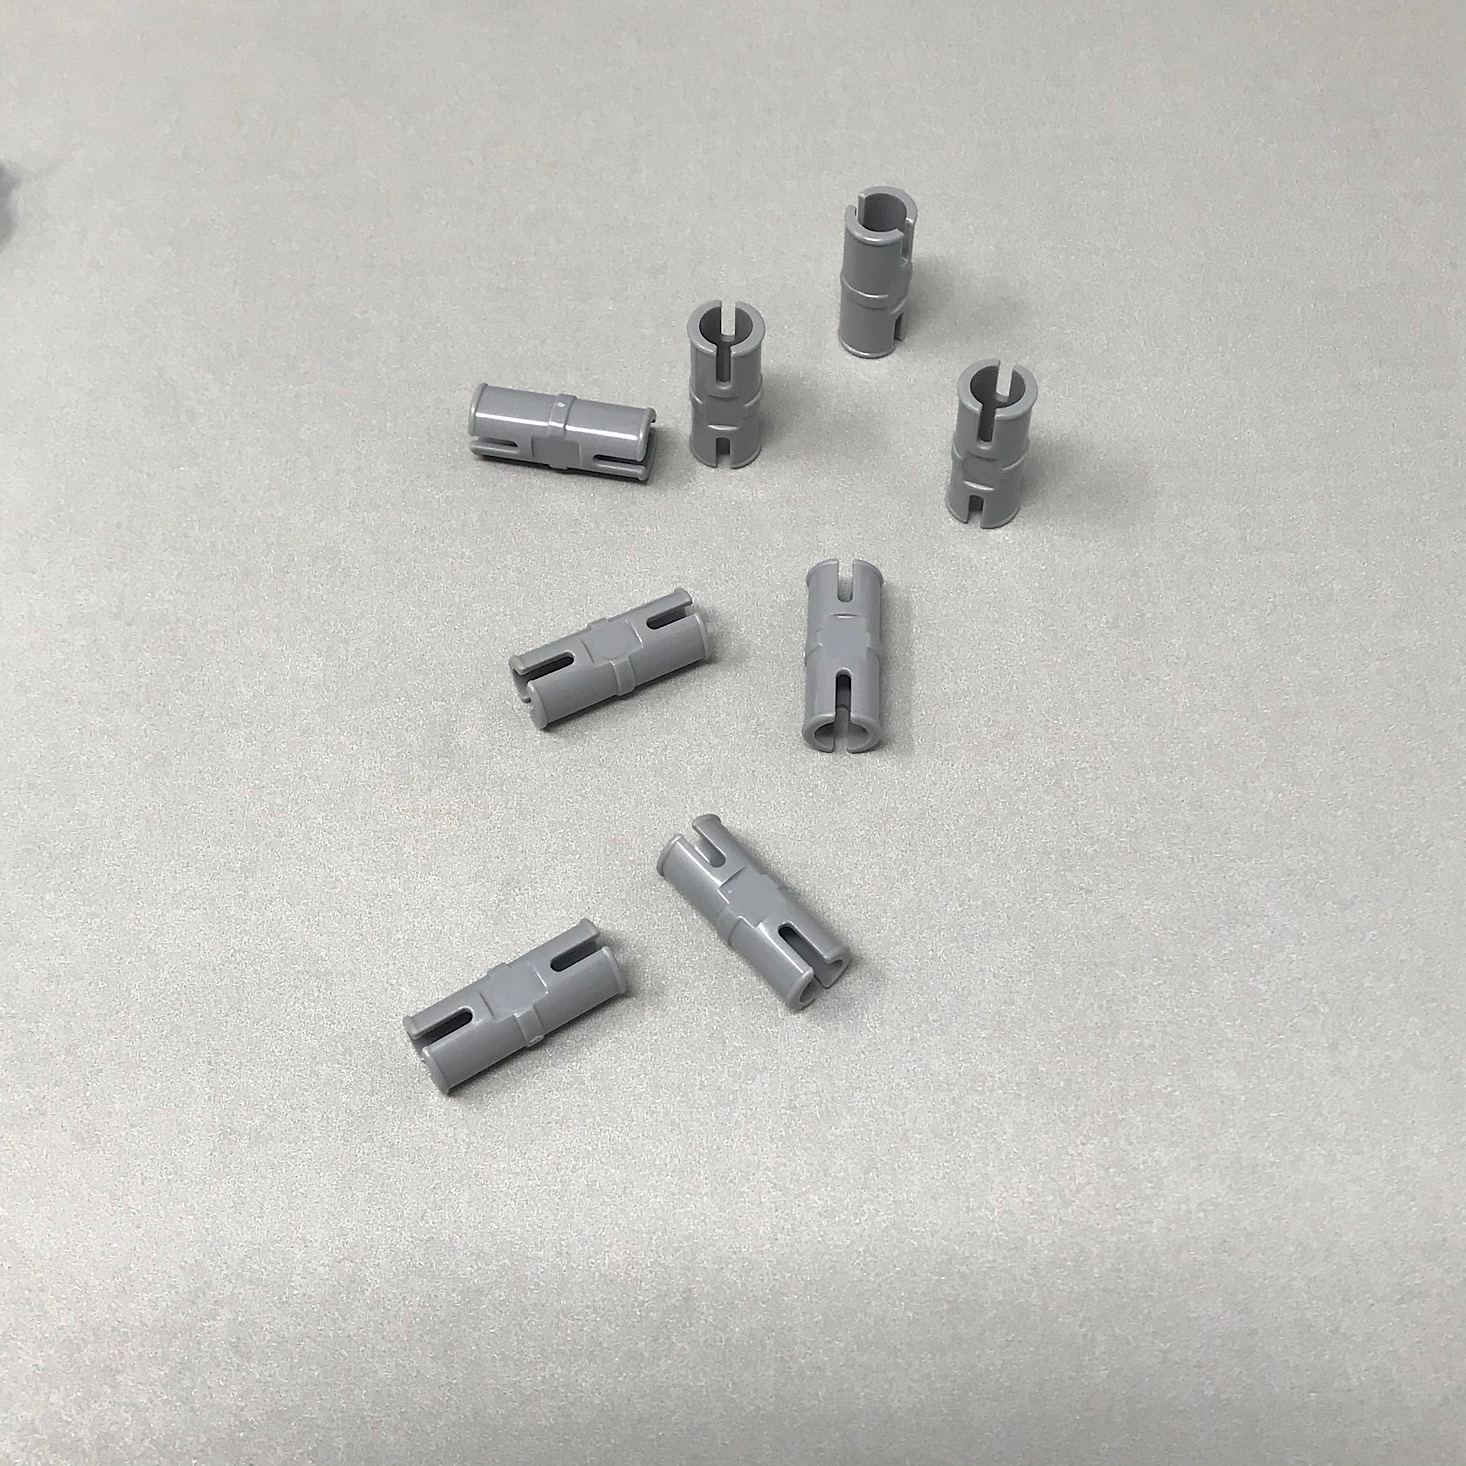
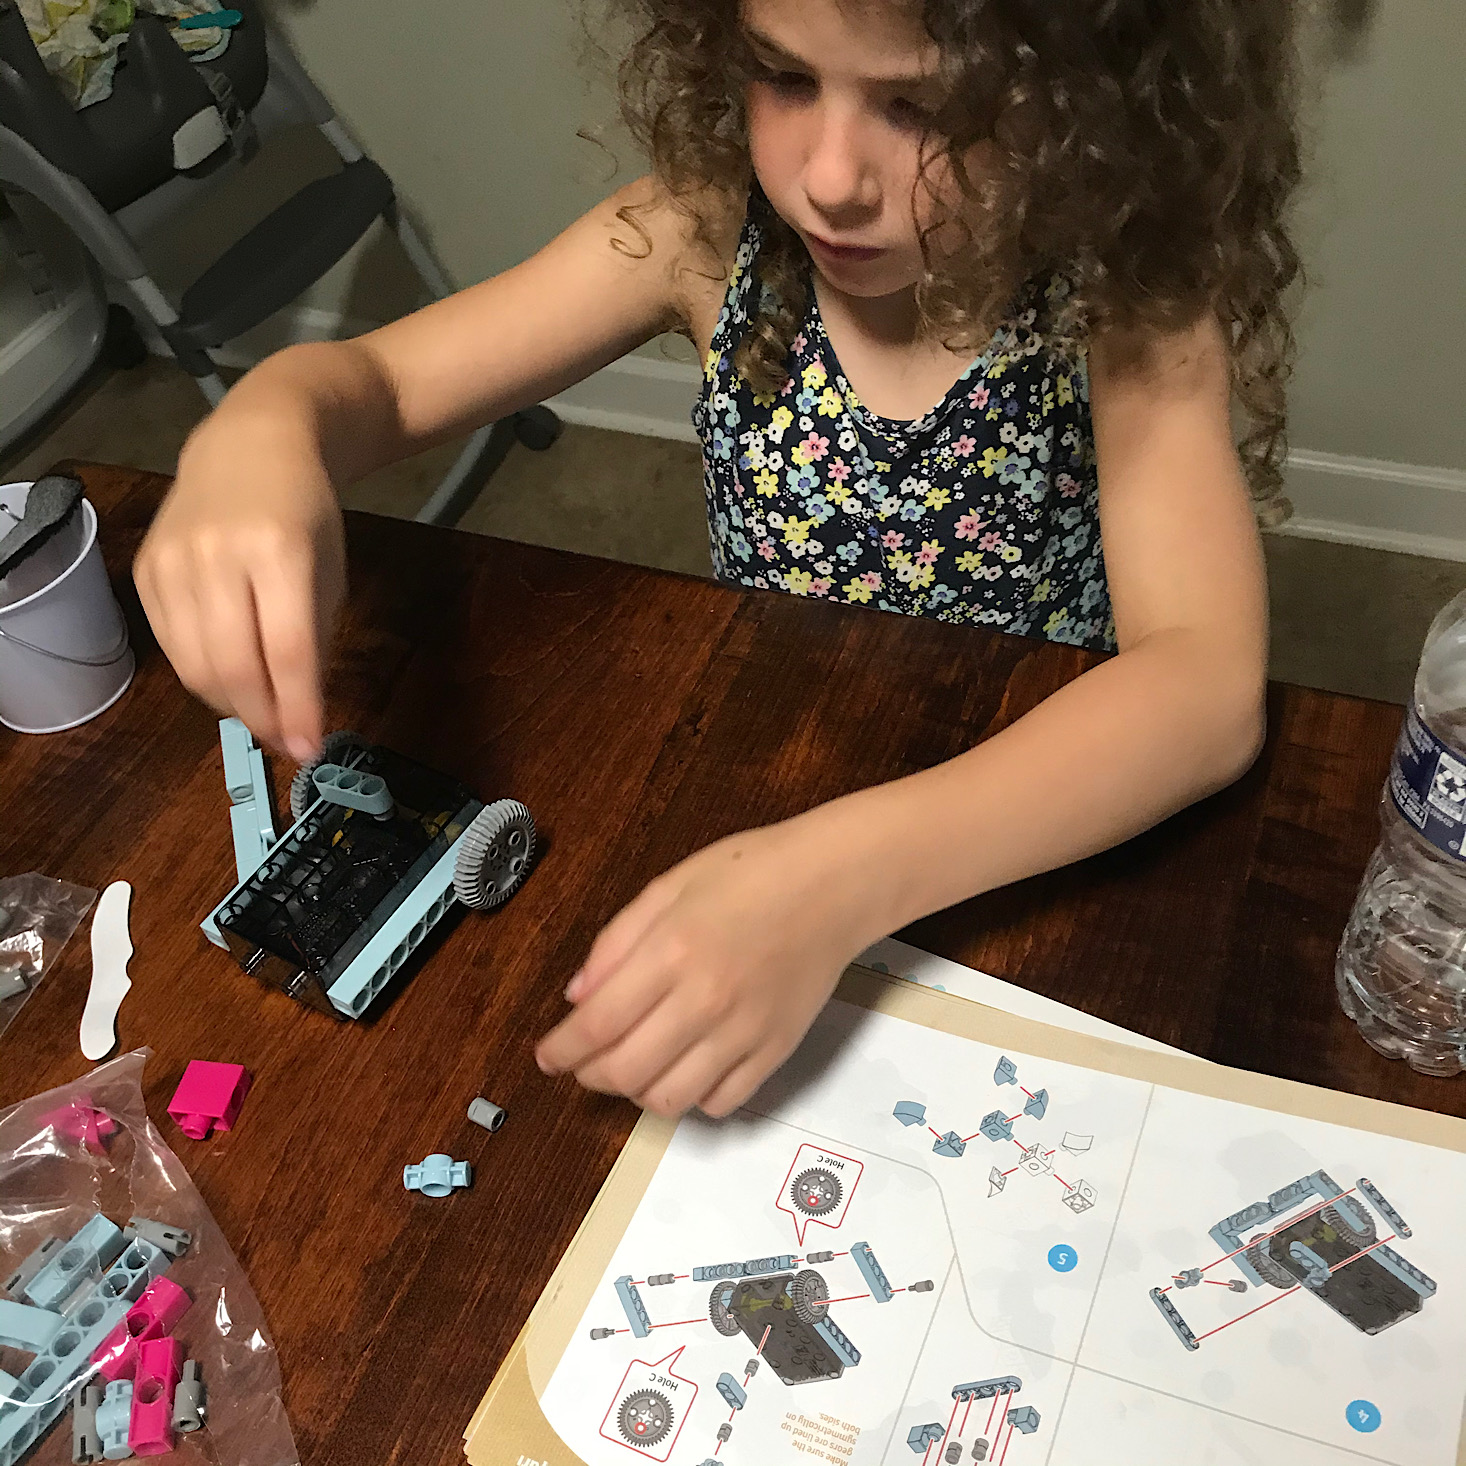
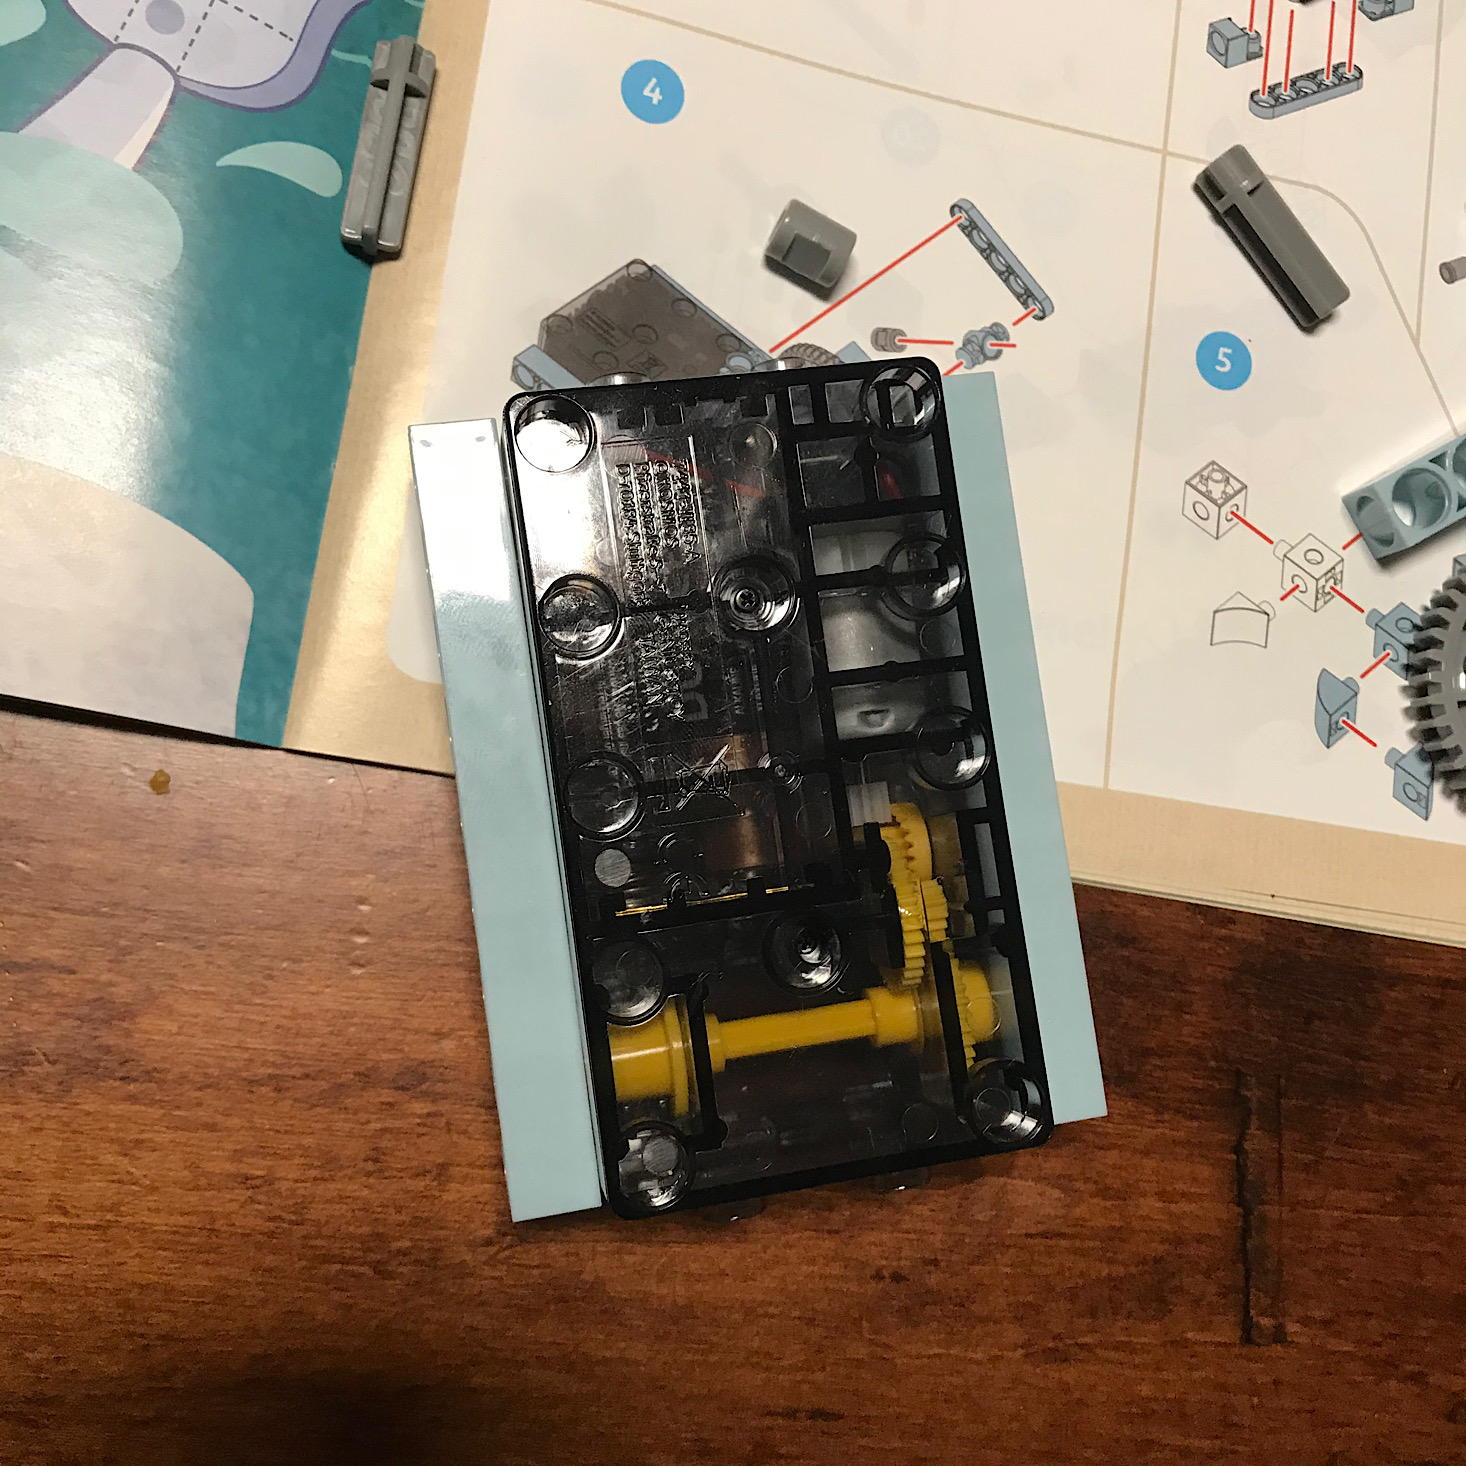
First, we began with several of the white pieces and inserted the main cubes into the pegs on the motor and added the side pieces to begin forming the body. The little gray pins were used to join some of them together.
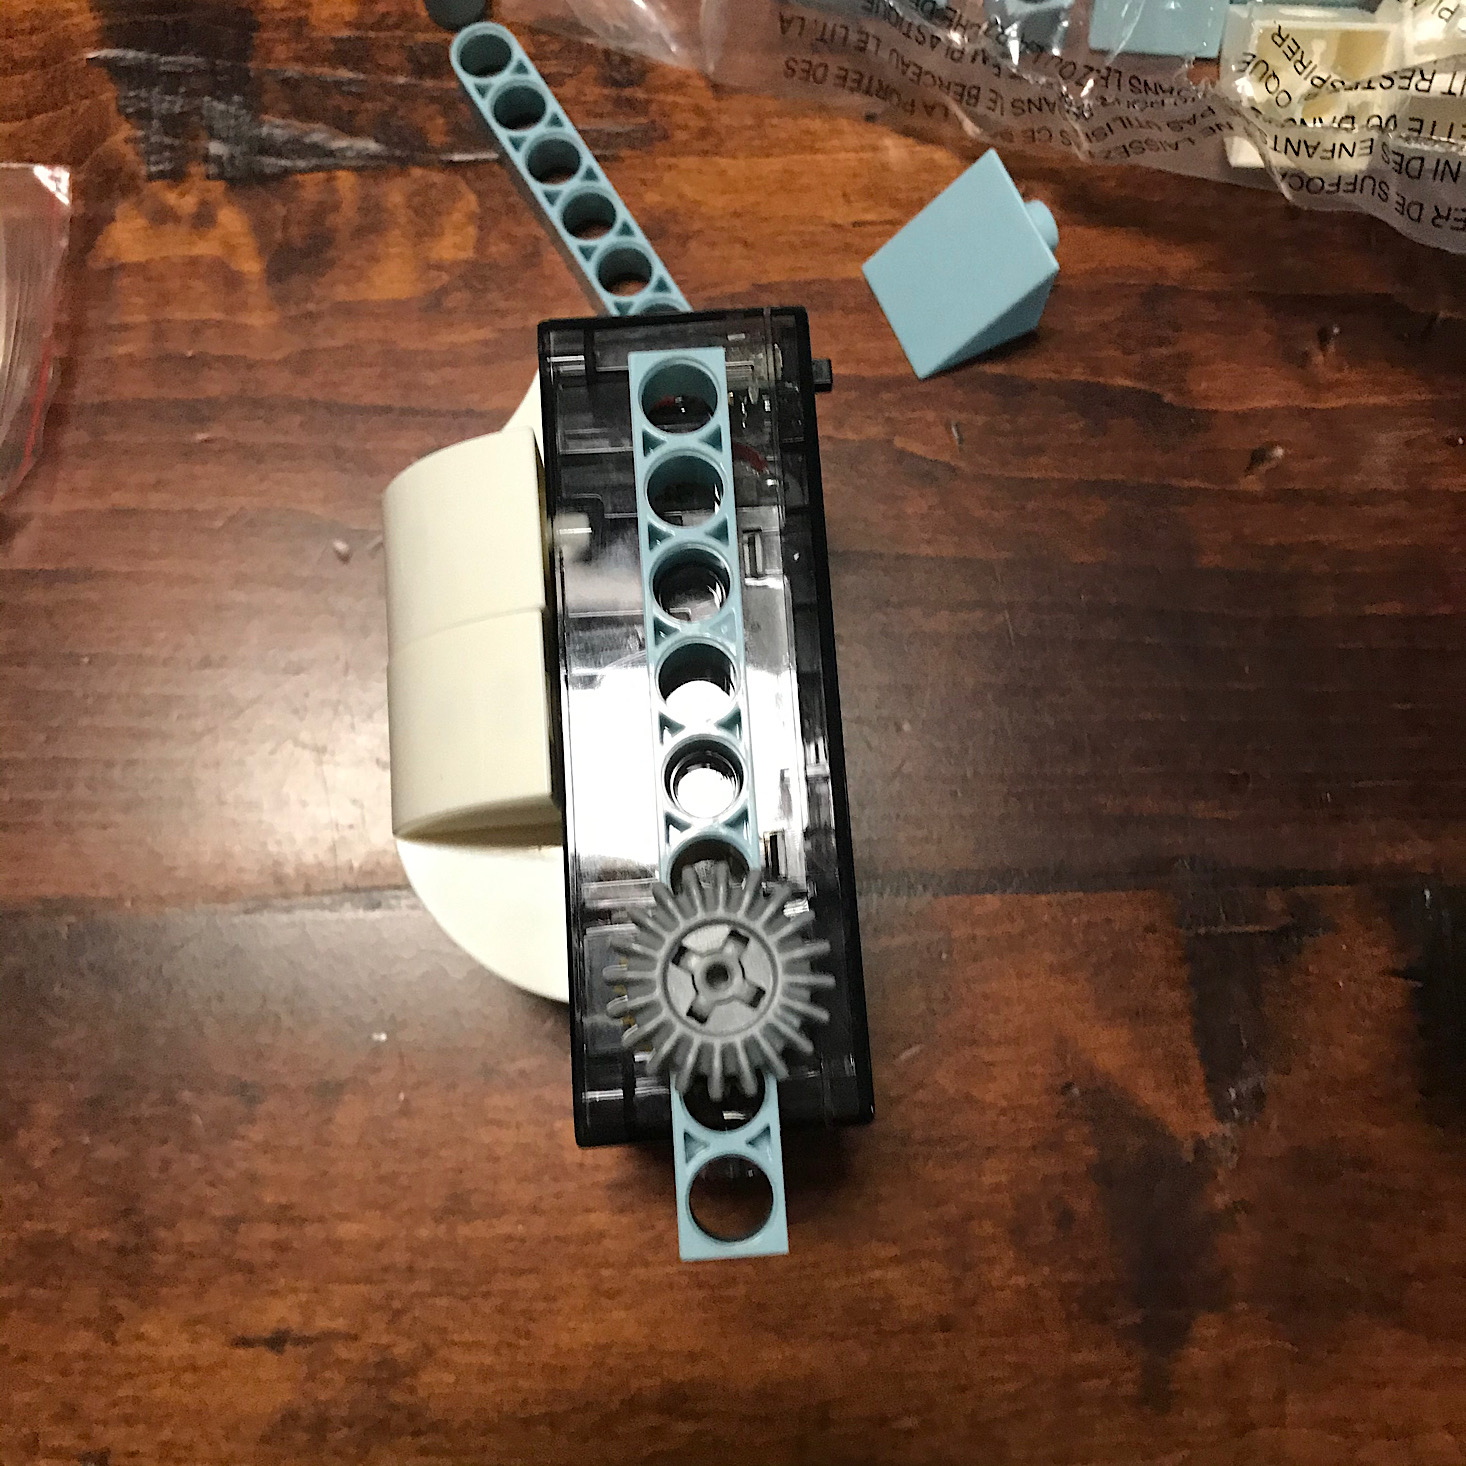
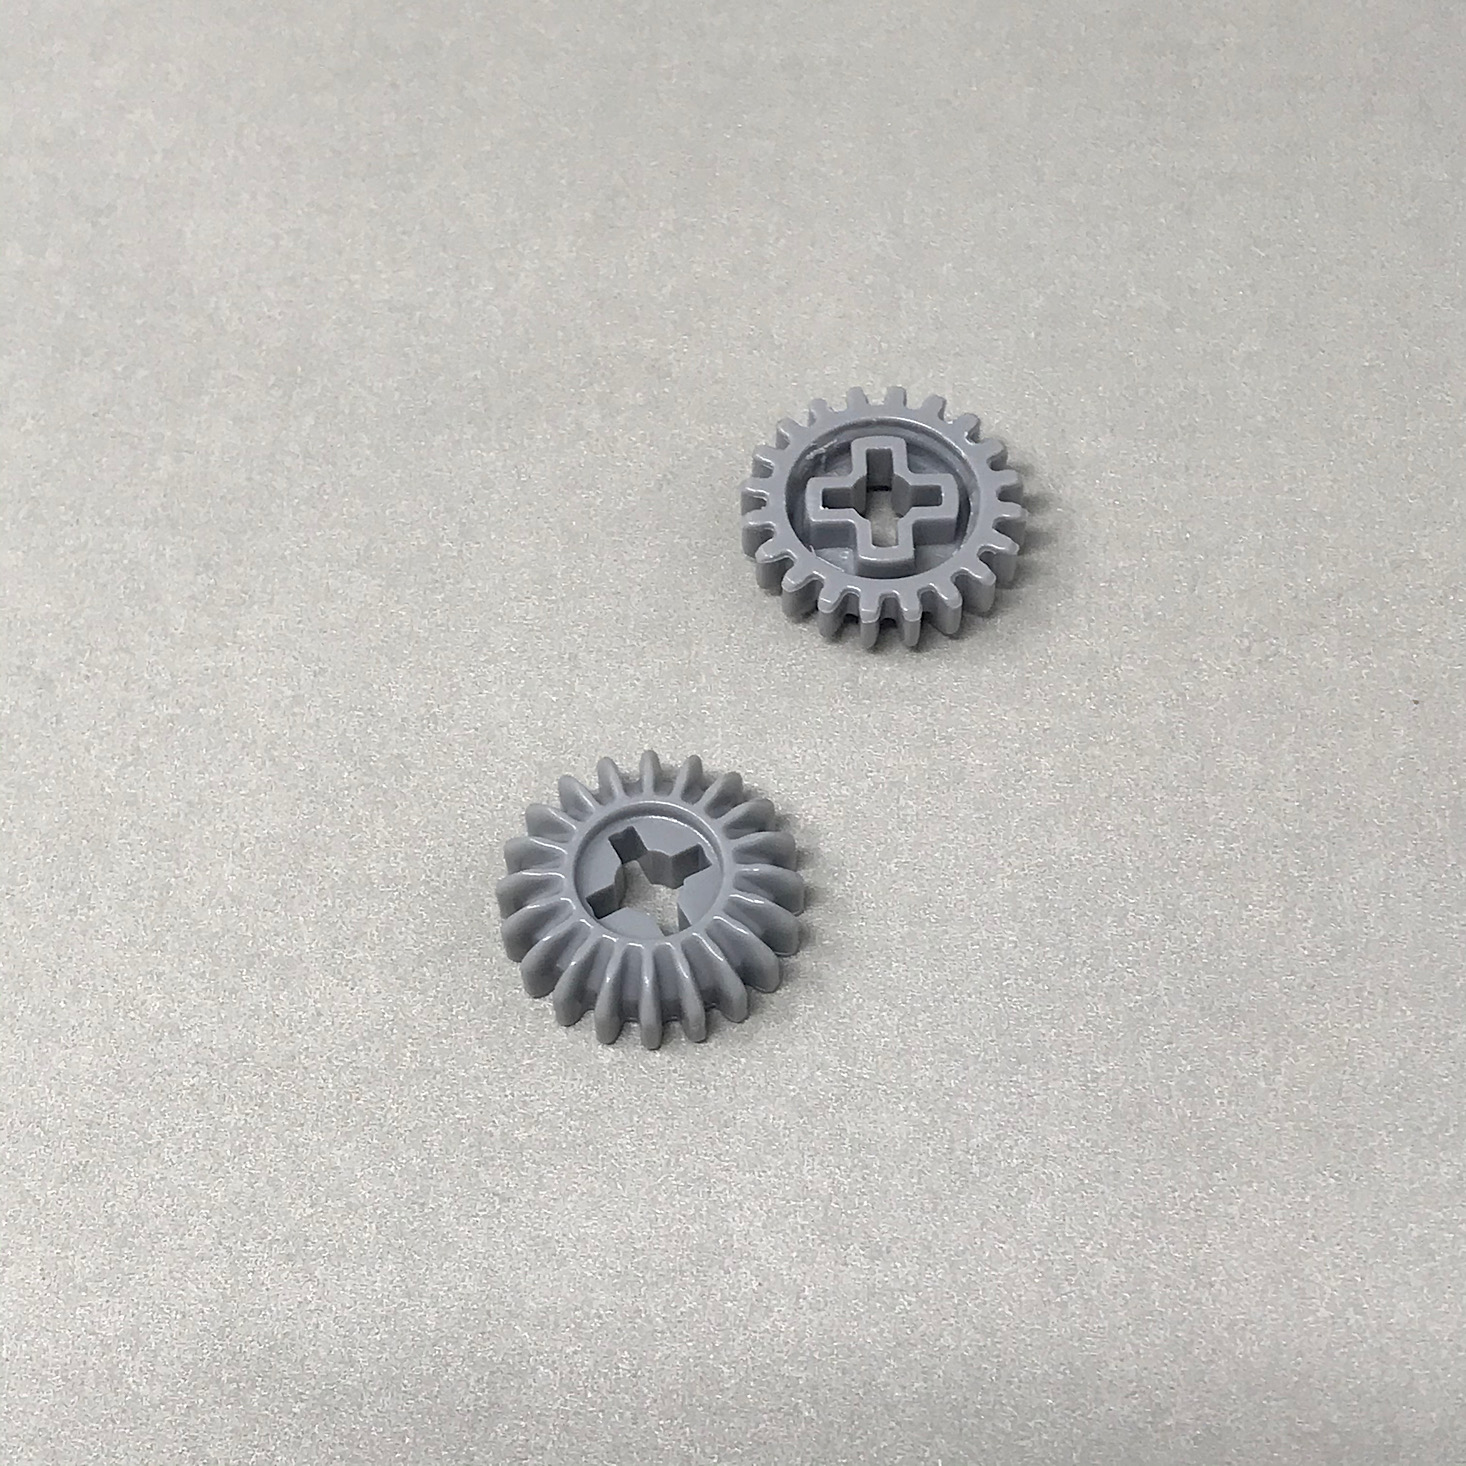
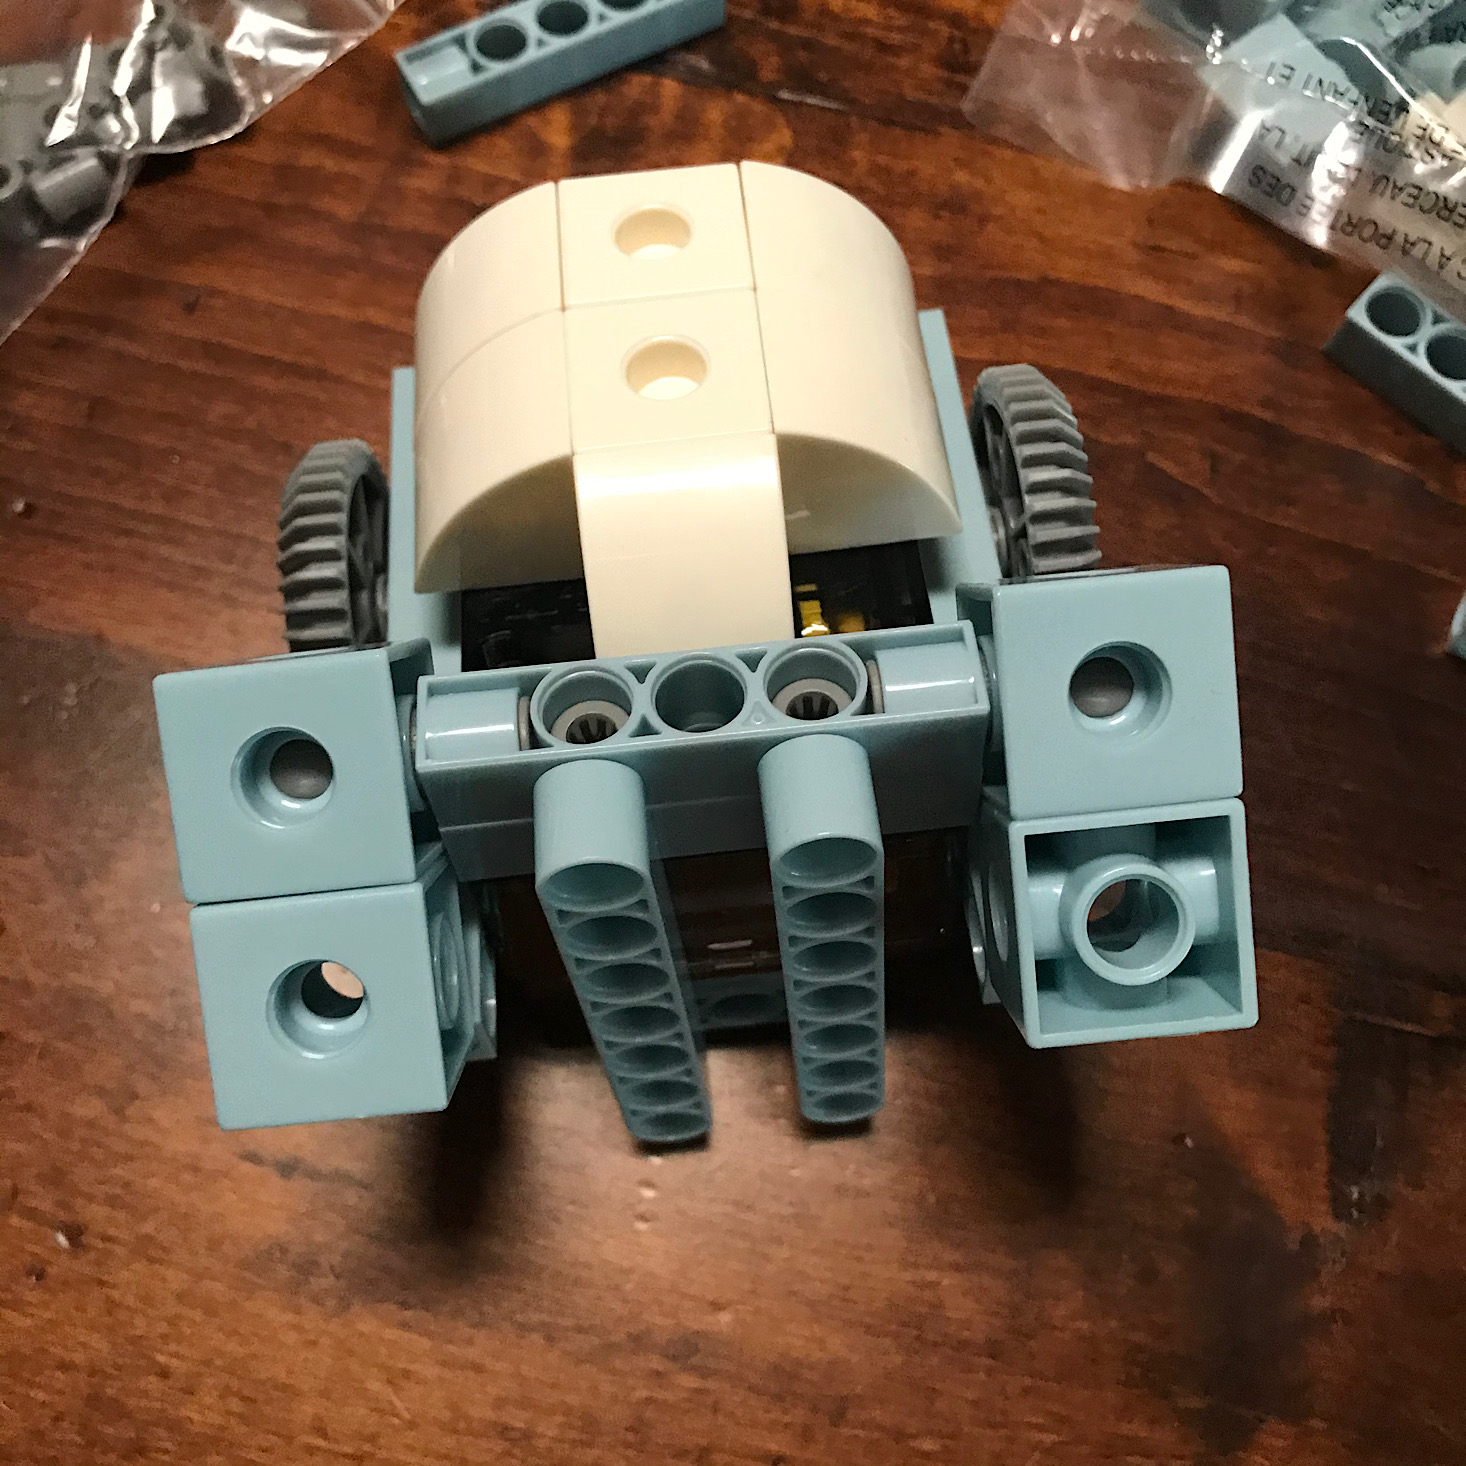
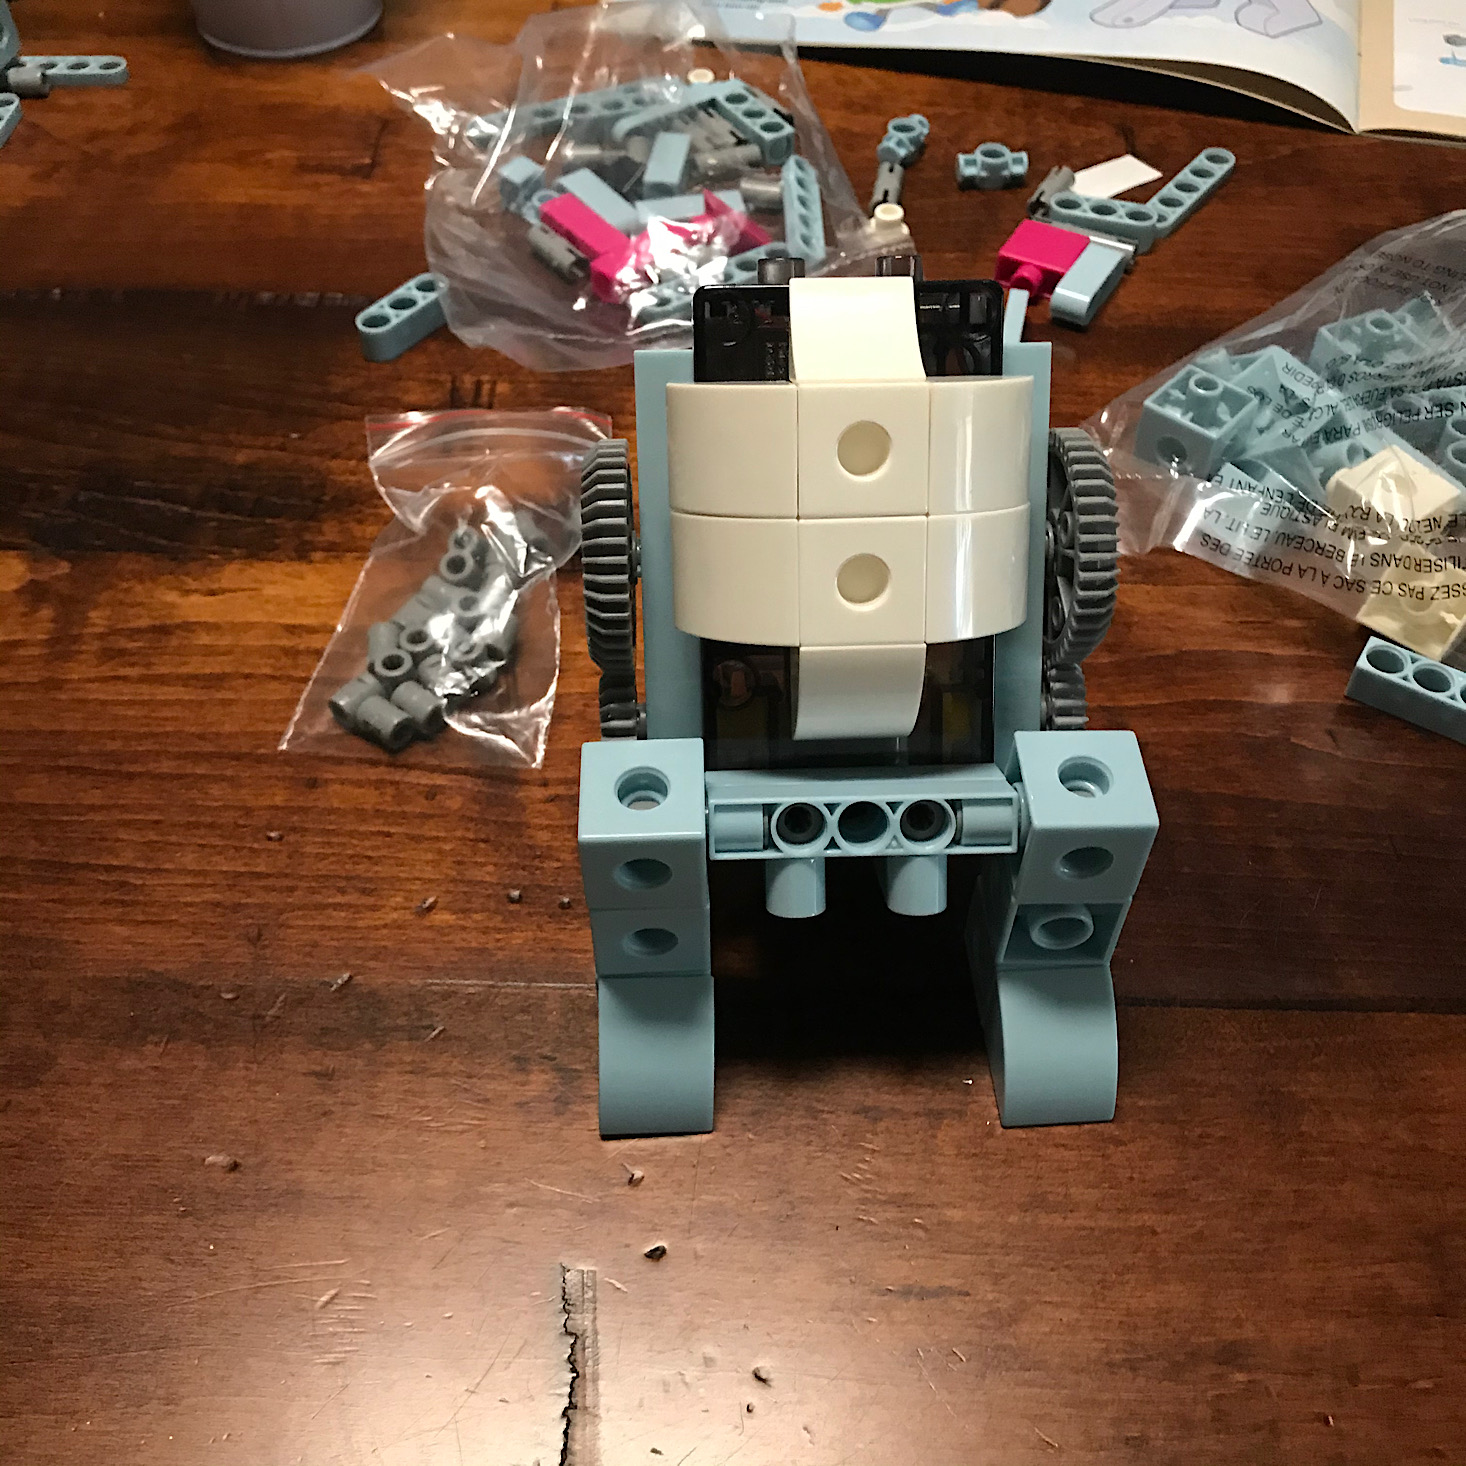
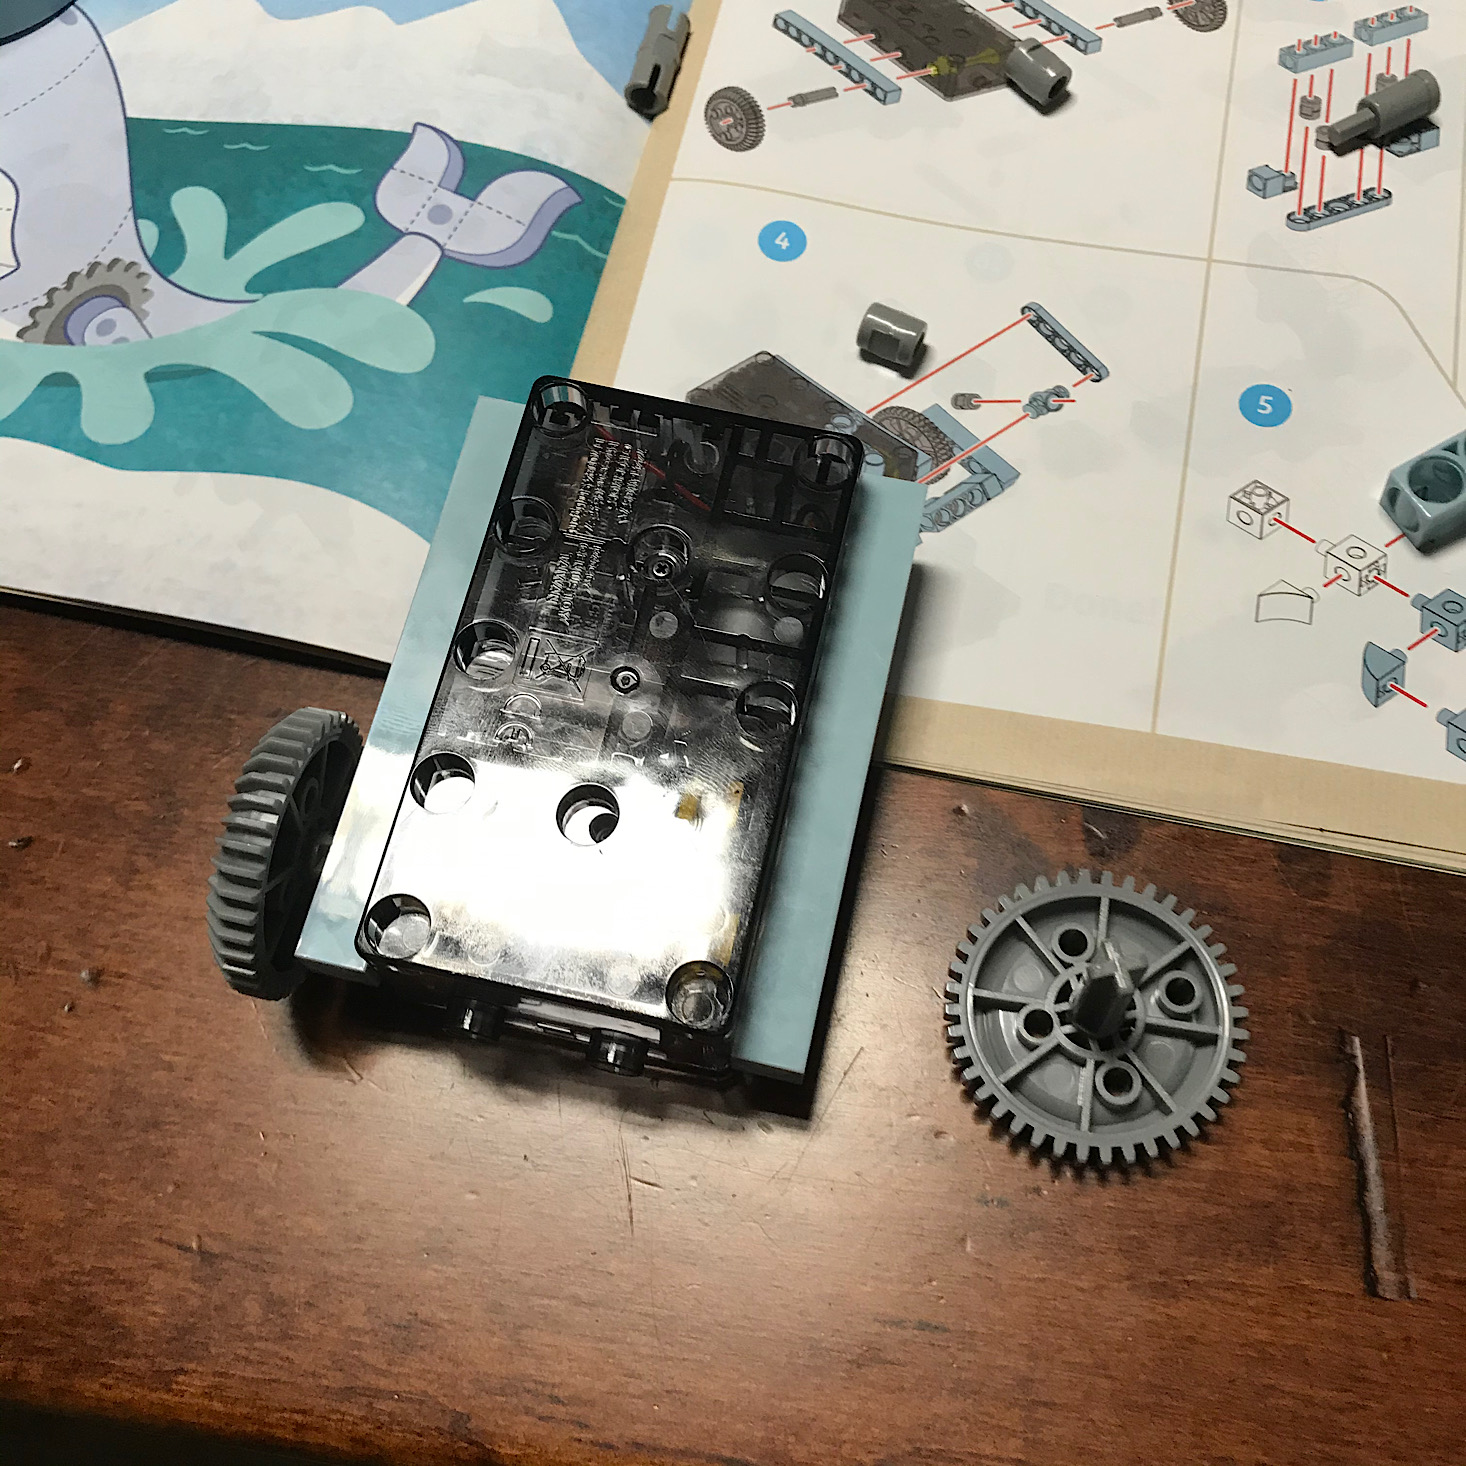
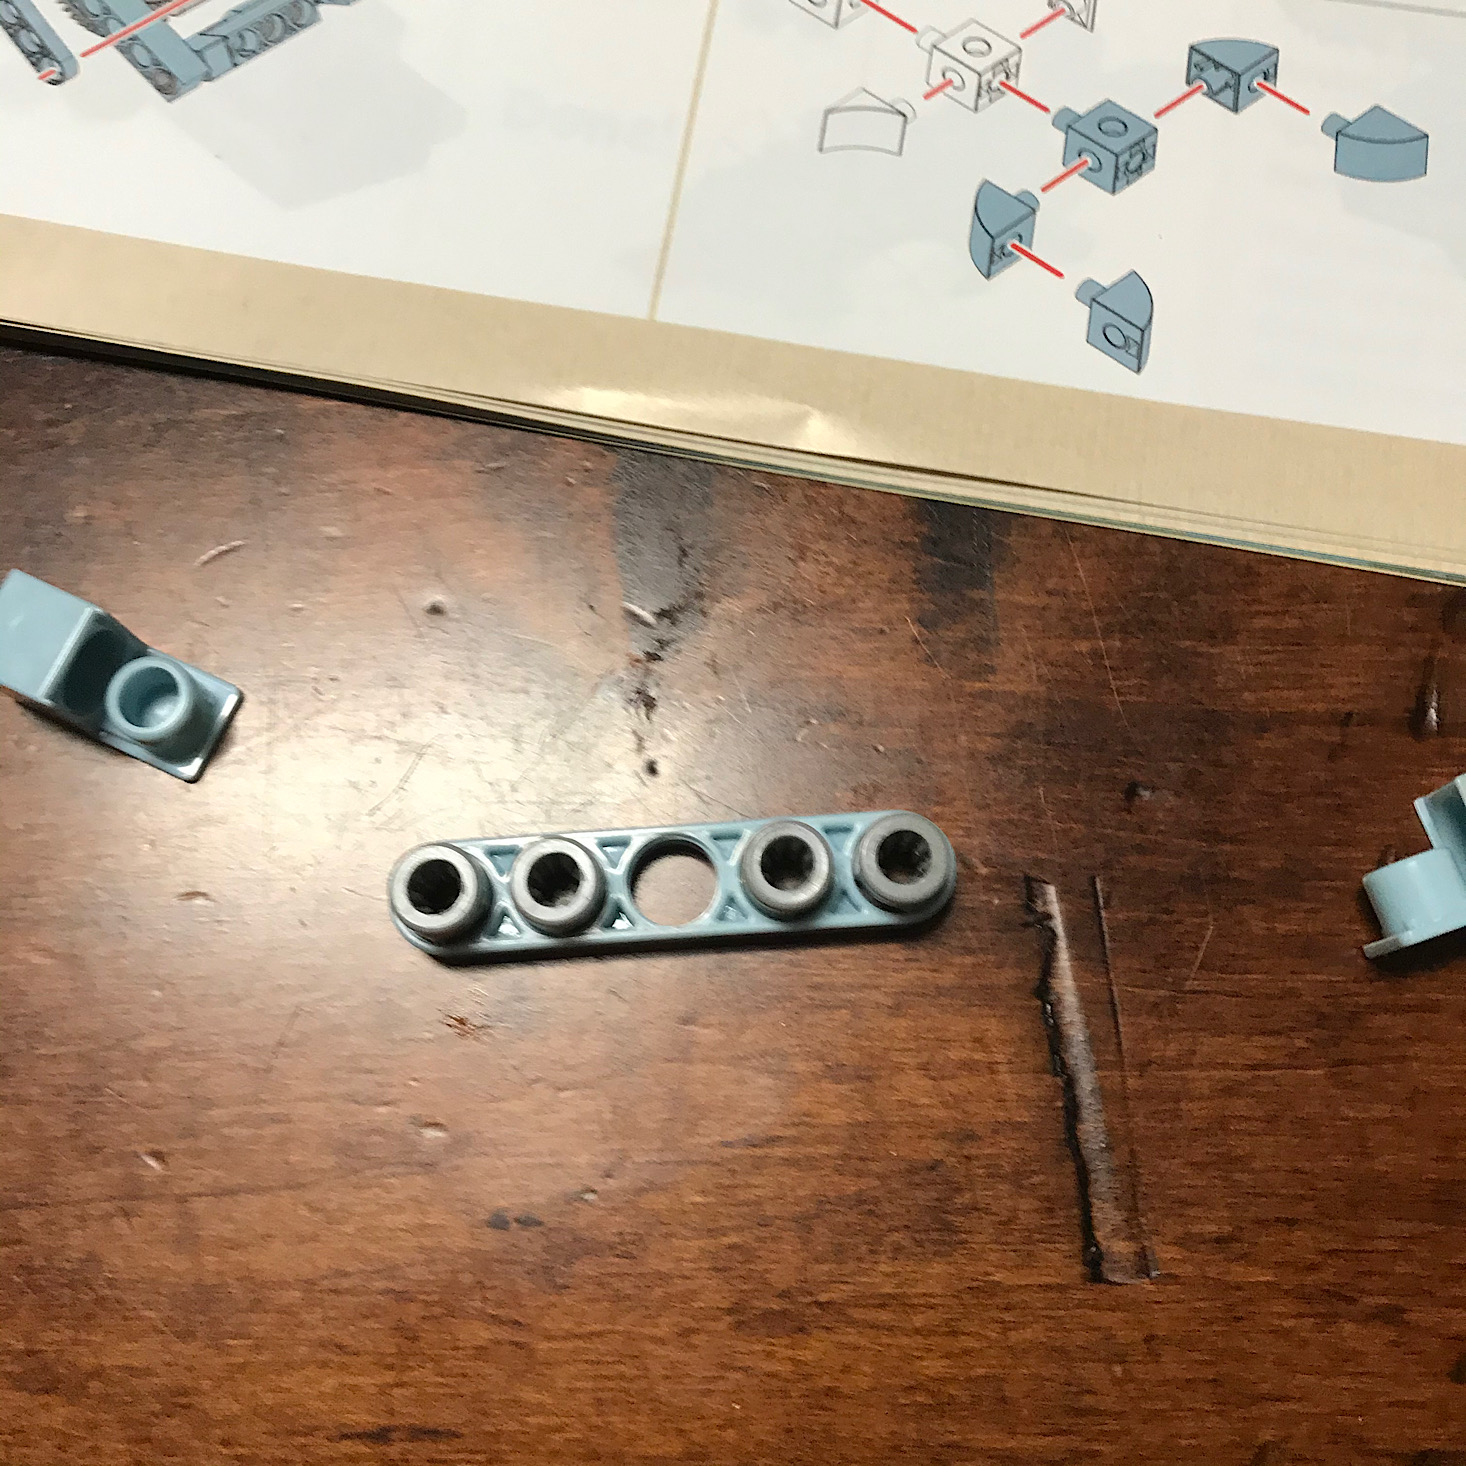
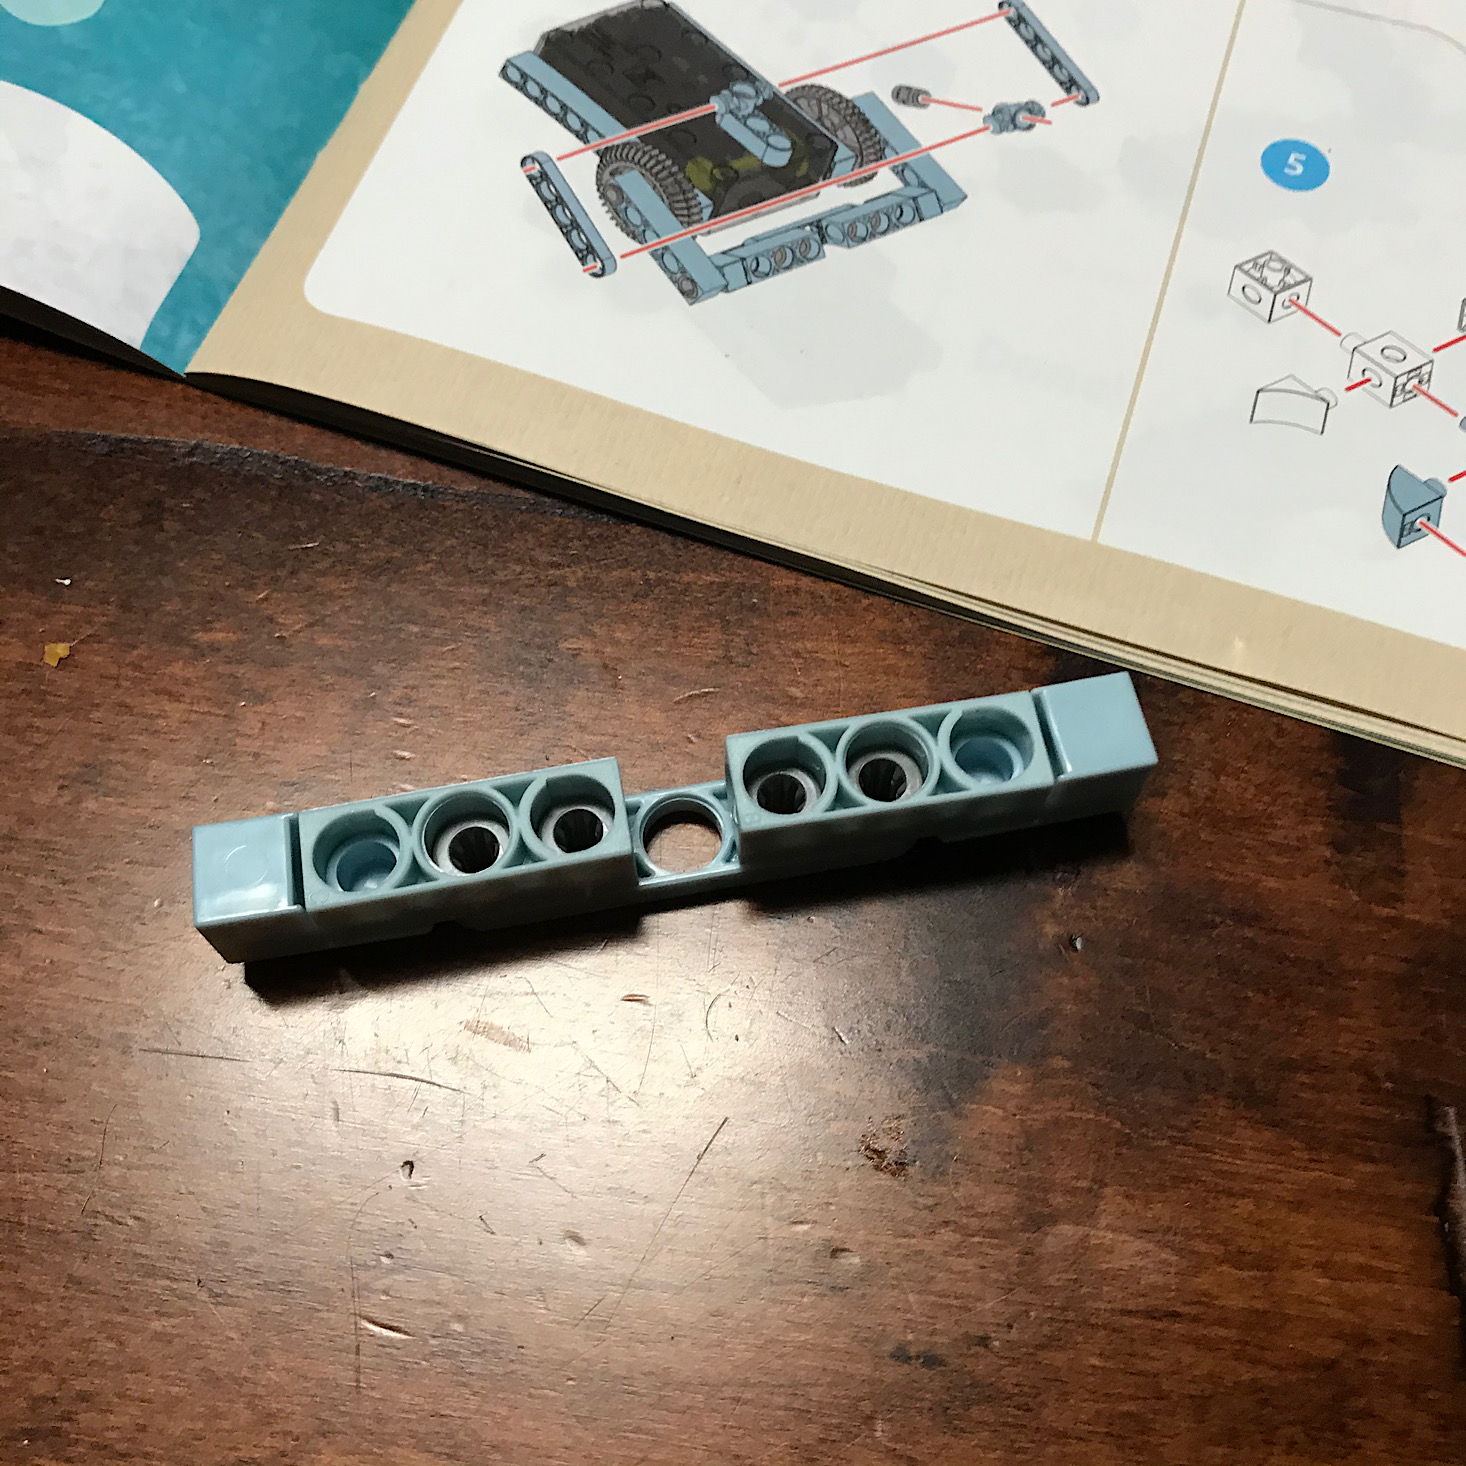
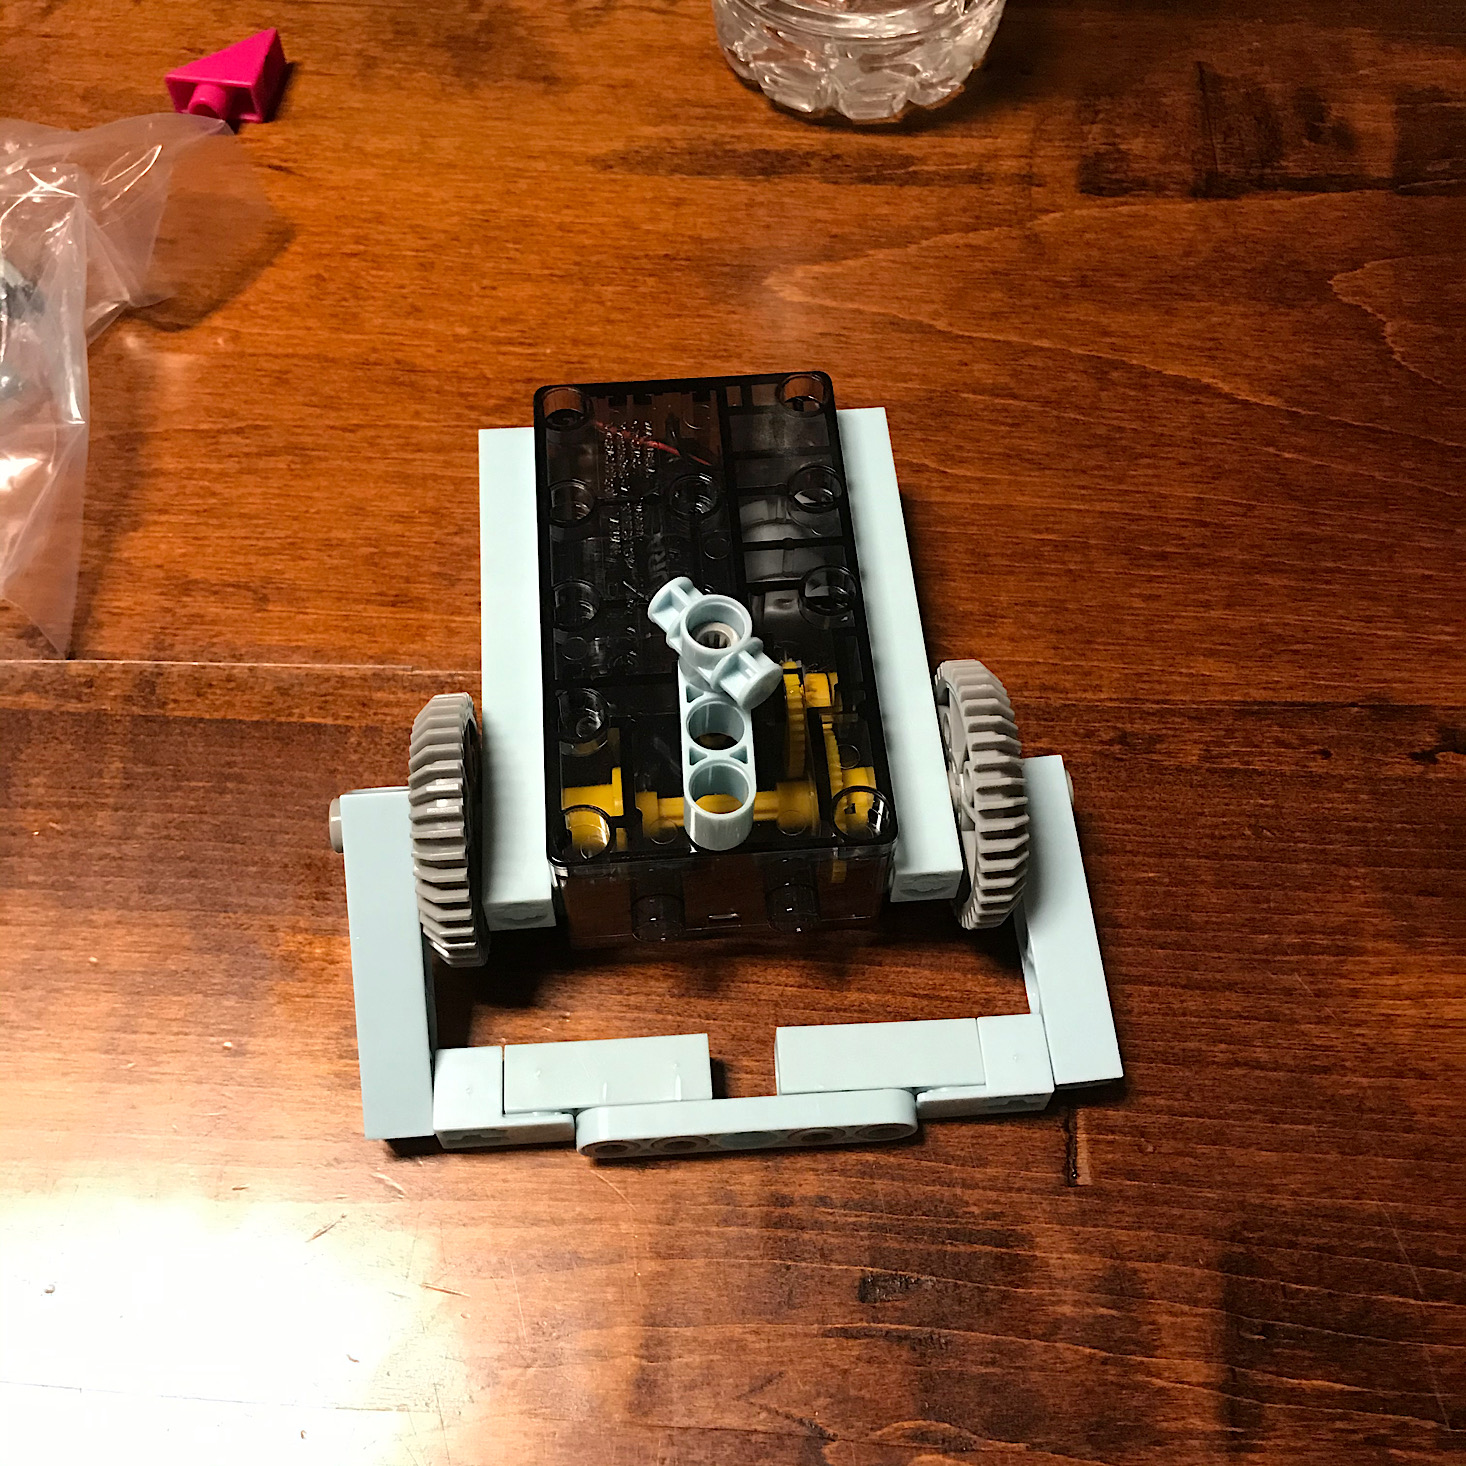
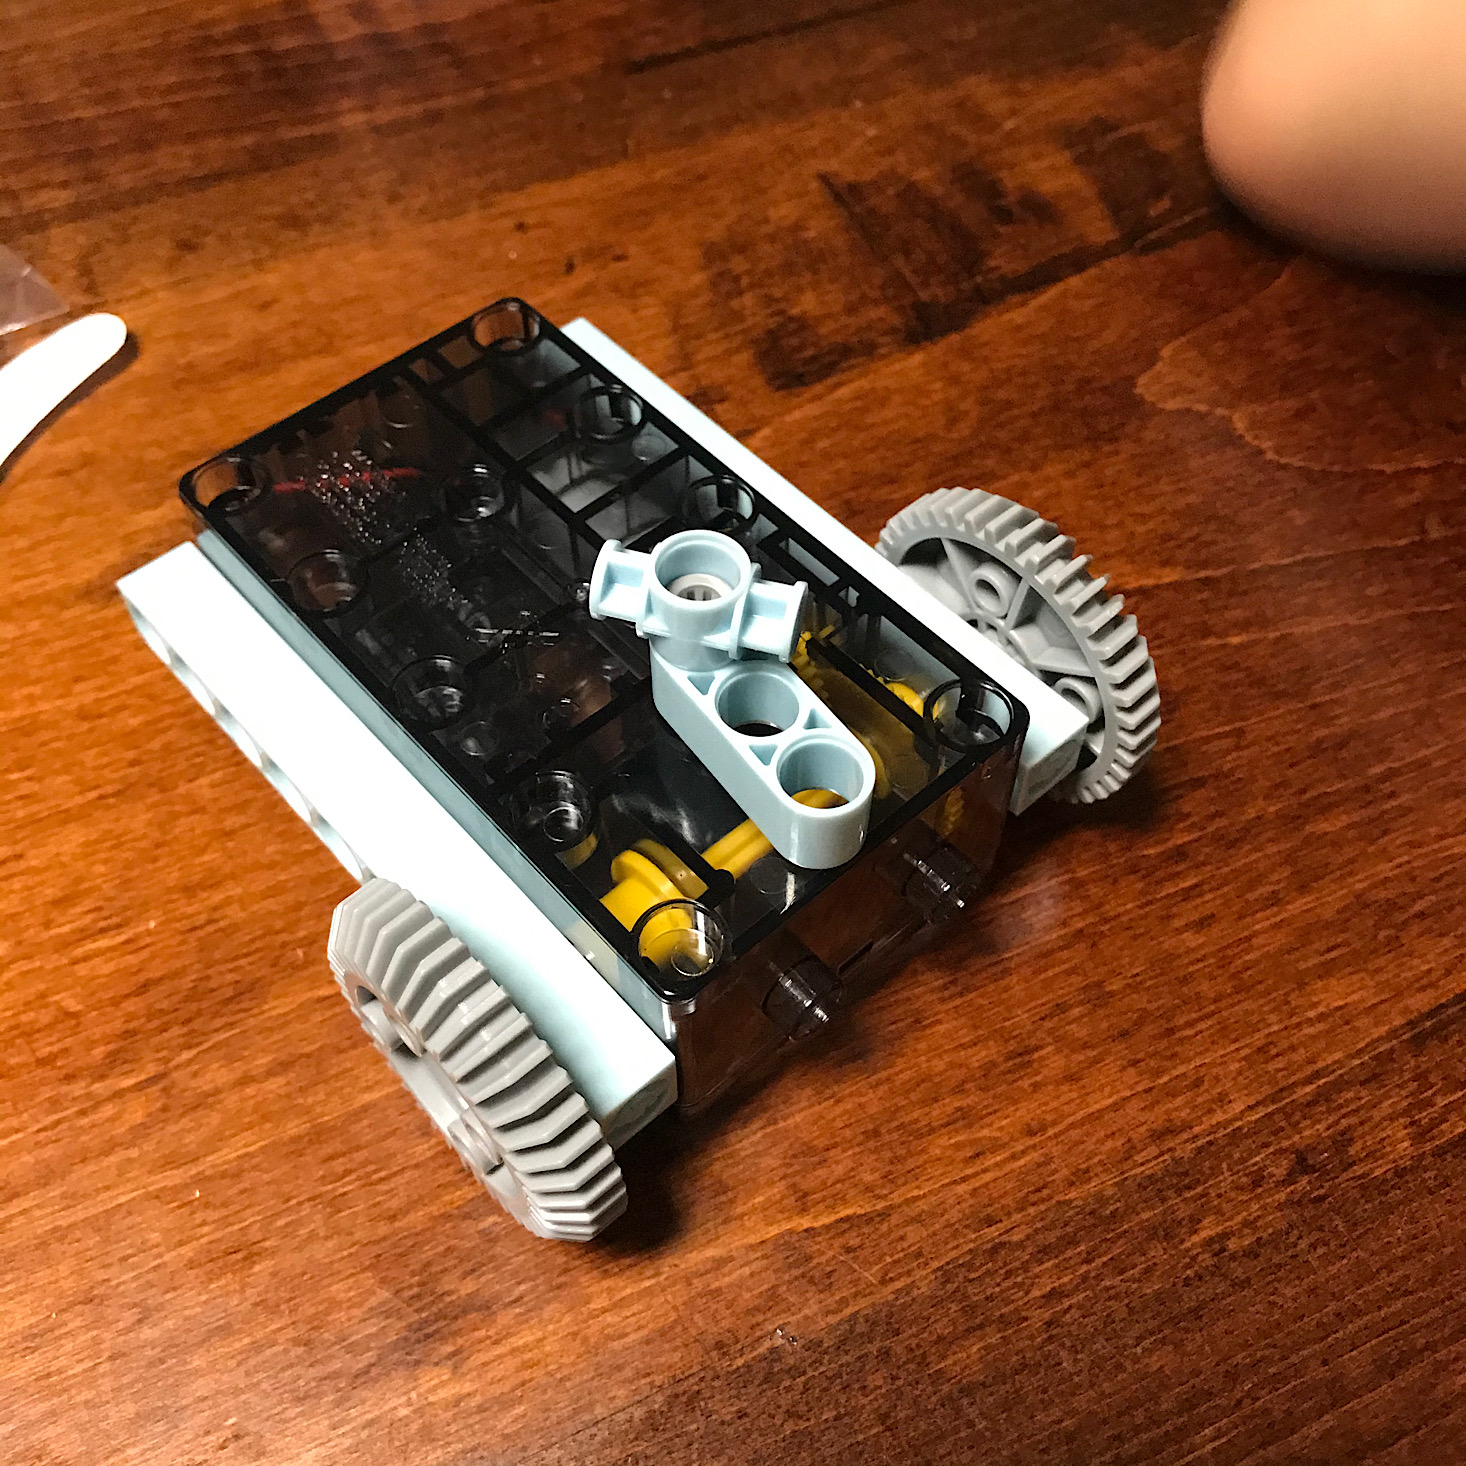
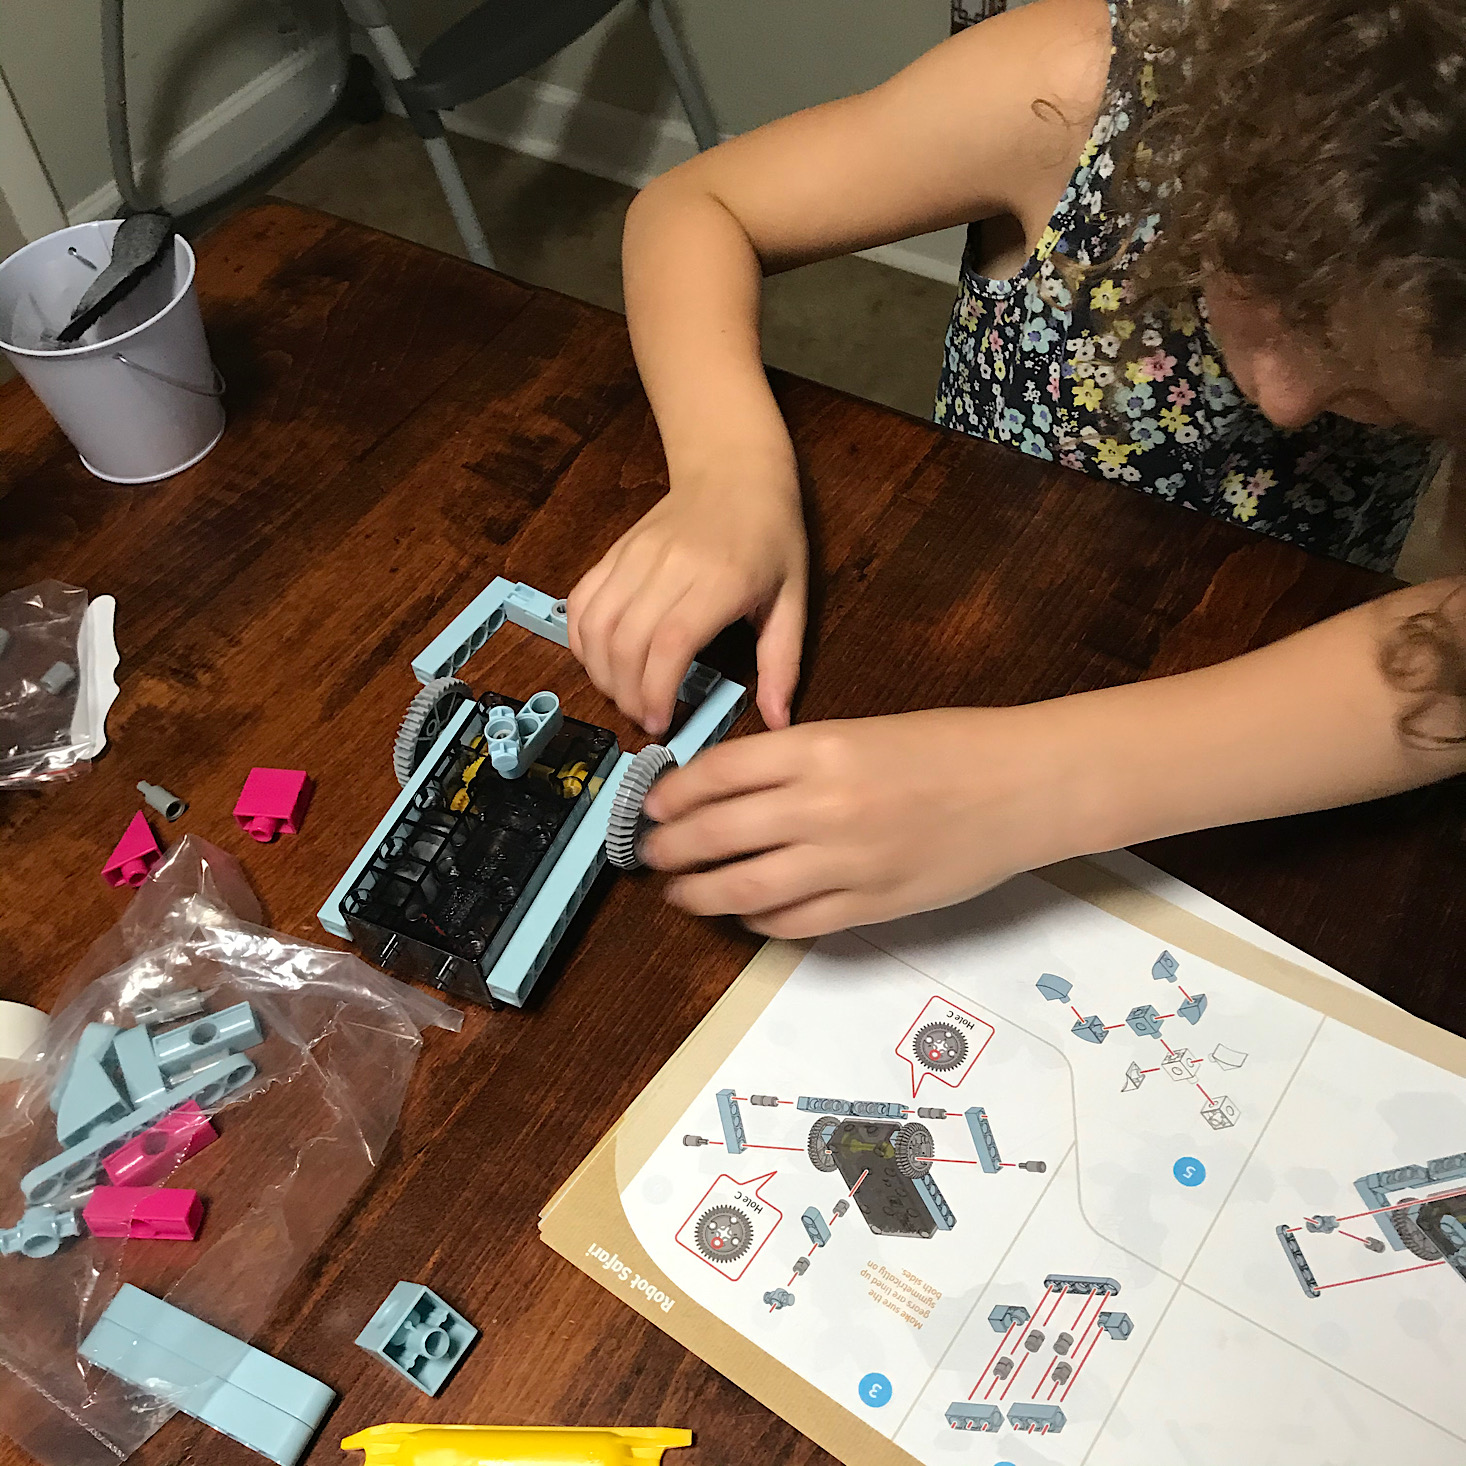
While this may get confusing, this next part was all part of step 2 and I decided to put them all together so you can understand why I found some of the build to be tricky! To attach the wheels I used one of these cross-shaped pegs for the smaller one and the small gray shaft plug for the large one and passed them through the holes in one of the long blue bars before inserting the ends into the holes on the side of the motor to hold them in place. Then to the pegs on the bottom of the motor, I added the two longer rounded blue bars and then put the small blue two-to-one converters in the ends before placing a small 3-holed bar on top of those. Then I inserted a curved blue piece on top of that which was to create our tail (sorry I missed a photo of that last step!). This felt like a lot of different things to do for just one step and I could see how someone, especially a 5- to 7-year-old, could easily miss a step. I think it would be easier if they had a little chart for which pieces we were adding in each step. That way we could collect them and we would know if we missed anything by the pieces we had leftover!
Next, we used the 6-hole cubes, long joint pins, 5-hole rectangular rods and a few curved cubes to form the legs and feet of our bear. Again, this assembly was all part of one step (step 4).
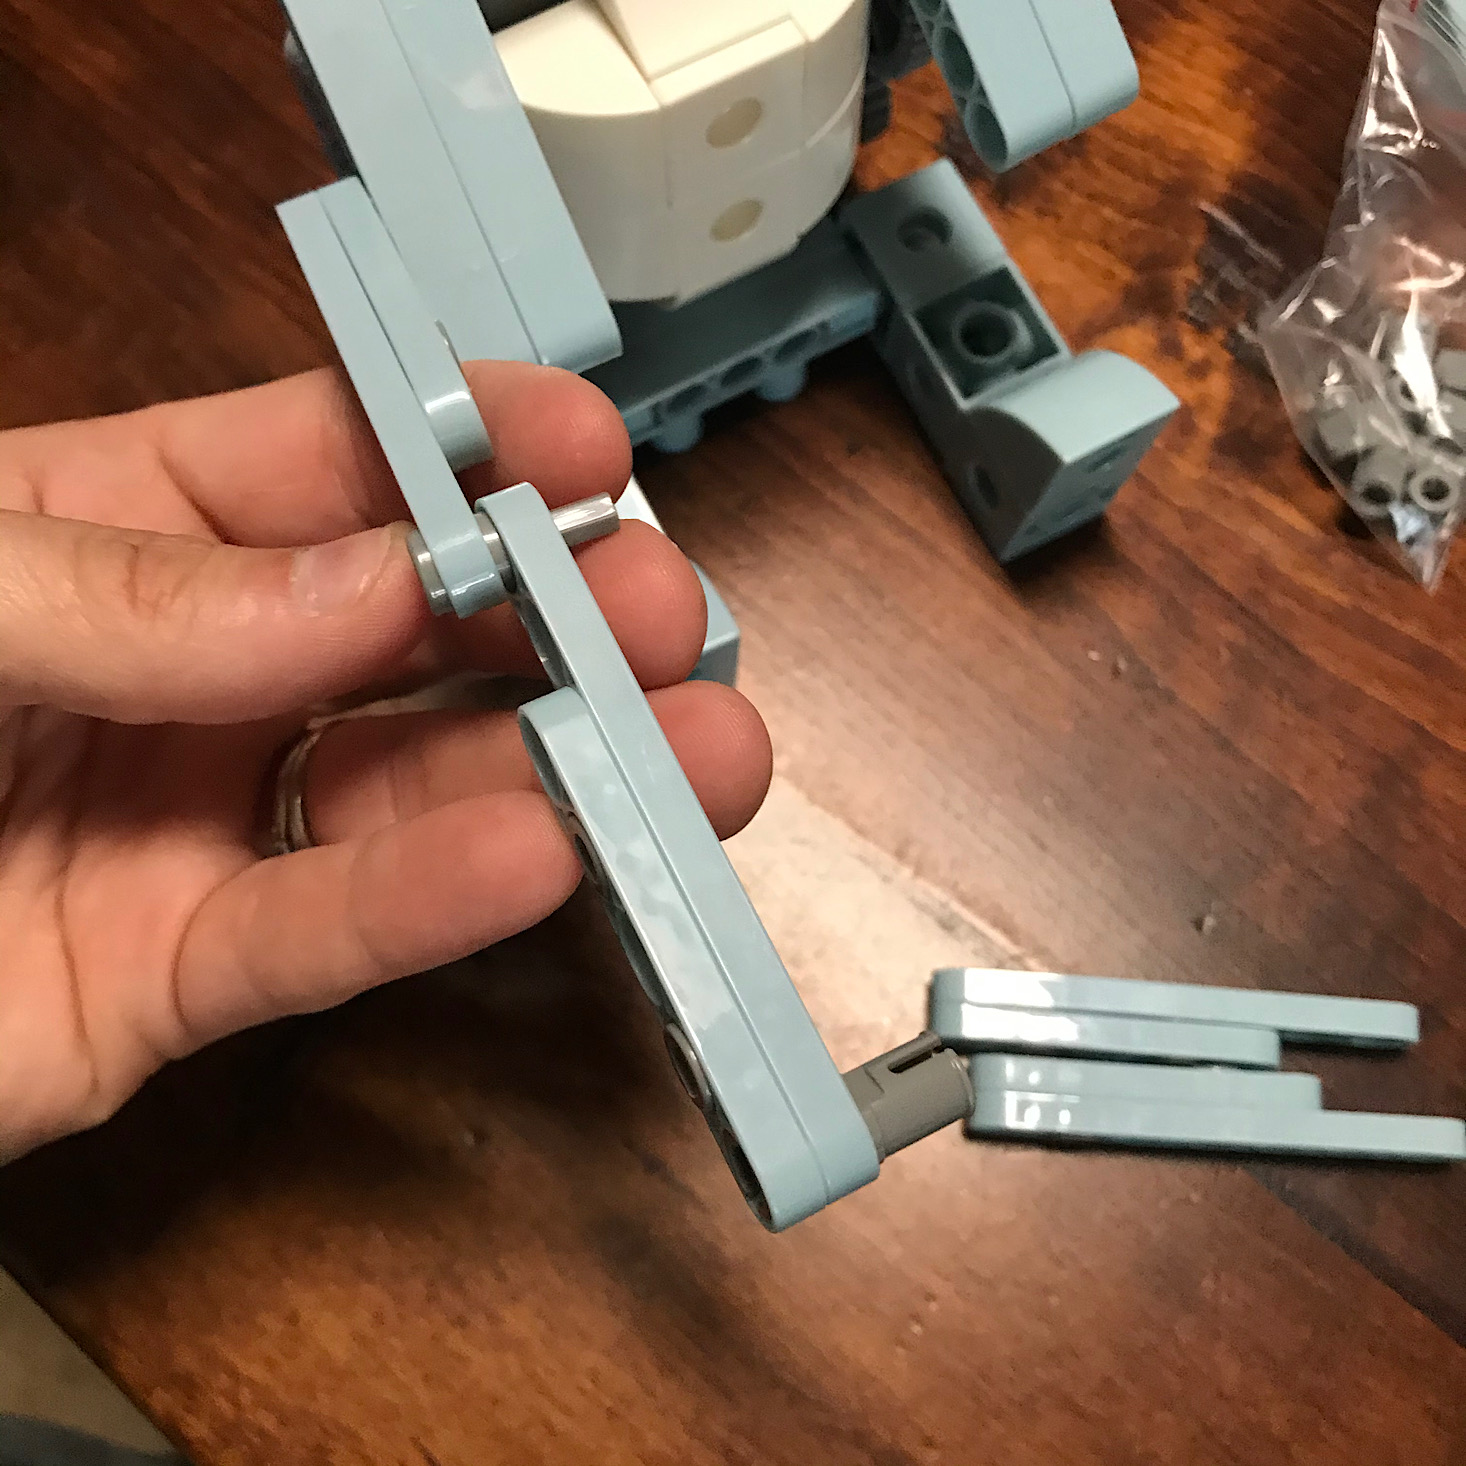
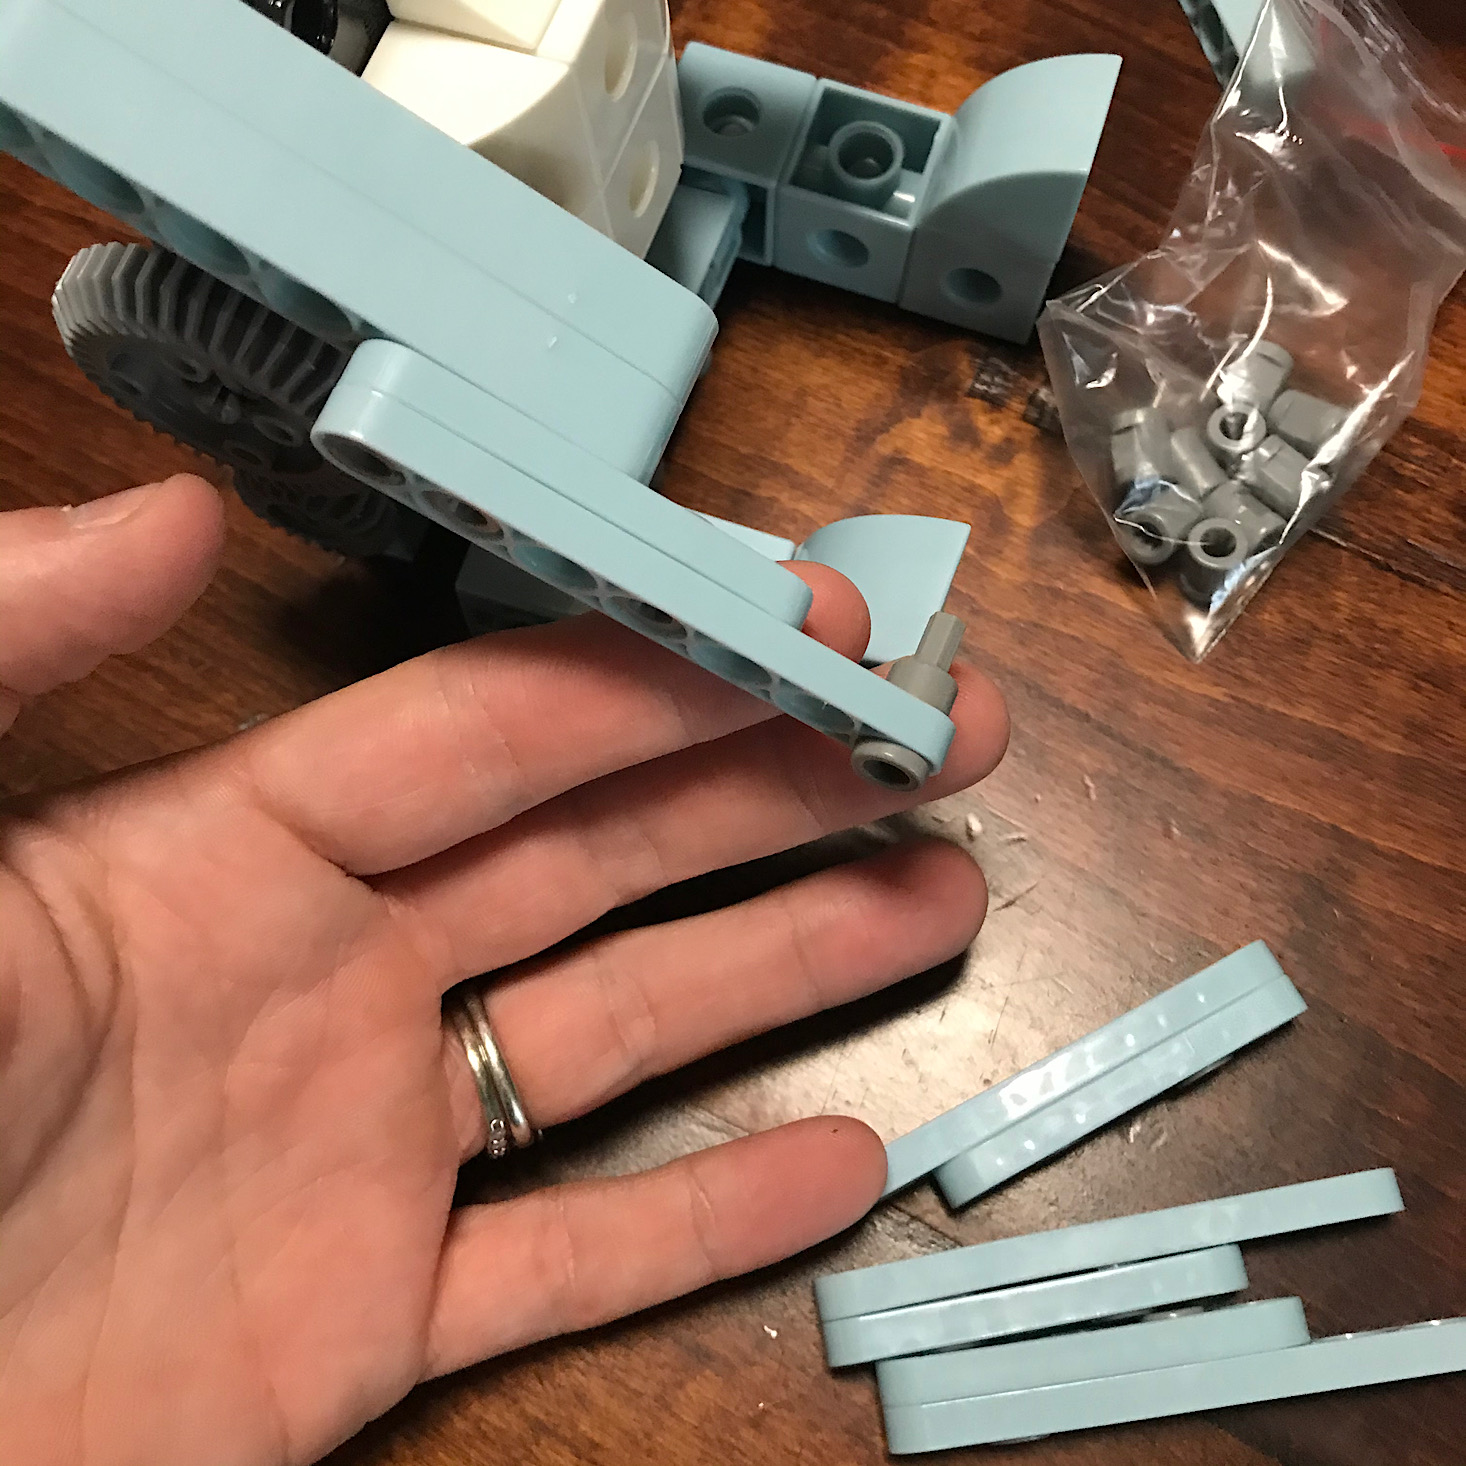
Next came the arms. I used several of the different rods and some of the smaller pins to put them together by following the pictures.
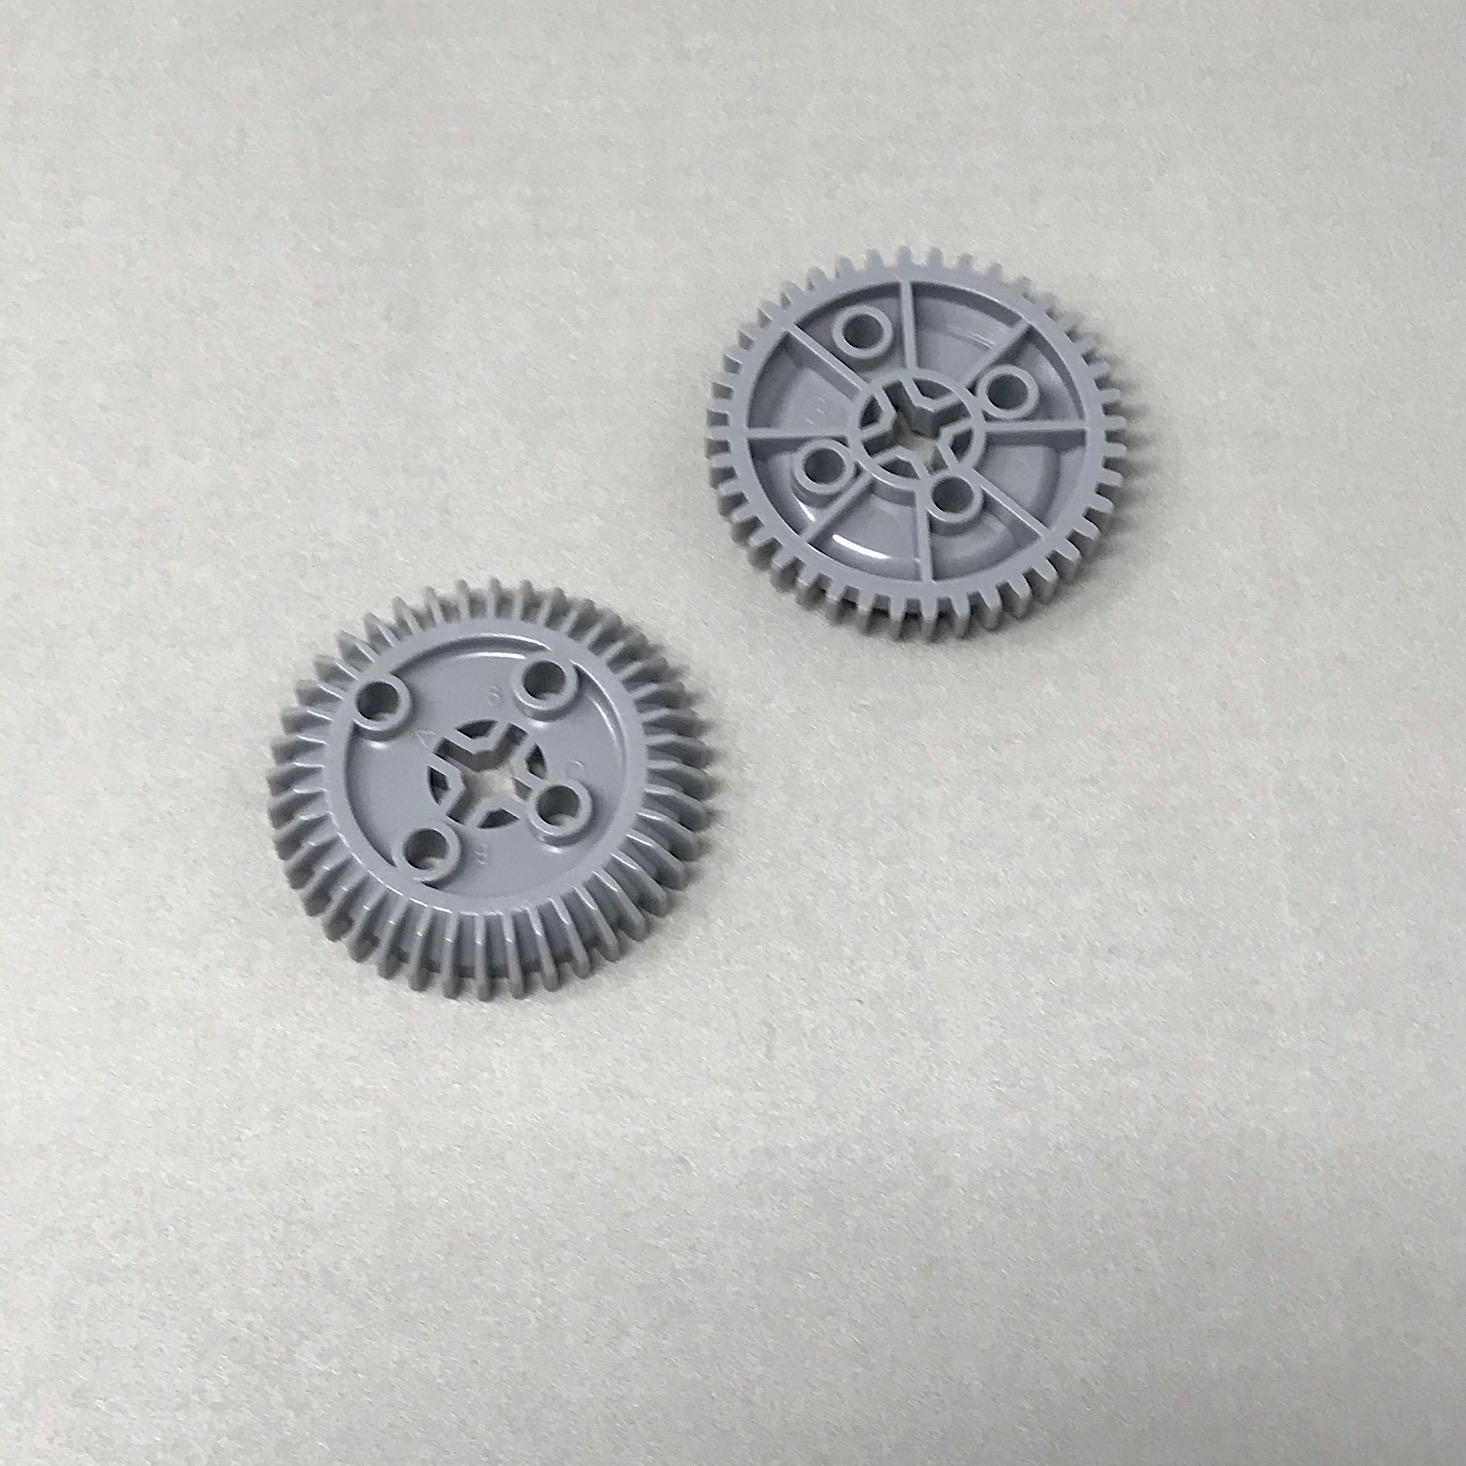
Then it was time to connect the arms and legs for movement. The larger wheels were all marked with letters at each hole and we had to make sure to connect our parts to Hole C. I repeated these steps for both sides.
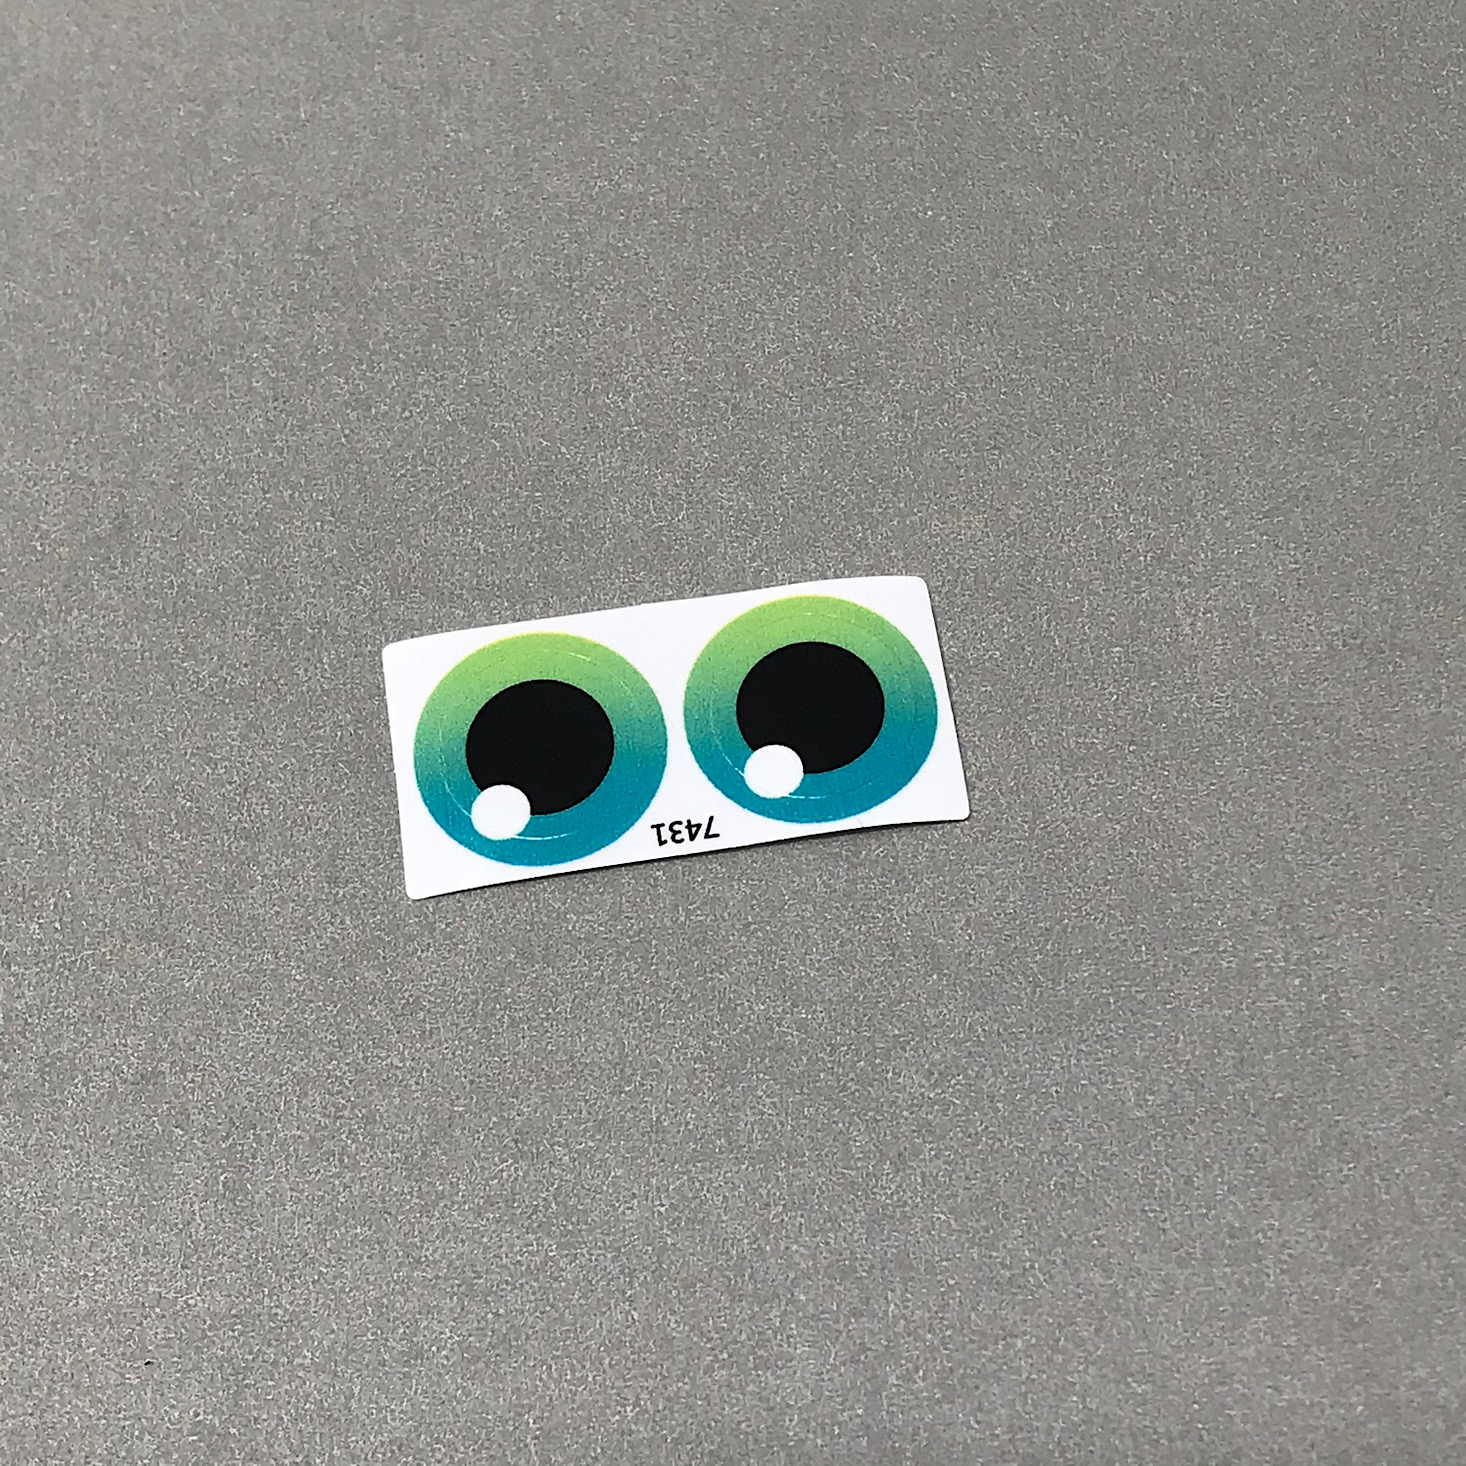
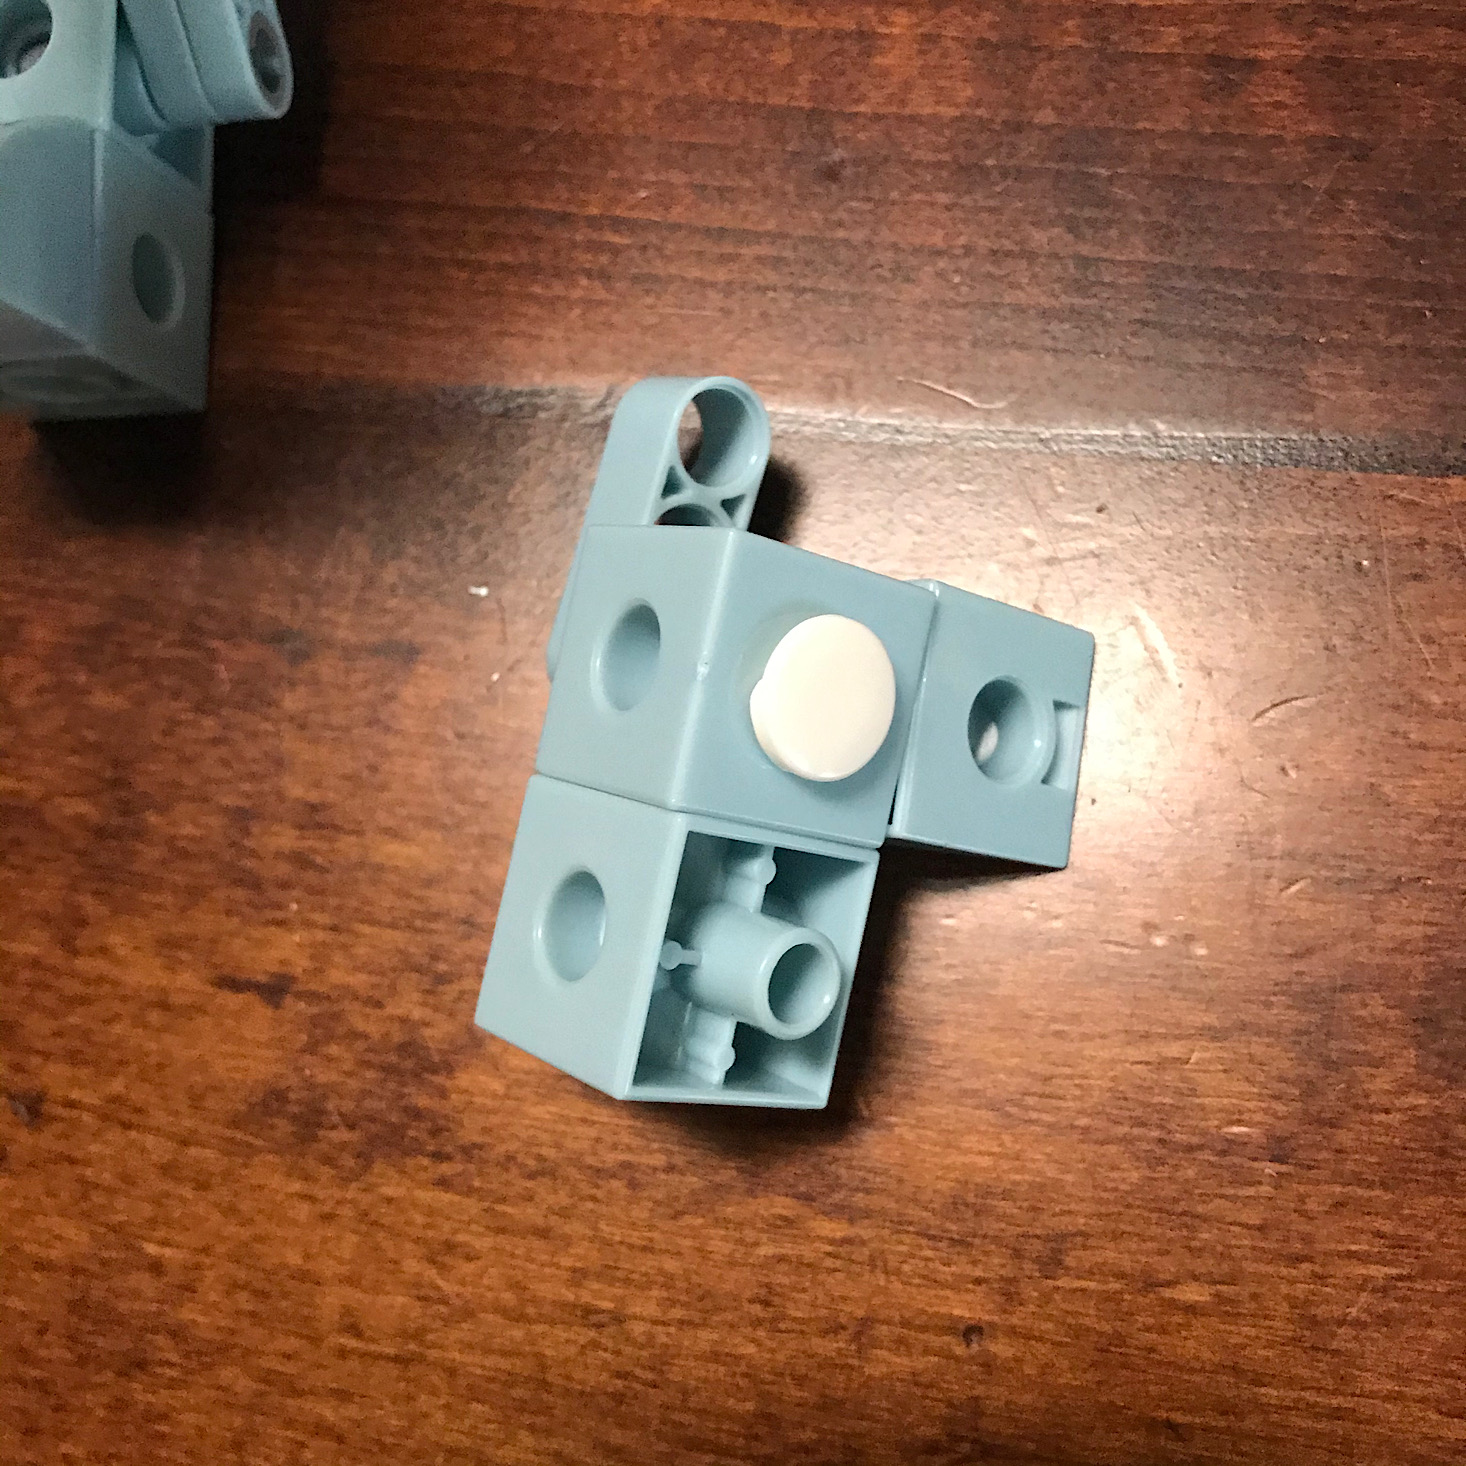
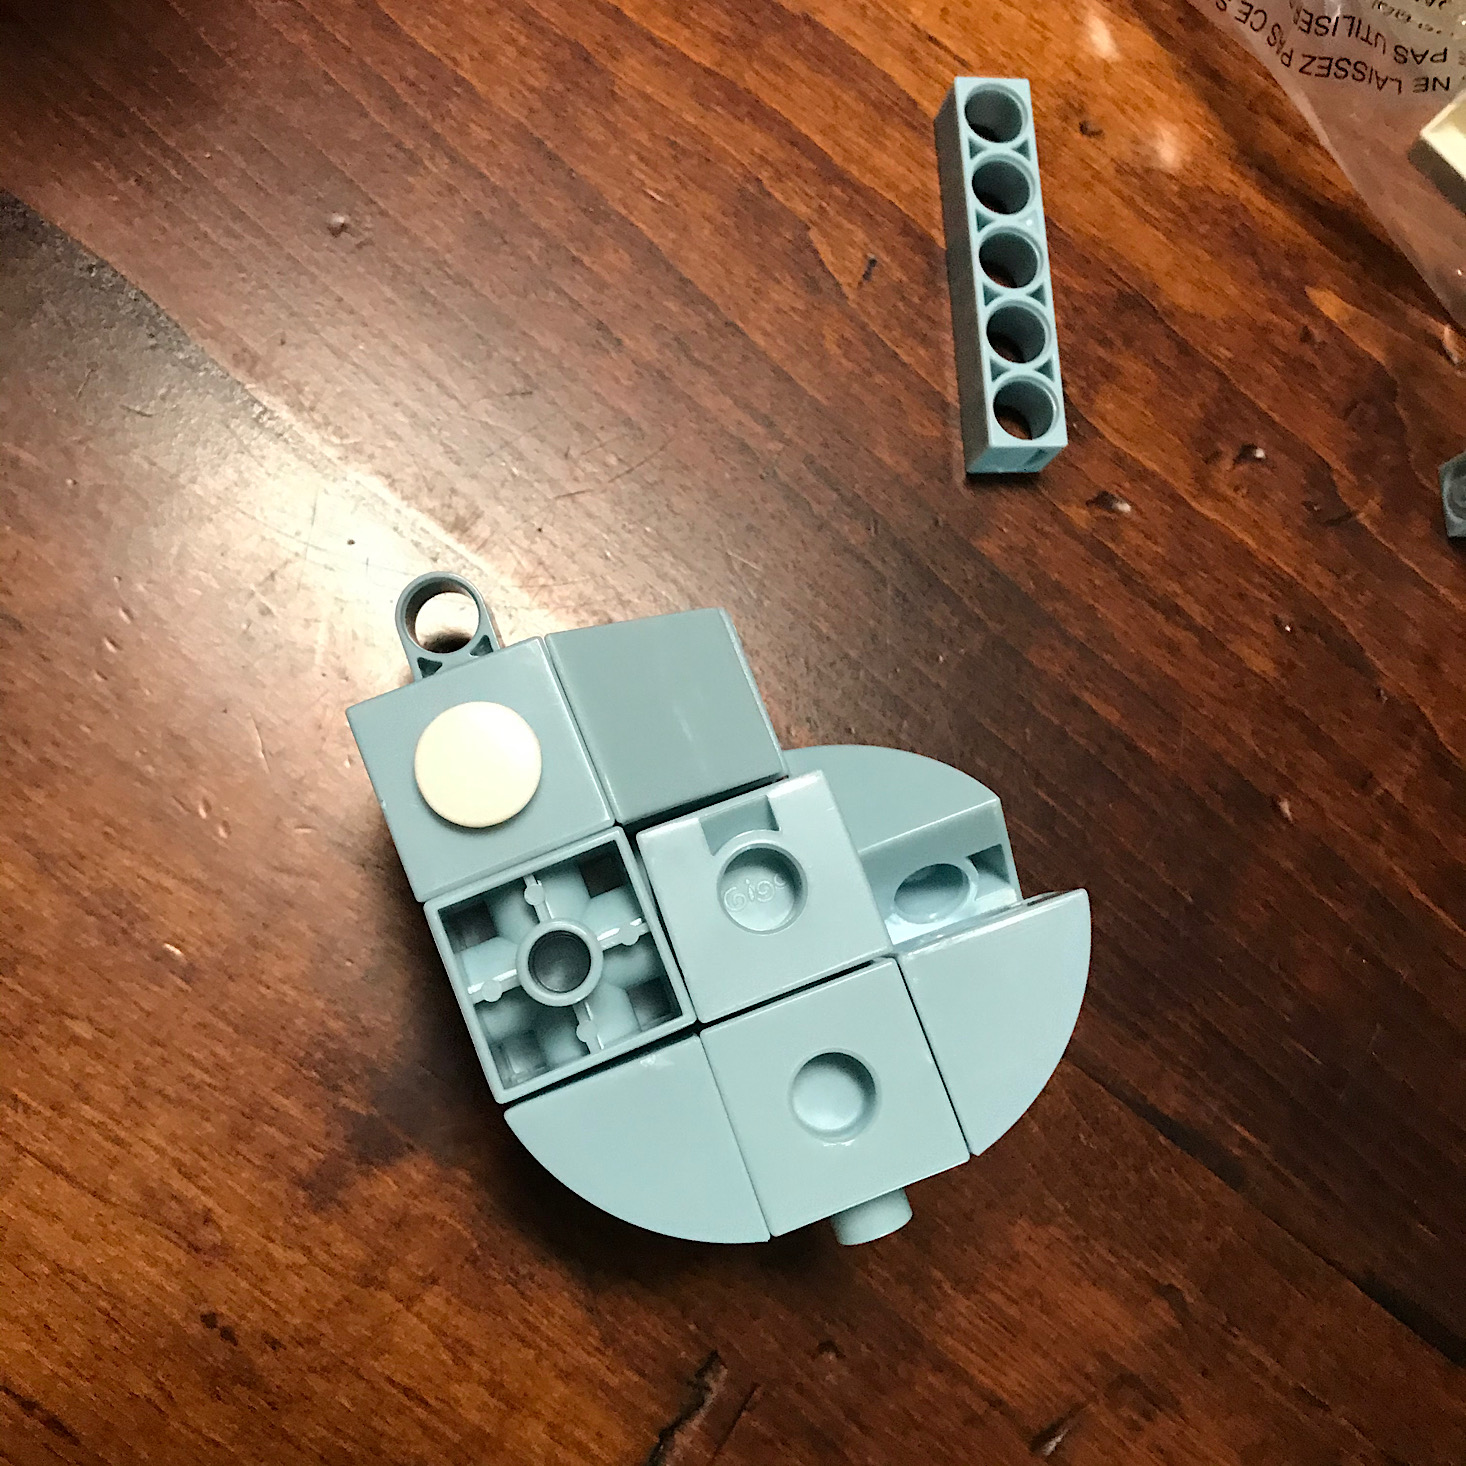
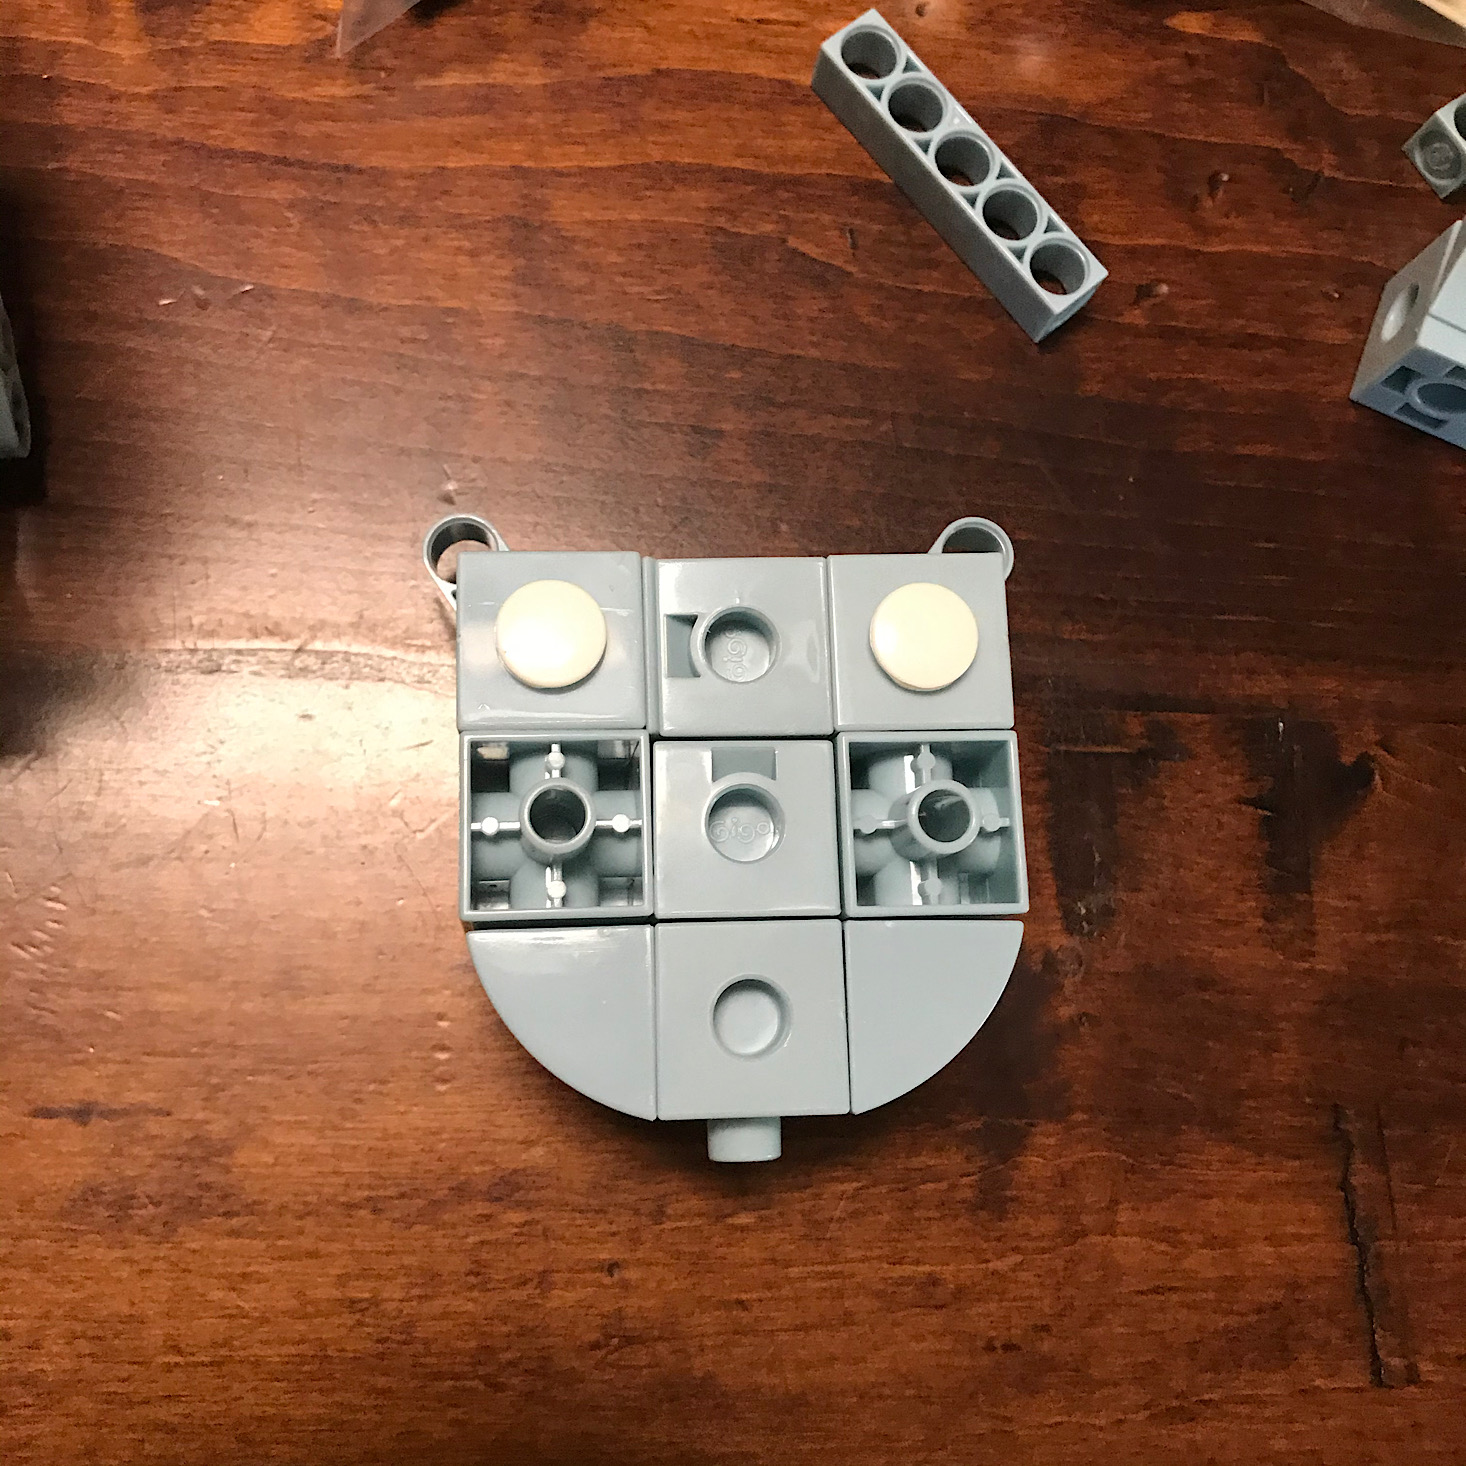
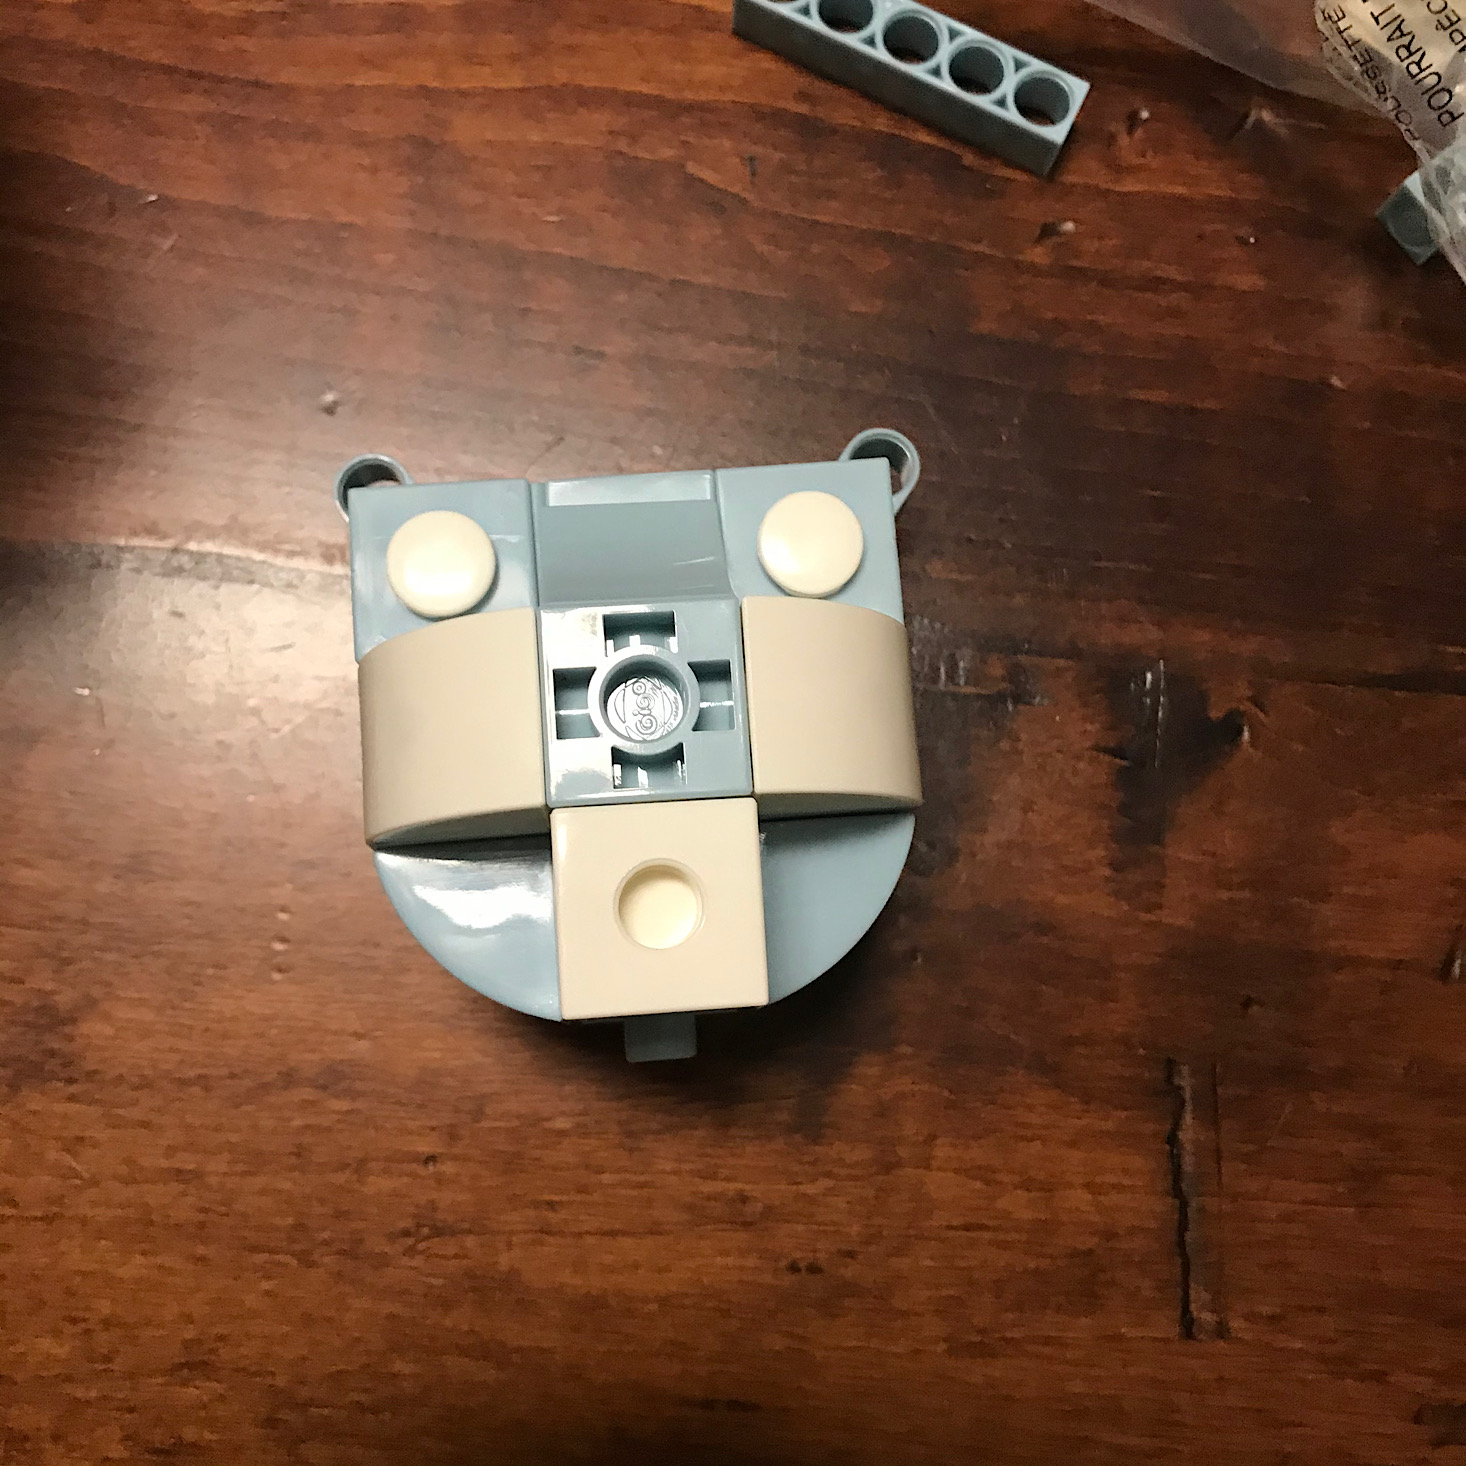
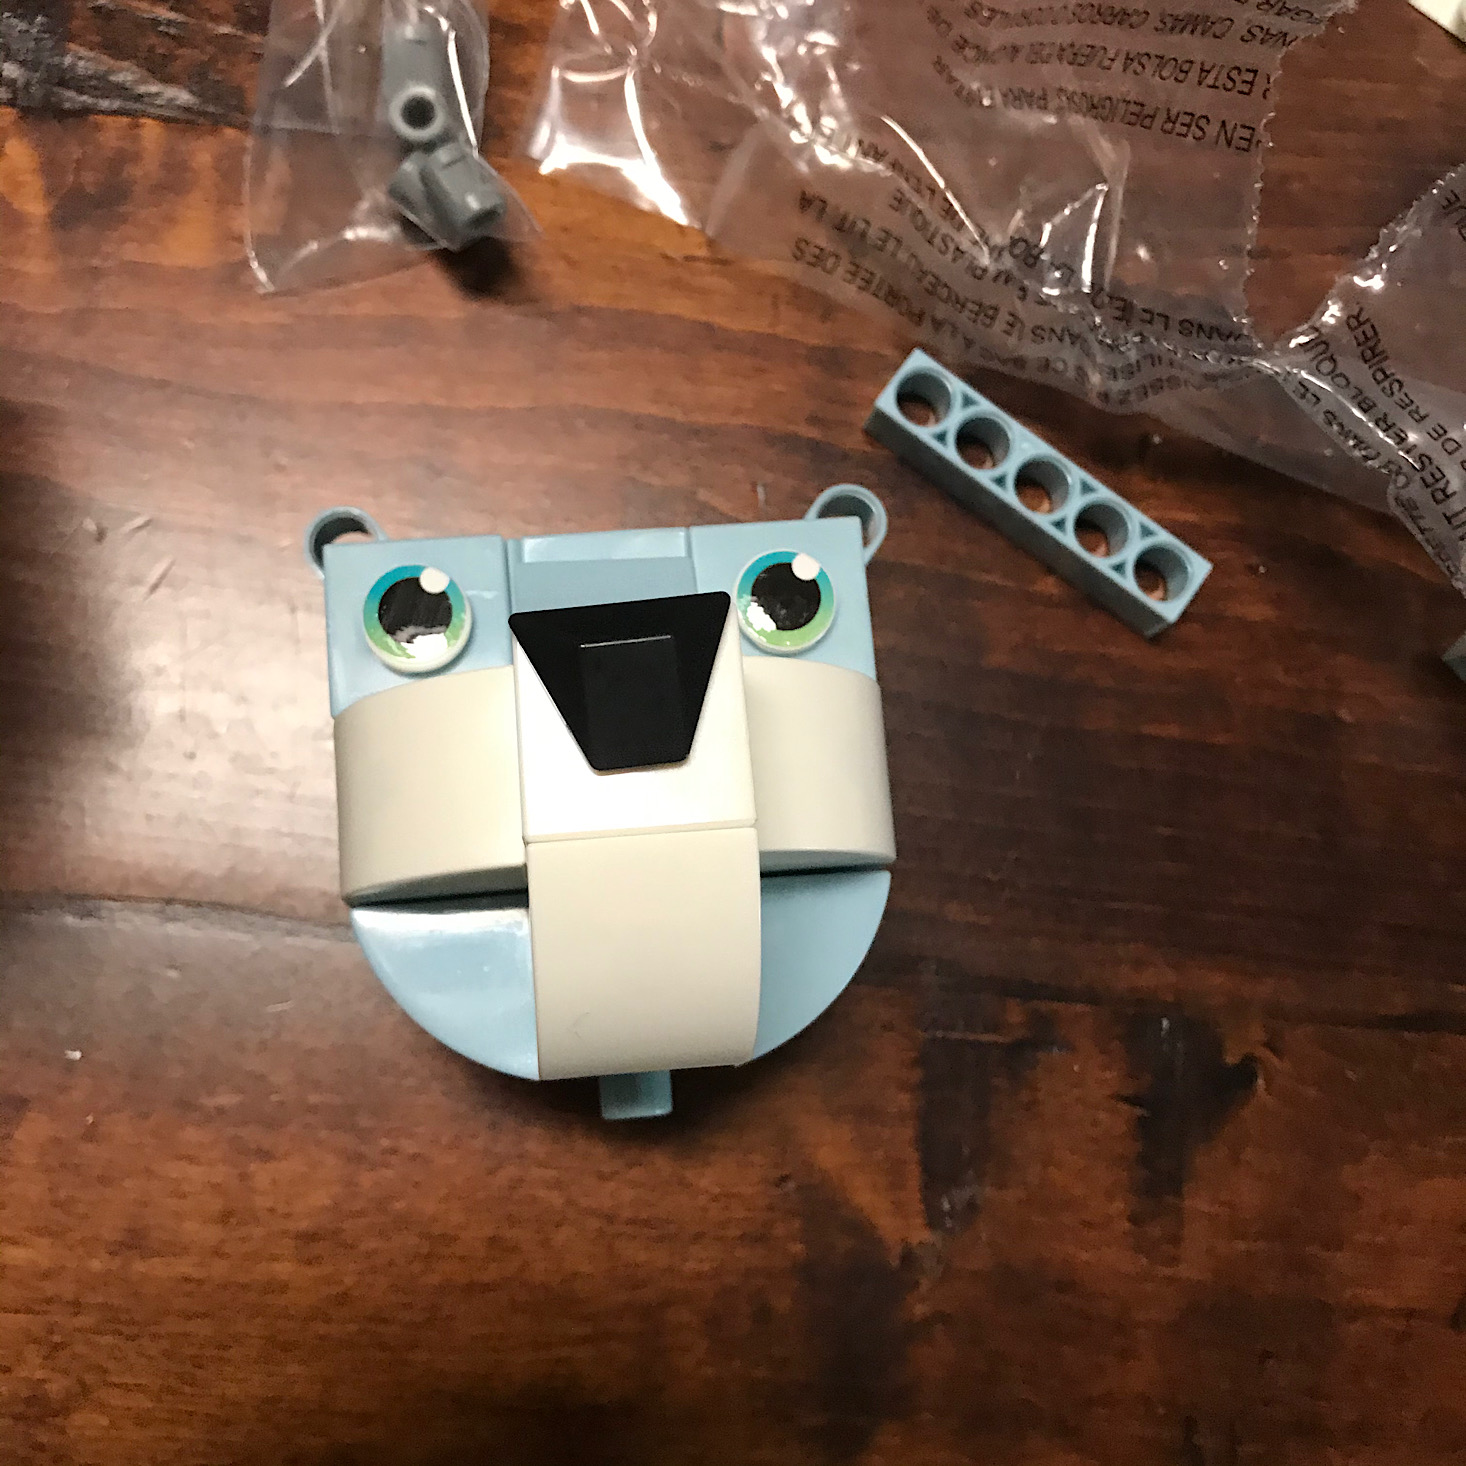
Next, I put various cubes together to form the head. I added the two white pegs for the eyes added the eyeball stickers to them.
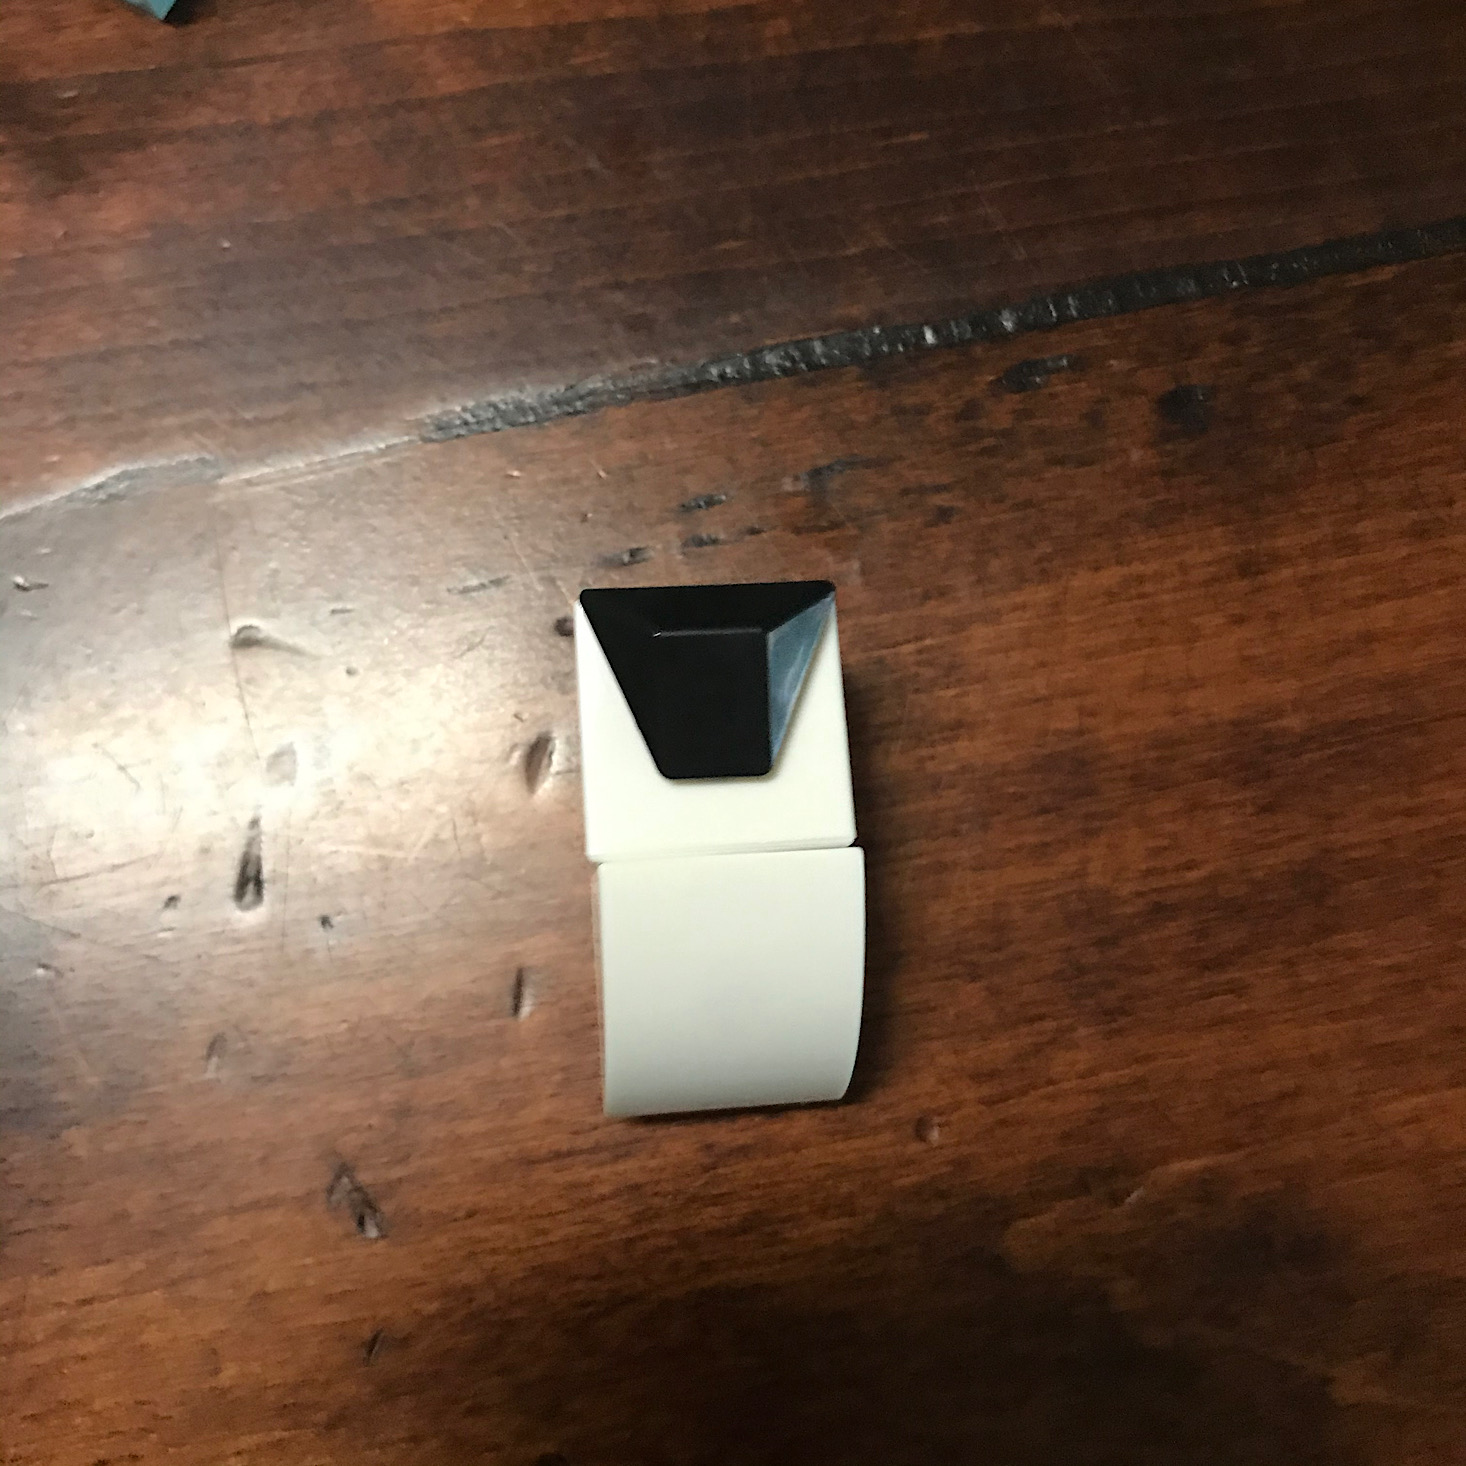
I assembled his nose and added it to the head and his cute little face was complete!
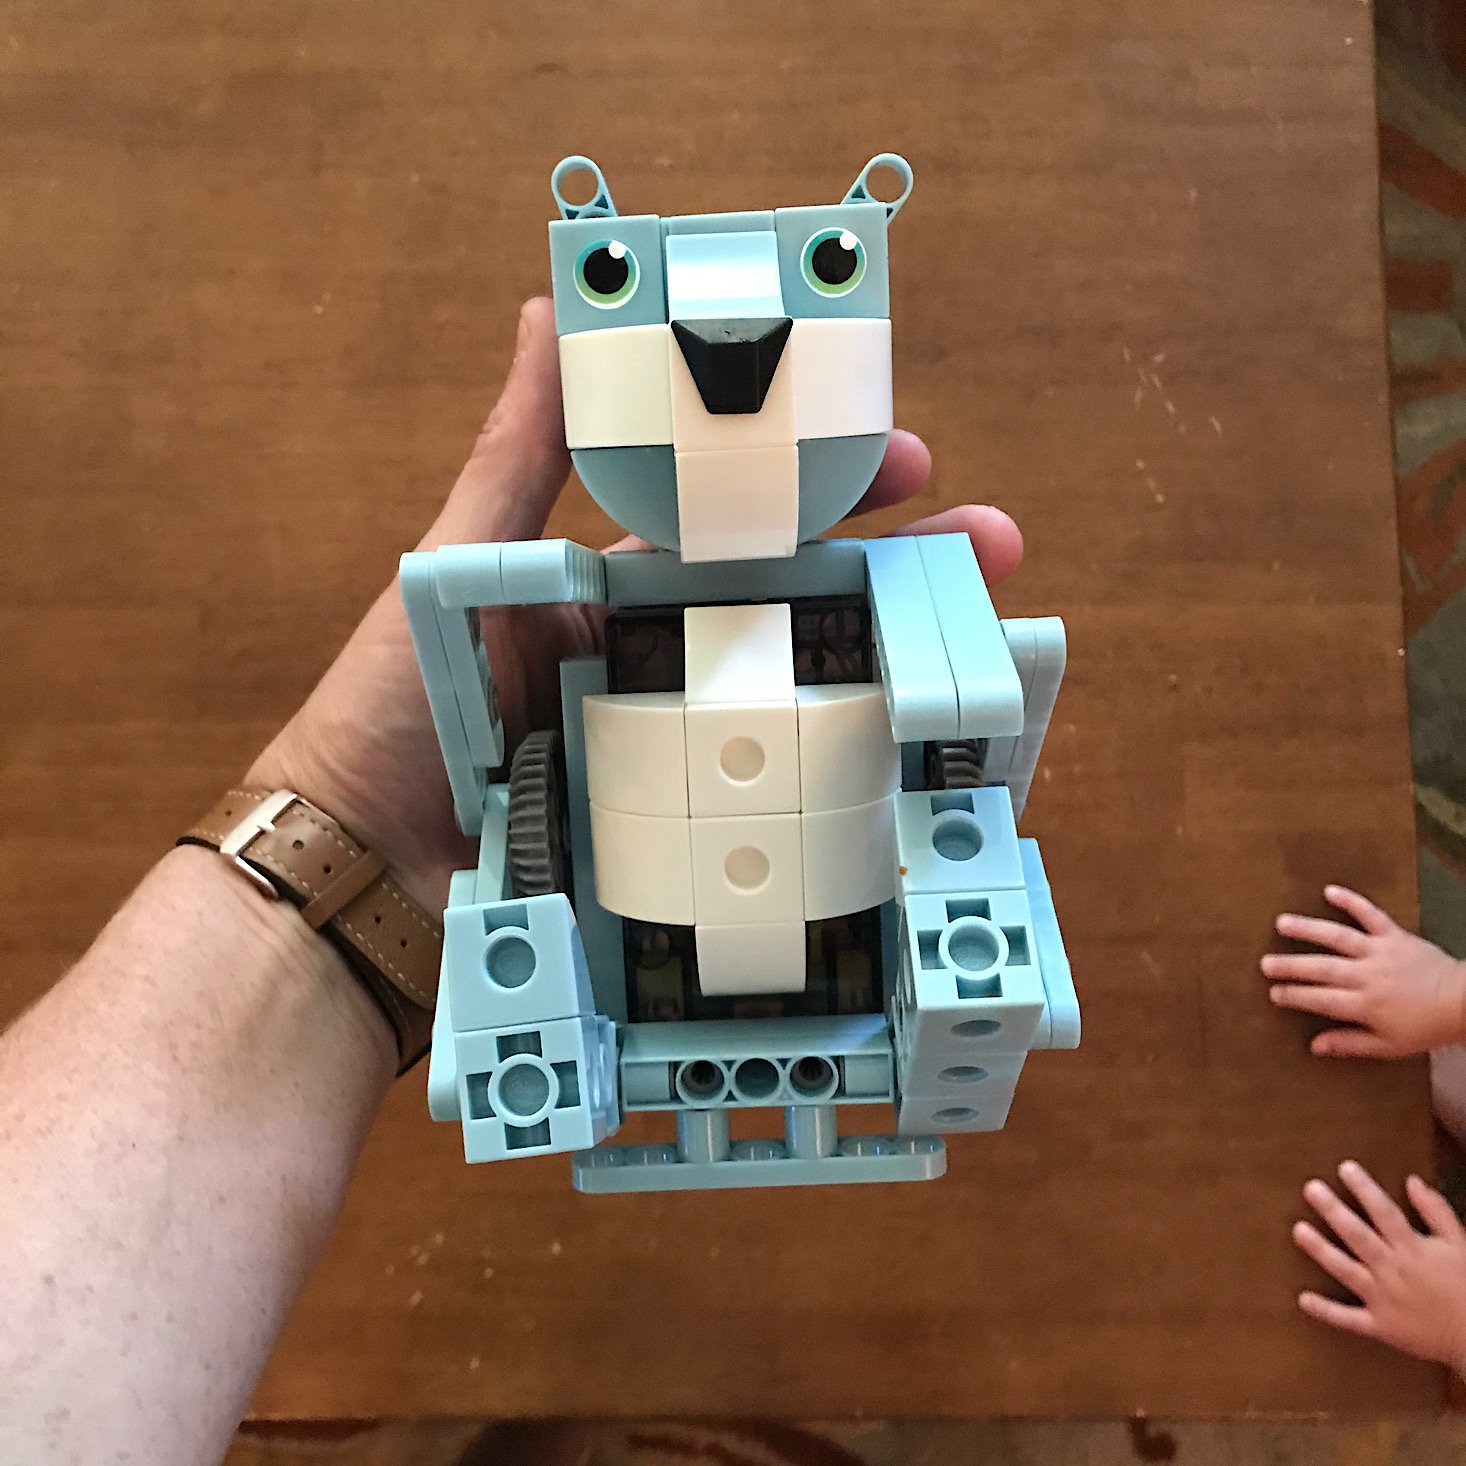
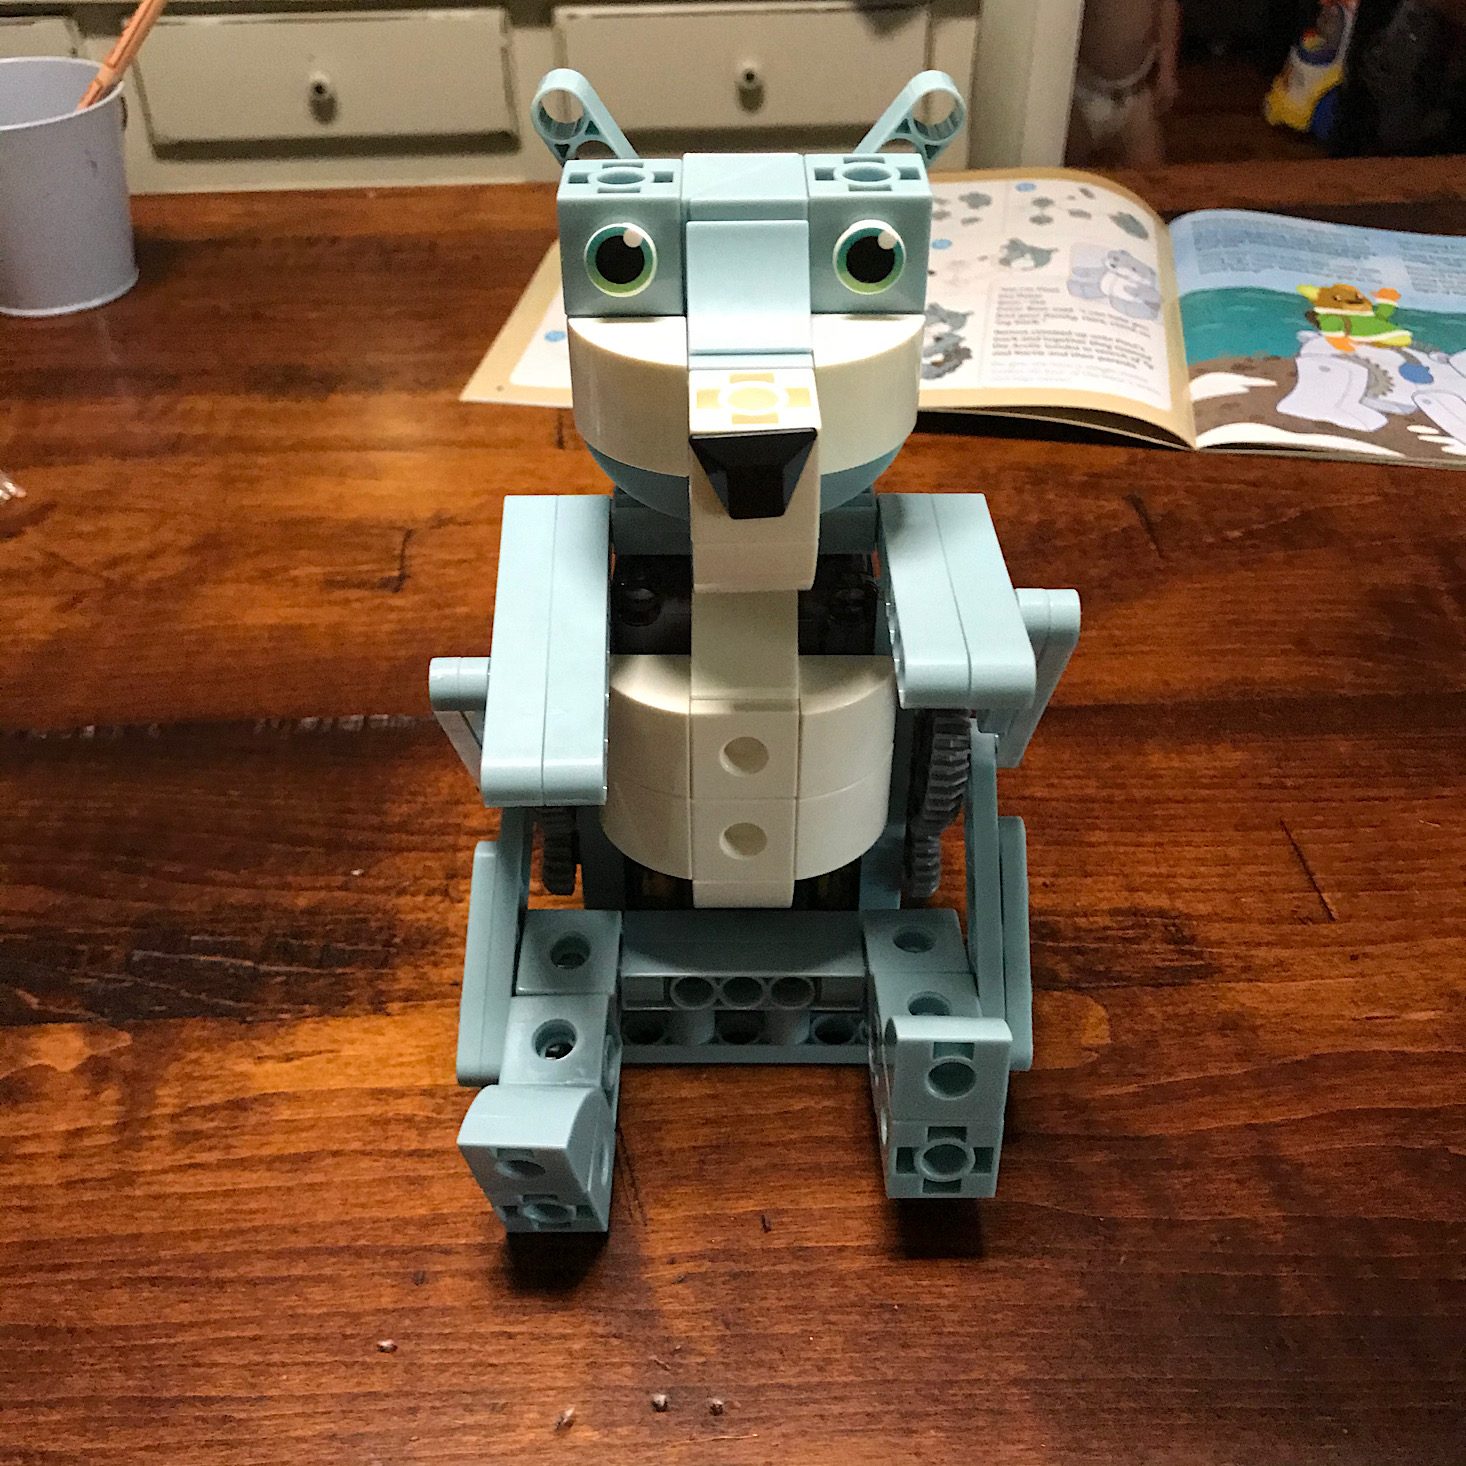
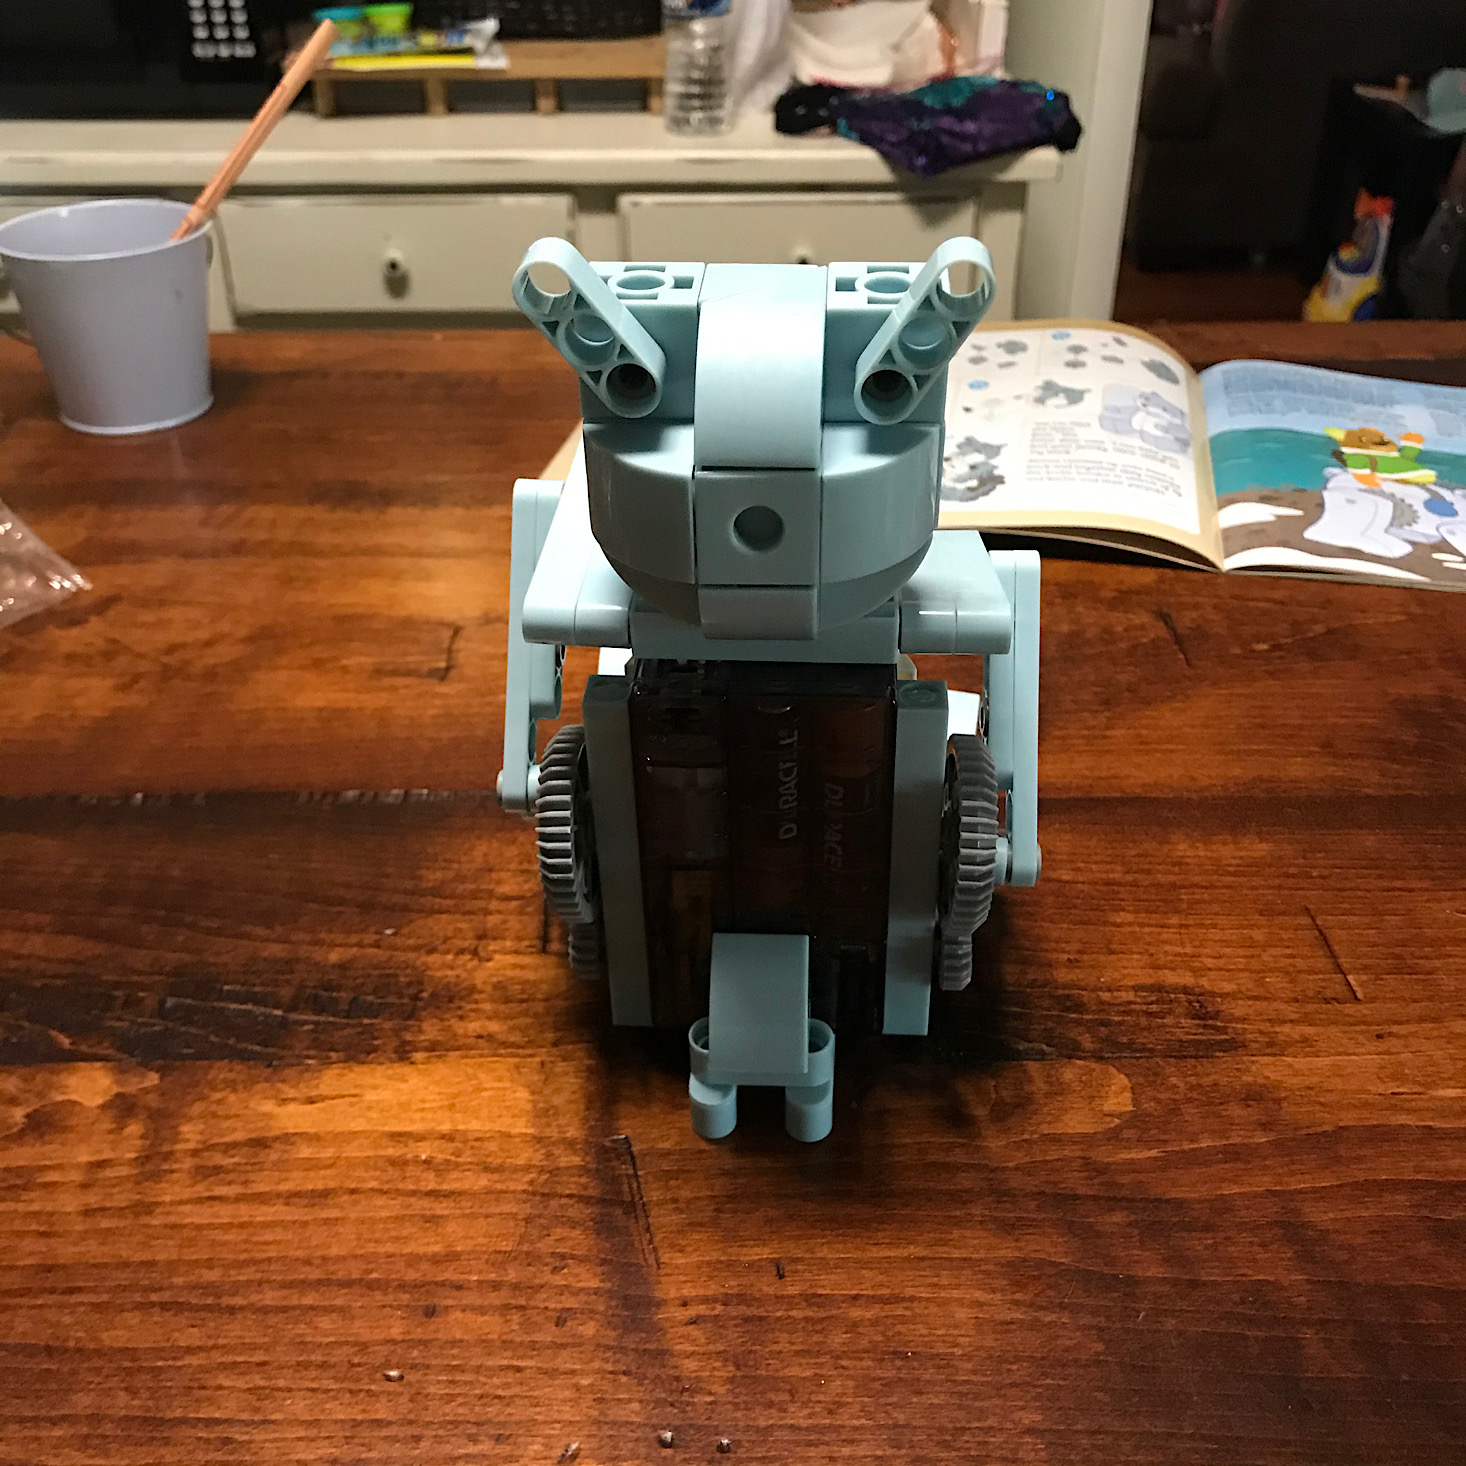
Here he is complete! Isn't he cute? You can also see him in hand and see how big he actually is!
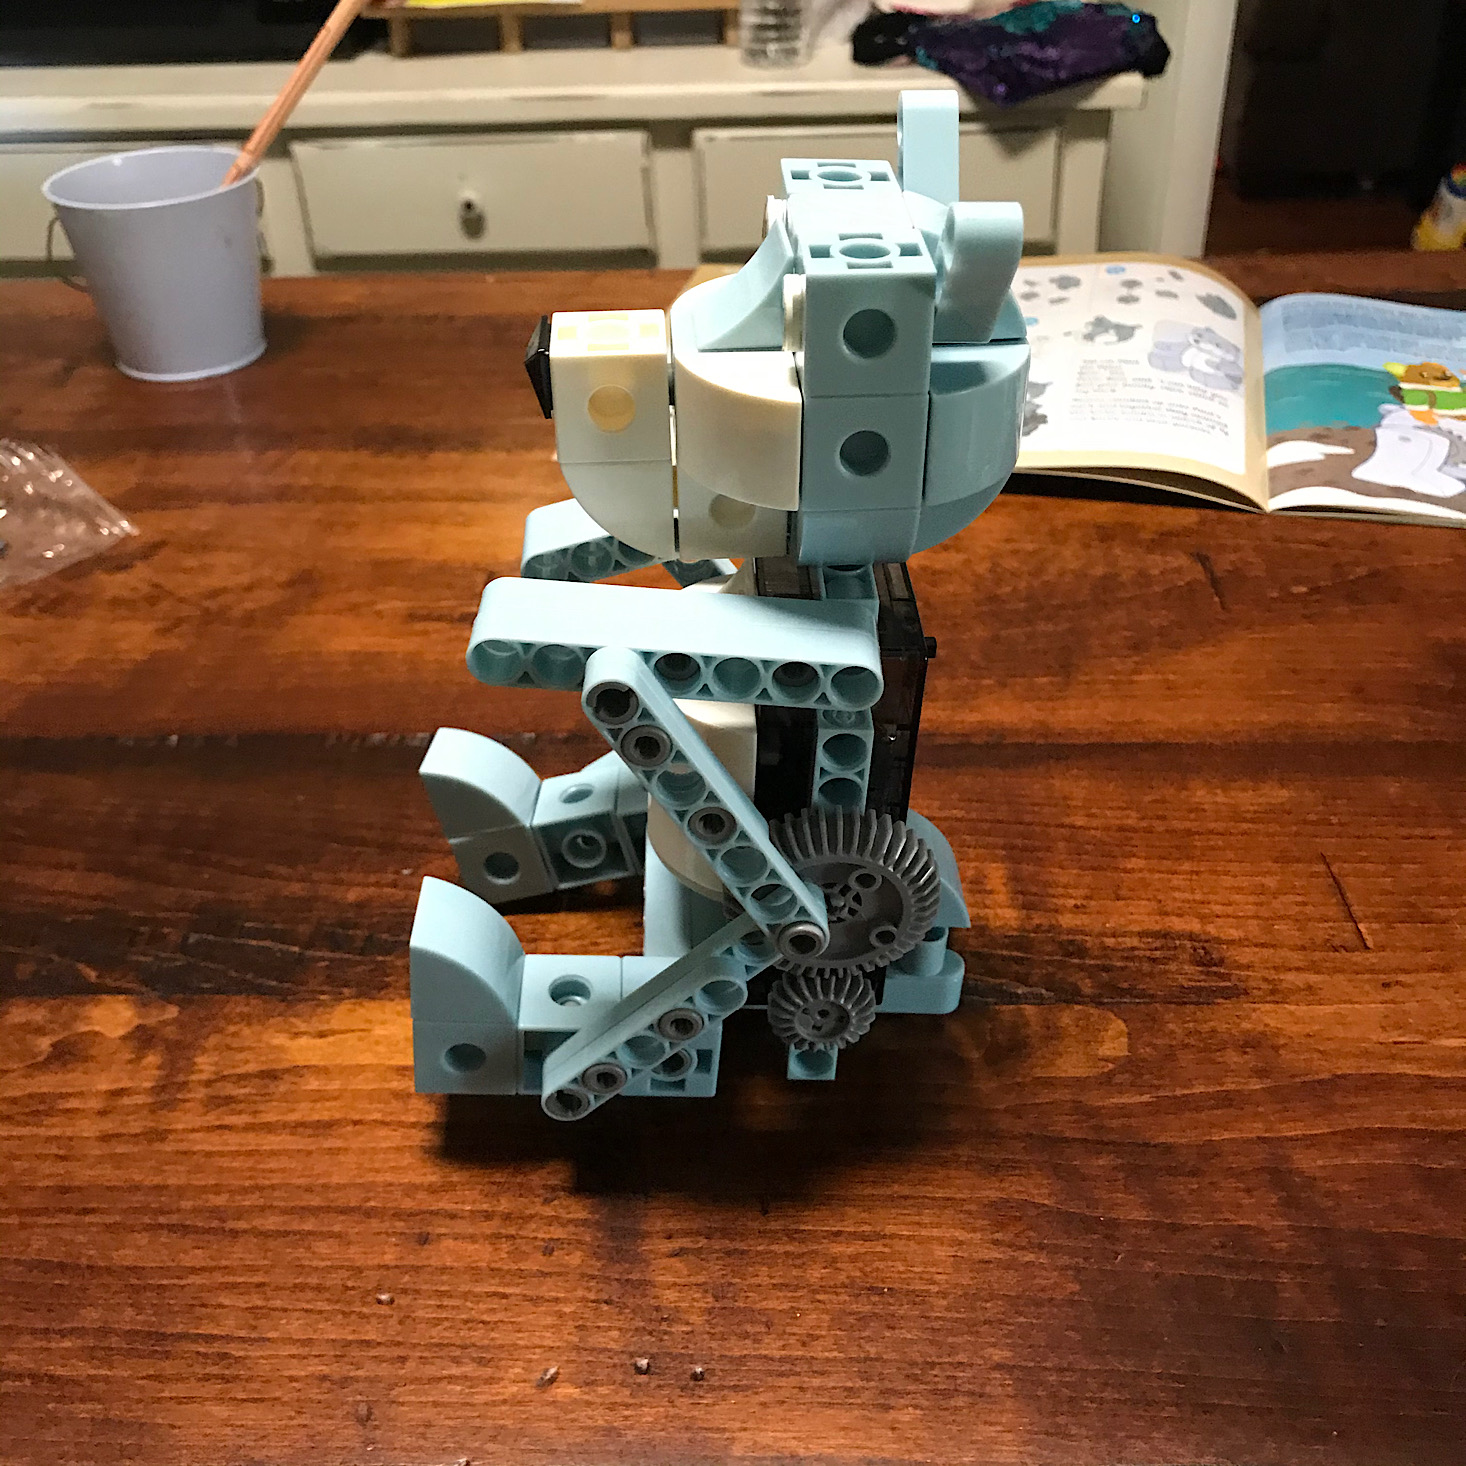
In the booklet, they describe his movement, "Do you see how a single motor makes all four of the bear's arms and legs move?" I like that they addressed his movement, but it was unclear to me whether he was just supposed to move his arms and legs or actually crawl around.
I was able to get him to crawl around a bit even though I'm not quite sure what they intended as far as movement!
Narbert the Narwhal Robot:
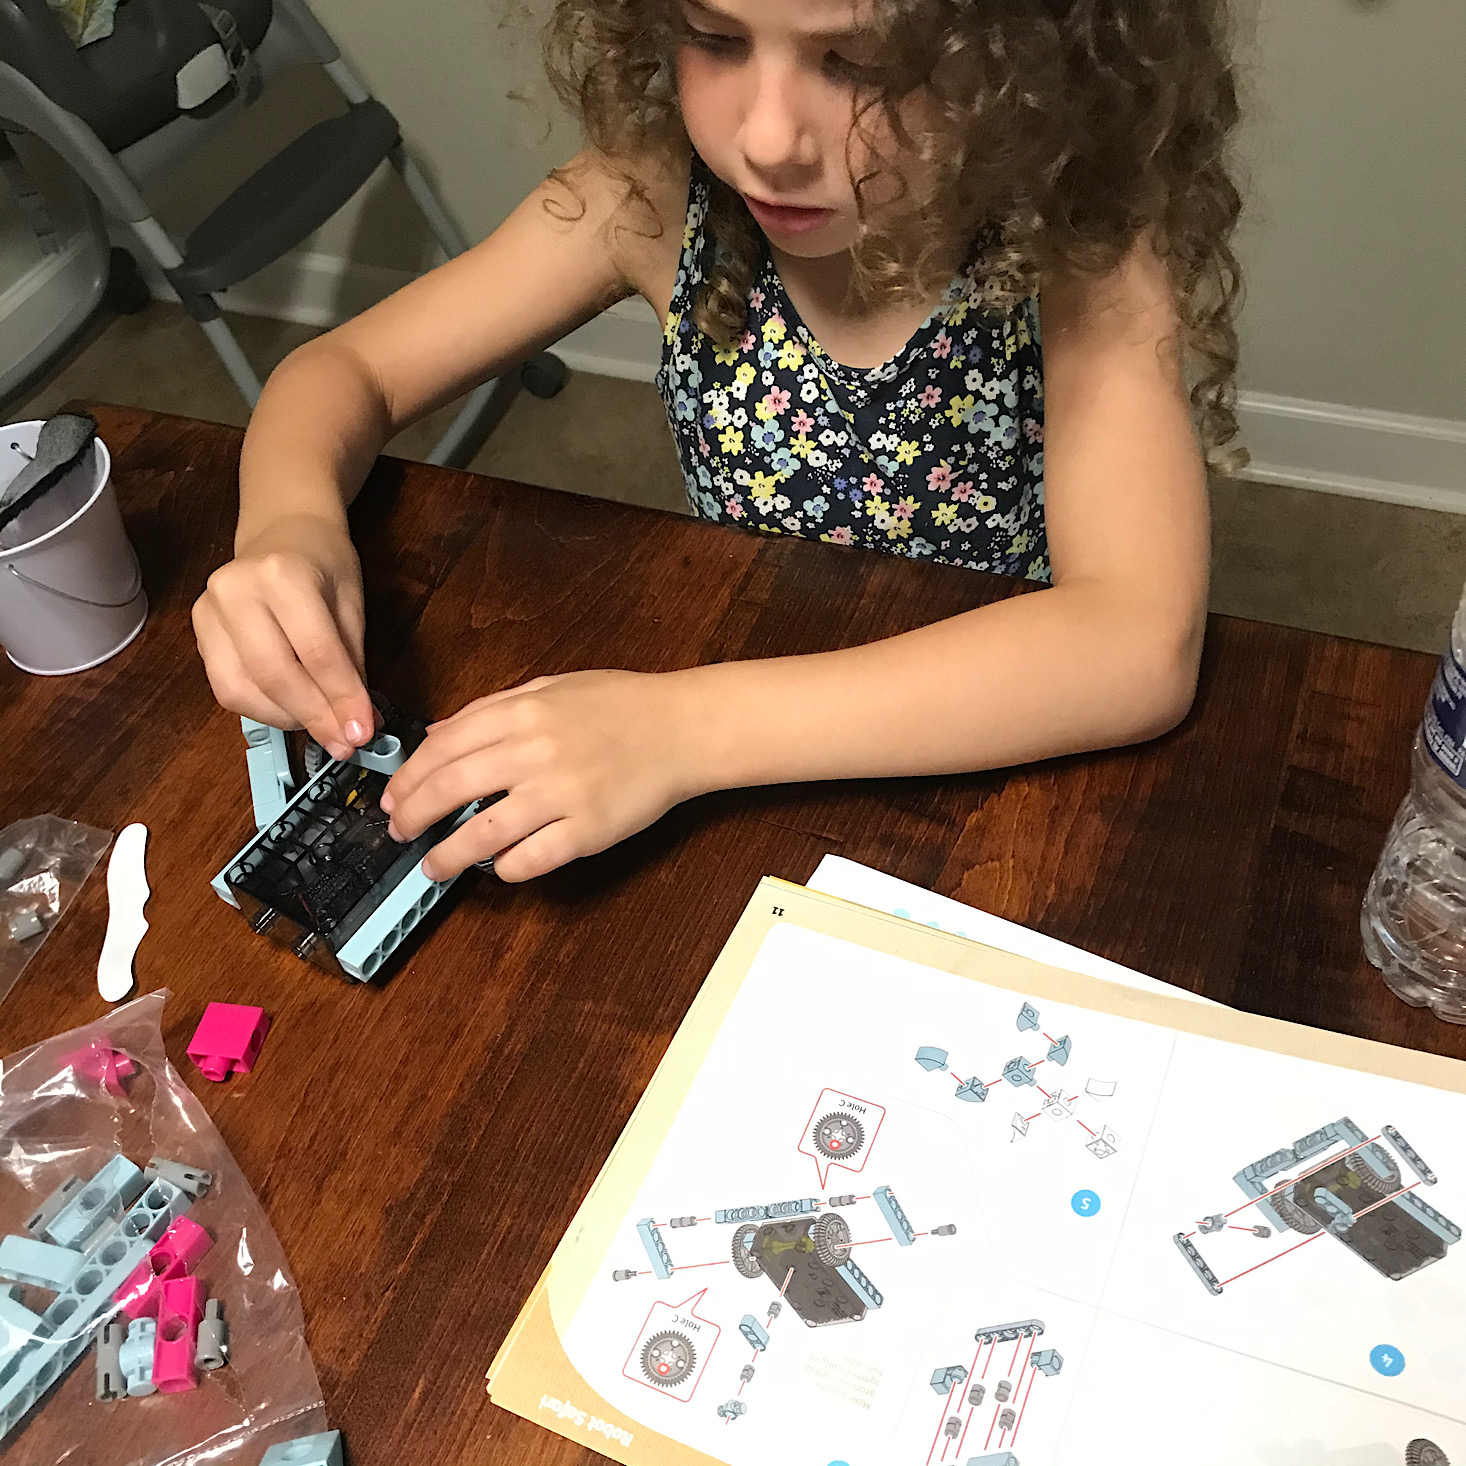
Next, we attempted to build the narwhal. This time I tried to let my daughter build it with minimal assistance from me. I handed her the pieces she would need and then she followed the illustrations to add them.
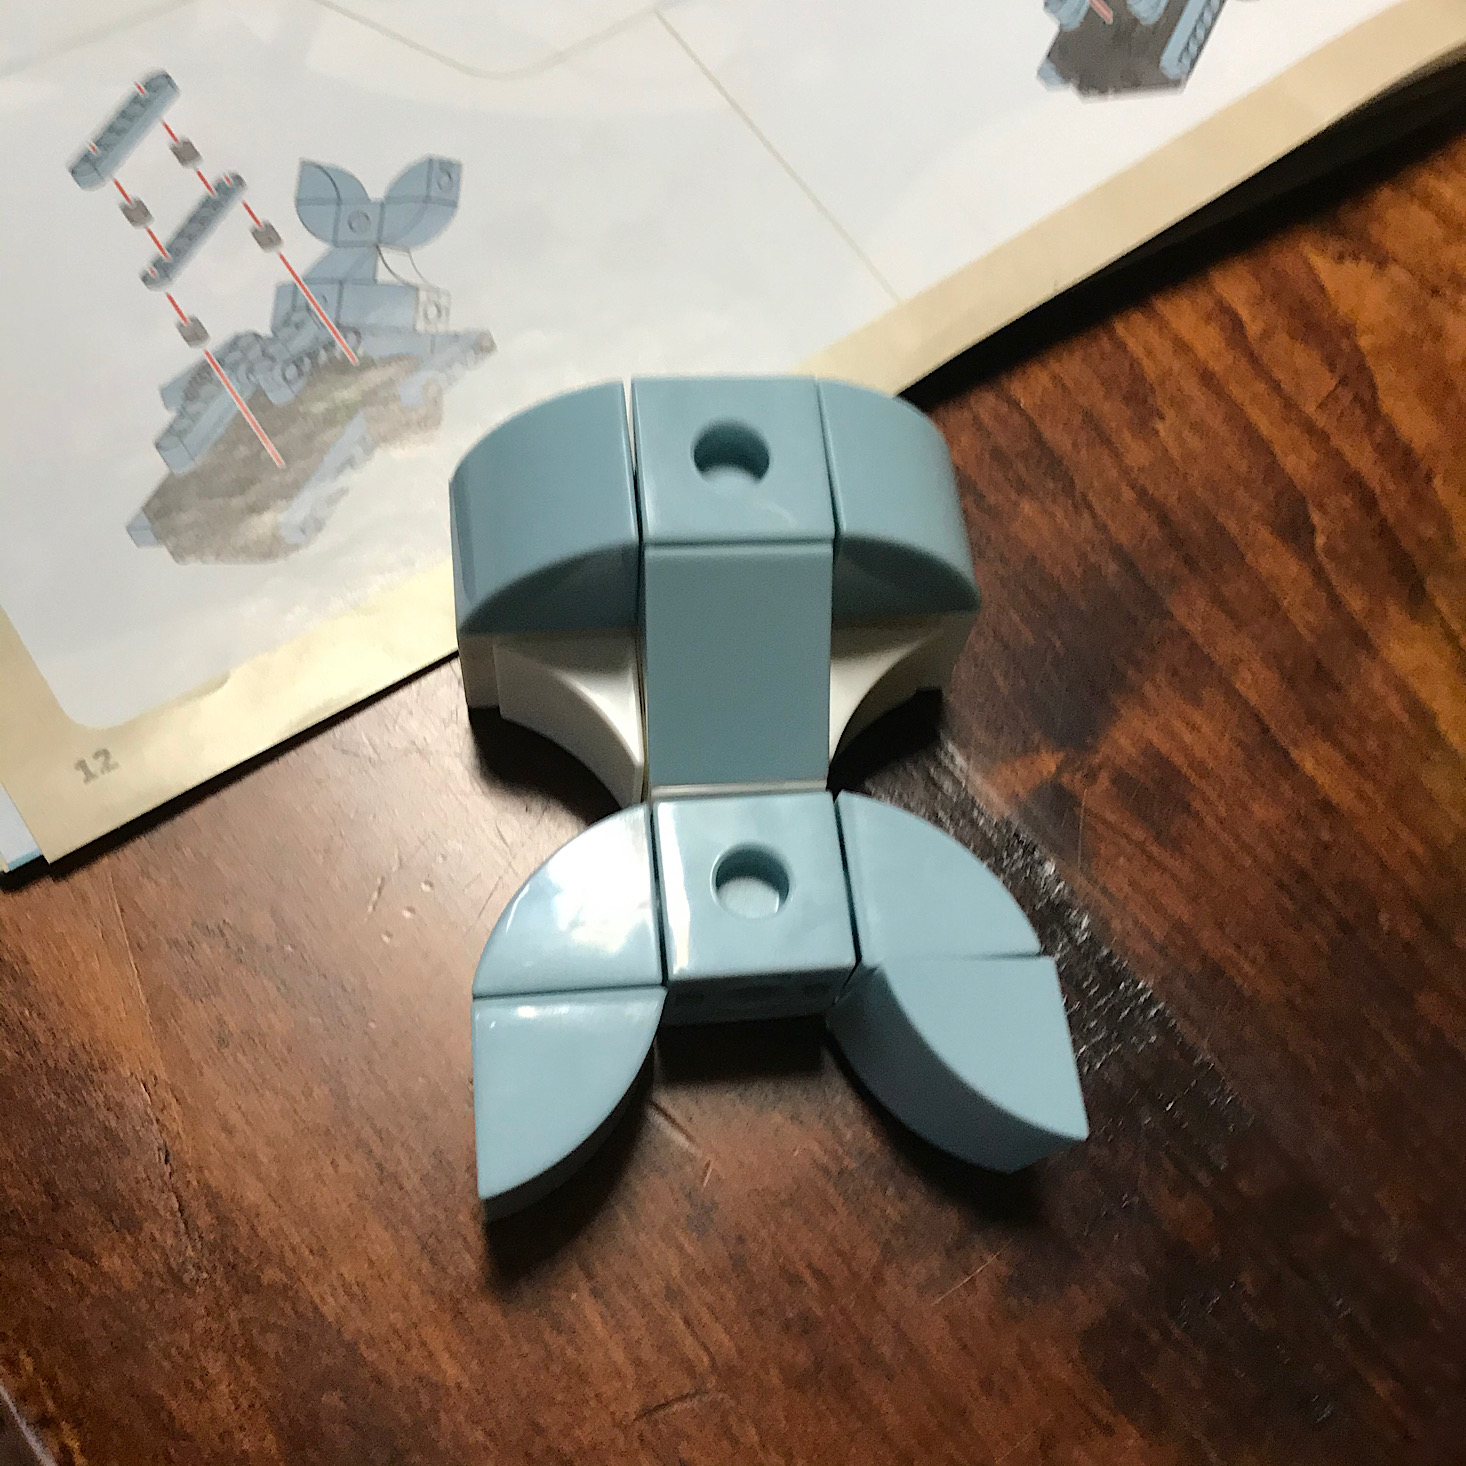
She added all of the pieces to get the main part of his tail together.
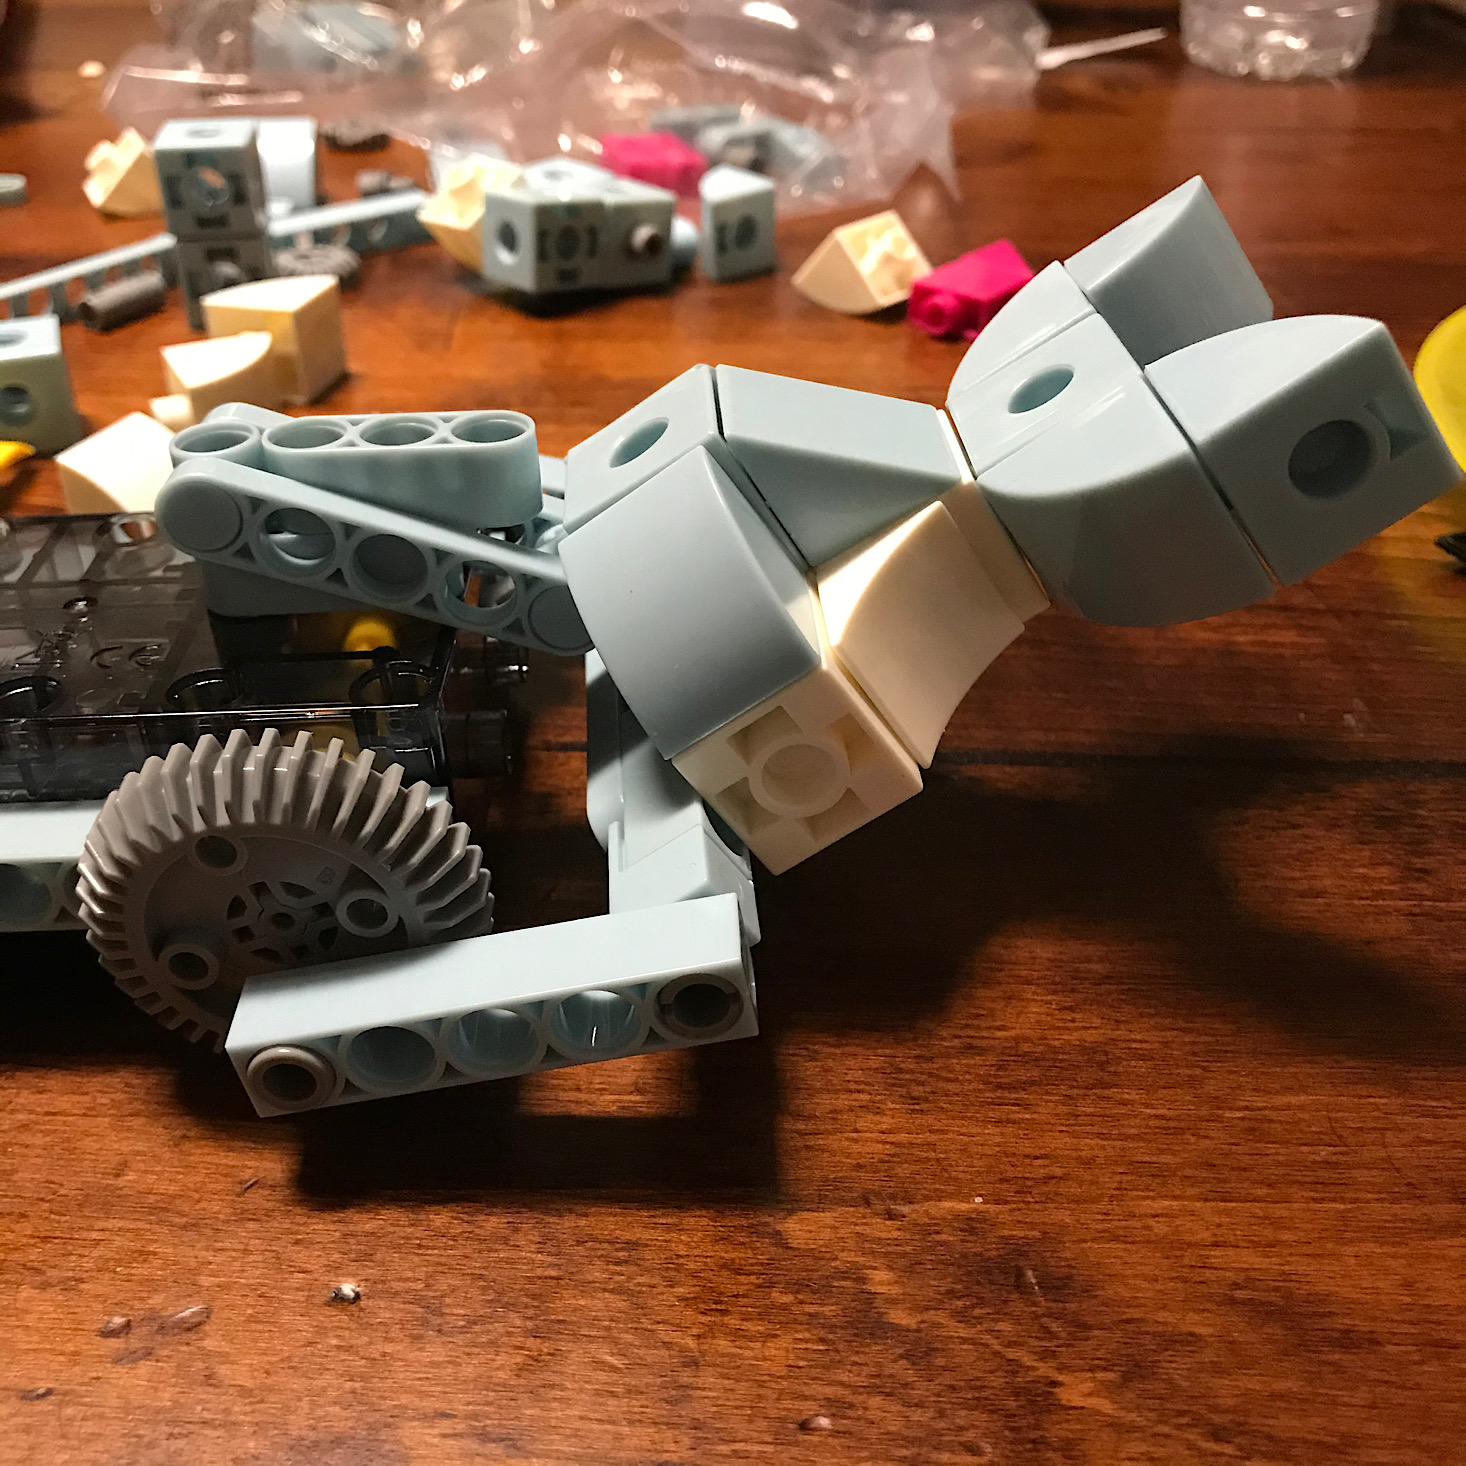
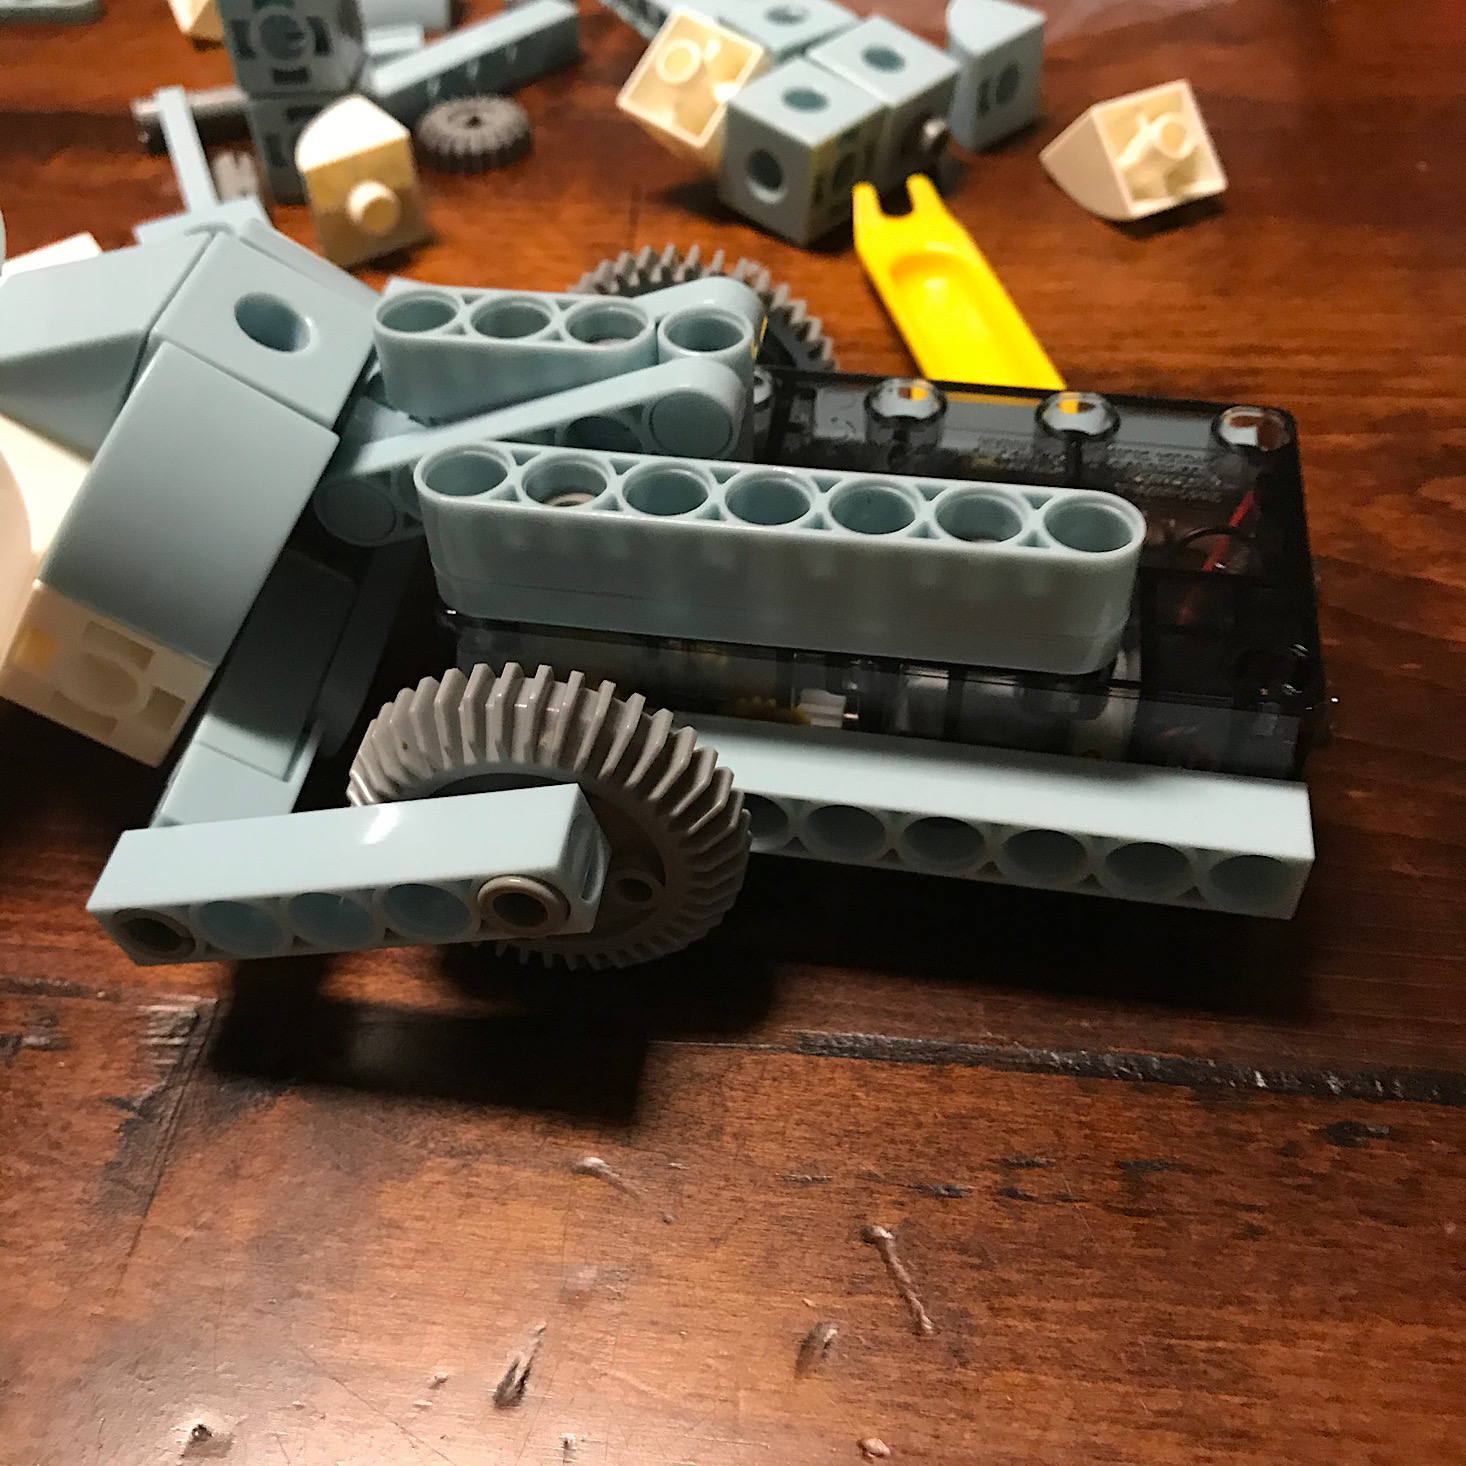
While she did that, I worked on assembling the tail. At this point, things got a little tricky and she sort of lost interest in the build so I finished it up on my own. Here the tail is supposed to be attached to the body using one of the little gray pegs, but this didn't work out well at the end, which you'll see.
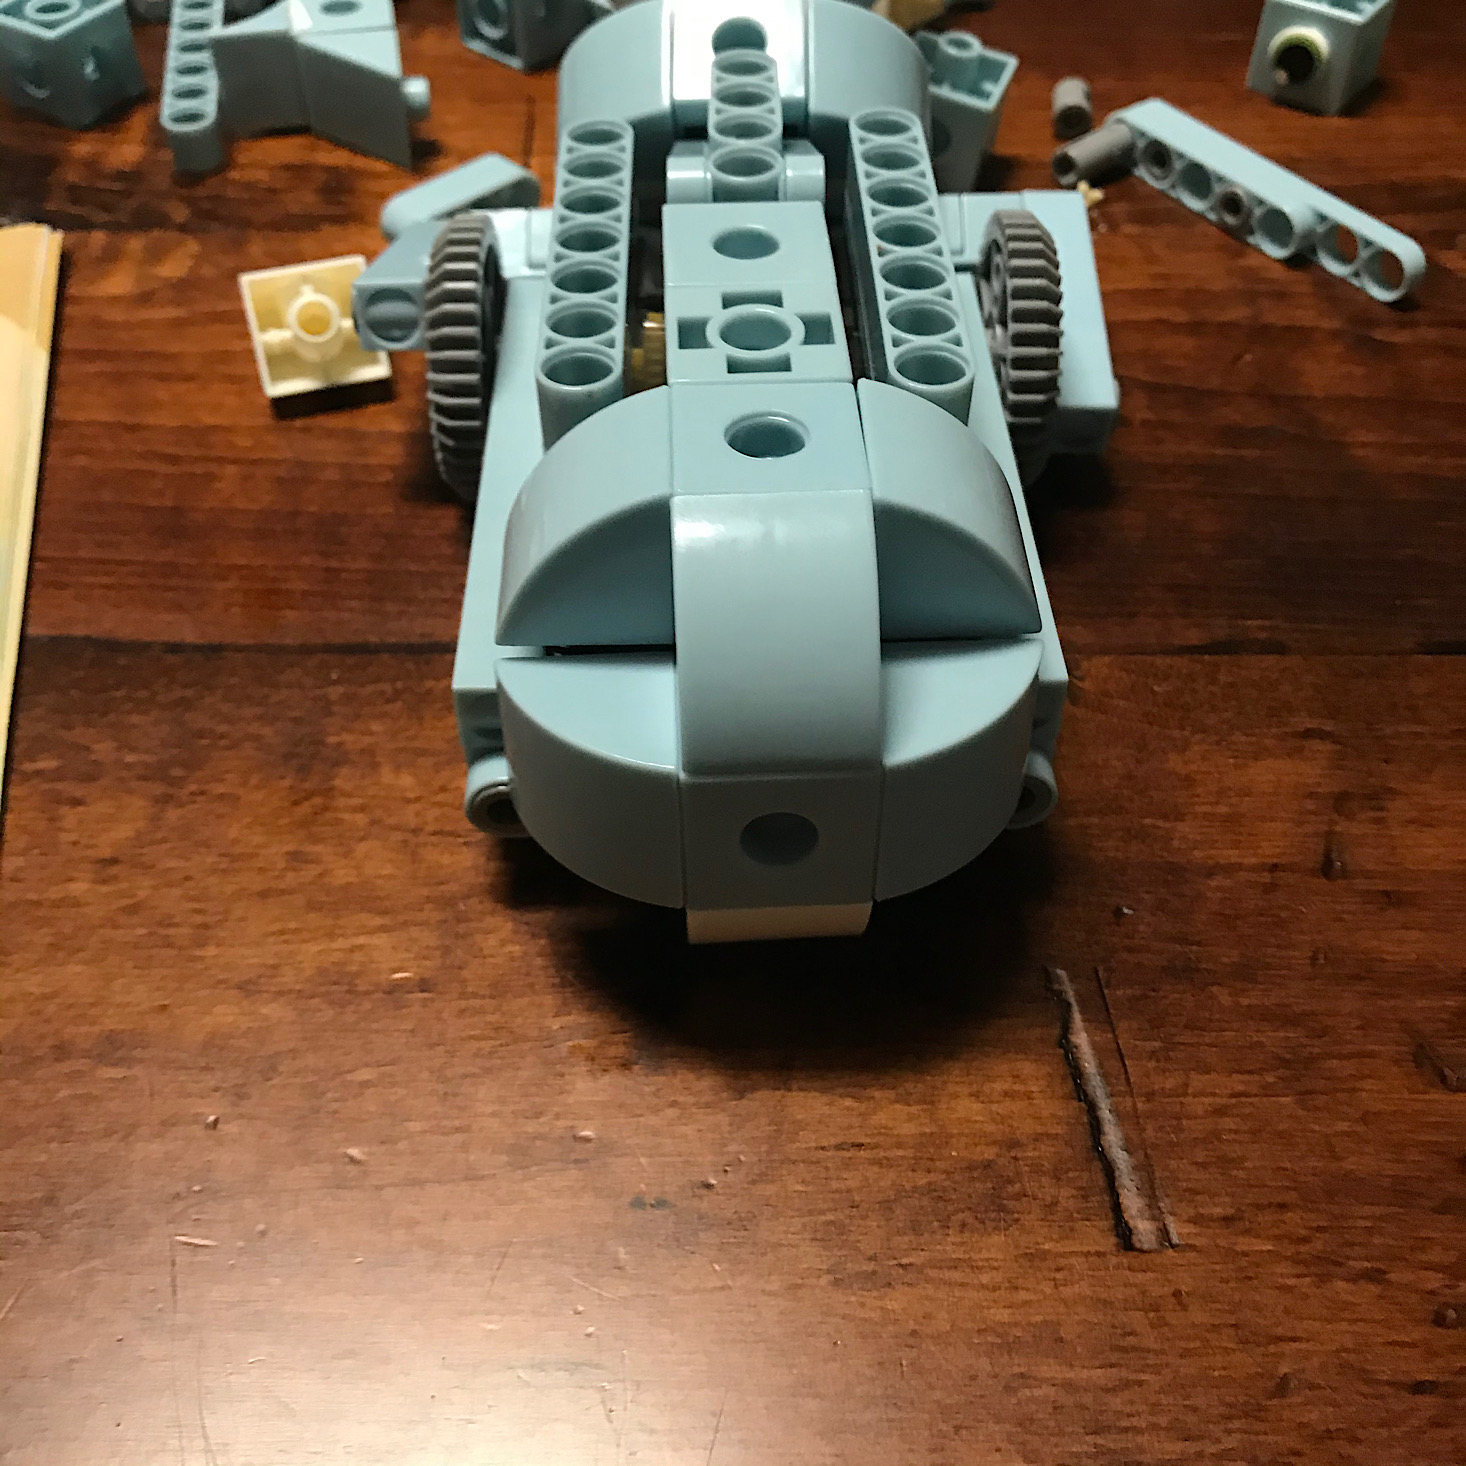
I finished assembling the body.
Then added his head.
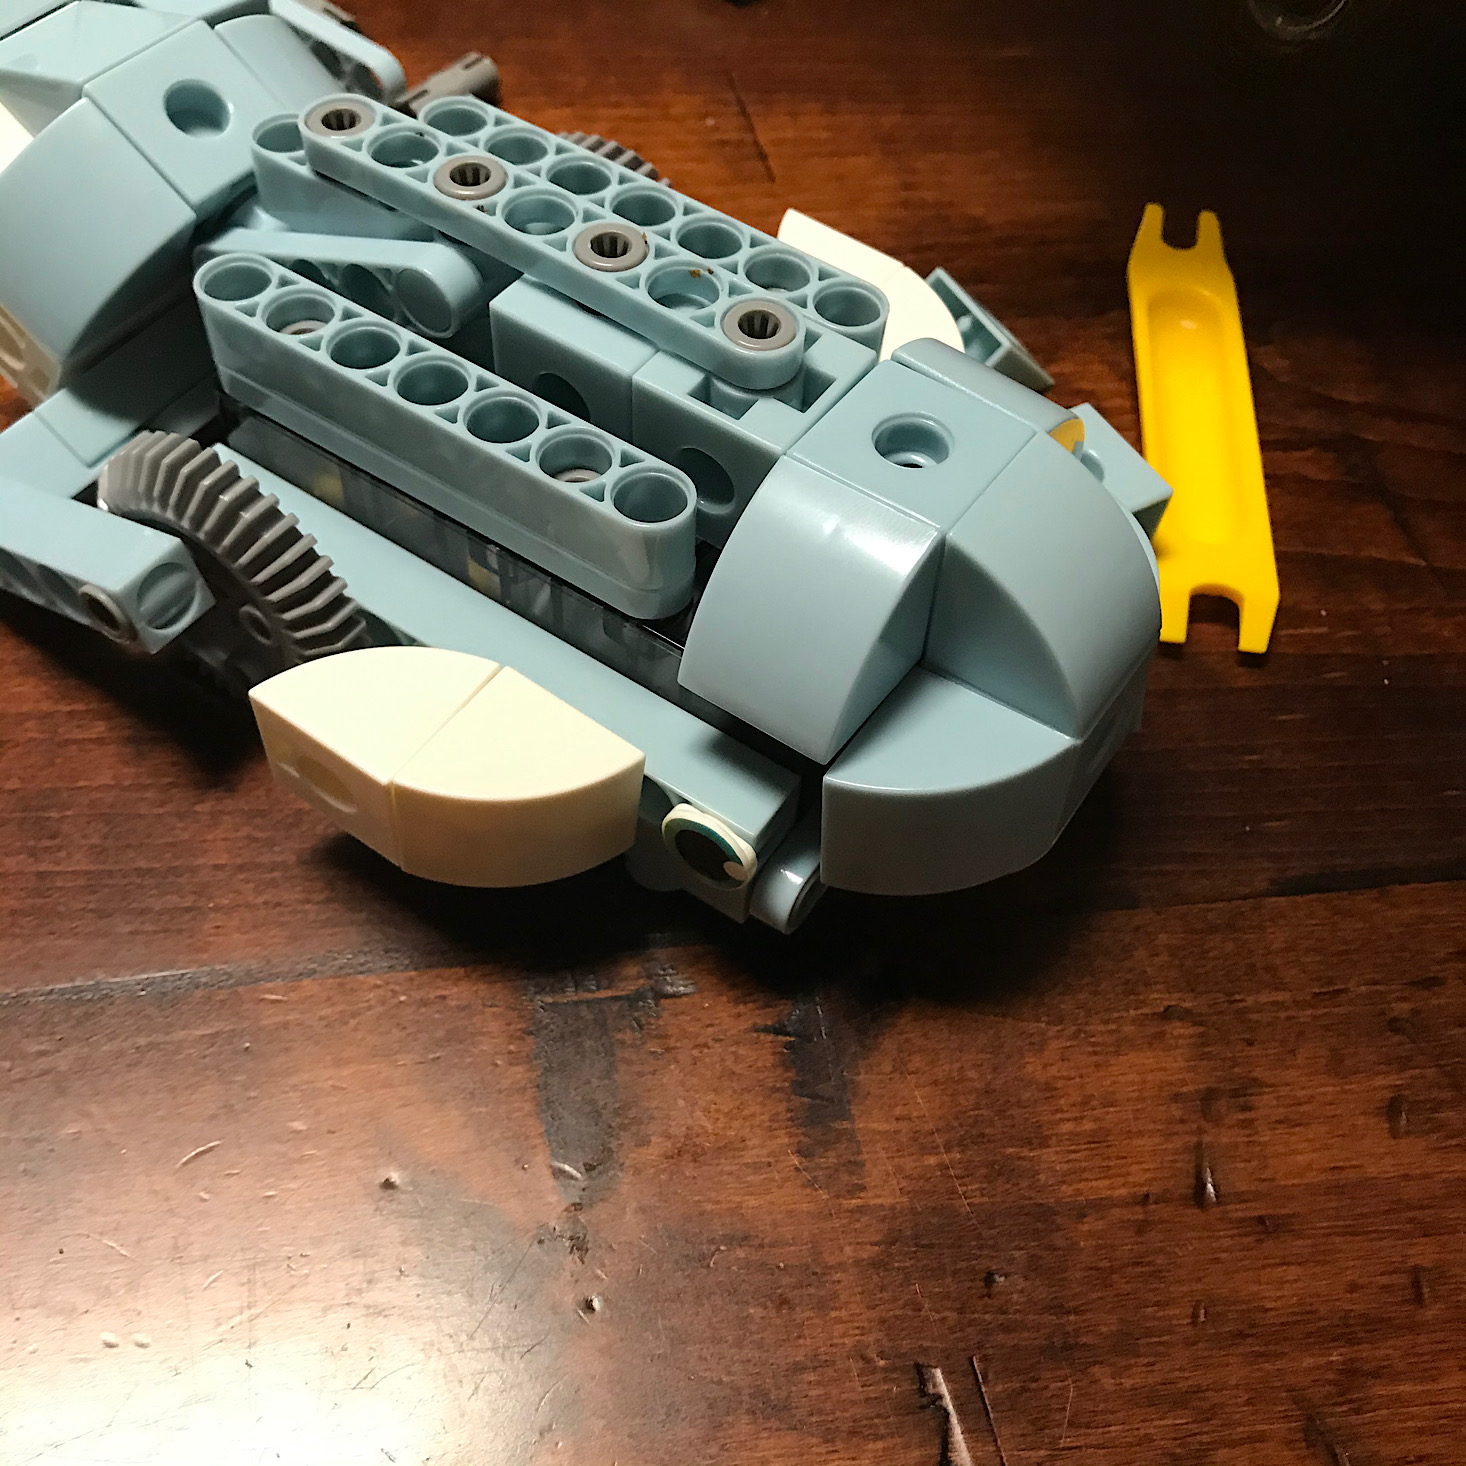
Next came his fins on either side.
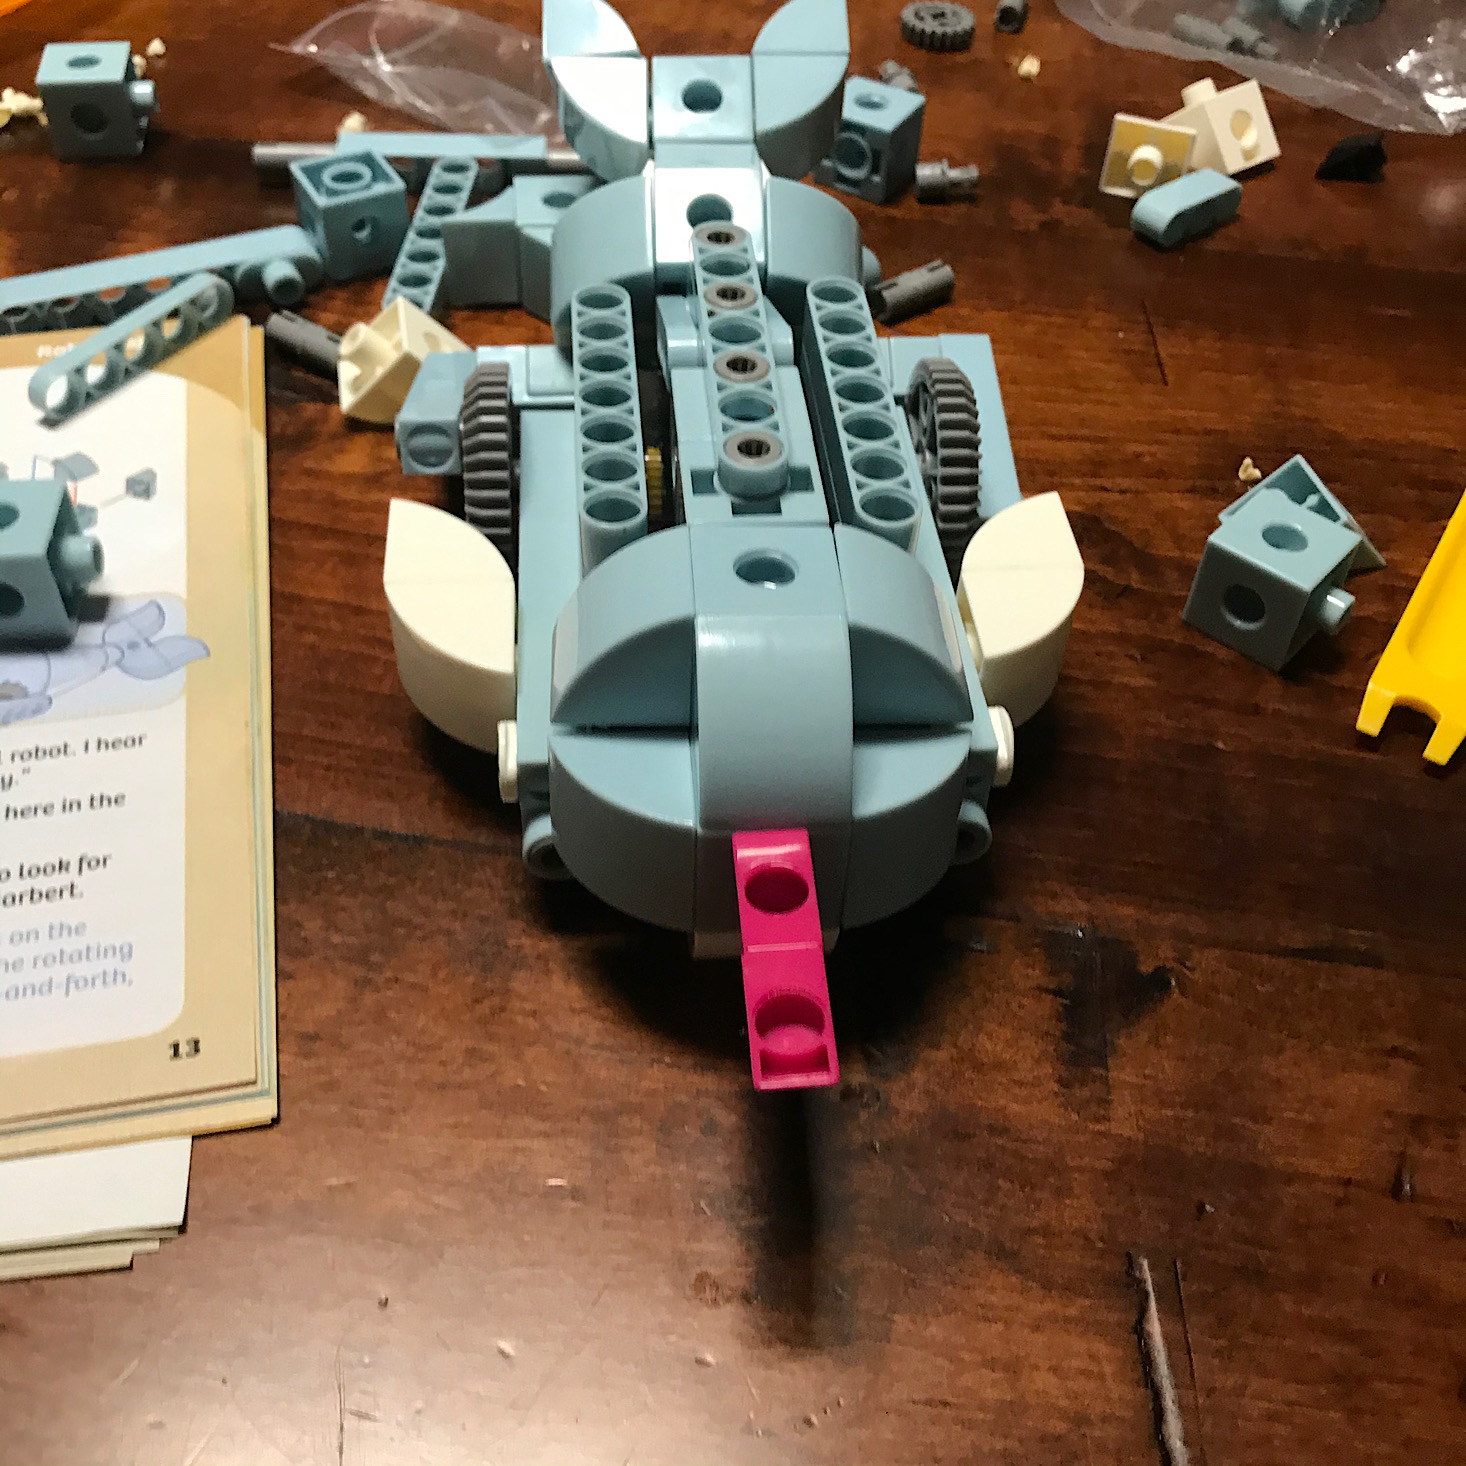
My daughter did help assemble his nose though!
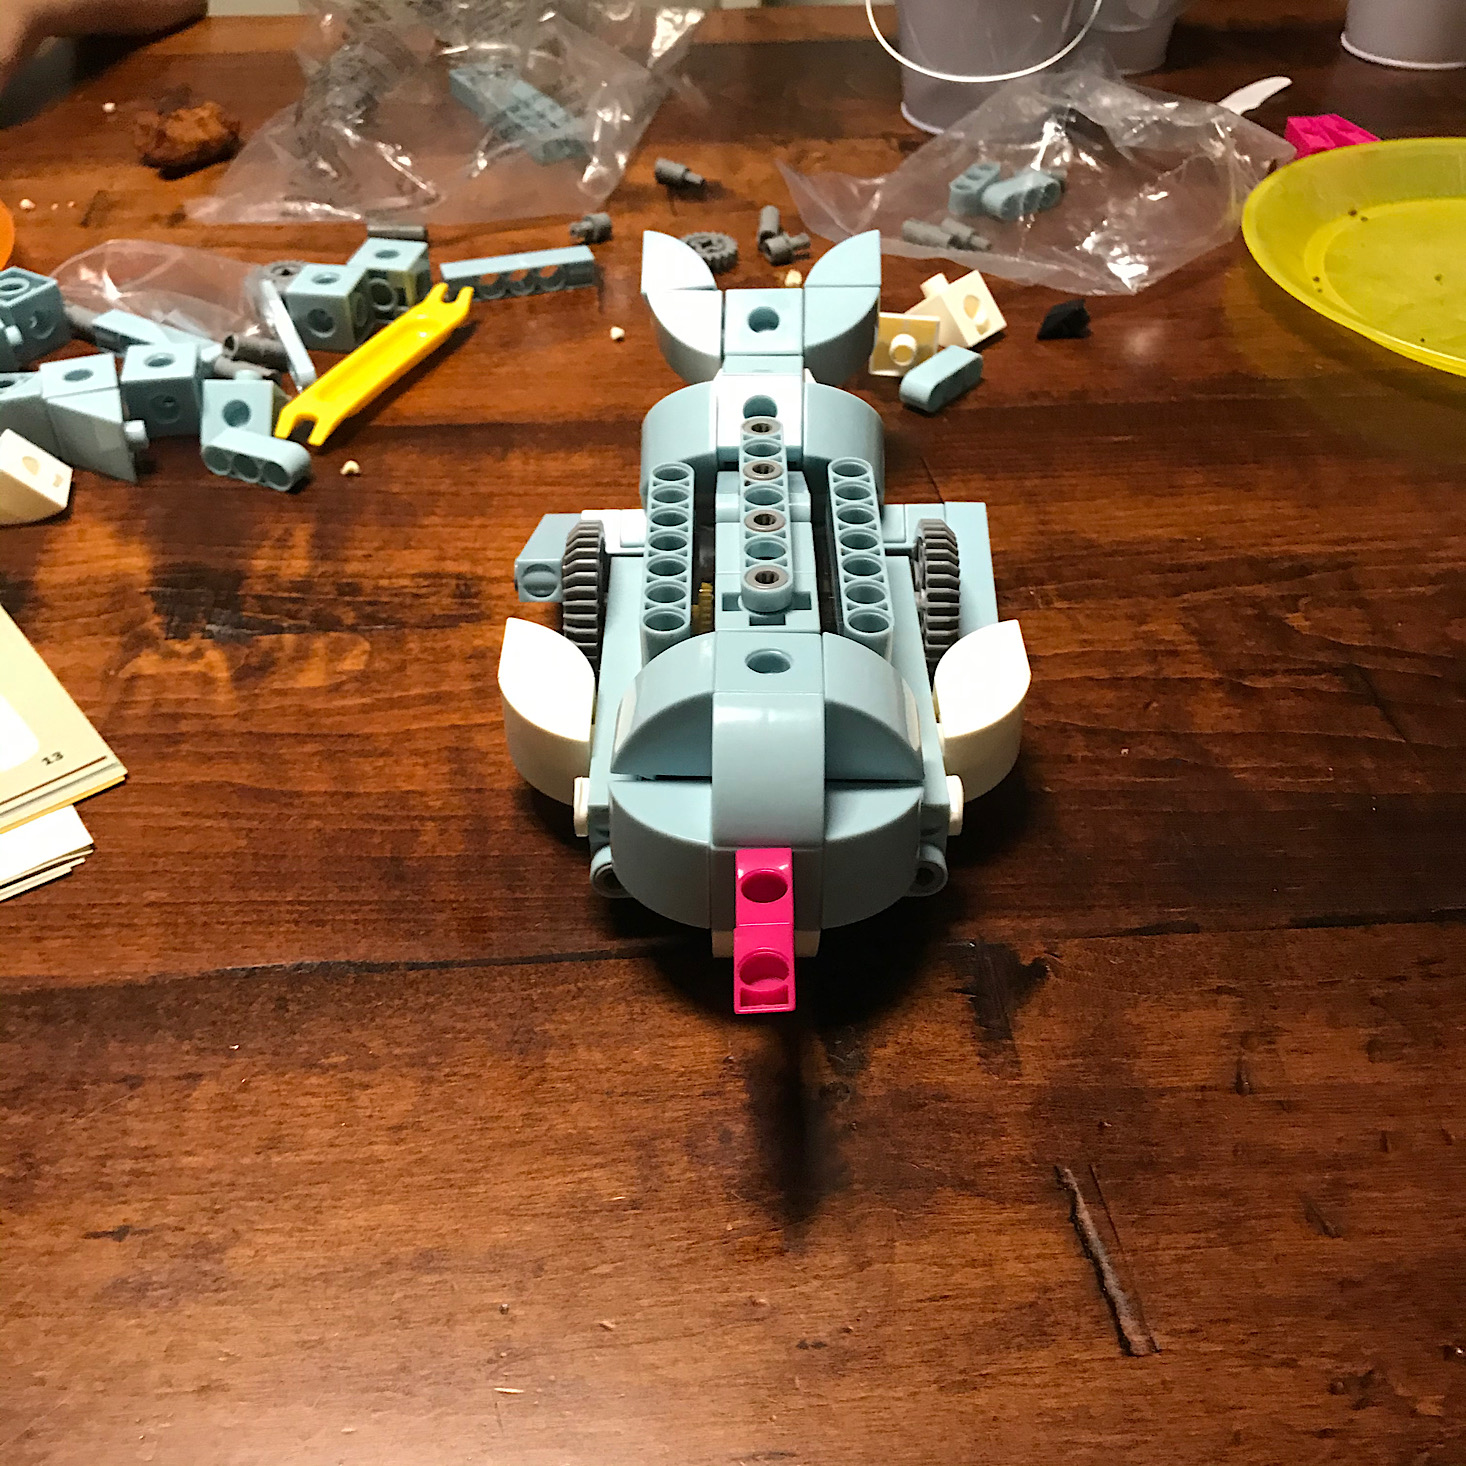
Here is our cute narwhal completed and looking just like the illustrations!
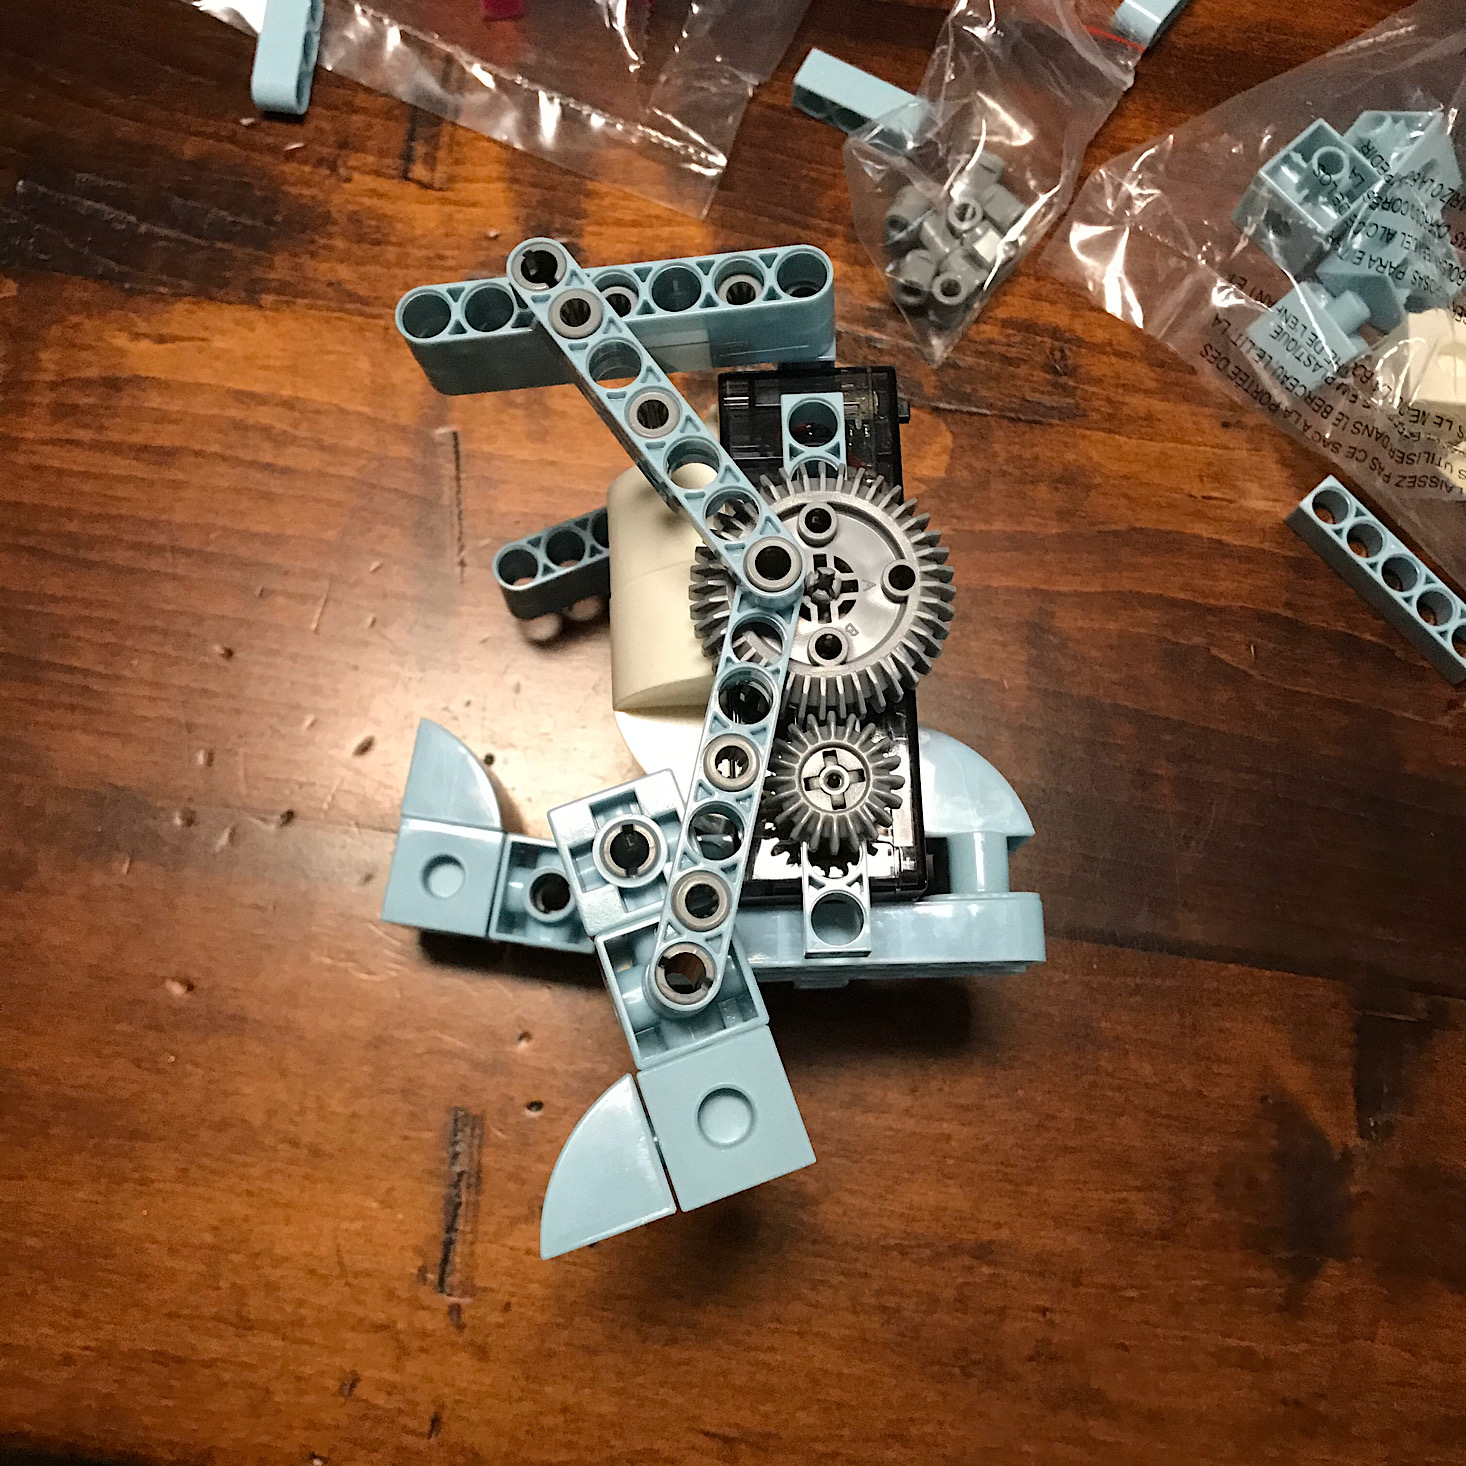
When I turned our Narwhal on his tail shifted ONCE. I played around with him a bit and then discovered that when I detached the one peg holding his tail to his body, the narwhal moved around!
I really could not figure out where I went wrong but it has something to do with step 7! I looked over it again and again and so did my husband, but his tail was just not moving when it was attached the way it looks in the directions. As for the movement comment, it reads "The rods attached to the gears on the side of the narwhal convert the rotating motion of the gear into a back-and-forth, or reciprocating, motion." It's really unclear to me still as to how our narwhal is intended to move and is sort of frustrating. But, since we did get him moving, the kids still loved it and I'm the only one who is actually bothered by this issue!
Verdict: This month's Amazon’s STEM Toy Club was a pretty cool one and the kids were definitely excited by it. I love their approach and how they incorporated a story into the directions, I love how large the robots are, and I think it's awesome that you can create eight different creatures - all of which are unique and should appeal to kids. I did think that the directions were a bit difficult to follow, even as an adult, and I am still confused about how exactly these robots are supposed to move which means I'm not fully confident in our results. That being said, I still think it is a cool toy and it allows for a lot of open-ended, creative play which I appreciate and my daughter had a lot of fun experimenting with the pieces on her own in between robot builds. So while it is a bit more difficult to assemble than other sets we own, it is still fun and challenging enough for a great STEM toy and worth the $19.99 subscription cost to us!
To Wrap Up:
Can you still get this box if you sign up today? Based on feedback from other subscribers, we've learned that you might receive any of the toys featured in previous reviews as your first box for this subscription– not all subscribers receive the same toy each month.
Value Breakdown: The cost of the subscription was $19.99 and we received a toy valued at $29.95. That’s a savings of $9.96 on this toy.
If you like this box, you might also like: Tinker Crate (ages 9+), Groovy Lab in a Box (ages 8+), or Bitsbox (ages 6-12)
Check out all of our Amazon STEM Toy Club reviews, our best boxes for kids, more educational and STEM subscriptions for kids, and all Amazon subscription boxes in our subscription box directory!
Keep Track of Your Subscriptions: Add this box to your subscription list or wishlist!
What do you think of this month's toy from the Amazon STEM Club Toy subscription box?









































Please do not enter your email address in the Name field or in the comment content. Your email address will not be published. Required fields are marked *. Remember to post with kindness and respect. Comments with offensive language, cruelness to others, etc will not be approved. See our full comment policy here.