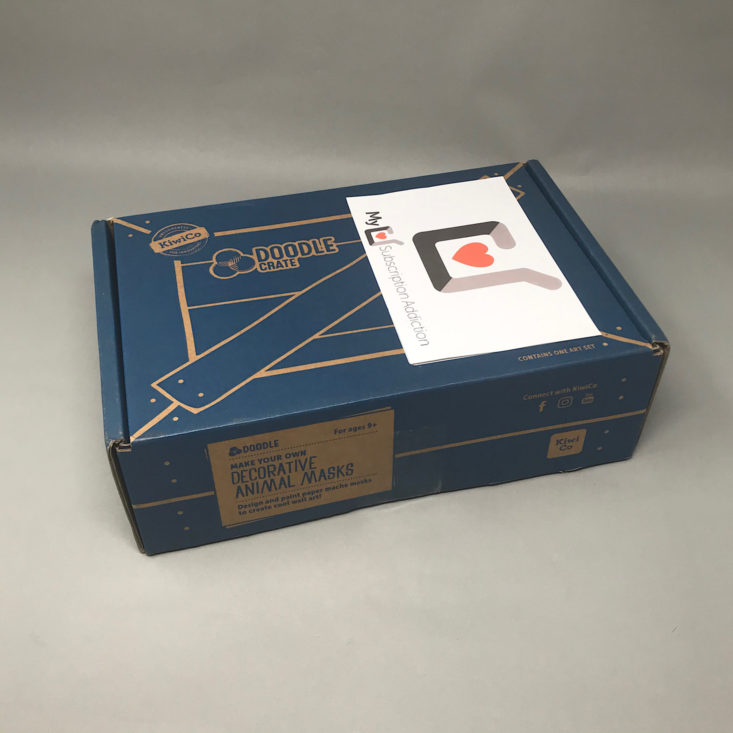
Doodle Crate, by KiwiCo, is a subscription box targeted to older children aged 9-16 that delivers a monthly art project. They describe themselves as a “studio for hands-on creativity delivered every month.”
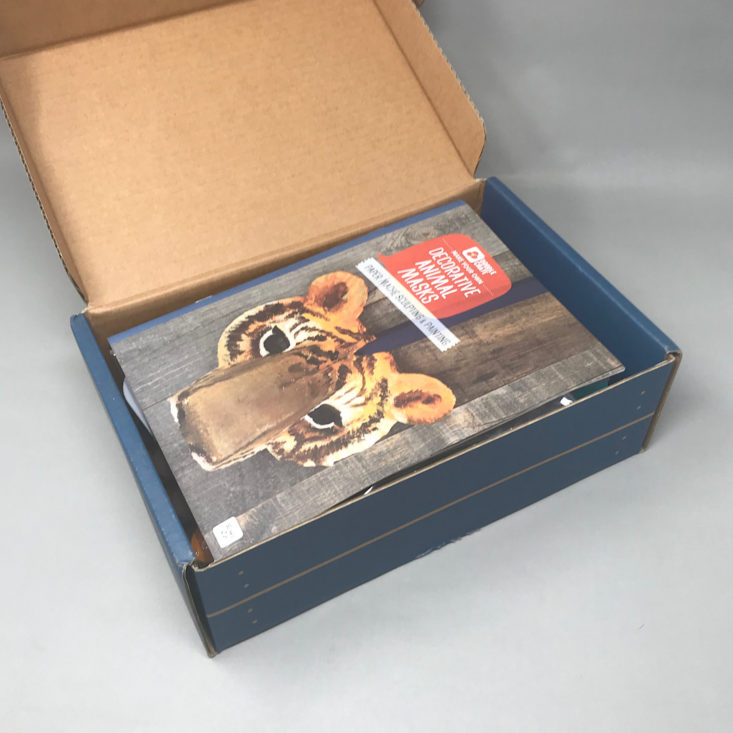
KiwiCo offers boxes for different age groups:
- Panda Crate for 0 to 24-month-olds,
- Koala Crate for 2 to 4-year-olds,
- Kiwi Crate for 5 to 8-year-olds,
- Atlas Crate for 6 to 11-year-olds,
- Doodle Crate and Tinker Crate for 9 to 16-year-olds and
- Eureka Crate for ages 14 and up.
There really is something for every age with this company!
This box was sent to us at no cost for review. (Check out our review process post to learn more about how we review boxes.)
About Doodle Crate
The Subscription Box: Doodle Crate
The Cost: $19.95 per month with discounts available for longer subscription commitments.
The Products: Instructions and supplies for children aged 9-16 to create one new art project each month.
Ships to: The U.S. for free, Canada for $3.95 per month, worldwide from $4.95-$6.95.
Doodle Crate Decorative Animal Masks Review September 2019
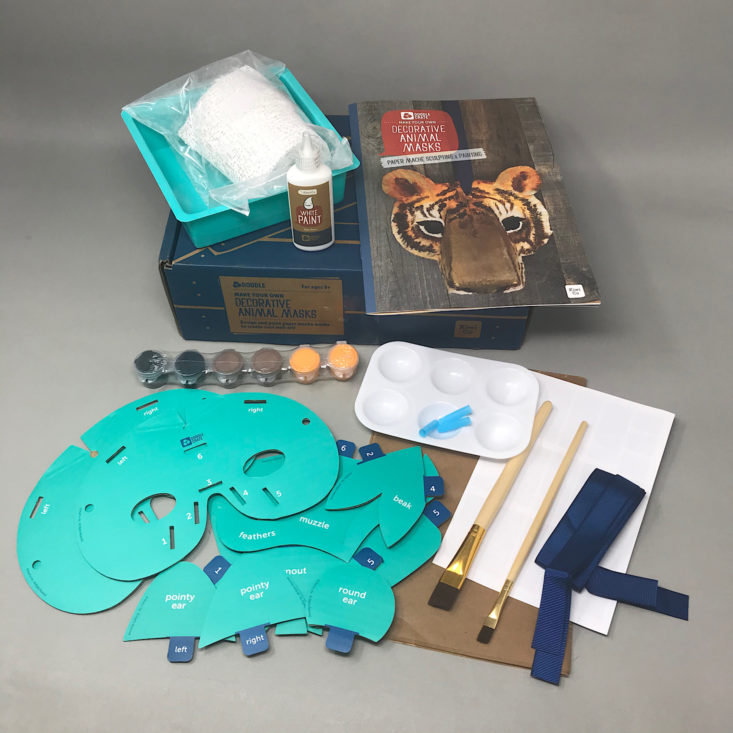
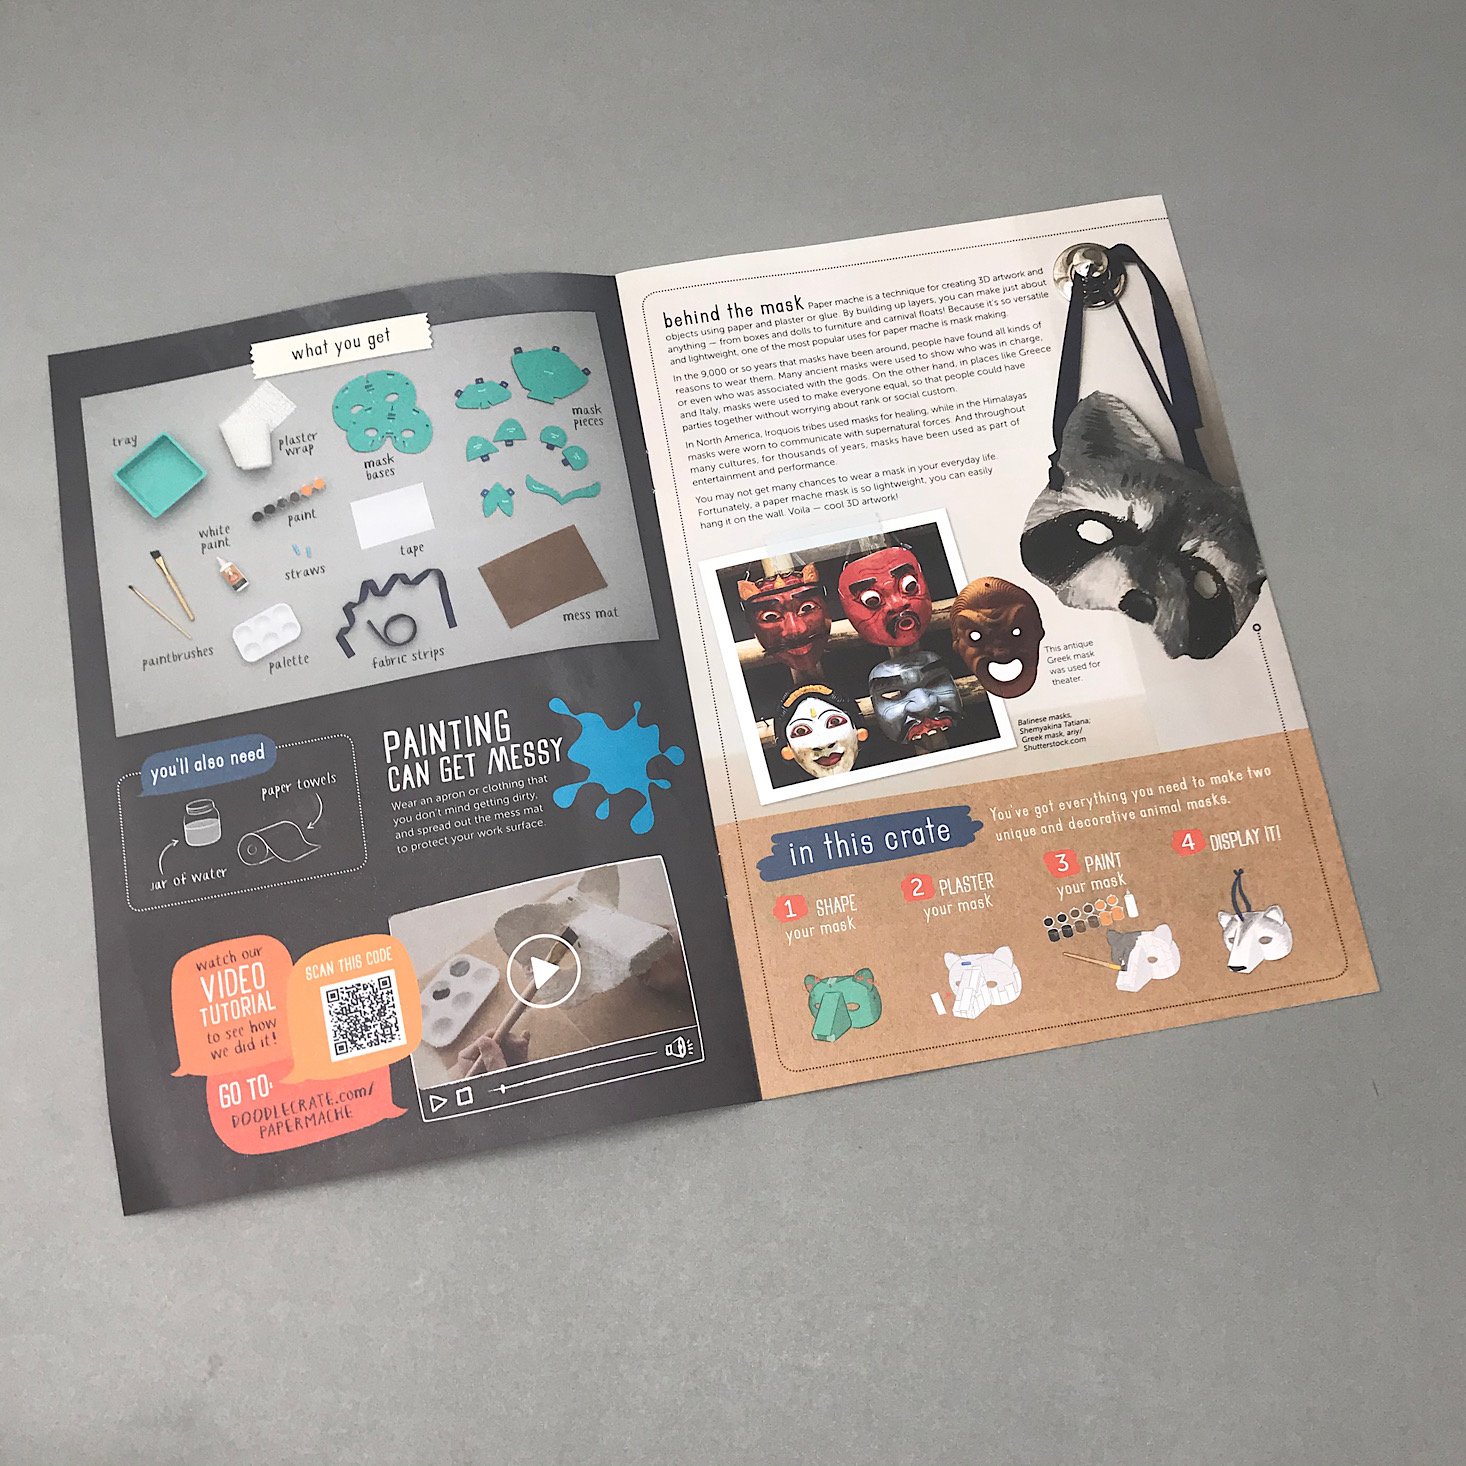
Our project this month is to make our own Decorative Animal Masks using paper mache sculpting and the instructions that came in this little booklet. The front of the booklet has a contents list, a "Behind the Mask" section, and a link to some video tutorials for extra help if you need it. As with every box from KiwiCo, this box is well organized and the directions are clear and easy to follow. They break it down into sections with detailed information about each step and I love that they allow for a little bit of creativity within the project while still keeping it structured.
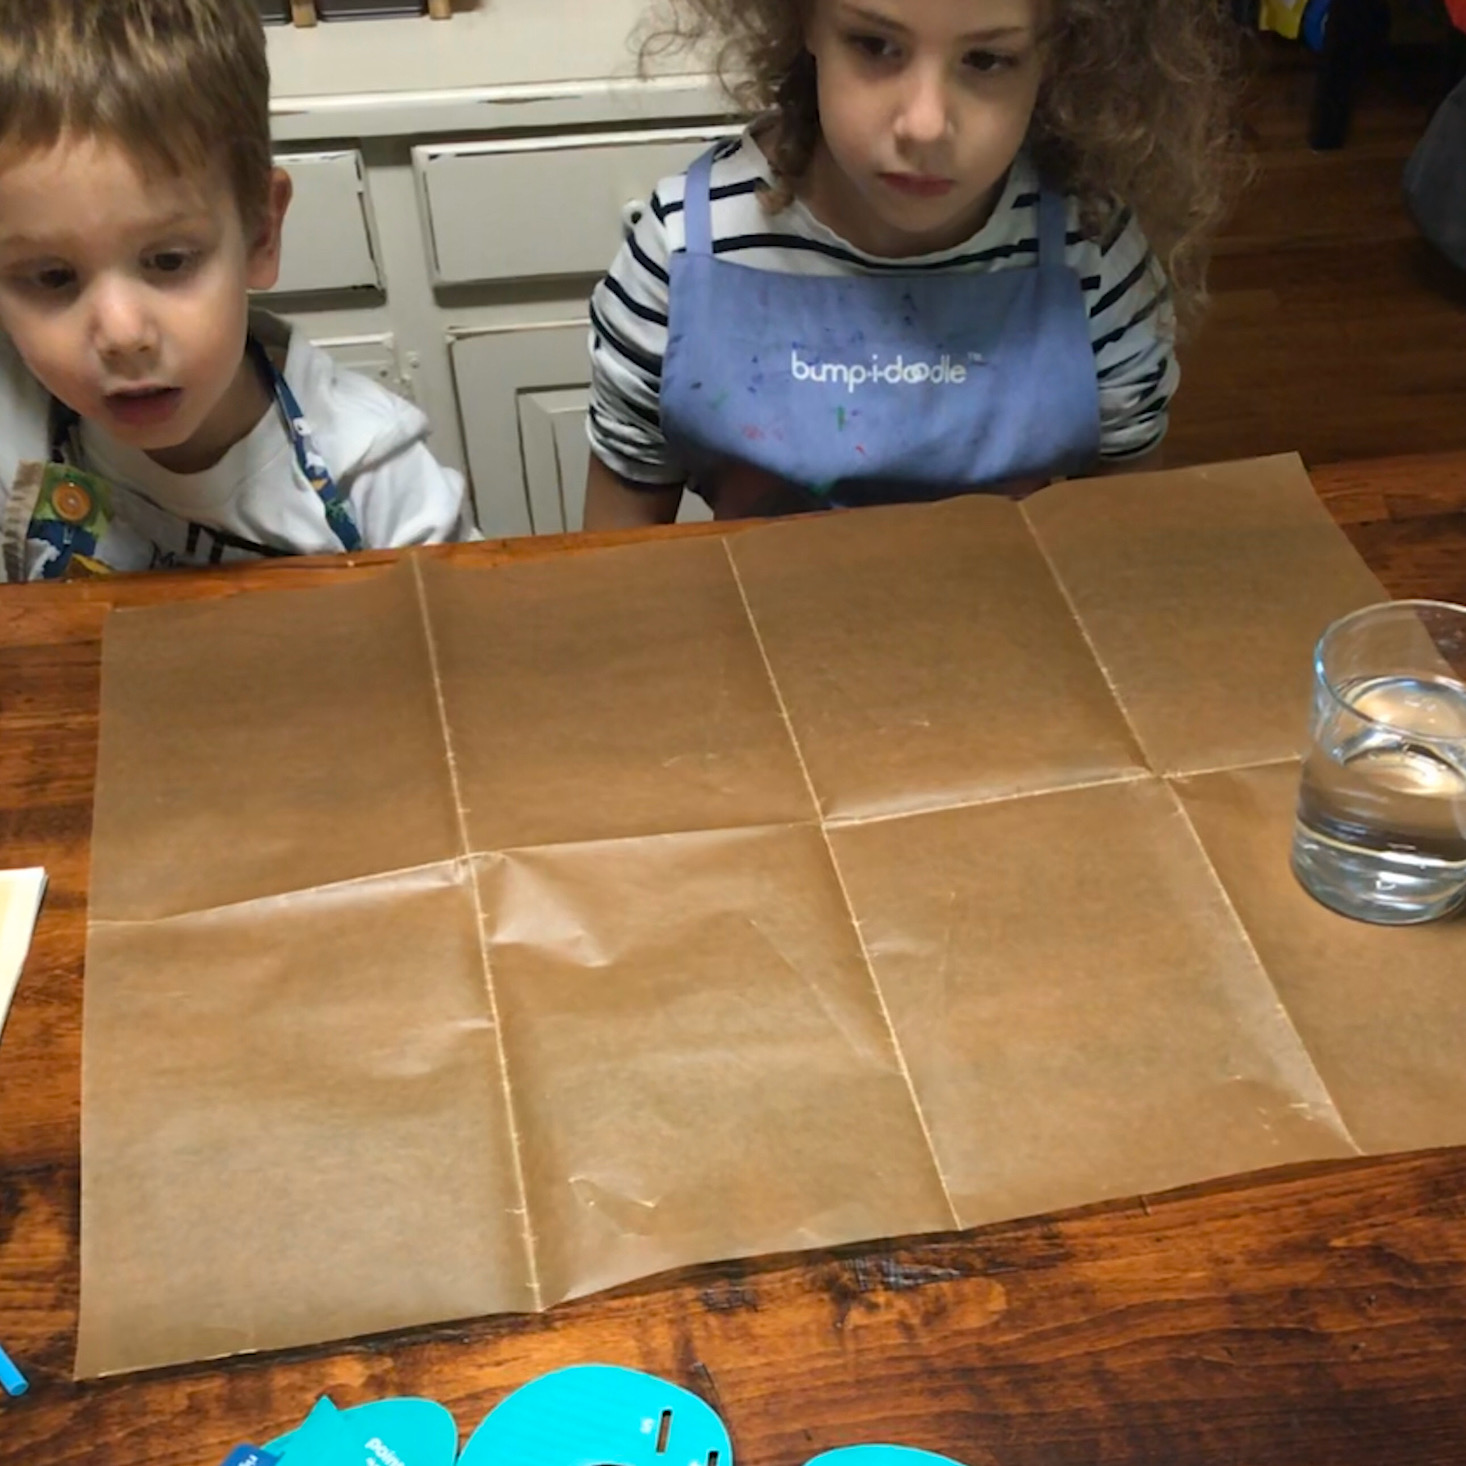
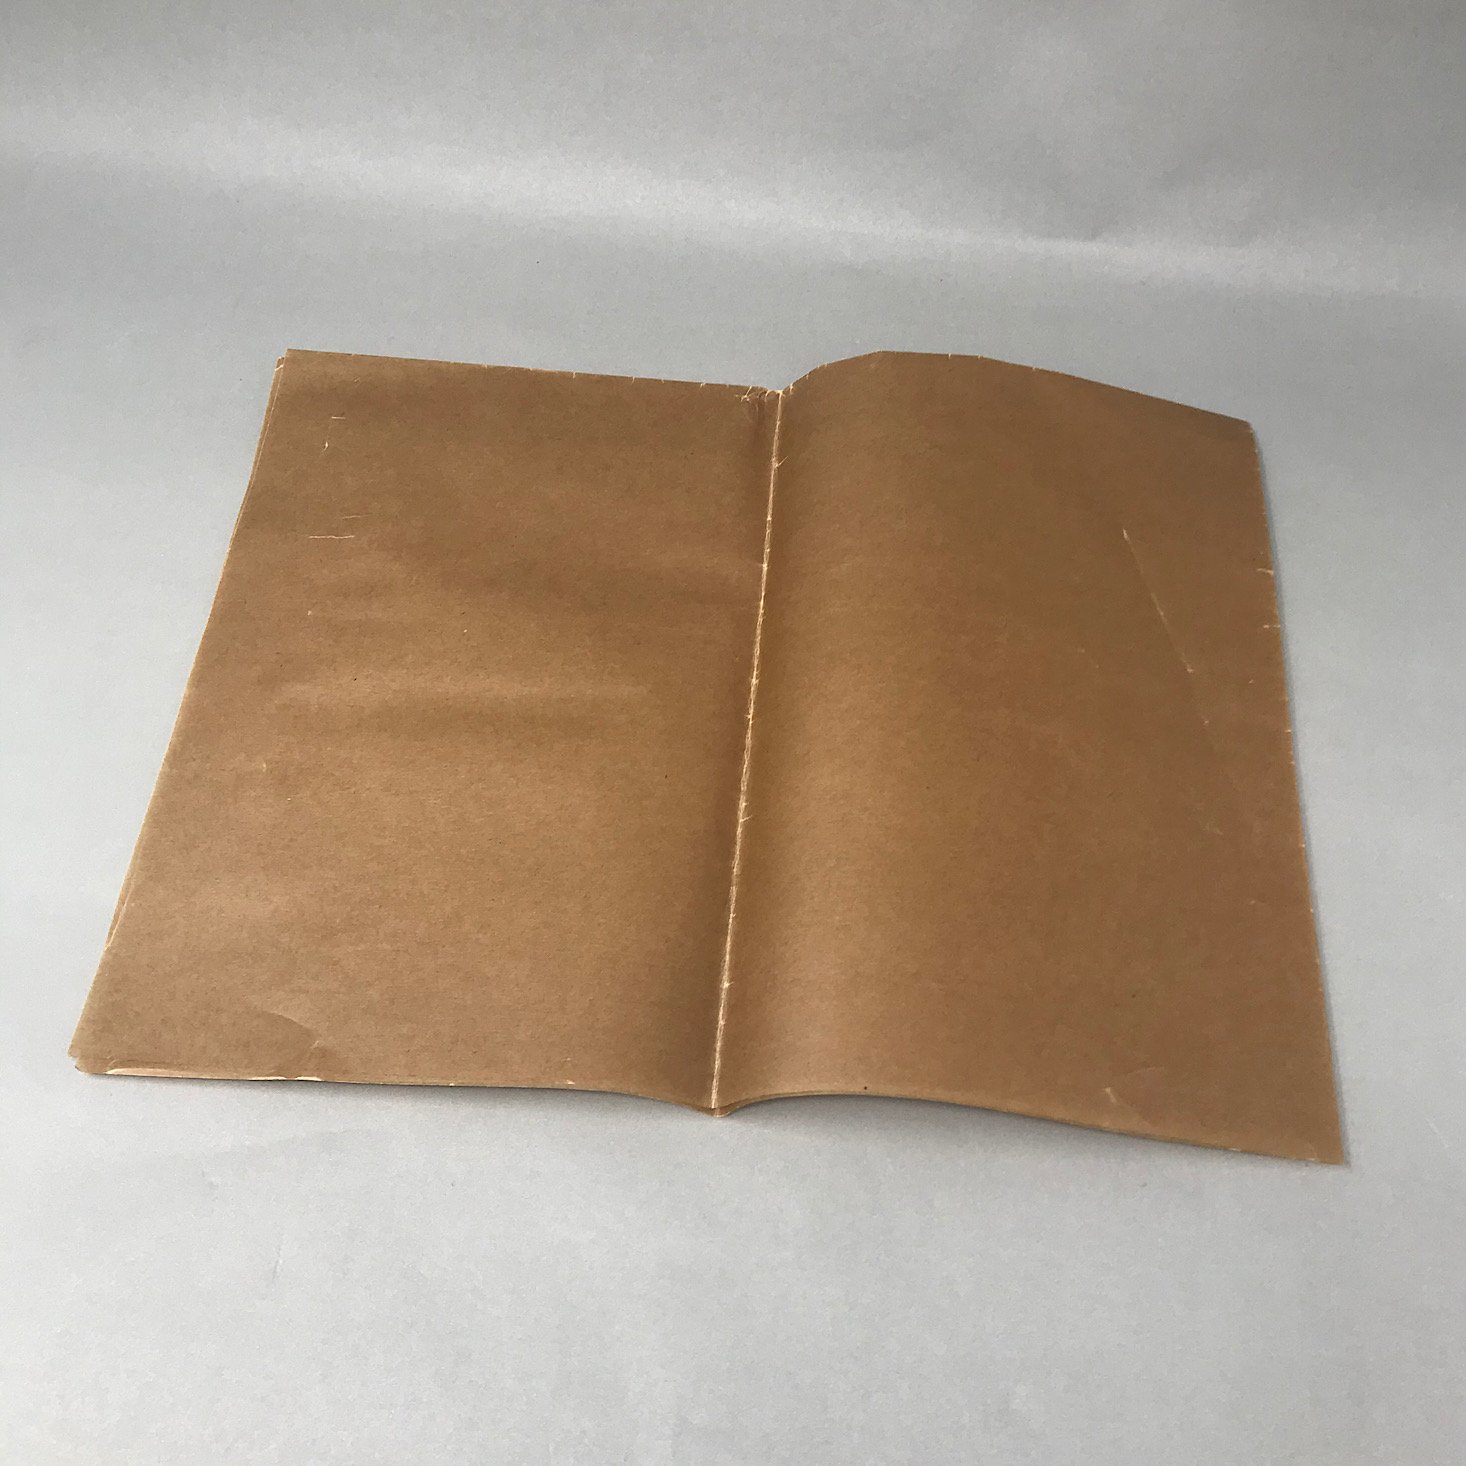
They provided this mess mat for us to use, which I appreciate since we will be working with plaster and paint which can get quite messy! We spread it out and then got some paper towels and a container of water. We also put on some aprons as they recommended.
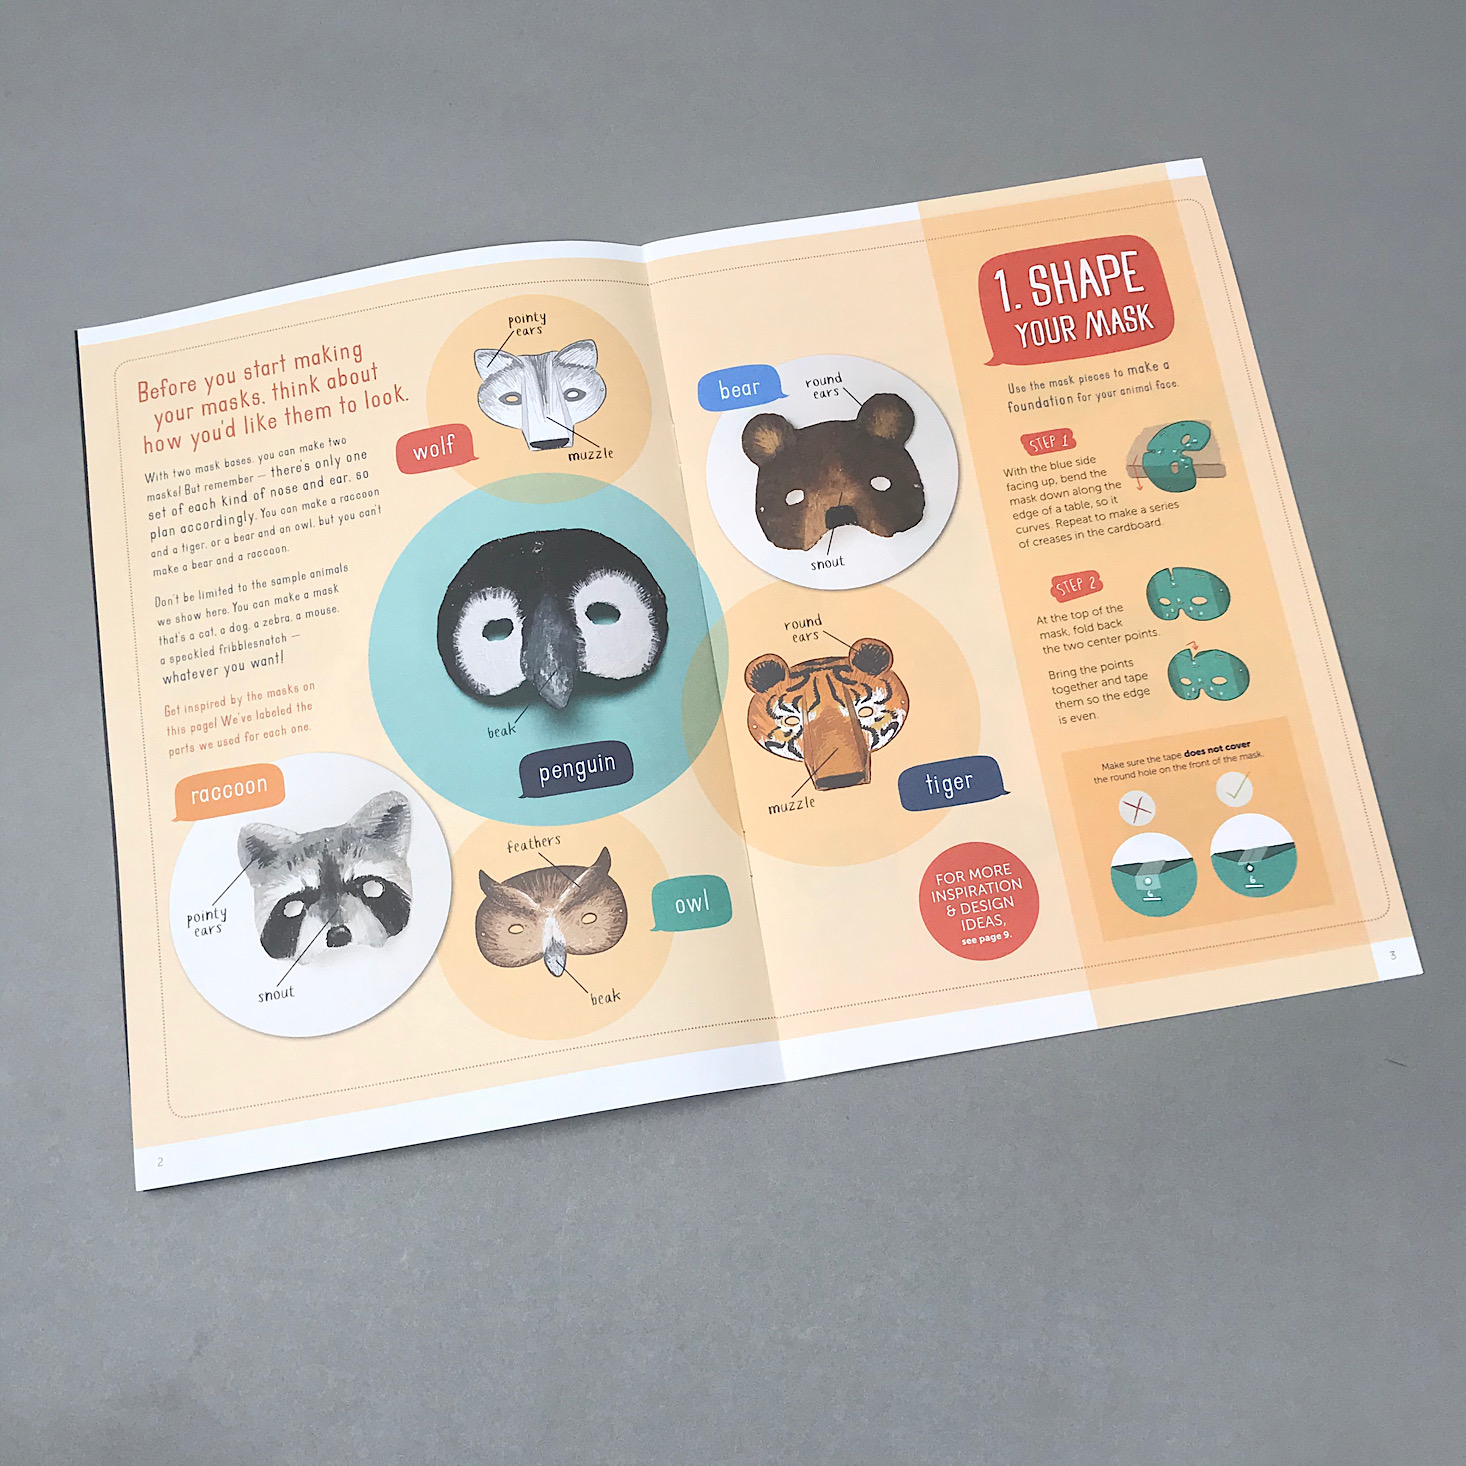
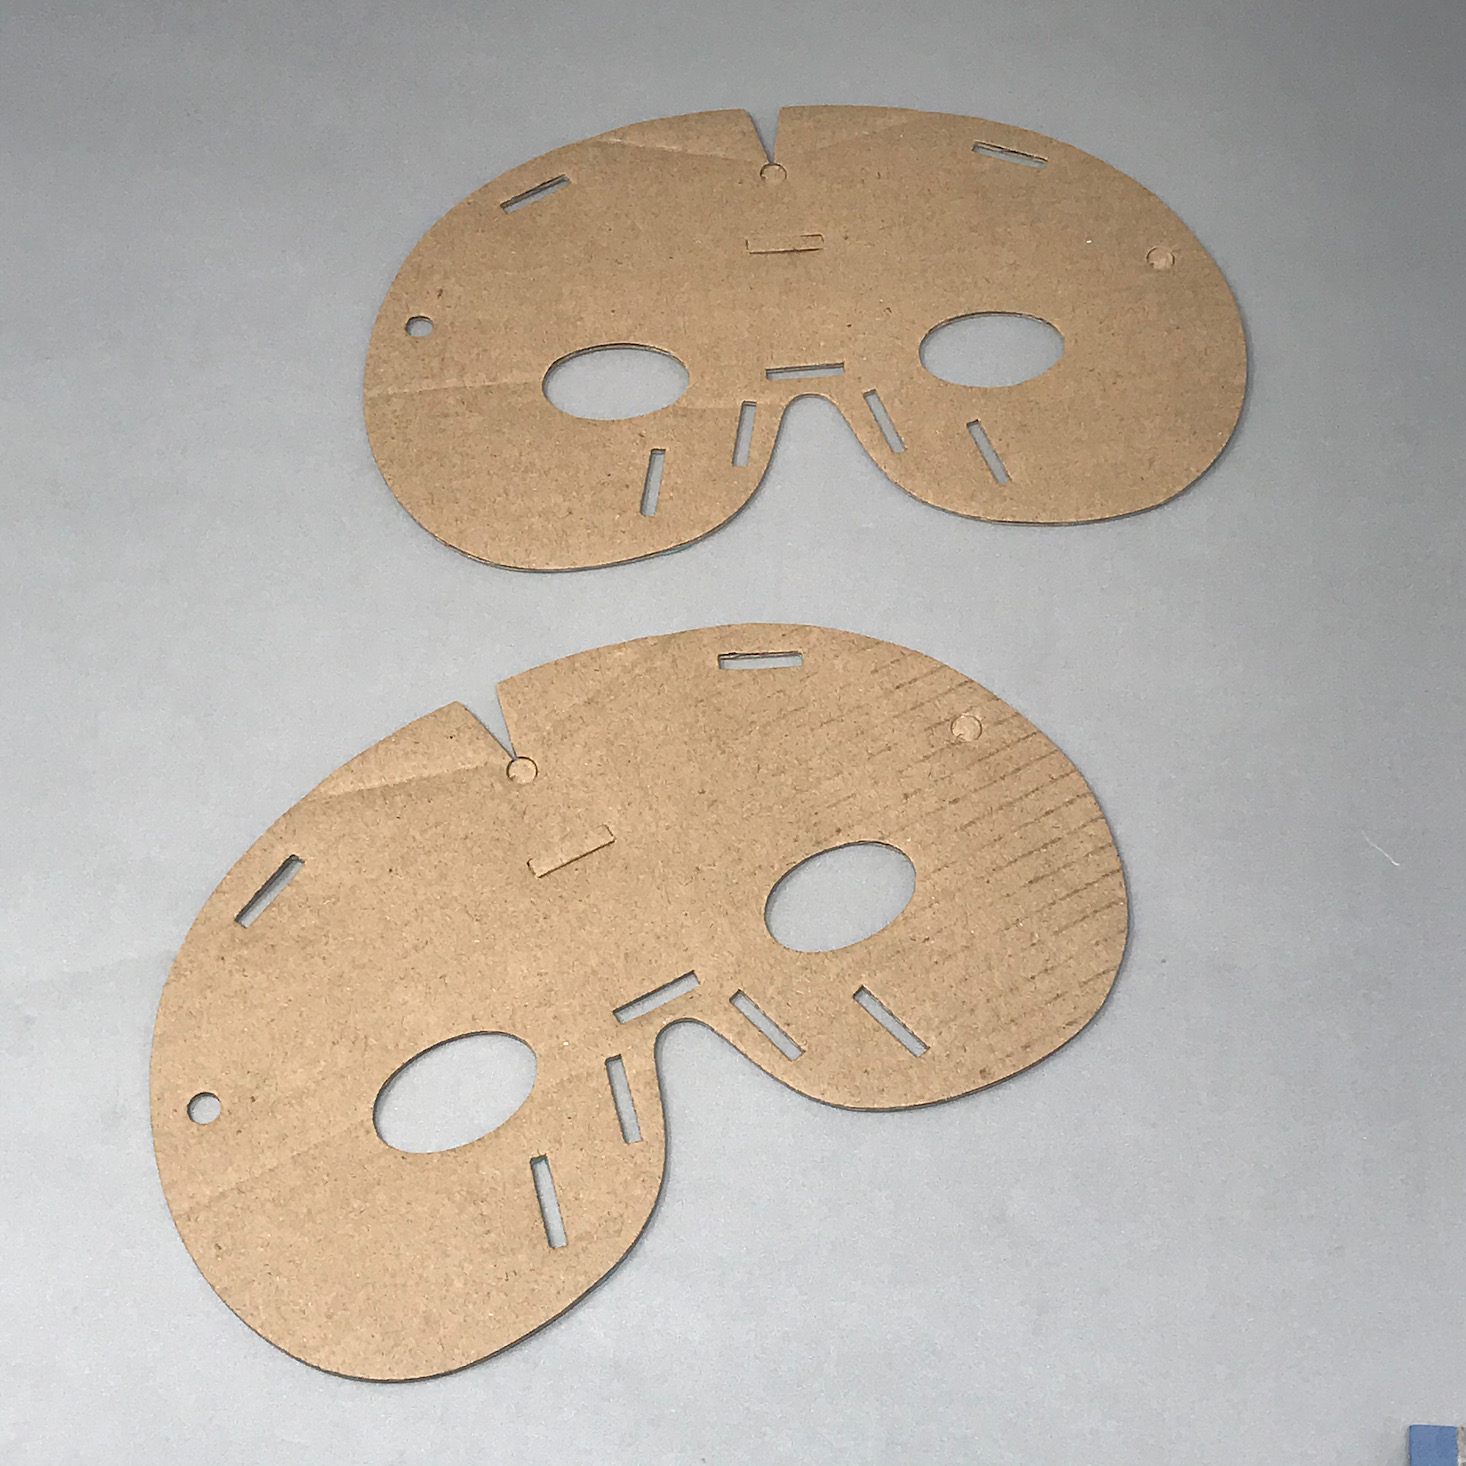
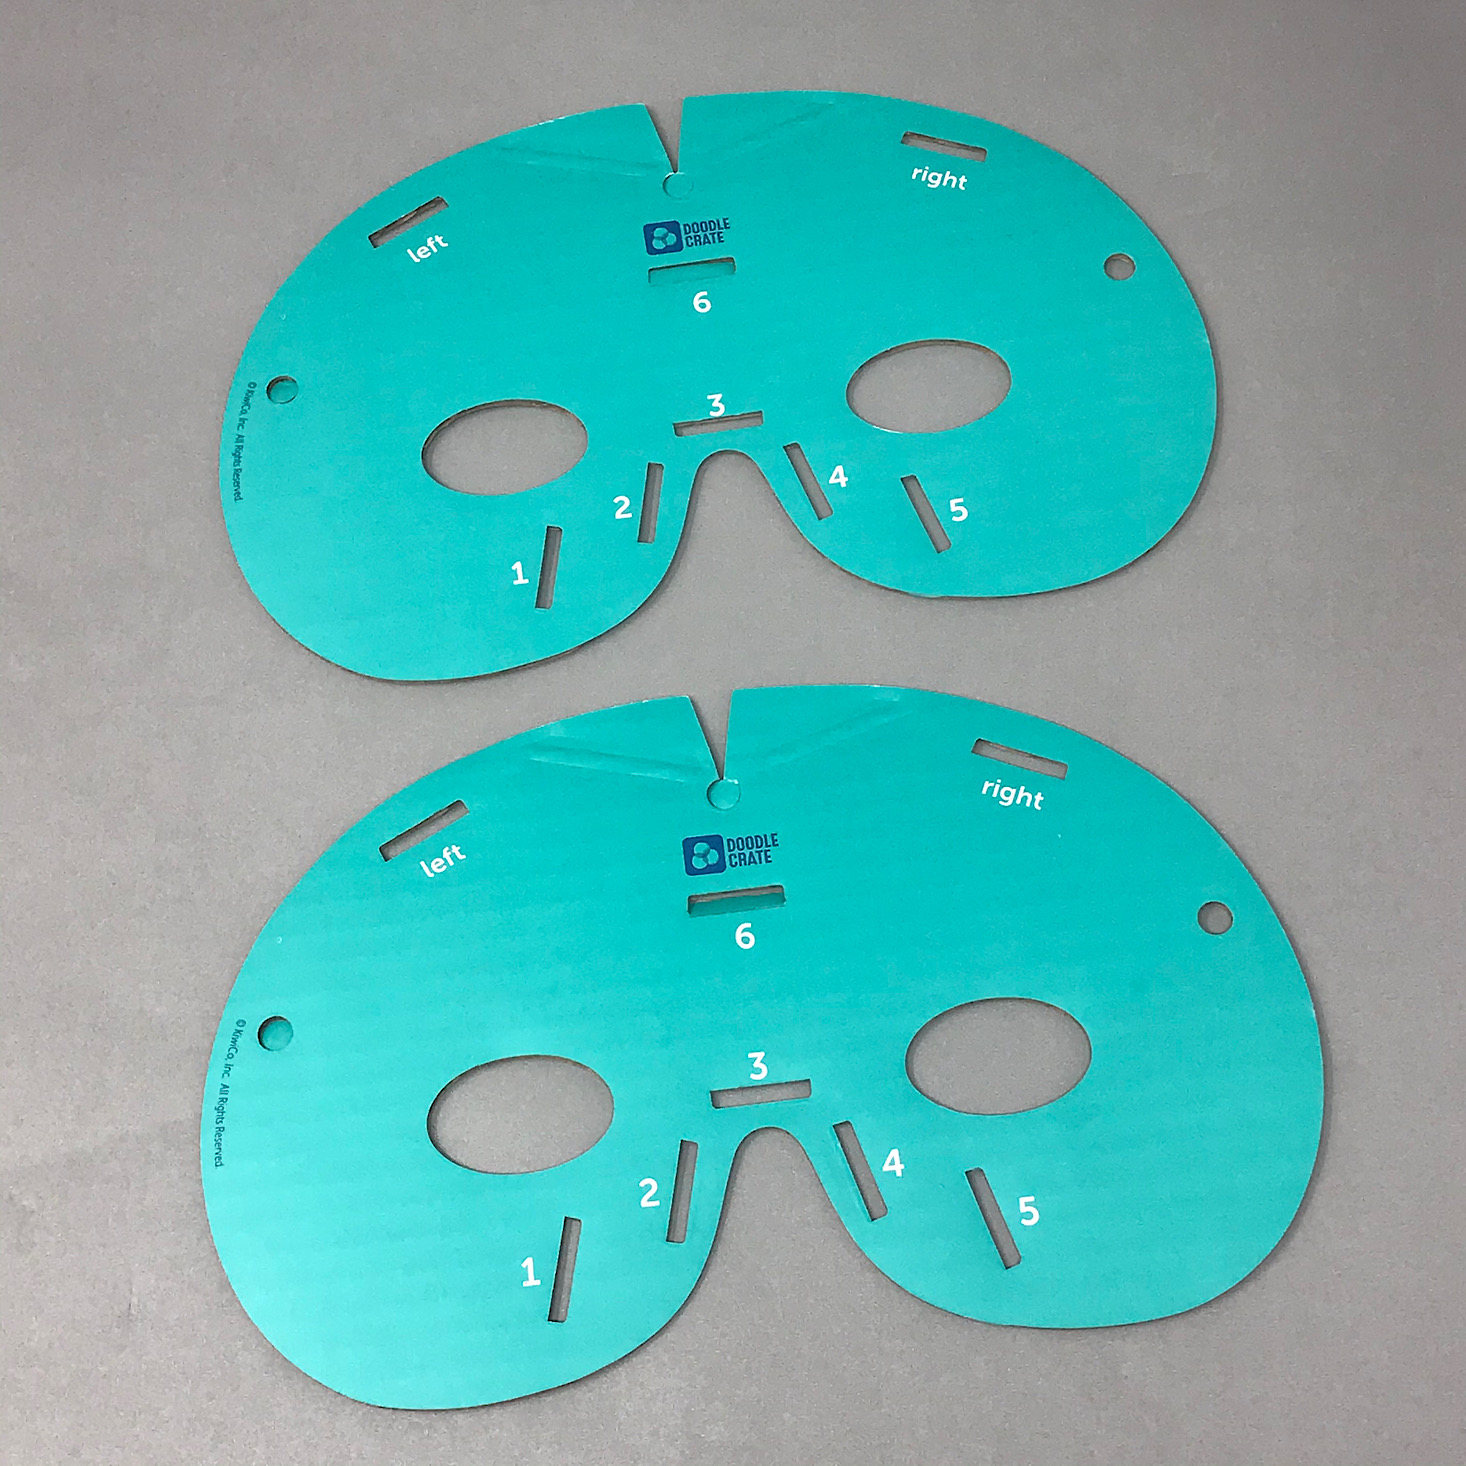
The first step is to shape our mask and make the foundation for our animal face. They provided two mask bases for us and several examples of animals we could create including a bear, penguin, wolf, tiger, owl, and raccoon. I decided that the raccoon was pretty cute and would look great in my son's woodland-themed room.
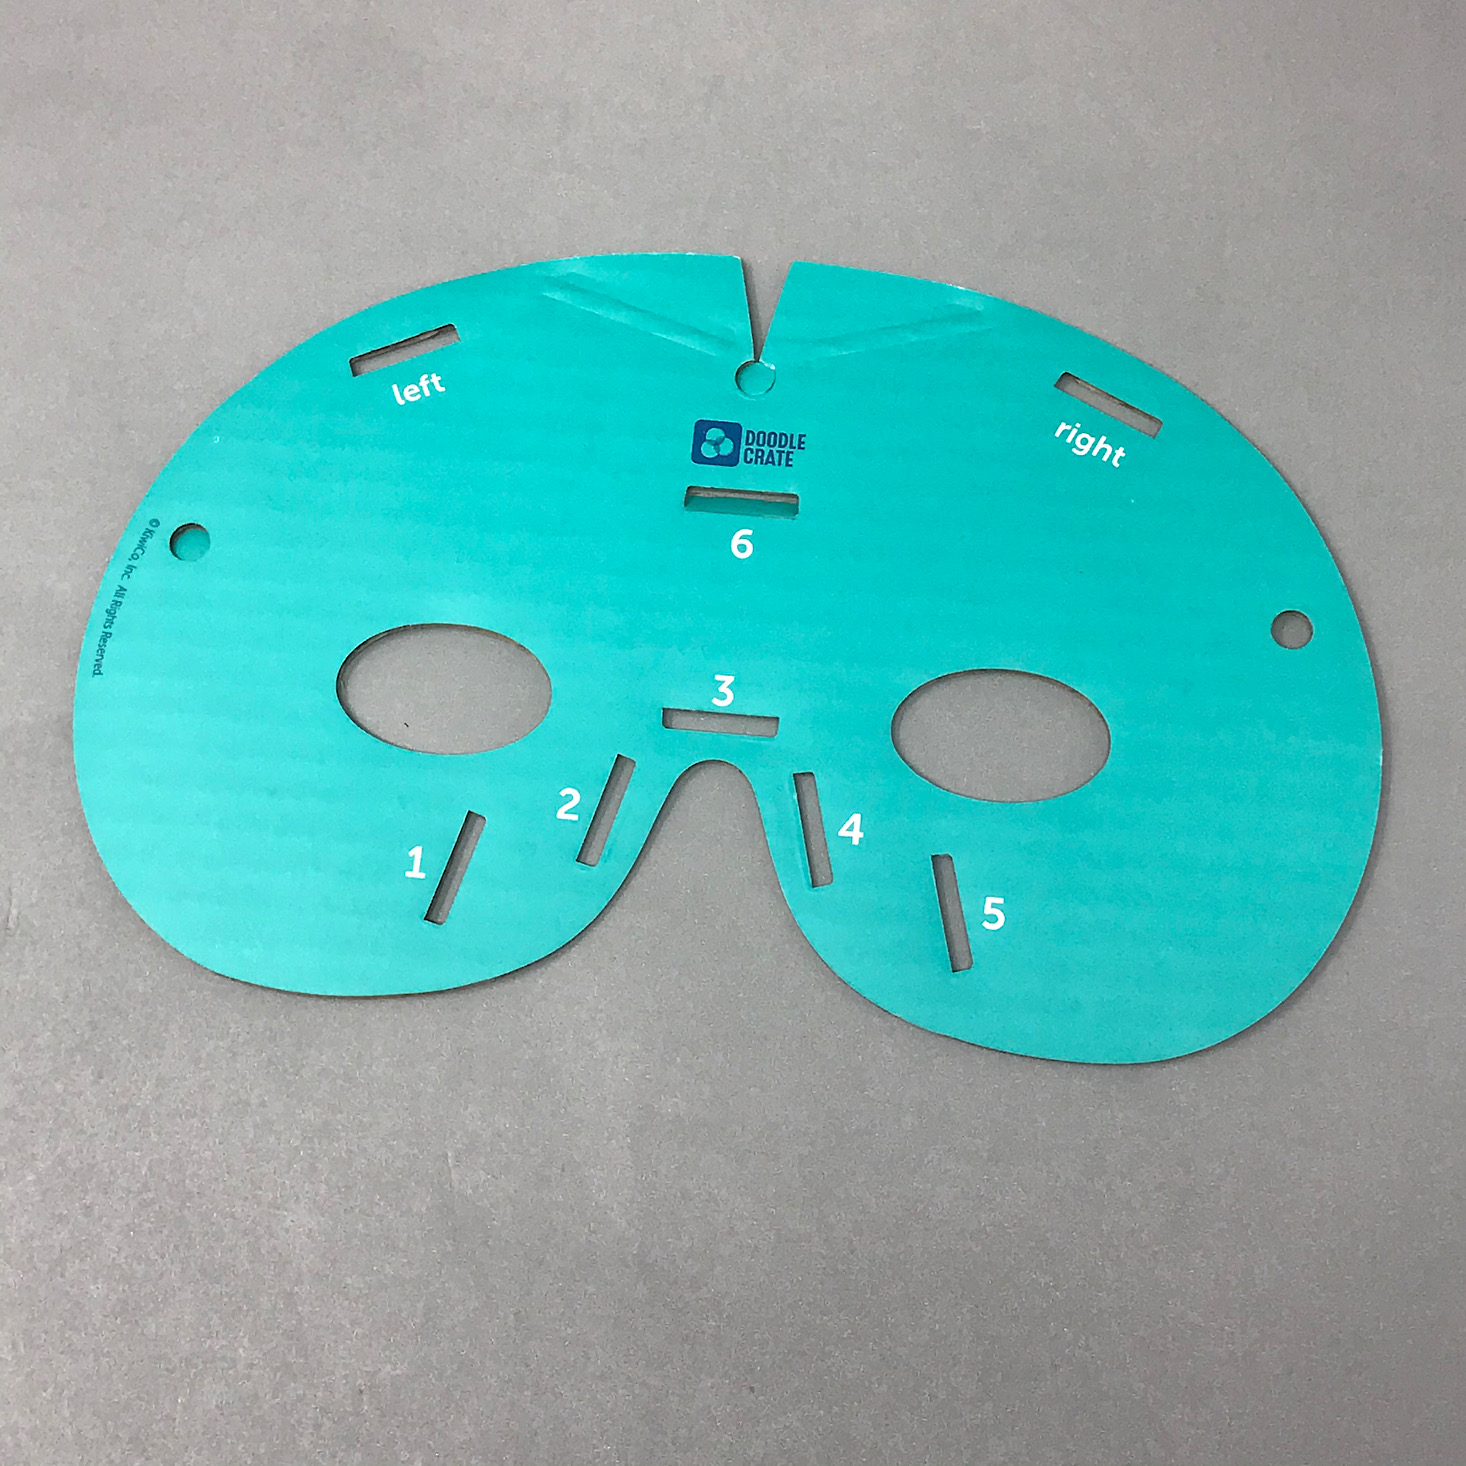
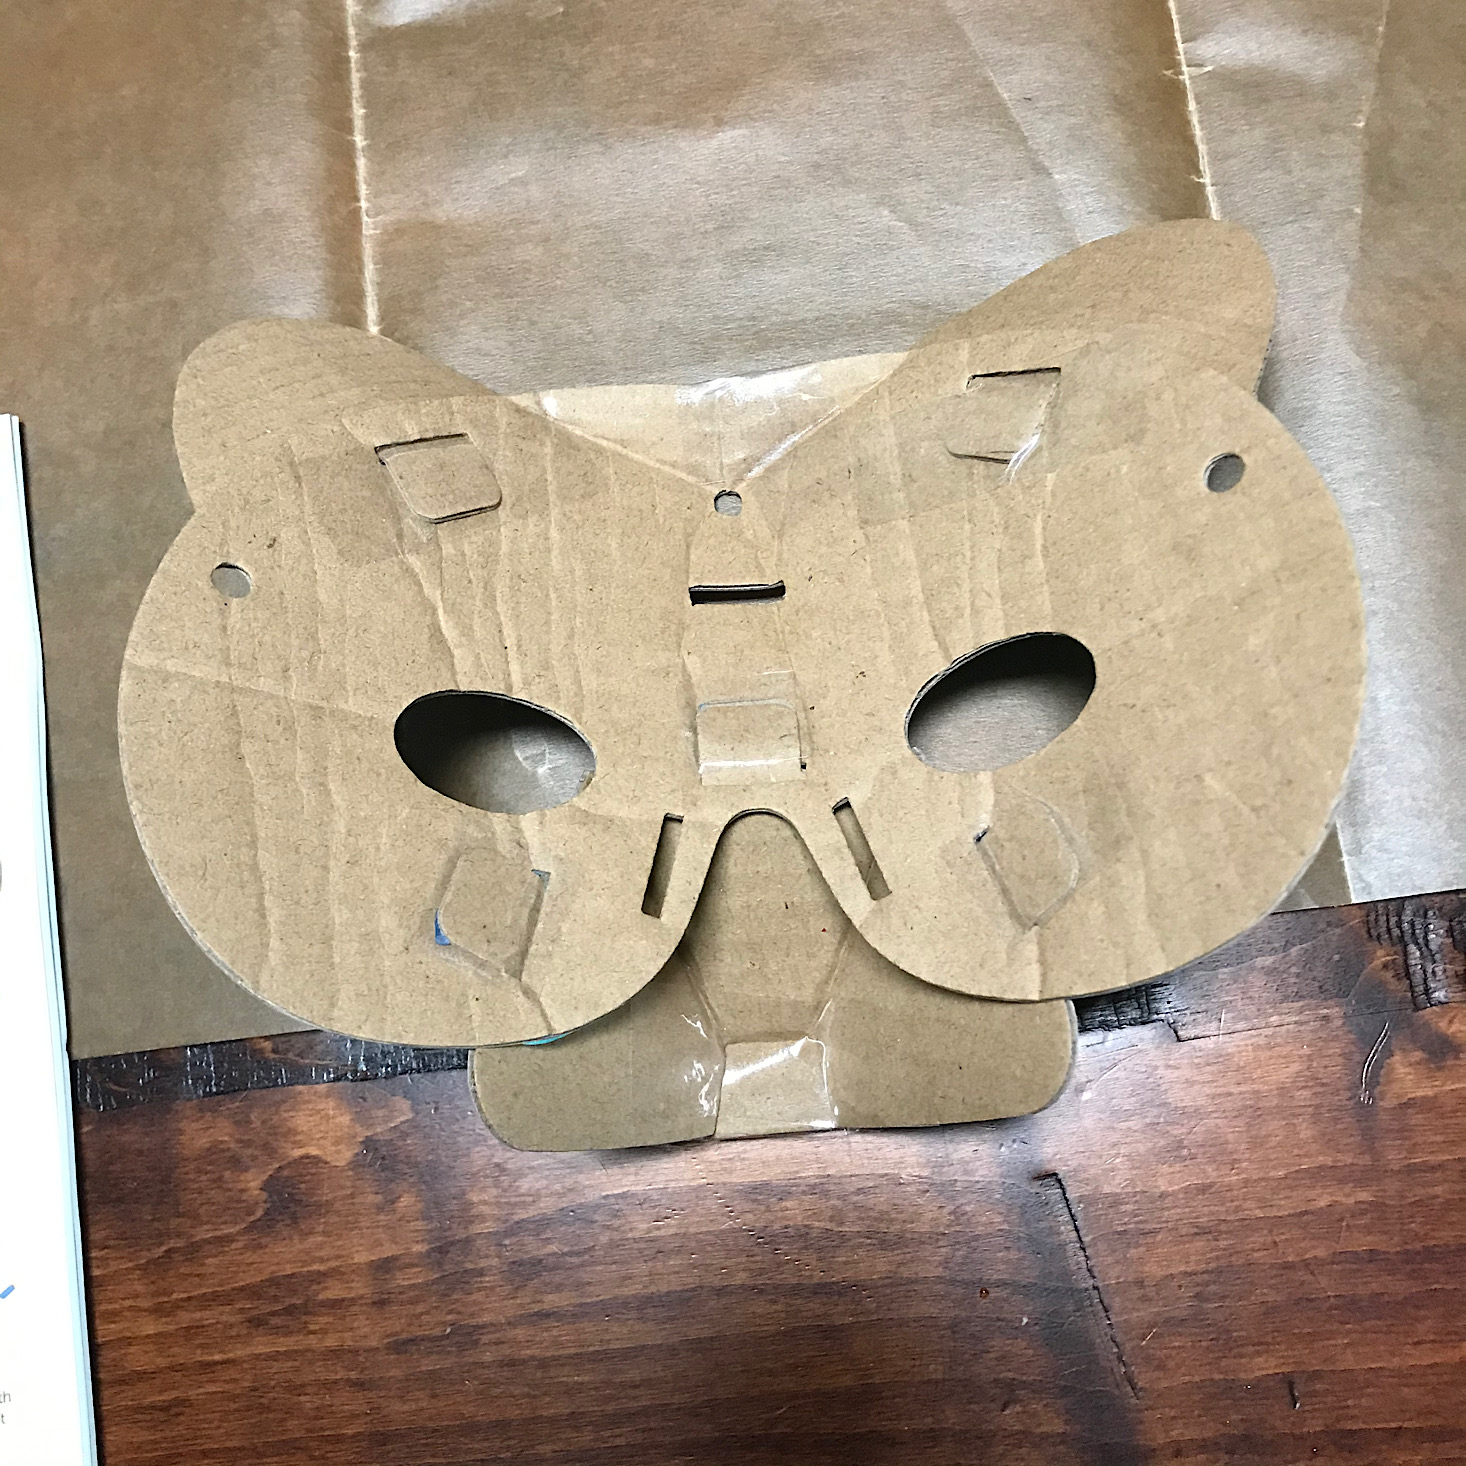
We bent our mask along the edge of a table and created some creases in our mask. Then we folded back the points at the top of the mask and taped them to create an even edge.
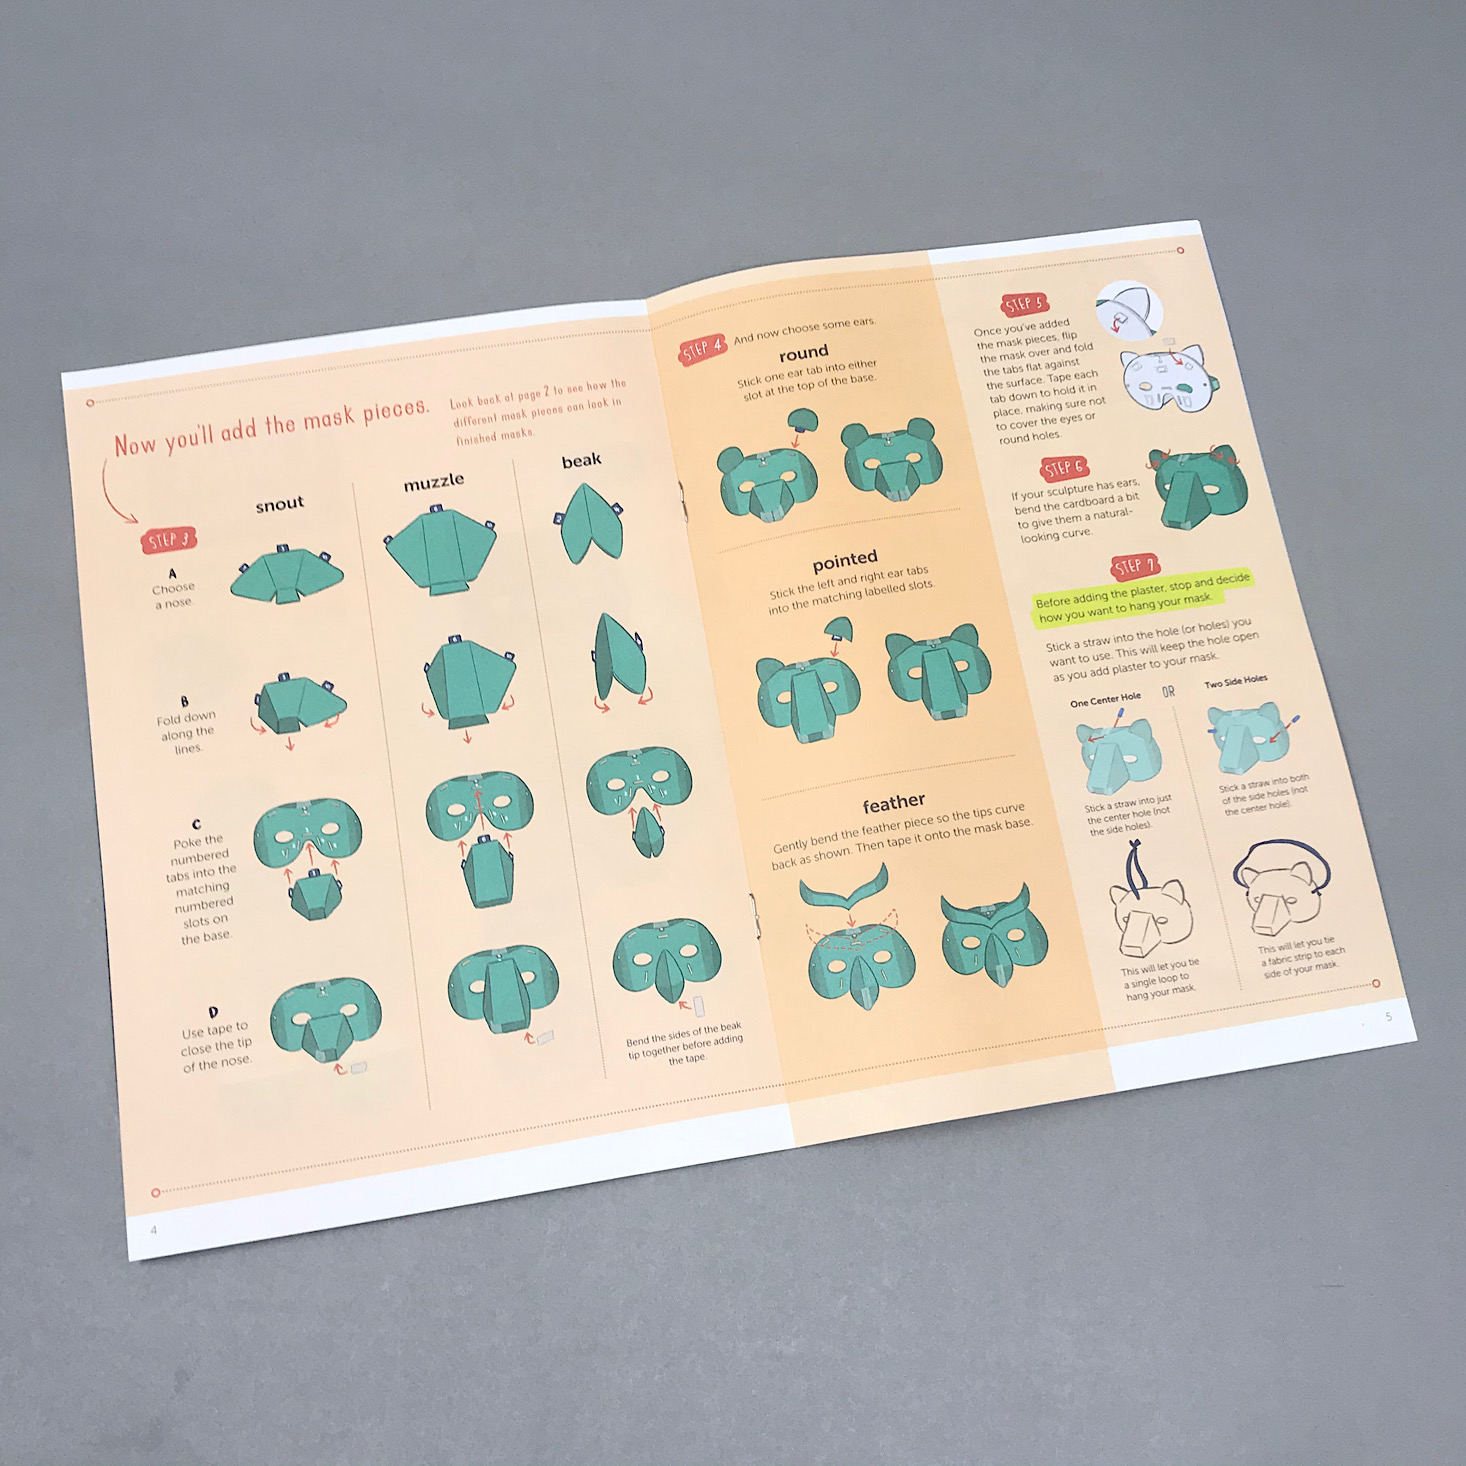
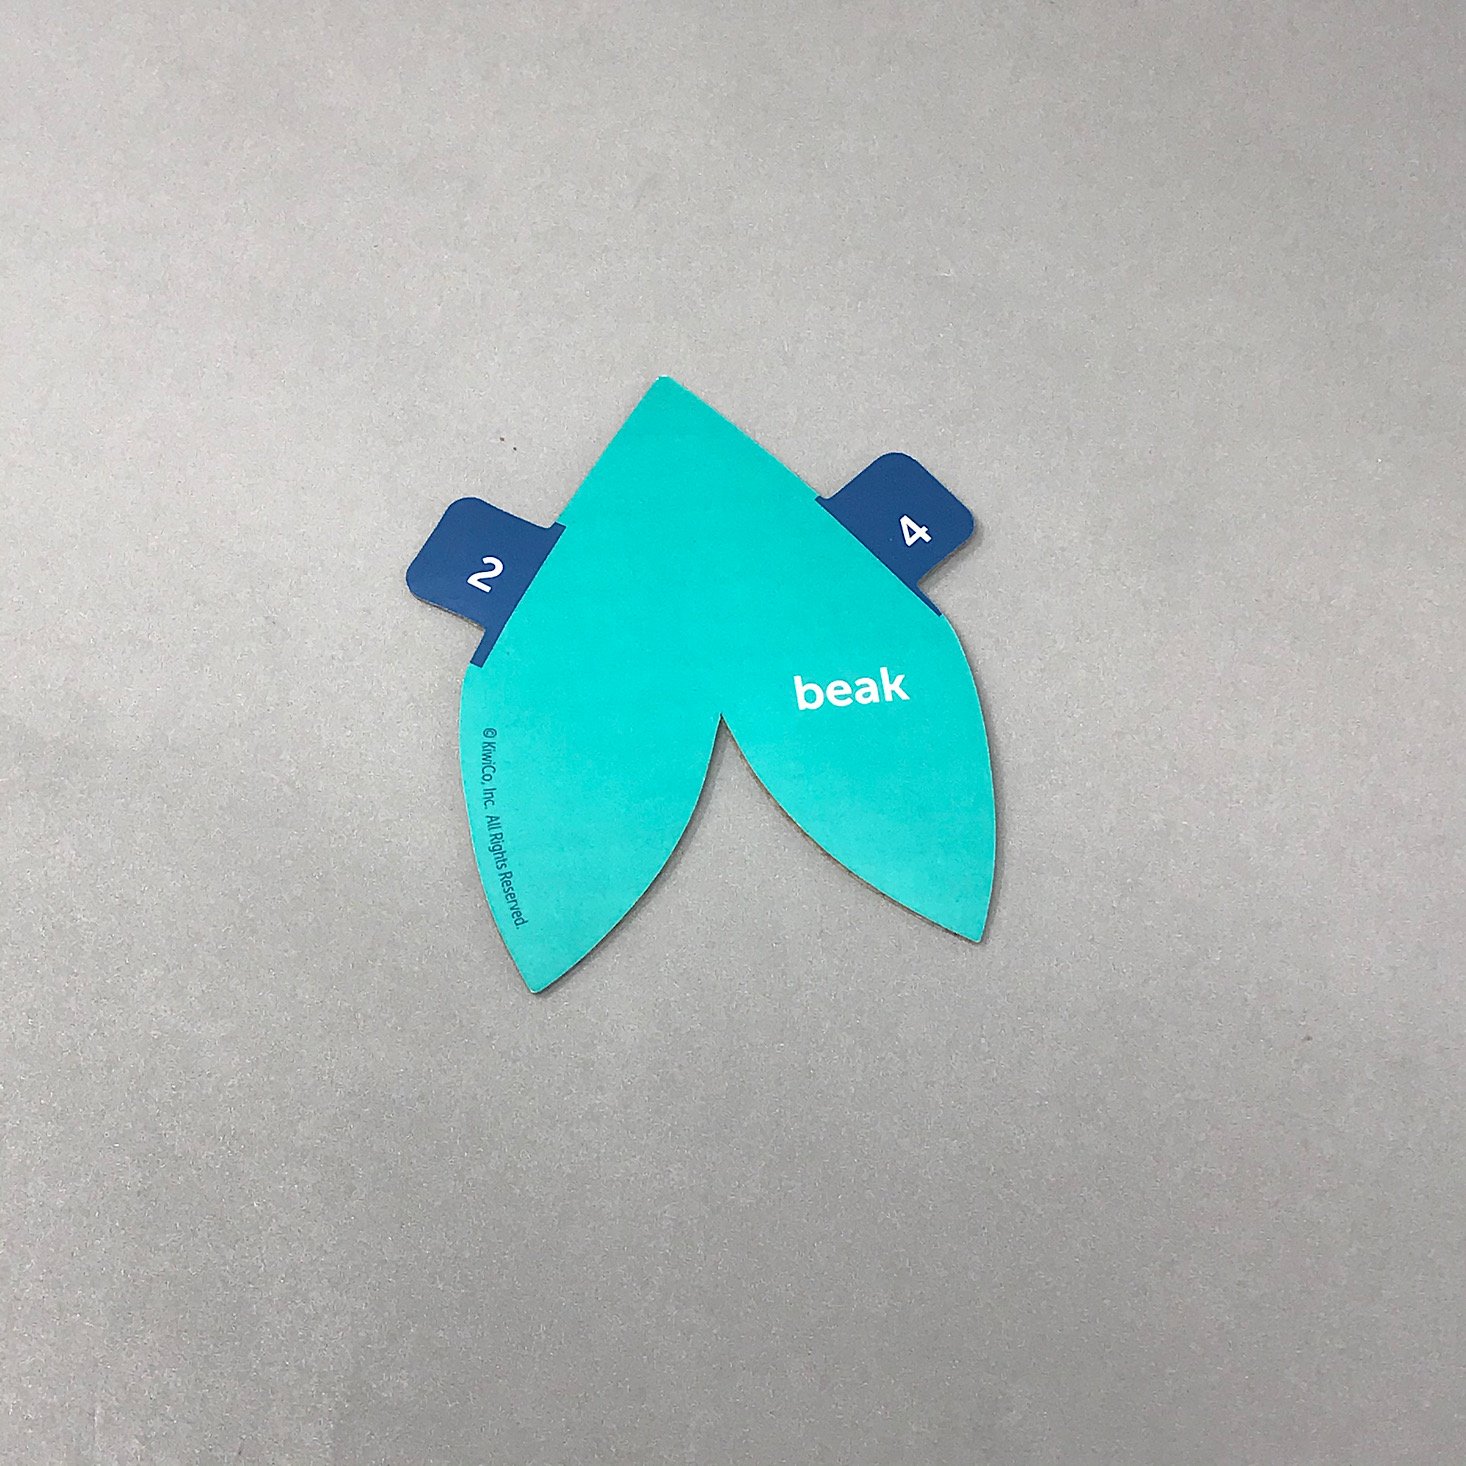
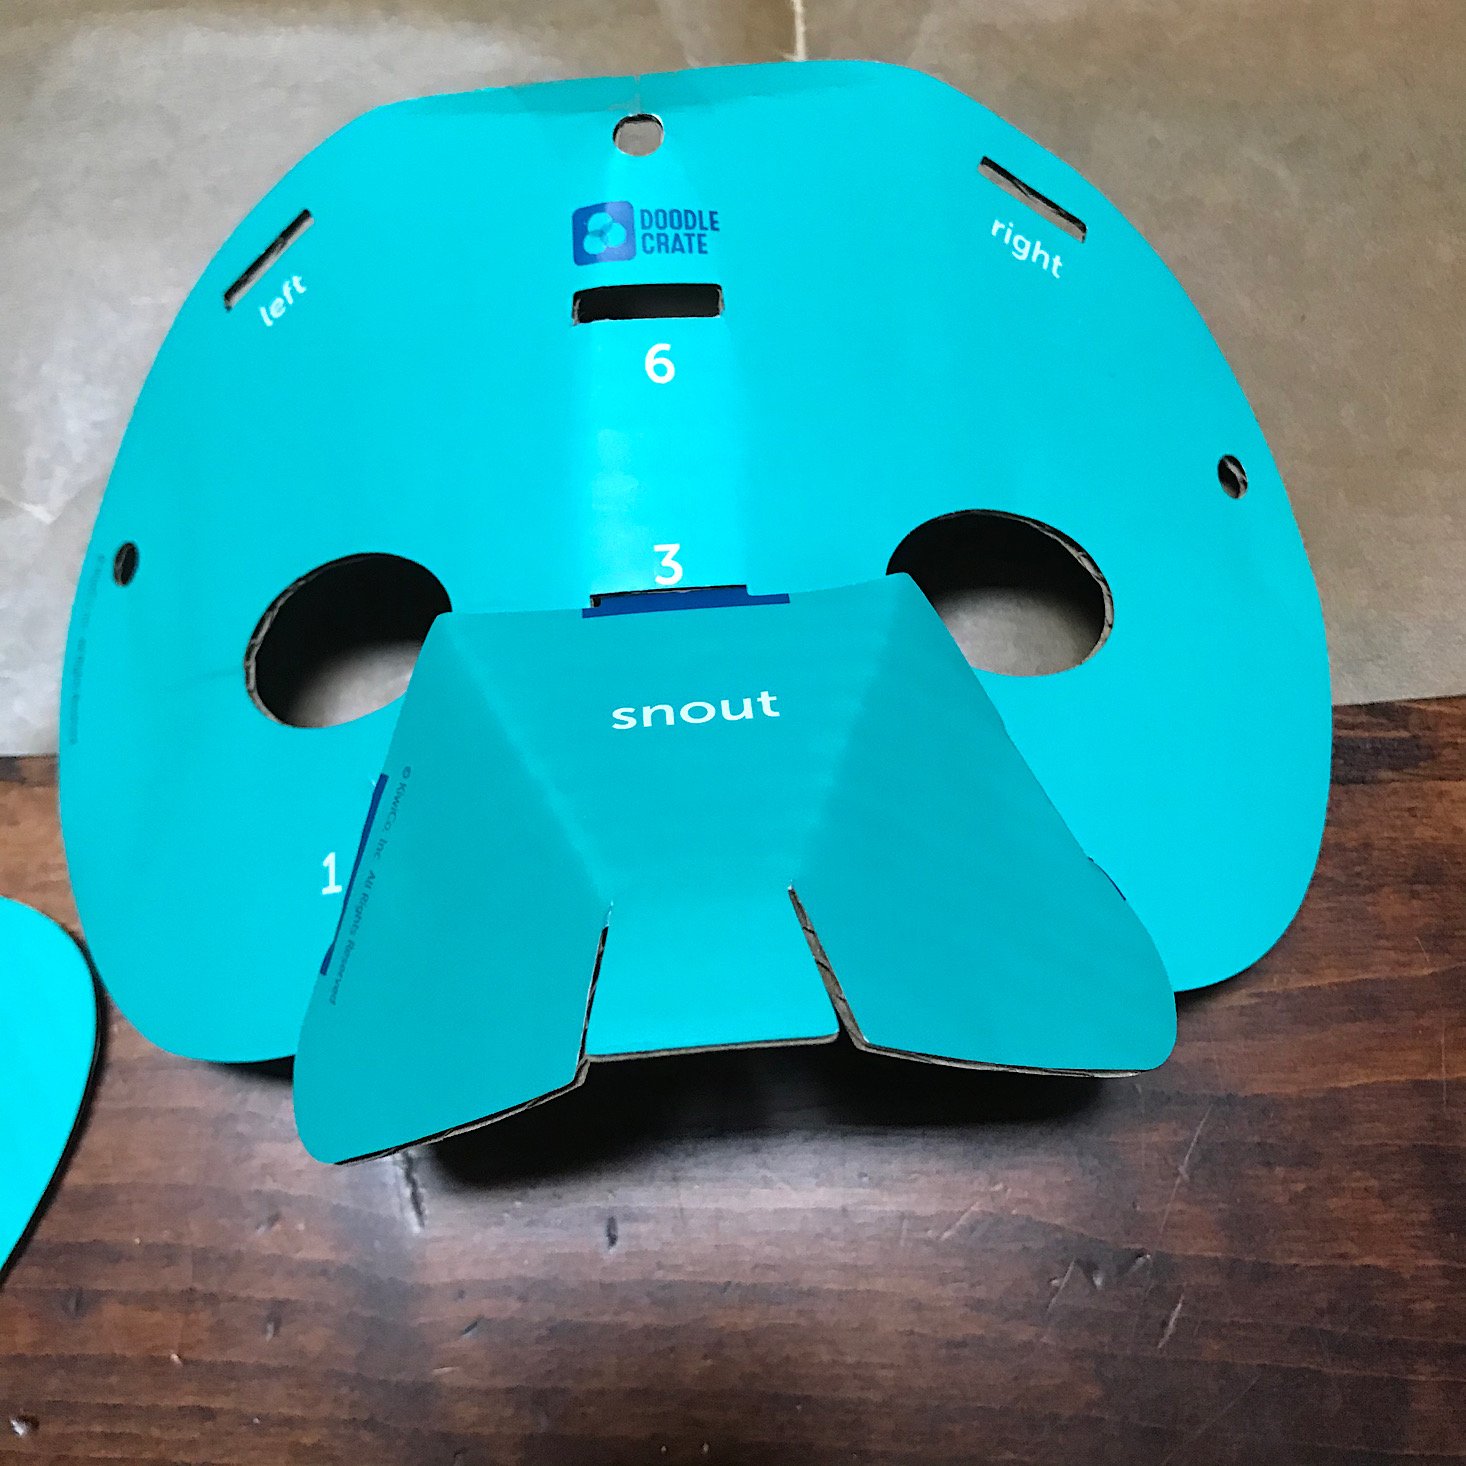
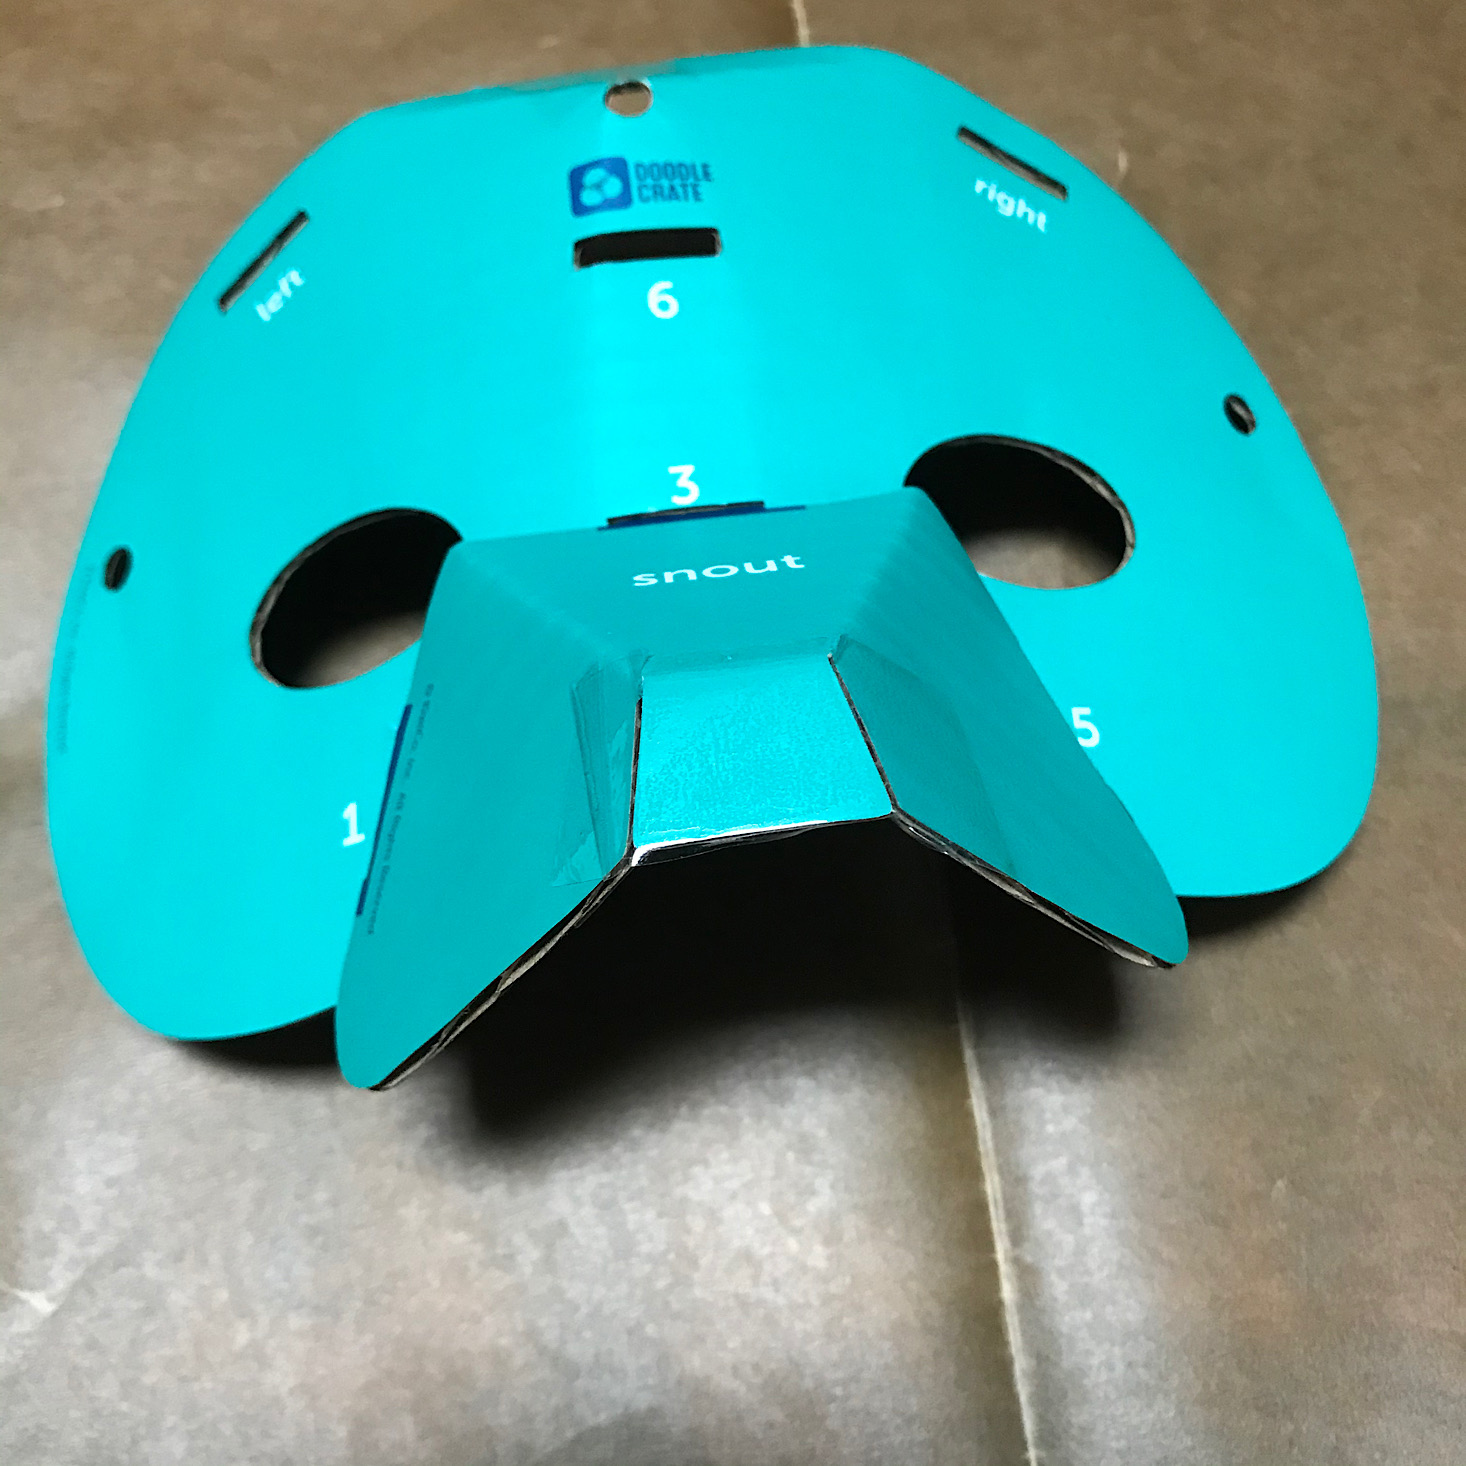
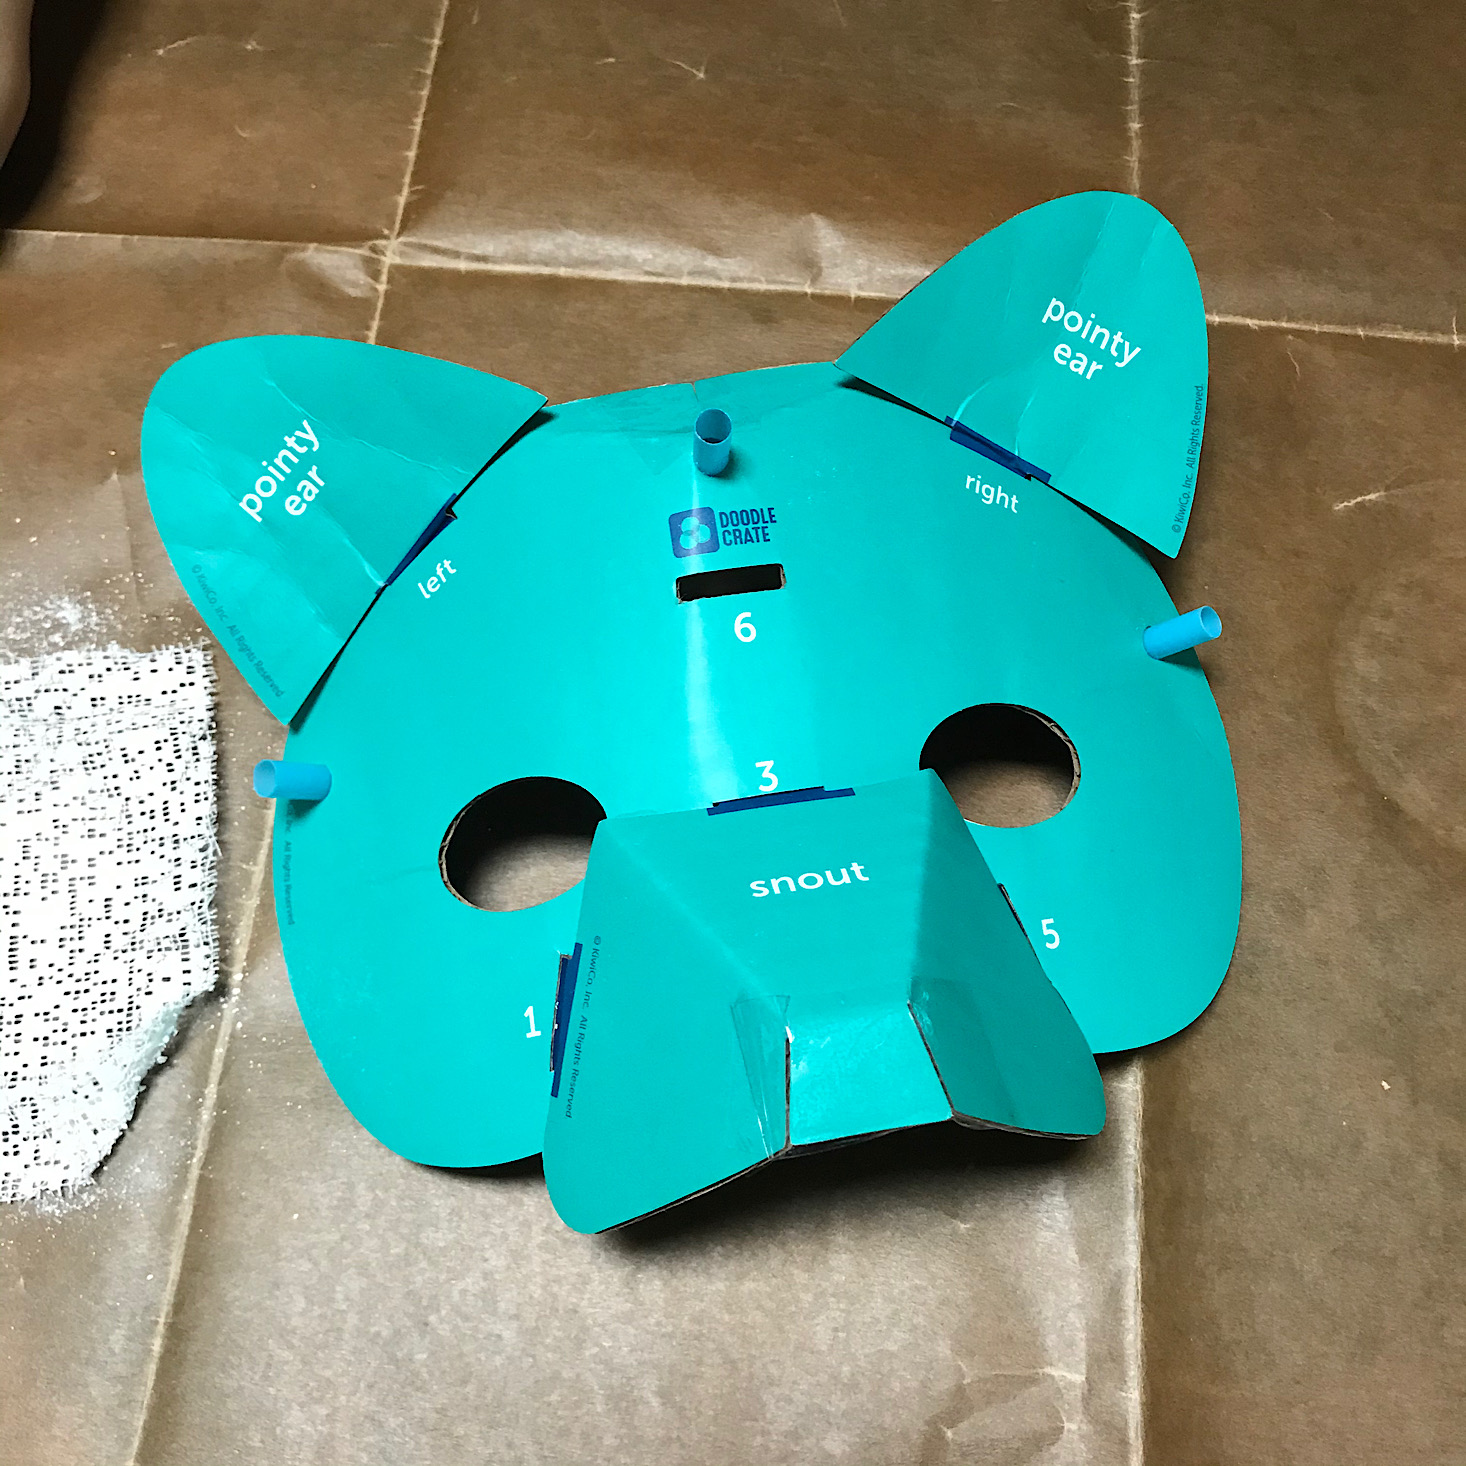
Now it was time to add the mask pieces to form the facial features. We had to choose a nose from a snout, muzzle or beak. Our raccoon required a snout.
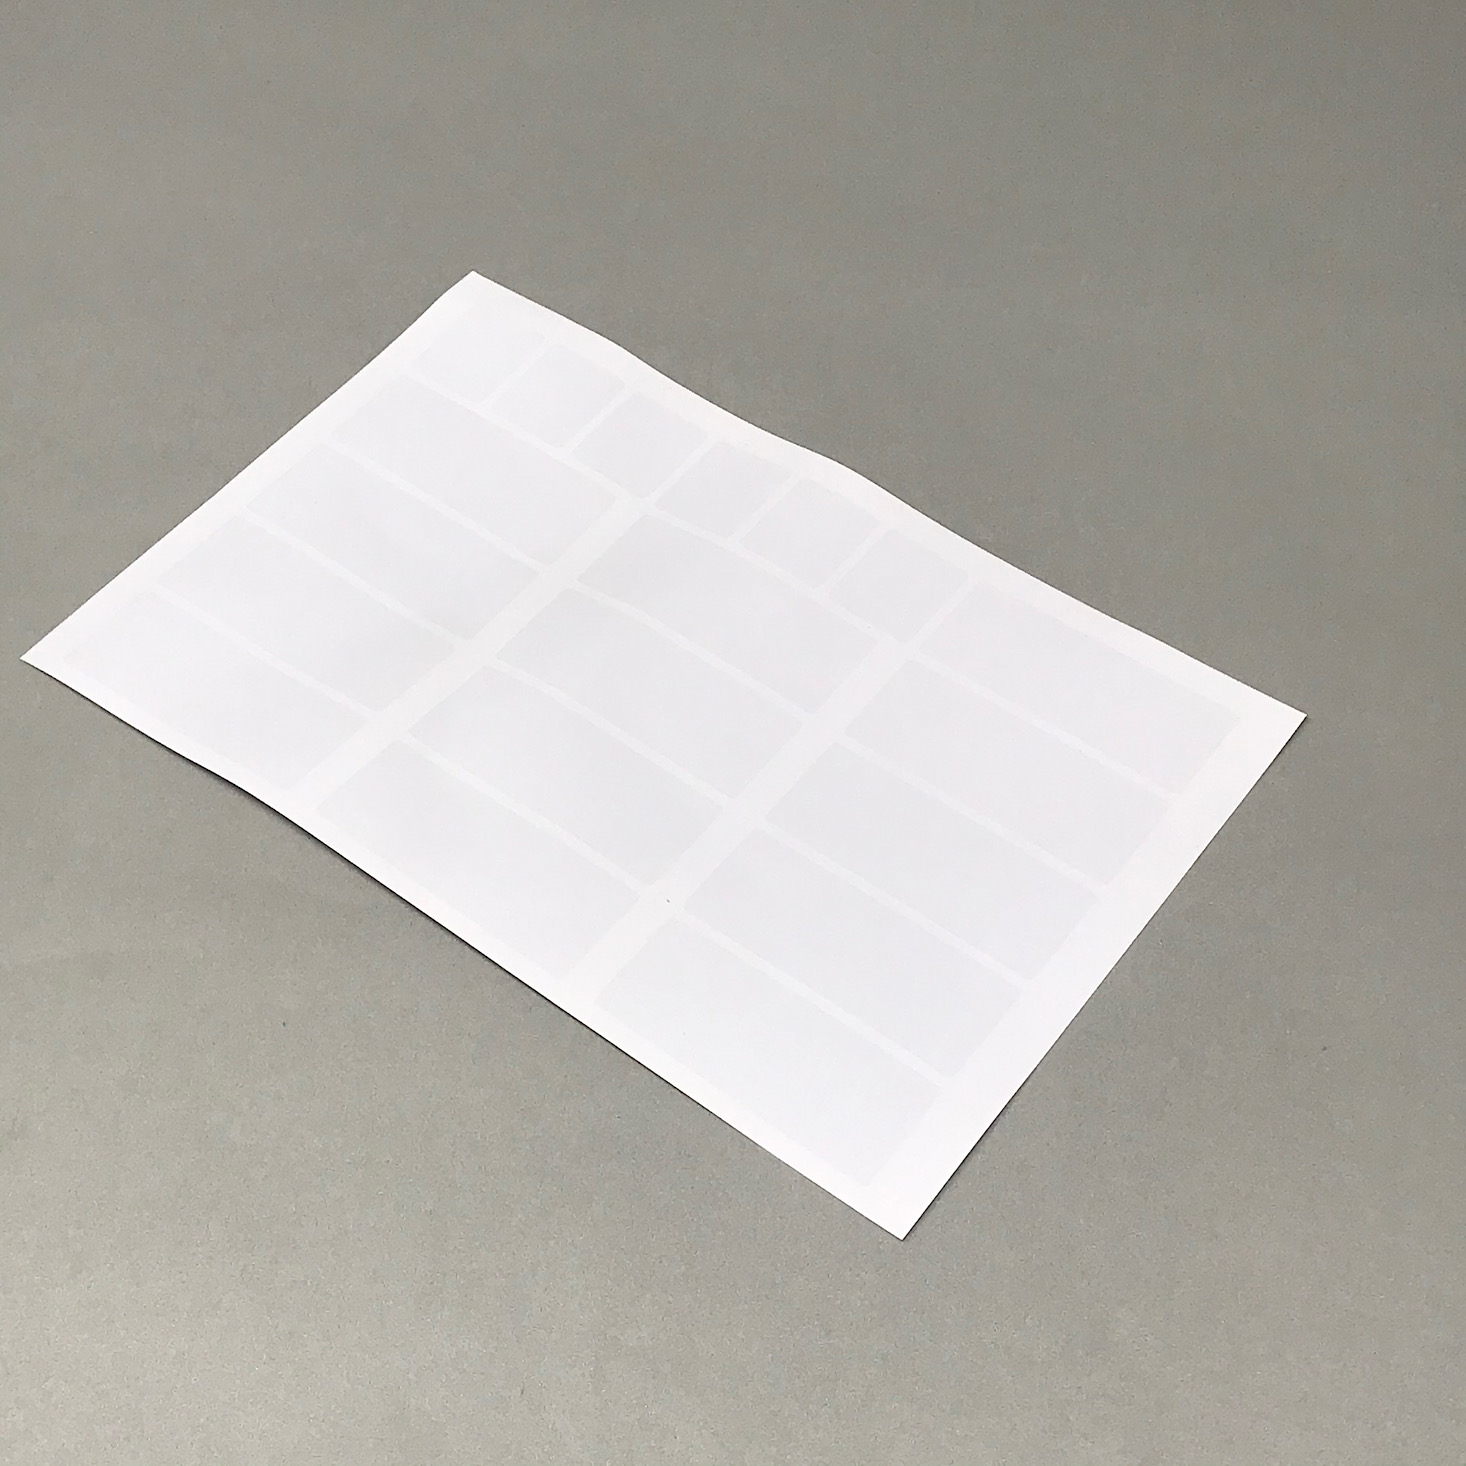
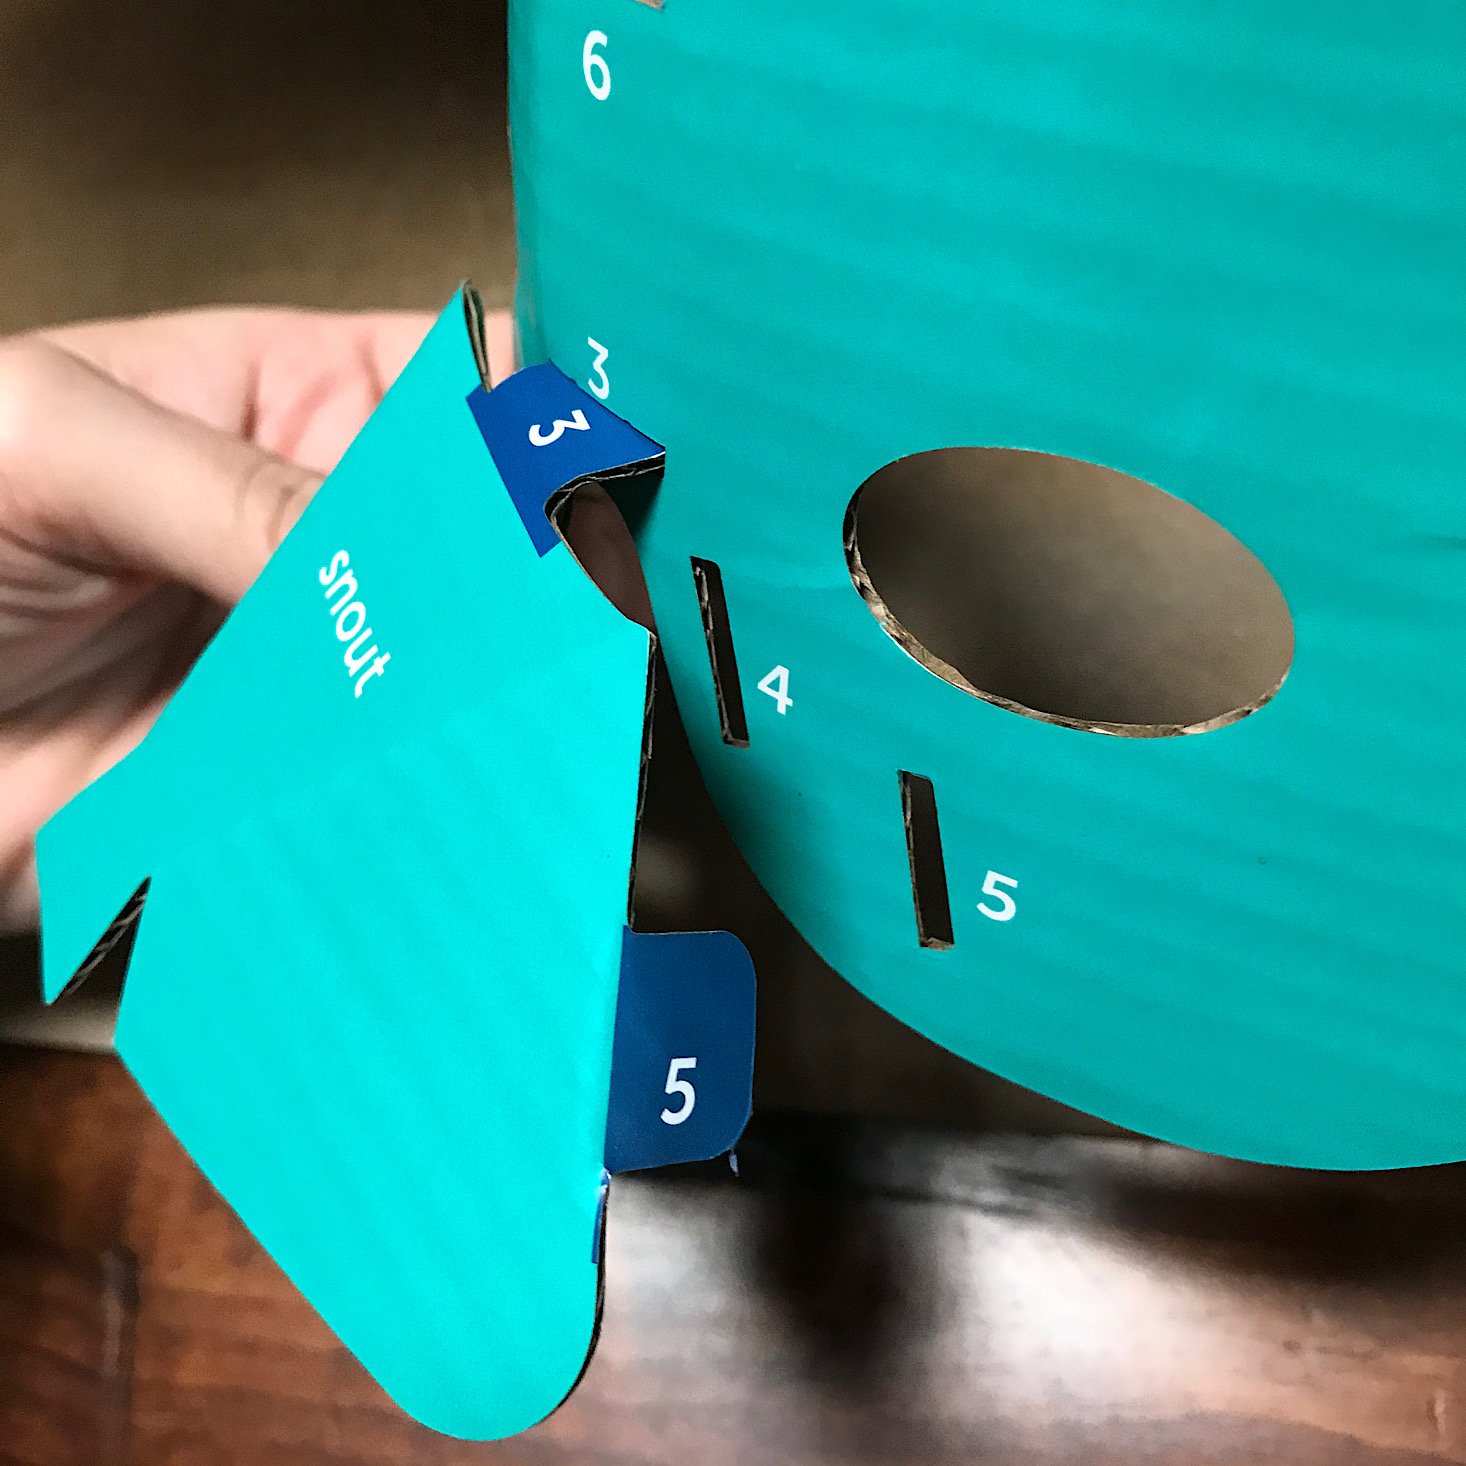
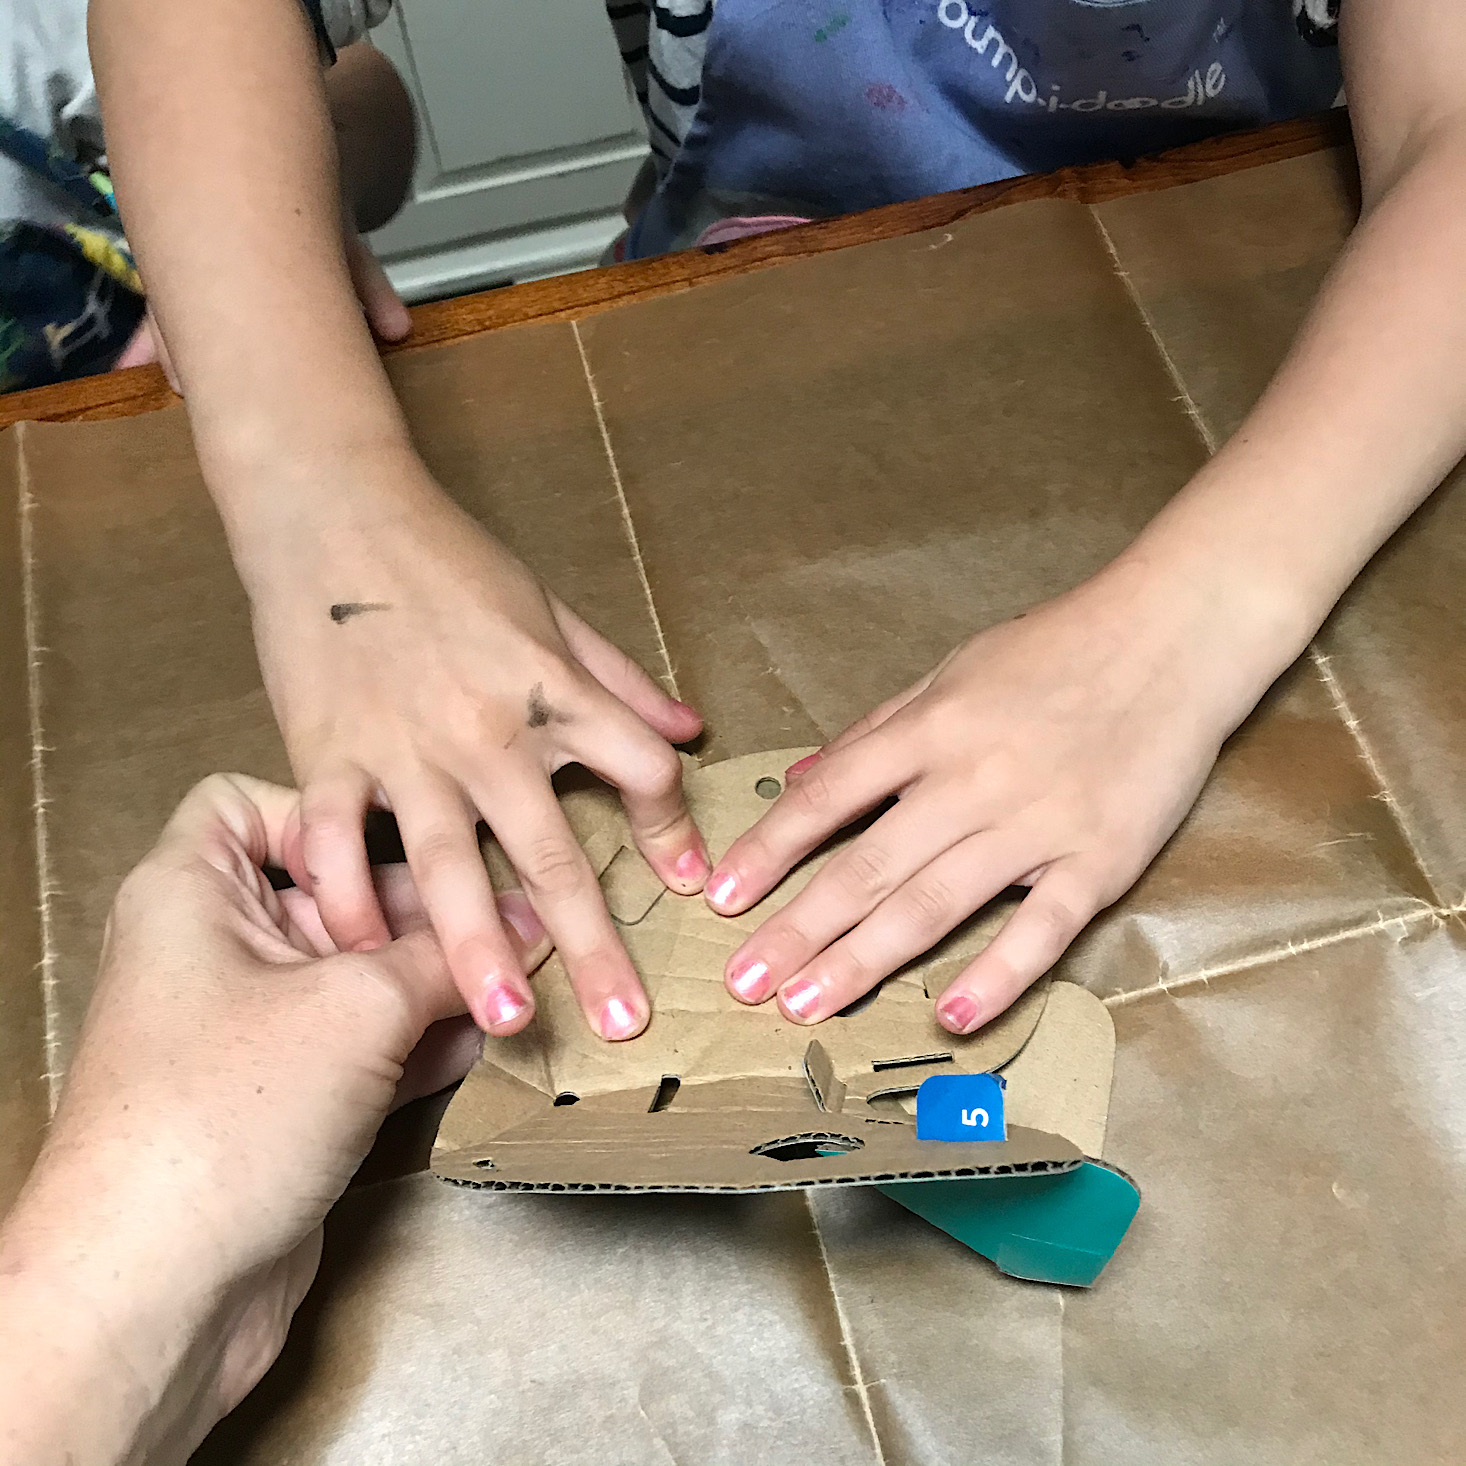
We folded the snout along the sides and then poked the numbered tabs into the matching numbered slots to fit it into our face. Then we added one of the tape stickers they provided to close the end of the snout.
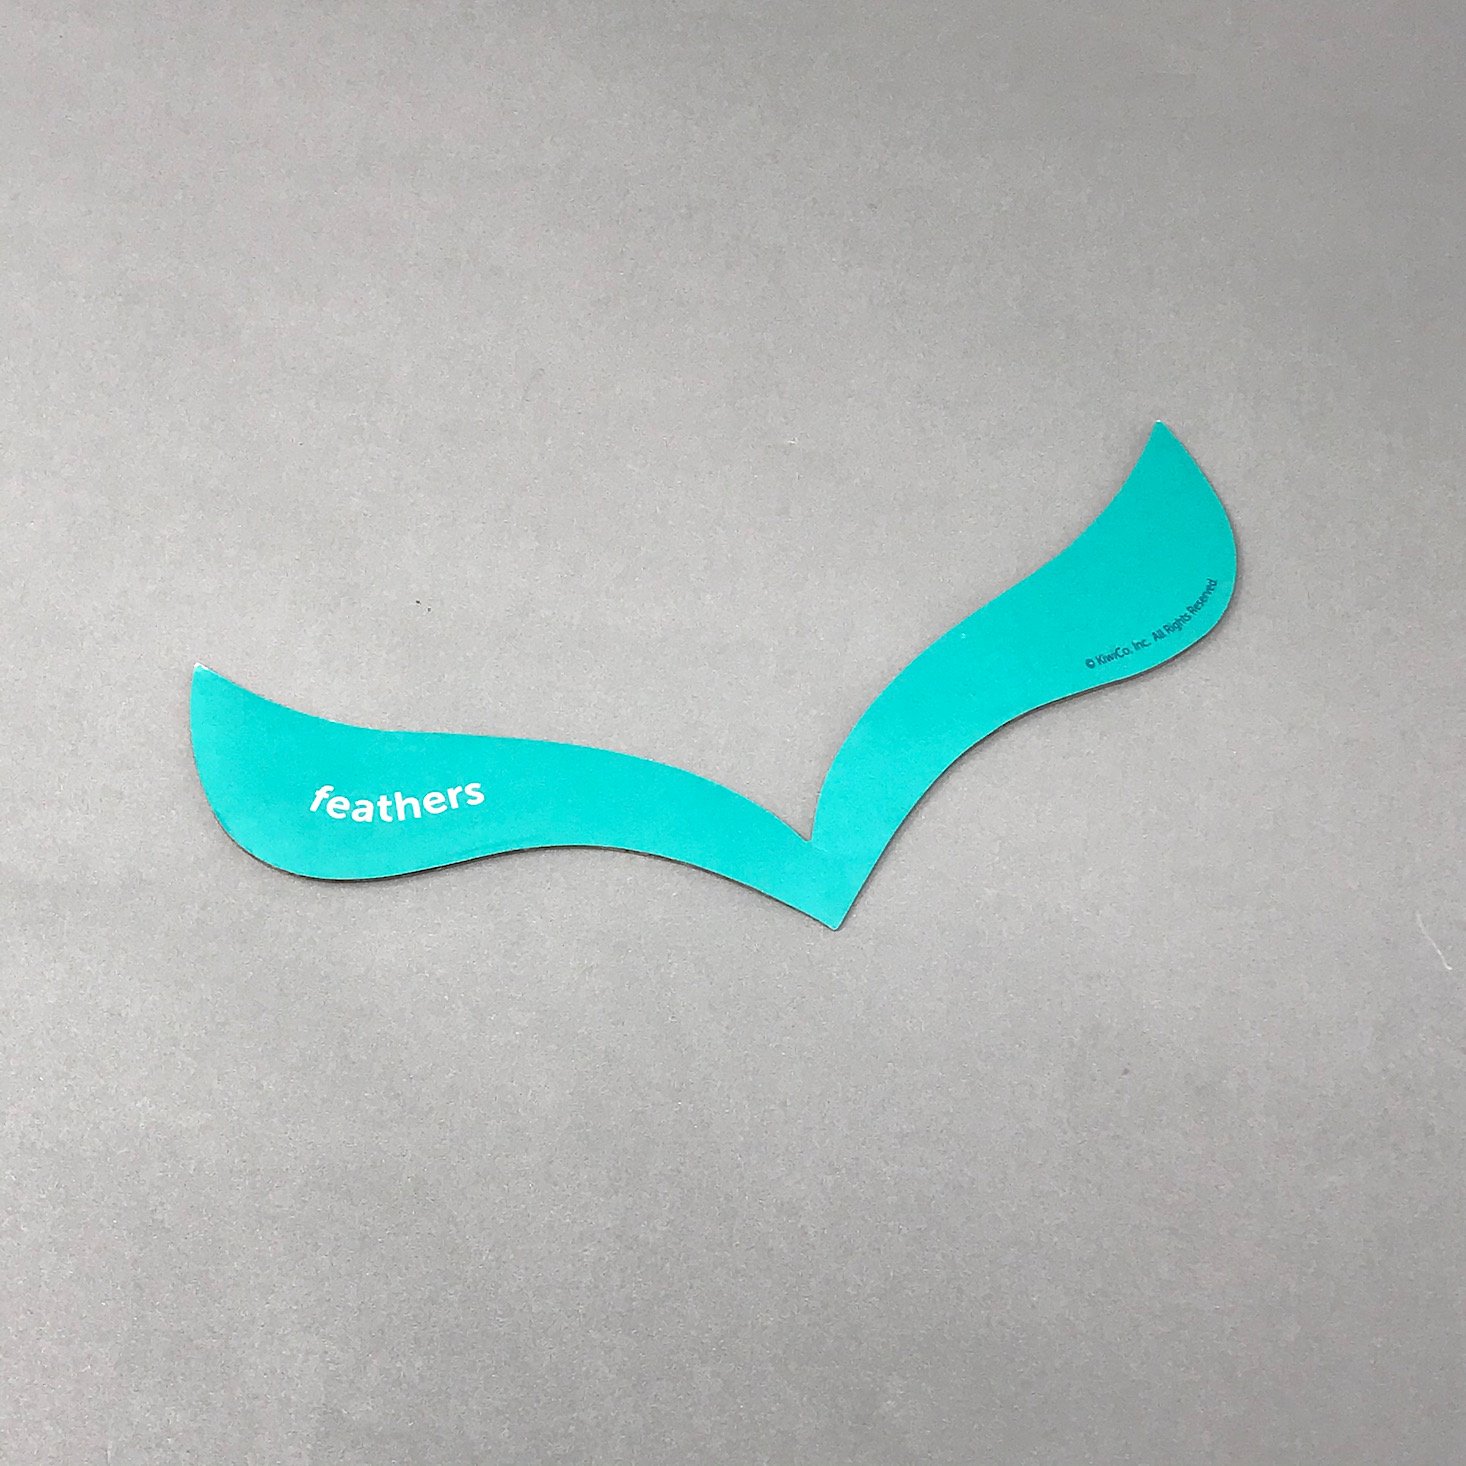
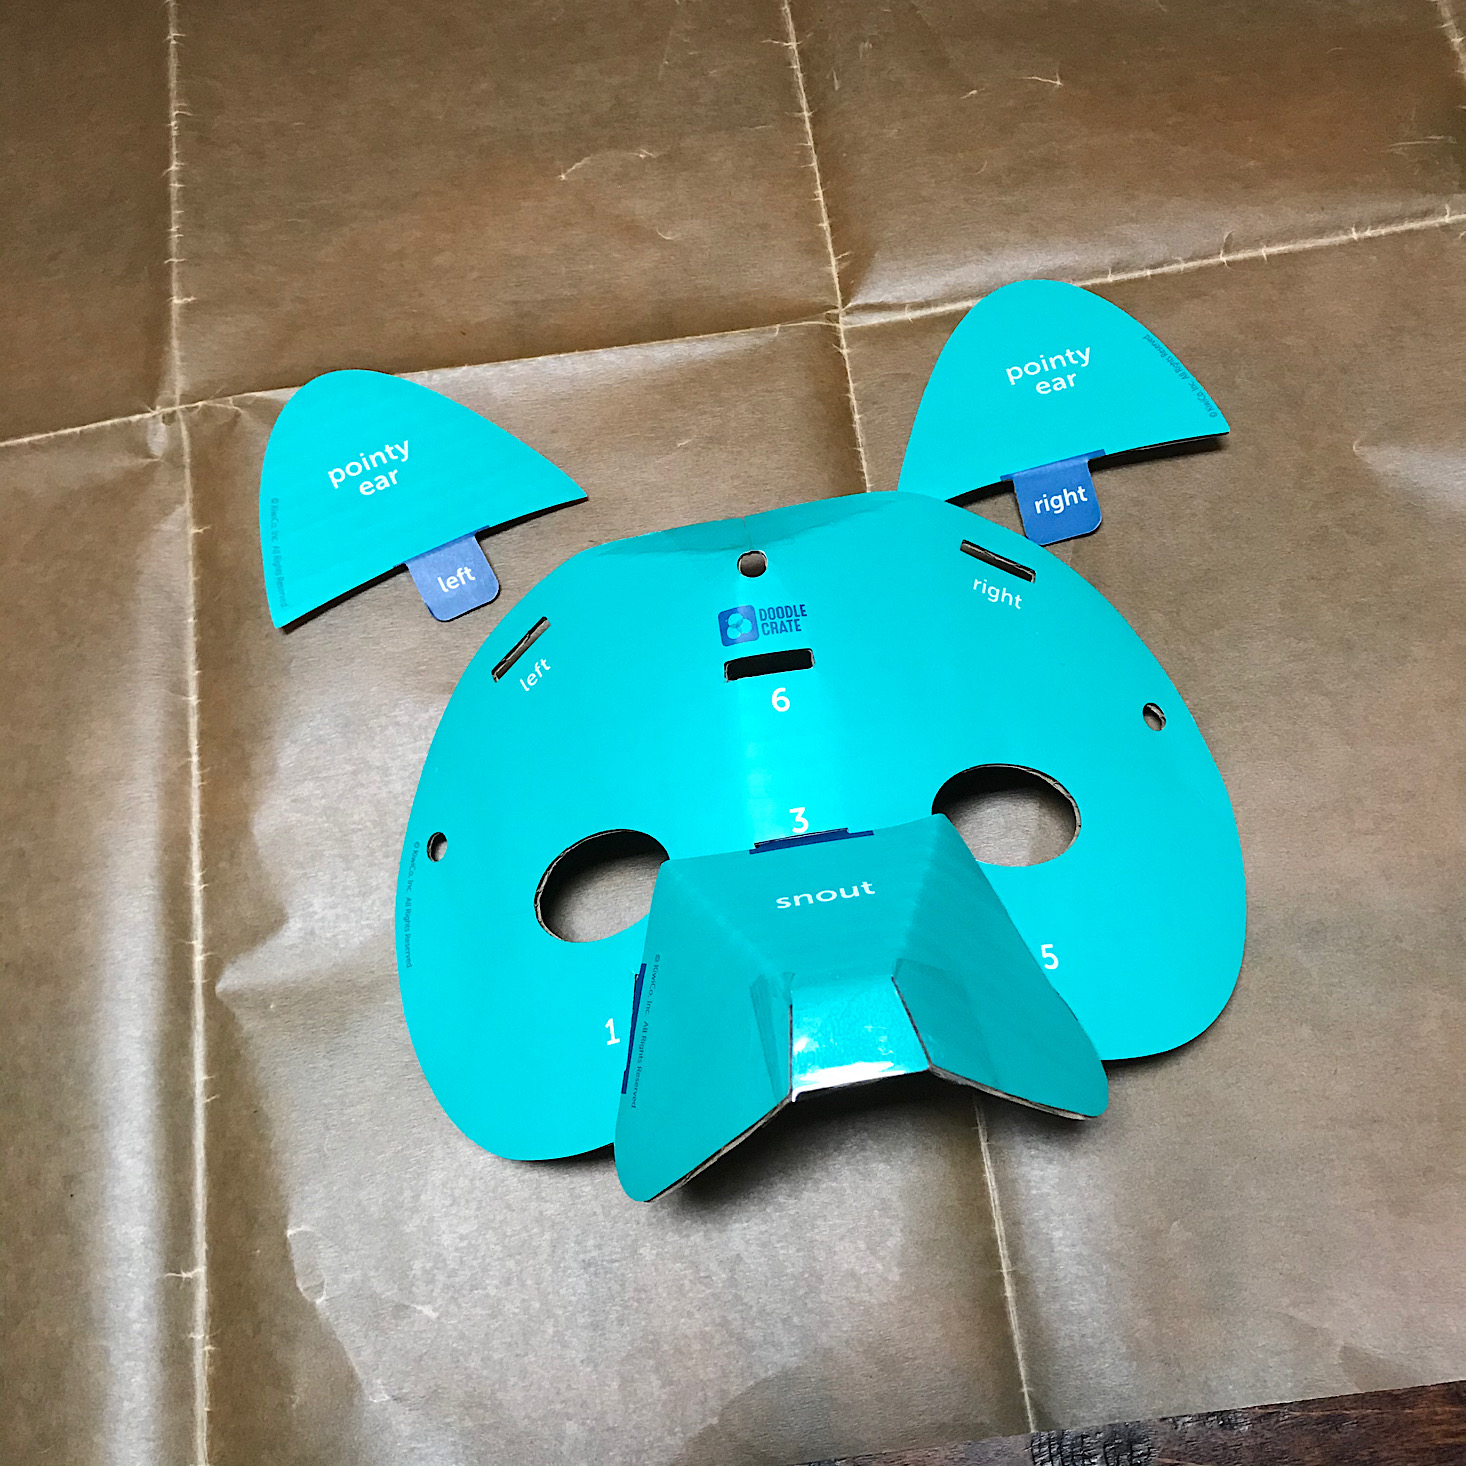
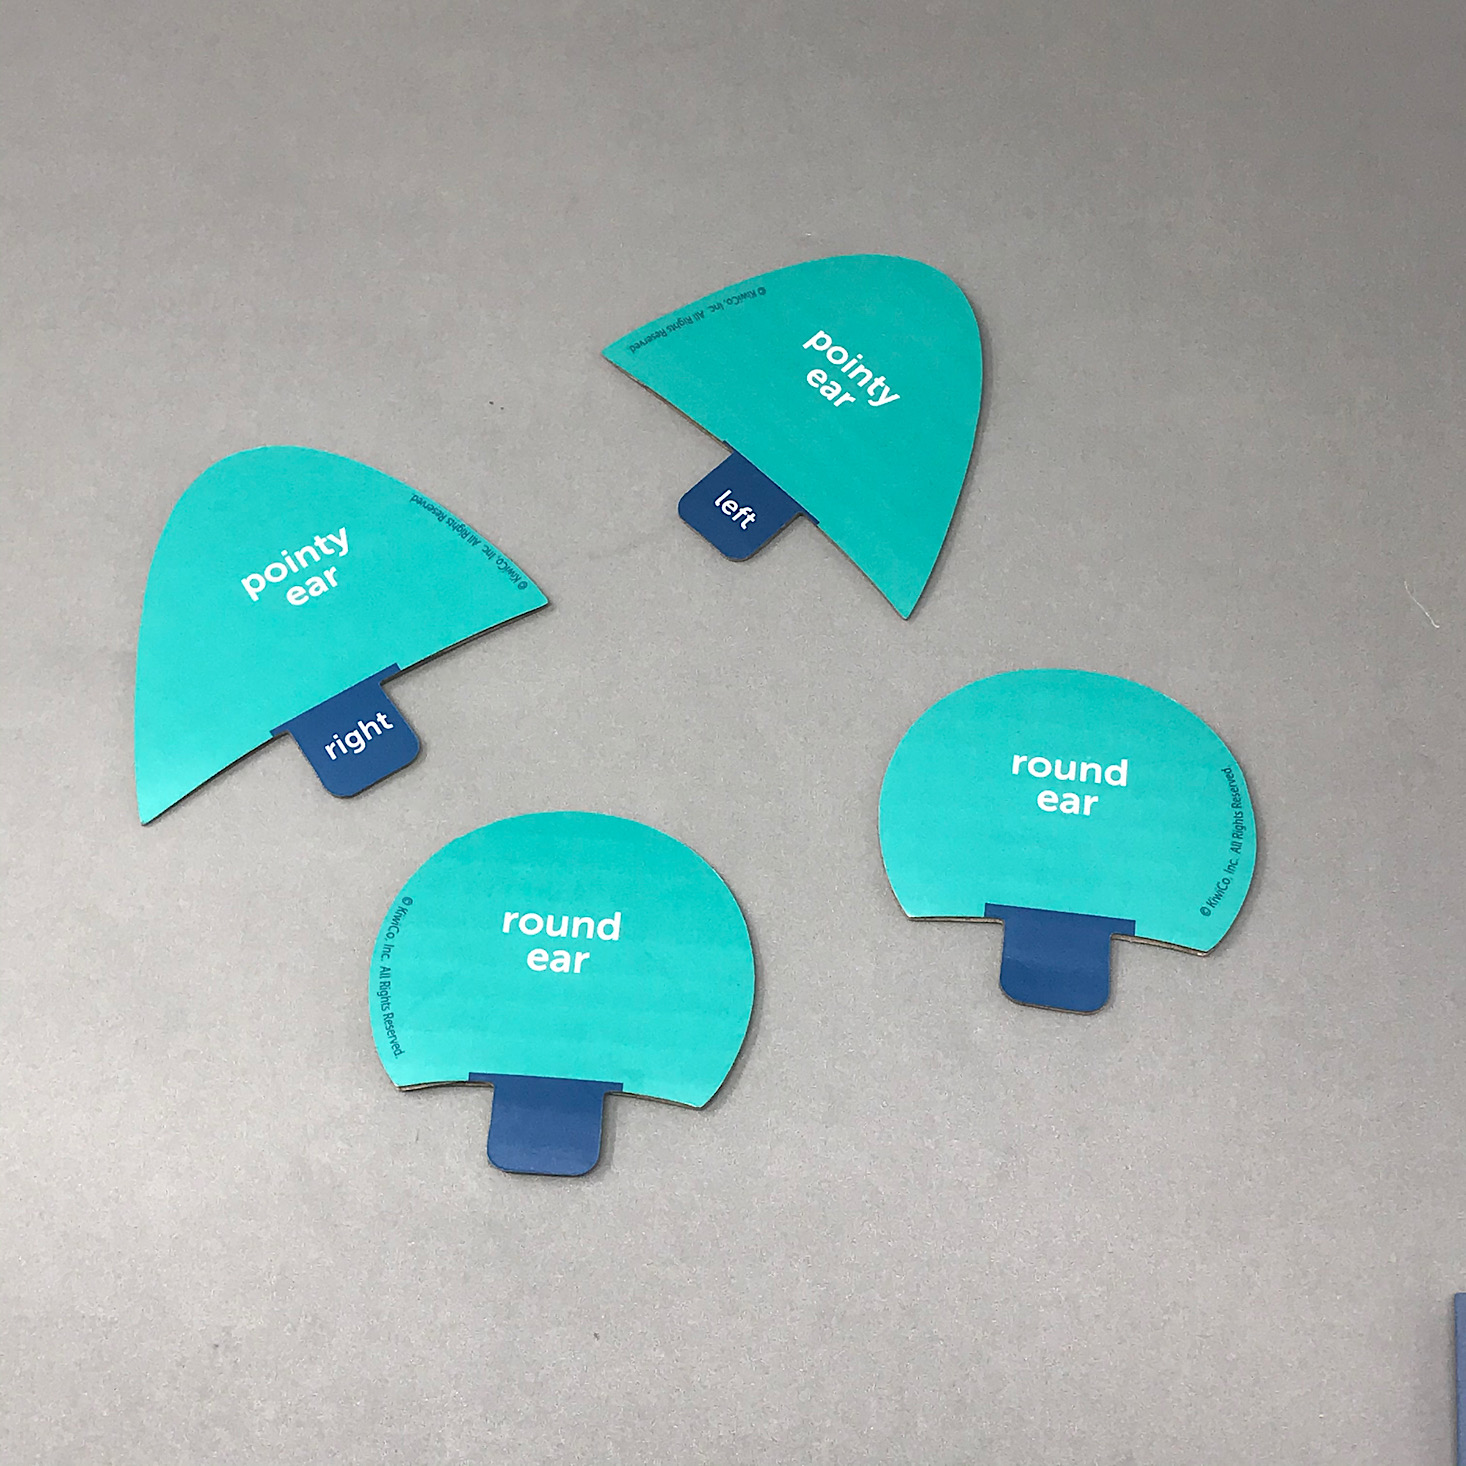
They provided two different ear options or some feathers if we were to create an owl. Our raccoon needed pointy ears so we stuck them in making sure that they were matching the left and right labels on the pieces.
We flipped our mask over and then folded all of the tabs. Then we secured them all down with more tape strips. We had to be careful not to cover any of the eye holes or round holes on the mask. We also bent our ears a bit to make them look more natural.
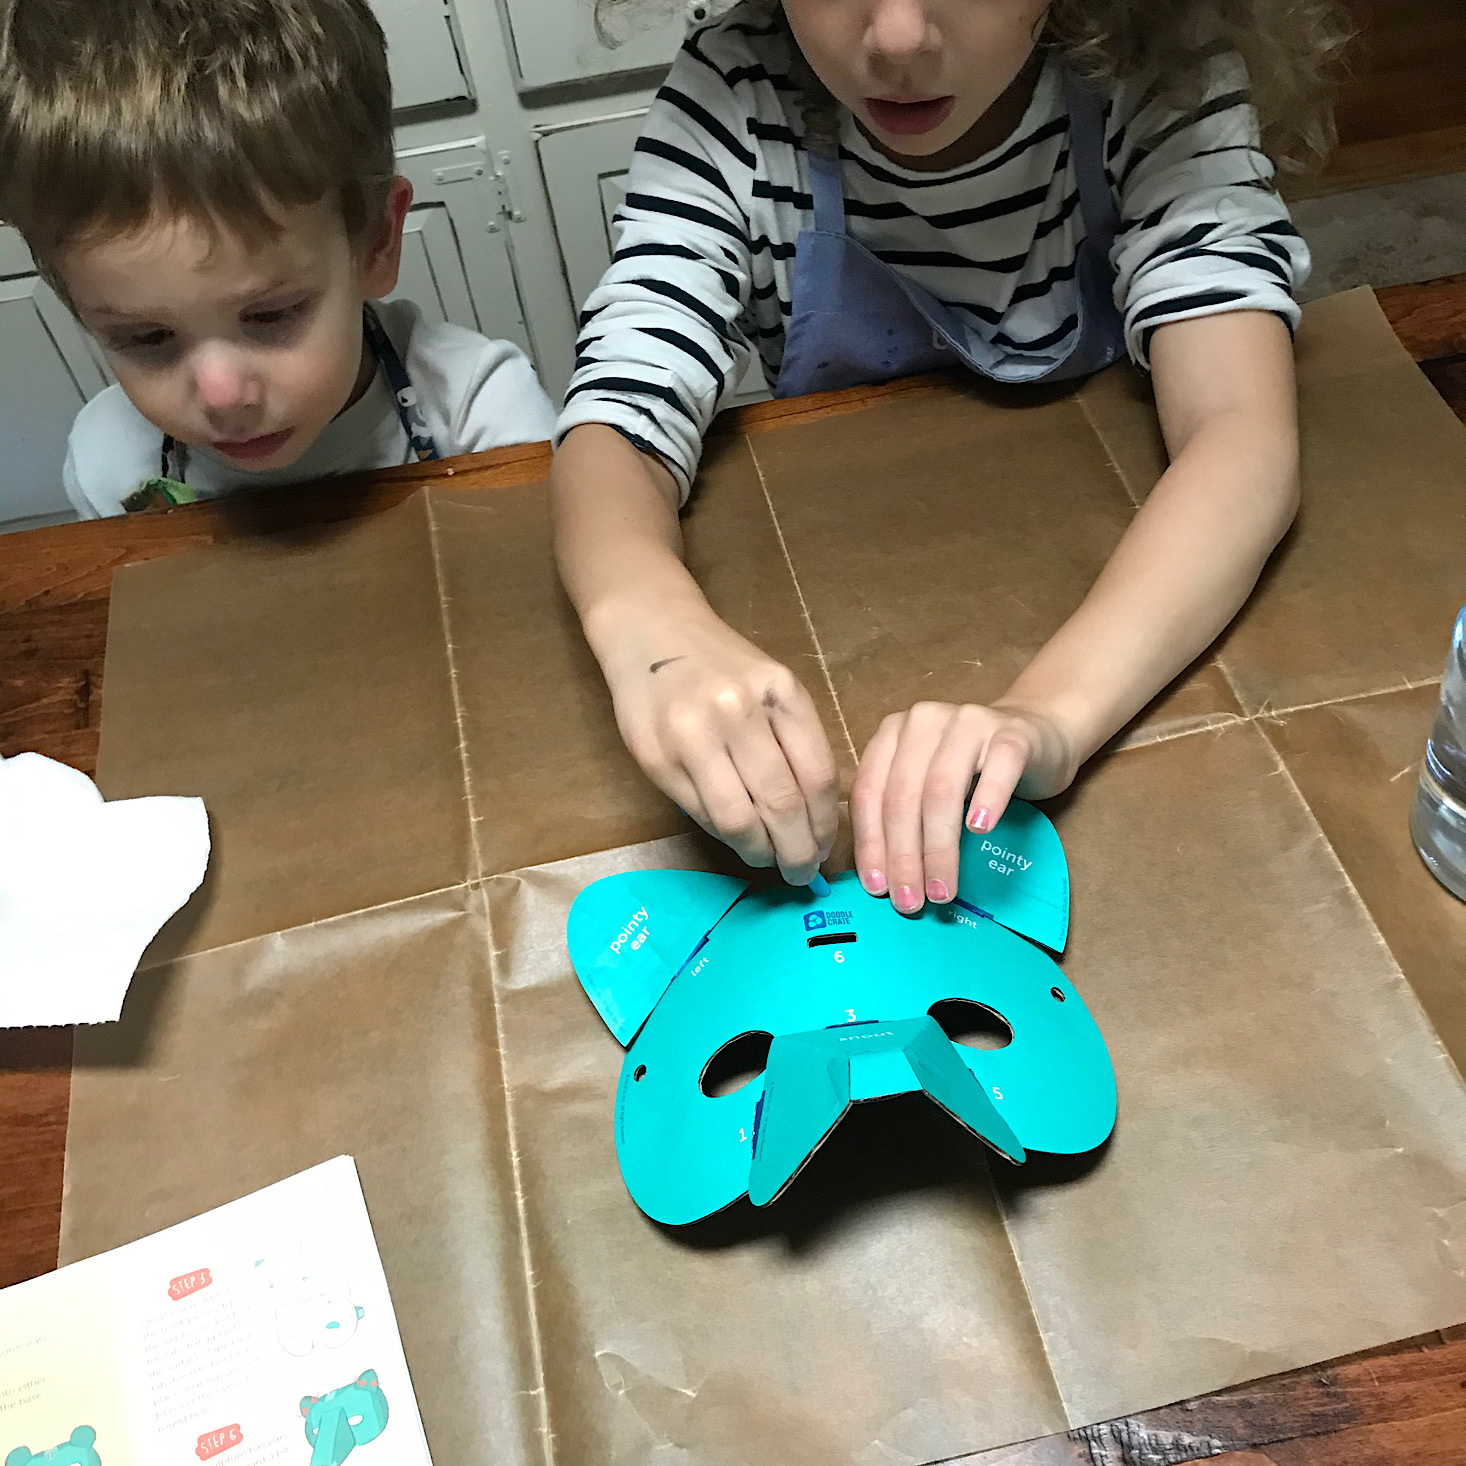
Now it was time to decide how we wanted to hang our mask and stick these little straw pieces into the holes to keep them open. I wasn't sure how we would be using our mask, so we decided to keep all three holes open and stuck one in the center hole and the other two straw pieces into the holes on either side of the raccoon's head.
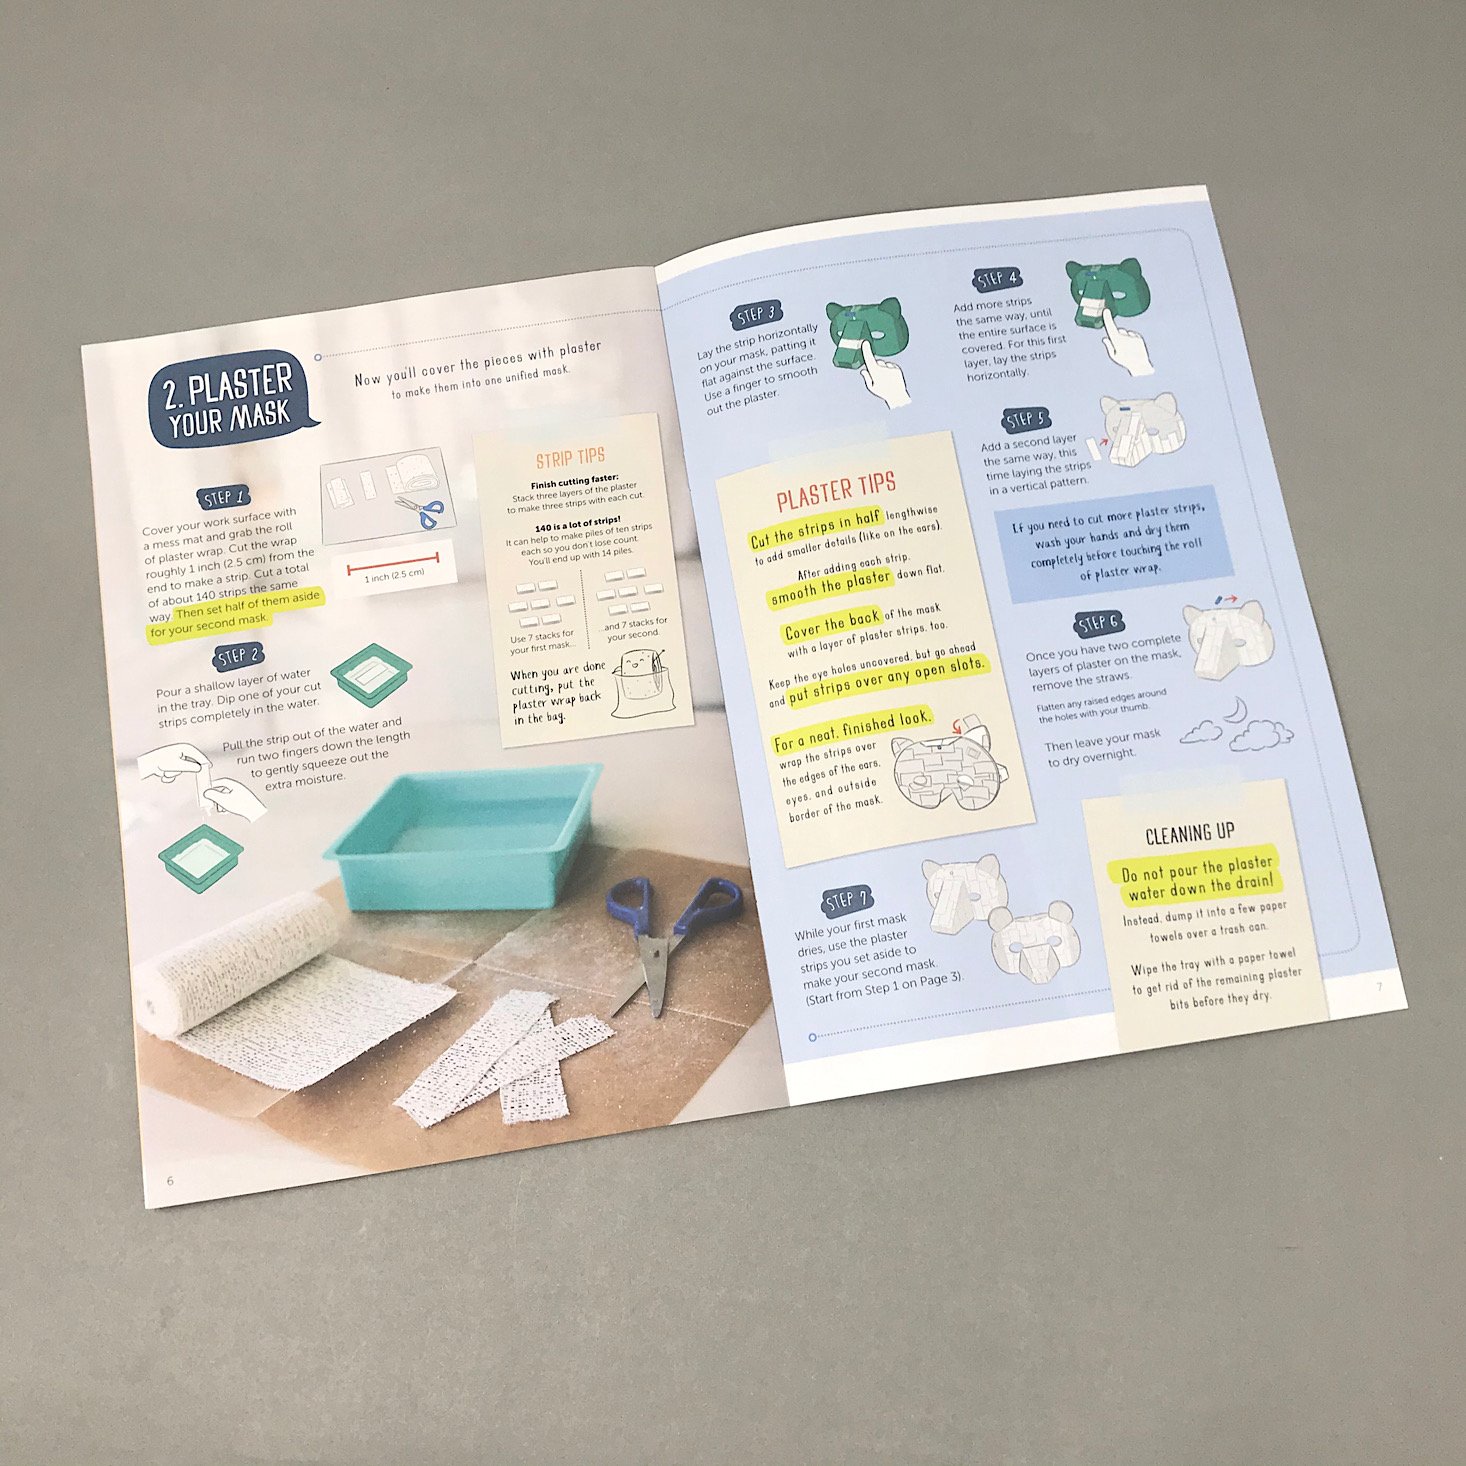
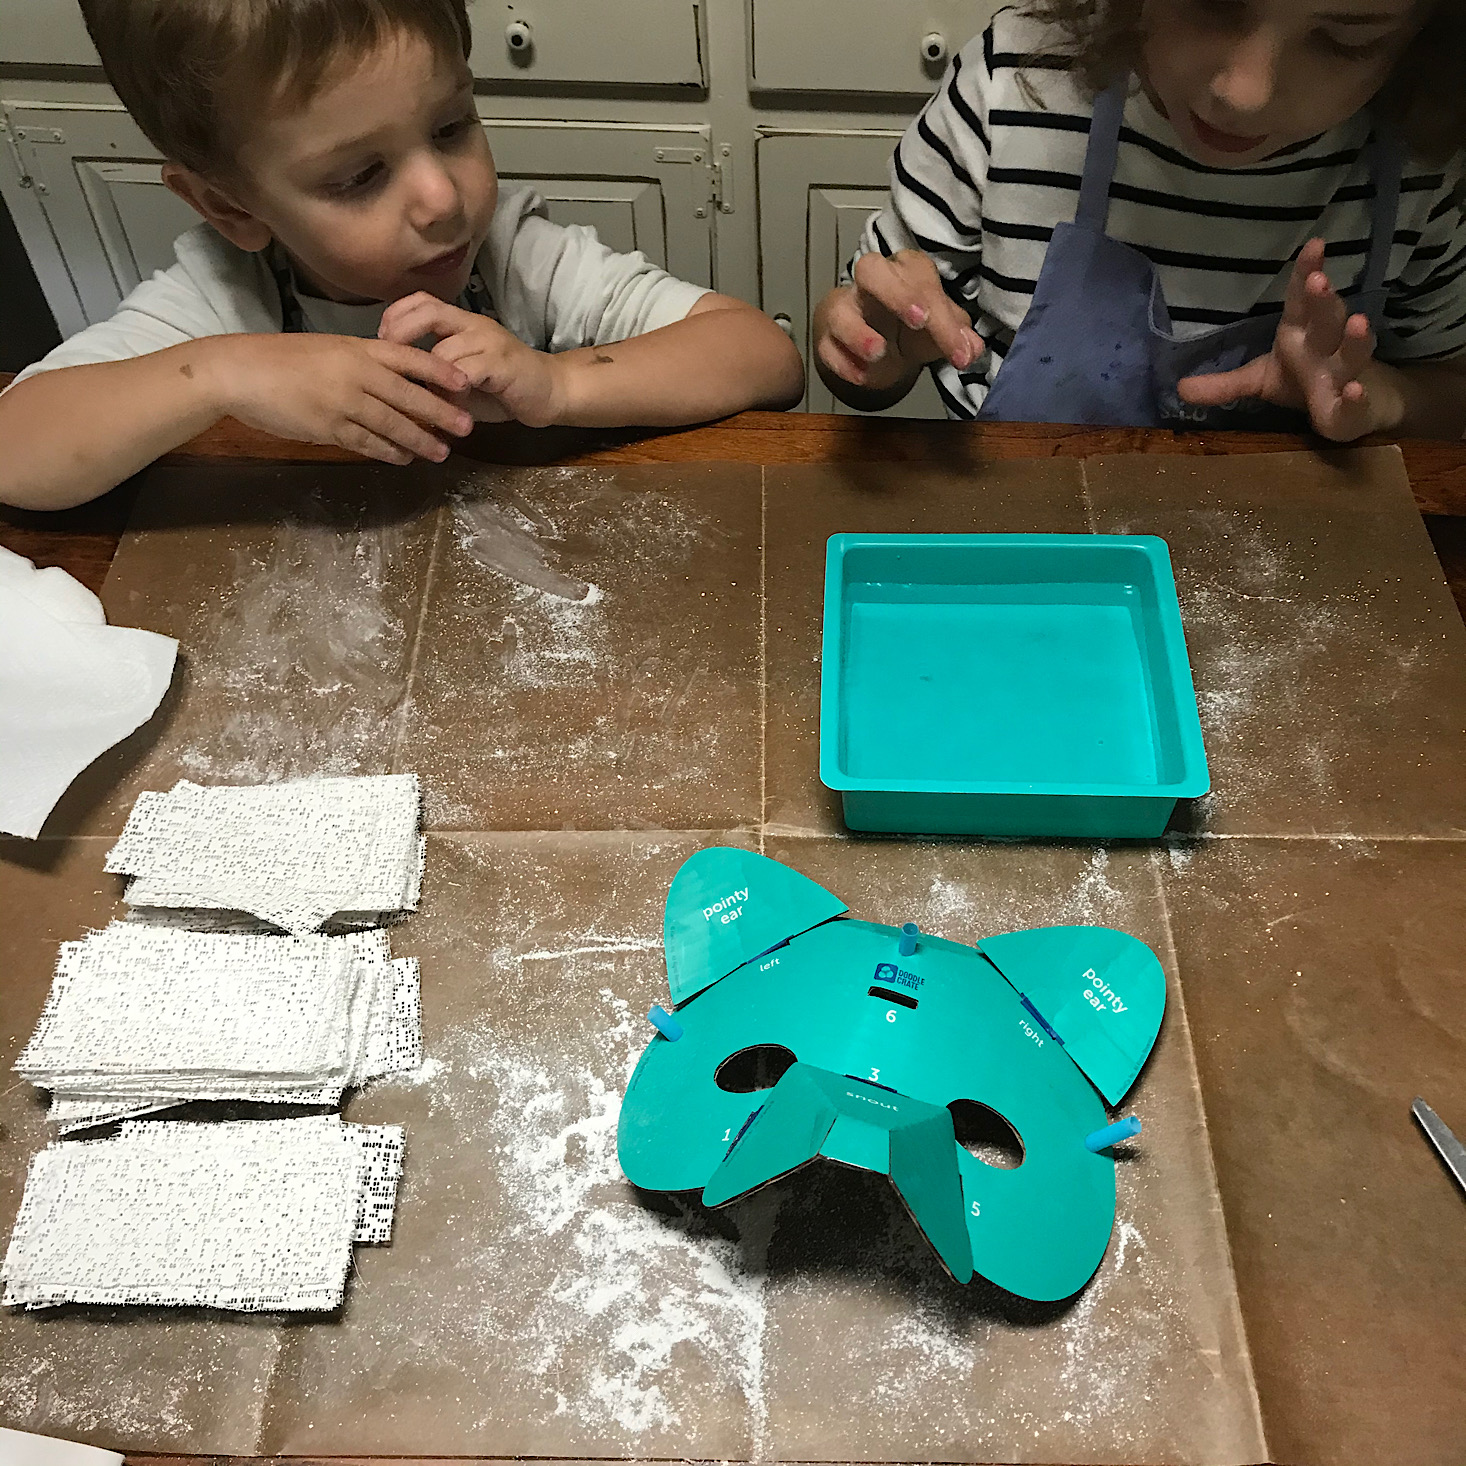
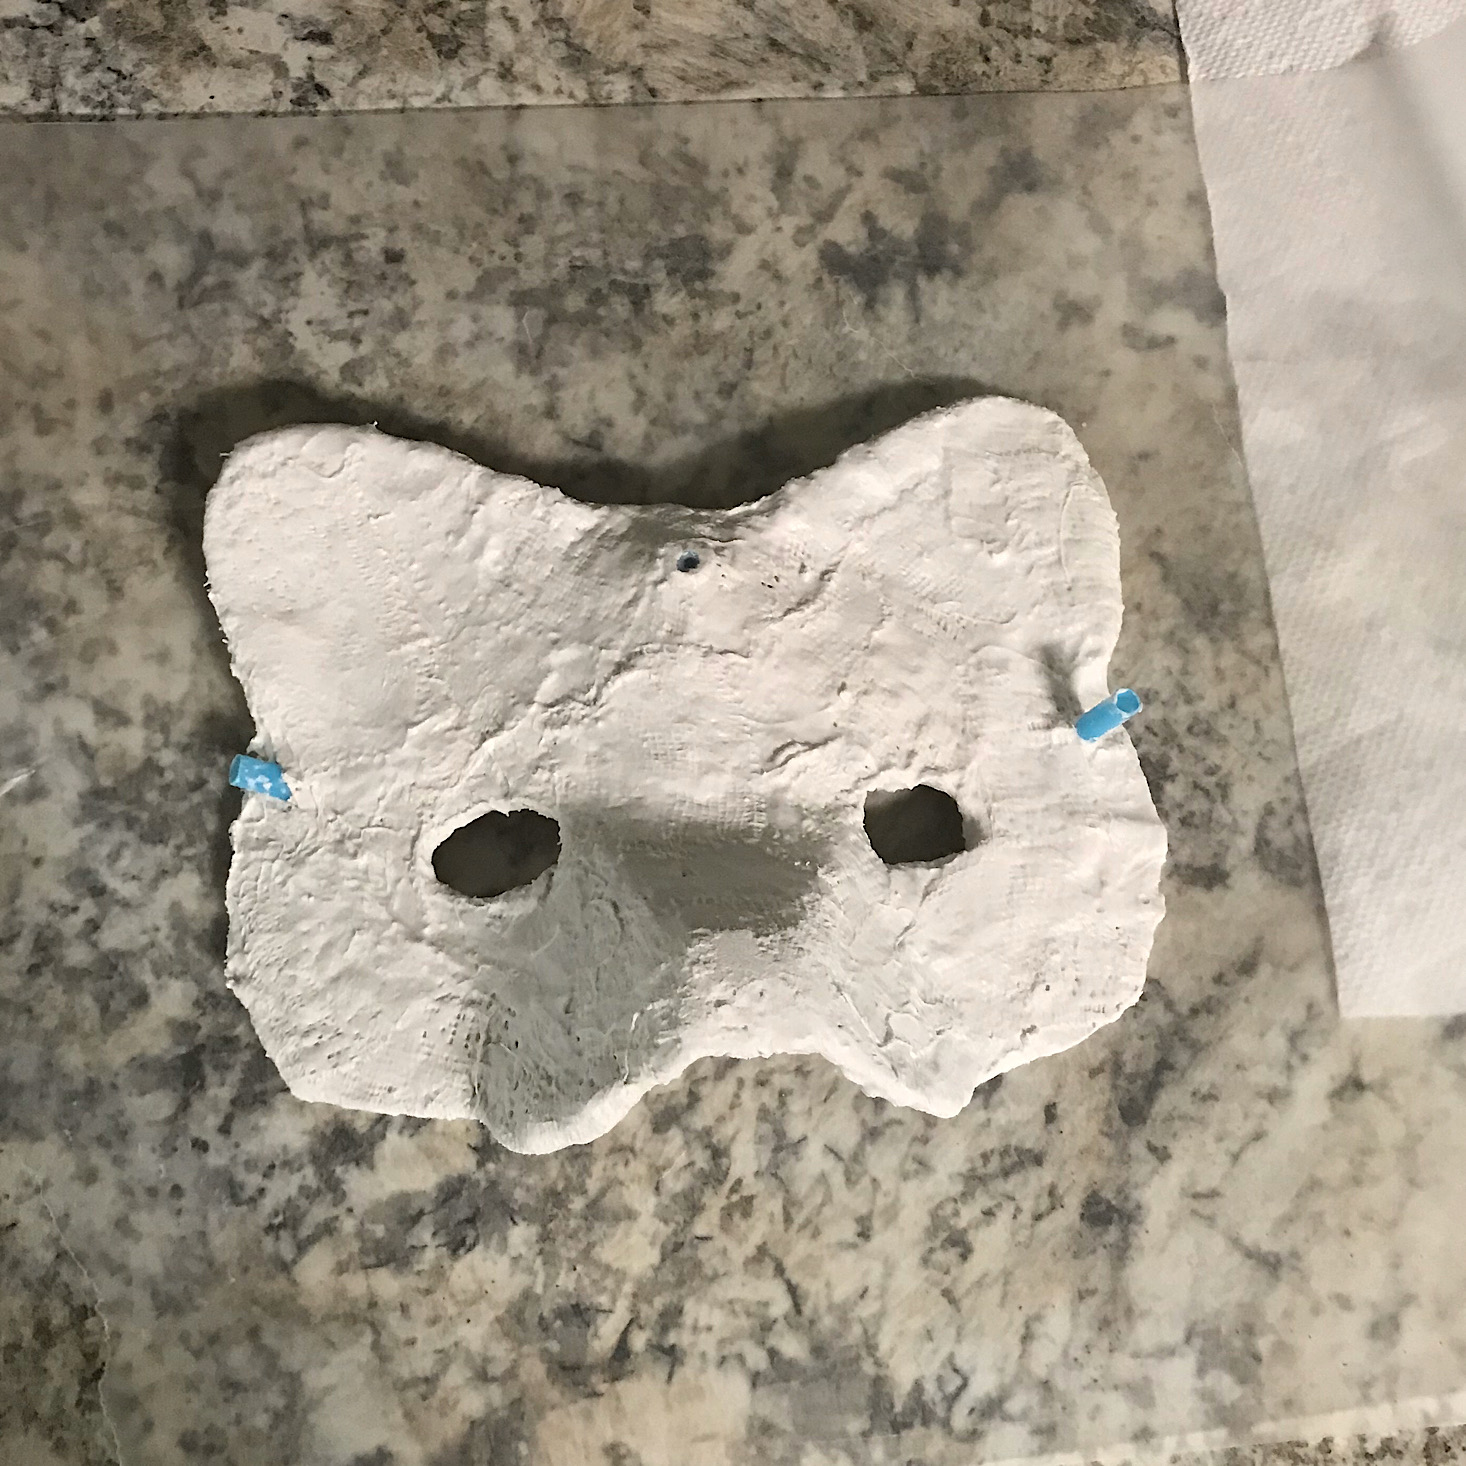
Now we were ready to plaster our masks! They provided this shallow dish and a roll of plaster for us to use.
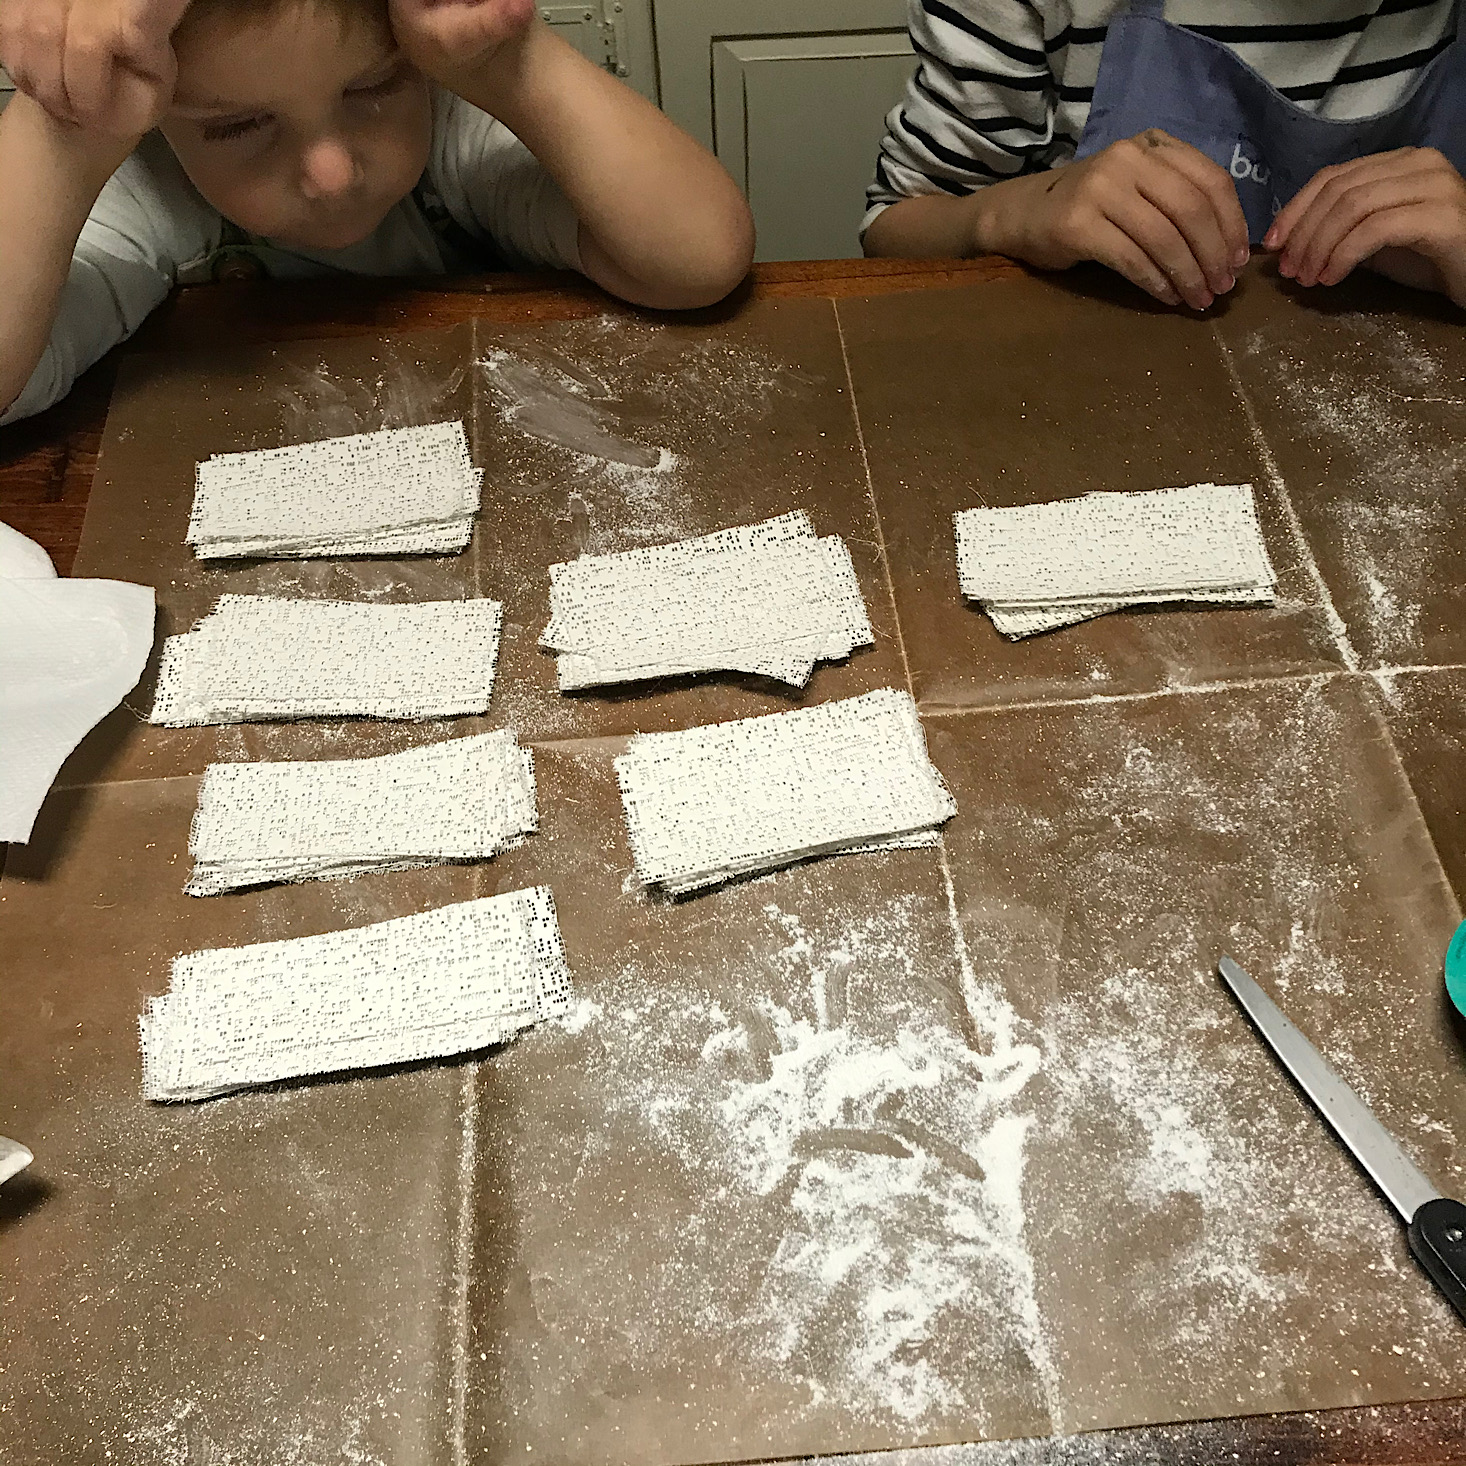
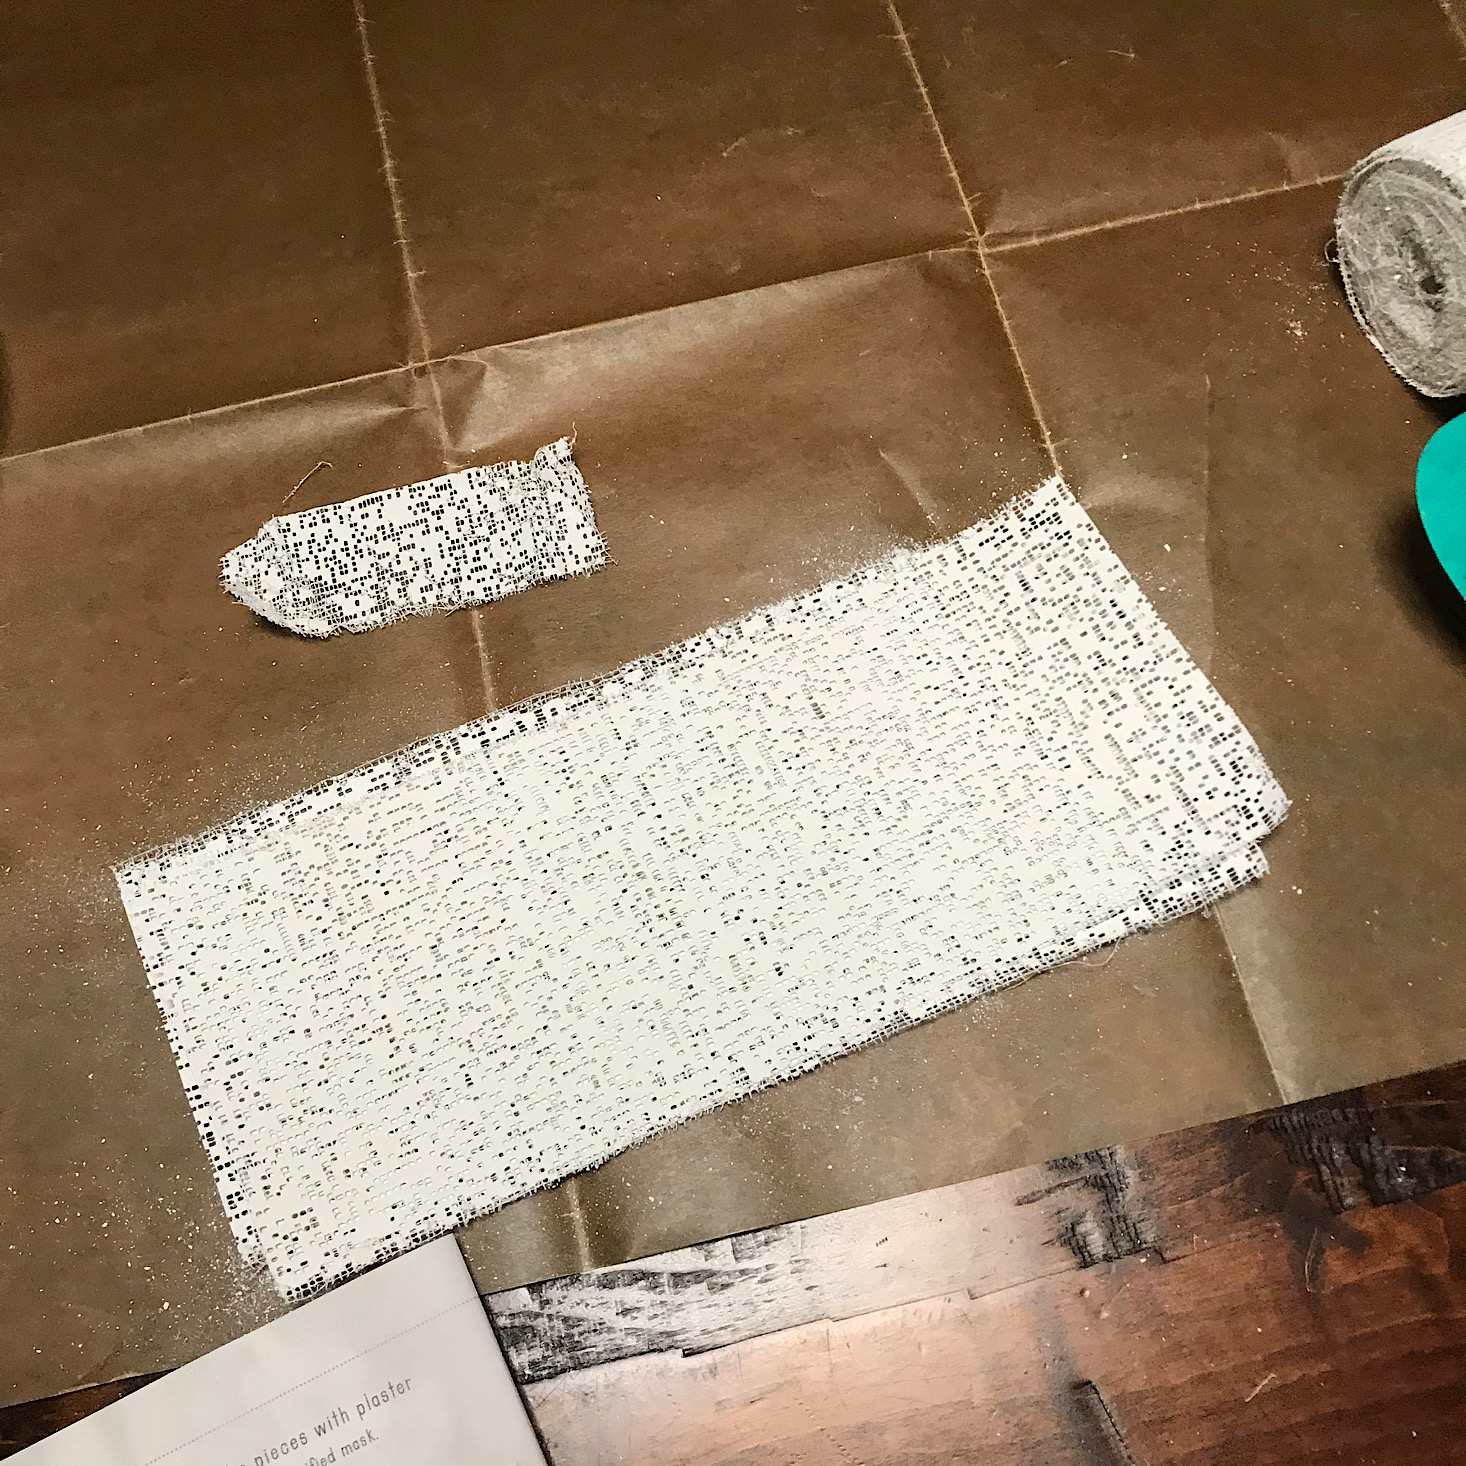
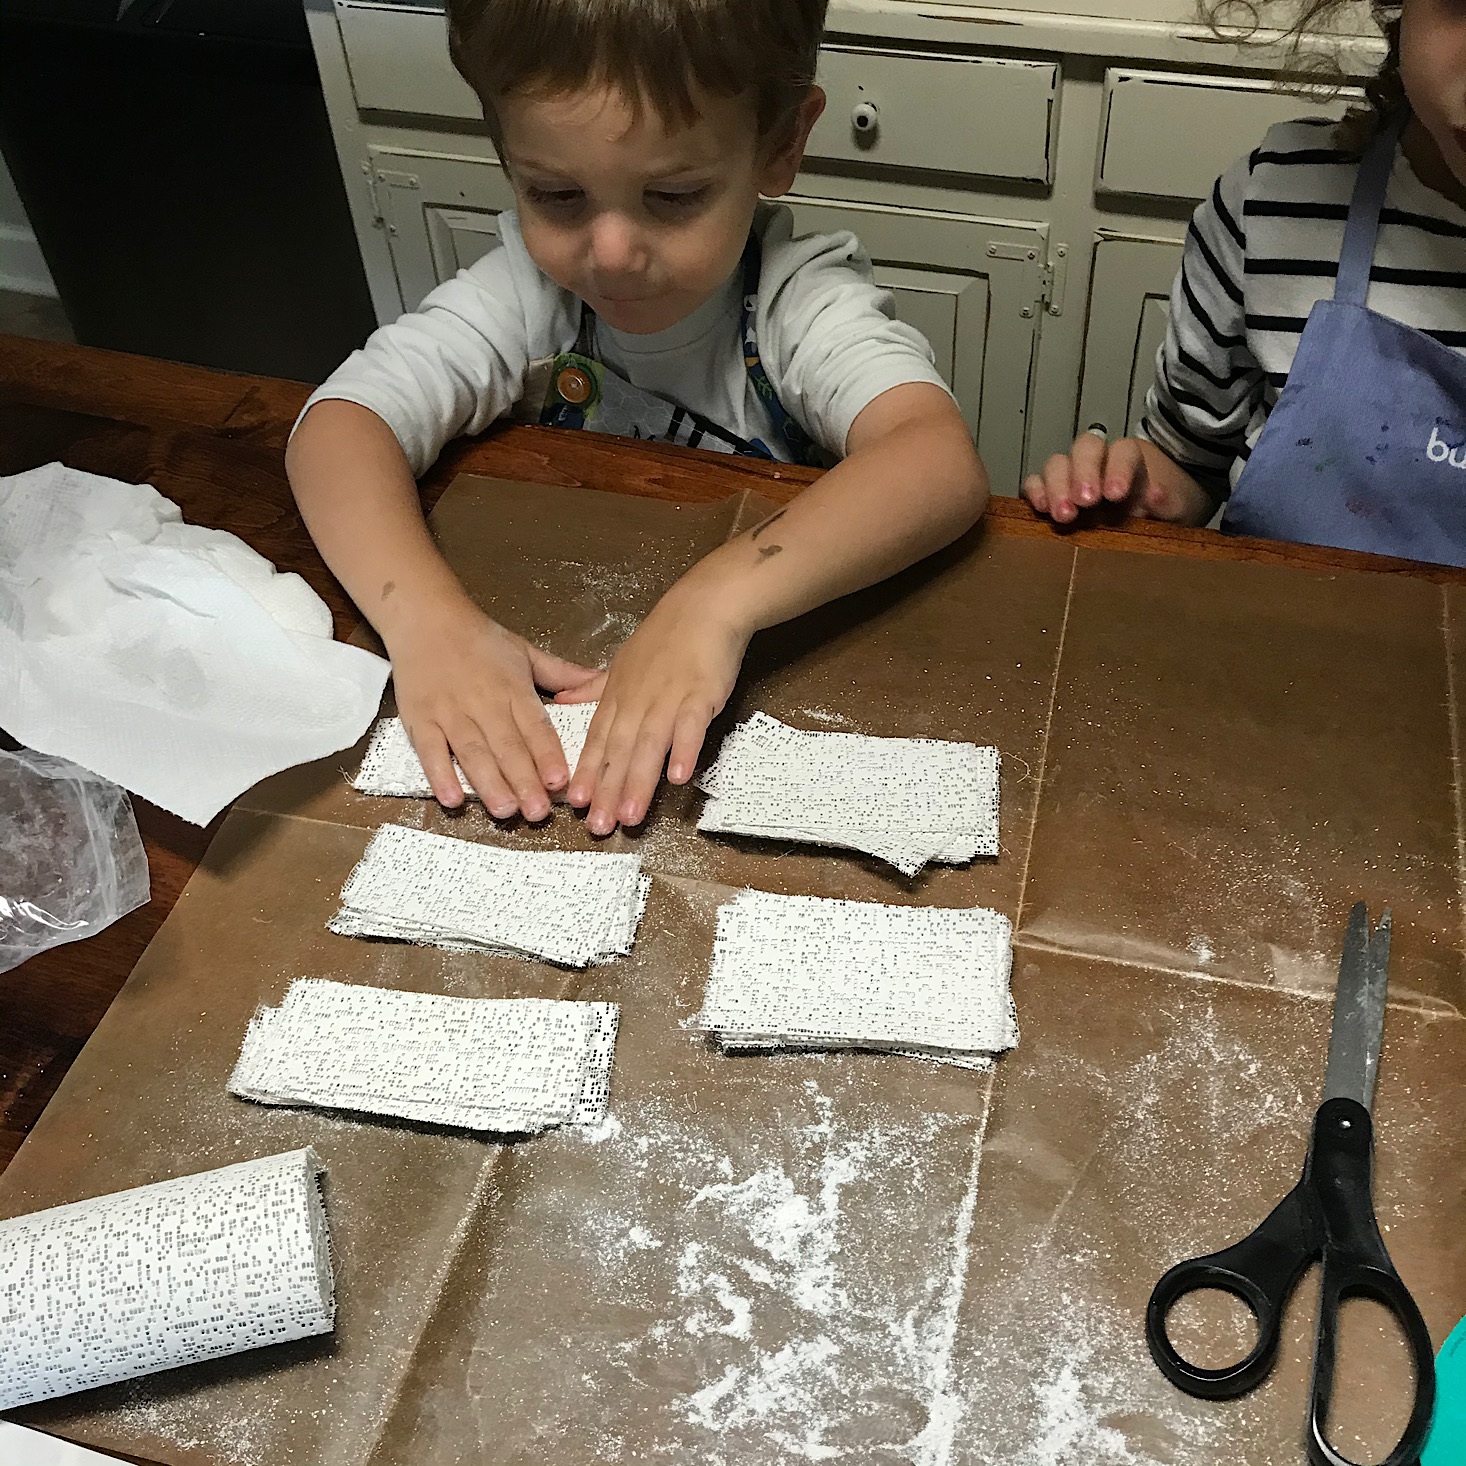
We got out our scissors and began to cut the roll into one-inch strips. I cut them and the kids counted and organized them for me. We needed a total of 140 with half of that aside to use later for our second mask. They included some helpful cutting tricks such as stacking three layers of plaster to cut three strips at a time and organizing them into piles of 10 which is exactly what we did. I thought this was great information for kids to get them thinking logically and getting organized in their minds!
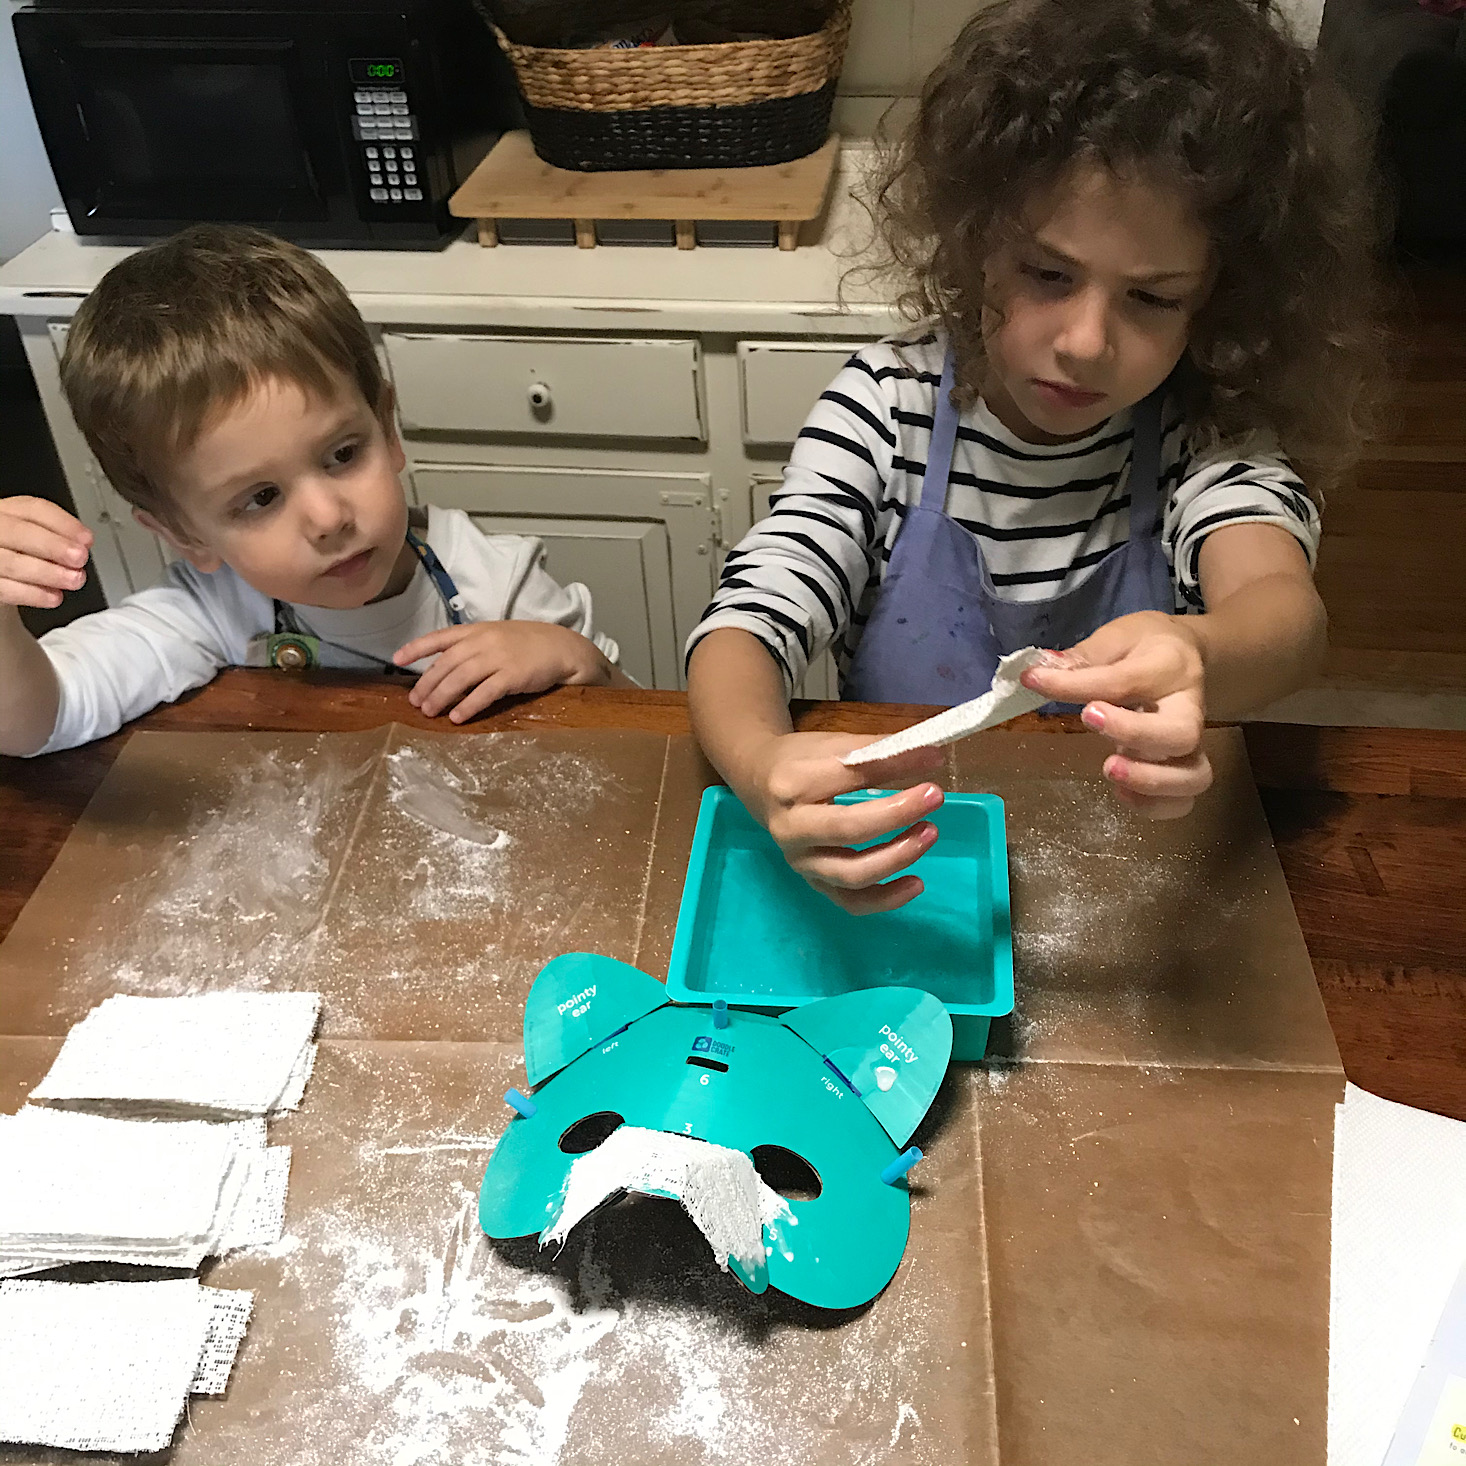
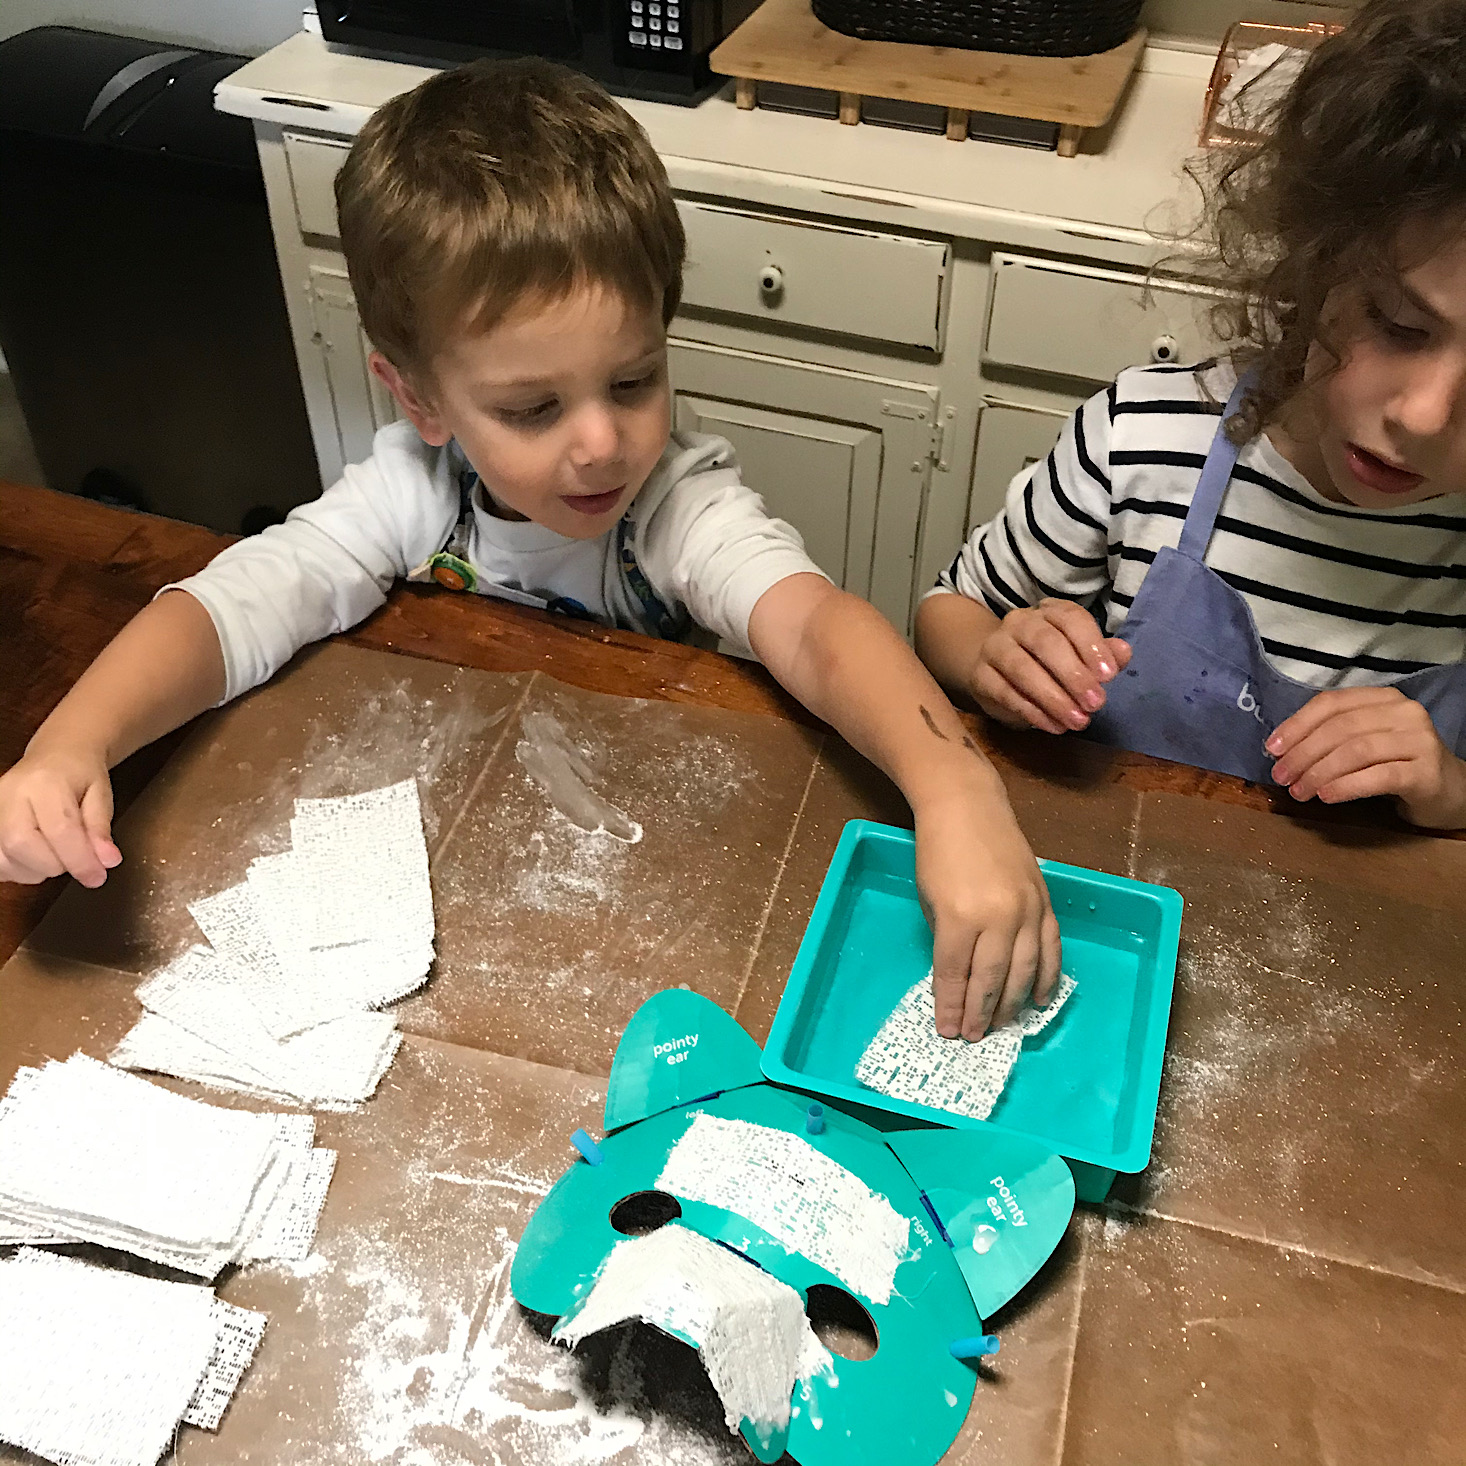
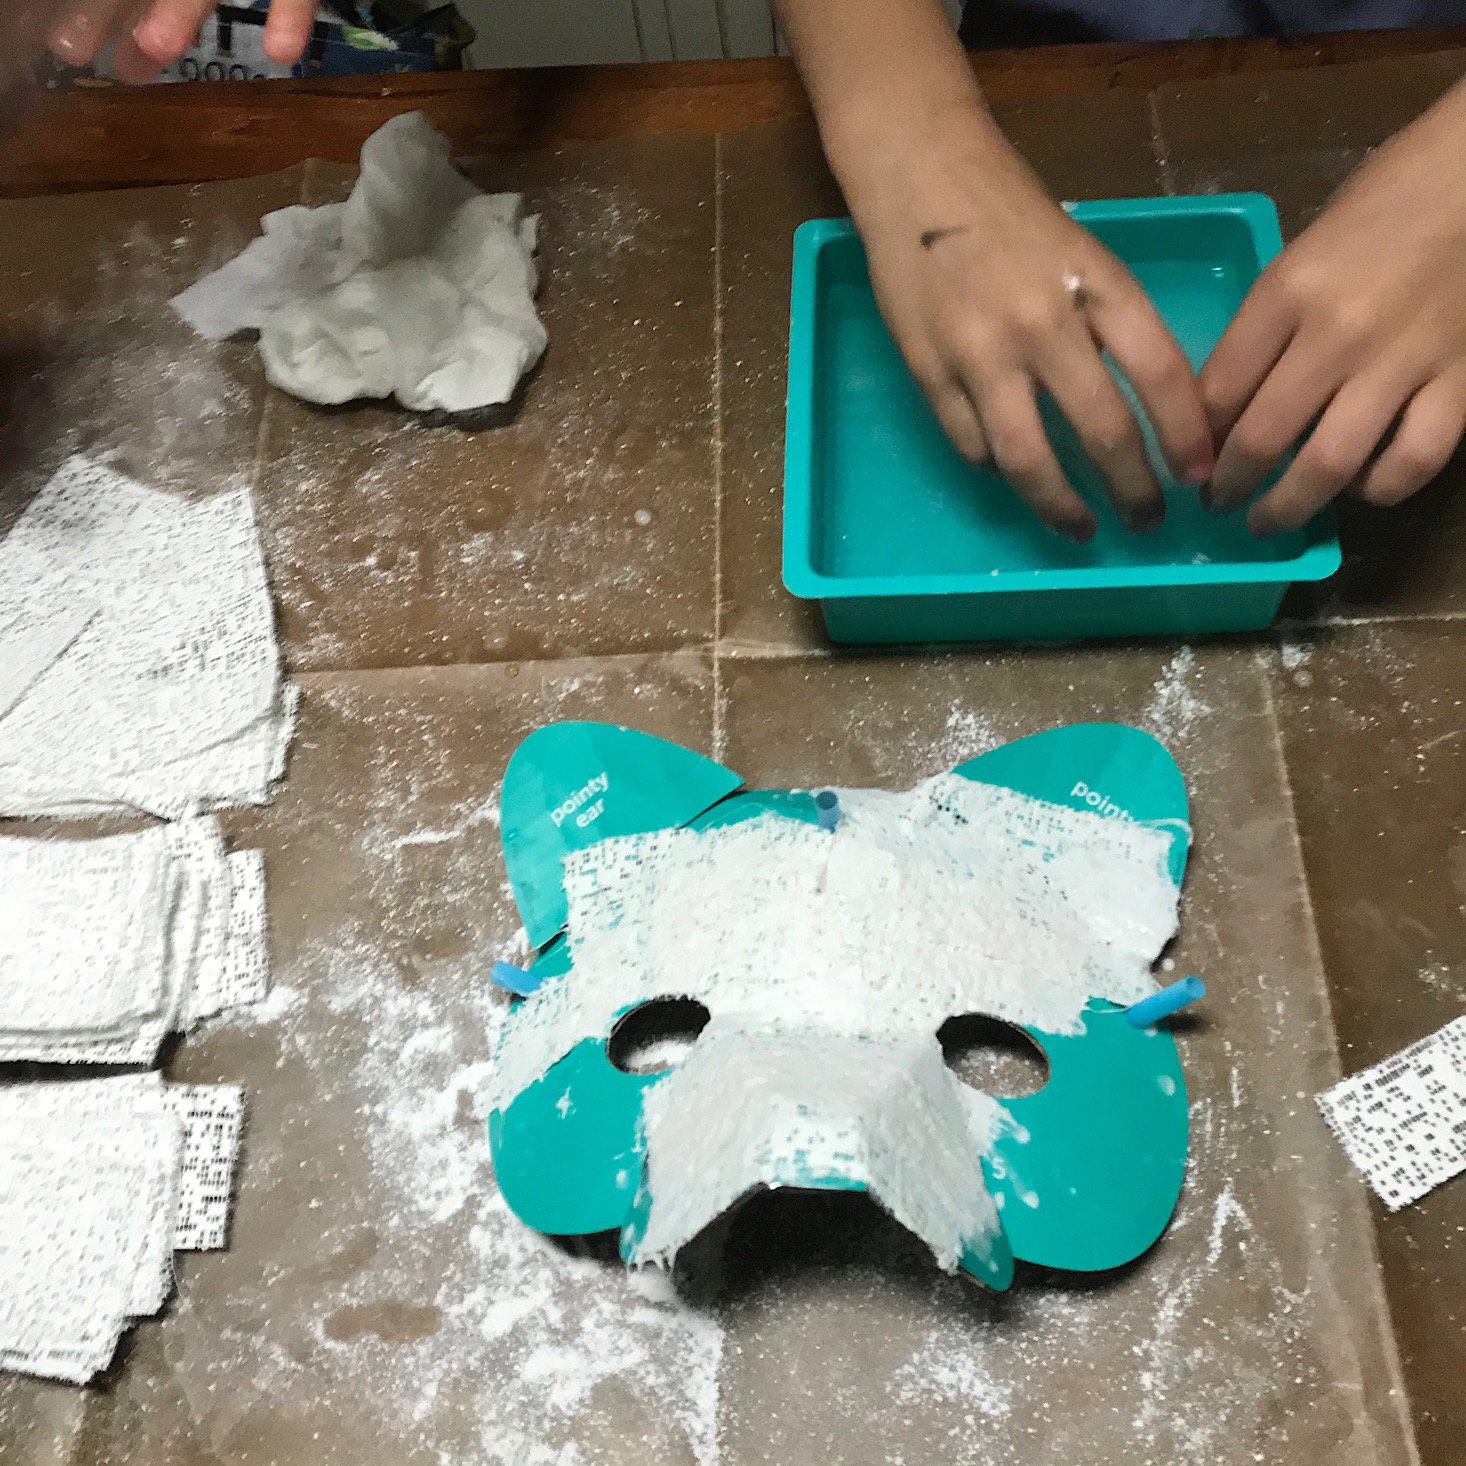
Now it was time to dip our strips. I filled up our dish with water and then we worked assembly style. My son stuck each strip into the dish, making sure to completely submerge it, my daughter pulled the strips out and used her fingers to squeeze out any excess water, and I layered the strips over our mask.
We started with horizontal strips for the first layer and vertical strips for the second layer. I did my best to smooth each piece out, but since I was going at the speed of my eager children, it definitely didn't turn out as smoothly as it would have had I been working alone. I had to tell them to slow down a lot and take their time, but they are three and five, so I am still pretty happy with our results here!
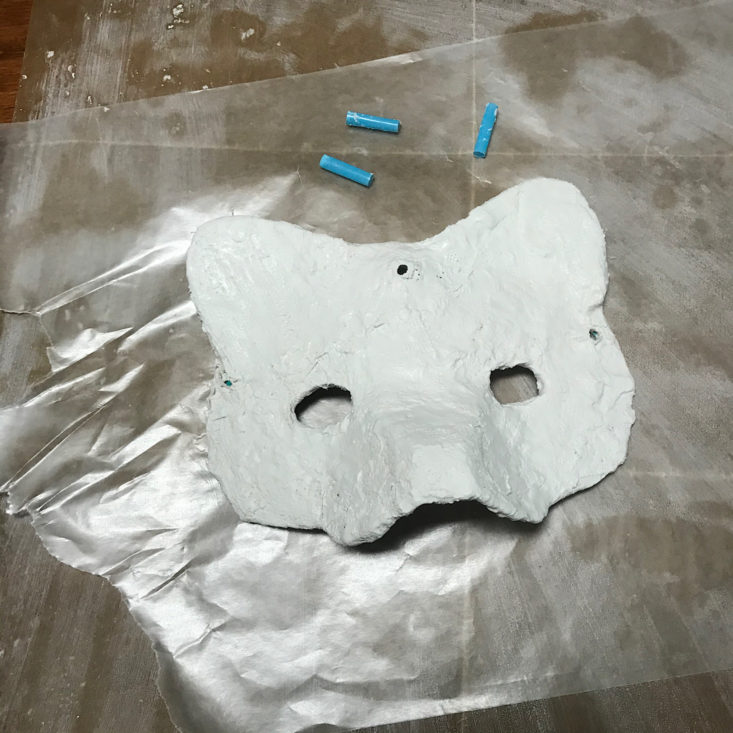
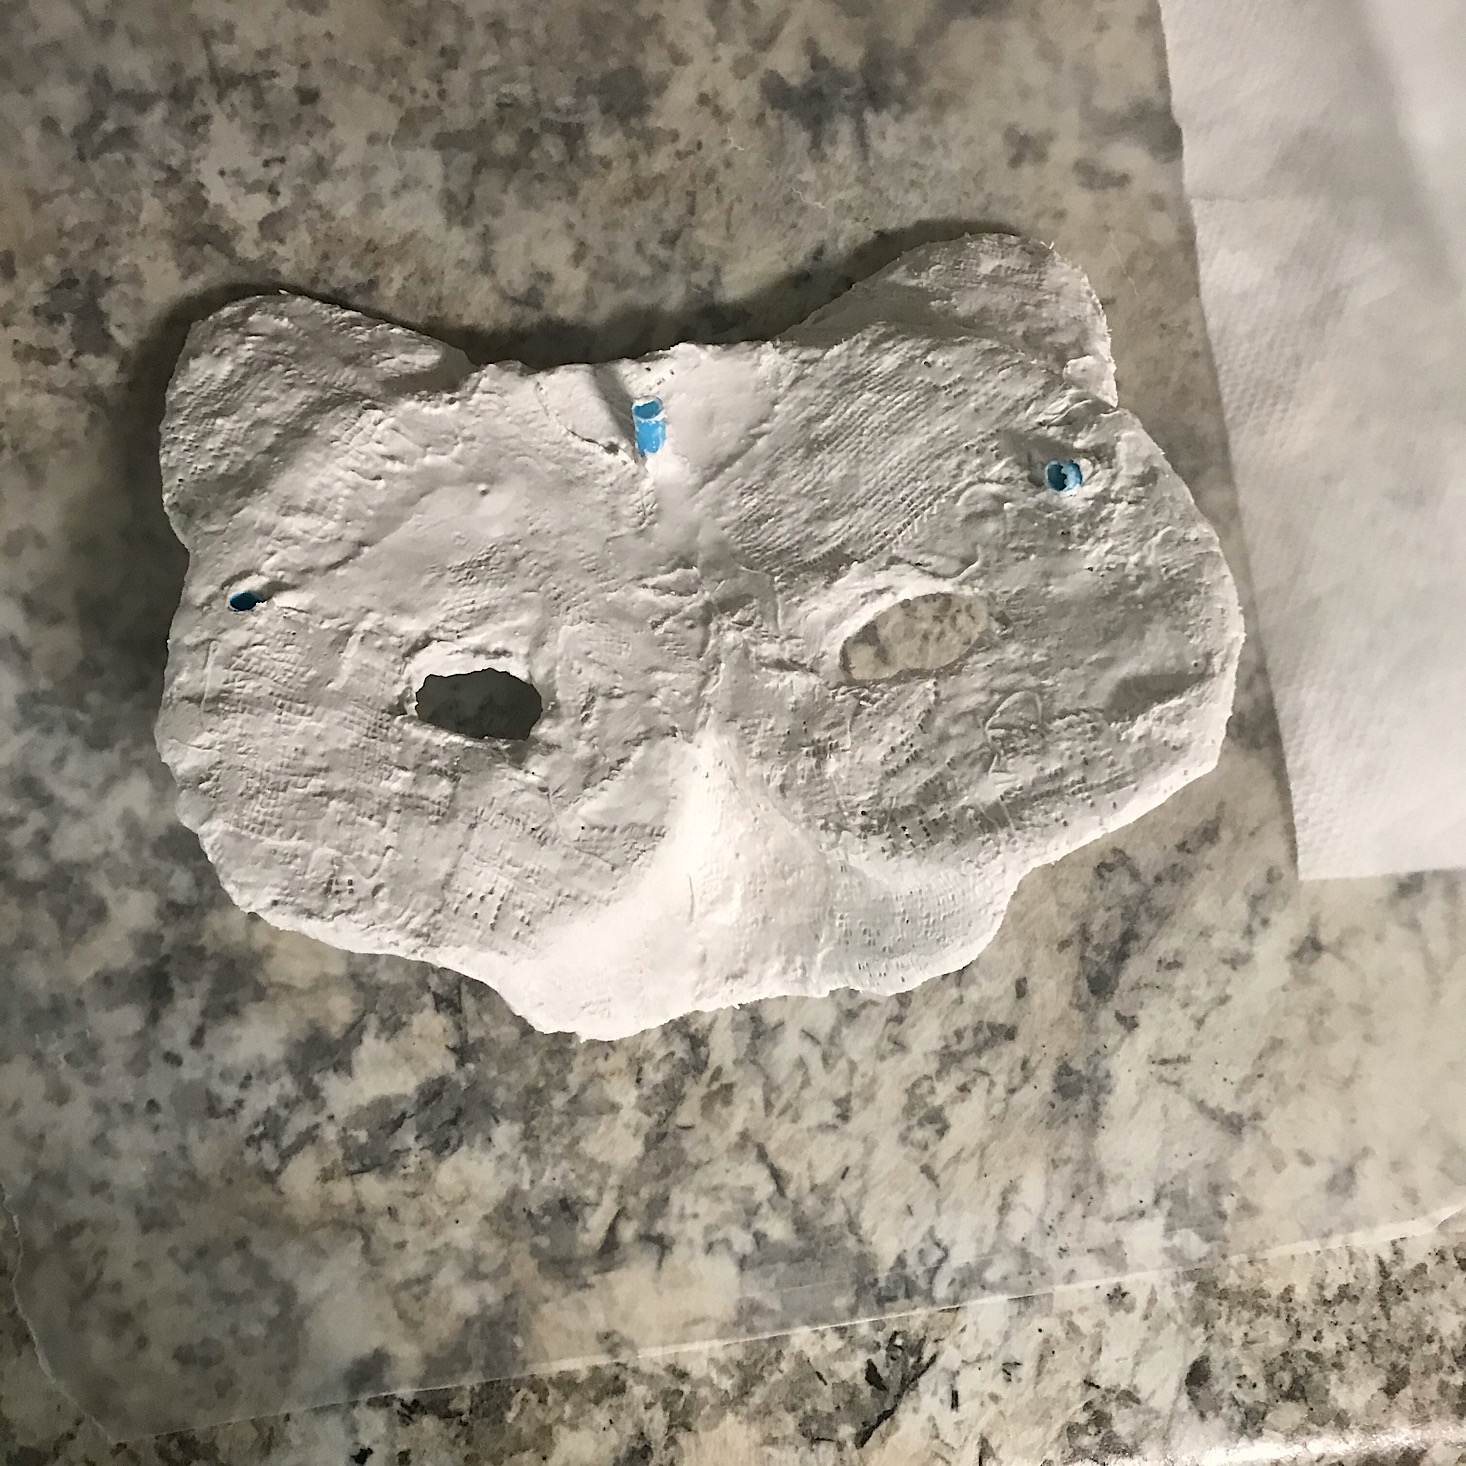
After our two layers were complete, we removed the straws and flattened any raised edges around the holes. Then it was time to leave our mask to dry overnight.
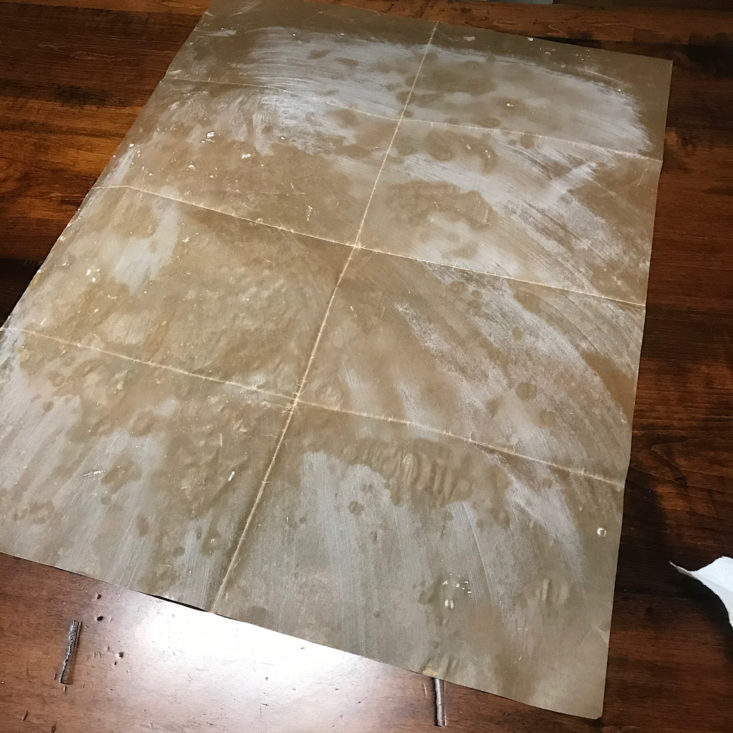
Our mess mat was meant to be reused, but another downside to working with my young children is that this process was much messier than it really should be. I did my best to wipe off our mat, and I was able to salvage it so that it could be used again which is great!
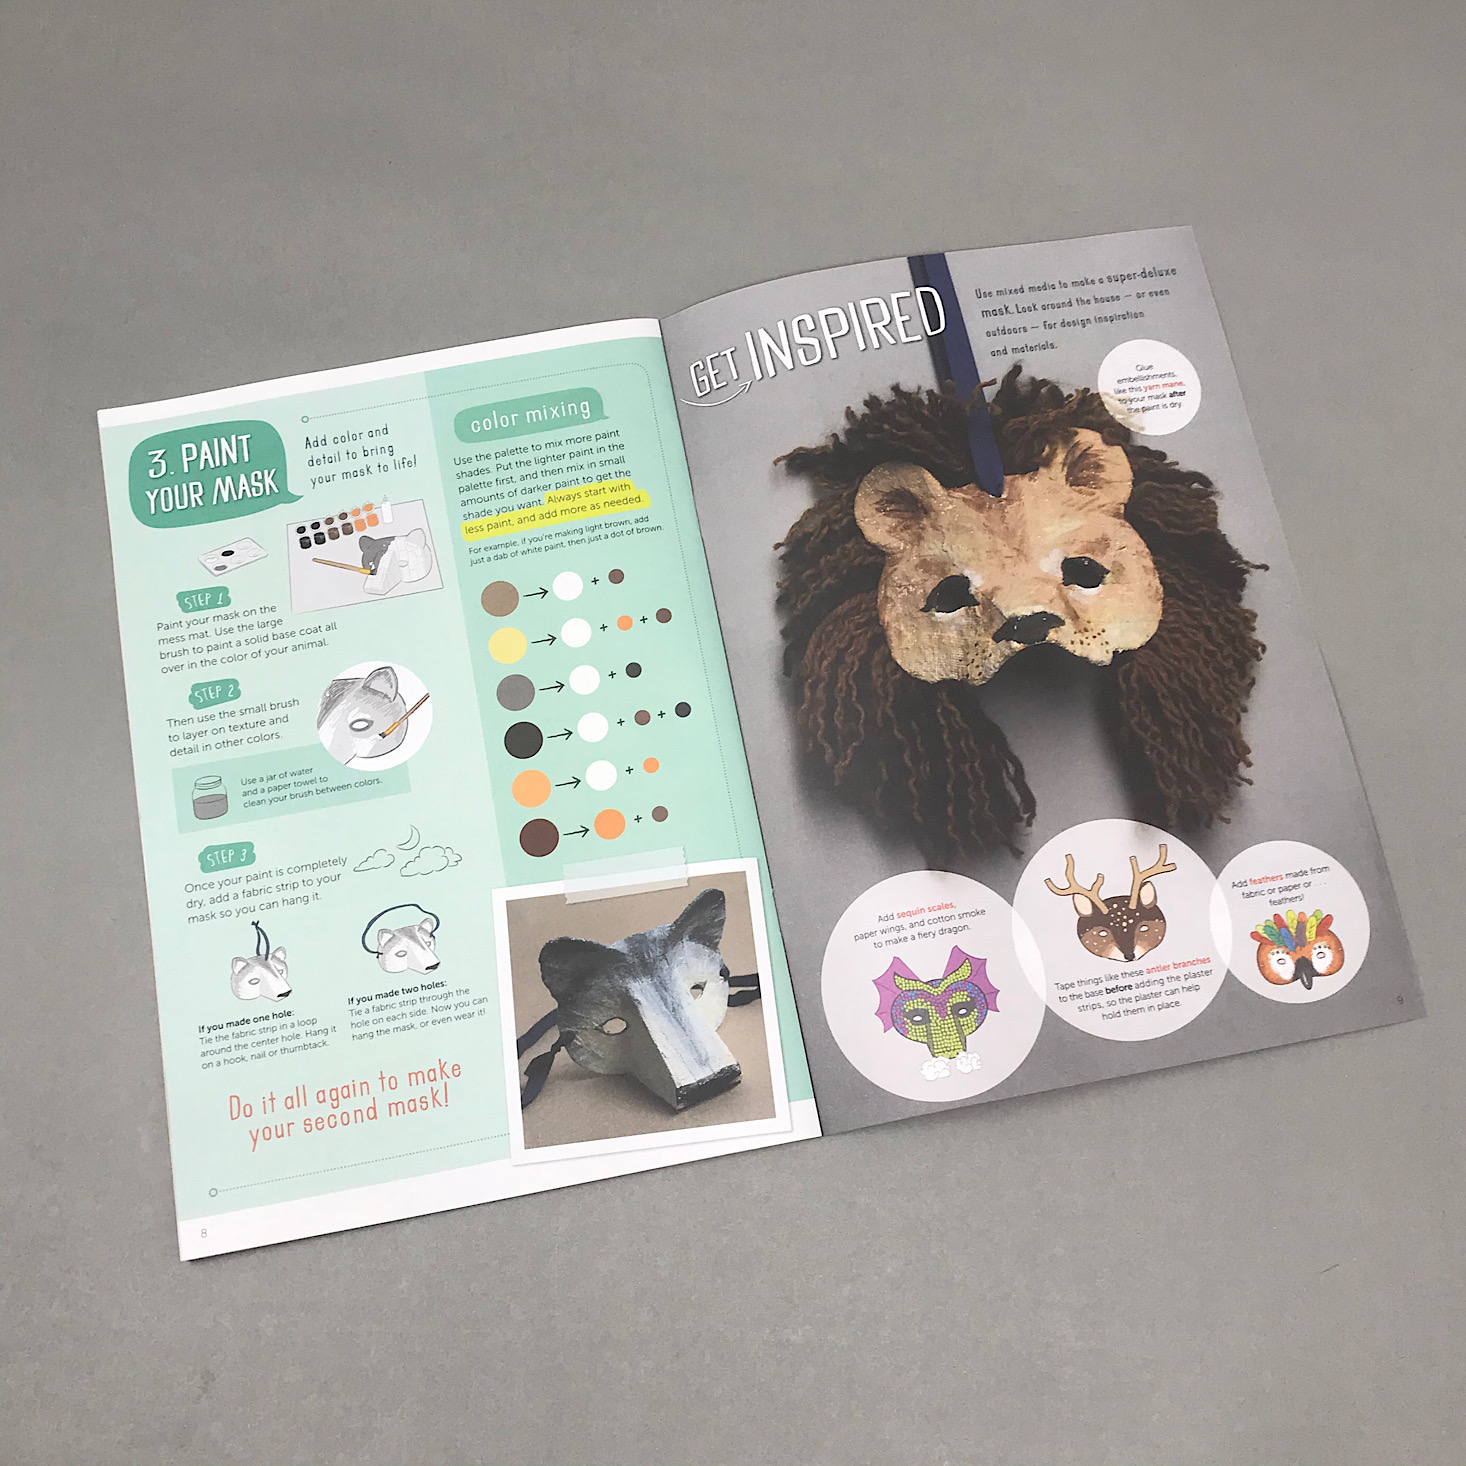
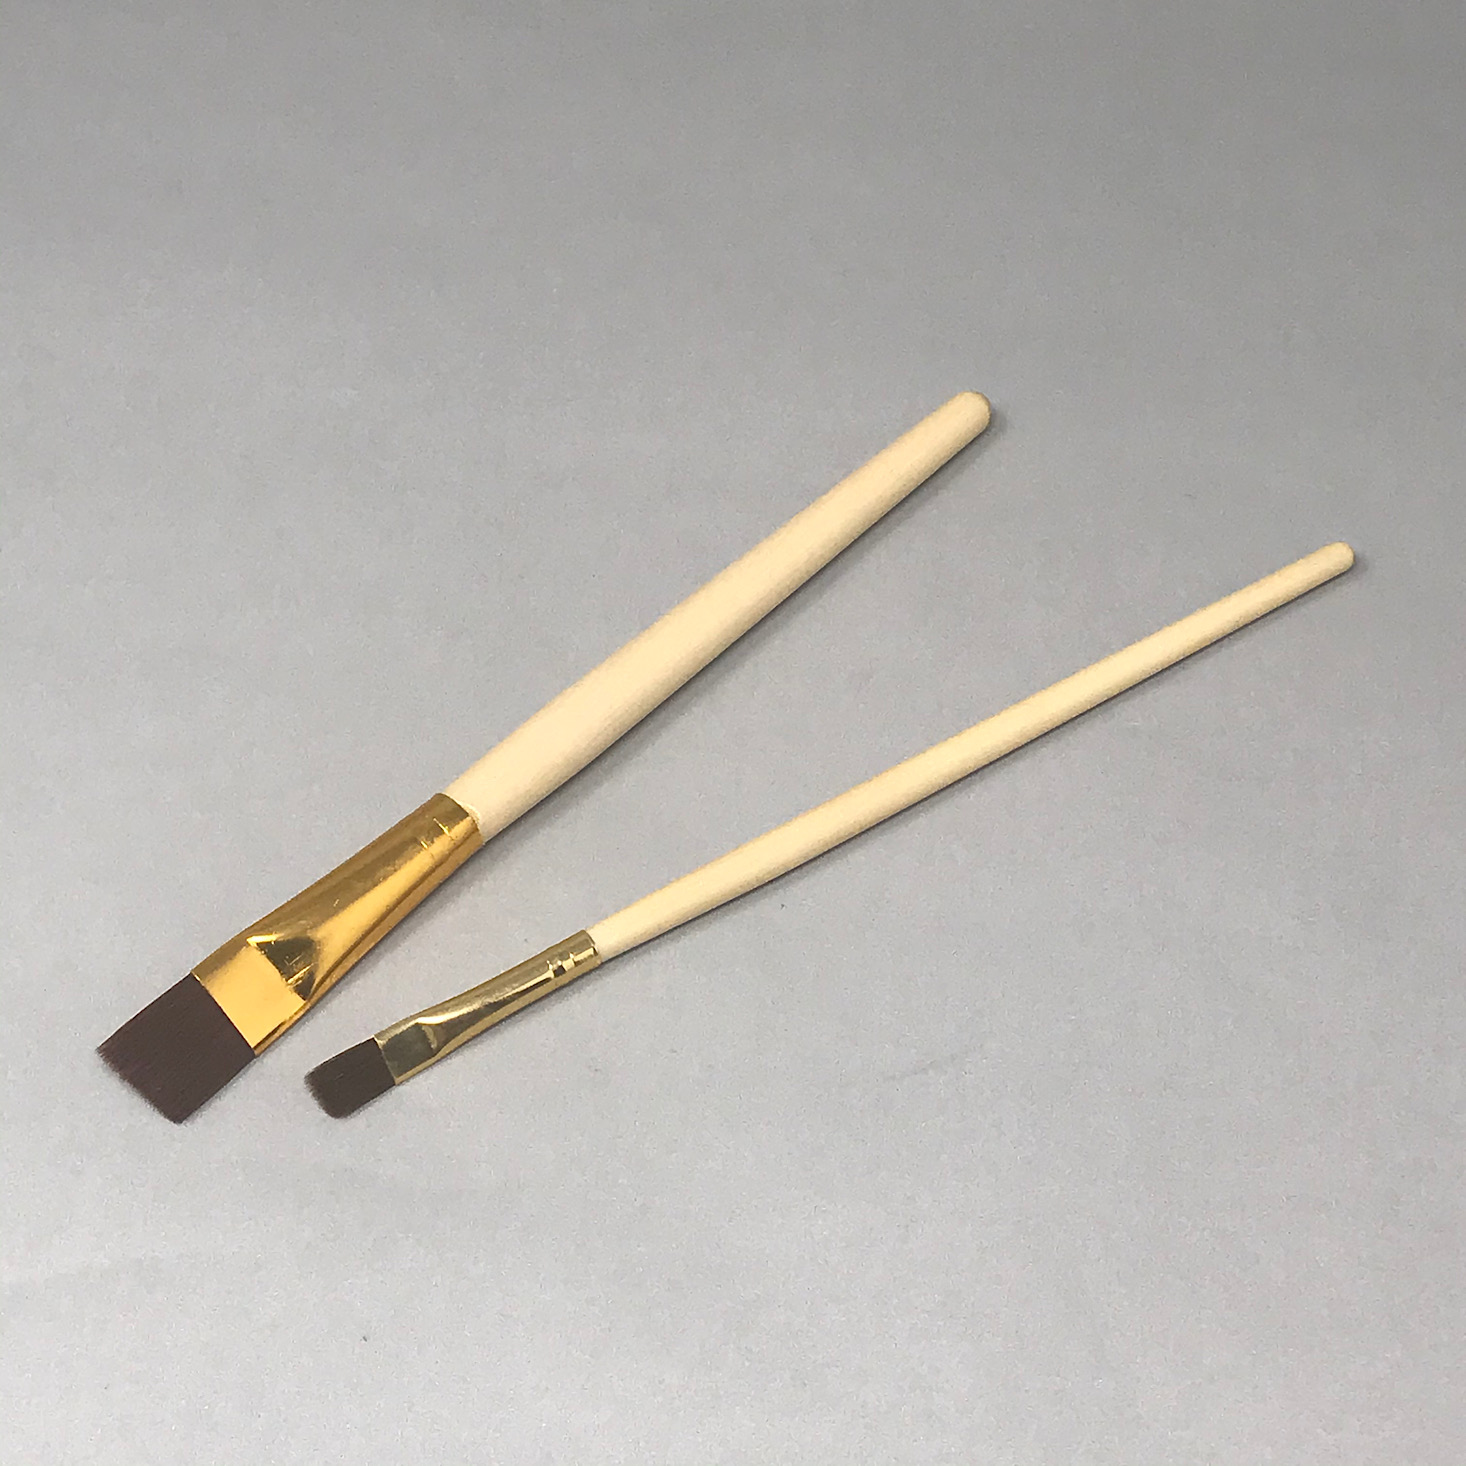
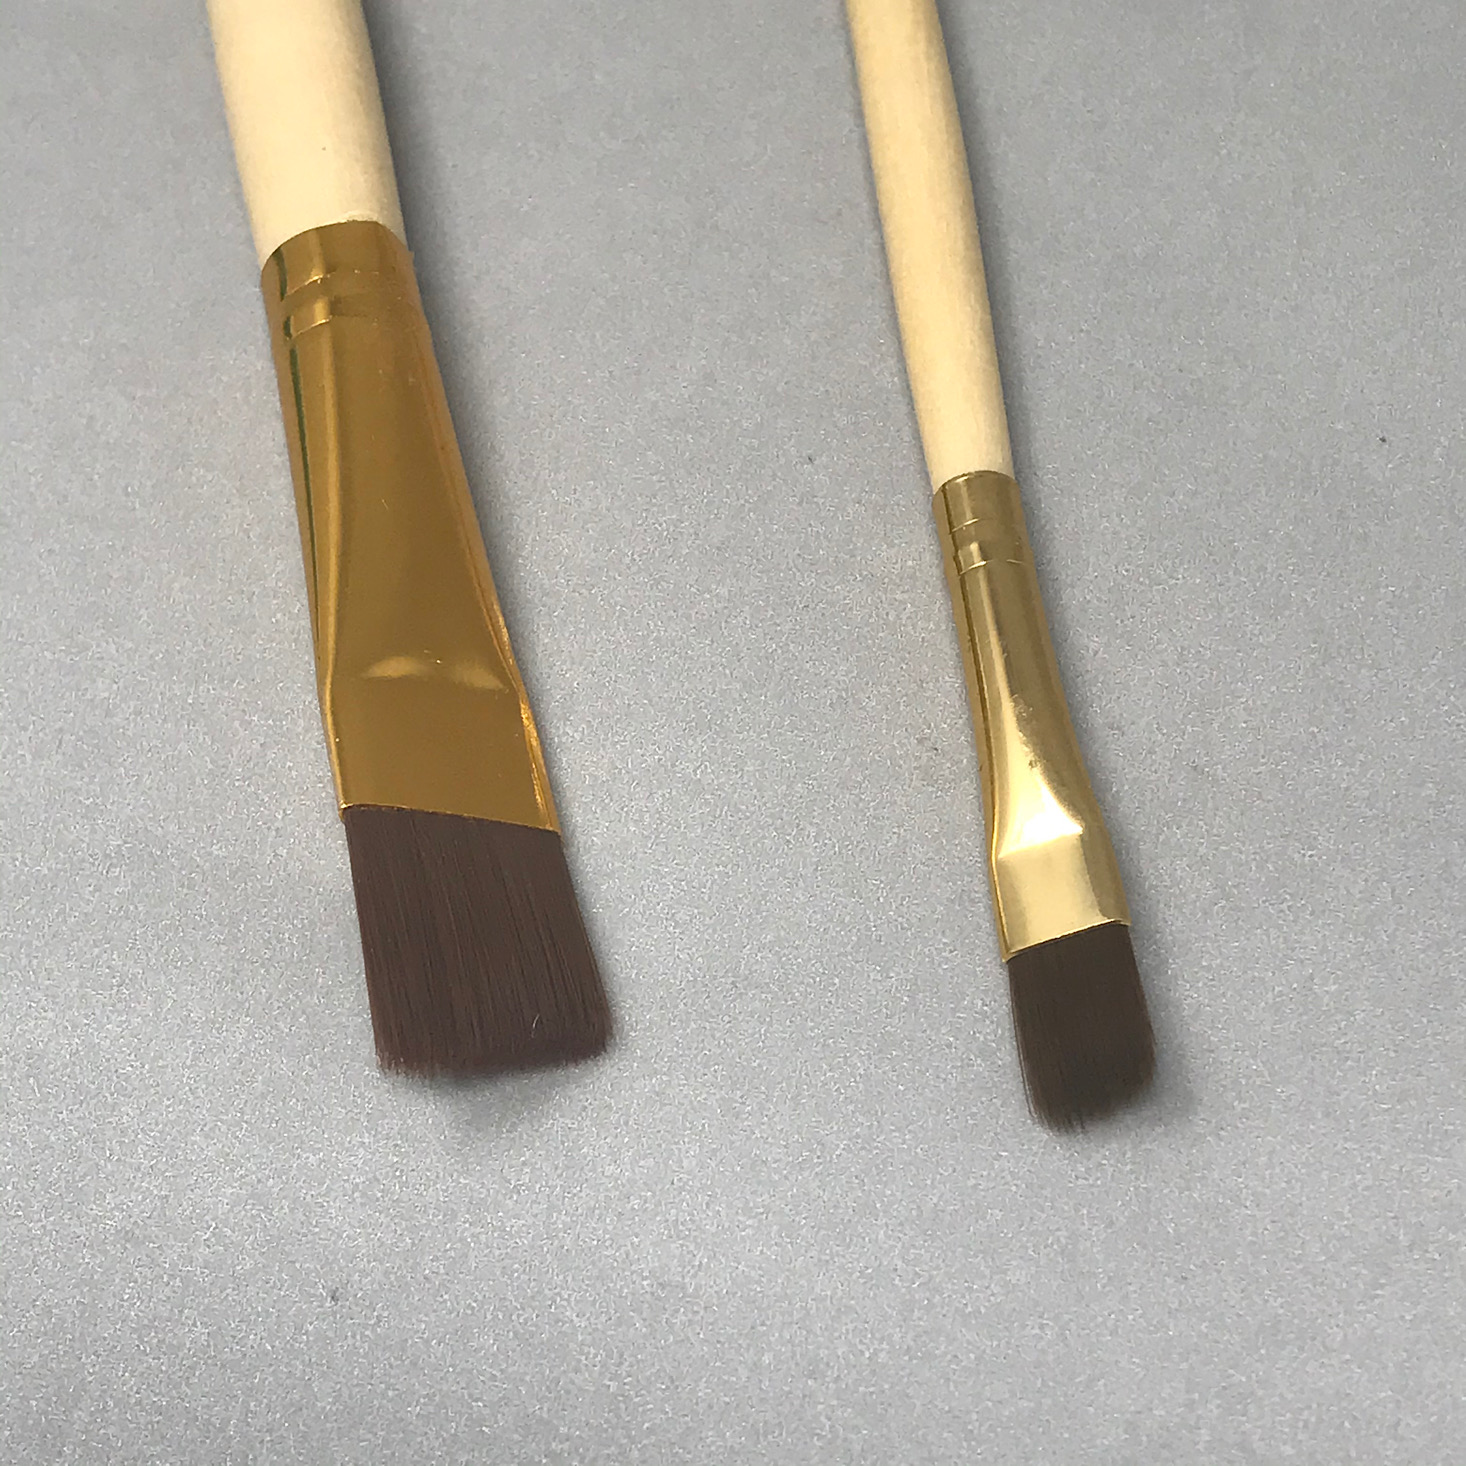
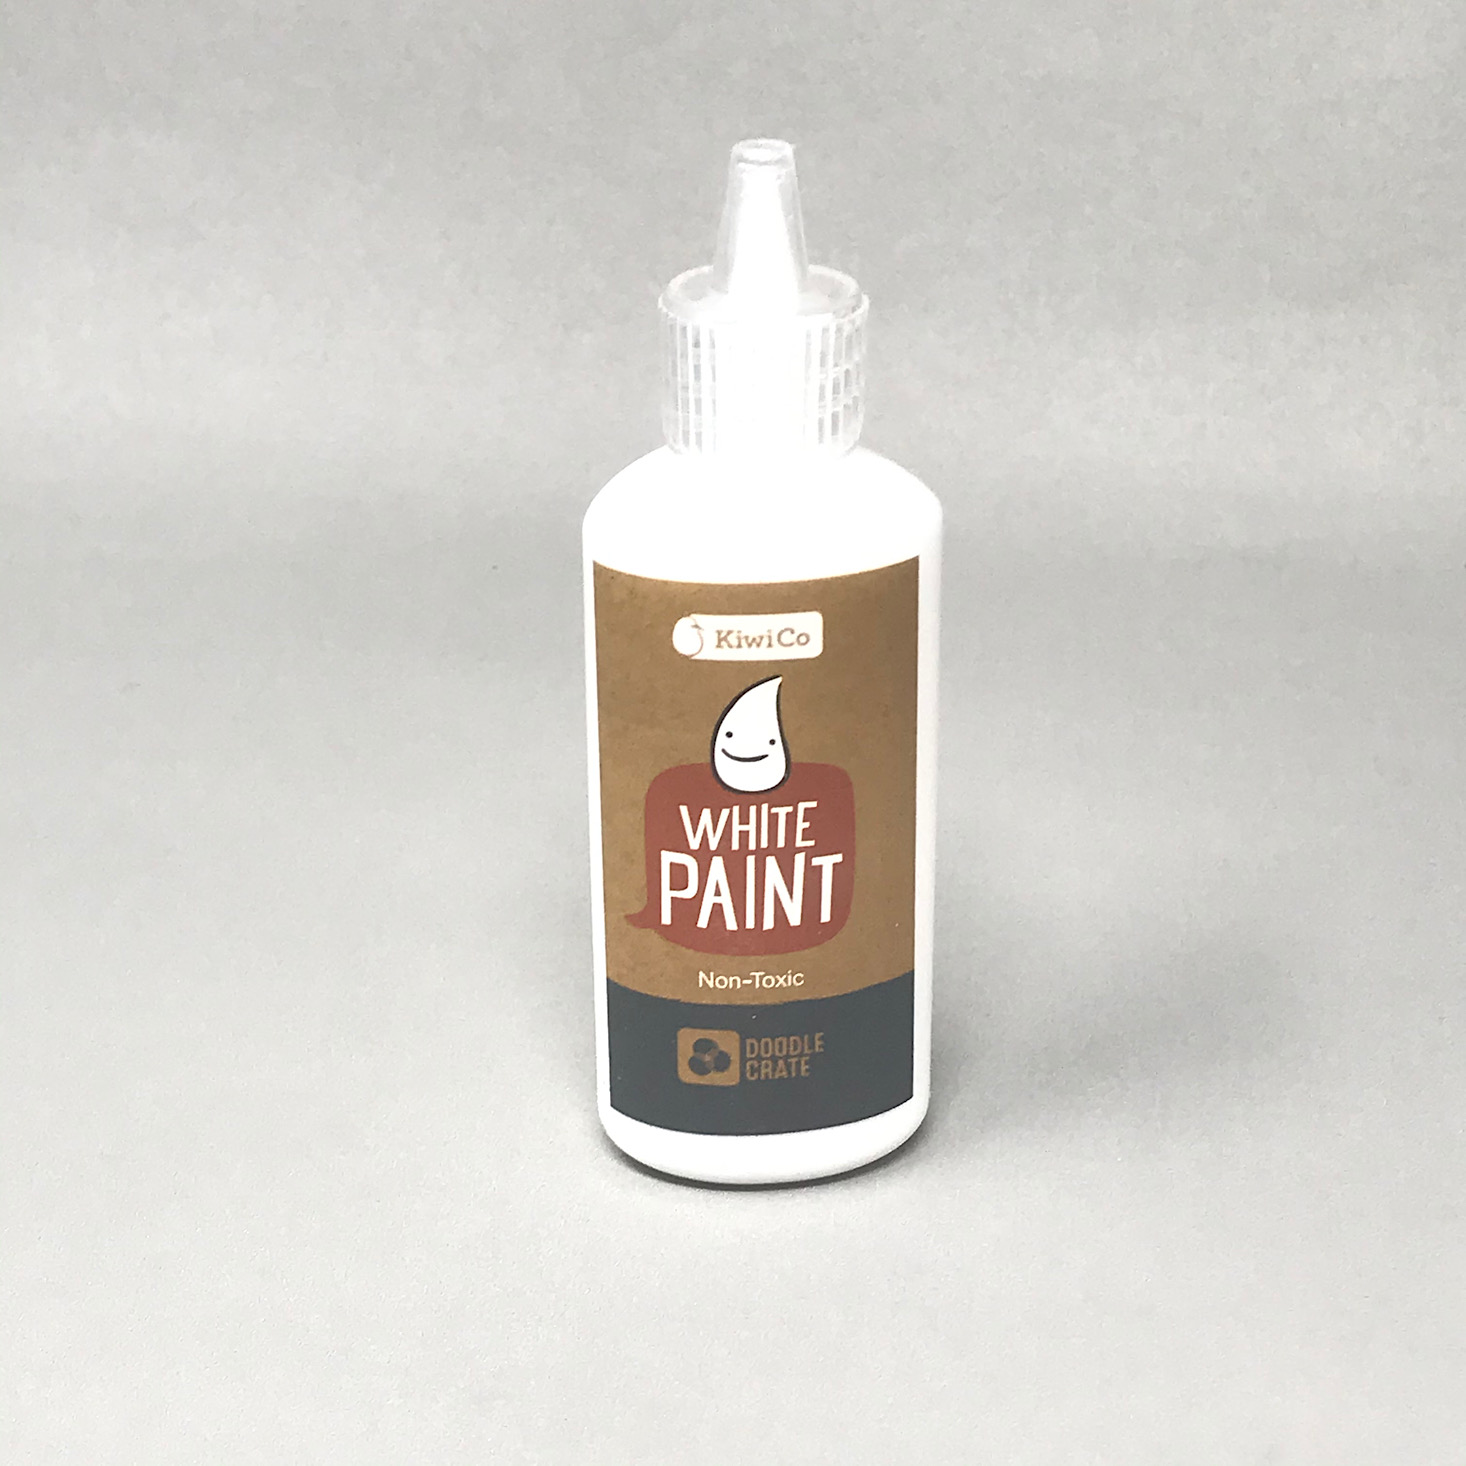
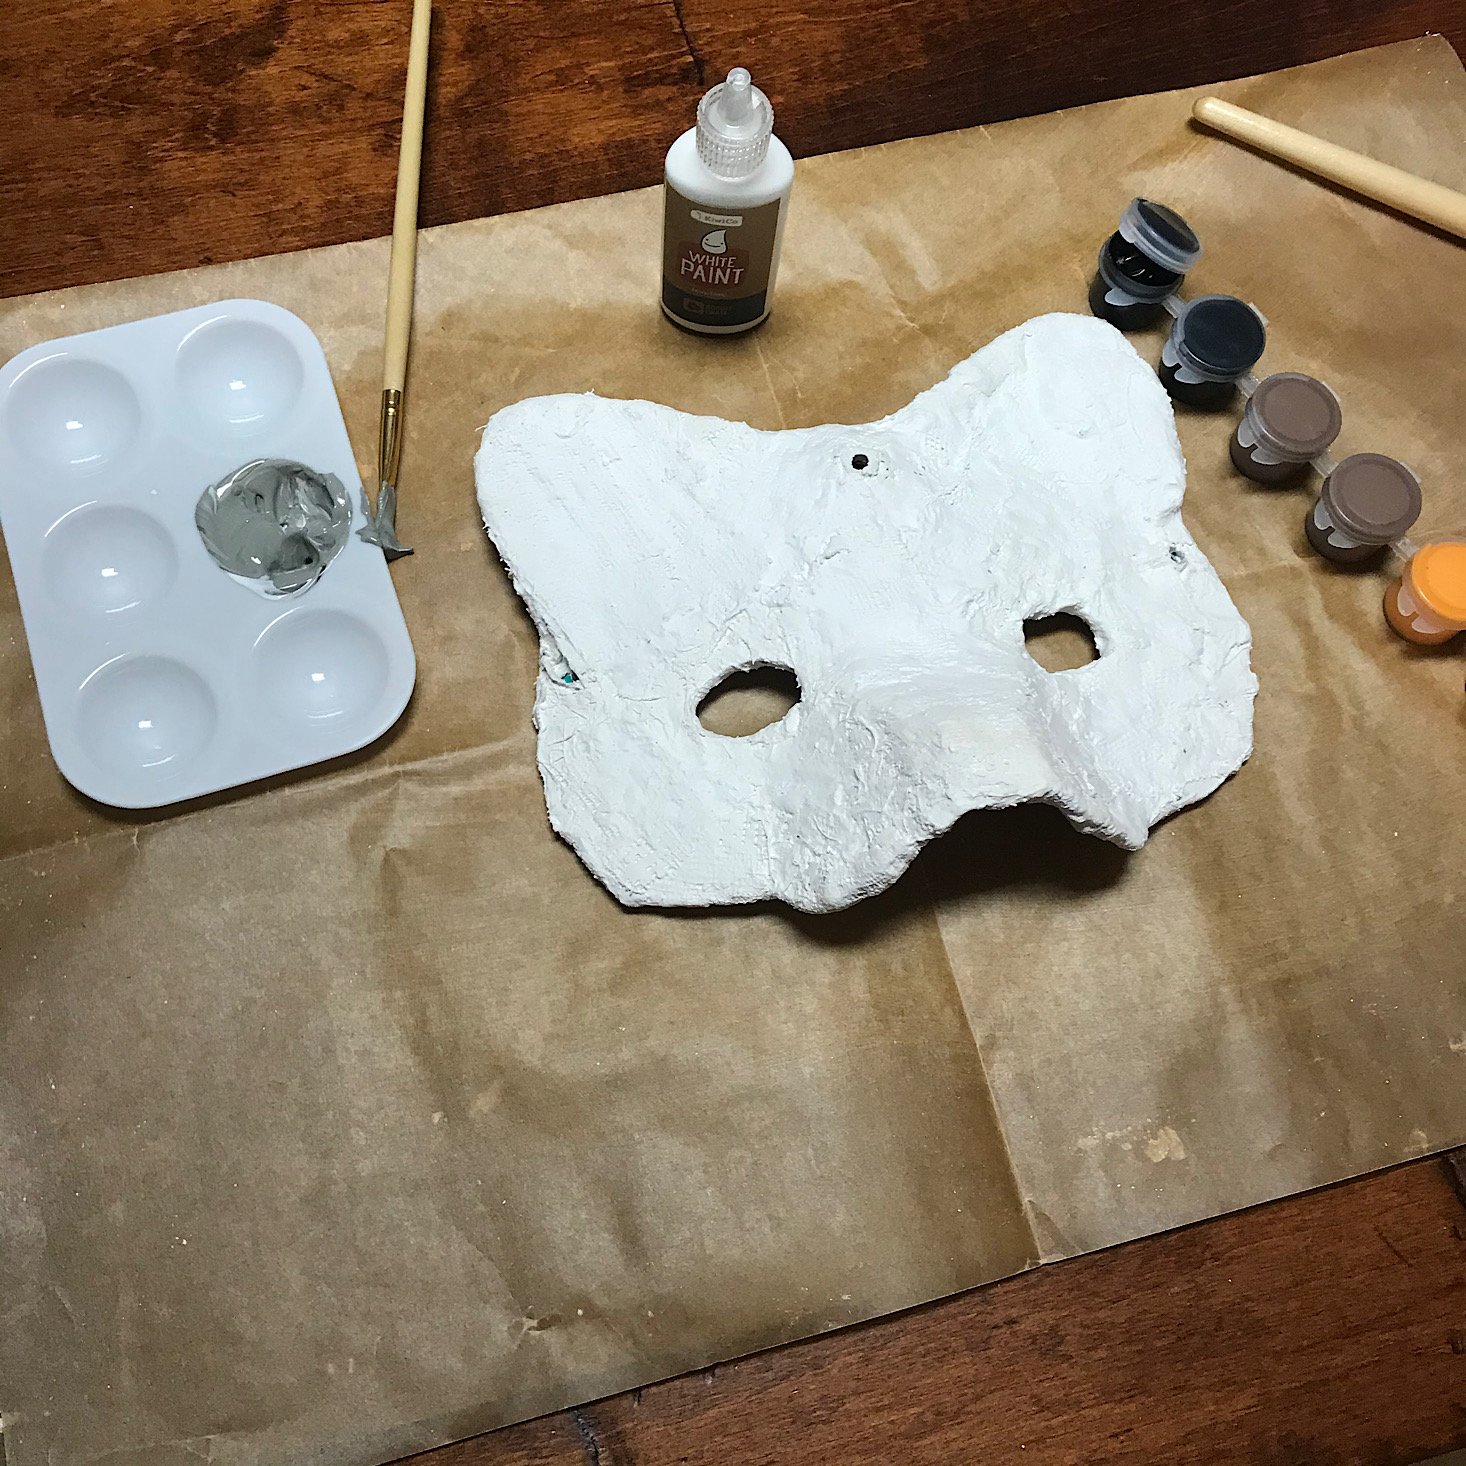
The next day our mask was ready to be painted. They provided everything we would need including two different sized brushes, a palette for us to mix our paint in, and several different paint colors. I got some water and paper towels for us from home to use in between paint colors.
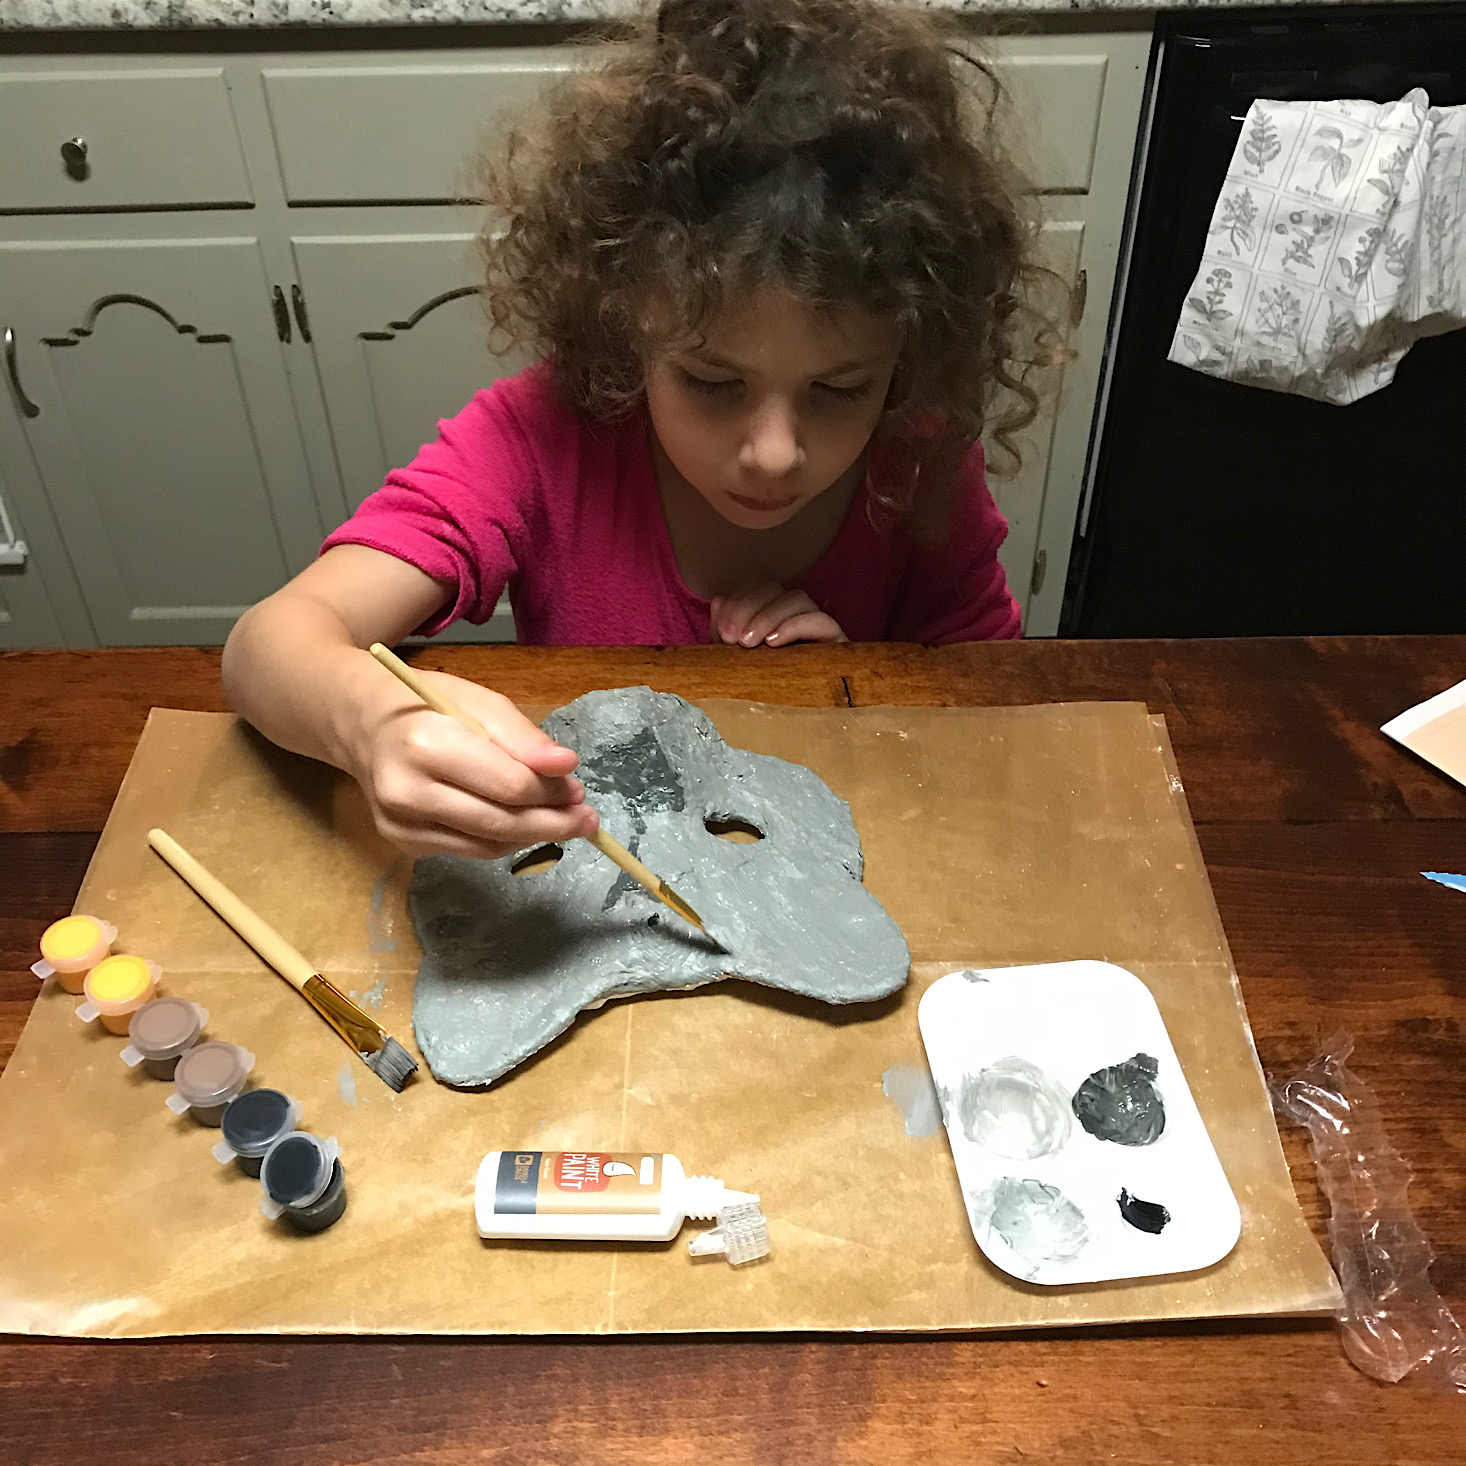
We brought out our mess mat again and since they recommended using the large brush to paint a solid base coat over our animal, I mixed some black and white to make a nice gray color to cover the entire surface. The instructions included a great color mixing guide and some tips on how to create new colors.
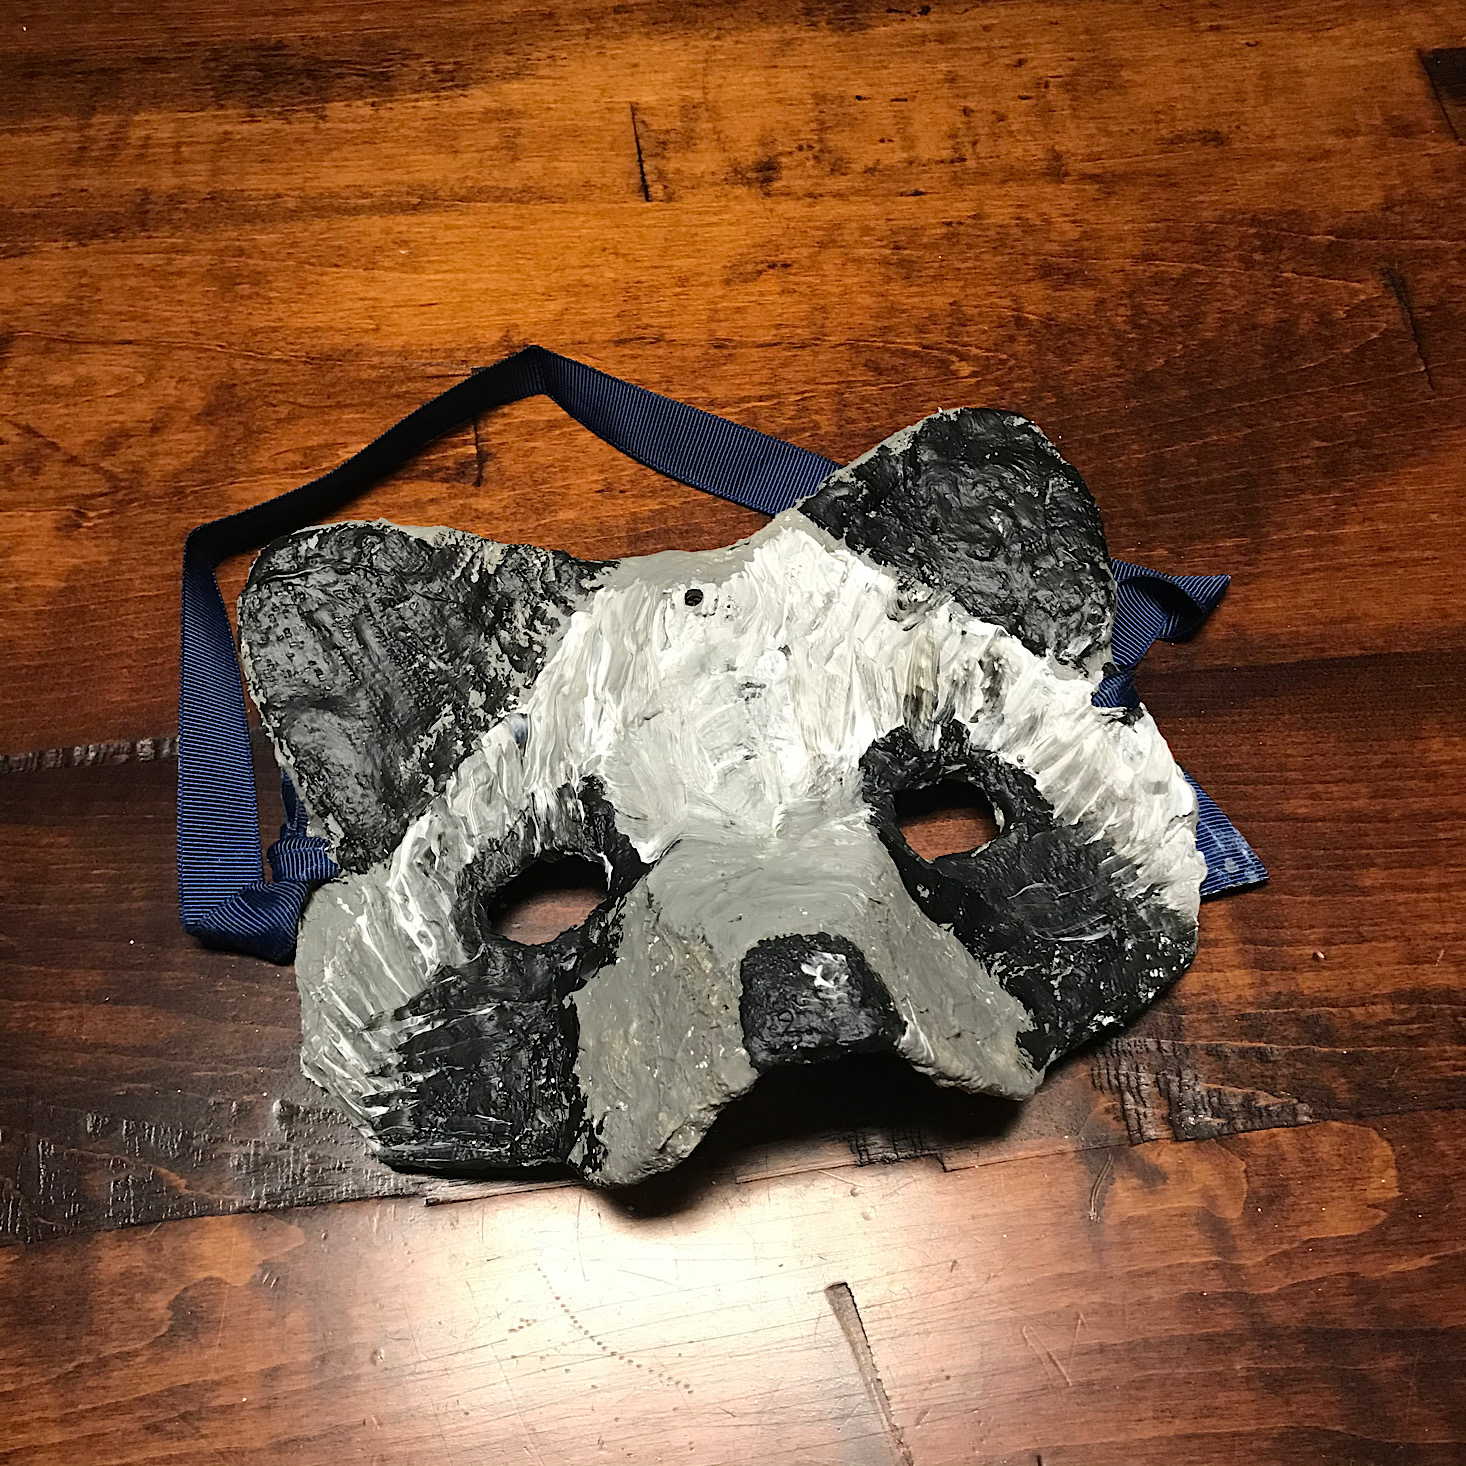
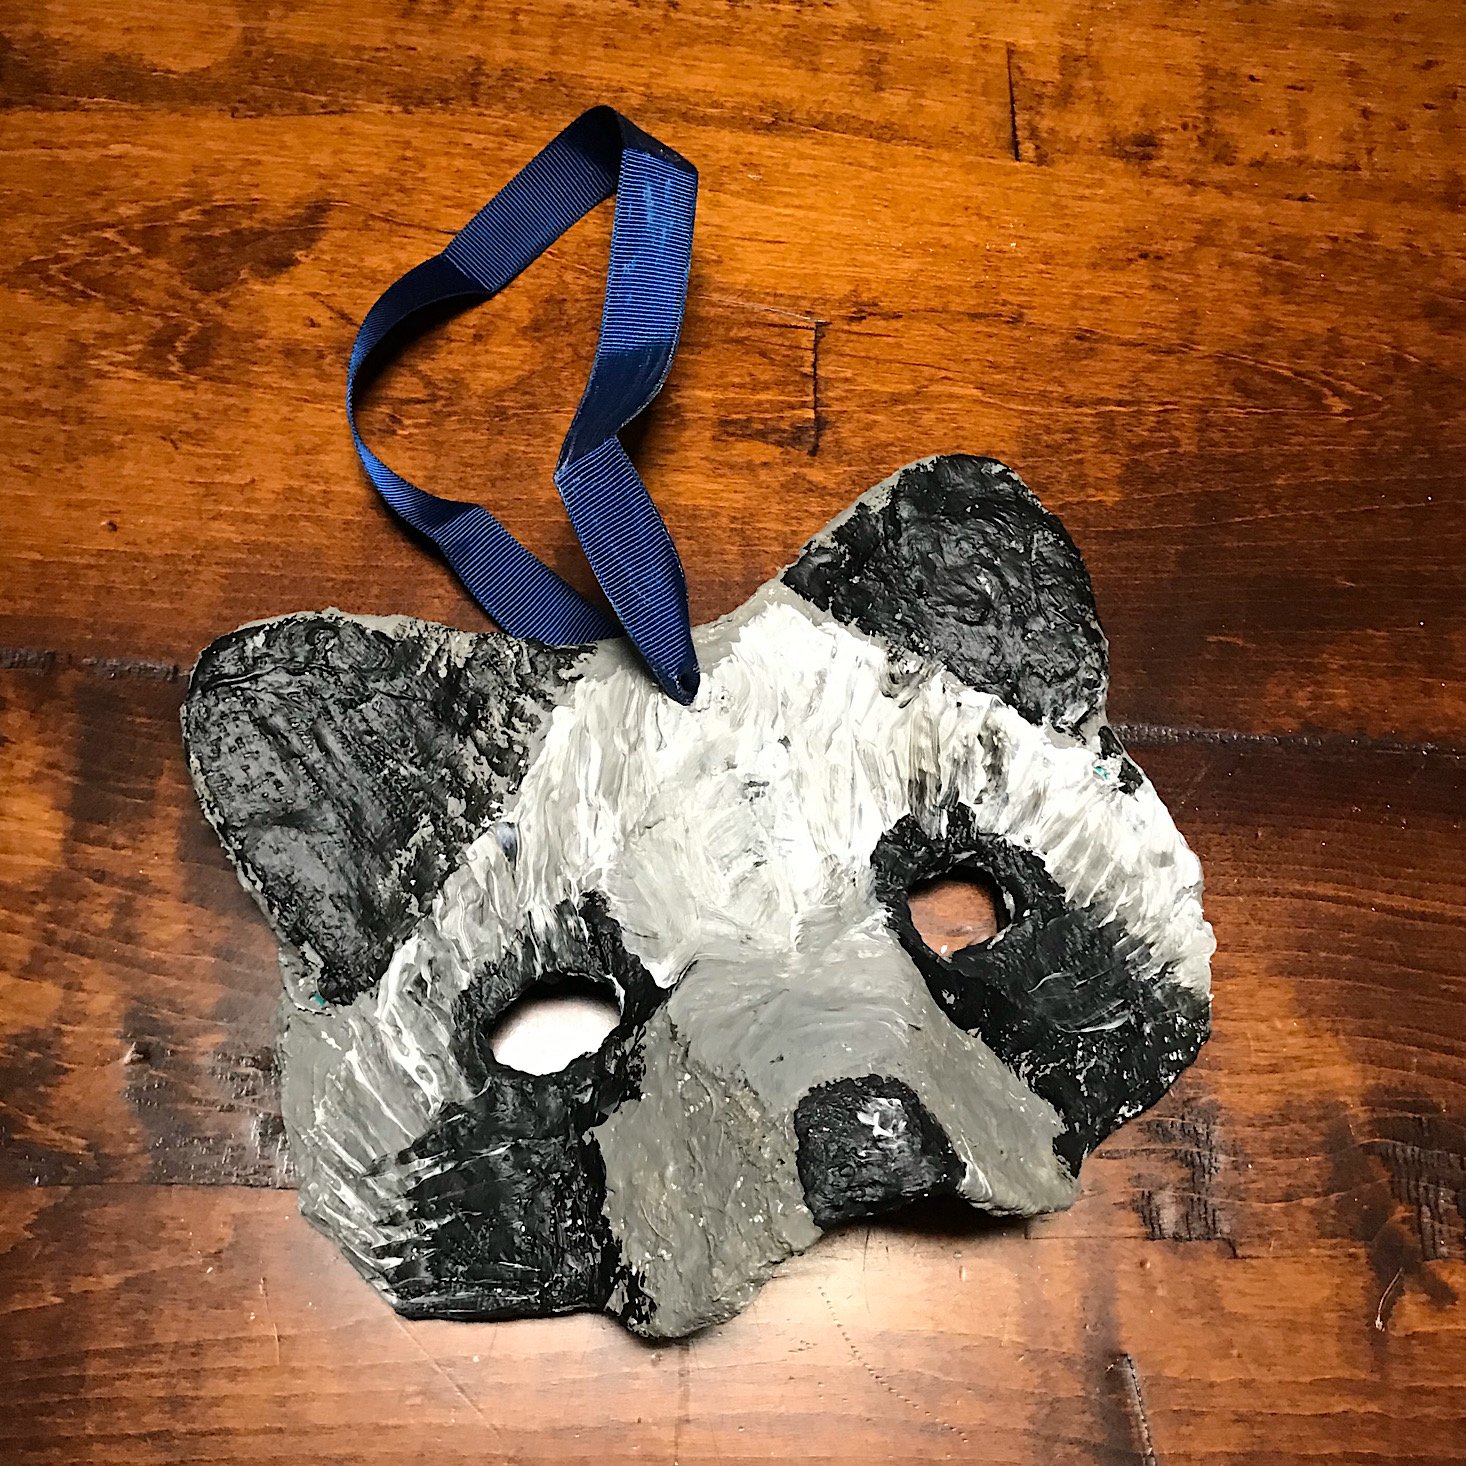
I let my daughter add the details. I set up the picture of the raccoon for her and let her go. I did paint the little nose and show her how to add a little white highlight to mimic shine and I also tried to demonstrate how to use short brush strokes to create some texture. I was actually very impressed with how her raccoon turned out! She wanted to paint the ears black and I think it works!
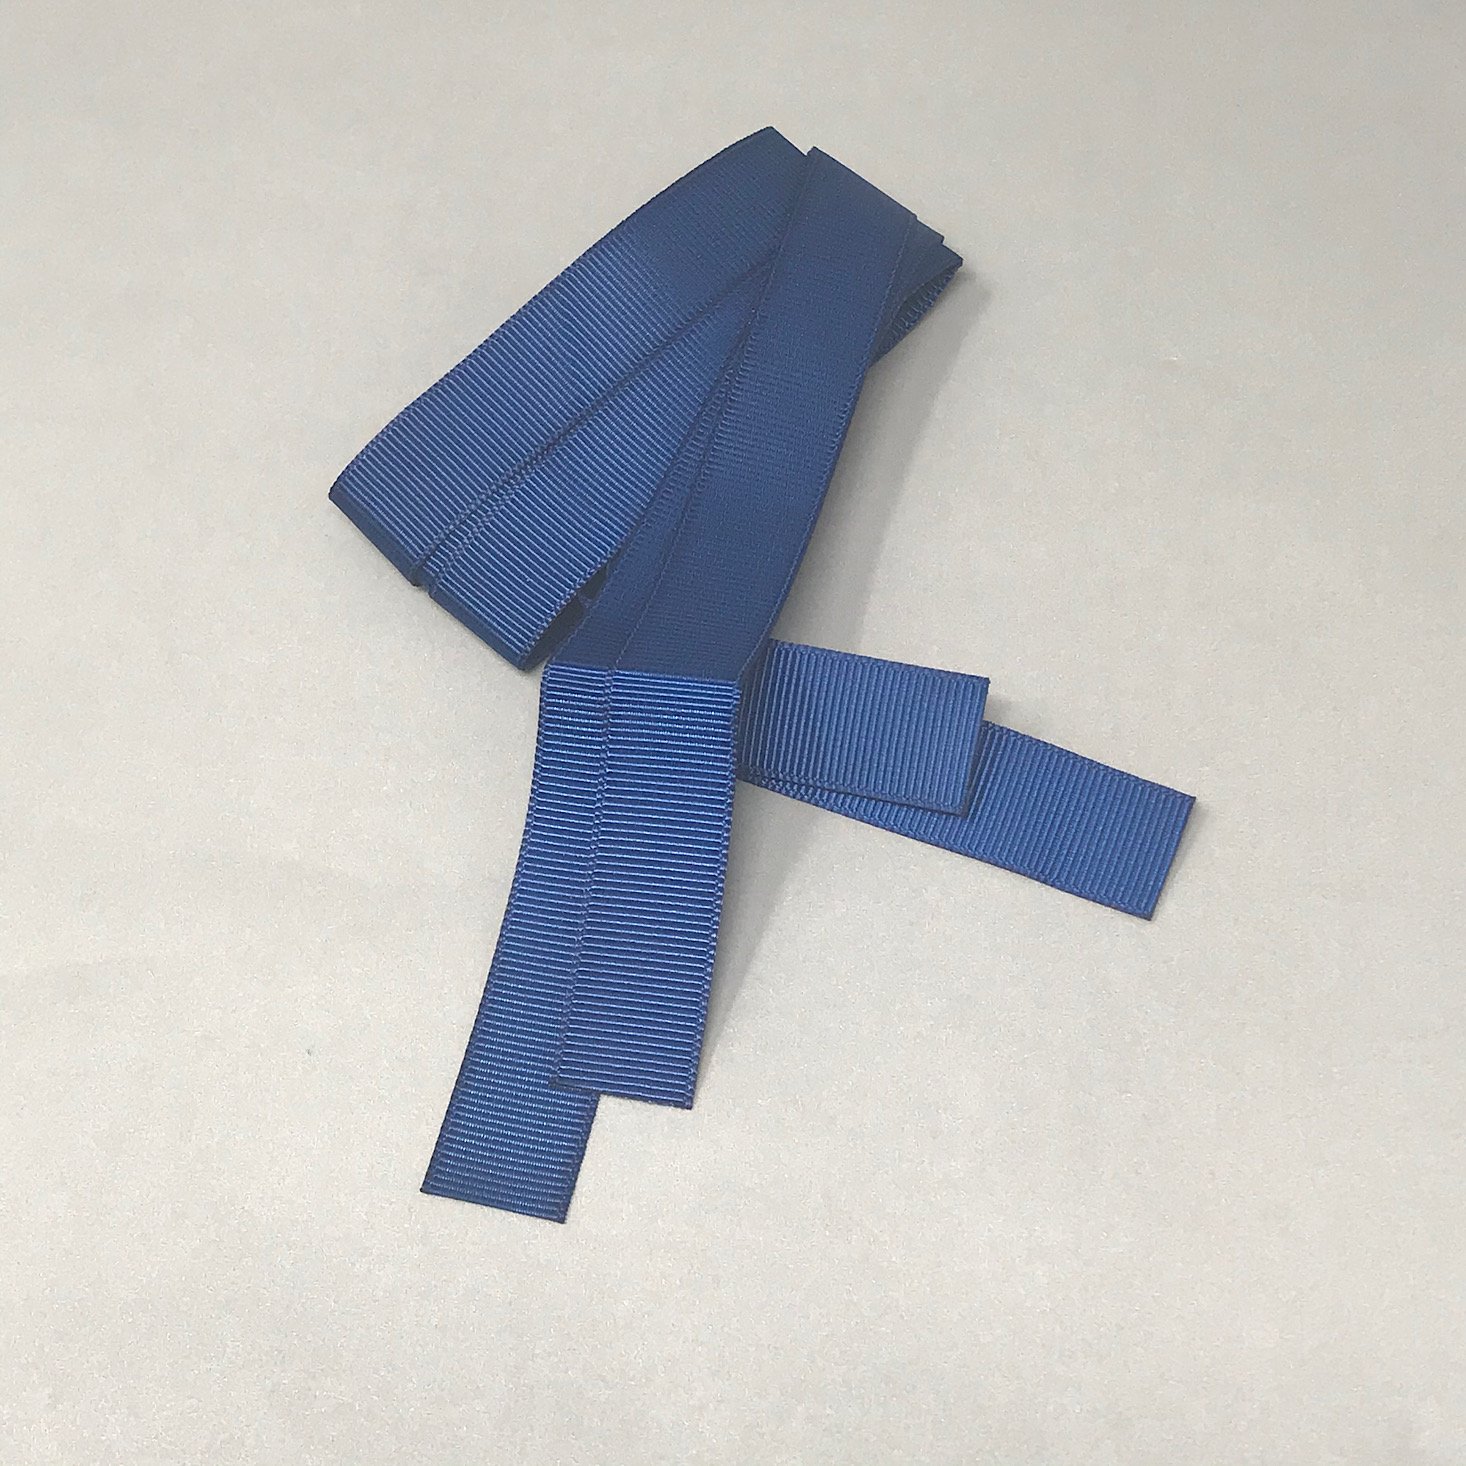
Once the paint on our mask was dry, it was time to add our ribbon for hanging or wearing. The ribbon was very thick so it was a little tricky to thread it through the small holes. I first turned it into a mask so my son could test it out.
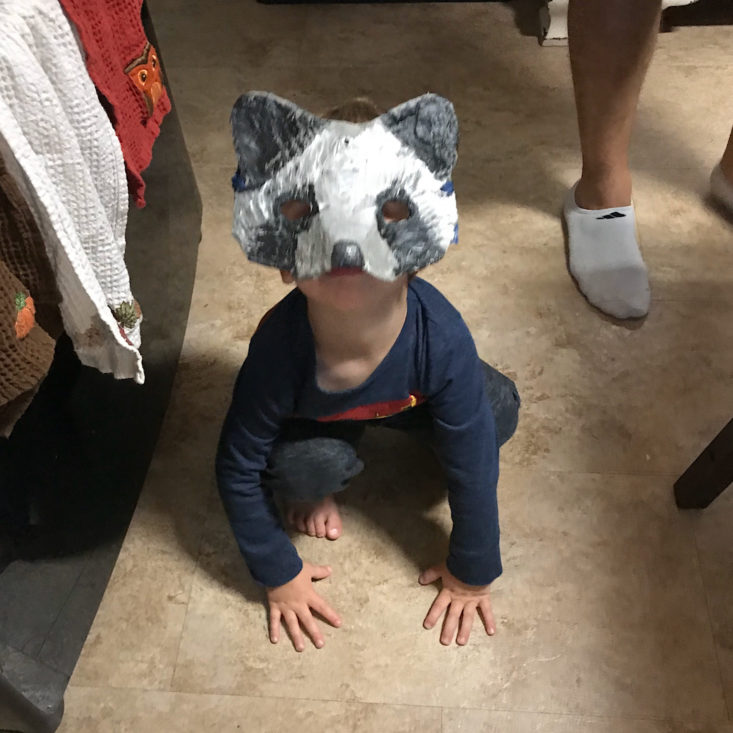
Here is my little raccoon!
Here it is hanging up using the hole in the center. I love that we also have enough materials to make a second mask! Now that we know what we're doing, it would be fun to be more creative and try something new like the fun lion with a great yarn mane that they showed us in our booklet!
Verdict: This was our first time experiencing Doodle Crate and as a former art teacher, I was super excited to see how it would work out for us. I love that they provide all of the materials we needed and that they provided instructions along the way that a teacher would normally give you such as tips for color mixing and reminders about the plaster. I think they included all of the necessary information for us to ensure that our project was successful, and while ours is a bit messy and lumpy, an older child with a bit more patience would really be able to craft something quite nice! I also love that they gave us two masks so that we could make one to help get us comfortable with the technique and then have some creative freedom with the second. I was impressed with the great projects we could create with this $19.95 a month box!
To Wrap Up:
Can you still get this box if you sign up today? It is possible you might get this crate, but it is not a guarantee. From KiwiCo:
Crates are assigned each month based on availability and your crate history – not all subscribers receive the same theme each month.
Check out all of our Doodle Crate reviews and the best subscription boxes for tweens and teens!
Keep Track of Your Subscriptions: Add this box to your subscription list or wishlist!
What do you think of the Doodle Crate animal masks?



















Please do not enter your email address in the Name field or in the comment content. Your email address will not be published. Required fields are marked *. Remember to post with kindness and respect. Comments with offensive language, cruelness to others, etc will not be approved. See our full comment policy here.