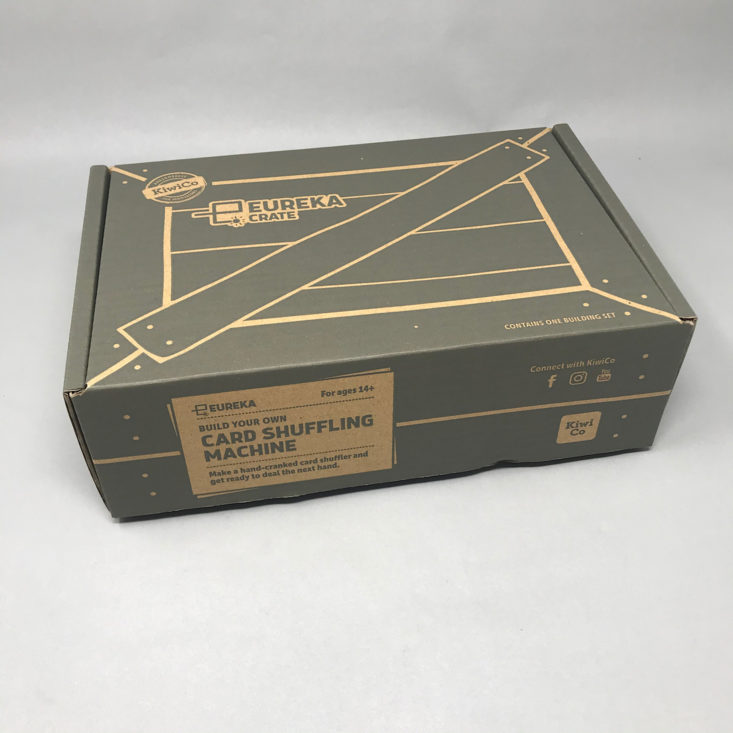
Eureka Crate (from parent company KiwiCo) is a subscription box for teens and adults ages 14-104. It arrives every month with all the materials and instructions needed to create a functional, lasting object with a focus on engineering. The goal of these projects is to use science and math to solve real-world problems while inspiring the recipients to become creative innovators.
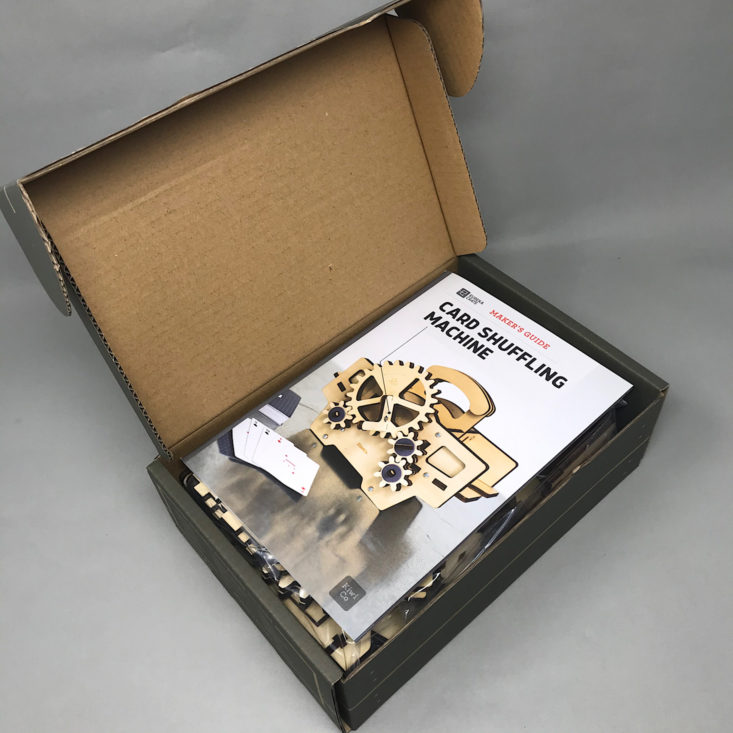
KiwiCo offers boxes for a variety of different age groups:
- Panda Crate for 0-24-month-olds,
- Koala Crate for 2-4-year-olds,
- Kiwi Crate for 5-8-year-olds,
- Atlas Crate for 6-11-year-olds,
- Doodle Crate and Tinker Crate for 9-16+-year-olds,
- Eureka Crate for ages 14 and up. There really is something for every age with this company.
This review is of the $29.95 a month Eureka Crate, for 14-year-olds and up.
This box was sent to us at no cost for review. (Check out the review process post to learn more about how we review boxes).
About Eureka Crate
The Subscription Box: Eureka Crate
The Cost: $29.95 per month + free shipping. Save with longer subscriptions.
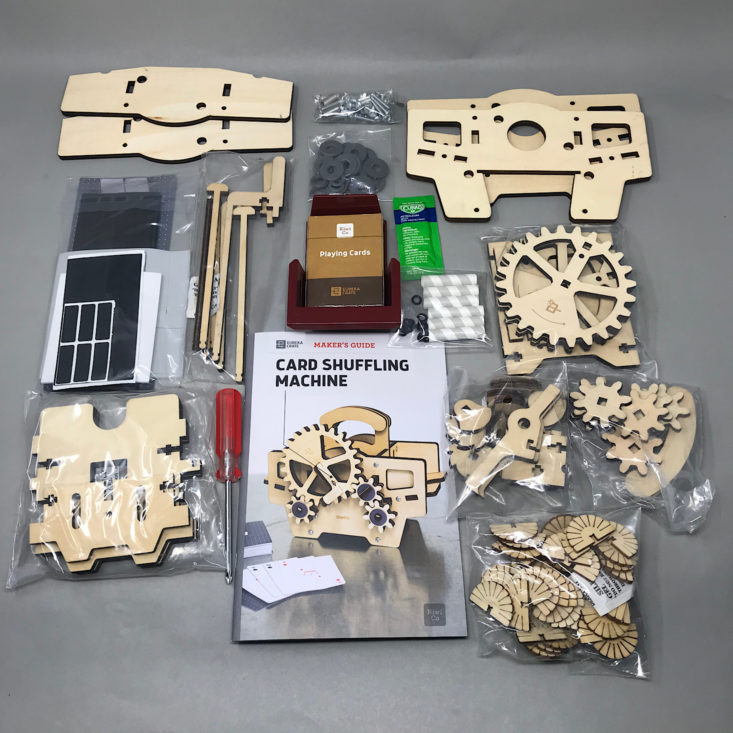
The Products: Detailed instructions and all of the high-quality materials needed to create a unique, lasting, and functional engineering project as well as a Maker's Guide that explains the science and technology behind it.
Ships to: The U.S. for free, Canada for $3.95 per month, worldwide from $4.95-$6.95.
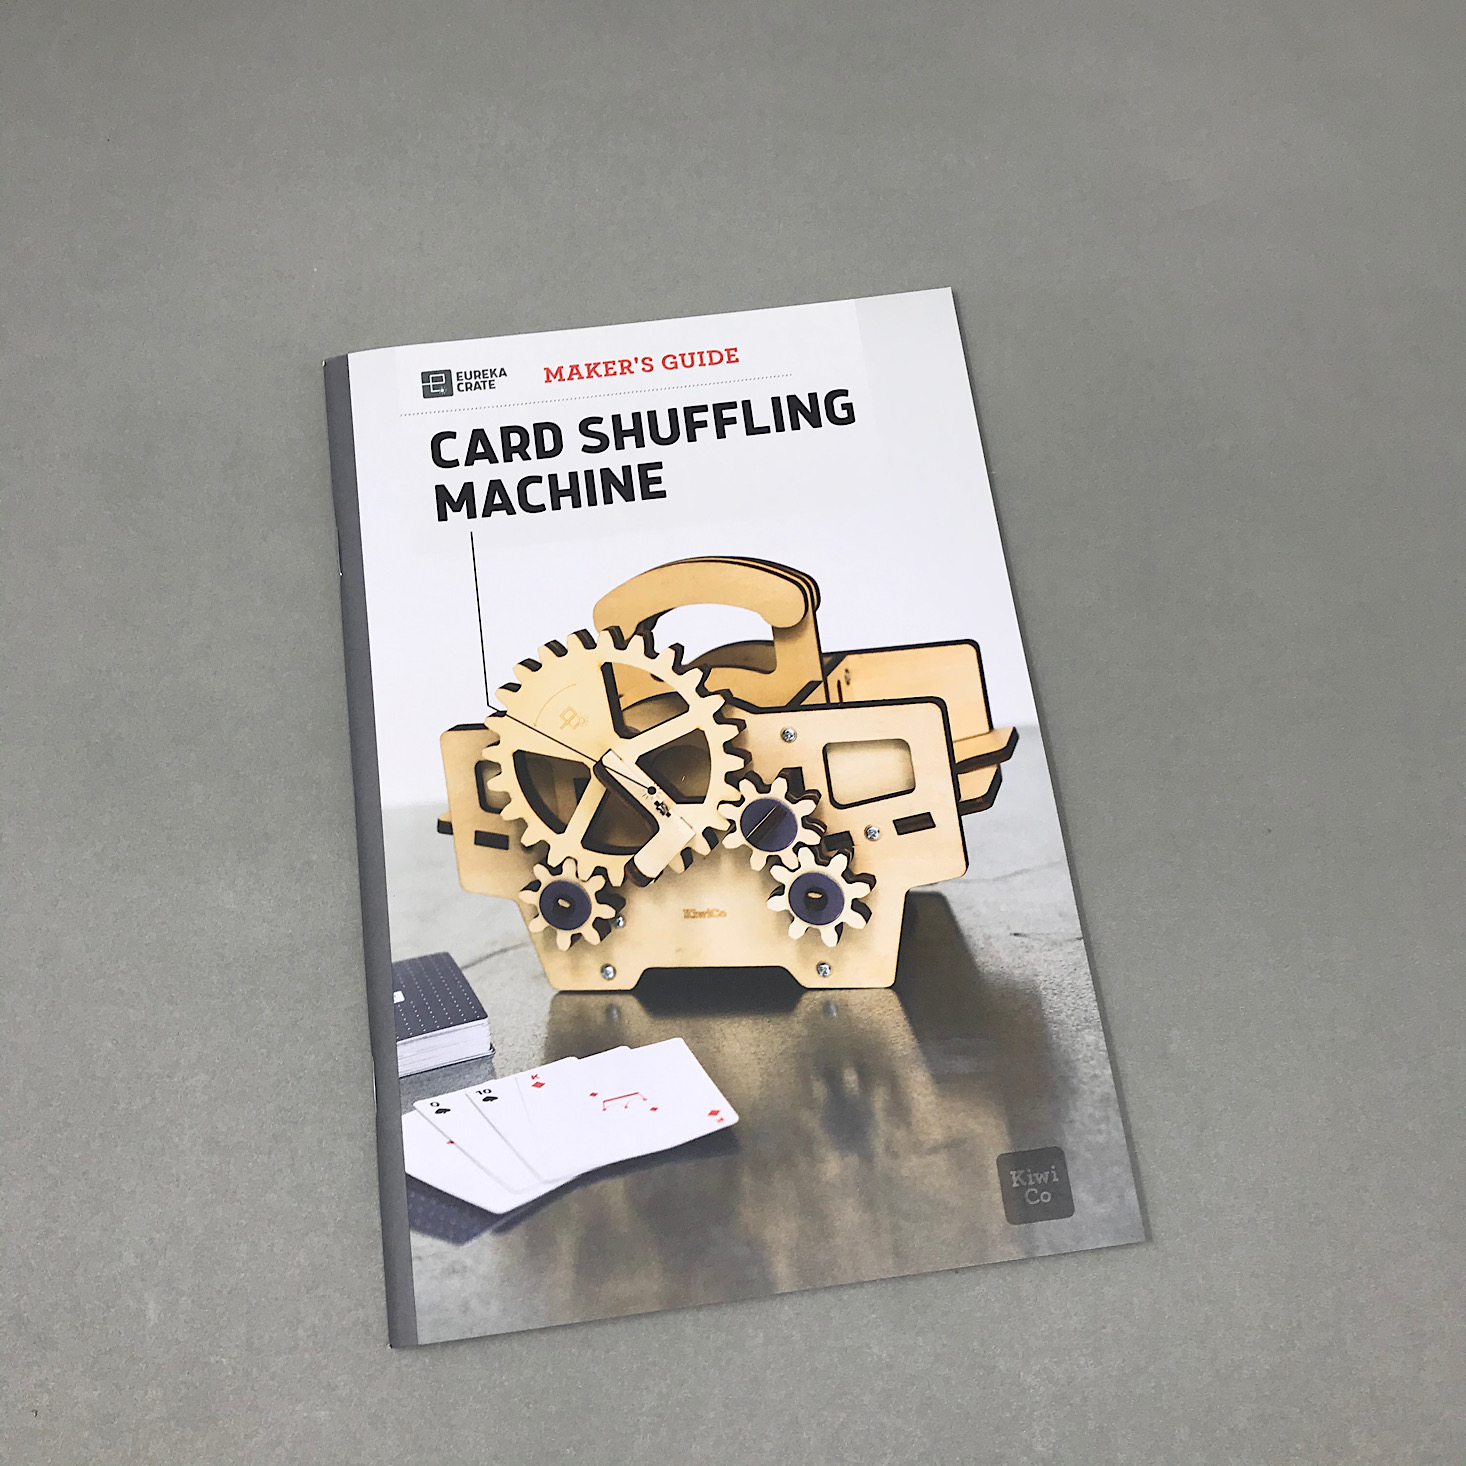
KiwiCo Eureka Crate "Card Shuffling Machine" Review
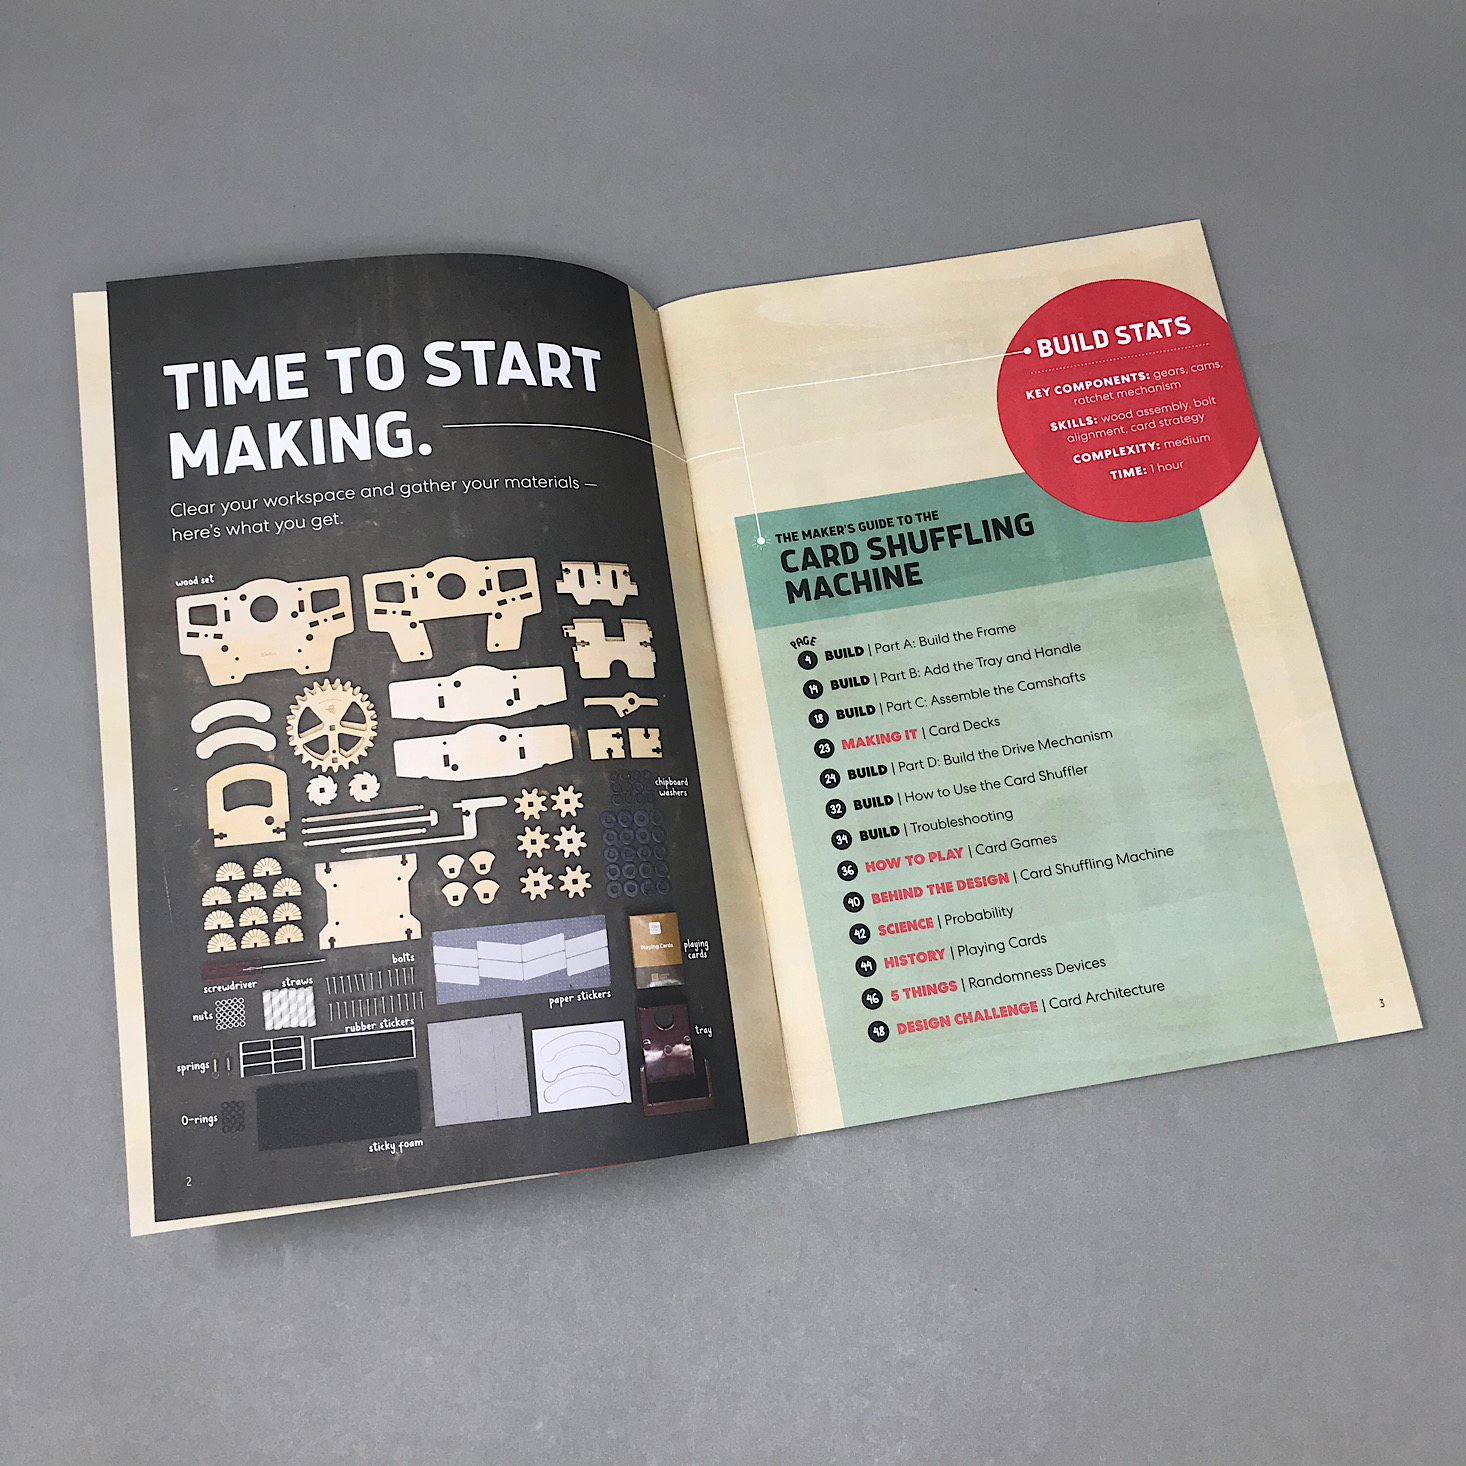
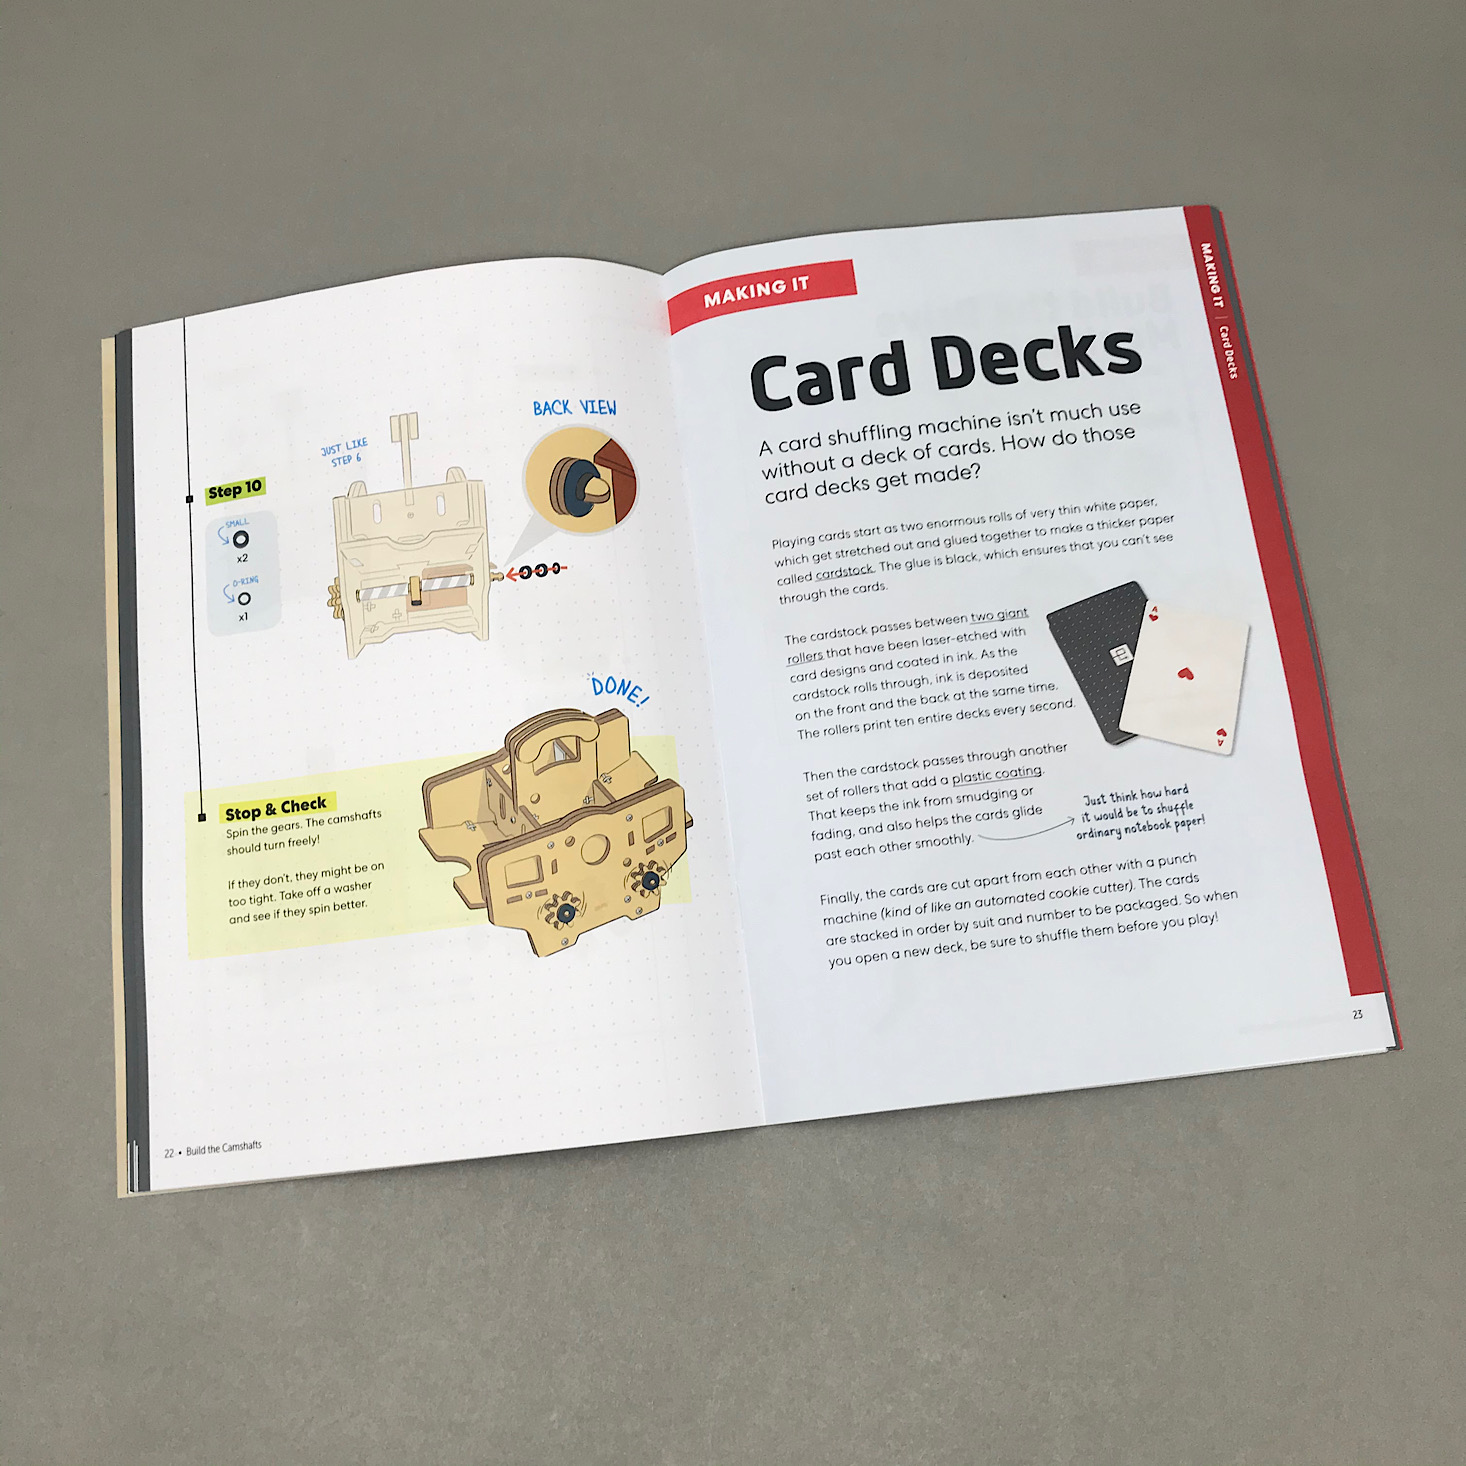
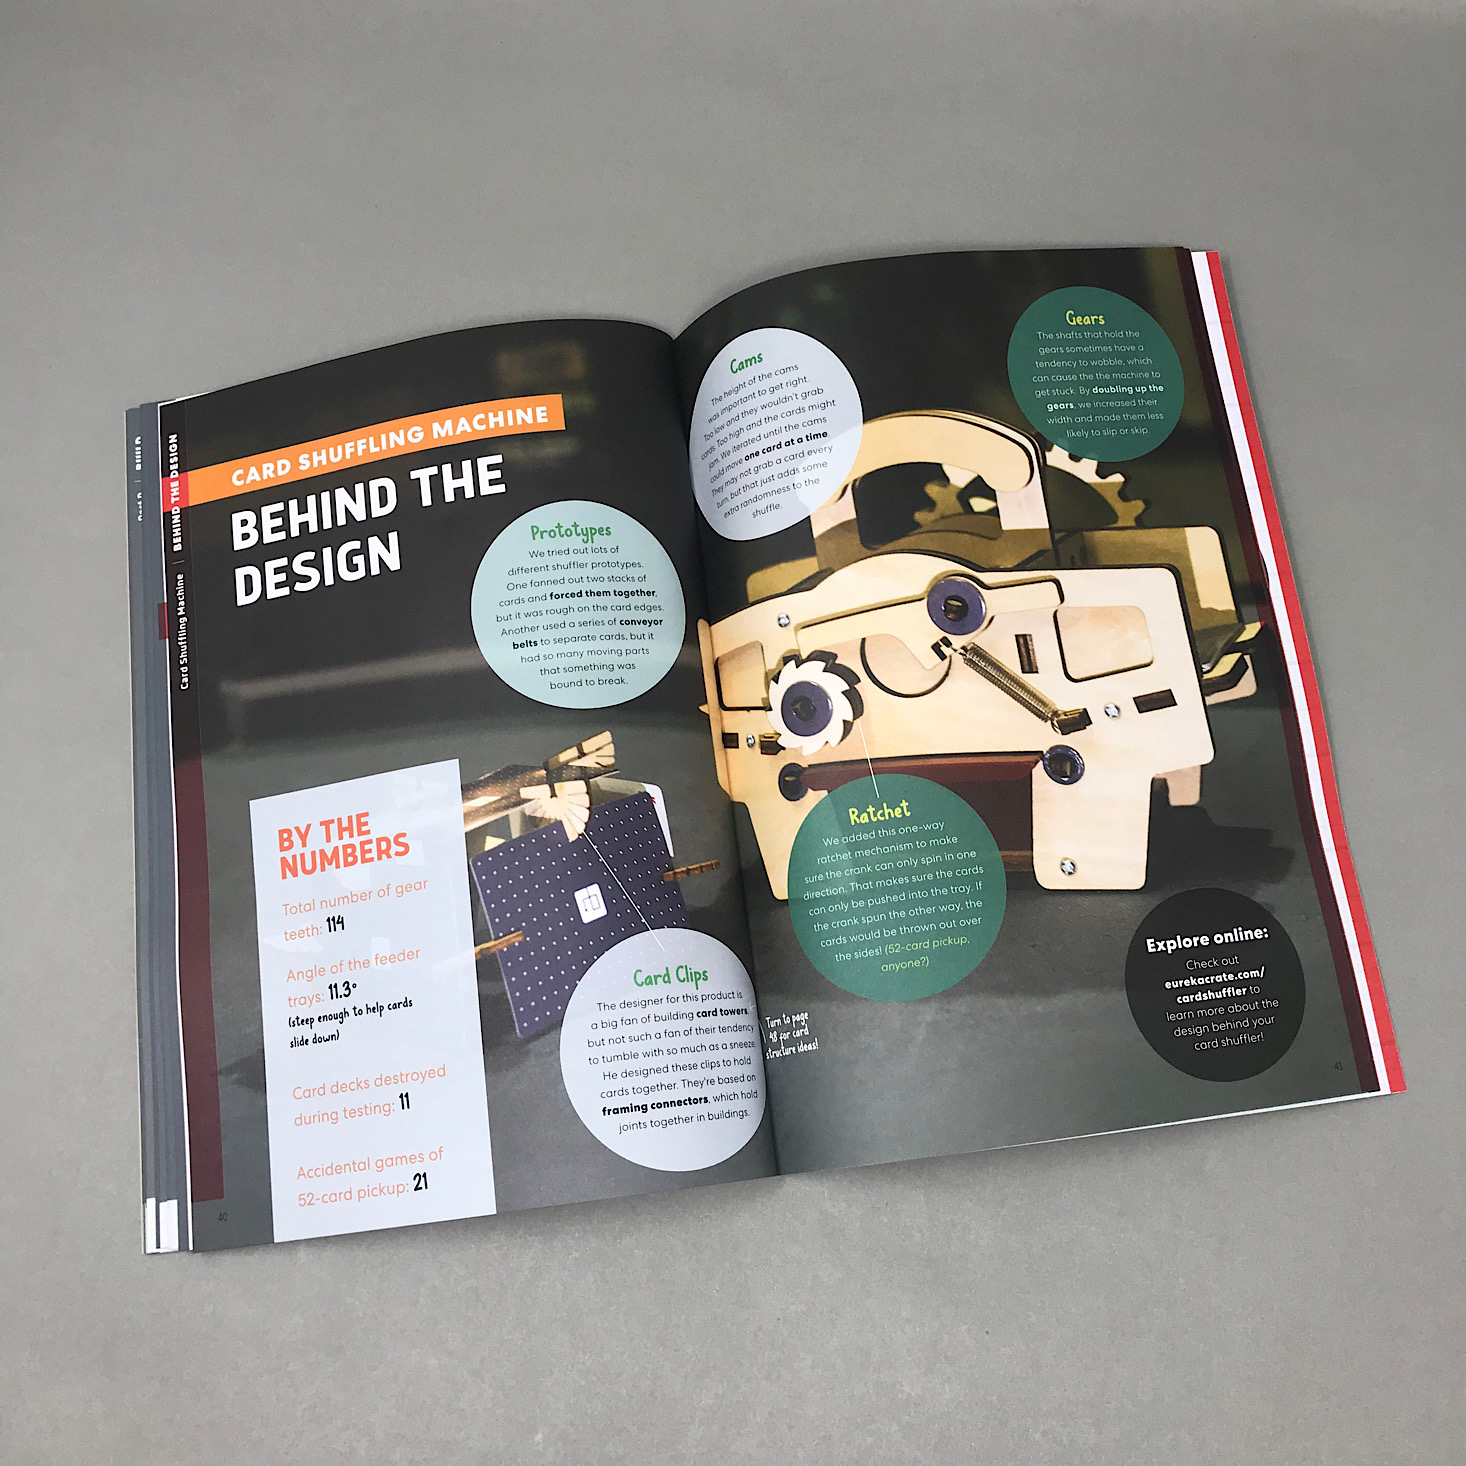
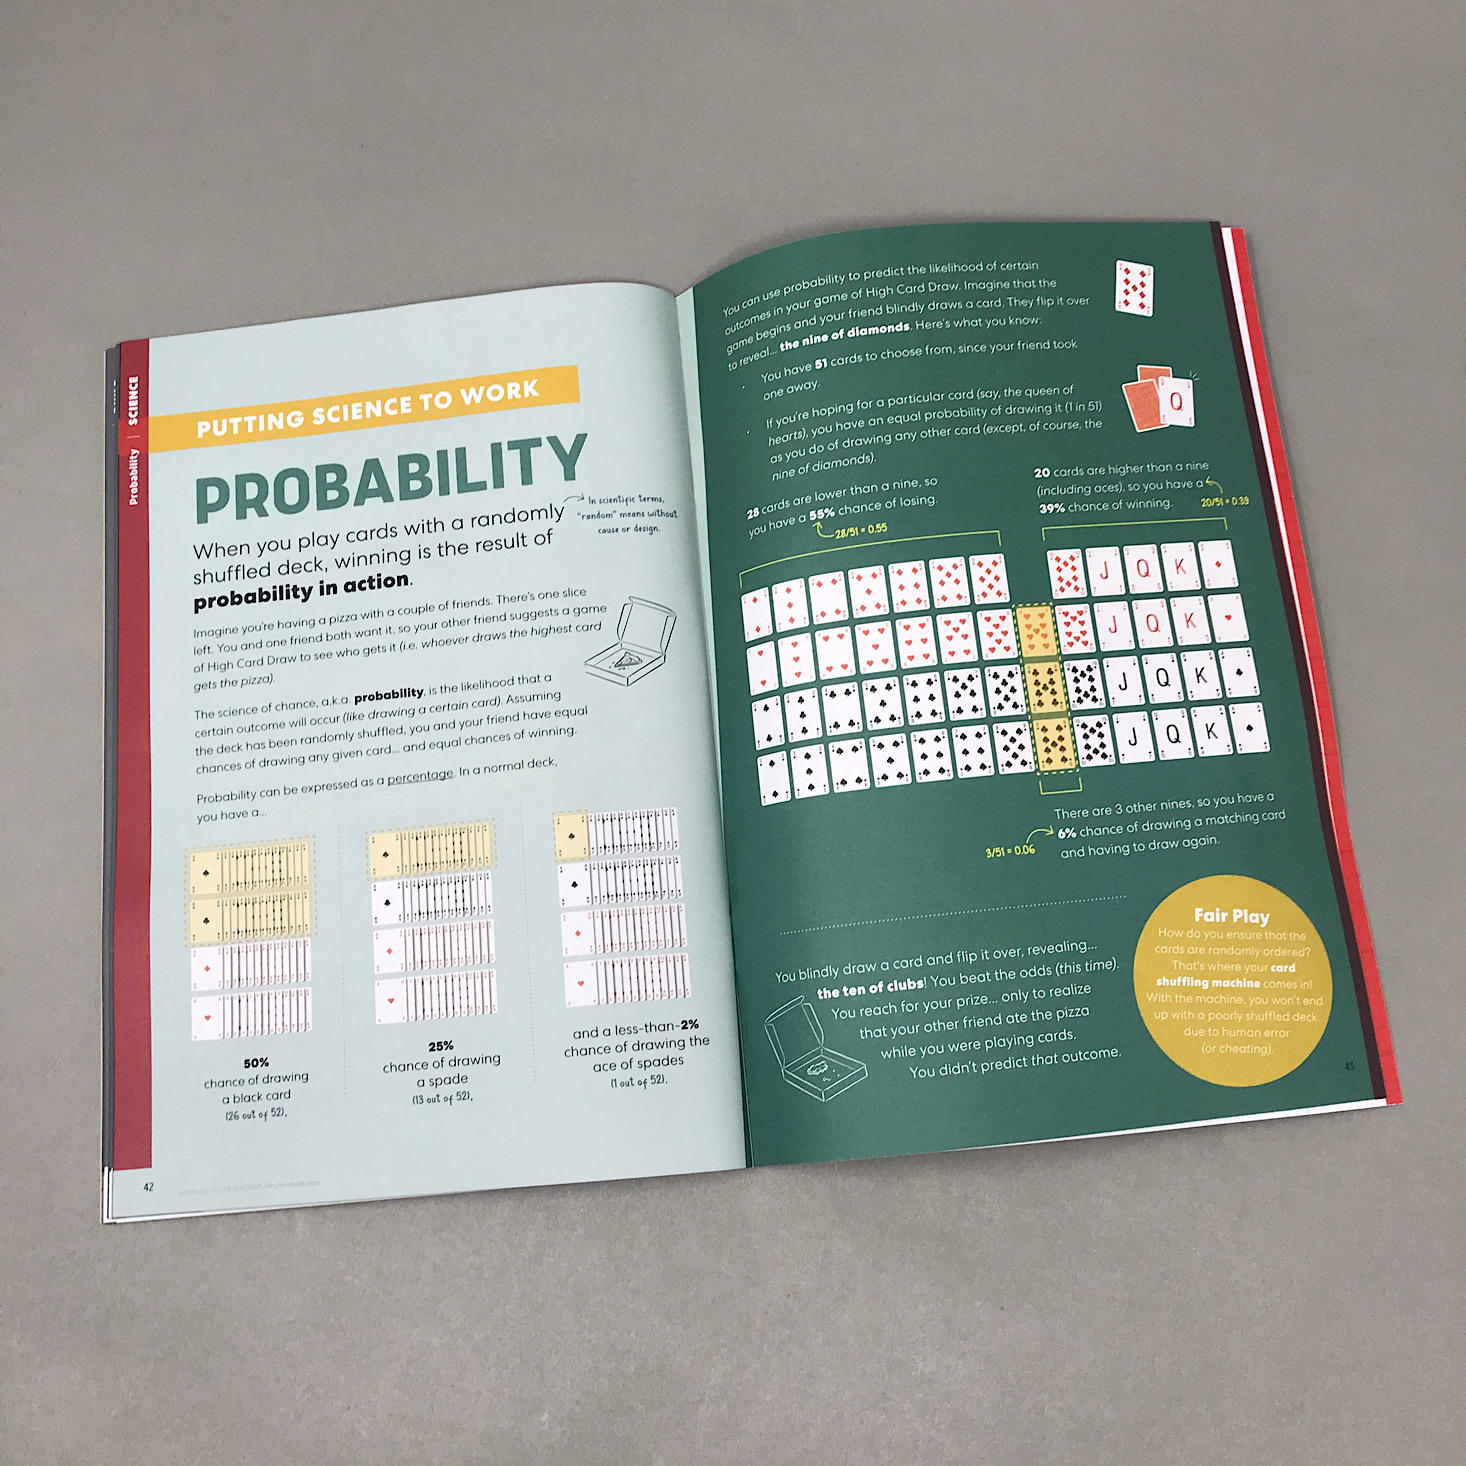
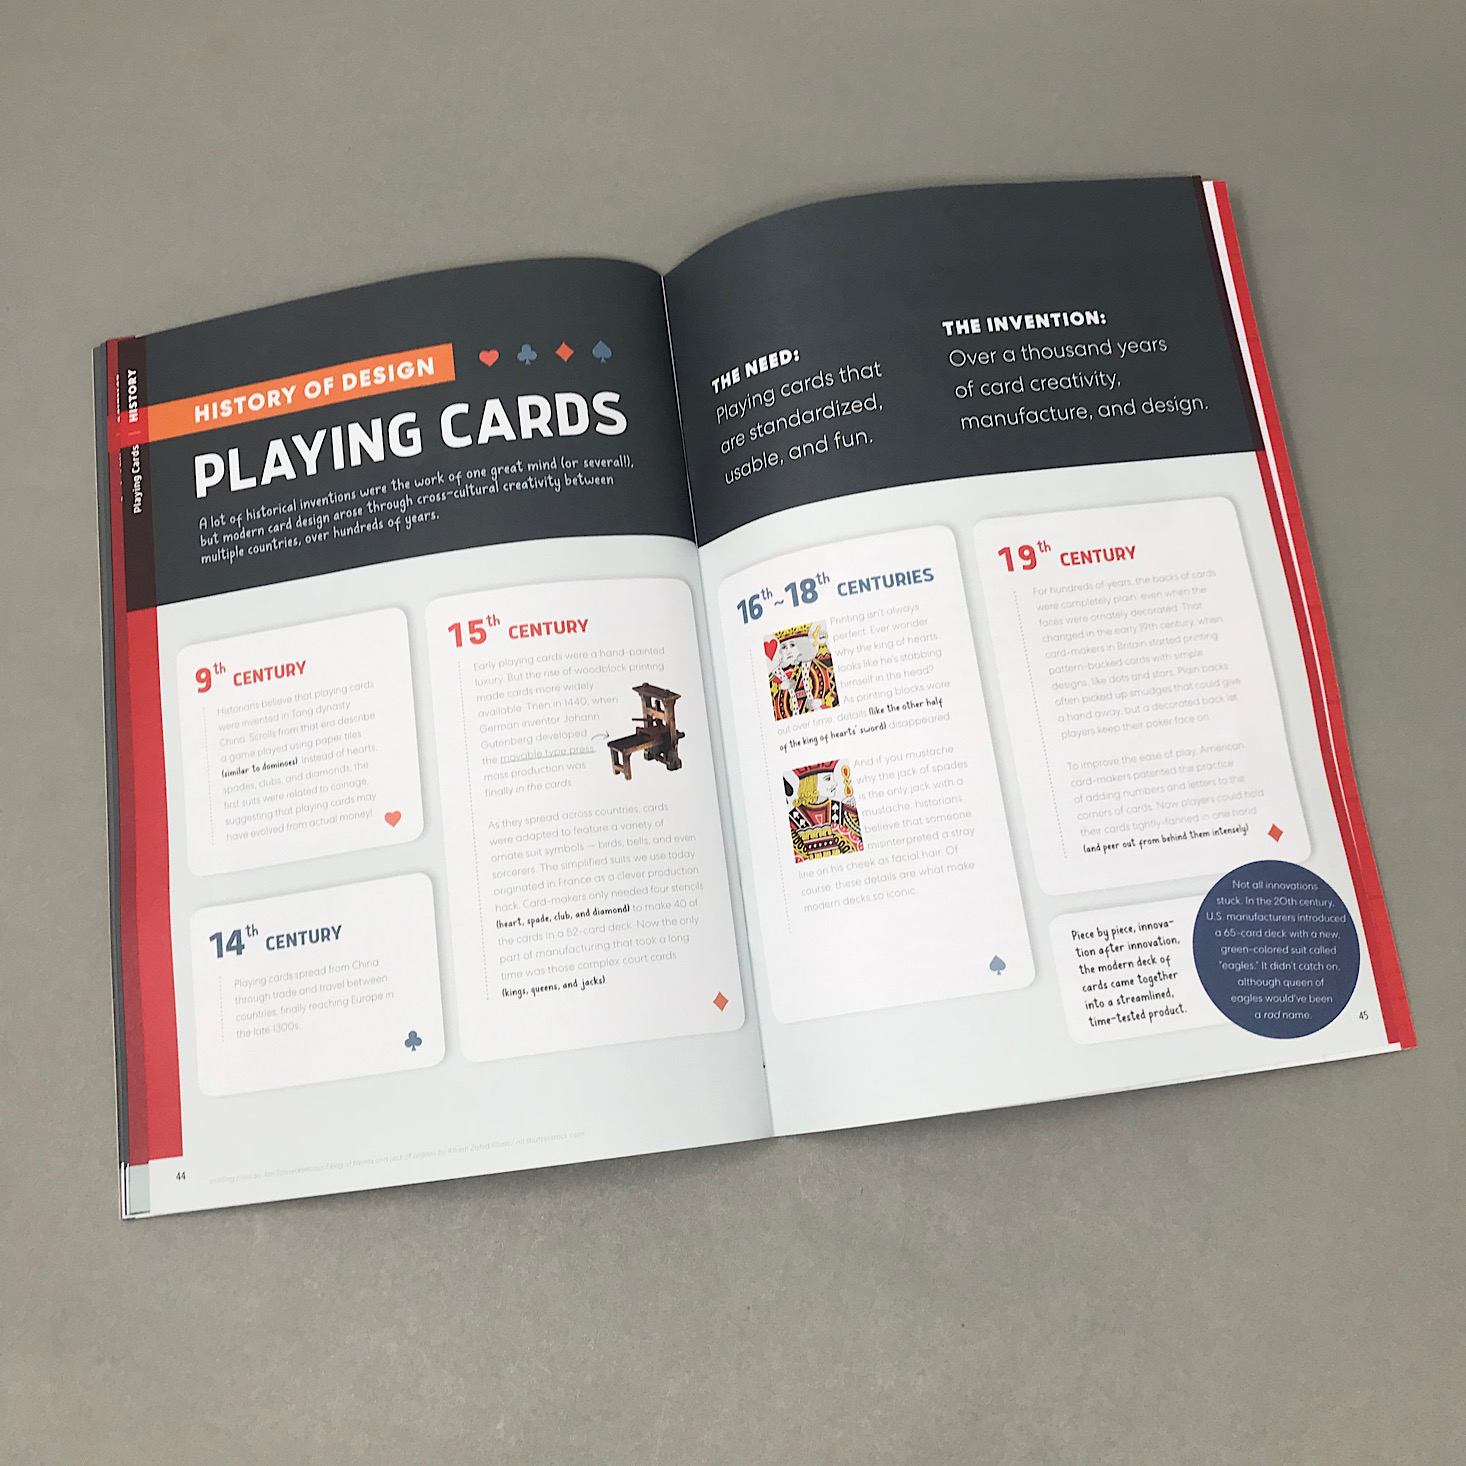
The project for this month is to make our own card shuffling machine. We received this Maker's Guide which is full of helpful information related to our project along with the directions. This month they even included some information about the history of playing cards and an explanation of probability. My favorite section is the "Behind the Design" page where they go into detail about their own process in creating this month's project!
Our directions are separated into various sections which makes it so much easier since it breaks it down into smaller, more manageable tasks. The instructions are always clear and easy to follow with detailed, colorful pictures to reference. They even include information on troubleshooting, which can be very helpful!
Part A: Build the Frame
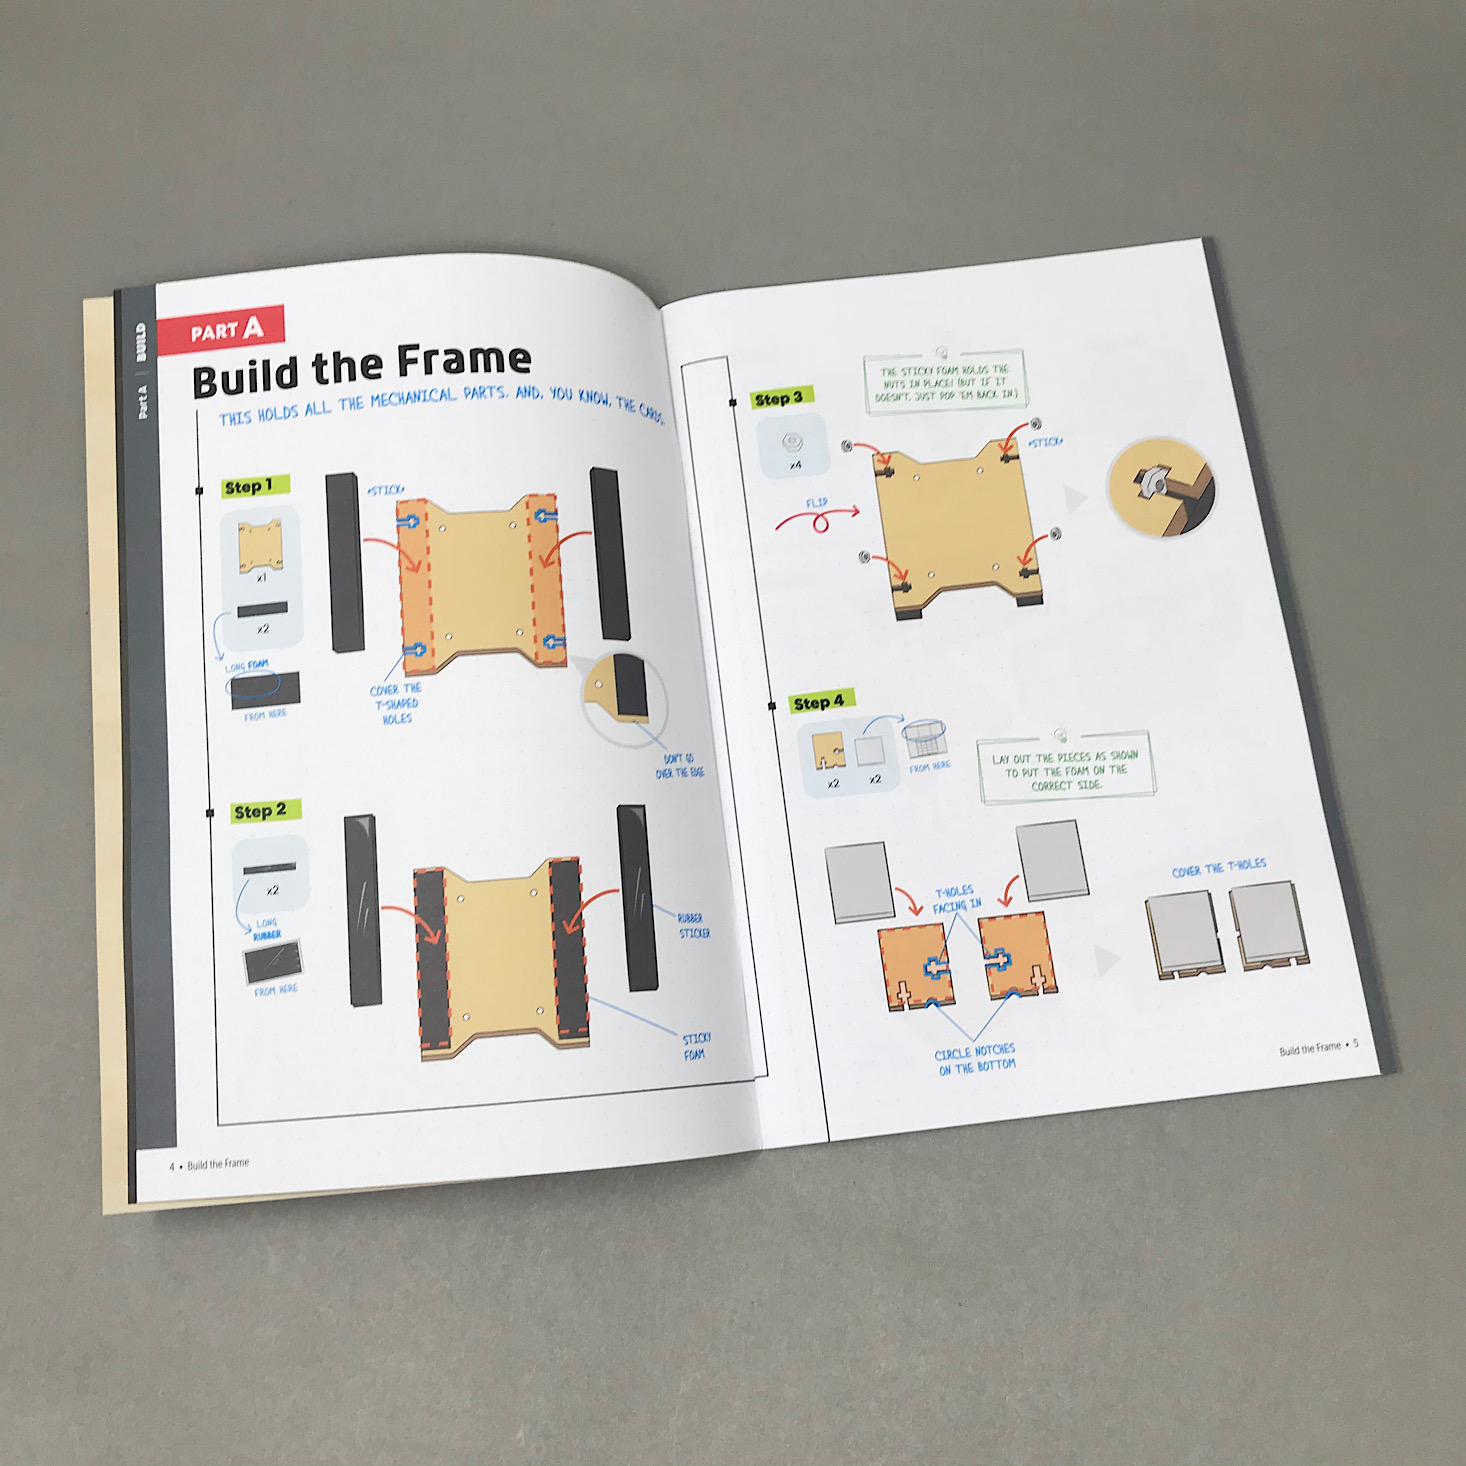
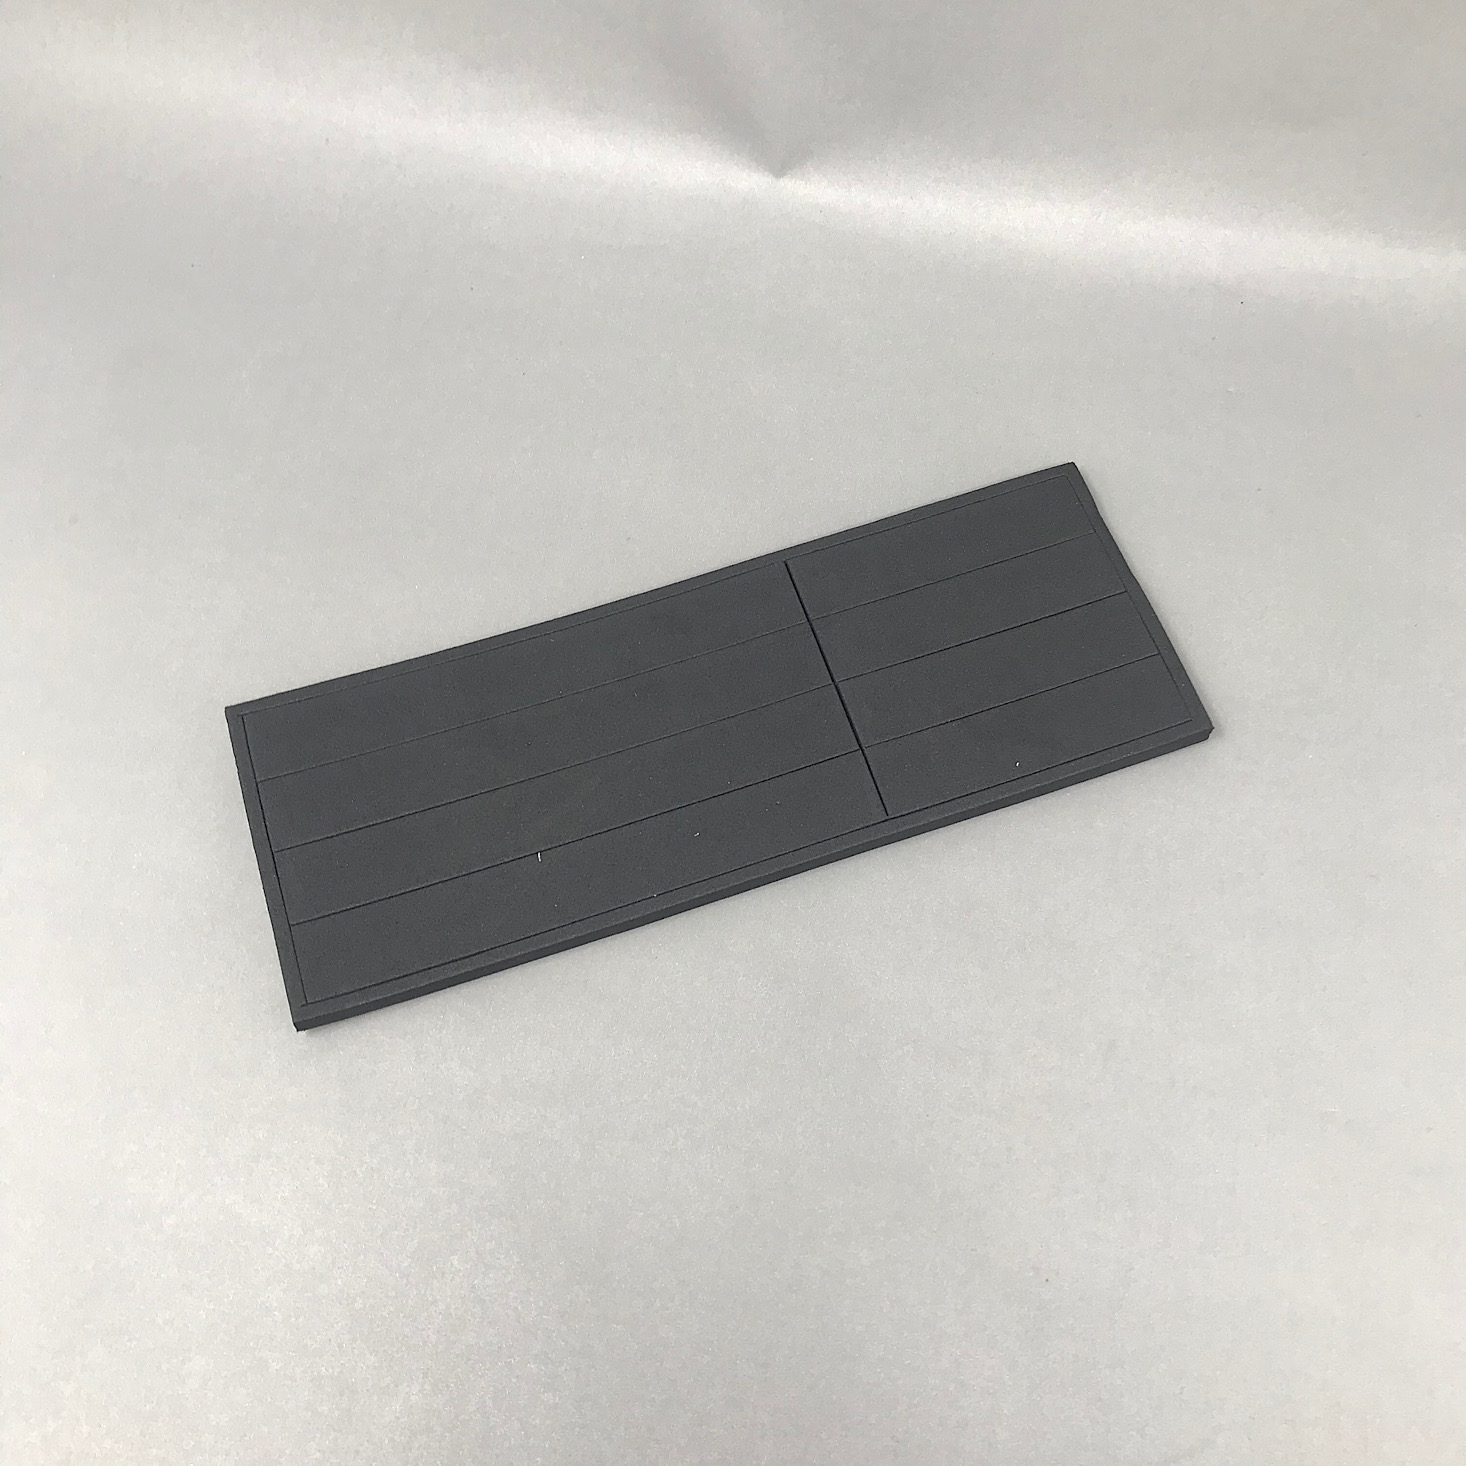
The first part of our project was to build the frame. I had to add two thick foam strips to either side of this wooden piece.
Then I added a rubber sticker strip on top of those foam strips.
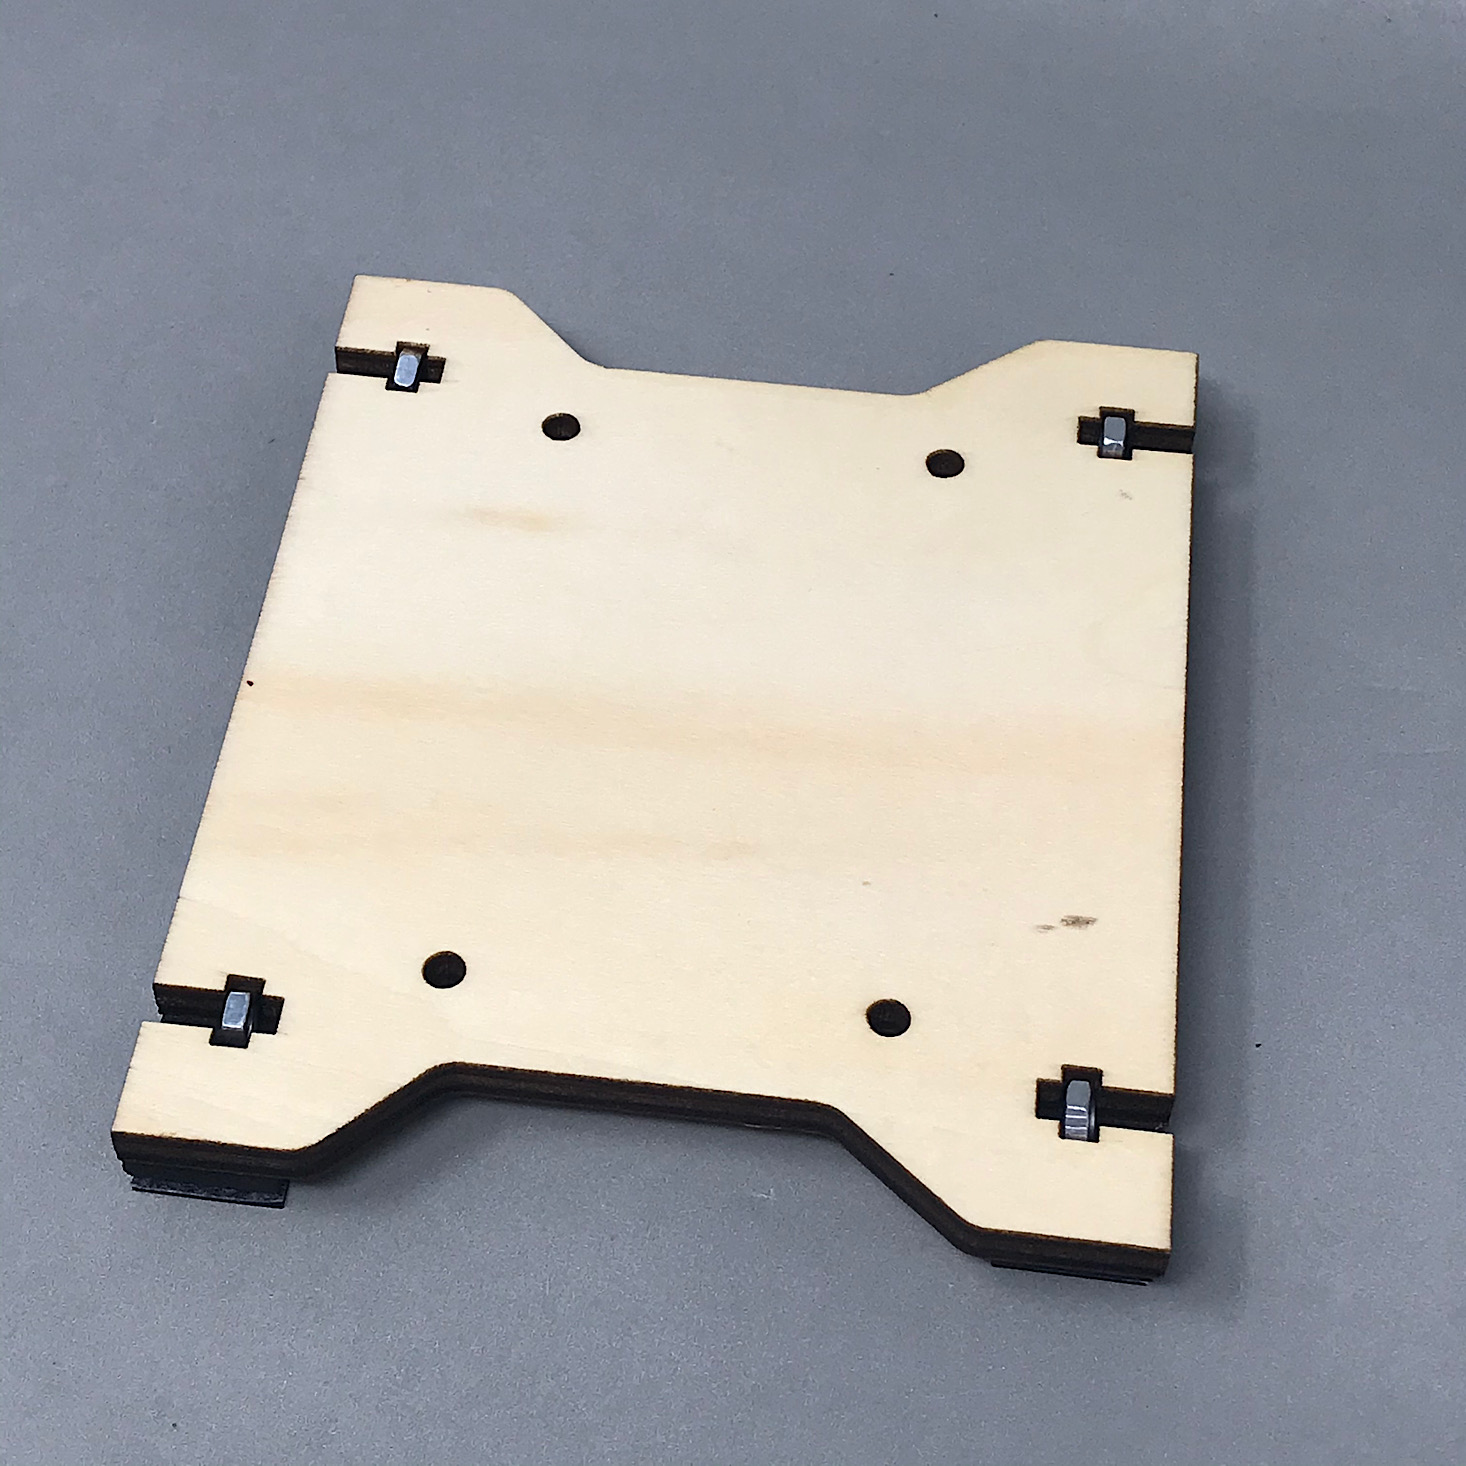
They provided several nuts and bolts. I then added a bolt to each of the four spots around the edges of the frame and pushed them in so that they would stick to the foam adhesive underneath.
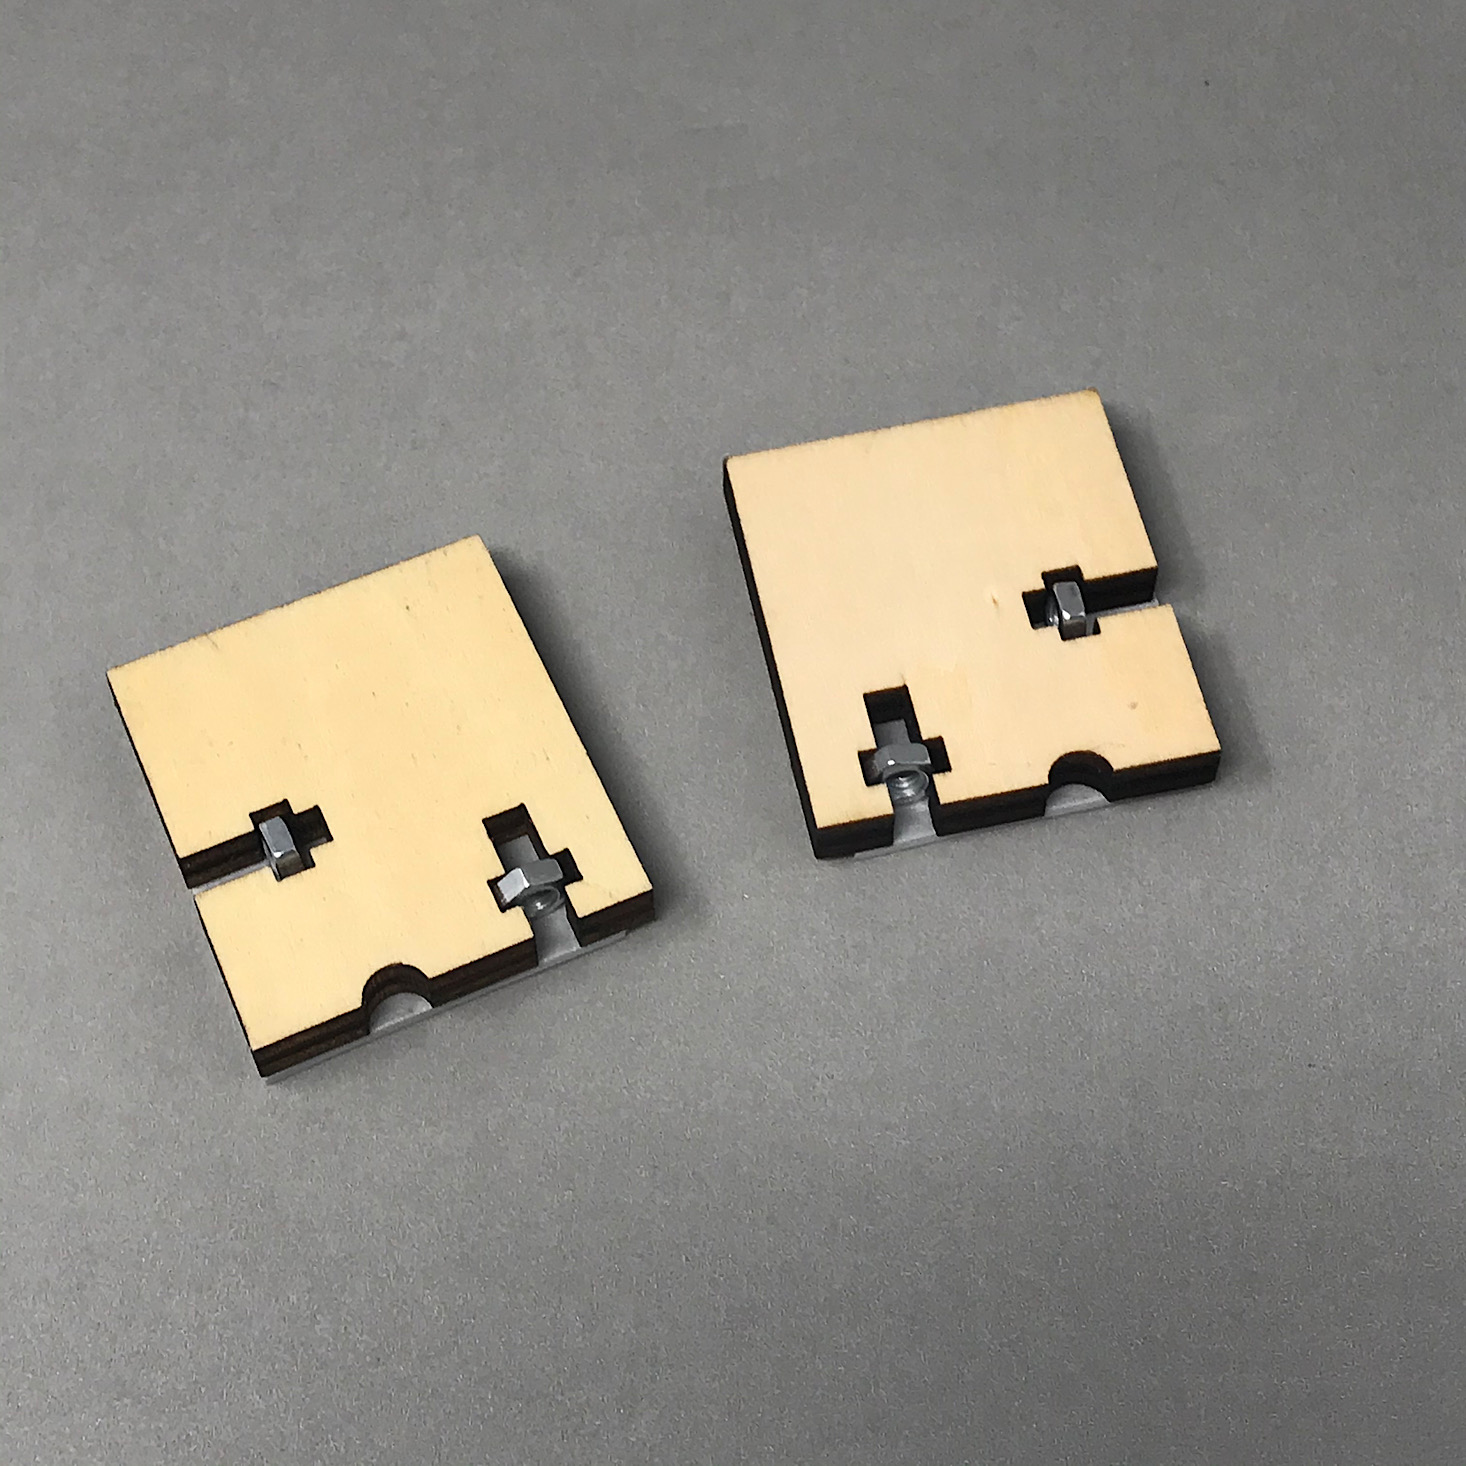
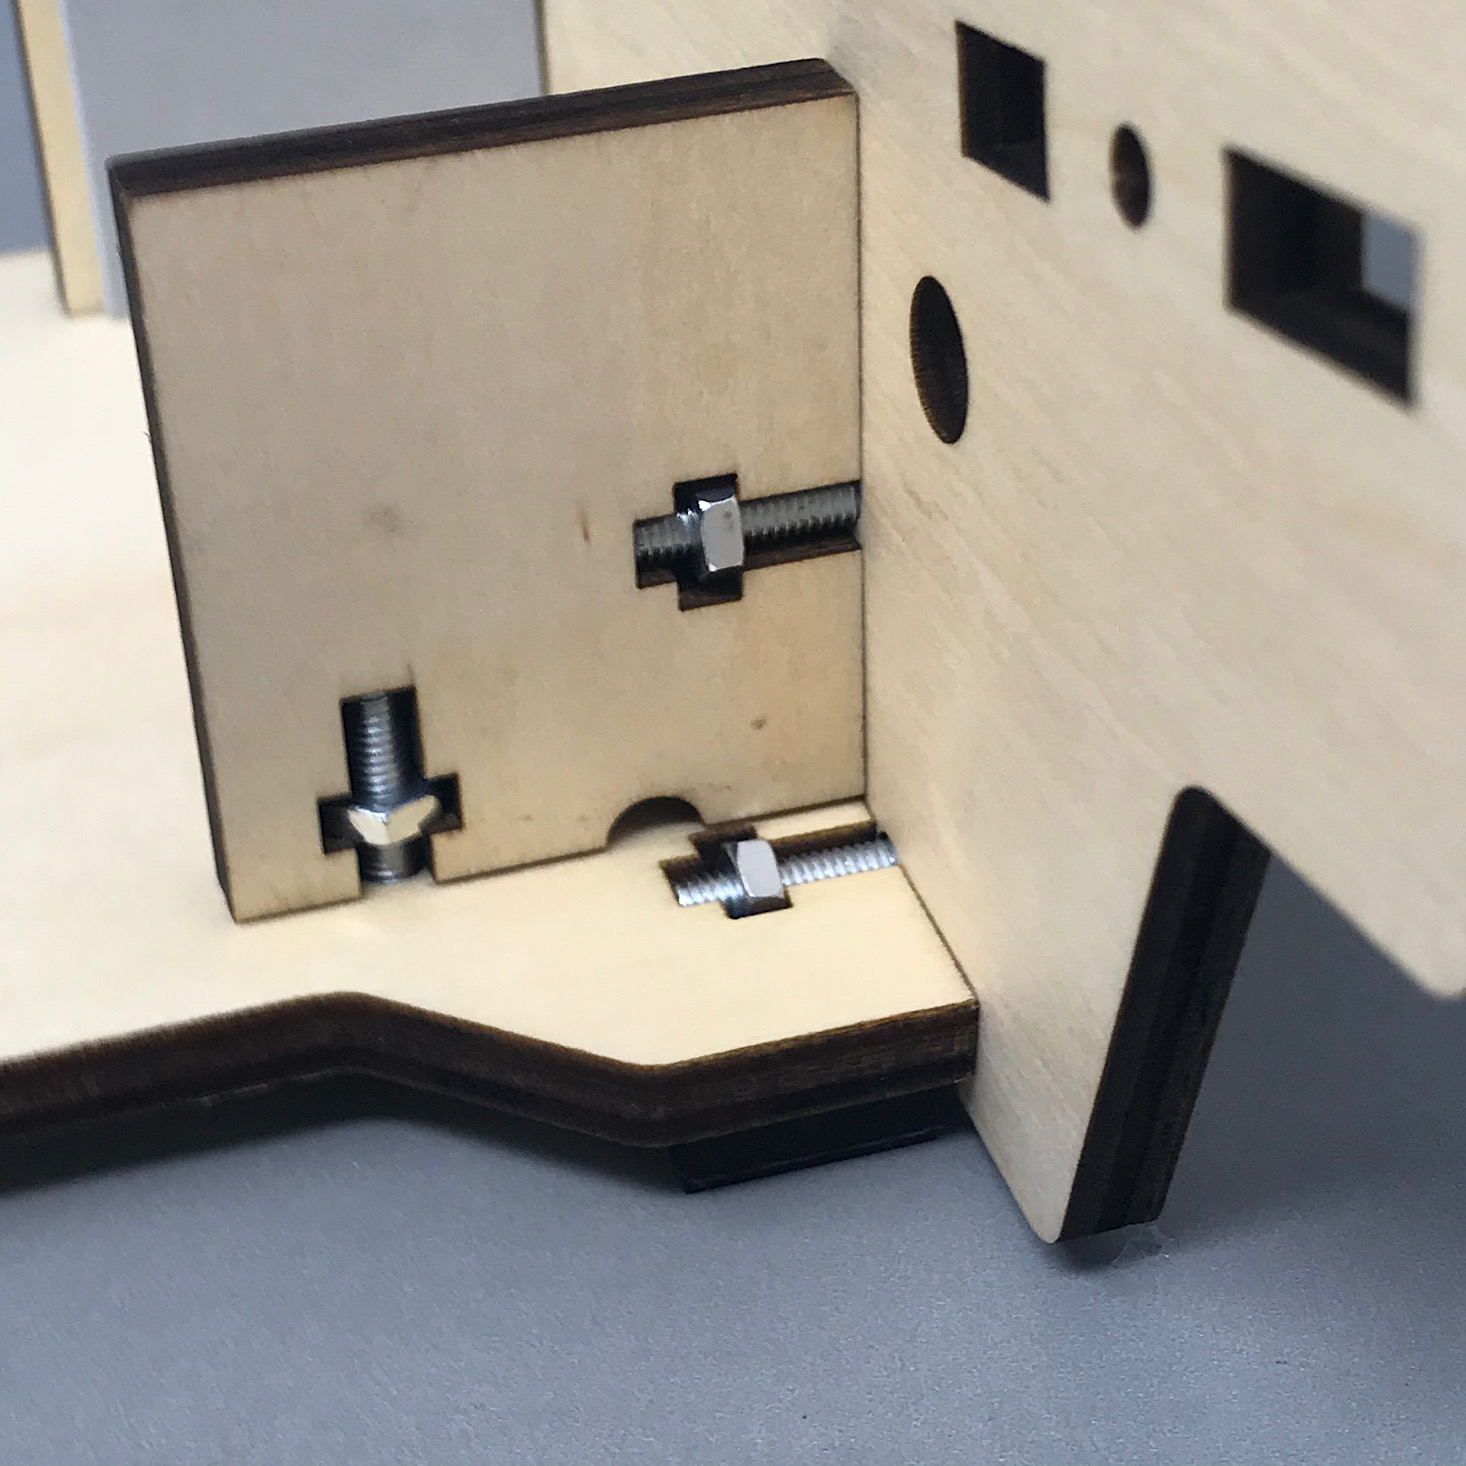
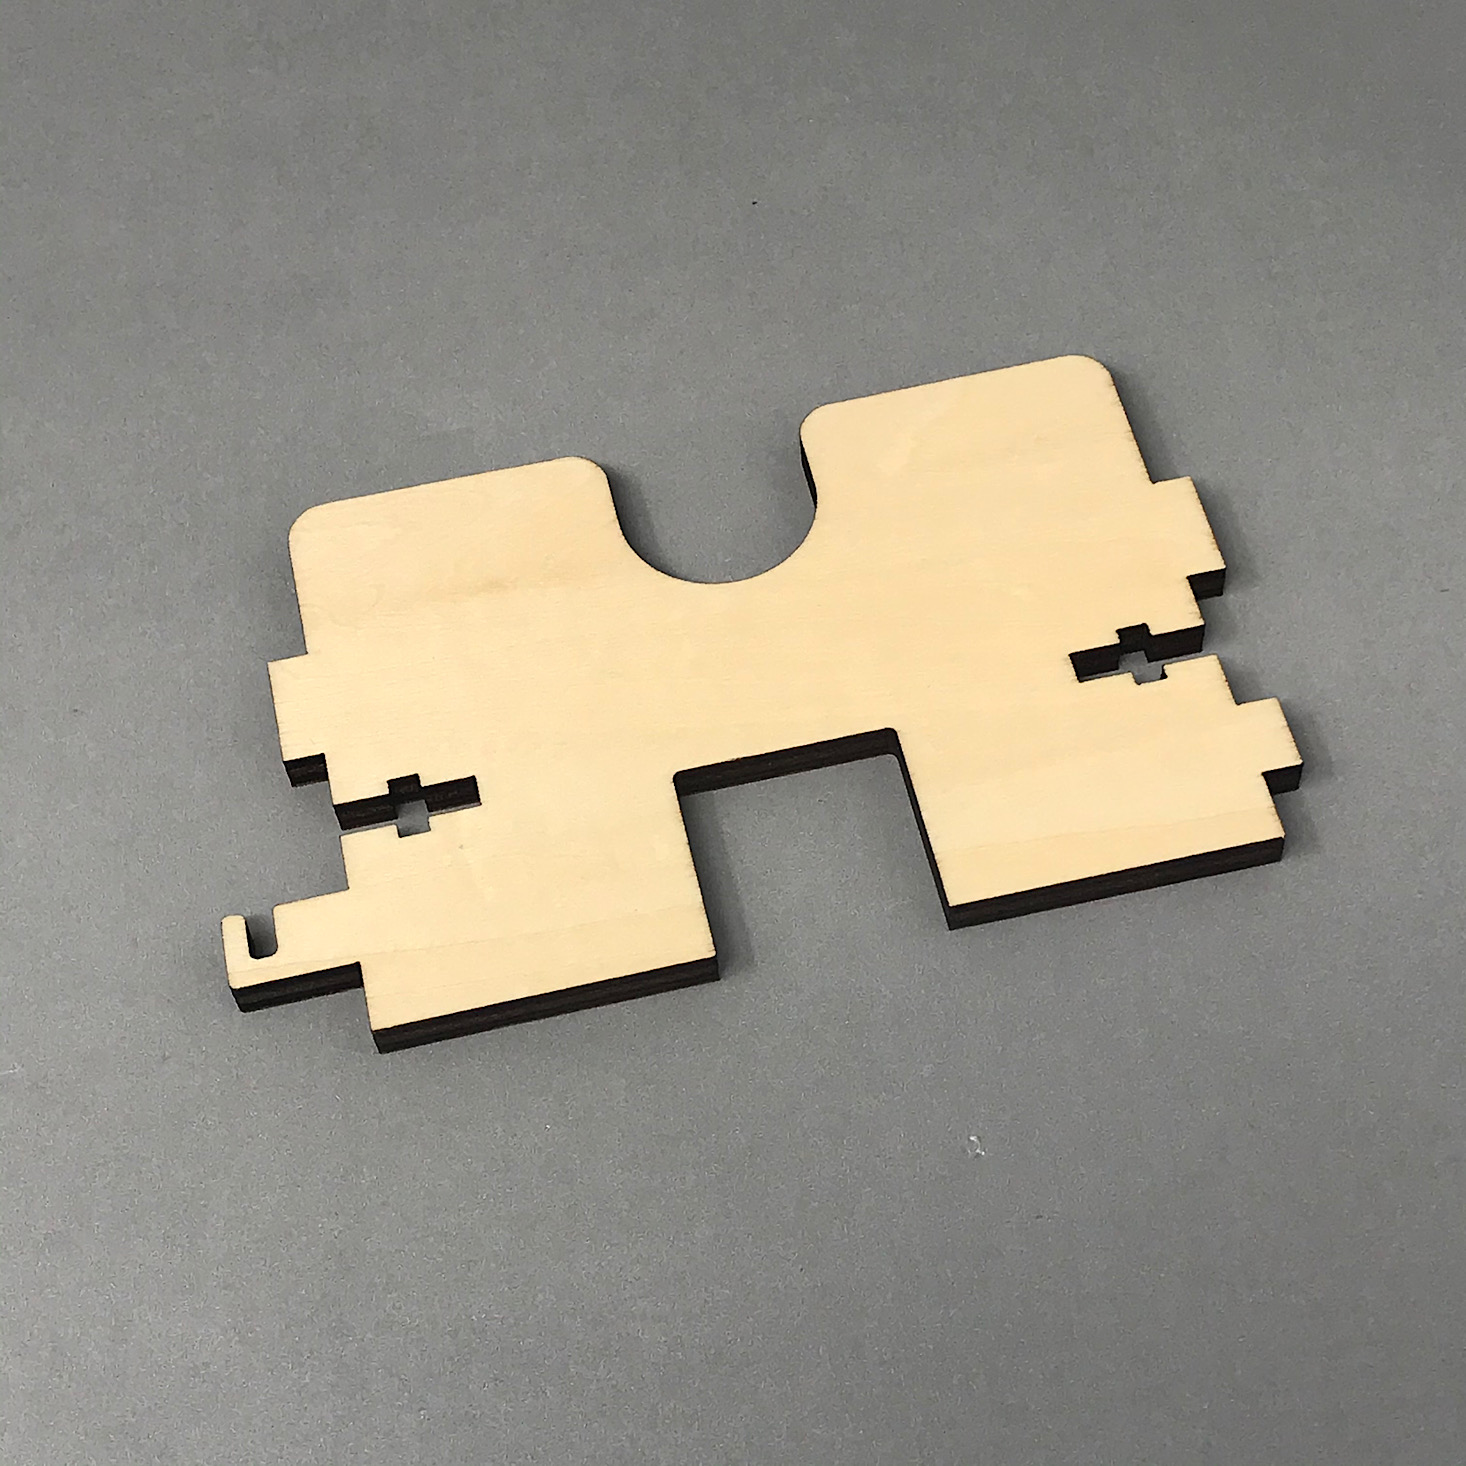
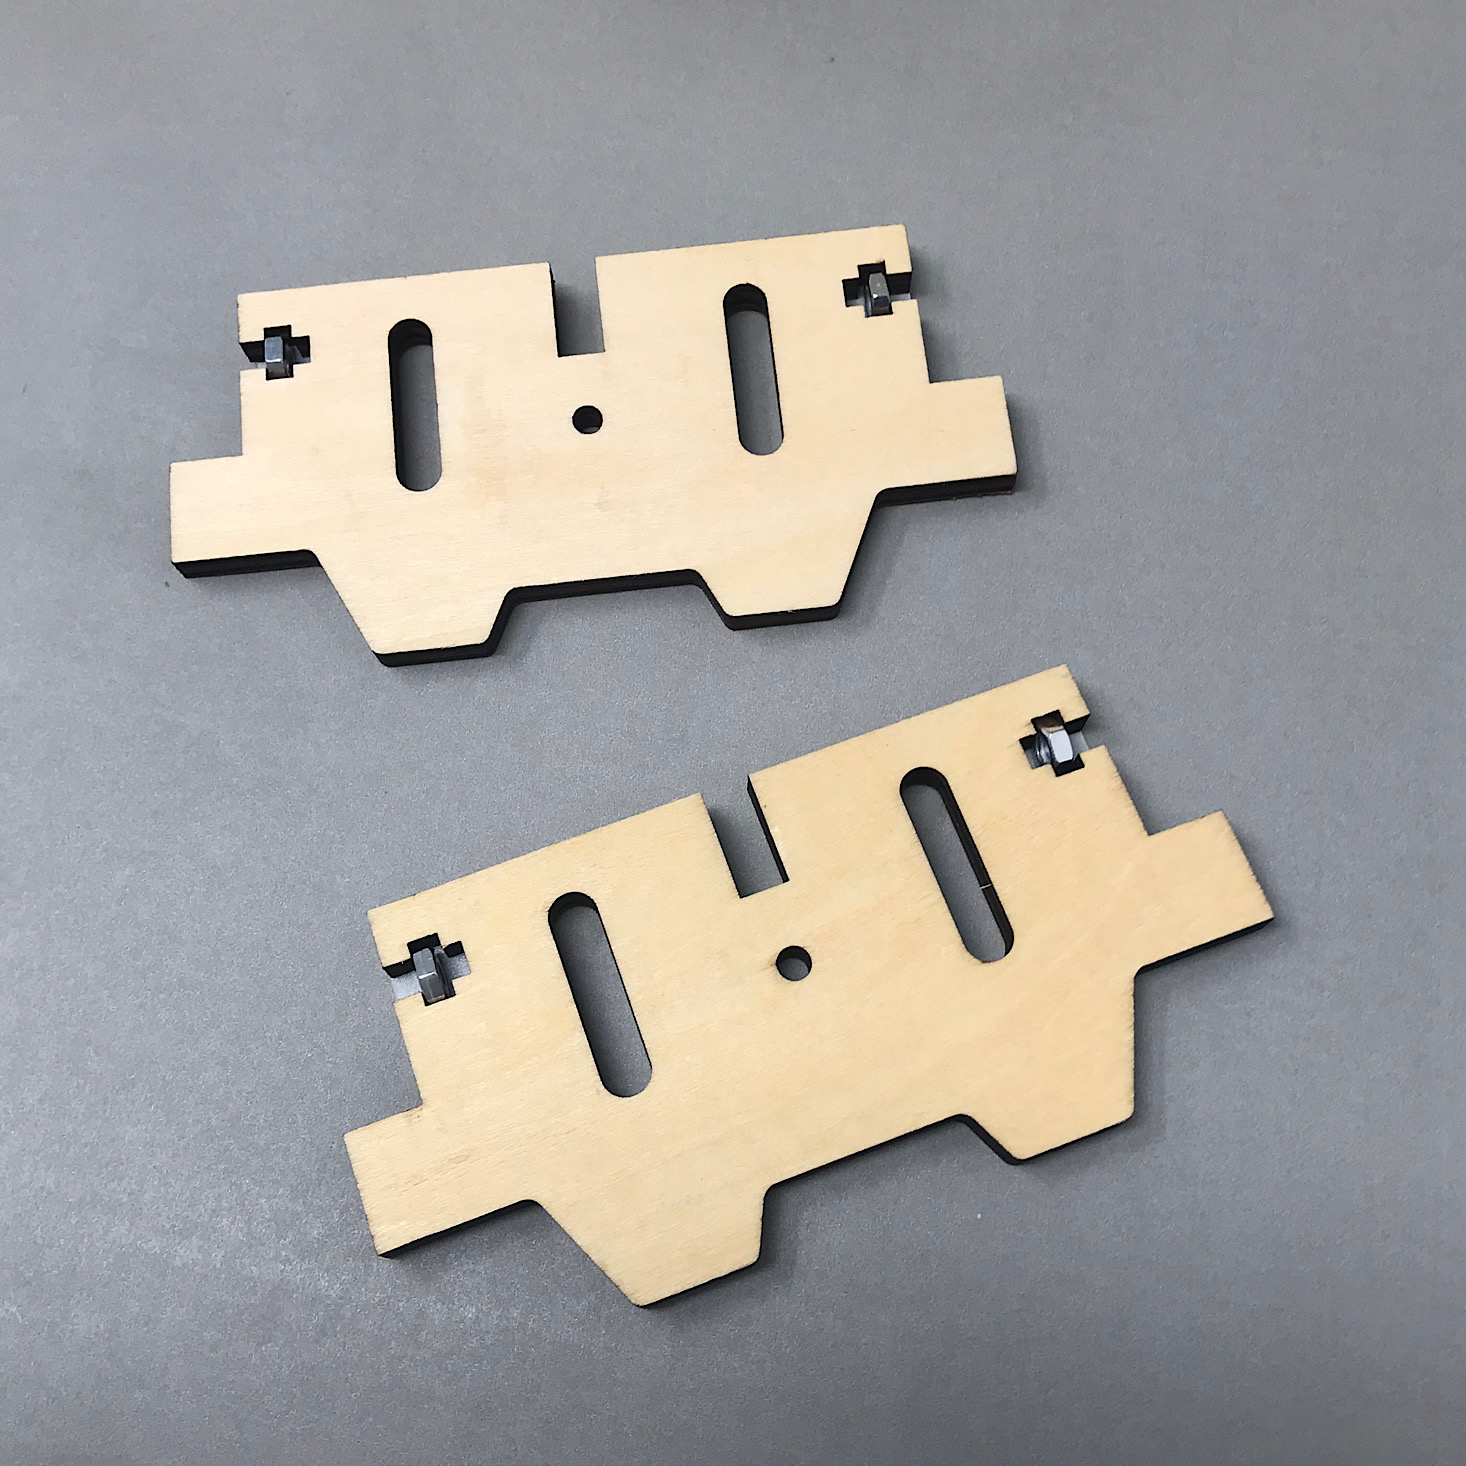
Next, I added foam stickers to two of these wooden squares. I added more nuts to the little slots again making sure to stick them in firmly.
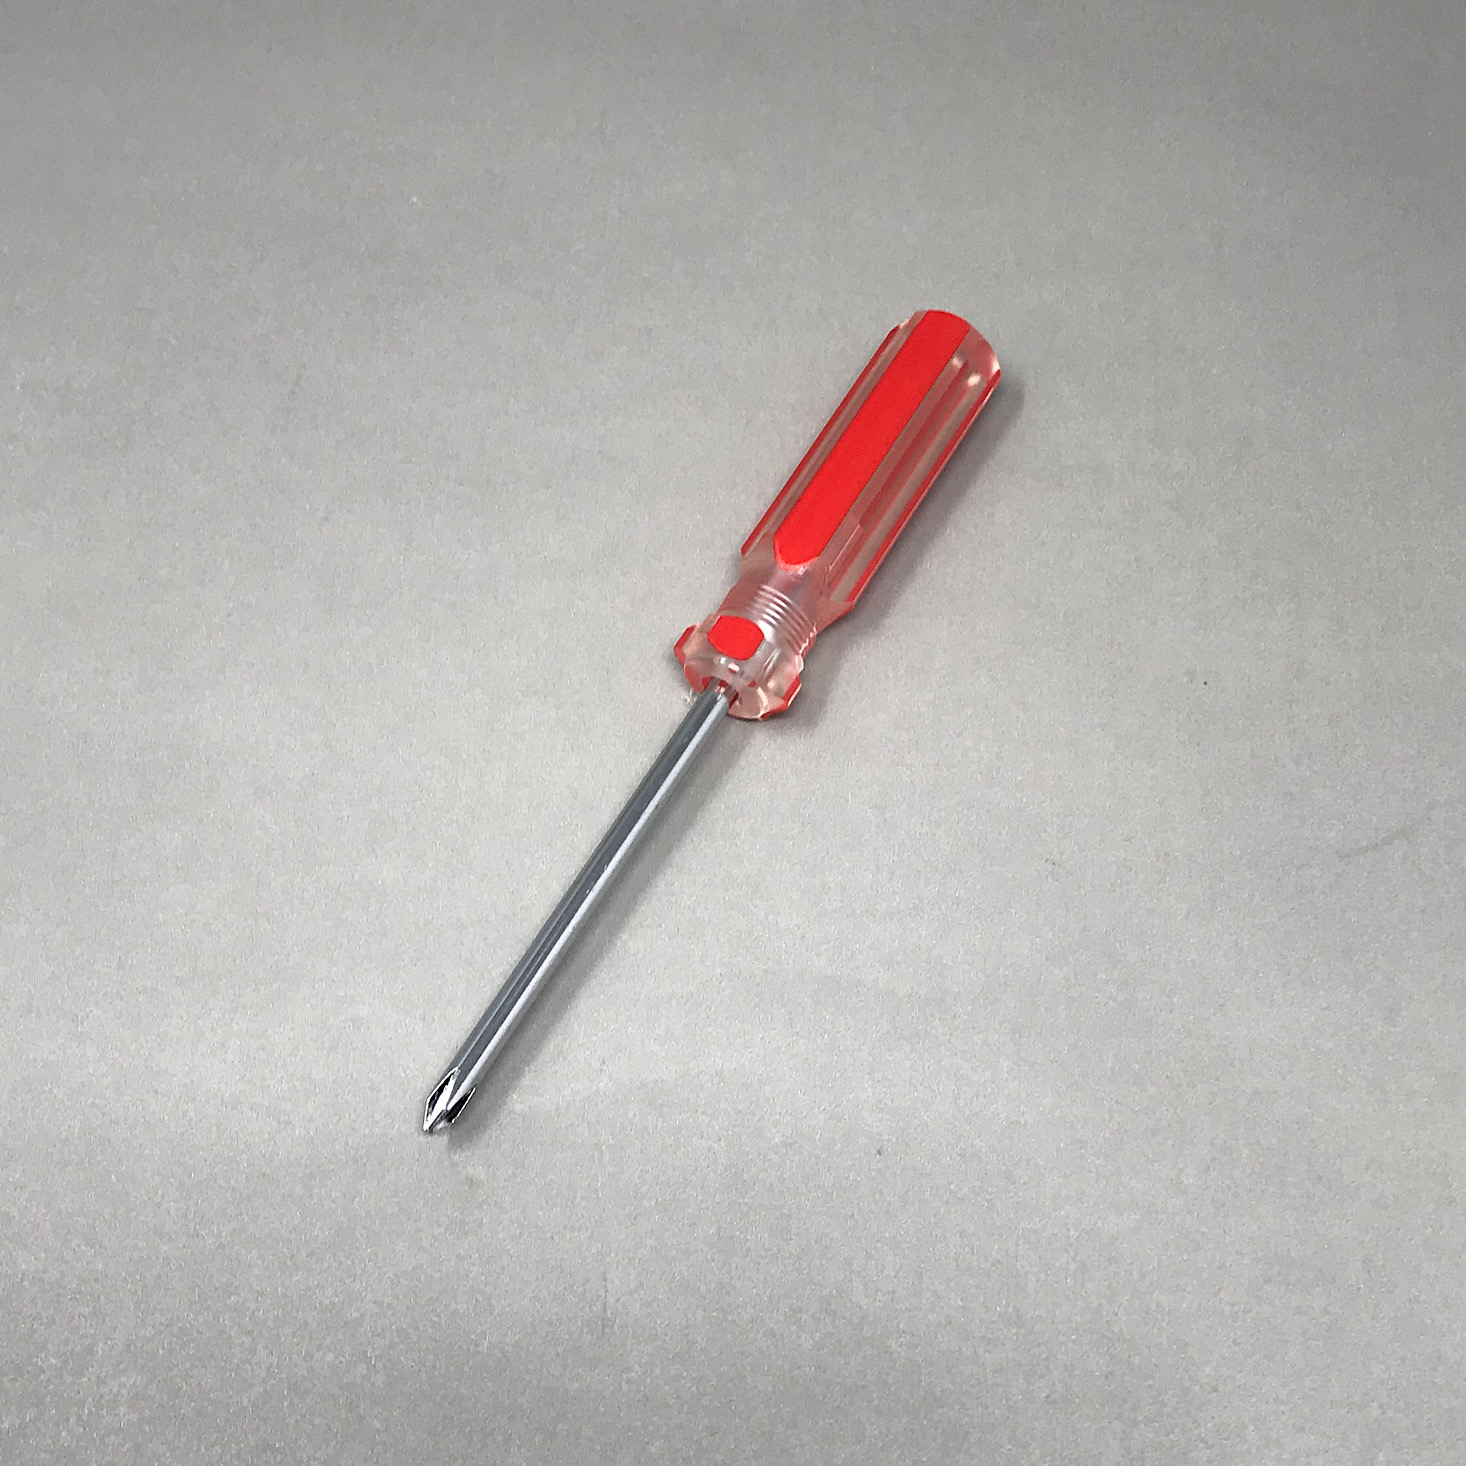
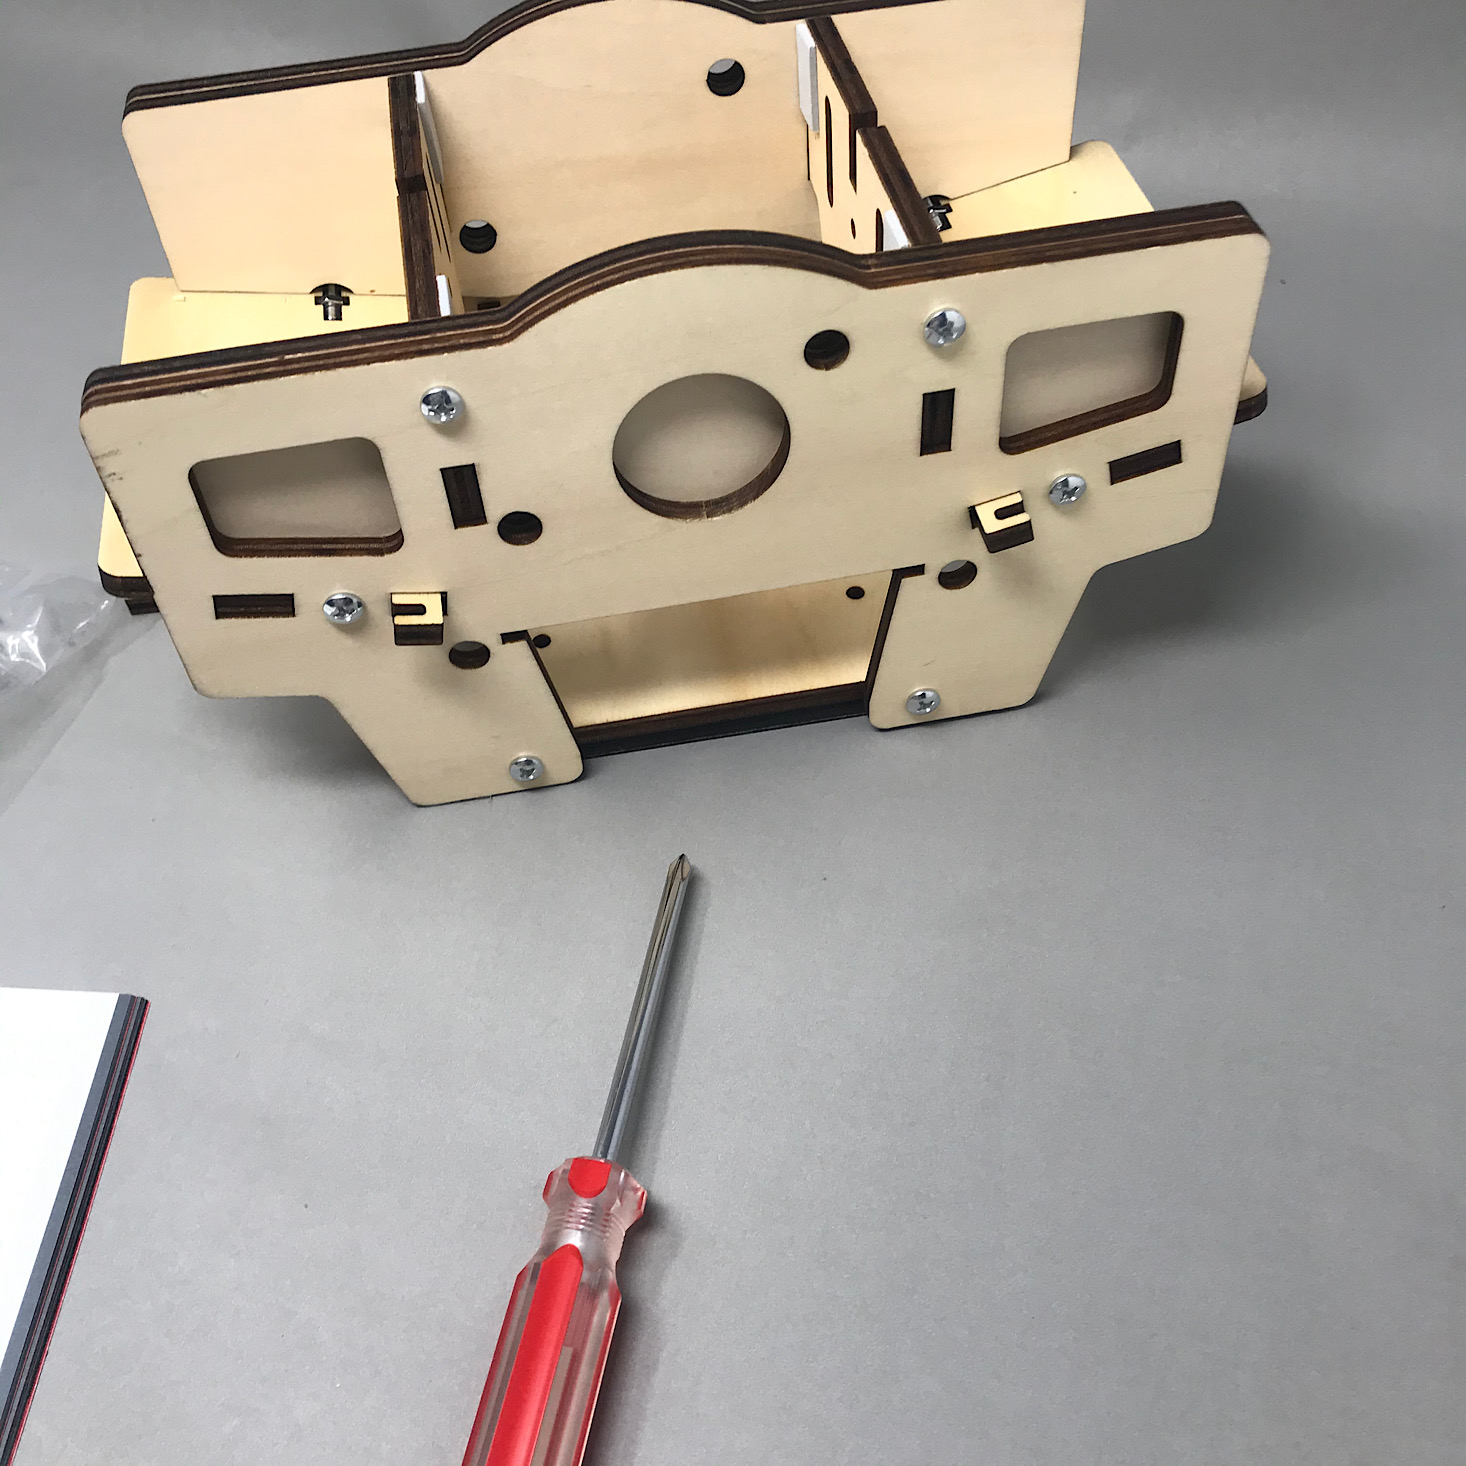
Then I attached both of these squares to the first piece I had prepared. They even provided a small screwdriver for us to use to screw the bolts in.
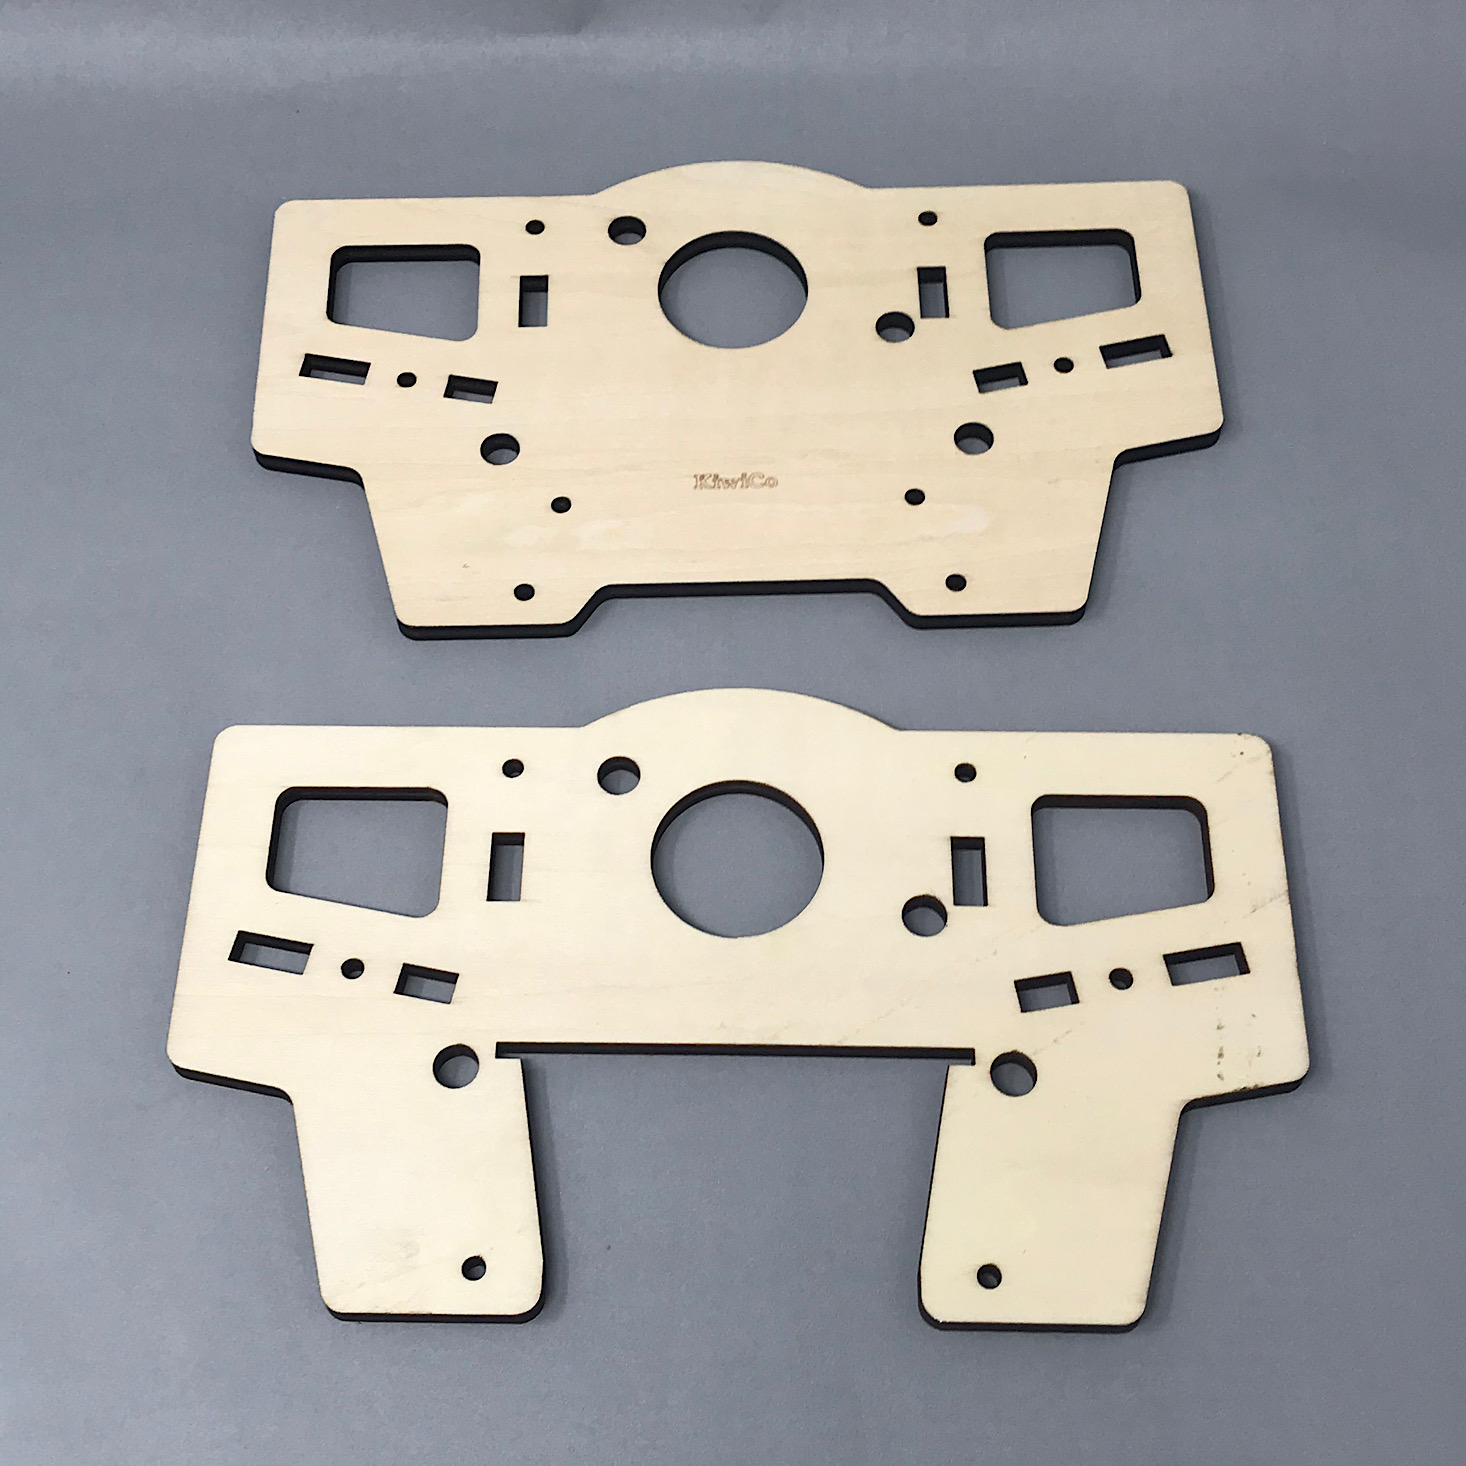
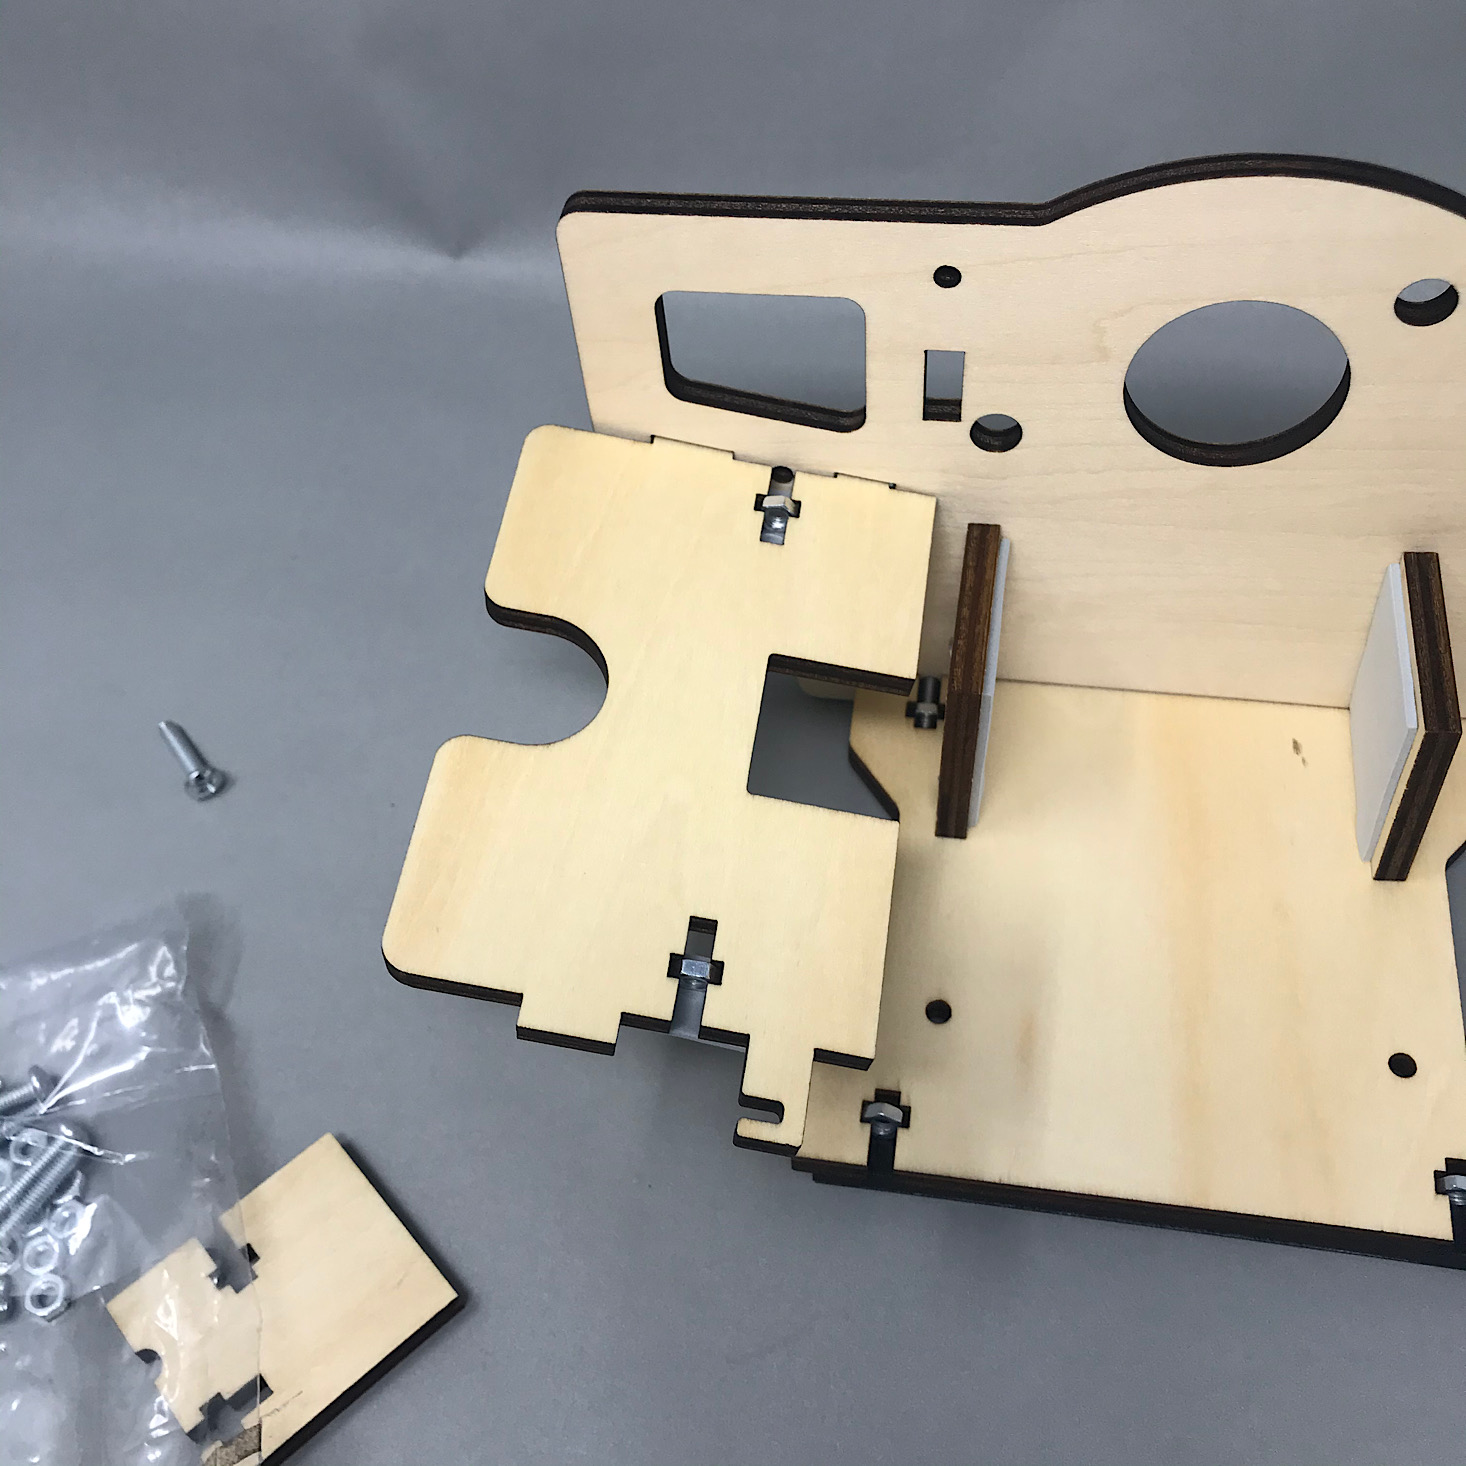
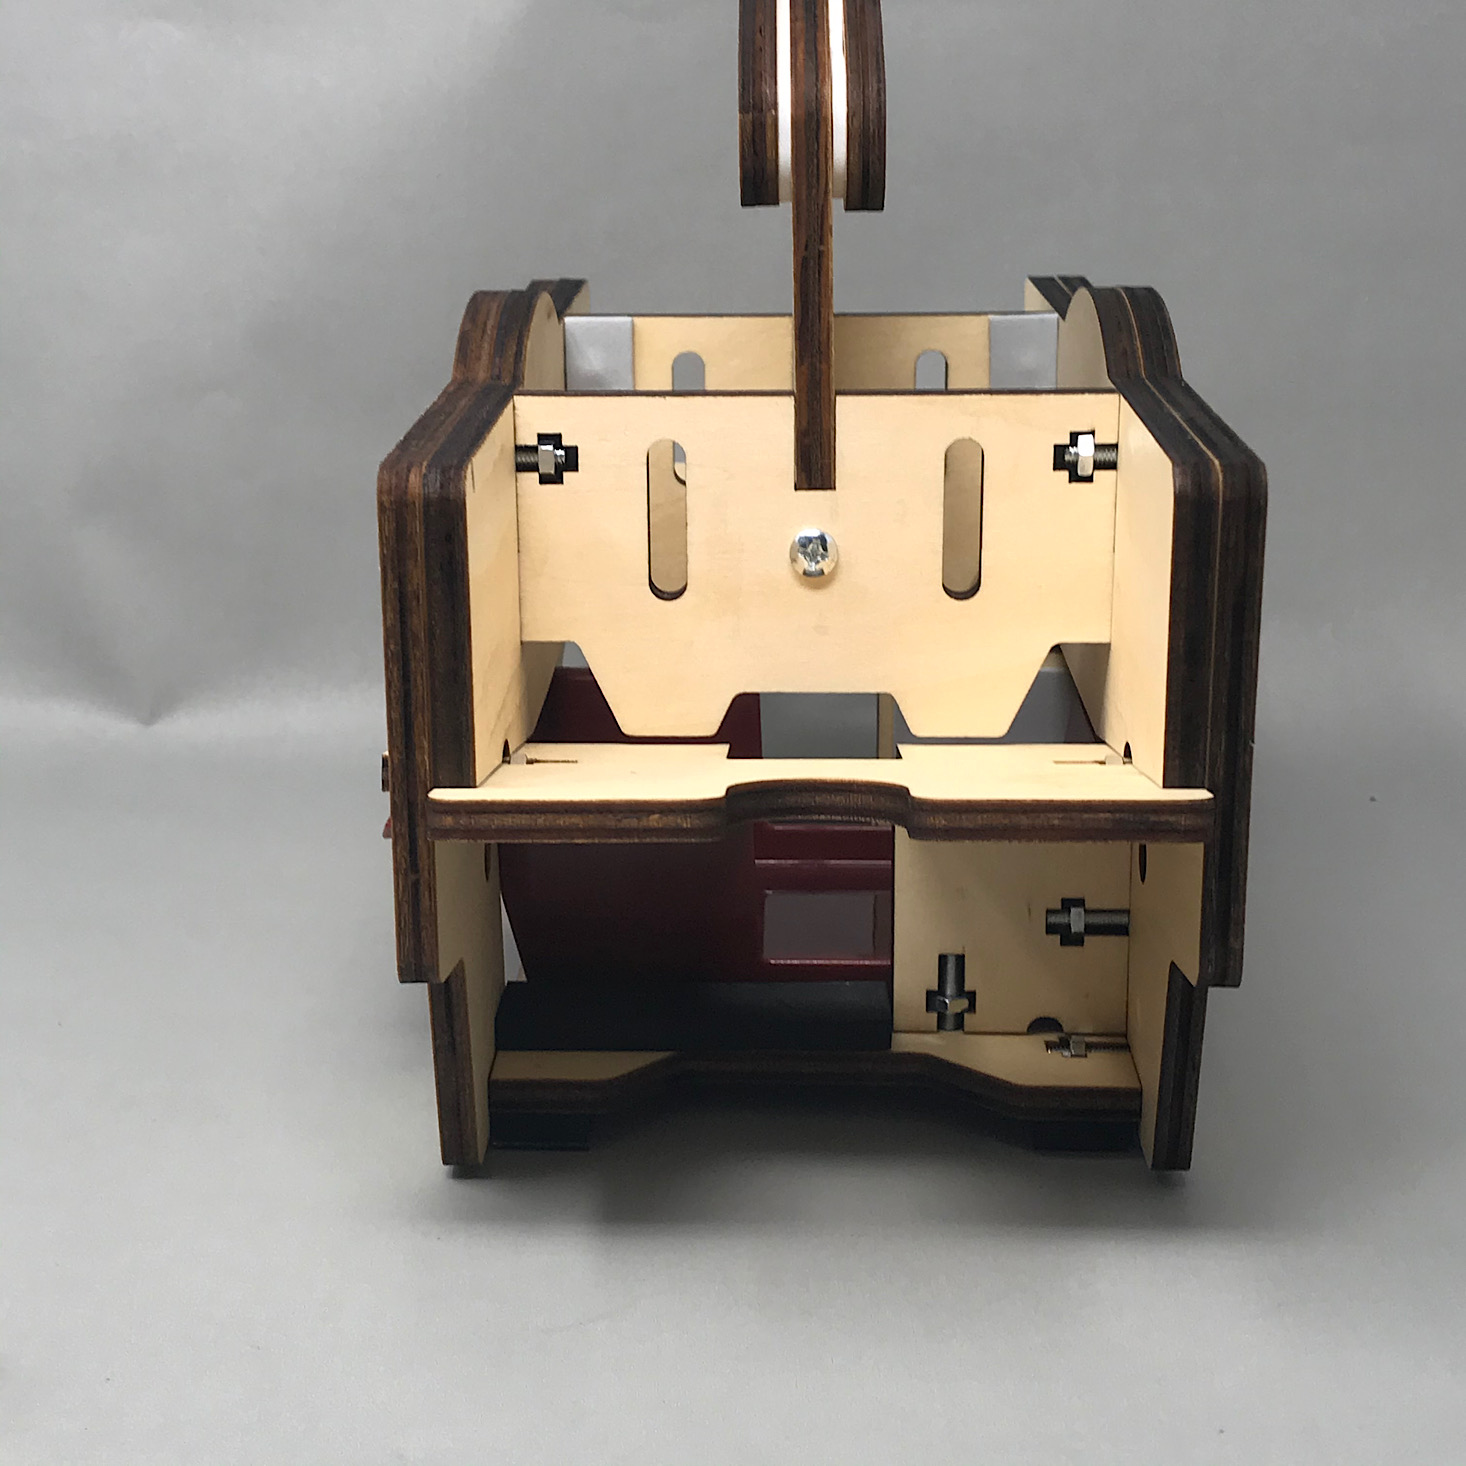
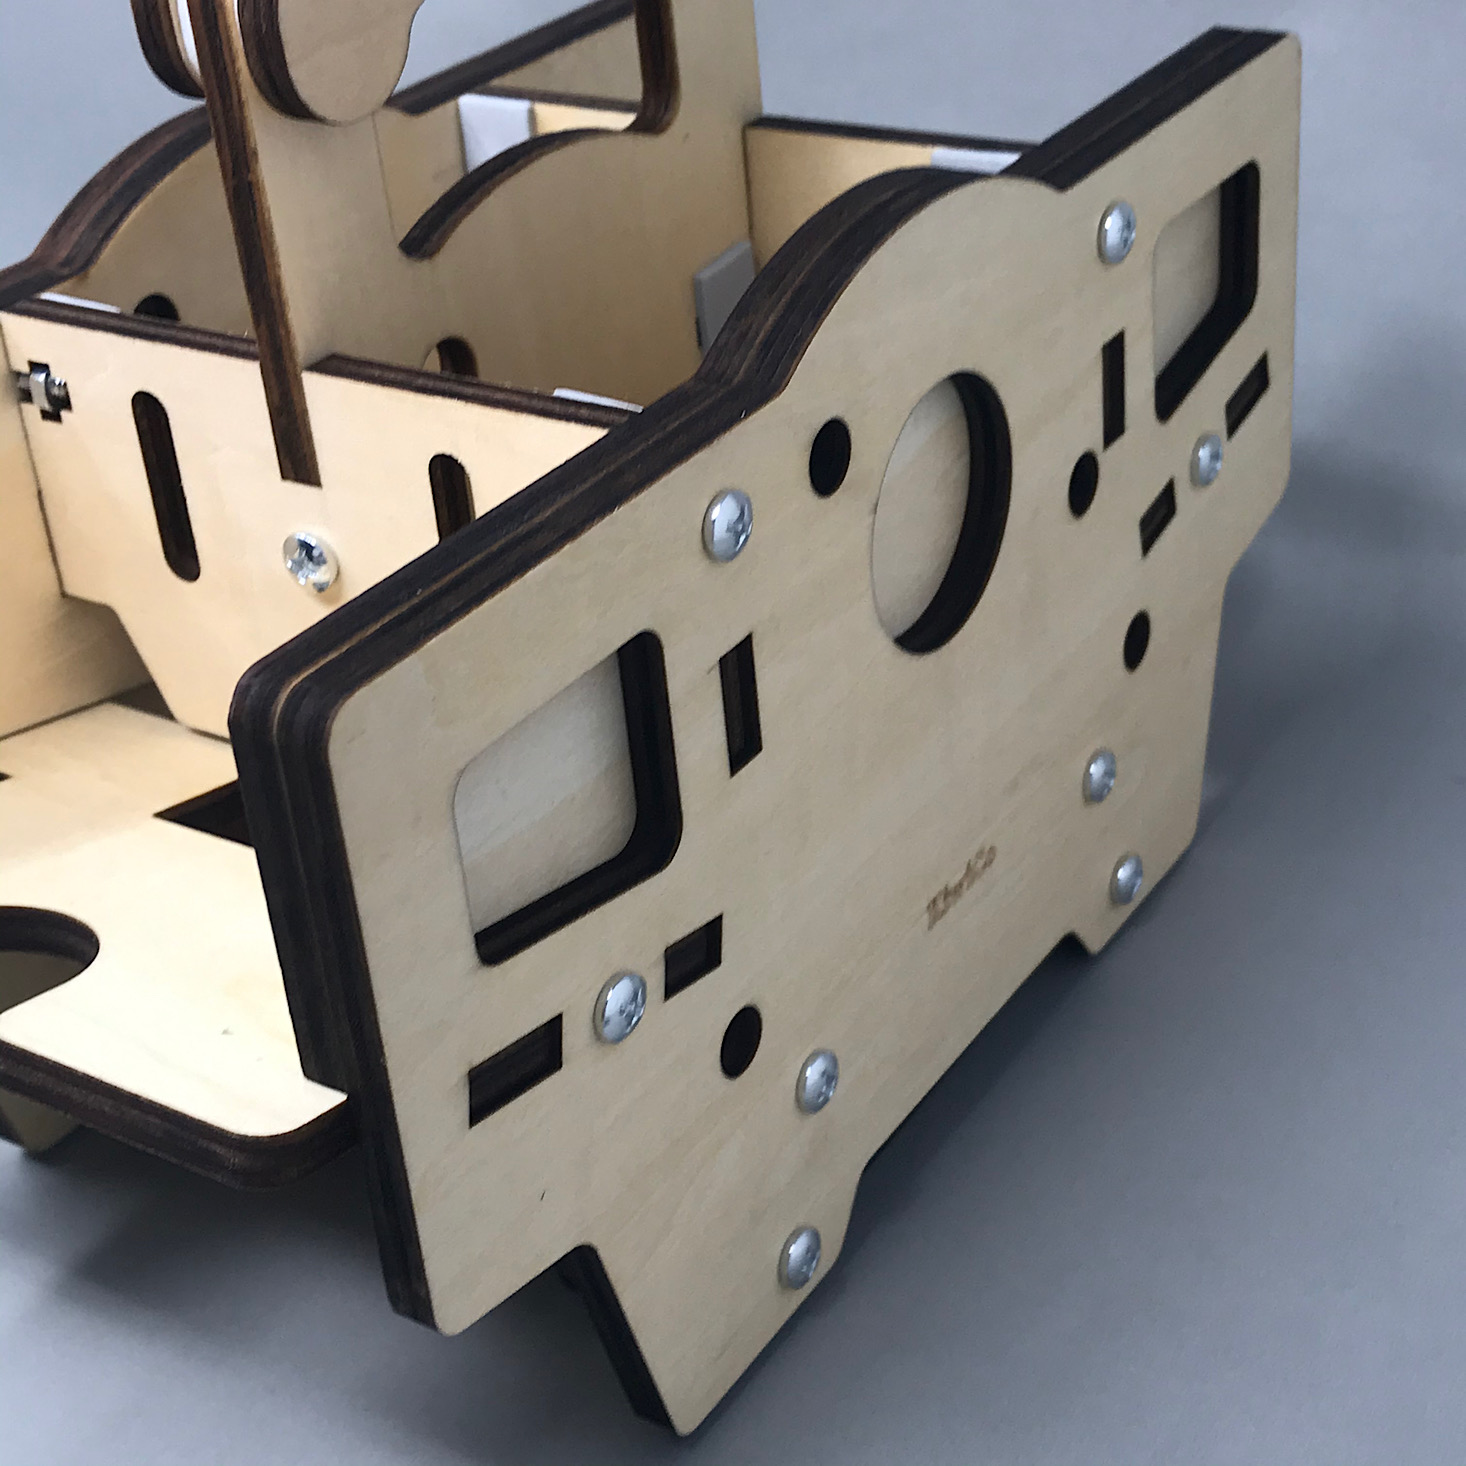
Next, I added this larger piece to the front and screwed it in at all four of the holes that had nuts behind them.
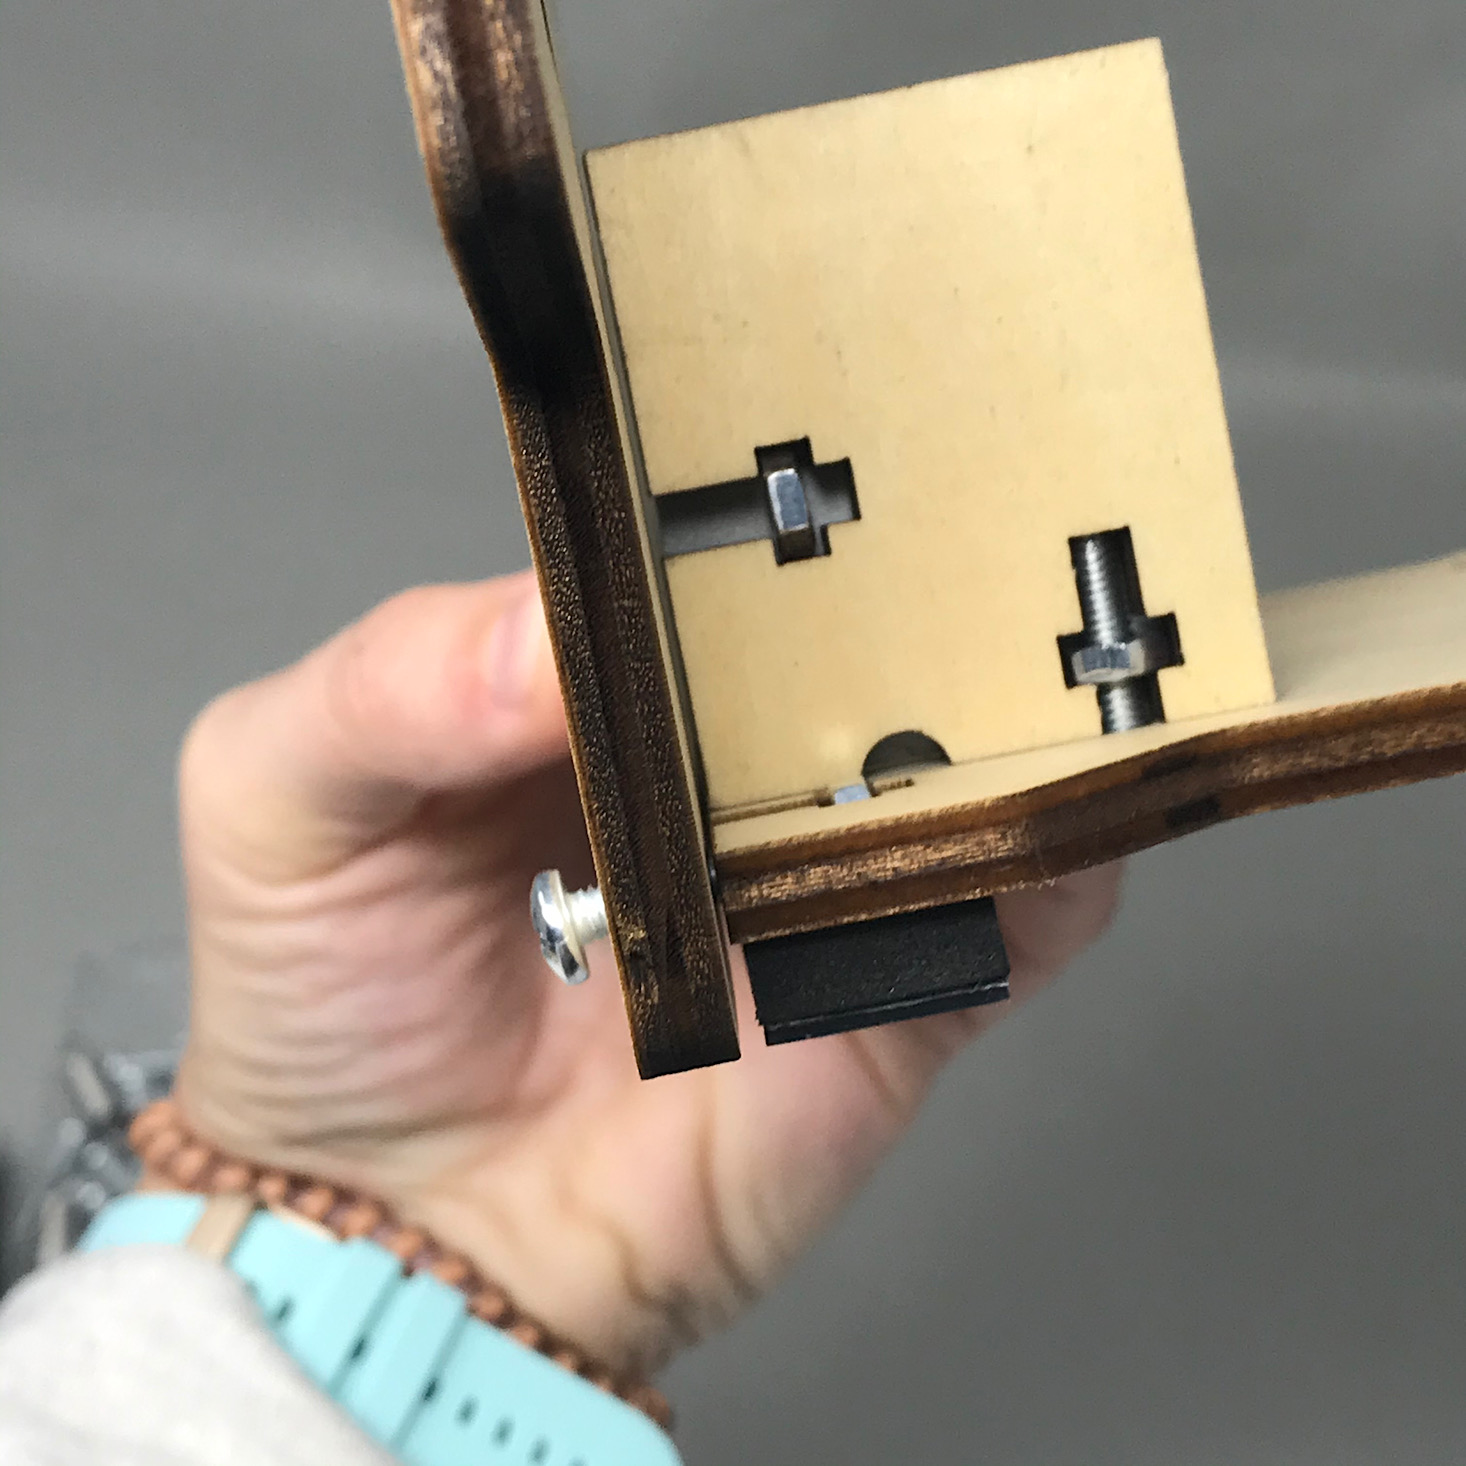
Next, I prepared these two side pieces by adding foam stickers over their holes, flipping them over and inserting nuts into the holes. Then I slid each piece into the front and screwed them in.
I took one of these wooden pieces and lined up the holes with the front piece and then just set it behind it resting on the base.
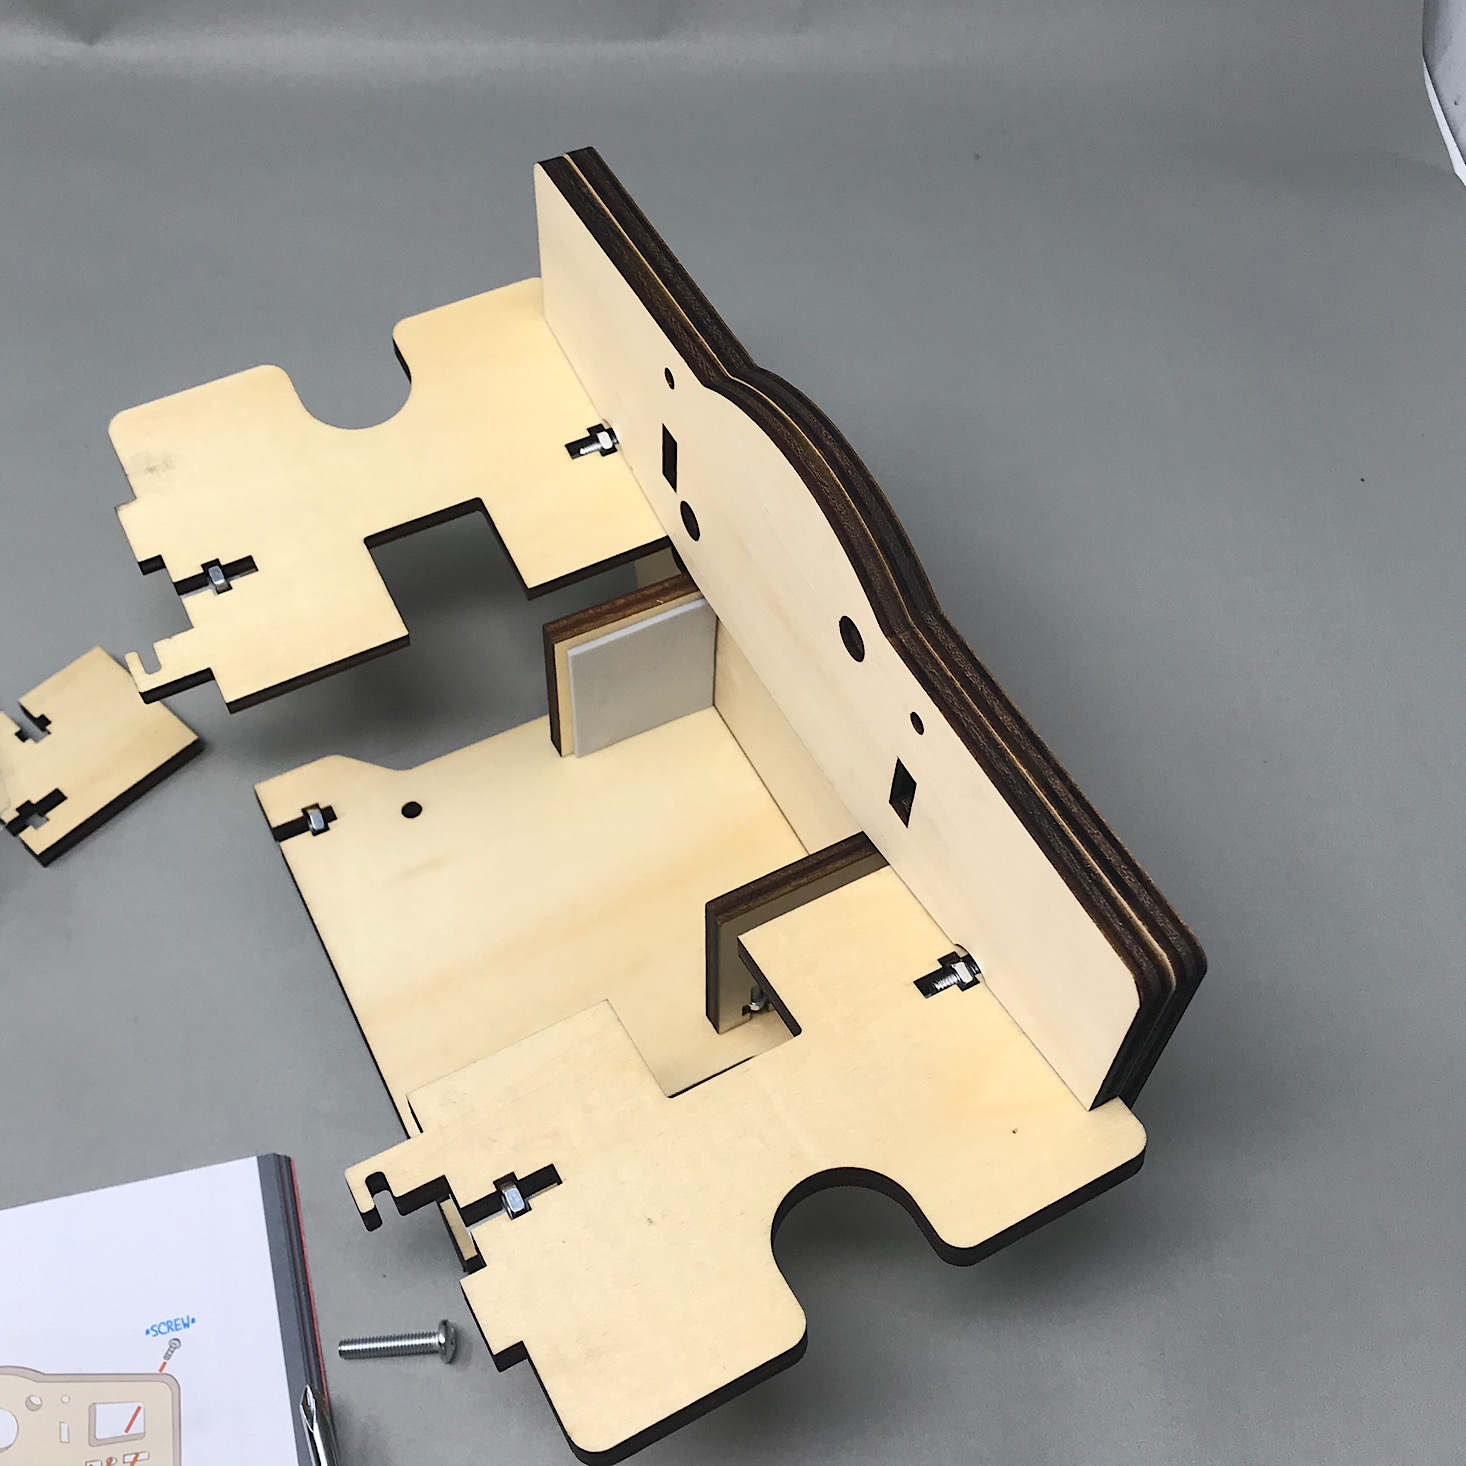
I then prepared these next two wooden pieces following the same pattern of adding foam stickers over the holes, flipping them over and inserting nuts. Then I slid these two pieces into place and screwed them in to hold them in place.
Next, I added the other wooden piece making sure to line up the holes and then added the back piece behind that. Then I screwed the bolts in to hold them all into place and our frame was ready.
Part B: Add the Tray and Handle
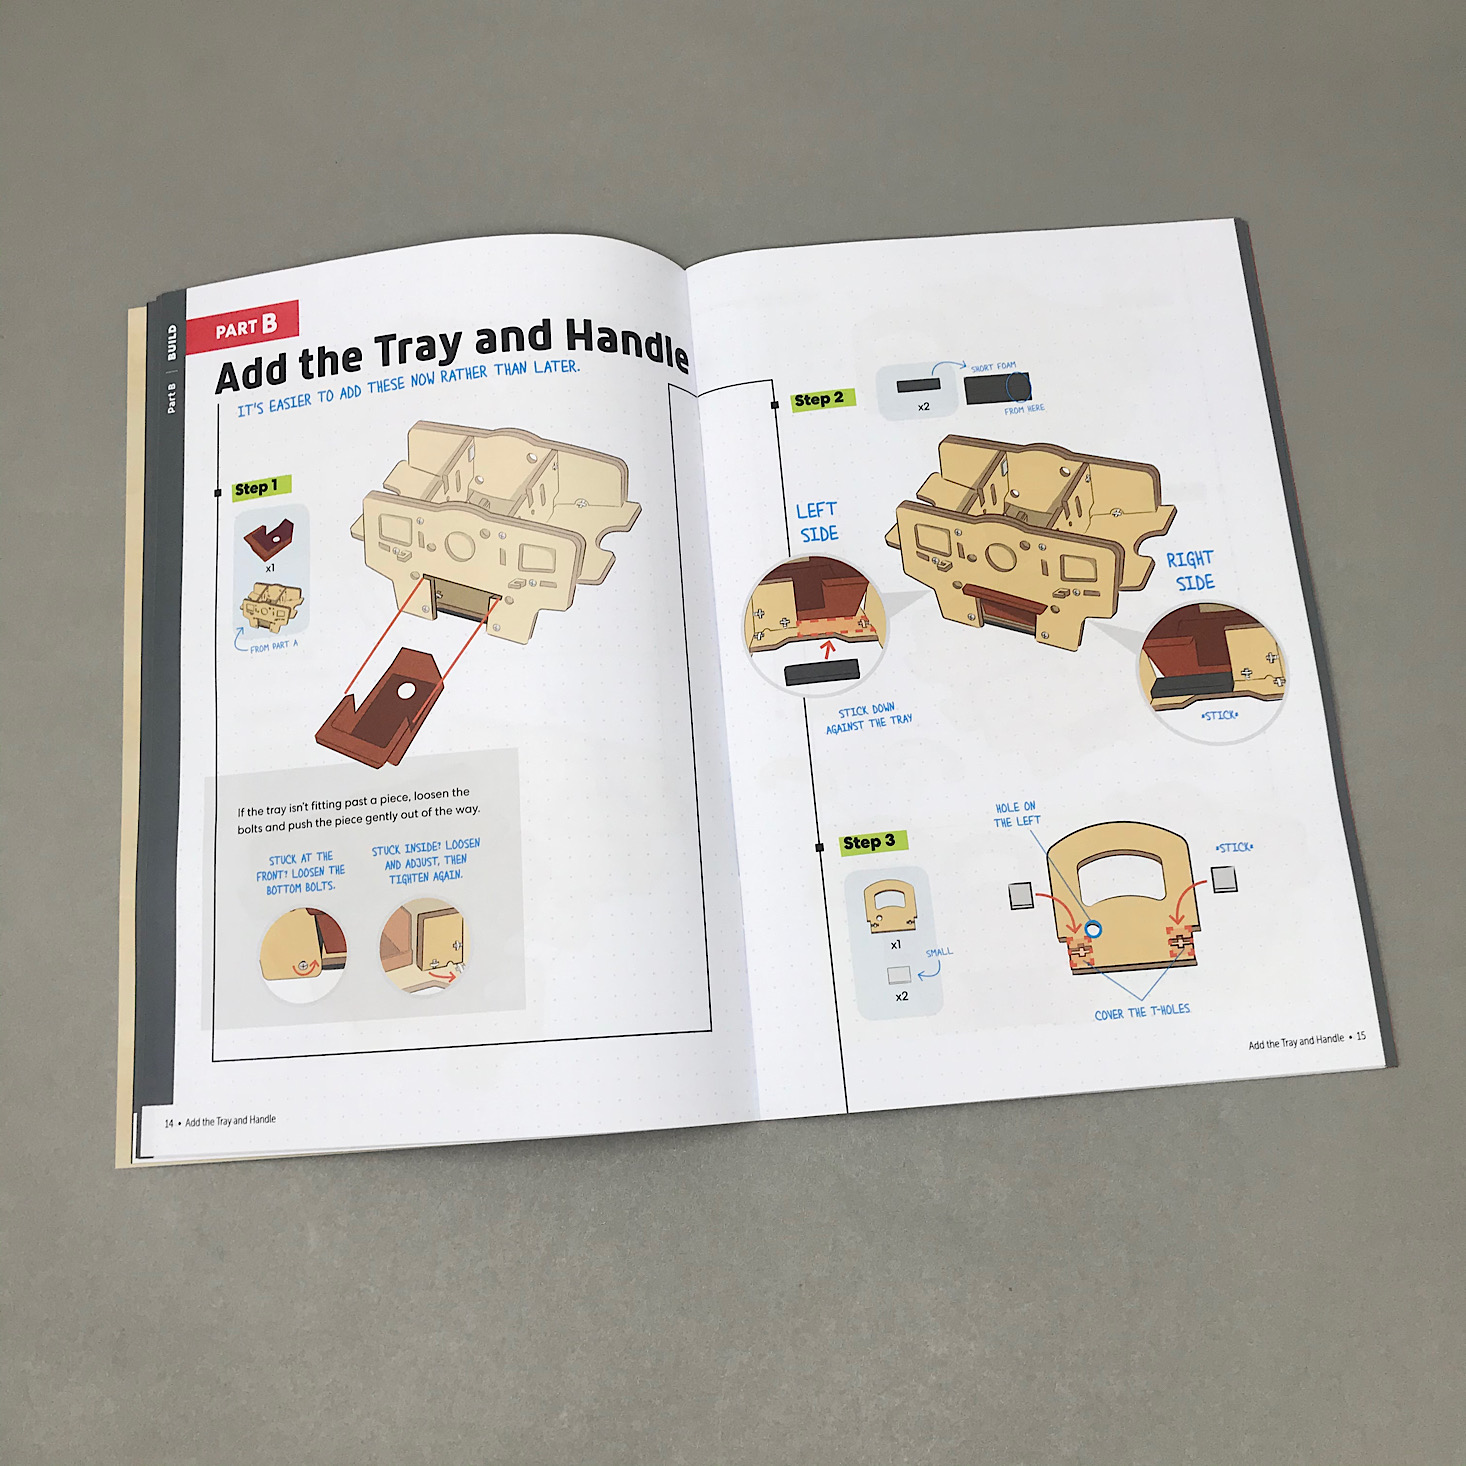
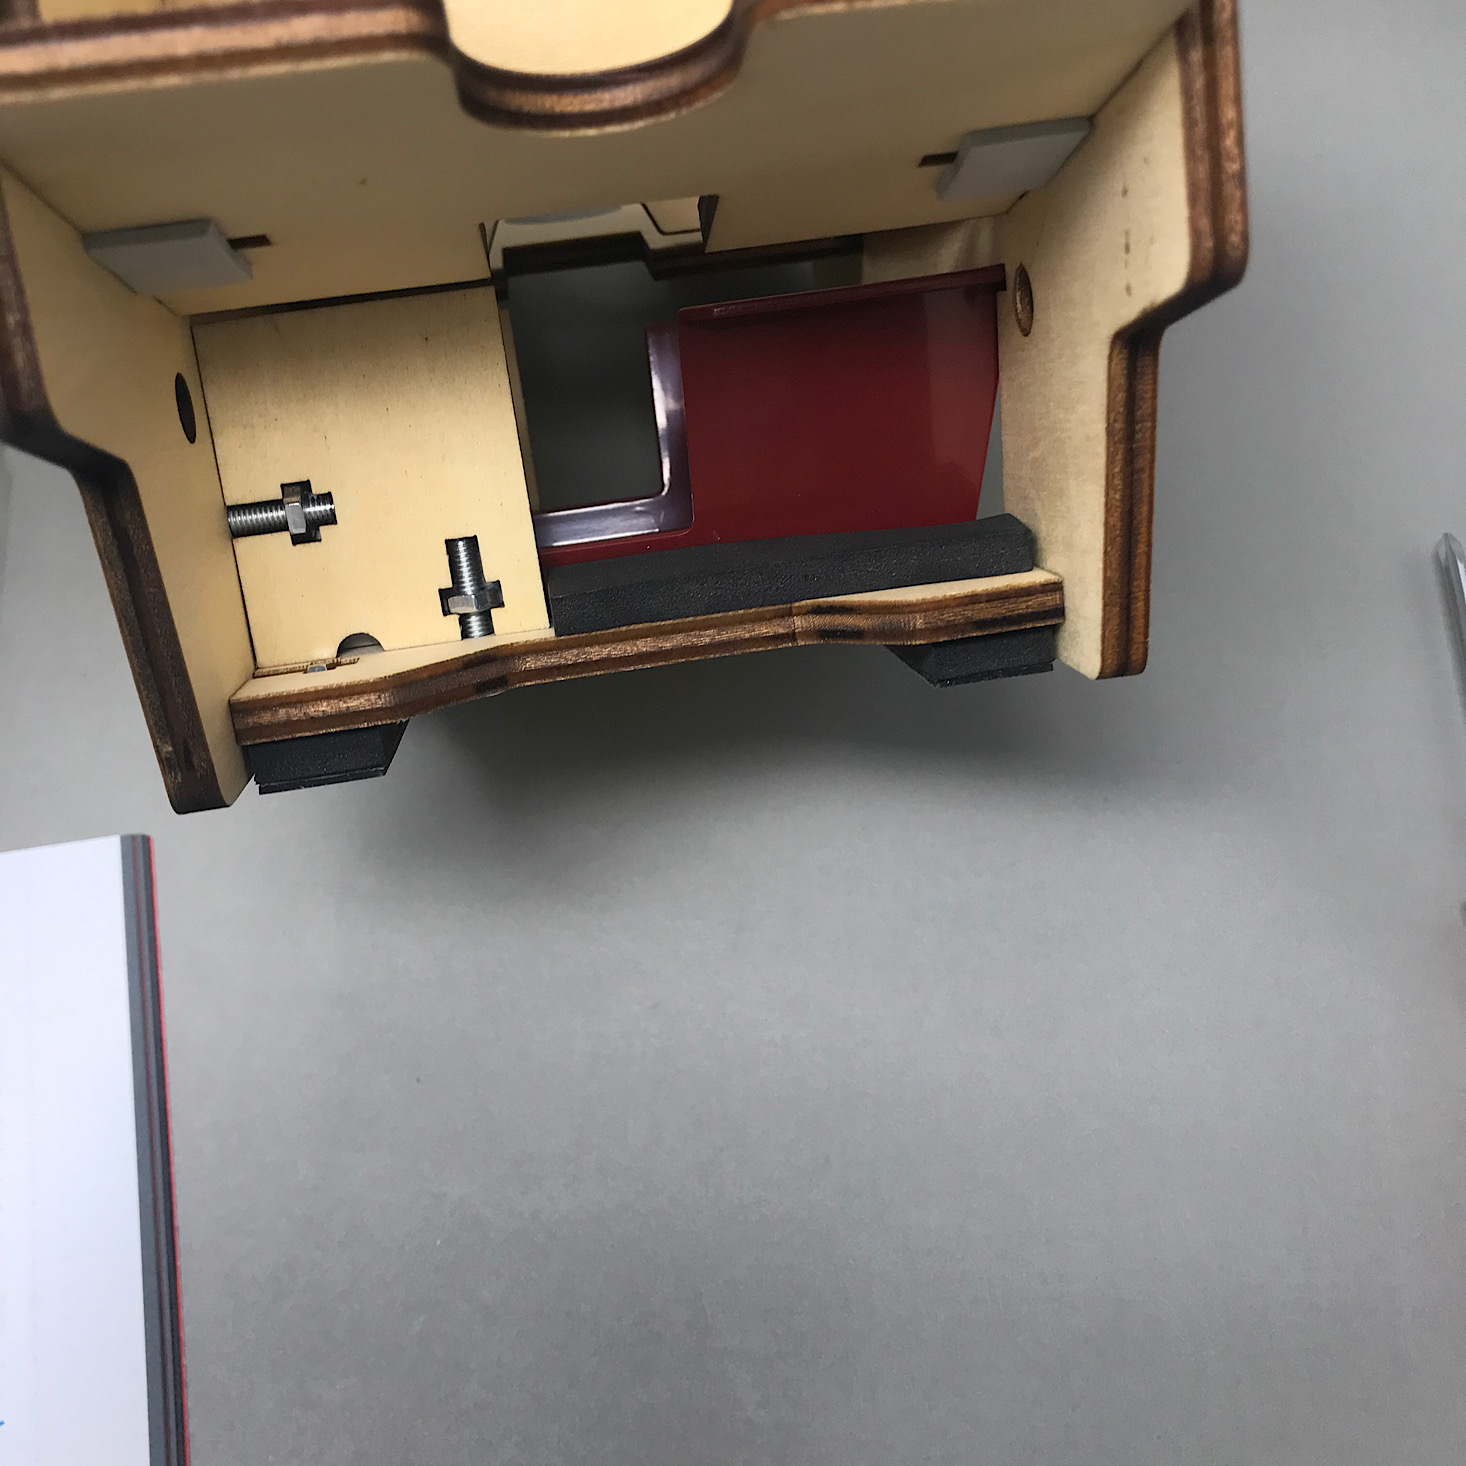
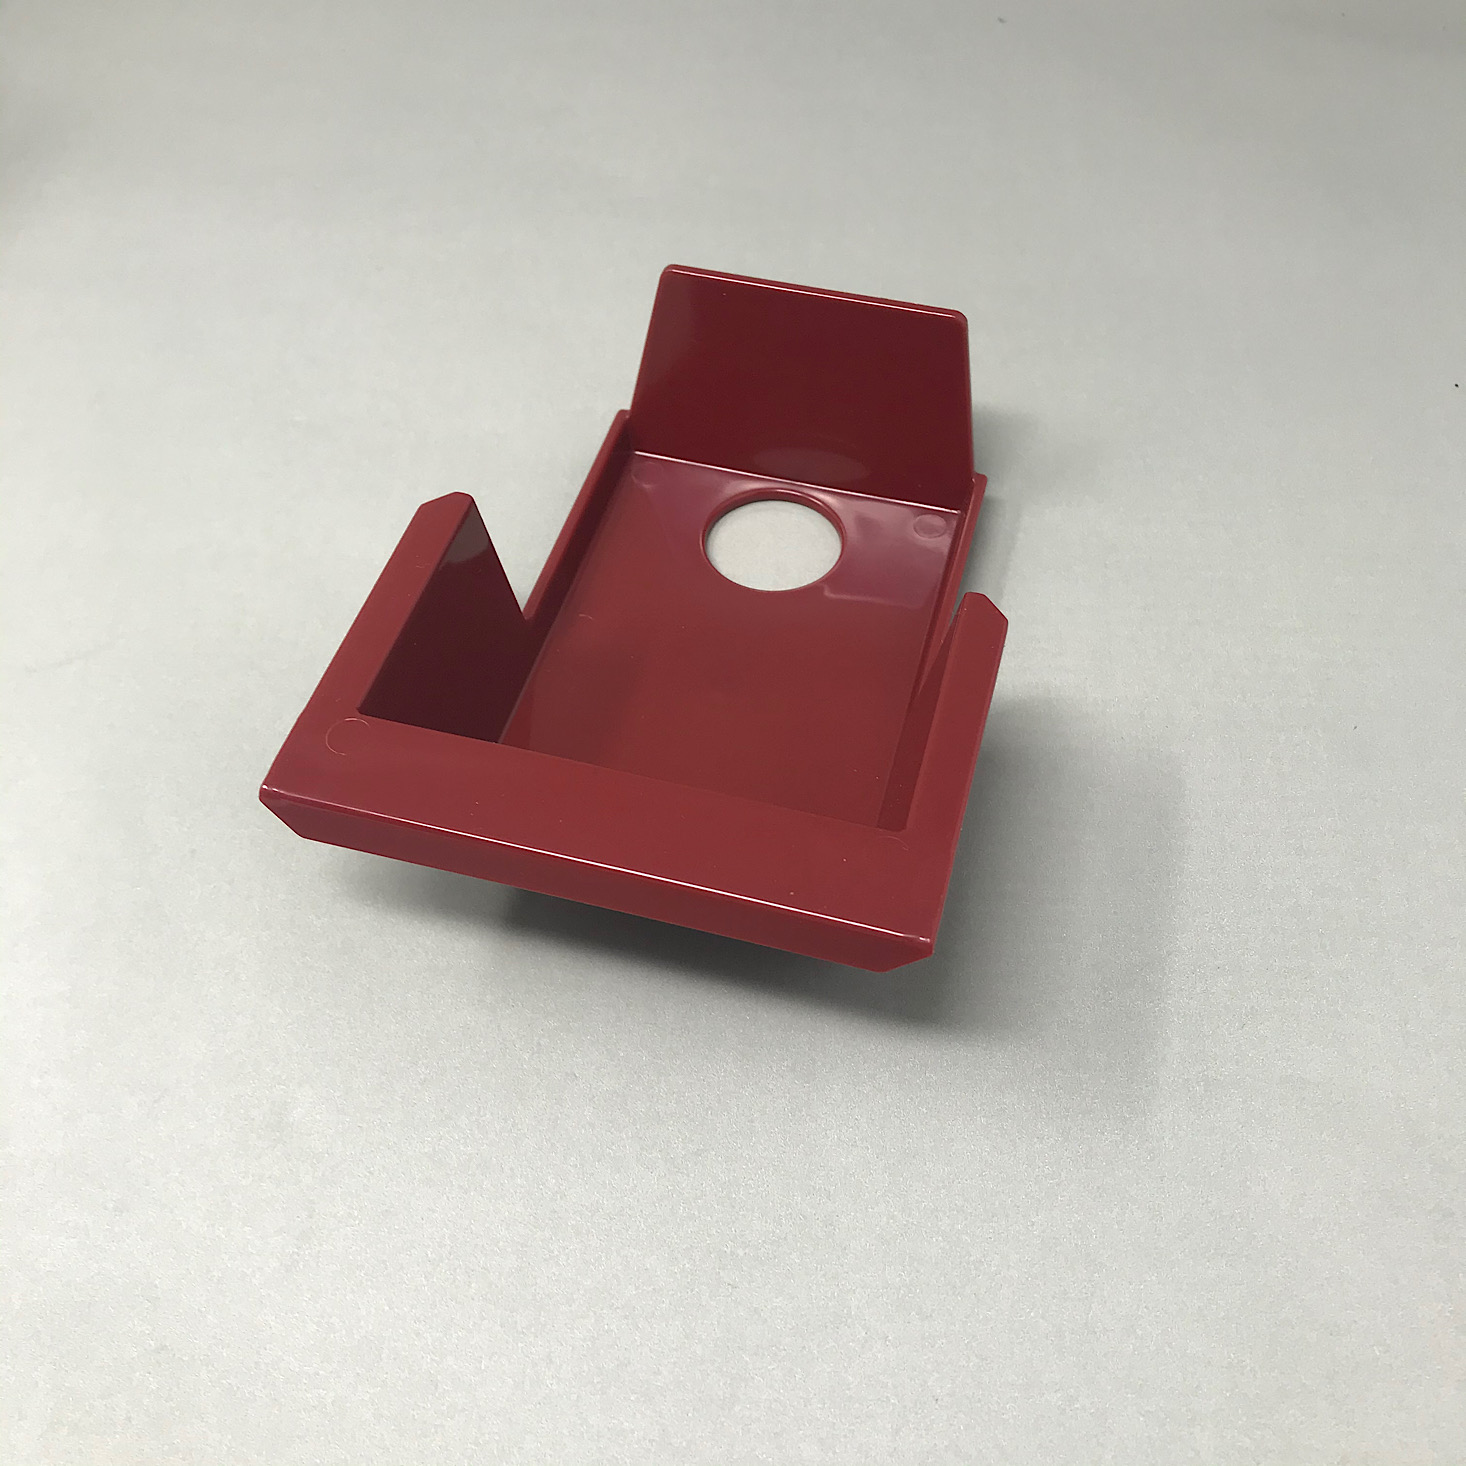
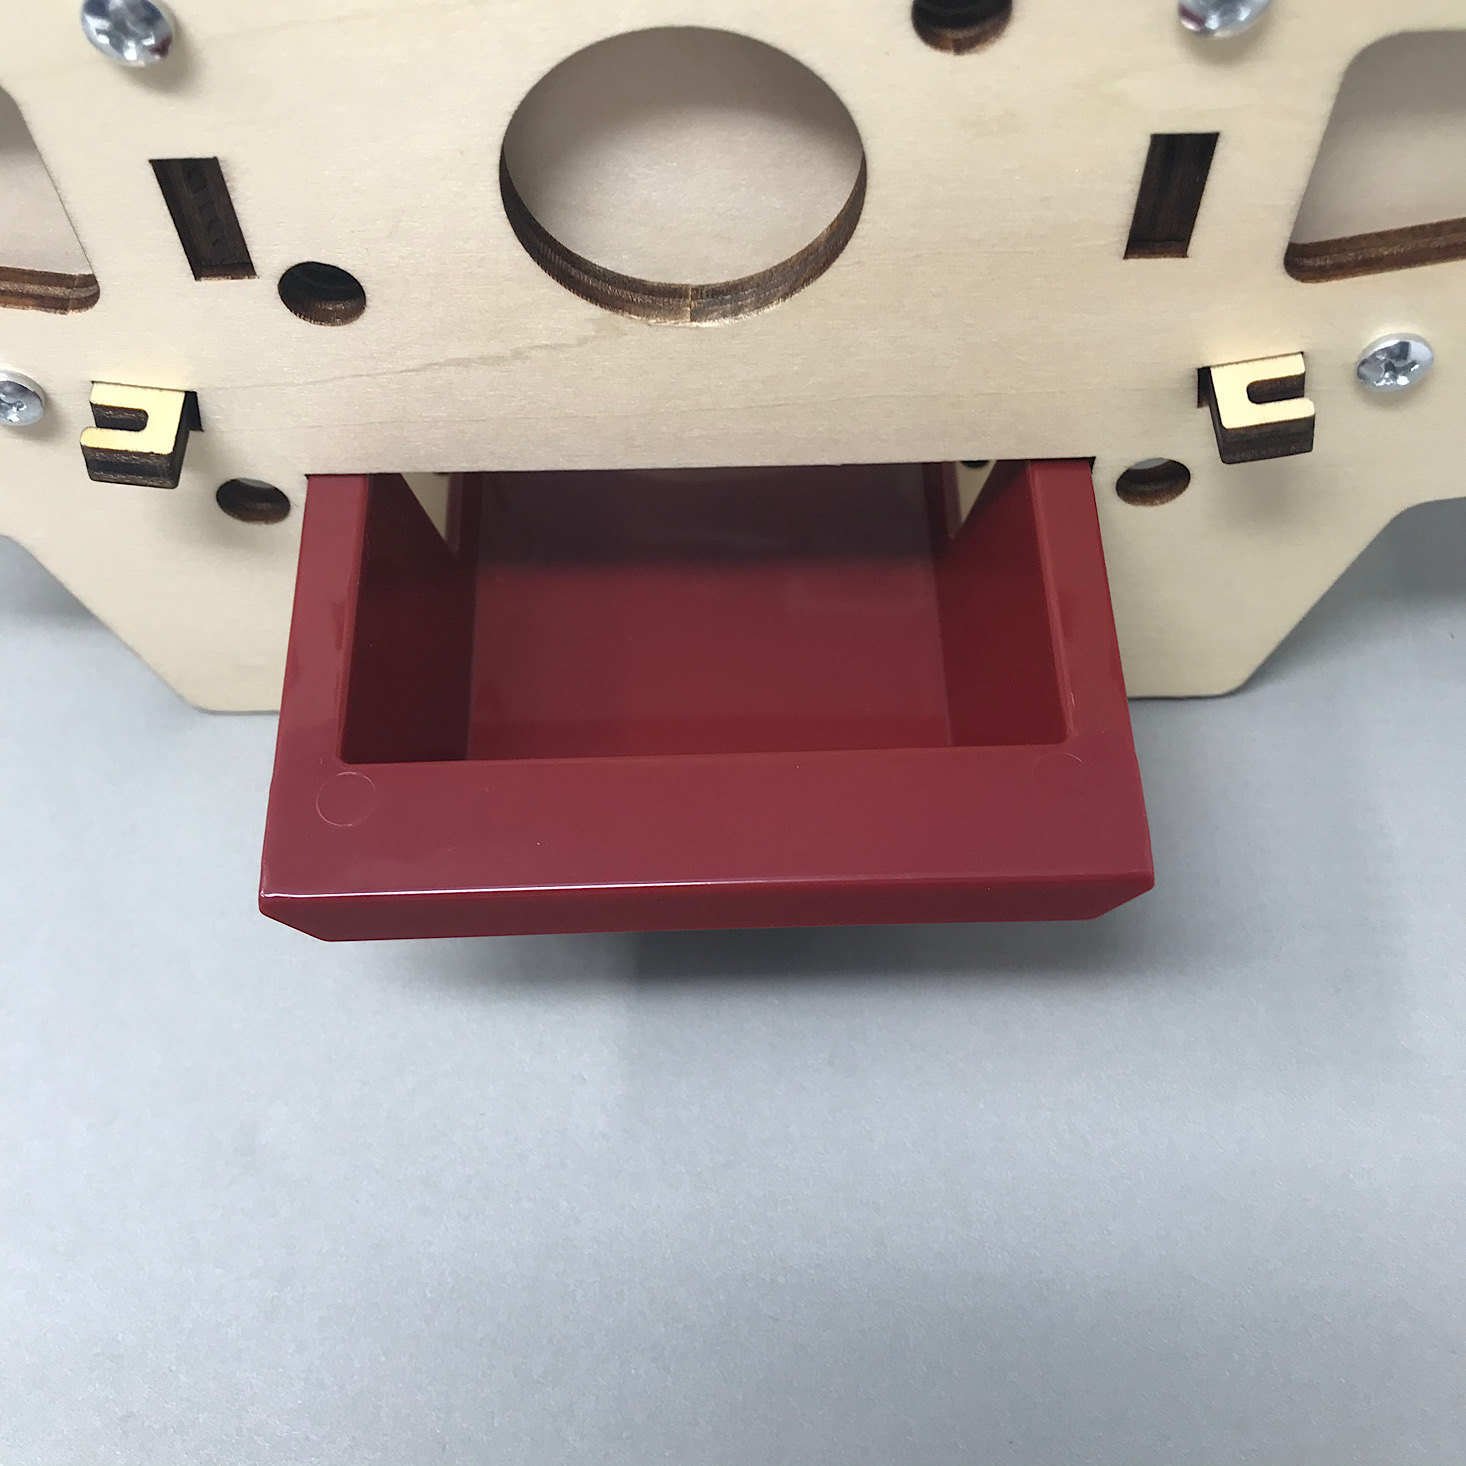
Next, I added this red tray to our machine. It simply slid into place using the grooves in our machine and then I added little foam strips beside it on either side inside the machine.
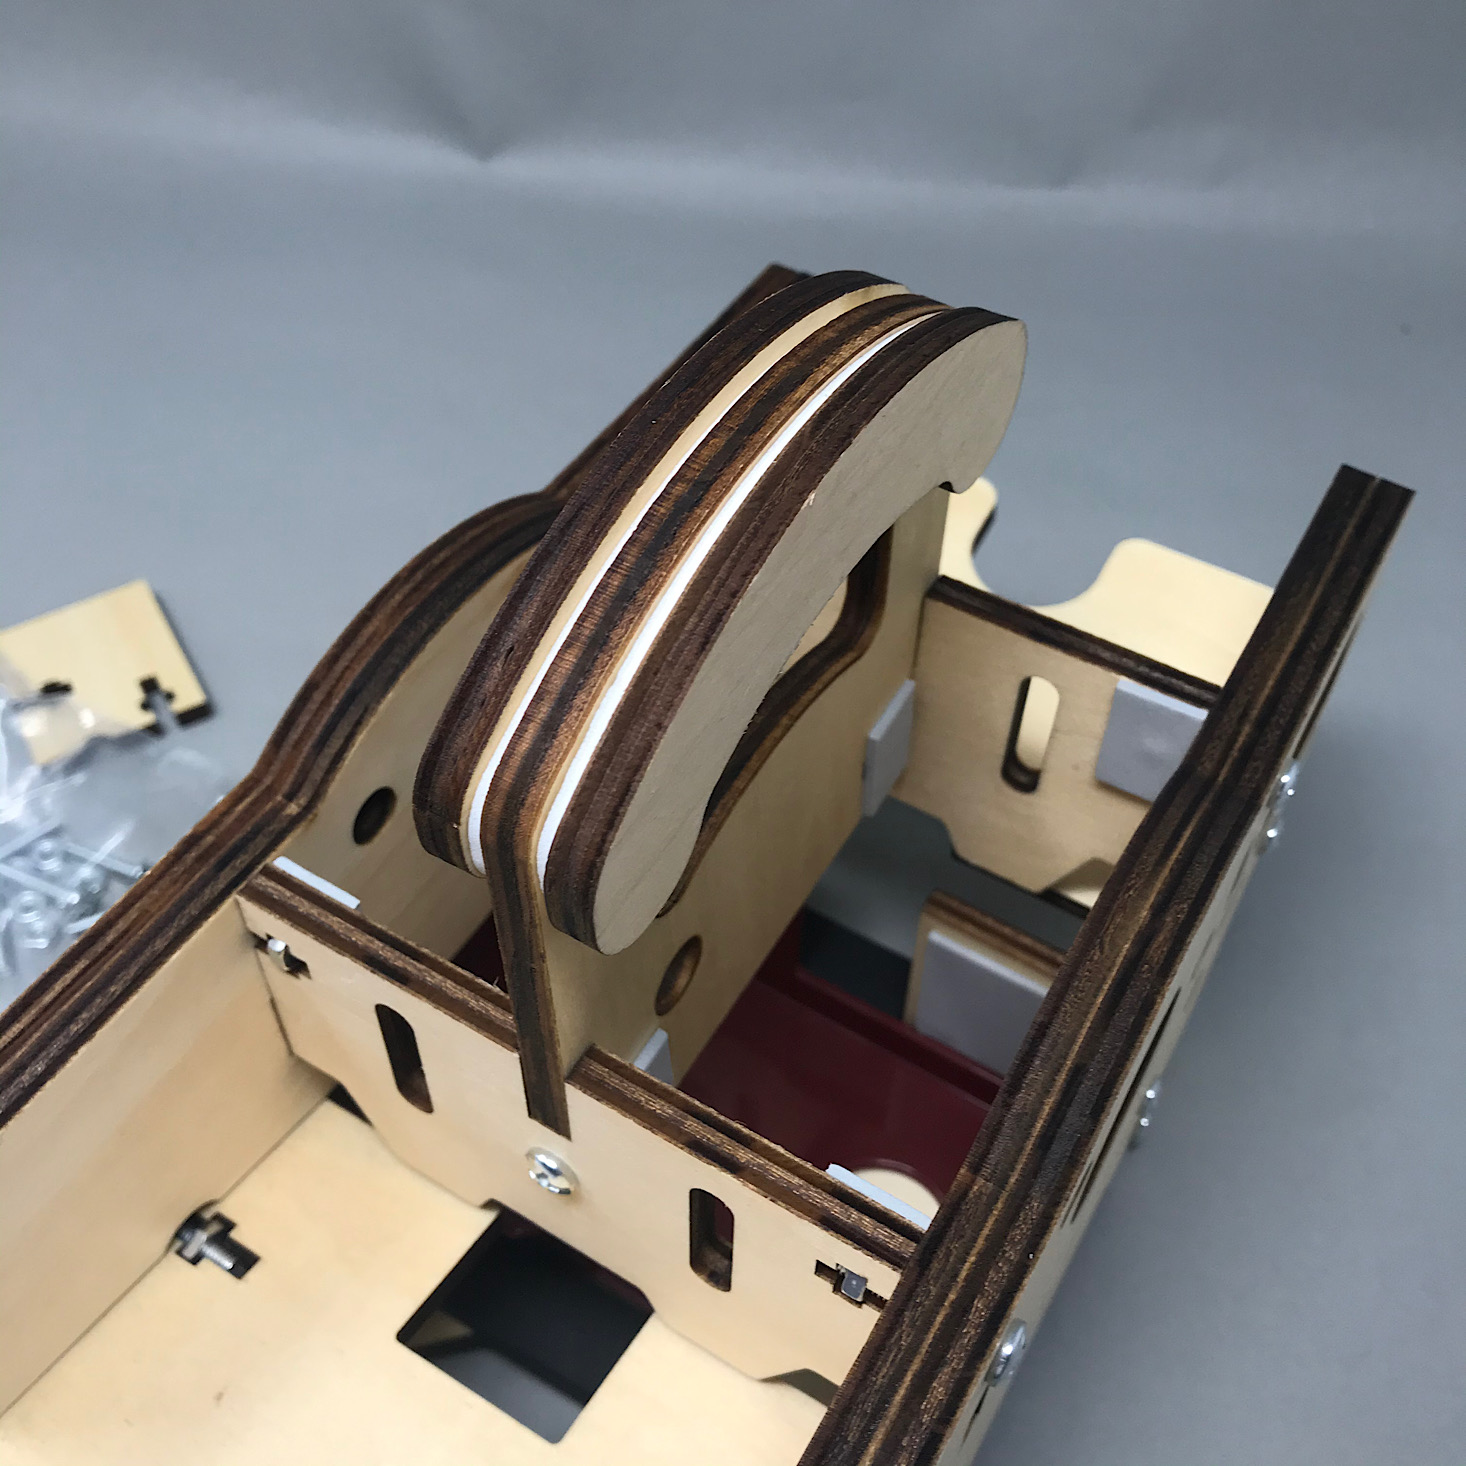
Next, I added the handle with the usual method. I added the foam stickers over the holes, inserted the nuts and then I slid it into the center of the machine fitting it into the slots that were already notched out. I secured this handle with a bolt screwed in on either side.
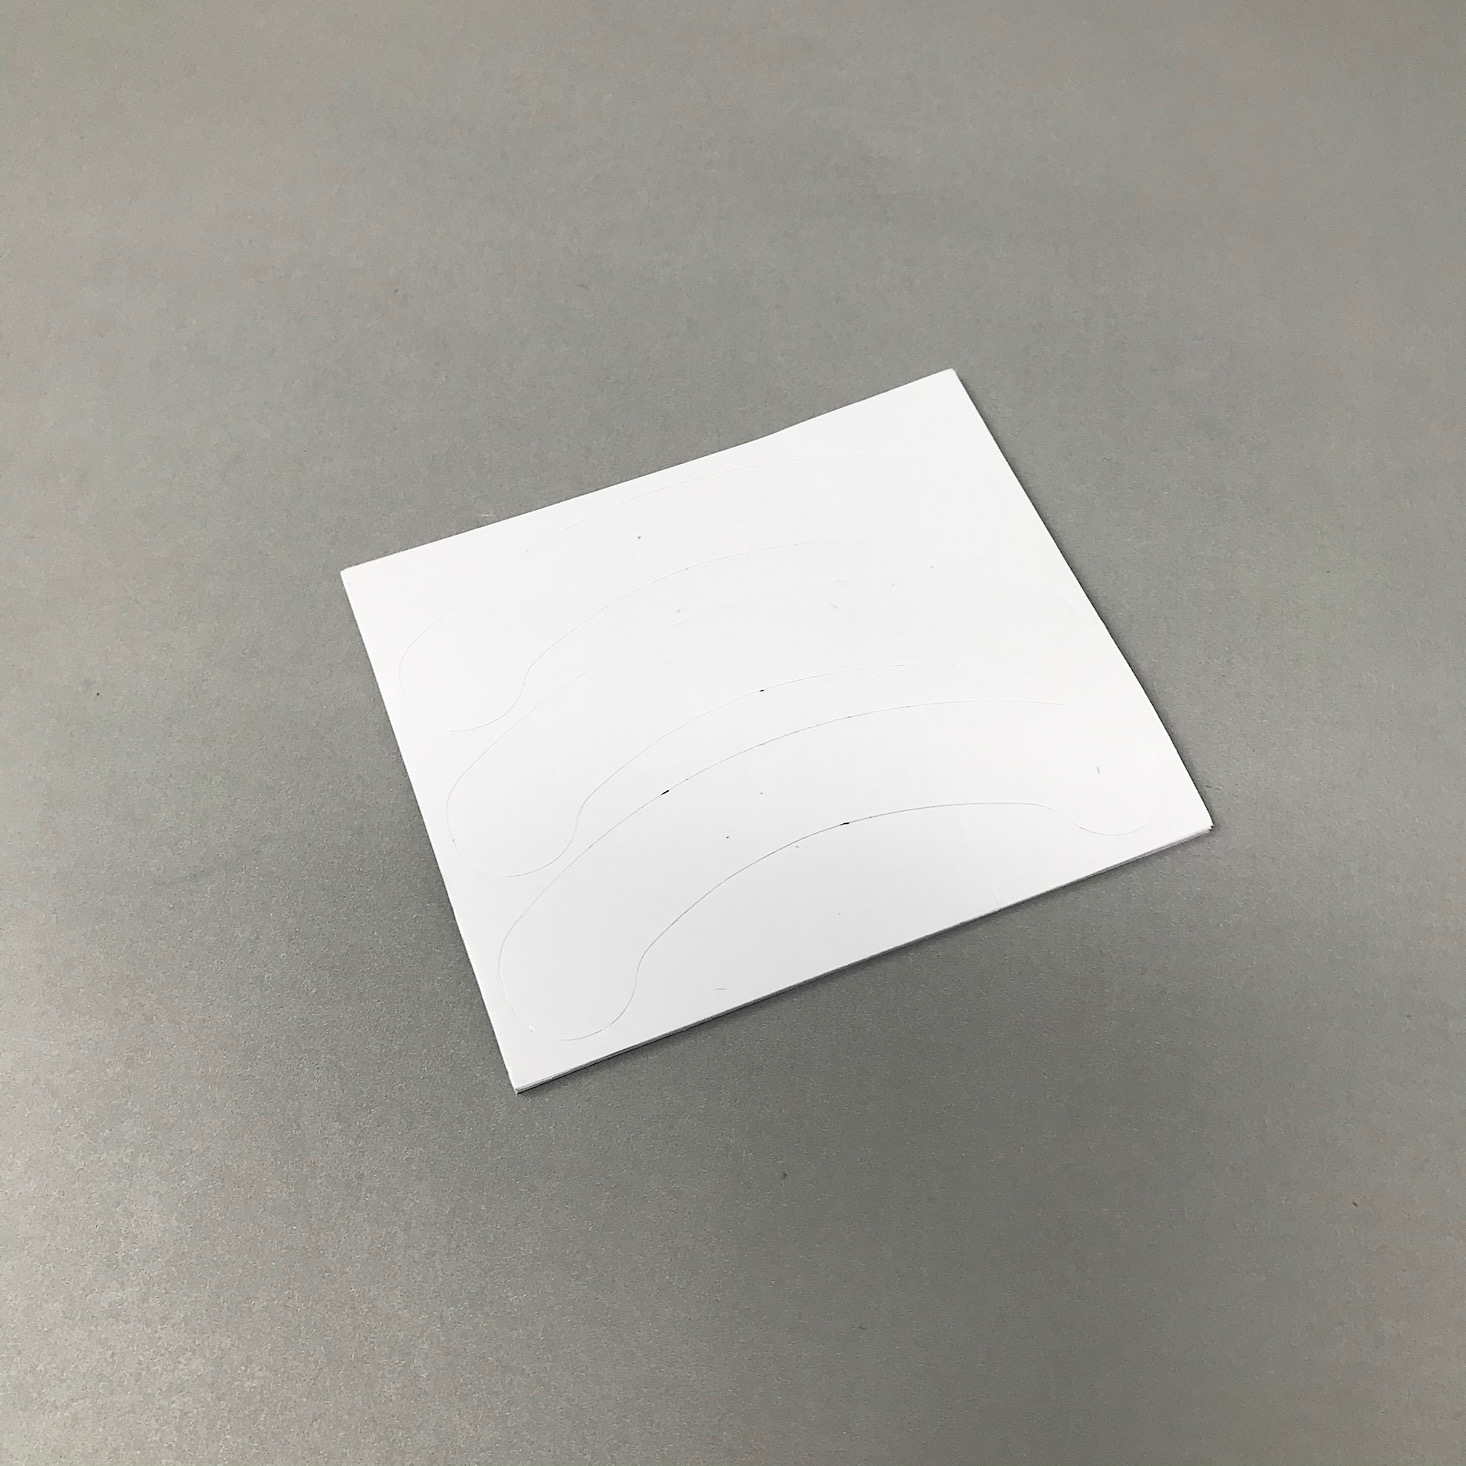
Then I added these two wooden arcs to either side of the handle using the included adhesive stickers and our handle was complete.
Part C: Build the Cam Shafts
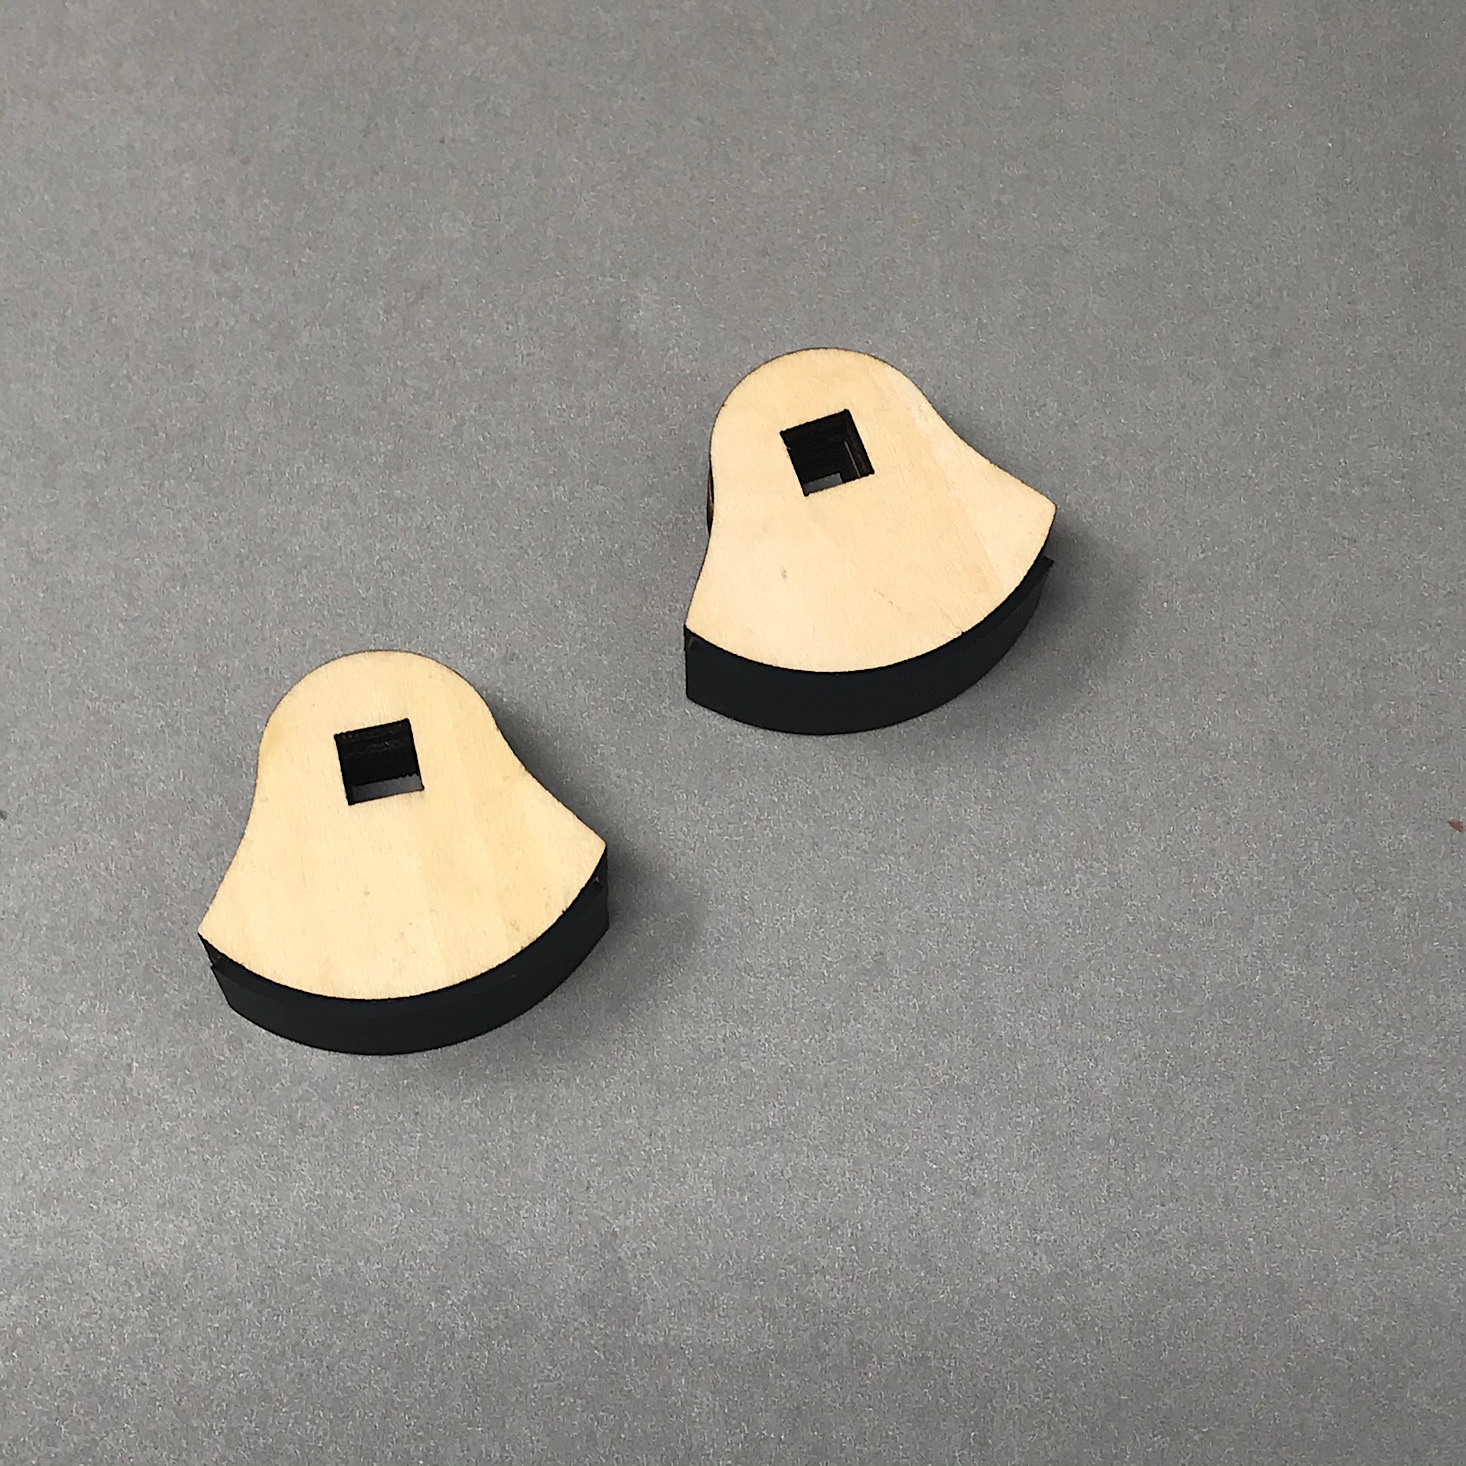
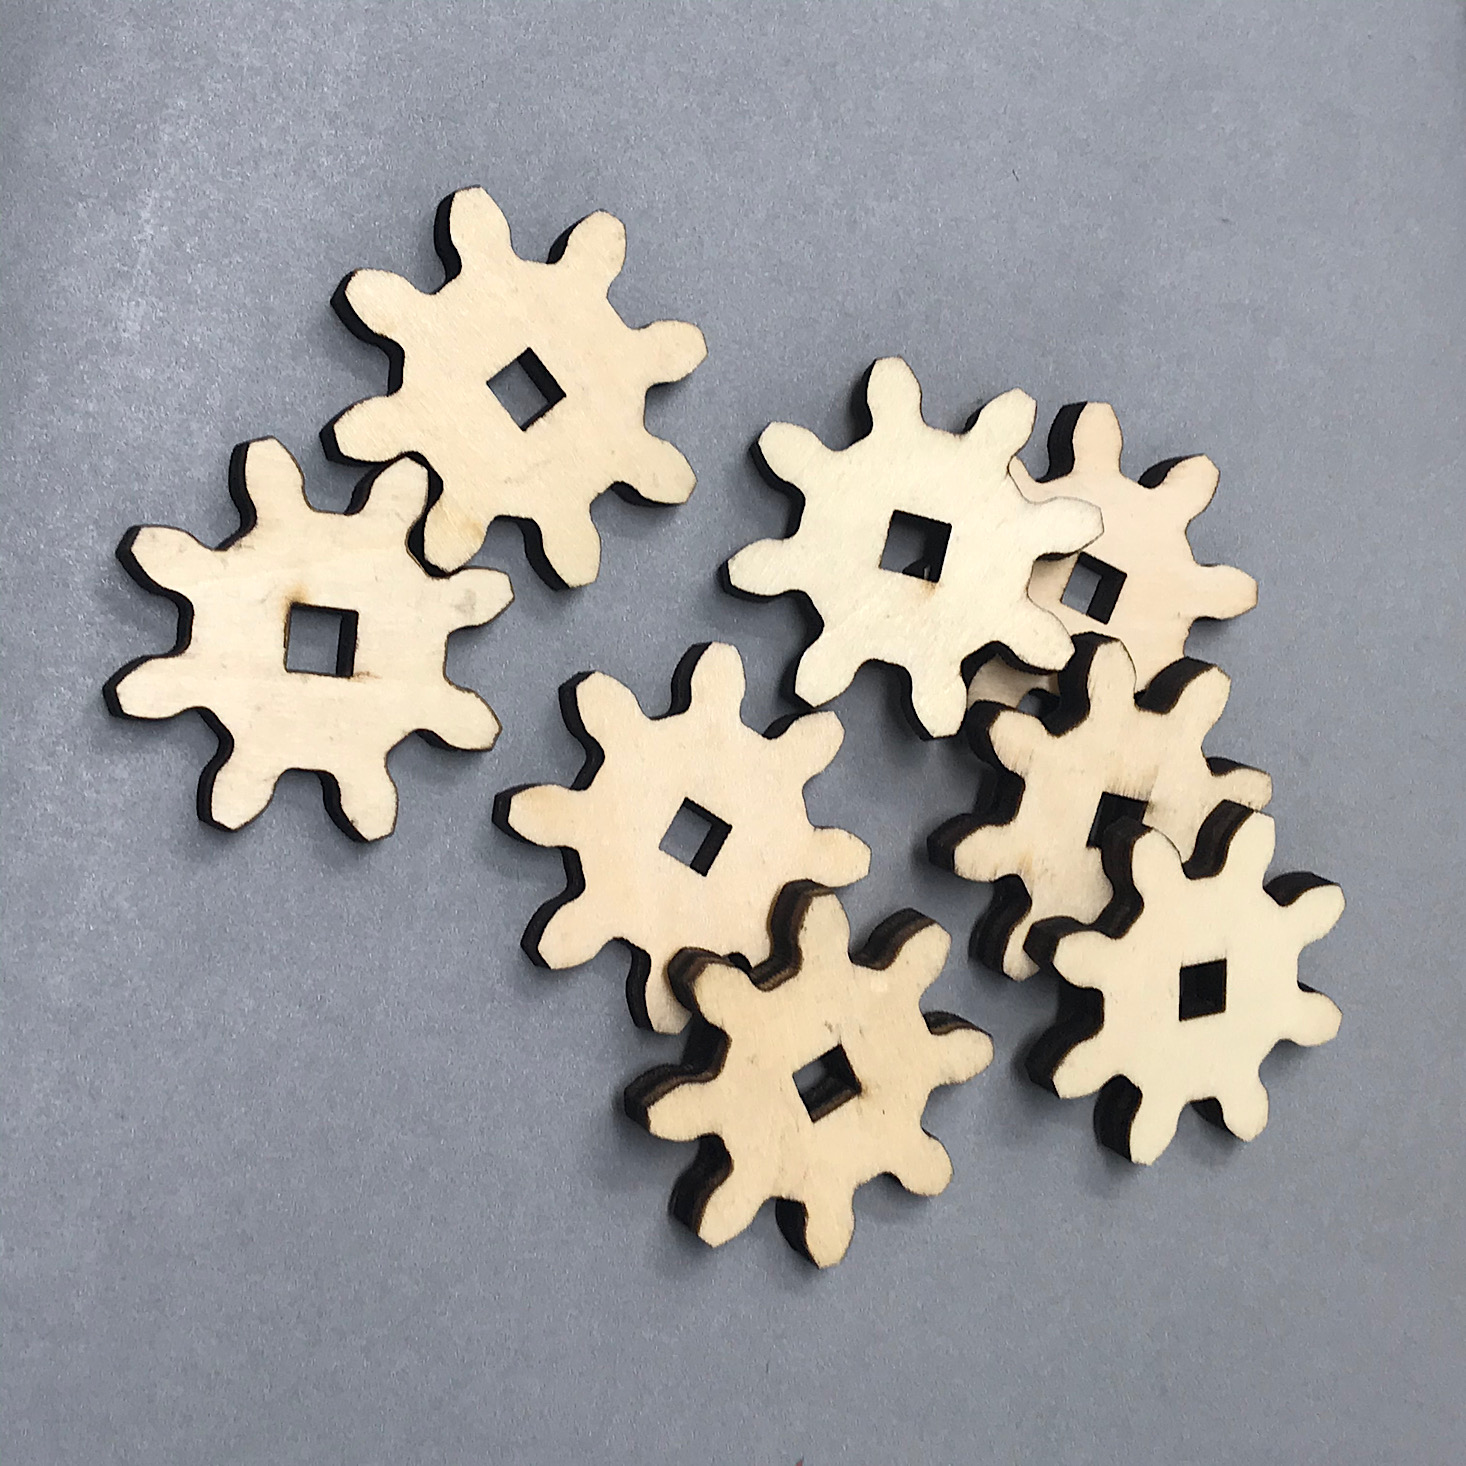
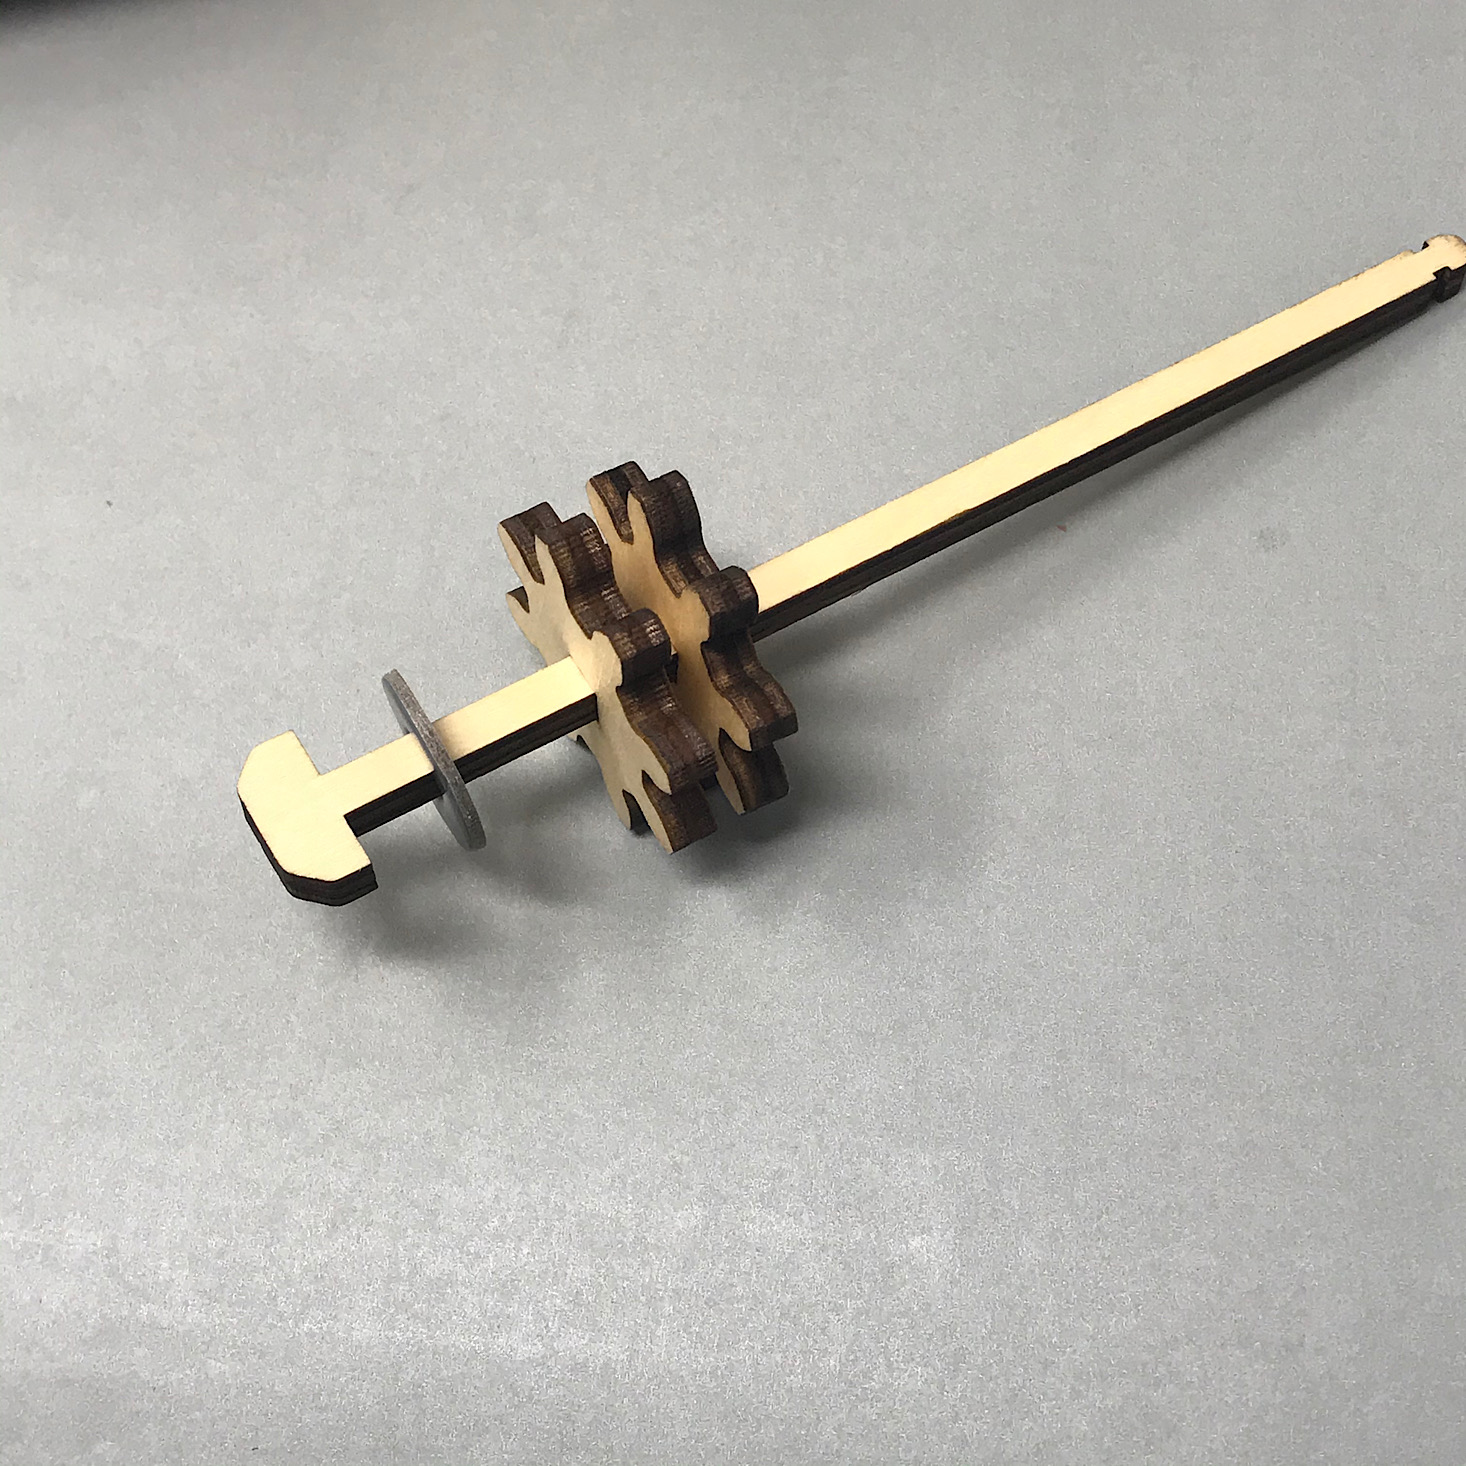
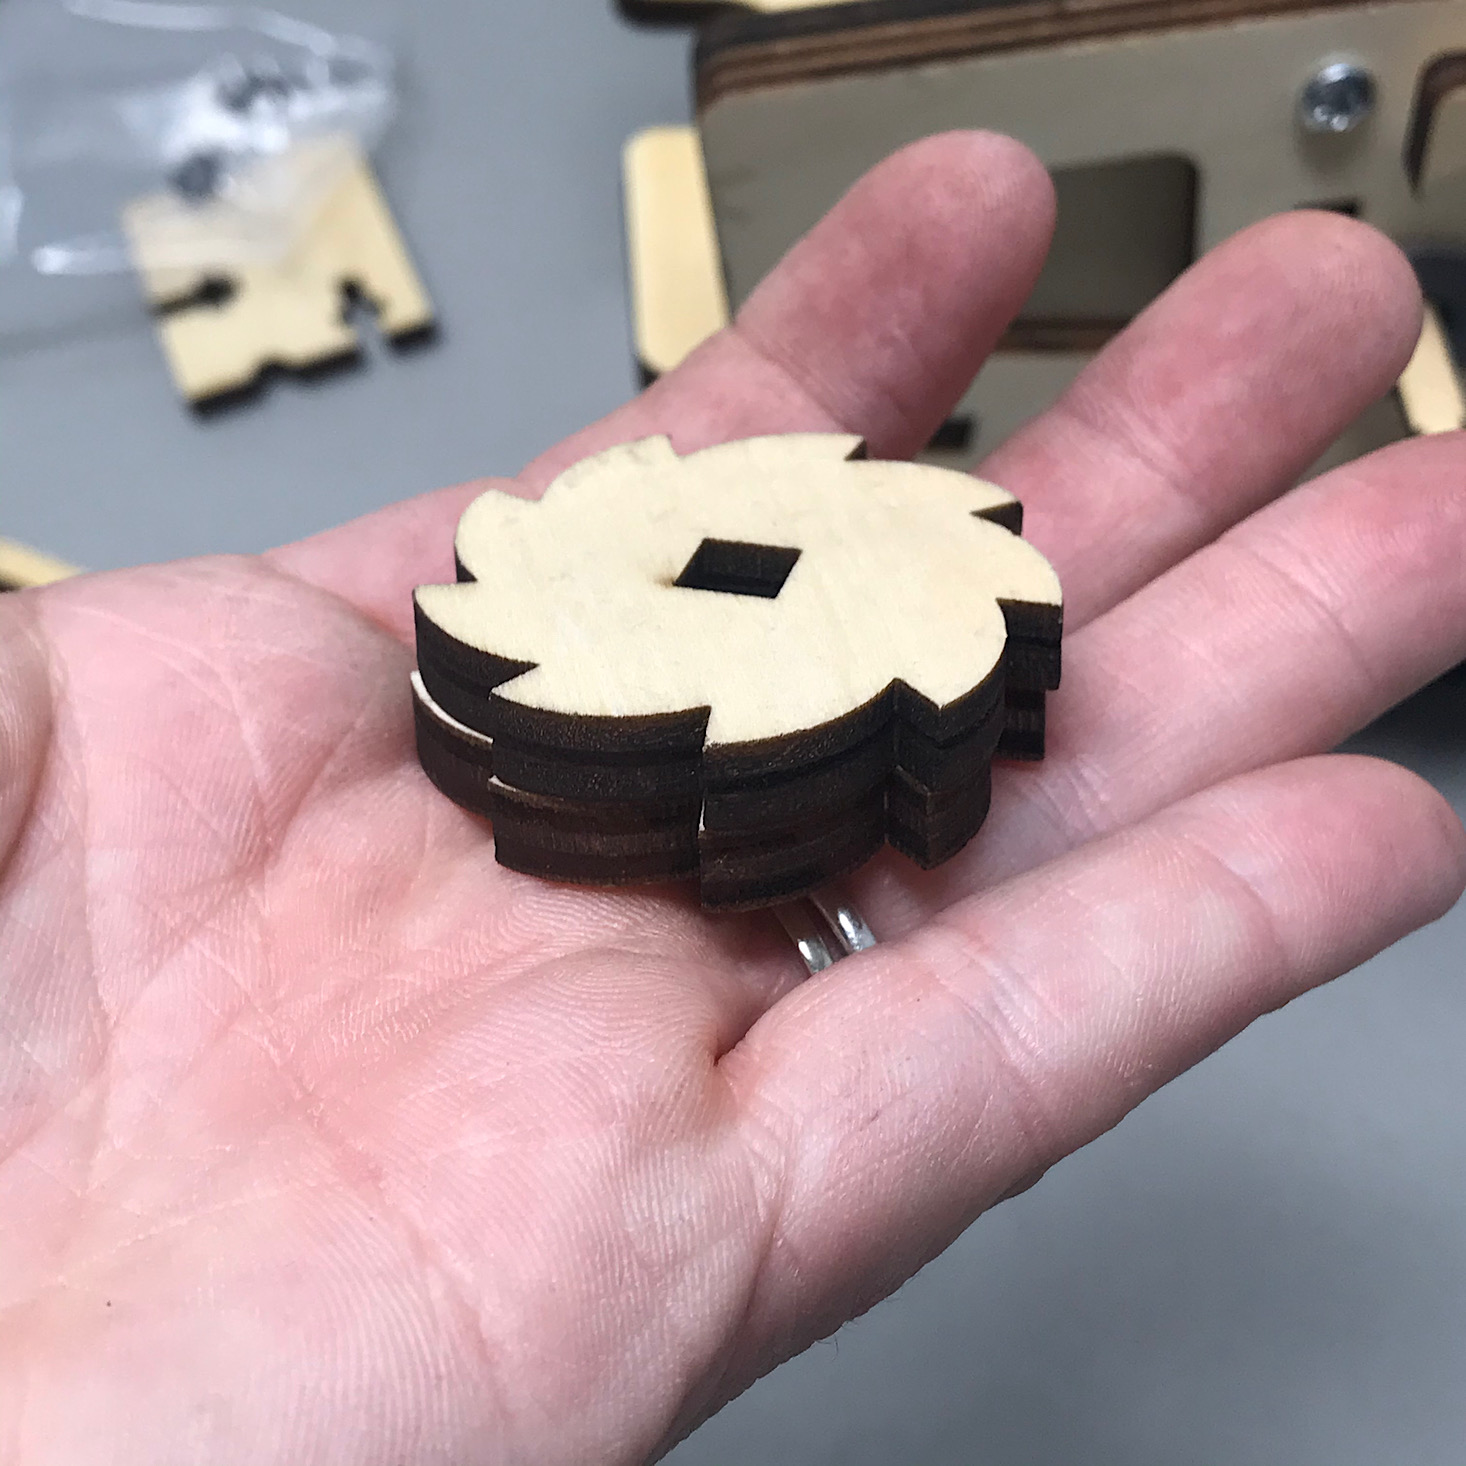
Now it was time to build the cam shafts. I put two of these little bell-shaped pieces together and then used one of the rubber stickers on the bottom to hold them together. I prepared two of these for future use.
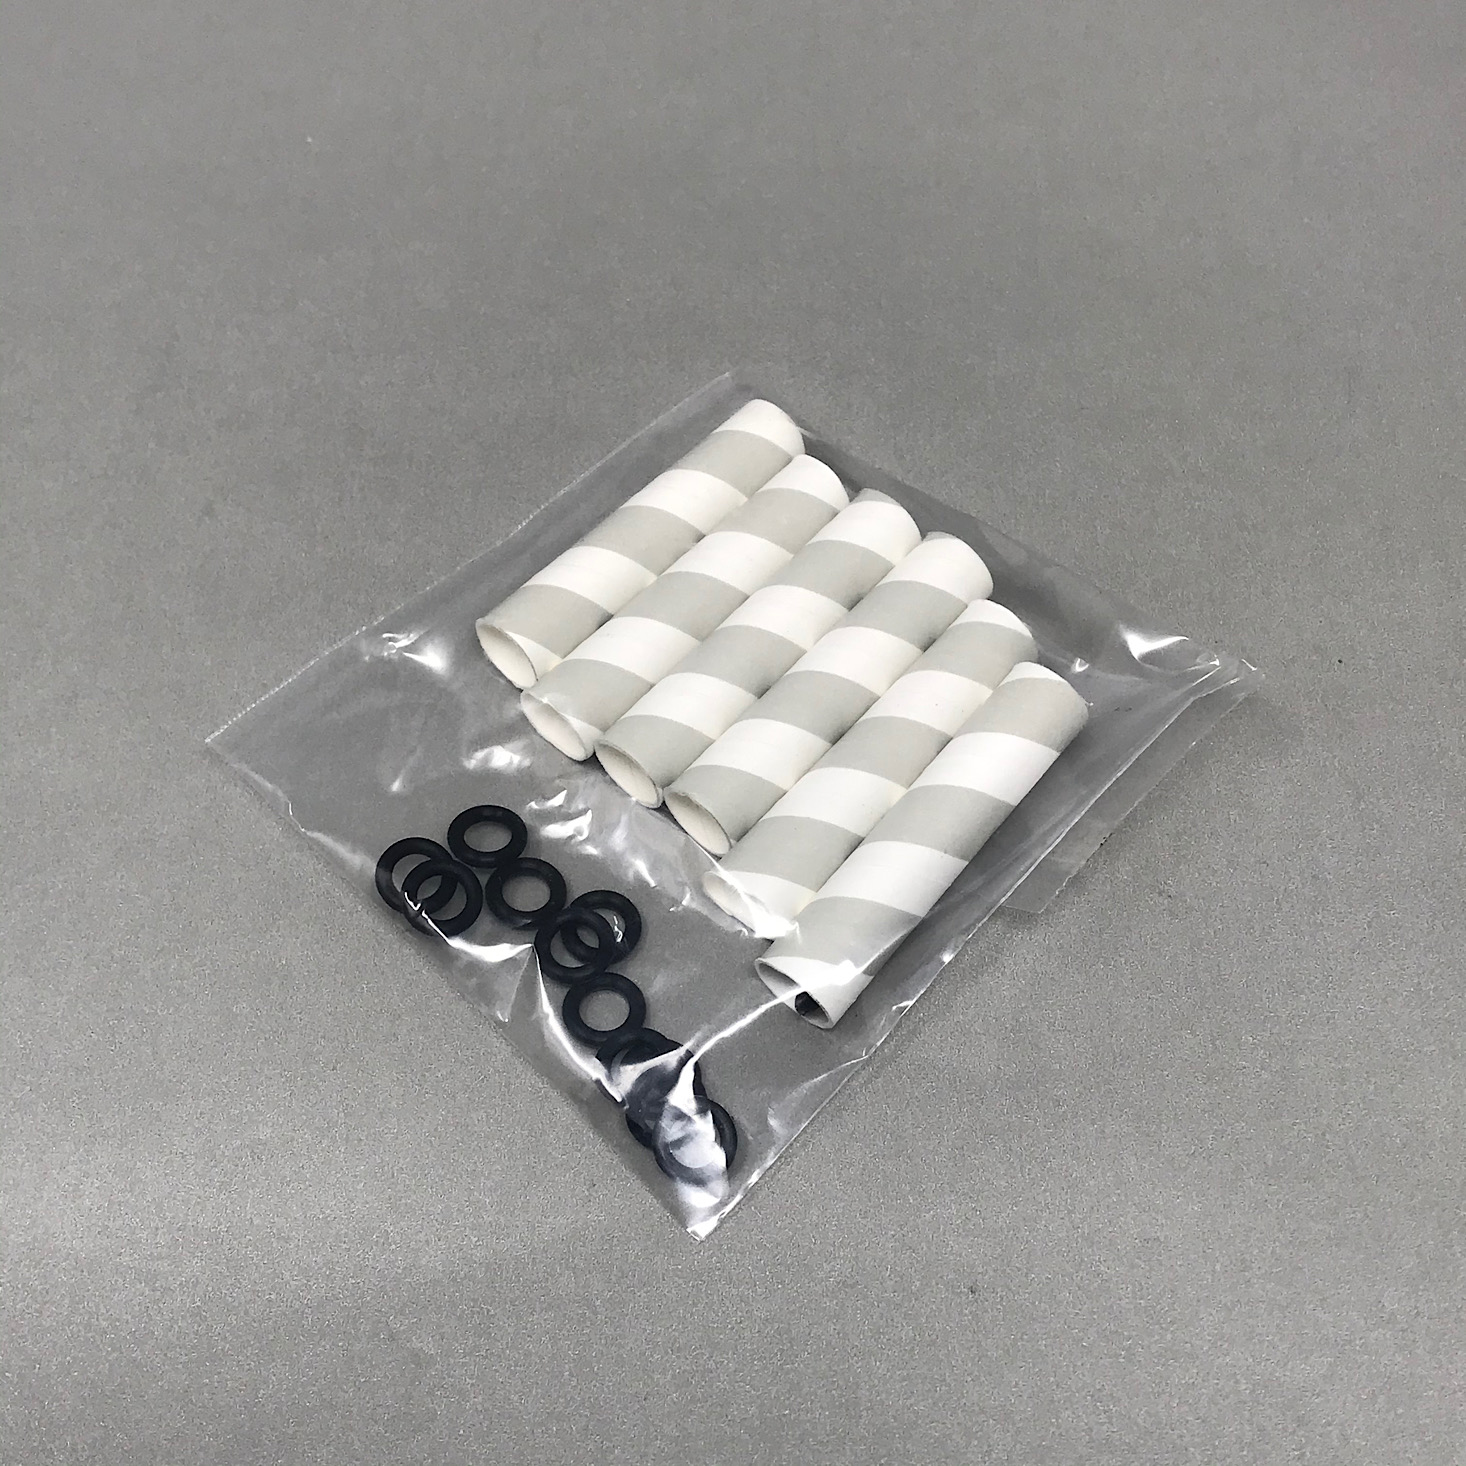
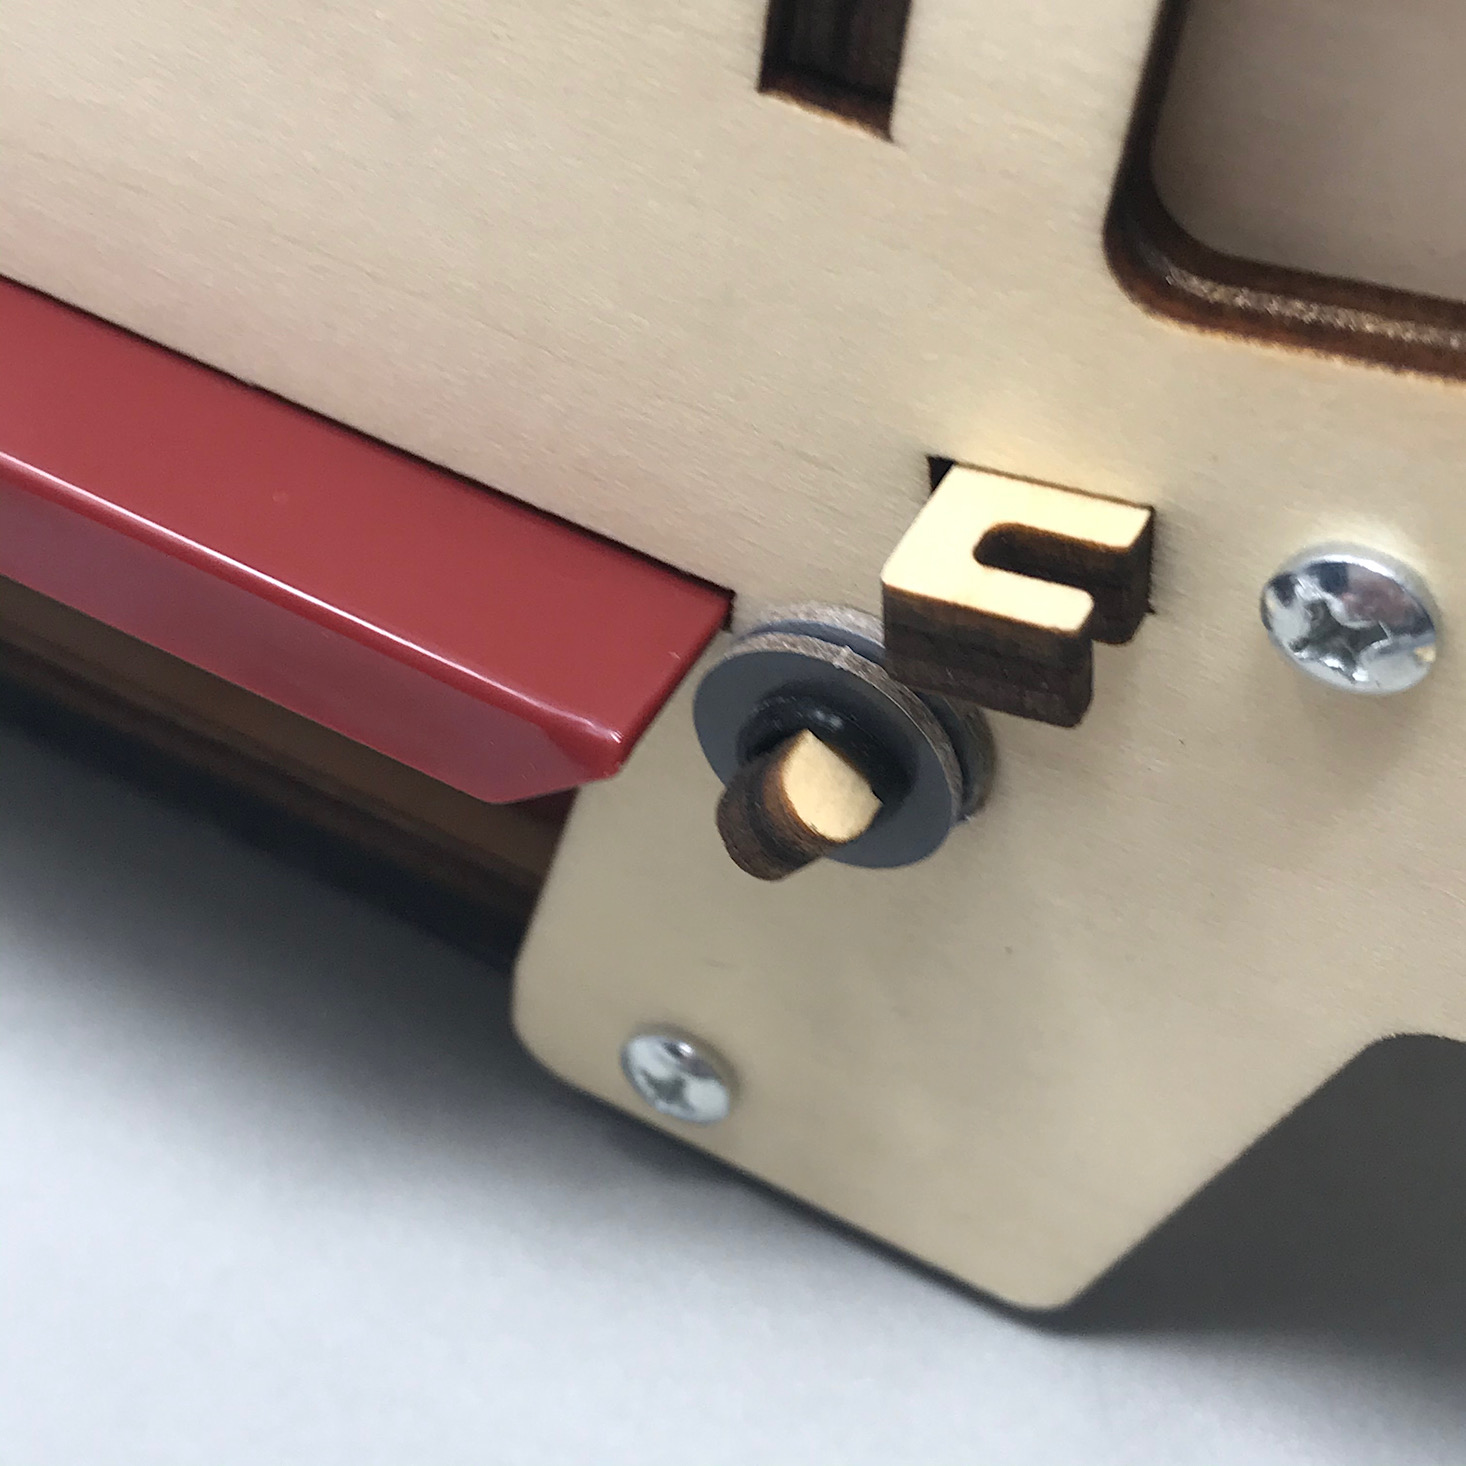
I added one of the small black O-rings to the groove at the end of one of these wooden shafts.
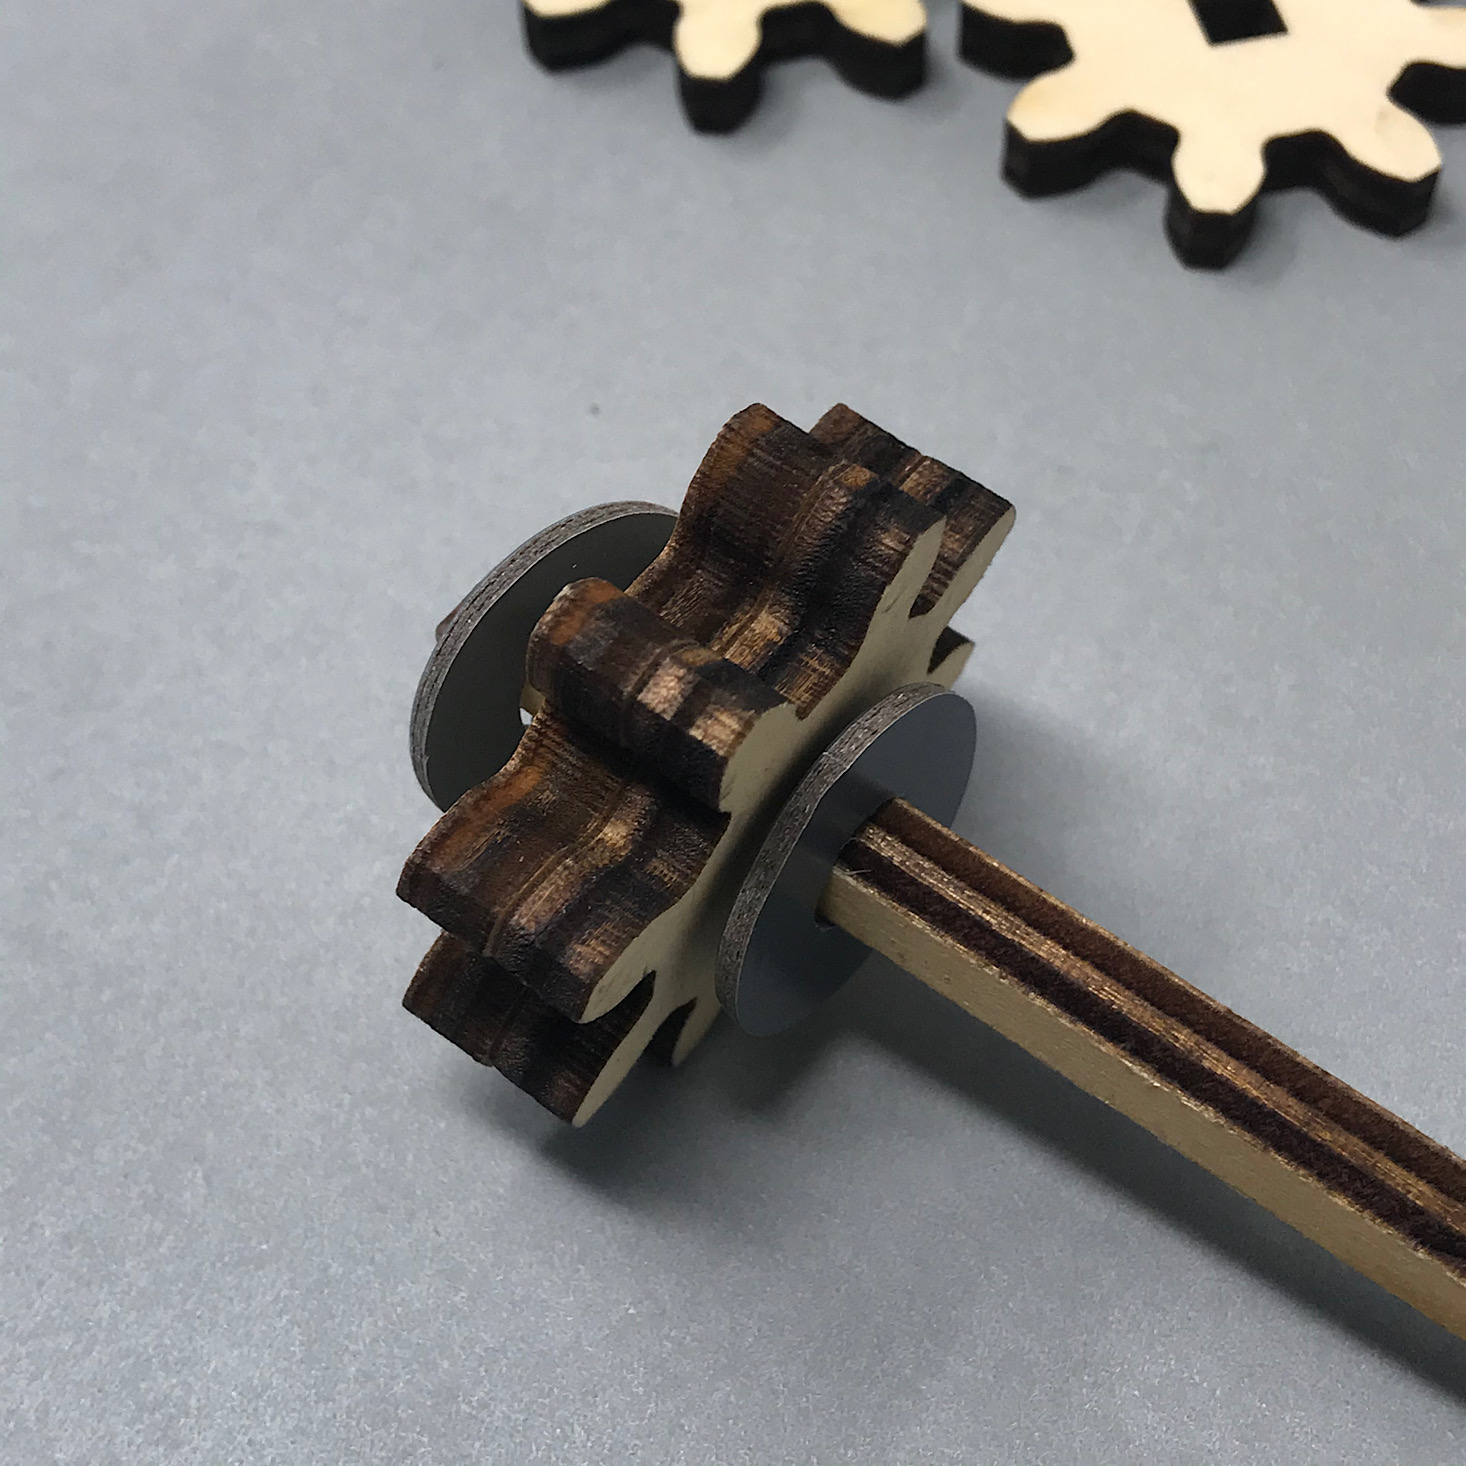
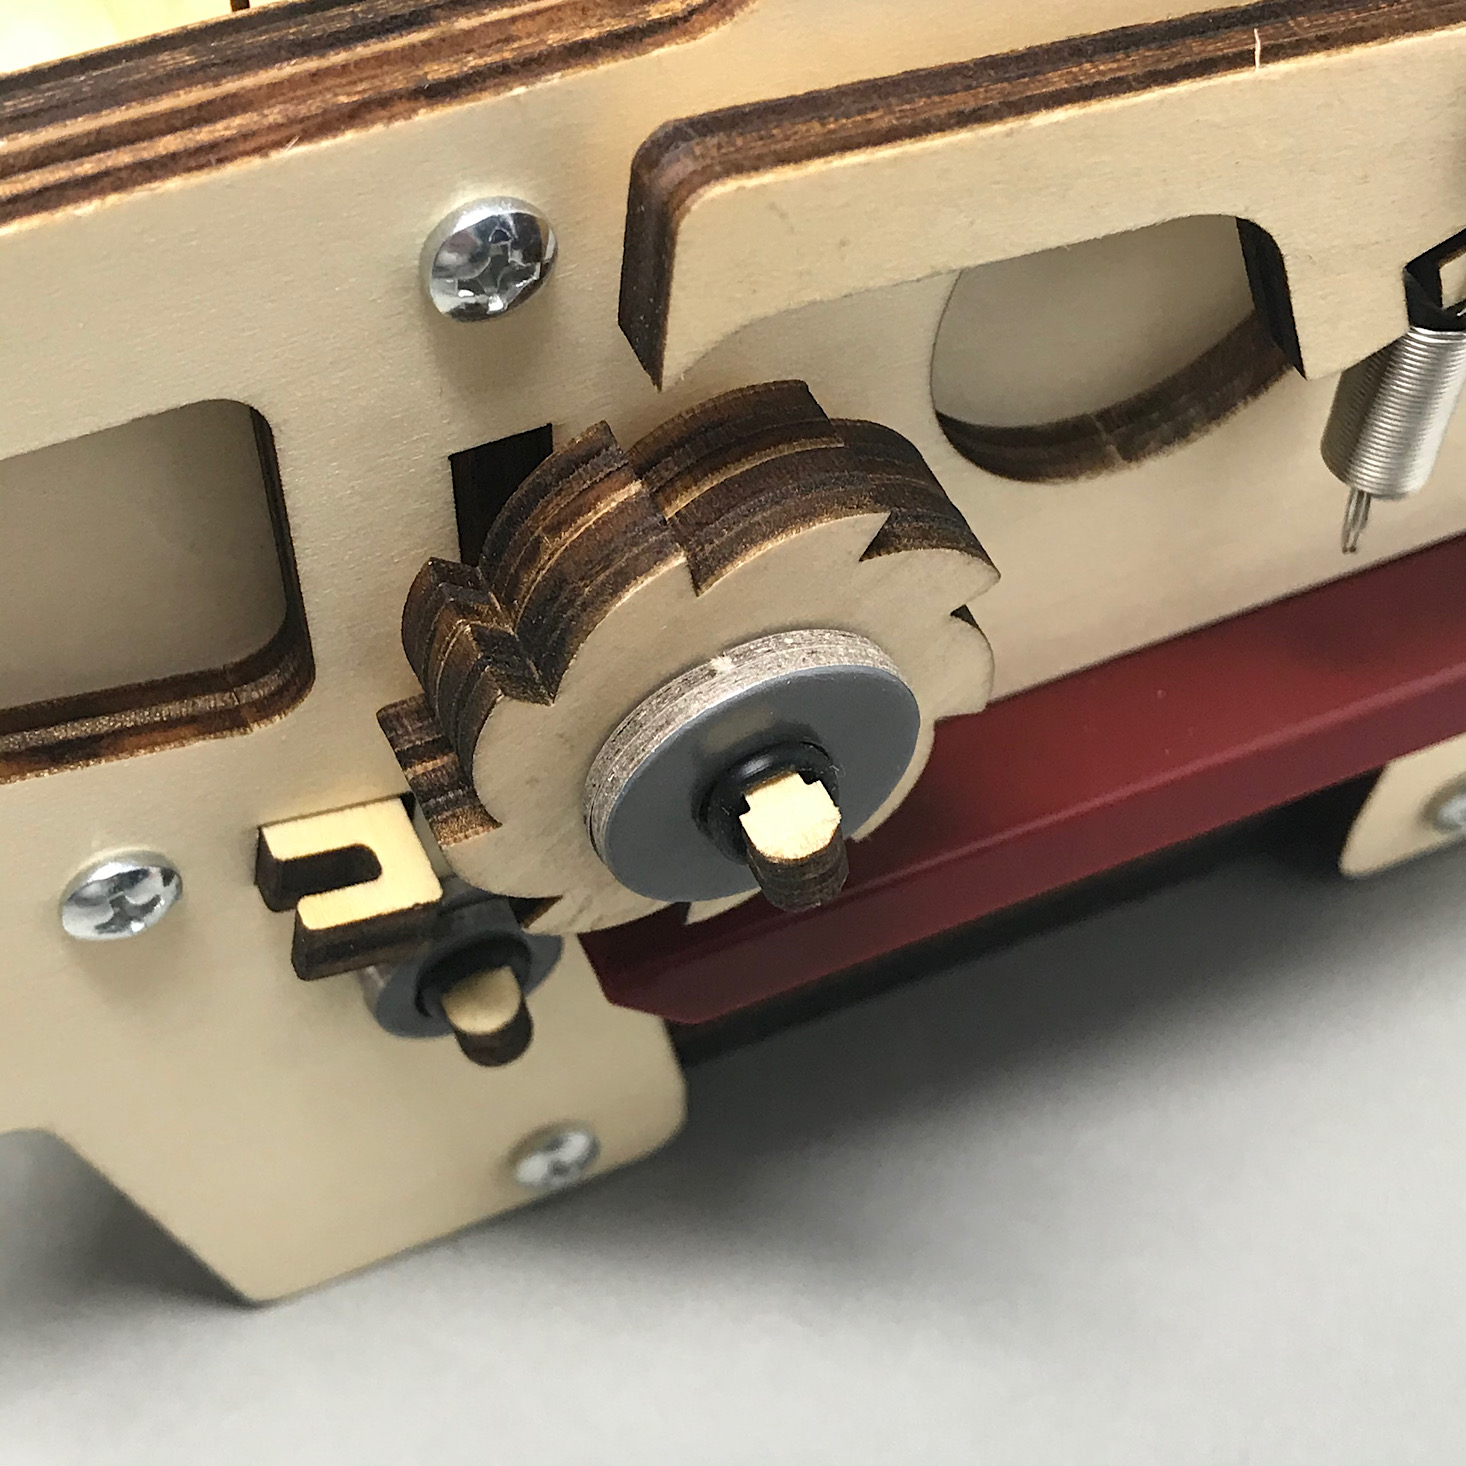
Then I slid on one of the larger gray cardboard washers, two of these gears and another large washer.
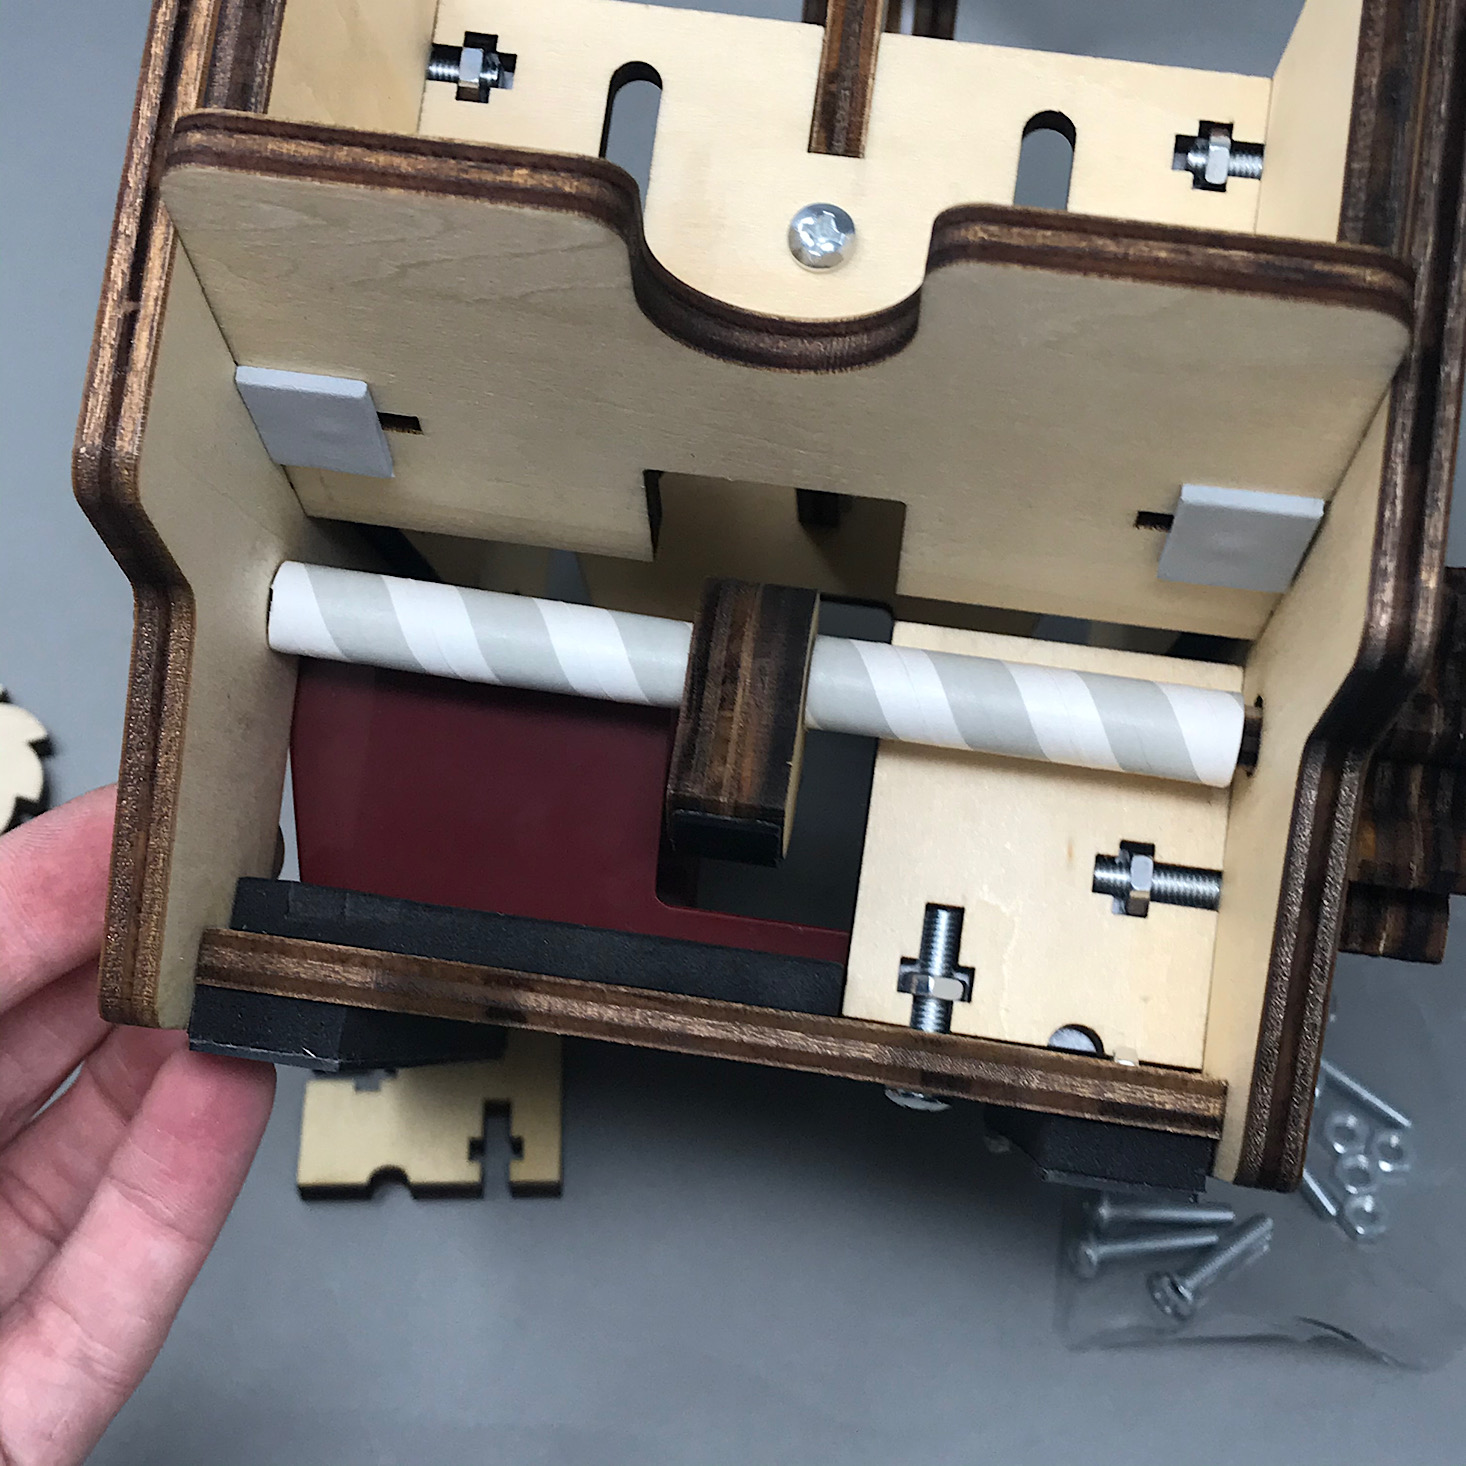
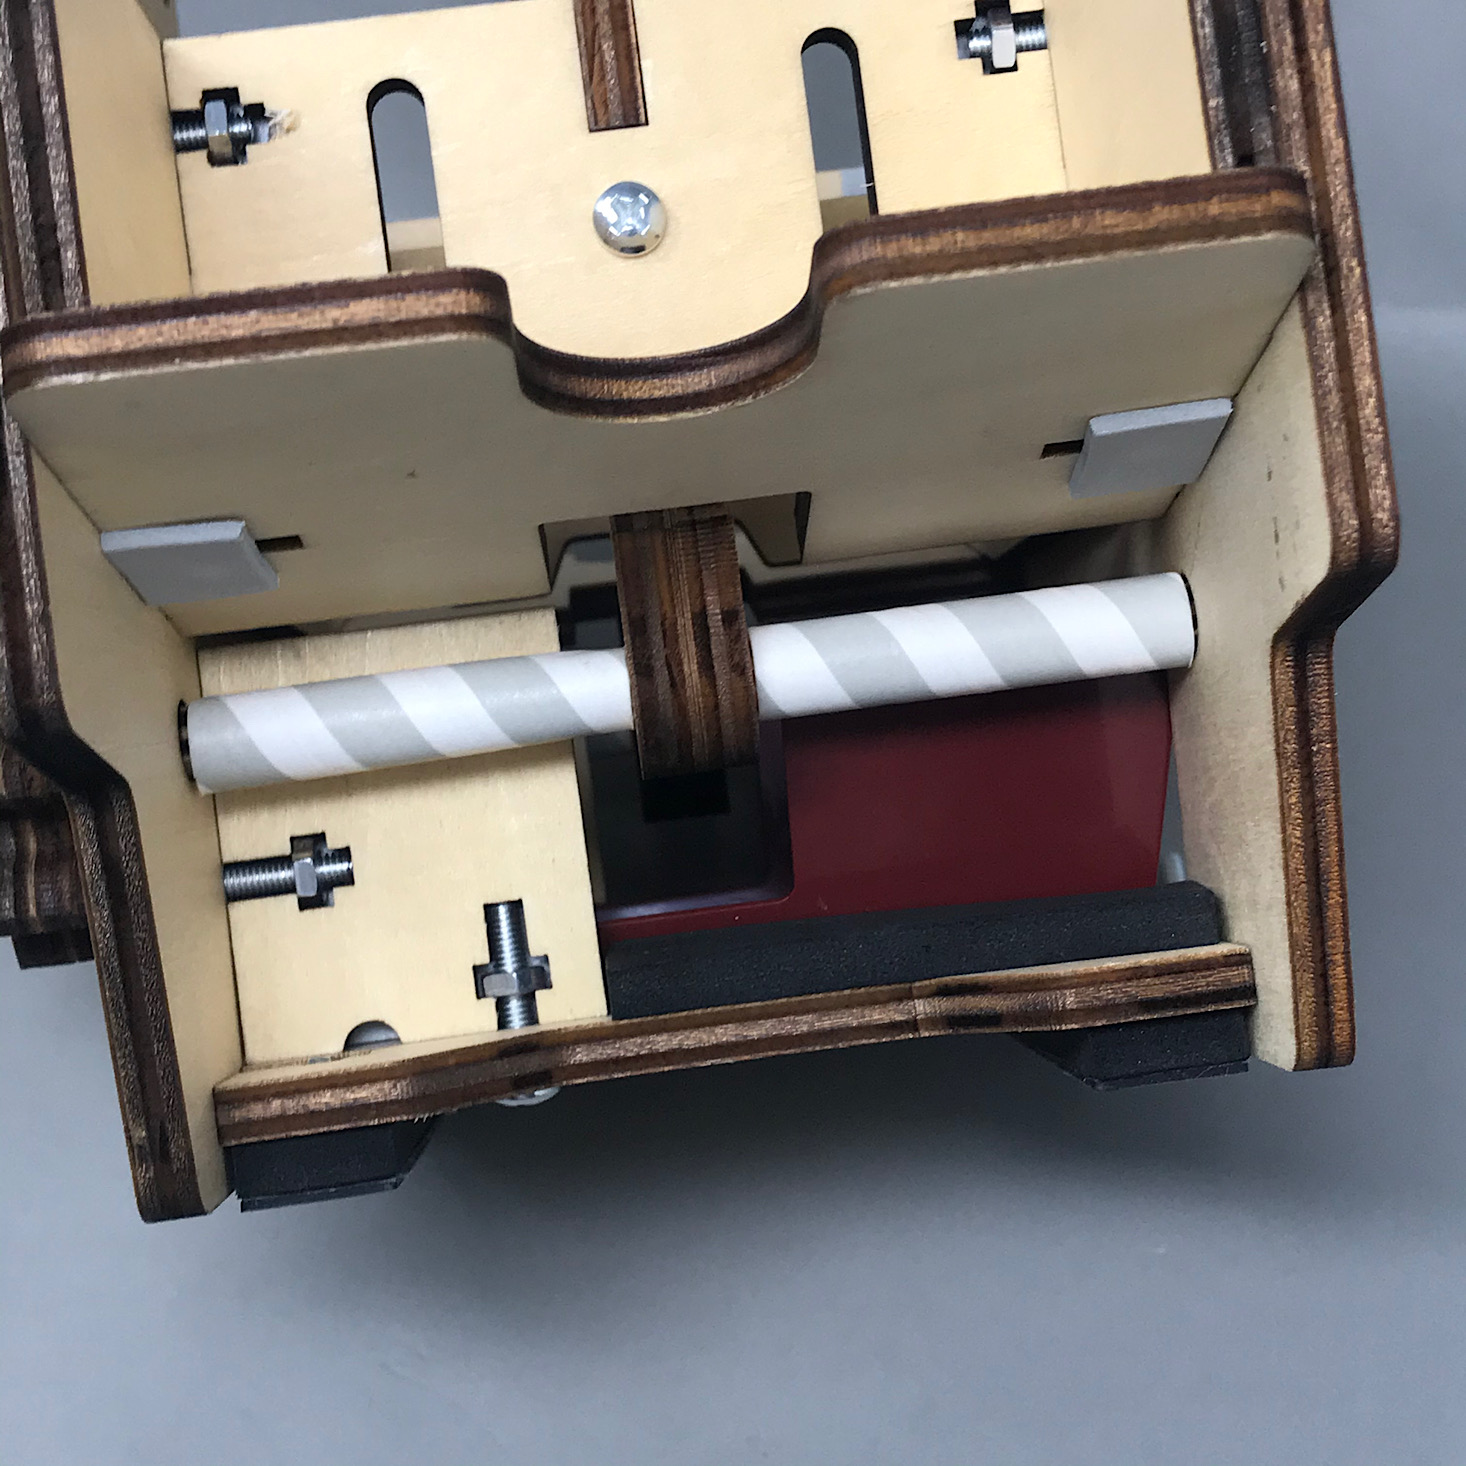
I then slid this shaft into the hole at the front side of the machine and added one of these straw pieces, one of the cams that I had prepared, and then another straw piece before inserting it through the hole on the other end.
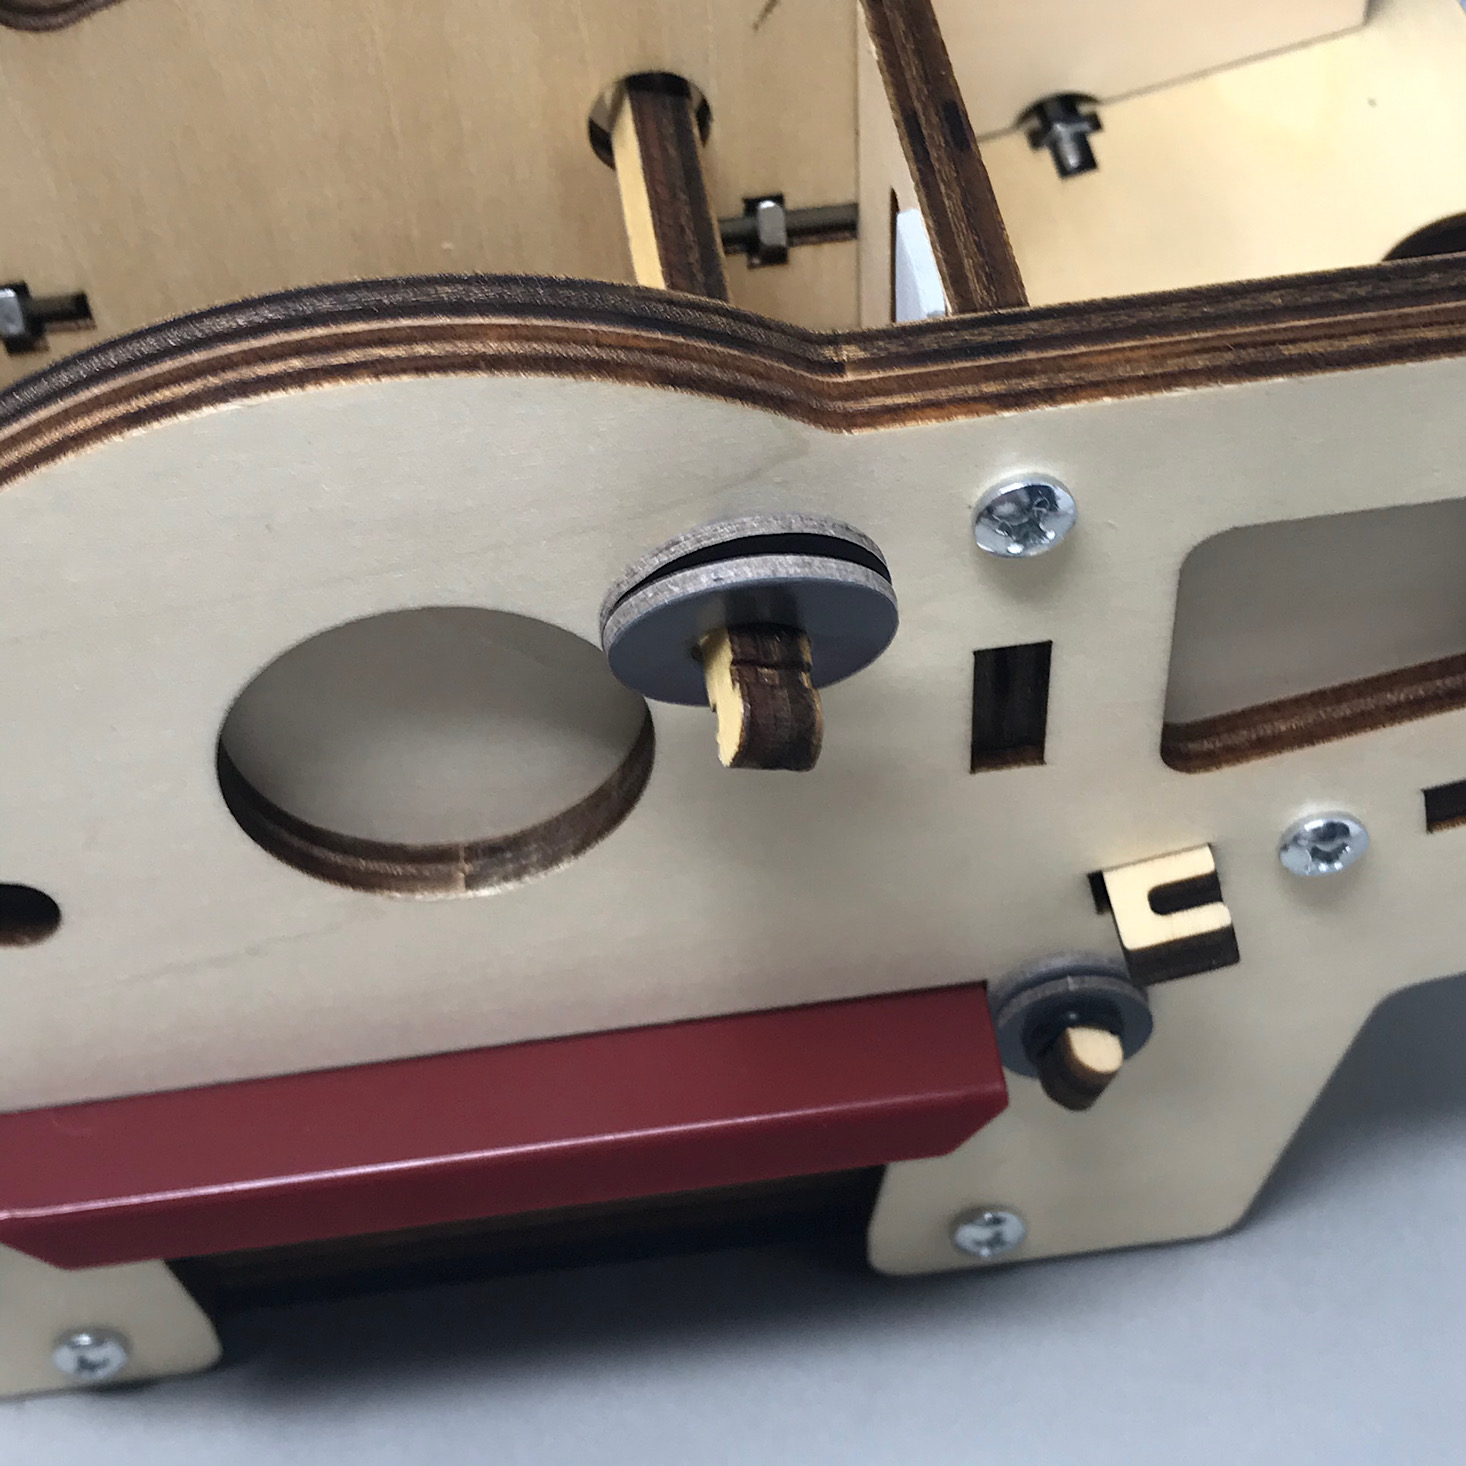
I actually had a really hard time with the first shaft I had prepared because it wouldn't fit through the cam so I had to abandon it, but luckily they included three shafts and I was successful with the second I tried. Then I added a washer and an O-ring to the end to hold it in place.
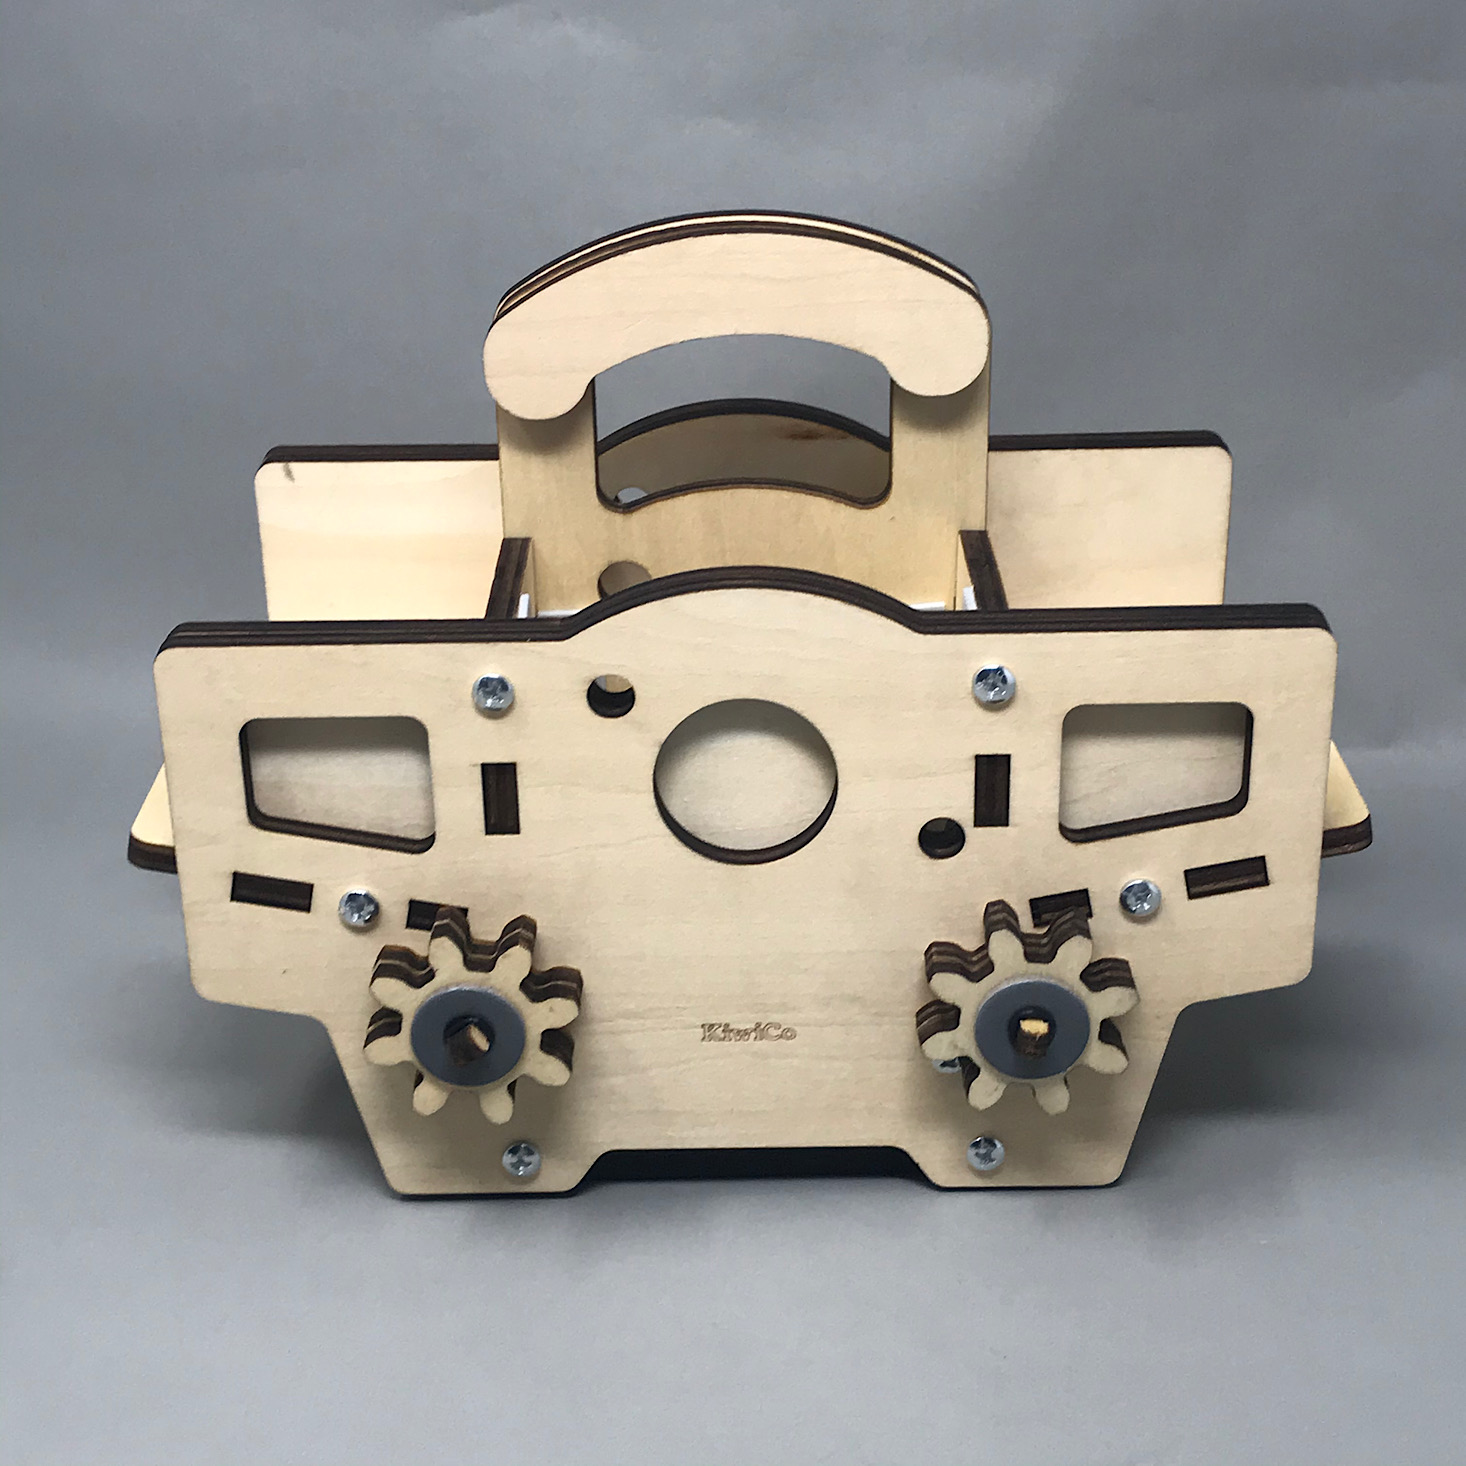
I then followed the same directions for the other side until I had two gears on the front and a cam shaft on either side.
Part D: Build the Drive Mechanism
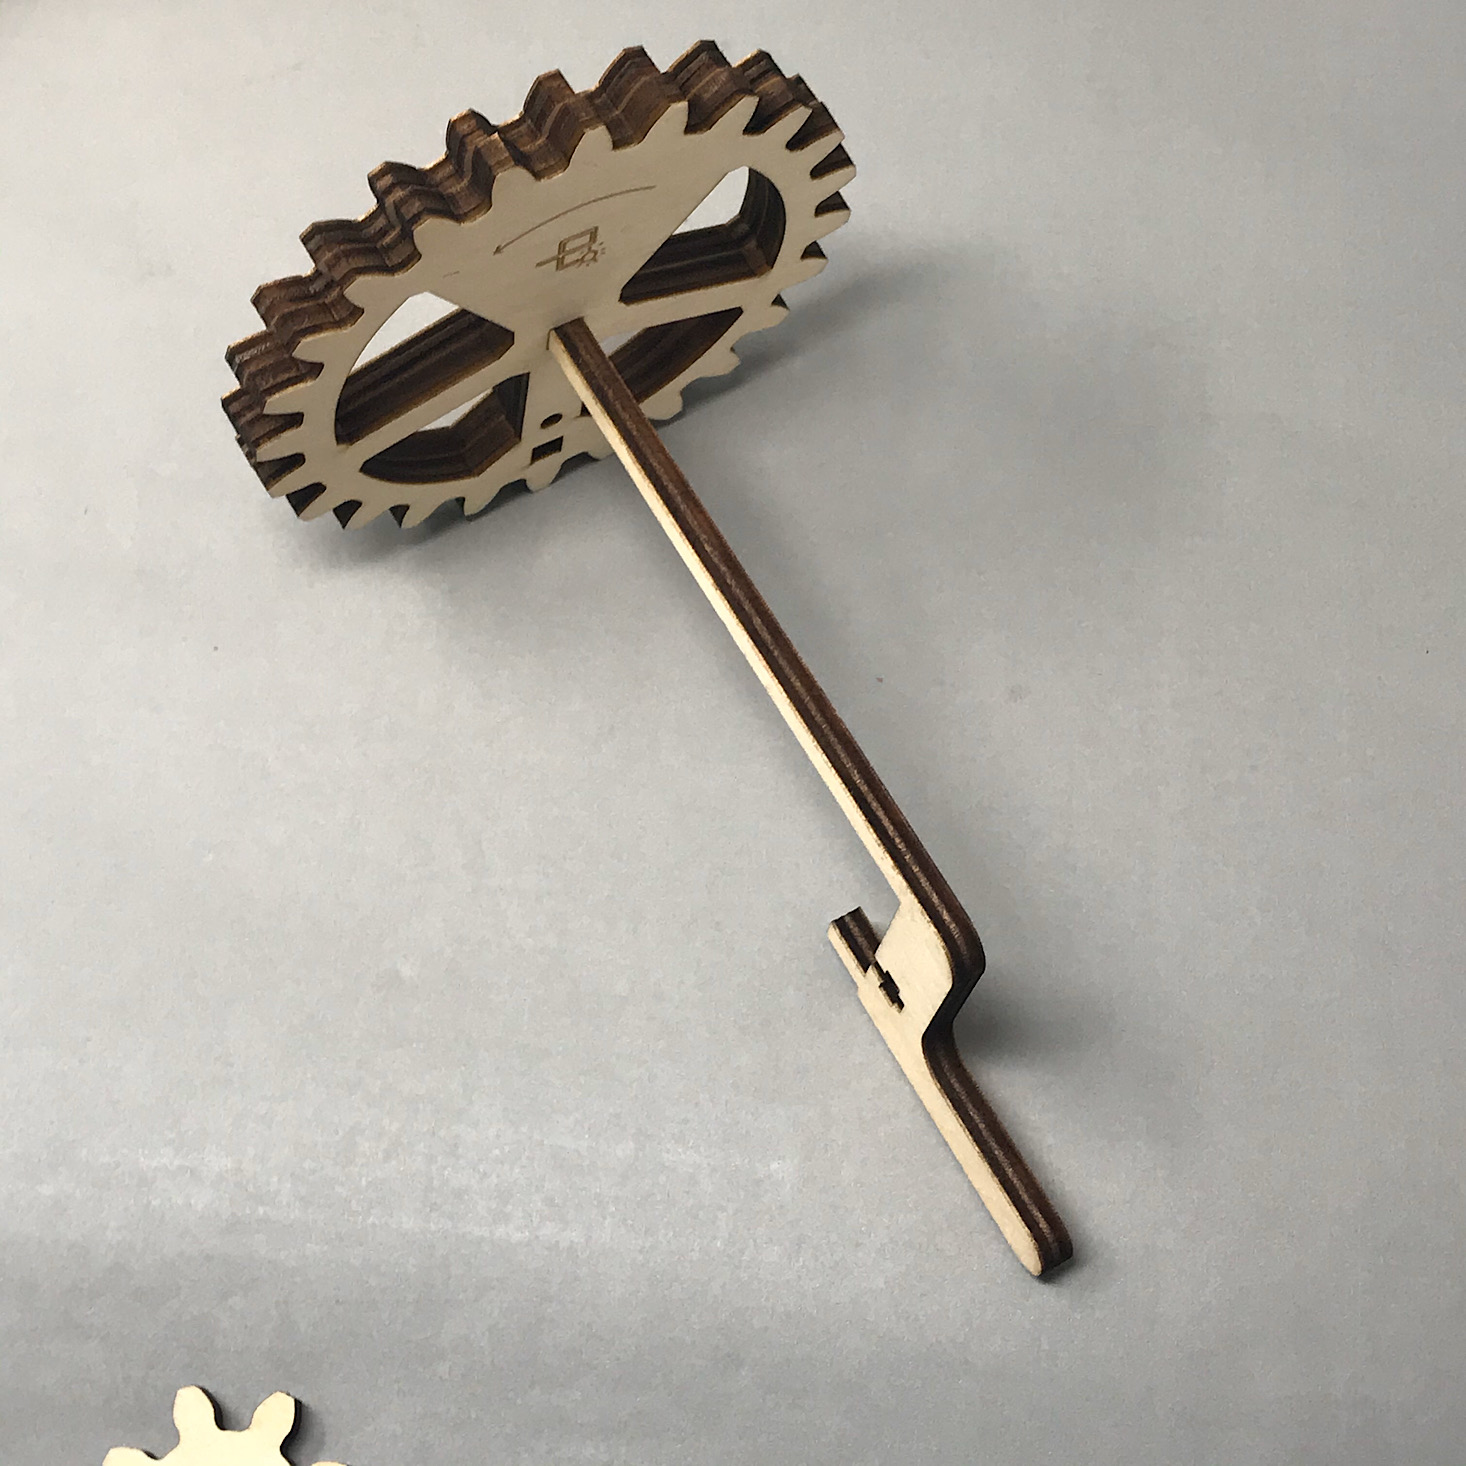
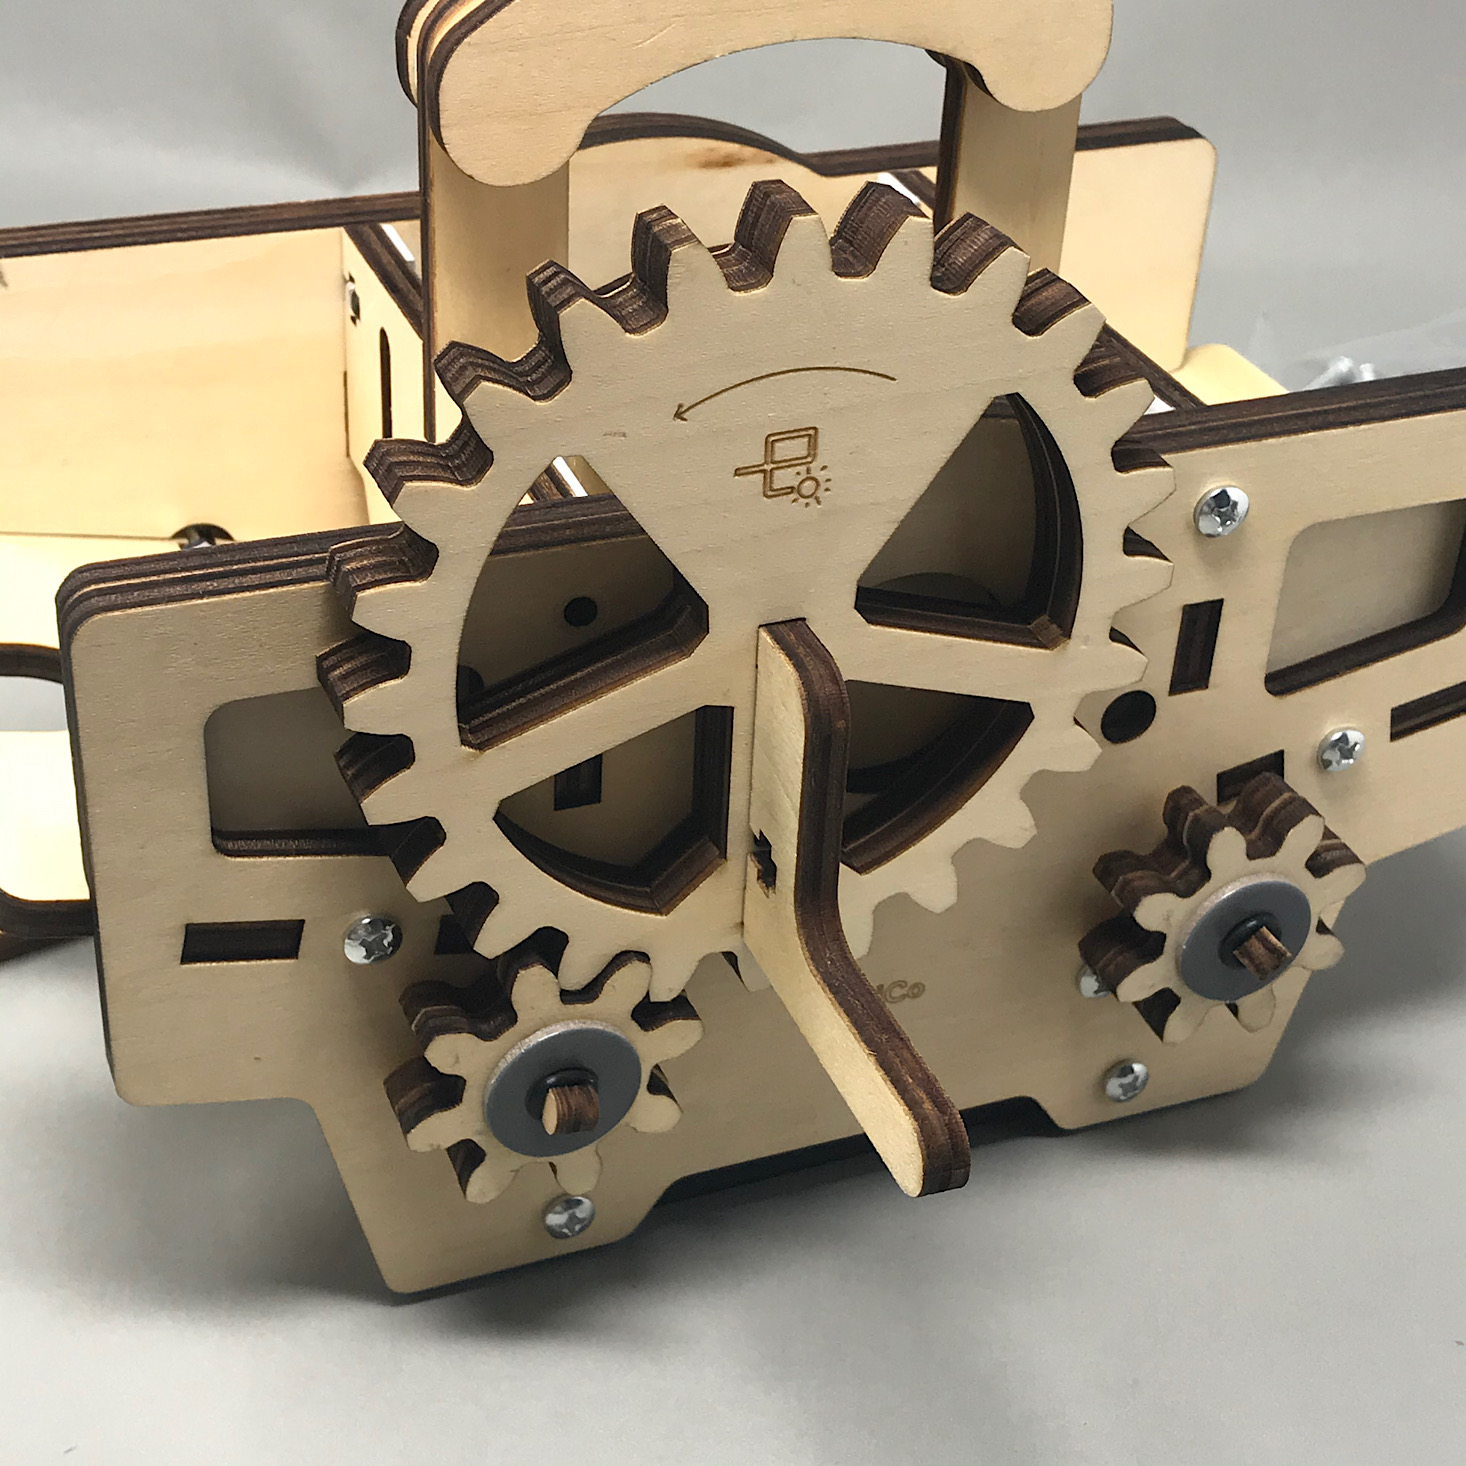
Now it was time to make the drive mechanism. I added these two larger gears to the end of the crank and slid it through the holes in our machine.
I made sure that the larger gears fit in with the smaller gear and added two washers to the end.
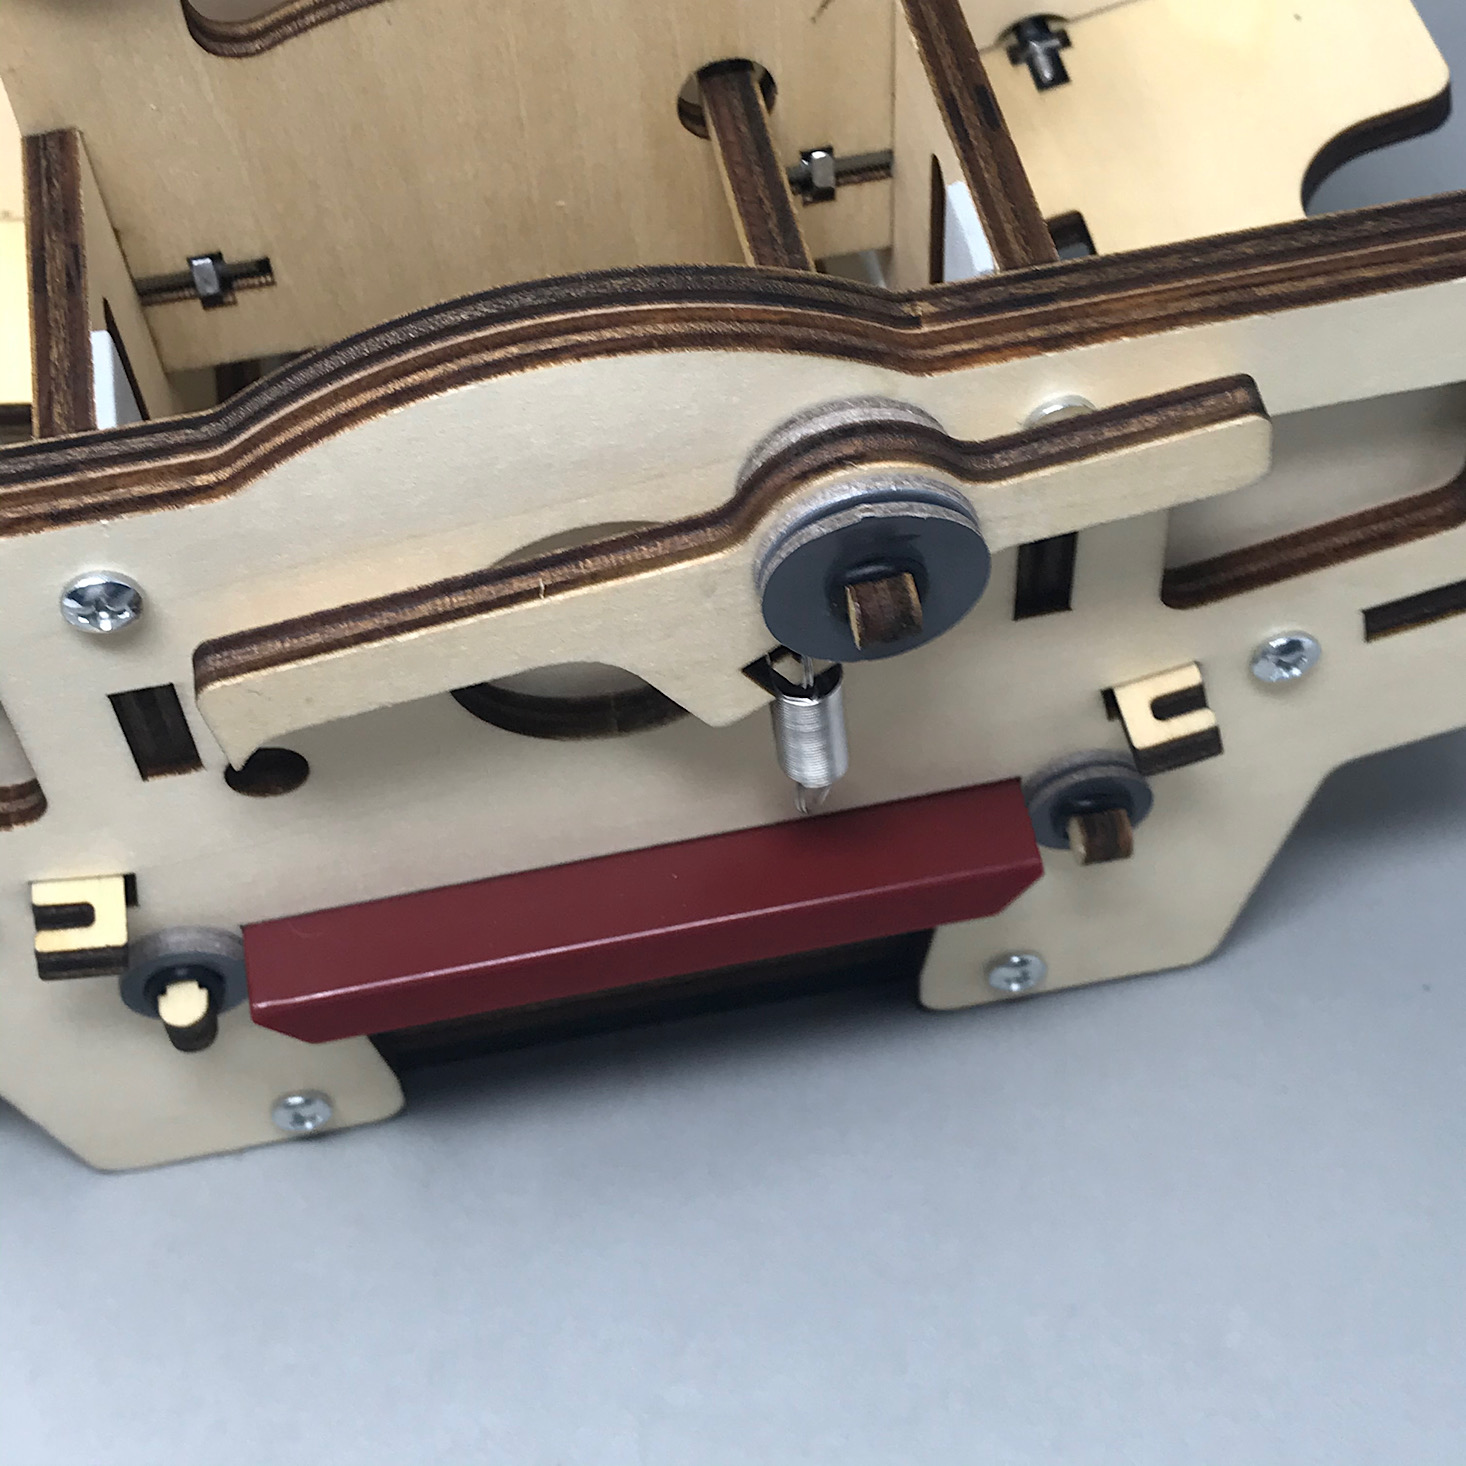
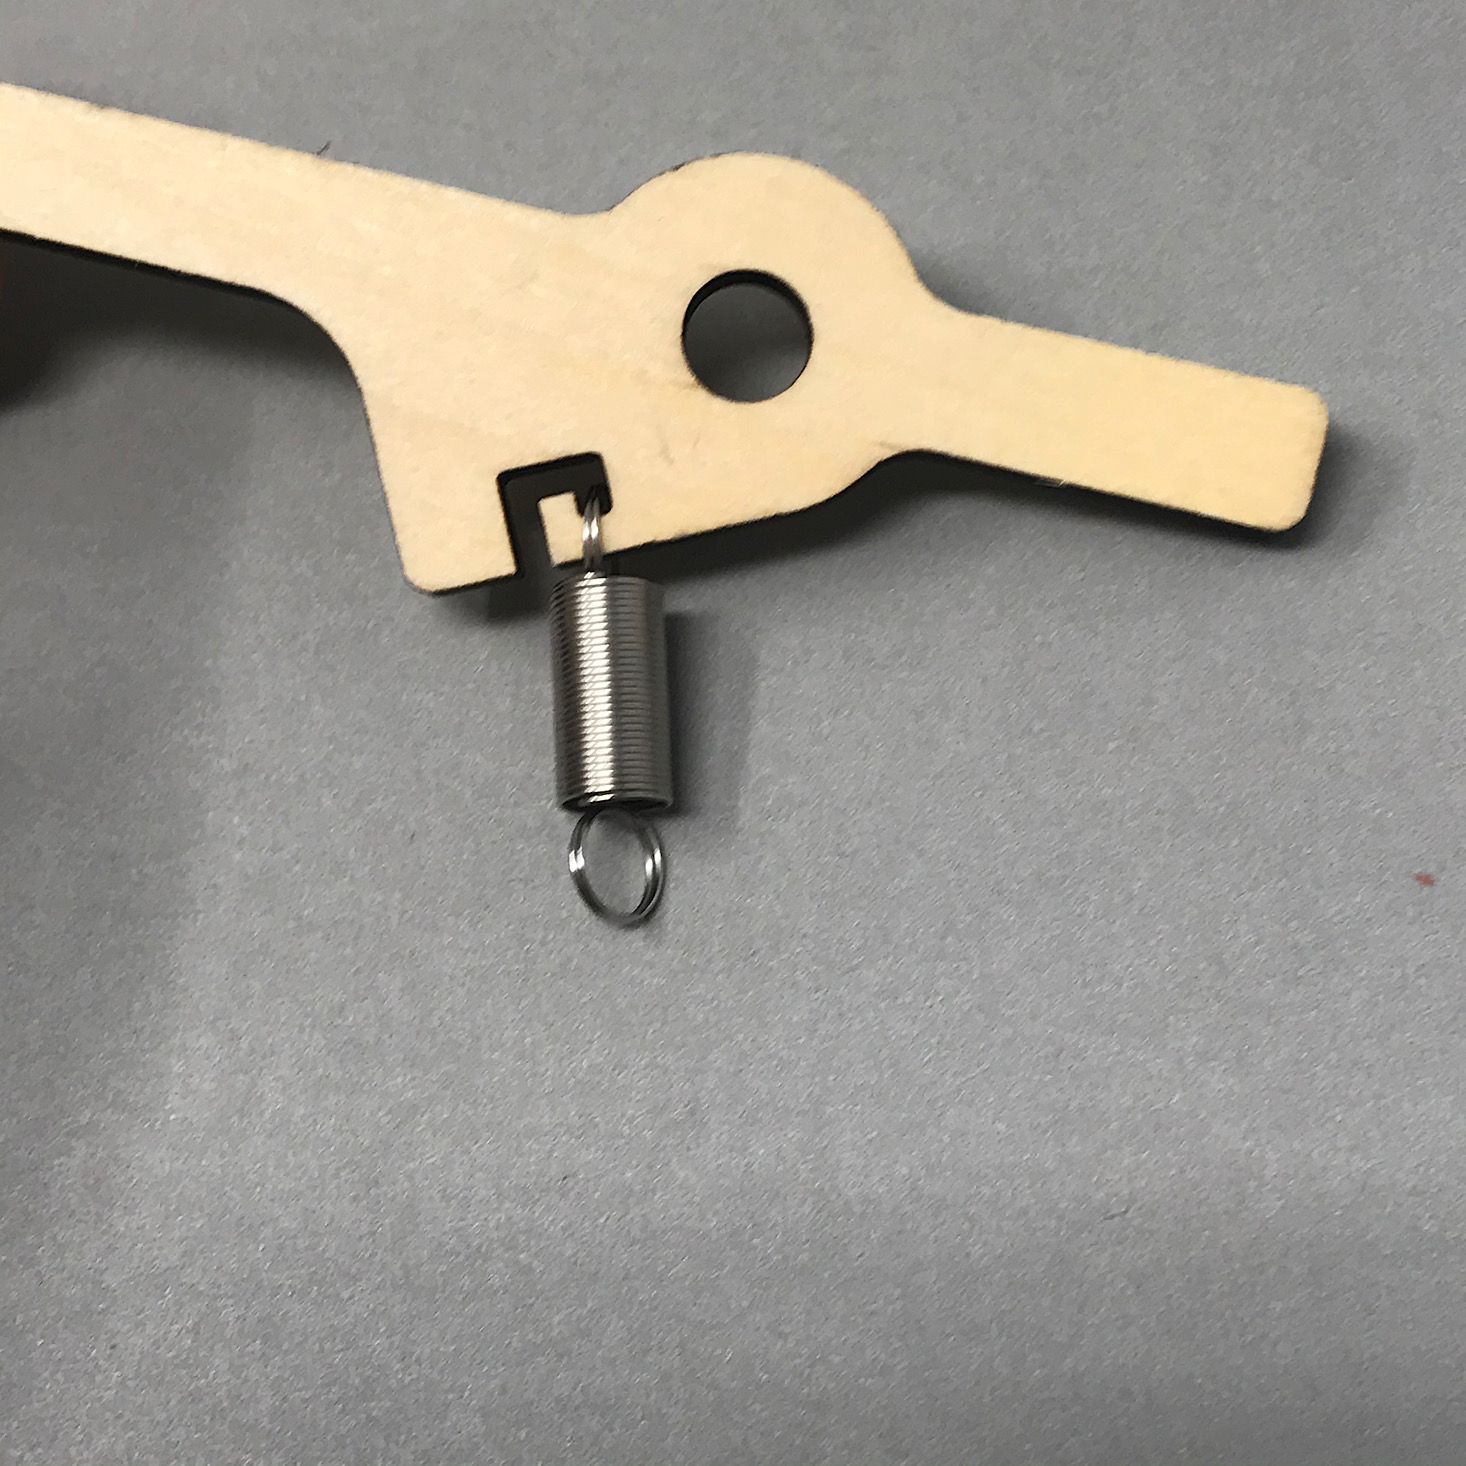
I added a spring to this wooden piece and then slid the whole thing on behind the washers and secured it with another washer and an O-ring.
I prepared this last shaft by adding a washer and two gears. Then I made sure that one of my cams faced up, while the other side faced down.
Then I slid the prepared shaft into the machine and made sure the gear lined up with the smaller gear and the larger gear.
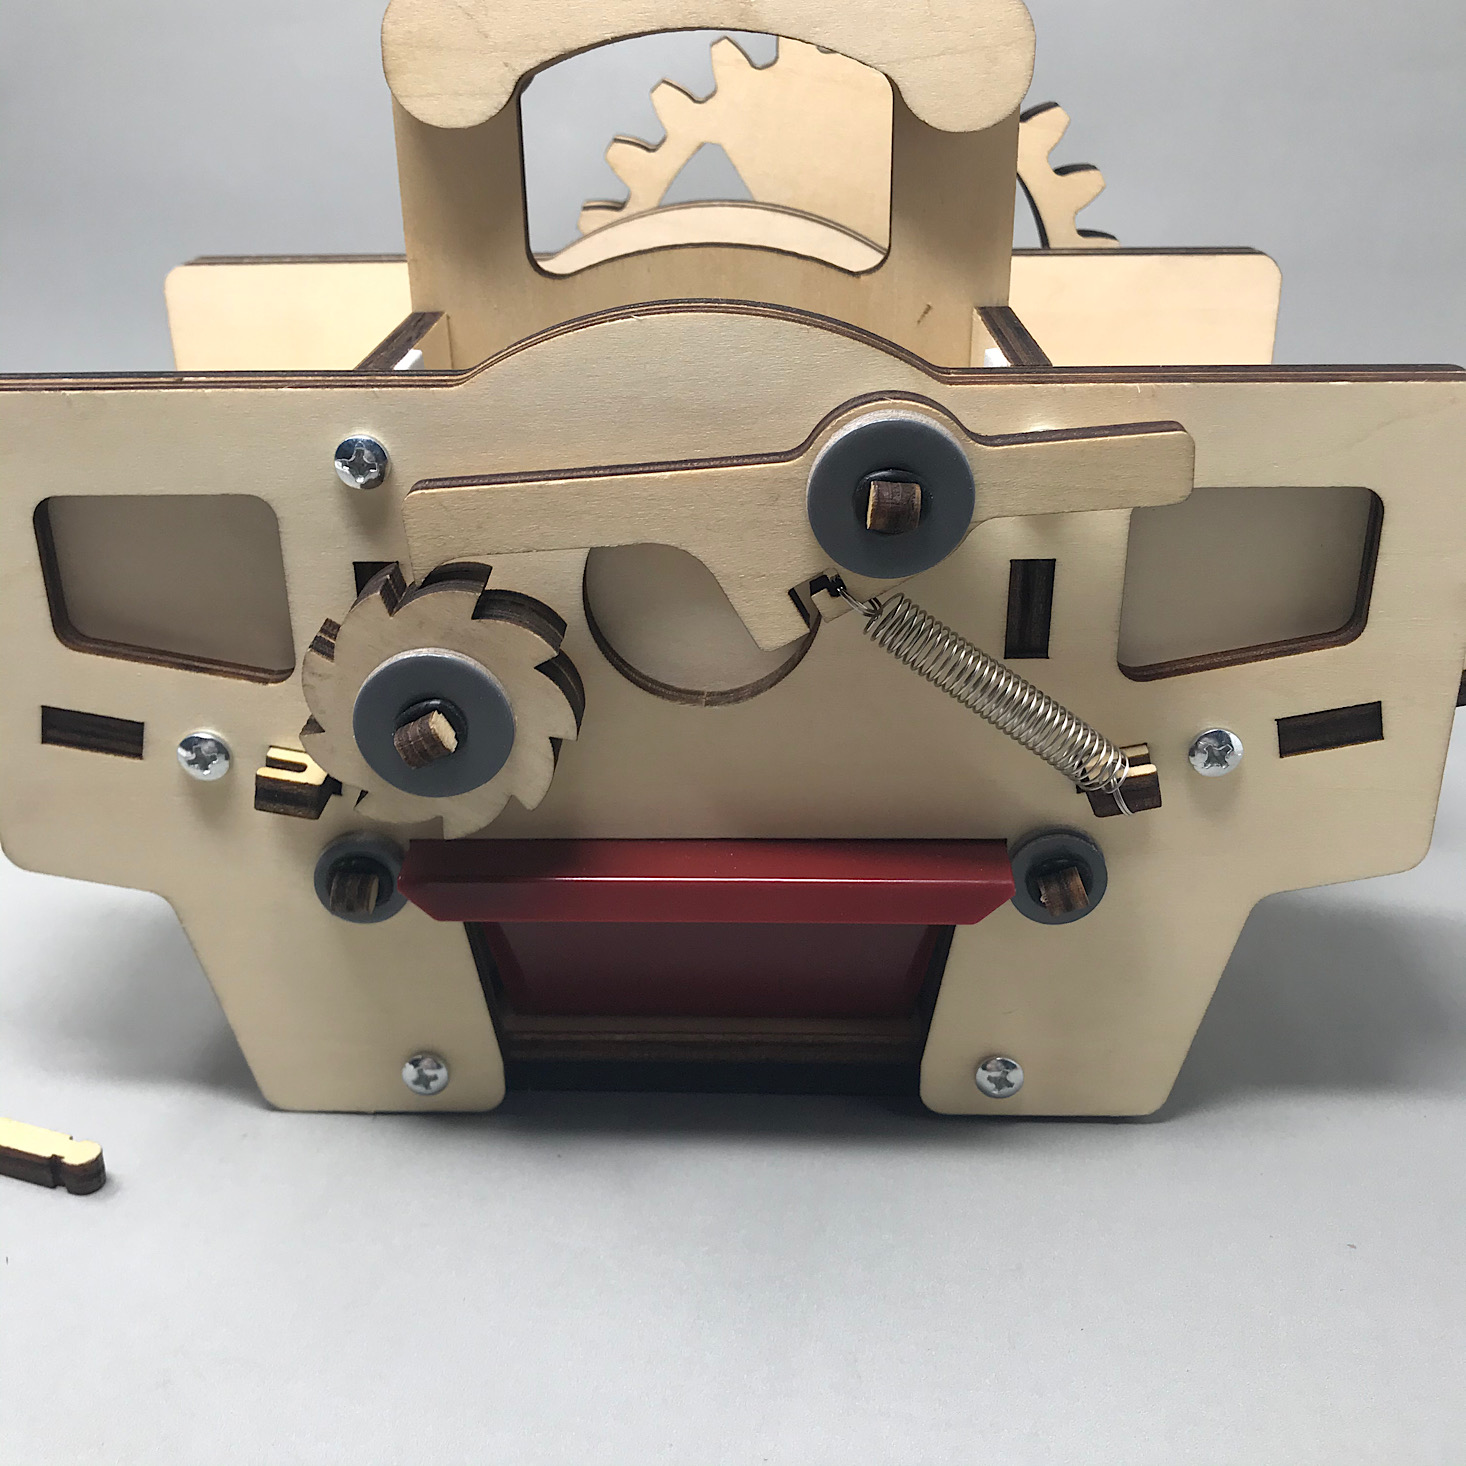
The last step was to line these two gears together and add them to the other end of the last shaft I had inserted into the machine at the back. I secured them with washers and another O-ring and then made sure that the claw of the wooden piece with the spring was resting on top of it. I then stretched the spring and hooked it to the machine. Now our card shuffling machine was complete!
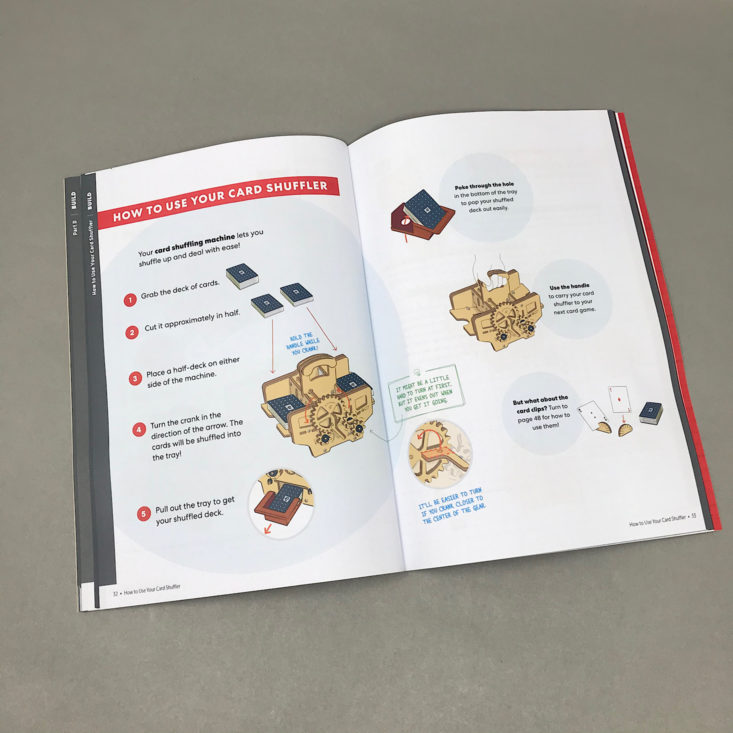
They provided some instructions on how to use our card shuffler.
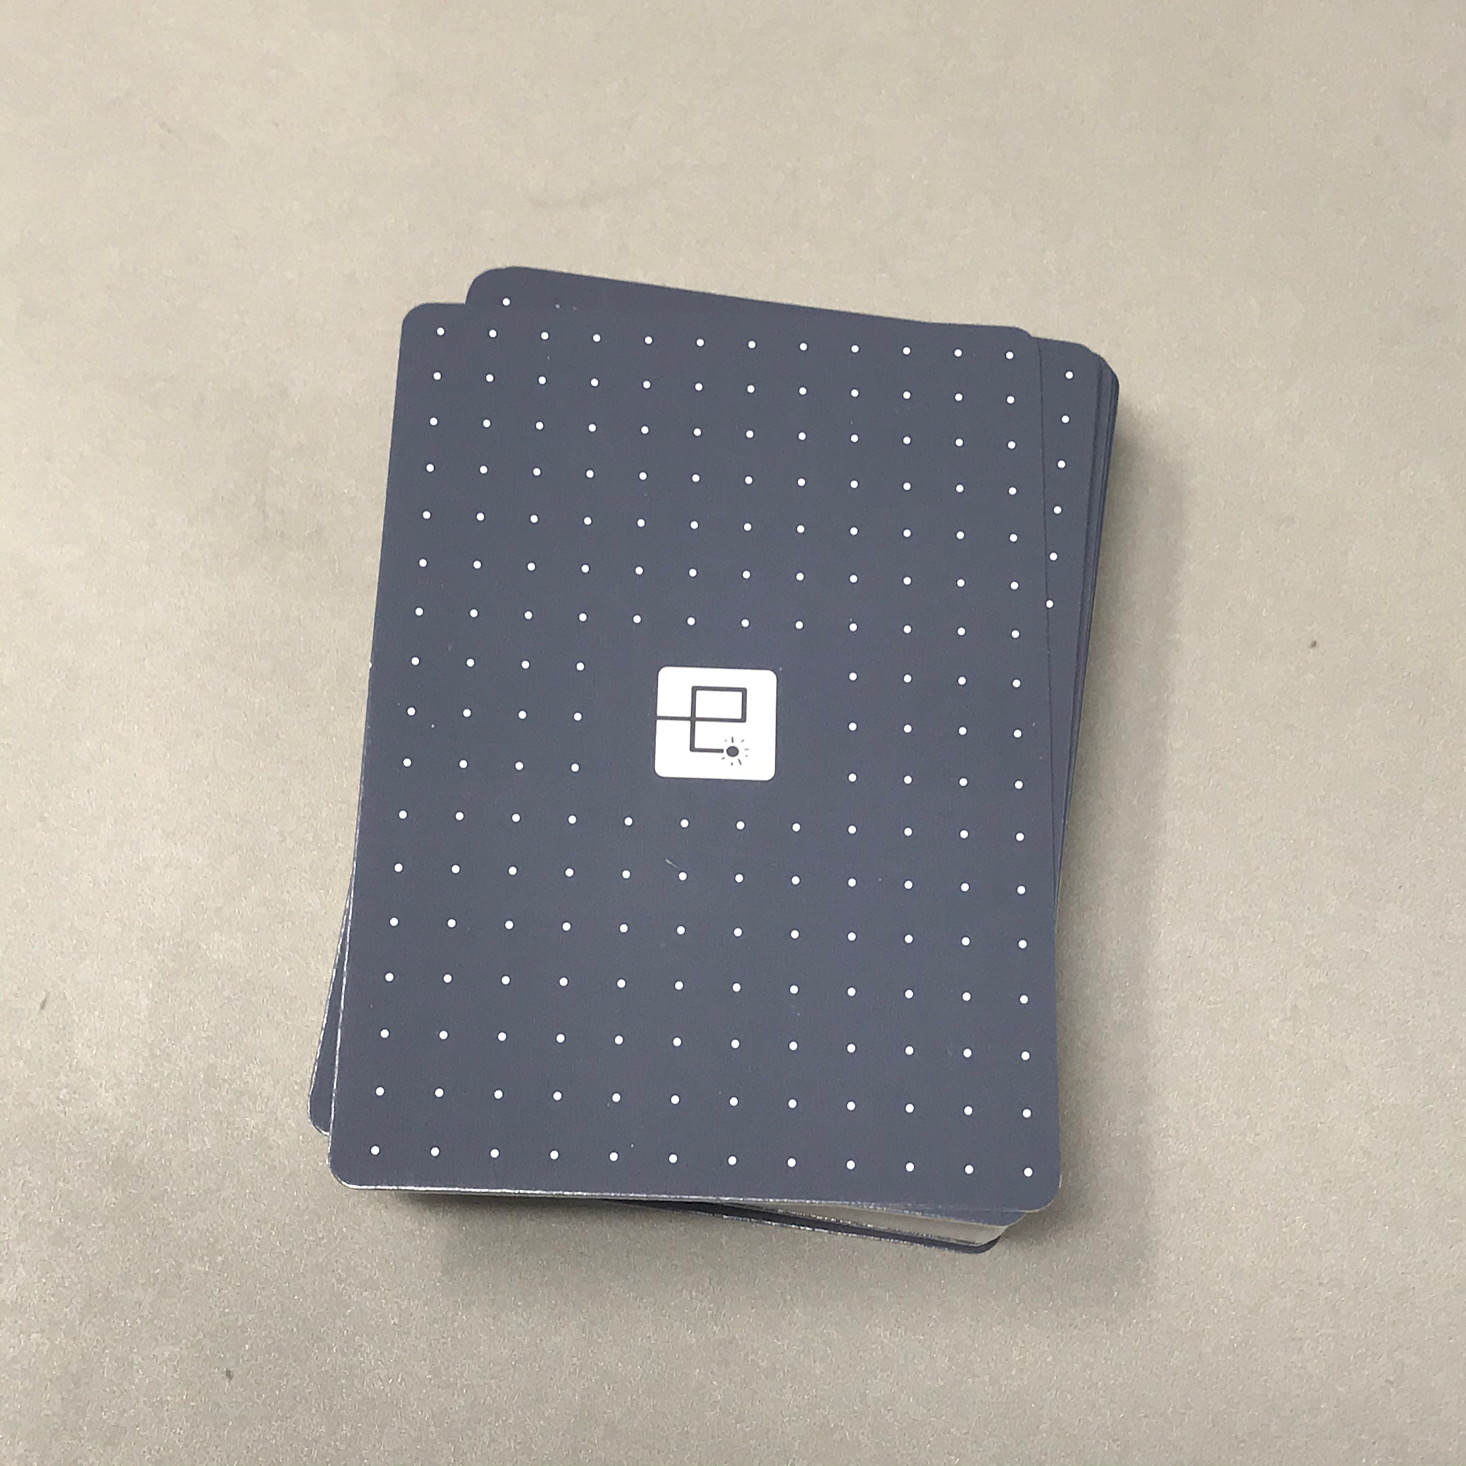
Of course, they were also thoughtful enough to include a brand new deck of playing cards for us to use to test it out.
Here is our shuffler ready to go and then with the cards all shuffled. You split the deck and then place half the deck on one side and the other half on the other side. Then you pull out the drawer and pop the cards out. The tray actually has a hole at the bottom that you can stick your finger through to pop the cards out even easier.
Here it is in action. As you crank the machine feeds a card from one side then another, alternating until all of the cards have been fed into the machine. It is definitely a two-handed observation and it's a bit difficult to crank it, but luckily they provided a solution.
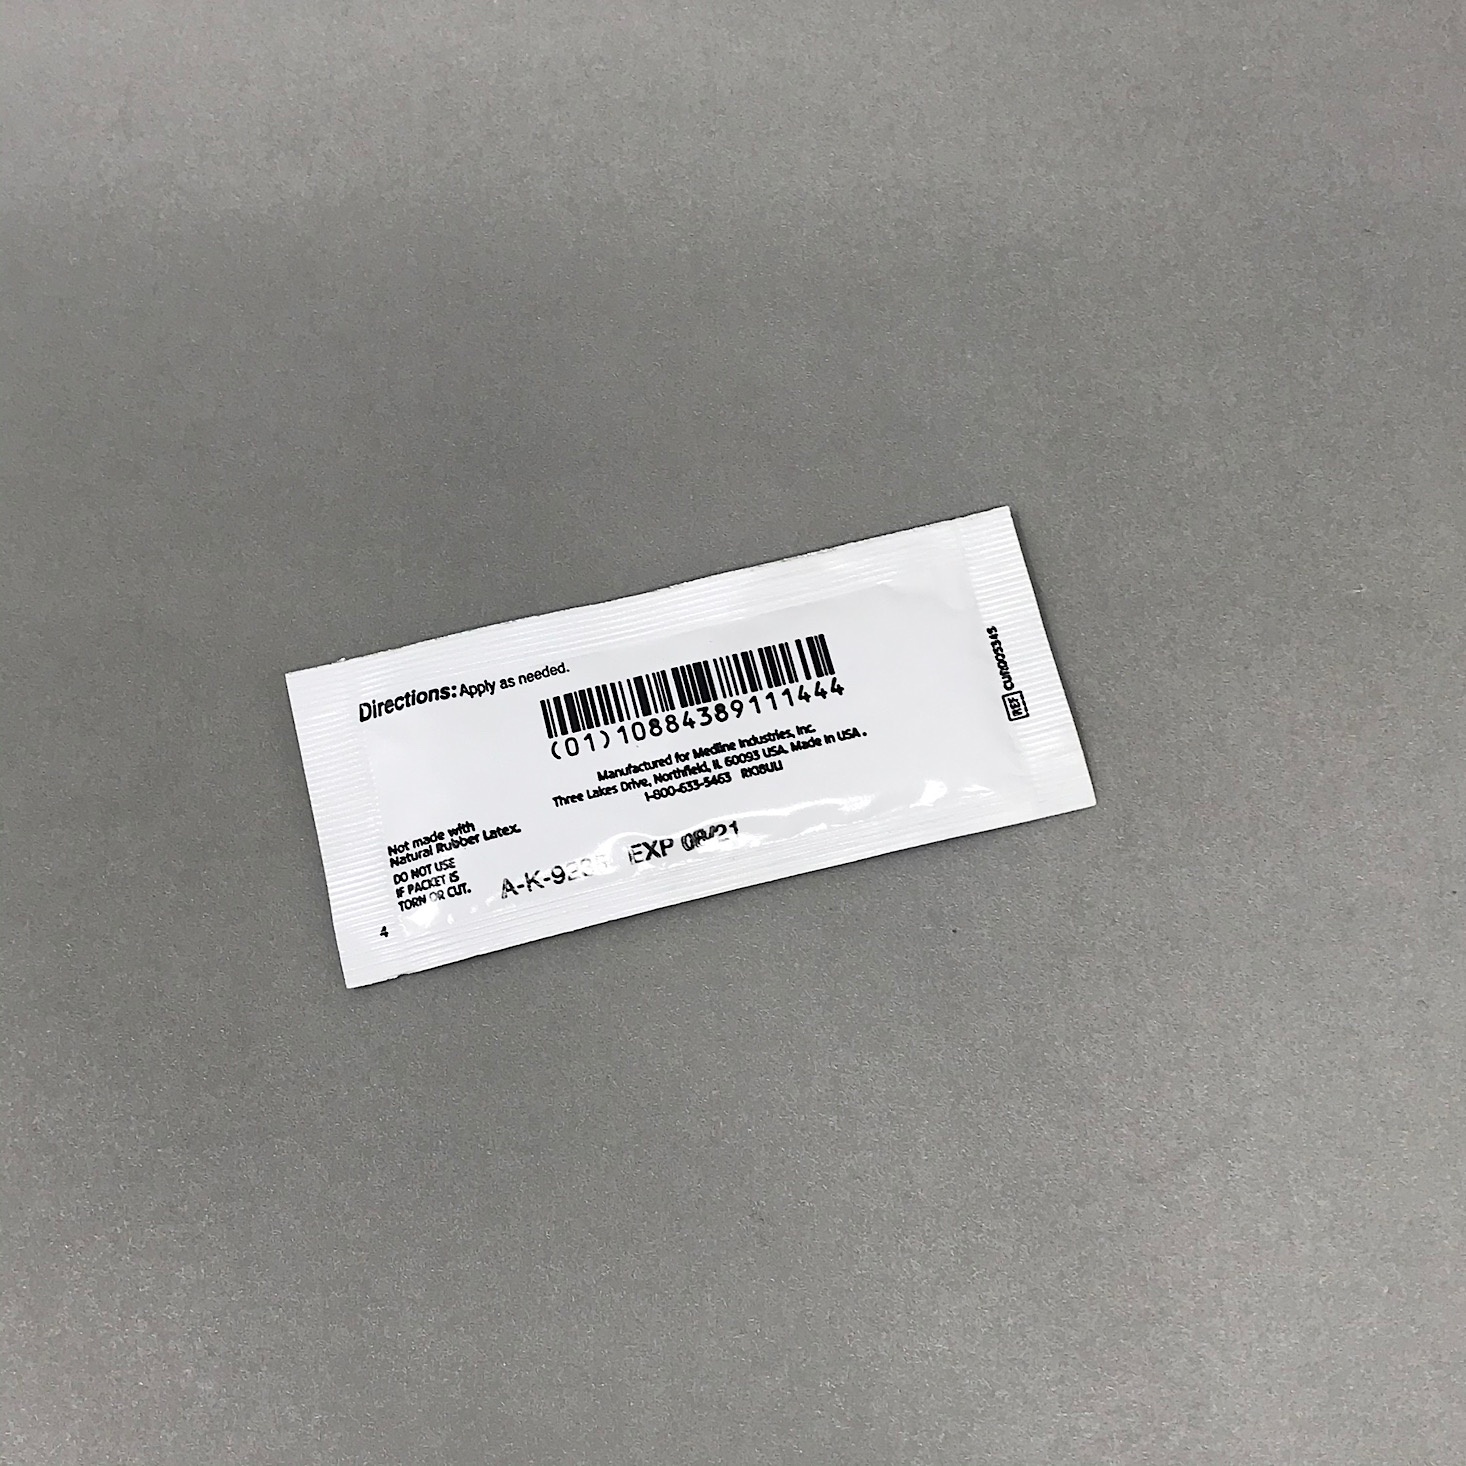
After adding a dab of this between the wheels, my shuffling machine was definitely running more smoothly! I think over time, it will definitely run even better with more use.
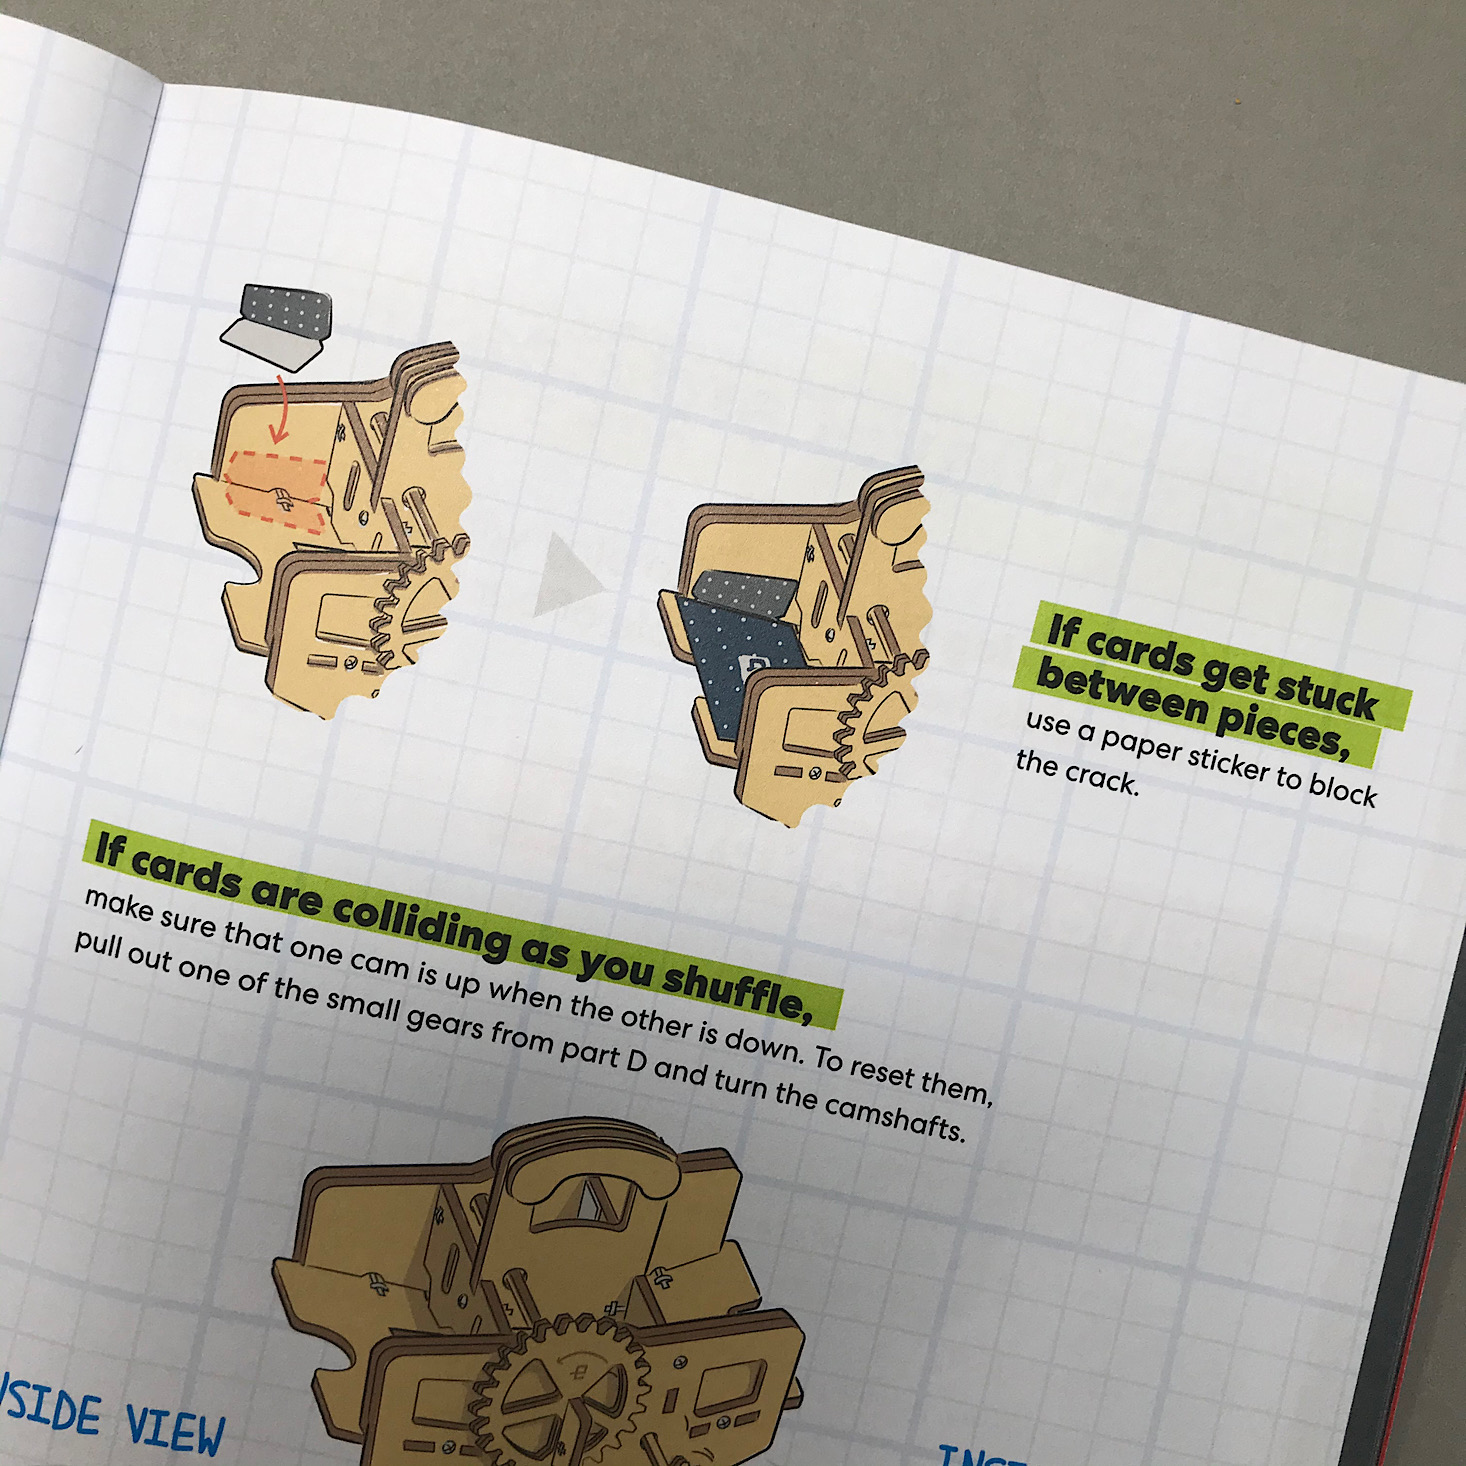
They also provided a set of stickers for us to use in case the cards get stuck in the cracks between the wooden pieces and we had a ton of extra pieces leftover overall which will be helpful if our machine ever needs a fix!
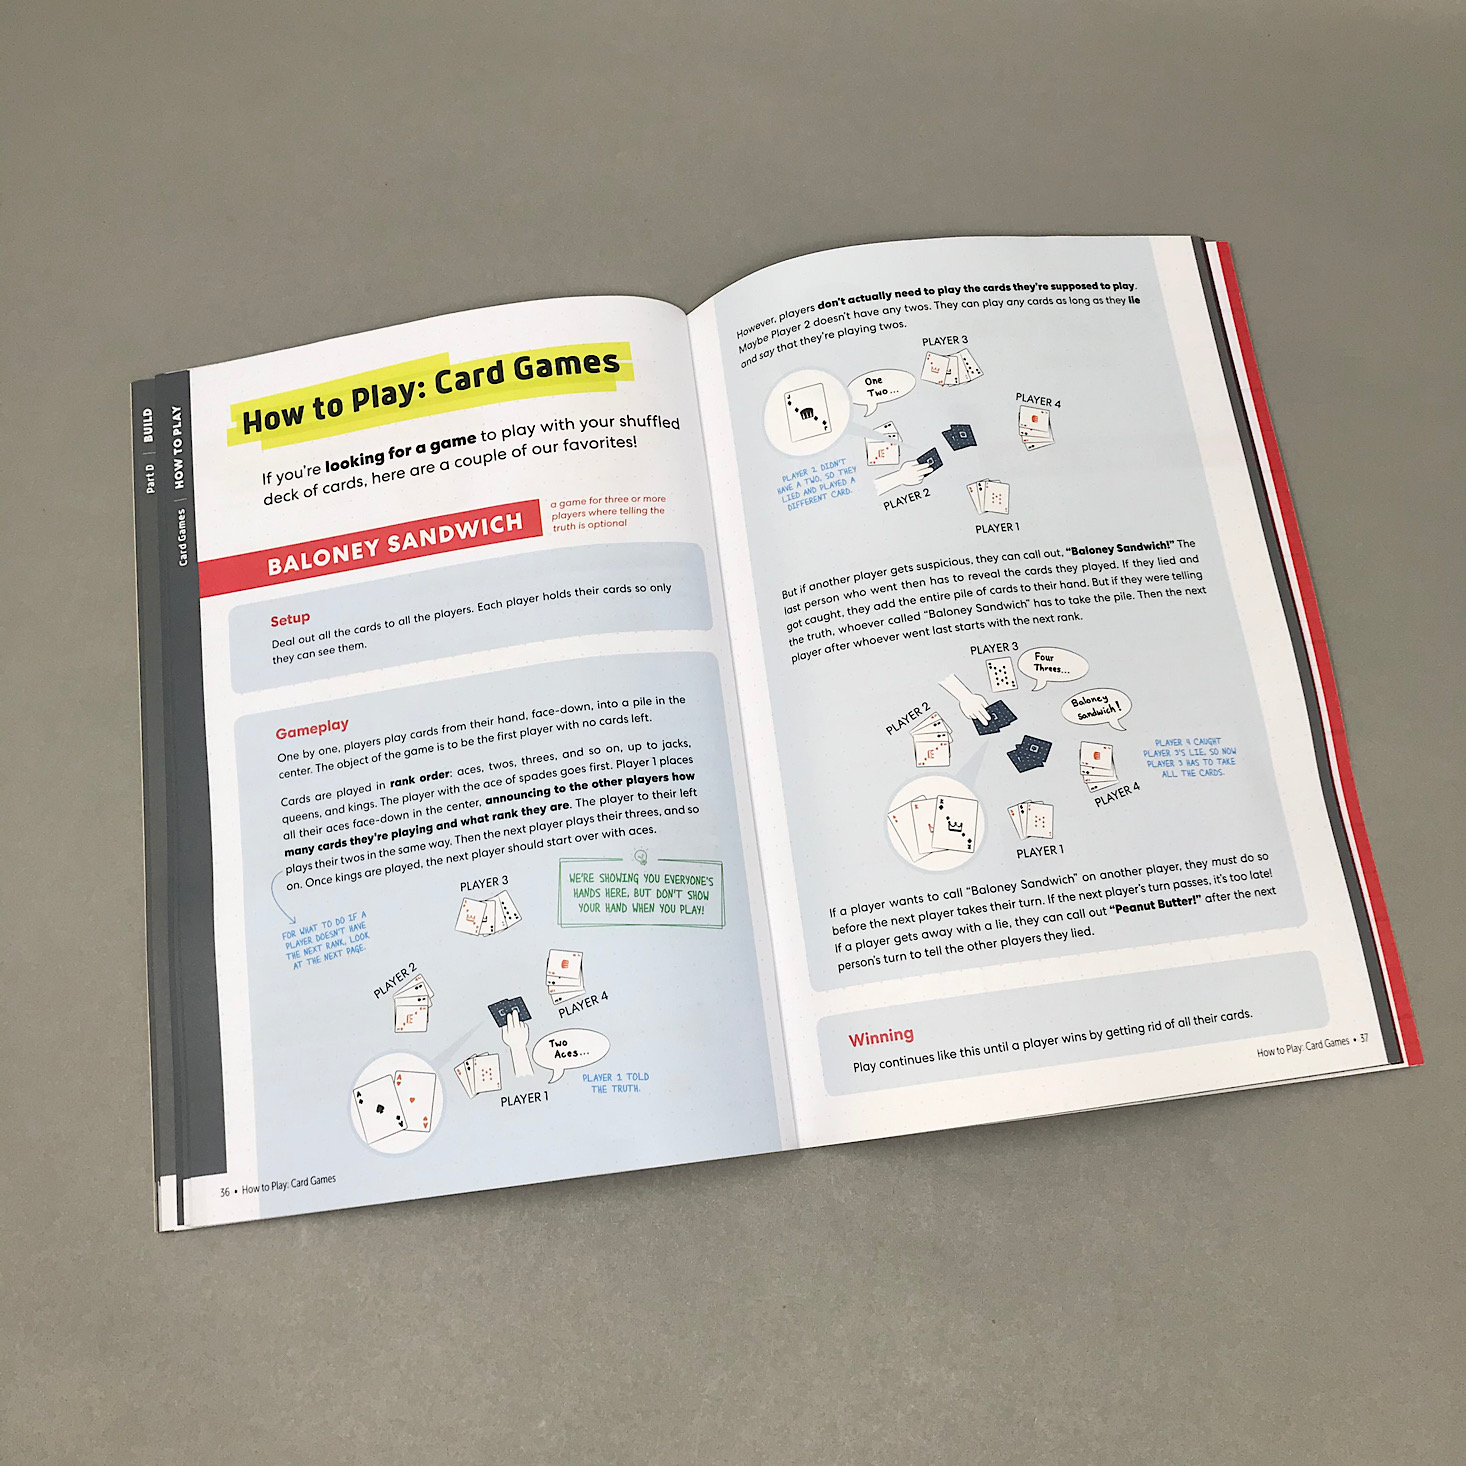
They even included instructions for how to play a few card games including Baloney Sandwich (which I've never heard of) and the classic game of Twenty-One.

In our booklet, there was a design challenge section which is always a great extension of the project. This month they are challenging us to become a card architect and build some creative new shapes using our deck of cards.
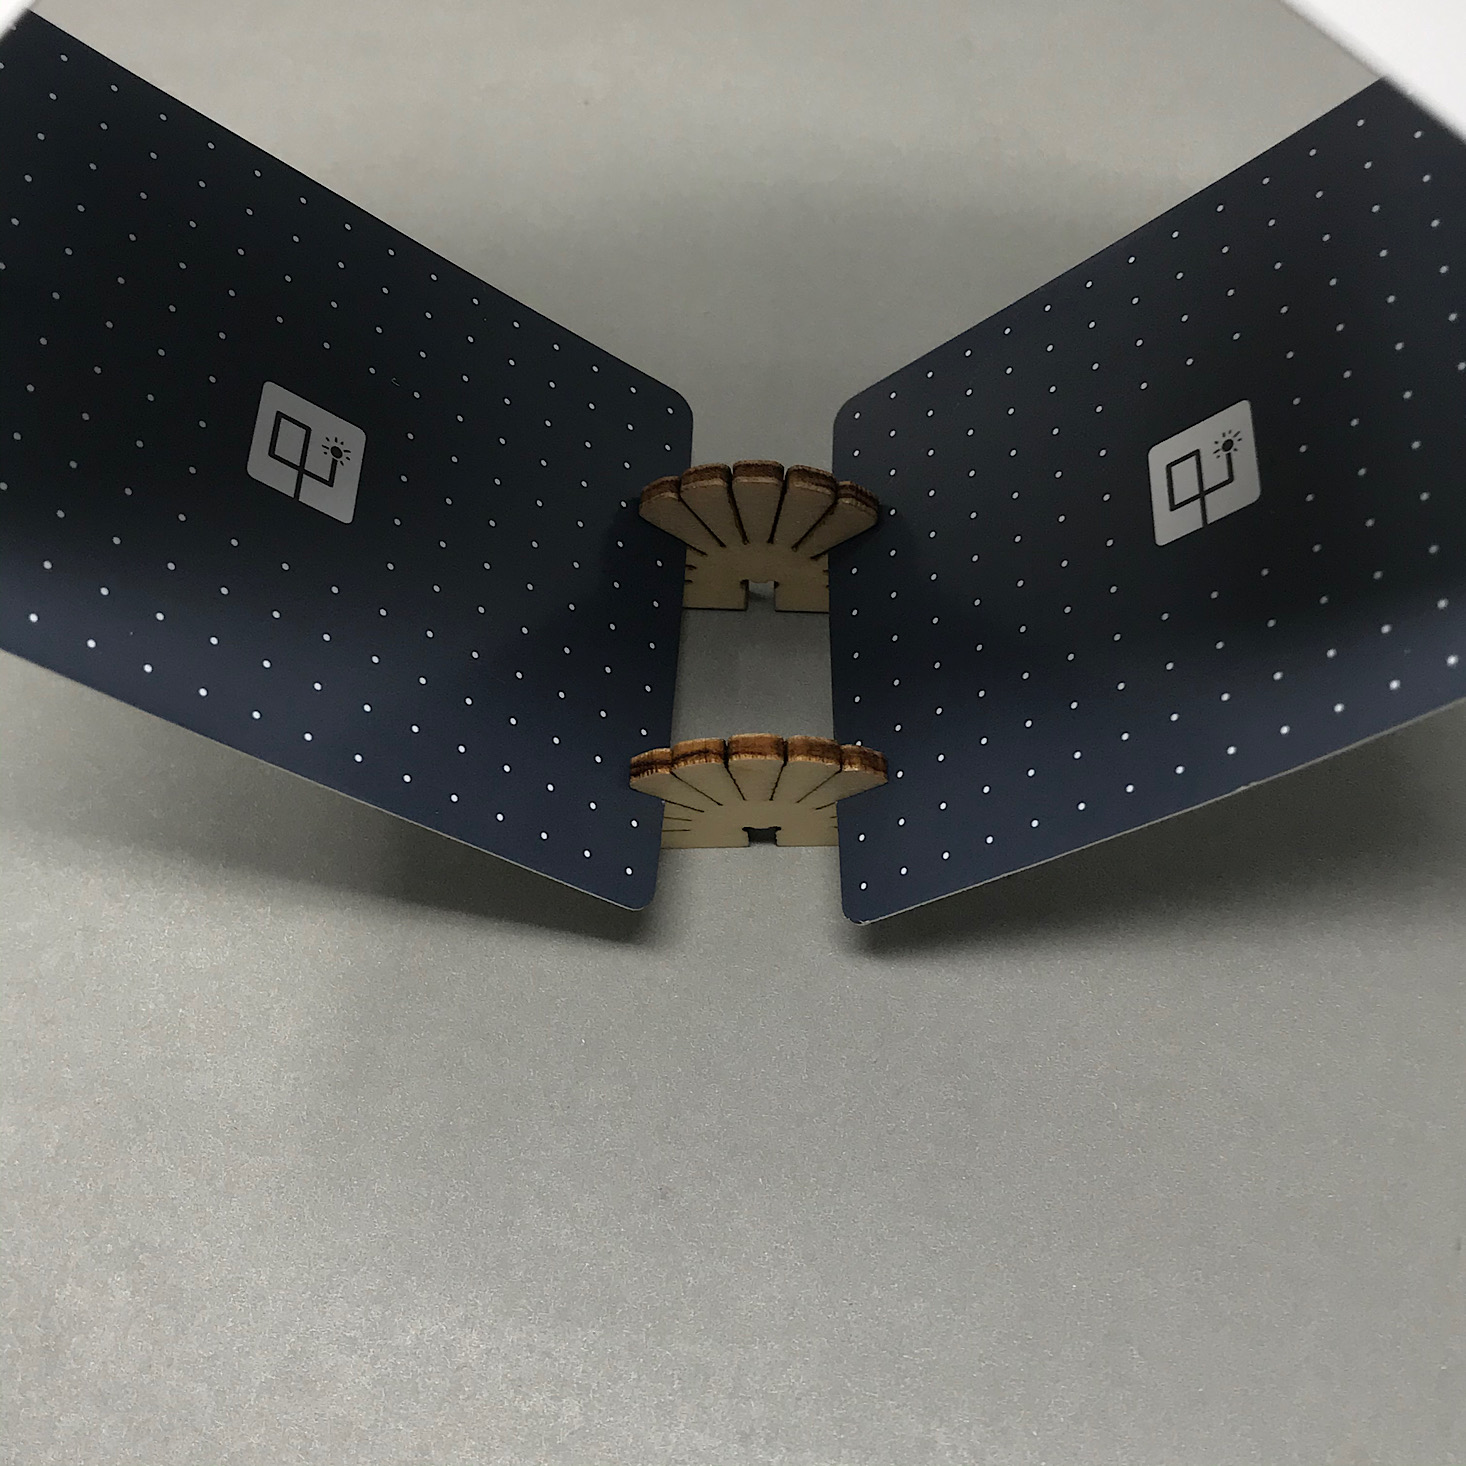
For us to complete the design challenge, they included 52 of these wooden card clips. I played around with them a little bit before attempting my tower!
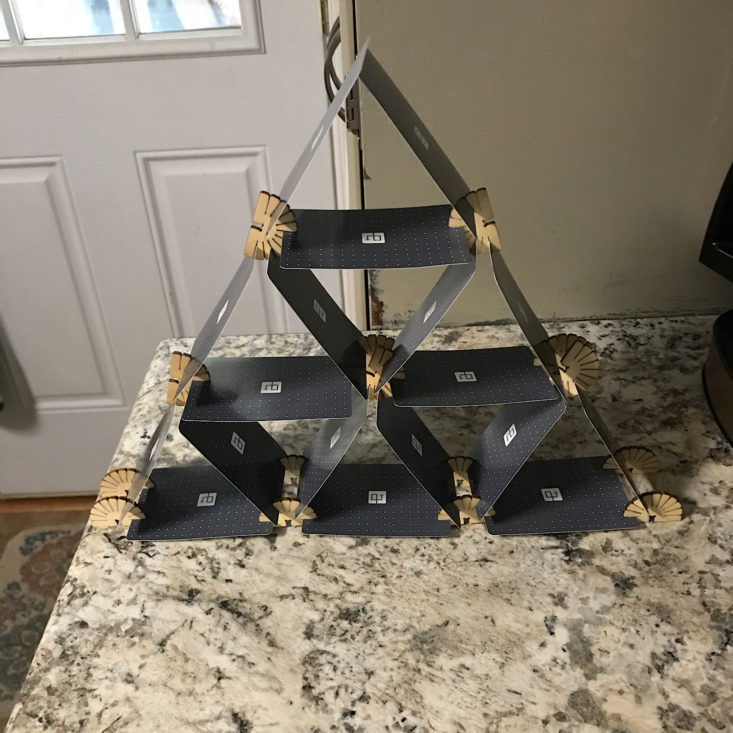
Here is my completed tower. This is definitely a fun design challenge that I think any teen would get a kick out of!
Verdict: This month's Eureka Crate project was certainly unique and will come in handy the next time my husband and I get a game night going! I am pretty terrible at shuffling cards, so this is something fun that can take care of that for me. I love that they didn't just stop at the machine though and also included those card clips for us to create our own tower or other creative designs. It was also great that they included directions for how to play several different card games. This machine was just challenging enough to put together and I thought it was a great learning experience worth the $29.95 + free shipping cost of the box!
To Wrap Up:
Can you still get this box if you sign up today? It is possible you might get this crate, but it is not a guarantee. From KiwiCo:
Crates are assigned each month based on availability and your crate history - not all subscribers receive the same theme each month.
Check out all of our KiwiCo reviews and the best boxes for teens!
Keep Track of Your Subscriptions: Add this box to your subscription list or wishlist!
What do you think of Eureka Crate?



















































Please do not enter your email address in the Name field or in the comment content. Your email address will not be published. Required fields are marked *. Remember to post with kindness and respect. Comments with offensive language, cruelness to others, etc will not be approved. See our full comment policy here.