Bluprint Premium is a membership subscription model where you not only get access to the thousands of crafting videos on Bluprint's online network, but you also get curated craft boxes sent to you quarterly. Each box contains all of the supplies needed to make the craft (either sewing, quilting, knitting, crochet, or embroidery), as well as detailed step-by-step video tutorials for the craft.
Bluprint offers three subscription models:
- Monthly: $7.99 per month (for unlimited access to classes + projects, with one own-forever class)
- Annual: $79.99 per year (for unlimited access to classes + projects, free US shipping, and 12 own-forever classes)
- Premium: $199 per year (for 4 quarterly project boxes valued at $400, unlimited access to classes + projects, free US shipping, and 12 own-forever classes)
This review is of Bluprint Premium, for $199 a year.
This box was sent to us at no cost for review. (Check out the review process post to learn more about how we review boxes).
About Bluprint Premium
The Subscription Box: Bluprint Premium
The Cost: $199 per year (other plans available from $7.99 per month)
The Products: Everything you need to create a craft project (choose between knitting, crochet, quilting, sewing, or embroidery) with detailed step-by-step video tutorials, and unlimited access to Bluprint classes and projects
Ships to: The US for free
Good to Know: Subscribers receive free US shipping on all Bluprint orders with this subscription. You'll also get 12 Bluprint classes to own forever.
Bluprint Premium Fall 2019 Review
Bluprint (formerly known as Craftsy) is an online hub for crafters. They feature video tutorials and classes for all sorts of craft projects, and also sell kits for curated designs. They recently launched their Premium subscription model, where you not only get unlimited access to all of the video content on the website, but you also get one craft kit per quarter with detailed video instructions. You get to choose which craft you receive each time - you can try them all over time or stick with your personal favorite! As of now, the craft types offered are sewing, quilting, knitting, crochet, and embroidery.
This quarter, I picked the sewing box!
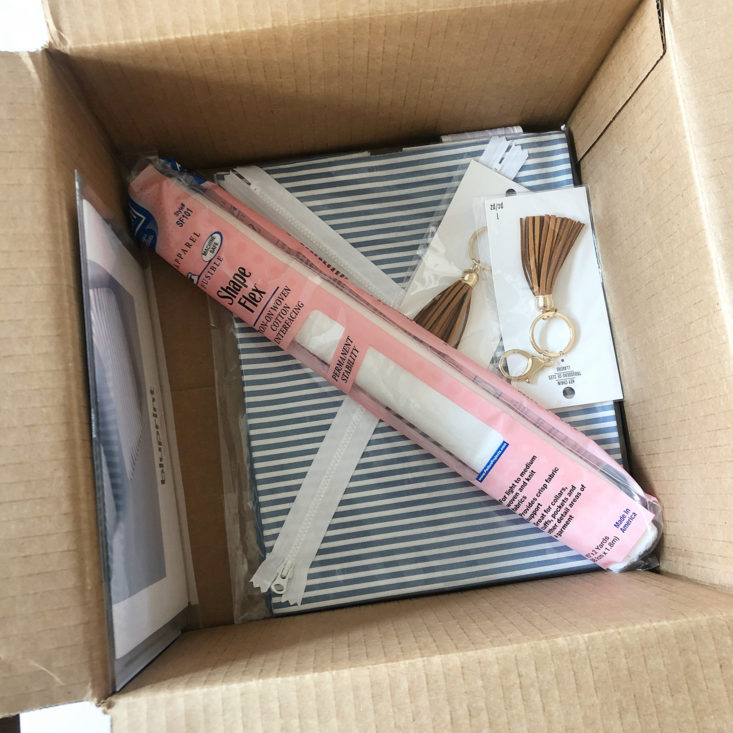
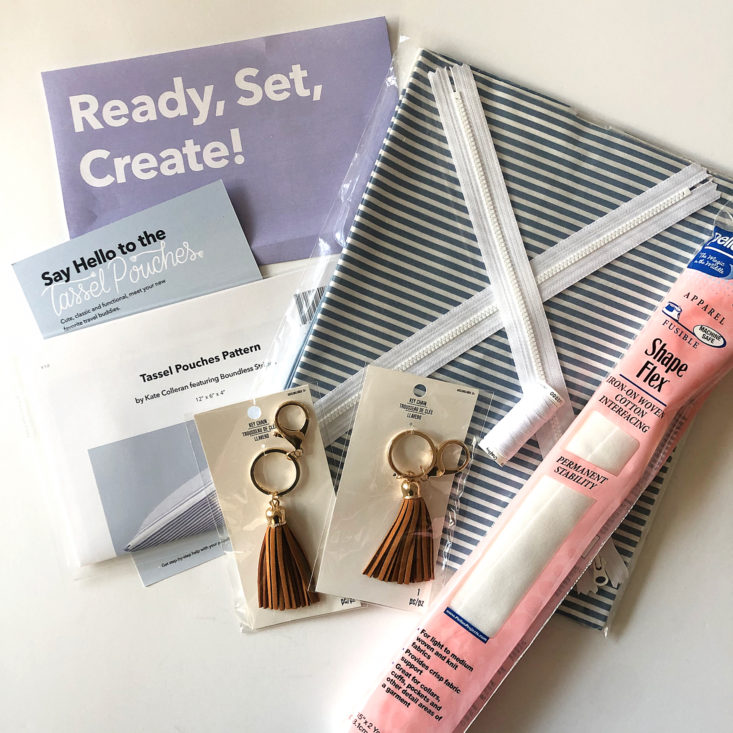
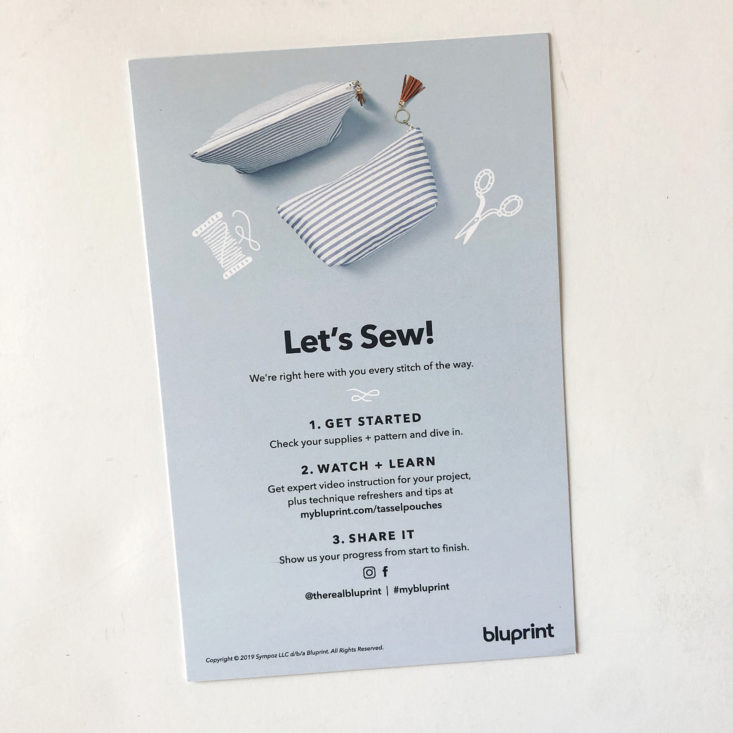
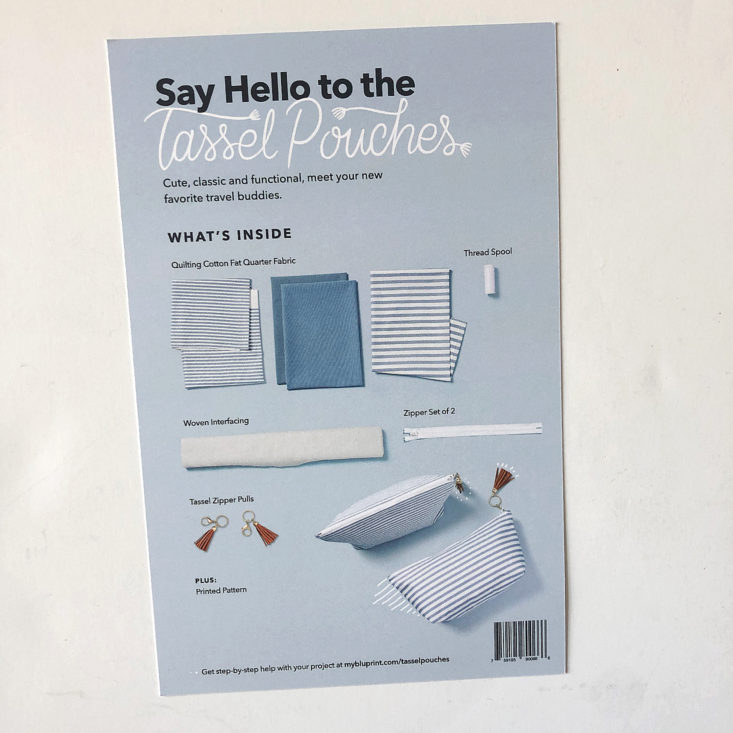
The first thing that greeted me when I opened my box was this super cute card detailing what came with my project. I consider myself a beginner sewist - I know the basics but haven't done a lot of sewing projects. I loved the idea of getting step-by-step tutorials to teach me better techniques with this project! The sewing box this quarter is for two Tassel Pouches - they look like the perfect size for storing your makeup when traveling or for stashing a knitting or crochet project!
Ther was also a coupon for 50% off of a Bluprint item. Sweet!
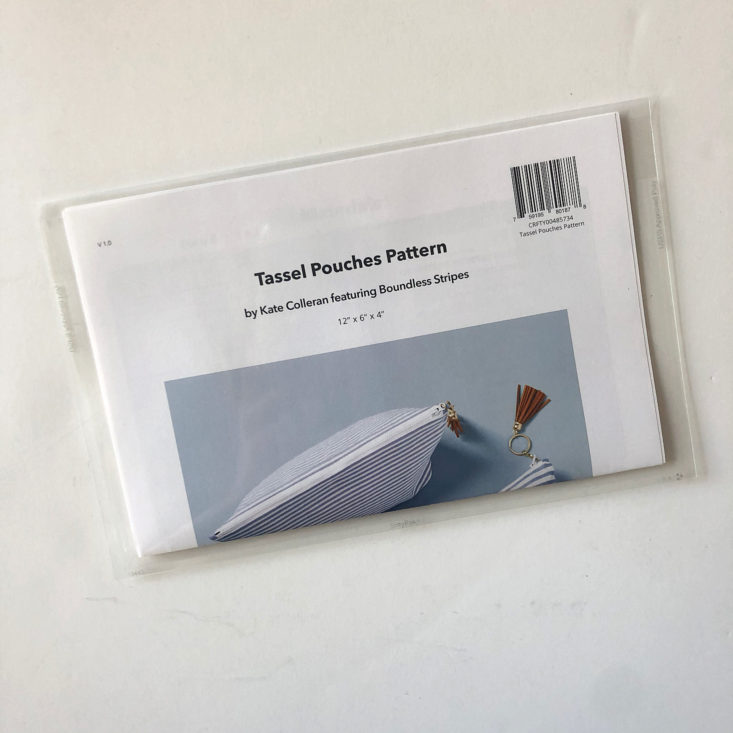
The pattern for the pouches came encased in a sturdy, plastic wrapping. Normally I would hate the waste of extra packaging in the box, but this envelope is thick enough and well made - I'm keeping it so that I can store my pattern for future use!
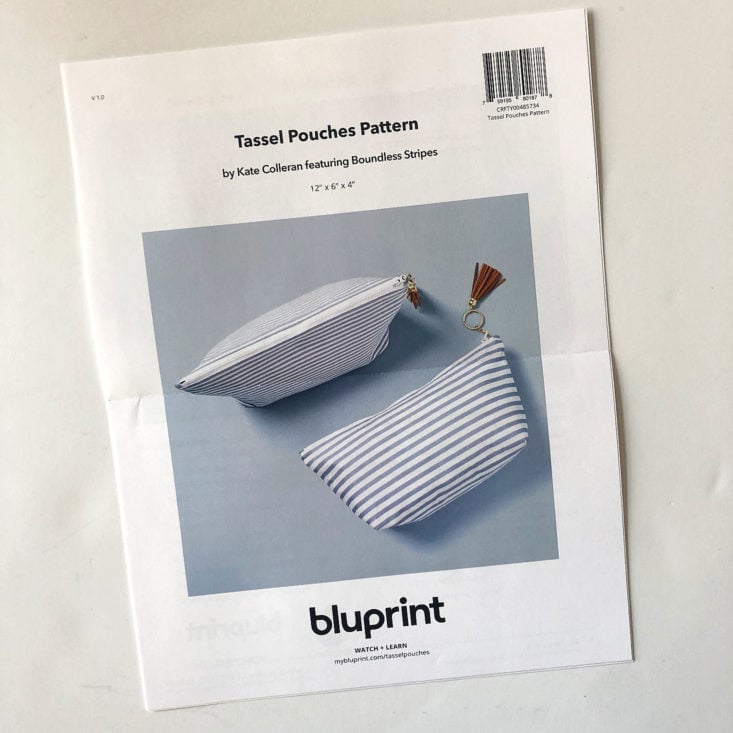
The pattern is printed on double-sided, thick paper in full color. I'm not showing the full pattern here due to it being proprietary content, but each step is clearly laid out and is explained well. There are several diagrams and drawings to show how each piece is put together.
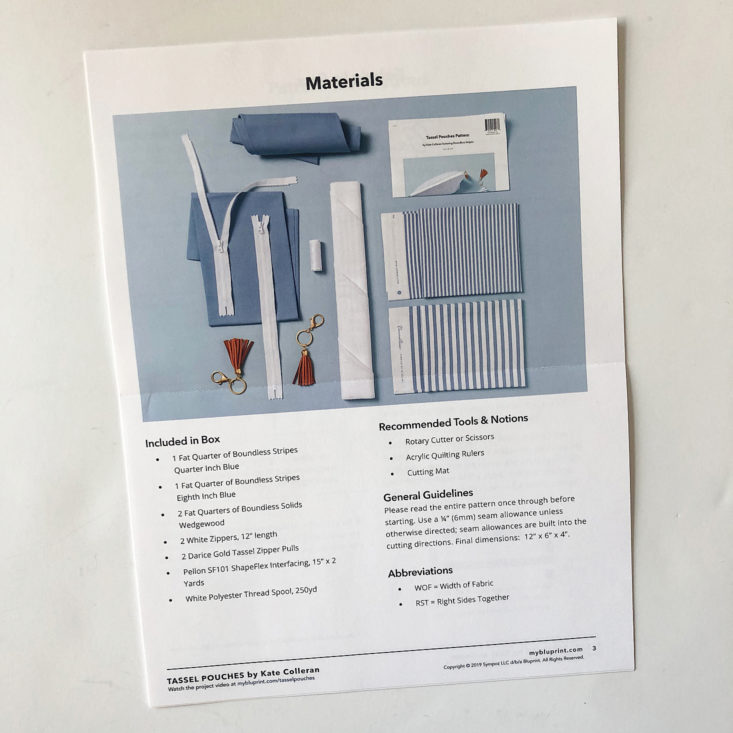
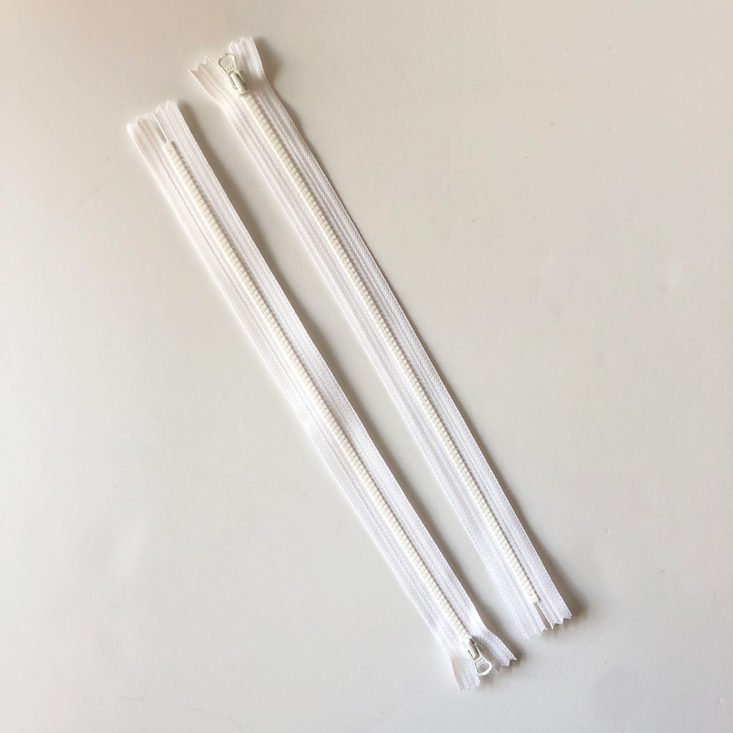
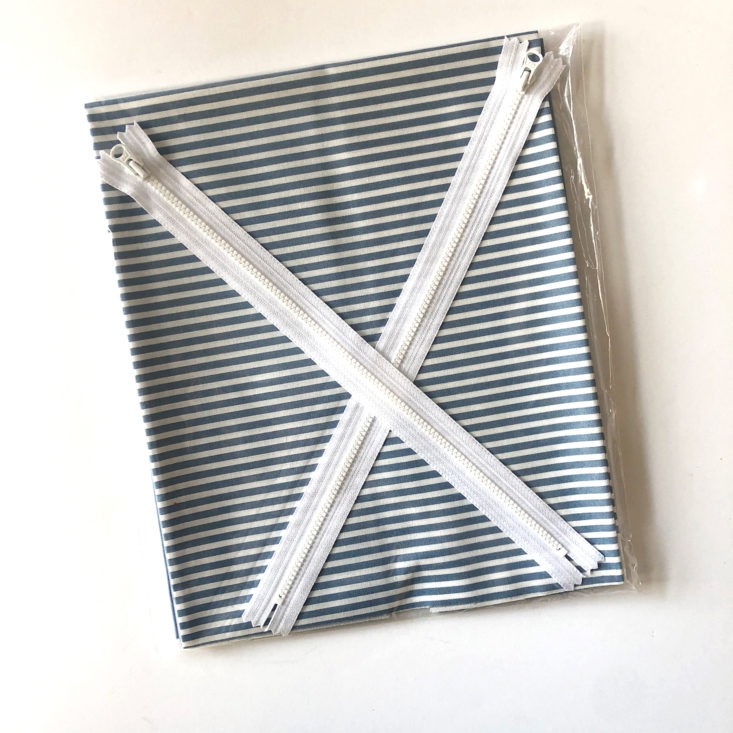
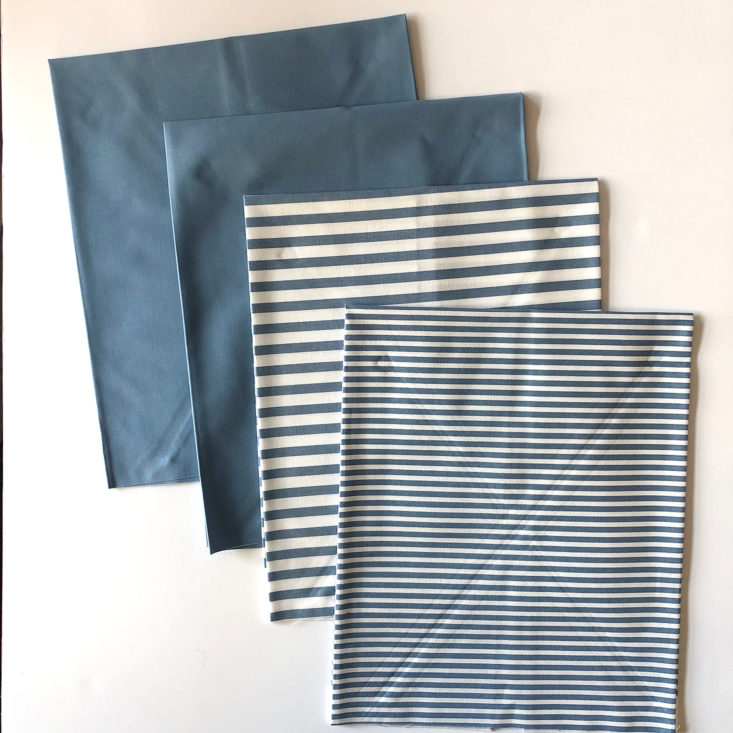
We received four fat quarters of fabric (two striped and two solid), and two 12" white zippers. The fabric is very nice quality quilting cotton. It is thick and seems durable. I love the dusty blue colors and especially love that we received two different stripe patterns so each bag is unique!
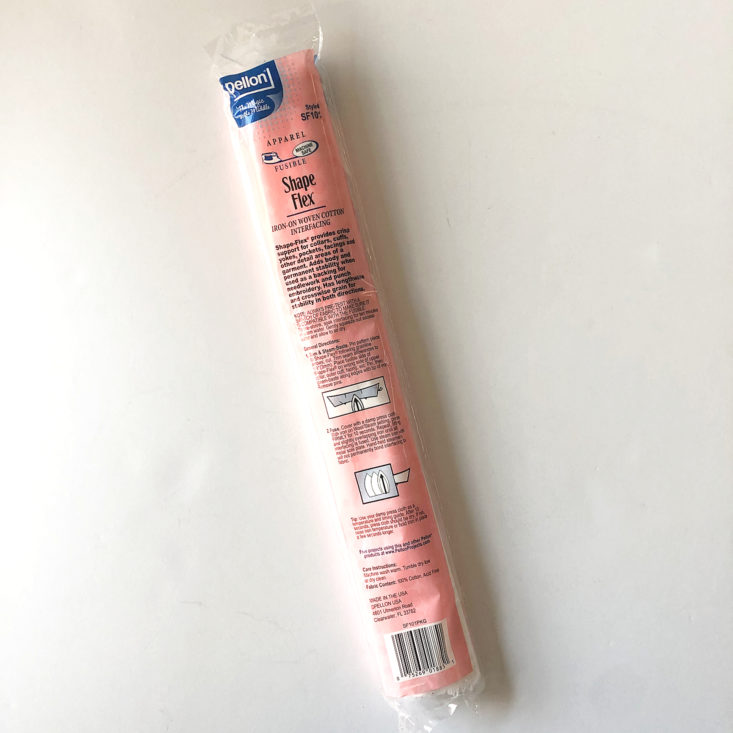
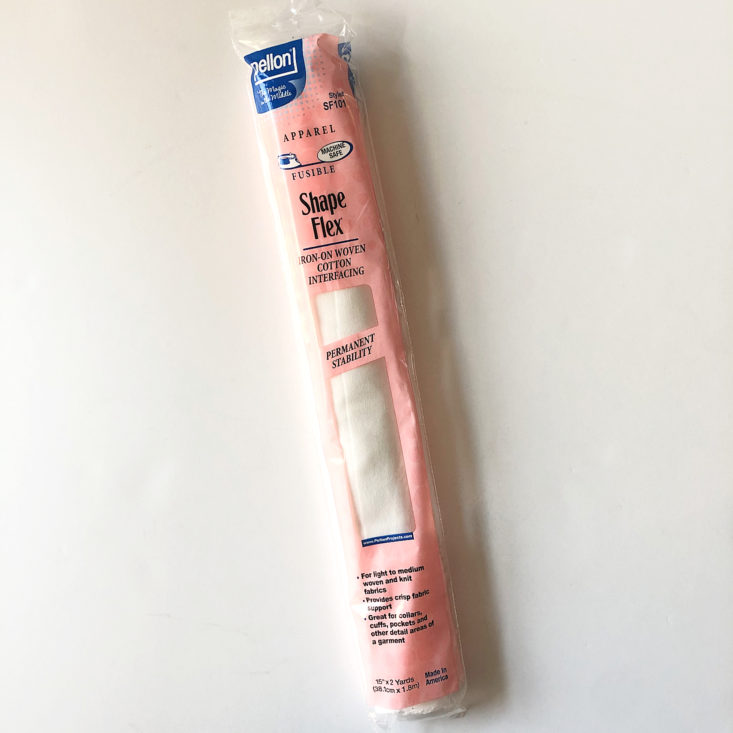
We also received two yards of fusible interfacing. I was very impressed by this product! I would classify it as a light/moderate weight of fusible interfacing, and the non-sticky side is extremely soft. It almost feels like felt, and it's very flexible. I've used a lot of fusible interfacing that feels plastic-y or cheap, and this was definitely very nice to work with.
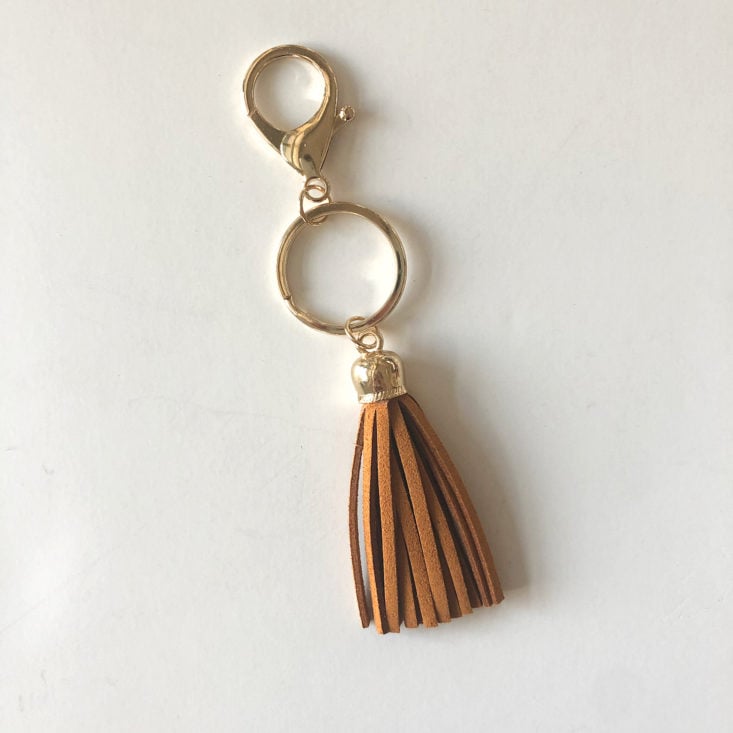
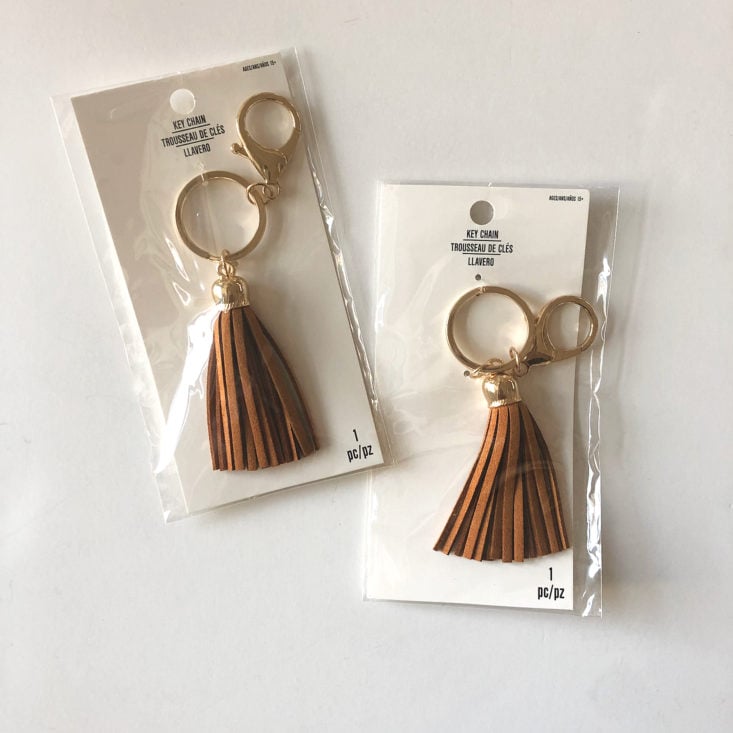
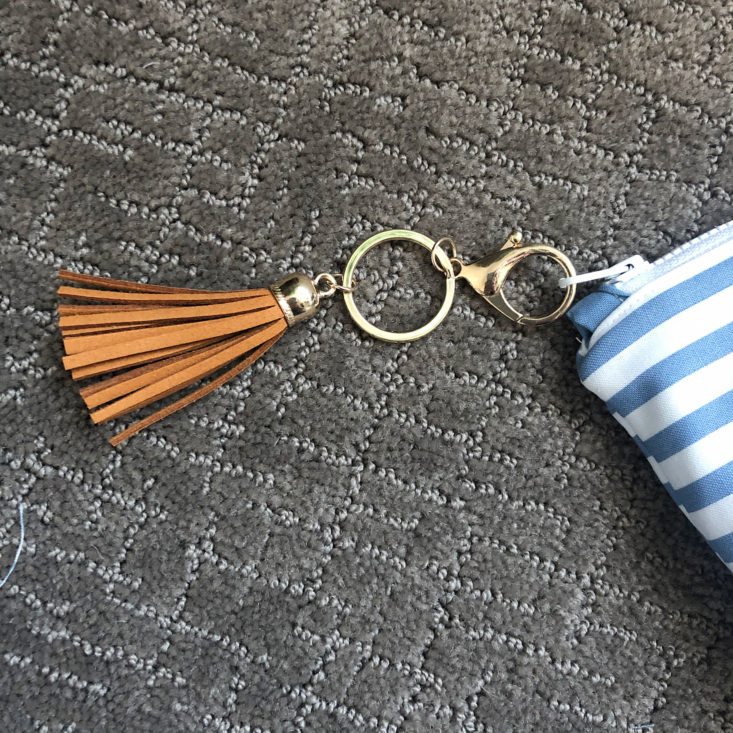
The kit also included two gold-trimmed tassel keychains to attach as zipper pulls. The gold and leather detailing is very on-trend right now, and I appreciated this extra touch - I feel like my finished bags will have a luxe feel due to these! There are a lot of hand-sewn project bags for sale on Etsy with similar finishes, so I love these!
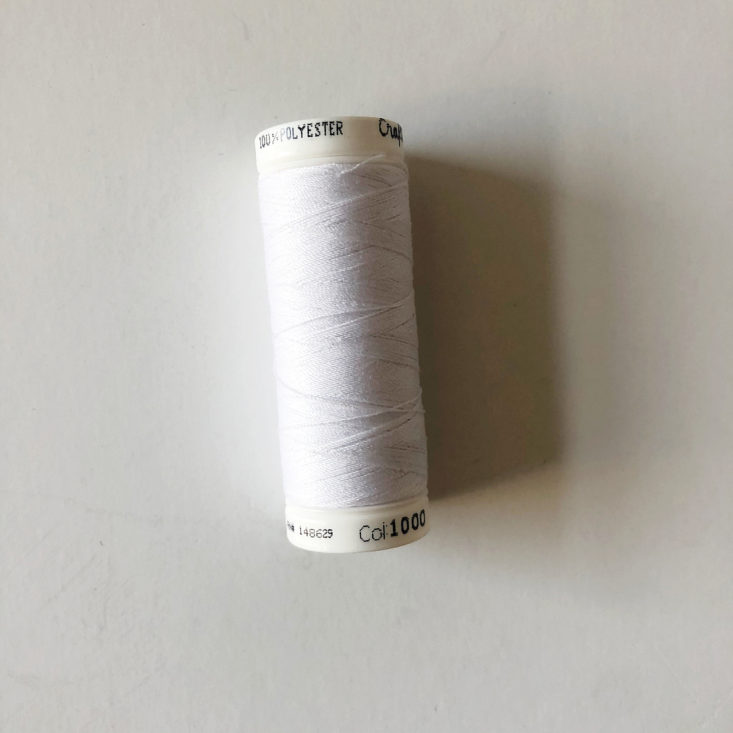
We also got a small spool of white 100% polyester sewing thread - always a great thing to have when you are making a sewing project! The spool is on the small side, but I had more than enough thread to sew both bags.
Now, let's get sewing!
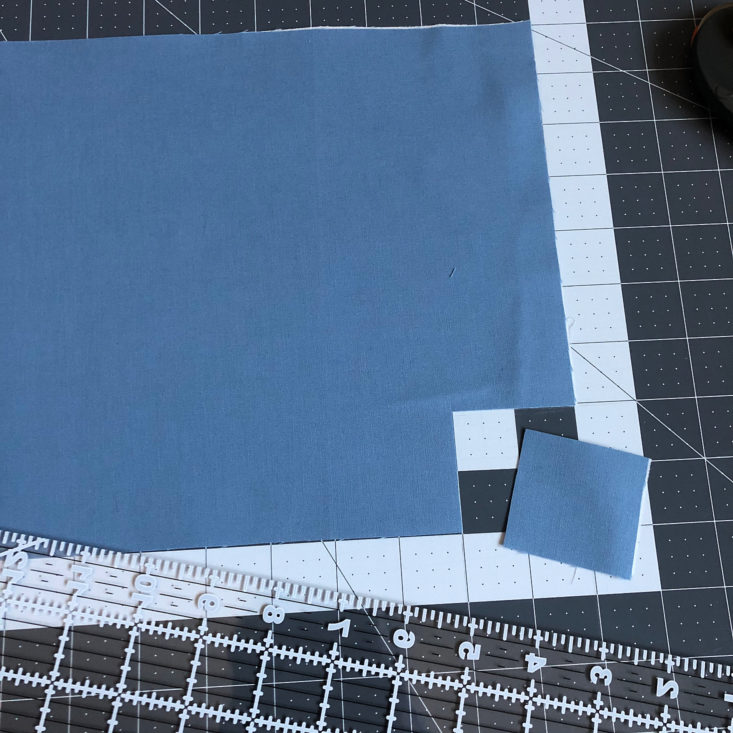
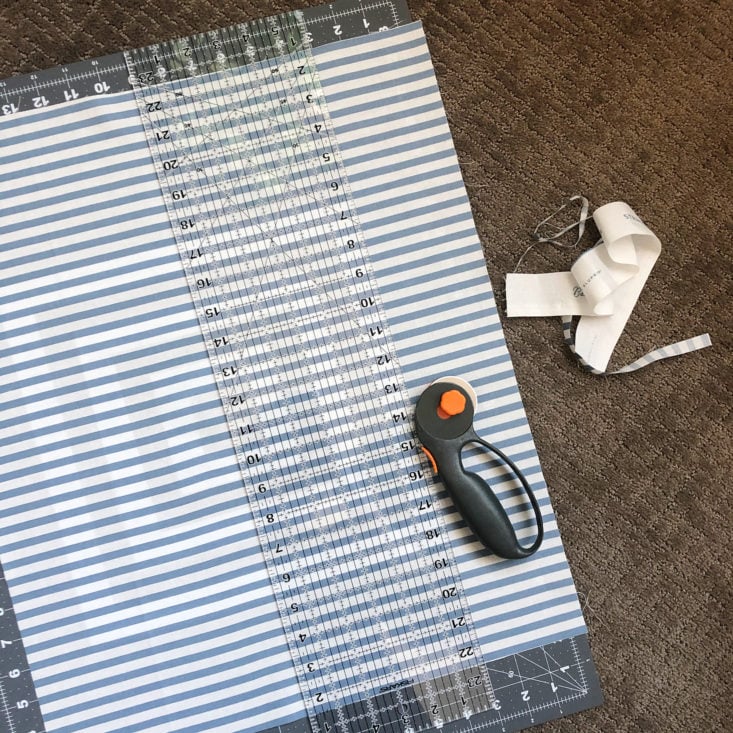
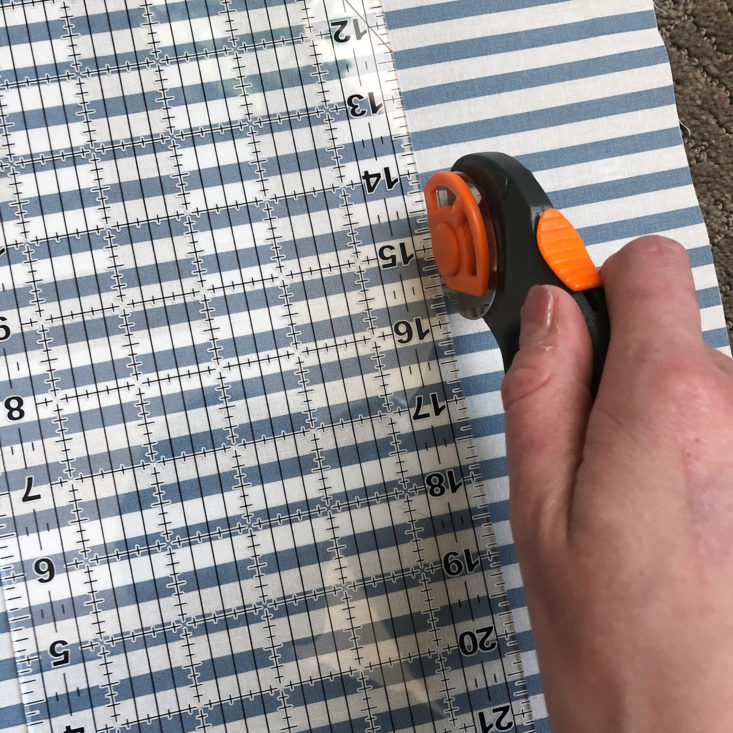
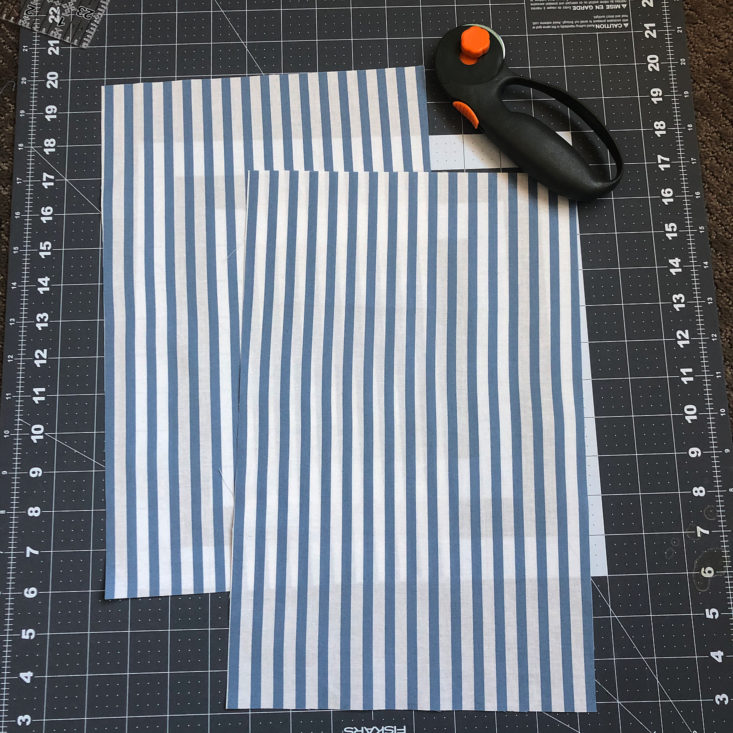
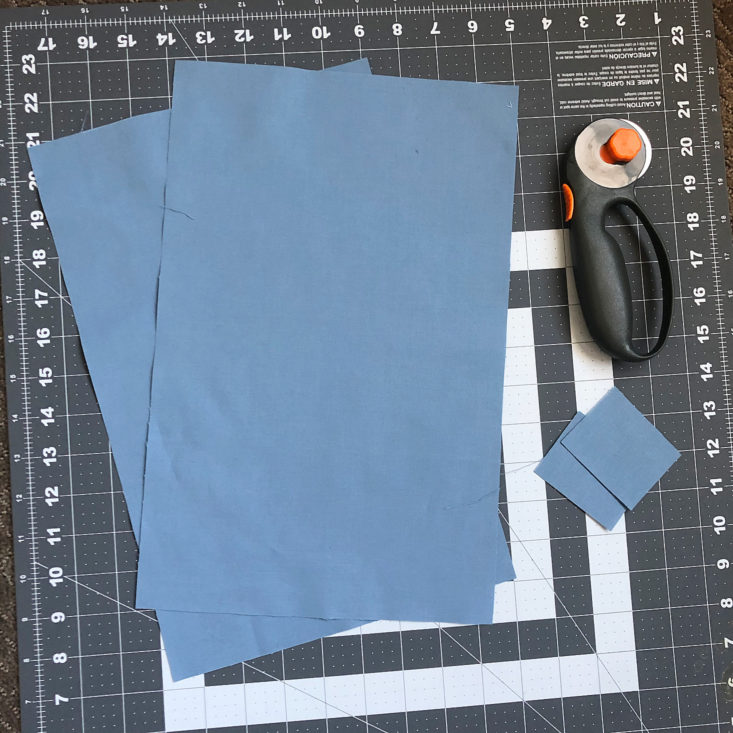
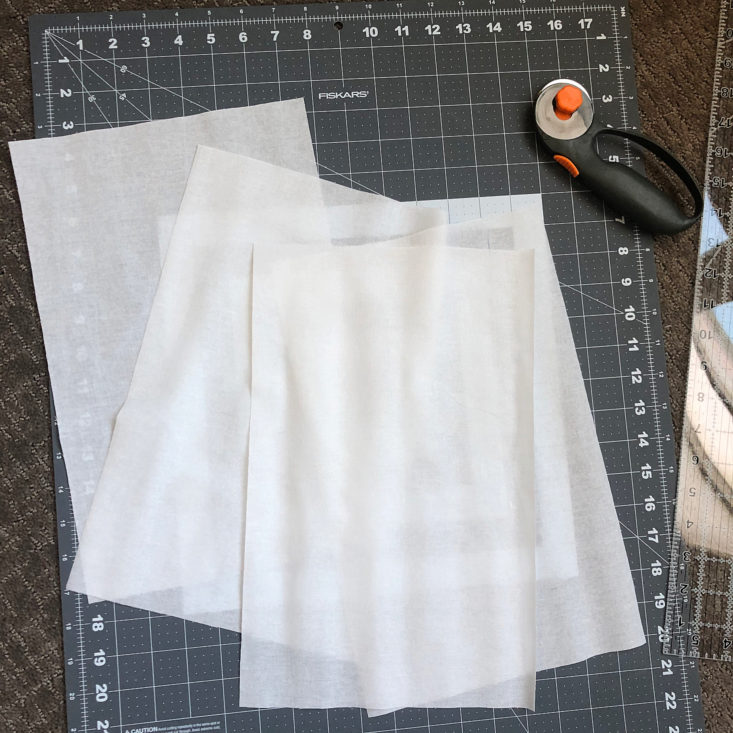
The first step was to cut out all of my pattern pieces. A rotary cutter and self-healing cutting mat are especially useful here in order to ensure clean, straight lines, but you could also cut out your pieces with fabric shears. I cut out two outer pieces (from the striped fabric), two lining pieces (from the solid fabric), two zipper covers (from the solid fabric), and four interfacings for each bag. A good tip is to make sure you iron your fabric well before cutting out your pieces!
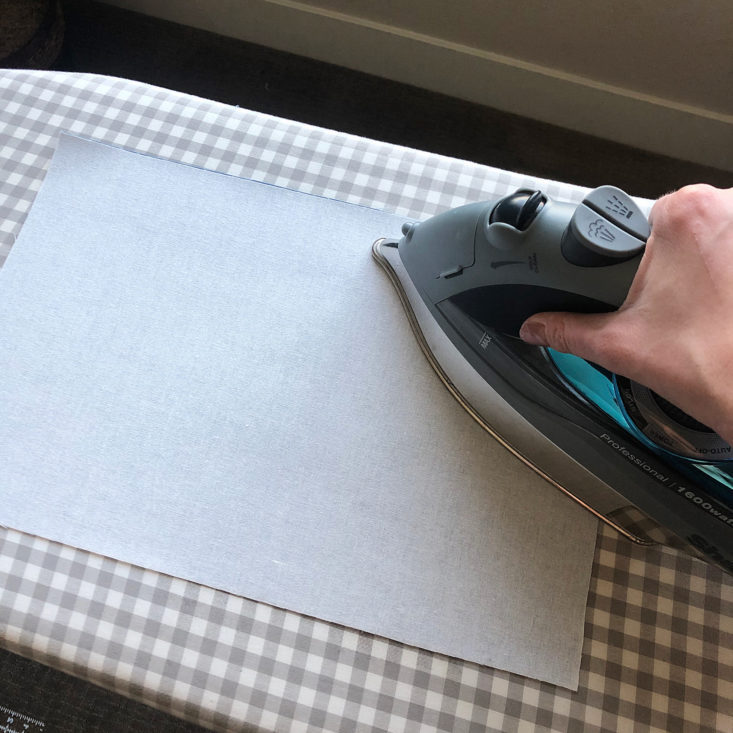
Next step was to fuse the interfacing on to each of the pattern pieces with an iron.
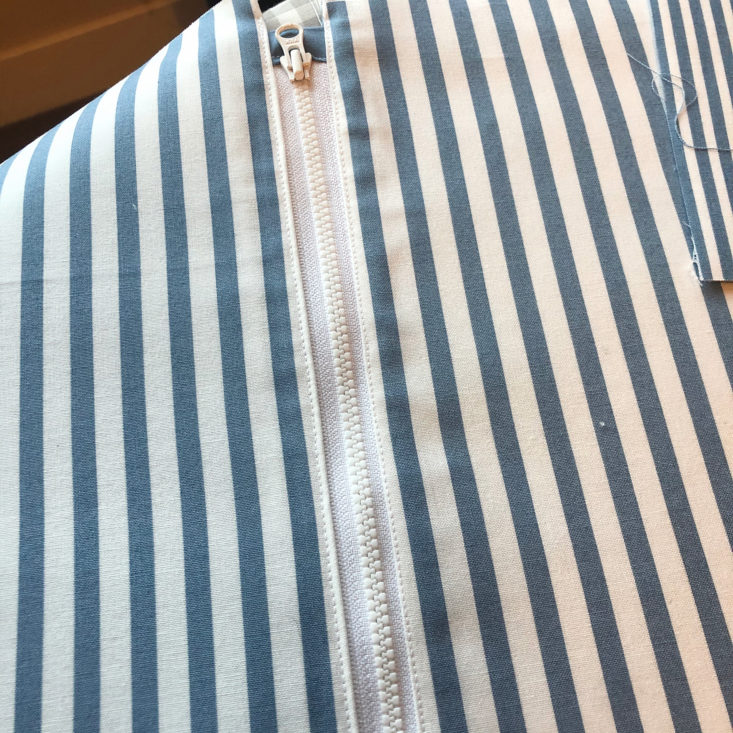
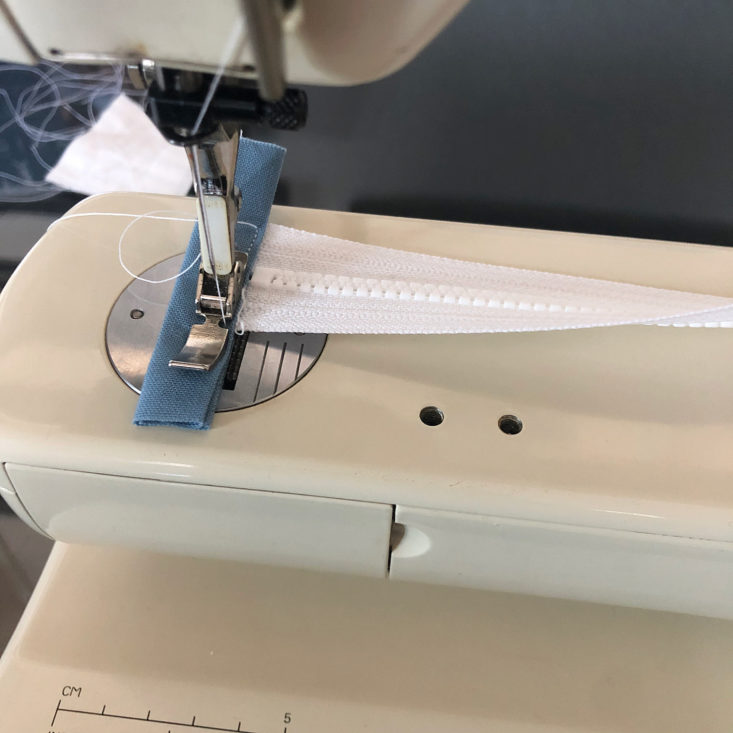
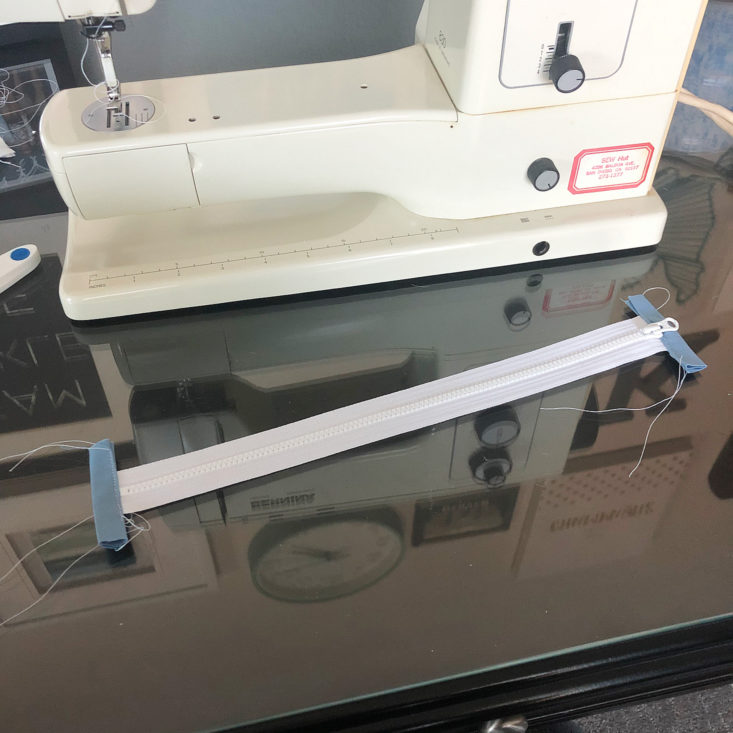
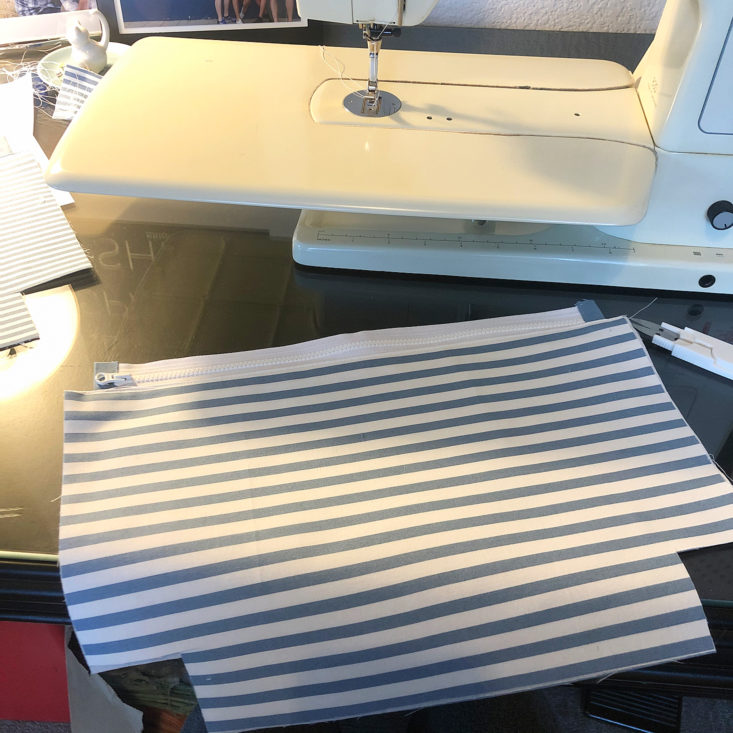
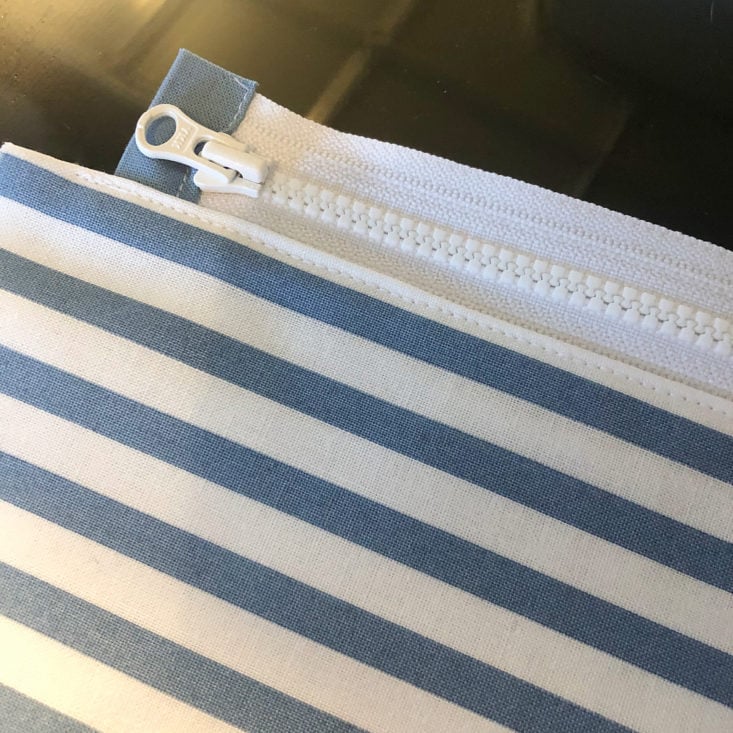
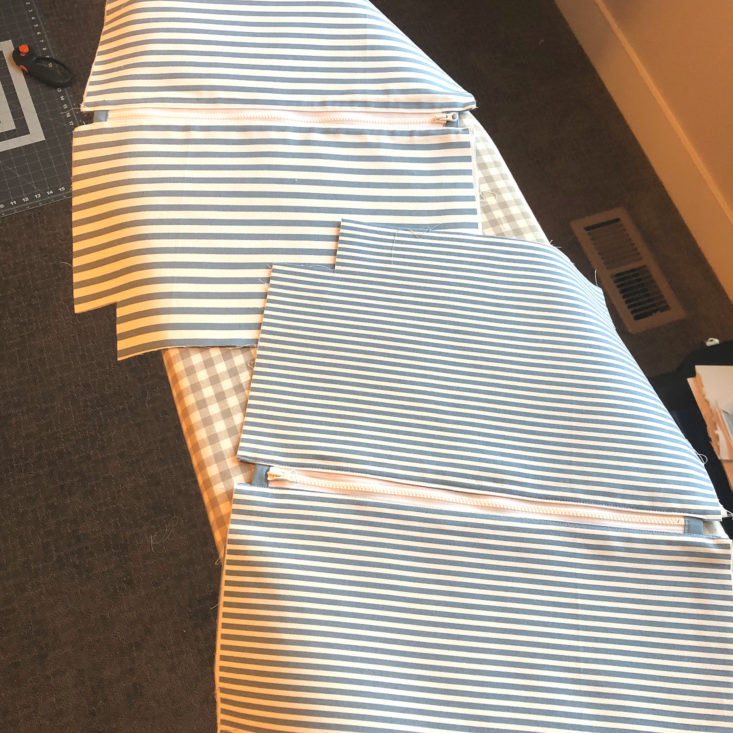
Now on to the actual sewing! The first instructions are to insert and attach the zipper to the outer striped pieces. The instructions recommended using a zipper foot attachment for your sewing machine, and I found that using the zipper foot gave me a very clean, nice seam very close to the zipper itself. Attaching the zipper was a little bit tricky, as I haven't done something like this in a very long time, but the instructions were super helpful and clear. I thought my seams near the zipper looked great!
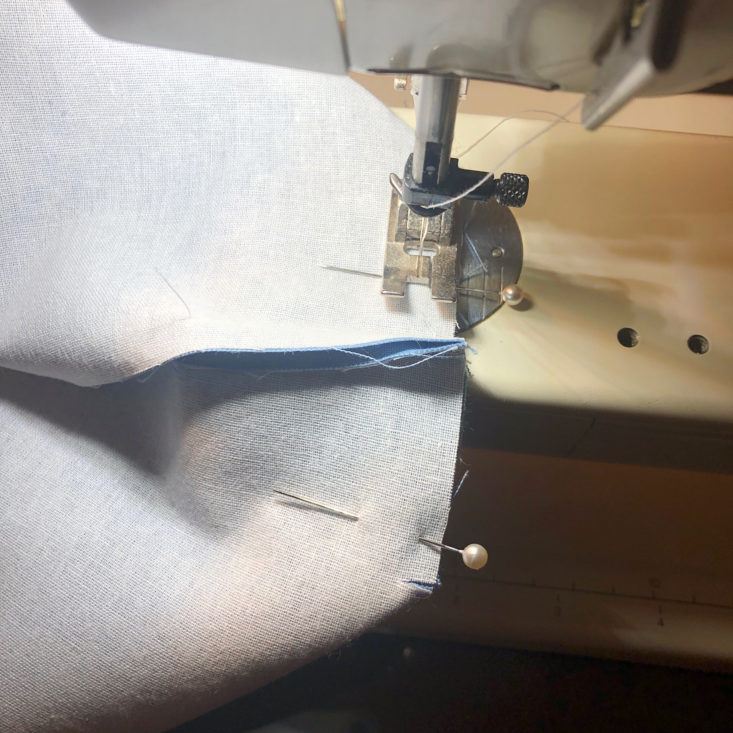
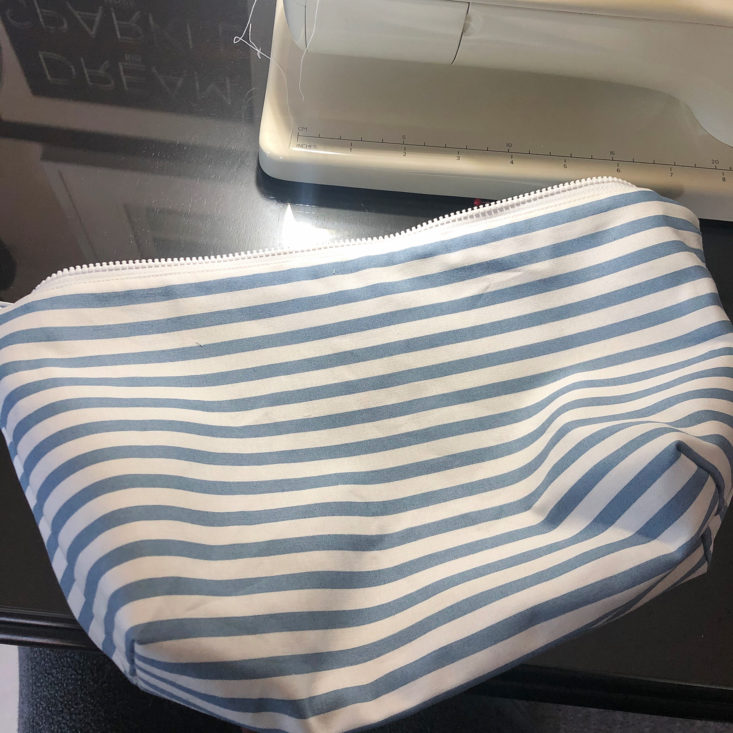
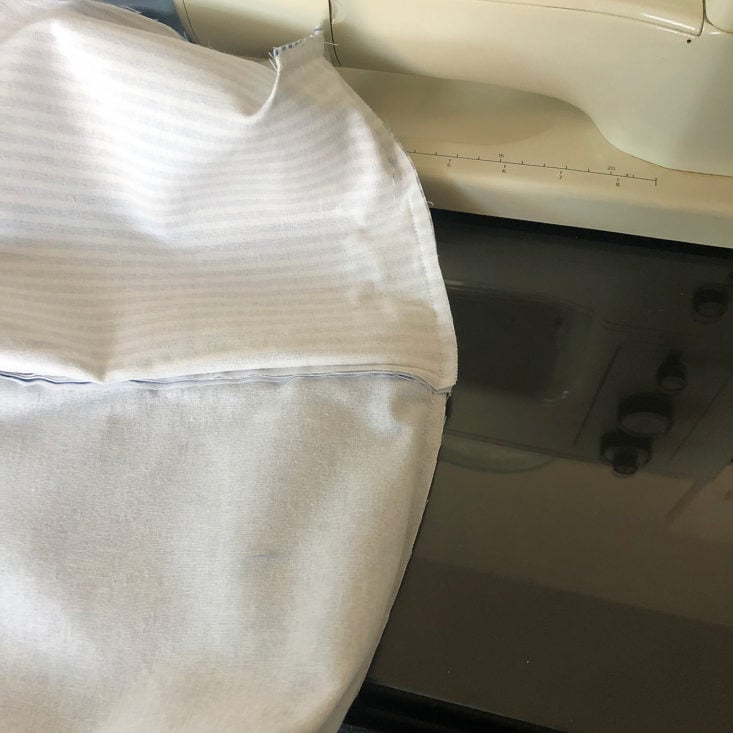
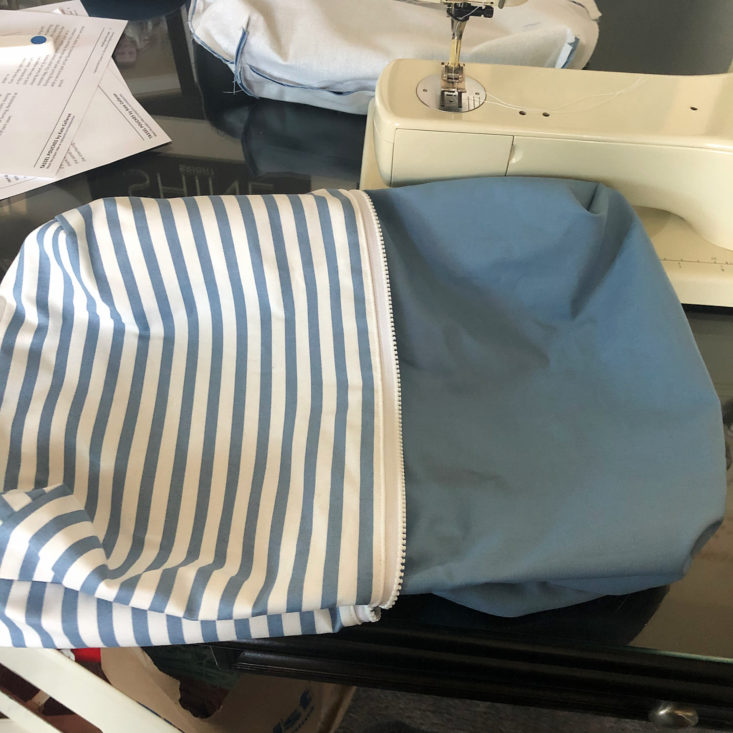
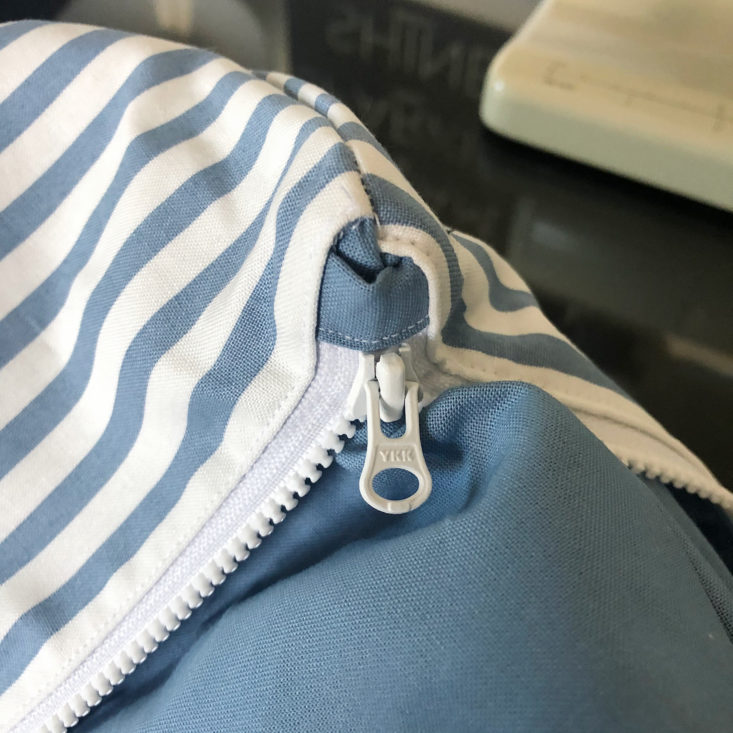
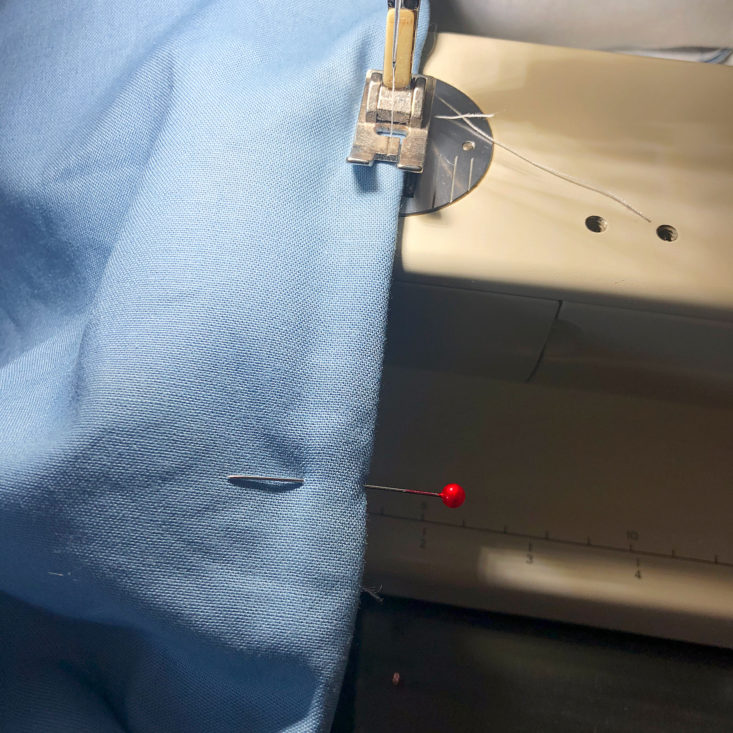
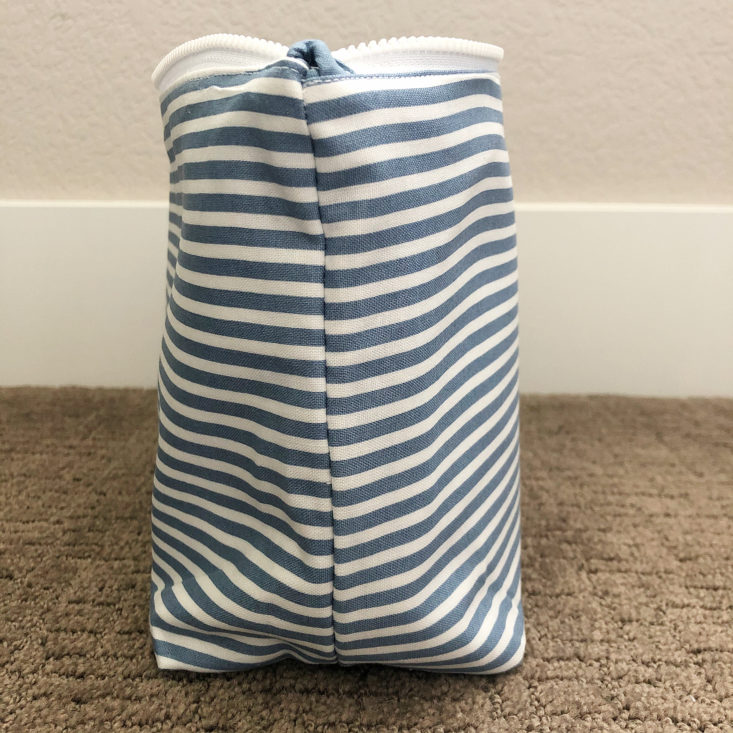
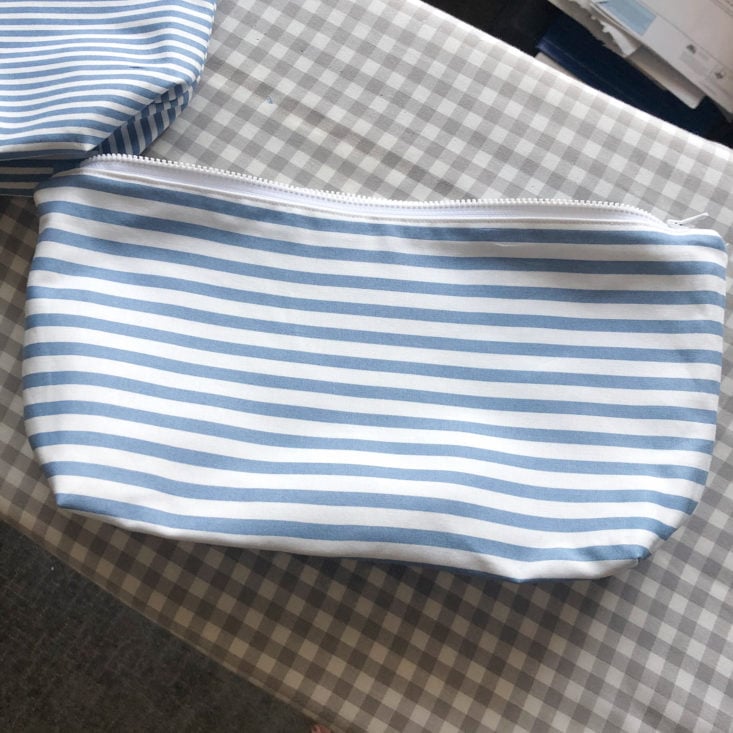
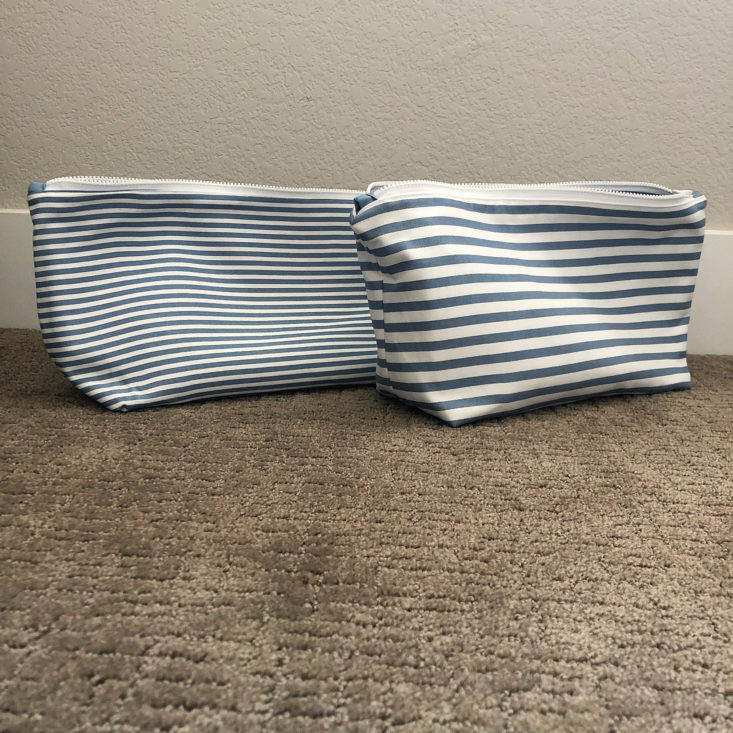
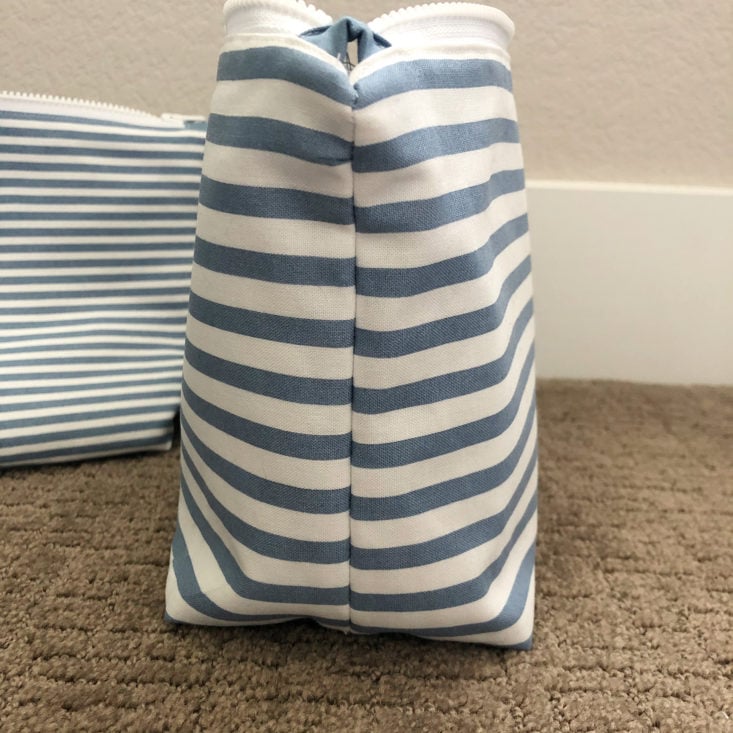
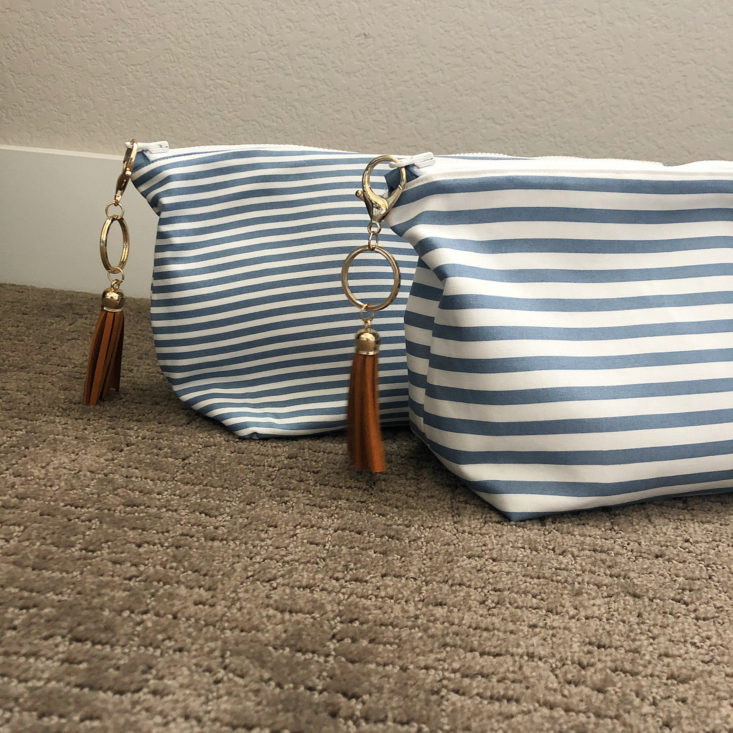
The next step was to attach the linings and sew the sides of the bags. On my first bag, I struggled with the thickness of the fabric near the zippers and had trouble lining up the stripes on the front and back - you can see in my photos that in the larger striped bag, my stripes don't line up very well at all! However, I found that my skill greatly improved by the time I was sewing the second bag, and my seams lined up much neater. I feel like my second bag (with the smaller stripes) almost looks professional!
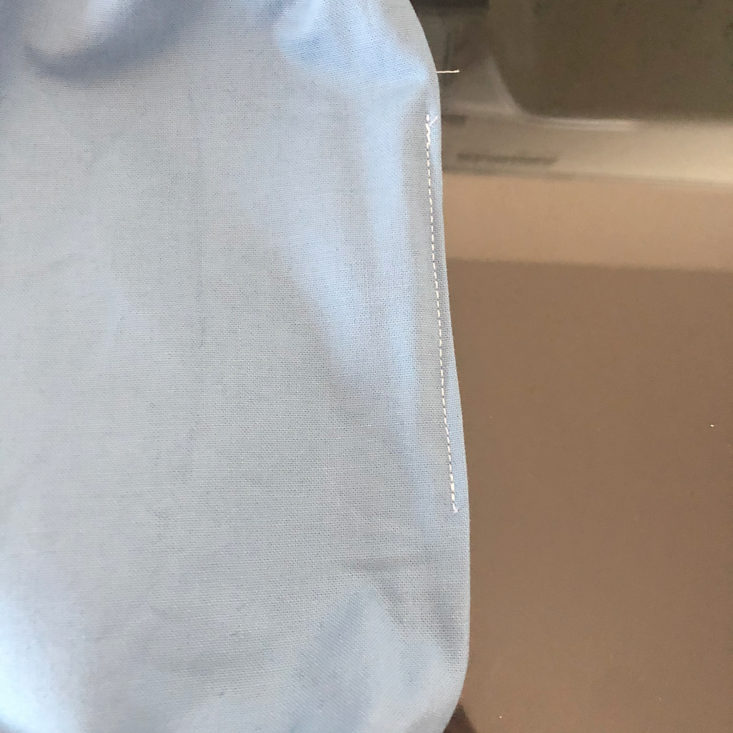
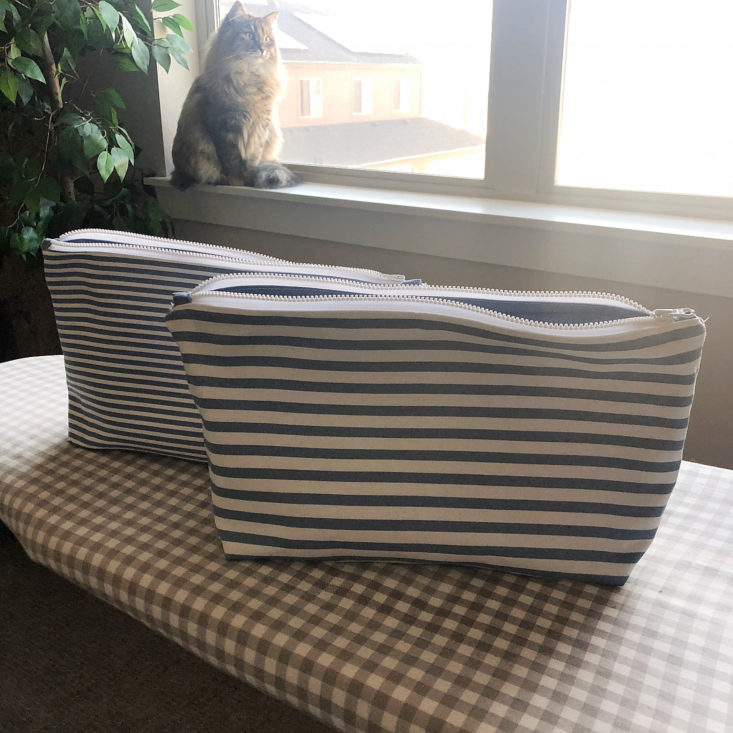
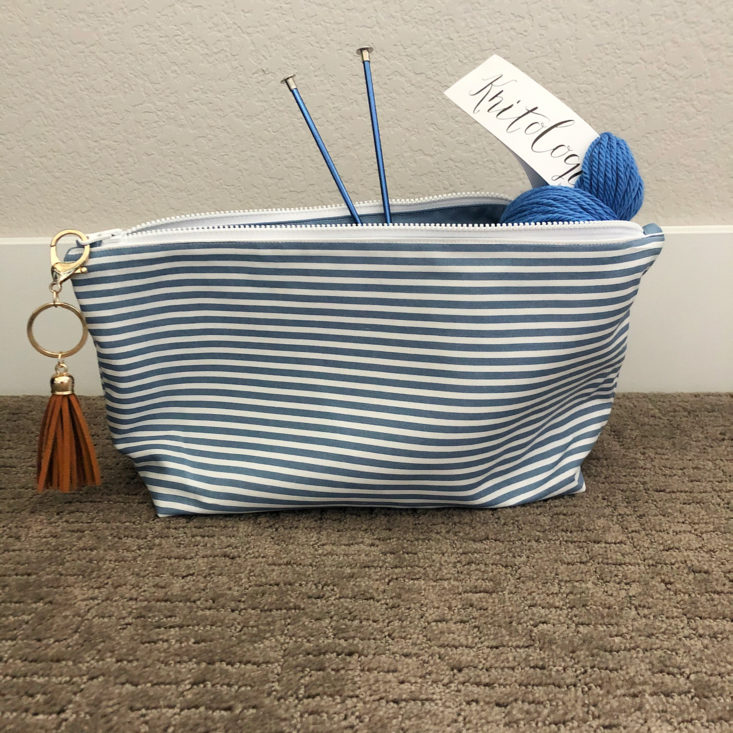
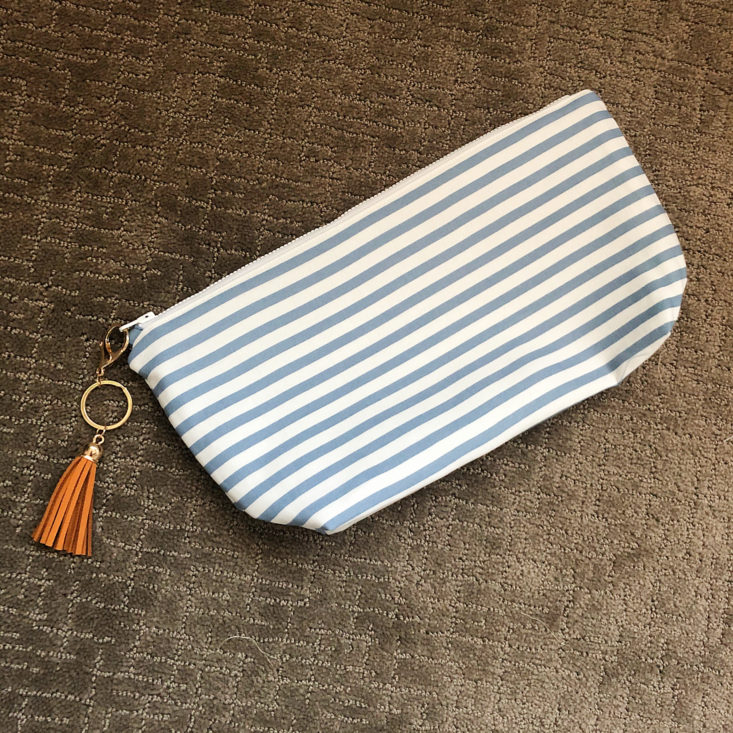
All done with the sewing! I turned my bag right side out and stitched up the opening at the bottom of the lining. Next I gave my bag a quick press with my iron. I absolutely love how the bags turned out!
I am super proud of these two bags! They are far from perfect, but I feel like I learned so much from this project, especially with the video tutorials. I loved the instructor - she was so informative and clear, and she talked about a lot of tips and tricks that I had never thought of. A lot of her tips focused on lining up the stripes on the sides of the bags, and although I did my best with these bags, you can see that my stripes aren't lined up perfectly. However, I feel like in my next project that I sew I'll be able to match up my seams much better! It's all about practice, right?
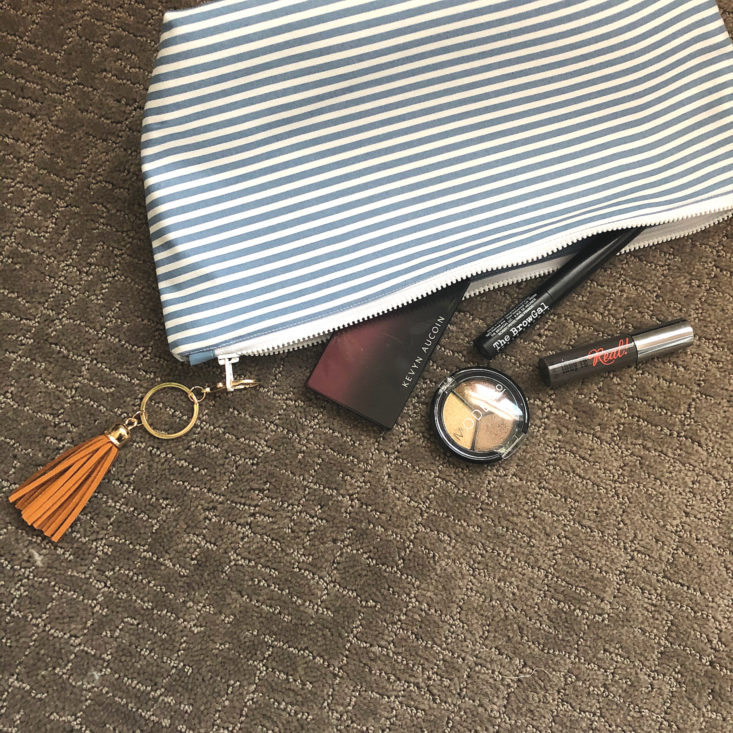
The last step was to attach the leather tassel and start using the bag! I think these are the perfect size for makeup, especially as travel bags, or they're great for a 1-2 skein knitting project!
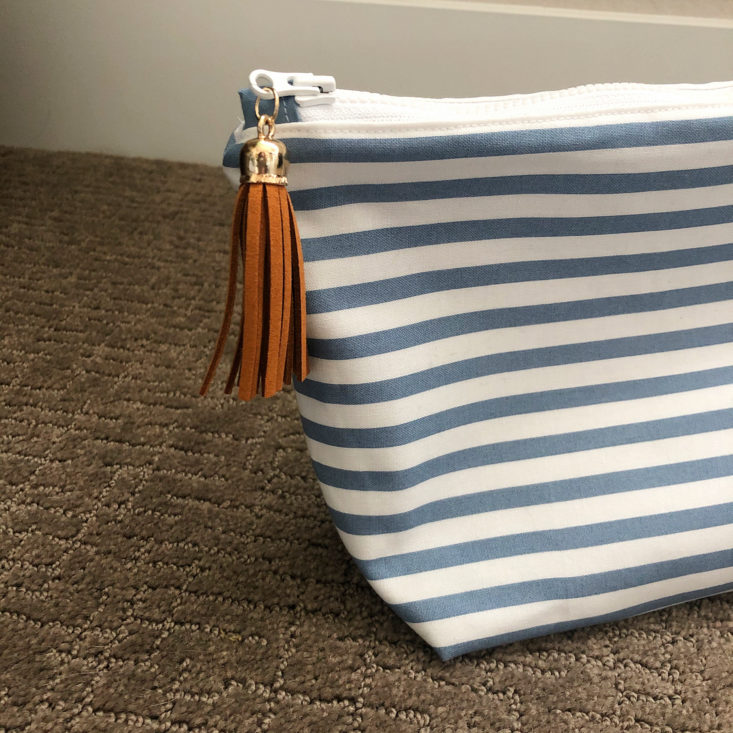
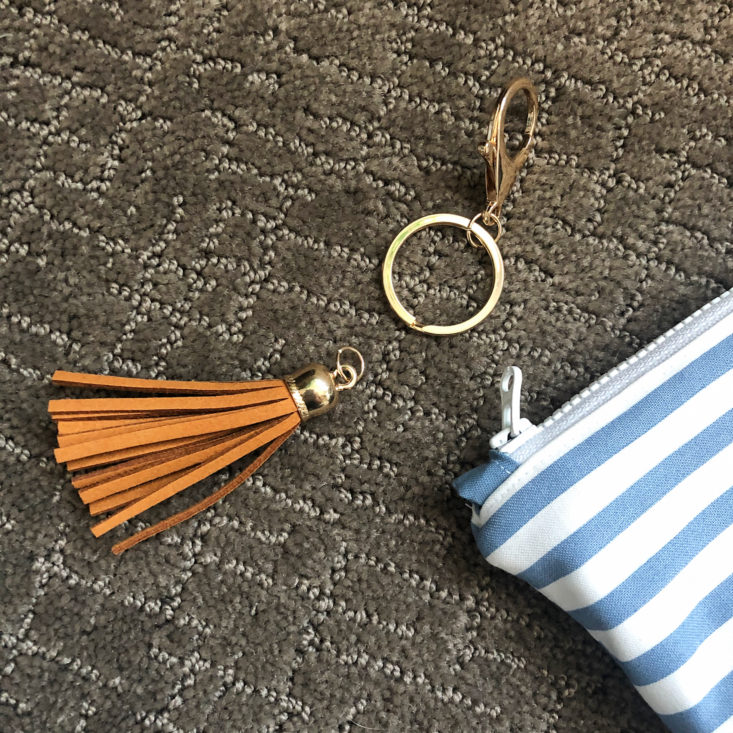
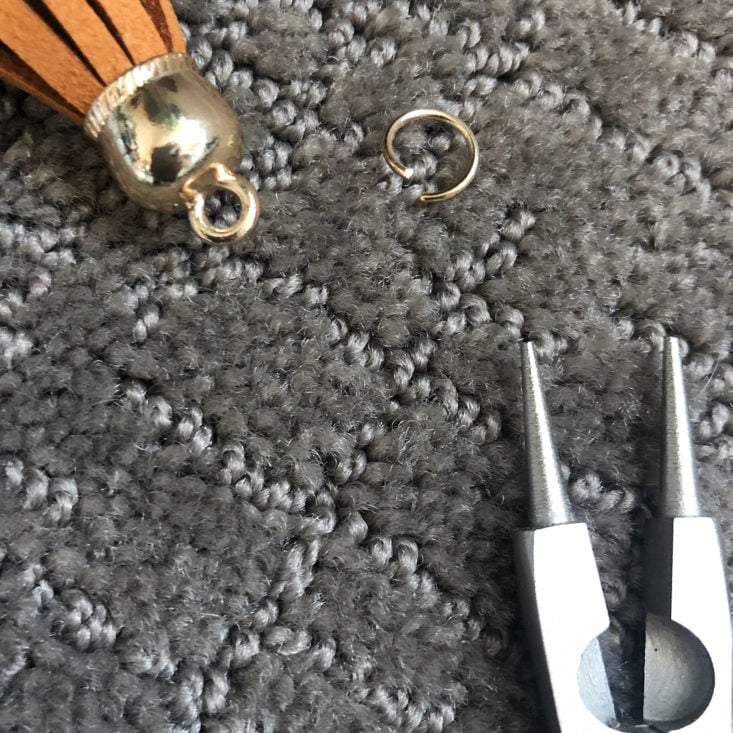
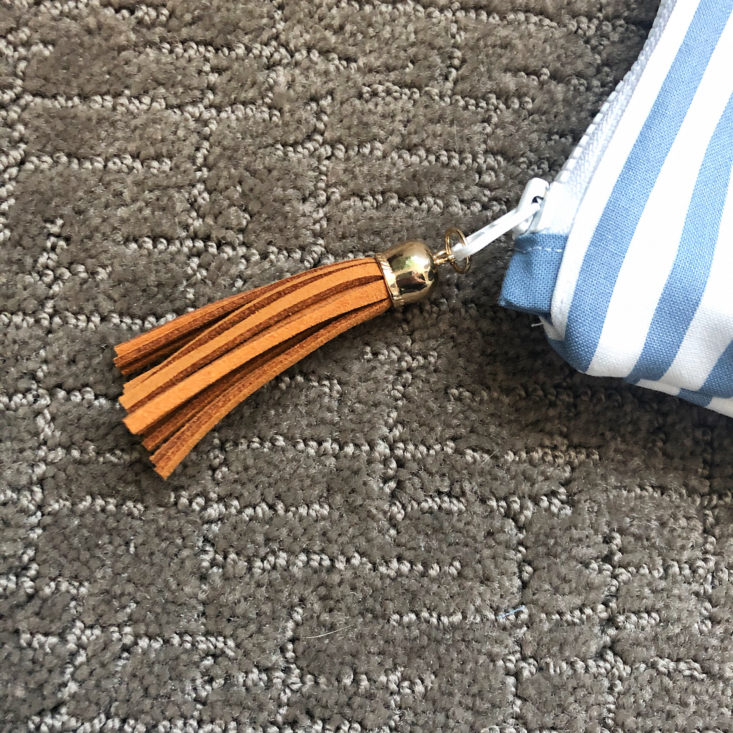
The tassels that came in the kit were traditional keychains - they were super easy to attach, and I think they look great as is. However, I wanted to see what the bag would look like with a more streamlined, simple tassel look. I used jewelry pliers to open the clasp of the tassel and close it back around the zipper. I like both looks, but think that the simpler tassel look (as seen in the last photo above) gives the bag a more polished feel. Which tassel look do you prefer?
Verdict: I absolutely loved this box! I was very impressed with the quality of the materials sent as well as the quality of the presentation of the box. I thought everything went together very well, and I loved that everything I needed to complete the project was included. The video content was incredibly well made, and having those videos to walk me through this project step by step gave me the confidence to pick a craft that I'm not super skilled in yet. I feel like I'm now able to take on more sewing projects after completing these bags, and just yesterday went out to a fabric store to get more supplies so I can make more bags!
For about $50 ($199 per year divided into four quarterly boxes), we received supplies and instructions to make two tassel pouches. Step-by-step sewing classes at local shops nearby to me cost around $30-50 per class, and they don't include your supplies, so I think this is a very fair value for what we received.
To Wrap Up:
Can you still get this box if you sign up today? Yes, you'll receive one of the Fall 2019 kits if you order now.
Value Breakdown: At approximately $50 for the box, you receive supplies and tutorials for two bags. This kit has a retail value of $75 and does not include the video tutorial when purchased independently, so you're saving at least 33% by having the subscription - even more if you consider the value of the video!
Check out the top-rated craft subscription boxes for 2019!
Keep Track of Your Subscriptions: Add this box to your subscription list or wishlist!
What did you think of the Fall 2019 Bluprint Premium box? Let us know in the comments!



Please do not enter your email address in the Name field or in the comment content. Your email address will not be published. Required fields are marked *. Remember to post with kindness and respect. Comments with offensive language, cruelness to others, etc will not be approved. See our full comment policy here.