
Confetti Grace is a DIY craft subscription that sends a box filled with enough craft supplies to create 2 of the same featured projects. That way, you have one to keep for yourself and one to give away.
“Throw Kindness Around Like Confetti” is this company’s motto, and these projects give the gift of quality time with family and friends. To top it off, 20% of net profits are donated to worldwide charities! Operation Christmas Child is the featured charity through the fall of 2019, with a goal of creating 100 shoeboxes full of toys, school supplies & necessities for children around the world.
Please note: this subscription recently changed its cadence from monthly deliveries to bi-monthly deliveries.
There are two subscription options: regular bi-monthly boxes for $28.95/shipment, or the option to add on an additional project set to make with a friend for $34.95/shipment.
This review is for the Original Subscription DIY box, which is $28.95 bi-monthly (plus free shipping to the continental US).
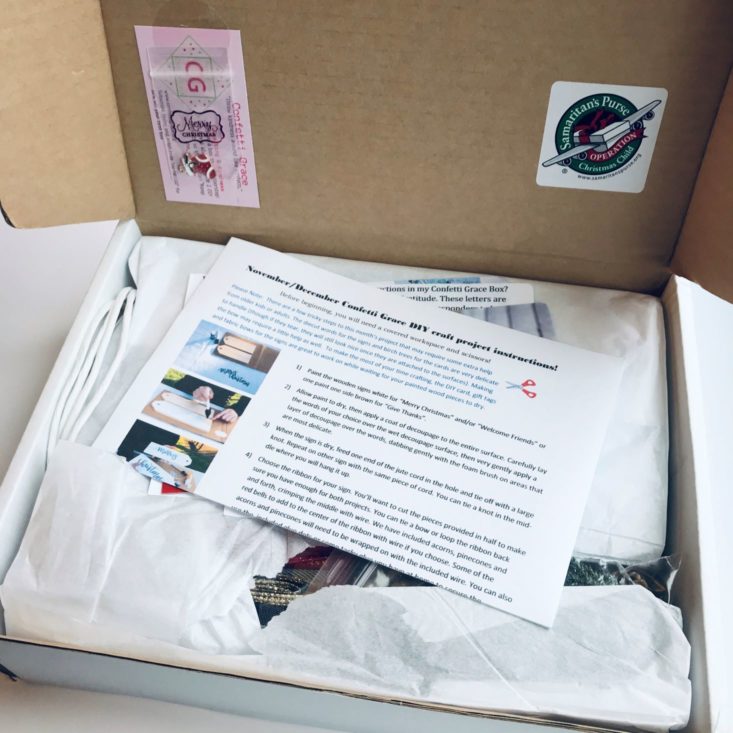
This box was sent to us at no cost for review. (Check out the review process post to learn more about how we review boxes.)
About Confetti Grace
The Subscription Box: Confetti Grace Original DIY box
The Cost: $28.95 bi-monthly + free US shipping
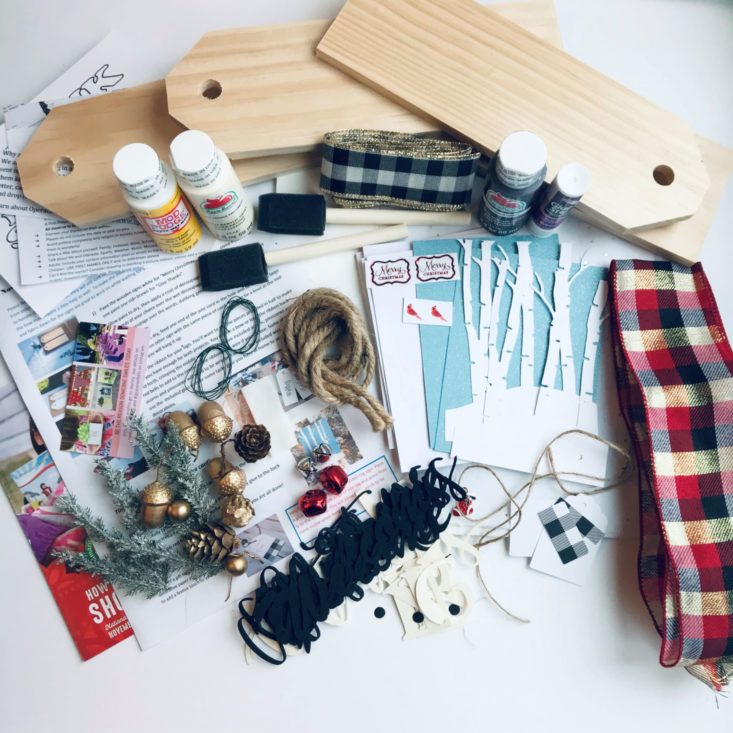
The Products: A specially curated box filled with enough craft supplies to create 2 of one project: one to keep, and one to give away, or to share with a friend! (Recommended ages are 8 years - adult)
Ships to: The continental US for free!
Confetti Grace Original DIY Box November/December 2019 Review
I love everything Christmas, so opening this box was the best part of my day! This month we received all of the necessary supplies to create 2 wooden signs, 2 greeting cards, and 2 gift bags. My 4-year-old son Charlie was my little helper this month, and we both decided this craft has been our favorite yet! Check out how cute our projects turned out!
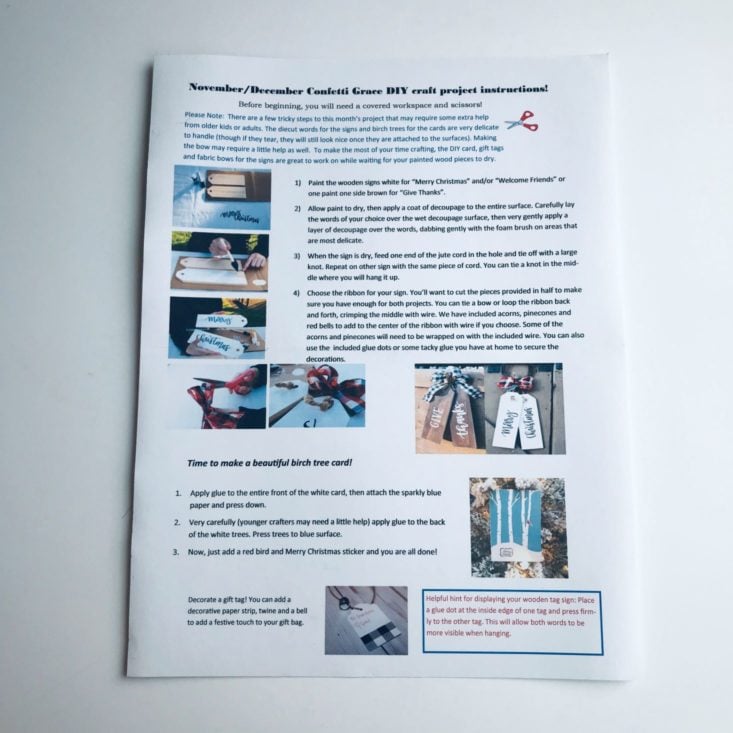
Every month, this box comes with an instruction sheet detailing the steps to create the included projects. I find the pictures most helpful, but if extra assistance is needed, their website is also very valuable.
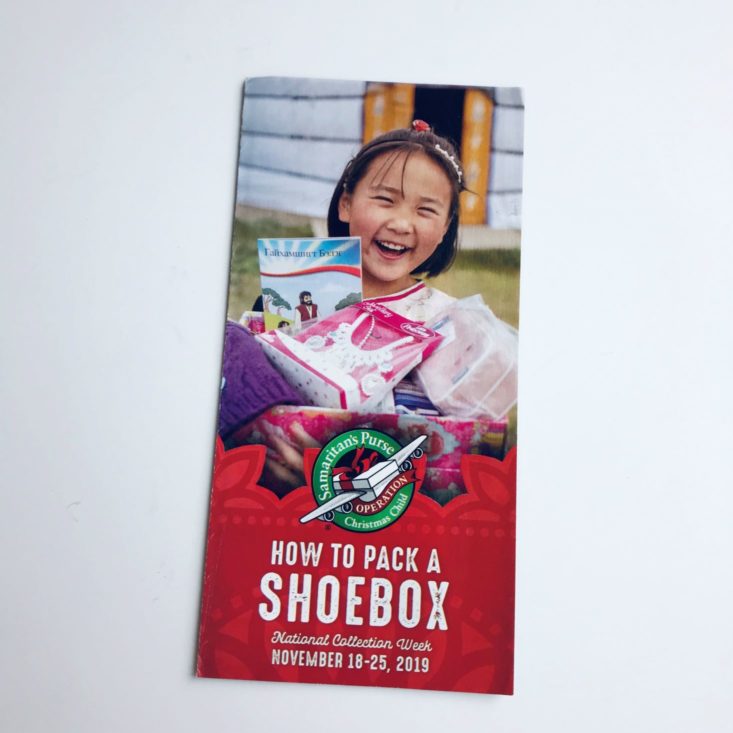
This month we also received an Operation Christmas Child shoebox brochure. We have participated in this program in the past and really enjoyed putting together our shoeboxes!
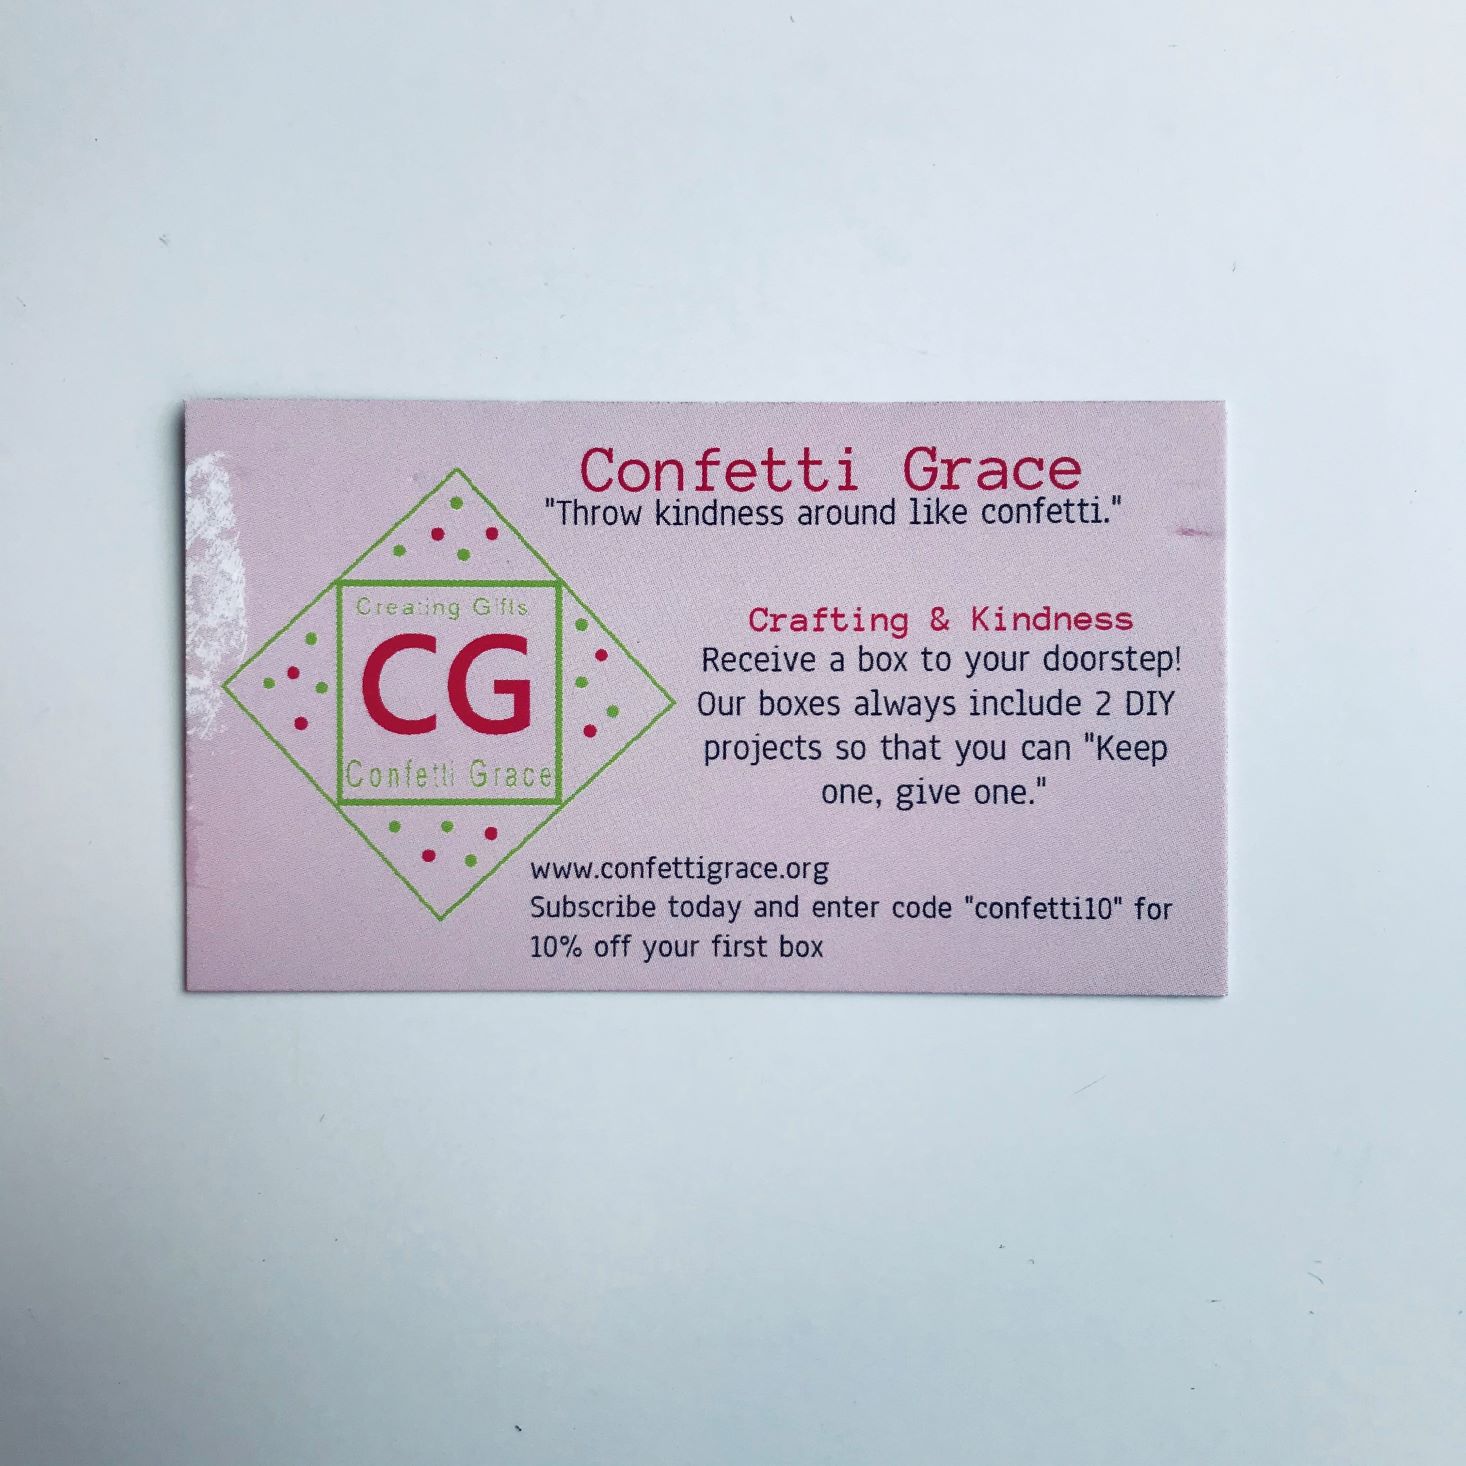
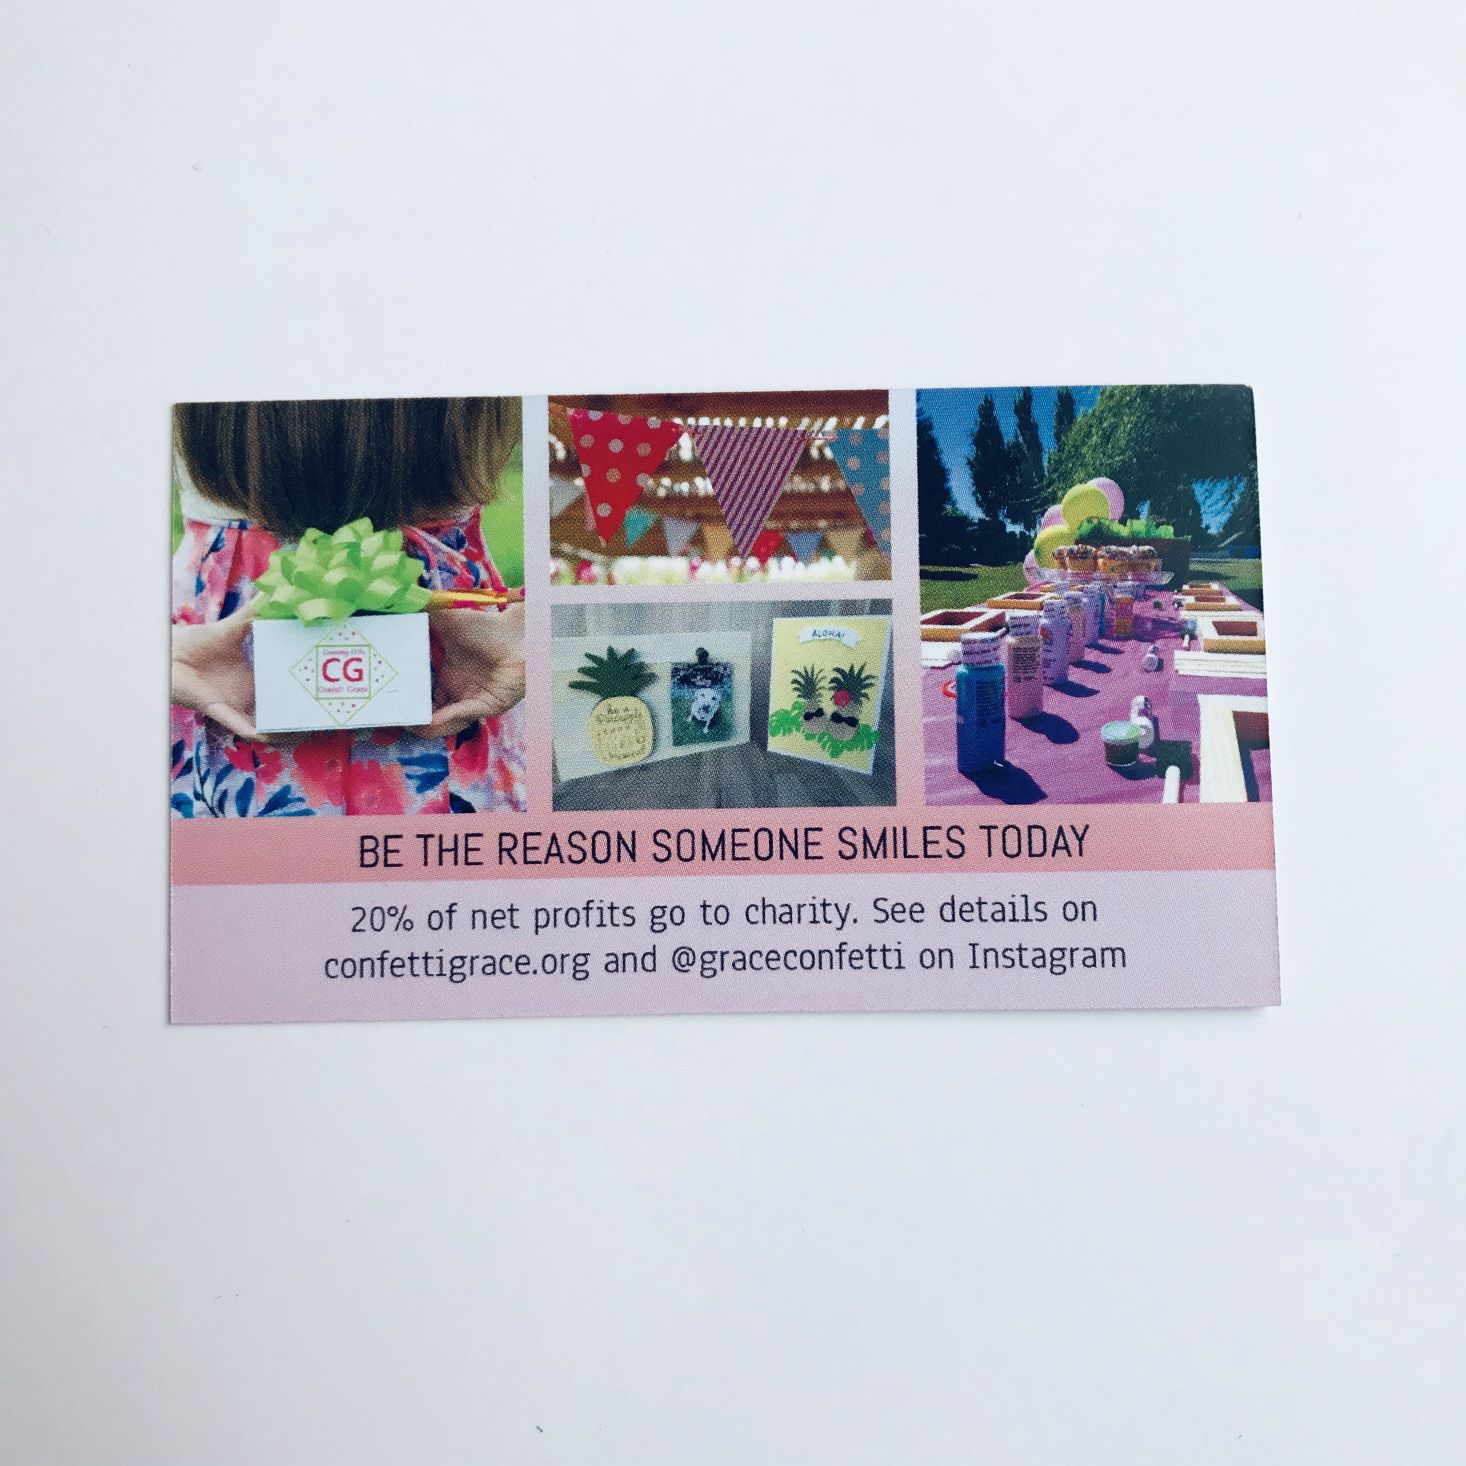
We also received a Confetti Grace business card. This card has all the pertinent info you need to learn a bit more about this subscription.
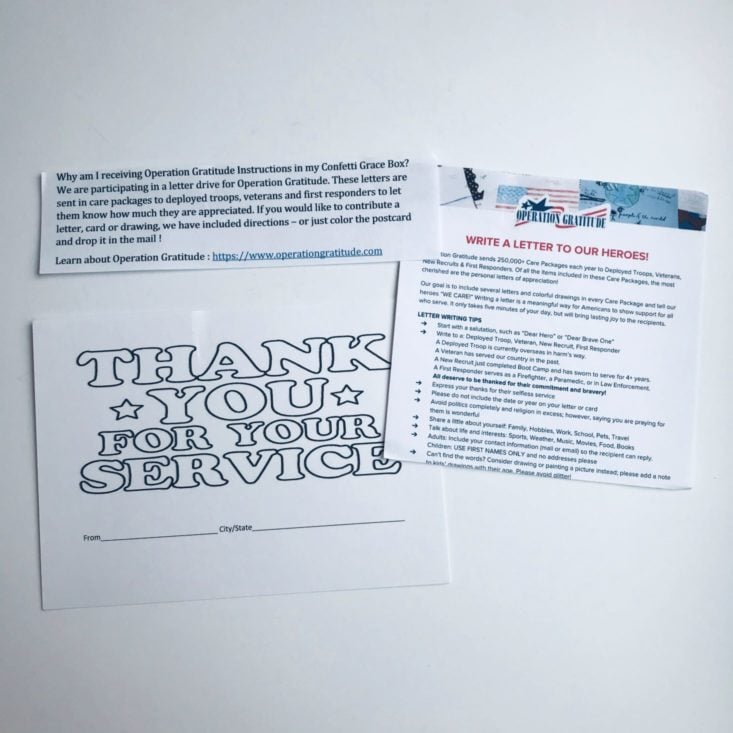
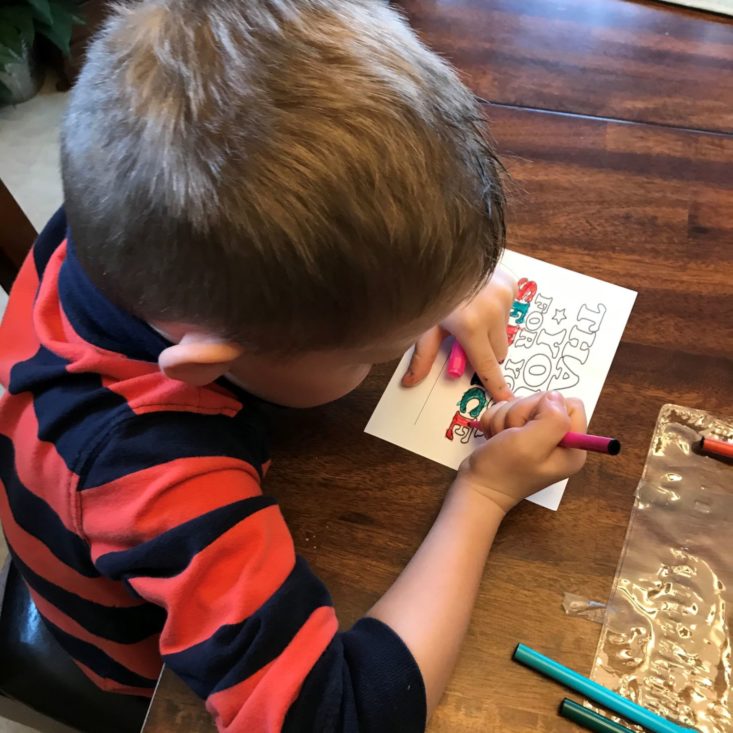
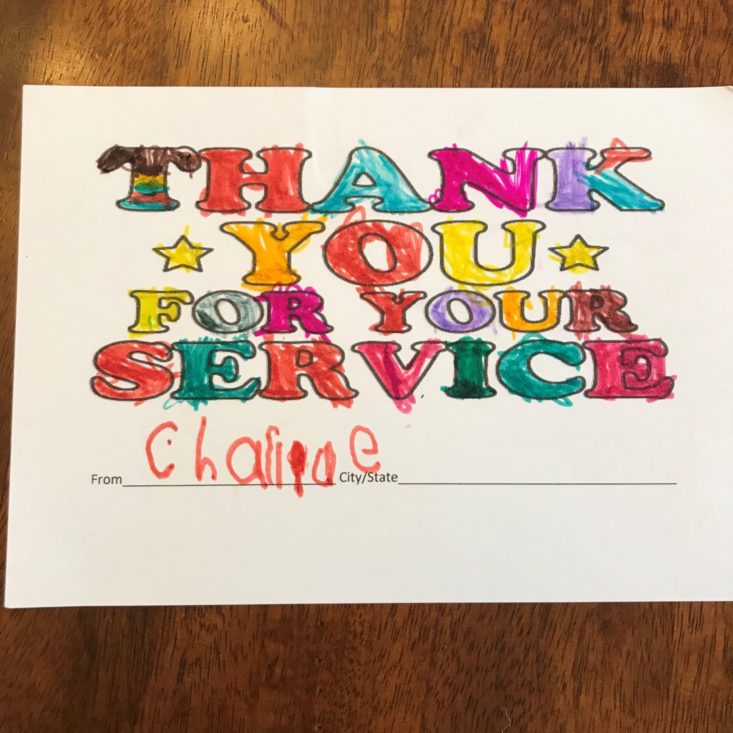
Another side project that we received were the instructions for Operation Gratitude. Being it is the holiday season, we are asked to contribute a letter, card, or drawing, and put it in the mail for our heroes. Hank wrote a letter, and Charlie had a blast coloring the included postcard. I love the message Operation Gratitude spreads, and to instill the value of gratefulness into my kids is really important to me. We can't wait for them to get in the mailbox tomorrow!
Project #1: Holiday Signs
The first projects we created were the cute wooden signs. These signs had to be painted on each side, so a lot of drying time was necessary. While the paint was drying, we went ahead and worked on our tags and cards, which are featured below.
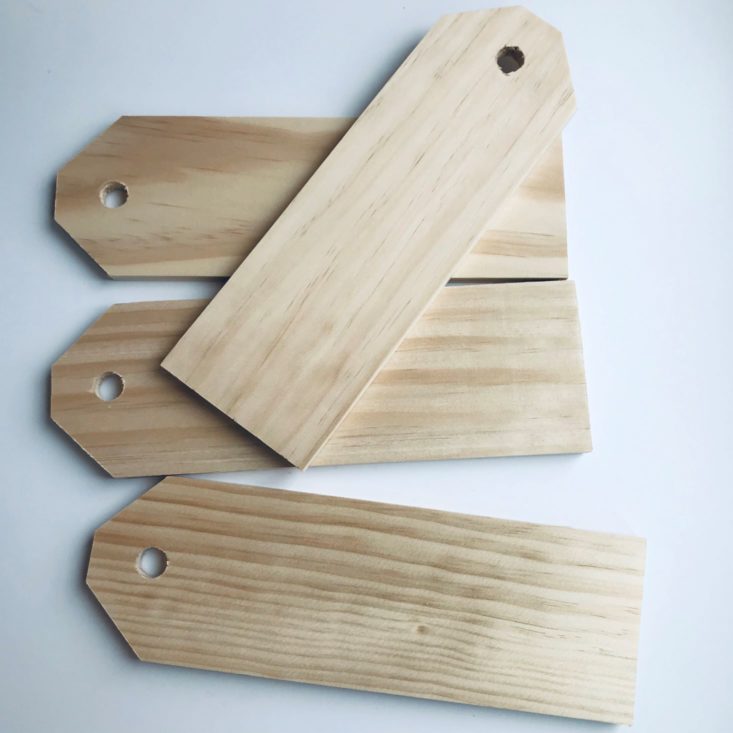
Wood Signs
The main part of our first project was these wooden tag pieces. There are four 10.5" X 4.5" sanded pieces of wood with pre-drilled holes.
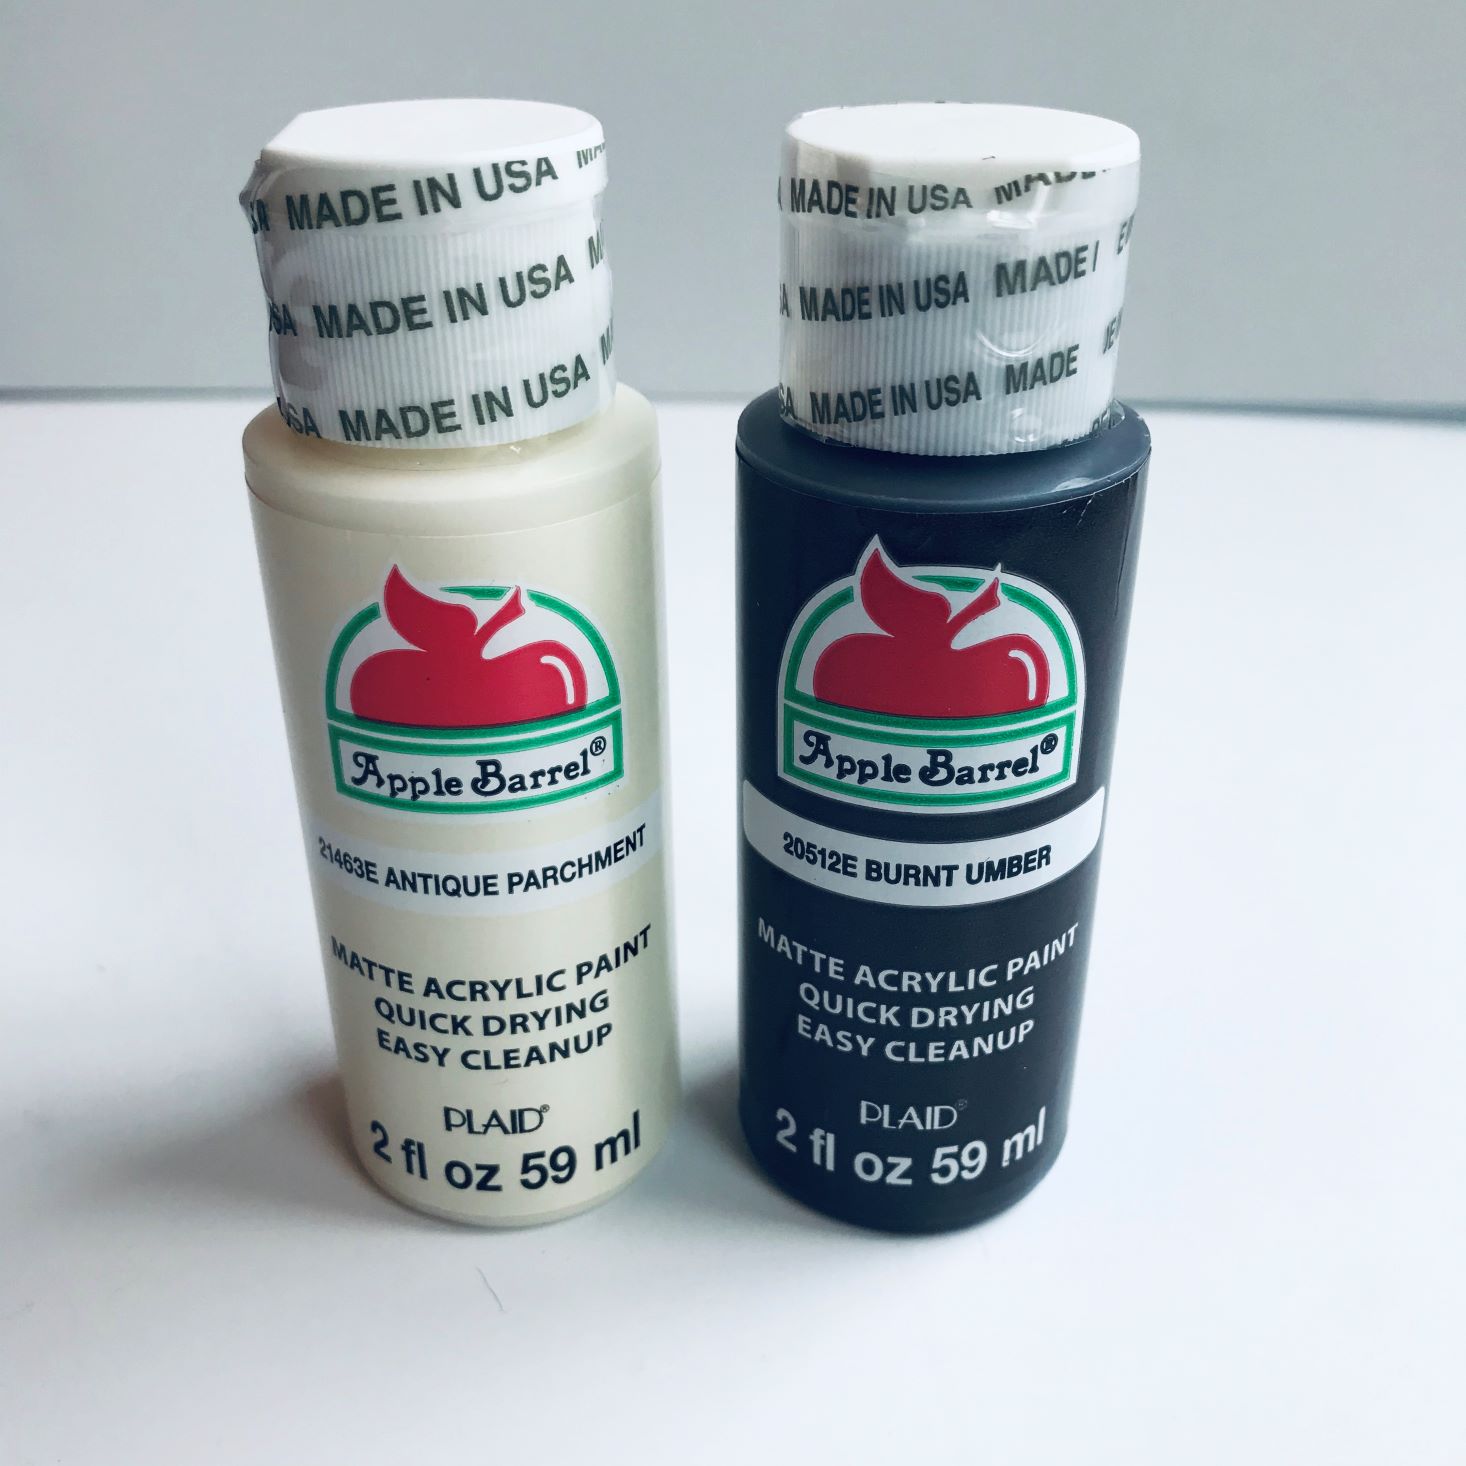
Apple Barrel Antique Parchment Acrylic Paint (2 oz) - Retail Value $0.99
Apple Barrel Burnt Umber Acrylic Paint (2 oz) - Retail Value $0.99
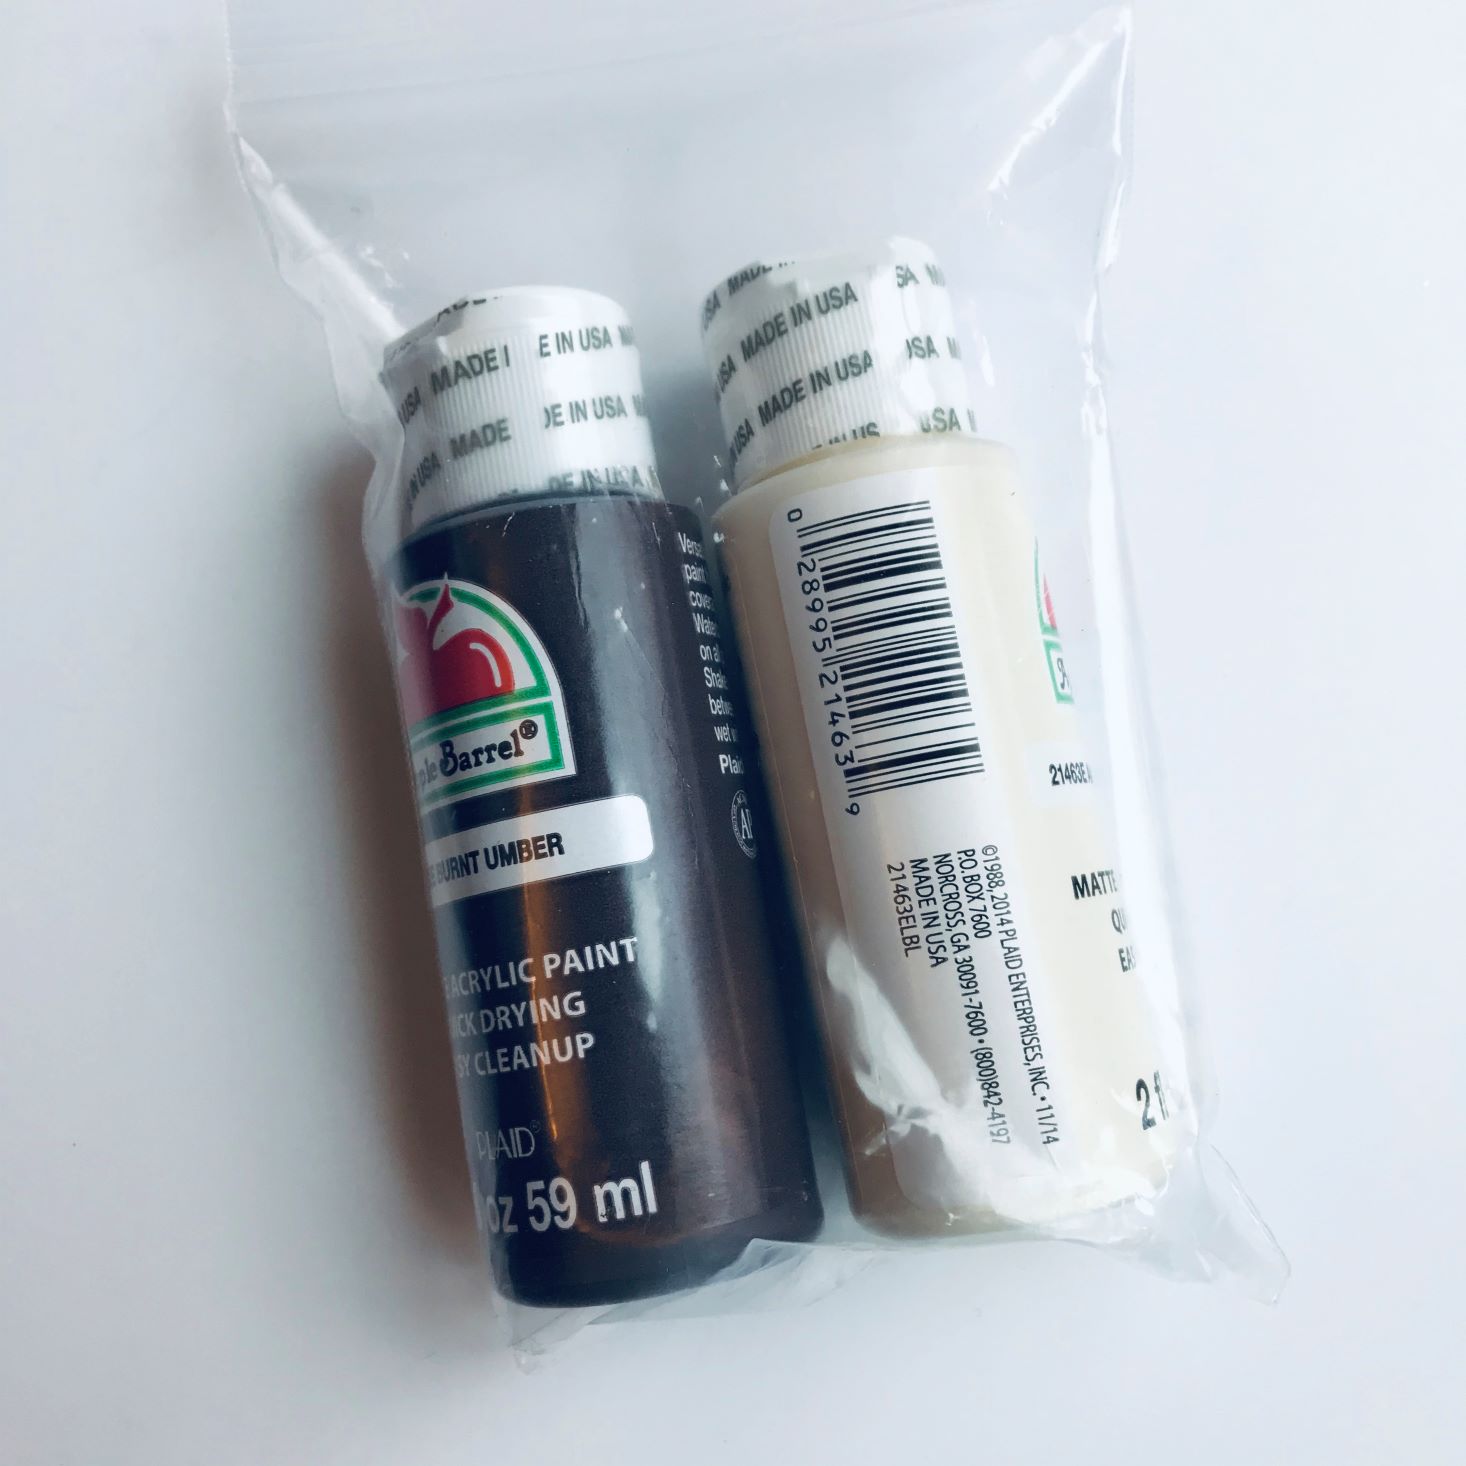
This month we received 2 bottles of acrylic paint for our projects. I love Apple Barrel, and I am happy to be building up a small inventory with this subscription! I also was pleased to see they packaged it in a ziplock bag, so in case it were to spill, it wouldn't ruin all of the contents of the box.
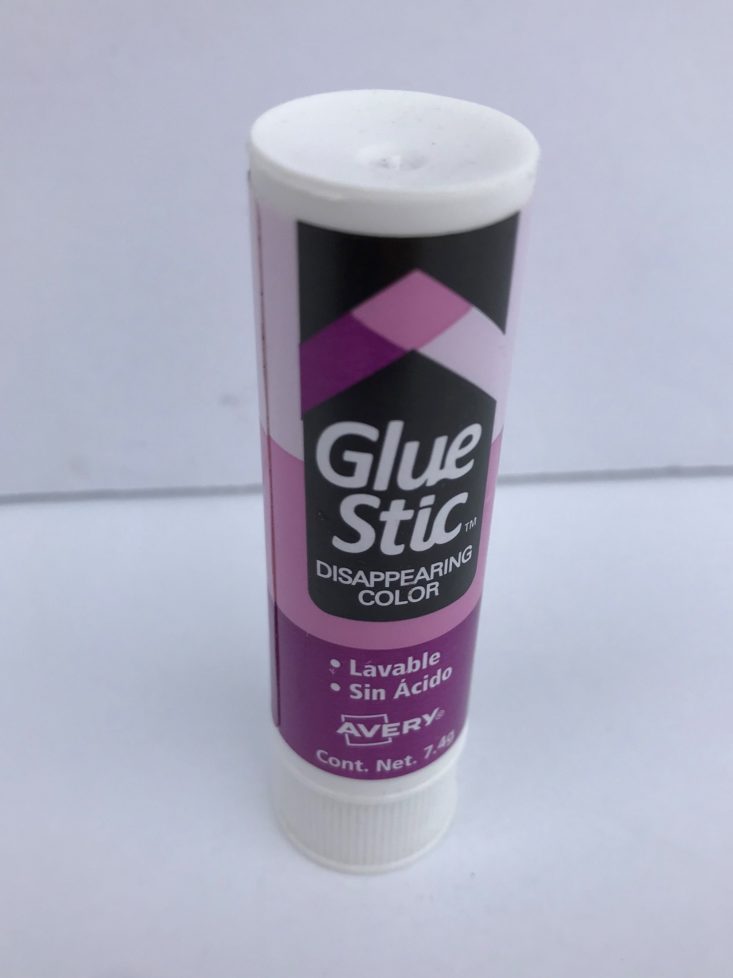
Avery Disappearing Color Glue Stic (7.4 g) - Buy a set of 3 for $5.41
The next included item was the glue stick for assembling the card.
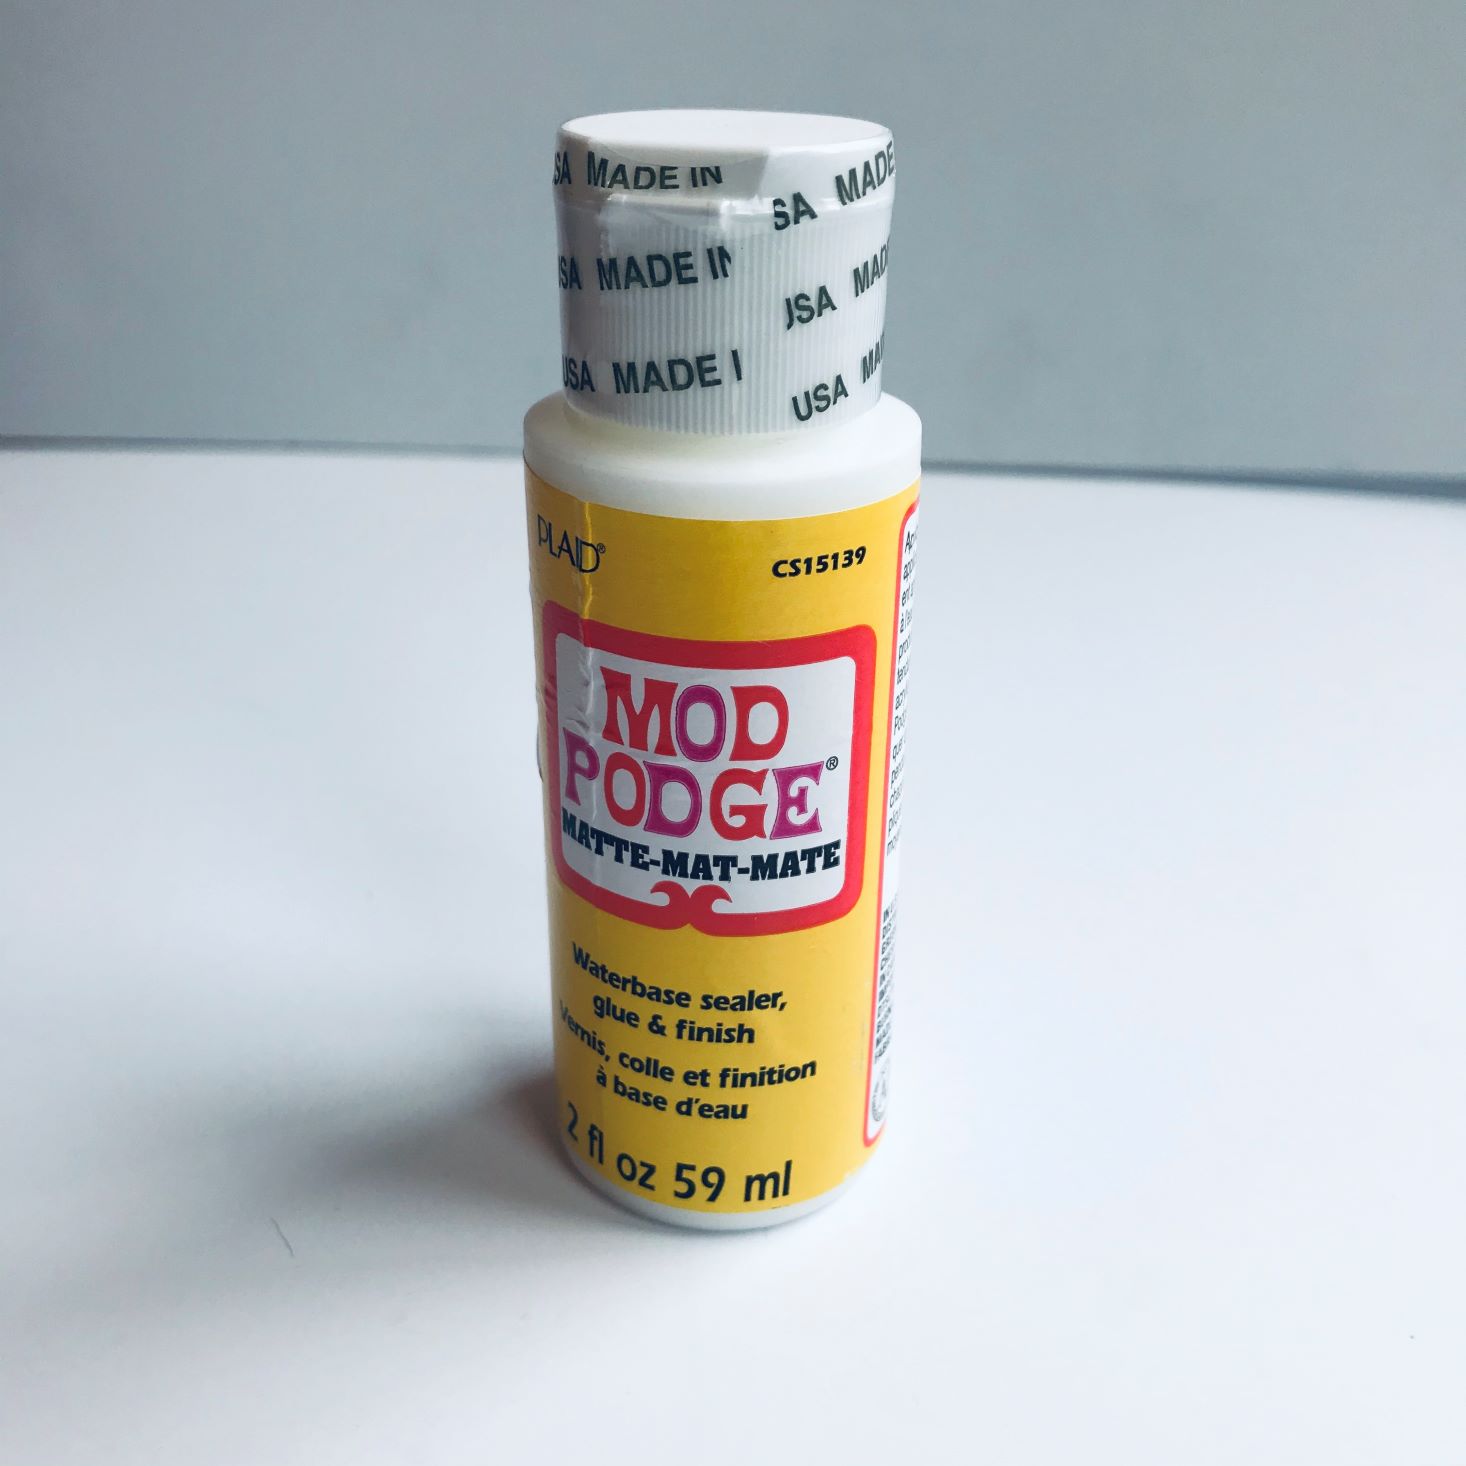
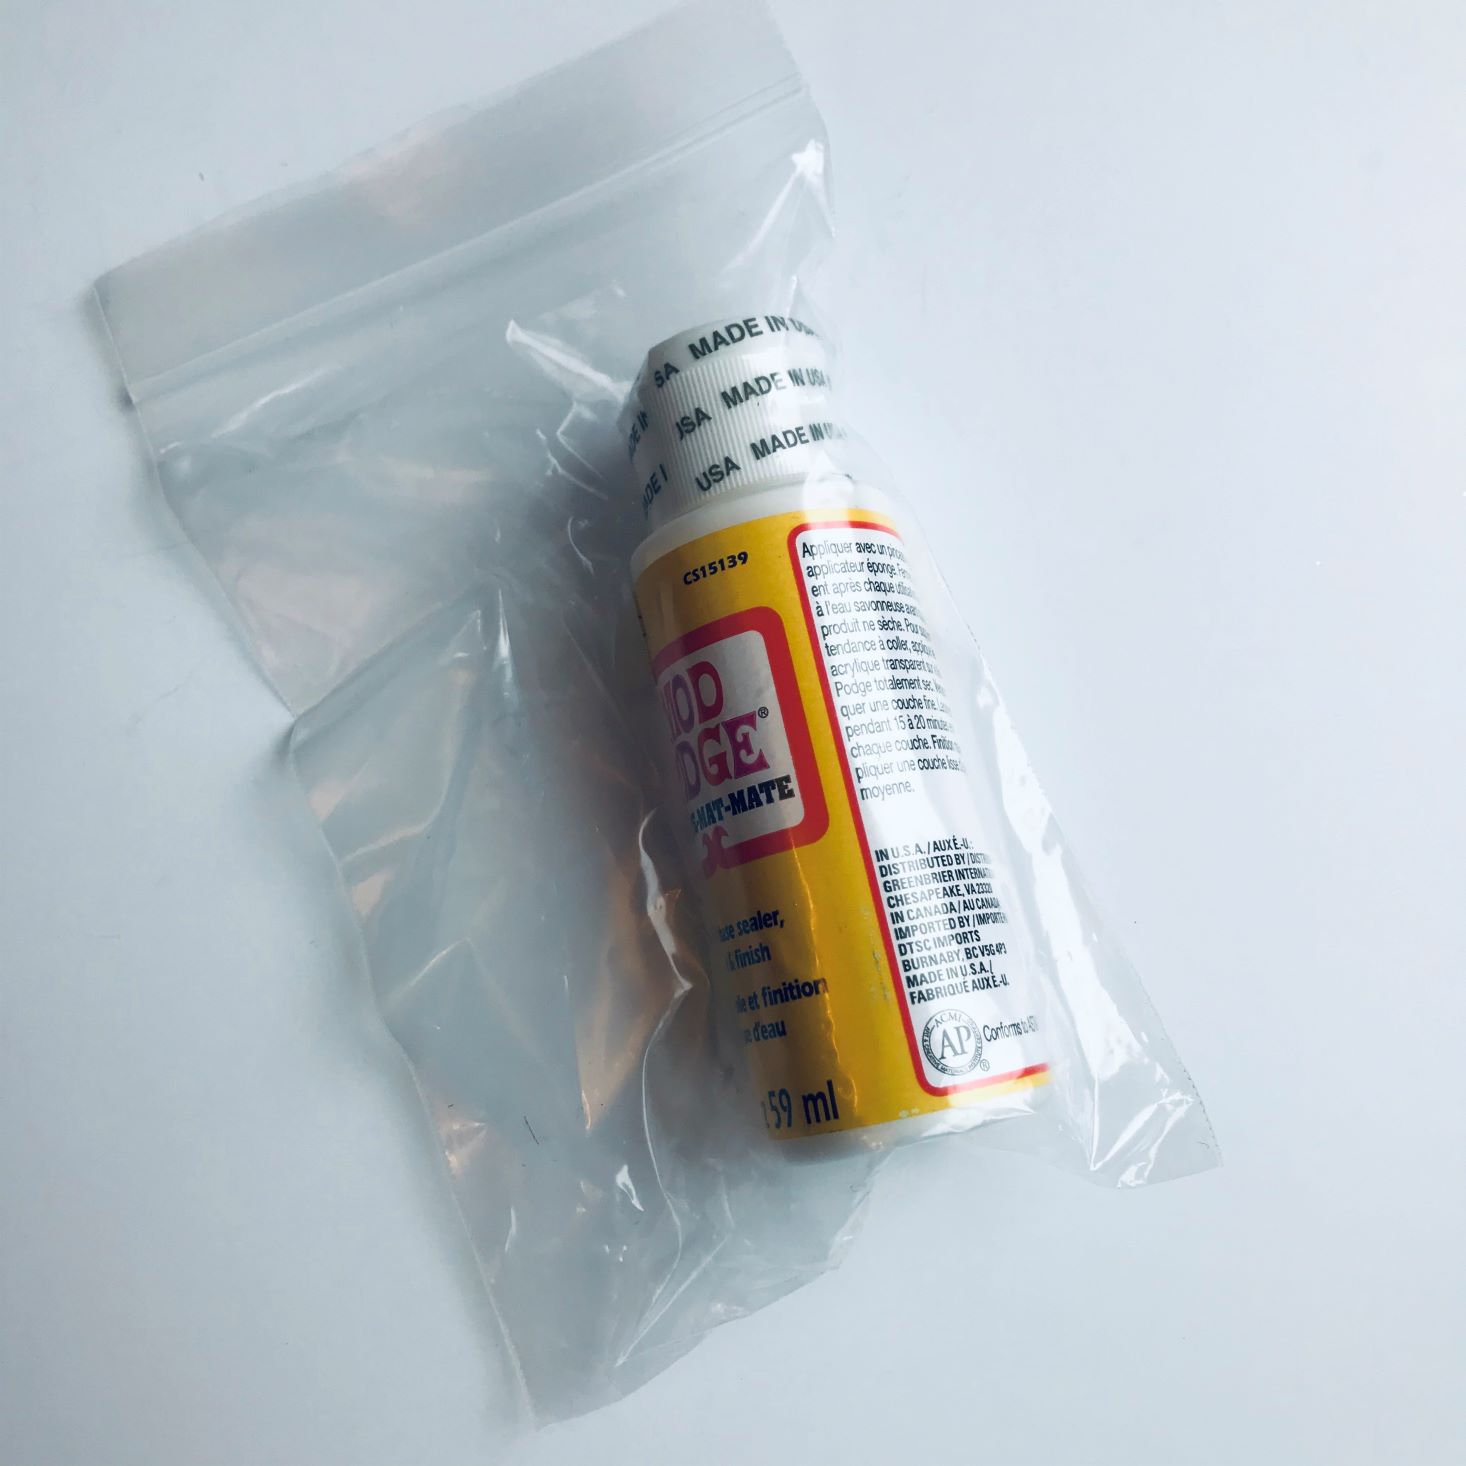
Mod-Podge (2 oz) - Retail Value $1.67
We also received a bottle of Mod-Podge. This stuff is so cool! It is a waterbased sealer, glue, and finish. While it looks a little scary when you first apply it, it dries absolutely clear and vanishes!
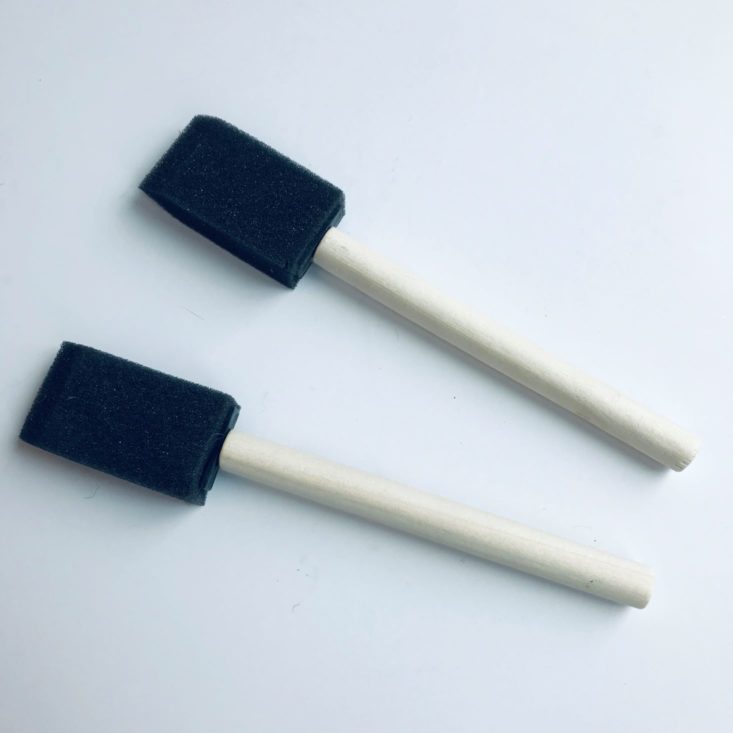
Foam Brushes
I LOVE that they send everything you need to complete these projects. I do have a ton of these foam brushes laying around, but it is just so much easier to have them included right in the box! Because of this, I don't feel bad if Charlie is a little too rough with them!
Embellishments
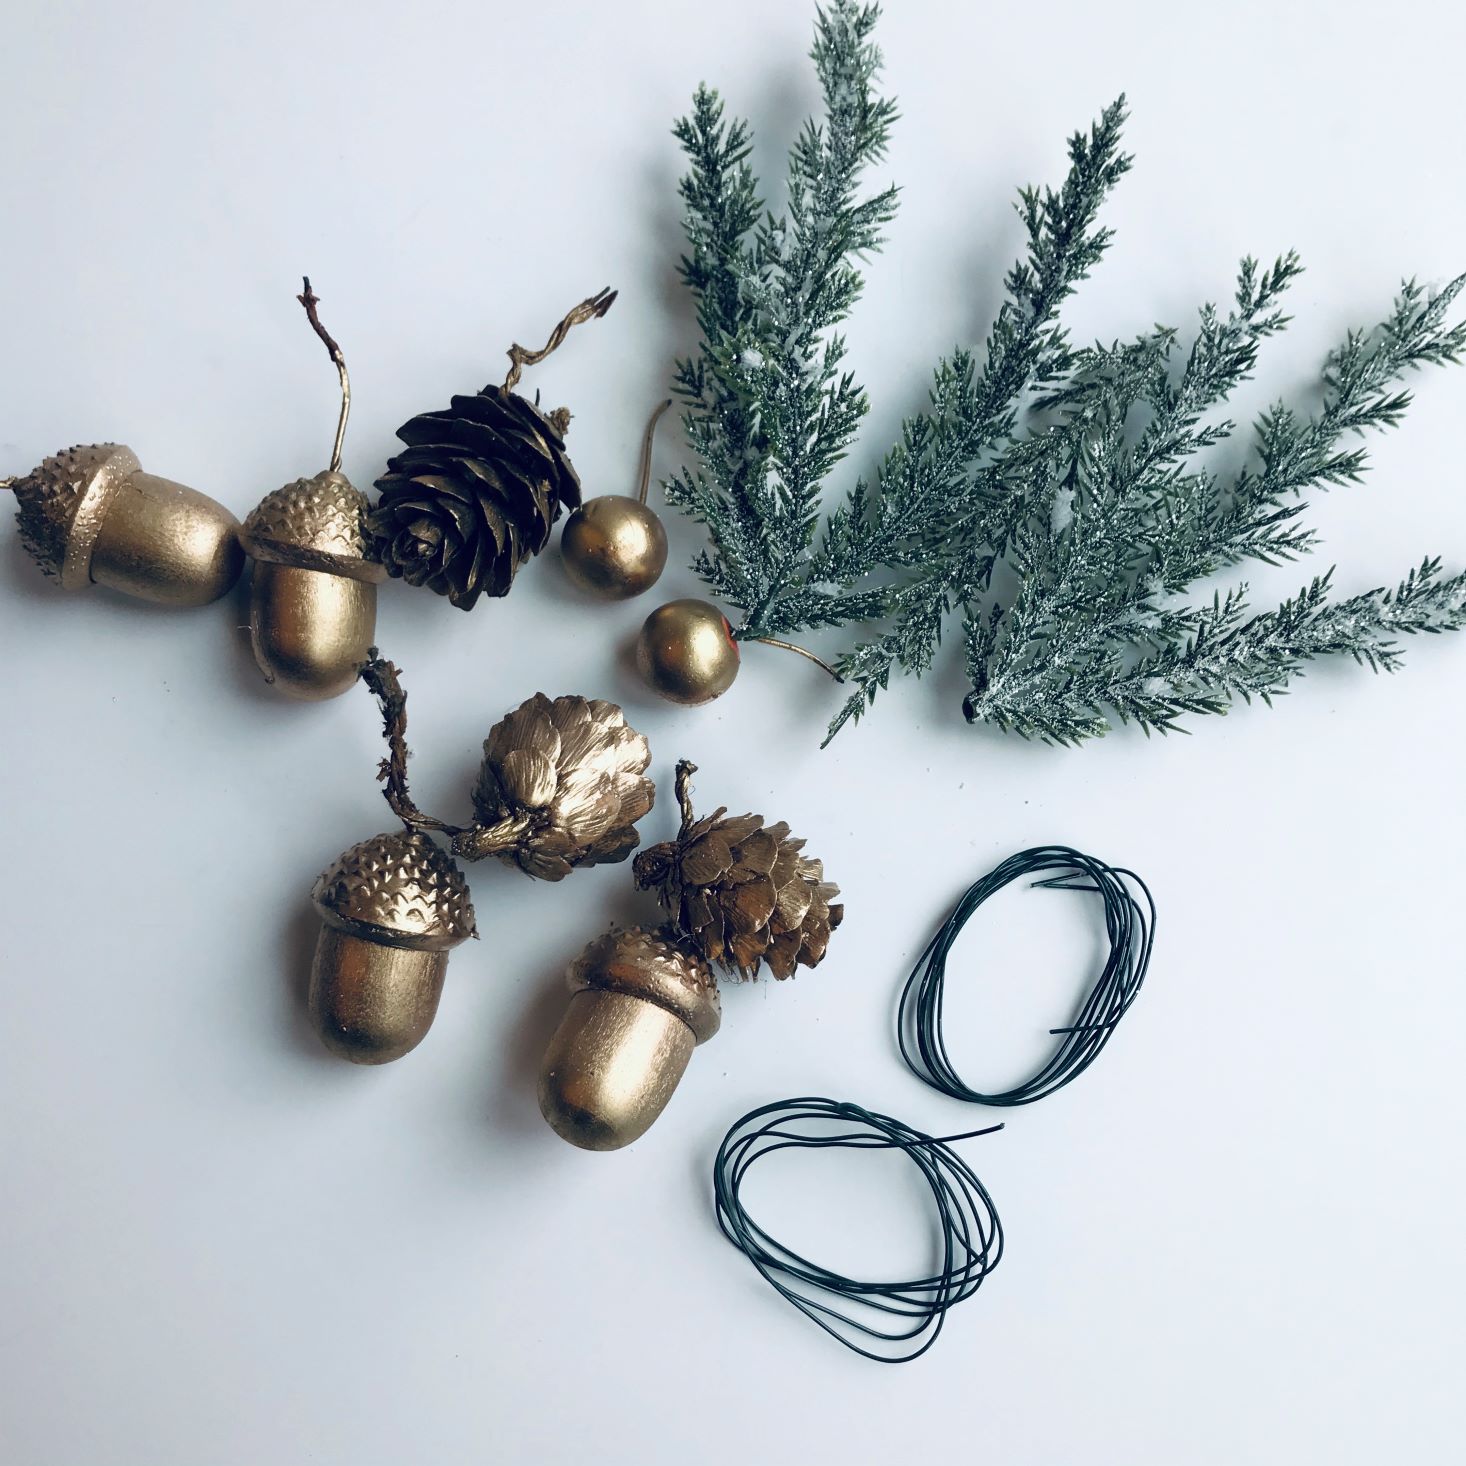
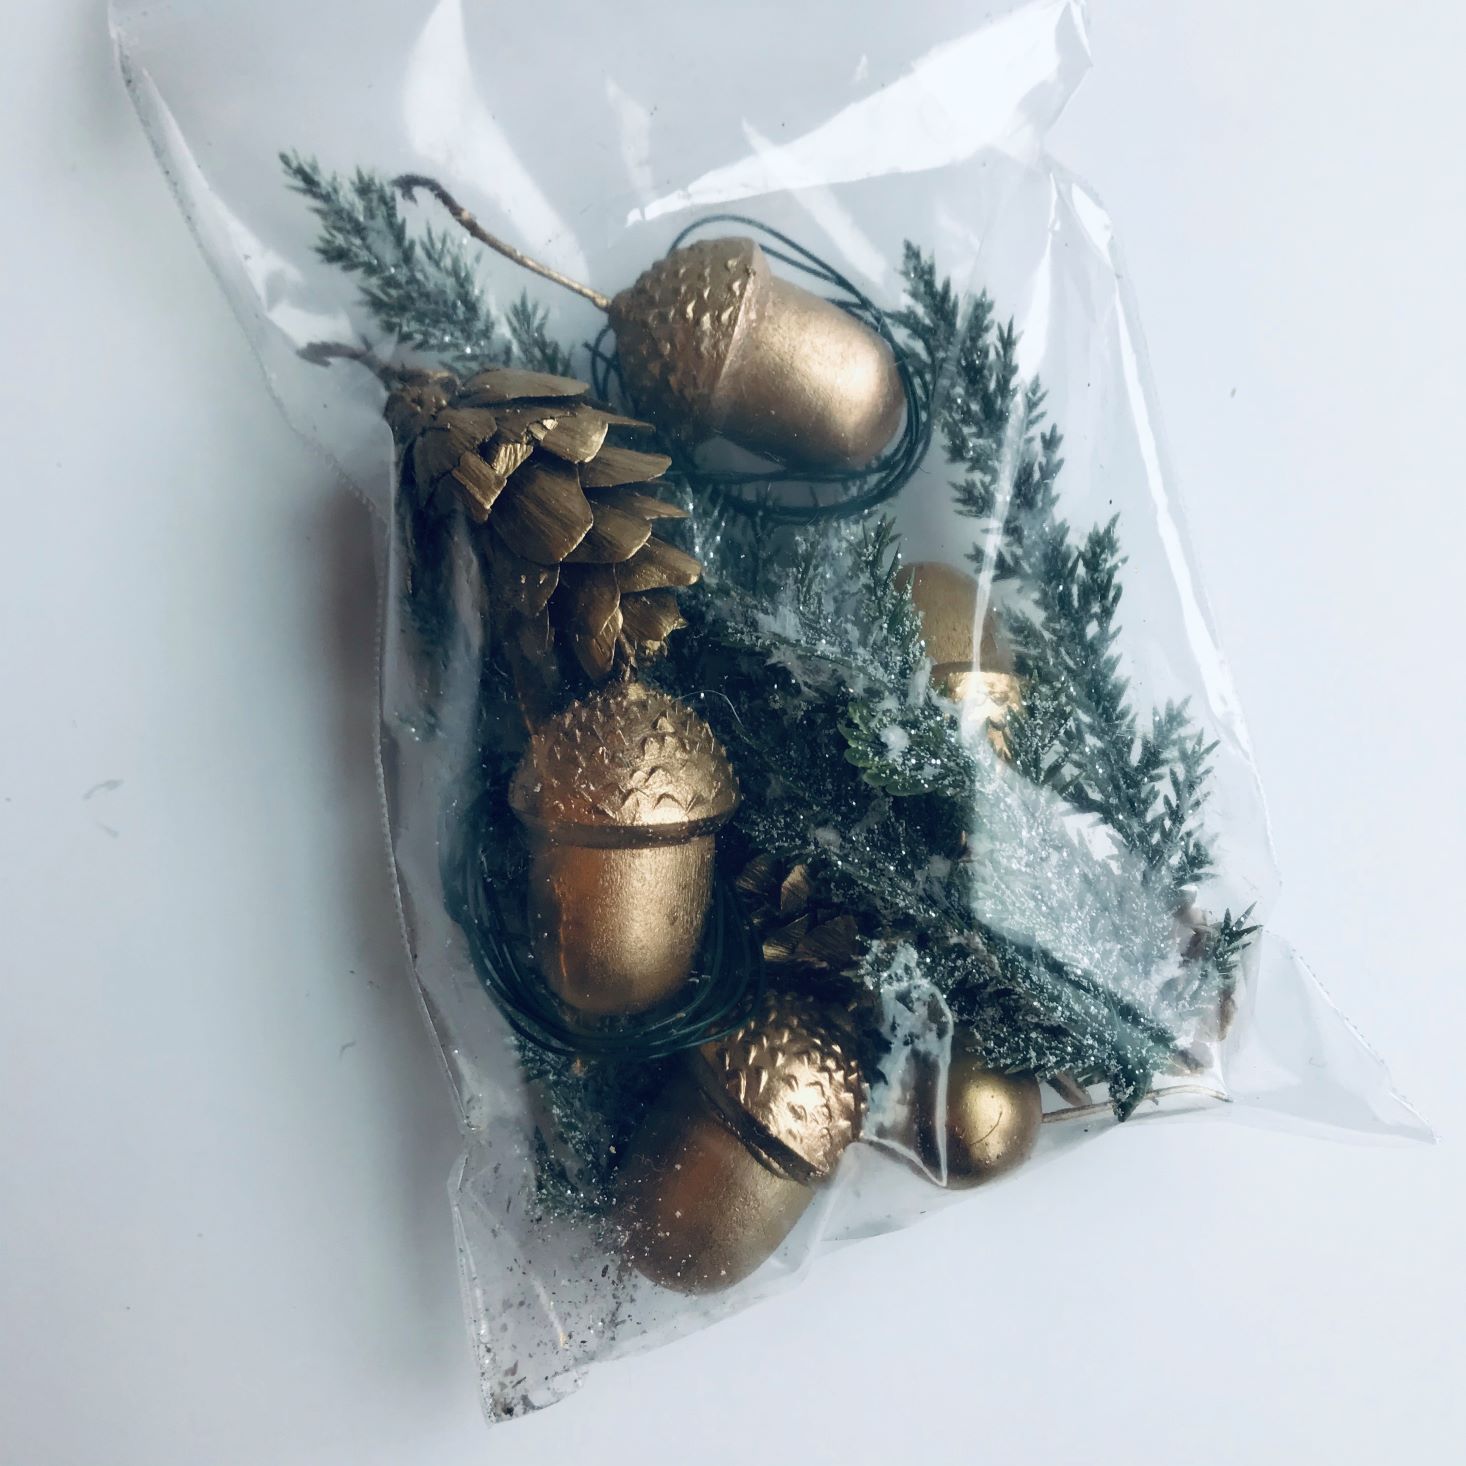
I have to say: this was my favorite part of this box! Look at the glitter and gold! It's so shiny! I really appreciate that they send all sorts of different embellishments so we can really customize our projects just how we like.
Ribbon and Bells
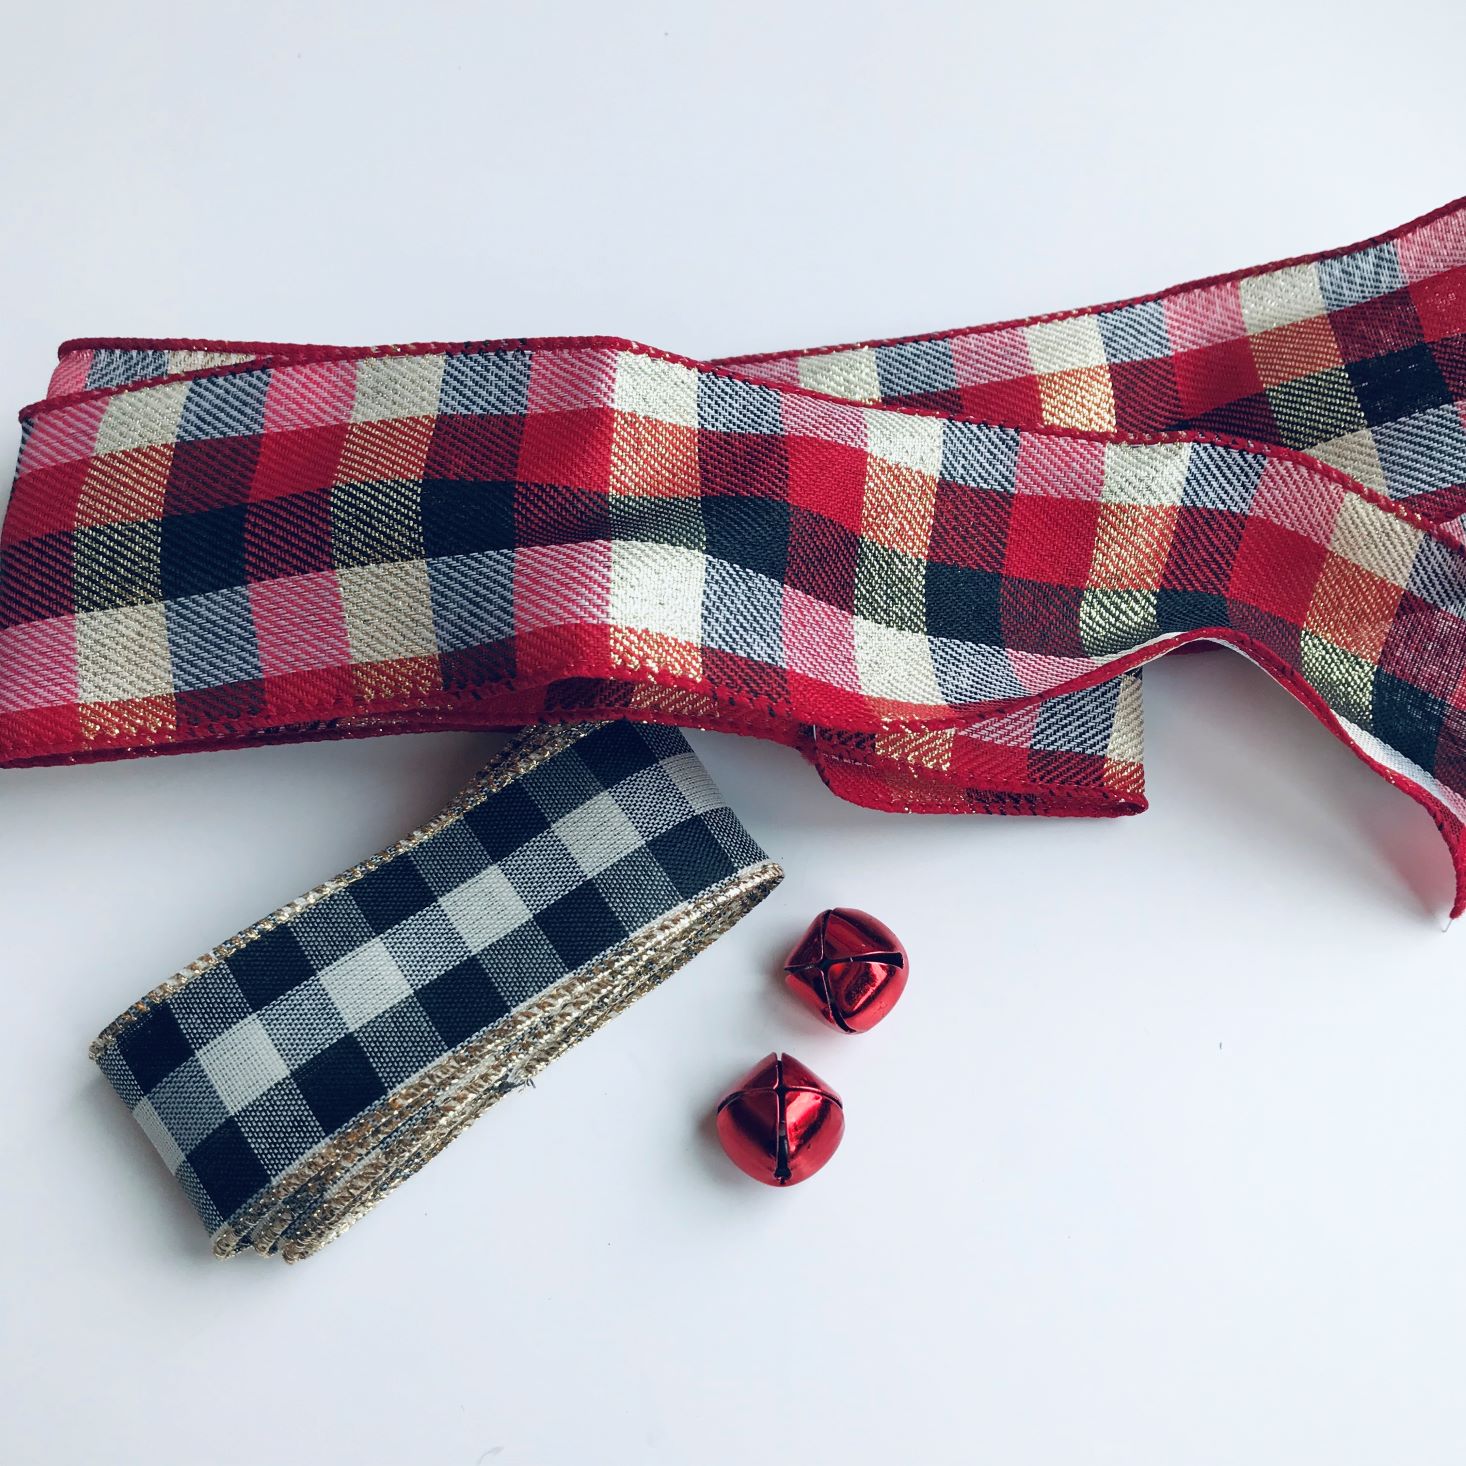
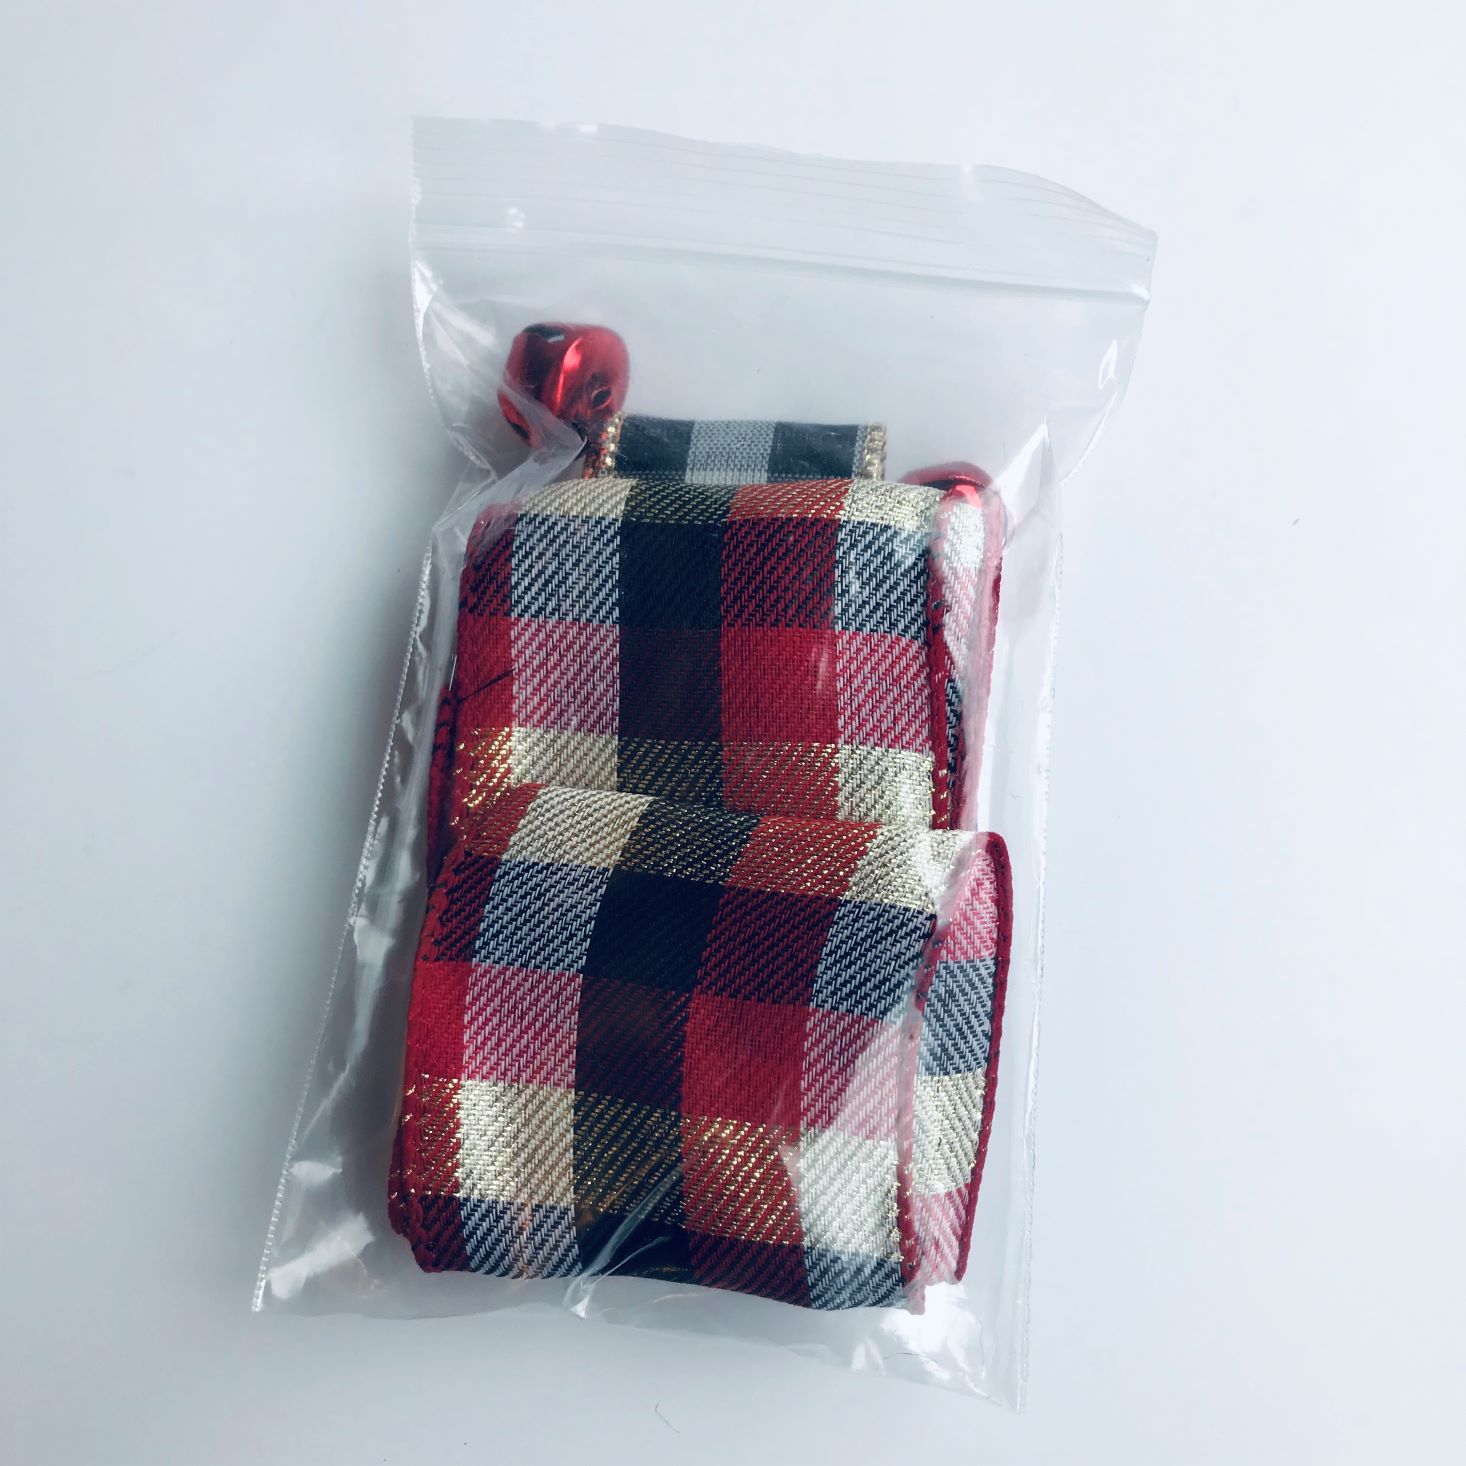
More things shiny! We received 2 different kinds of ribbon and 2 shiny little bells to include on our signs.
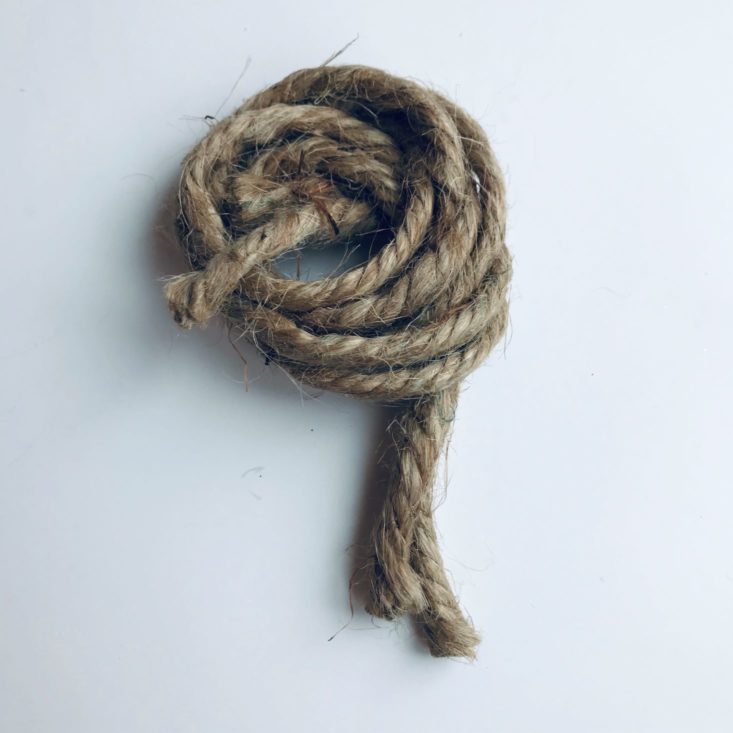
Twine
To assemble our signs, we were supplied with 2 pieces of thick twine.
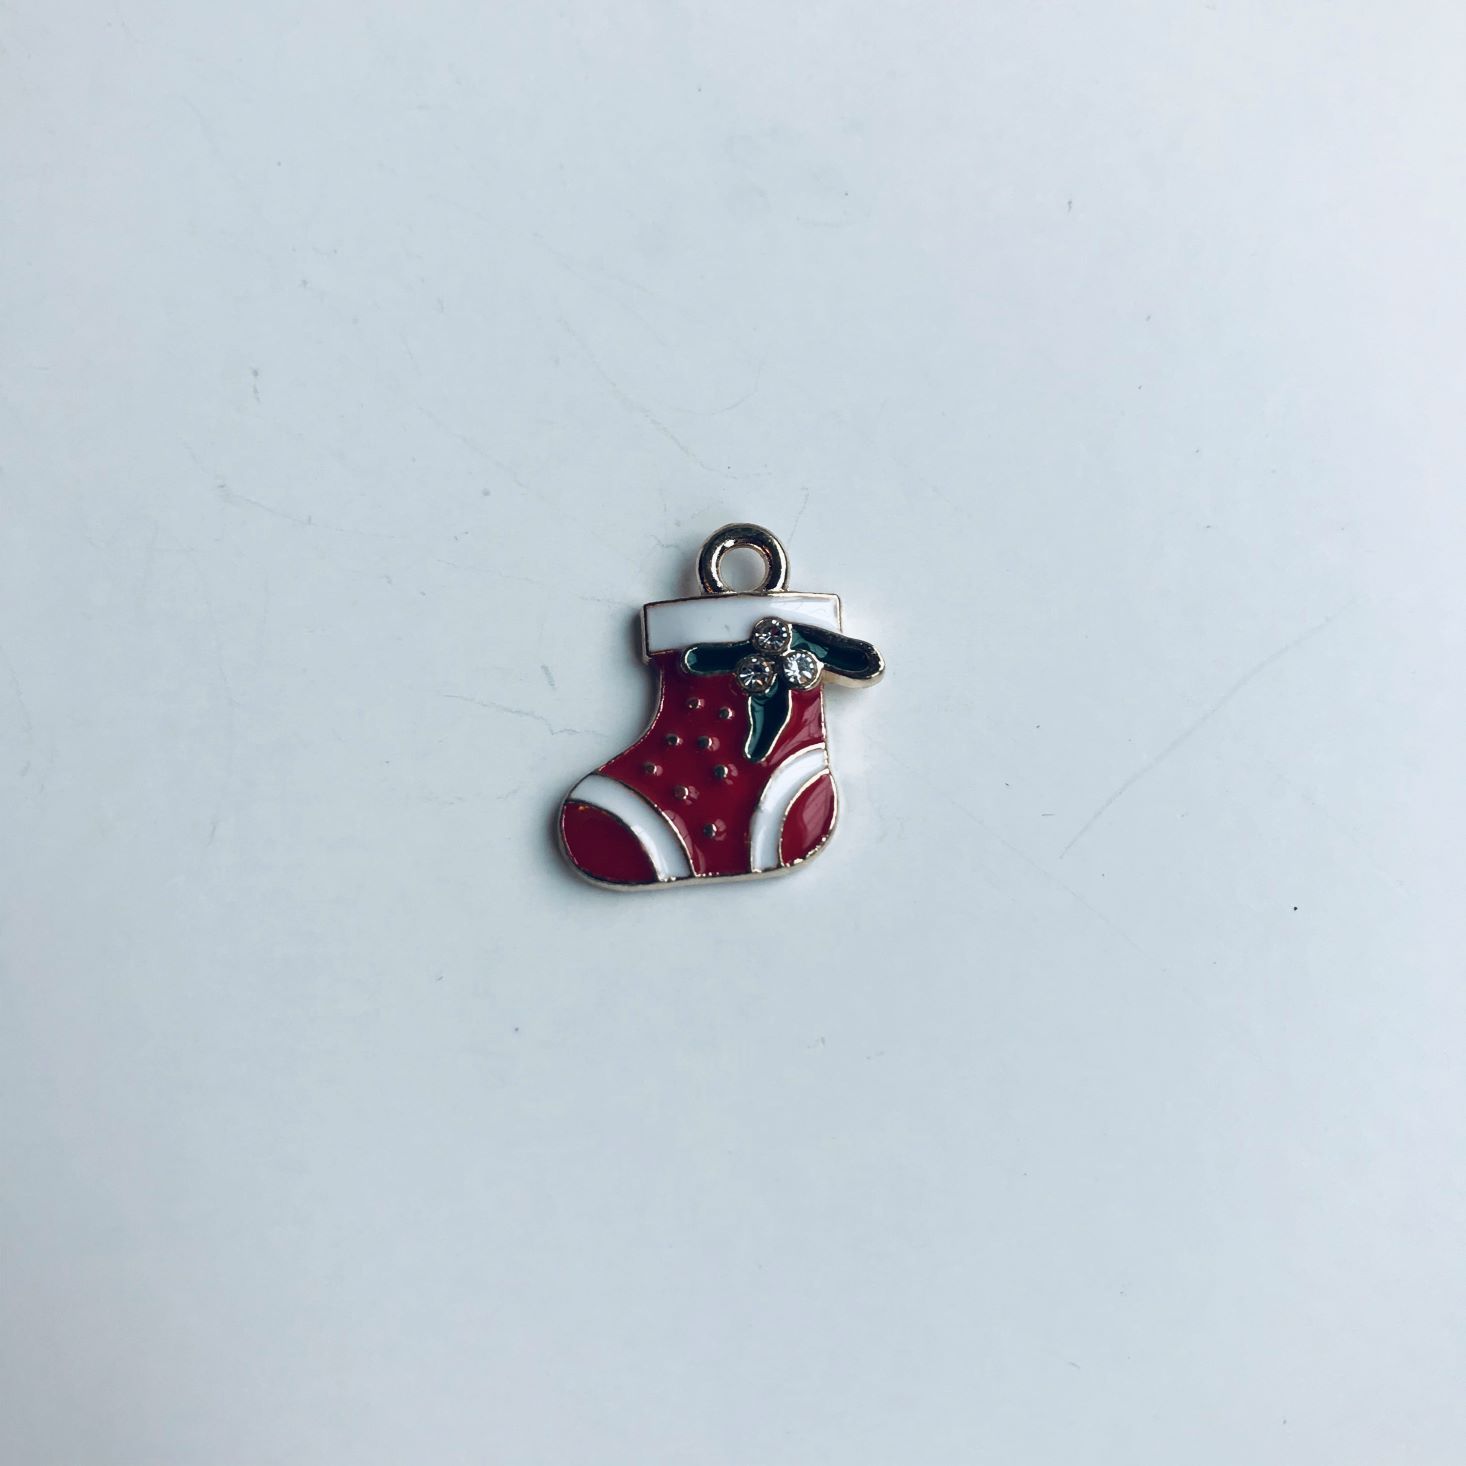
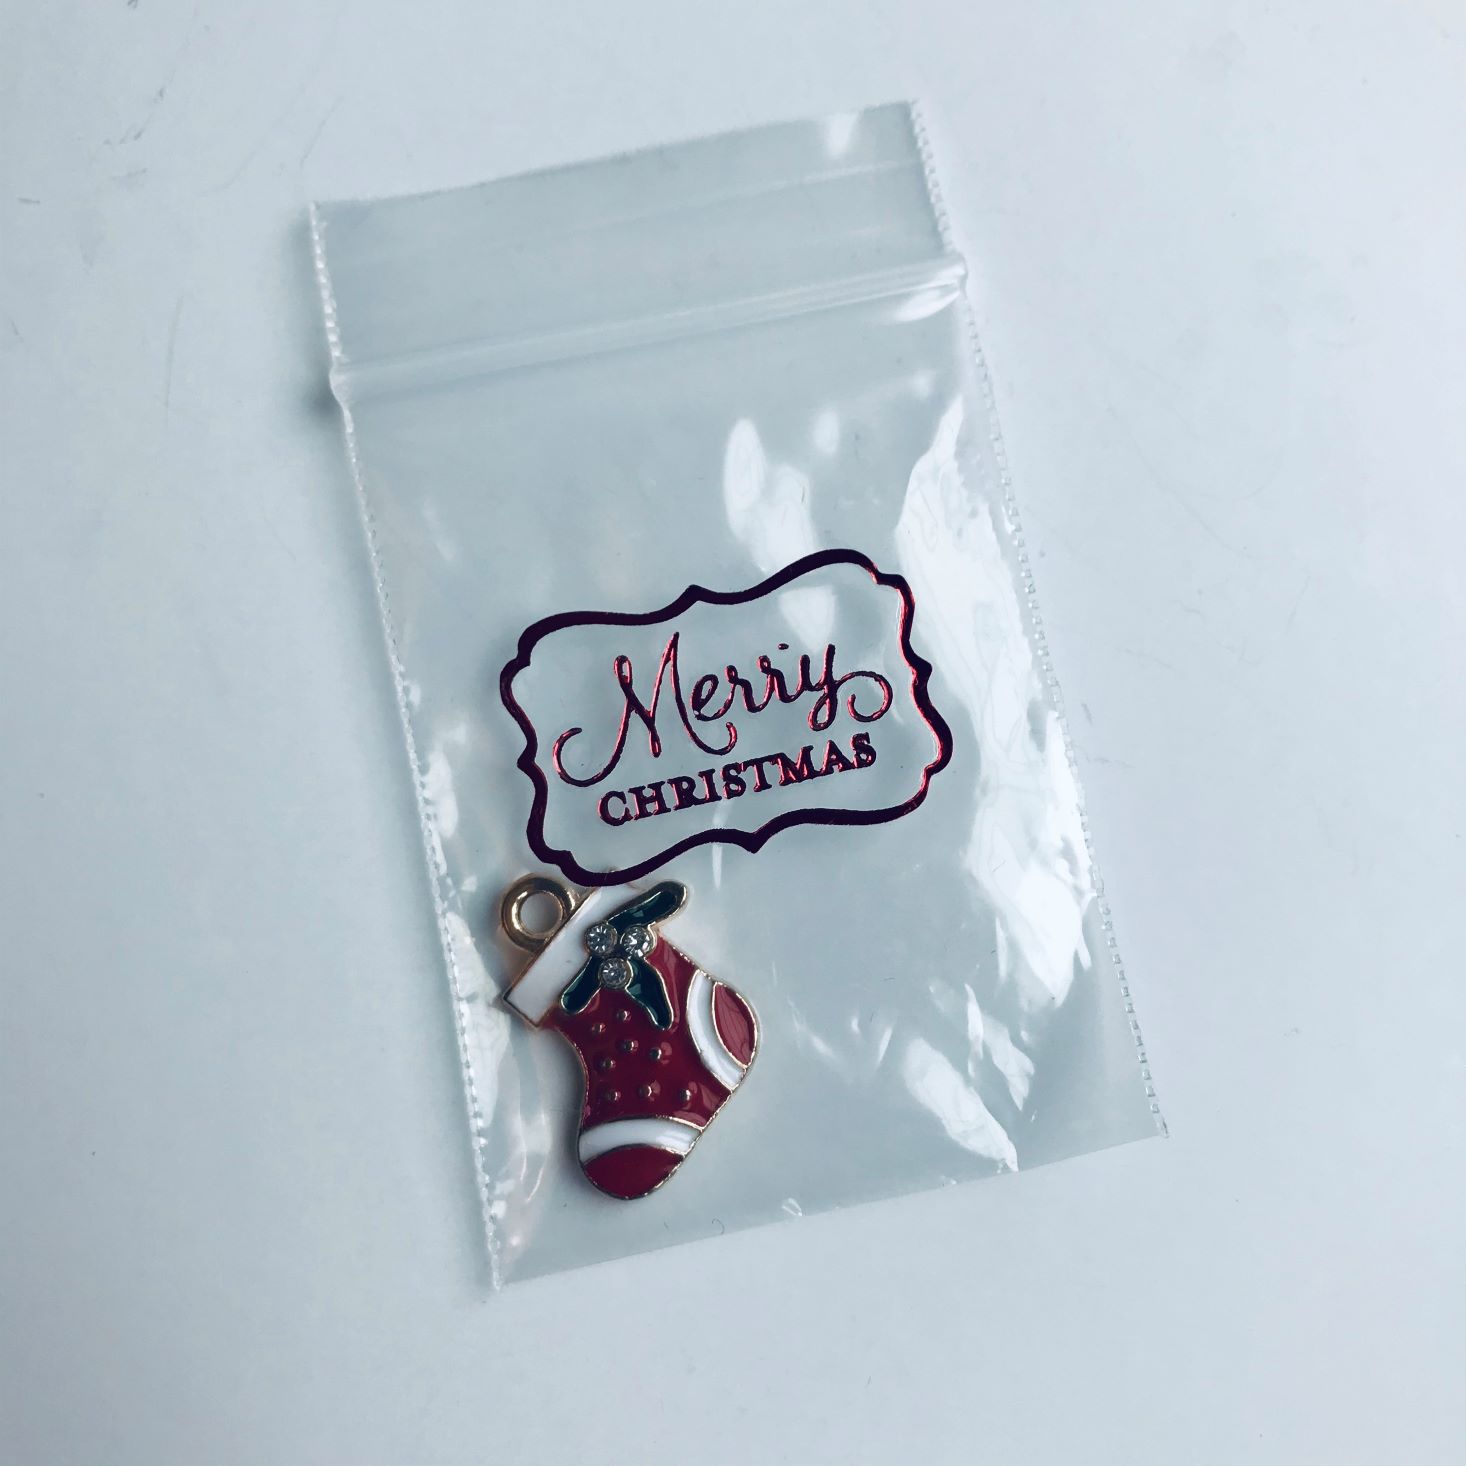
Stocking Charm
Yay! This month we received a new charm! While I have a small collection of charms from past months waiting to be used on a project, I used this one today as part of my bow on one of my signs!
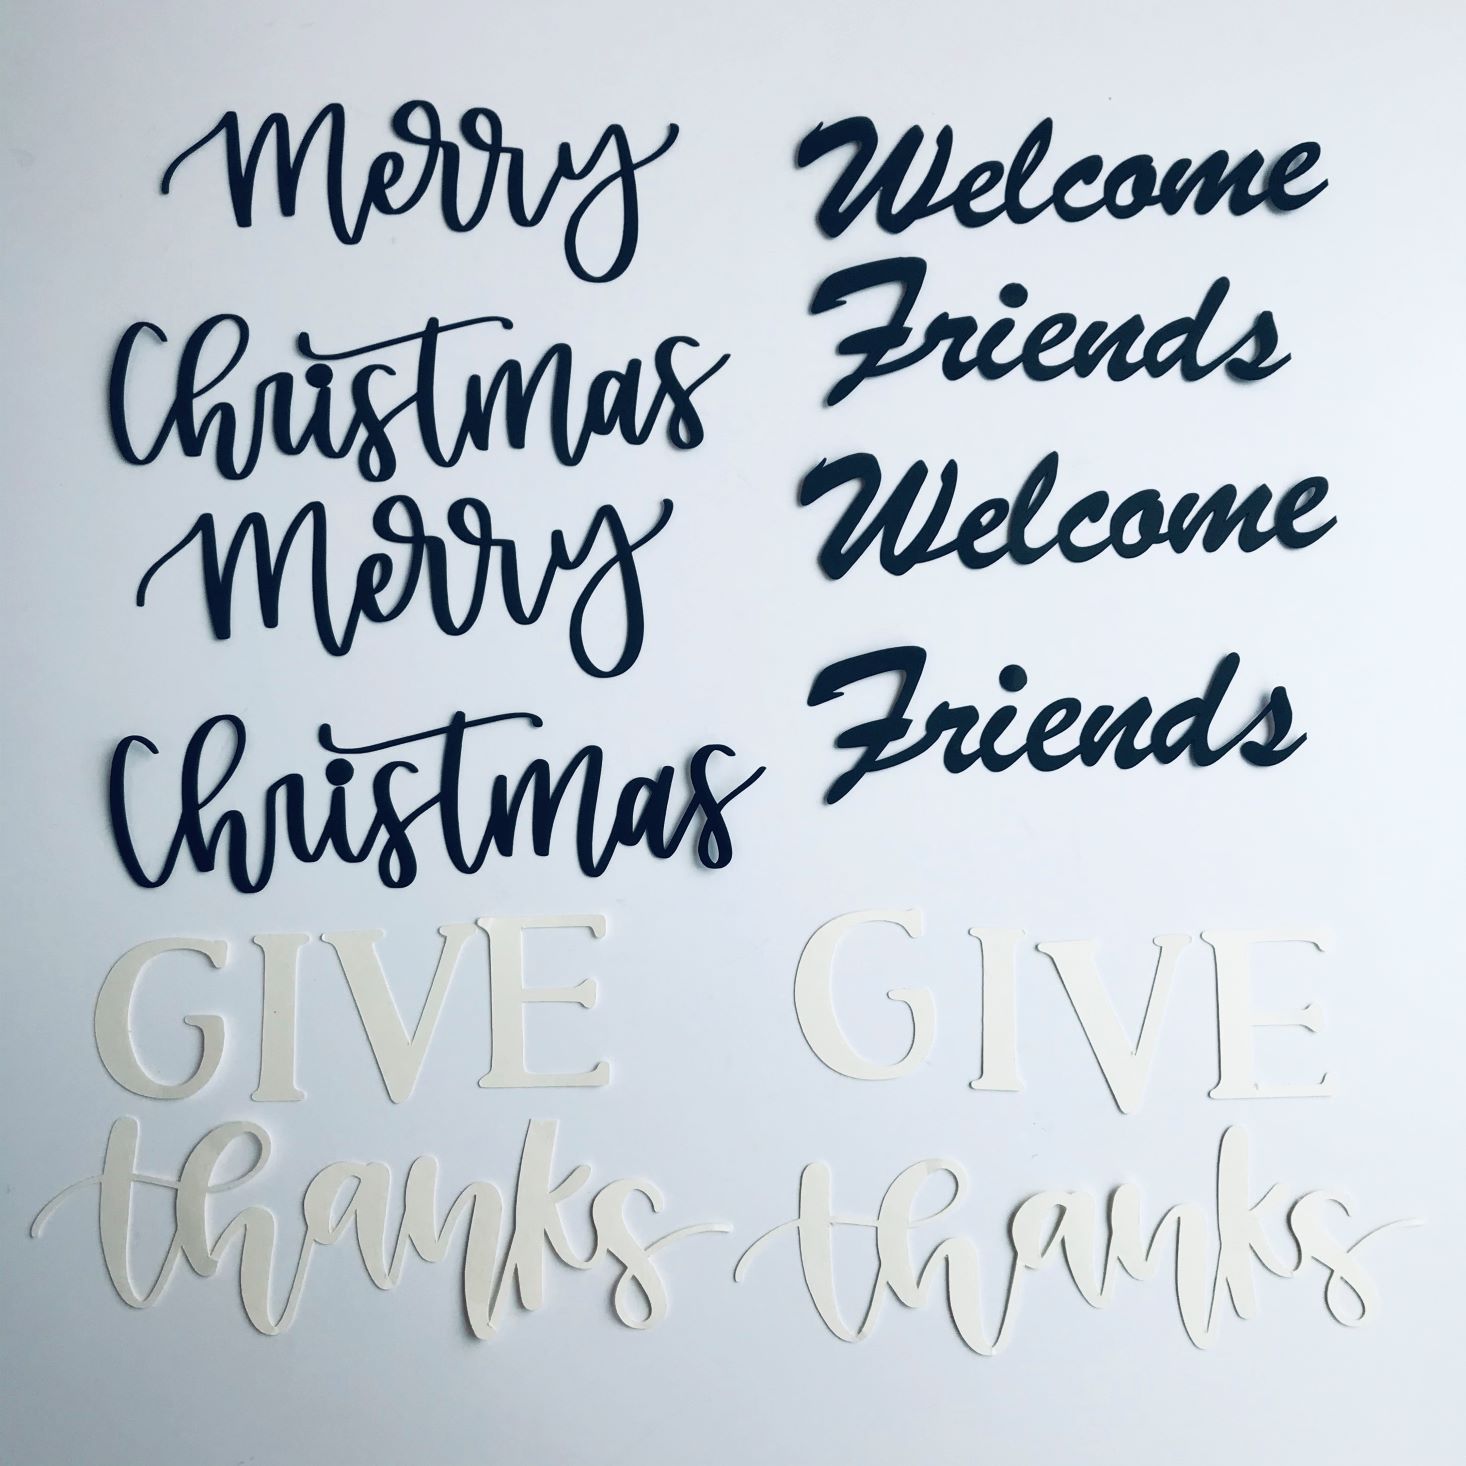
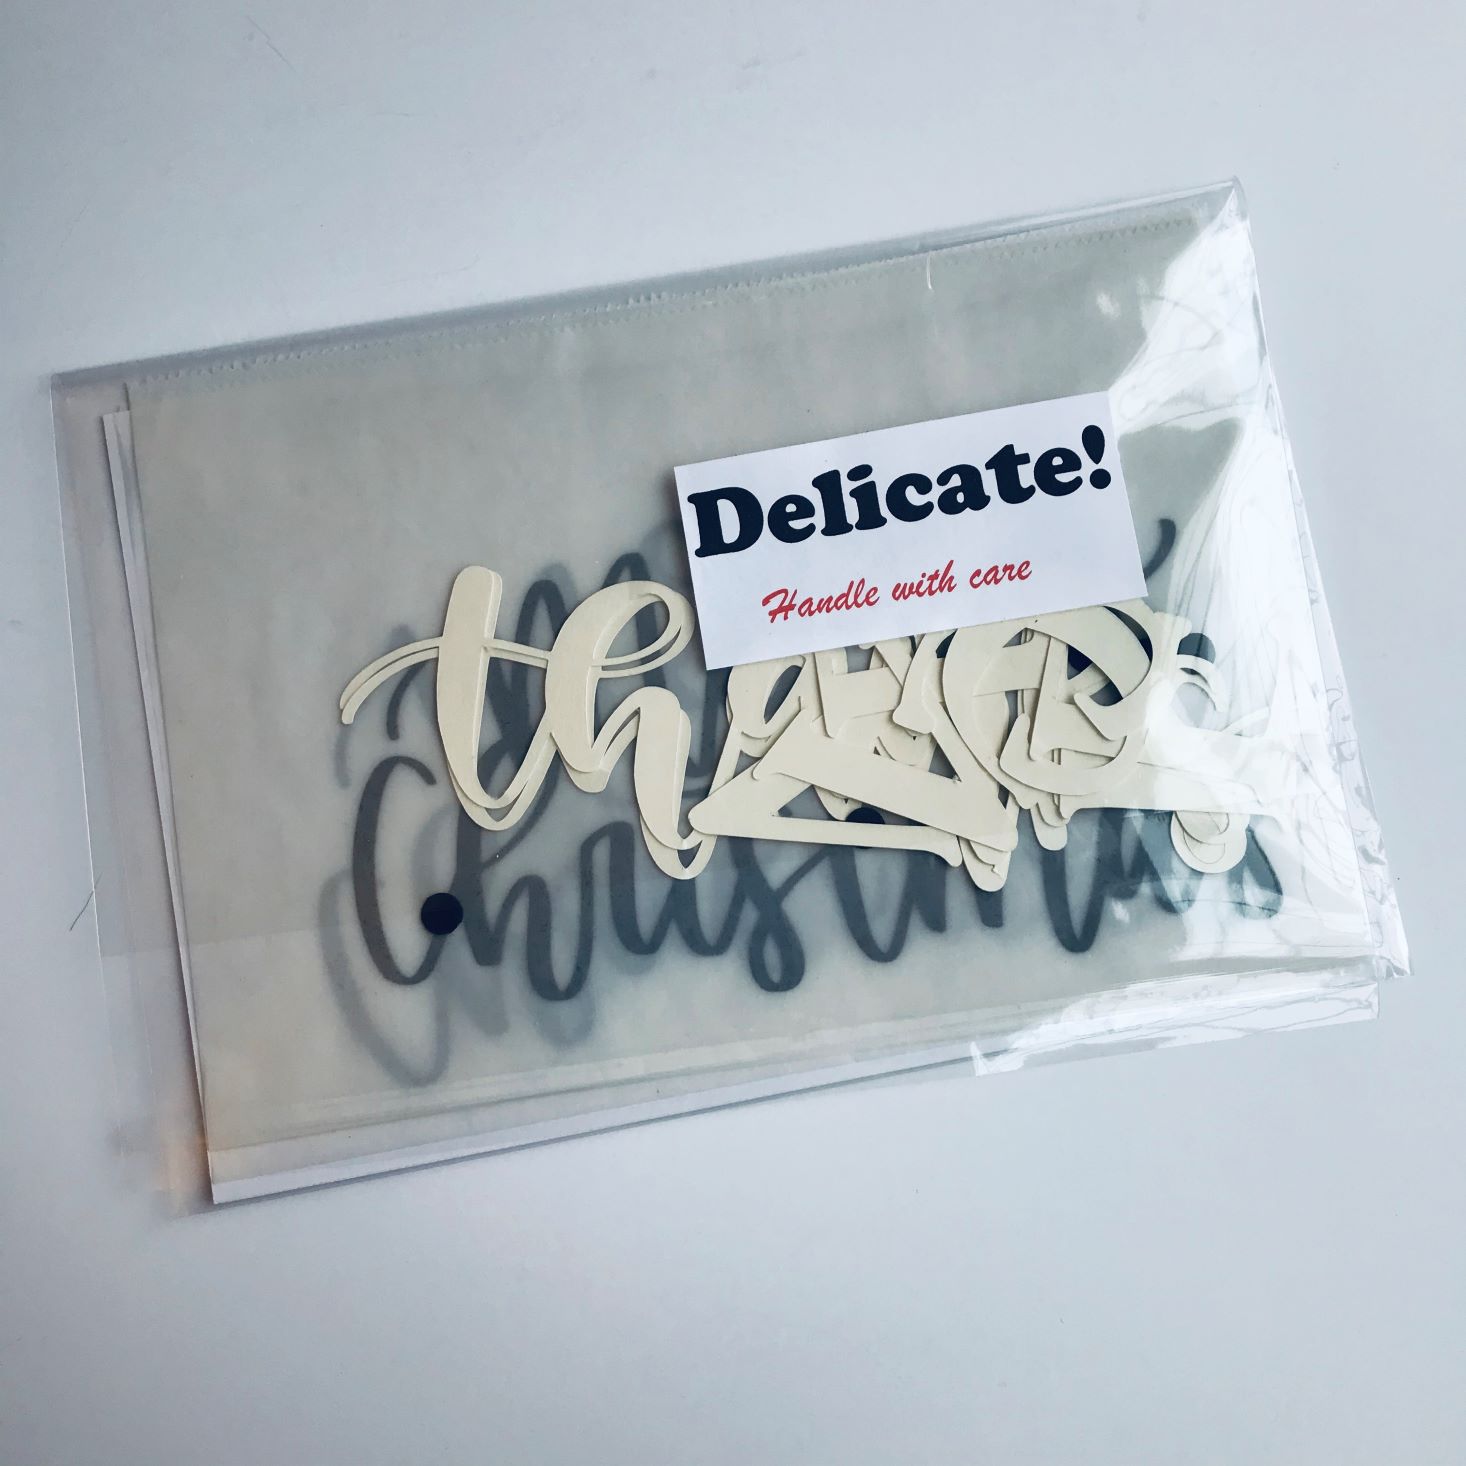
Sign Cutouts
This month we received 3 different sayings to apply to our signs: "Merry Christmas," "Give Thanks," and "Welcome Friends." I love the different fonts and the option for customization!
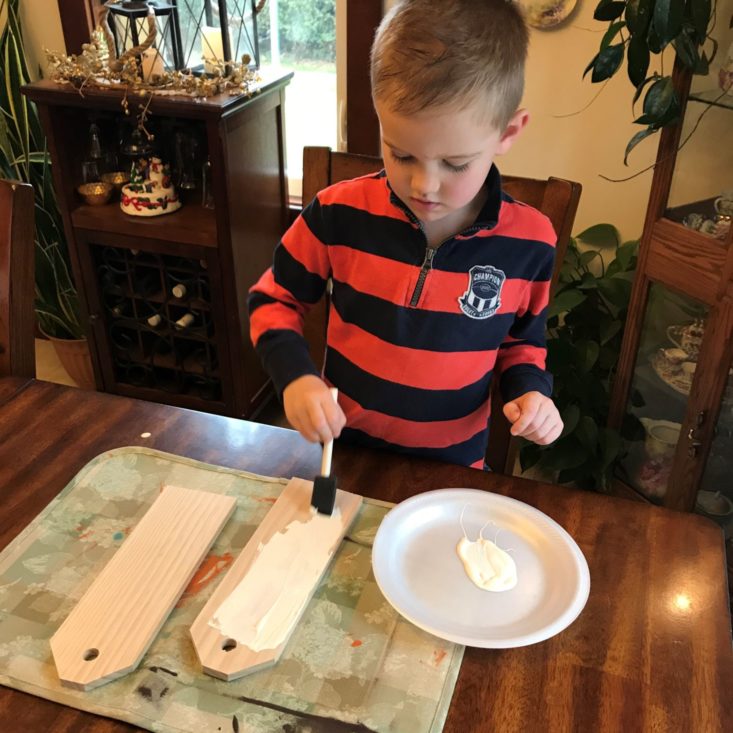
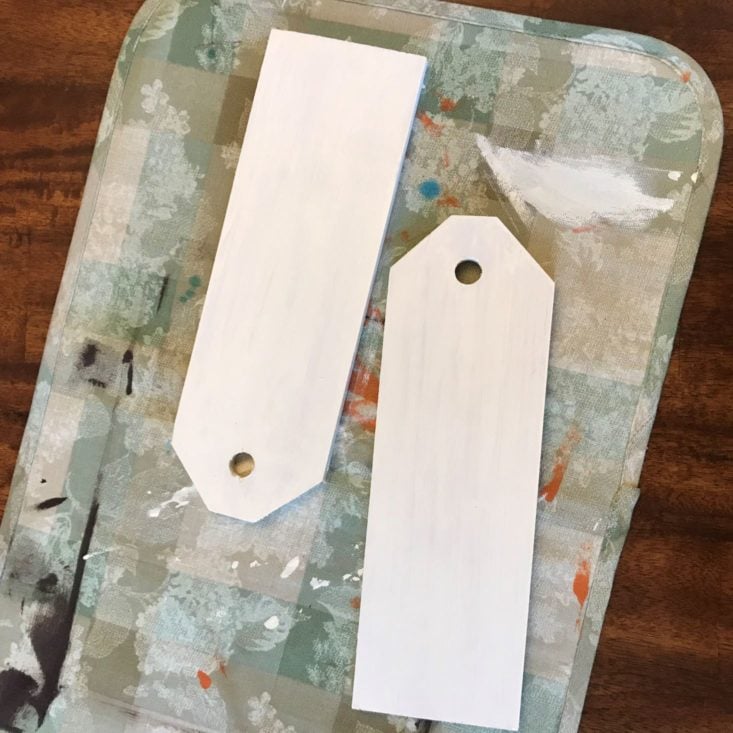
We started this project off with our trusty placemats to protect our table. Charlie was very anxious to start painting! Because this project is reversible, we went ahead and painted the sign tops and sides white.
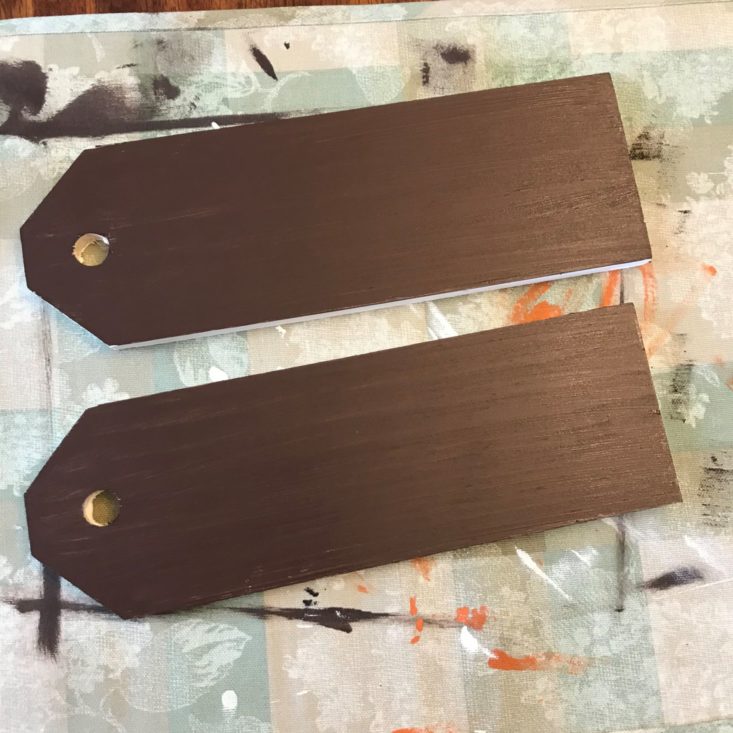
After about an hour (Charlie likes using a lot of paint), we turned them over and painted the other side burnt umber.
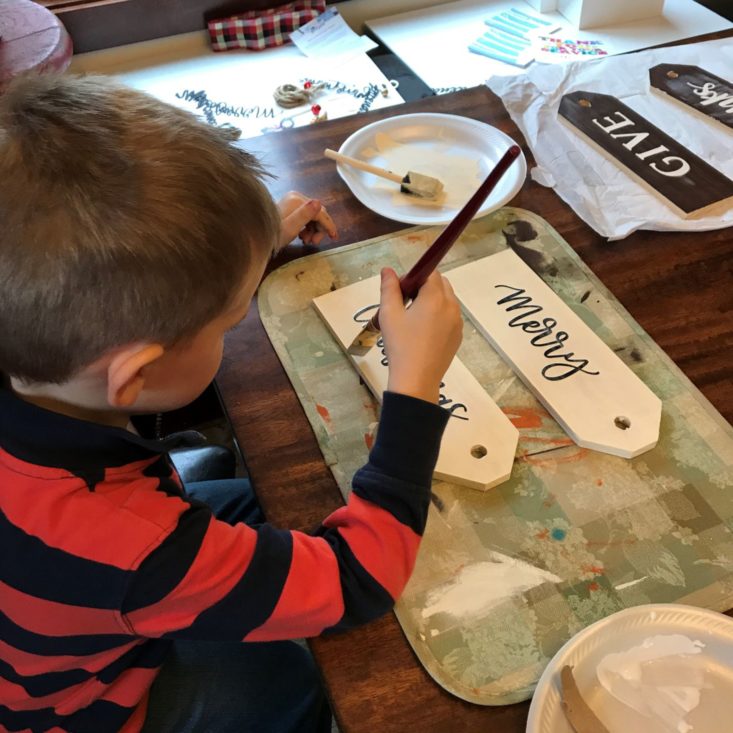
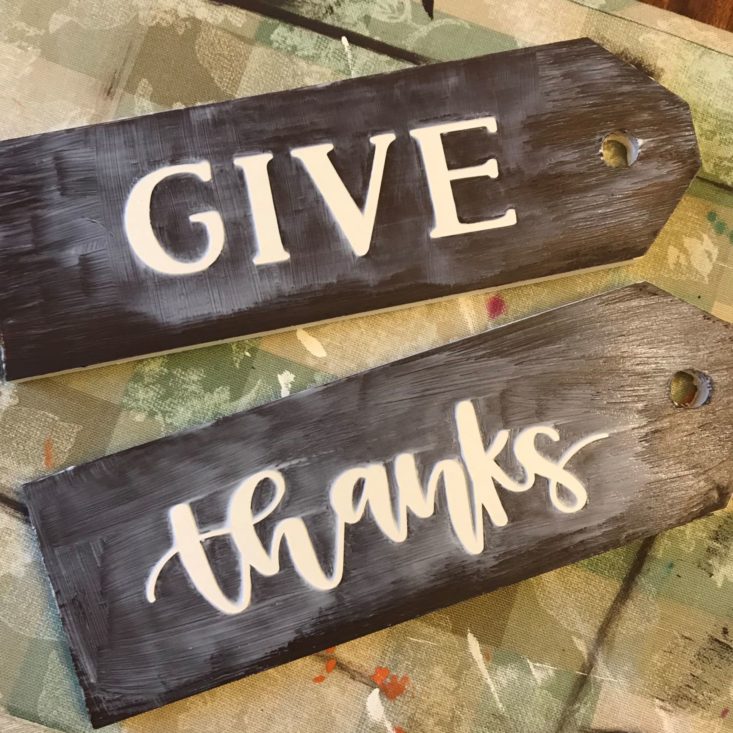
After the paint was completely dry on both sides, we used the Mod-Podge to completely coat the first side and place the saying in the appropriate spot. We then carefully painted more Mod-Podge over the top and let it dry. I have to admit it looked a little scary. It looked far from perfect, and I wasn't sure what to expect when it dried...
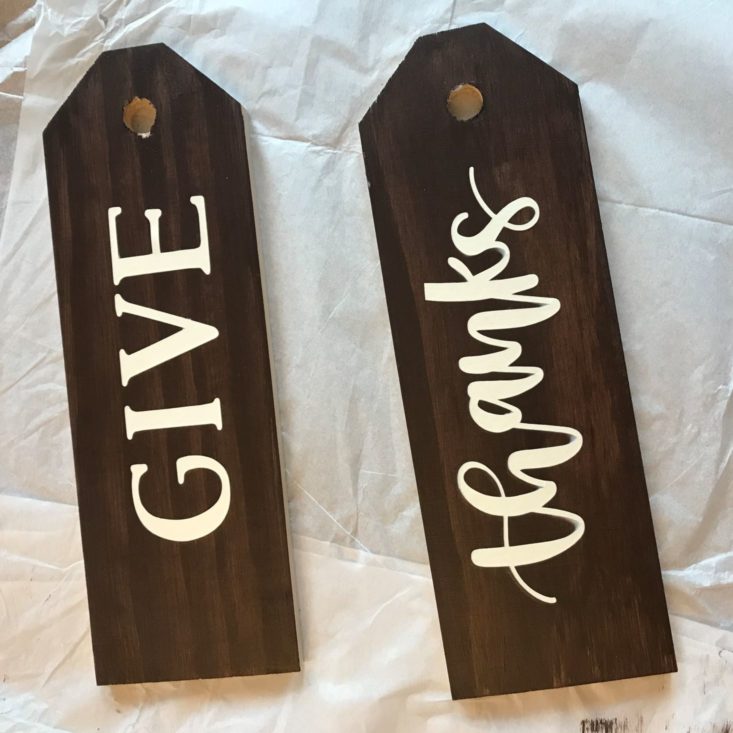
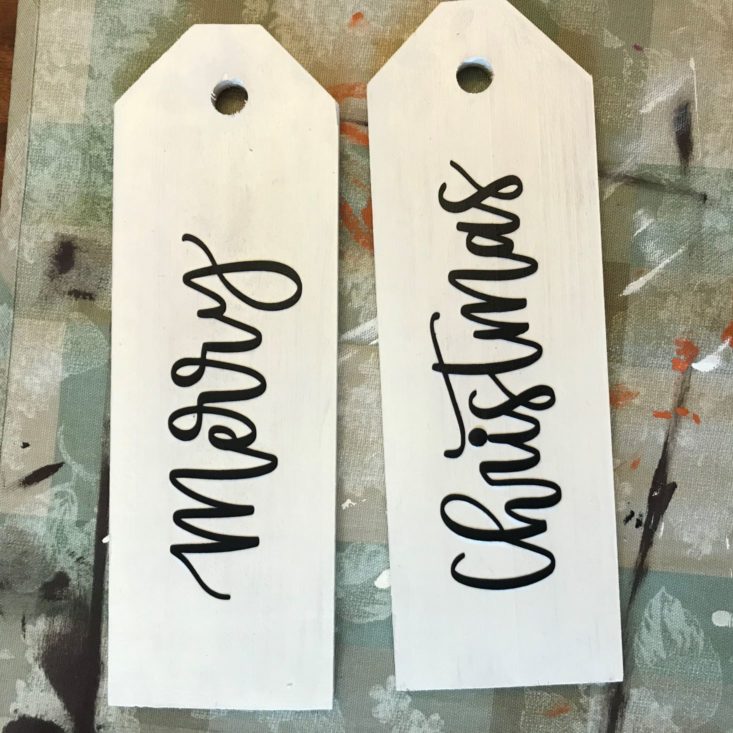
Hooray! They look perfect! It is so crazy how well they dried! You can't even tell there is anything on it! When one side was complete, we flipped them over to do the other side. One note of caution: if you make this project reversible, make sure you put the first word of the saying on the left side... I messed up on one set and it reads backward... whoops!
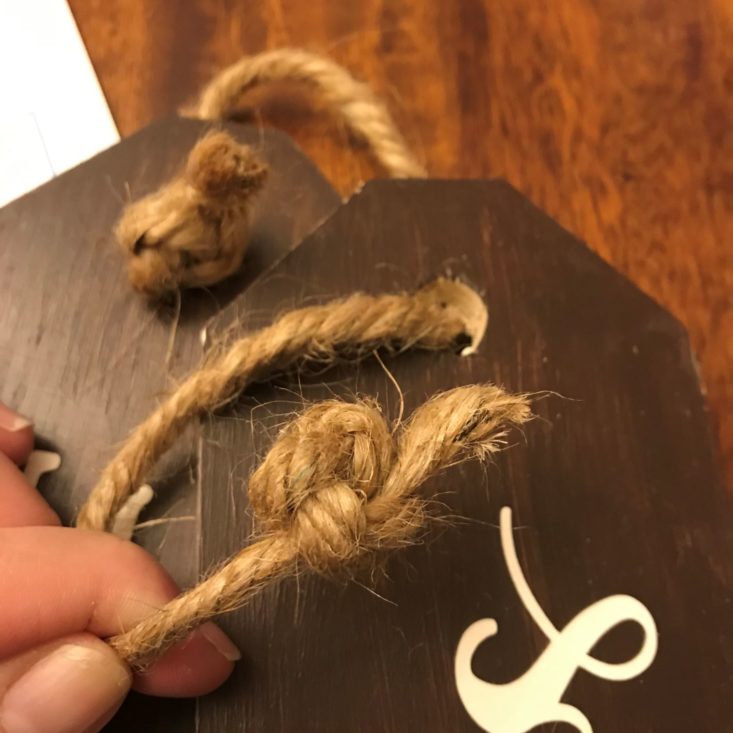
Now onto the embellishing! I first tied a double knot at the end of the twine and put it through one of the signs. I then did the same thing on the other sign. It suggests tying a knot in the middle of the twine to hang, but I didn't think I had a long enough piece of twine, so I just pinched it together and tied my bow on as seen below.
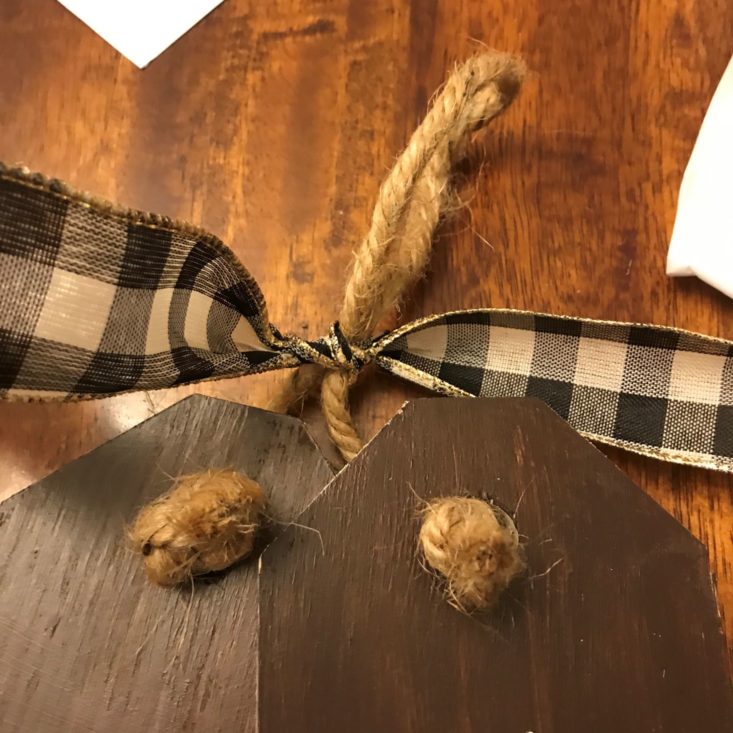
I decided I wanted each of my signs to have a different ribbon. We tied a knot to create a hanging loop on the twine and started creating a bow. I tied a regular bow and cut off the excess.
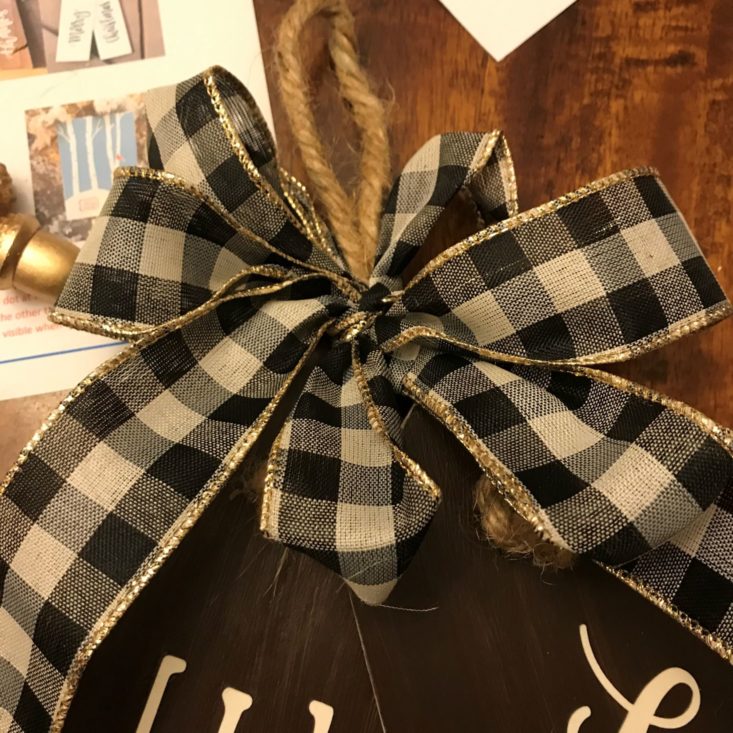
I then used the excess to tie another bow around the first. Puffing it up and cutting the ends really perks it up!
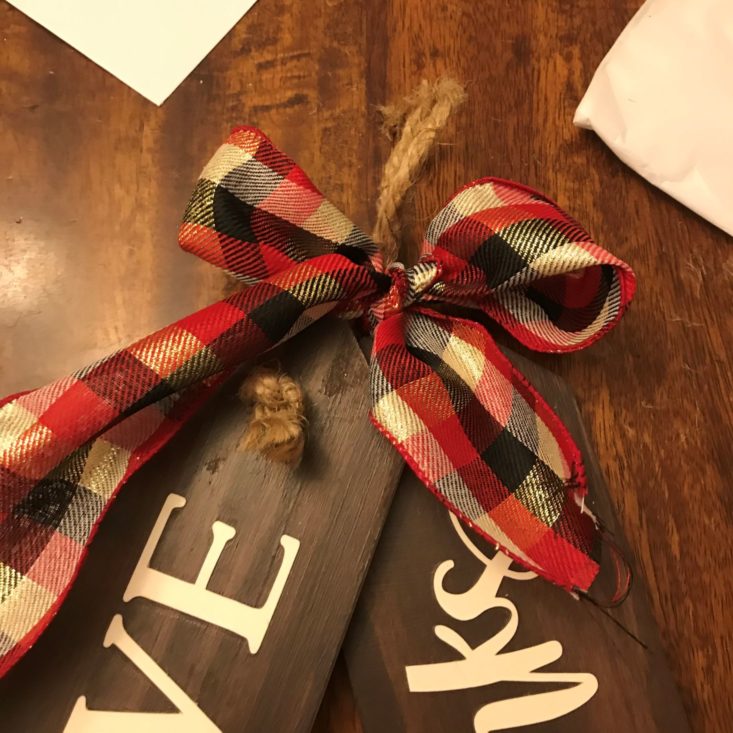
I noticed there wasn't as much red ribbon included, so we tied a regular bow, and just added a knot with extra tails for more volume.
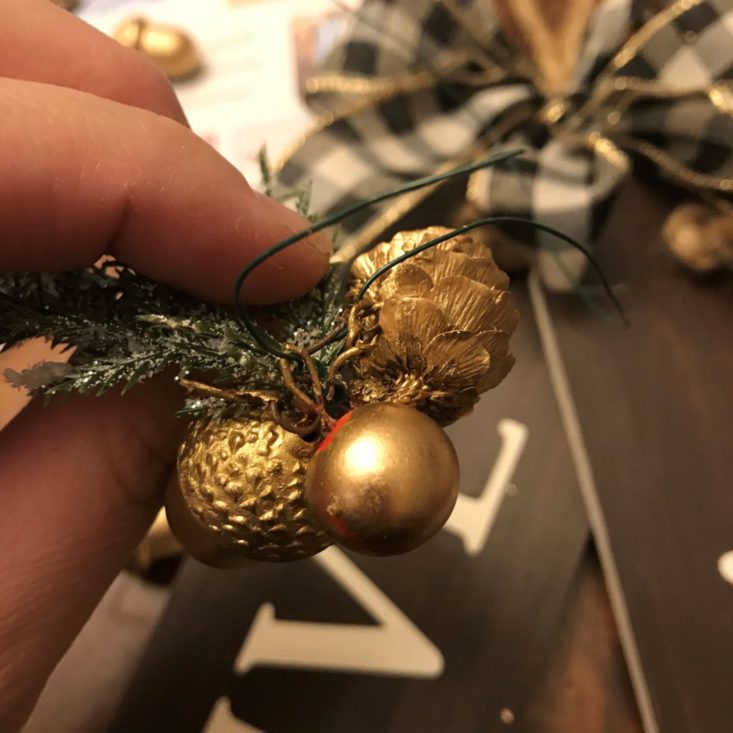
The best part was creating the pinecone/acorn/ball bedazzlement for the center of the bow. This was made by wrapping the ends around the wire and tying it around the included pine embellishments.
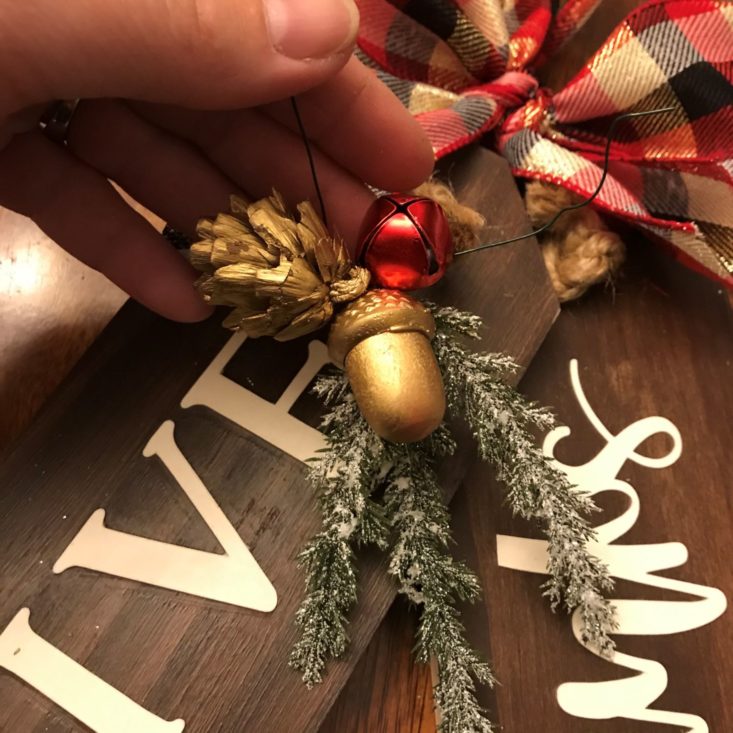
Each sign went a little differently. For this one, we adhered the bell.
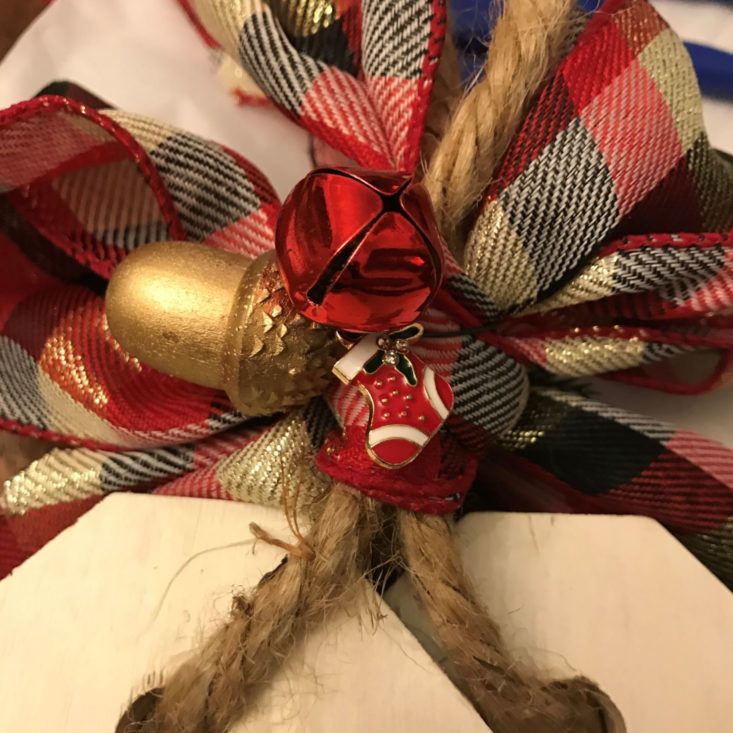
We even added the embellishments to the back, so they are truly reversible! I love the look of the stocking charm on this one!
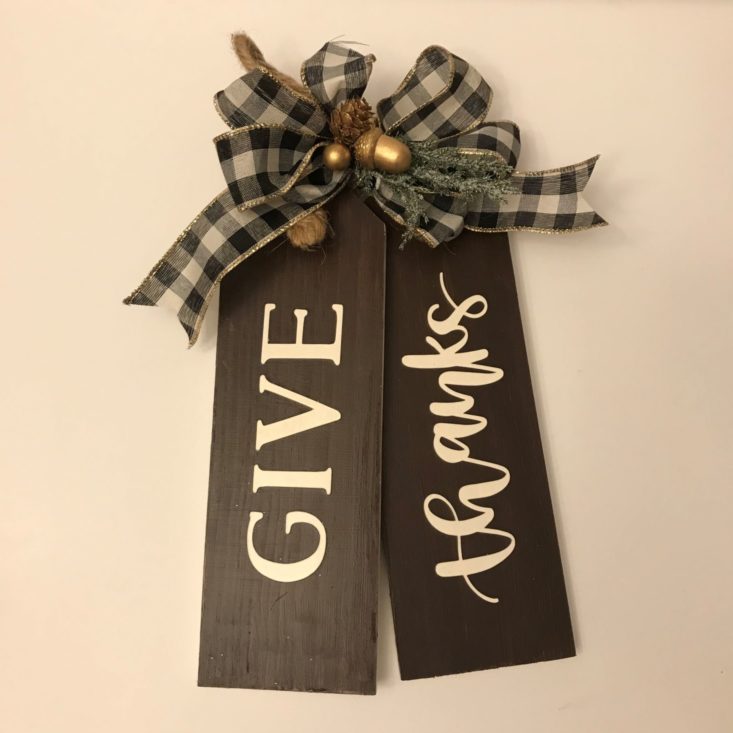
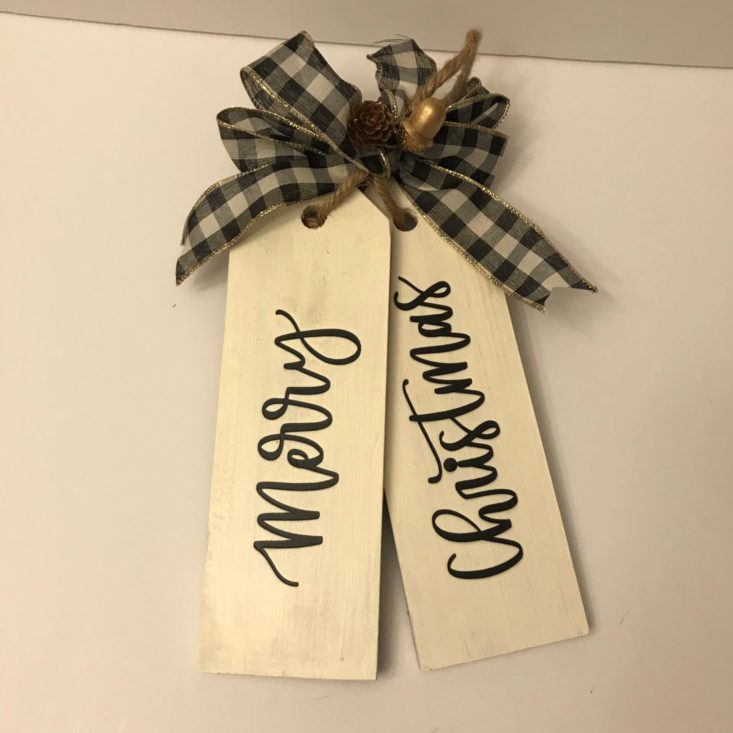
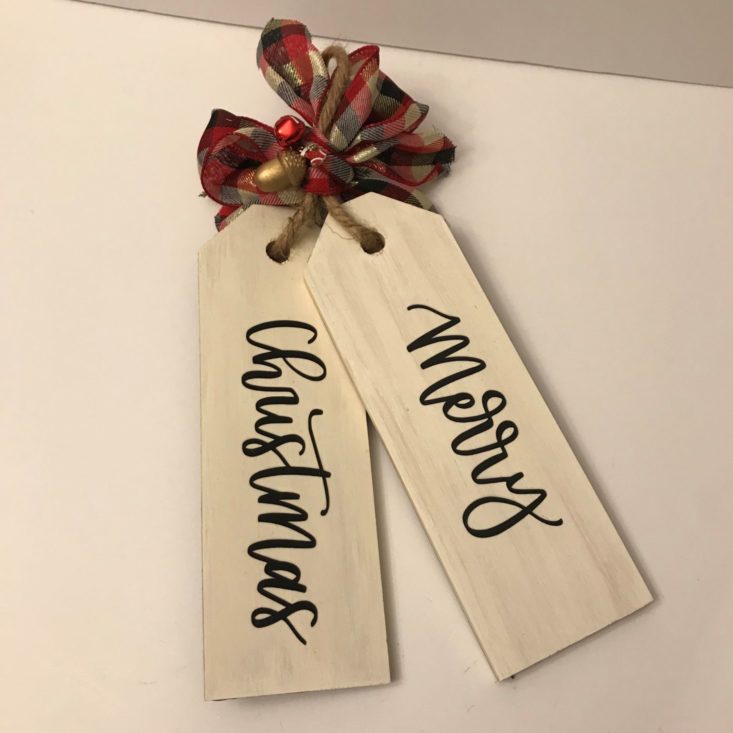
And here are the finished products. As you can see, they are reversible and super cute. Just note my mistake of misplacing the sayings on the backside... for pictures of the entire package completed, see below!
Project #2: Greeting Cards
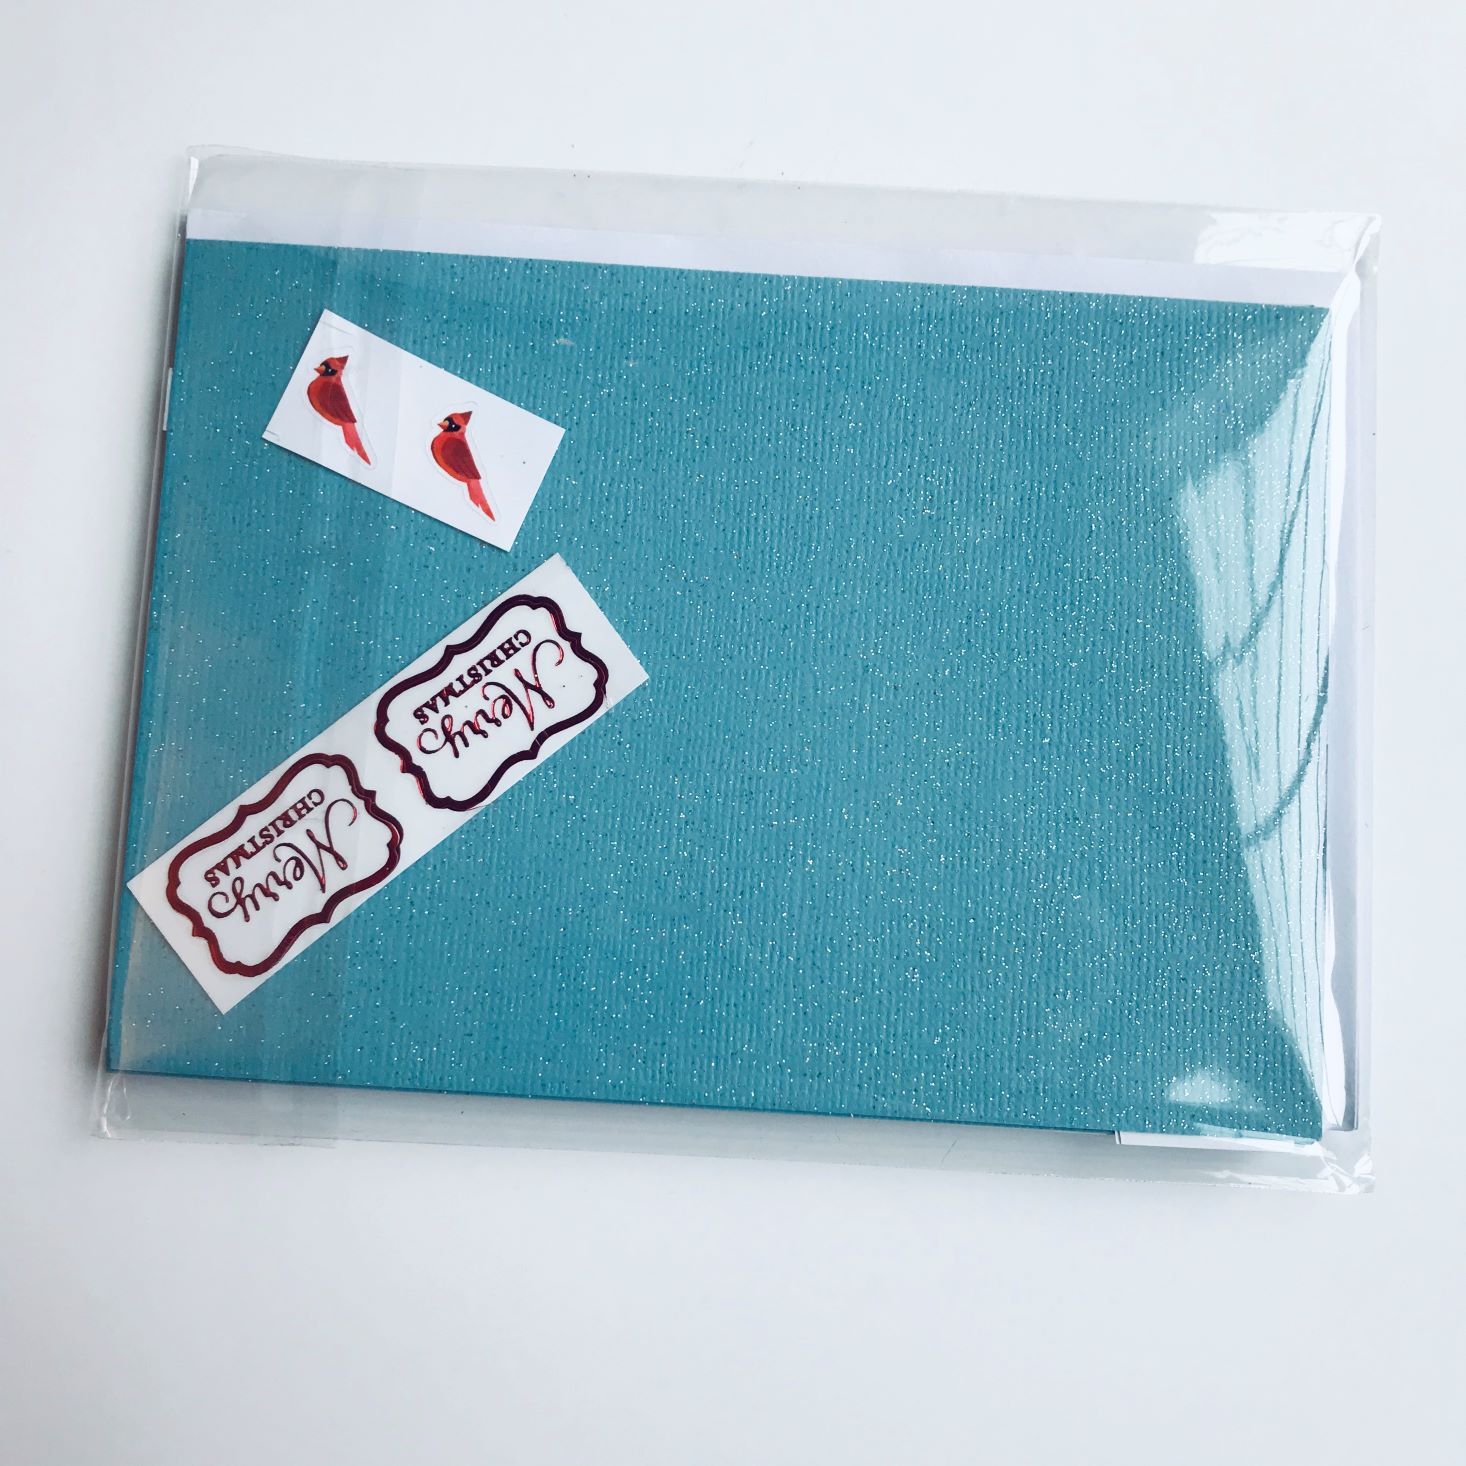
I love how they package their greeting cards. Everything is in one bag, and it is pretty much impossible to mess up! We did this craft while the paint was drying for our main project, and Charlie did so well!
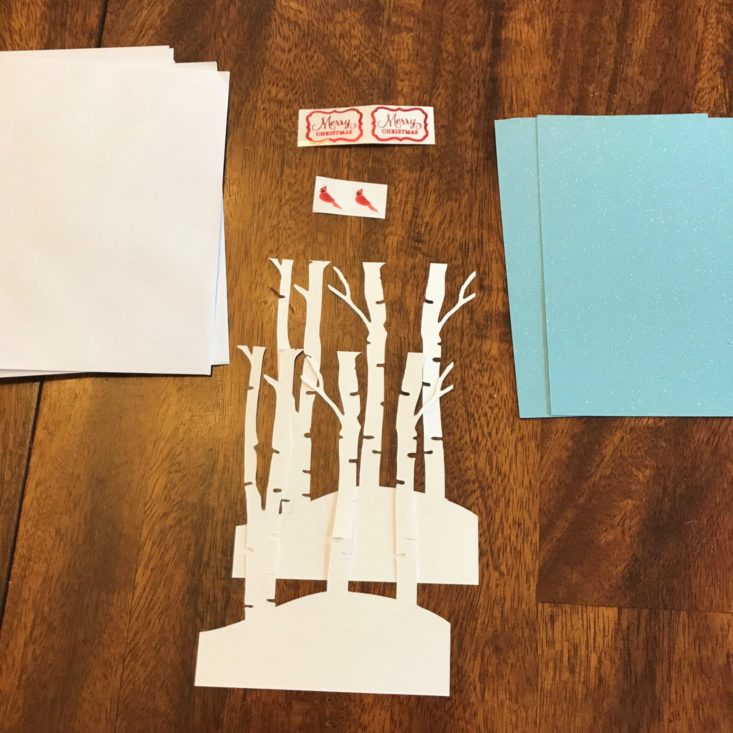
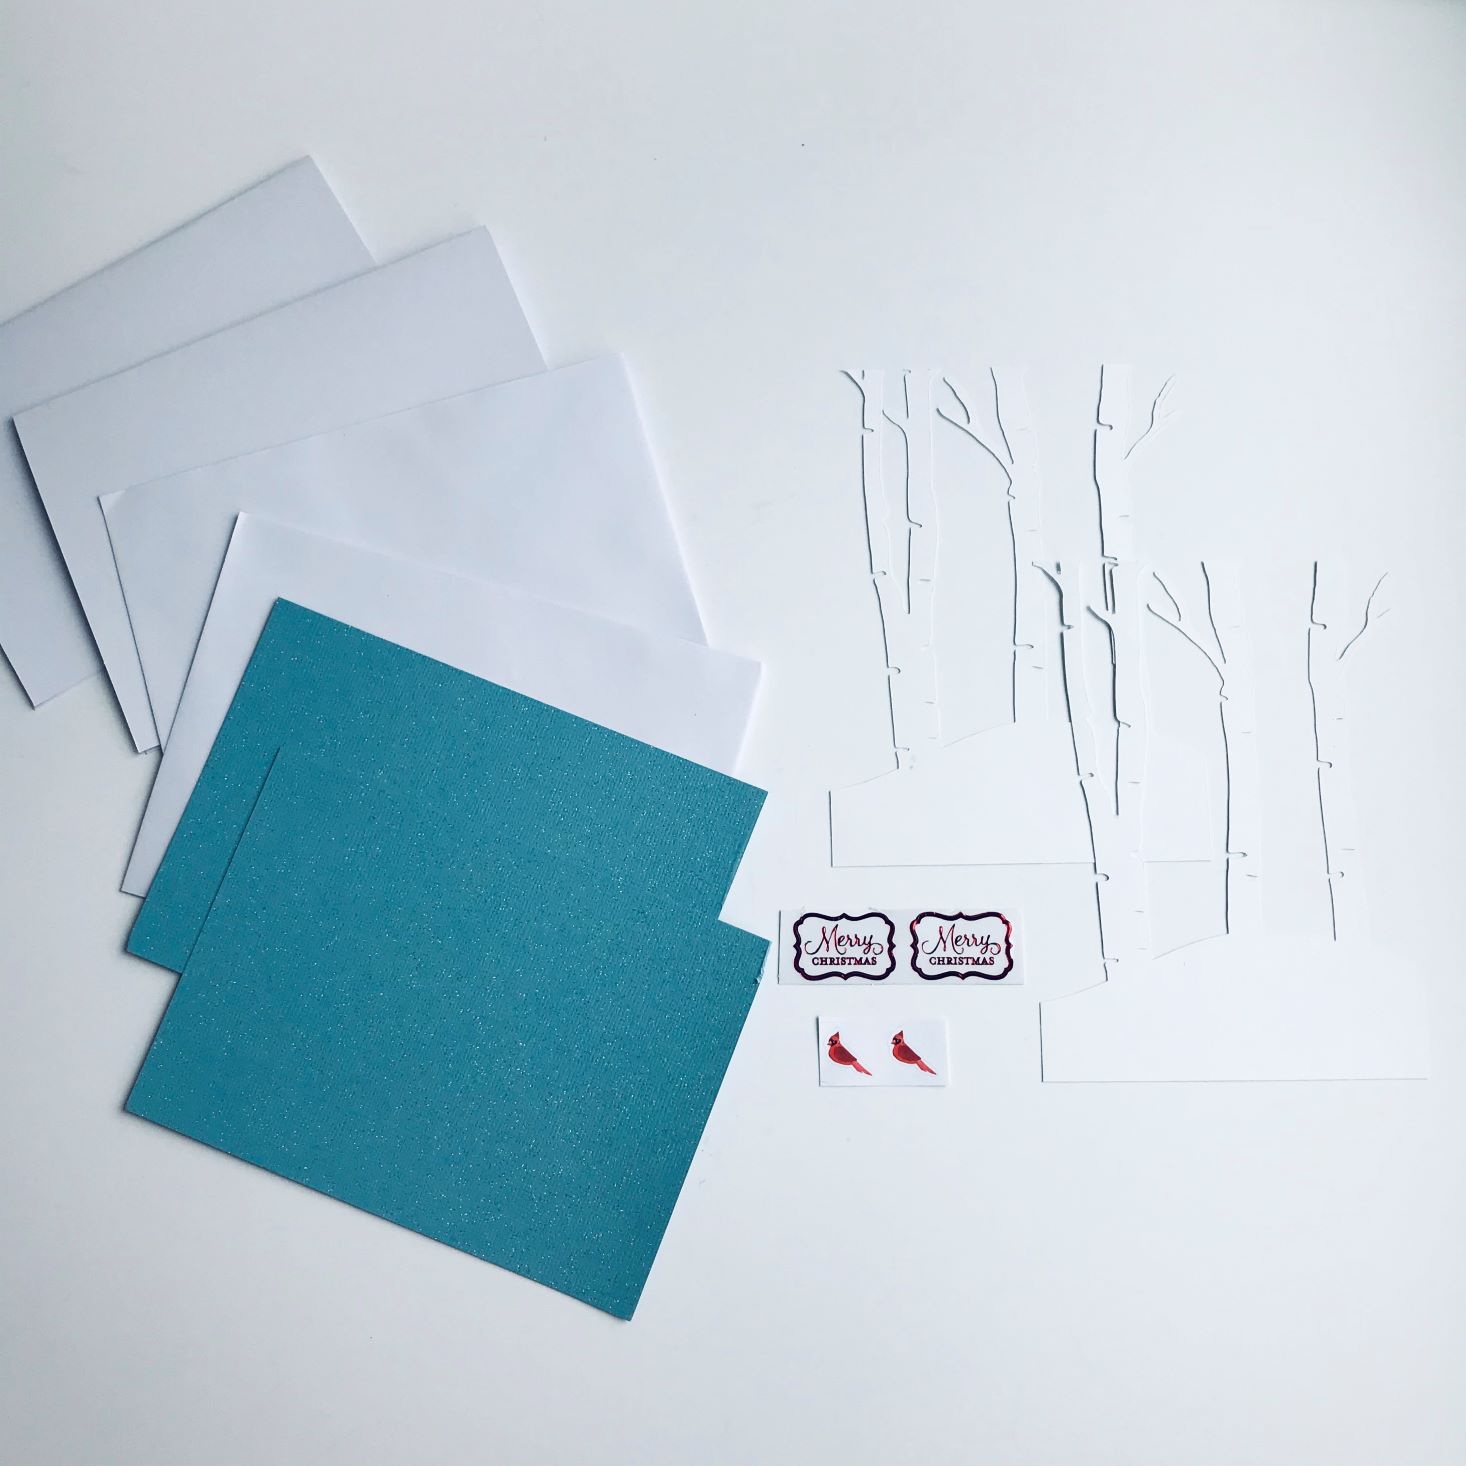
First, we laid out all of our supplies. We also needed the included glue stick to create these cards.
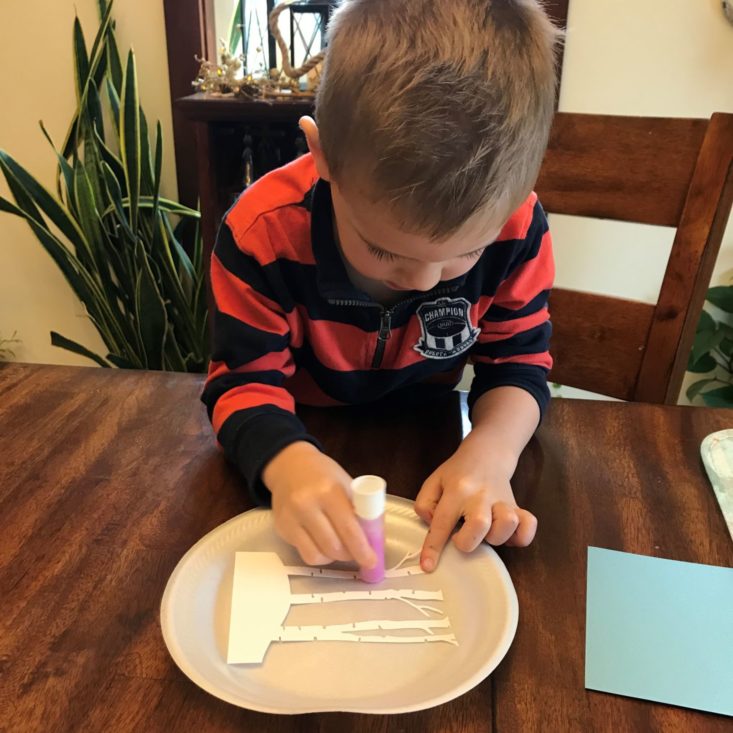
Charlie LOVES gluing, so he had the time of his life with this project. The trees are very delicate, so he had to be very gentle. With the amount of glue he used, those trees are NEVER coming off!
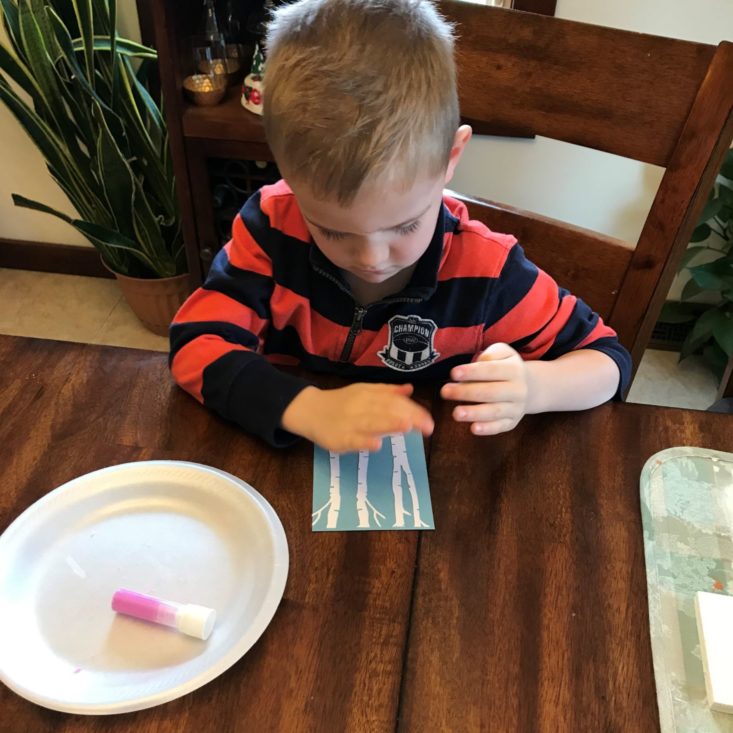
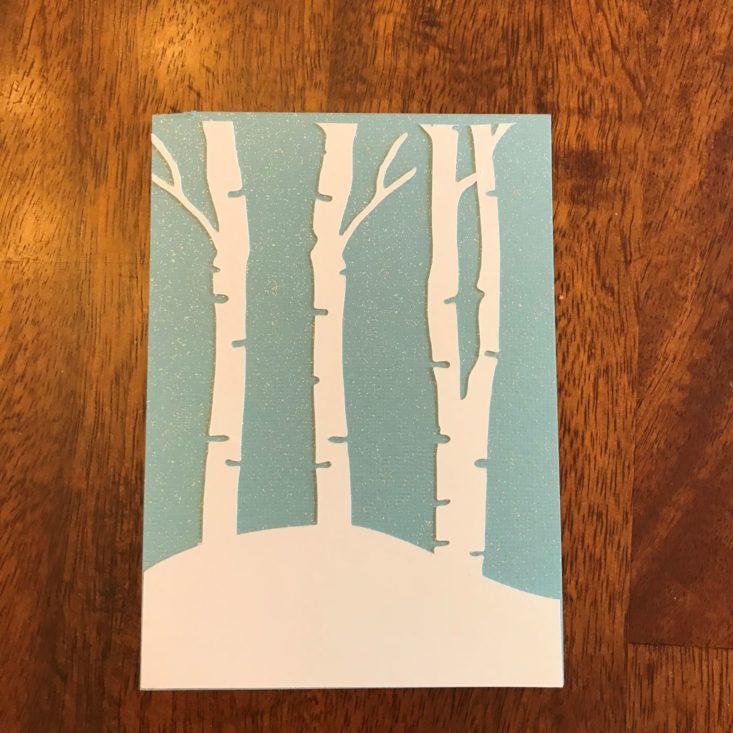
Here are the trees glued onto the glittery blue background. I did notice the background was slightly larger than the cutout, so we did a little trimming to achieve the look we wanted.
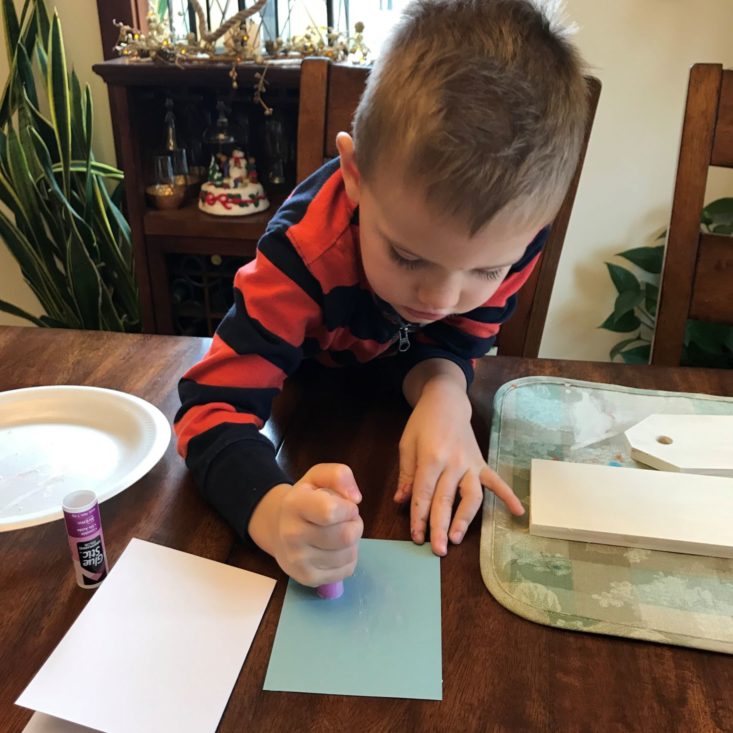
Next, we put more glue on the background and stuck it to the card. I'm really thankful they send a new glue stick with every box because Charlie must have used over half of it on this card!
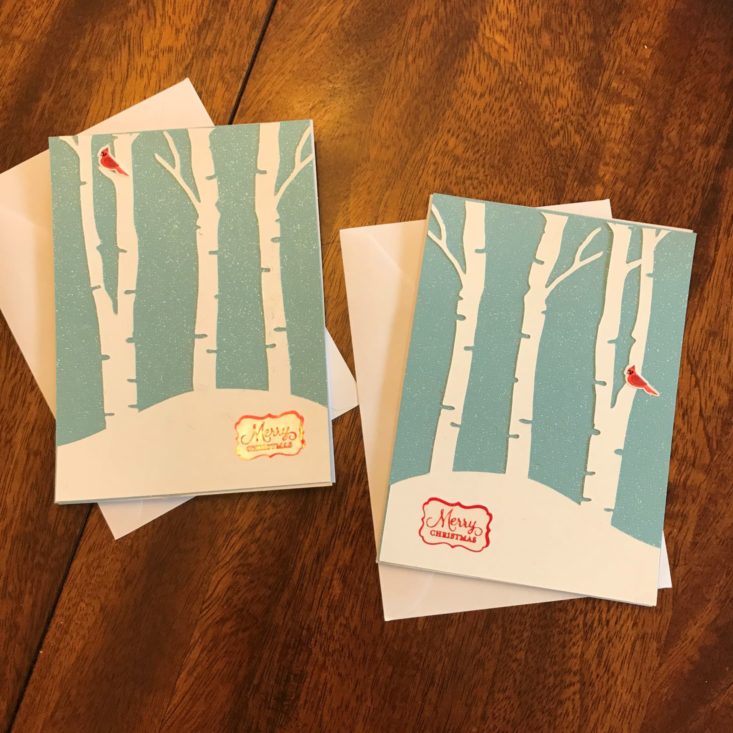
For the finishing touch, we added the cardinal and "Merry Christmas" stickers. For how simple these cards actually were to make, I really think they are beautiful!
Project #3: Bags and Tags
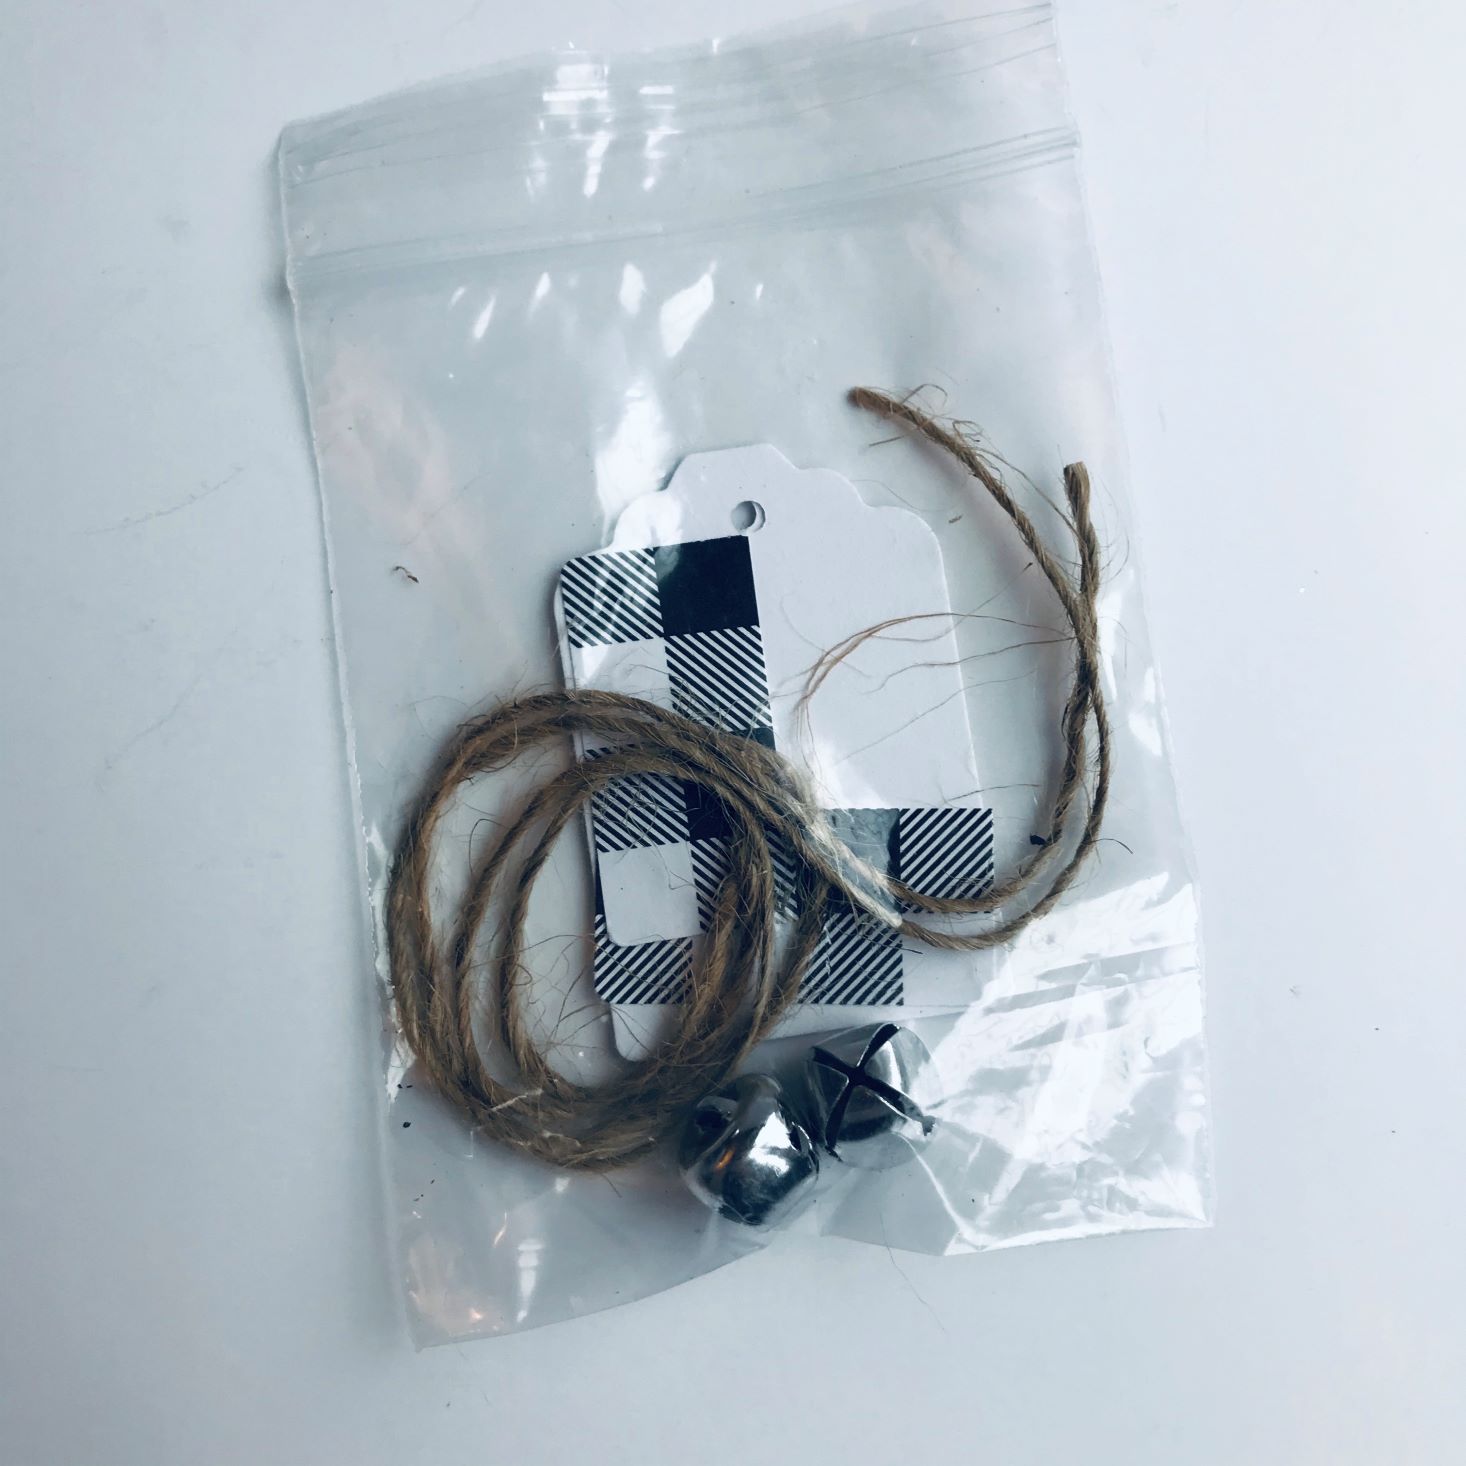
For the tag project, they also included everything needed to create them in one small package.
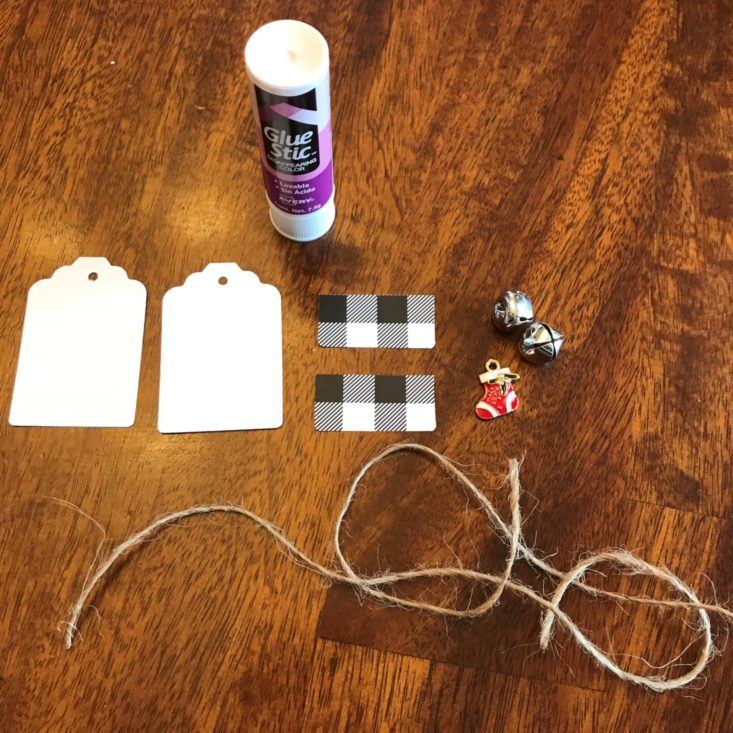
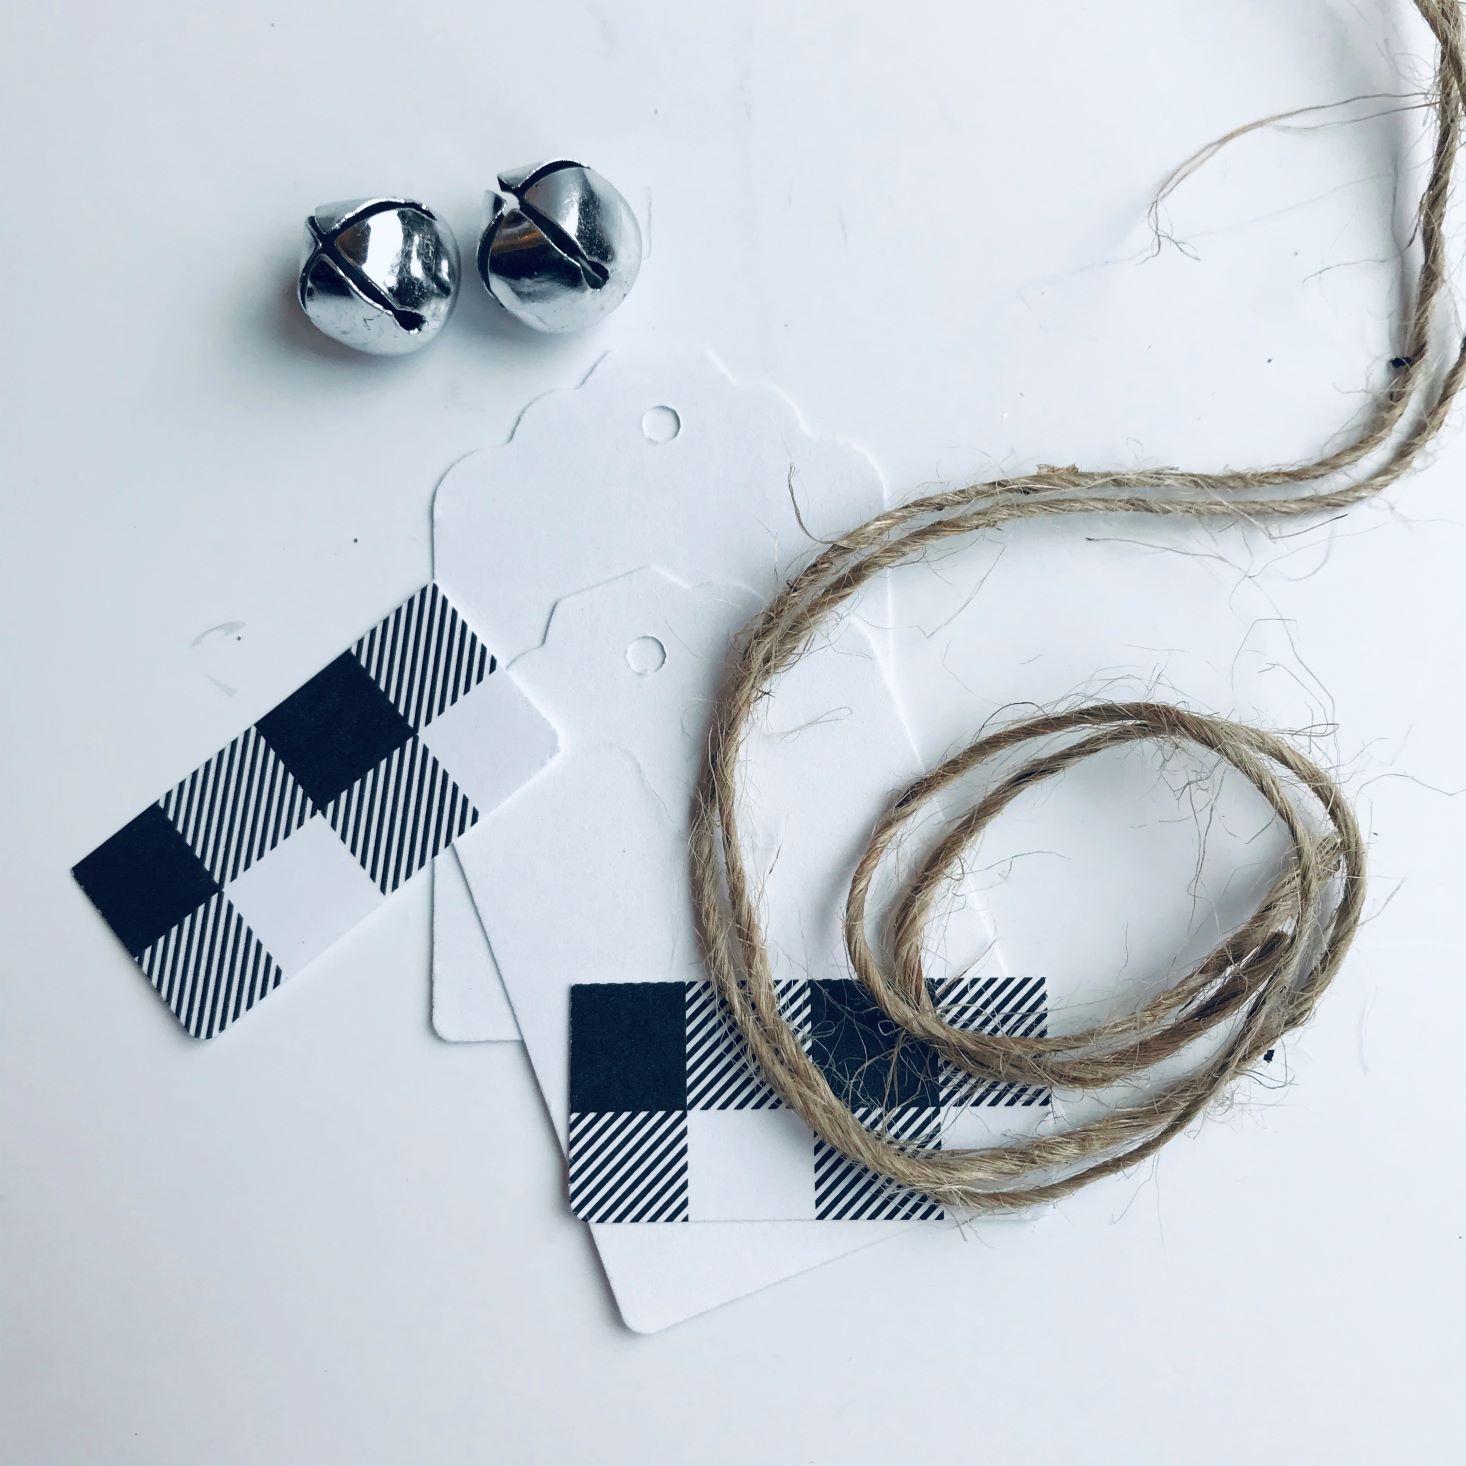
Like always, we laid out all of our supplies first to stay organized. (I thought I was going to put the charm on the tag, but I liked it better on my bow.)
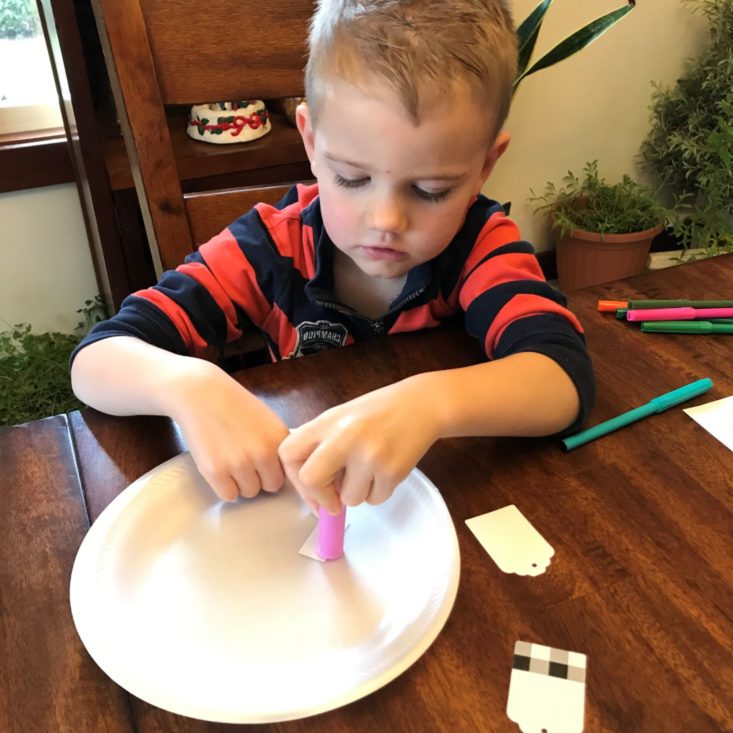
More gluing!
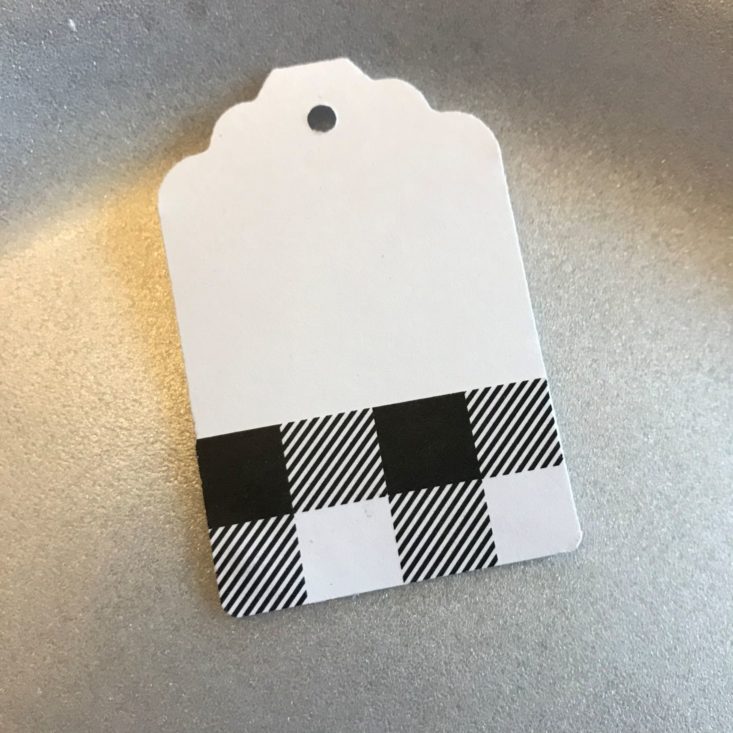
All we had to do was place the white and red checkered paper onto the tag- easy peasy!
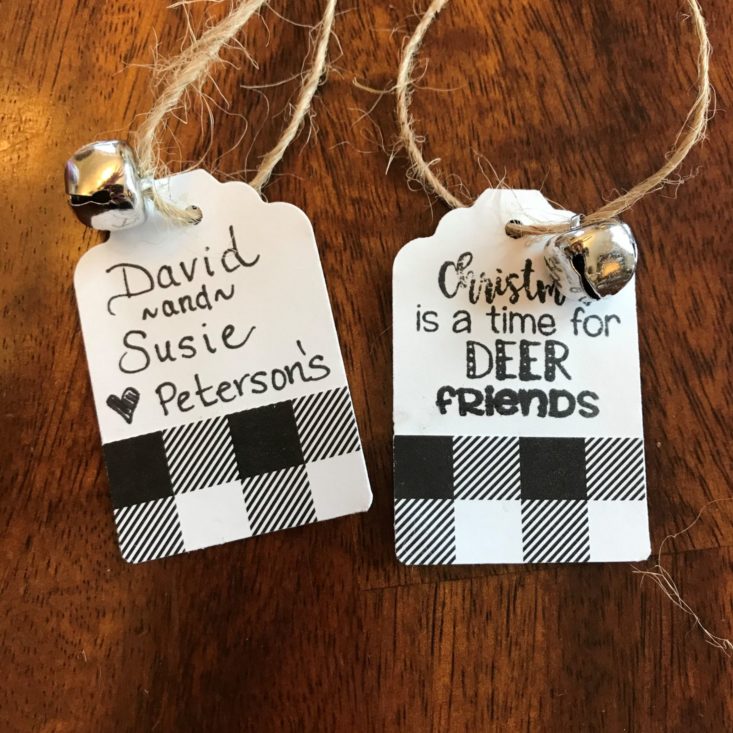
To finish the tags in a rustic and beautiful way, we added the included twine and a bell to each tag. I just bought a Christmas stamp set at a specialty store and thought it would be perfect for the tag! I love how it looks!
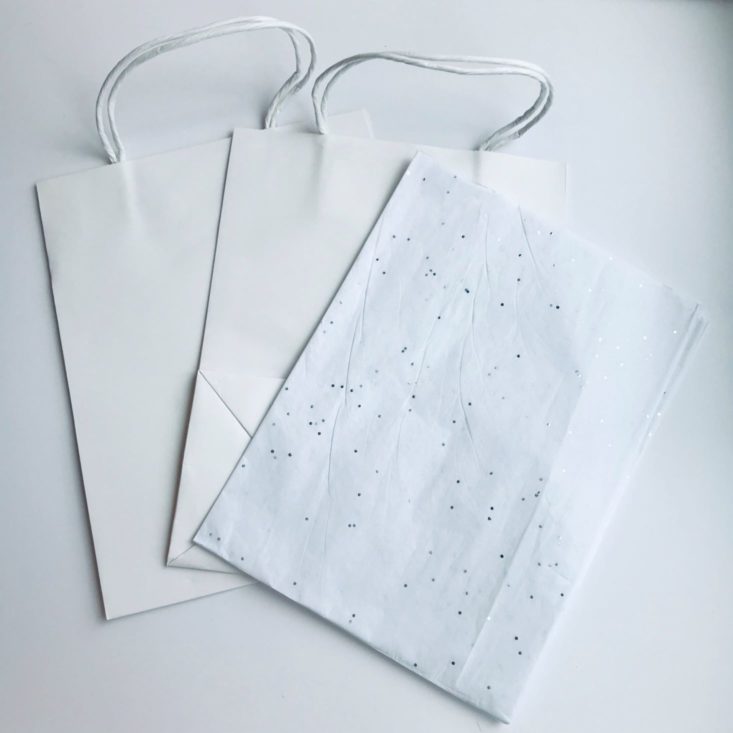
Here are the included white bags. Simple, clean, and lovely! The only qualm I have is that they are a little short, so the projects do stick out the top quite a bit.
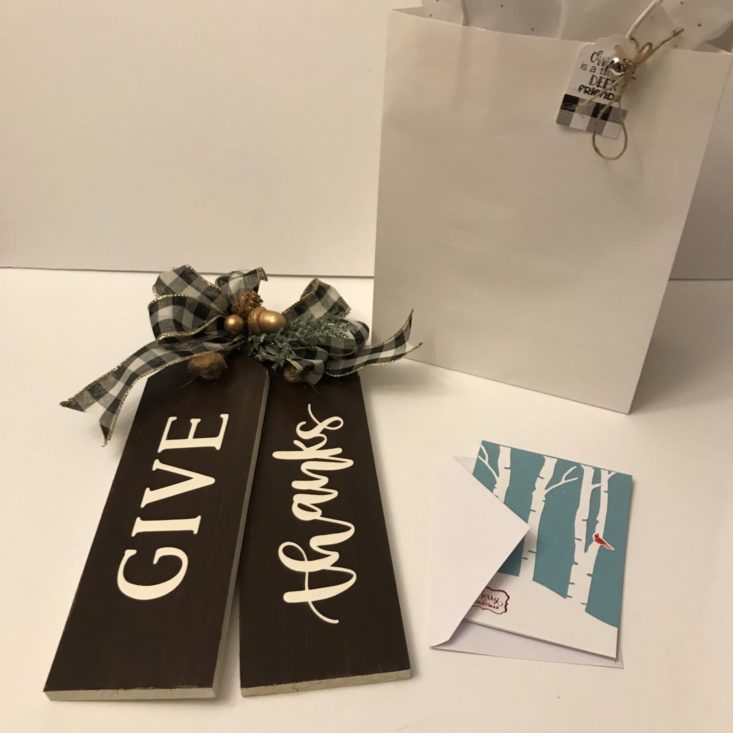
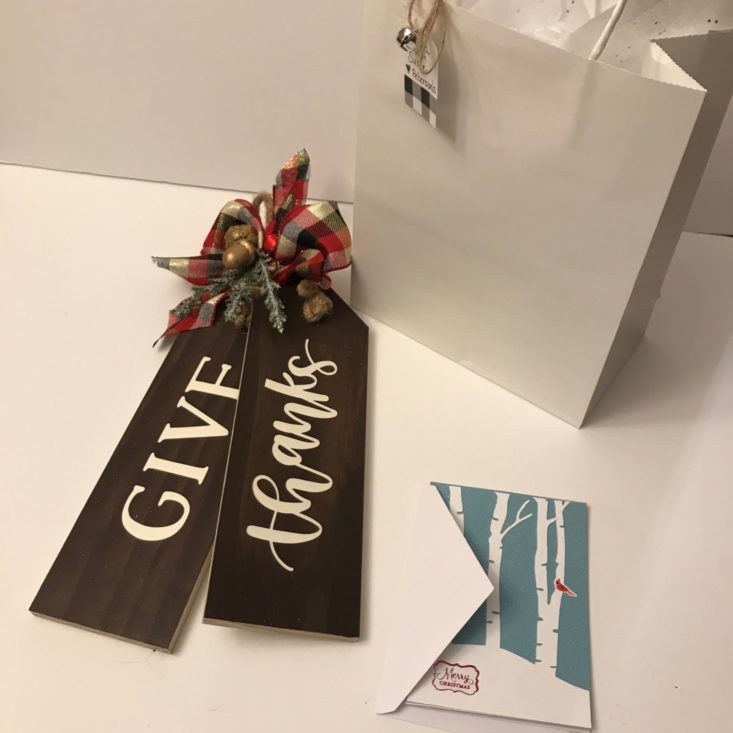
Voila- our projects are complete! I absolutely LOVE how this month's project turned out. It is my favorite to date! While Charlie has decided to keep his for himself, we are gifting the other to my aunt and uncle who have invited us to their house for Thanksgiving this year. I hope they like it!
Verdict: Confetti Grace is awesome! As I said above, I am a lover of all holidays, but Christmas is my favorite, and Christmas crafts are THE BEST! To create something this beautiful, and spend time with my son is absolutely priceless! I love that all of the necessary items are included, and how very organized they are for ease of completion. We can't wait to see what they send in January!
Confetti Grace costs $28.95 a month, so each gift package averages out to about $14.48. I feel this is a good value because they include everything but the scissors and table protectant to create 2 beautiful homemade gifts. This month's project was beautiful, and I would spend more than that to buy it at a craft fair. Plus I am able to share this experience with my son, and help him stir up his own creativity- and let him glue his heart out!
To Wrap Up:
Can you still get this box if you sign up today? Possibly. Orders that are placed after 11/8 will receive this subscription box as their first shipment.
Check out all of our Confetti Grace reviews and our top craft box subscriptions as voted on by our readers!
Keep Track of Your Subscriptions: Add this box to your subscription list or wishlist!
What do you think of this month’s Confetti Grace? Who did you share your project with?



Please do not enter your email address in the Name field or in the comment content. Your email address will not be published. Required fields are marked *. Remember to post with kindness and respect. Comments with offensive language, cruelness to others, etc will not be approved. See our full comment policy here.