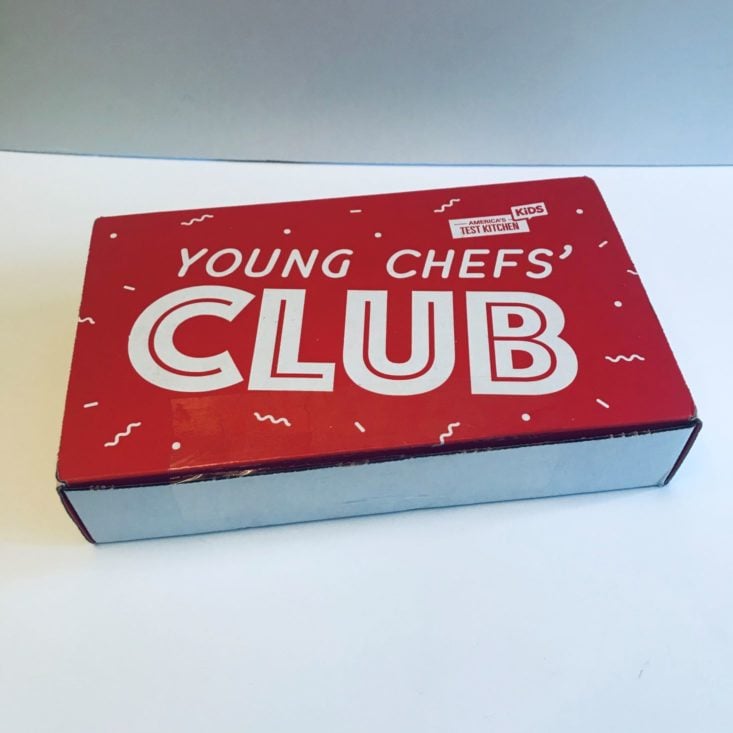
Young Chef’s Club (ages 5 and up) is a monthly subscription box from America’s Test Kitchen that focuses on the intersection of food and STEAM (science, technology, engineering, art, and mathematics). The team of editors, cooks, and educators at ATK combine their scientific know-how and rigorous testing to create meaningful and empowered experiences in the kitchen.

Box themes are different every month and will remain a surprise for kids, while grown-ups will receive shopping lists ahead of time via email. Themes will vary from specific ingredients, cooking techniques, and scientific subjects, to cuisines and types of food. According to Young Chefs' Club, themes will never repeat.
My Subscription Addiction paid for this box. (Check out the review process post to learn more about how we review boxes.)
About Young Chefs' Club
The Subscription Box: Young Chefs' Club
The Cost: $24.99 + free shipping. Save with longer commitments
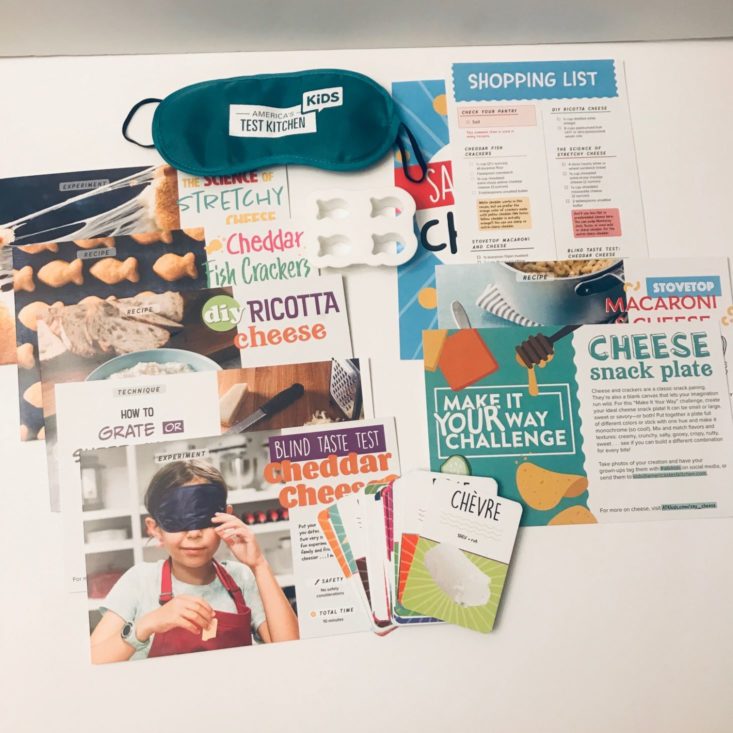
The Products: Recipe cards, hands-on experiment cards, kitchen technique cards, “Make It Your Way” recipe challenge, achievement button, cooking tool or recipe ingredient(s), plus other fun activities: games, puzzles, taste tests, art projects, and more. Also, as a member, you’ll additionally receive access to the digital library of recipes, activities, videos, and fun quizzes for kids.
Ships to: The U.S. only
Young Chefs' Club "Say Cheese" November 2019 Review
My family LOVES America's Test Kitchen and cooking together, so we can't wait to see what we received this month!
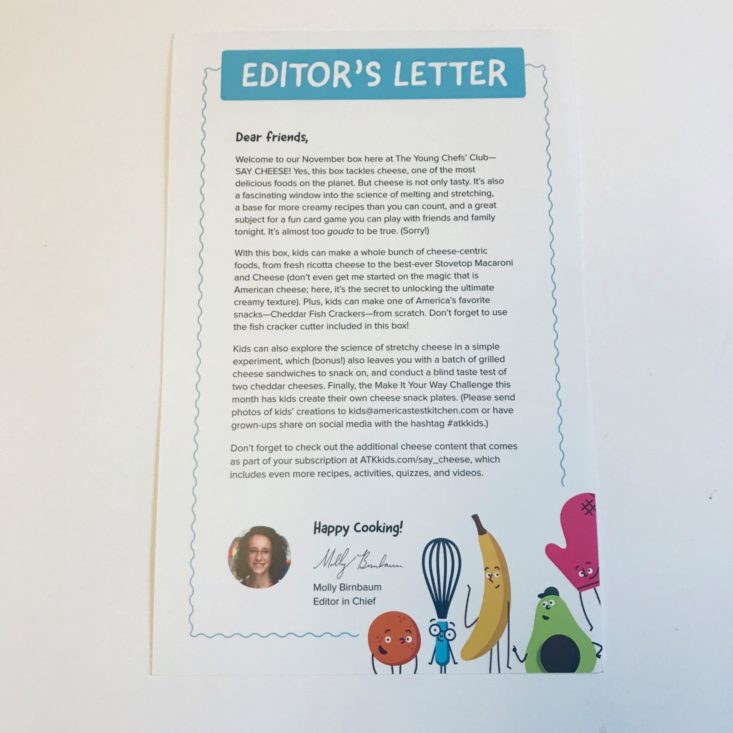
First up is this letter welcoming us to the club, along with theme information, and additional online content for us to check out.
Note: After checking out the website, they have TONS of extra recipes and activities - be sure to take a look!

Here we have our shopping list. No food comes with this subscription, so each month they send a list of the ingredients you need to purchase to create each recipe. I read on their website we are supposed to receive an email about a week before we receive our box so we can have our ingredients on hand, but I did not receive that email. I also was a little bummed because they list the ingredients needed, but didn't mention the need for cheesecloth. In a hurry I opened the box and snapped a quick picture of the ingredient list and headed to town, only to find out I needed cheesecloth for the ricotta cheese recipe. Thankfully my grandma had some!
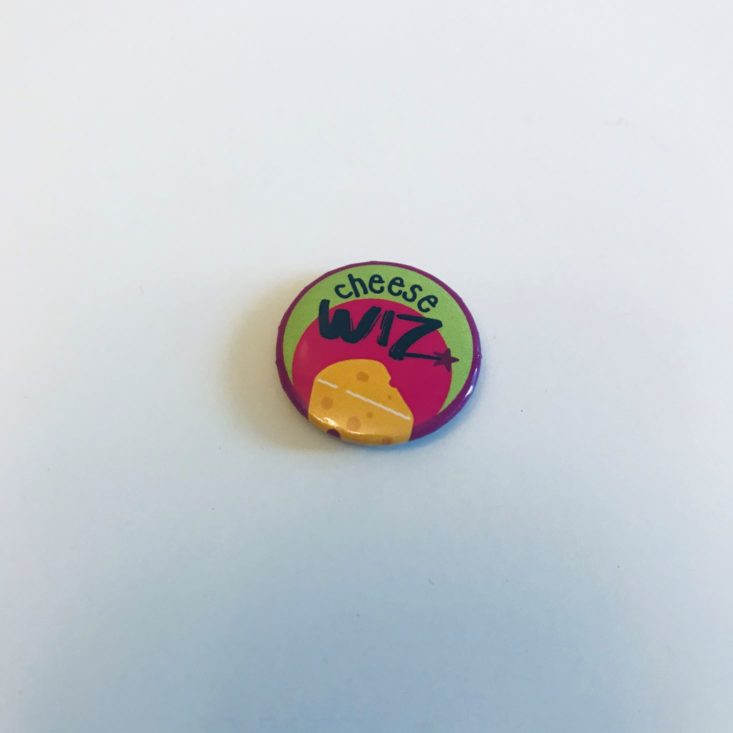
Achievement Button
Here we have the monthly achievement button. This pin is about the size of a nickel and follows the cheese theme of the box. Hank was awarded last month's achievement button, so Charlie received this one.
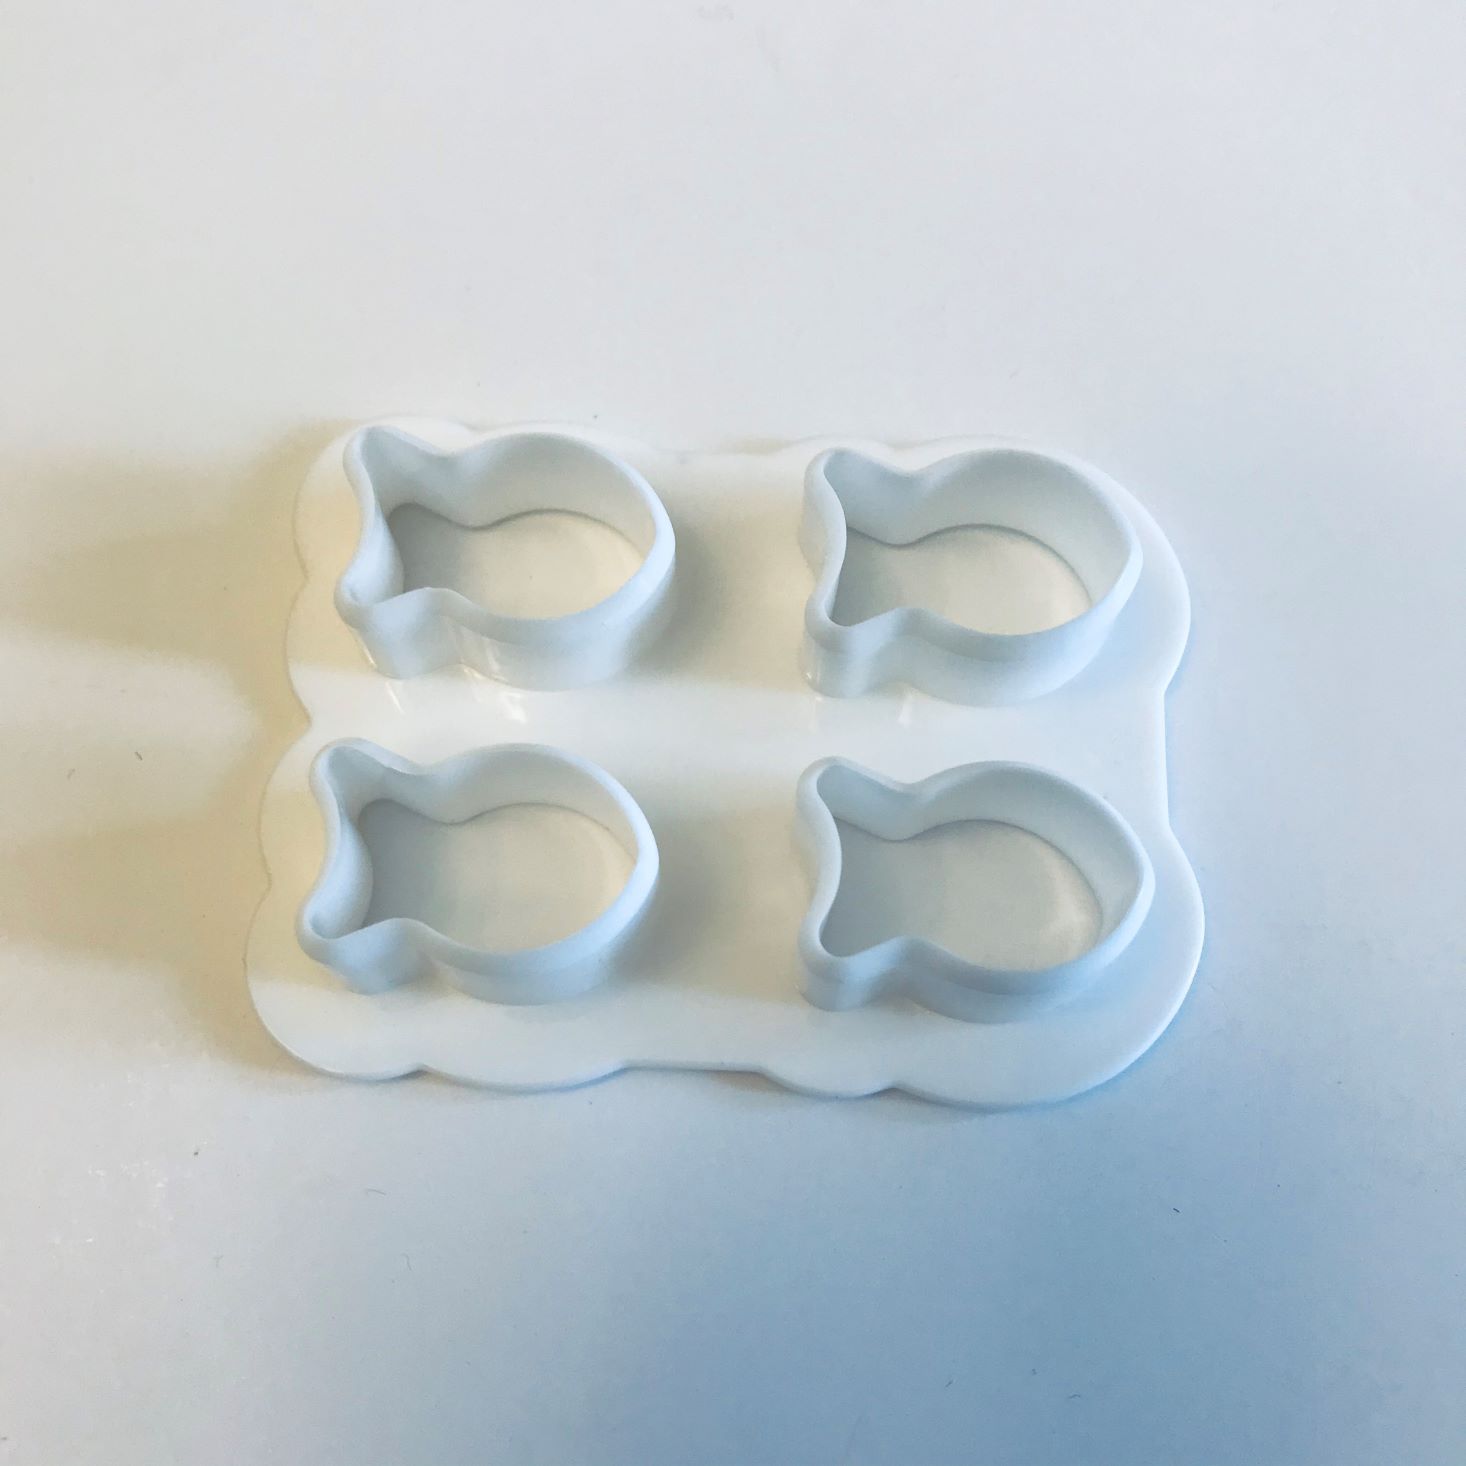
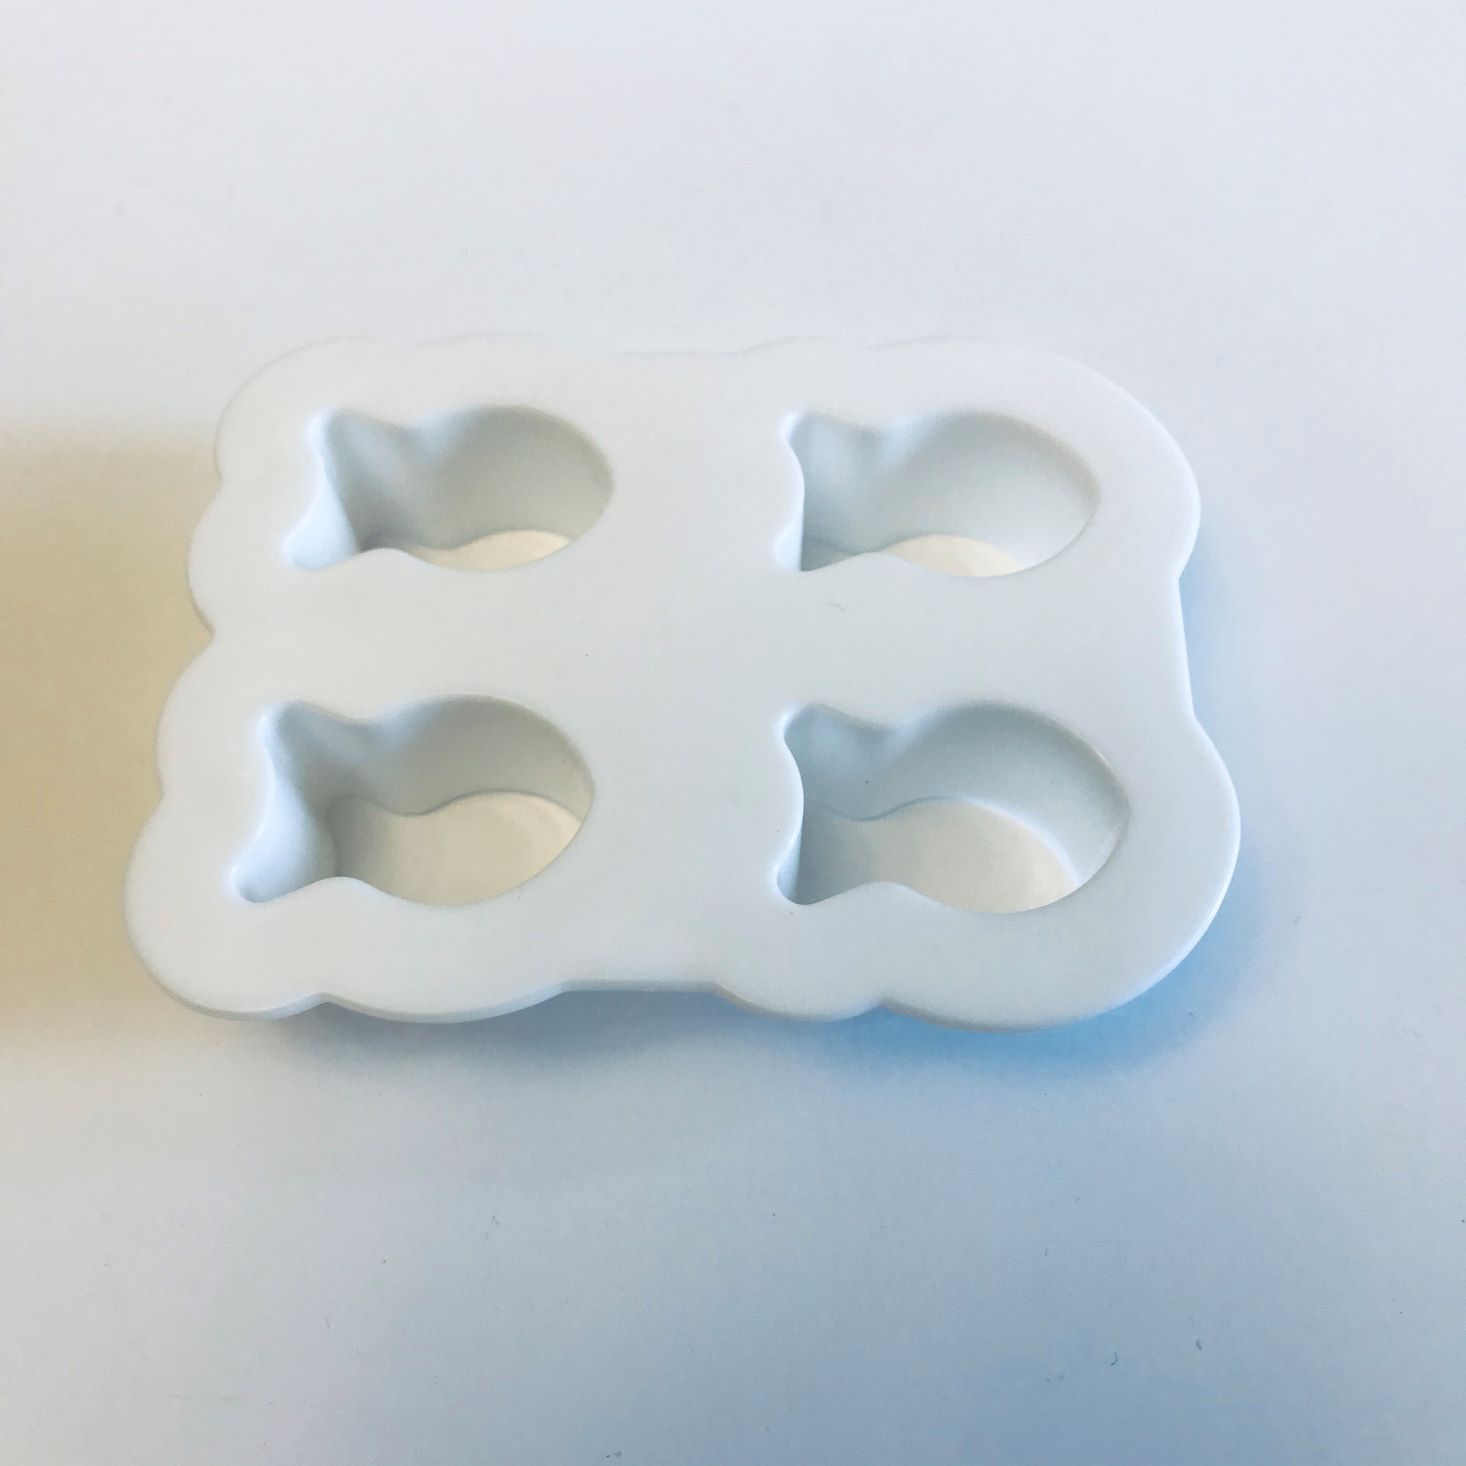
Goldfish Cracker Cutter
One of this month's recipes is to make our very own homemade goldfish crackers. To make them look authentic, we received this cute fish cutter.
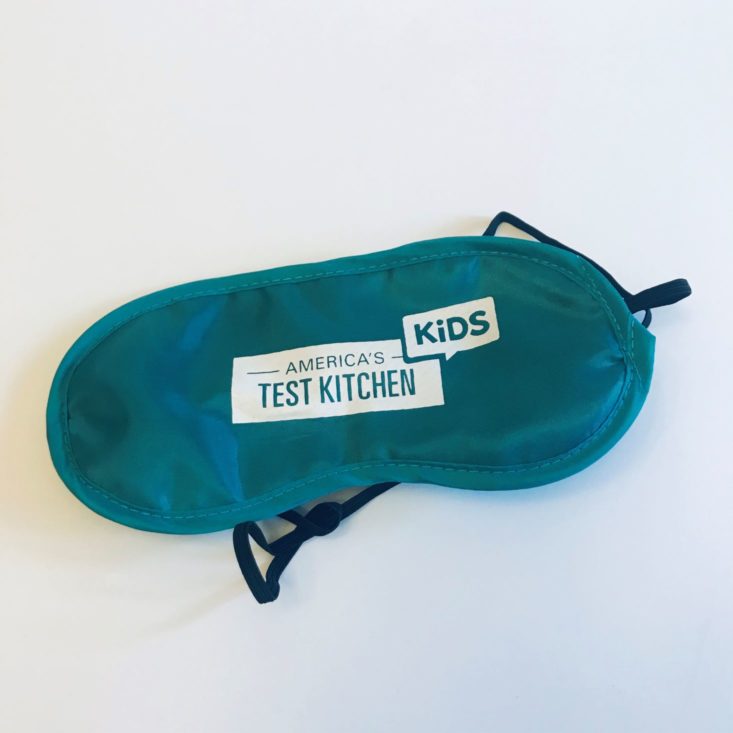
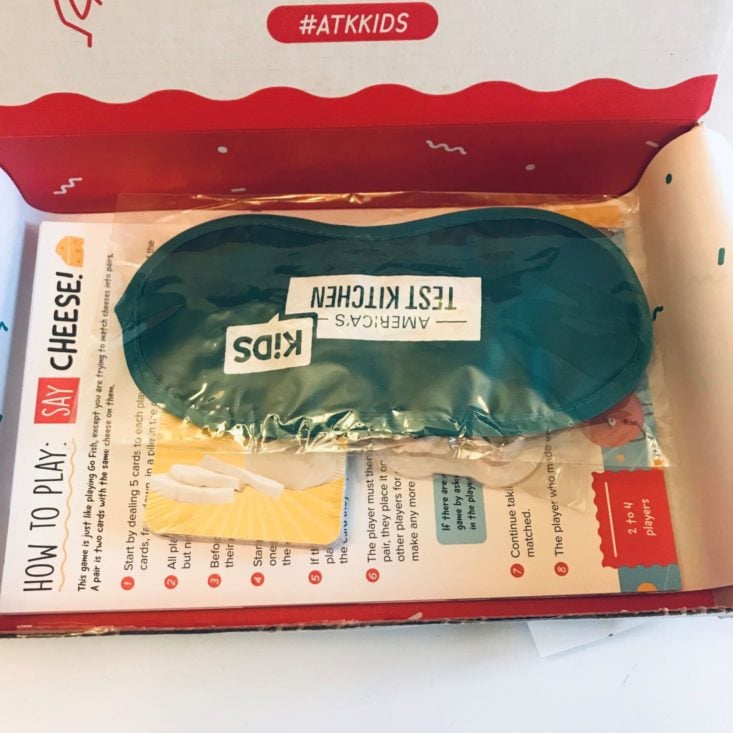
America's Test Kitchen Kids Blindfold
As you will see below, one of our experiments involves a blind taste test. To be sure there was no cheating we were sent this authentic blindfold!
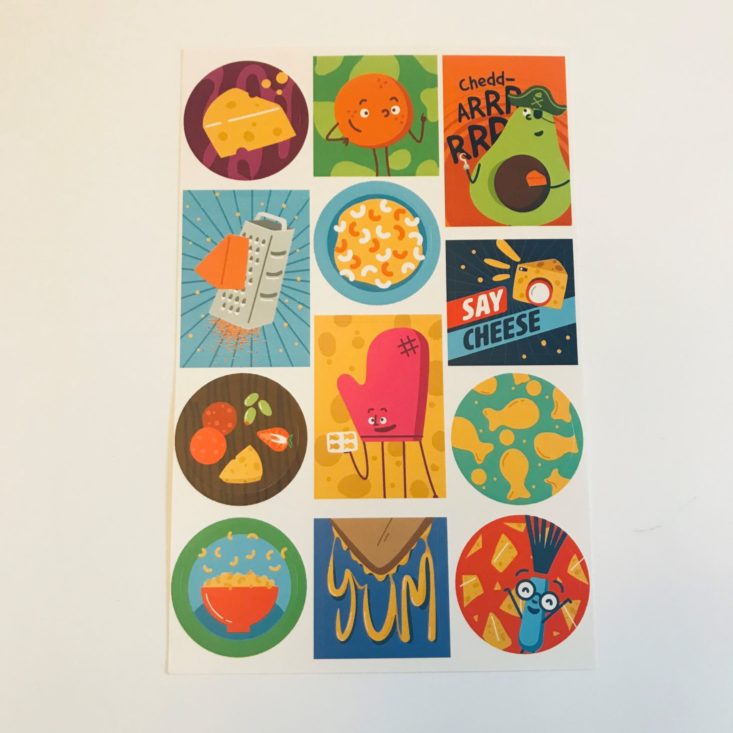
Cheese Stickers
Aren't these stickers cute? I love the fact that all of these stickers adhere to the "cheese" theme! My kids love using stickers to create pictures, and were very happy this sheet had 12, so each boy received 6!
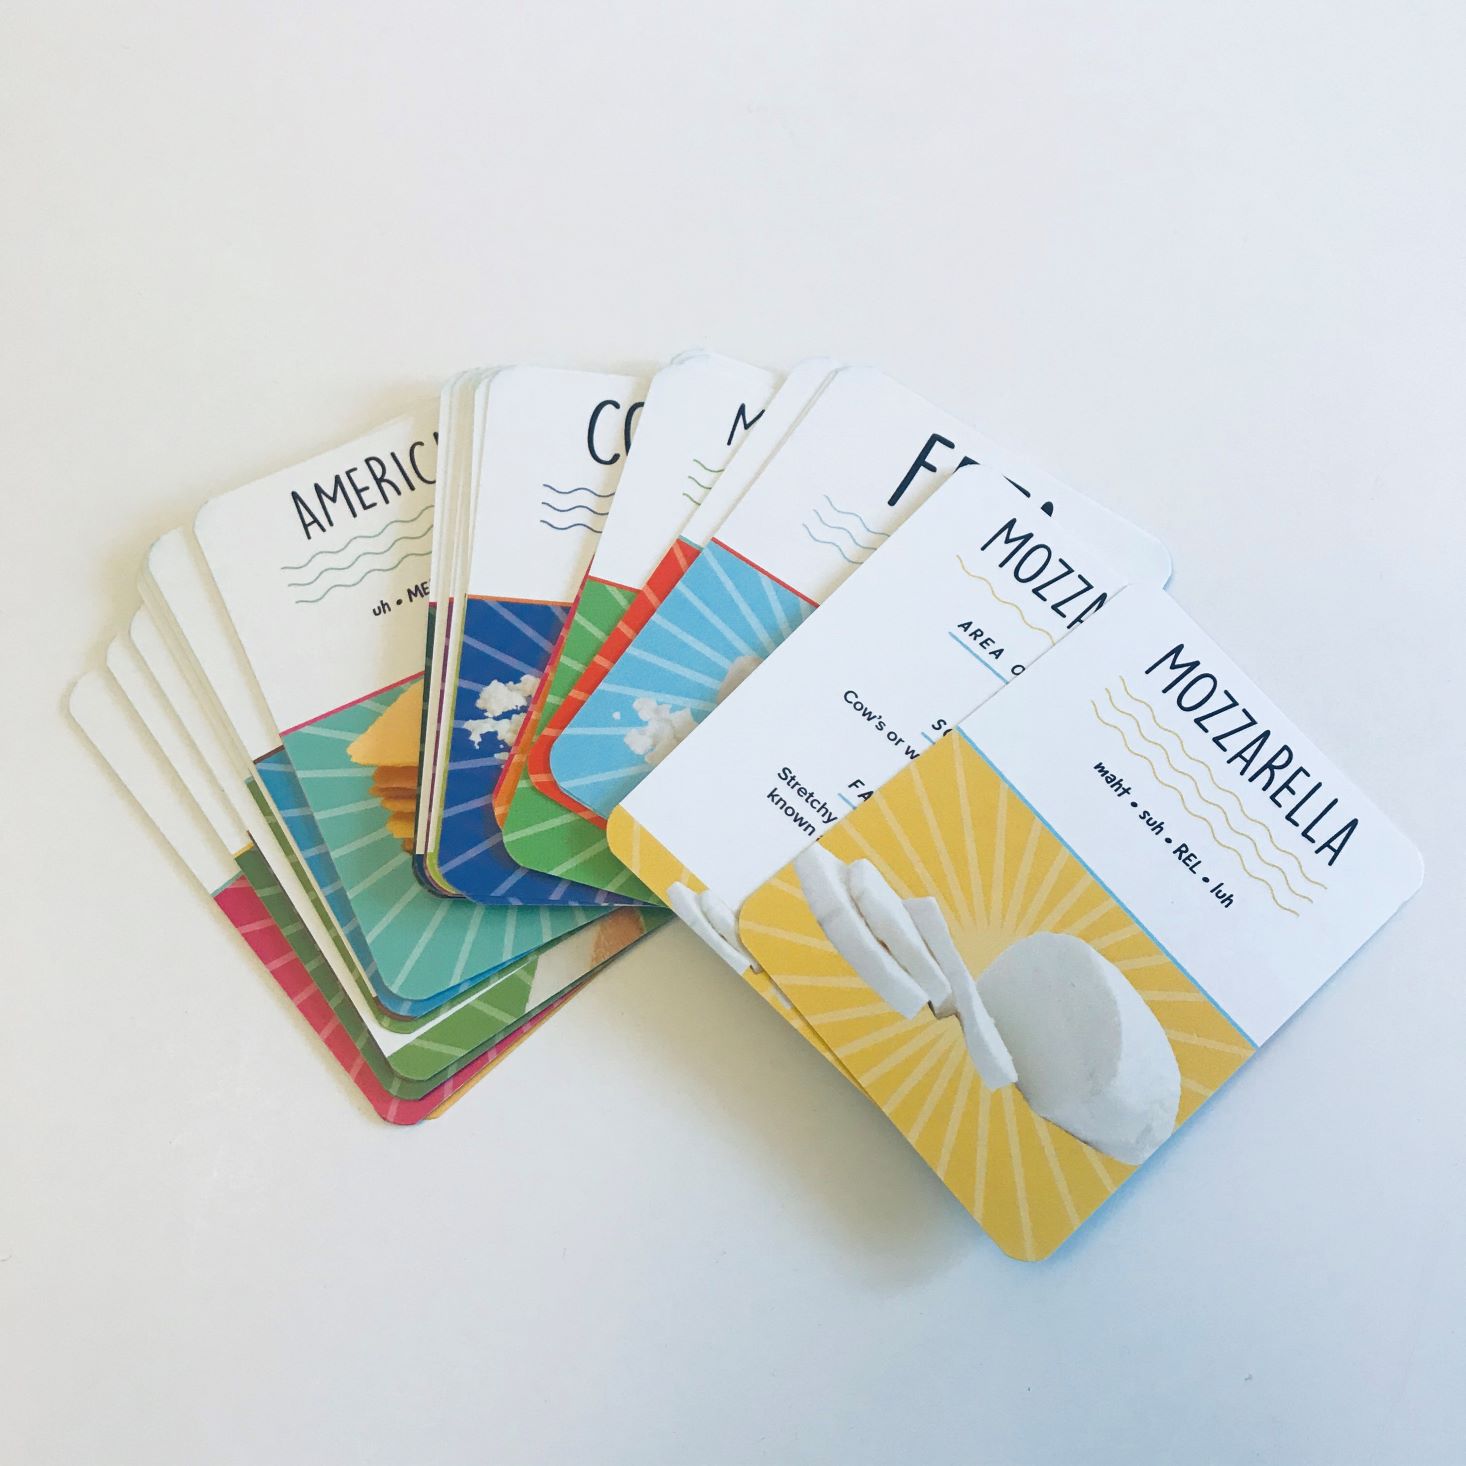
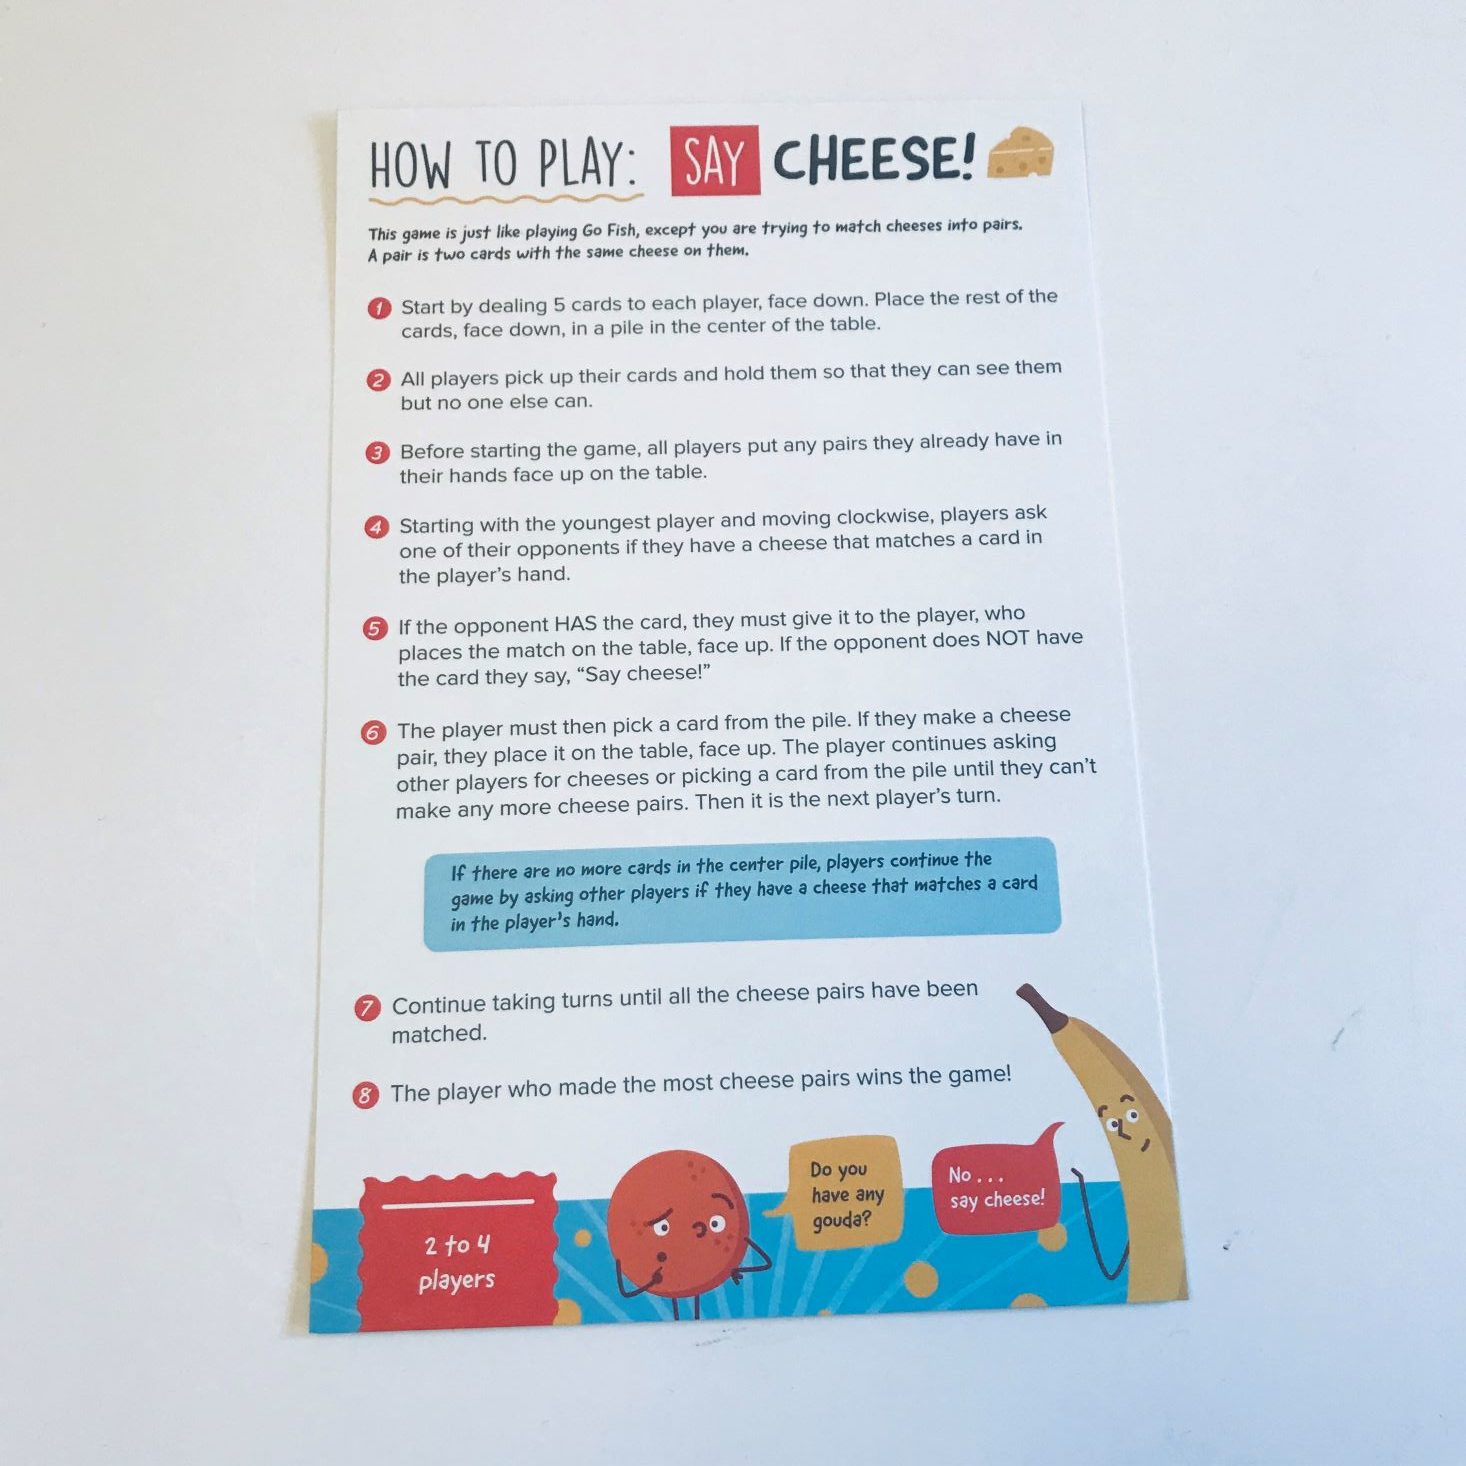
"Say Cheese" Game
How fun is this cheese game?! It is played exactly like "Go Fish" except you are trying to match cheeses into pairs. We had a lot of fun learning how to pronounce different names of cheeses and fun facts; did you know Taleggio is great at melting and smells like feet?!
Make It Your Way Cheese Challenge
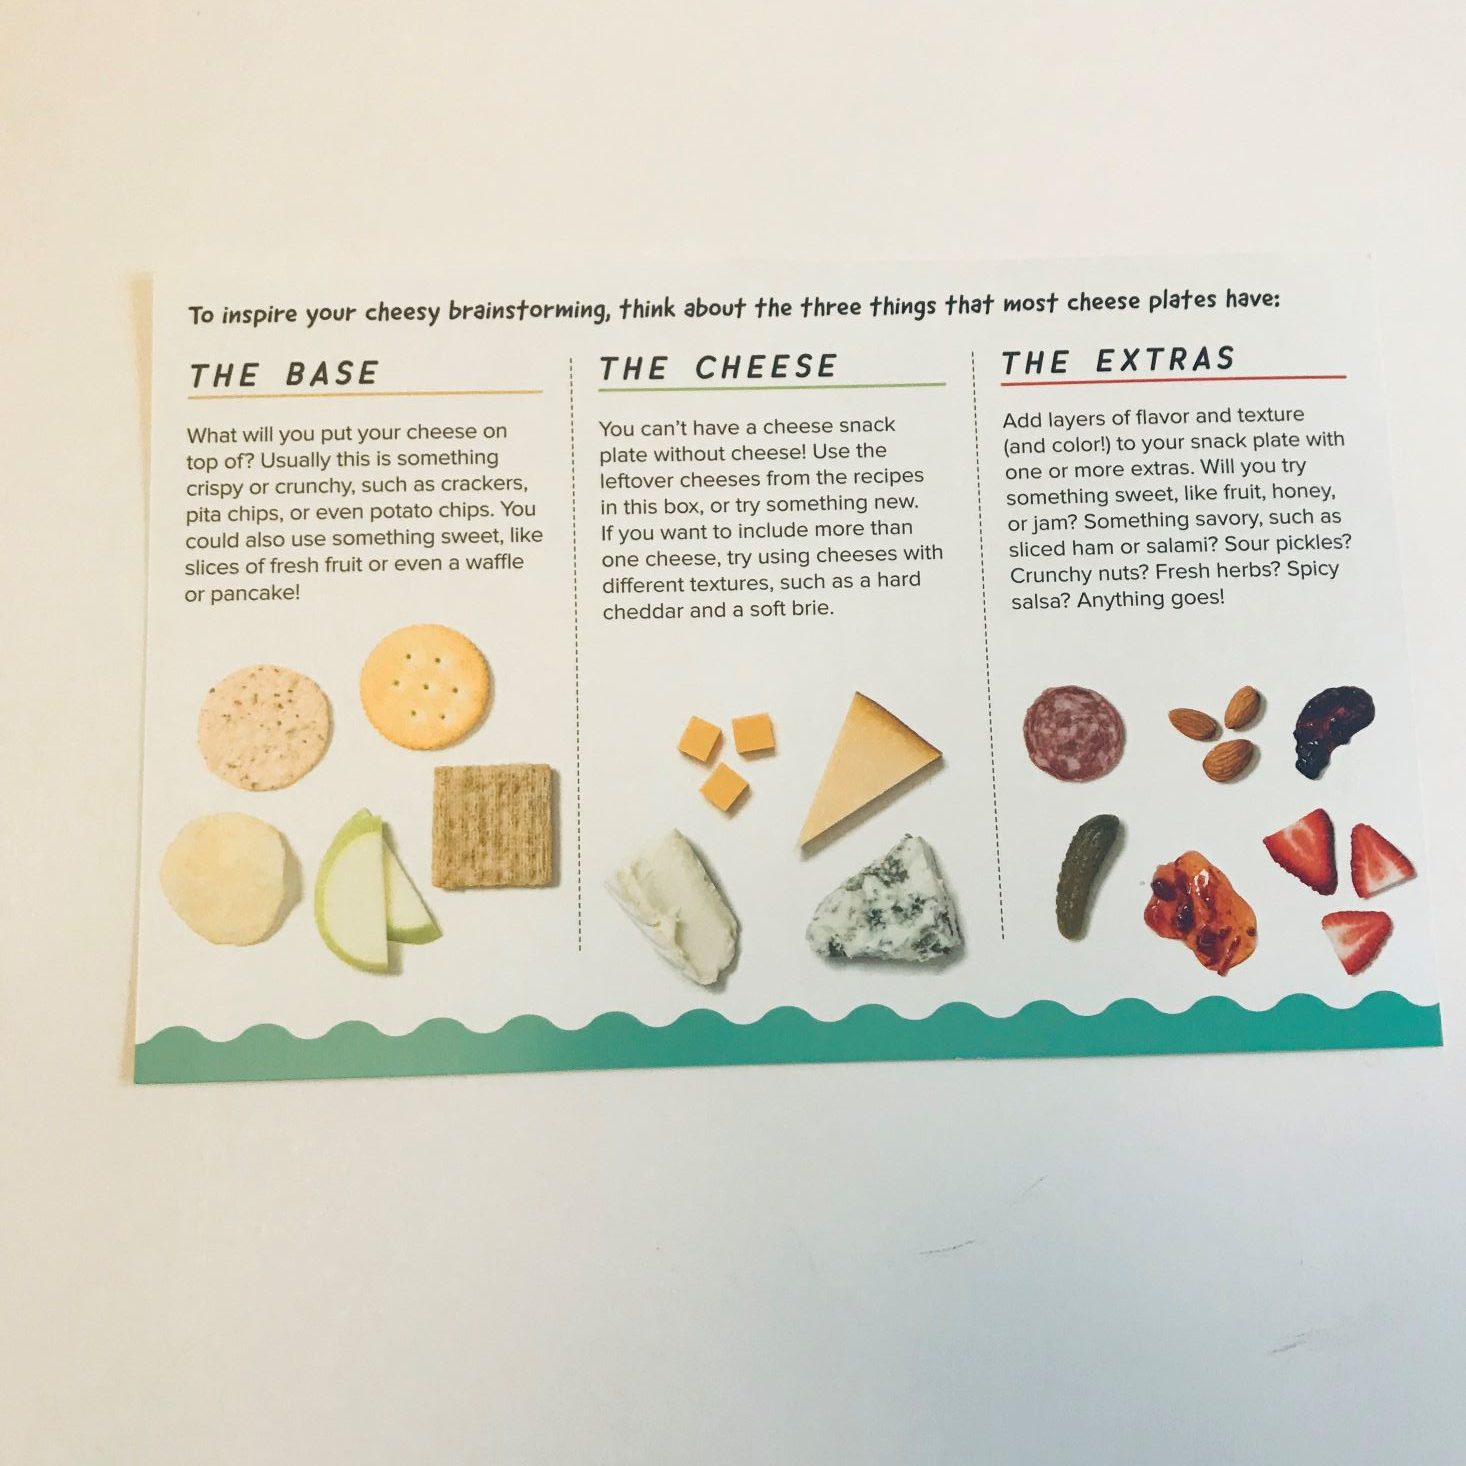
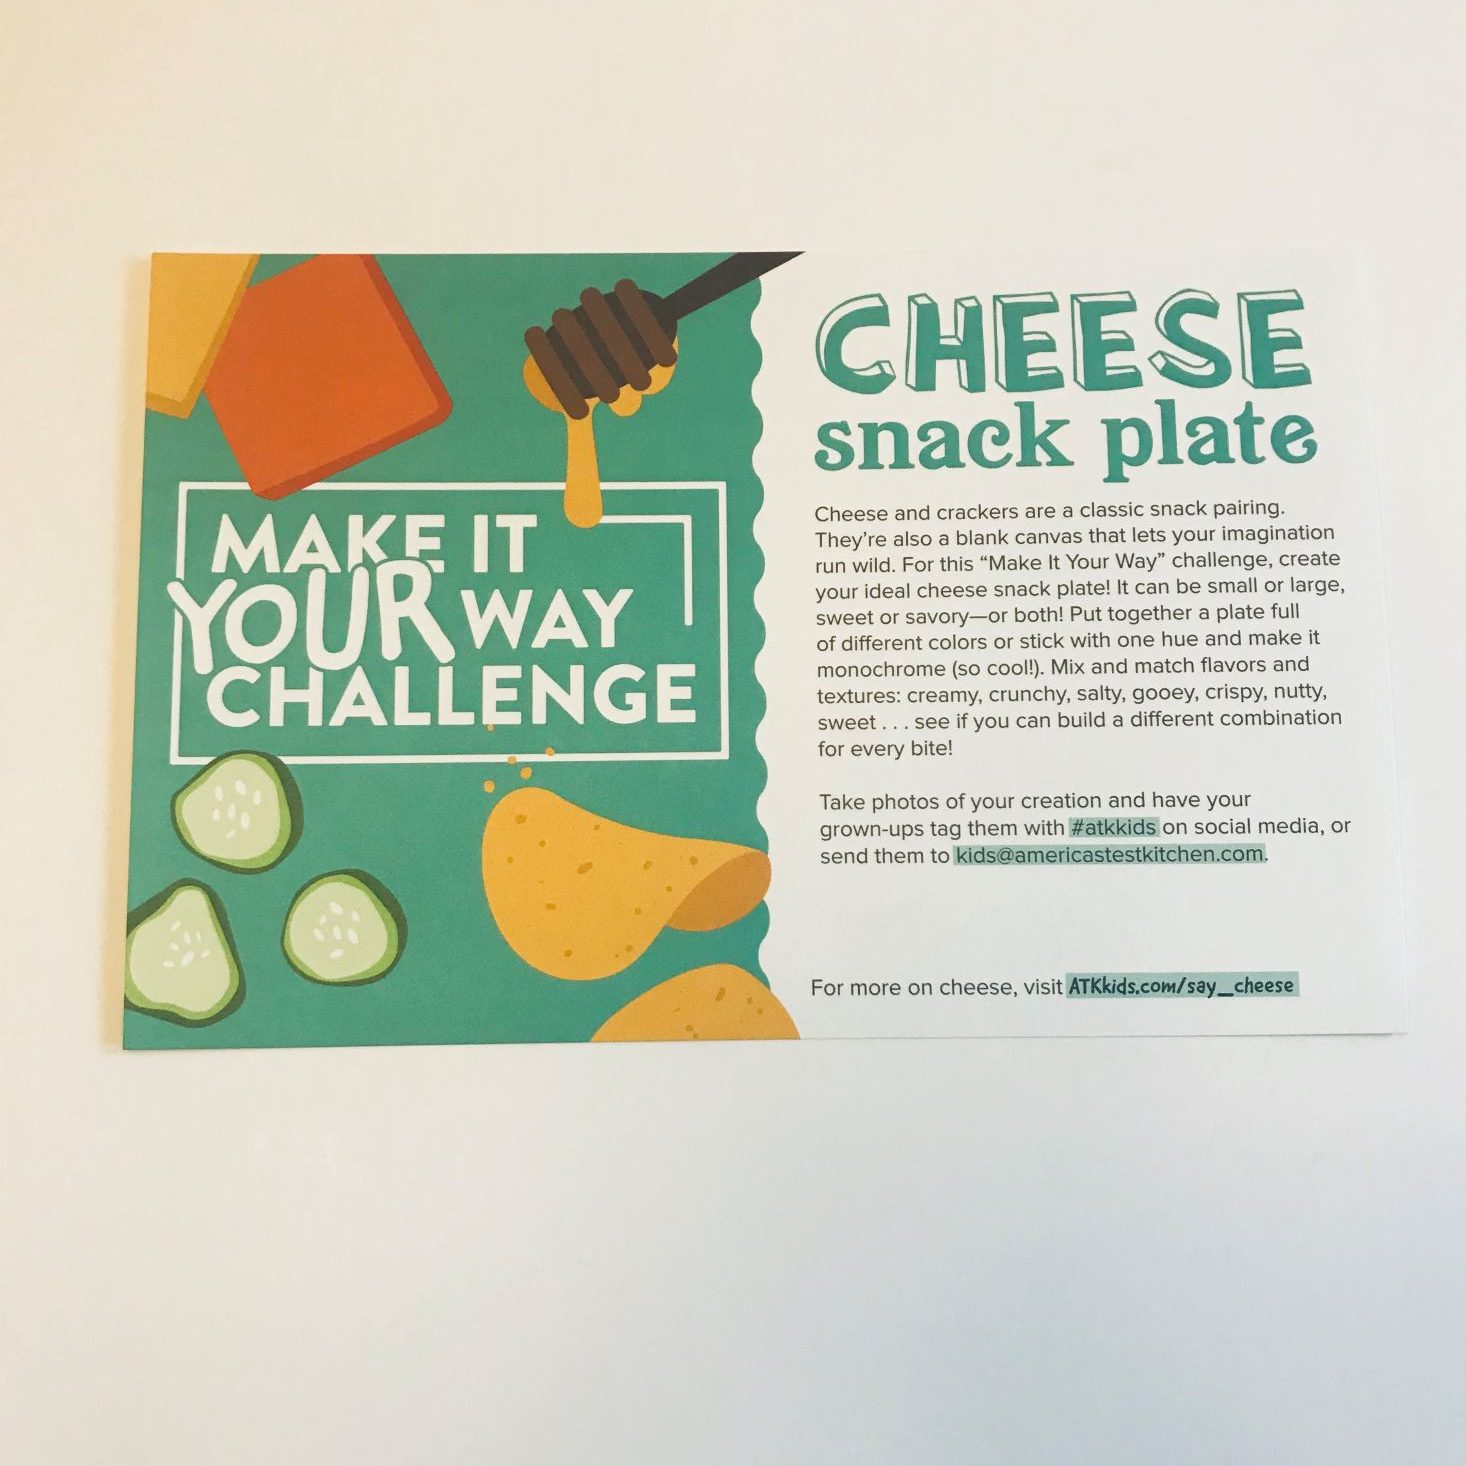
Each month, we receive a "Make It Your Way Challenge" card, and this month it's all about creating a cheese and cracker pairing. They give you some ideas for brainstorming on the back, including bases for your cheese, and extras such as pickles! You can also take photos of your creation and tag them with the #atkkids on social media, or send them to [email protected]!
Technique Card
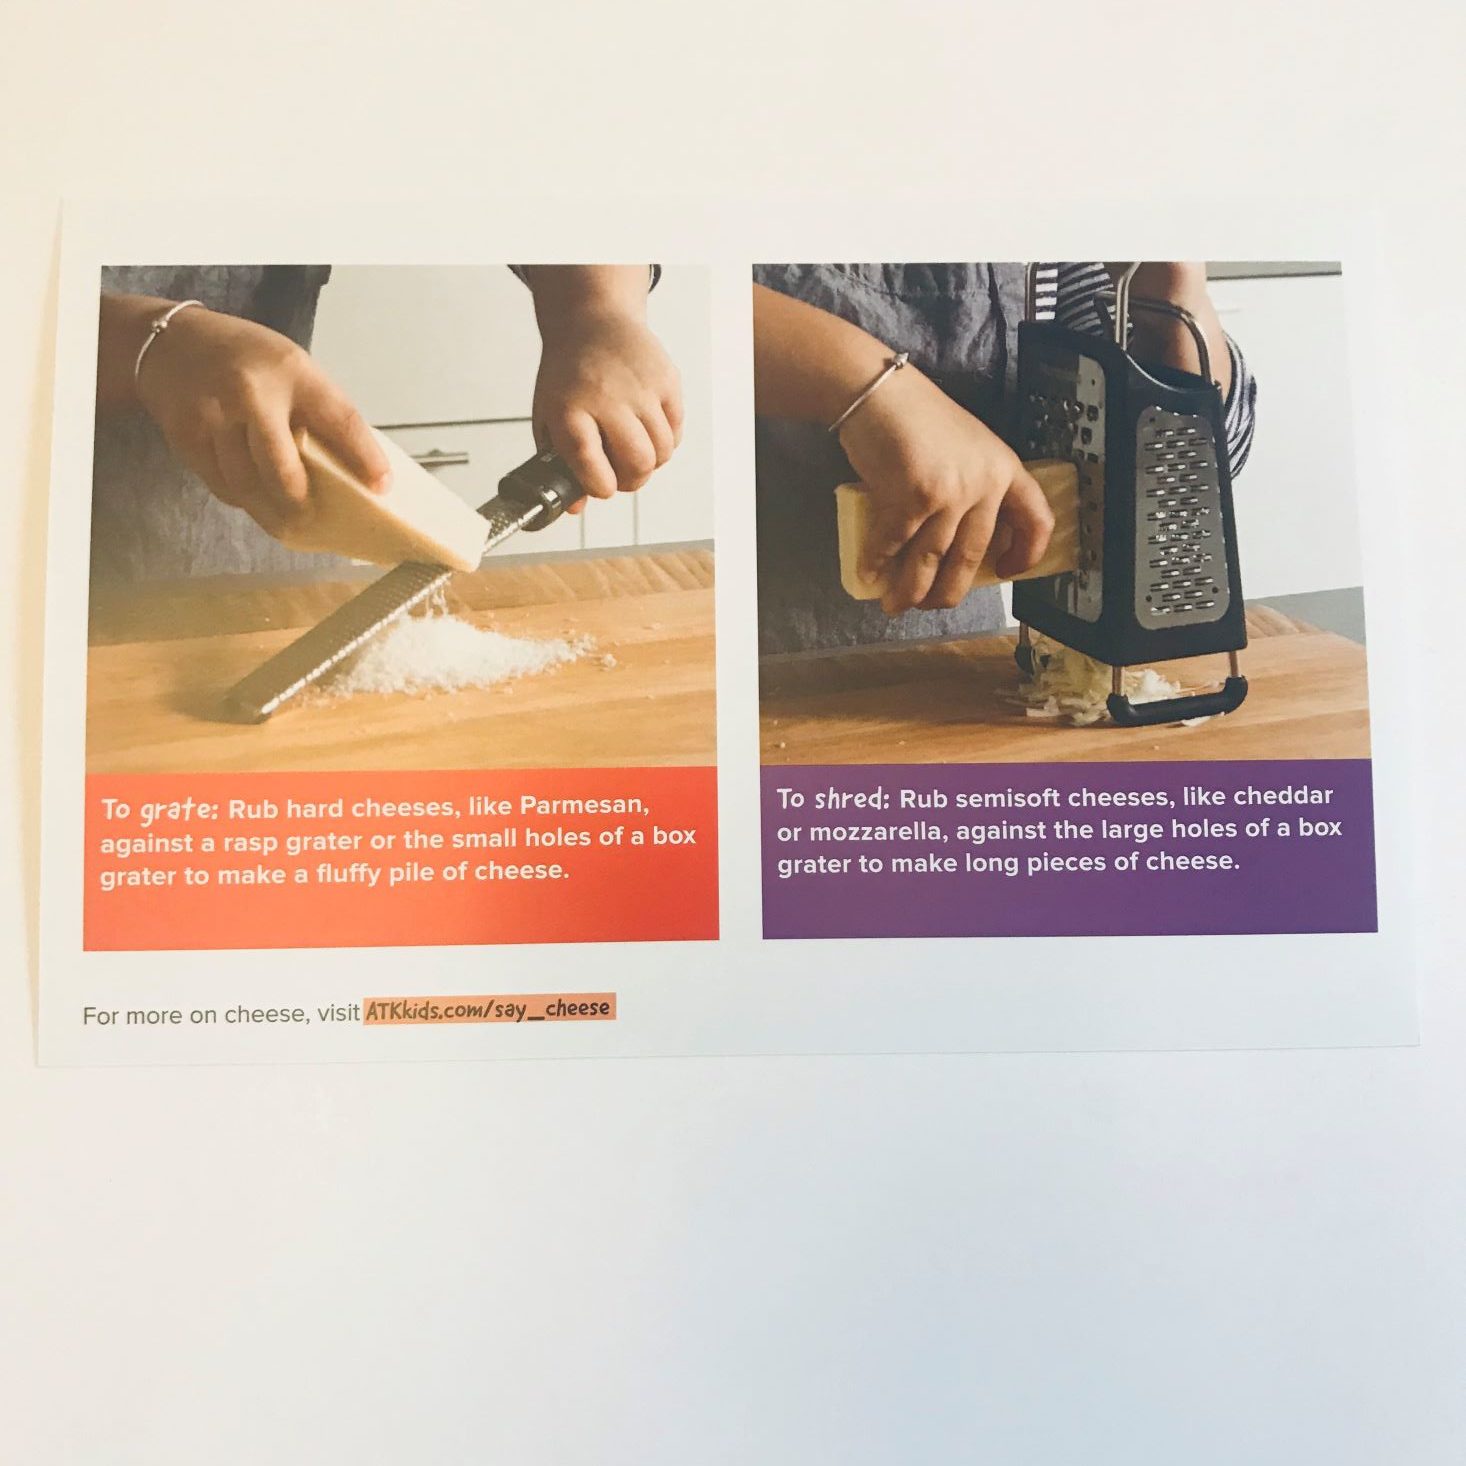
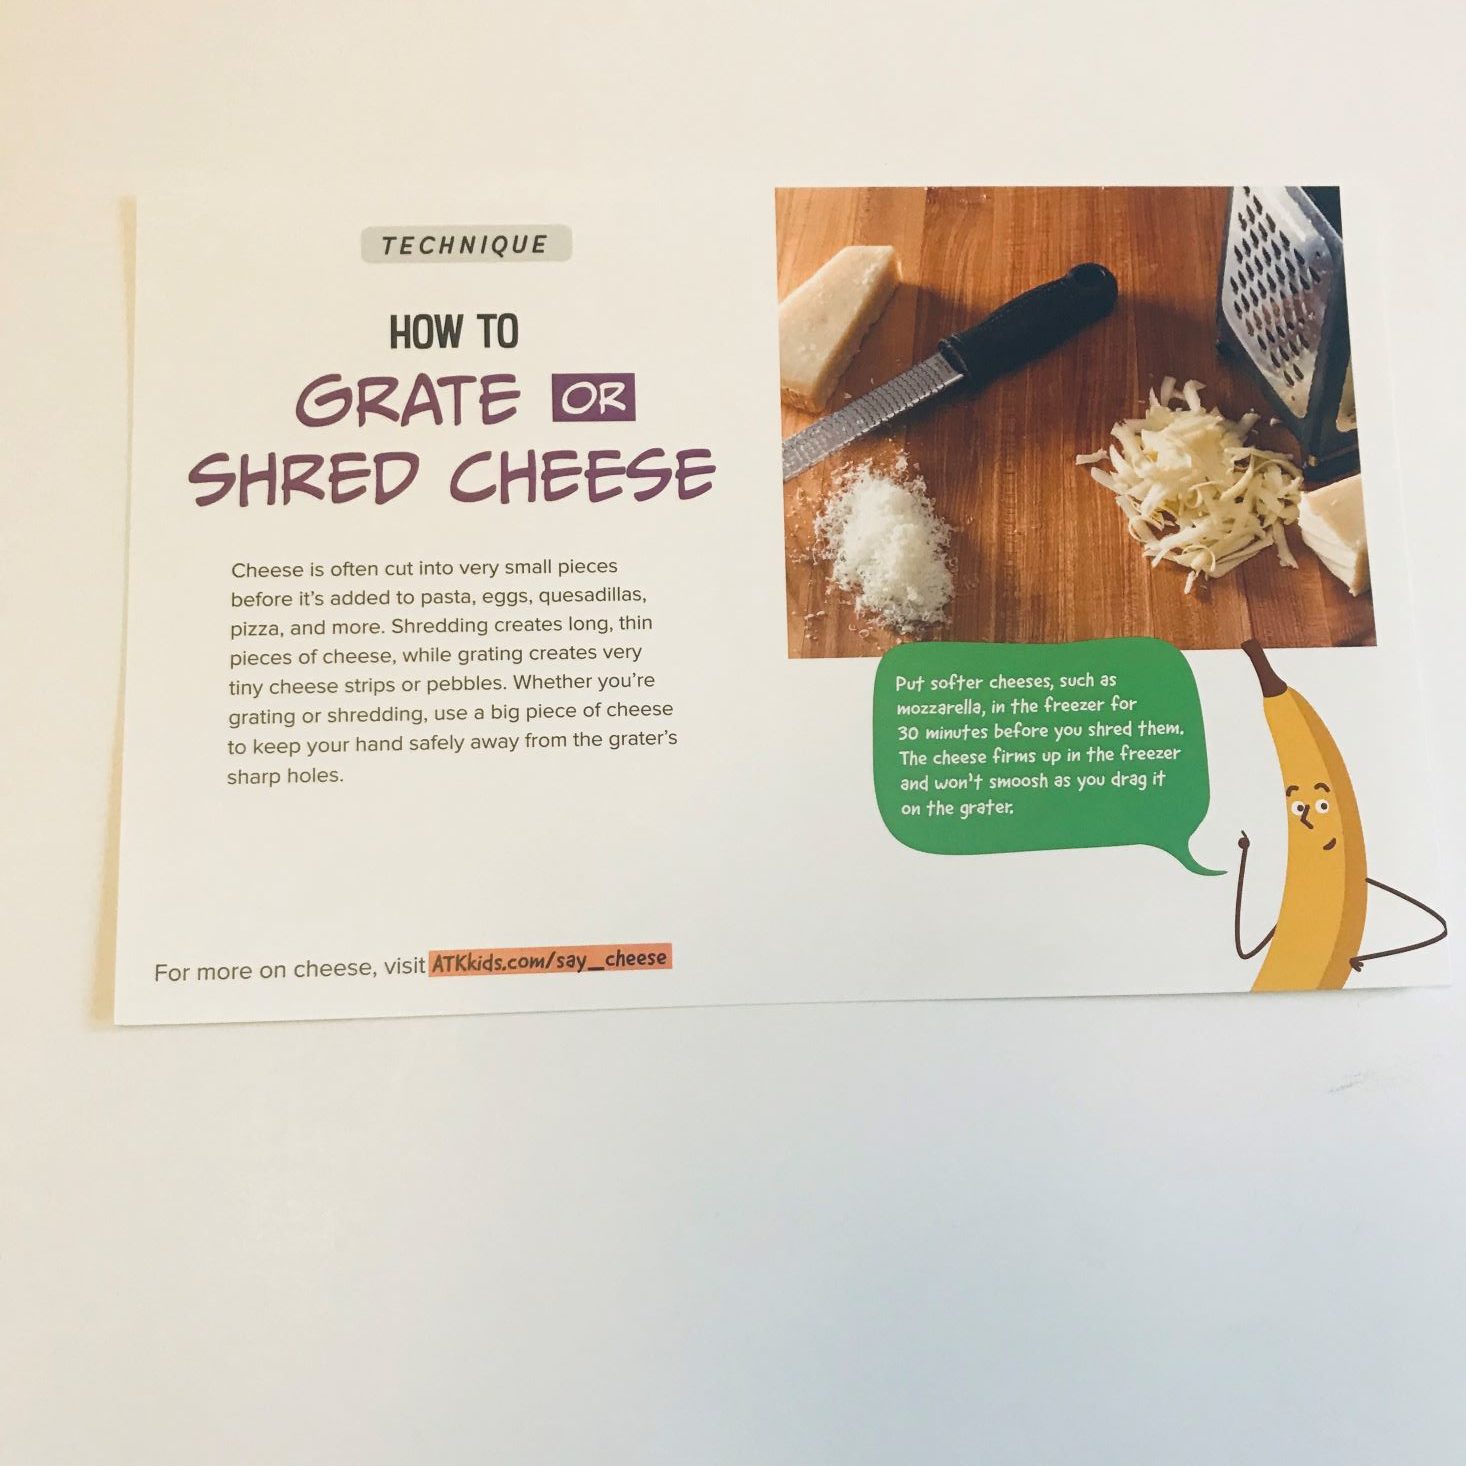
Each month we also receive a technique card. This month they sent us helpful hints for grating and shredding cheese. I really liked the tip for putting softer cheeses such as mozzarella in the freezer for 30 minutes before your shred it so it doesn't smoosh! I have to admit, I did not grate my cheese by hand. I have a food processor with a cheese grating plate that works wonders!
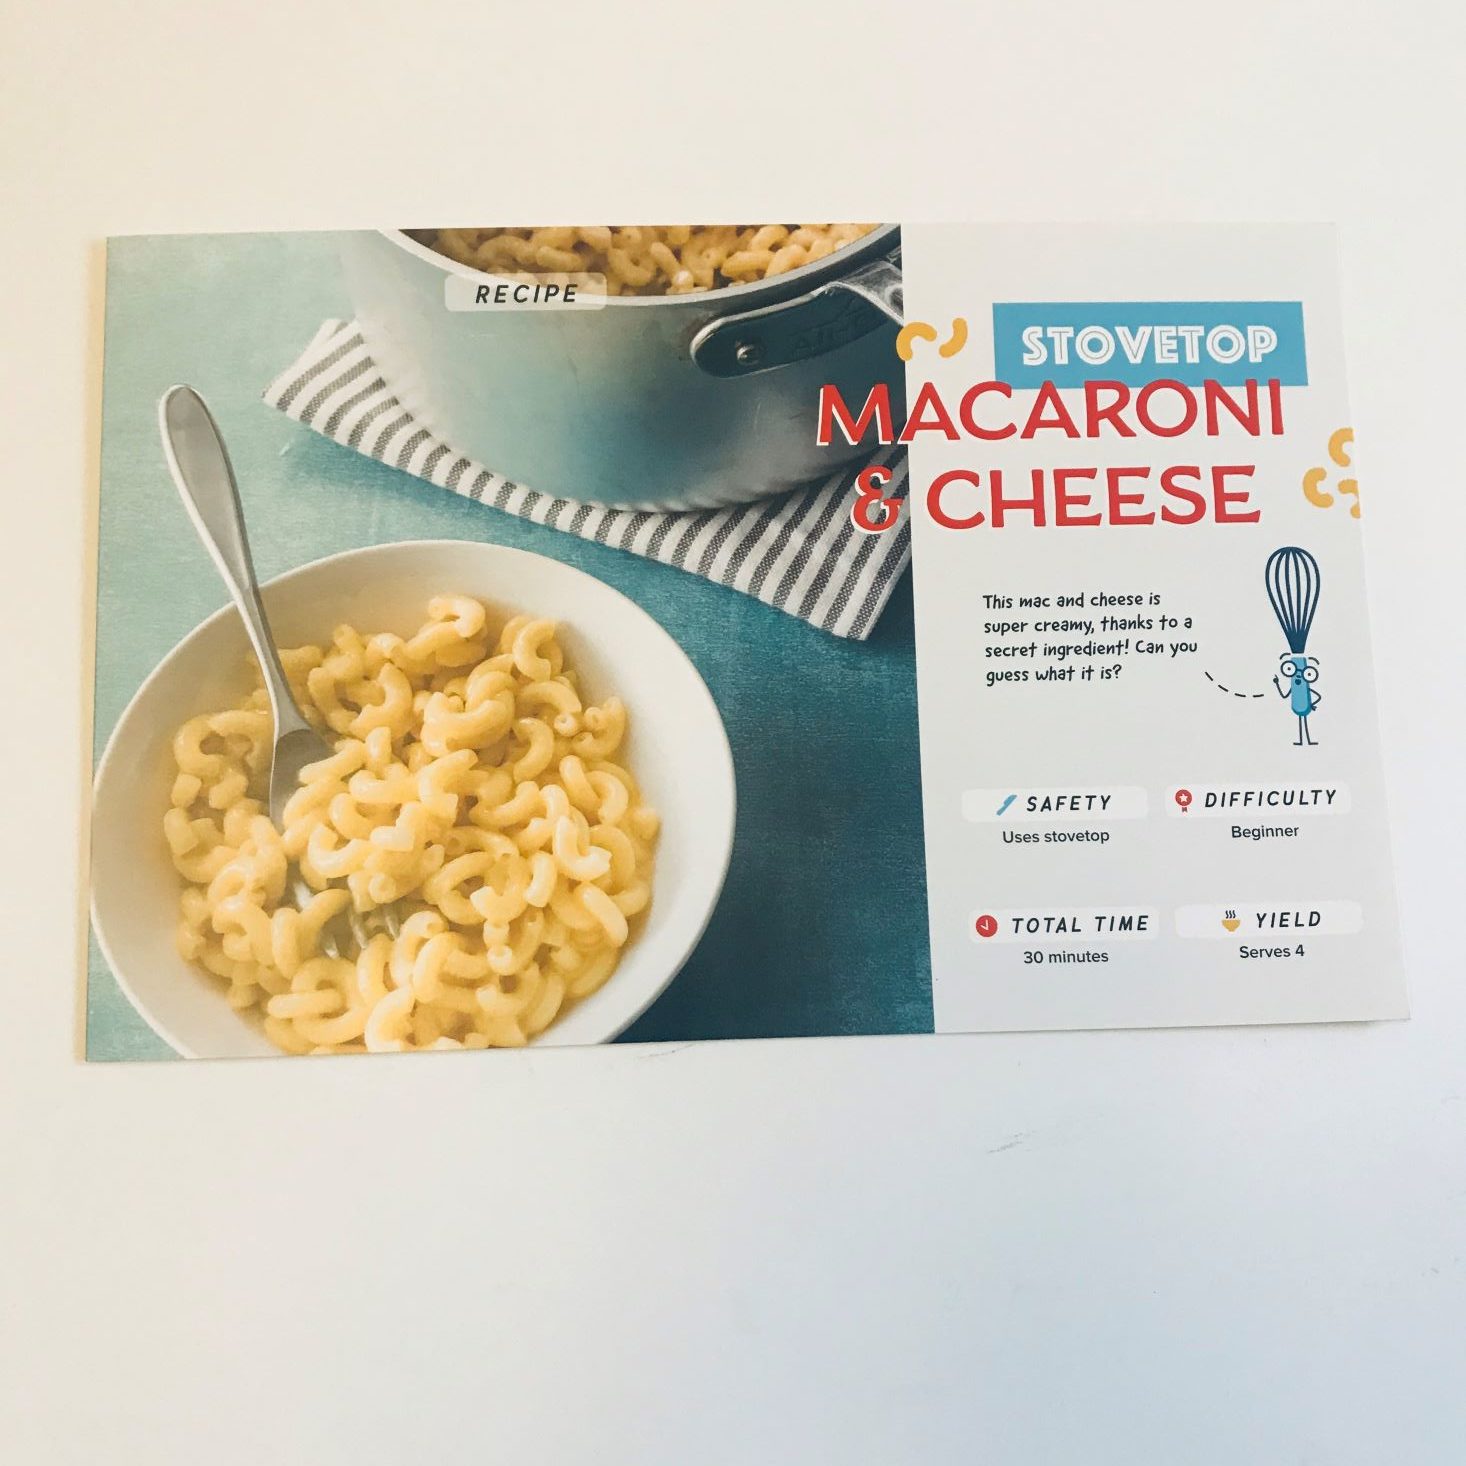
Stovetop Macaroni & Cheese Recipe
I love me some macaroni and cheese, so I couldn't wait to try this recipe out. Check out our experience below to see how it turned out!
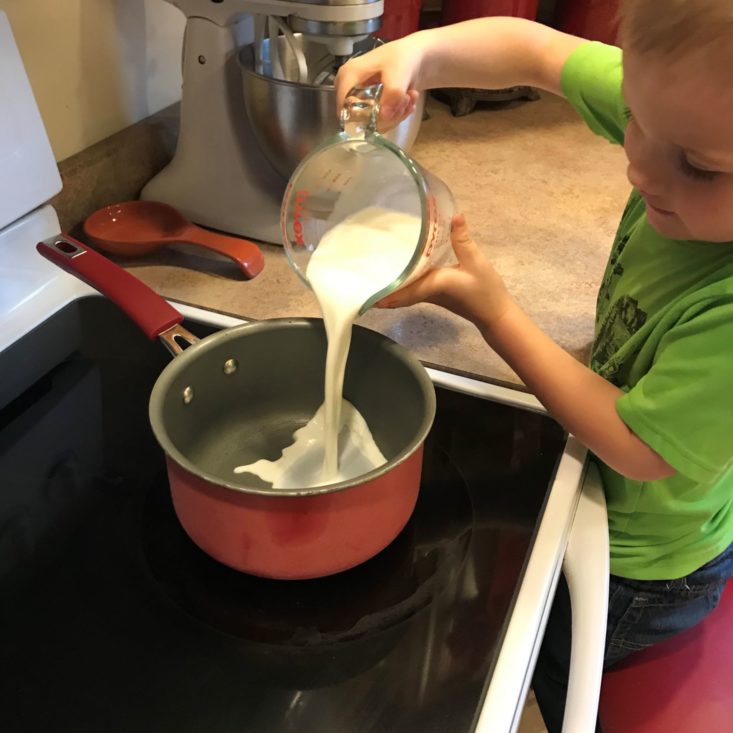
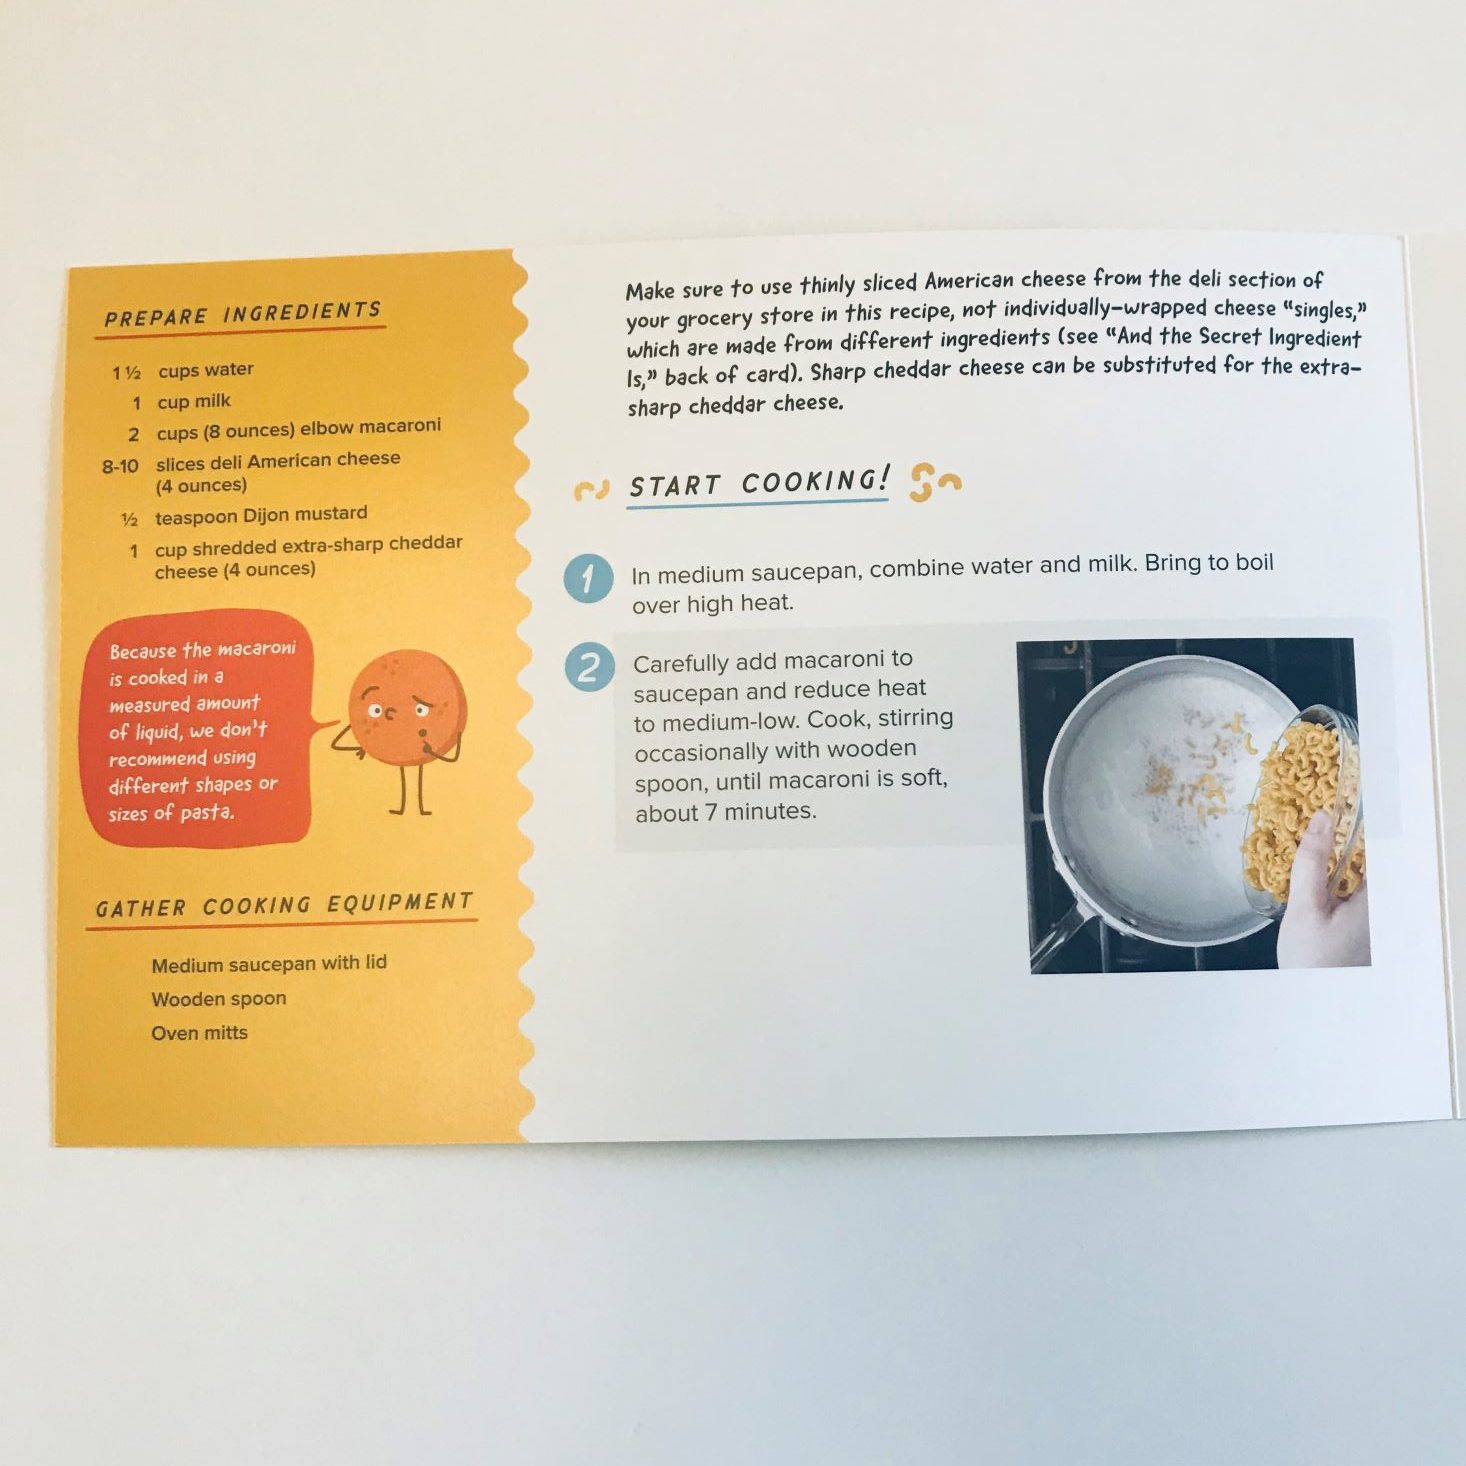
First, we added the milk.
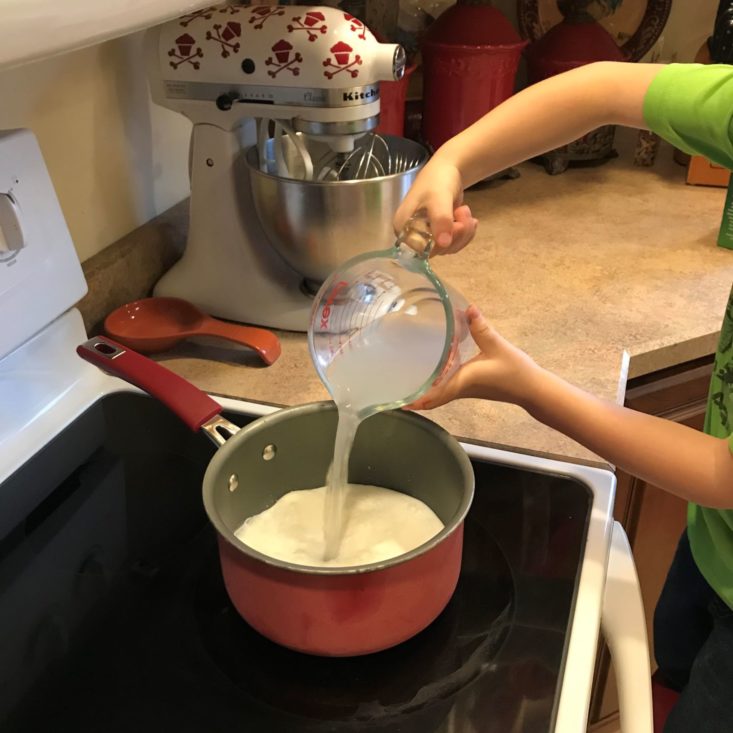
Next was the water.
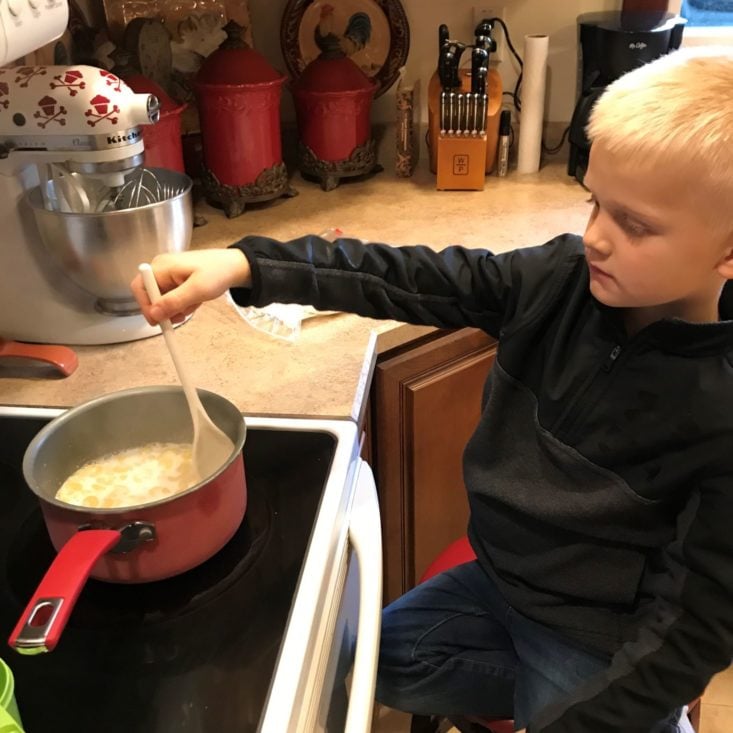
Once it starts boiling, you add the noodles. I have never boiled my noodles in a milk mixture before- will this be a game-changer?!
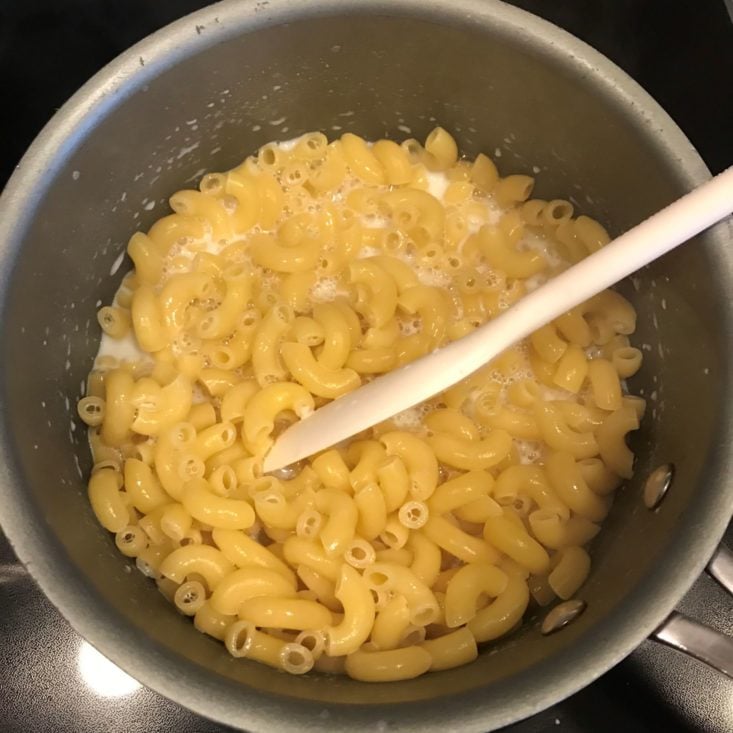
The noodles are almost done!
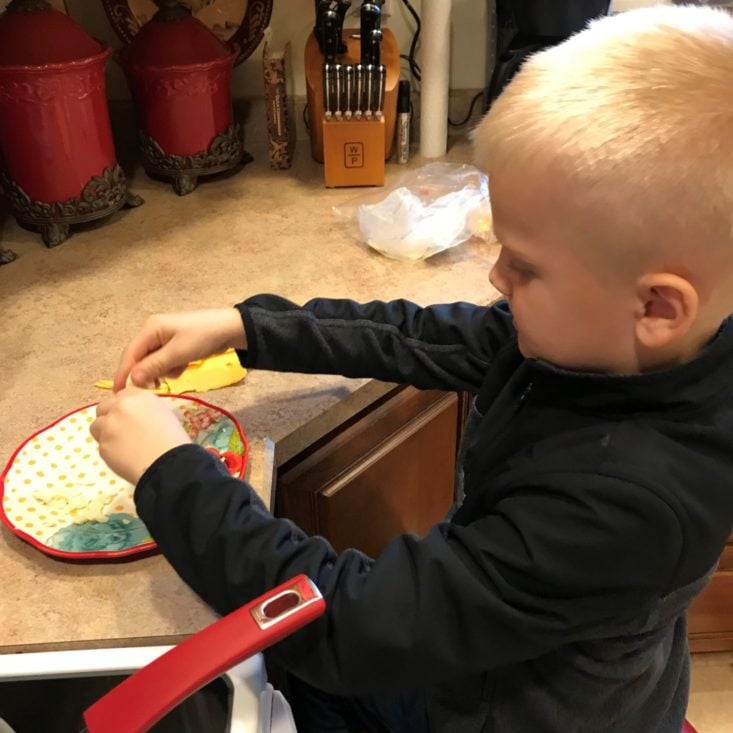
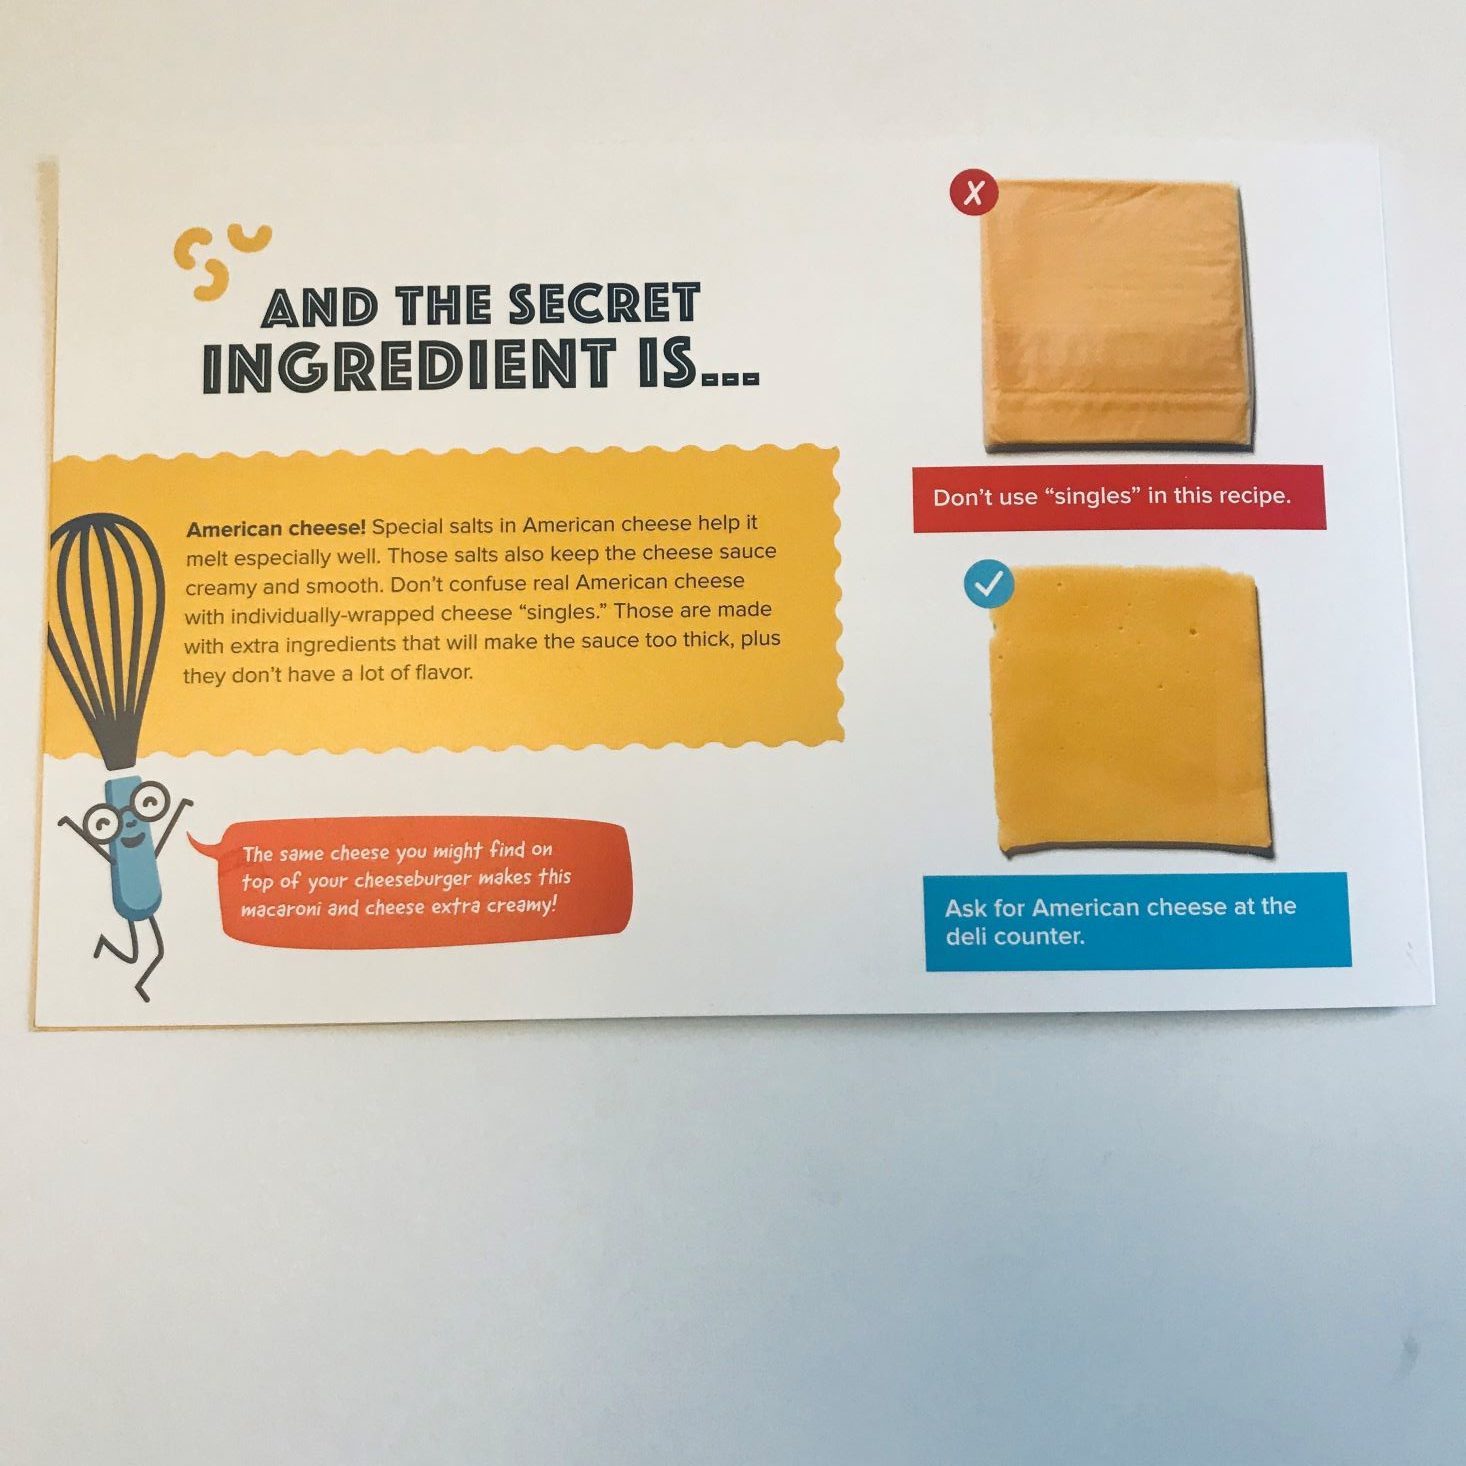
While the noodles are cooking, Hank was busy tearing the cheese slices into small pieces. They note in the recipe to not use "singles" because it will make the sauce too thick, so we went ahead and bought our American cheese from the deli counter.
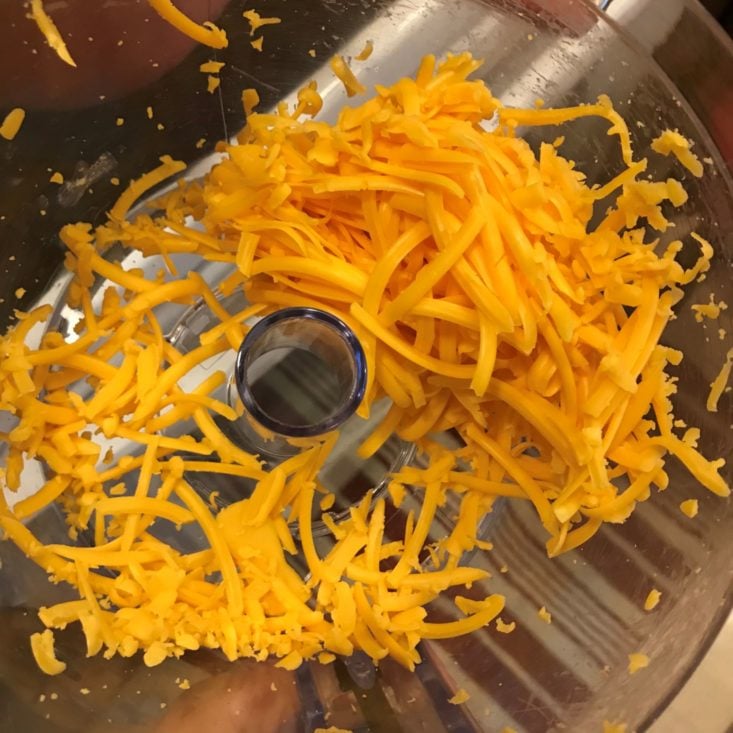
I love my food processor! It's so much easier than grating by hand!
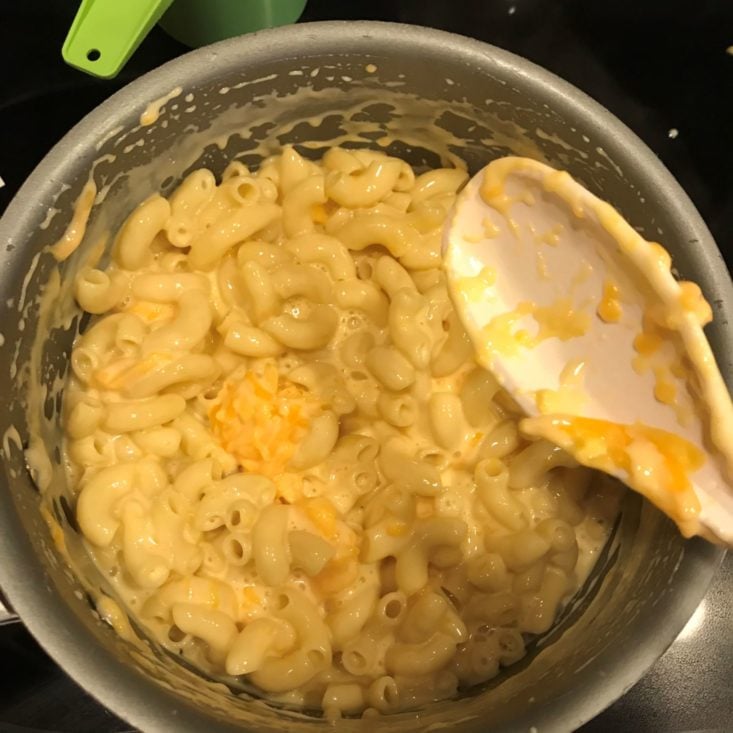
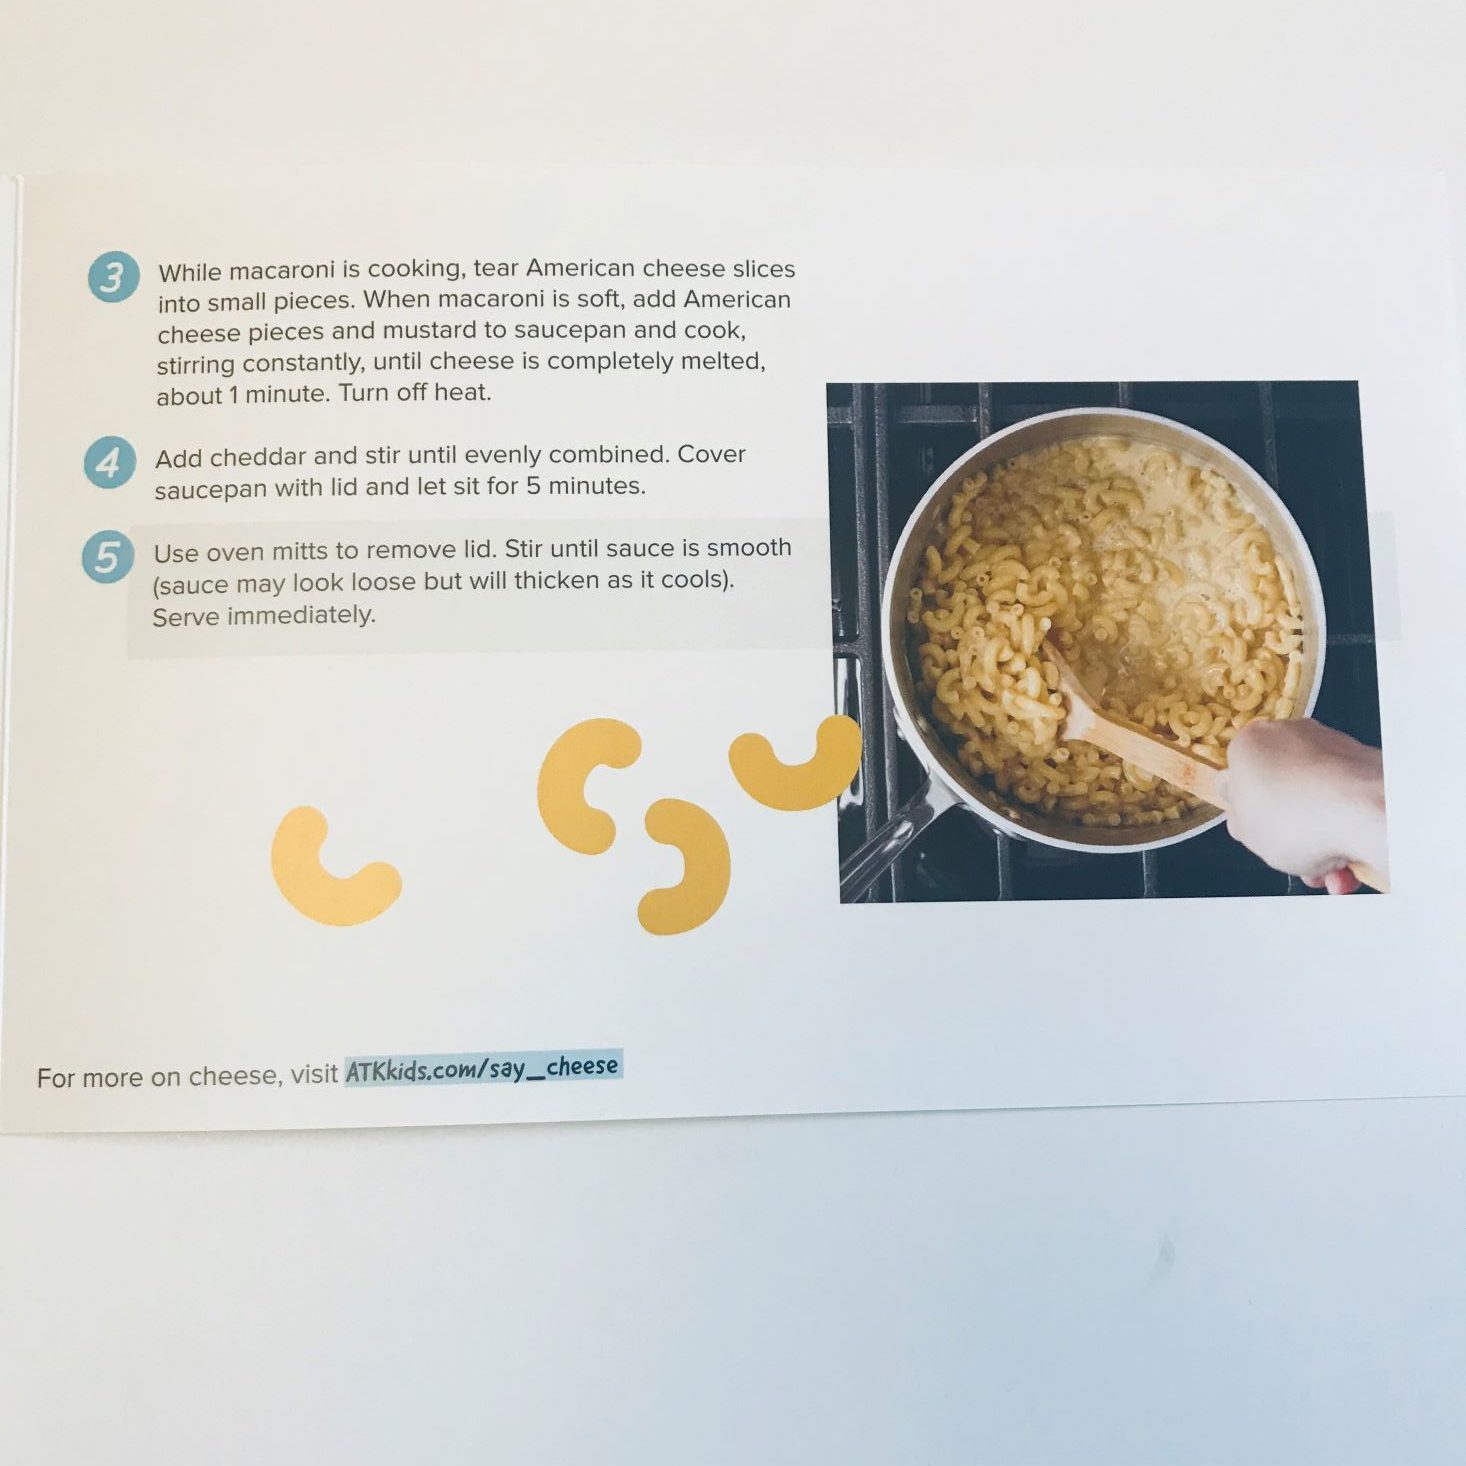
After you add the American cheese, you take it off the burner and add the cheddar cheese and cover for 5 minutes. It turned out so melty and creamy!
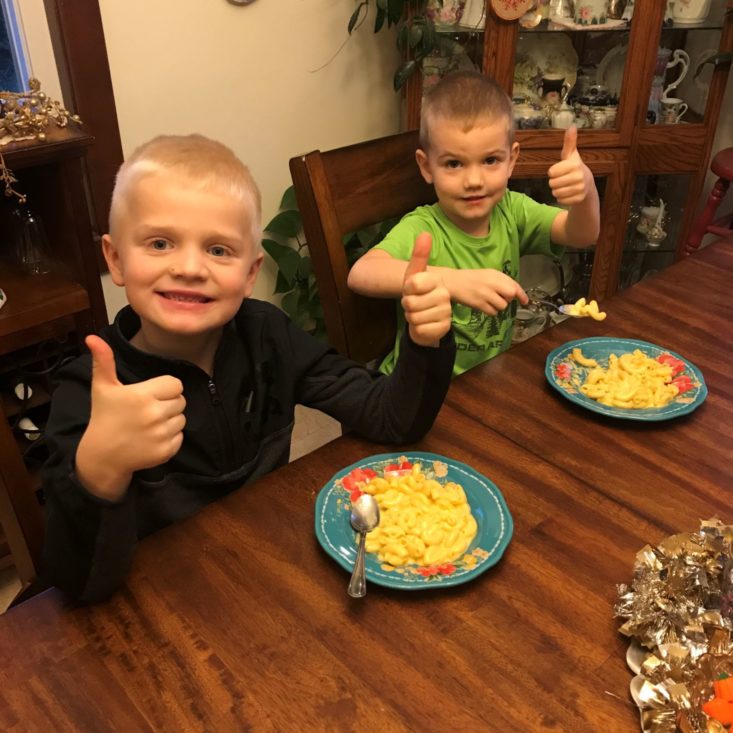
What were the results?! 2 thumbs up! You could definitely taste the extra sharp cheddar cheese, but it was very well balanced with the American cheese. My kids were big fans, and we will definitely be making this again!
DIY Ricotta Cheese Recipe
Have you ever made homemade ricotta cheese? I hadn't before receiving this box, but I have to say it was pretty easy and fun! Check out the steps to do it below!
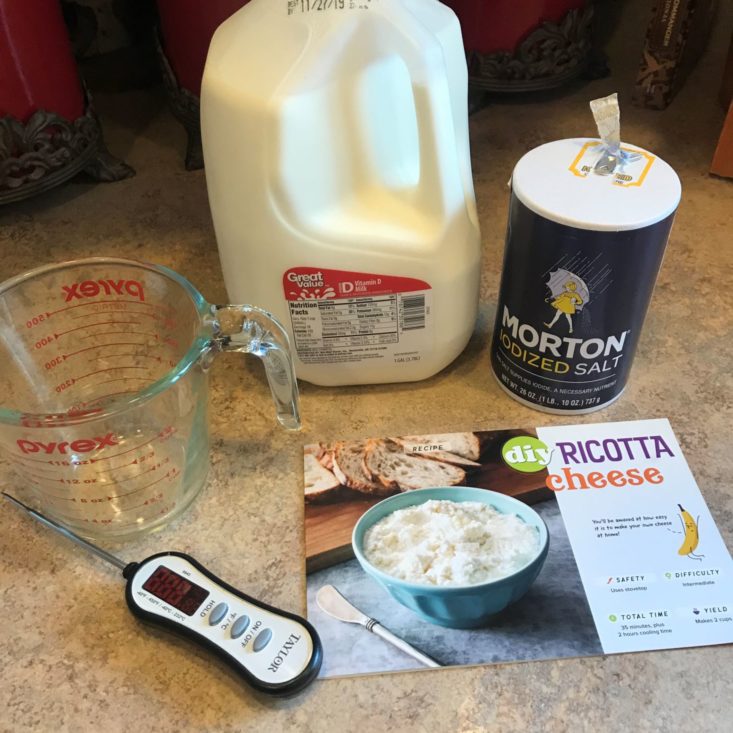
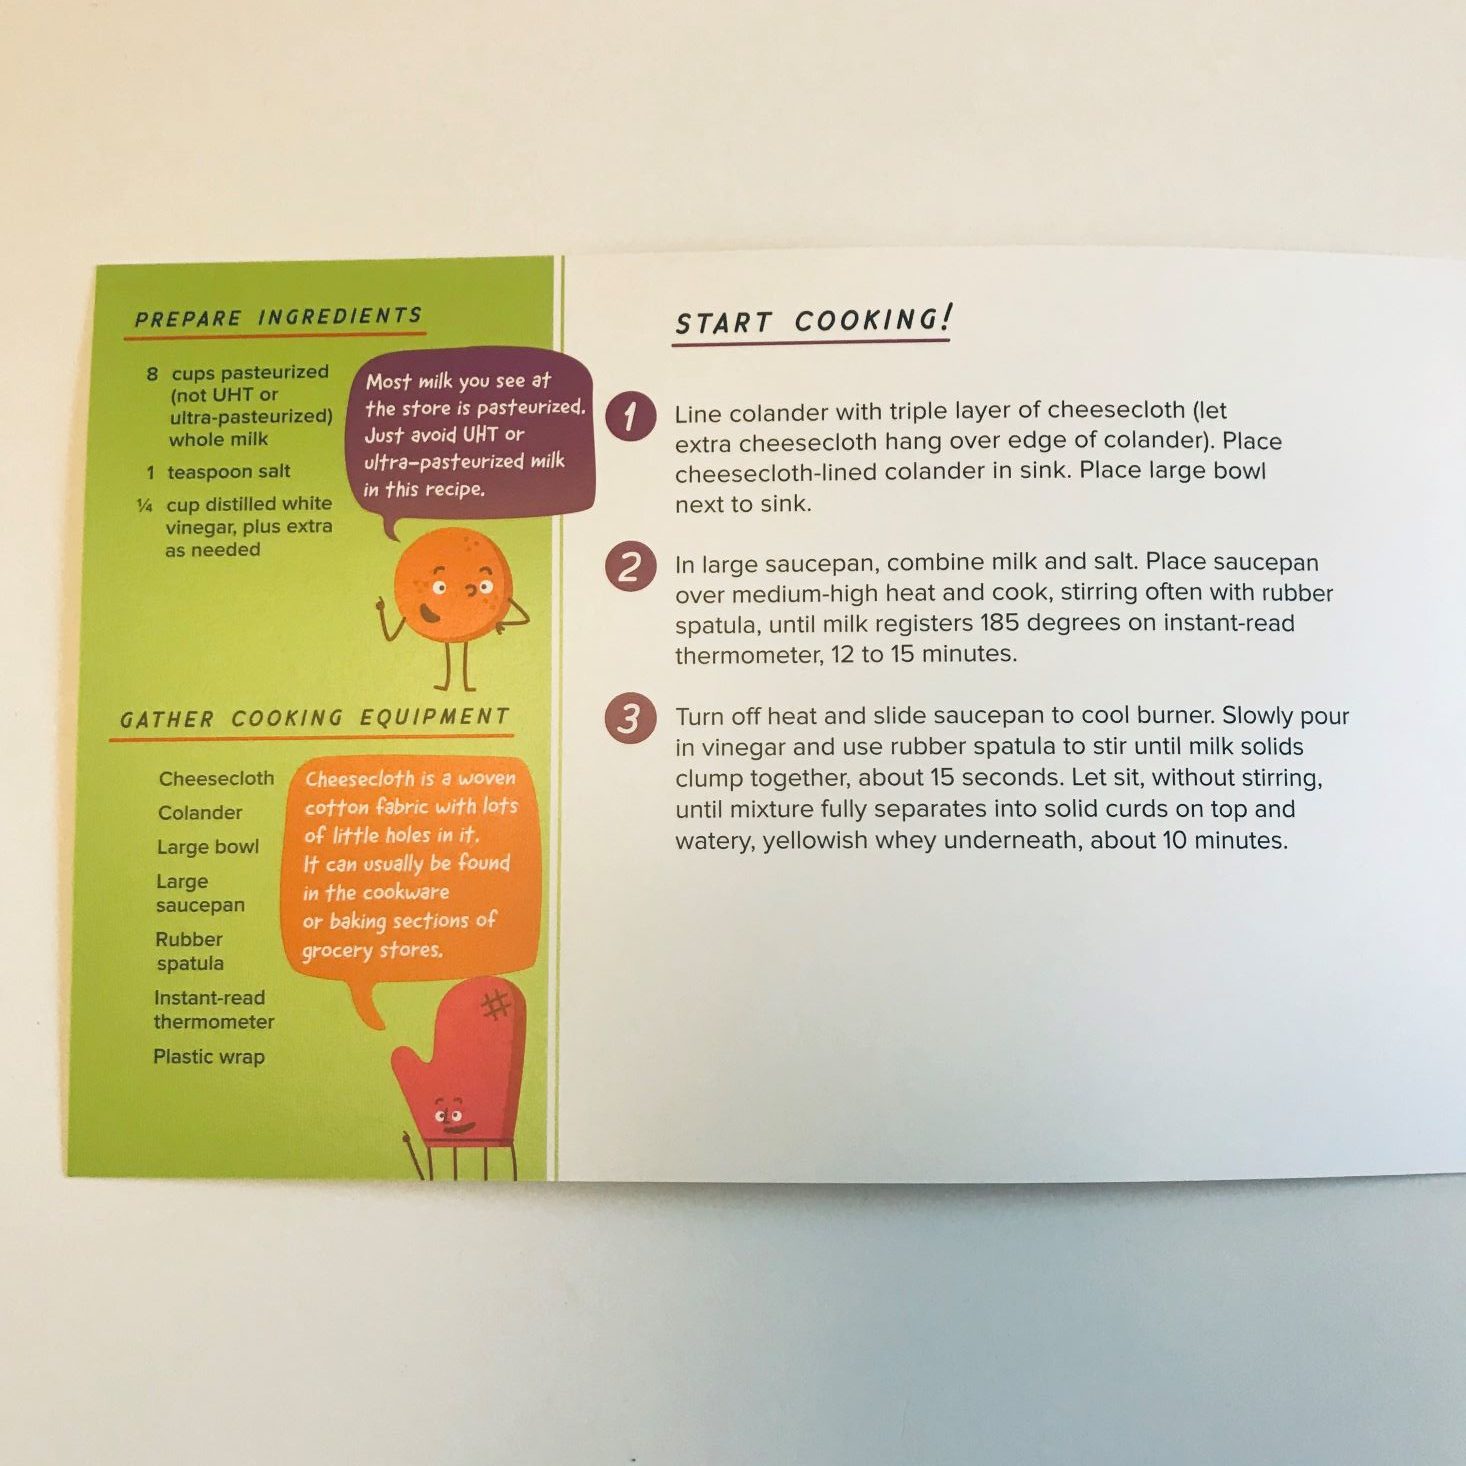
To make ricotta cheese, you need whole milk, salt, vinegar, cheesecloth, and a thermometer.
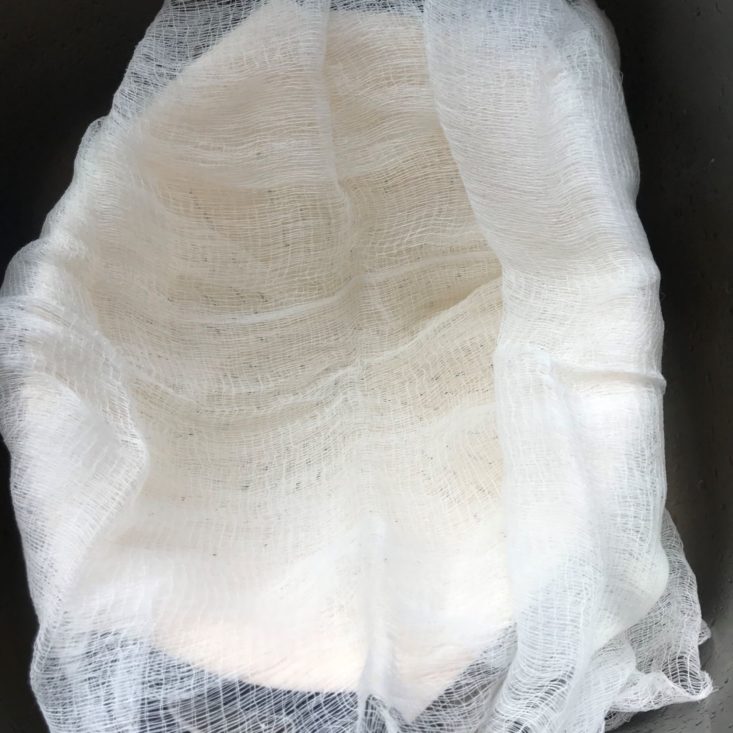
Like I said above, the shopping list didn't include cheesecloth, so thankfully my grandma lives right next door and had some on hand! We lined our strainer with a triple layer of cheesecloth and placed it in the sink.
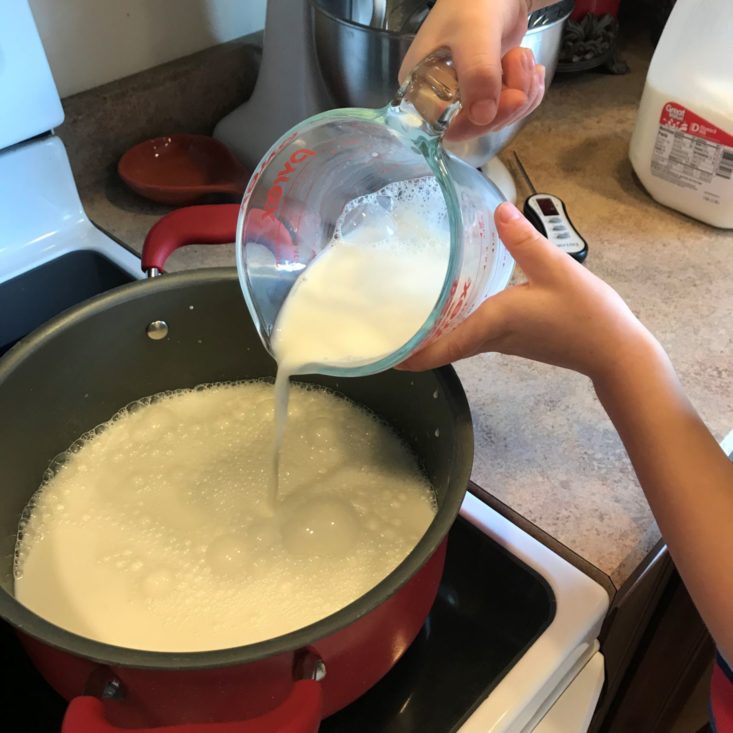
My little helper then poured in 8 cups of pasteurized whole milk.
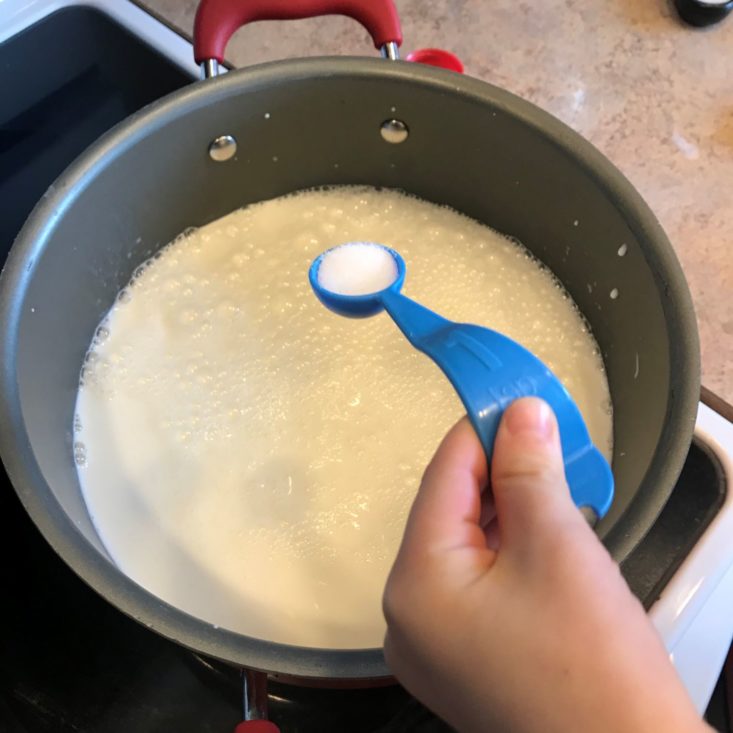
Our next step was to add the salt.
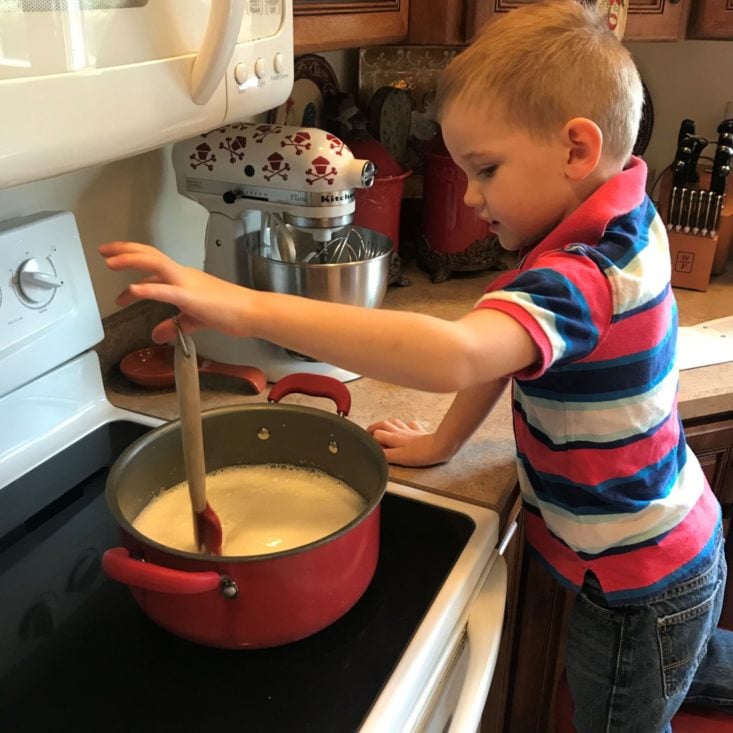
As it cooked over medium-high heat, we stirred, and stirred, and stirred...
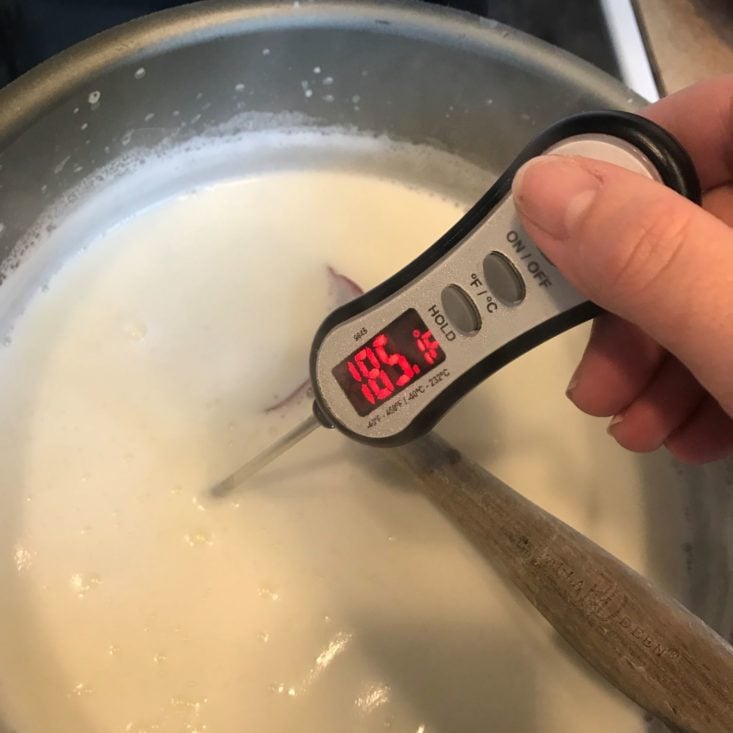
Until it reached 185 degrees. This took about 15 minutes. (Charlie's arm was TIRED!)
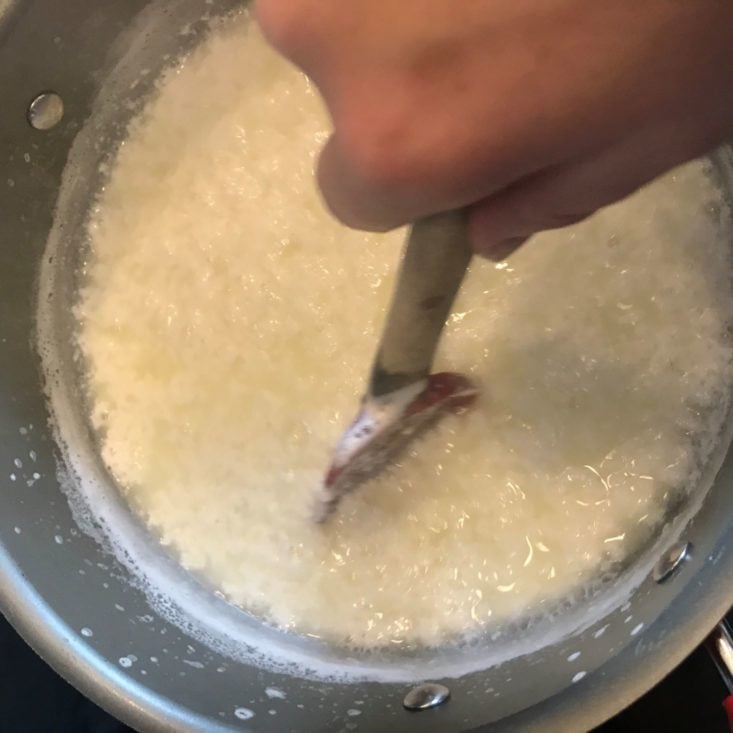
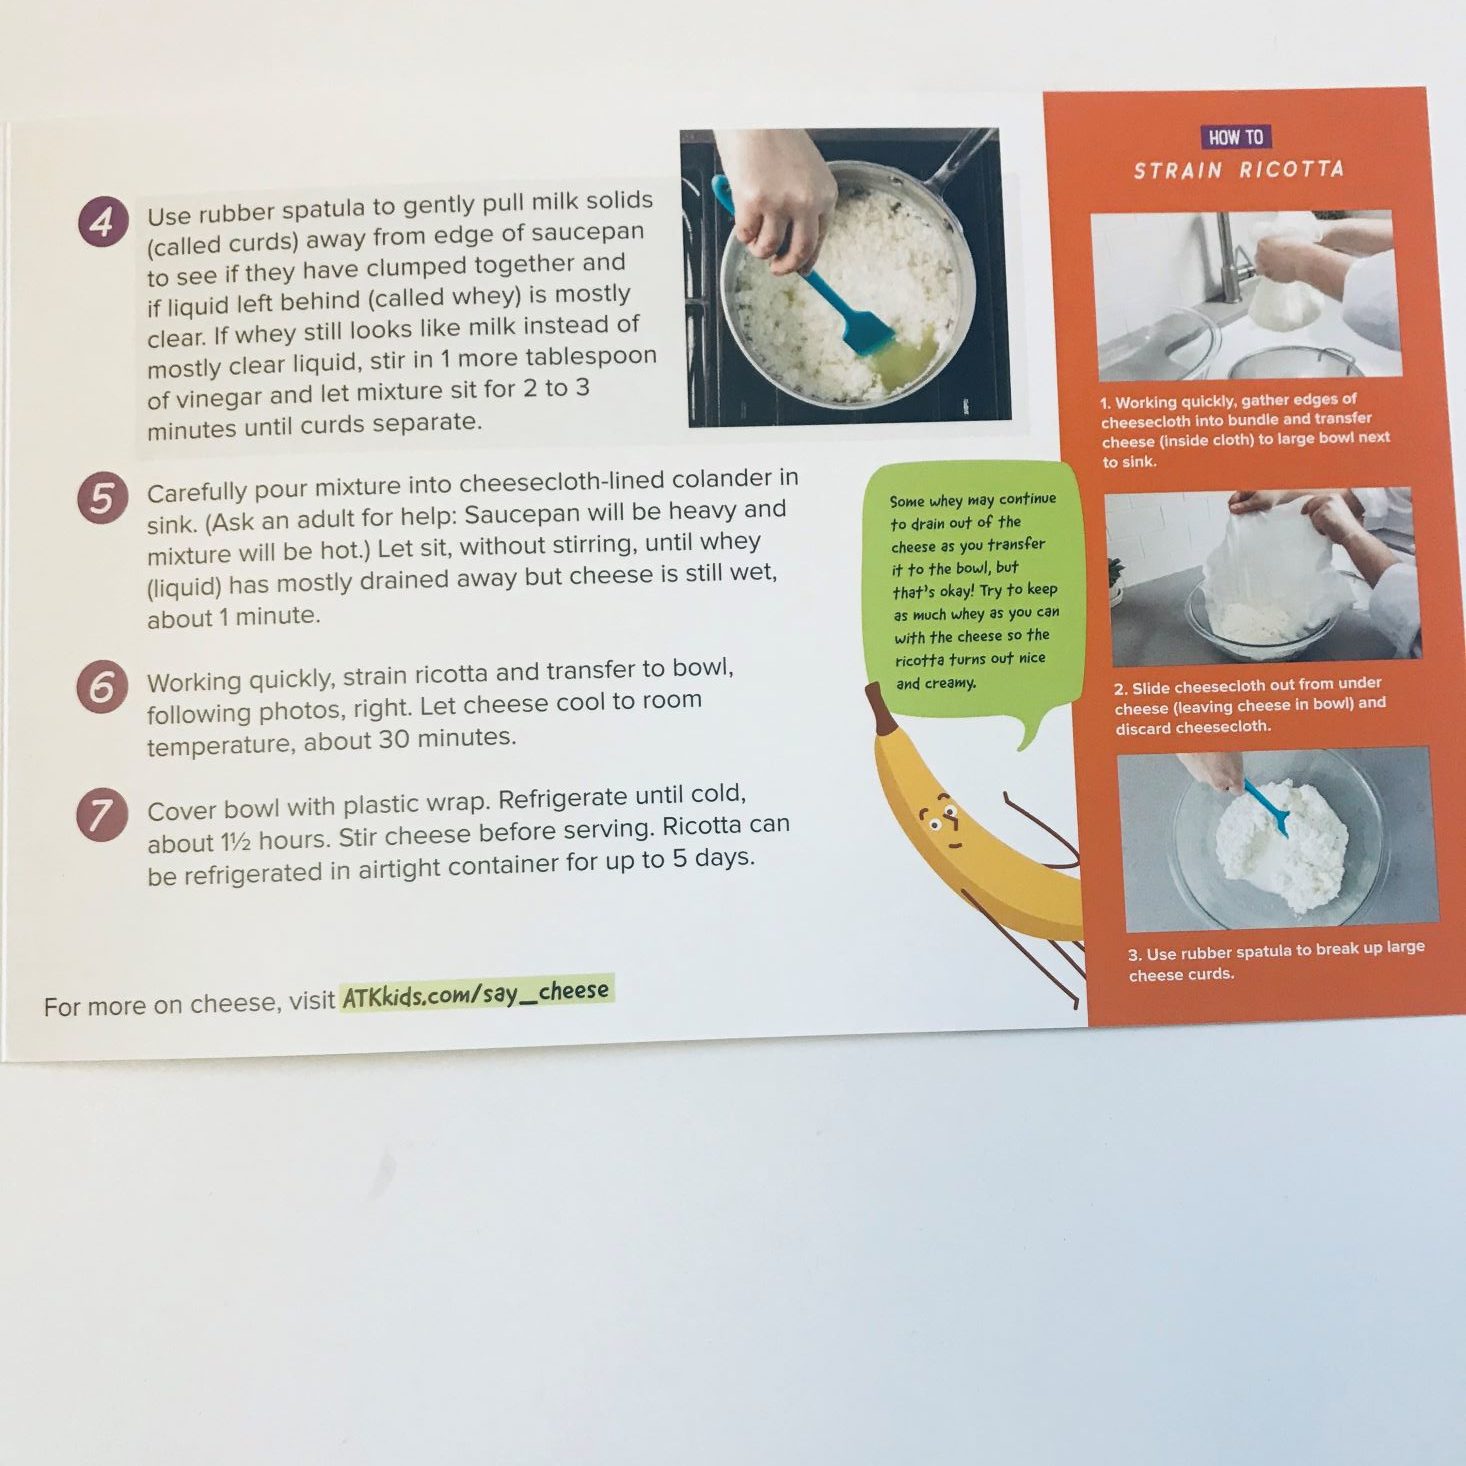
We then added the vinegar and stirred for another 15 seconds. See how fast it clumps?! After the 15 seconds, you need to let the mixture rest for about 10 minutes so the curds and whey separate.
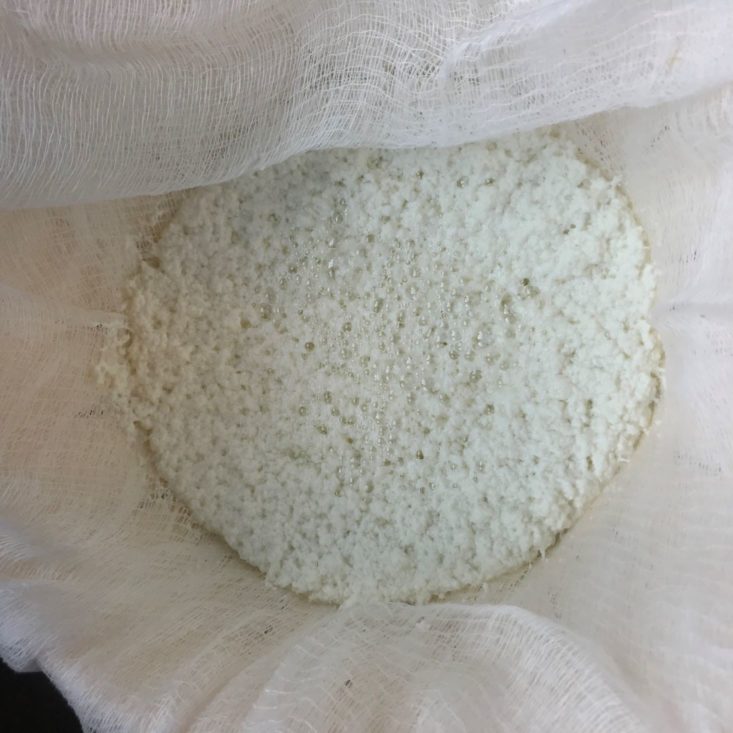
We then carefully poured the mixture into the cheesecloth and let it sit for about a minute.
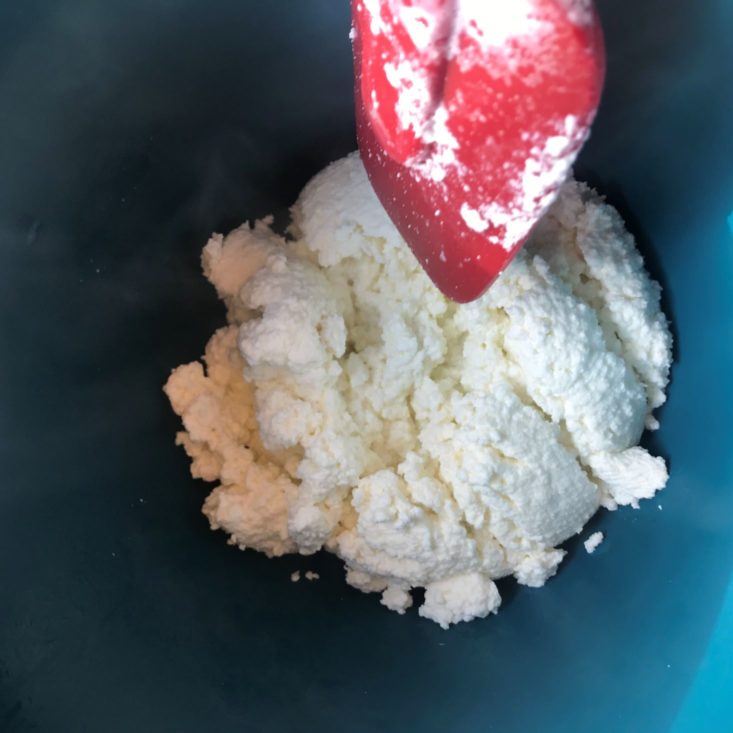
After it strained for a minute, we carefully transferred it to a bowl to cool at room temperature. (This took about 30 minutes)
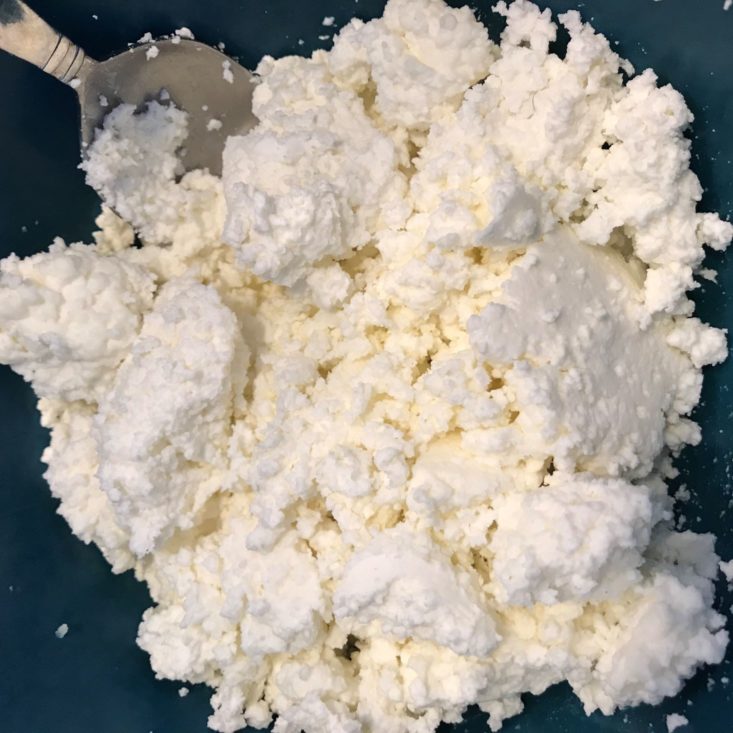
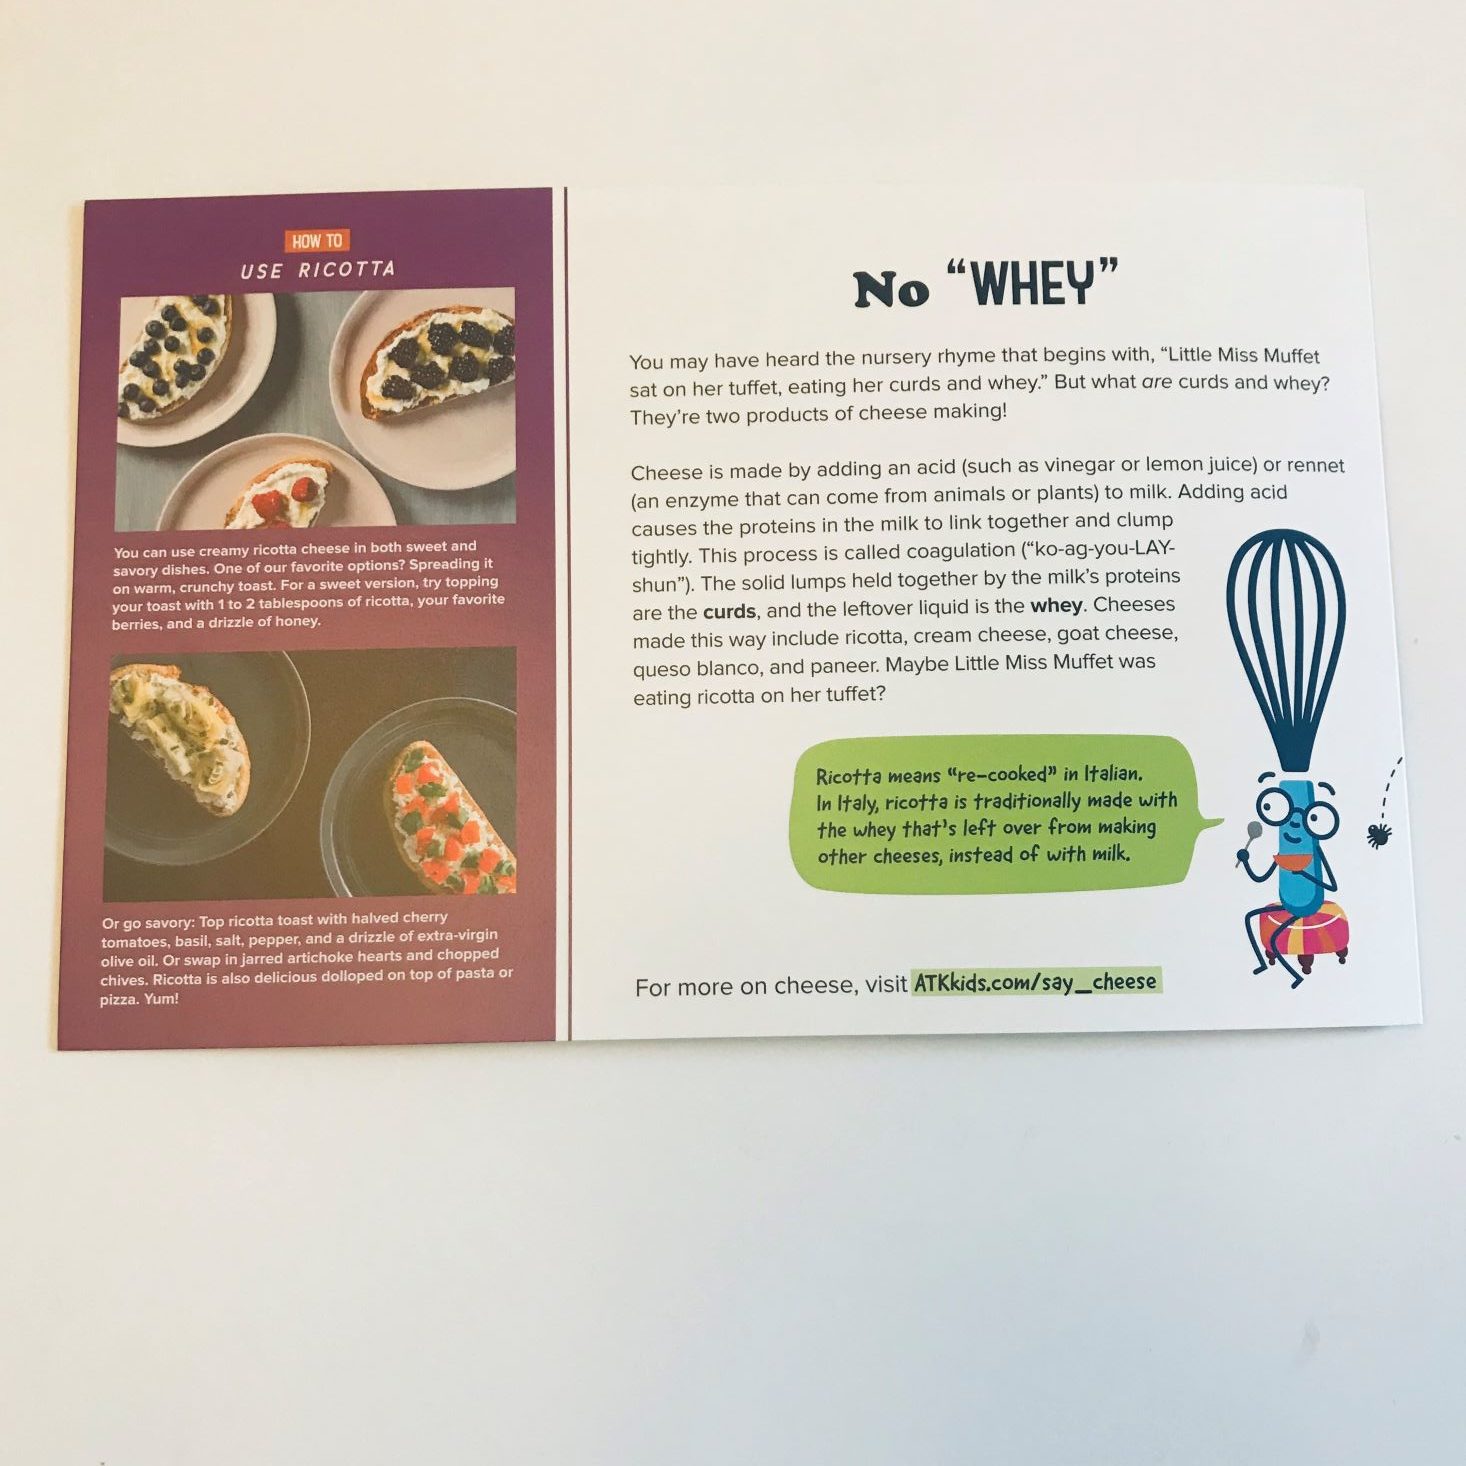
Once it was cooled, we covered it with plastic wrap and put it in the refrigerator for 1 1/2 hours. While I thought it was pretty good, Charlie was not a fan. The back of the recipe suggests spreading it on toast with berries and honey. I had no berries, so I decided to go for a savory dish, and add it to my lasagna for supper. My husband did say that this was the best lasagna he's ever had, and wanted to know what I did differently! So I would call that a win!
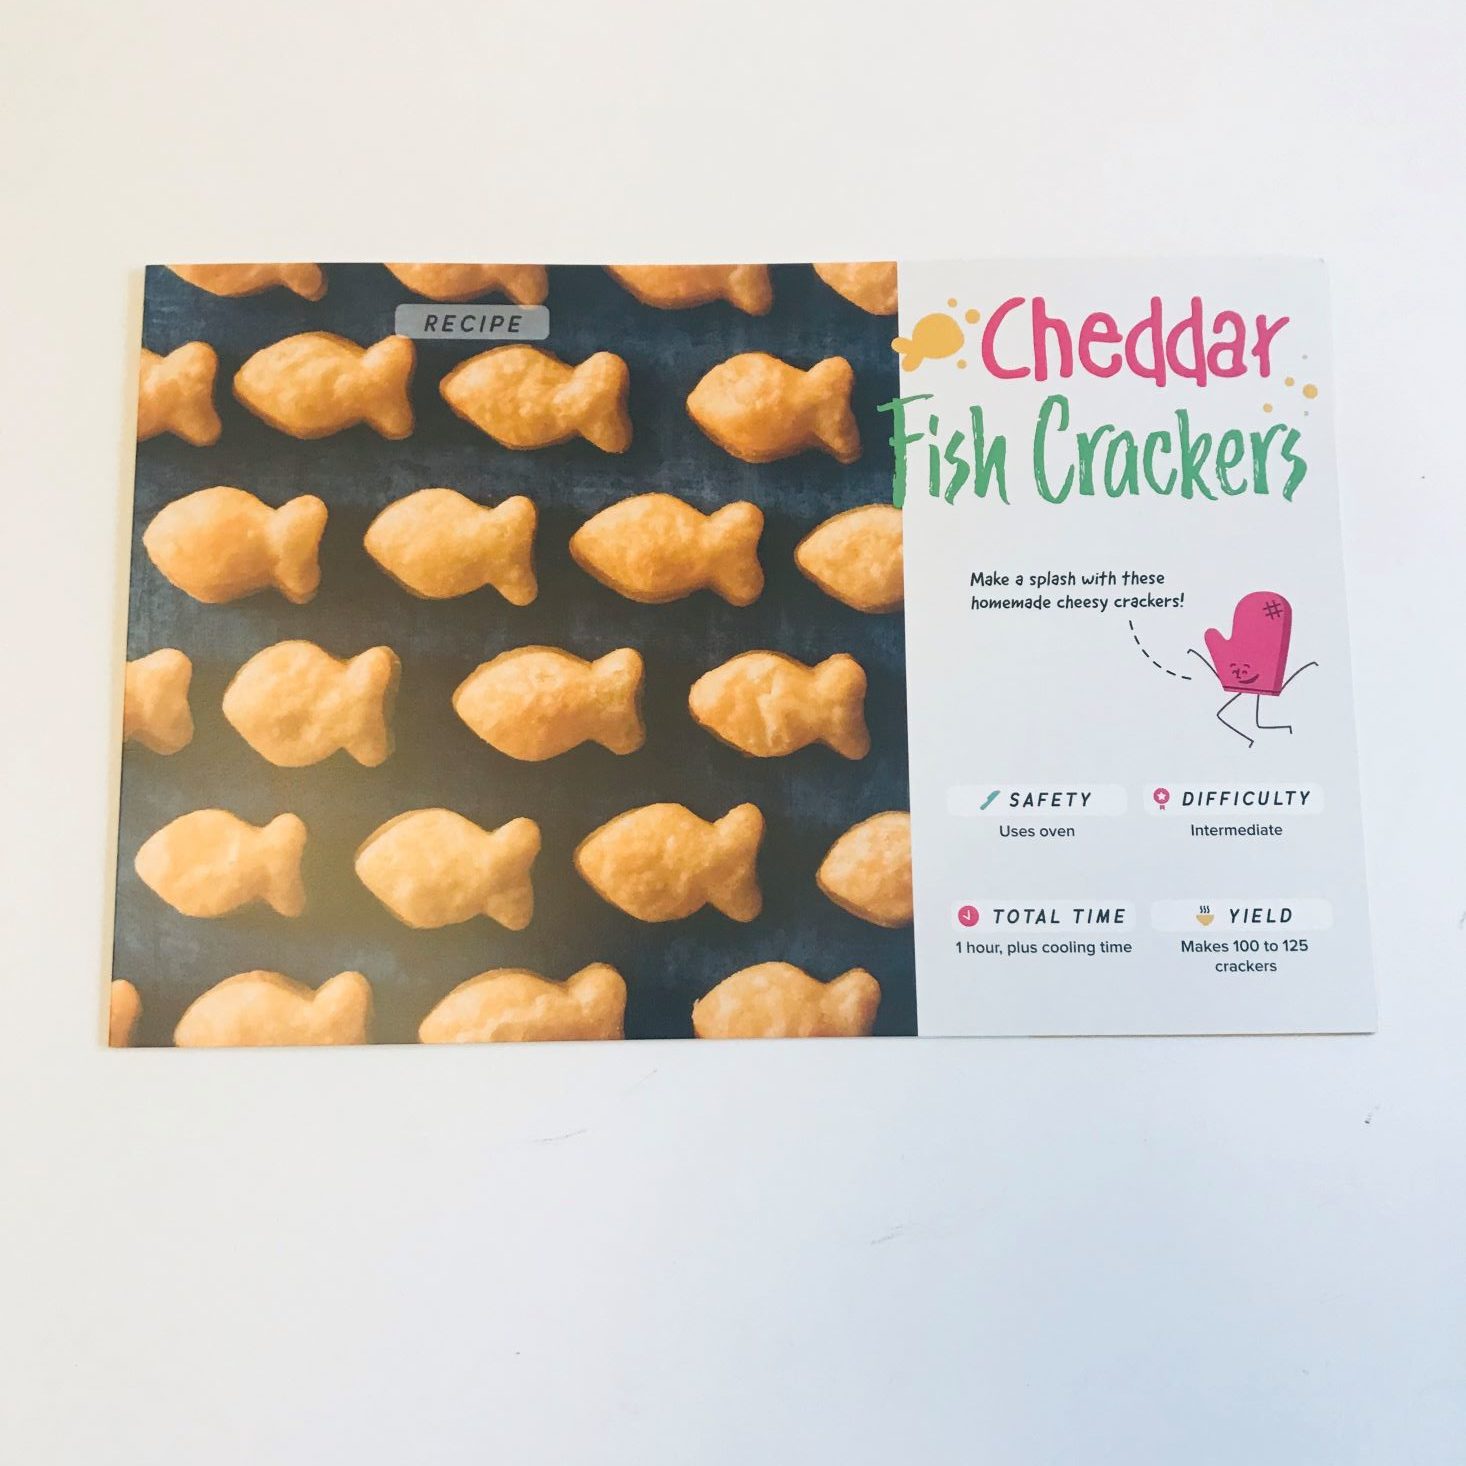
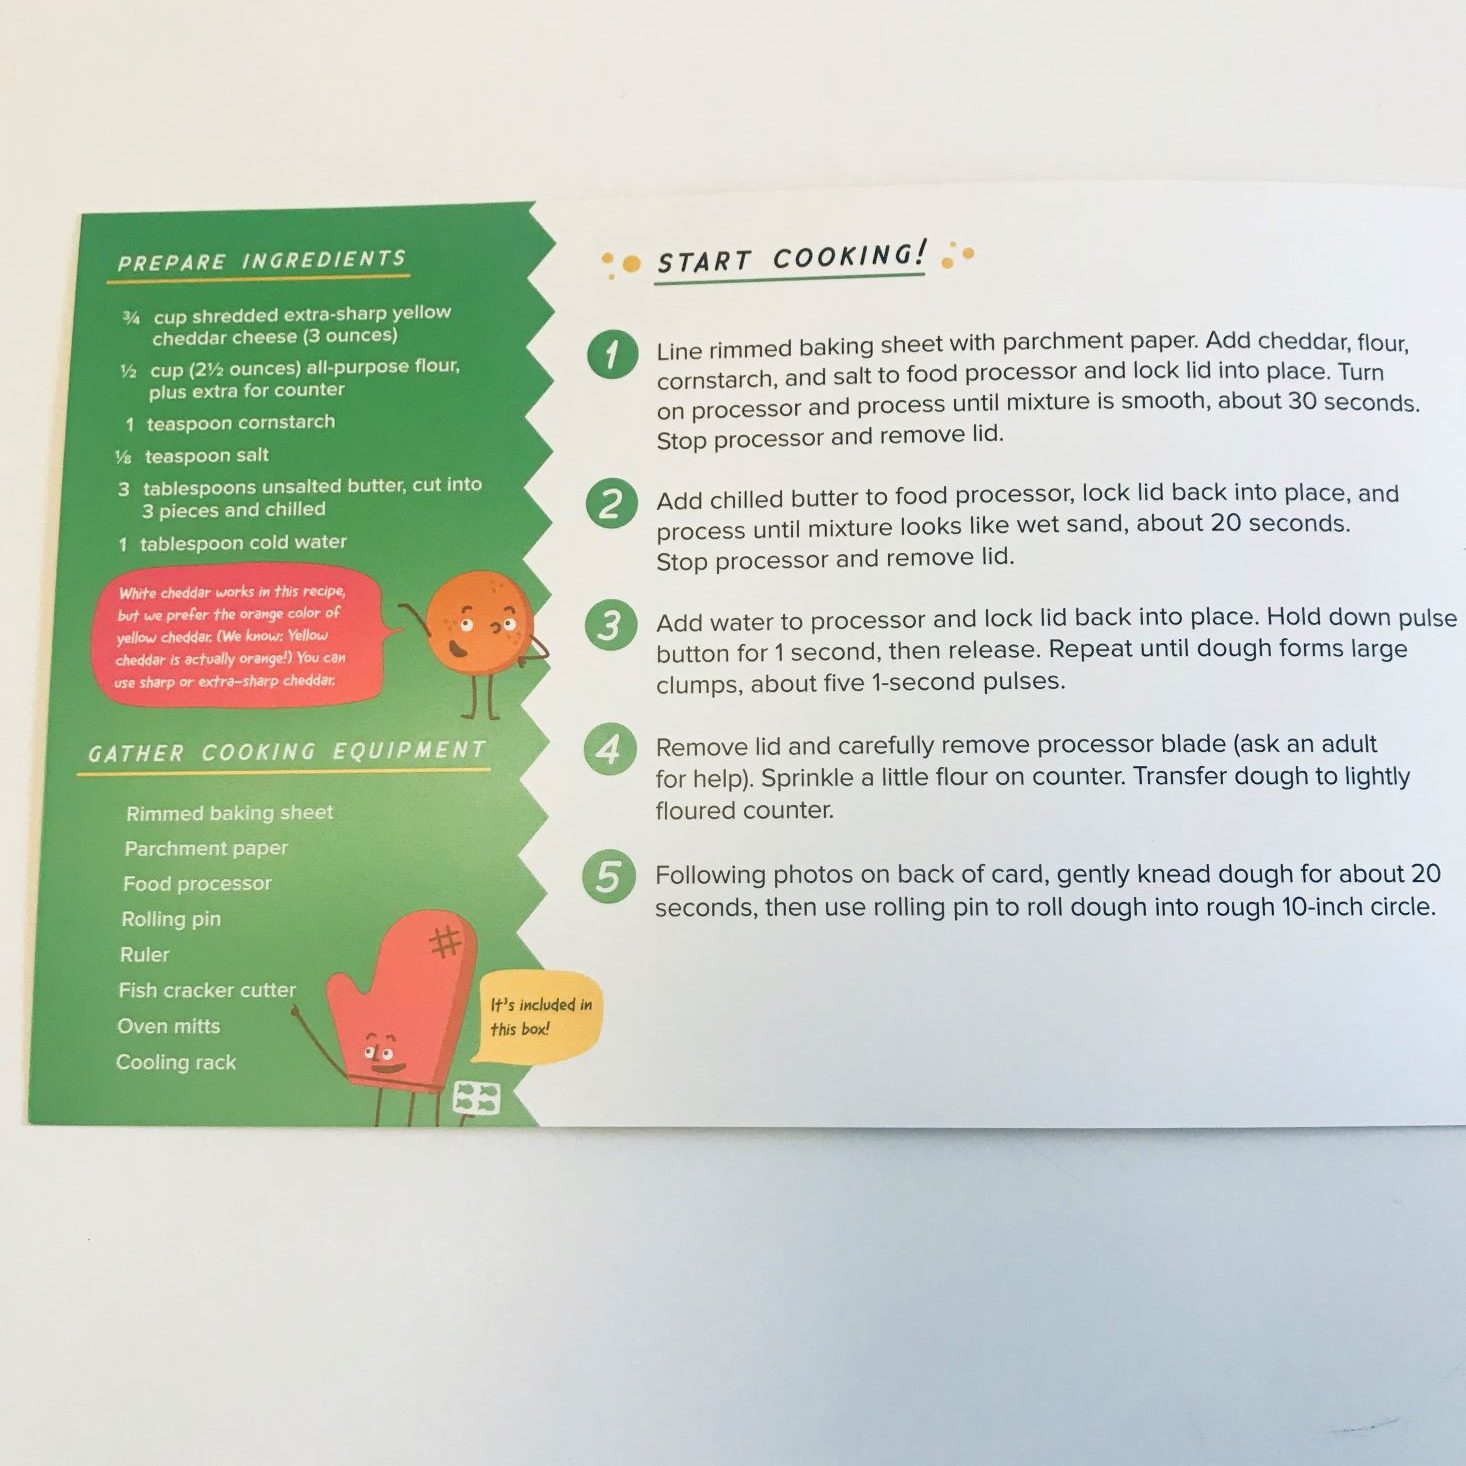
Cheddar Fish Cracker Recipe
My kids love crackers and we are always on the lookout for lunch pail treats, so we couldn't wait to whip a batch of these up! Check out our results below!
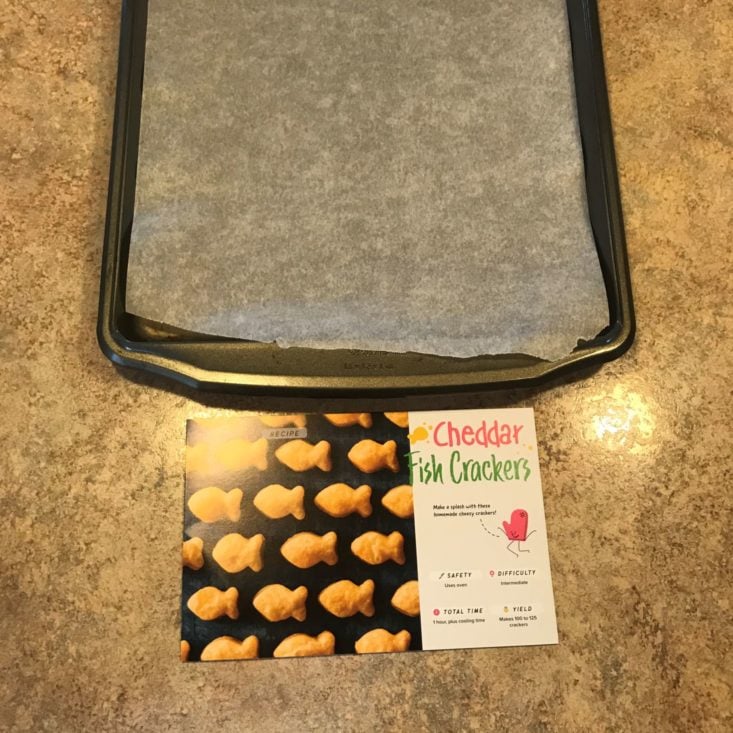
To create these adorable little fishes, you first have to line your baking sheet with parchment paper.
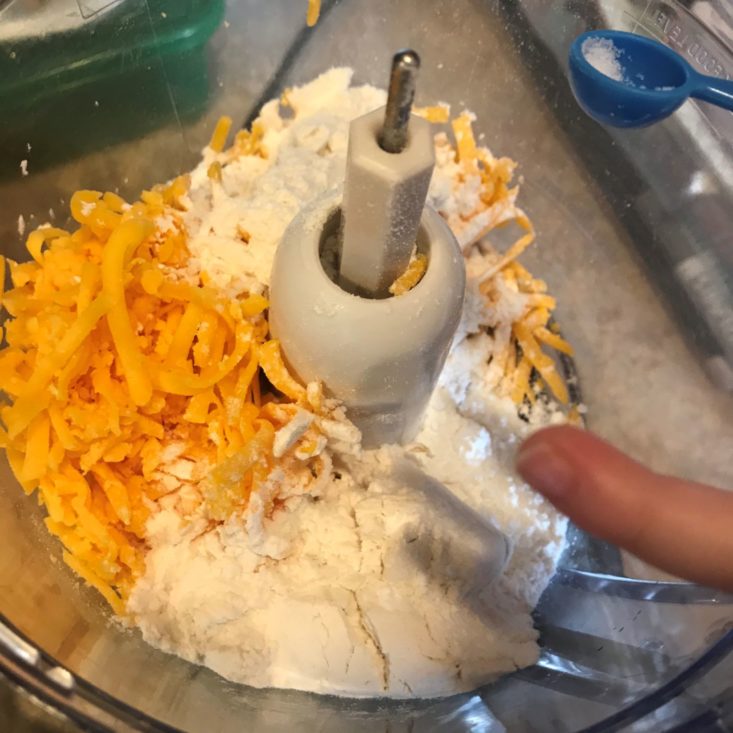
Next, you add cheese, flour, cornstarch, and salt into the food processor and mix.
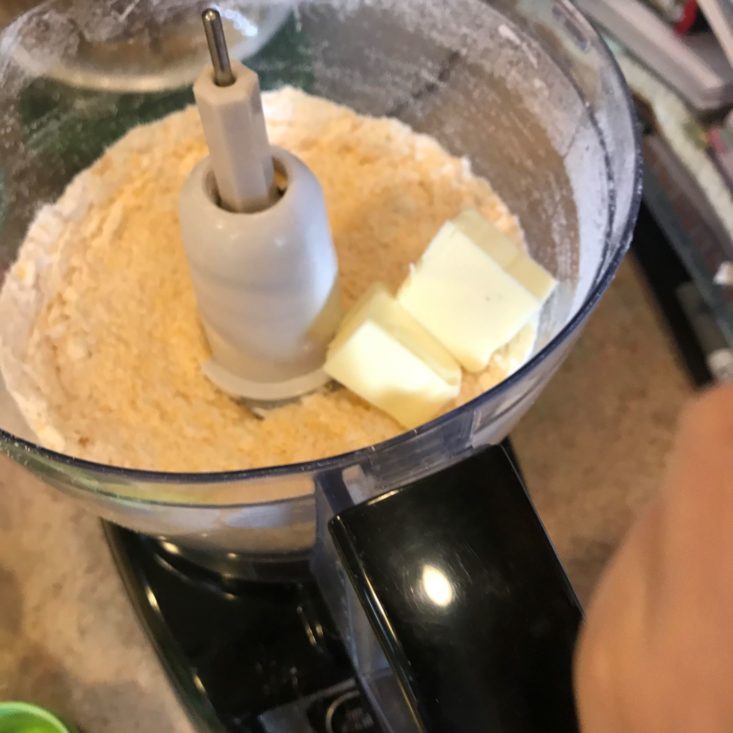
Add some chilled butter... and a little bit of water.
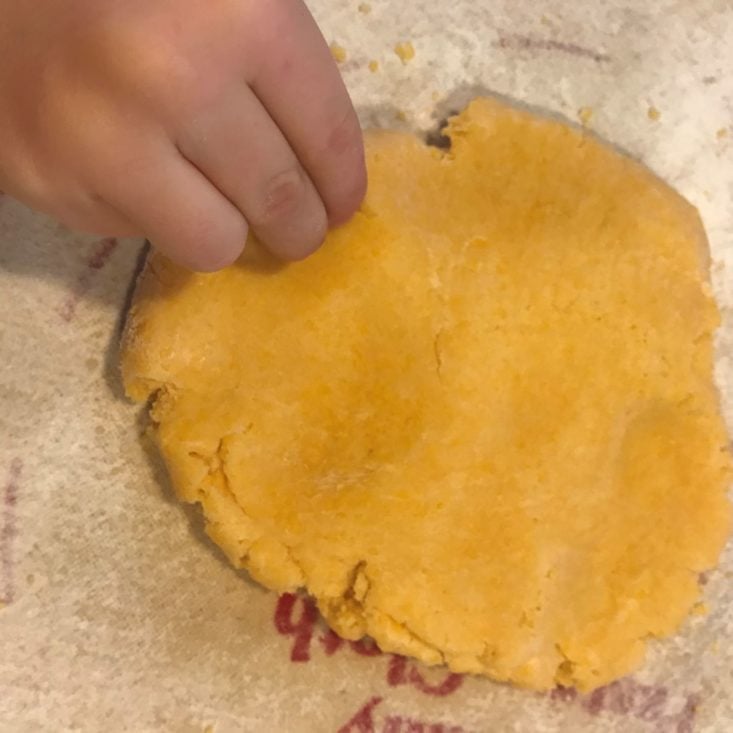
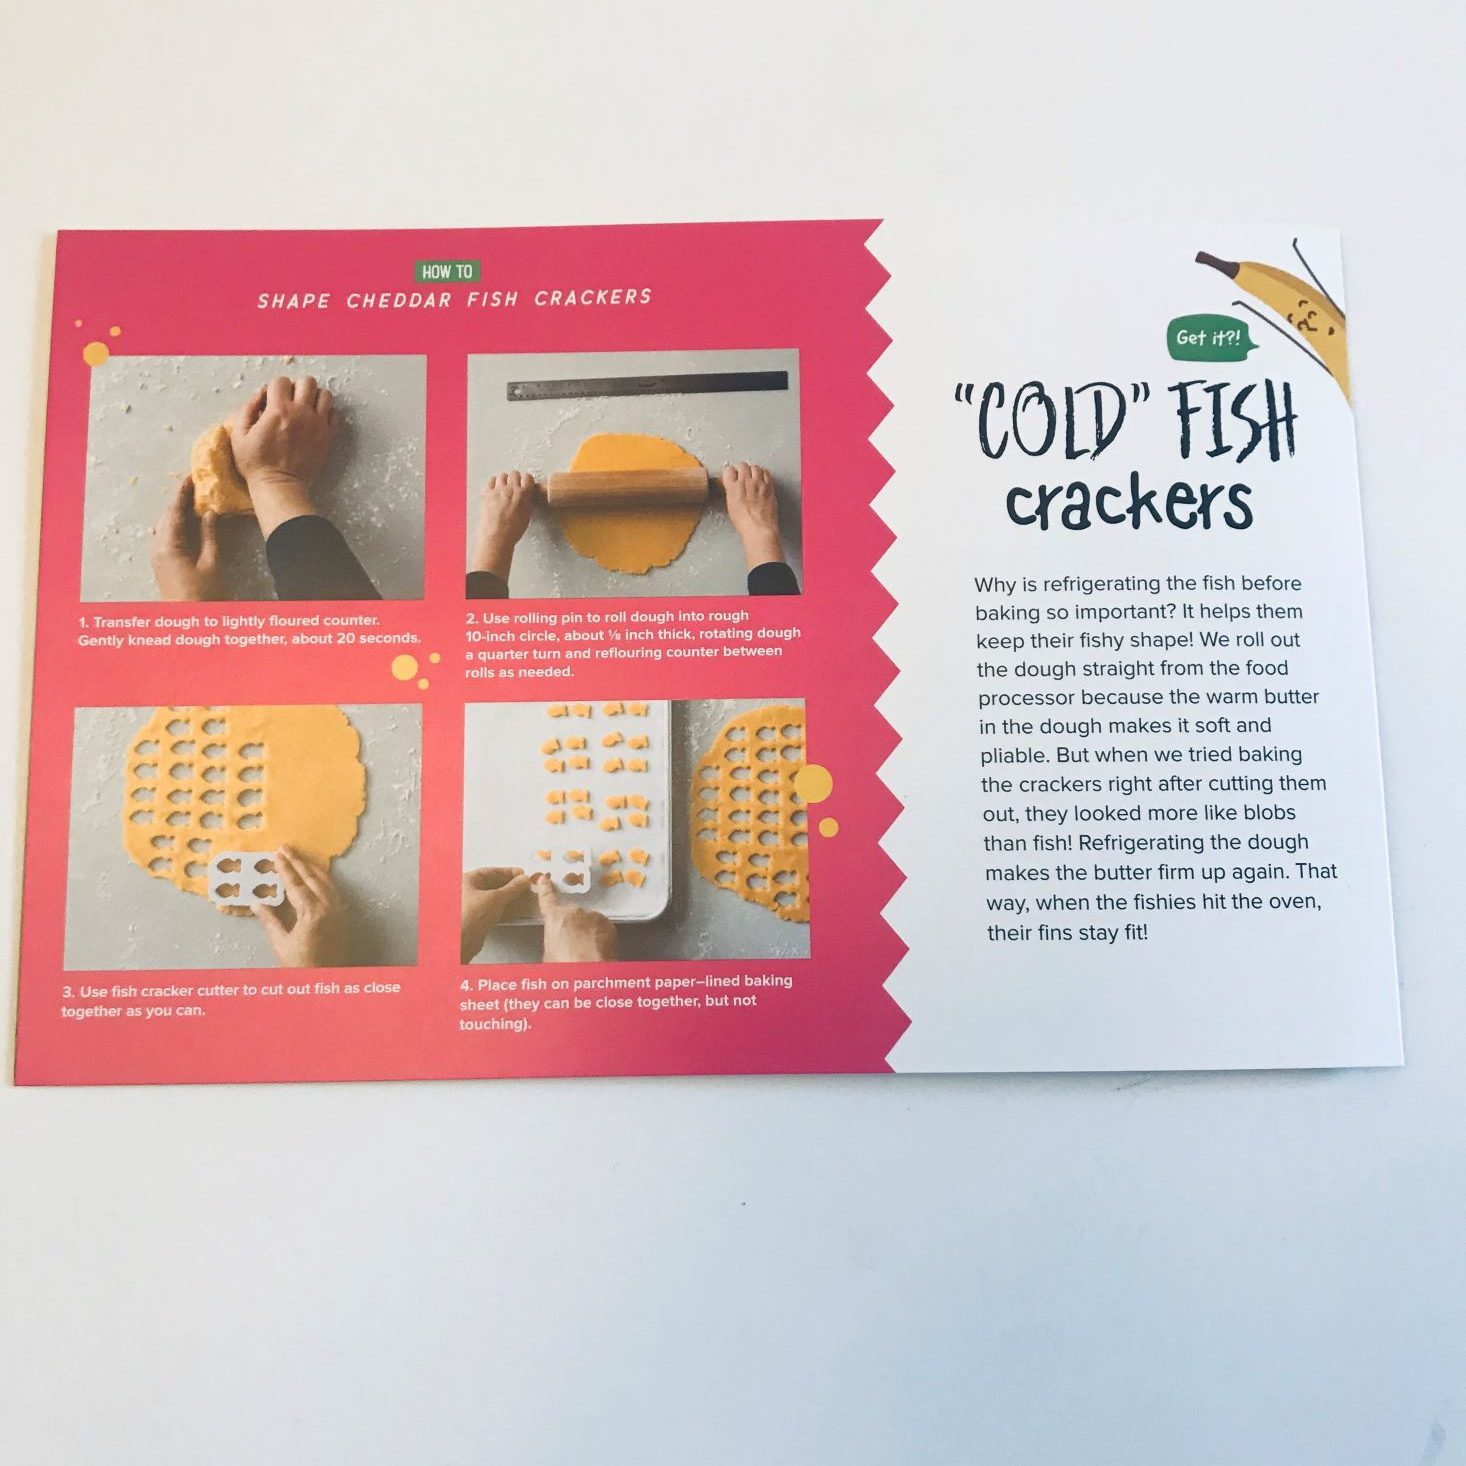
Then knead for about 20 seconds on a floured surface. (I love my pastry board/cloth- it makes cleanup a breeze!)
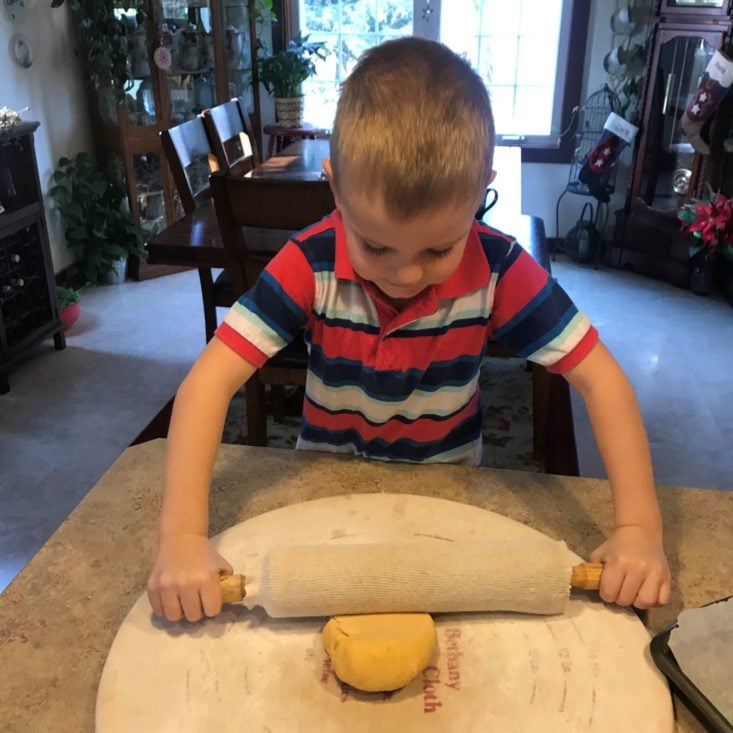
Next, you roll out the dough to 1/8" thick.
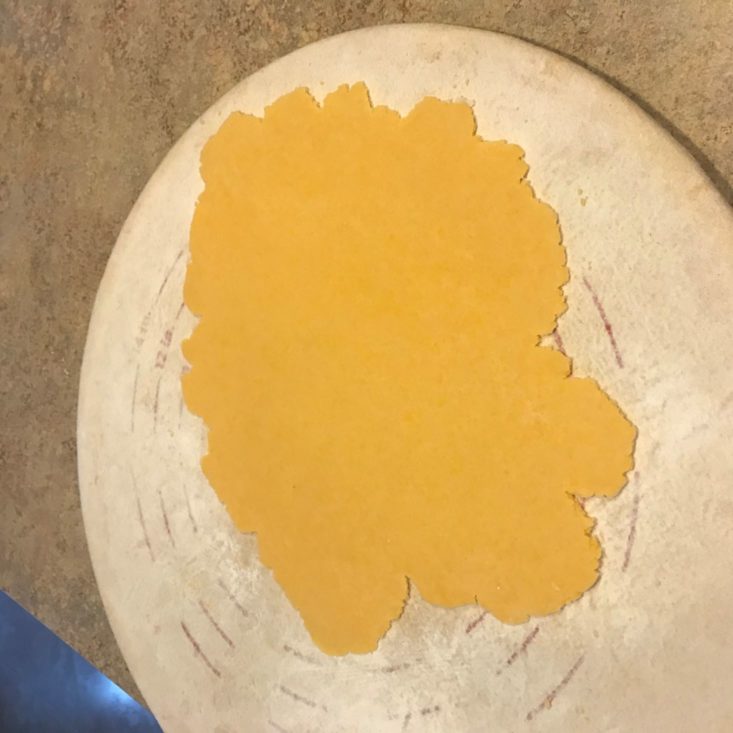
Charlie did pretty good!
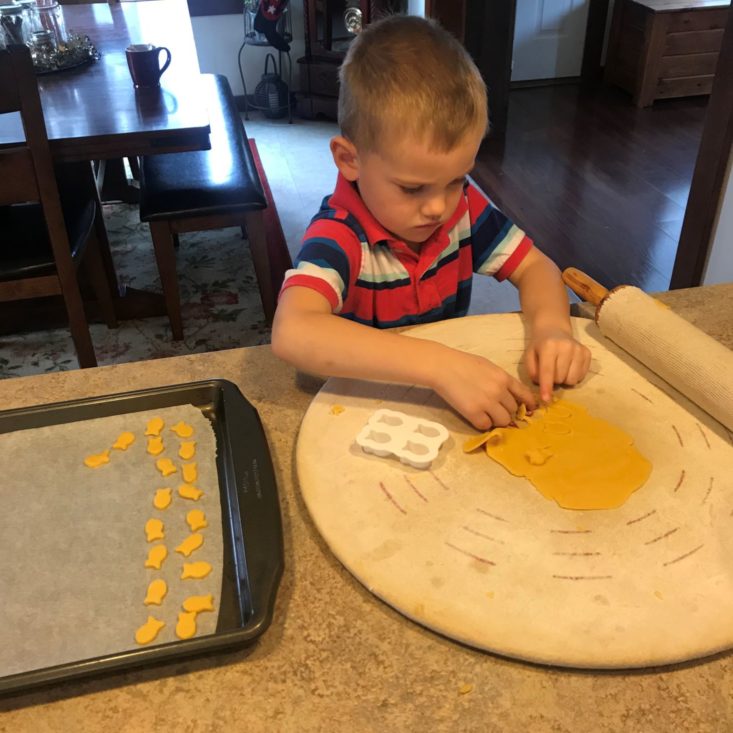
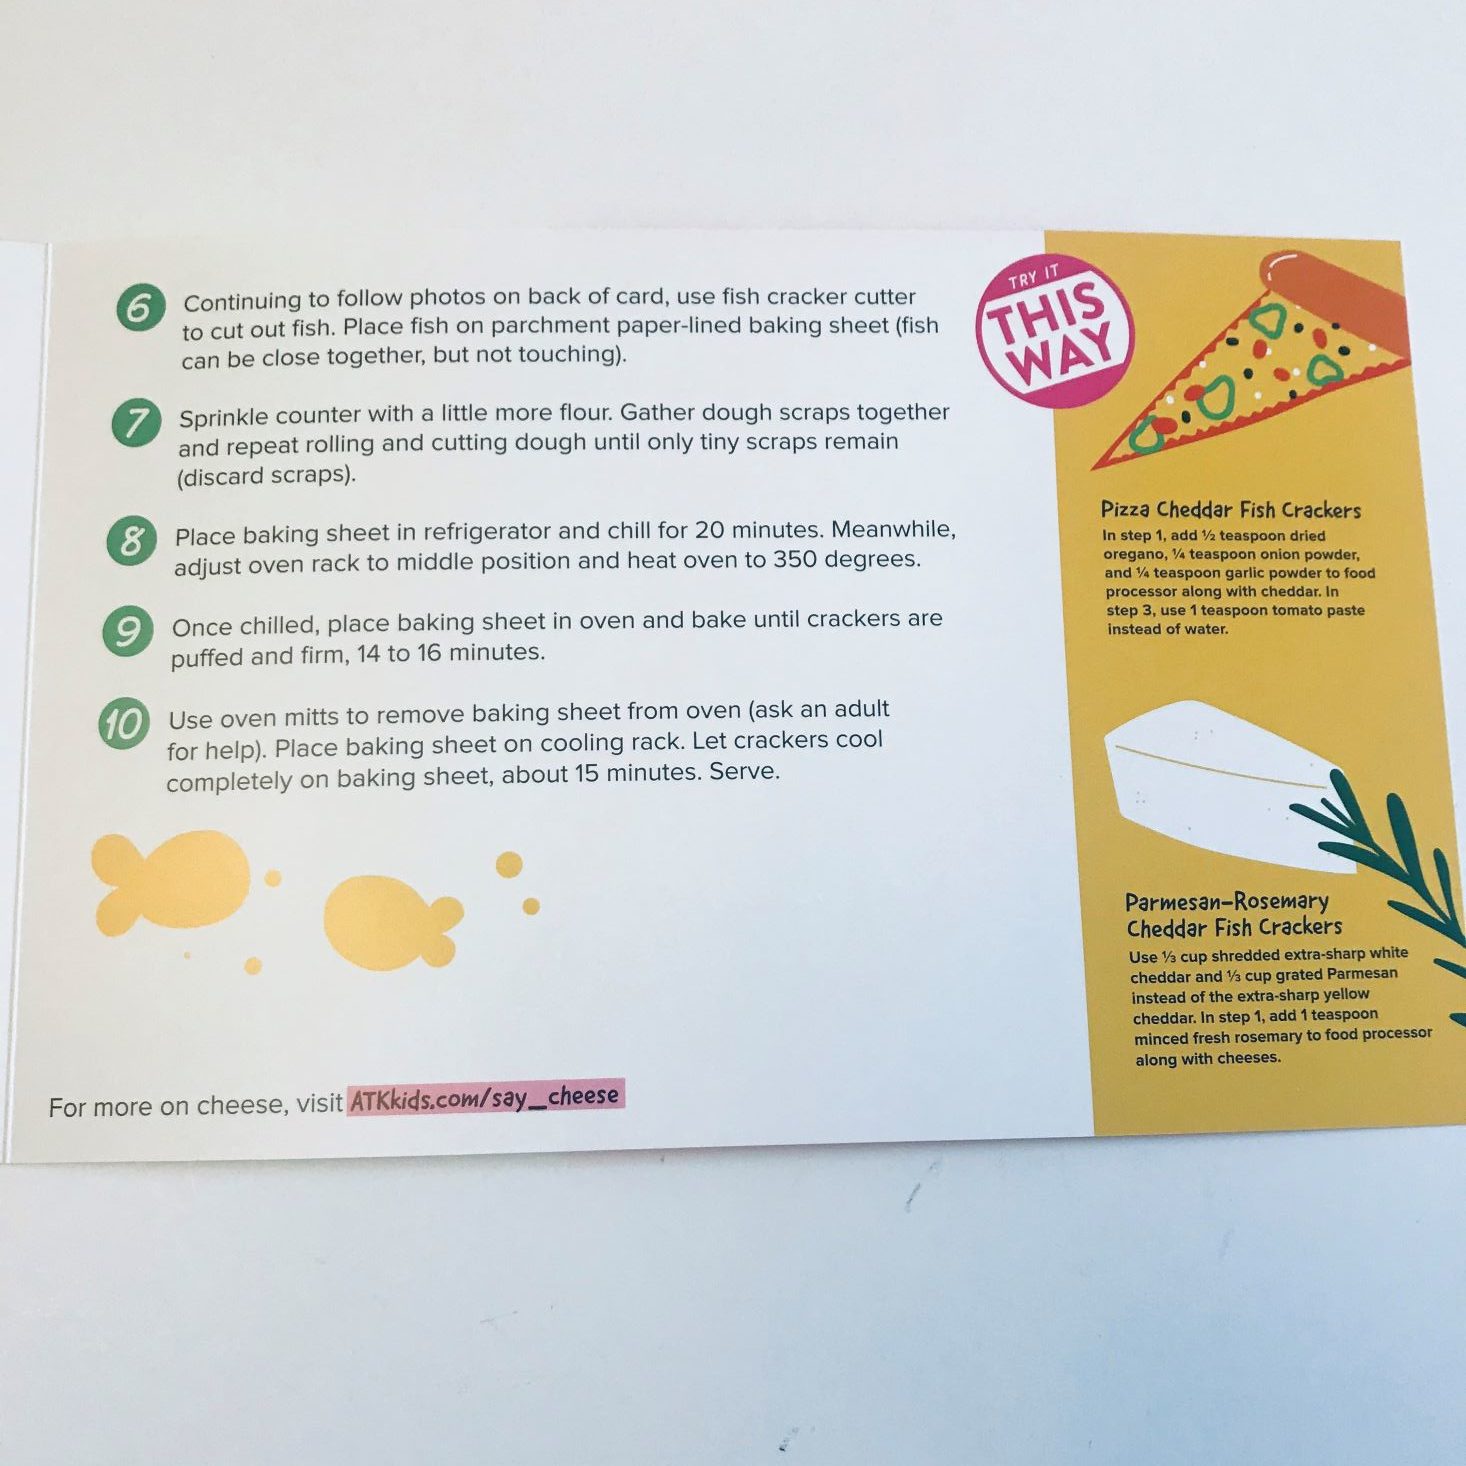
The best part: using the fish cutter!!!
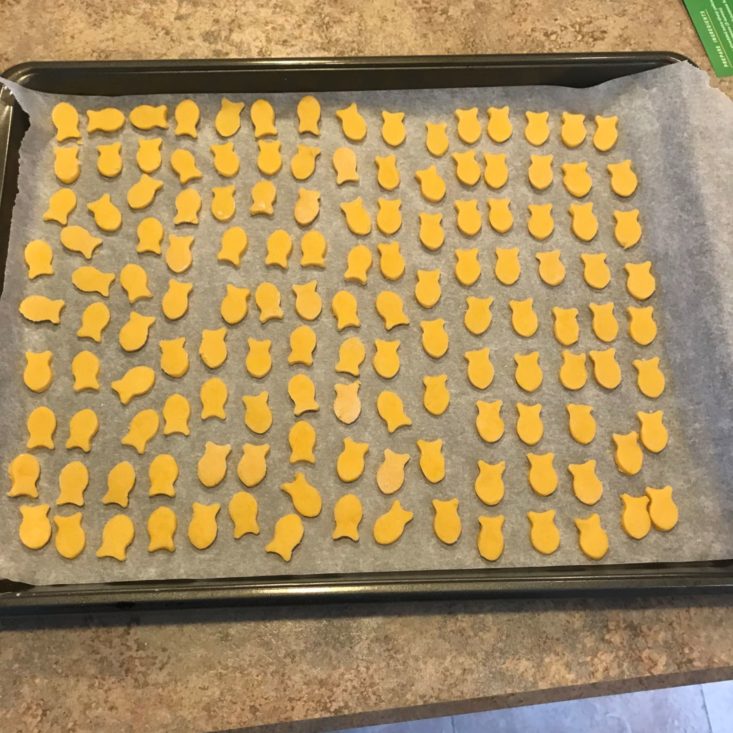
Line up your school of fish on the pan, making sure they don't touch and put them in the refrigerator for 20 minutes. (This helps them keep their fish shape.)
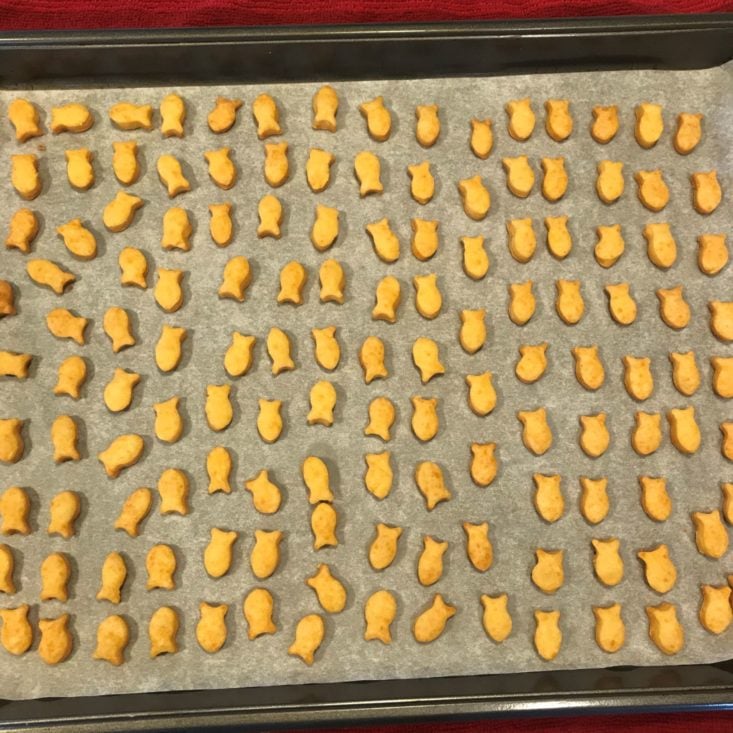
Pull them out of the refrigerator and immediately put then in the 350 F oven for 14-16 minutes, and voila you have your own fish crackers!
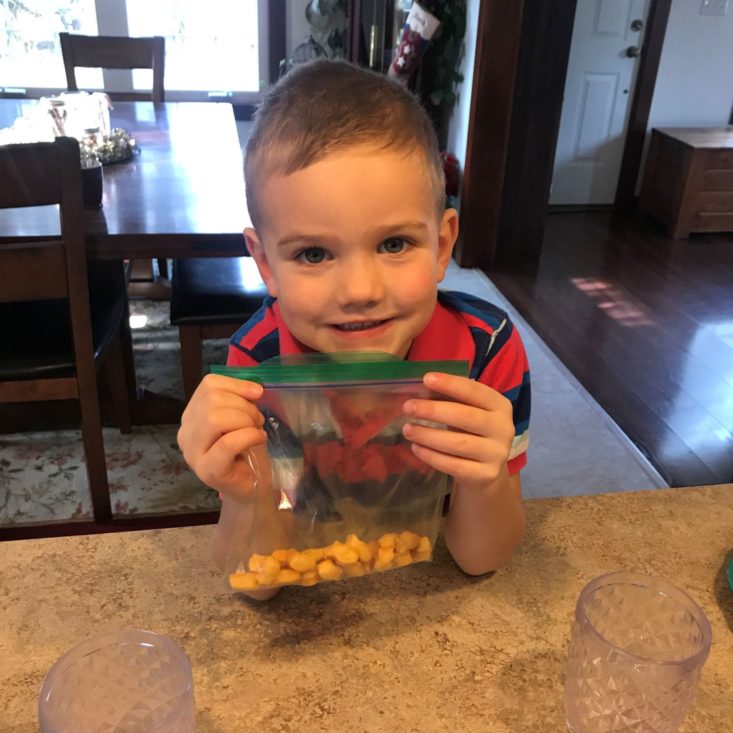
After they fully cooled, Charlie bagged them up for lunch treats! (After eating half of them of course!)
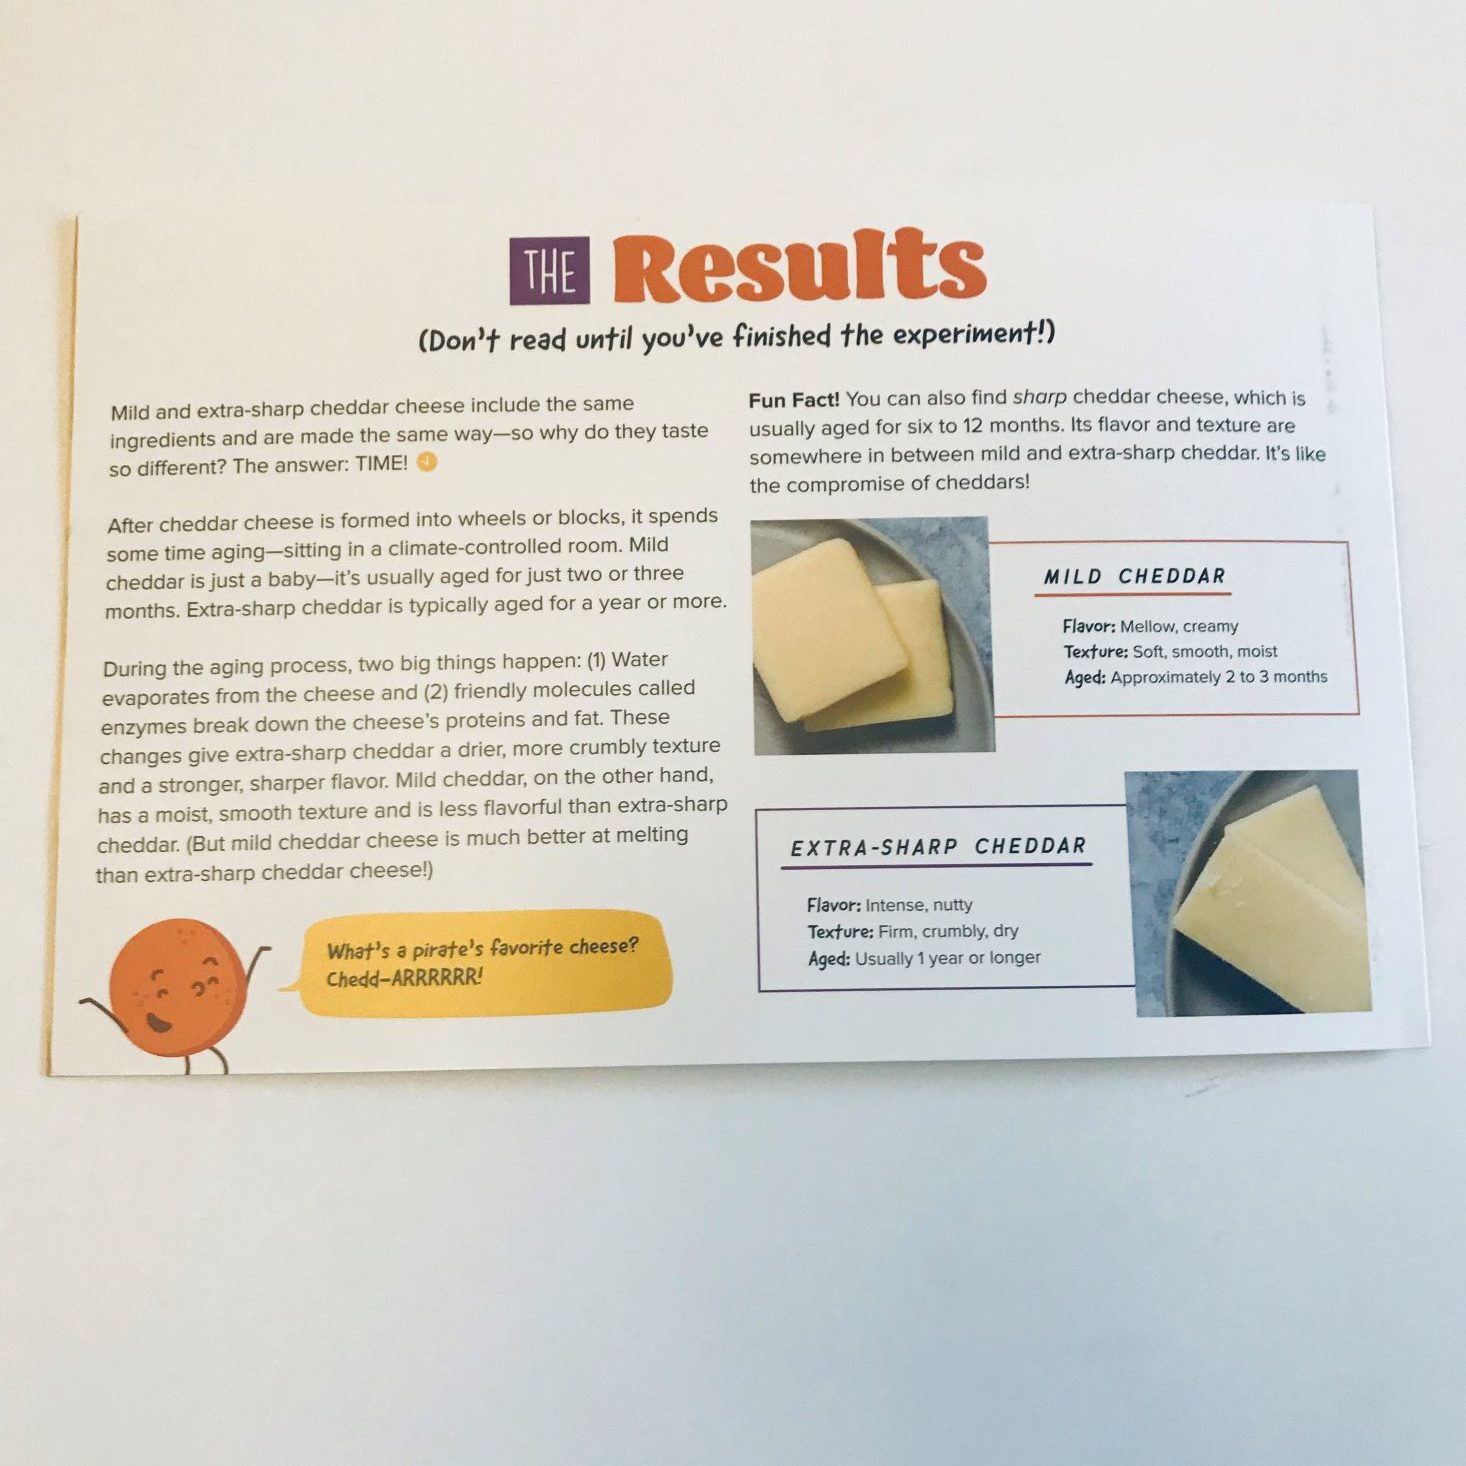
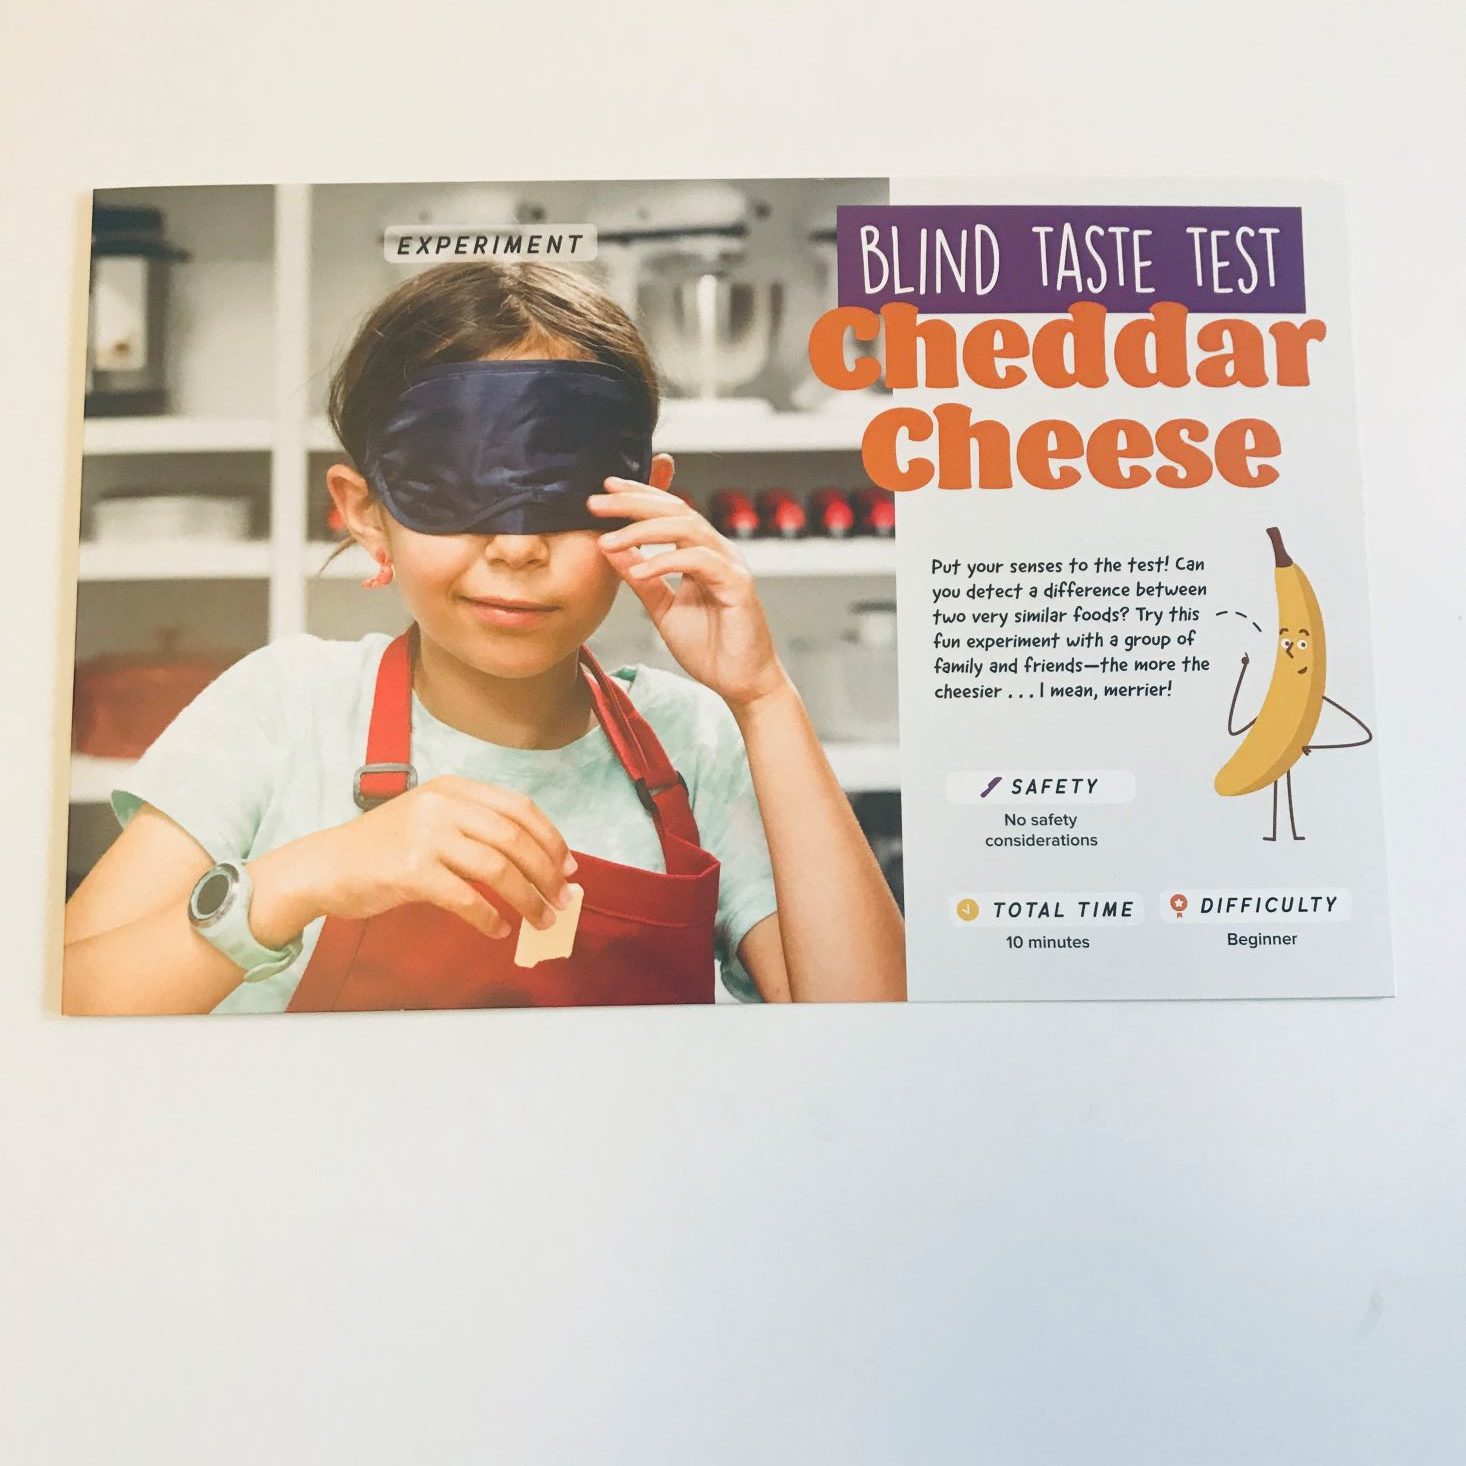
Blind Taste Test: Cheddar Cheese
Check out this experiment! Charlie and Hank couldn't wait to try out the blindfold and do the taste test. They even coaxed great-grandma into doing the taste test when she brought over the cheesecloth! Check out the kids' reactions below.
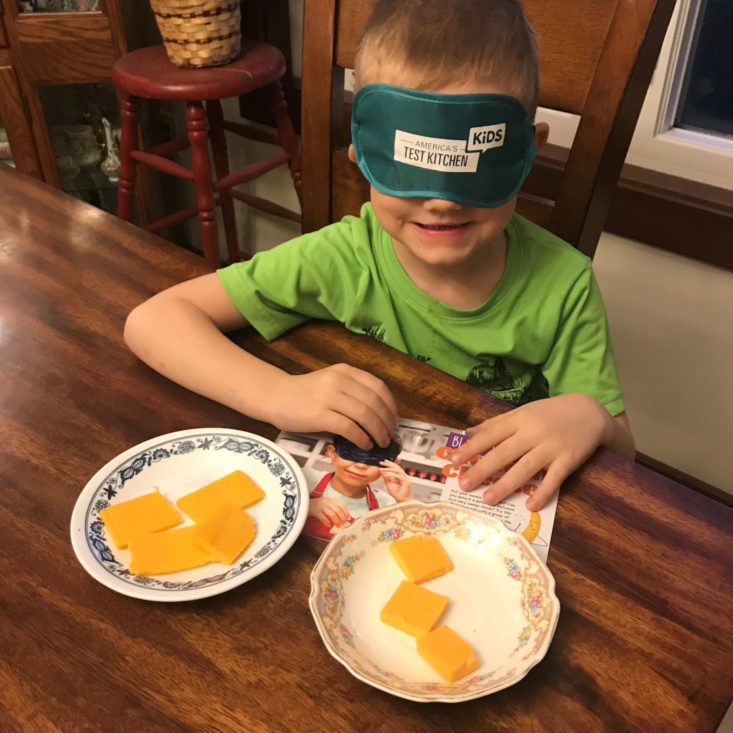
Here is the set up: extra-sharp cheddar versus mild cheddar...who will come out on top?!
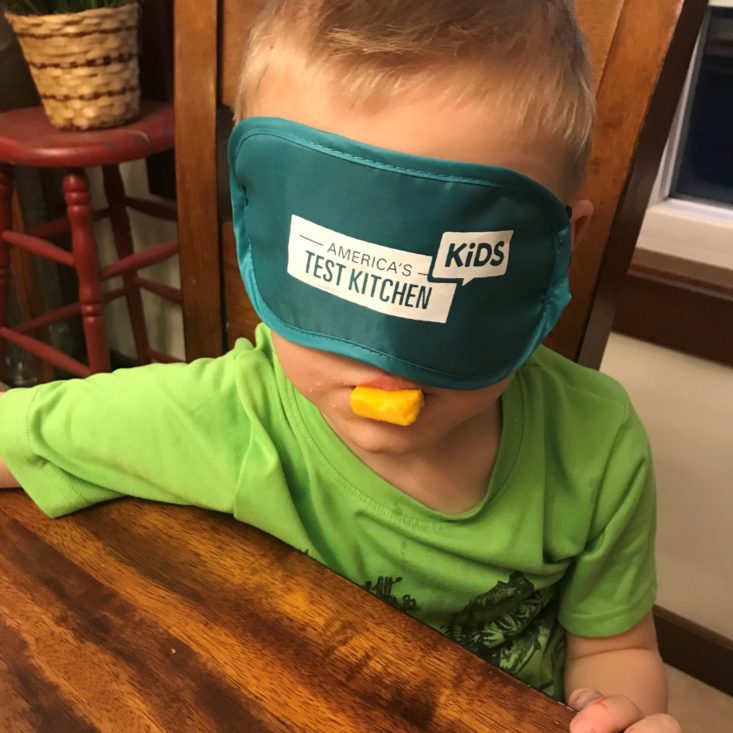
If you can't tell by this picture, Charlie was NOT a fan of the extra-sharp cheddar cheese. He spit it right out. I don't think he will be doing any blind taste testing anytime soon. He definitely is a mild cheddar kind of guy!
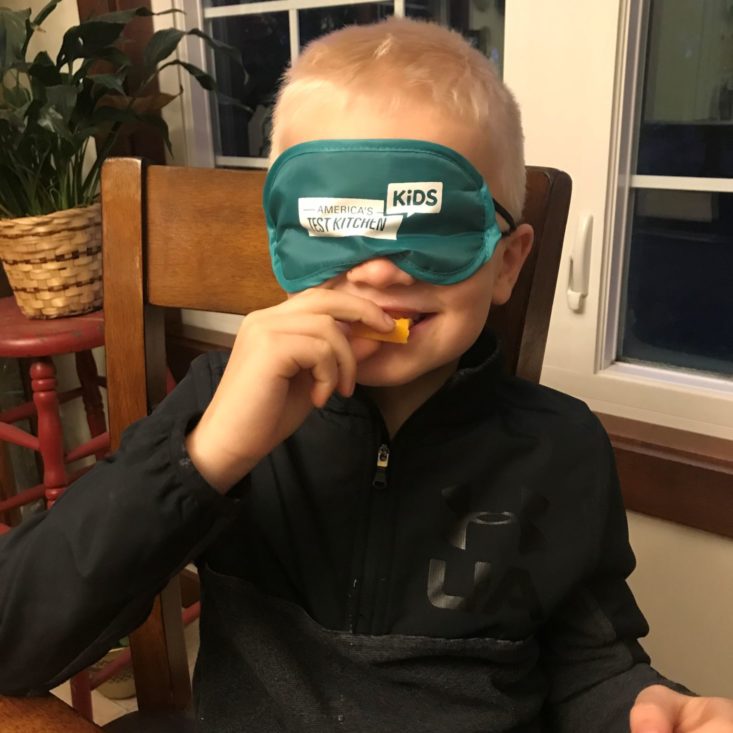
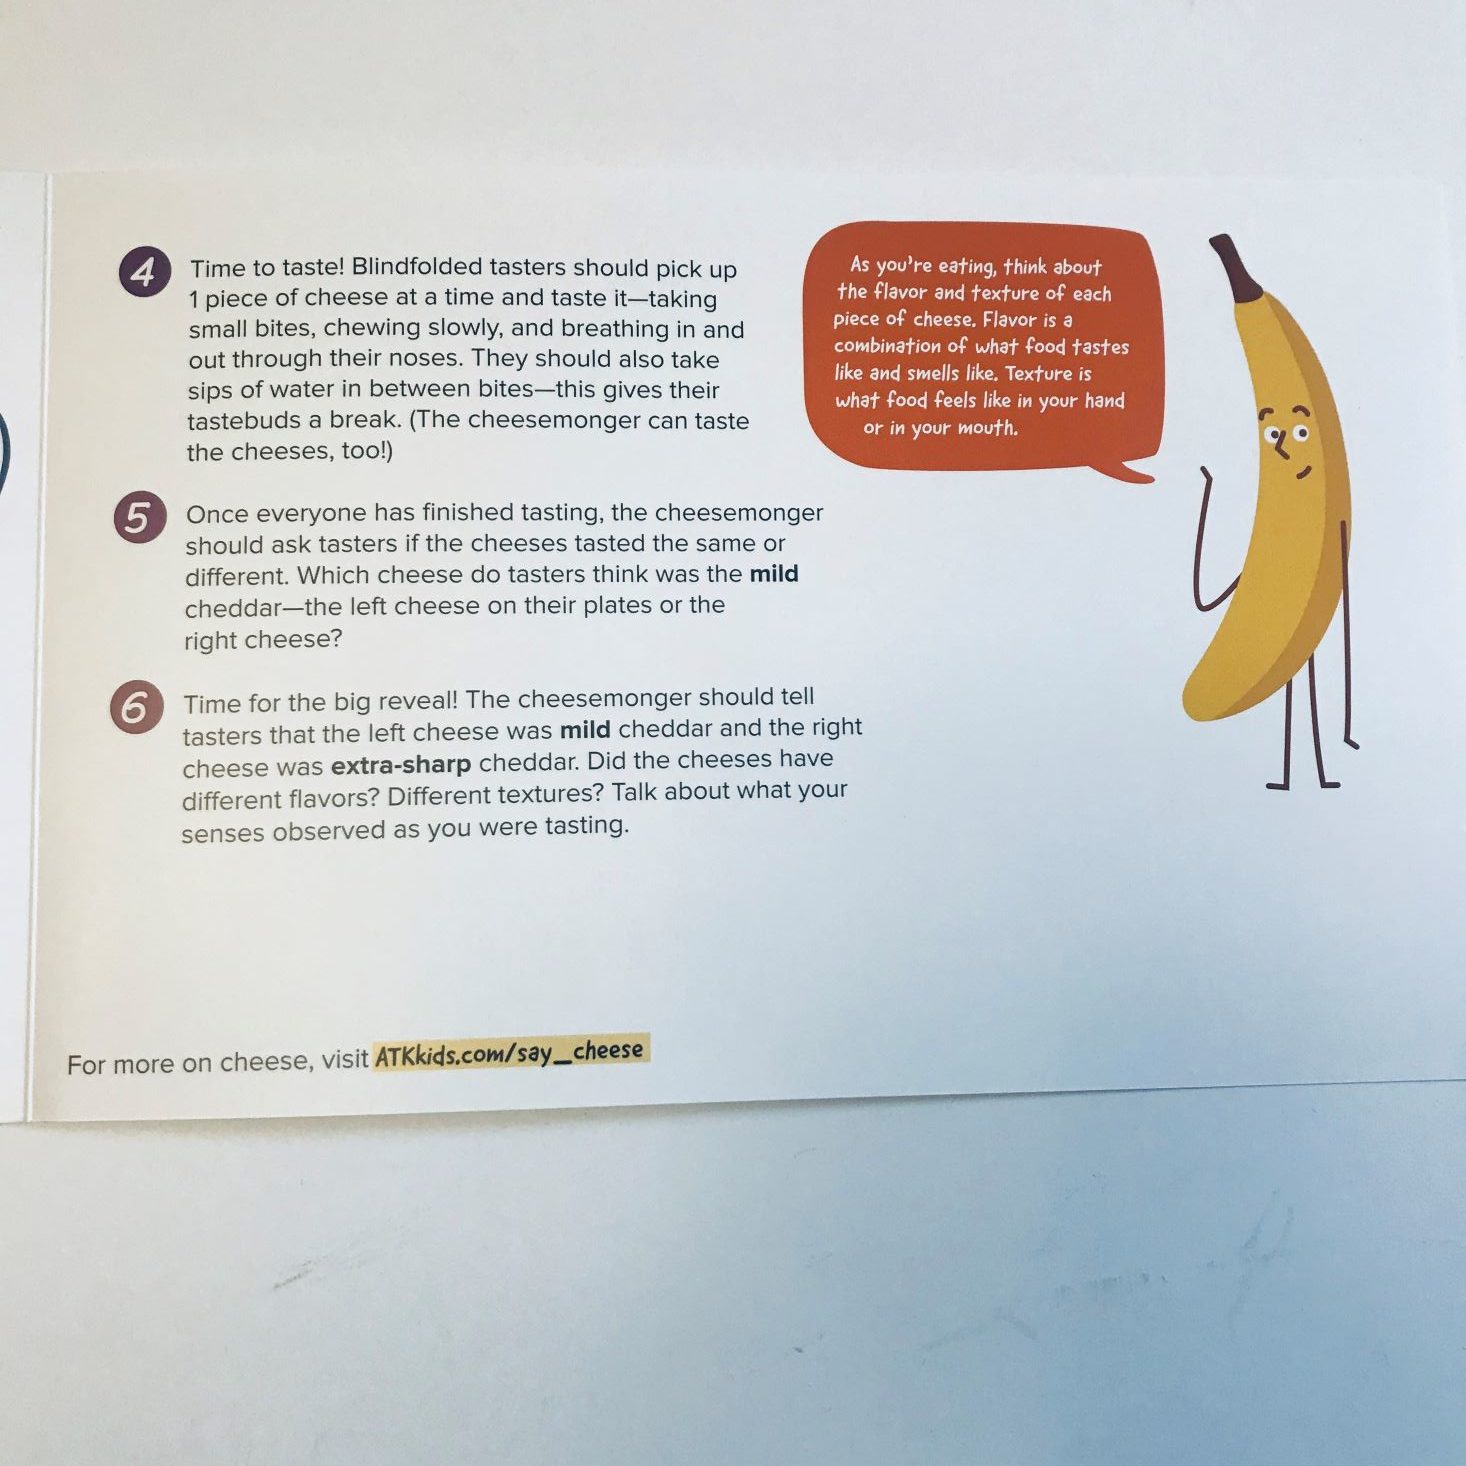
While he didn't spit out the cheese, Hank didn't care for the extra-sharp cheddar cheese either, and could definitely tell the difference between the two. We found the information on the back of the card to be very interesting, in that they didn't know mild cheddar cheese is only aged for 2-3 months, while extra-sharp cheddar is aged for a year or more. I love the science behind the aging process, and really appreciate the detail they go into to teach us about it! FYI- great-grandma preferred the extra-sharp cheddar!
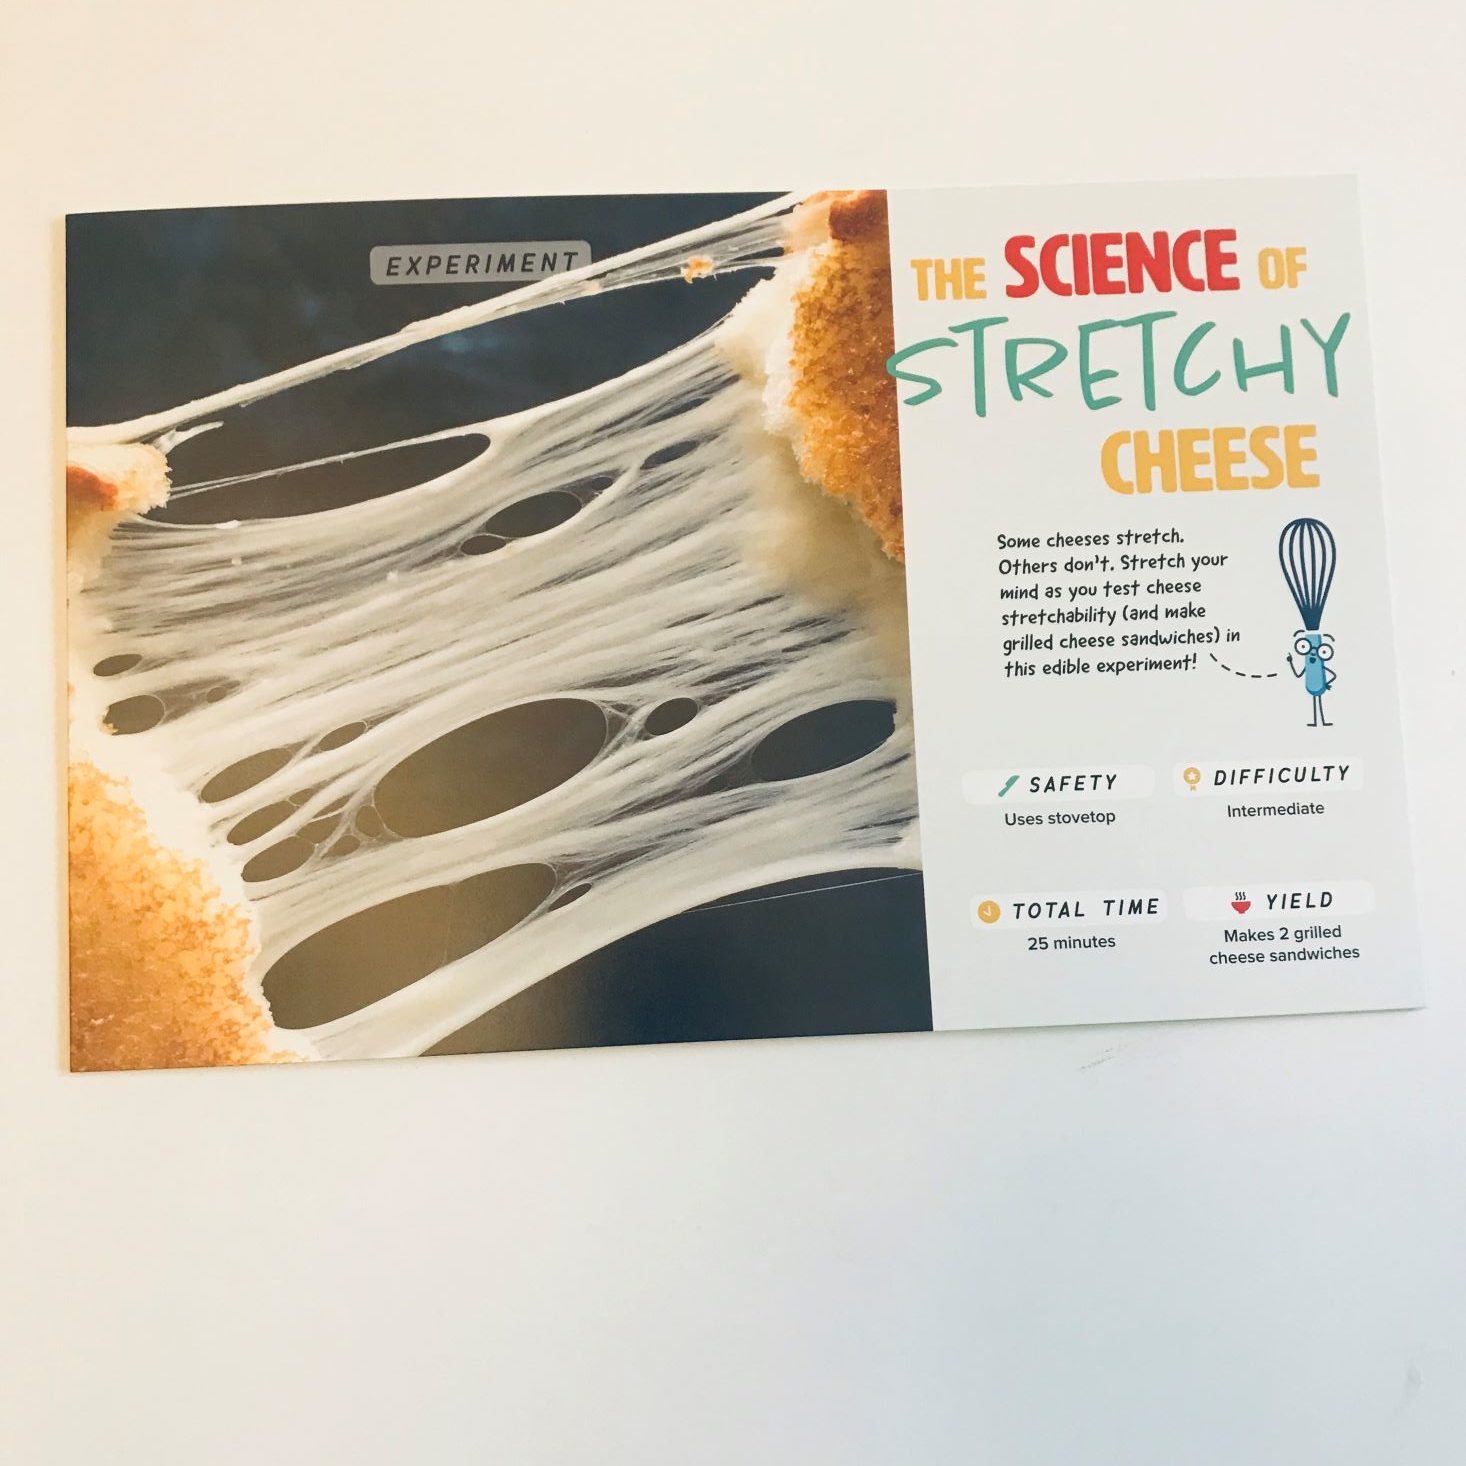
Experiment Card: The Science of Stretchy Cheese
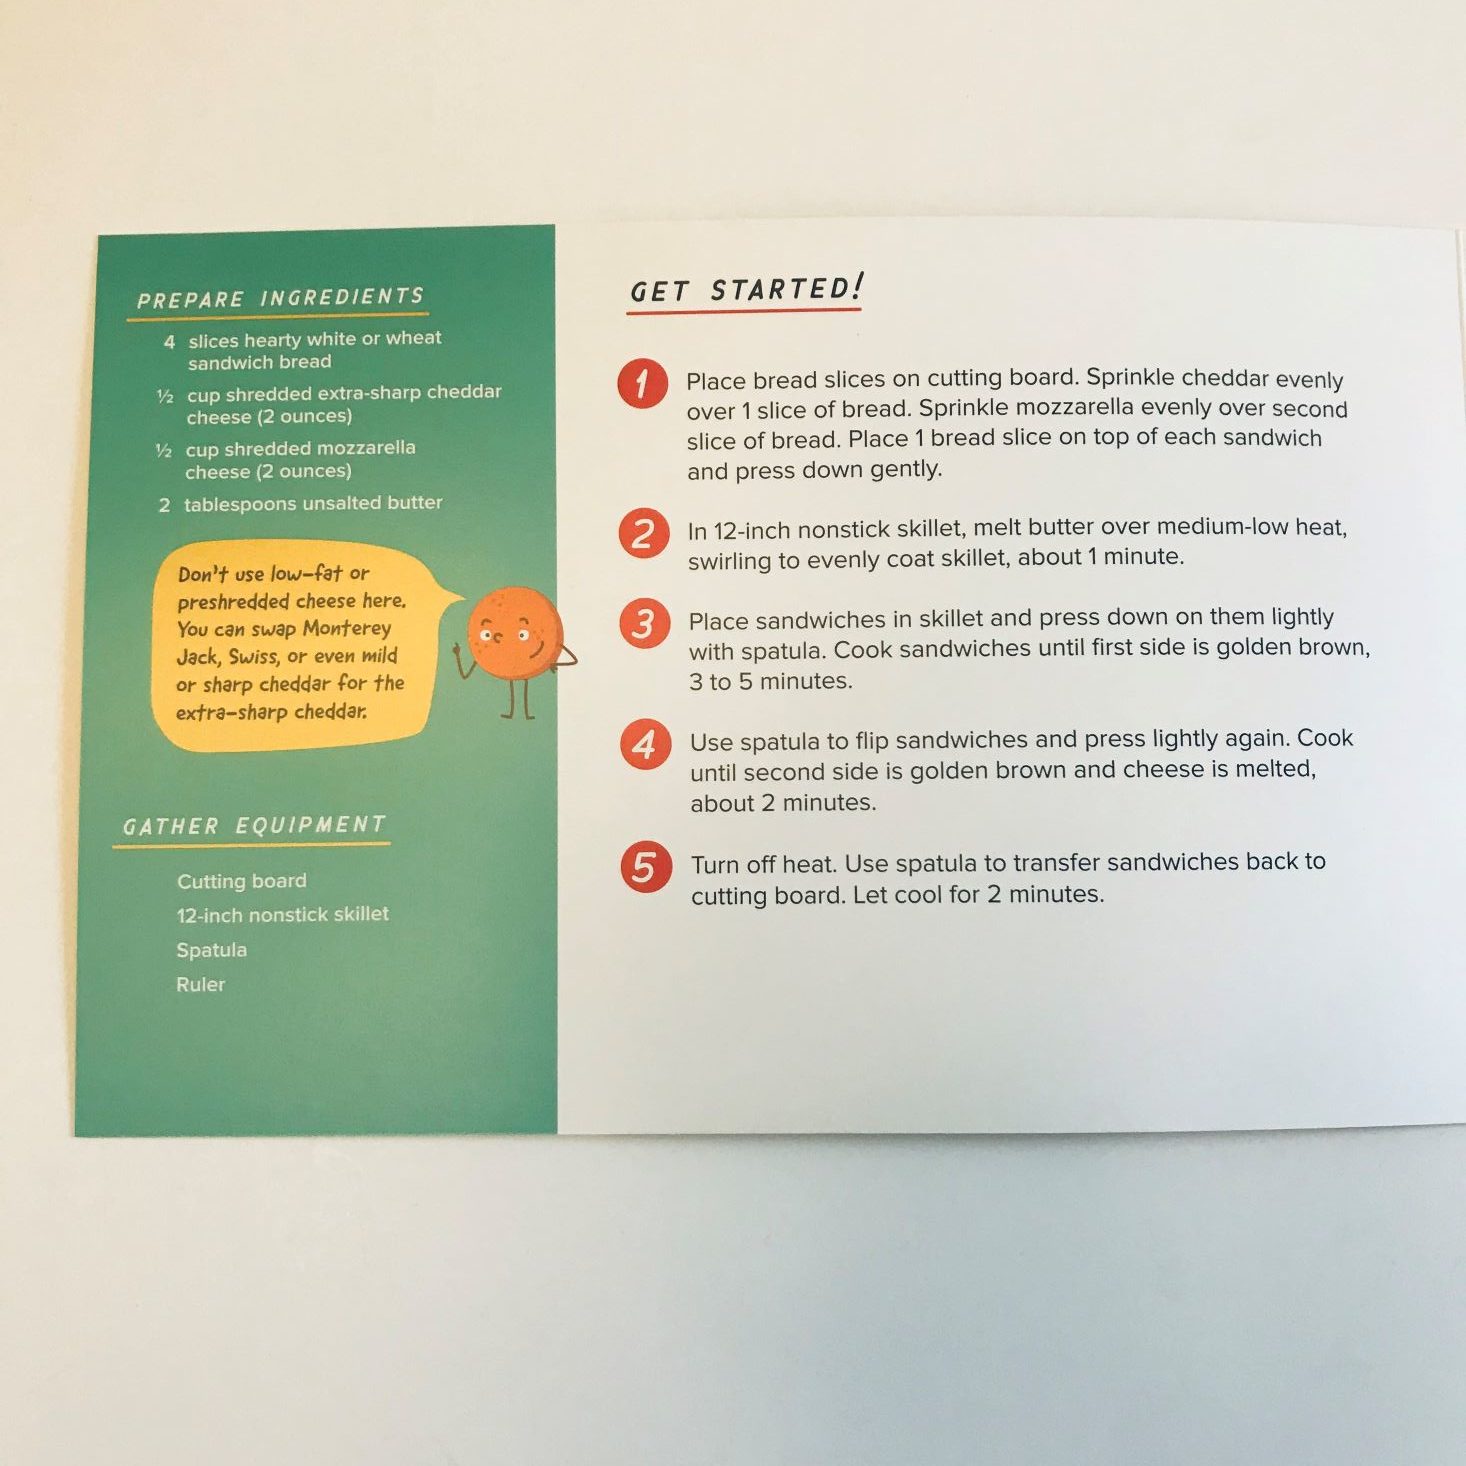
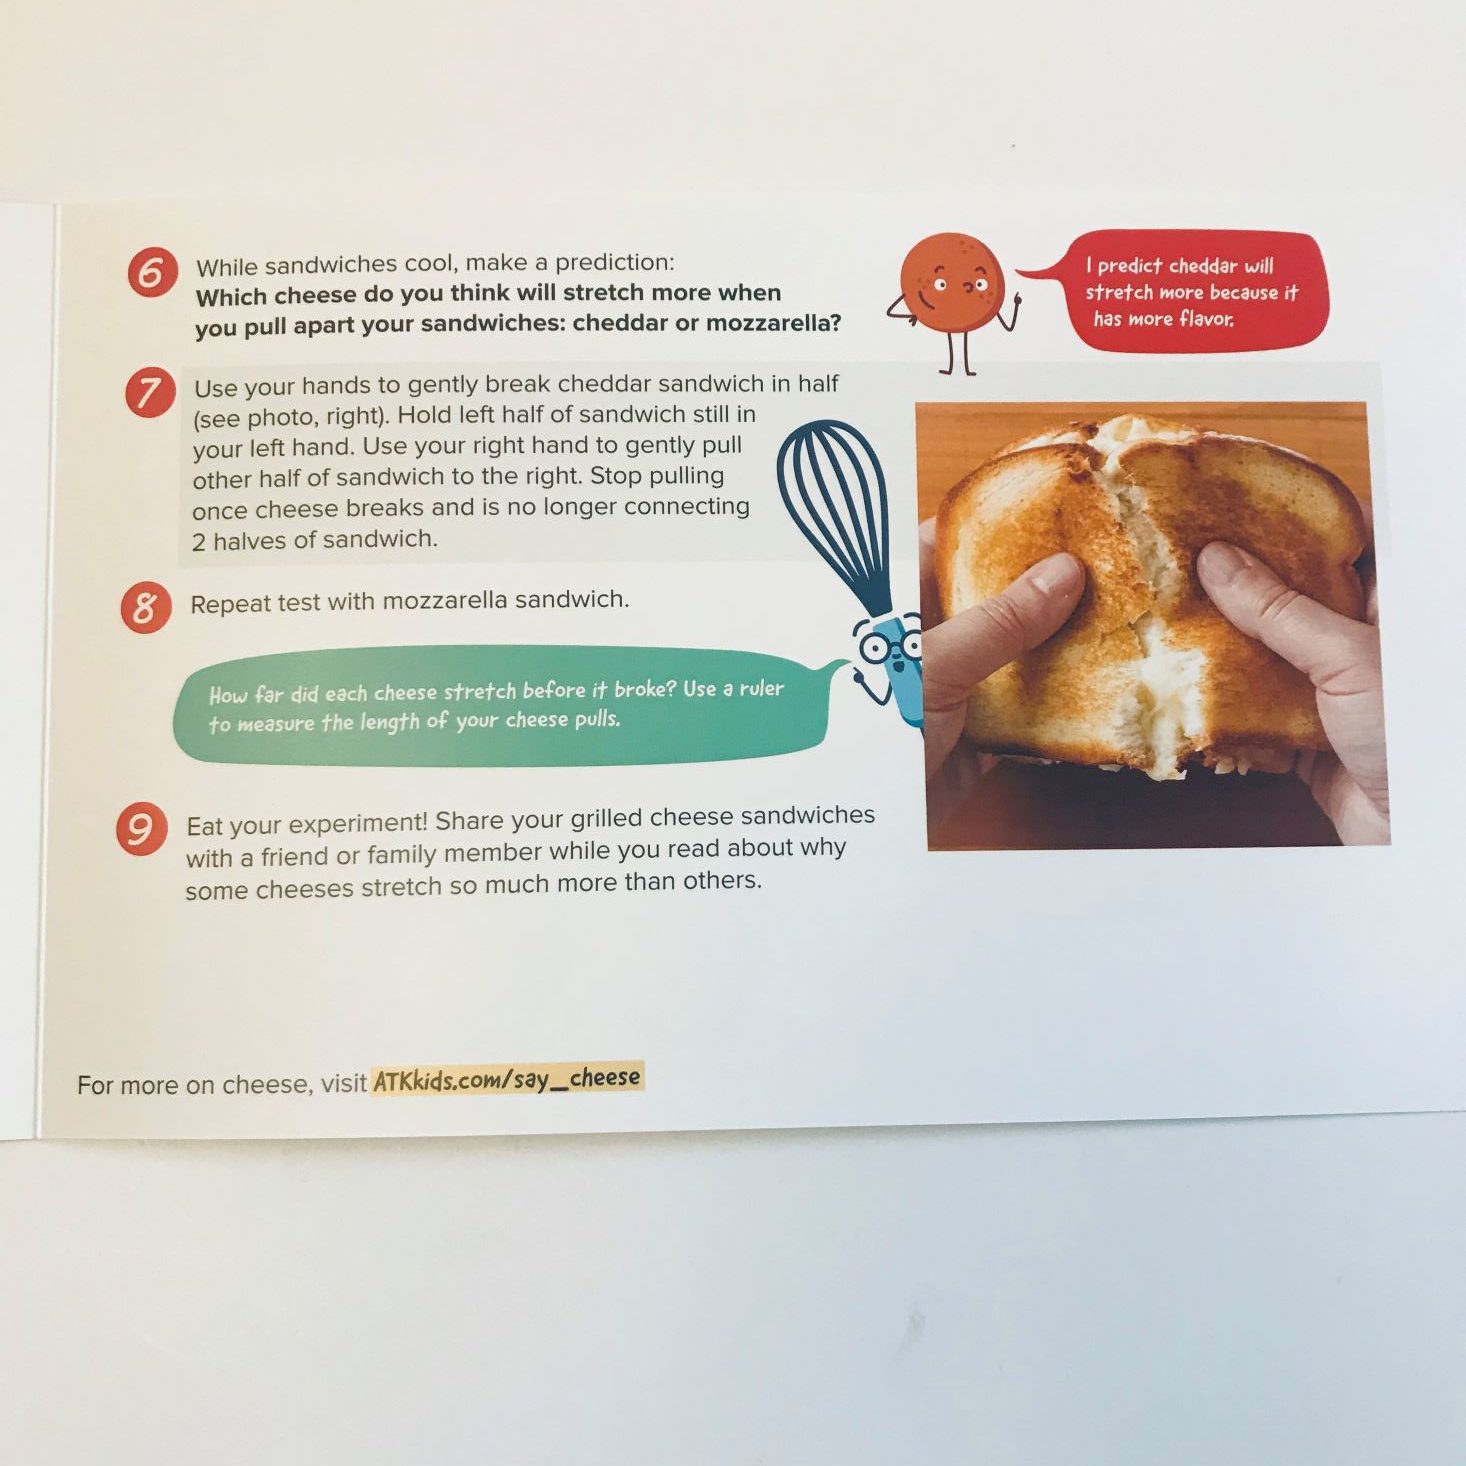
We received another experiment this month, and this one involved grilled cheese sandwiches and stretchability! Which cheese stretched the furthest? Find out below!
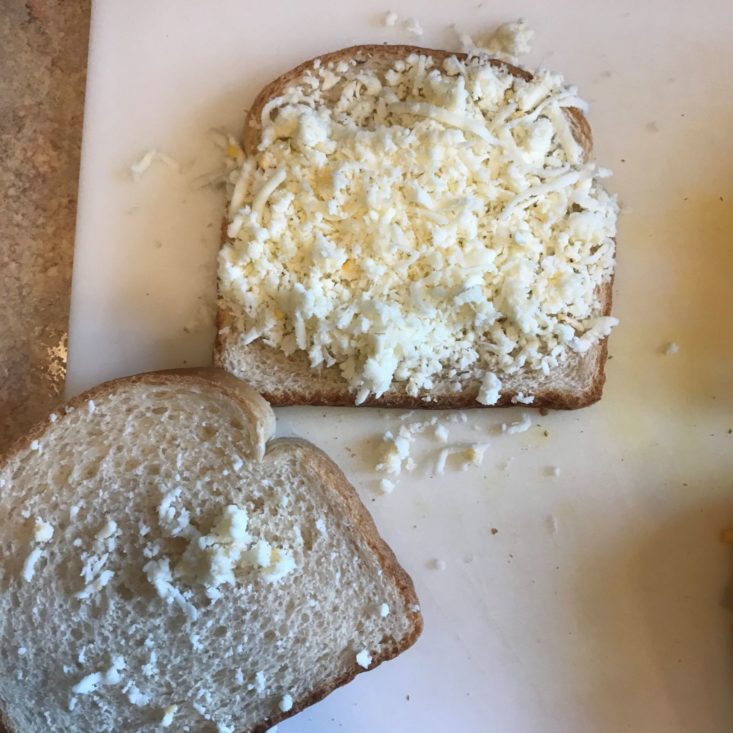
For this experiment, we were to make one grilled cheese sandwich with shredded mozzarella cheese...
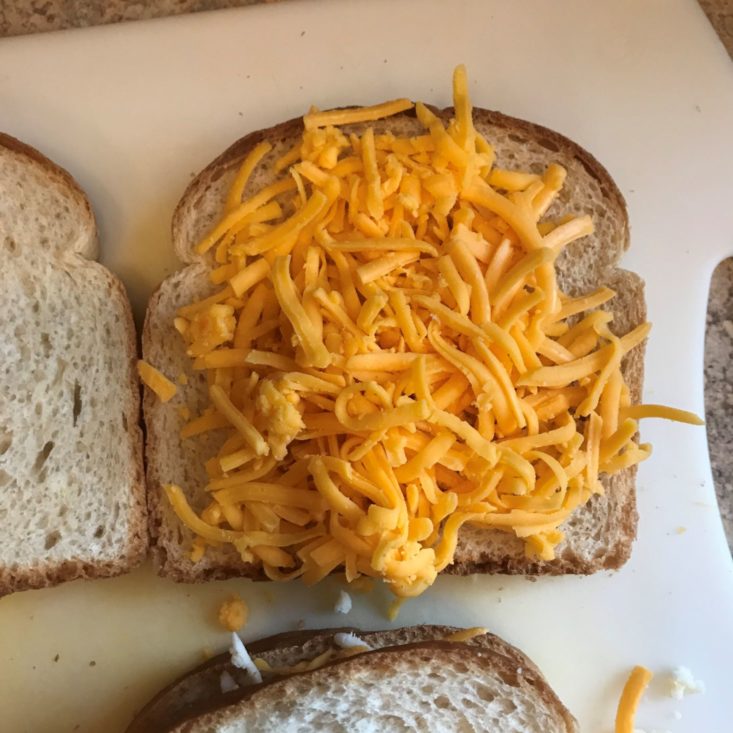
And one with shredded cheddar cheese.
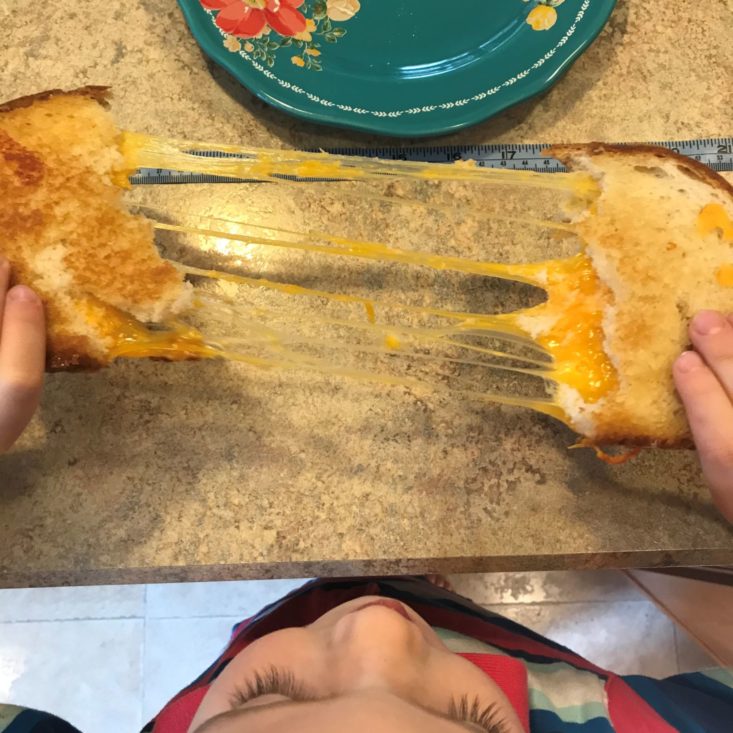
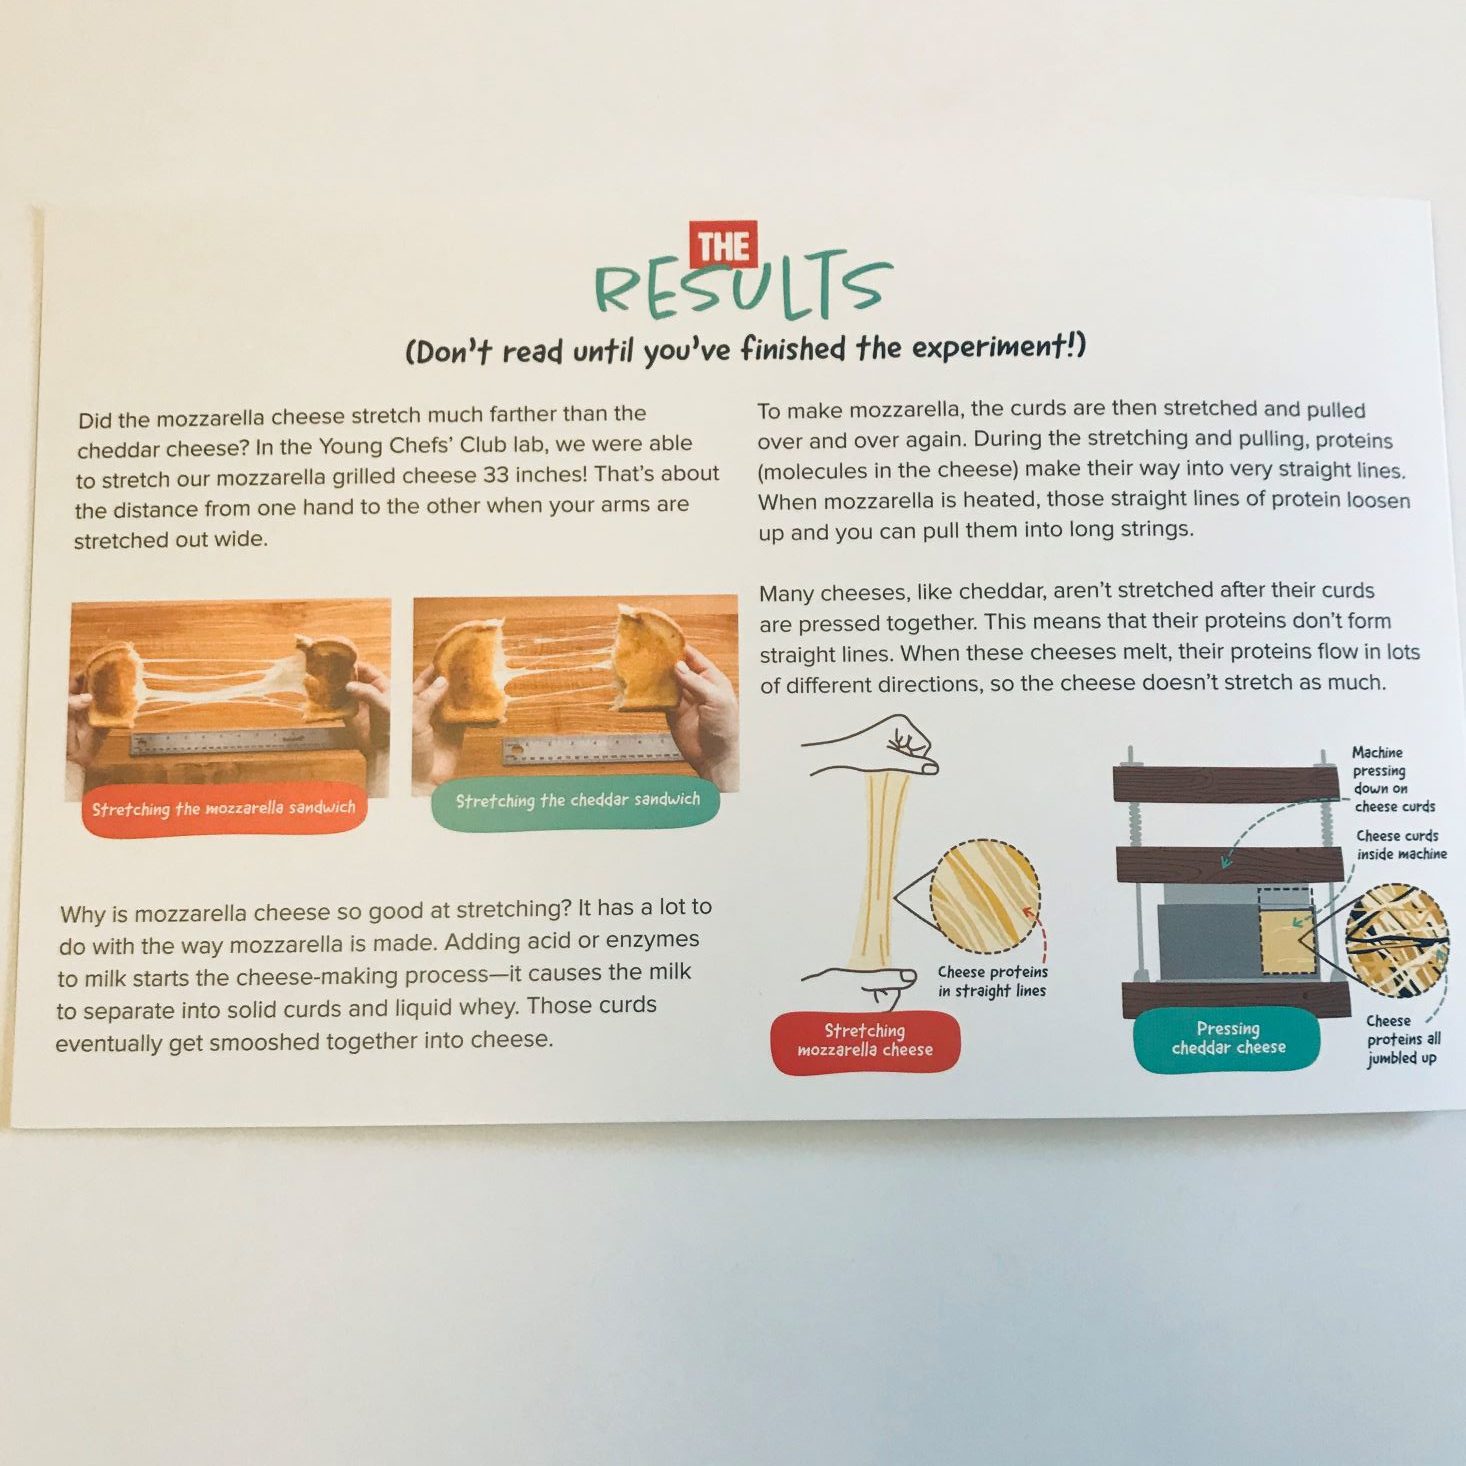
We then laid out a ruler and stretched the sandwiches to see which cheese could stretch the furthest without breaking.
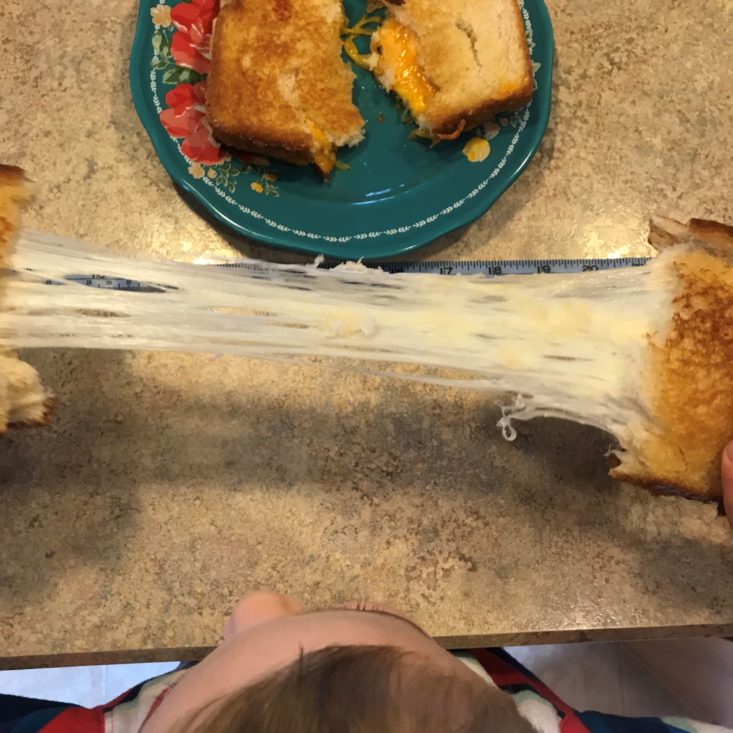
The mozzarella was the clear winner! And it's all because of the way it's made. The curds of mozzarella are stretched and pulled over and over again, so the proteins form very straight lines. When they are heated, they loosen up and form long strings. Did you know there was so much science in cheese making?! It's so much fun!
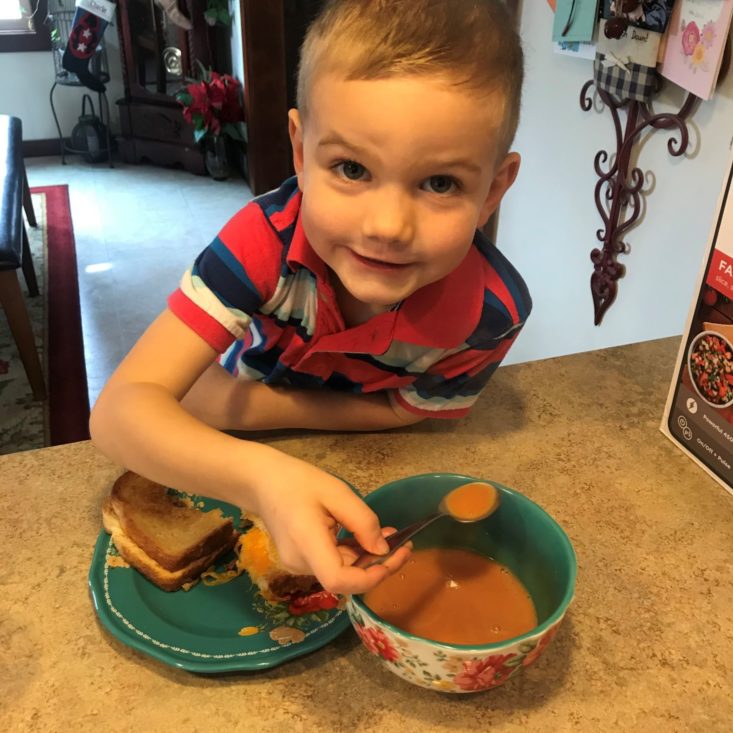
No grilled cheese sandwich is complete without tomato soup! Our experiment was fun, educational, and delicious!
The Verdict: This is the second month I have reviewed Young Chefs' Club and while we had a lot of fun creating the recipes, doing the experiments, and learning about new techniques, I feel there is a lot of room for improvement. Honestly, for $24.99 a box, I am expecting more than double the amount of physical items in the box. While the recipes were tasty, and ones that I will be re-creating in the future, the ingredients were pretty spendy. Hank was also disappointed they didn't include a craft in this box like last time. The website has a lot of really great recipes and information, but I expected to see more in the box itself. This box could be so cool; I hope they amp it up in the future!
To Wrap Up:
Can you still get this box if you sign up today? You'll likely receive the December box. Auto-renewal billing occurs on the 15th of the month prior to the box ship date. All memberships will auto-renew at the end of the monthly, six-month, or 12-month term. Boxes will ship on the fourth business day of each month and should arrive within a week or two.
Value Breakdown: This box is $24.99 a month (including shipping). I received 3 recipe cards, 2 experiment cards, a technique card, a challenge card, a card game, stickers, achievement pin, fish cookie cutter, blindfold, and shopping list, which would equal out to $1.92 a piece. Also included in this price is online content. While I feel it is a very well themed box with lots of fun activities, I find it very overpriced.
Check out our other Young Chefs' Club review and the best kids subscription boxes of 2019!
Keep Track of Your Subscriptions: Add this box to your subscription list or wishlist!
Which Young Chefs' Club recipe would you most like to try?





Please do not enter your email address in the Name field or in the comment content. Your email address will not be published. Required fields are marked *. Remember to post with kindness and respect. Comments with offensive language, cruelness to others, etc will not be approved. See our full comment policy here.