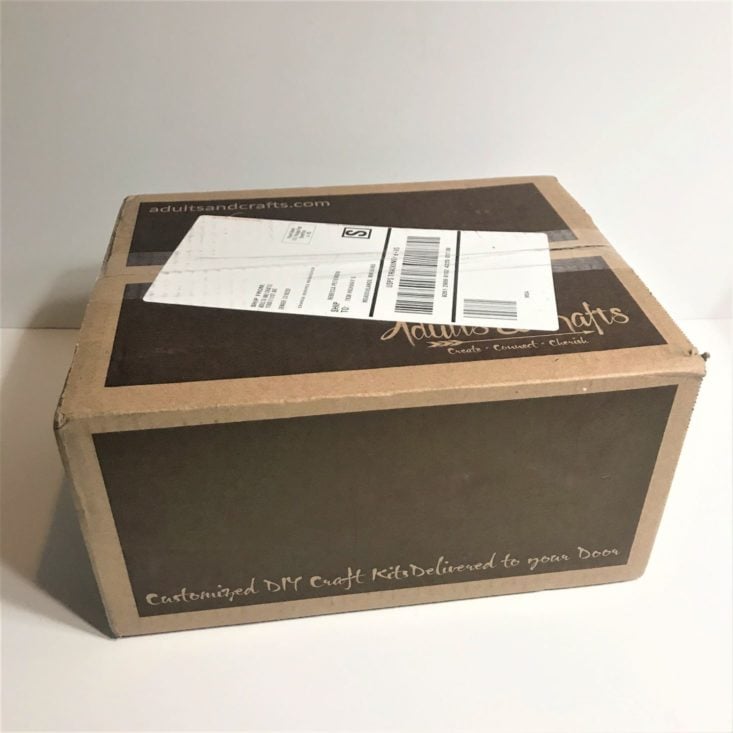
Adults and Crafts is a monthly DIY subscription that encourages subscribers to “learn new crafting techniques to help create useful, beautiful products you will be proud to have made."
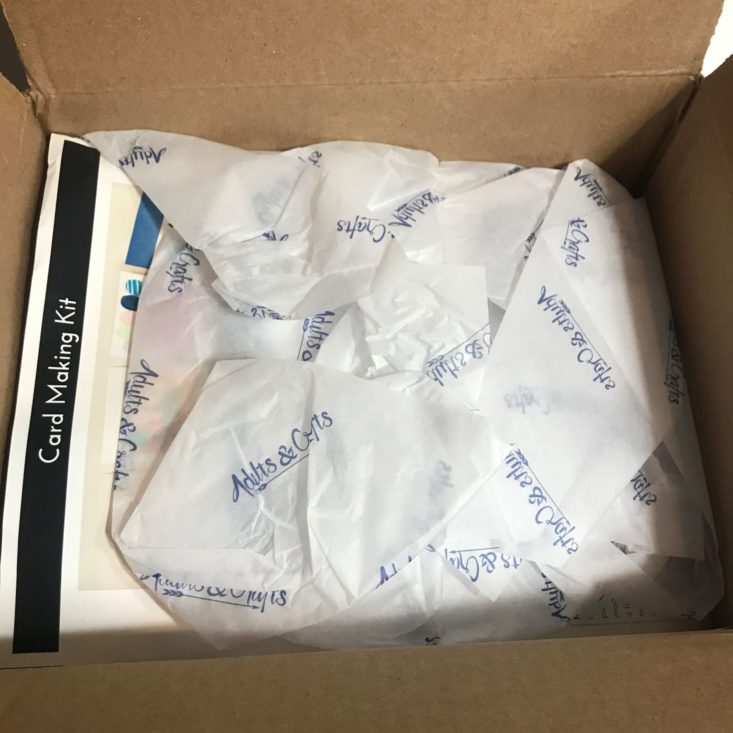
This box was sent to us at no cost for review. (Check out the review process post to learn more about how we review boxes.)
About this Monthly DIY Subscription
The Subscription Box: Adults & Crafts
The Cost: $33 + $6.95 shipping per month, with discounts for 3-, 6-, and 12-month prepaid subscriptions.
The Products: A kit with printed instructions for an adult-level project to use or display in your home.
Ships to: The US for $6.95 and worldwide for $20
Adults & Crafts "Card Making" Review December 2019
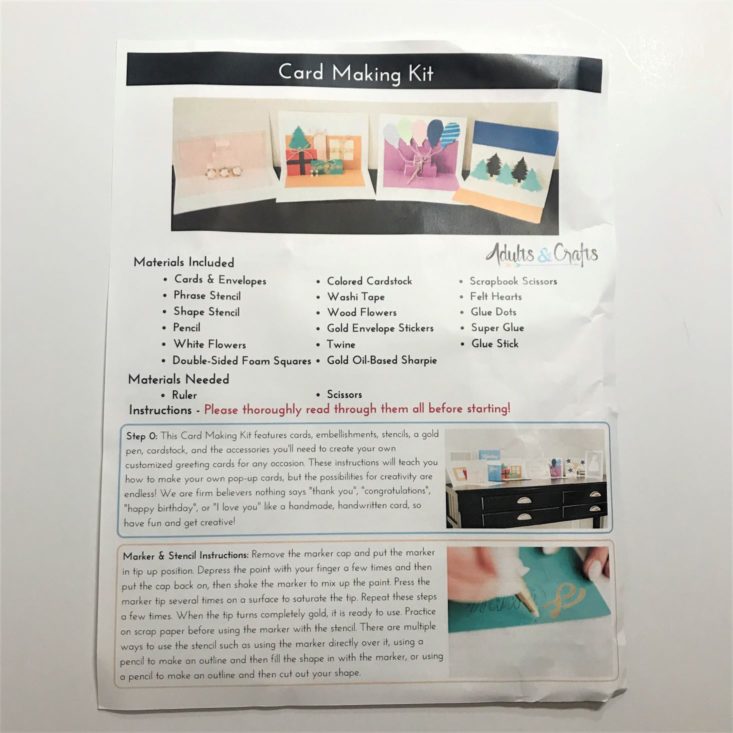
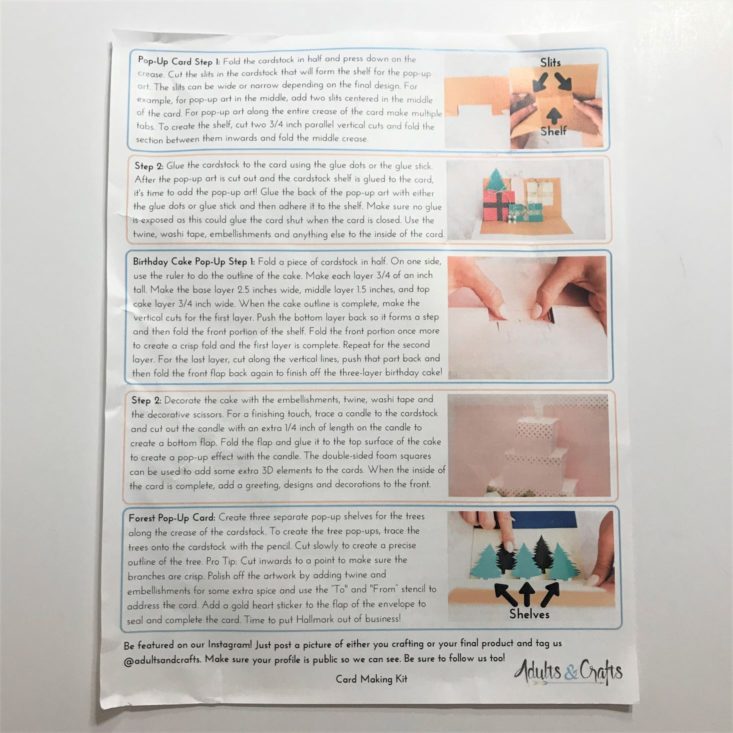
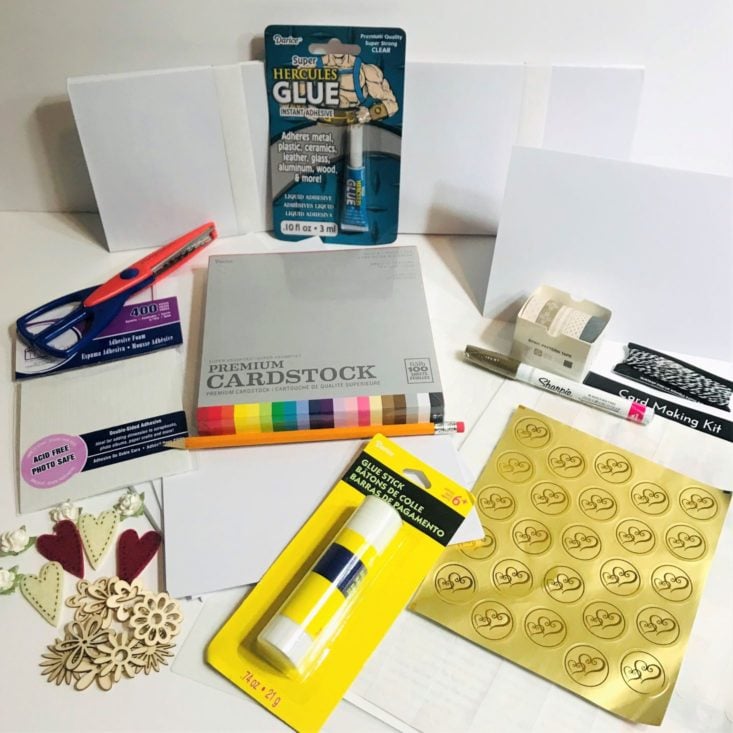
In this fun Adults & Crafts project, they have provided all of the necessary items to create 25 beautiful, handmade cards! We received the supplies and instructions to make some really neat pop-up cards. I can't wait to see how these turn out!
Let's get into the items included in this box:
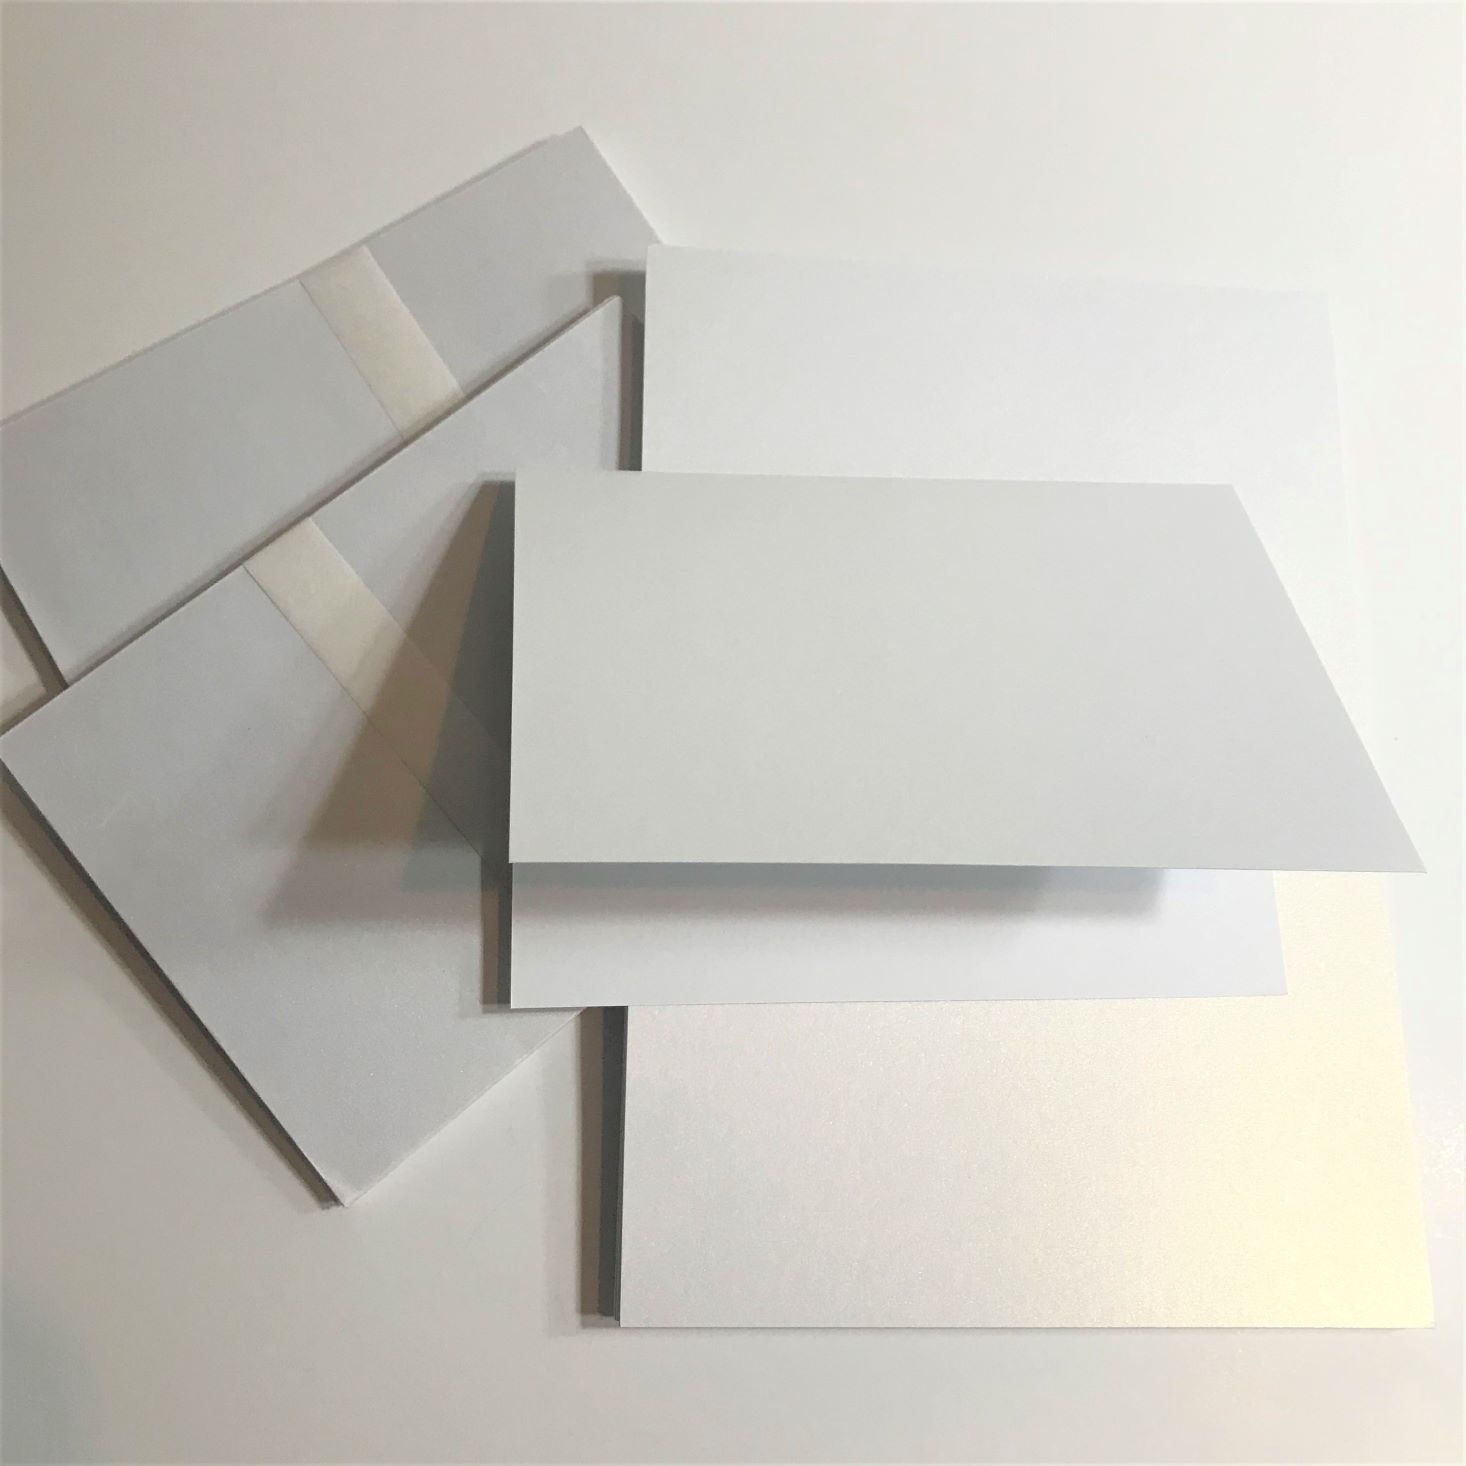
25 Darice A7 Pearl Cards & Envelopes - Retail Value $8.53
Eeek! I love these cards! Darice makes really nice products, and the pearl sheen on these is beautiful! I make cards all the time, so these are very welcome for my stash!
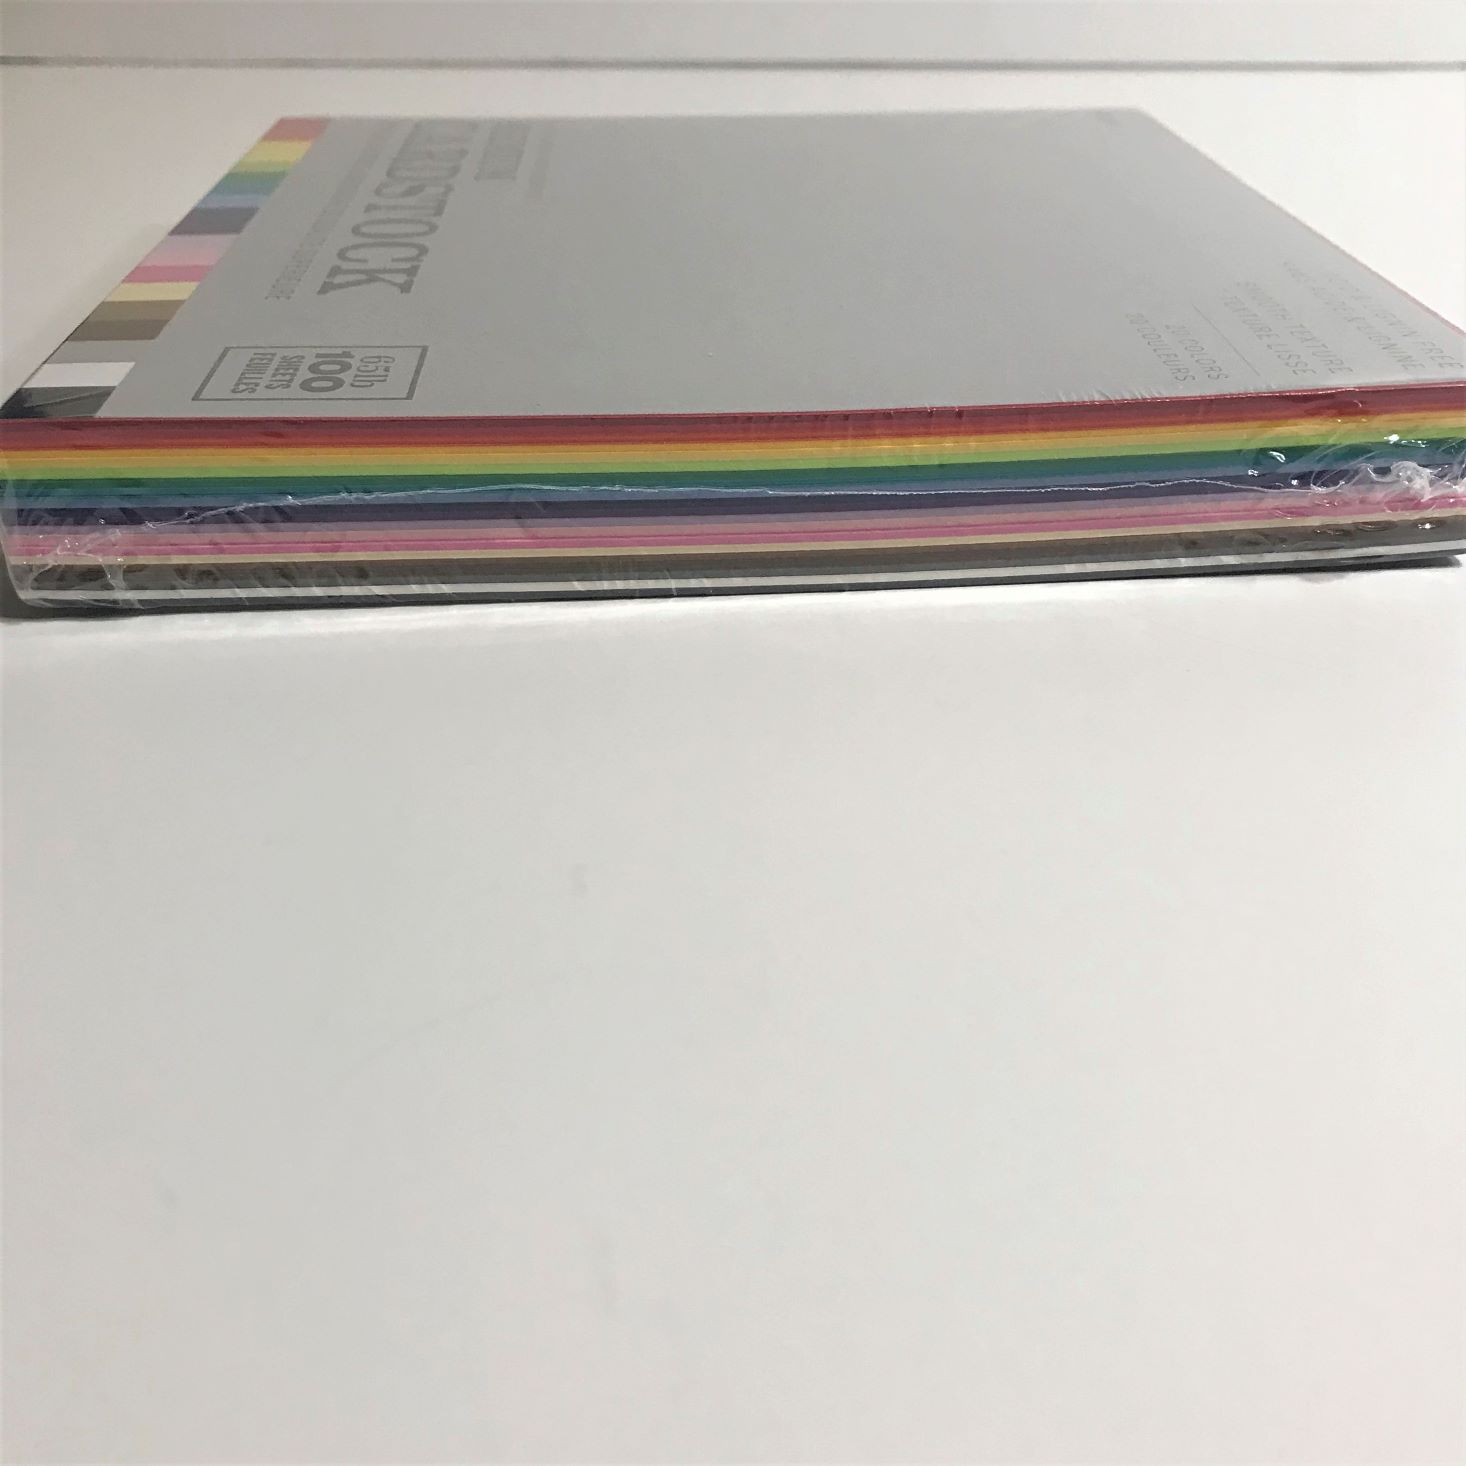
Darice Cardstock, 100 sheets - Retail Value $4.47
I love cardstock, and being an avid scrapbooker, I have tons of patterned paper but not a lot of solid colors. This was awesome to help me replenish my stock and help me create some really fun cards!
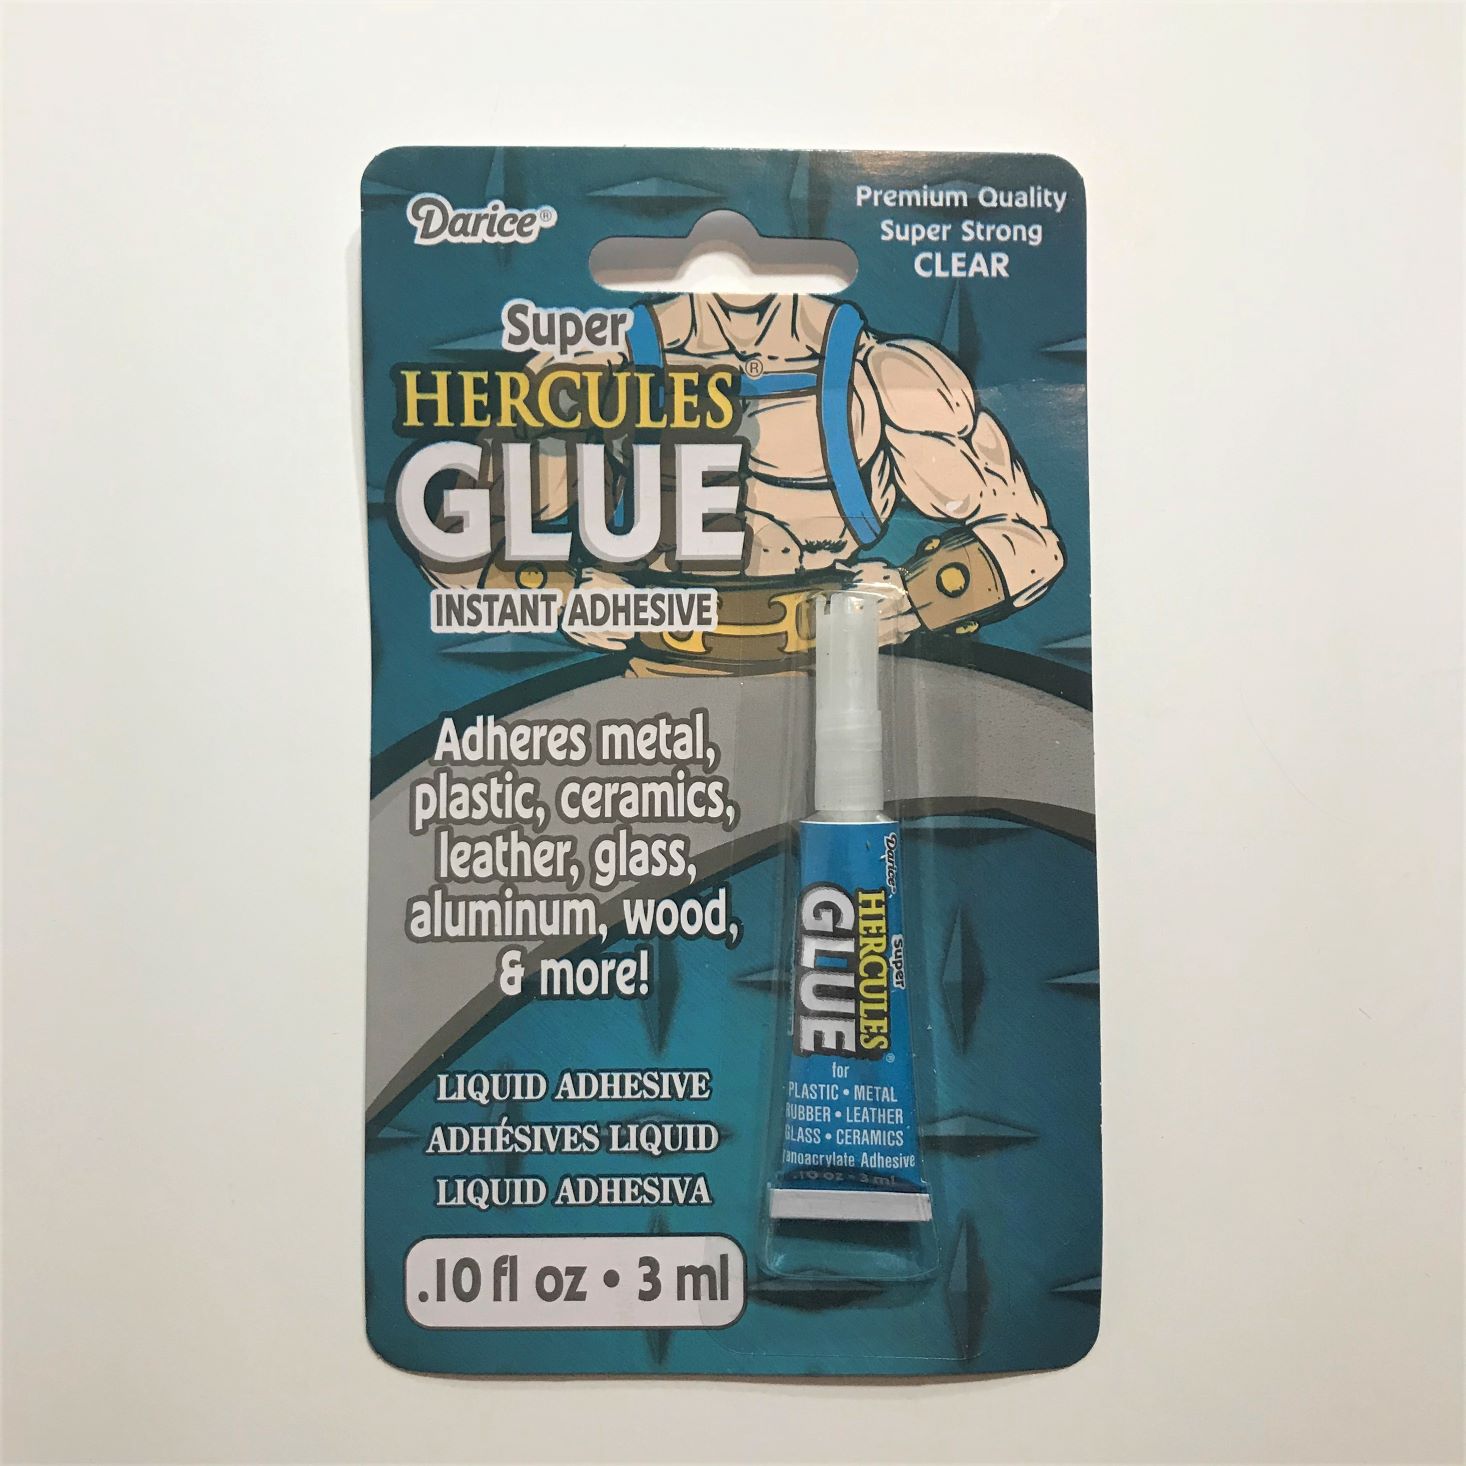
Hercules Super Glue 0.10 fl oz - Retail Value $1.99
This glue is reallllly sticky and worked great for adhering the wooden flowers to the paper!
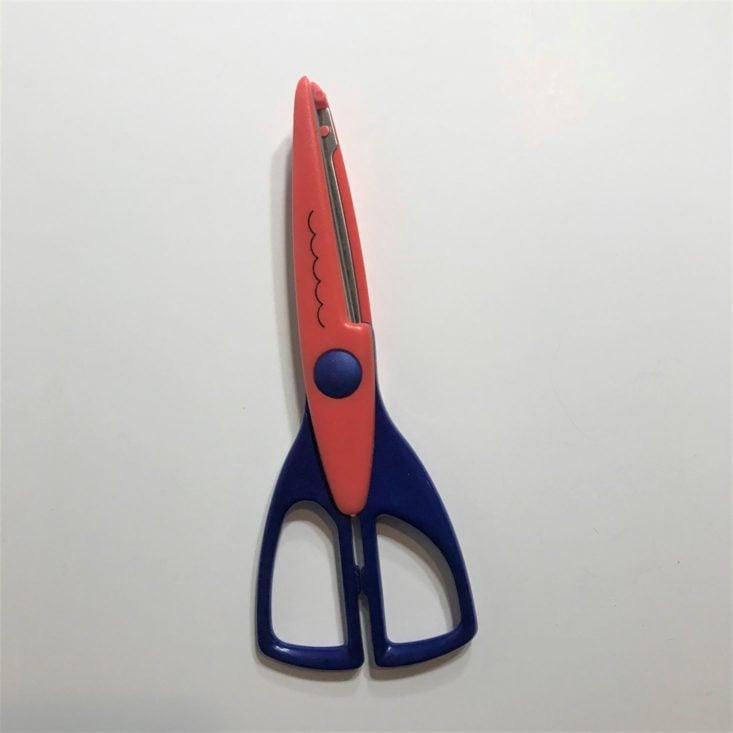
Craft Scissor
While I didn't use this craft scissor on my projects, my sons did and they LOVED it!
Pencil
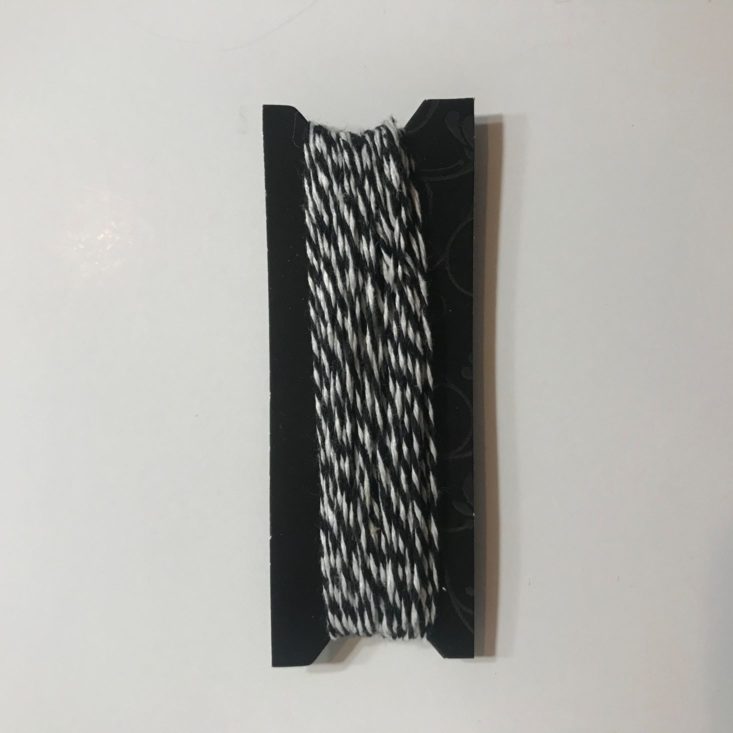
Black and White String
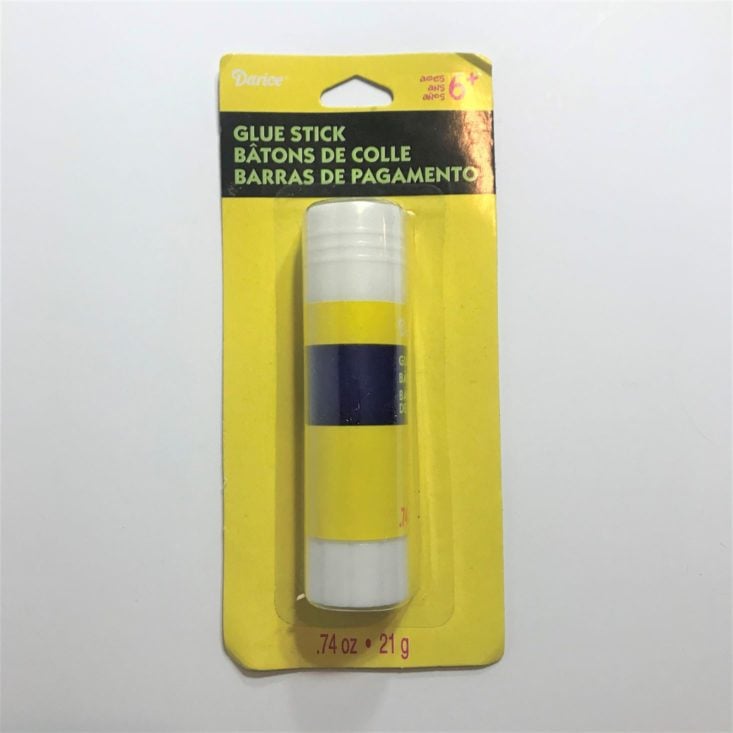
Darice Glue Stick - Retail Value $0.87
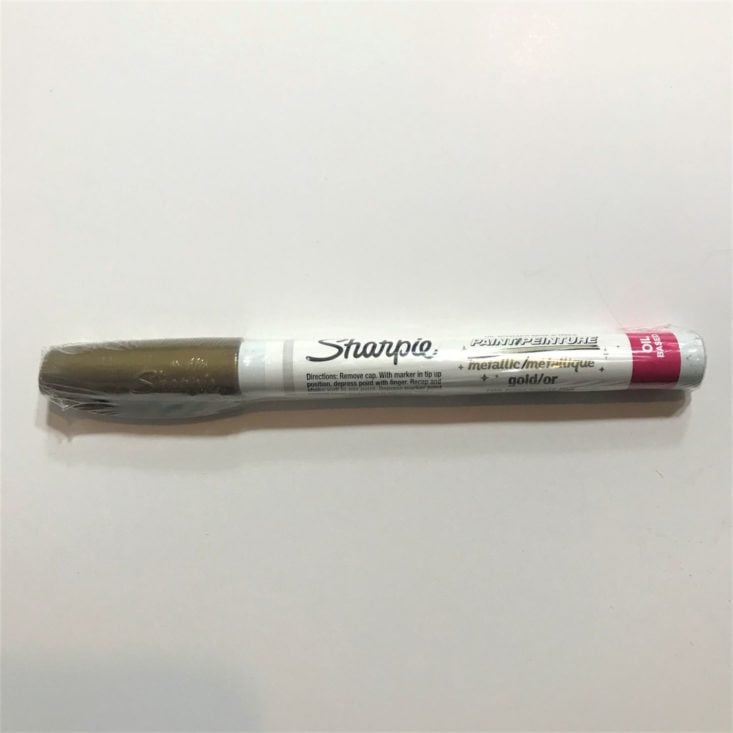
Sharpie Metallic Paint Pen - Buy 2 for $7.41
I LOVE this oil-based marker. Seriously, it so pigmented and beautiful! It wrote beautifully and really added to my cards! I did notice it bled through the stencil though, so coloring the wood pieces and adding detailing to my presents for my first cards was how I used it.
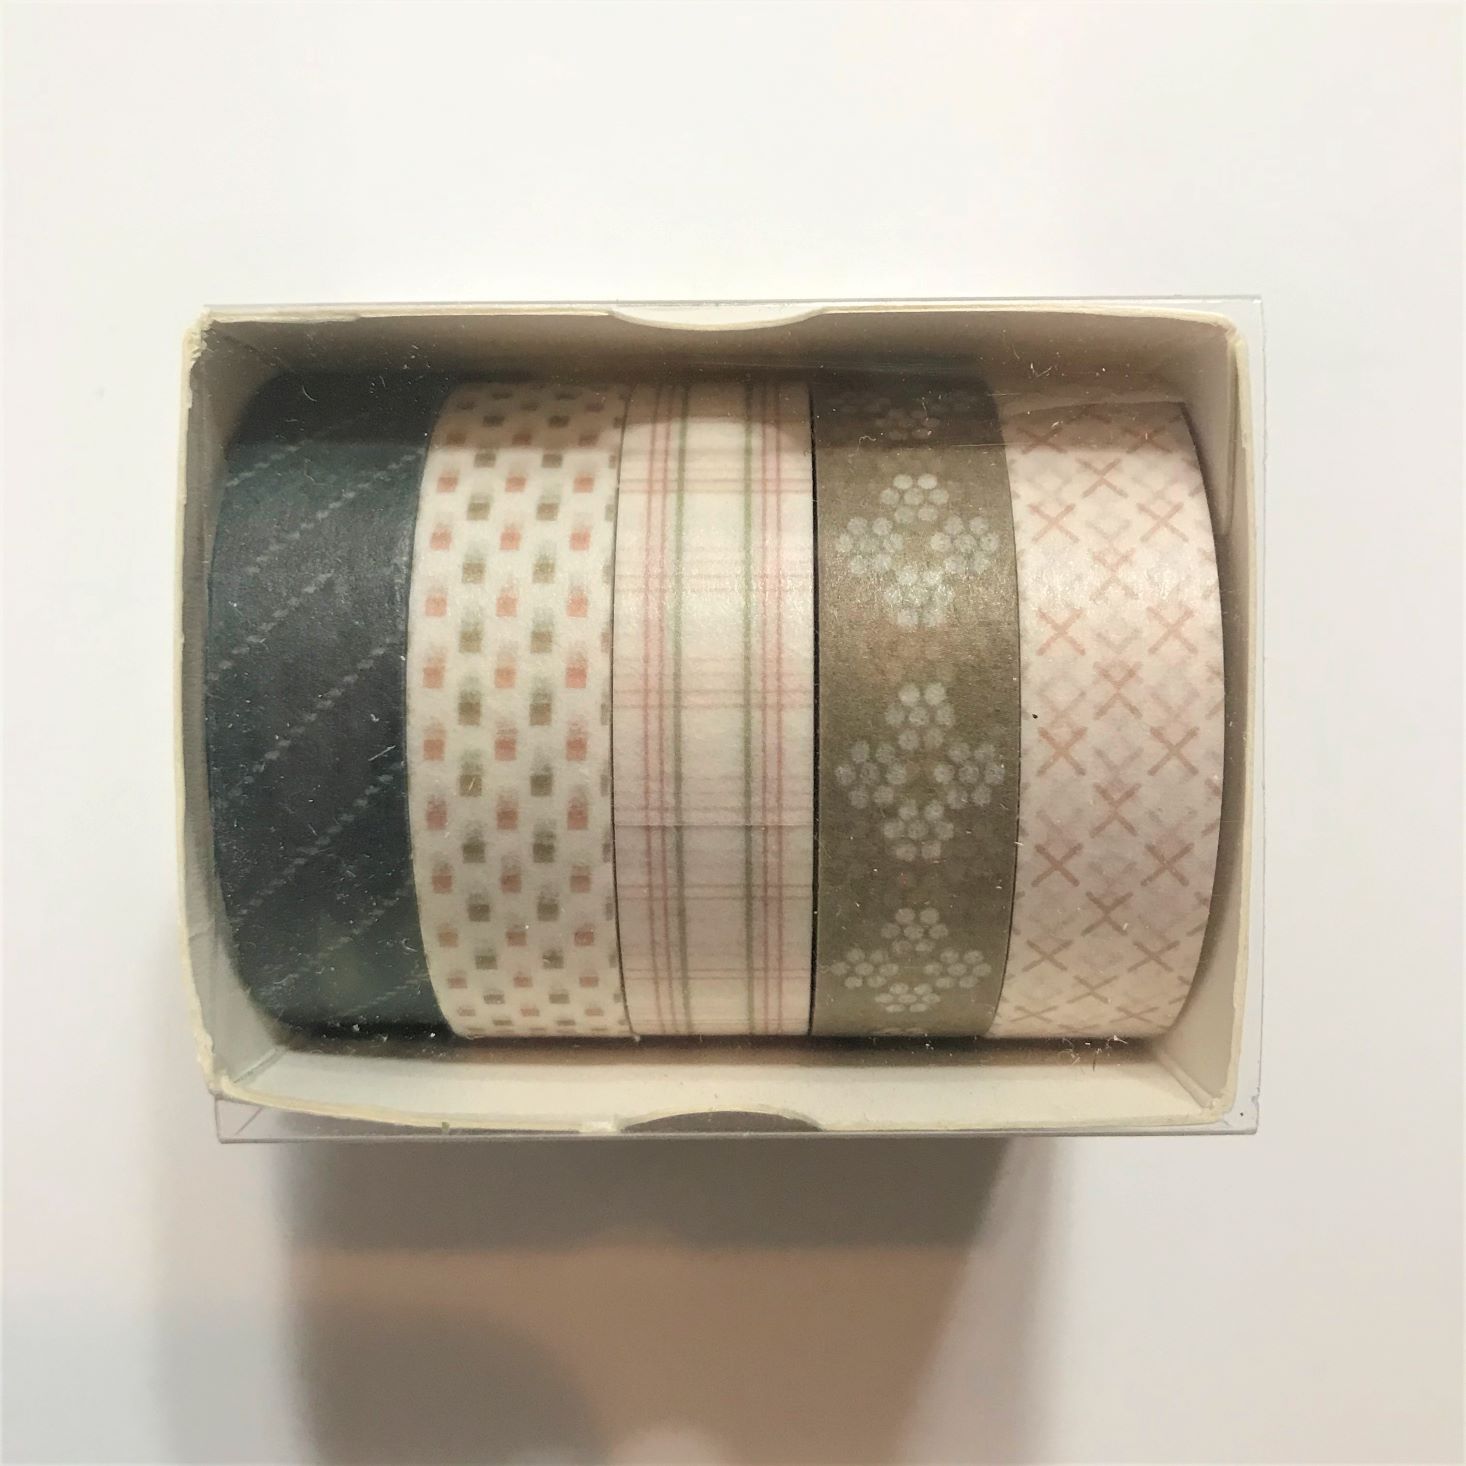
Basic Pattern Tape 5 pack
I love washi tape! Back when I first started making cards, I used ribbon. It was beautiful but fell off in an instant. This tape sticks well and is so much easier! Plus it gives the same look!
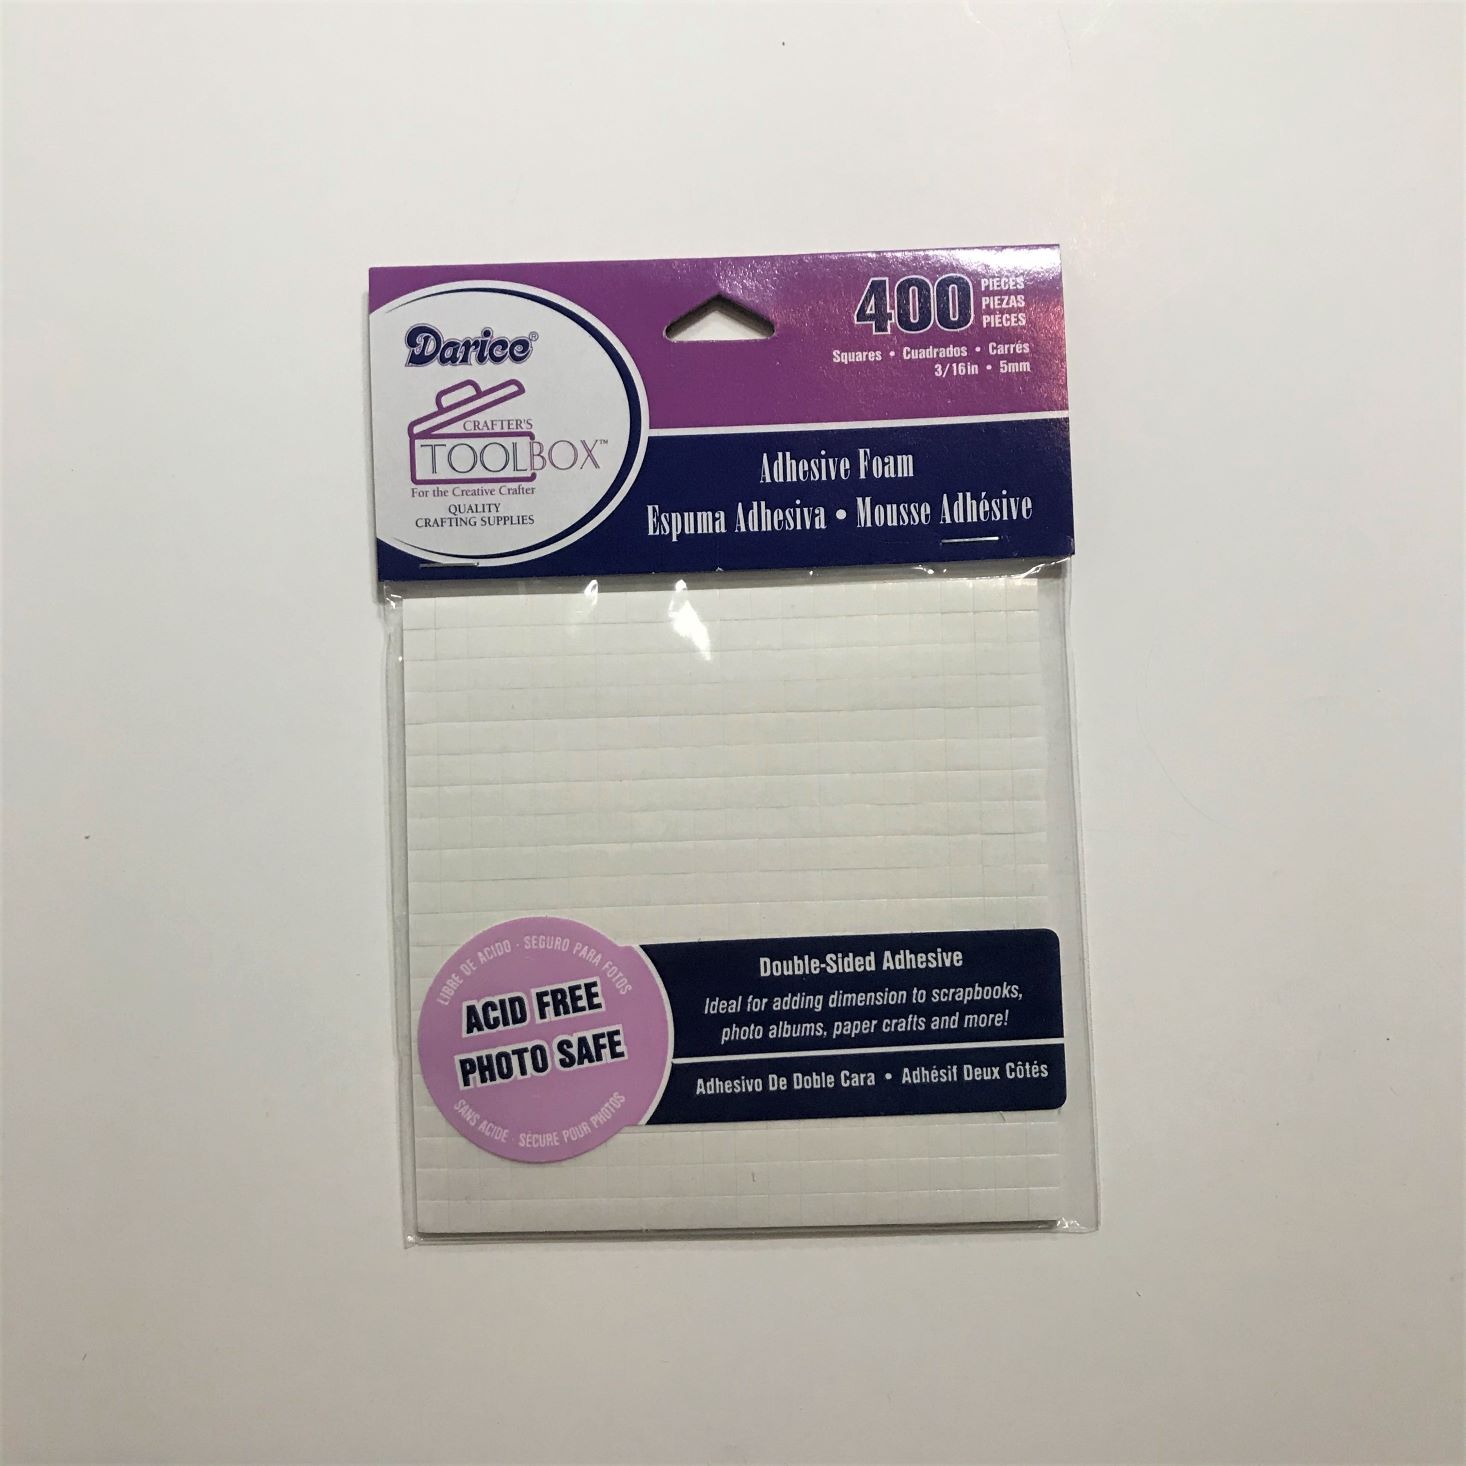
Darice Adhesive Foam - Retail Value $1.99
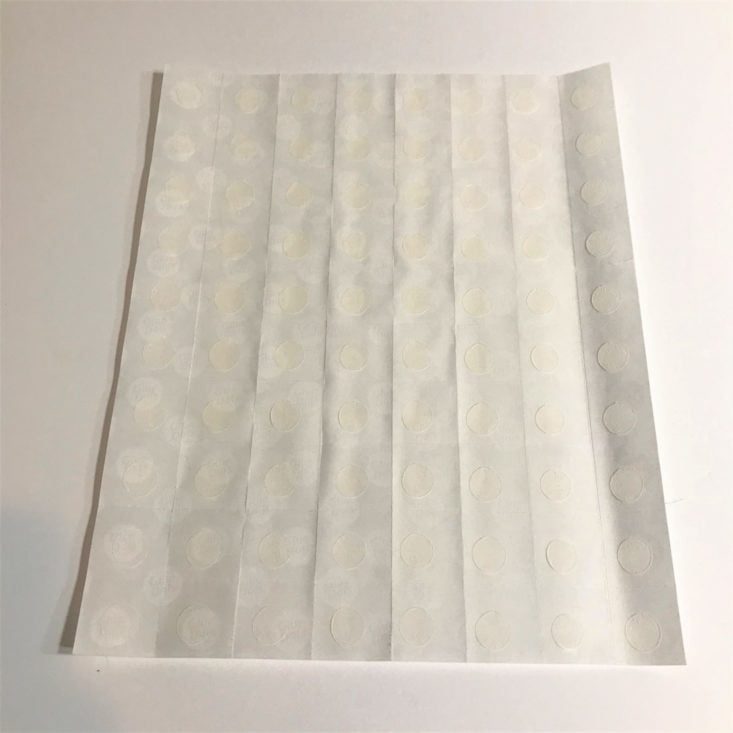
Glue Dots
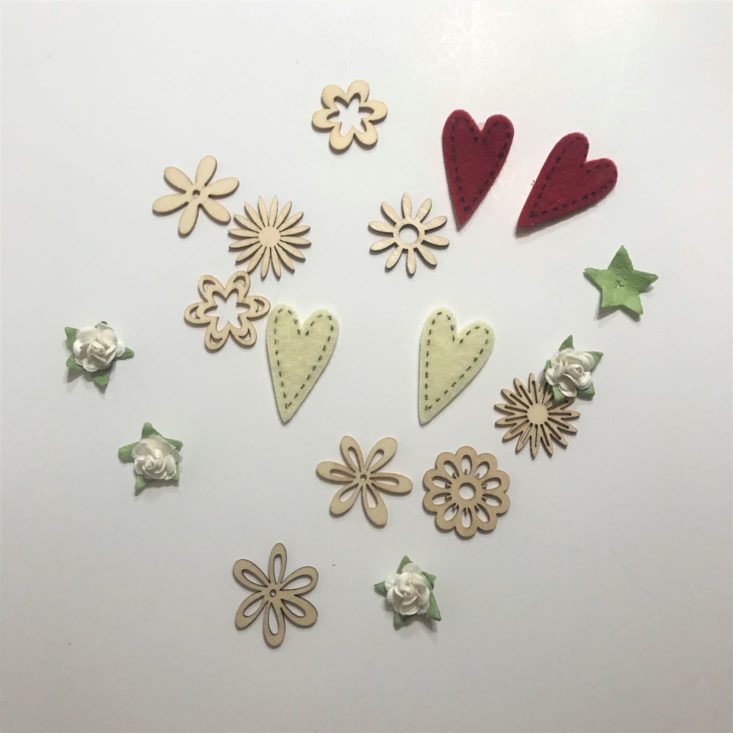
Mixture of Embellishments
I love these embellishments! The wood pieces are adorable, and the flowers and hearts will be perfect for an idea I have in mind! I can't wait to get busy!
Project #1 Present Card
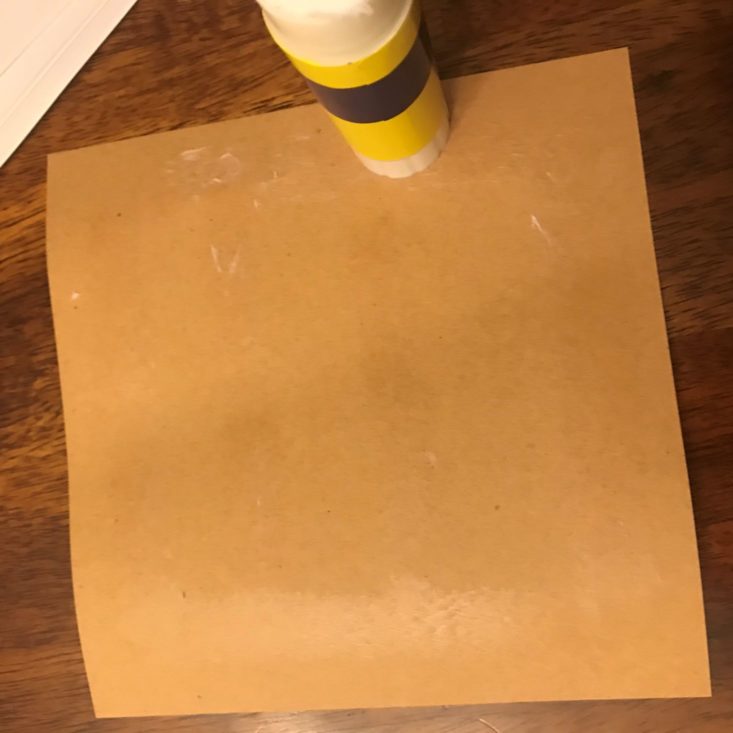
The first step in this card was to glue brown paper to the inside of the card.
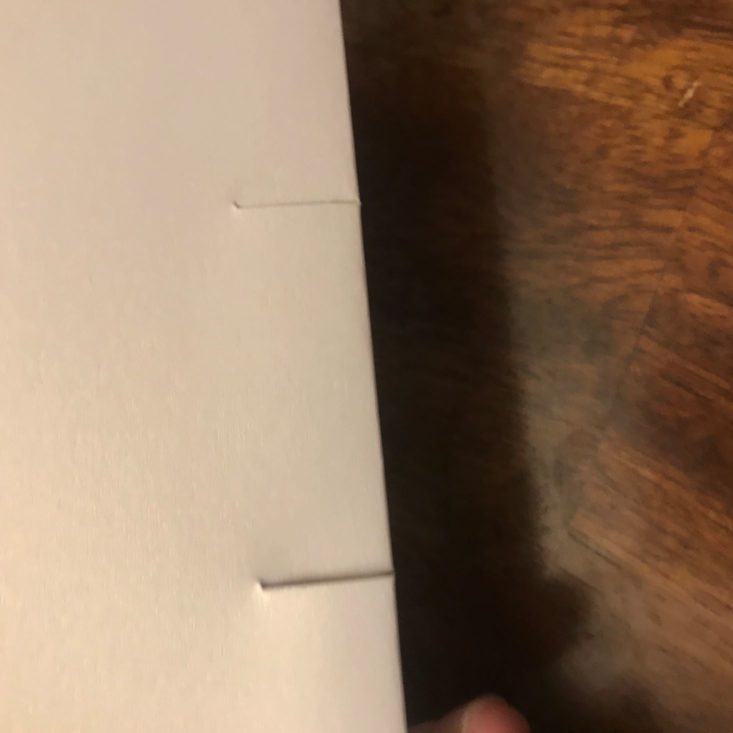
I then made 2 small cuts in the middle of the card for my pop-up area.
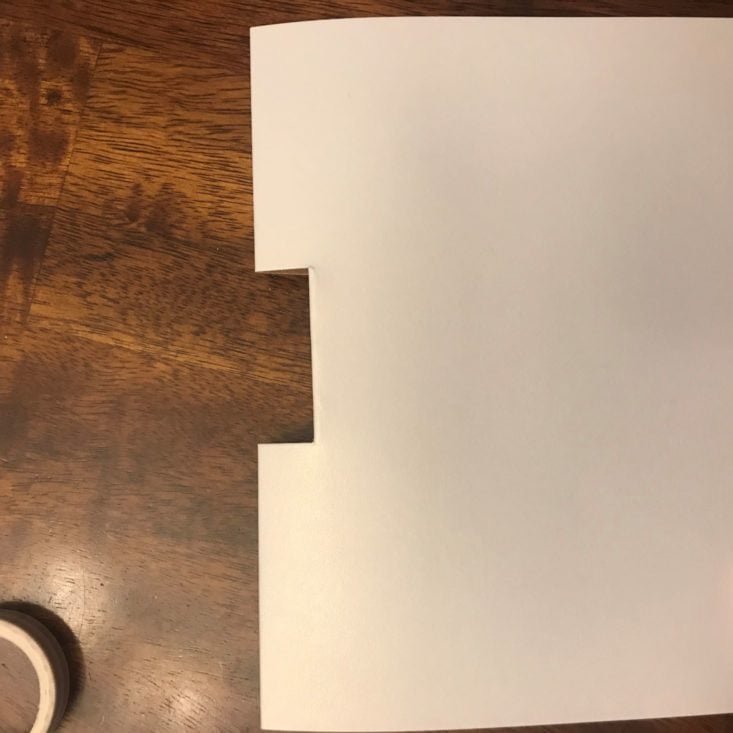
Once you cut the slits, you push the cardstock into the card to make the pop-up shelf. It's hard to explain, but a lot easier to do.
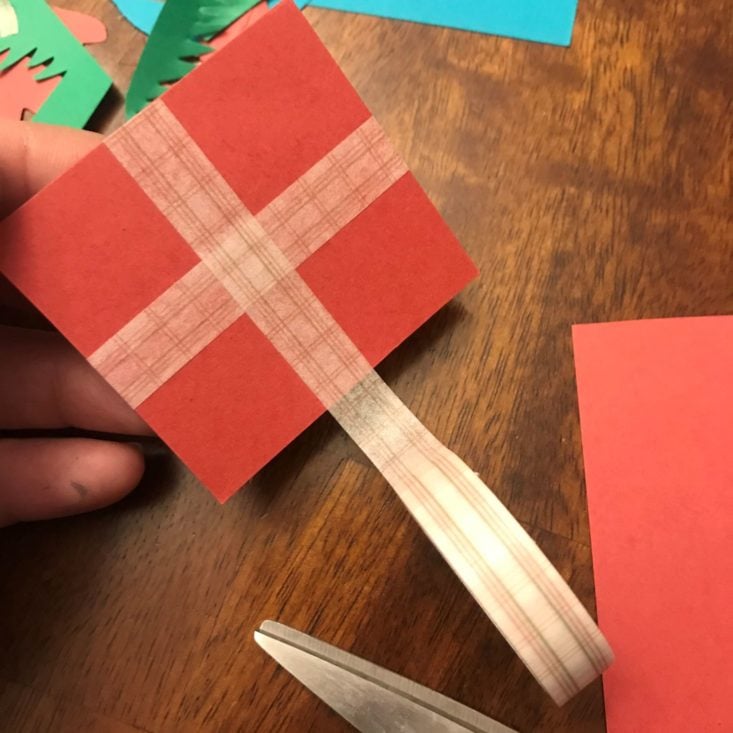
I decided to make a red present first and used the washi tape to create a ribbon effect.
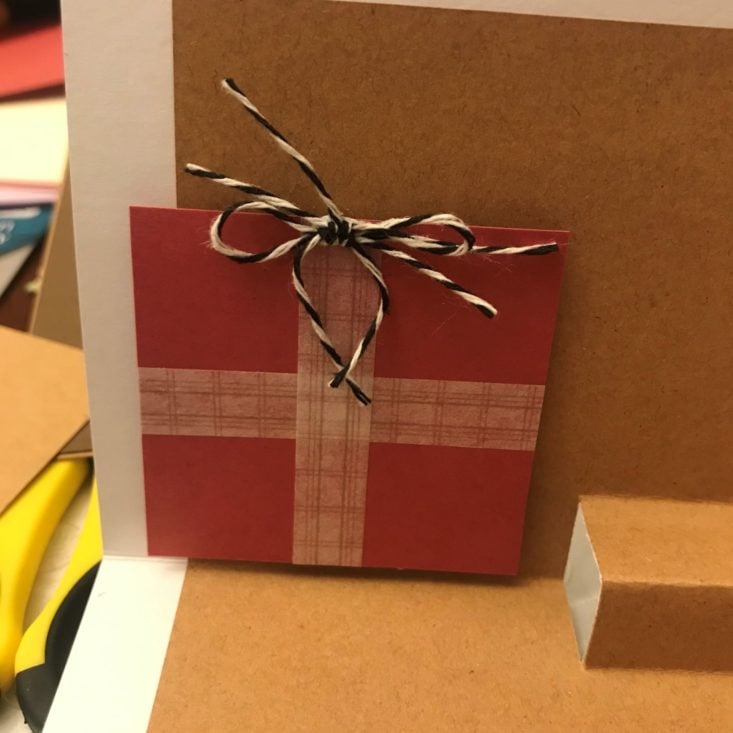
Using the foam adhesive squares, I placed them on the back of the present and added a bow made from the included string.
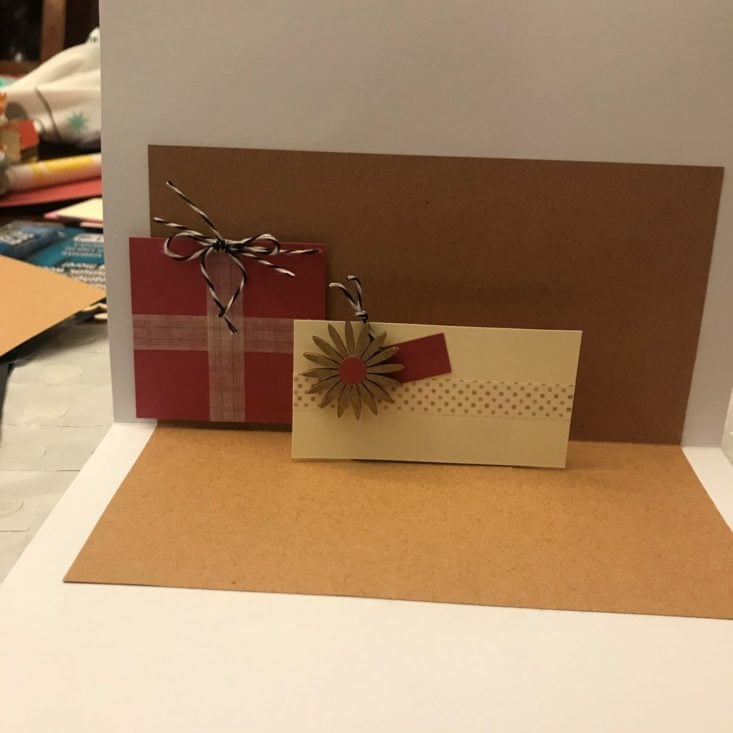
I then cut out a long rectangle present, added a piece of washi tape, and used the metallic Sharpie marker to color one of the included wooden flowers for a bow.
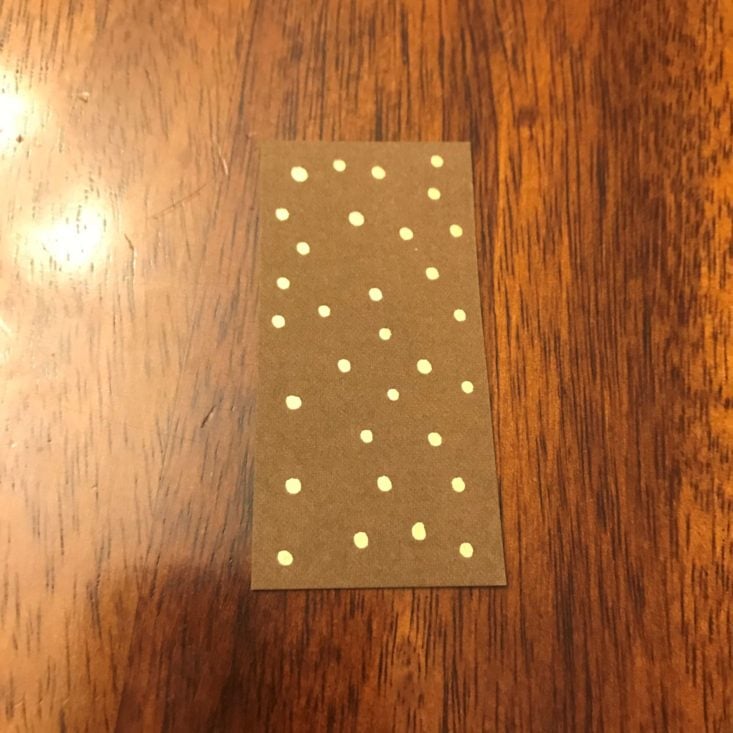
I like a coordinated look, so I used a piece of brown paper for a tall present. I liked the look of the metallic marker, so I went ahead and added some dots.
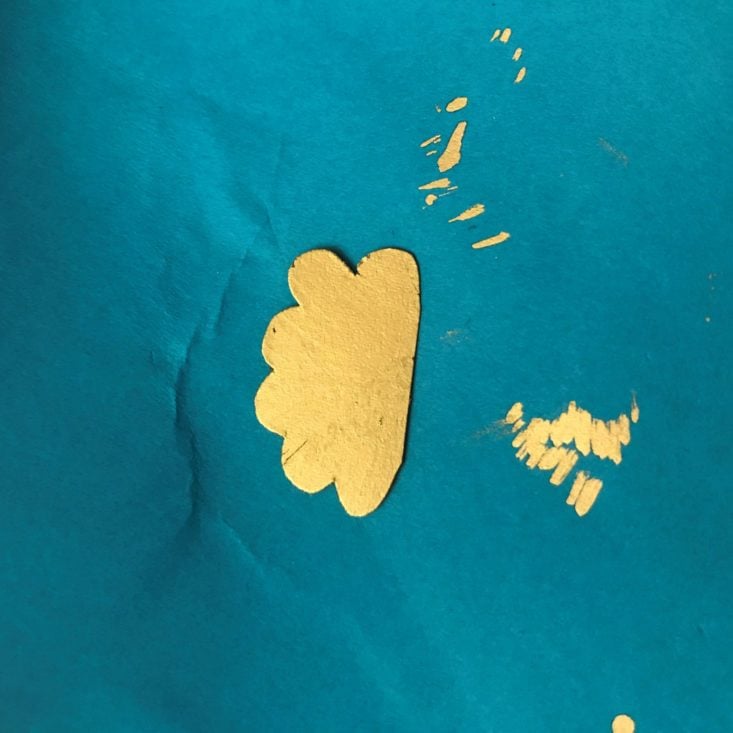
I cut out a bow and painted it with the marker to coordinate with the polka dots on the present.
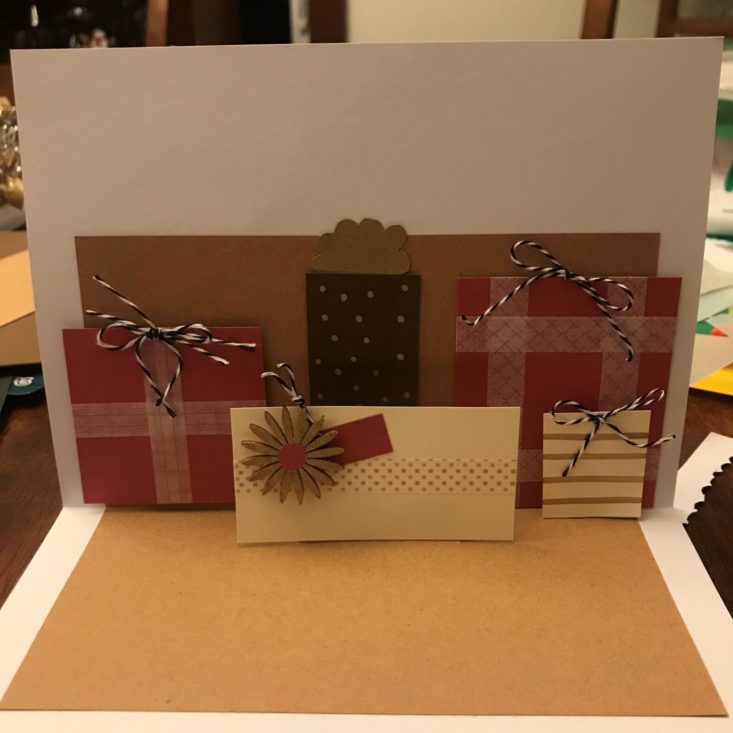
Using the glue stick, glue dots, and foam adhesive, I layered my gifts so they looked 3D. I added bows to each present and added a small tan present with gold stripes for good measure. (There is no such thing as too many presents is there?)
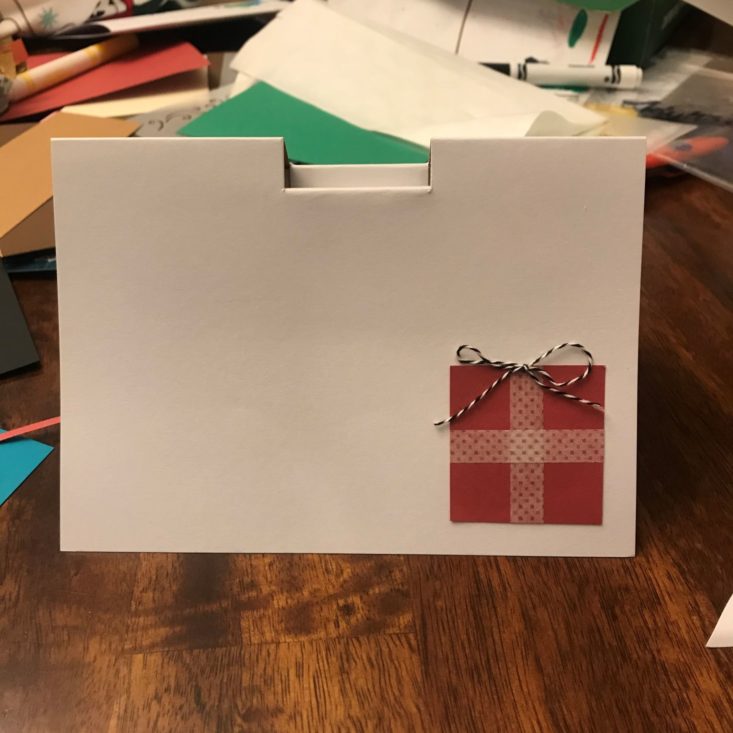
Because the inside was so full of excitement, I left the outside white with just one present. I felt it gave it a really nice, simplistic look that really makes the inside pop!
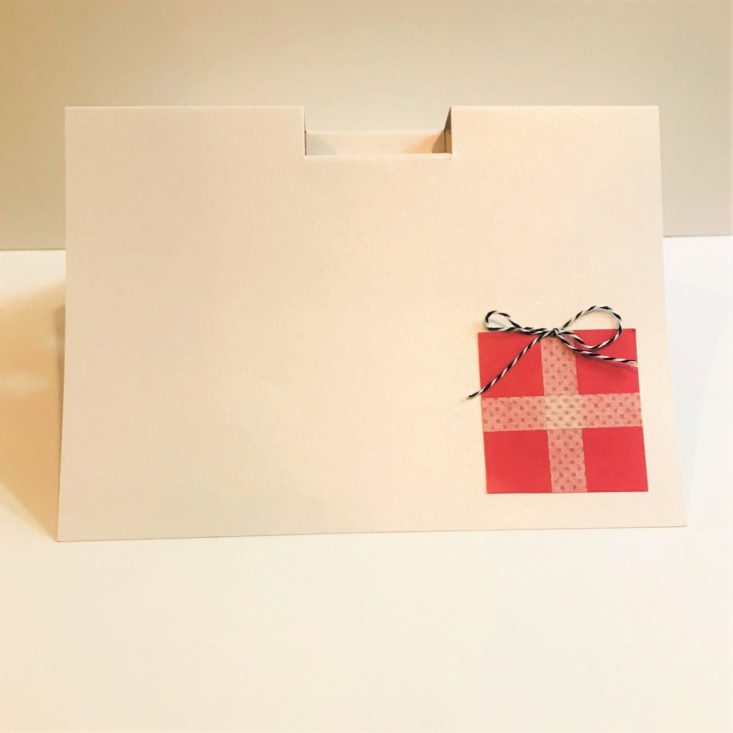
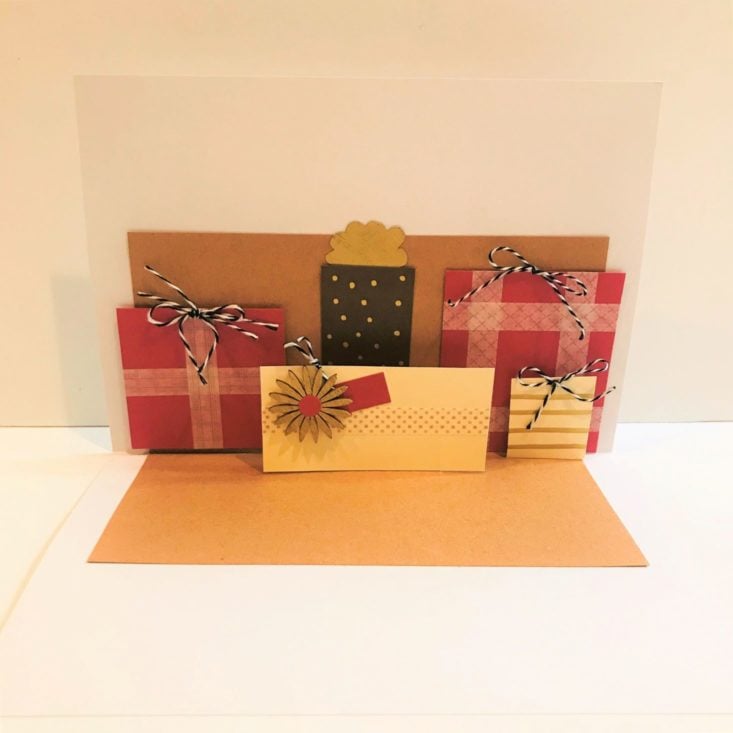
And here is the finished product! I loved how easy it was to create, and how this box really gives you the tools to create things and really personalize them. I love making cards, so I really had fun with this!
Project #2 Tree Card
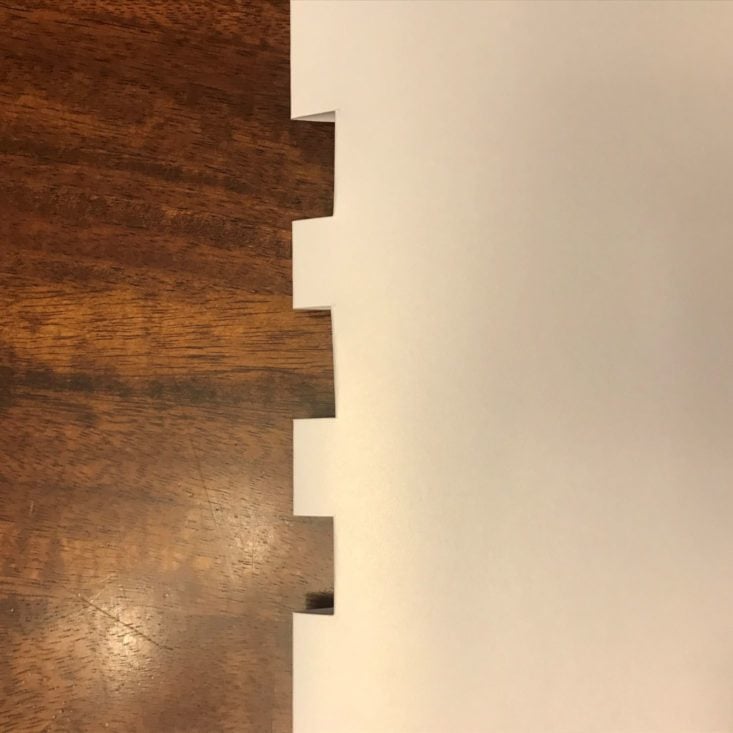
Again, the first step was to cut slits in the fold of the card to create pop-up shelves.
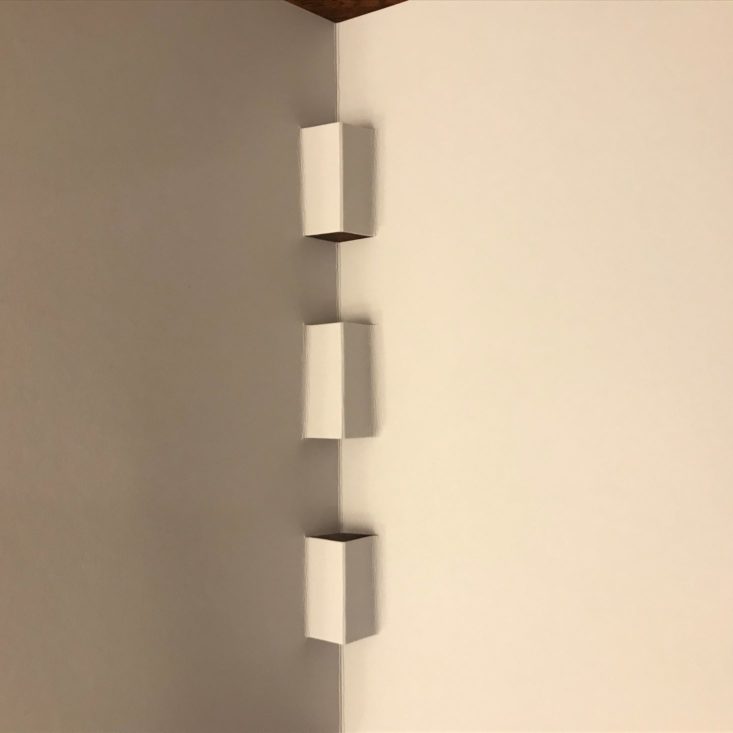
Here they are popped out to the inside.
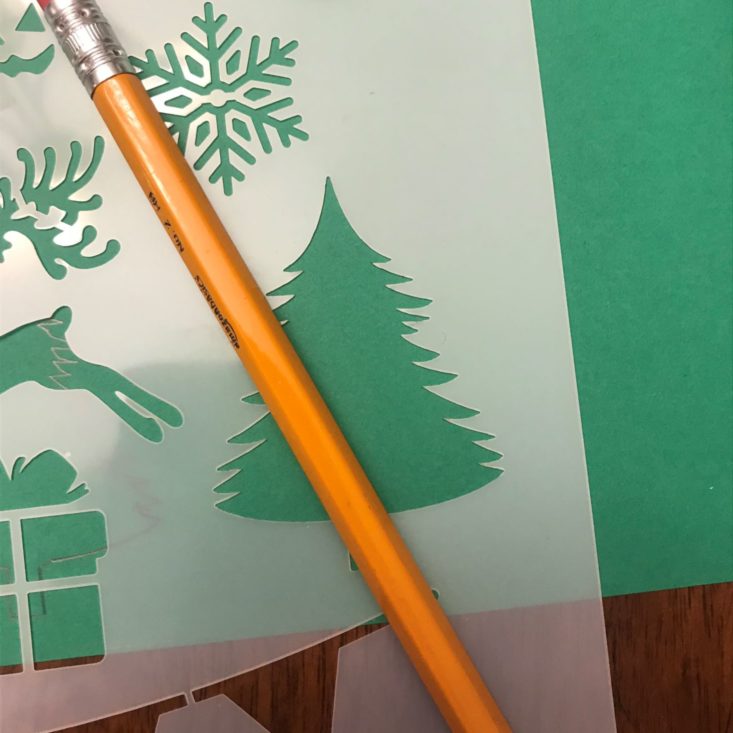
I then got out my trusty pencil and stencil and traced some trees.
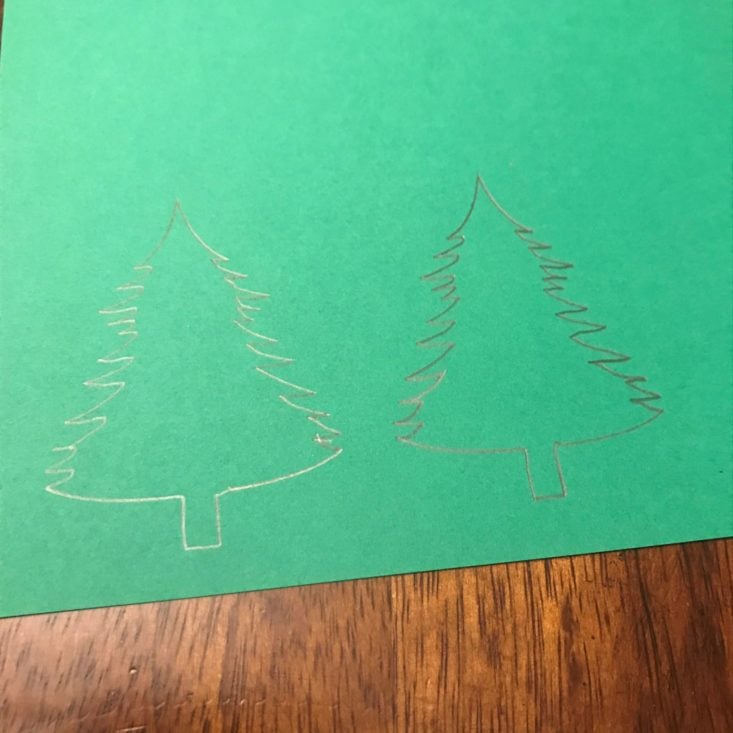
I have to say, it was a bit nostalgic for me to use a stencil- I am big into card making and scrapbooking, so I have a Cricut machine that is capable of doing all of my cutting for me. That being said, it was pretty nice to just sit with my kids and cut quietly without having to take the time to hook up electronics!
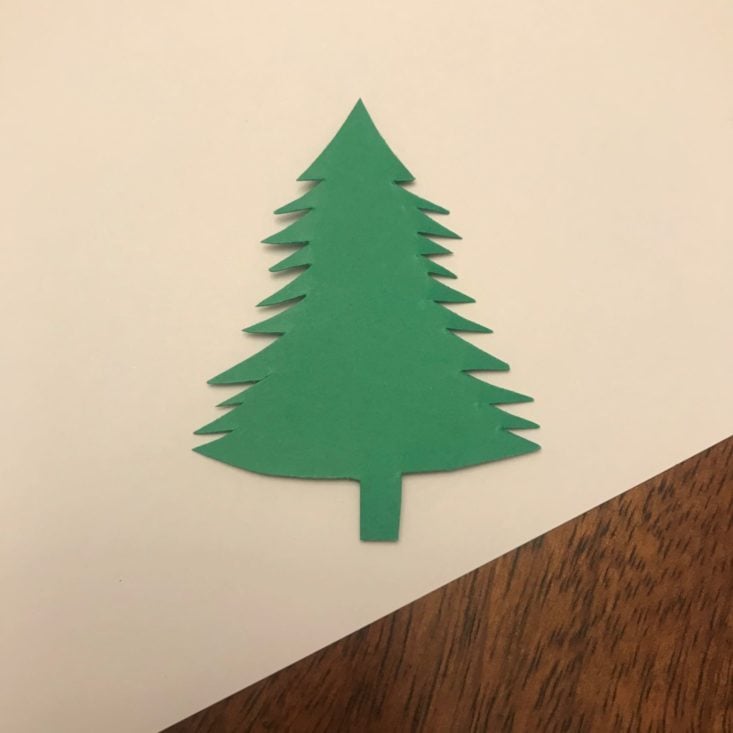
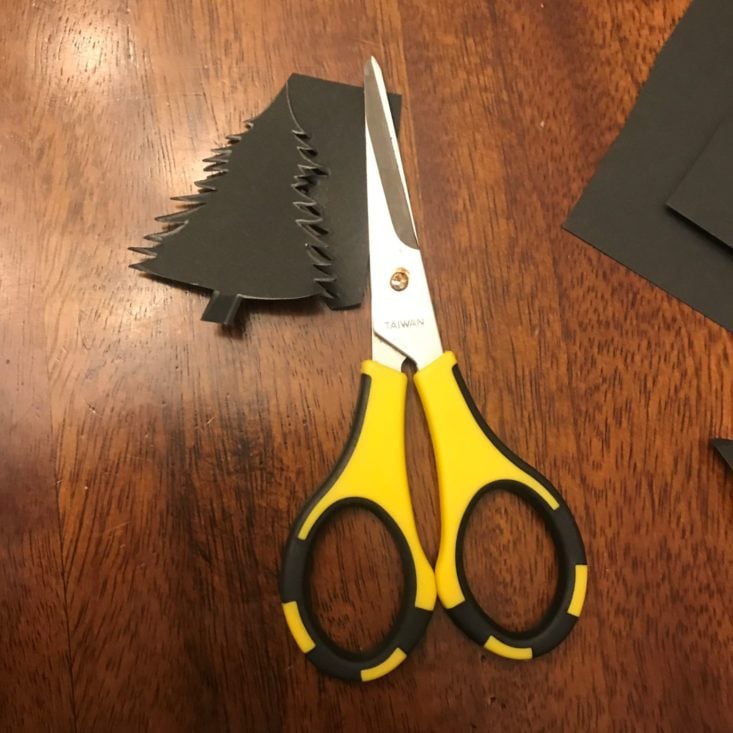
To create these detailed little trees, I used my "CutterBee" scissors. These are the best scissors ever! They are extremely sharp, and cut the most delicate patterns!
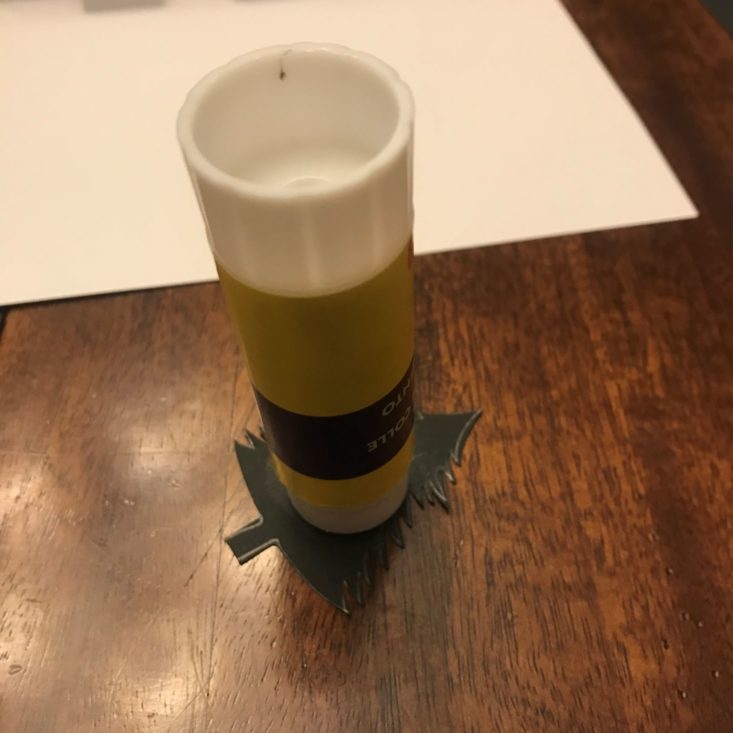
I then used the glue stick to adhere the trees to the background of my card.
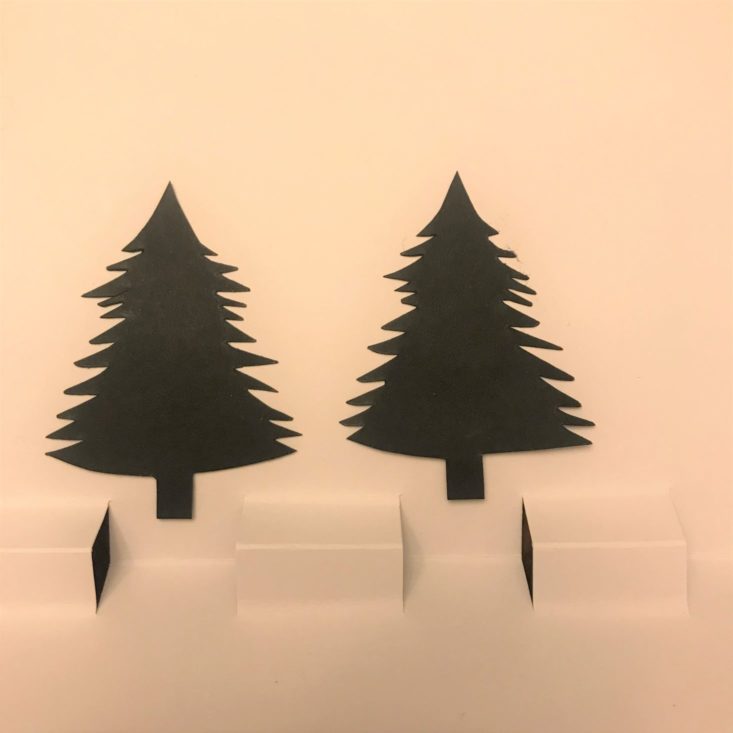
Don't they look cute?
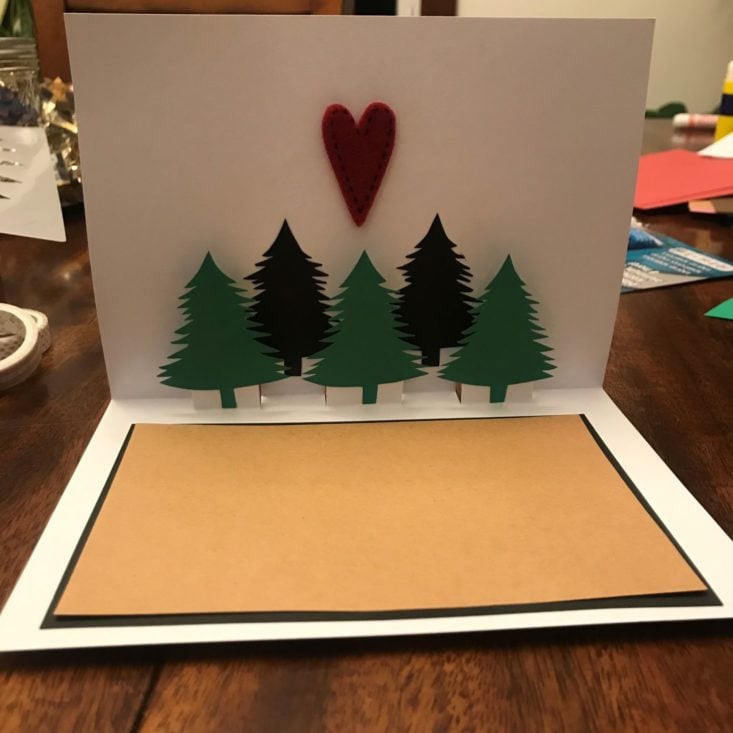
Next, I added the green trees to each "shelf," the red heart above, and a matted piece of brown paper to the bottom.
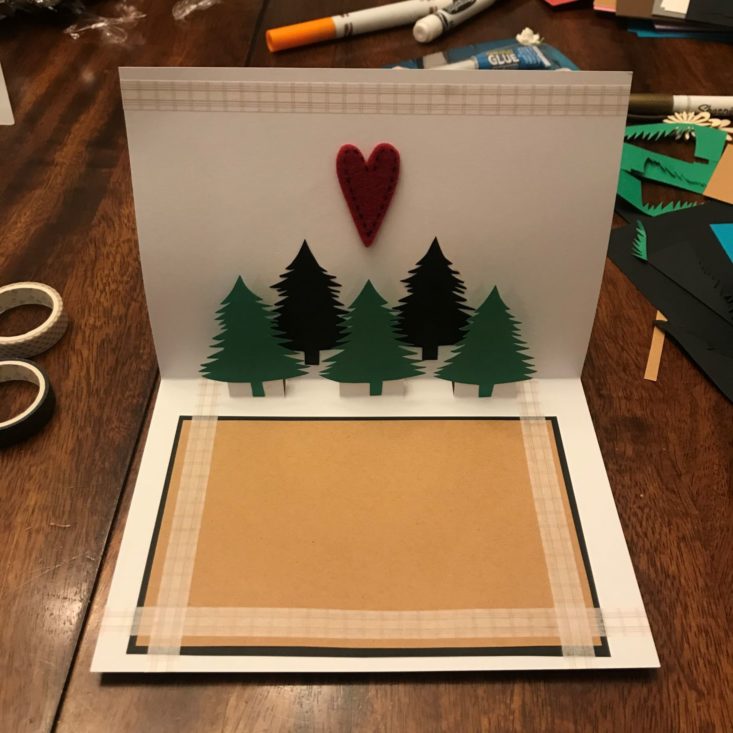
I then took the plaid washi tape and added a little detailing around the edges for a more polished look.
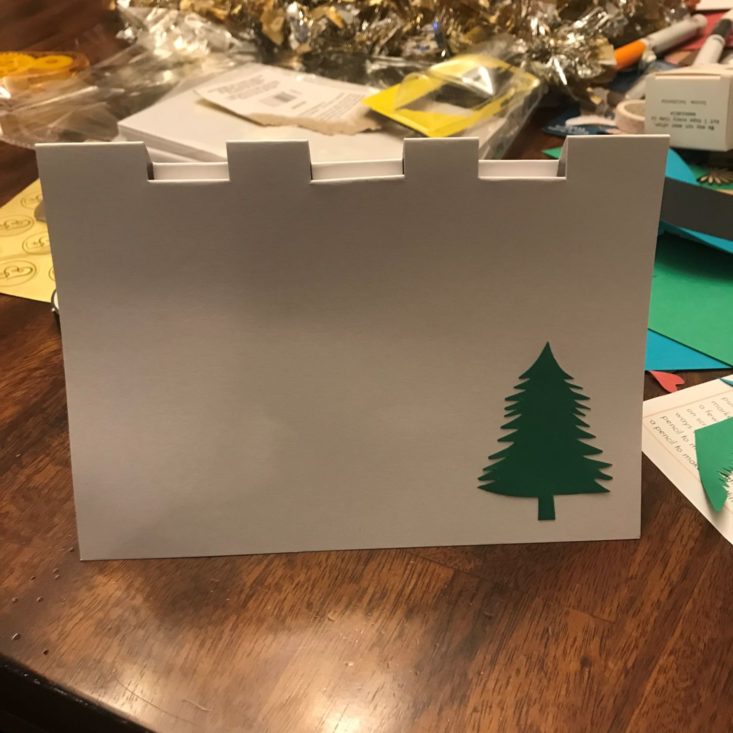
Like my original card, I decided to keep the front simple to save the surprise for the inside.
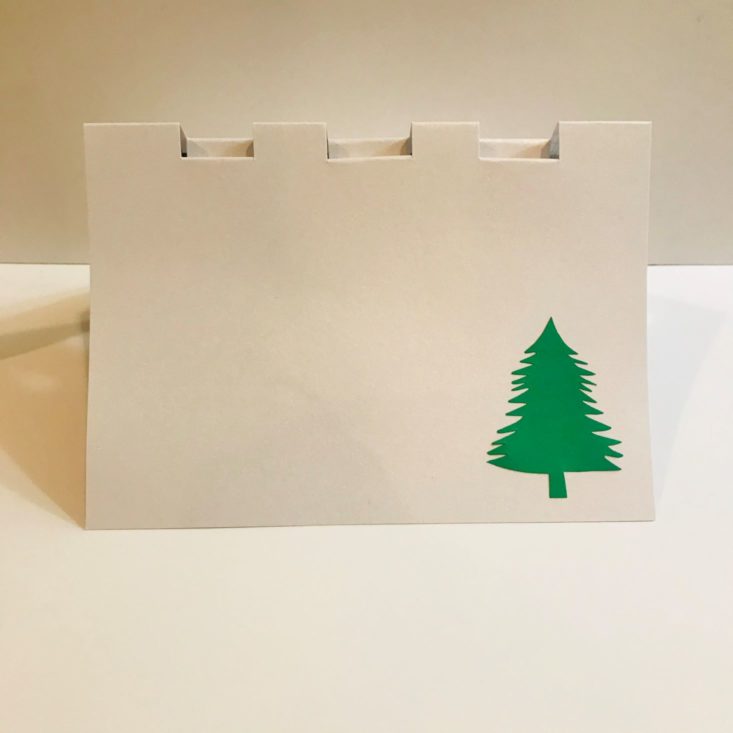
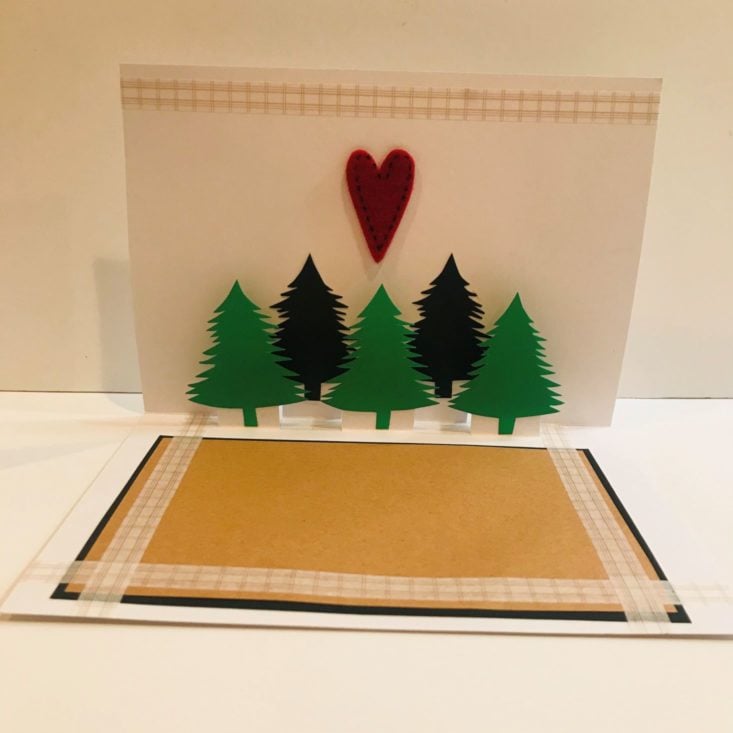
And here is my finished tree card! I didn't follow the instructions exactly, but that is one reason I really like this subscription - they let you totally customize your projects just the way you like it!
Kid Projects
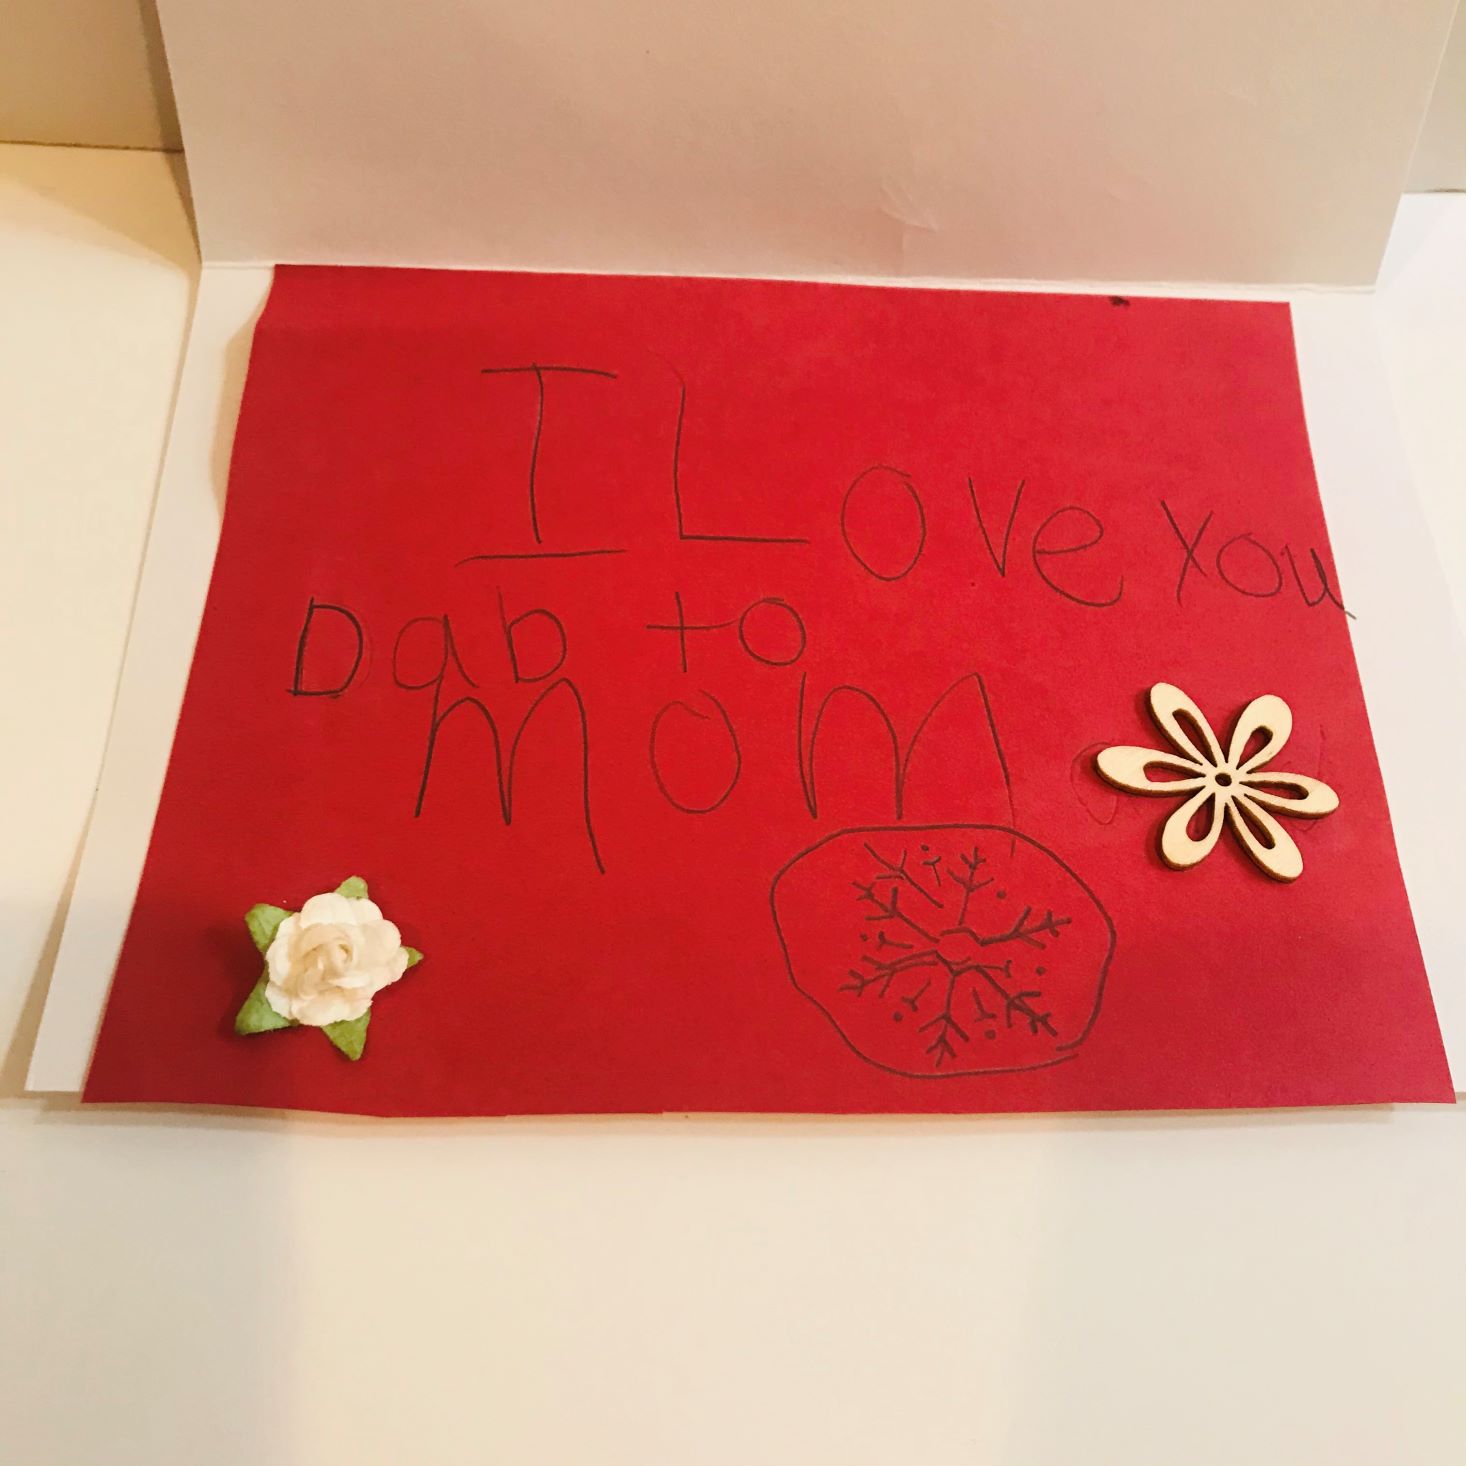
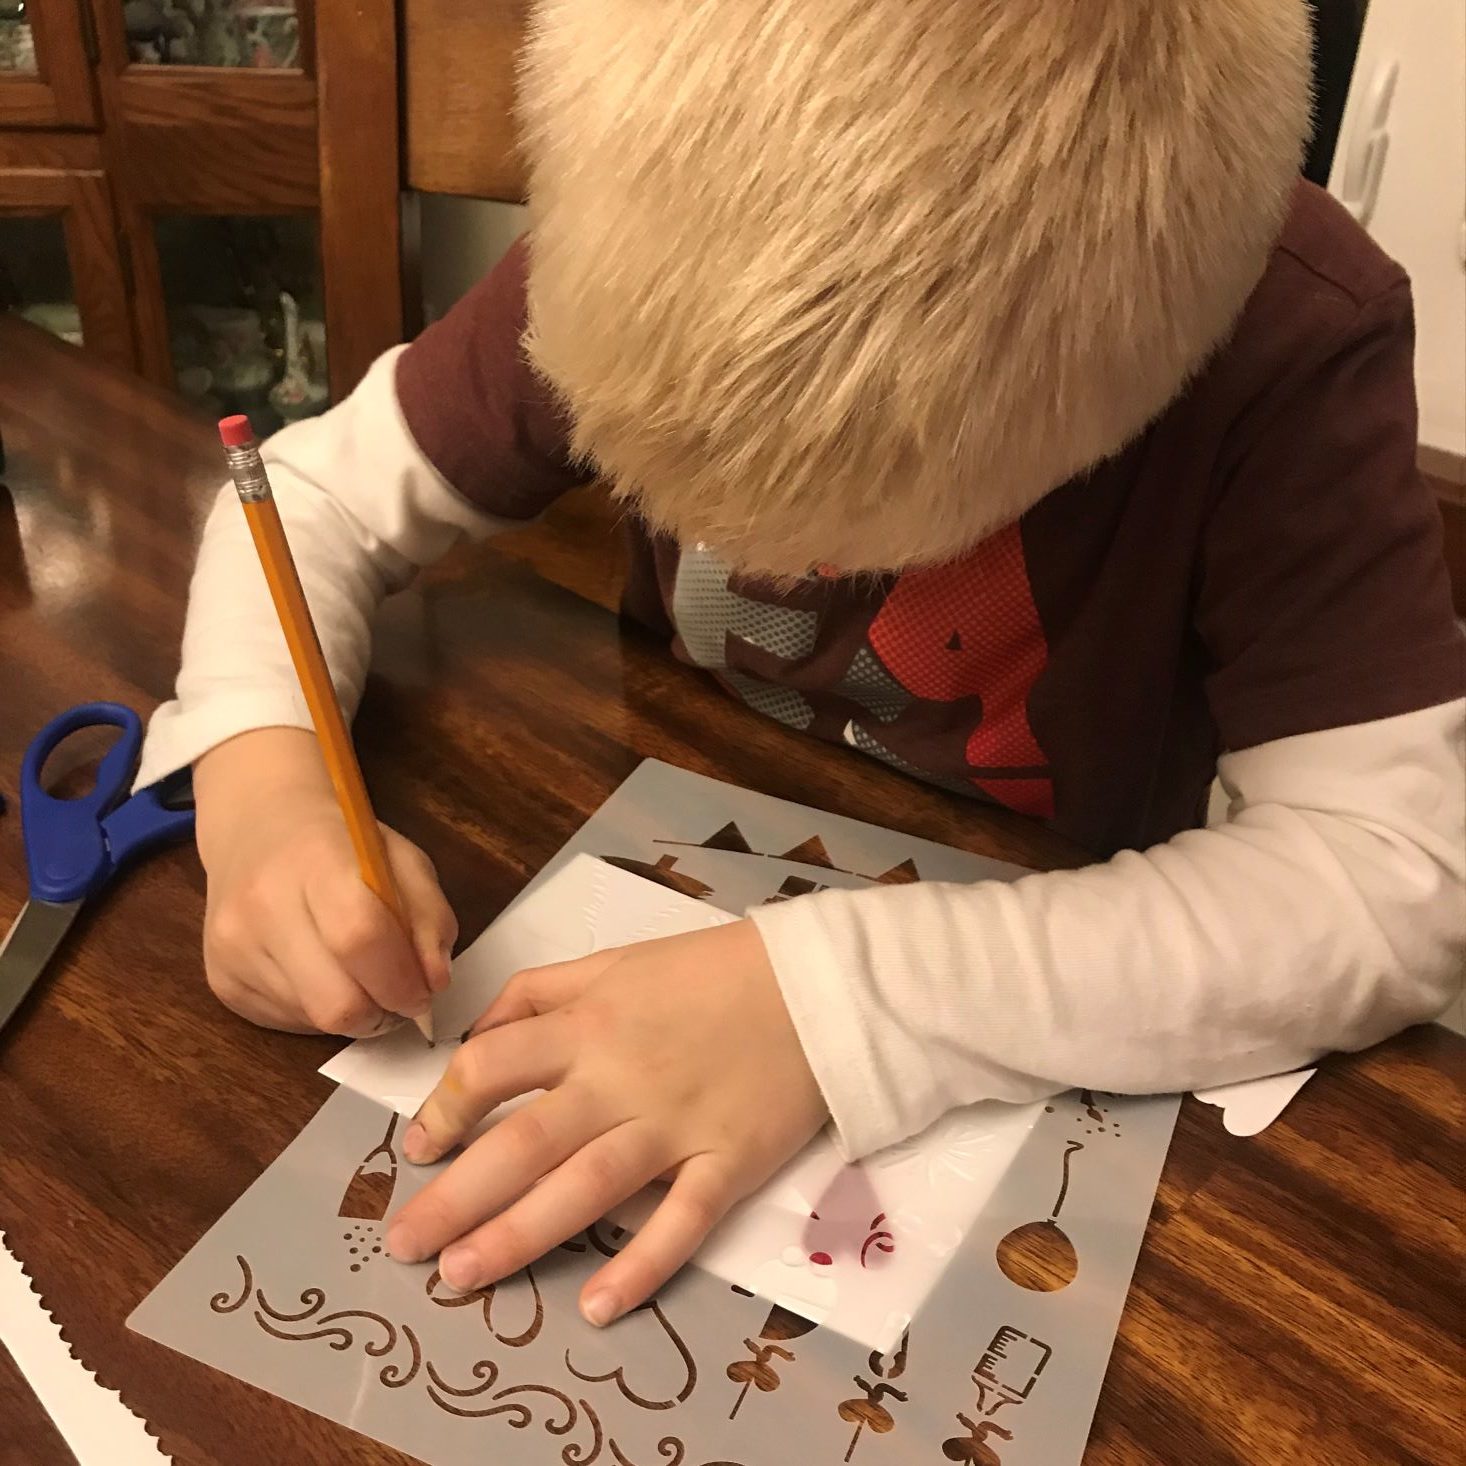
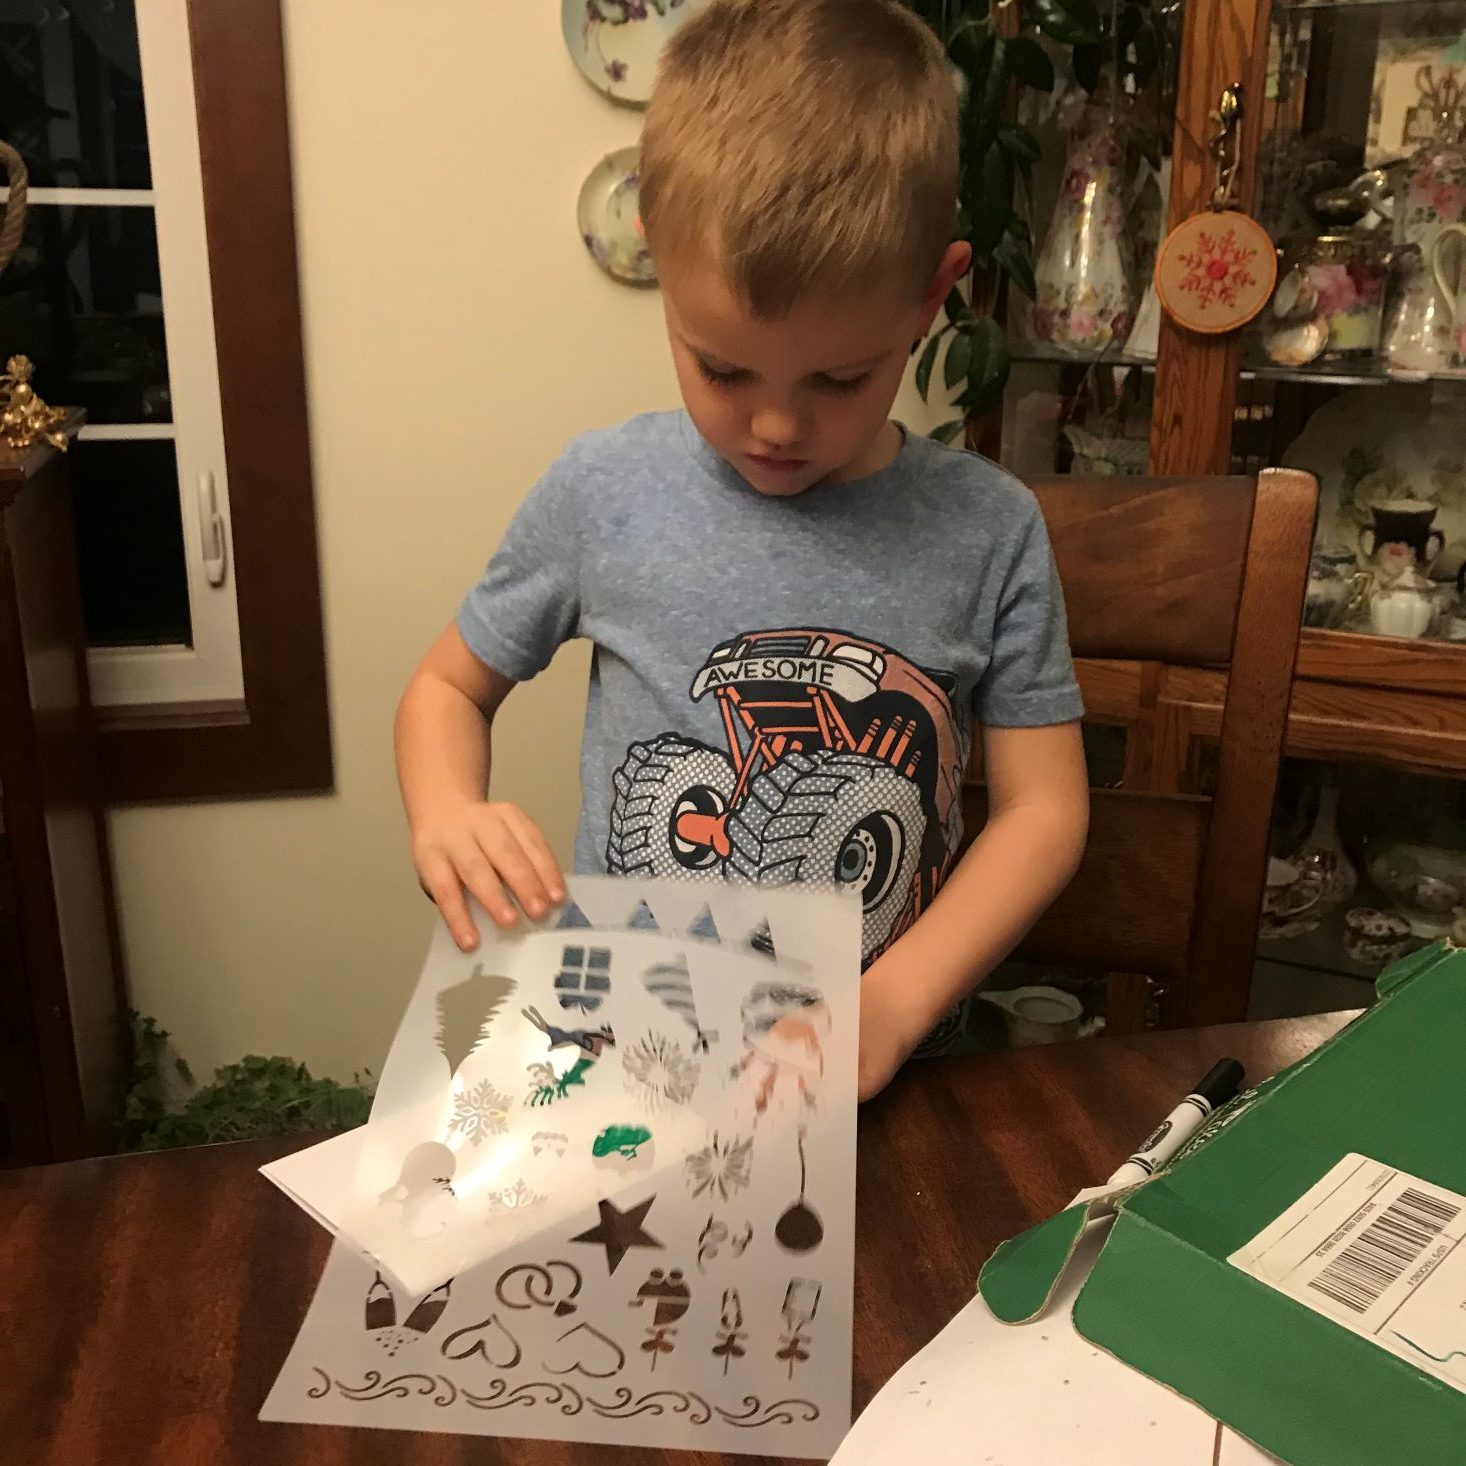
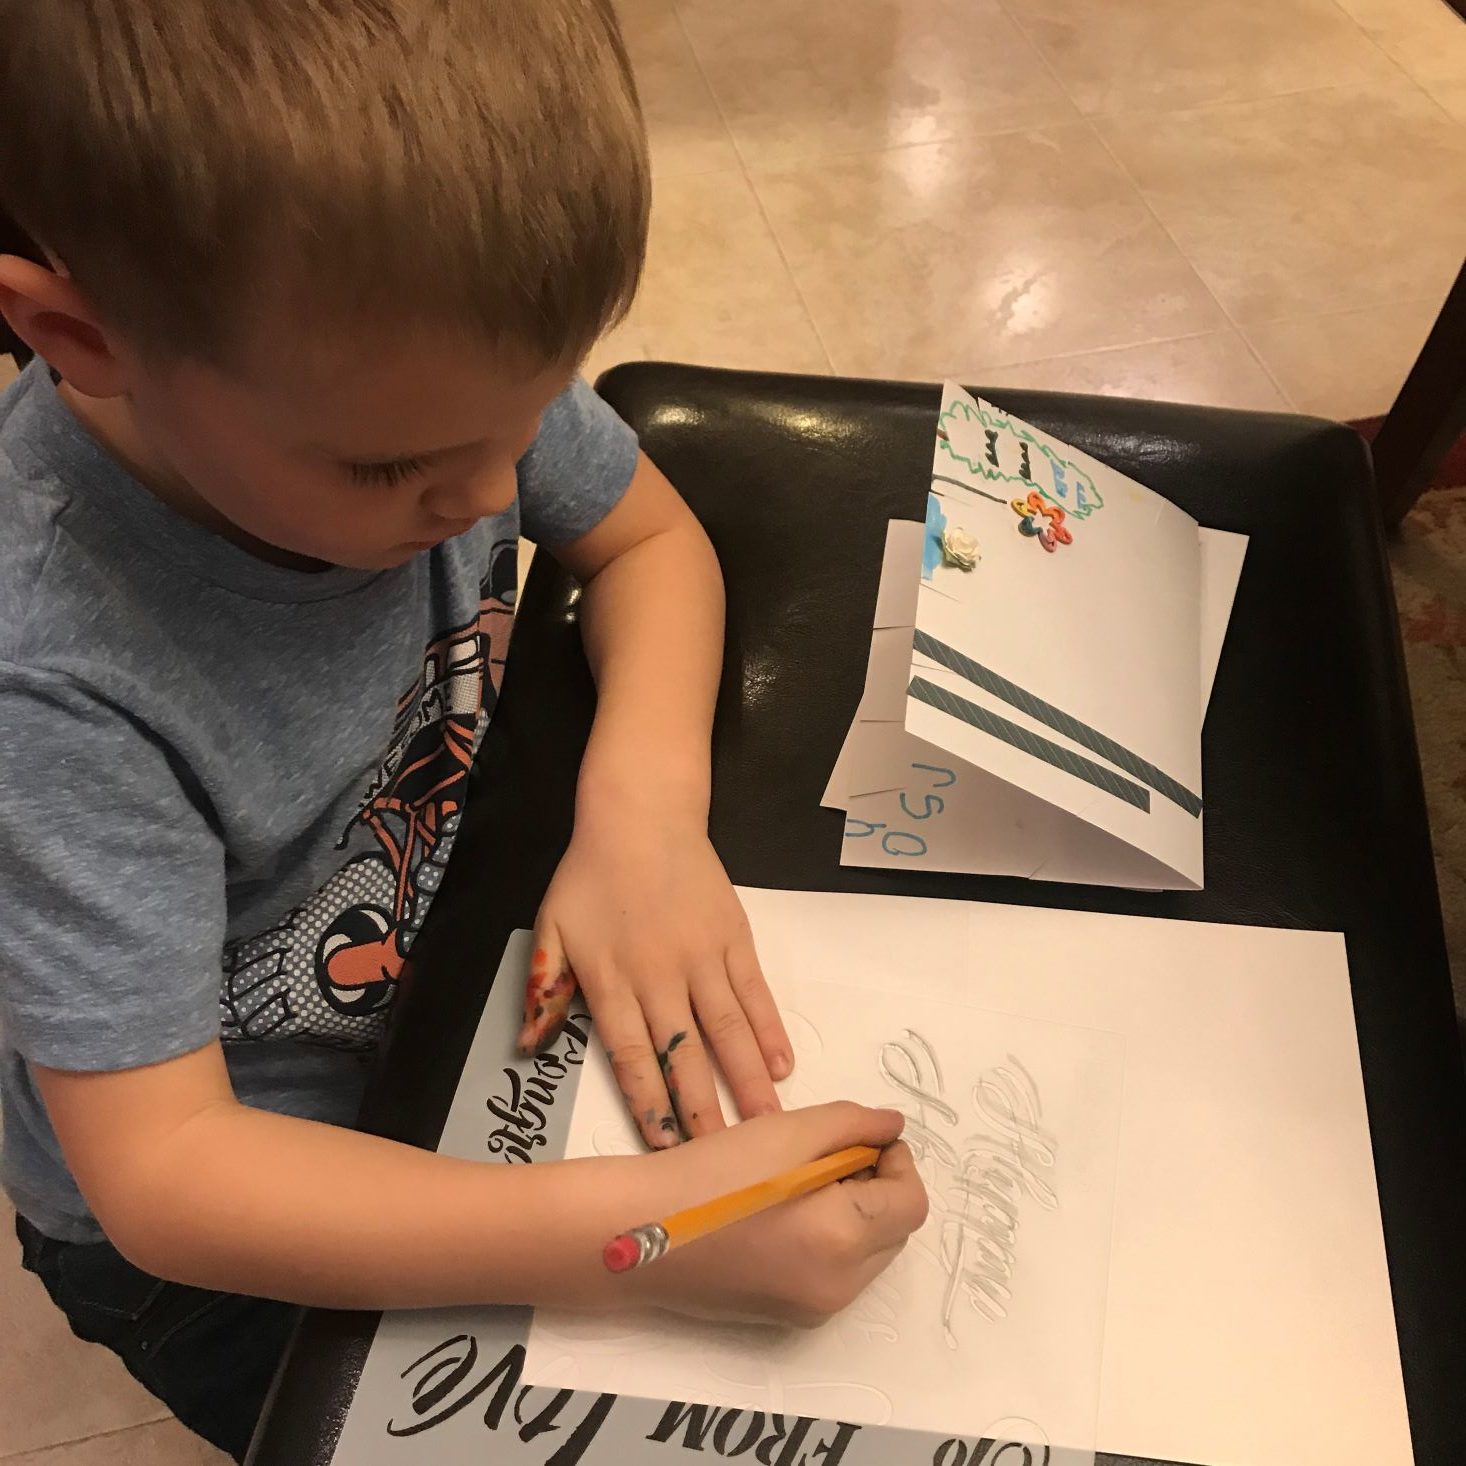
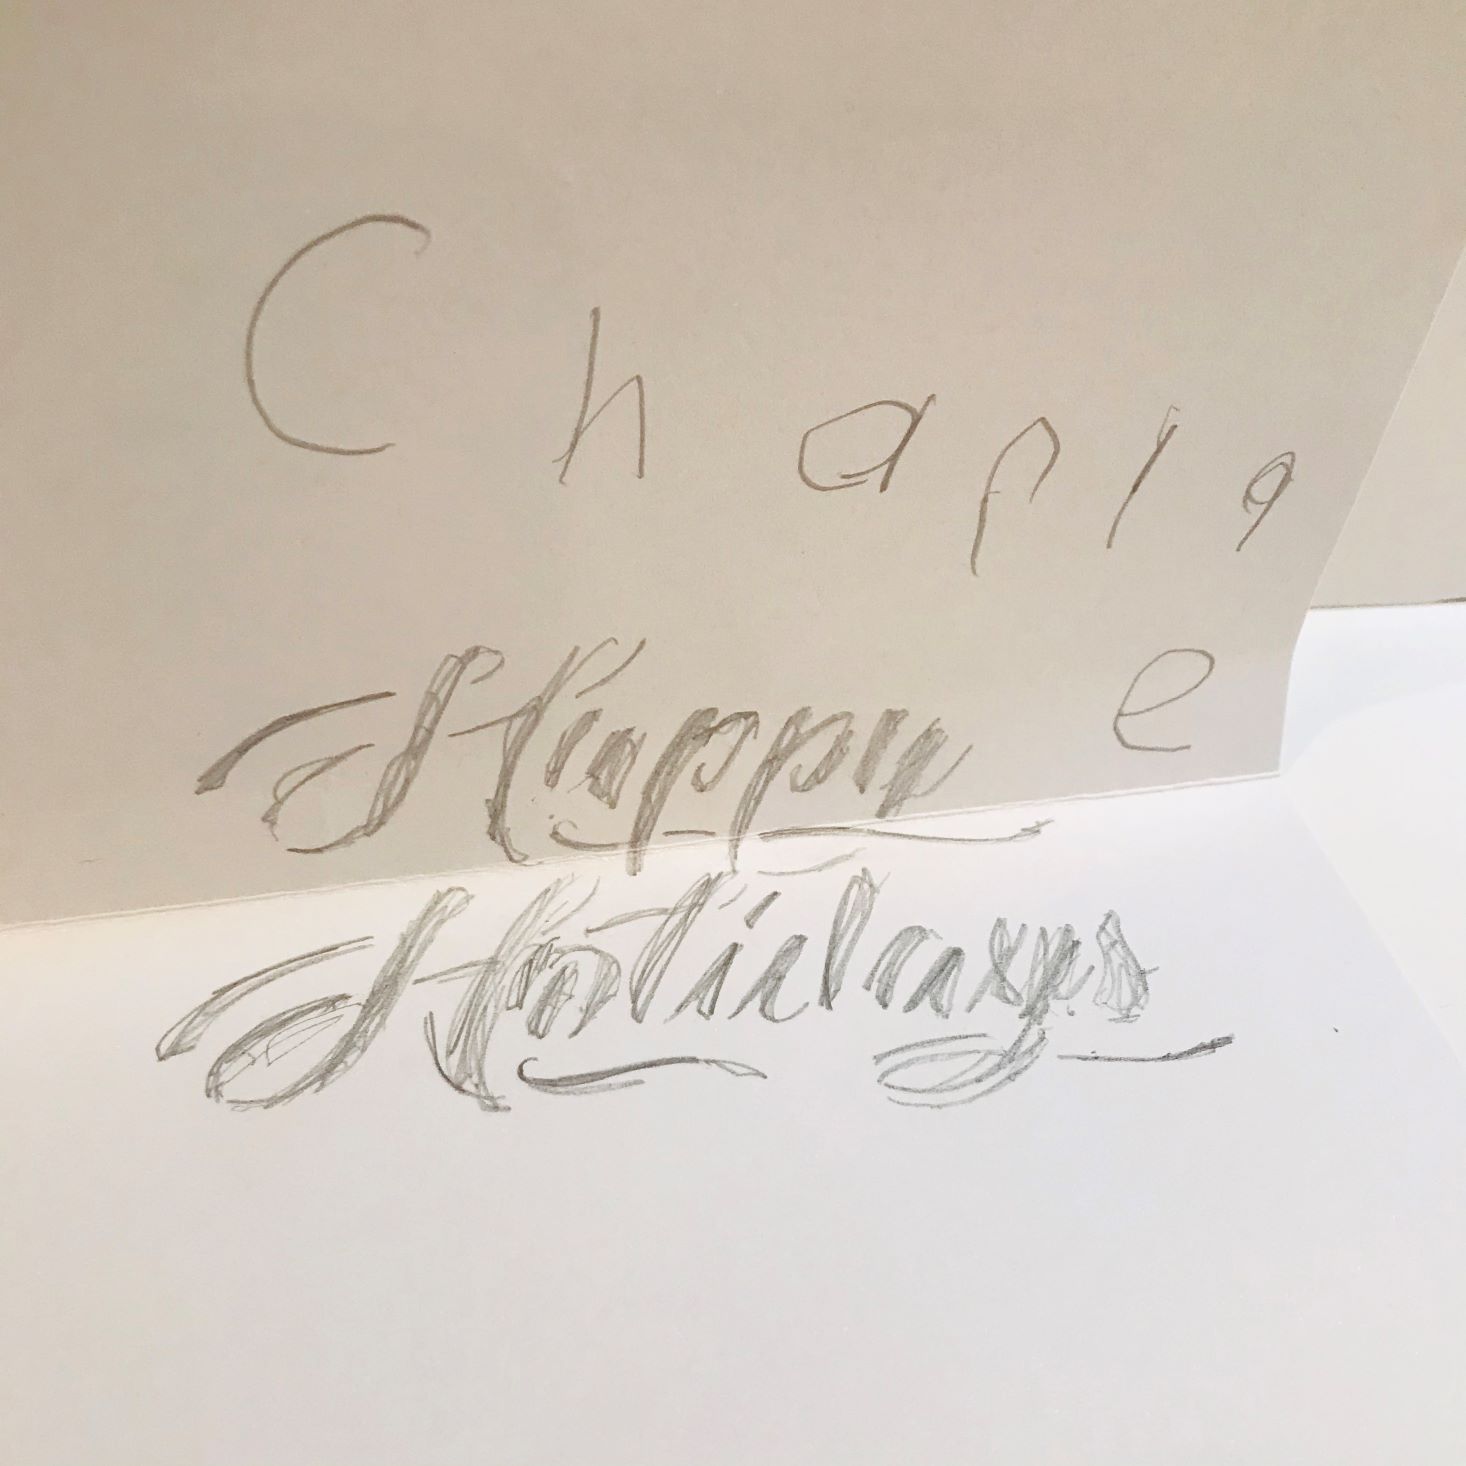
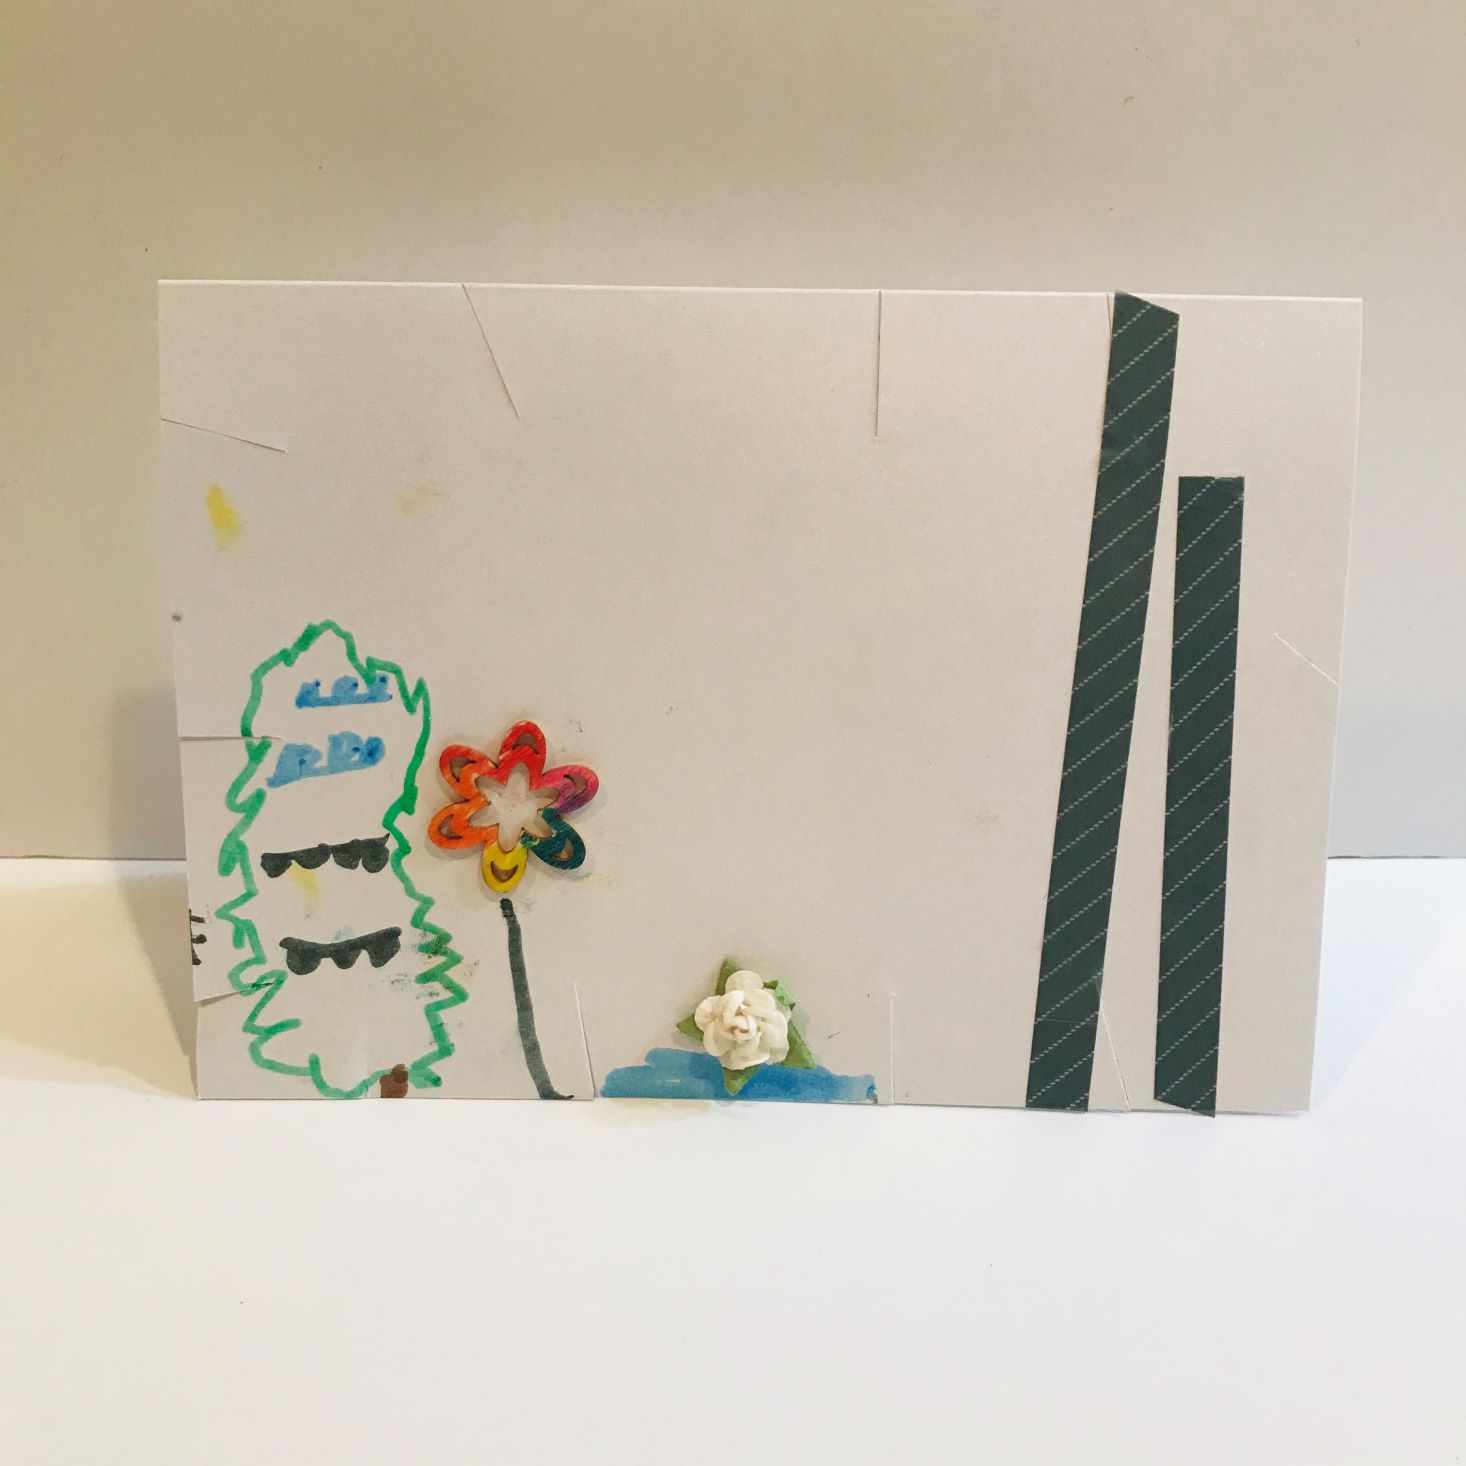
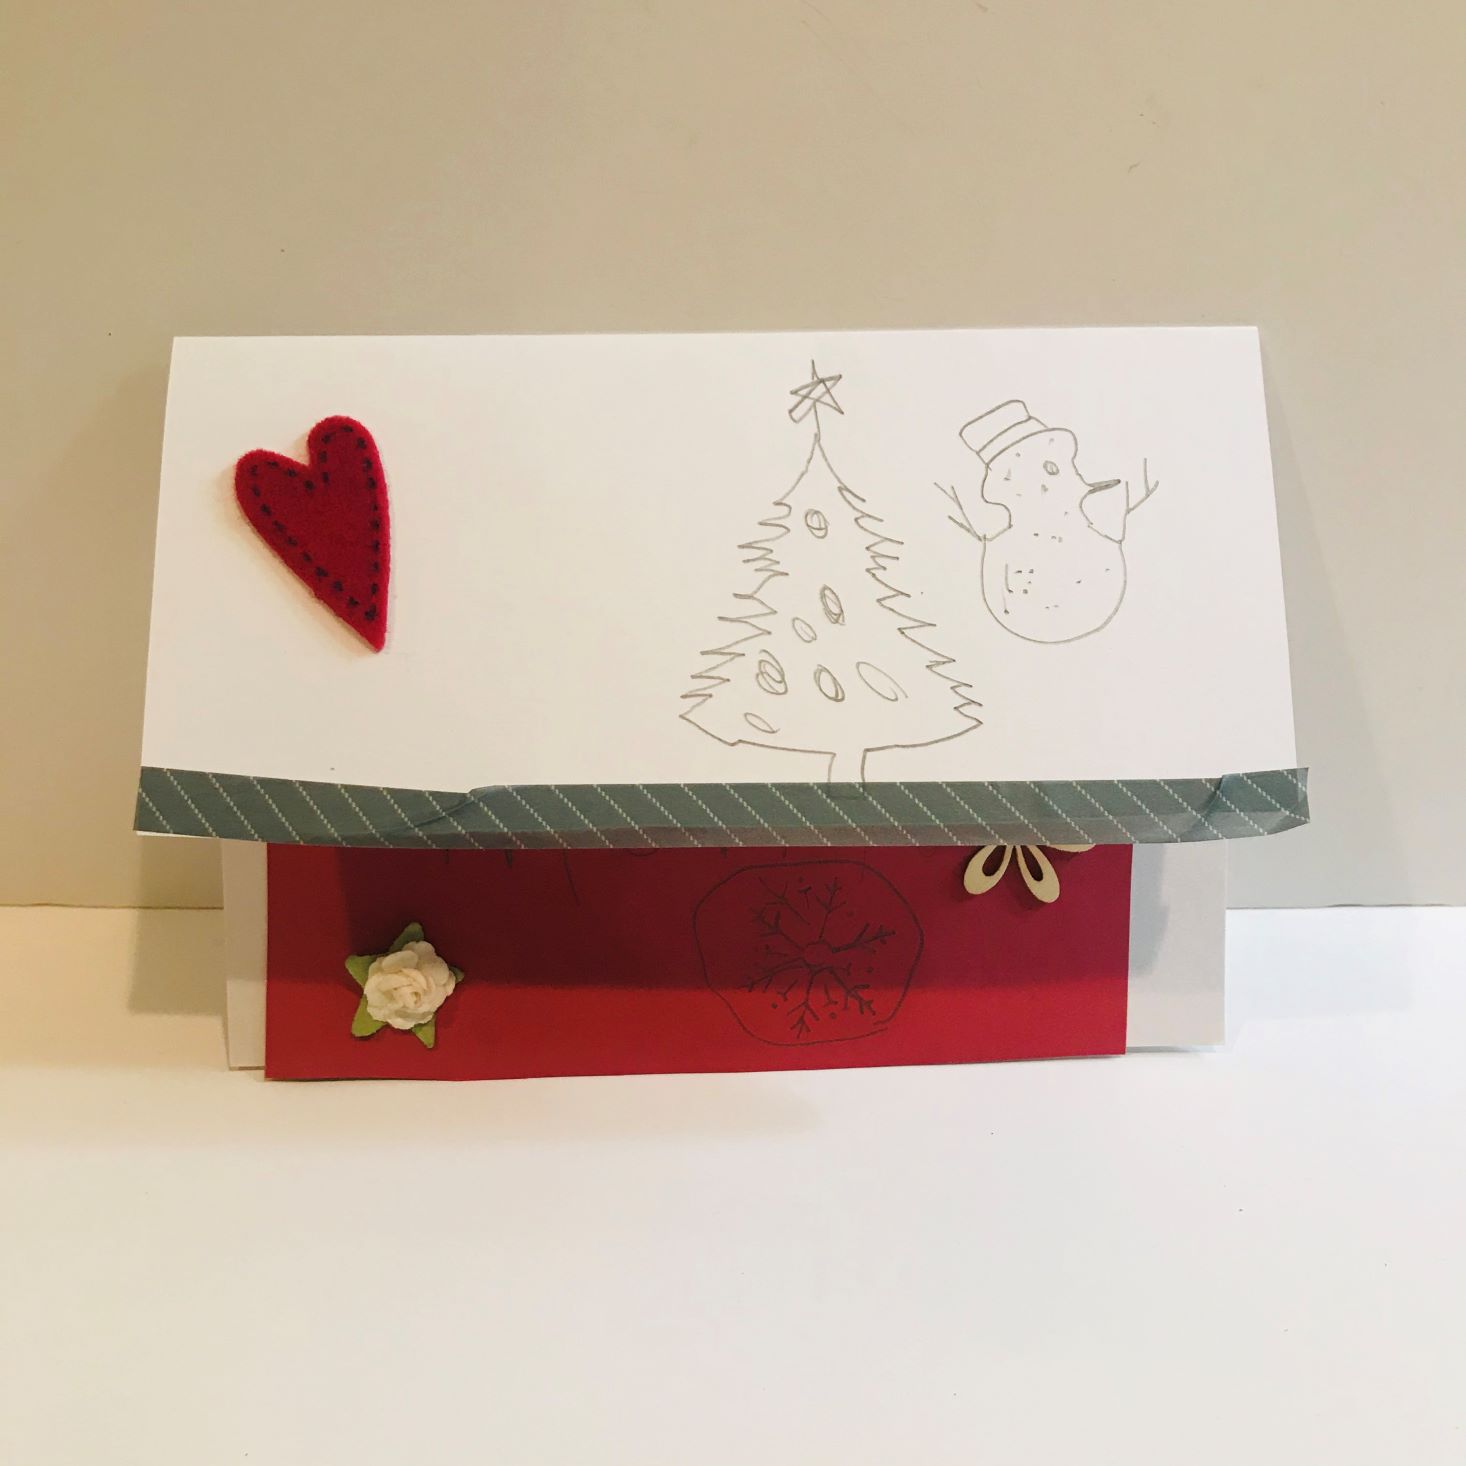
No box would be complete without my boys getting in on the action! Charlie couldn't wait to get his hands on those stencils, and he did a really good job! Hank really enjoyed the washi tape and the stencils, and just spending time together! (If I wouldn't have put a limit on the cards I think Charlie would have used them all!)
Verdict: This is my second month of Adults & Crafts, and I am really enjoying myself! This month was a project I happen to adore, yet still learn something new! I absolutely loved the cards and envelopes, and paper, and of course the Sharpie pen! While some of the items were things I already own, it was really nice to get all of the supplies to create without digging into my disaster of a craft room. My kids were also very excited because now they have some of their own crafting supplies. I really was impressed with the curation of this box, and the use of good supplies. I've noticed between the two boxes I have reviewed that they really give you a lot of wiggle room for making your projects your own, and I love that! I can't wait to see what they send next month!
To Wrap Up:
Can I get this box if I sign up today?: No, this was the December box, so your subscription will likely begin with the January box.
Value Breakdown: The cost of this box is $39.95 ($33 + $6.95 shipping) and it gives you enough supplies to create 25 homemade greeting cards. Not only did we create almost all 25, but we had a lot of supplies leftover for future projects! We received more than 14 items in this box (embellishments counted as 1), which brings the total for each item around $2.85. I think the curation and items are definitely worth that!
Check out all of our Adults and Crafts reviews and the DIY + Crafting Subscription Box Directory for more crafting options!
Keep Track of Your Subscriptions: Add this box to your subscription list or wishlist!
What do you think of December's Adults and Crafts project?






Please do not enter your email address in the Name field or in the comment content. Your email address will not be published. Required fields are marked *. Remember to post with kindness and respect. Comments with offensive language, cruelness to others, etc will not be approved. See our full comment policy here.