Bluprint Premium is a membership subscription model where you not only get access to the thousands of crafting videos on Bluprint's online network, but you also get curated craft boxes sent to you quarterly. Each box contains all of the supplies needed to make the craft (either sewing, quilting, knitting, crochet, or embroidery), as well as detailed step-by-step video tutorials for the craft.
Bluprint offers three subscription models:
- Monthly: $7.99 per month (for unlimited access to classes + projects, with one own-forever class)
- Annual: $79.99 per year (for unlimited access to classes + projects, free US shipping, and 12 own-forever classes)
- Premium: $199 per year (for 4 quarterly project boxes valued at $400, unlimited access to classes + projects, free US shipping, and 12 own-forever classes)
This review is of Bluprint Premium, for $199 a year. Note that the Premium option is the only one that comes with project boxes.
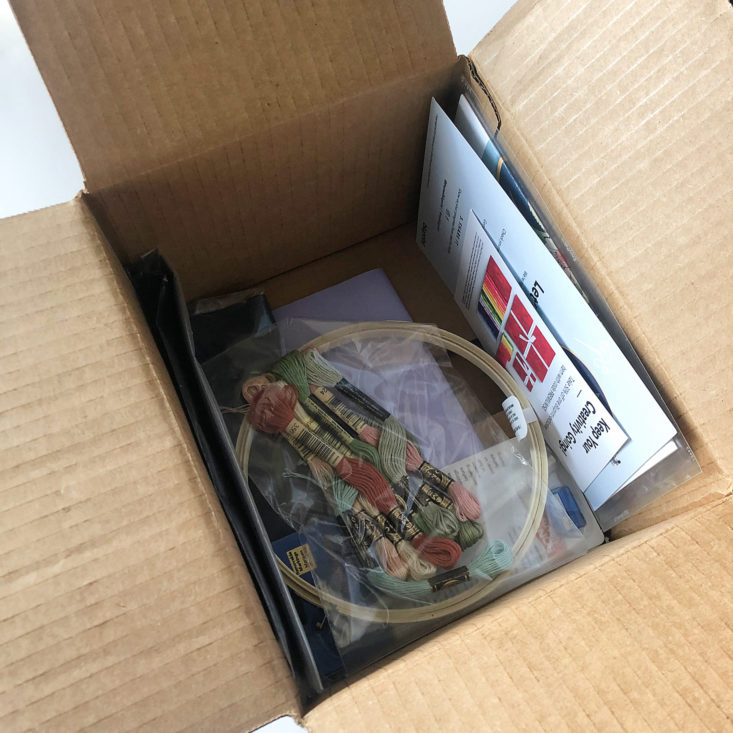
This box was sent to us at no cost for review. (Check out the review process post to learn more about how we review boxes).
About Bluprint Premium
The Subscription Box: Bluprint Premium
The Cost: $199 per year (other plans available from $7.99 per month)
The Products: Everything you need to create a craft project (choose between knitting, crochet, quilting, sewing, or embroidery) with detailed step-by-step video tutorials, and unlimited access to Bluprint classes and projects.
Ships to: The US for free
Good to Know: Subscribers receive free US shipping on all Bluprint orders with this subscription. You'll also get 12 Bluprint classes to own forever.
Bluprint Premium Fall 2019 Review #2
Bluprint (formerly known as Craftsy) is an online hub for crafters. They feature video tutorials and classes for all sorts of craft projects, and also sell kits for curated designs. They recently launched their Premium subscription model, where you not only get unlimited access to all of the video content on the website, but you also get one craft kit per quarter with detailed video instructions. You get to choose which craft you receive each time - you can try them all over time or stick with your personal favorite! As of now, the craft types offered are sewing, quilting, knitting, crochet, and embroidery.
This quarter, I picked the embroidery box!
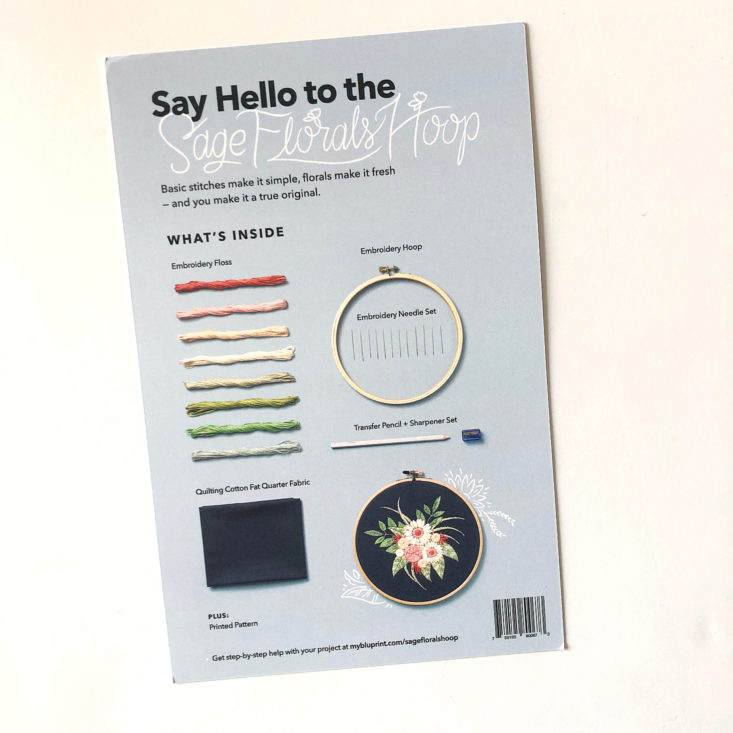
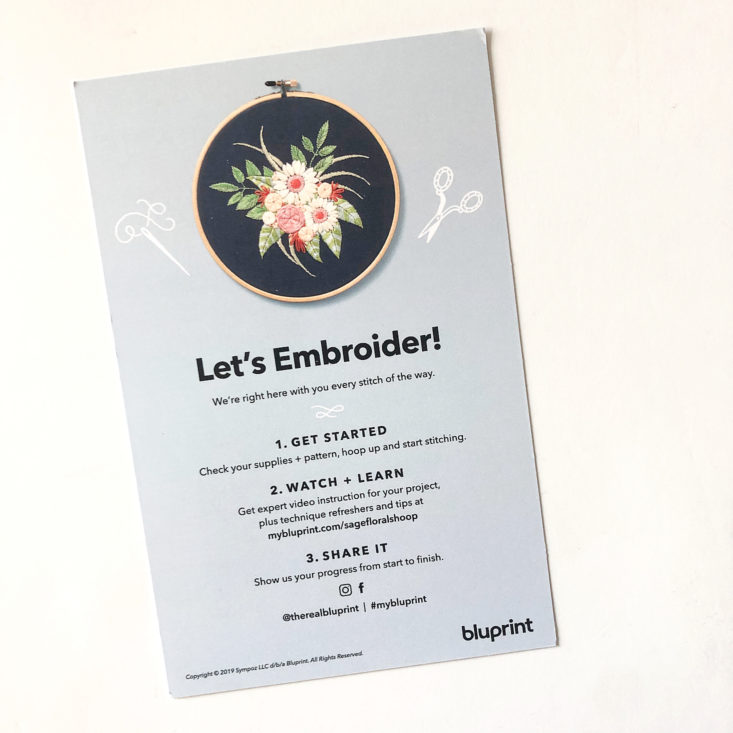
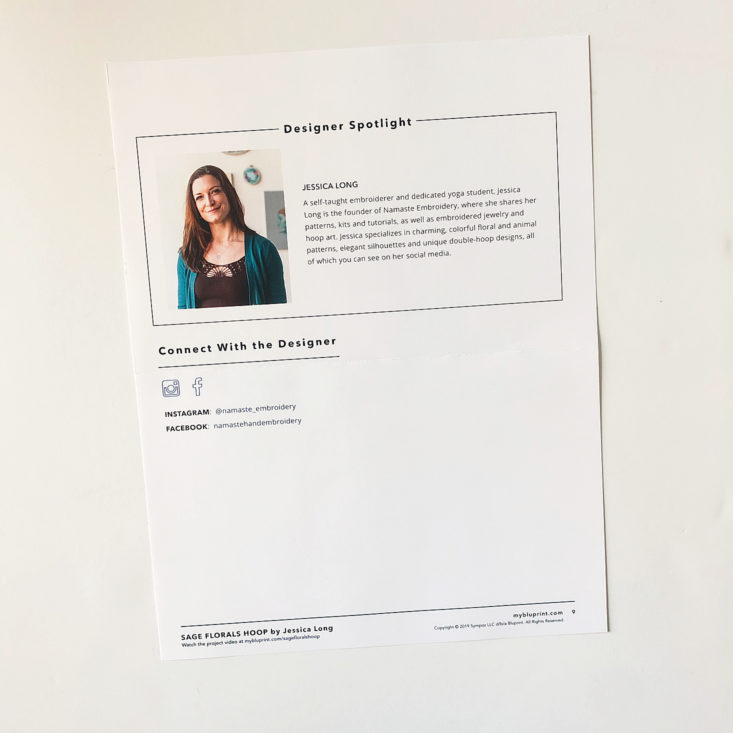
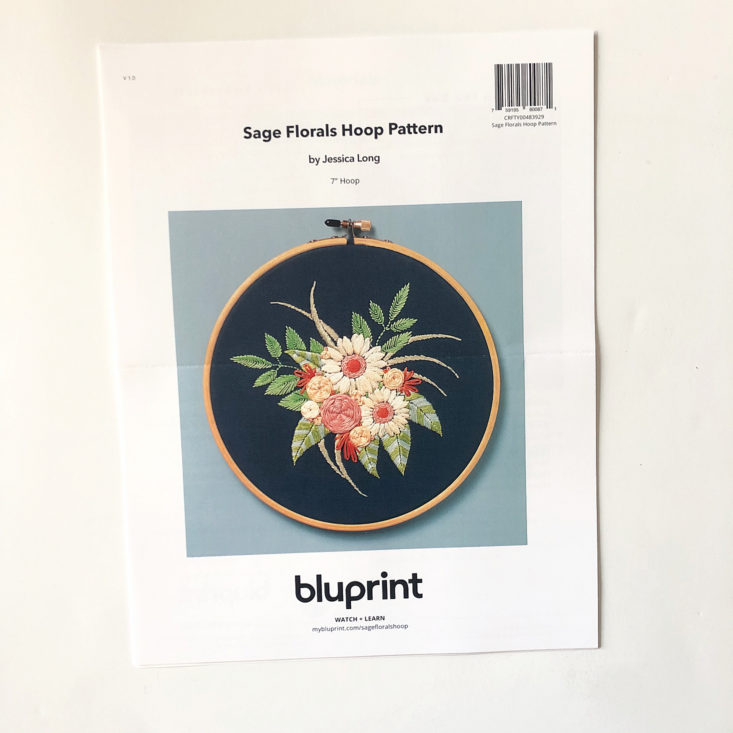
The first thing that greeted me when I opened my box was this super cute card detailing what came with my project. The embroidery project this quarter is for the Sage Florals Hoop - I love how fun this looks! It also shows the link to the video tutorials for this project - these videos are very in depth and go step-by-step through the project. I've done a lot of cross stitching in the past but not much free-form embroidery like this, and the videos made me feel supported and ready to take this project on!
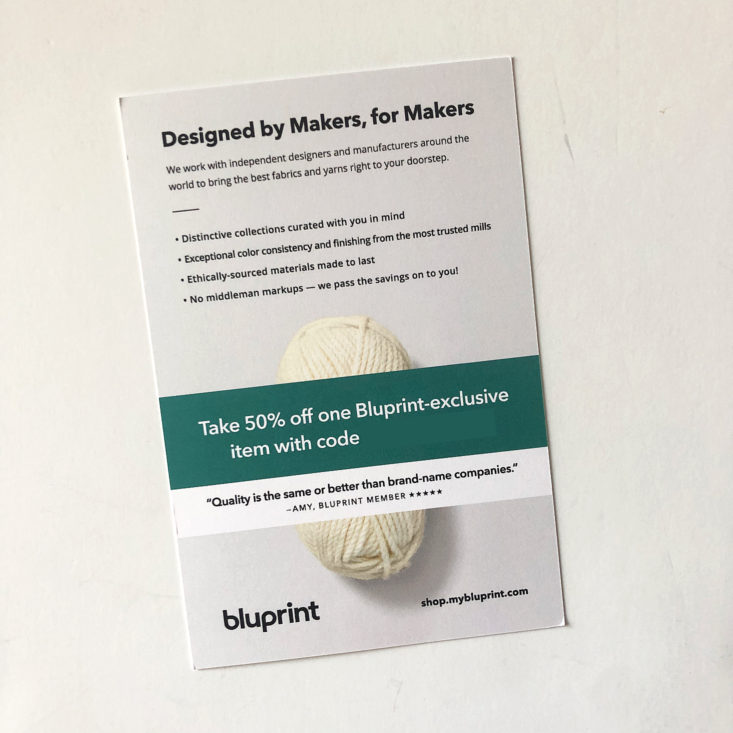
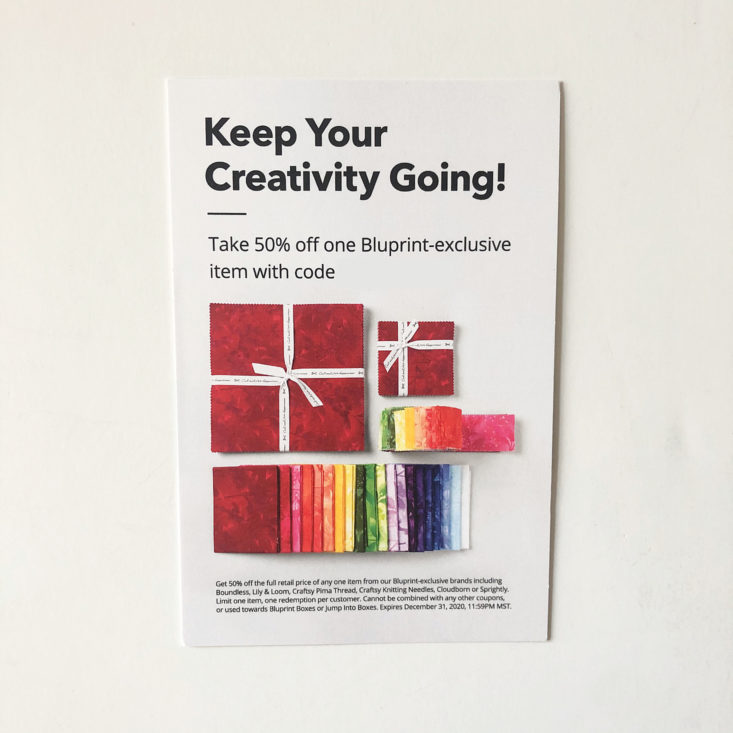
There was also a coupon for 50% off of a Bluprint item. Sweet!
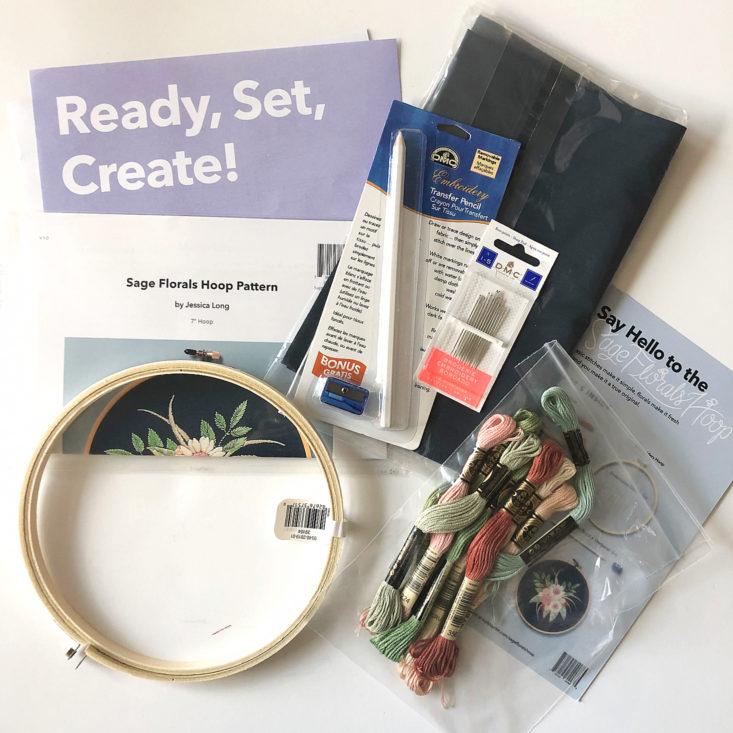
The pattern came encased in a sturdy, plastic wrapping. Normally I would hate the waste of extra packaging in the box, but this envelope is thick enough and well made - I'm keeping it so that I can store my pattern for future use!
The pattern is printed on double-sided, thick paper in full color. I'm not showing the full pattern here due to it being proprietary content, but it includes a full-size template of the design, color and stitch maps of each motif in the design, and also illustrated instructions on the different stitches used here.
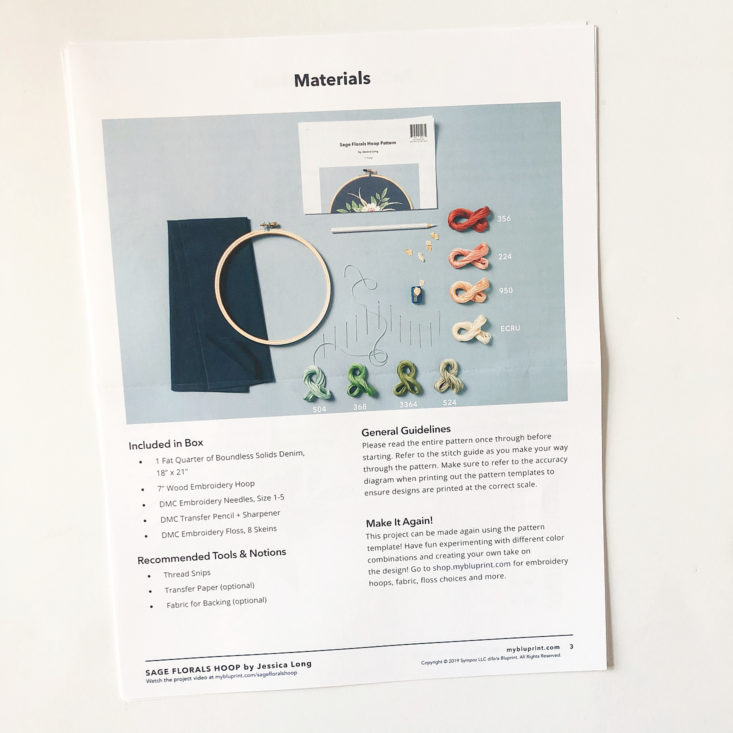
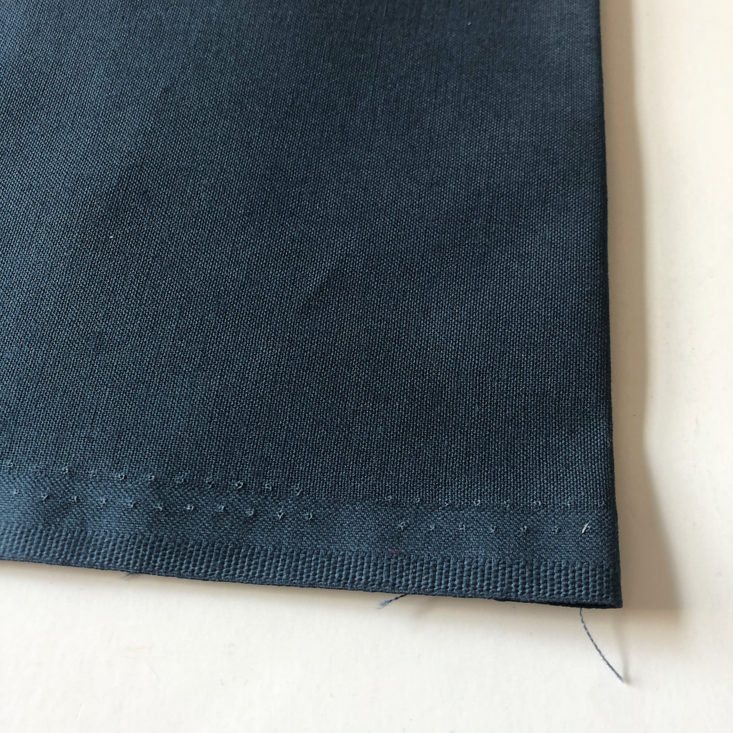
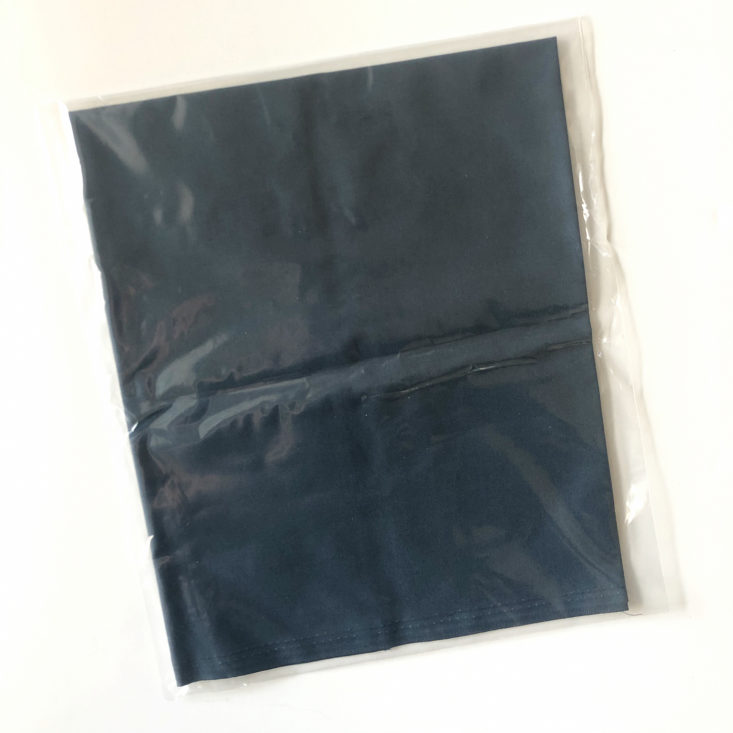
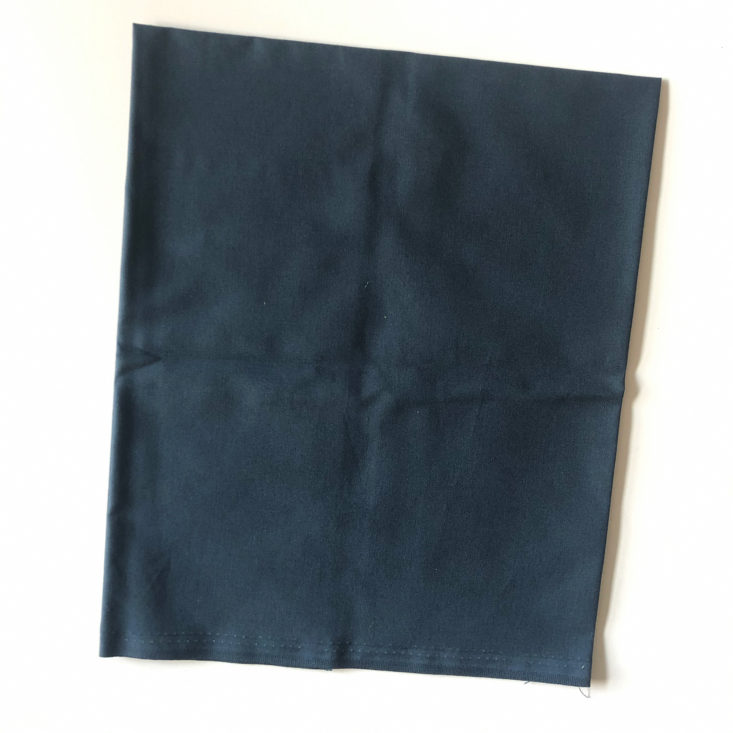
Fat Quarter of Blue Fabric
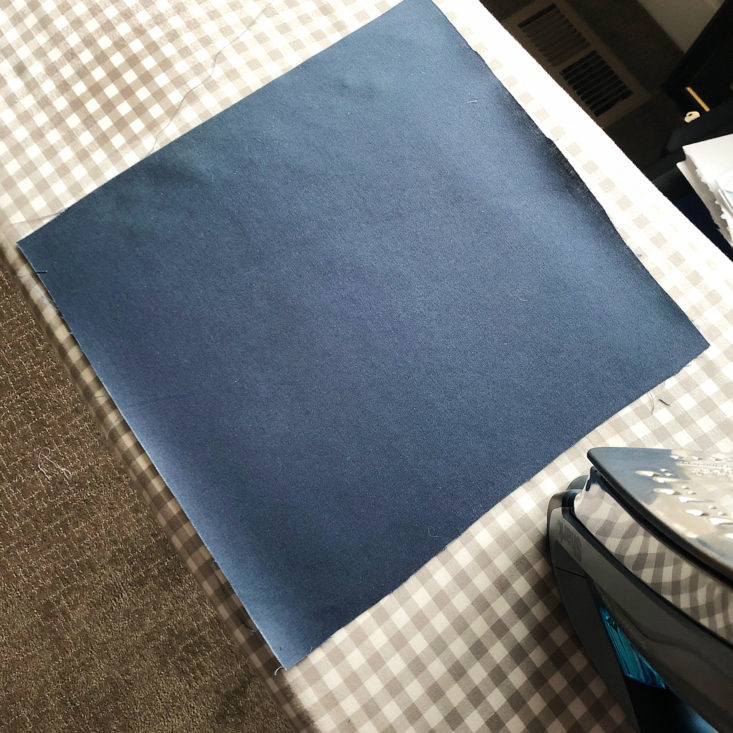
We received a fat quarter (which is slightly larger than a quarter of a yard) of finely woven navy blue fabric. It is 100% cotton and has a lovely depth of color.
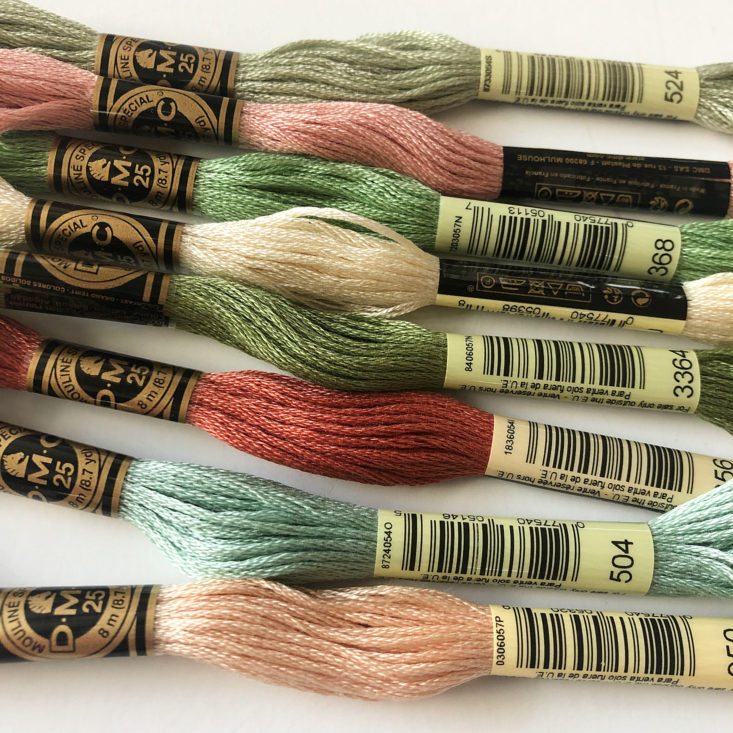
DMC Embroidery Floss
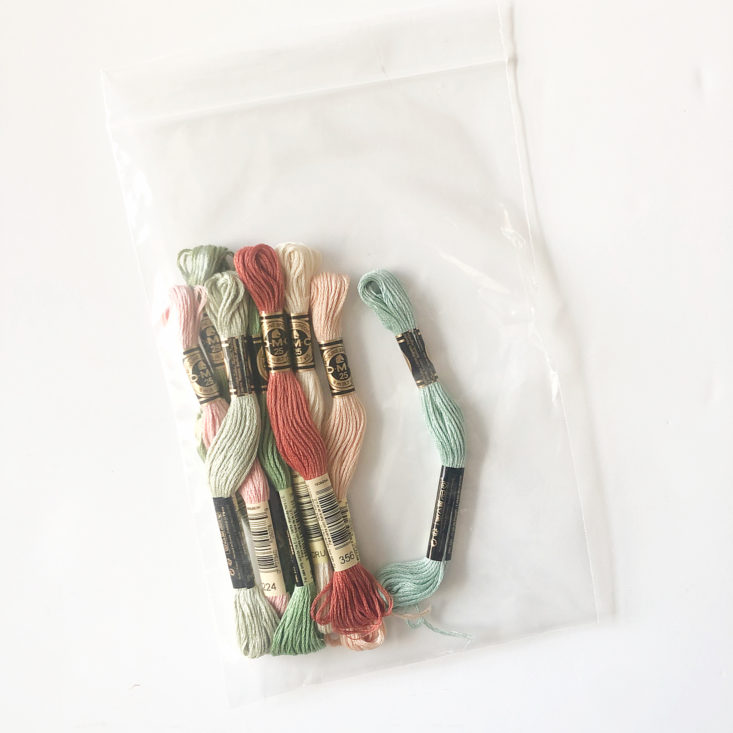
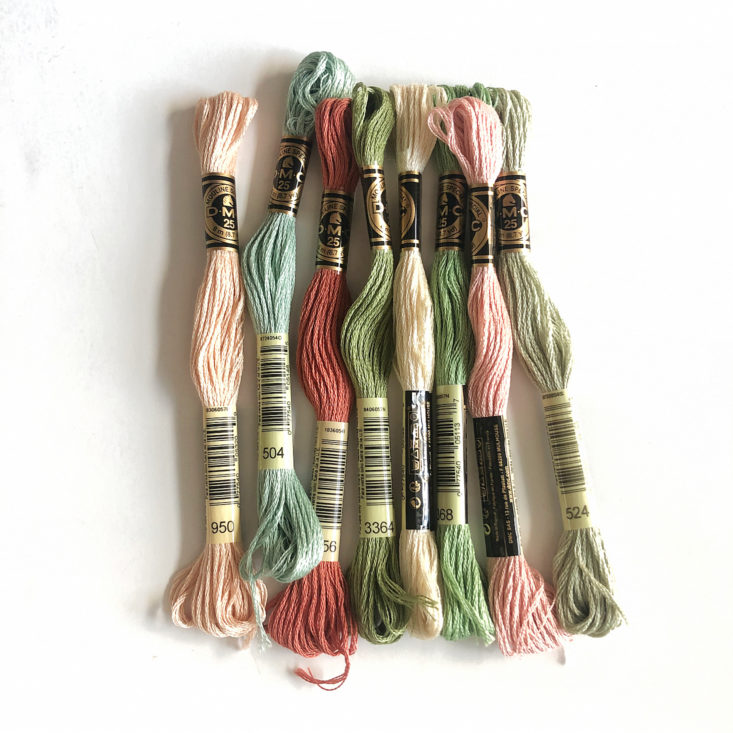
All of the embroidery floss we need to complete the design was included in the kit. The colors I received looked a little bit more muted than the photos of the design, which I was totally on board with. I love the vintage, romantic look of these greens and blush pinks! DMC embroidery floss is very easily found in craft stores, so I appreciate that I can add my leftovers to my floss stash easily. Also, DMC floss comes in hundreds of colors, so I could always make this project again in a different color palette!
Wooden Embroidery Hoop
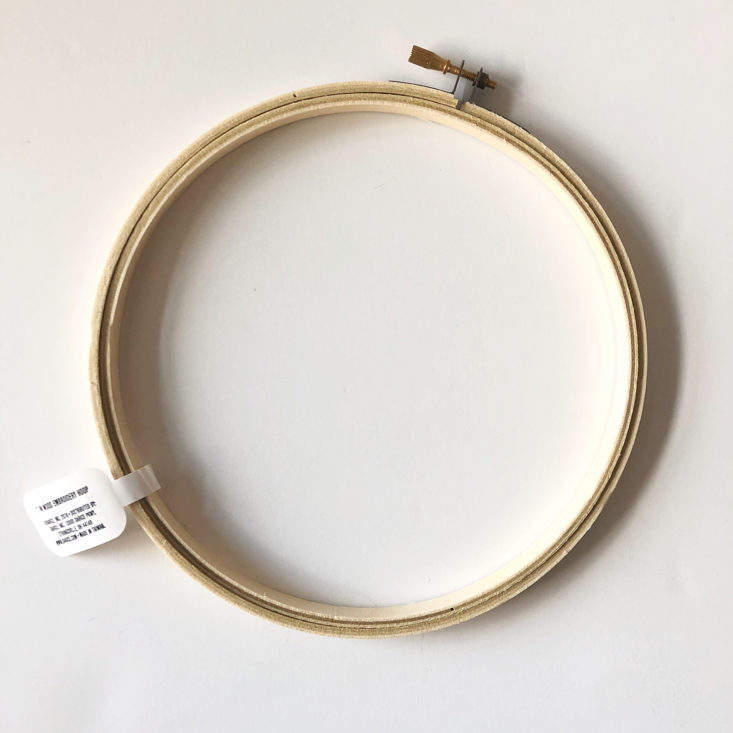
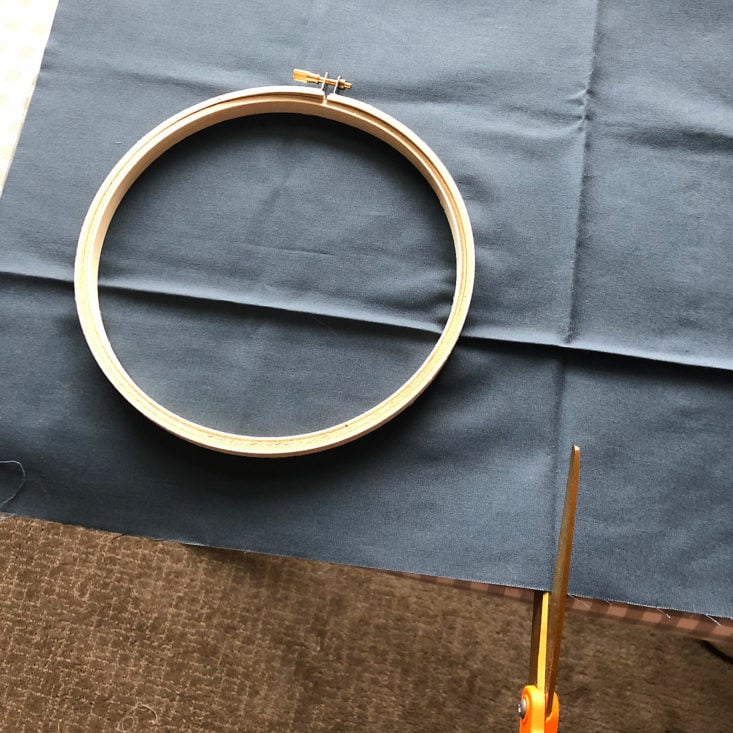
The kit included a hoop, which I thought was great - most embroidery kits that I've bought in the past do not come with a hoop, and that must be purchased separately. You truly have everything you need to complete this project except for scissors! The hoop has a metal screw closure for tightening.
Transfer Pencil
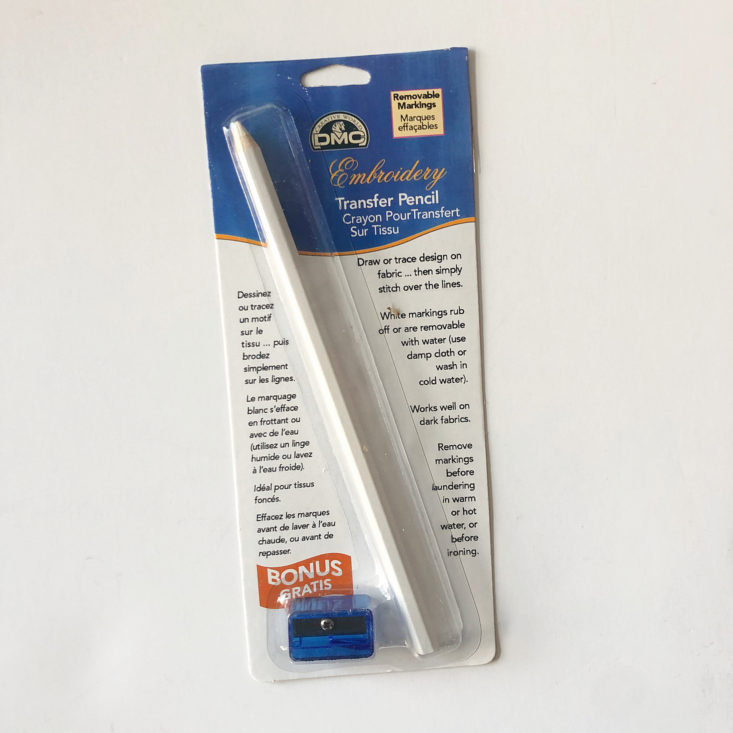
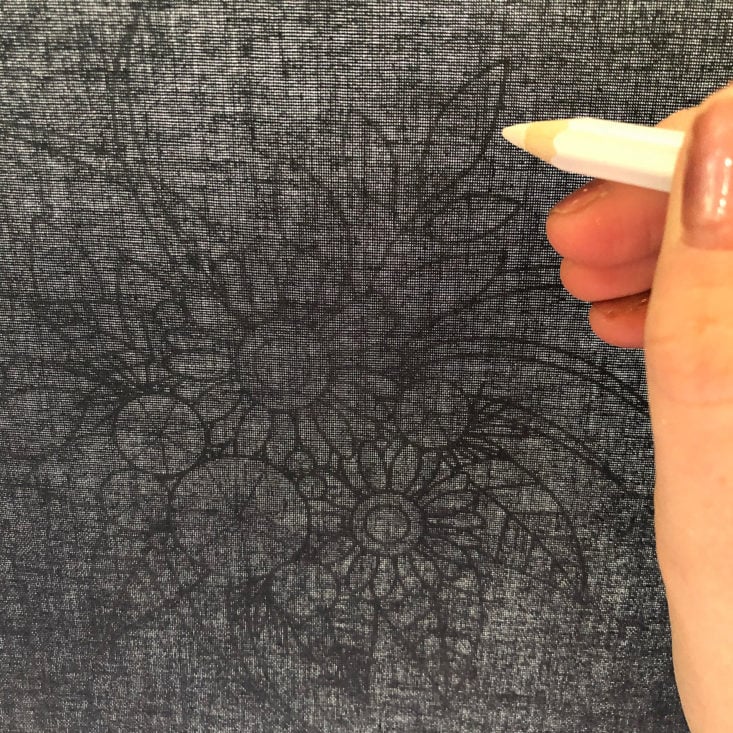
We also received a white transfer pencil so that we can trace the pattern design onto our fabric. The pencil came with a small bonus sharpener, and while I appreciated the intent here, this sharpener was awful. I could not get the pencil to resemble anything near a sharp point, and thick, blunt lines are not what I was going for when I was tracing! I ended up using my makeup pencil sharpener to get the point I needed, and that worked much better for me.
Embroidery Needles
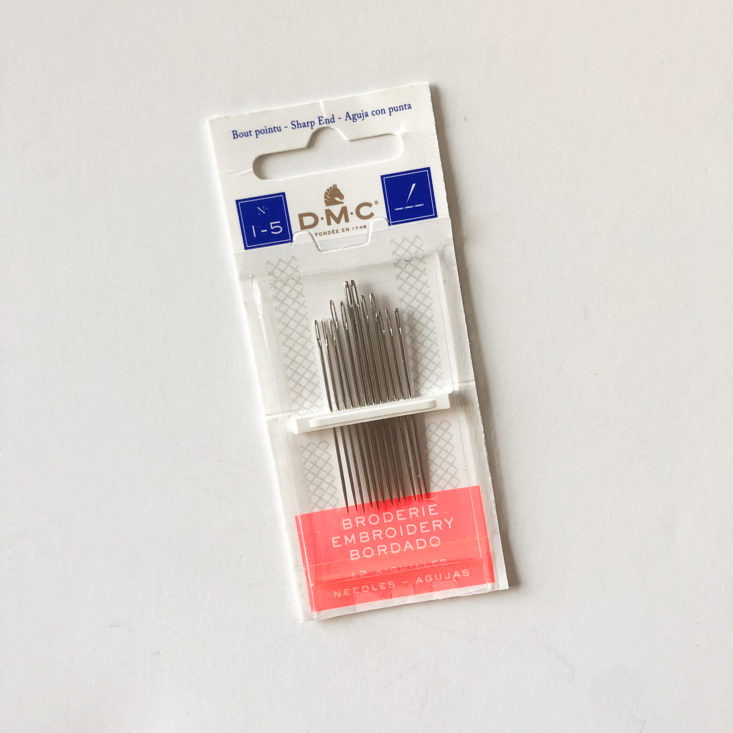
We also received a pack of 12 embroidery needles in a variety of sizes. I found the tips to be the perfect level of sharp - they were sharp enough to pierce the fabric easily while at the same time not so sharp that they caused accidental finger stab wounds!
Now, let's get to embroidering!
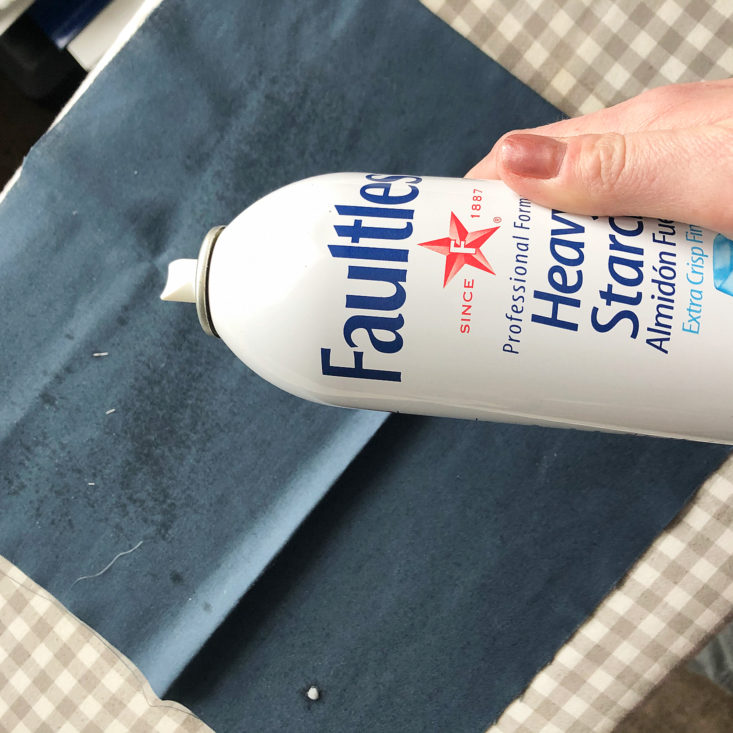
I'm so glad that I watched the videos before starting this project, because the creator gave several tips for setting up your fabric that I found to be so helpful. The best was to use spray starch before ironing your fabric - this simple trick made it so that my fabric was wrinkle-free and also made it easier to trace the design onto it.
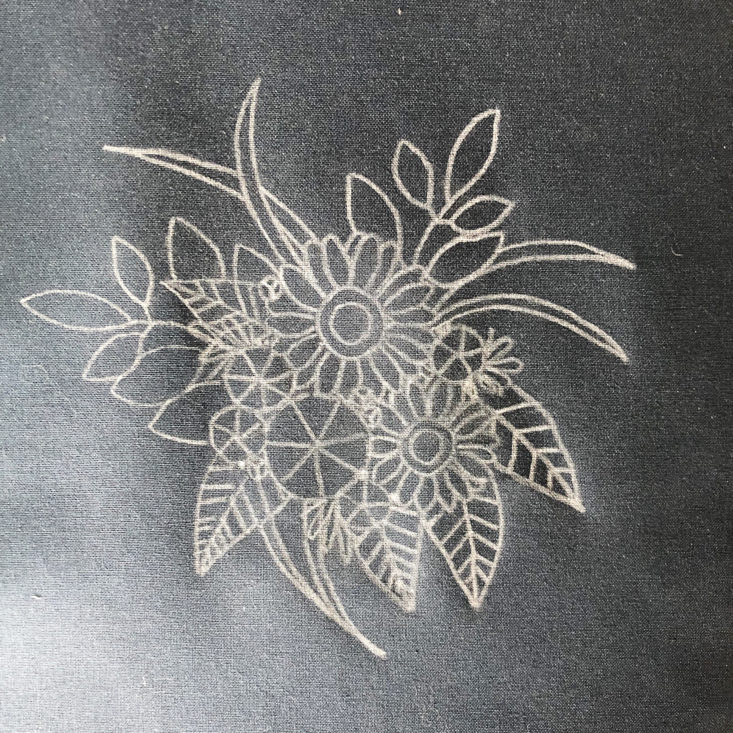
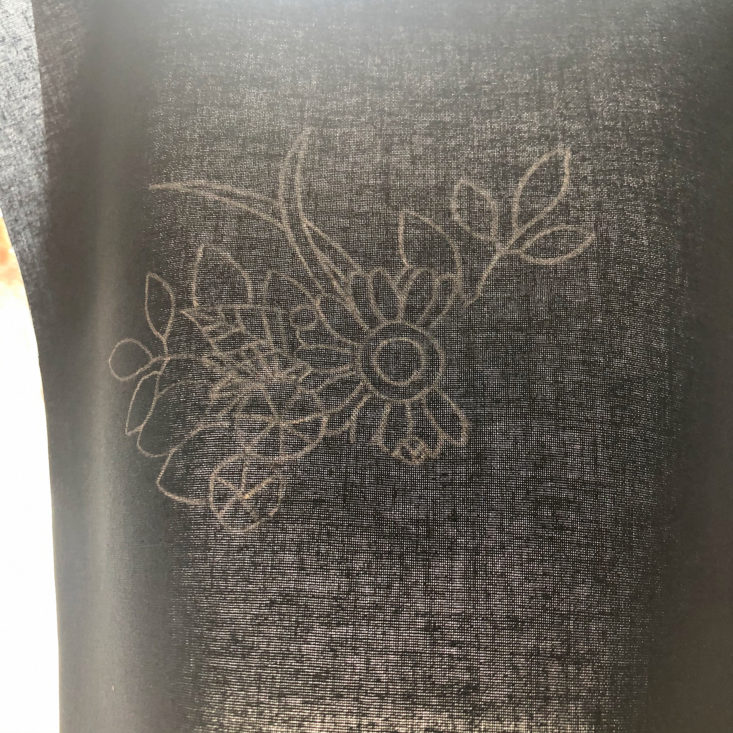
In the video, the creator uses a light table to trace the design onto her fabric. I don't have a light table, so used a sunny window instead. I left the bottom edge free so I could lift up my fabric and double-check that I was catching all of the details as I was tracing.
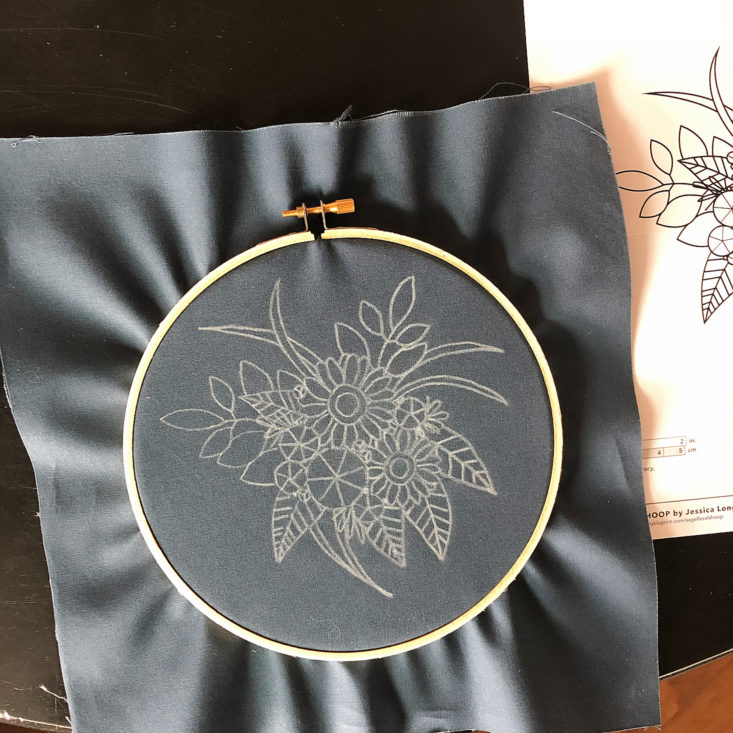
The last set-up step is to center the design in the wooden hoop - now it's time to get stitching!
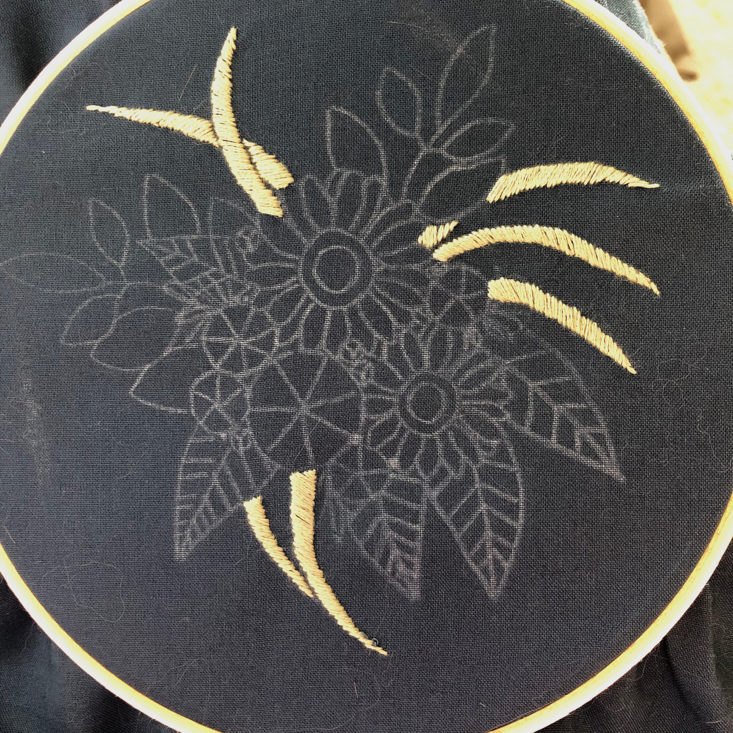
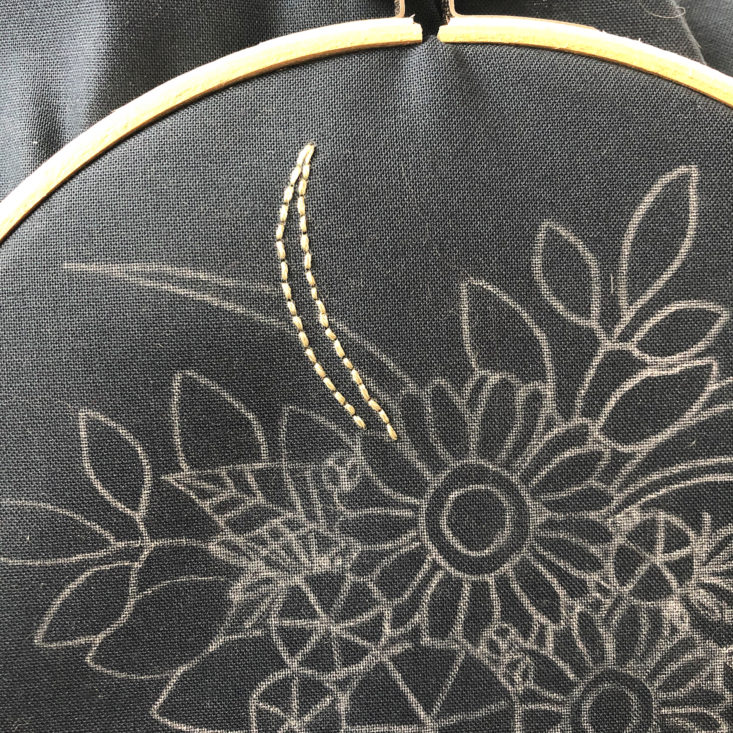
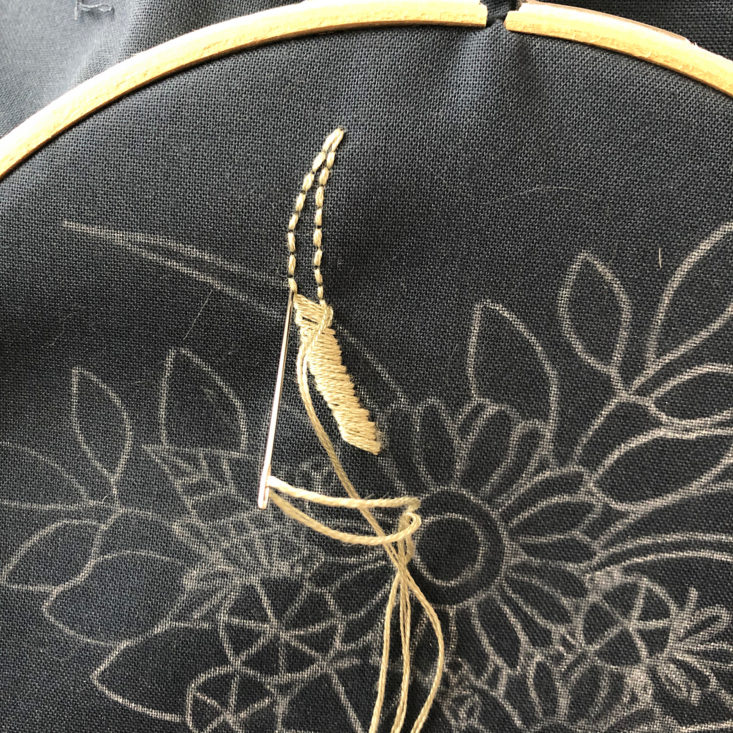
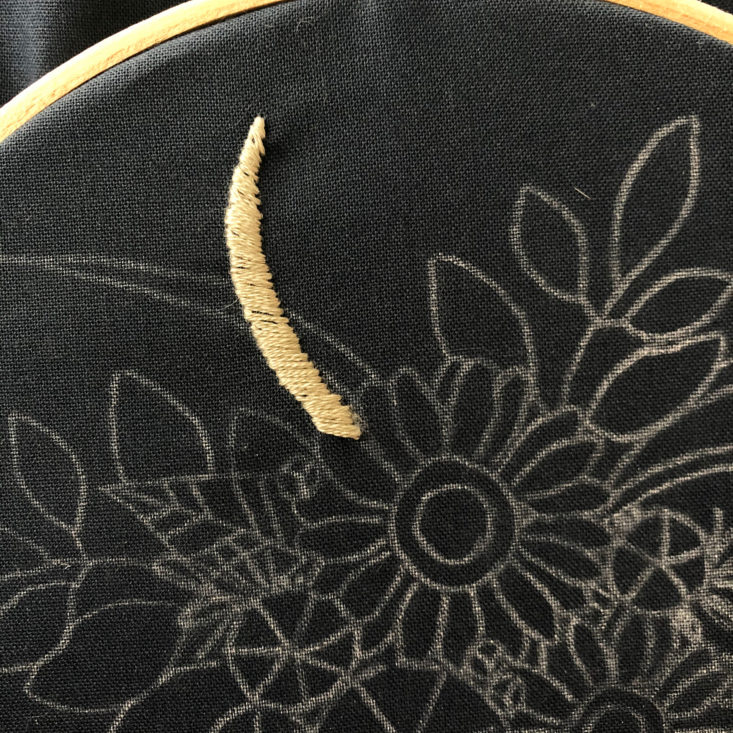
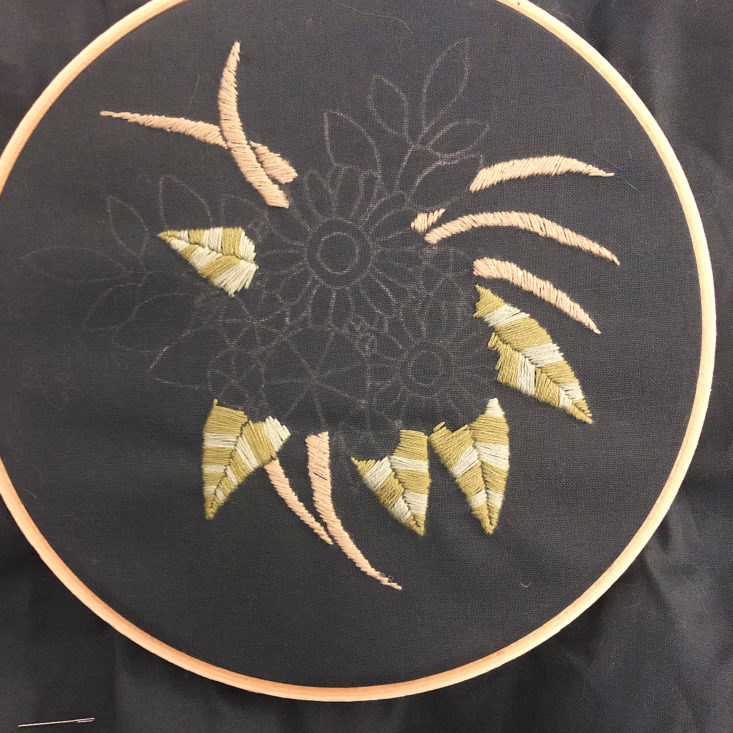
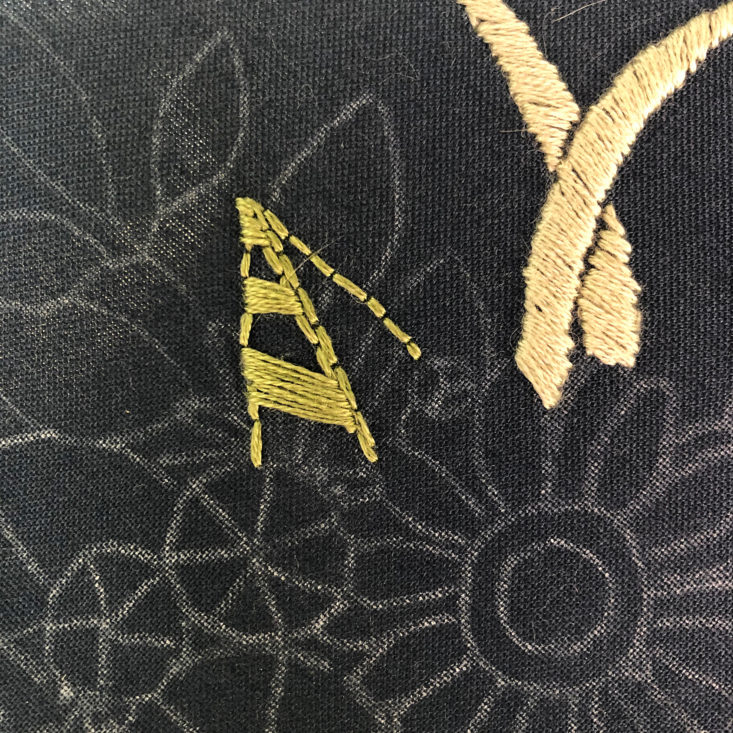
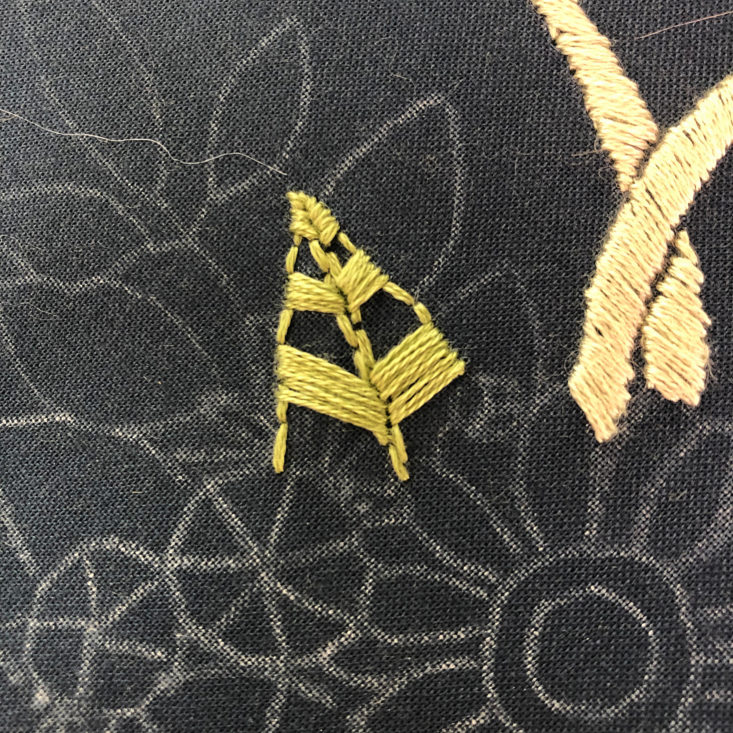
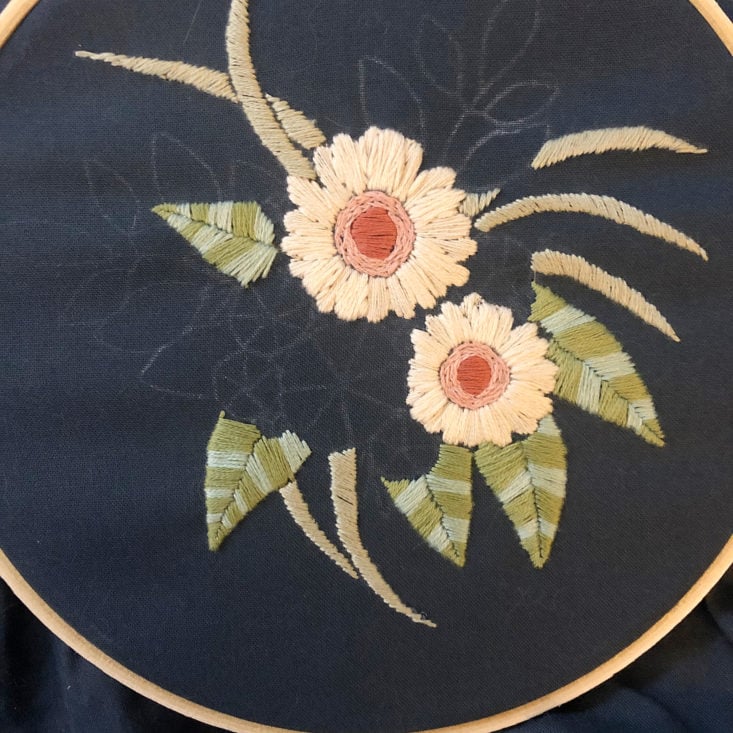
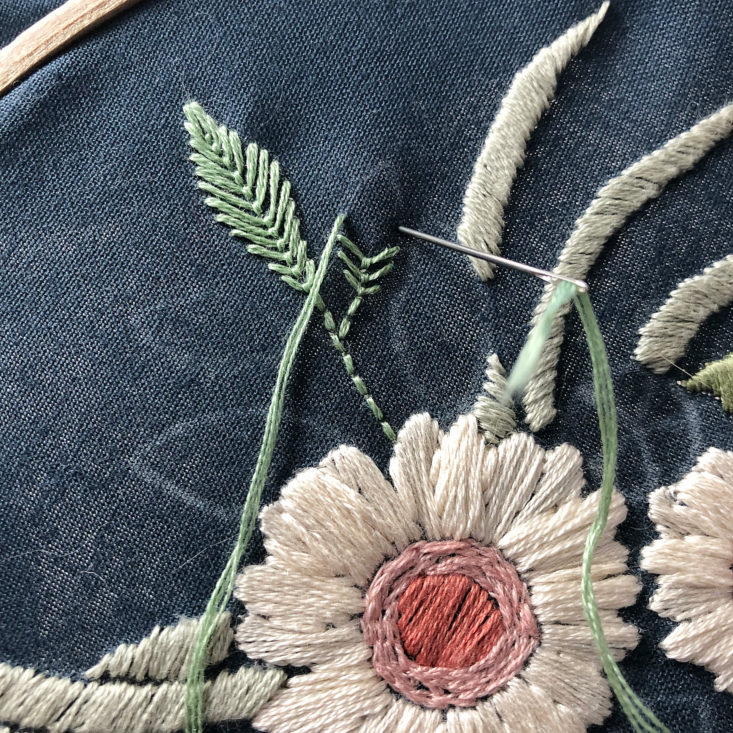
The pattern has you work the background motifs first so that the motifs in the foreground can layer properly. The instructions also have you building your stitches with each motif you complete - I liked that I started with a simple satin stitch to warm up with. A tip that I learned in the video content was to backstitch each leaf first before doing the satin stitches - I've never done that before, and I thought it was an excellent piece of advice. The back stitches give you a clean line of where to start and stop your satin stitches, and I think my finished grass fronds look excellent because of that!
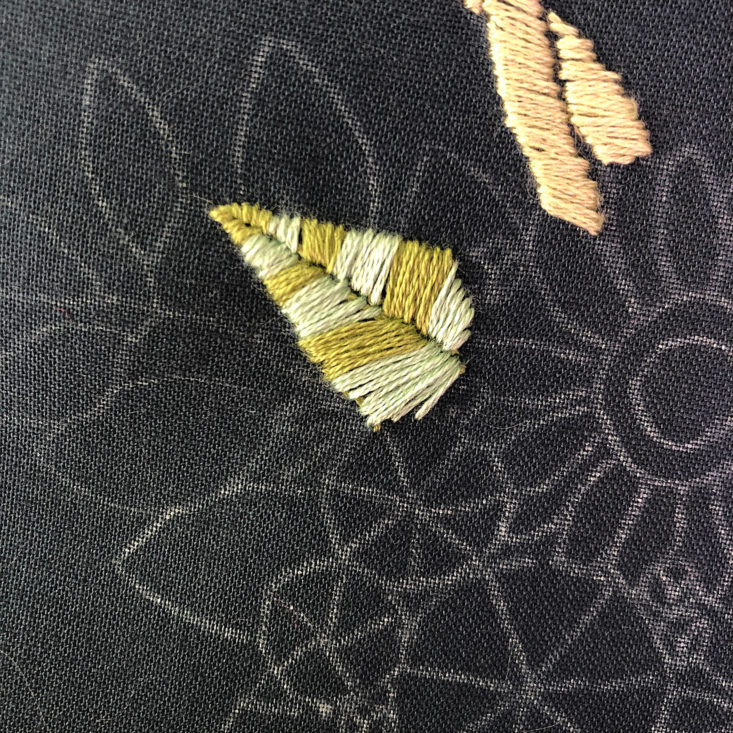
Next up is some more satin stitching but with two colors of floss. I used the backstitch trick again here and love how these turned out.
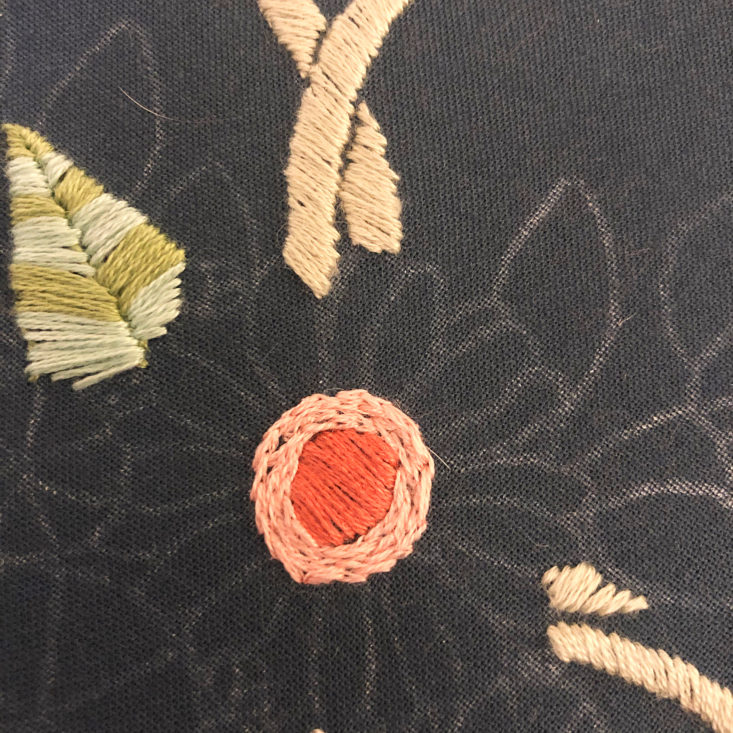
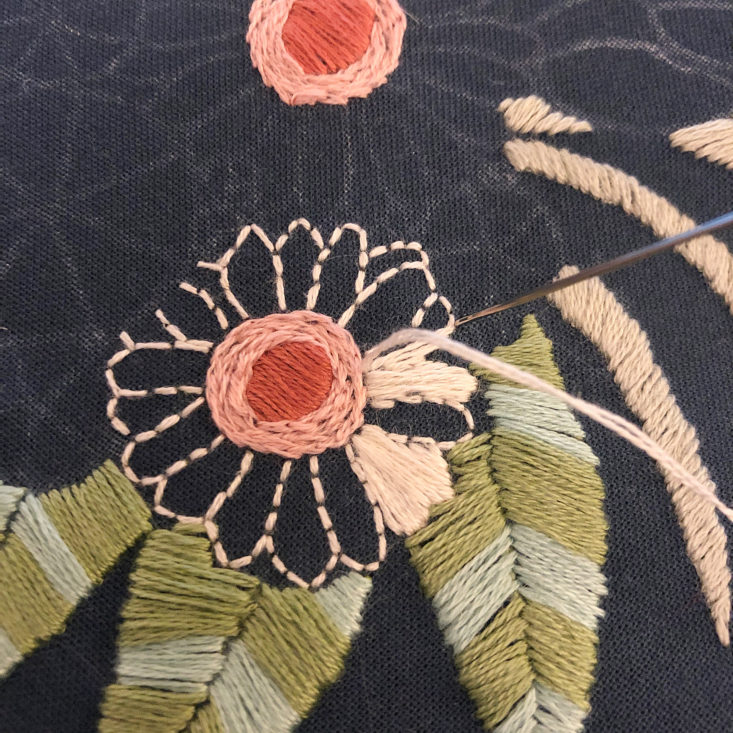
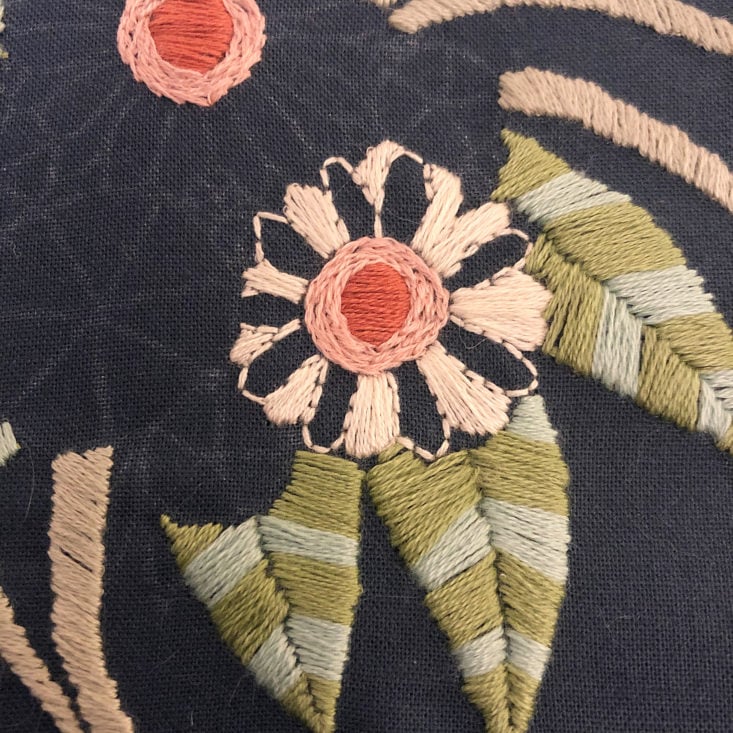
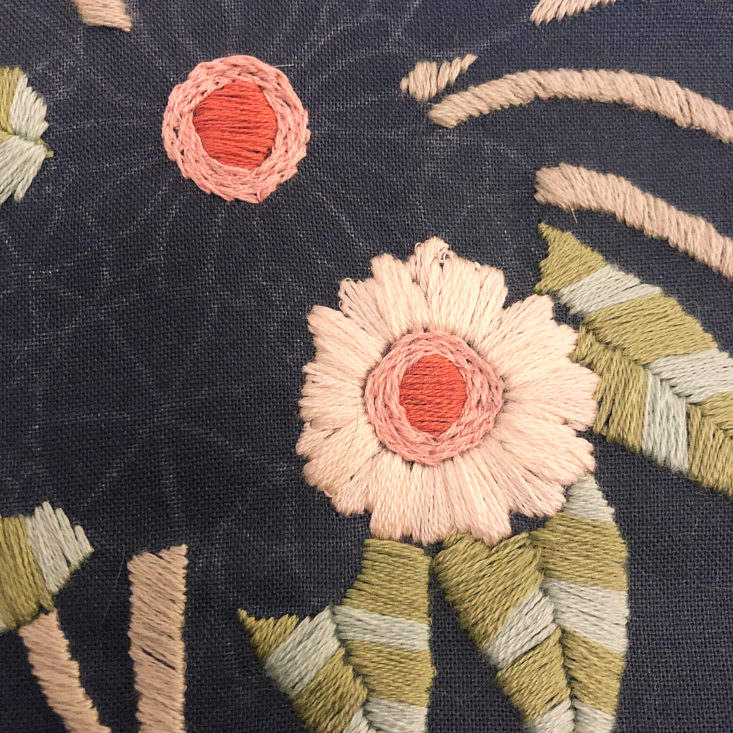
The next step was to complete the daisies. I learned a new stitch for the light pink of the centers - a split stitch. The flower petals were a little bit tricky to do, and I felt like my petals don't have a lot of distinction - since they are all done in the same color, the petals run together a little bit. But oh well, my bouquet just has fluffier daisies than the original design. This was a good reminder that once I display this project in my house, no one who sees it will have seen the pattern photos, so they don't know what it was supposed to look like!
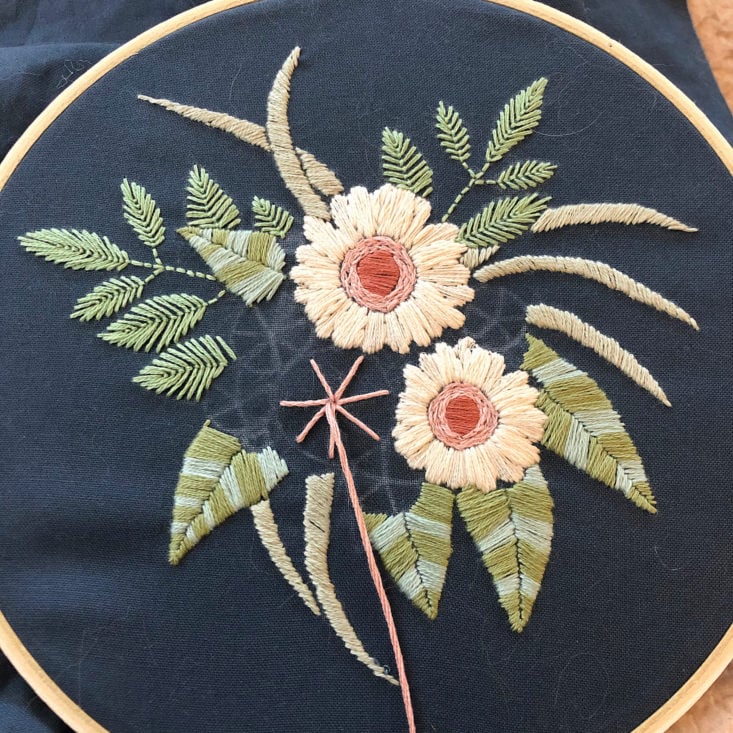
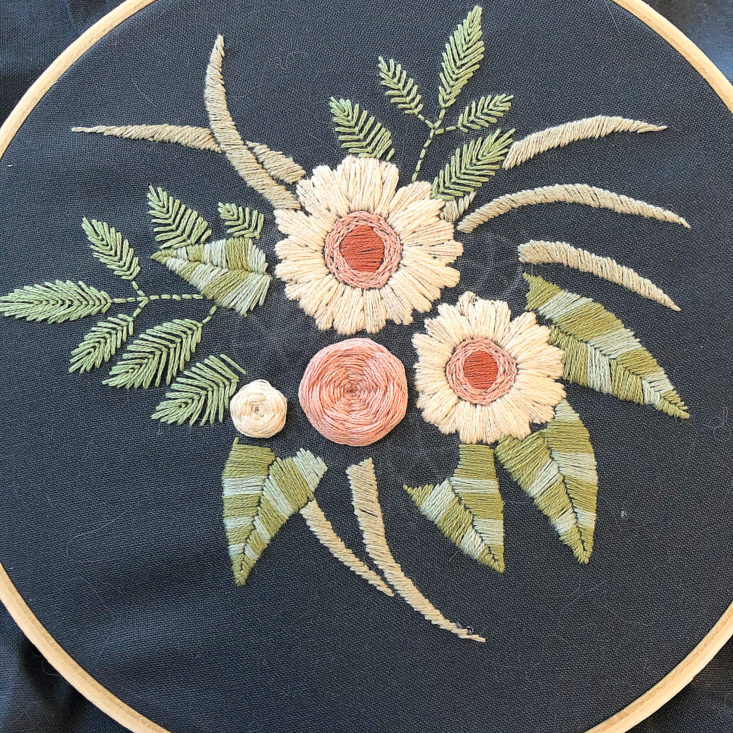
The last two motifs were the fly-stitched leaves and the woven wheel roses. The fly stitch was my favorite part of the design, and it was so fun to do! The woven roses add such a textural element to the design, and I think that they are the stand-out feature here.
After I finished the roses, I had some blank spaces between the different flowers and leaves. I went back in with the greens from the grass fronds and striped leaves and filled in those areas with satin stitches.
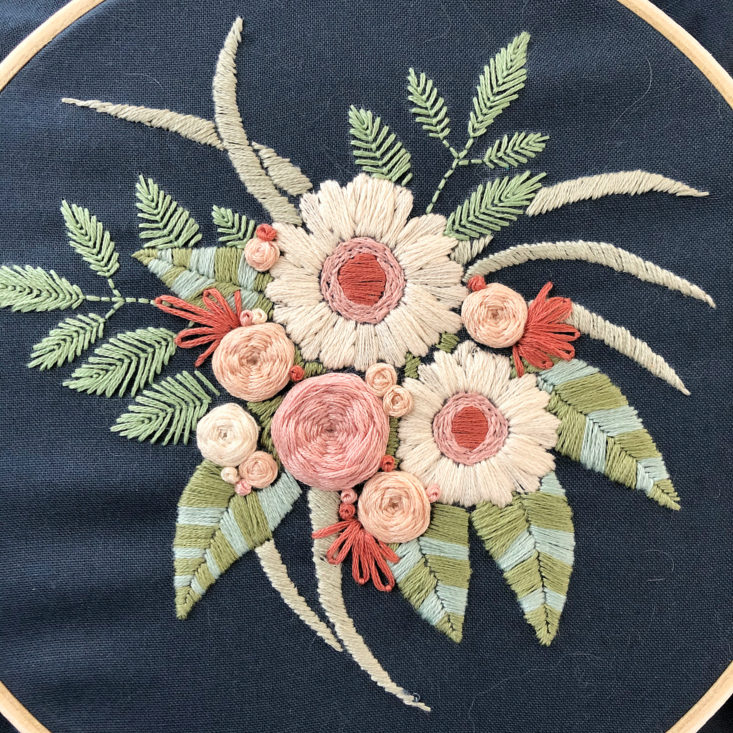
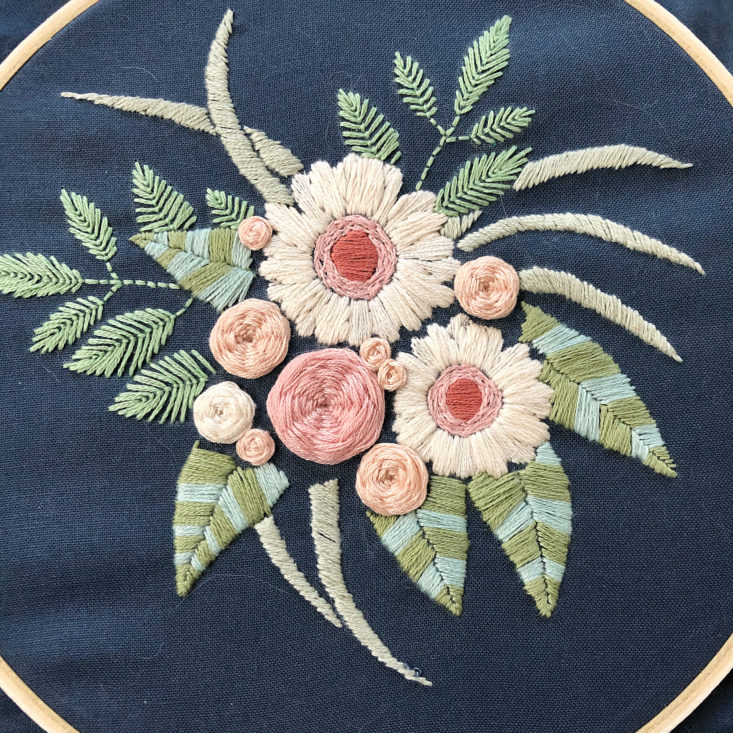
The last step was to add some decorative French knots and lazy daisy stitches. I got a little carried away with the French knots and added some extra ones - I wanted my design to look full and textured. I absolutely love how my finished project turned out! I'm so proud of learning these new skills, and I can't wait to take on a new embroidery project. I can't say enough great things about the video tutorials - as someone who is just learning this craft, I felt like the tips and tricks I learned in the videos enabled me to create a near-professional looking finished product.
Verdict: This was one of my favorite boxes I've ever received! I was very impressed with the quality of the materials sent as well as the quality of the presentation of the box. I thought the design was very on-trend and had beautiful colors, and I loved that everything I needed to complete the project was included. The video content was incredibly well made, and having those videos to walk me through this project step by step gave me the confidence to pick a craft that I'm not super skilled in yet. I was pleasantly surprised at how much I enjoyed making this project, and I love that I have a finished item that I'm super proud of and can't wait to hang up in my craft room.
For about $50 ($199 per year divided into four quarterly boxes), we received supplies and instructions to make an embroidery project. Step-by-step embroidery classes at local shops nearby to me cost around $30-50 per class, and they don't include supplies, so I think this is a very fair value for what we received.
To Wrap Up:
Can you still get this box if you sign up today? Yes, you'll receive one of the Fall 2019 kits if you order now.
Value Breakdown: At approximately $50 for the box, you receive supplies and tutorials for one embroidery project. This kit has a retail value of $75 and does not include the video tutorial when purchased independently, so you're saving at least 33% by having the subscription - even more if you consider the value of the video!
Check out our other Bluprint review along with the top-rated craft subscription boxes for 2019!
Keep Track of Your Subscriptions: Add this box to your subscription list or wishlist!
What did you think of the Fall 2019 Bluprint Premium box? Let us know in the comments!



Please do not enter your email address in the Name field or in the comment content. Your email address will not be published. Required fields are marked *. Remember to post with kindness and respect. Comments with offensive language, cruelness to others, etc will not be approved. See our full comment policy here.