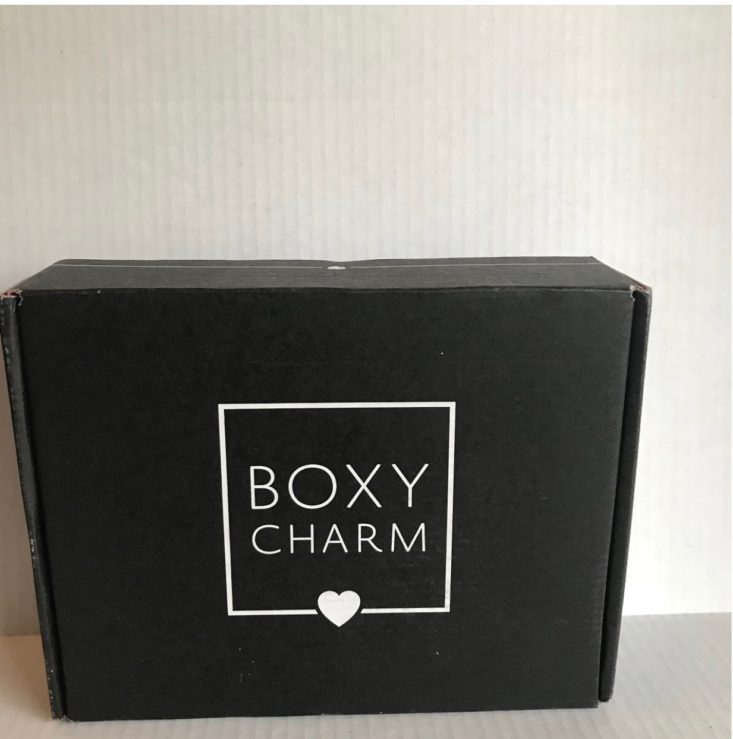
BoxyCharm is a popular full-size beauty and makeup subscription box. (Check out our full review of the November 2019 BoxyCharm box to learn more about each of the items this month.)
Today, I’ll be showing you how I used some of the items in my December BoxyCharm box! I’d love if you shared what products and techniques worked for you in the comments as well! What items were your favorites? Which products have you been reaching for all month? Let’s talk about all things December BoxyCharm.
But first, here are the box basics:
About BoxyCharm
The Subscription Box: BoxyCharm
The Cost: $25 a month
The Products: 5-6 beauty items that will include nail care, skincare, makeup, haircare, fragrances and more. (At least 4 of those items will be full-sized).
Ships to: The contiguous US for free, Hawaii, Alaska, and Canada for $5
BoxyCharm December 2019 Tutorial + Review
The Products:
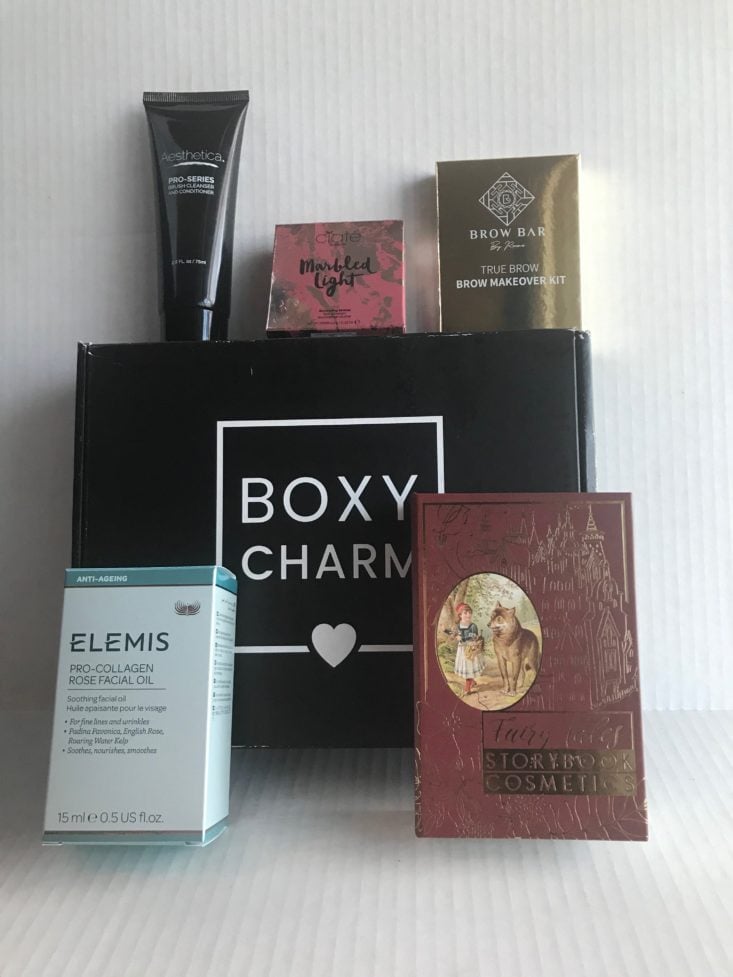
- Storybook Cosmetics Fairy Tales Little Red Riding Hood Palette
- Elemis Pro-Collagen Facial Oil
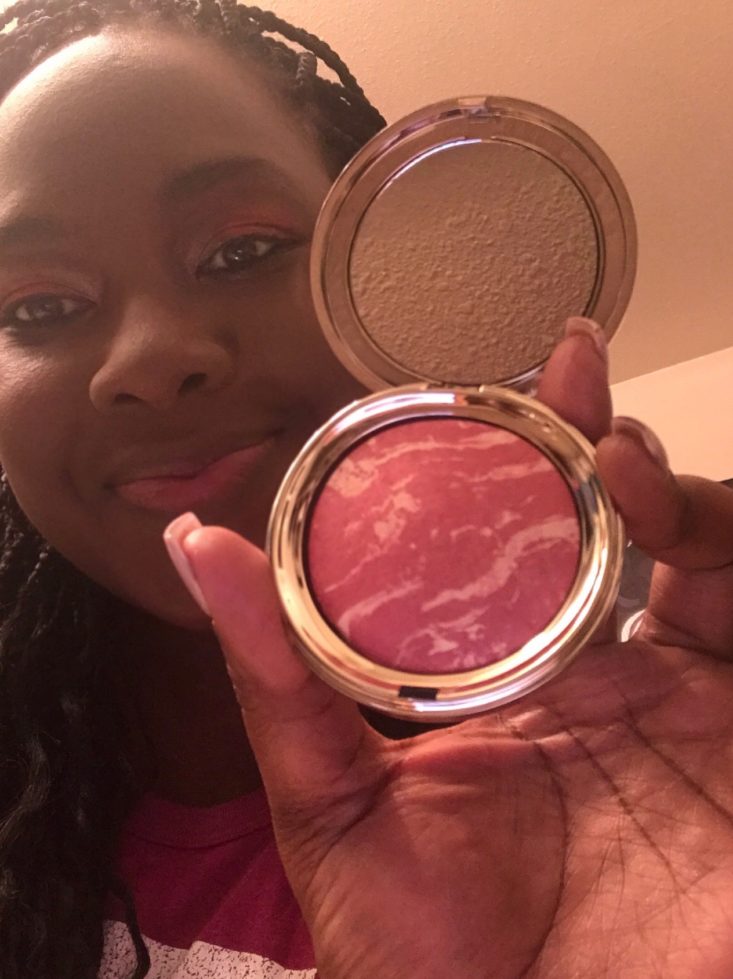
- Ciaté London Marbled Light Illuminating Blusher
- Aesthetica Brush Cleanser and Conditioner
- Brow Bar Brow Makeover Kit
This month's theme is called Whimsy which kind of fits the season we're in. Everyone is in the Christmas spirit and in a giving mood. So let's see what BoxyCharm decided to give us in the December box!
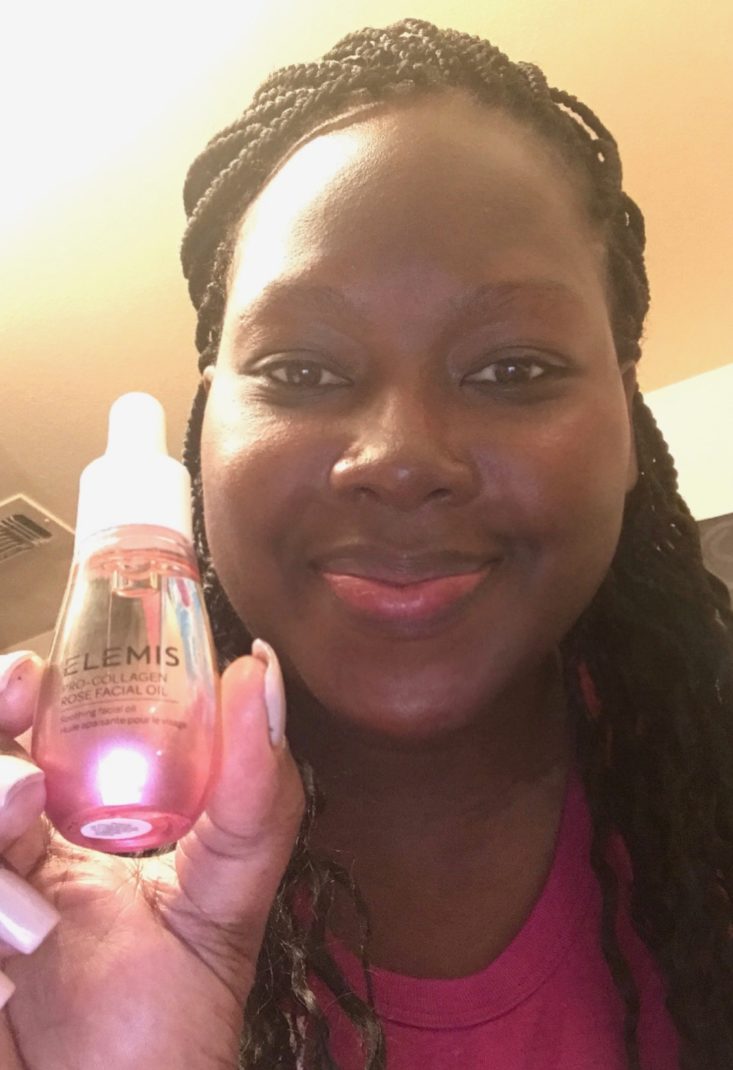
Our very first product is one in which I was so happy to receive, it's the Elemis Pro-Collagen Rose Facial Oil. This is a lightweight facial oil that's packed with a trio of Rosa Damascena, English Rose Oleo Extract and Rosehip Seed Oil. These three things together help to replenish your skin while hydrating it as well. Alongside the roses are other oils such as sweet almond, jojoba and coconut. As soon as I opened the bottle I could smell the wonderful aroma of roses. It’s also made for all skin types, even if you have sensitive skin.
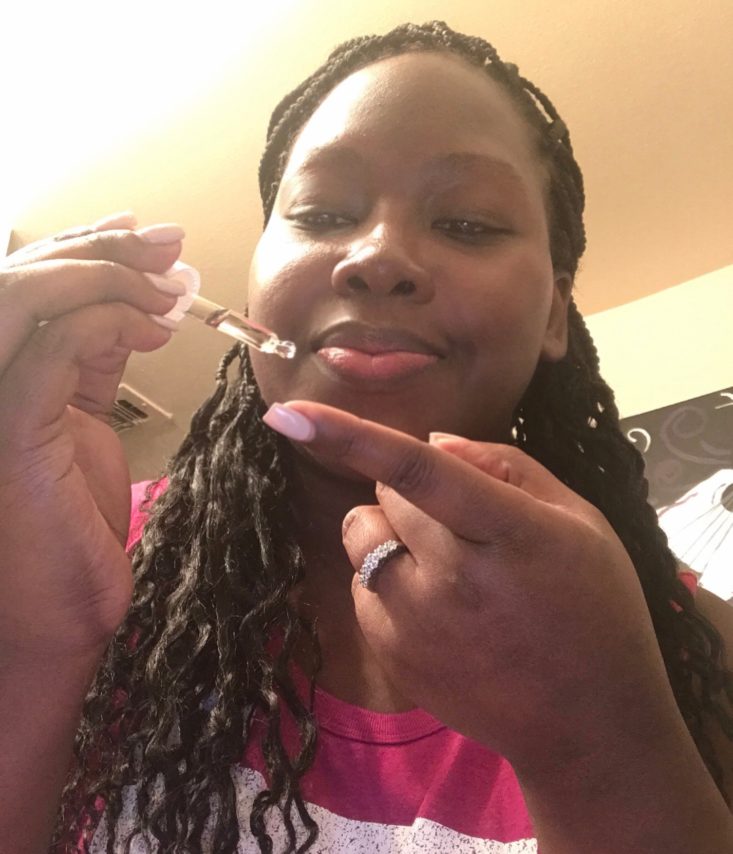
I applied this product to a clean and dry face and added about 2 to 3 drops. I simply smoothed it all around and rubbed it into my face and neck. Since it's super lightweight it absorbs quite easily. The smell really sends you warm vibes, almost as if your smelling a bouquet of fresh roses. I love how subtle and replenished it made my face look. This product is definitely a keeper, something calming to add after removing all my makeup at the end of a long day.

Here is how my skin looks after adding the rose facial oil, it feels very light and not at all greasy which I love.
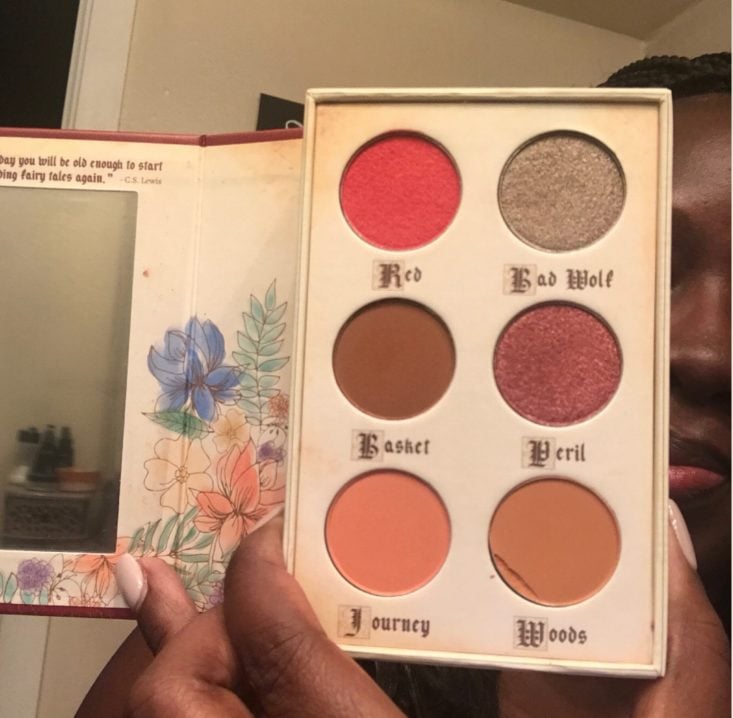
Our next product is the cutest thing ever, it's an eyeshadow palette from Storybook Cosmetics and I received the Little Red Riding Hood Palette. I love the concept of this because it reminds me of my childhood, and I now repeat these same stories to my child. This is a mini palette that was created exclusively for BoxyCharm. The packaging is very detailed and it opens like a book, I think it's the most creative packaging I've seen in a while. I love the color story of this palette and it's very Little Red Riding Hood. There are a total of six shades, both metallic and matte. I wanted to create a simple but fun look that you can wear to any holiday function this season, so let's get started.
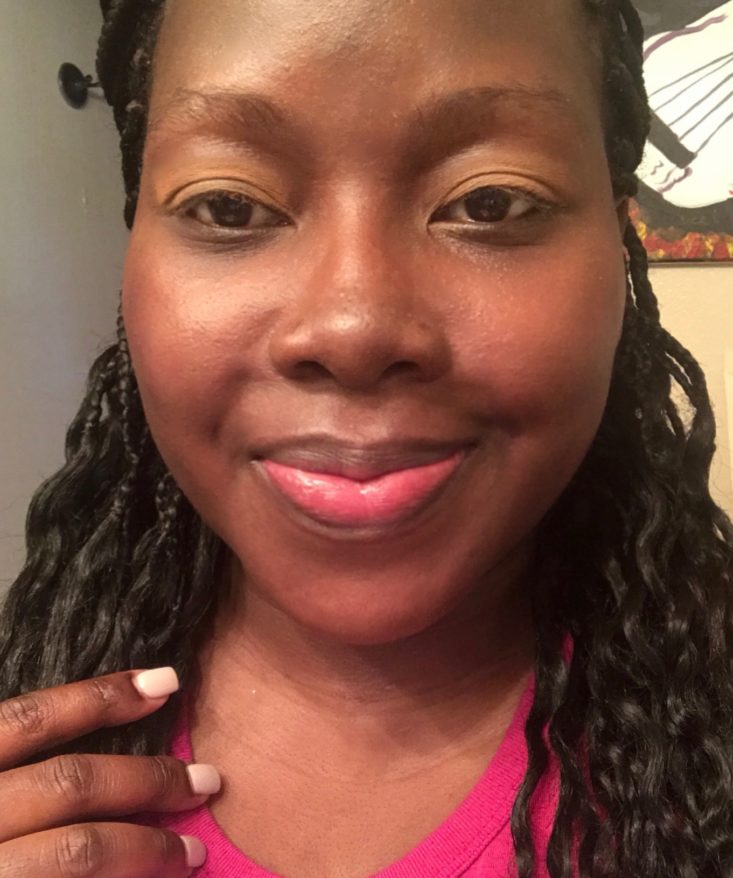
First, I took a dense medium fluffy brush and added the shade Woods all over my lid. It's a simple light tan matte color and serves as a great transition shade.

Next I took a smaller fluffy brush and added the shade Basket right into my crease. This shade will build up depth to this look before we add a pop of color on top. I used windshield wiper motions until I could see the color building up in my crease.
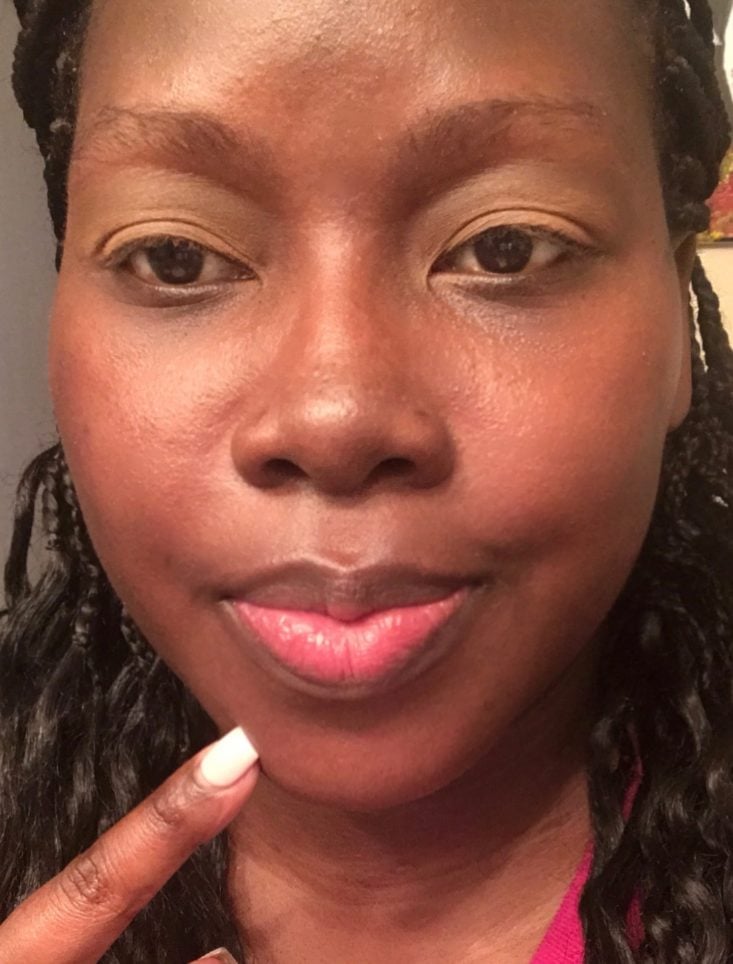
Here is how that dark brown shade looks built up in my crease.
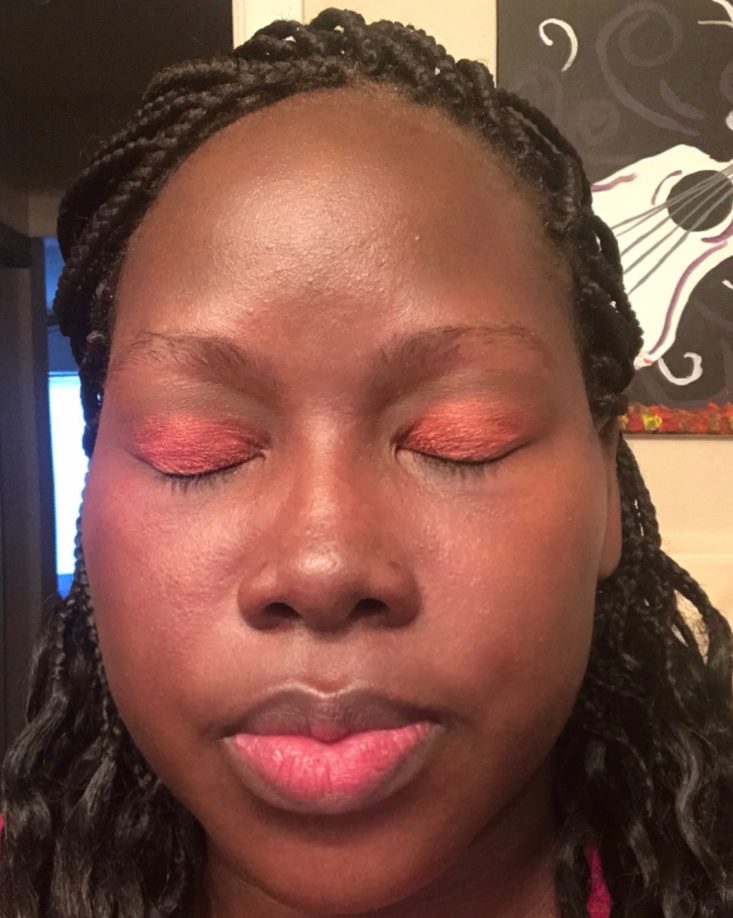
Using both my finger and a wet flat brush I took the beautiful color Red and added this right in the center of my lid. I continued to add more and more of the color Red until it covered my entire lid. I used my finger first, then I wet my flat brush and added the color where my finger could not reach. I love how easy and smooth this metallic shade applied.

I took a slightly angled brush and used the shade Bad Wolf to highlight the inside of my eyes, highlighting the entire tear duct area. Doing this helps to create an inner glow effect to the eye look. After that I took a blending brush and blended out any harsh lines.

To complete this eye look I added a tiny bit of the shade Peril to the inside of my tear ducts. Then I went outside the mini palette and used an average everyday black matte shade, adding it to the outer V area of my eyes. I always like to add an outer V shade to complete my look. Doing so helps the eye look go from light to dark giving your eyes a more dramatic look with just a simple step. I also added some simple black eyeliner as well.
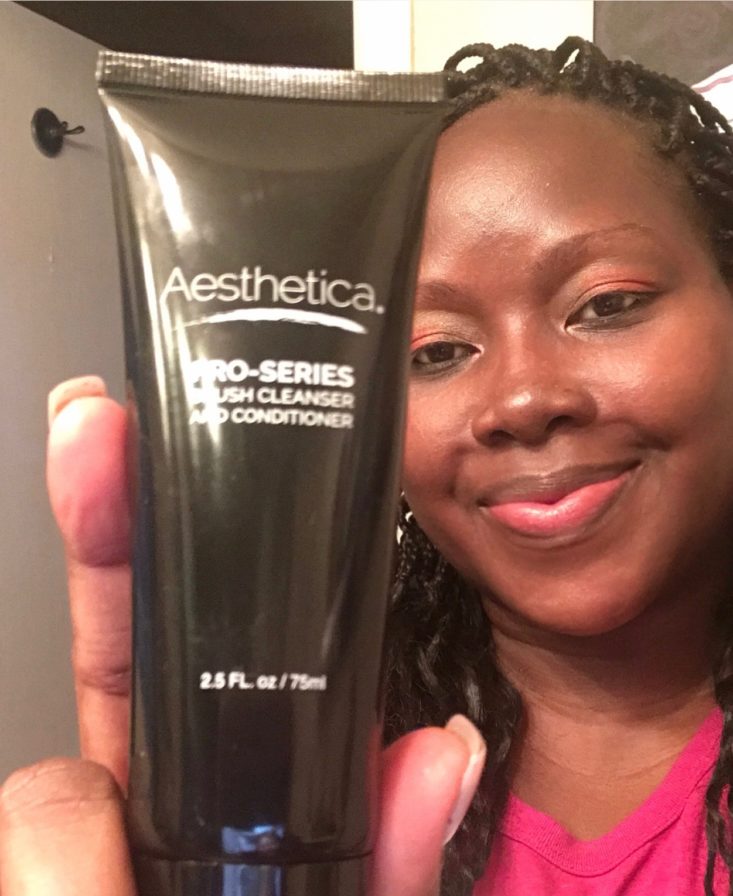
Our next product is from Aesthetica and it's a Brush Cleanser and Conditioner. It's made to prolong the life of your brushes & sponges. Thanks to BoxyCharm my brush collection has grown into something I’m proud of. The right brushes make doing makeup so much easier, so I’m glad we got a product like this. This product can be used on both natural and synthetic brushes as well as facial sponges.
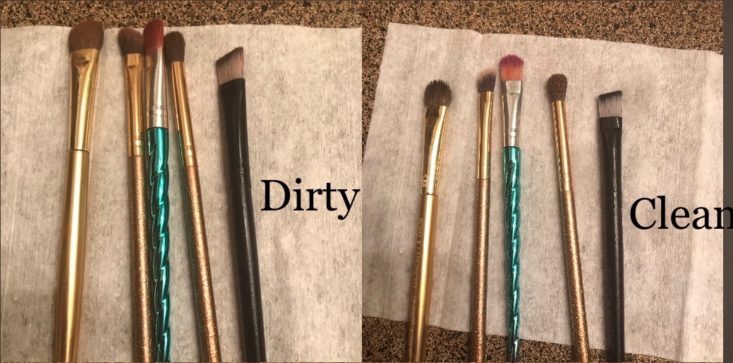
I’m going to clean the makeup brushes I just used to complete my eye look. I took a tiny bit of the product to my wet brushes and I gently massaged the product through the brush hairs with my fingers. It wasn't long before I saw all the built-up makeup slide right off into the sink. I simply love that BoxyCharm gives us products for maintenance as well. This is something I can definitely see myself repurchasing in the near future.
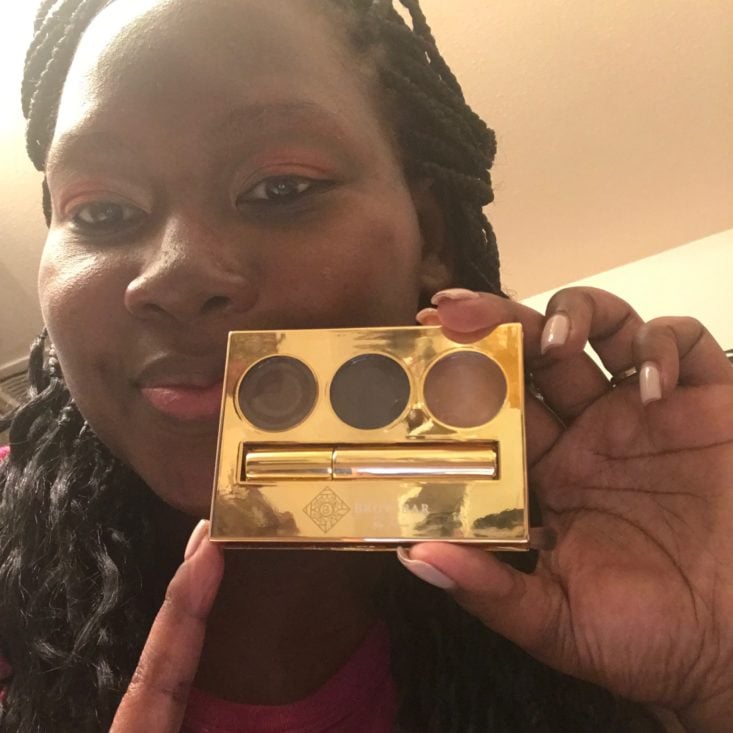
When I first looked at our next product, I must admit it was a bit intimidating to me. I’m a simple girl and I don't like too much change. For years I have only used eyebrow pencils to do my brows. So when I first saw the Brow Bar Brow Makeover Kit by Reema, I didn't quite know how to use it. However, after giving it the old college try my anxiety went down. They have a light, medium, and dark kit. I received the dark color kit which is perfect for me. This product is meant to help you style and create brows like a pro. It has two brow shades and a brightening brow lift shade. It comes with a two-ended brush. One side is angled and the other side is flat. There is also a mascara gel included as well.
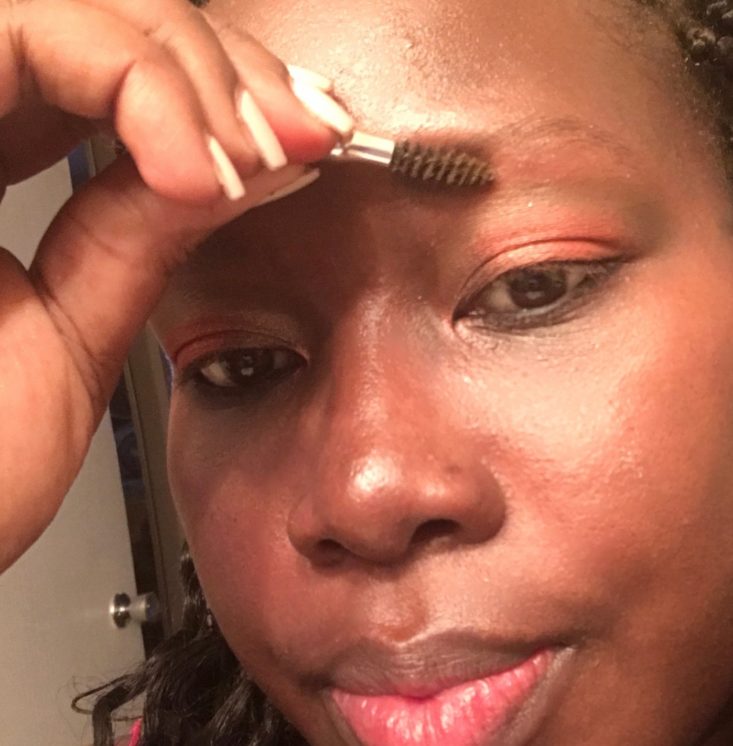
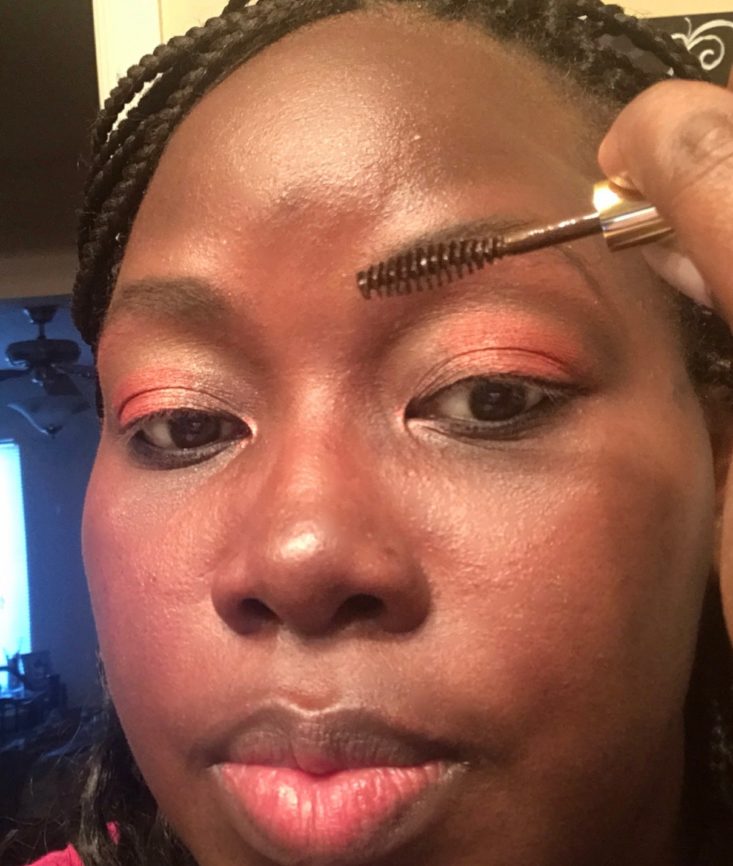
To get started, I took a brow brush and brushed my brow hairs in the direction I wanted them to go. It's sometimes tedious to sit and brush your brows but trust me when I say it makes a huge difference.
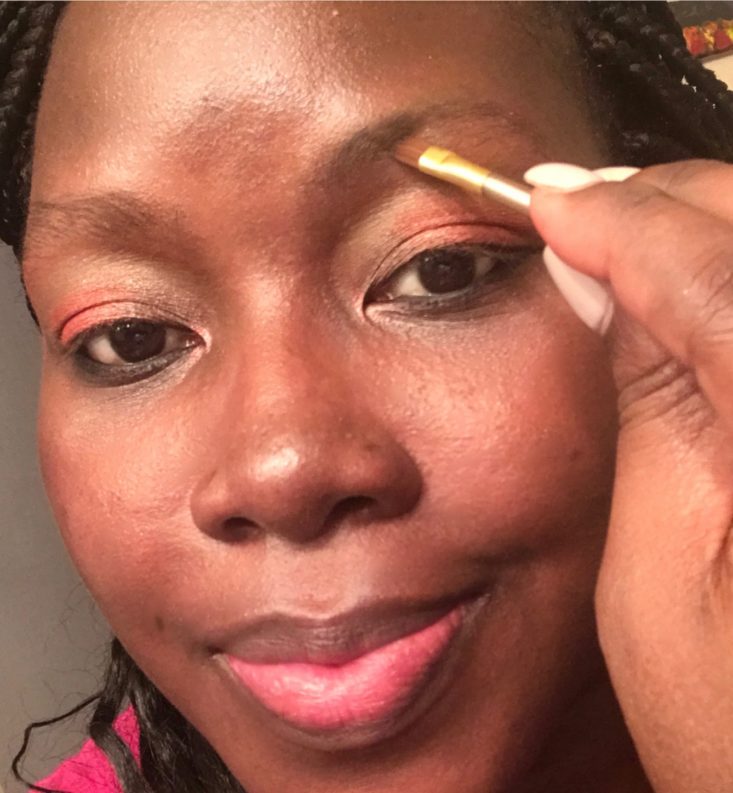
I took the angled side of the little brush in the kit and used the dark brown color to make small quick strokes. I started at the larger part of my brow and worked my way down to the tail of my brow. This takes a steady hand and a little patience. With any brow product it’s always better to start off with just a tiny bit of product on your brush and build up to more, instead of having too much product that's harder to remove later.
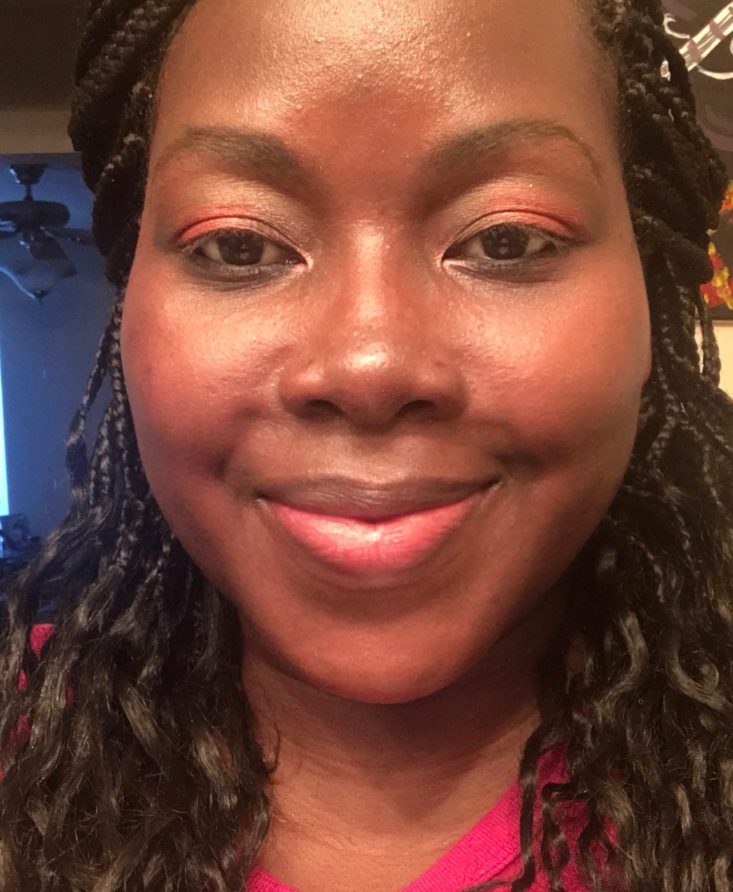
Here is how they look after filling them in with the dark brown powder. I like the powder because it makes for a more natural look to the eyebrows, it's just hard to create the shape I want with using a powder. I usually like to use an eyebrow pencil so I can draw in hair strokes and create the shape I want. However after adding the brow gel I could see hope for these brows and it gives a nice finishing touch.
When using the mascara gel, I also used short quick strokes. The most important part at the end is to go back with your brow brush and brush the product into the hair. Doing this helps take away any harsh lines, helping the brows look more natural.
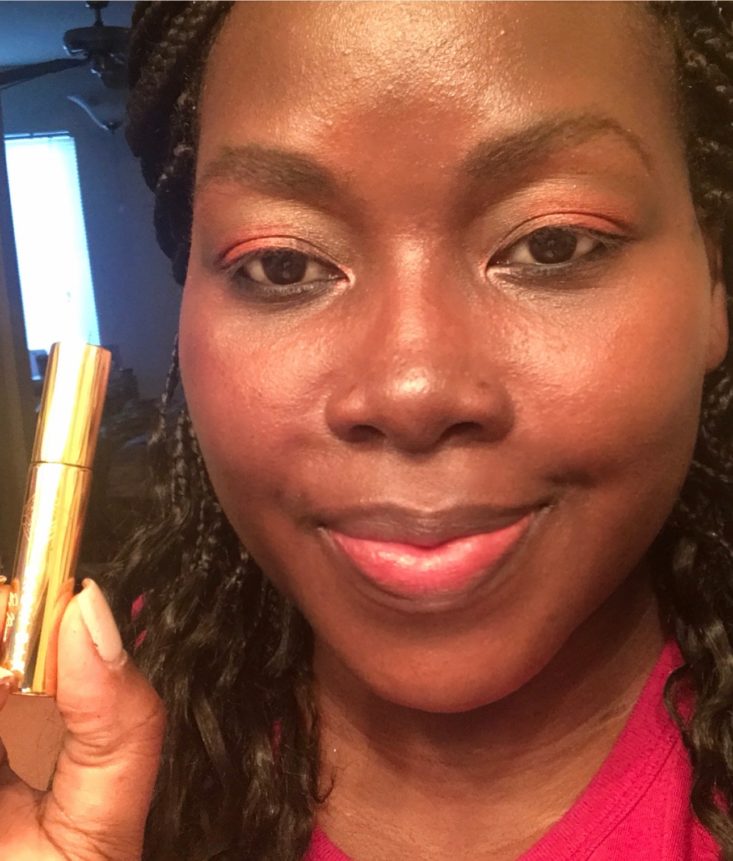
Here is how they look after adding the gel. Since the gel is also a dark shade it really helped my brows to stand out a bit more.
I decided to use the brightening brow lift shade in the kit to sculpt out my brows and clean them up a bit. It's a wet pomade consistency so it's easy to use. You only need very little product on your brush to do this. I used the angled side of the brush and added the product on the lower and top parts of my brows.
Then I took the opposite flat side and blended it out.
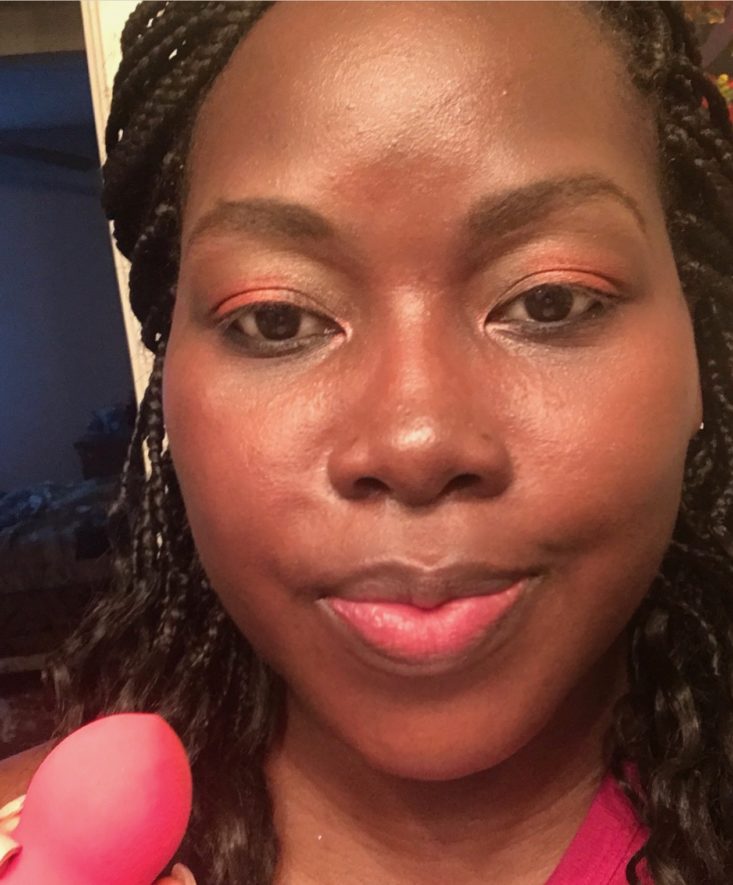
Here are my brows completed. I ended up really liking the kit, it was easy to use and I’m shocked at the results. If you are nervous like me because you're not used to doing too much with your brows, give it a shot you may like it too. It's perfect to throw into your purse and have everything you need to do your brows on the go.
After completing my brows, I added face primer, liquid foundation, black eyeliner, two coats of black mascara and tons of setting powder for a smooth complexion before moving on to our last product.
Our final product is from Ciaté London and it's their Marbled Light Illuminating Blusher. I received the shade Burnt Warm Berry and it's simply gorgeous to look at. The packaging is just as pretty as the actual product. This is a marbled highlighter that helps to add a radiant finishing touch to any makeup look whether it's simple like mine or more dramatic. It's finely milled and has no talc which makes it a more lightweight and buildable product compared to most highlighters. The mix of matte and illuminating particles is what gives off the subtle glow to your skin. I hardly ever wear blush but this is too pretty to pass up.
I took a fan brush and added the product to the tip of my nose, under my brow bones and the highs of my cheekbones. I’m satisfied with the makeup look I created using this month's BoxyCharm products and I hope you guys found it easy to follow along with me.
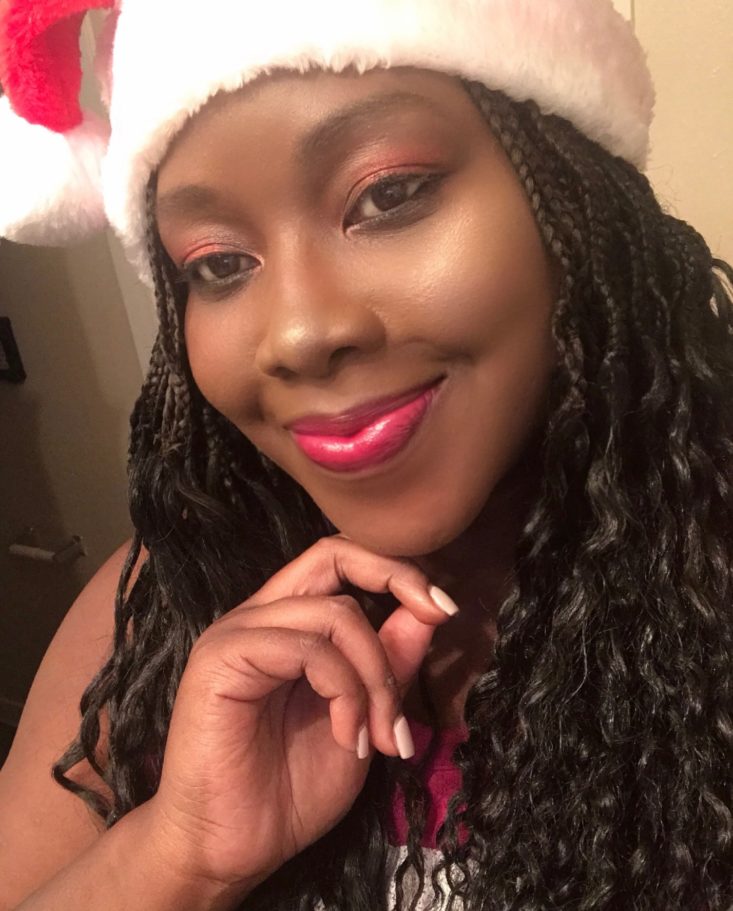
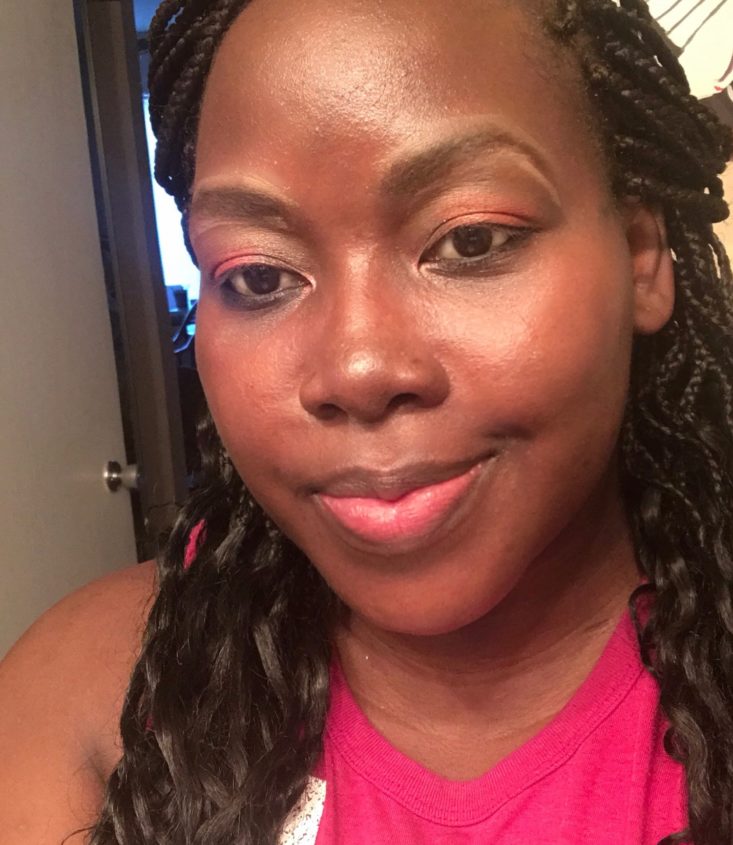
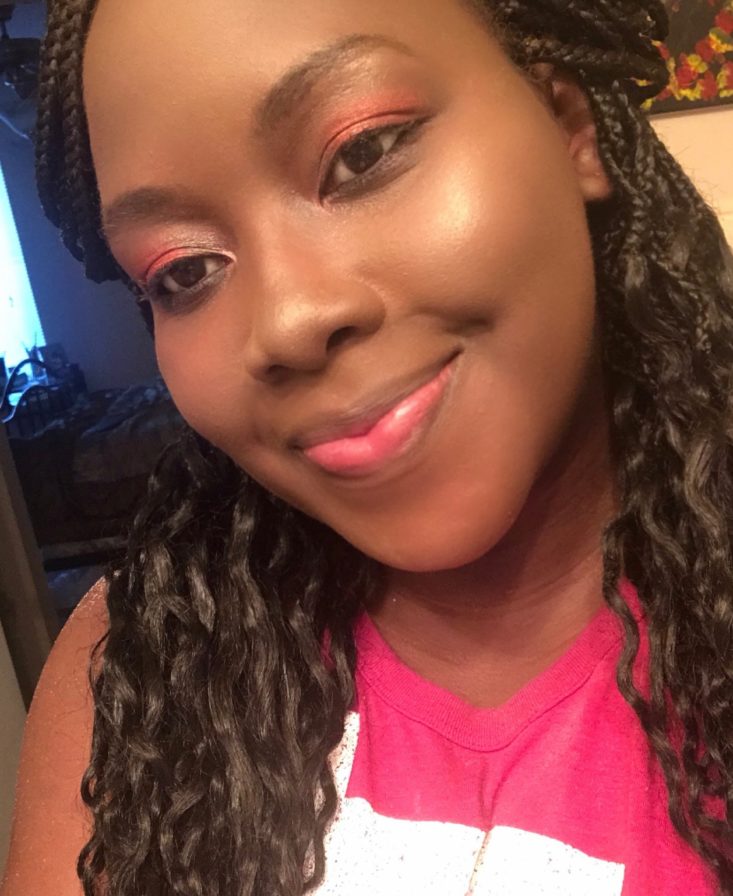
Here is my simple holiday makeup look after adding my lipstick. To create this holiday red lip I used Lip Lure from PUR in the shade Mystic. I then lined my lips with a lip liner from NK (Nikki New York) in the shade A19 Dark Purple. Then for a slight shine I topped it off with NK Lipshine in the shade A61 Too Hot. I like the way it turned out and I hope you do too.
Verdict: I was very impressed with all the products of this month's box. The December BoxyCharm had something for everyone to love and it was really hard to pick a favorite this month. I really hope you guys enjoyed the December BoxyCharm as much as I did. Our next box will be the beginning of a brand new year, so I'd like to wish everyone a very Merry Christmas!!!
To Wrap Up:
Can you still get this box if you sign up today? You'll likely receive the January box as your first.
Check out all of our BoxyCharm reviews and the best beauty subscription boxes of 2019, as recommended by our readers!
Keep Track of Your Subscriptions: Add this box to your subscription list or wishlist!
What’s your favorite item from the December BoxyCharm Box?



Please do not enter your email address in the Name field or in the comment content. Your email address will not be published. Required fields are marked *. Remember to post with kindness and respect. Comments with offensive language, cruelness to others, etc will not be approved. See our full comment policy here.