
The Crafter's Box is a monthly maker subscription box:
As a member of The Crafter's Box, we'll send a lovingly kitted box of tools and materials to your doorstep on a monthly basis. Each month we feature a new expert maker and that maker has built for us a unique, grown-up, on-trend project that reflects their artistic style. In addition to the monthly box, our featured maker has created an educational, digital workshop to teach their crafting medium and to offer their tips and tricks.
The best part of this model is the ability to revisit workshops in the future to create again and again. Happy making!
The Crafter's Box offers three different subscription models:
- Individual Membership: $65.00 per month for a kit of curated tools and materials + a new digital workshop by the featured maker
- Crafter's Night: $60.00 per person (minimum of 3 people necessary) per month for a group kit of the curated tools and materials sent to one host + individual video access for each person
- Video-Only Access: $20.00 per month for access to the digital workshop created by the featured maker (no tools or materials included)
This review is of the Individual Membership for $65.00 per month.

My Subscription Addiction paid for this box. (Check out the review process post to learn more about how we review boxes.)

About The Crafter's Box
The Subscription Box: The Crafter's Box
The Cost: $65.00 per month + free US shipping (other plans available from $20.00 per month)
The Products: A shipped kit of curated tools and materials + a new digital workshop by the featured maker of the month
Ships to: The US for free and internationally for varying rates
Good to Know: Membership enrollment is open between the 10th - 20th of each month. Subscriptions automatically renew on the 15th. Projects are designed to be for ages 18+.
The Crafter's Box February 2020 Review
The Crafter's Box seems to be what my crafting subscription box dreams are made of! Each month they feature a different, unique craft that is designed with the crafty adult in mind. The items you get to create are thoughtfully curated and created with high-end materials, so that your finished products are modern and luxe.
Let's take a look inside February's box - the craft this month is weaving a wall hanging!
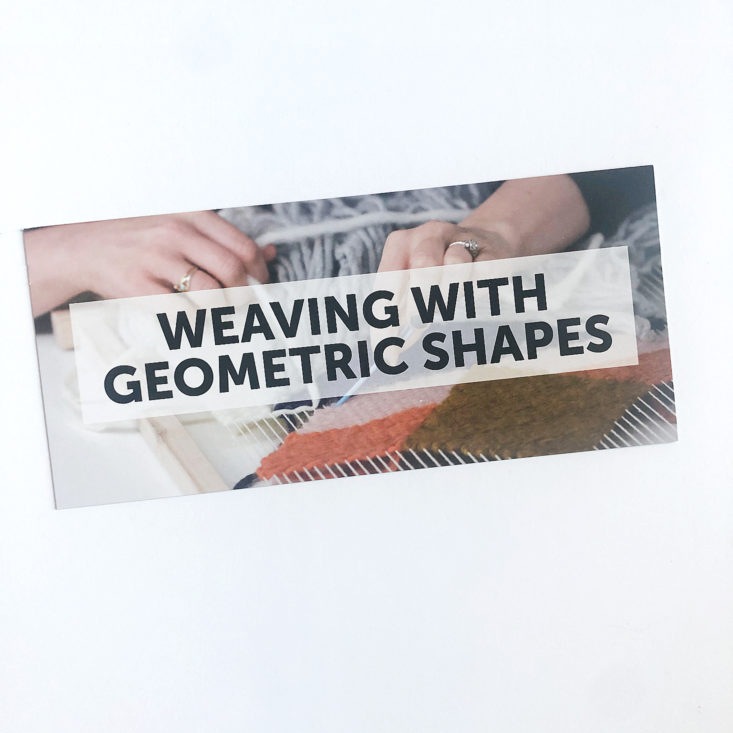
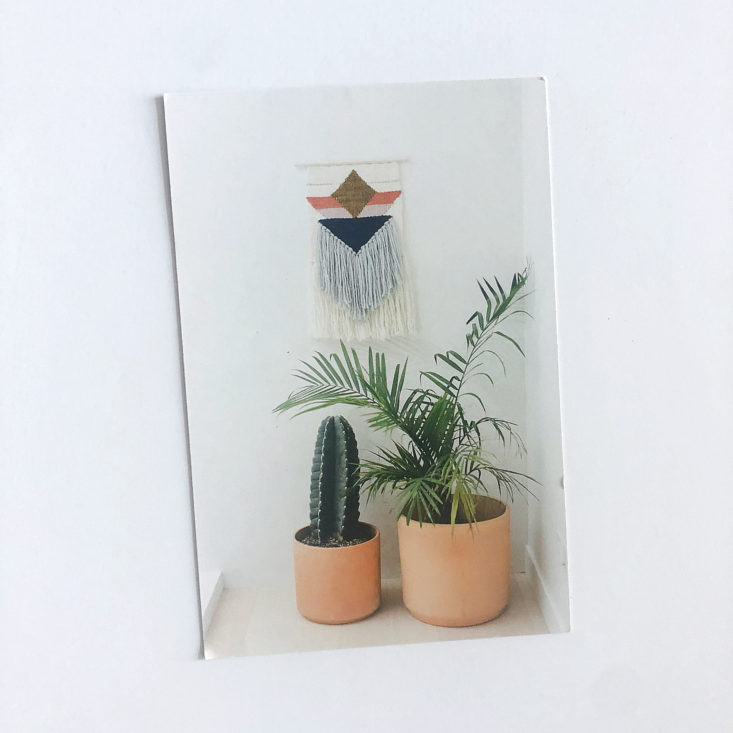
Two cards were included on the top of the box. One is a short bio about the featured maker this month, Erin Barrett of Sunwoven. She has designed pieces for Anthropologie and West Elm, which is so neat! I have definitely eyed cool, modern wall hangings like this in stores before, and I'm so excited to be able to make one of my own. There is also a card showing the finished project on one side and has a materials list on the other side.
Maple Loom Frame
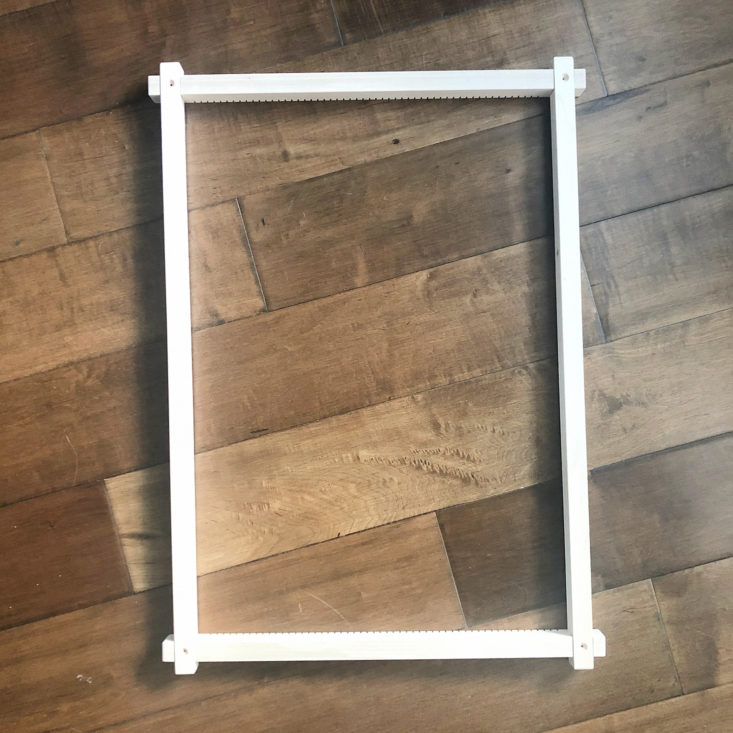
First out of the box is a four-piece maple wood loom frame. The short sides have grooved notches, and the long sides have small holes designed to work with a stand frame attachment (this was not included in the box, but could be purchased separately on The Crafter's Box website). The wood is polished so smoothly and this loom feels extremely well-made!

Wooden Dowel
The next item is a wooden dowel that we will use to hang our final project with. It's made out of similarly smooth wood.
Lana Single Ply Wool Blend Yarn
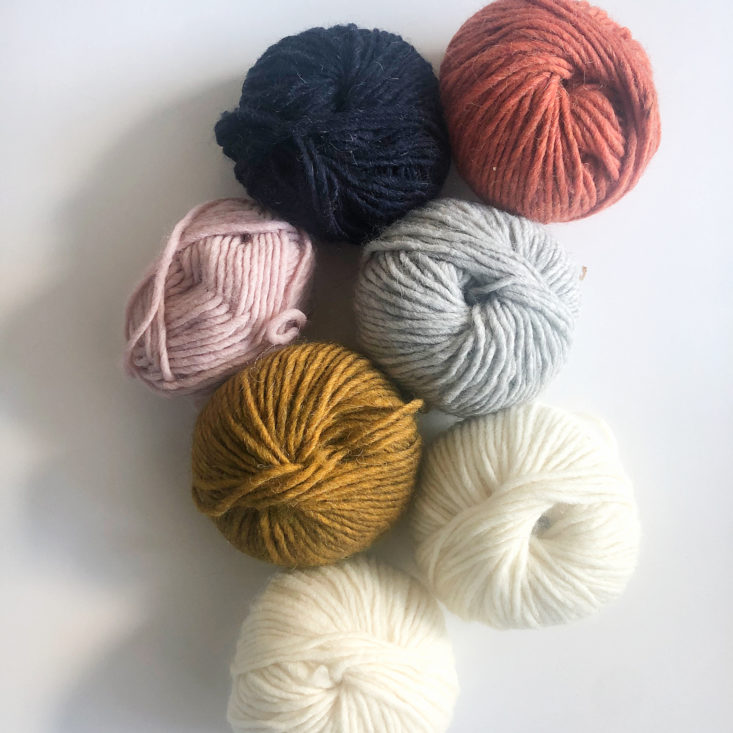
Next up is the best part of the box for me - the yarn! We don't get any details on what type of wool this is - all the card says is "wool blend." Just looking at this yarn, I was expecting it to be rustic and rough to the touch, but I was so wrong! This yarn is so incredibly soft - it feels like kitten fur. I kept wanting to pet it when I was working!
We received six colors of wool to work with - ivory, light gray, navy blue, burnt orange, mustard, and light pink. The yarn is a single ply or roving style yarn, where there is no twist to the strand. This will make for a very smooth surface when we weave with it.
Yarn Needle and Screws
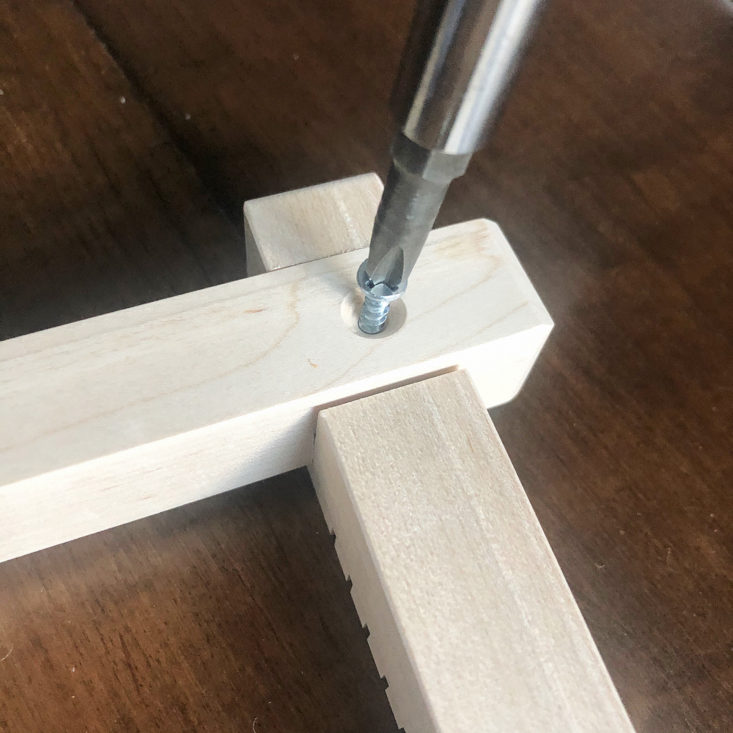
The box also included a red yarn needle with a bent tip and four screws so that we can assemble our frame.
Gold Ribbon
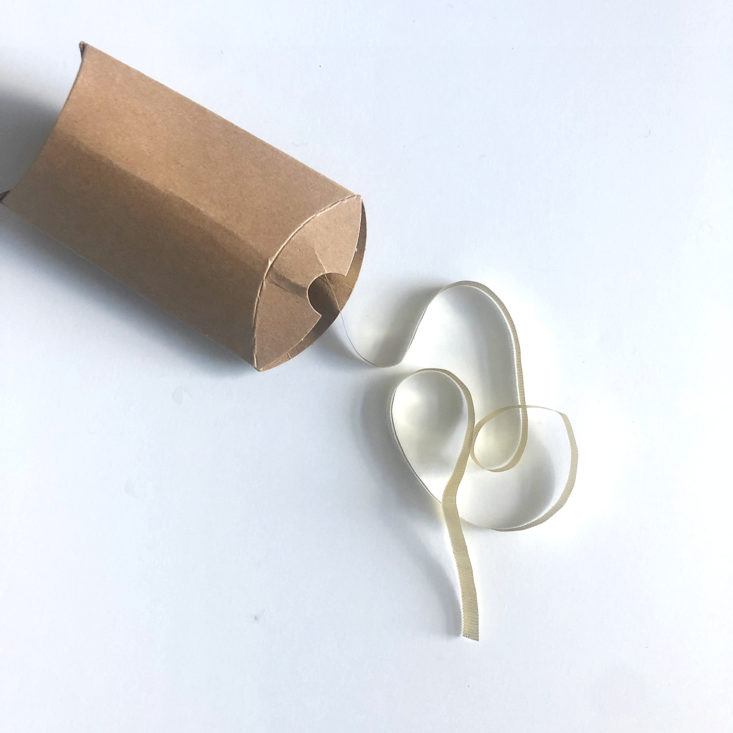
The next item is a small length (about 2 feet long) of metallic gold ribbon. It looks like we will be using this as an accent in our woven piece.
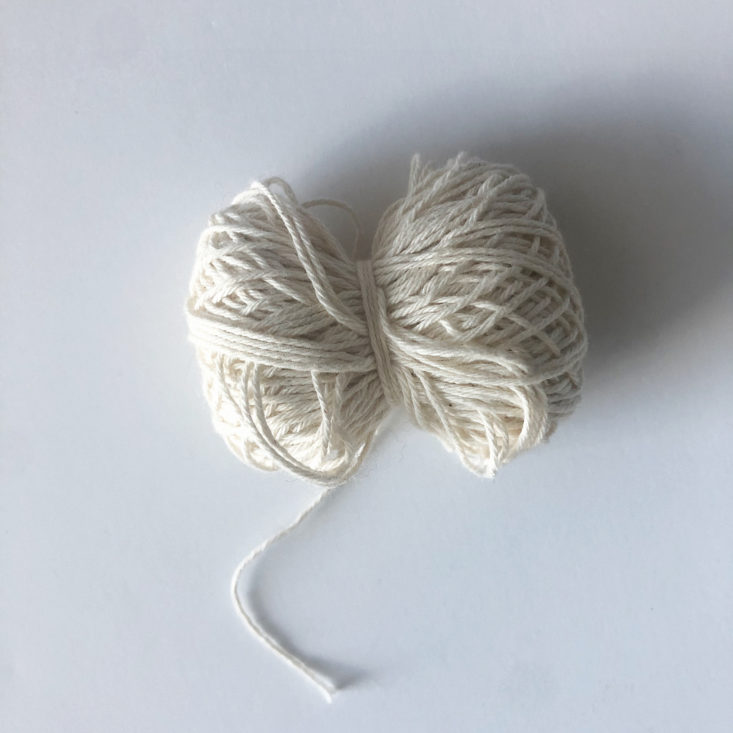
Warp String
The last item in the box is thin cotton string to use as our warp string.
Now, let's get weaving!
The first step is assembling the loom. There weren't any instructions included within the box on how to put it together, but when I checked the website there were written and photographed instructions on how to set it up. I'm glad I checked there, because it was important to make sure the grooved sides were facing in the right direction!
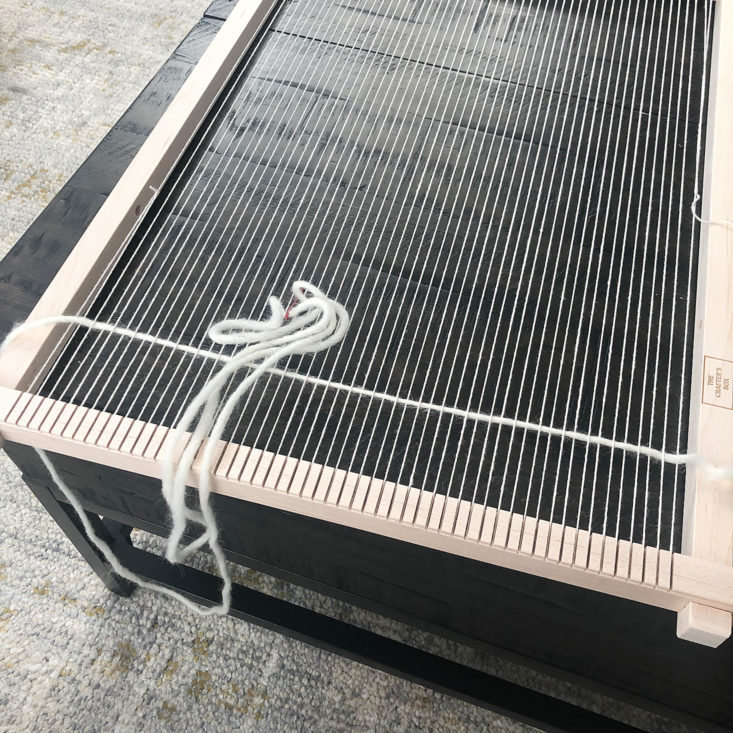
The next step was to warp the loom. The warp string is passed from bottom to top in an S fashion until all of the notches have a string through them. I used slip knots to anchor the beginning and ends of the string.
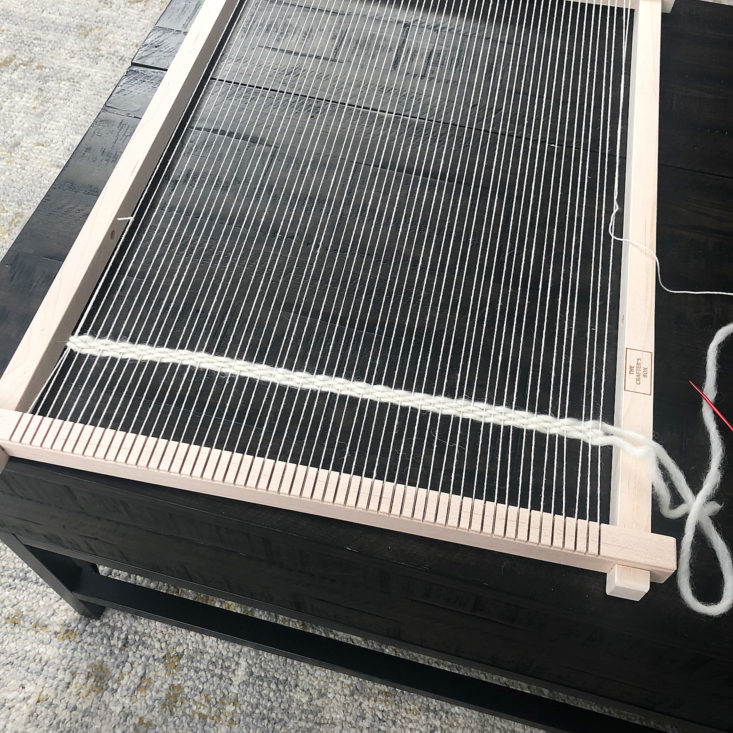
This is my first-ever weaving! We started with the base of the piece, which was really good practice for me. We did four passes back and forth using an over-and-under technique with the ivory yarn.
Next we created the tassels that are at the bottom of the woven piece. These were fun to make! They used up quite a bit of the ivory yarn - doing these tassels took about one and a half of the two skeins we were sent. I was worried that I would run out for the rest of the project, but I discovered that the actual weaving part of the project didn't actually use up much yardage.
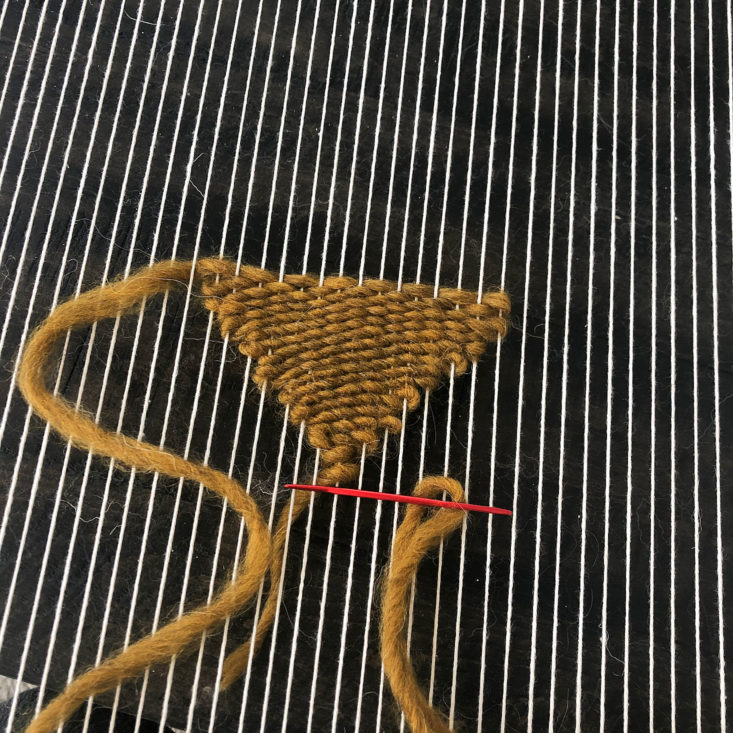
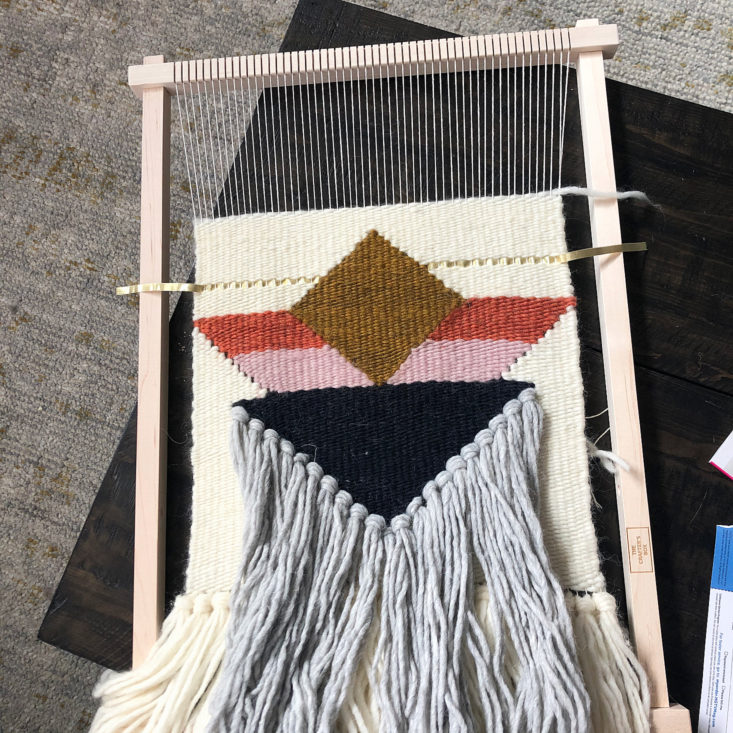
Next we started making the main part of the design. I started with the mustard-colored diamond in the middle, and did the same back-and-forth, over-and-under technique as the base. At first, my rows looked too spread out and you could see a lot of the warp string between them, but as I kept going I was able to squish the rows together better and the design started to take shape.
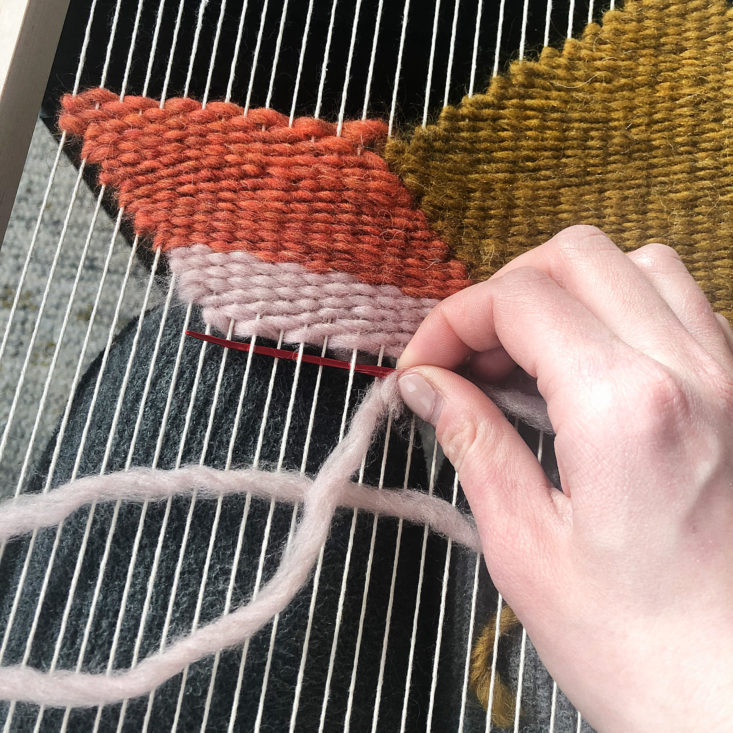
I then finished out the rest of the main design with the burnt orange, light pink, and navy blue yarn. Erin talked through how to count the rows and how many warp strings to go back and forth over for each different section, and I found it very easy to follow along with her instructions.
Next was more tassels! I loved this light gray color. These tassels were tied in a diagonal along the base of the navy triangle, and I really enjoyed the layering effect they had with the original tassels at the base.
The last step was to finish filling in the background with ivory yarn, and we just went back and forth across the whole loom, starting at the bottom, until the whole area was filled in. This was also where we added in the metallic gold ribbon, and I feel like this accent really elevates the whole piece. This truly looks like something I could buy from Anthropologie!
While we were working, Erin instructed us to keep all our ends just tucked behind our work. After we completed weaving, it was time to clean those up! I was dreading having to weave in all of those loose ends, but luckily I found out that we could simply tie two ends together in a double knot. So easy!
Finally it's time to remove my weaving from the loom! It was easier than I thought - we lifted up a loop from the edge of the loom, and then cut the loop and tied a knot at the base of the weaving. On the bottom edge, I trimmed the long strings and left them hidden underneath the fringe. On the top, I used my yarn needle to run the strings under a few loops of weaving to hide them, and then trimmed them.
Next, we sewed the weaving onto the wooden dowel and hung the dowel from a long piece of warp thread. You can see that my fringes were scraggly and uneven, so I finished off with giving them a nice trim.
Here's my finished woven wall hanging! I absolutely love it! I posted a photo of this on my Instagram and so many of my friends messaged me saying they wanted to make something just like this - it looks so much like the trendy pieces that are in so many of the stores lately. I love the slightly southwestern flair this piece has, and the metallic gold accent really adds so much to the finished look.
We had quite a bit of yarn left over, so I'm already planning my second design! I'm thinking of a geometric mountain range - or do you have any ideas for me?
Verdict: I thought this was such a fantastic box! Yarn crafts will always have a special place in my heart, and this is no exception. The presentation is lovely, and I thought it was great how the box includes absolutely everything you need to do the project. I like that The Crafter's Box showcases more unique types of crafts than a lot of other craft subscription boxes, and I love that I was able to experiment with a new craft to me. I also really appreciate the modern, upscale vibe that I get from this box - it feels like I'm making and creating for a purpose, rather than just crafting to craft. This finished woven piece is absolutely the type of craft that I'm proud to display in my home.
For $65.00, we received materials and supplies to create a woven geometric wall hanging. The box has a very careful curation and extremely well-made video tutorial content. I think this is a very fair price for what we received. Overall, the experience of creating from this box was so enjoyable. I highly recommend it!
To Wrap Up:
Can you still get this box if you sign up today? No, you will receive the April 2020 box (if you sign up between March 10th - 20th).
Check out our other reviews of The Crafter's Box and the top-rated craft subscription boxes!
Keep Track of Your Subscriptions: Add this box to your subscription list or wishlist!
What did you think of The Crafter's Box for February 2020? Let us know in the comments!




















Please do not enter your email address in the Name field or in the comment content. Your email address will not be published. Required fields are marked *. Remember to post with kindness and respect. Comments with offensive language, cruelness to others, etc will not be approved. See our full comment policy here.