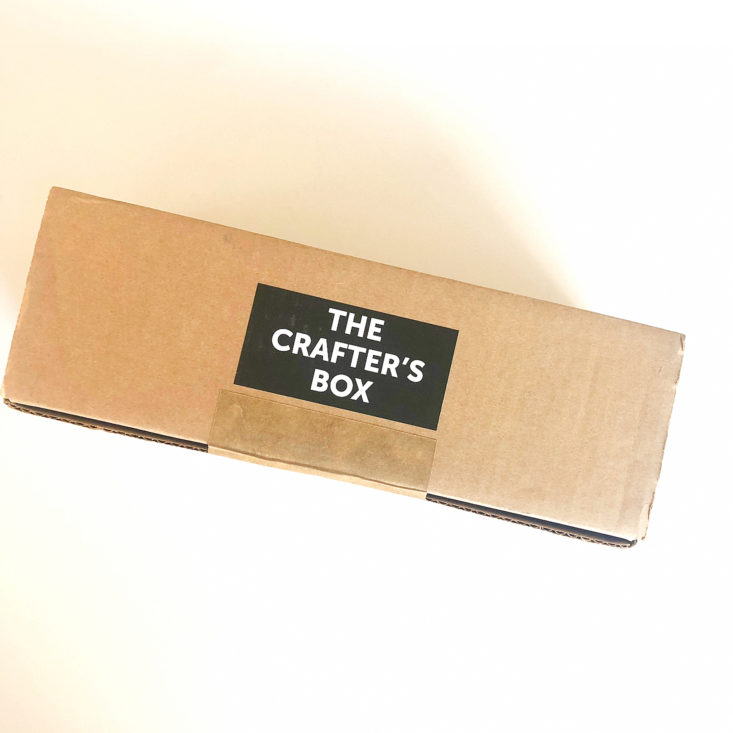
The Crafter's Box is a monthly maker subscription box:
As a member of The Crafter's Box, we'll send a lovingly kitted box of tools and materials to your doorstep on a monthly basis. Each month we feature a new expert maker and that maker has built for us a unique, grown-up, on-trend project that reflects their artistic style. In addition to the monthly box, our featured maker has created an educational, digital workshop to teach their crafting medium and to offer their tips and tricks.
The best part of this model is the ability to revisit workshops in the future to create again and again. Happy making!
The Crafter's Box offers three different subscription models:
- Individual Membership: $65.00 per month for a kit of curated tools and materials + a new digital workshop by the featured maker
- Crafter's Night: $60.00 per person (minimum of 3 people necessary) per month for a group kit of the curated tools and materials sent to one host + individual video access for each person
- Video-Only Access: $20.00 per month for access to the digital workshop created by the featured maker (no tools or materials included)
This review is of the Individual Membership for $65.00 per month.

My Subscription Addiction paid for this box. (Check out the review process post to learn more about how we review boxes.)

About The Crafter's Box
The Subscription Box: The Crafter's Box
The Cost: $65.00 per month + free US shipping (other plans available from $20.00 per month)
ACTIVE DEAL: Get 25% off your first box!
CODE: GETCREATIVE
The Products: A shipped kit of curated tools and materials + a new digital workshop by the featured maker of the month
Ships to: The US for free and internationally for varying rates
Good to Know: Membership enrollment is open between the 10th - 20th of each month. Subscriptions automatically renew on the 15th. Projects are designed to be for ages 18+.
The Crafter's Box March 2020 Review
The Crafter's Box seems to be what my crafting subscription box dreams are made of! Each month they feature a different, unique craft that is designed with the crafty adult in mind. The items you get to create are thoughtfully curated and created with high-end materials so that your finished products are modern and luxe.
Let's take a look inside March's box - the craft this month is Sashiko Embroidery!
We have three informational cards showing what we received in our box this month. The first one has some information on the featured maker this month, Jessica Marquez of Miniature Rhino. We also have a card listing all of the supplies included in the kit, and showing the finished objects.
Now, onto the items!
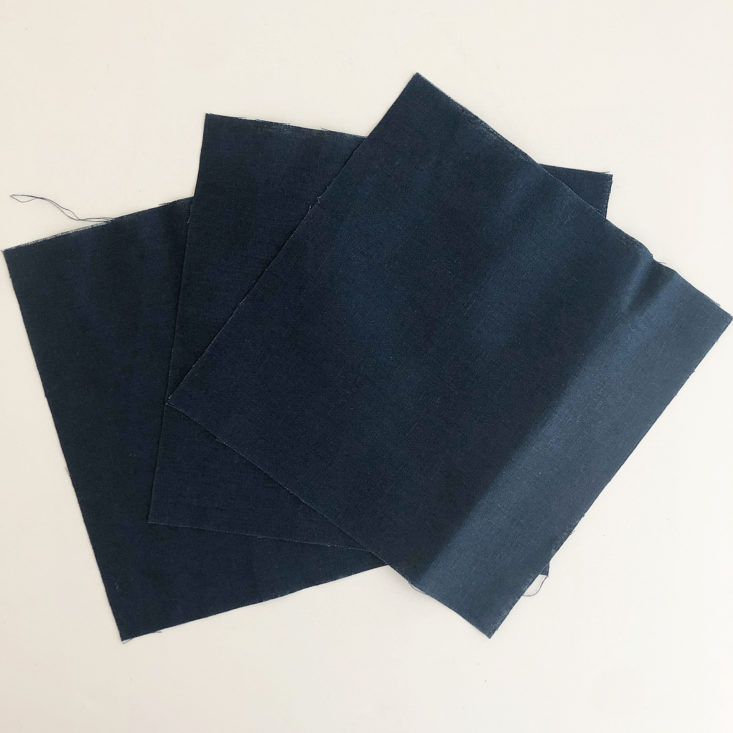
Linen-Cotton Fabric Squares
We received three 7" x 7" squares of a linen-cotton blend fabric in a dark navy blue that is ideal for this type of embroidery. These squares are meant to be for practicing different designs, and we can also keep our little samplers we will create and use them as decoration. The fabric is thin but sturdy, and has a tight weave.
Pillow Cover
Next is a 16" x 16" custom-made linen-cotton blend pillowcase with an envelope closure on the back. One of the info cards shown above said that The Crafter's Box partnered with small sewing businesses to create these pillowcases, and each pillowcase was handsewn by an artisan.
Sashiko Cotton Thread
This 100% cotton thread is pure white, and it's spun very tightly. The tightness of the plies is supposed to give our stitching lots of definition and strength. The thread is stiff when first unwound, but relaxes once you start using it.
Sashiko Needles
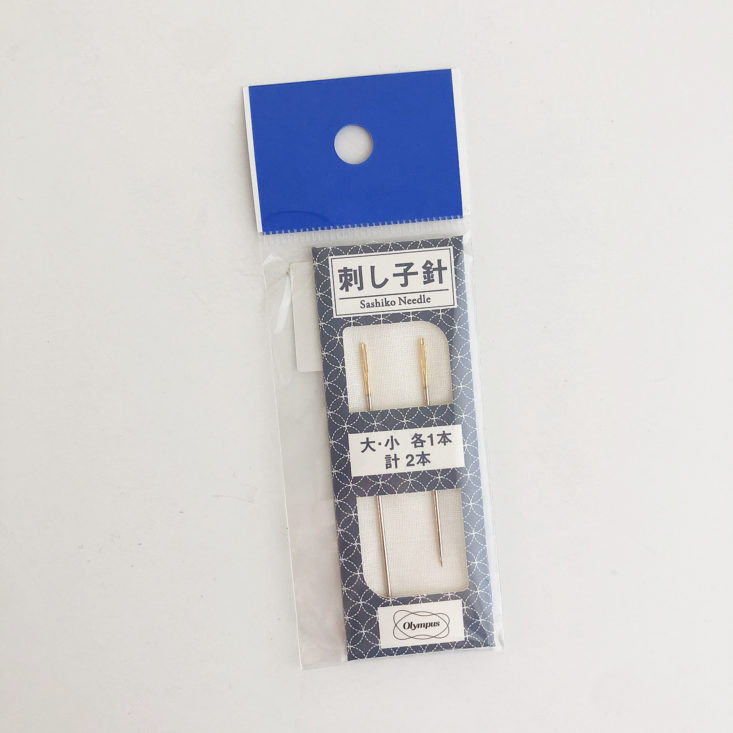
We also received a set of two Sashiko needles - one is longer, which is good for straight stitching, and one is shorter, which is good for curved stitching. They both have gold-plated eyes and are very sharp. I also love the little fabric bed that they came in - perfect for storage!
Water Soluble Pencil
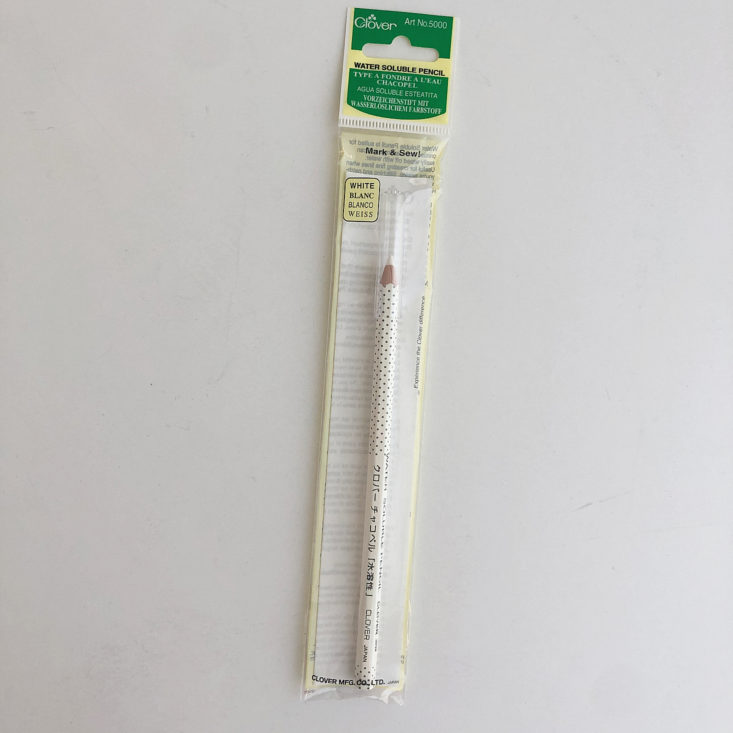
The next item is a white water-soluble pencil to use when drawing embroidery designs. It has a cute polka-dot print, and it comes with a nice plastic cap to protect the point of the pencil. The "lead" is very soft, and I found that the tip wore down extremely quickly when using this pencil. However, I was able to easily sharpen it with an eye pencil sharpener from my makeup drawer!
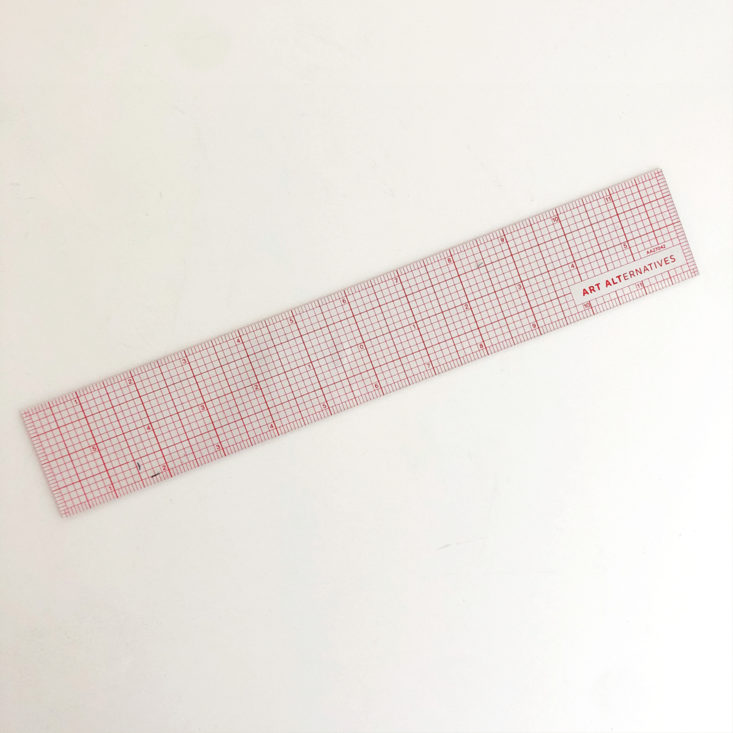
Grid Ruler
We also received a 12" x 2" plastic ruler with grid lines marking every 1/8 of an inch. The ruler is sturdy yet lightweight - perfect for tracing out designs.
Thimble
We also received a thimble with a really neat design - it has a metal tip with a flexible base for a snug fit. I have never really sewn with a thimble before, but I did try it out a little bit for this project. In the videos, it is suggested that you wear the thimble on the middle finger of your dominant hand, to assist with pushing the needle through the fabric. However, I found that the finger that was receiving the most pokes was the index finger of my non-dominant hand when I was guiding the needle underneath the fabric. However you use this thimble, I found it to stay securely in place pretty well!
Snips
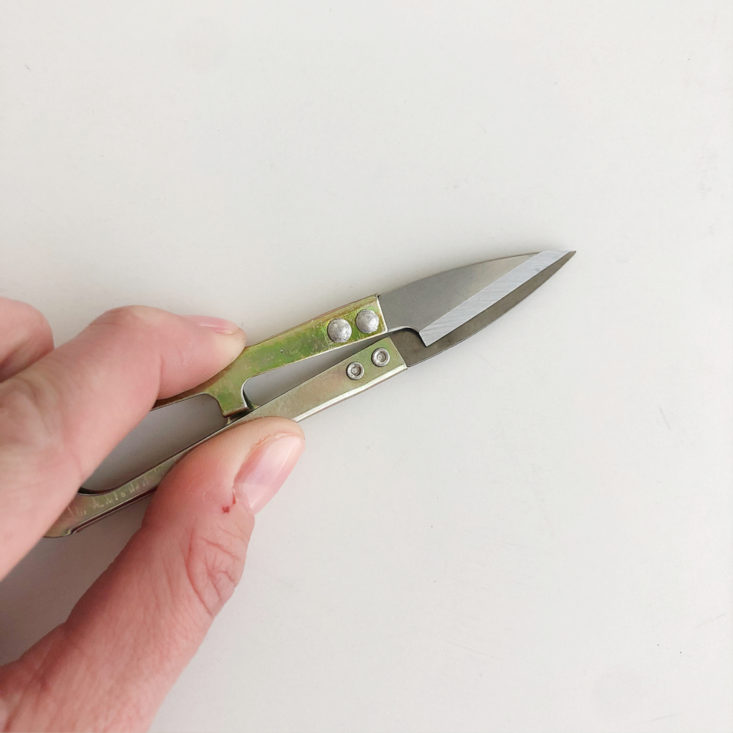
Finally, the last item we received was a pair of small metal snips. These came wrapped in tissue paper, but there was no protective covering over the sharp points. They are spring-loaded, so that they remain in the open position unless you squeeze the handles. The scissor blades are quite sharp and worked very well for cutting my thread.
Now, let's get embroidering!
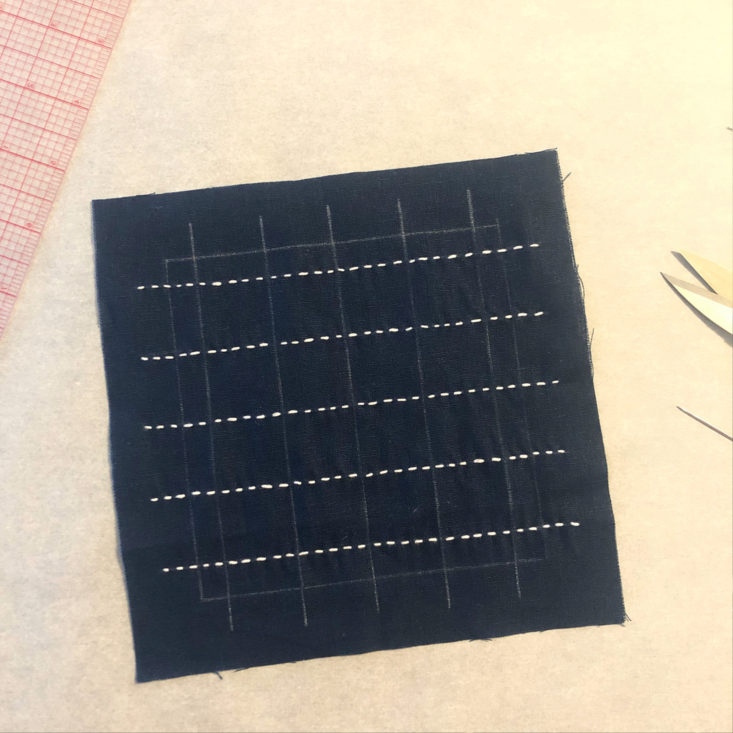
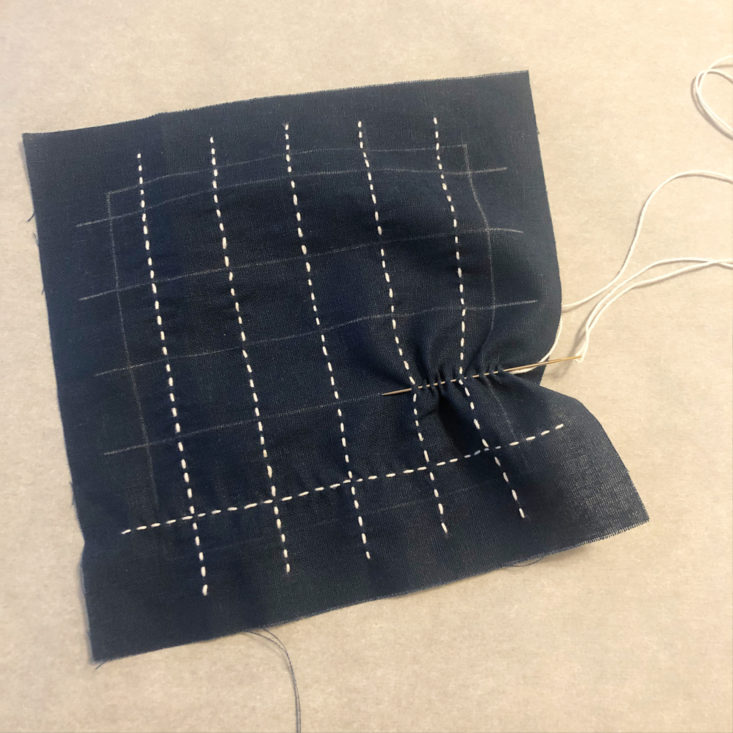
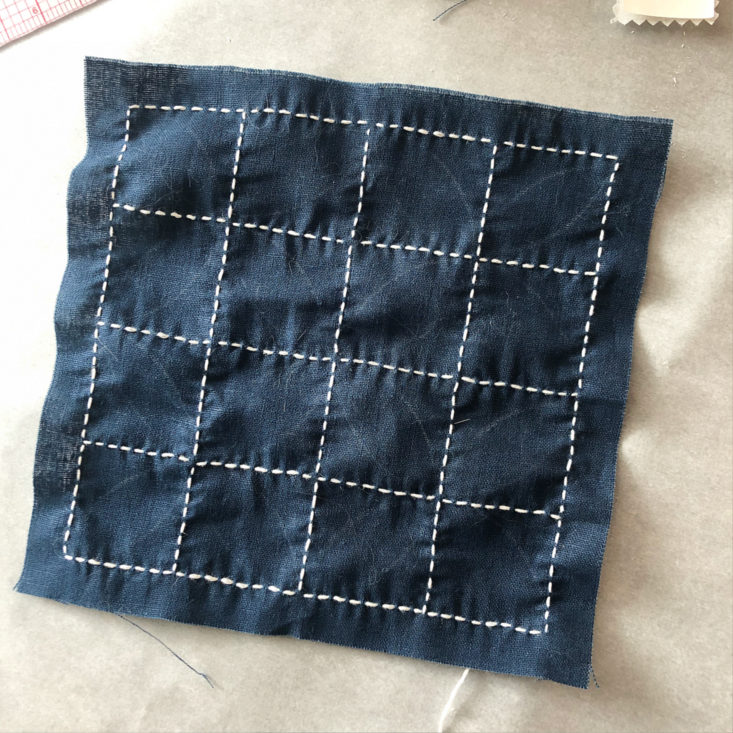
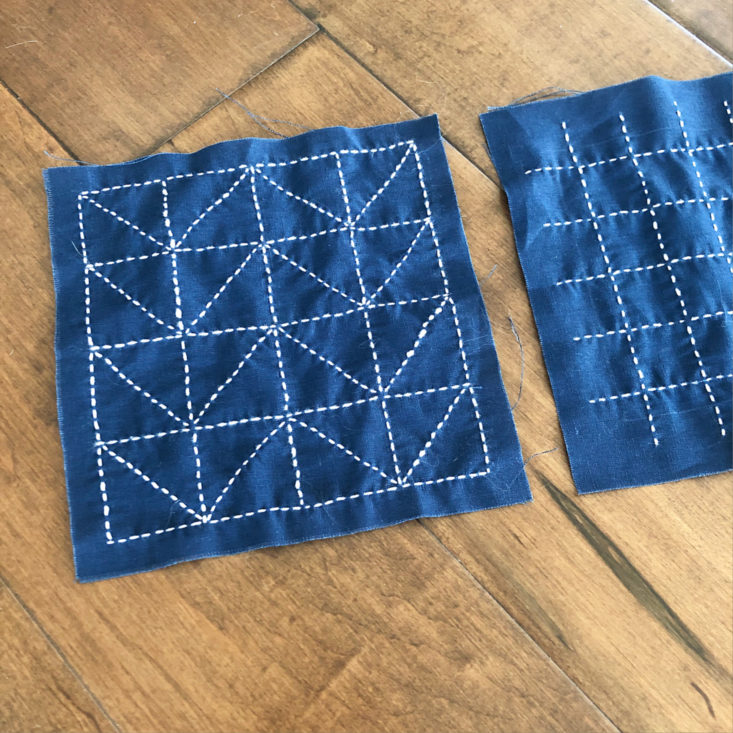
Sashiko is a type of embroidery where the designs are all based upon the starting point of a grid. Our first practice sampler is to create simple gridlines using long straight stitches. In the video, we are told to first draw an outline 1" inside the borders of our cloth square, which is what I did at first. However, once I started drawing my gridlines I realized that the square she was using in the videos must have been larger than the ones we were sent, because my gridline design was truncated compared to what it was supposed to look like. I ended up extending my lines and realized that we only had 1/2" of clearance at the edges of our fabric. The great thing is that the white pencil comes off easily with a little bit of water!
The technique definitely took some getting used to! I've only ever done embroidery inside of an embroidery hoop, where the fabric is pulled taut as you work. For Sashiko, you keep the fabric loose, and bunch up your fabric on the needle for as long as possible before pulling your needle and thread through. A few of my stitches look a little bit uneven, but overall I'm pretty happy with how this first sampler turned out.
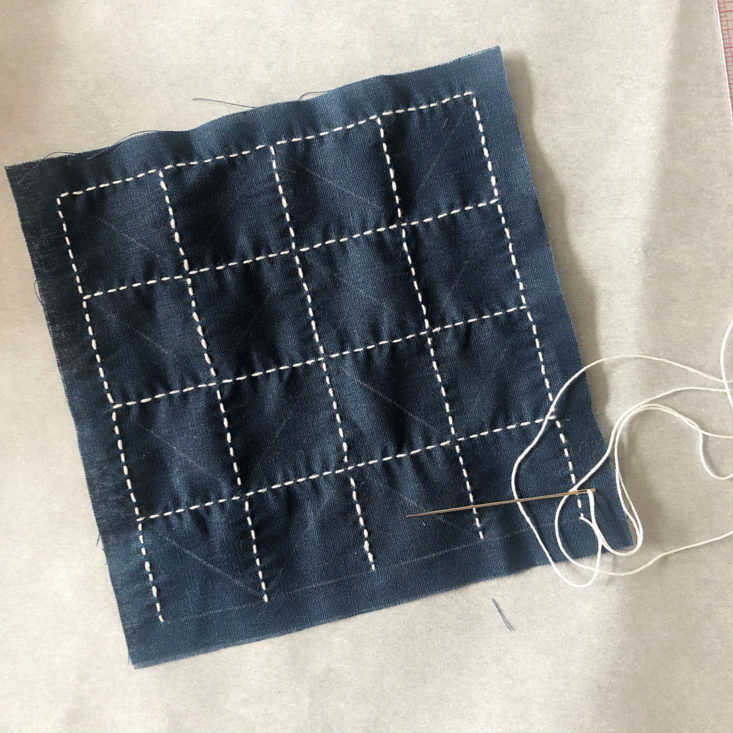
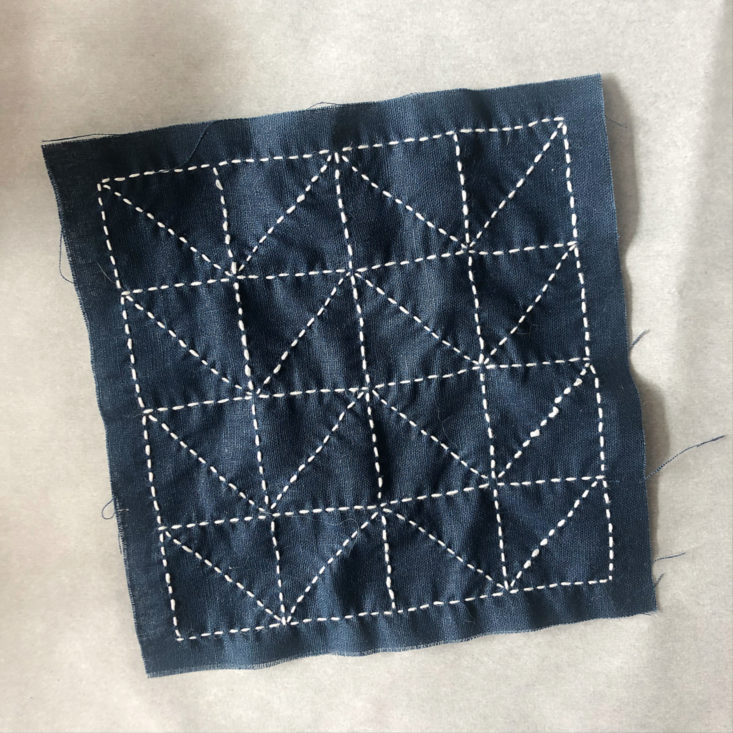
Next, I wanted to try a slightly more advanced design that built upon the foundation grid. Jessica showed many examples of different Sashiko patterns, and I thought this arrow design was really pretty. Instead of the smaller 1" x 1" grid I did in my first sampler, I did a 1.5" x 1.5" grid here, and I stitched the outer border as well.
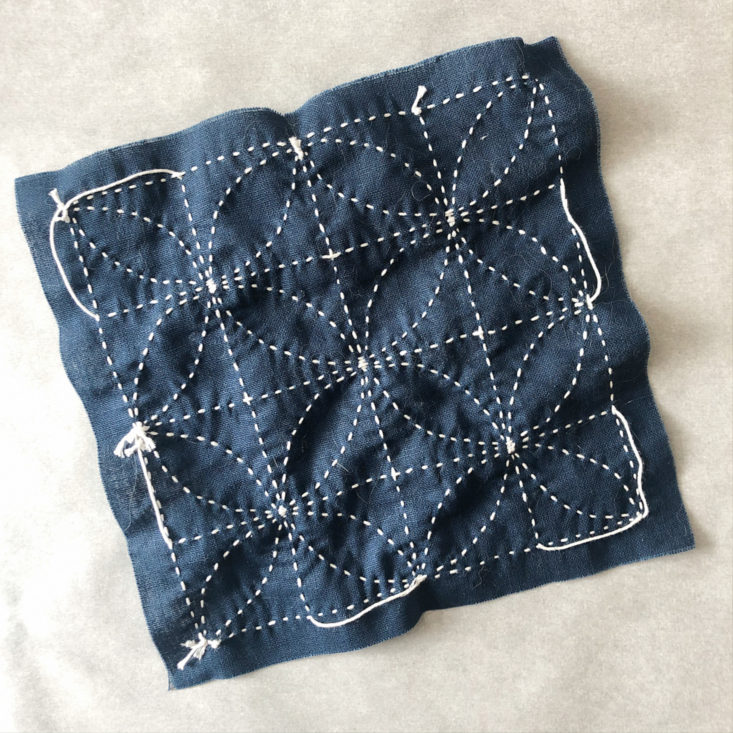
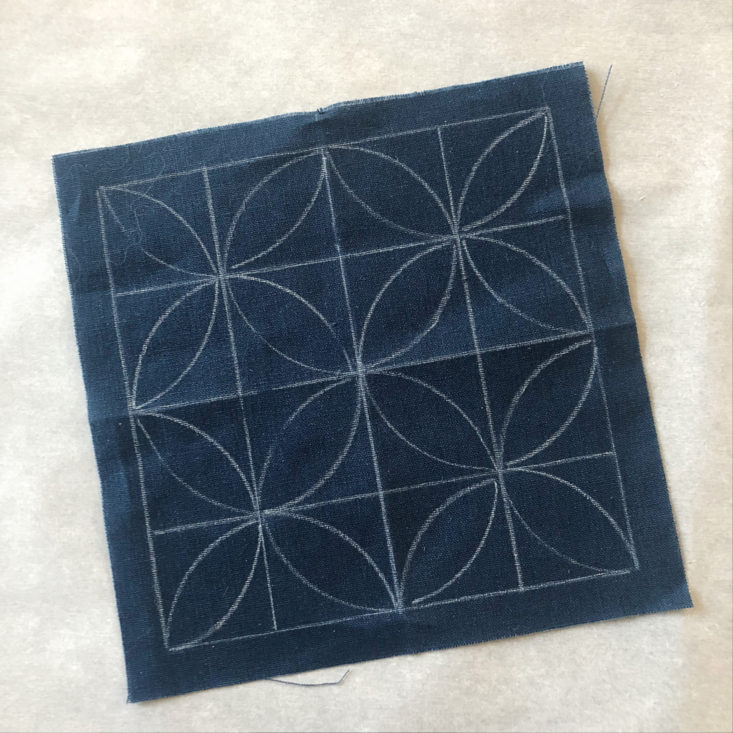
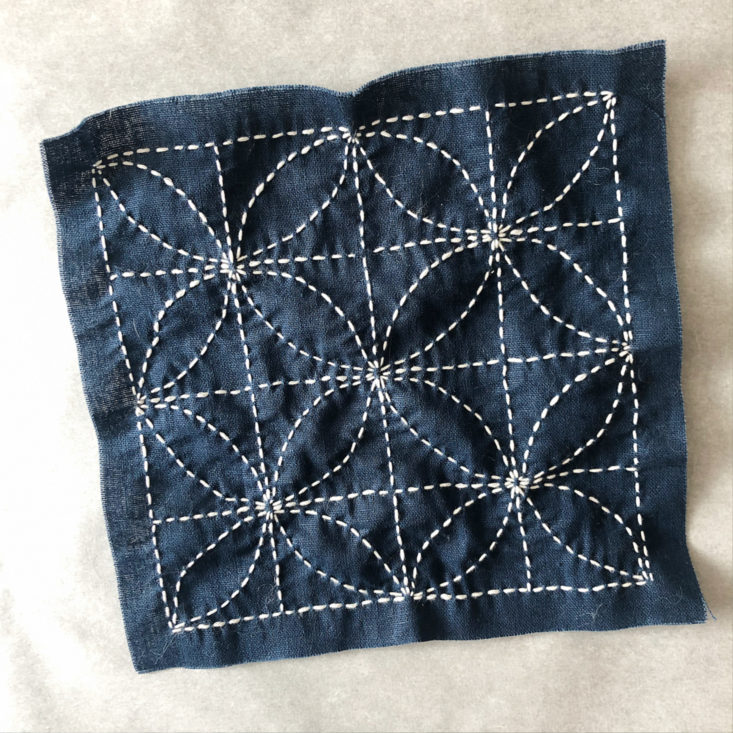
With my last sampler, I wanted to try out some curved lines. Jessica showed how she freehanded flower shapes within her framework grid, but also showed templates that had different sized circles in them that you could get to use for tracing. Going off of that idea, I measured all of the glasswear in my kitchen until I found a wine glass that had a 3" diameter, which is what I needed for my 1.5" x 1.5" grid. It worked out perfectly to use for tracing the circles and semi-circles!
This pattern was a lot of fun to stitch. Even though it was harder to keep the curved lines as uniform as the straight lines, they were fun to create. I'm really happy with how this design turned out!
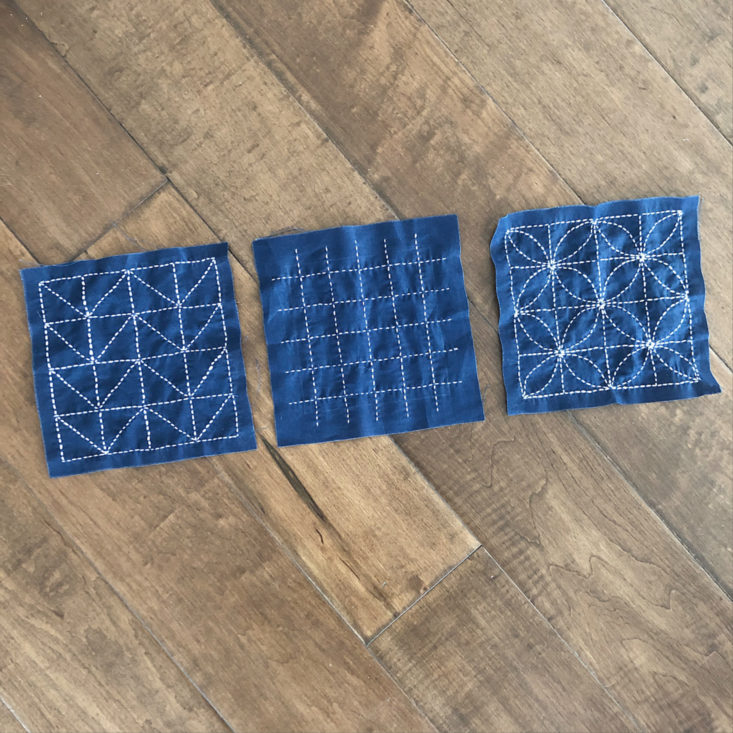
Here are my three completed samplers! I love how they look next to each other, and I'm planning on finding a big floating glass frame to put them in so I can hang them up for a wall decoration.
The final project in the box is to create your own design and stitch it onto the pillowcase, but I want to hold off on doing that project until I have a bit more practice with this technique and figure out exactly which stitch pattern I want to use for it!
Verdict: I thought this was such a fun and wonderful box! The technique was brand new to me, but built upon skills that I've used for other crafts. The presentation is lovely, and I thought it was great how the box includes absolutely everything you need to do the project. I like that The Crafter's Box showcases more unique types of crafts than a lot of other craft subscription boxes, and I love that I was able to experiment with a new craft to me. I also really appreciate the modern, upscale vibe that I get from this box - it feels like I'm making and creating for a purpose, rather than just crafting to craft. This finished woven piece is absolutely the type of craft that I'm proud to display in my home.
For $65.00, we received materials and supplies to create three Sashiko samplers and one Sashiko pillowcase. The box has a very careful curation and extremely well-made video tutorial content. I think this is a very fair price for what we received. Overall, the experience of creating from this box was so enjoyable. I highly recommend it!
To Wrap Up:
Can you still get this box if you sign up today? No, you will receive the May 2020 box (if you sign up between April 10th - 20th).
ACTIVE DEAL: Get 25% off your first box!
CODE: GETCREATIVE
Check out our other reviews of The Crafter's Box and the top-rated craft subscription boxes!
Keep Track of Your Subscriptions: Add this box to your subscription list or wishlist!
What did you think of The Crafter's Box for March 2020? Let us know in the comments!

















Please do not enter your email address in the Name field or in the comment content. Your email address will not be published. Required fields are marked *. Remember to post with kindness and respect. Comments with offensive language, cruelness to others, etc will not be approved. See our full comment policy here.