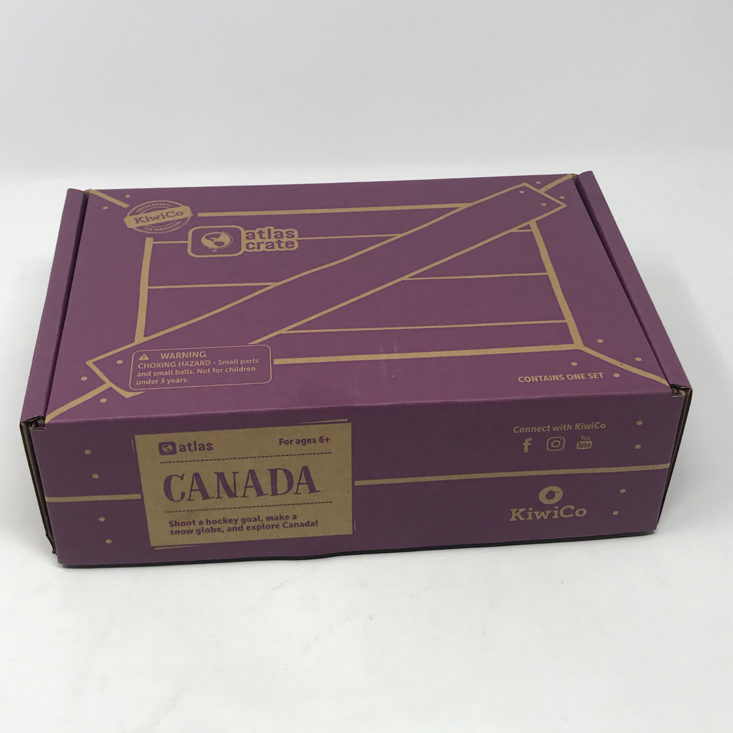
Atlas Crate is a subscription box for kids from parent company KiwiCo. This box is designed to spark the curiosity and sense of adventure in children ages 6-11 and help them become citizens of the world. Each month Atlas Crate will deliver materials and instructions to provide hands-on experiences to help kids develop their sense of cultural awareness.
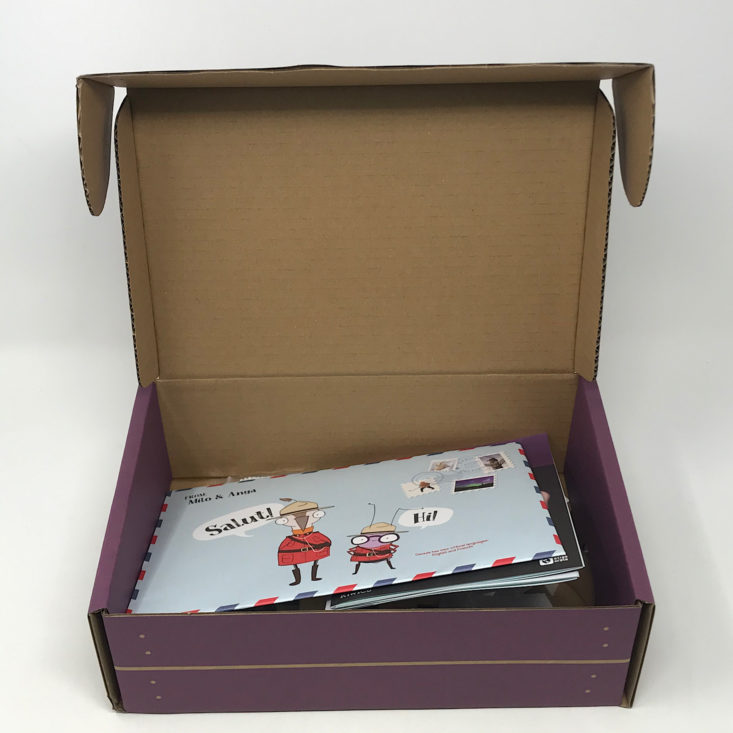
KiwiCo offers boxes for different age groups:
- Panda Crate for 0-24-month-olds,
- Koala Crate for 2-4-year-olds,
- Kiwi Crate for 5-8-year-olds,
- Atlas Crate for 6-11-year-olds,
- Doodle Crate and Tinker Crate for 9-16+-year-olds,
- Eureka Crate and Maker Crate for ages 14 and up.
There really is something for every age with this company!
This review is of the $19.95/month Atlas Crate box, for 6-11-year-olds.
This box was sent to us at no cost for review. (Check out the review process post to learn more about how we review boxes).
About Atlas Crate
The Subscription Box: Atlas Crate
The Cost: $19.95 per month + free shipping. Save with longer subscriptions.
The Products: Crafts and DIY projects for kids, with supplemental learning kits, booklets, and activities. Crates are filled with materials and inspiration to encourage creativity and curiosity about the world.
Ships to: The U.S. for free, Canada for $3.95 per month, and worldwide from $4.95-$6.95
Atlas Crate April 2020 "Canada" Review
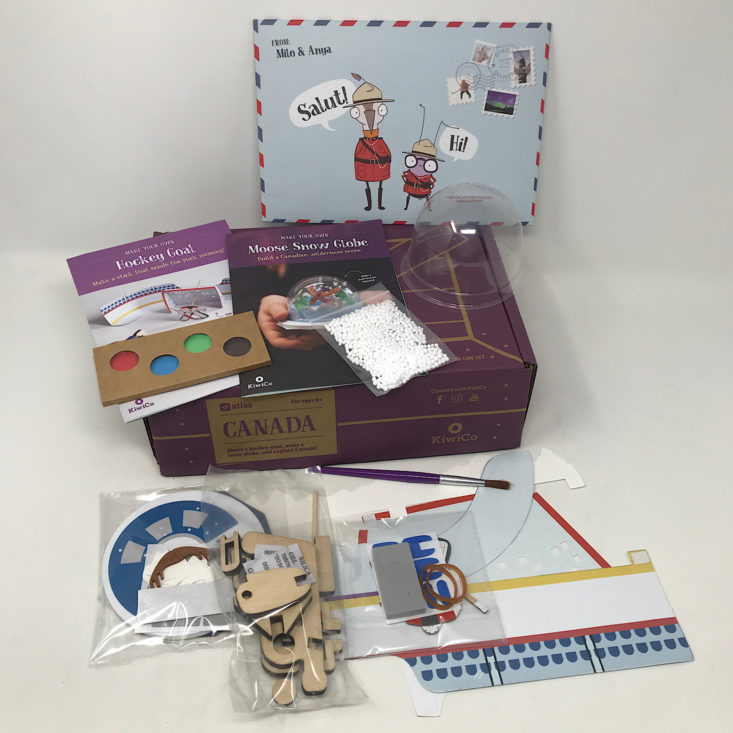
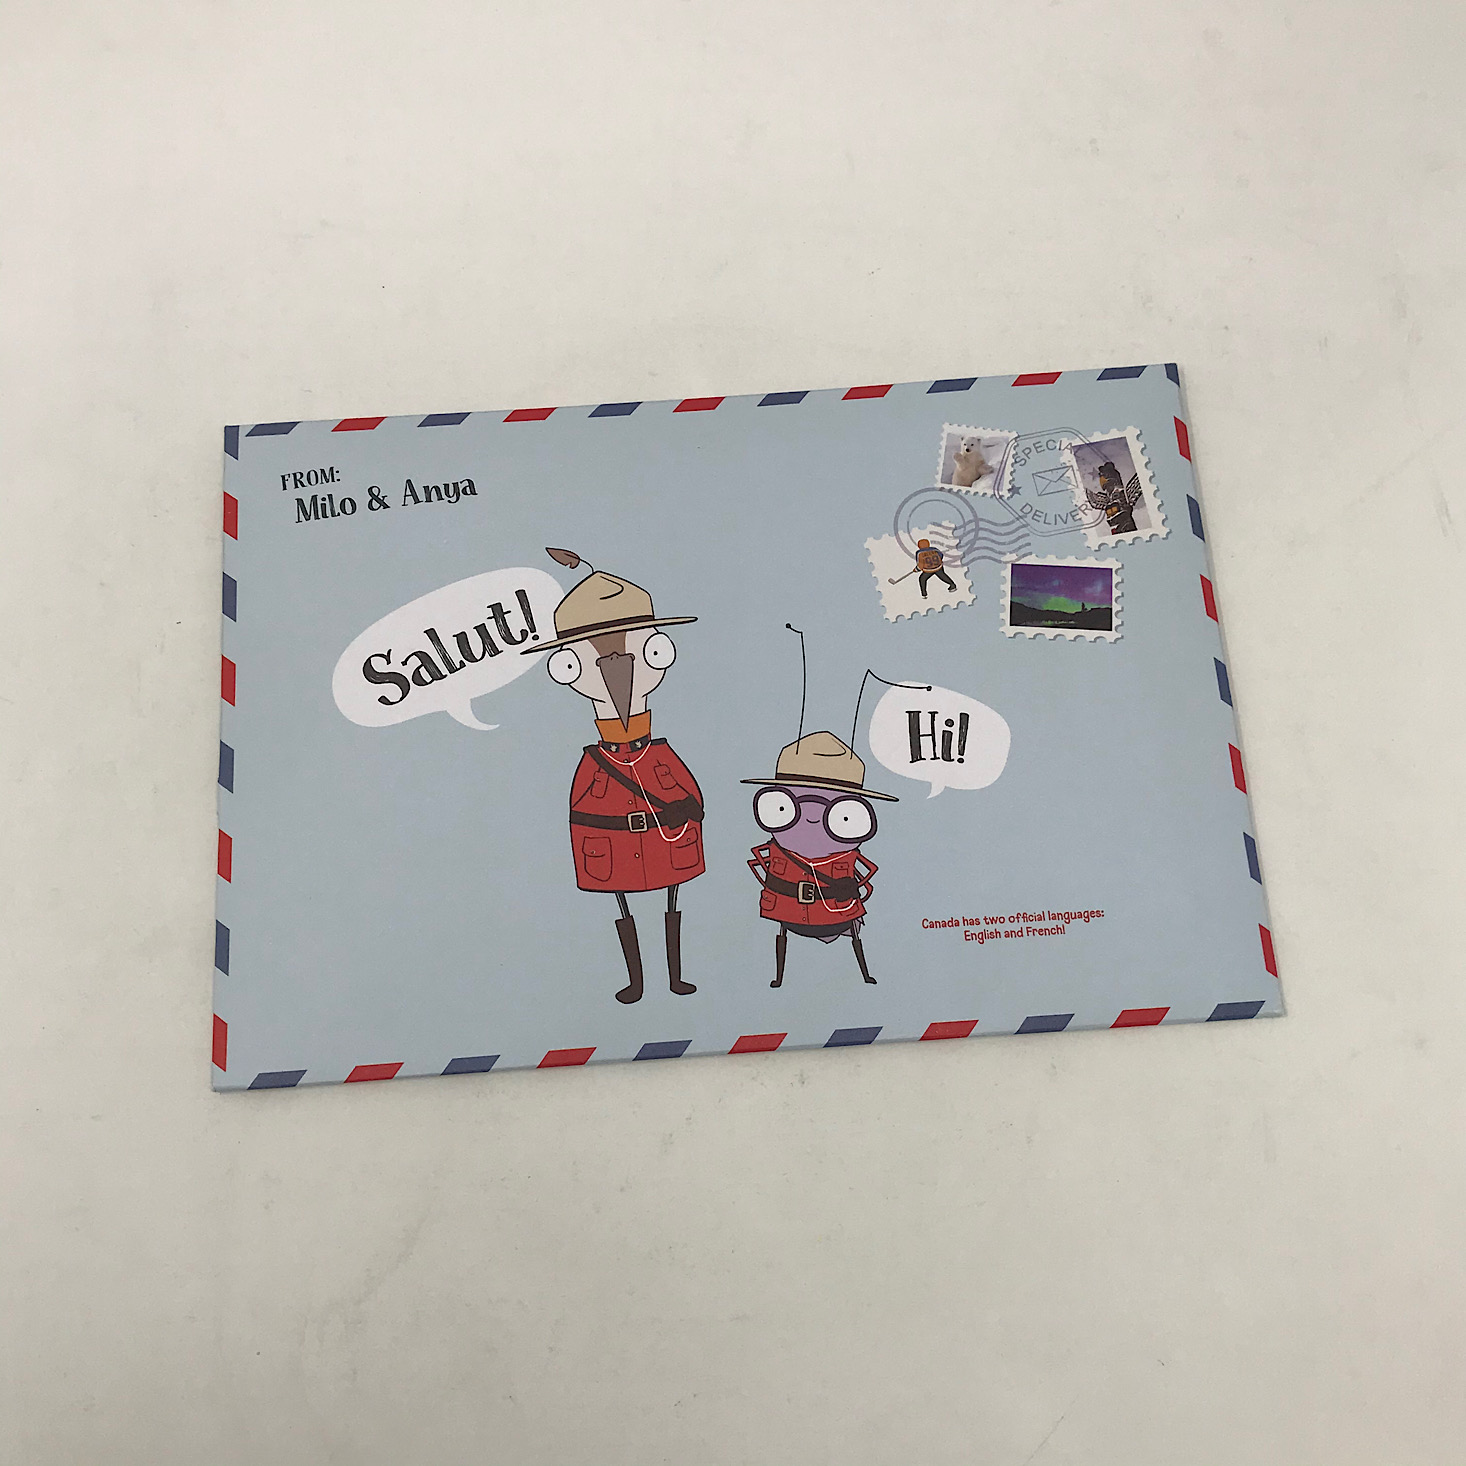
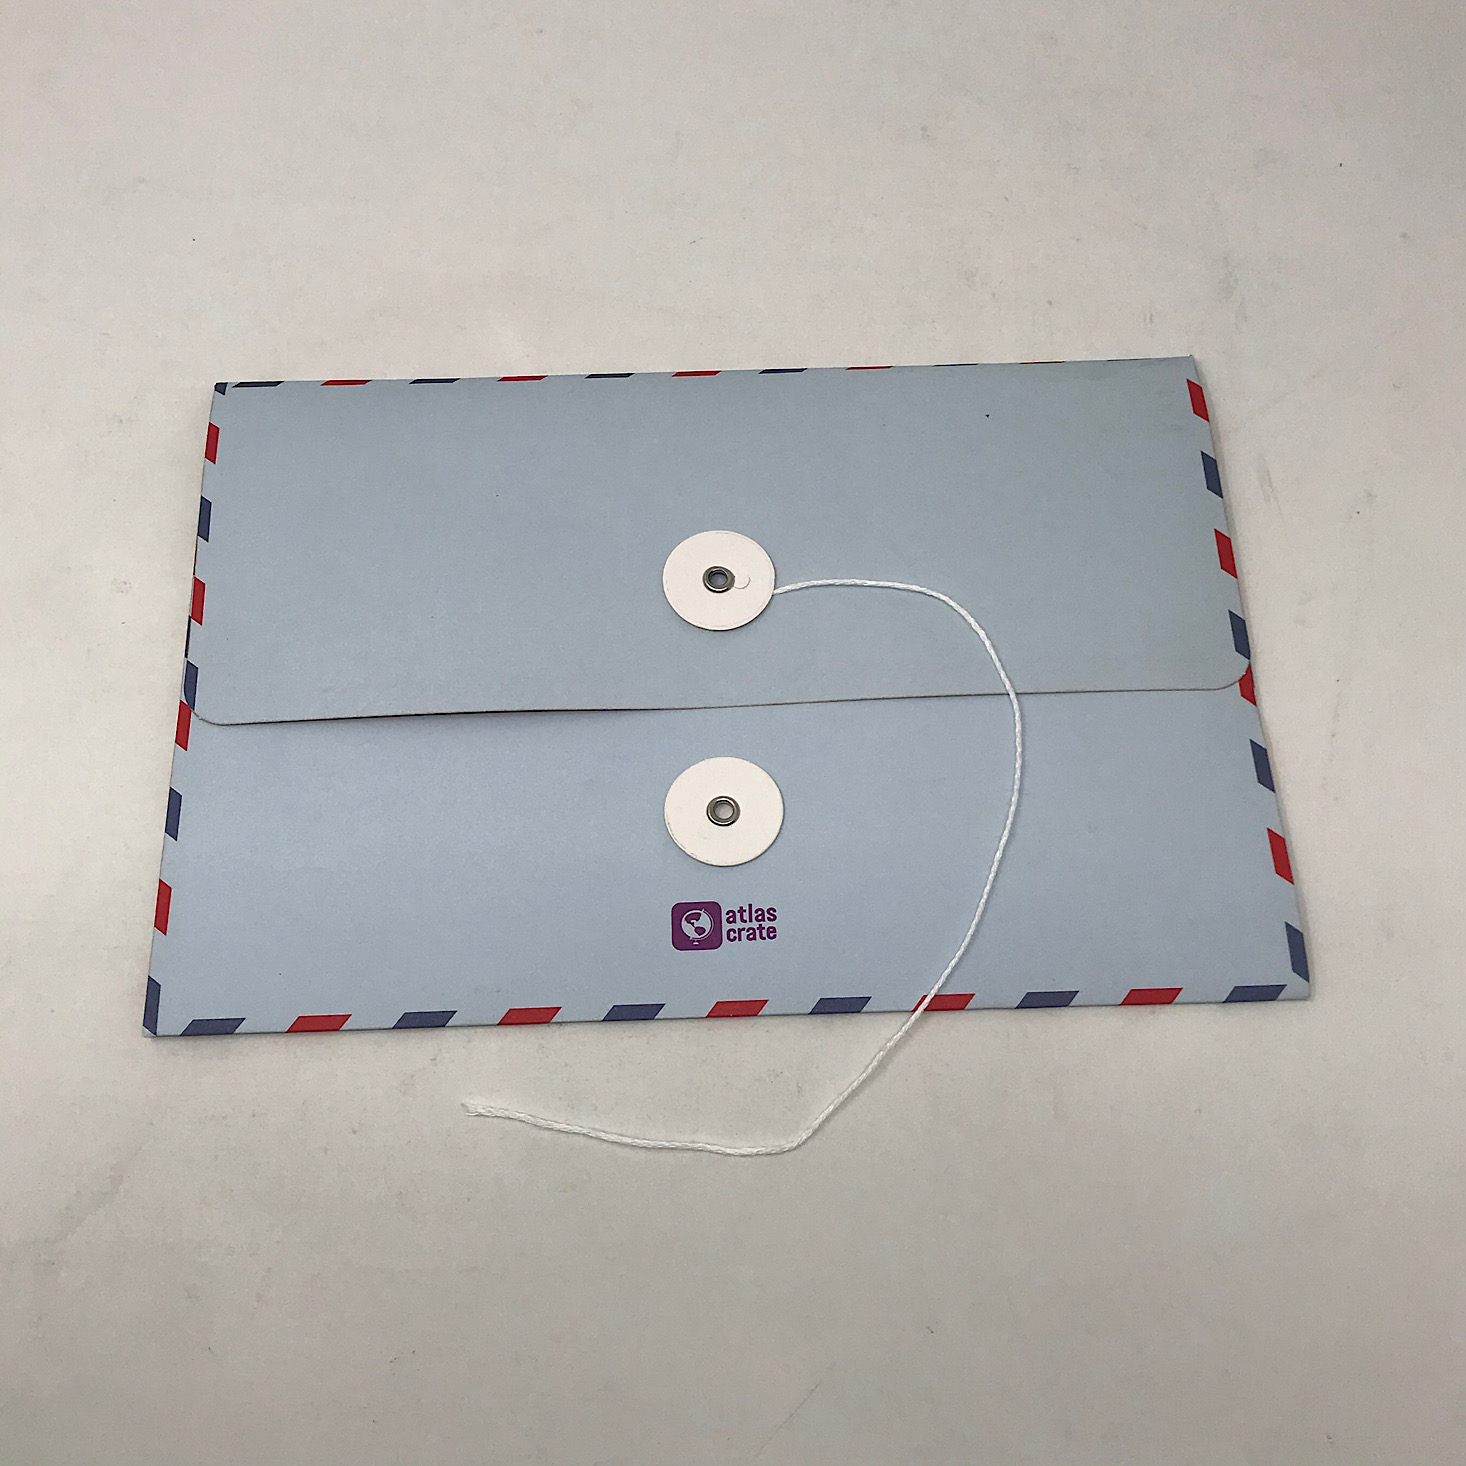
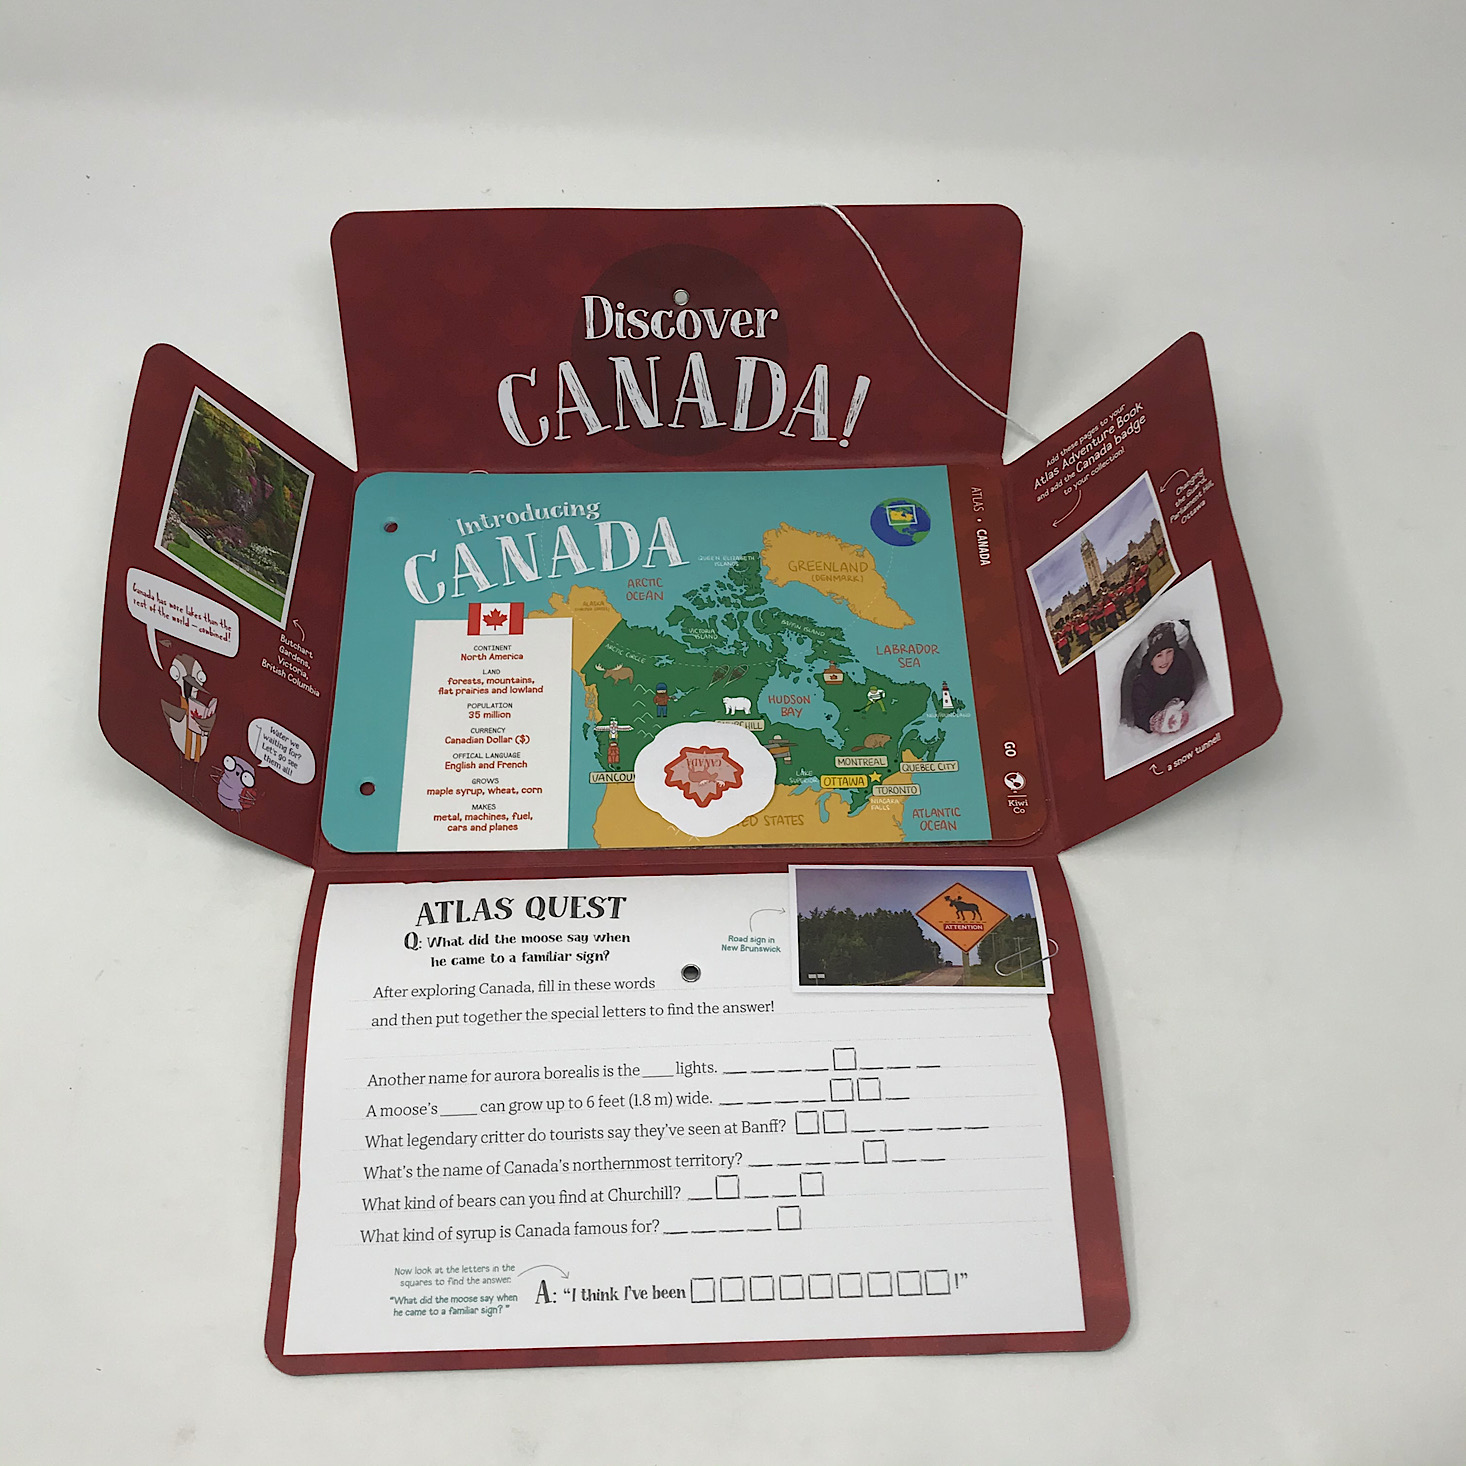
Our country this month is Canada and inside this cute airmail envelope is a ton of information. On the bottom of the envelope, there is a list of what is included in our crate and a fun Atlas Quest to complete using our newfound knowledge after exploring this month's country.
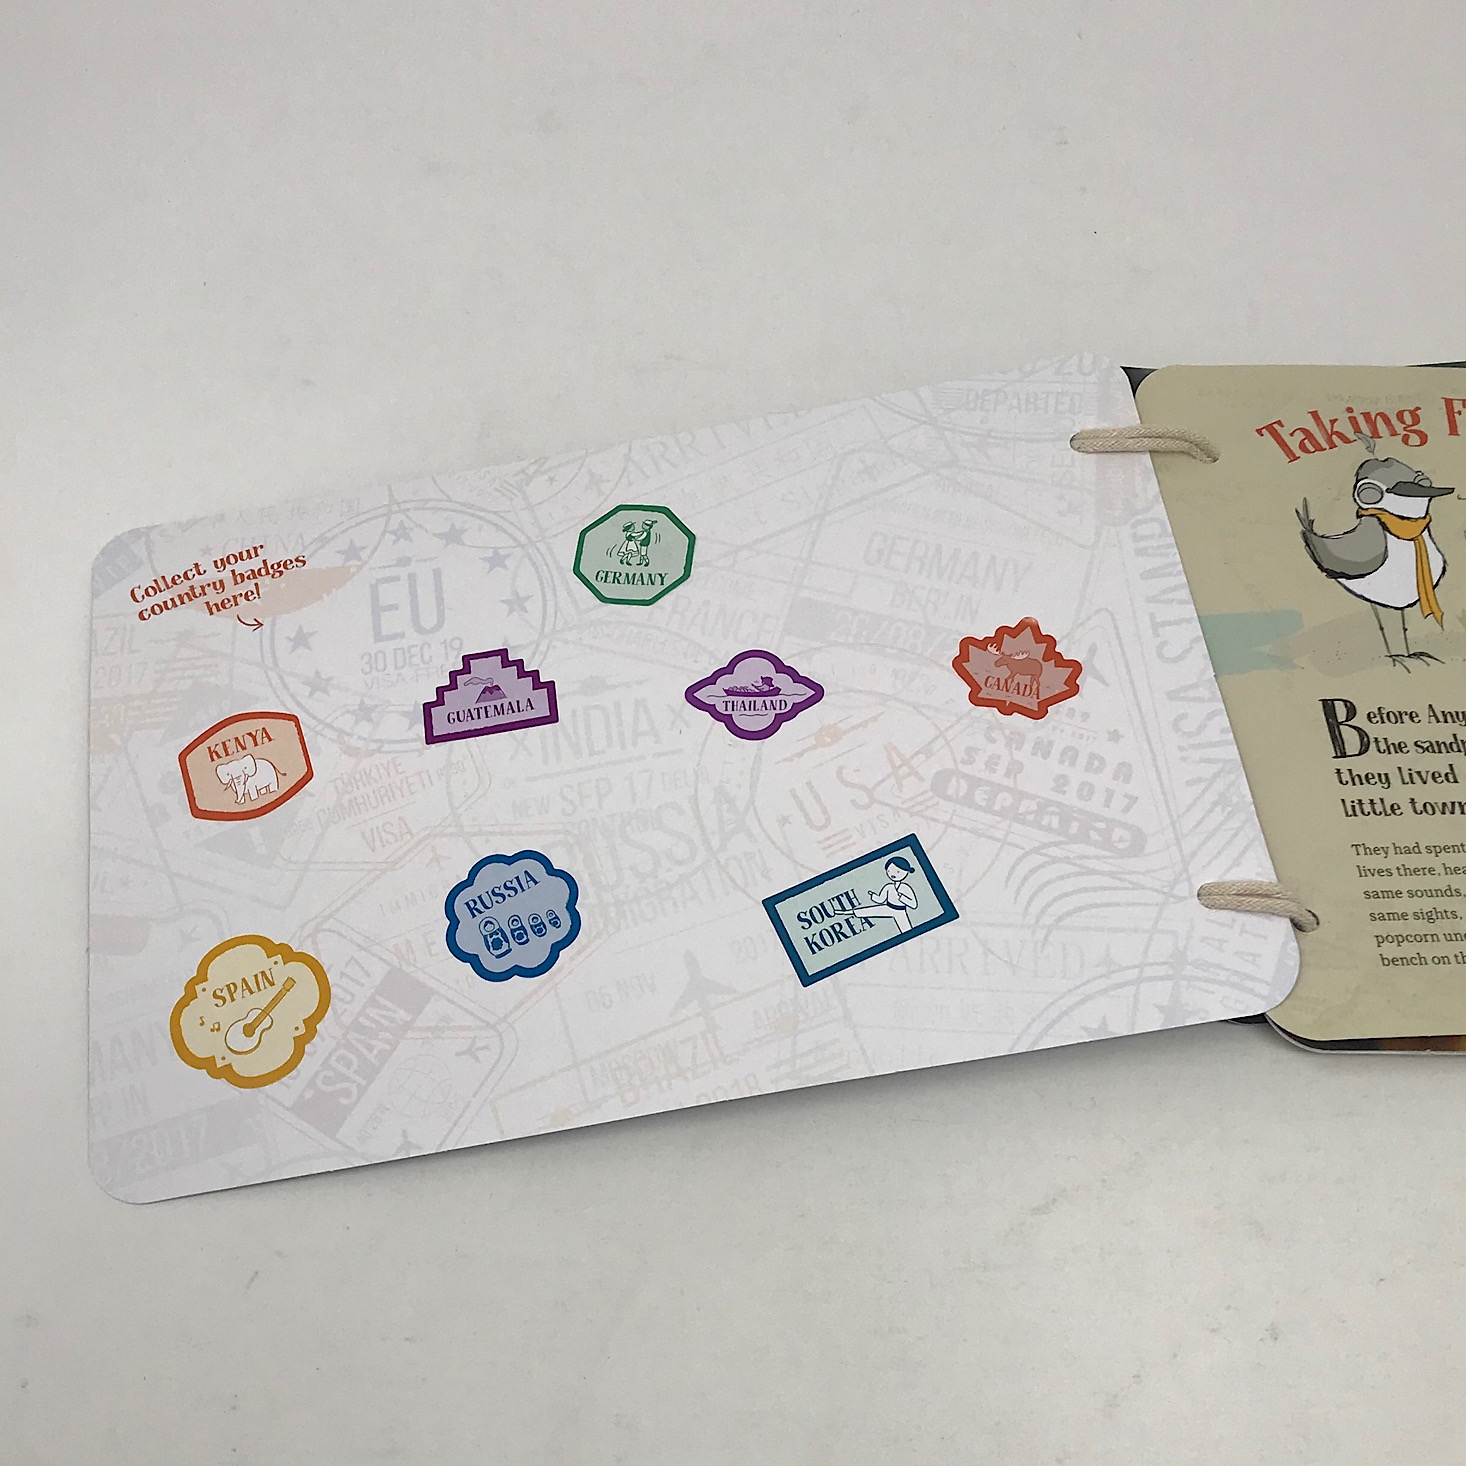
In our first box, which was based on the world, we received an Adventure Book that contained cards for each of the continents and we are able to add to it each month as we receive cards for each of the new countries. They also provide a sticker for us to add to it as well which is a fun way to track our travels! Everything in this box is incredibly organized and nicely packaged making it easy to locate it all.
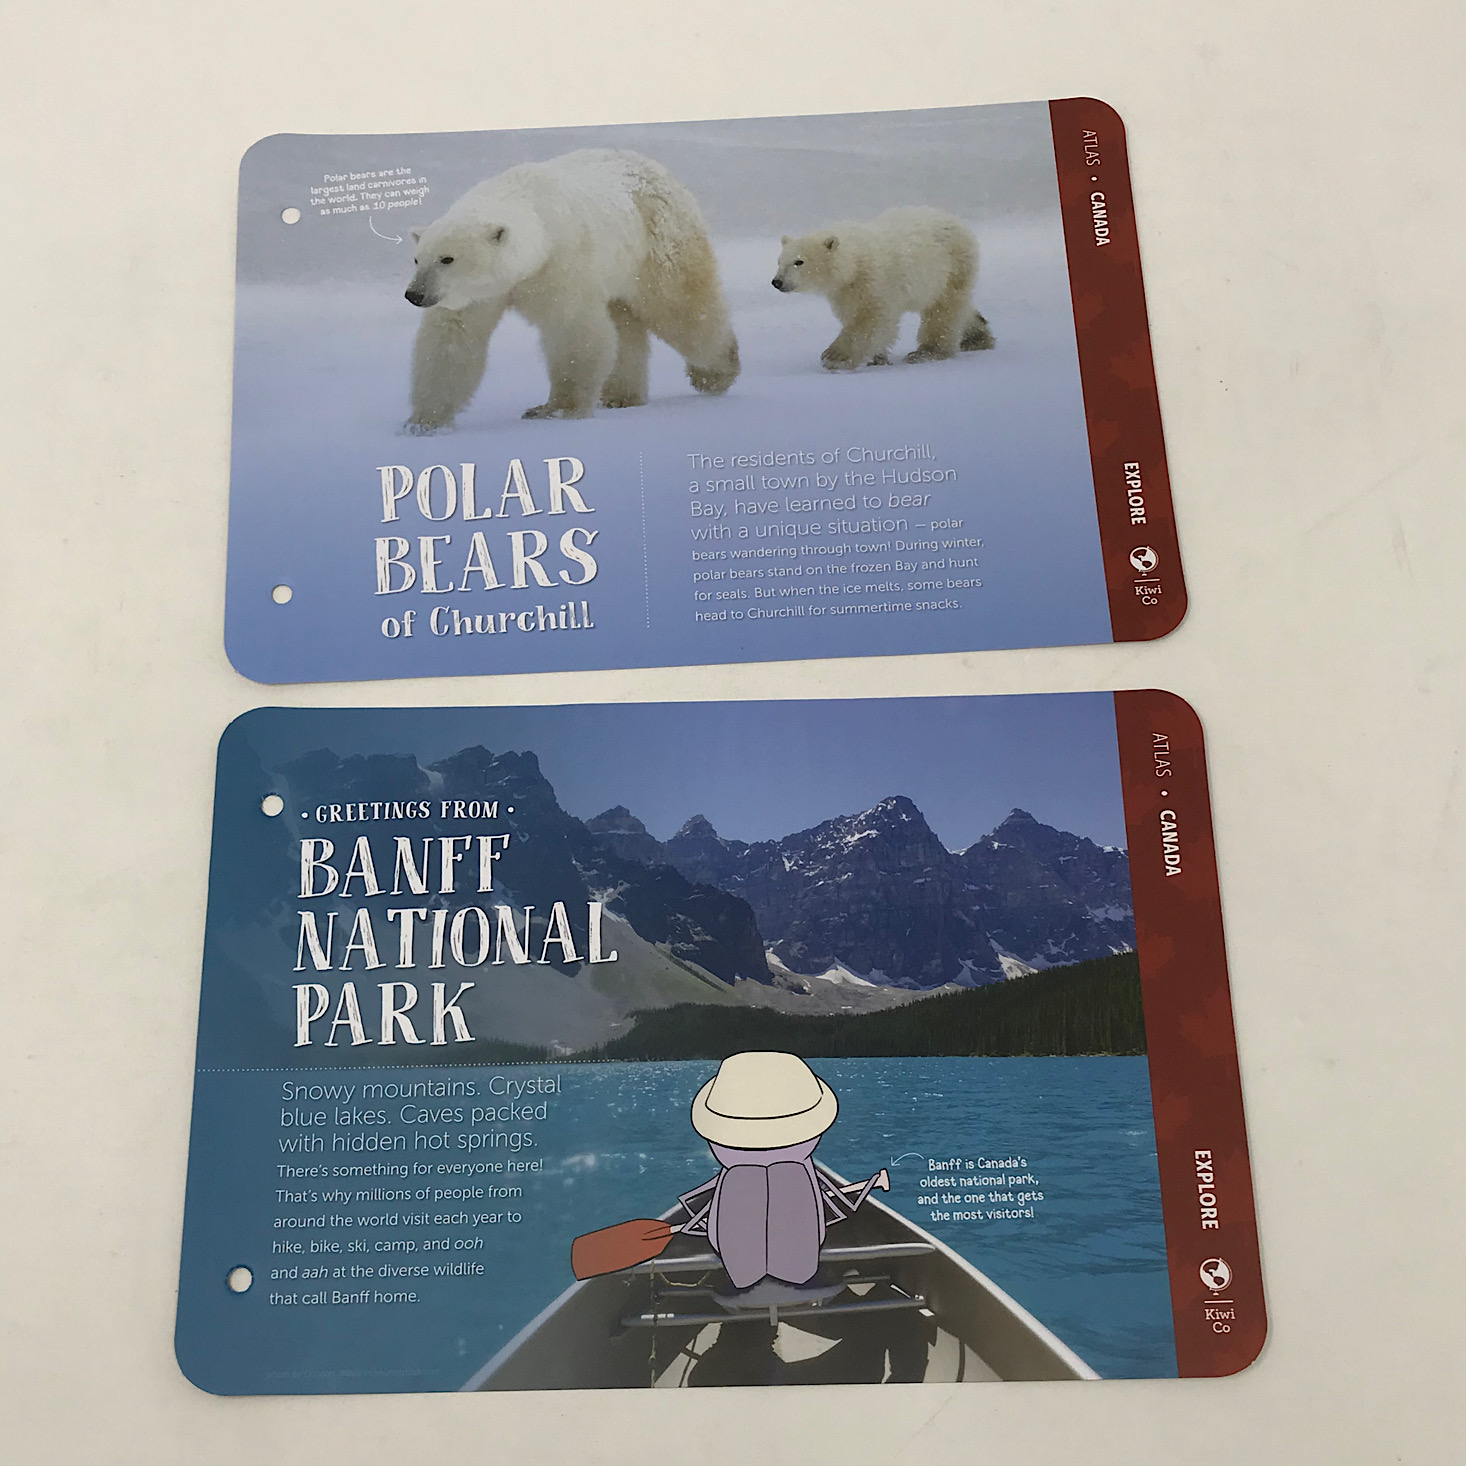
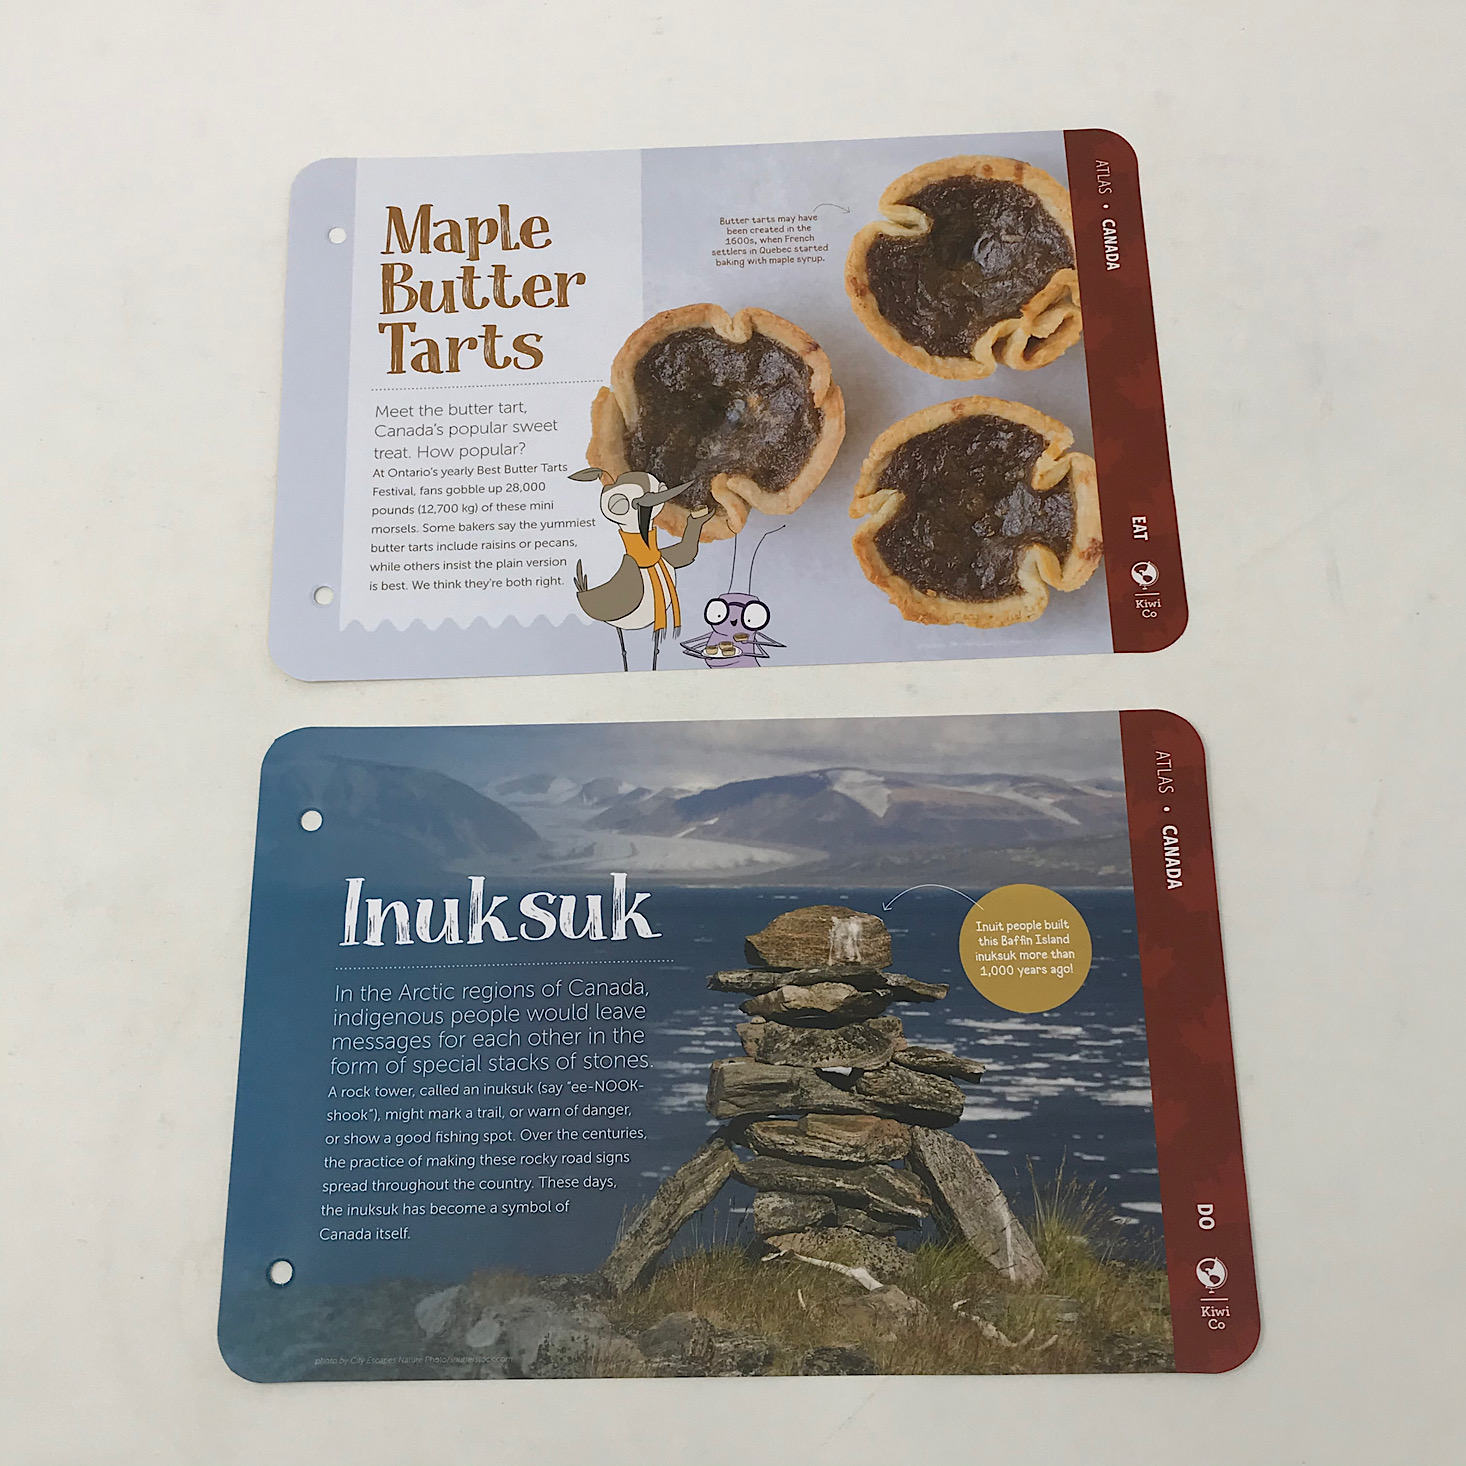
The cards for our adventure book are bright, vibrant, and full of tons of information about Canada on either side. This month we learned about polar bears and the features of Banff National Park.
While most of the pages contain information for us to read, there are always a few "do" pages that provide instructions on activities related to the country. This month they provided some information about Inuksuks and inspired us to make our own version and they also included a recipe for some tasty looking maple butter tarts.
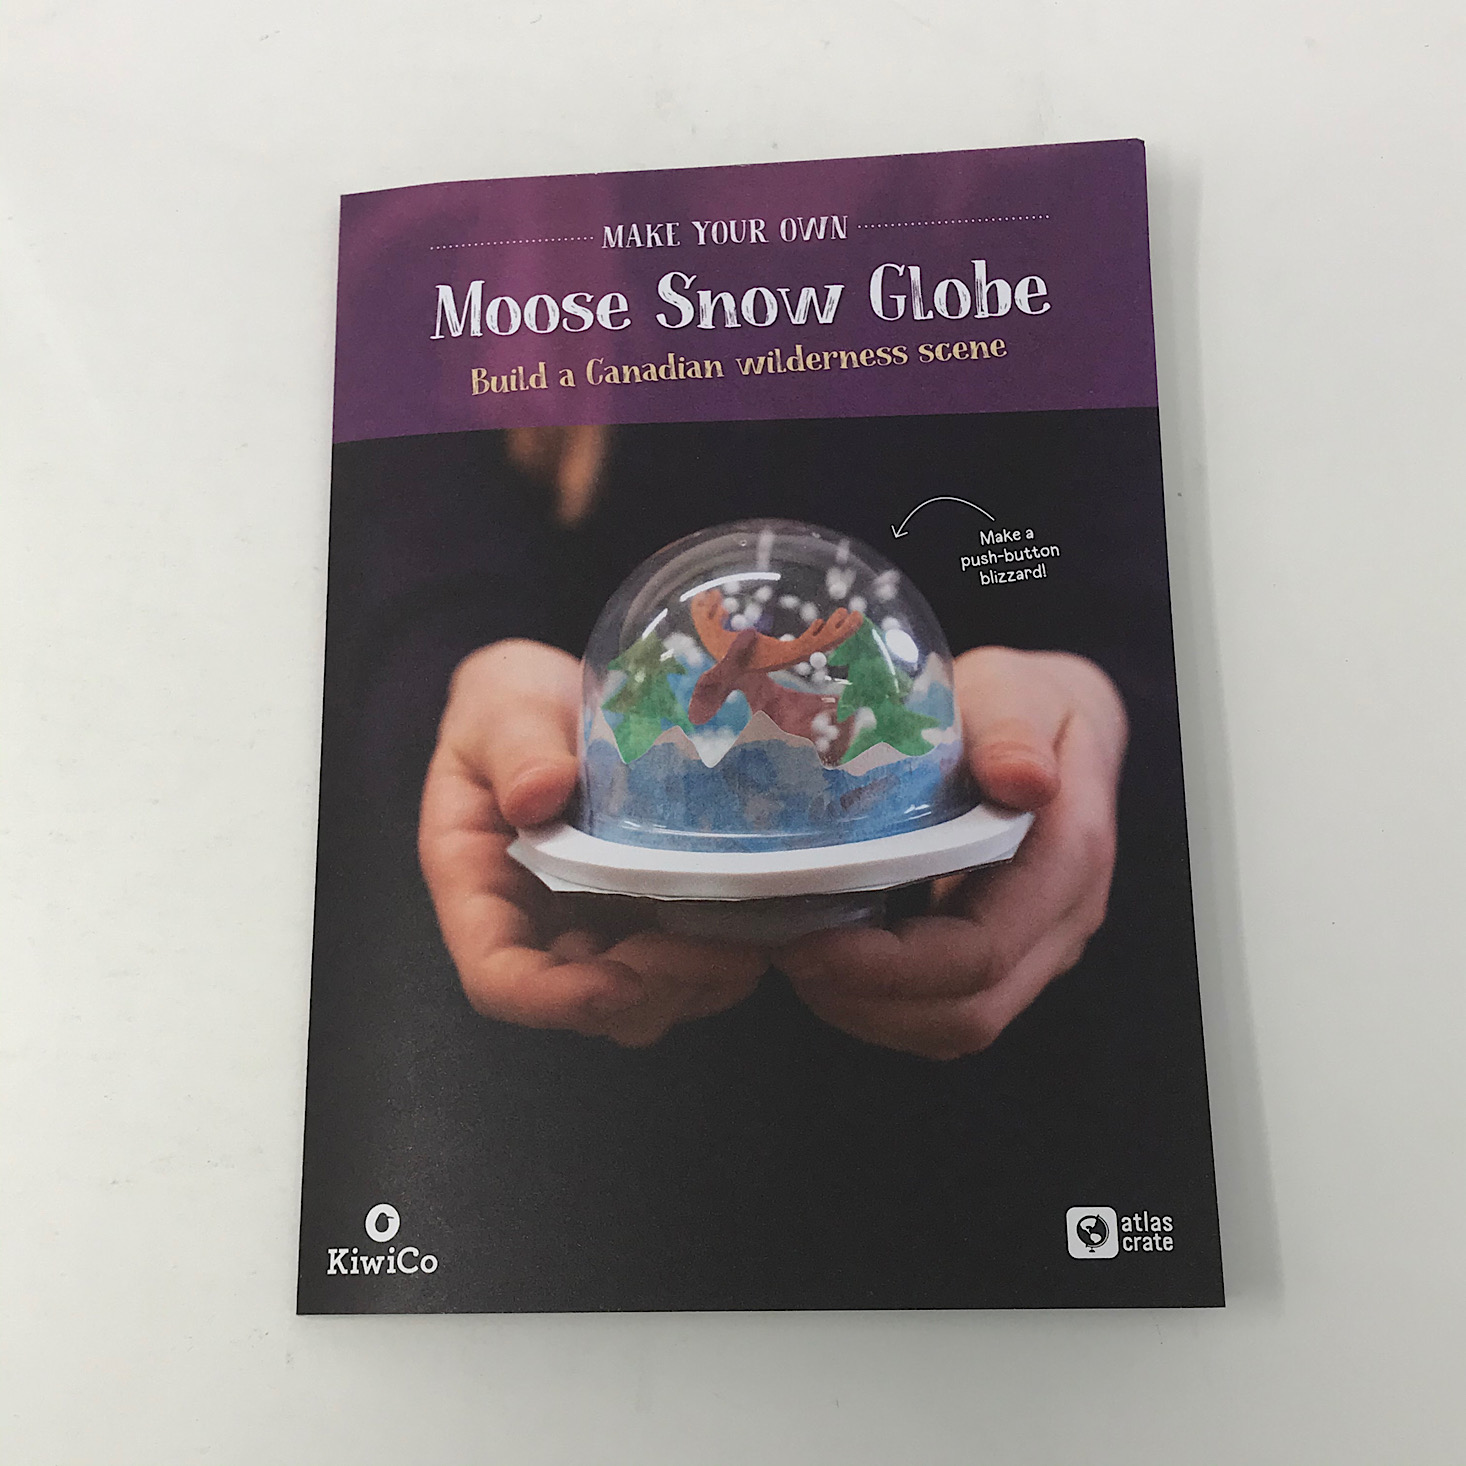
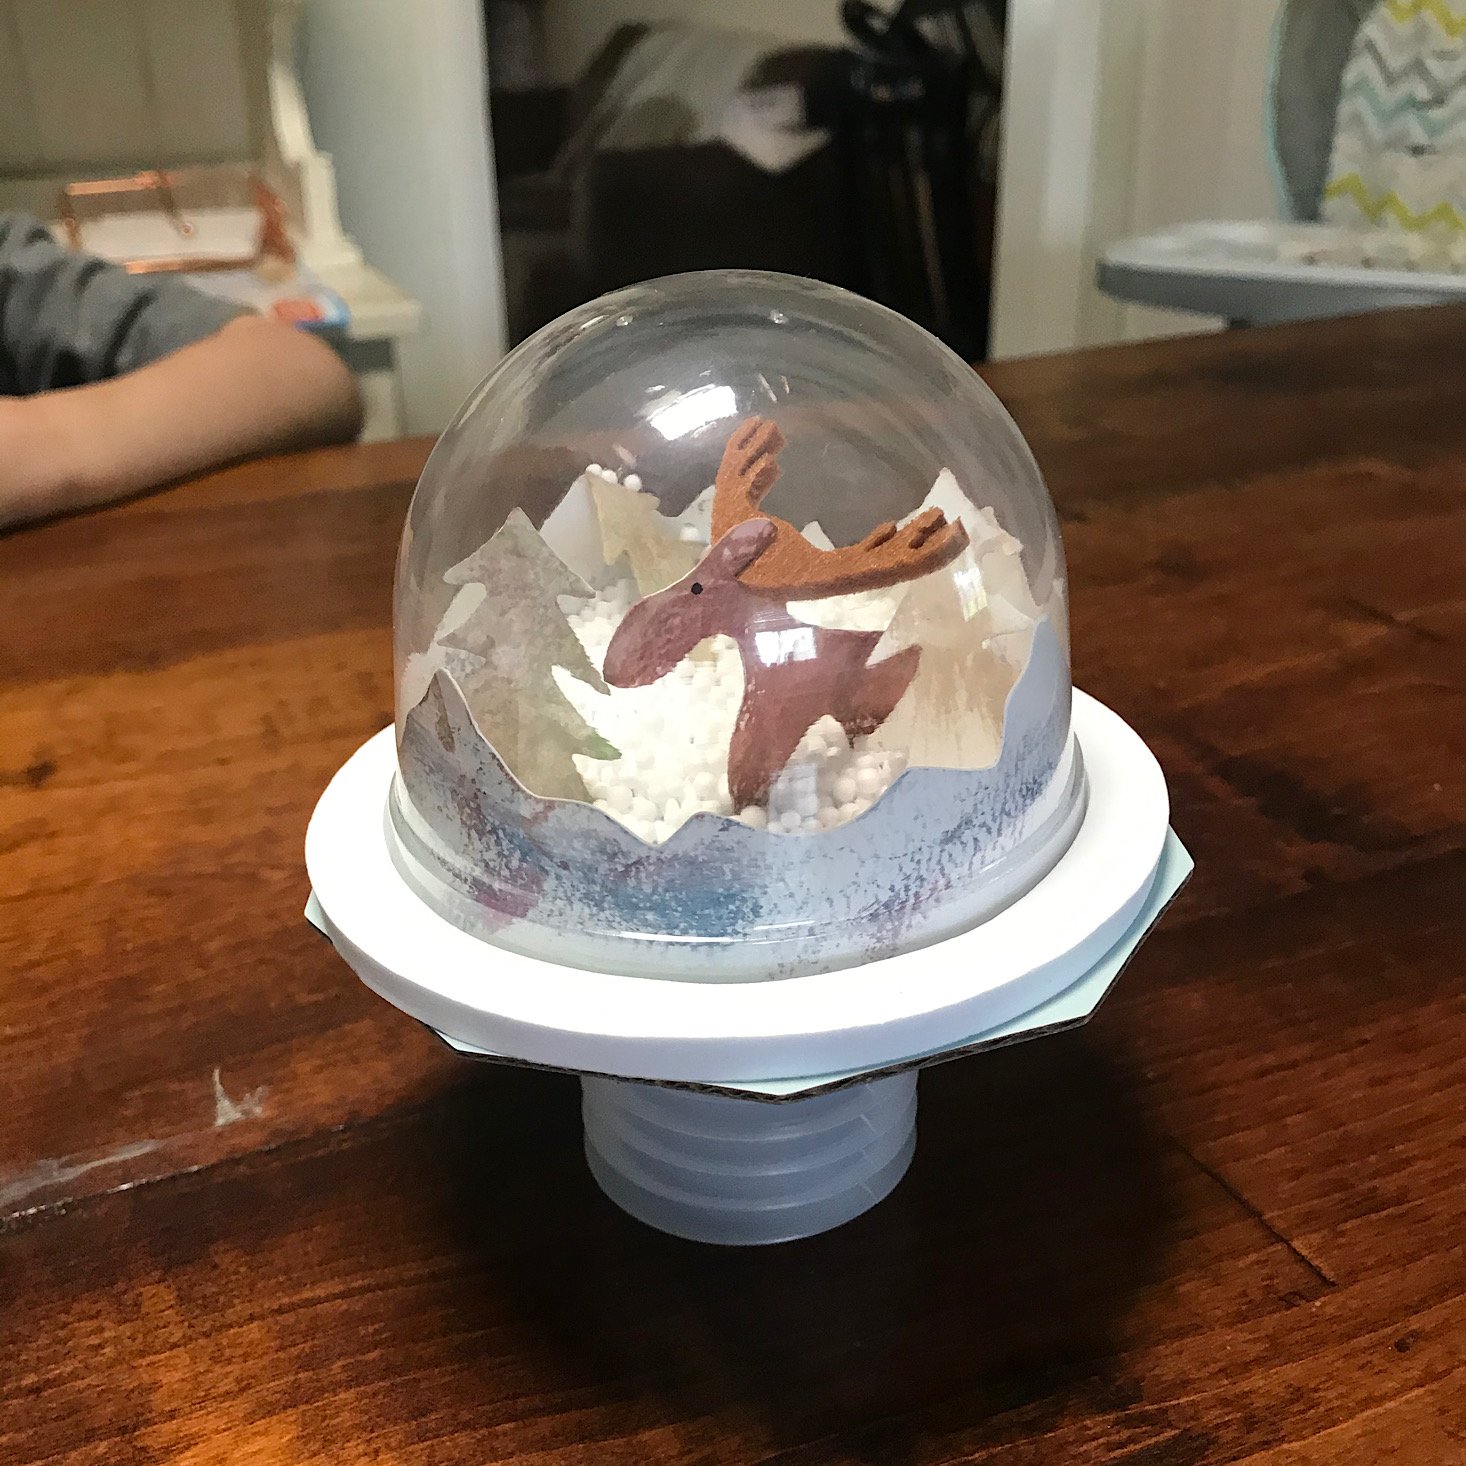
Activity #1: Moose Snow Globe
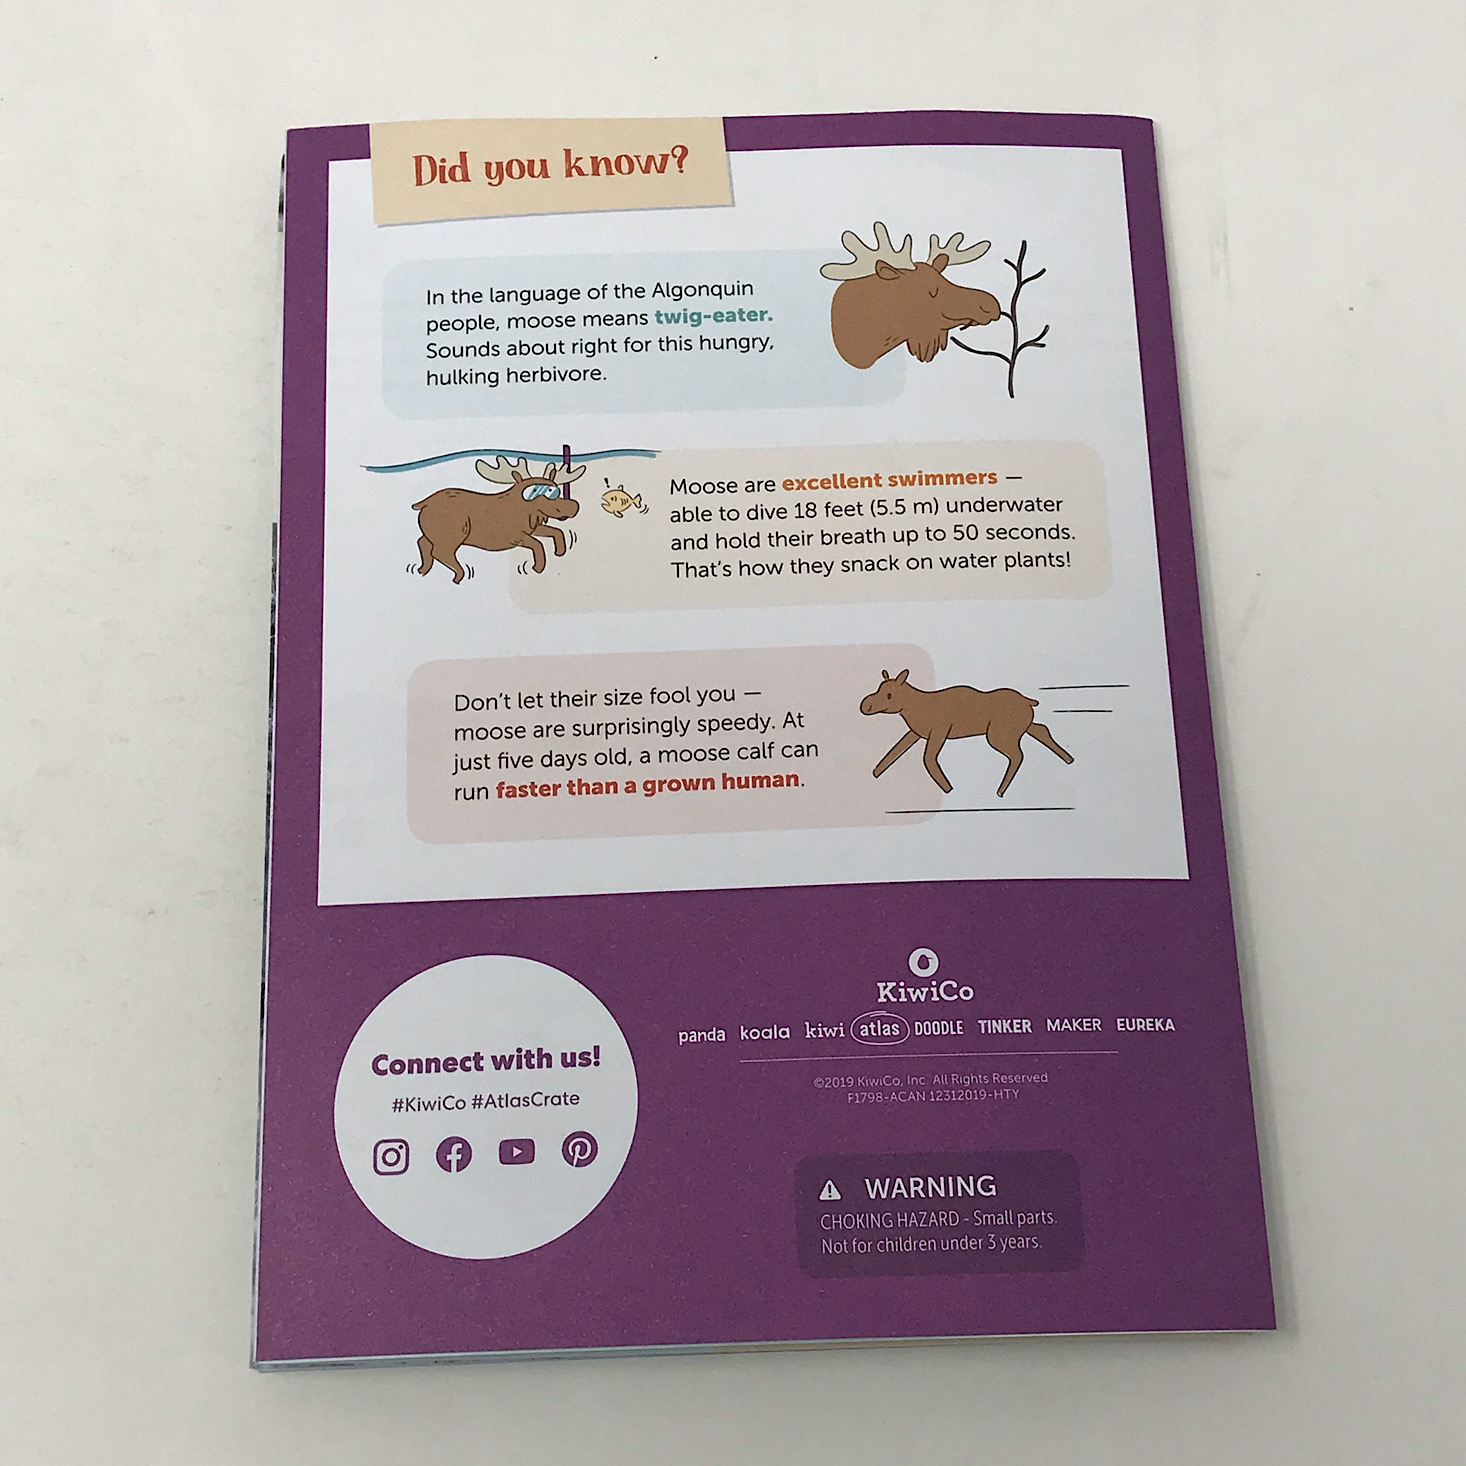
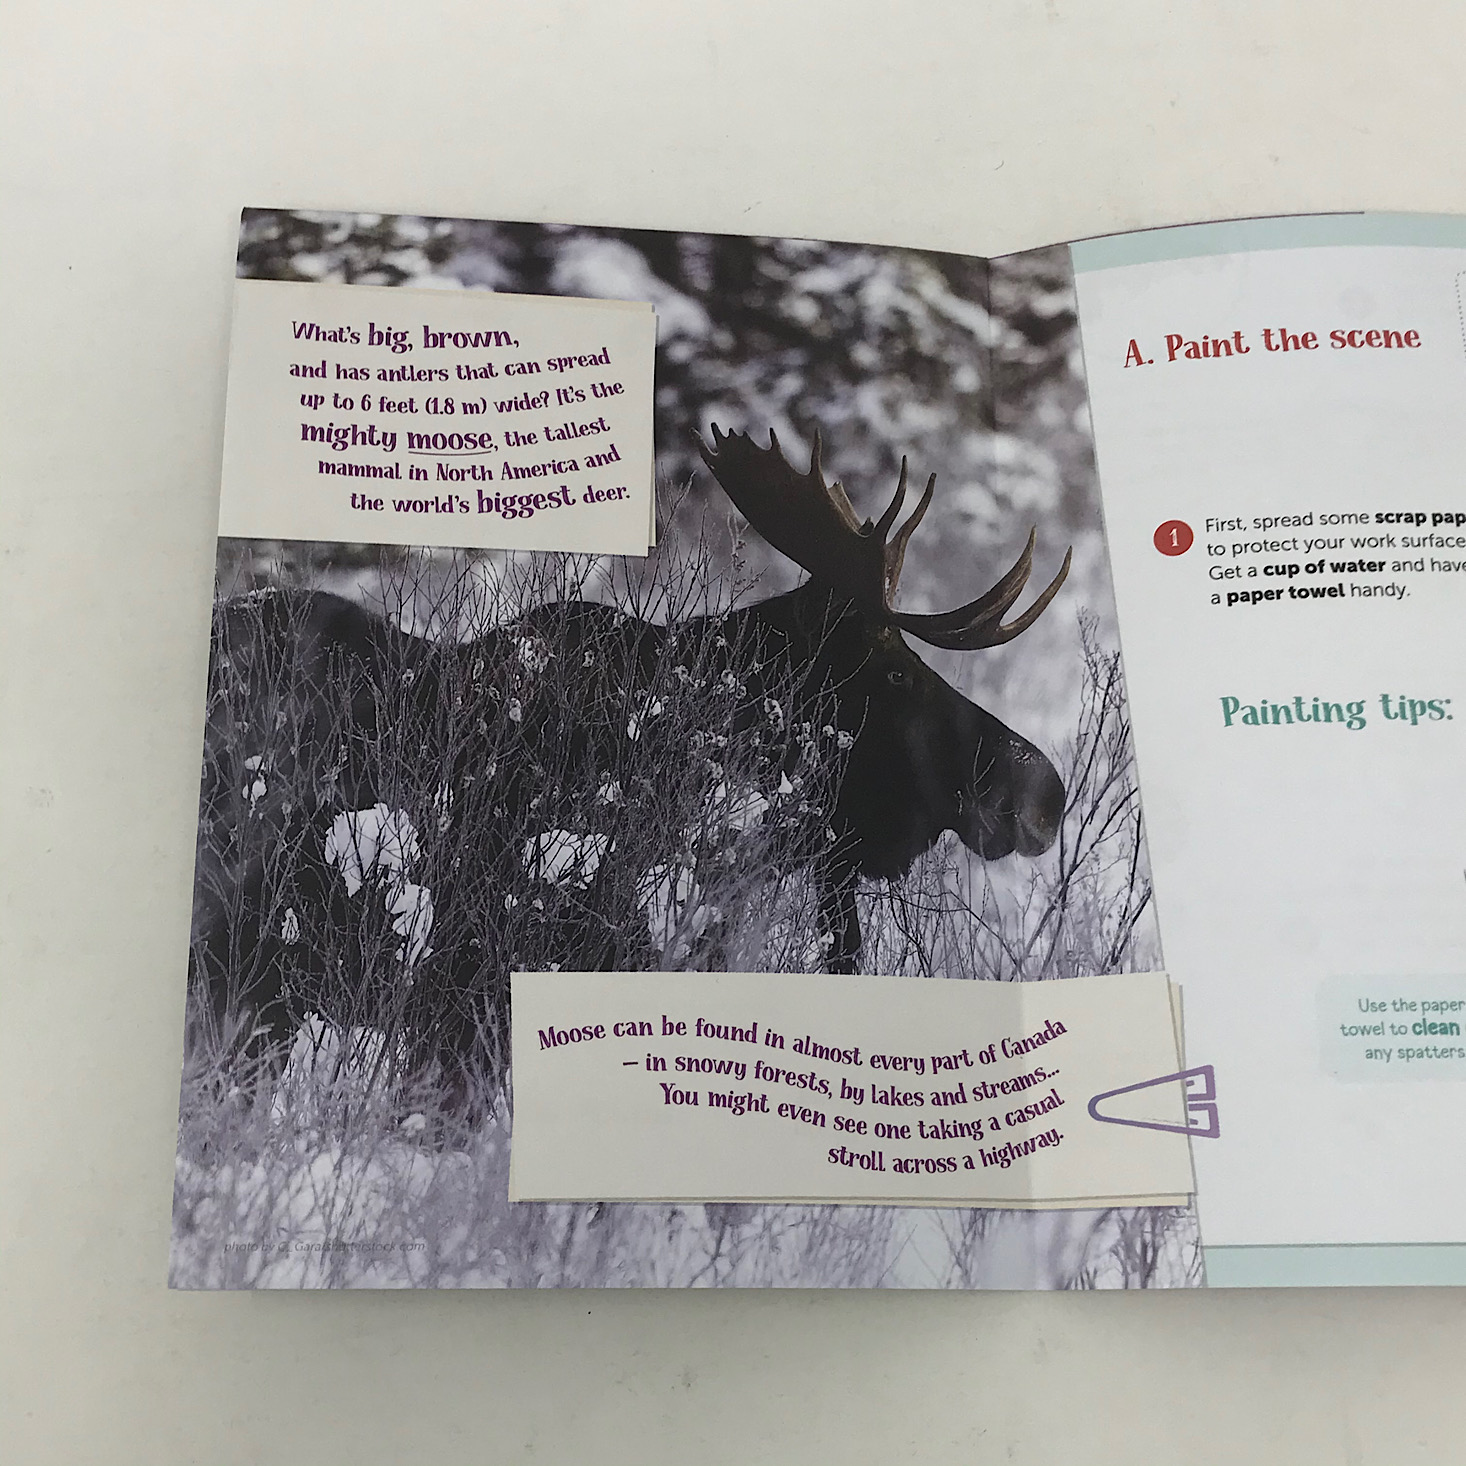
Our first activity was to make a snow globe with a little moose inside. I thought this was such a cute and creative project! On the back of our directions, they shared some interesting facts about moose that we enjoyed learning.
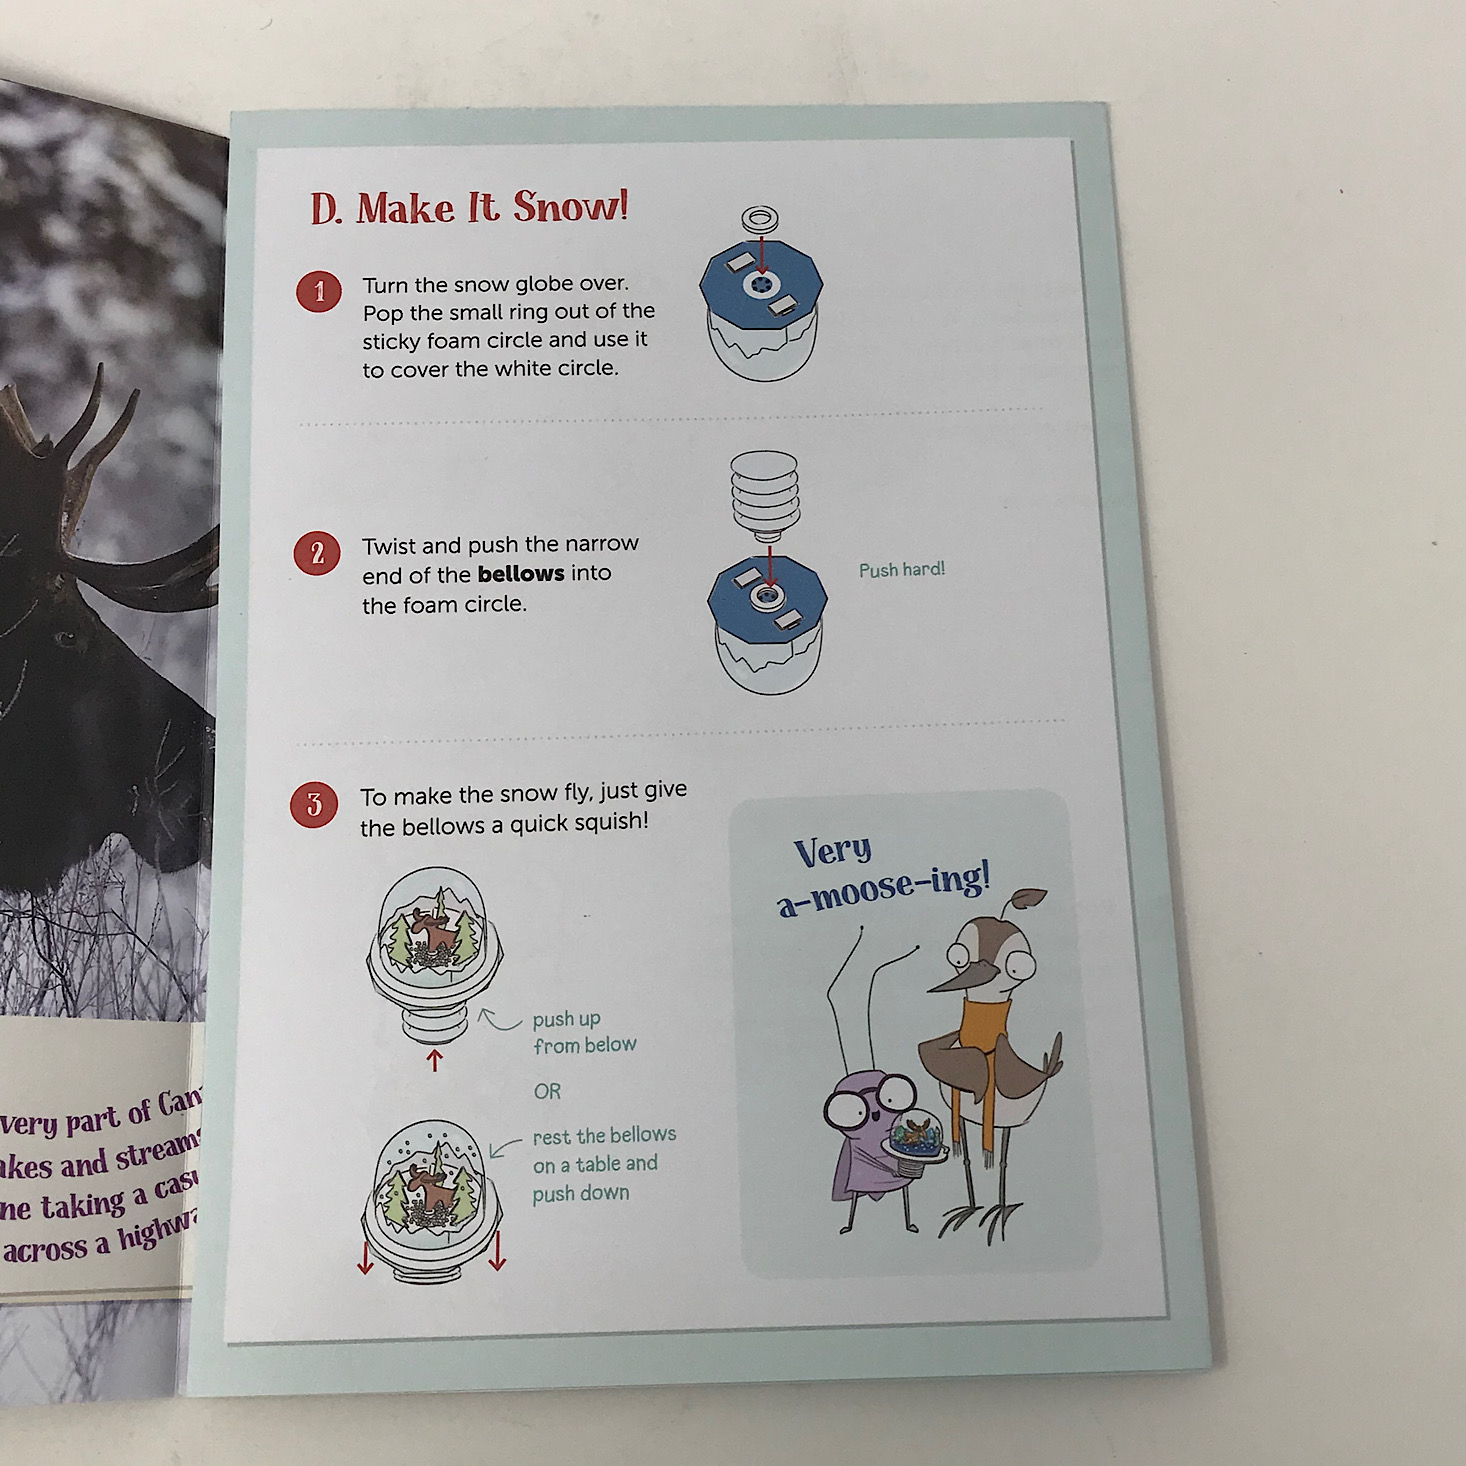
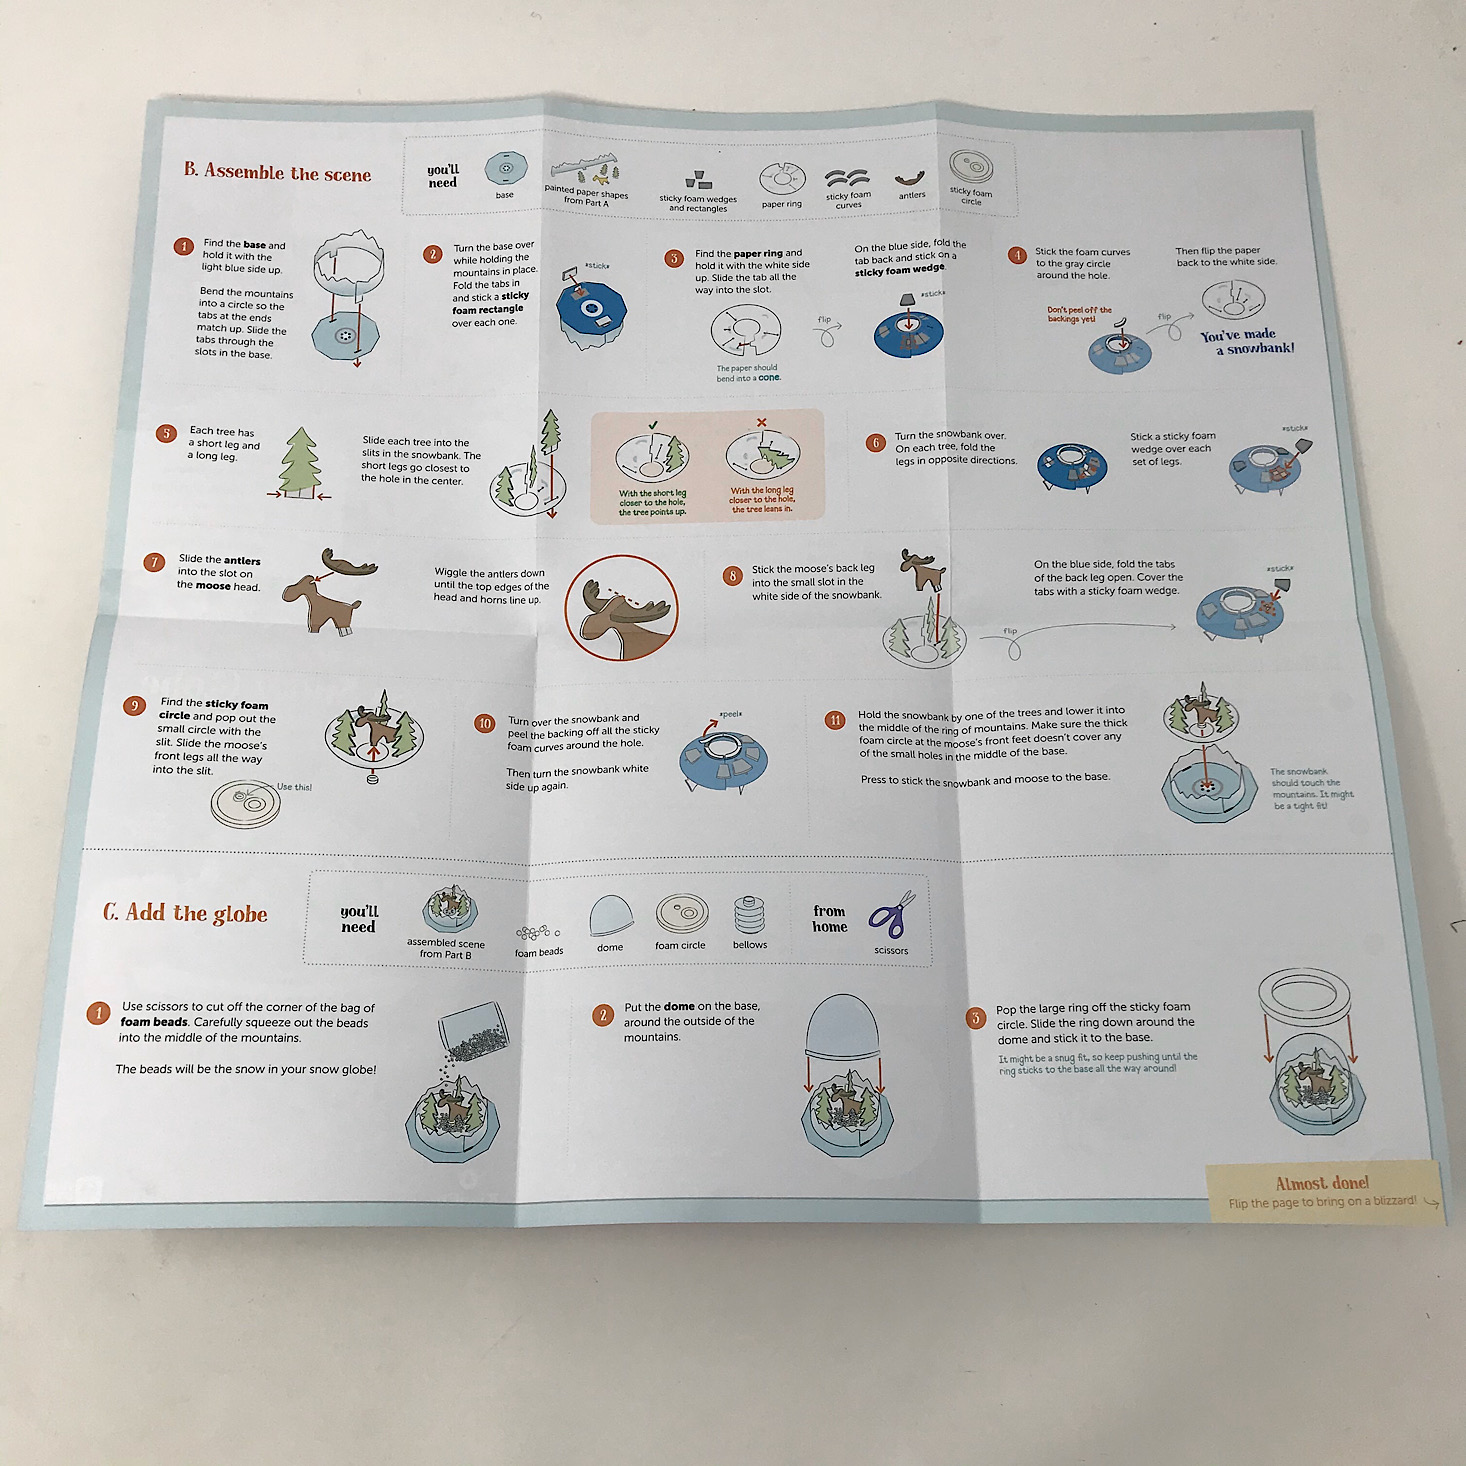
Inside were several directions that were clear, detailed, and broken down into sections to make it easy to follow along with.
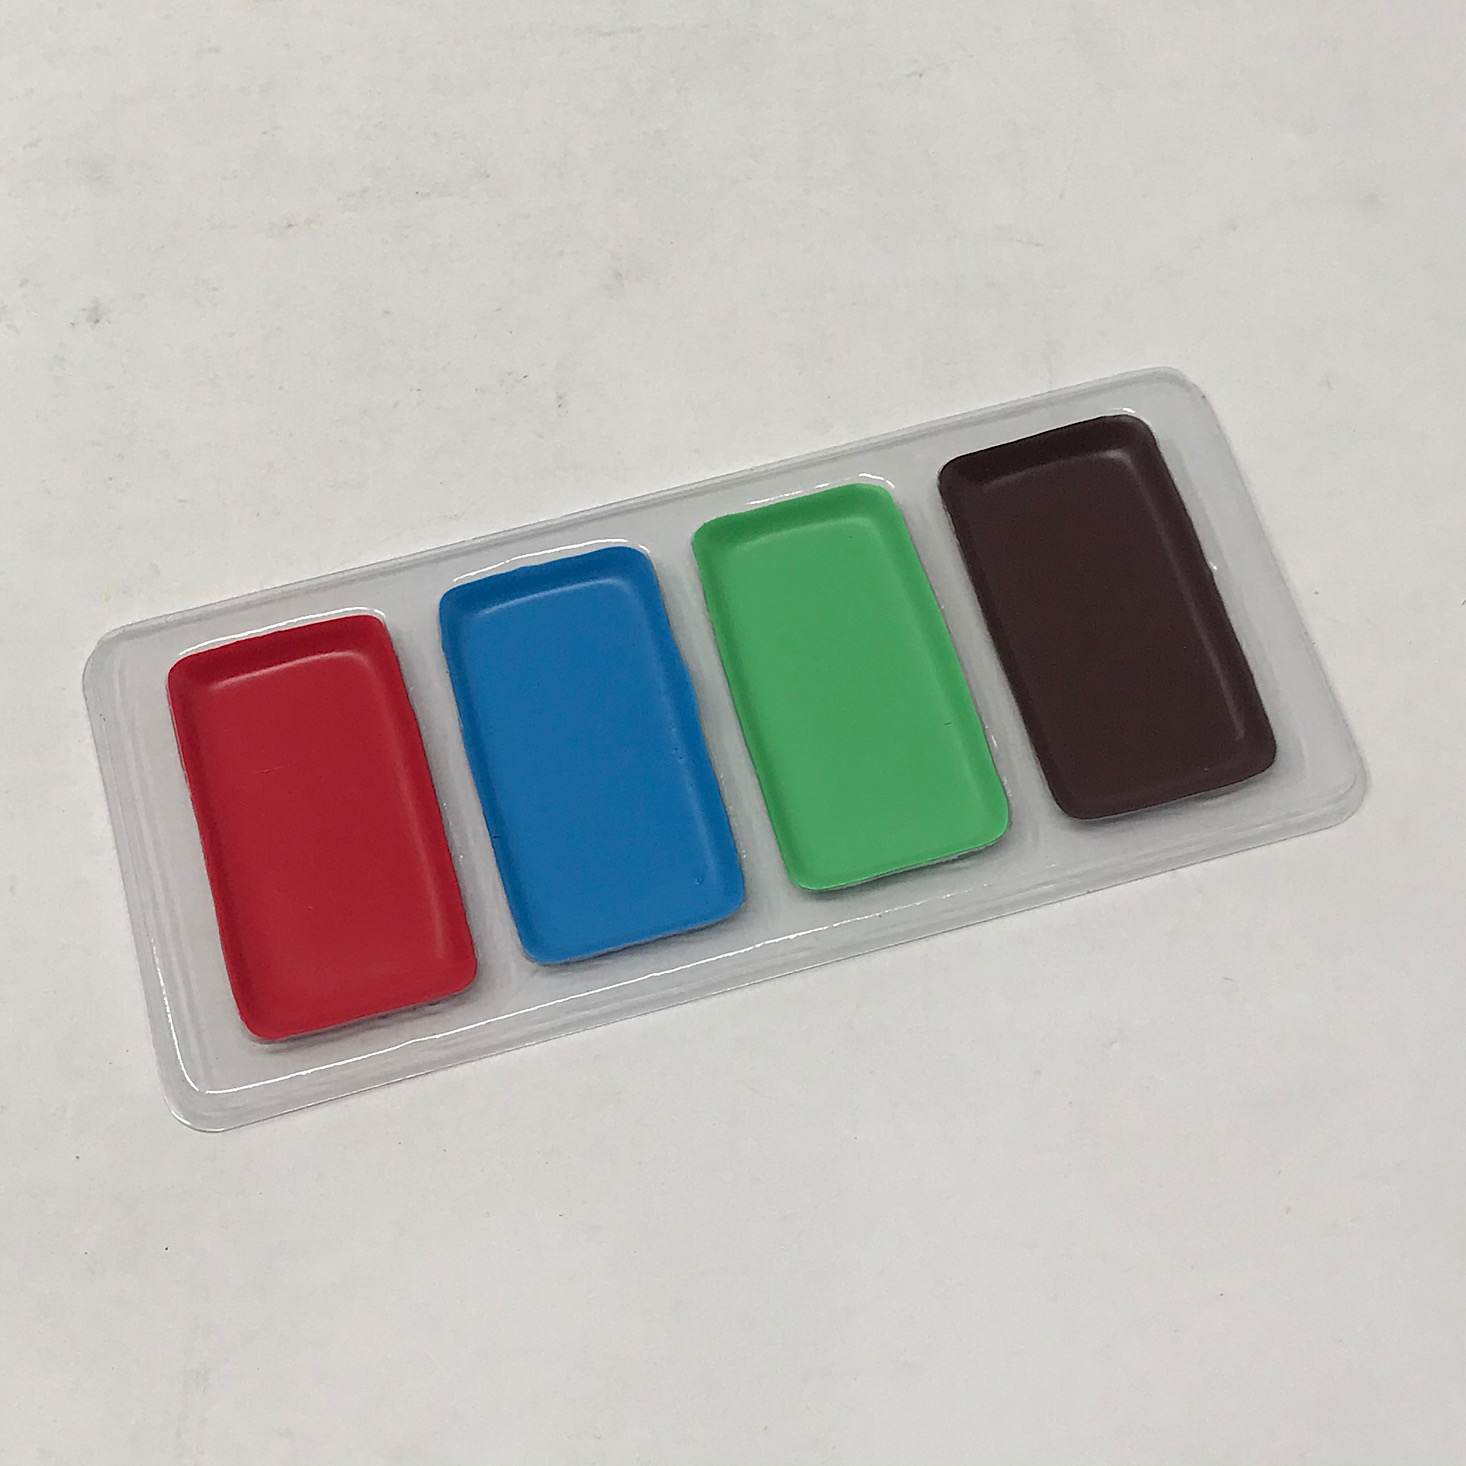
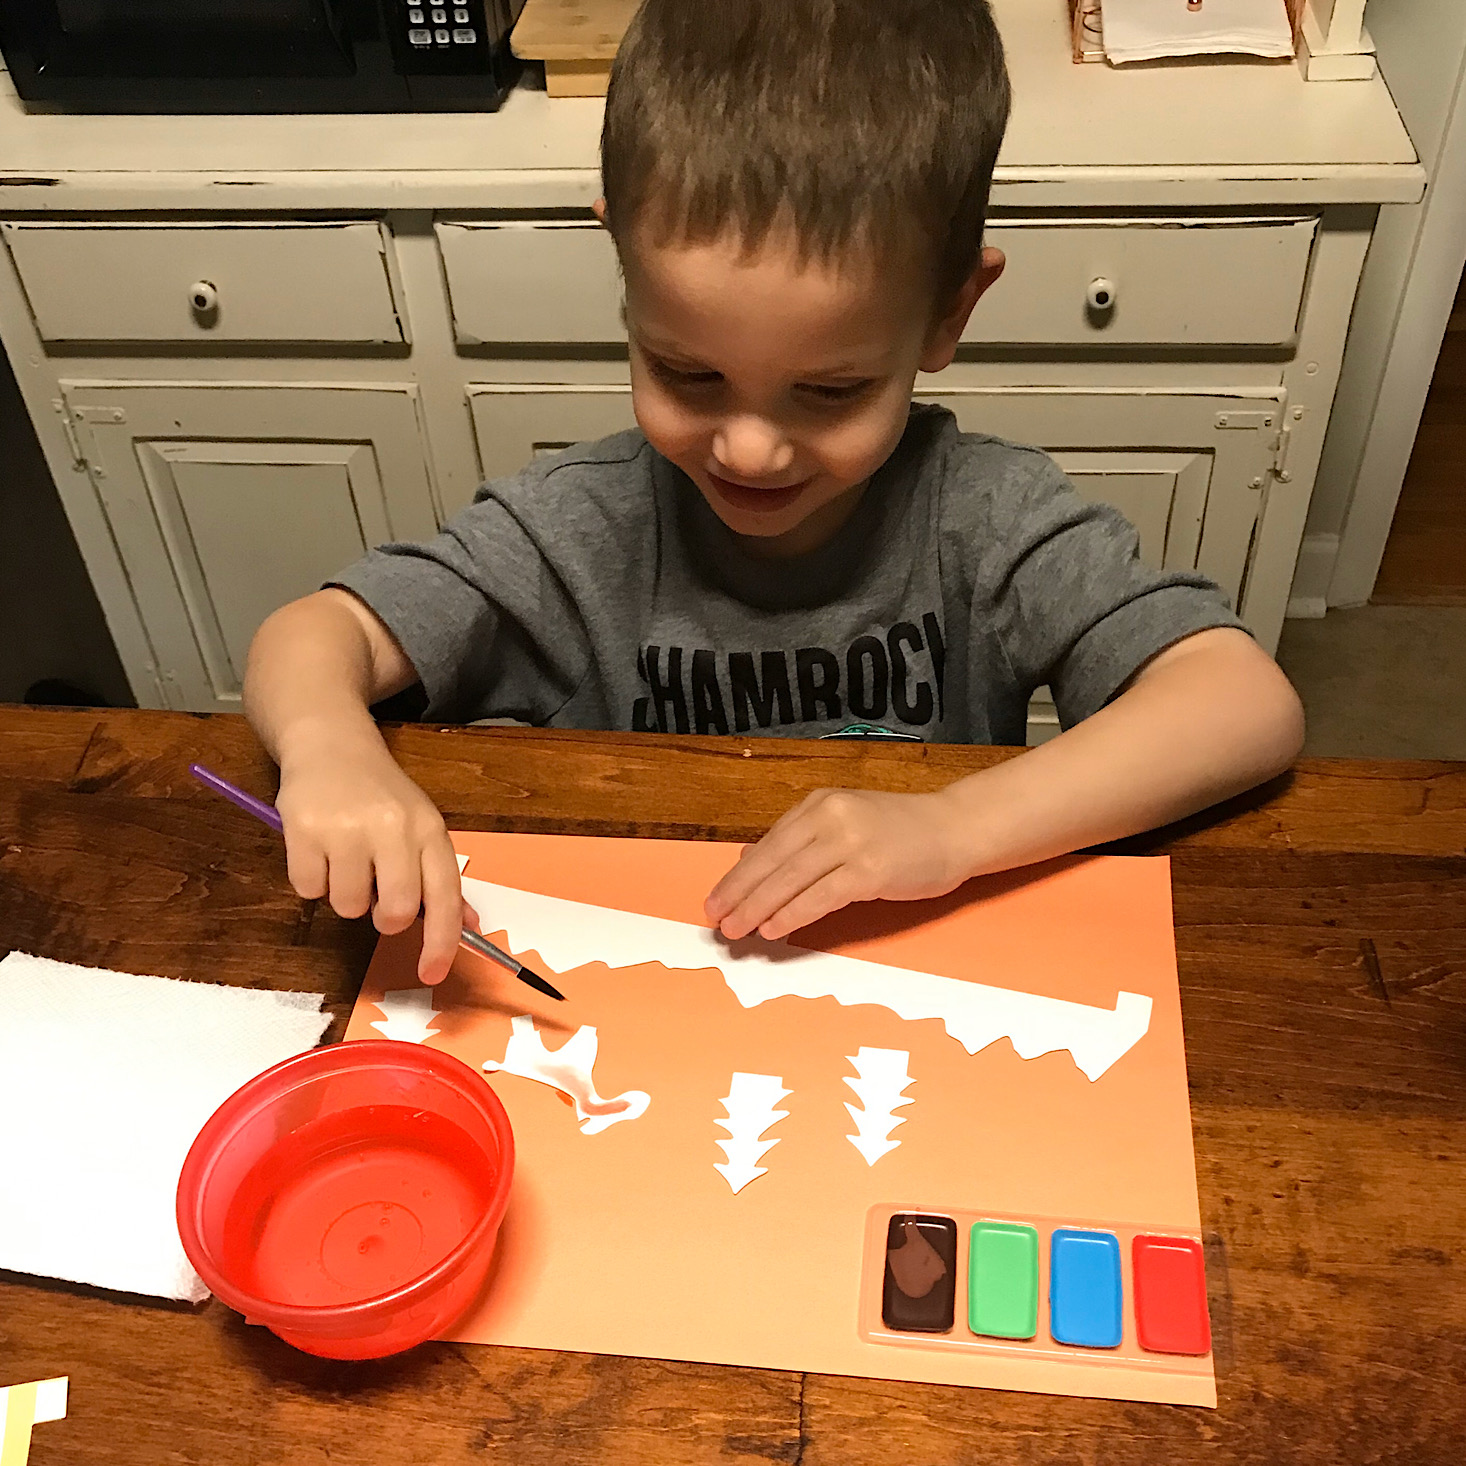
They provided a few paper trees, a string of paper mountains, and a moose for us to paint. They also included some paints and a brush so all we needed from home was some scrap paper and water.
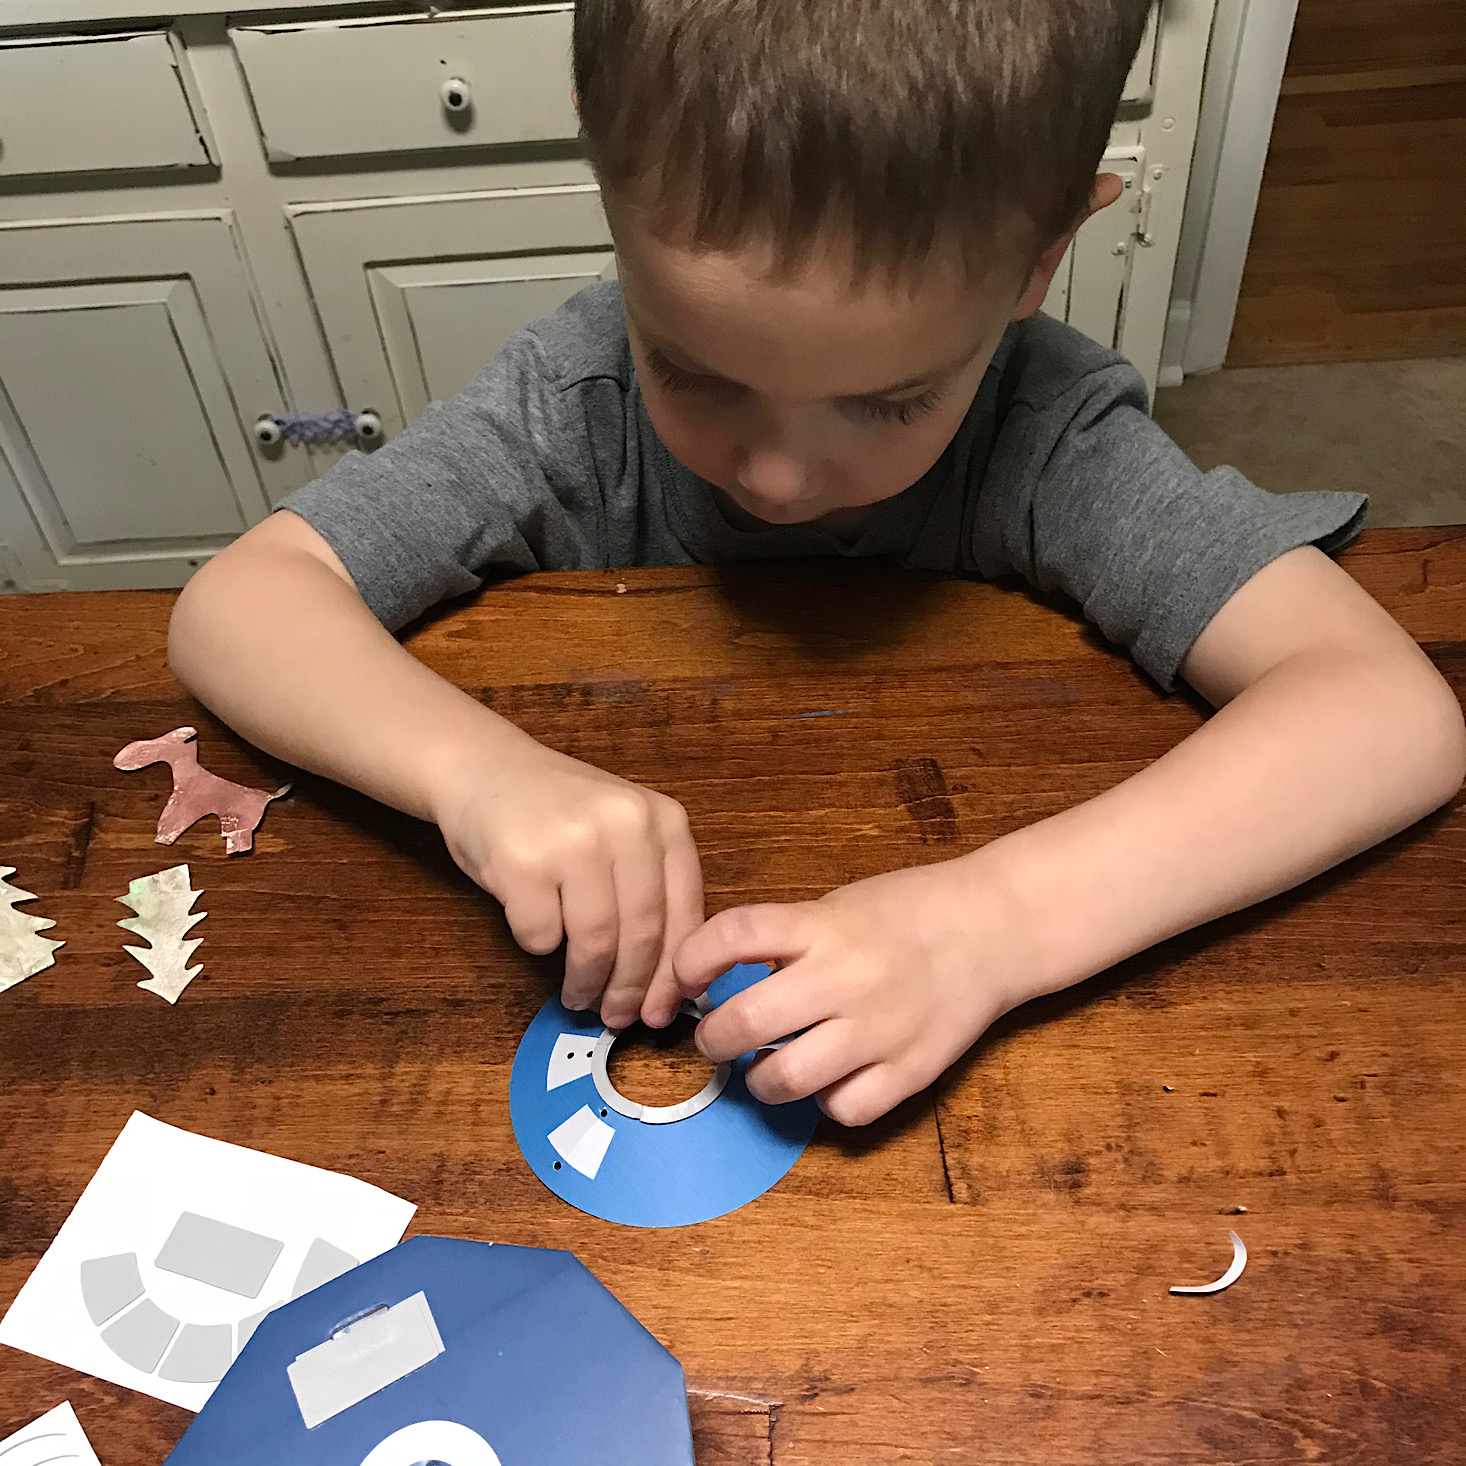
I got my son set up and he got to work painting the pieces.
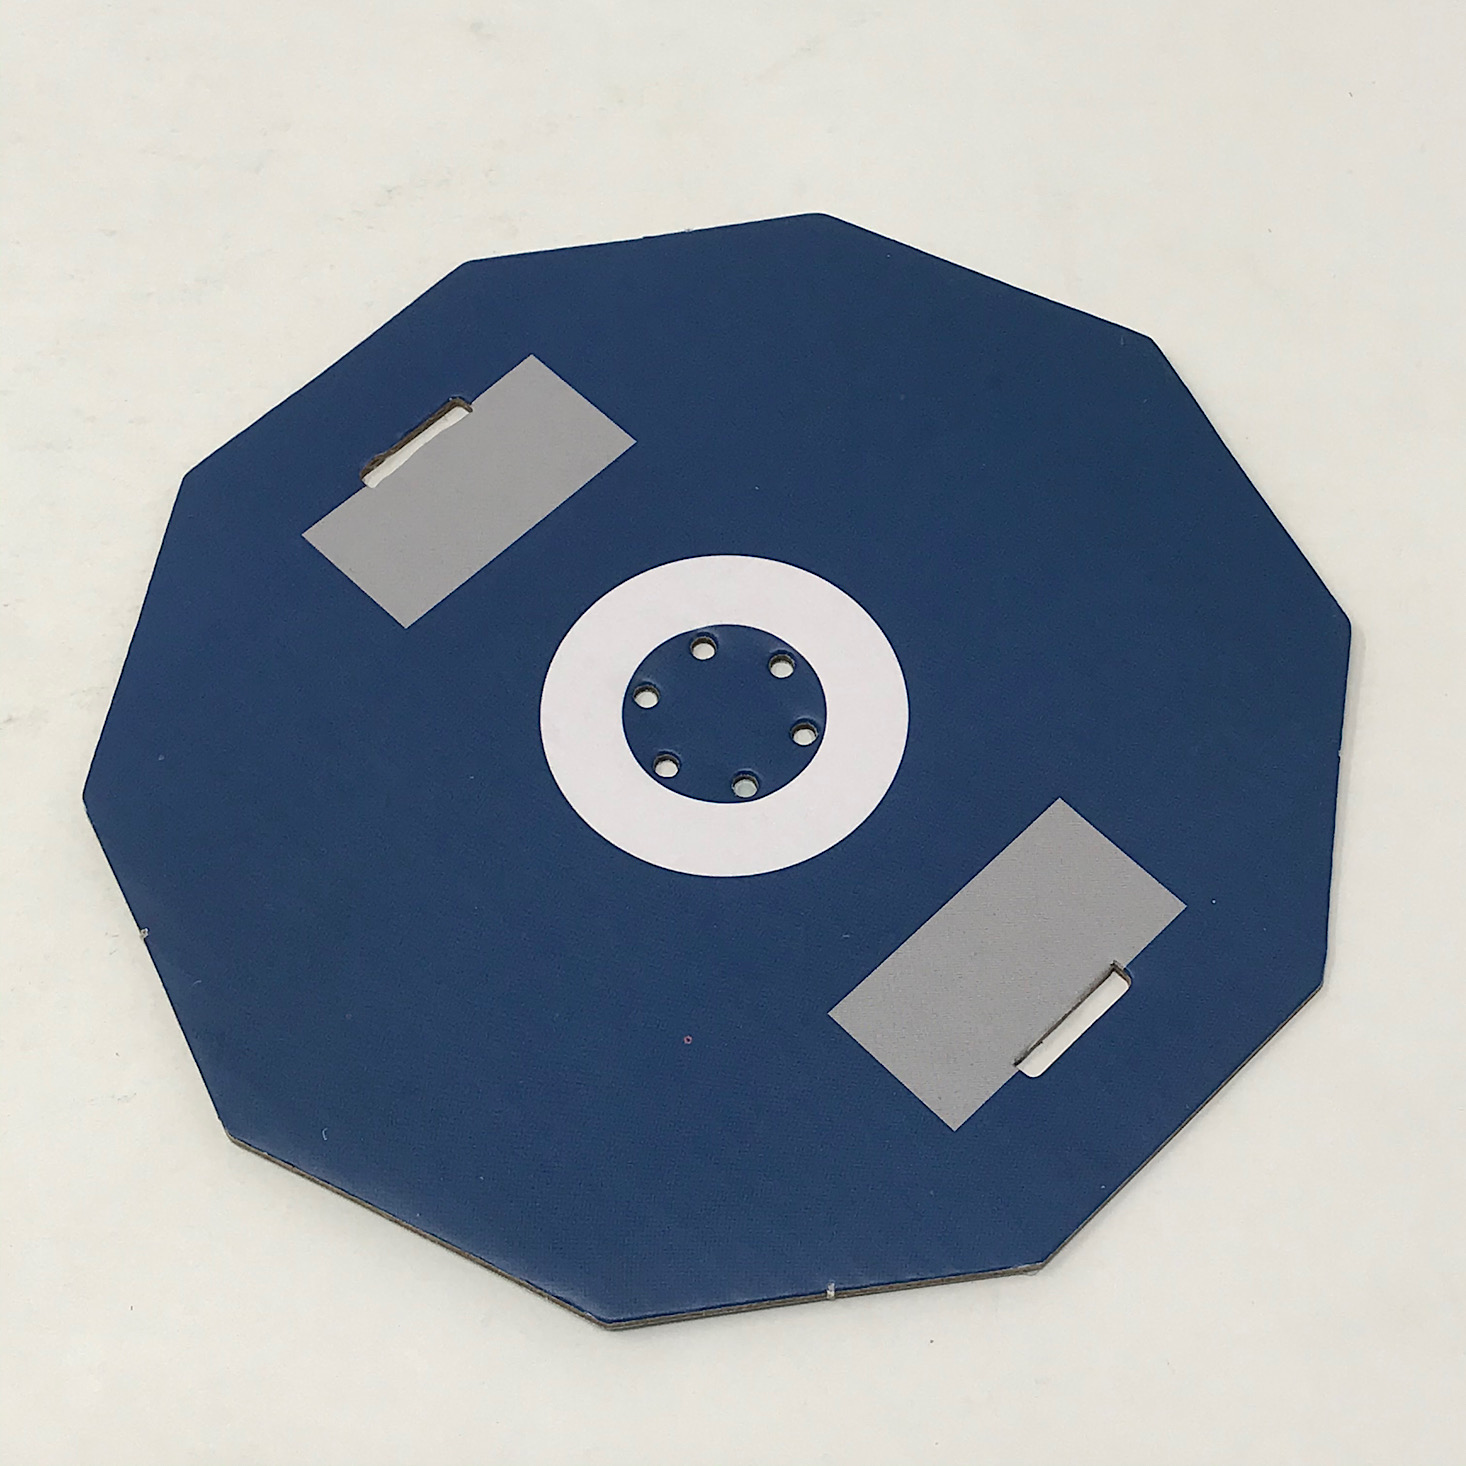
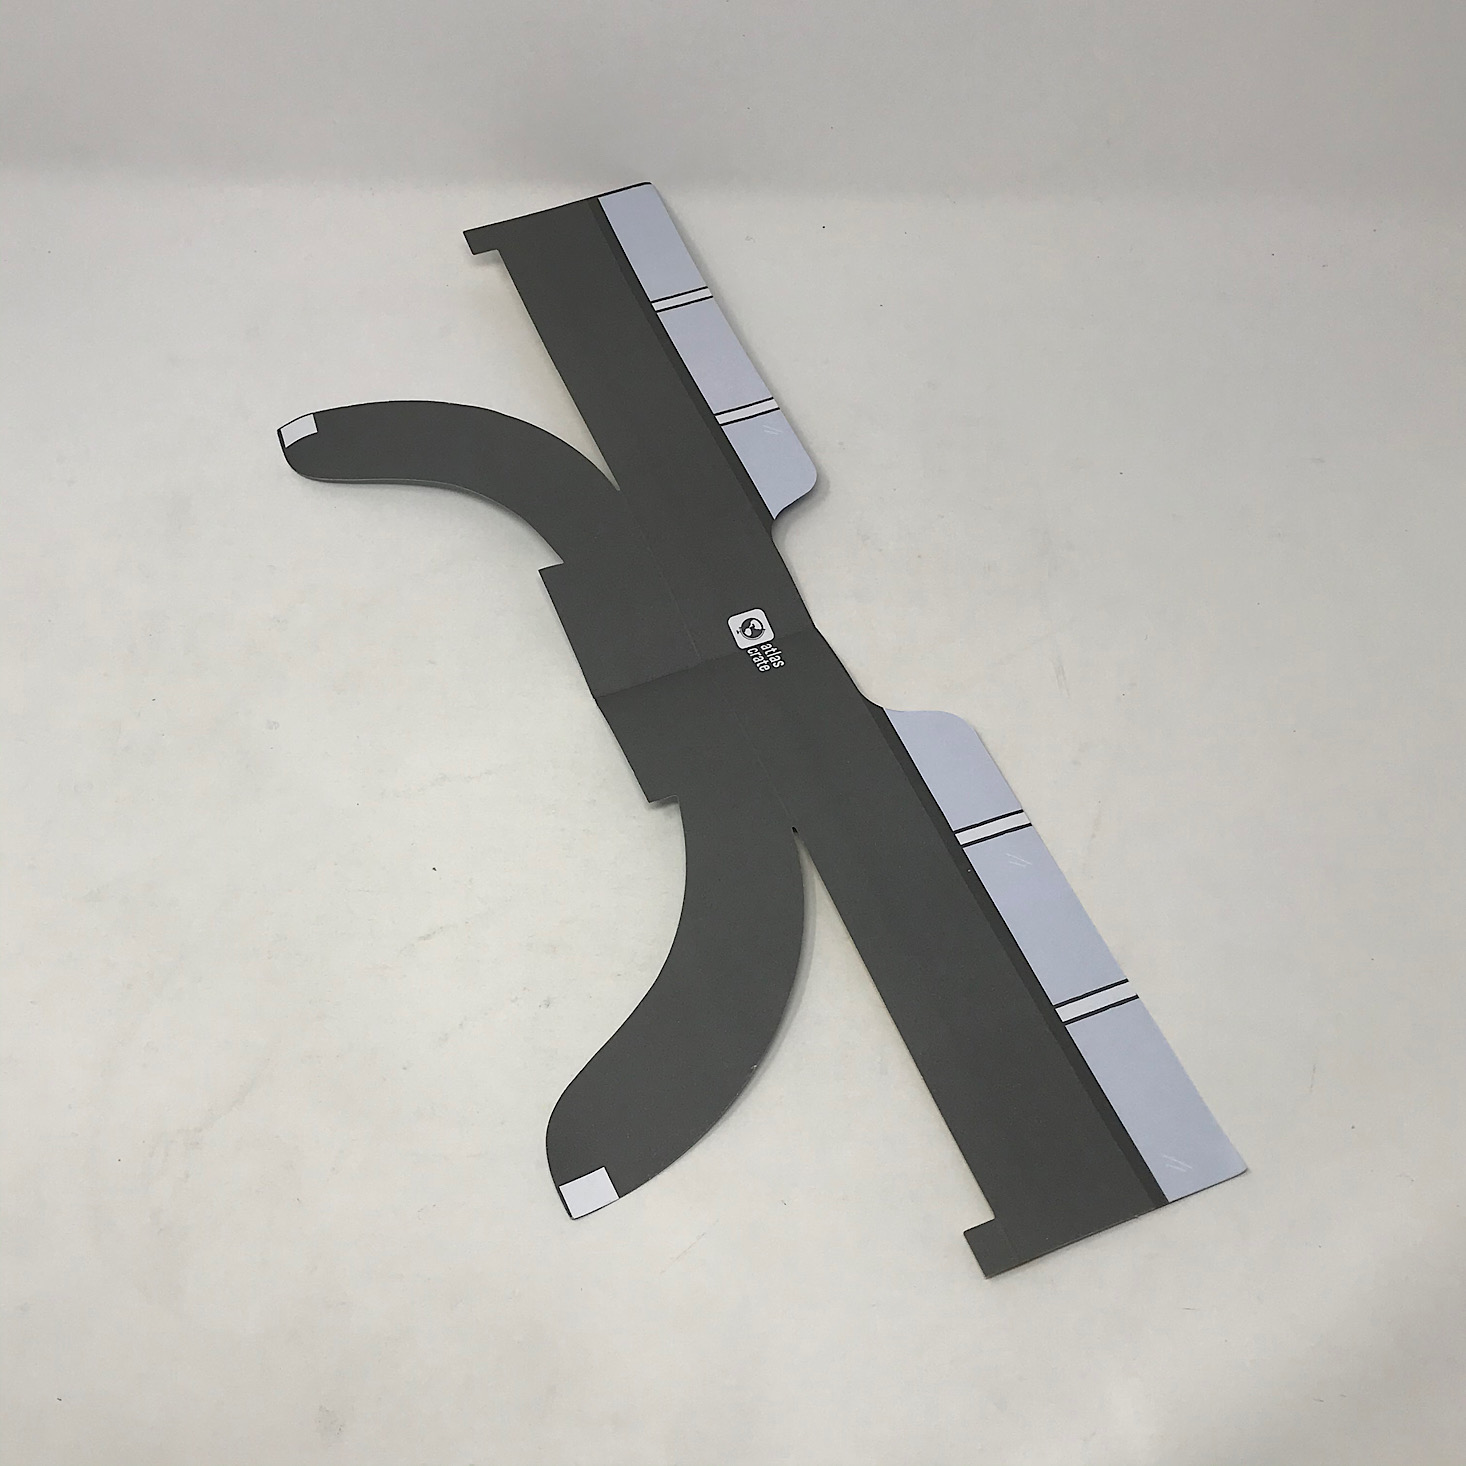
Once the pieces were dry we began assembling our globe. First, we slid the tabs at the bottom of the mountains into the base of the globe.
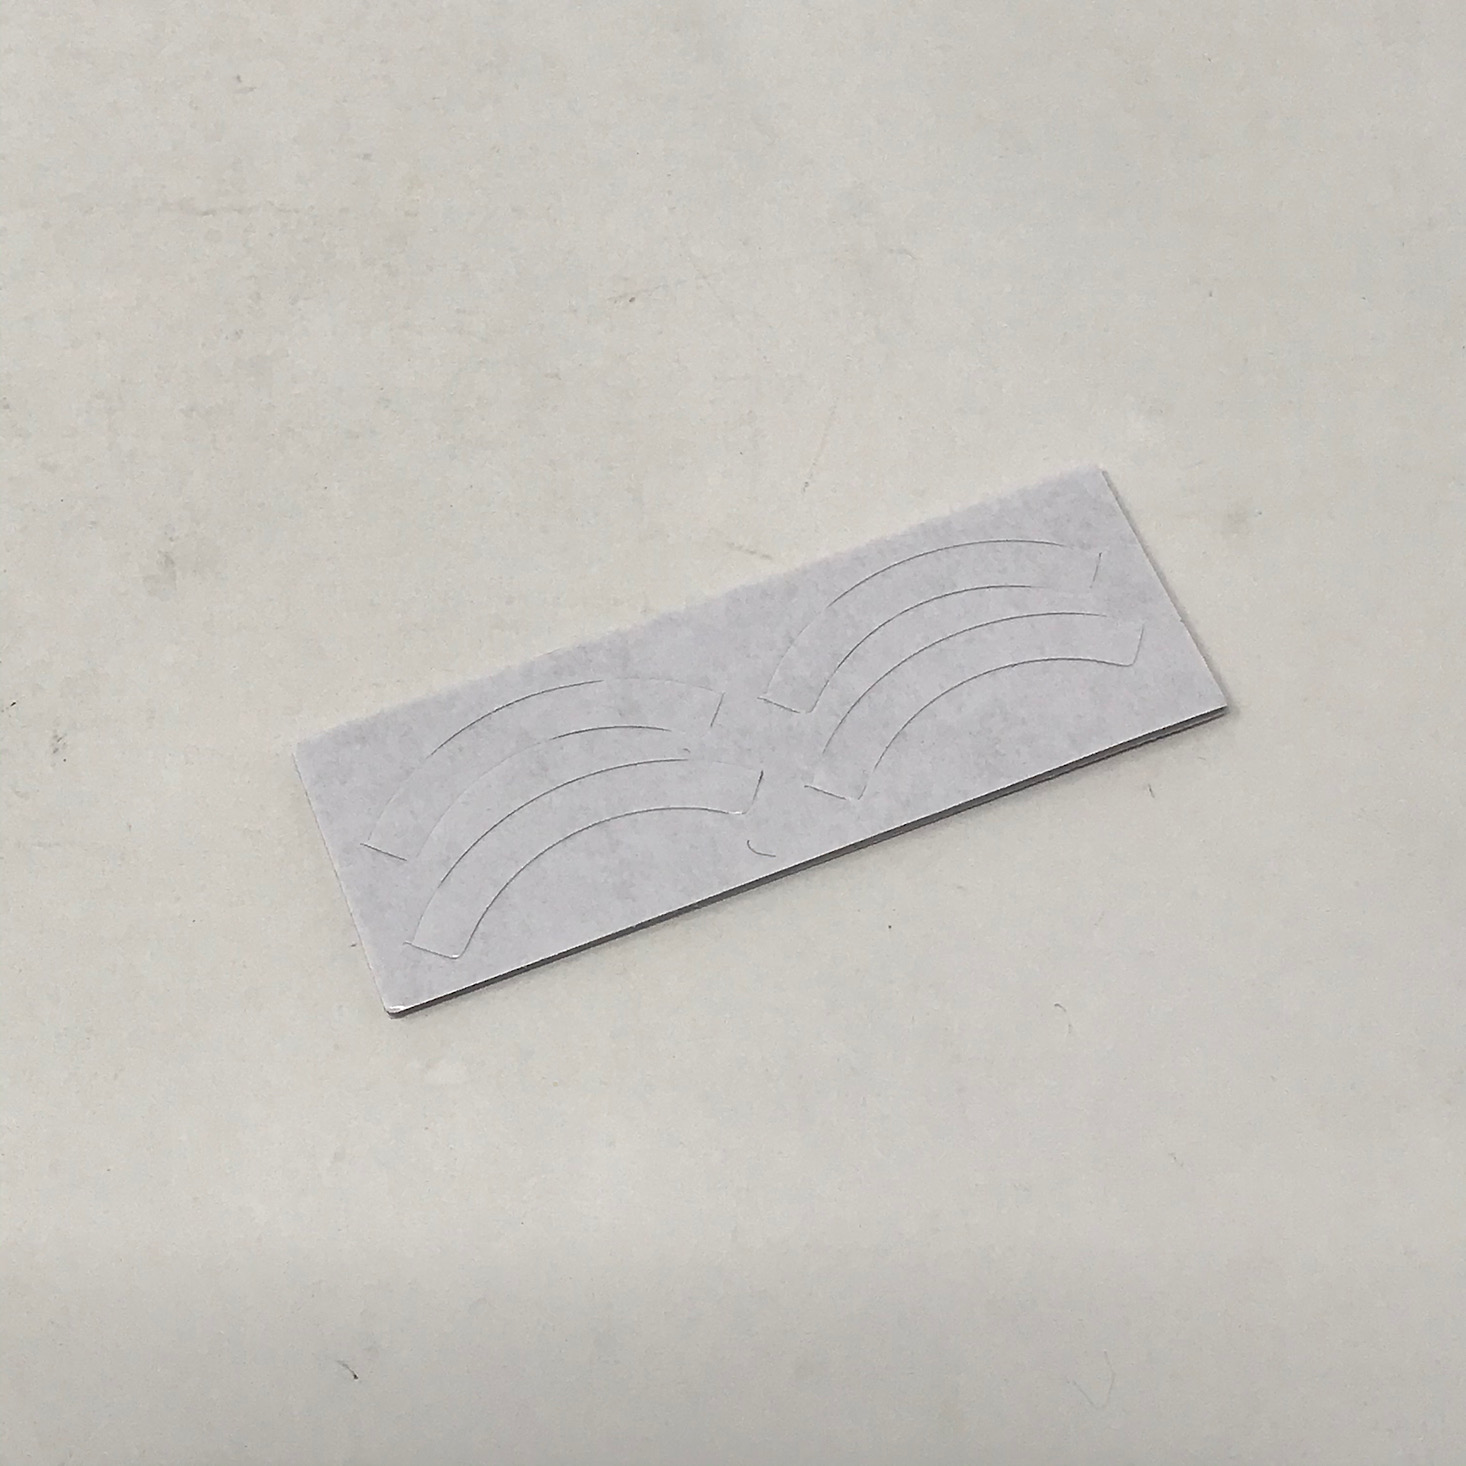
Then we flipped it over and secured the tabs with some sticky foam rectangles.
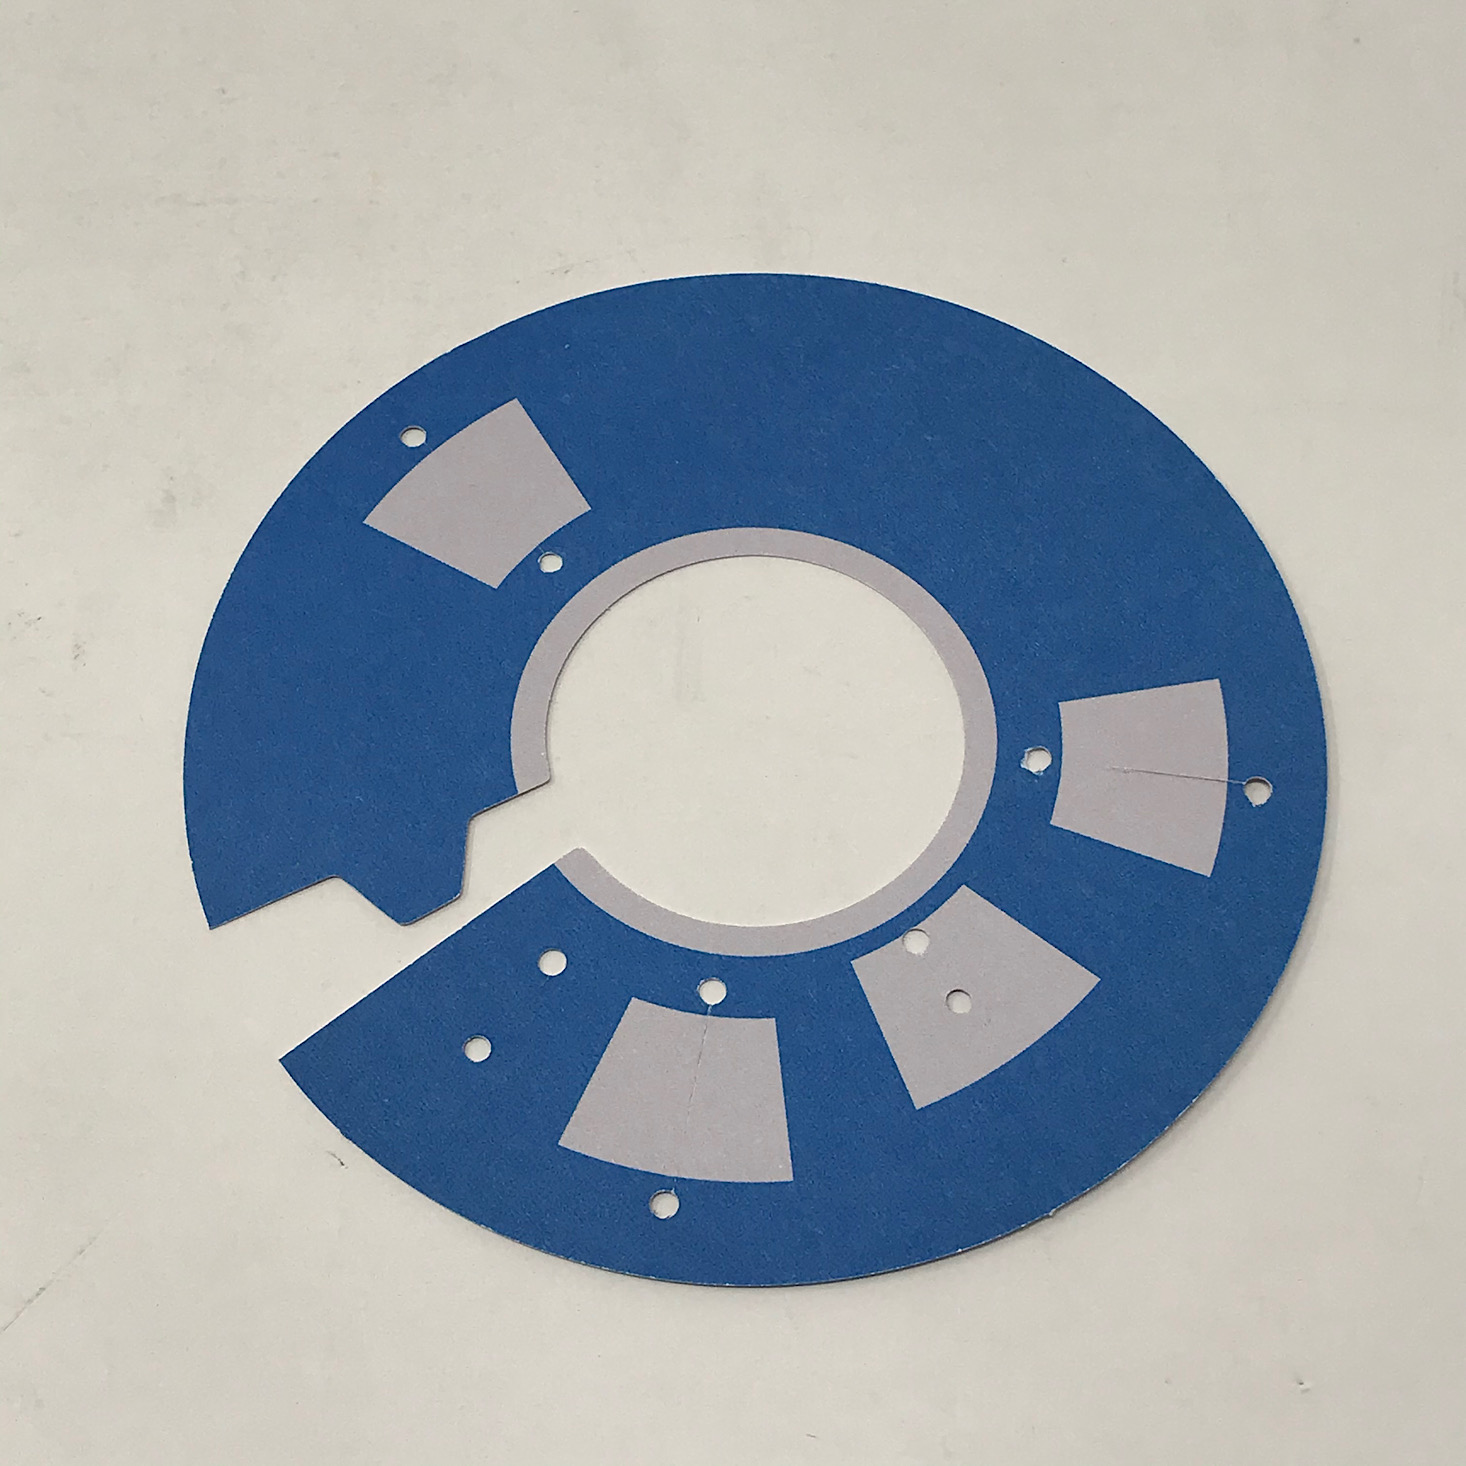
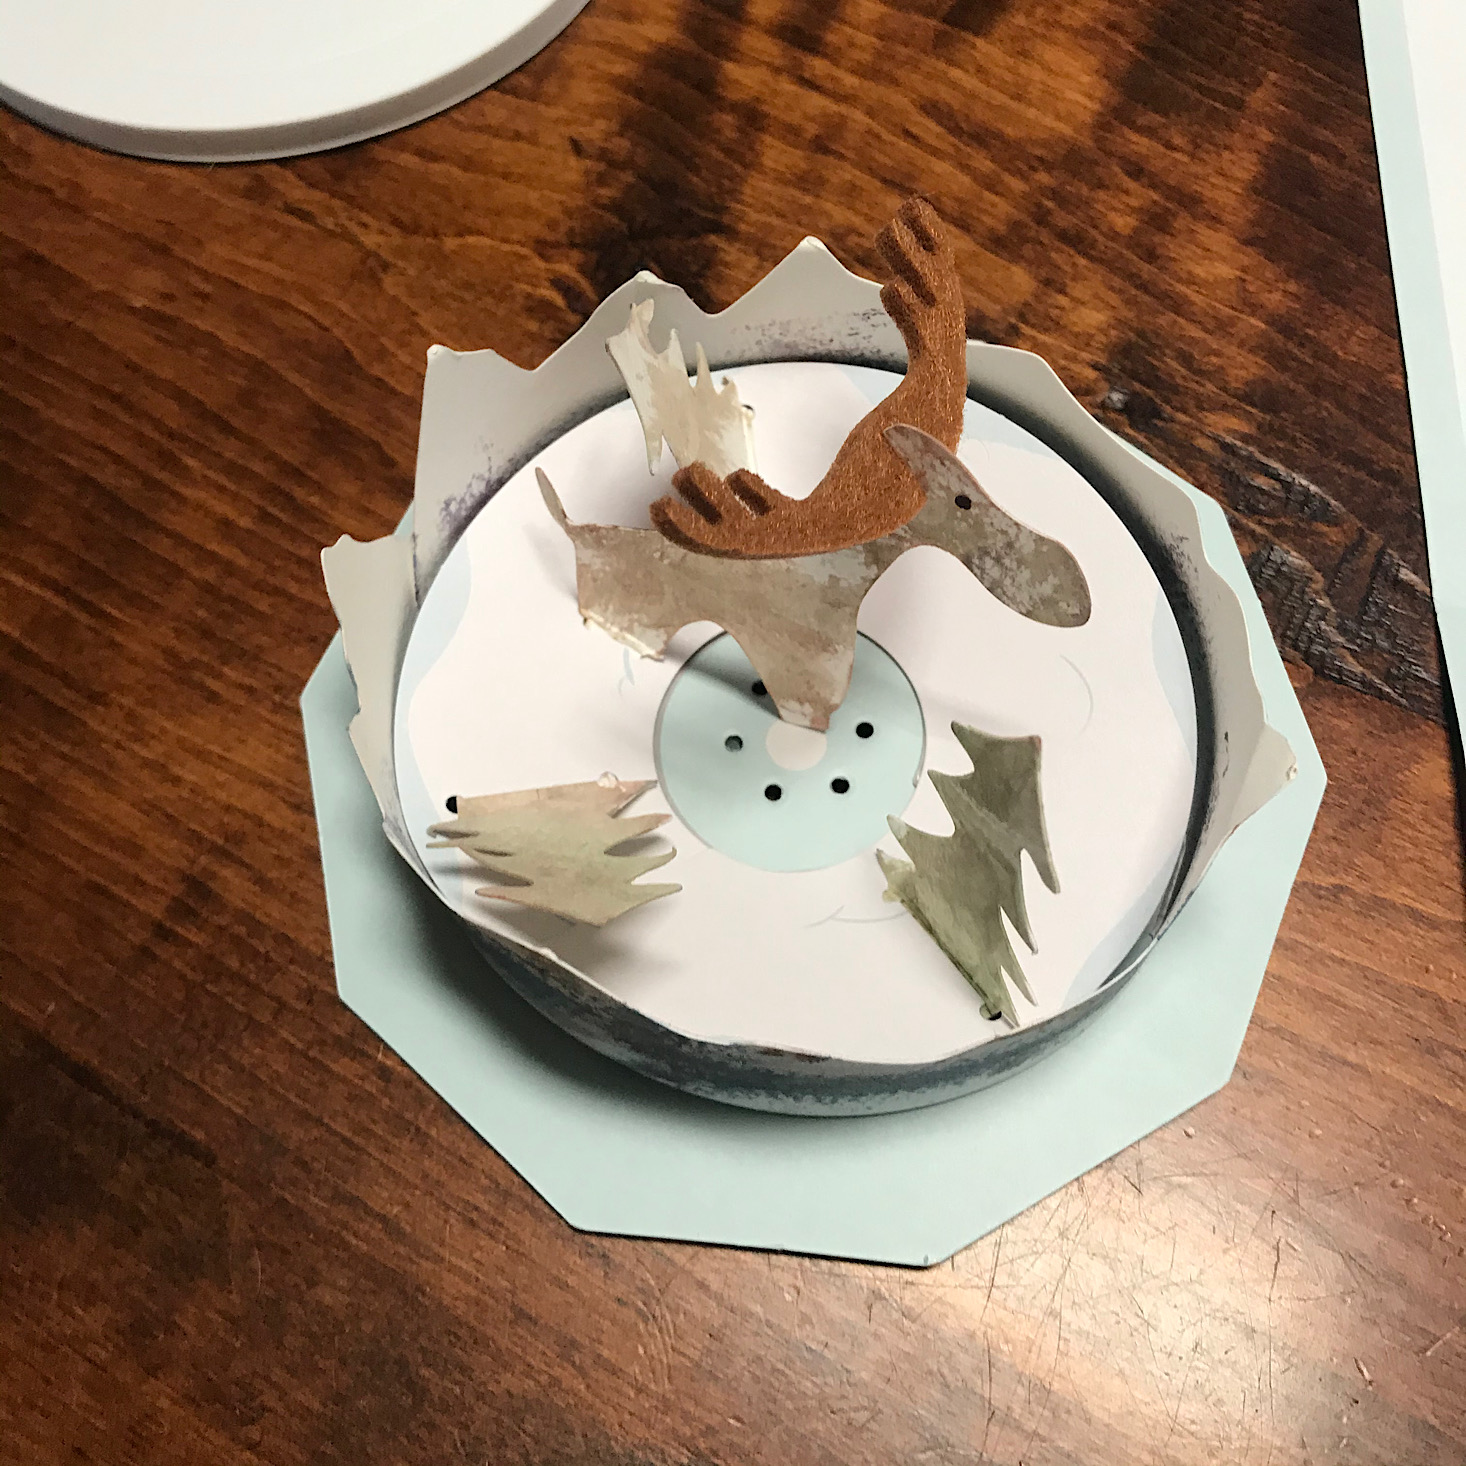
We secured the edges of this paper ring to form a cone and then added some adhesive around the center so it would stick to our base. Then we stuck our trees into the tabs and secured them in place with some more sticky foam on the bottom of that.
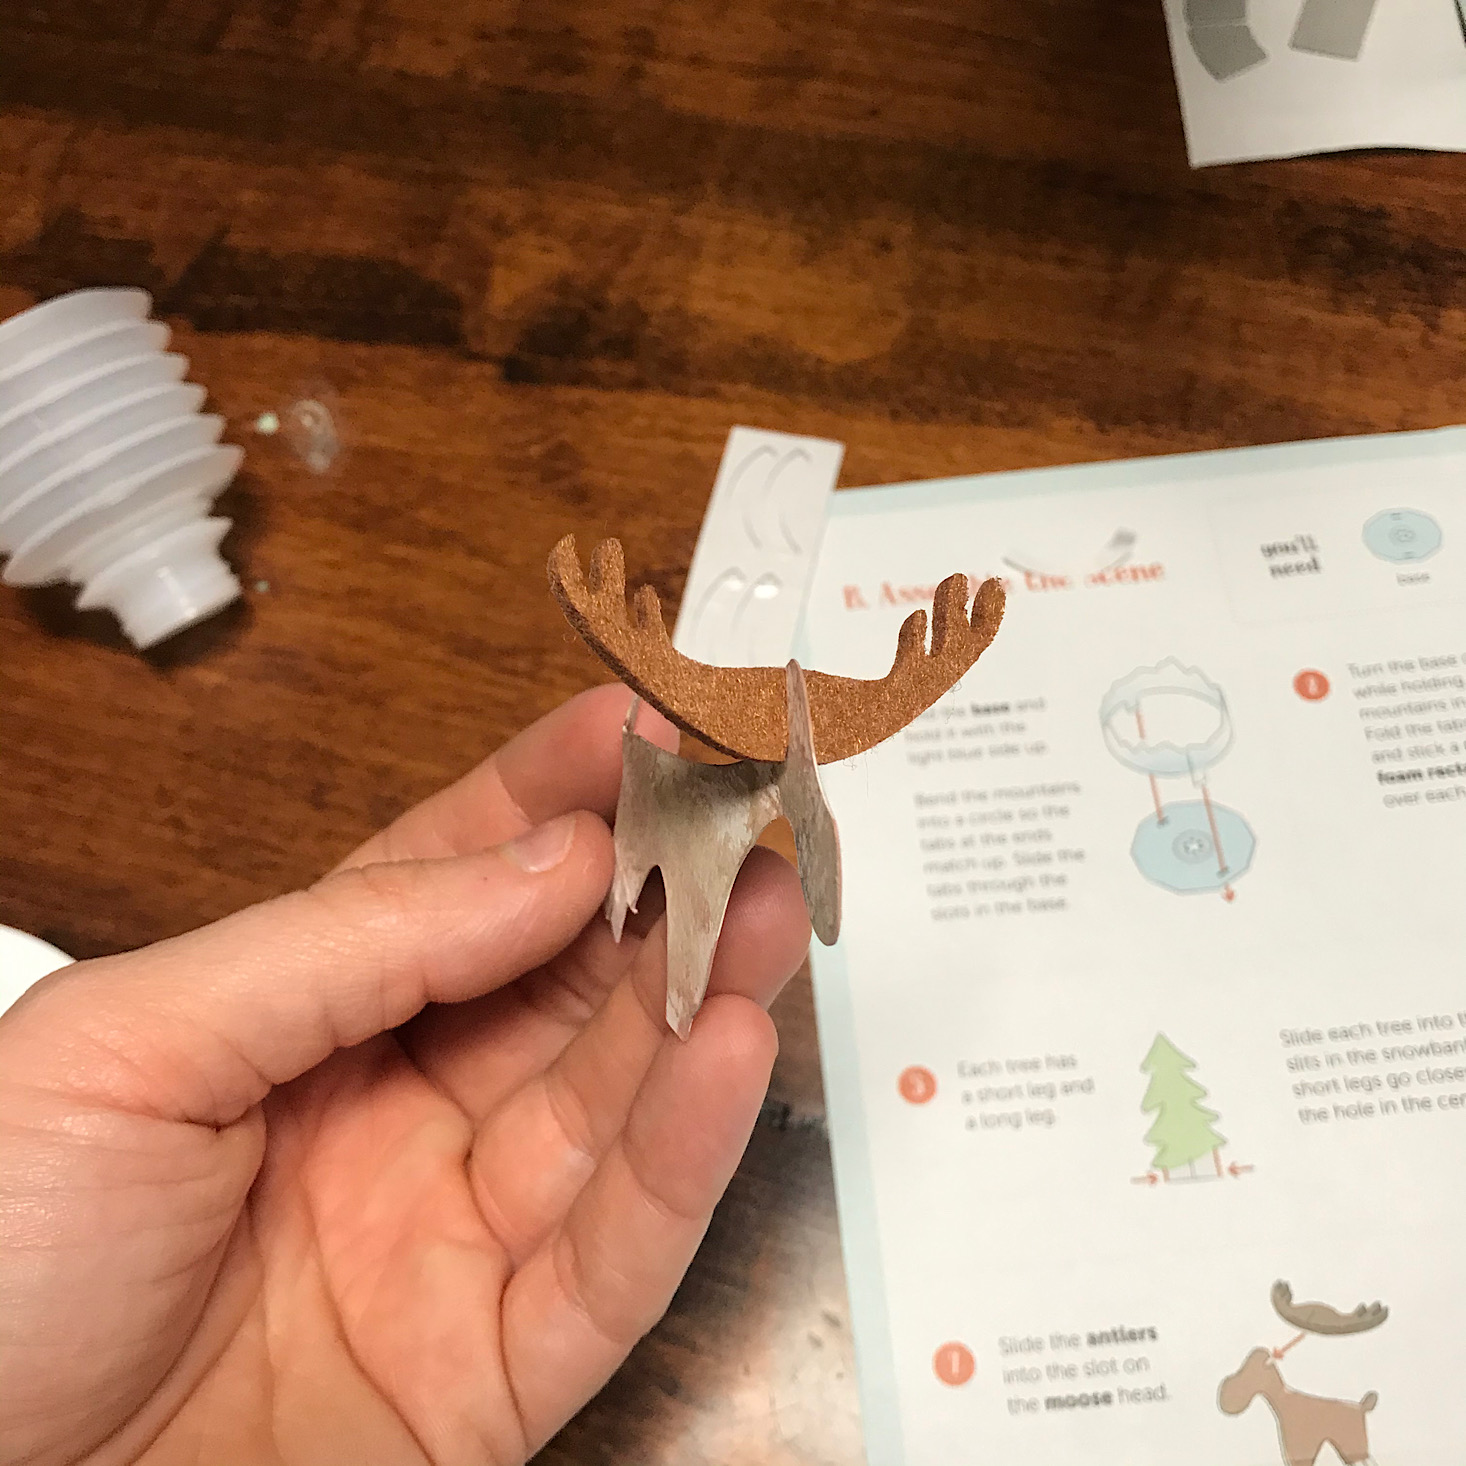
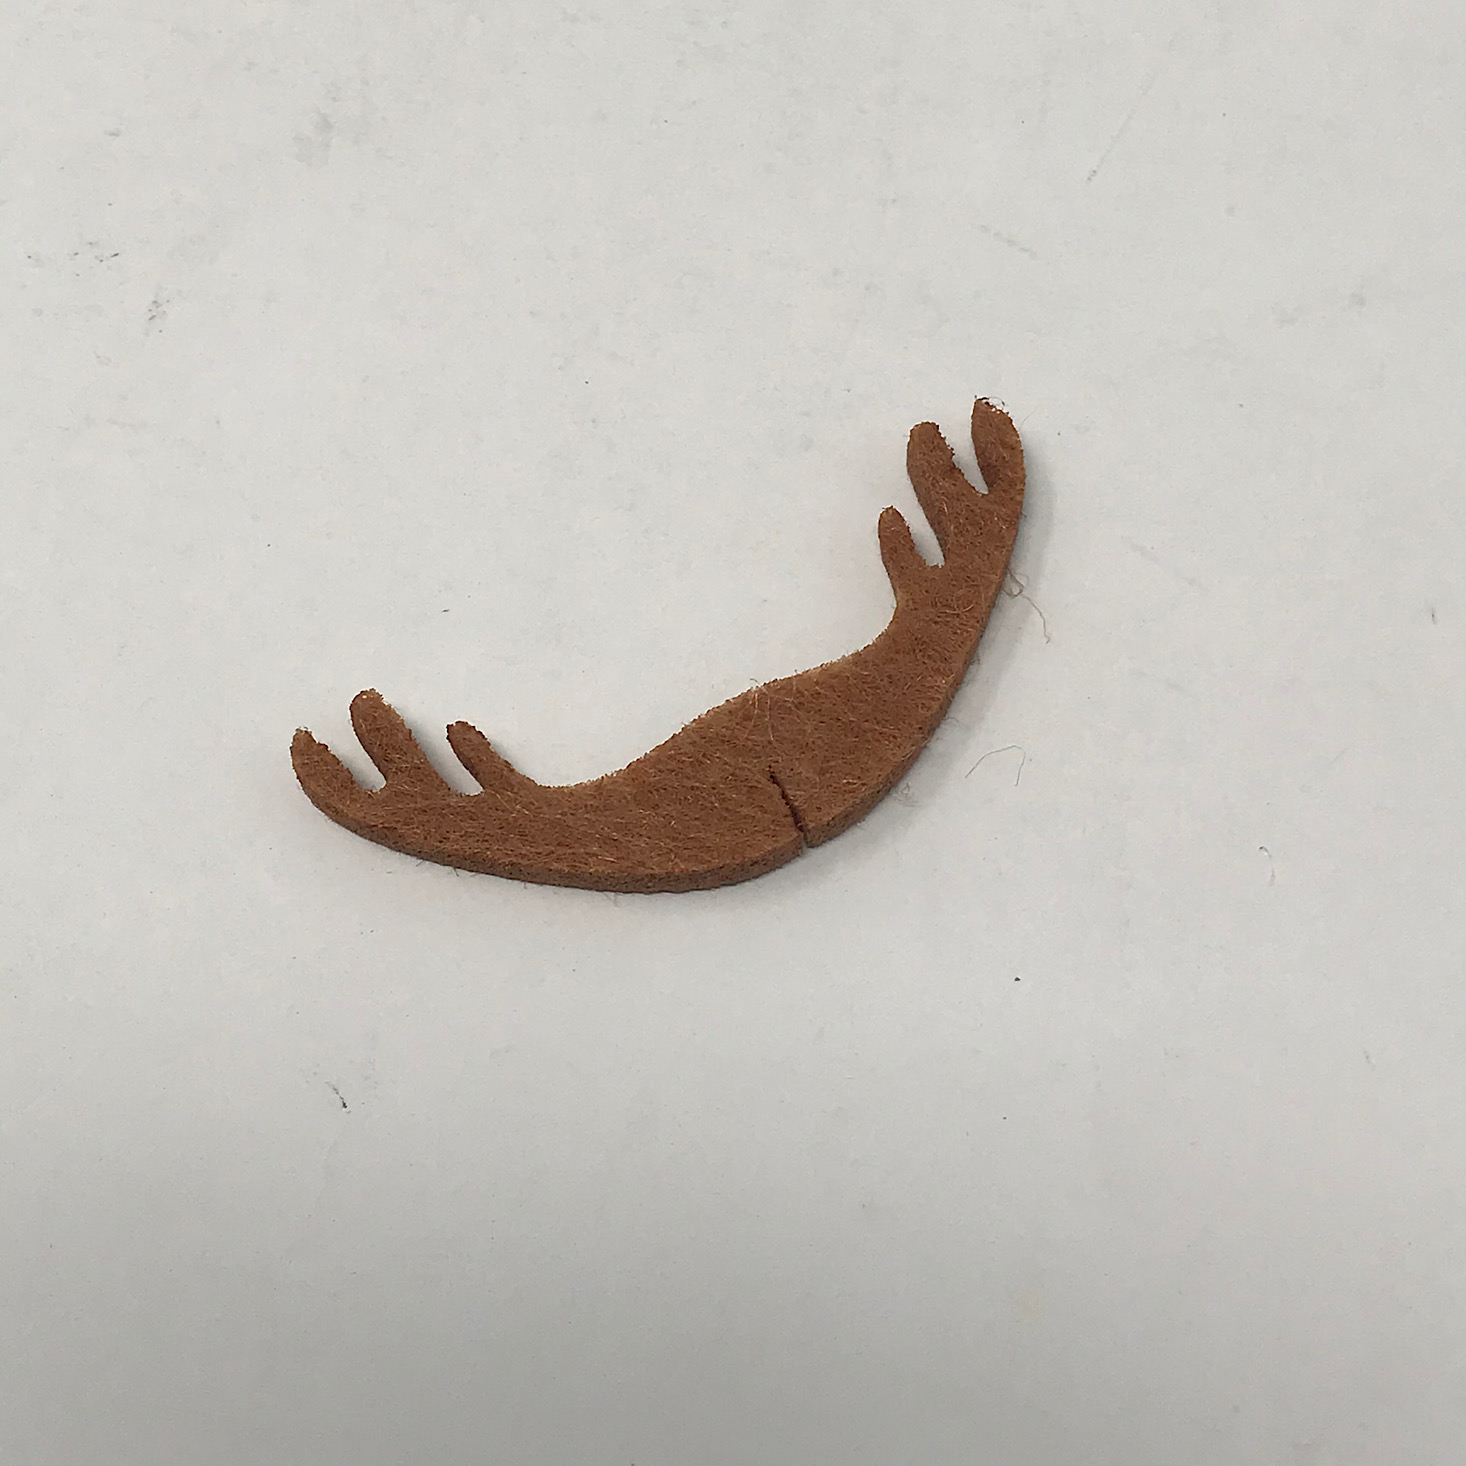
We added some felt antlers to our moose and secured him in his spot just like we did with the trees.
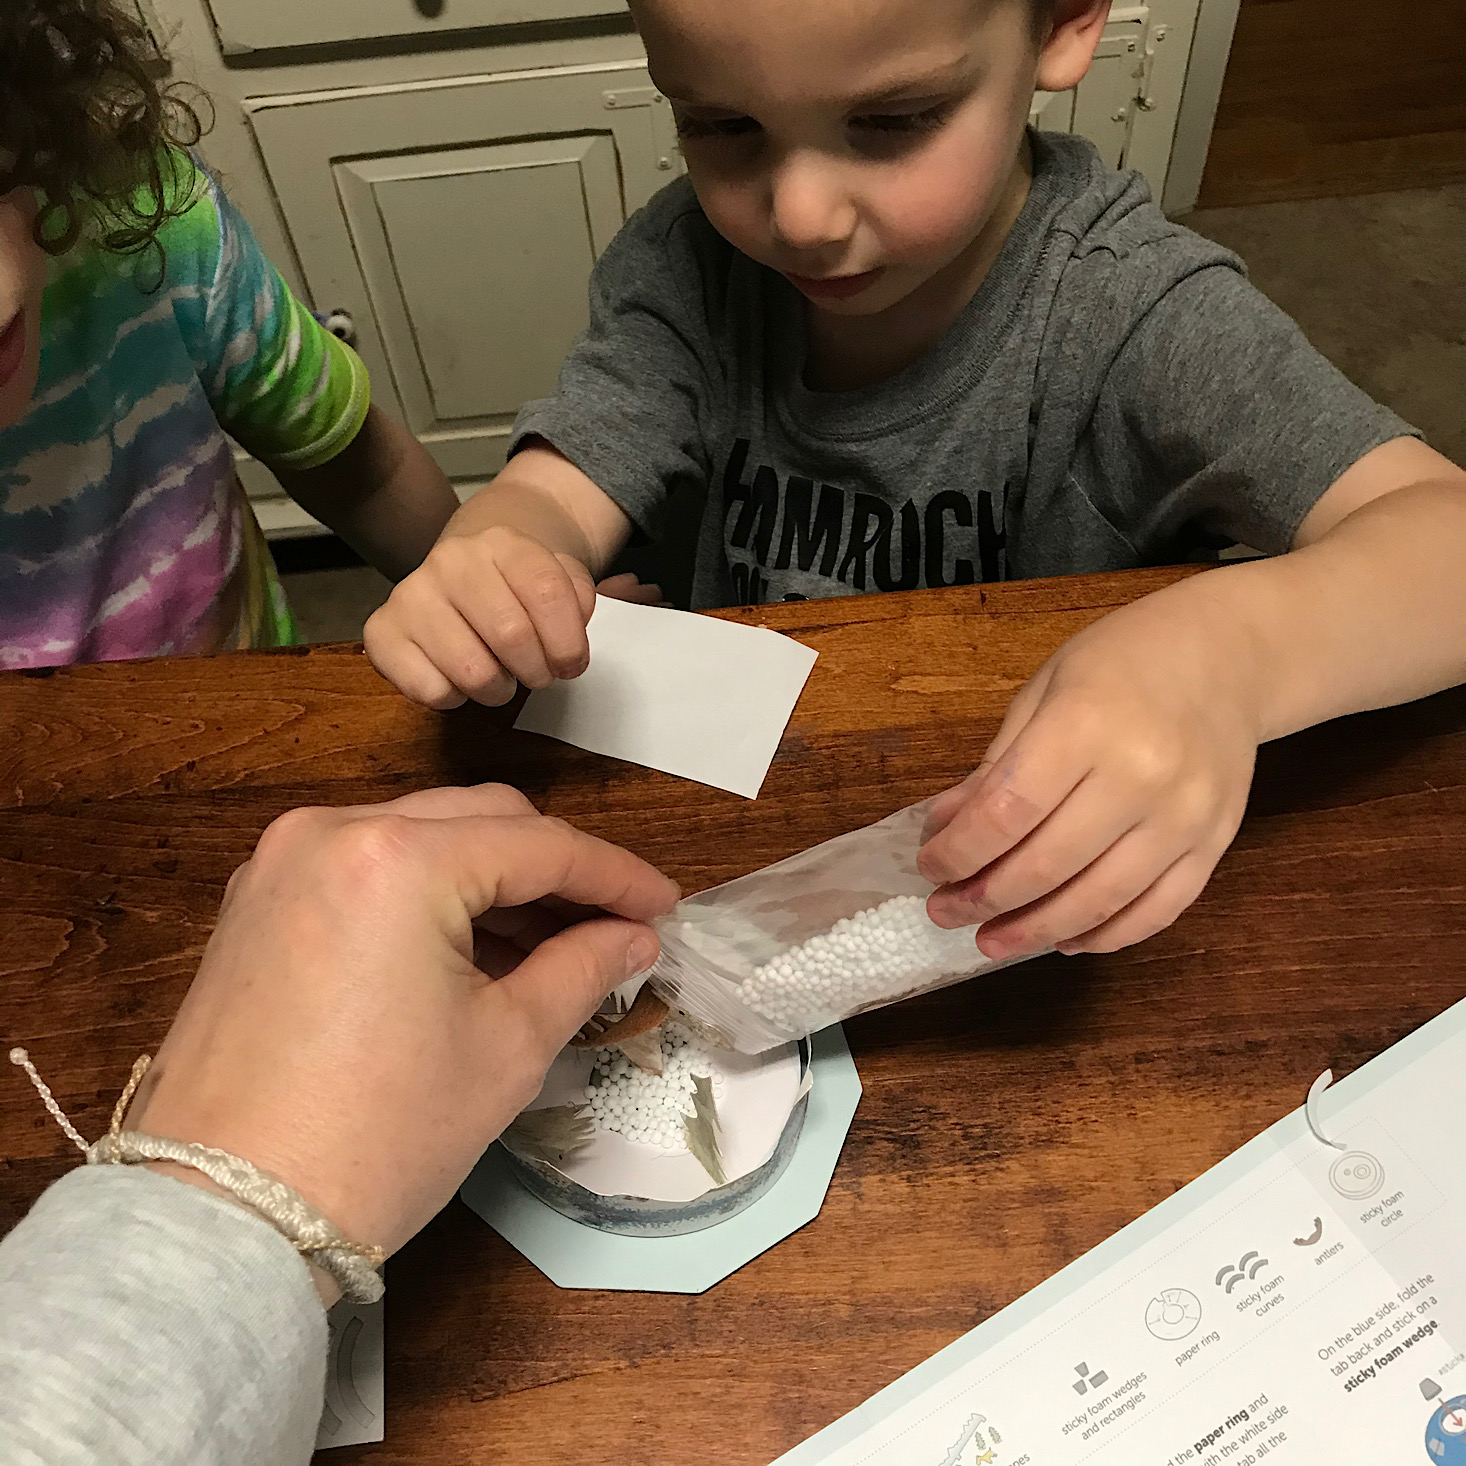
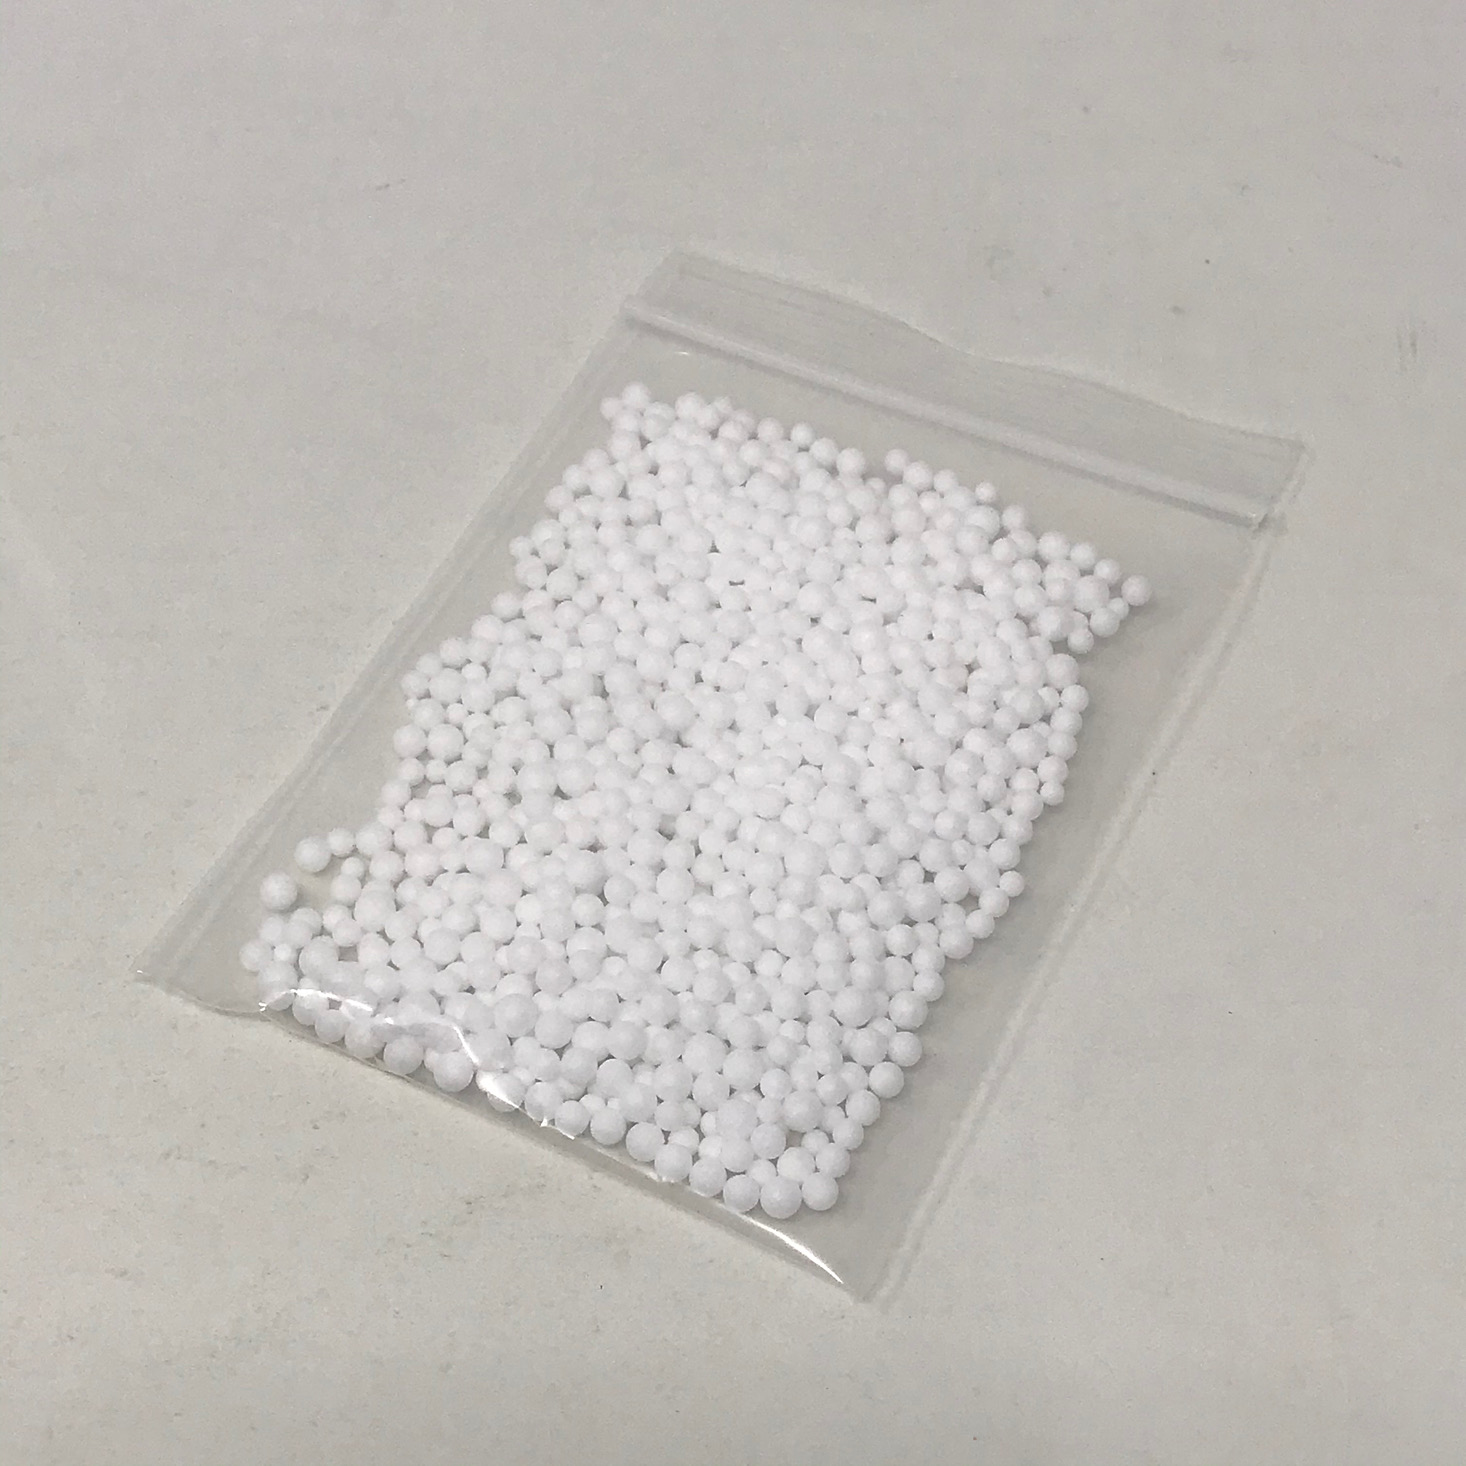
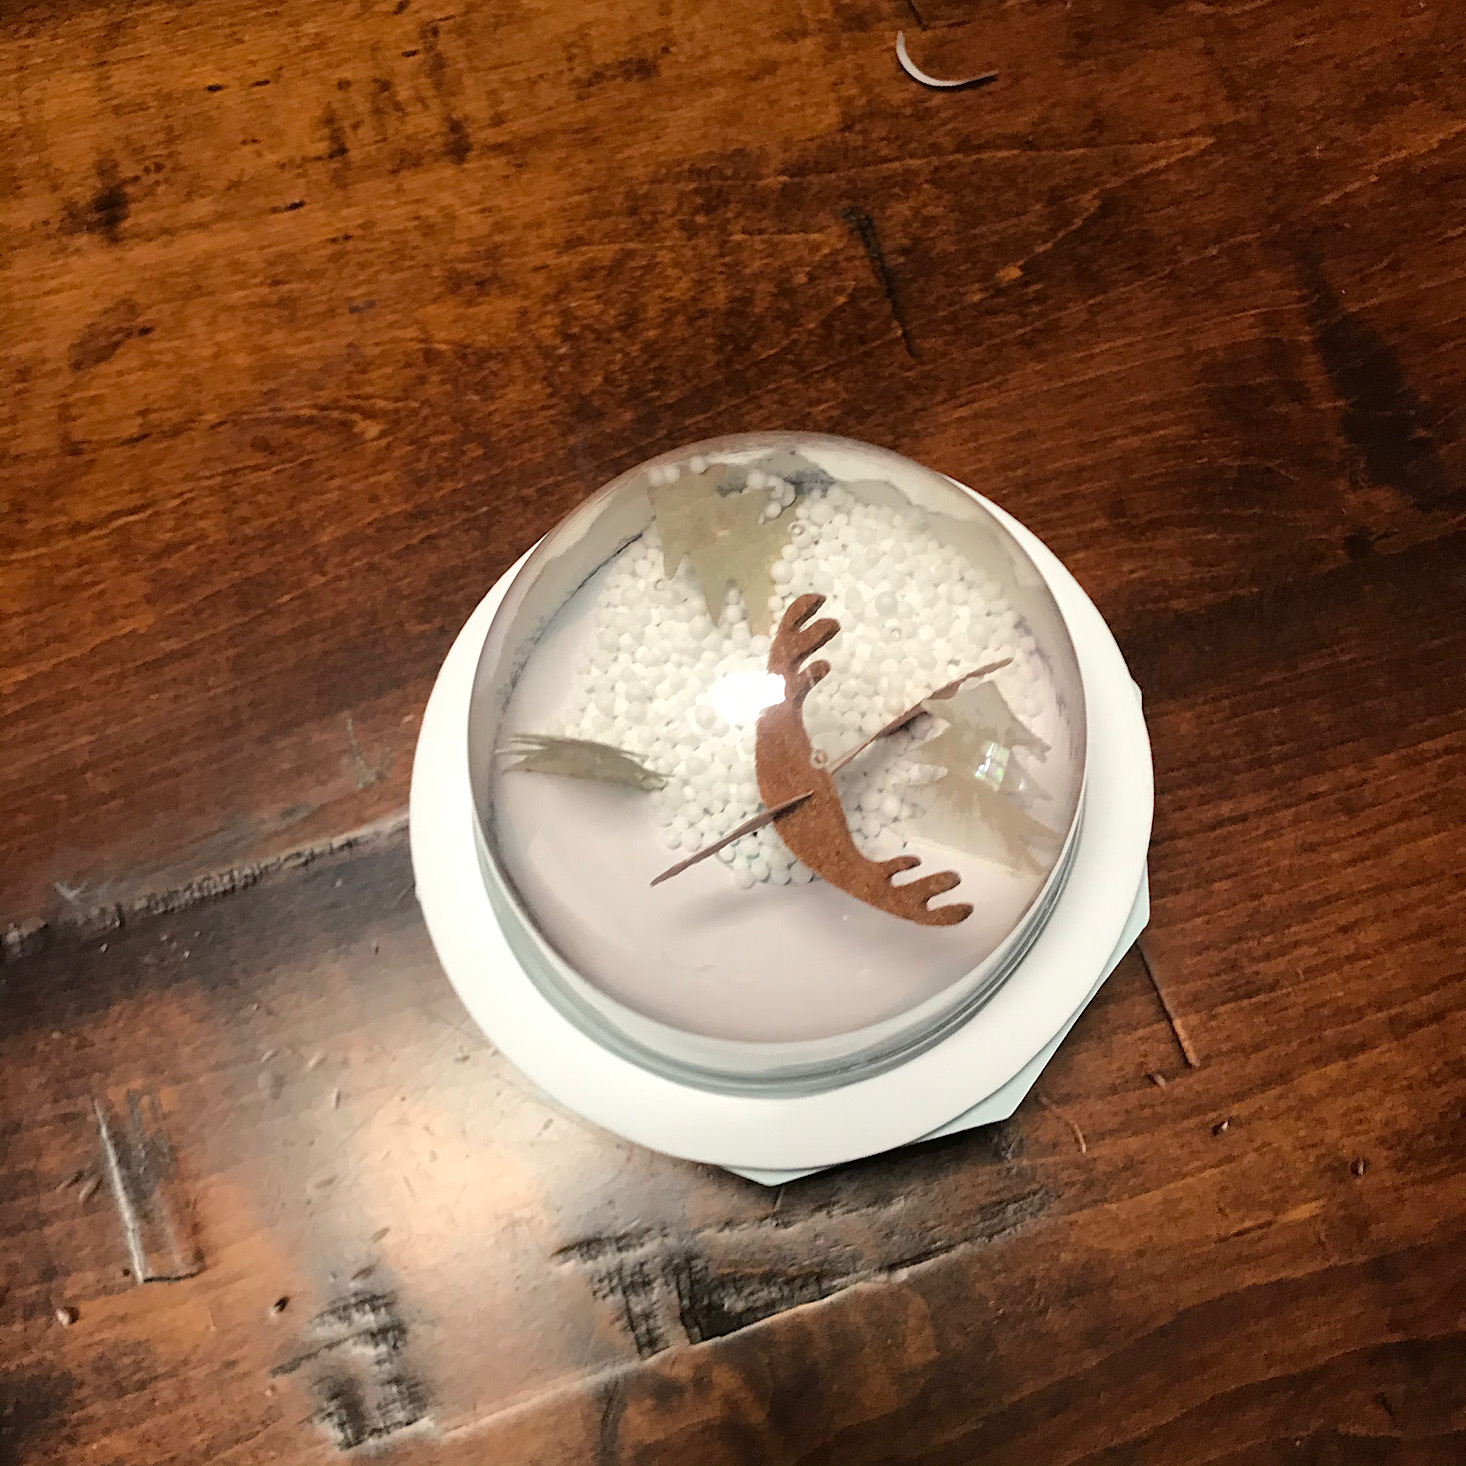
We carefully poured in our foam snowballs and then slid the plastic dome over the scene.
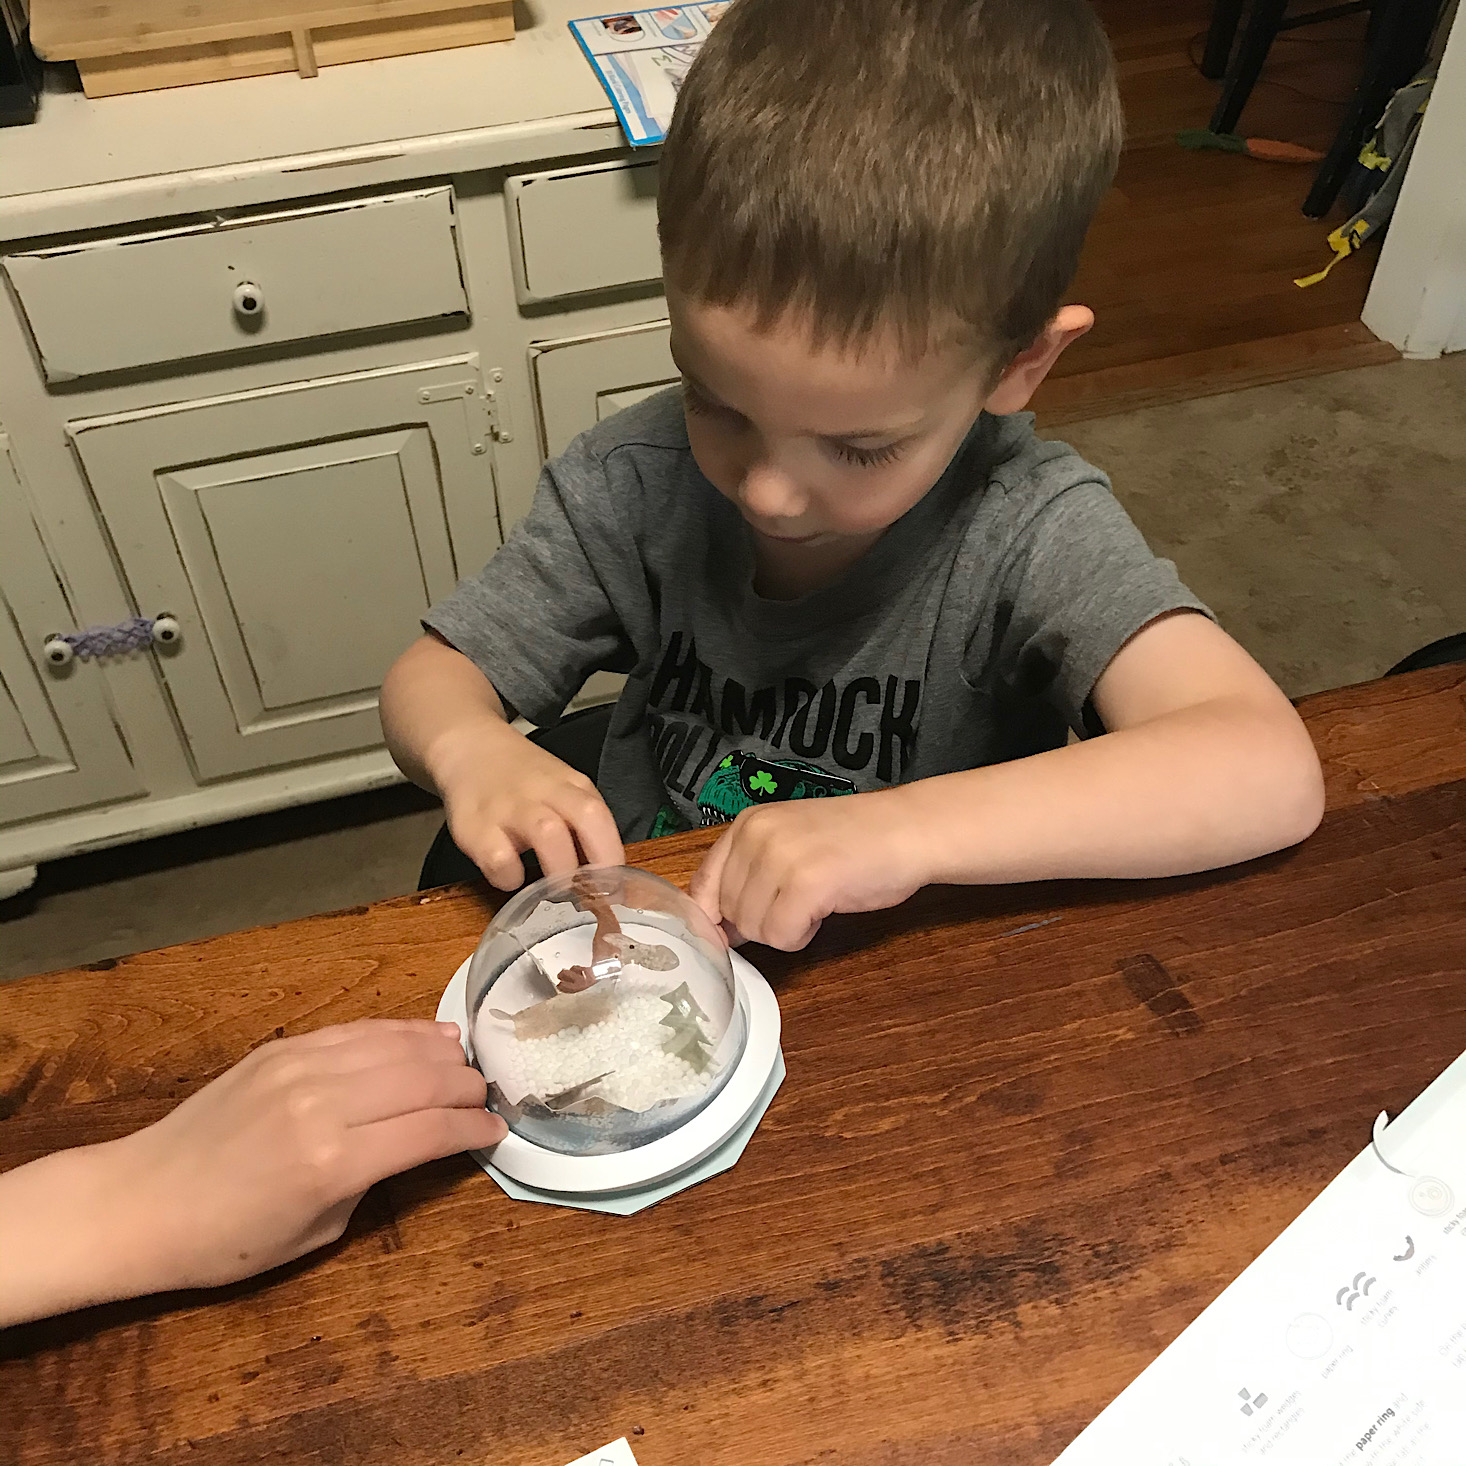
We slid the large foam ring down over the dome and stuck it to the bottom to hold the entire thing together.
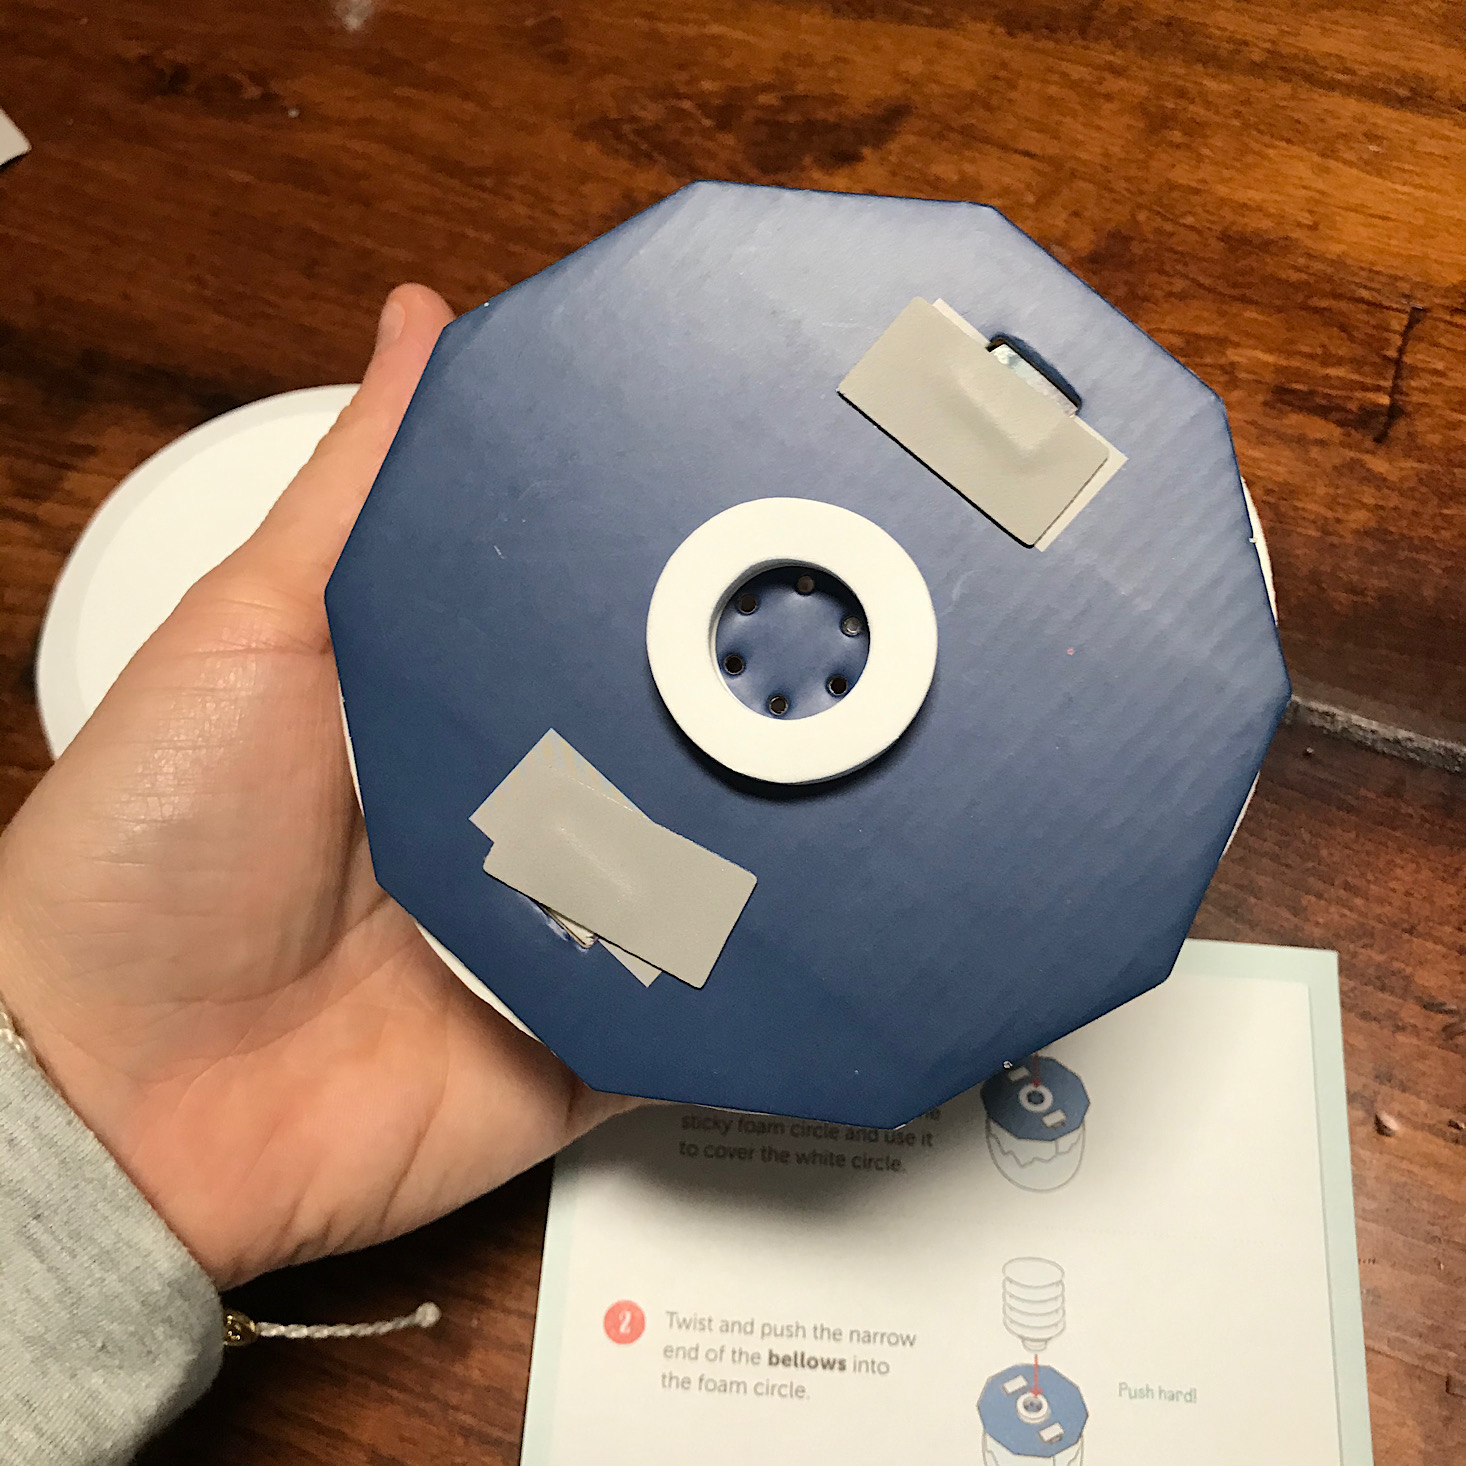
We added a foam ring to the bottom and then stuck this plastic pump into the middle.
Our globe was complete! To operate it, we simply pressed the pump and it would blow air into the globe creating a little flurry of snowballs. We could also just give it a shake if we wanted to as well.
This turned out so cute and the kids were in awe!
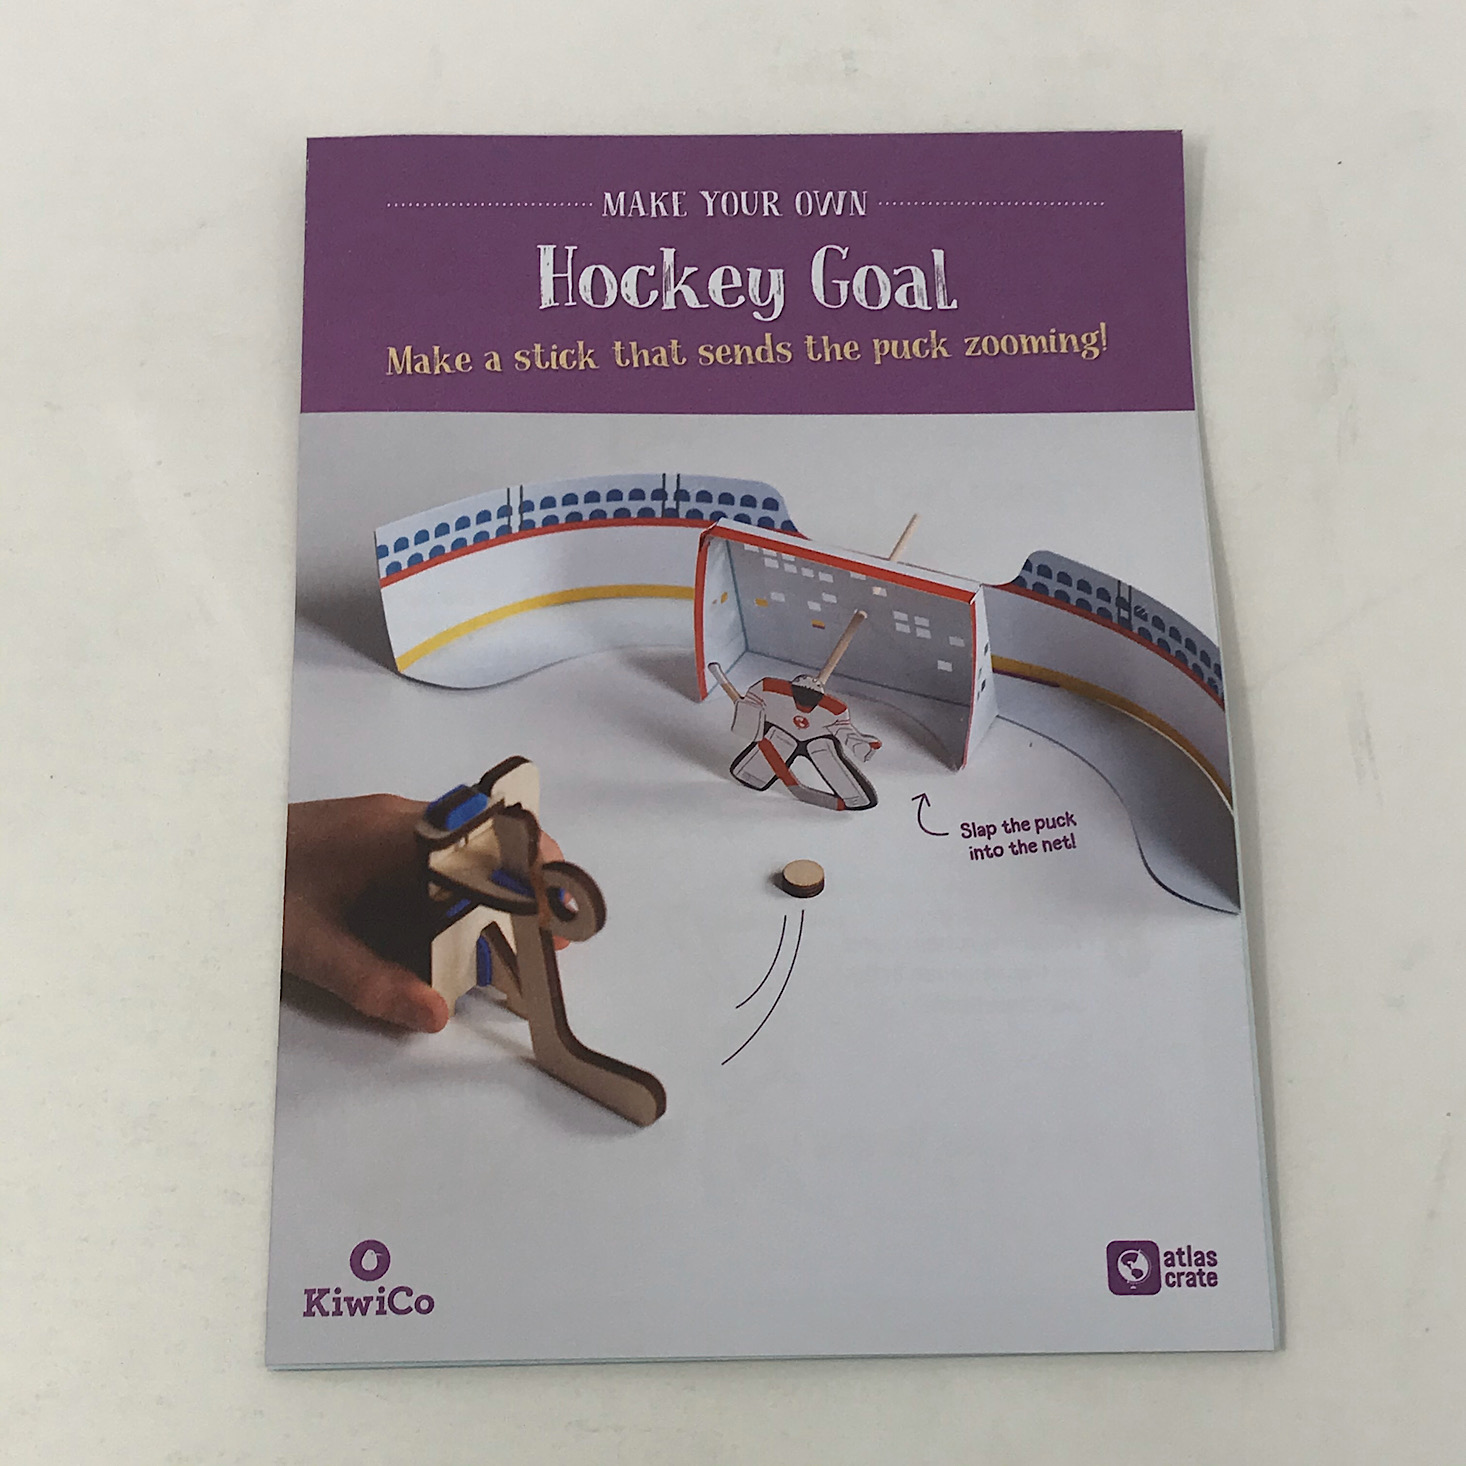
Activity #2: Hockey Goal
Our next project was to make a little hockey goal. Again, there were some interesting facts for us to read on the back of the instructions, this time all about hockey!
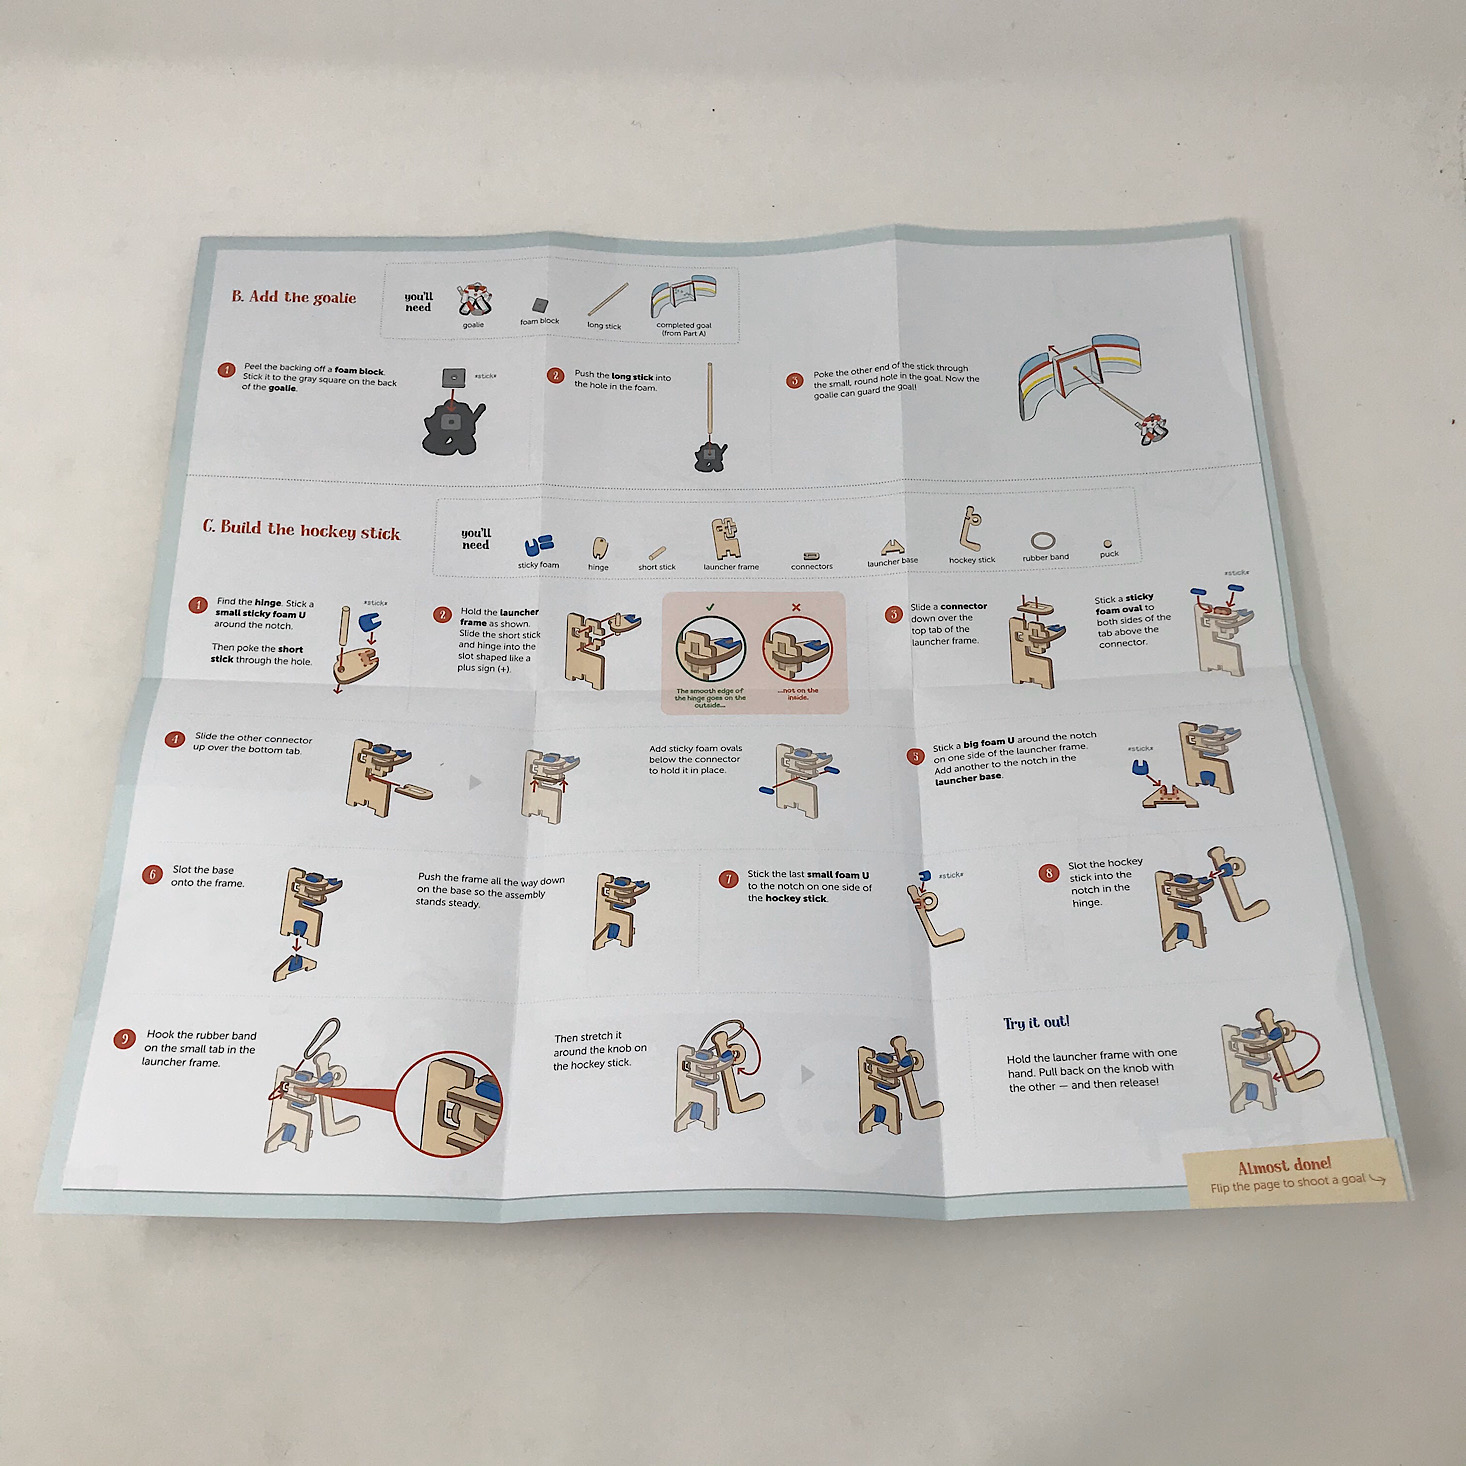
The directions for this were also easy to follow and separated into sections for us.
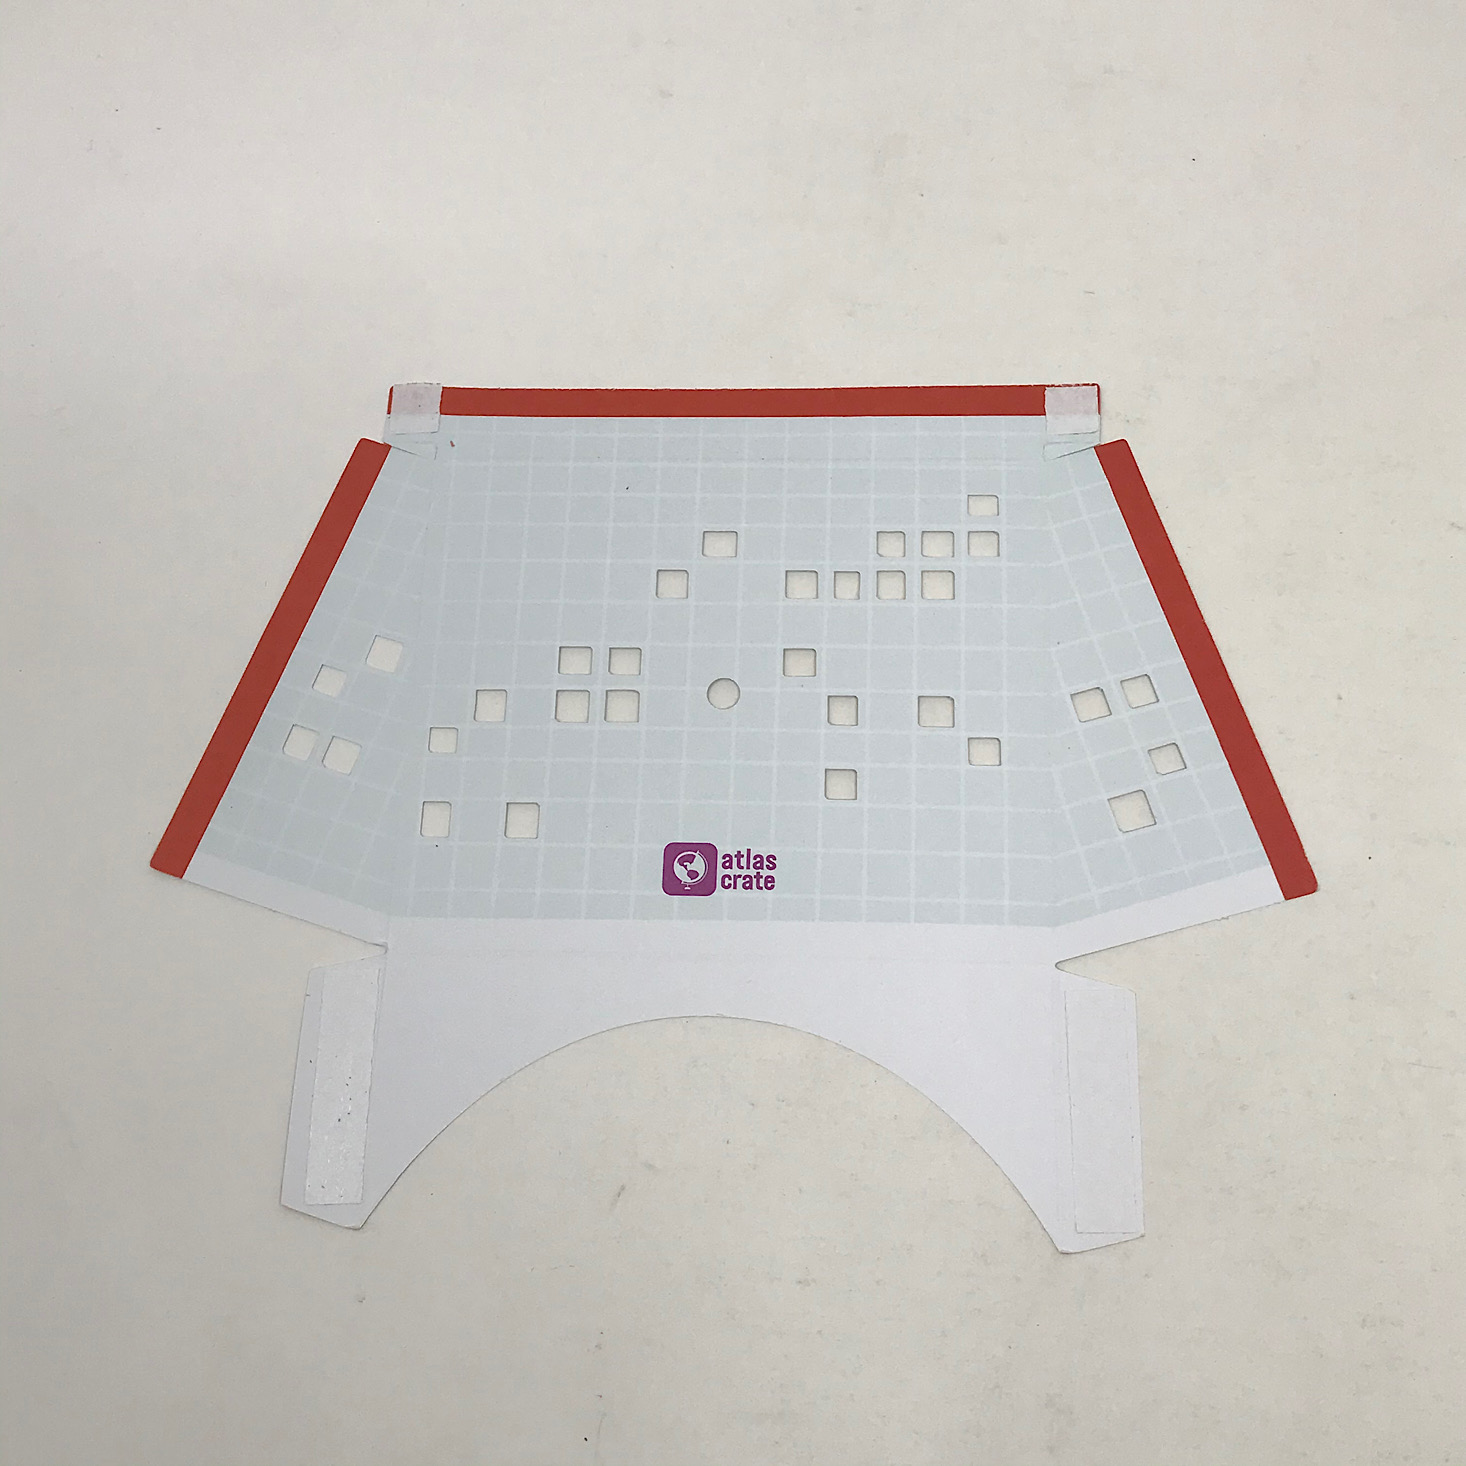
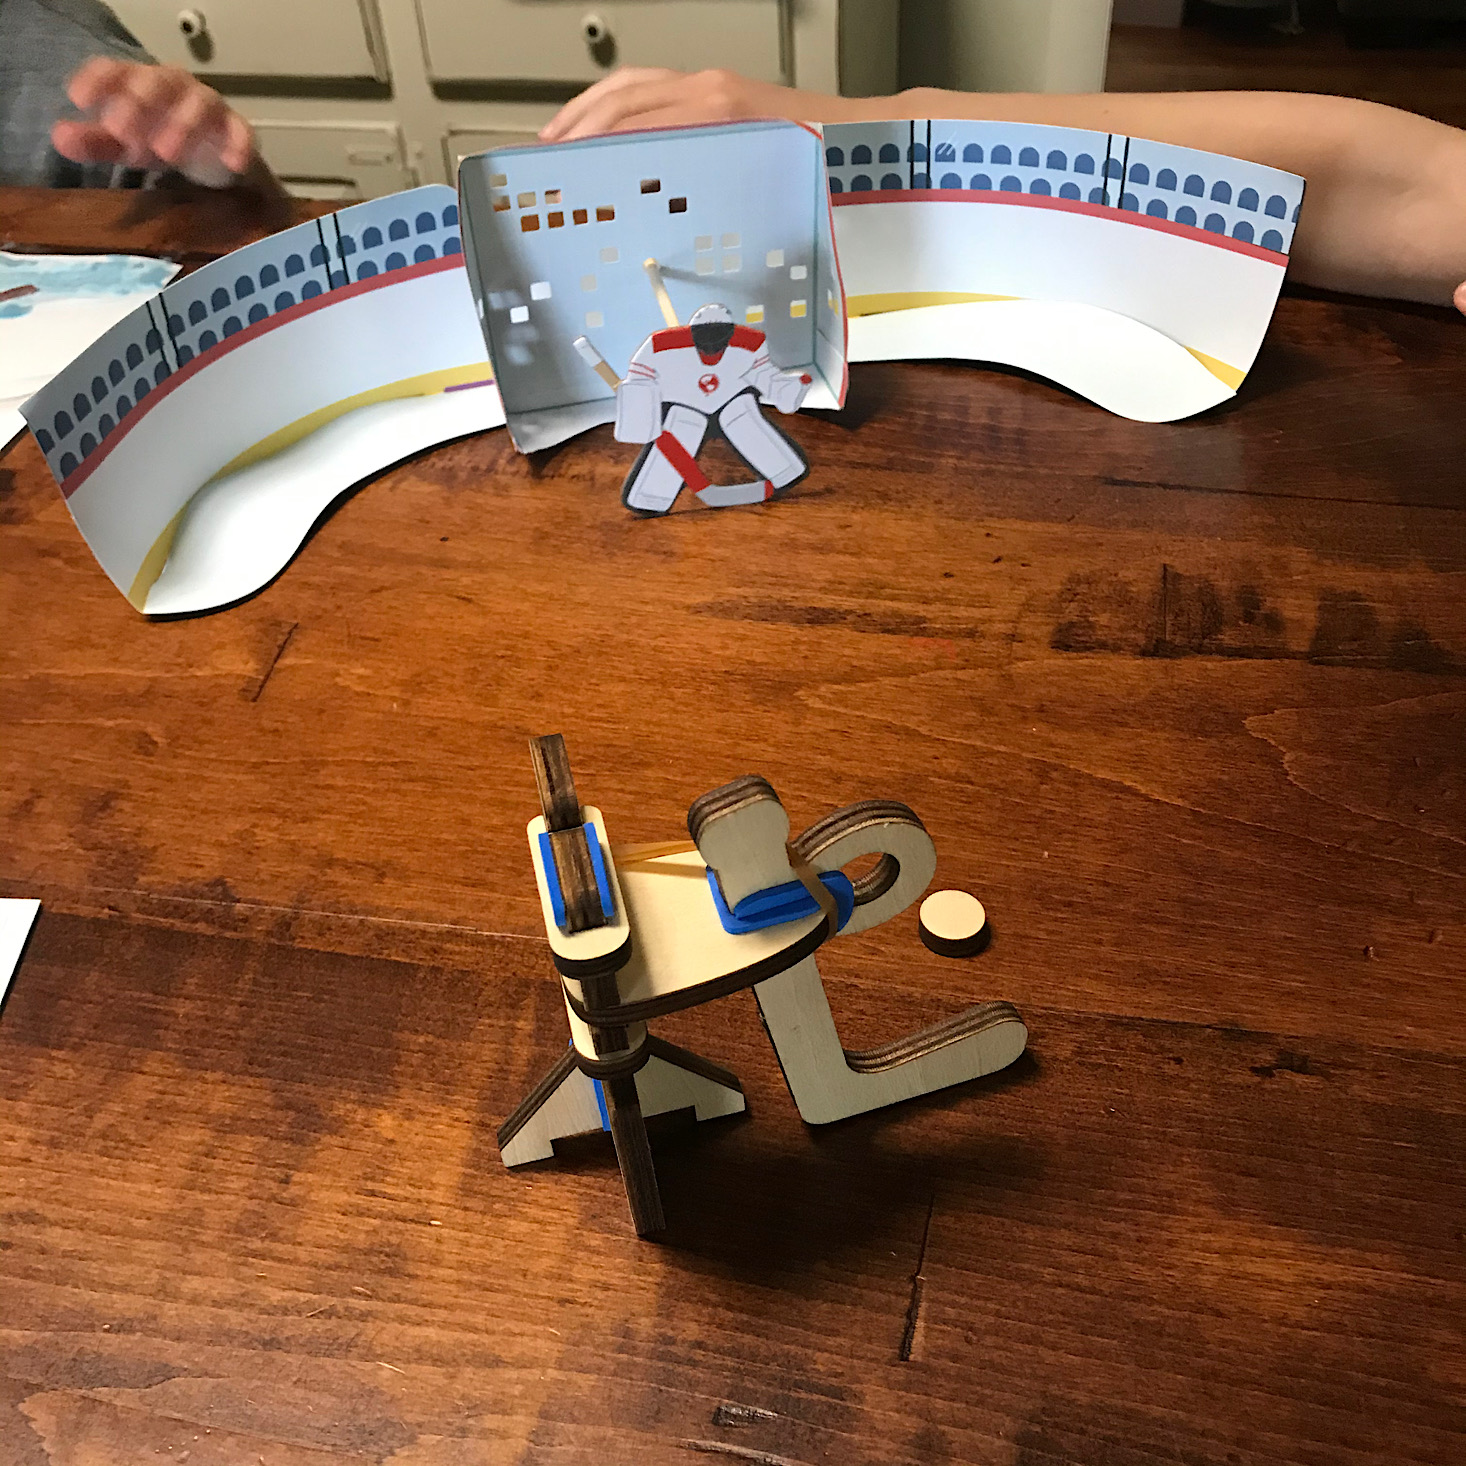
First, we had to fold up and assemble the edge of our hockey rink. This was as easy as folding and securing the tabs around the edges since there were already adhesive sections for us.
Then we folded up the goal similarly and peeled the backing off of the bottom adhesive strip on our rink and stuck the goal into place.
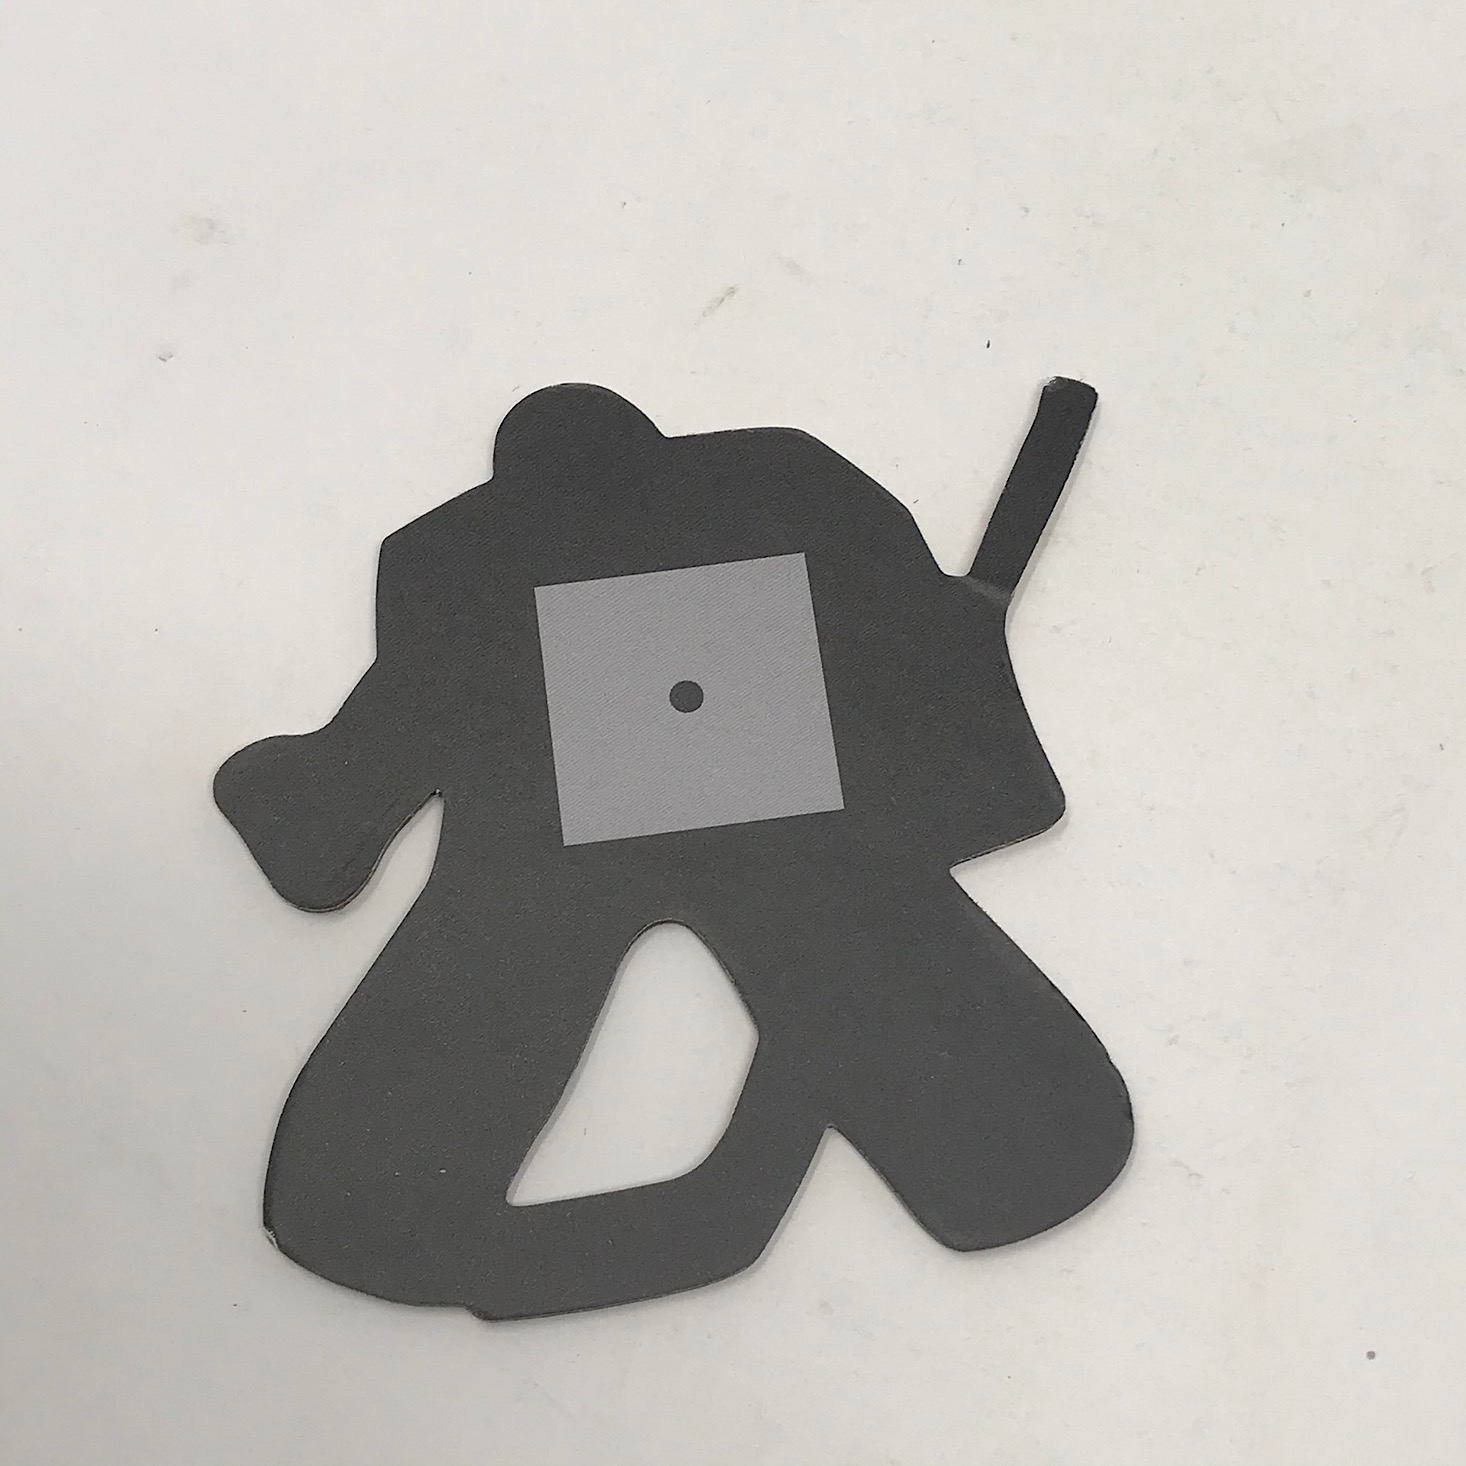
We stuck a foam square on the back of our hockey player.
Then we inserted the long wooden dowel into the hole in the foam square and stuck the dowel through the hole in our goal so our player would stand up in front of it.
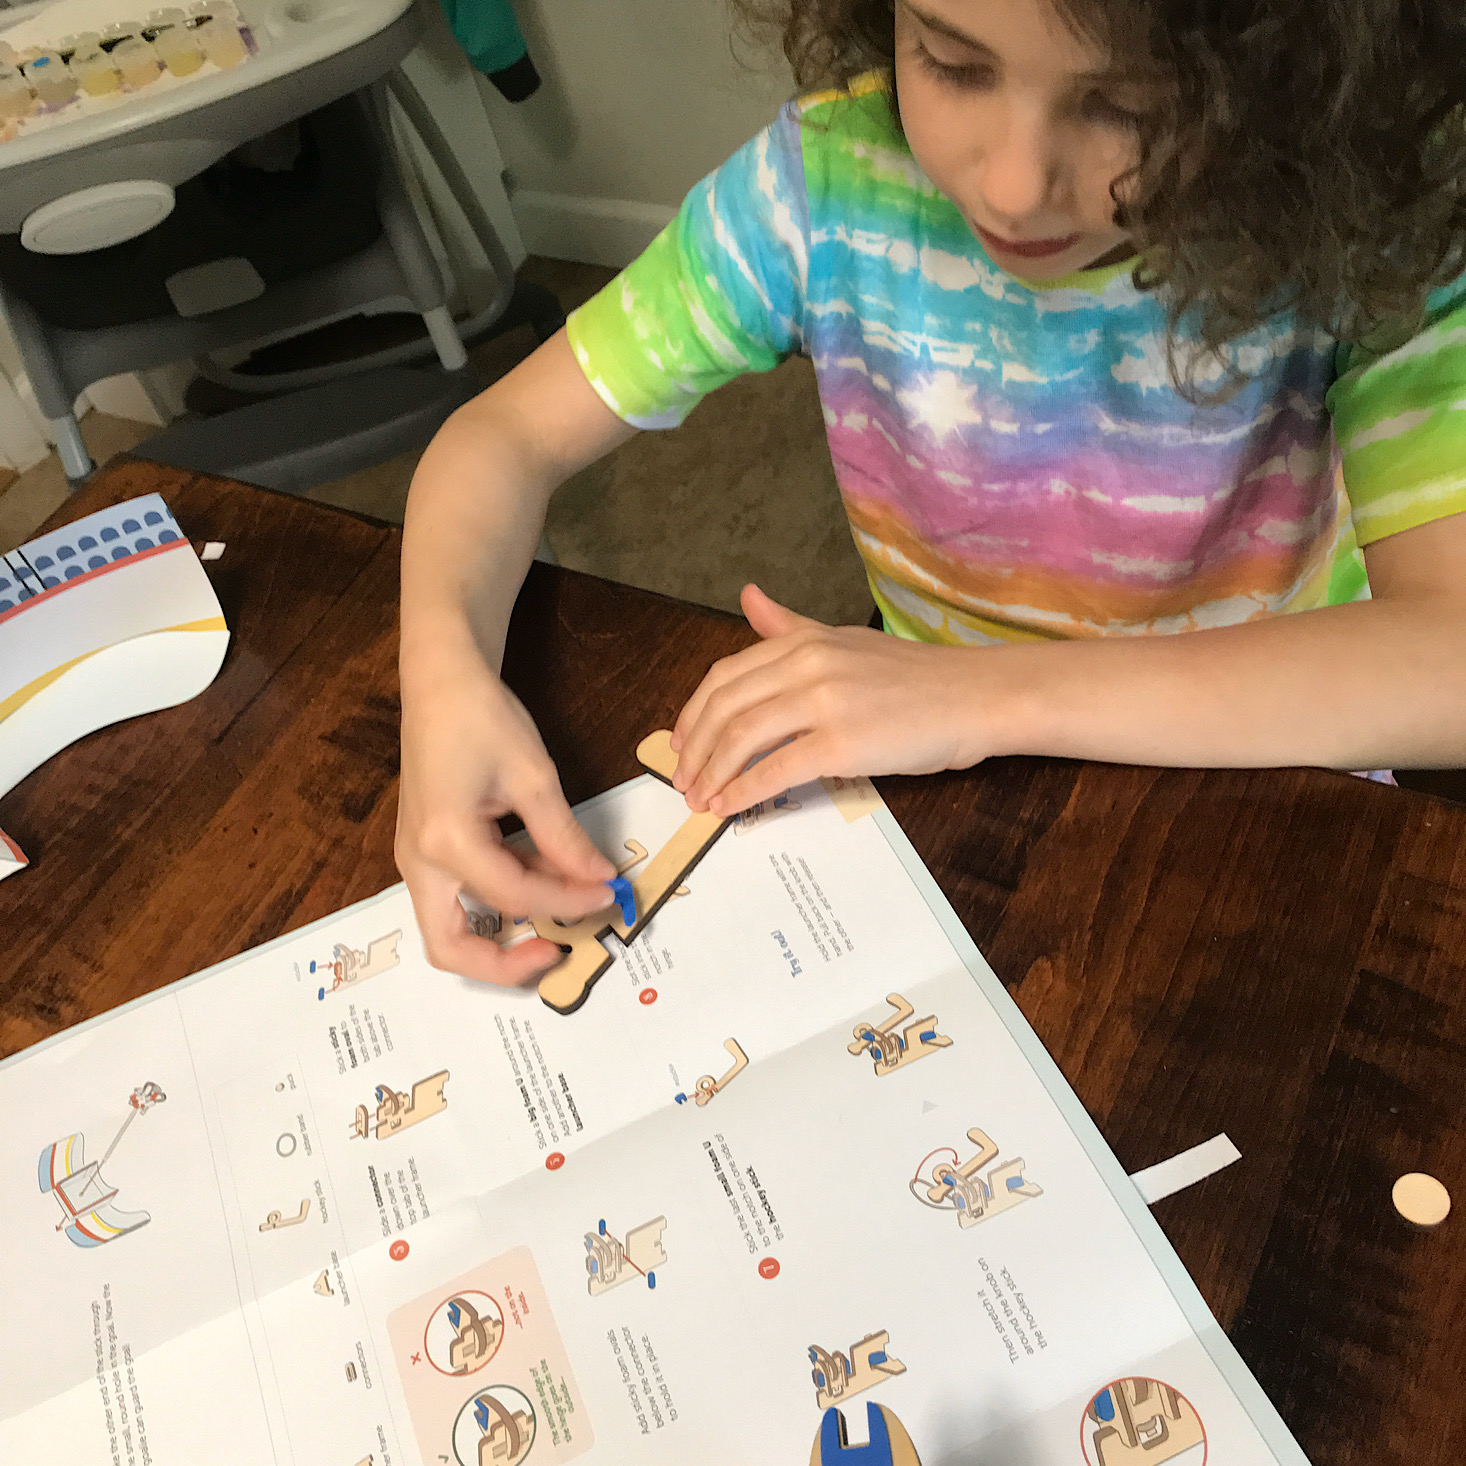
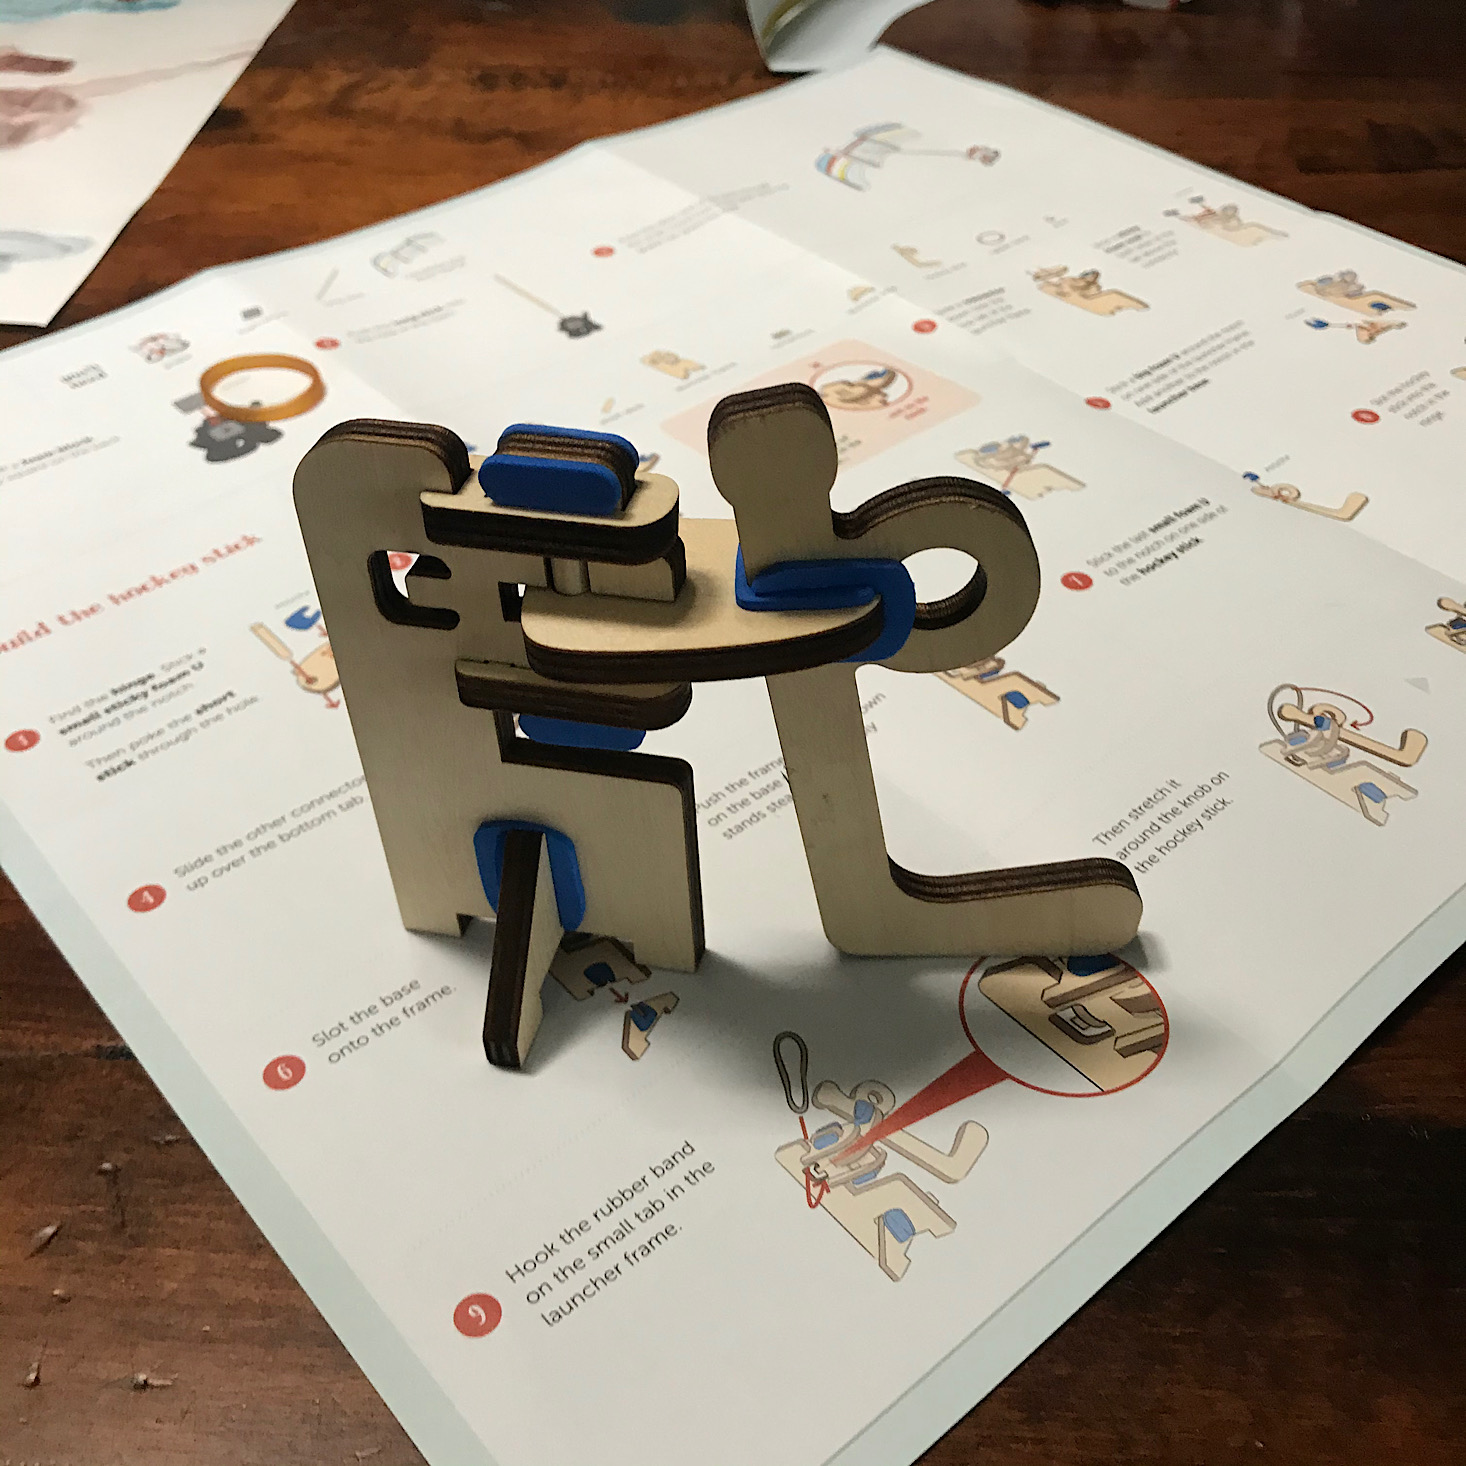
Next, we added a foam sticker to the edge of our smaller wooden piece before adding the smaller wooden dowel and fitting it inside the larger wooden piece.
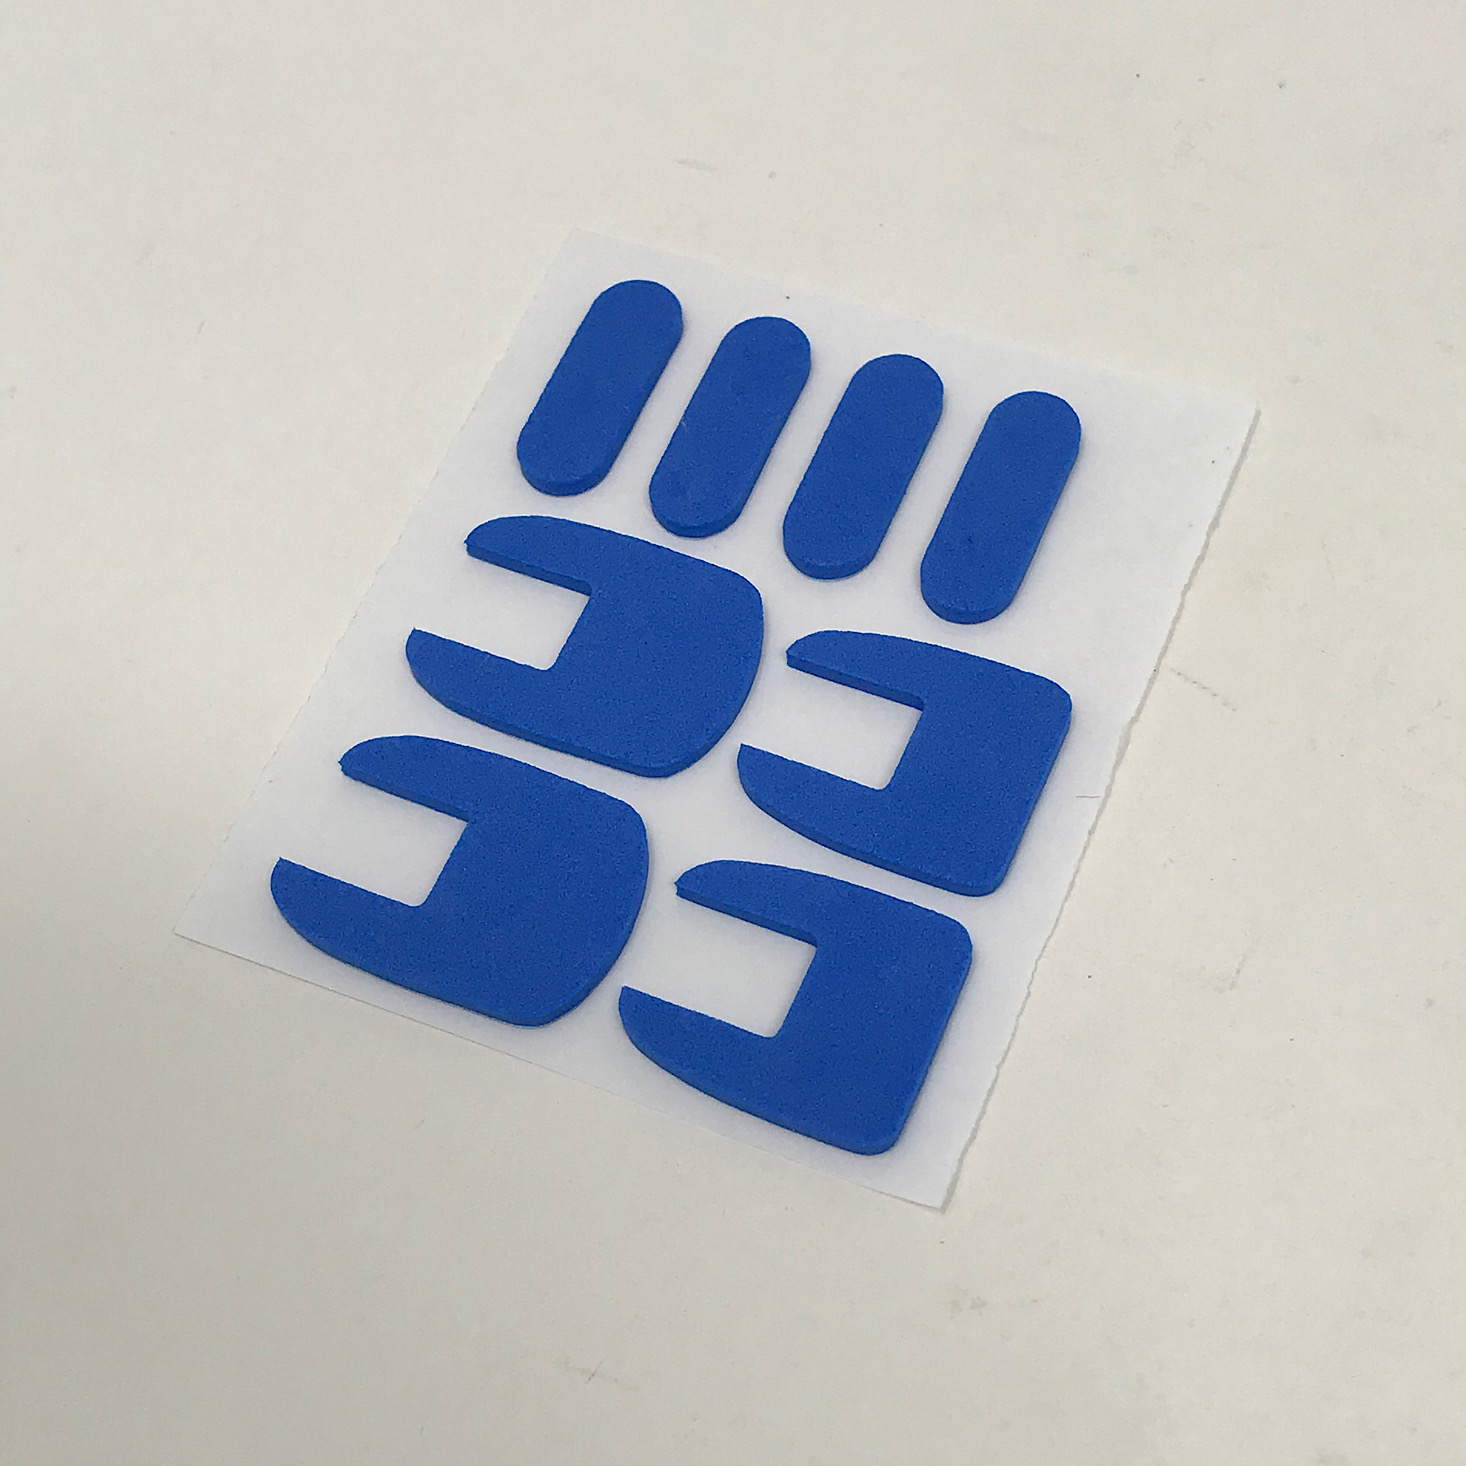
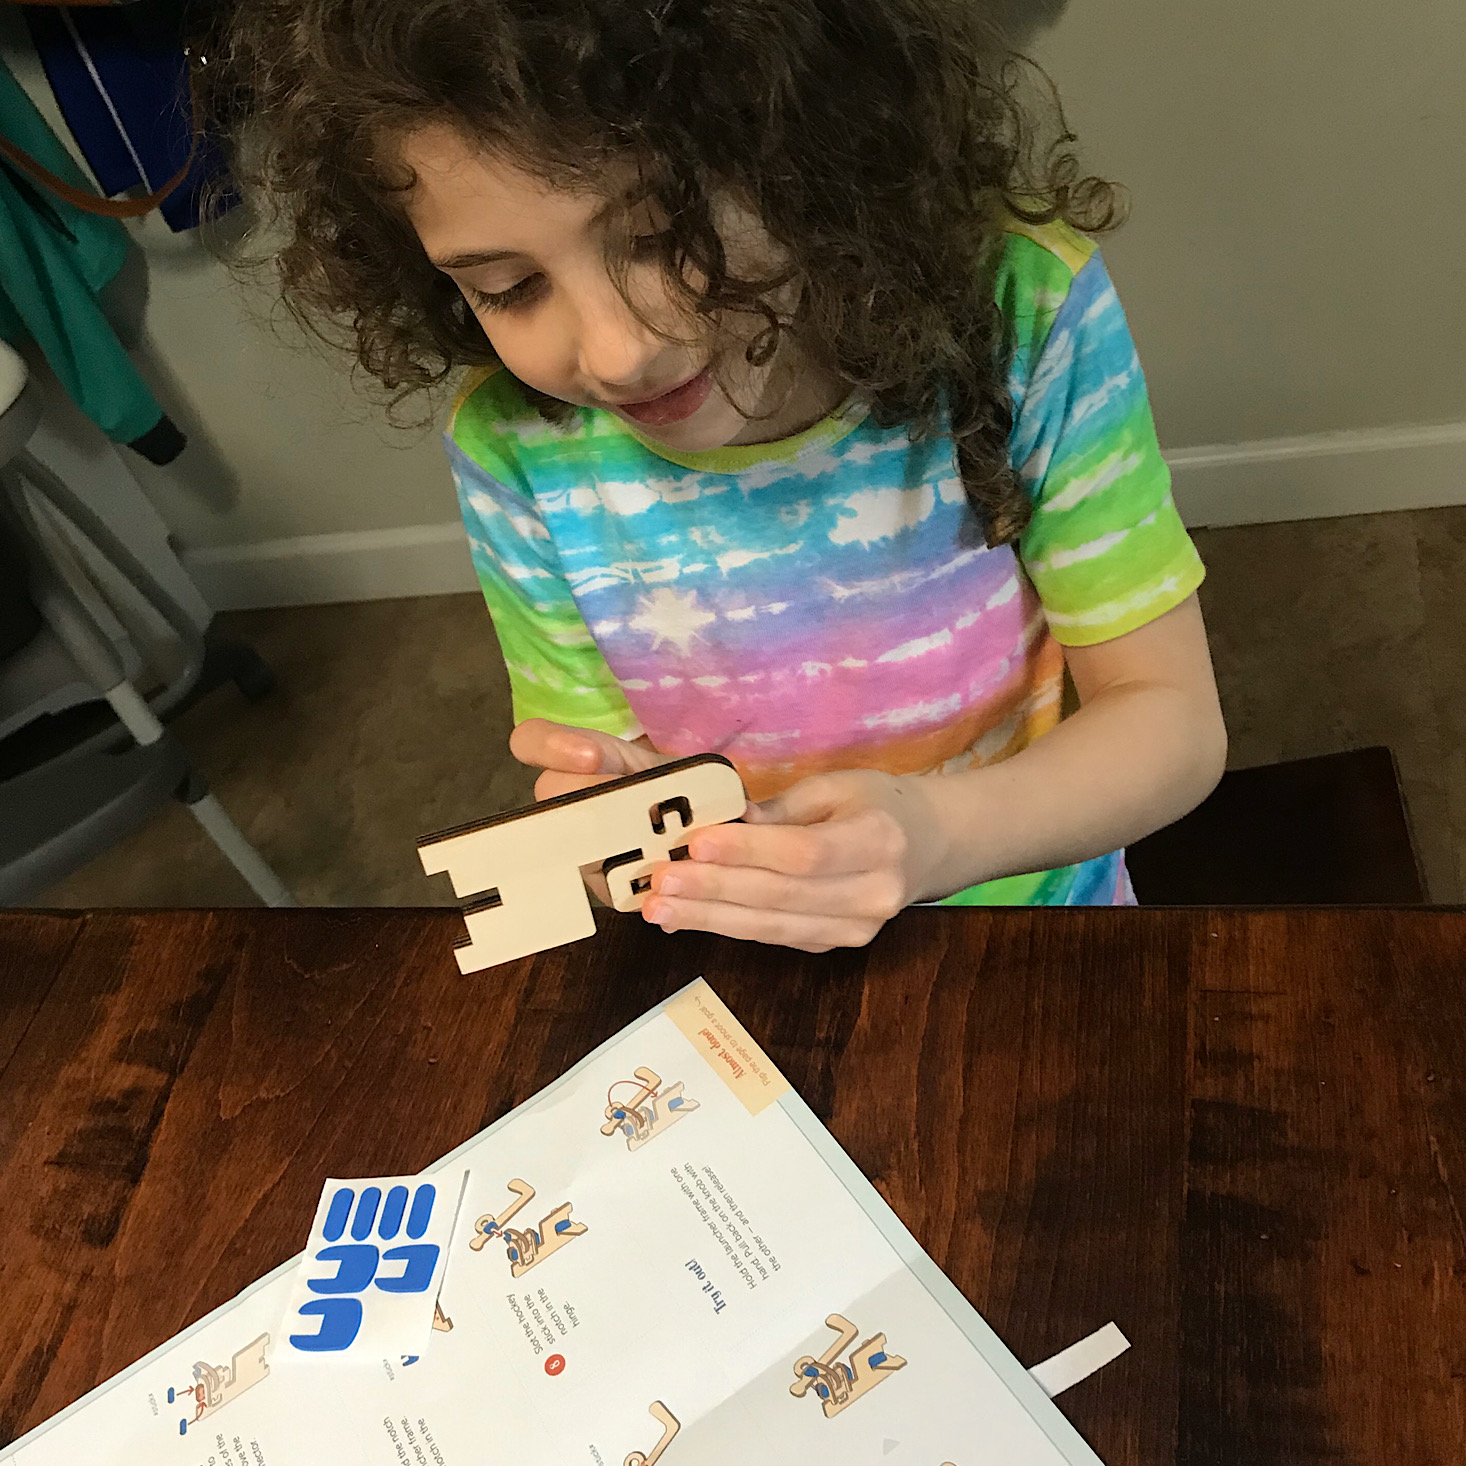
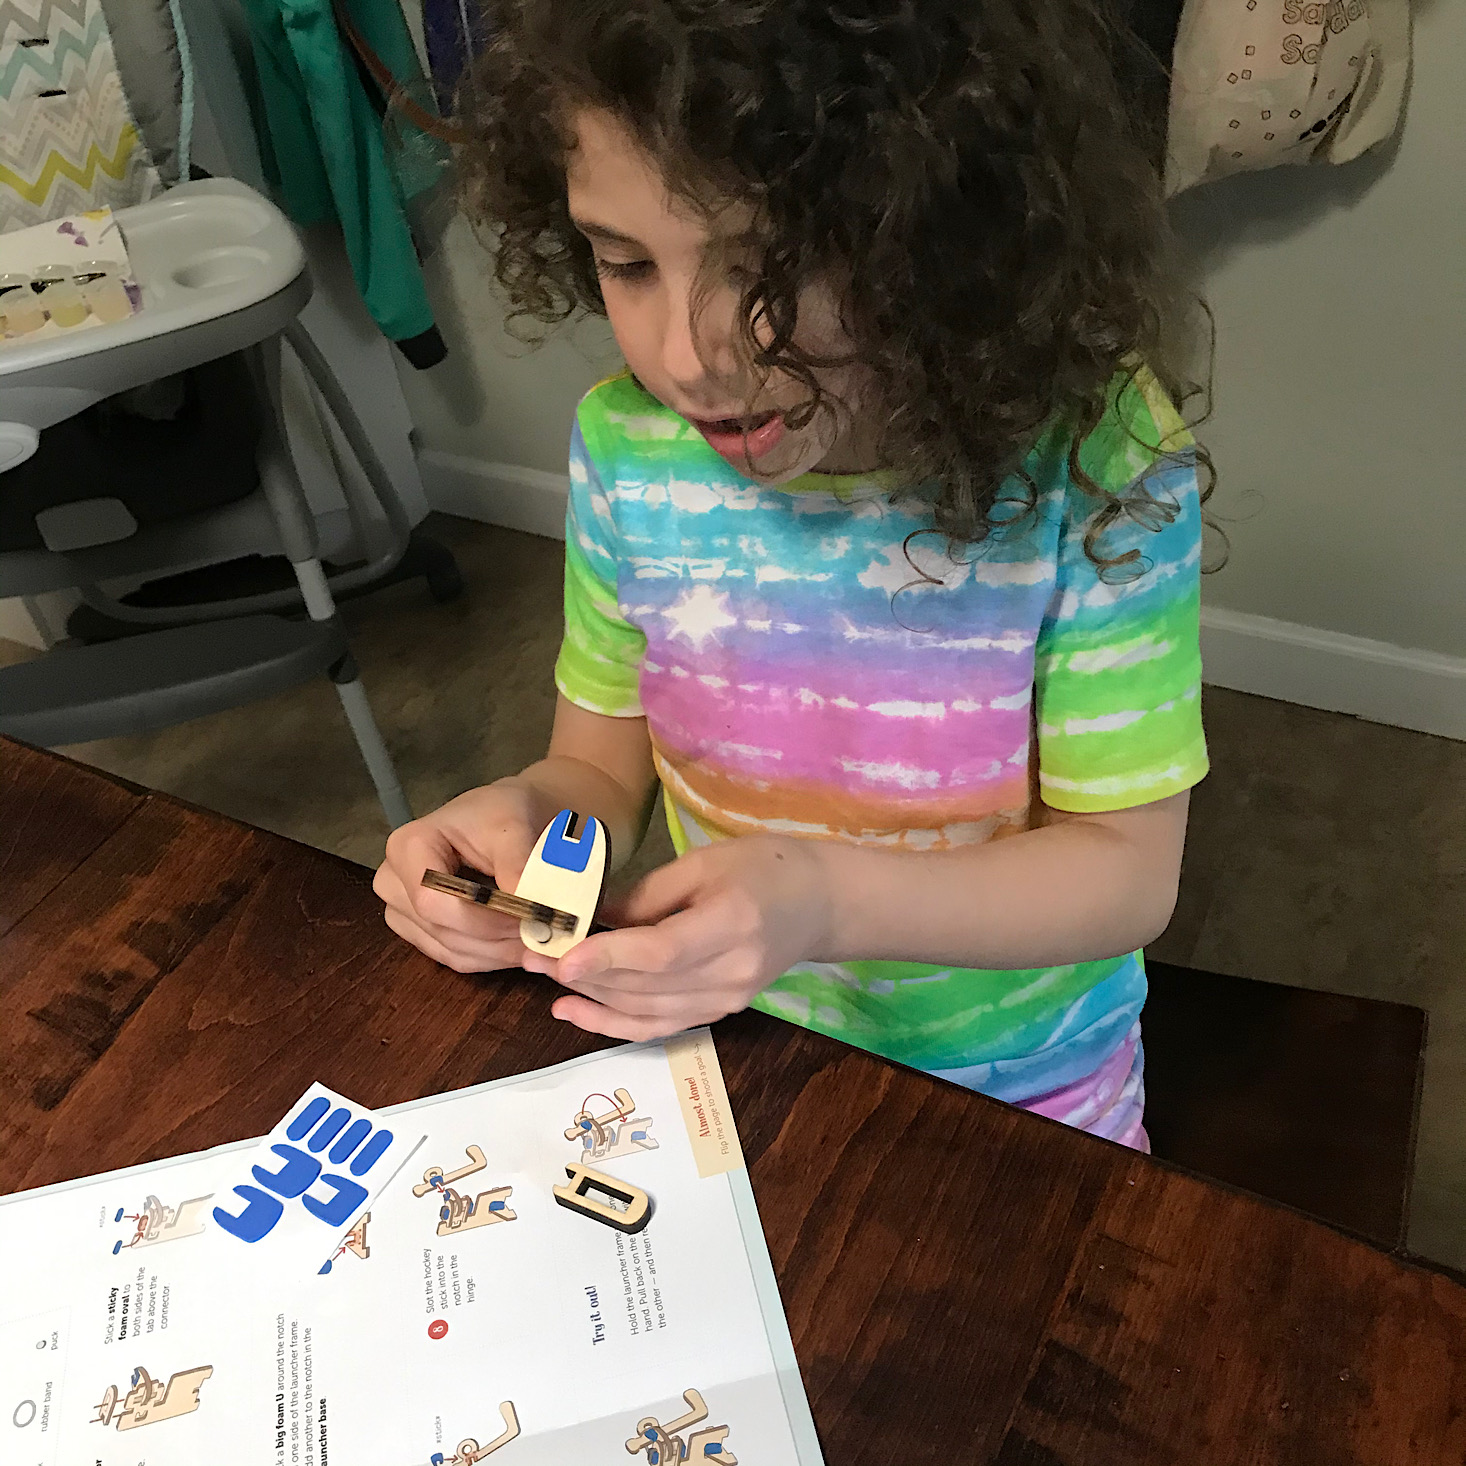
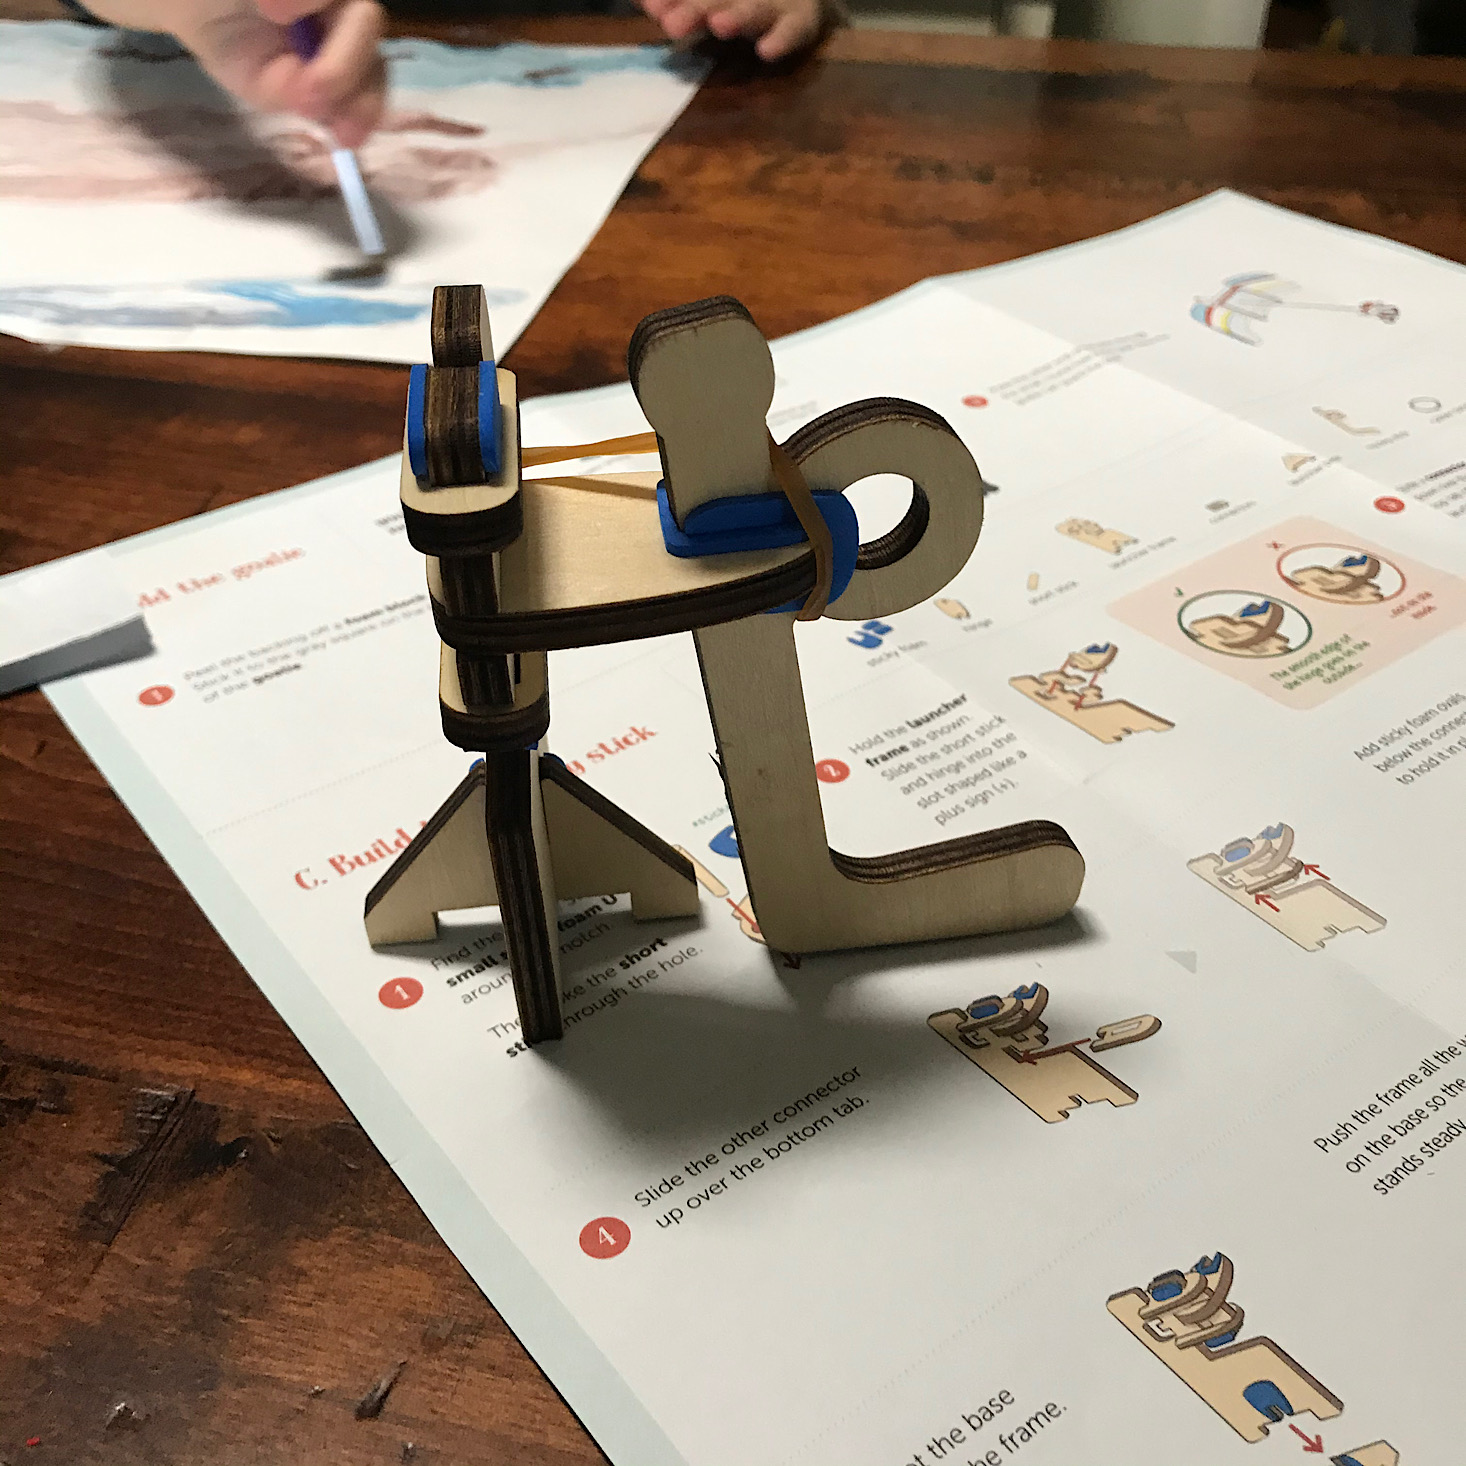
We slipped the connectors into place and used the oval foam stickers to keep them secure. We also added a base so that the launcher would stand upright.
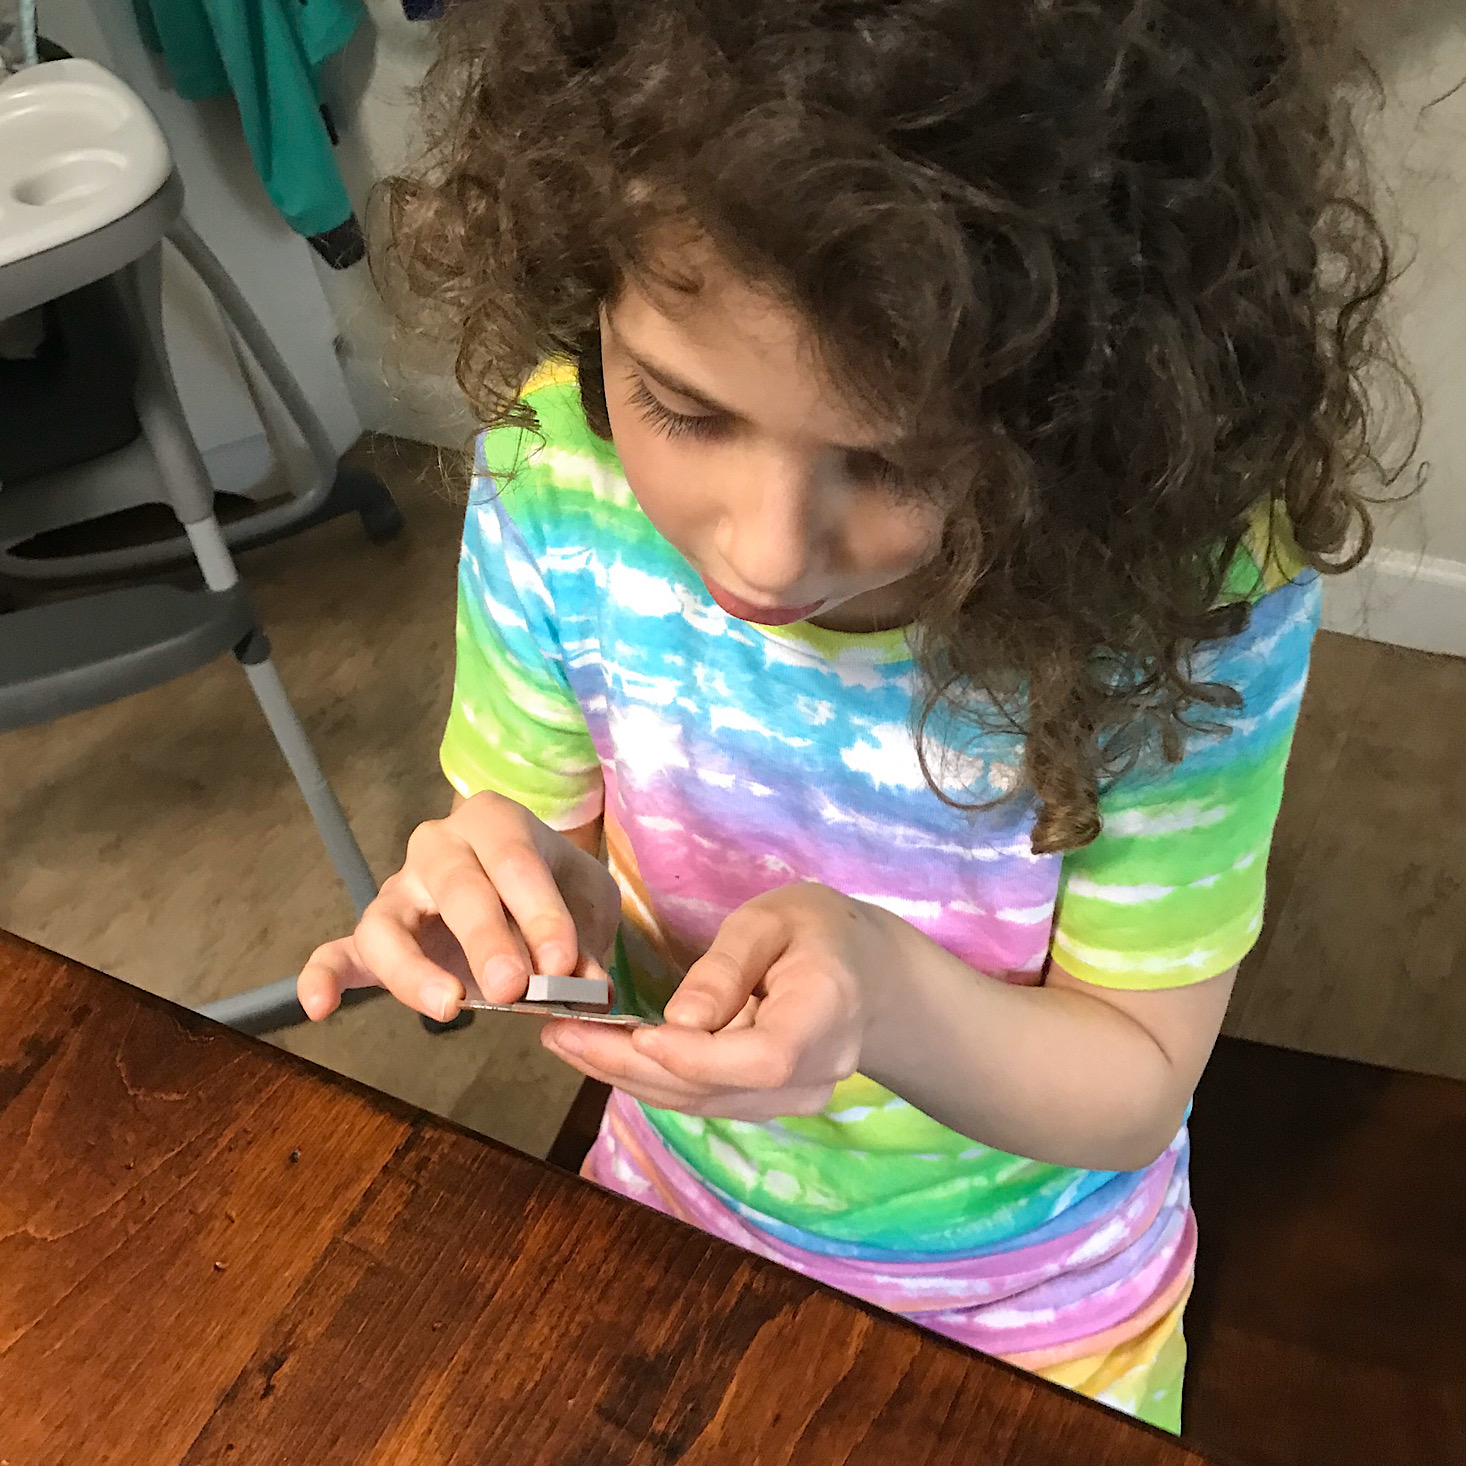
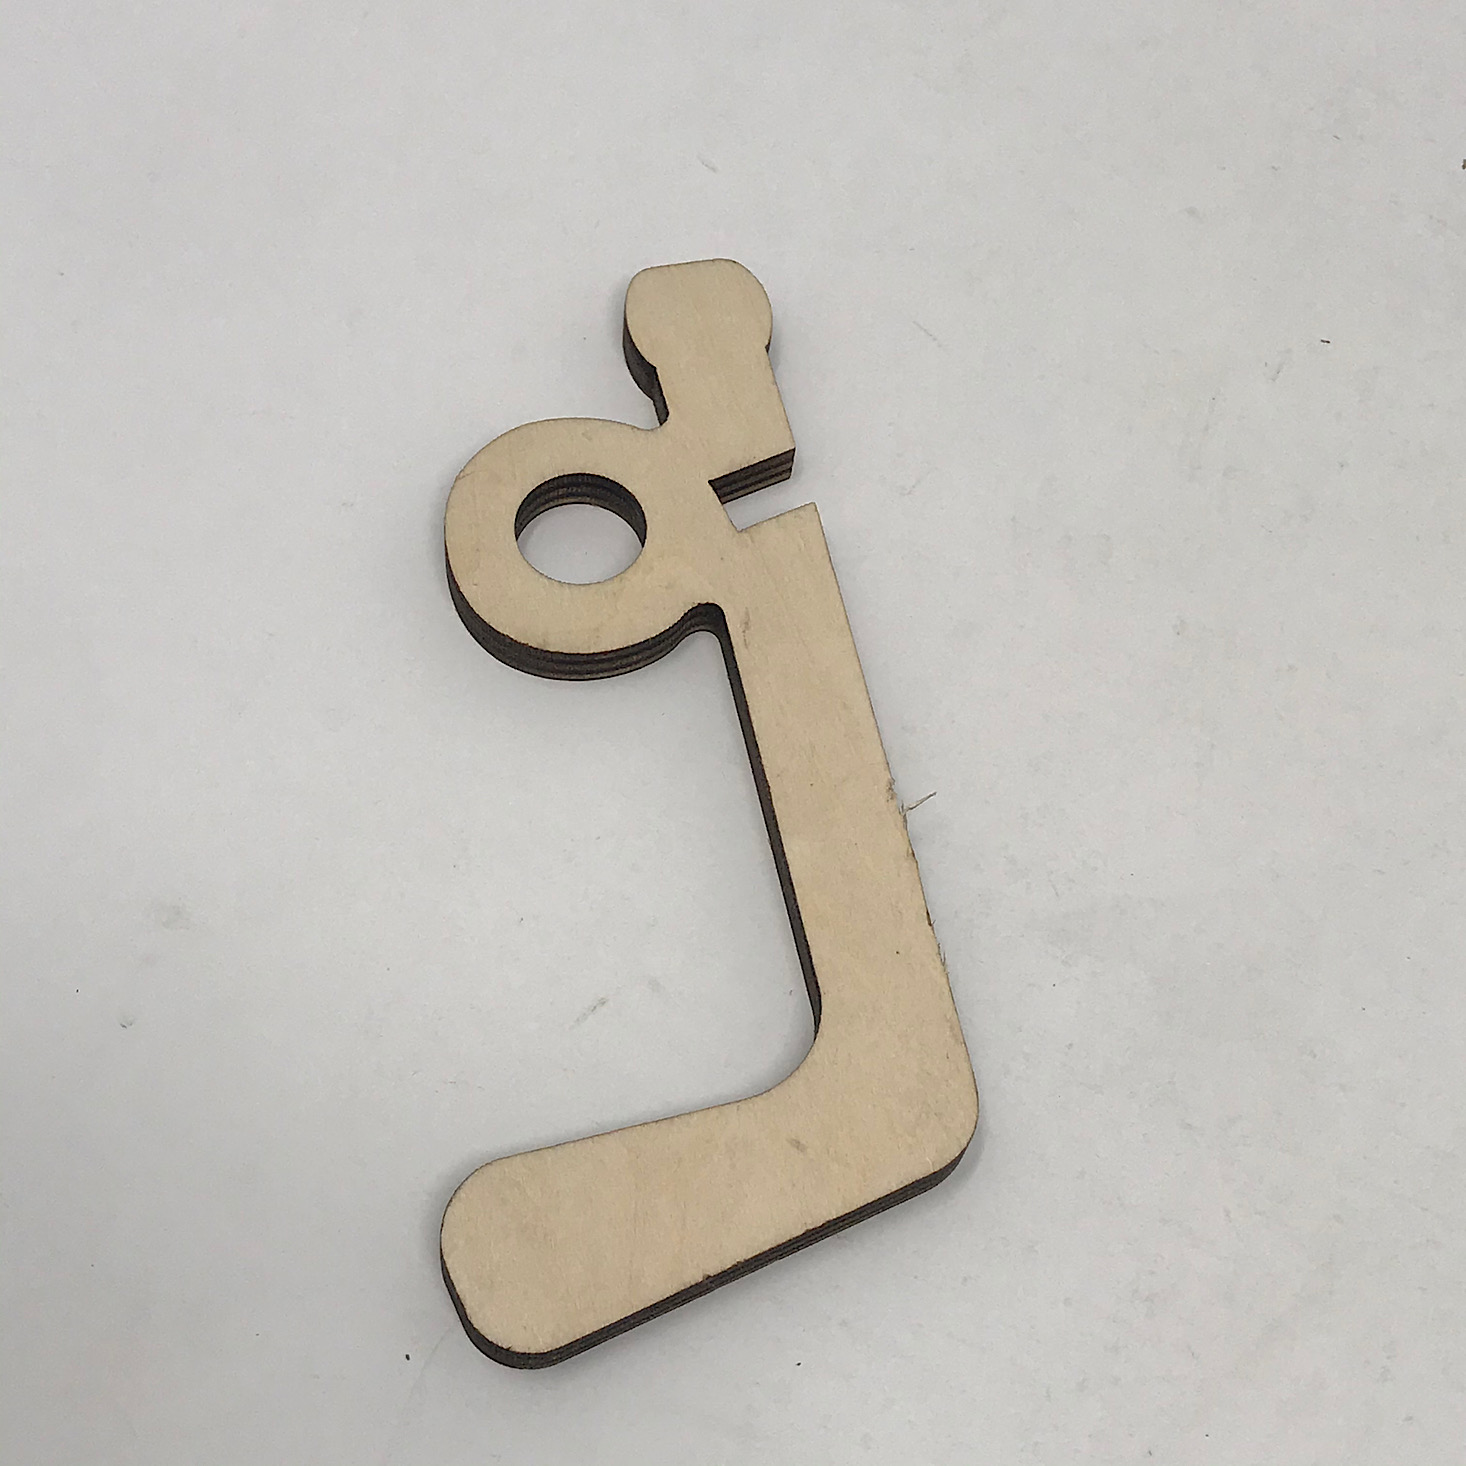
My daughter then added a foam sticker to the hockey stick before we slid it onto the launcher frame.
We added a rubber band and our hockey stick was ready to go!
They included a tiny little wooden puck for us to shoot into our goal.

My daughter had some fun testing it out for us! You simply pull the hockey stick back and the rubberband flicks it forward so it can strike the puck. They recommend playing it with two people with one person acting as the goalie and the other shooting the puck with the hockey stick. This was a cute idea and it definitely provided some entertainment for us!
Here you can see it in action, although it was a bit difficult to operate with one hand as I filmed! The launcher worked pretty well once we got the hang of it.
Verdict: This month's Atlas Crate box was another fun one! The moose snow globe was such a unique and cute little project! My kids thought it was really cool and I was impressed with the simplicity. I also loved that it used air instead of water as a typical snow globe would which was far less dangerous and had less potential for a mess! It was also nice that there was a fun little game for us to play with the hockey goal. Overall, it was another month of fun, educational activities that were well organized and gave us just a taste of another culture all delivered right to our door!
To Wrap Up:
Can you still get this box if you sign up today? From KiwiCo:
Crates are assigned each month based on availability and your crate history - not all subscribers receive the same theme each month.
Check out all of our KiwiCo reviews and the best subscription boxes for kids!
Keep Track of Your Subscriptions: Add this box to your subscription list or wishlist!
What do you think of Atlas Crate?









































Please do not enter your email address in the Name field or in the comment content. Your email address will not be published. Required fields are marked *. Remember to post with kindness and respect. Comments with offensive language, cruelness to others, etc will not be approved. See our full comment policy here.