
MEL Kids is a subscription box for children ages 5-10 that delivers a hands-on science experiment to your door each month along with an AR (augmented reality)-powered lesson to accompany it which is accessible from their app.

This box was sent to us at no cost for review. (Check out the review process post to learn more about how we review boxes.)

About MEL Kids
The Subscription Box: MEL Kids
The Cost: $24.90 per month
The Products: A science-themed project and an AR lesson to go along with it, accessible through the app.
Ships to: The U.S. for free (shipping may open up to other areas in the future)
MEL Kids "Lava Fan" Review March 2020
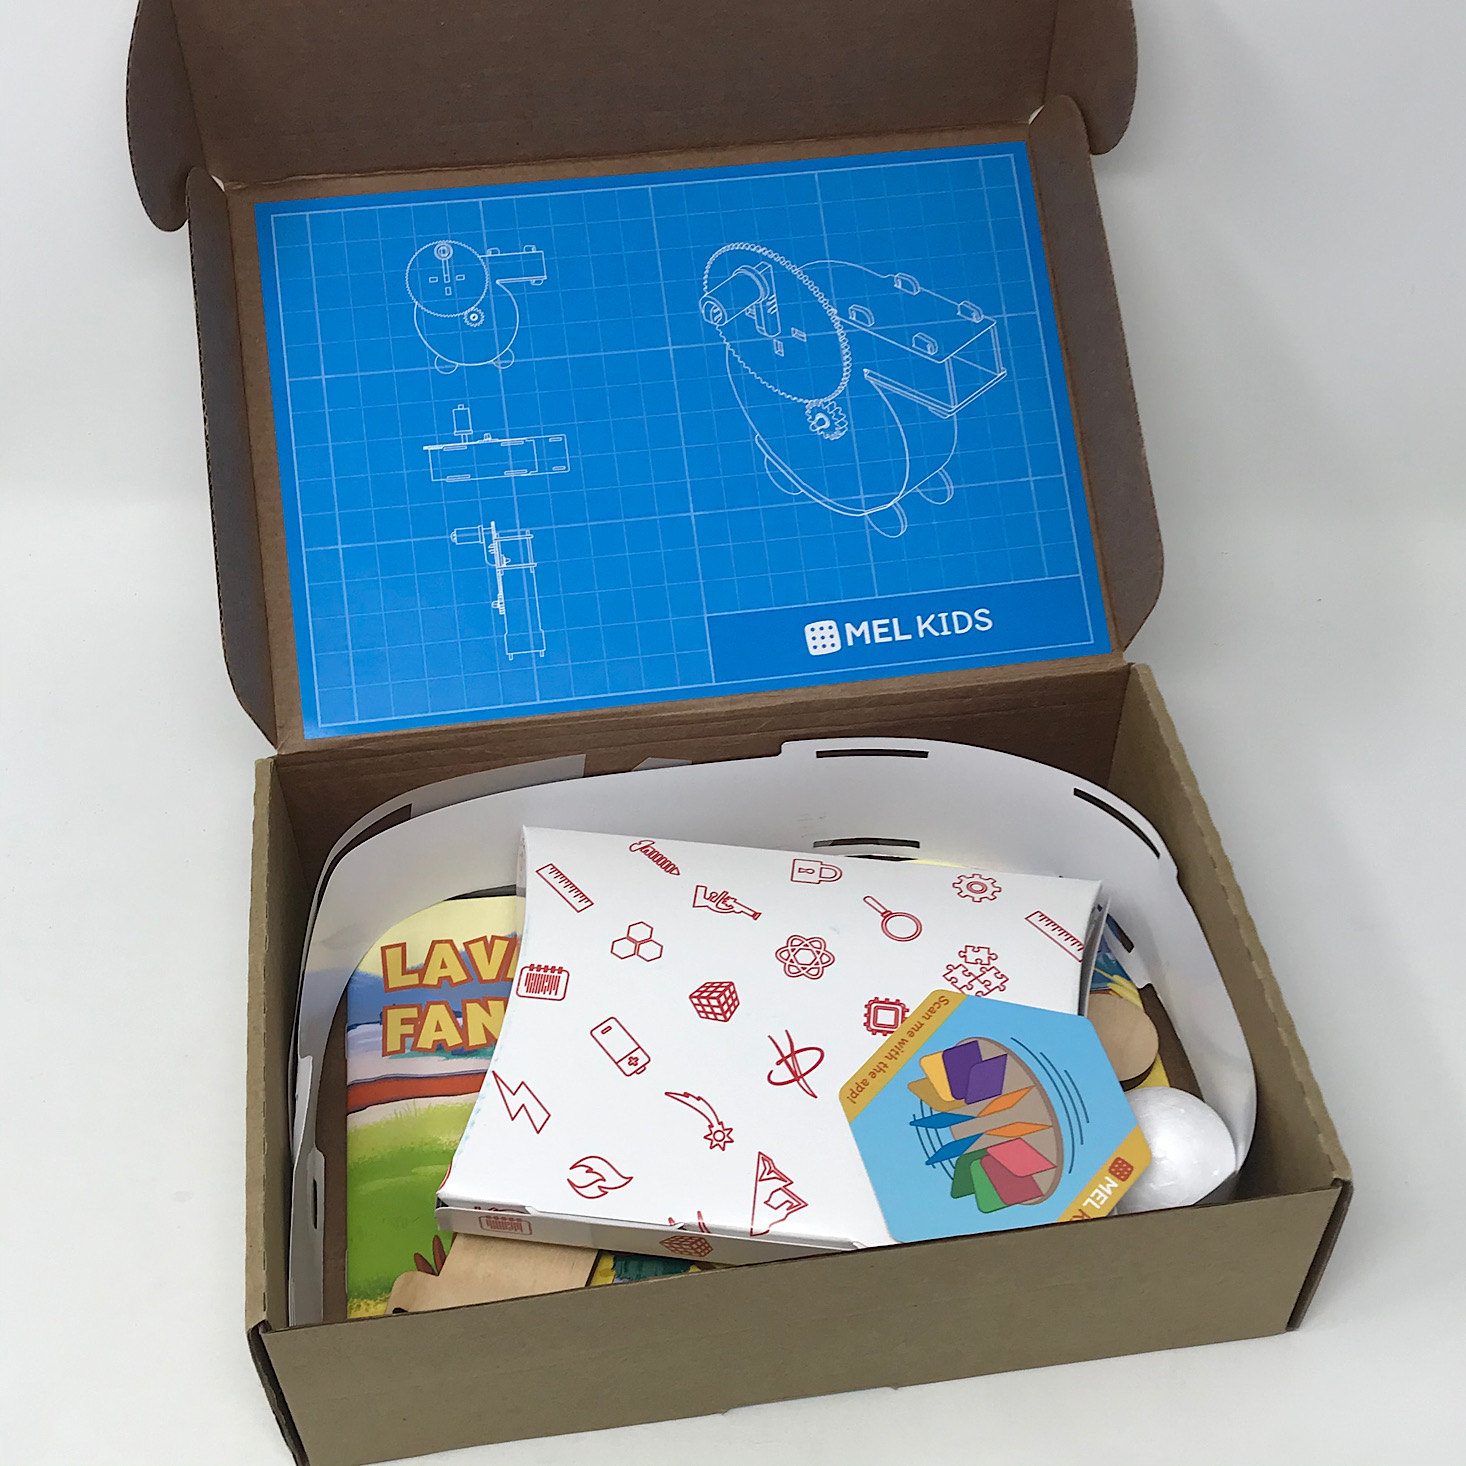
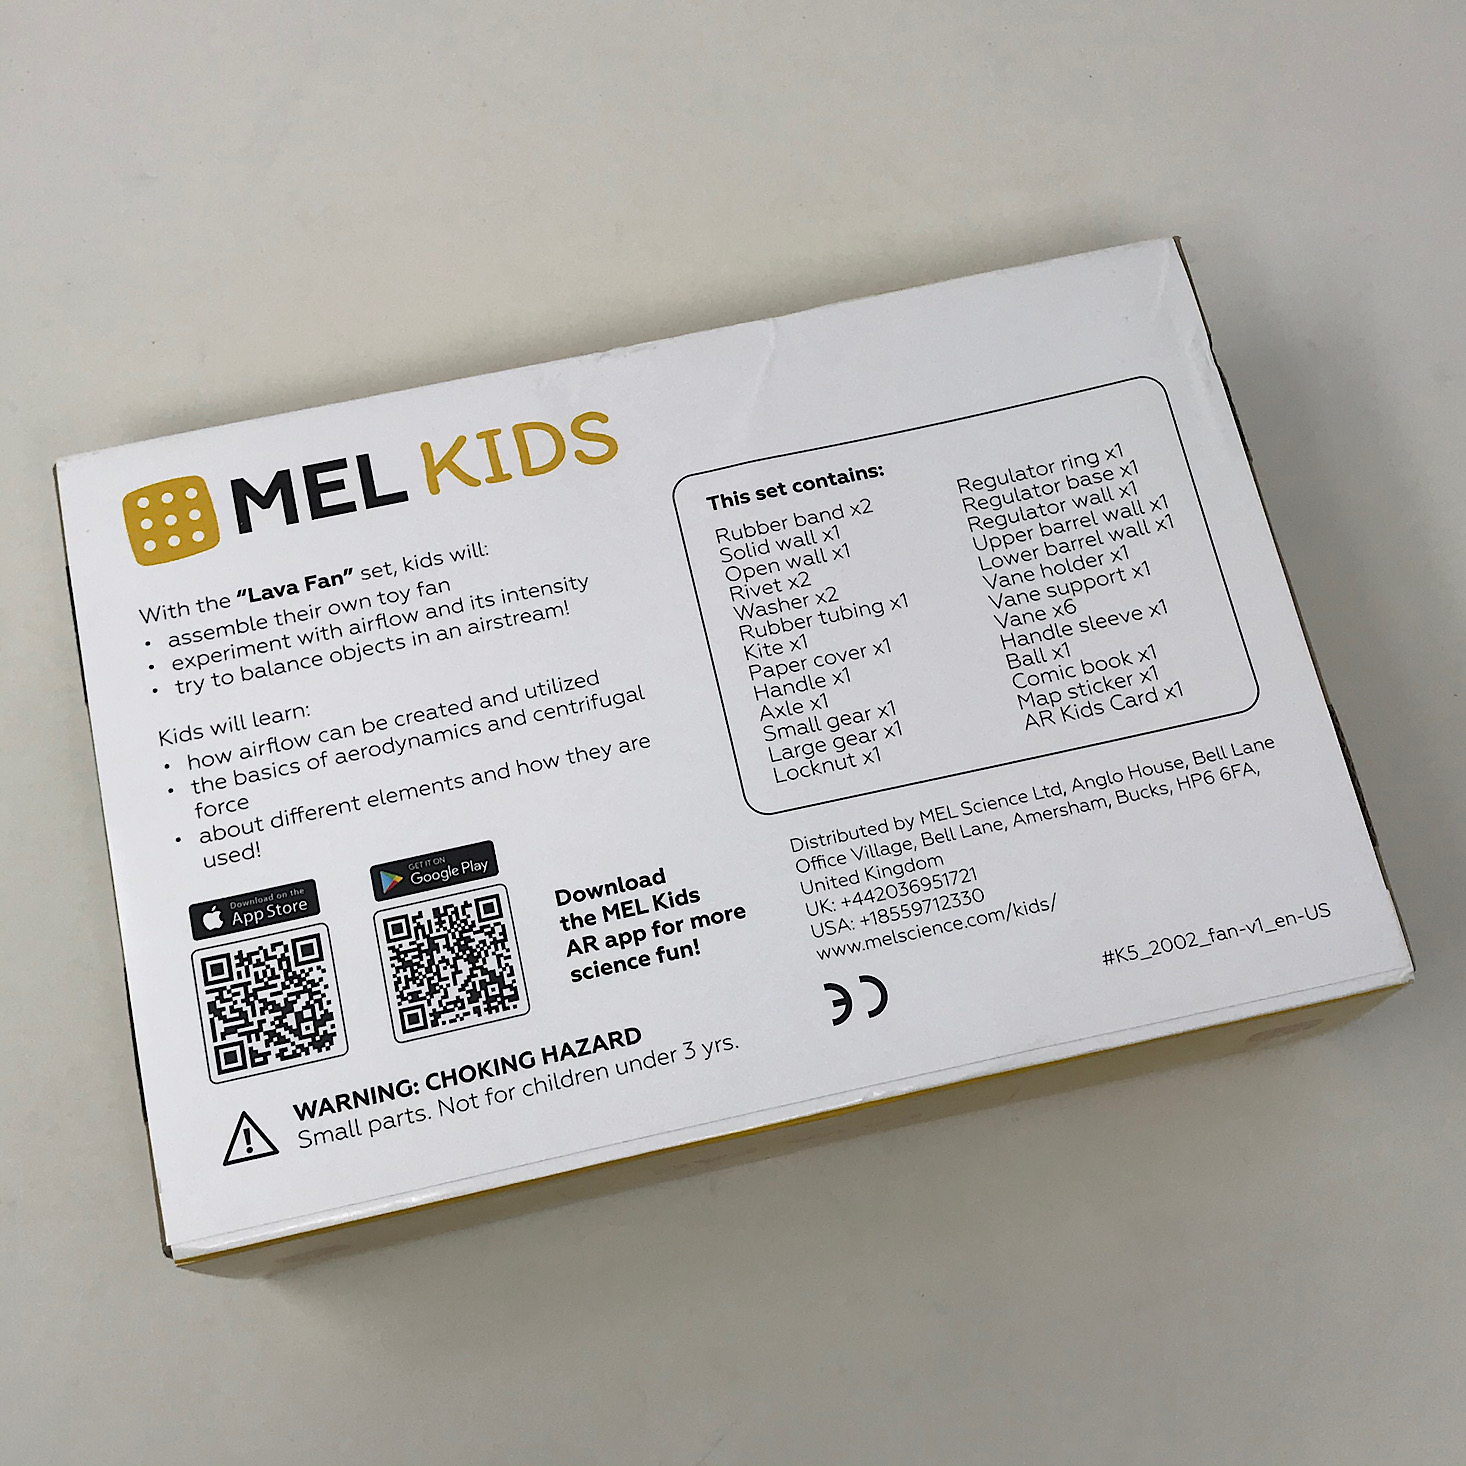
On the back of the sleeve for our box was a contents list and a quick description of our product. Underneath was a plain cardboard box that contained all of our items with a nice little blueprint on the inside flap.
Mystery Planet Map
In your first box, you will receive this Mystery Planet Map. It is a nice large, colorful map on some heavier stock paper and it is very detailed and fun! There are transparent rectangles located throughout the map which provide a spot for us to add stickers as we complete different projects each month.
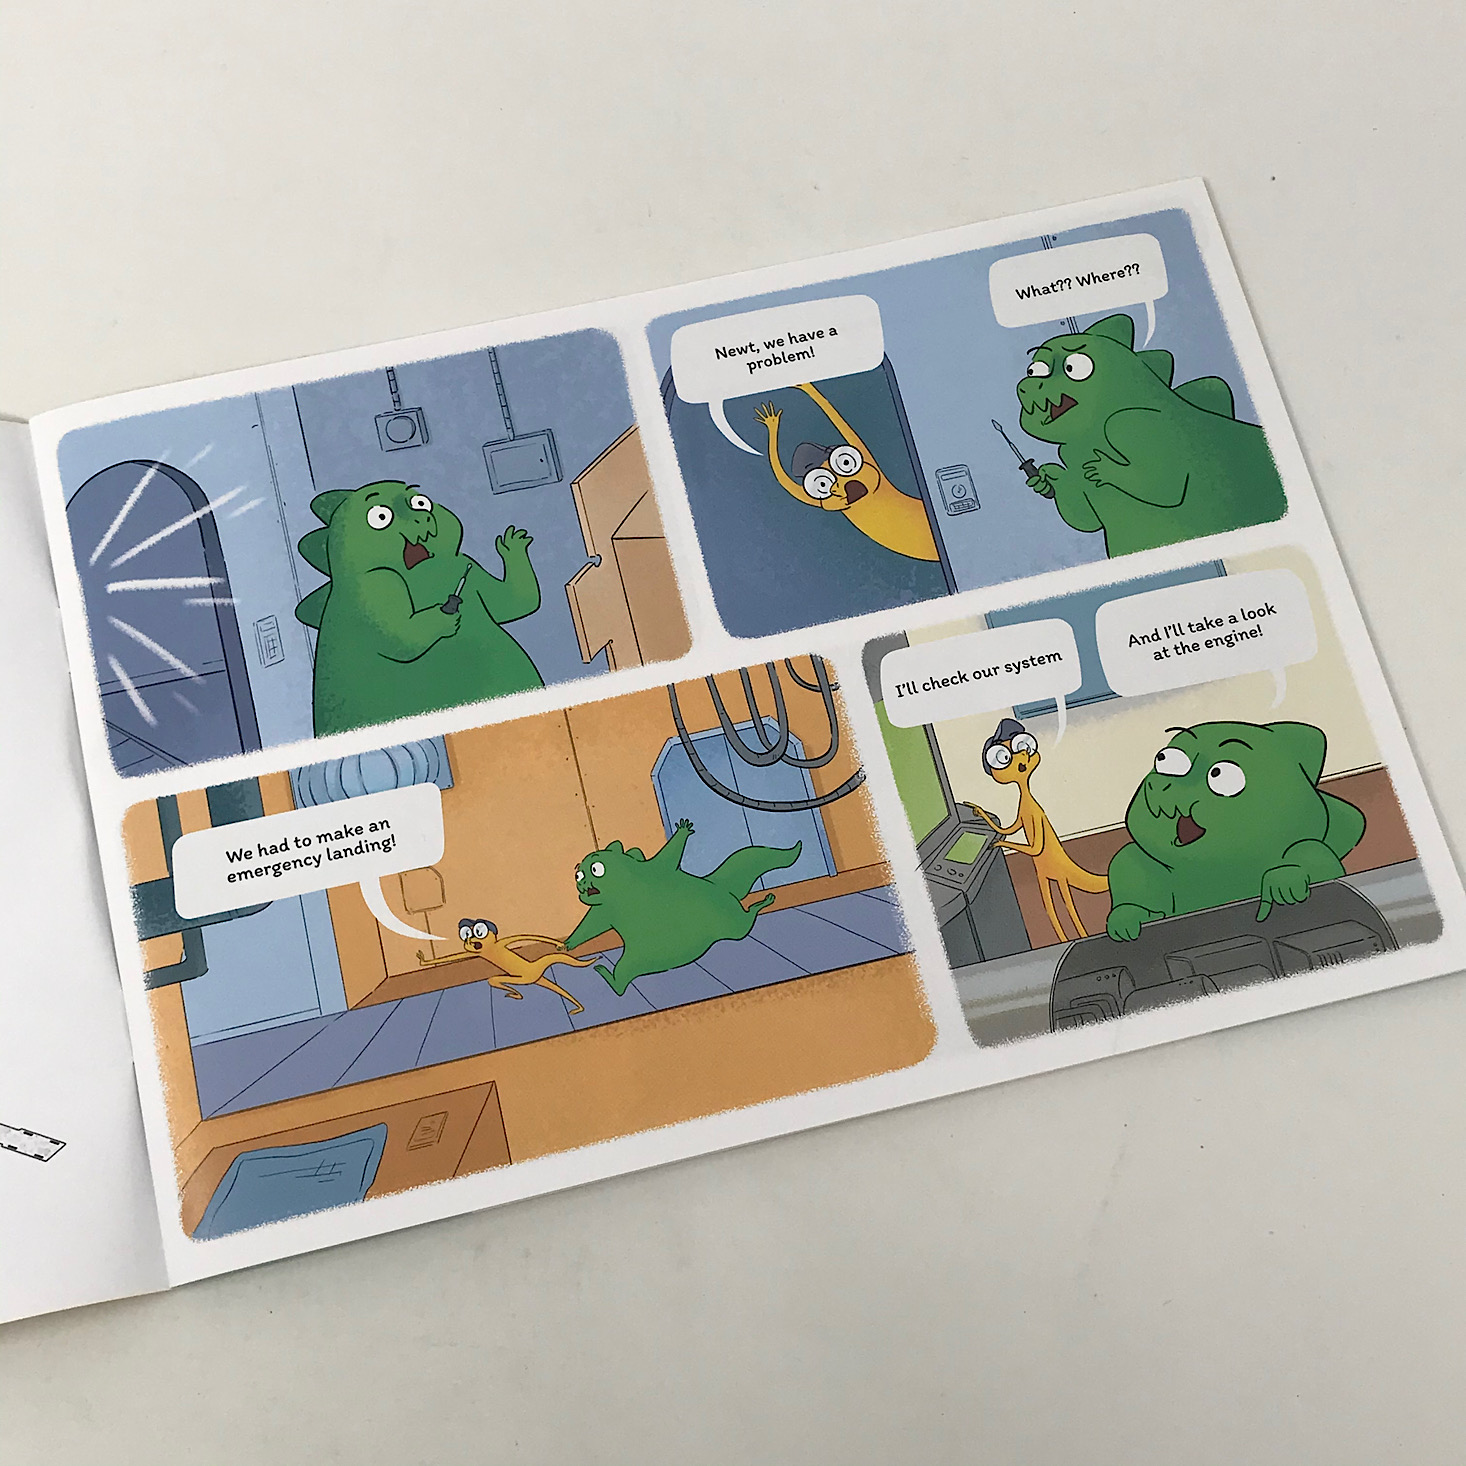
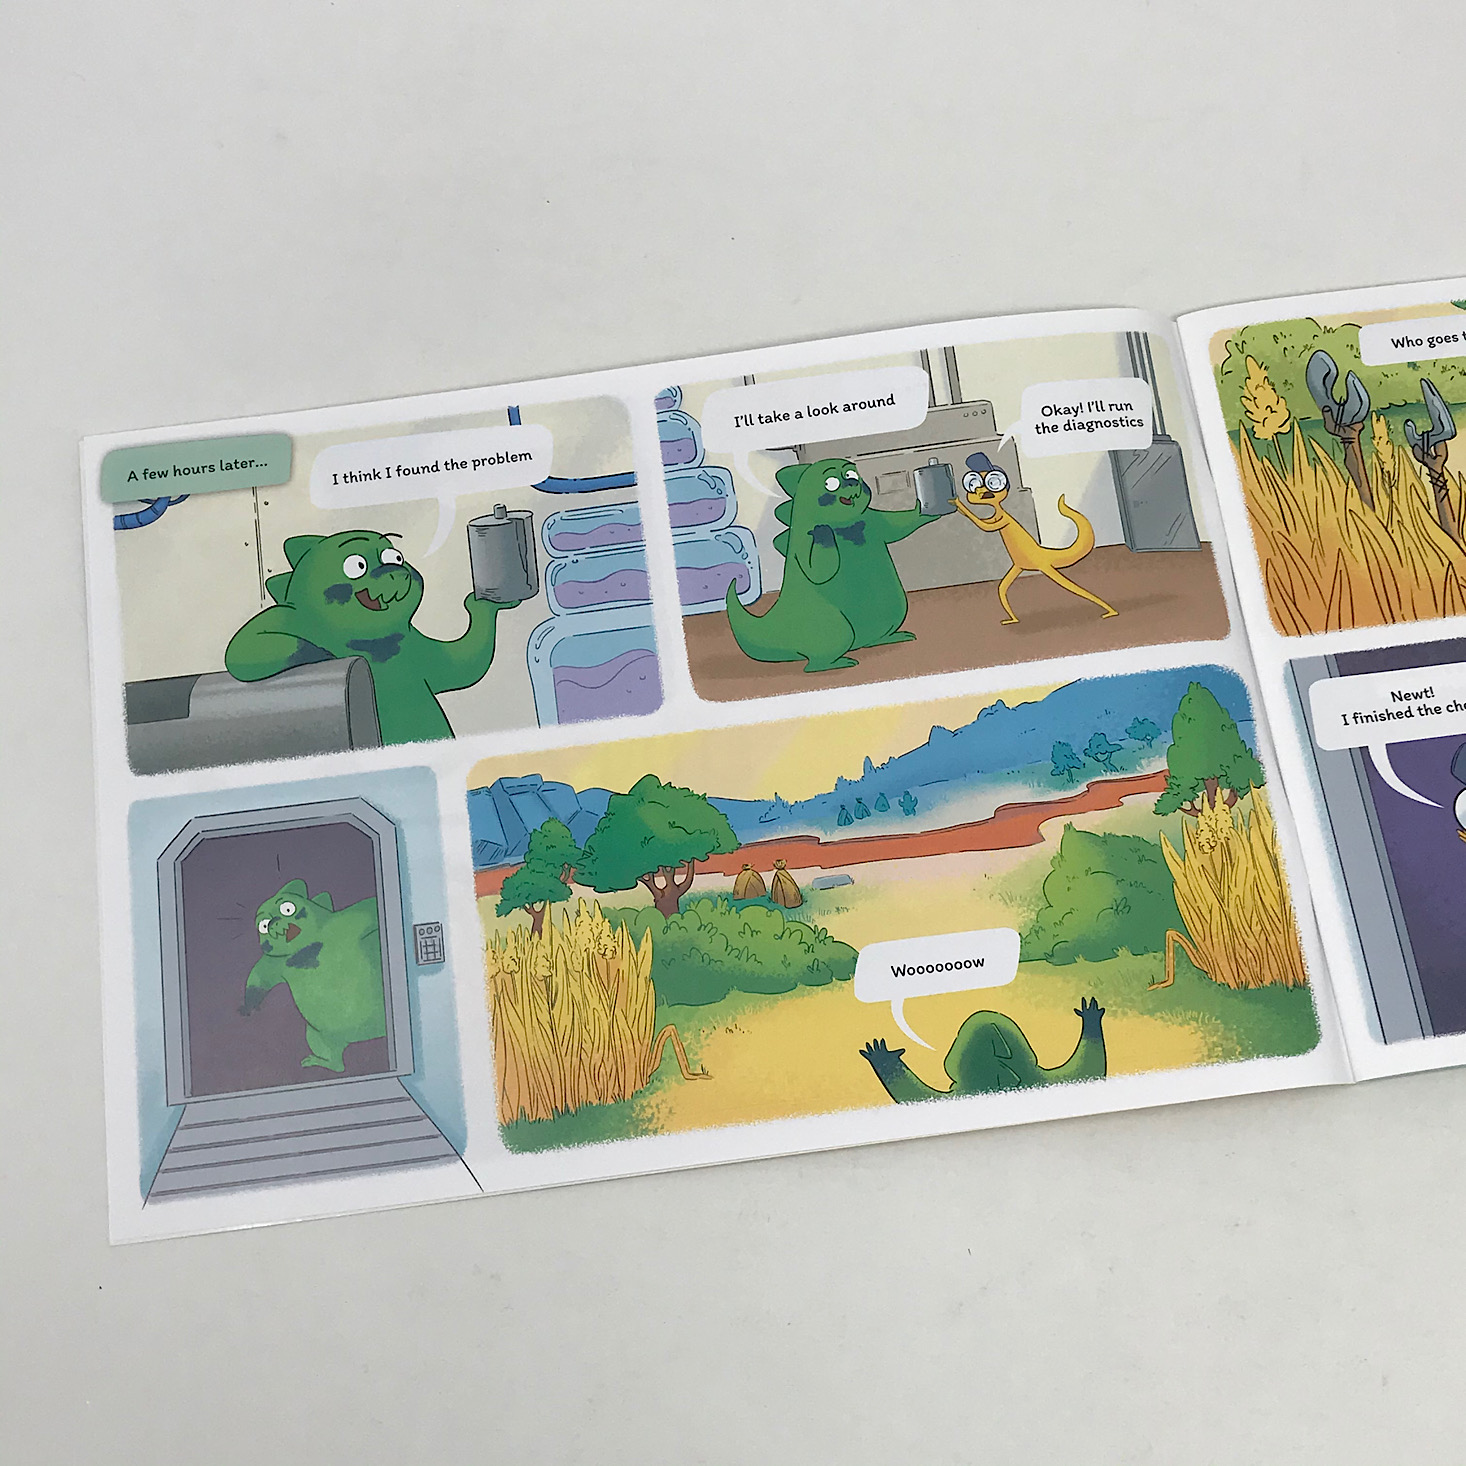
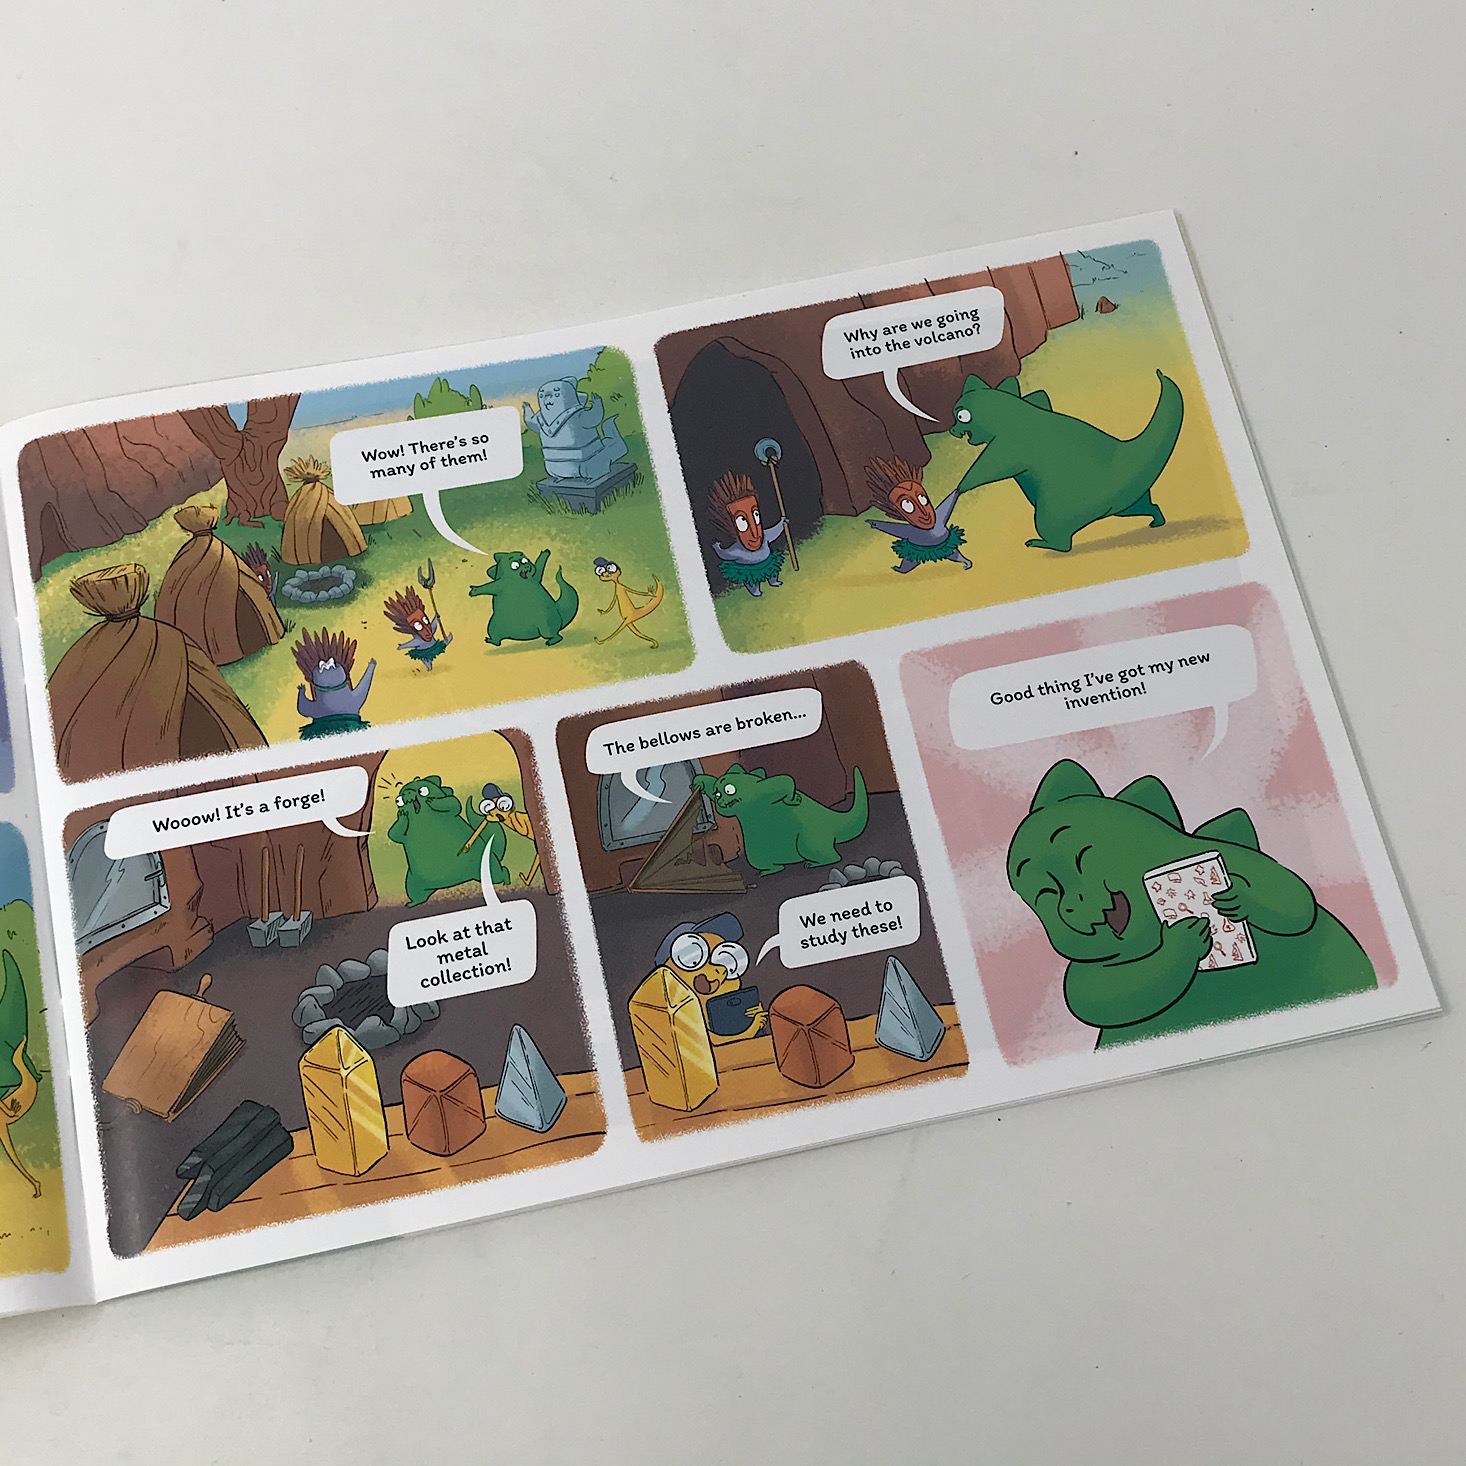
Inside our box was this booklet which contained all of the information we needed. The first page contained a list of the contents along with pictures. The next few pages began our comic story which would lead us to our project. This is such a creative way to get kids engaged in their learning!
Several of our pieces came neatly organized inside of this box which is the same one featured in the story illustrations. This is always such a fun touch that makes it even more engaging!
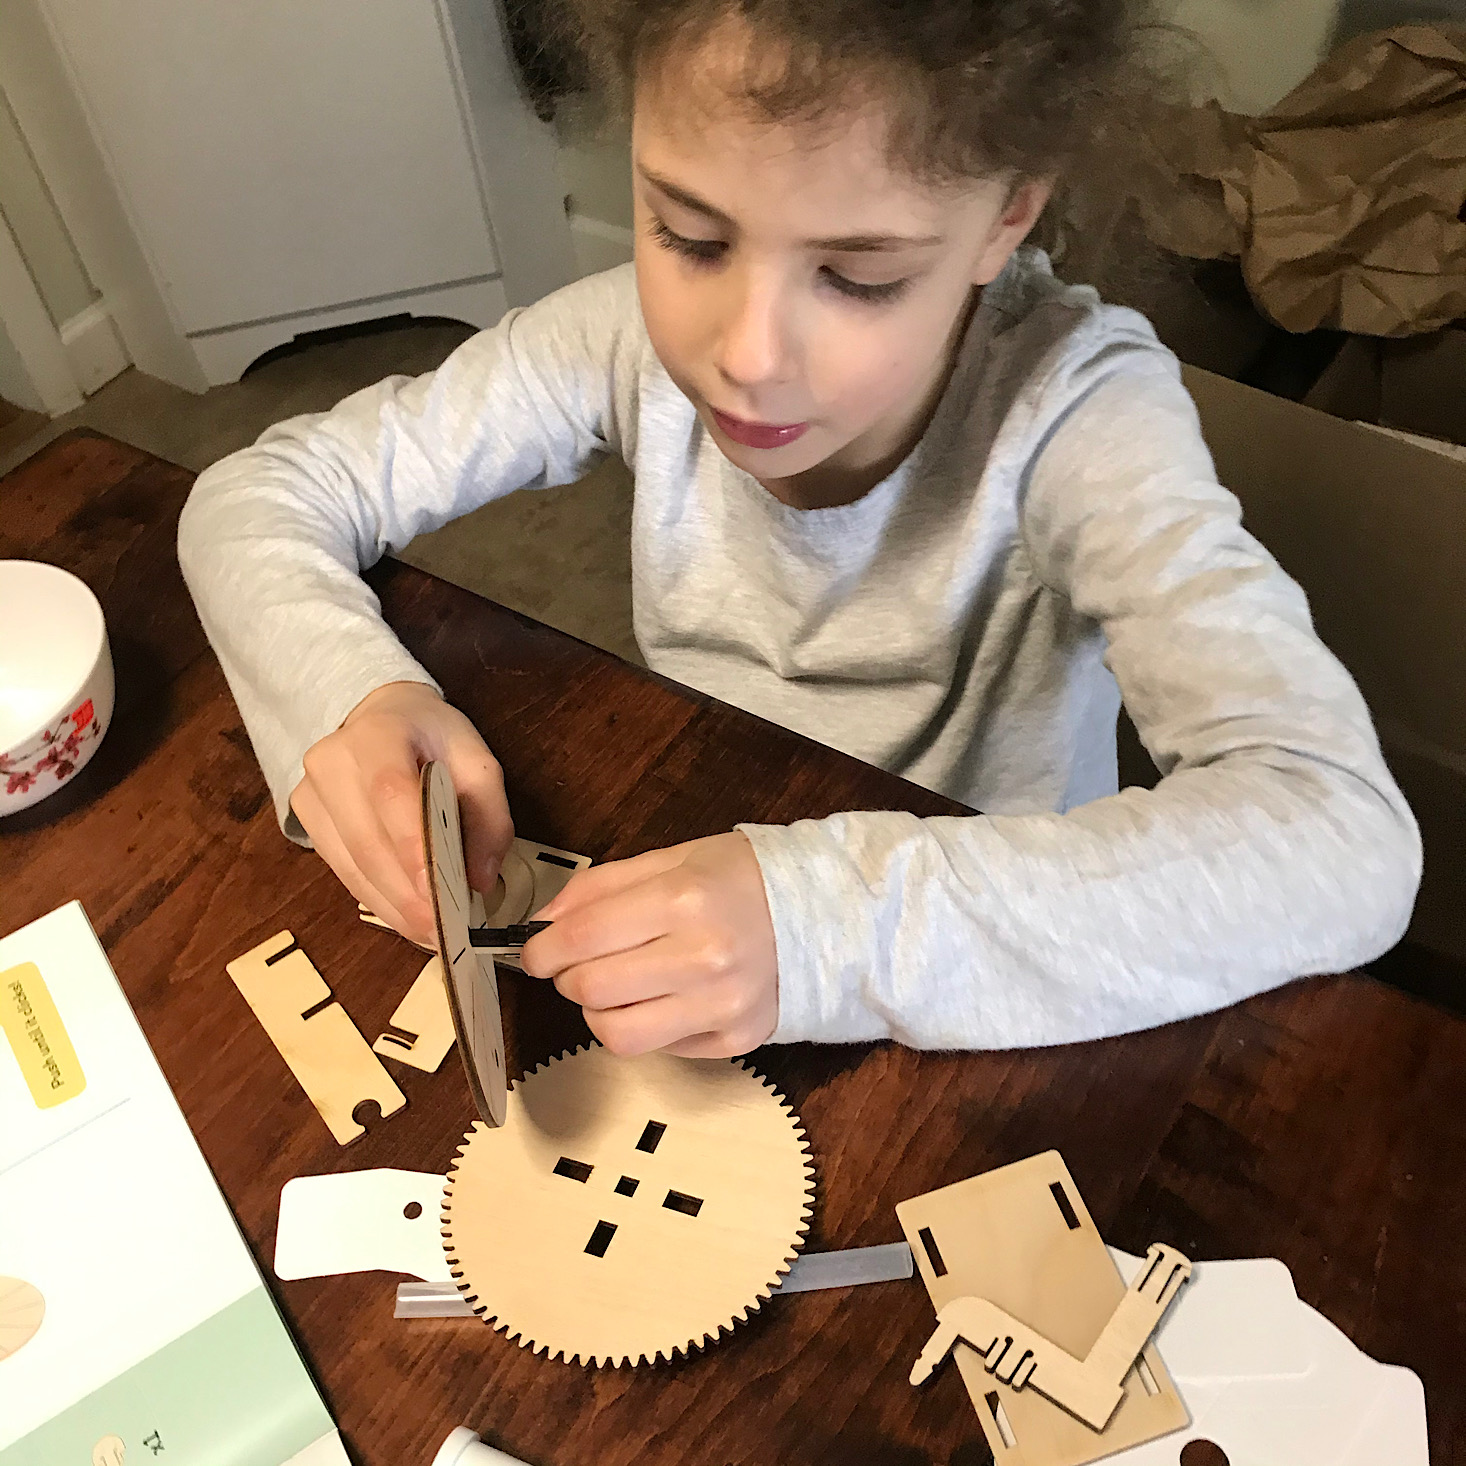
The directions feature large colorful illustrations and numbered steps making it easy for my 5-year-old to follow along. She opened up the box and started sorting through the pieces.
The first step was to add the small axel to the center of the wooden vane holder.
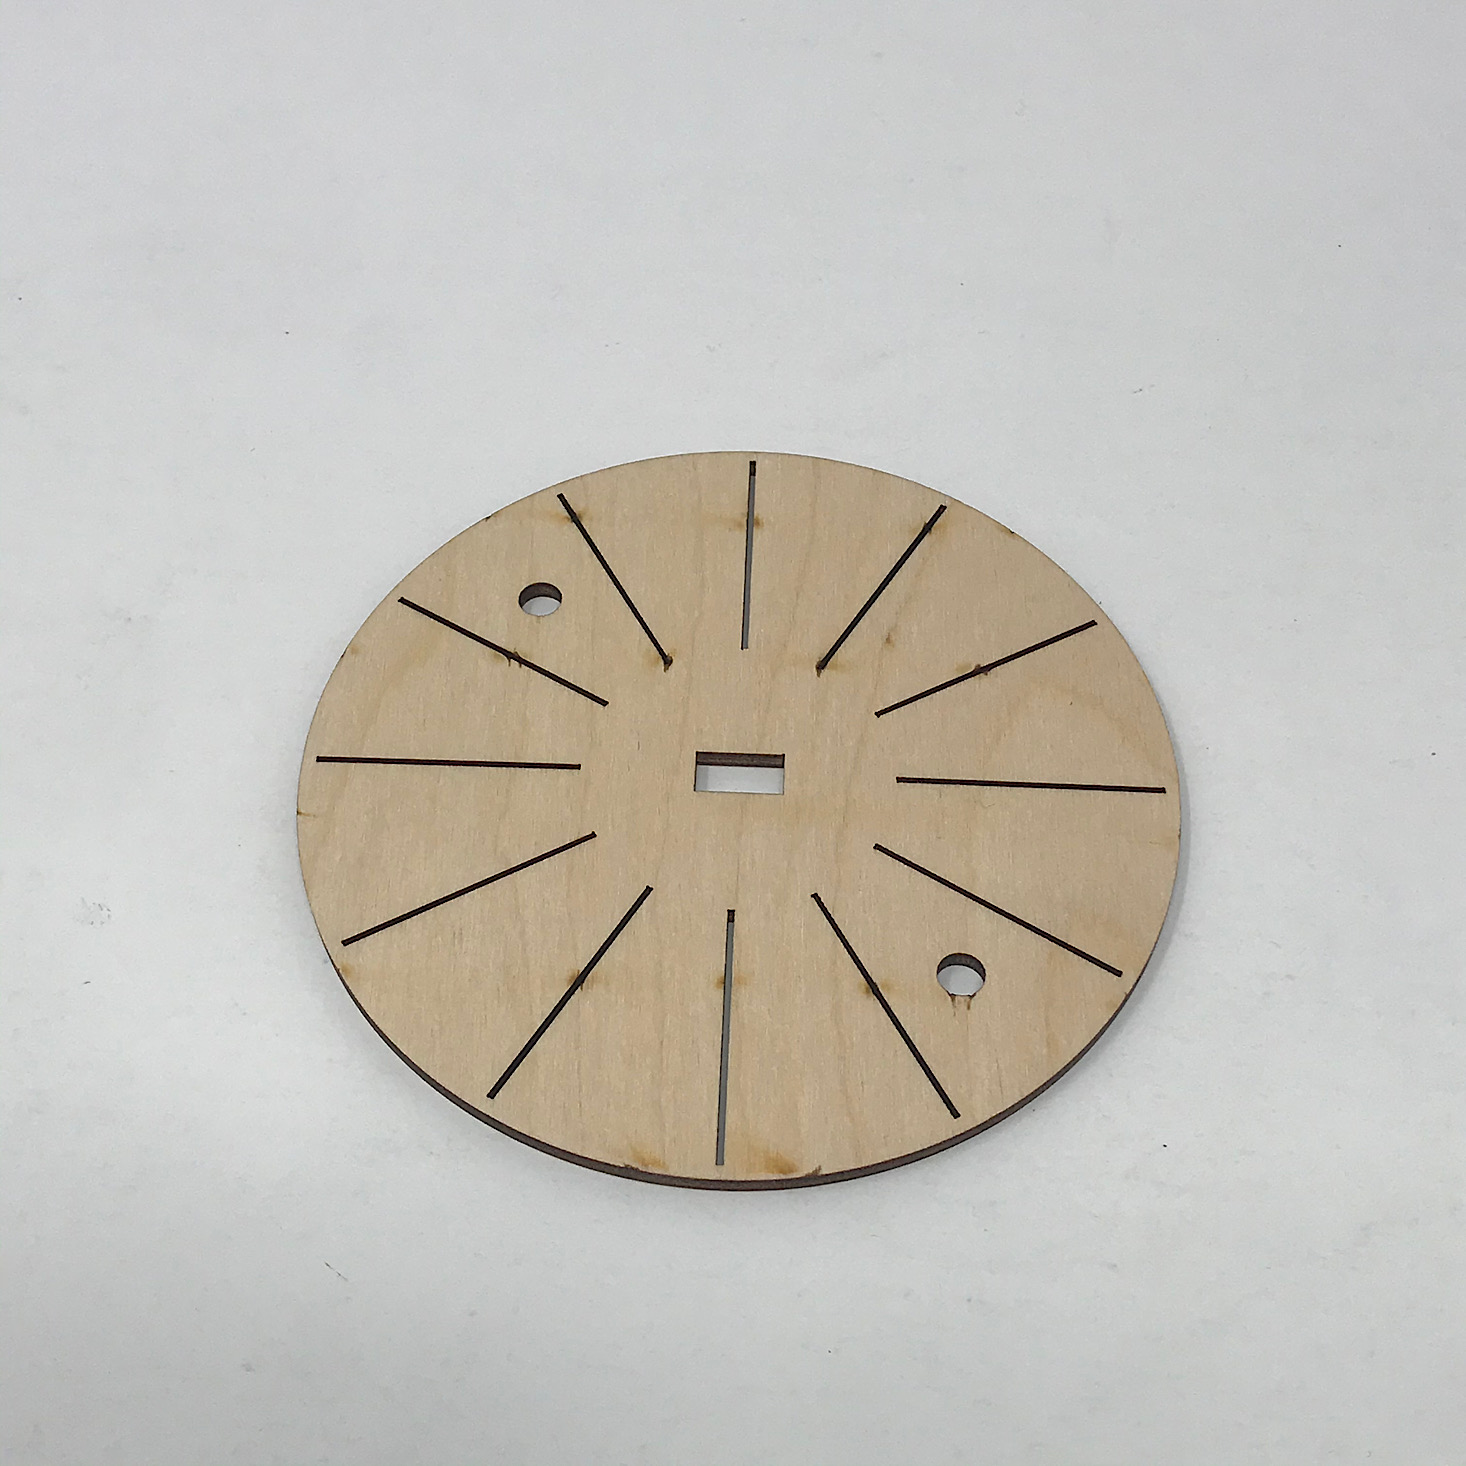
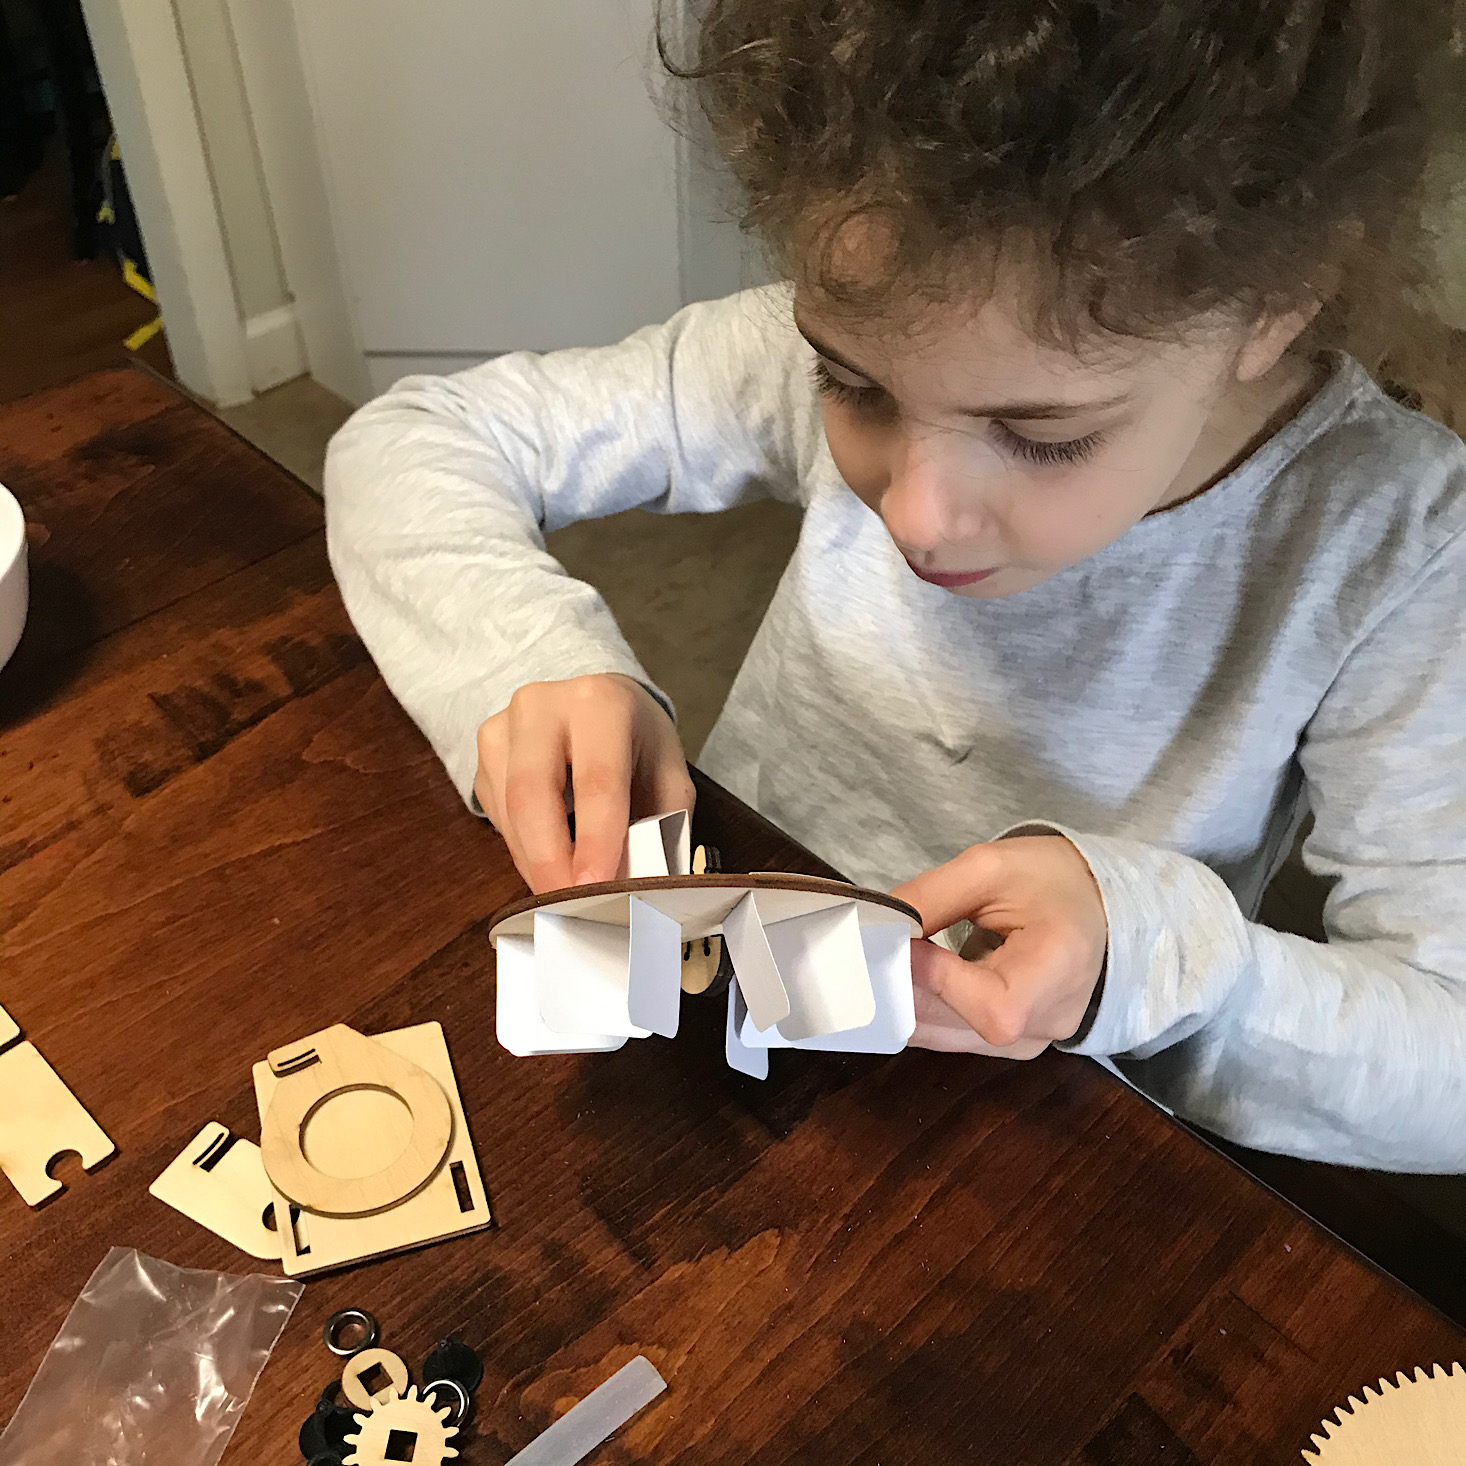
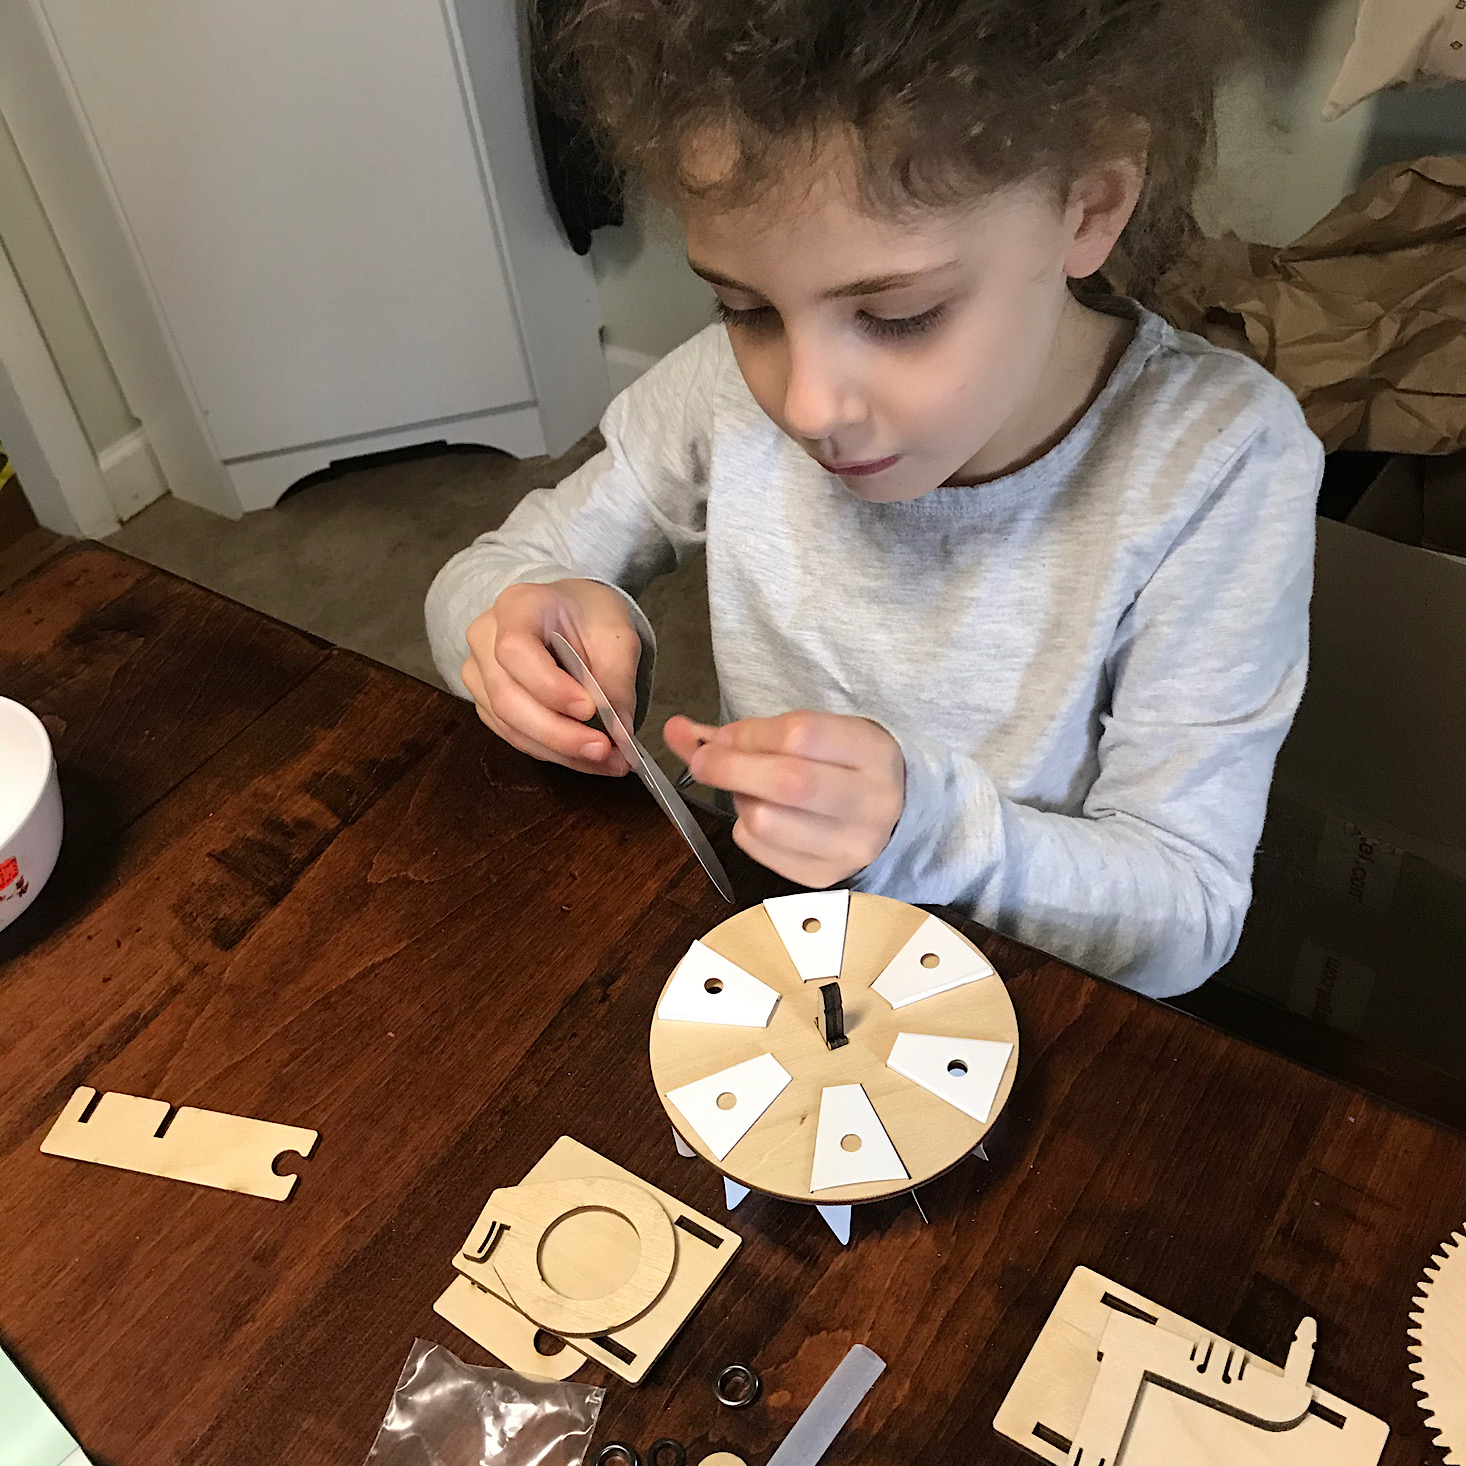
Then she folded up each of the paper vane pieces and inserted them into the slots around the circle.
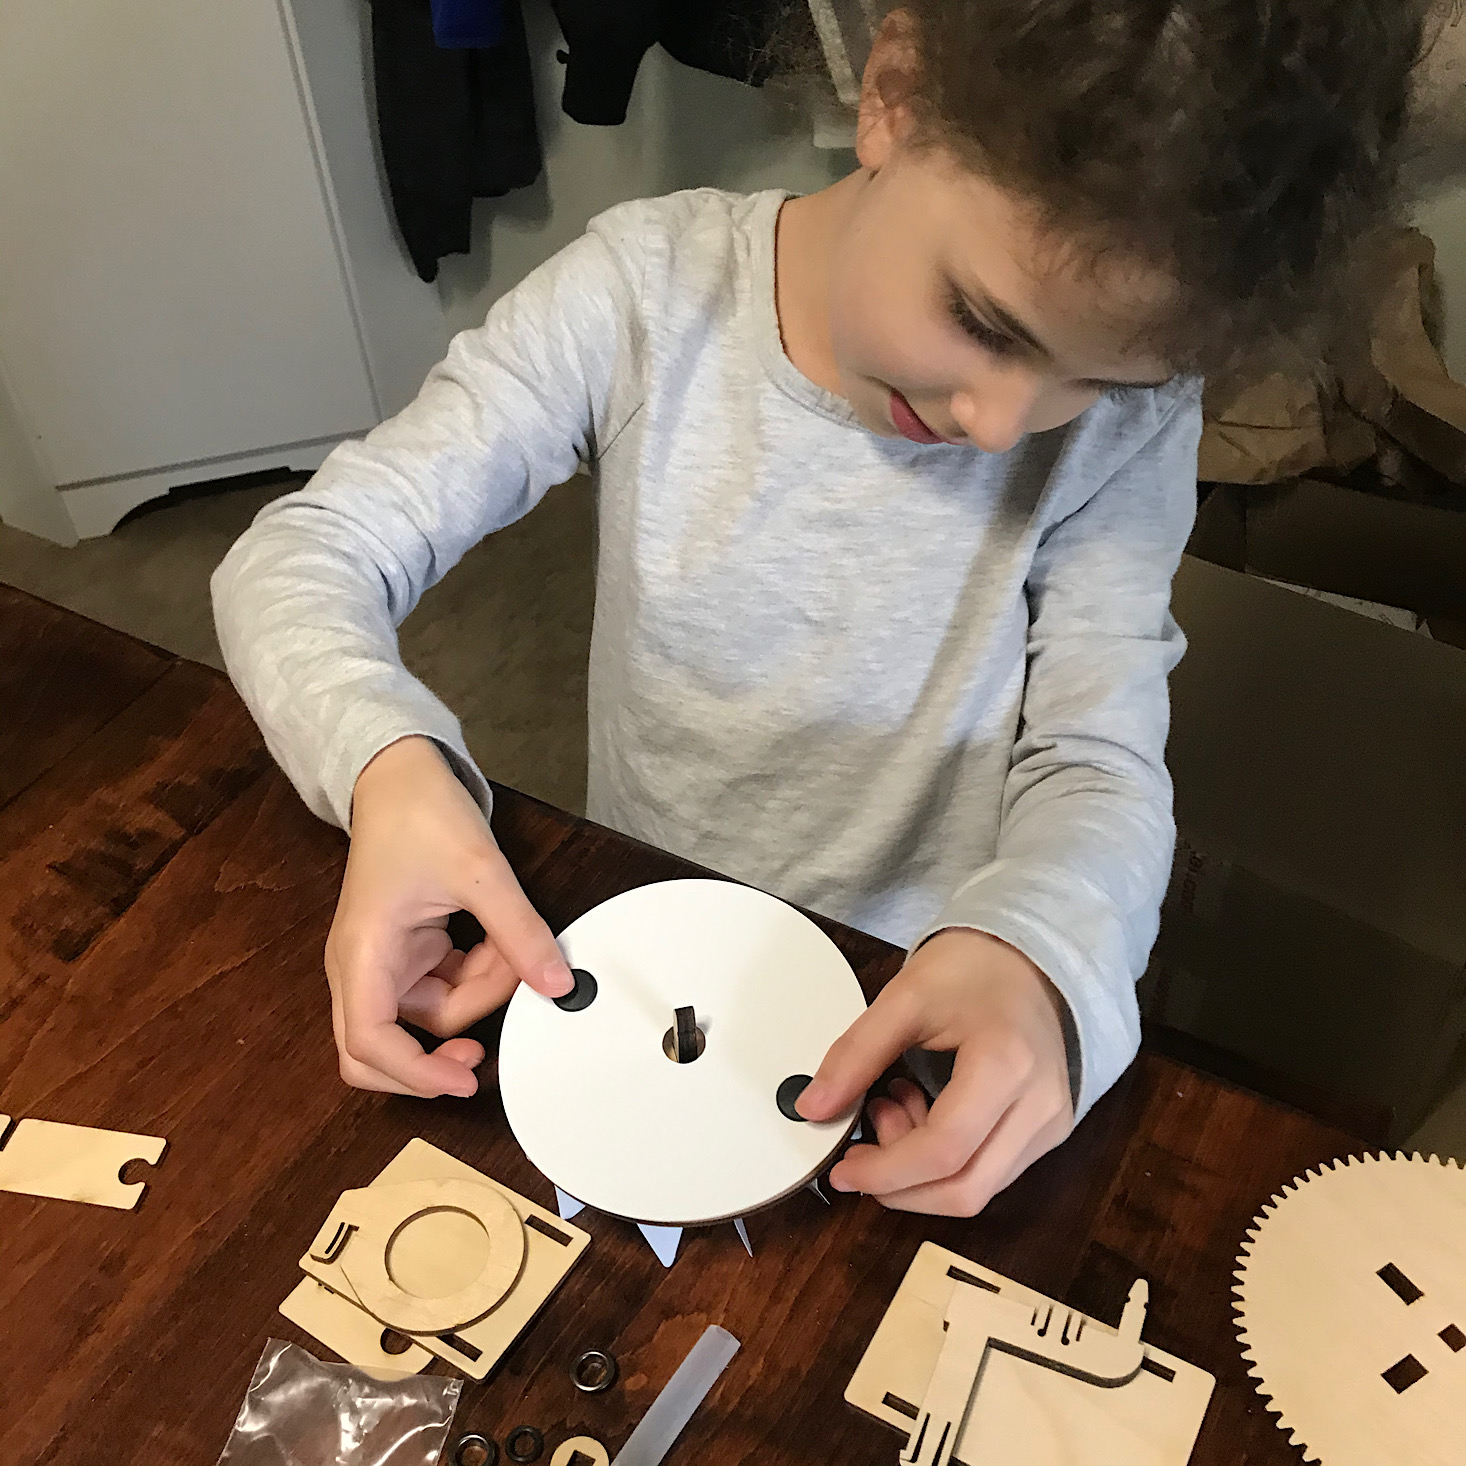
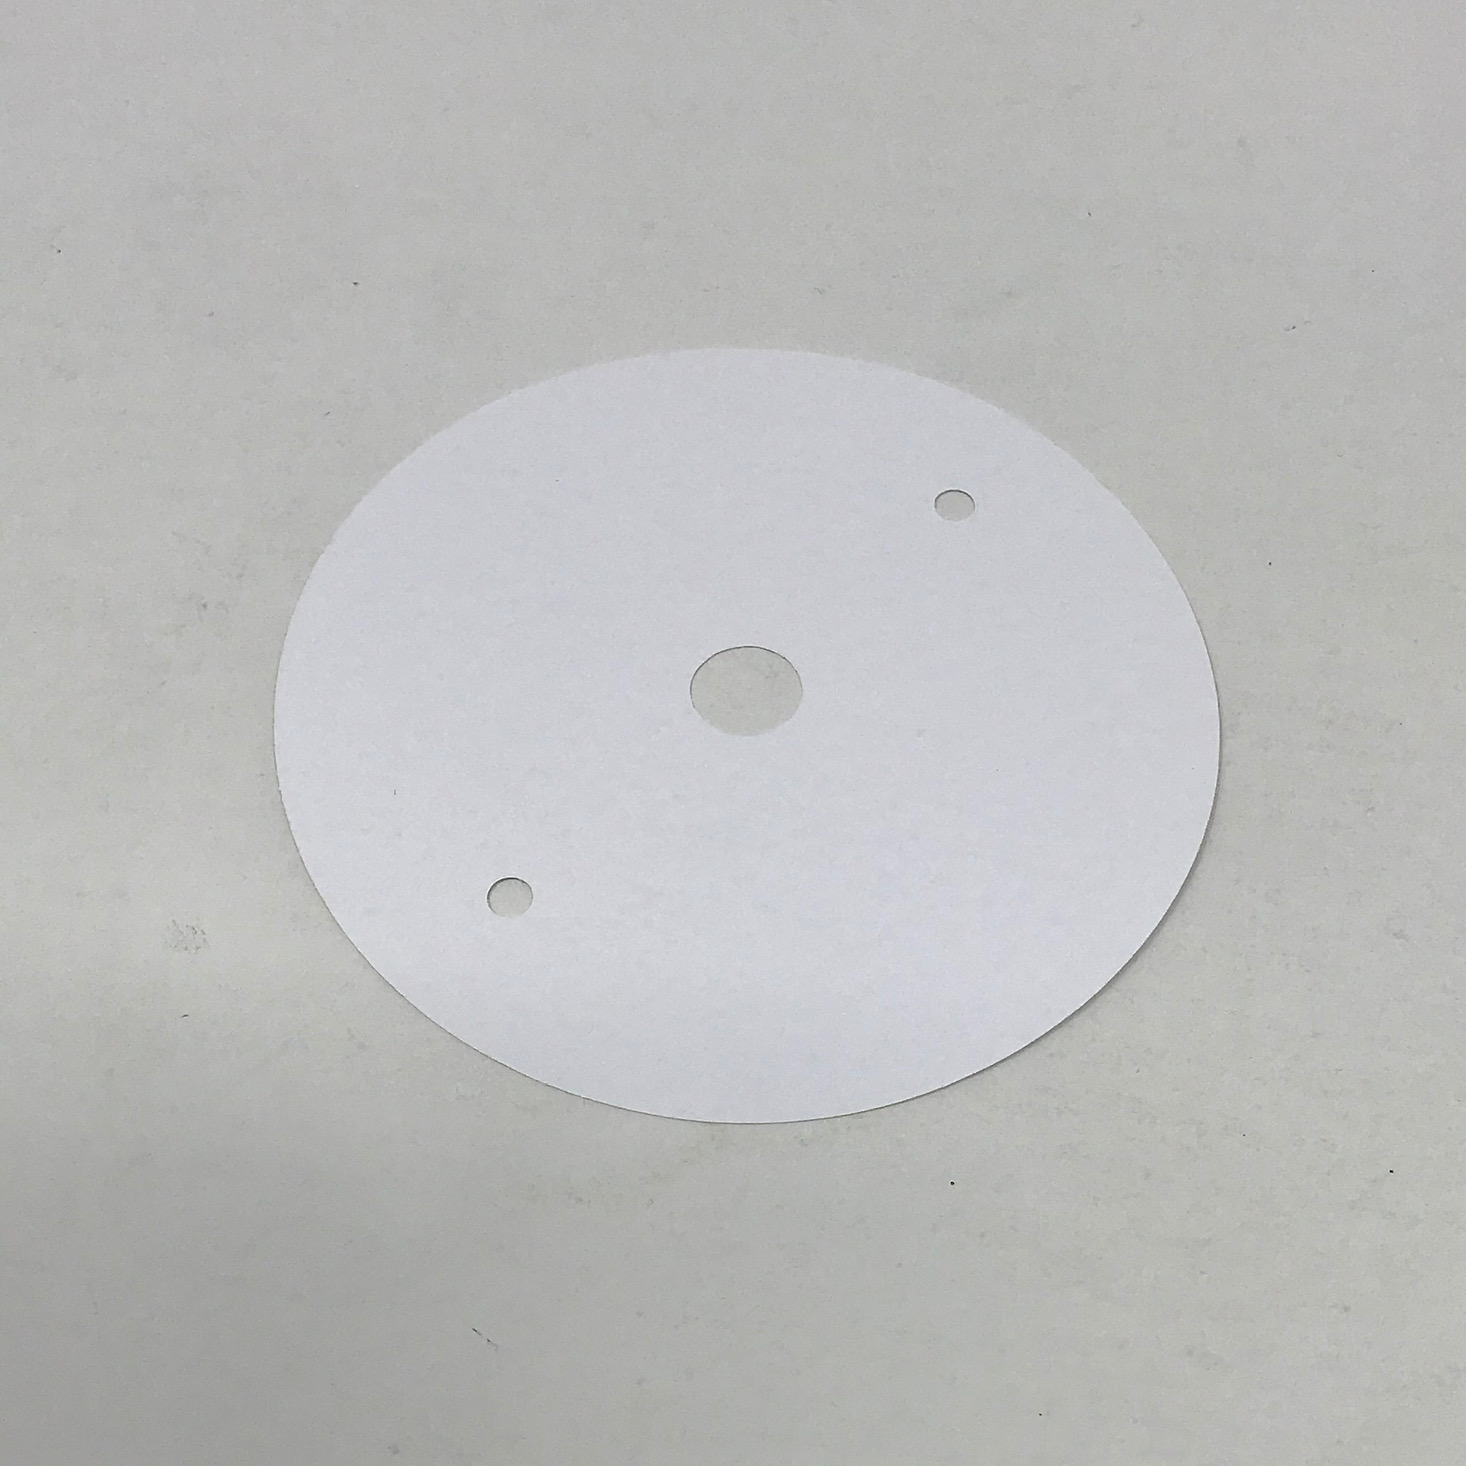
Next, she added this paper circle to the top and secured it with two plastic pins.
Then she grabbed the solid side of the fan and inserted the two small washers into the holes and then added a small gear securing it with an O-ring rubber band.
Next, she made a handle by placing the white knob over the arm of the wooden handle they provided and stuck it into one of the holes on the large gear.
Next, she attached the large gear to the outside of the solid fan by inserting the tab into a hole and securing it with a wooden circle and another rubber band.
With this part complete, she then attached this thicker paper strip by securing it over the notches at the top of our fan base. Then she added a wooden rectangle on top to hold it in place.
Then we added the other side of the fan by inserting the tabs into the notches and then wrapping the paper piece around the entire unit.
We then added this wooden piece to the bottom of the fan to hold that last edge of the paper in place.
The last step was to add this long piece of paper to the top of the fan so that it would blow in the breeze we created.
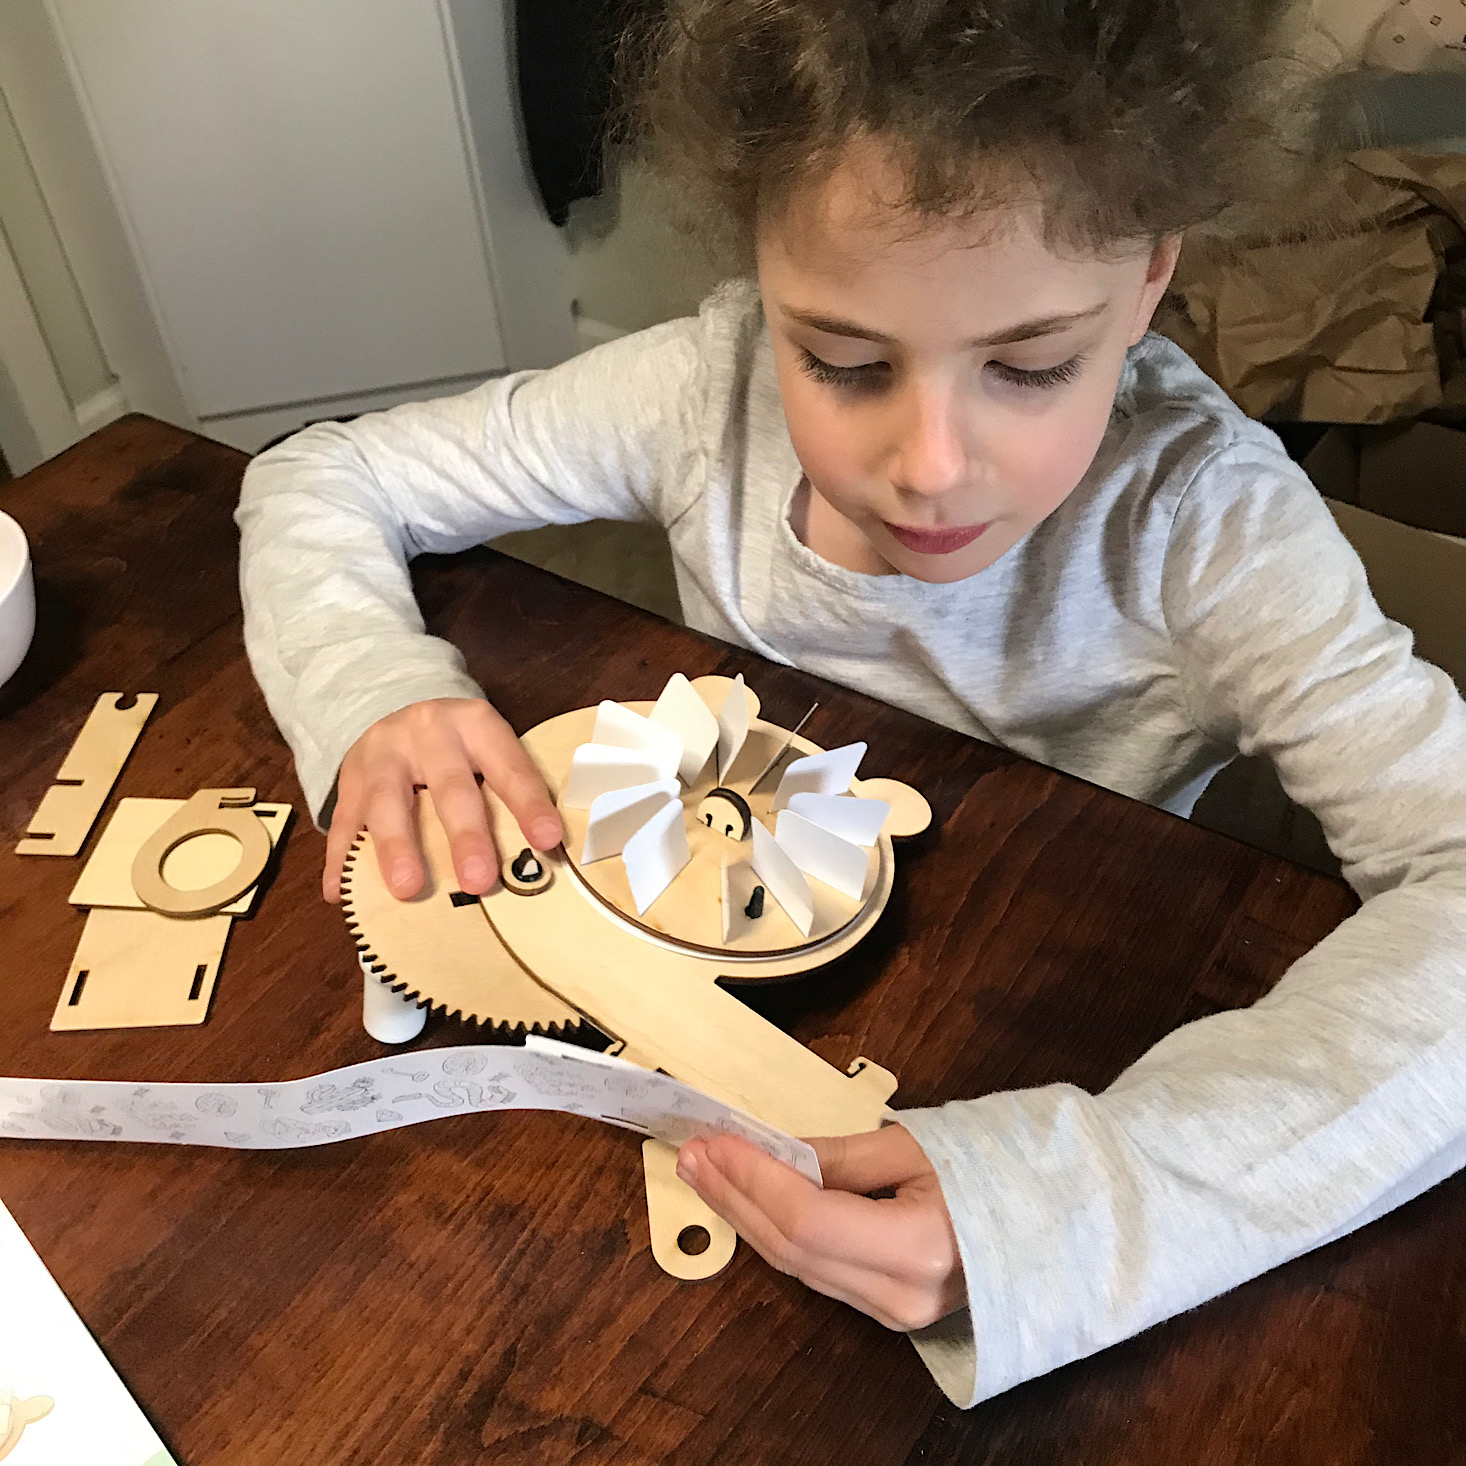
Here is our finished lava fan. Unfortunately, either the paper was too heavy or our fan strength was not enough to get the piece up in the air and flowing. I tried several times and I could feel the air, but it just would not work. Instead of getting upset, my daughter actually talked it through with me and we came up with some ideas about how we might be able to get it to work better. I was really proud of her for thinking critically and trying to fix the issue instead of getting upset. I ended up replacing it with some fringe I made out of napkin which was much lighter.
The whole unit was still pretty hard to operate because there was just not a great place to grip it and you needed a good amount of force to turn the handle.
Once I replaced our long paper piece with some napkin fringe, you could see the fan blowing in action. Here she is cooling down in the breeze!
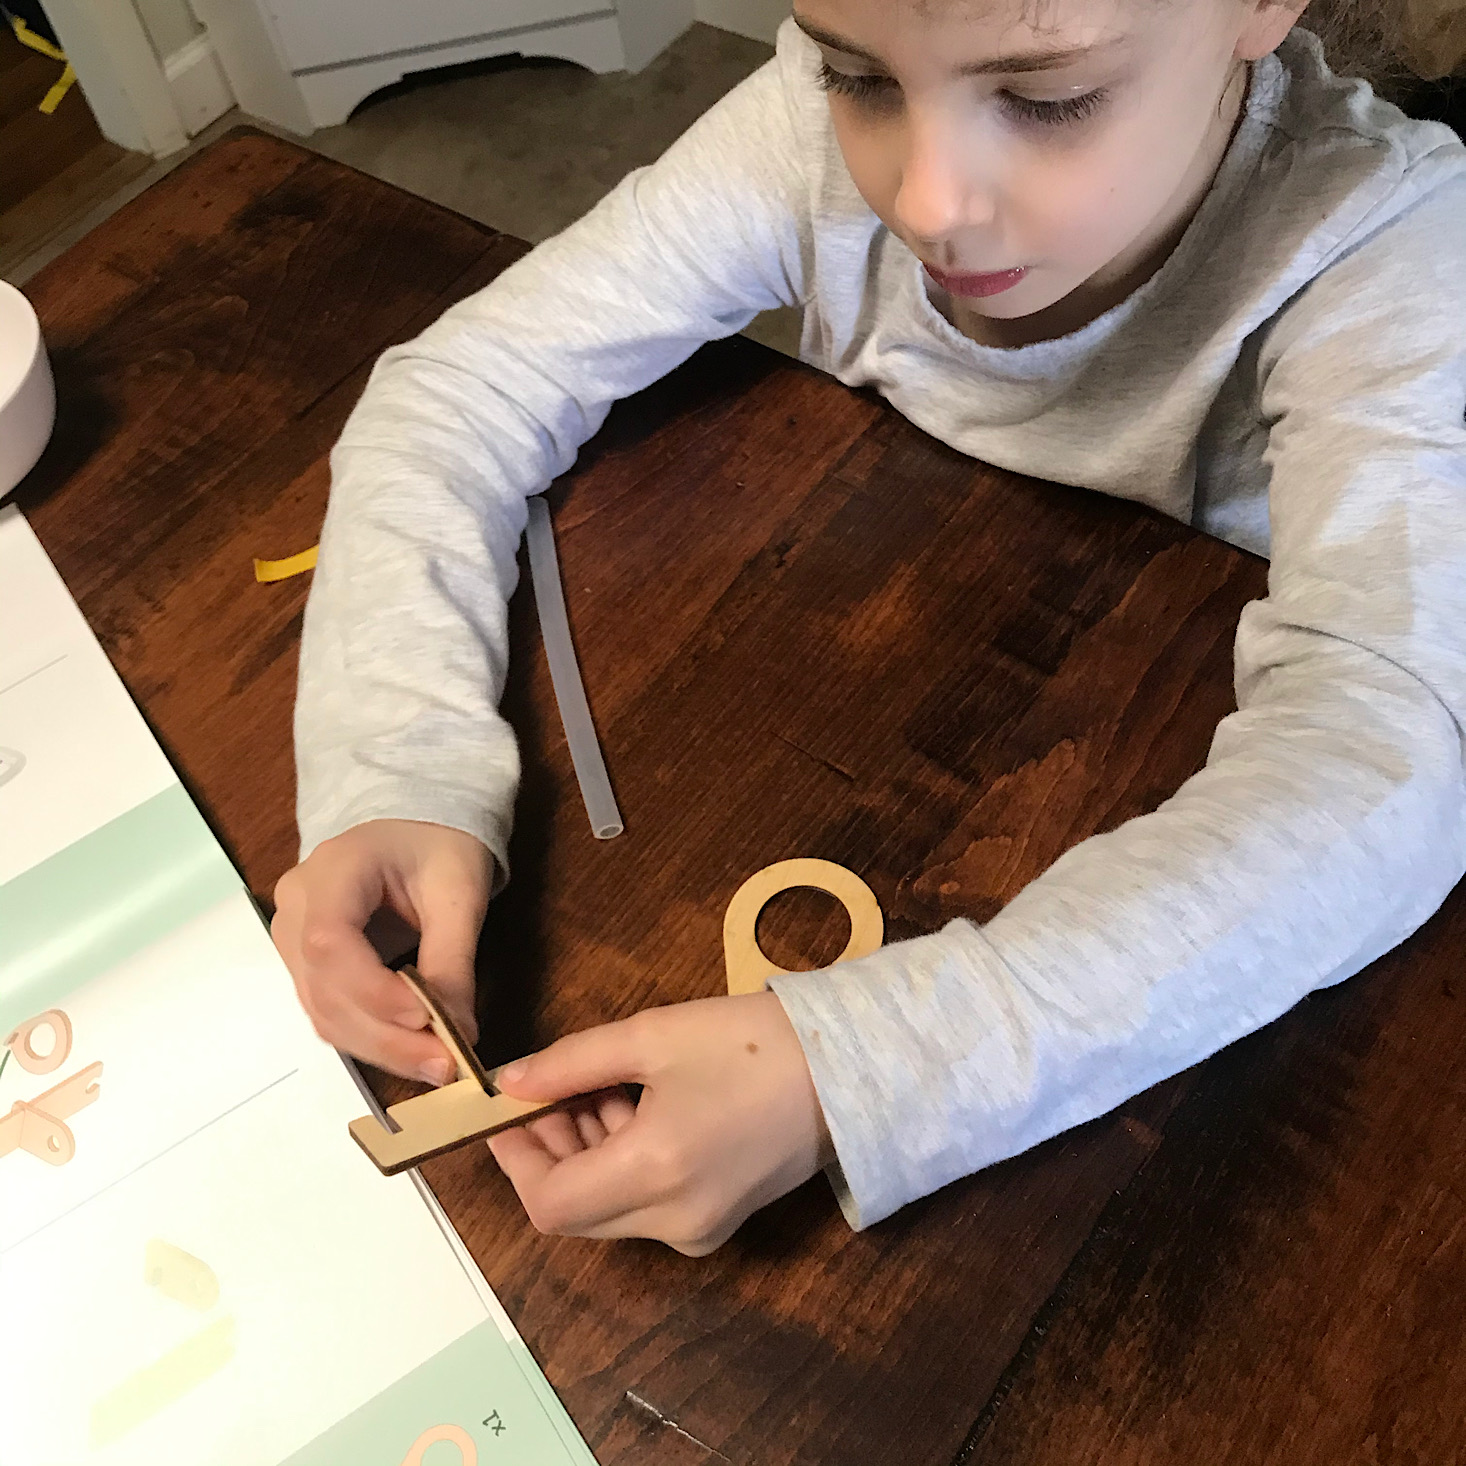
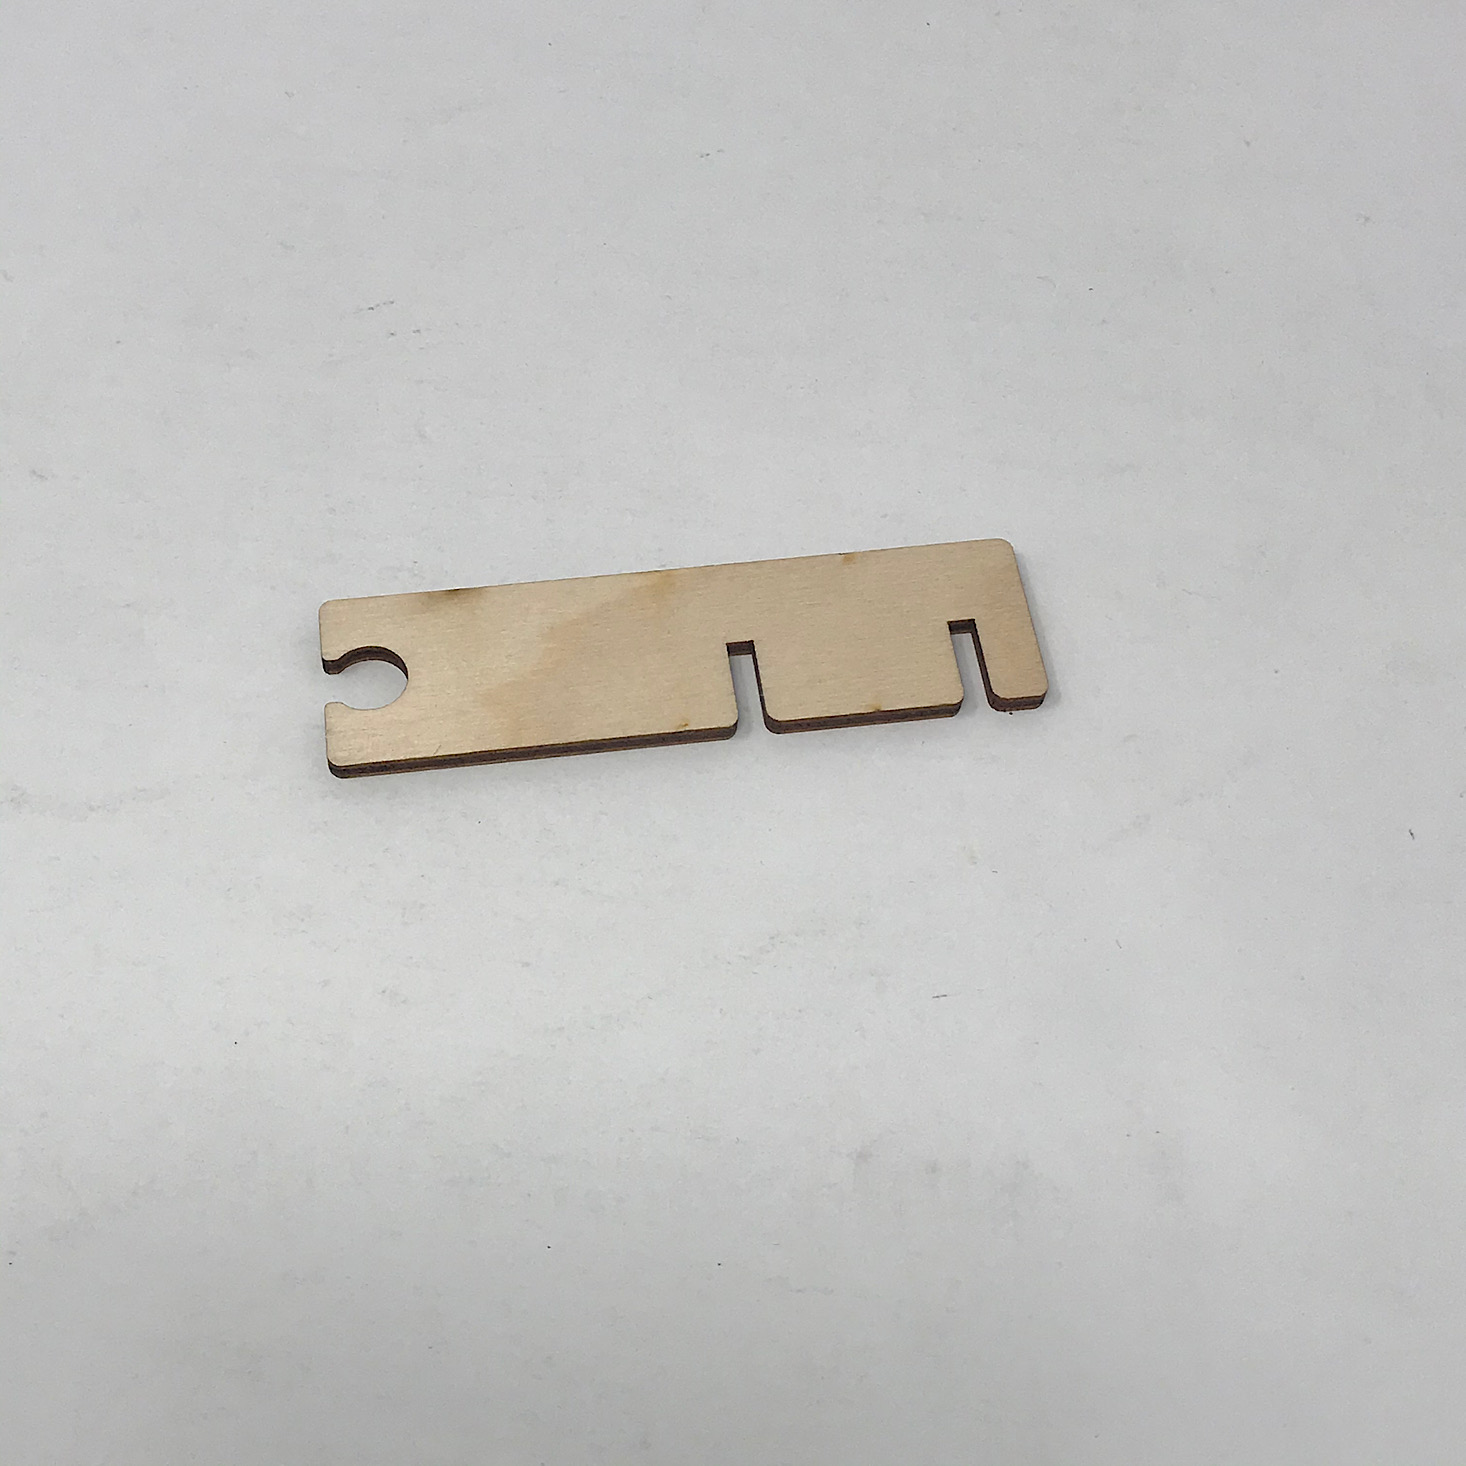
There was one more activity for us which was to build a regulator by fitting these three wooden pieces together at the notches. They didn't really explain how this fit in, but we enjoyed the activity.
Then we threaded a plastic tube through the hole in the center and the opening at the bottom.
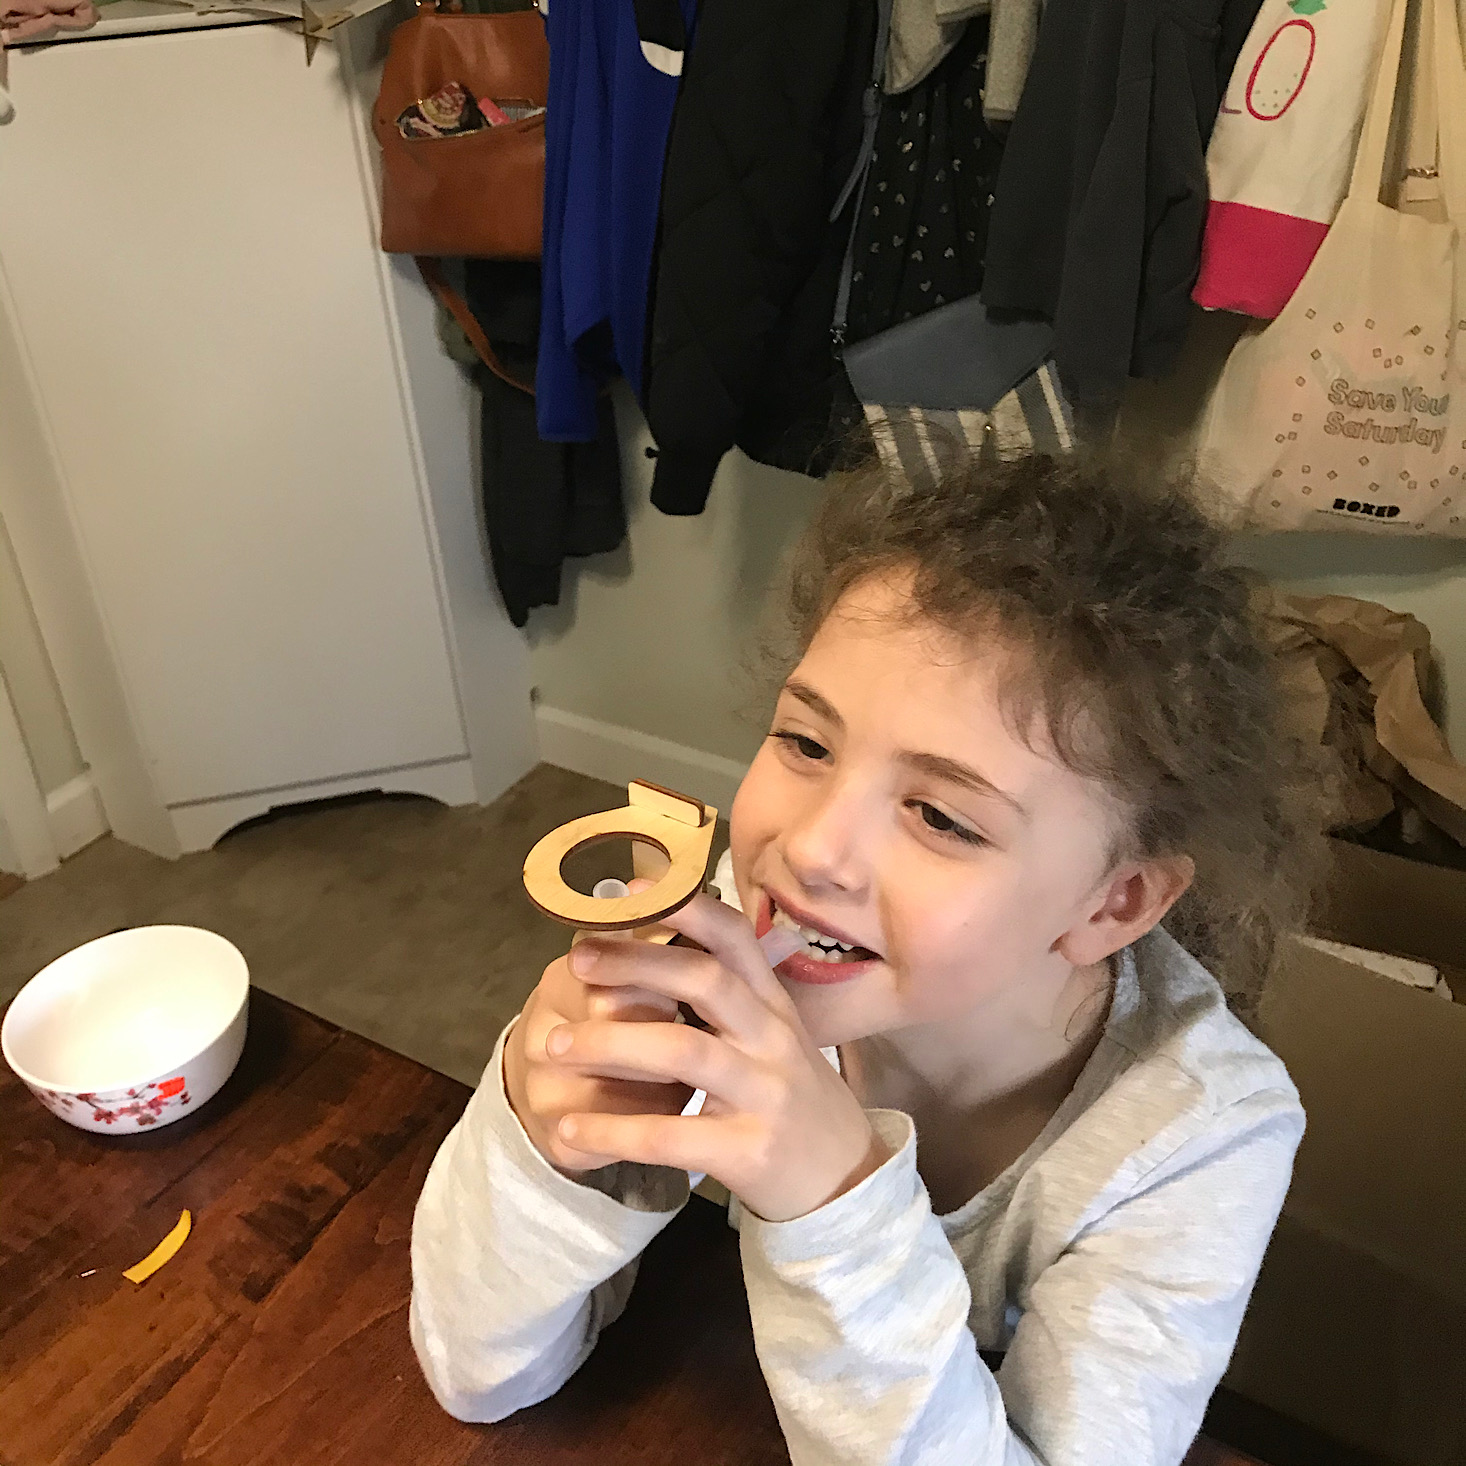
Here is our finished blower and the styrofoam ball that they included.
We added the ball to the top and then she had to blow to keep it in the air. She had fun playing around with different breath lengths and strengths to get it moving to different heights.
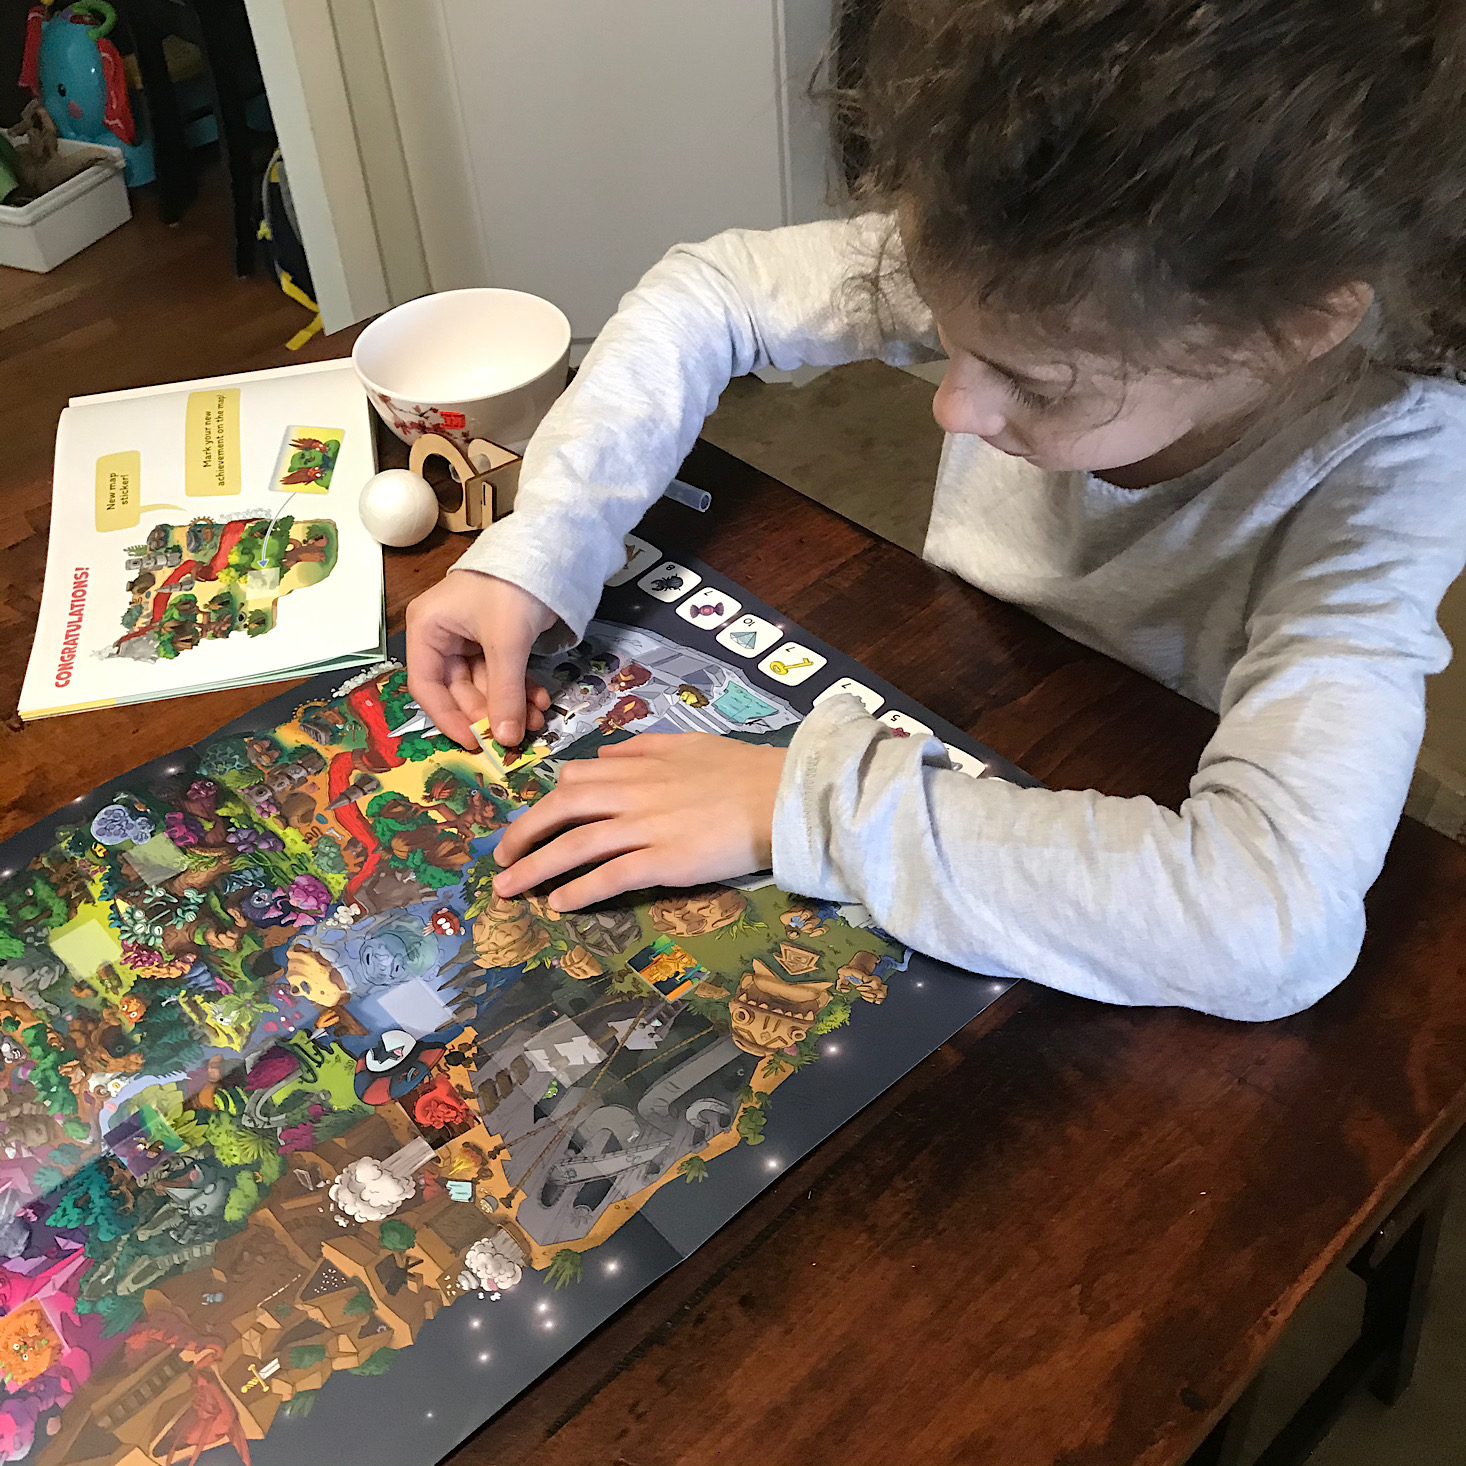
With this project completed, it was time to add our sticker to our map!
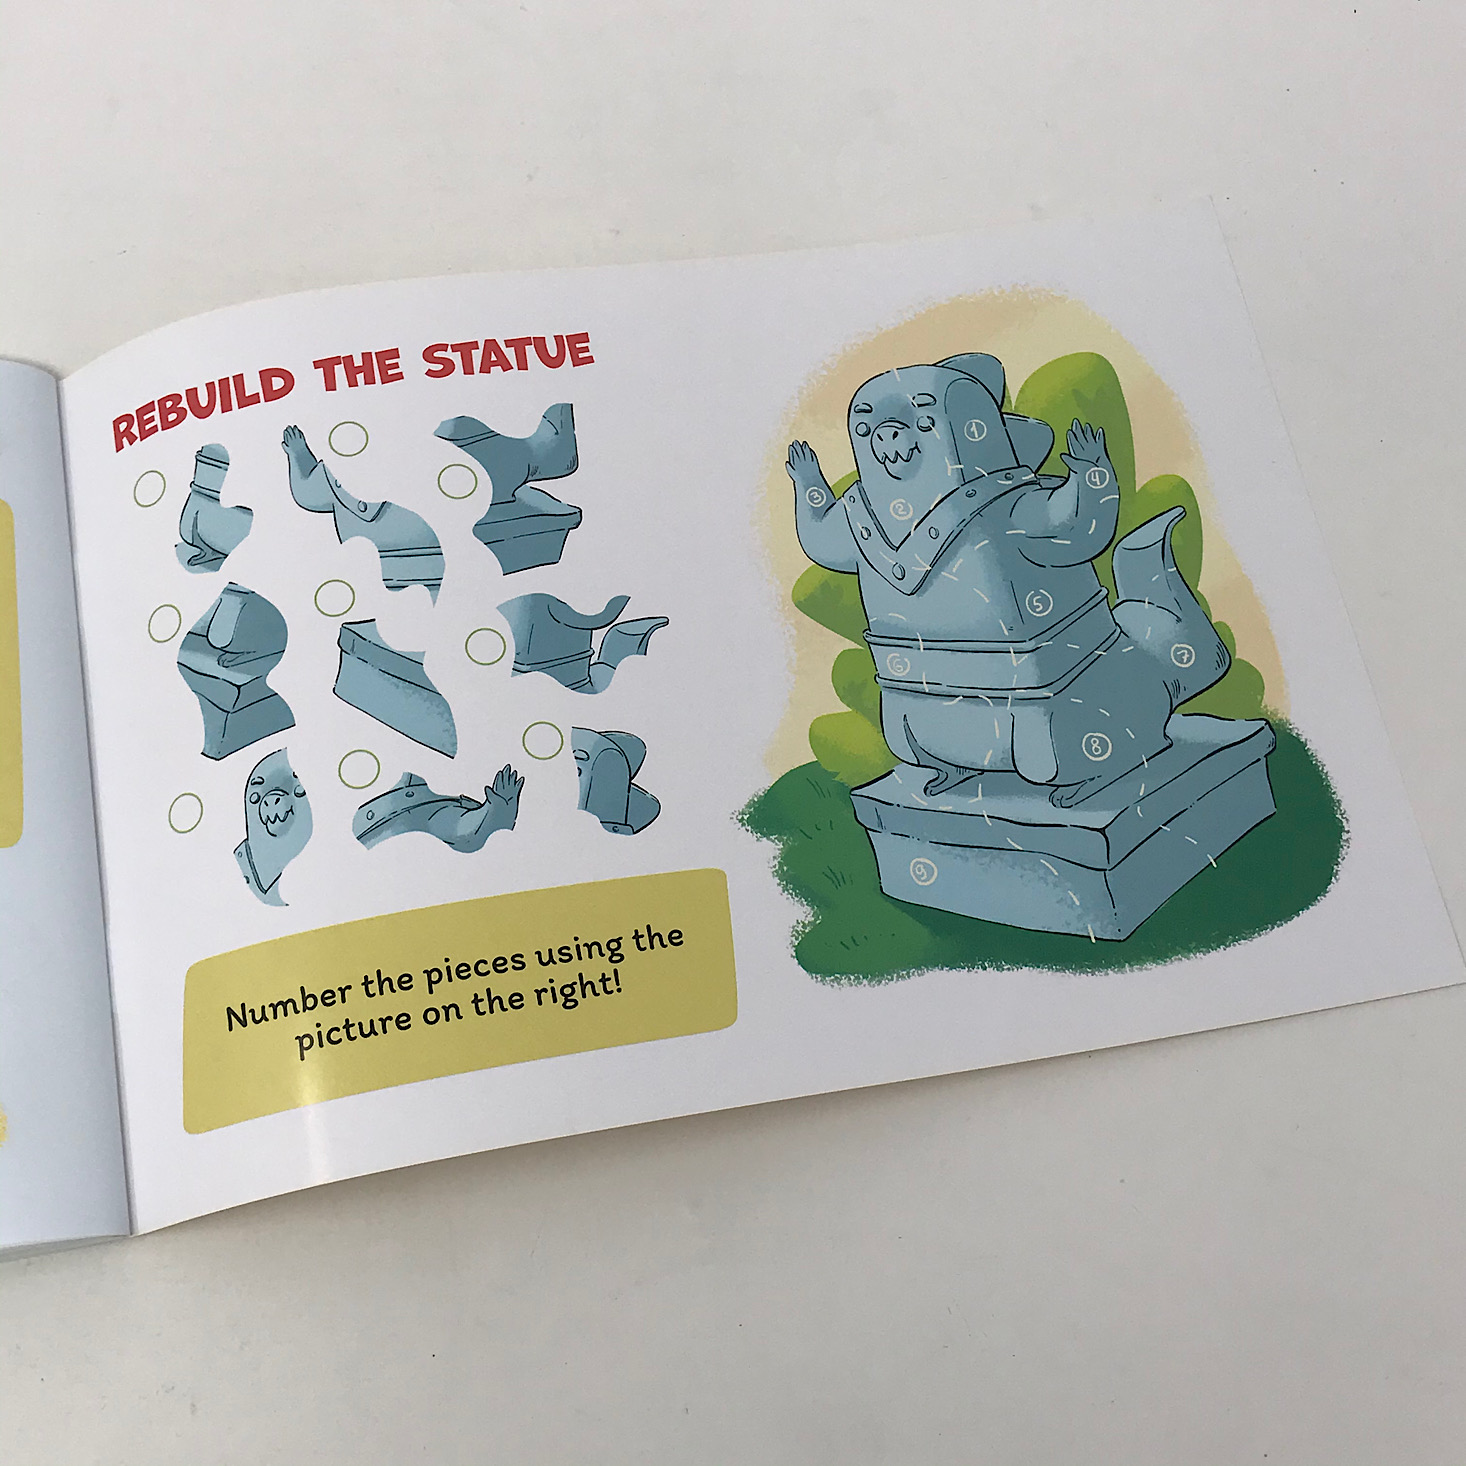
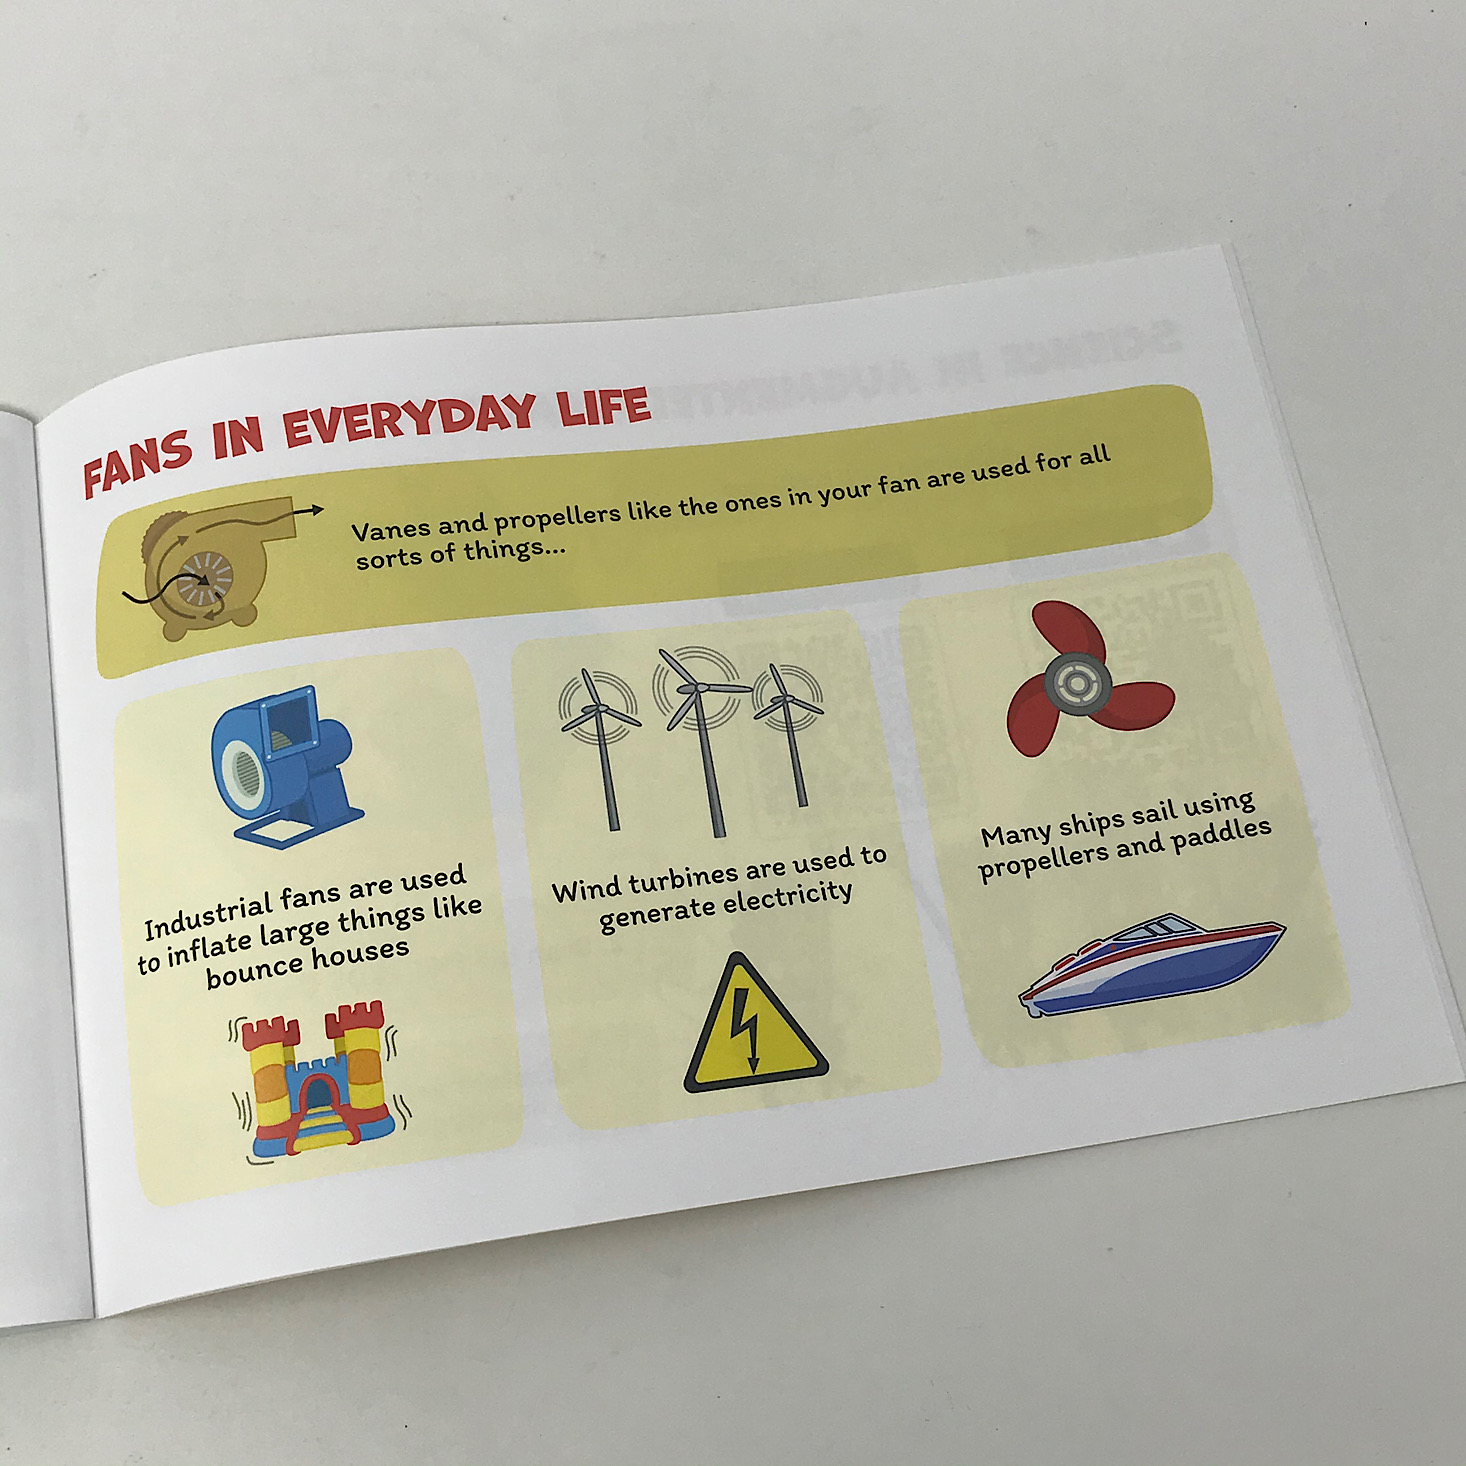
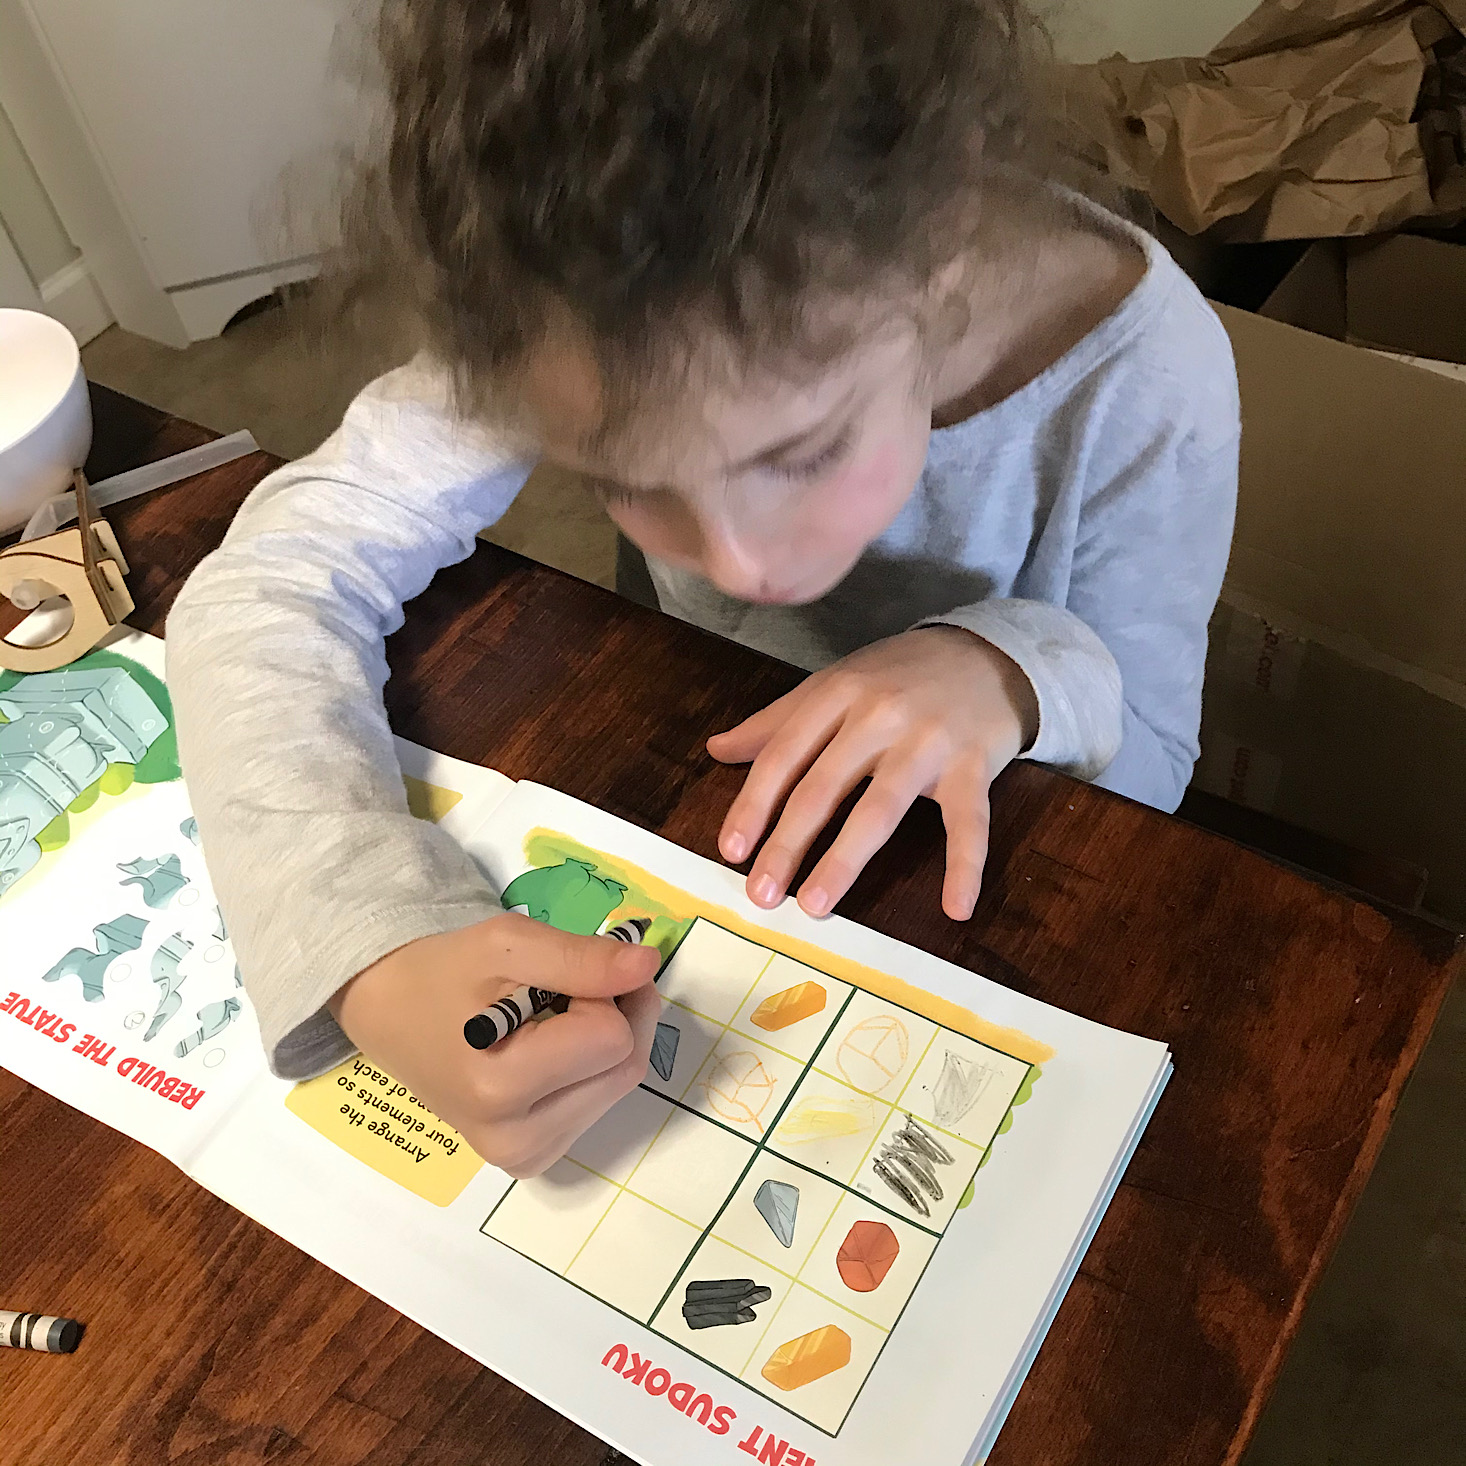
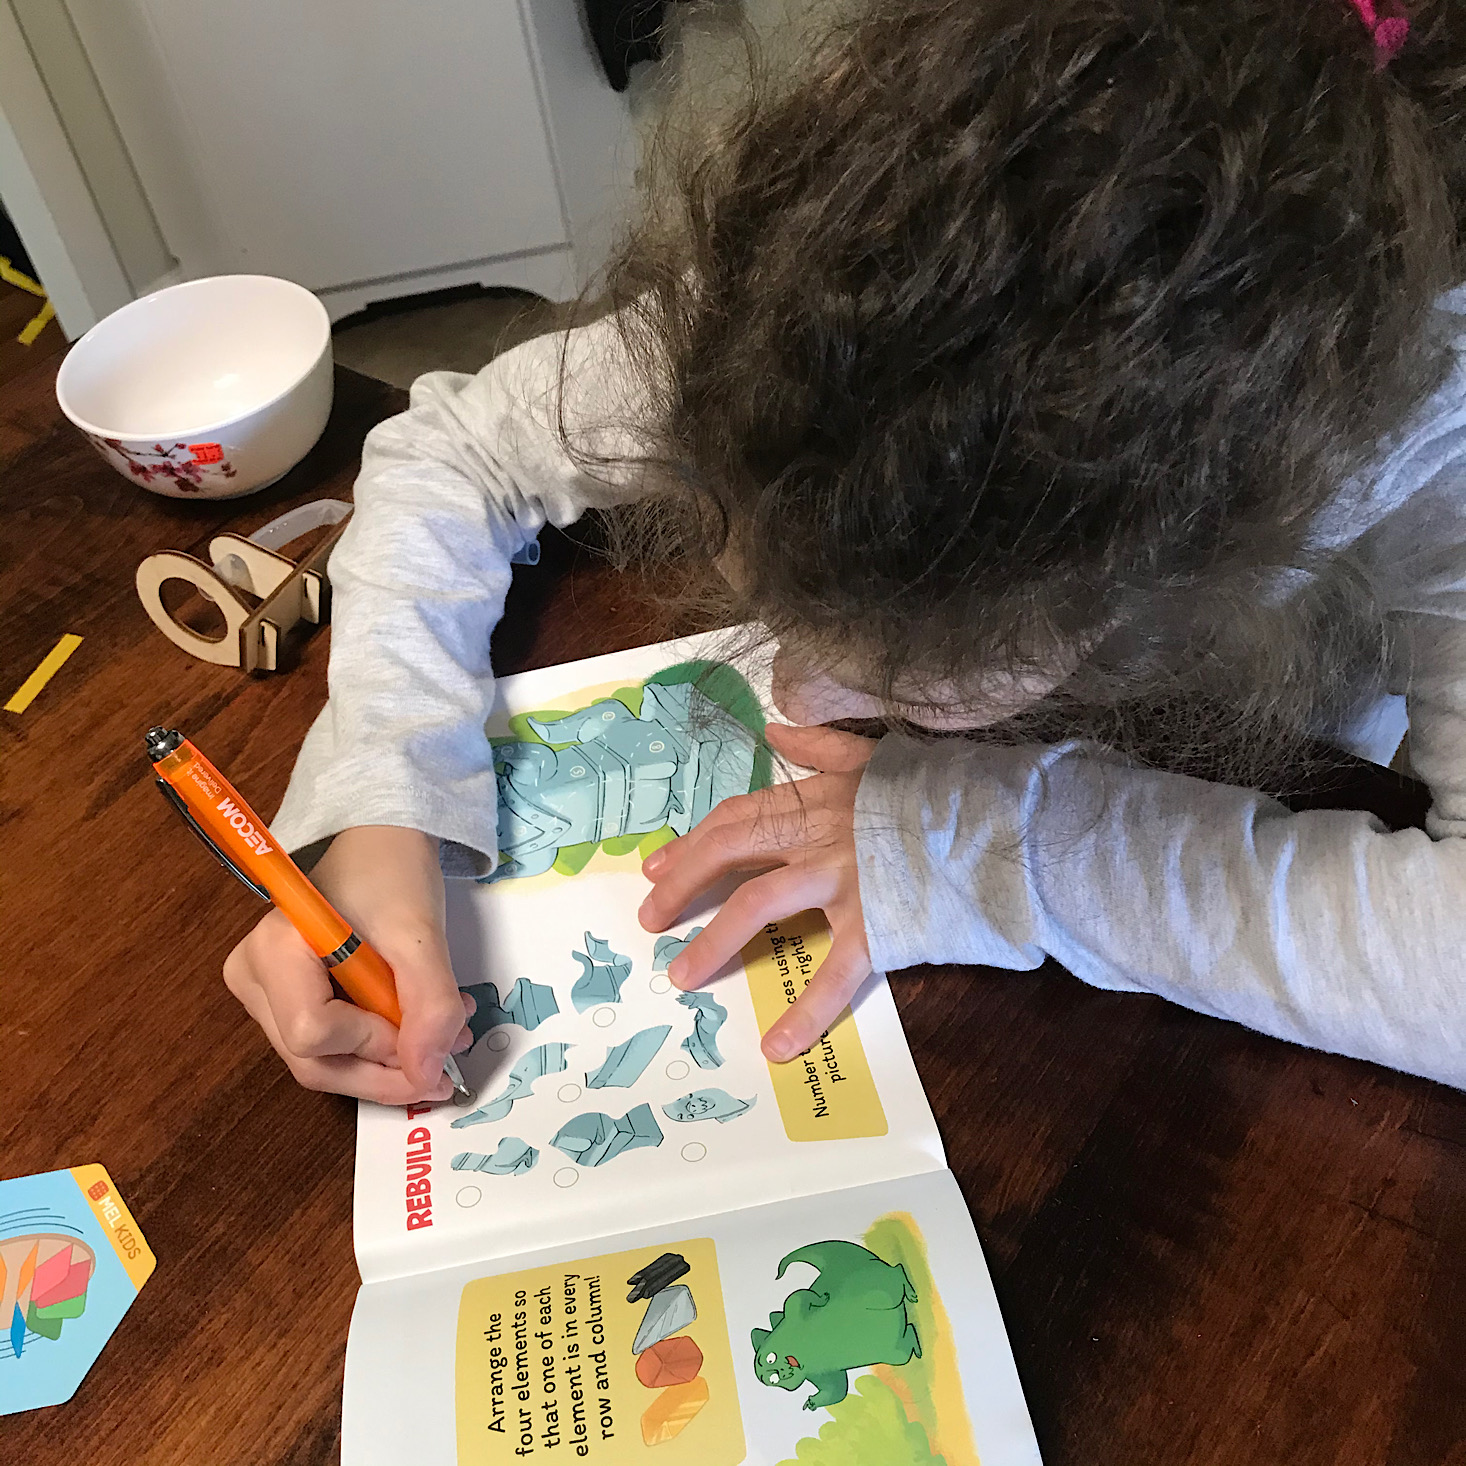
The rest of our booklet was filled with information about elements and fans in everyday life along with some fun activities. There was a cool element sudoku puzzle that used pictures and a smaller scale grid that I found to be unique!
She really enjoyed this month's activities! I really had my doubts when I saw the little sudoku puzzle, but once I explained it and did a few with her, she caught on quickly and did a great job with it!
To check out the AR (augmented reality) portion of our project we just scanned this little card with our MEL Kids app.
This portion of the project is so unique and always very educational! They show you exactly how your project works and what happens, making sure to explain it in scientific terms. It is interactive and provides a great visual for kids to engage with. They also have a nice congratulations message for them when they complete the lesson.
Verdict: My daughter had a lot of fun with this month's MEL Kids project! So our lava fan itself was kind of disappointing, but we had fun building it and were able to turn it around and brainstorm ways we could improve upon the design which still made it a meaningful experience for us. The box itself was well organized and presented the educational material in a fun way that was engaging for kids which we had even more fun with through the AR app lesson. I liked that they also included the extra ball blowing activity and my daughter really loved the extra activities in the book, so we were still pretty happy with our box this month!
To Wrap Up:
Can you still get this box if you sign up today? Yes, this box is still available. From MEL Kids:
"Your first package will arrive within 2 weeks of registration. Subsequent monthly packages will be delivered within 2 weeks of each monthly charge."
Check out our other MEL Kids reviews and our list of the best subscription boxes for kids, as recommended by MSA readers!
Keep Track of Your Subscriptions: Add MEL Kids to your subscription list or wishlist!
What do you think of MEL Kids?






























Please do not enter your email address in the Name field or in the comment content. Your email address will not be published. Required fields are marked *. Remember to post with kindness and respect. Comments with offensive language, cruelness to others, etc will not be approved. See our full comment policy here.