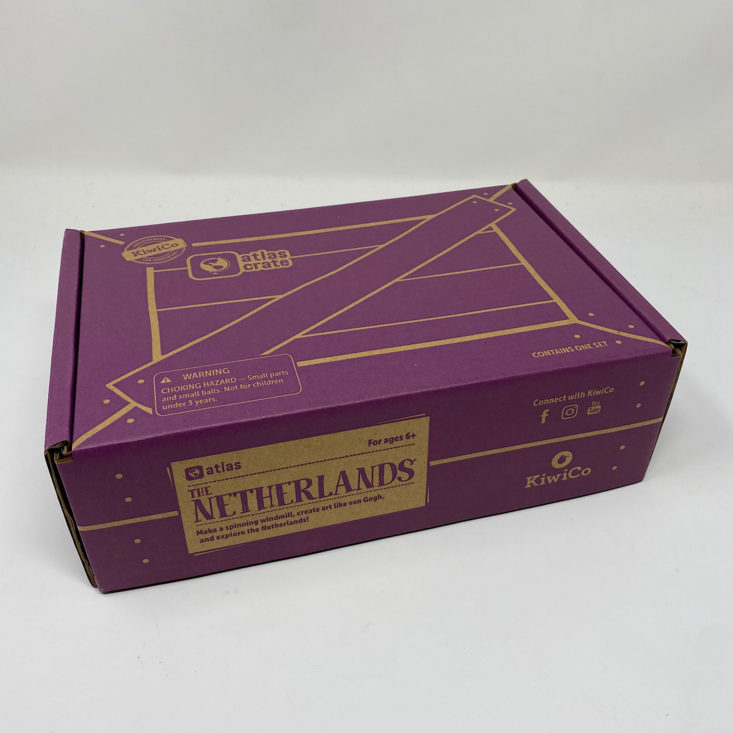
Atlas Crate is a subscription box for kids from parent company KiwiCo. This box is designed to spark the curiosity and sense of adventure in children ages 6-11 and help them become citizens of the world. Each month Atlas Crate will deliver materials and instructions to provide hands-on experiences to help kids develop their sense of cultural awareness.

KiwiCo offers boxes for different age groups:
- Panda Crate for 0-24-month-olds,
- Koala Crate for 2-4-year-olds,
- Kiwi Crate for 5-8-year-olds,
- Atlas Crate for 6-11-year-olds,
- Doodle Crate and Tinker Crate for 9-16+-year-olds,
- Eureka Crate and Maker Crate for ages 14 and up.
There really is something for every age with this company!
This review is of the $19.95/month Atlas Crate box, for 6-11-year-olds.
This box was sent to us at no cost for review. (Check out the review process post to learn more about how we review boxes).

About Atlas Crate
The Subscription Box: Atlas Crate
The Cost: $19.95 per month + free shipping. Save with longer subscriptions.
The Products: Crafts and DIY projects for kids, with supplemental learning kits, booklets, and activities. Crates are filled with materials and inspiration to encourage creativity and curiosity about the world.
Ships to: The U.S. for free, Canada for $3.95 per month, and worldwide from $4.95-$6.95
Atlas Crate June 2020 "The Netherlands" Review
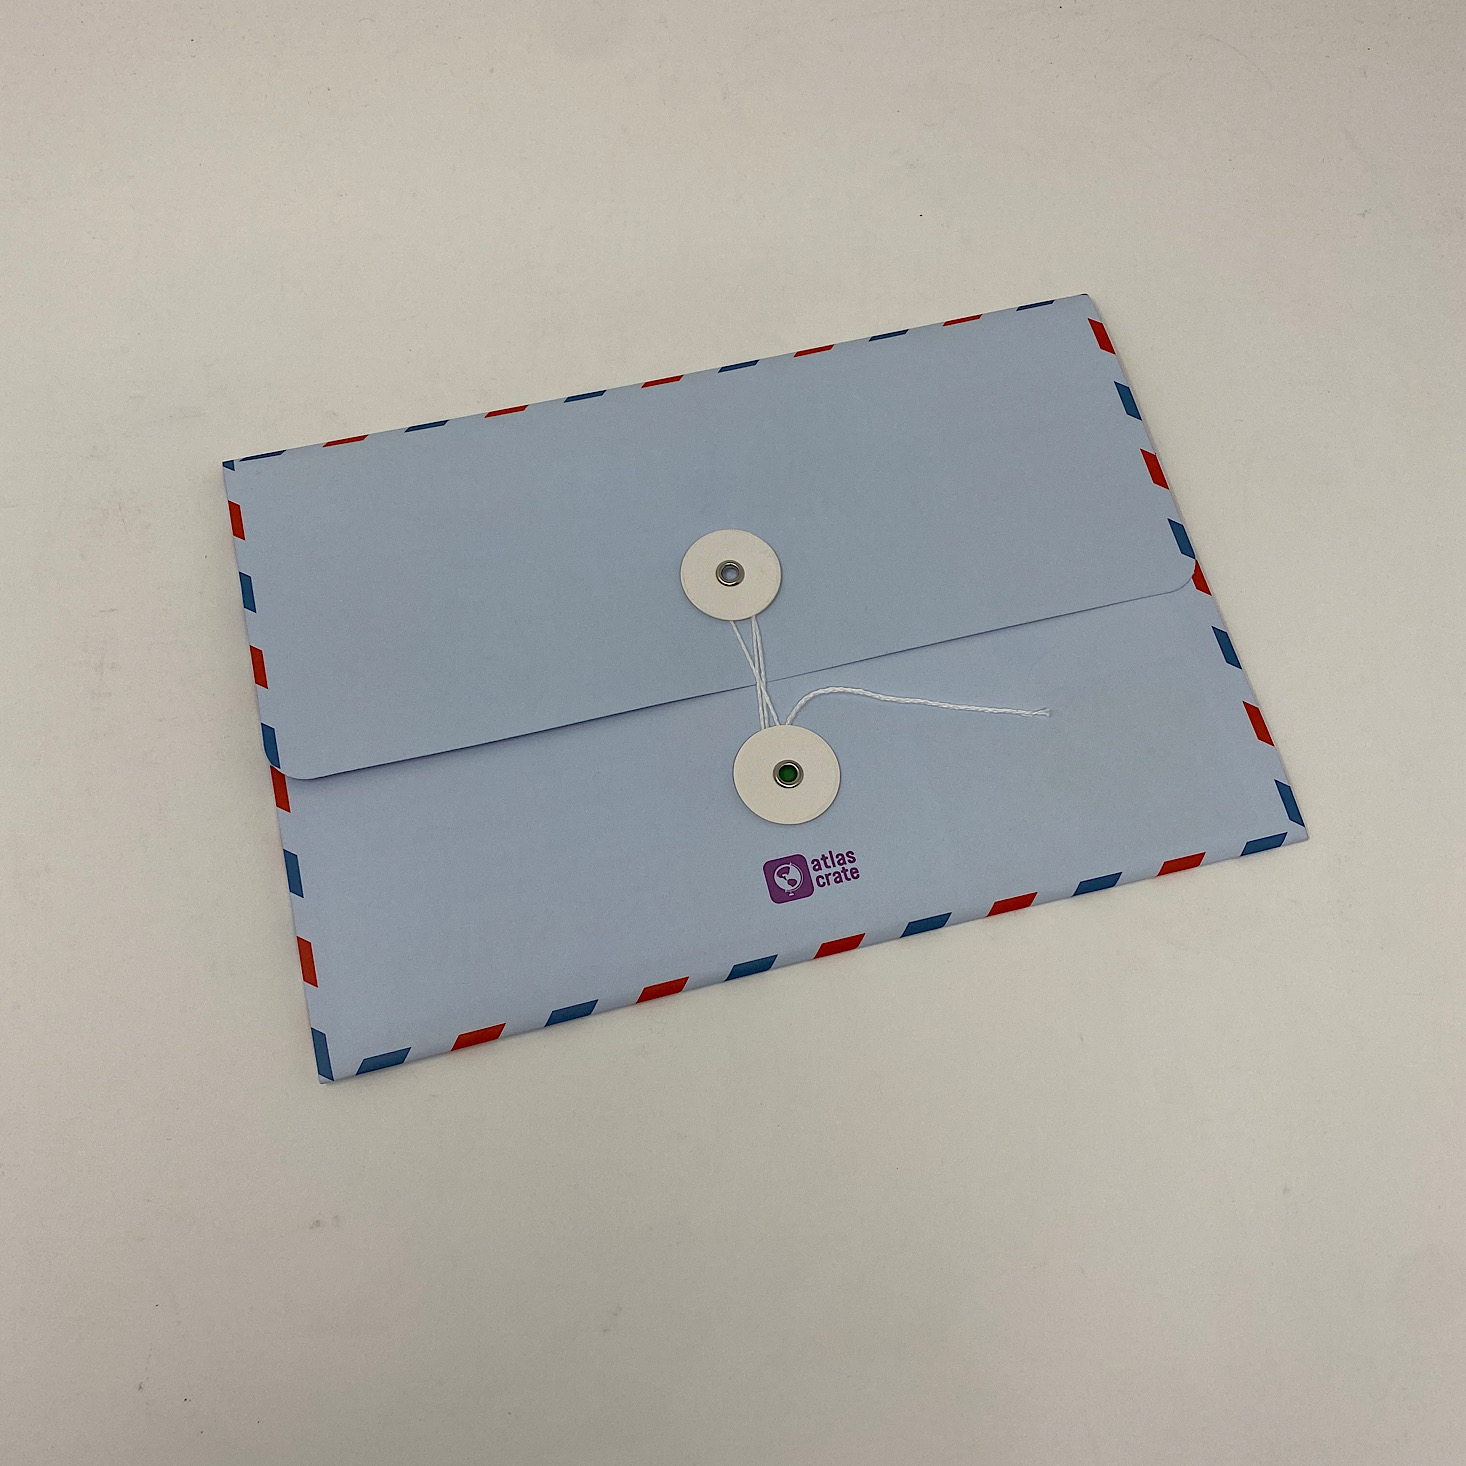
Our country this month is the Netherlands and inside this cute airmail envelope is a ton of information. On the bottom of the envelope, there is a list of what is included in our crate and a fun Atlas Quest to complete using our newfound knowledge after exploring this month's country.
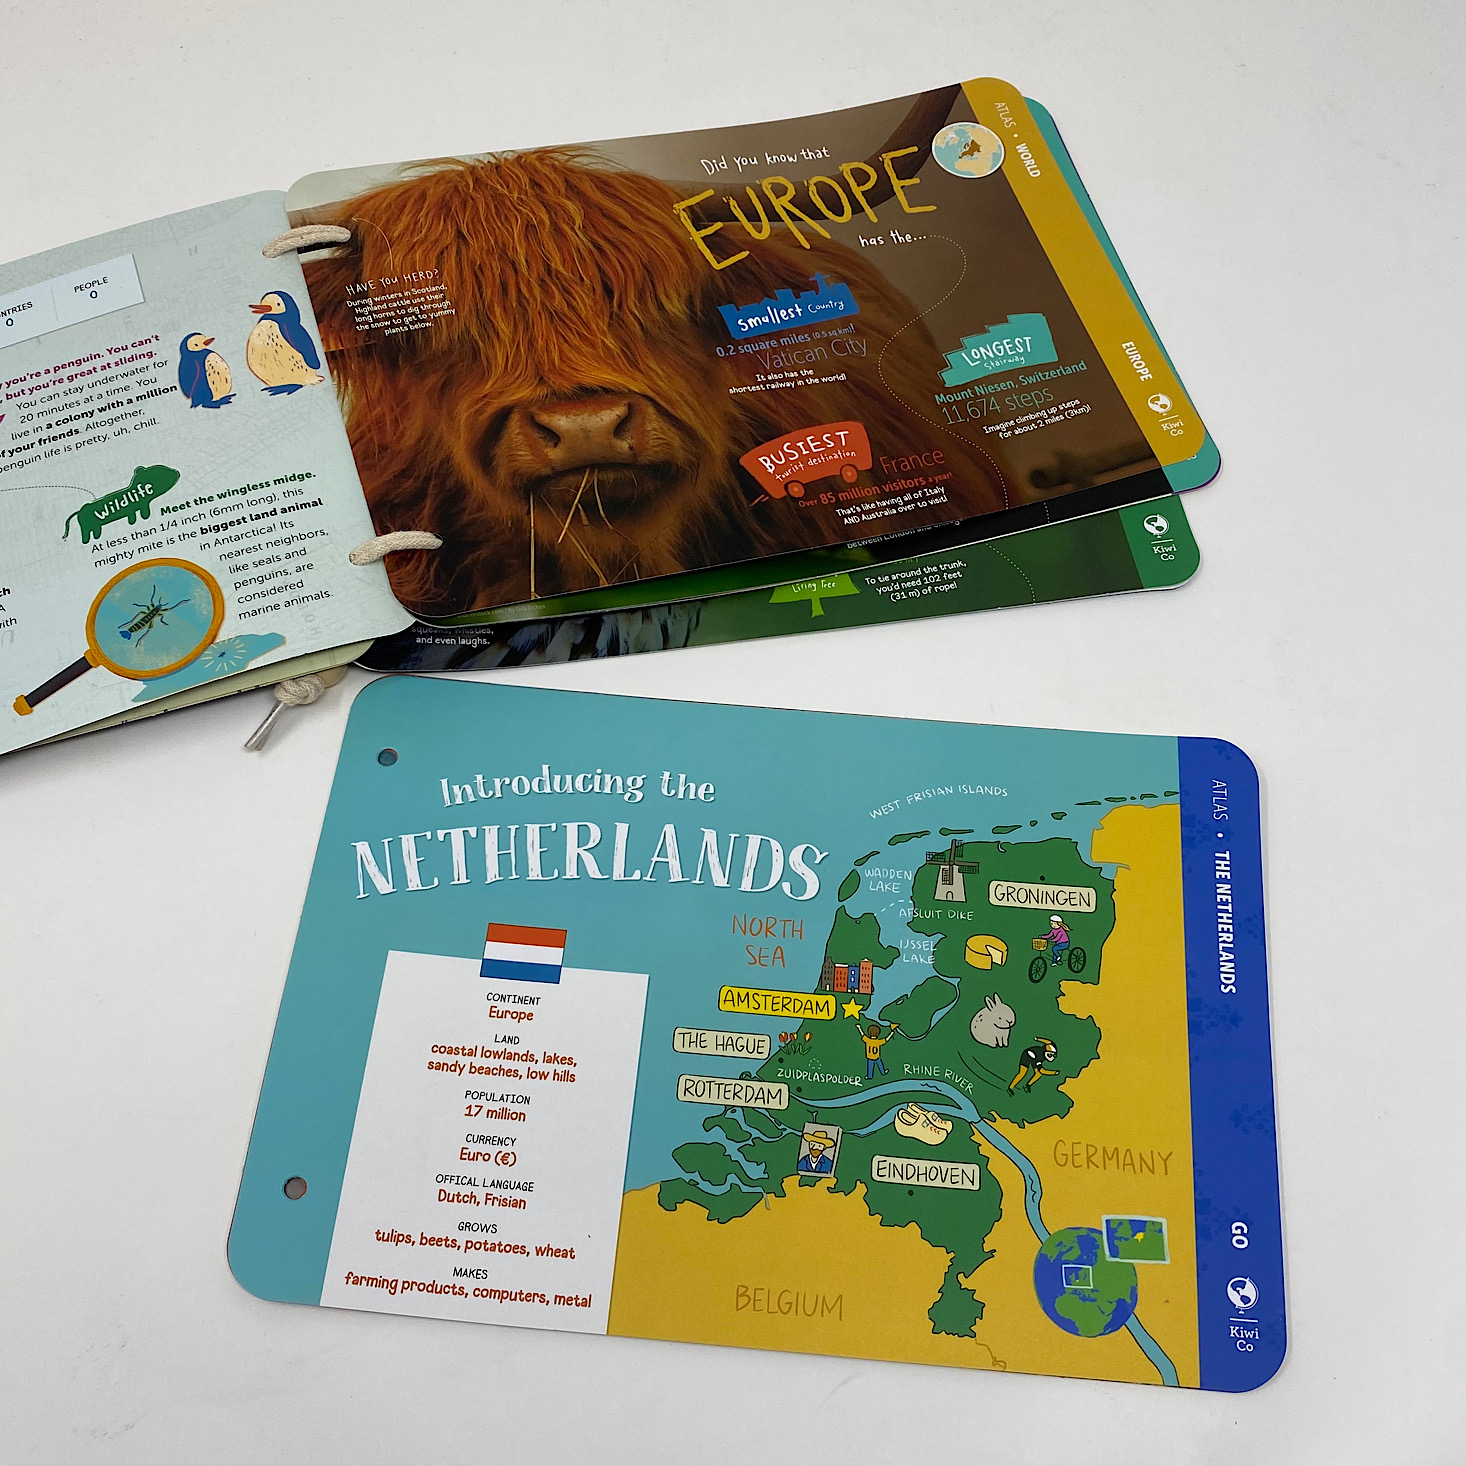
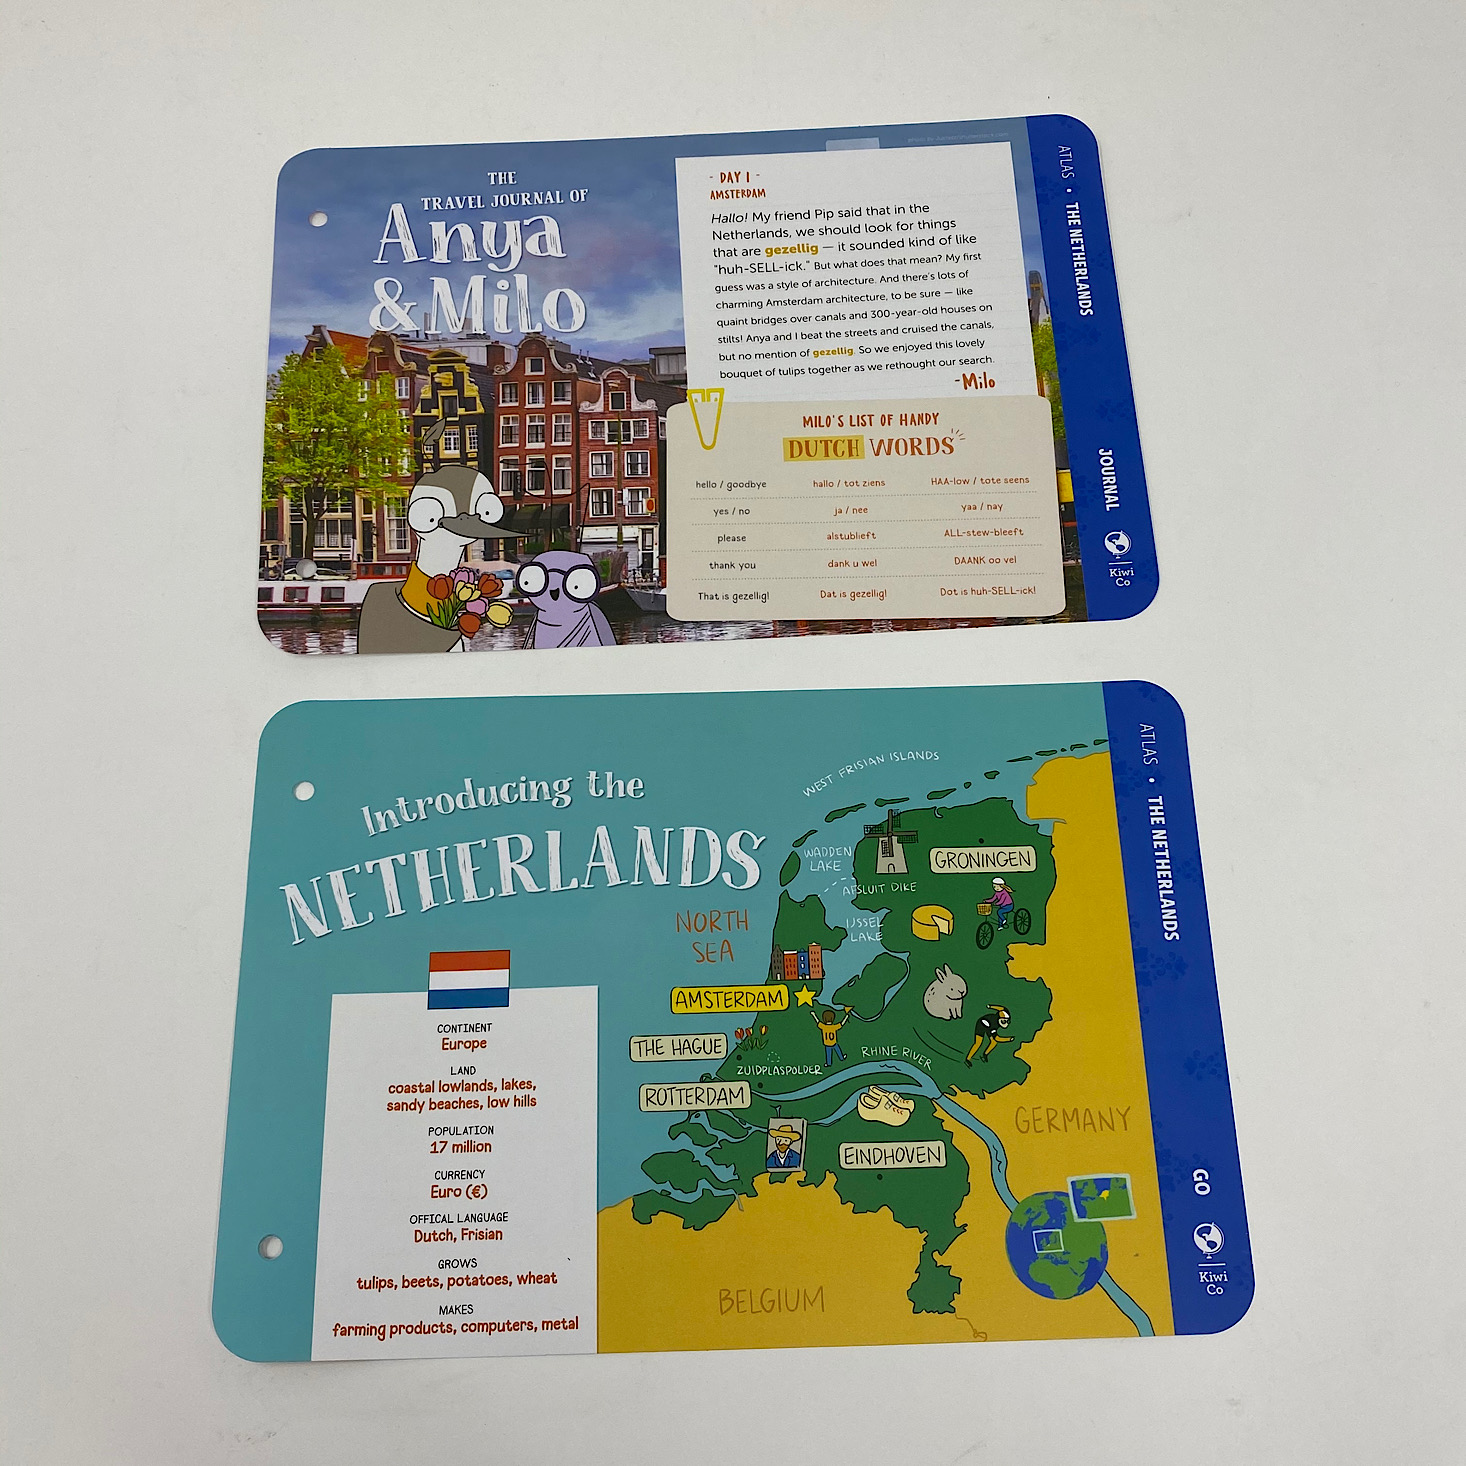
In our first box, which was based on the world, we received an Adventure Book that contained cards for each of the continents and we are able to add to it each month as we receive cards for each of the new countries. They also provide a sticker for us to add to it as well which is a fun way to track our travels! Everything in this box is incredibly organized and nicely packaged making it easy to locate it all.
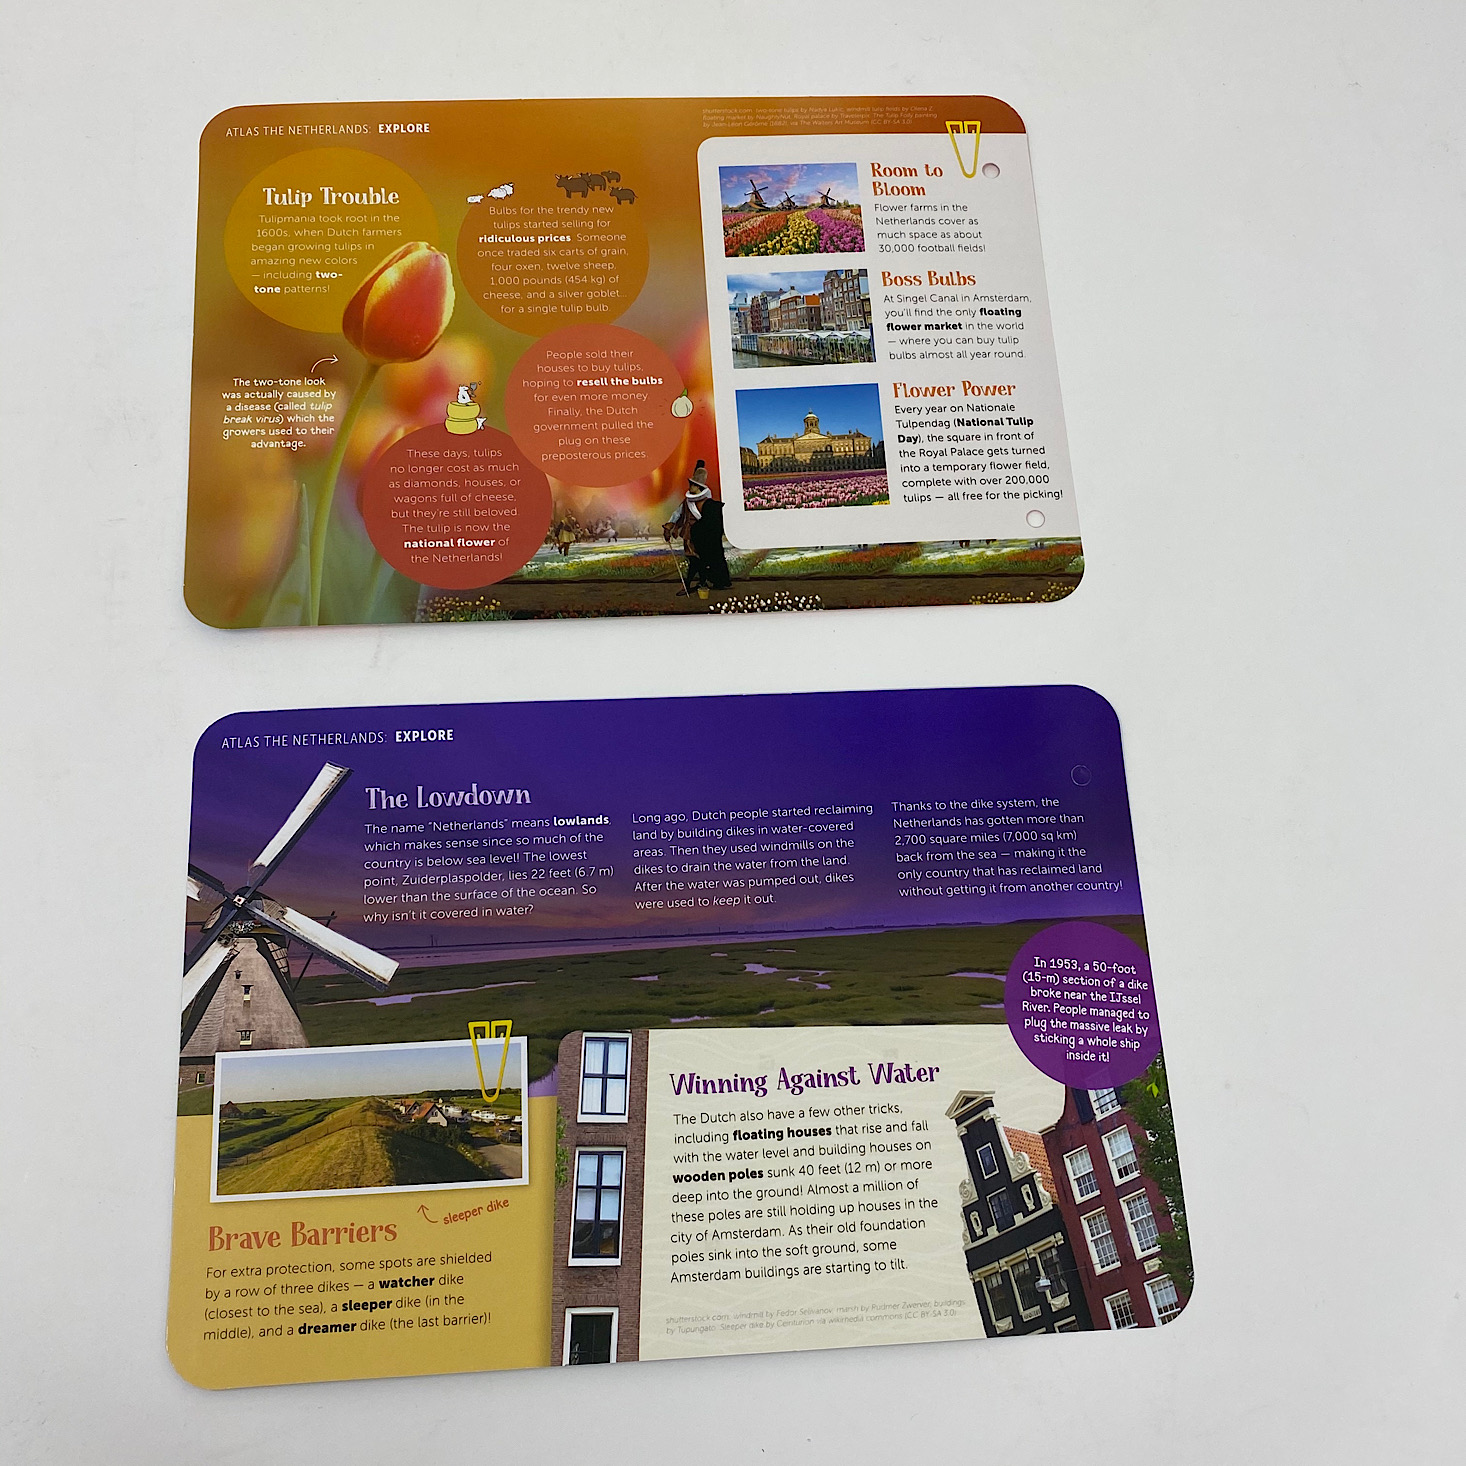
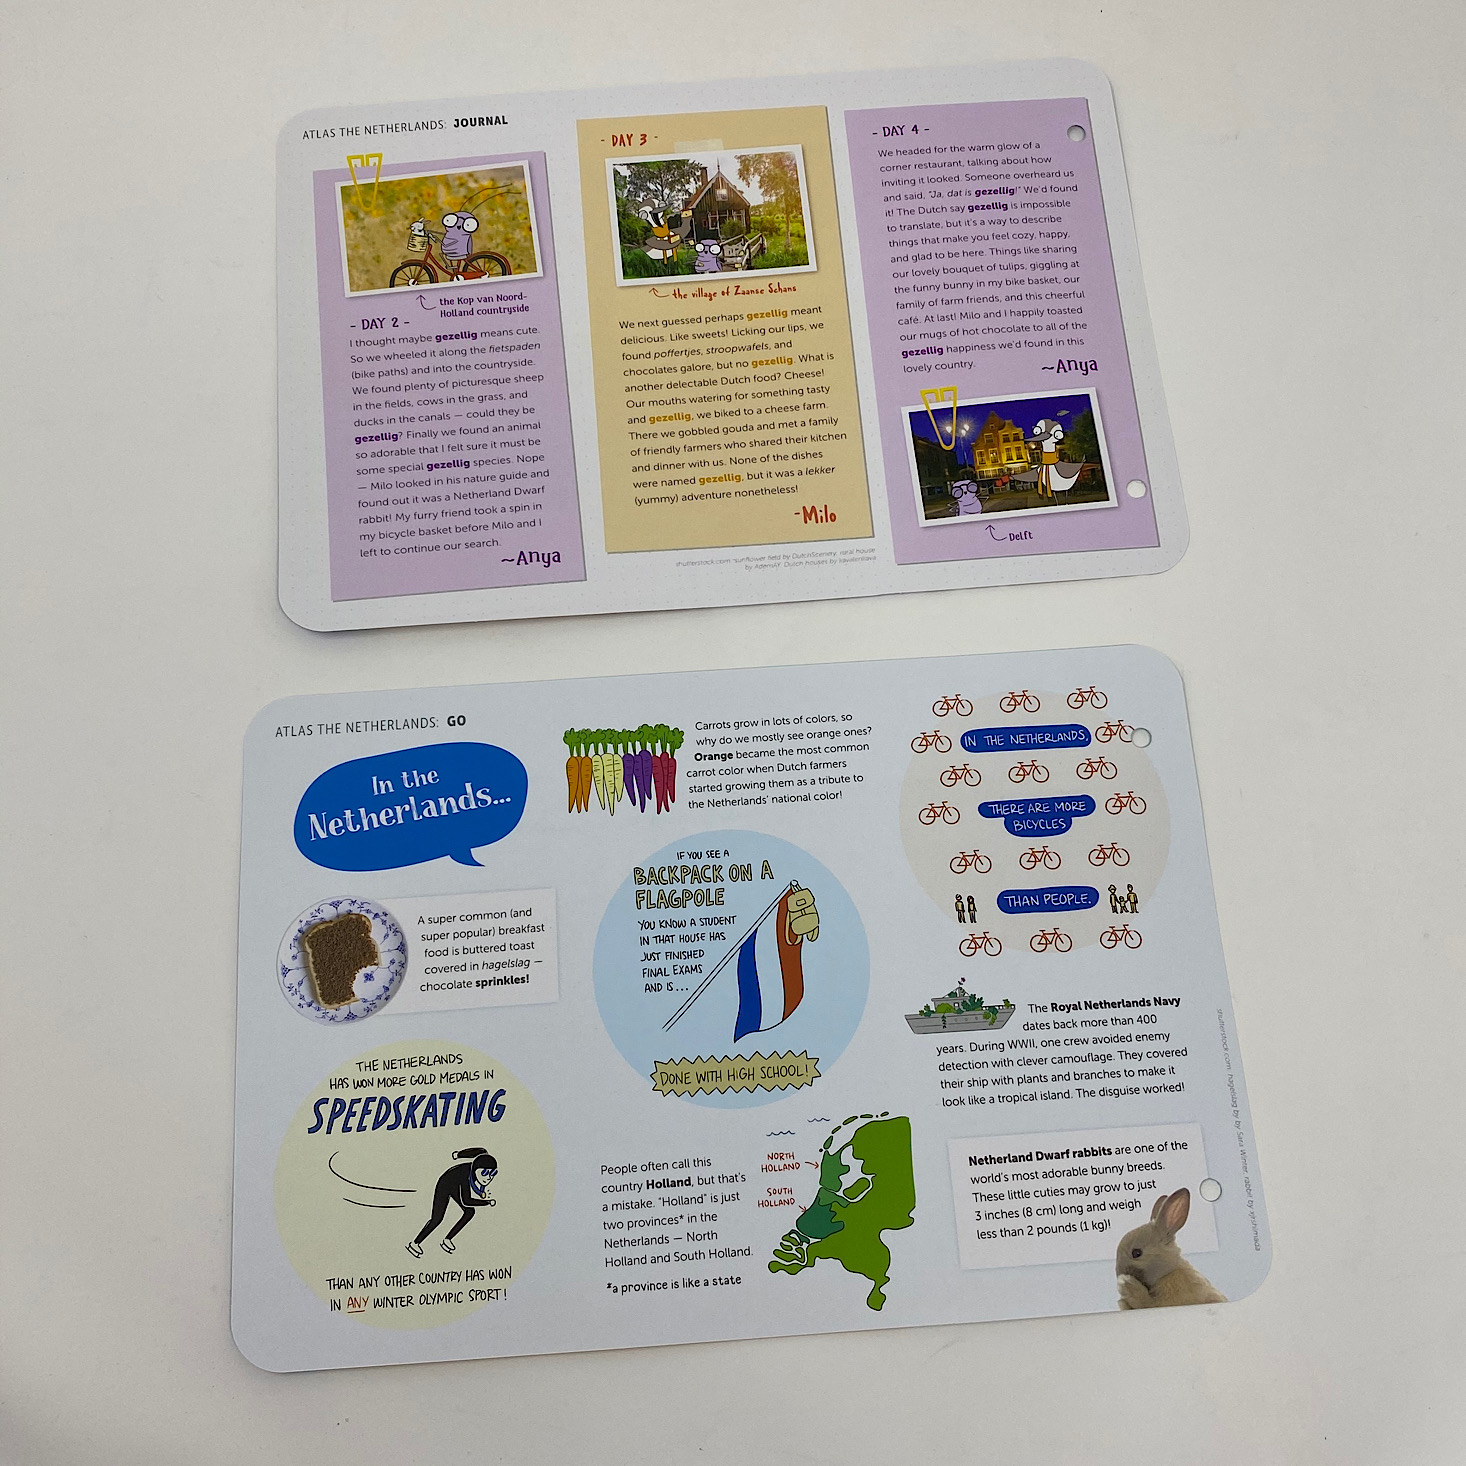
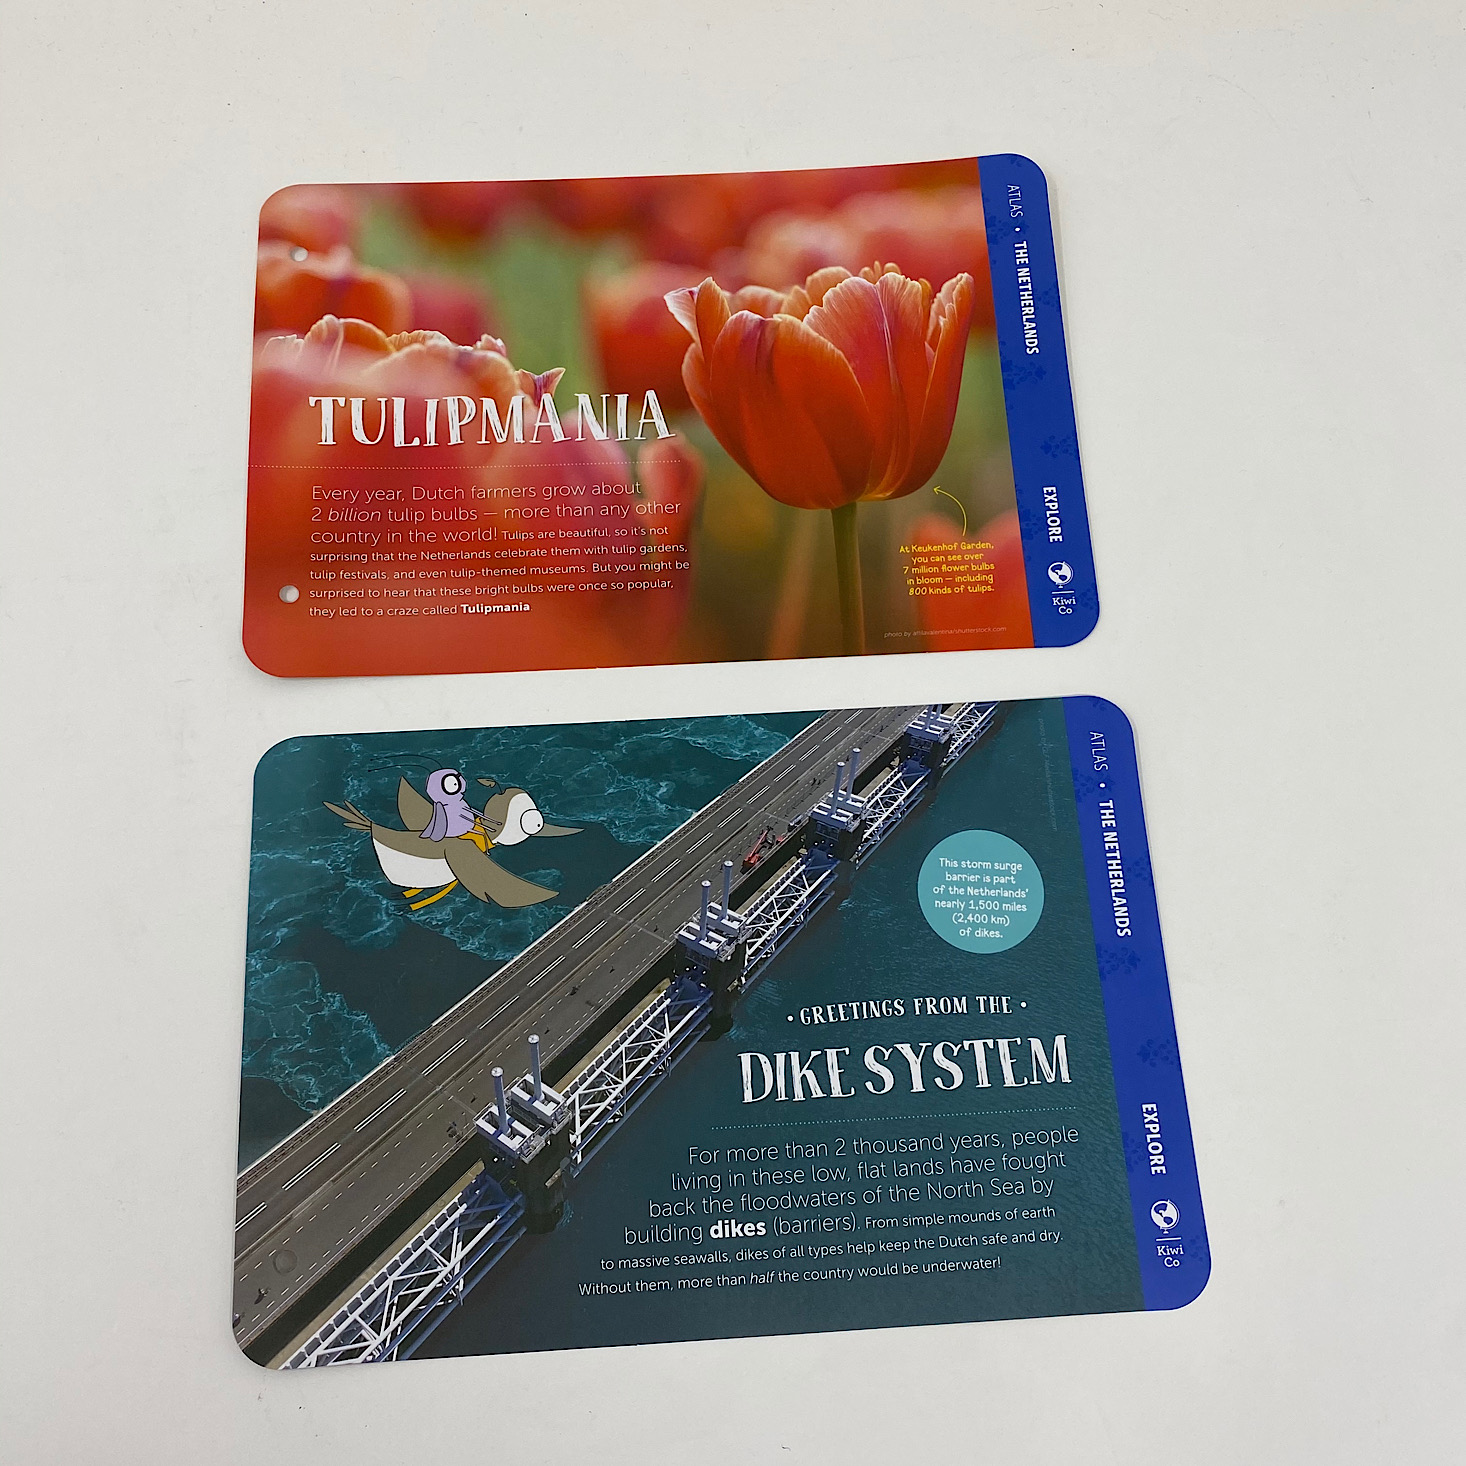
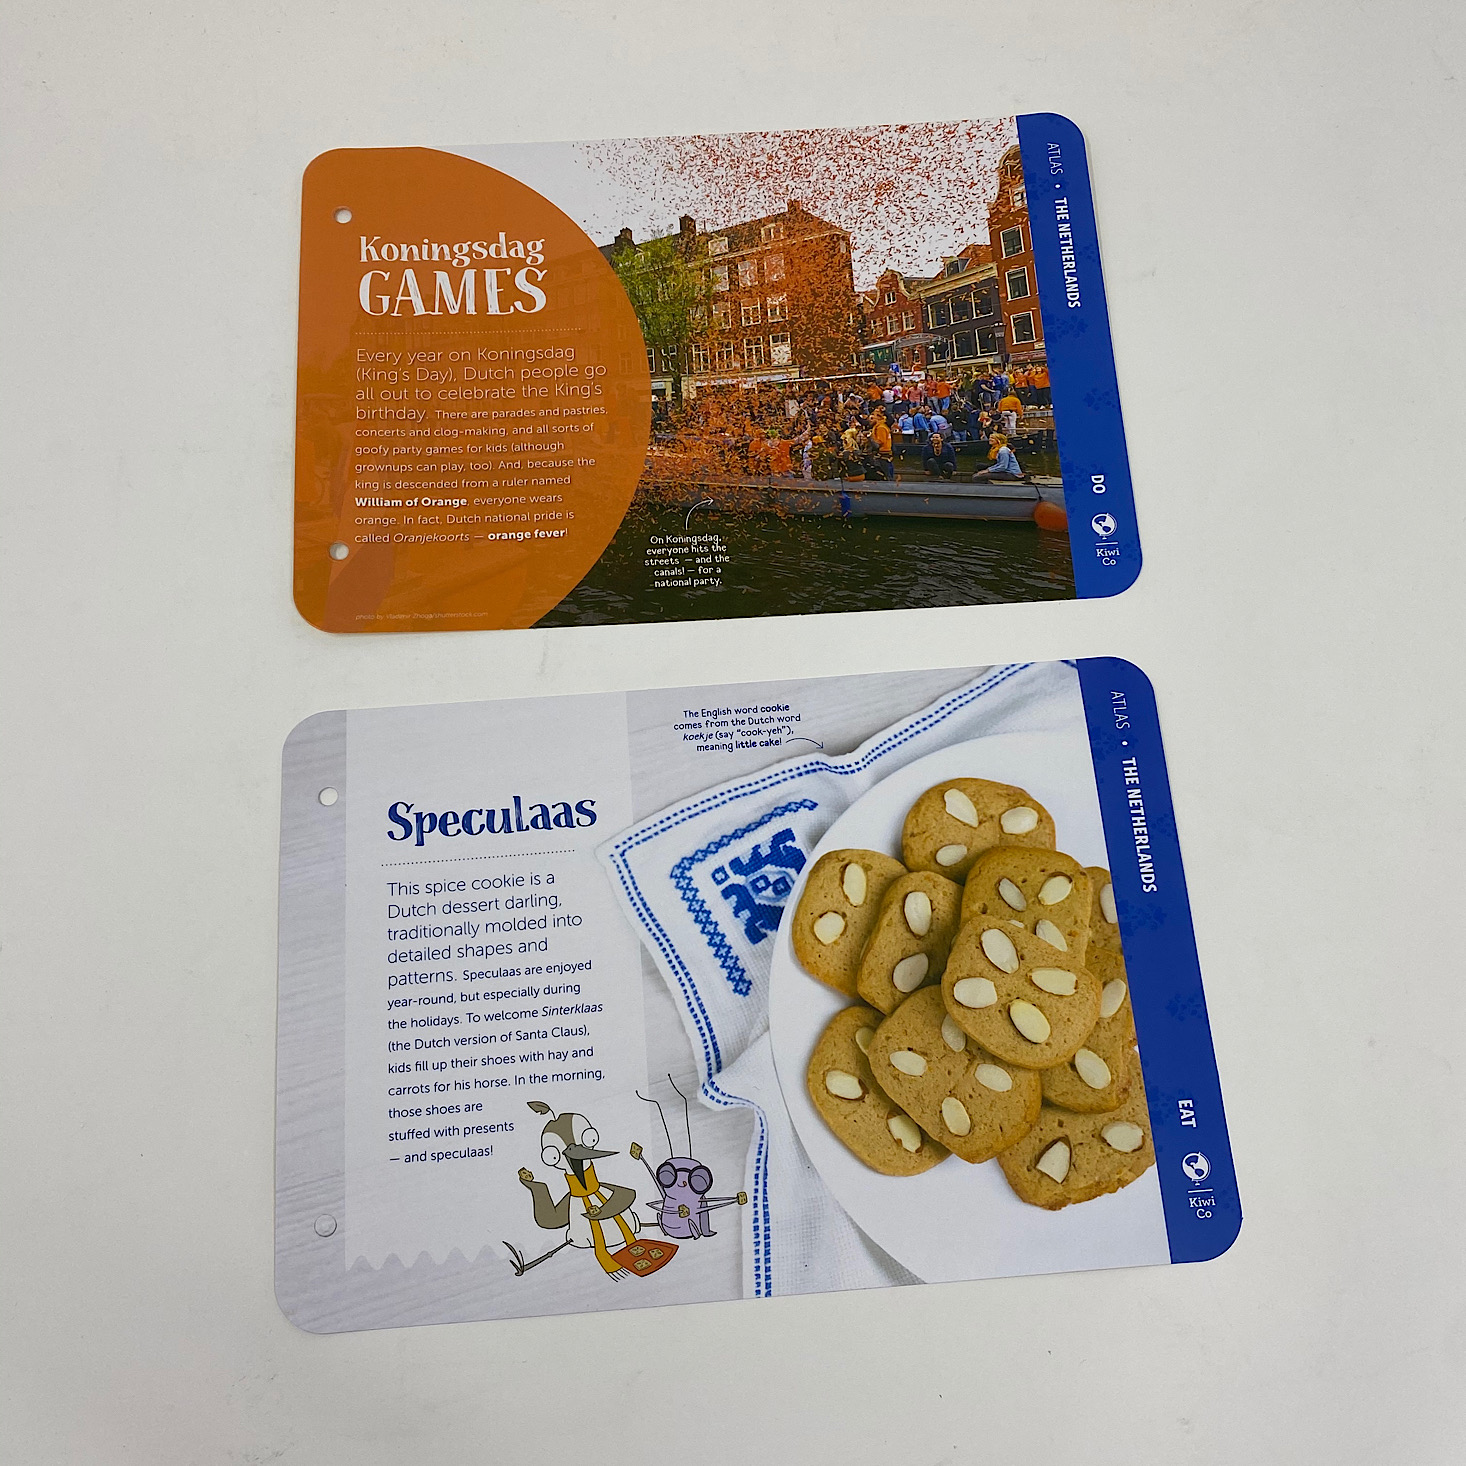
The cards for our adventure book are bright, vibrant, and full of tons of information about the Netherlands on either side. We learned about tulips, windmills, and the dike system that they have set up.
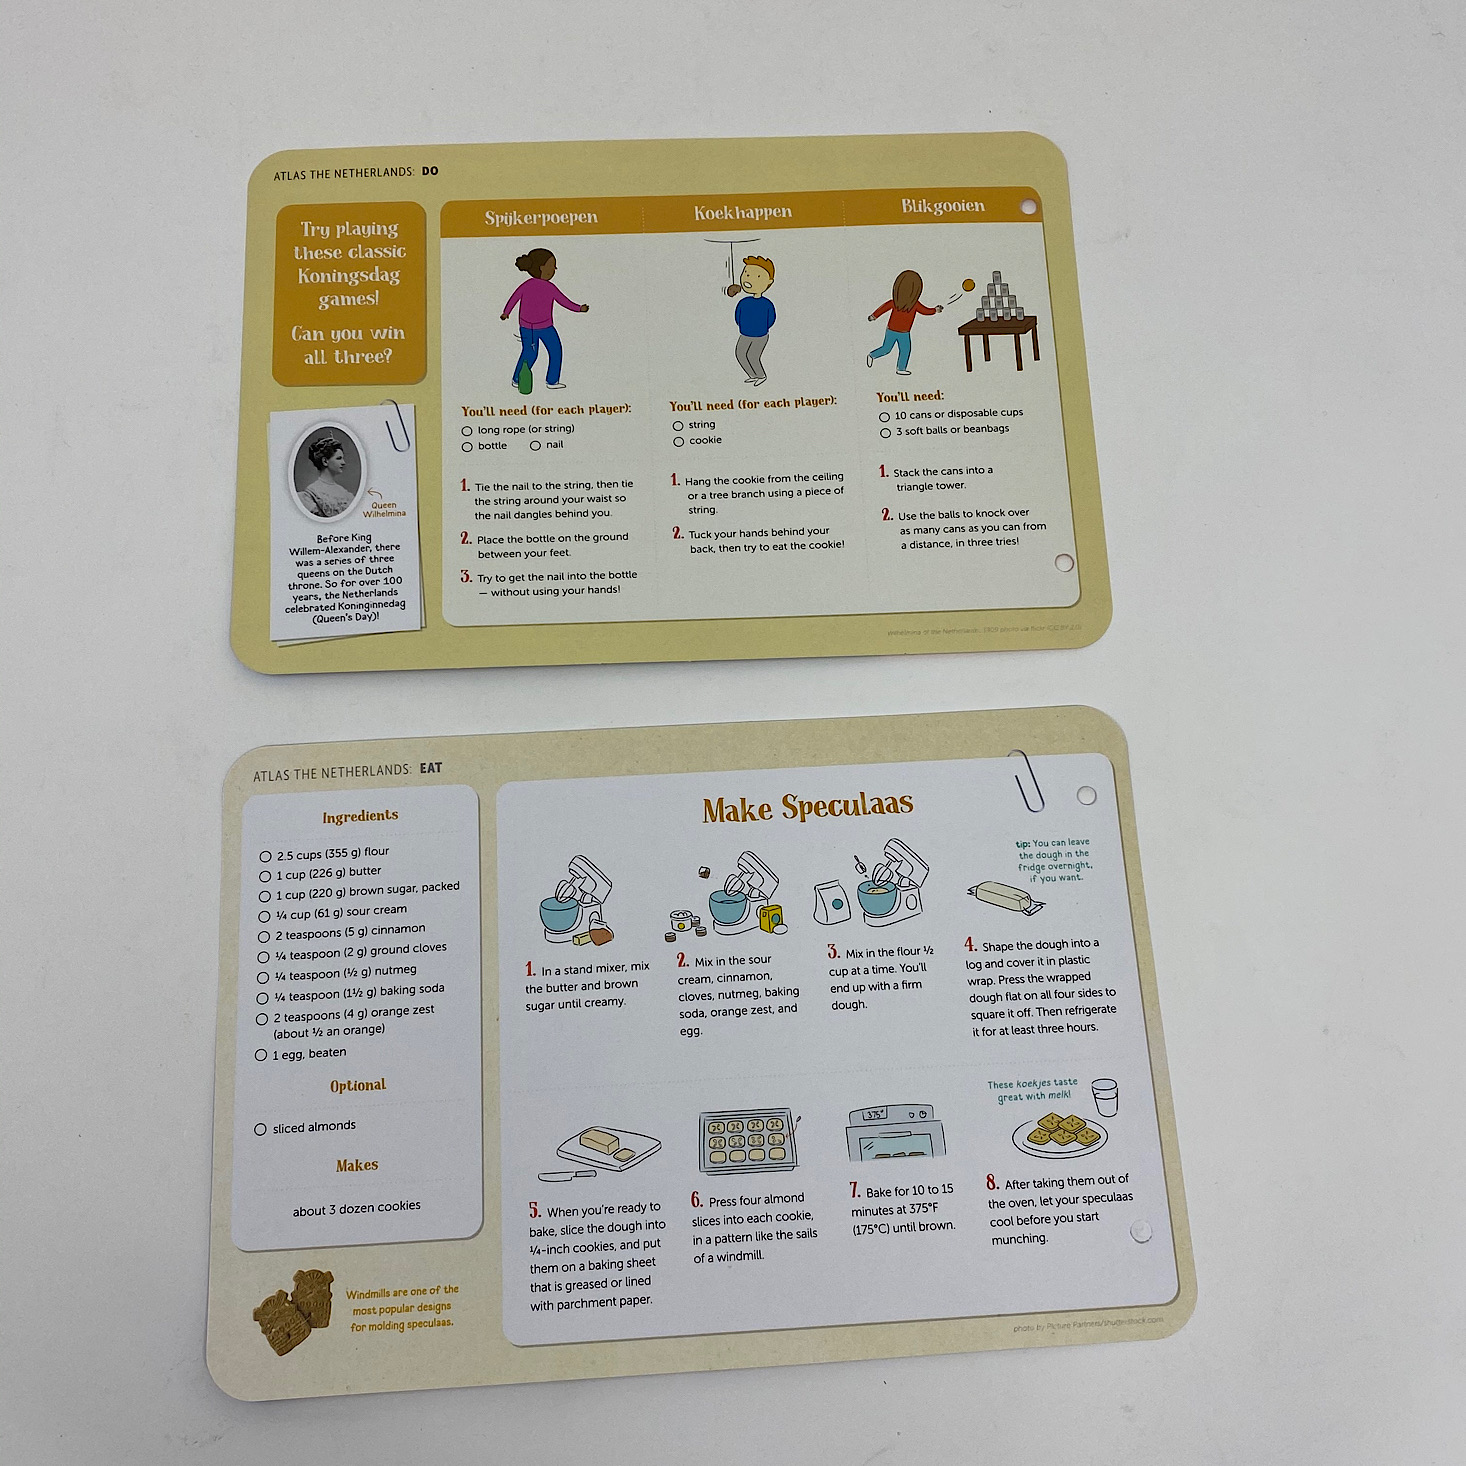
While most of the pages contain information for us to read, there are always a few "do" pages that provide instructions on activities related to the country. This month we had a recipe for some Speculaas cookies and a few games that they play on Kings Day or Koningsdag.
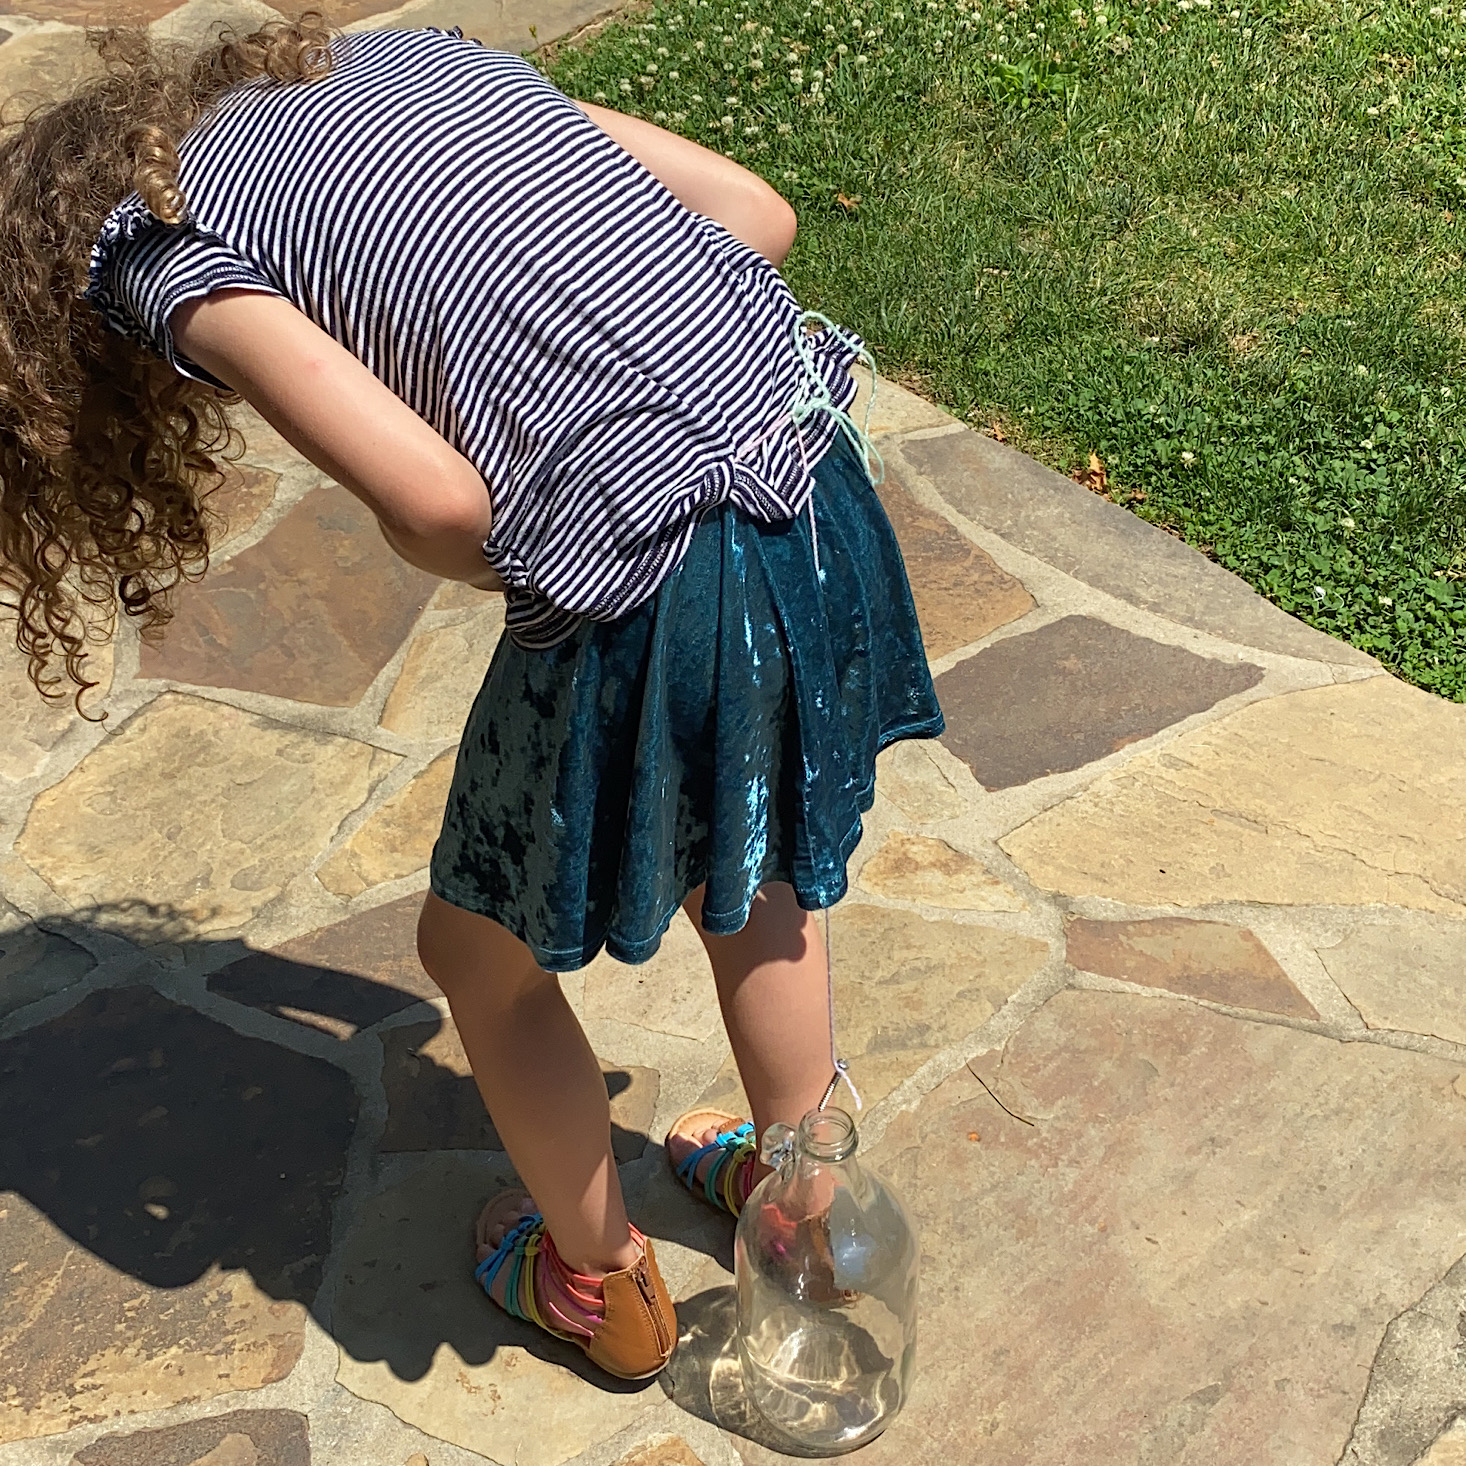
We had some fun trying out the game Spijkerpoepen which involved tying a string with a nail attached to it around your waist and seeing if you could get it inside of a bottle without using your hands. It made for some silly fun!
Activity #1: Starry Night Artwork
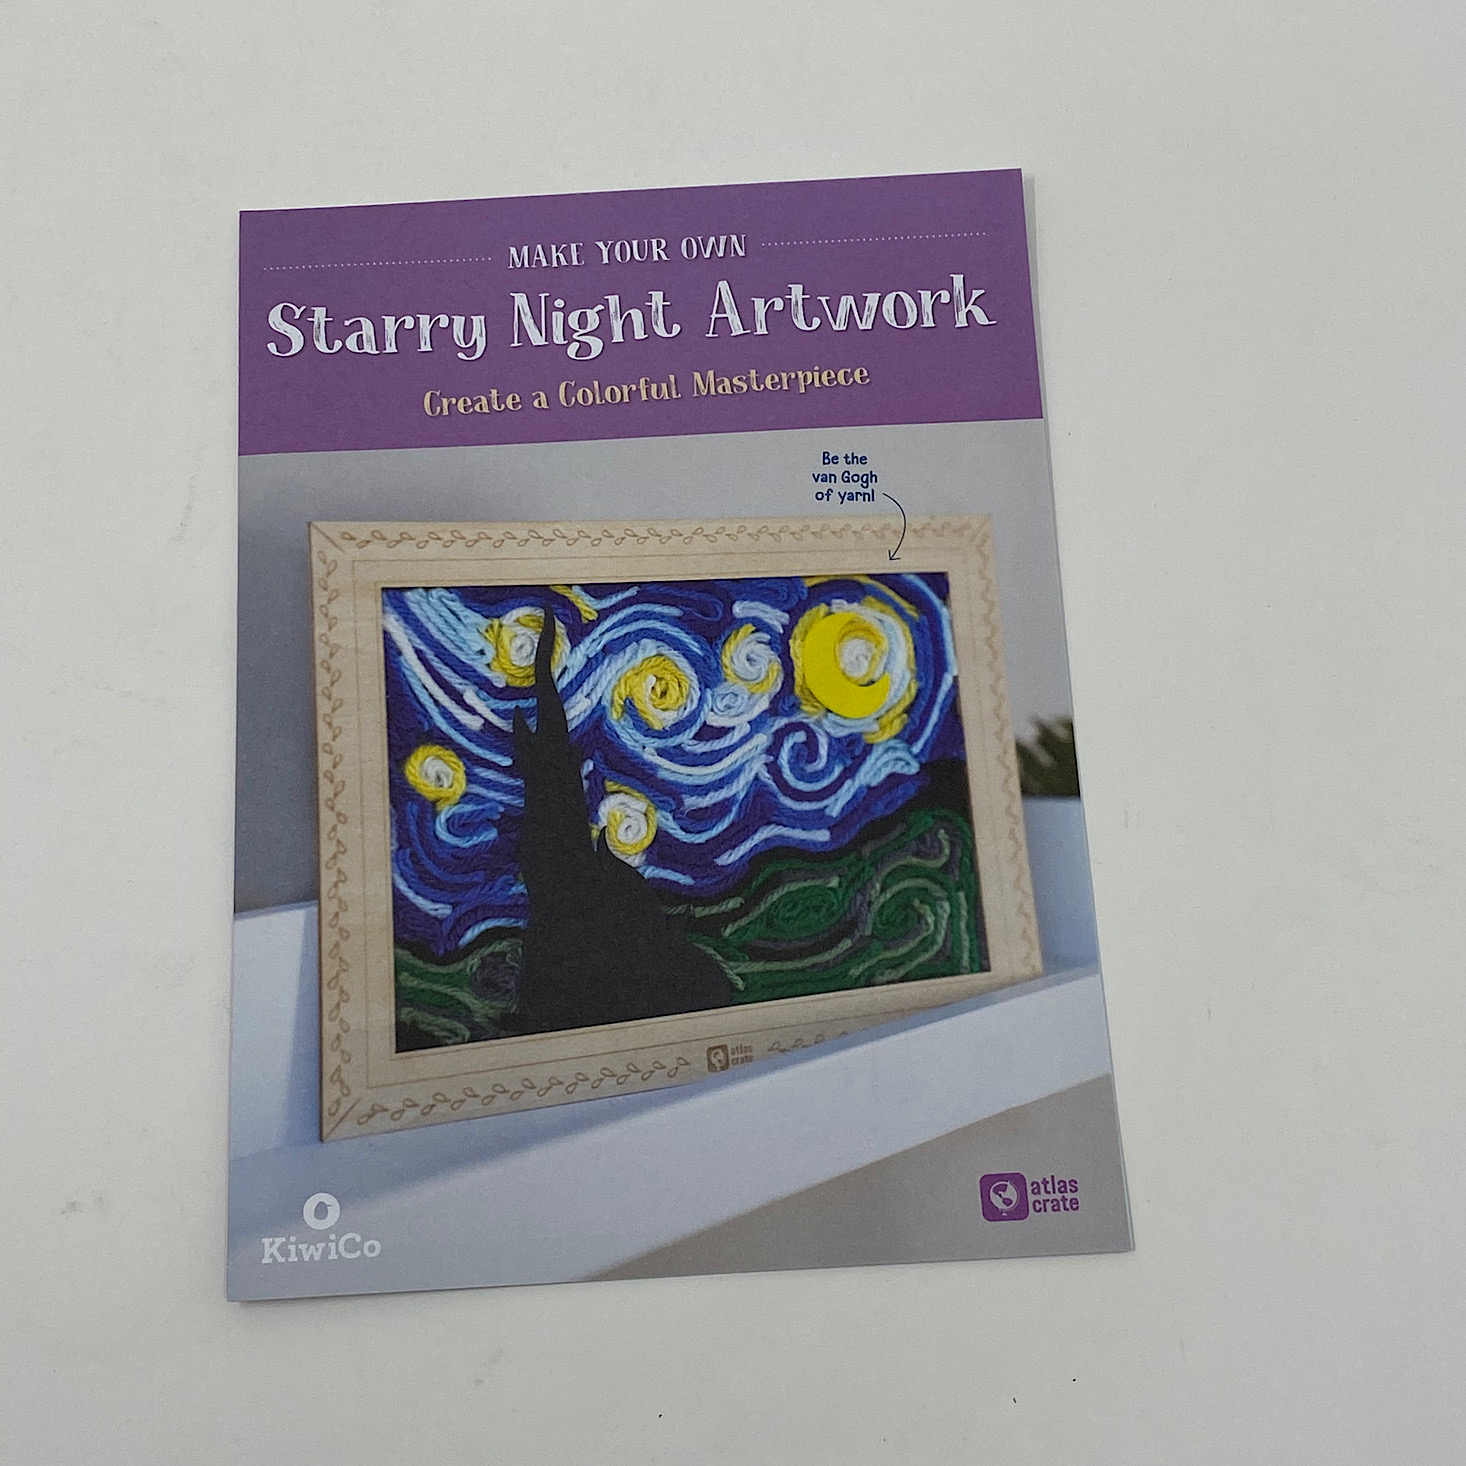
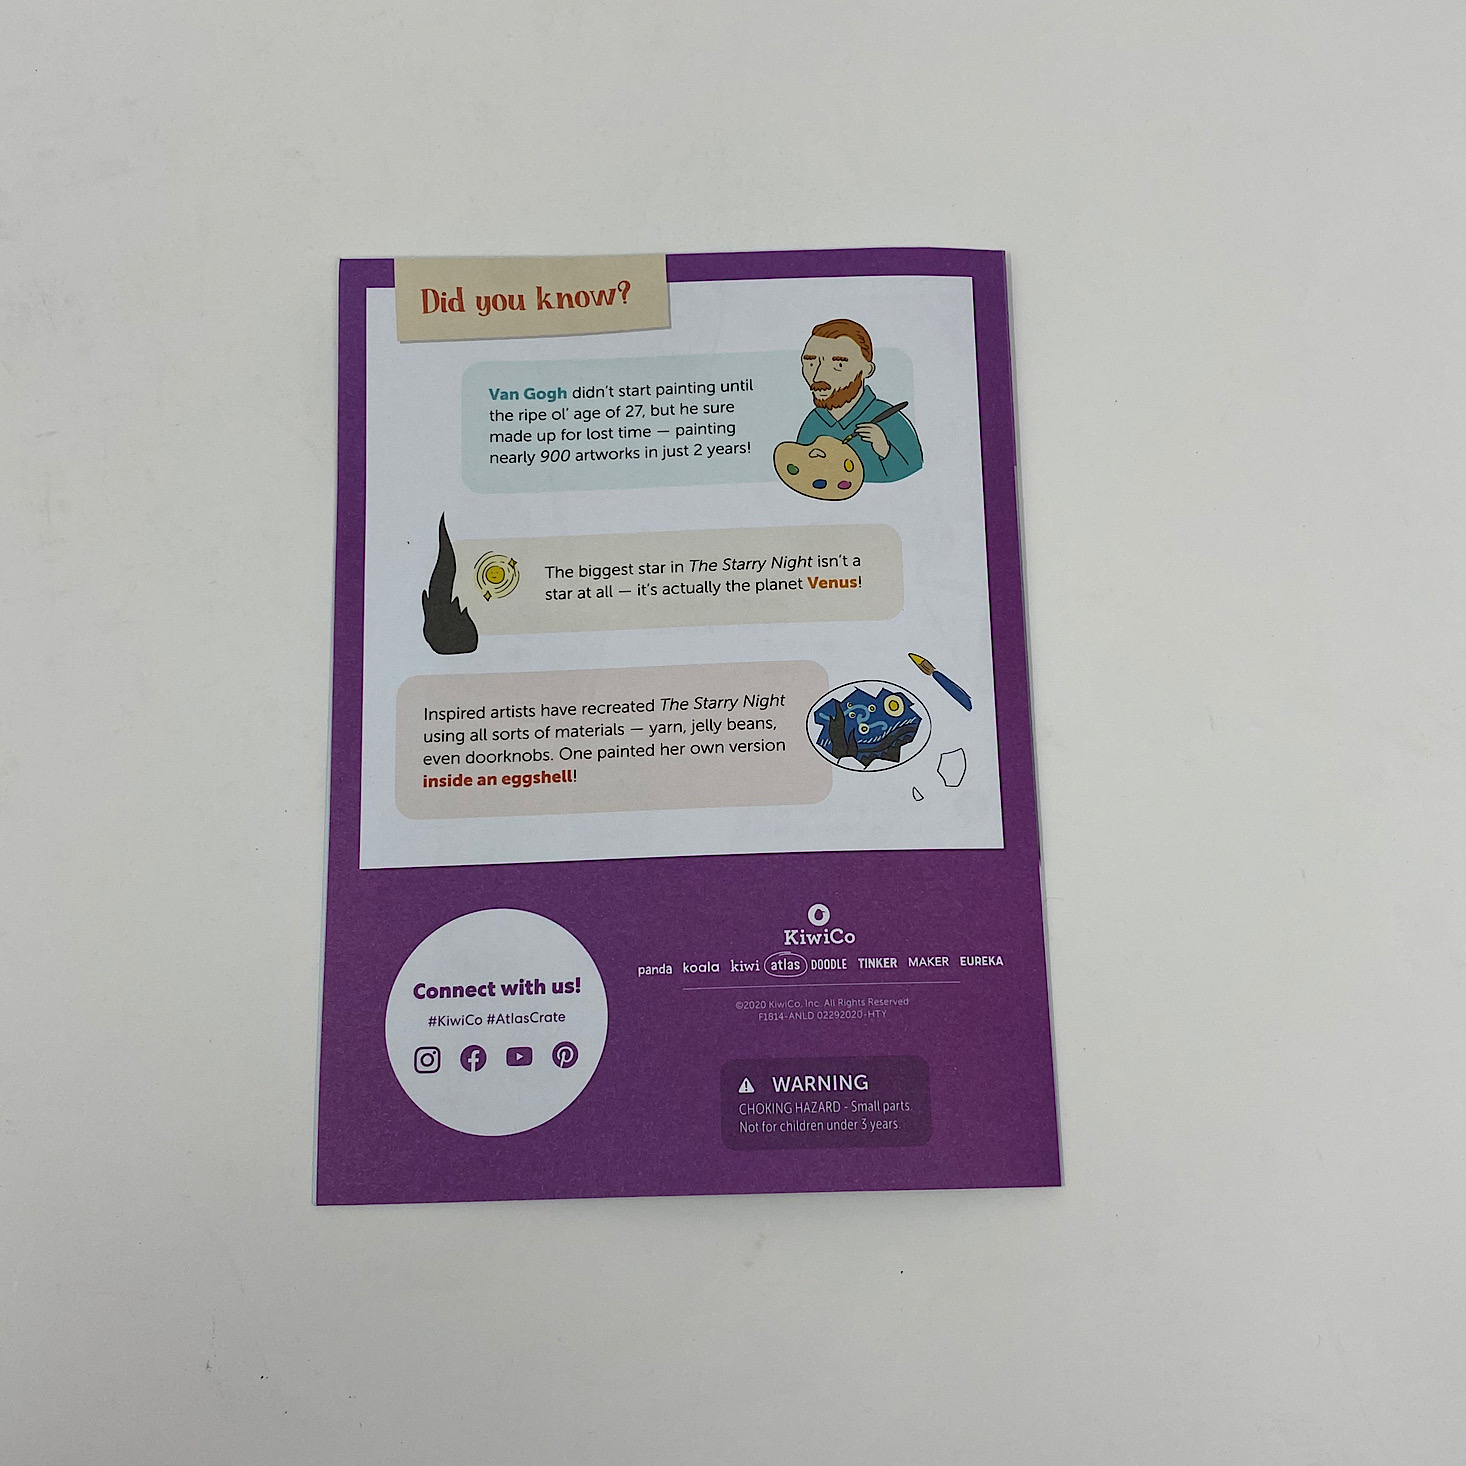
You can't explore the Netherlands without exploring some of Van Gogh's artwork. This month we got to make our very own Starry Night-style artwork using some yarn and sticky foam.
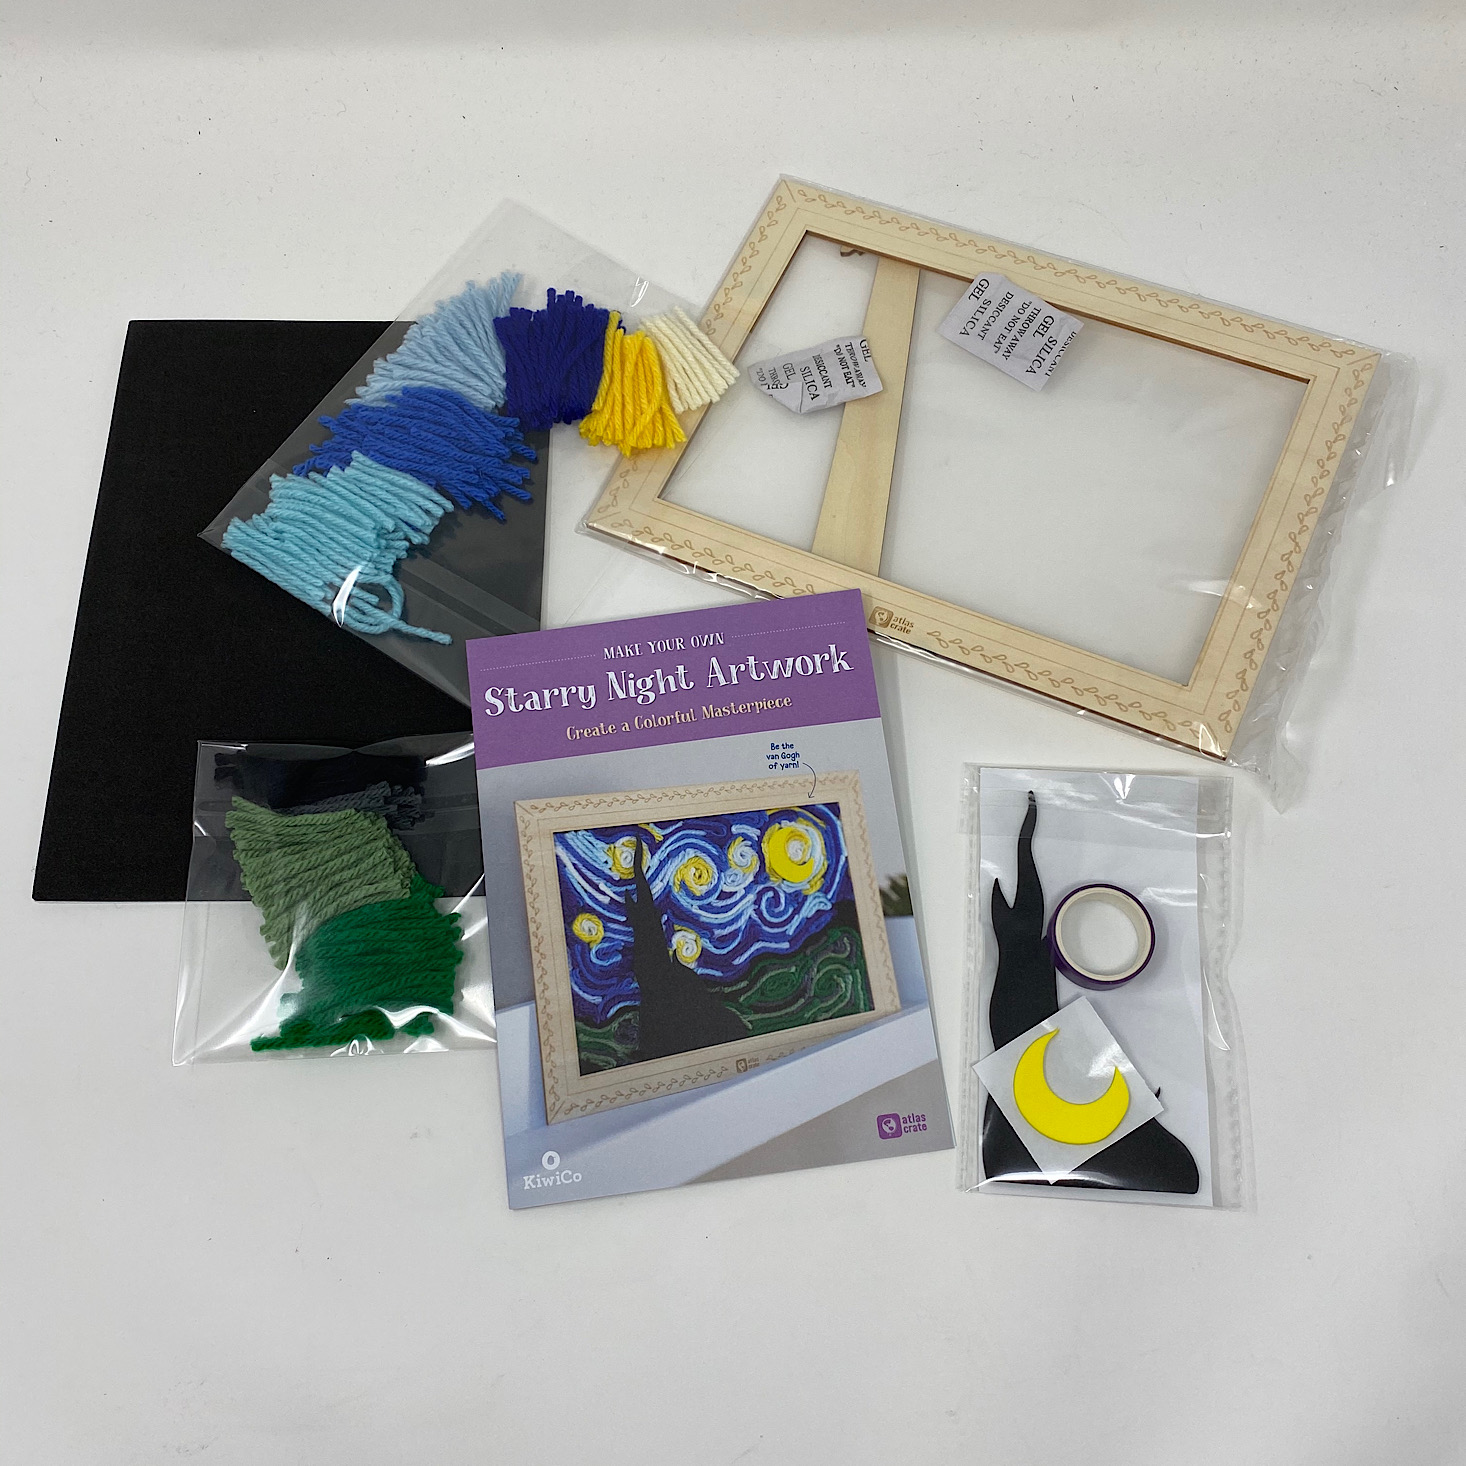
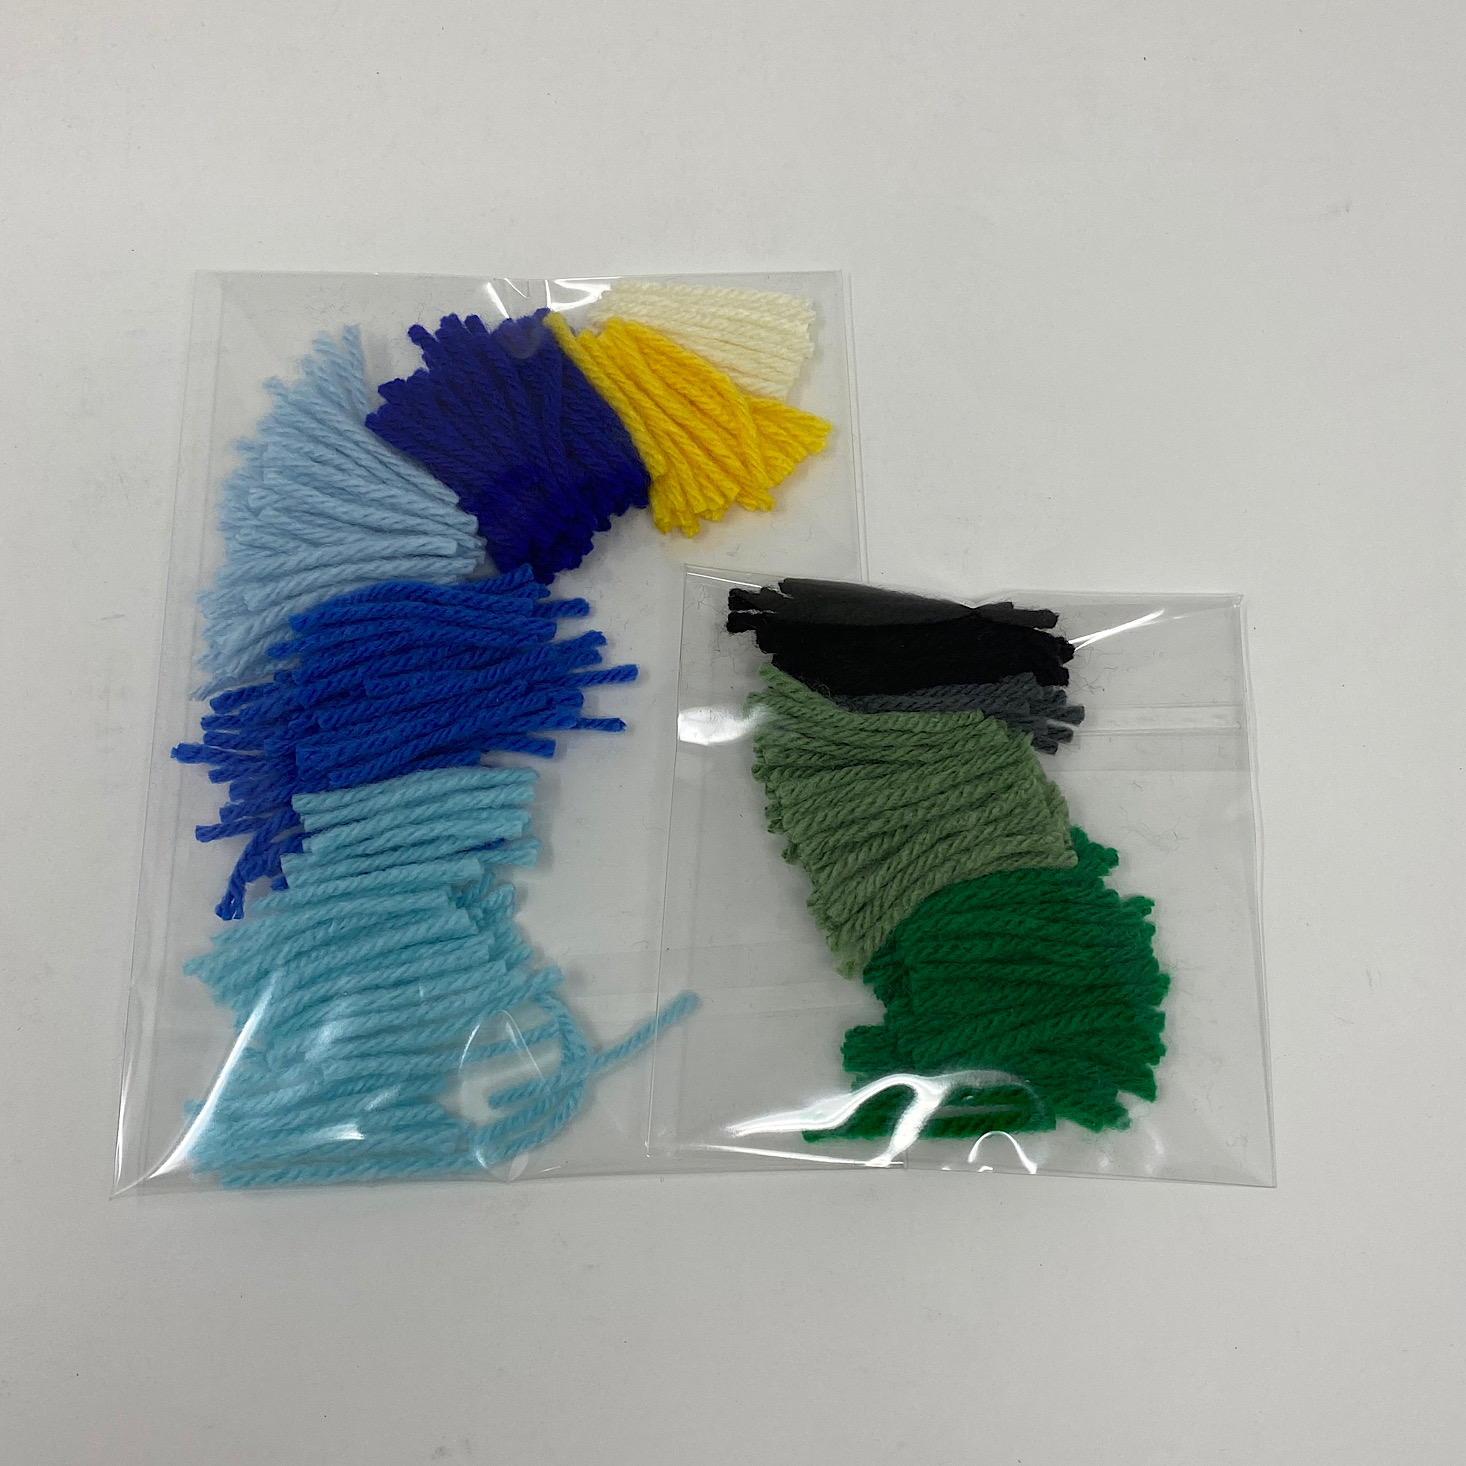
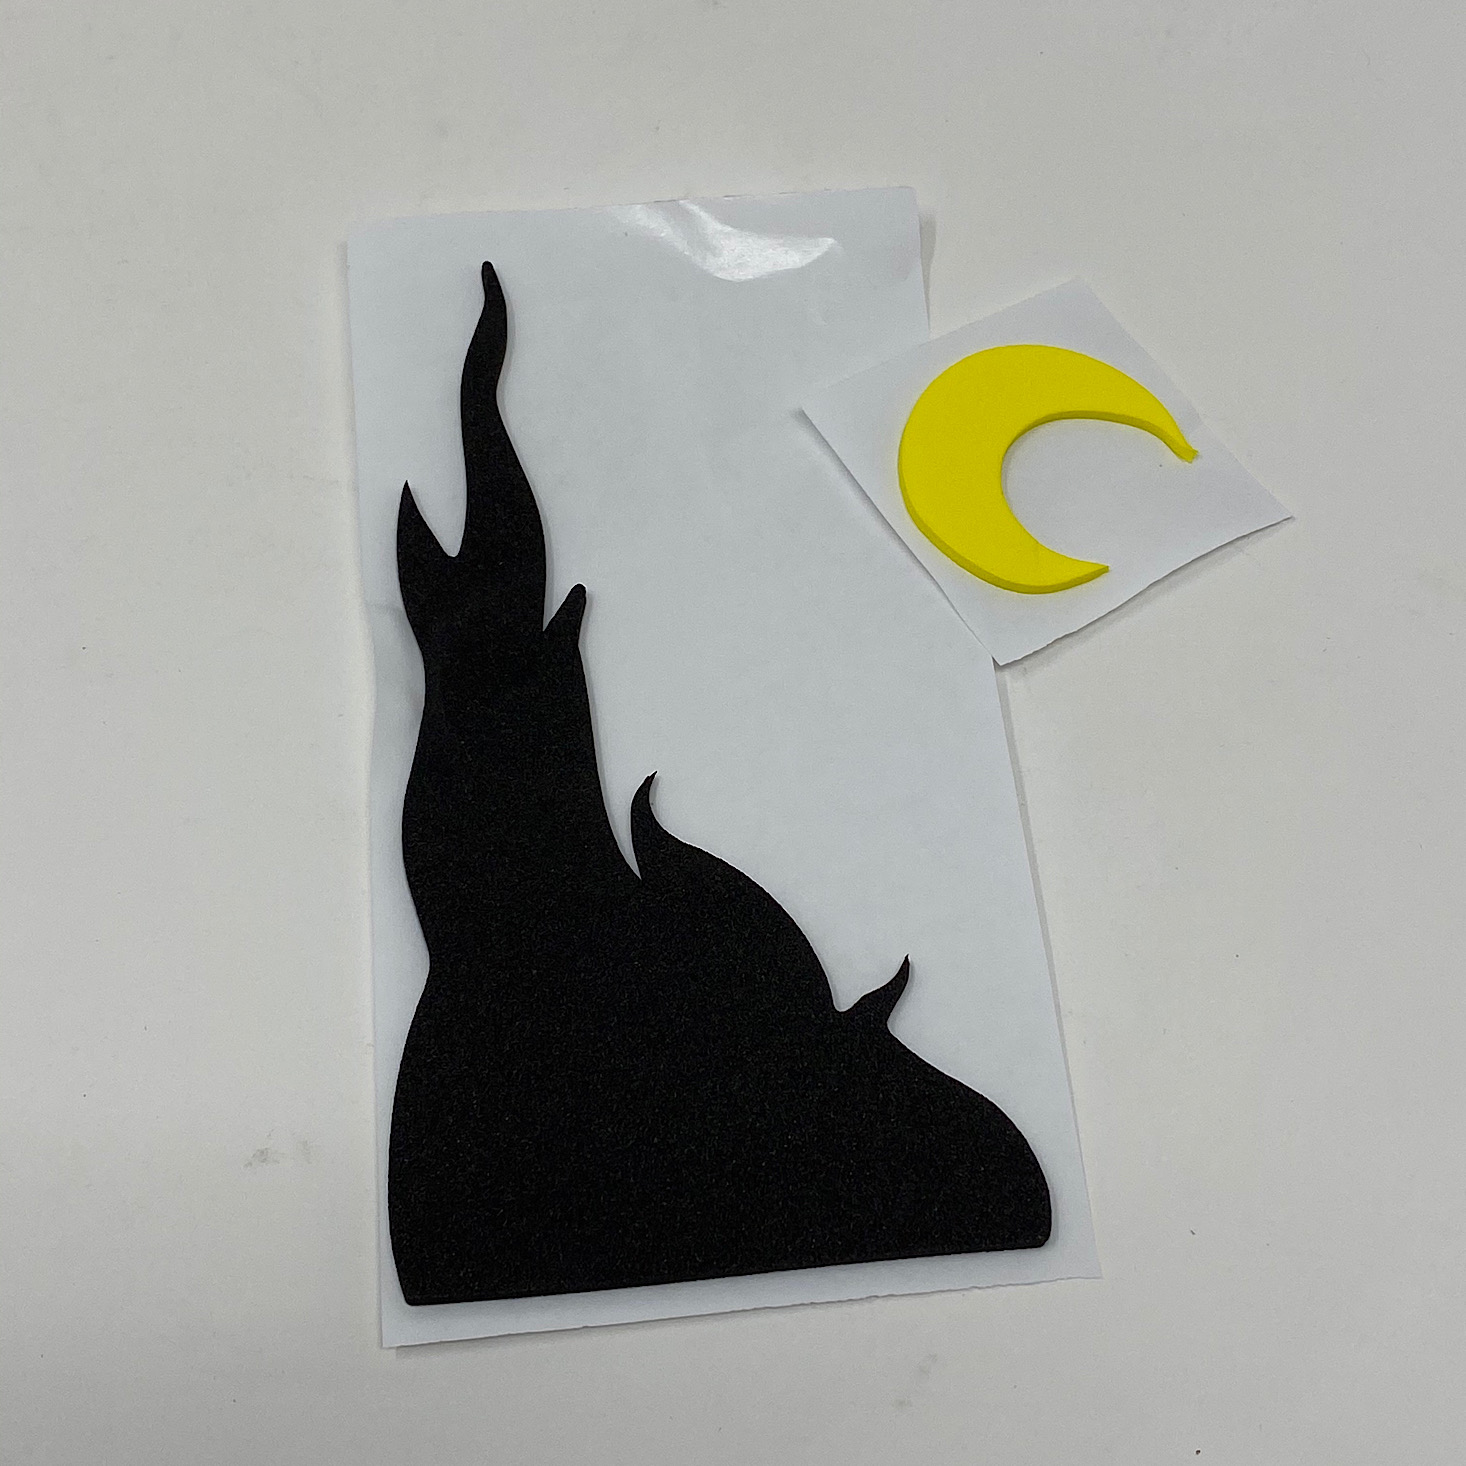
They provided this piece of foam for our background, a roll of washi tape, and several different colored bits of yarn.
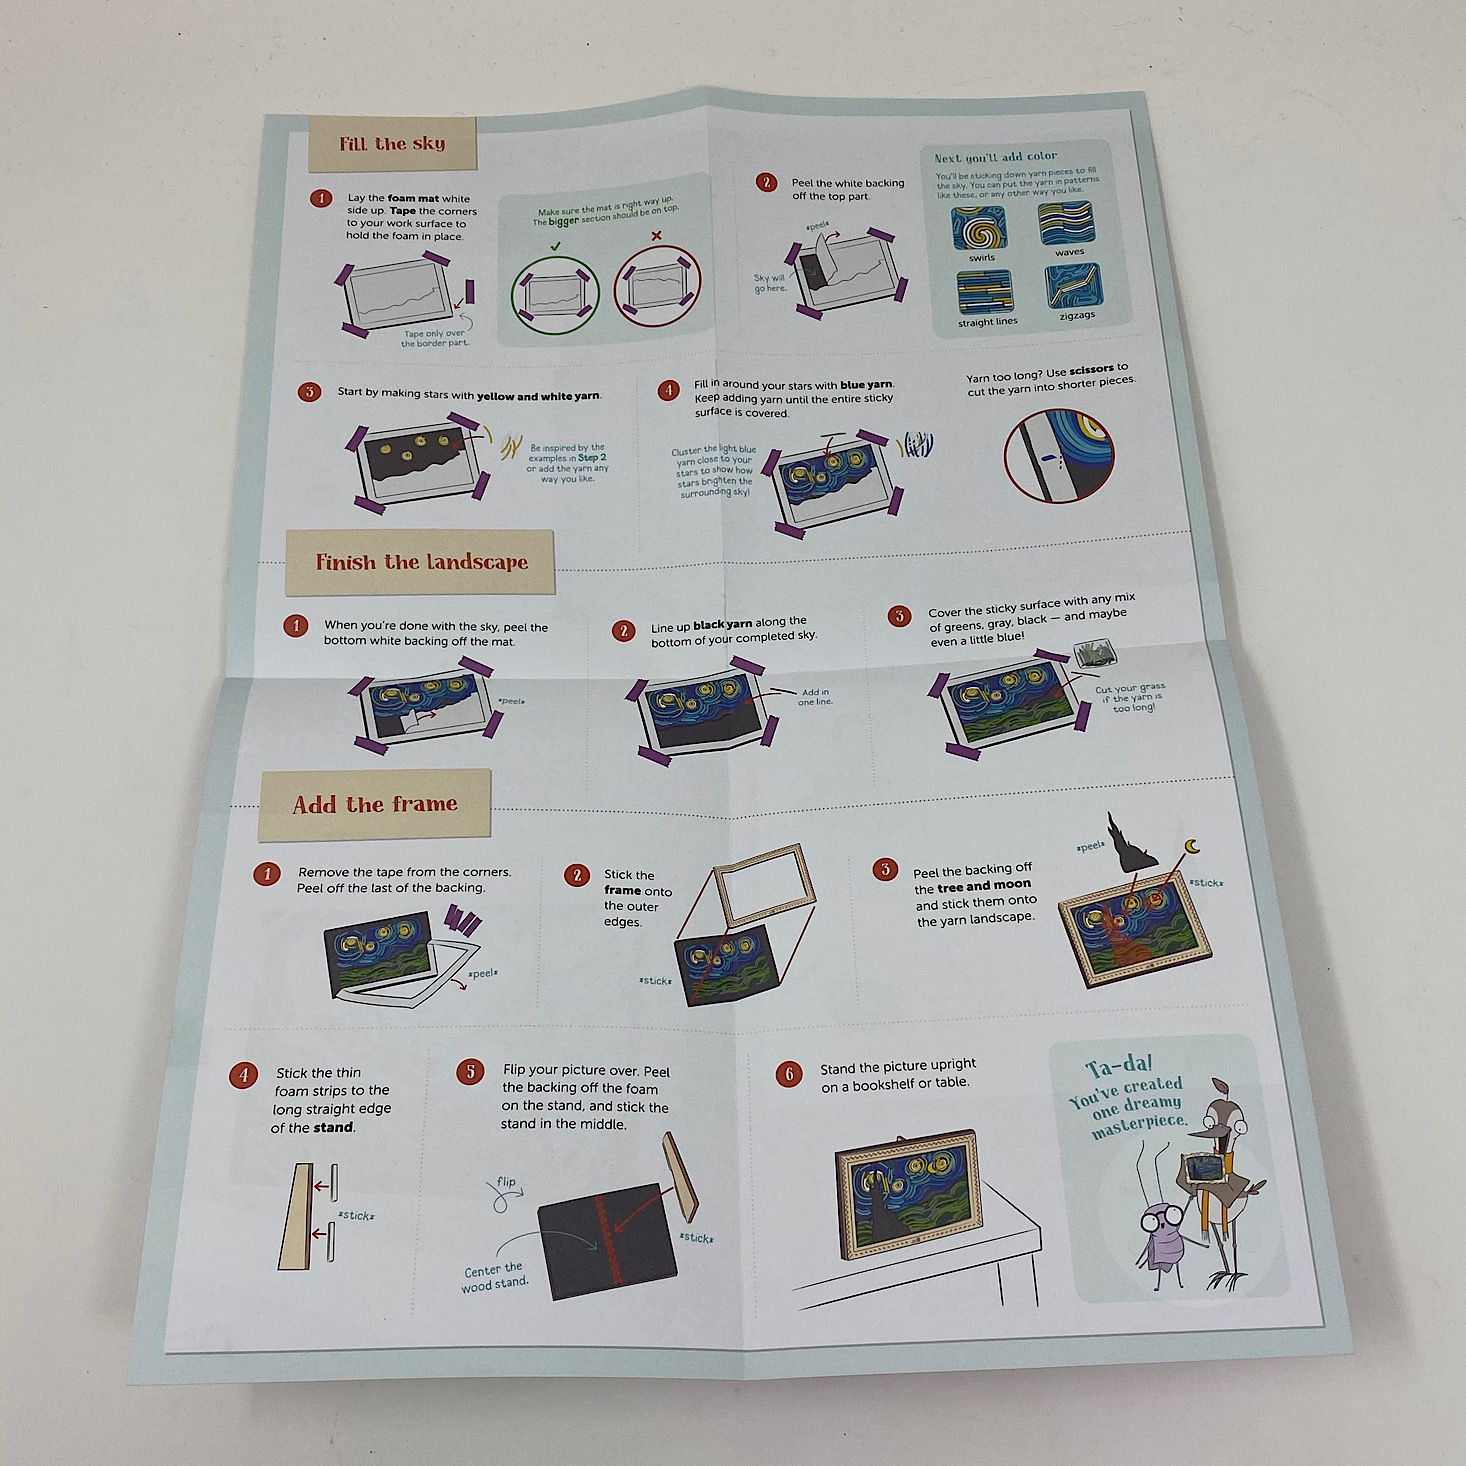
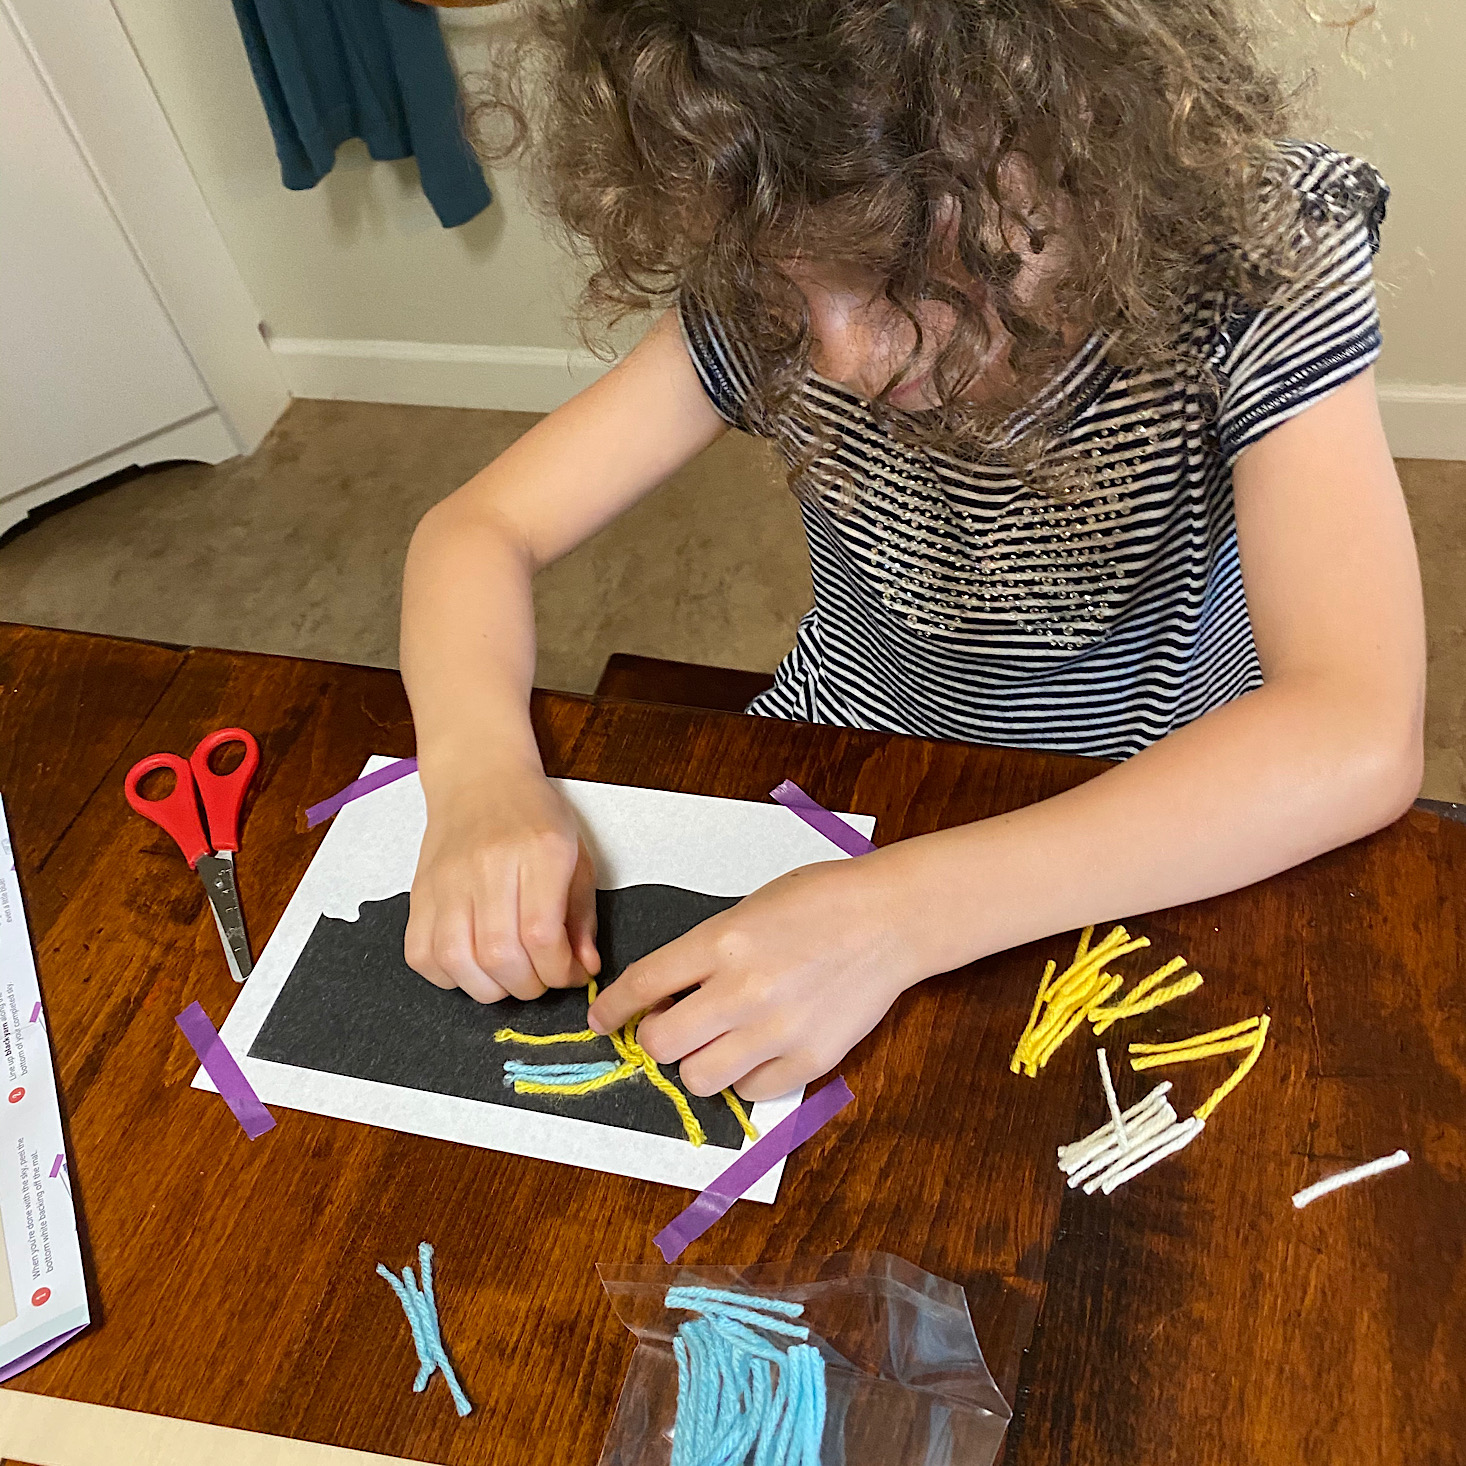
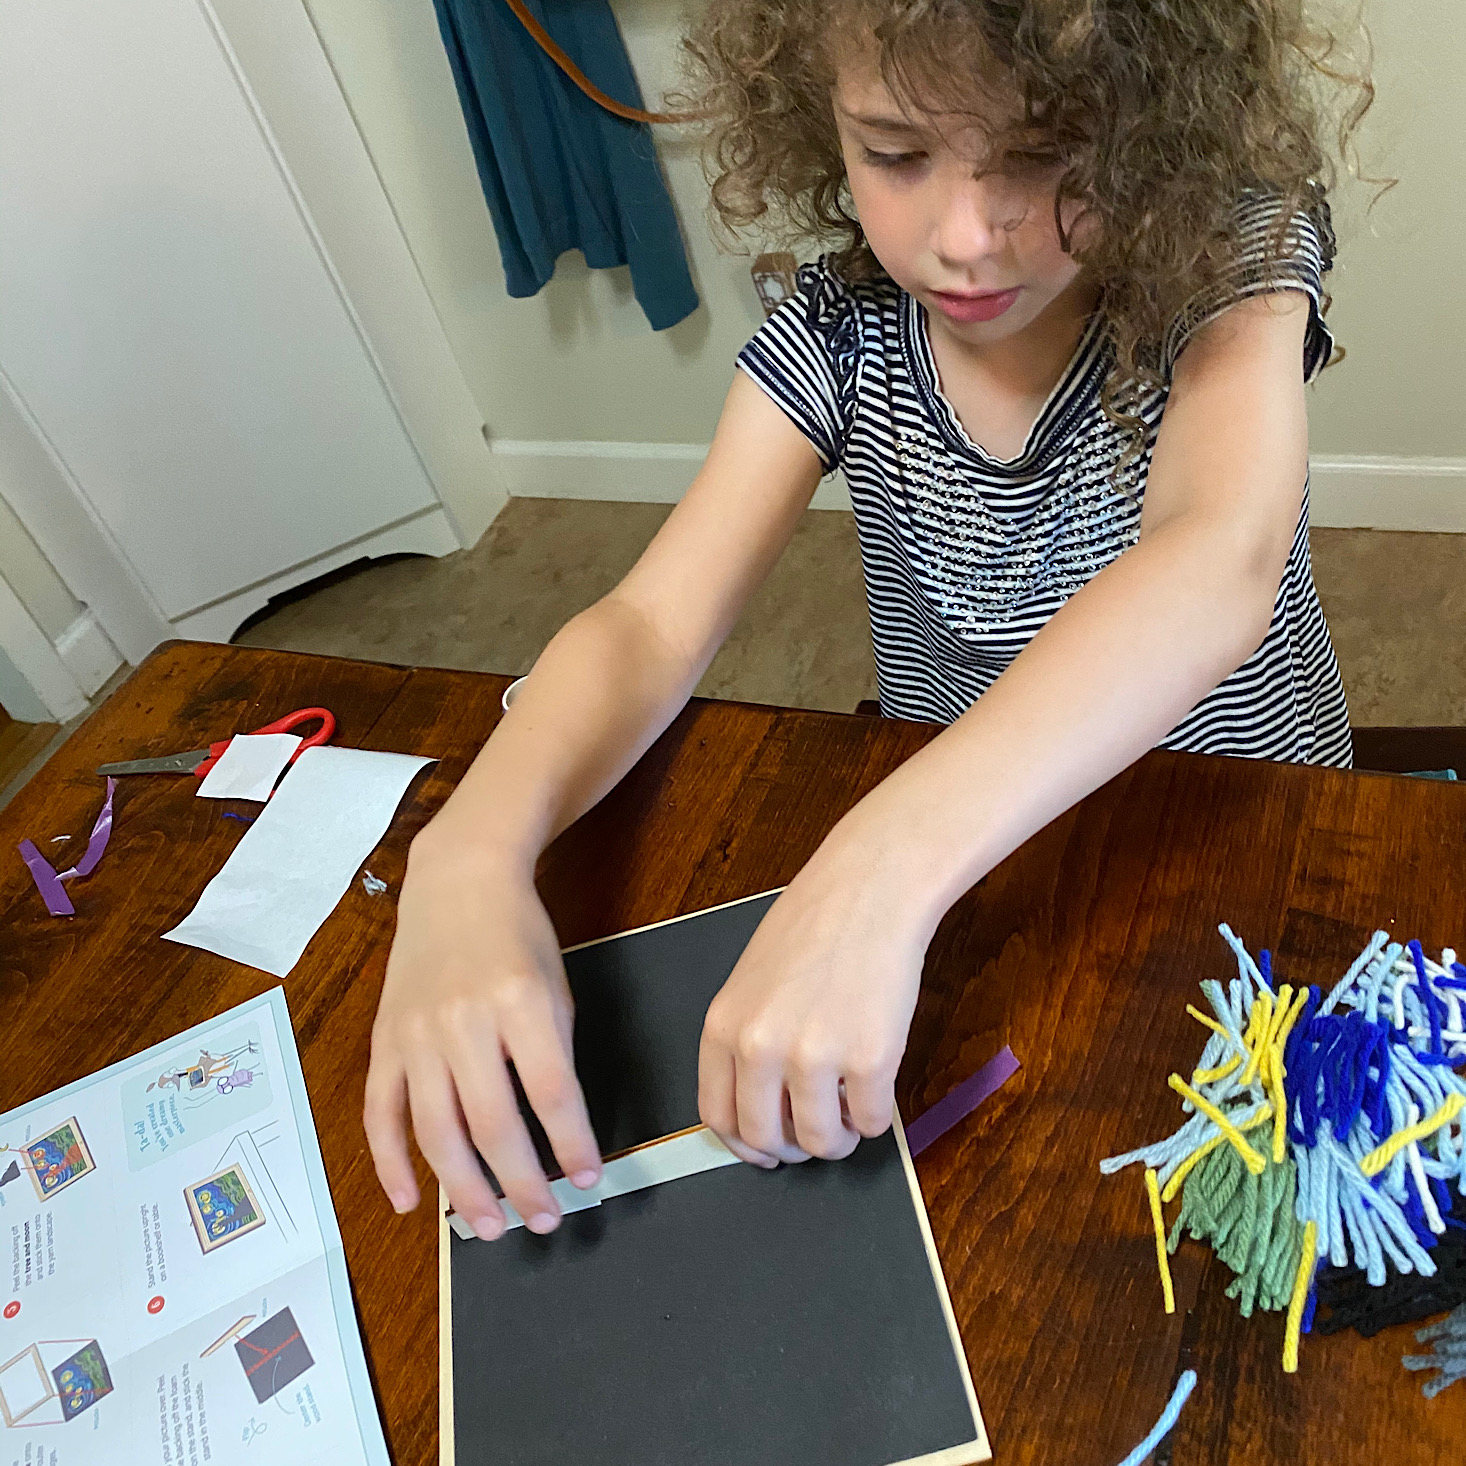
First, we used the purple tape to tape down our foam piece. Then we peeled off the top of the backing on the foam and my daughter began to add pieces of yarn which stuck right to our sticky foam.
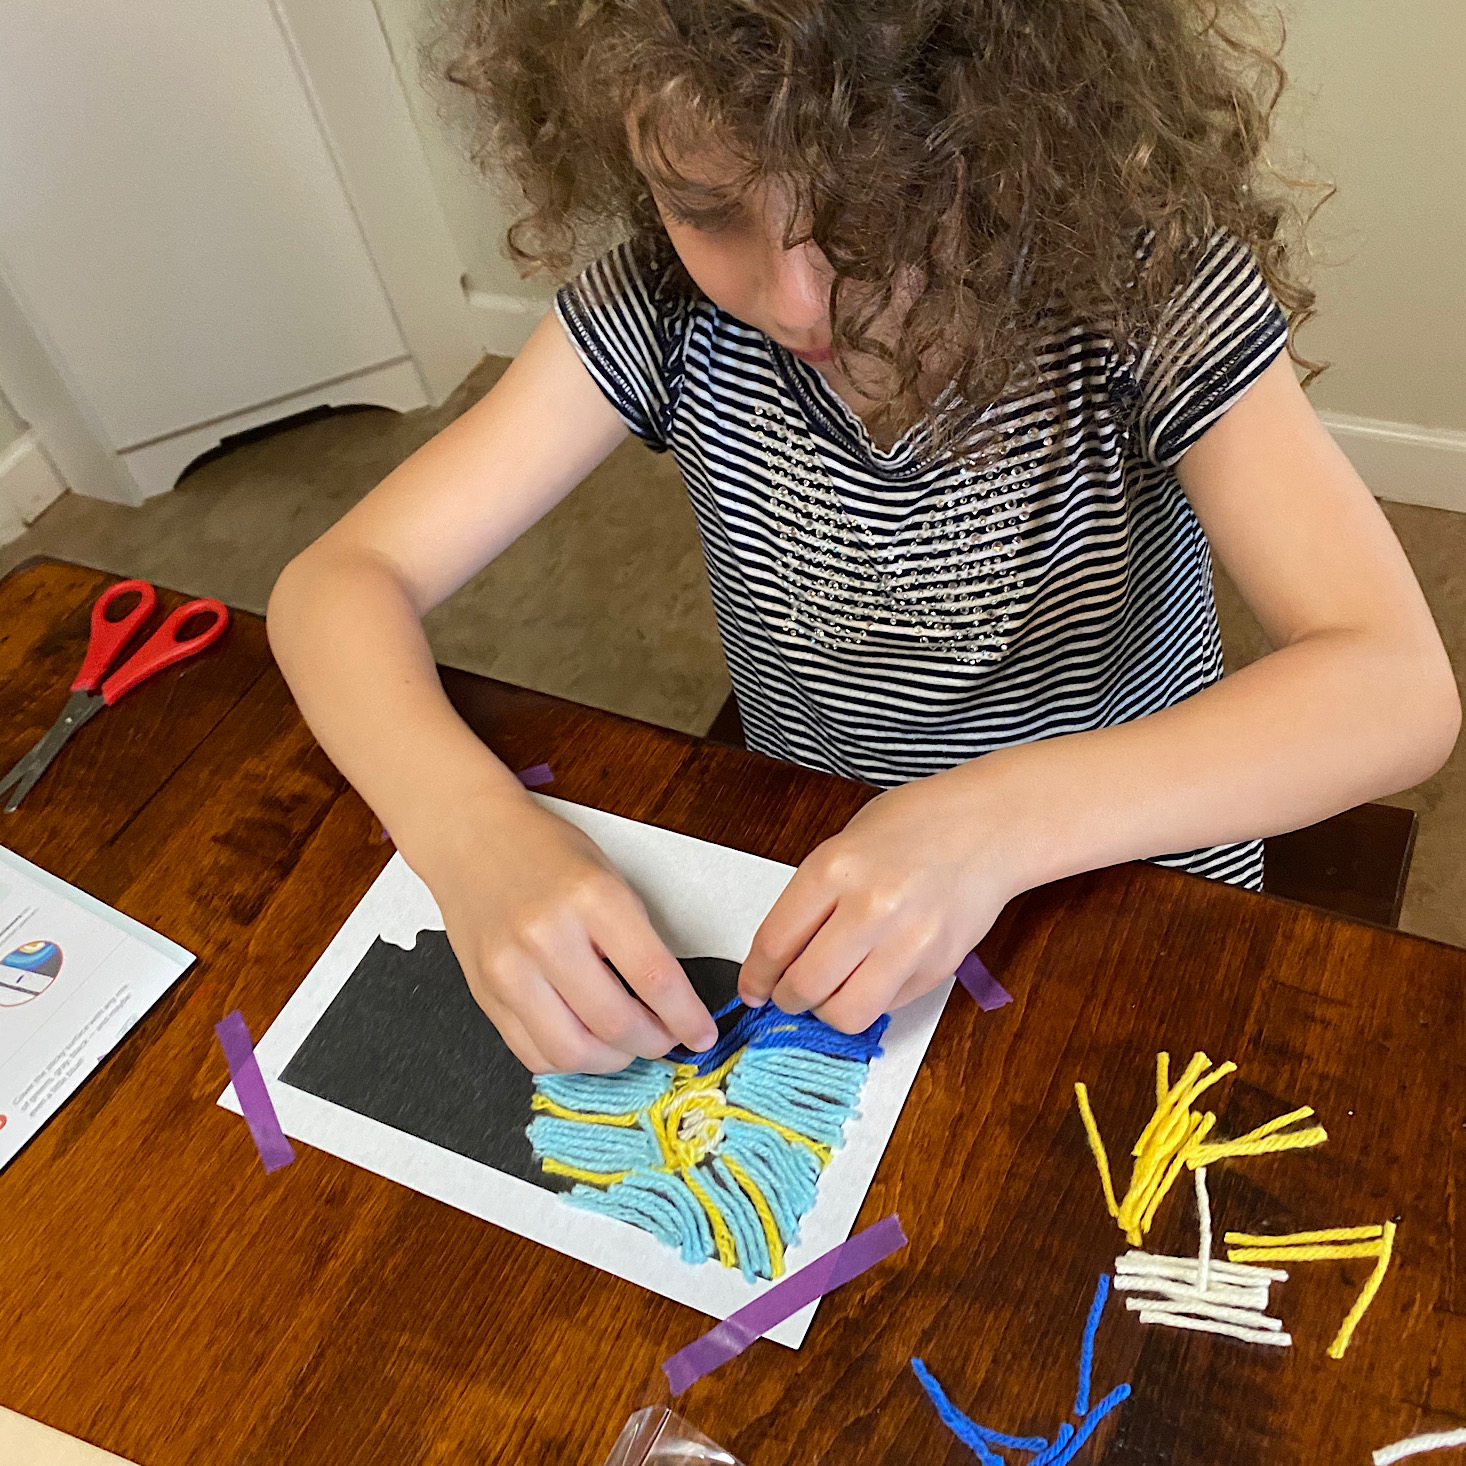
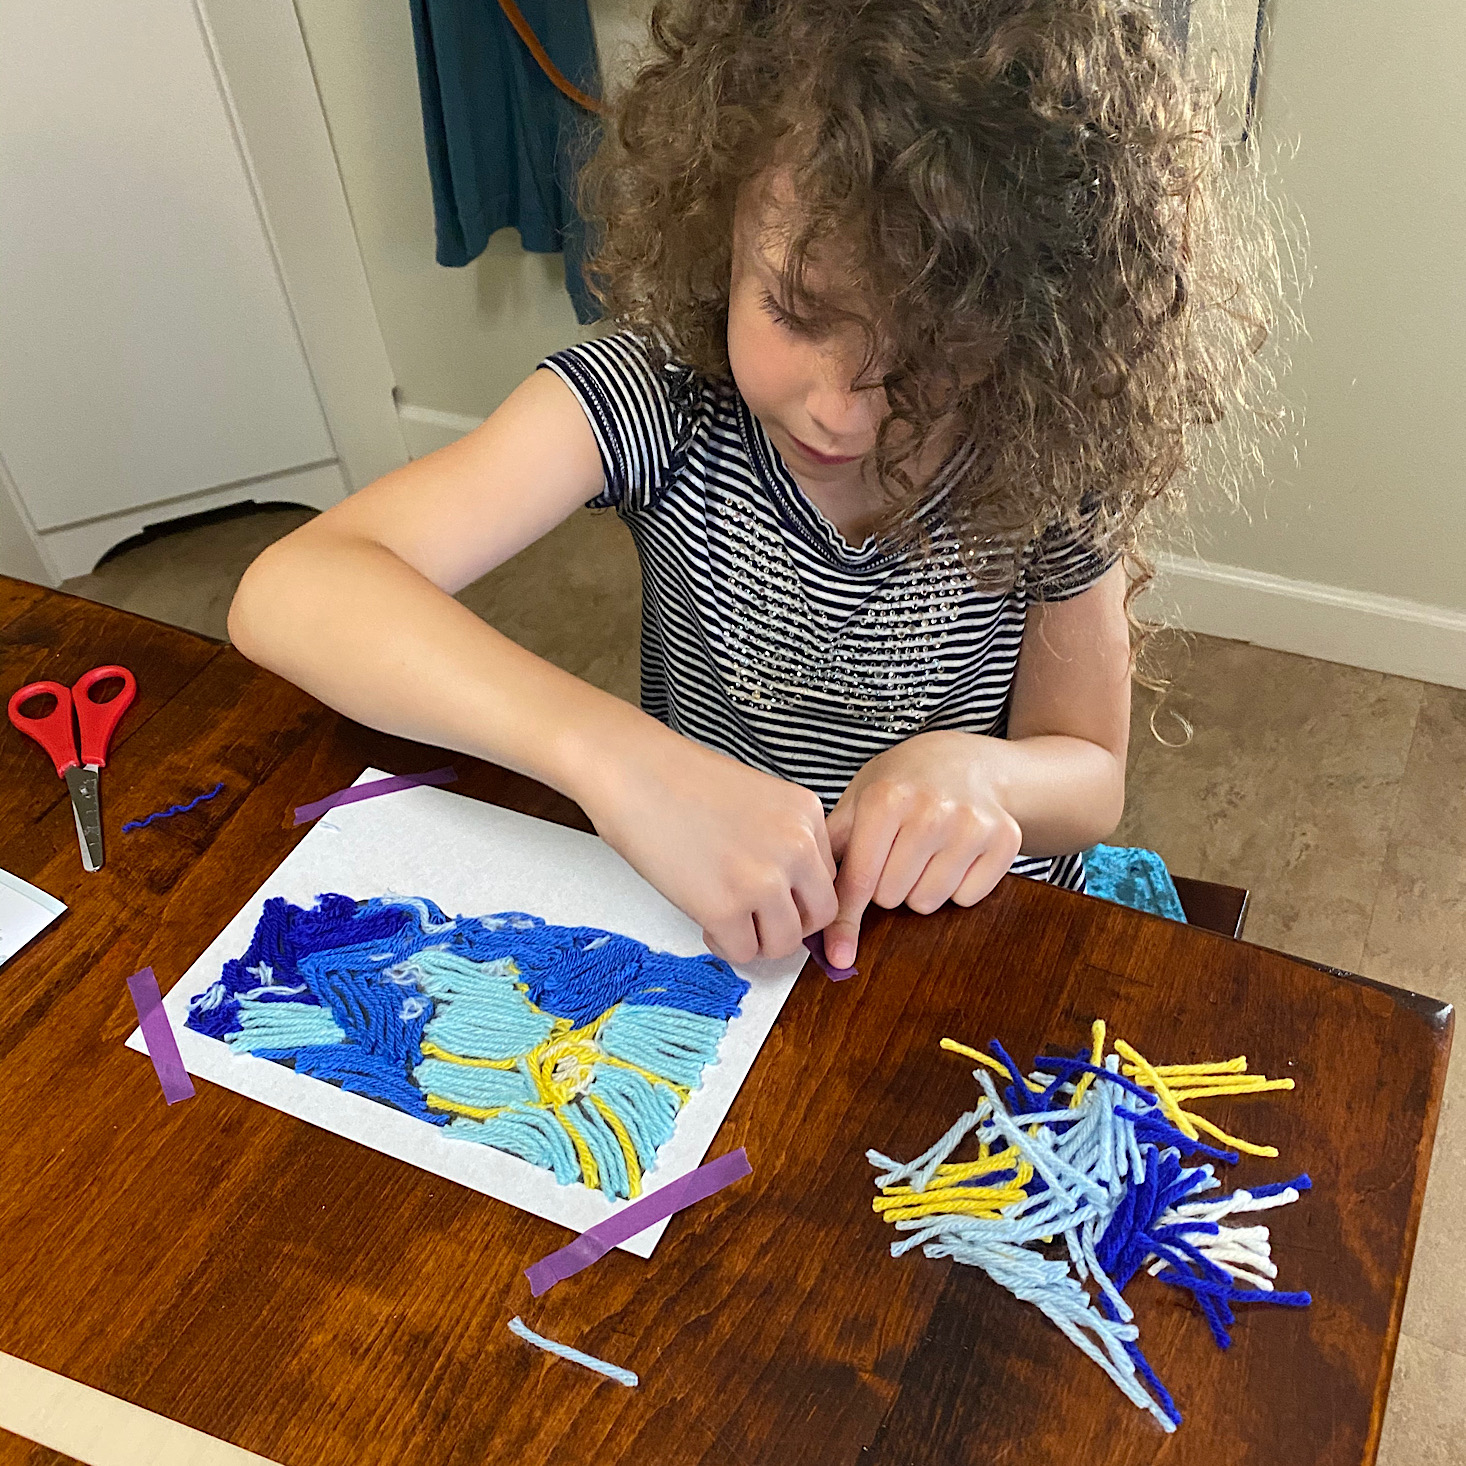
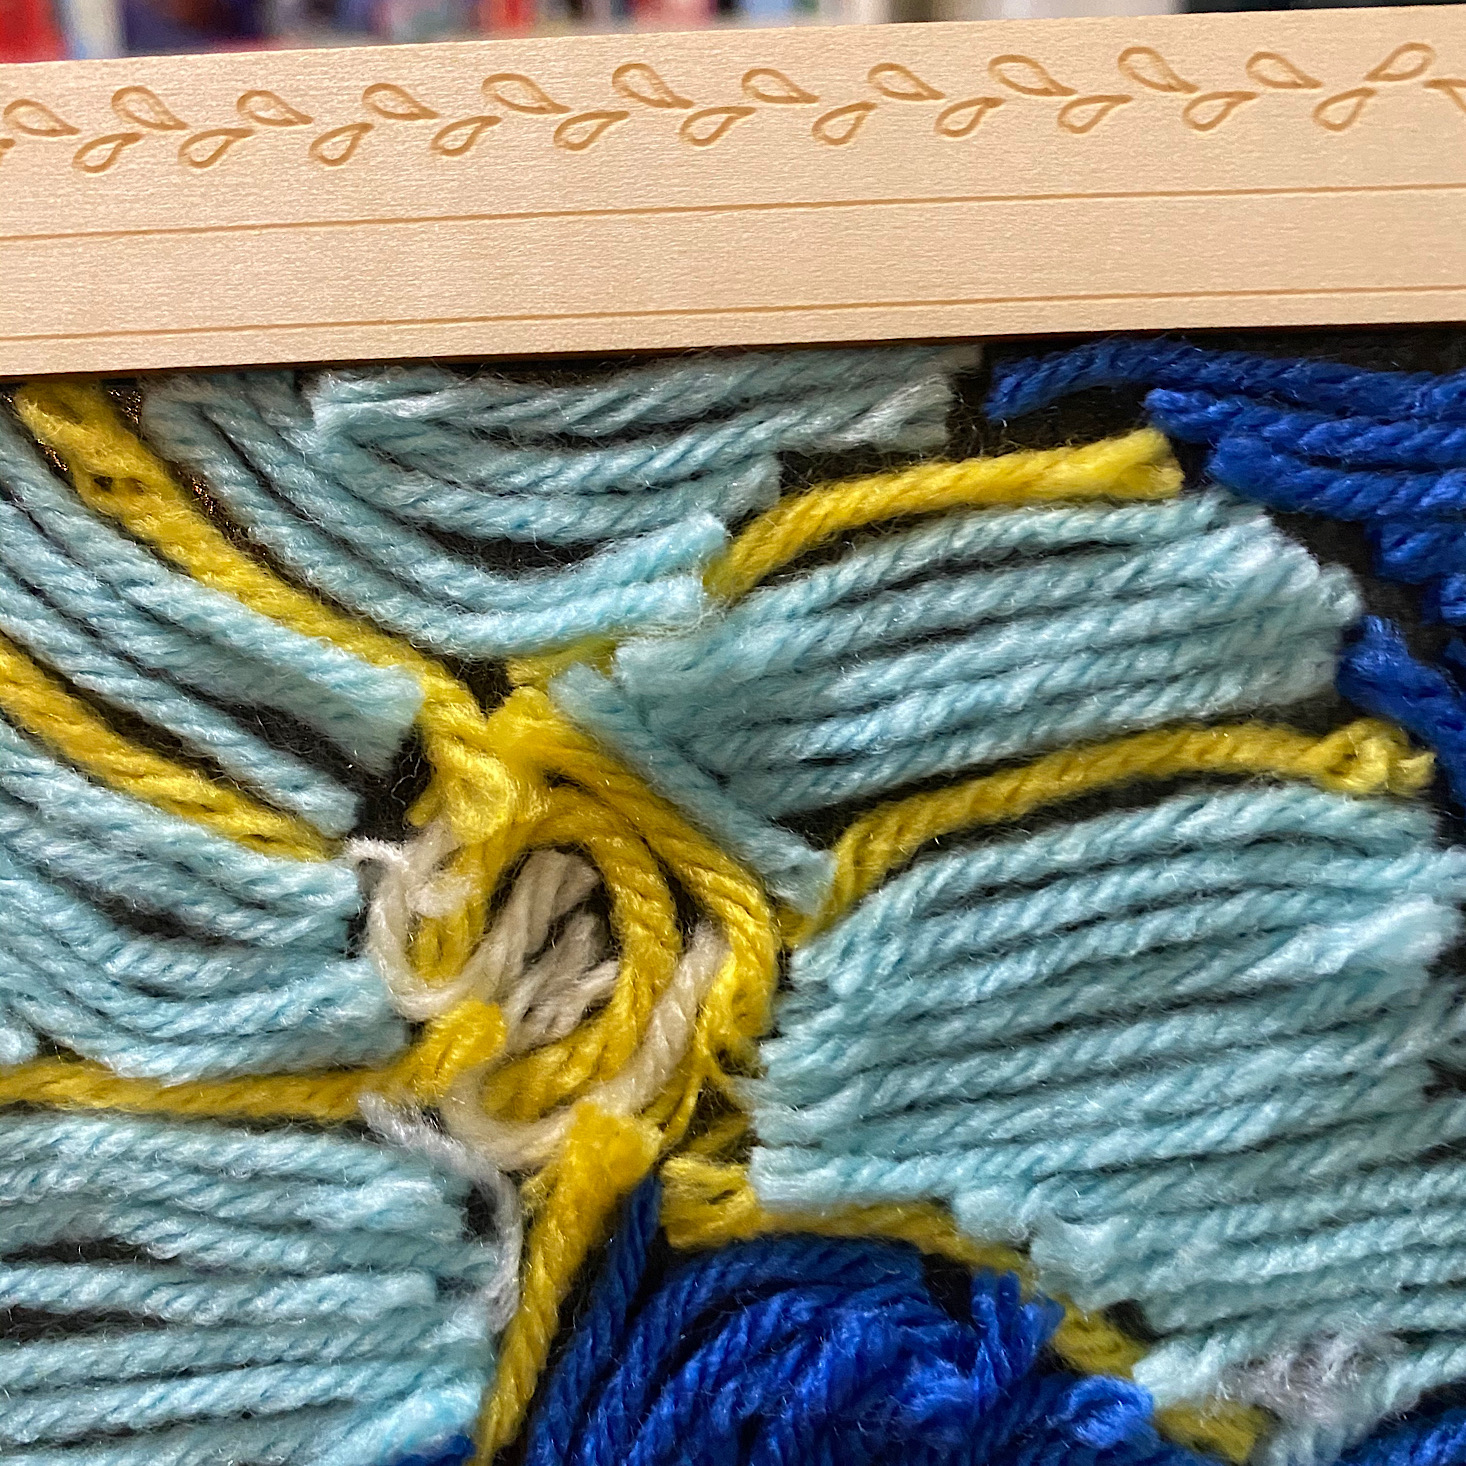
She was hard at work creating her own unique design. She used some scissors to cut down any longer pieces as needed and soon the entire sky was full.
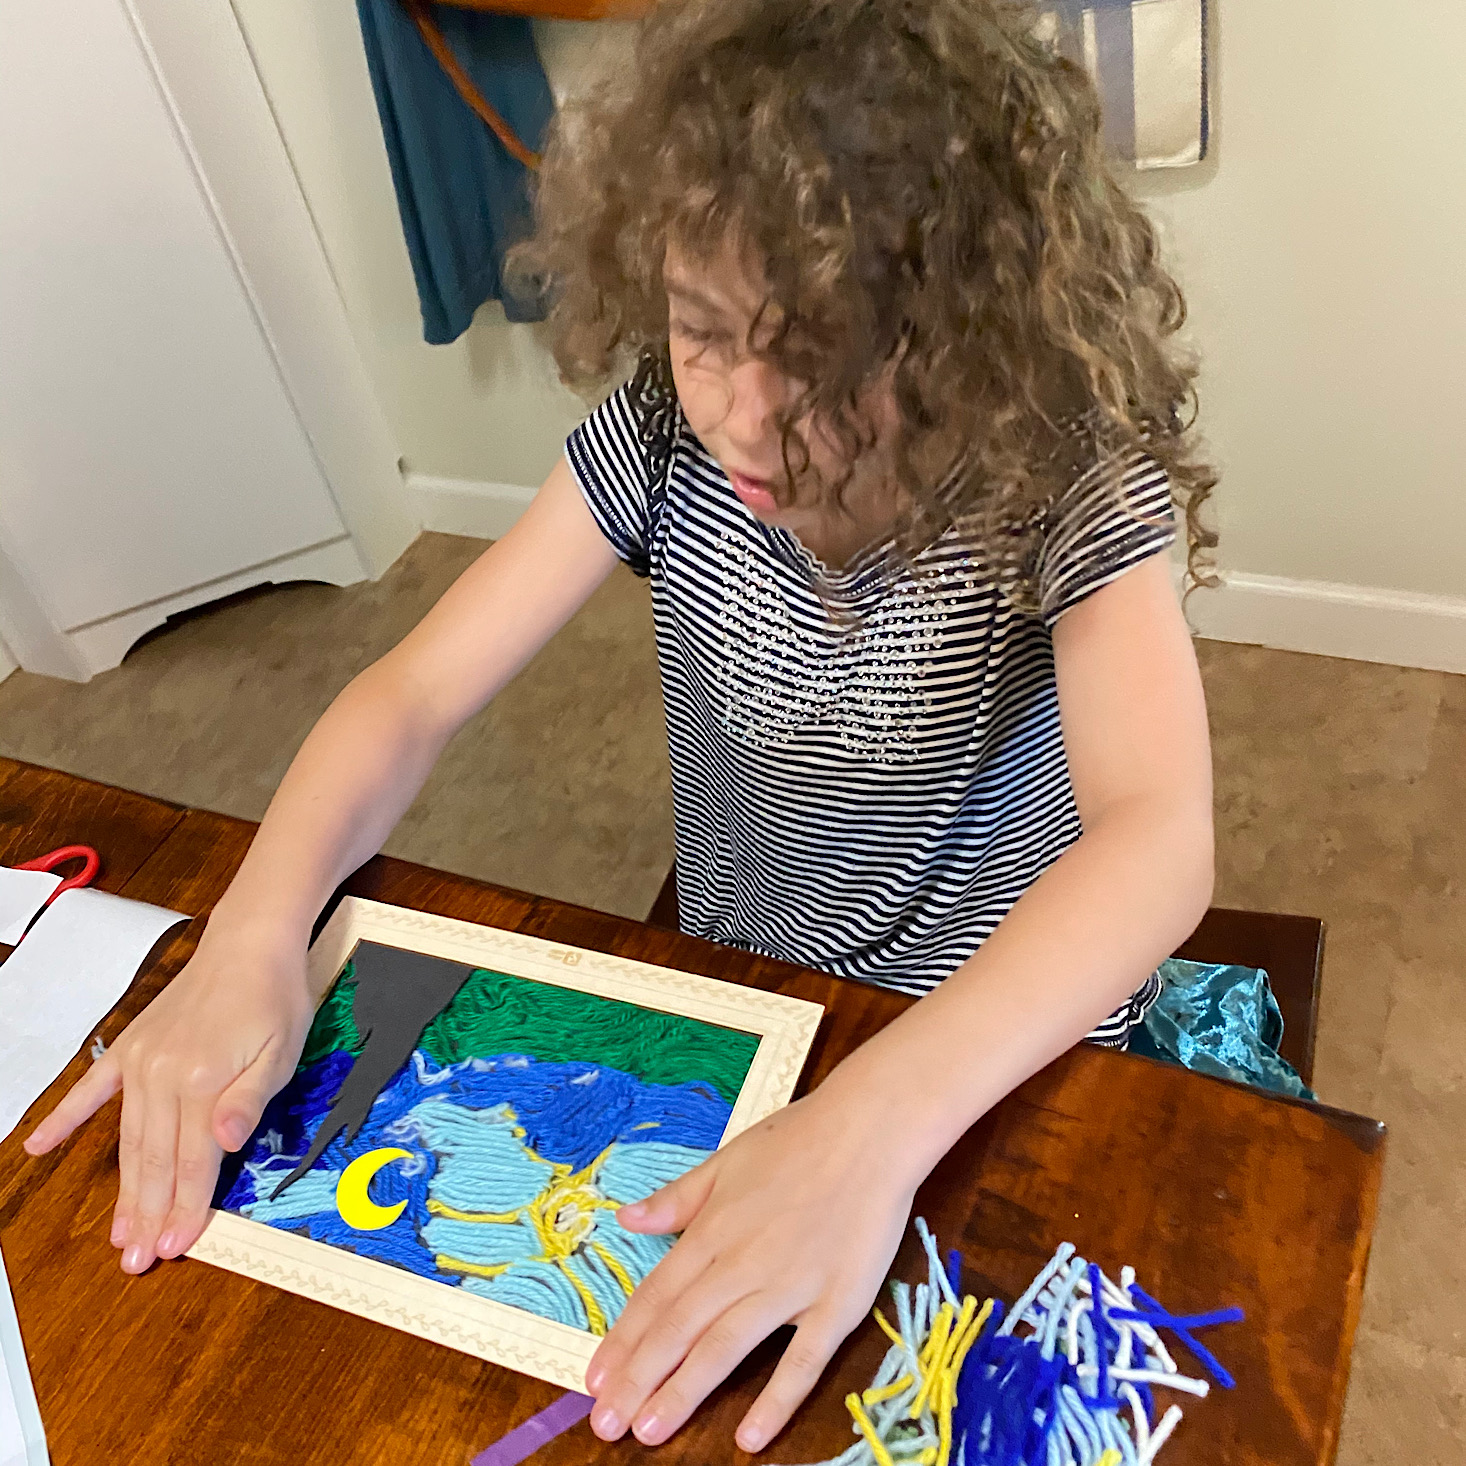
Then she peeled the backing off the bottom half of the foam and began to cover the ground in yarn as well, but in different colors.
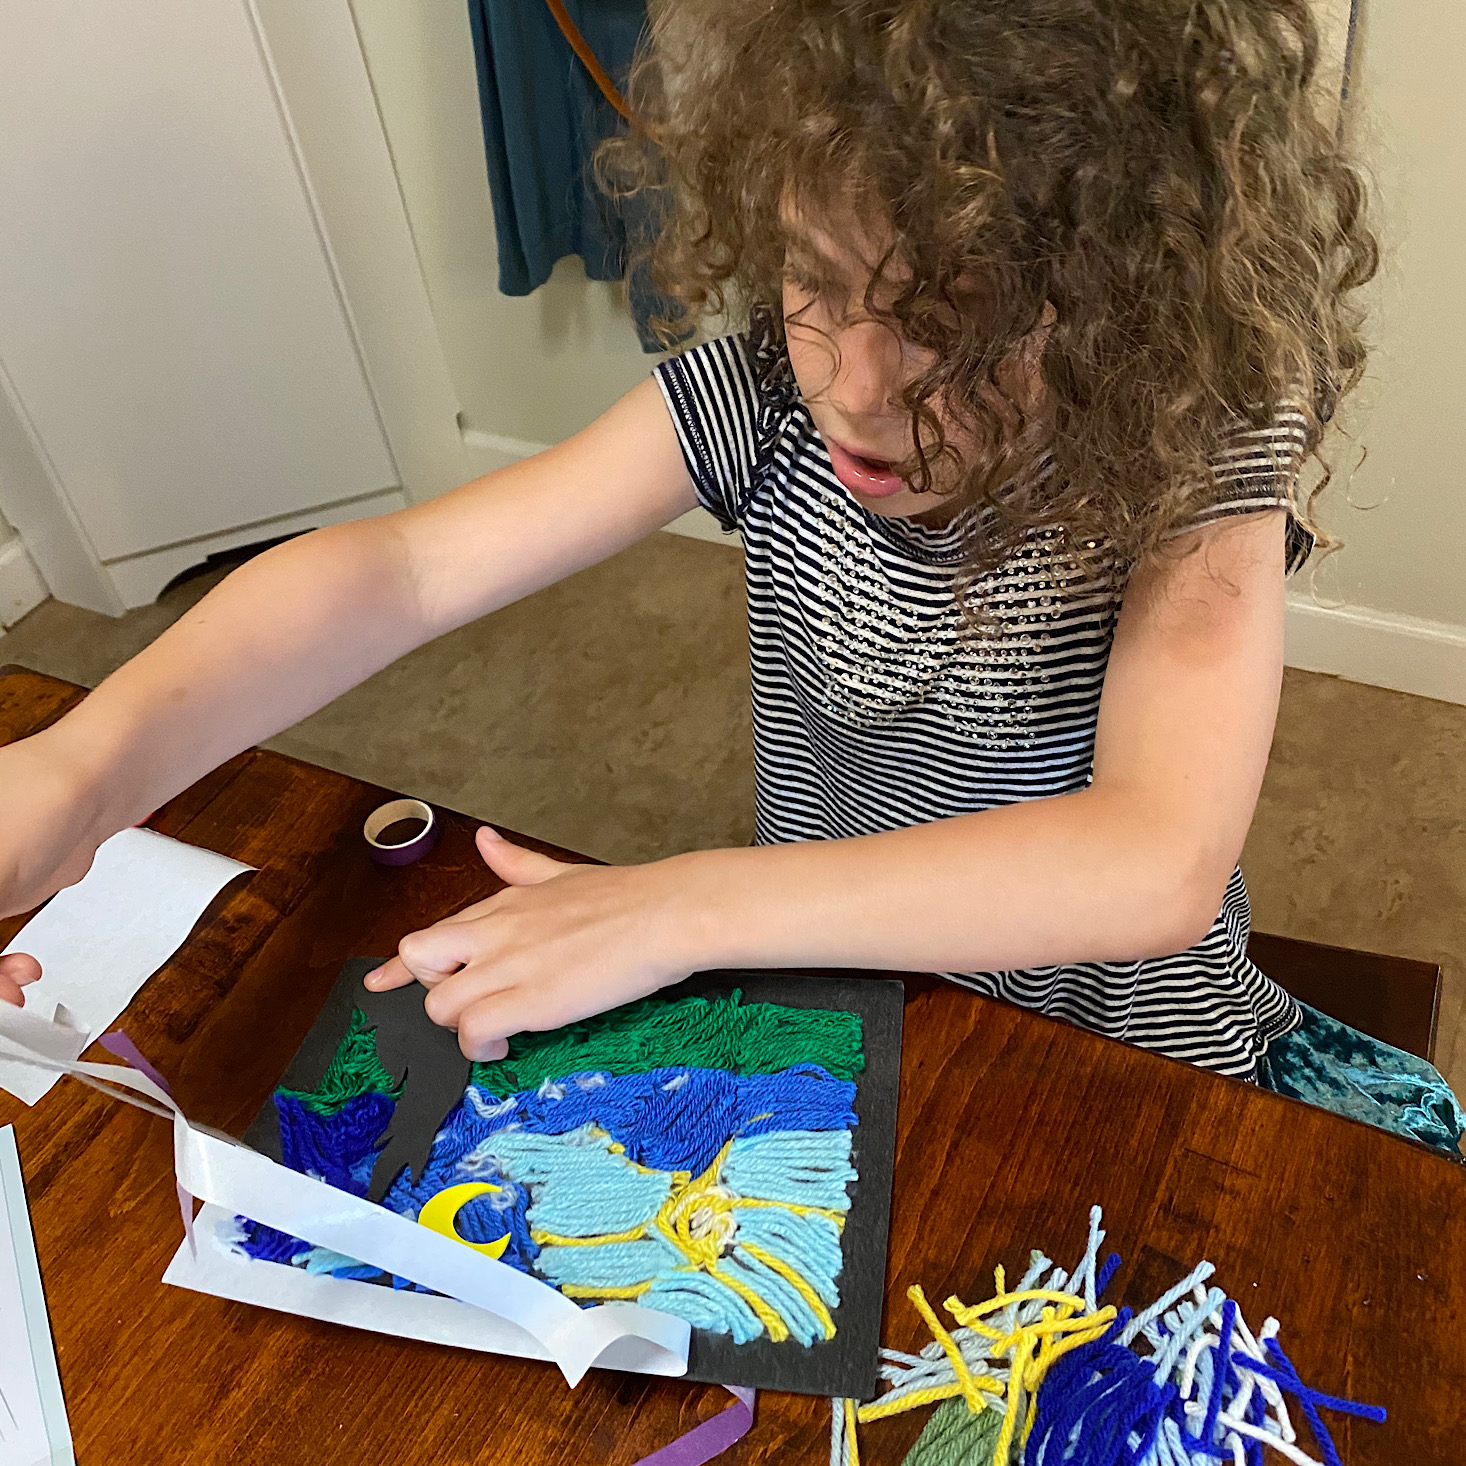
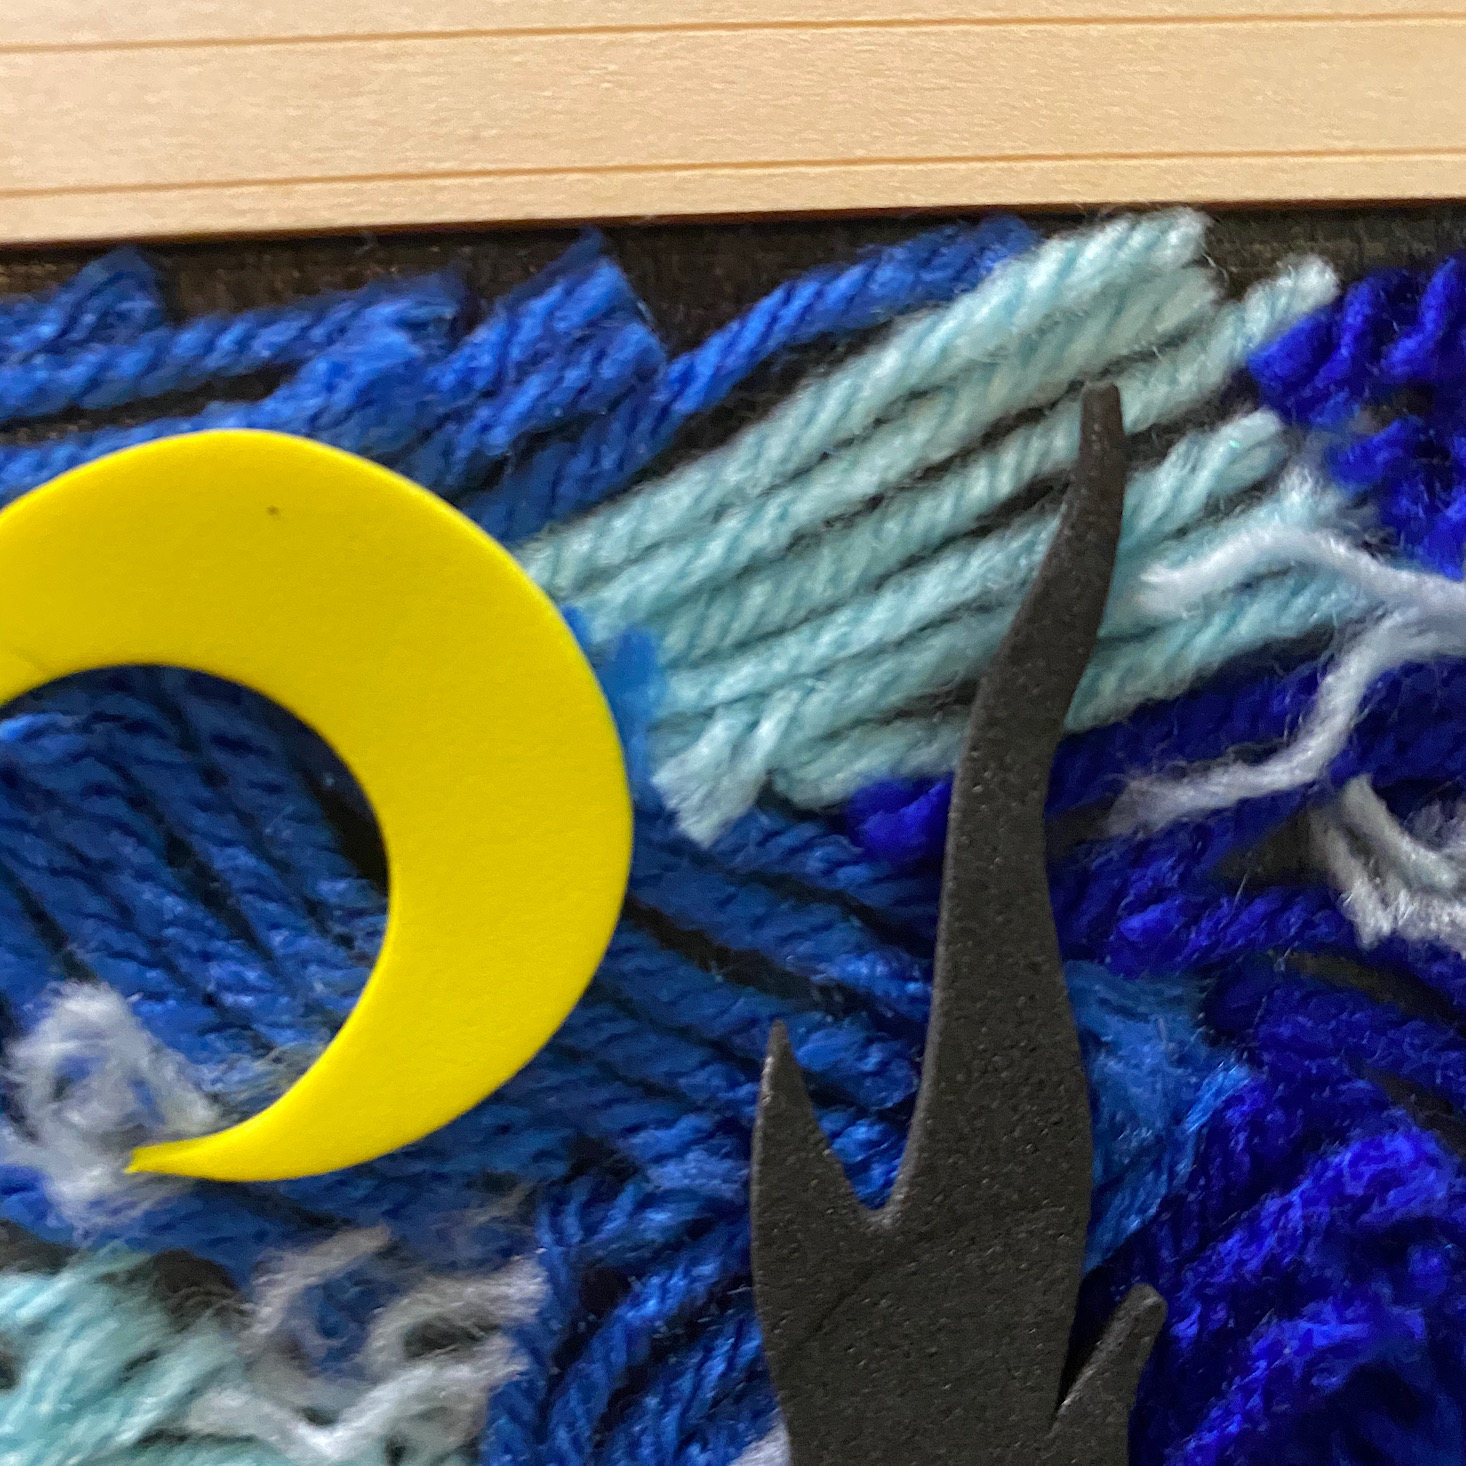
To finish it up, she added the black foam mountain piece and the yellow foam moon to her artwork and then peeled off the backing on the border before affixing the wooden frame to it.
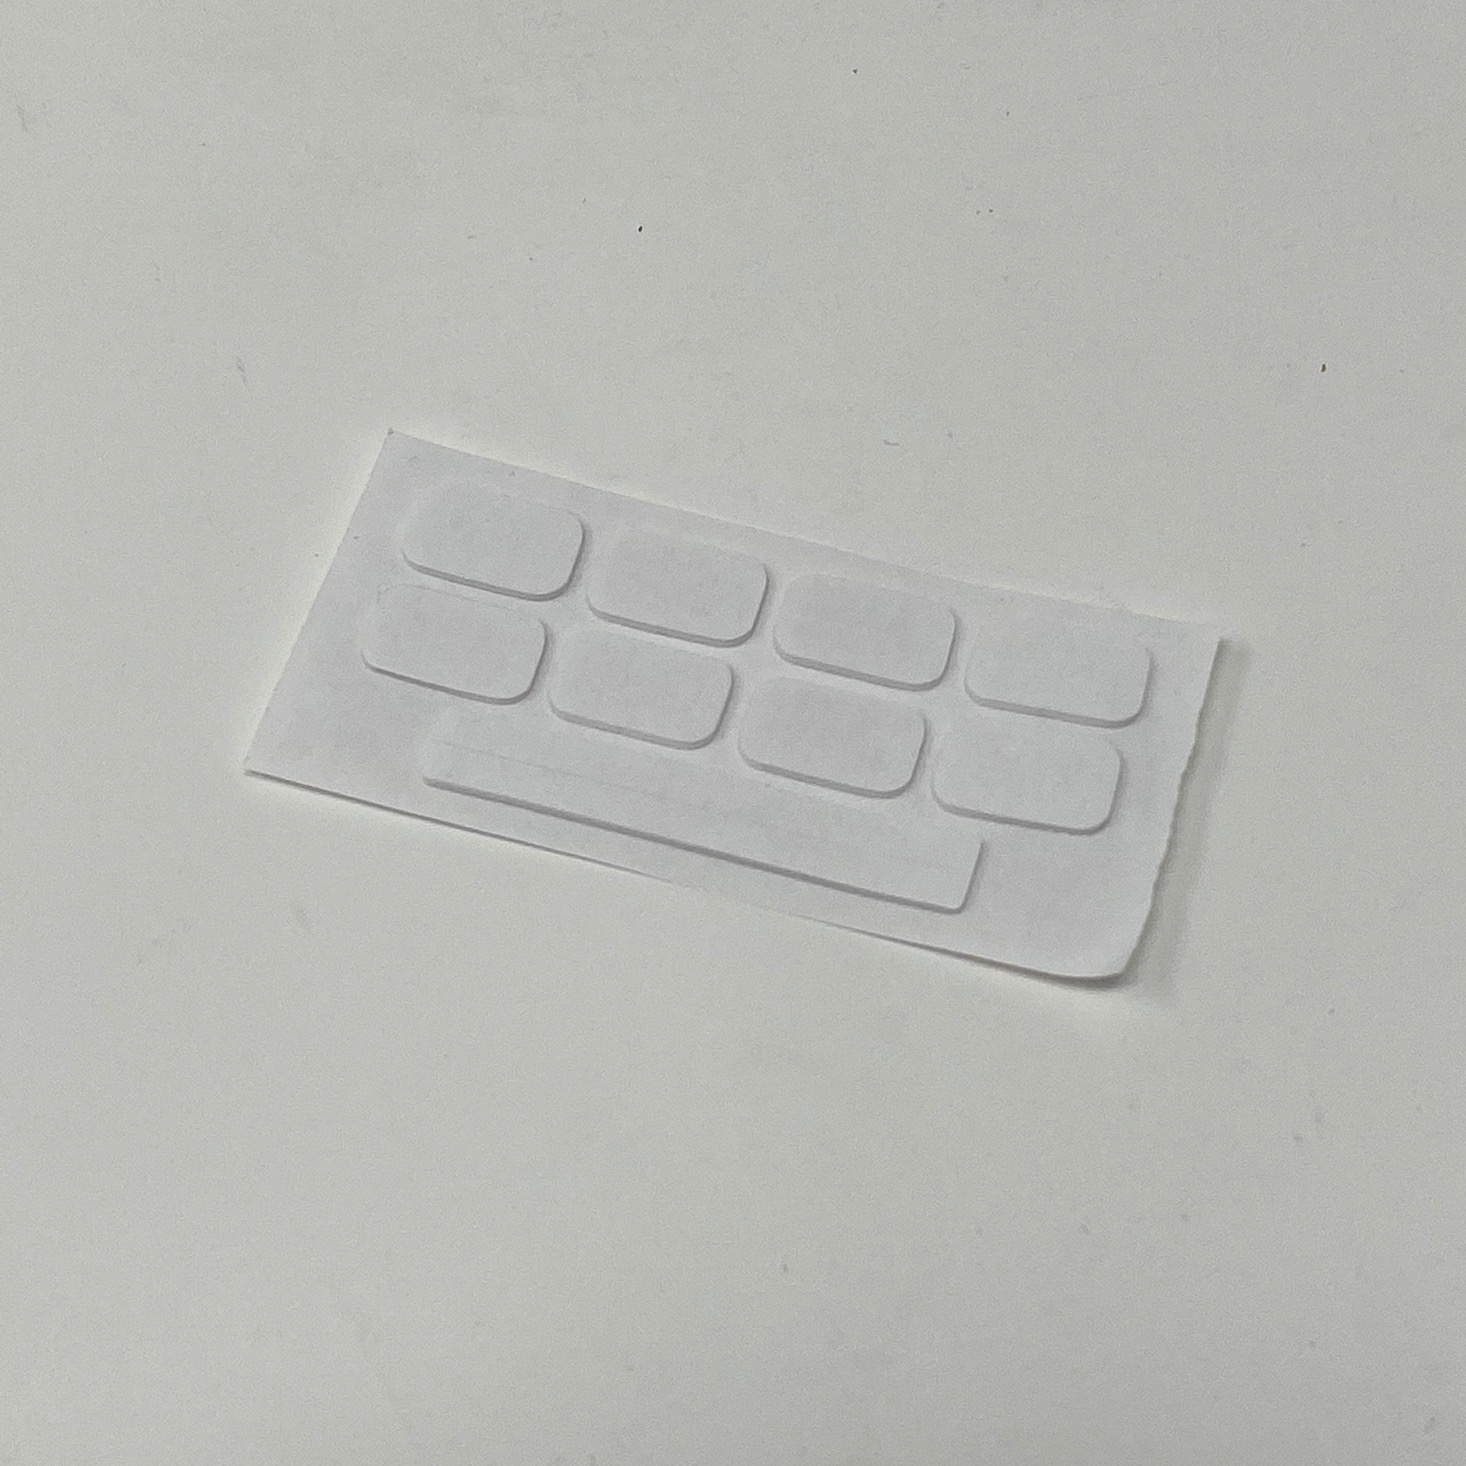
She added a wooden piece to the back with some sticky foam strips and now her artwork was able to stand up.
Here is her finished work. She was very proud and took these photos of the artwork herself. I thought it turned out great!

We even had a ton of yarn leftover and I helped her make a little tape frame so she could show her baby brother how to make a yarn artwork.
Activity #2: Spinning Windmill
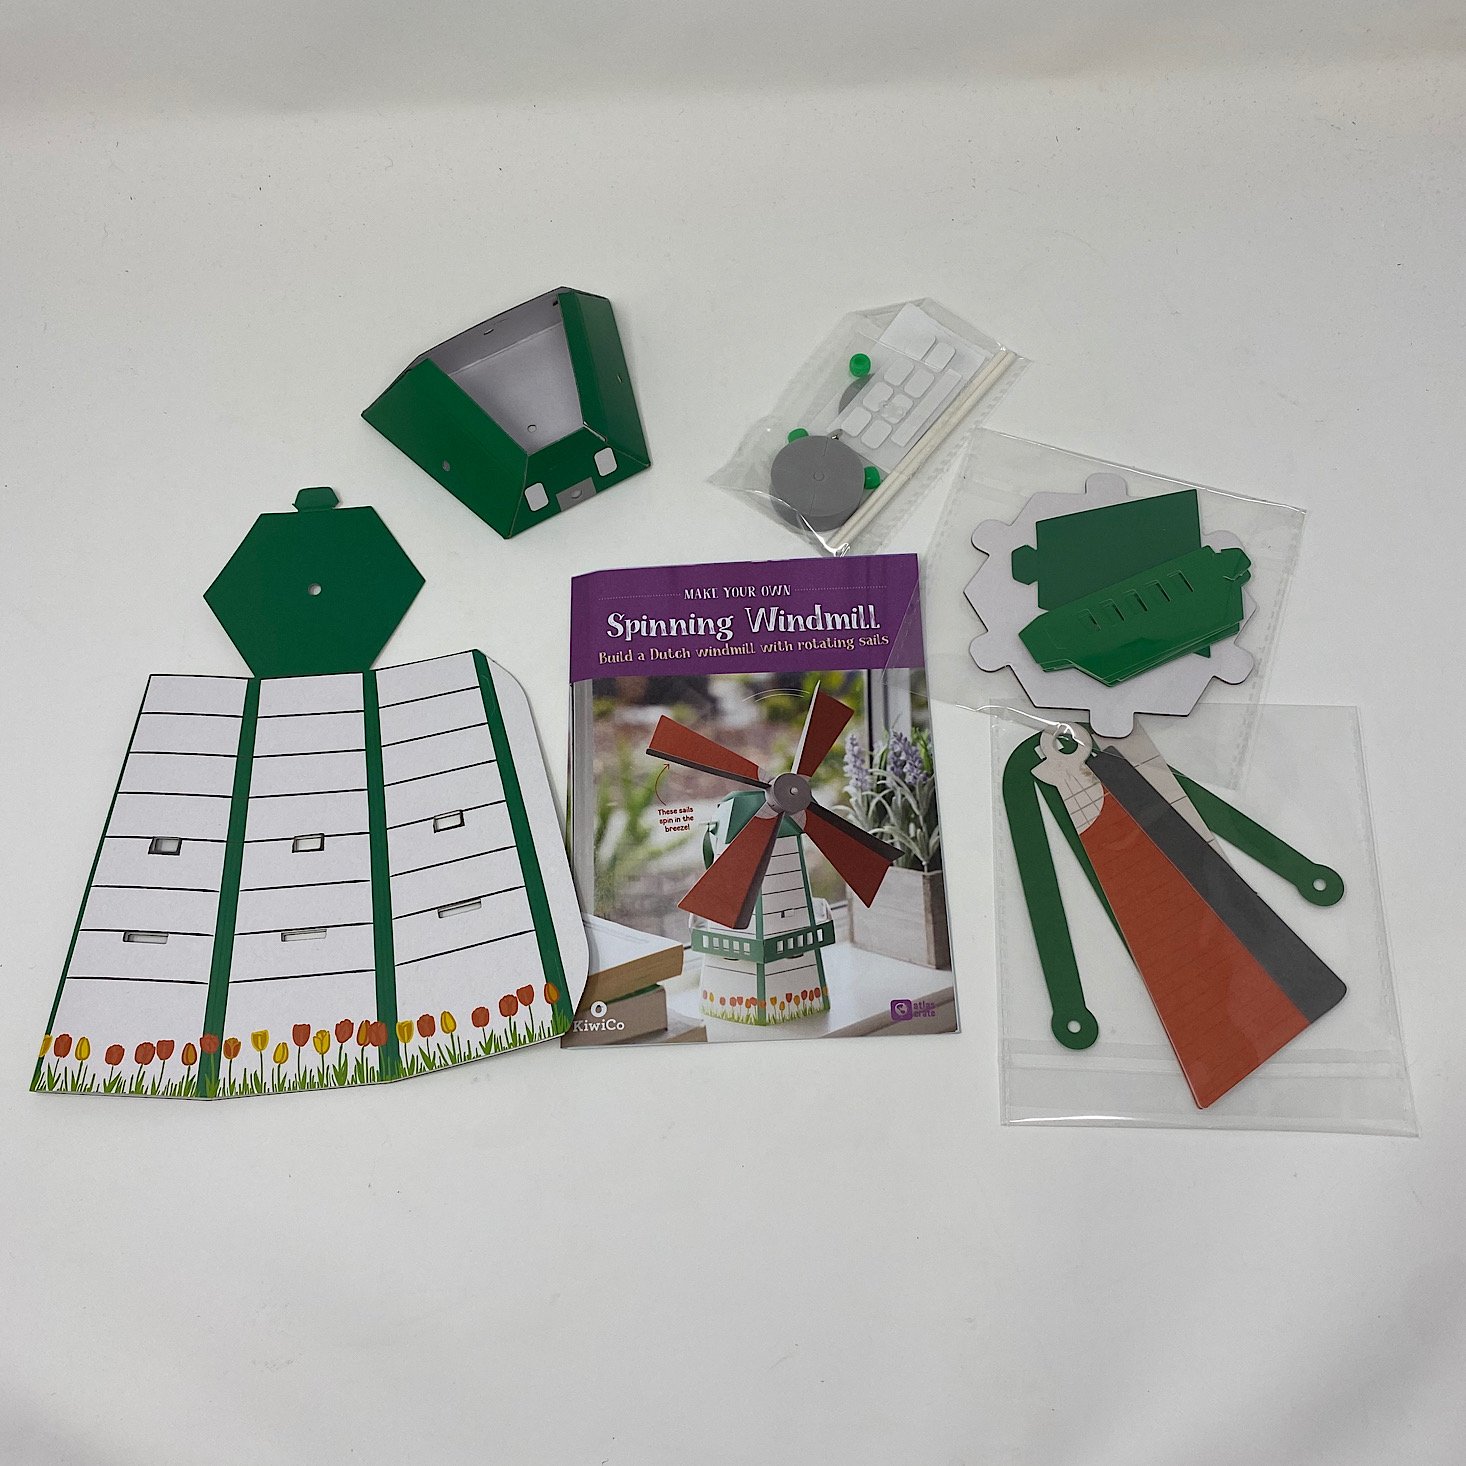
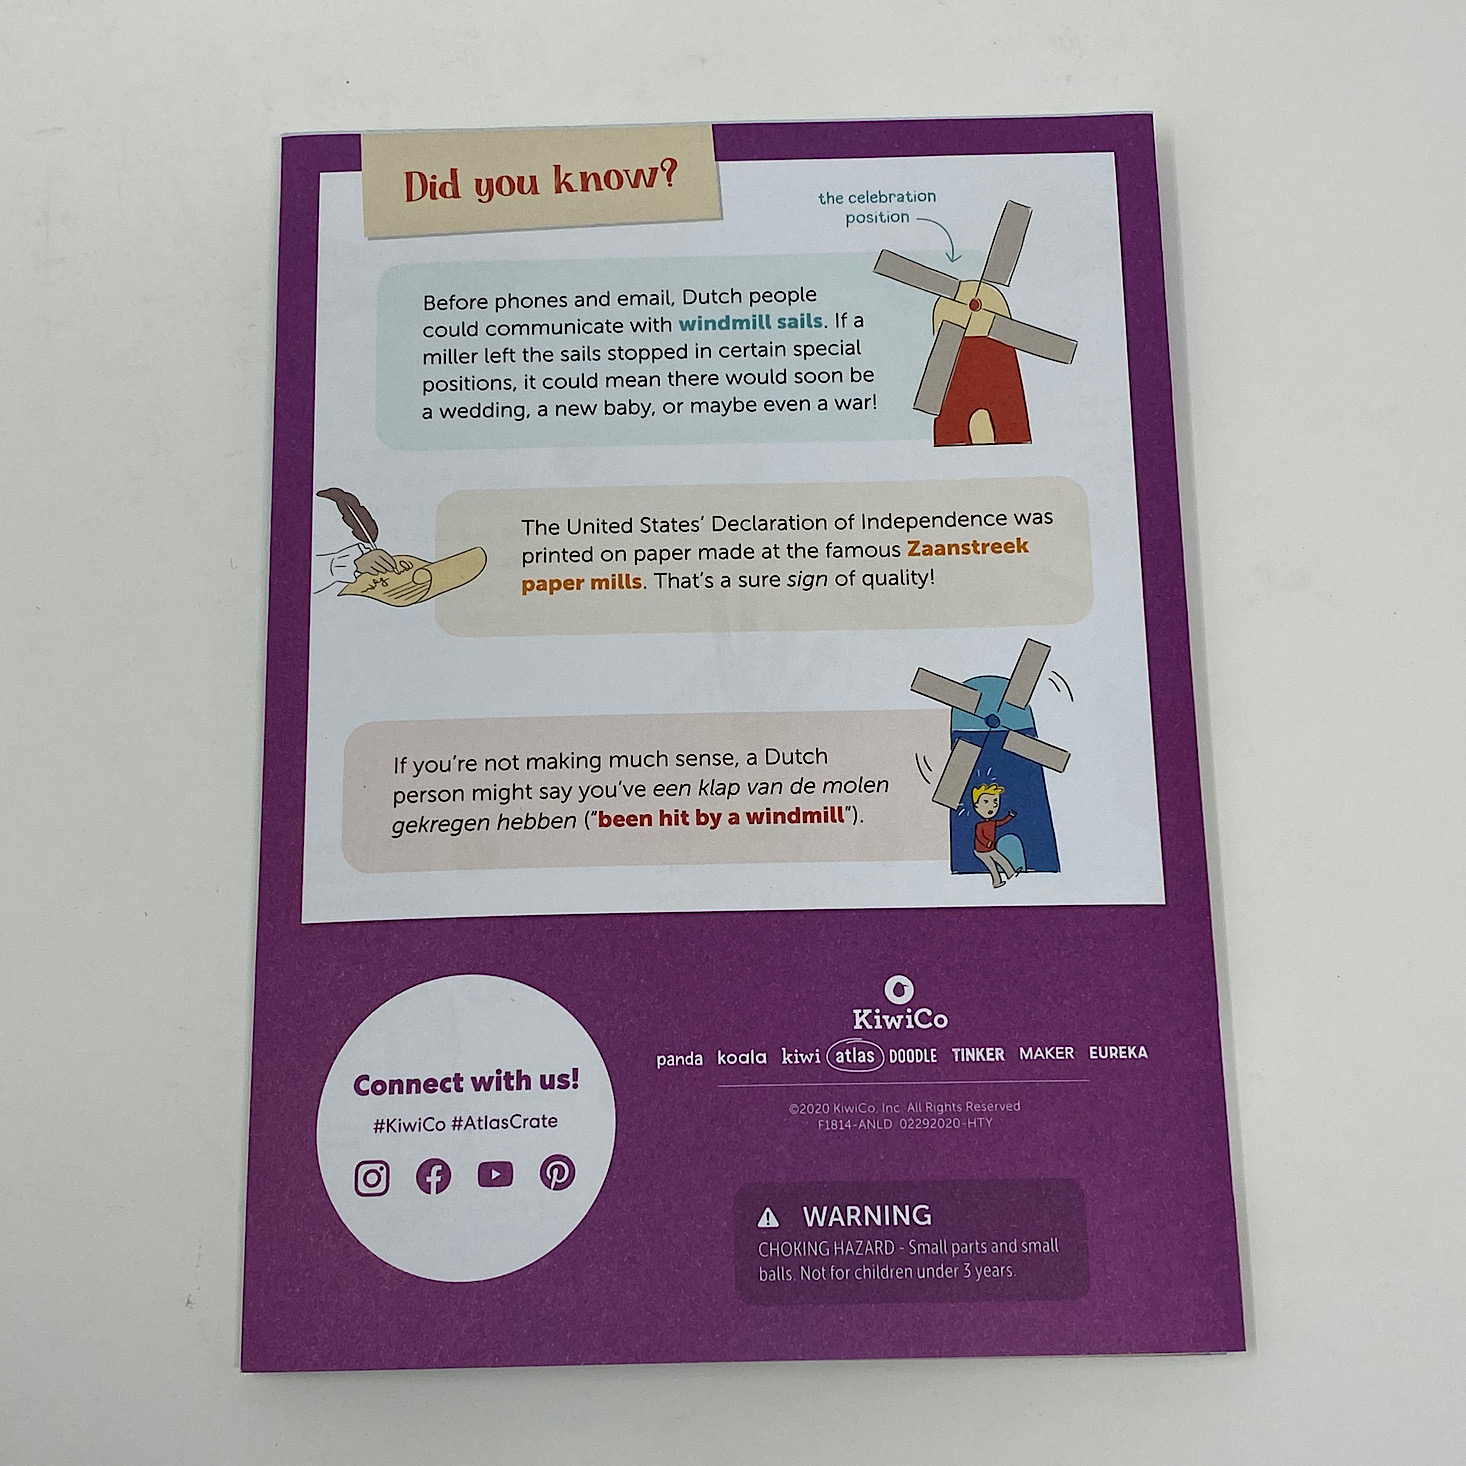
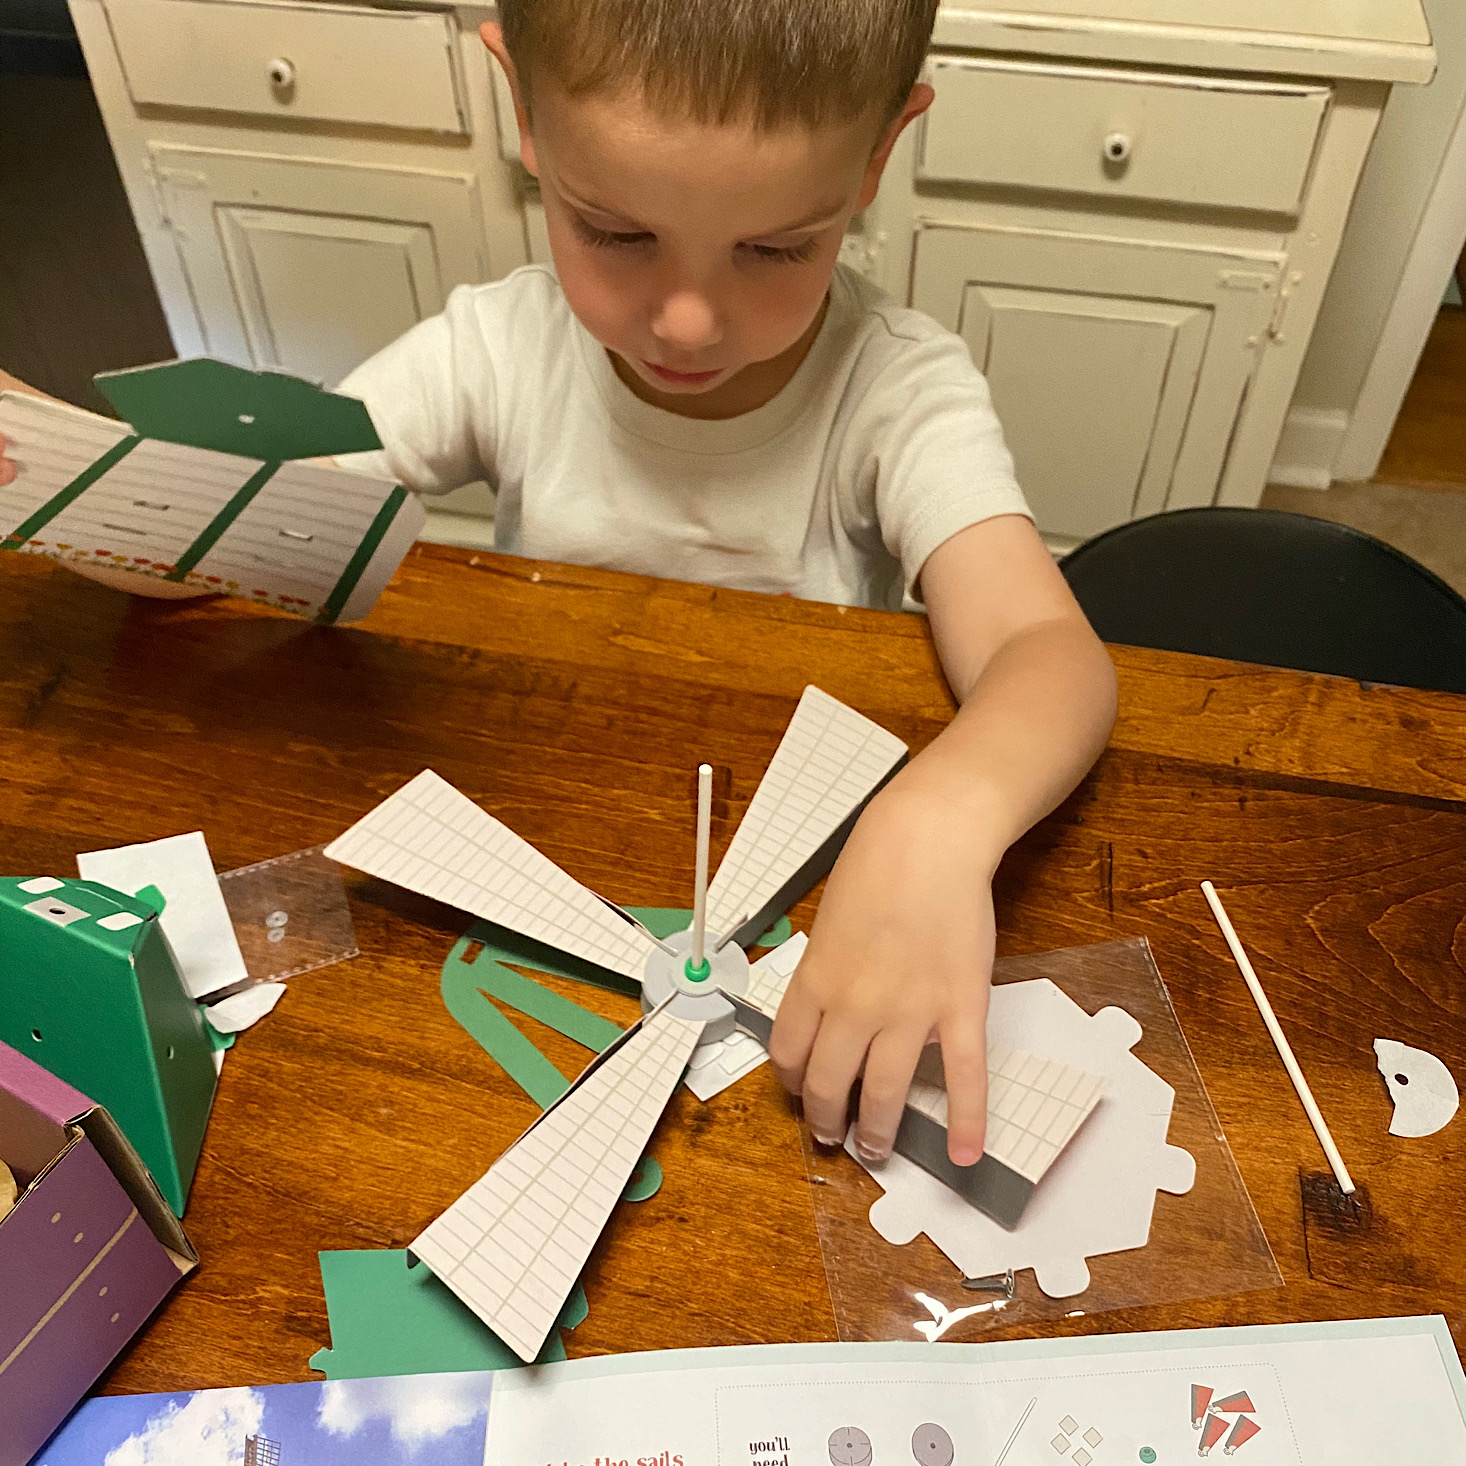
While my daughter was busy with her artwork, my son and I began the next activity which was to create our own spinning windmill. The directions were so detailed and easy to follow with a lot of illustrations to show us exactly how to assemble it. They also included a lot of great windmill facts for us.
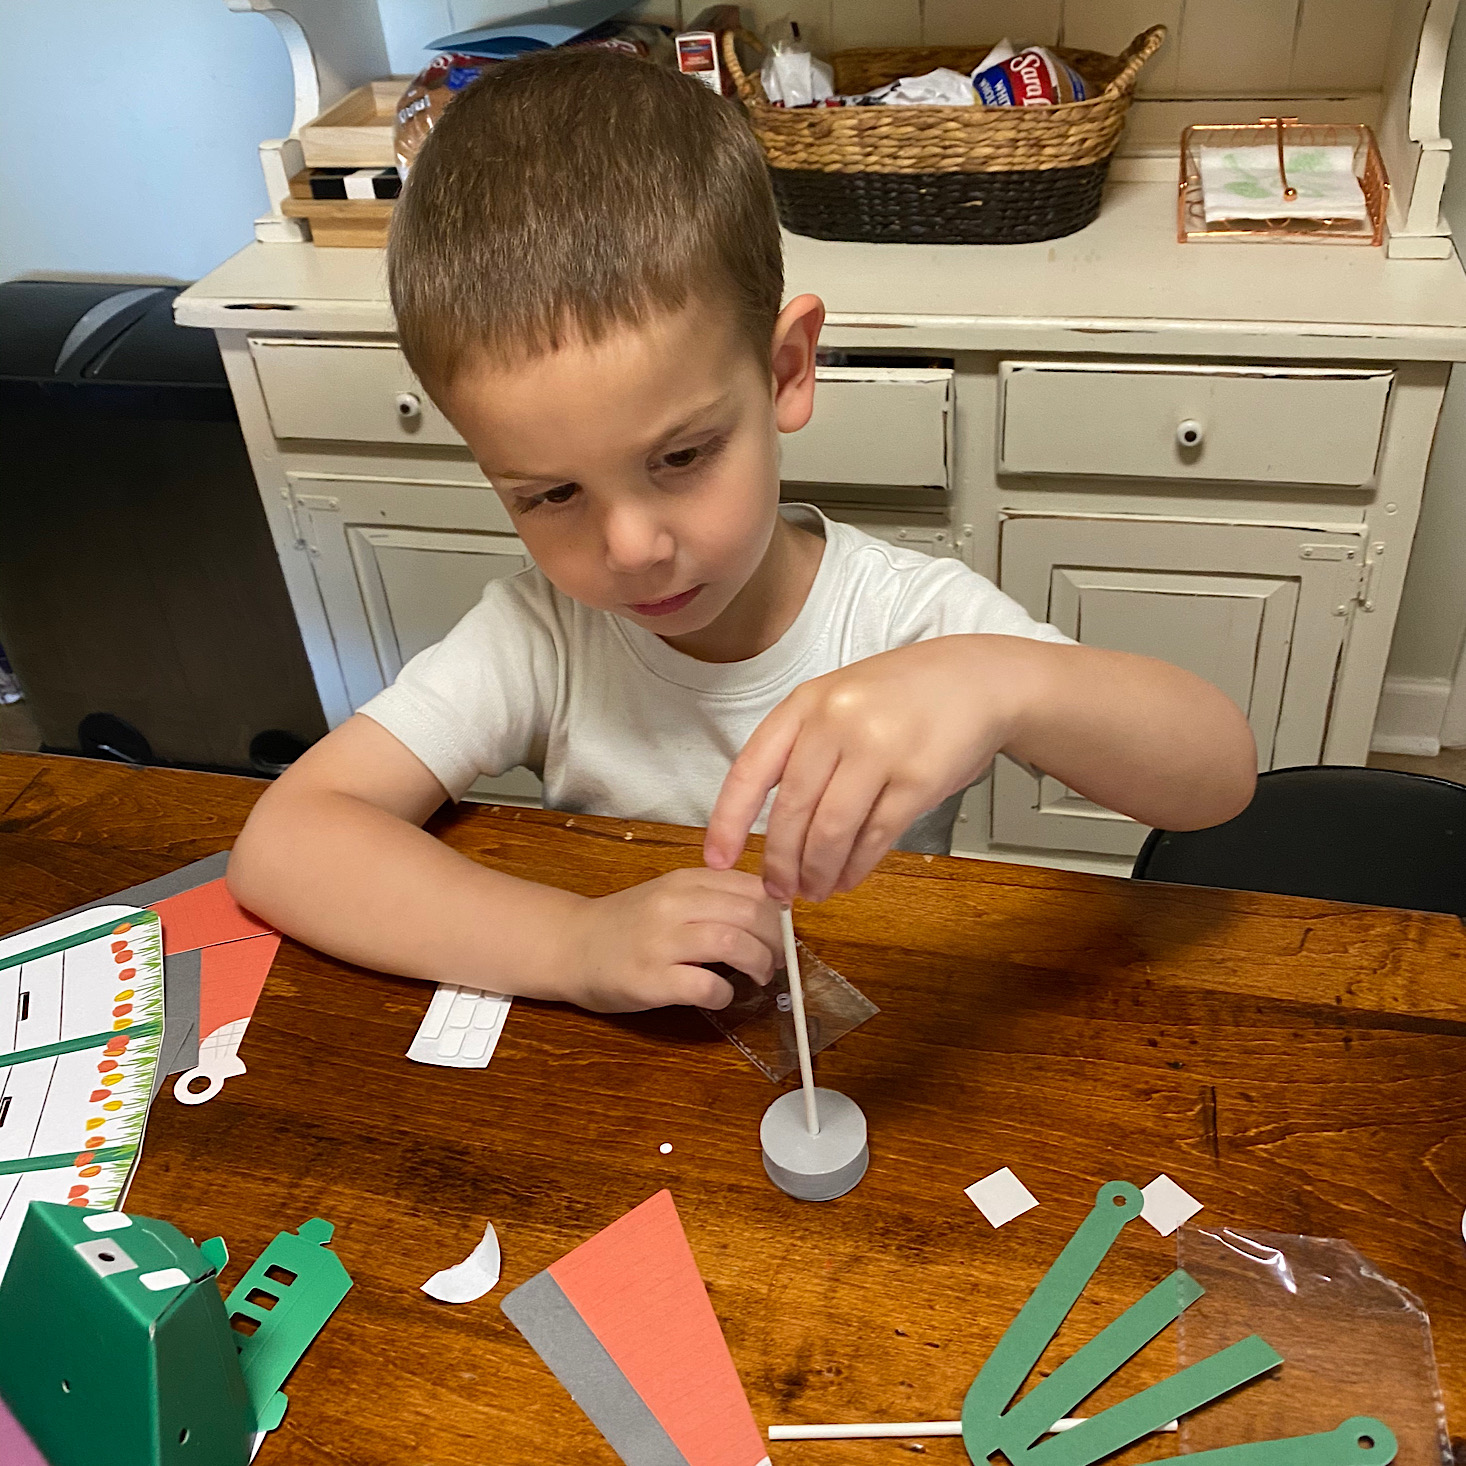
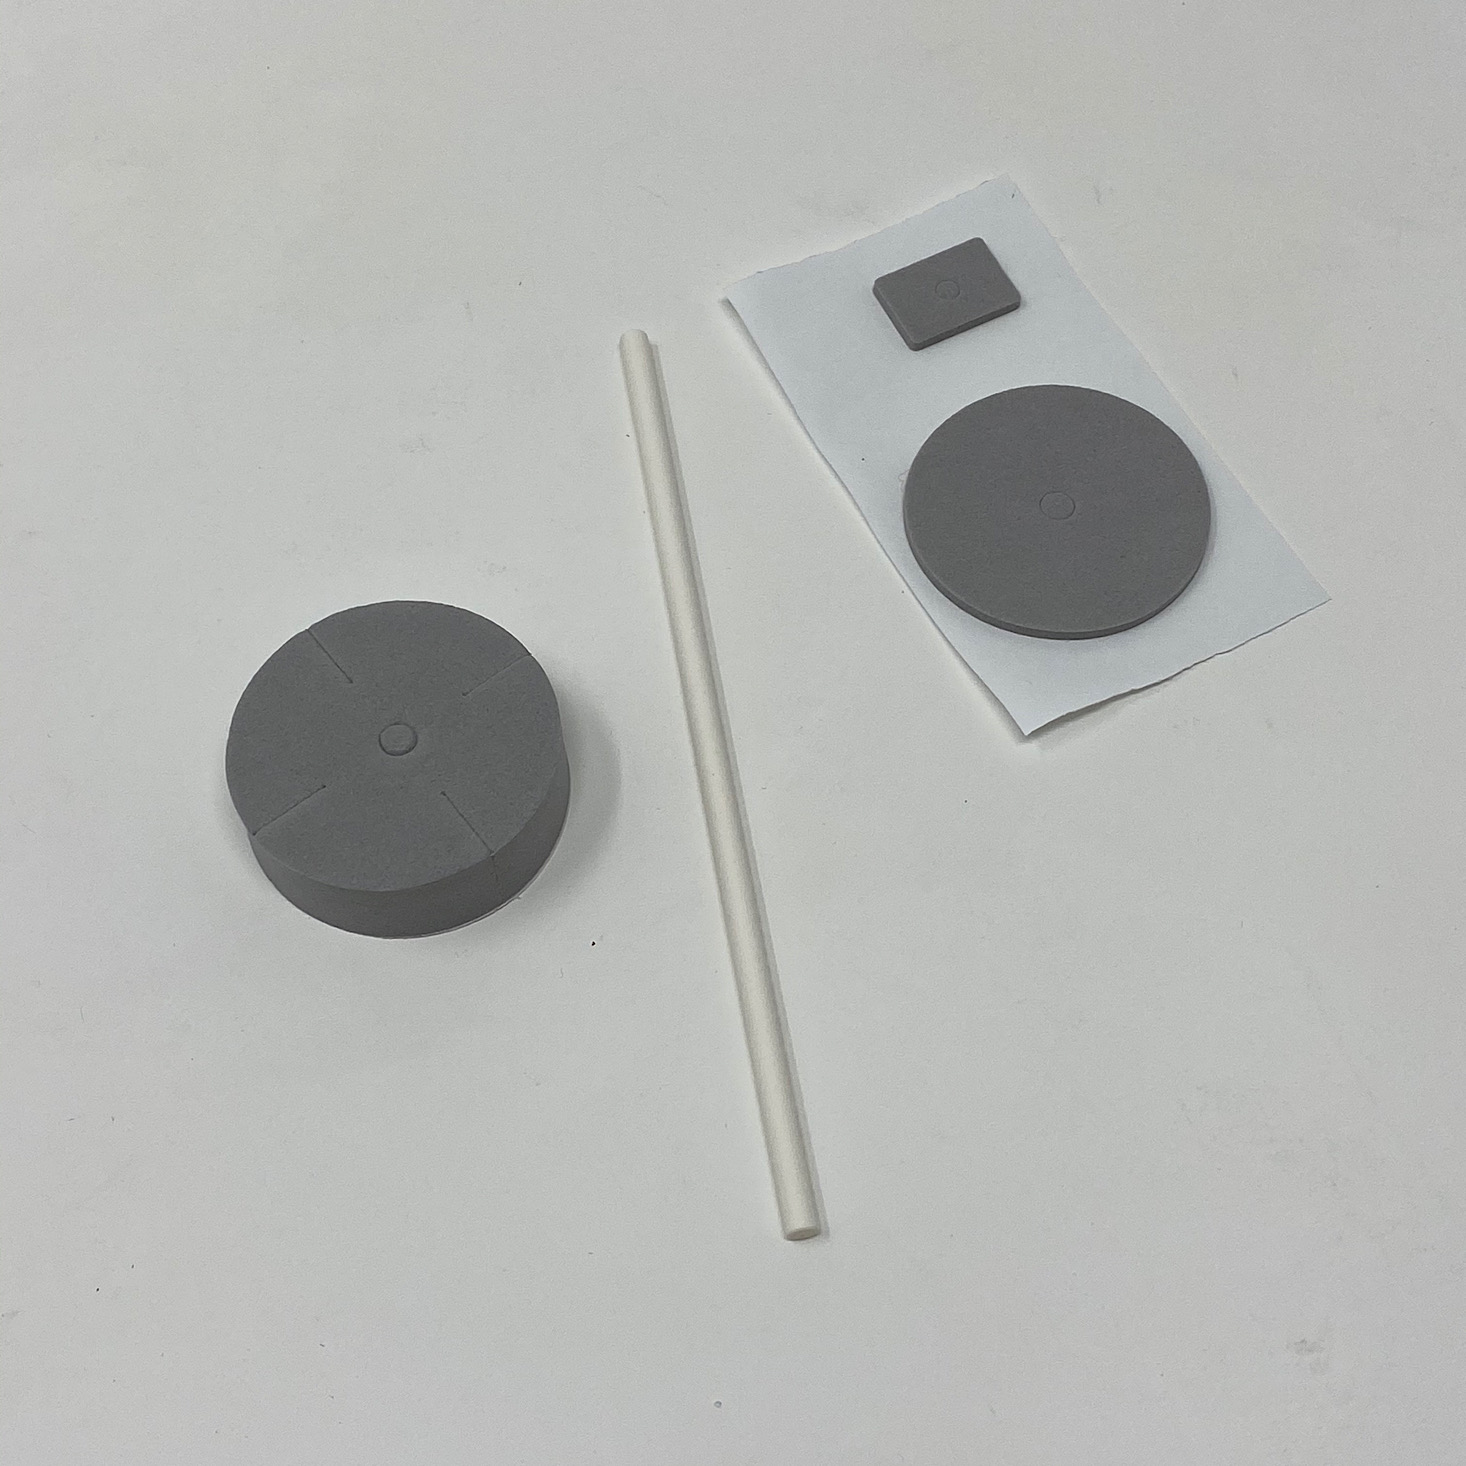
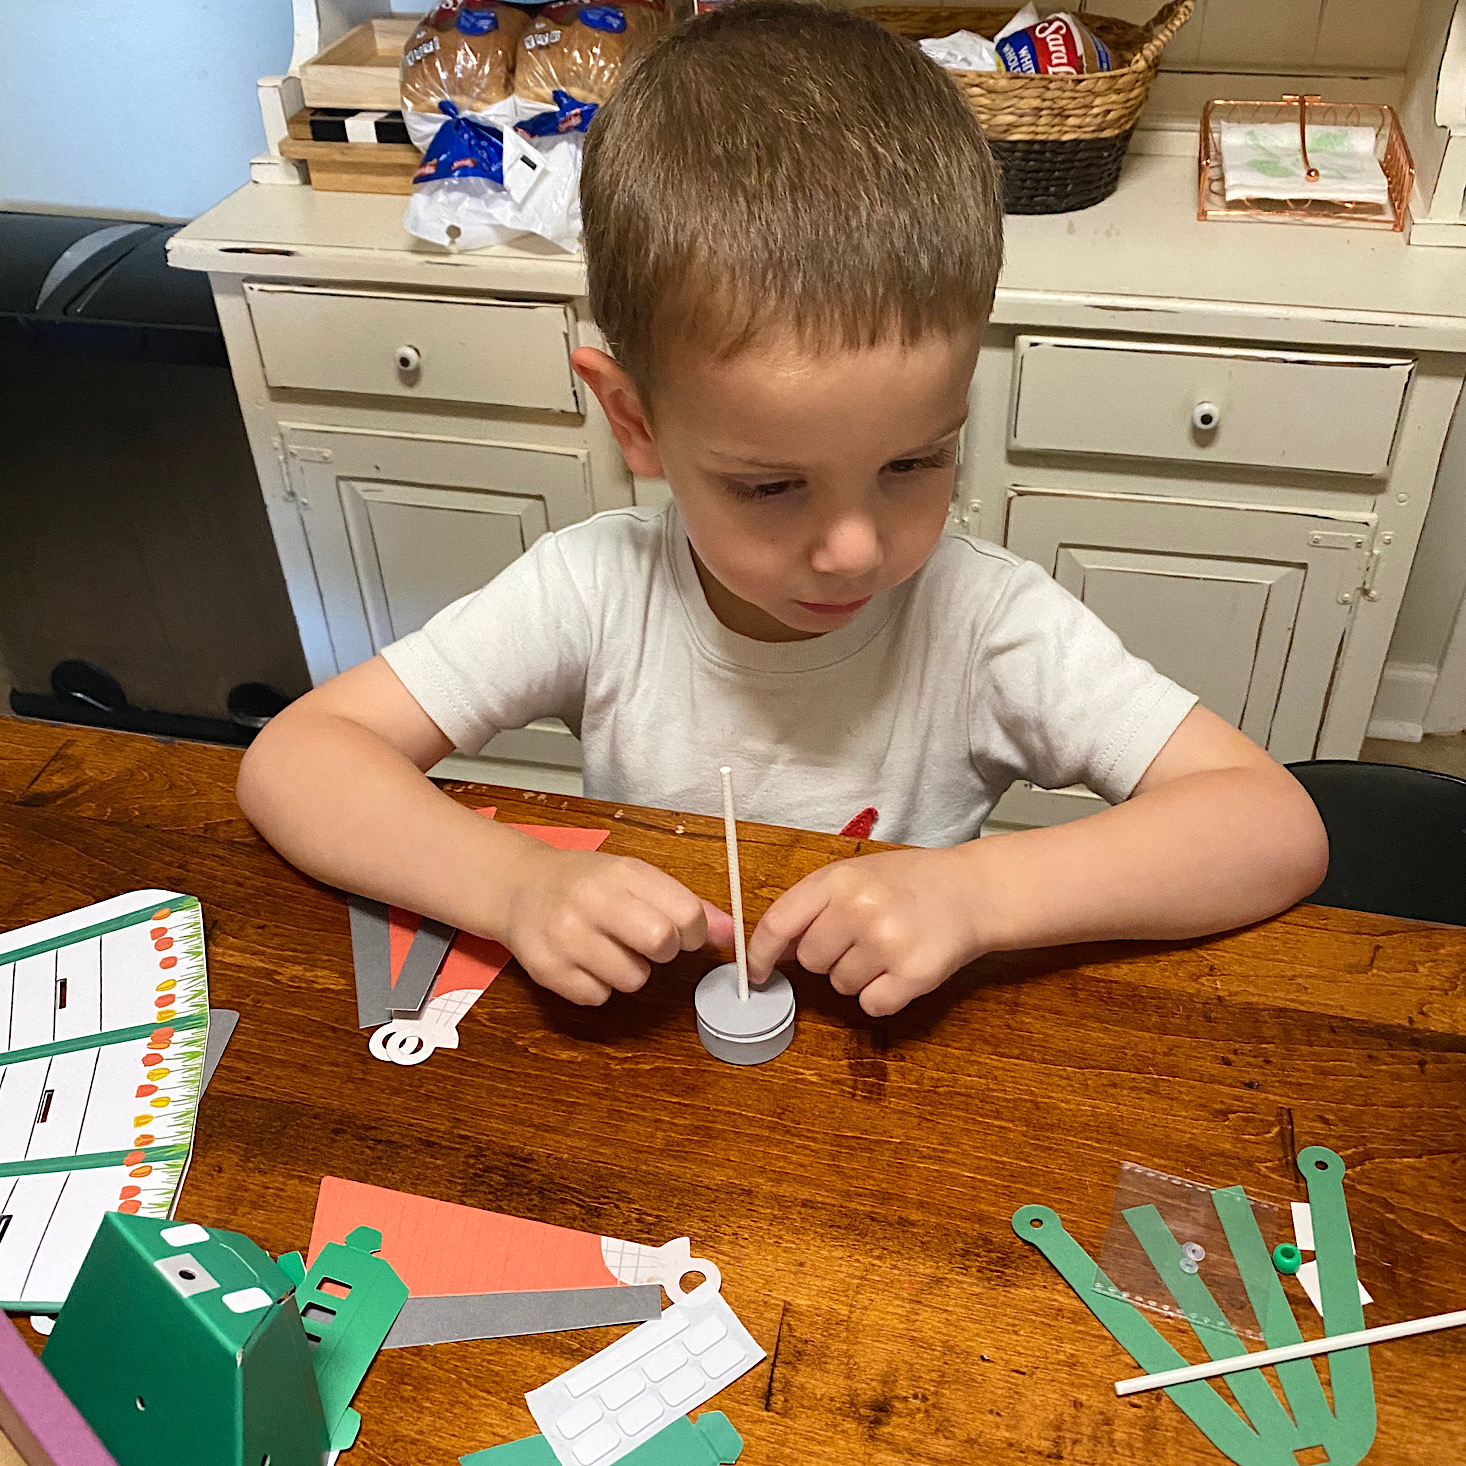
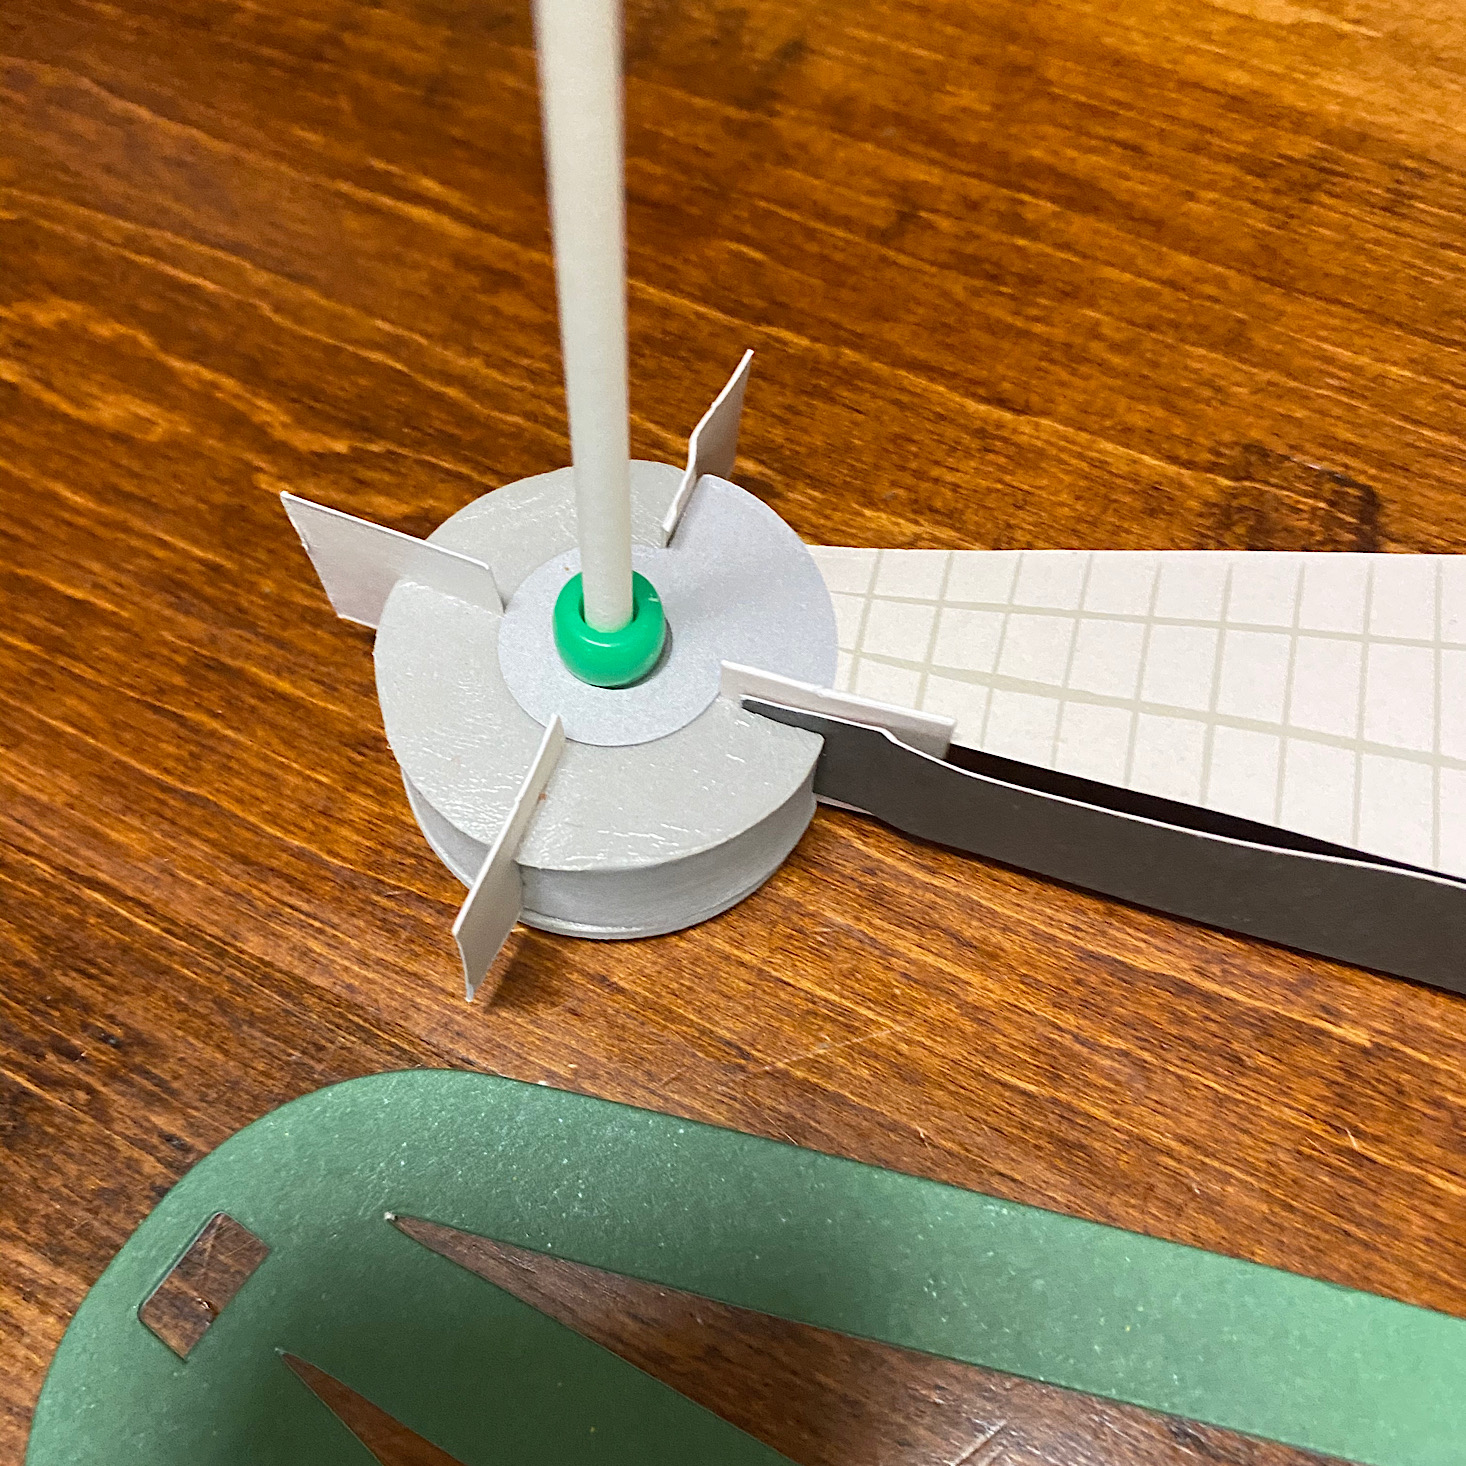
First, we had to add these foam circles to our stick and also stick them together by peeling off the paper backing.
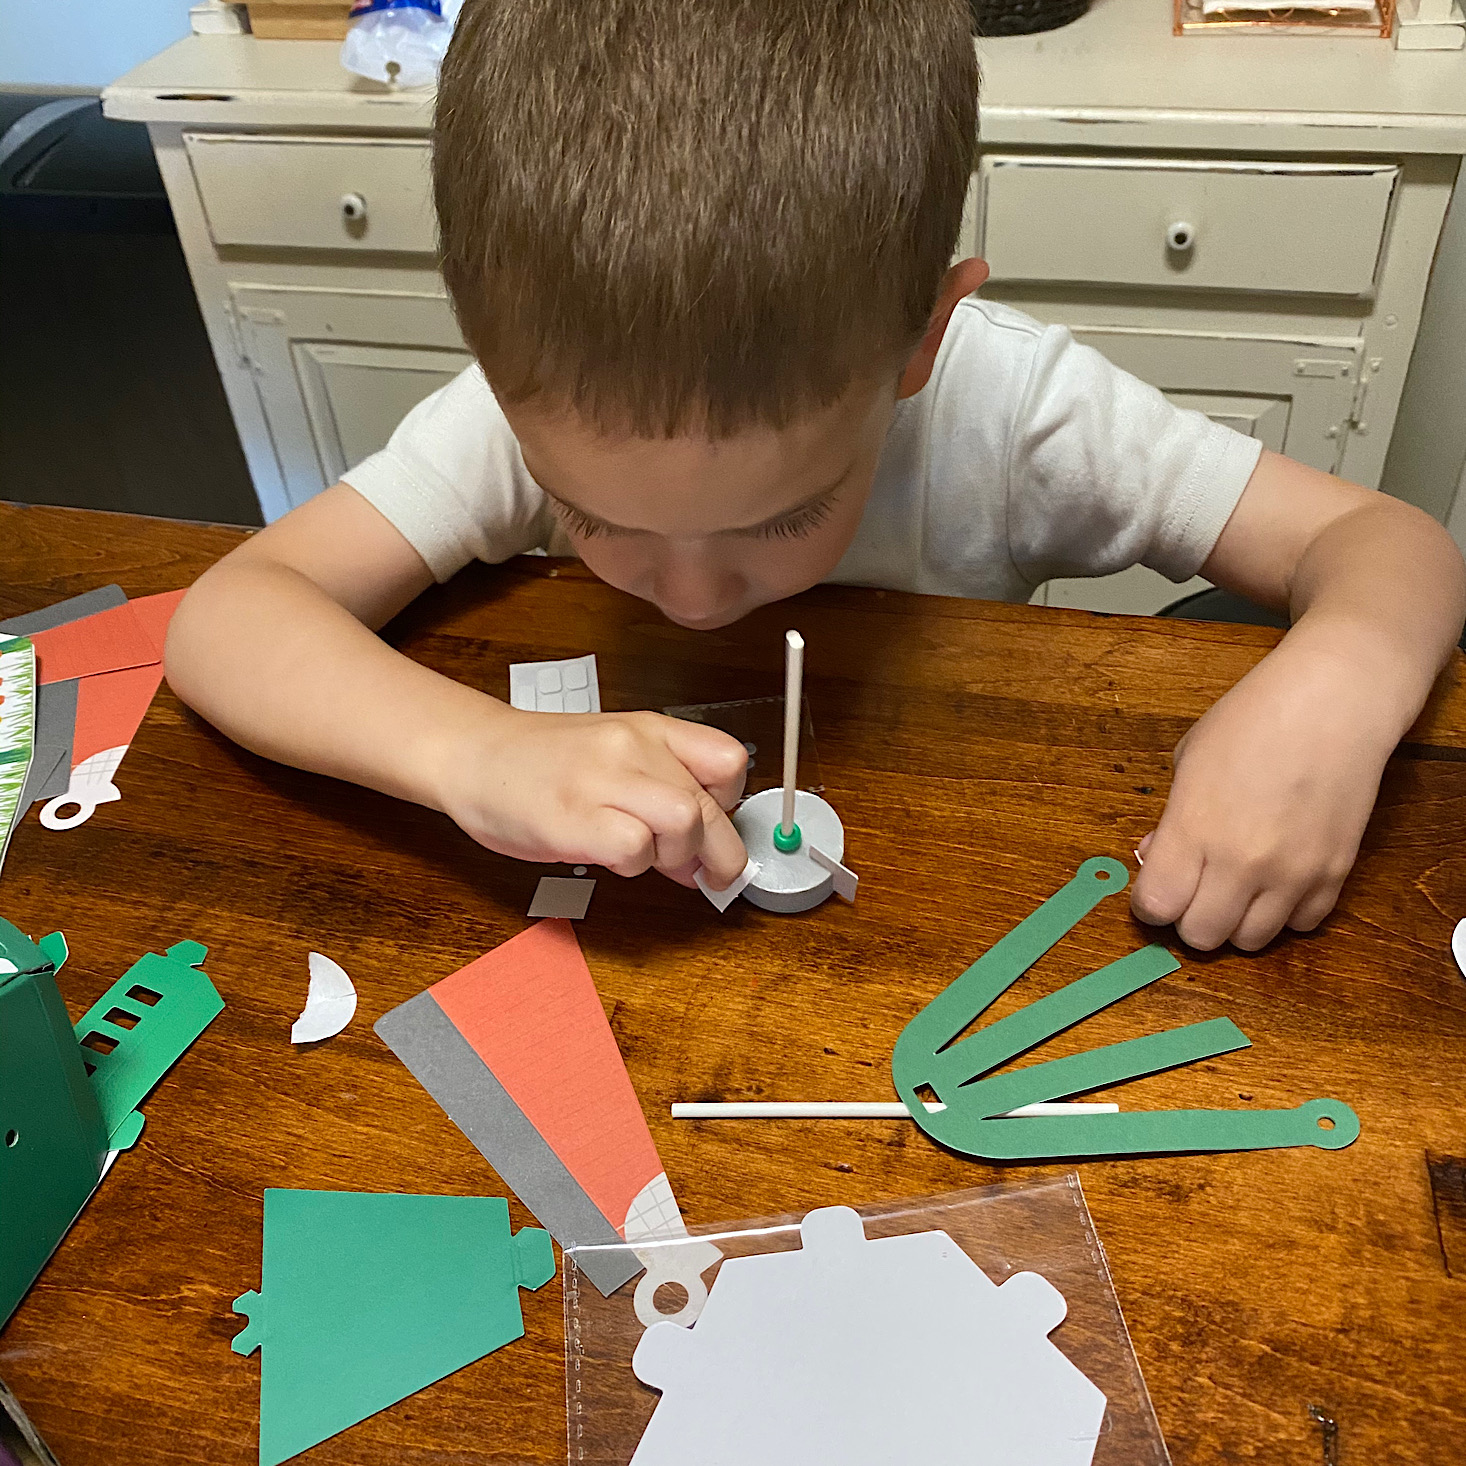
Then we added a green bead and these little spacers which fit into the slots that were cut into the gray foam circle.
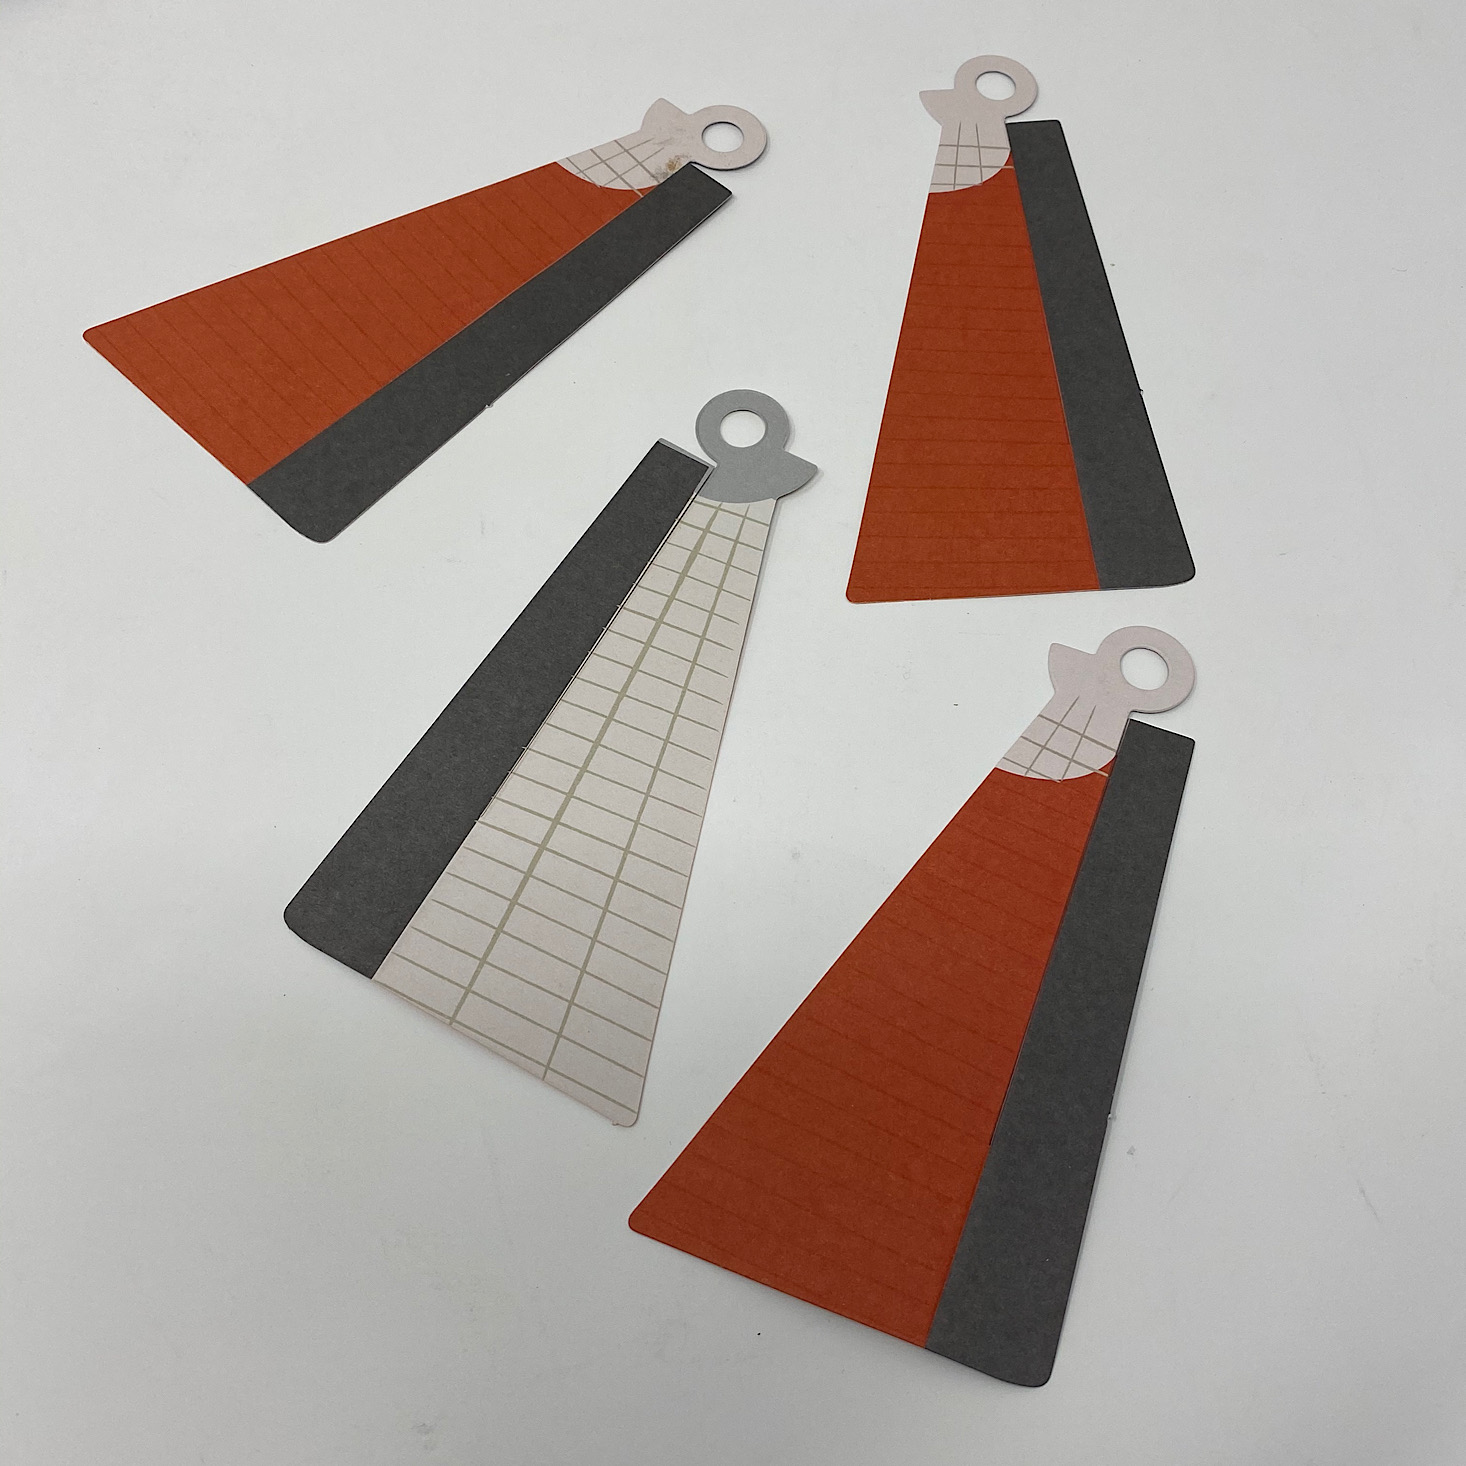
Then we folded the edges of the windmill blades and slid them in next to the spacers and around the bead in the center. I had to help my son with this part since it was a bit tricky to slide them into place. Then we removed the spacers once we had all four blades down.
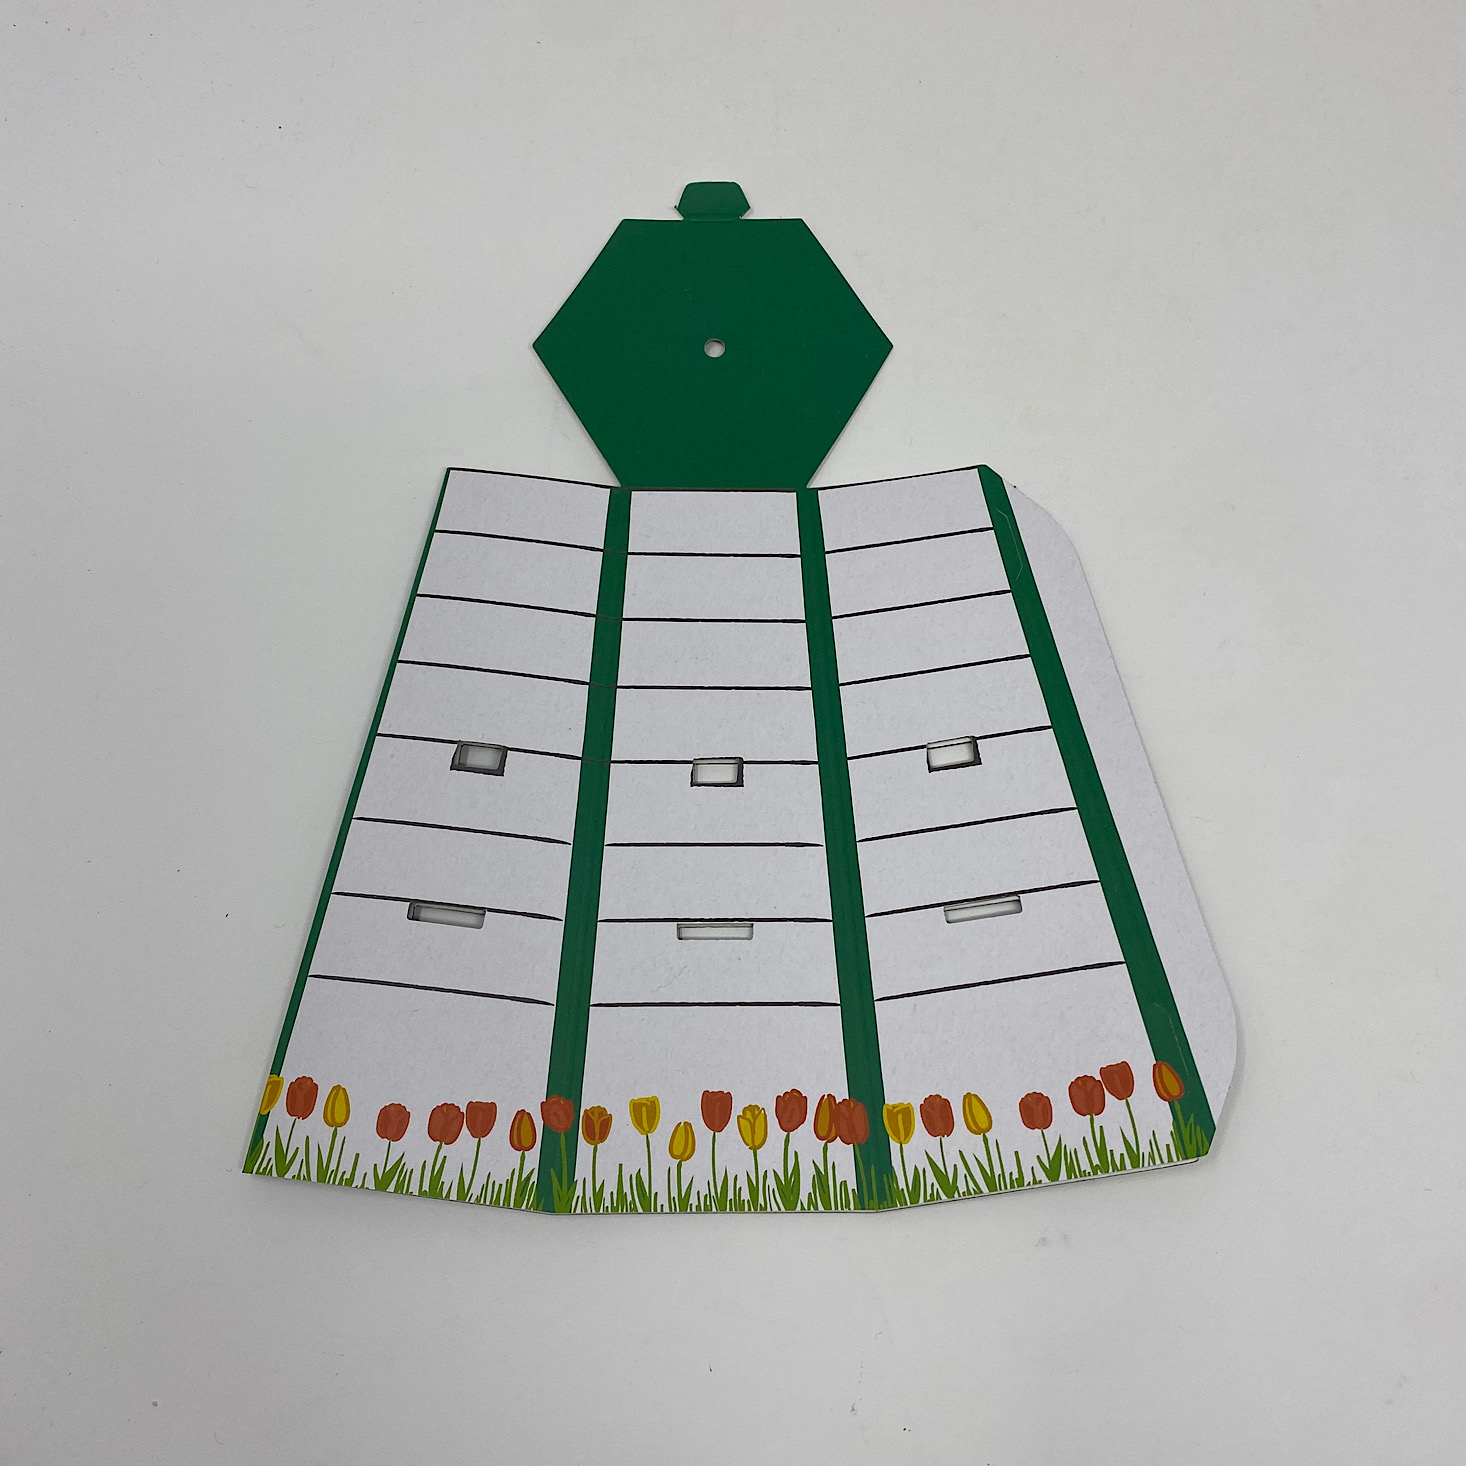
Next, we folded the body into shape and tucked in the tabs on the edges to hold it together.
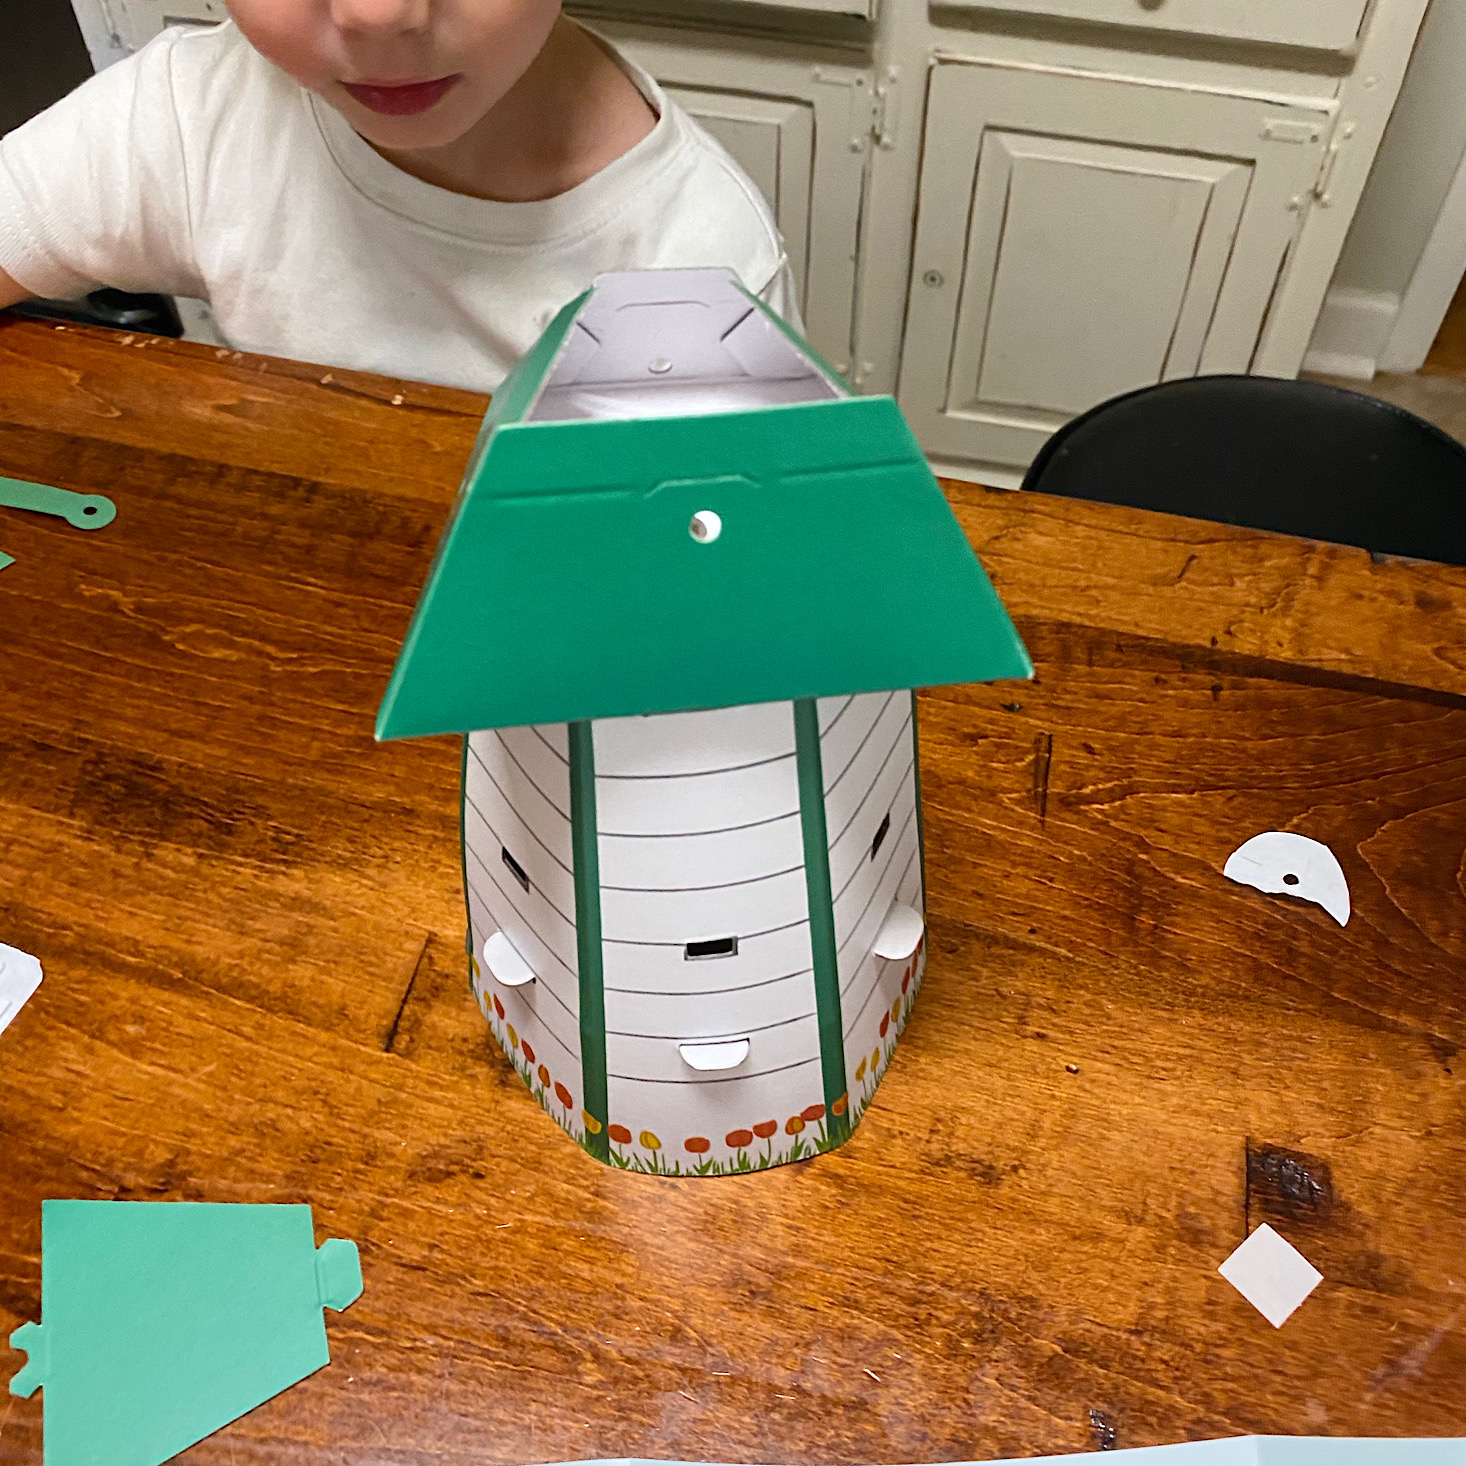
We used a brad to add the roof to the top of the windmill body.
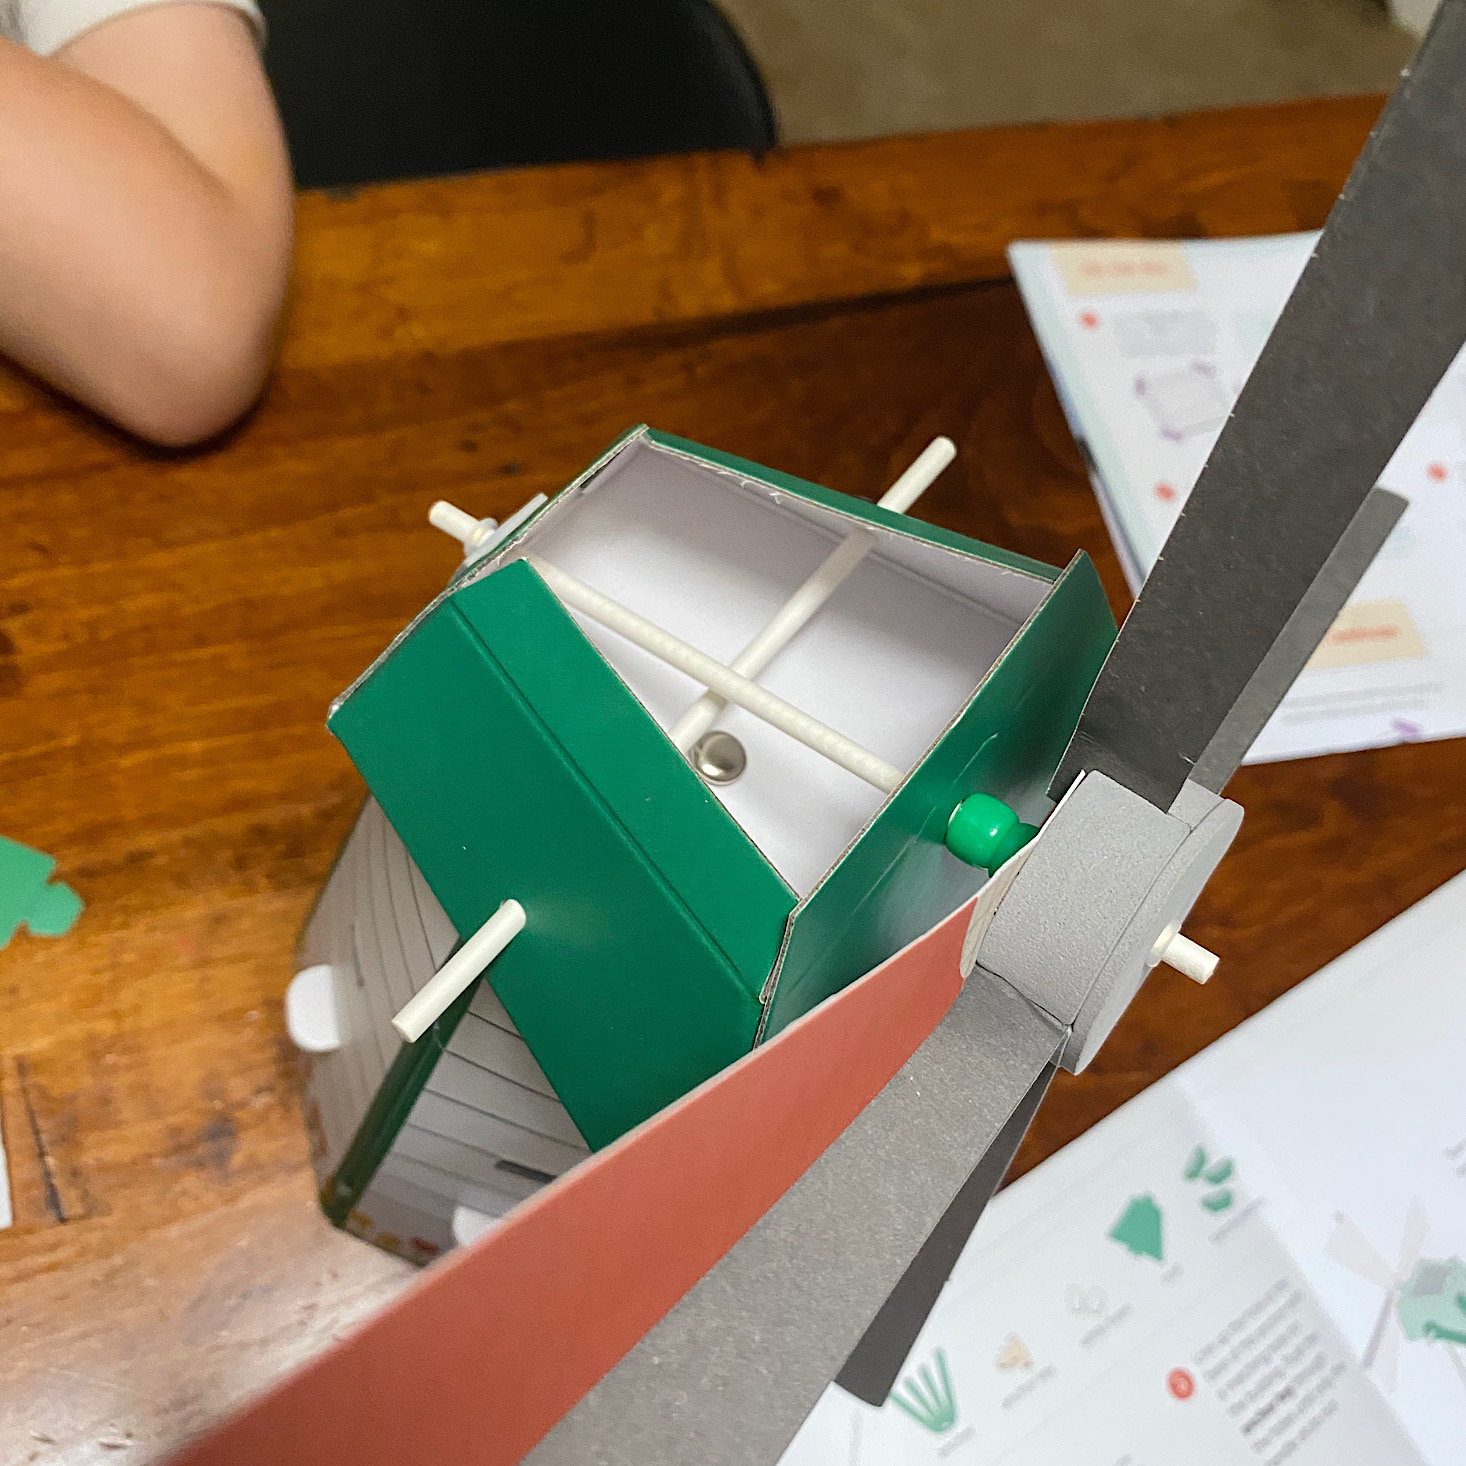
Then my son added a little foam rectangle to the spot on the back of the roof and stuck the stick through it and through the hole on the other side. We then slid on two more beads and our windmill blades.
We used tiny clear rubber rings to hold the stick in place and then slid the second stick through the holes going across the first one.
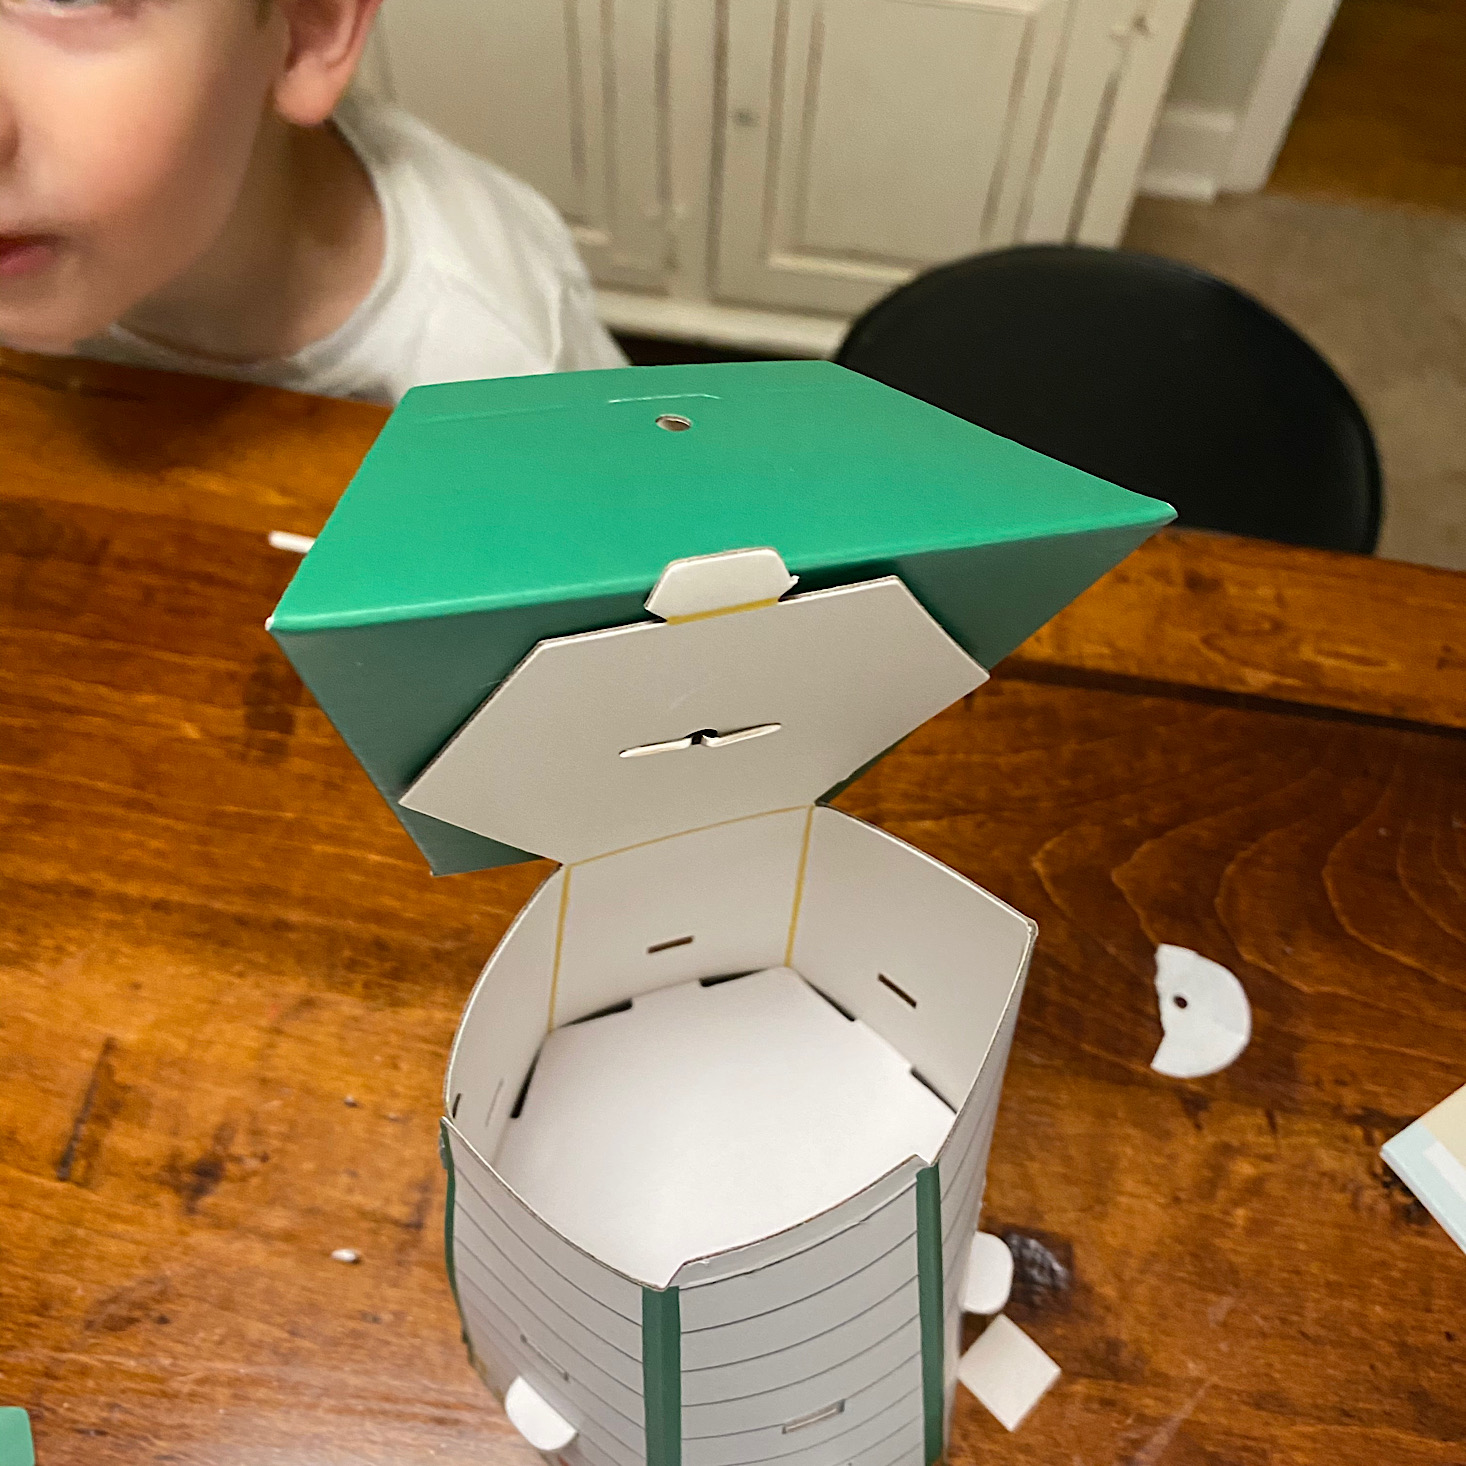
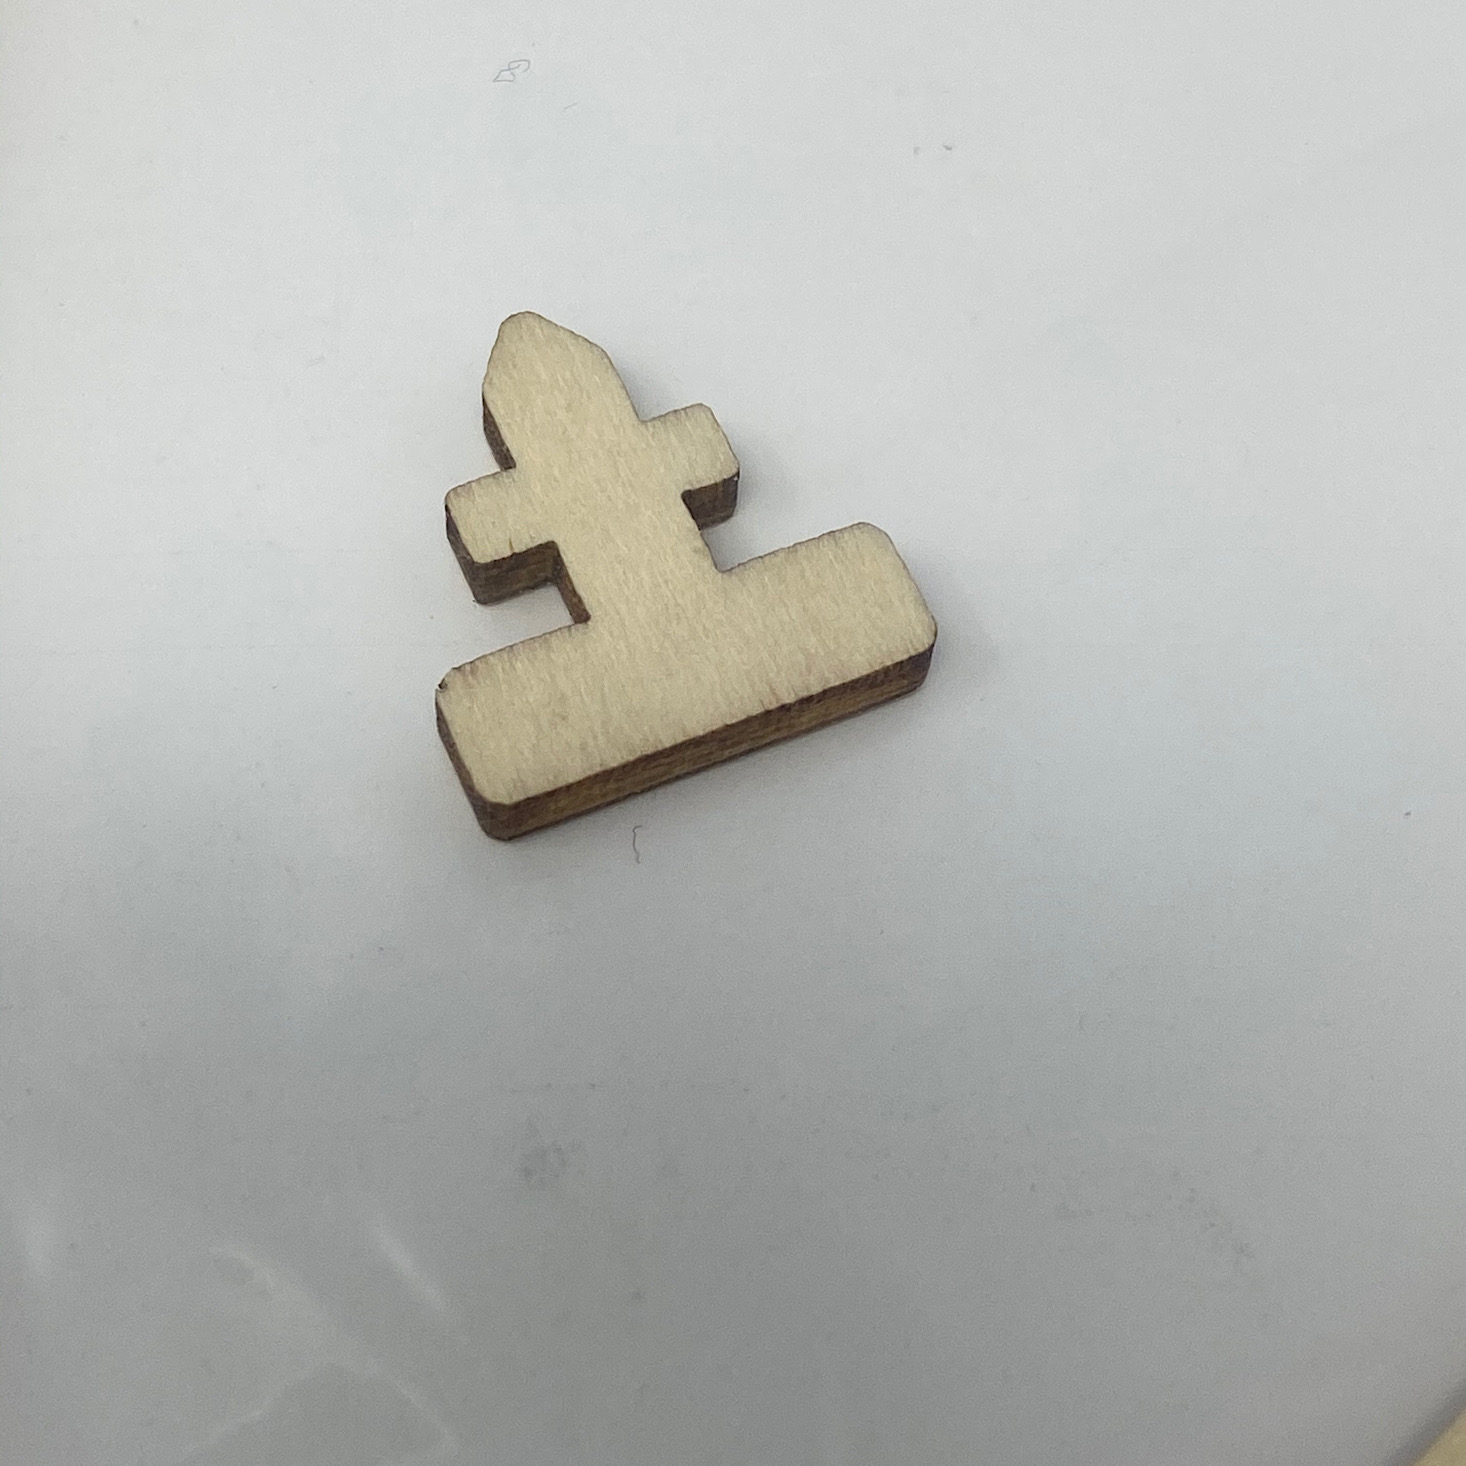
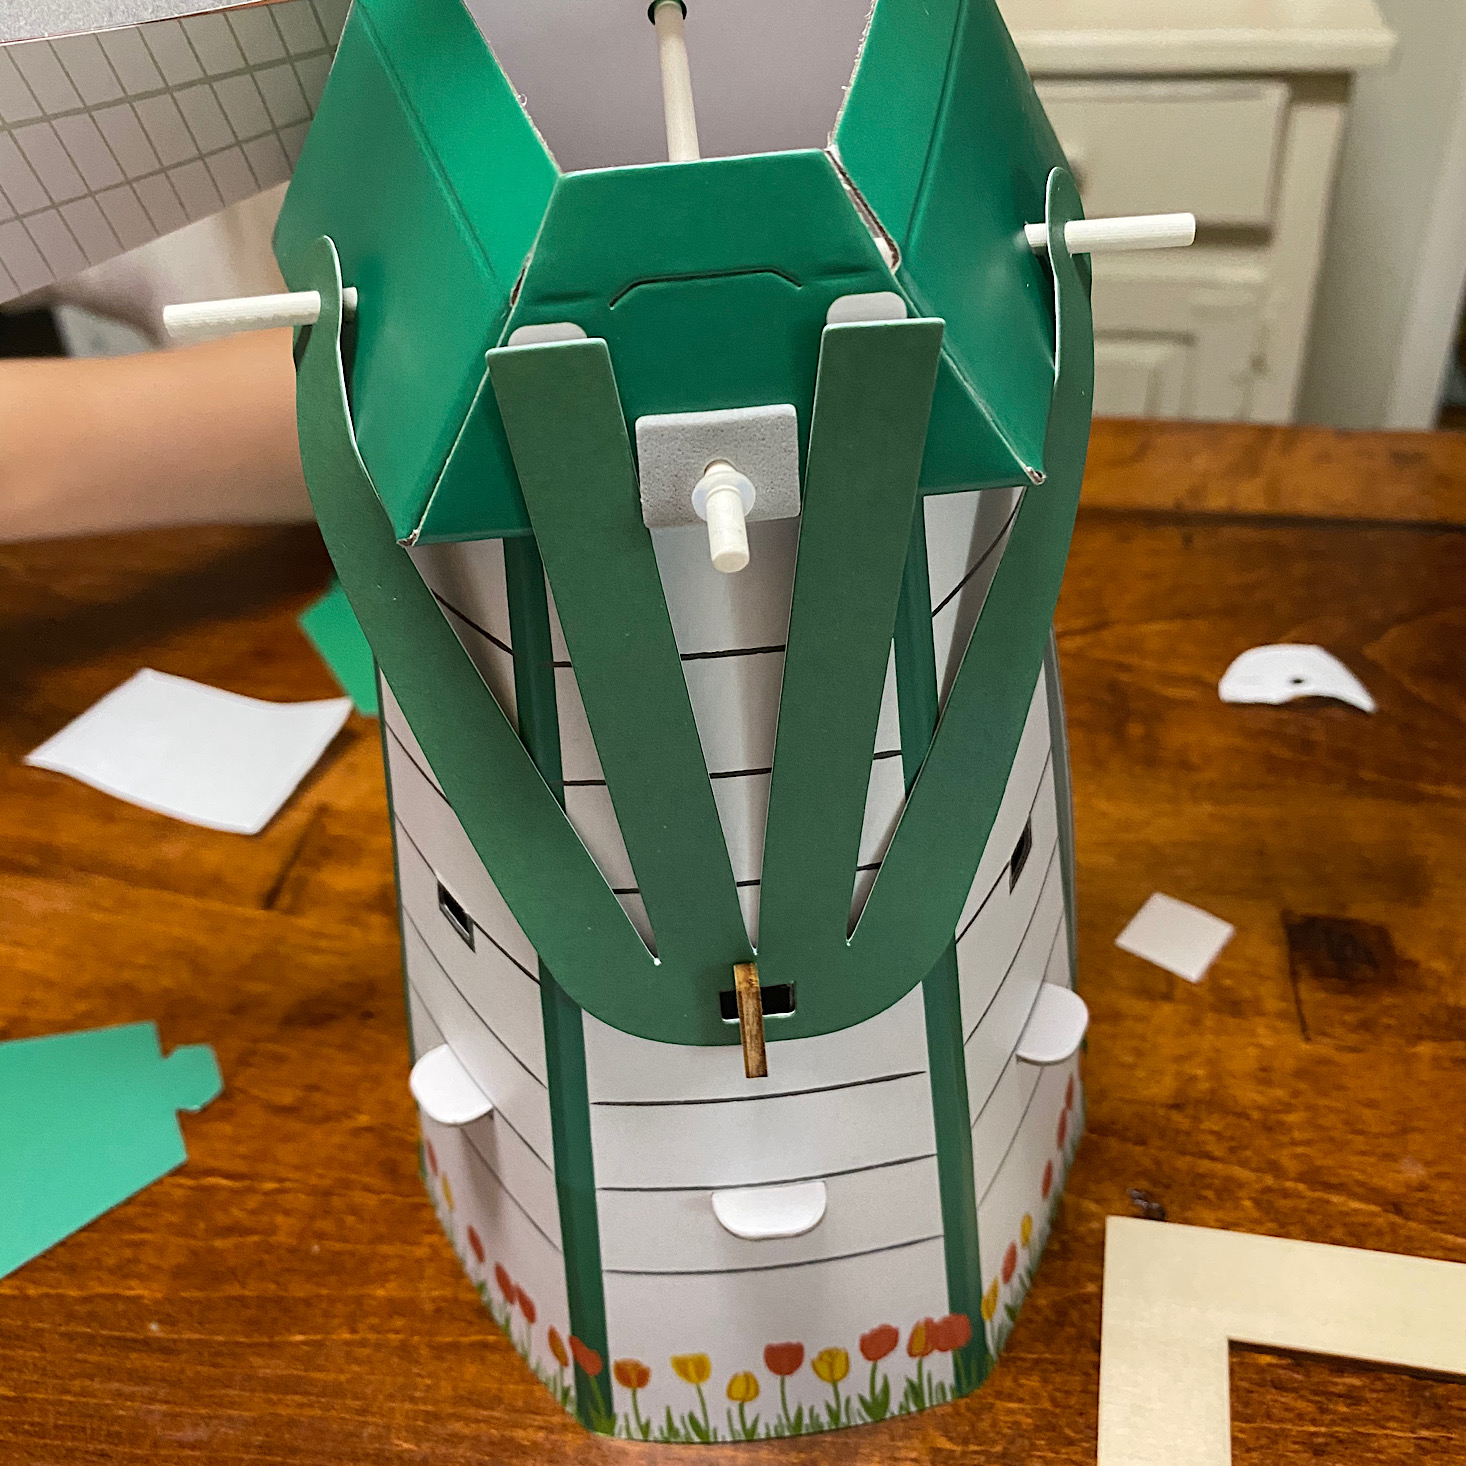
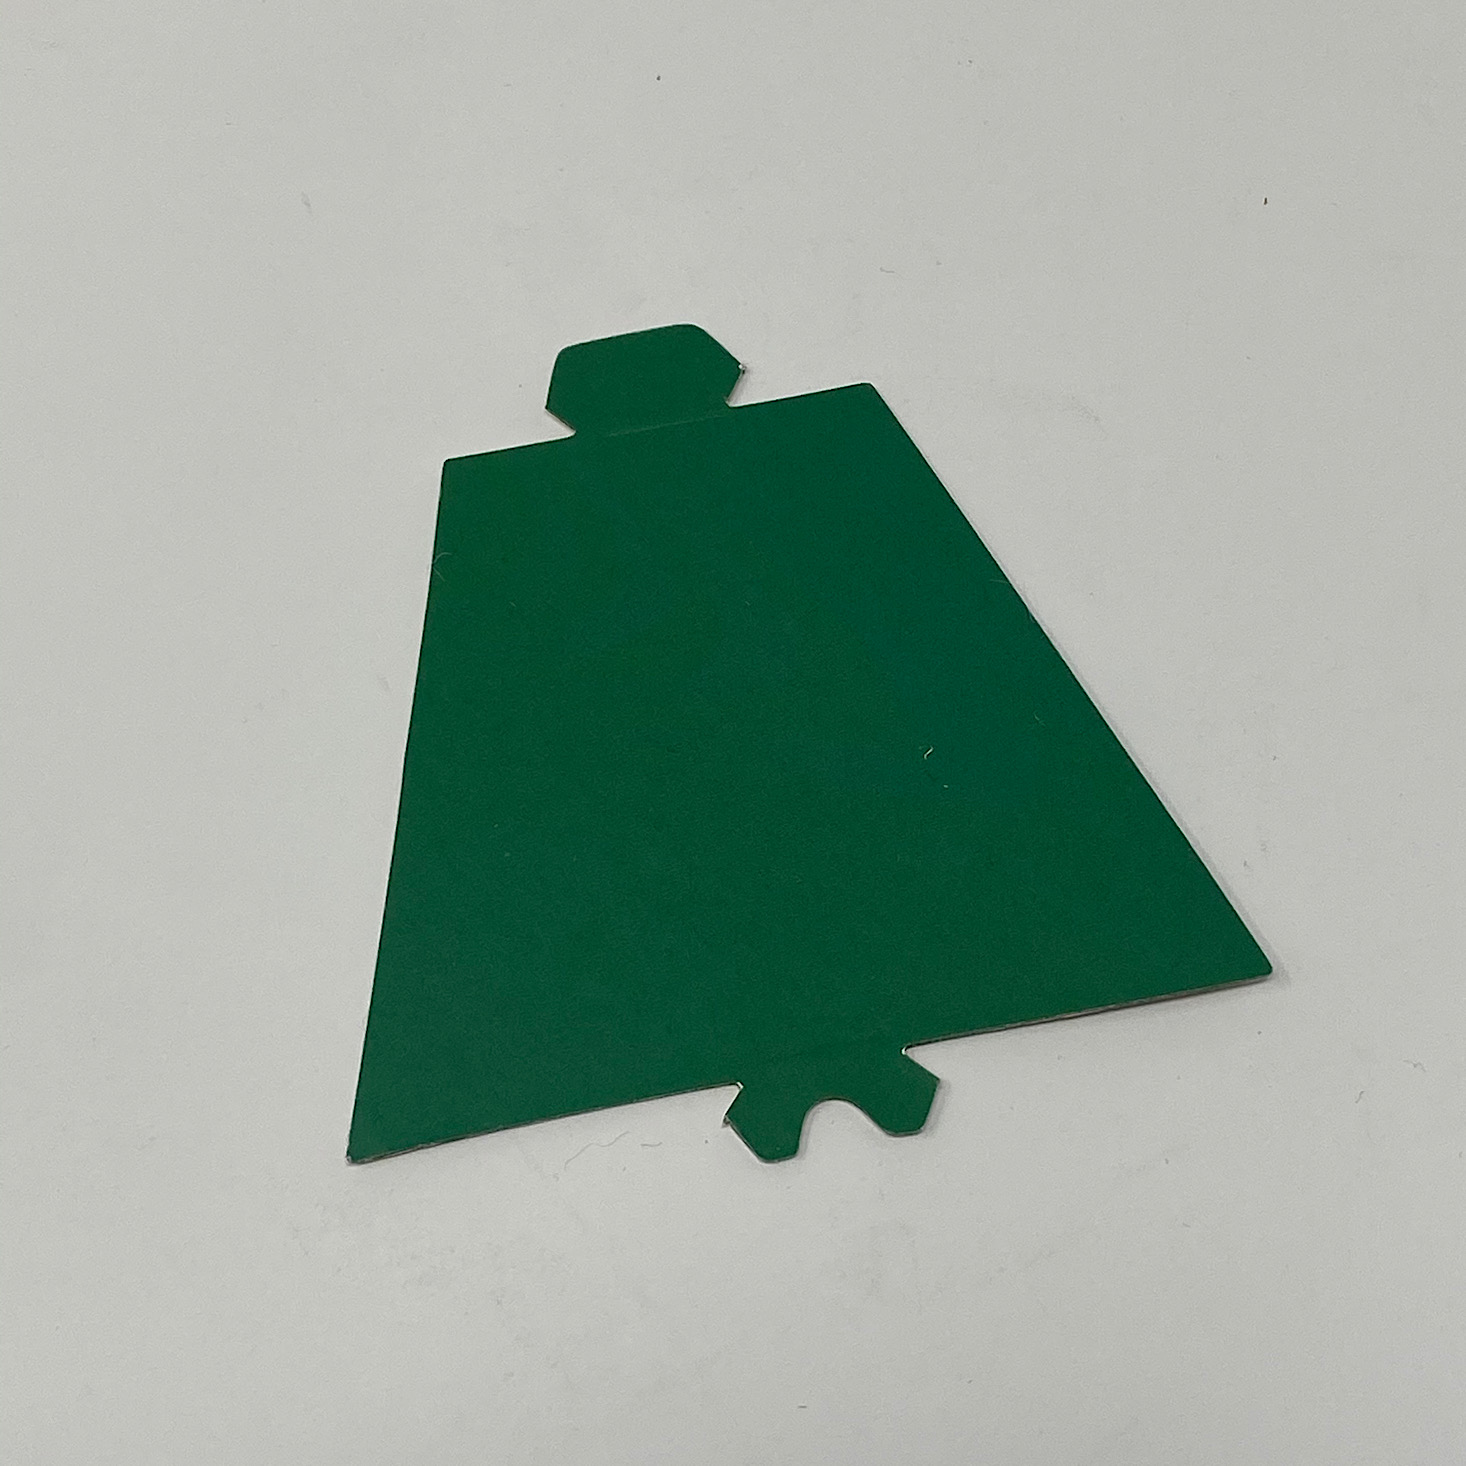
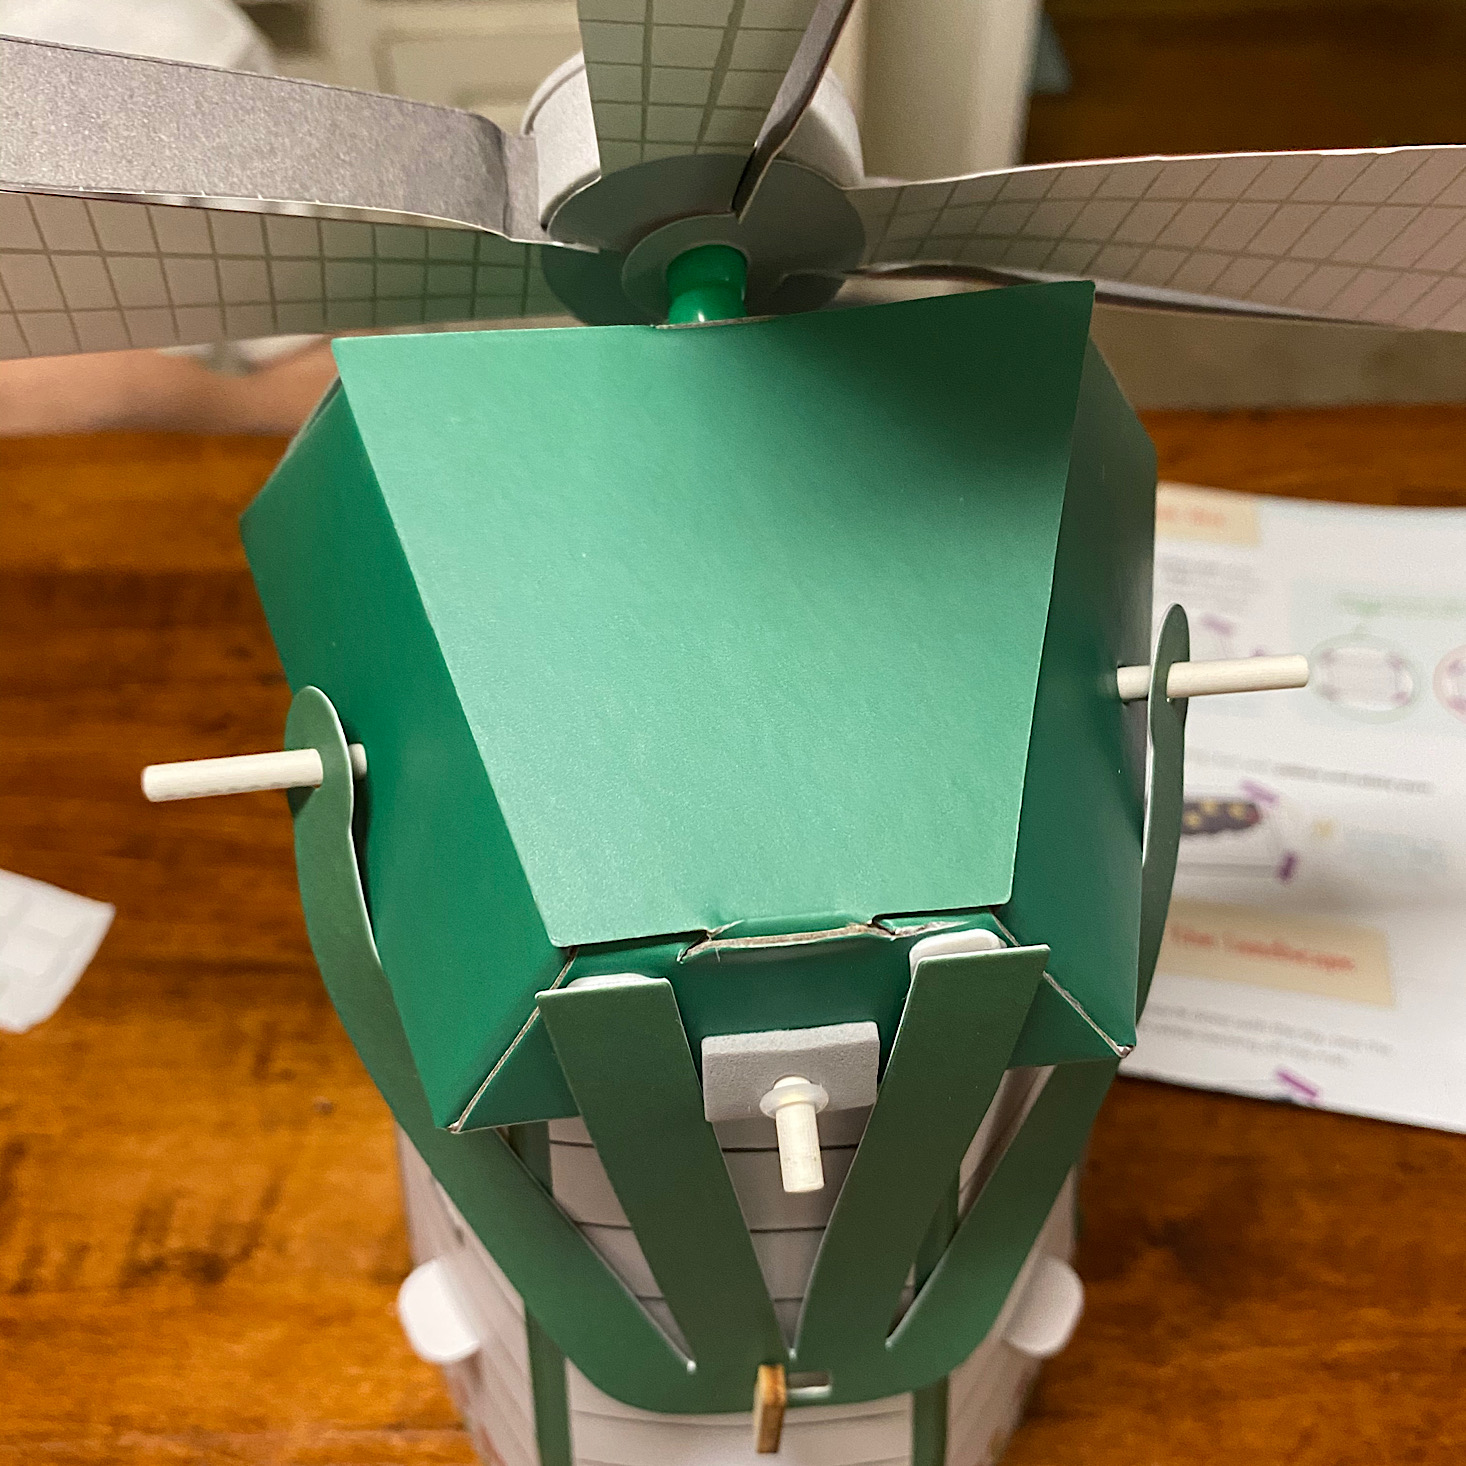
Then my son added this green piece to the back and hooked it around the sideways stick ends. He added foam to the ends to secure it and also added this wooden key to the hole in the back.
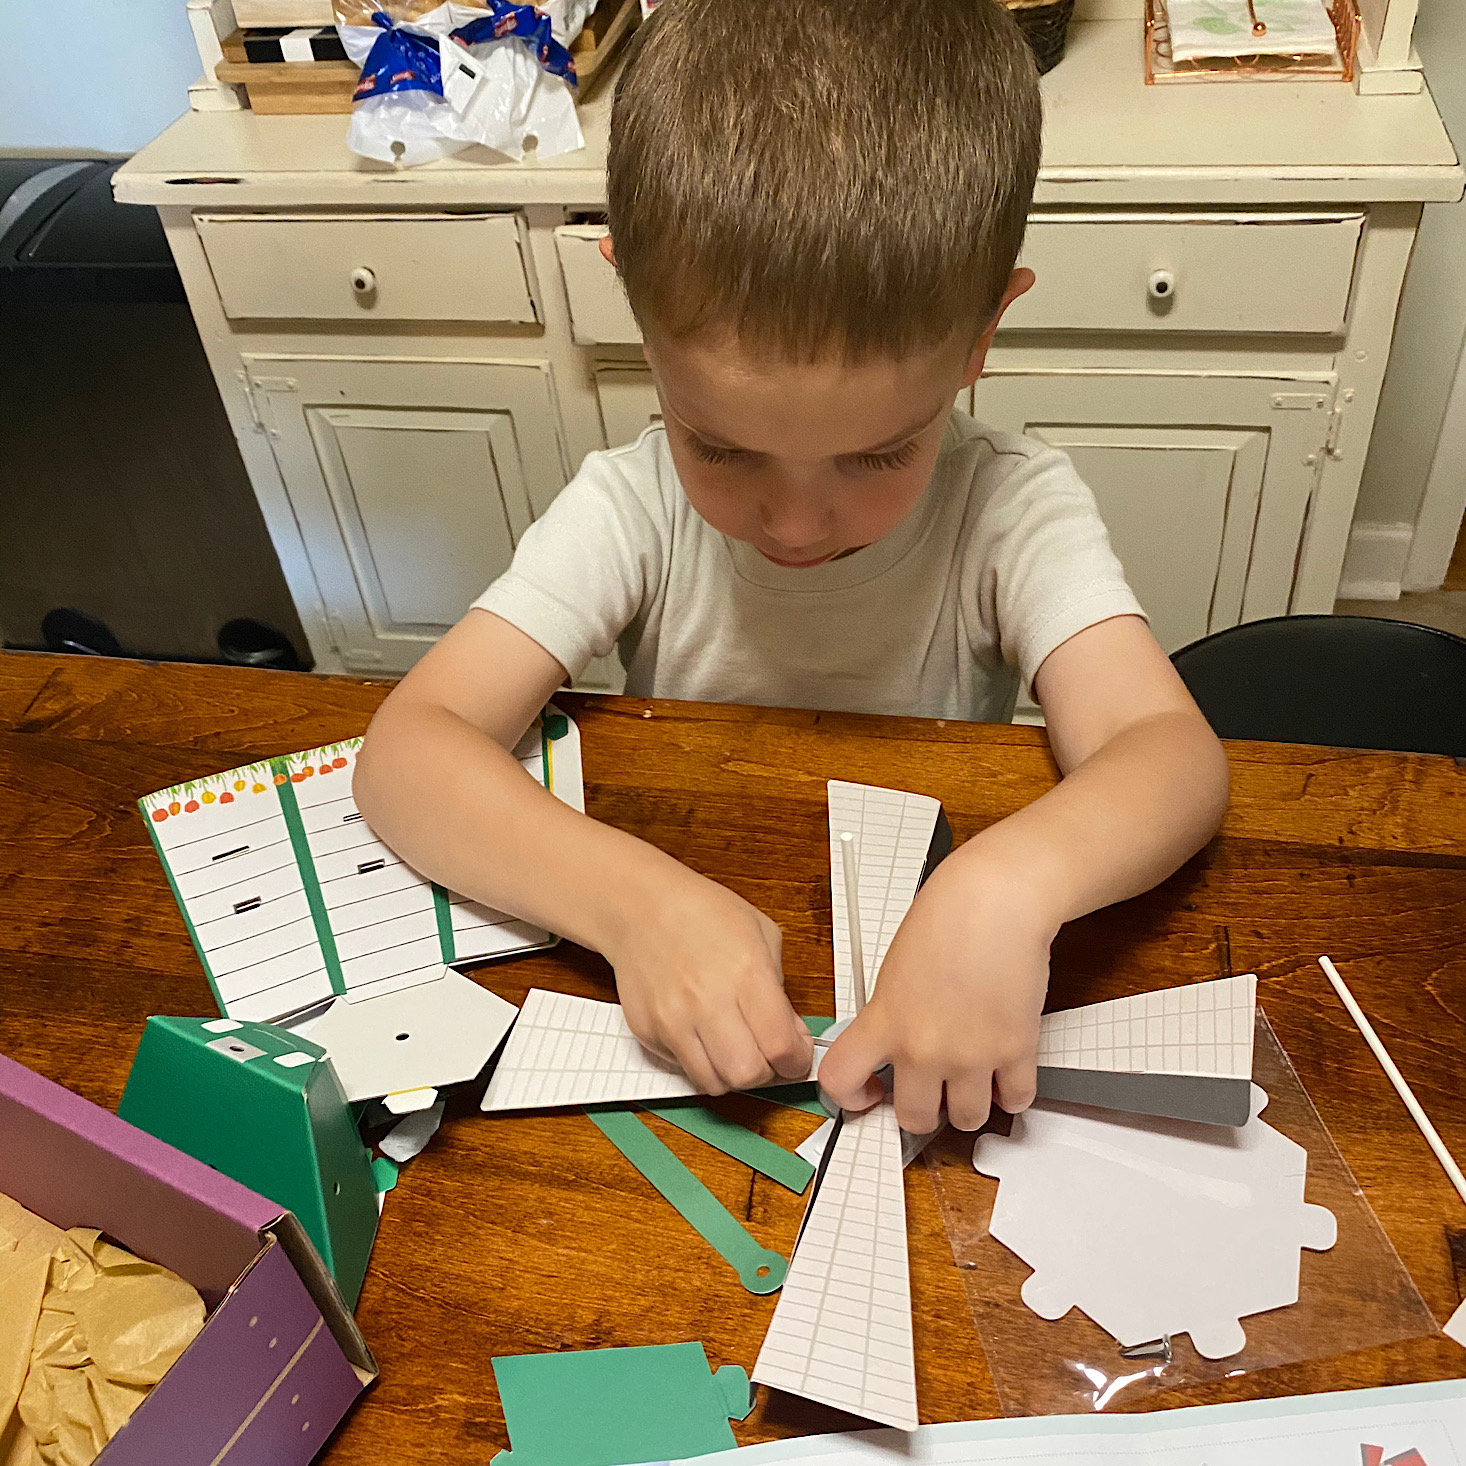
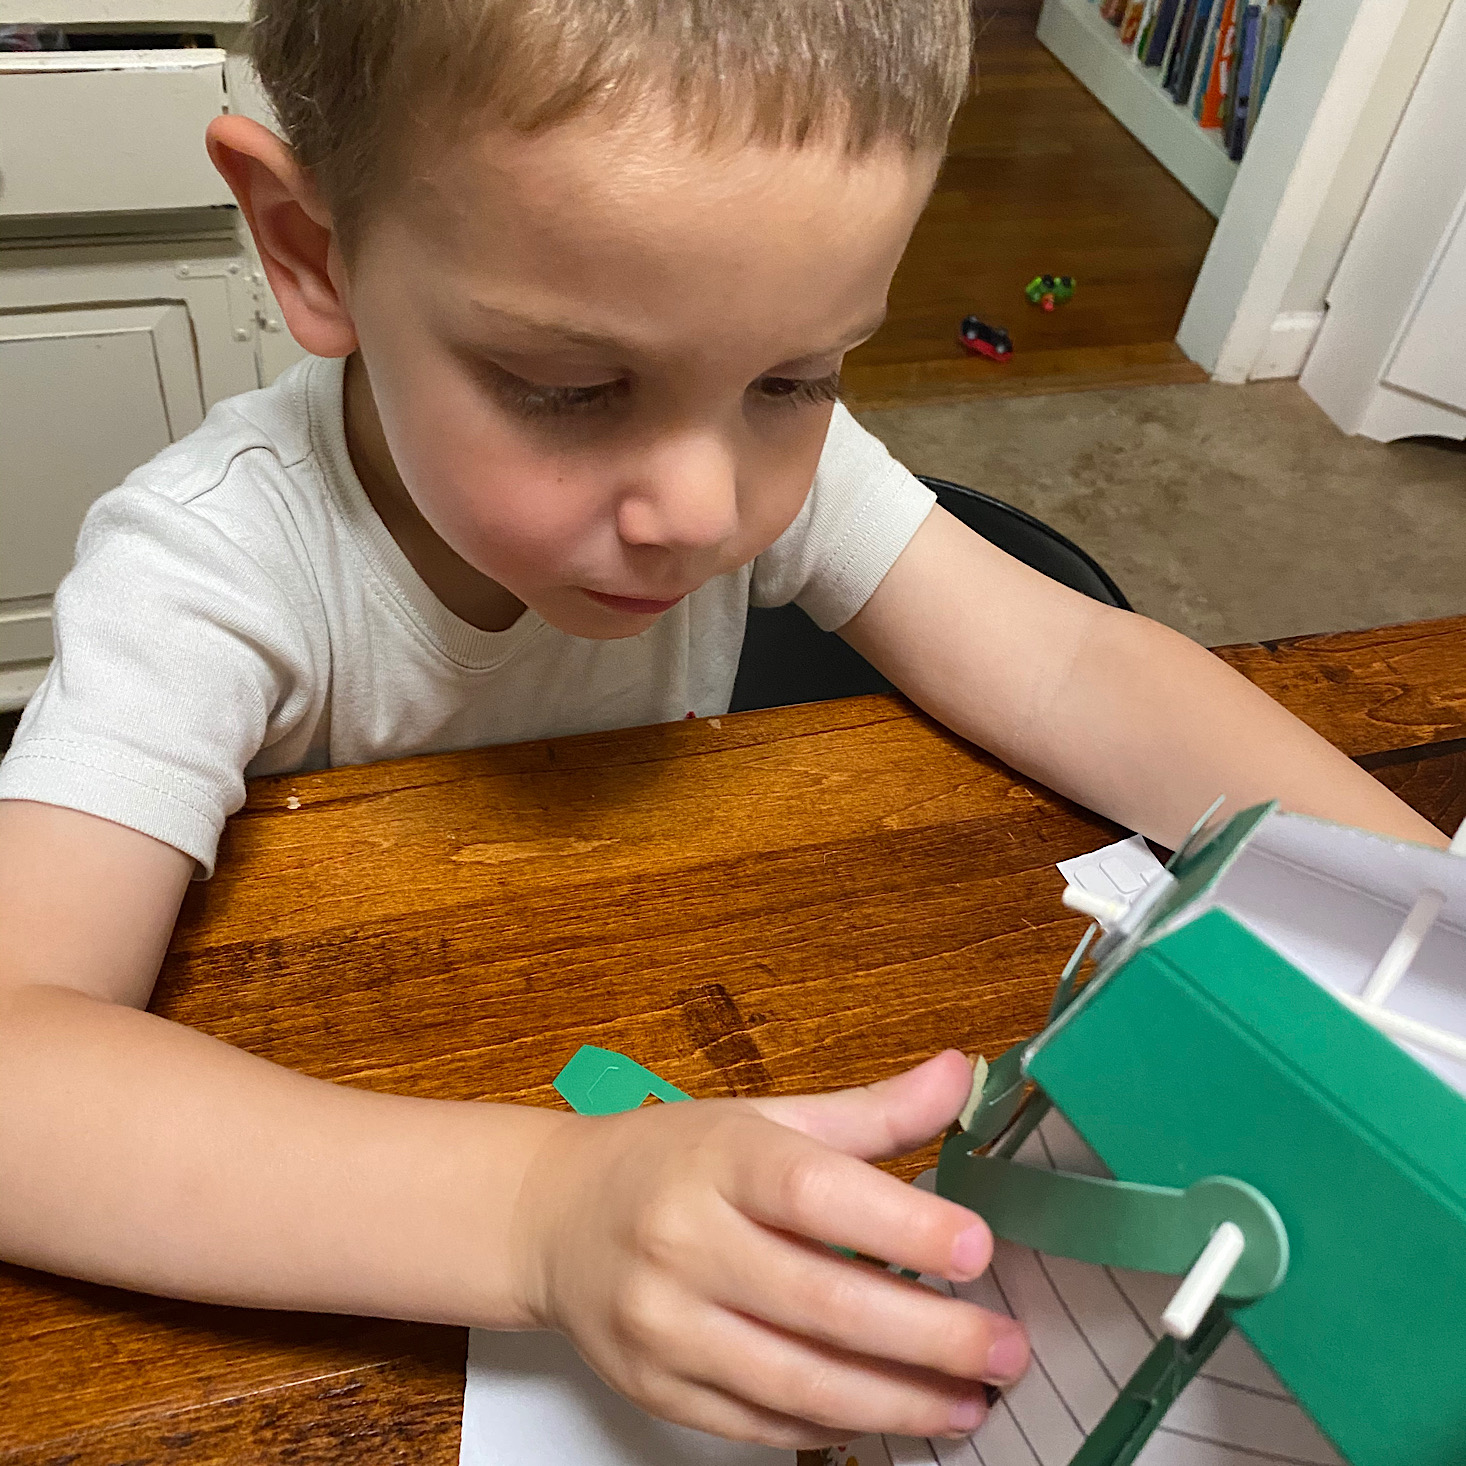
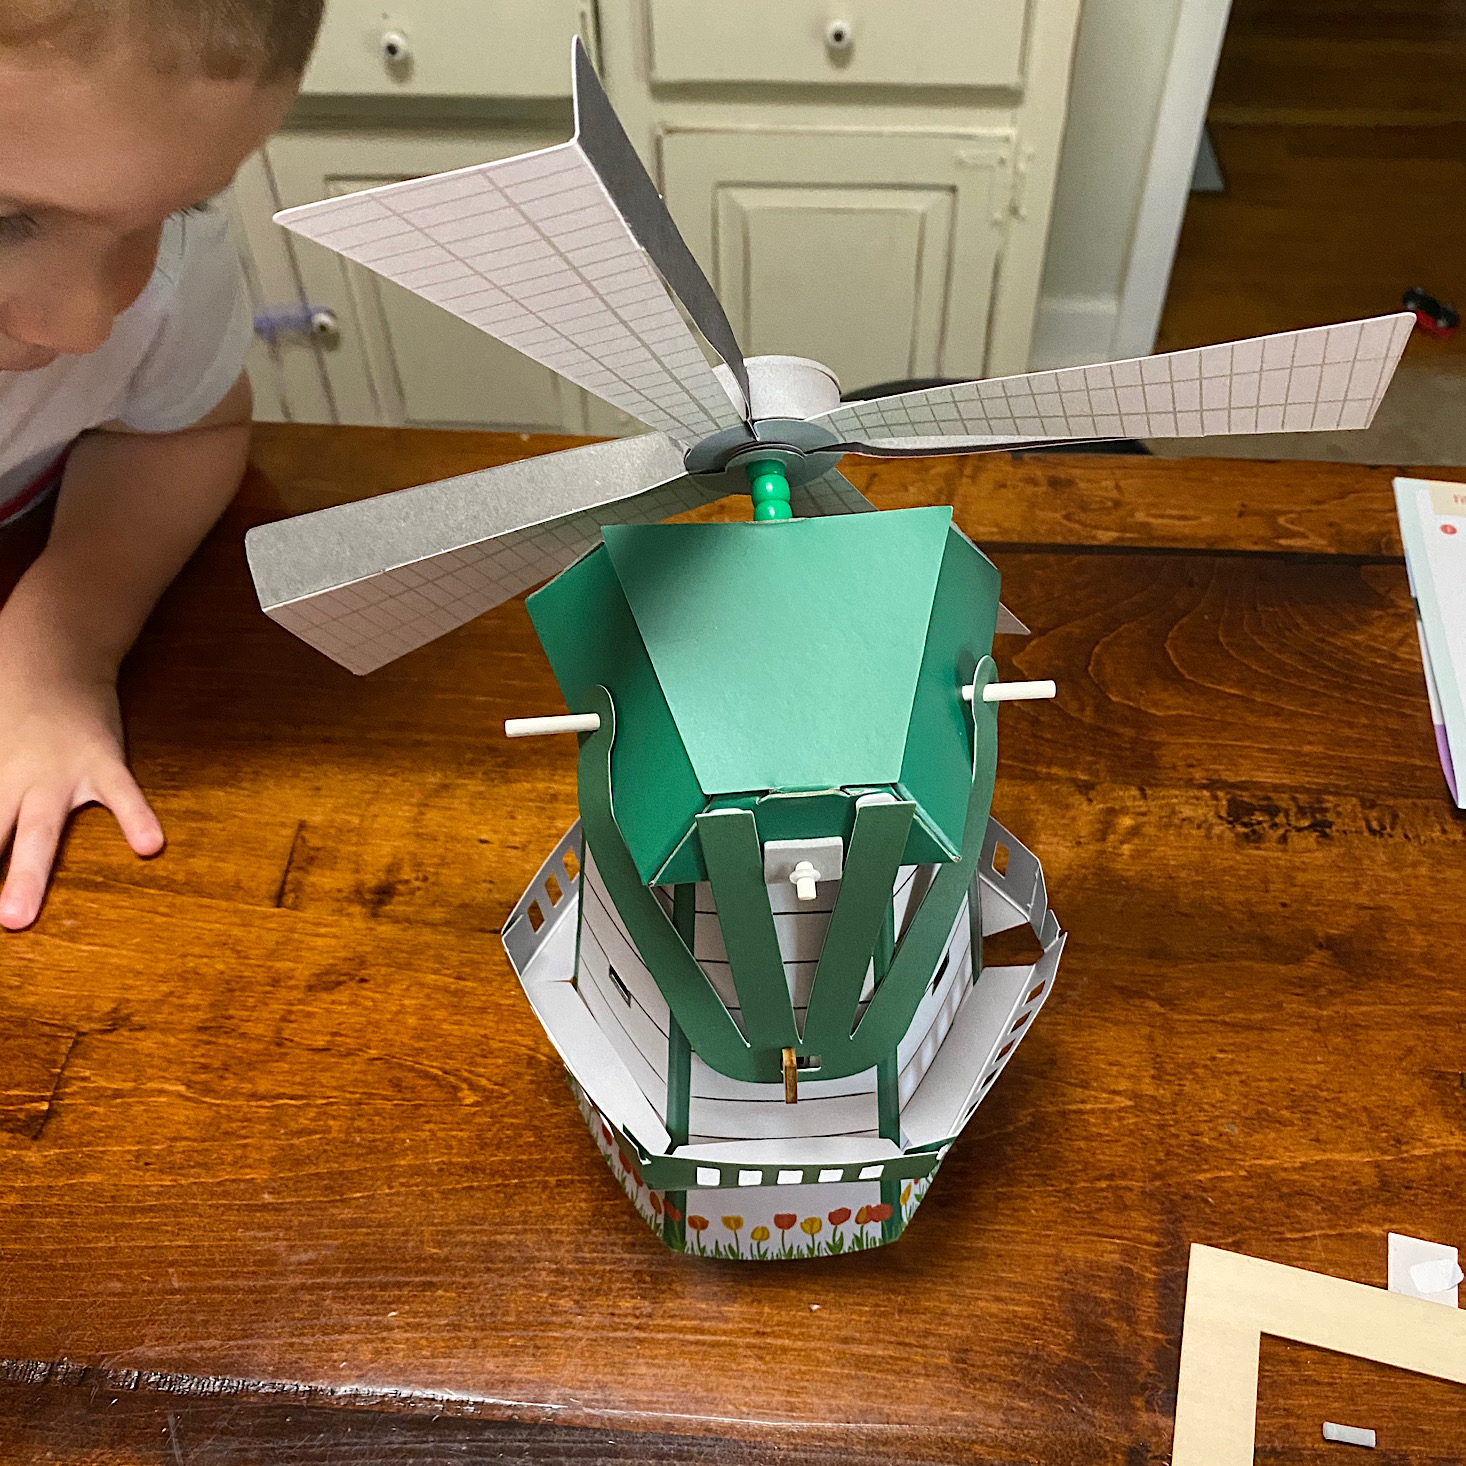
We added the roof to the top and folded it into place. My son began to add white foam rectangles to the little tabs around the outside of our windmill base.
I folded up these little balcony pieces and then stuck them to the rectangles he had placed and made sure to stick the ends of each balcony side into the one next to it.
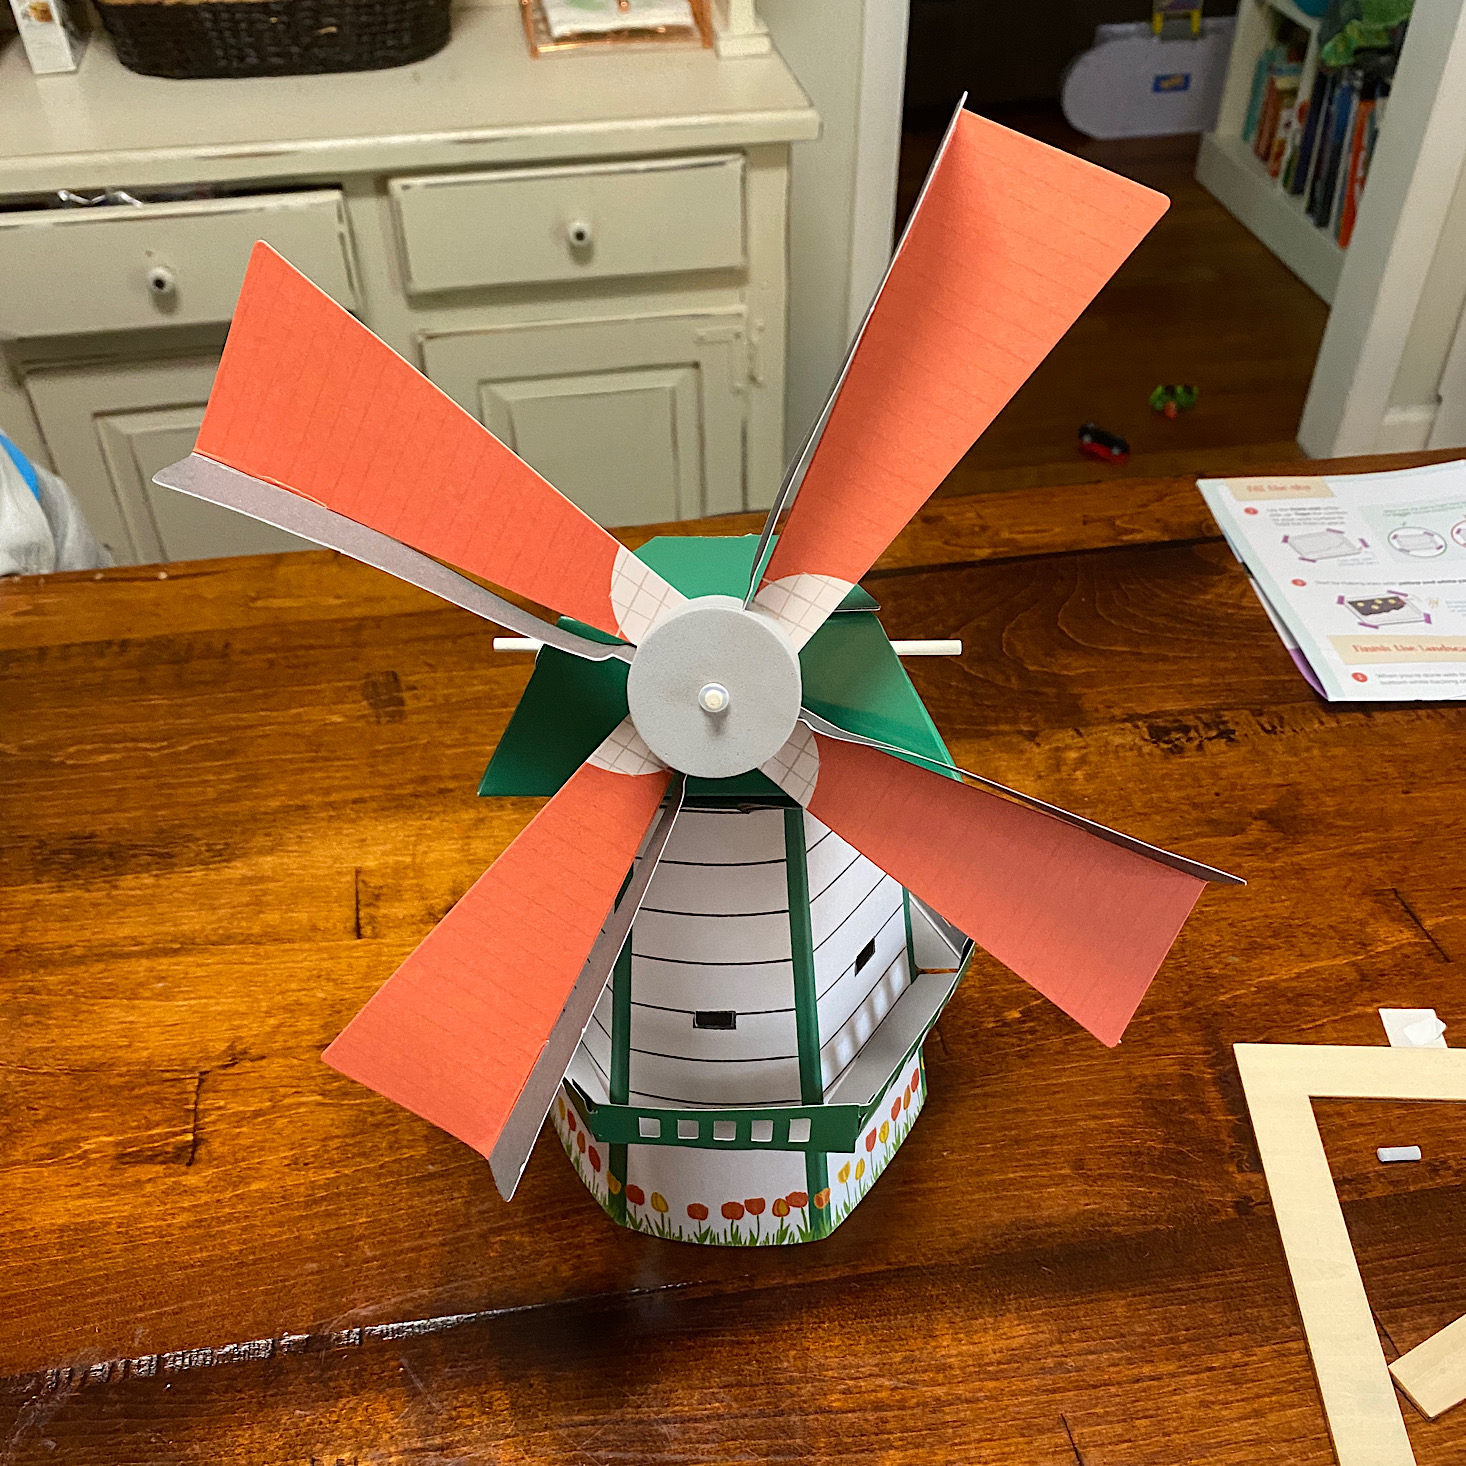
Our windmill was complete! It's so cute and while there was no wind when we took it outside to test it out, my son can easily operate it by spinning it with his fingers or blowing gently on the blades.
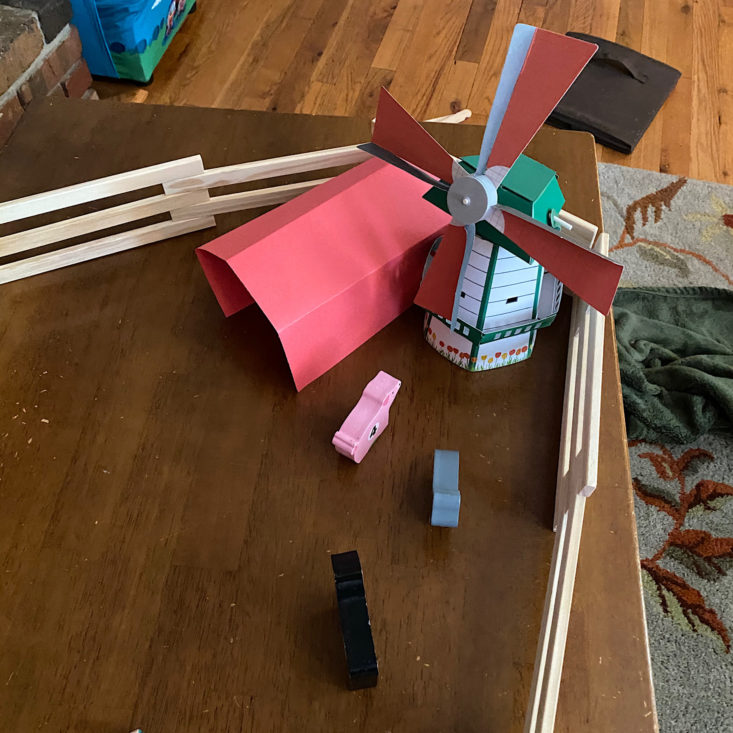
He actually took it to use on the toy farm that he had been playing with which I thought was so cute and creative! I think he's found a new accessory for all the animal habitats he is constantly creating!
Verdict: We had a lot of fun discovering fun facts about the Netherlands in this month's Atlas Crate box! As per usual, this box was incredibly well organized, and everything we needed was included so we could just open up and get right to our adventures! They learned a little bit about a new culture and got to create some fun projects. My daughter loved working on her Starry Night artwork and was so proud when it was completed and my son loves his windmill which seems to be pretty sturdy! Overall, we had a lot of fun and this educational box was a winner for us this month!
To Wrap Up:
Can you still get this box if you sign up today? From KiwiCo:
Crates are assigned each month based on availability and your crate history - not all subscribers receive the same theme each month.
Check out more of our Atlas Crate reviews, all of our KiwiCo reviews, and the best subscription boxes for kids!
Keep Track of Your Subscriptions: Add this box to your subscription list or wishlist!
What do you think of Atlas Crate?




































Please do not enter your email address in the Name field or in the comment content. Your email address will not be published. Required fields are marked *. Remember to post with kindness and respect. Comments with offensive language, cruelness to others, etc will not be approved. See our full comment policy here.