
Eureka Crate (from parent company KiwiCo) is a subscription box for teens and adults ages 14-104. It arrives every month with all the materials and instructions needed to create a functional, lasting object with a focus on engineering. The goal of these projects is to use science and math to solve real-world problems while inspiring the recipients to become creative innovators.
KiwiCo offers boxes for a variety of different age groups:
- Panda Crate for 0-24-month-olds,
- Koala Crate for 2-4-year-olds,
- Kiwi Crate for 5-8-year-olds,
- Atlas Crate for 6-11-year-olds,
- Doodle Crate and Tinker Crate for 9-16+-year-olds,
- Eureka Crate and Maker Crate for ages 14 and up. There really is something for every age with this company.
This review is of the $29.95 a month Eureka Crate, for 14-year-olds and up.
This box was sent to us at no cost for review. (Check out the review process post to learn more about how we review boxes).

About Eureka Crate
The Subscription Box: Eureka Crate
The Cost: $29.95 per month + free shipping. Save with longer subscriptions.
The Products: Detailed instructions and all of the high-quality materials needed to create a unique, lasting, and functional engineering project as well as a Maker's Guide that explains the science and technology behind it.
Ships to: The U.S. for free, Canada for $3.95 per month, and worldwide from $4.95-$6.95.
KiwiCo Eureka Crate "Indoor Golf Set" Review - May 2020
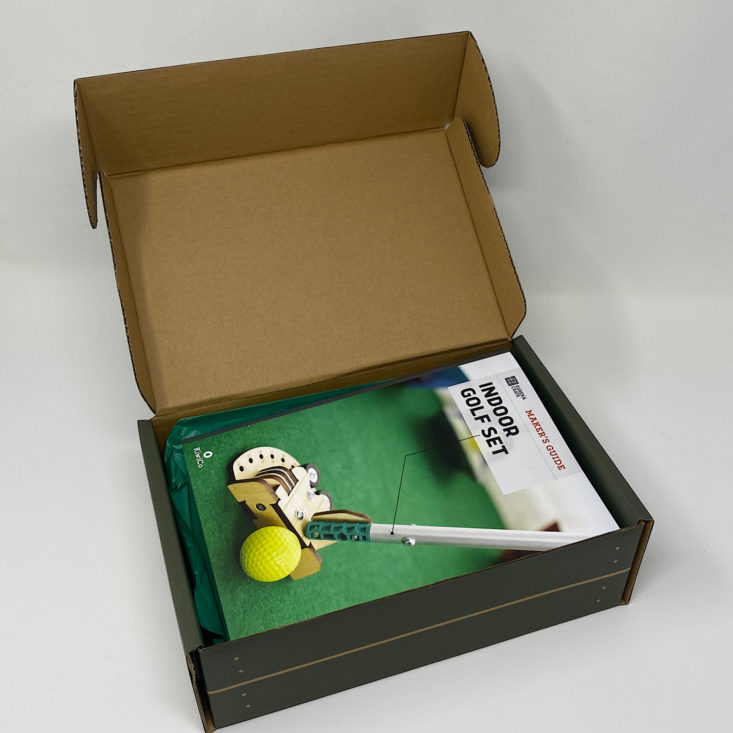
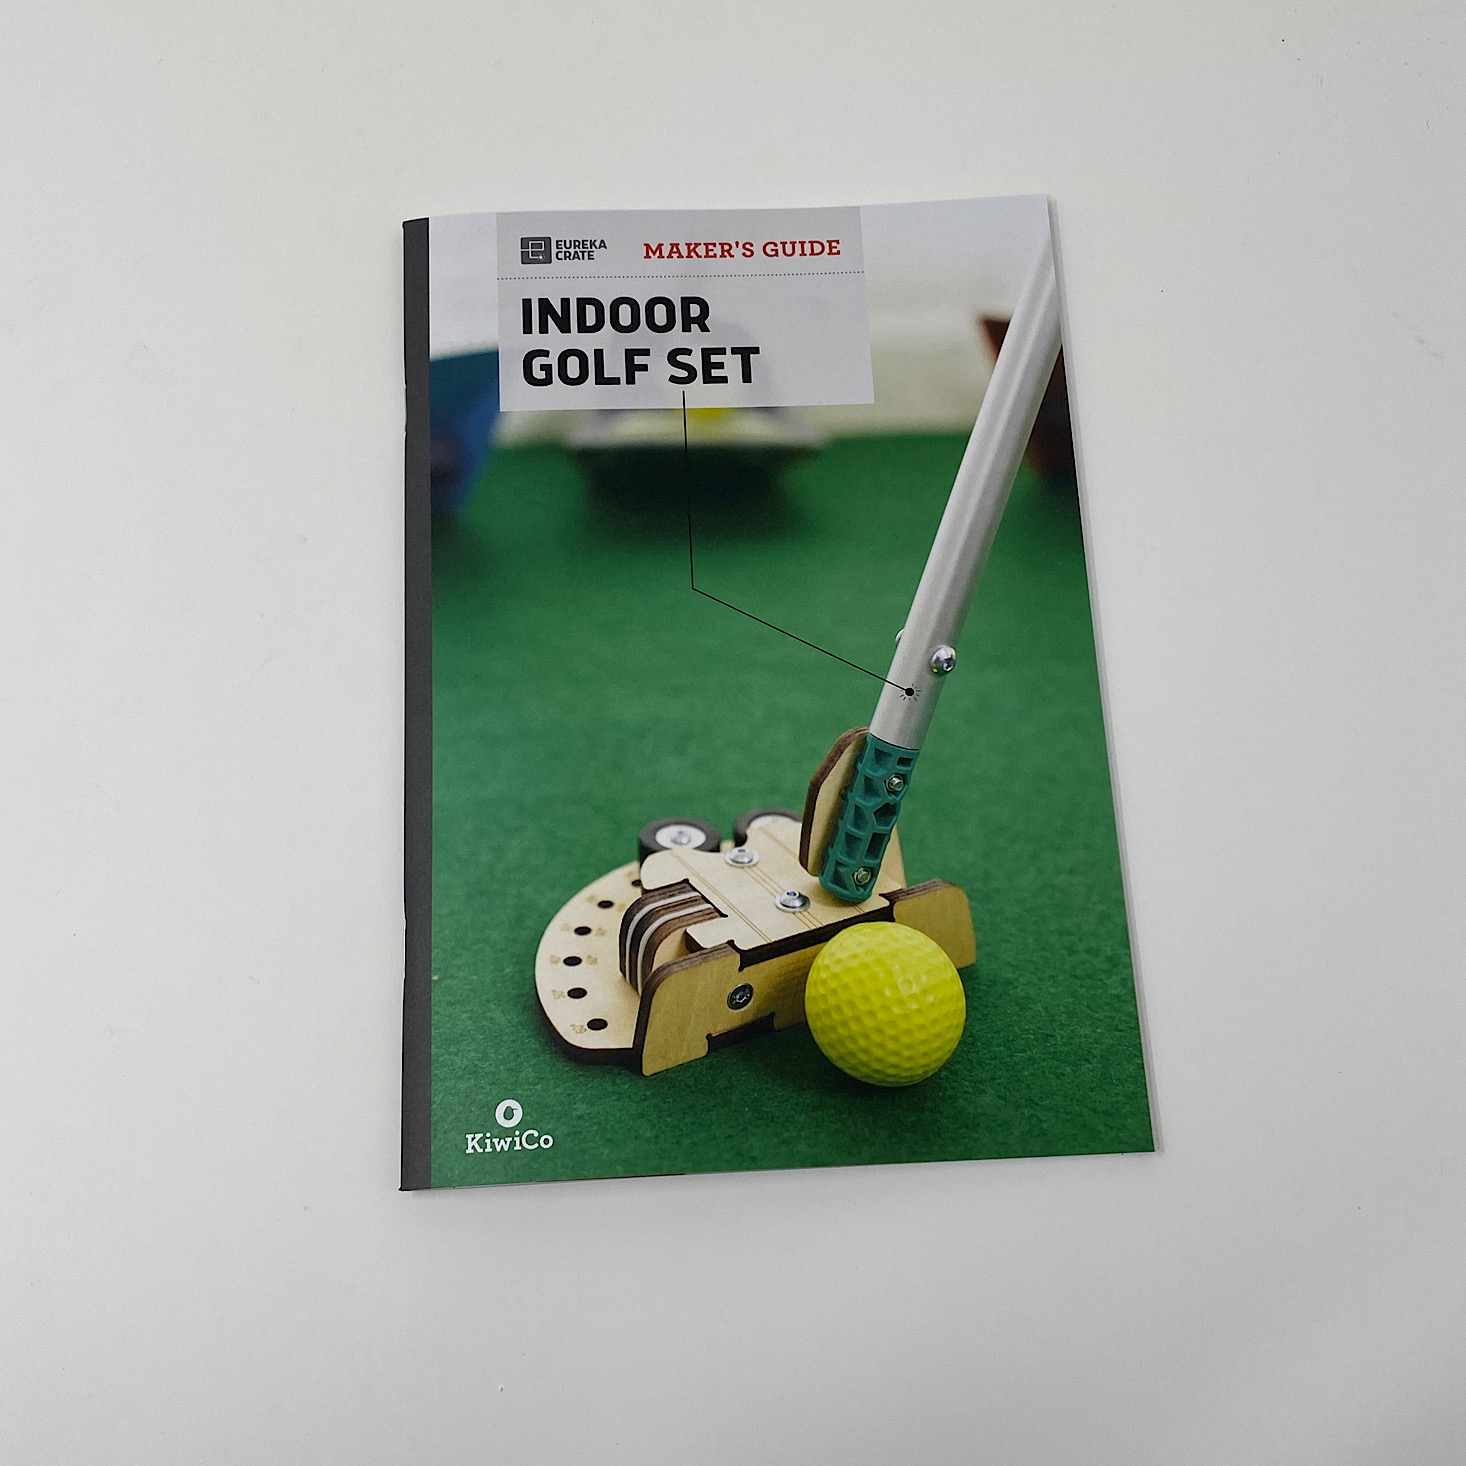
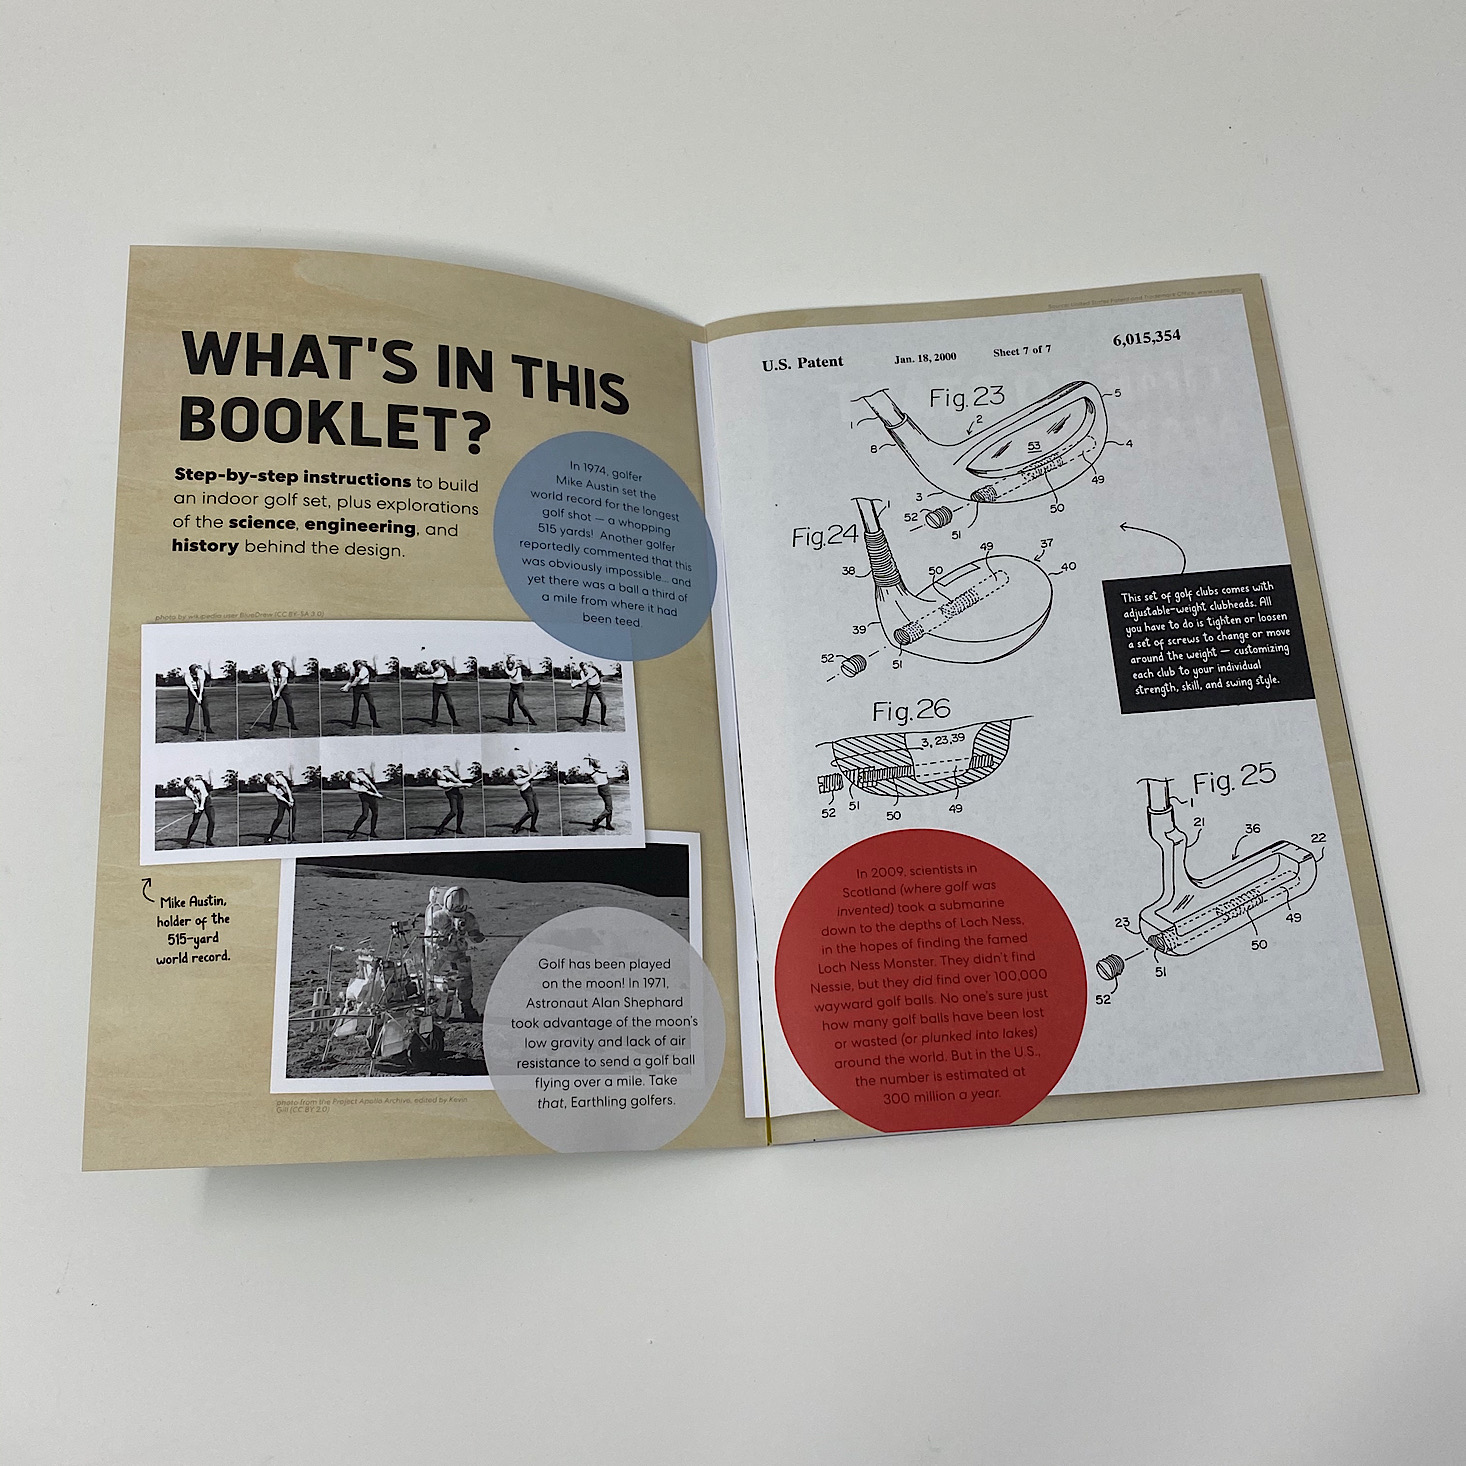
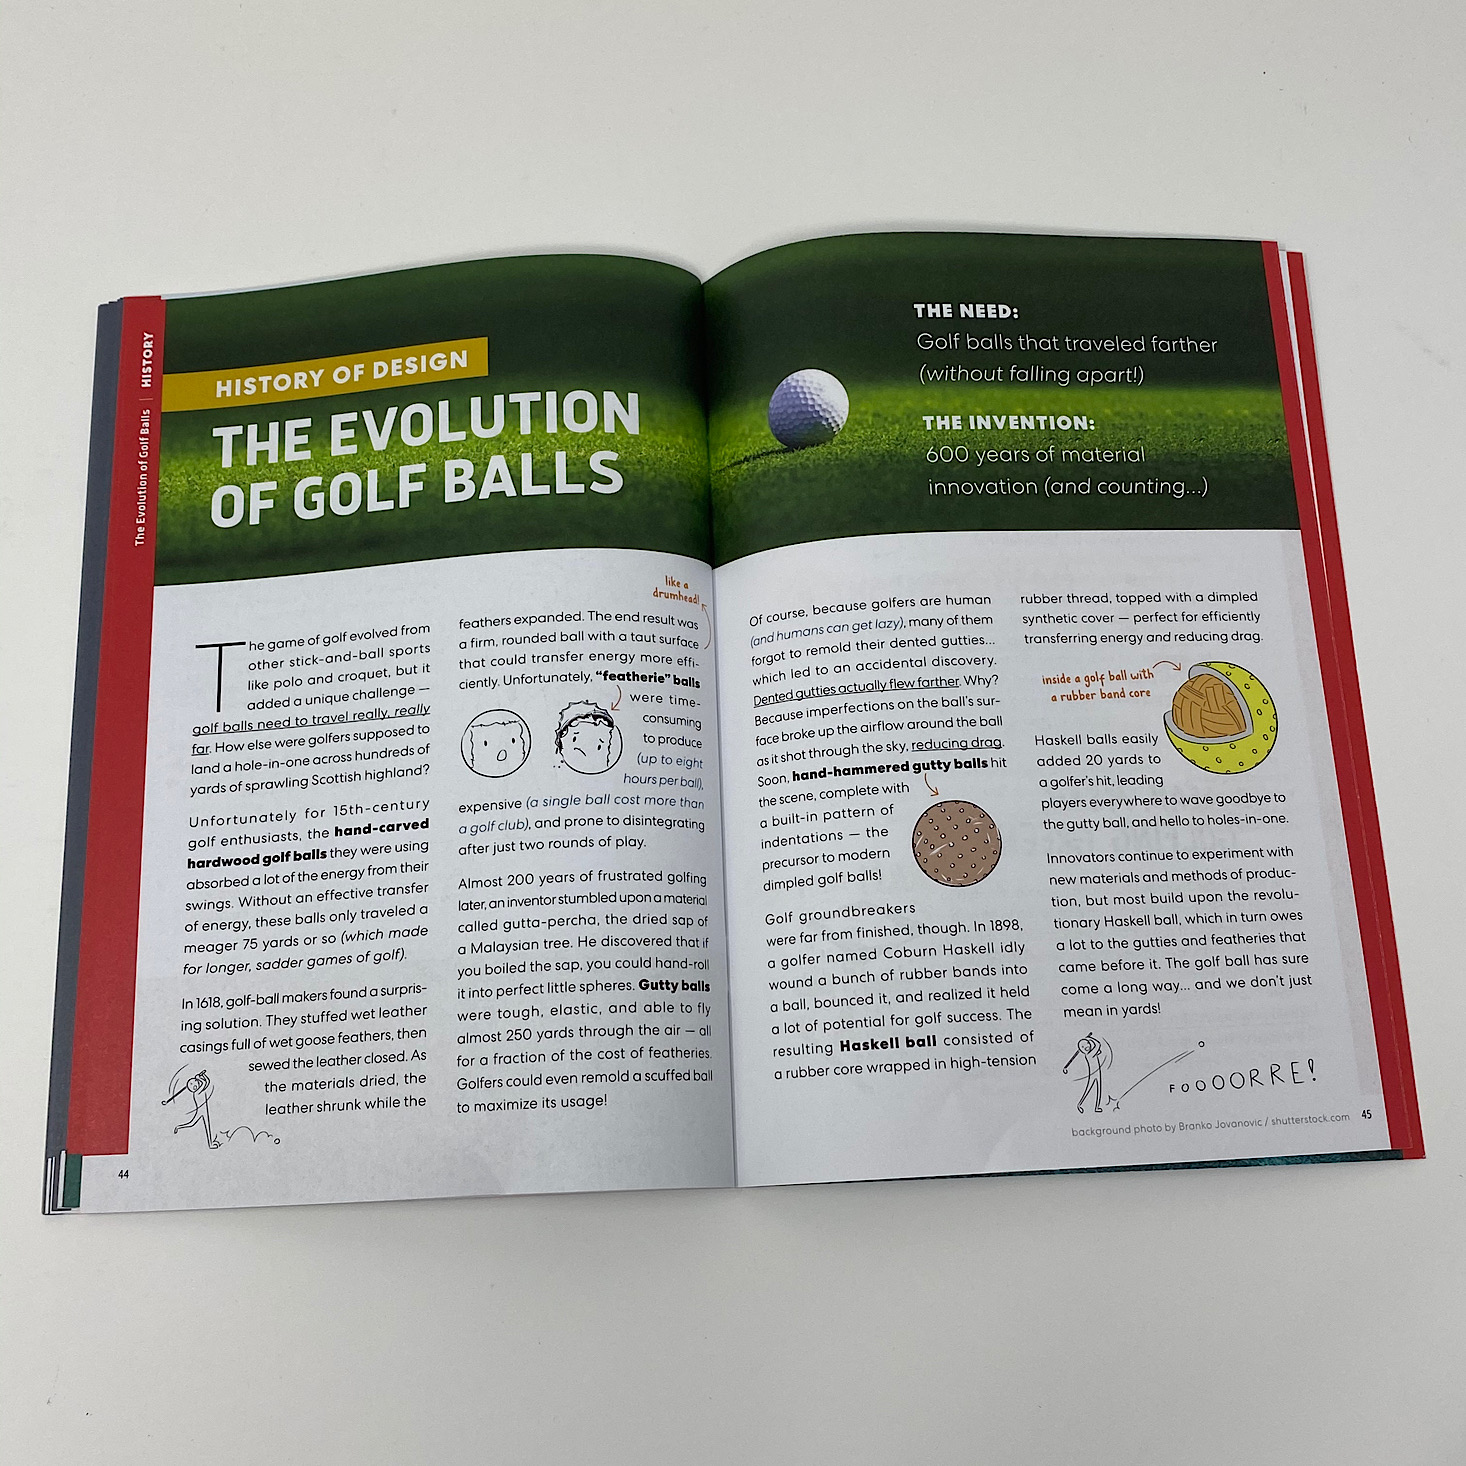
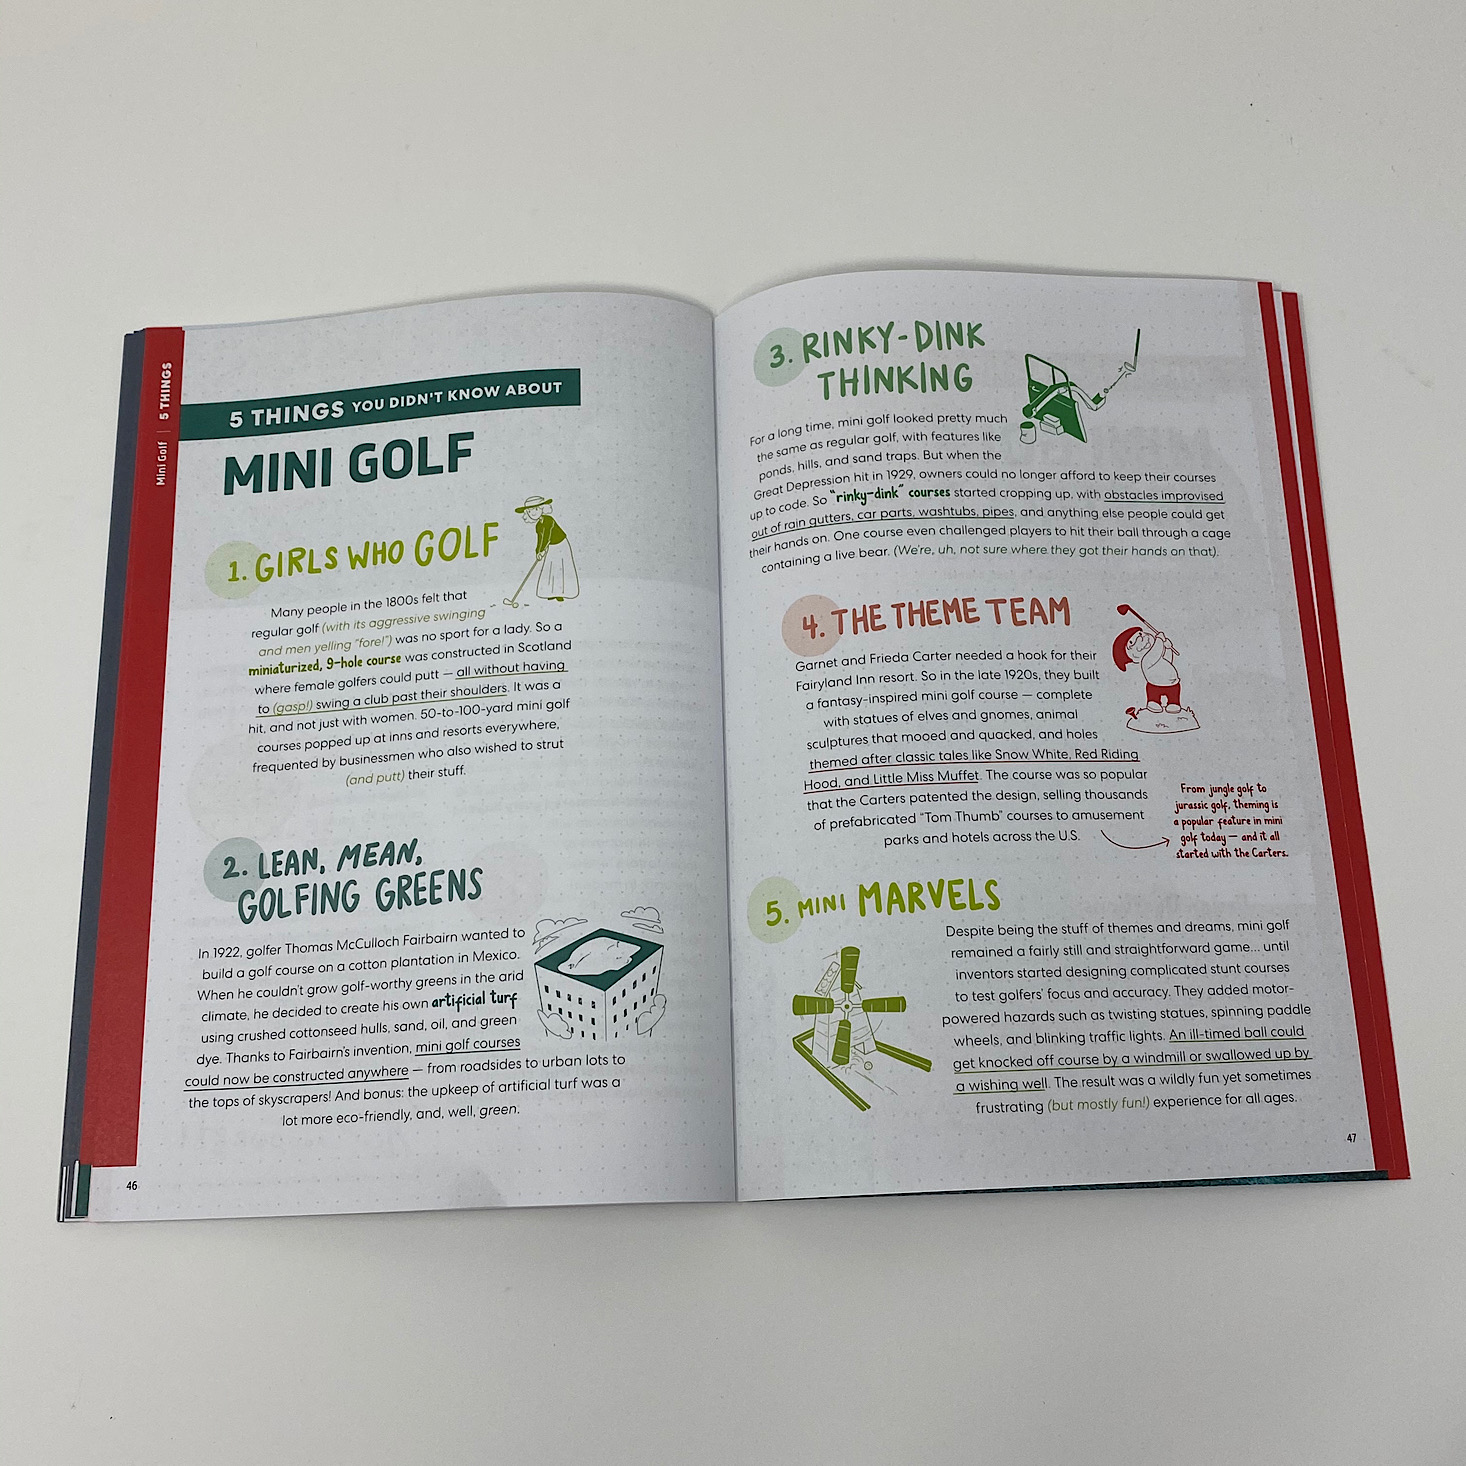
The project for this month was to make our own Indoor Golf Set. We received this Maker's Guide which is full of helpful information related to our project along with the directions. This month they included some information about energy transfer, the evolution of golf balls, and some interesting facts about mini golf. I always enjoy checking out the "Behind the Design" page where they go into detail about their own process in creating this month's project. They explain why they used the materials they did and also note that they went through 32 different folding target designs!
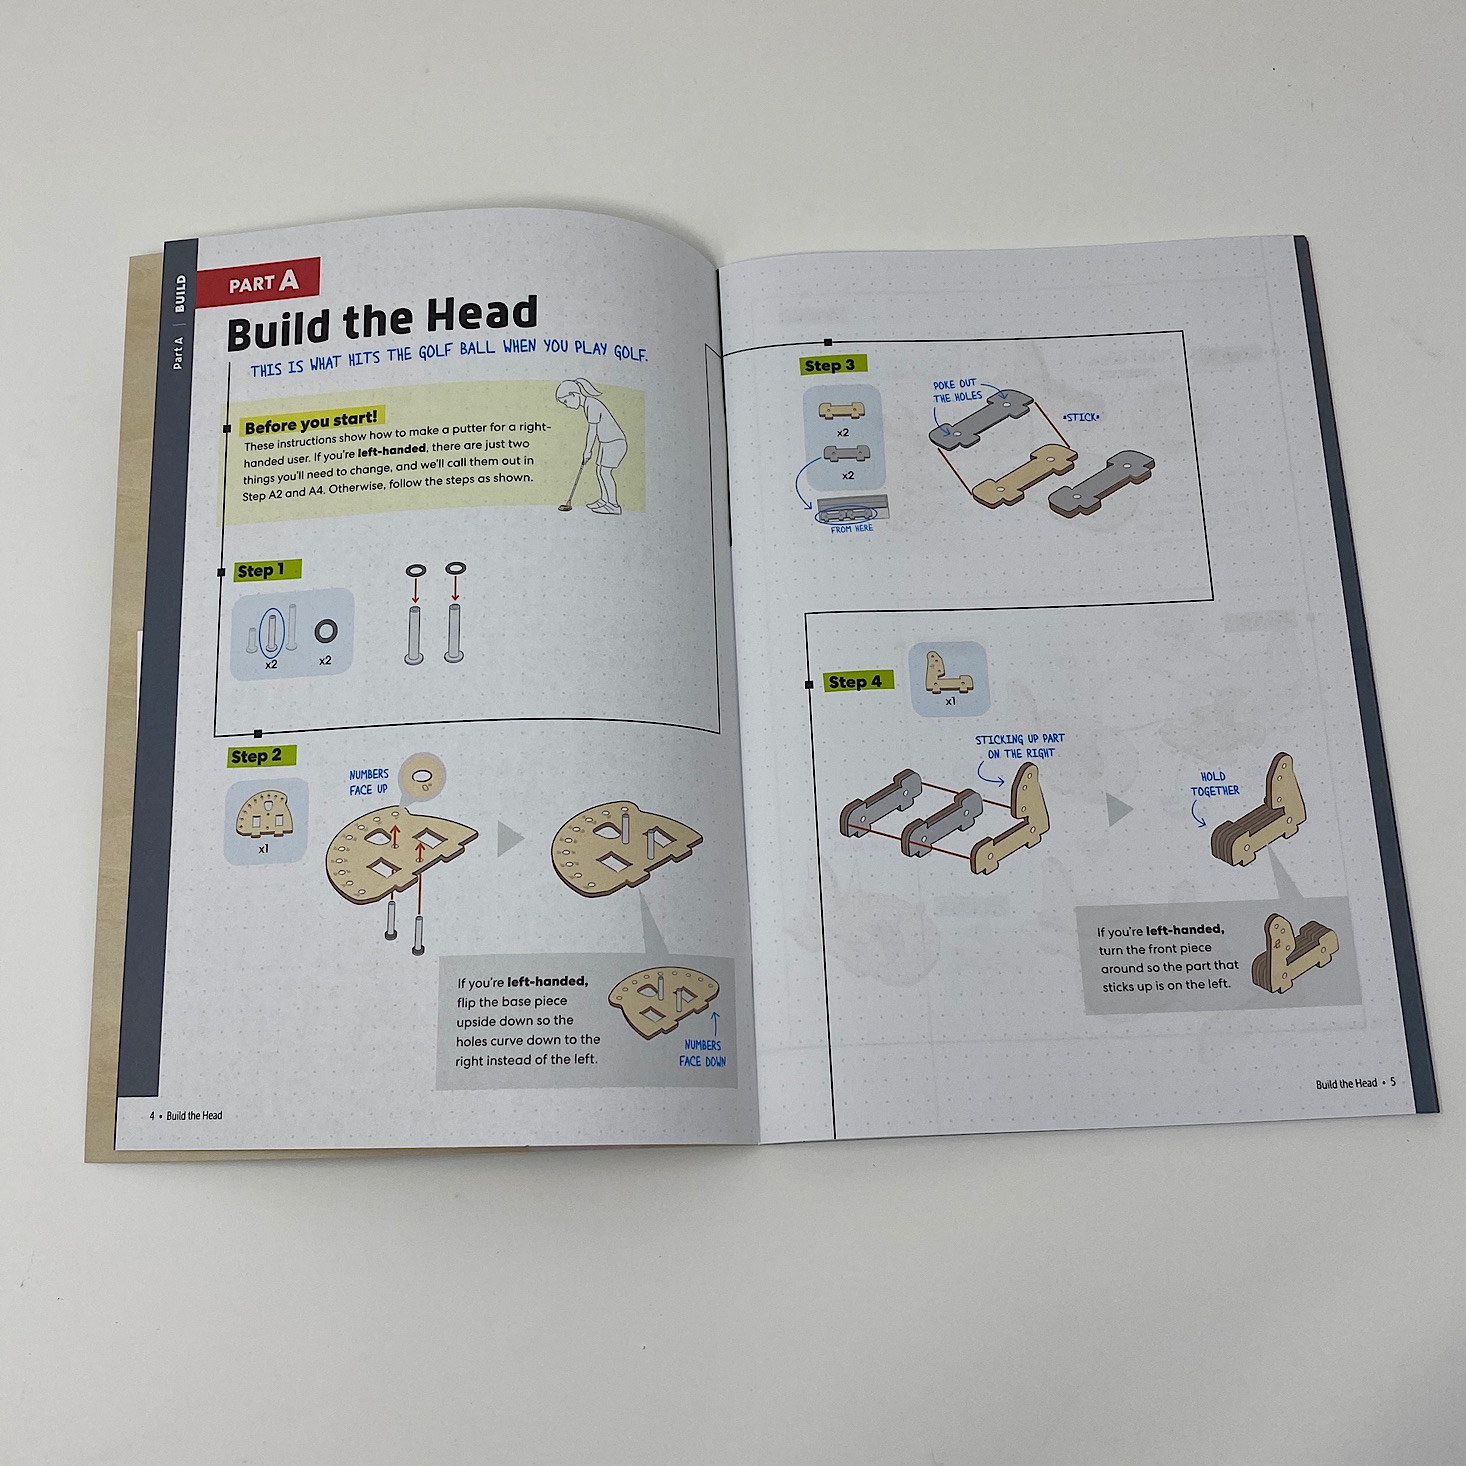
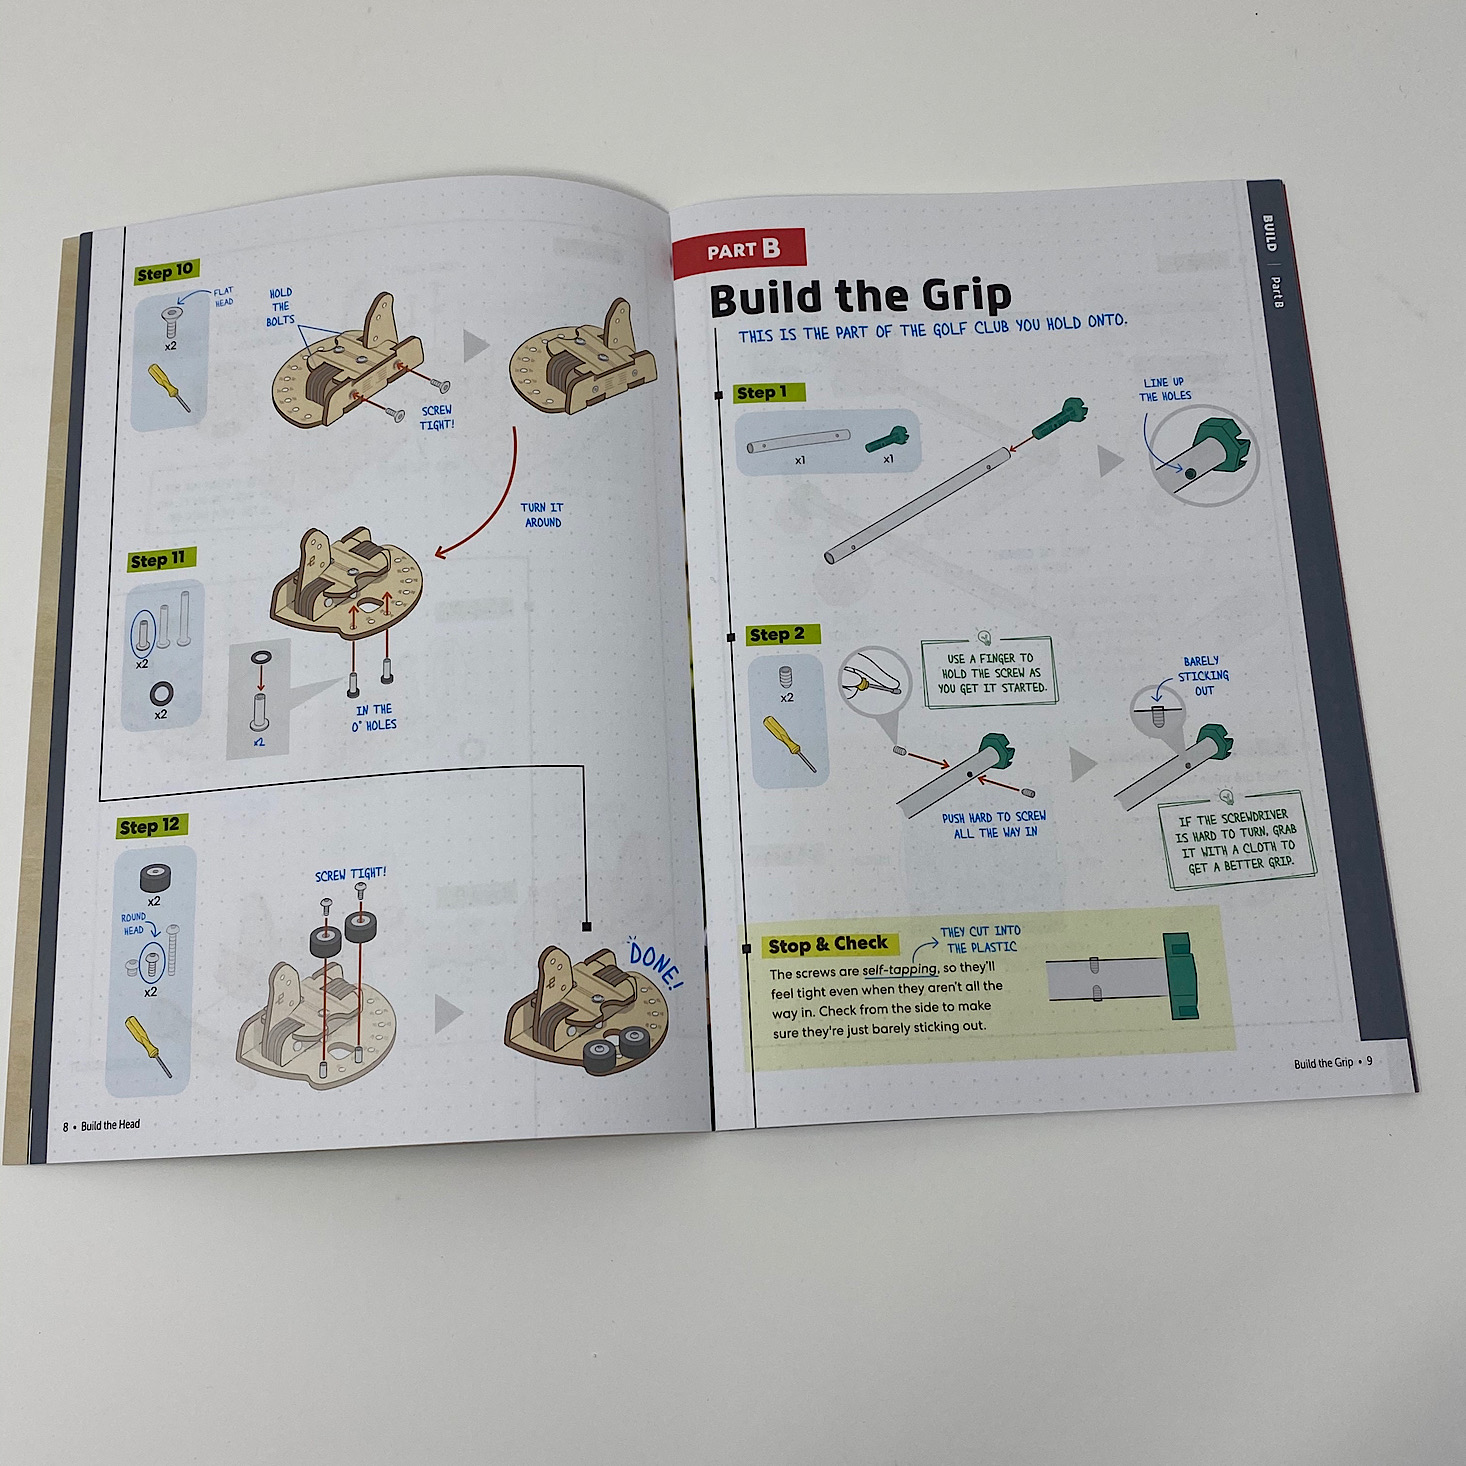
Our directions are separated into various sections which makes it so much easier since it breaks it down into smaller, more manageable tasks. The instructions are always clear and easy to follow with detailed, colorful pictures to reference. They even include information on troubleshooting, which can be very helpful!
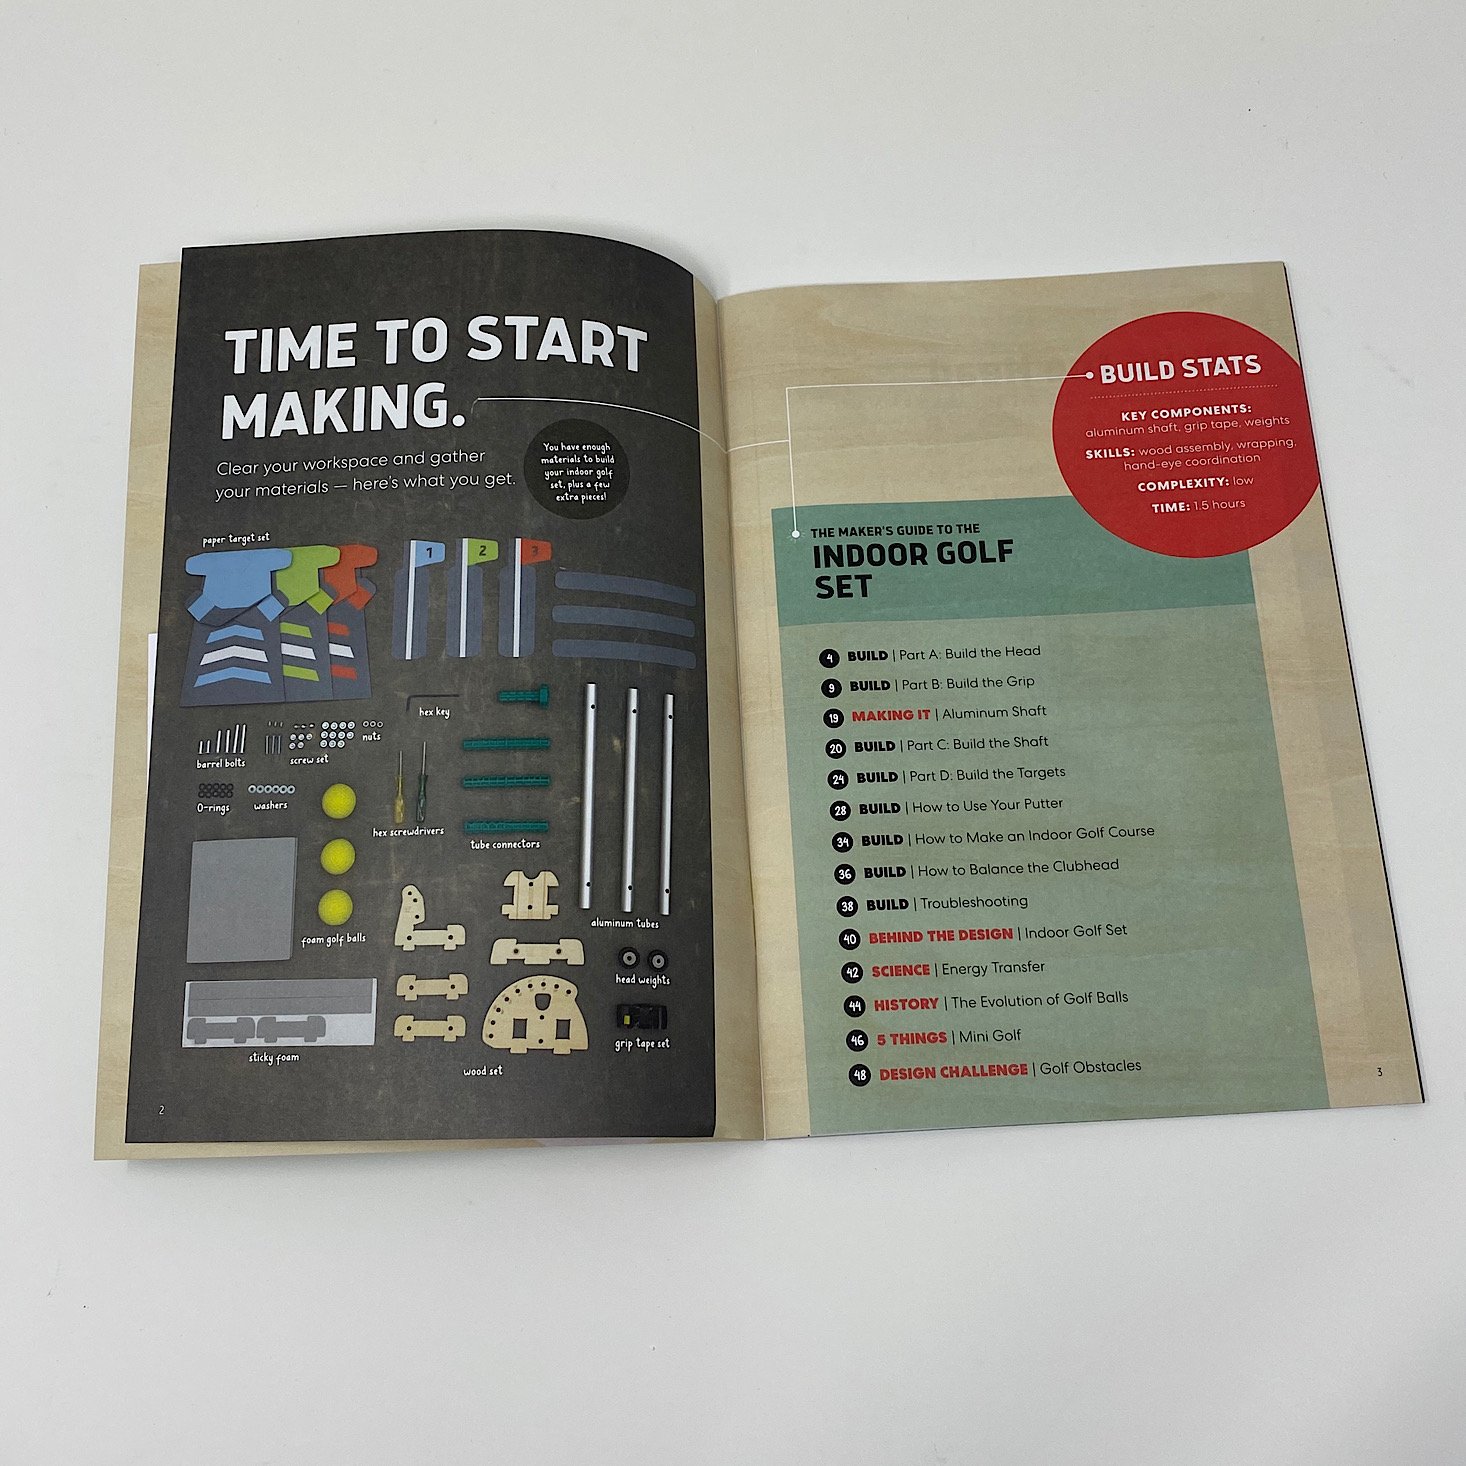
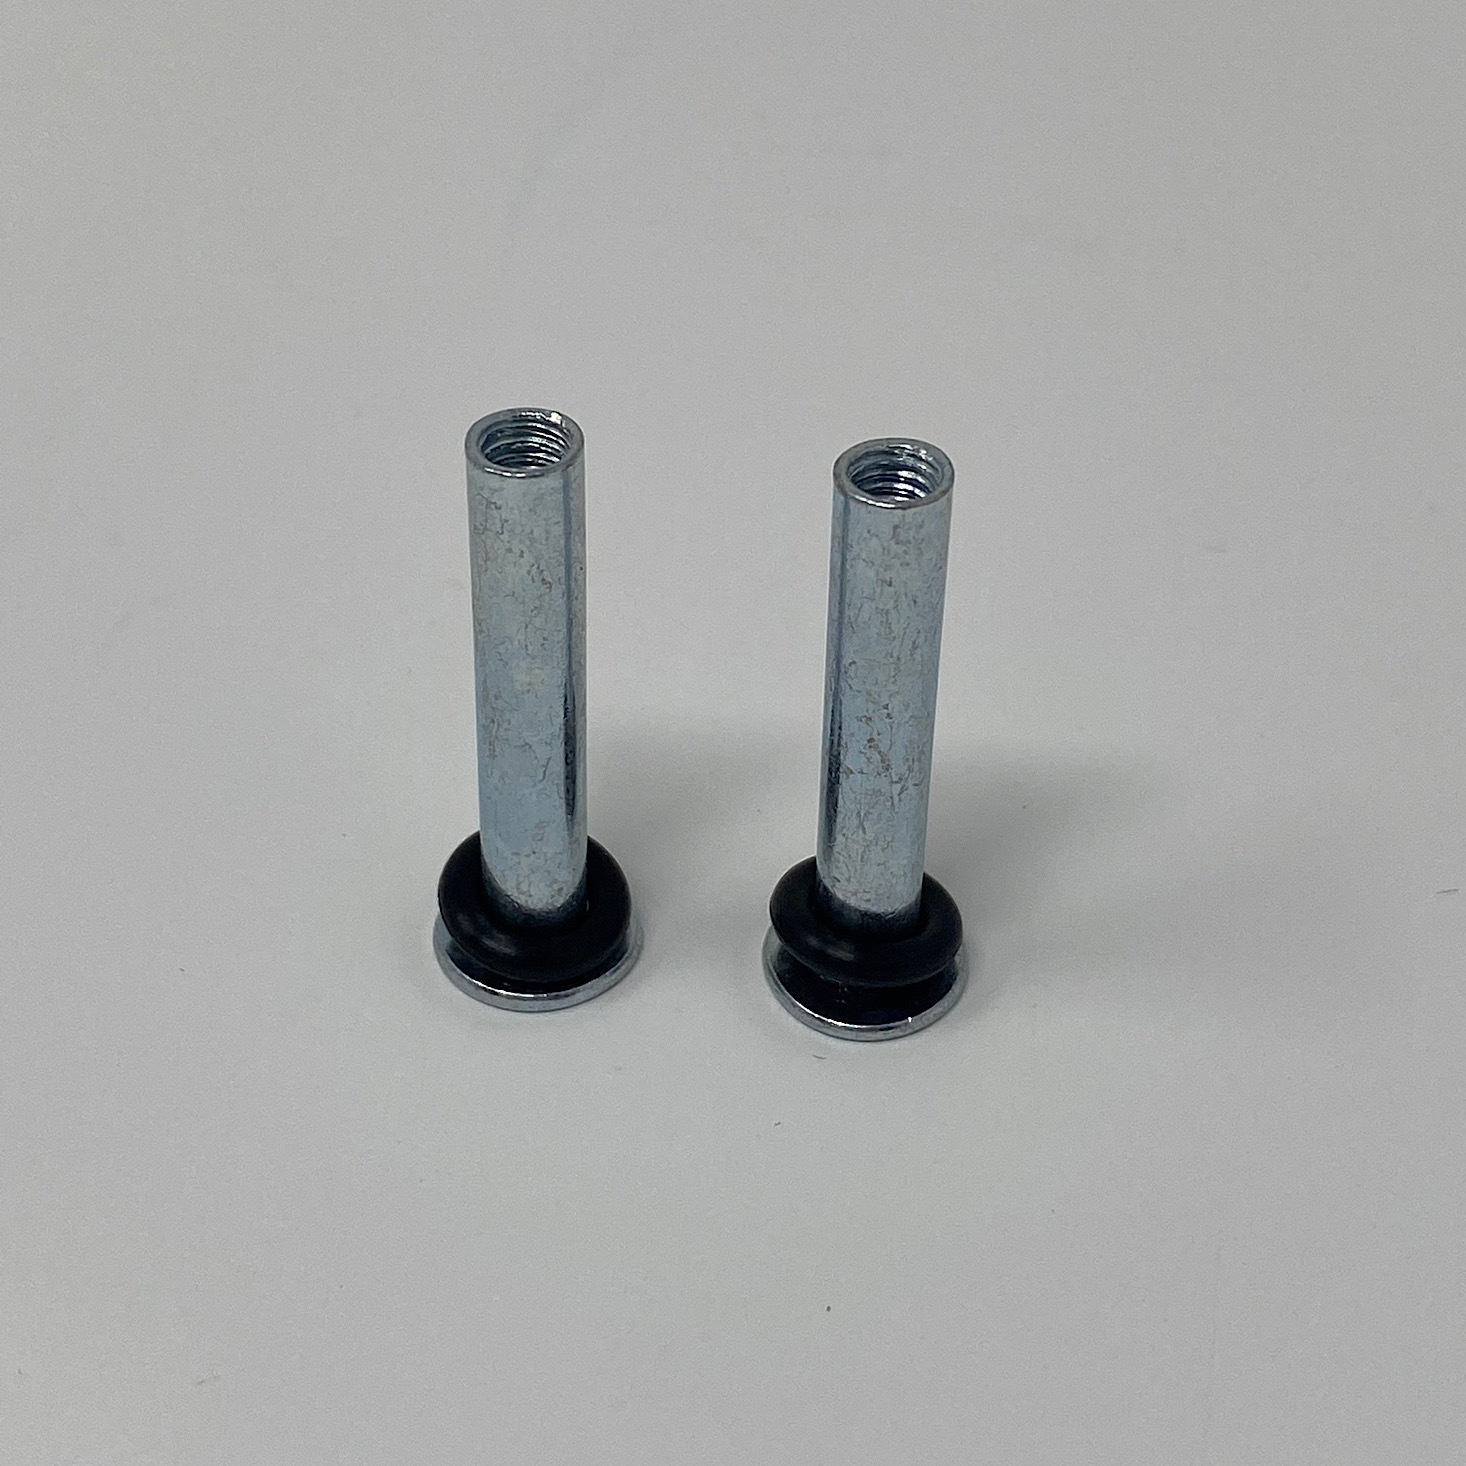
There were a ton of screws, bolts, nuts, and washers in different sizes along with a set of rubber O-rings.
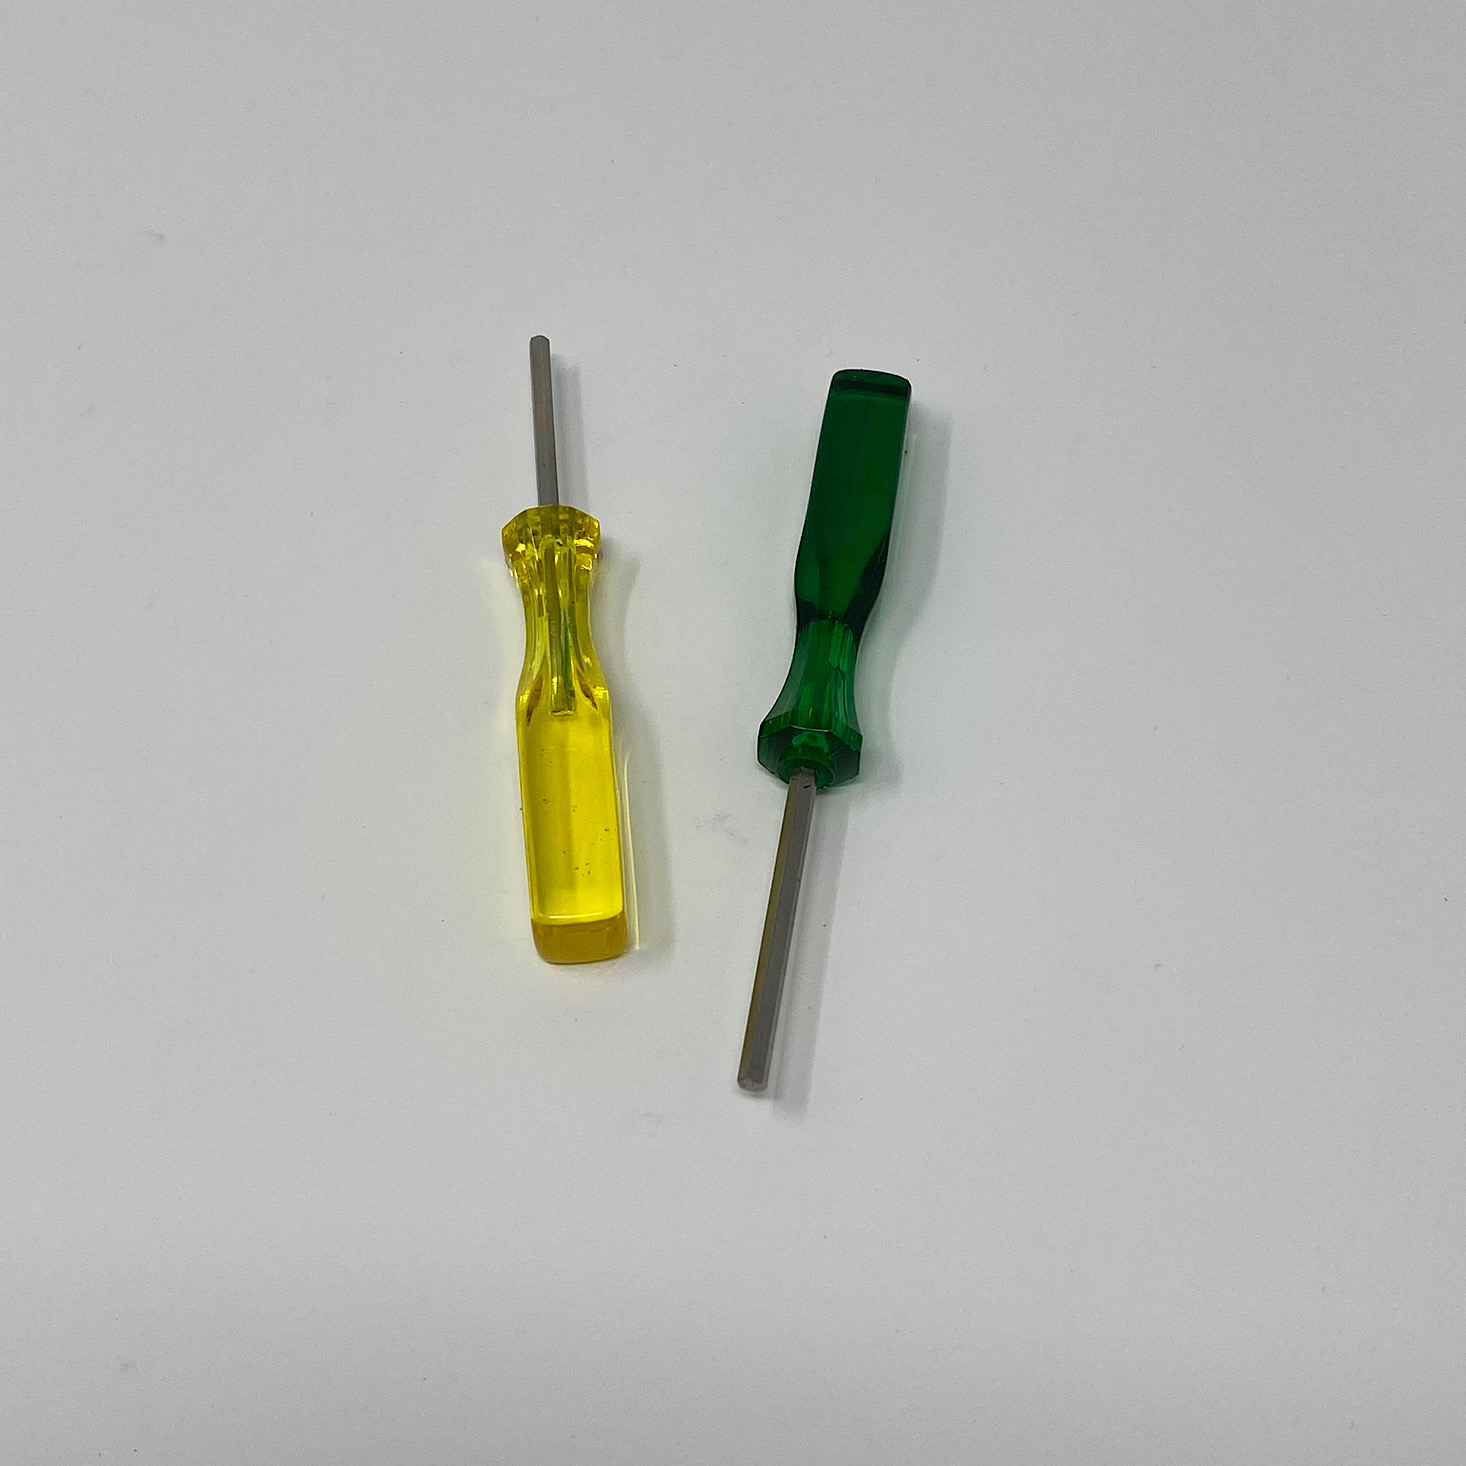
They also included two different sized hex screwdrivers along with a hex key to put them all together with.
Part A: Build the Head
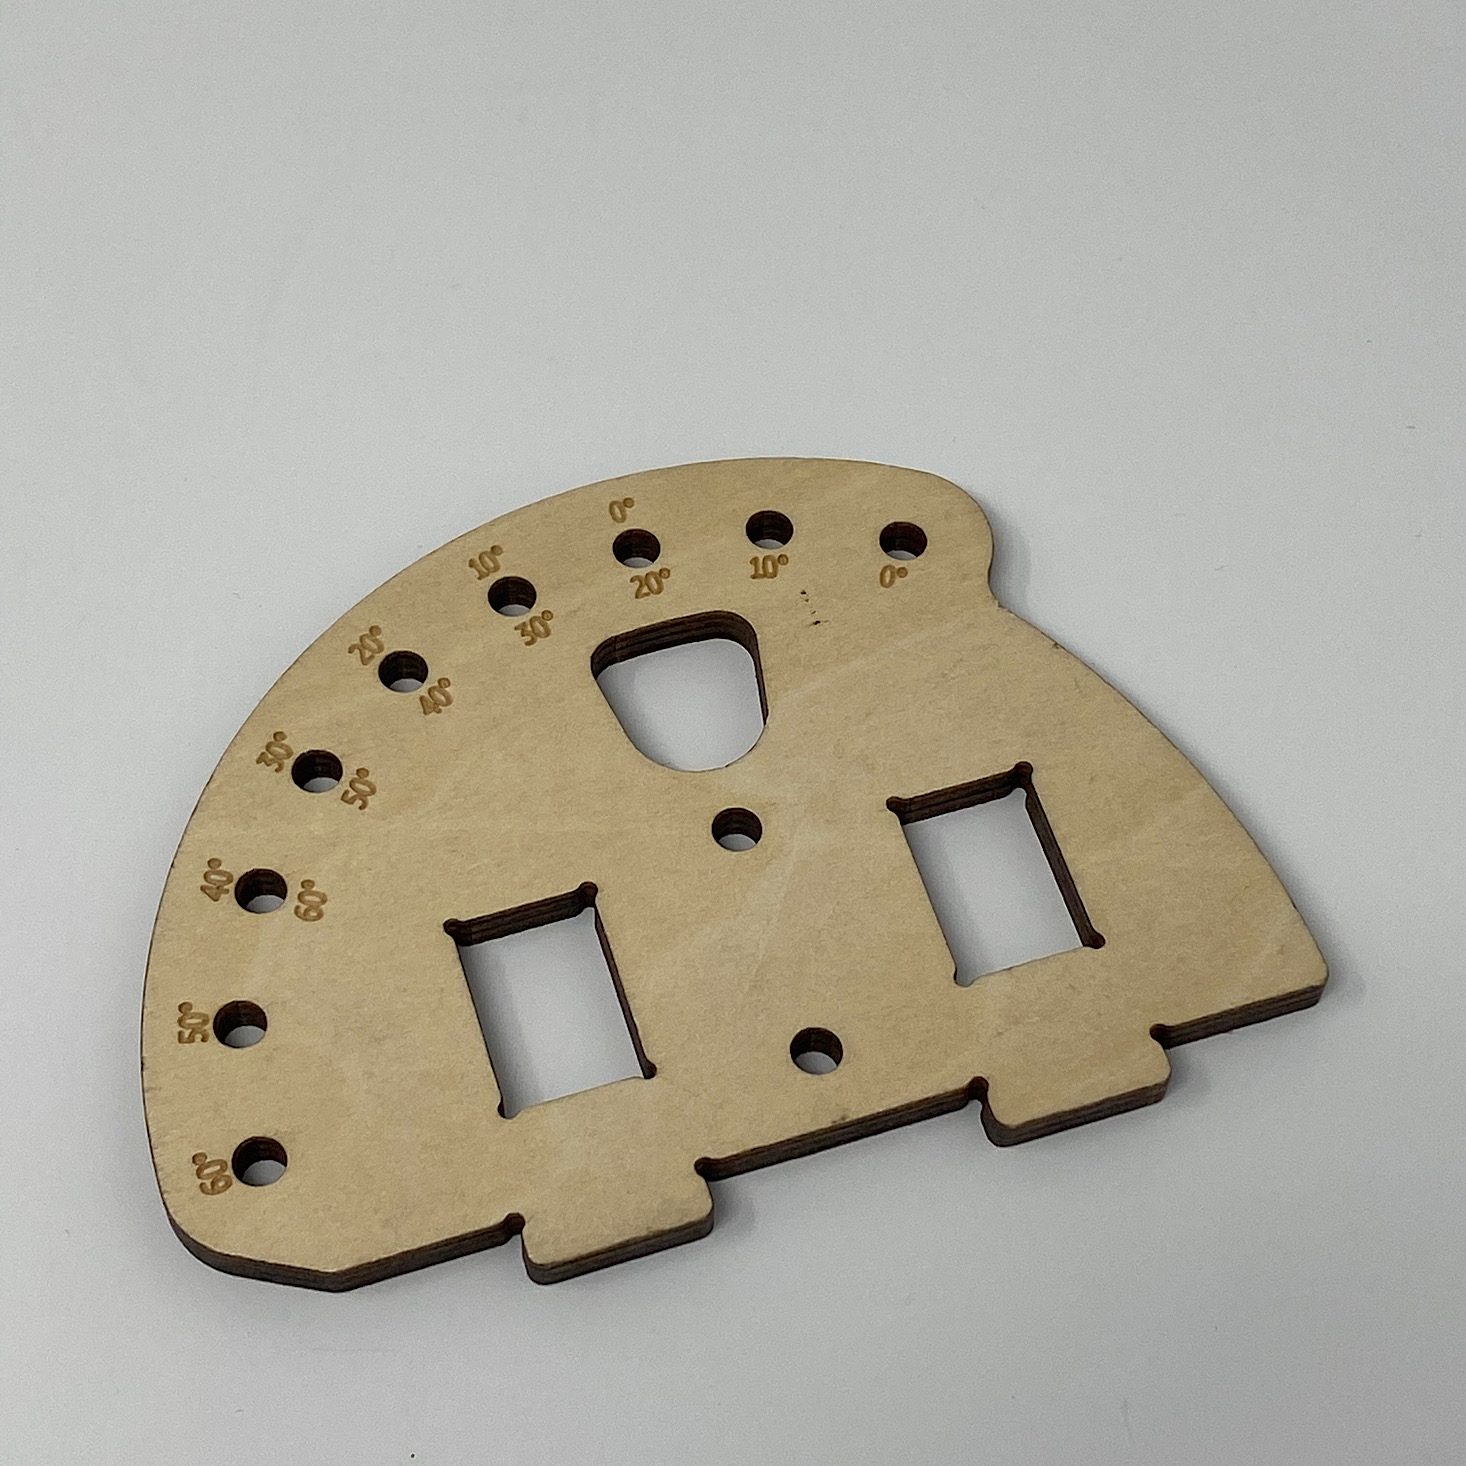
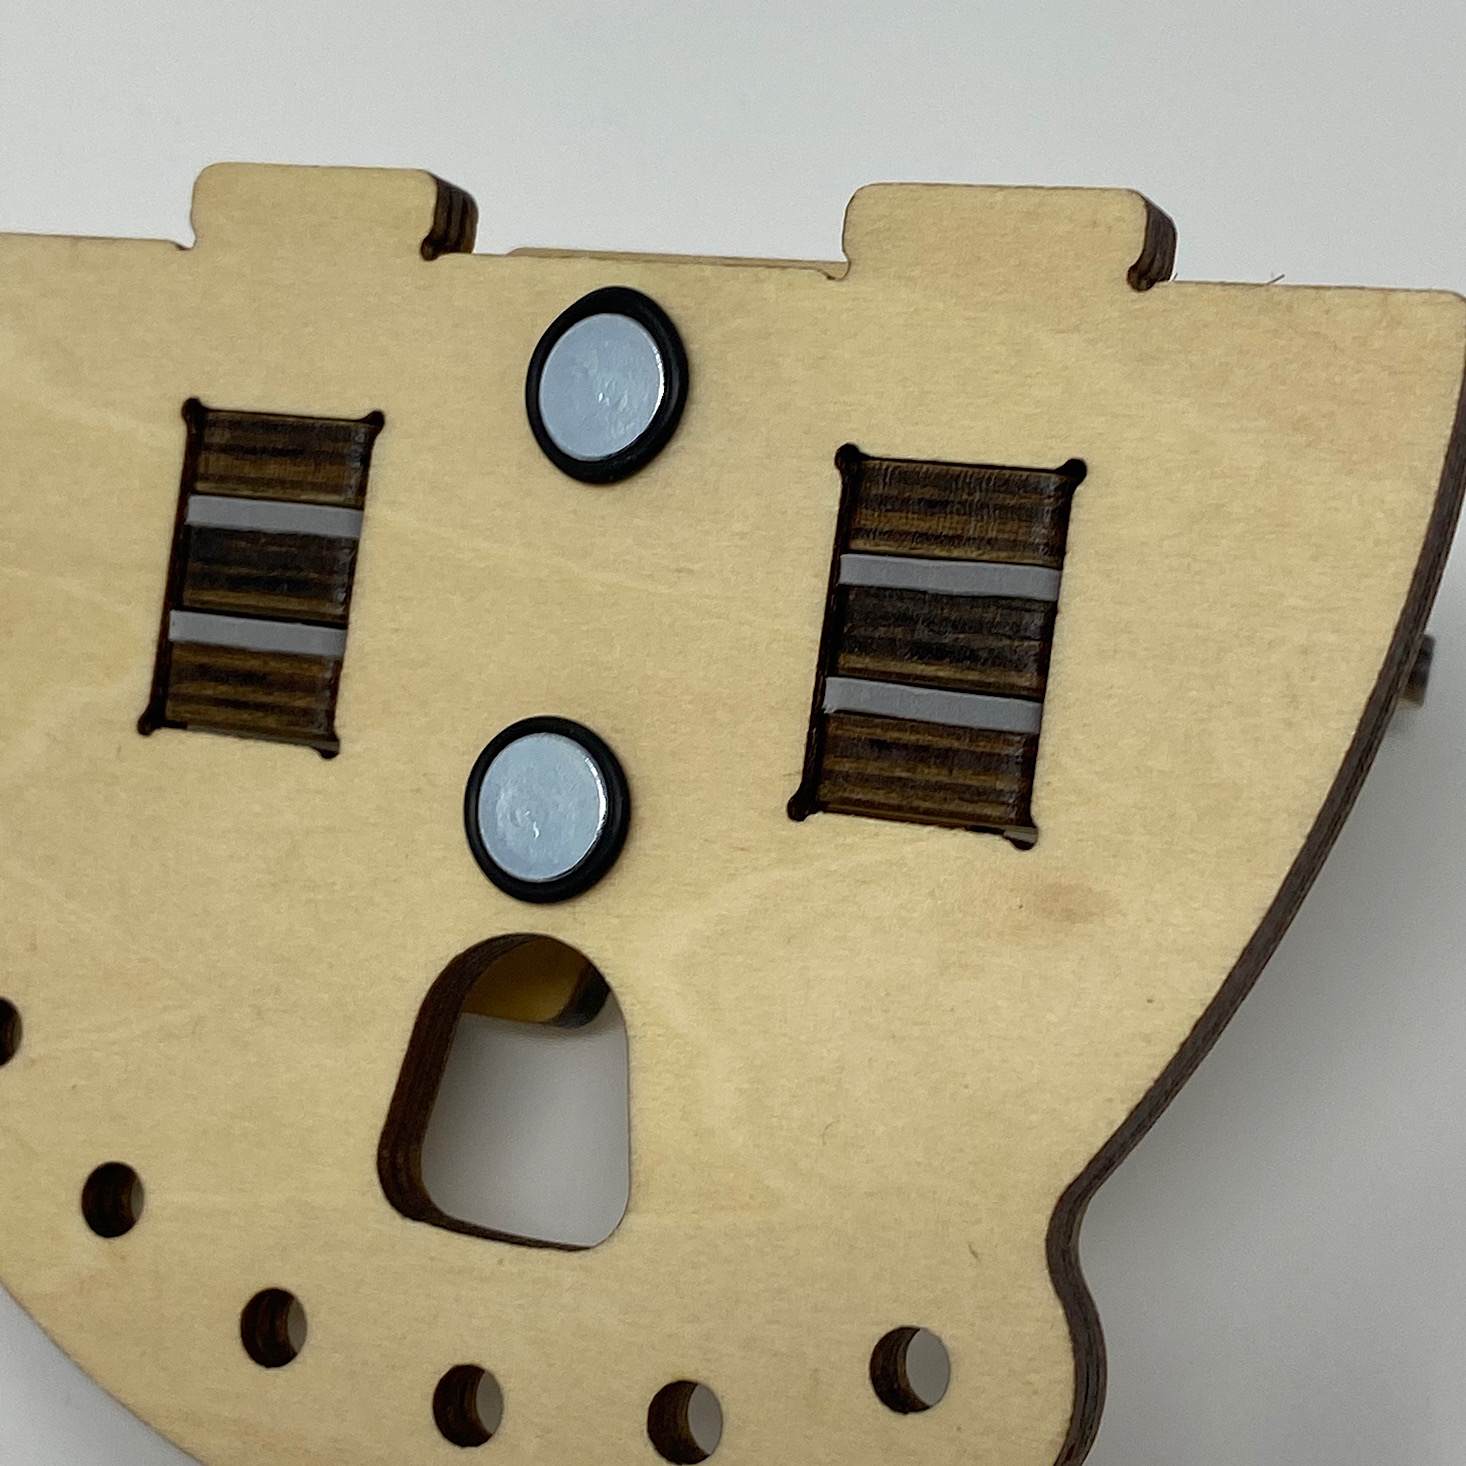
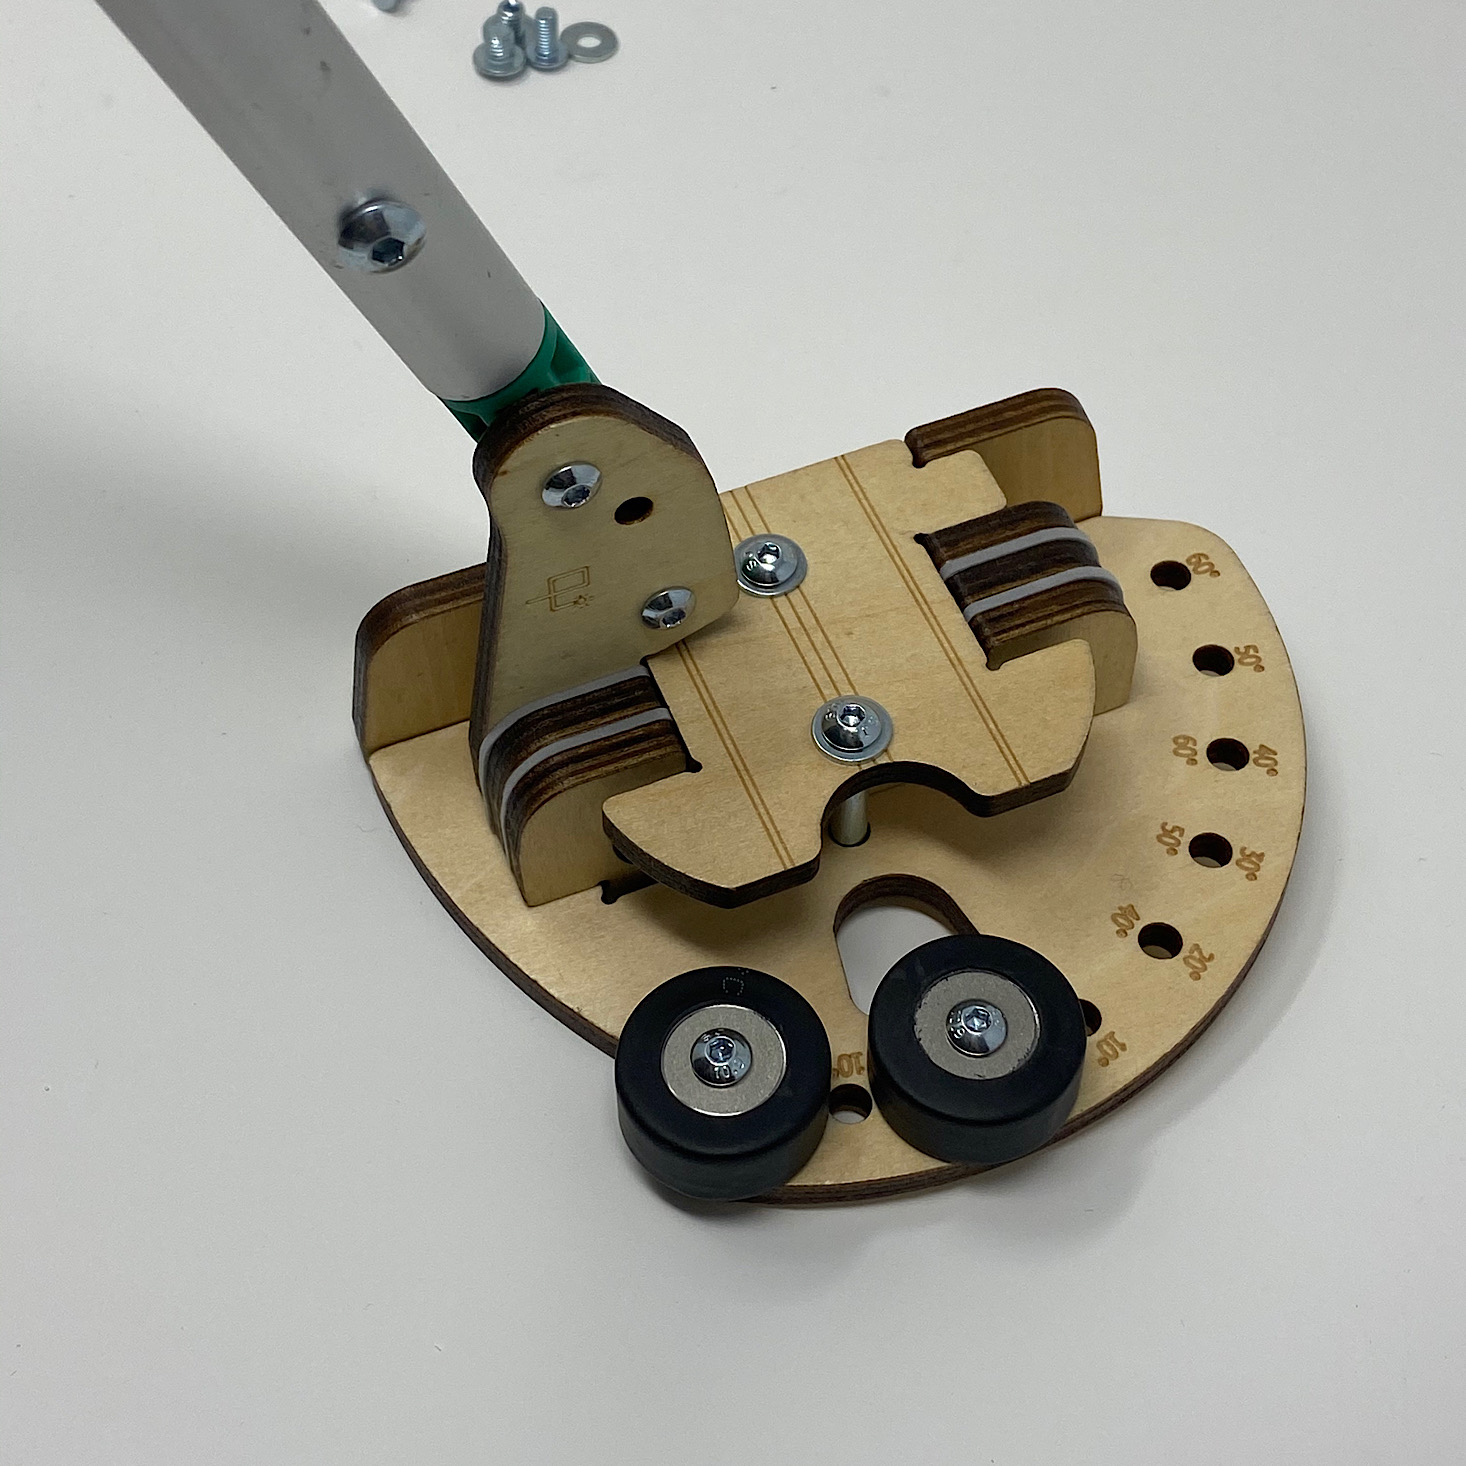
The first step was to build the head of our putter. I added rubber rings to the medium bolts and then slipped them into the center holes of this wooden piece from underneath.
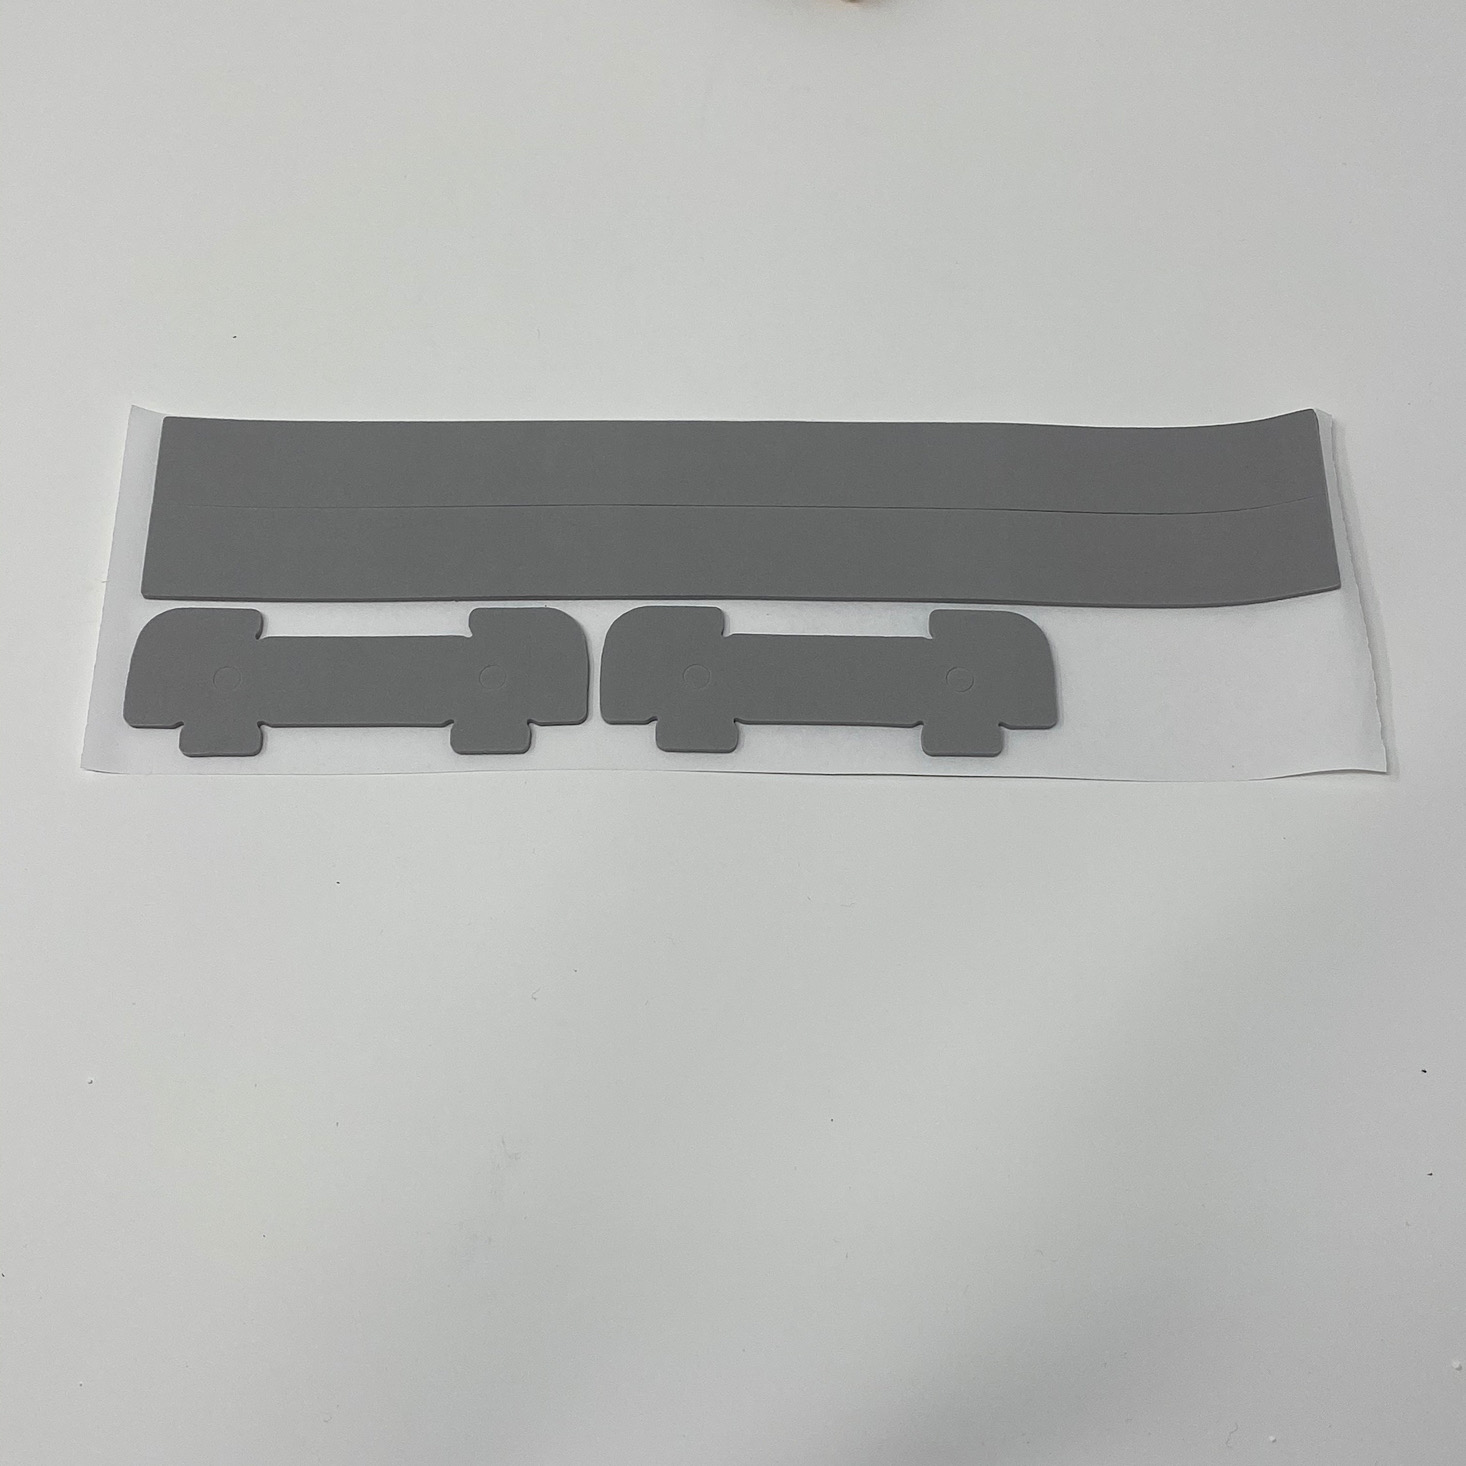
Then I added the smaller foam pieces to the matching wooden shapes and sandwiched them together along with the wooden piece with the E on it. These sat right in between the two bolts on the base of our wooden piece.
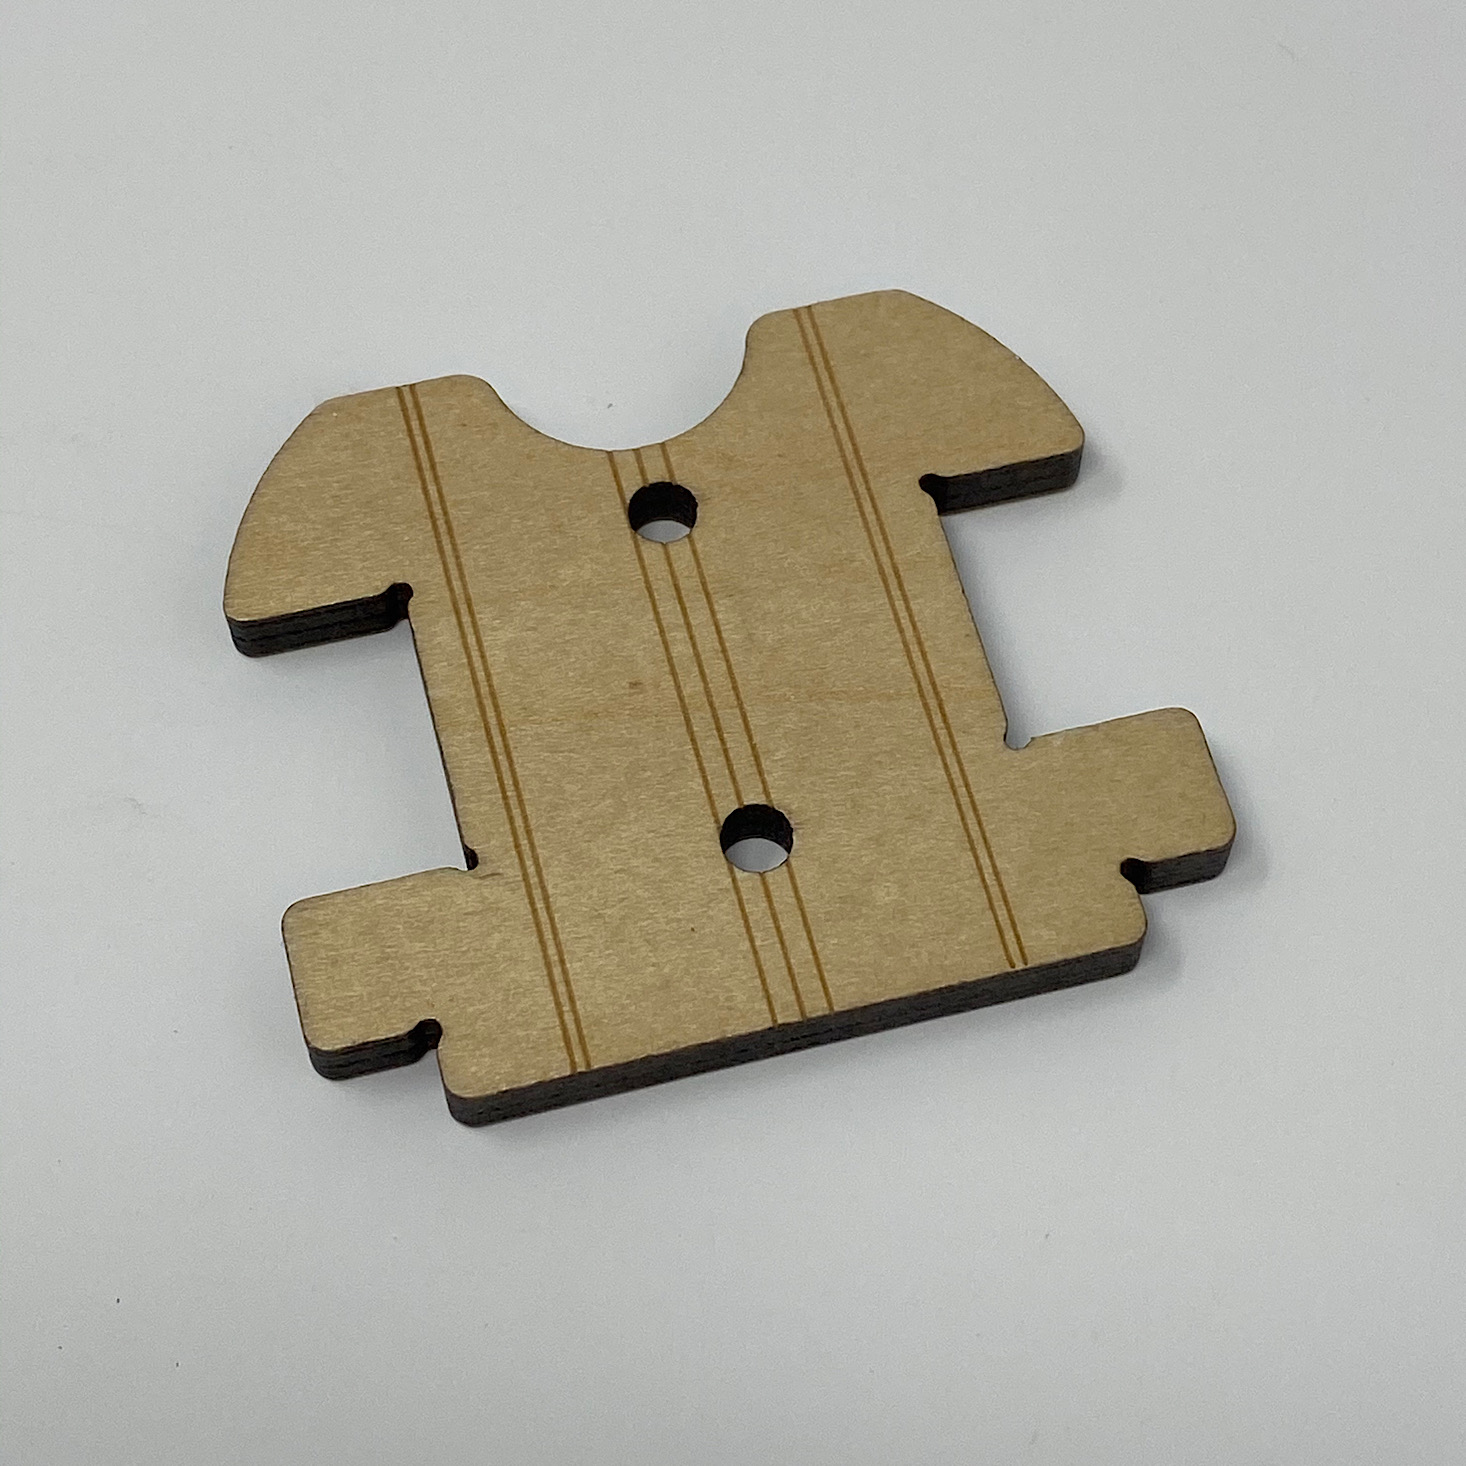
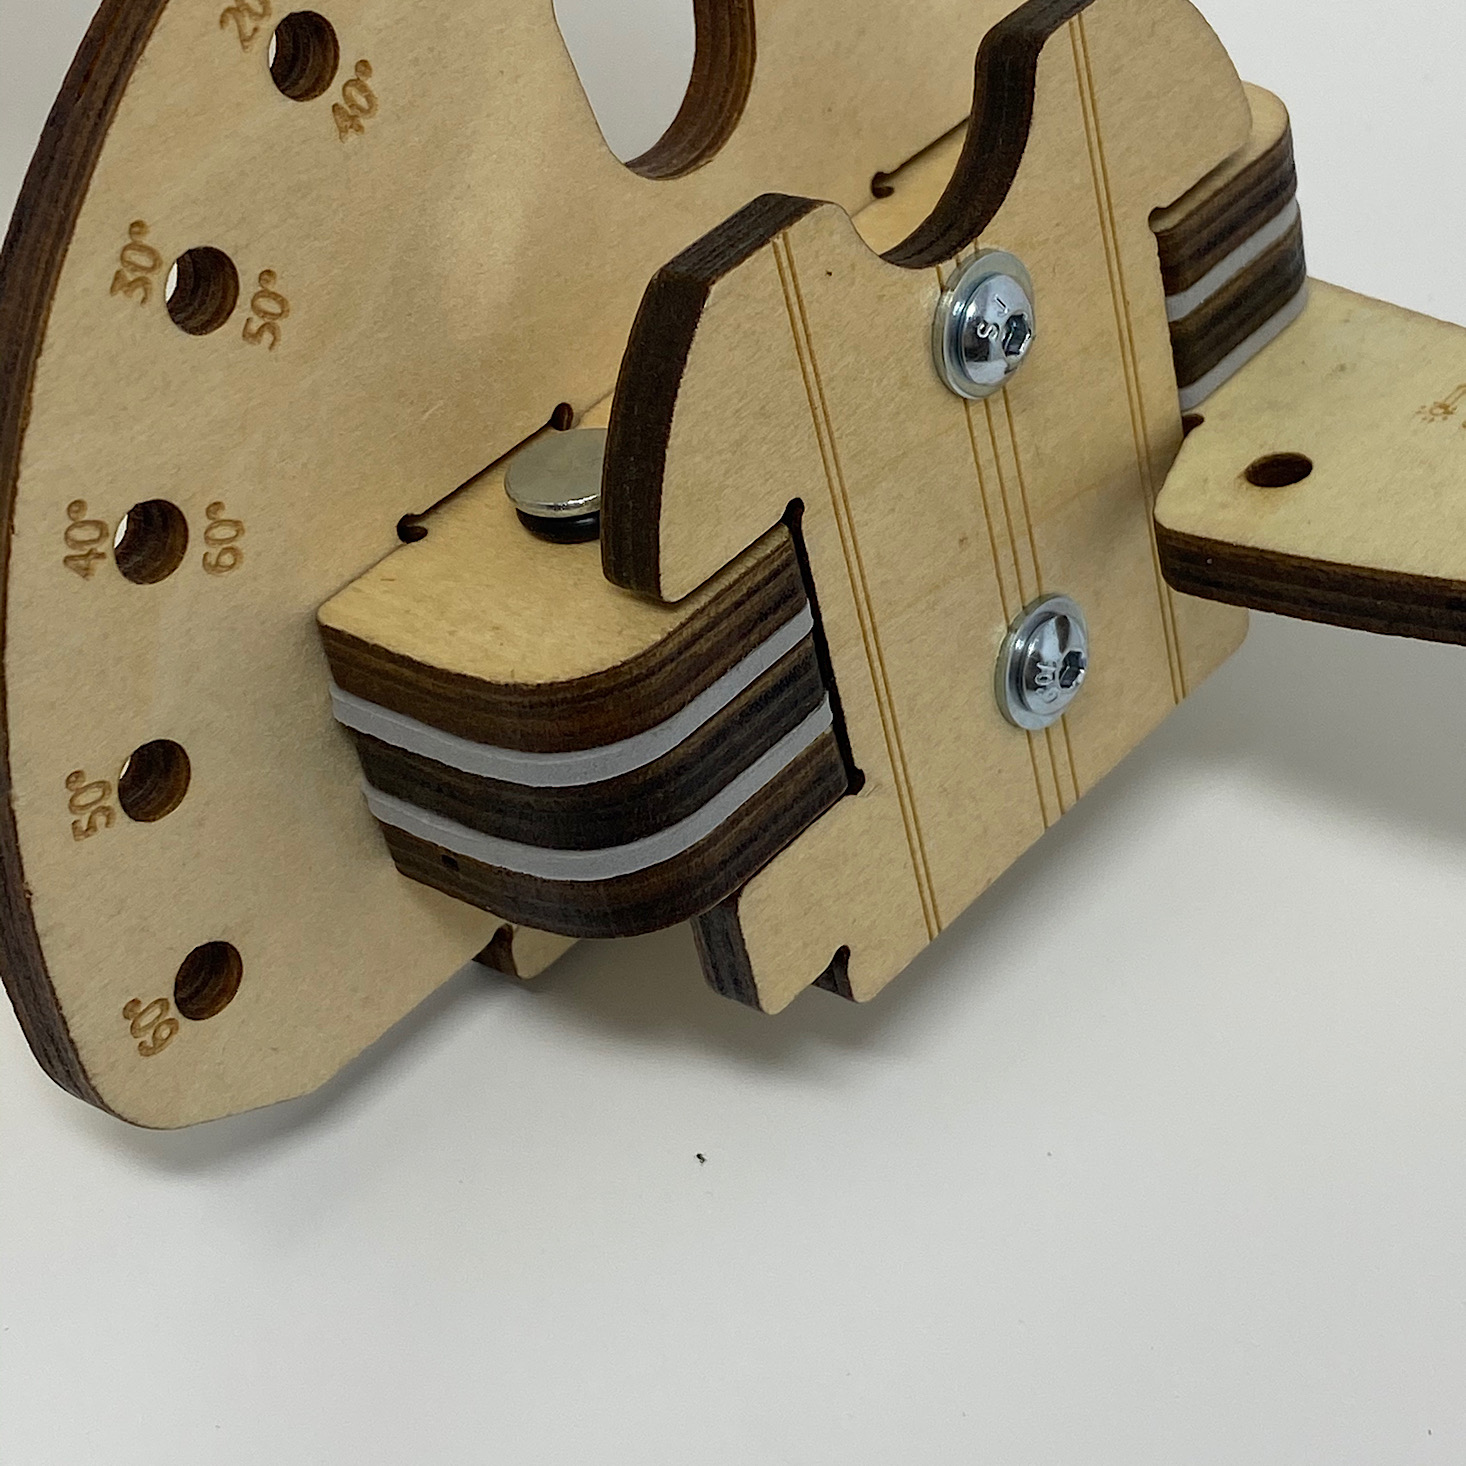
Then I added this T-shirt shaped wooden piece on top of those and added some screws. I tightened so that the rubber rings underneath were squished.
Then I added this wooden piece to the side and added the longer bolts and screws to the holes to secure it.
The last step was to use the smaller set of bolts to add these two weighted pieces to our putter head.
Part B: Build the Grip
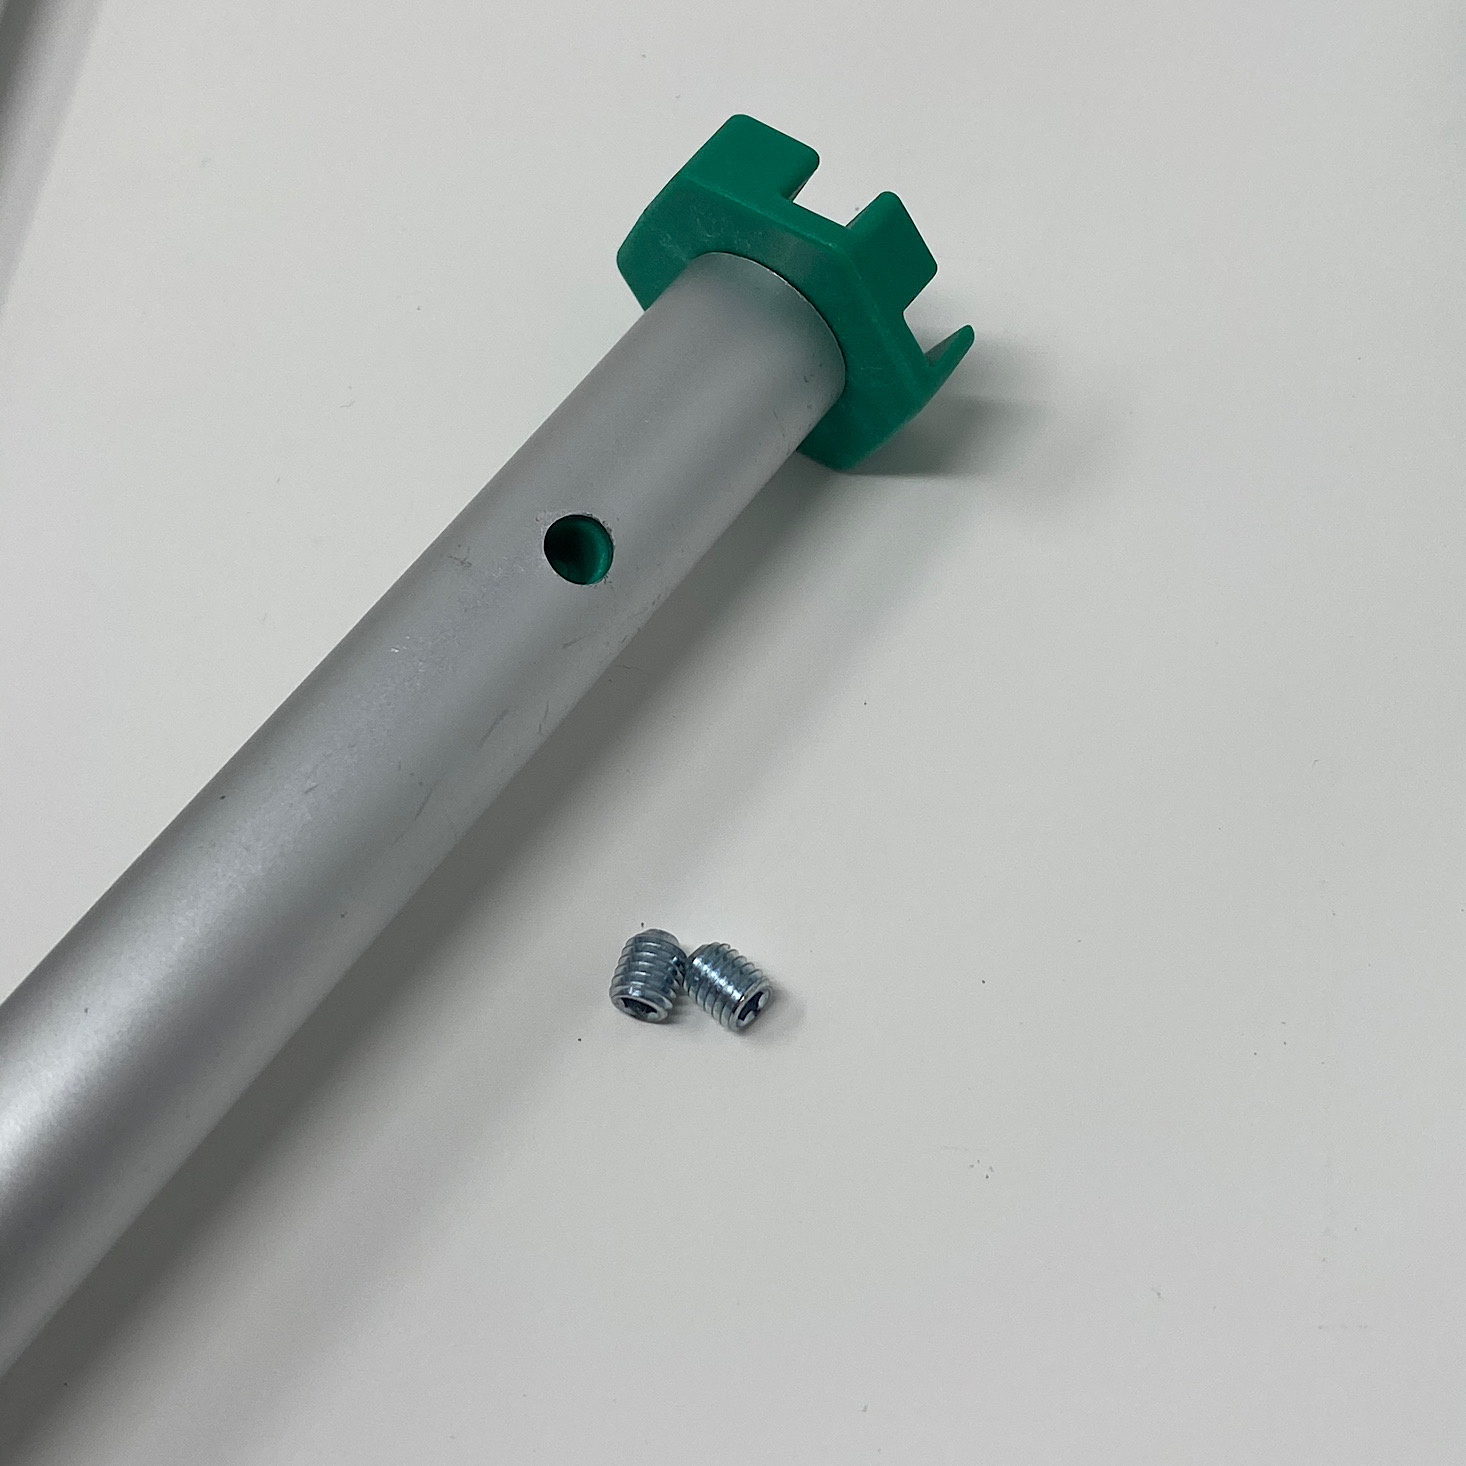
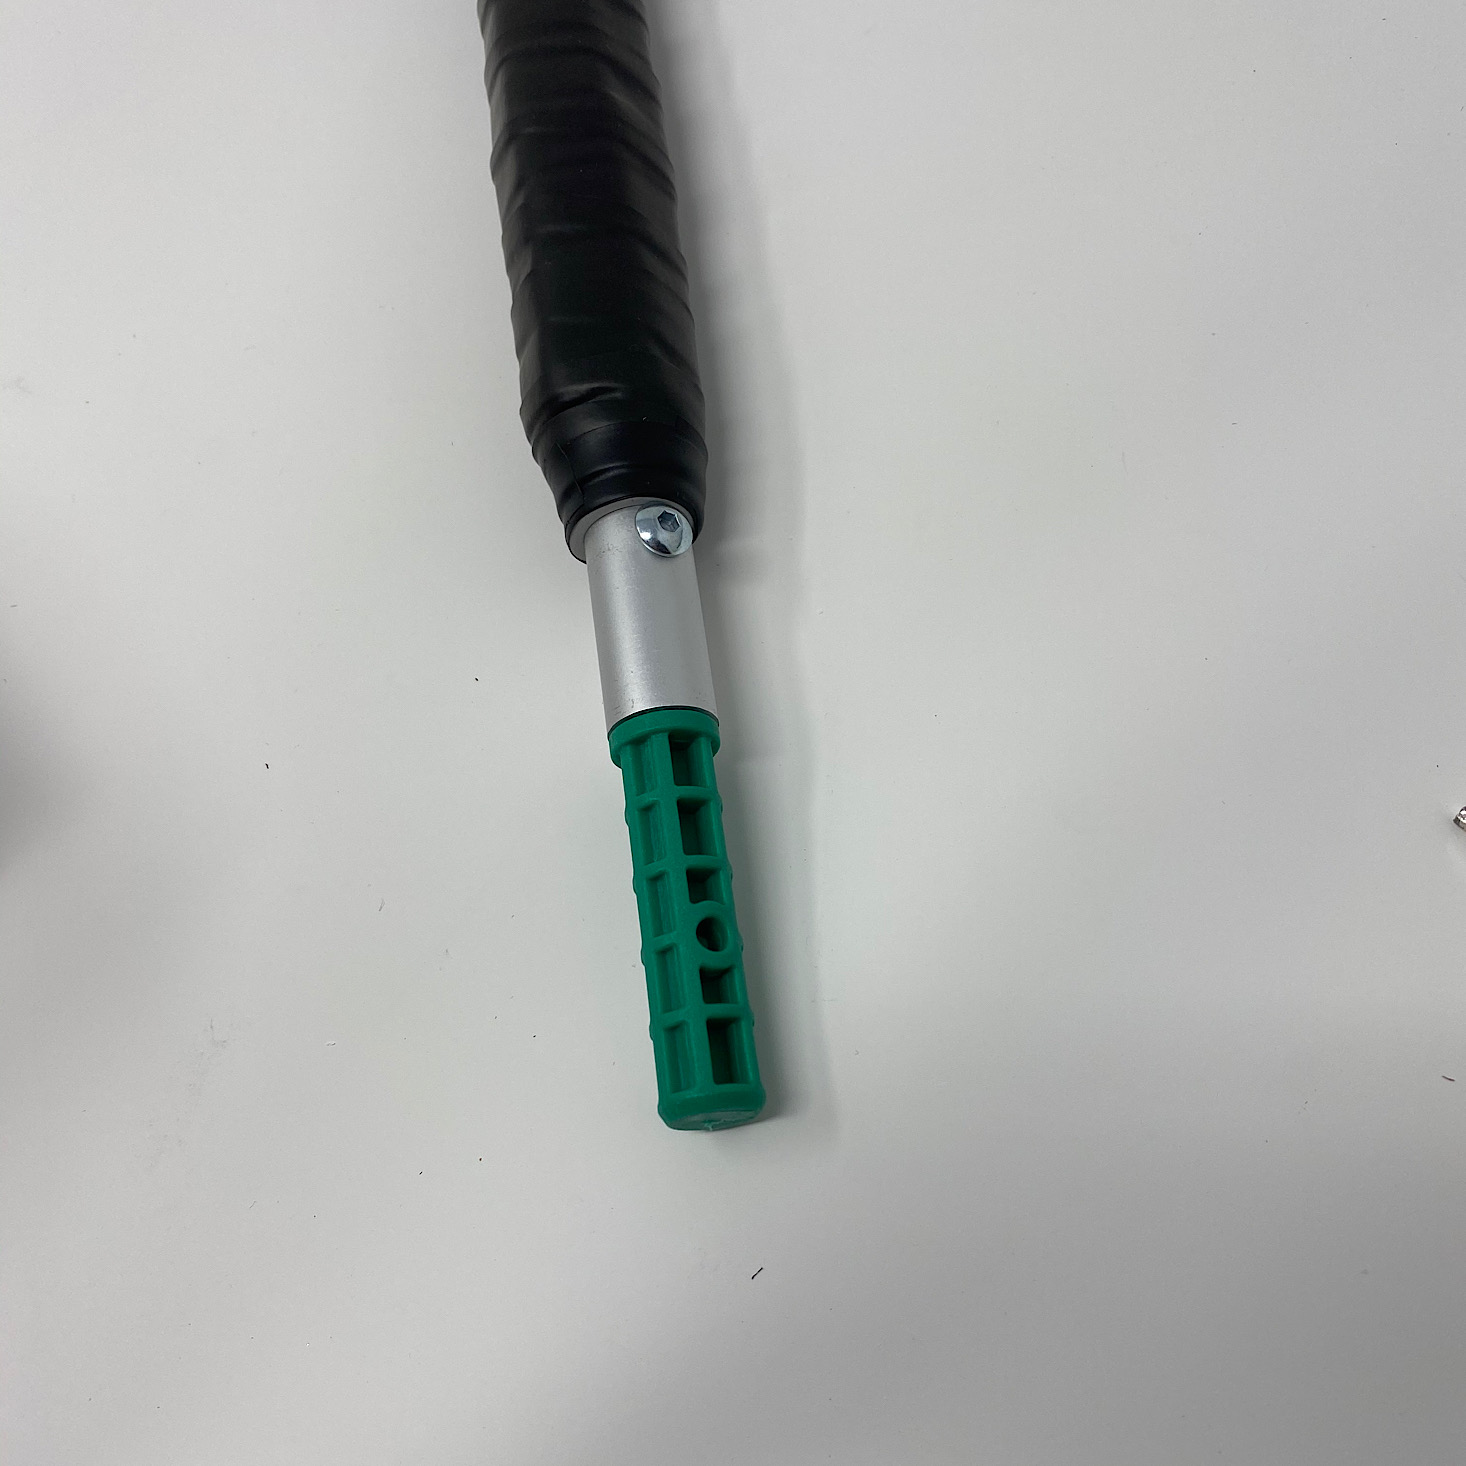
They included three aluminum tubes to put together for the shaft. I inserted the smallest green connector into the top of one and used these small headless screws to secure it.
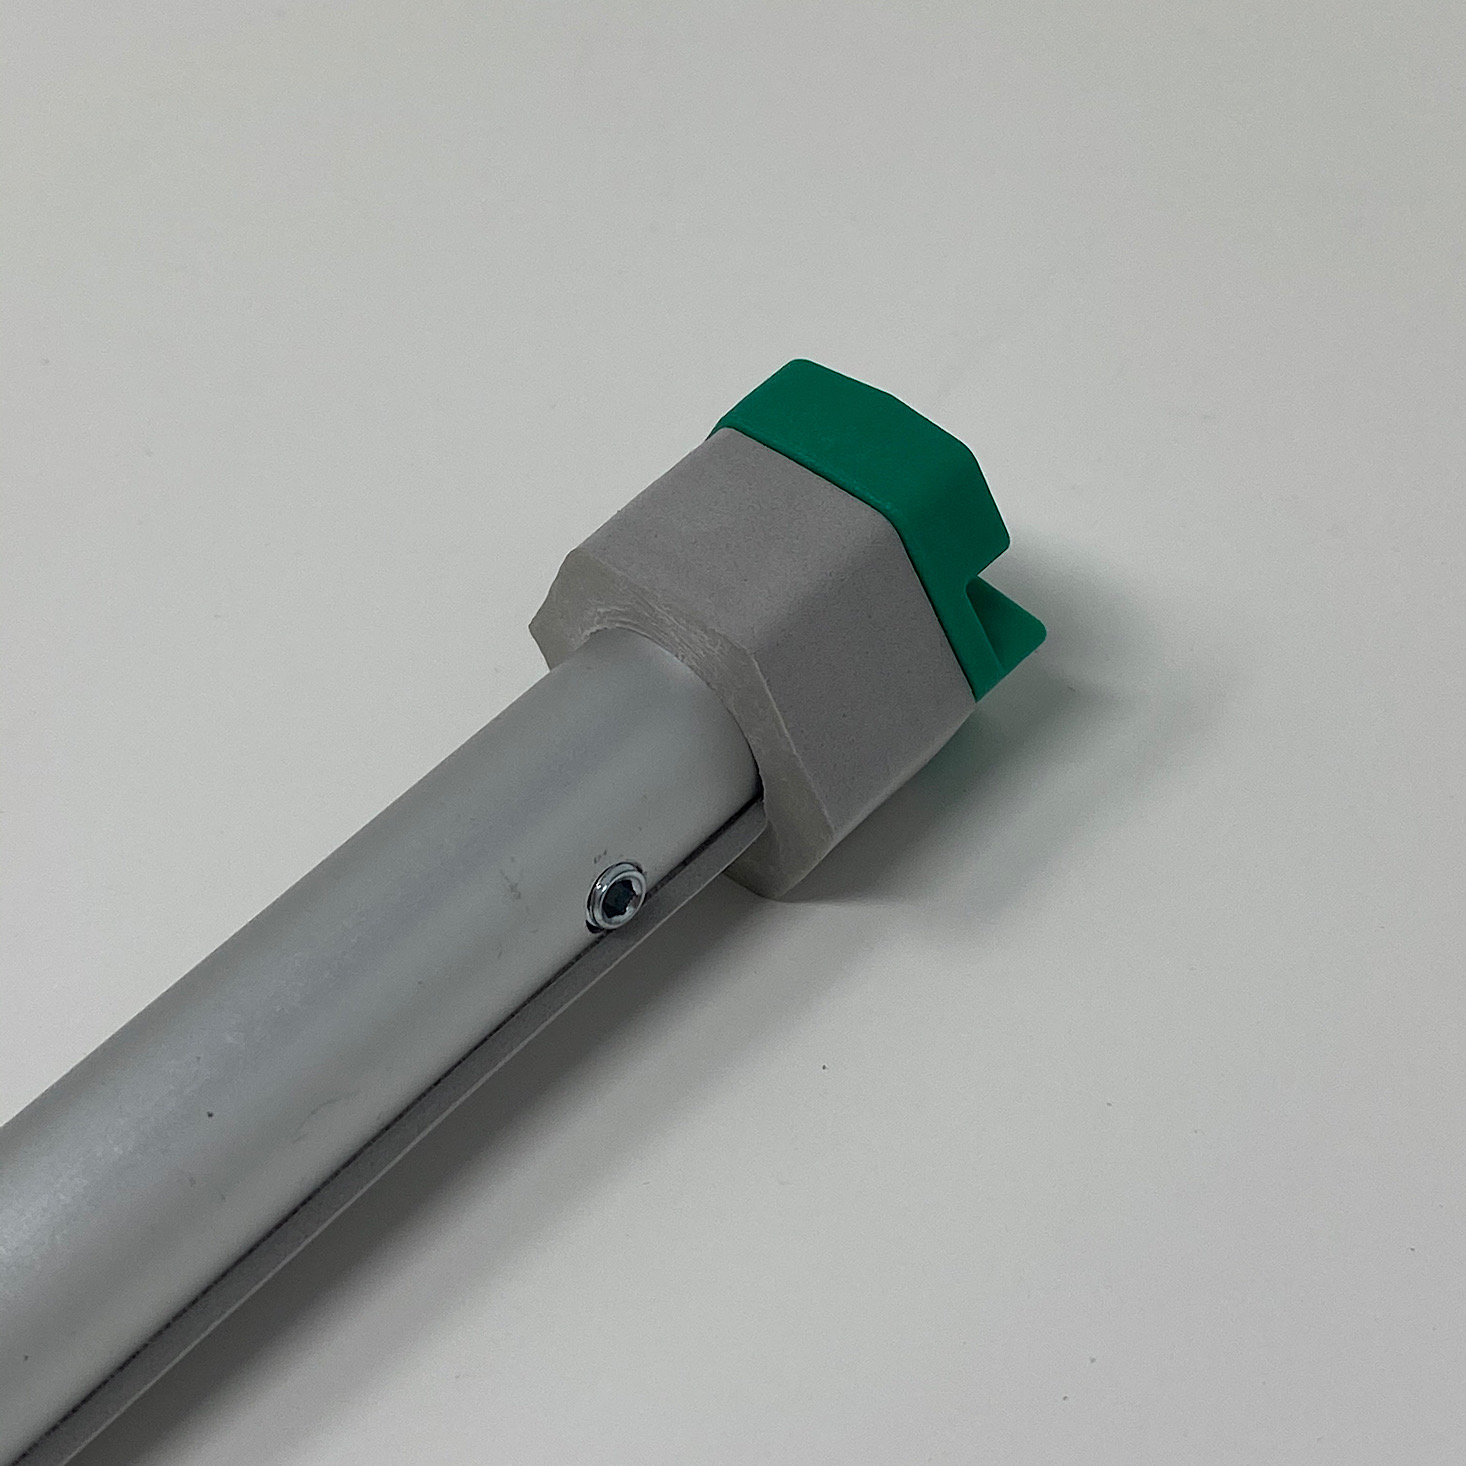
Once those were secure I added a long foam strip to the side making sure to keep the holes uncovered.
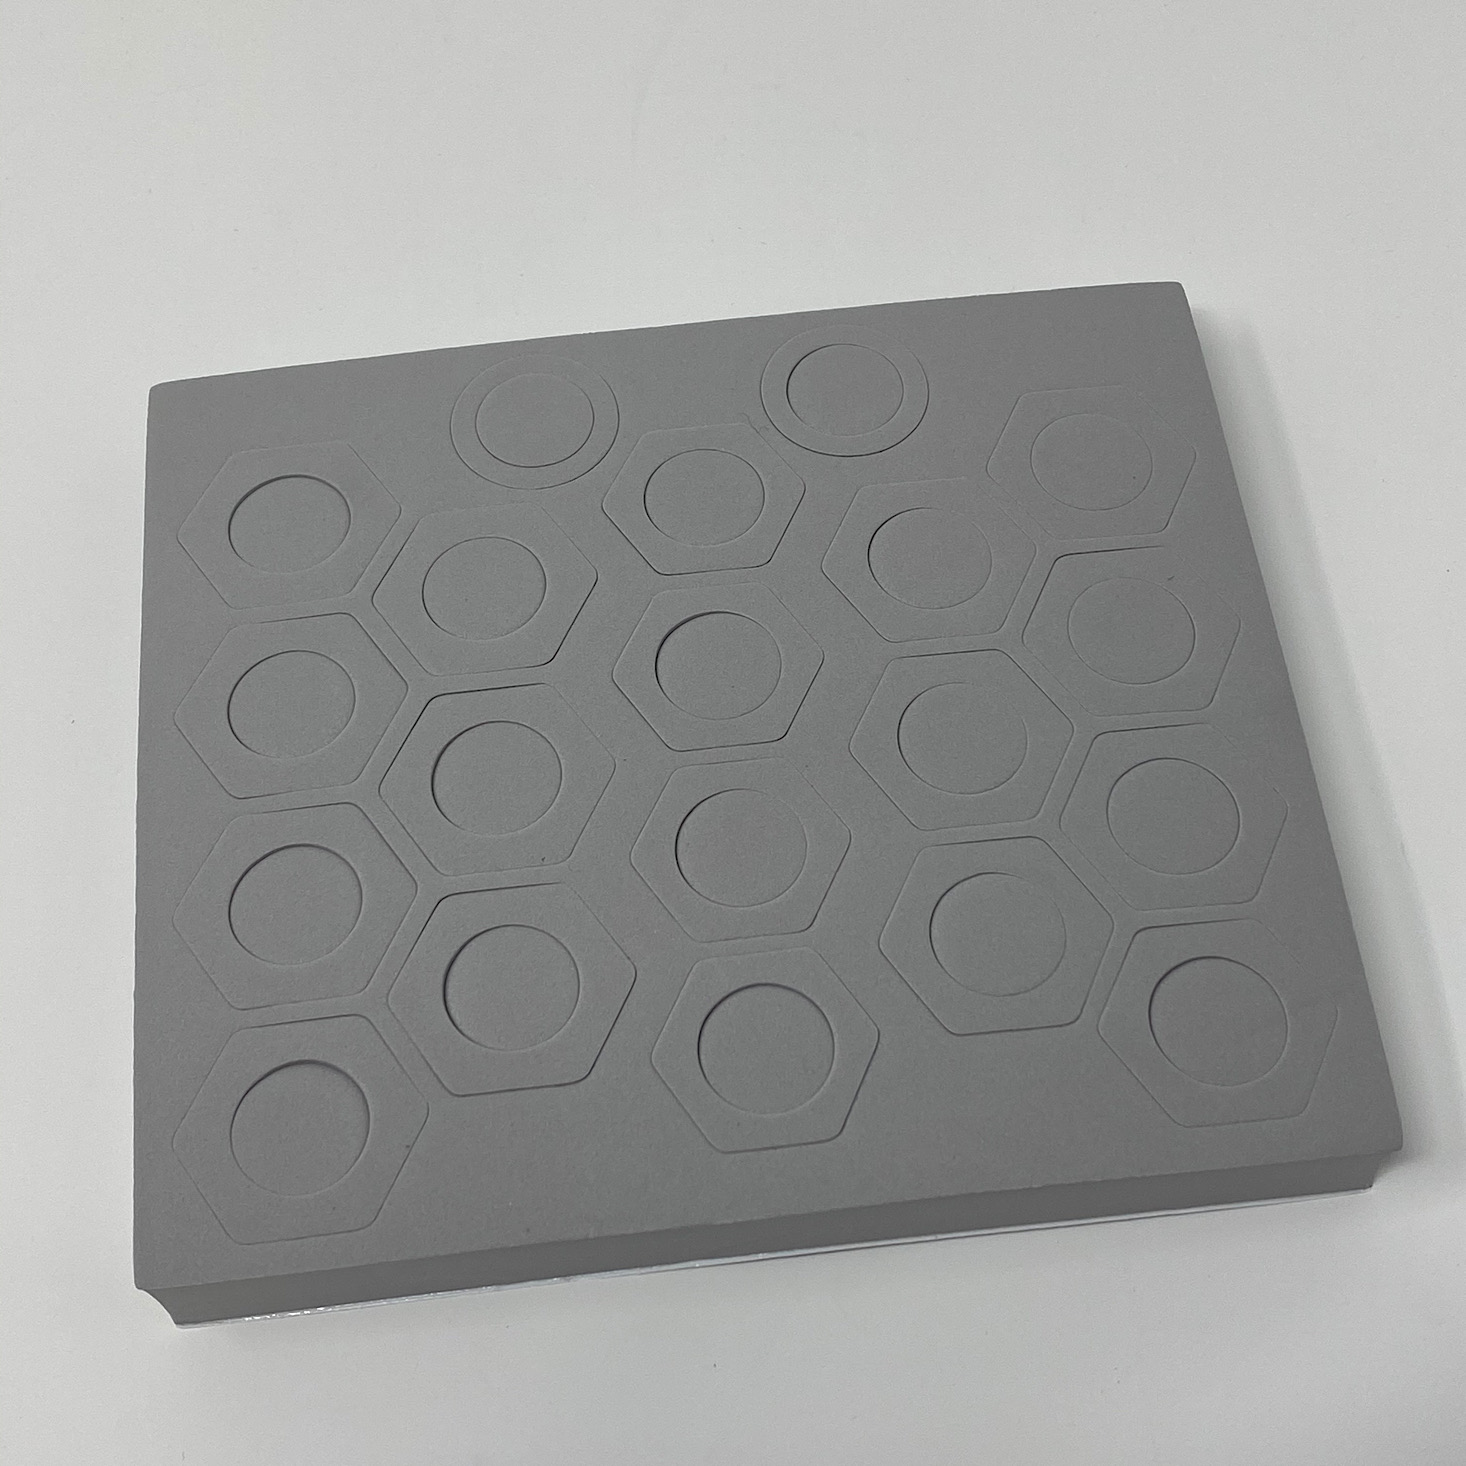
The next step was tedious and slightly frustrating since it involved sliding 15 foam hexagons over the foam strip onto the shaft. There were 6 large ones, 6 medium, and 3 small ones followed by one foam circle at the end. They kept getting stuck on the foam strip of the shaft, but I managed to push through and get them all on!
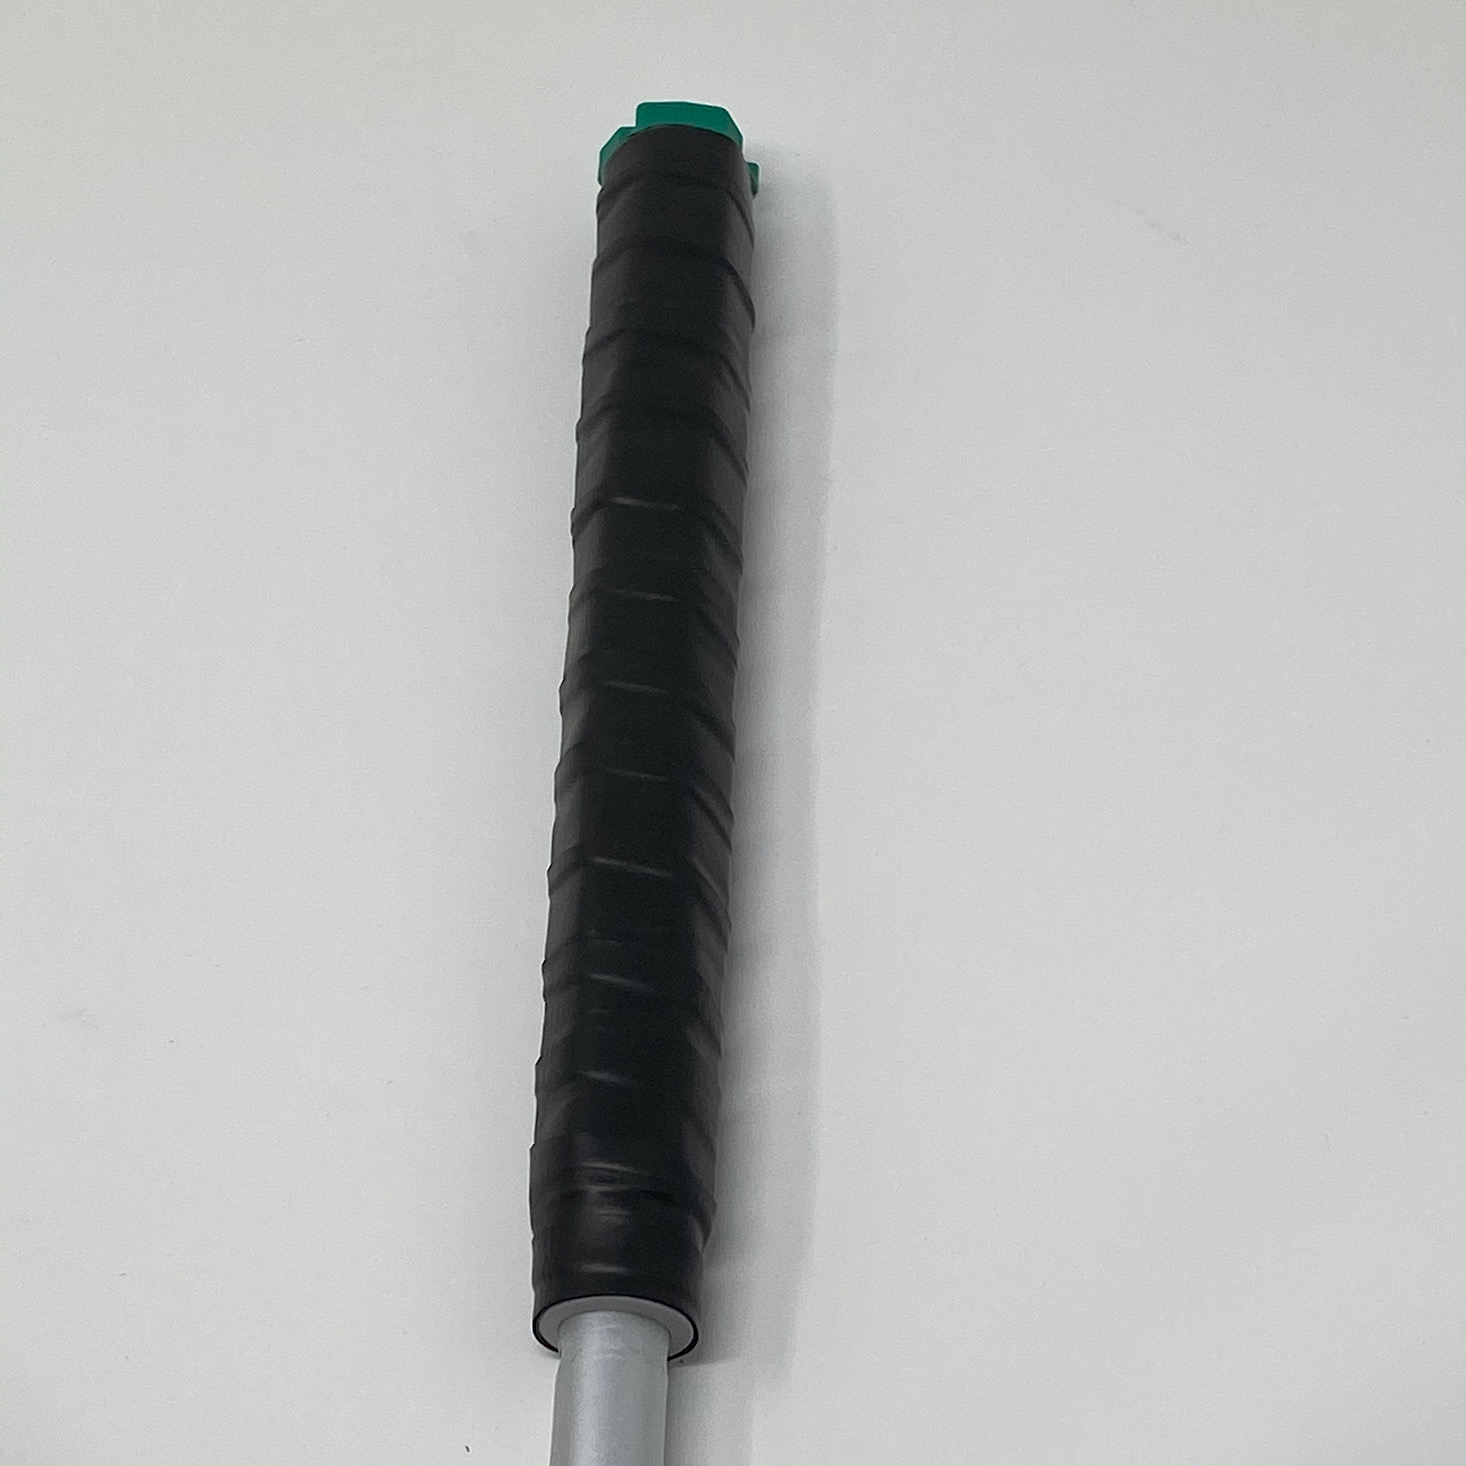
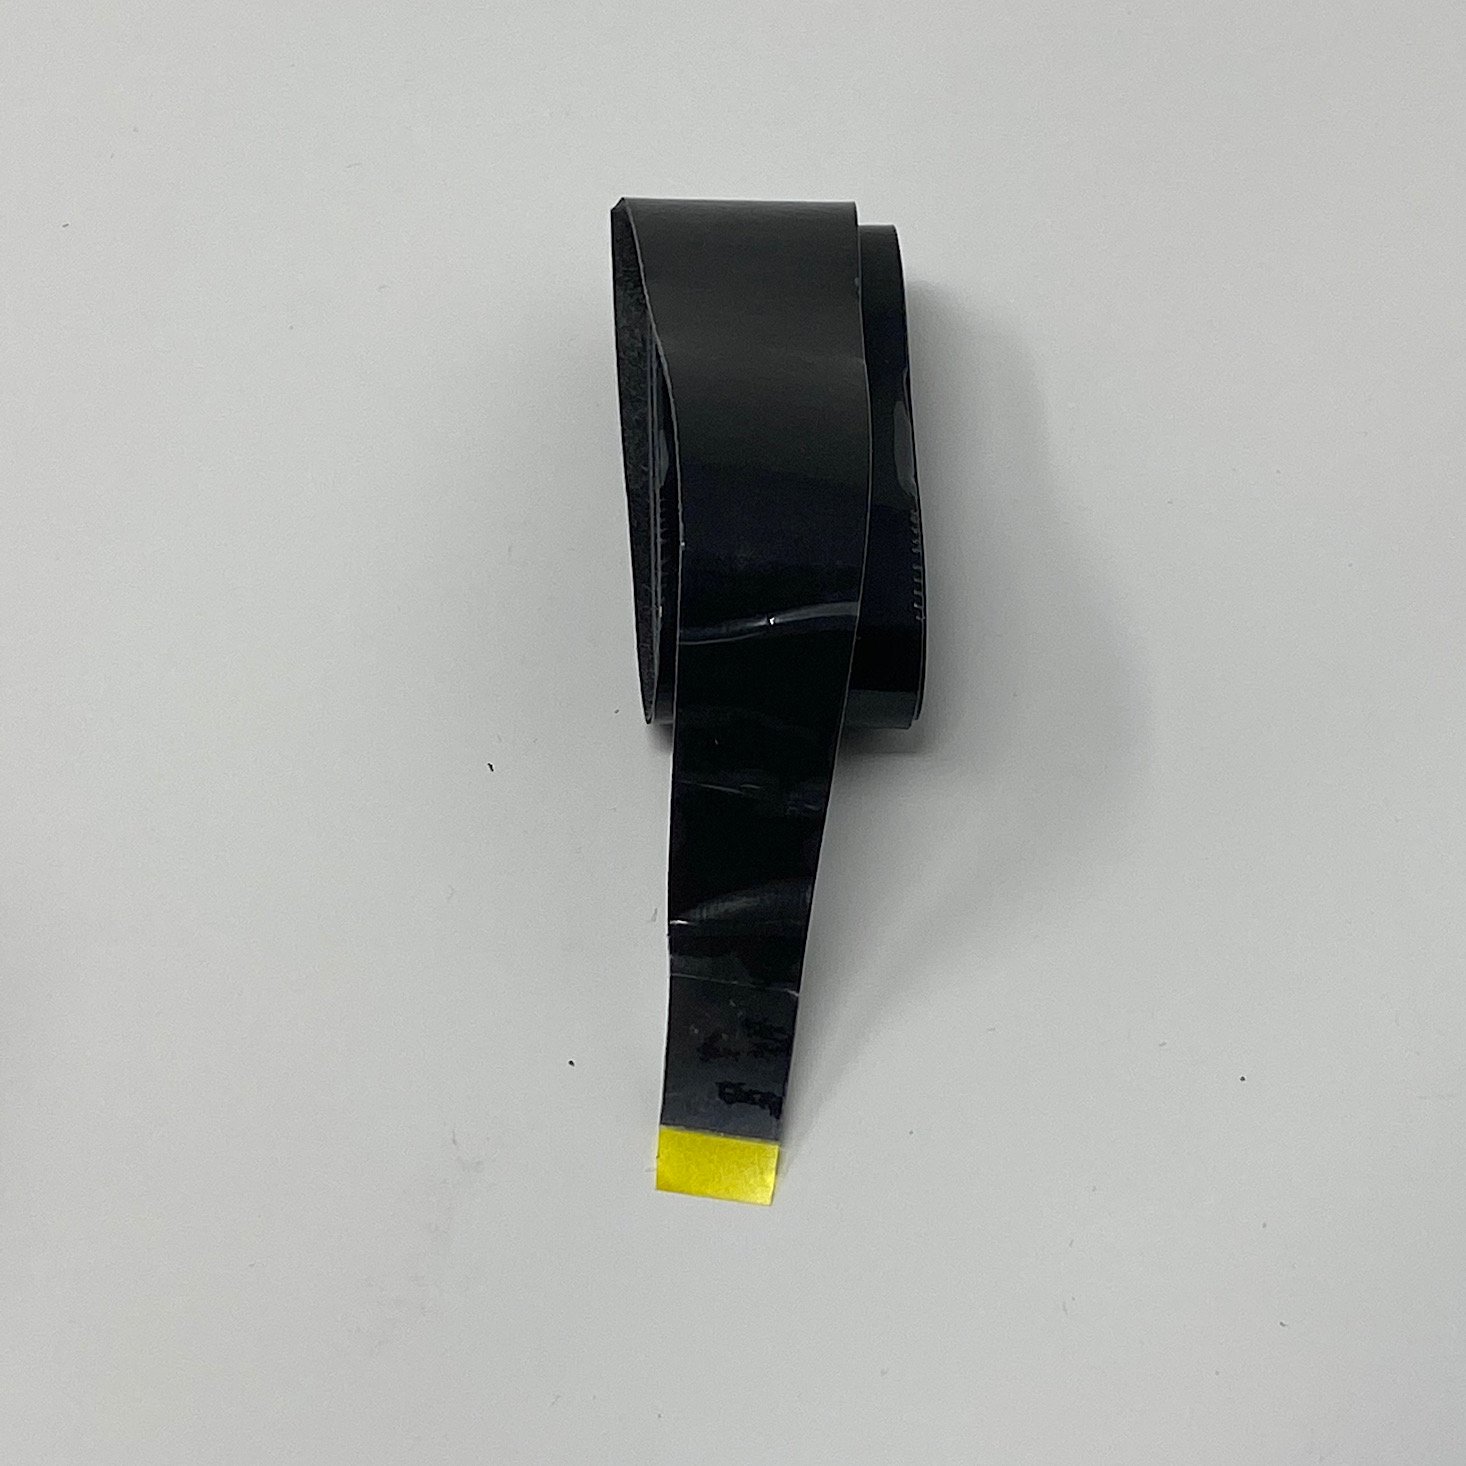
They provided this grip tape which I wrapped around the hexagons in a diagonal fashion until I got to the bottom. There was actually a smaller piece of finishing tape attached to this grip tape which I used at the very bottom to hold it all in place.
Part C: Build the Shaft
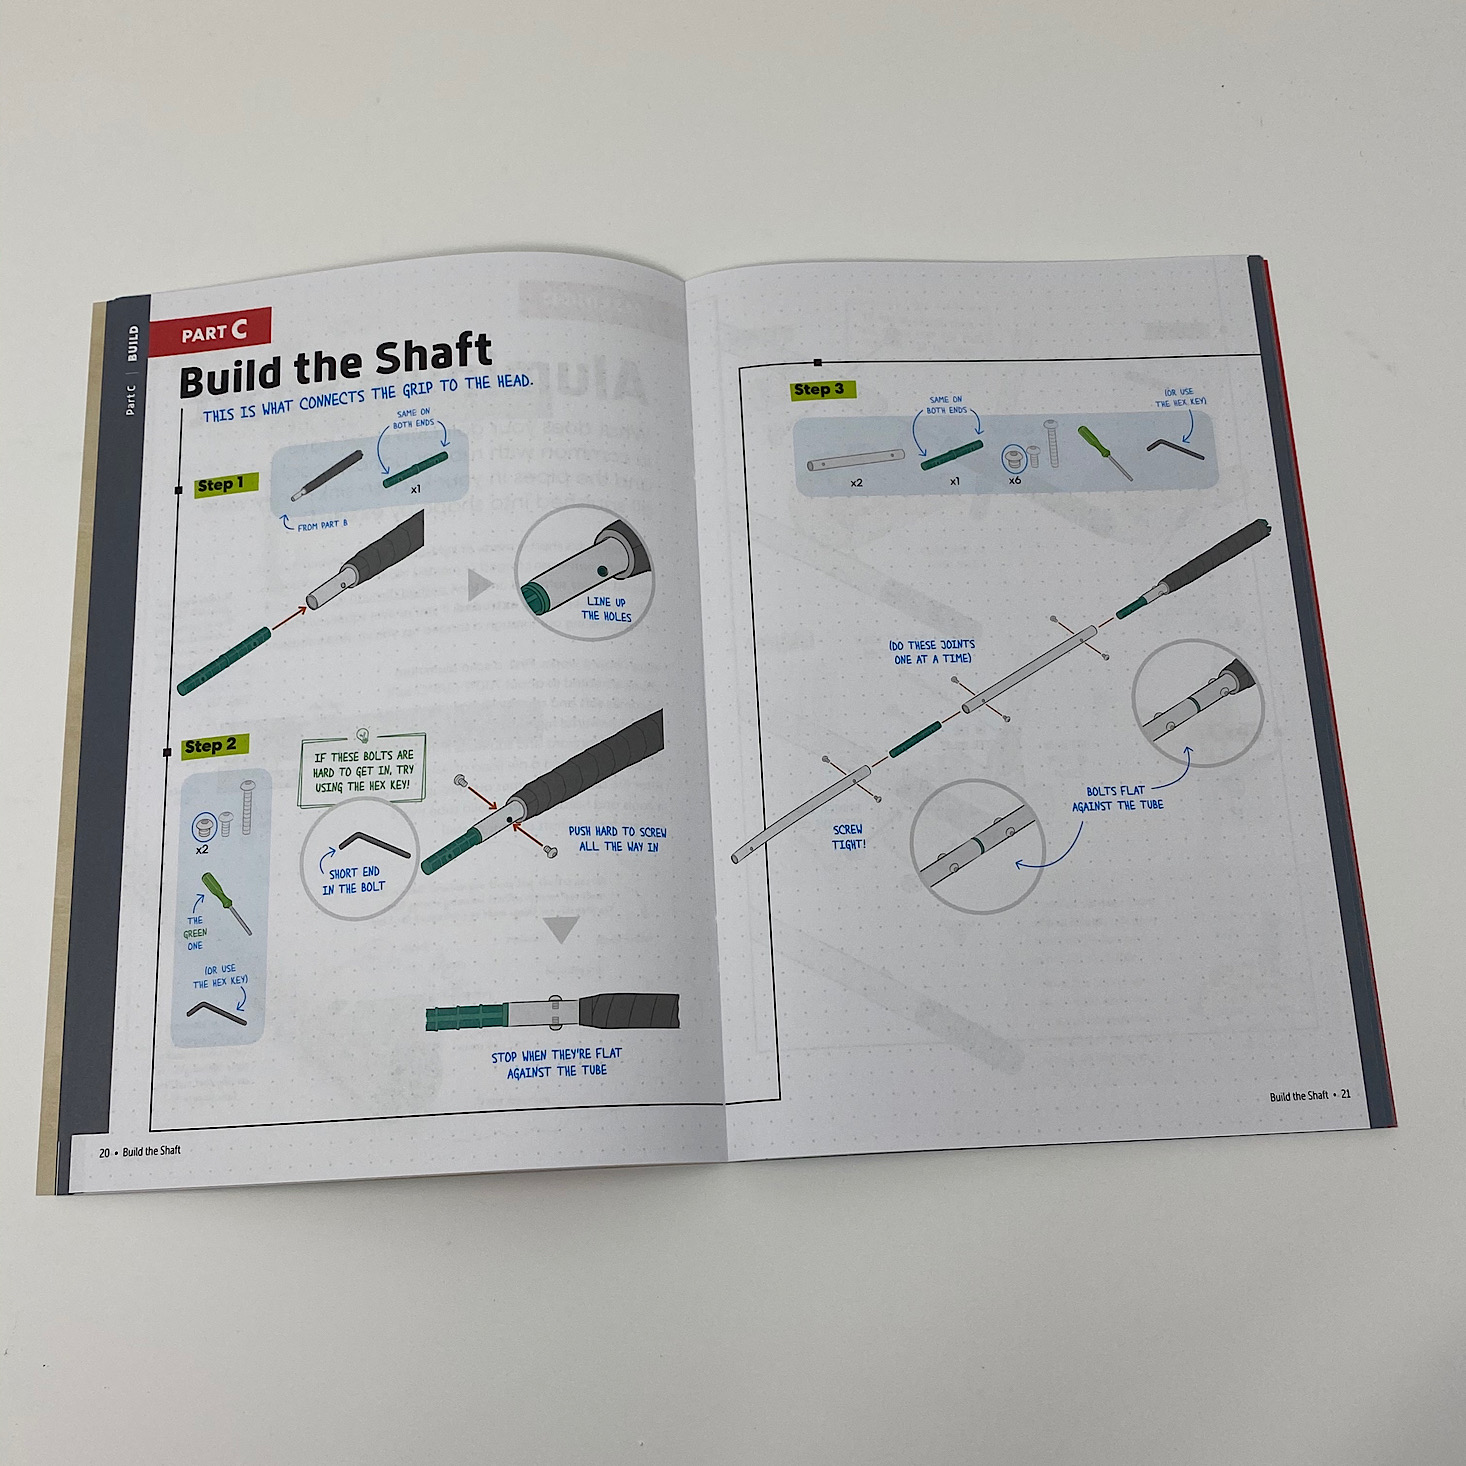
To build the shaft, I began by adding one of the smaller green tube connectors to the grip piece and then I secured it with screws. Then I added the next aluminum tube with more screws and continued in this pattern until I had all three tube connectors and all three aluminum tubes connected to one another with screws. Then I attached the end, which was the last green tube connector, to the head that I had made with some more screws.
Now that the shaft, grip, and head were all attached, my putter was complete!

They provided these three soft foam golf balls for us to use for our indoor golf game.
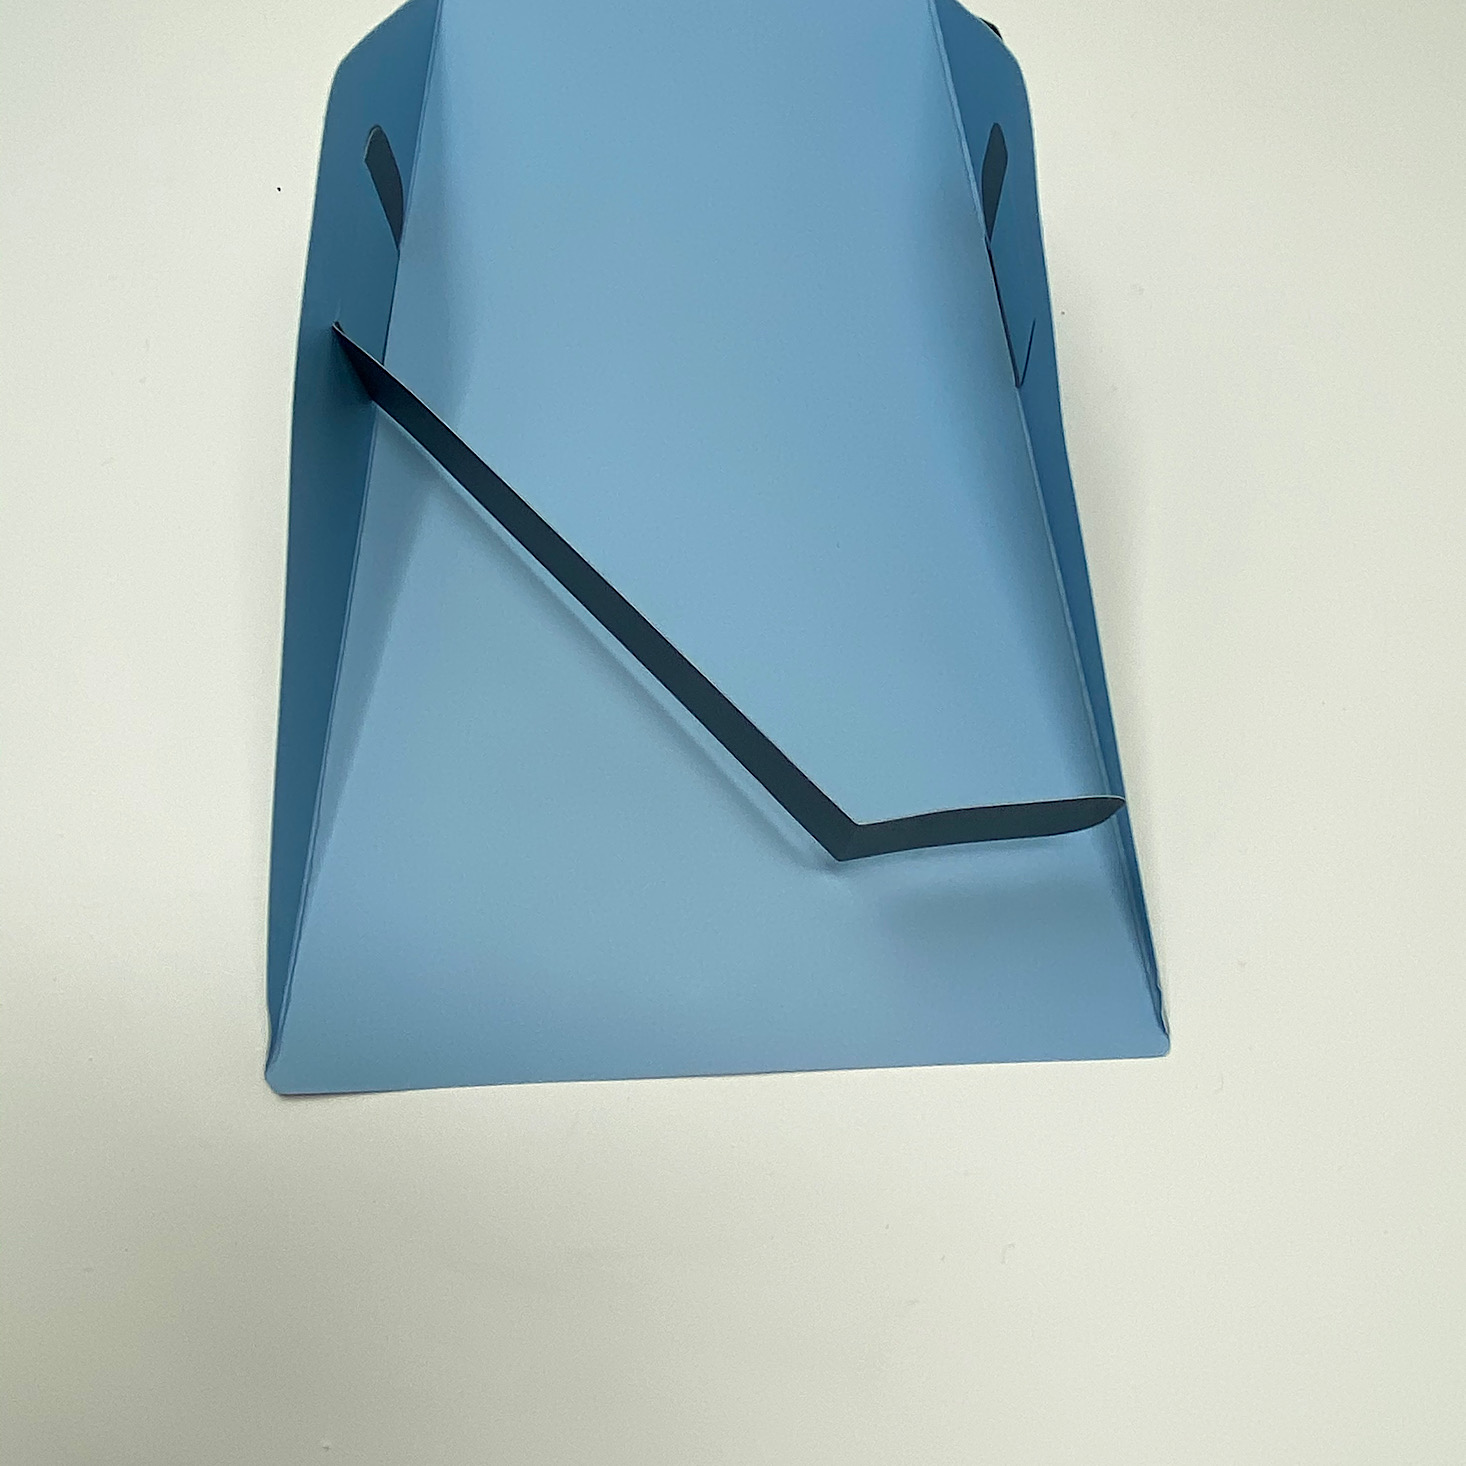
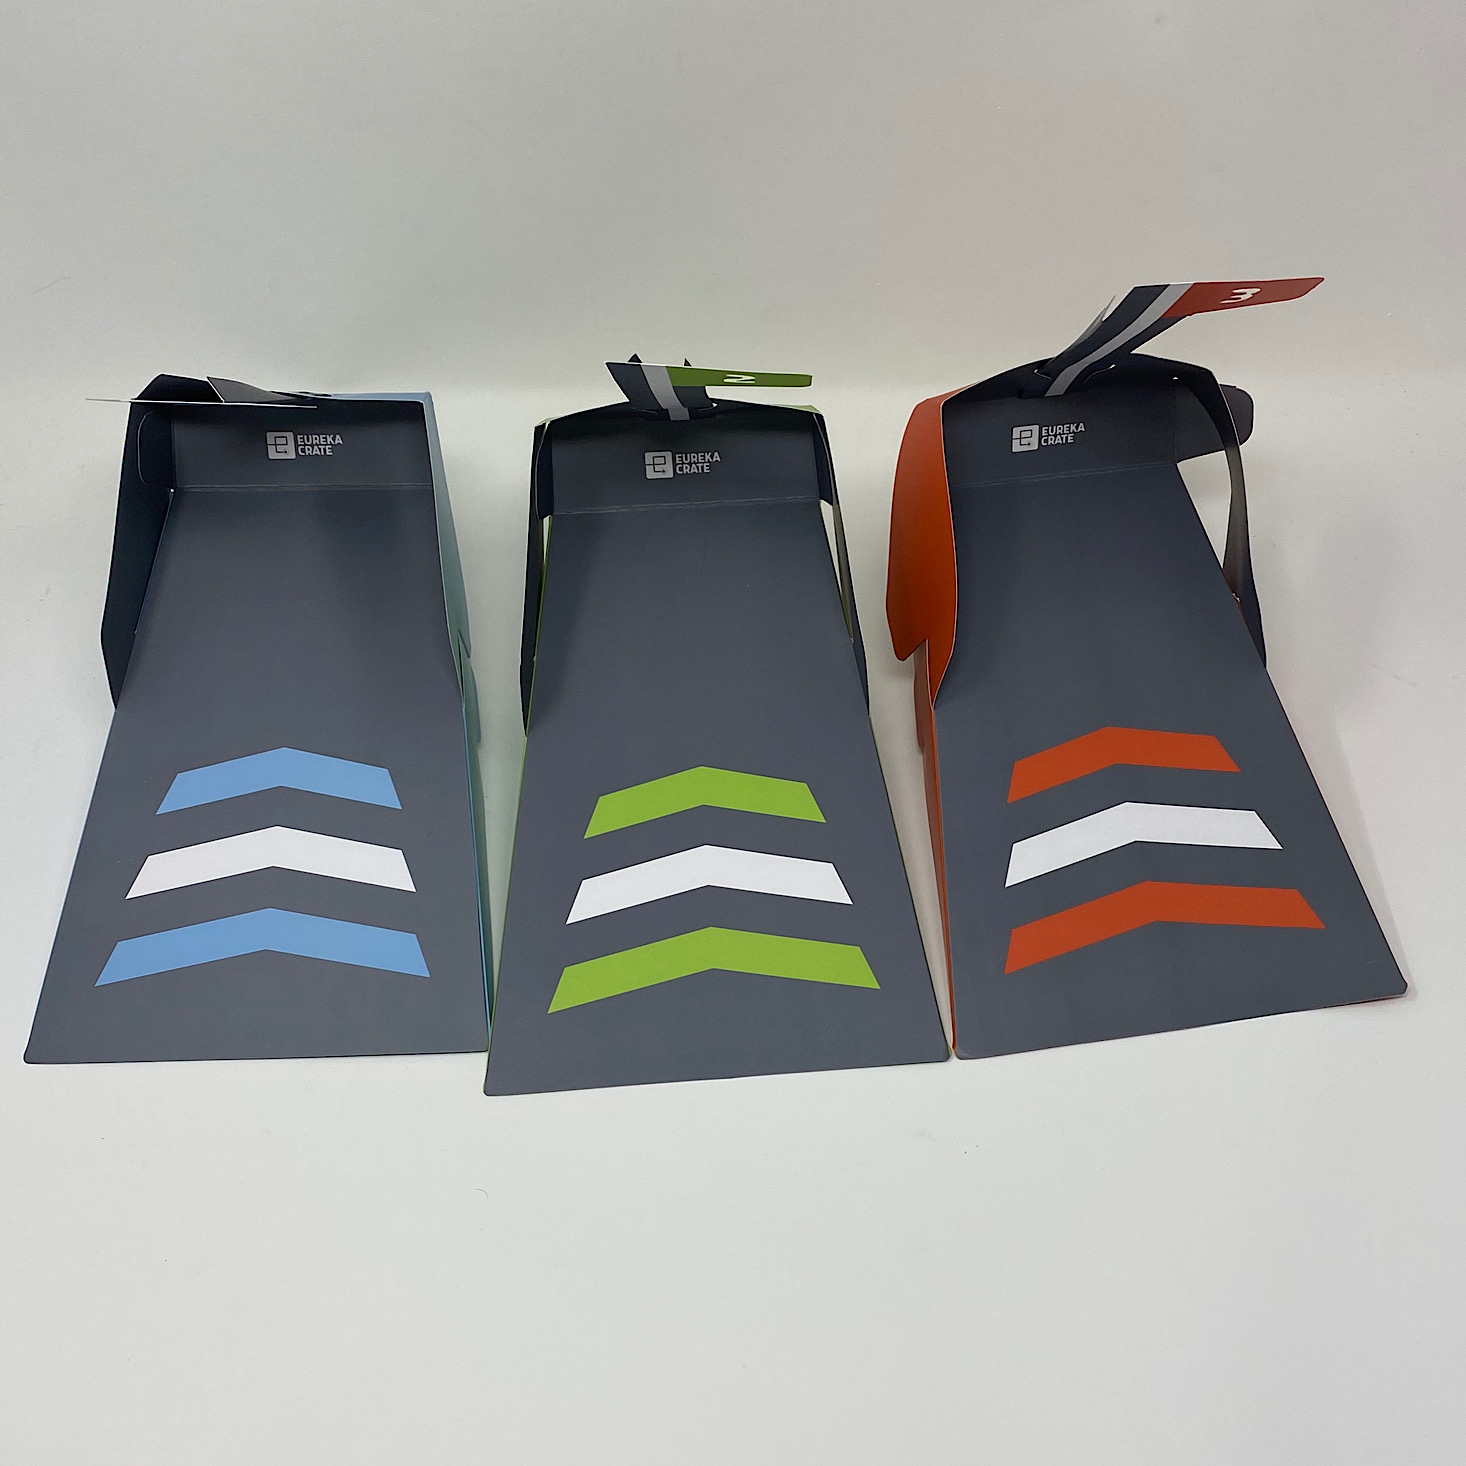
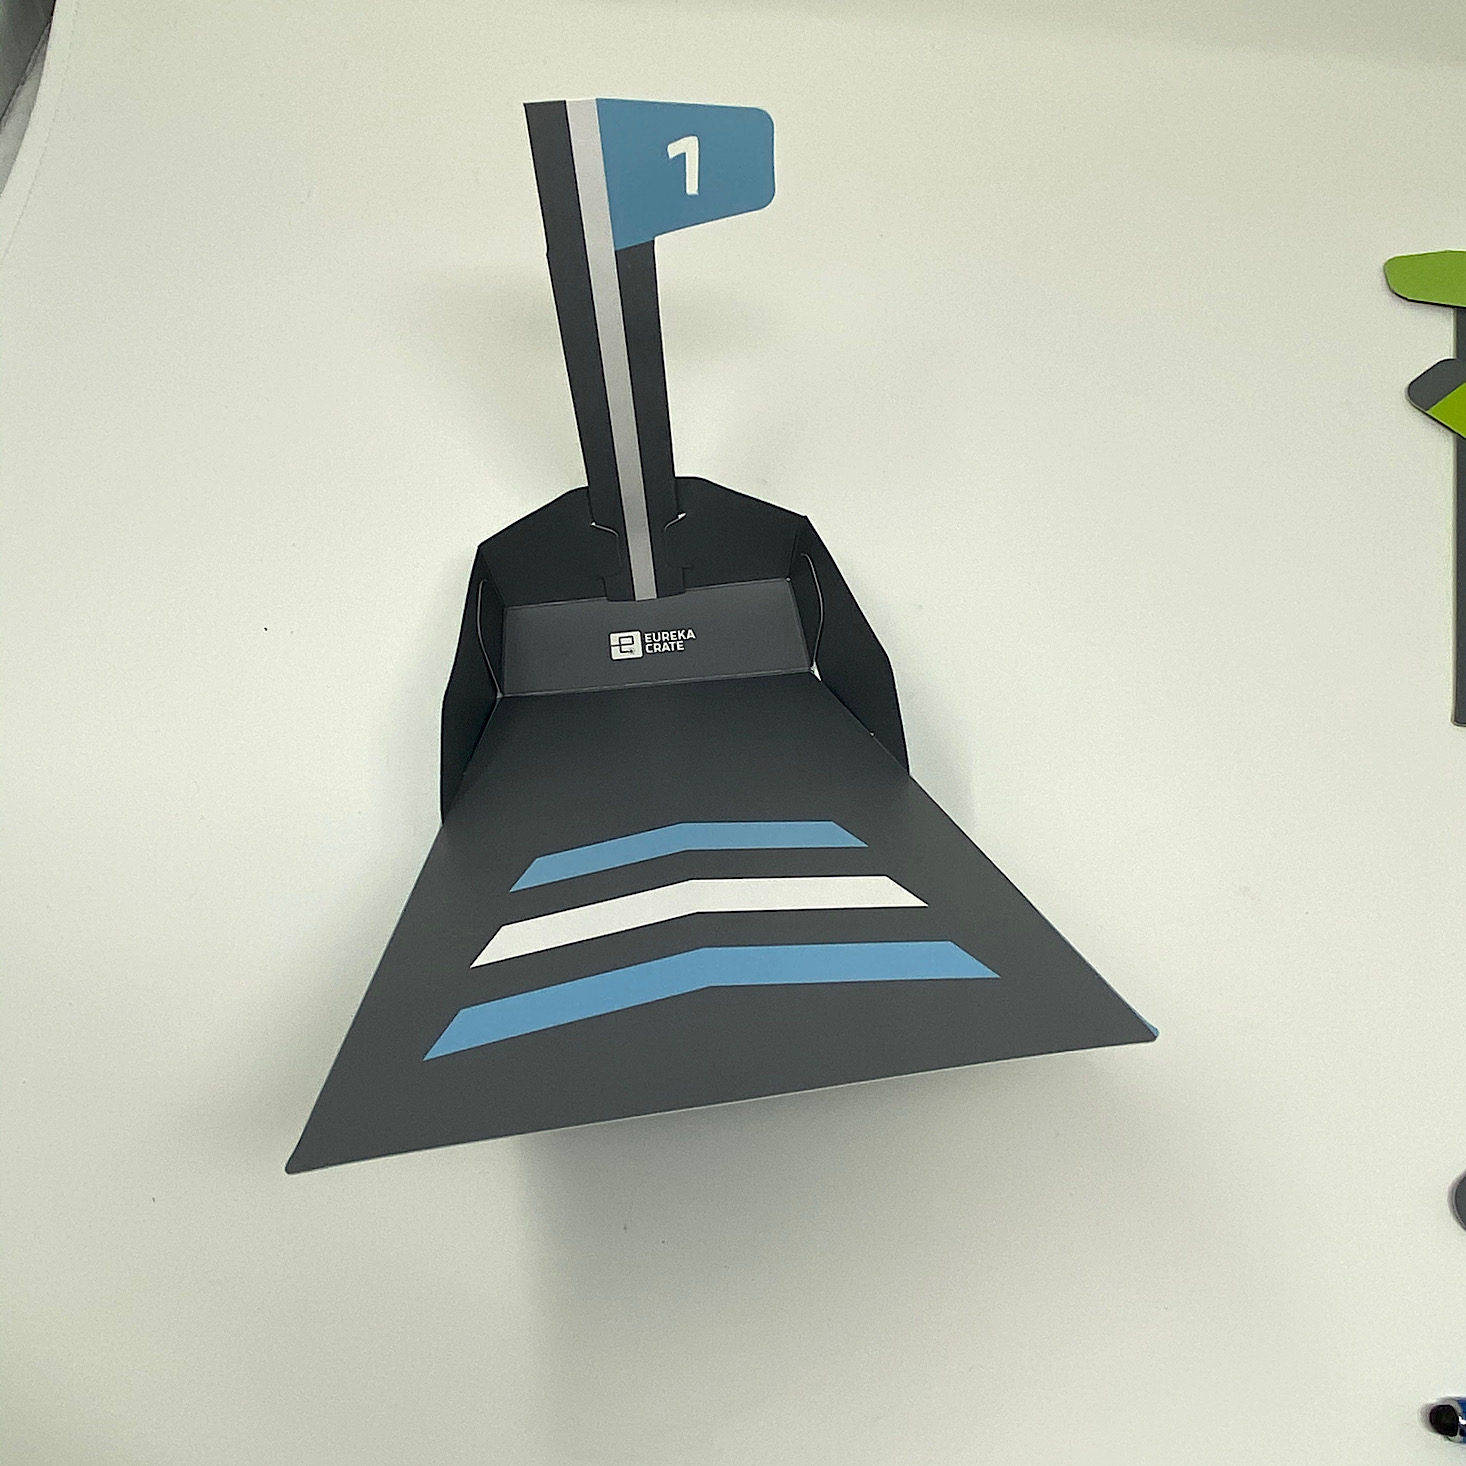
They also included these three paper targets. I folded them up according to the directions which was simply just matching the colored areas and then adding the paper strip to the underneath for support.
Then I folded and slipped the flag in and the target was ready. I repeated this process for the other two.

The target flag actually faces down and then when the ball goes in, it pops up to show that you hit the target.
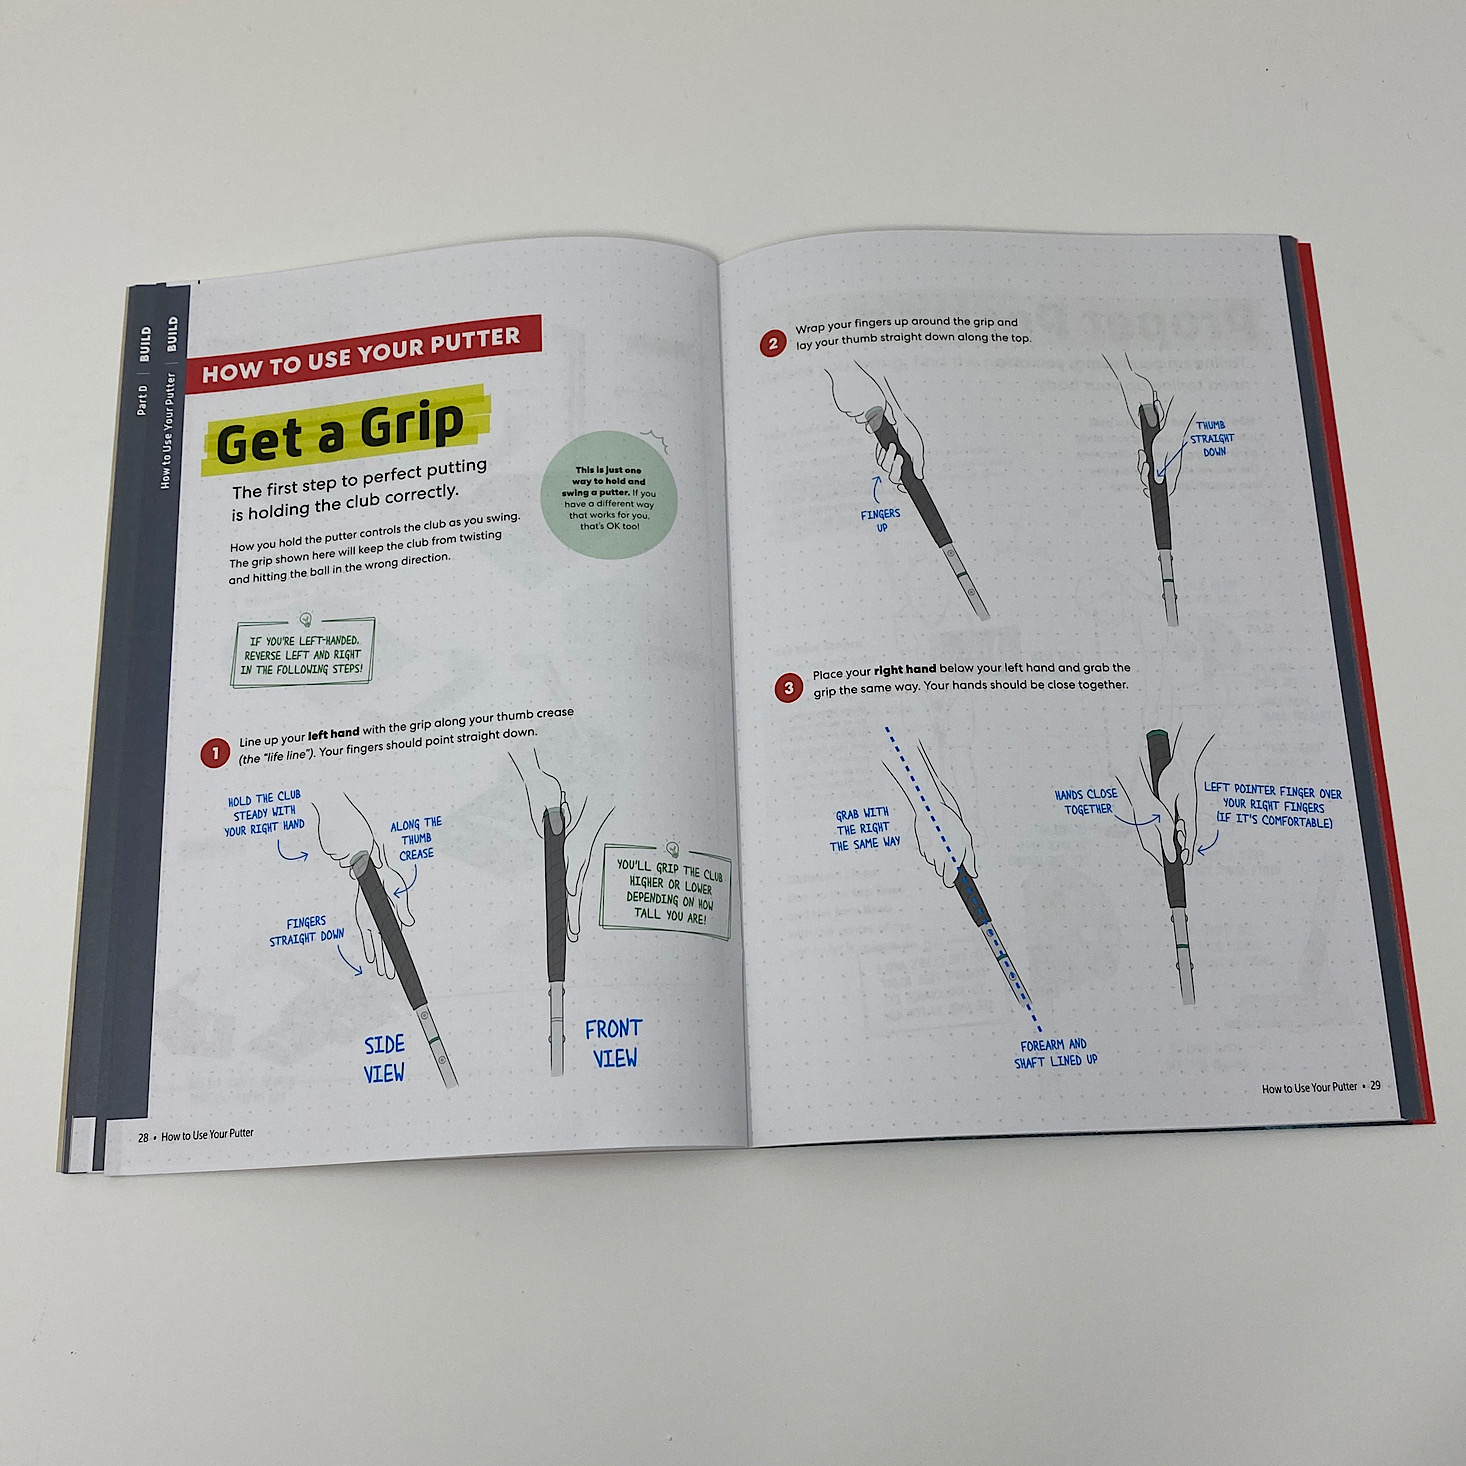
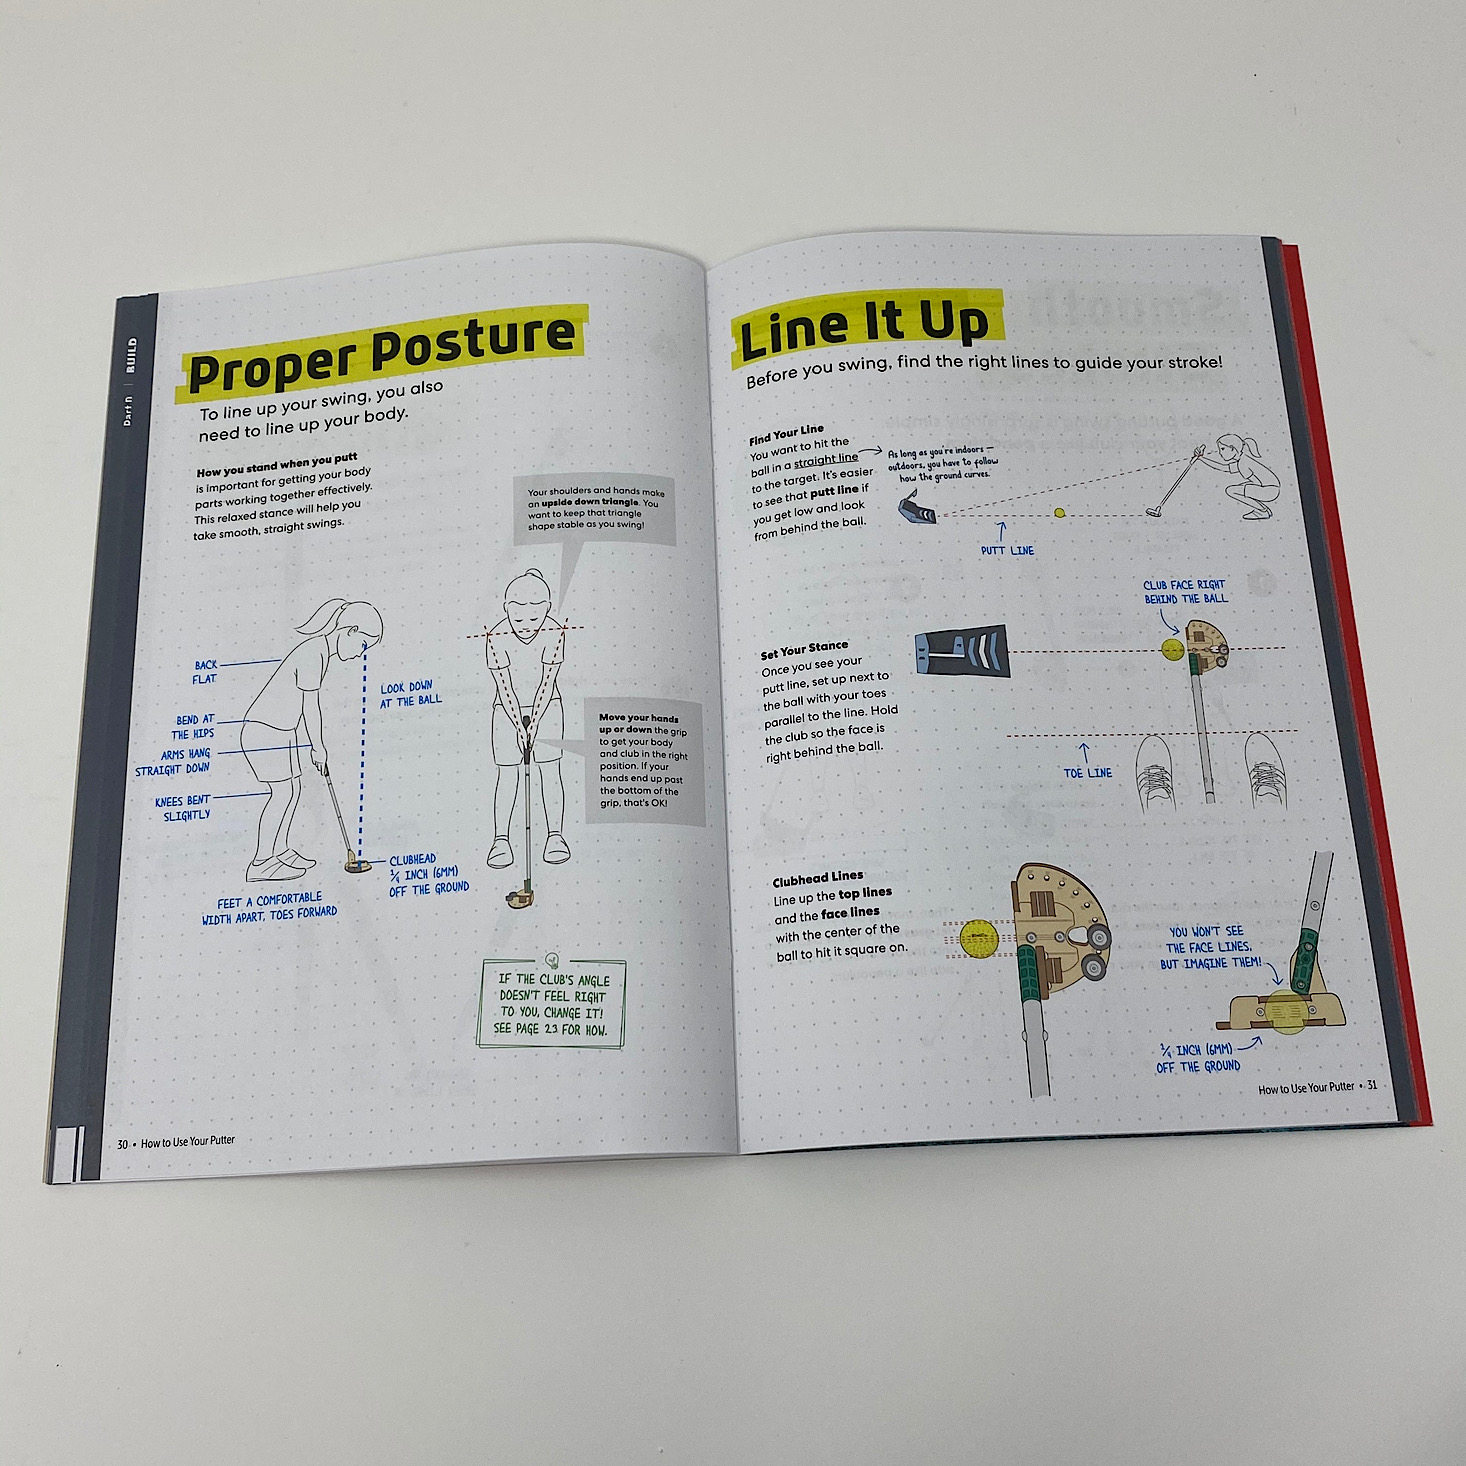
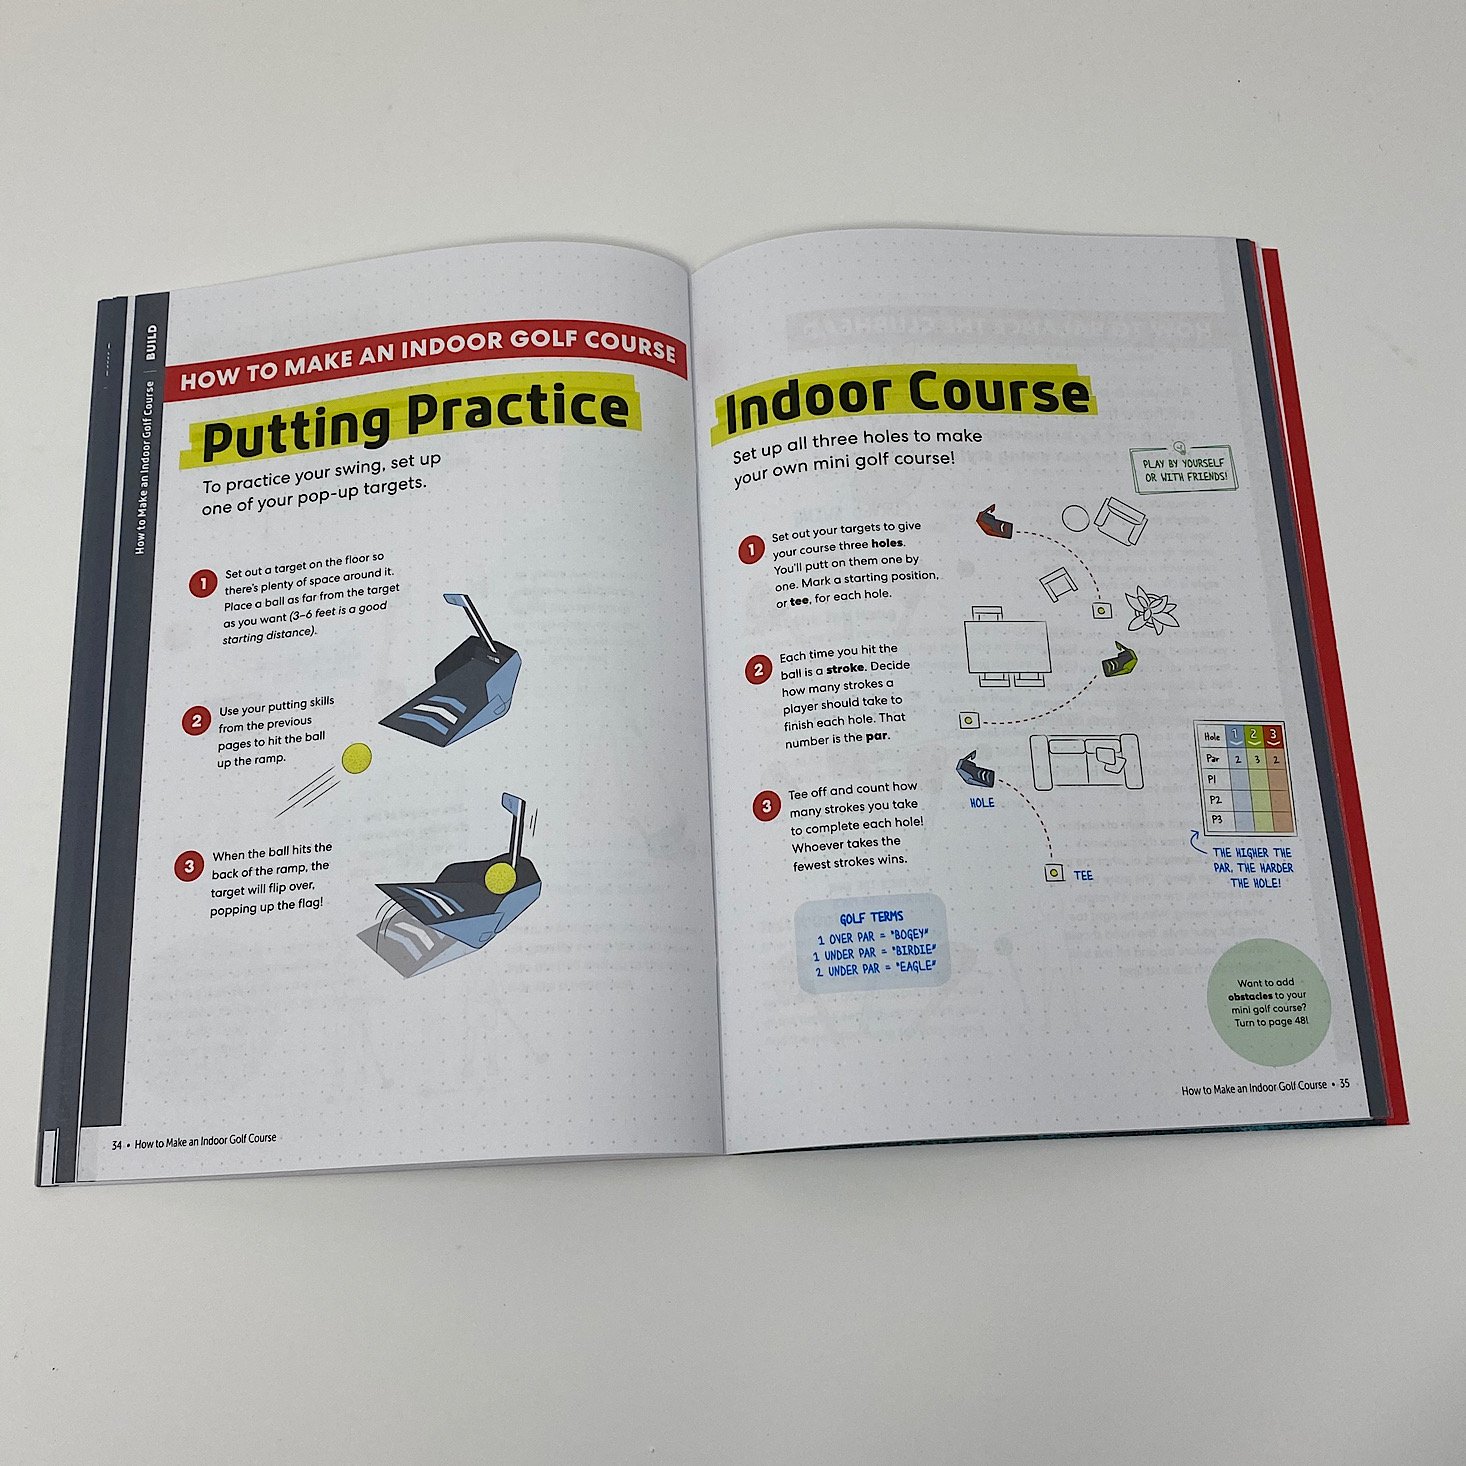
They also included so much information about posture, strokes, and putting practice: all of which I found very helpful as someone who longs to beat her husband at putt-putt one of these days! I love that they included all of this educational information about how to use our set.
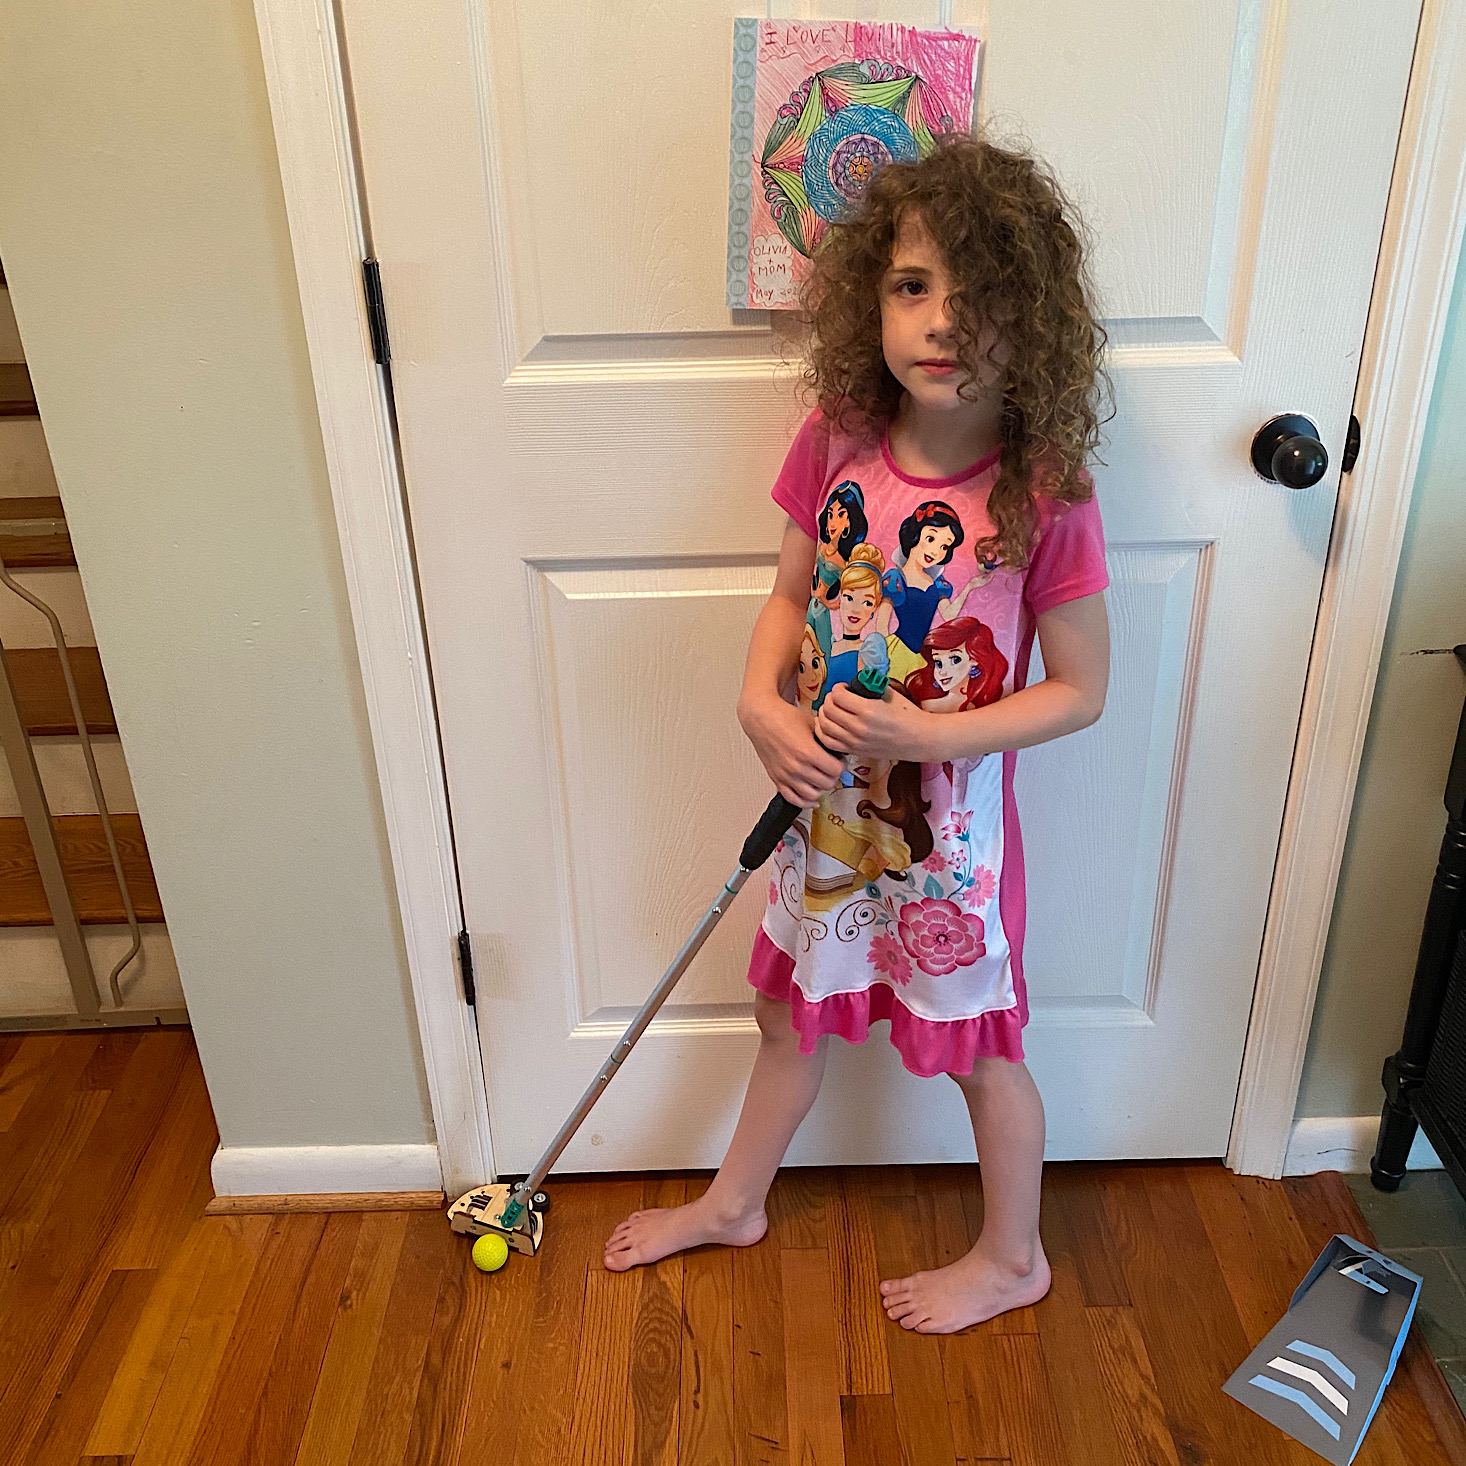
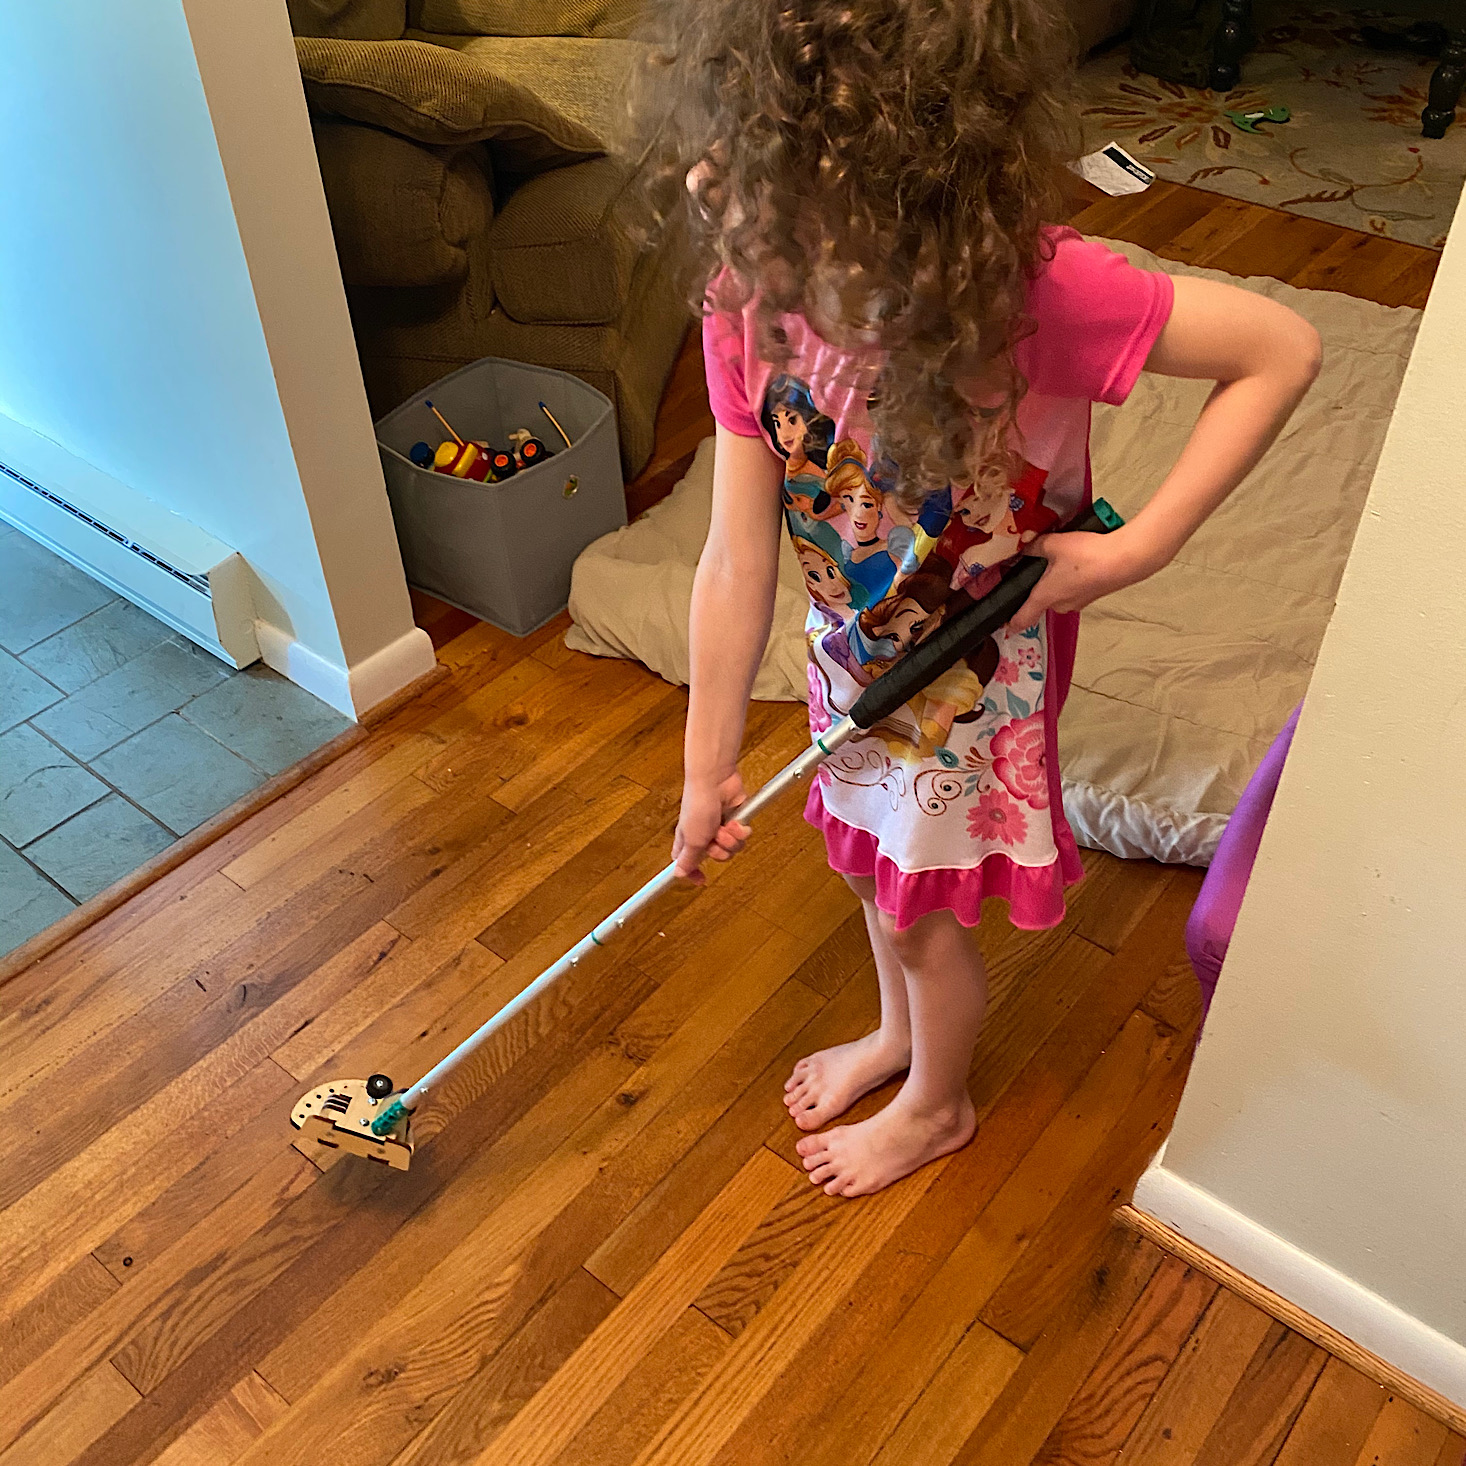
Here you can see the size of the putter next to my daughter. I should note, they did also include directions for making this putter for someone who is left-handed, which I thought was cool!
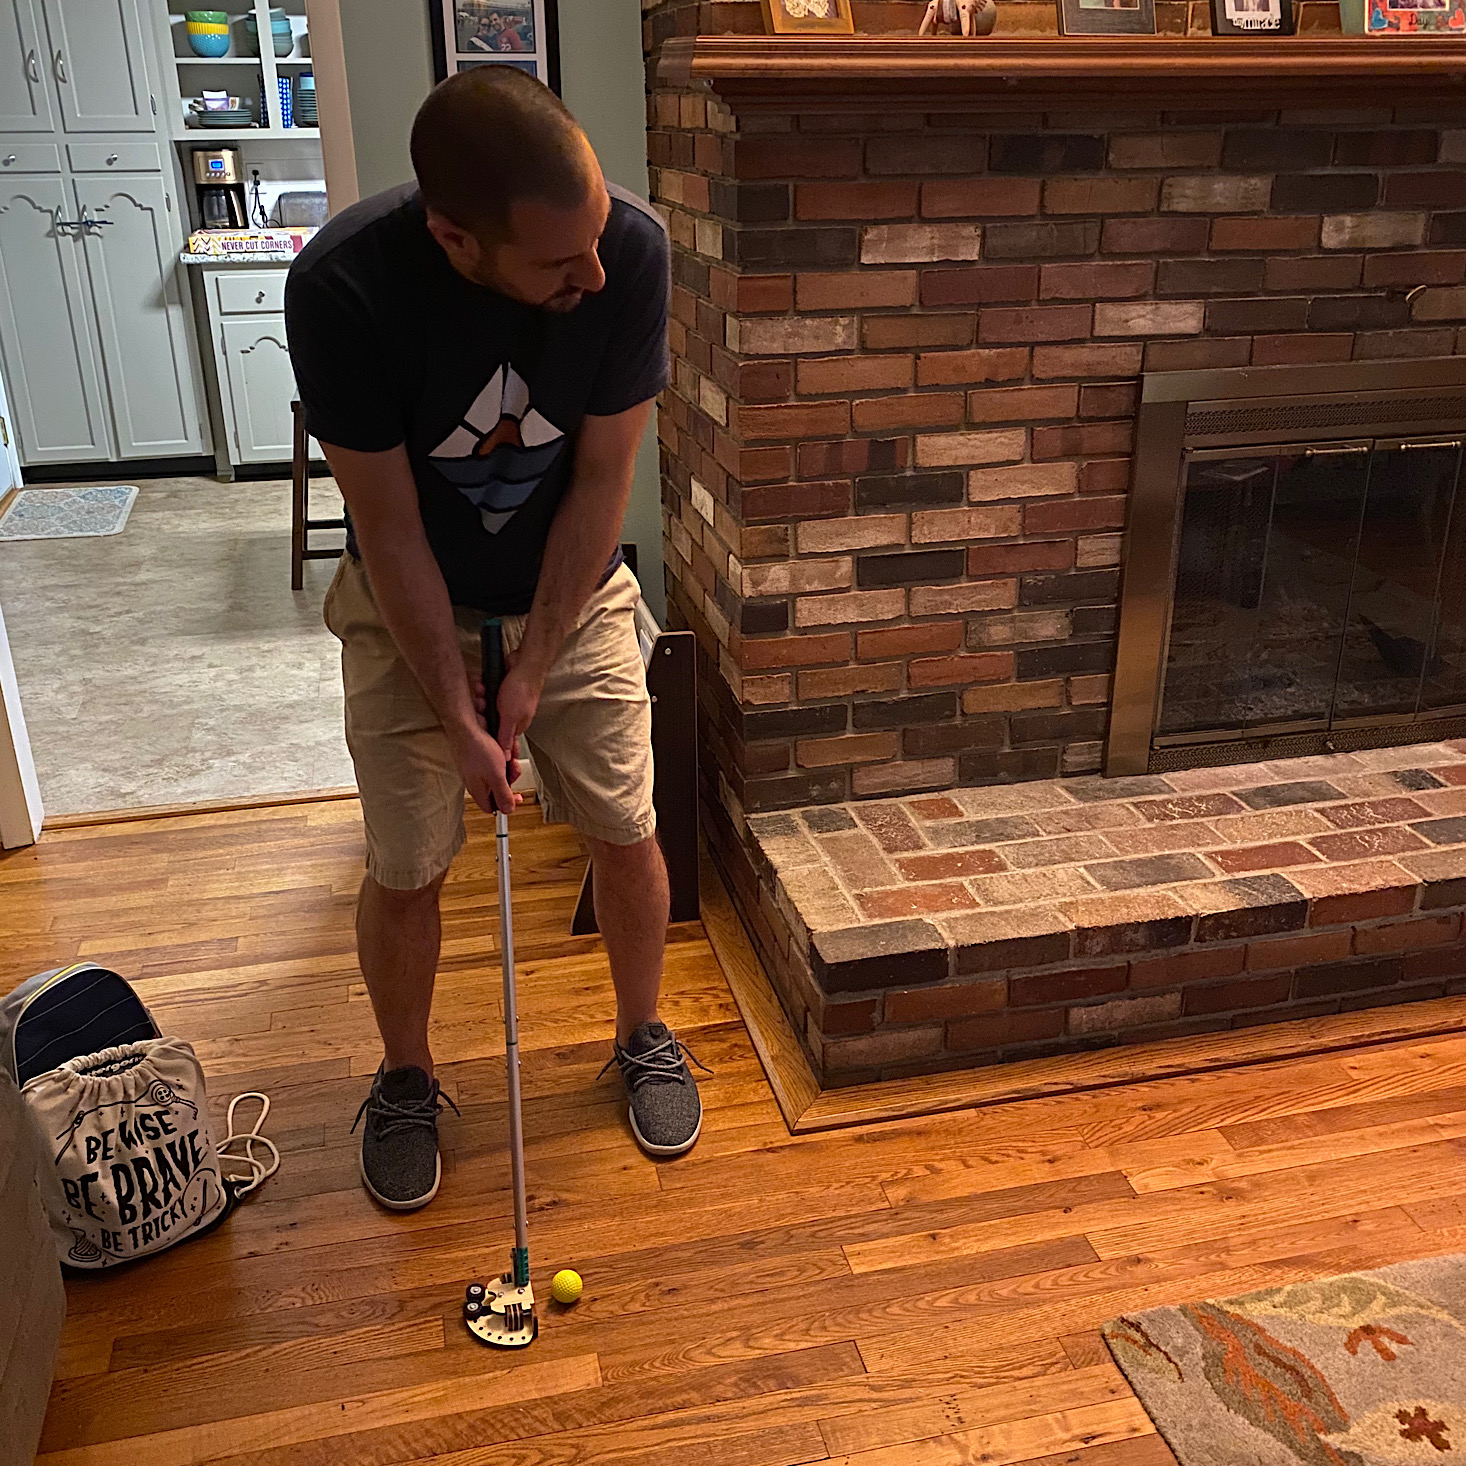
My husband's brother stopped by one night and he happens to love golfing so they had some fun playing around with the set and were both impressed with how well the putter functioned!

In our booklet, there is usually a design challenge section like this one. This month they challenge us to make some mini golf obstacles which I think is a really fun way to make use of our new indoor golf set!
Verdict: This month's Eureka Crate project was so cool and unique! I think it is the perfect activity for these days when we have been spending more time indoors. This is such an open-ended project, too, in that we can build our own obstacles and have some fun designing an actual course. Plus, with those foam balls, it is a bit safer for indoors than an actual golf ball would be! The build itself was pretty easy, but this month I think the challenge is in actually getting all of the technical golf stuff right such as posture and grip, which I am glad they chose to address in our booklet. I thought this was a great project this month and we have been enjoying testing it out!
To Wrap Up:
Can you still get this box if you sign up today? It is possible you might get this crate, but it is not a guarantee. From KiwiCo:
Crates are assigned each month based on availability and your crate history - not all subscribers receive the same theme each month.
Check out all of our KiwiCo reviews and the best boxes for teens!
Keep Track of Your Subscriptions: Add this box to your subscription list or wishlist!
What do you think of Eureka Crate?





























Please do not enter your email address in the Name field or in the comment content. Your email address will not be published. Required fields are marked *. Remember to post with kindness and respect. Comments with offensive language, cruelness to others, etc will not be approved. See our full comment policy here.