
MEL Chemistry is a subscription box for kids ages 9-14 that sends all of the materials you need to complete 2-3 chemistry experiments every month. This is perfect for kids who are interested in science or for homeschool students!
This box was sent to us at no cost for review. (Check out the review process post to learn more about how we review boxes.)
About MEL Chemistry
The Subscription Box: MEL Chemistry
The Cost: $34.90 per month
The Products: Everything you need to conduct 2-3 chemistry experiments each month safely in your own home!
Ships to: The U.S. and UK for free. International shipping to select countries is also available, although there may be additional shipping charges depending on location.
MEL Chemistry "Chemistry for Spies" Review May 2020
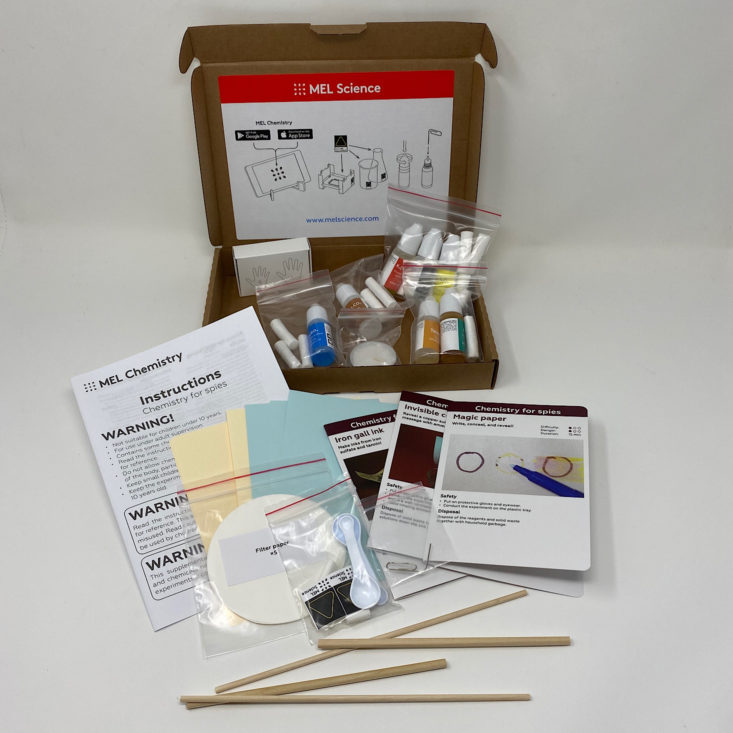
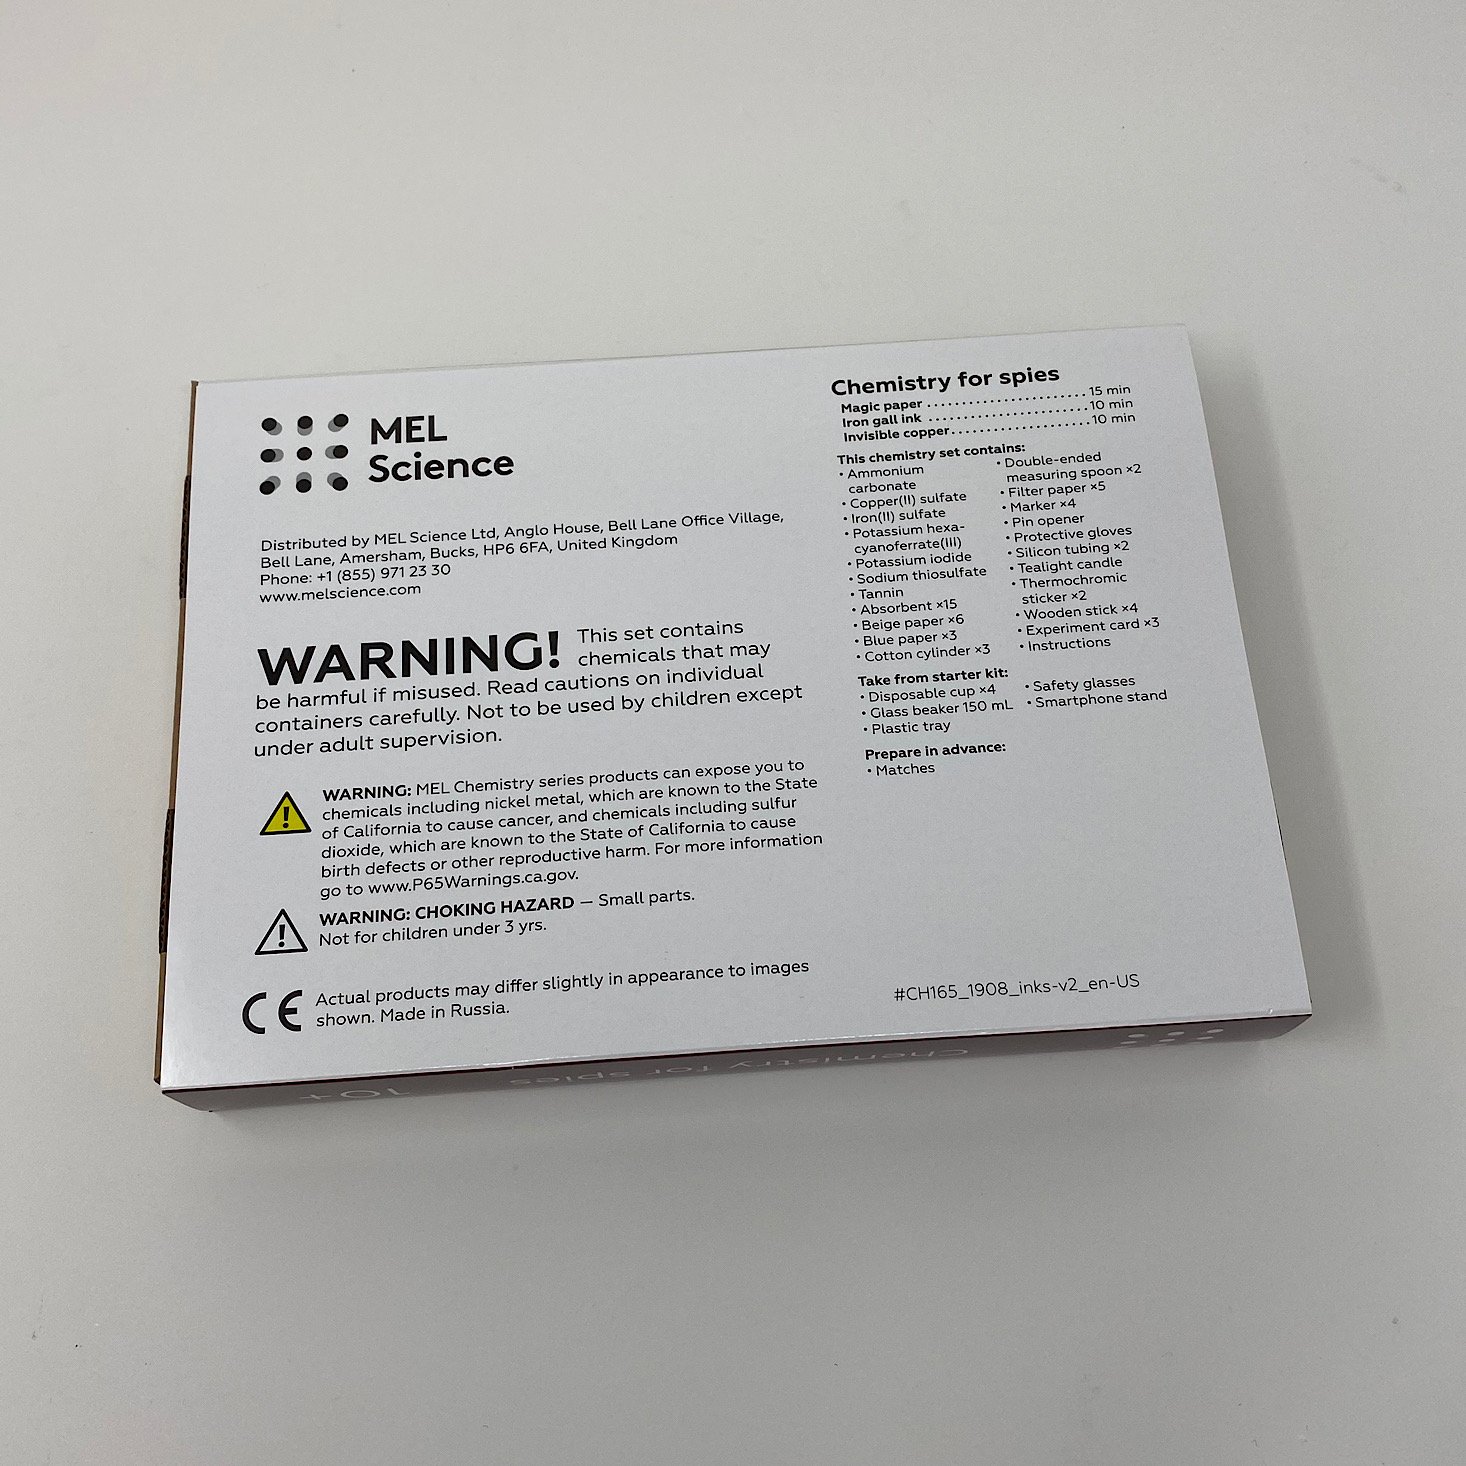
This month our experiments' theme is "Chemistry for Spies" and the contents were listed on the back of our box. You may note that they list a few items we need to get from our Starter Kit.
Note: The following items did not come in this month's kit!
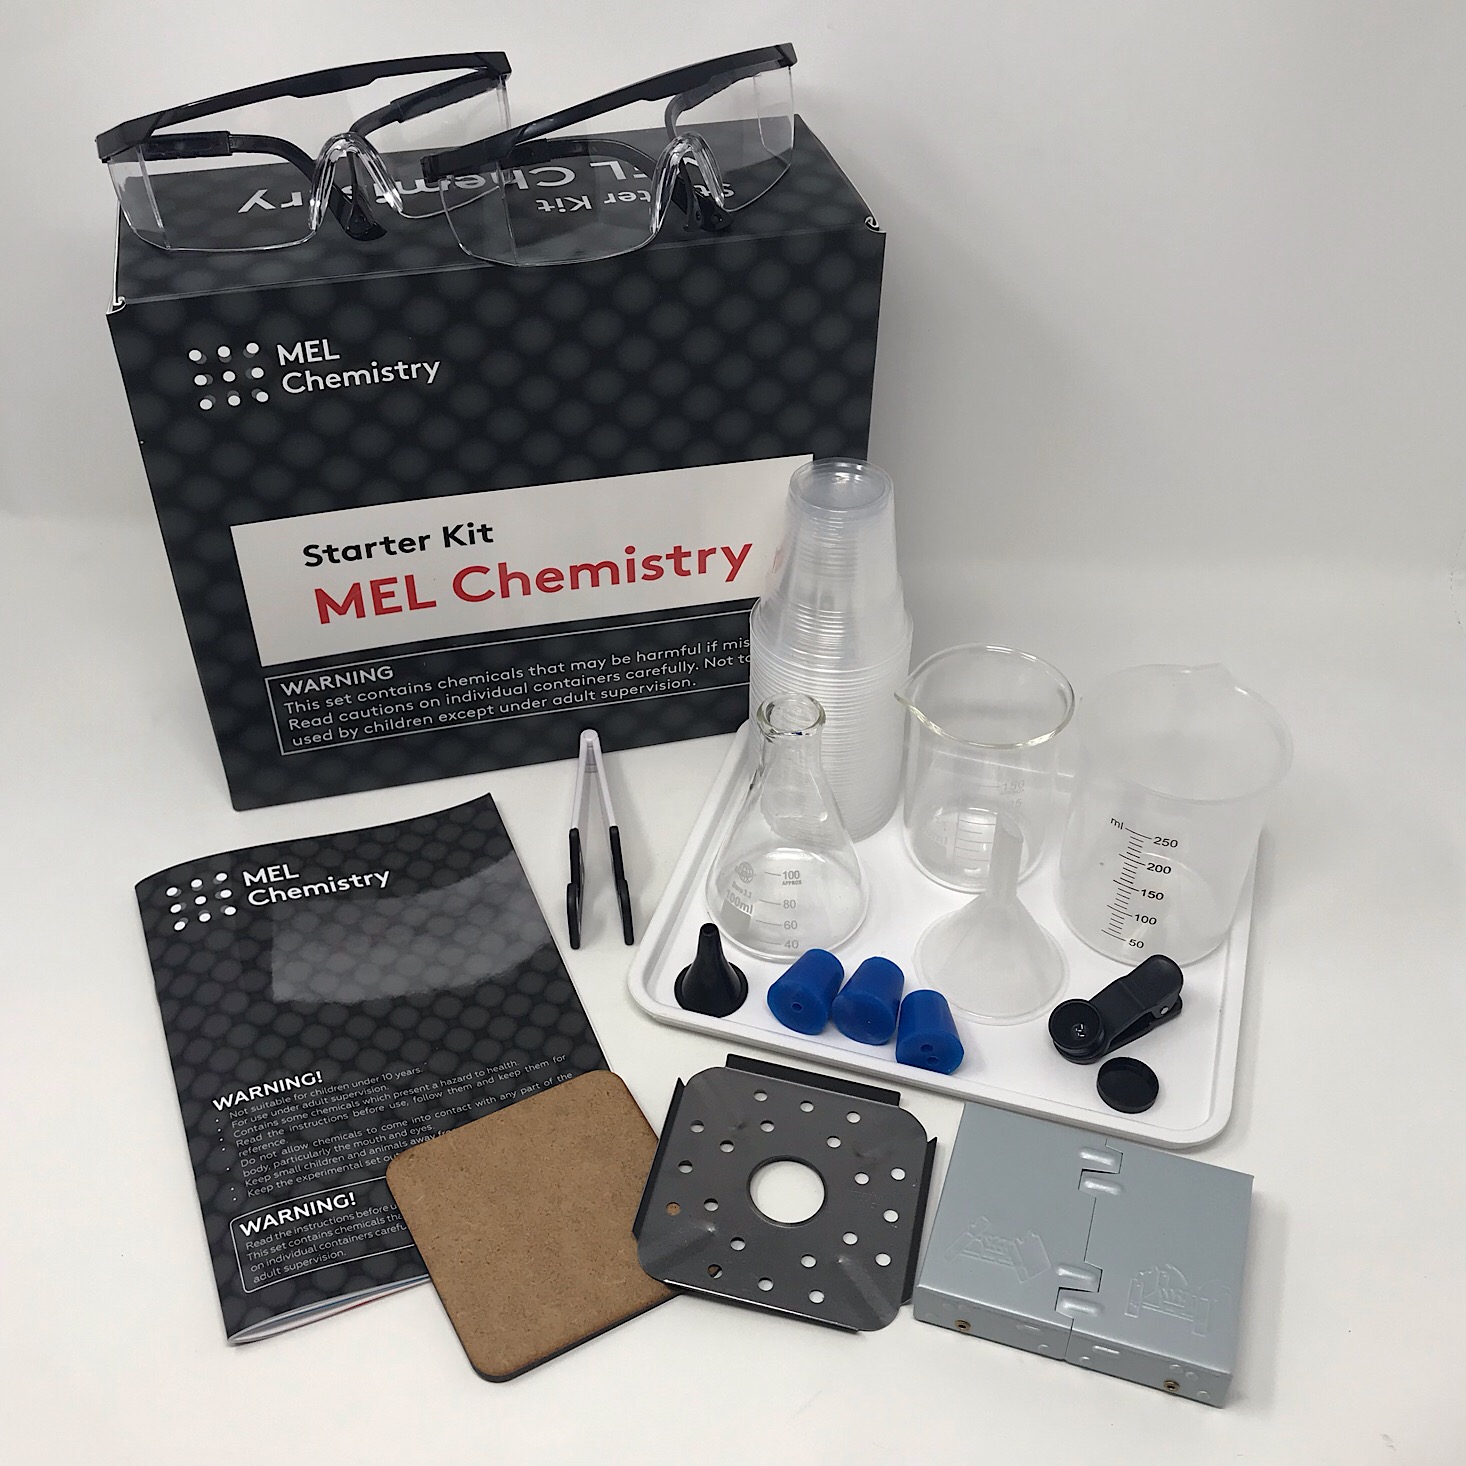
Starter Kit
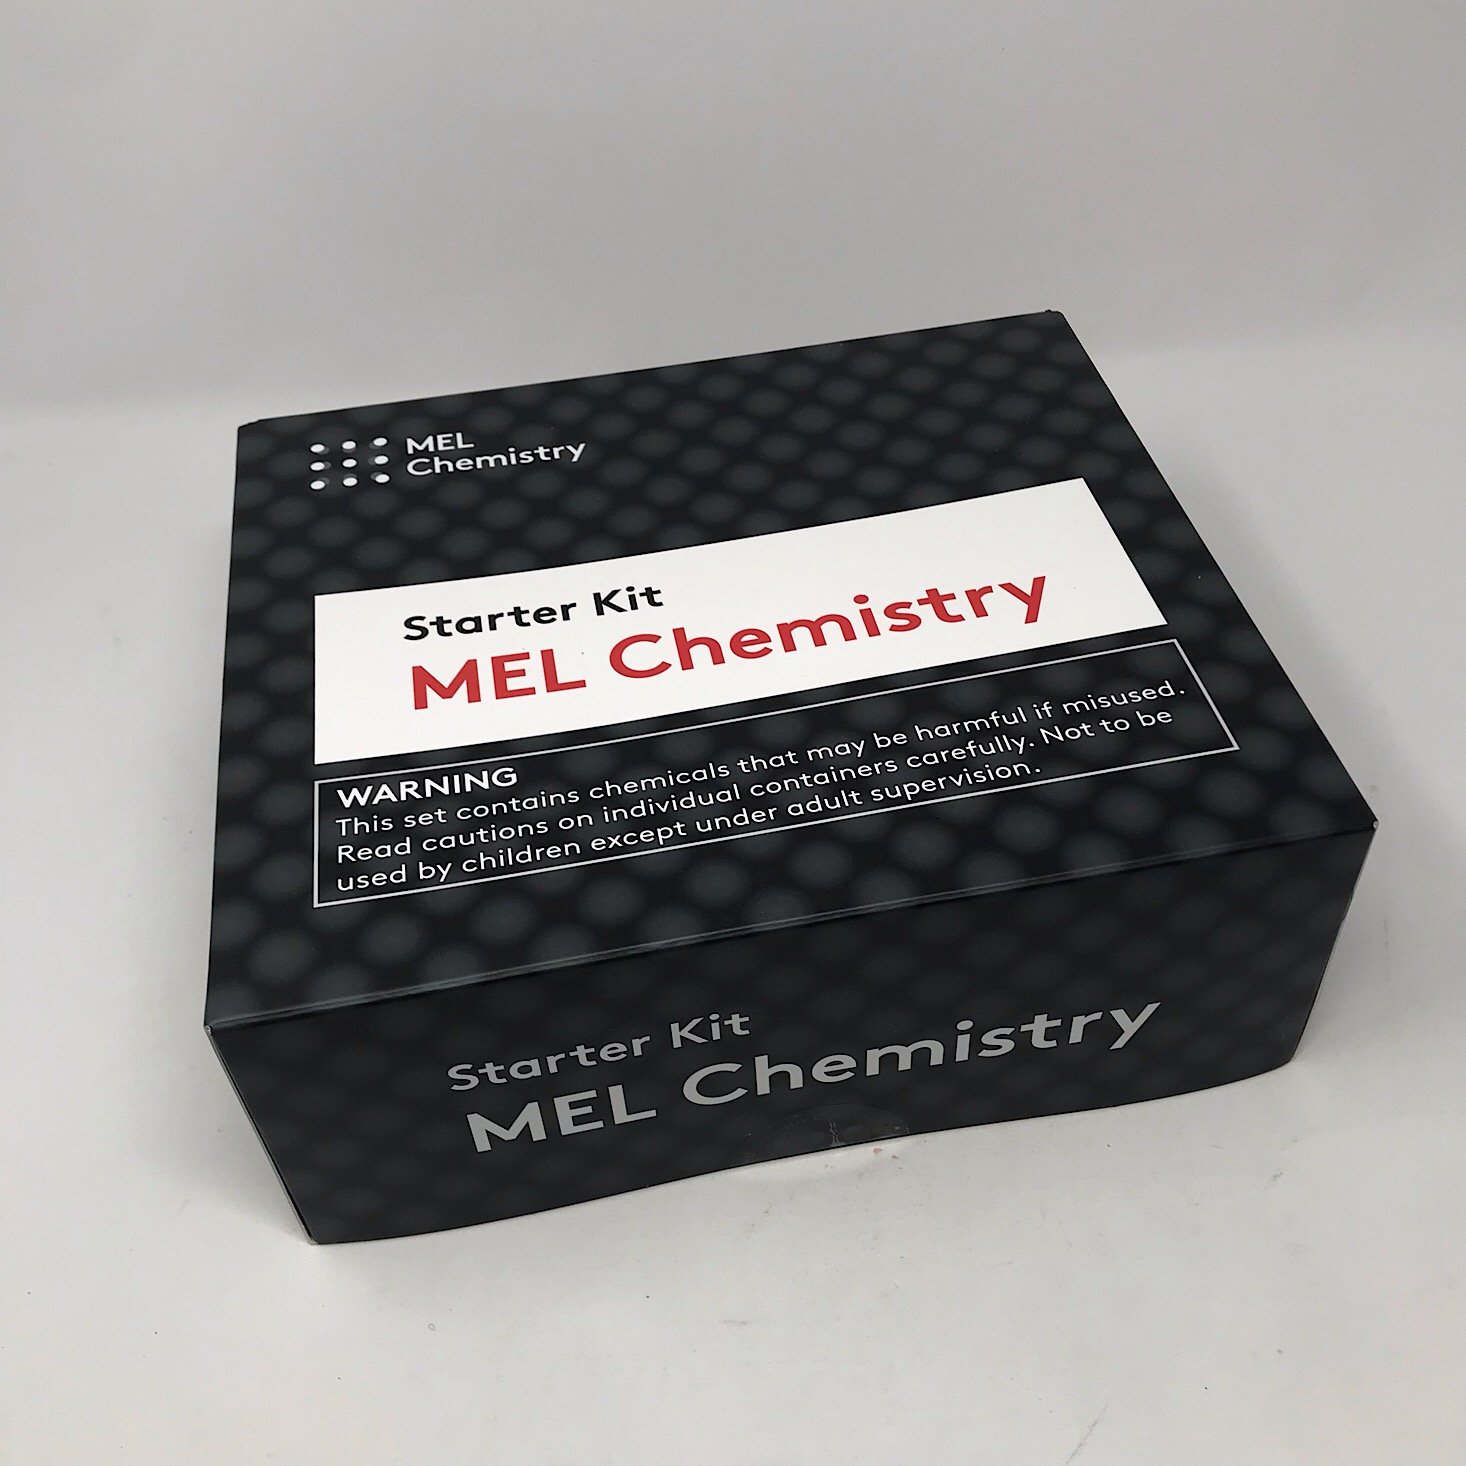
Your free starter kit (valued at $50) will come in your first shipment. It includes all of the equipment you'll need to conduct your experiments each month and even includes some accessories for your tablet or smartphone to help you access all of the information they provide in their apps. To see more details about everything we received in our kit, you can check out our review here!
VR Headset
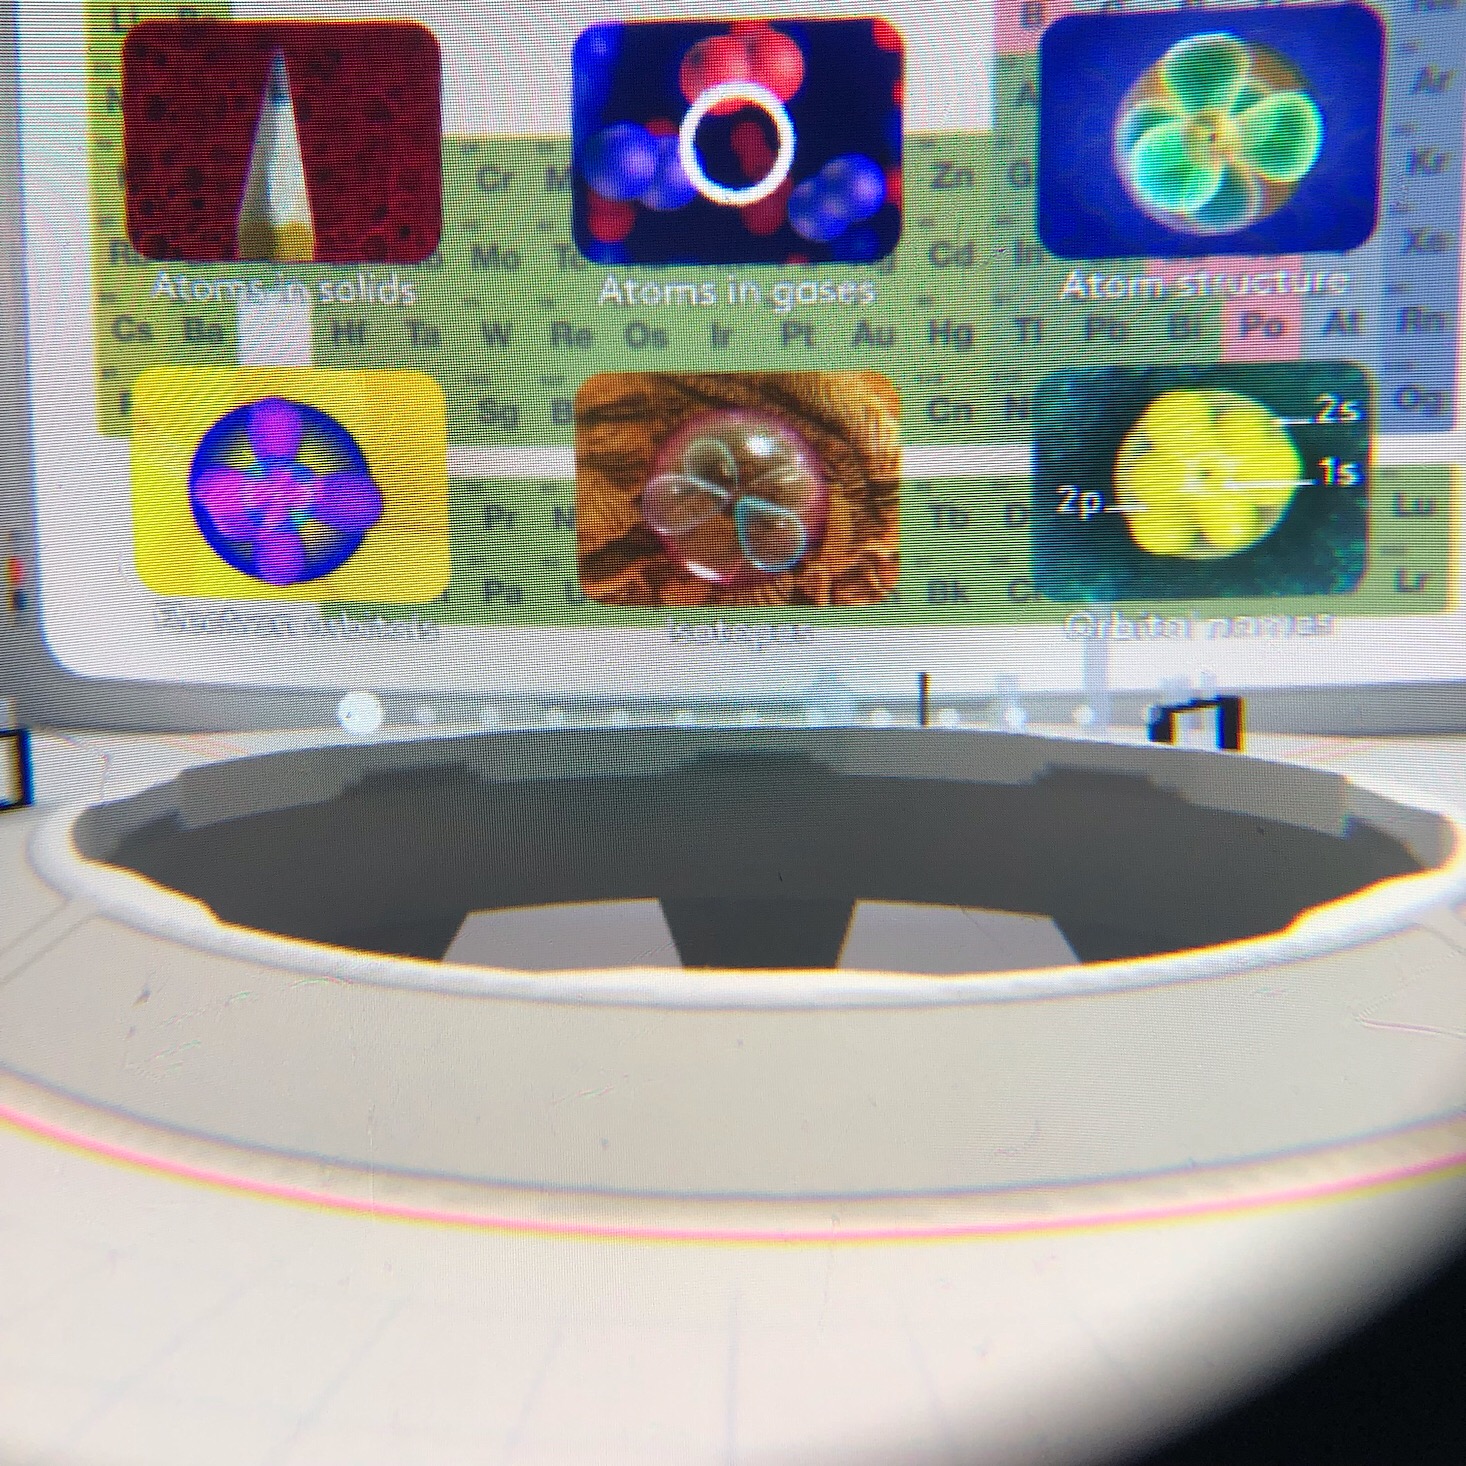
Also included with our Starter Kit was this virtual reality headset. This cardboard headset folds up easily and then you slip your phone into the slot and use their free MEL VR app.
The VR app opens up in a lab where we have the opportunity to learn about different molecules and atoms and explore them closely. This is so great for gaining a deeper understanding of what happens throughout our experiments and as a fun extension to our lessons!
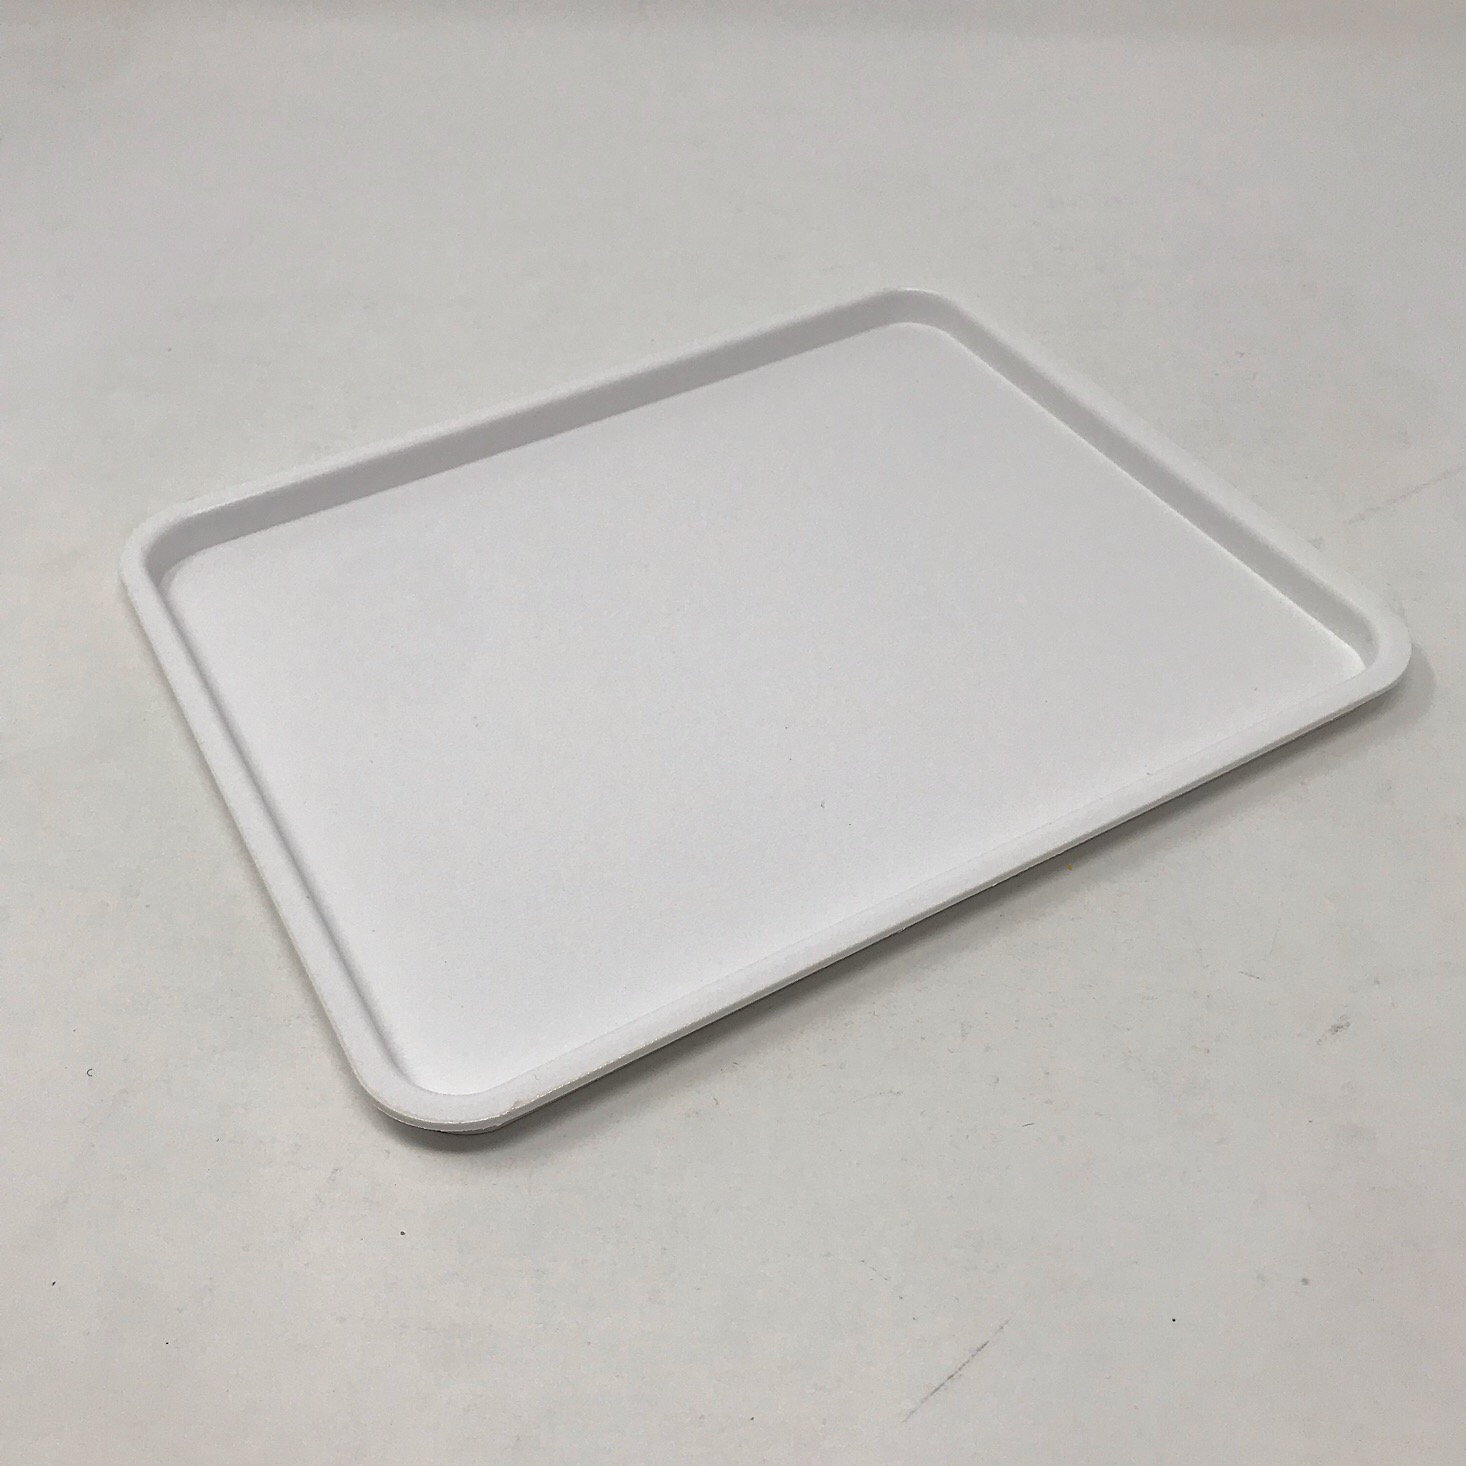
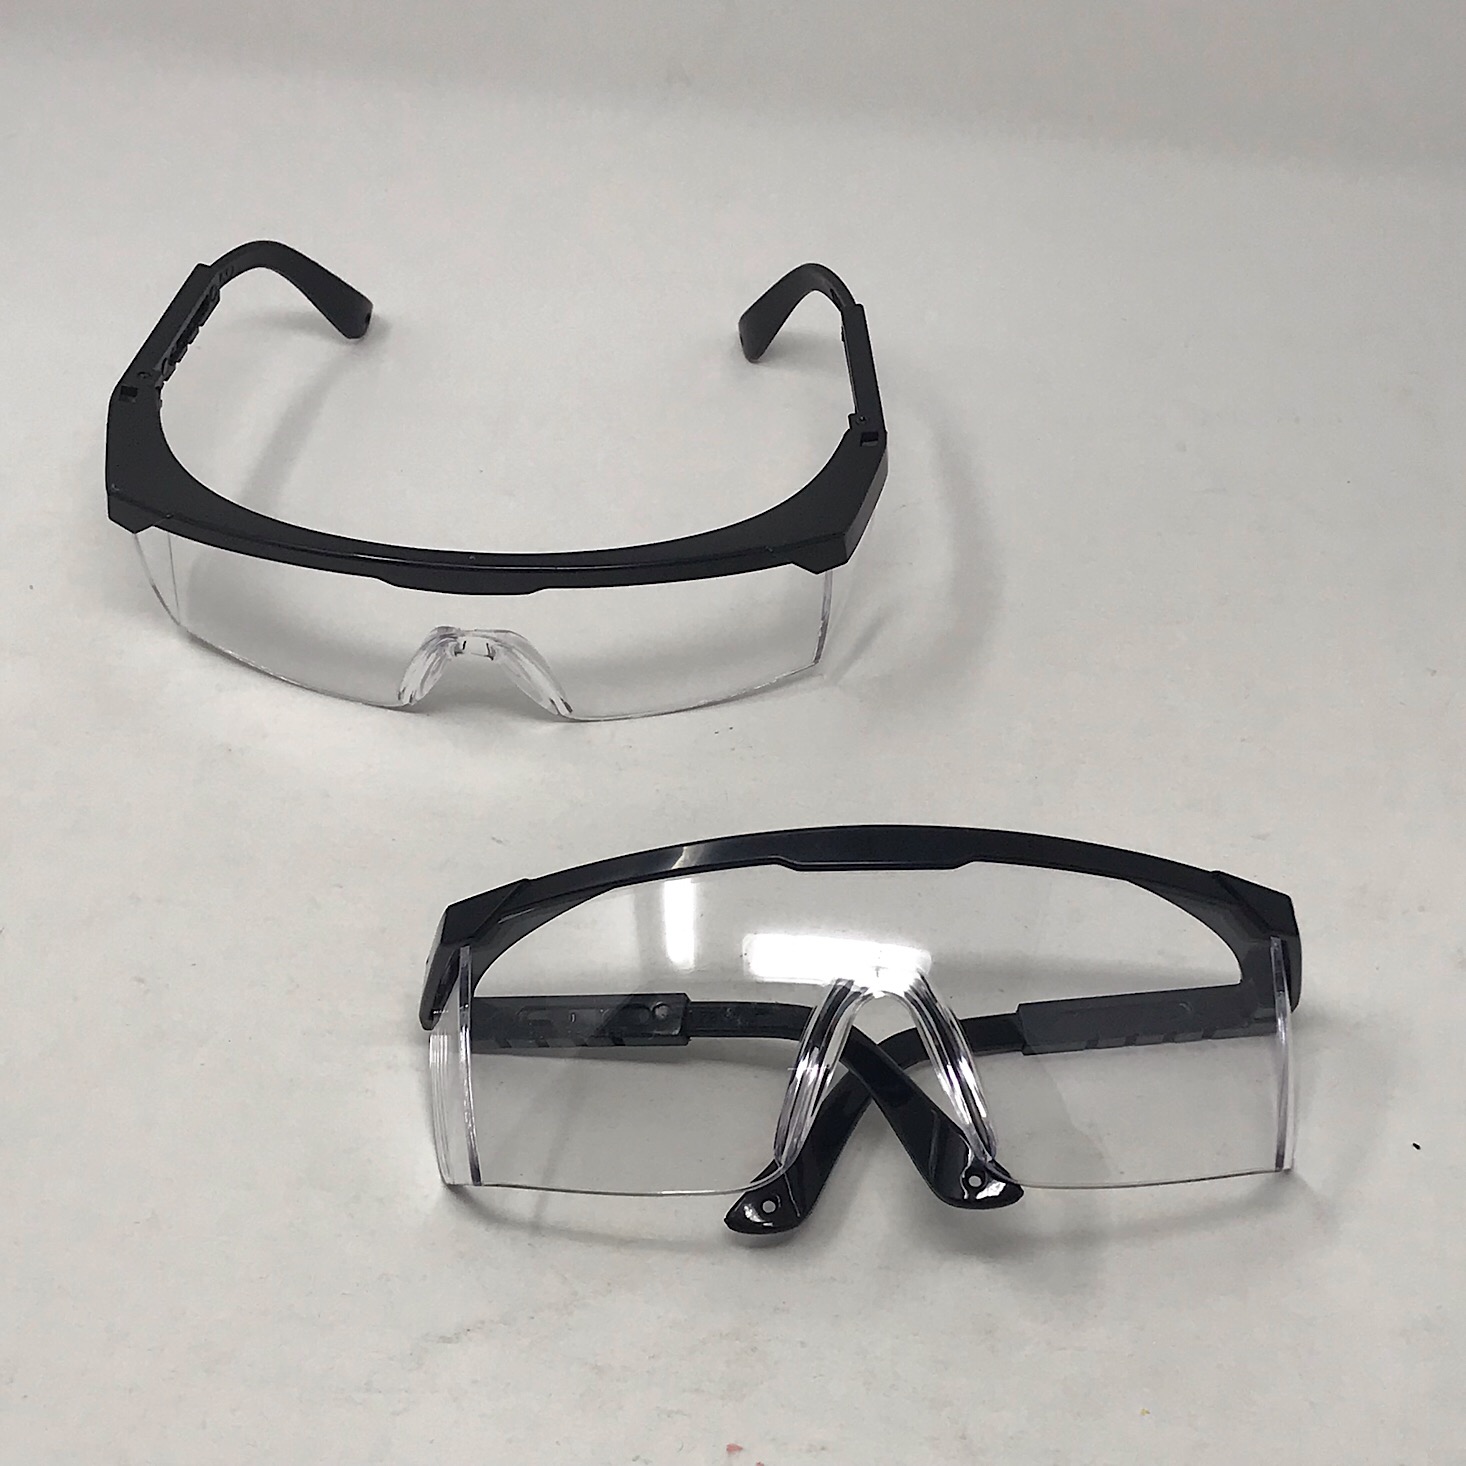
The first three items are those that we need each month: a tray to work on, our safety goggles, and our phone/tablet stand.
This month we needed our beaker and some plastic cups from our kit.
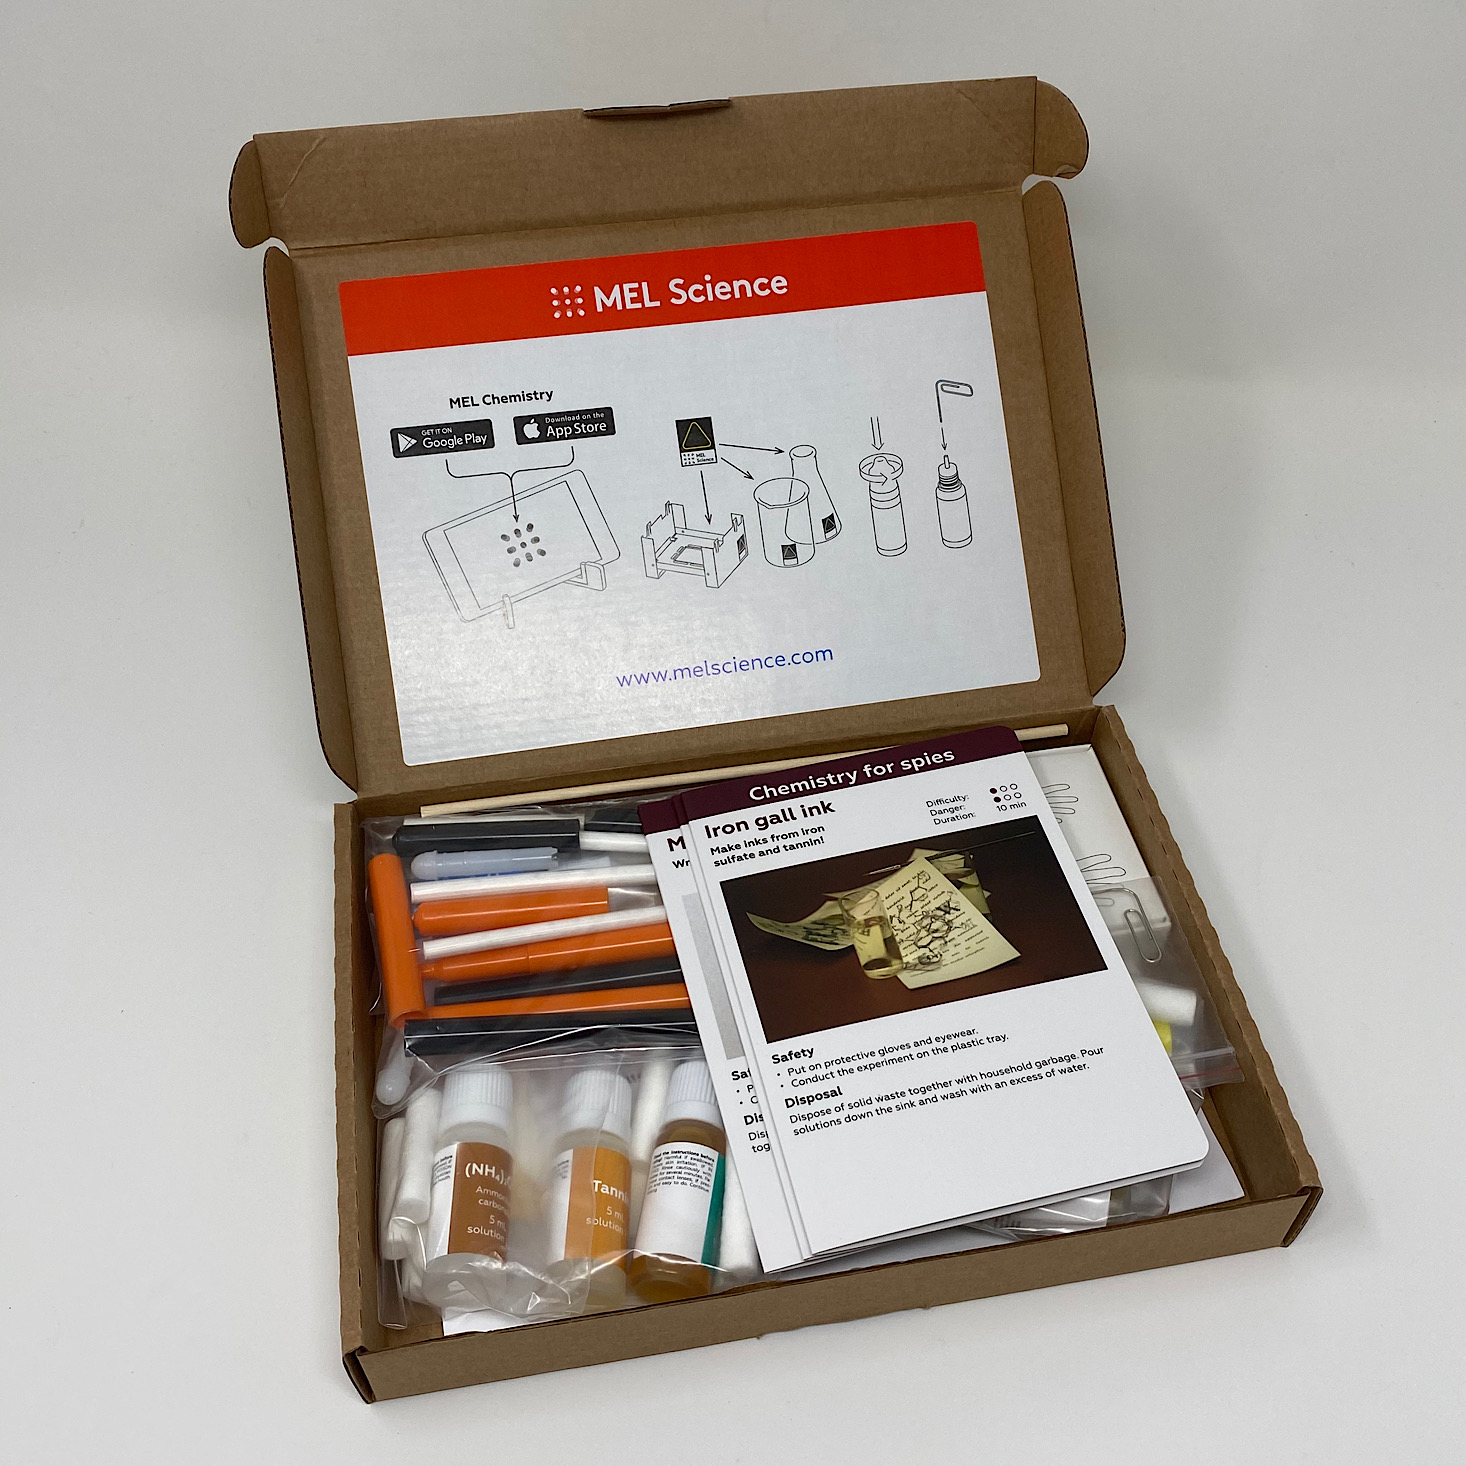
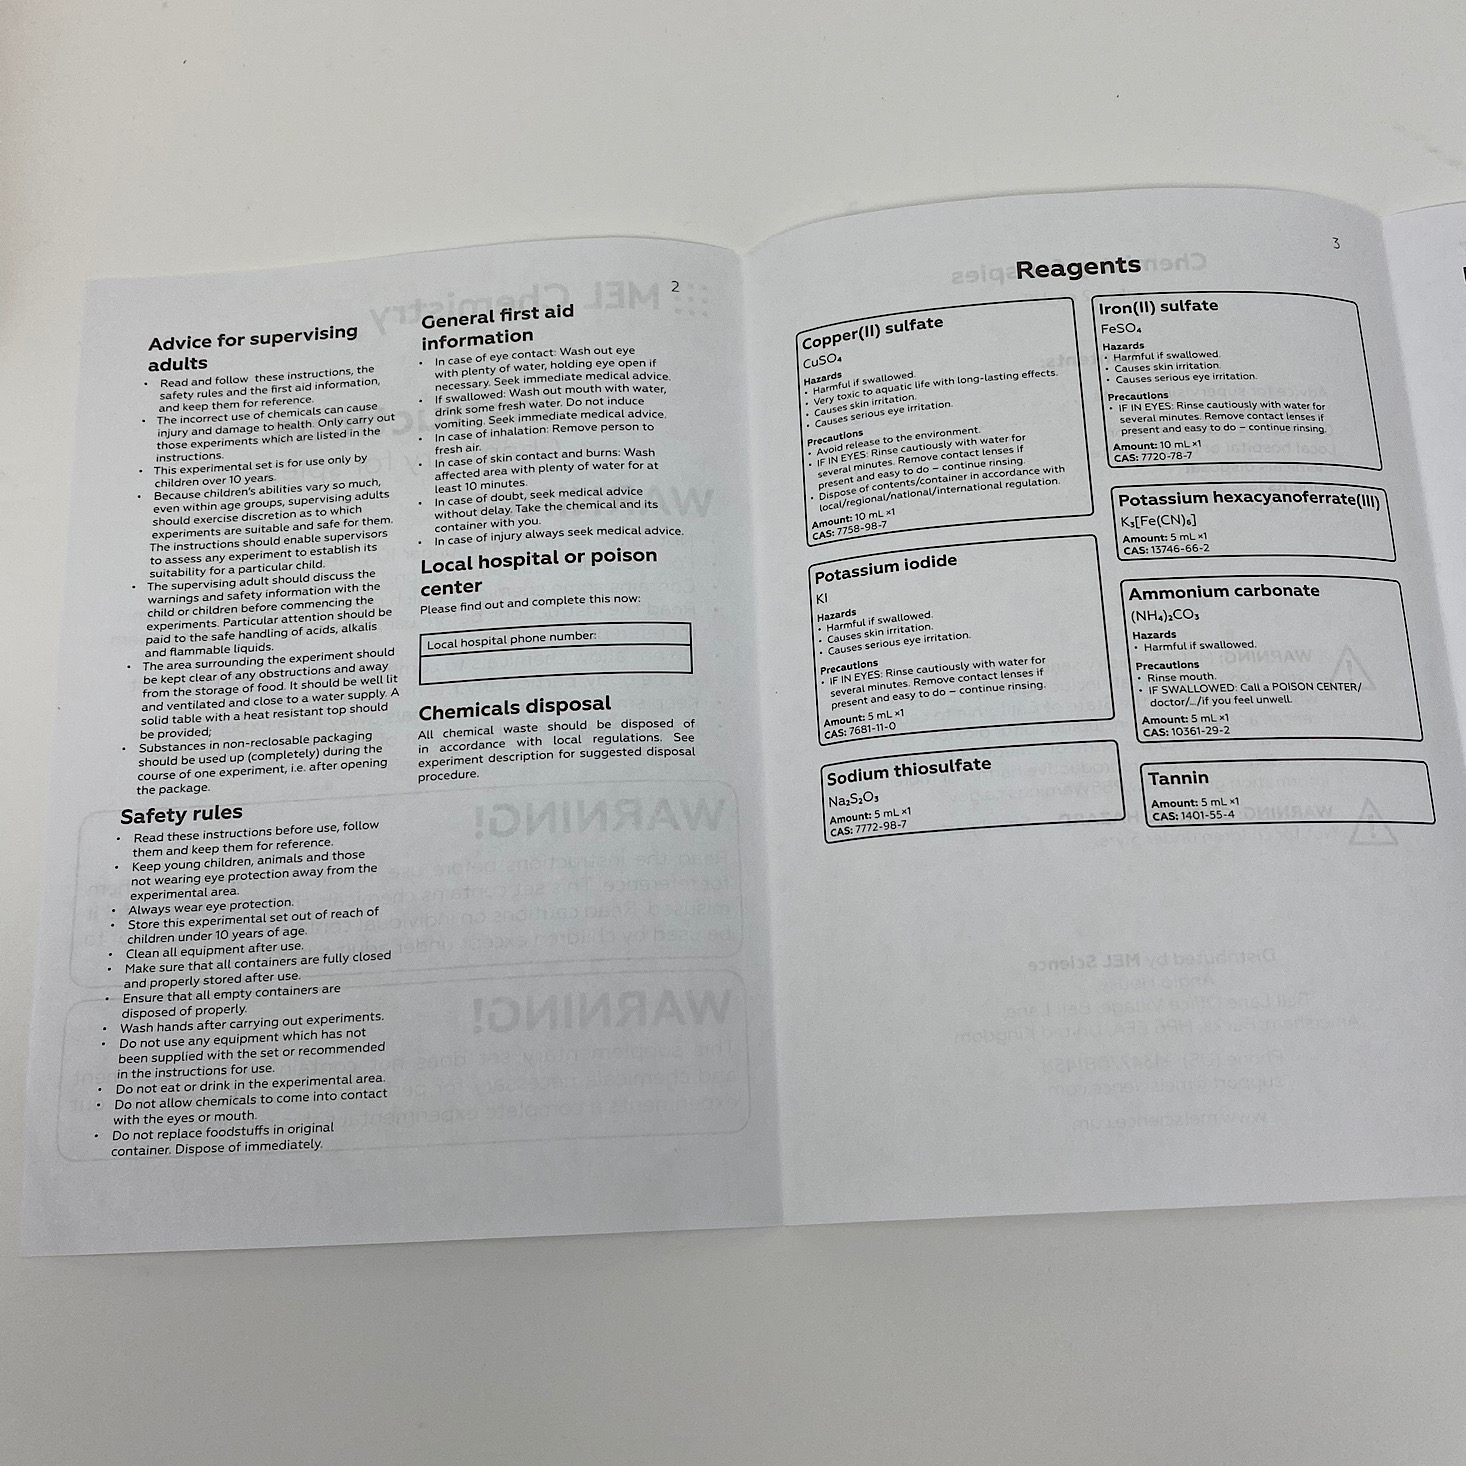
Inside our box was an instruction sheet for the parents including some safety warnings, advice, and general first aid information. The directions for the projects are pretty thorough and can be found in this booklet, on the individual experiment cards or in the app. Having this separate sheet for the parents is great so kids can work independently, but parents can also follow along for supervising.
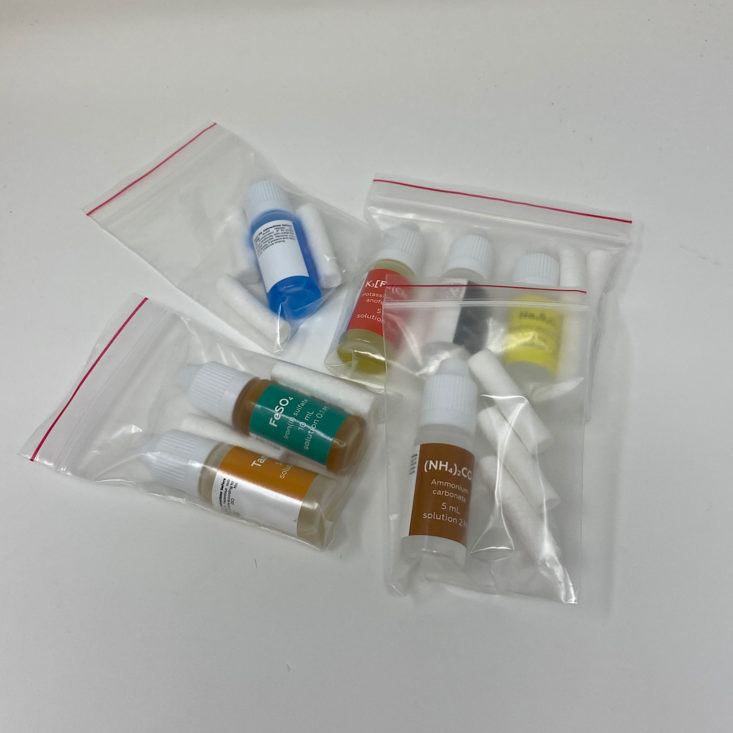
The projects come neatly organized with all of our reagents neatly stored in plastic bags with absorbers in each to help in case of any spills. Let's get to our first experiment!
Experiment 1: Iron Gall Ink
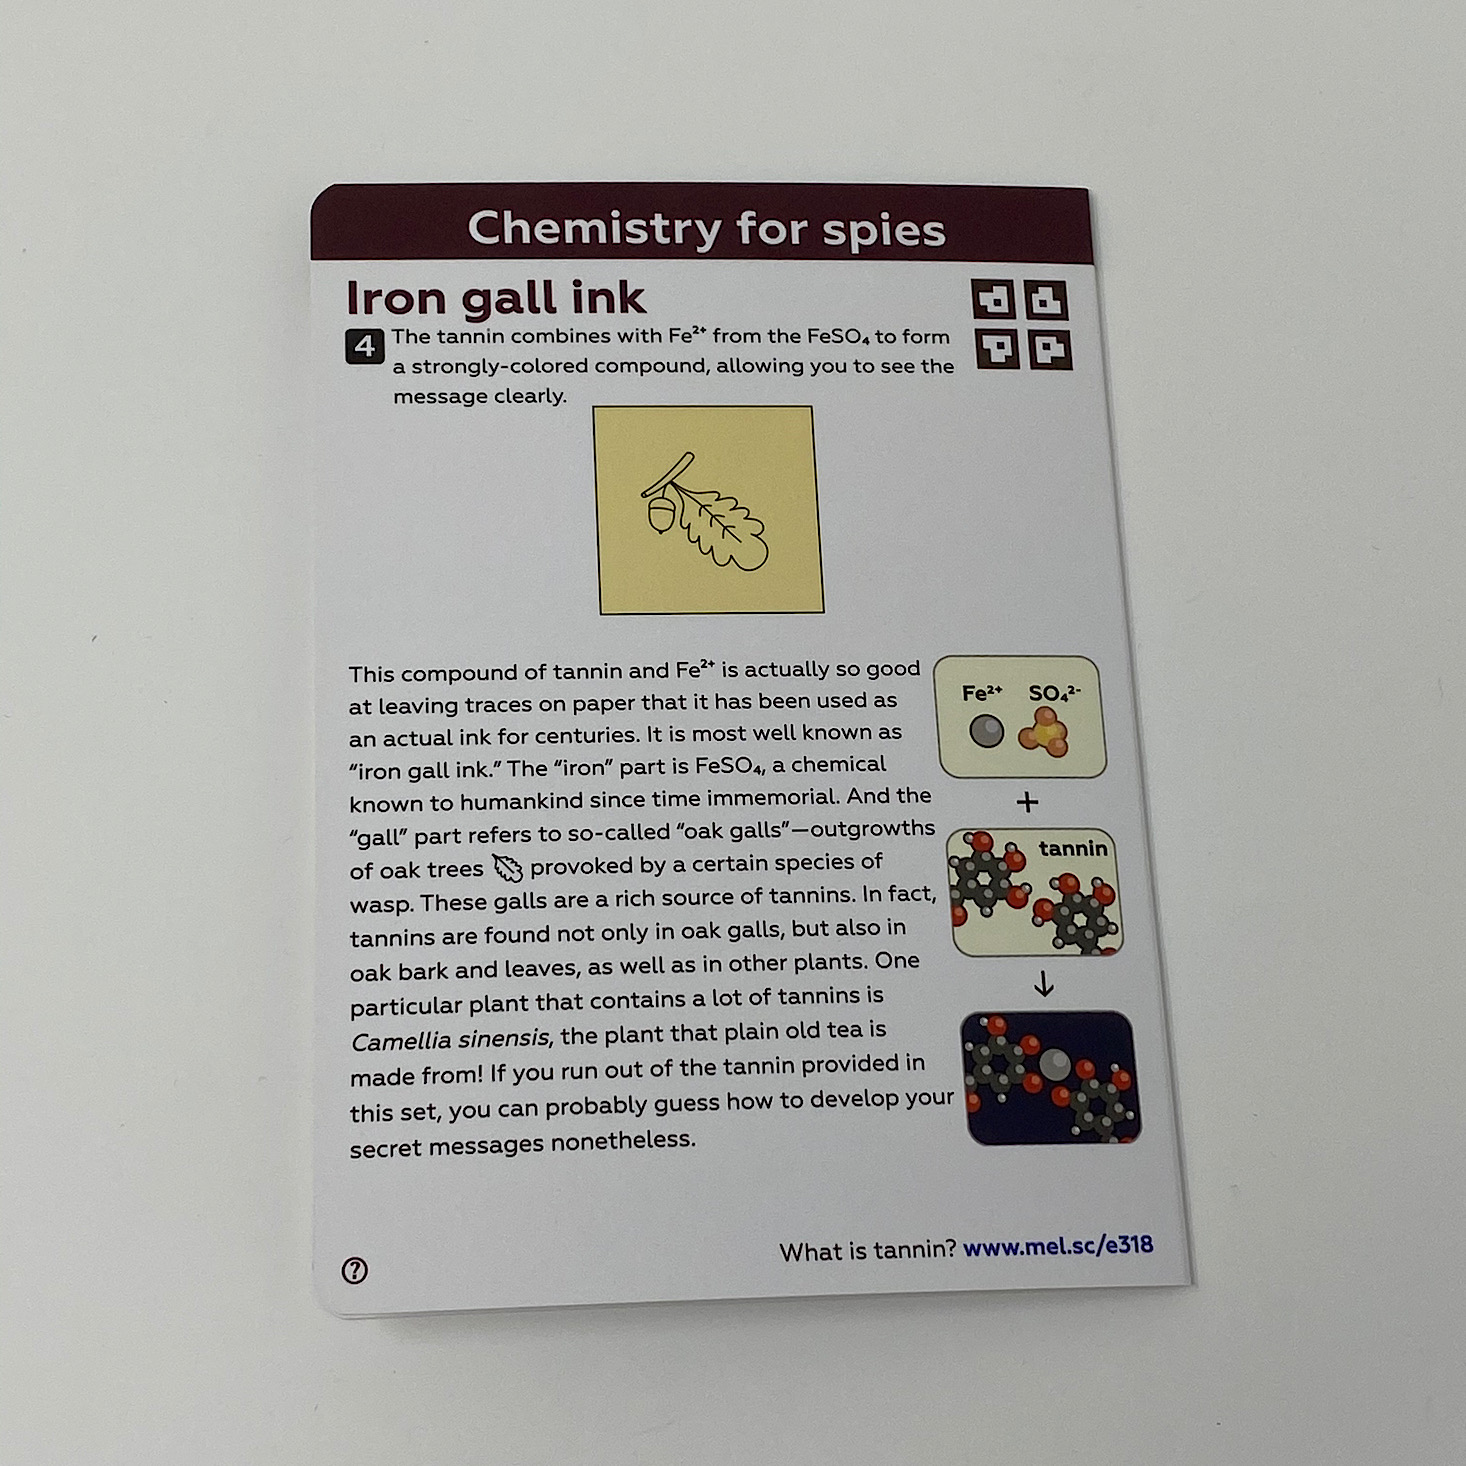
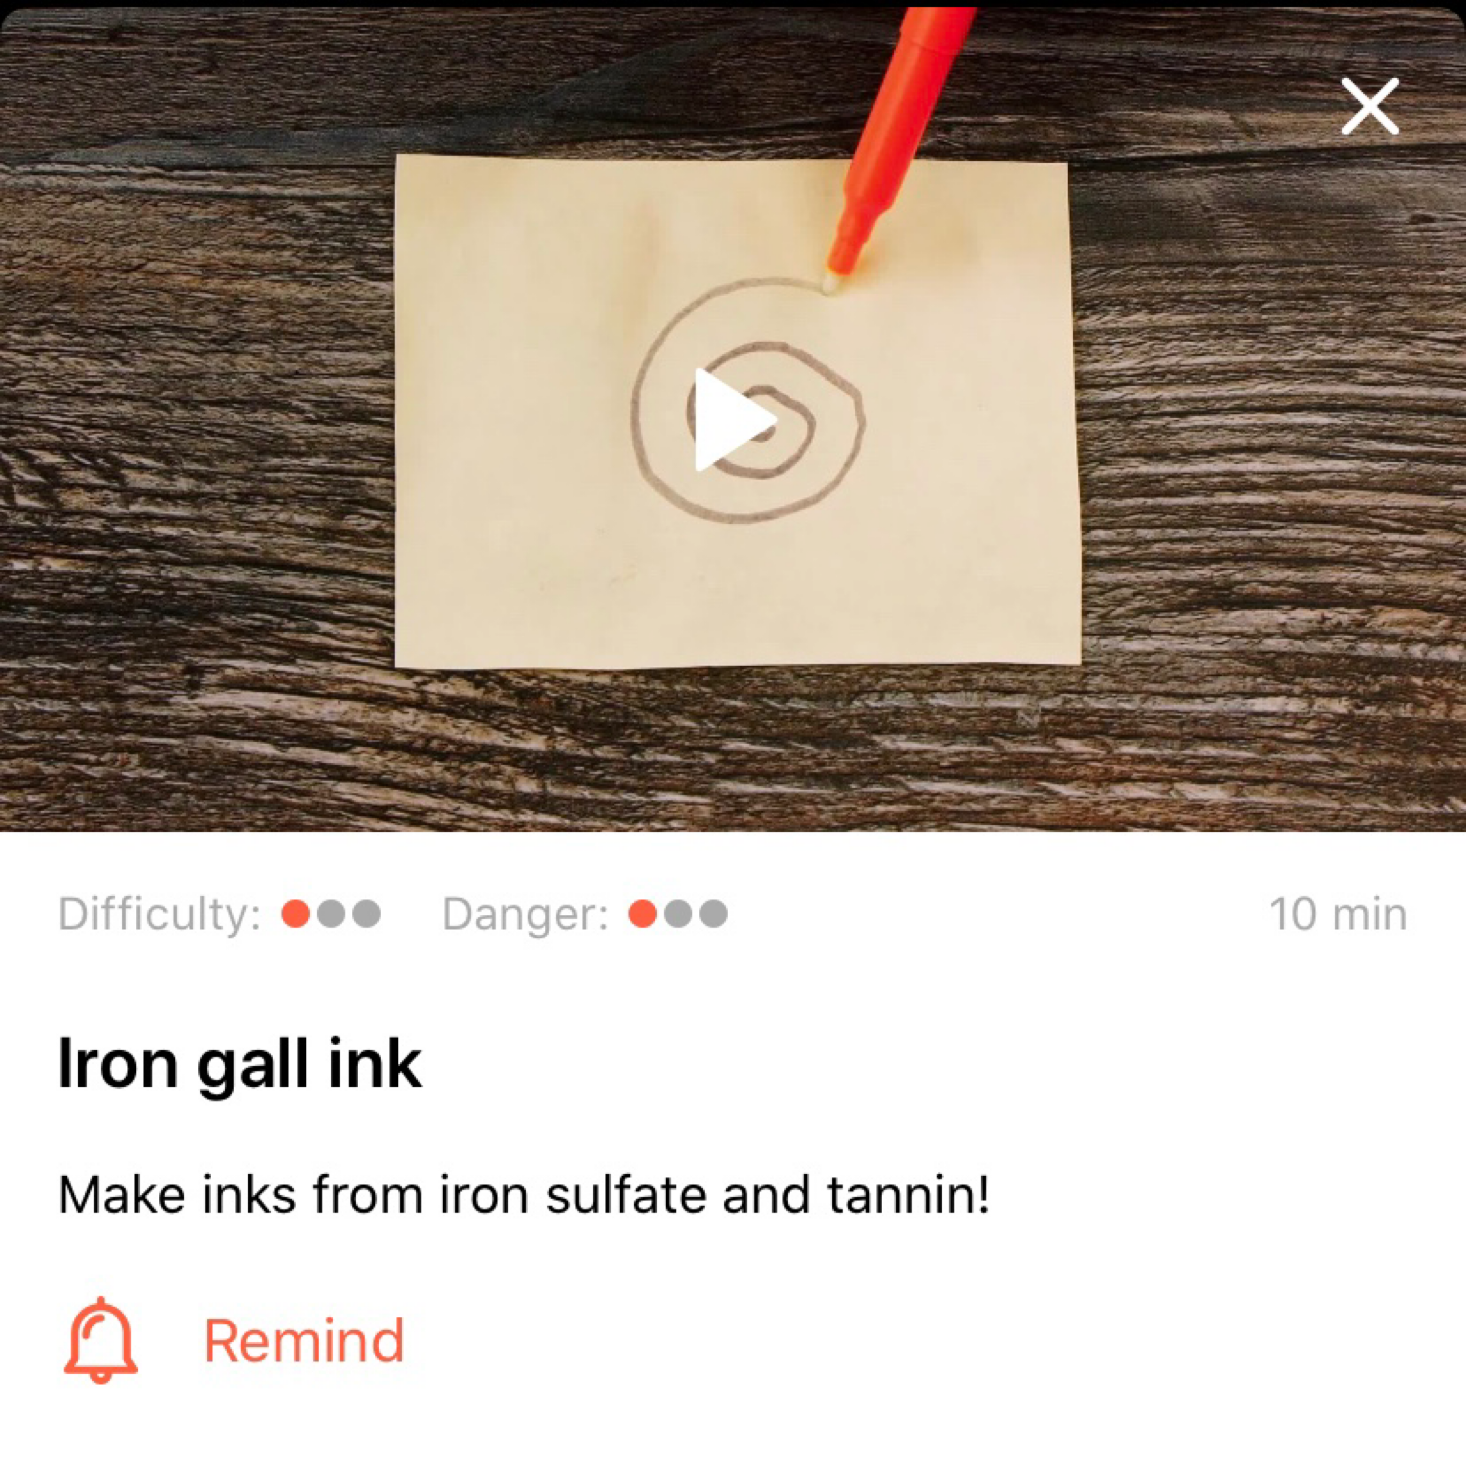
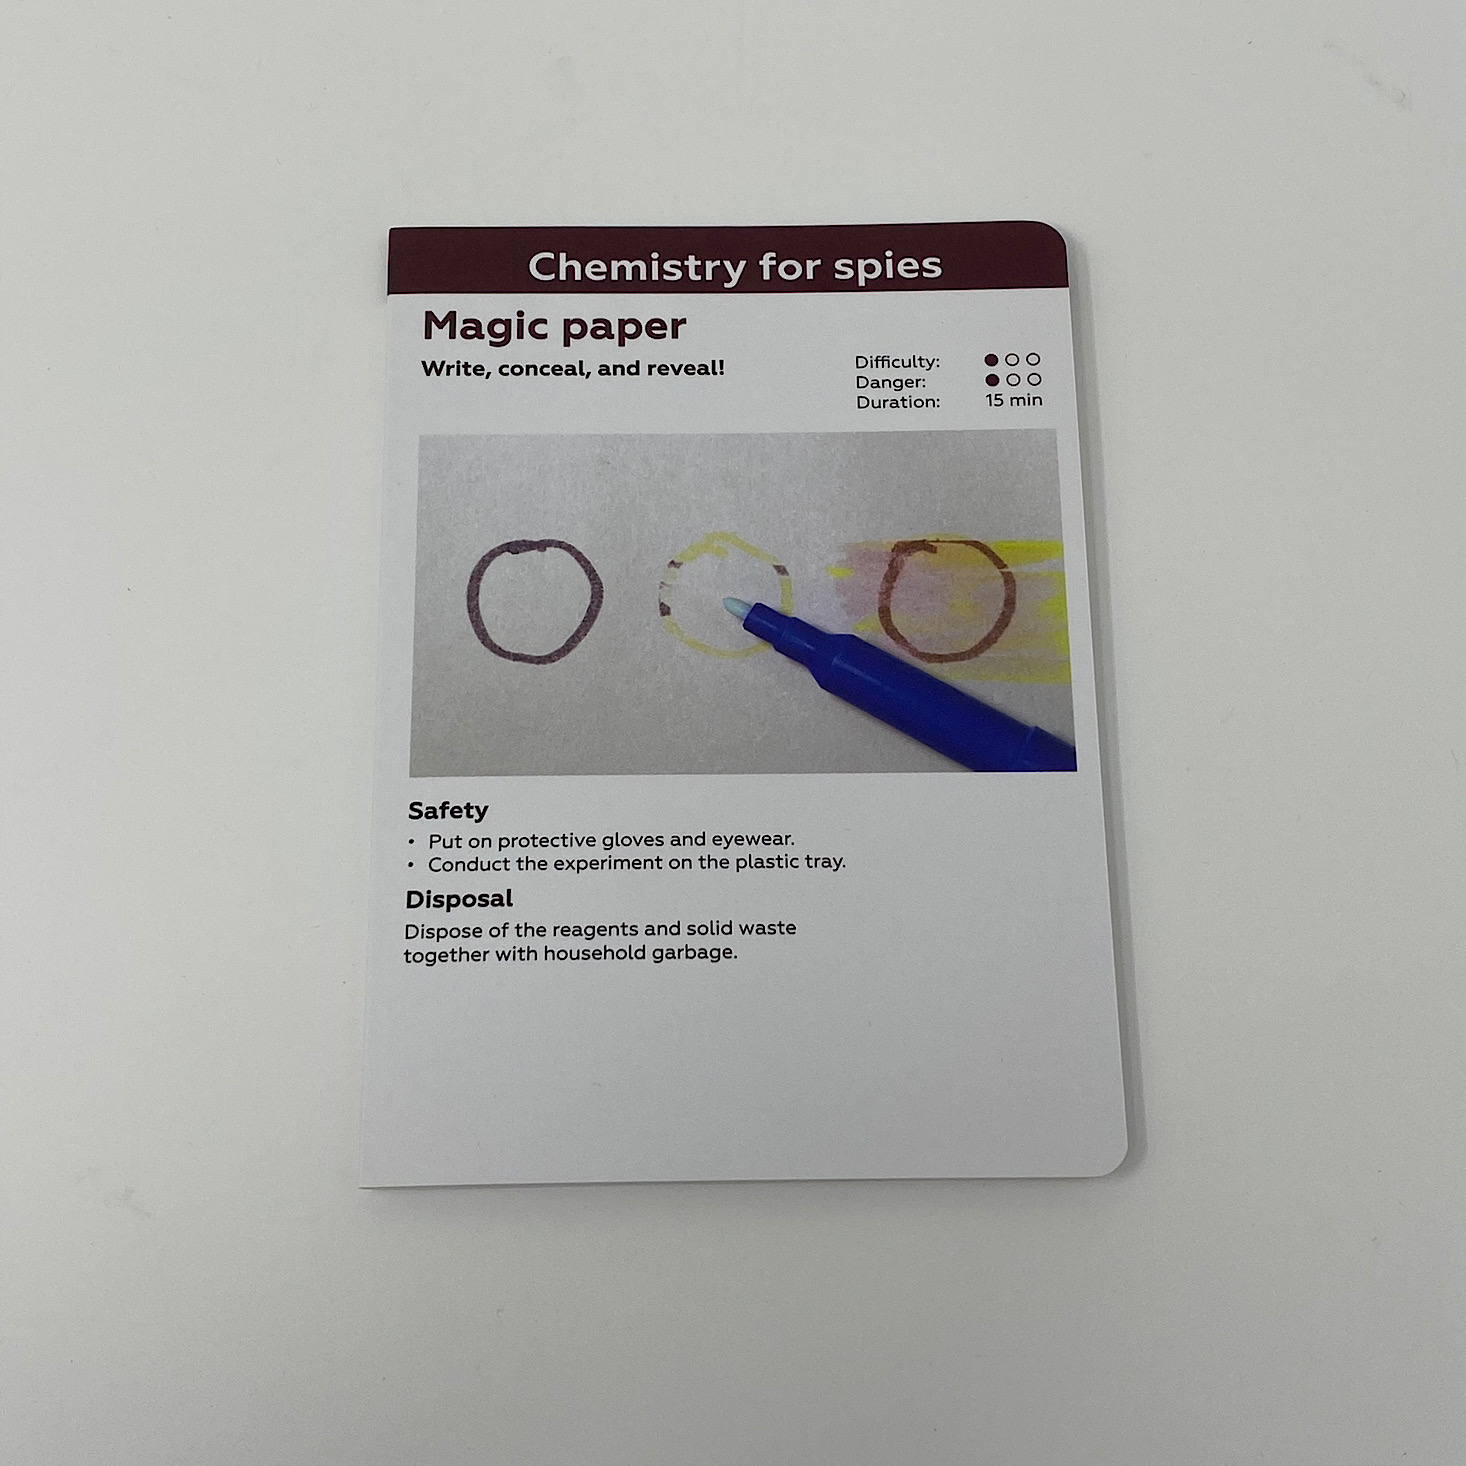
Our first experiment was titled "Iron Gall Ink." For each experiment, they provide a card like this one that contains all of the necessary information such as safety, disposal, and the directions complete with colored illustrations. The front gives a brief descriptor of what to expect and also provides a scale to rate the difficulty and danger of the activity as well as the duration. On the back is a little box we can scan with our app which allows us to open directly to the experiment on our phone or tablet. Of course, this is optional since you have everything you need on the experiment card, but I really like the interactiveness of the app instructions.
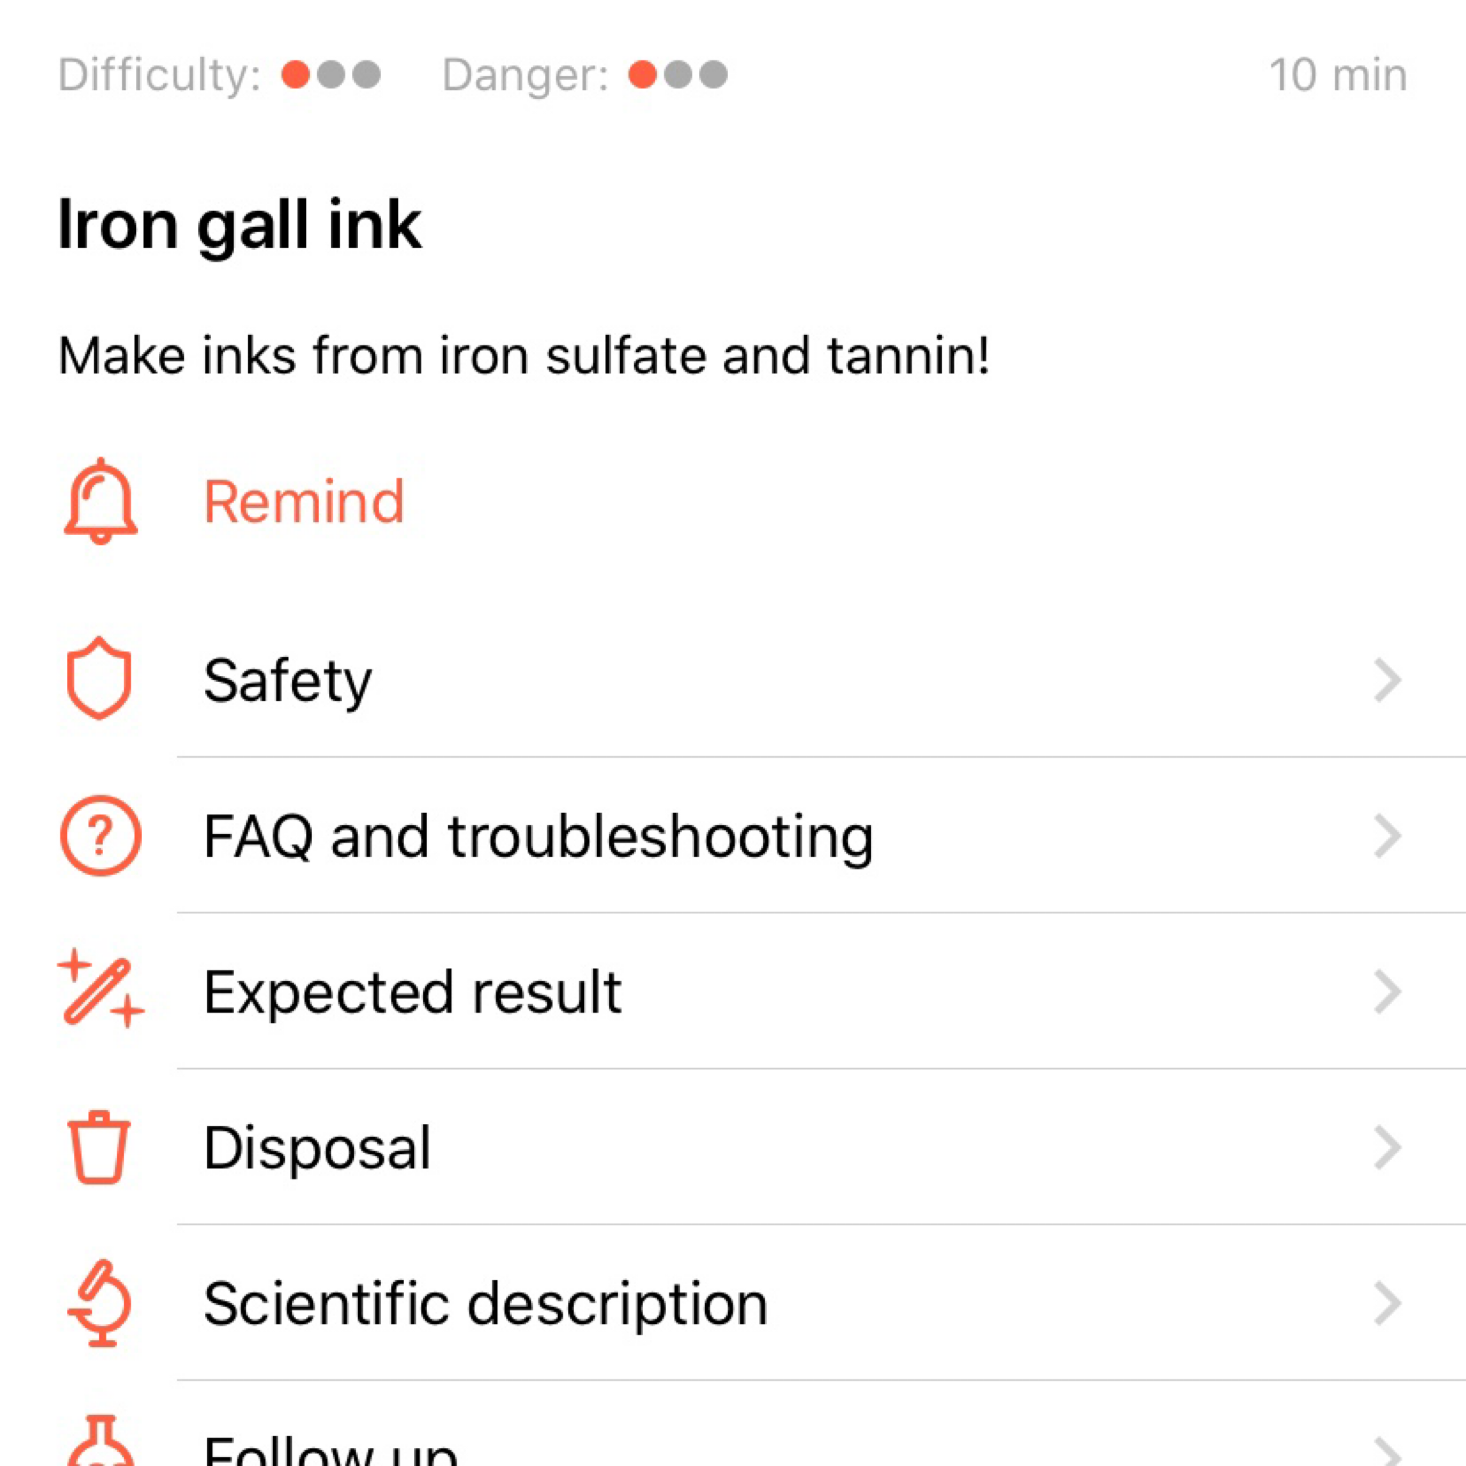
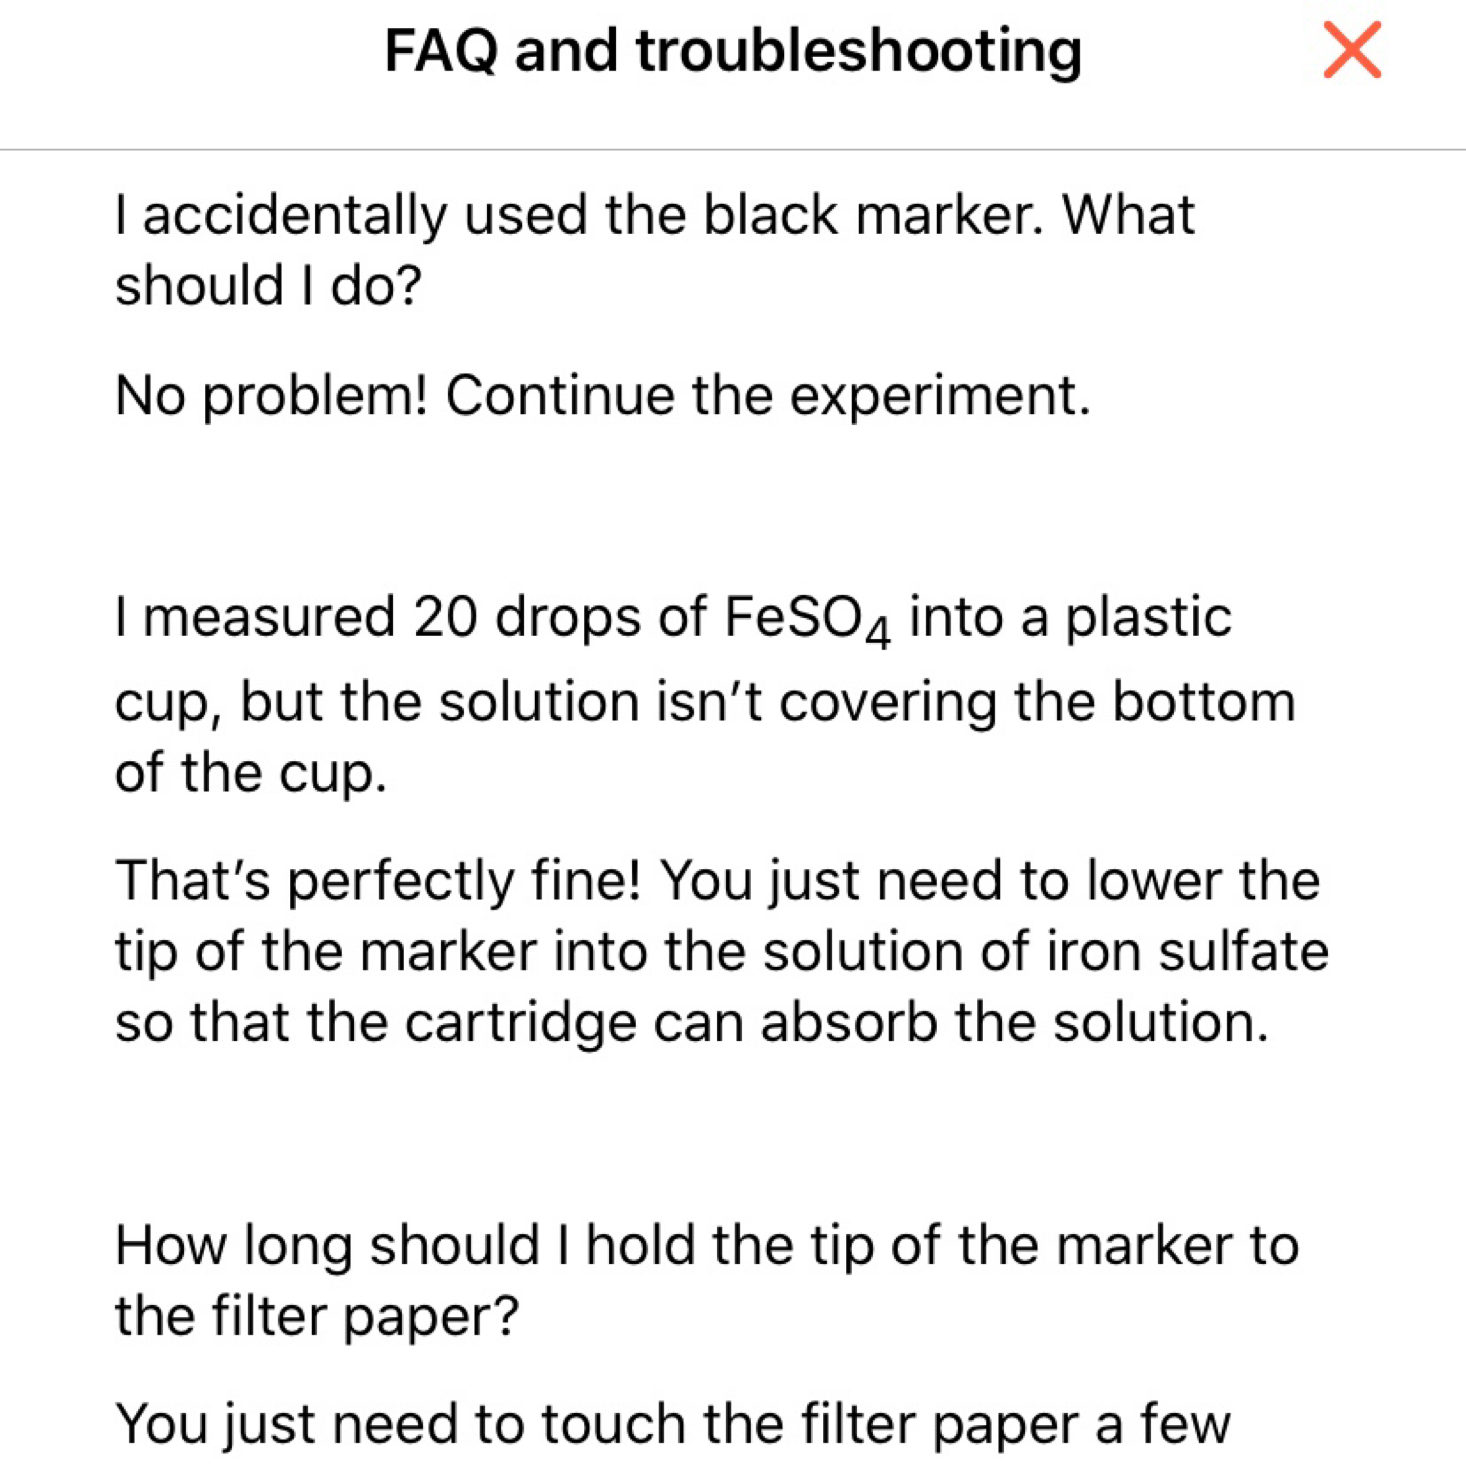
I set the phone in our stand and we clicked the "start experiment" button to begin. They provided information on the expected results, troubleshooting, and even a scientific description of what happens during the experiment. There is also an easy way to set a reminder to conduct your experiment!
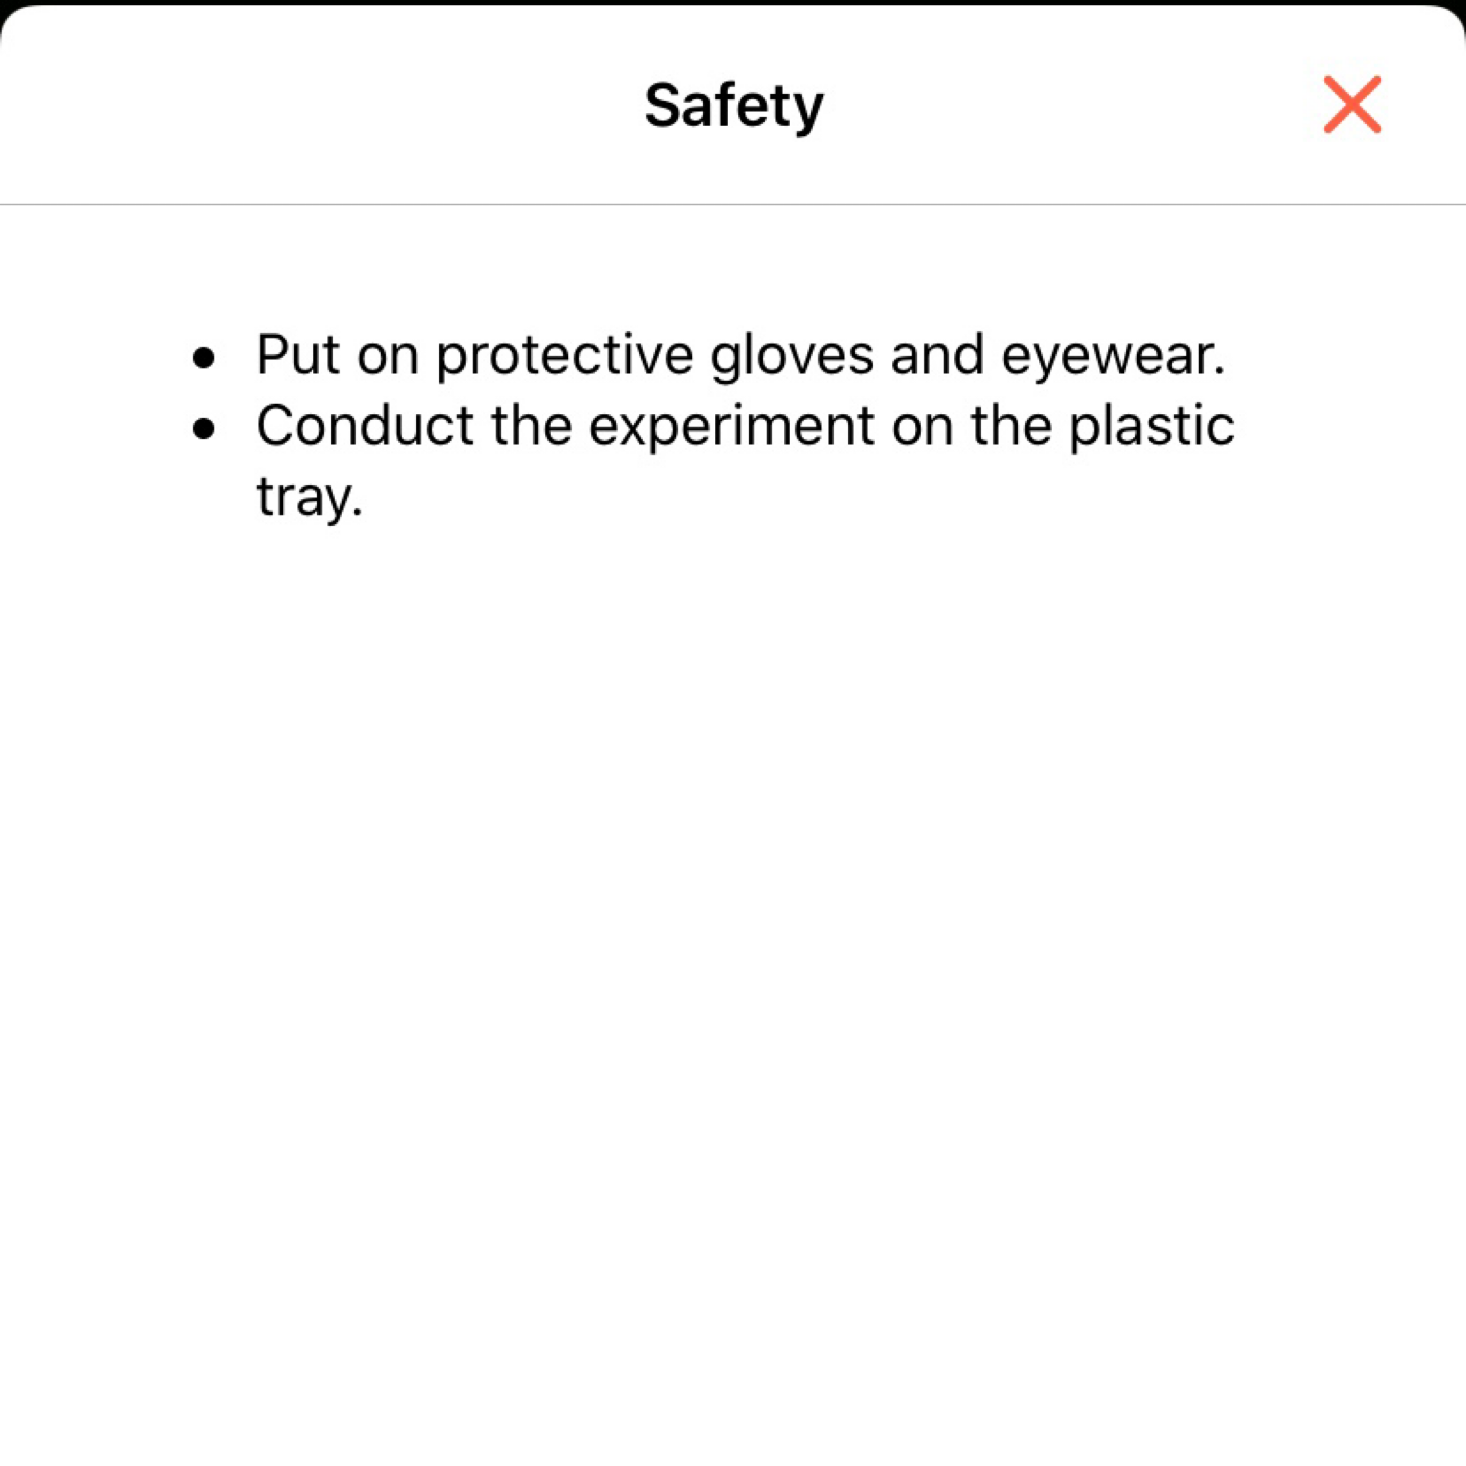
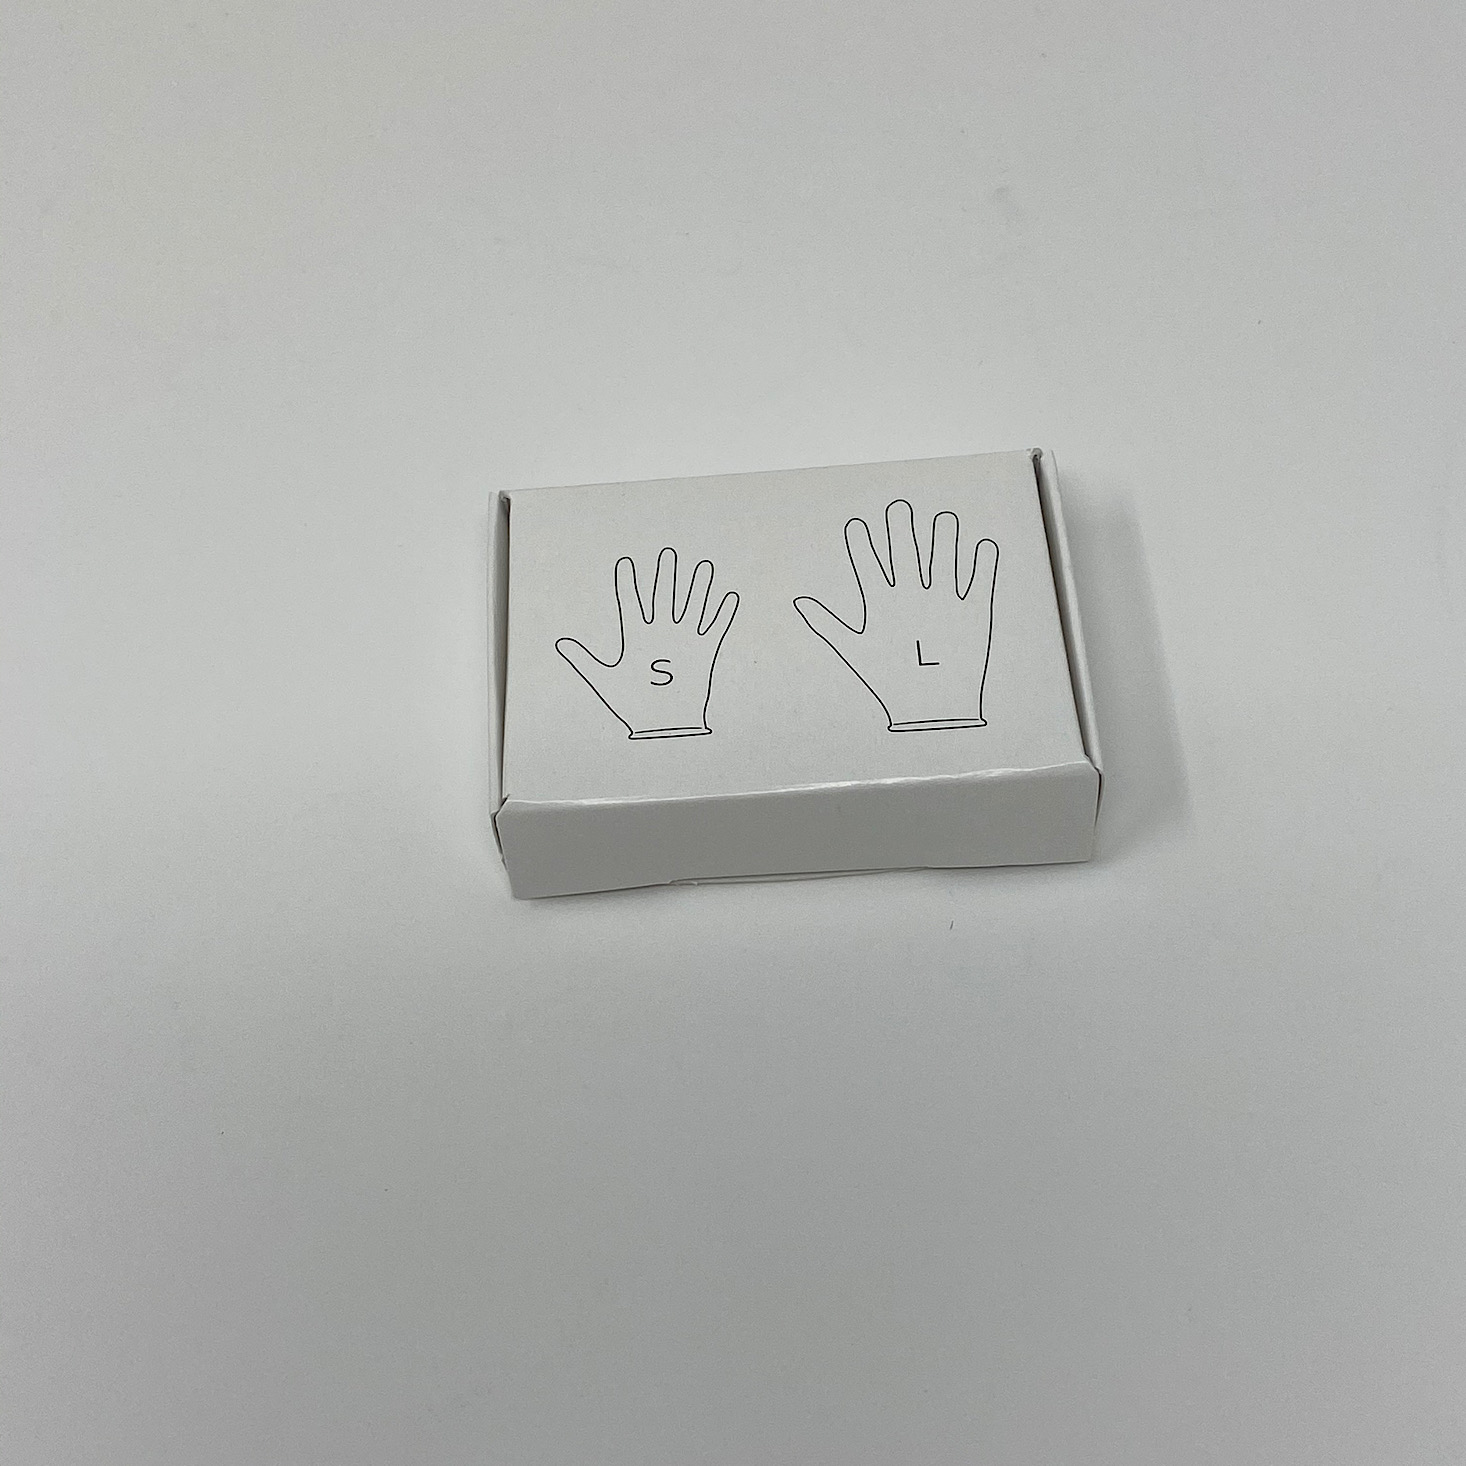
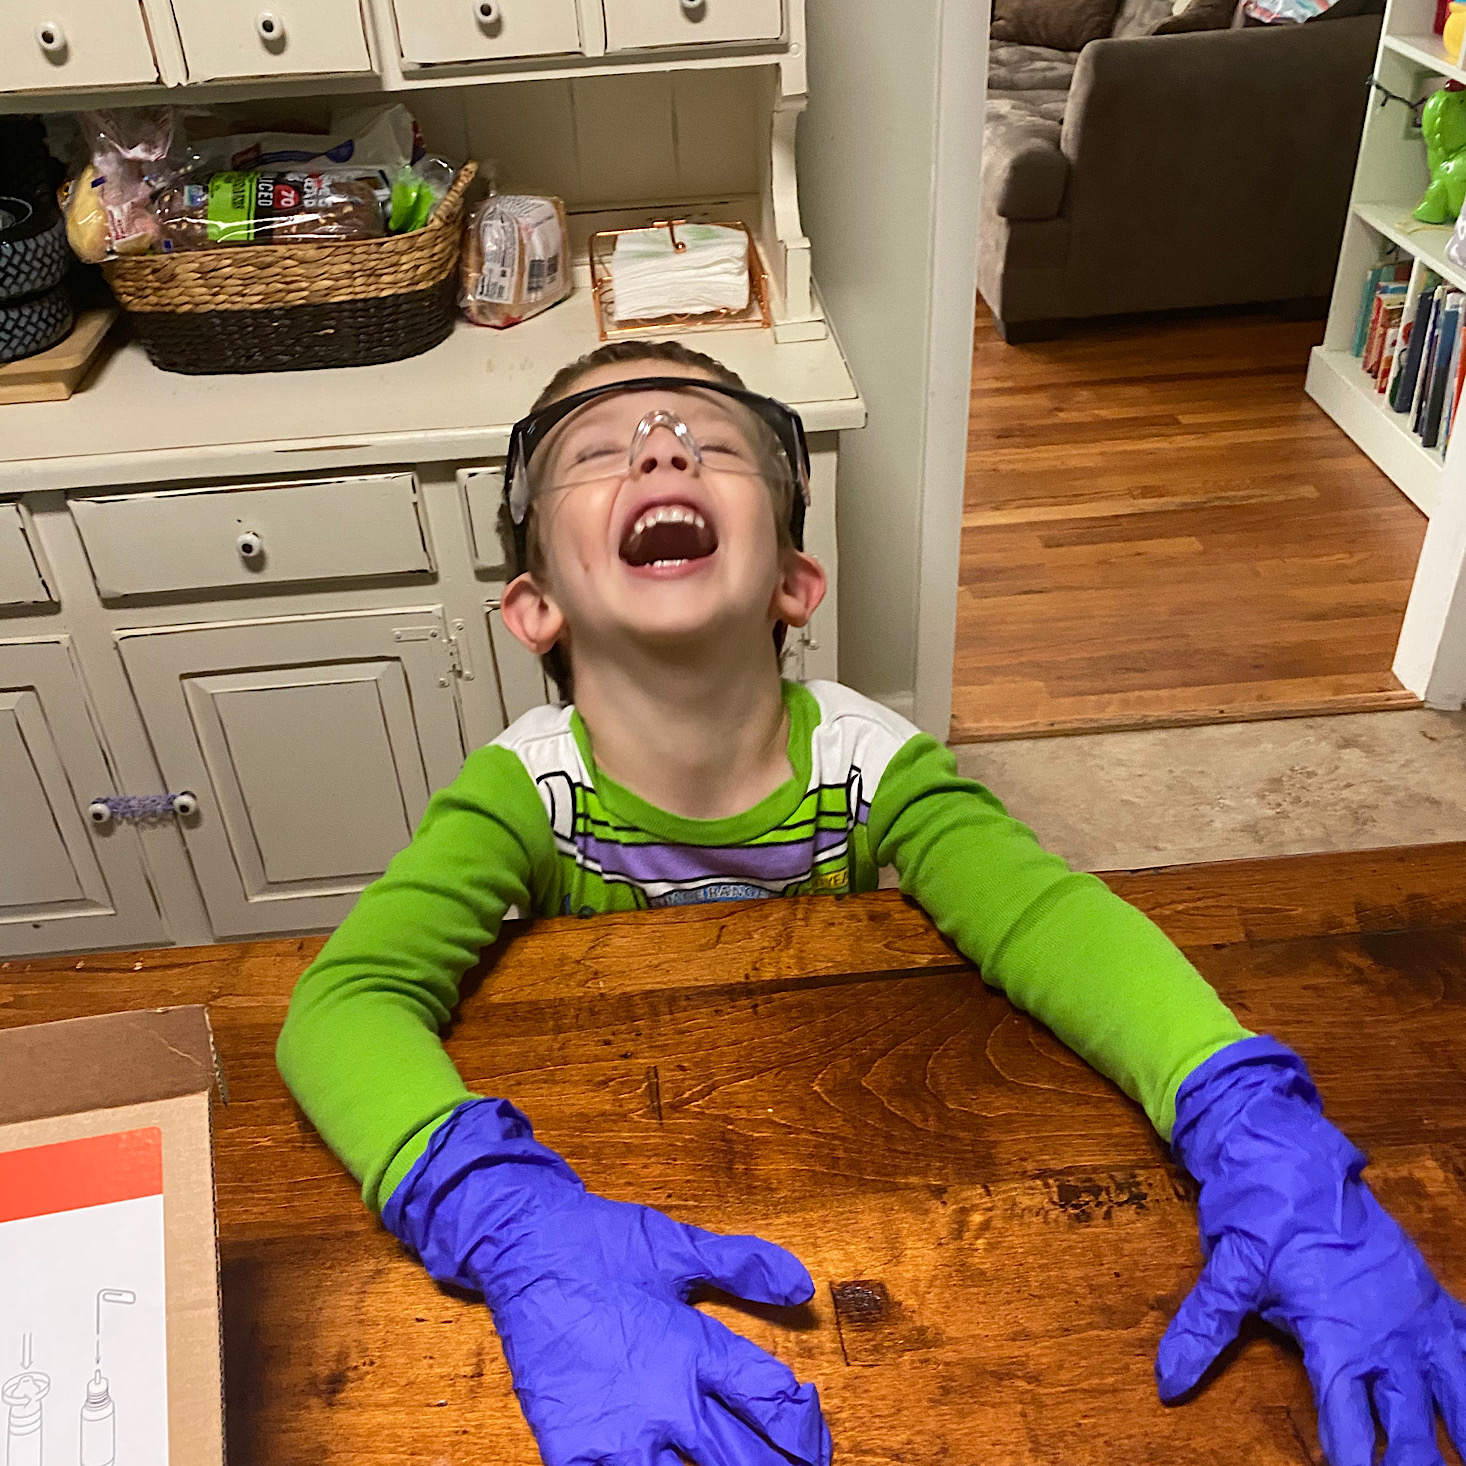
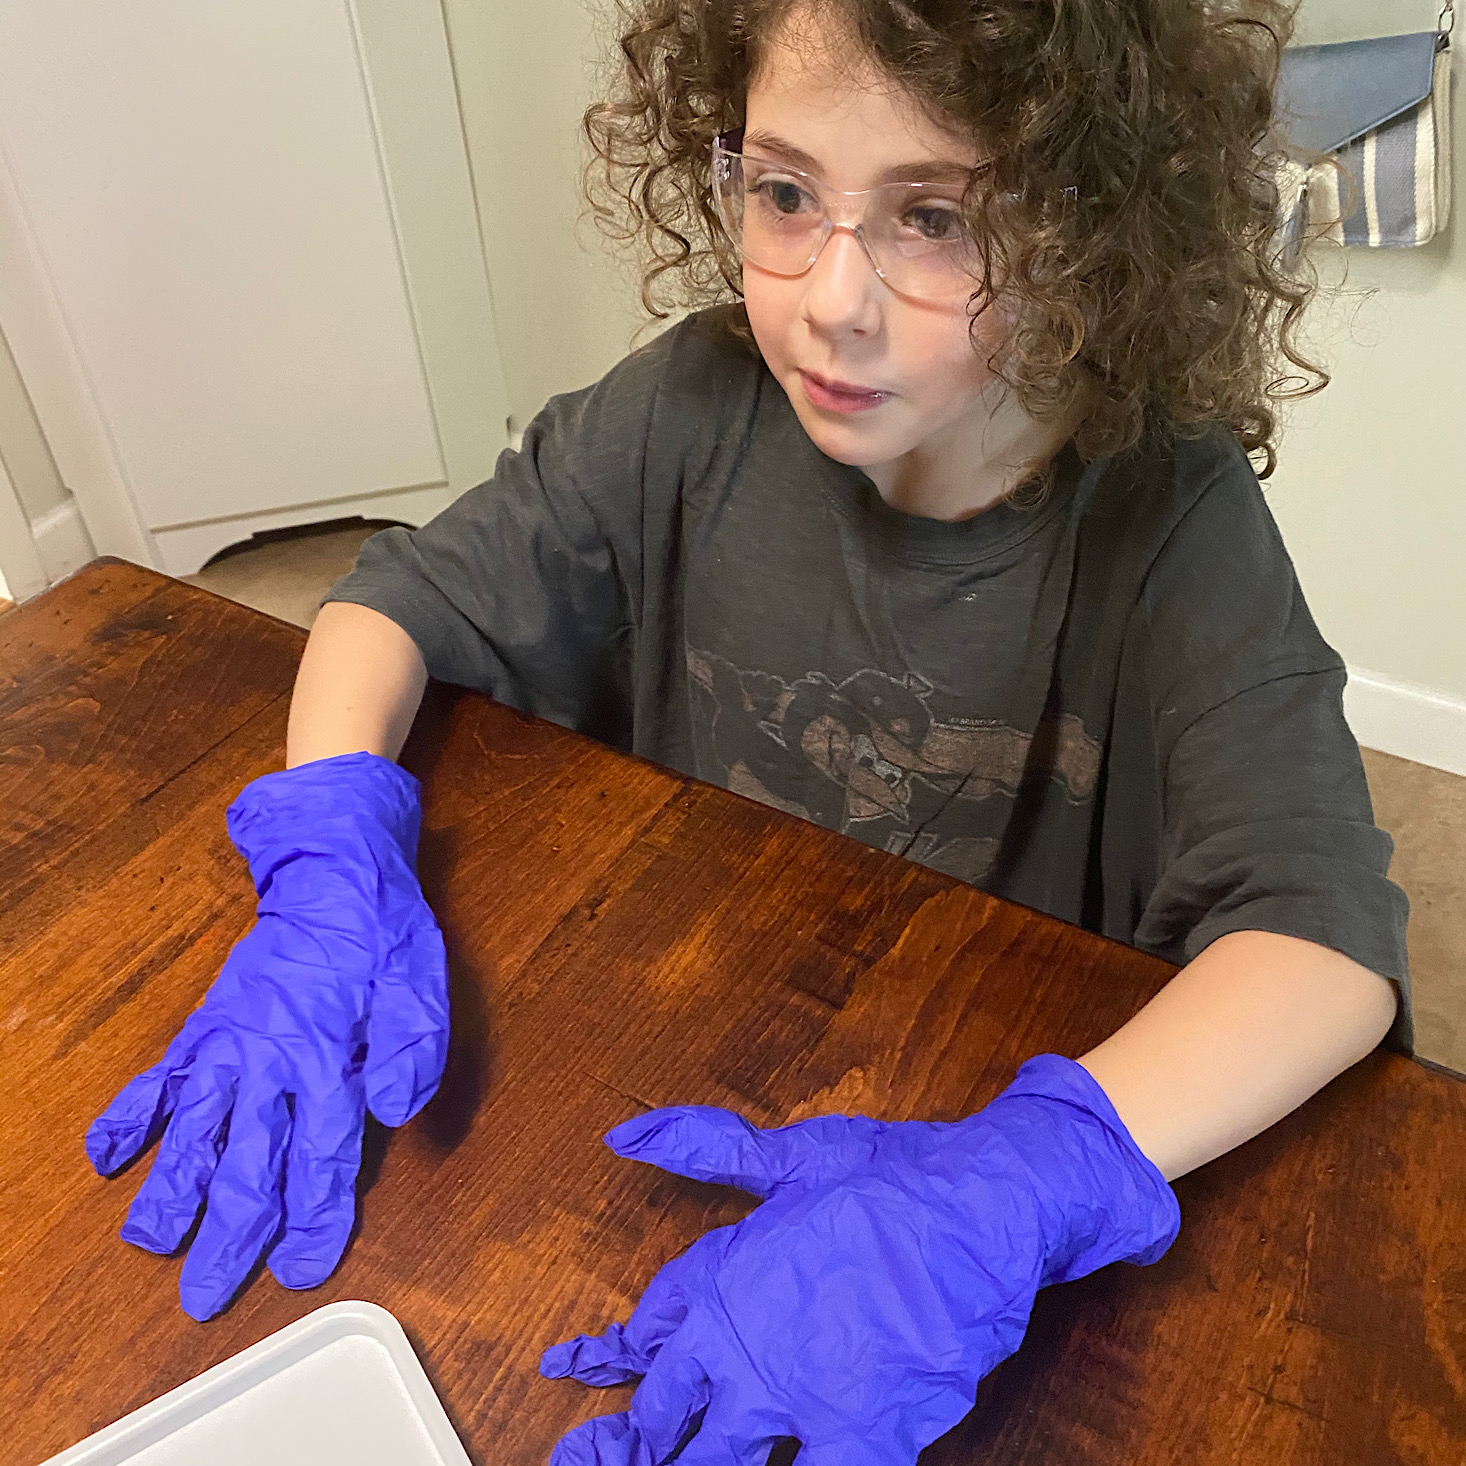
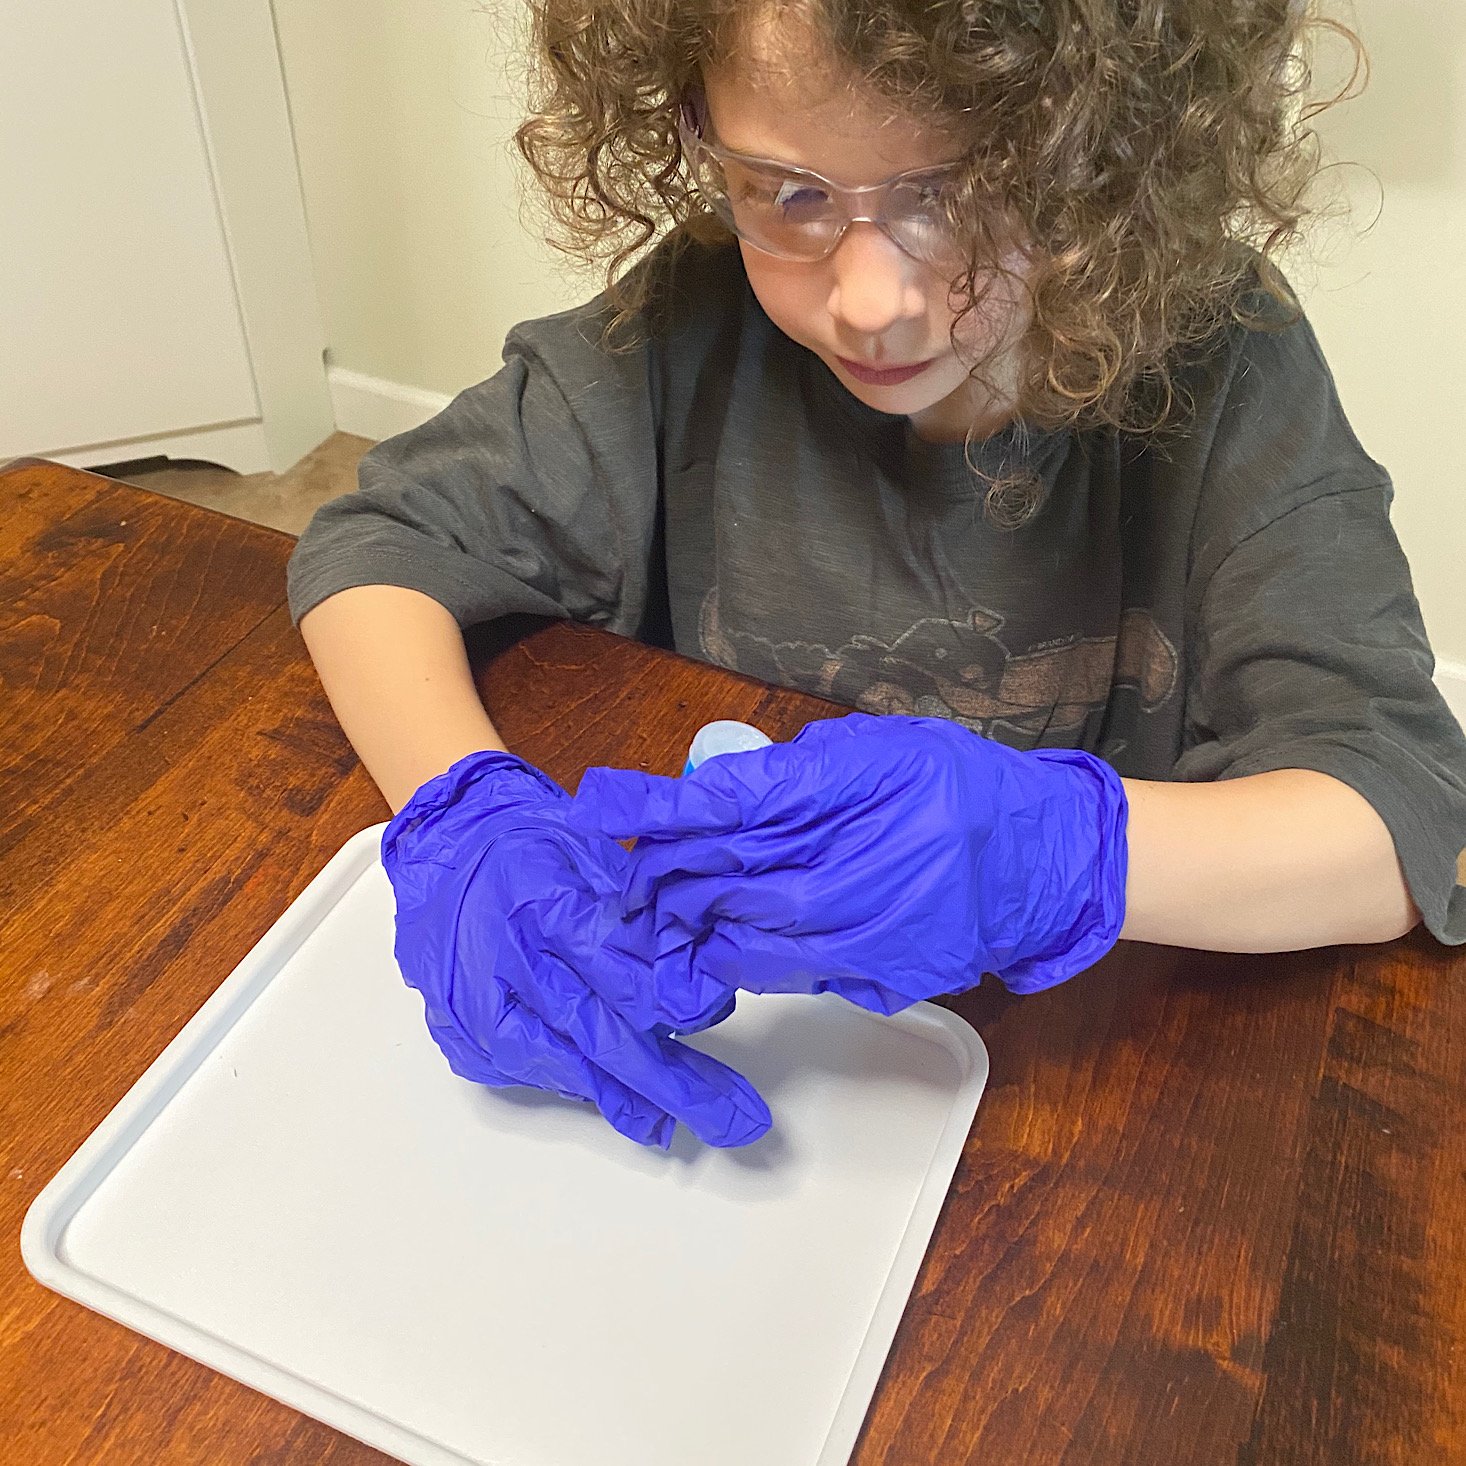
There is also a safety section that we always check out first. Then we get prepared by putting on our gloves and our protective eyewear. They sent a pair of small gloves and a pair of large gloves so that an adult assistant can help.
The app provides thorough, detailed instructions. Some of the instructions are even animated which is pretty cool and usually if it is a timed experiment they will have a little built-in timer on that page for you to use. They also have little "help" tips at the bottom in case you get confused about what to do.
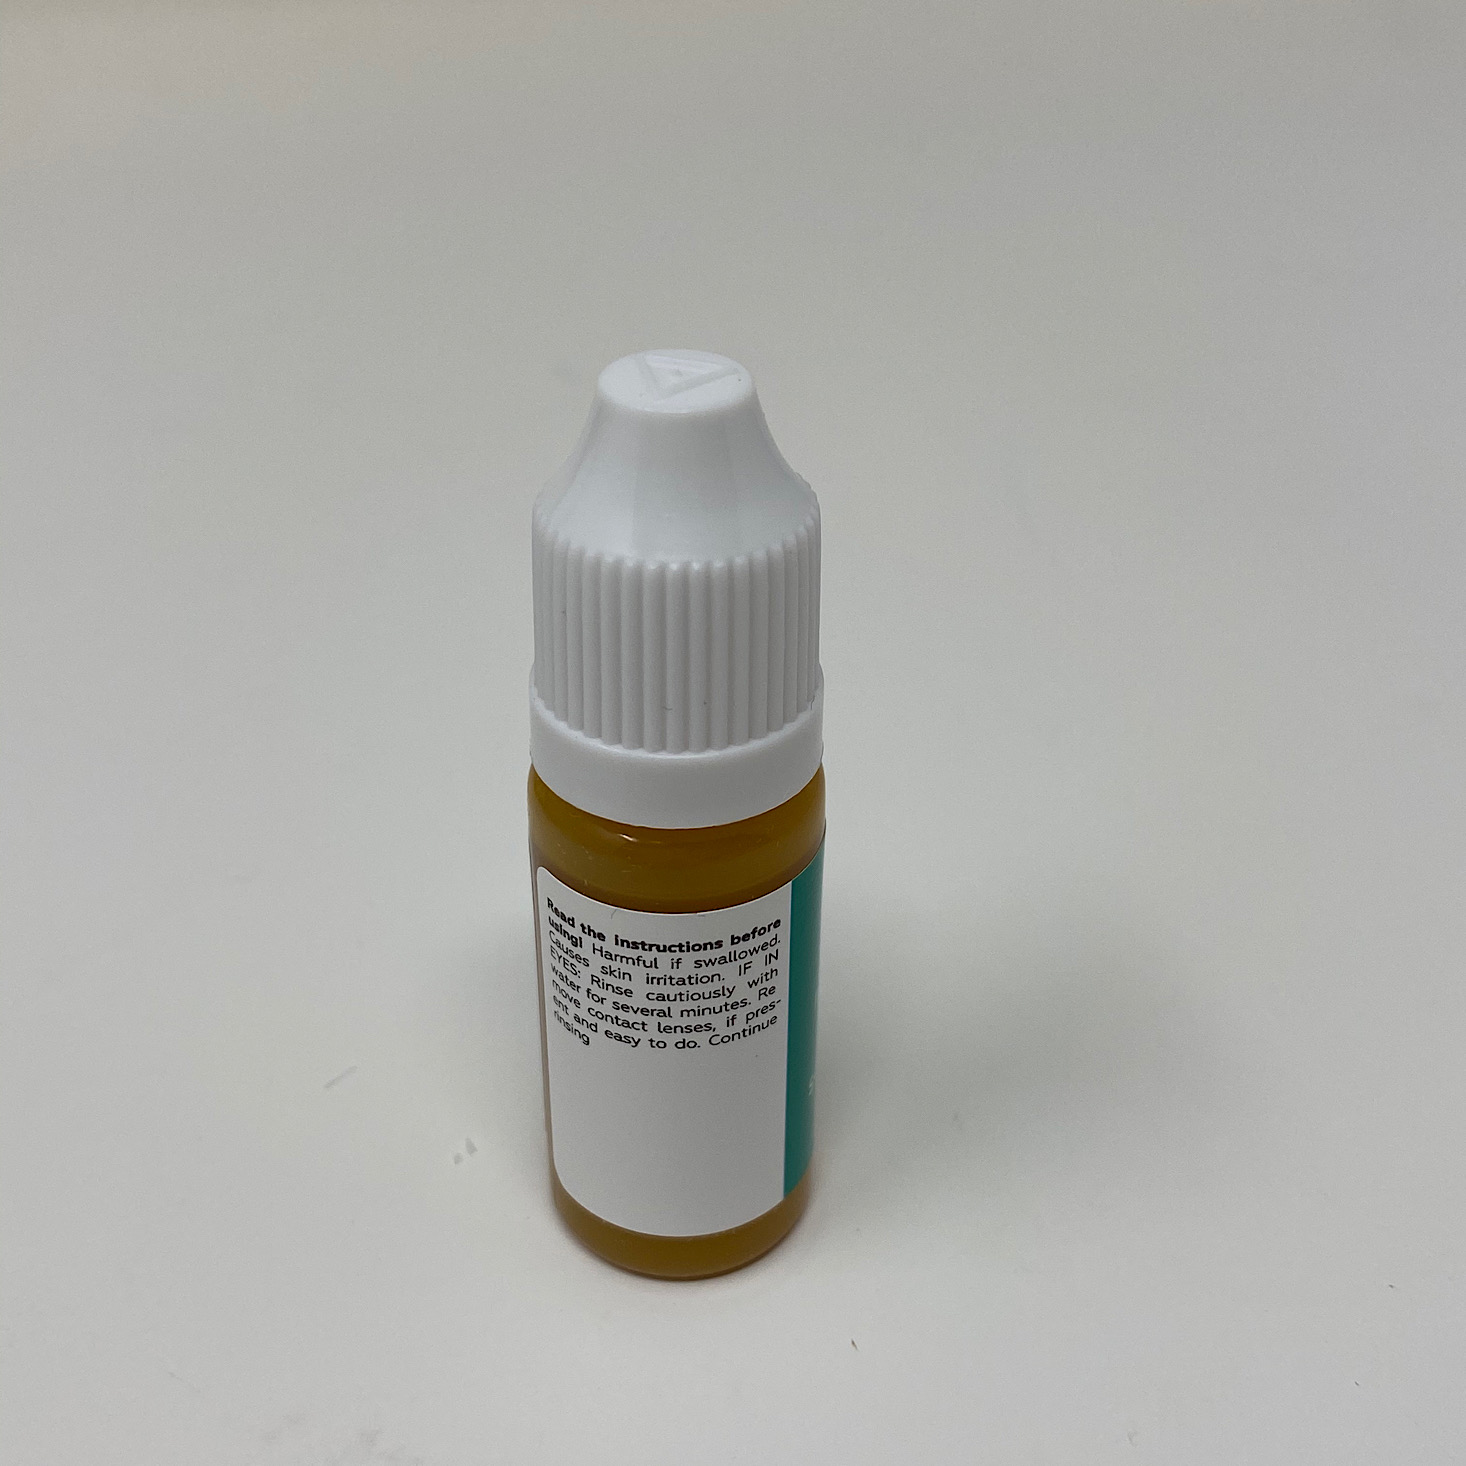
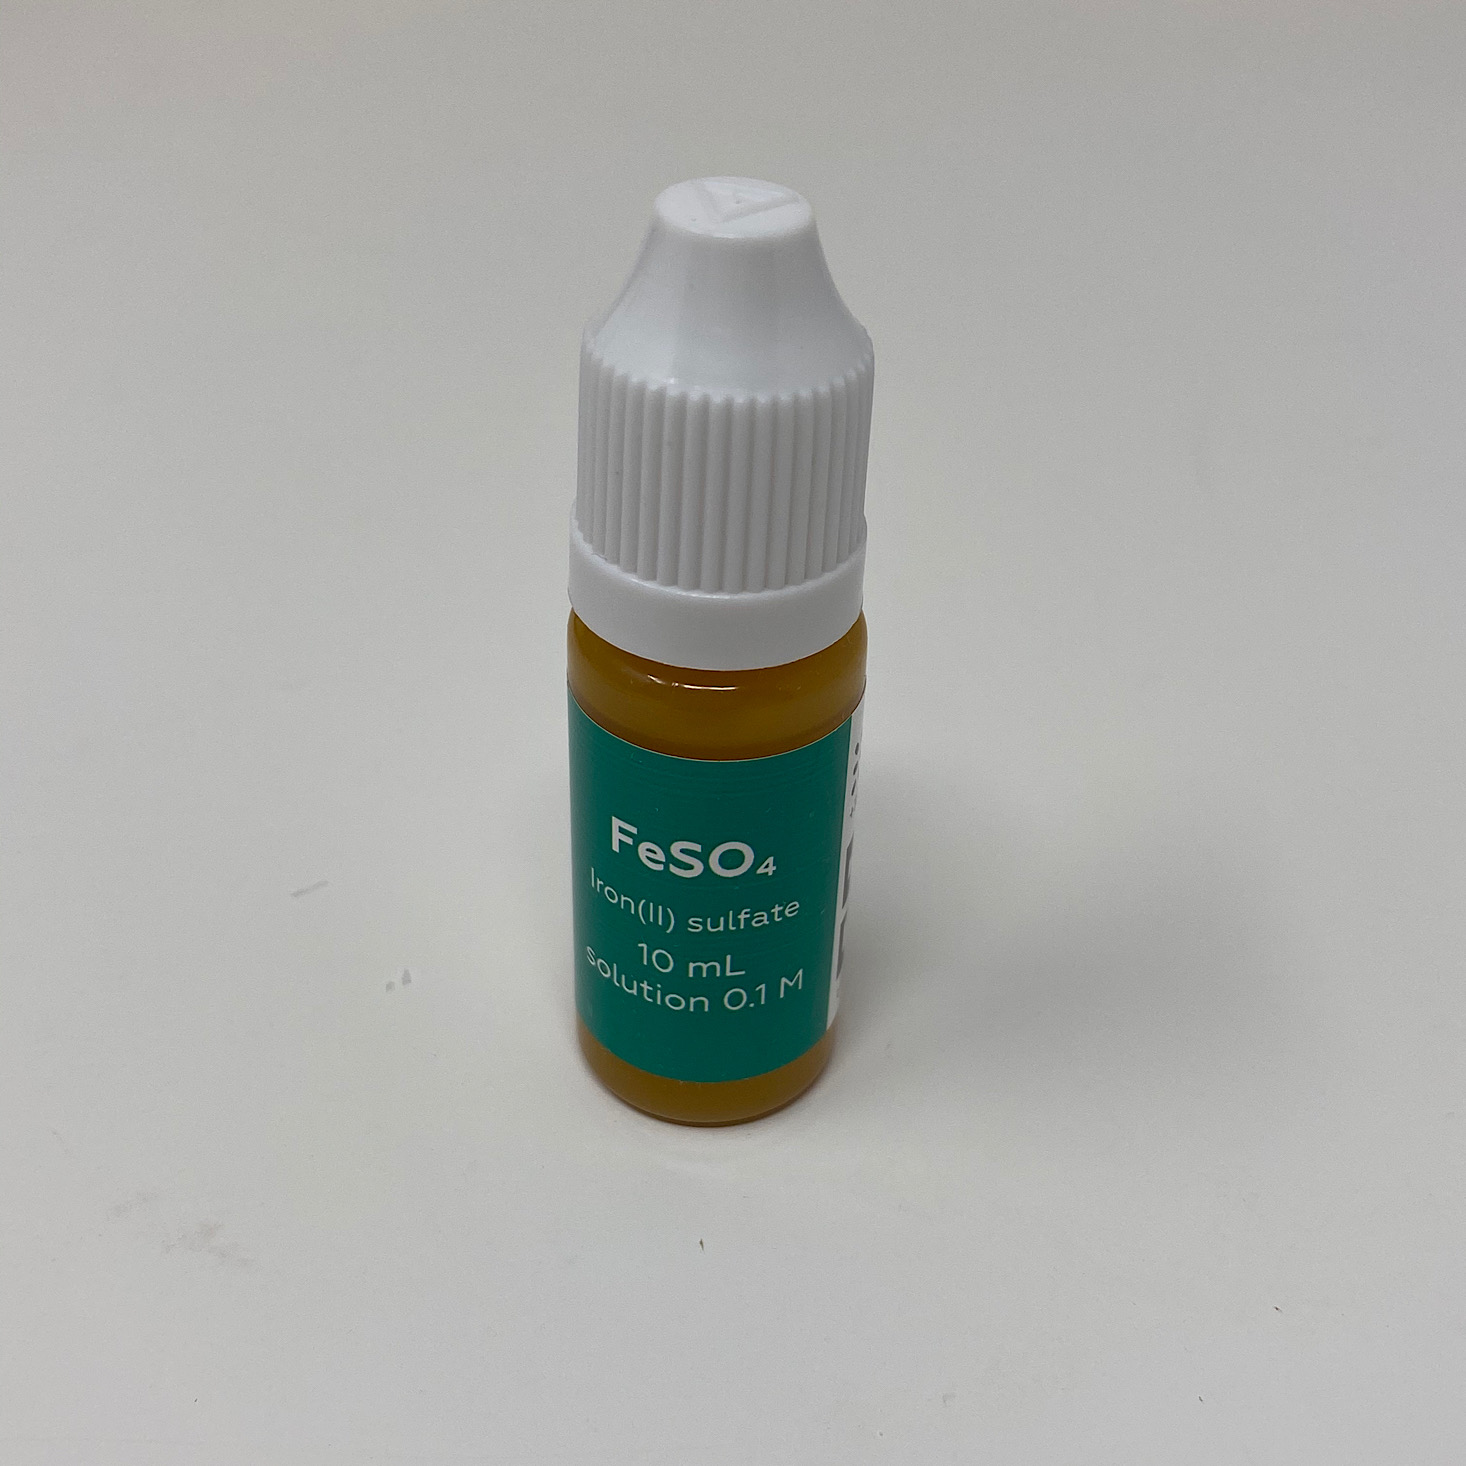
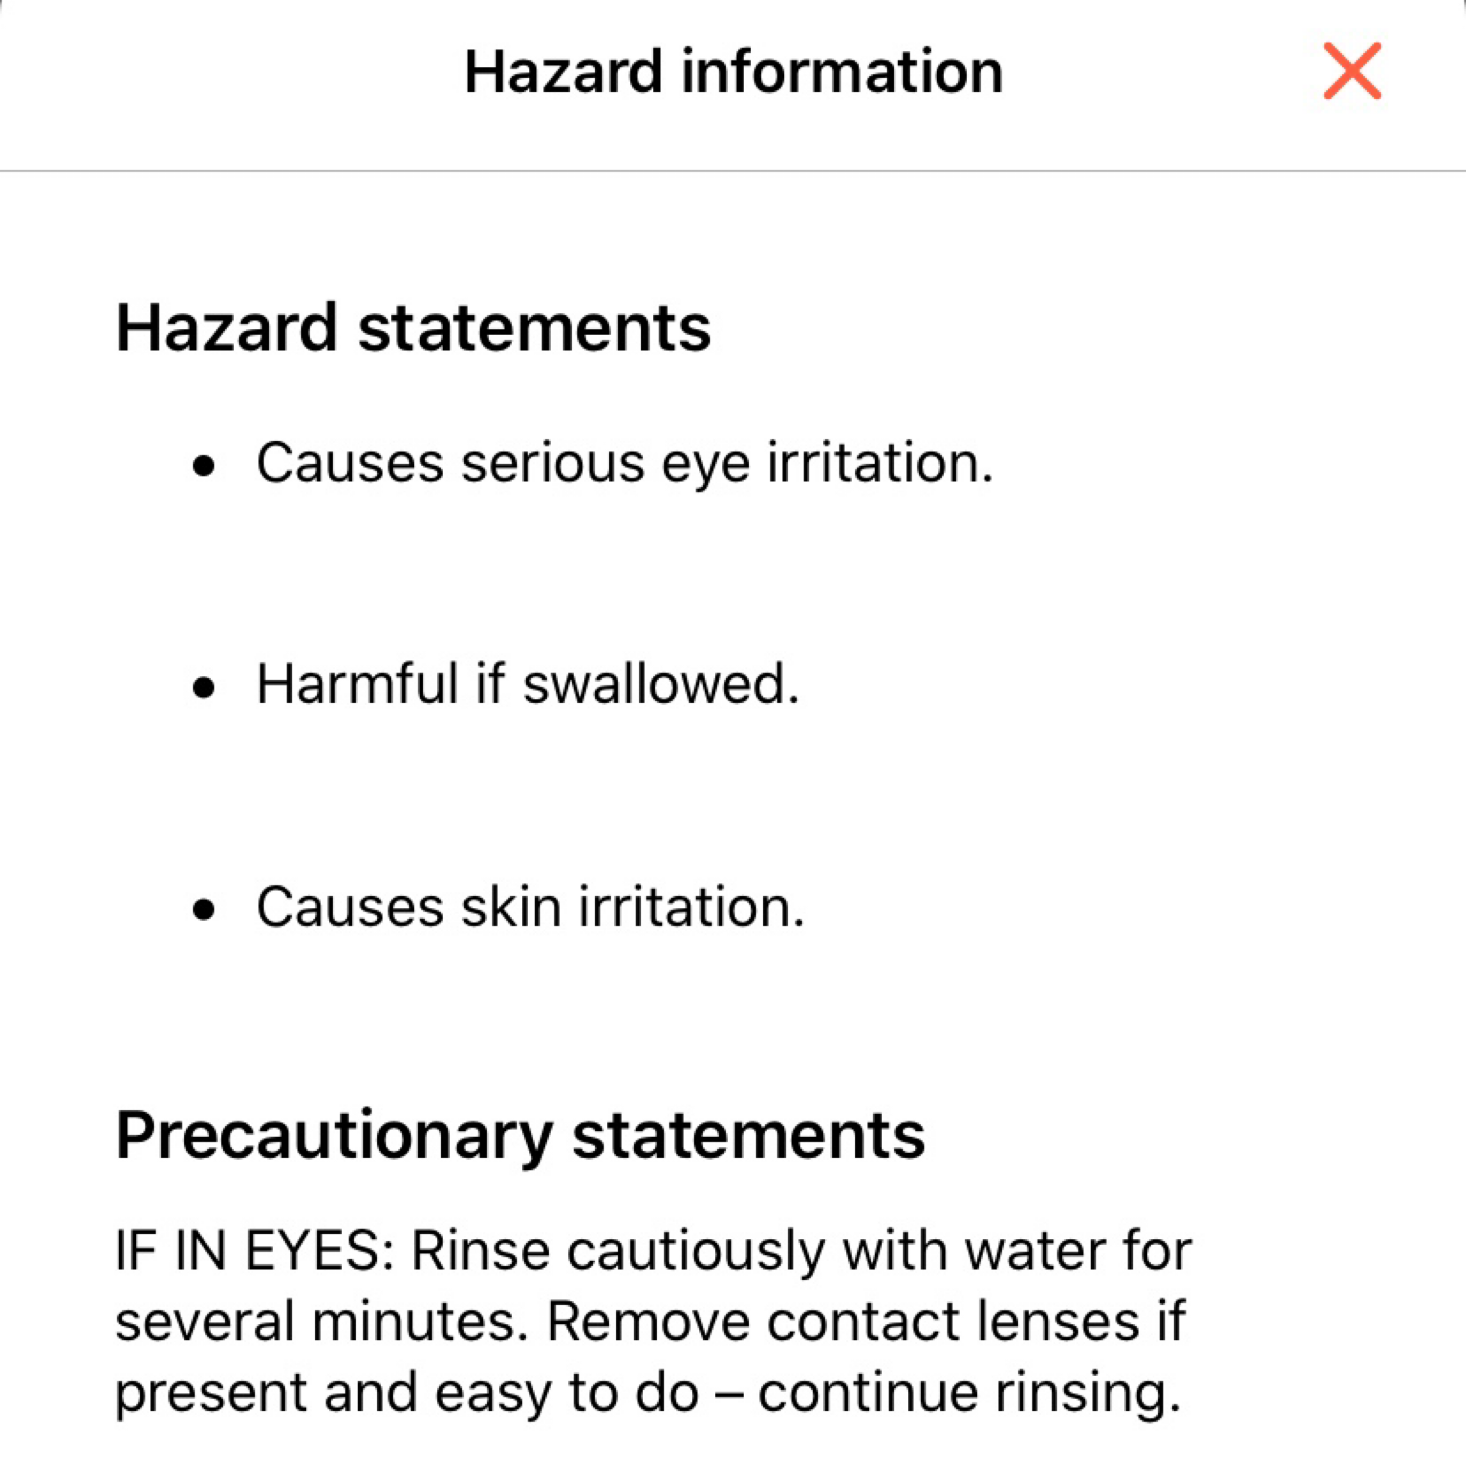
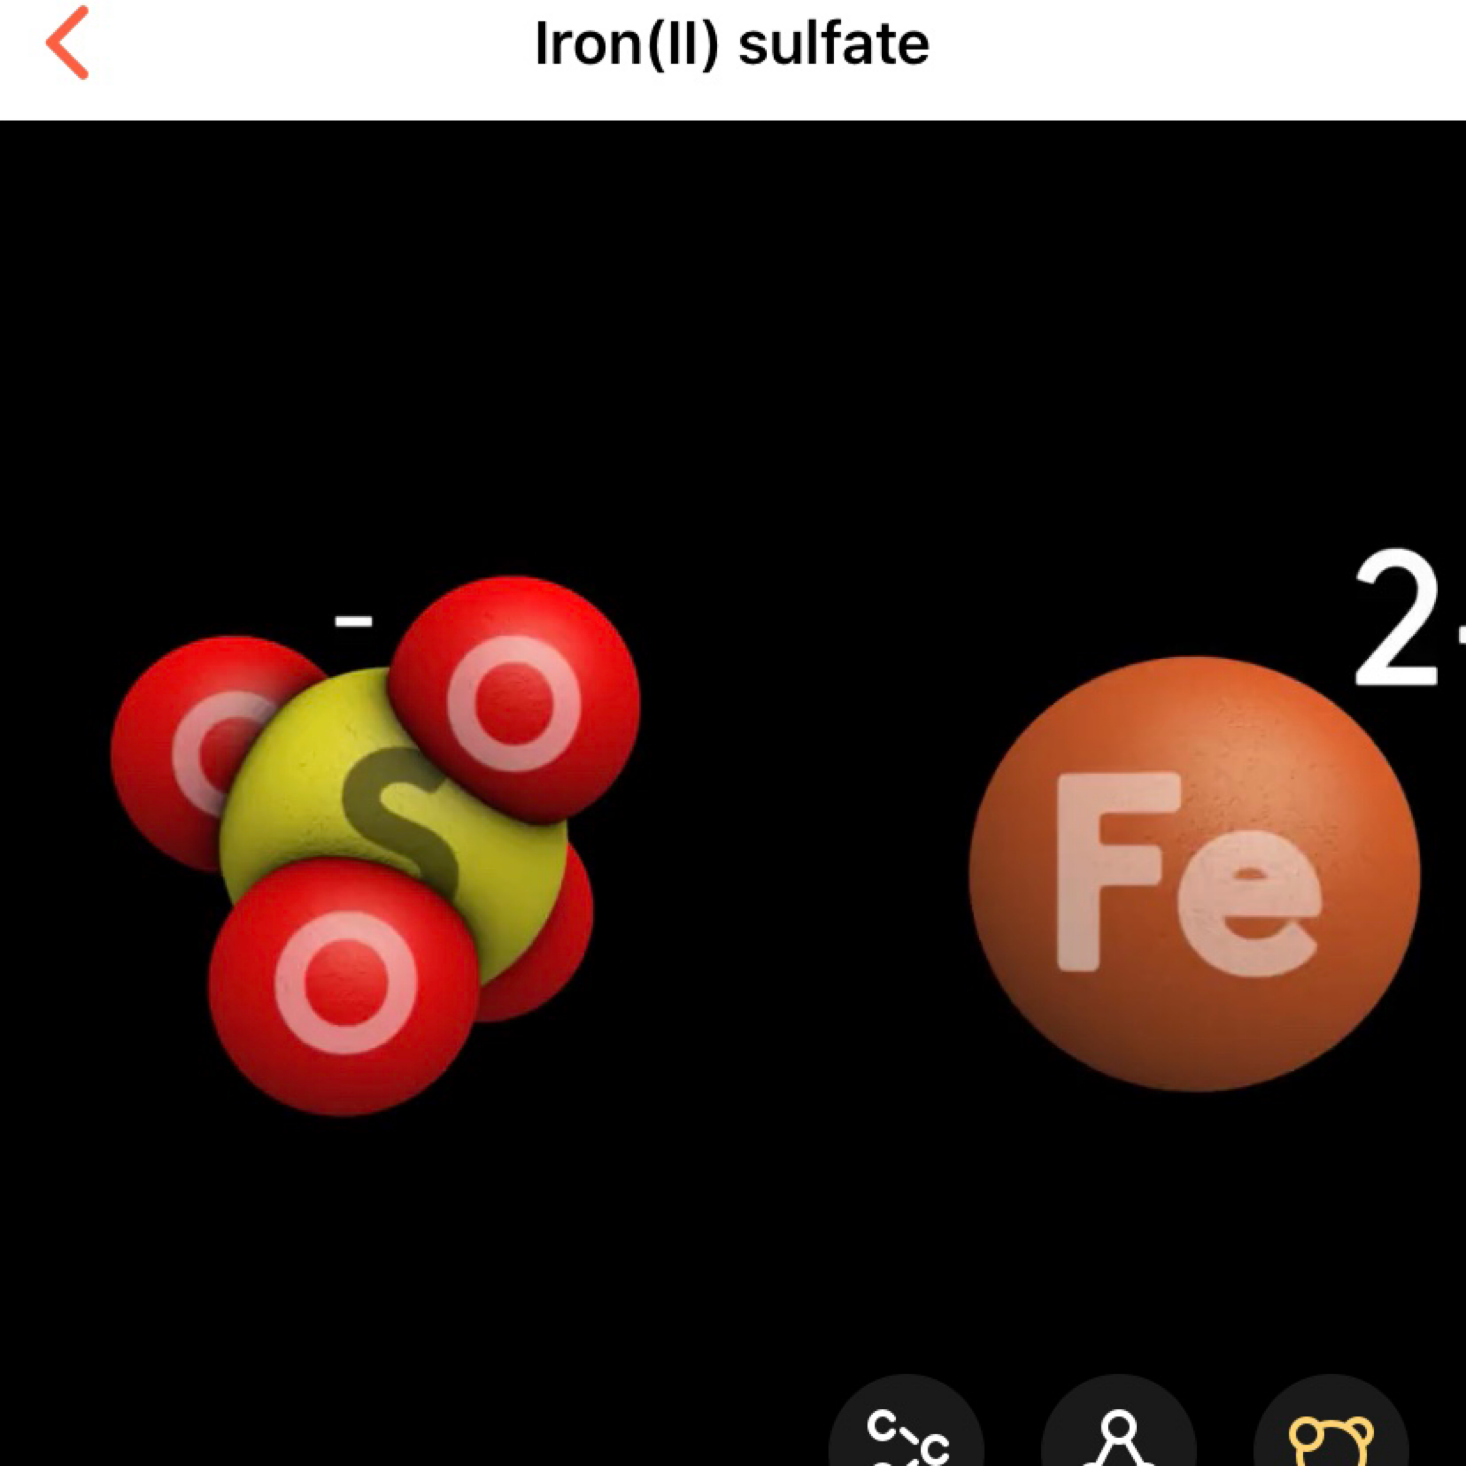
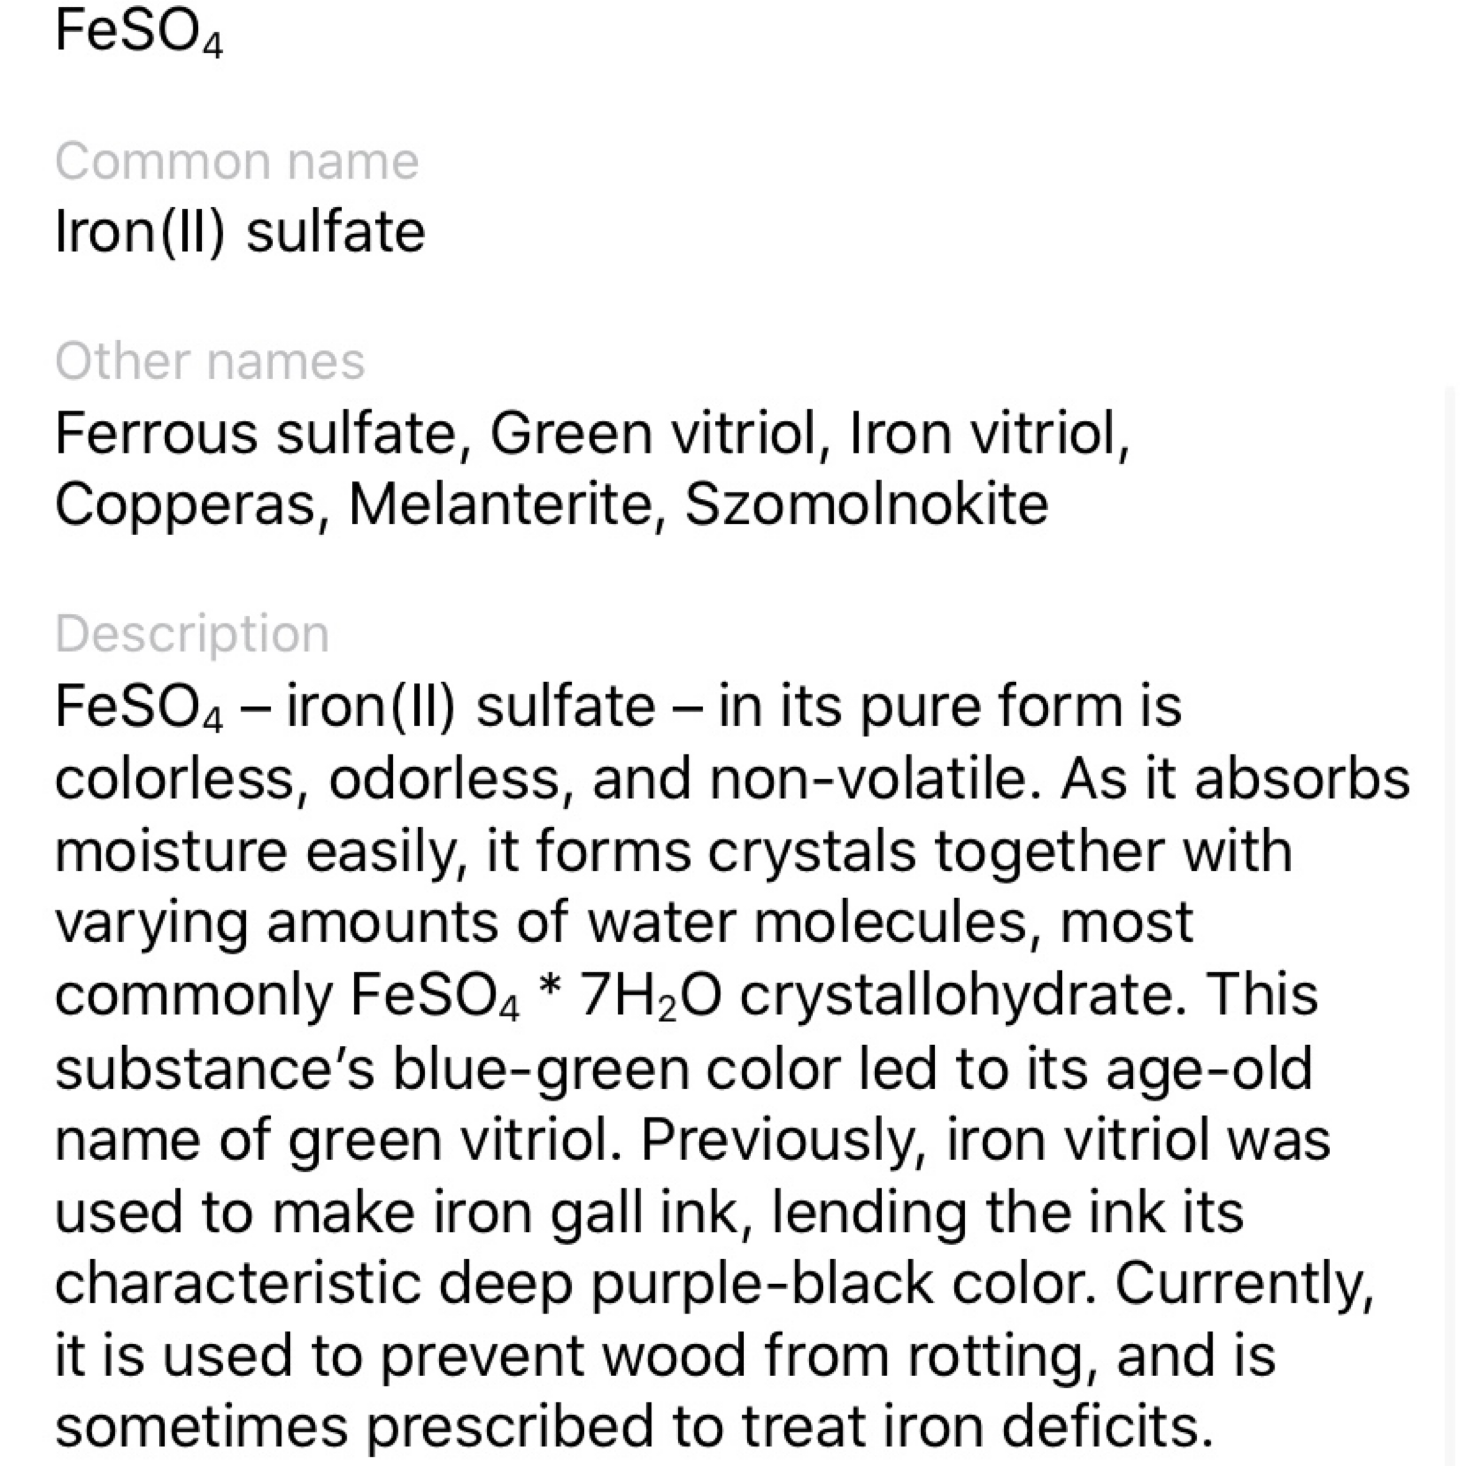
All of our reagents are clearly labeled and include information about any hazards. They provided enough materials for us to complete our experiments several times. Each label also contains a little code that we can scan with our forward-facing camera to open up for more information about our chemicals. We are able to view it in 3D or even in virtual reality by using the VR app and our headset. For this experiment, we are using Iron Sulfate.
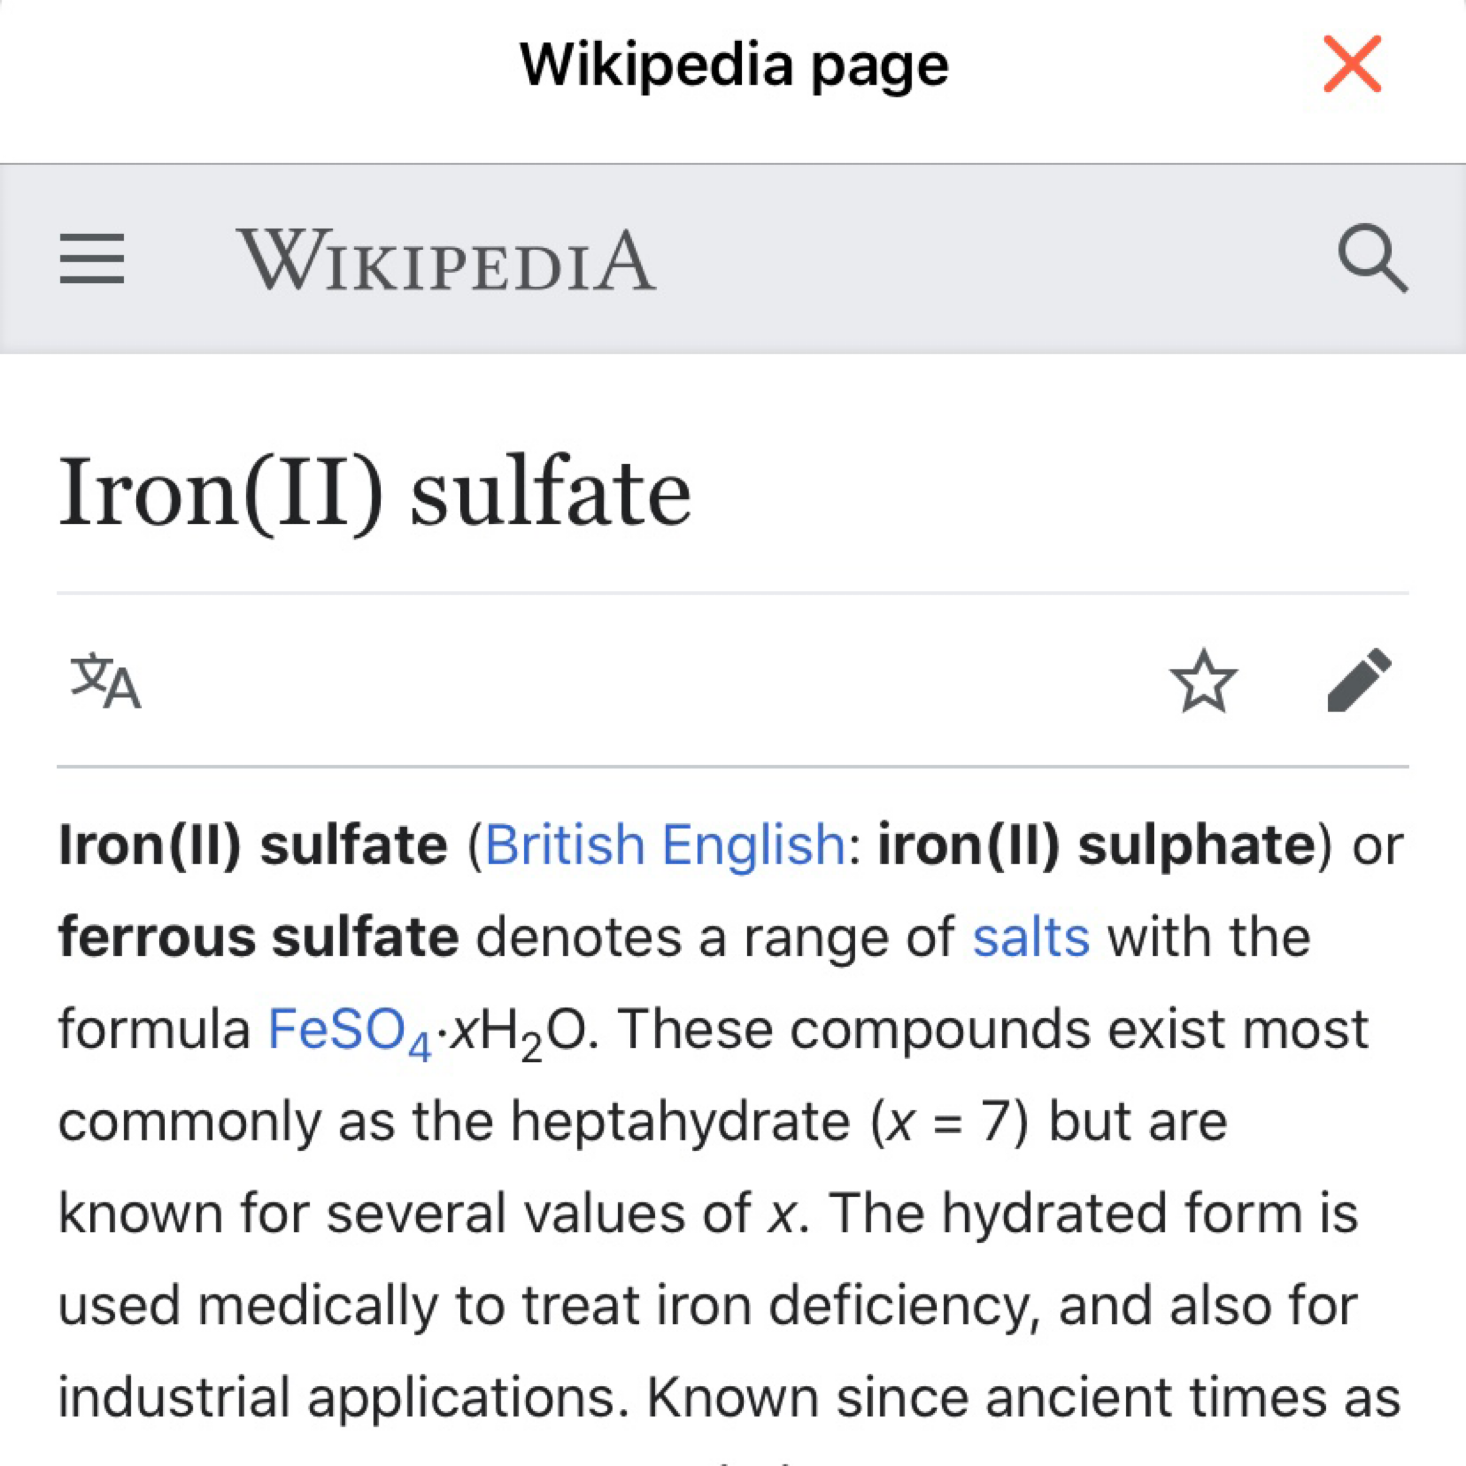
The app gives so much detail about each of the reagents including a description, hazards, precautions, and even a link to the Wikipedia page for further information. So thorough! And it's even more fun if you interact through the VR app!
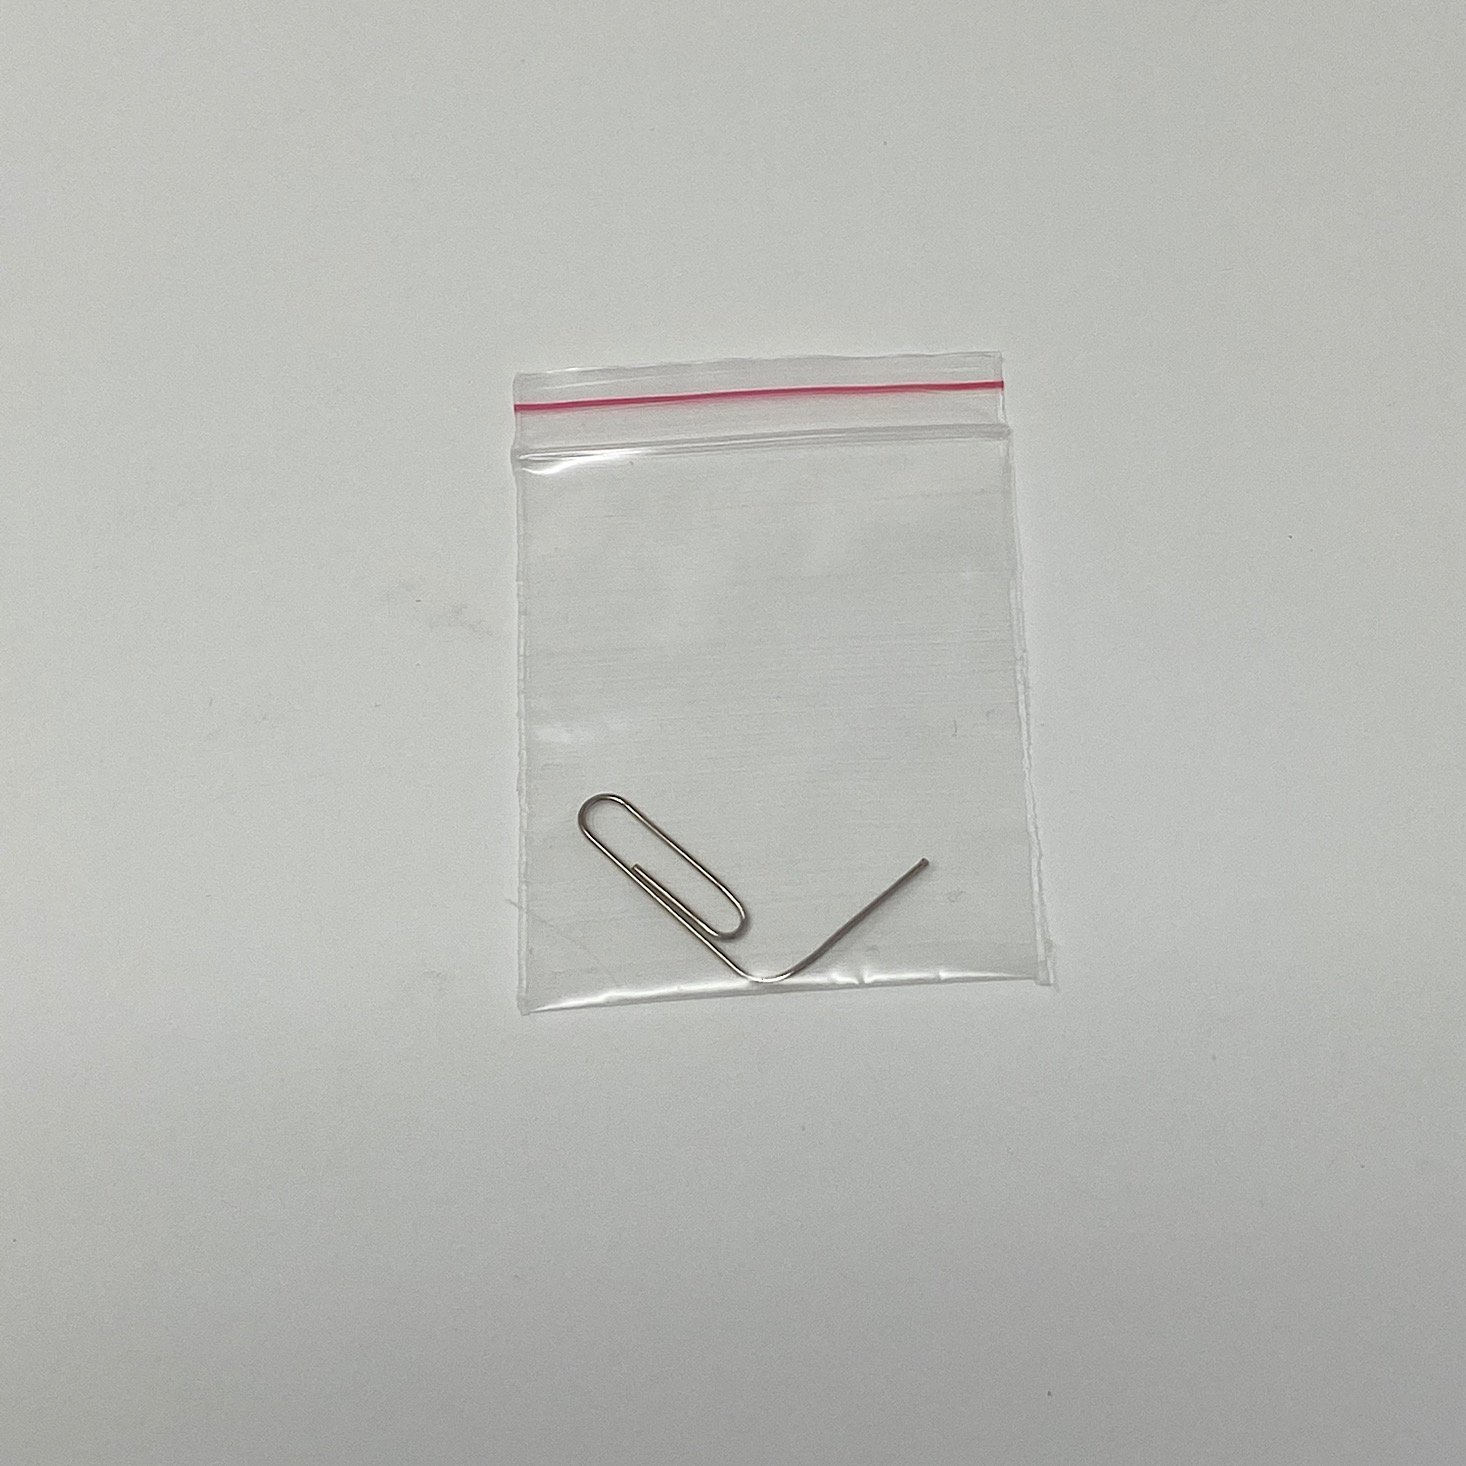
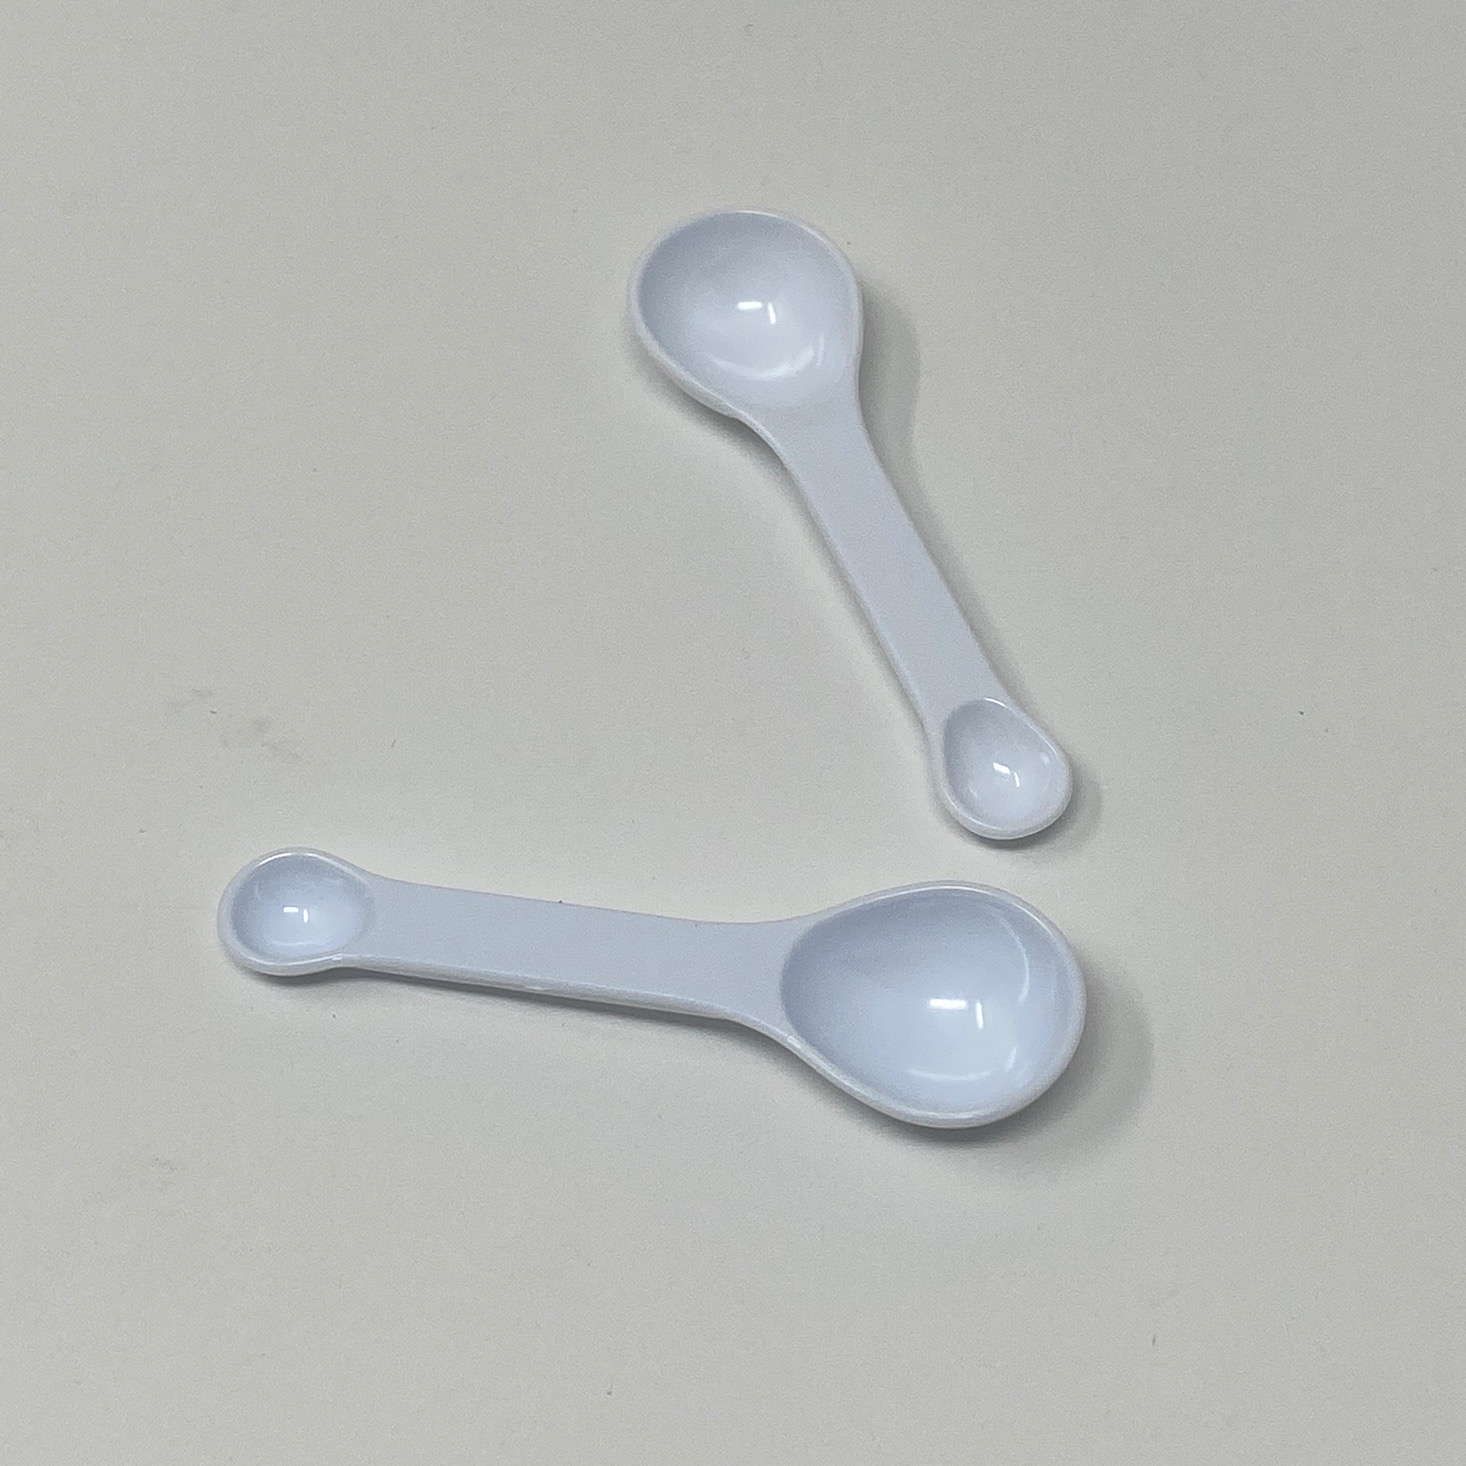
They always provide a little paper clip for us to use to open our bottles which have tiny rubber stoppers in them so they don't leak during transportation along with some of these little measuring spoons.
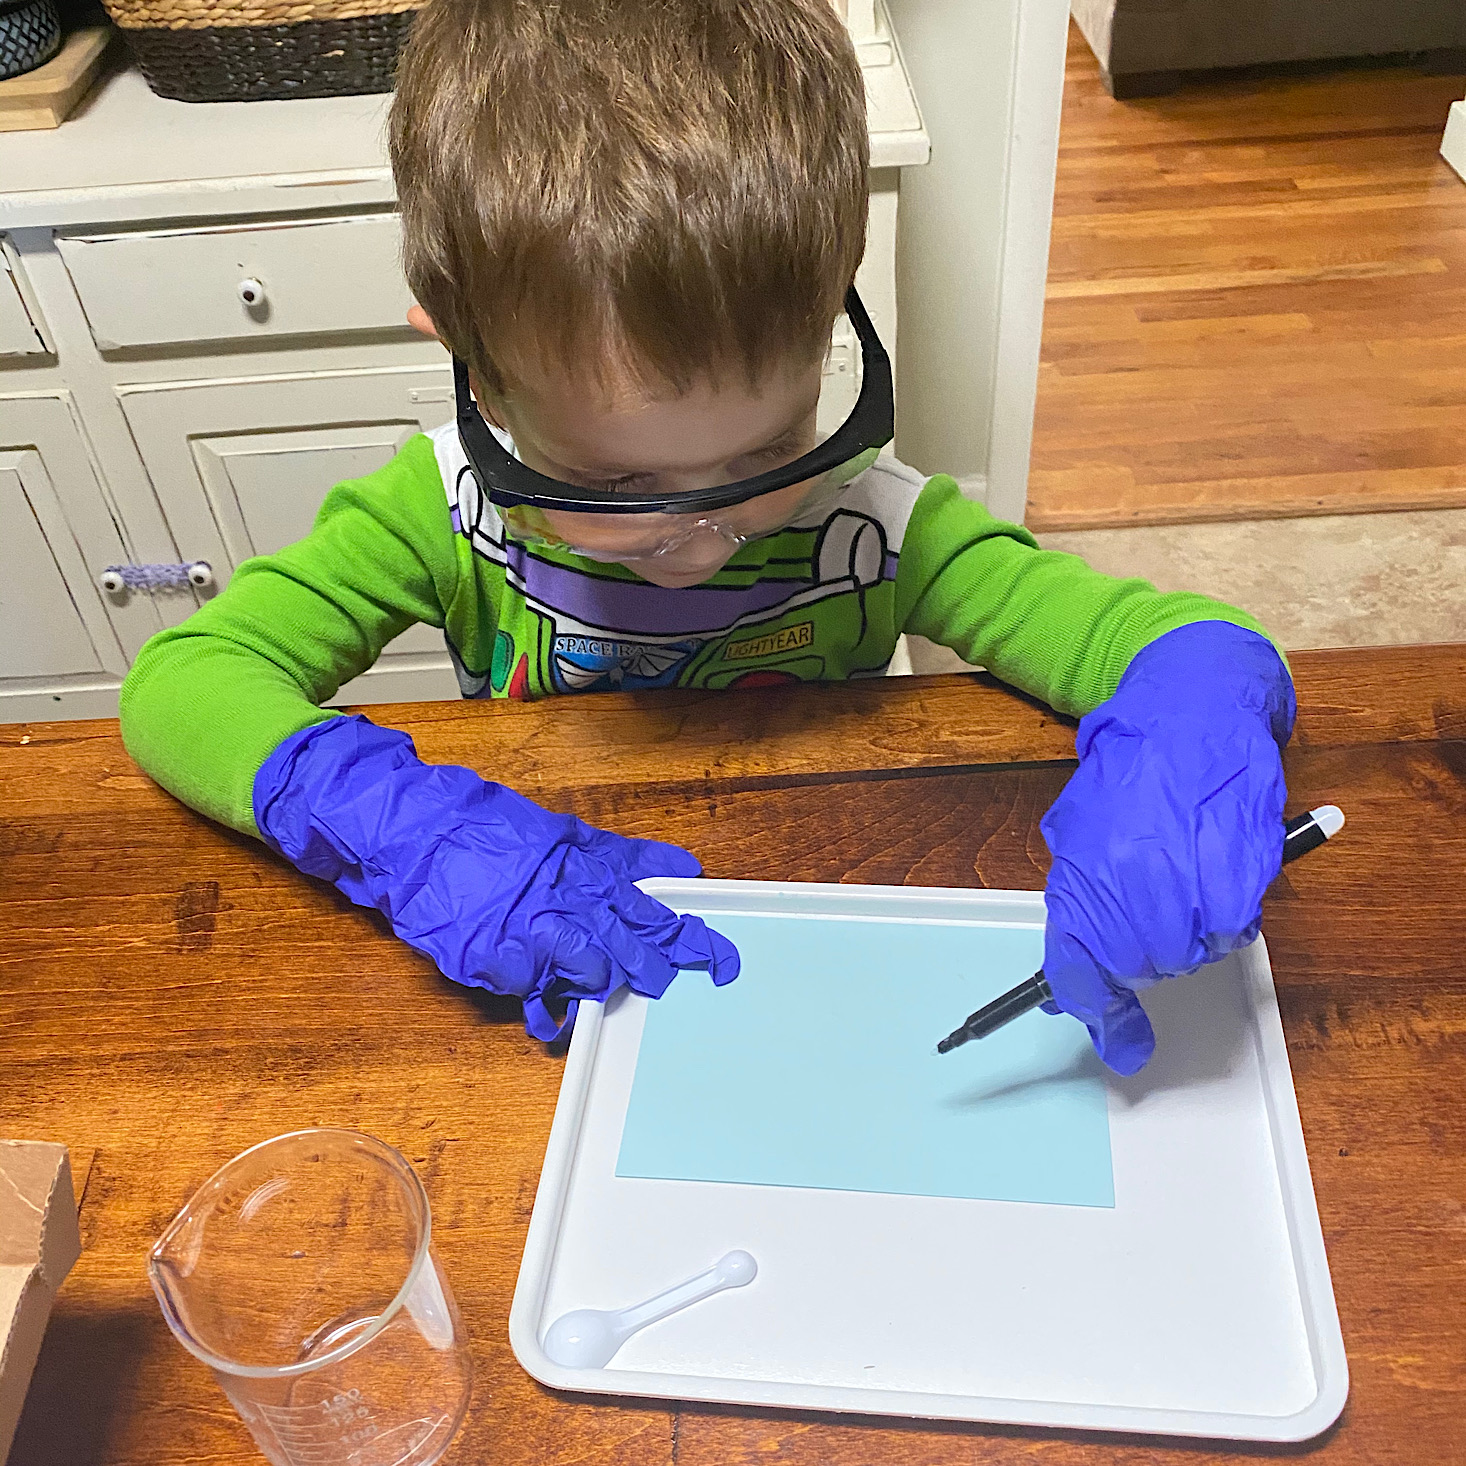
My two goofball assistants were ready to get started once they donned their safety gear!
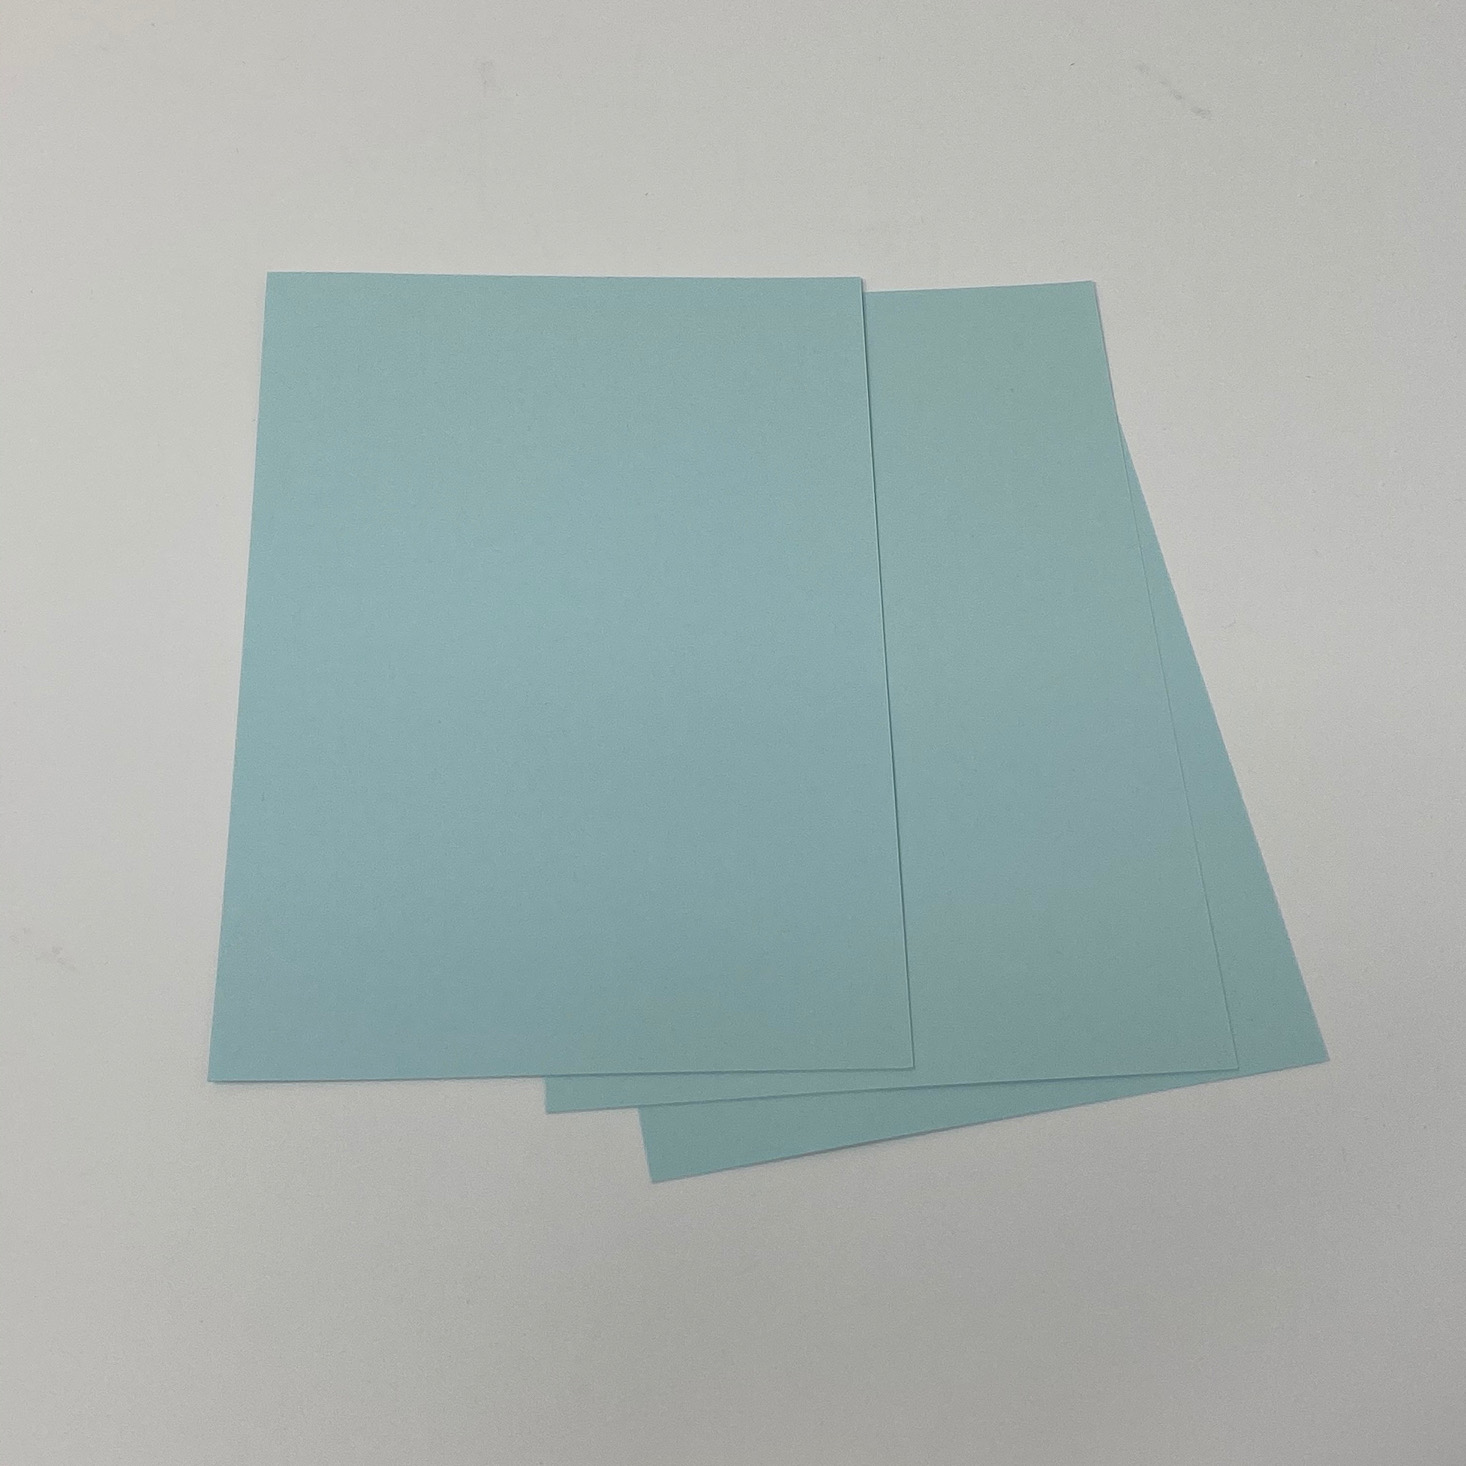
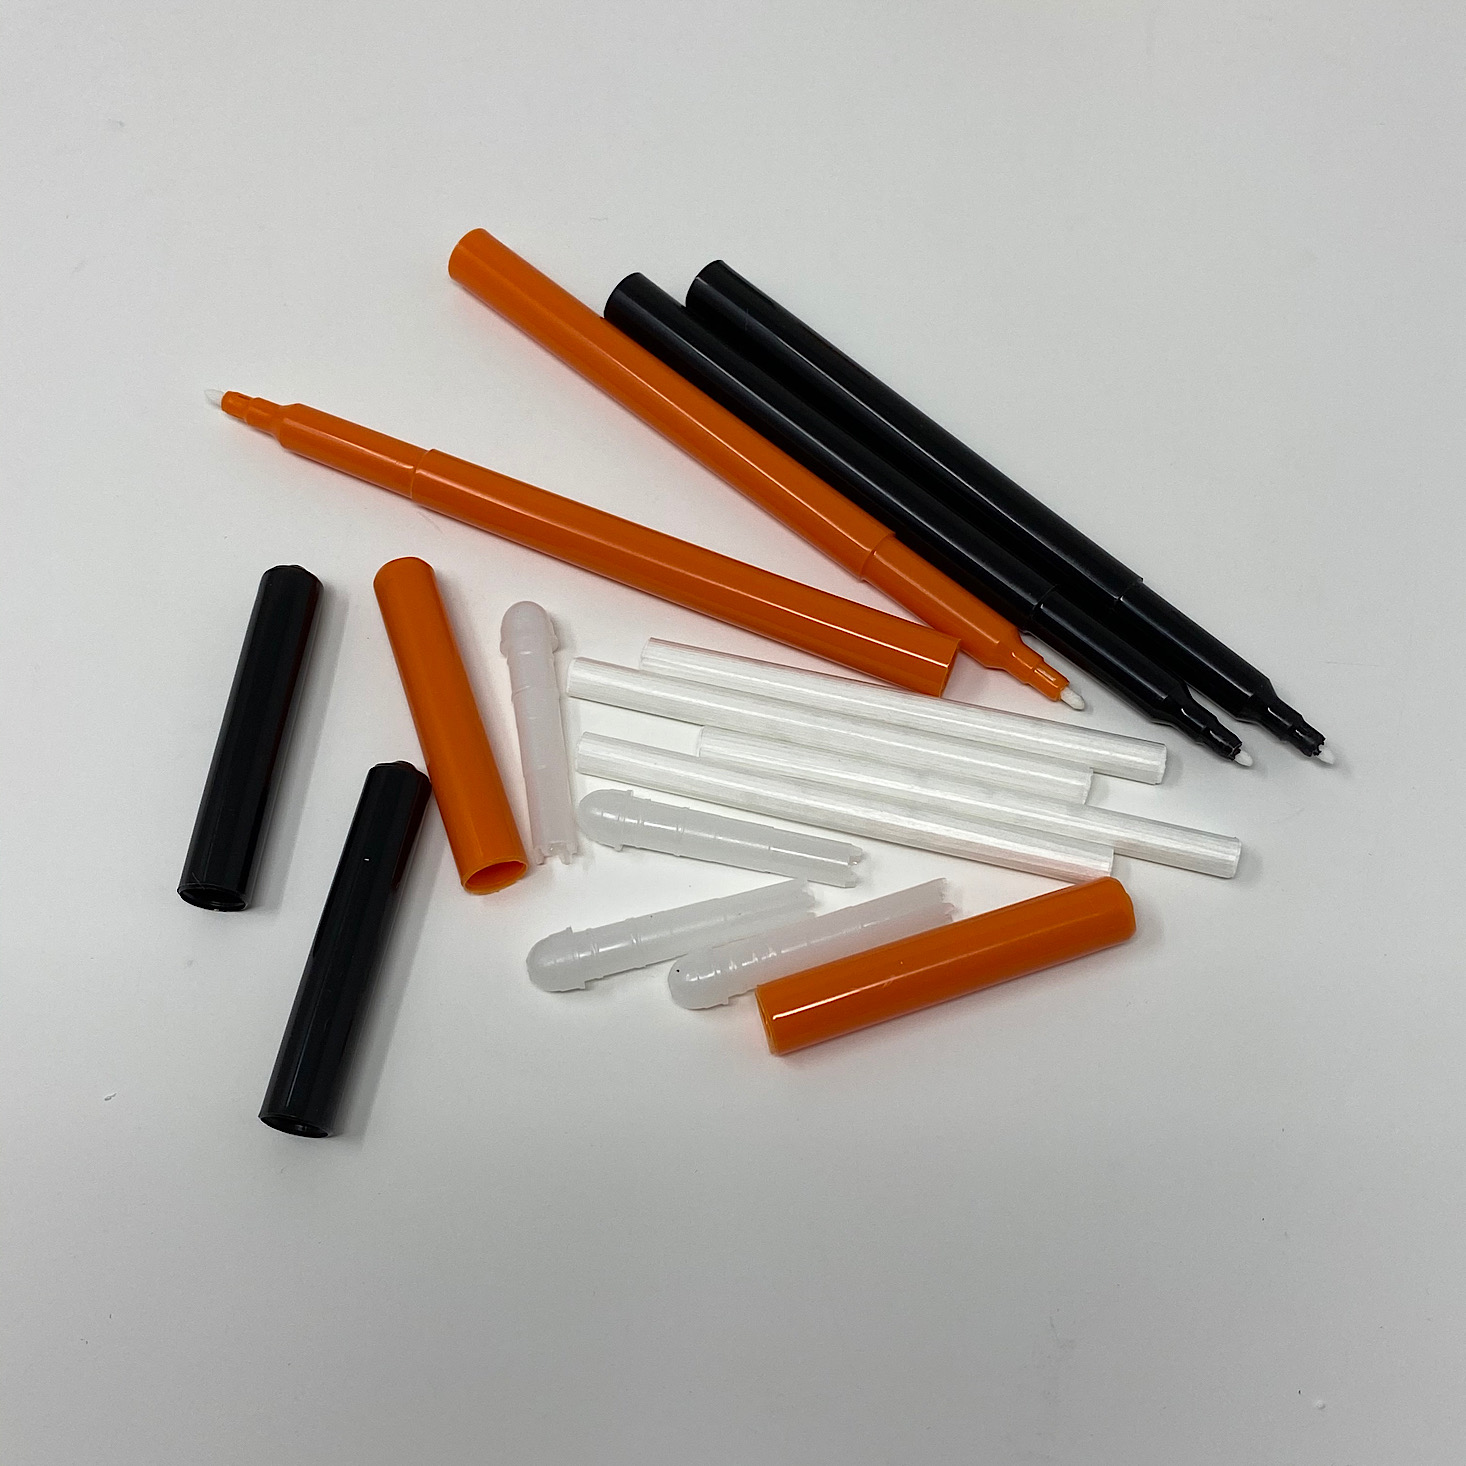
For use in our experiments this month, they provided several of these deconstructed markers with cartridges and a variety of papers.
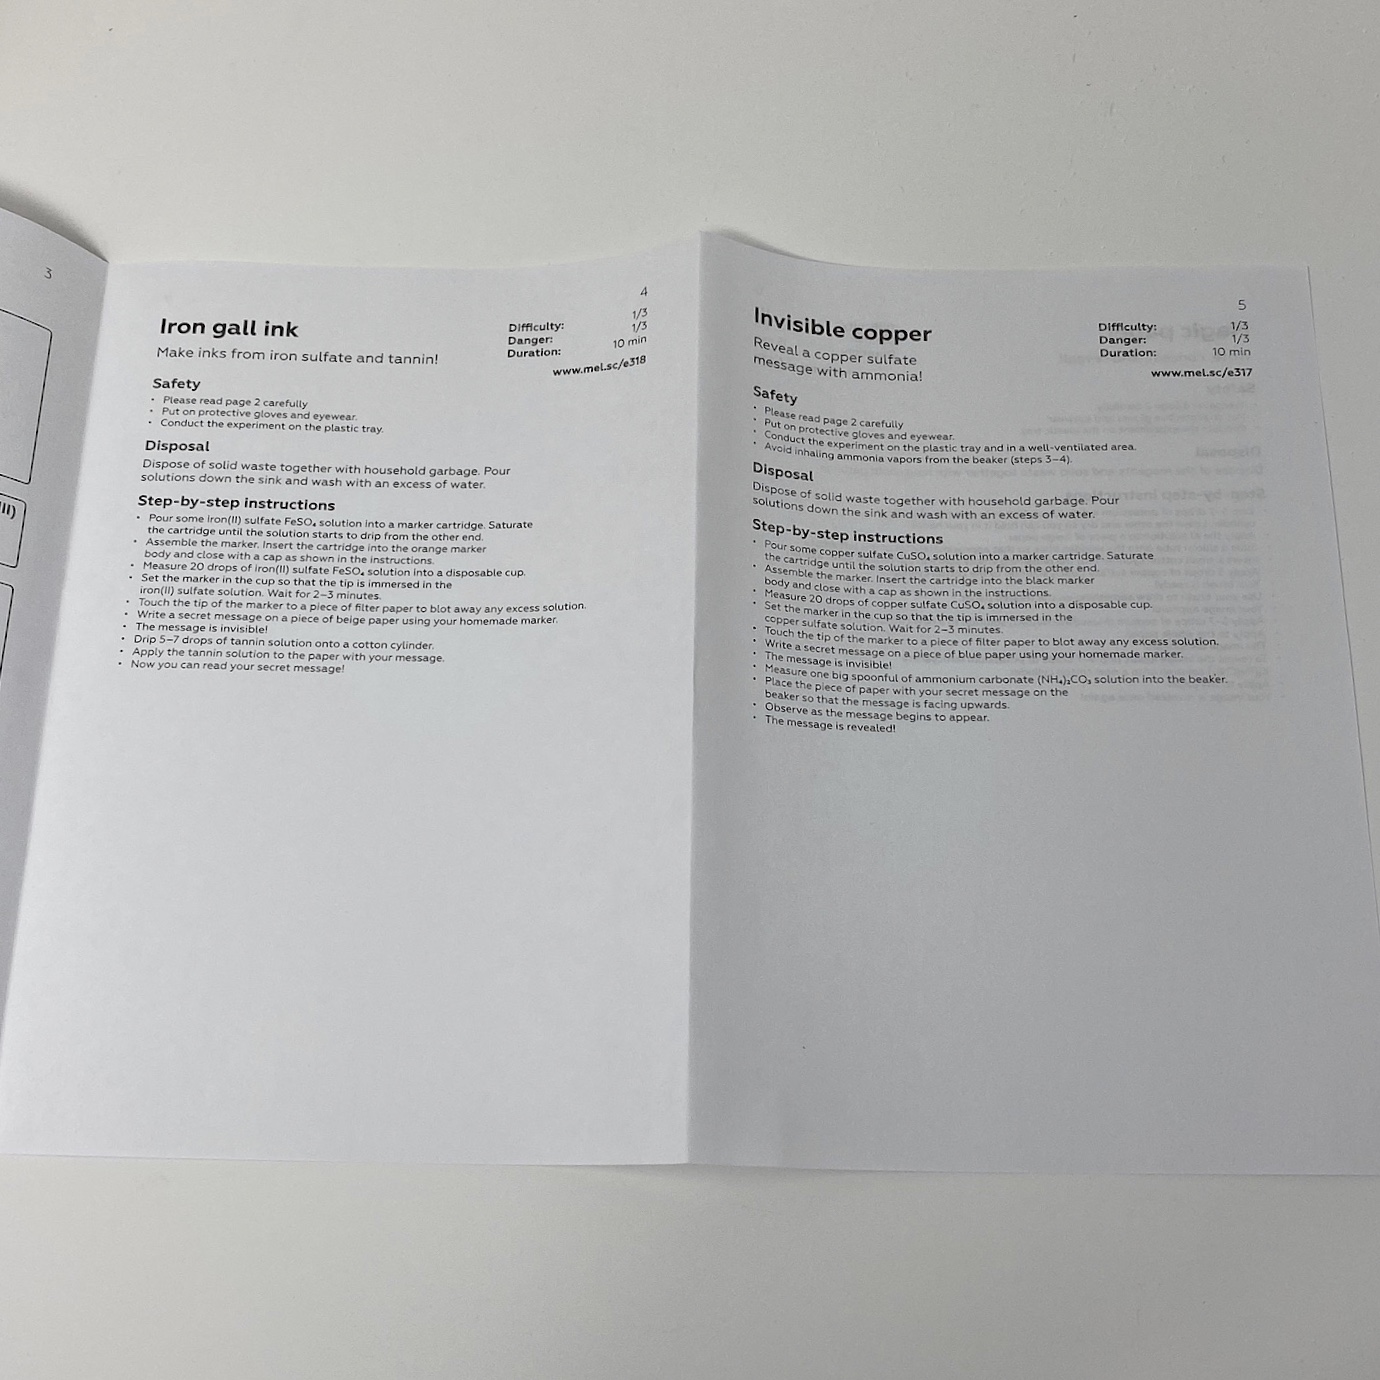
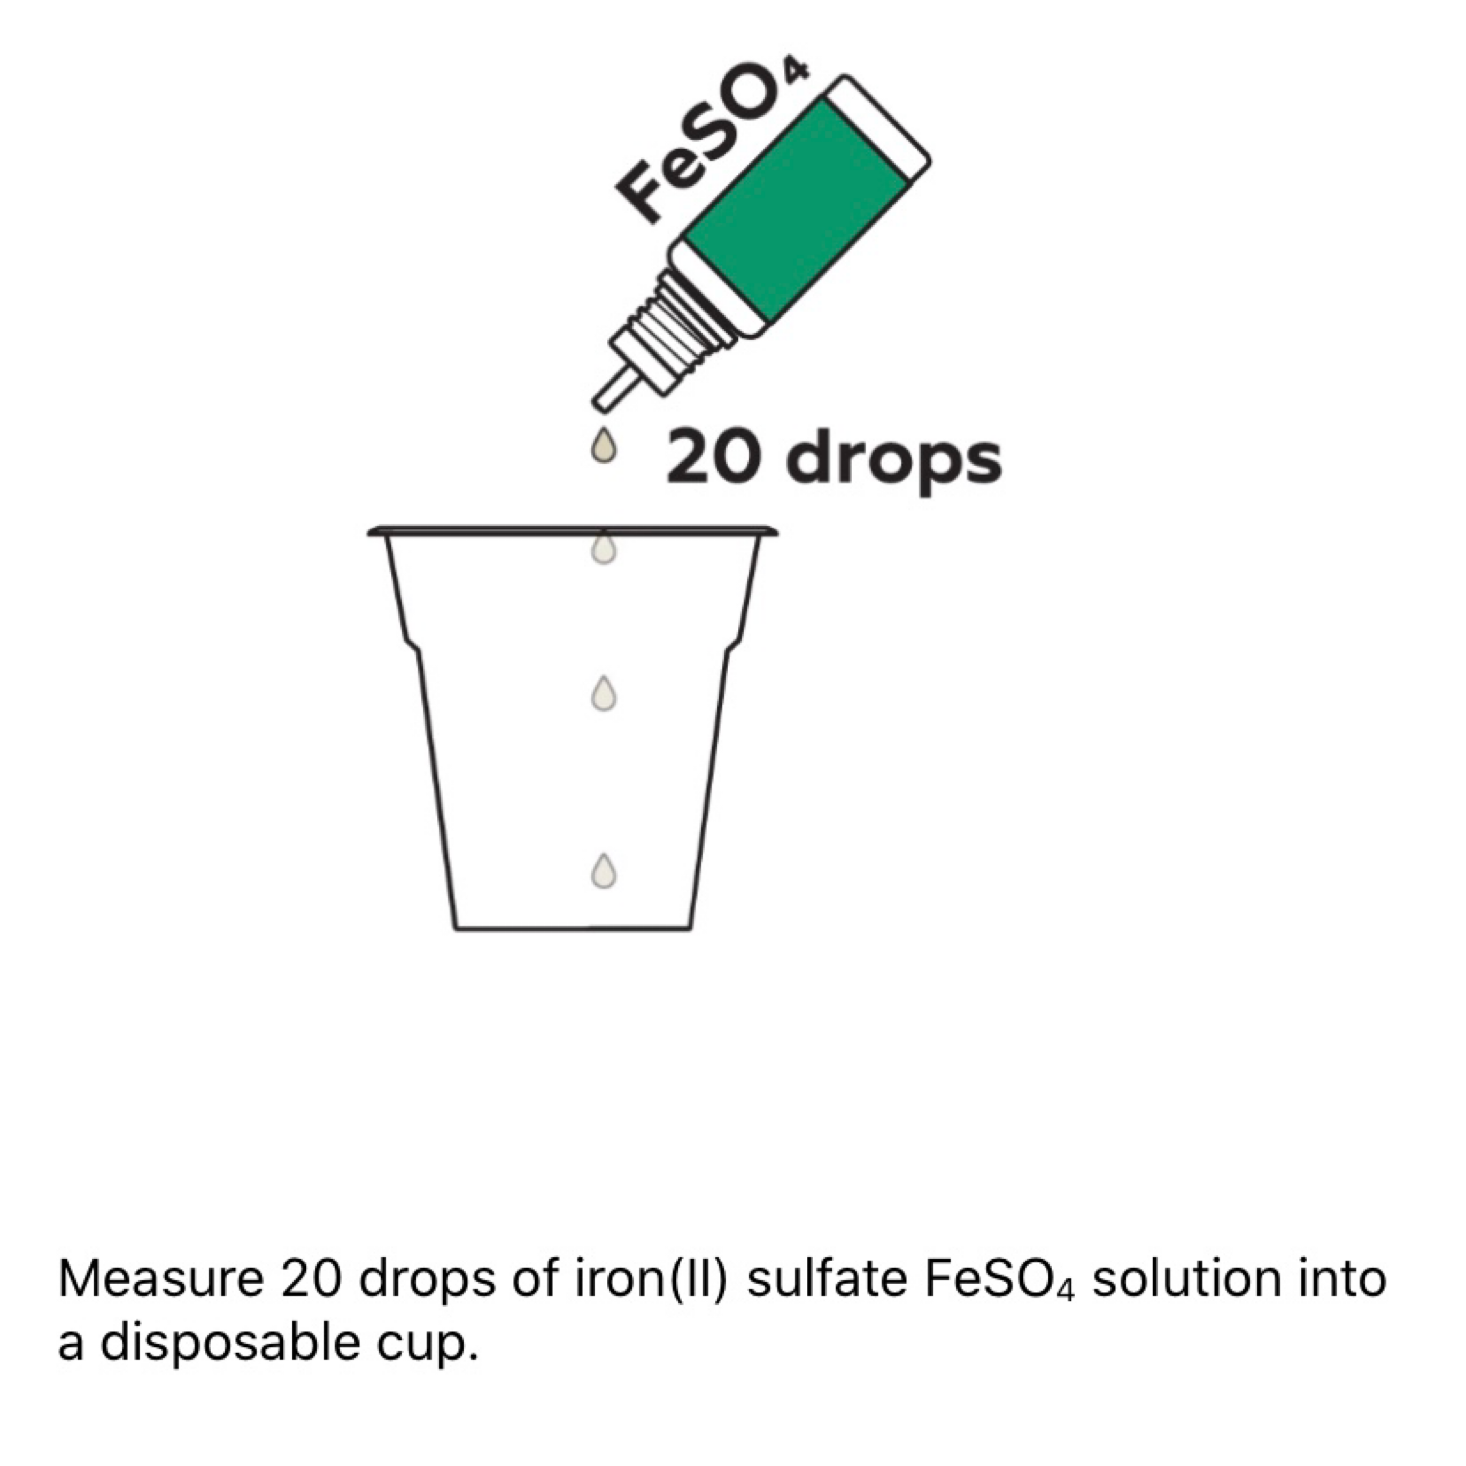
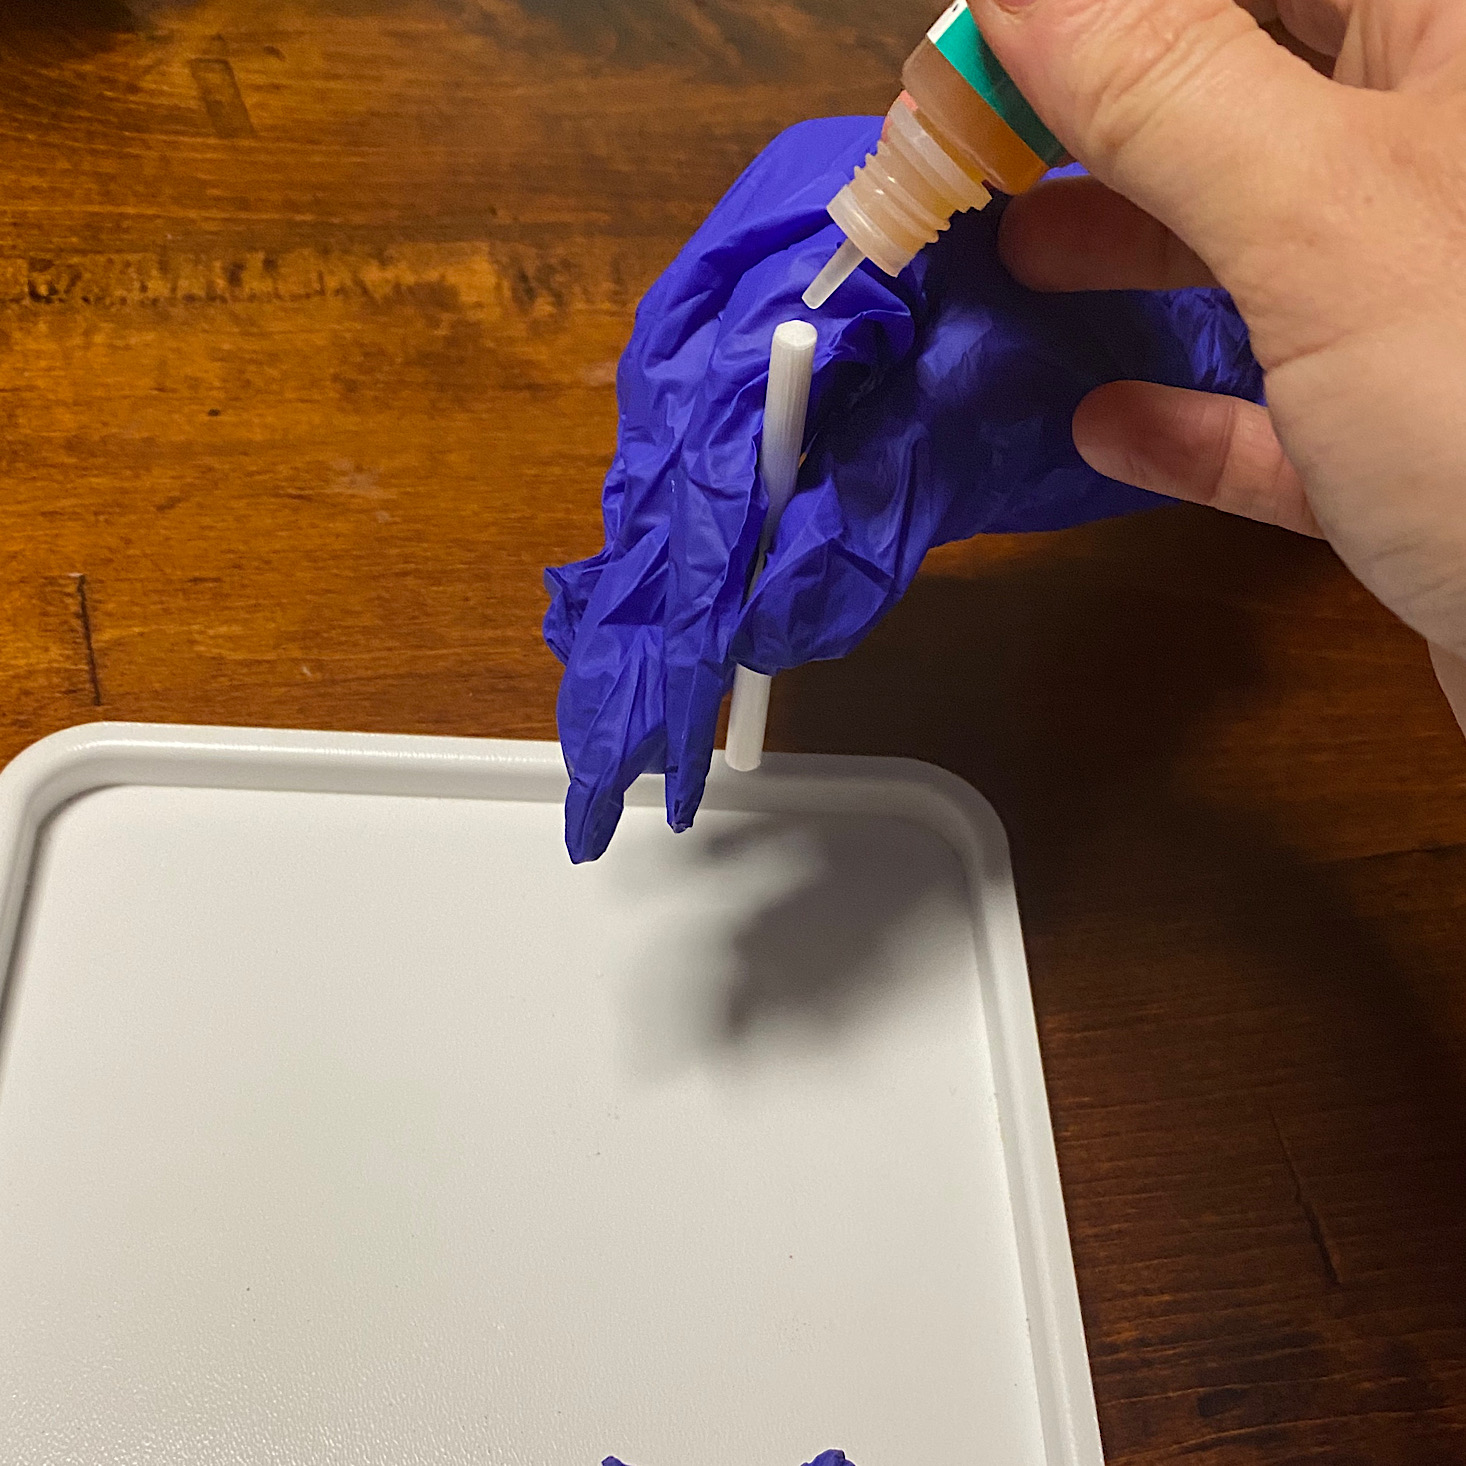
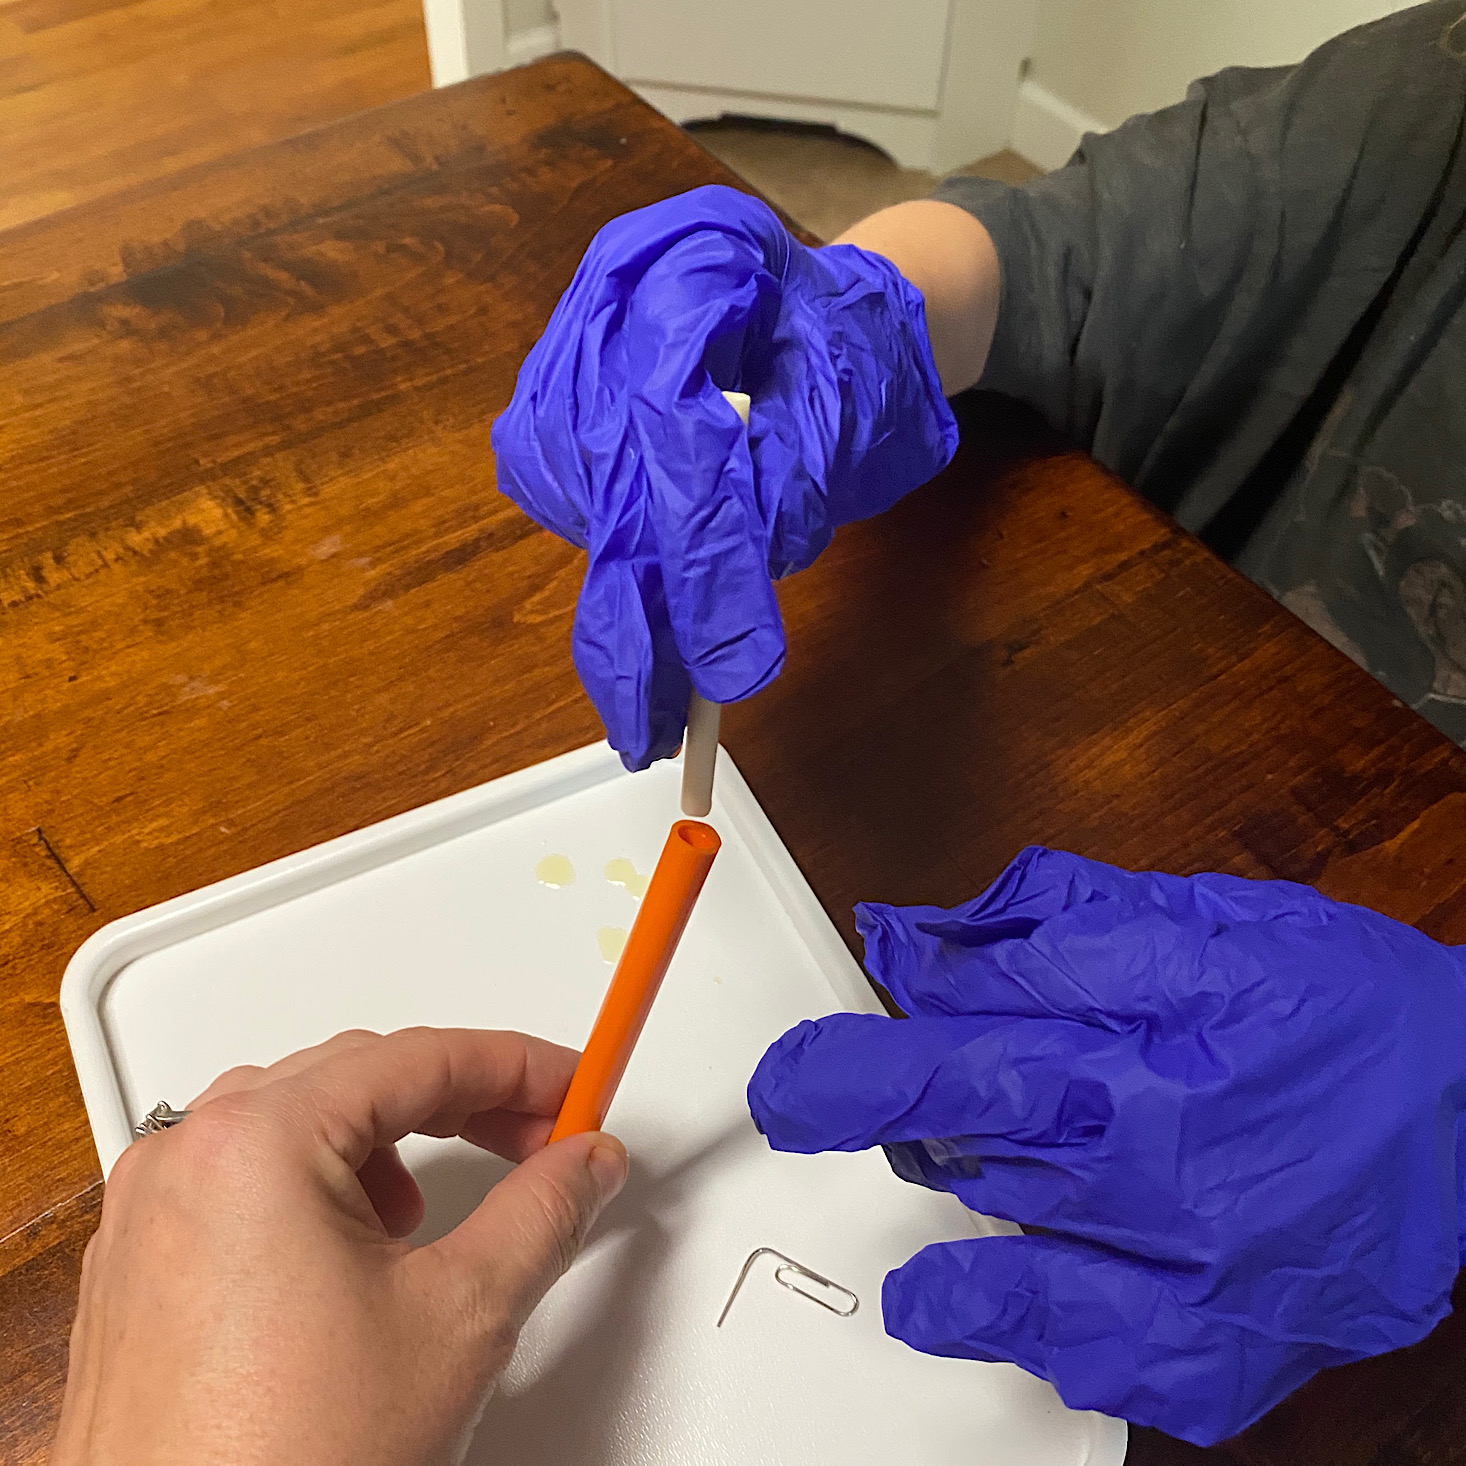
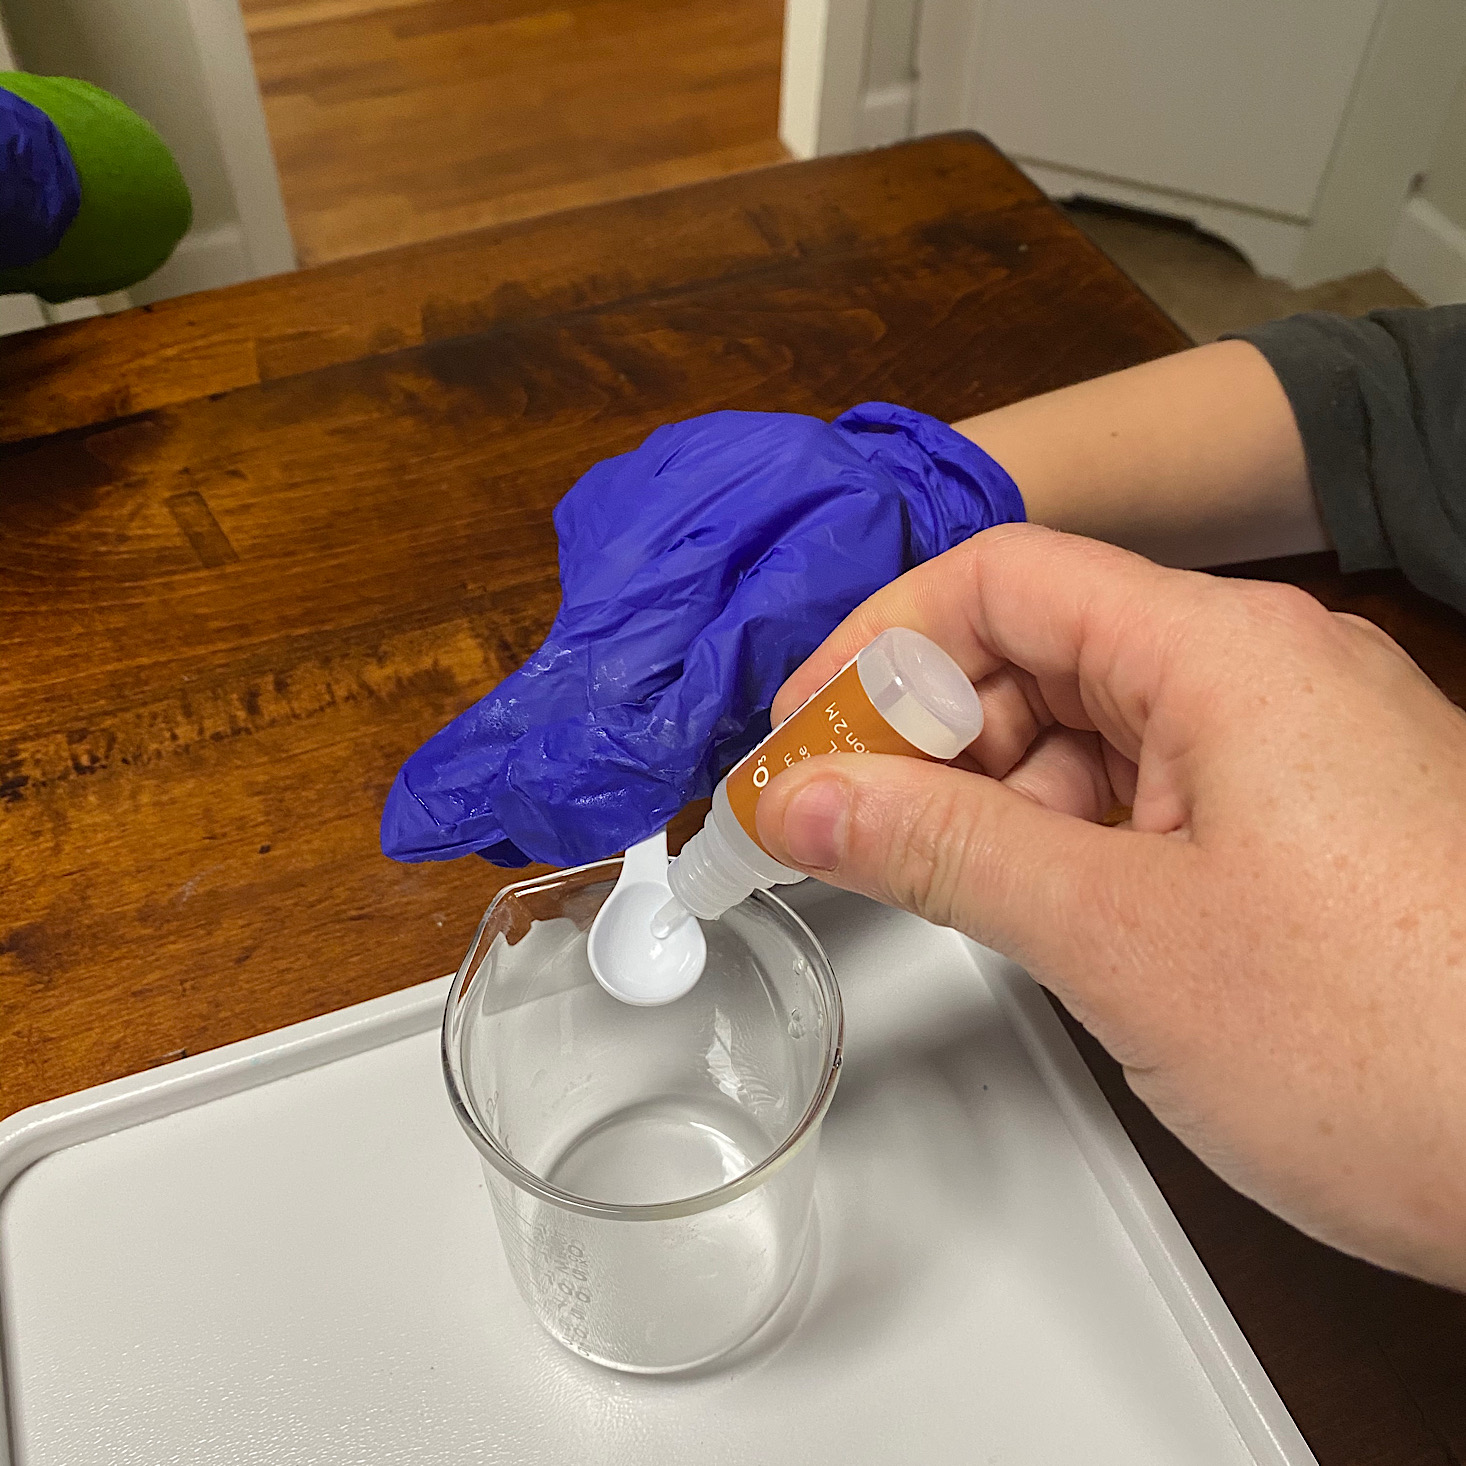
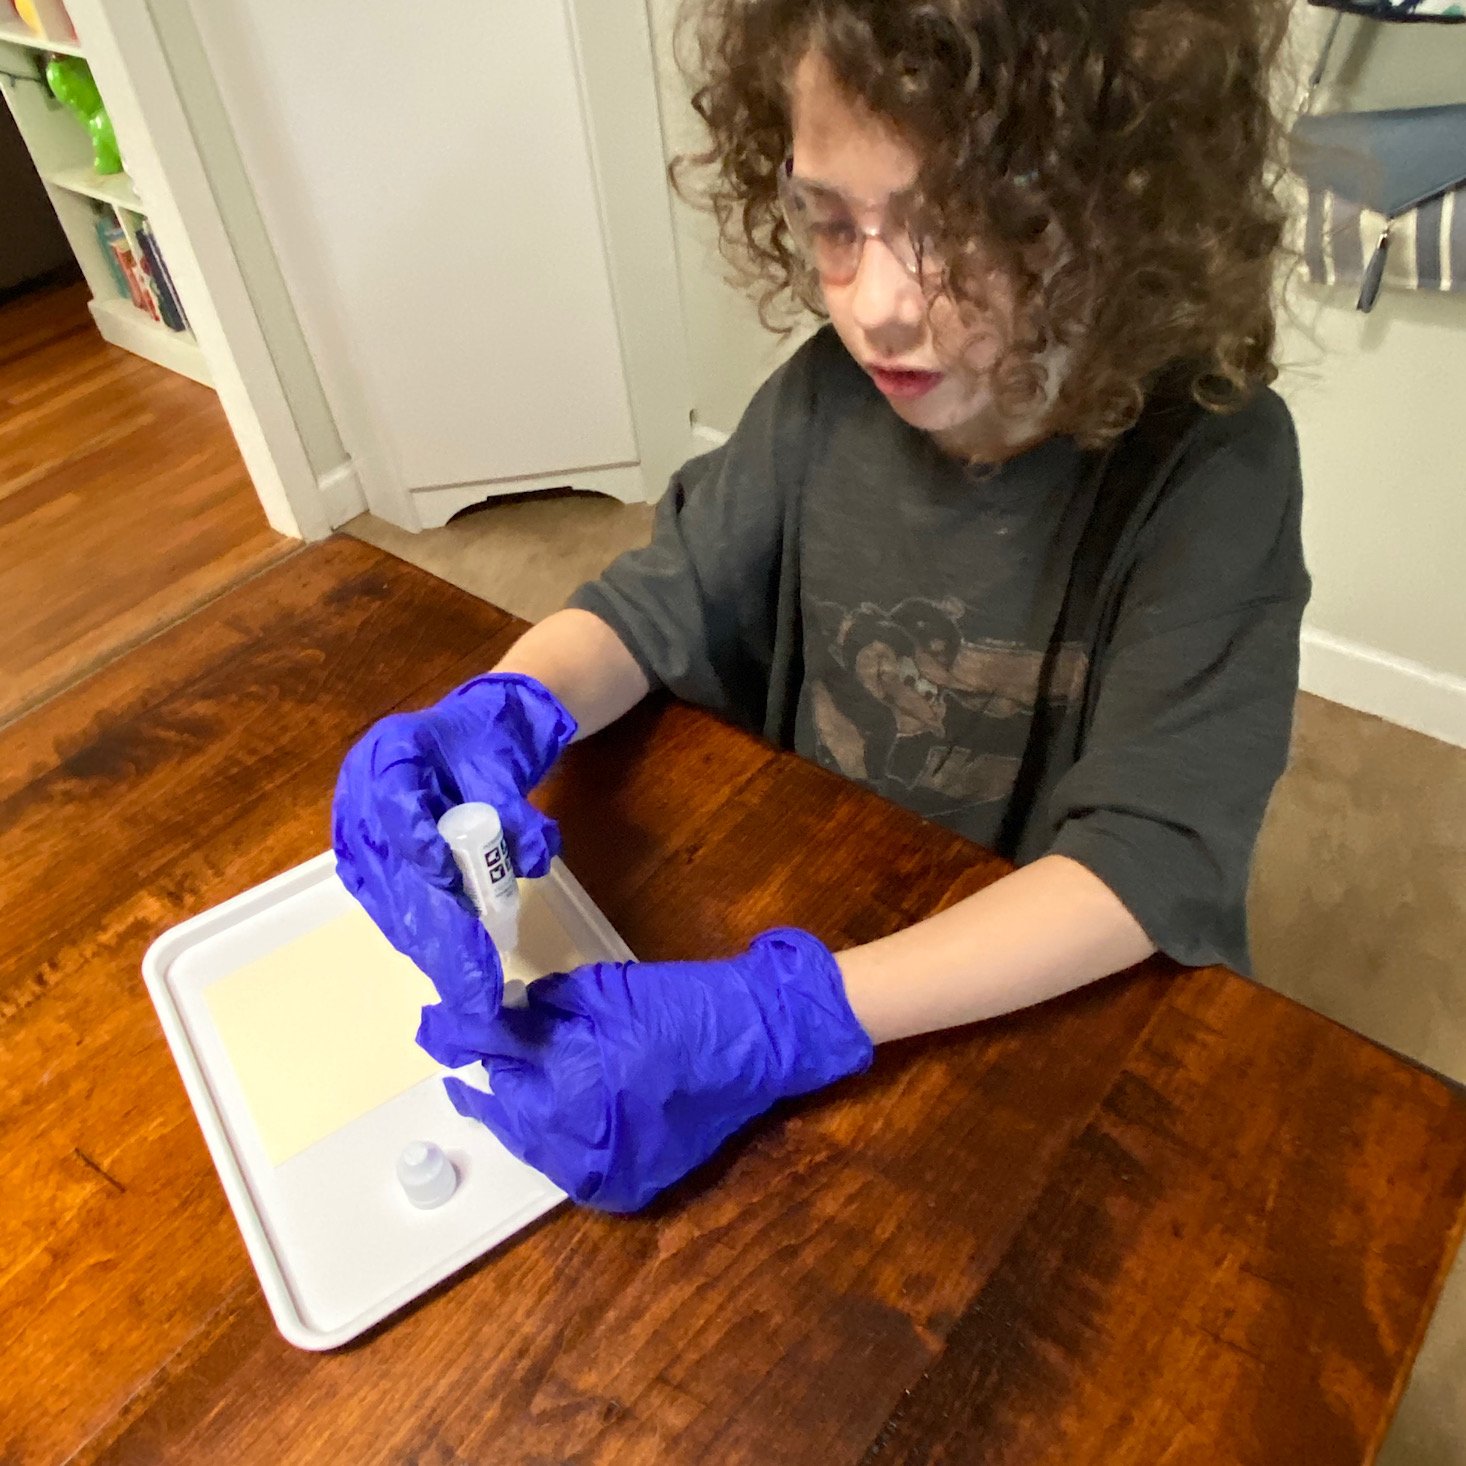
We grabbed our Iron Sulfate and began to add drops to one of the cartridges until it was full enough to drip from the other side. Then we stuck it inside the orange marker case and capped it off.
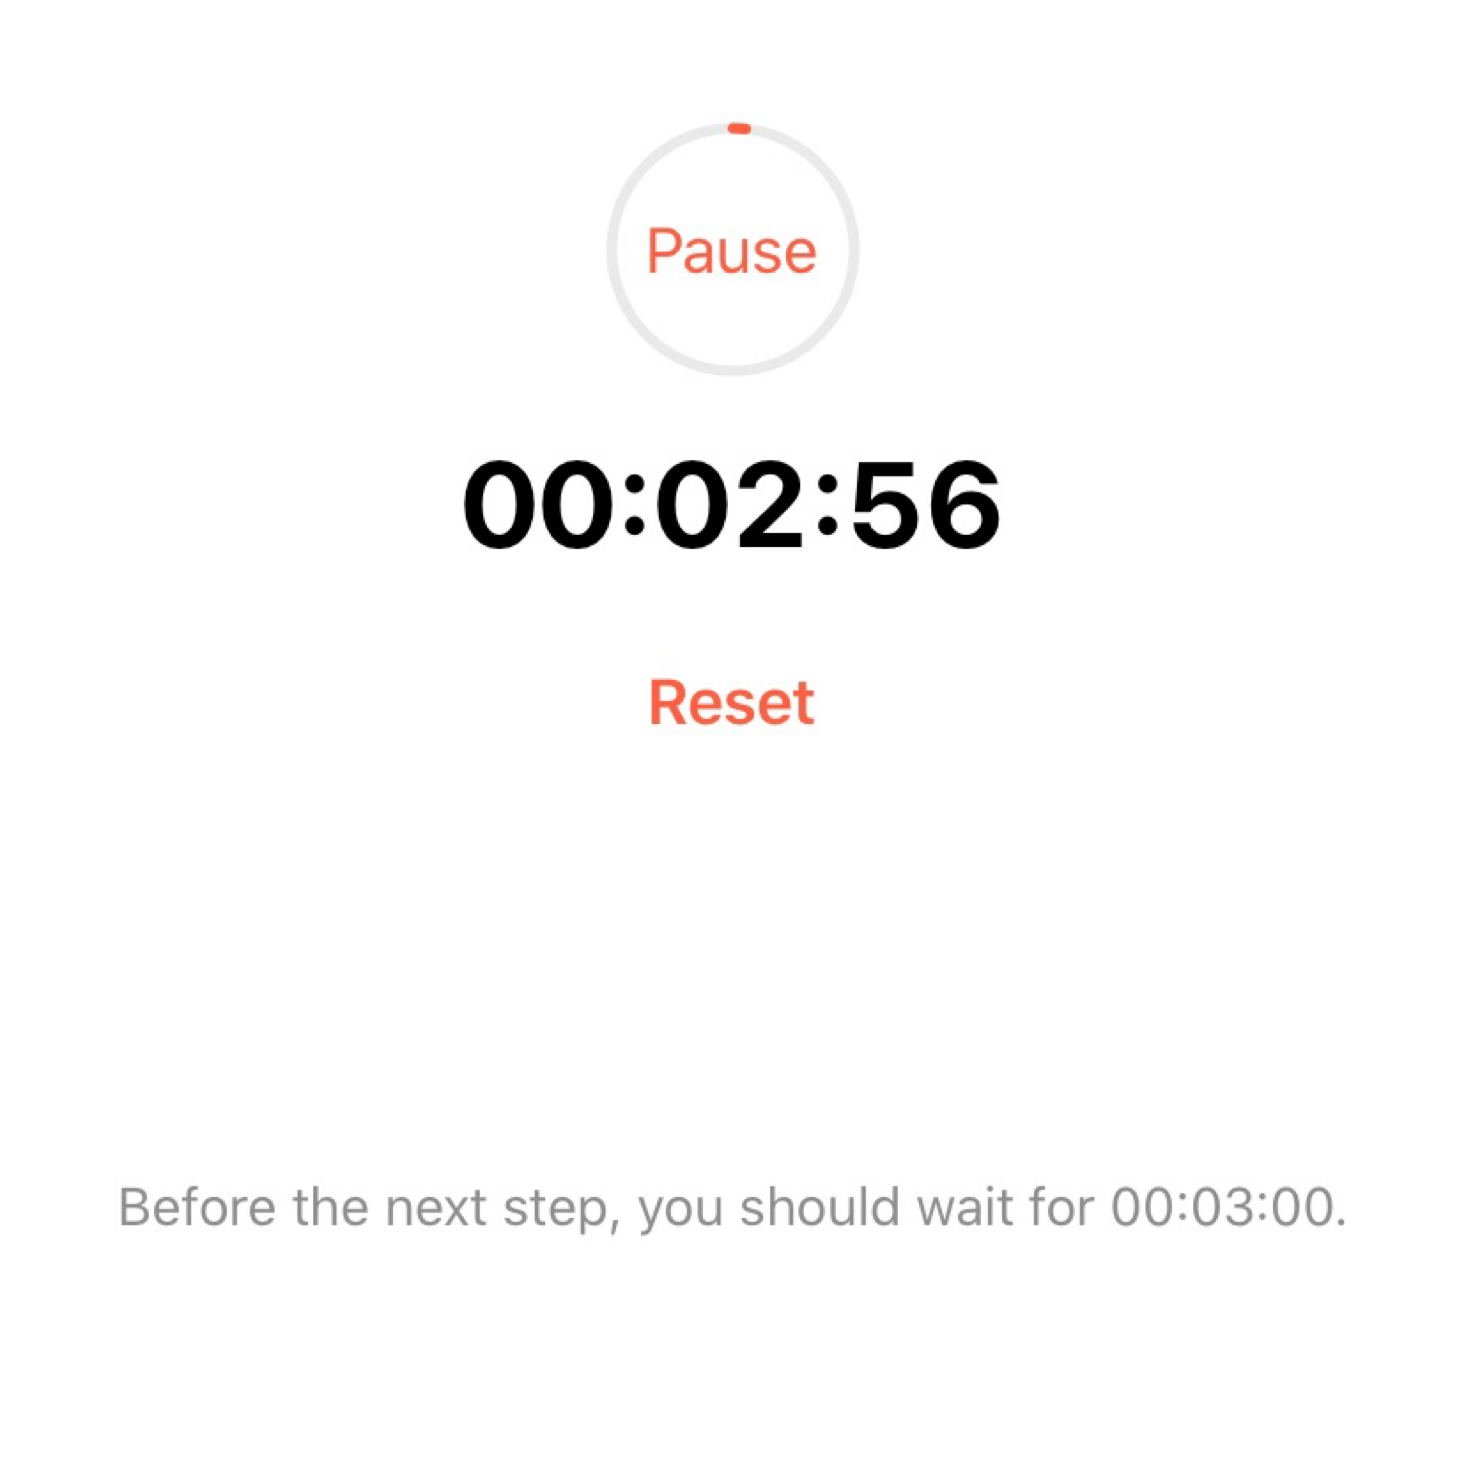
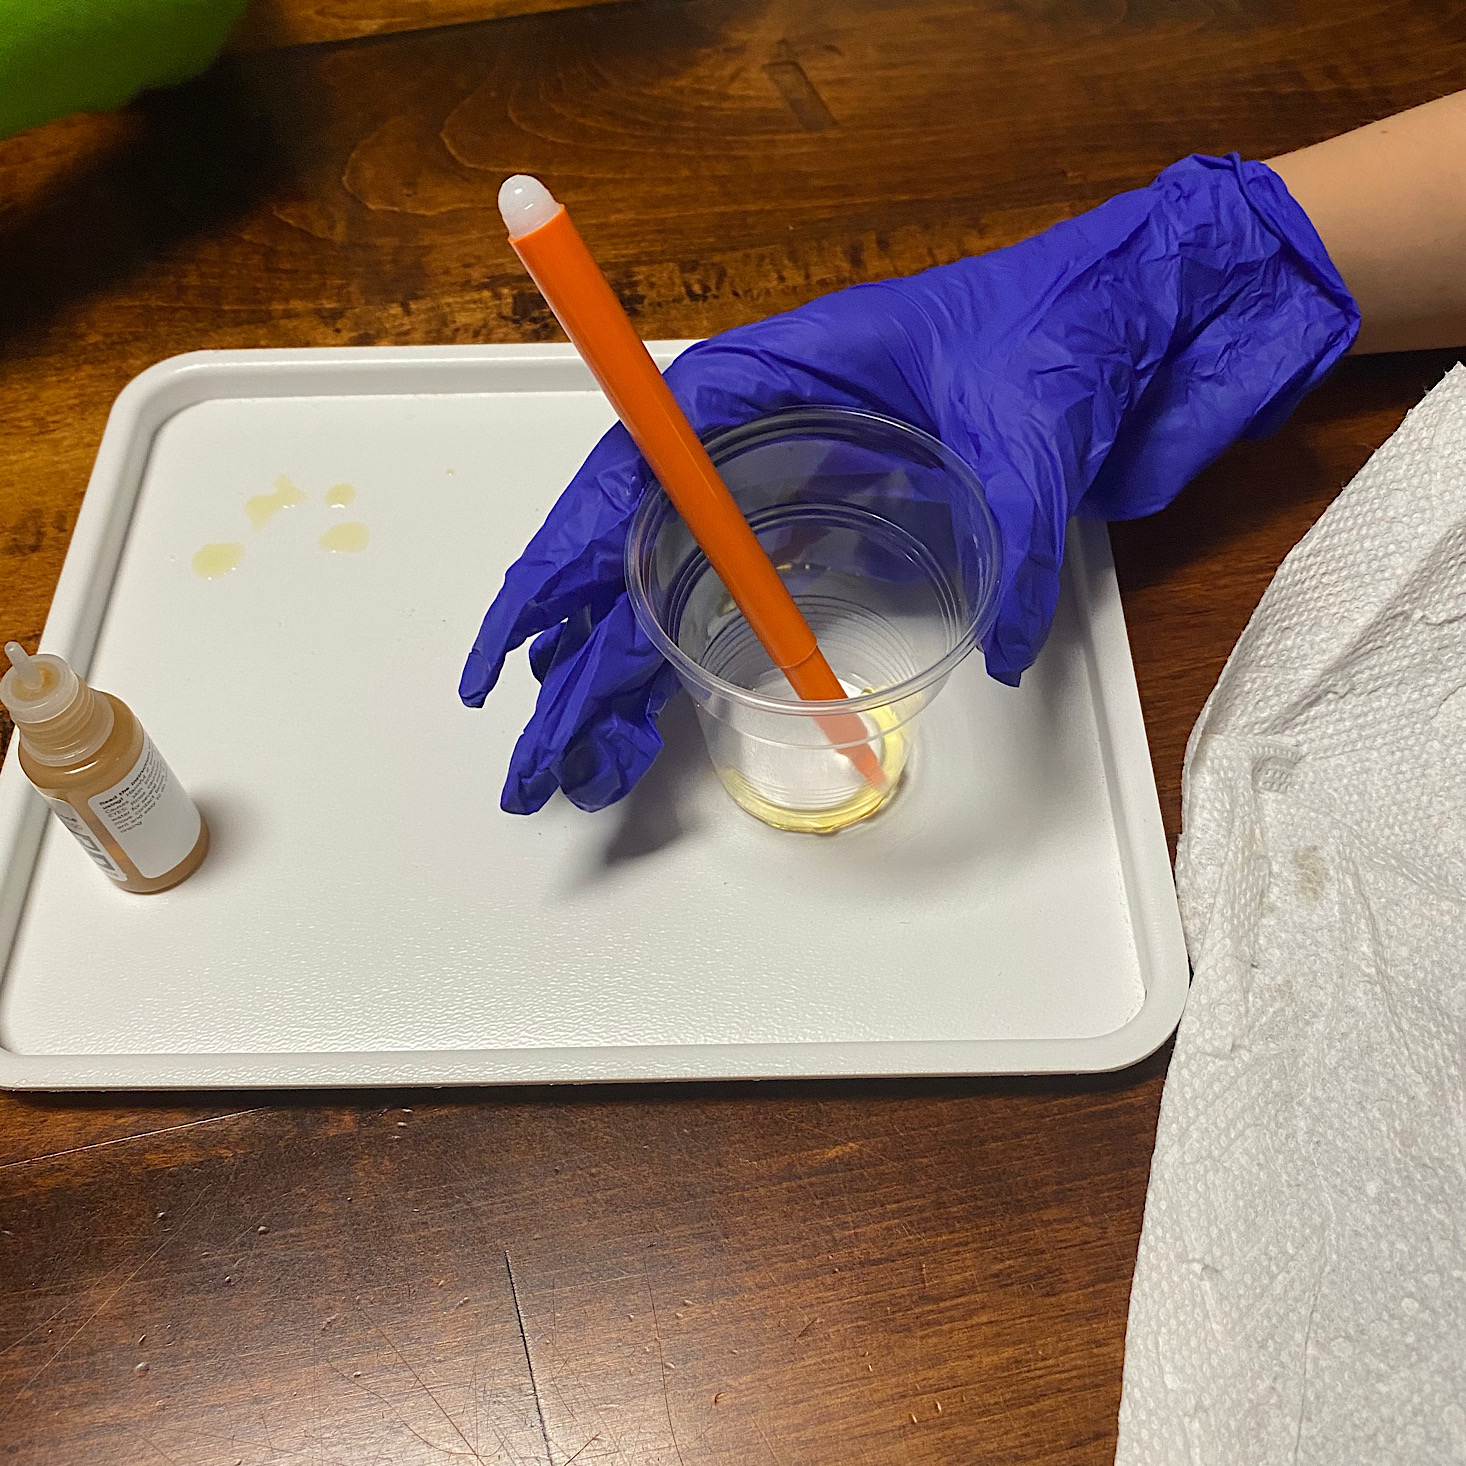
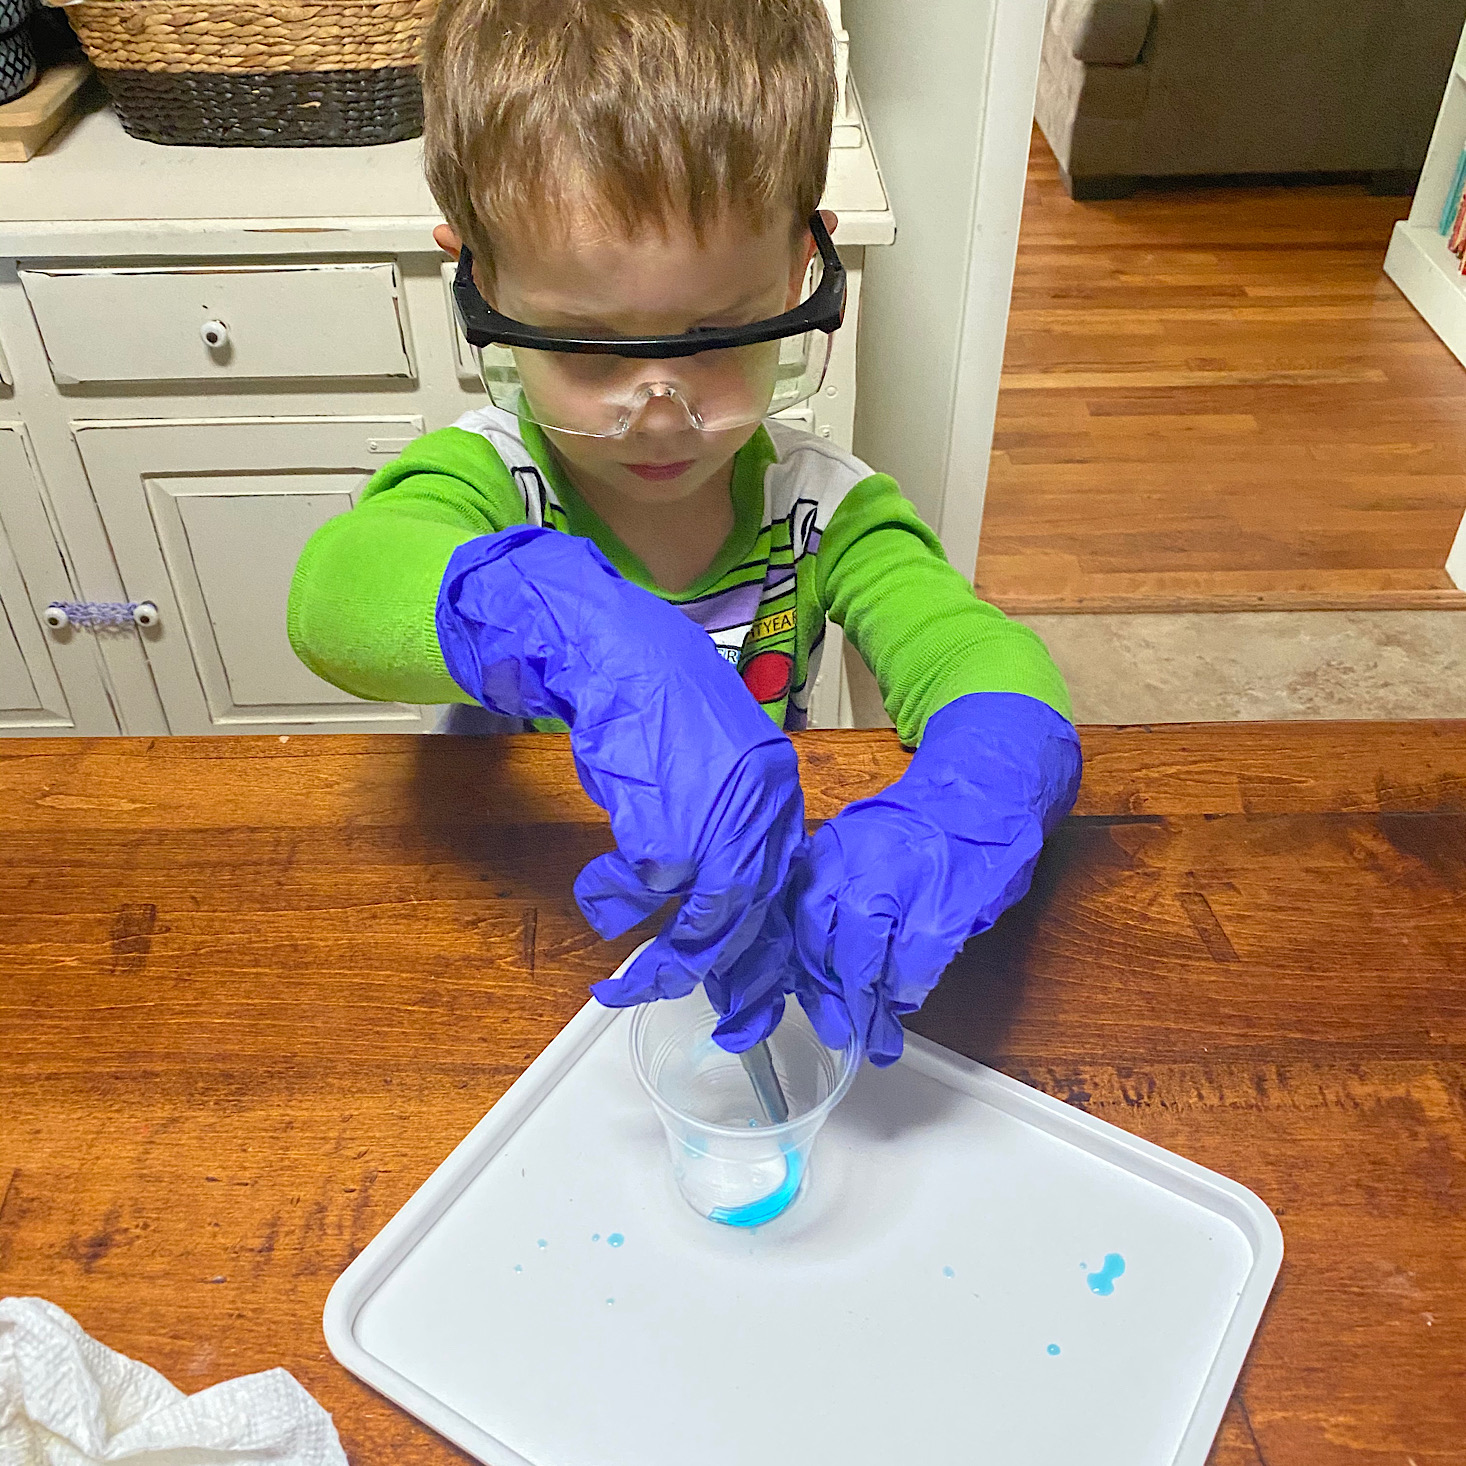
Then we added a few drops of the Iron Sulfate to one of our cups and stuck the tip of the marker in it for 3 minutes, which we kept track of with the built-in timer in our app.
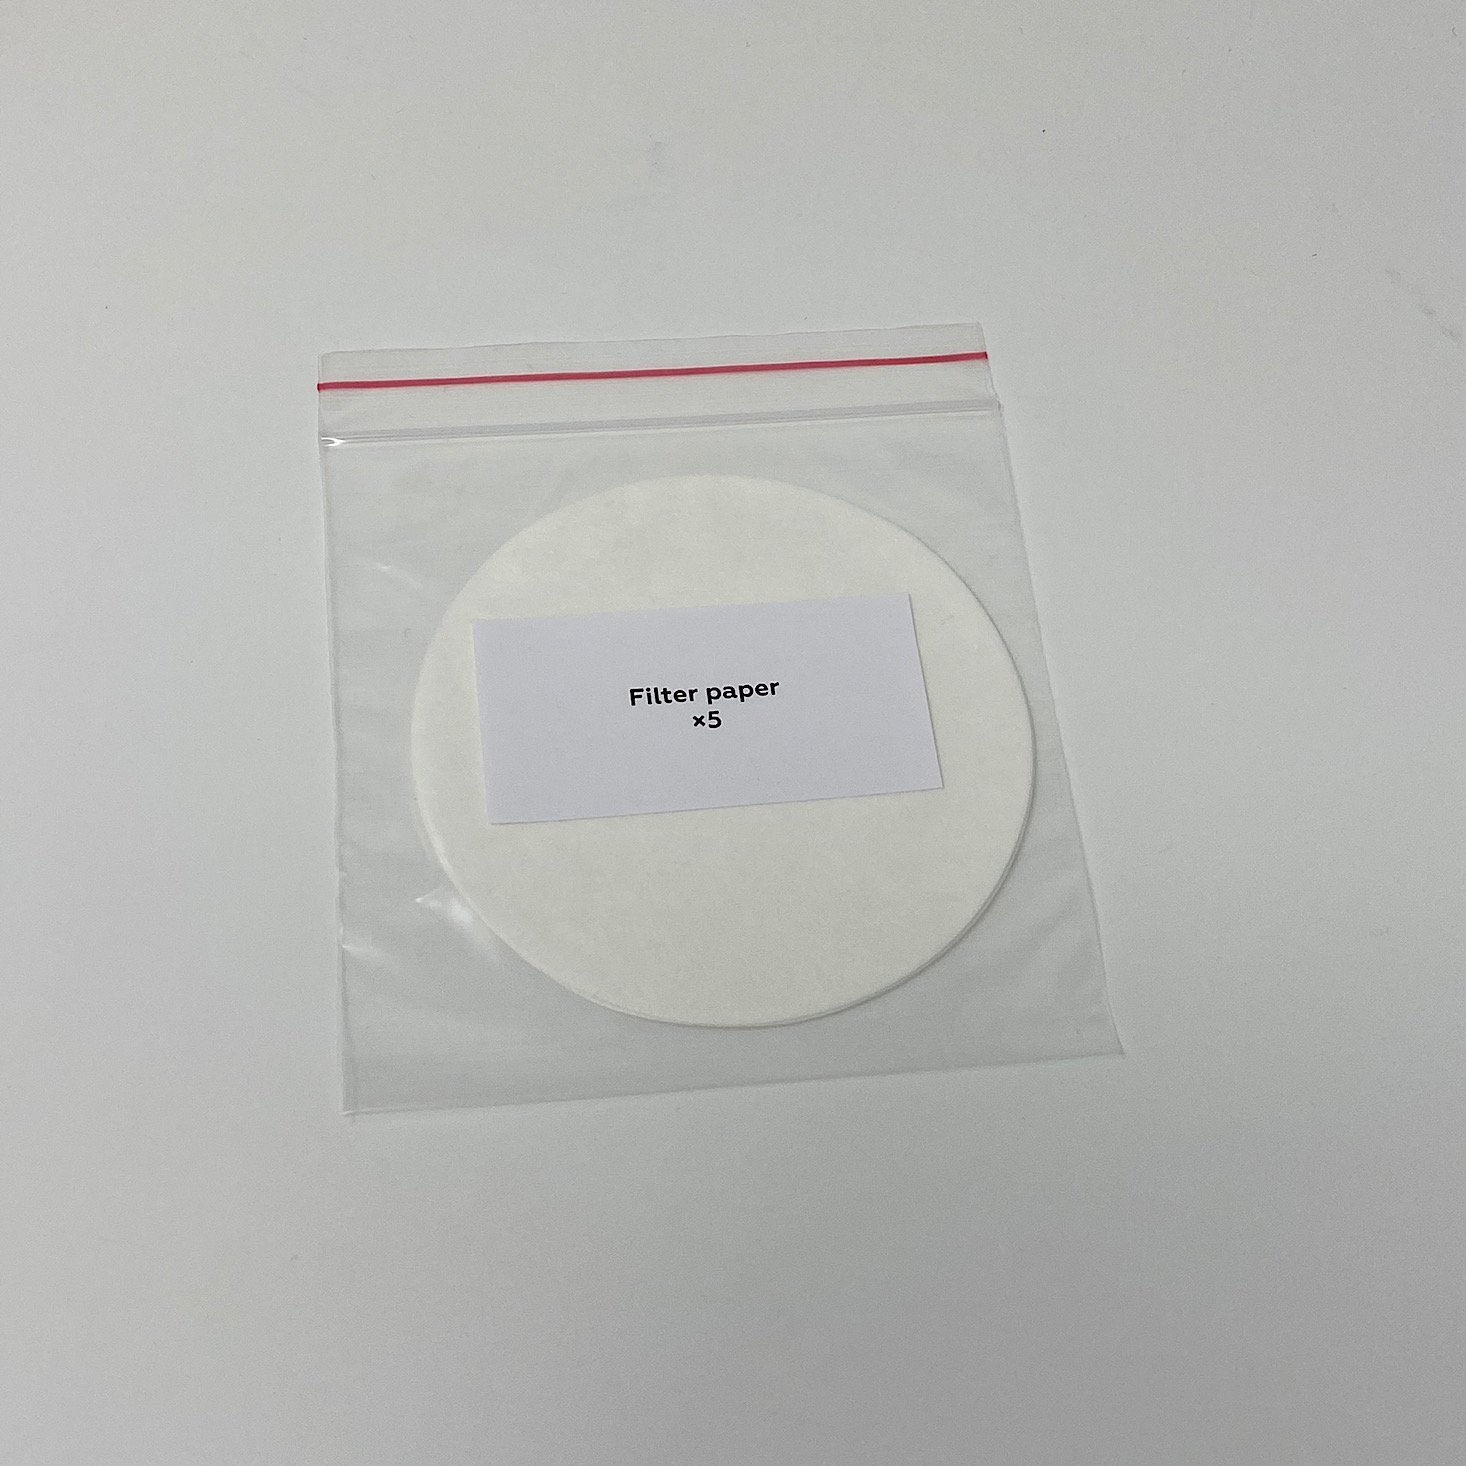
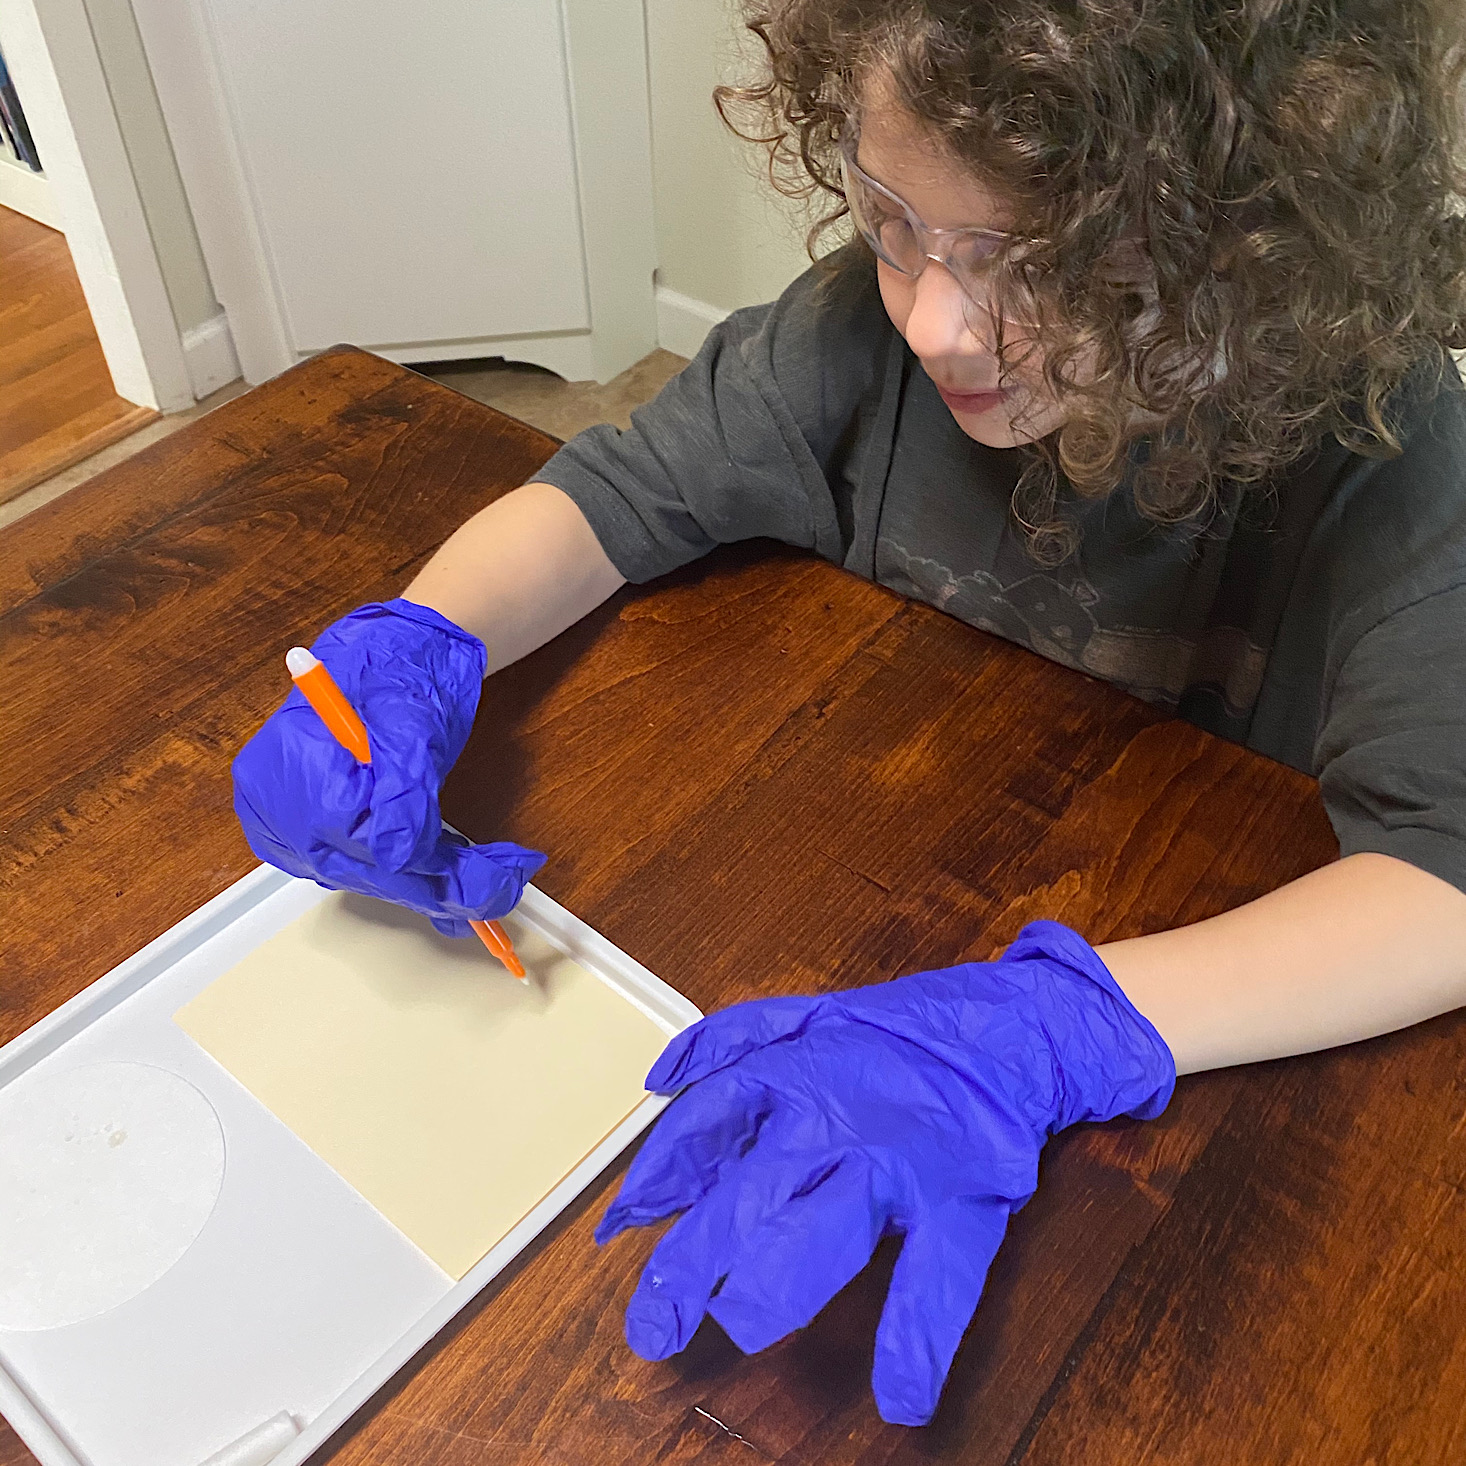
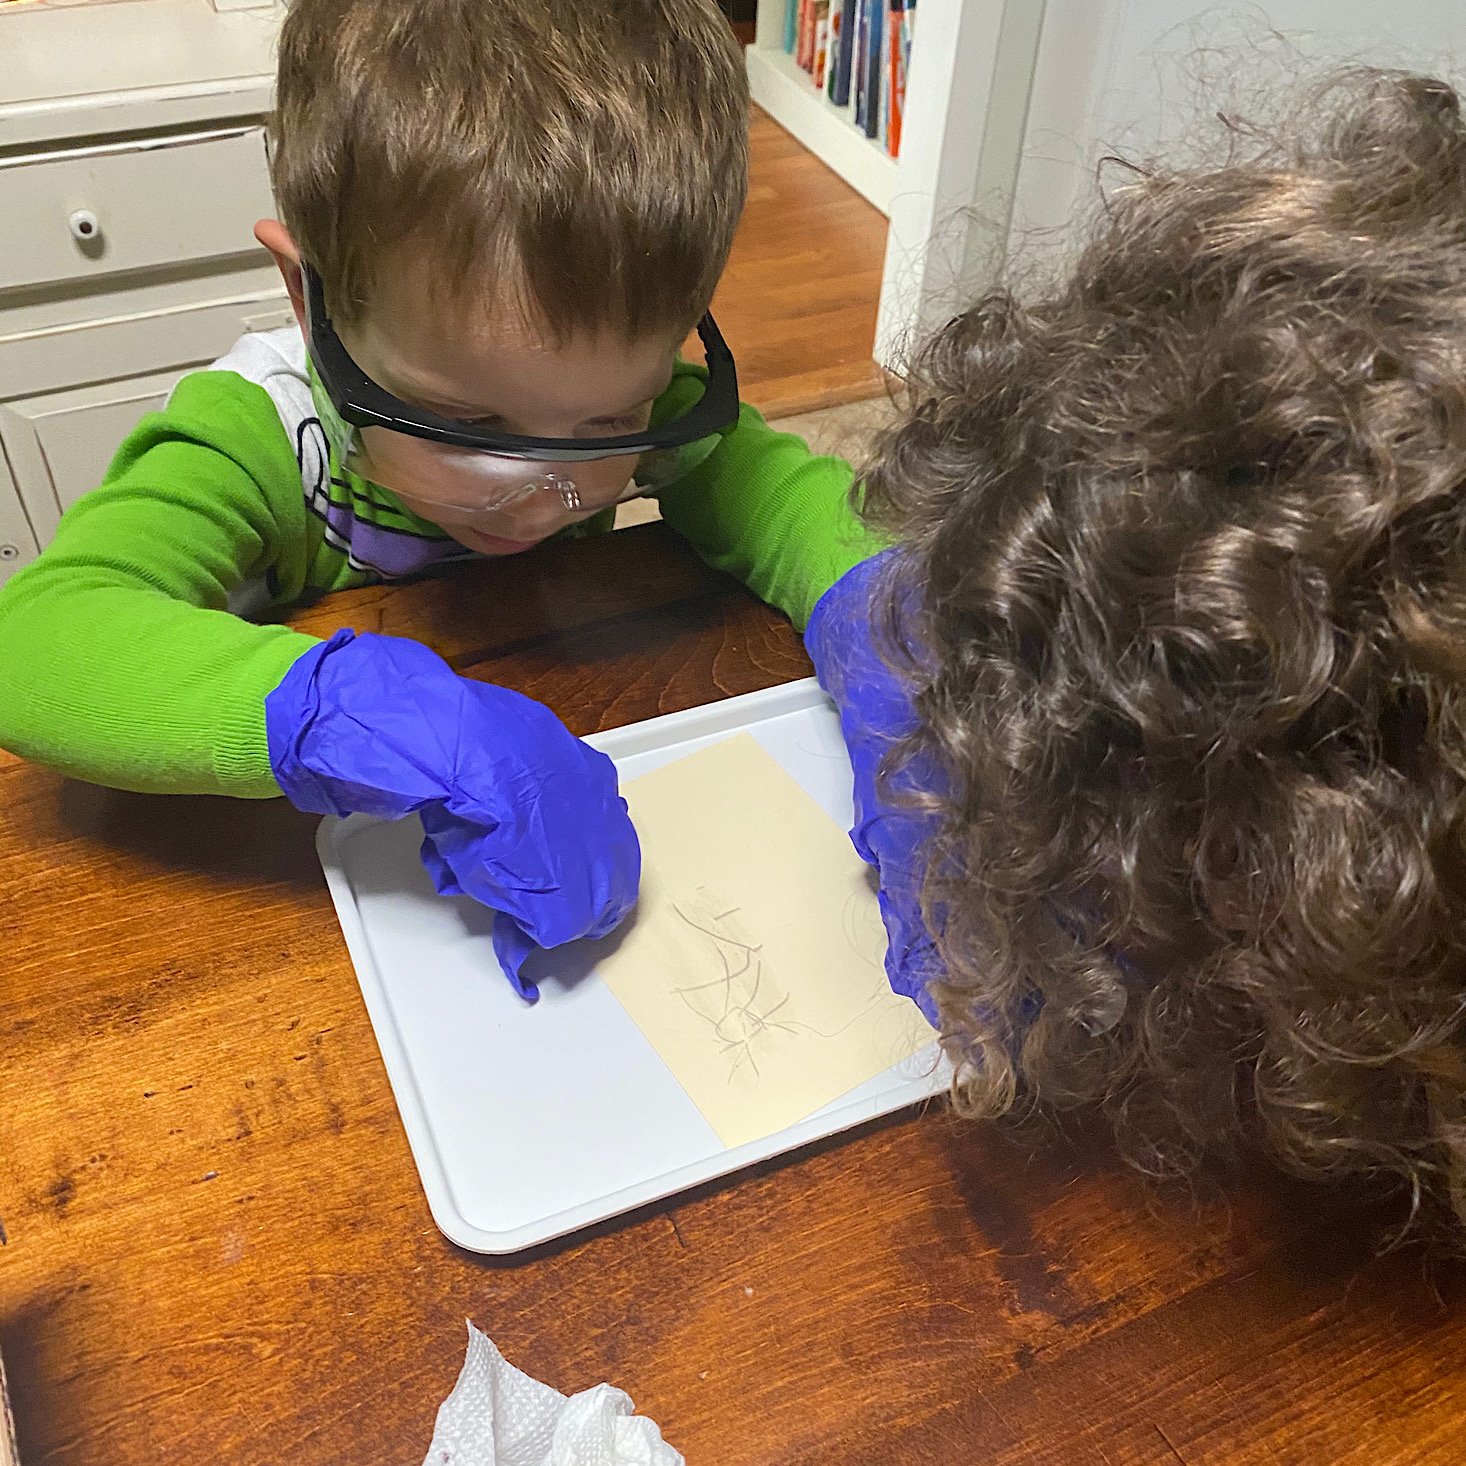
Then my son blotted off the excess liquid onto one of the filter papers and my daughter drew her invisible picture.
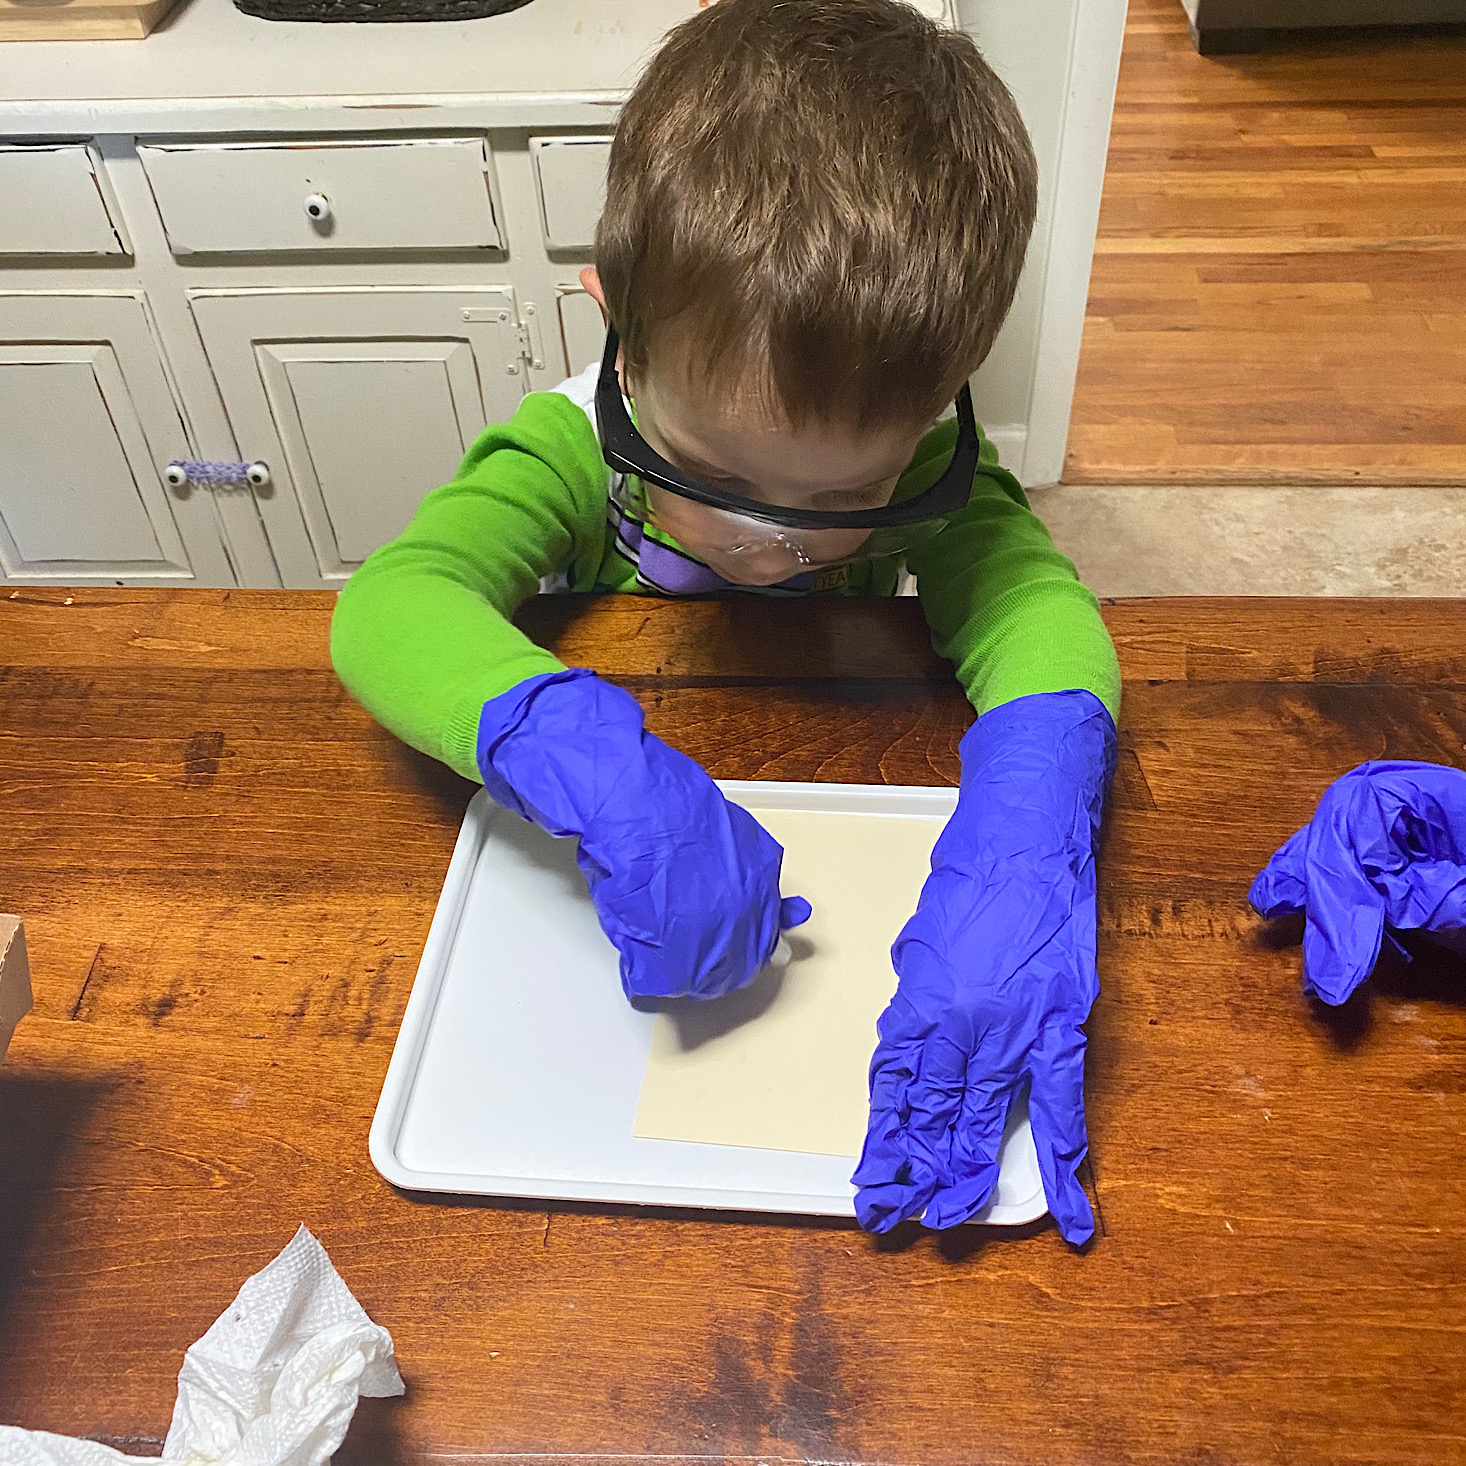
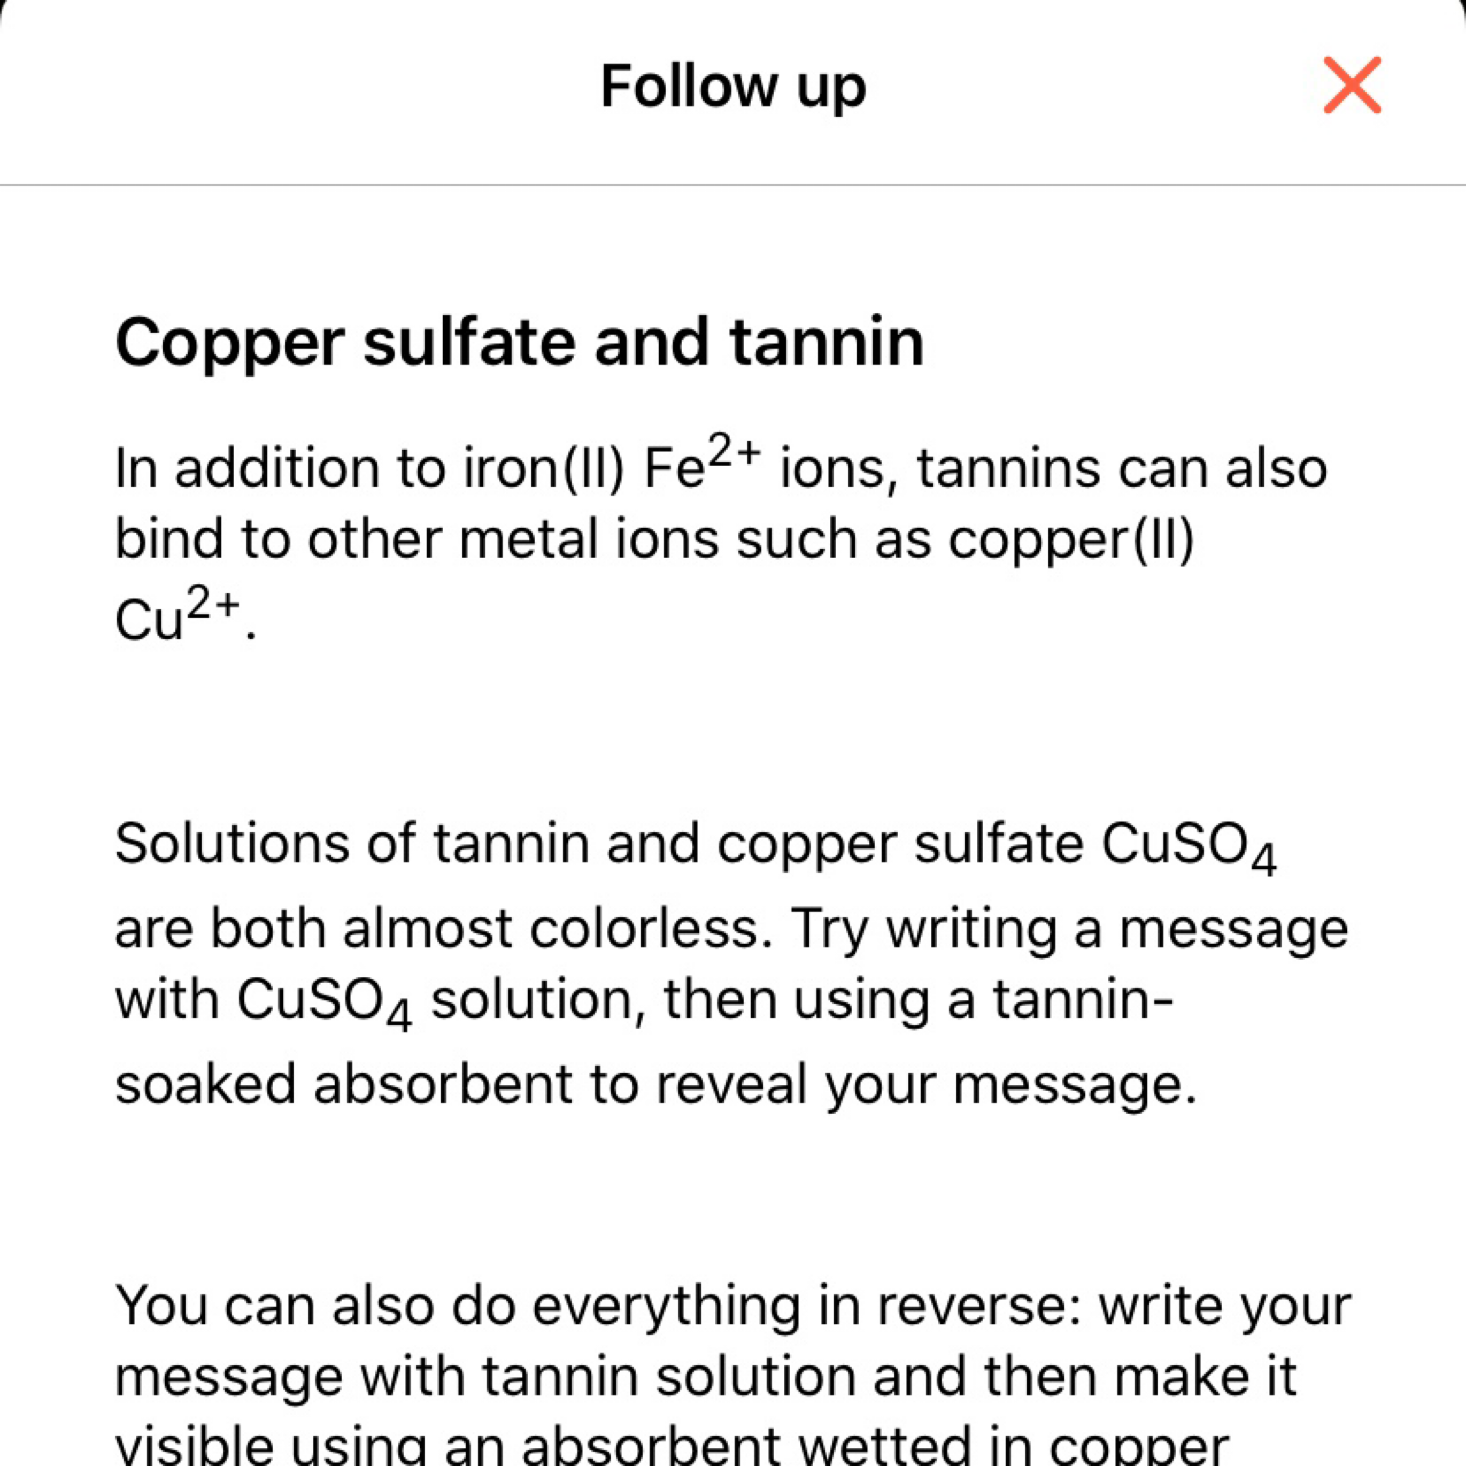
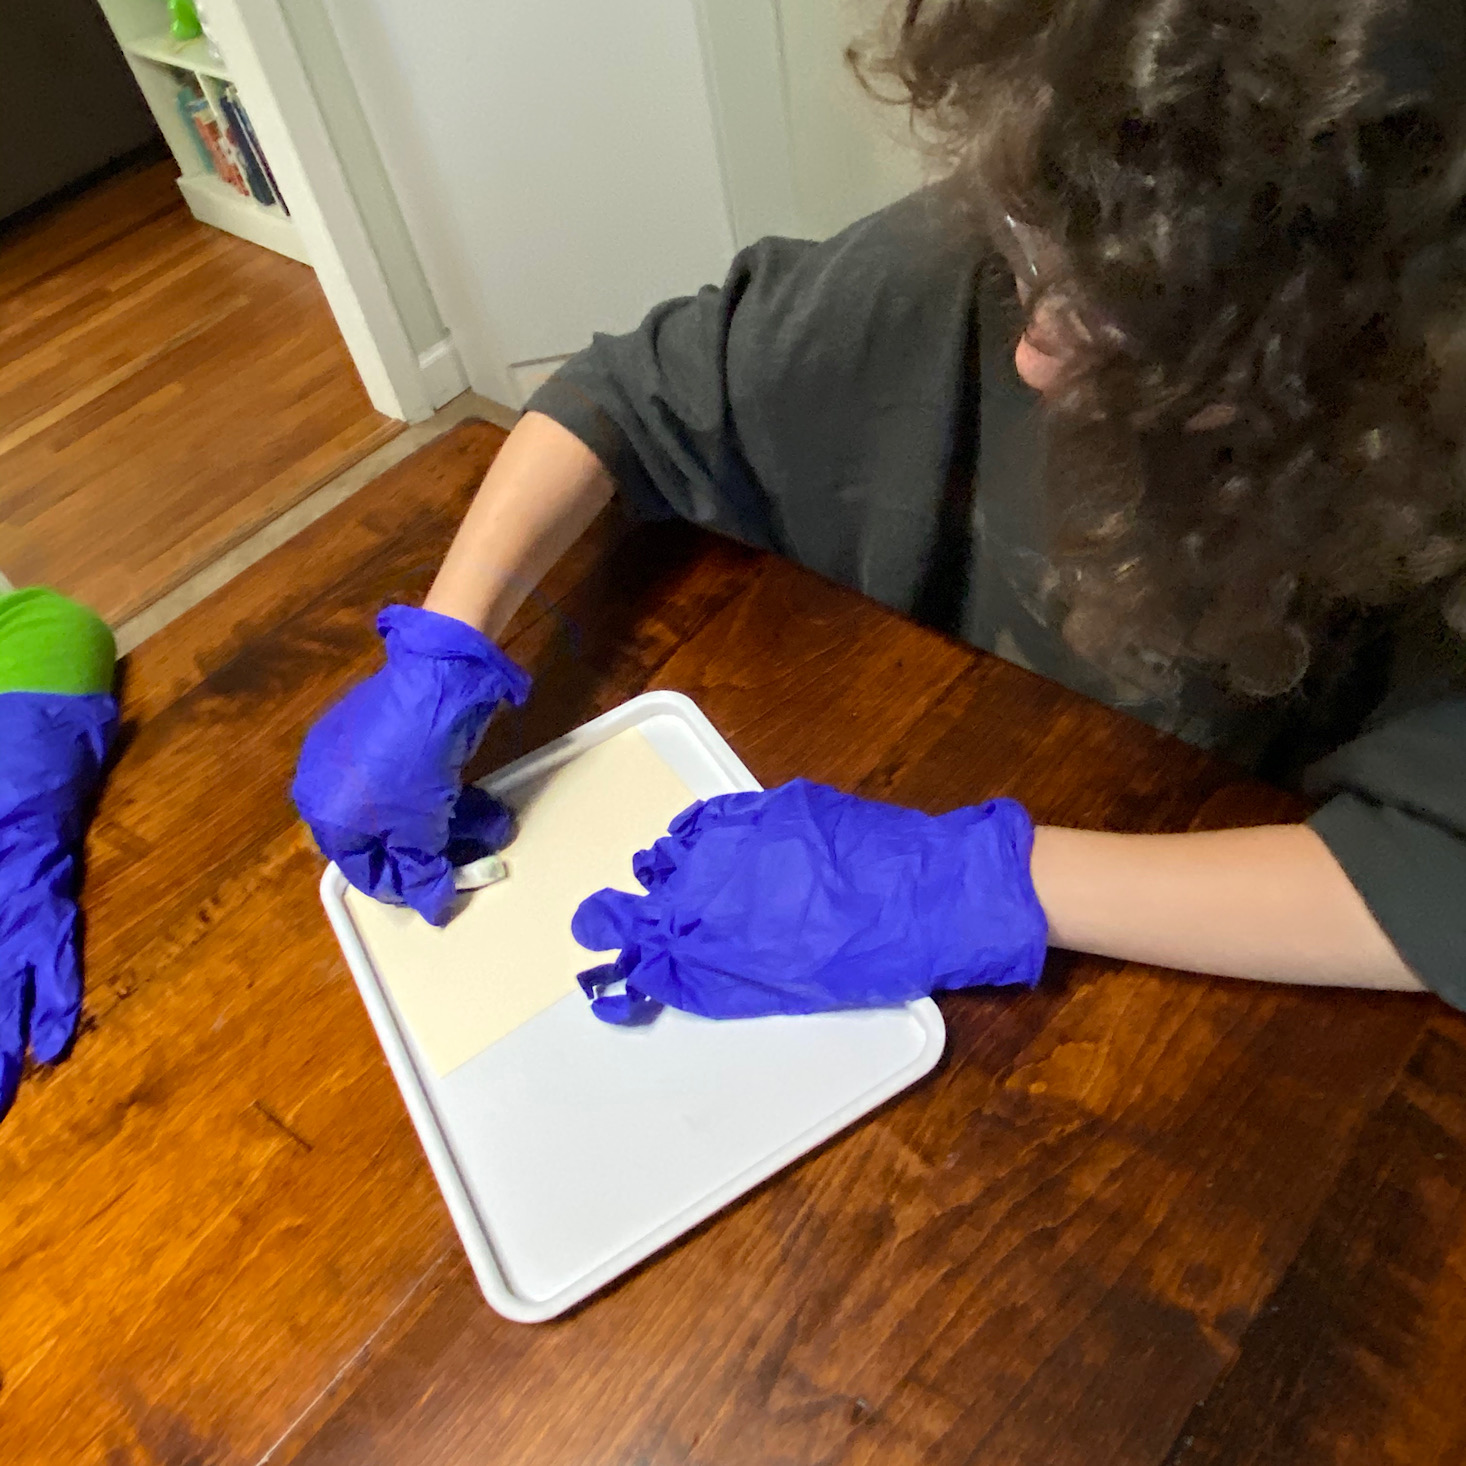
Then we took one of the cotton absorbers from our kit and added some tannin to it. My son then rubbed this all over the drawing my daughter had done.
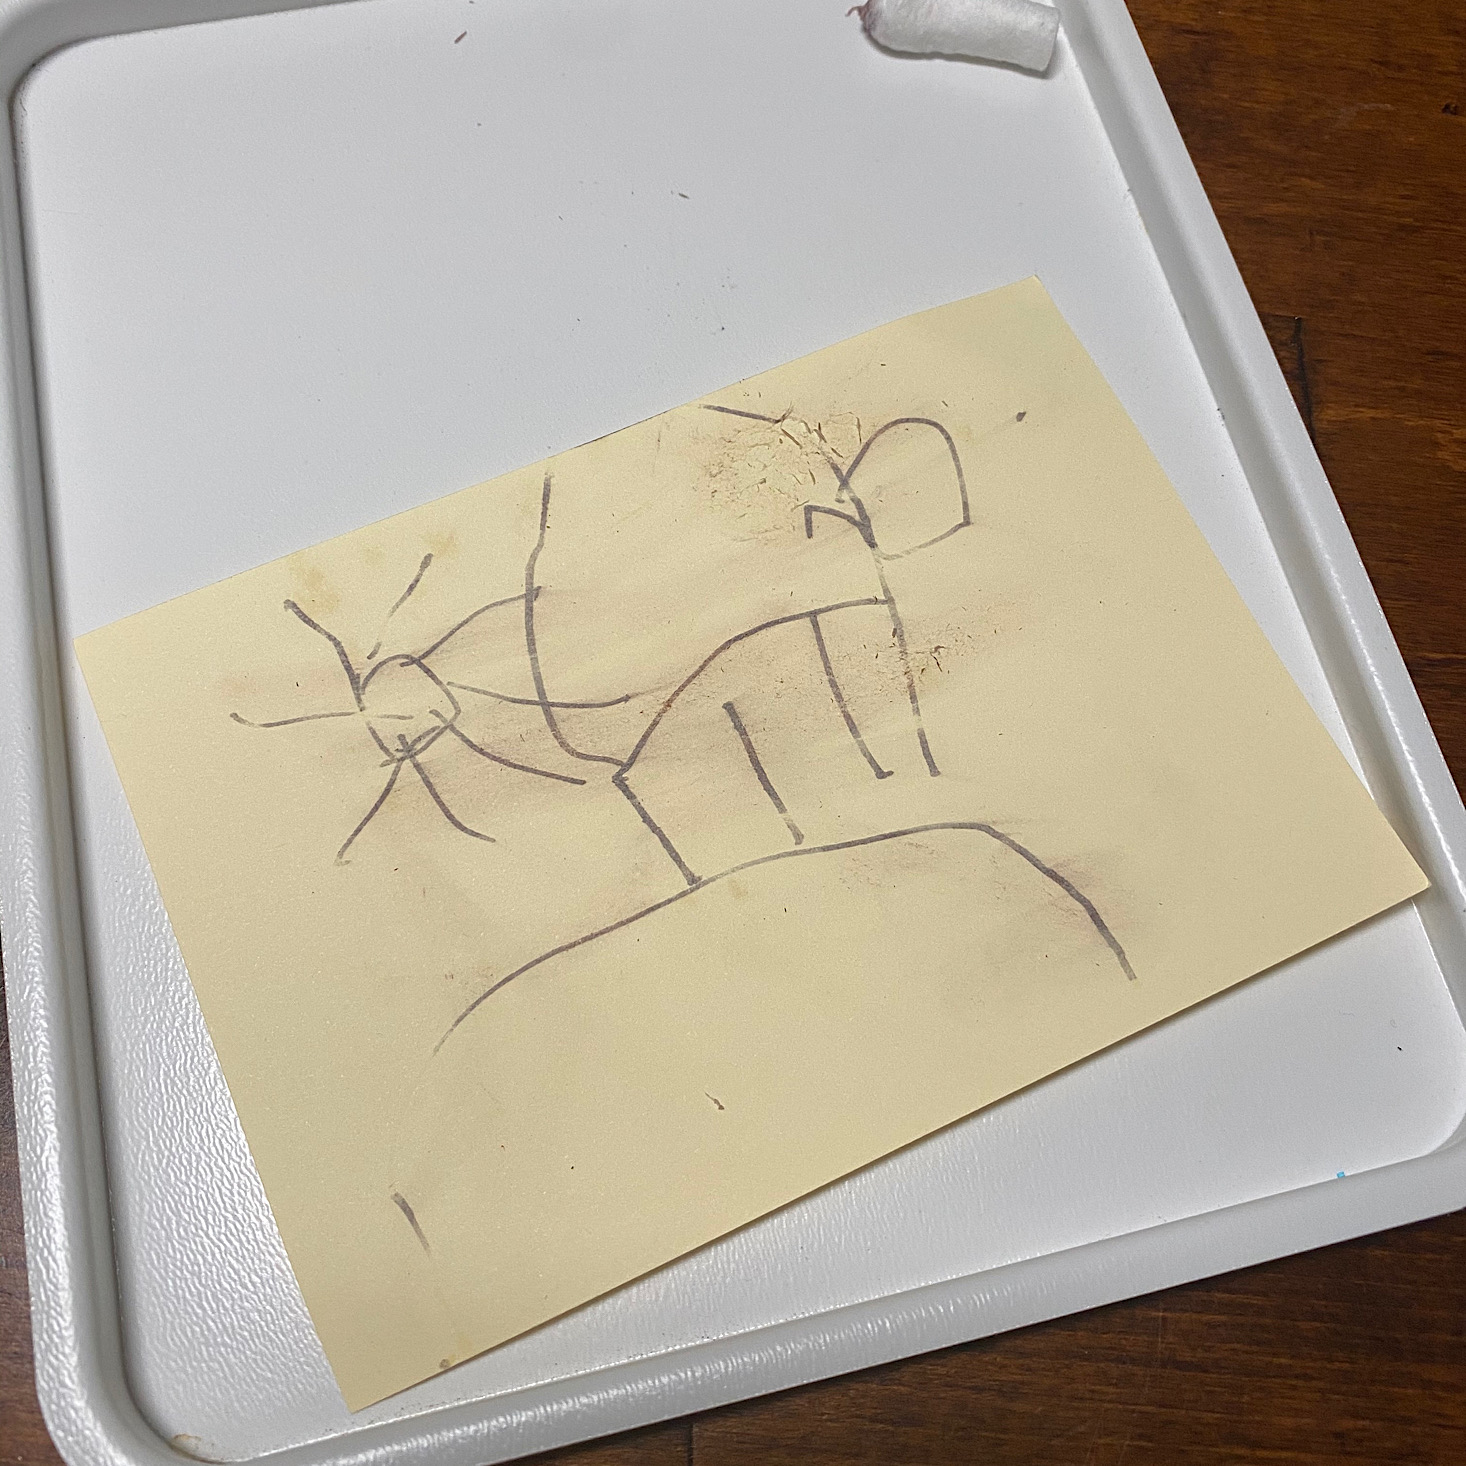
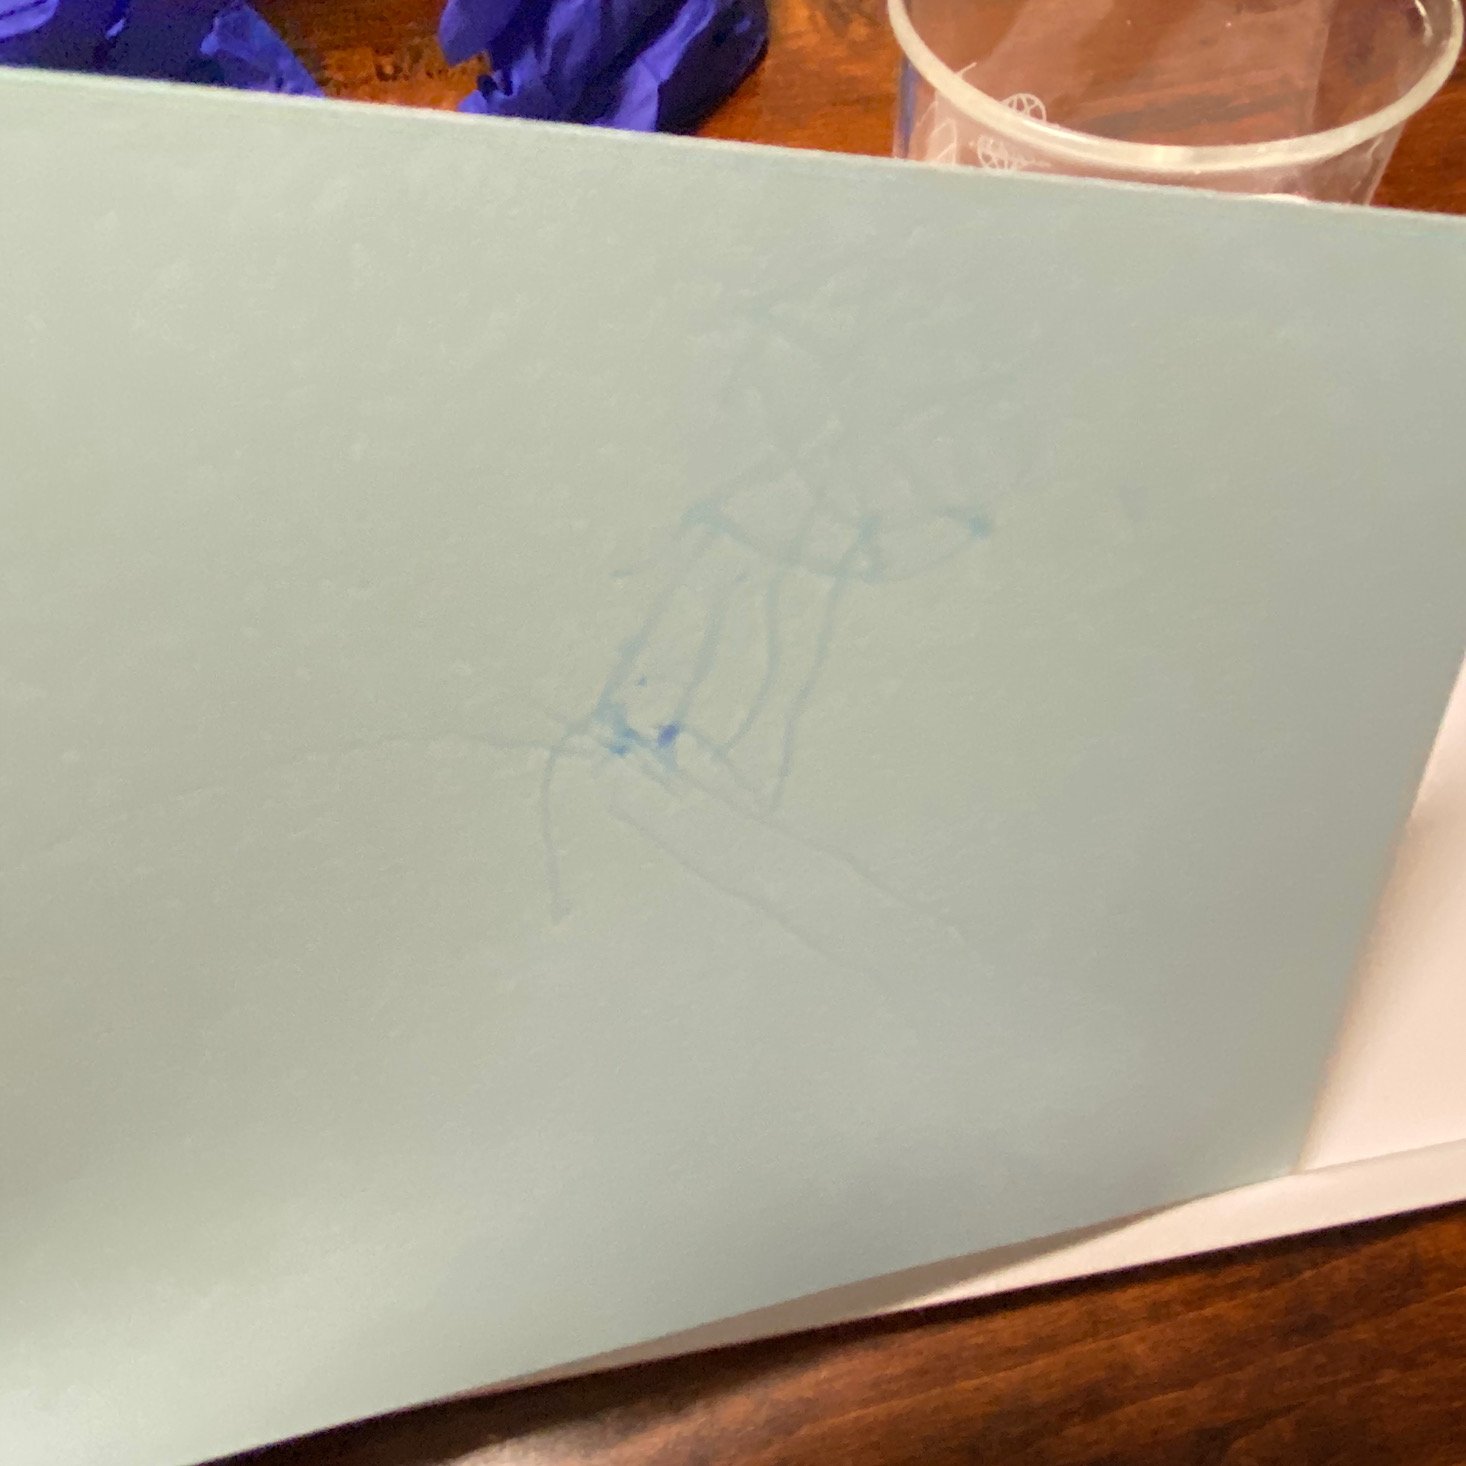
The image that she drew began to slowly appear. How fun! The kids thought it was really neat.
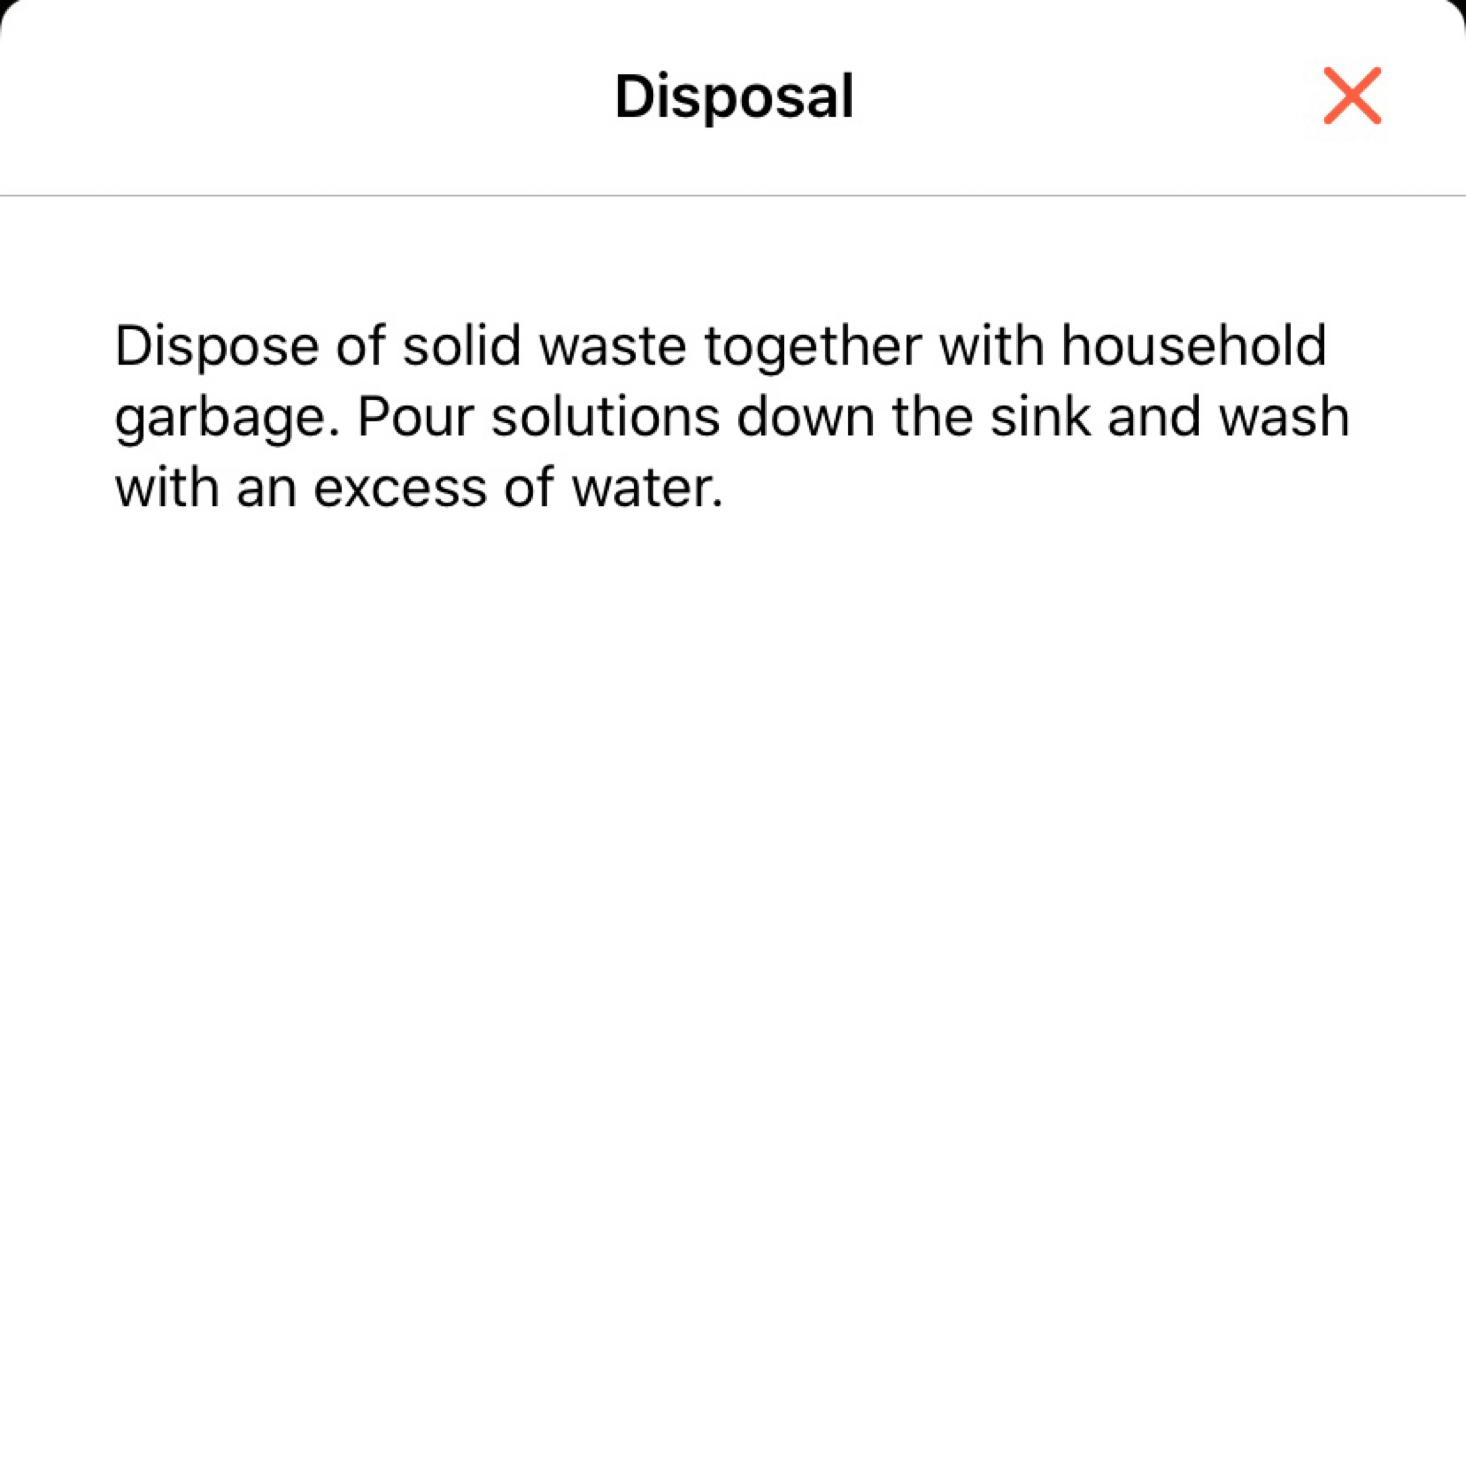
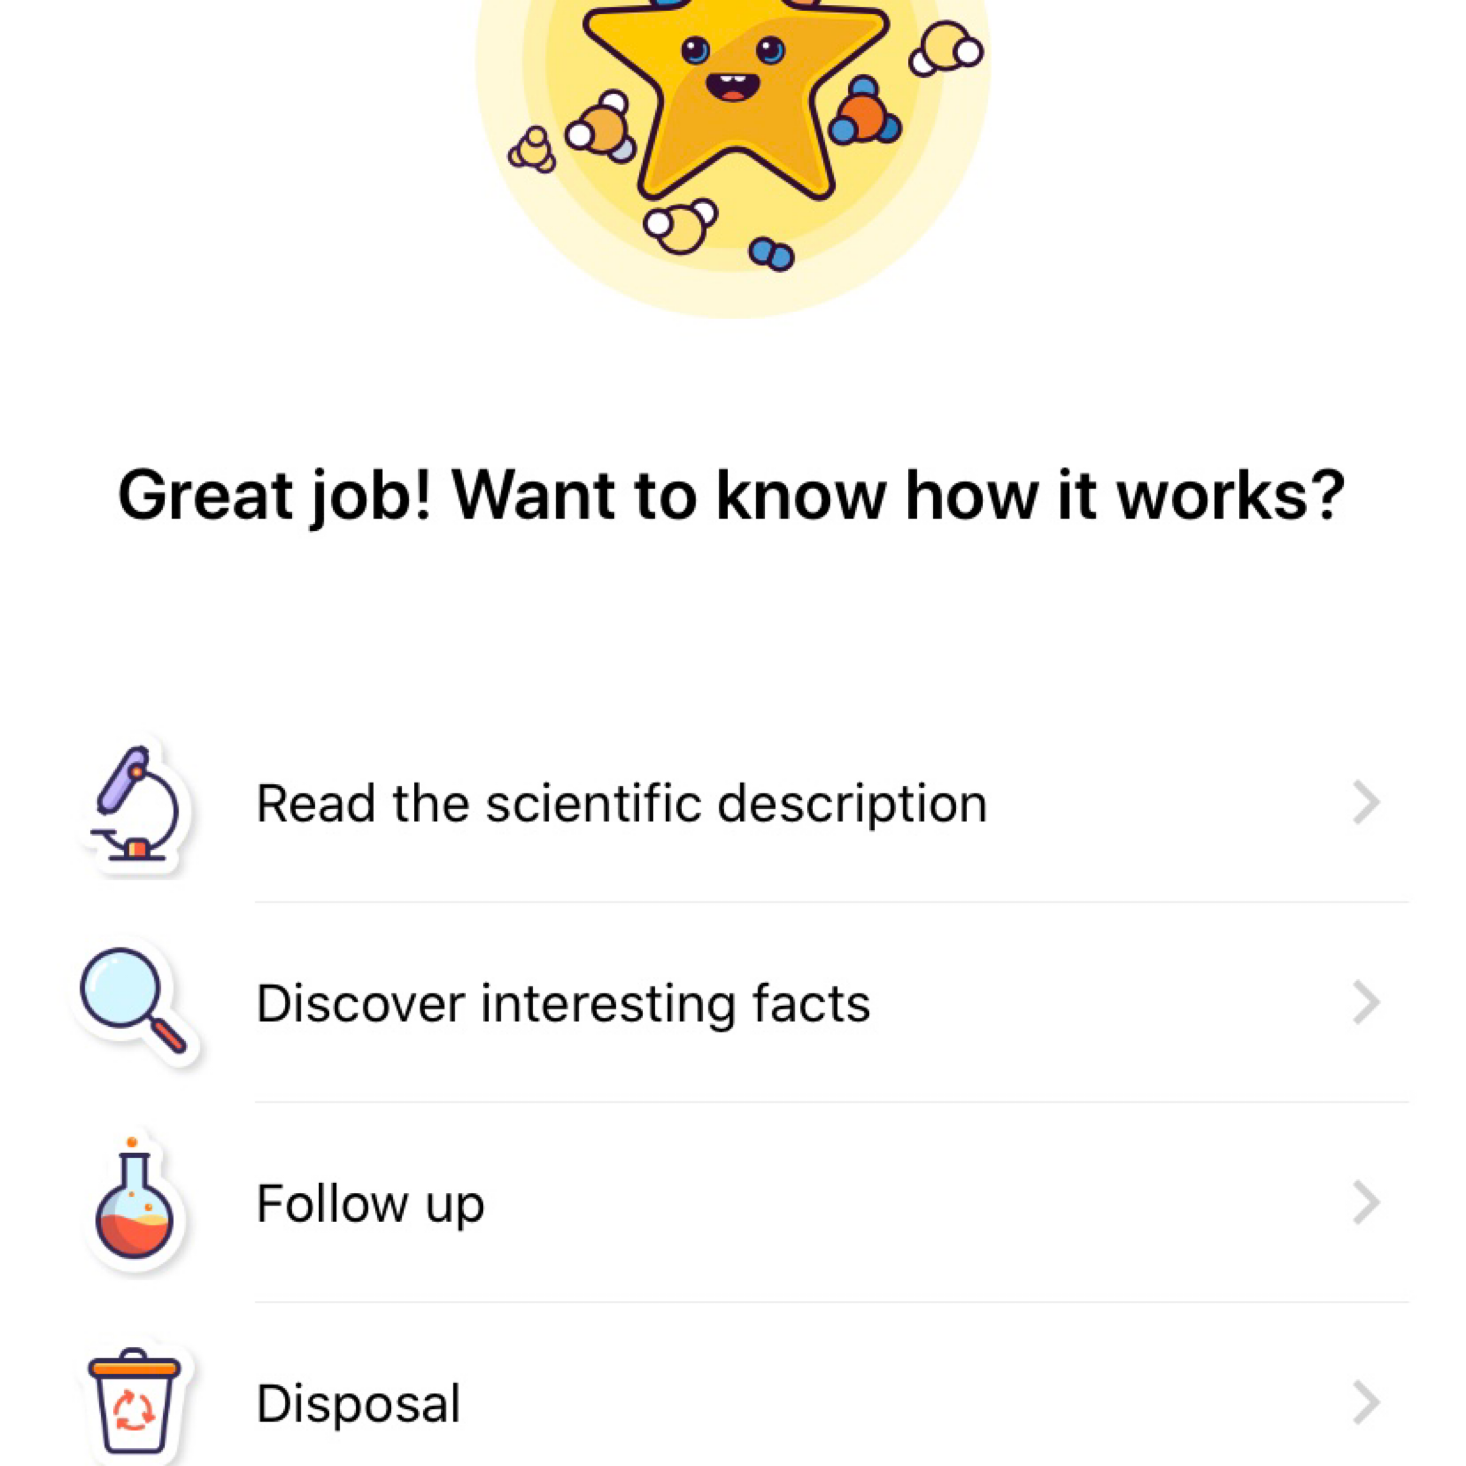
At the end of our experiments, our app asks us to rate the experiment and then there is a section on how it works which includes helpful information such as a scientific description, interesting facts, and disposal instructions, all of which we had access to from the main page of this experiment as well.
Experiment 2: Invisible Copper
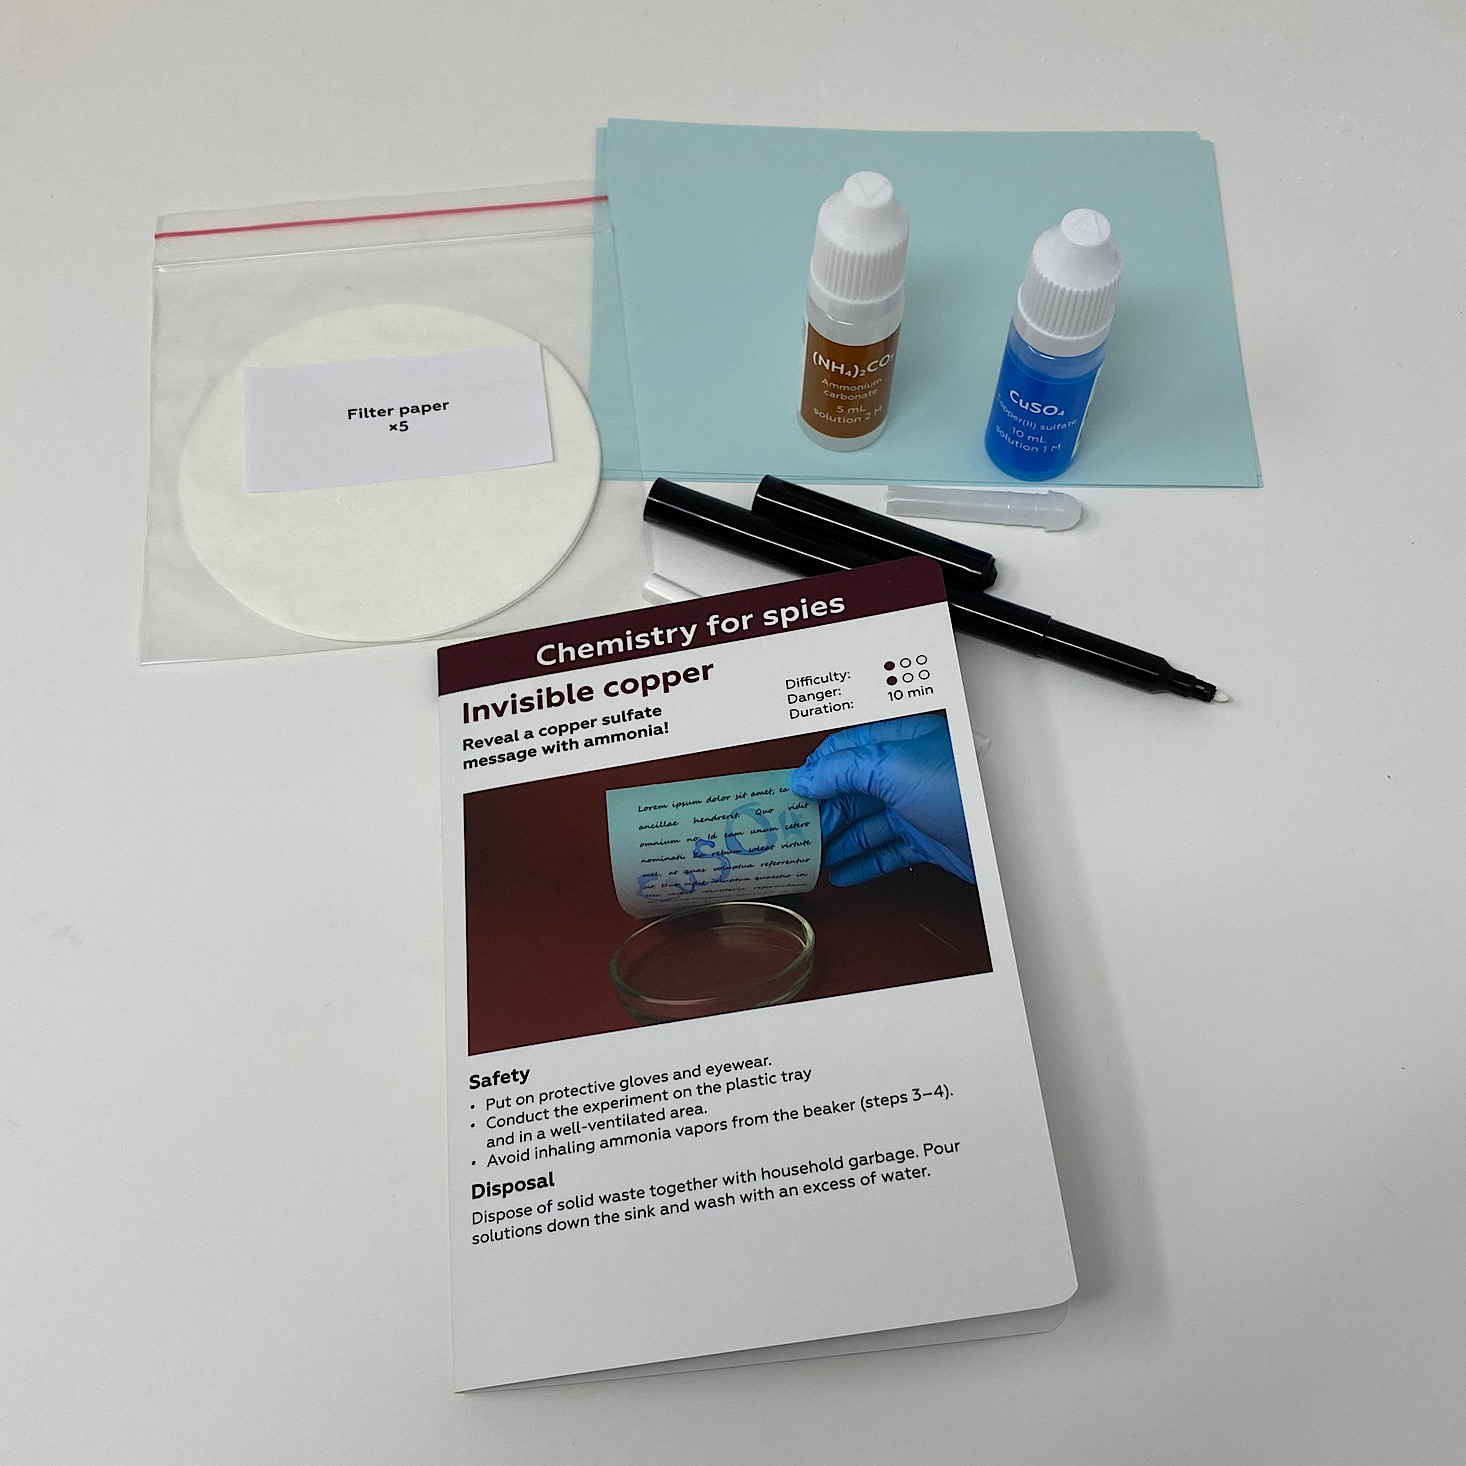
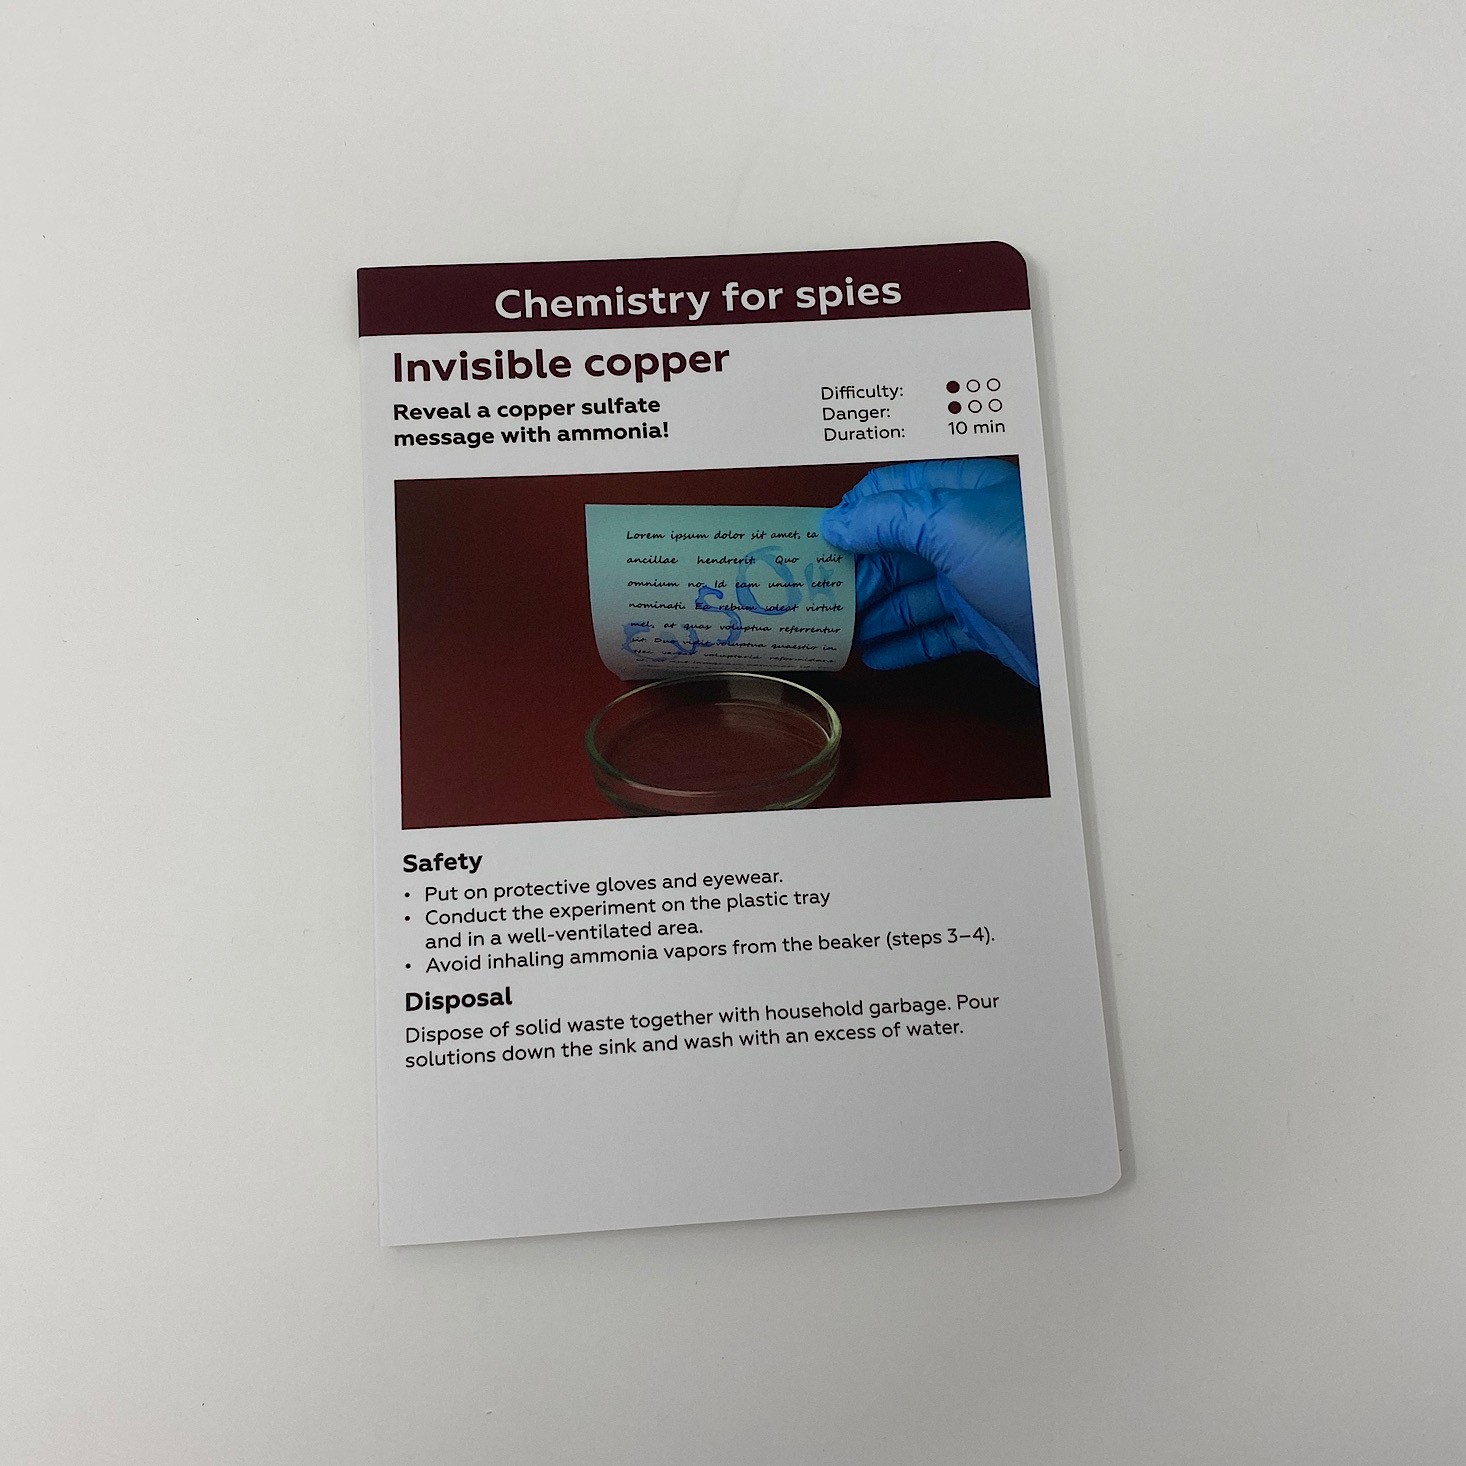
The next experiment was "Invisible Copper" and we used copper sulfate and ammonium carbonate for our reaction.
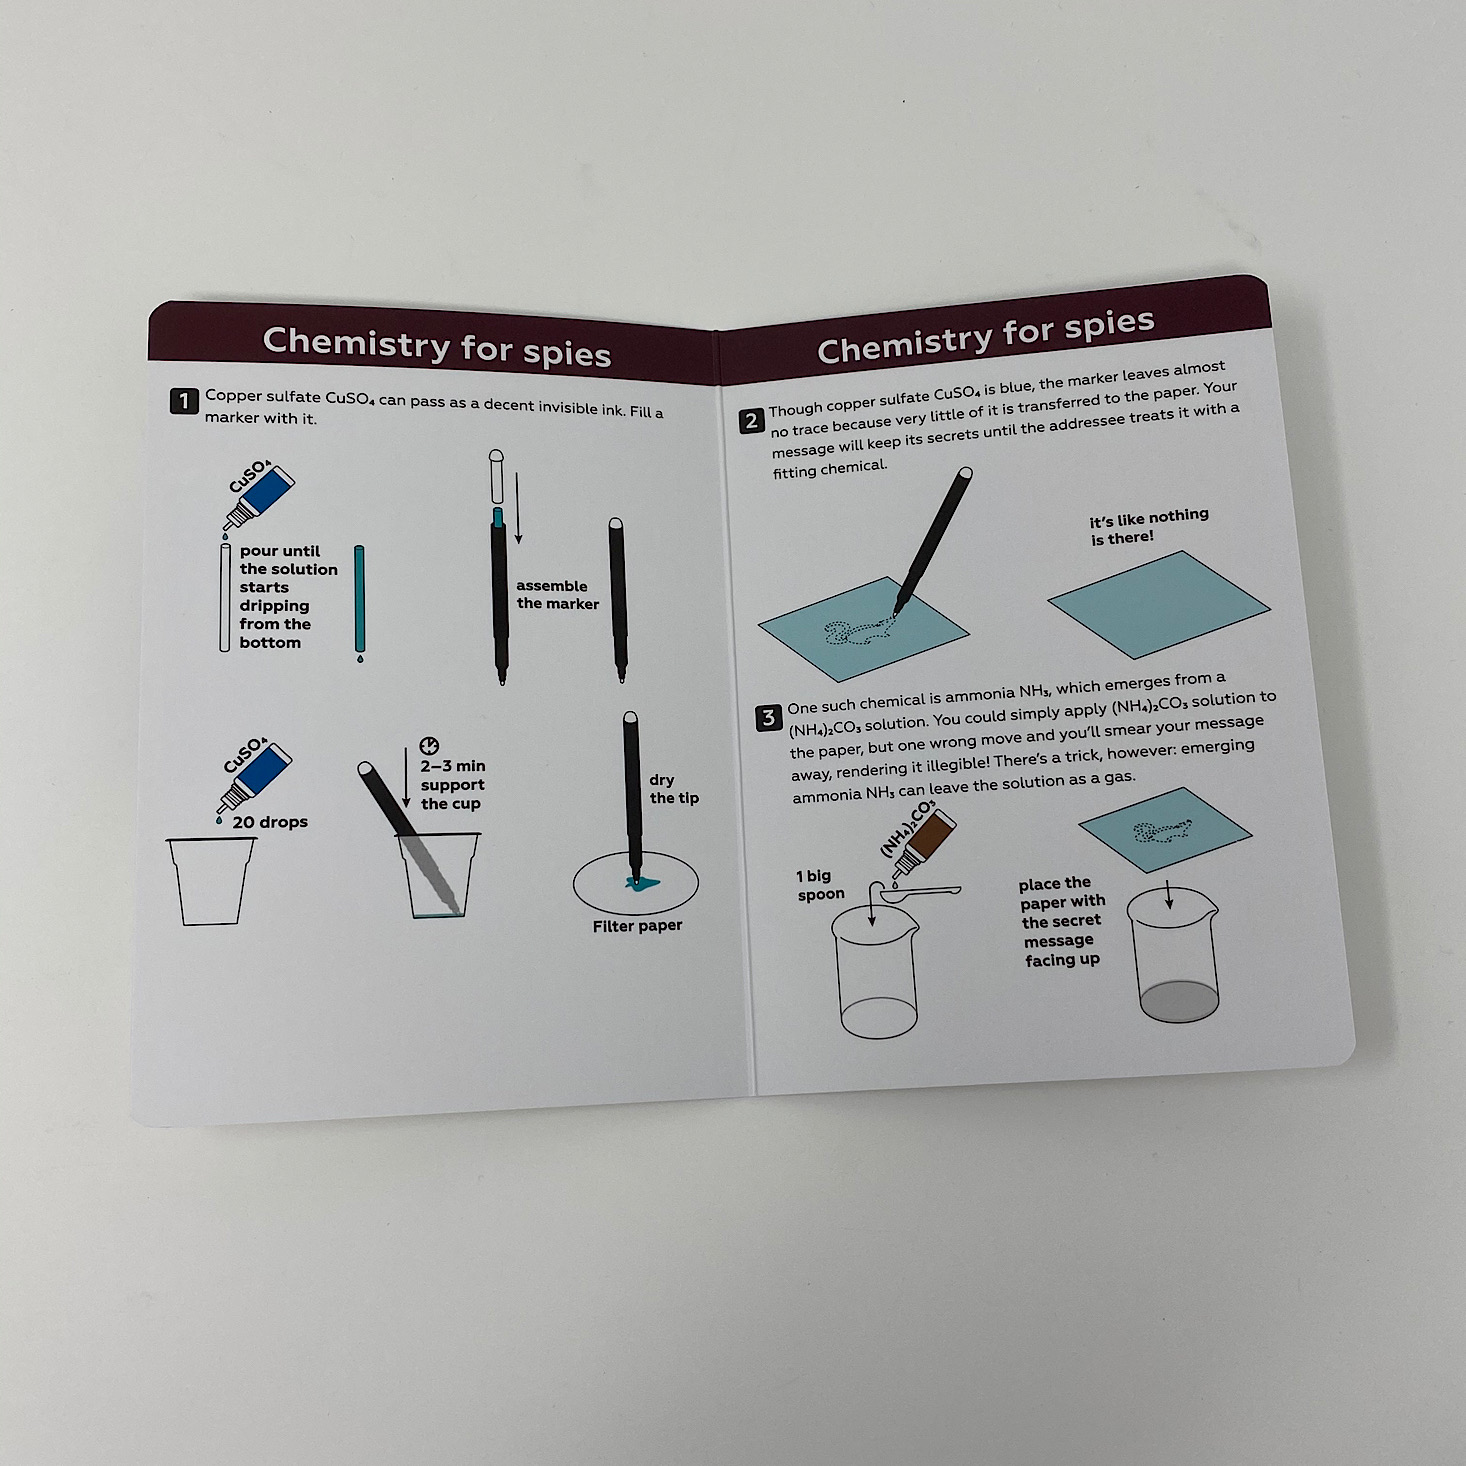
This process was very similar to our first experiment. We saturated the marker cartridge with the copper then assembled the marker and dipped the tip in more copper sulfate for 3 minutes to make sure it was fully saturated.
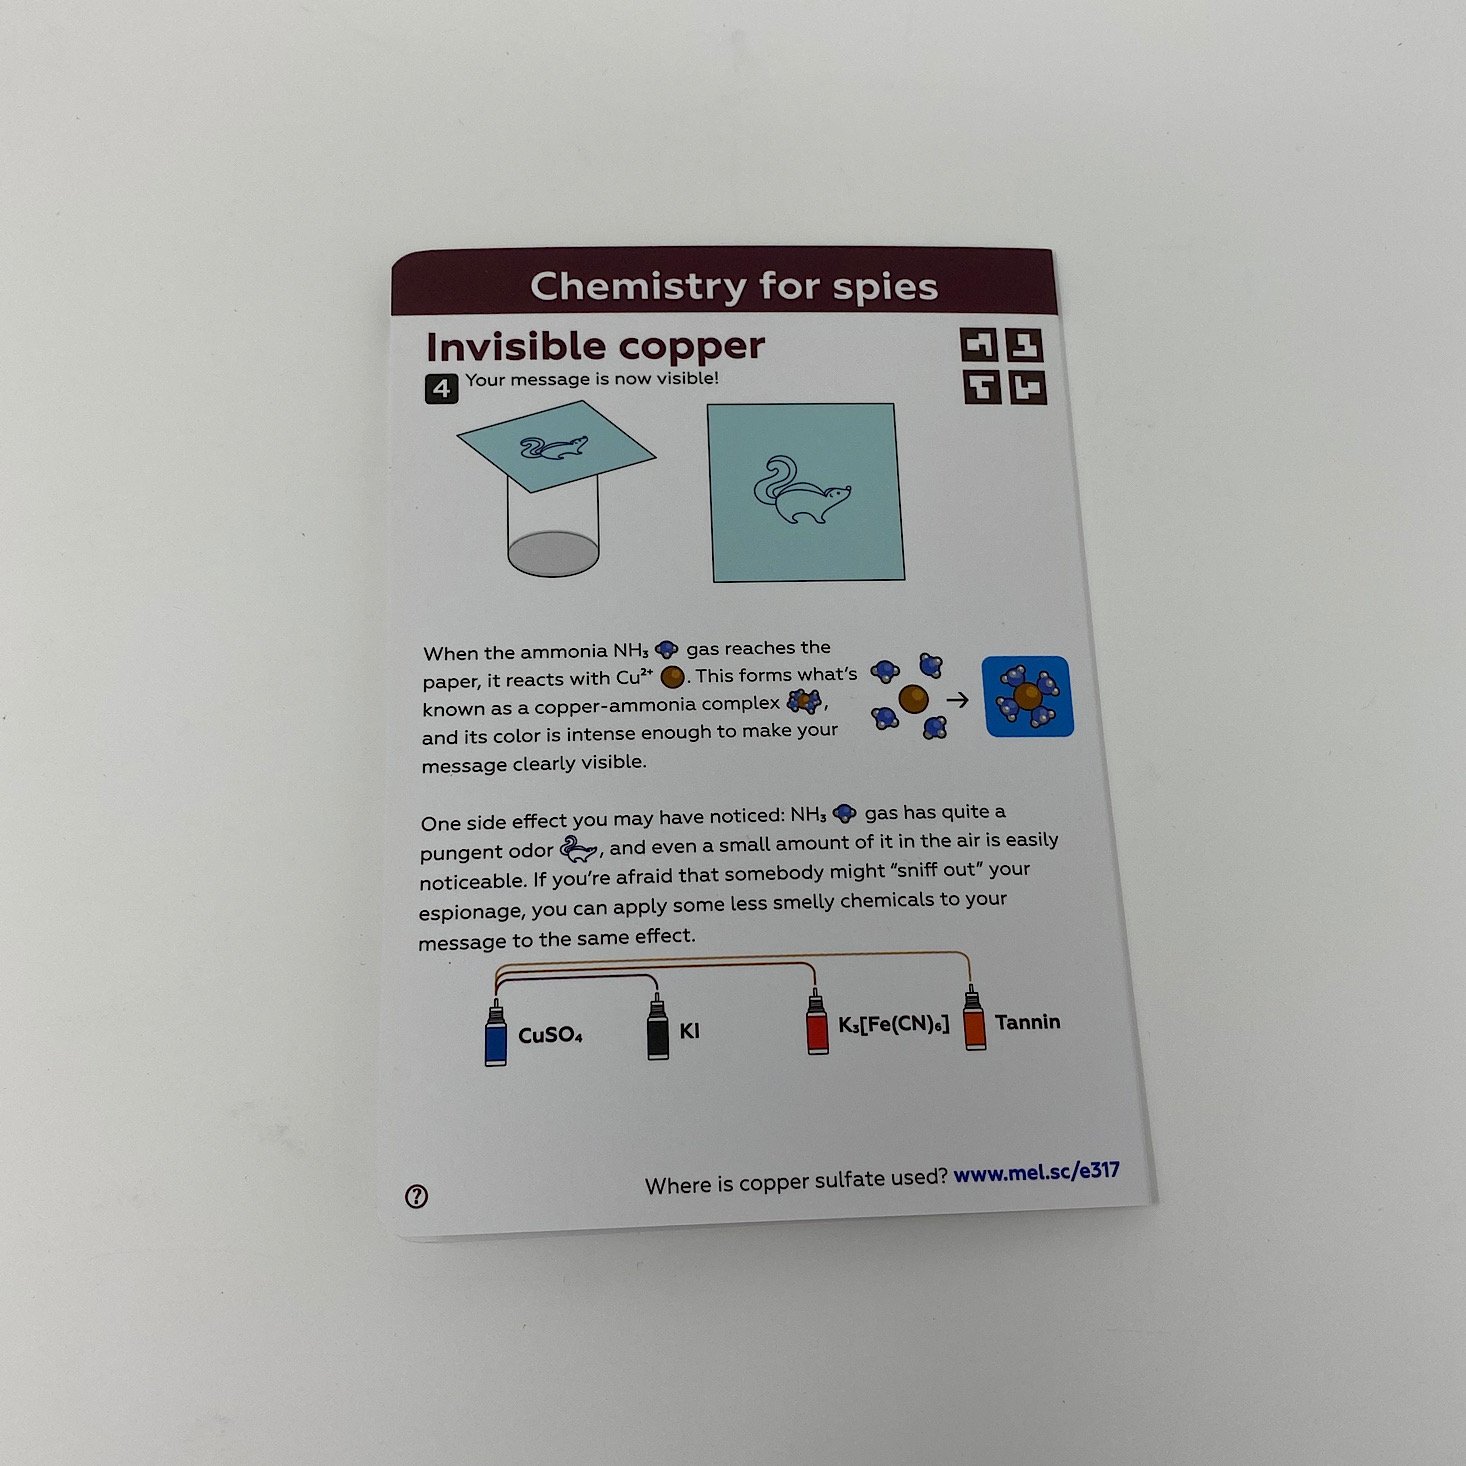
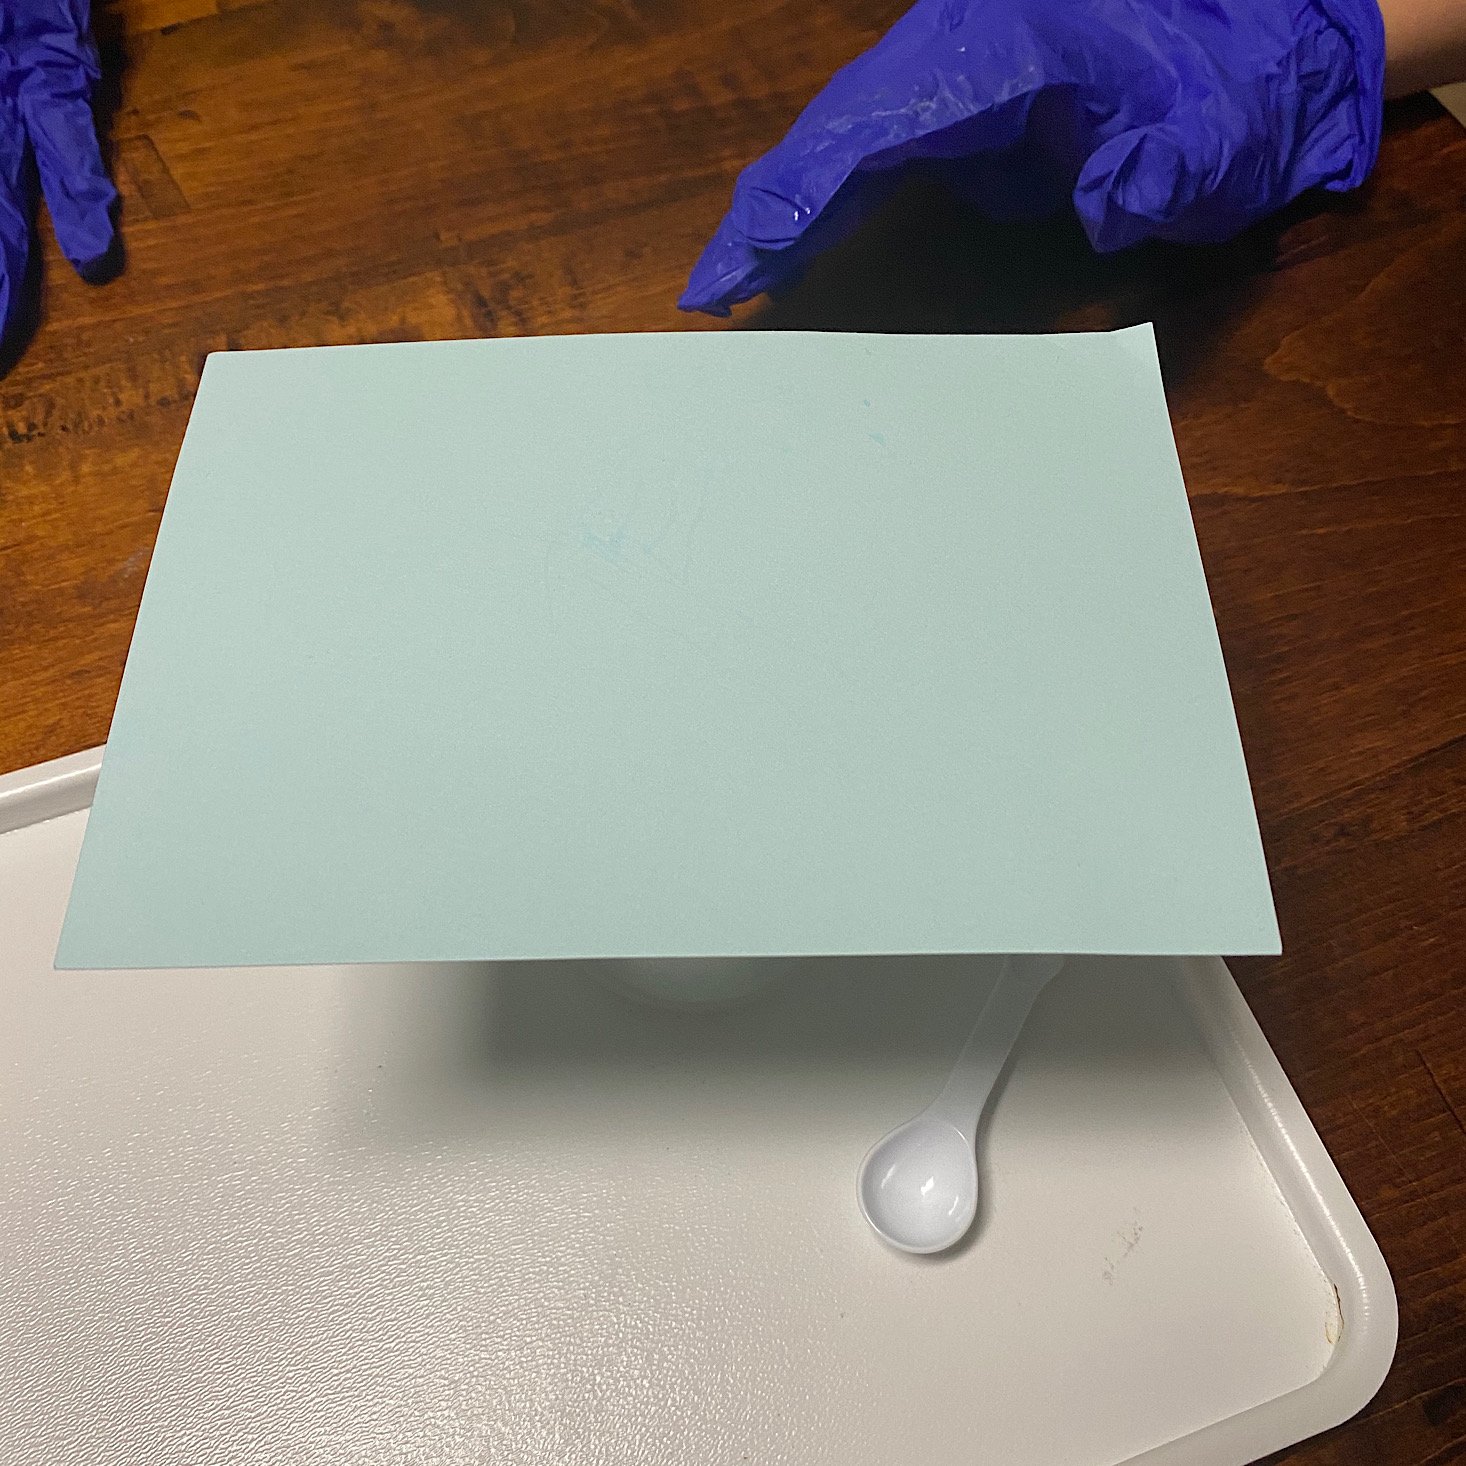
This time it was my son's turn to draw while my daughter used the measuring spoons to help me add a big scoop of ammonia to our beaker.
Then we placed the picture on top and his image began to appear. It was much darker than it appears in the photo, but for some reason, I wasn't able to capture it well on camera! This one amazed the kids as well.
Experiment 3: Magic Paper
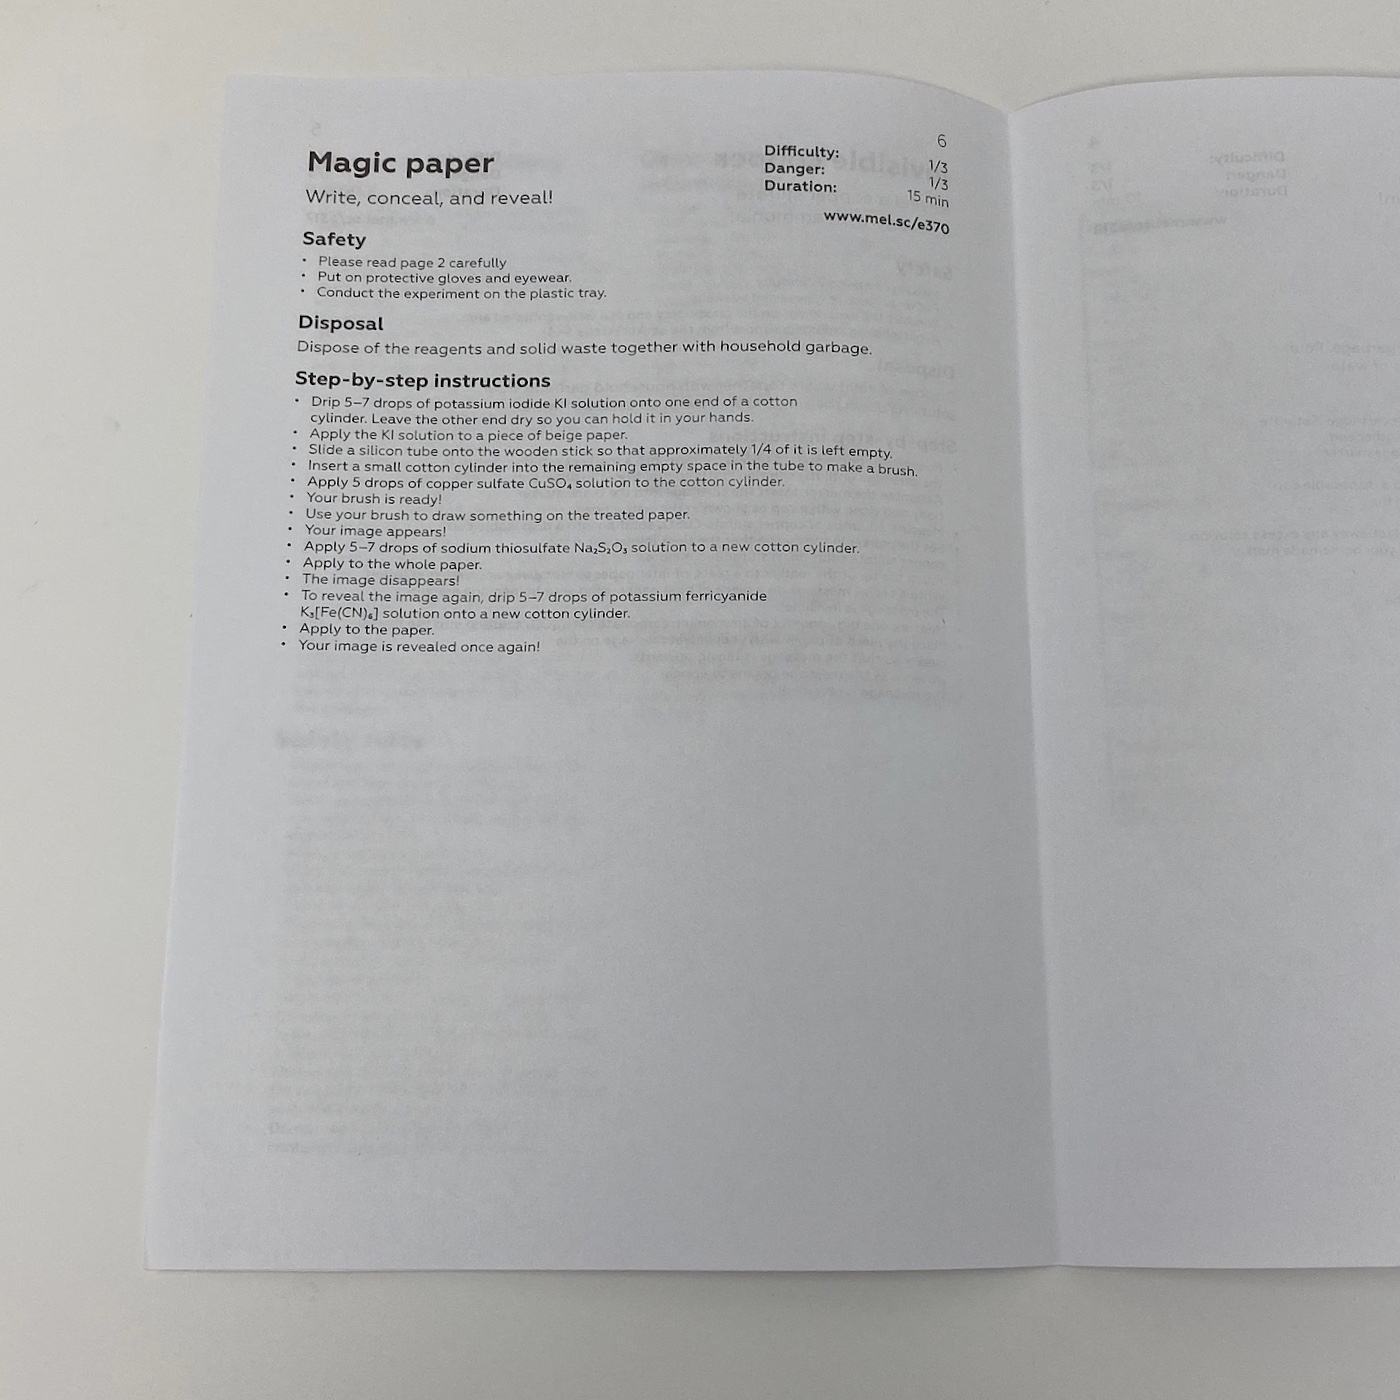
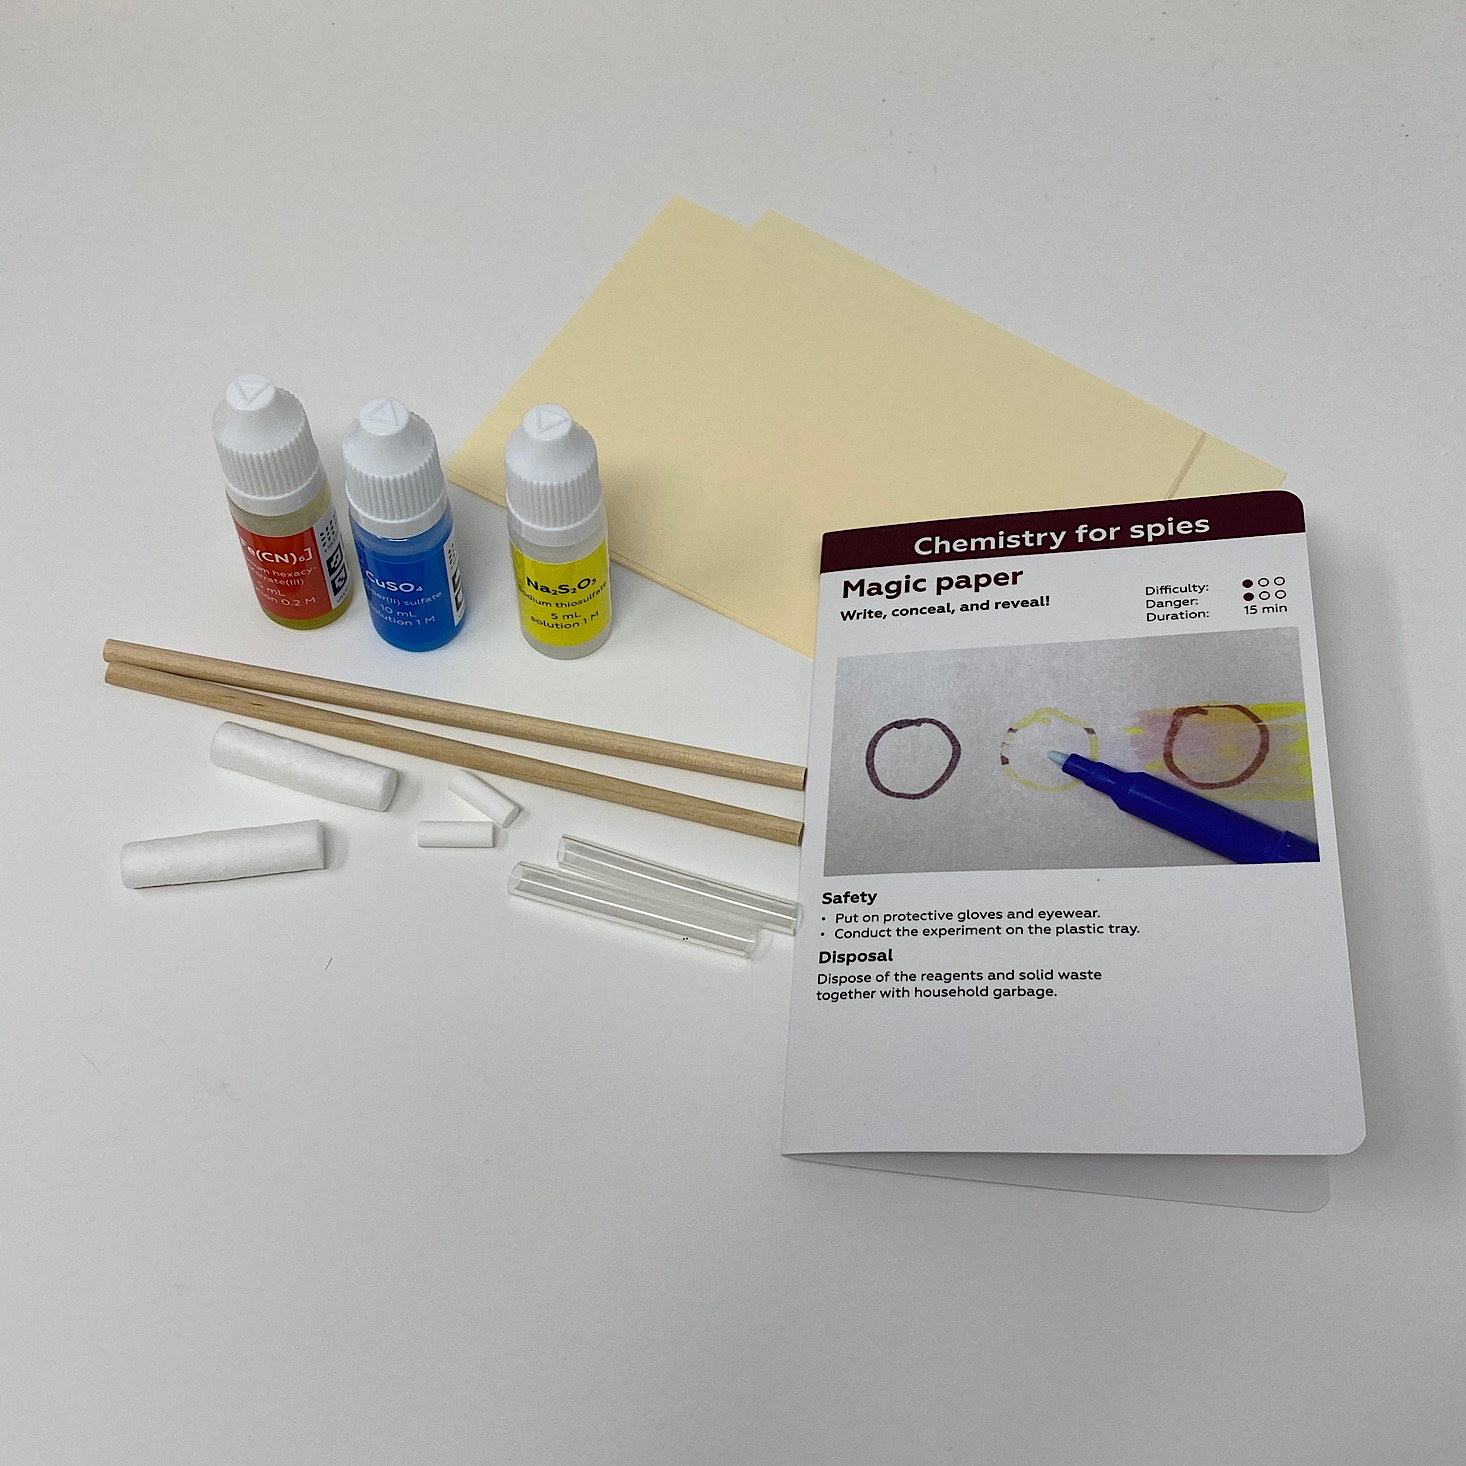
The next experiment was "Magic Paper" and this time we had quite a few reagents that we were using. We used more copper sulfate, some potassium iodide, sodium thiosulfate, and potassium ferricyanide.
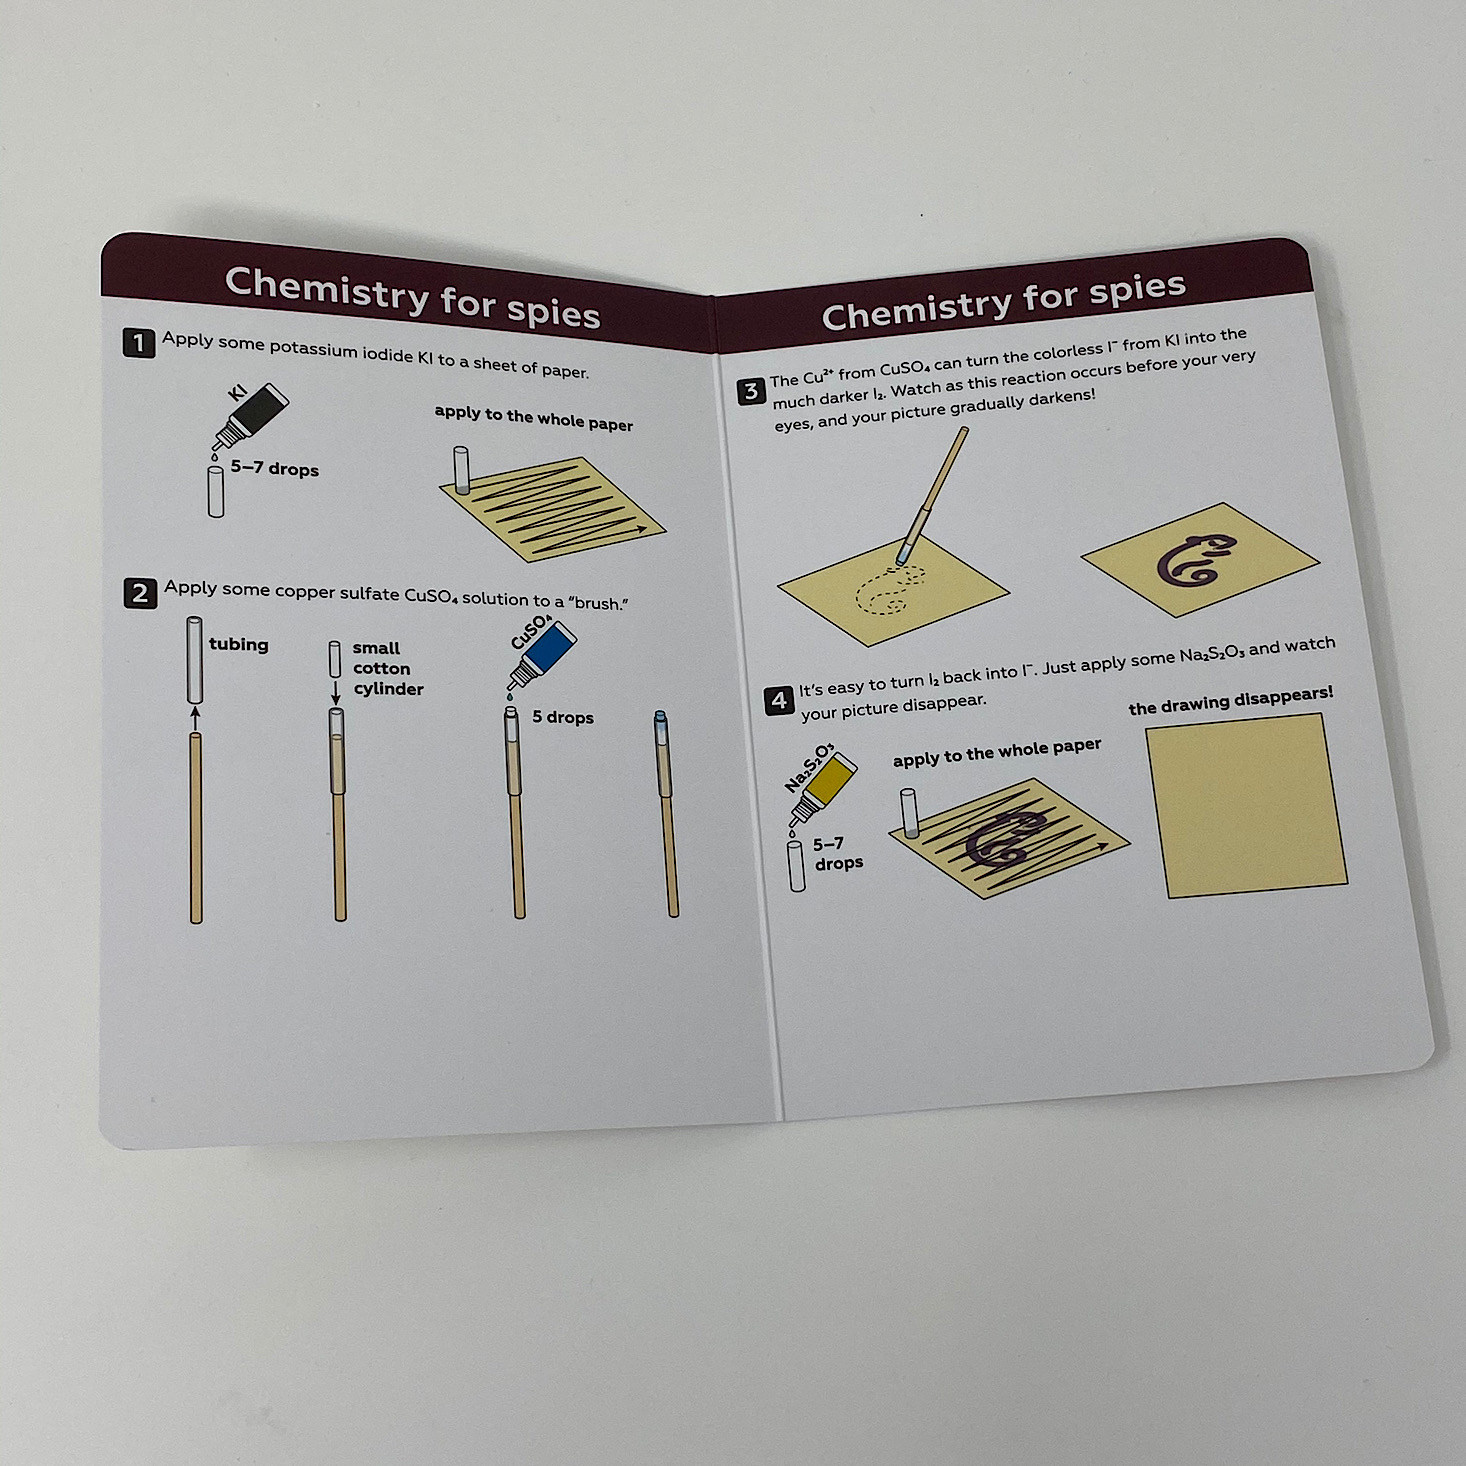
We added some of the potassium iodide to one of the large cotton cylinders and then applied it to the front of our whole paper.
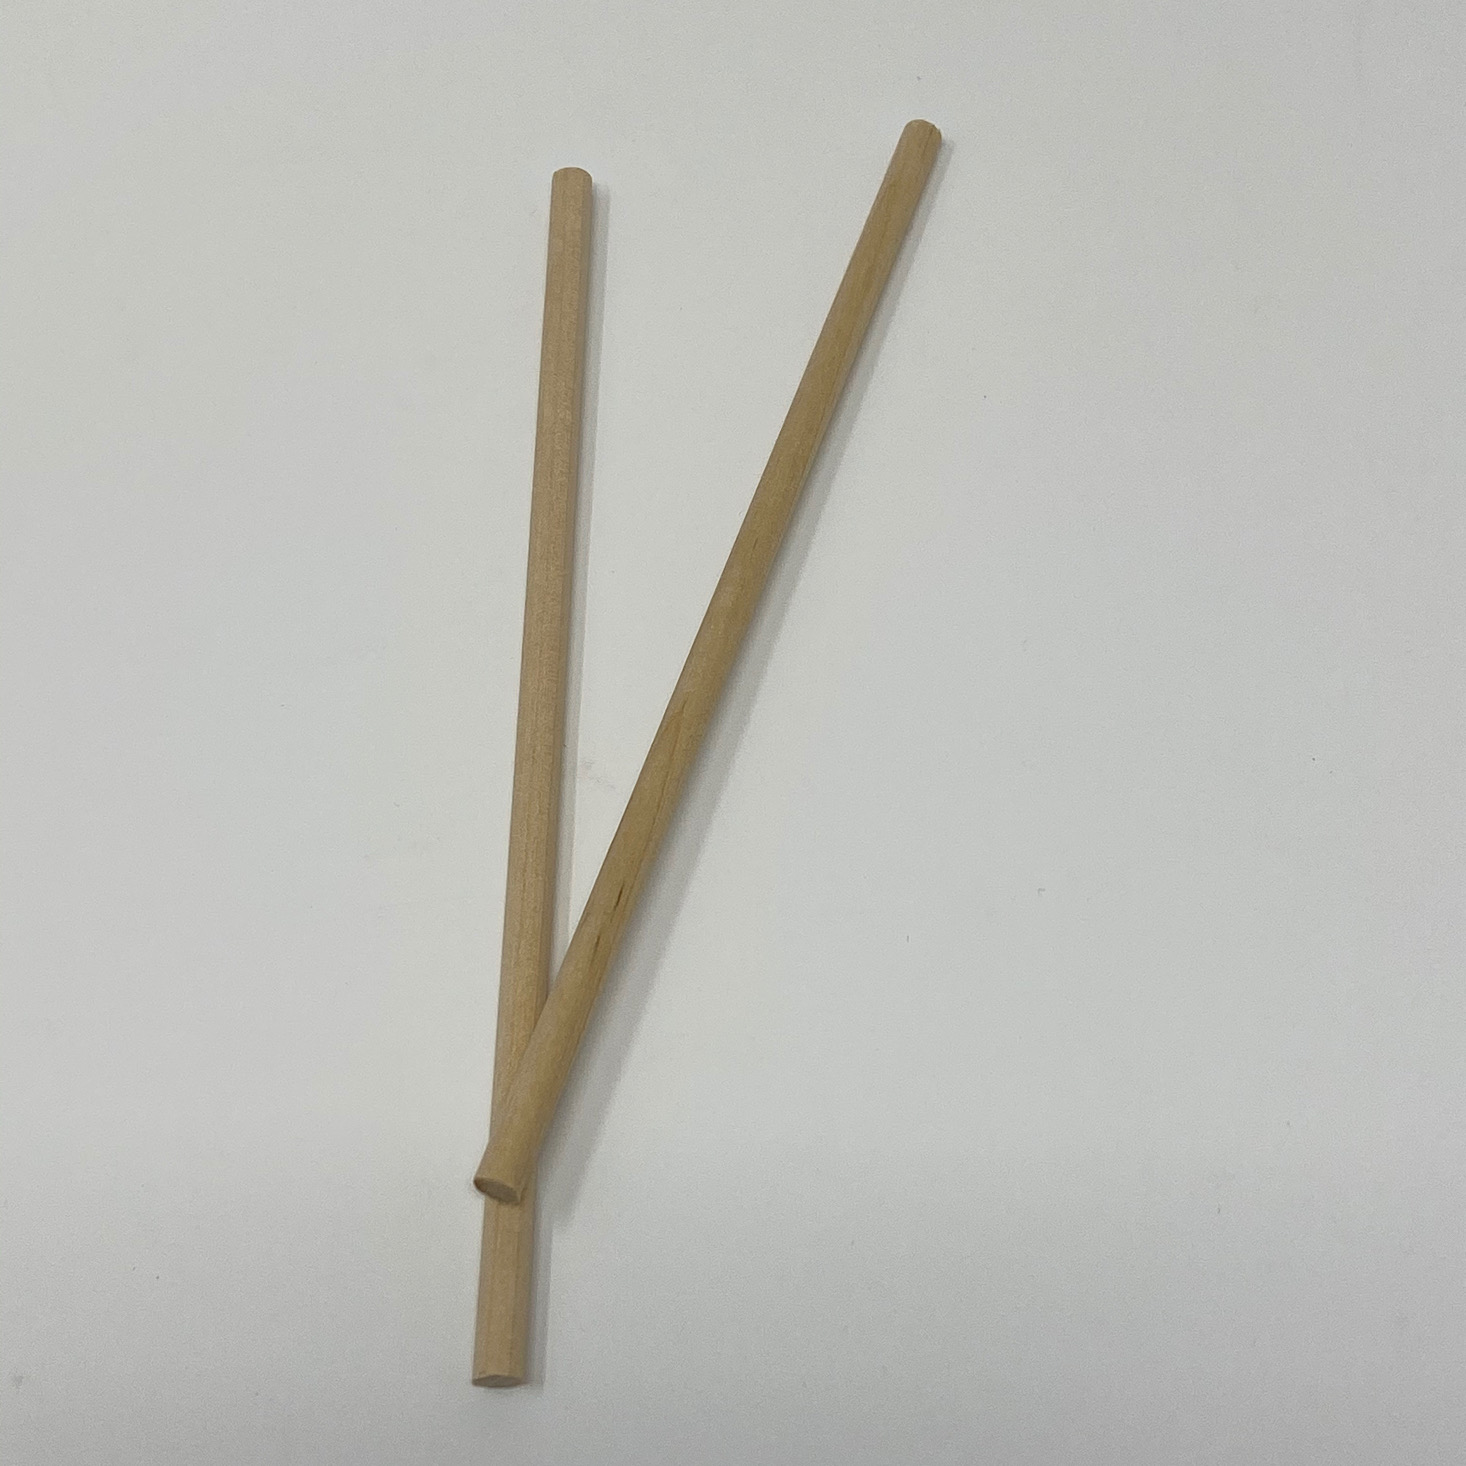
Next, I had to assemble a makeshift paintbrush using a wooden dowel, a piece of rubber tubing. and a small cotton cylinder.
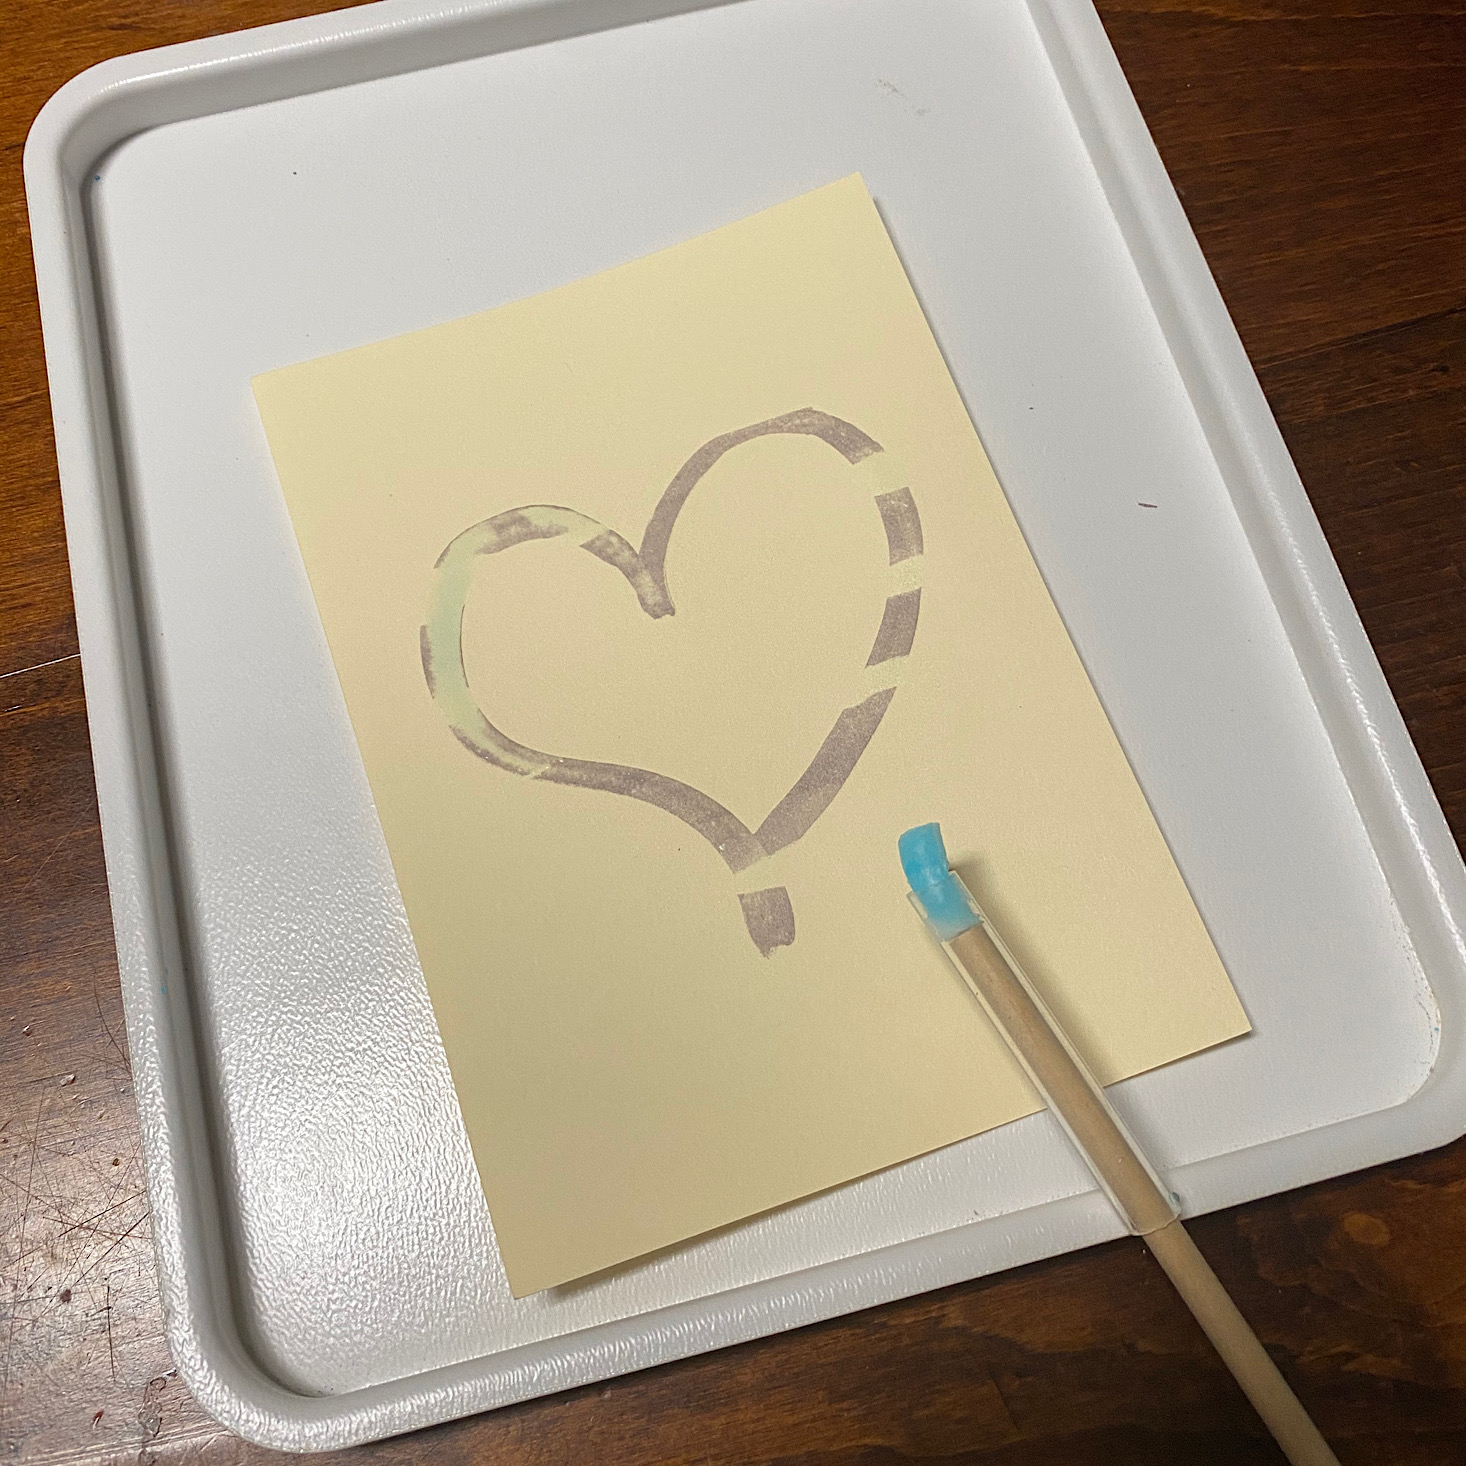
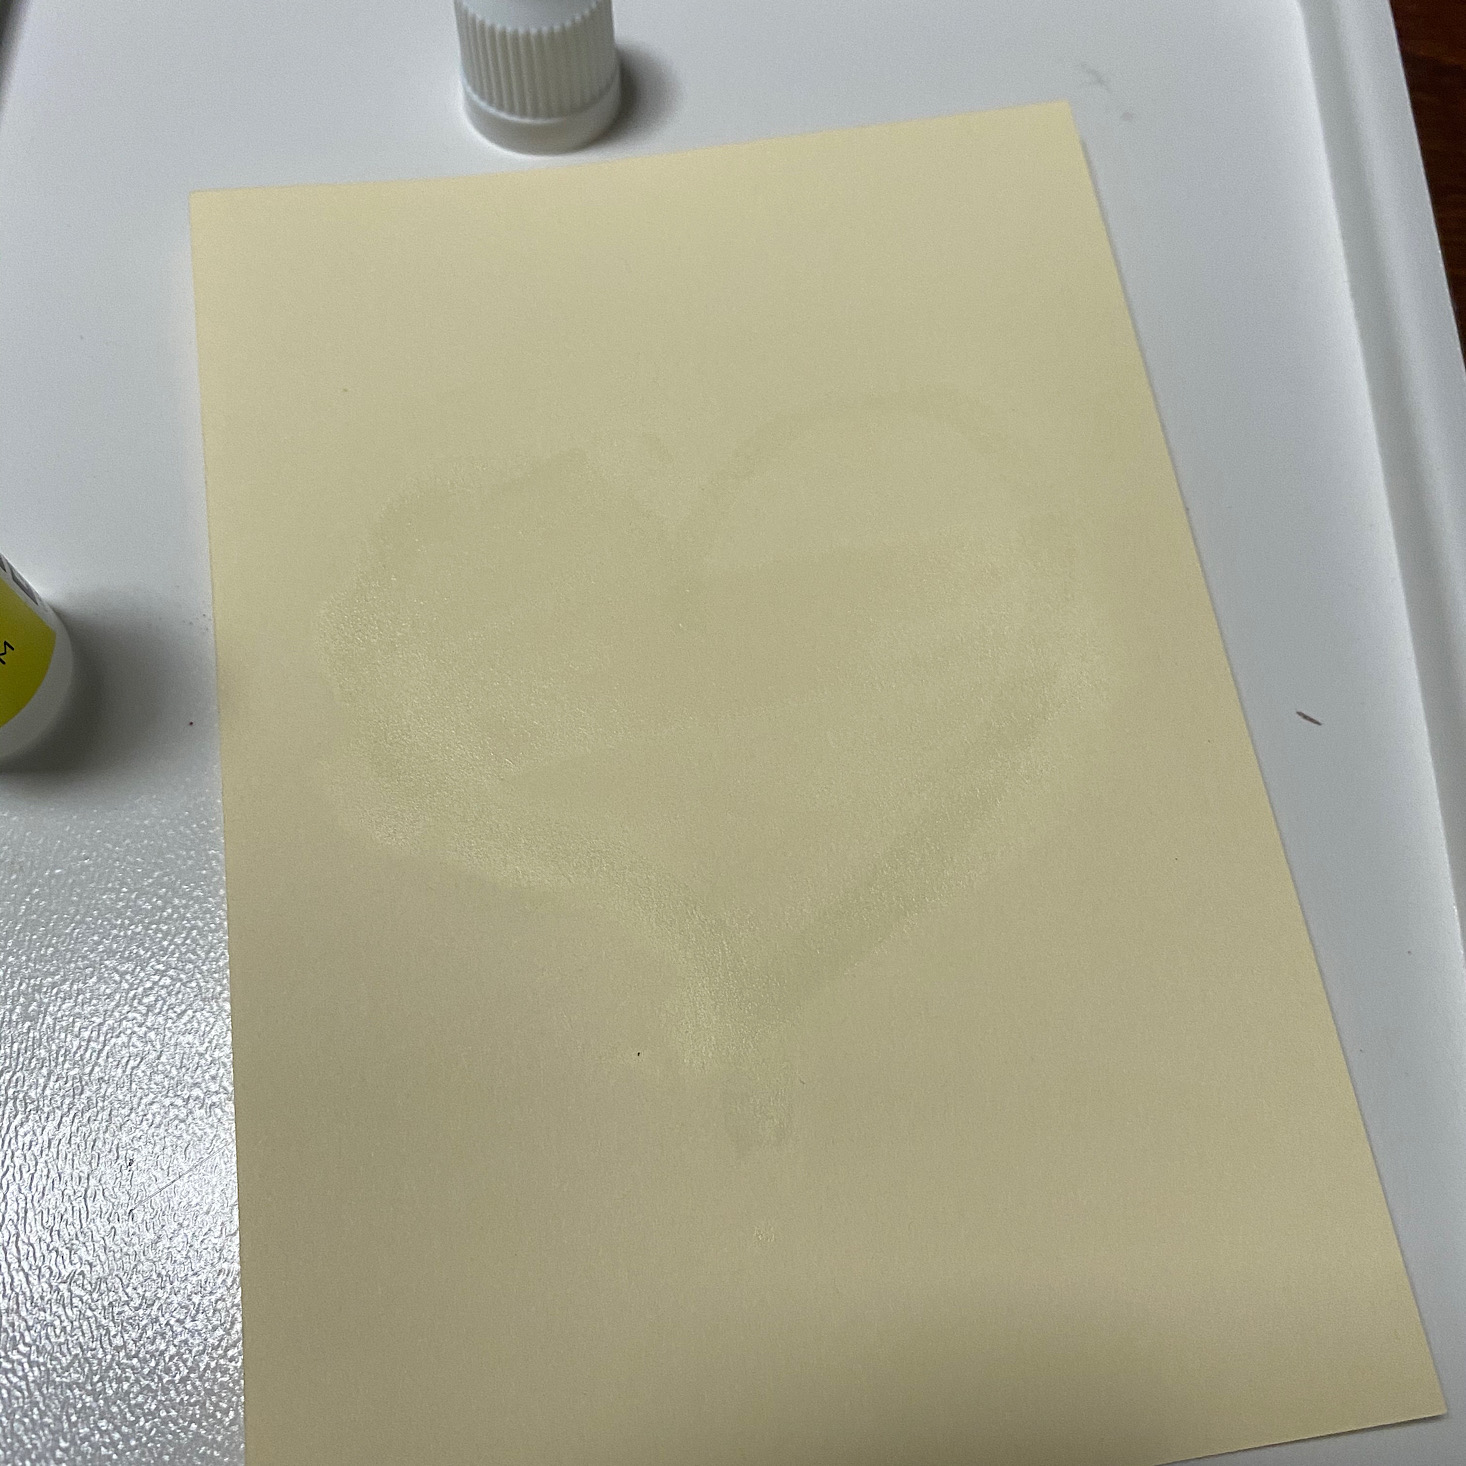
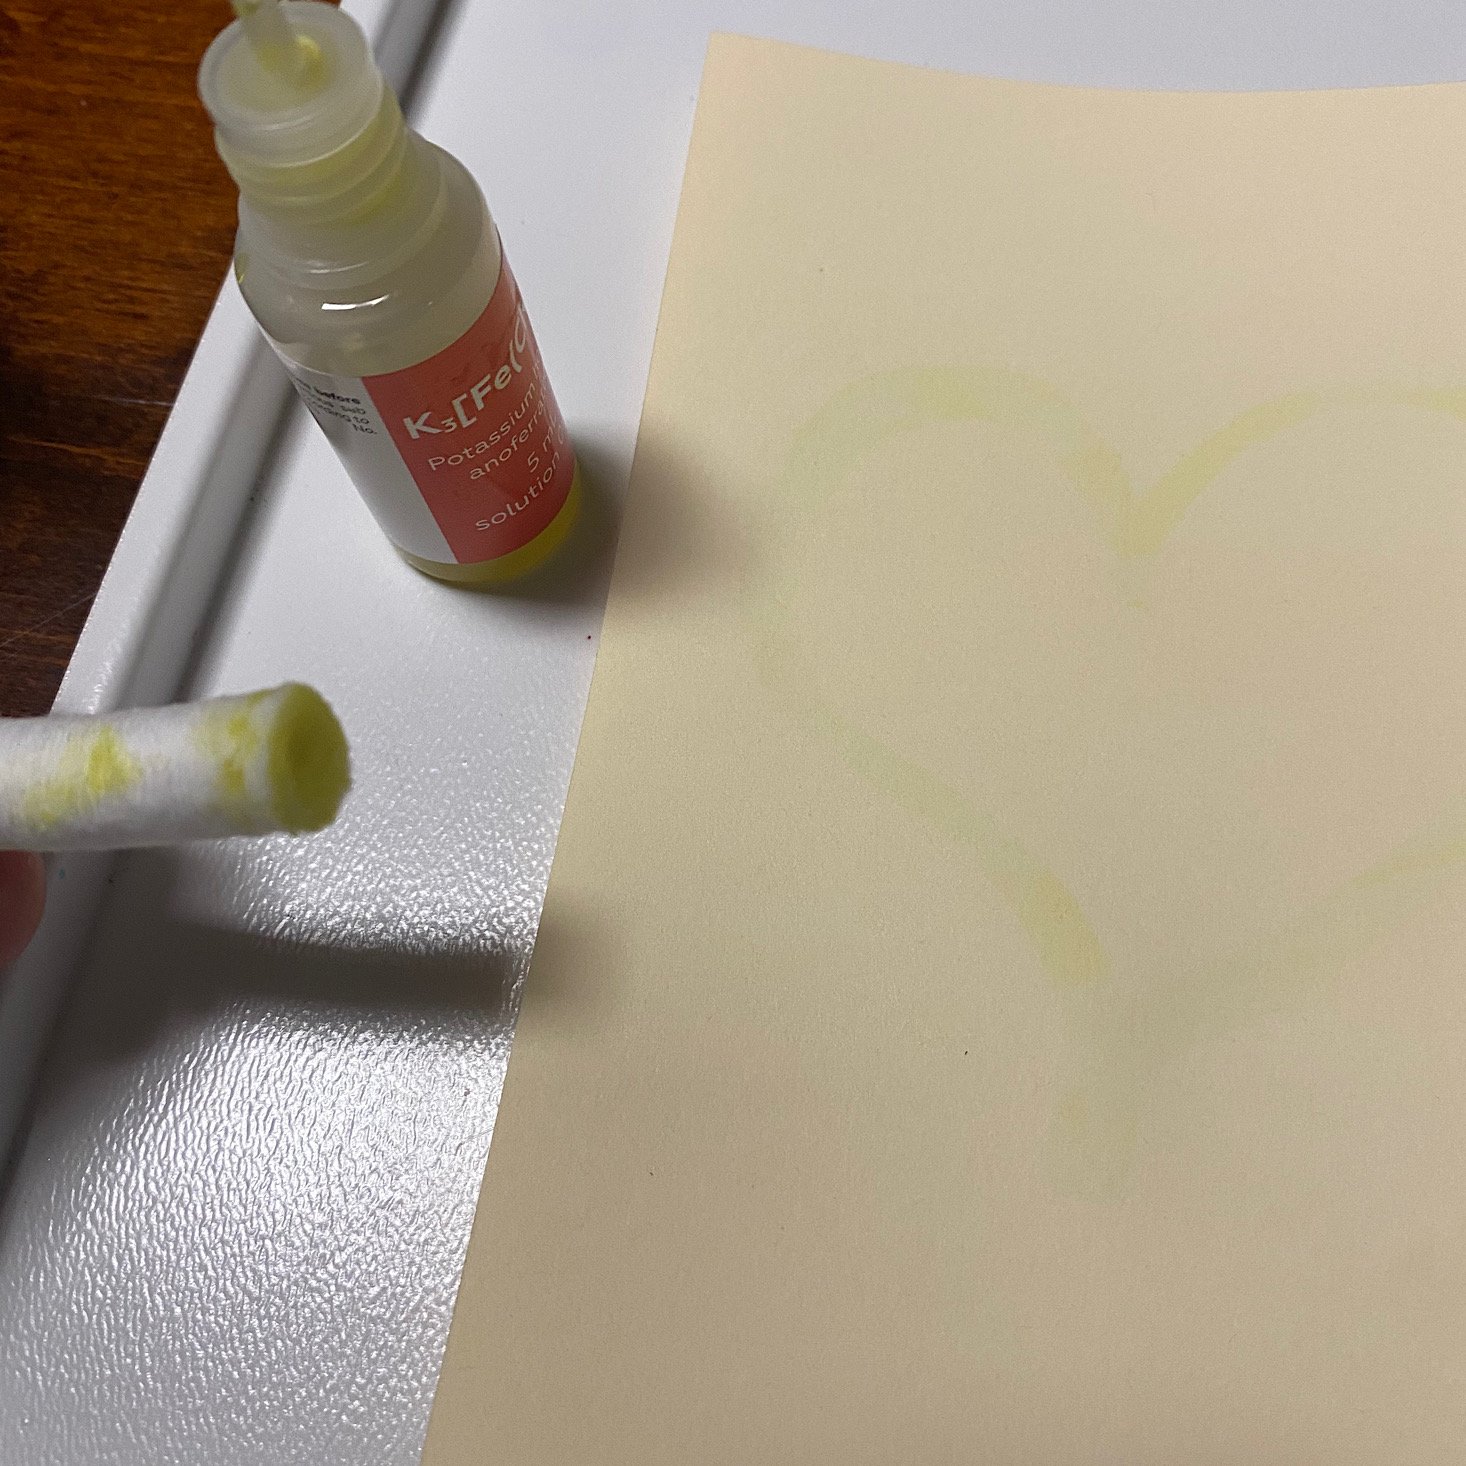
I added some copper sulfate to the end and drew a heart on the surface which appeared thanks to the reaction between the two reagents.
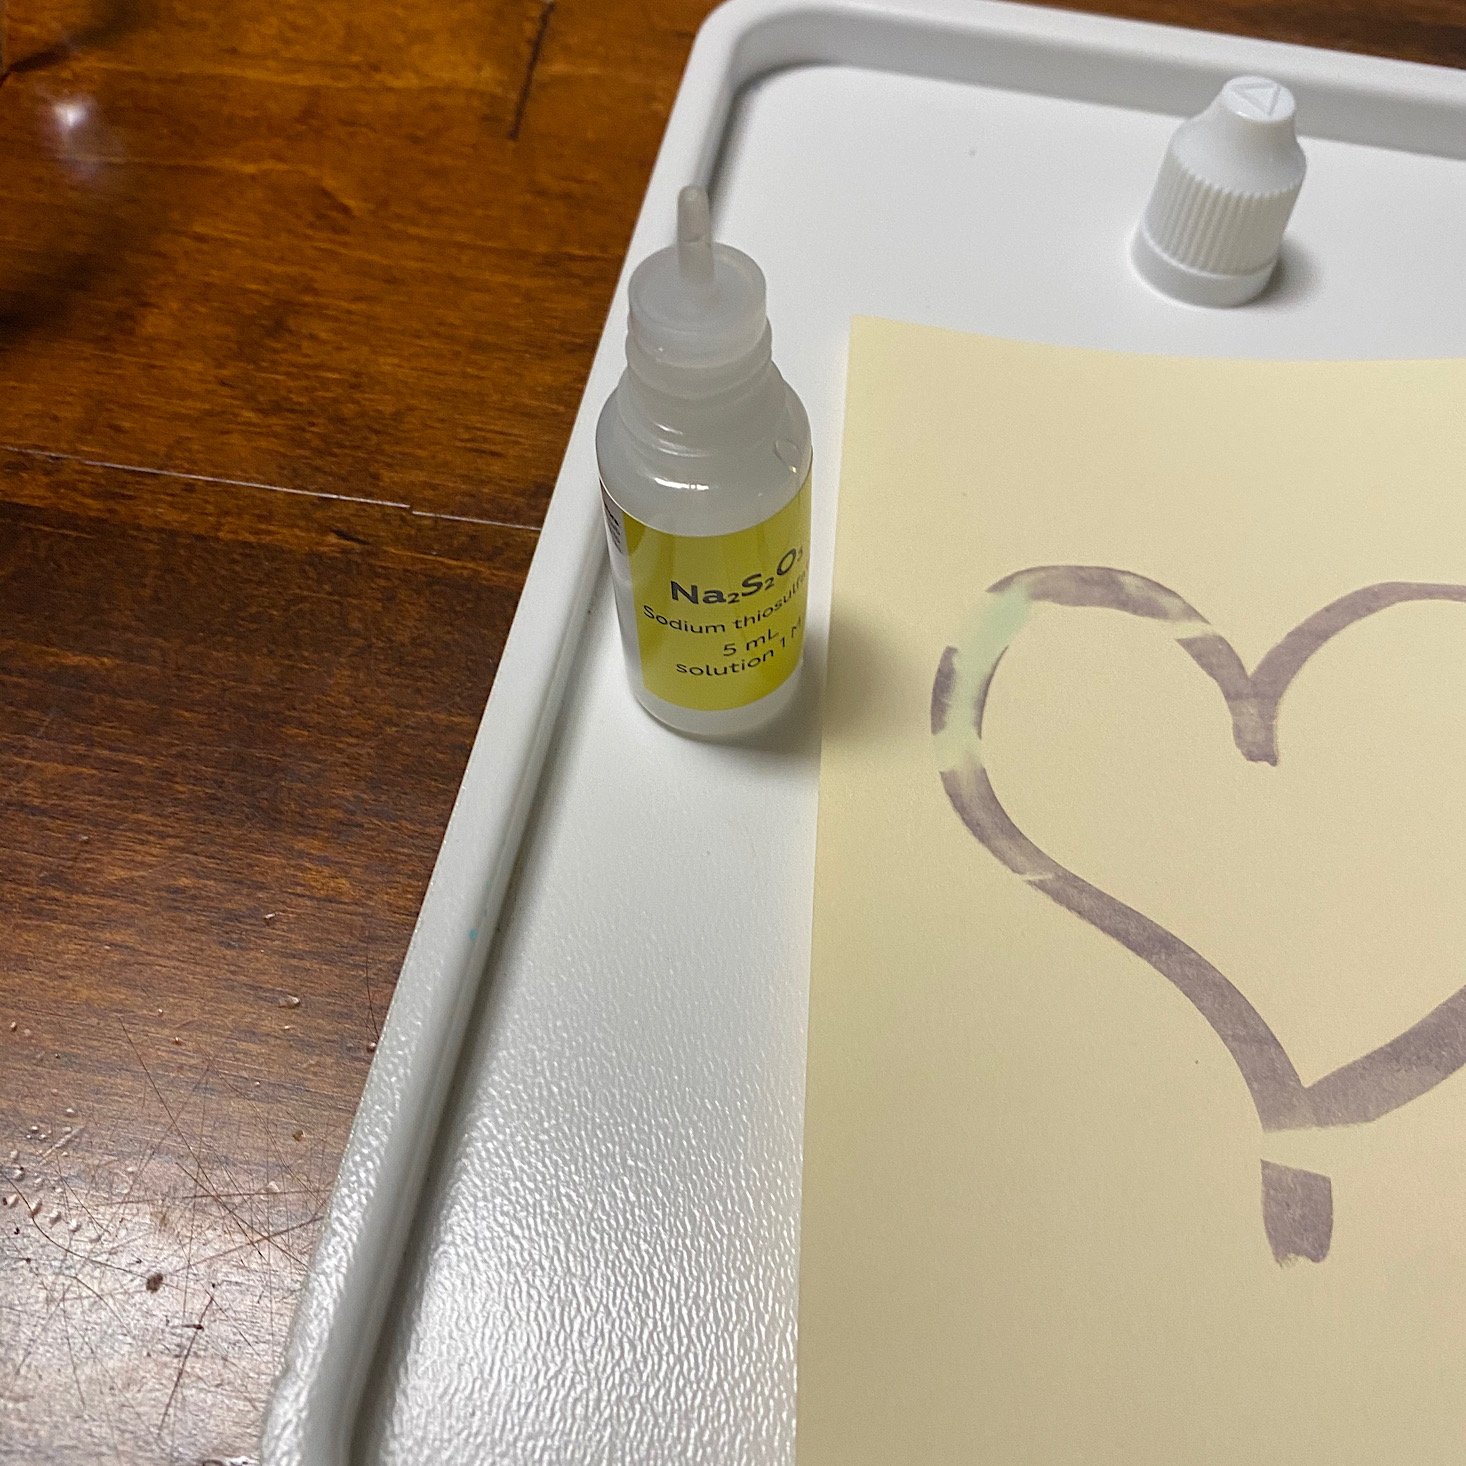
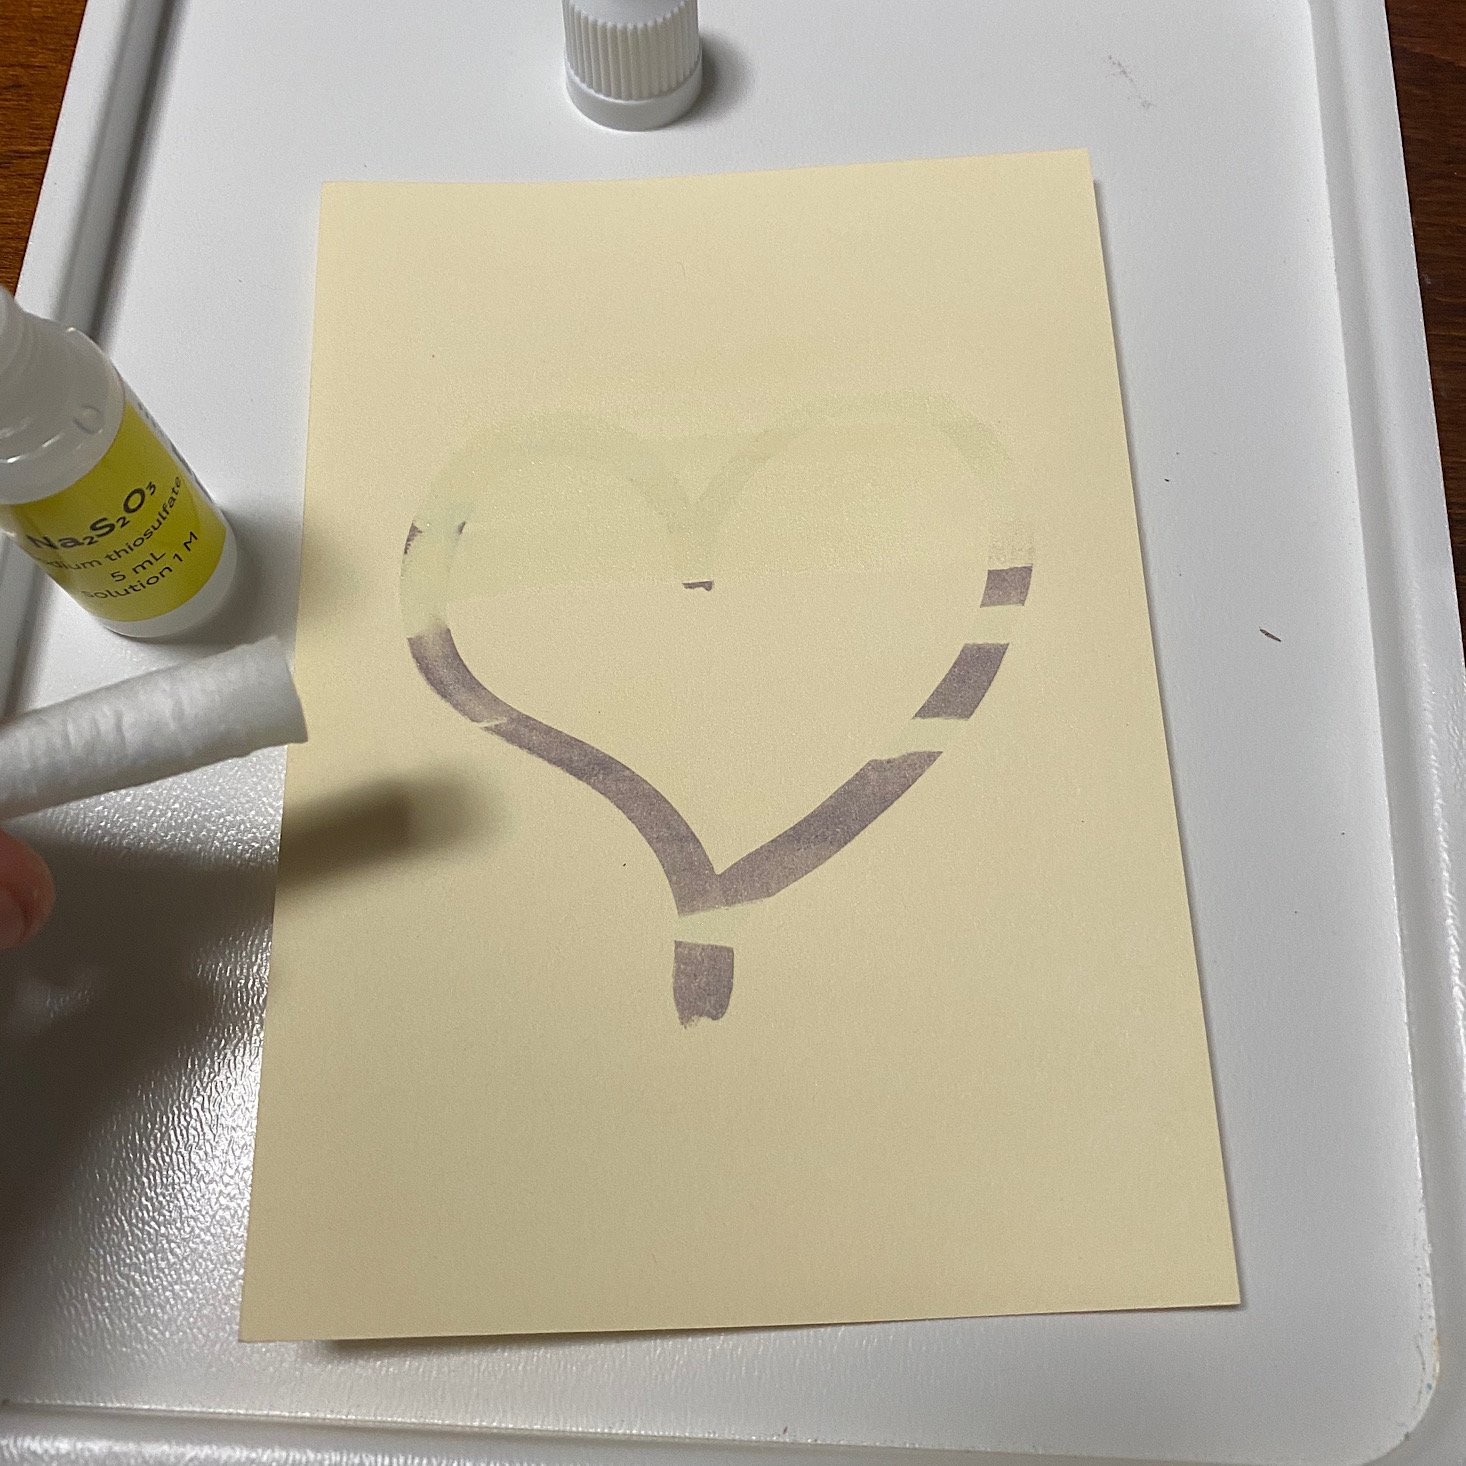
Then I applied some of the sodium thiosulfate to the surface and my heart disappeared!
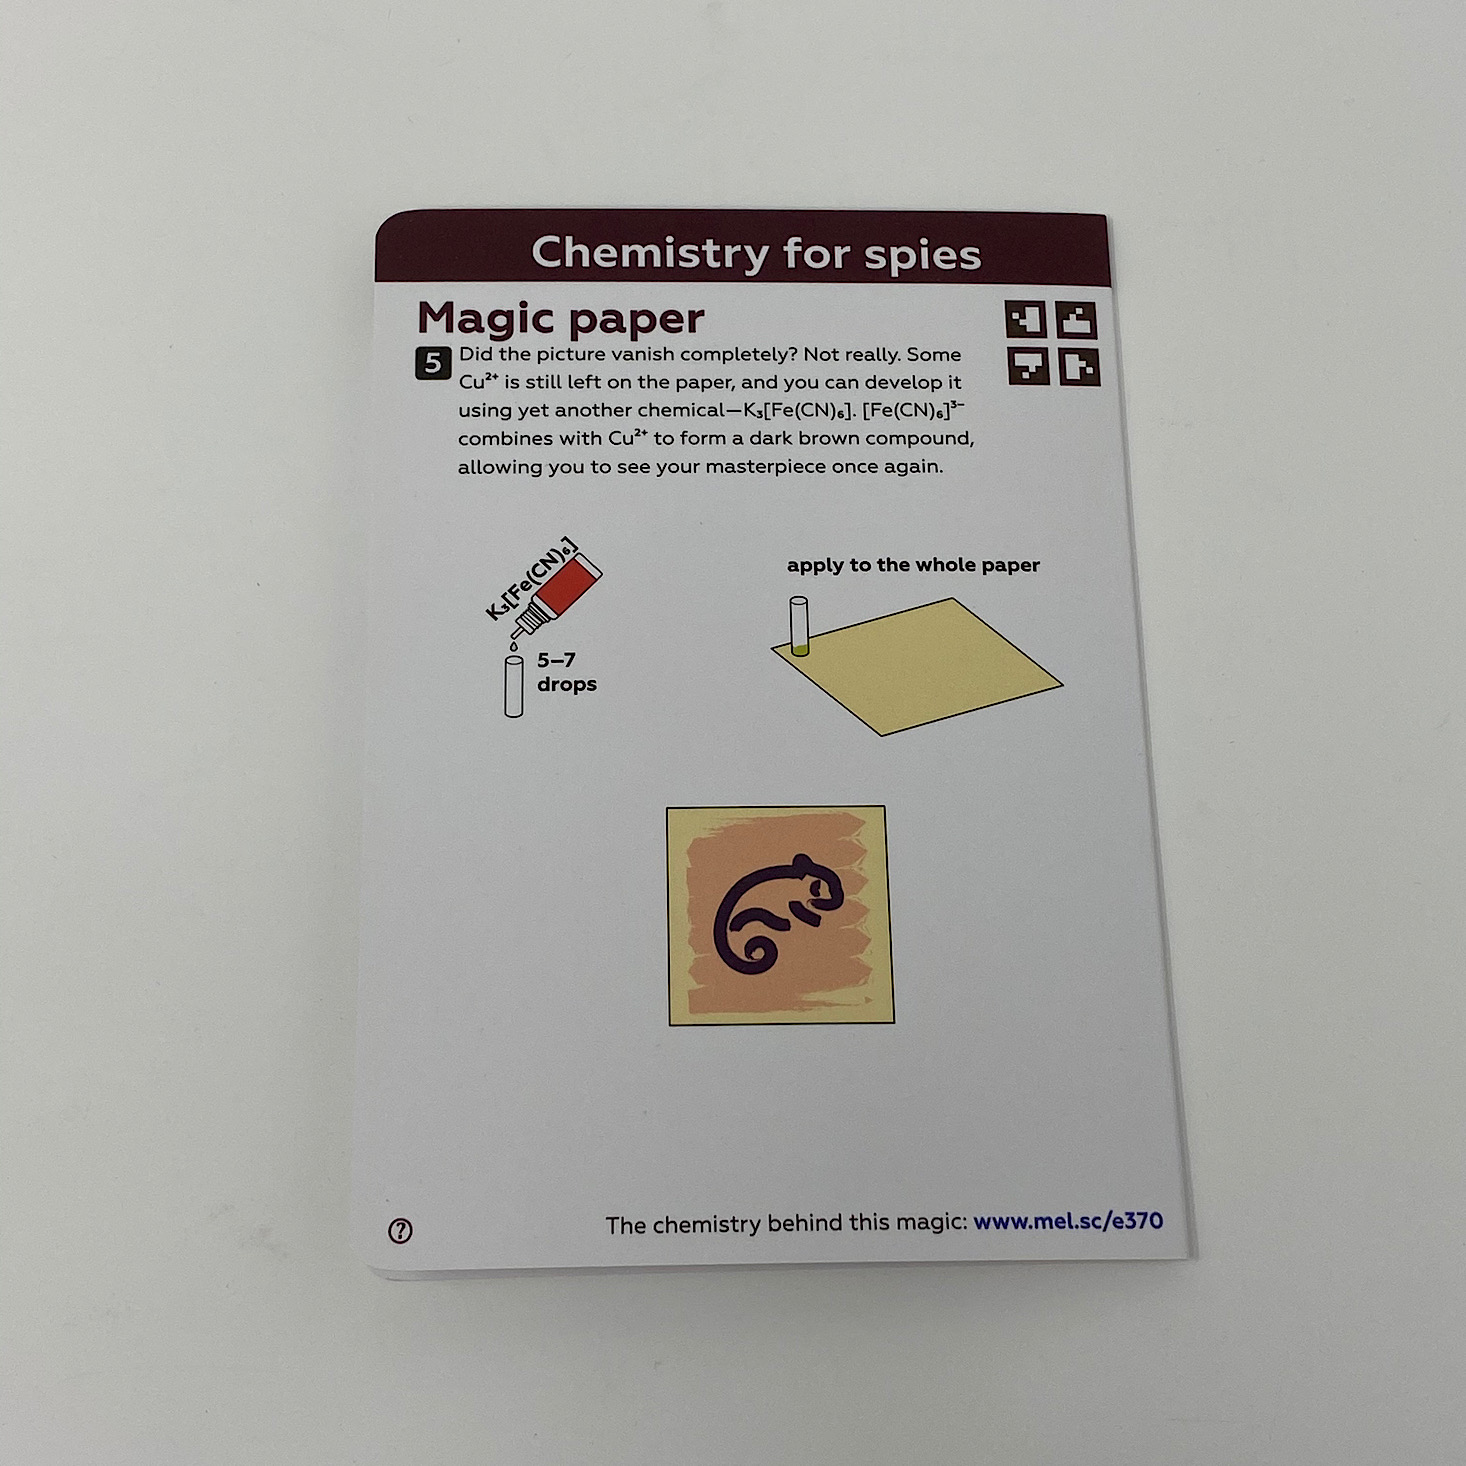
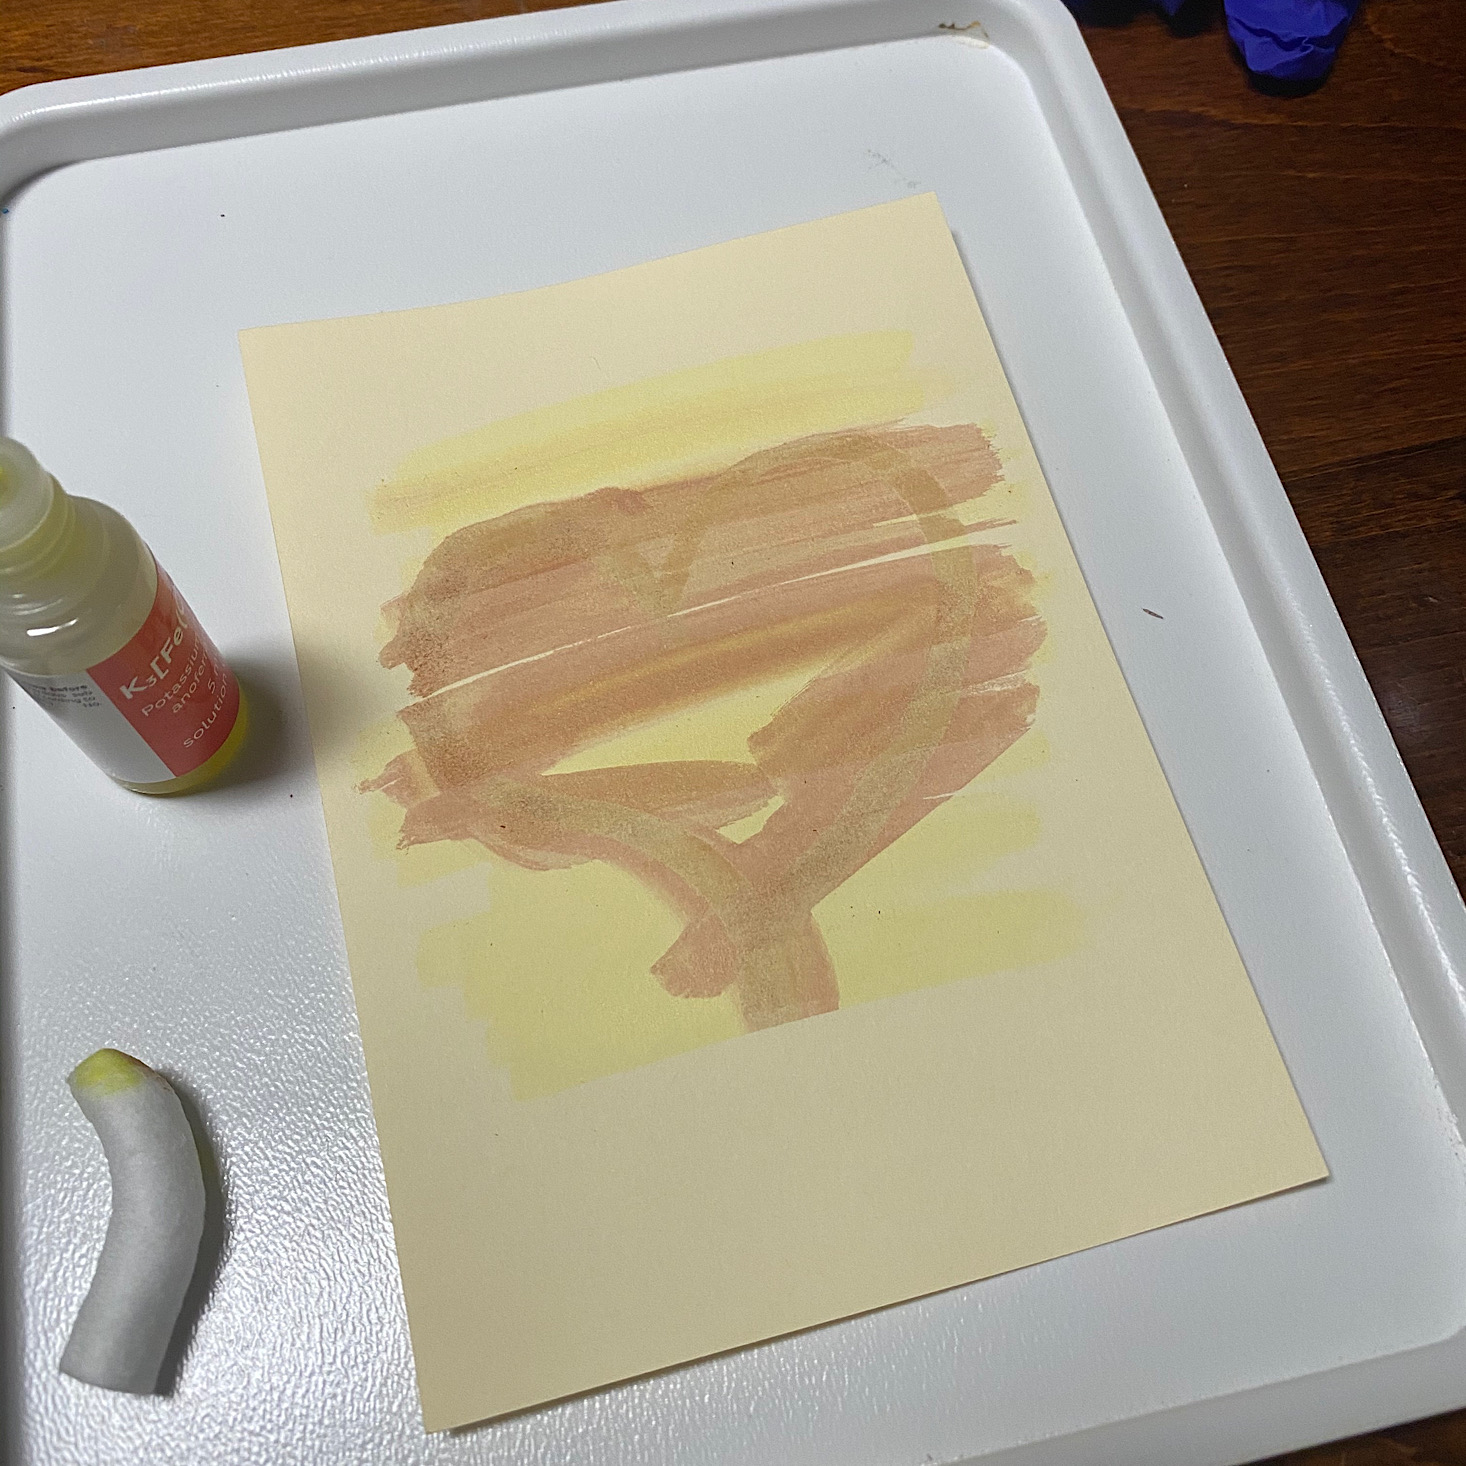
Then I applied our last reagent, potassium ferricyanide, and my heart reappeared again, although this time with a bit more filled in! This was really cool and such a great way to visualize how different reagents react to one another!
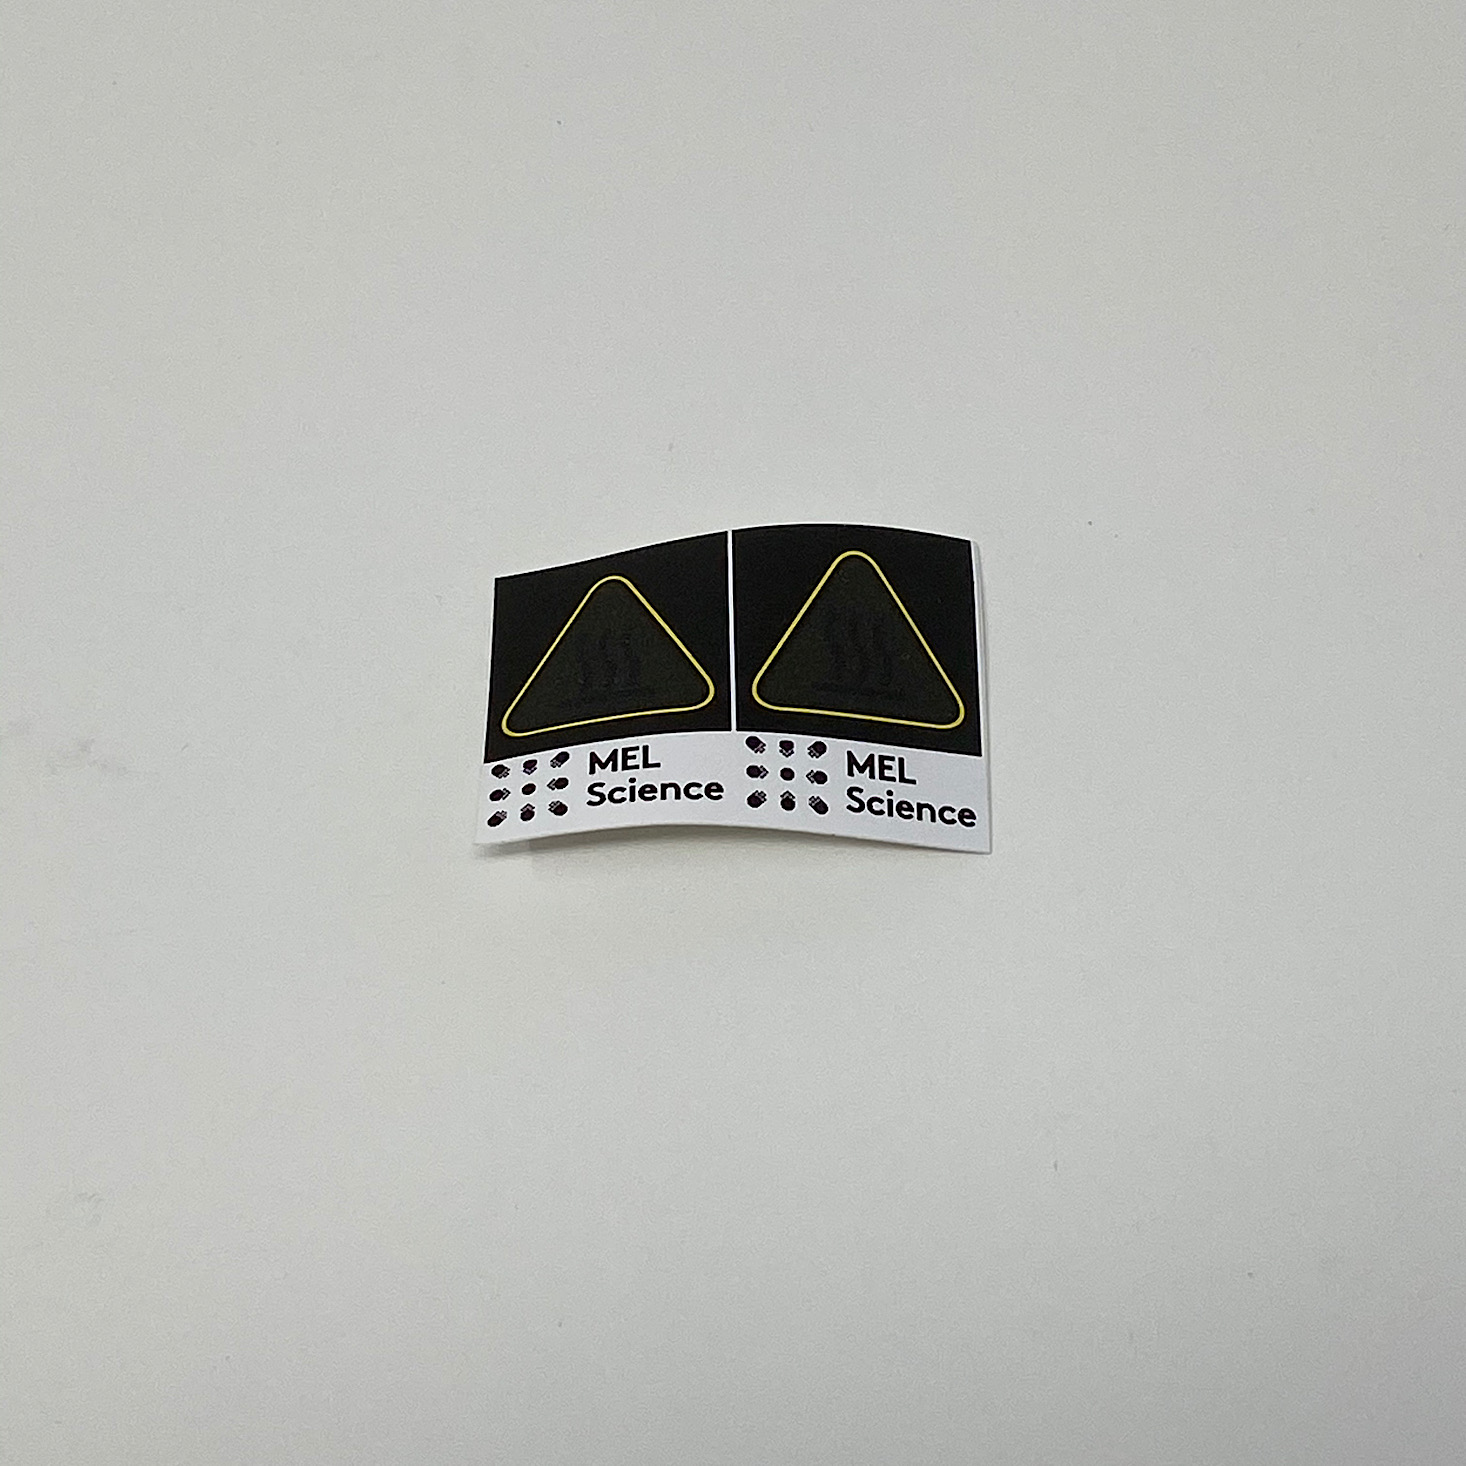
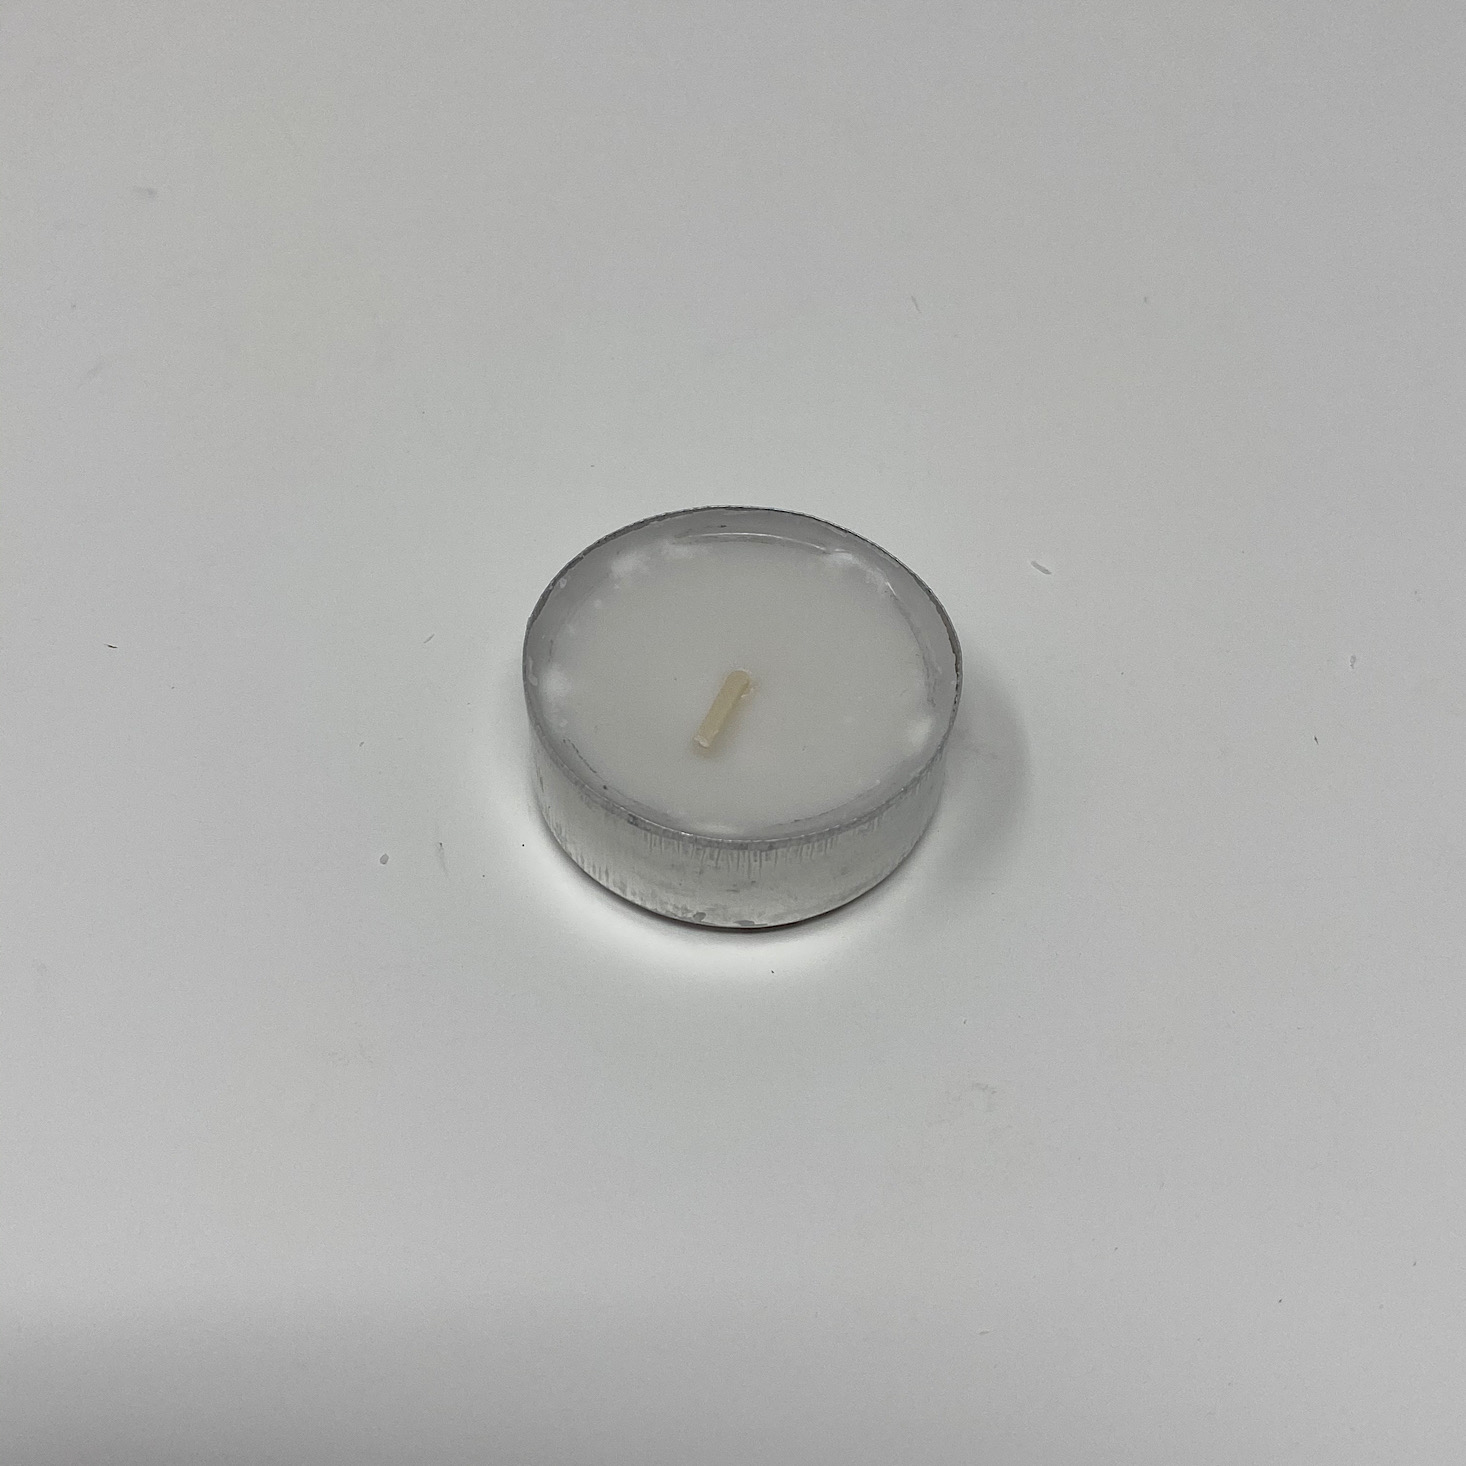
There are a few items that we received that I didn't see mentioned within our instructions, so I reached out to customer service and they were quick to respond with how they could be used. The tea light candle, wooden sticks, and thermostickers could be used to heat up the ammonia to speed up the process of the reveal in our last experiment.
Verdict: This month's MEL Chemistry lessons were just a bit different in that they were more practical applications of the experiments which made it really fun! It was so cool being able to create our own tools to write secret messages and learning about the science behind it was such a neat experience! The kids thought it was so cool when the messages appeared (or disappeared) and I like that we created our own markers so that we can use them over and over again. These chemistry lessons are so thorough and I love that we get to use the real lab equipment making this feel like a real chemistry class in a box!
To Wrap Up:
Can you still get this box if you sign up today? Yes, it is possible that you will receive this set. From MEL Chemistry:
"The topics are looped such that the start date of your subscription does not matter; you will eventually receive all the experiment sets."
Check out all of our MEL Chemistry reviews and our list of the best subscription boxes for kids, as recommended by MSA readers!
Keep Track of Your Subscriptions: Add MEL Chemistry to your subscription list or wishlist!
What do you think of MEL Chemistry?































Please do not enter your email address in the Name field or in the comment content. Your email address will not be published. Required fields are marked *. Remember to post with kindness and respect. Comments with offensive language, cruelness to others, etc will not be approved. See our full comment policy here.