
Oyster is a monthly STEAM-based "profession" subscription for kids ages 5-9. Each month you will receive an educational kit made with the help of professionals and rigorously tested by kids, which includes equipment, information, and experiments to try out a different profession. According to Oyster, kids closer to 9 will be able to complete the tasks independently, while younger kids will require participation from their parents.
This box is being reviewed thanks to MSA reader request!
My Subscription Addiction pays for this subscription. (Check out the review process post to learn more about how we review boxes.)
About Oyster
The Subscription Box: Oyster Kit
The Cost: $39.95 a month + free shipping. Save with longer subscriptions.
The Products: A new profession to explore every month through STEAM learning materials, online tests, and DIY projects
Ships to: The U.S. only
Oyster "Environmental Engineer" Kit June 2020 Review
It's finally June, and we are wrapping up our first full week off since the end of "Distance Learning." The COVID-19 numbers have been pretty low in my area, but even so, our family has been playing it safe and just staying home so getting ANY mail is exciting, but seeing a subscription box is what we live for these days!! With Oyster Kit, we have become doctors, dentists, lab techs, artists, archaeologists, paleontologists, veterinarians, animators, and detectives, so we can't wait to add "Environmental Engineer" to our resumes!
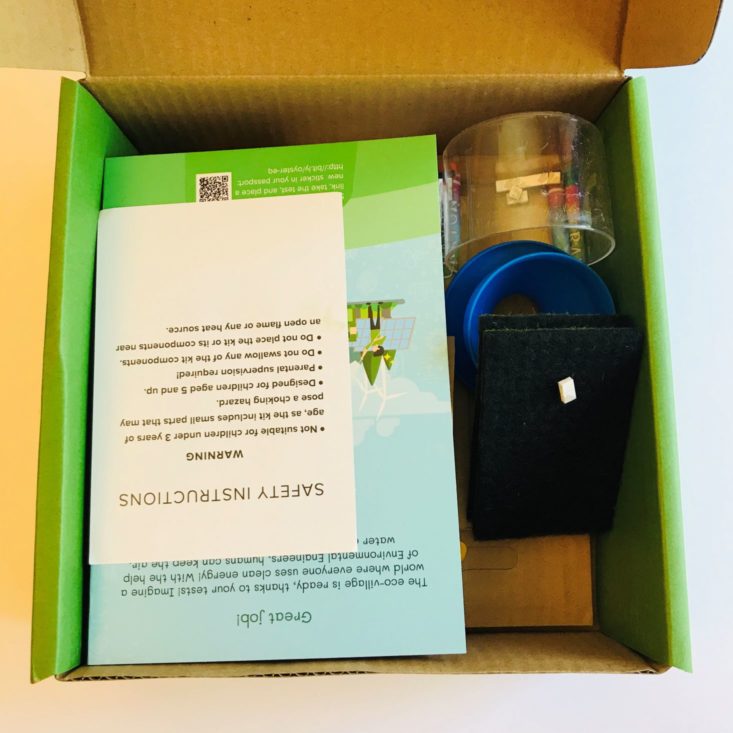
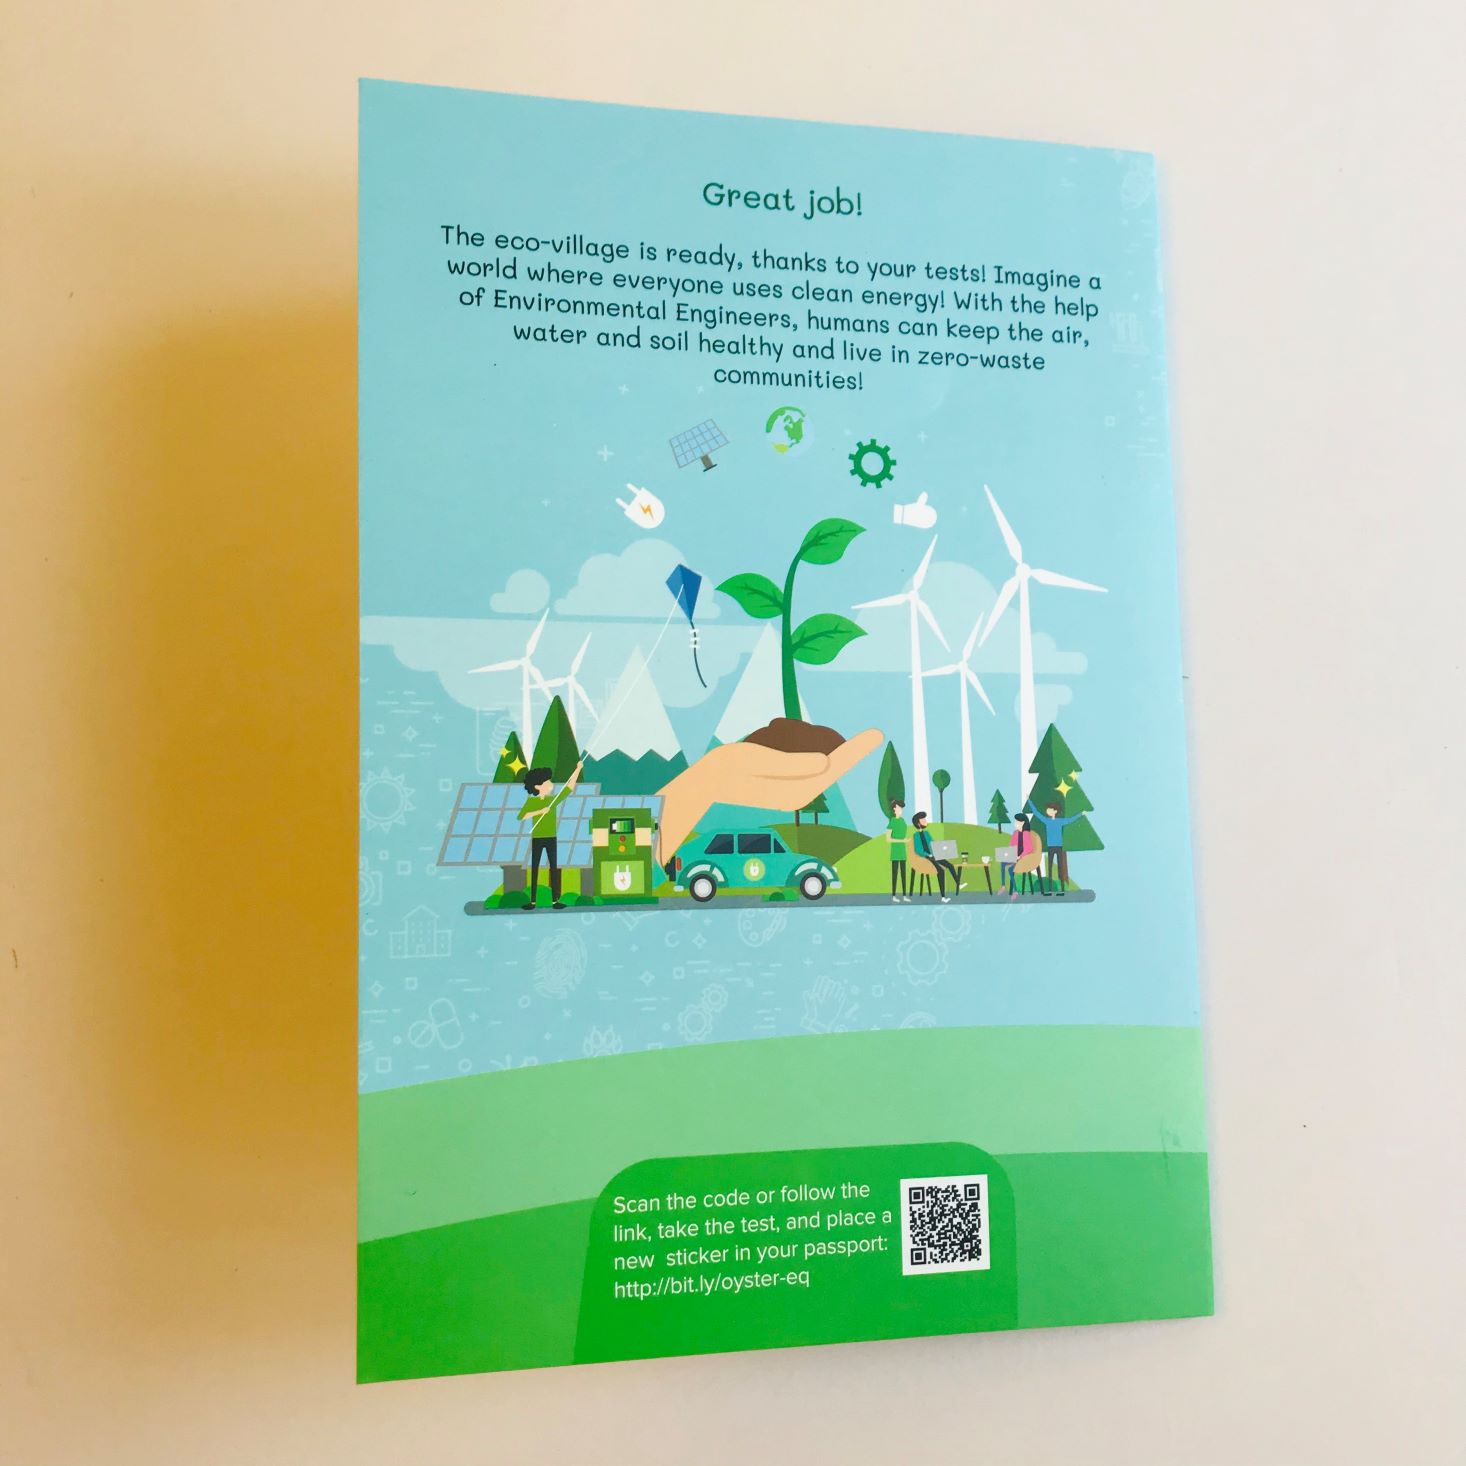
Safety first! This kit sometimes includes a lot of small pieces and is recommended for kids 5-9. The opposing side of the safety sheet includes instructions on how to use QR codes, which bring you to bonus material!
Onto the fun stuff:
Environmental Engineer Guide
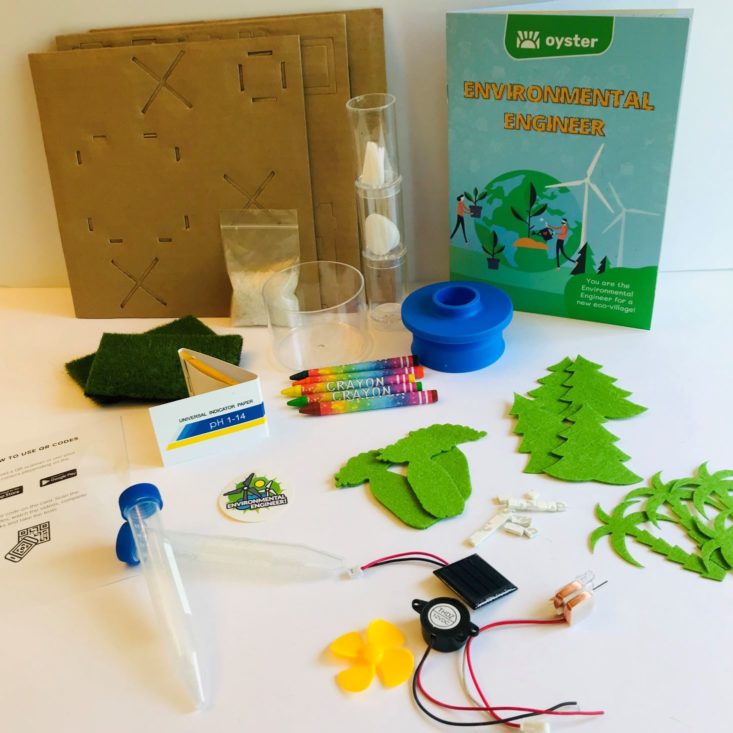
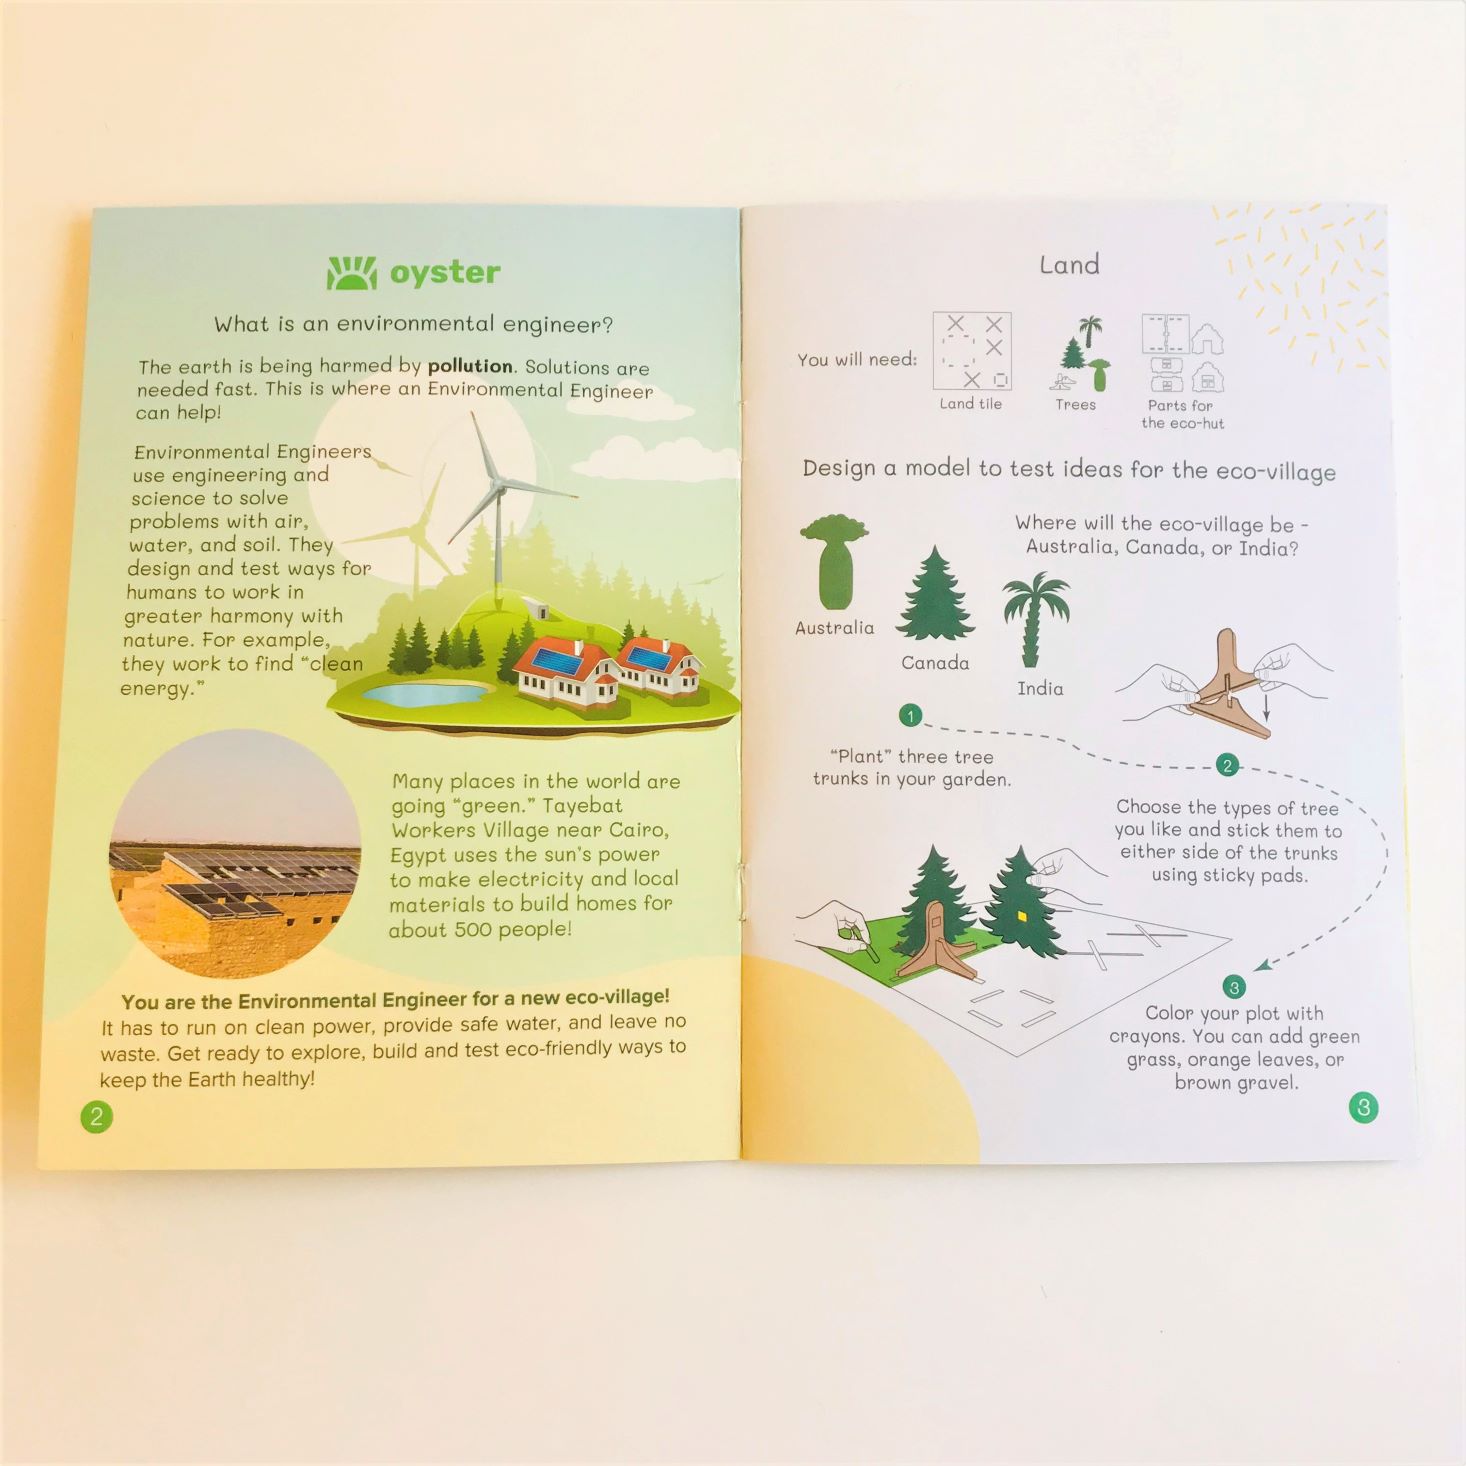
This month's layout was a bit different from past kits. We received a bright and colorful pamphlet that explained what exactly an environmental engineer is and does, plus illustrated instructions on how to design our eco-village, information about wind power, solar power, and the importance of clean water. Each of the activities is listed in this manual and extra tid-bits of information are also shared in this.

When Hank opened up this kit he was absolutely stoked. He couldn't wait to build his eco-hut and solar panel!!
Cardboard Parts
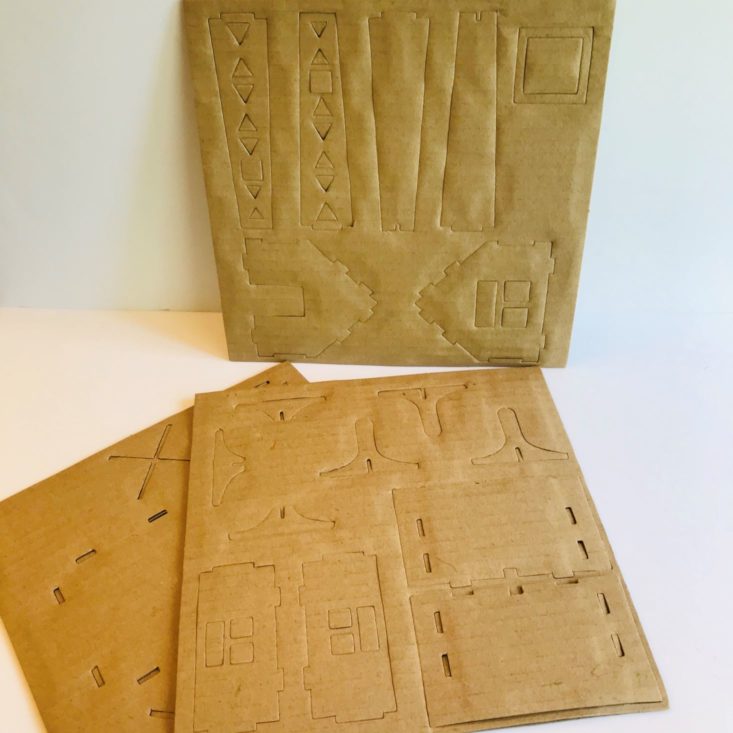
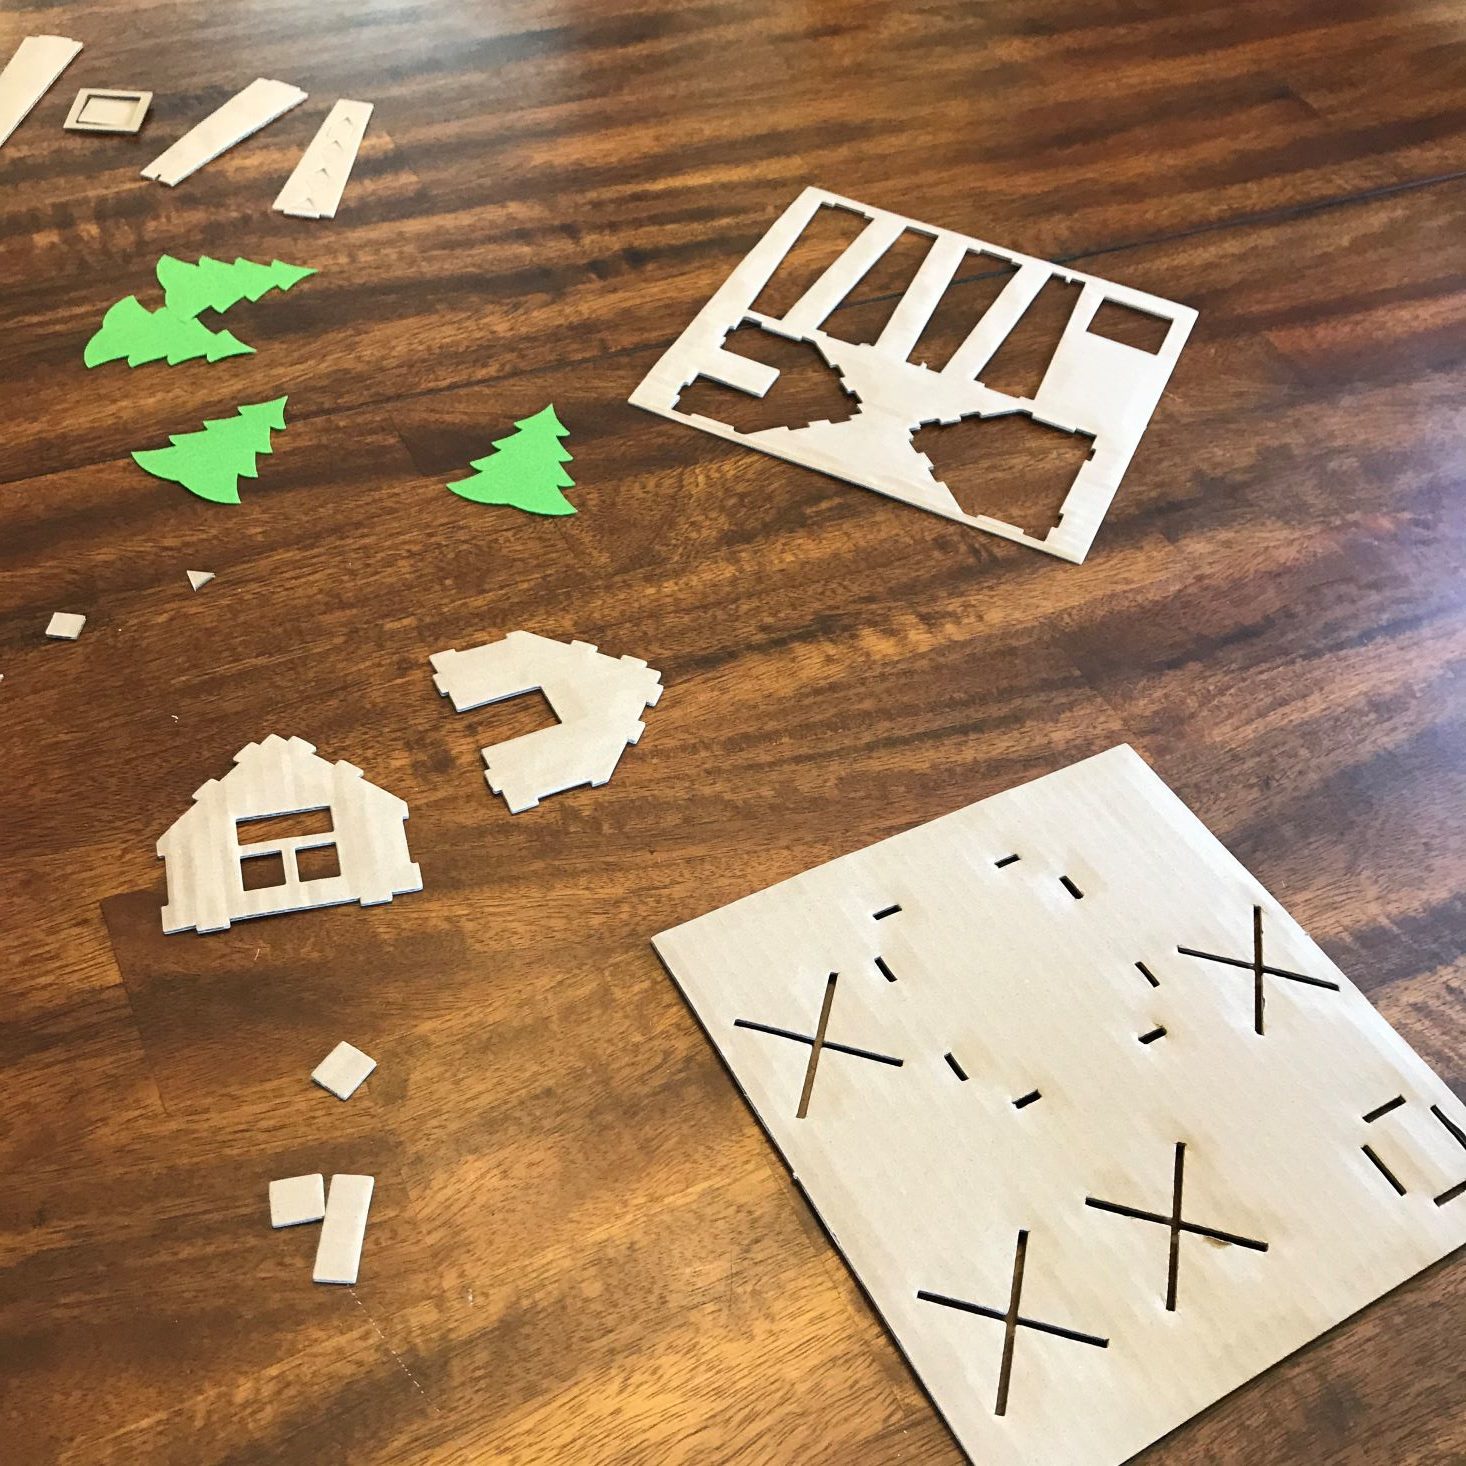
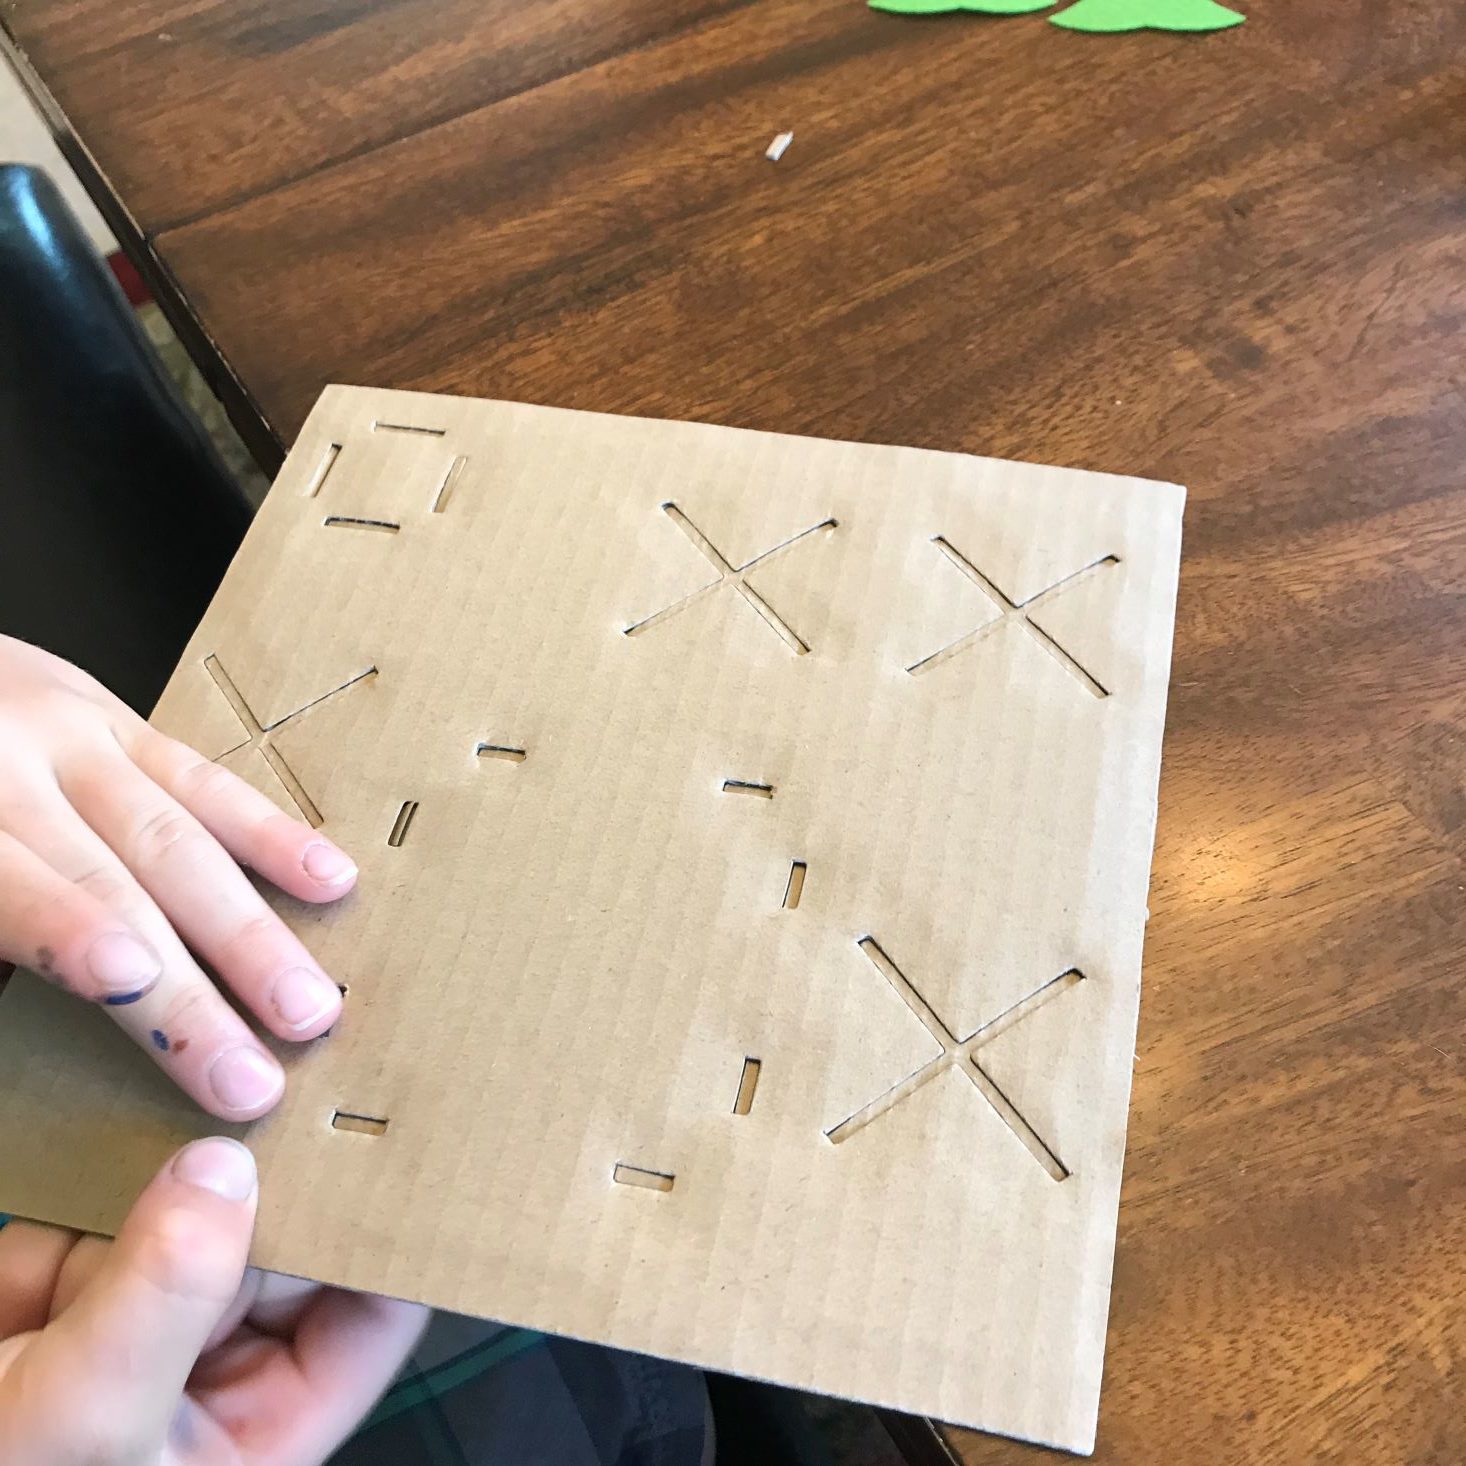
The first item needed were these cardboard cut-outs. We received a land tile, and parts for the eco-hut, trees, and wind tower.
Our first step was to remove all of the pieces from the cardboard. They were perforated very well so this was an easy task. I have to say there is something oddly satisfying about punching cardboard pieces out!
Trees and Motors
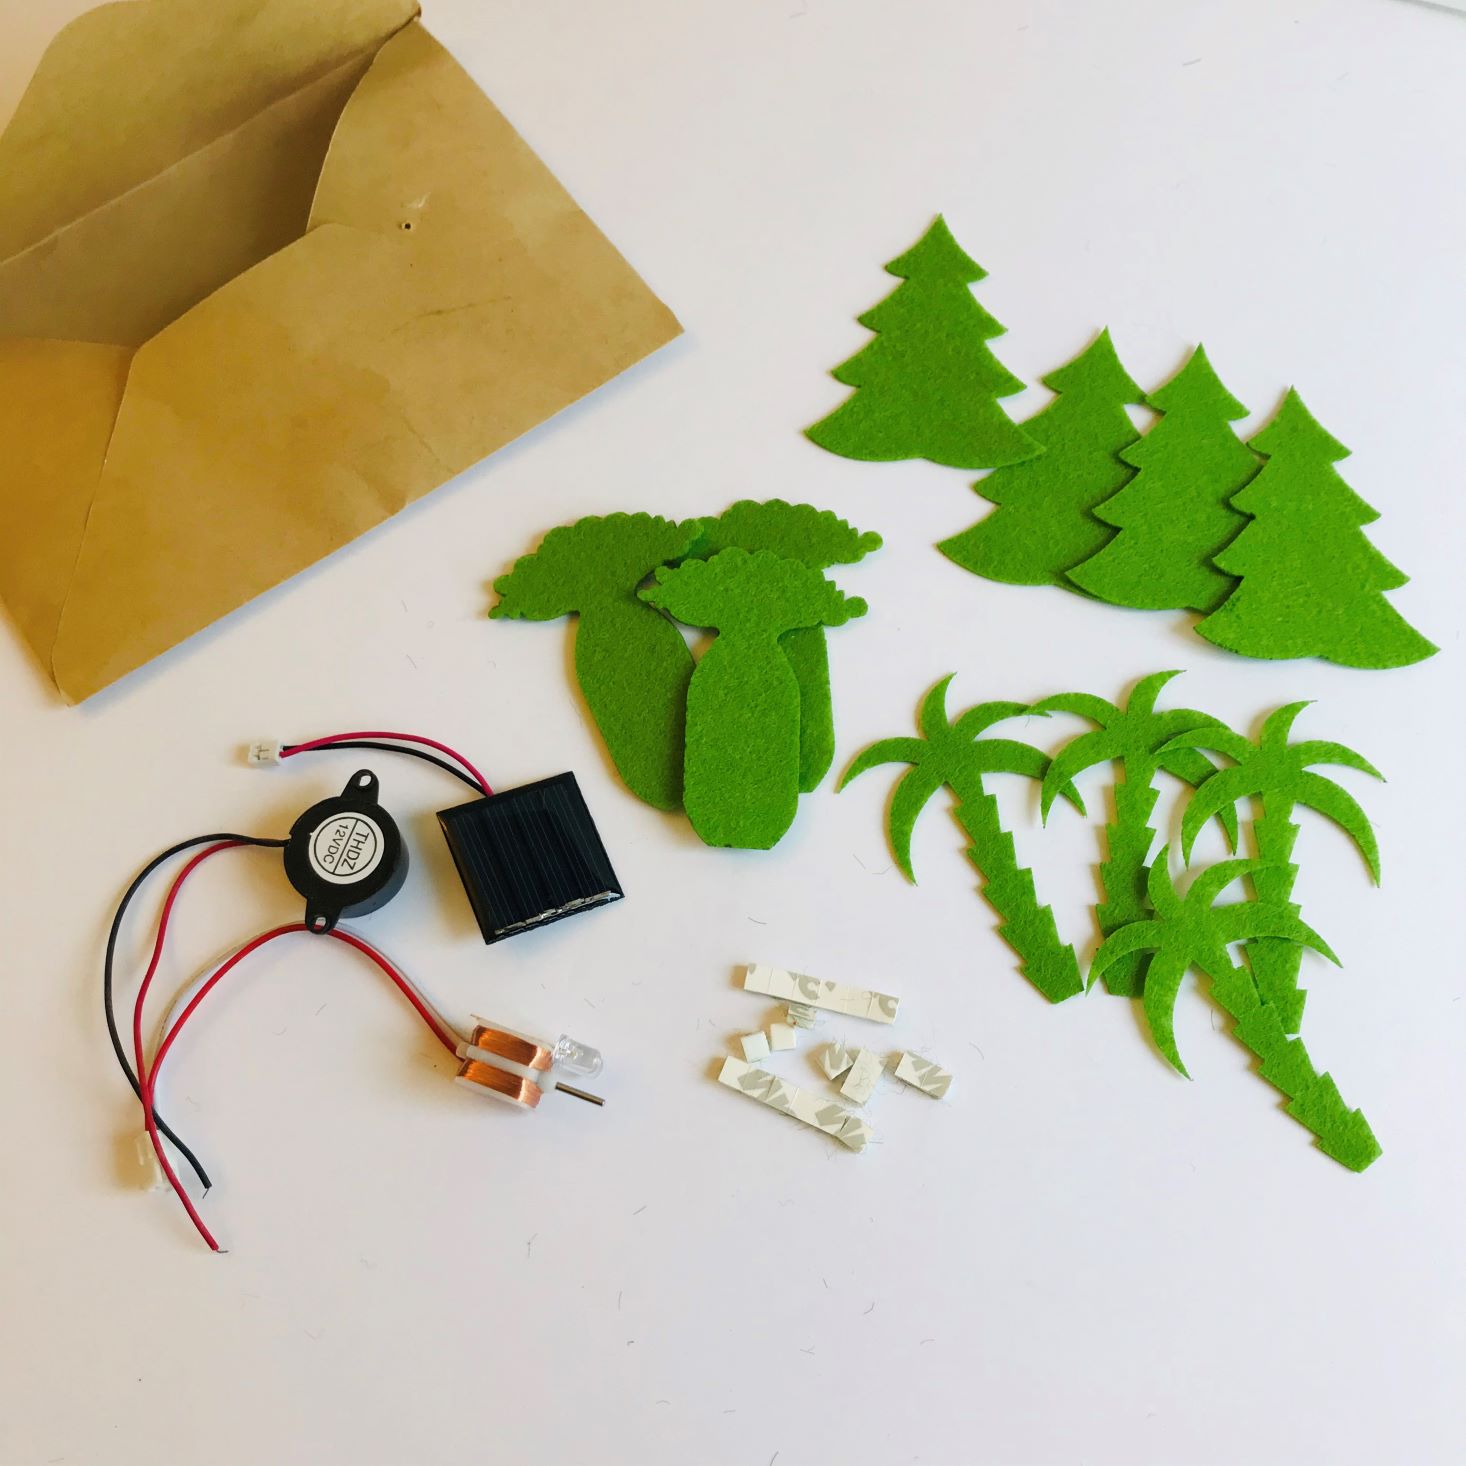
Once our cardboard parts were punched out, we opened up our envelope of goodies. We received trees from Australia, Canada, and India to customize our model. We also received a buzzer, 2 mini light bulbs, a solar cell, and sticky tape.
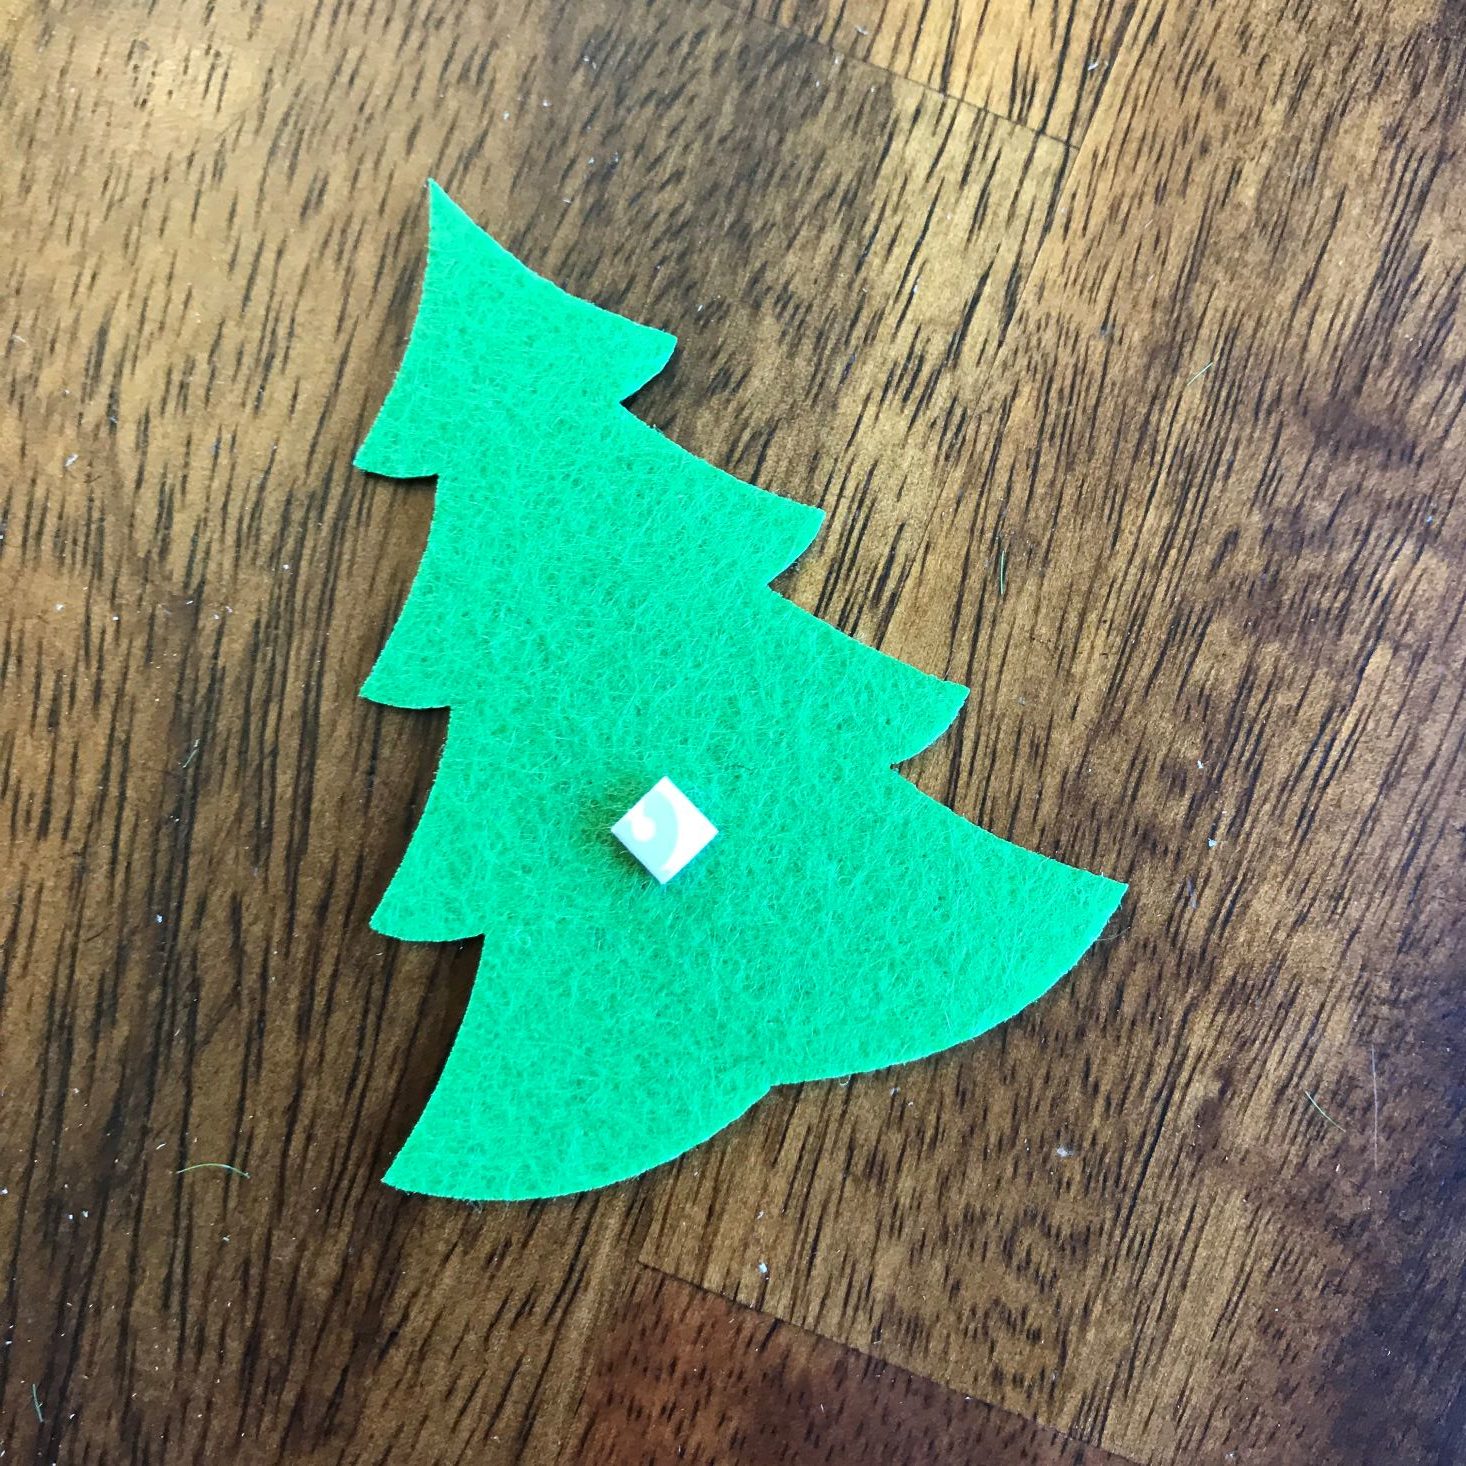
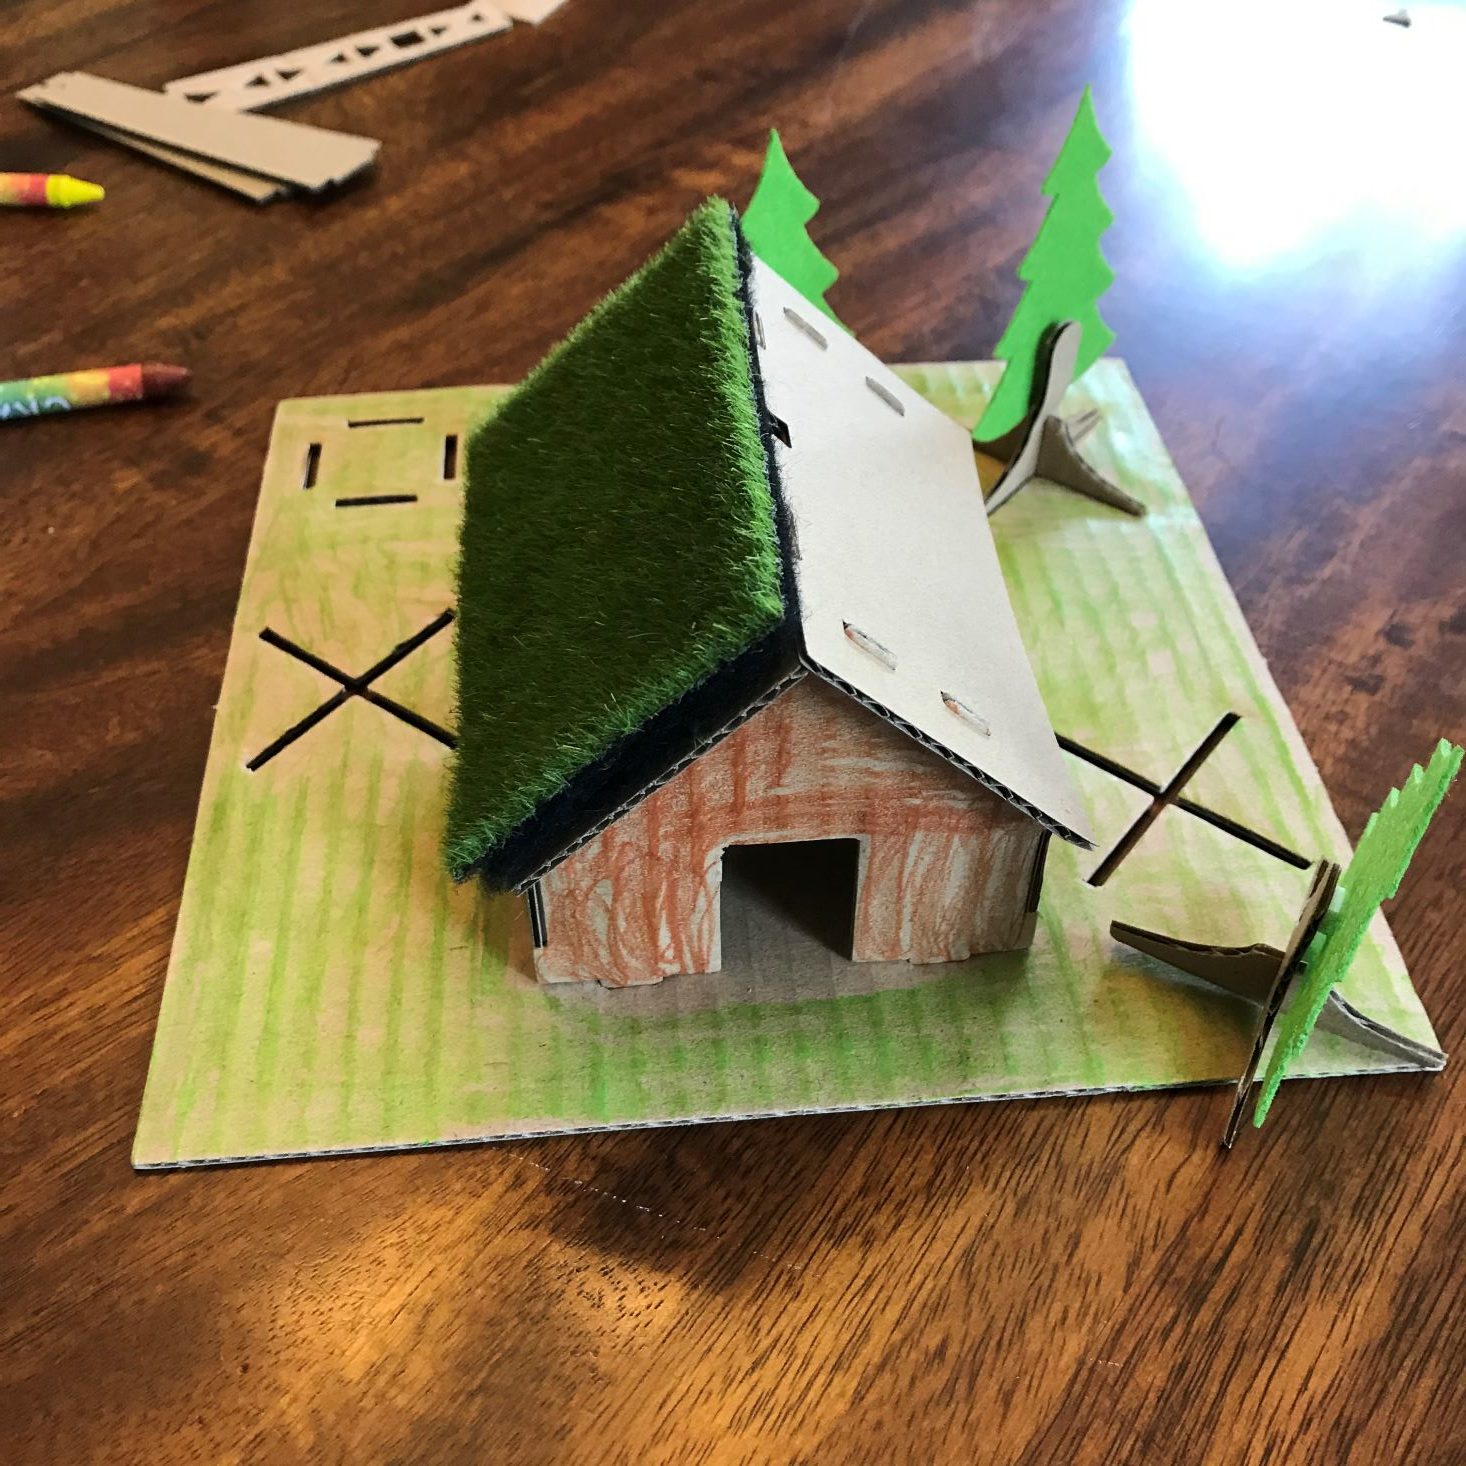
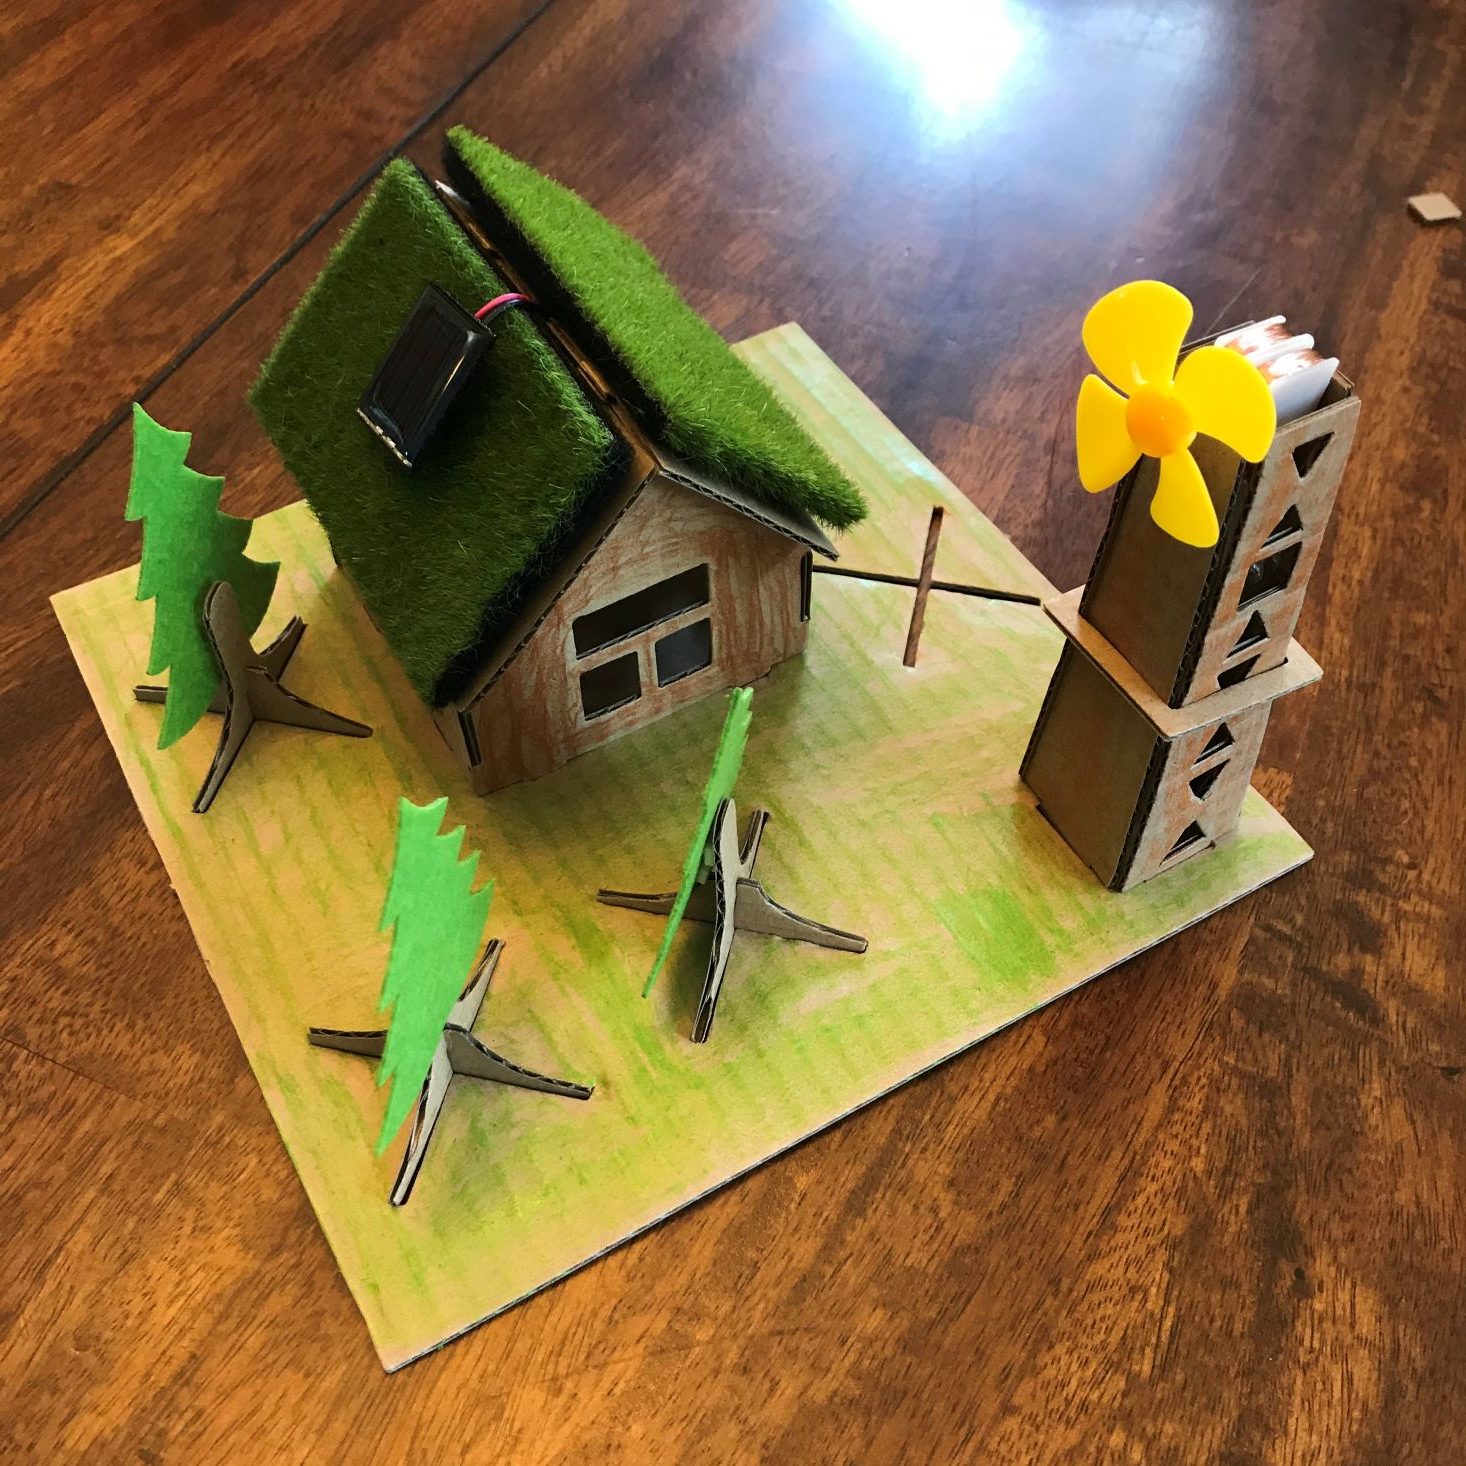
Hank decided he wanted his eco-hut to be based in Canada, since we are only about 3 hours south. He added the square sticky pads to the tree and attached them to the cardboard trunks. The 3 trees fit perfectly on the land tile base.

Crayons
I love this subscription because they include pretty much everything you need for the projects. Although we have gallons of crayons, we received a few more wrapped in rainbow galaxy paper!! How fun!
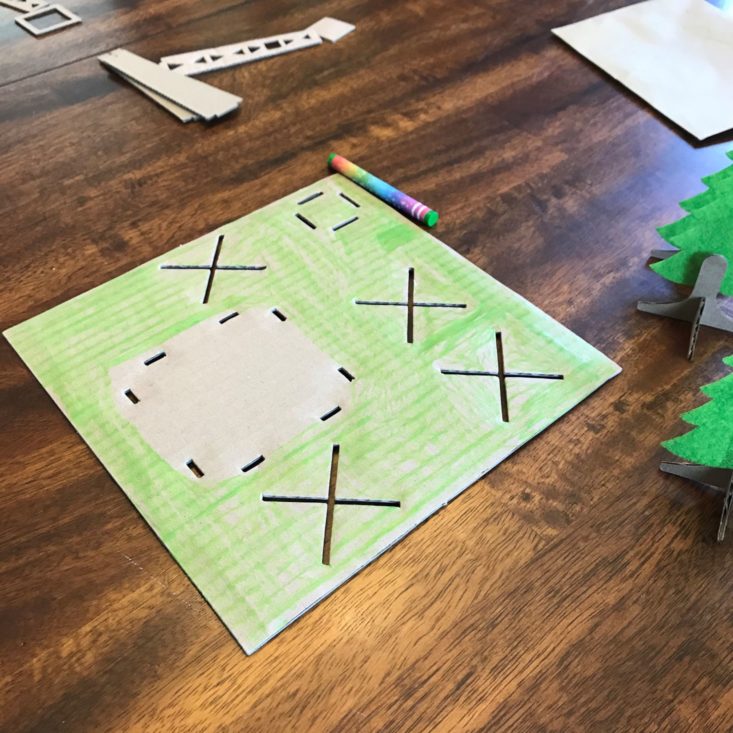
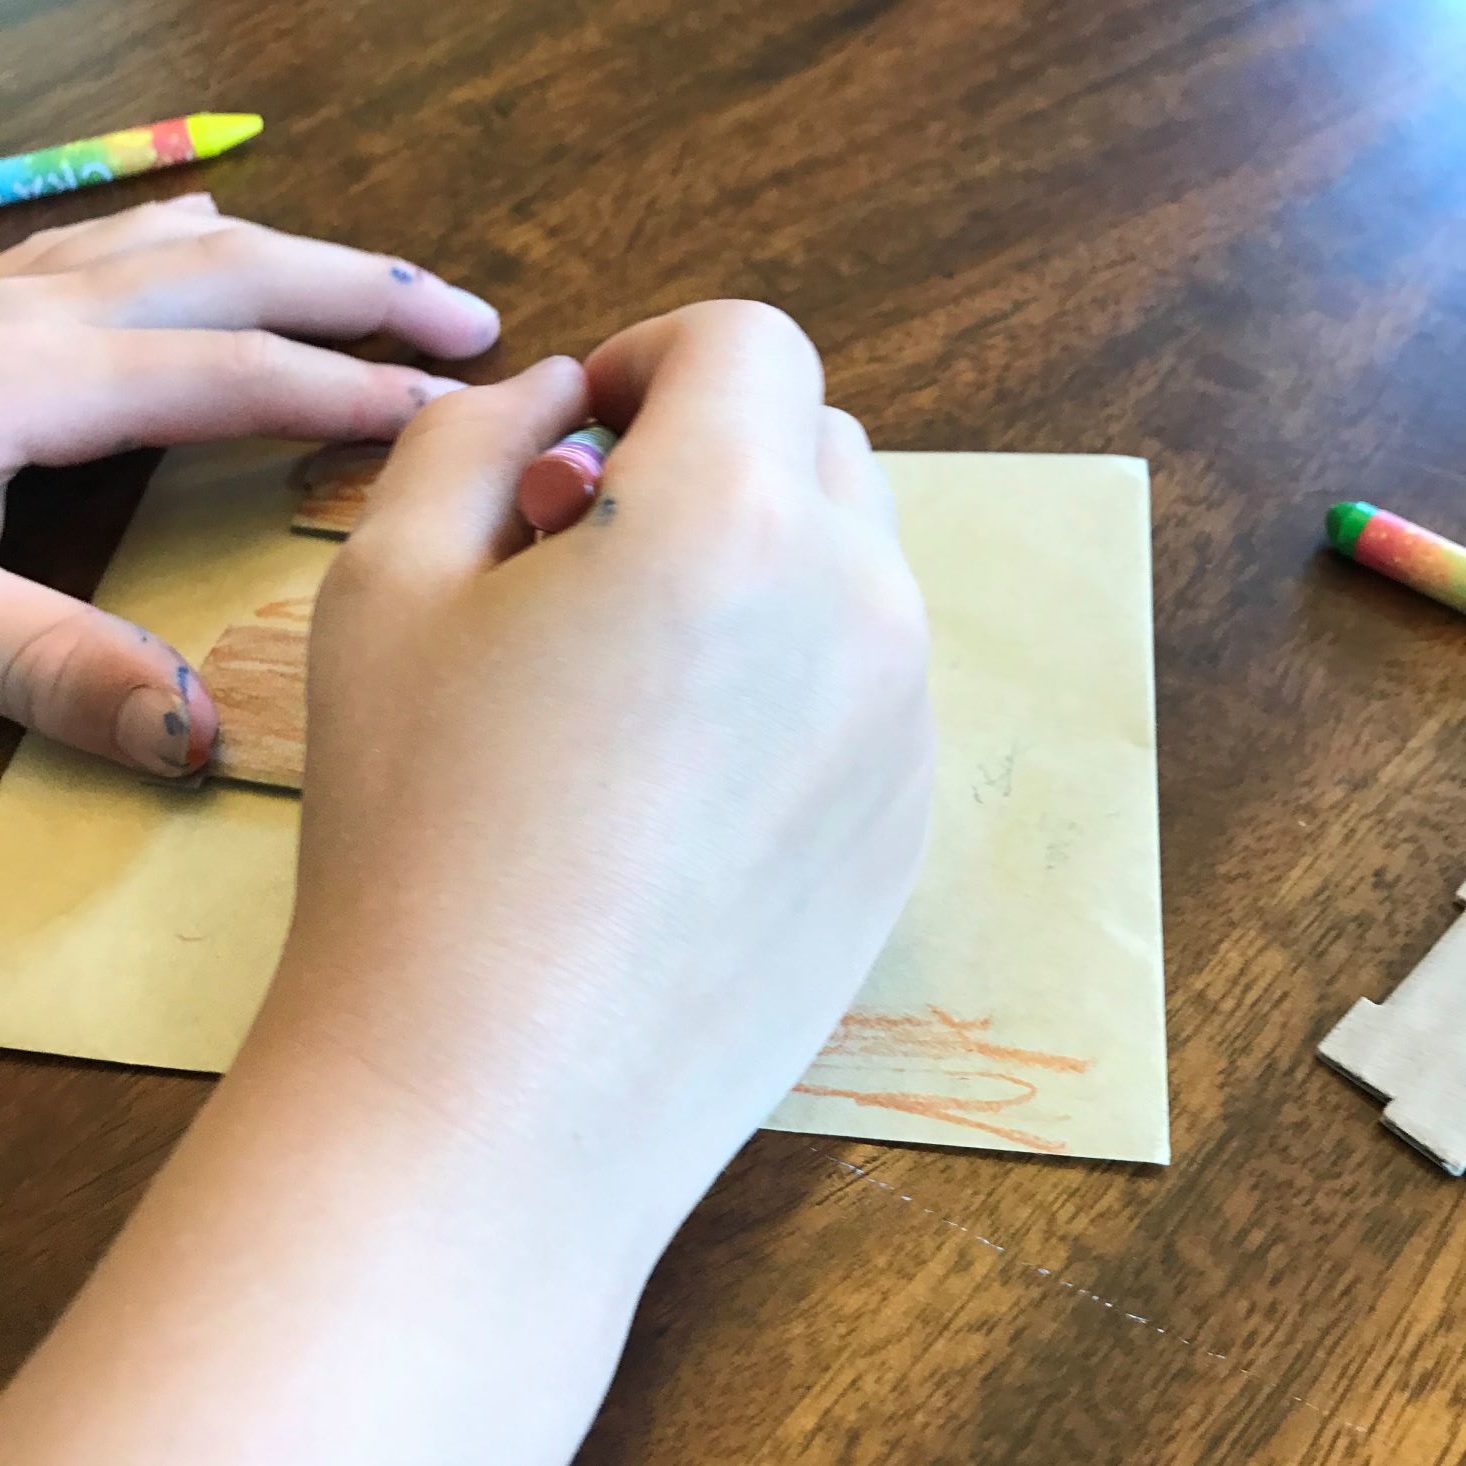
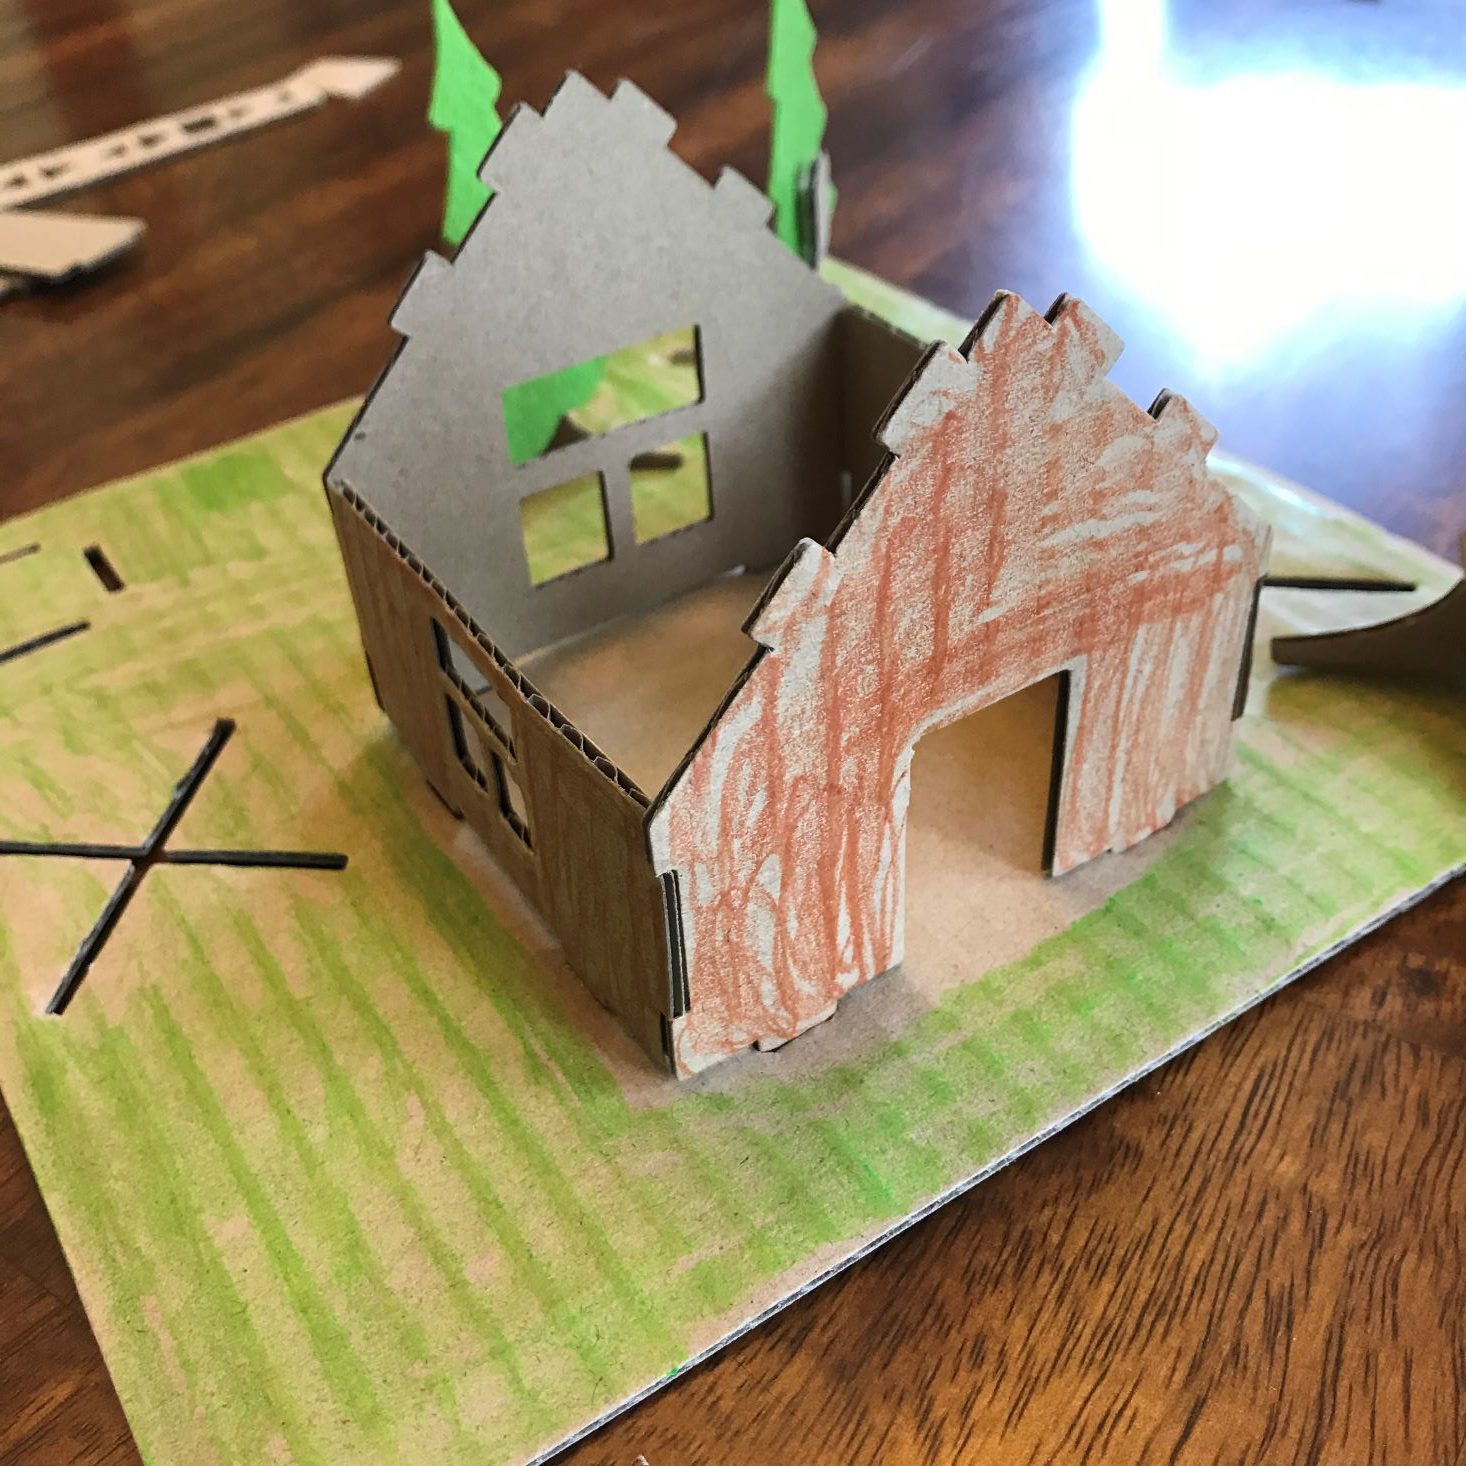
Hank started out by coloring the land tile while the trees were in place. He decided it would be much easier to take them off and then color the area. The directions suggested coloring grass, orange leaves, or brown gravel. Hank decided he liked the look of green grass best and went with that.

Eco-Hut Roof
We received 2 rectangular pads of "grass" for the roof of our eco-hut. This stuff really looks like grass- but beware...it also sheds...A LOT! We also learned that countries like Norway have used green roofs for a very long time, and that they are becoming more popular because they are so eco-friendly! Cool!
Now the exciting things are happening! Once the land tile was colored, Hank put his trees back in their designated spots. Using the brown crayon he colored the eco-hut walls and set them up by following the directions in the pamphlet. Using a few more sticky pads, he attached the green pieces to each side of the roof.
Wind Mill Blade
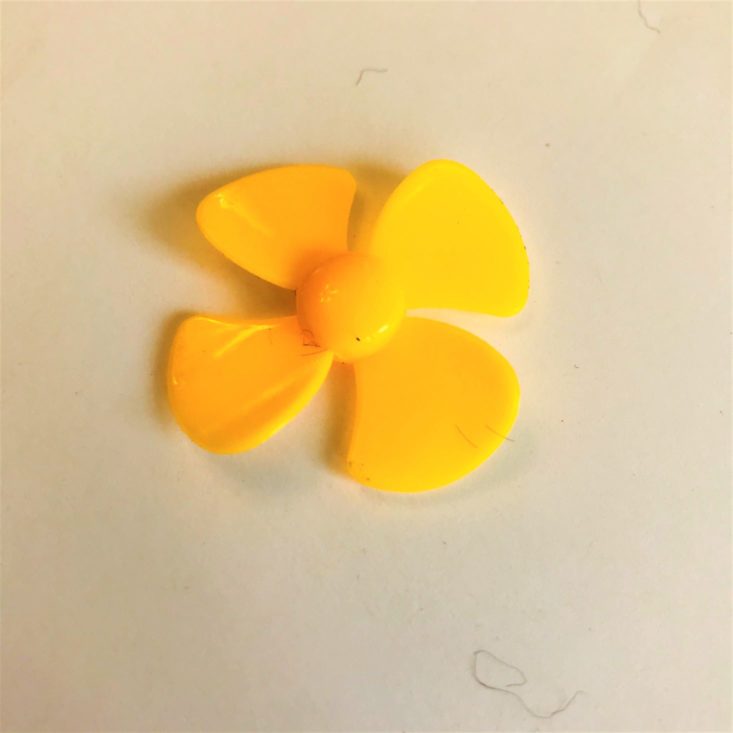
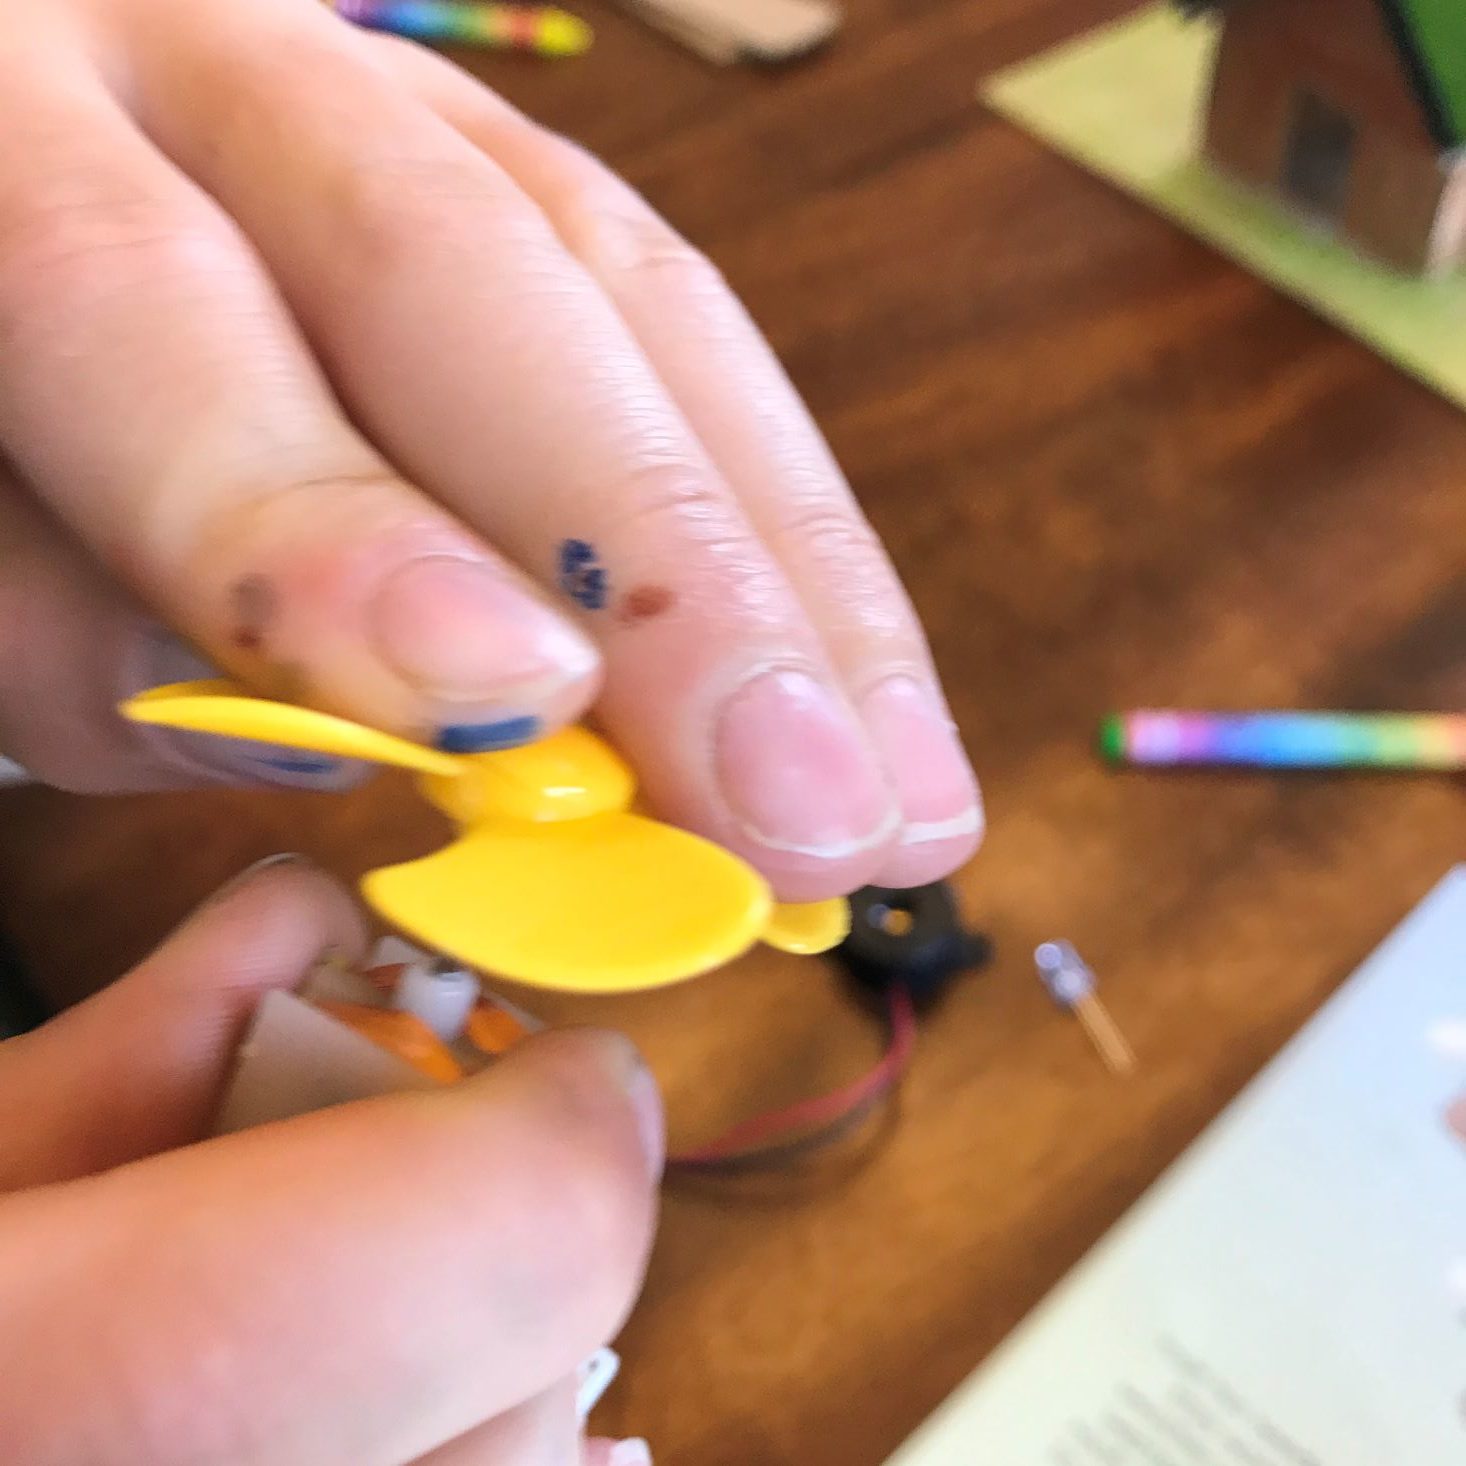
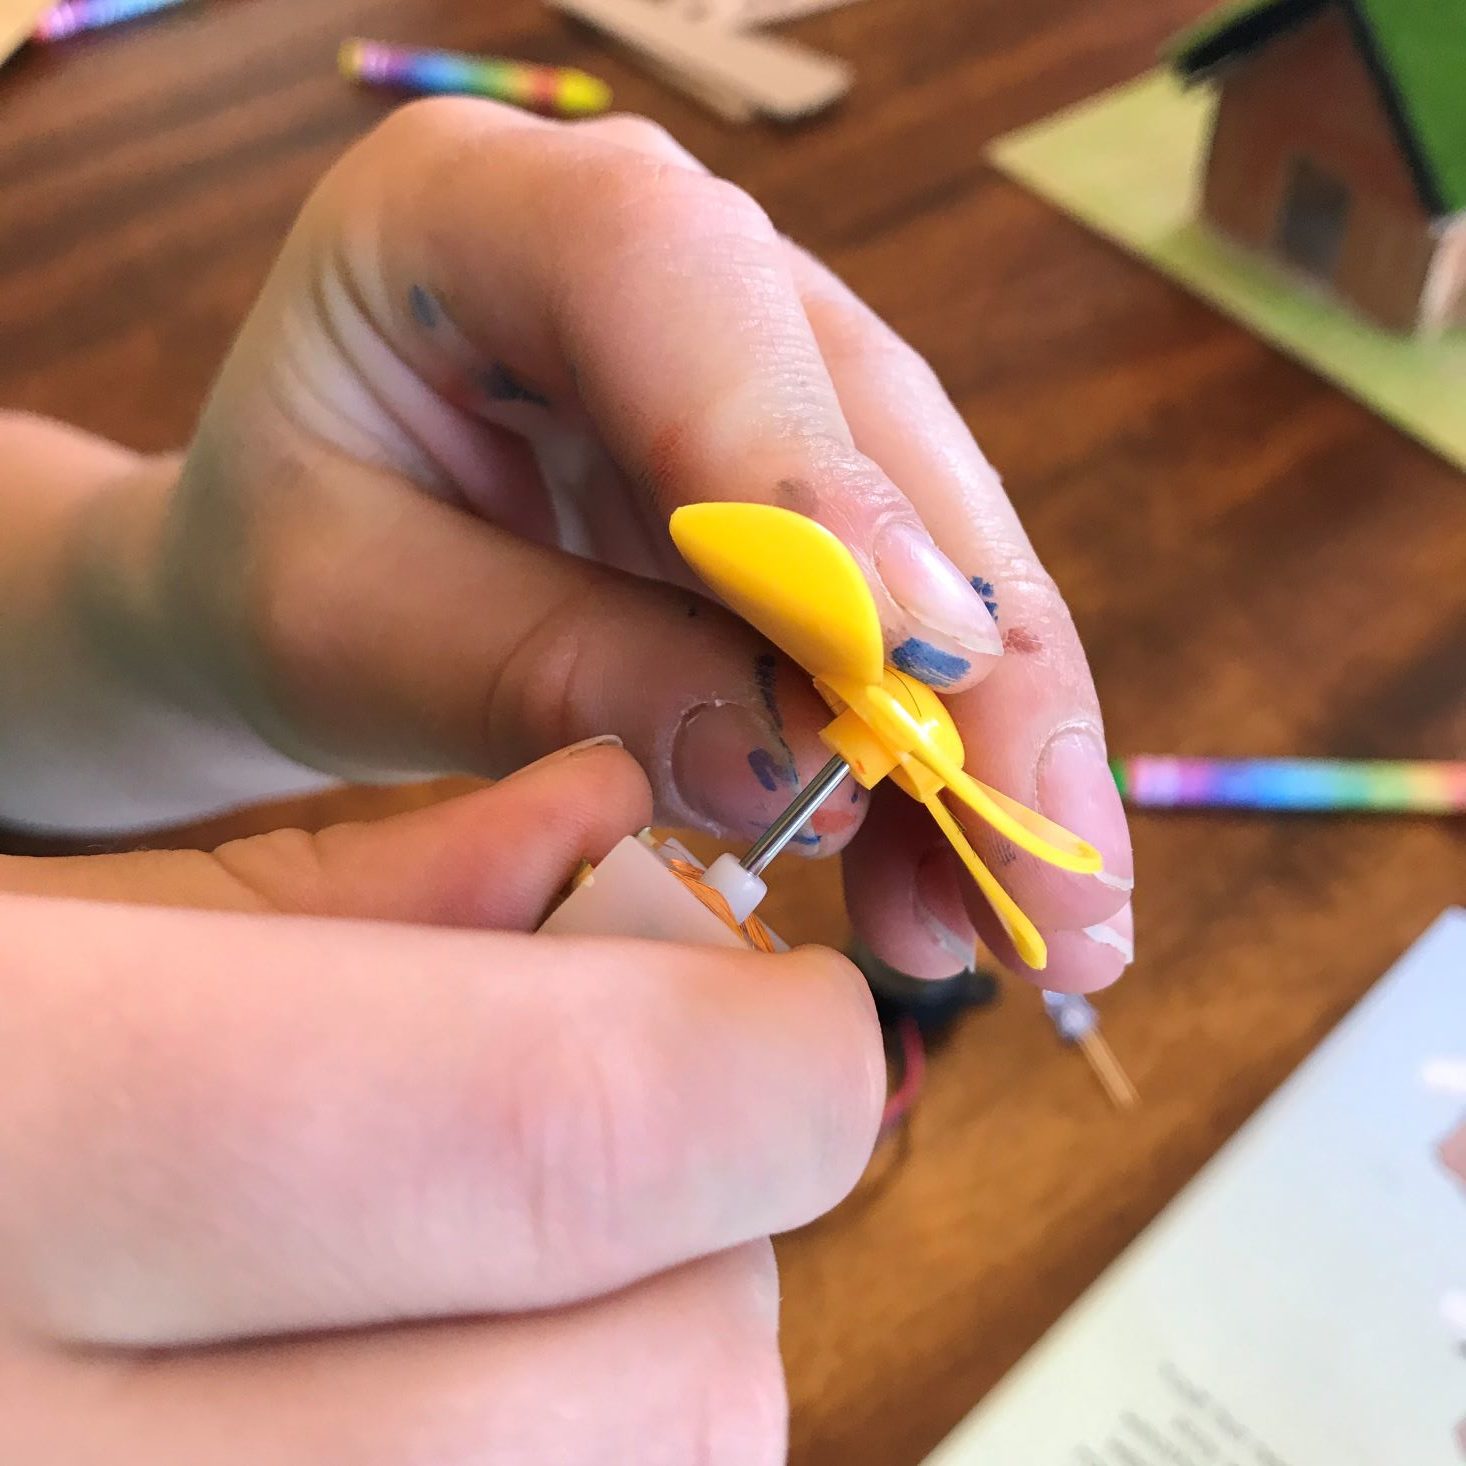
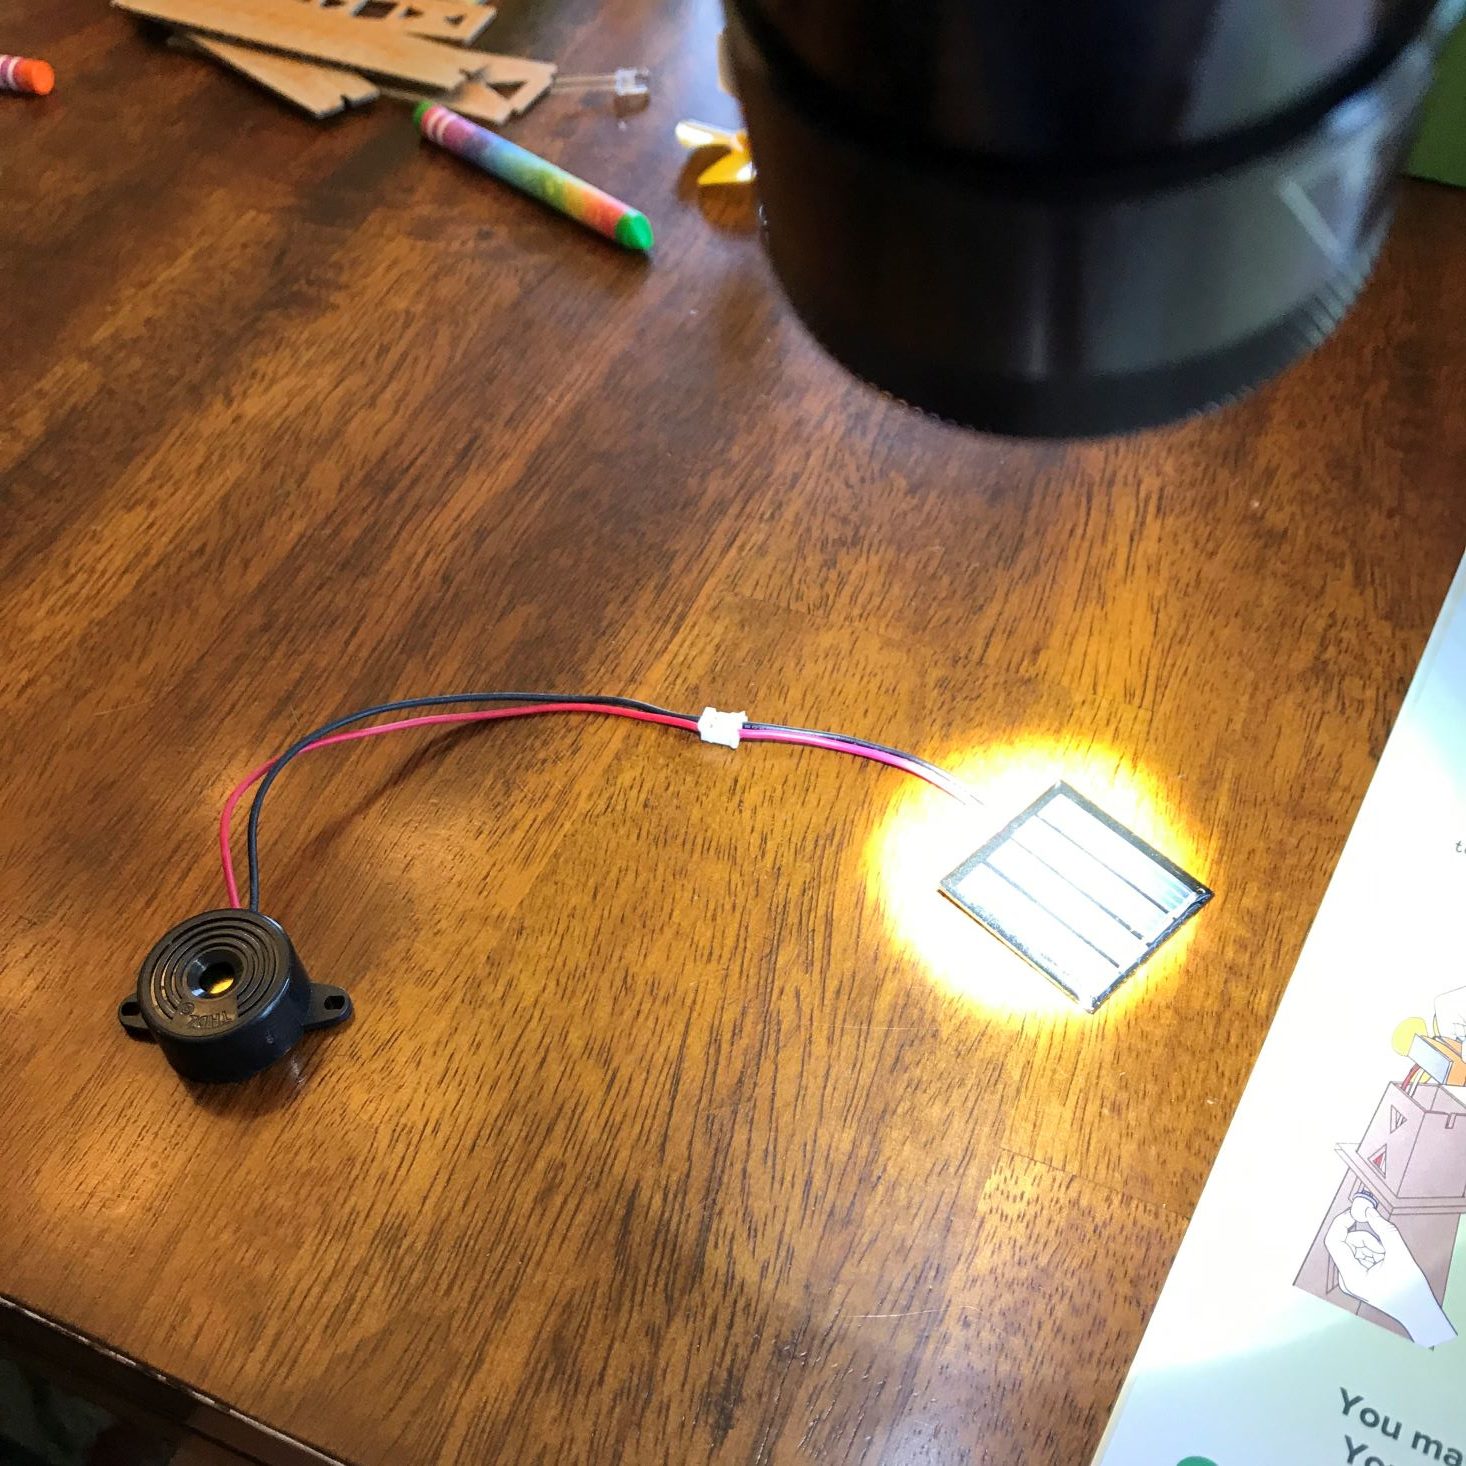
Pictured with the solar cell is part of the wind generator. We received the blade separately, but it just clipped right on. To see how it works, check it out below!
The blade sat right on the generator. Easy as pie! The next step was to connect the buzzer to the wind generator to get it to alarm. Hank was very confused on how to do this. The illustrated instructions didn't show exactly how to put the wires in, and he was worried he was going to break something. I gave him a bit of help and we got it working just fine. We hooked it up to the buzzer and the light bulb to see how wind power can create energy to produce electricity!
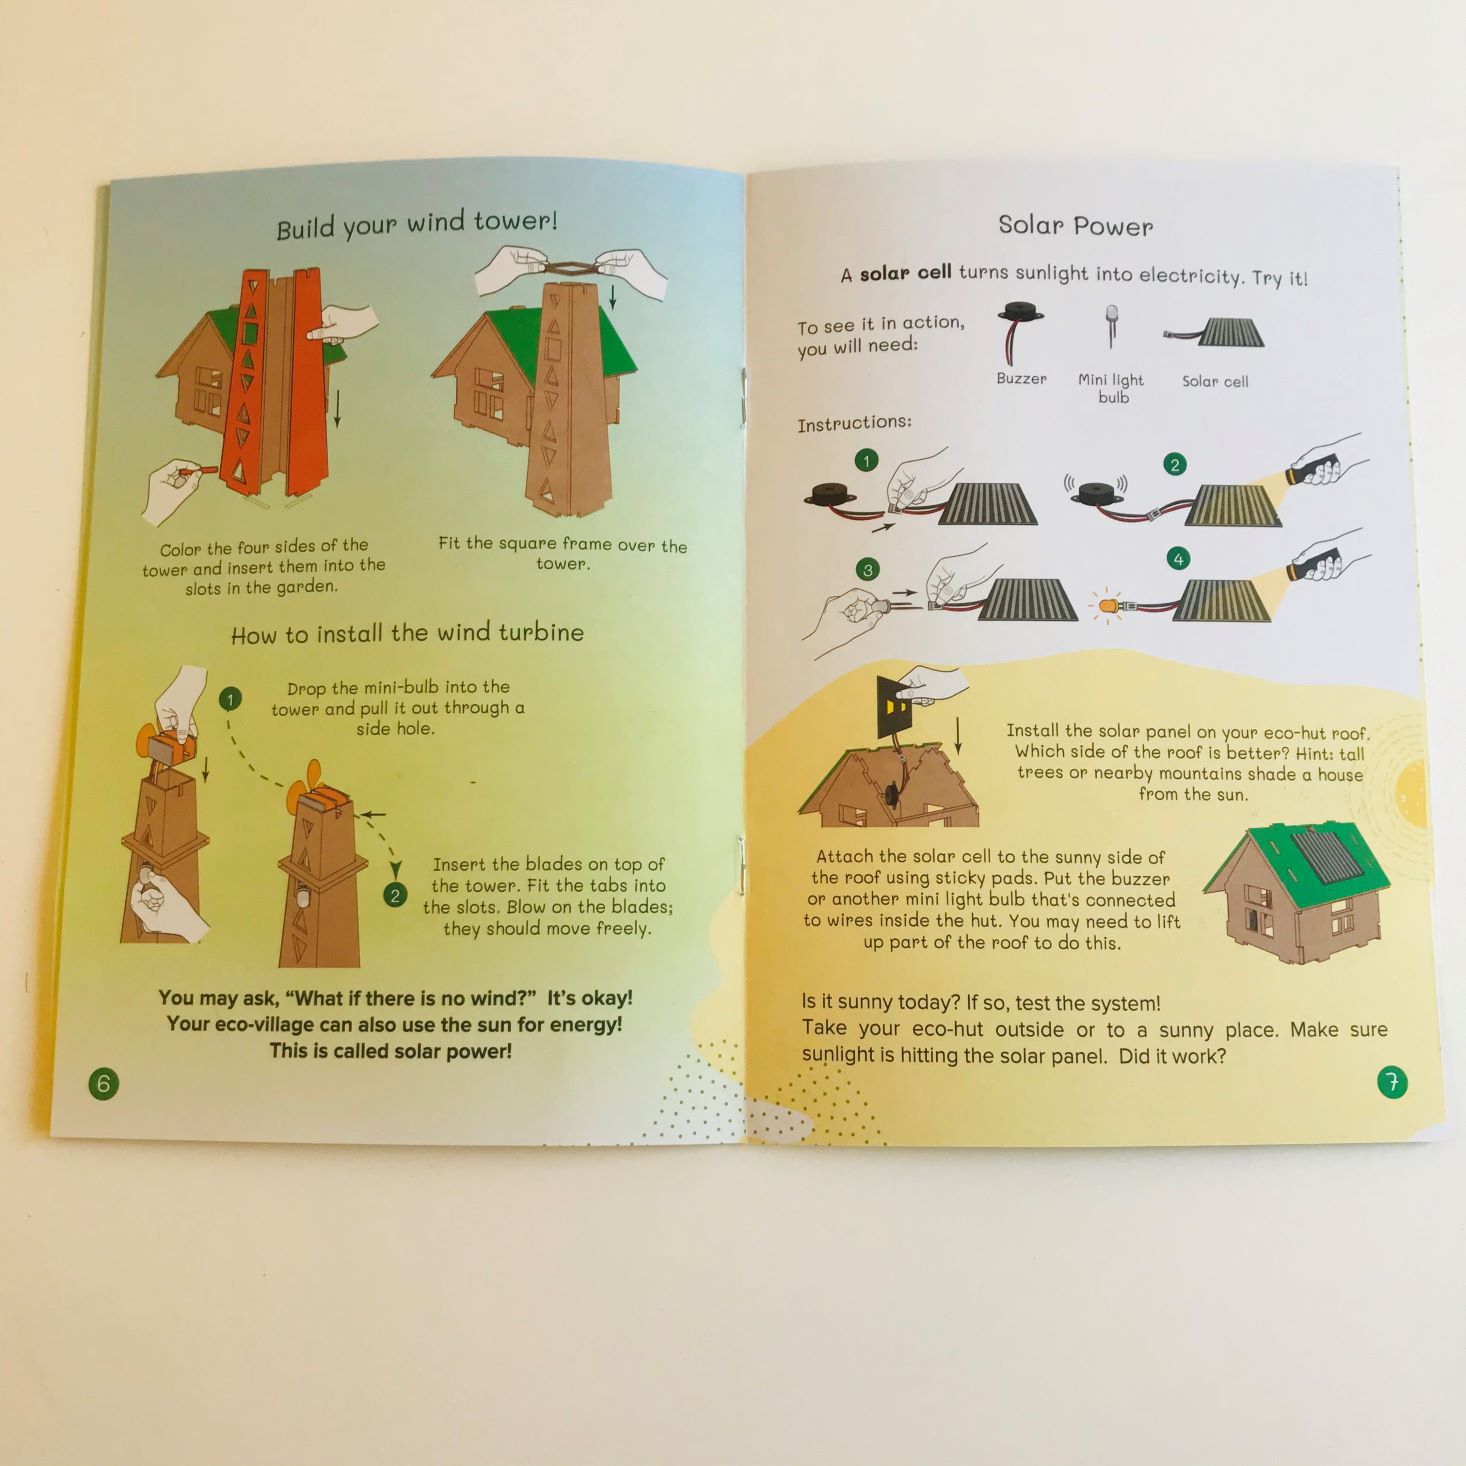
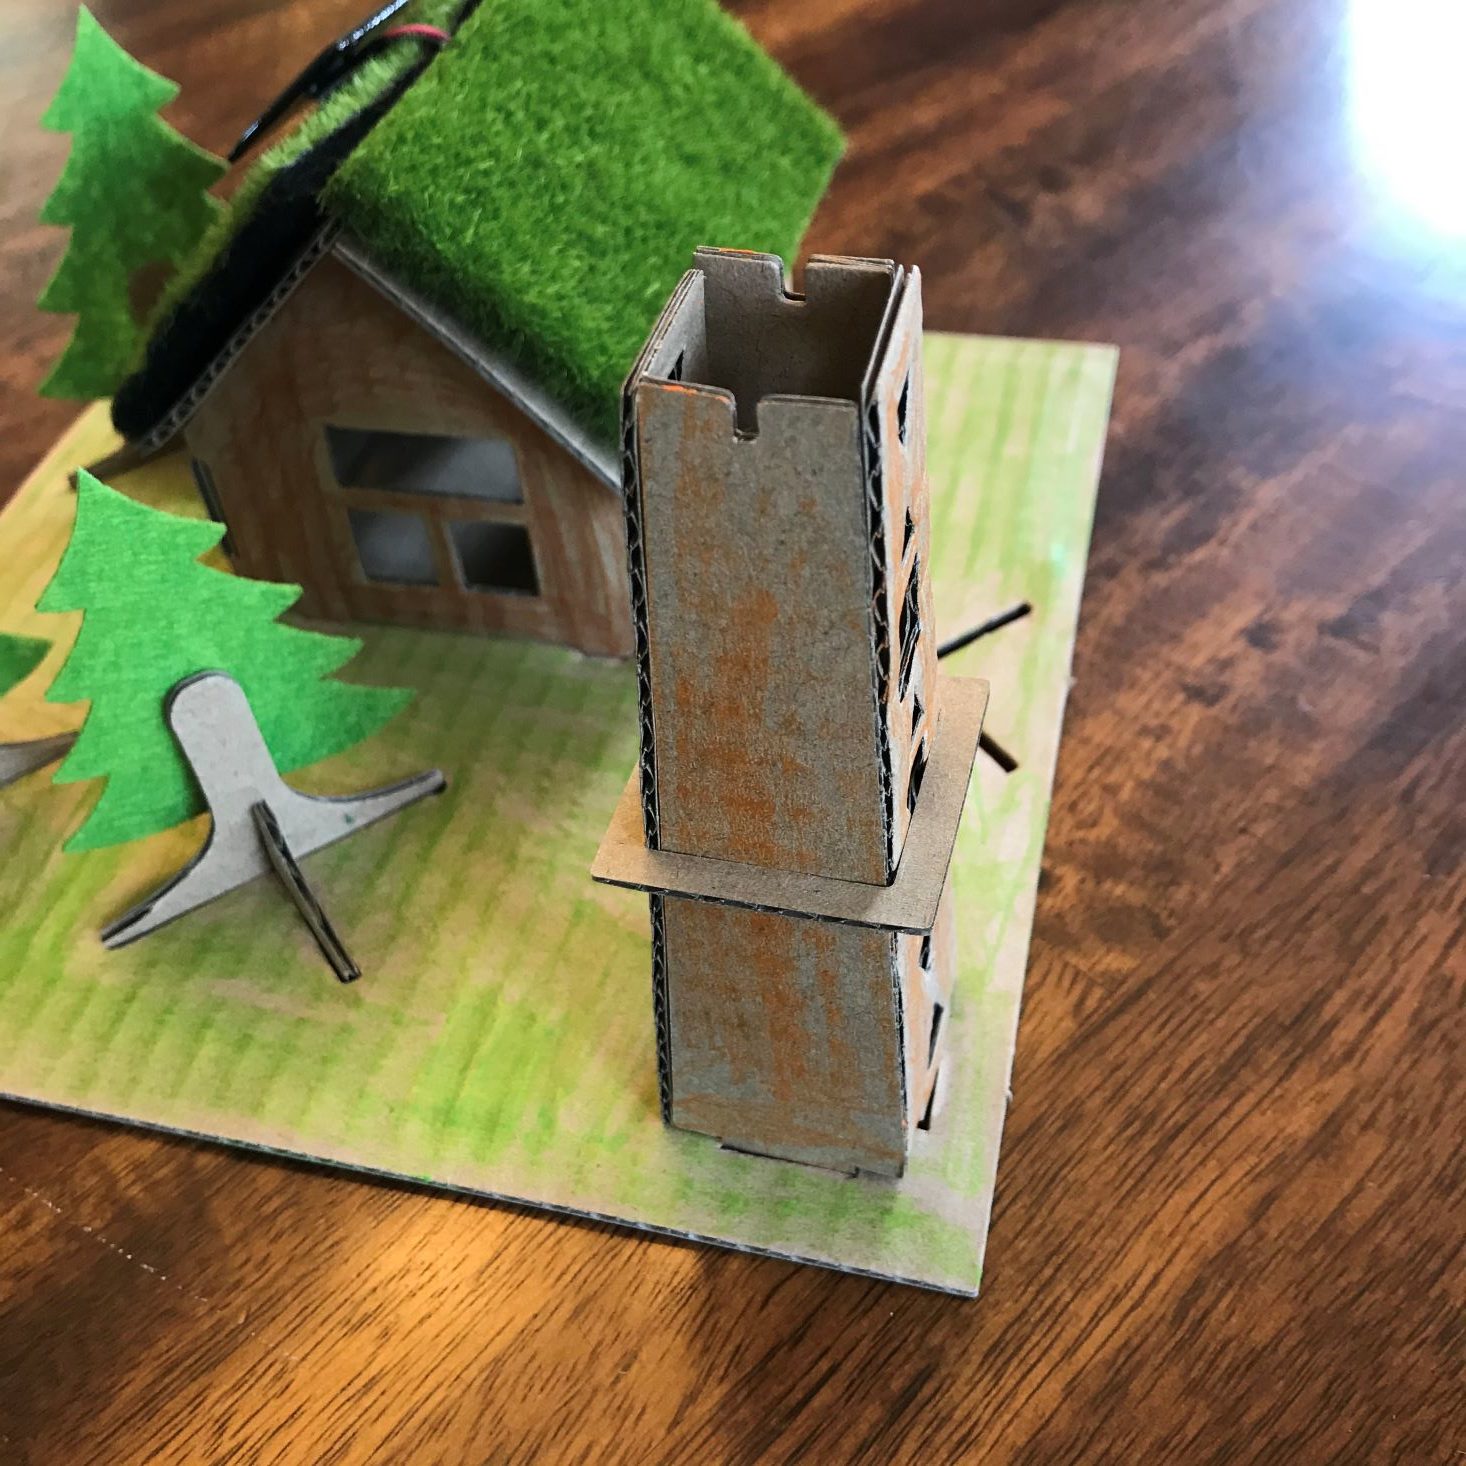
The next step in our career was to build a wind tower. We received 4 cardboard pieces that Hank colored orange, and a square piece to fit on the top to hold it in place. Once the tower was in place they instructed us to add the wind turbine. Sounds easy, right? Well...I didn't get a lot of photos of these steps because we struggled!!! The cardboard kept coming apart, so after about 10 minutes of fighting with it, we used scotch tape to secure it. Once the tower was built, we had to add our wind turbine. All you need to do is drop the mini-bulb into the tower and pull it out through the side hole...well, the tabs for the blades to fit on top were too small so it falls in the top, and the wire was too long and the weight of it kept pulling the tower over. We ended up taping the whole thing down, which didn't look the best but was definitely necessary.
Next up was solar power! I can happily say this part went a lot more smoothly than the wind tower!! When we shined the flashlight on our solar panel we saw the lovely red light and heard the blast of the buzzer!
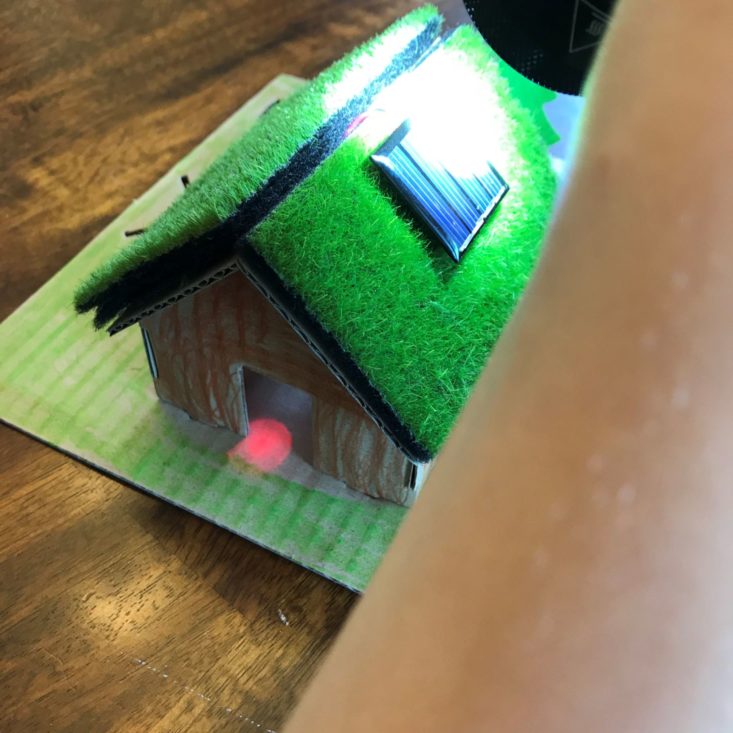
Using 2 sticky pads, we attached the solar panel to the top of our green roof, and inserted the light bulb inside, so our eco-hut lights right up! Hank was pretty fired up about this!
Filter Parts
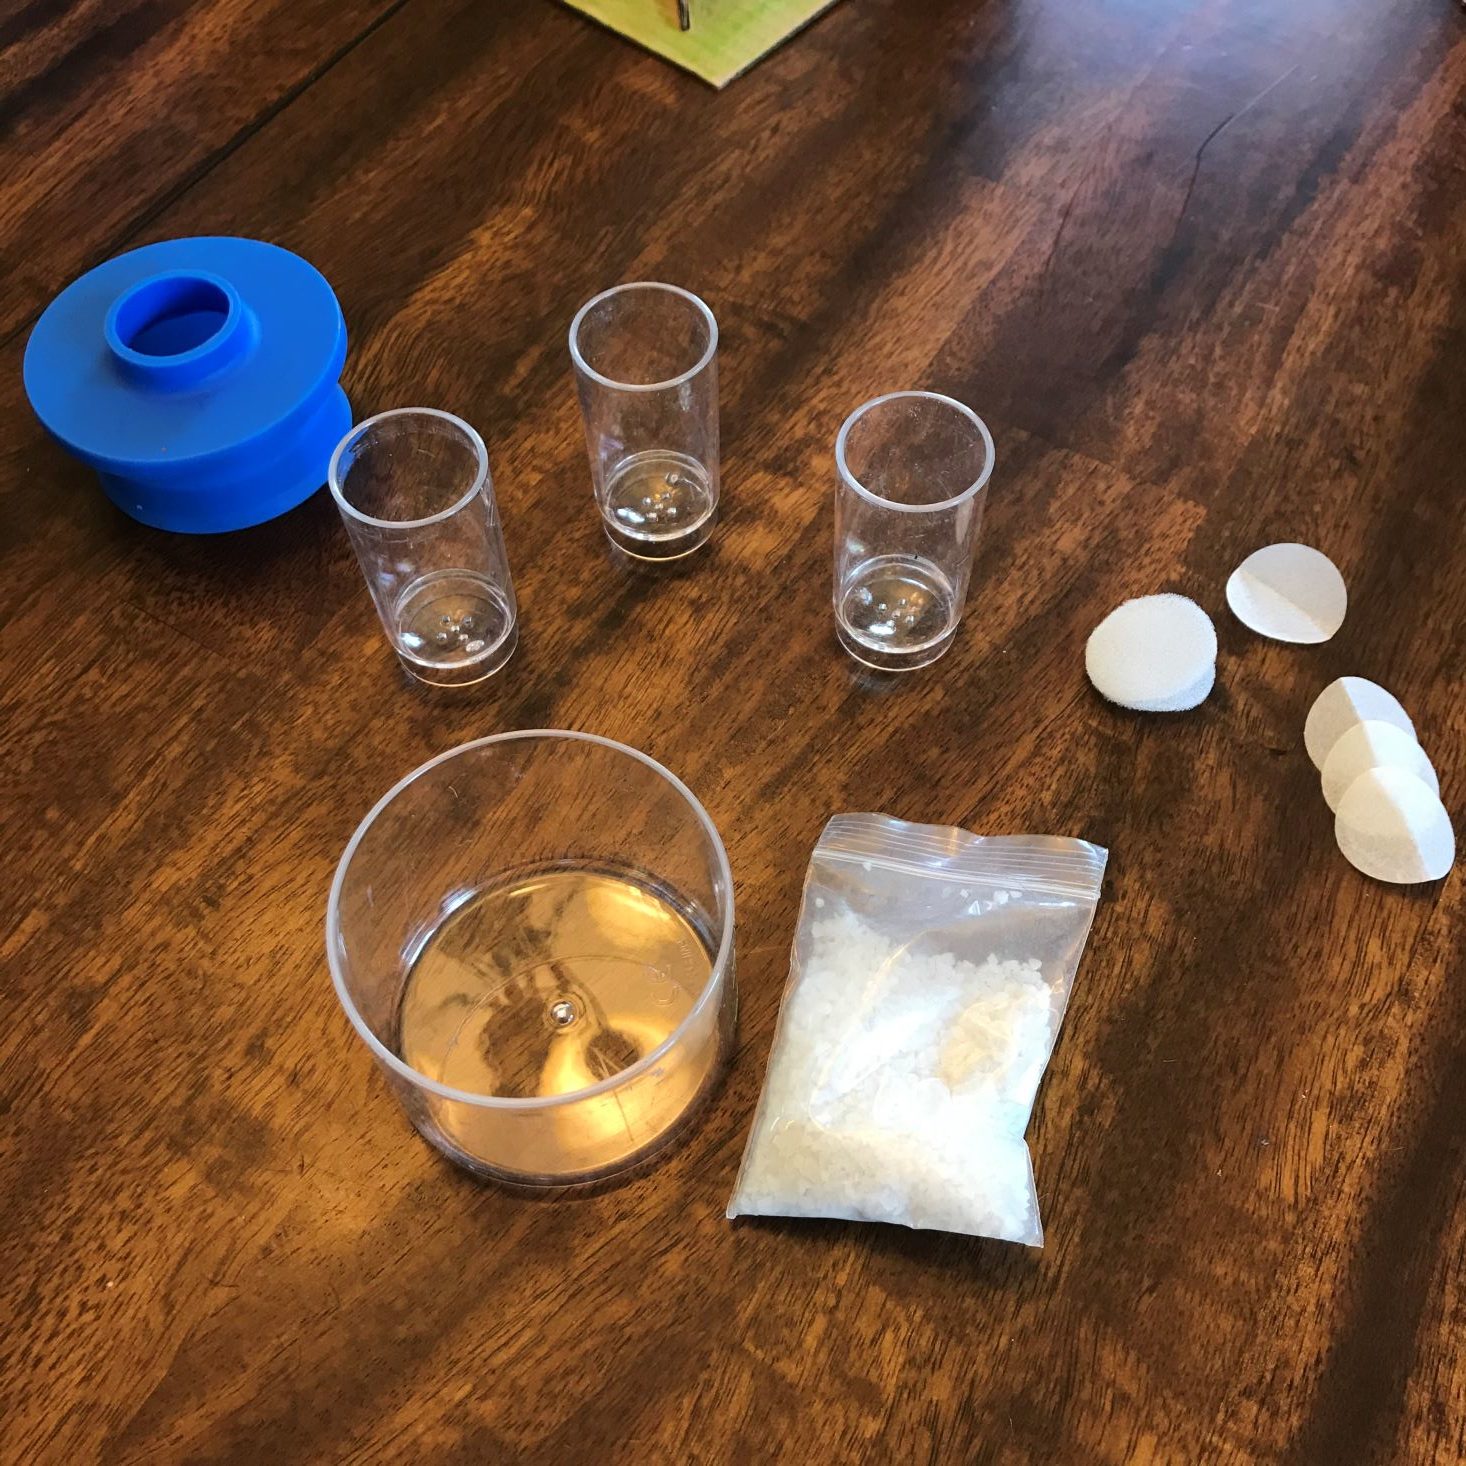
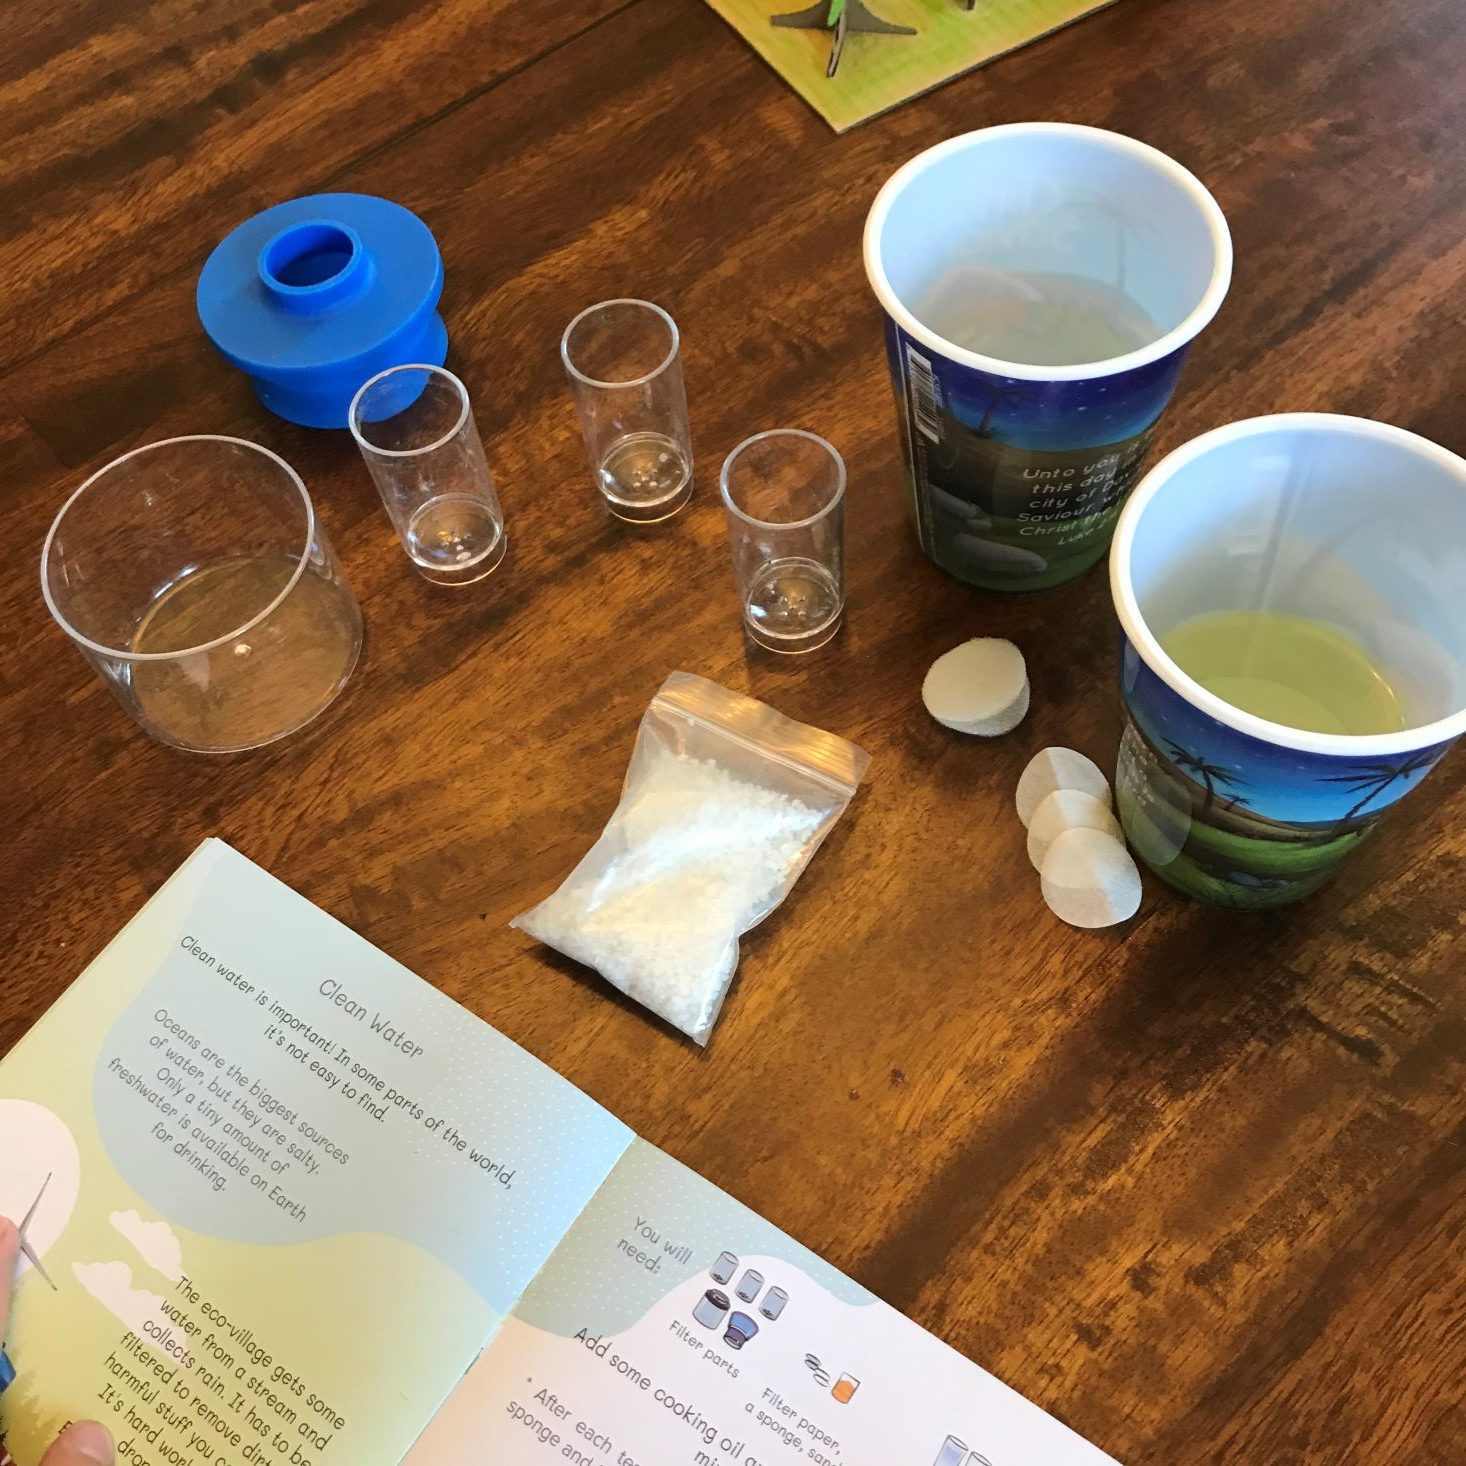
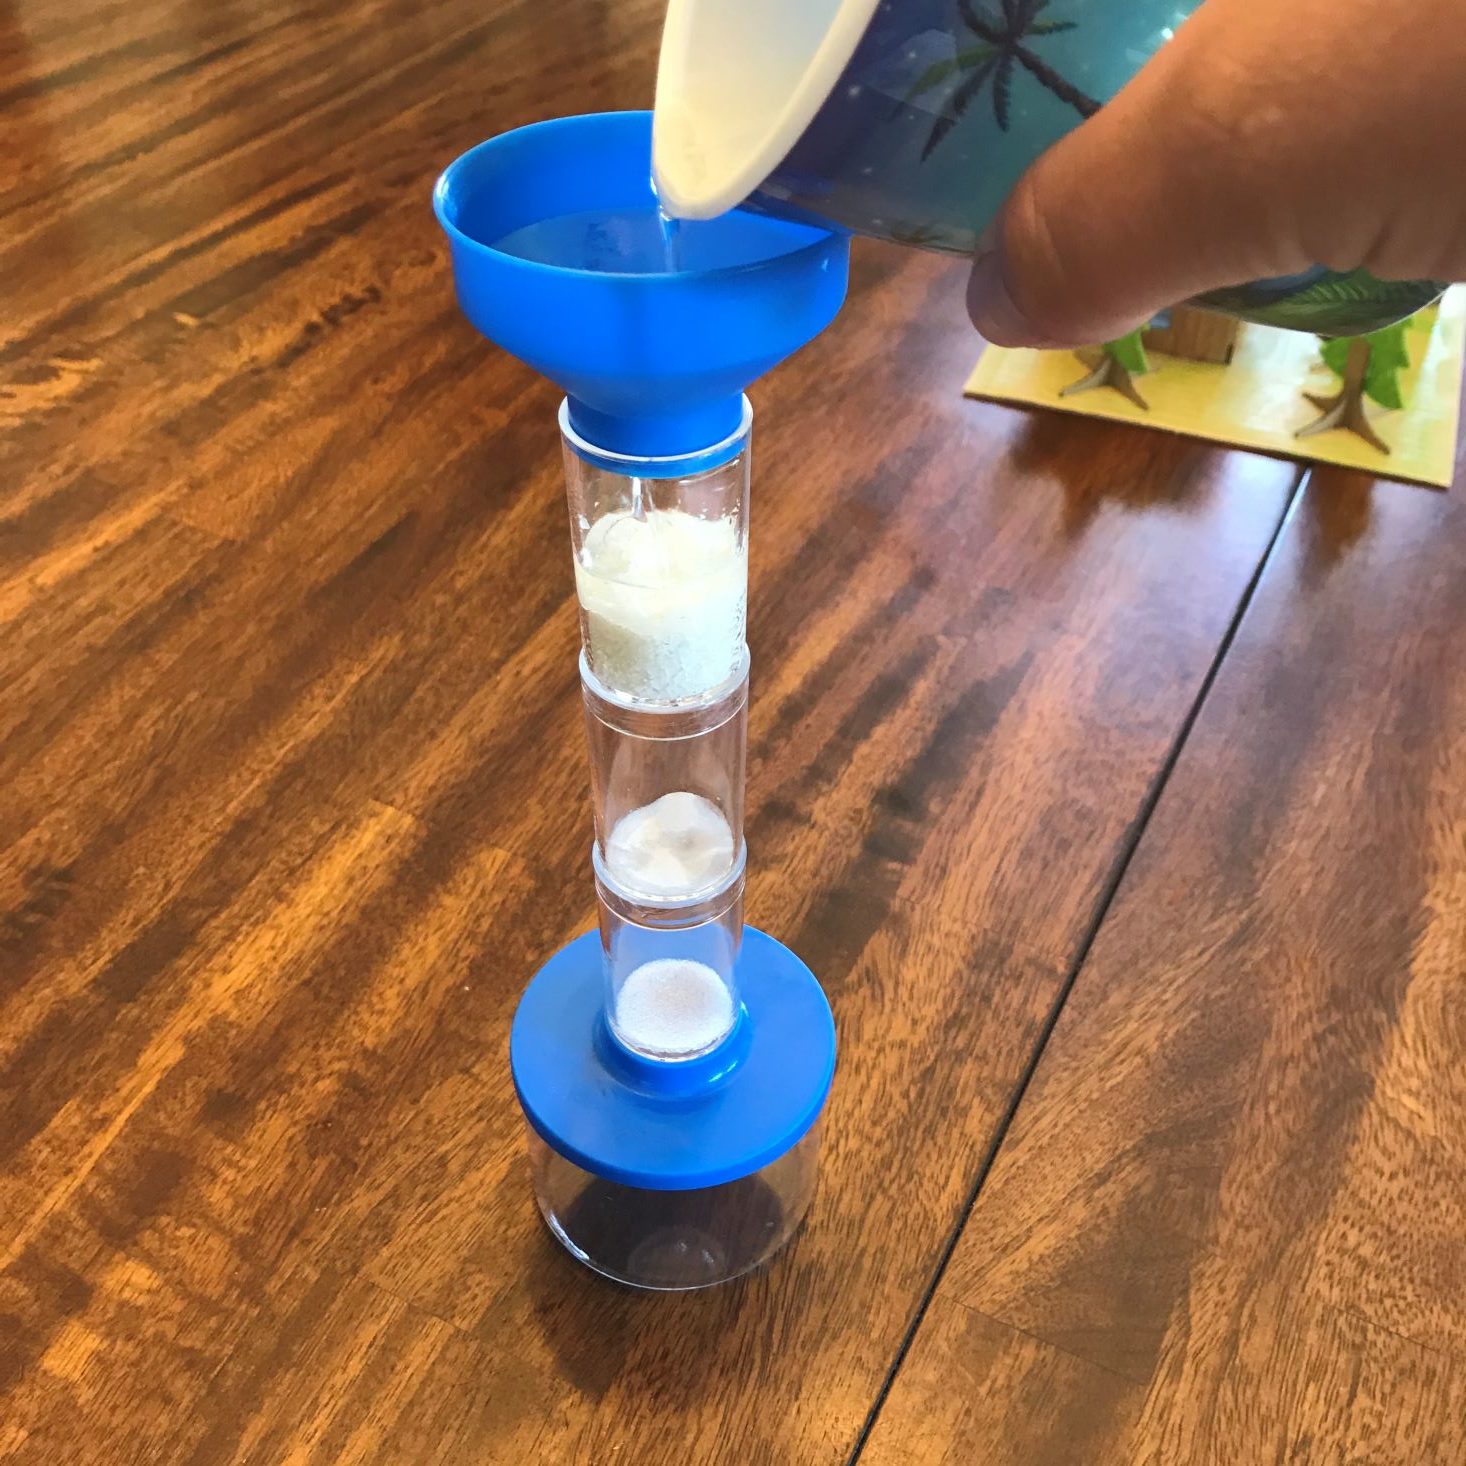
Our next order of business as environmental engineers was to ensure our eco-village had clean water. We were told in the manual that someone had dumped cooking oil in our cistern, and our water needs to be cleaned, so we received filter parts to do this.
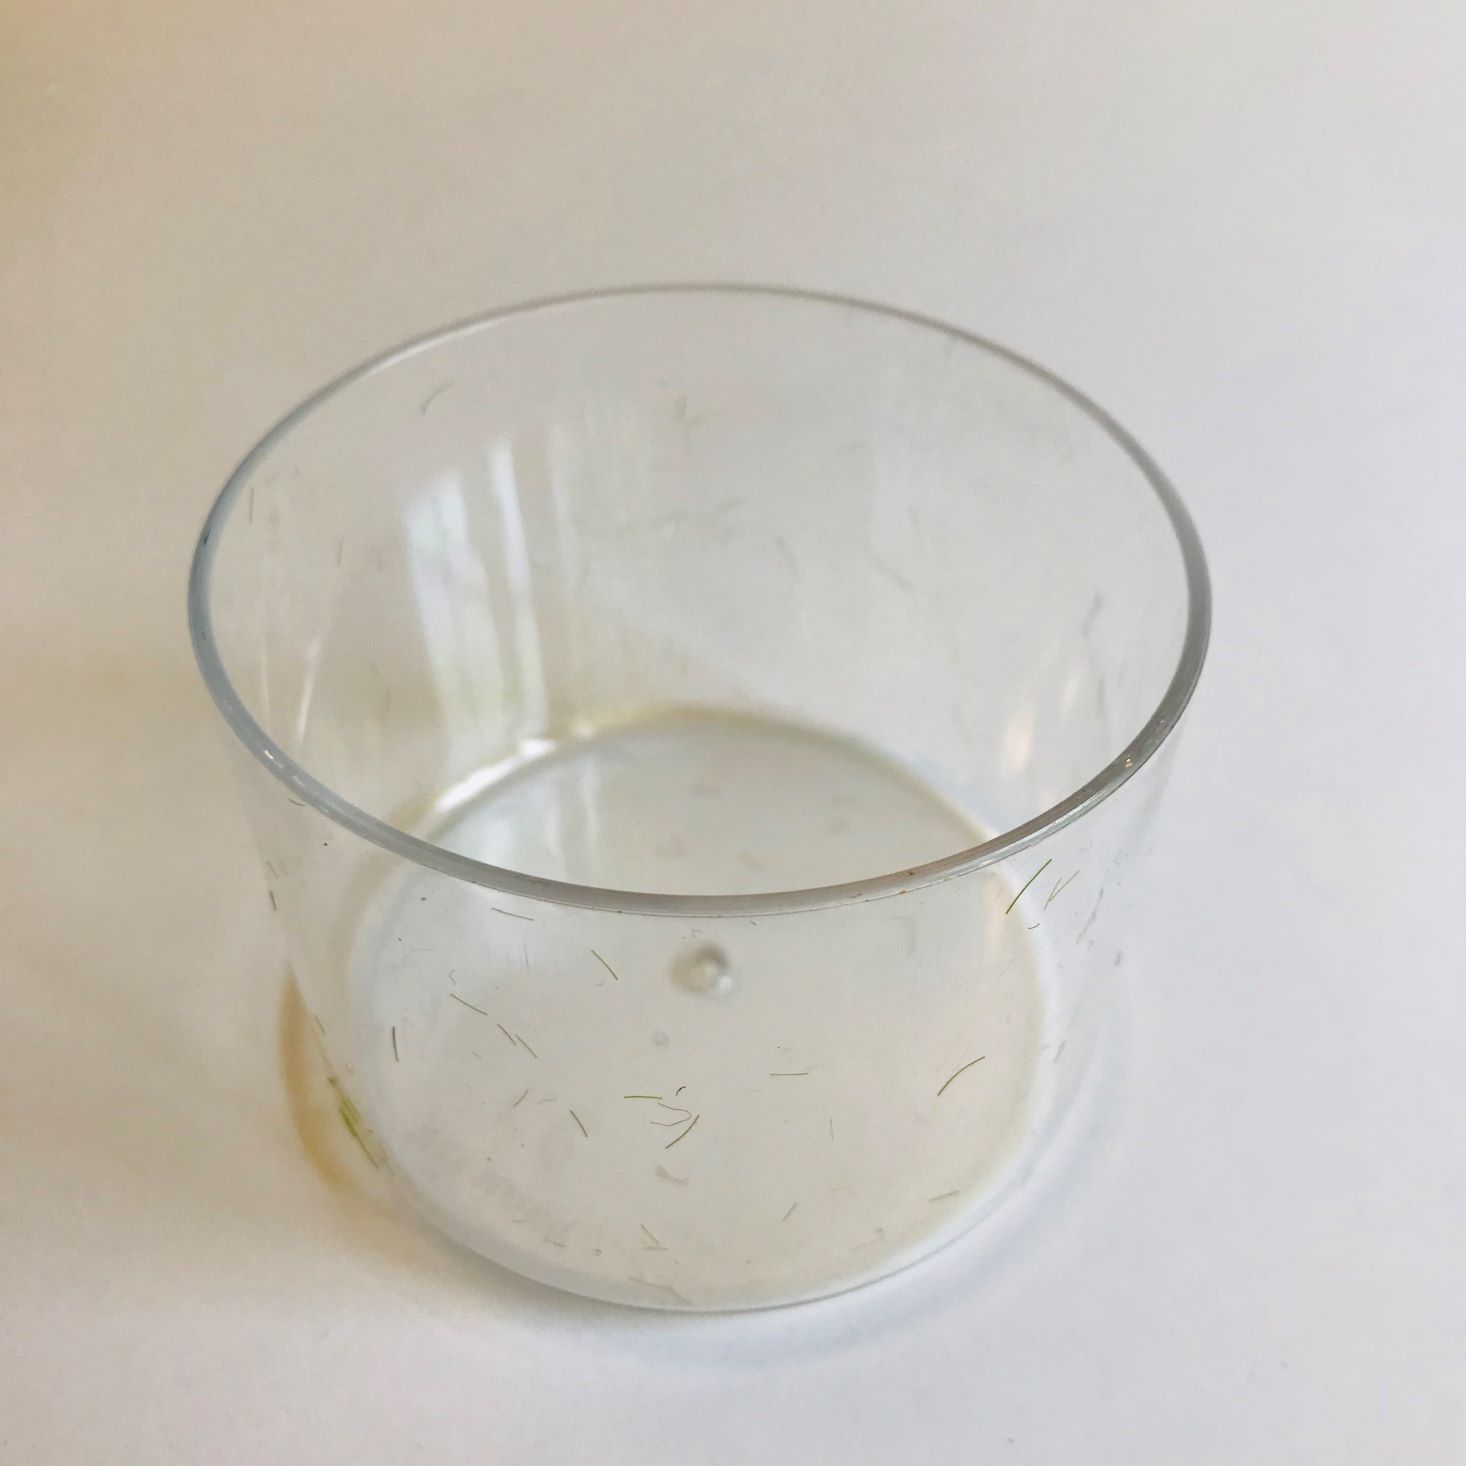
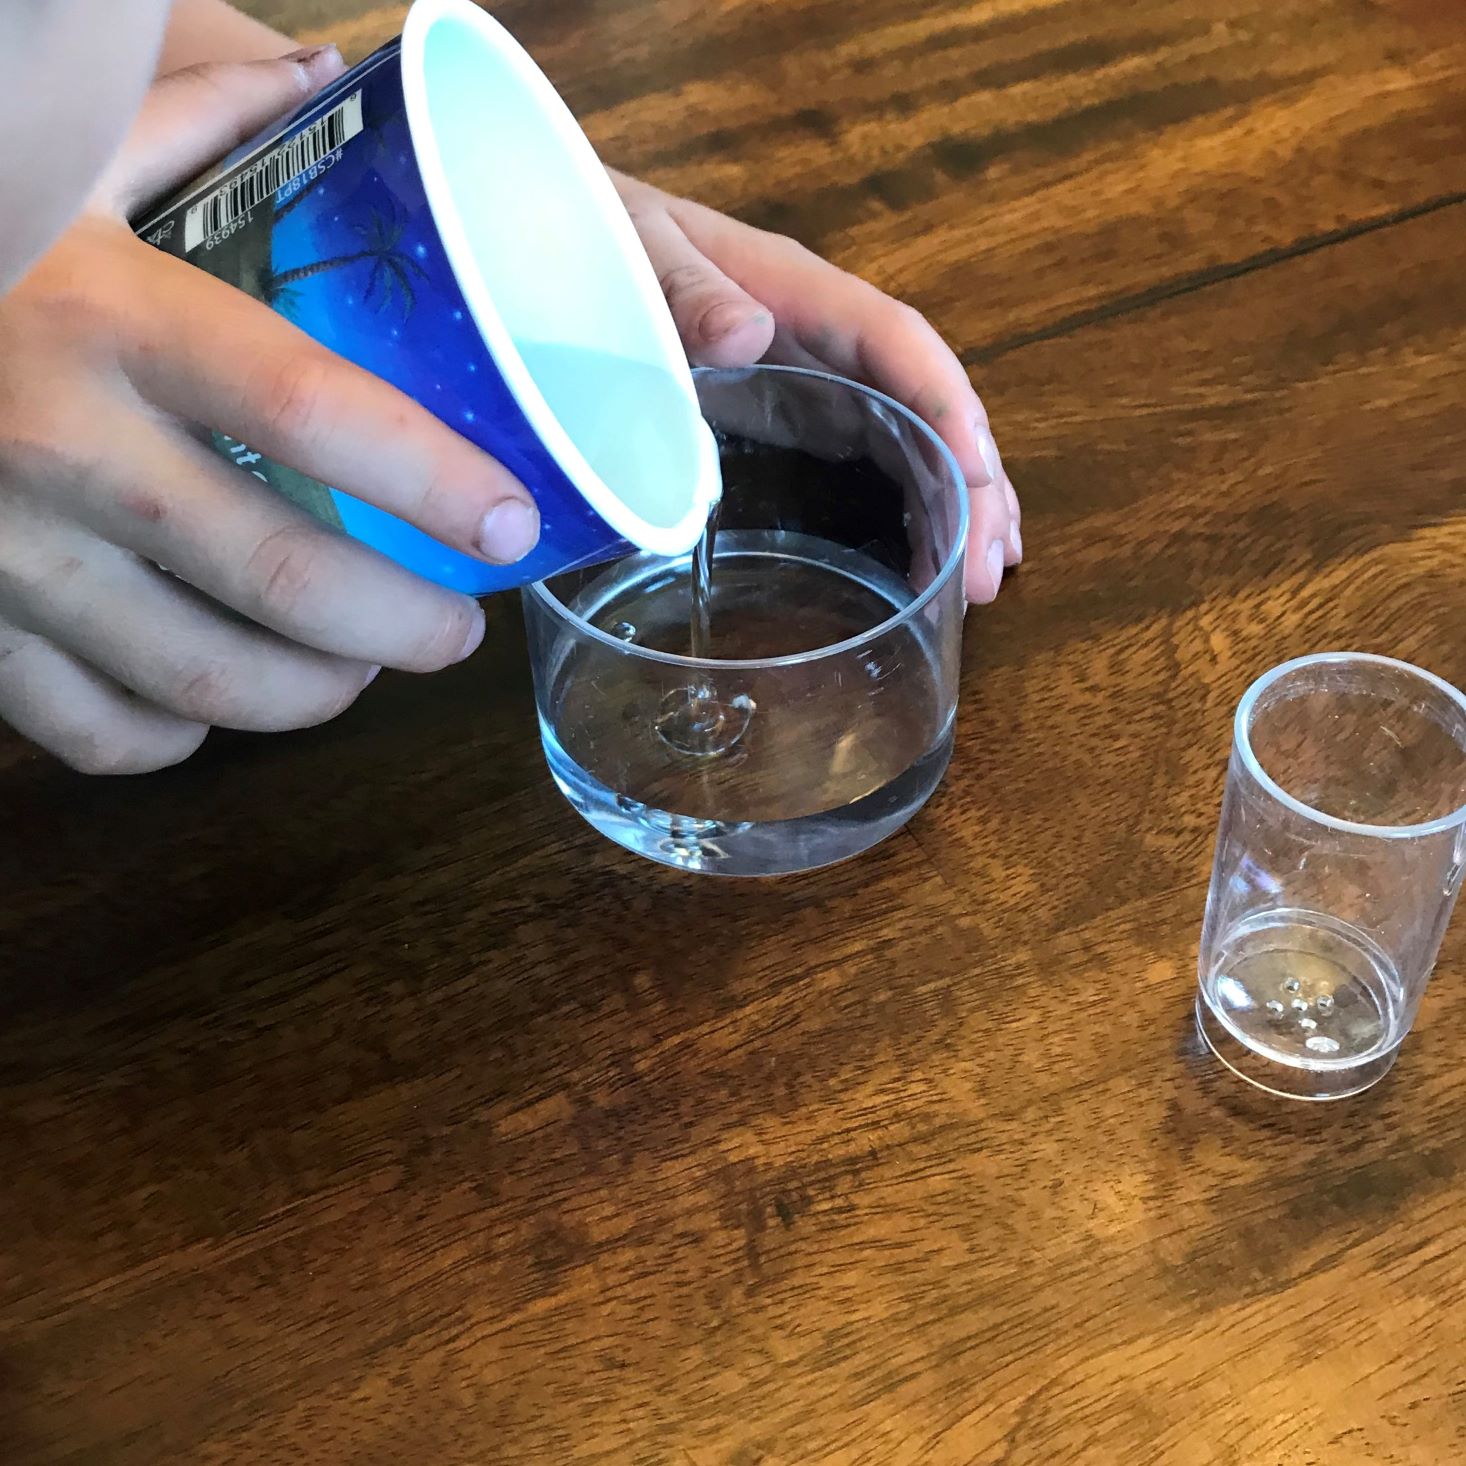
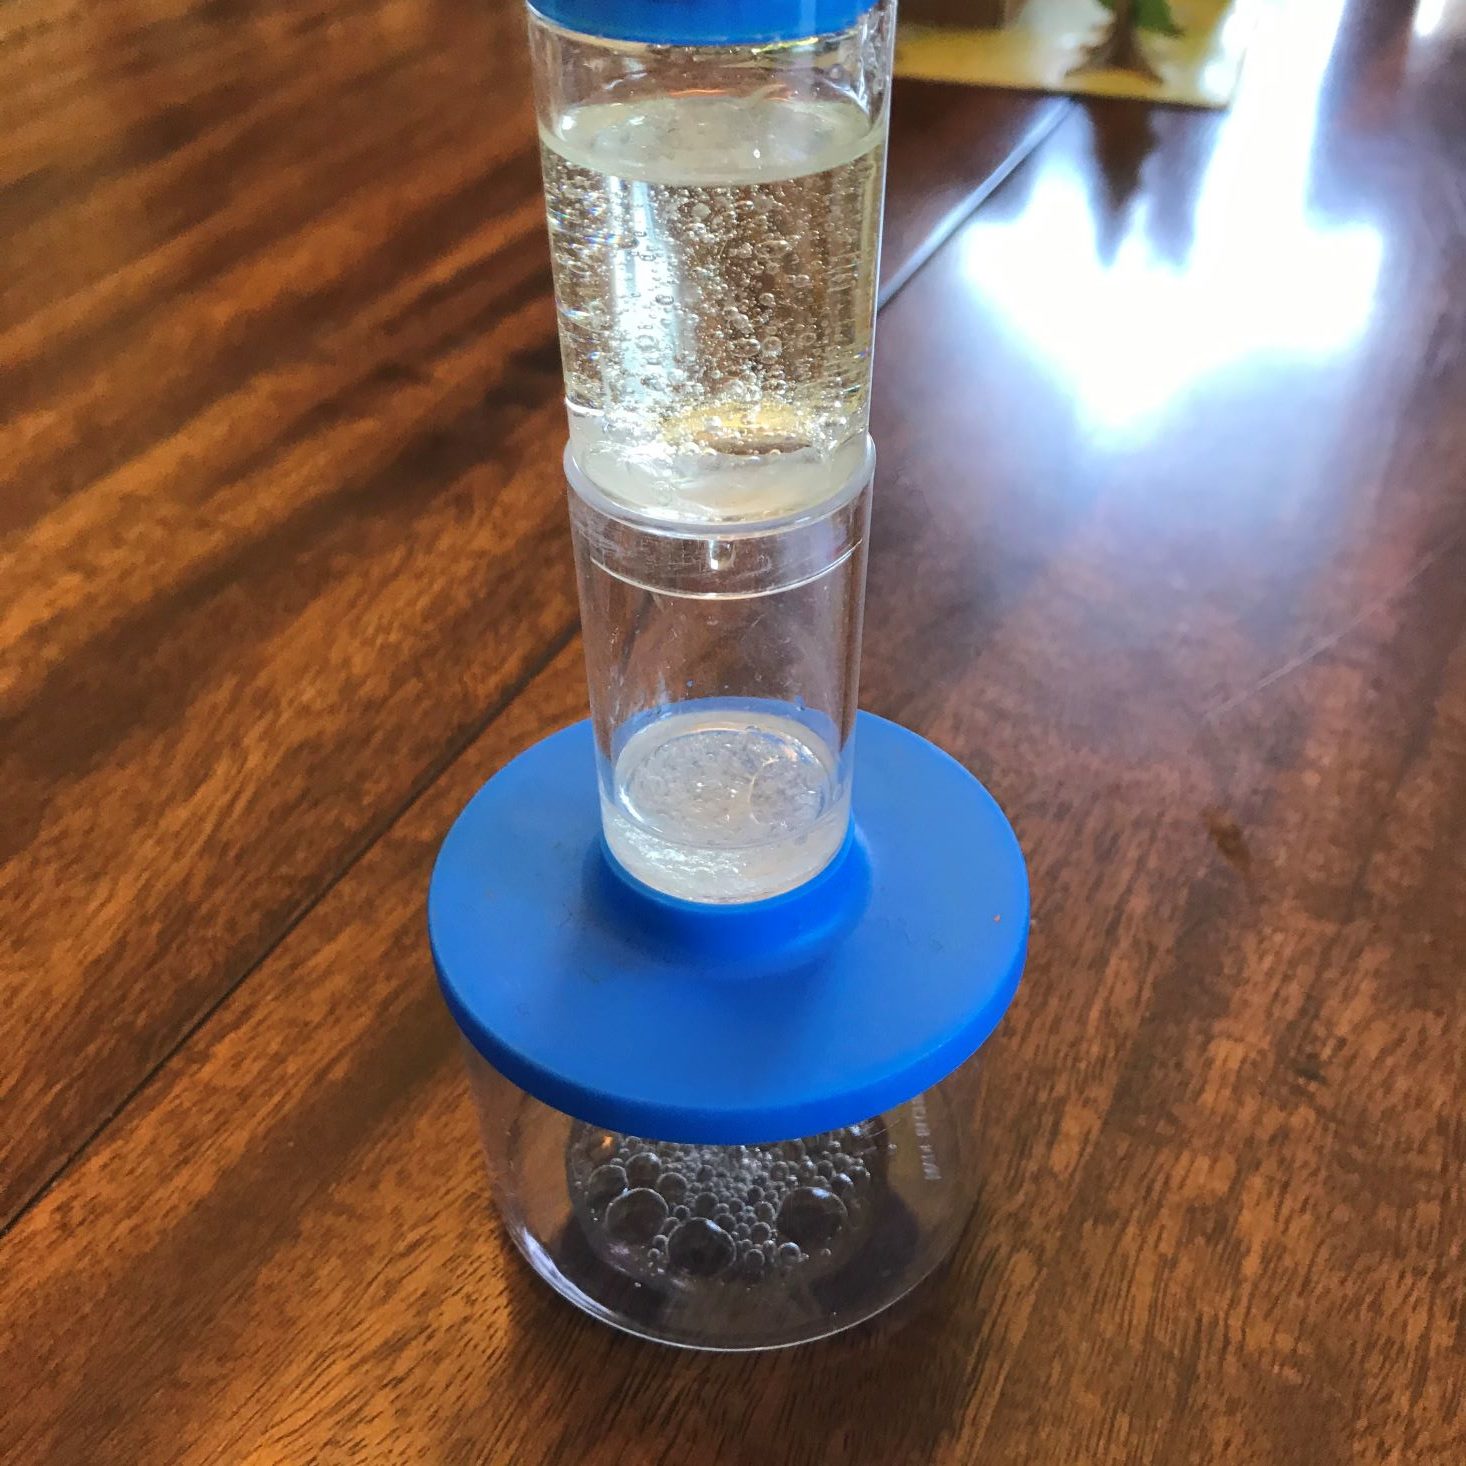
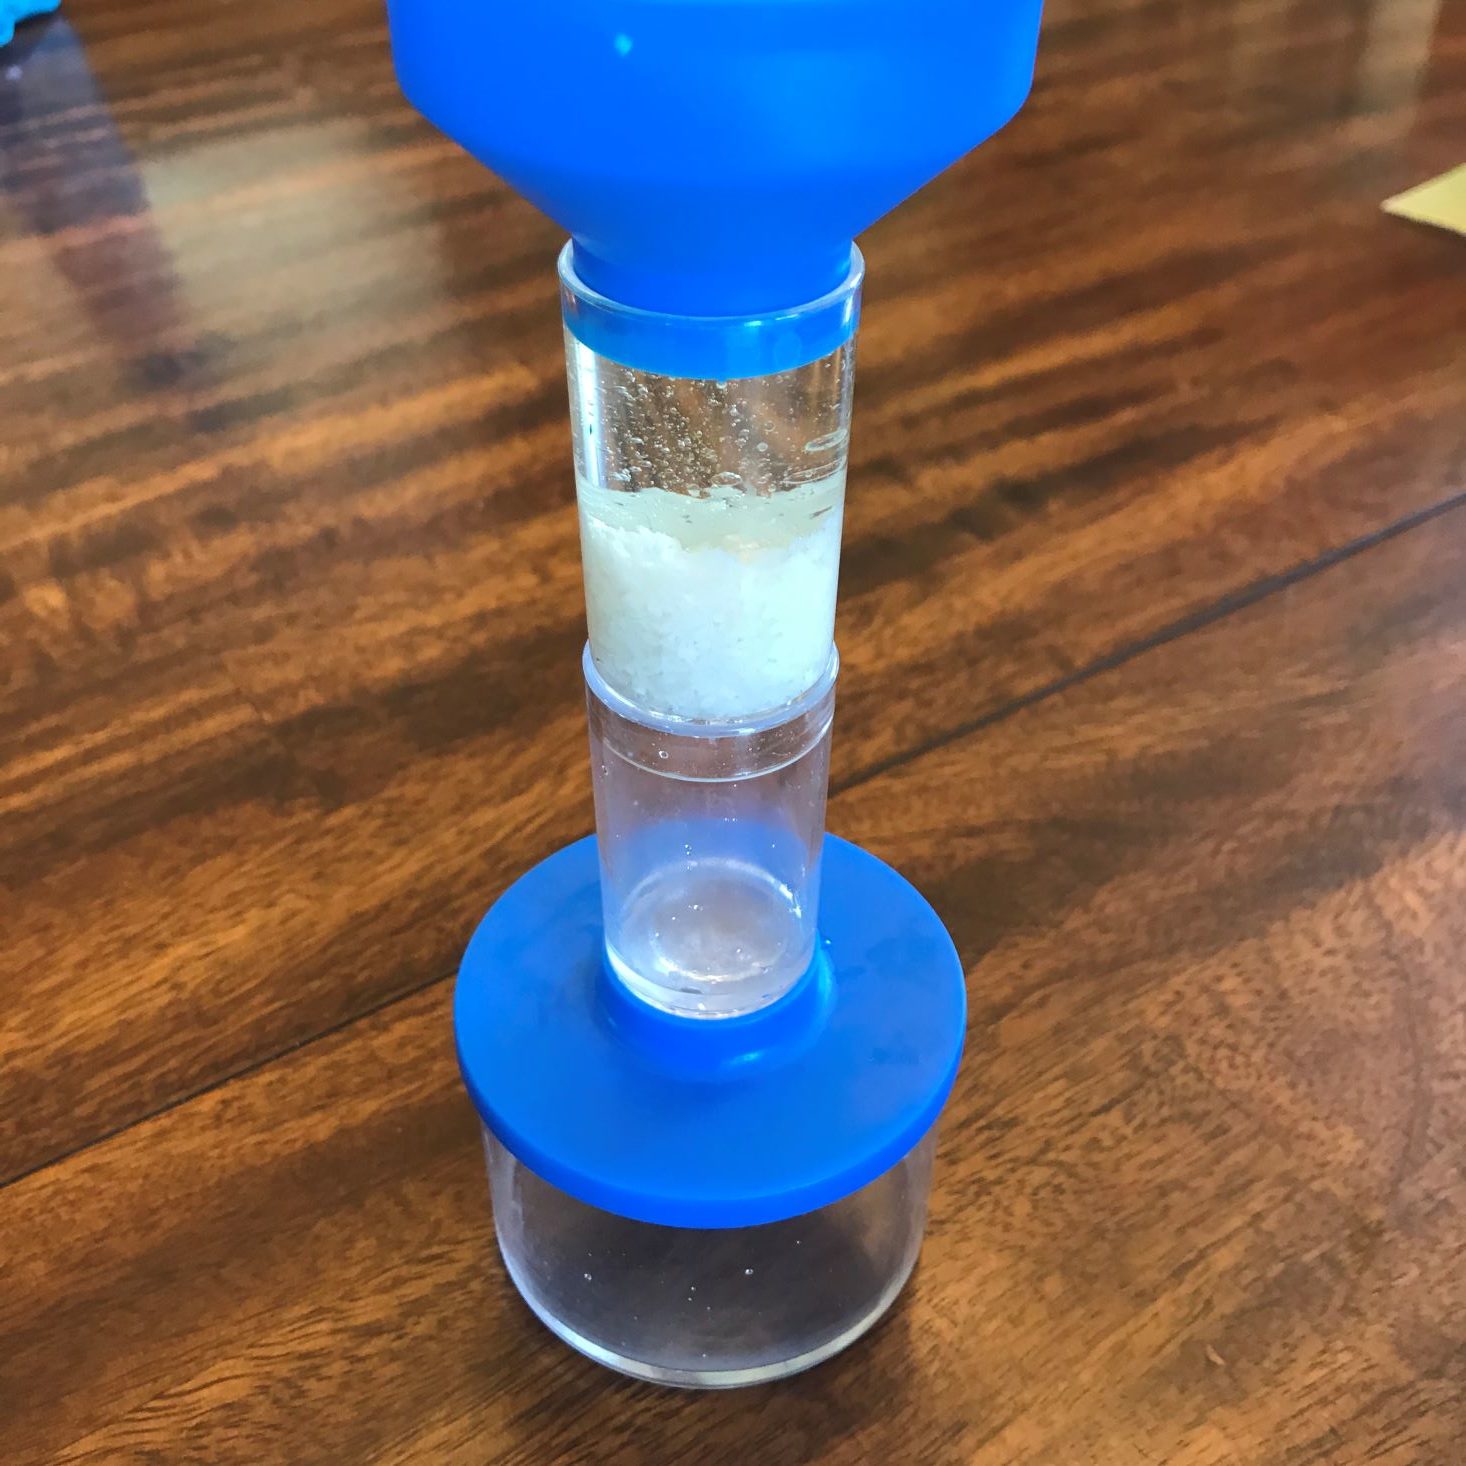
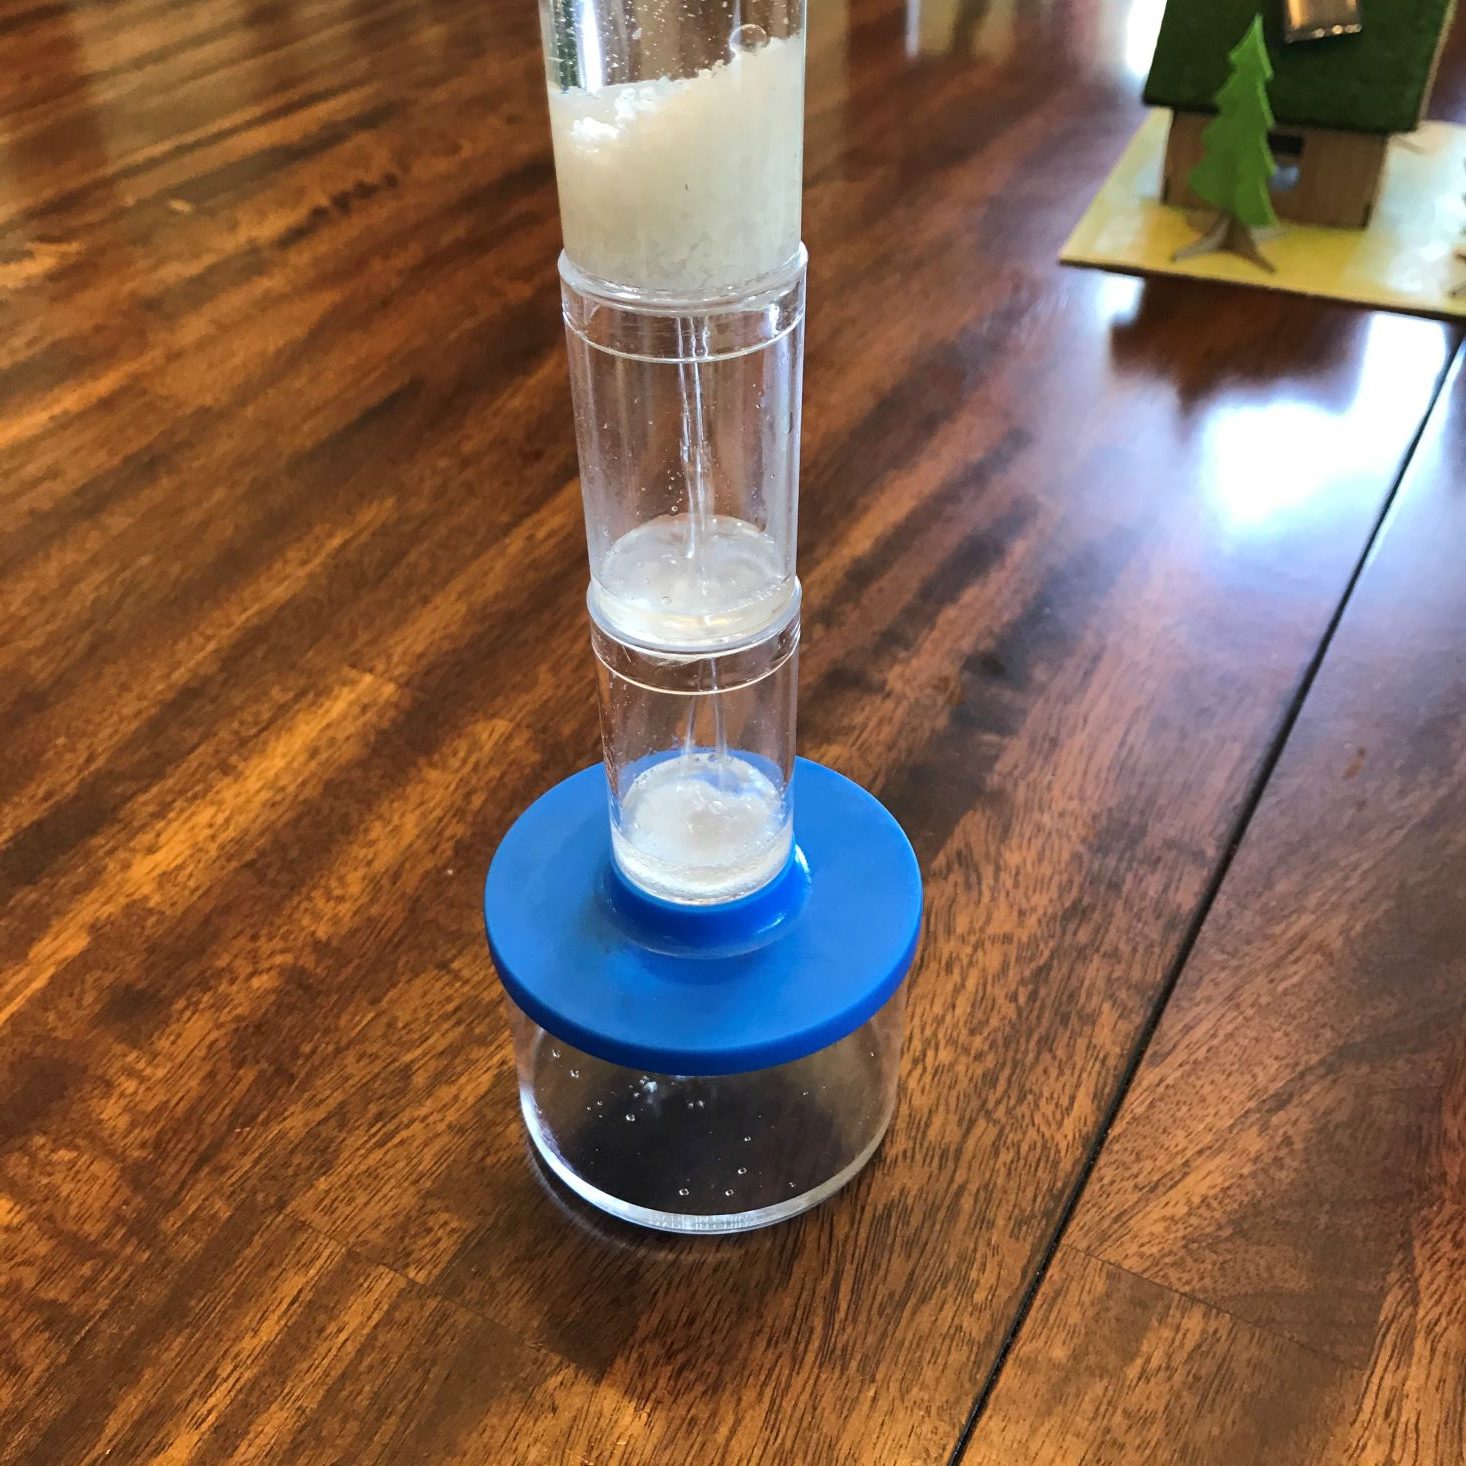
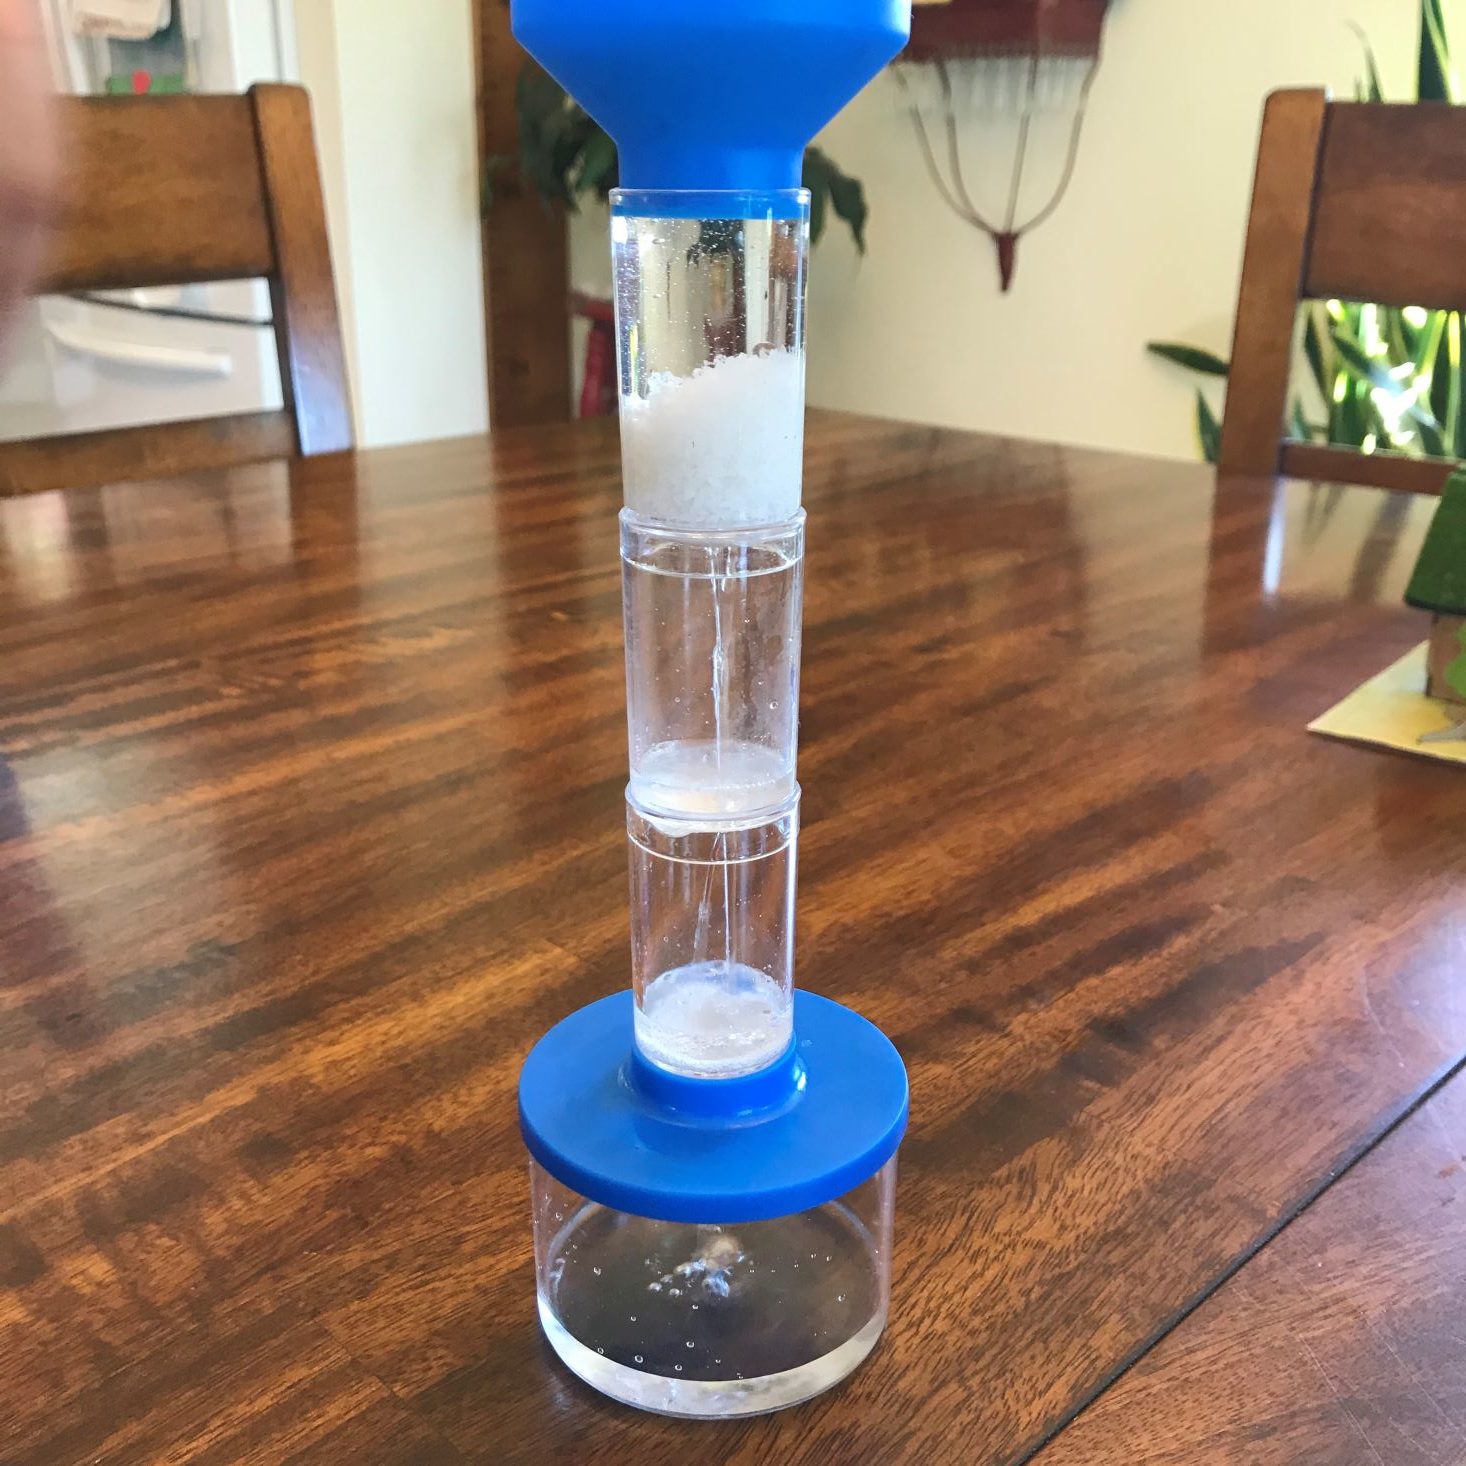
This was a really cool activity. To begin, we used 2 types of filtration: a sponge, and a regular filter. Adding a mixture of cooking oil and water to the top, we were able to see how those filters hold back the oil and let the water go through. After washing our parts, we then tried sand and filter paper as filters, and finally, we used all 3 together for really clean water. The kids were amazed at how the 3 filers held back the oil and let the water drip through!
pH paper and Test Tubes
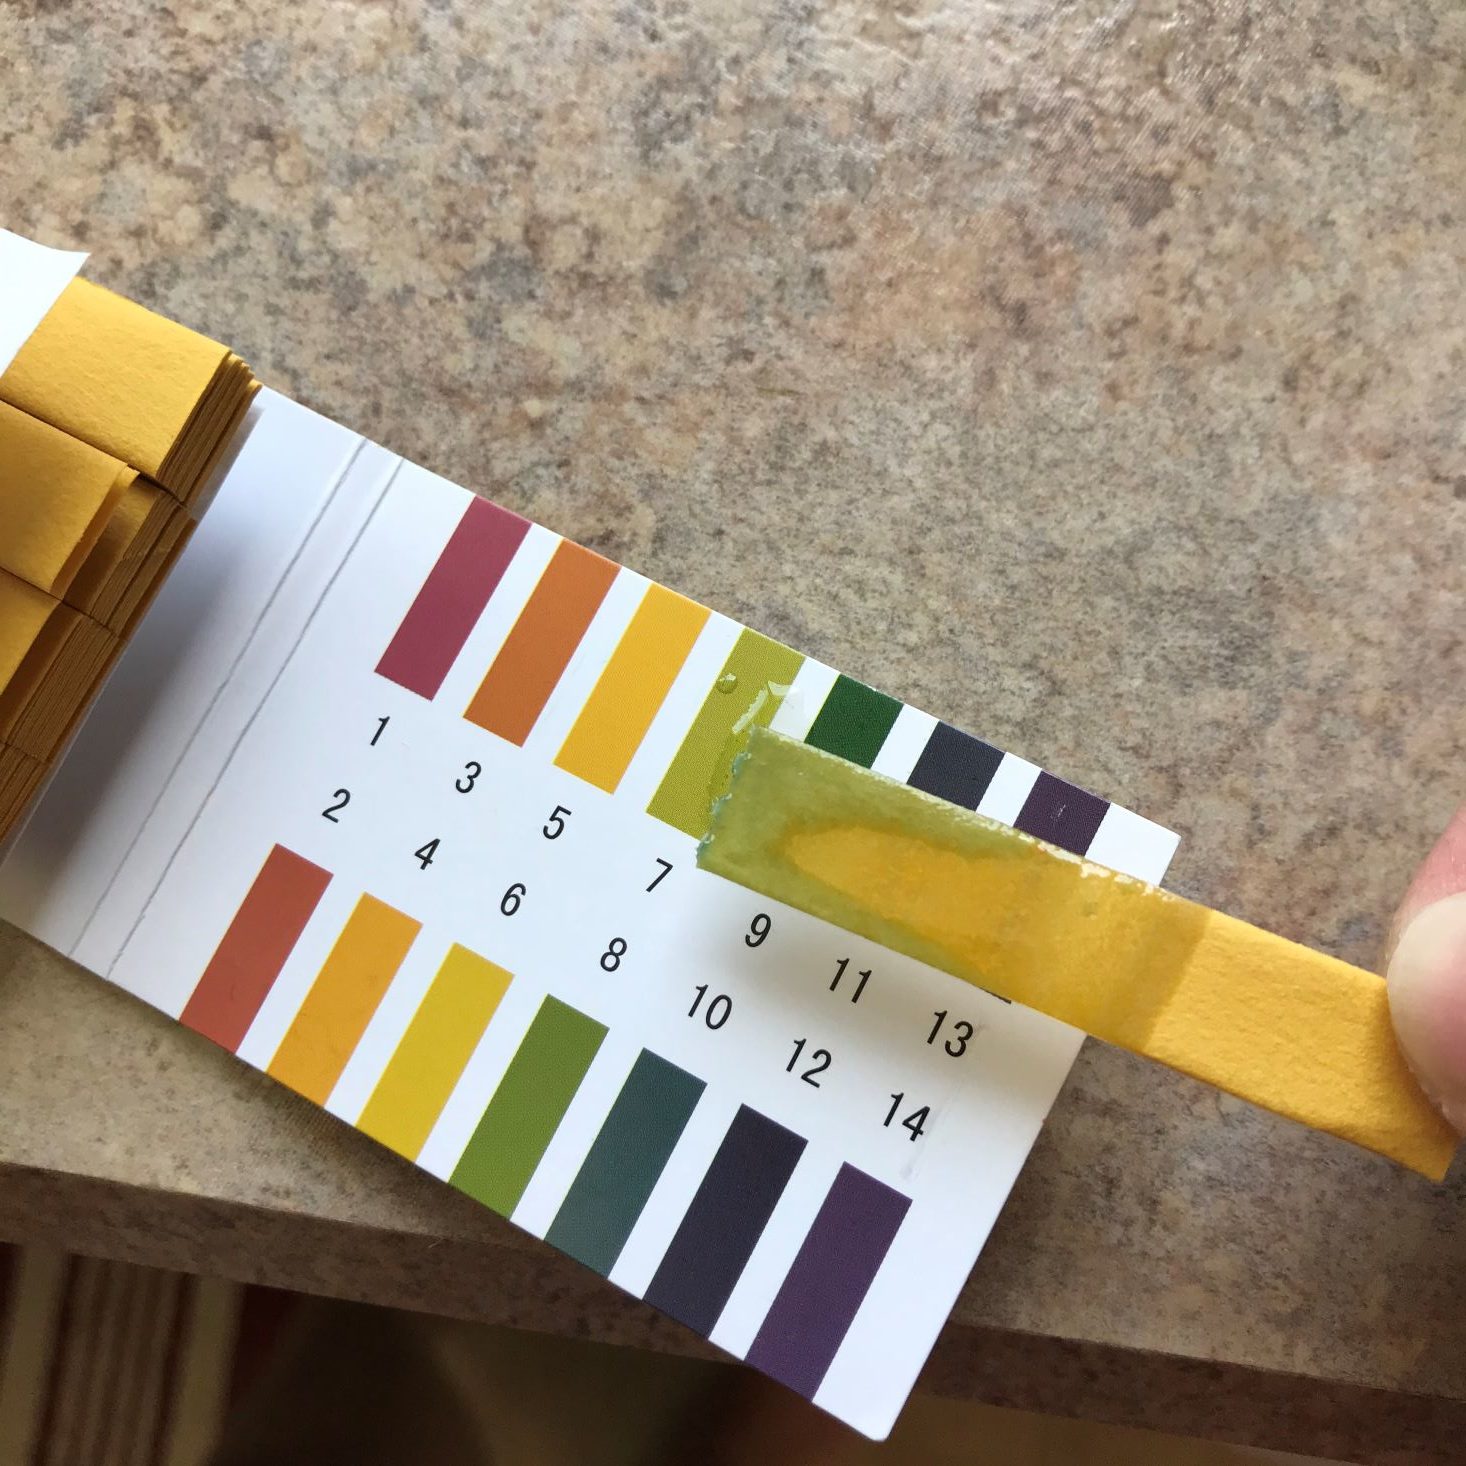
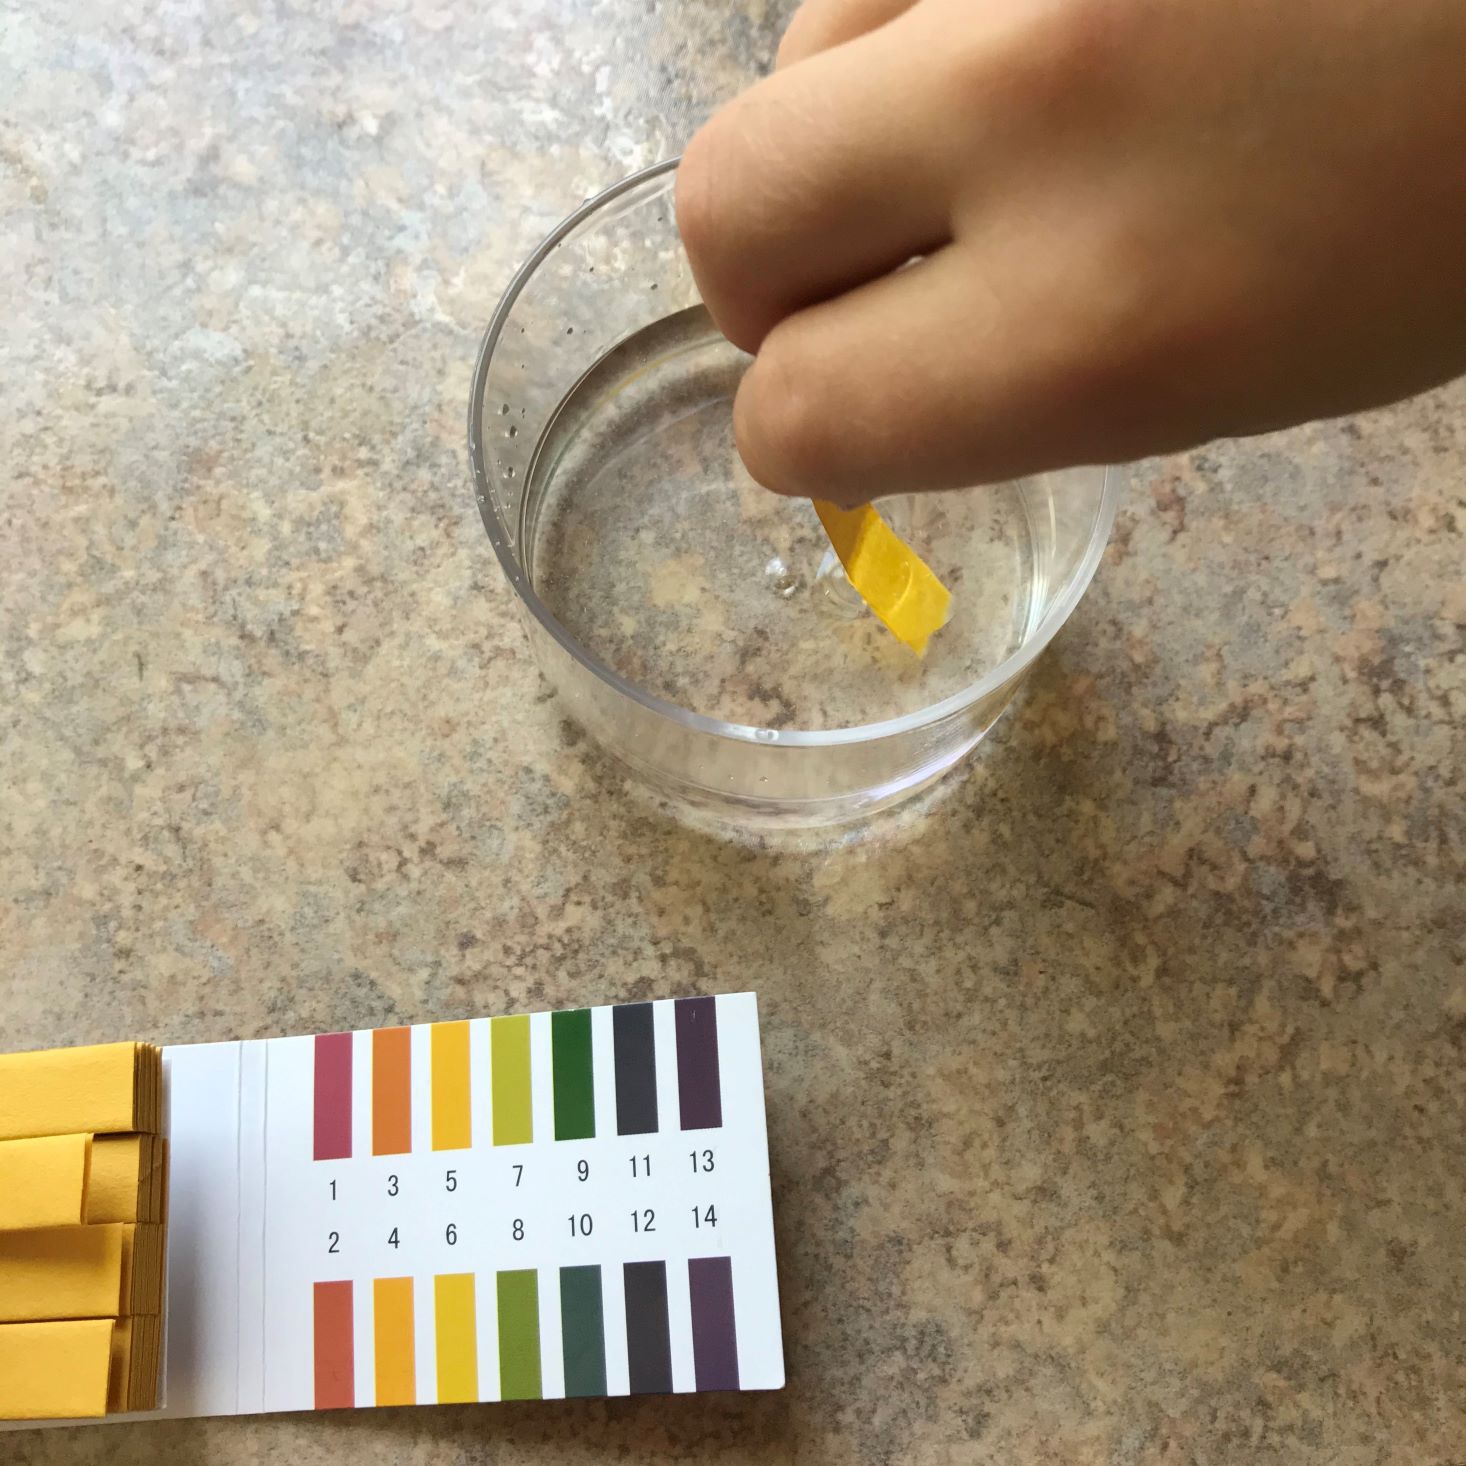
As a CLS who has been out of the field for about 5 years, I have to admit I was almost jumping up and down at the sight of pH paper! Using our filtered water, we were instructed to see if it's safe to drink. Because safe drinking water has a pH level of between 6.5 - 8.5, we had to give our water a test.
With a quick dip in the water, we were at right about 7! Hooray!
Bonus Gift
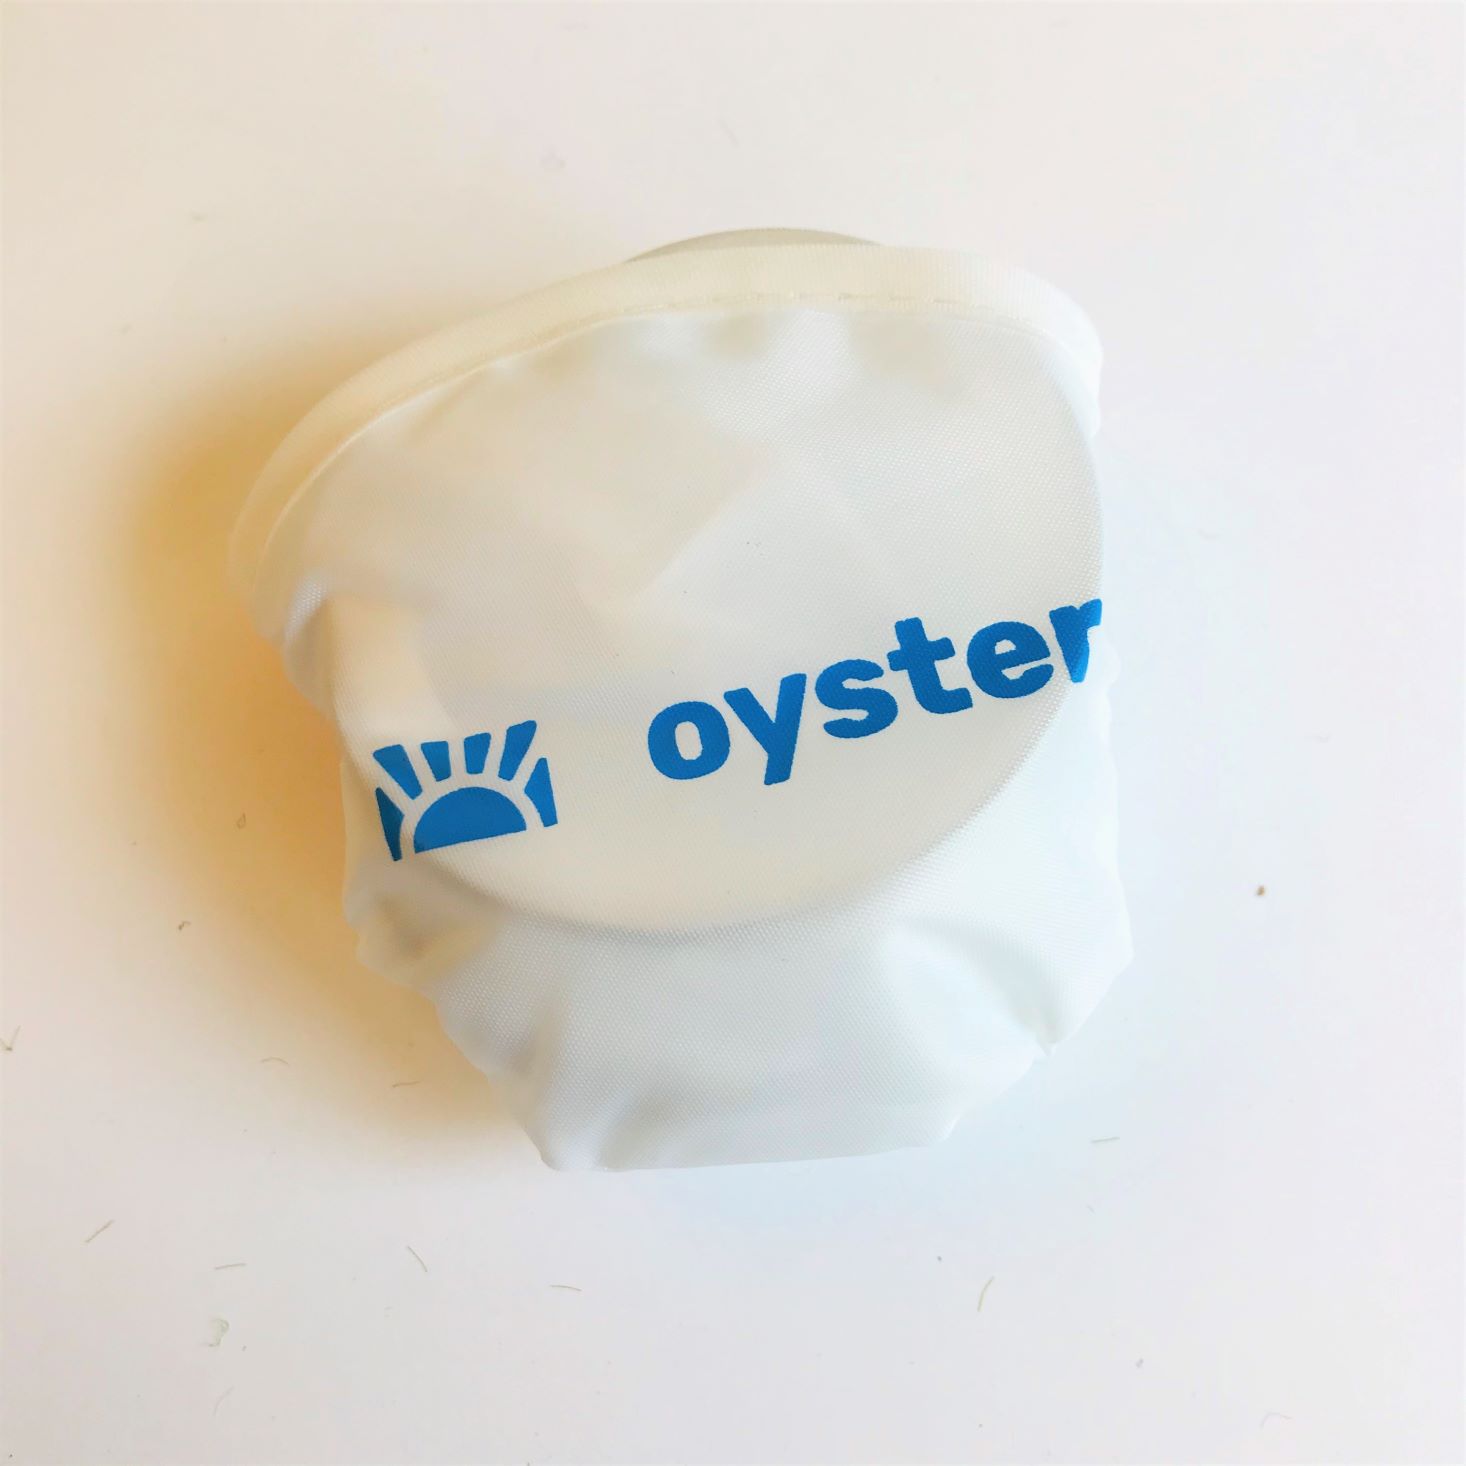
As a bonus gift, we received a small "Oyster" branded portable frisbee! Perfect for tossing around the yard!
Verdict: Oyster Kit was a blast this month! We weren't quite sure what to expect as environmental engineers, but Hank declared that this was his favorite month yet! (My husband is an electrician, so anytime my kids see wires they get to work with, they go nuts!) We really enjoyed learning about wind and solar power, water filtrating systems, and chemistry because it was presented in an easy to understand and fun manner. The basis of this box was spot on, but with the wind tower troubles, I feel a few slight modifications could be made to really perfect this box. That being said, we truly did enjoy this theme, and not only learned a lot of new information, but had a ton of fun experiencing what it might be like to be an environmental engineer! Hank has also decided that with a few modifications he wants to enter it into the County Fair (if it doesn't get canceled, that is...)
This month included some really fun projects that I would have never been able to come up with on my own. I feel the box was curated very well and contained items that I wouldn't even know where to get. I feel the lessons learned and the fun had was definitely worth the $39.95 price.
To Wrap Up:
Can you still get this box if you sign up today? Possibly; it depends on kit availability.
Check out all of our Oyster Kit reviews and our list of 2020's best subscription boxes for kids!
Keep Track of Your Subscriptions: Add this box to your subscription list or wishlist!
What do you think of Oyster?




















Please do not enter your email address in the Name field or in the comment content. Your email address will not be published. Required fields are marked *. Remember to post with kindness and respect. Comments with offensive language, cruelness to others, etc will not be approved. See our full comment policy here.