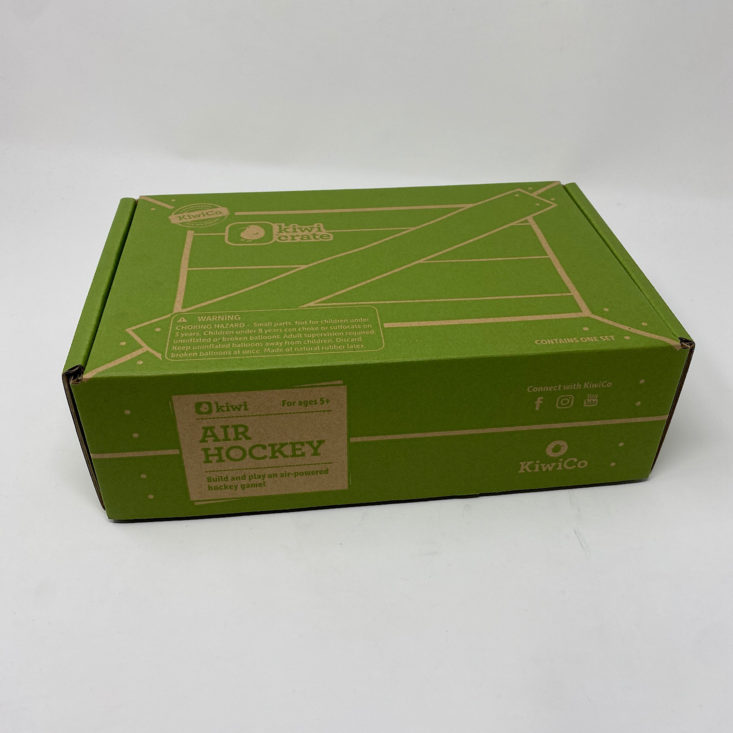
Kiwi Crate is a subscription box for kids ages 5-8 from parent company KiwiCo. It arrives every month with all the materials and instructions needed to complete 2-3 crafts centered on a theme, plus additional materials to help educate young learners!
KiwiCo offers boxes for different age groups:
- Panda Crate for 0-24-month-olds,
- Koala Crate for 2-4-year-olds,
- Kiwi Crate for 5-8-year-olds,
- Atlas Crate for 6-11-year-olds,
- Doodle Crate and Tinker Crate for 9-16+-year-olds,
- Eureka Crate and Maker Crate for ages 14 and up.
There really is something for every age with this company!
This box was sent to us at no cost for review. (Check out the review process post to learn more about how we review boxes.)
About Kiwi Crate by KiwiCo
The Subscription Box: Kiwi Crate
The Cost: $19.95 per month + free shipping
The Products: Crafts and DIY projects for kids, with supplemental learning kits, booklets, and activities. Crates are filled with materials and inspiration to encourage creativity and curiosity. Projects cover a number of developmental areas through art, science, and imaginative play.
Ships to: The U.S. for free, Canada for $3.95, and worldwide from $4.95-$6.95
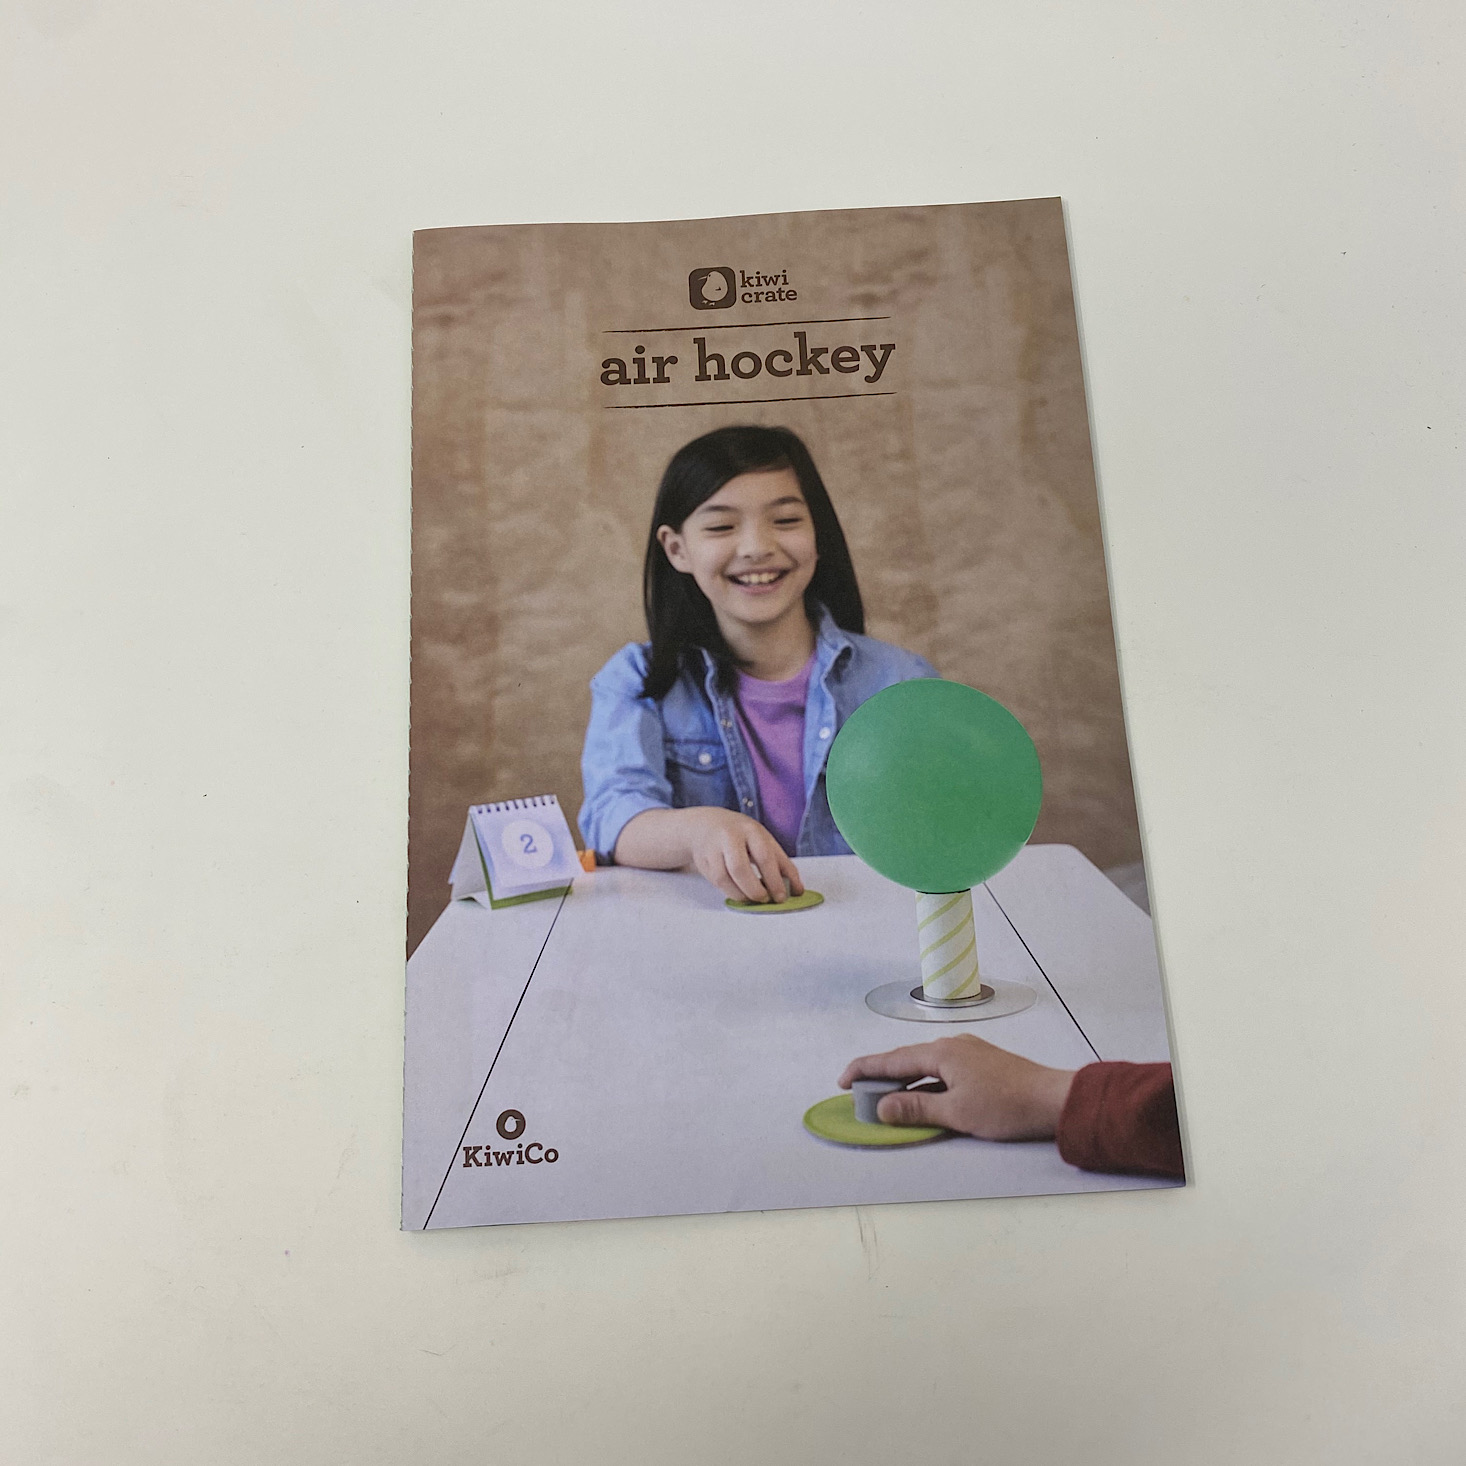
KiwiCo Kiwi Crate "Air Hockey" Review August 2020
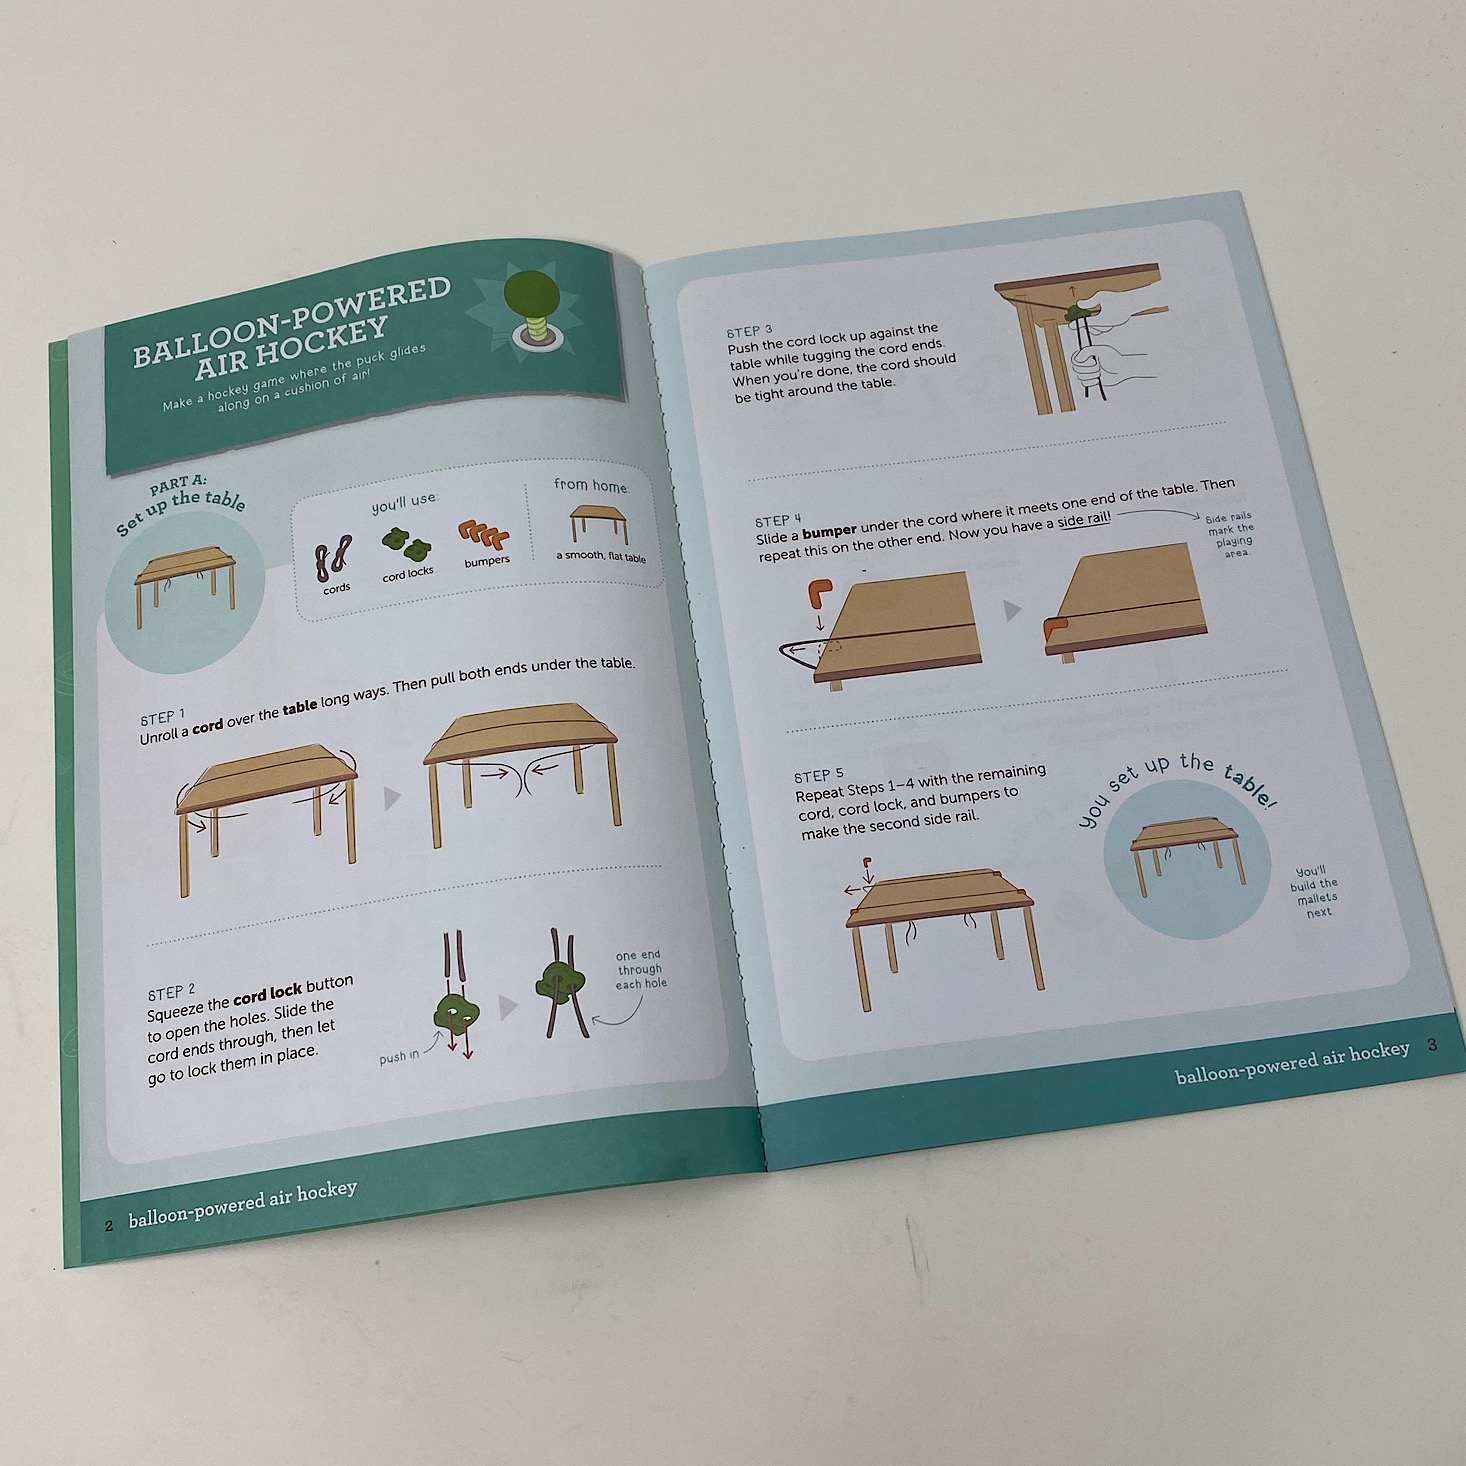
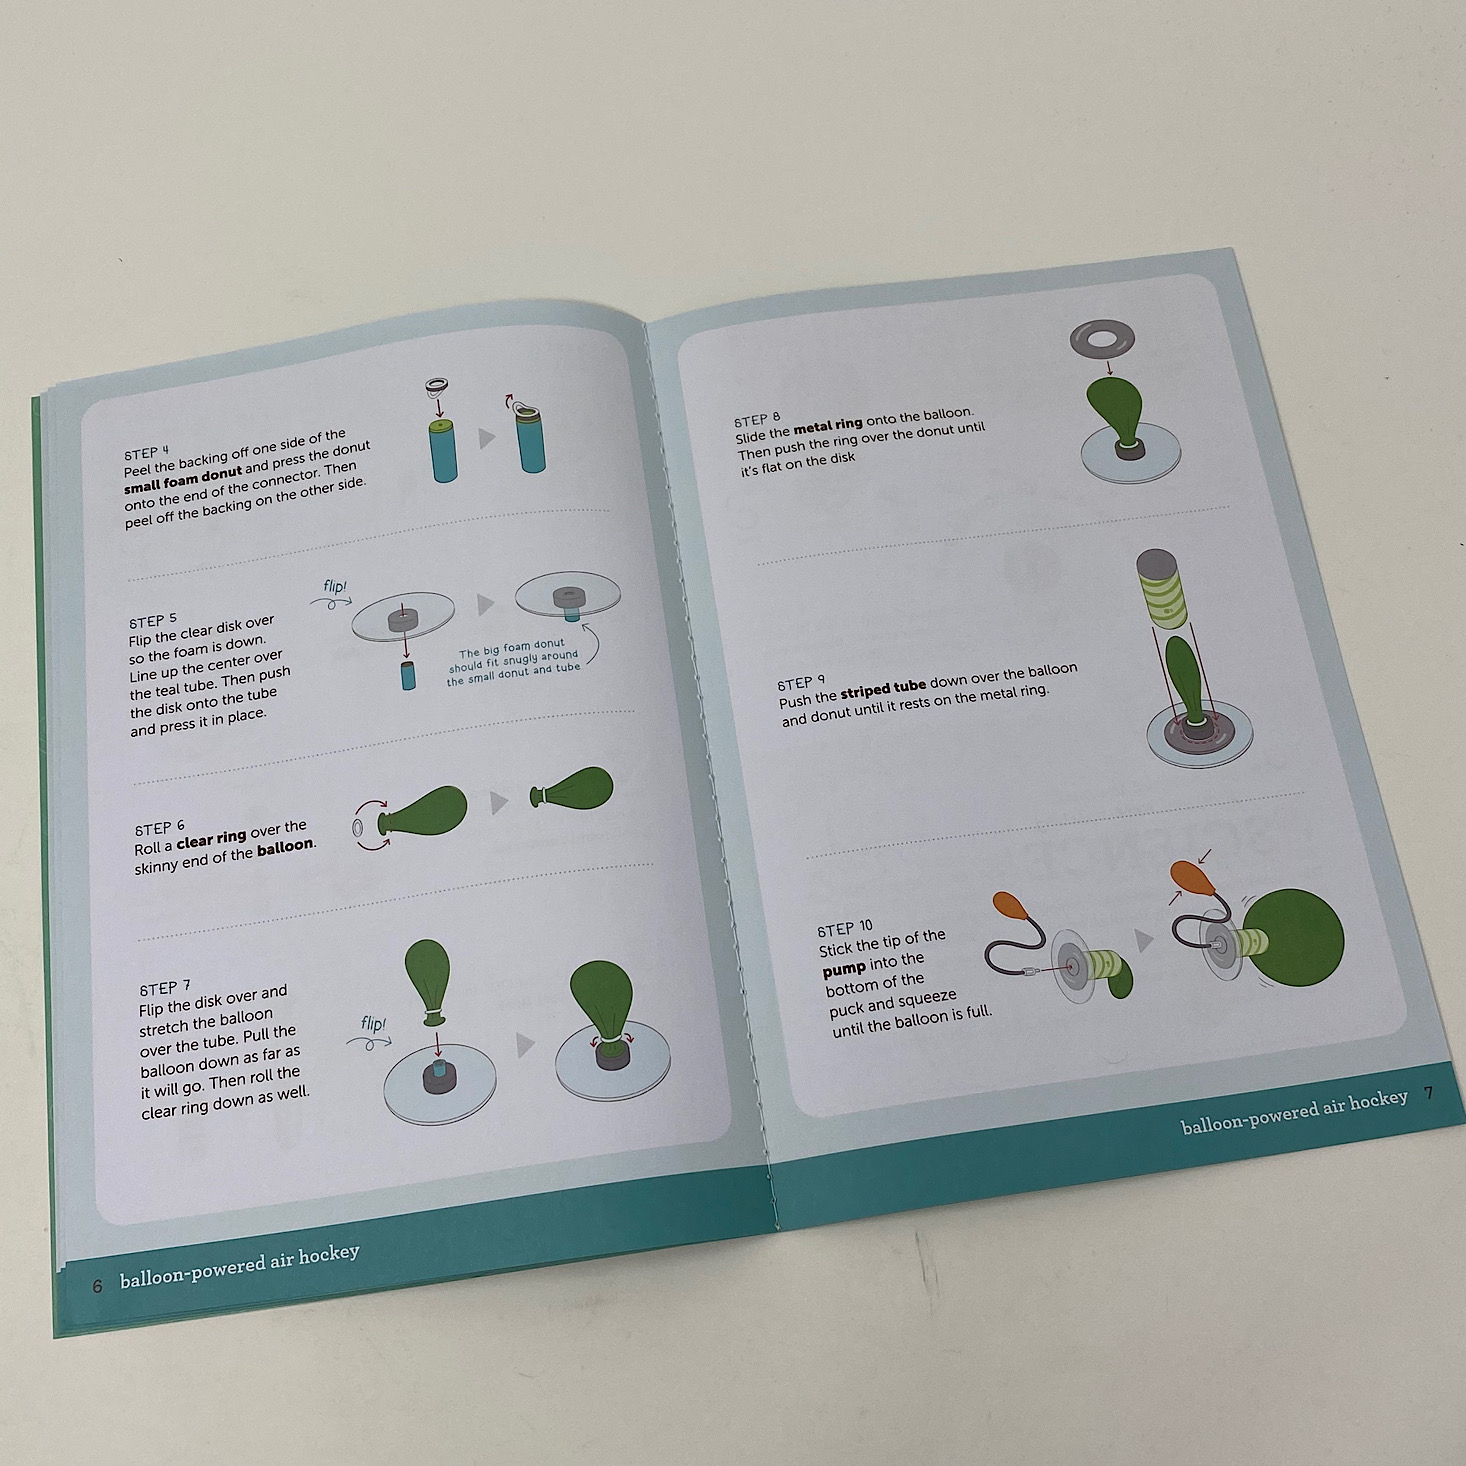
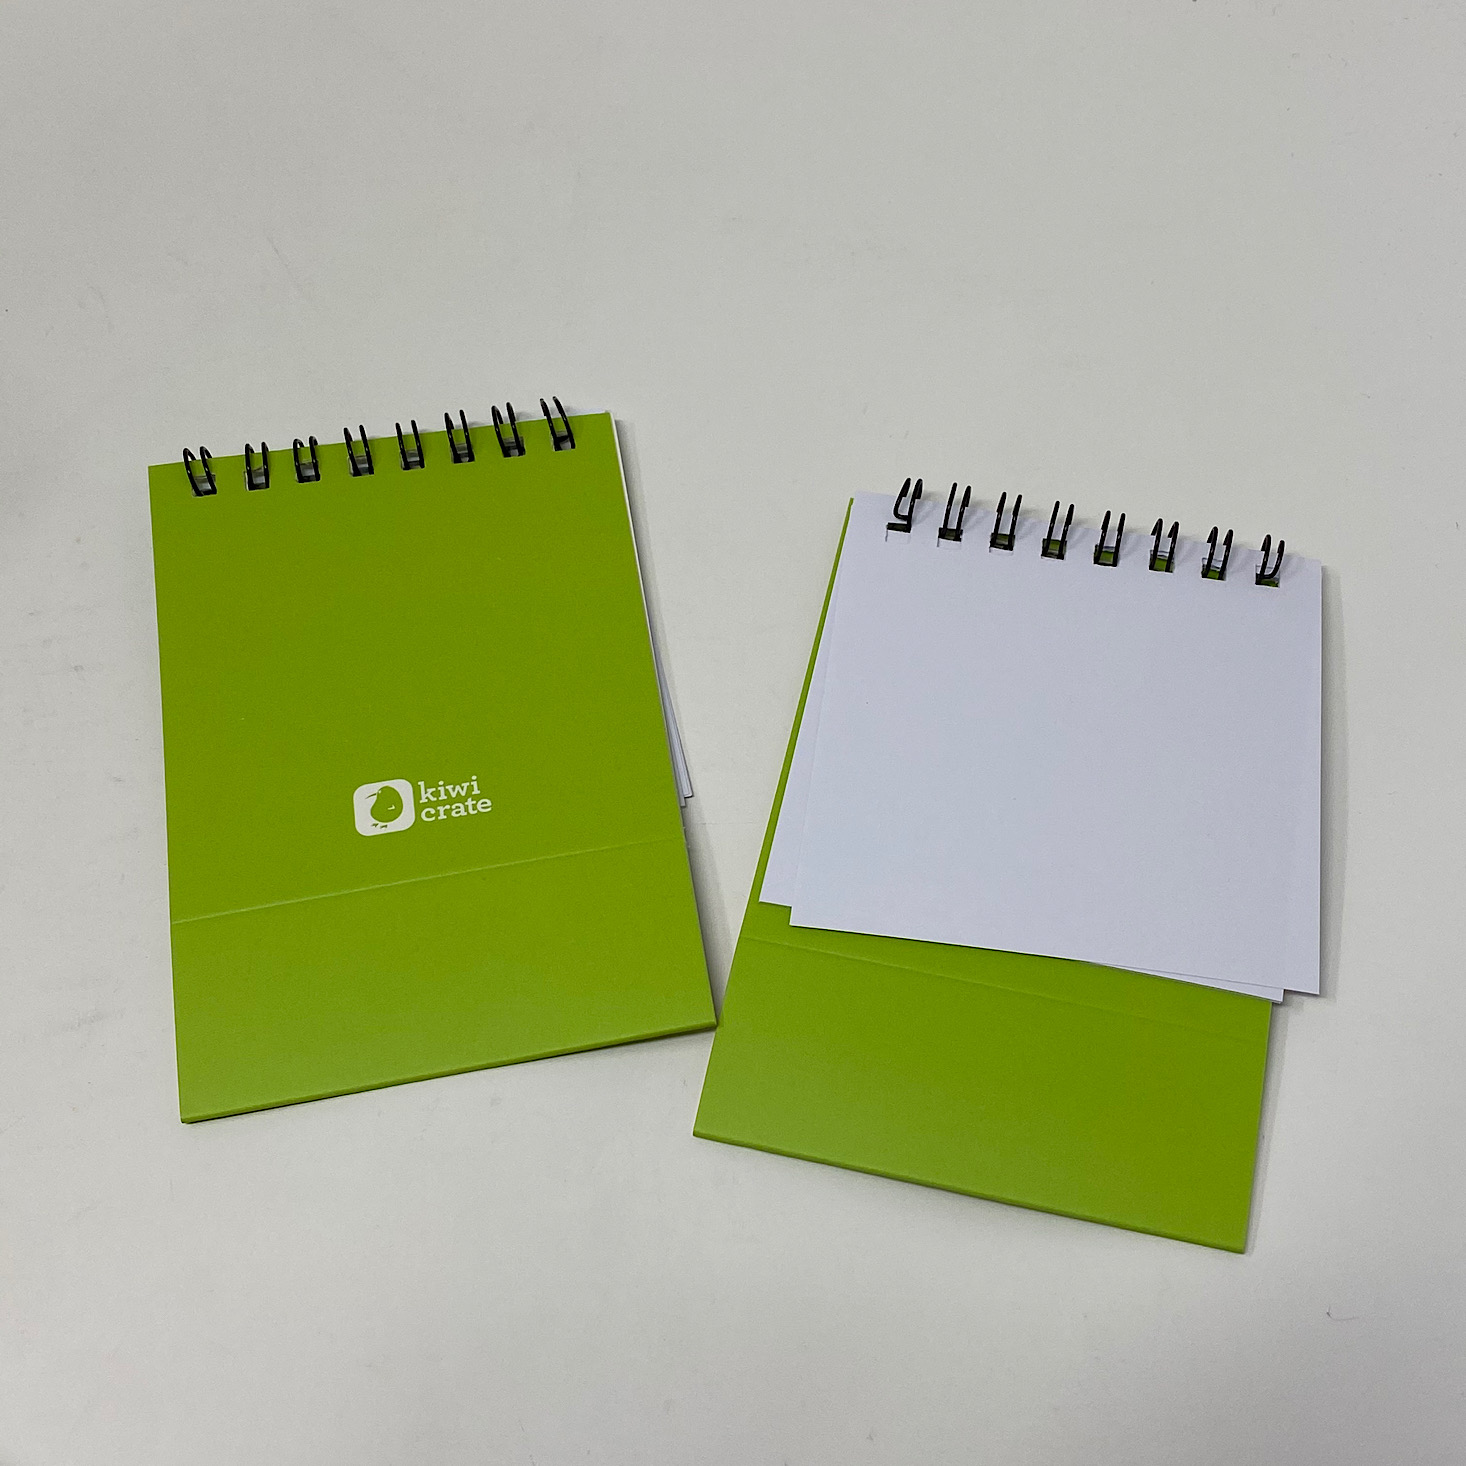
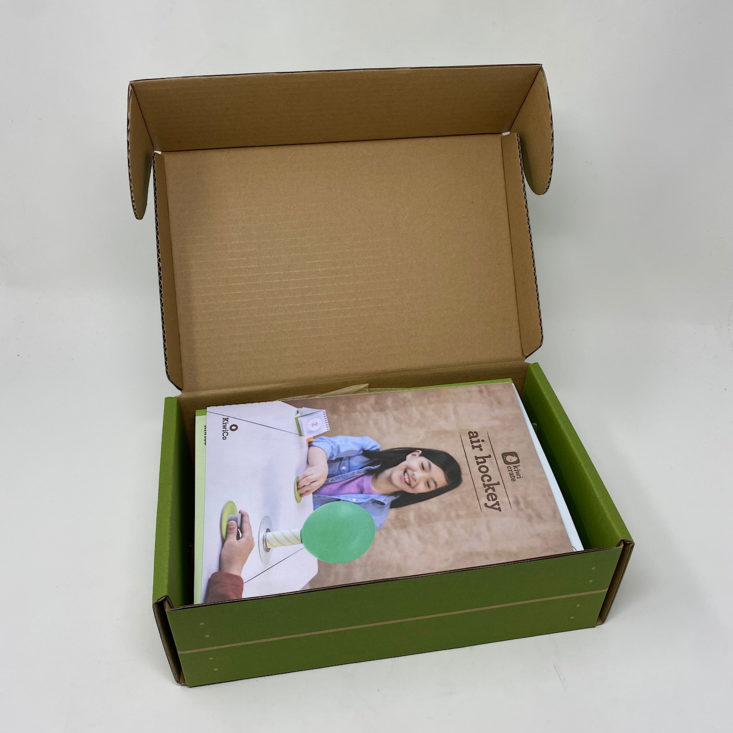
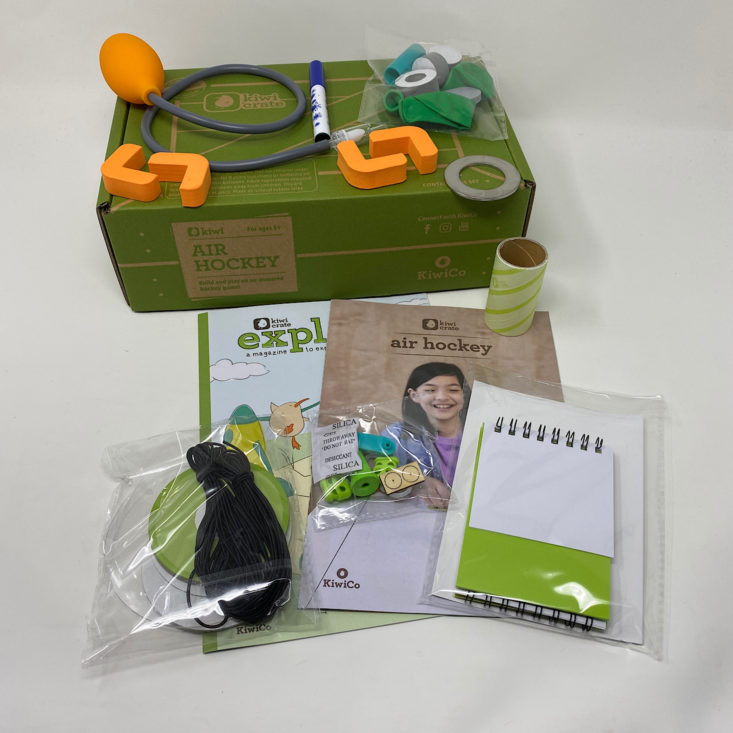
Our theme for this month is Air Hockey and we received this booklet which contains the directions for our activities. This includes detailed, colored illustrations and clear instructions that are easy to follow. They broke down our project into various sections that simplified the process for us. On the back of the booklet, they include their social media links and a sticker for this month’s project.

This is the little sticker chart we received in our first Kiwi Crate along with our welcome note that we can add our sticker to!
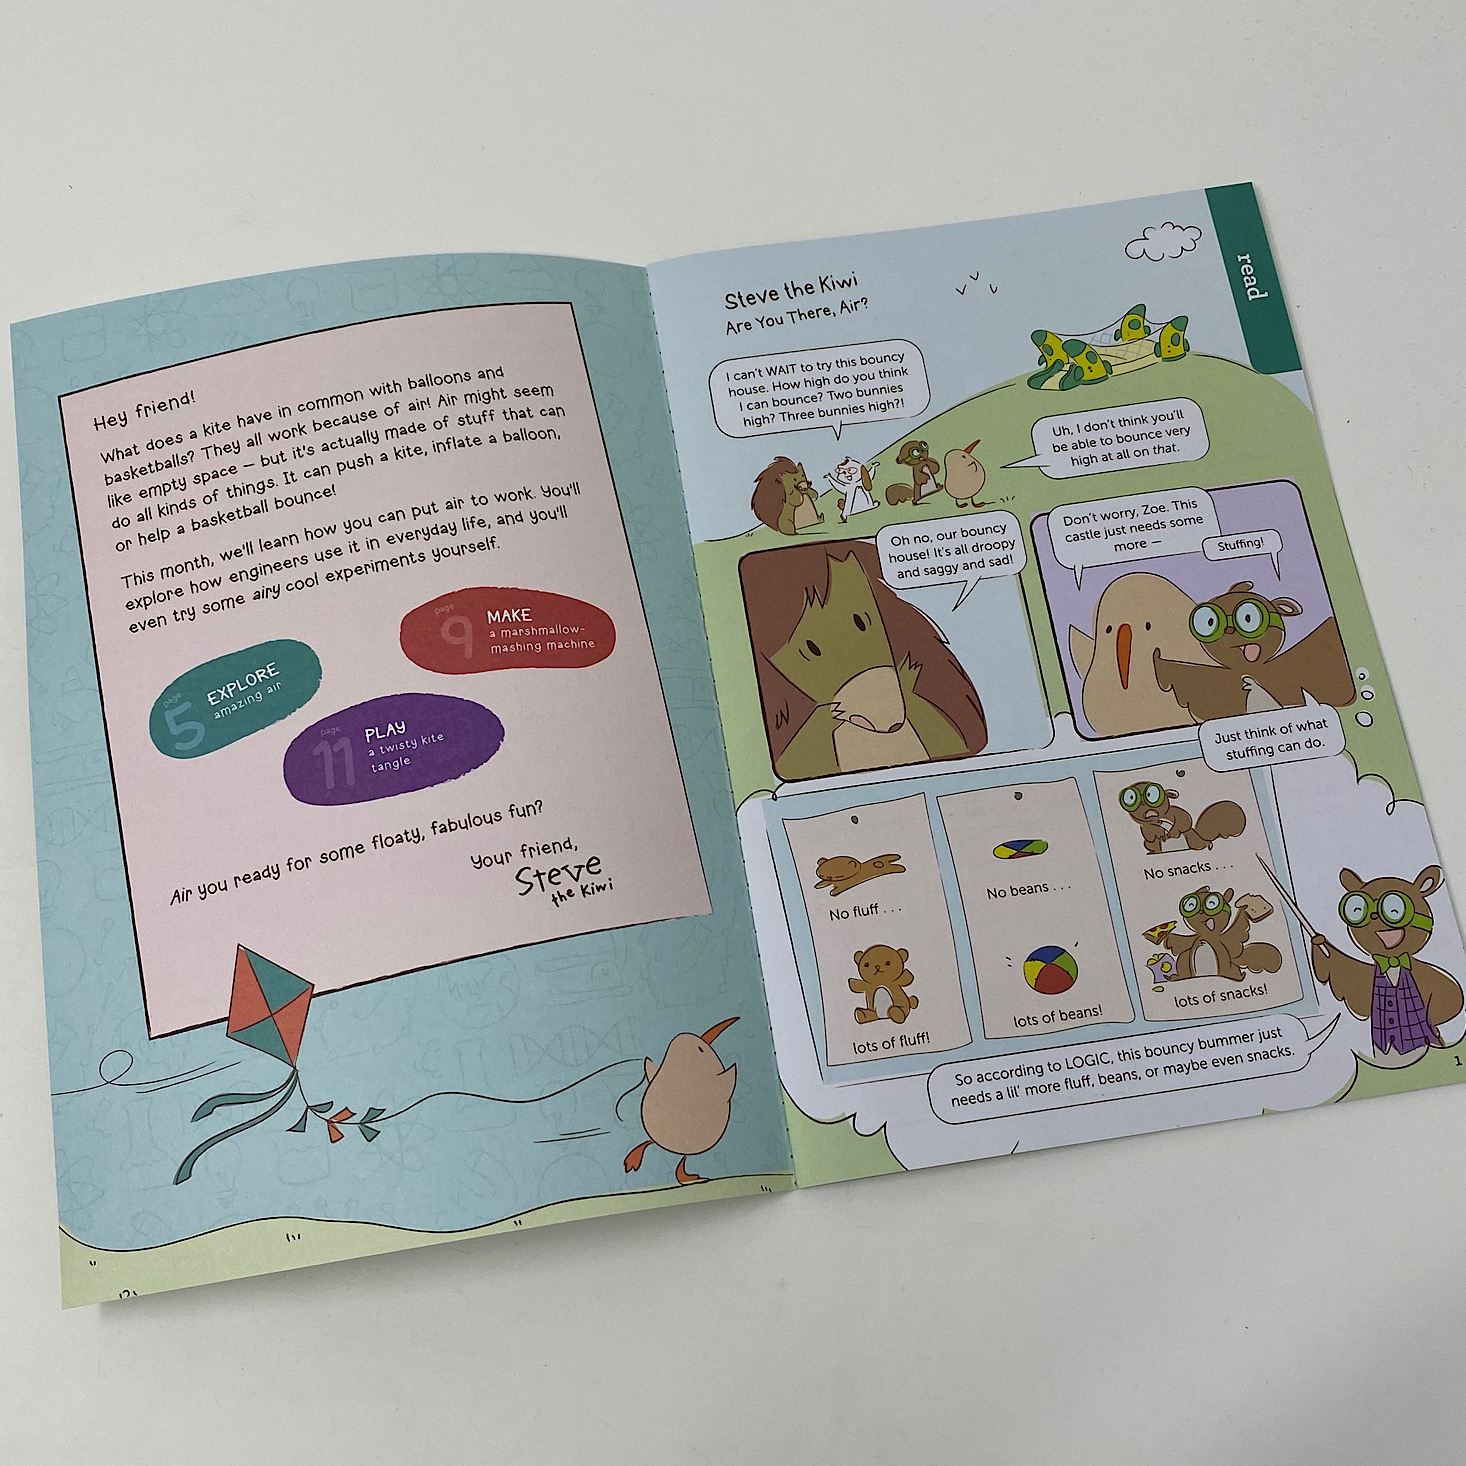
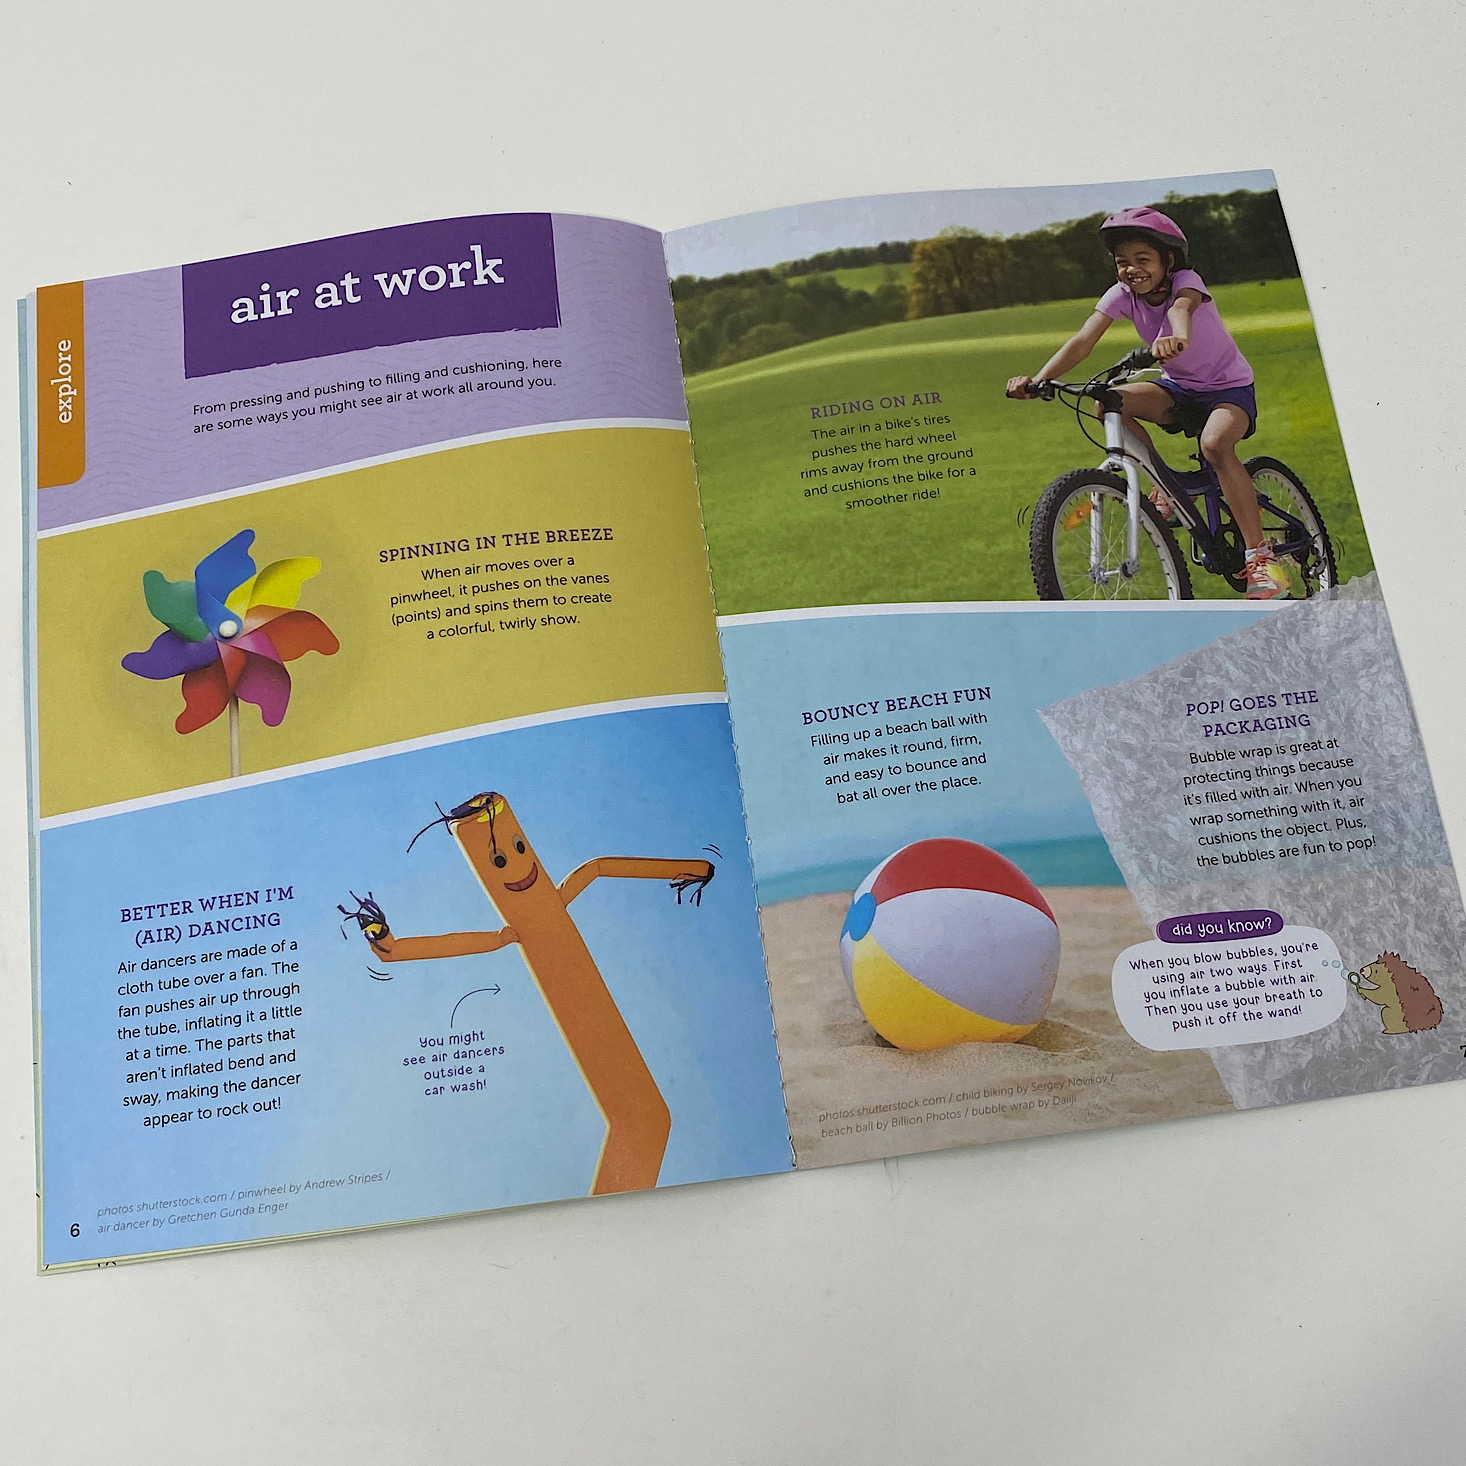
Each month you also get a Kiwi Explore! magazine with a letter from Steve the Kiwi and a little comic to go along with the theme starring some cute characters. This month we learned about the science of air and they included a fun marshmallow squashing experiment, a parfait recipe, and a few other activities.
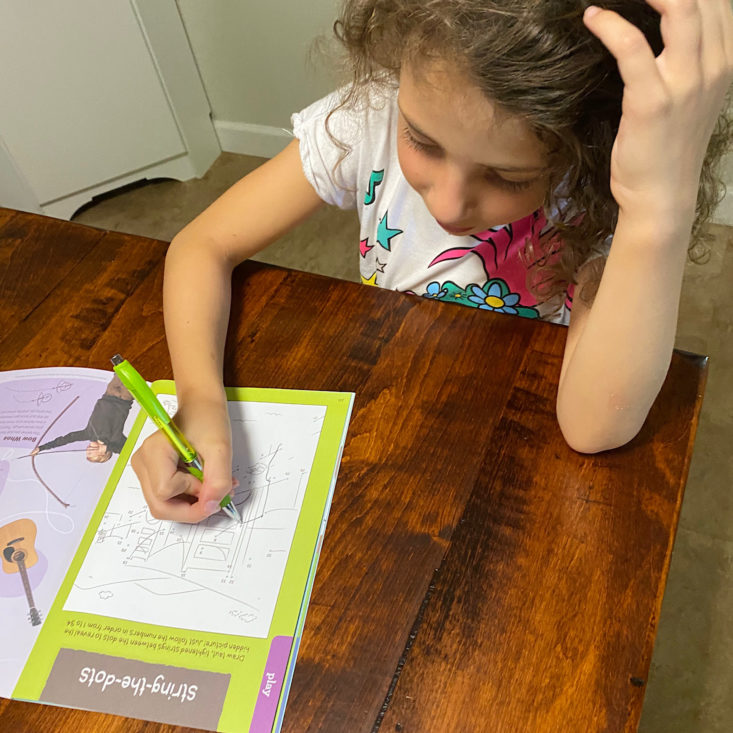
My daughter enjoyed untangling the kite strings to see who each belonged to for the last activity.
Part A: Set Up the Table
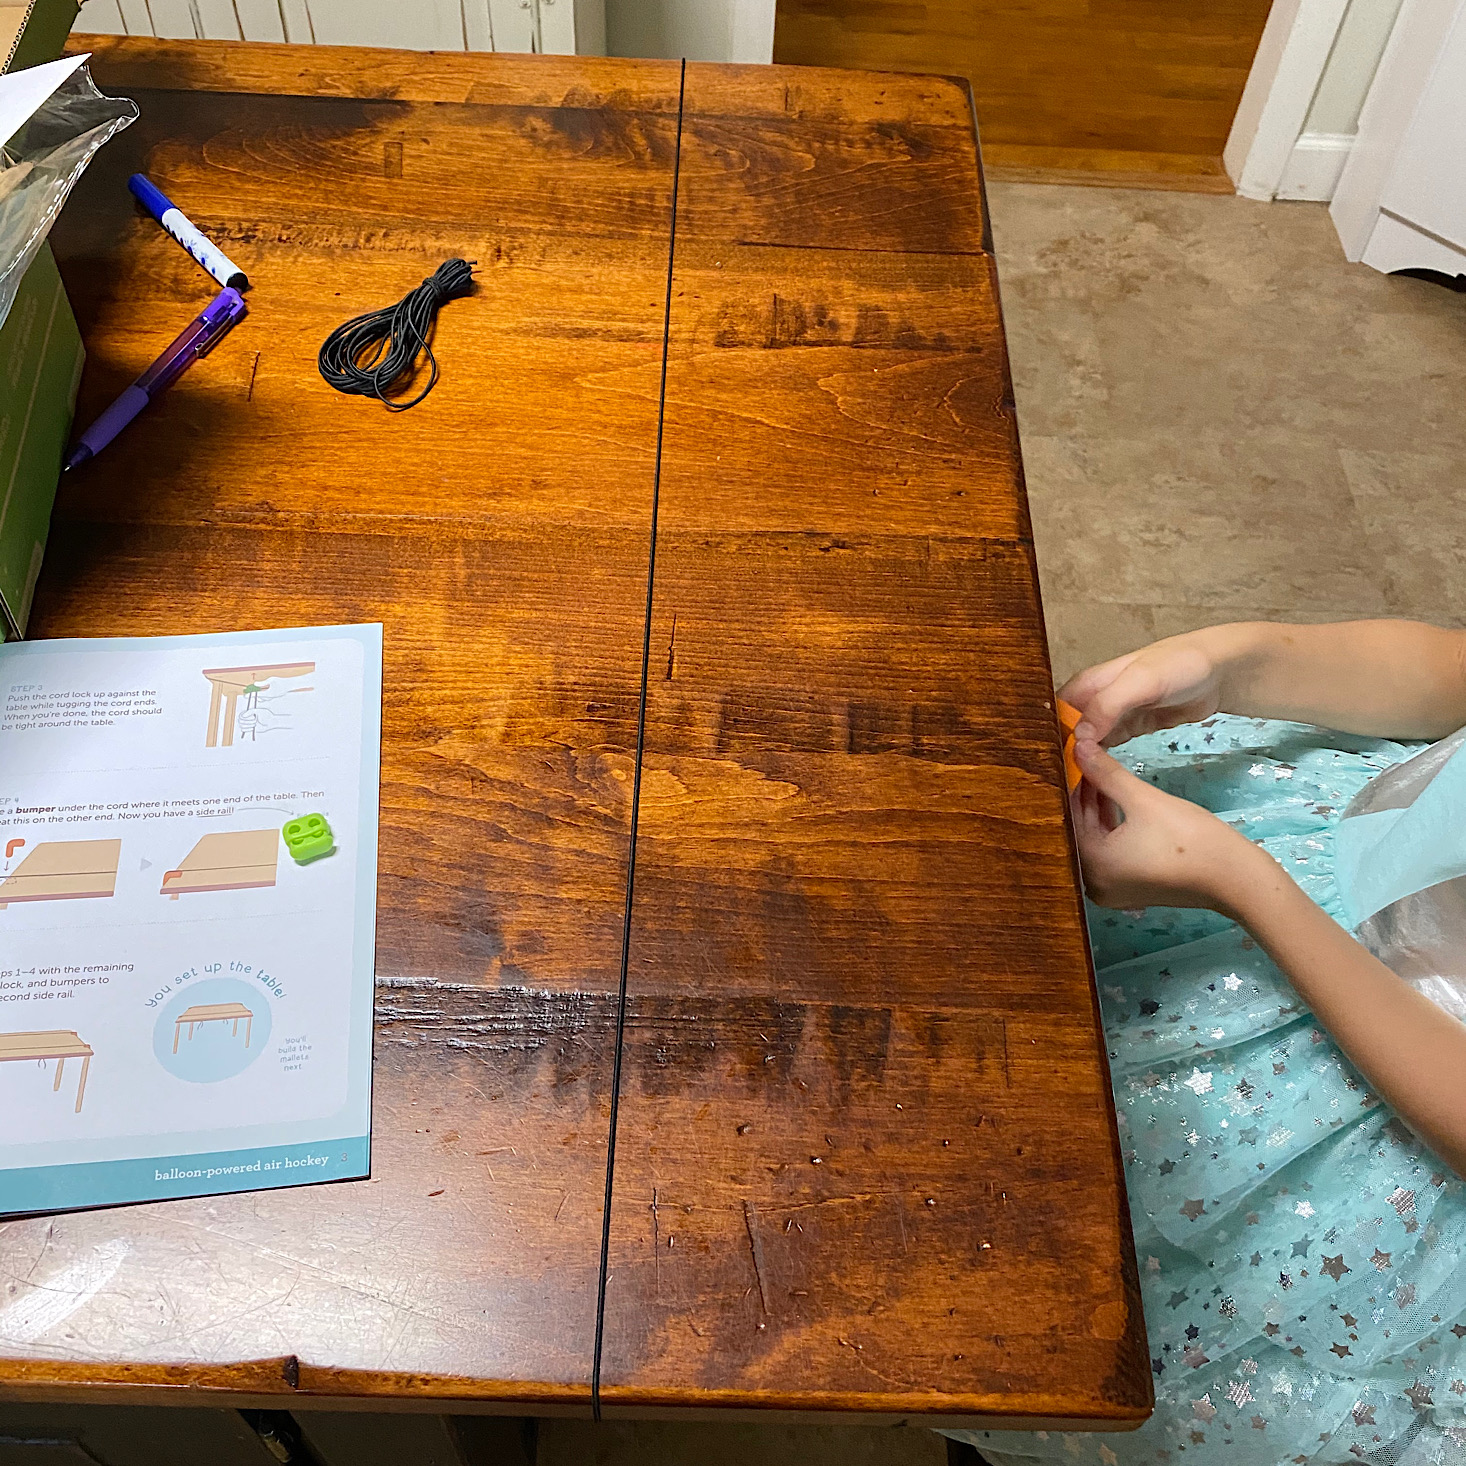
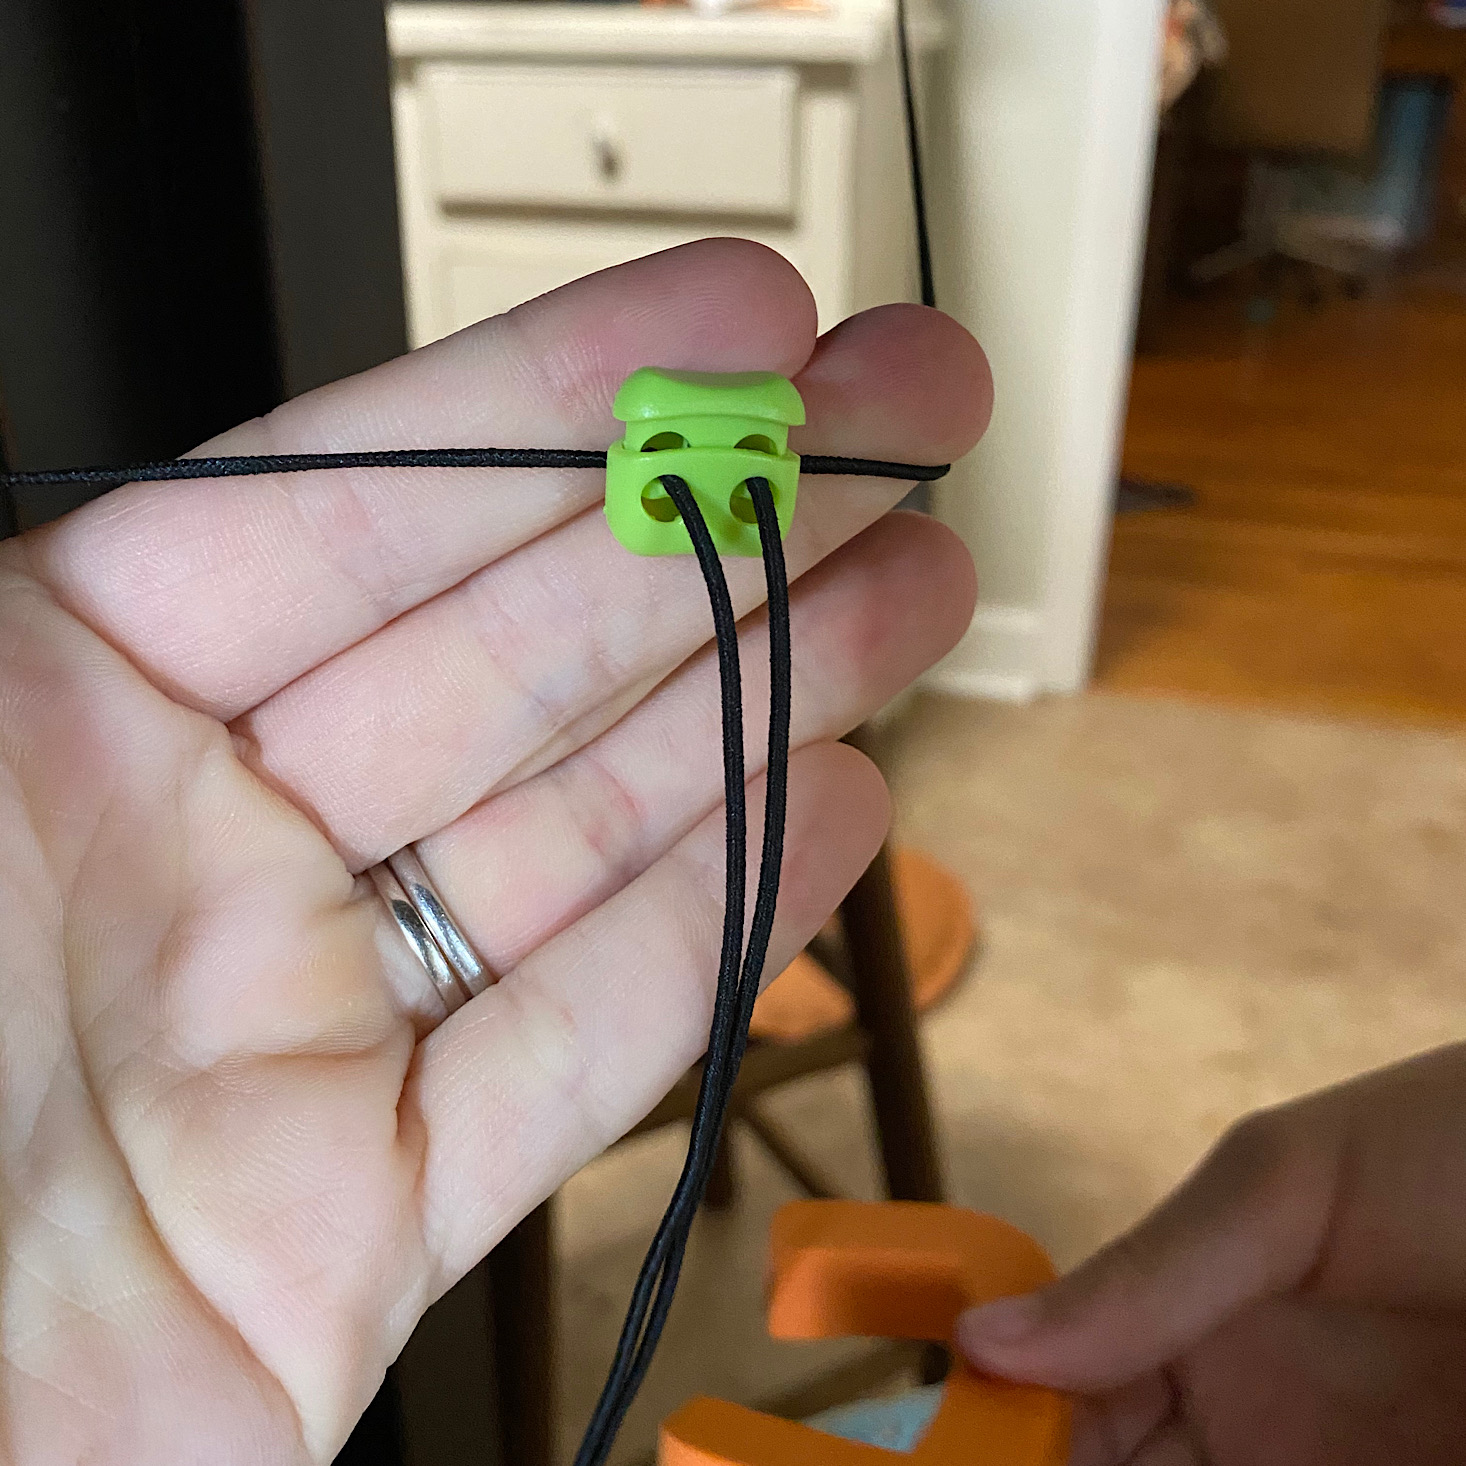
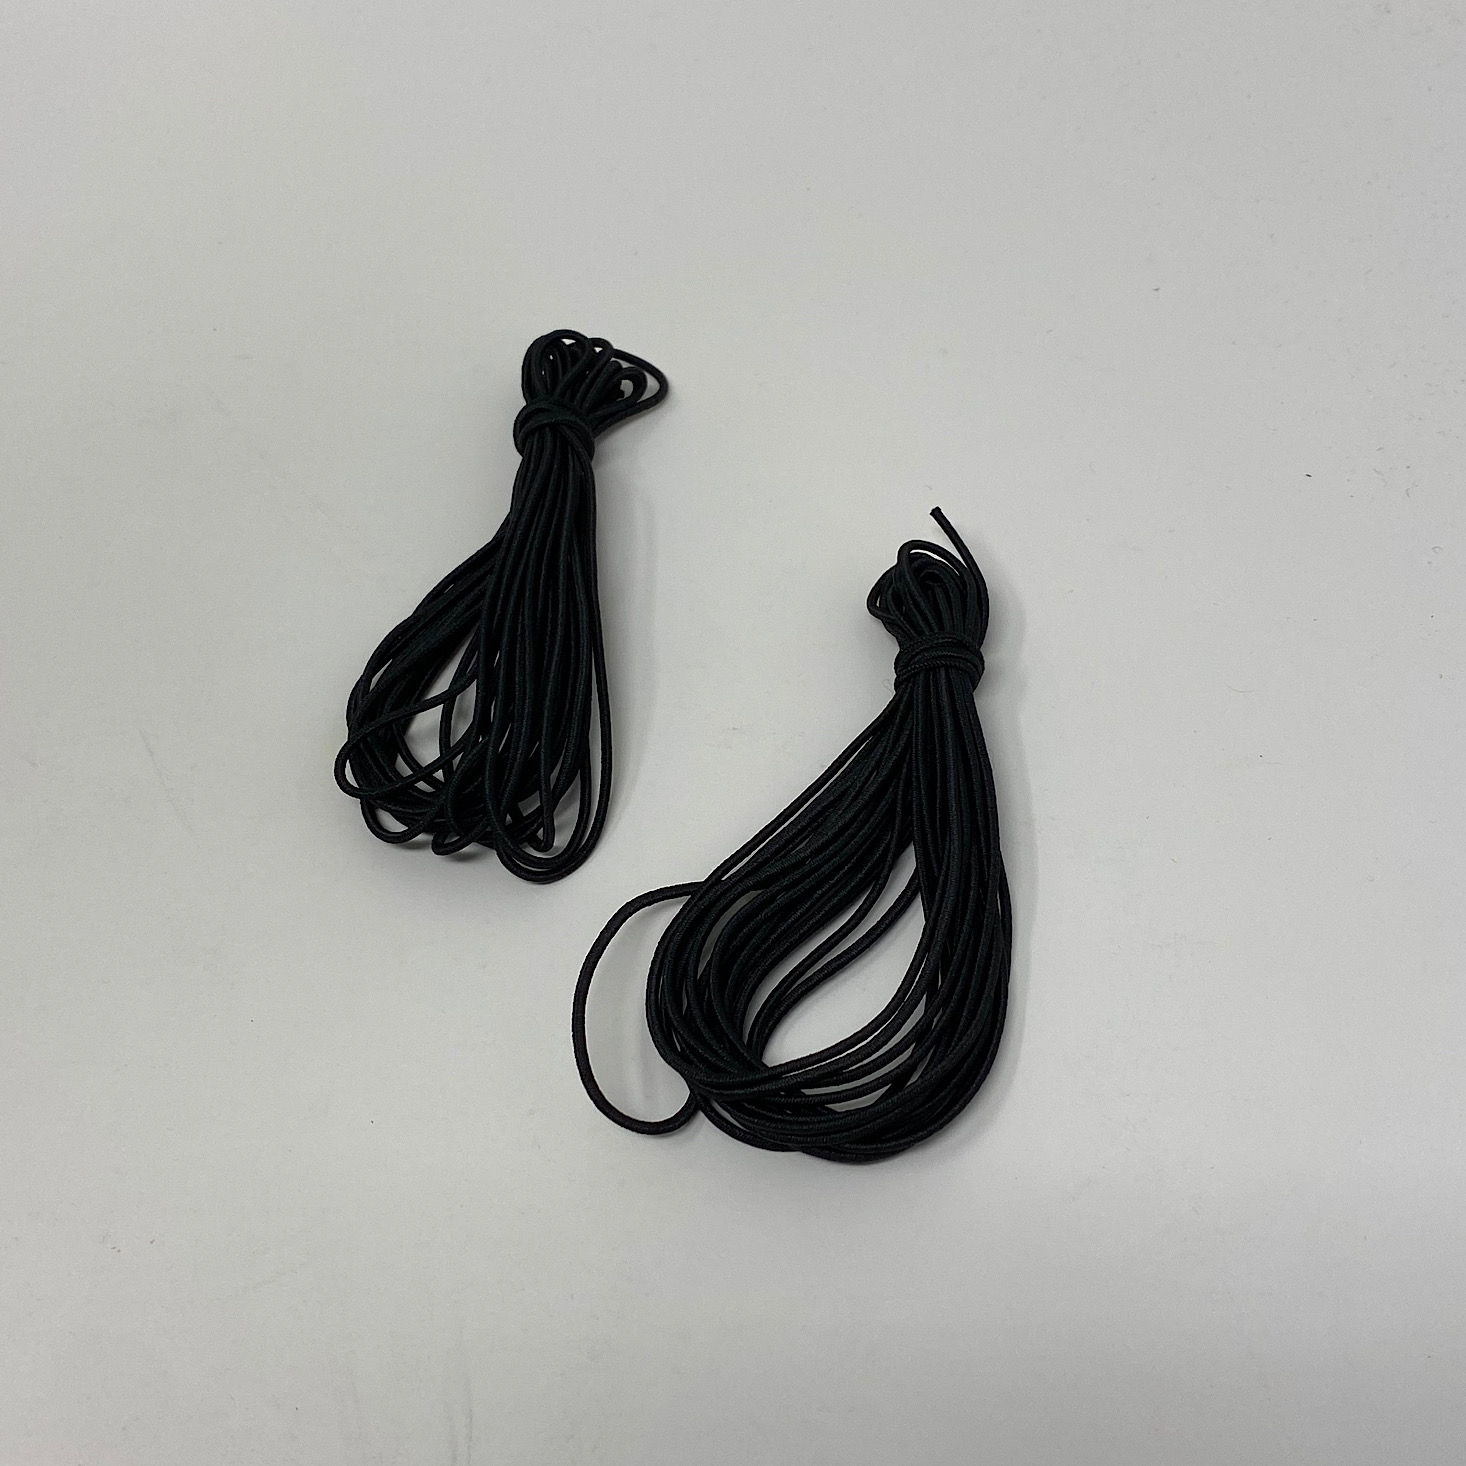
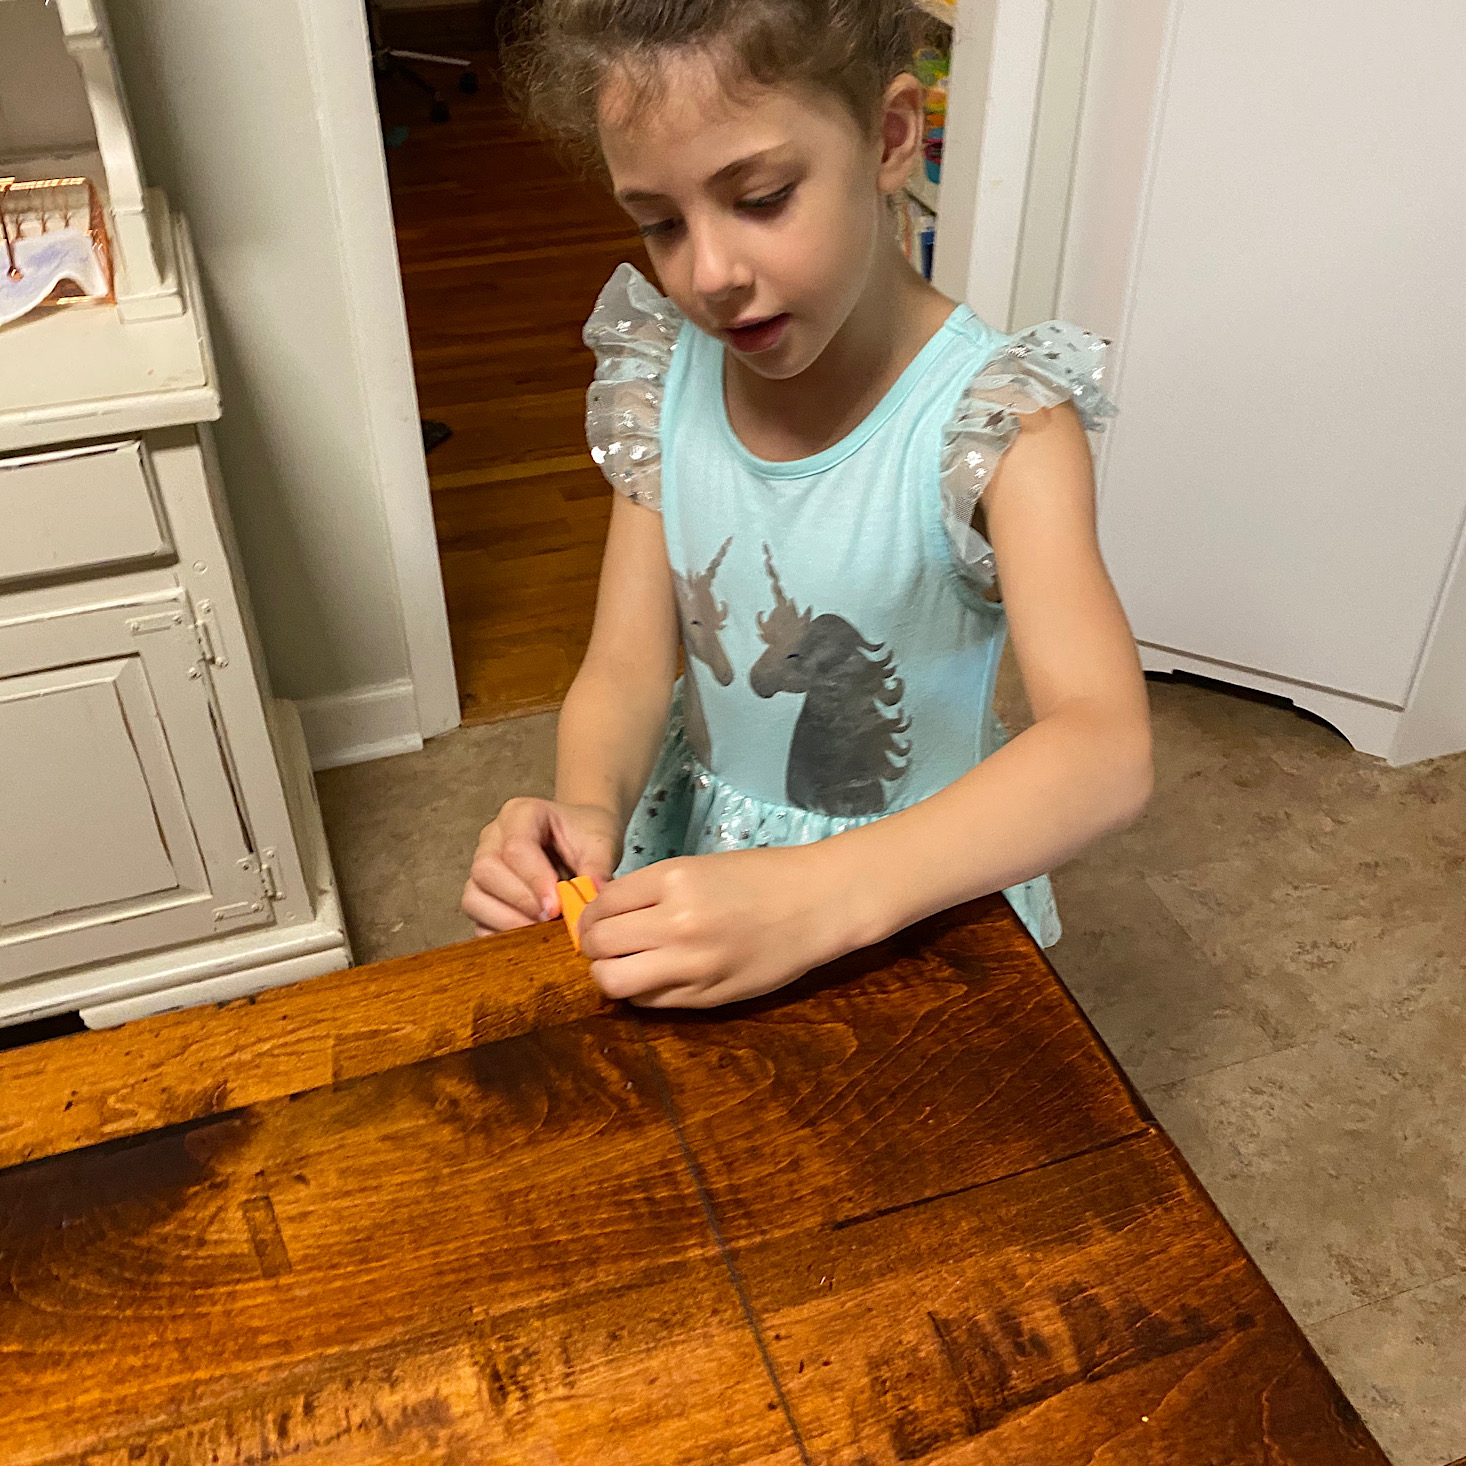
Our first step was to prepare our table. We took the elastic cords they provided and wrapped them around either end of our table and then threaded them through the cord locks and tightened them.
Then we added the little foam bumper pieces in all four corners of our table by placing it under the cord. Our table was ready for play.
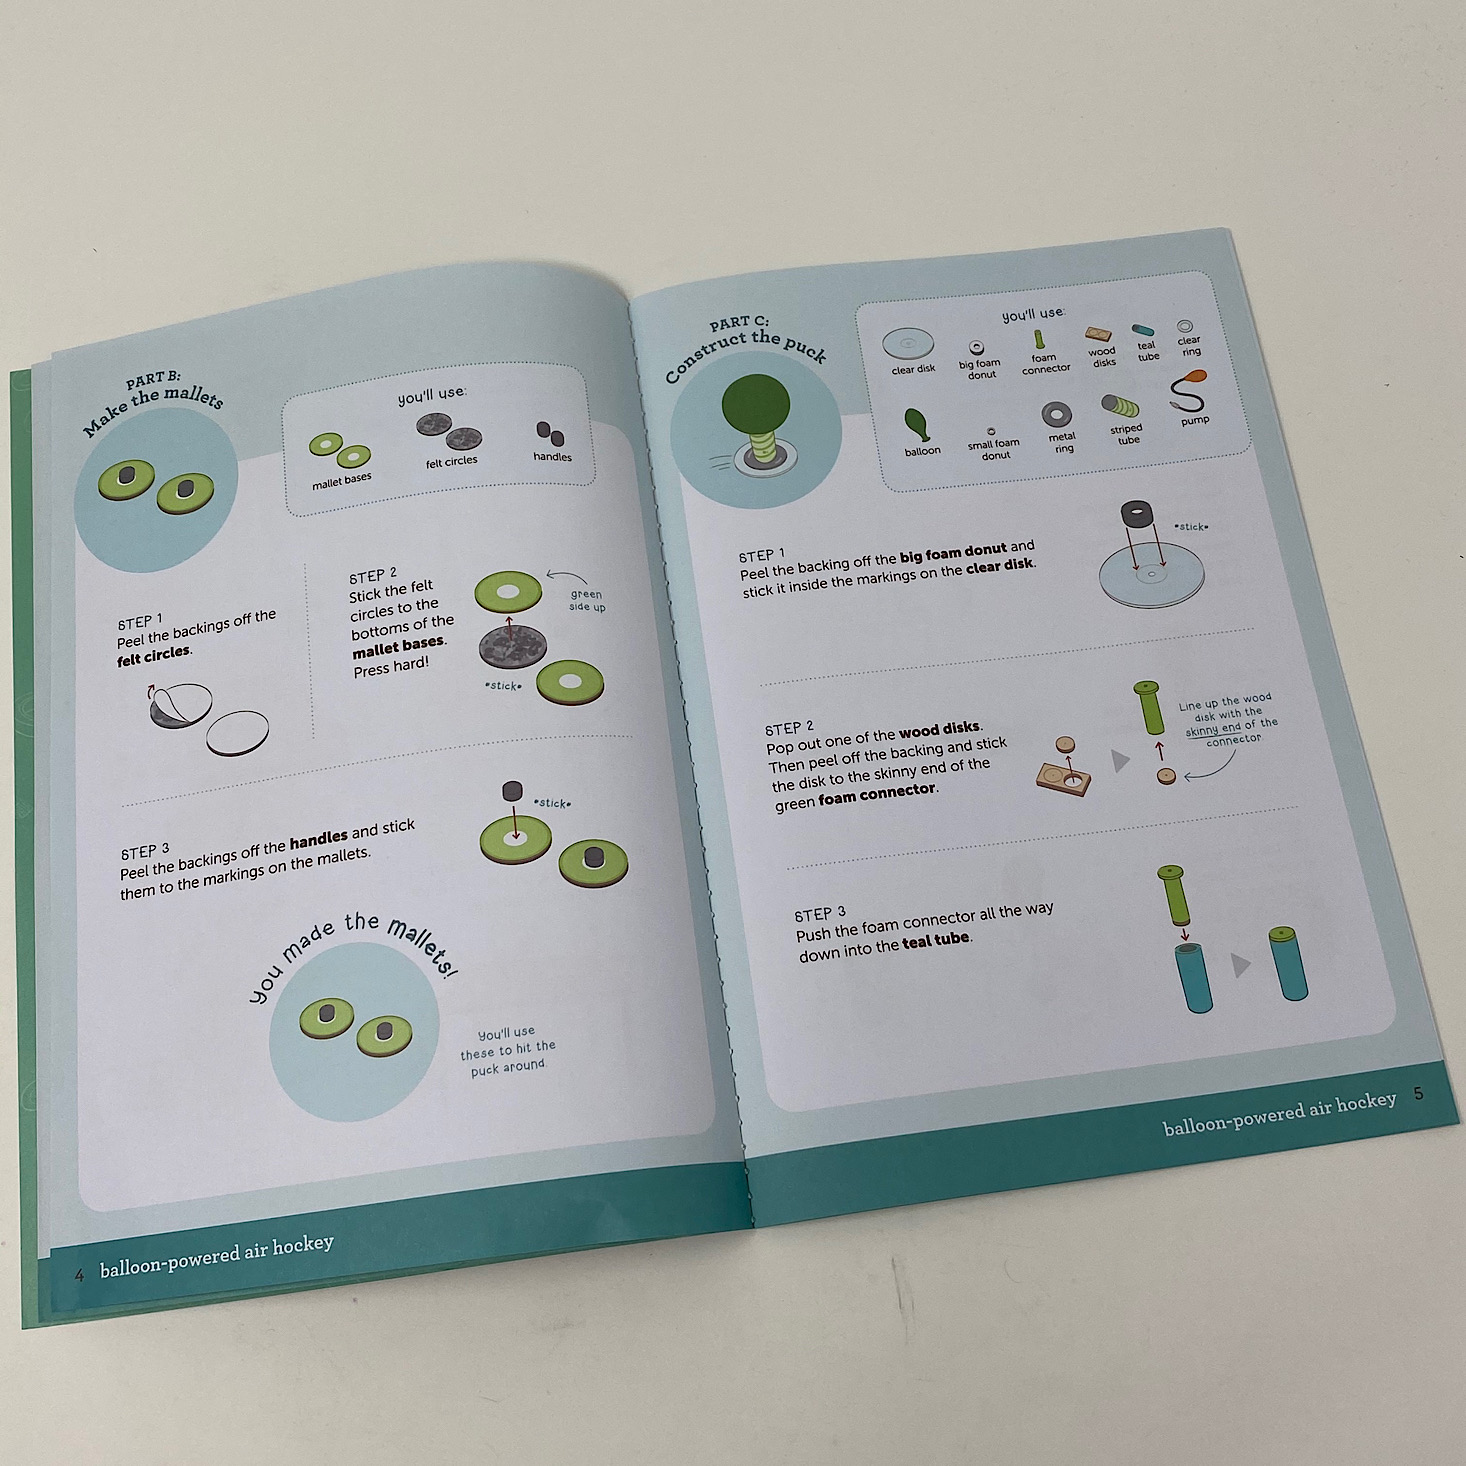
Part B: Make the Mallet
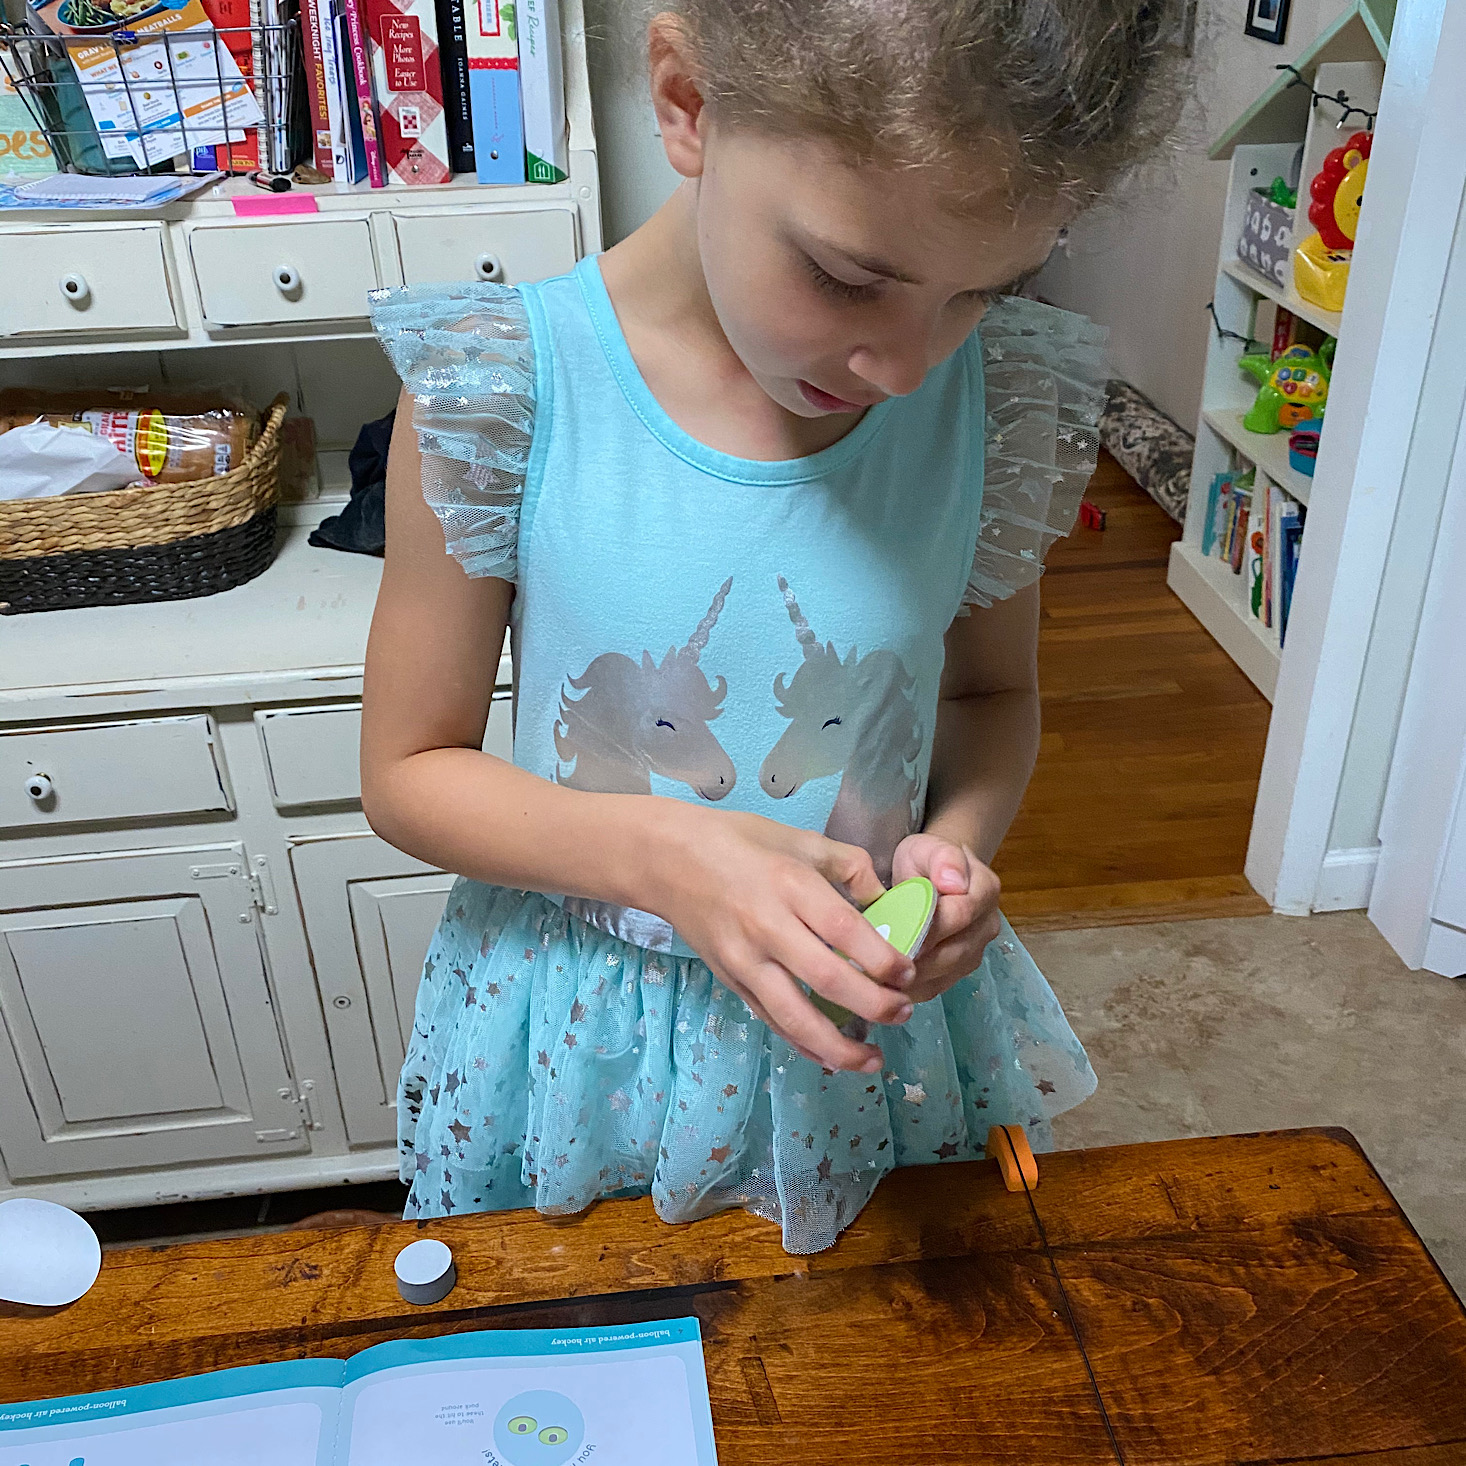
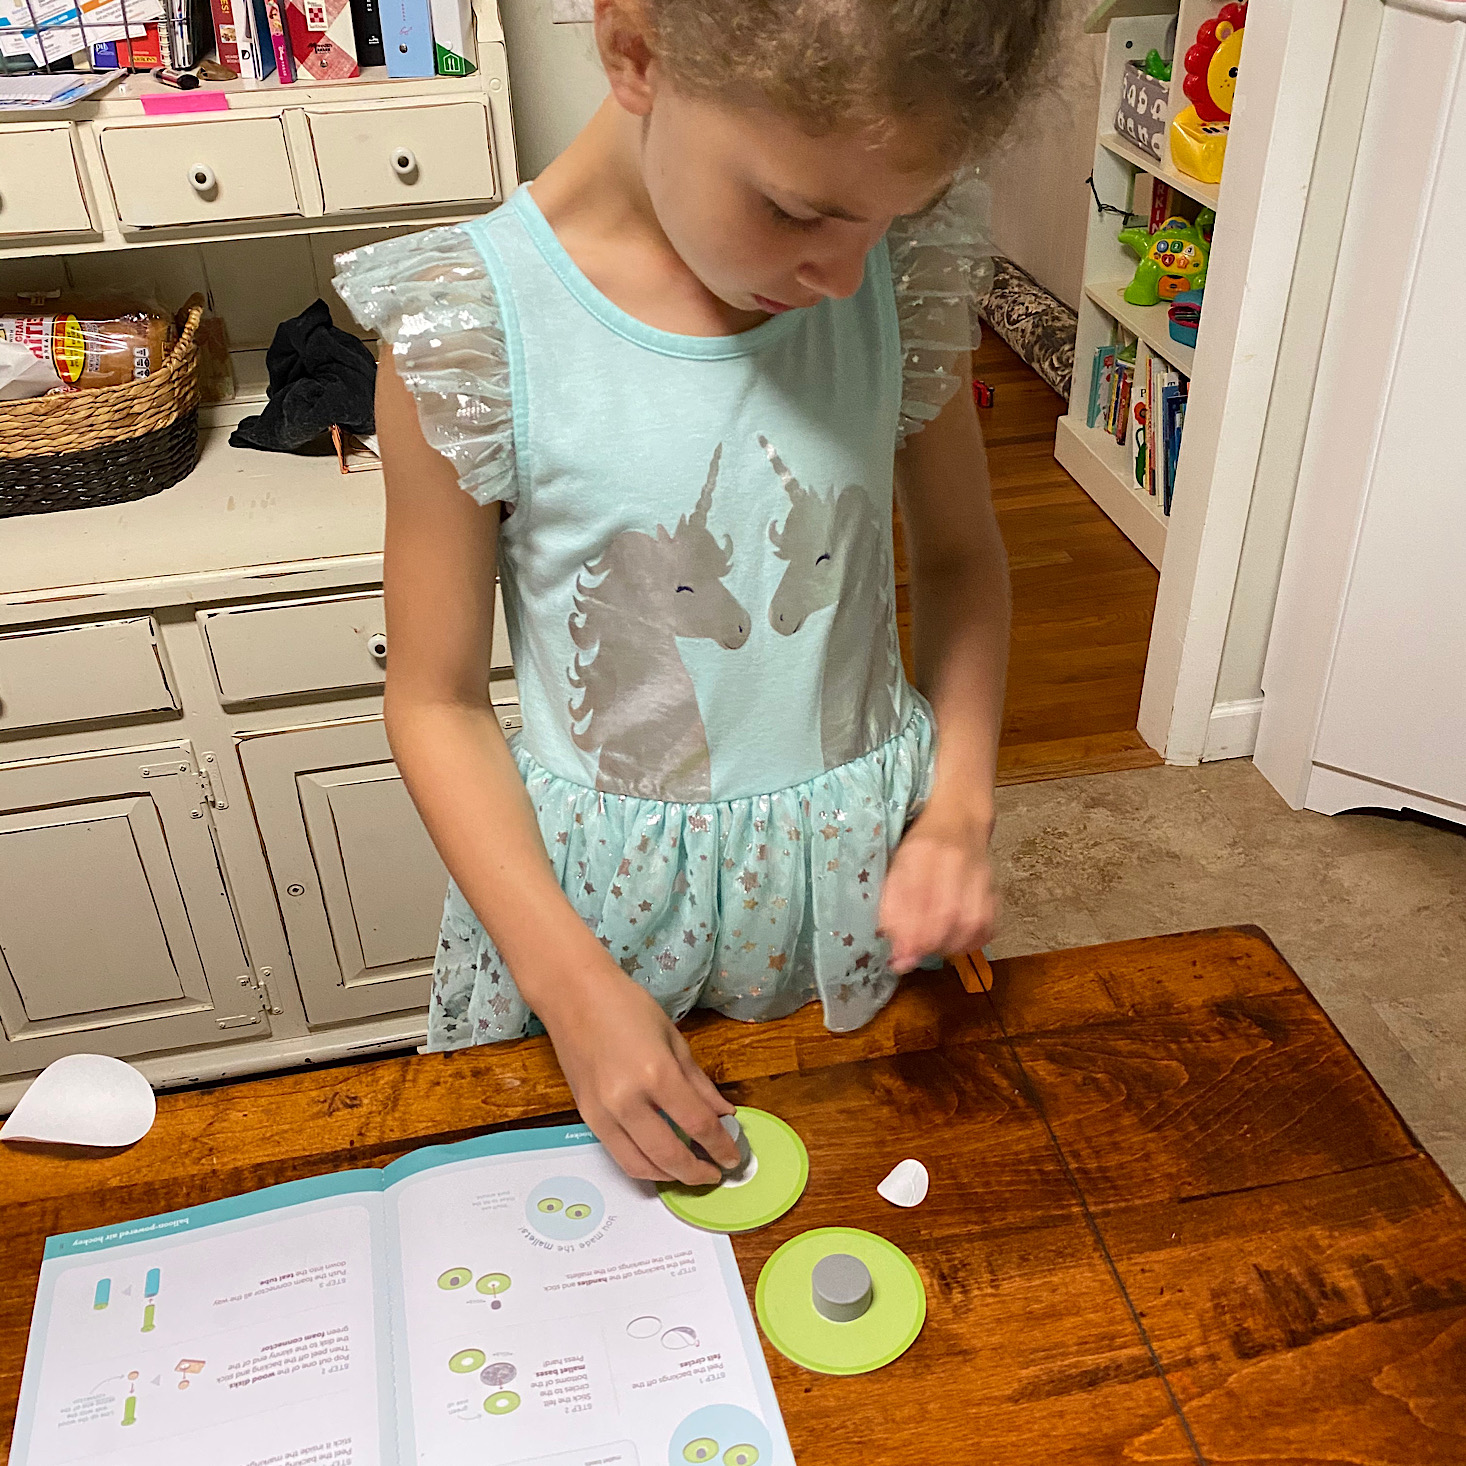
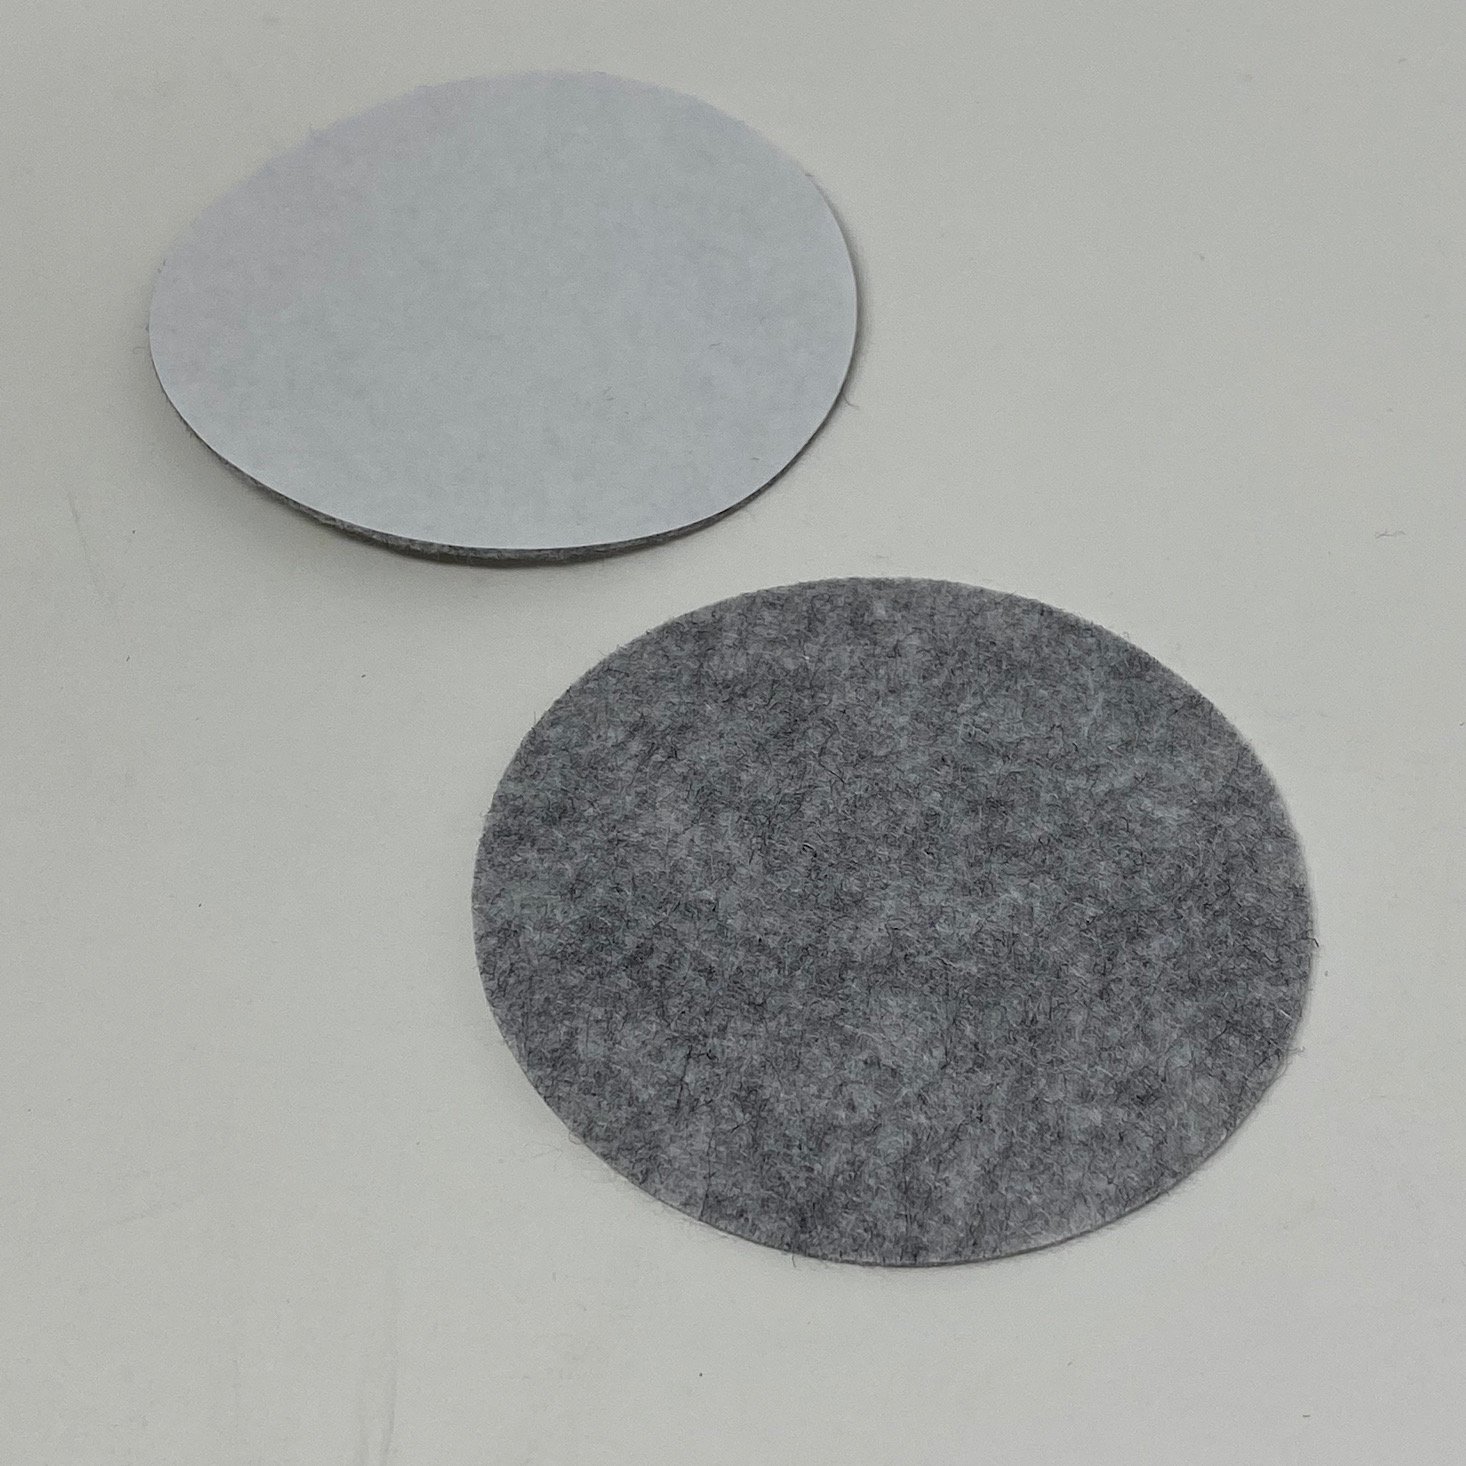
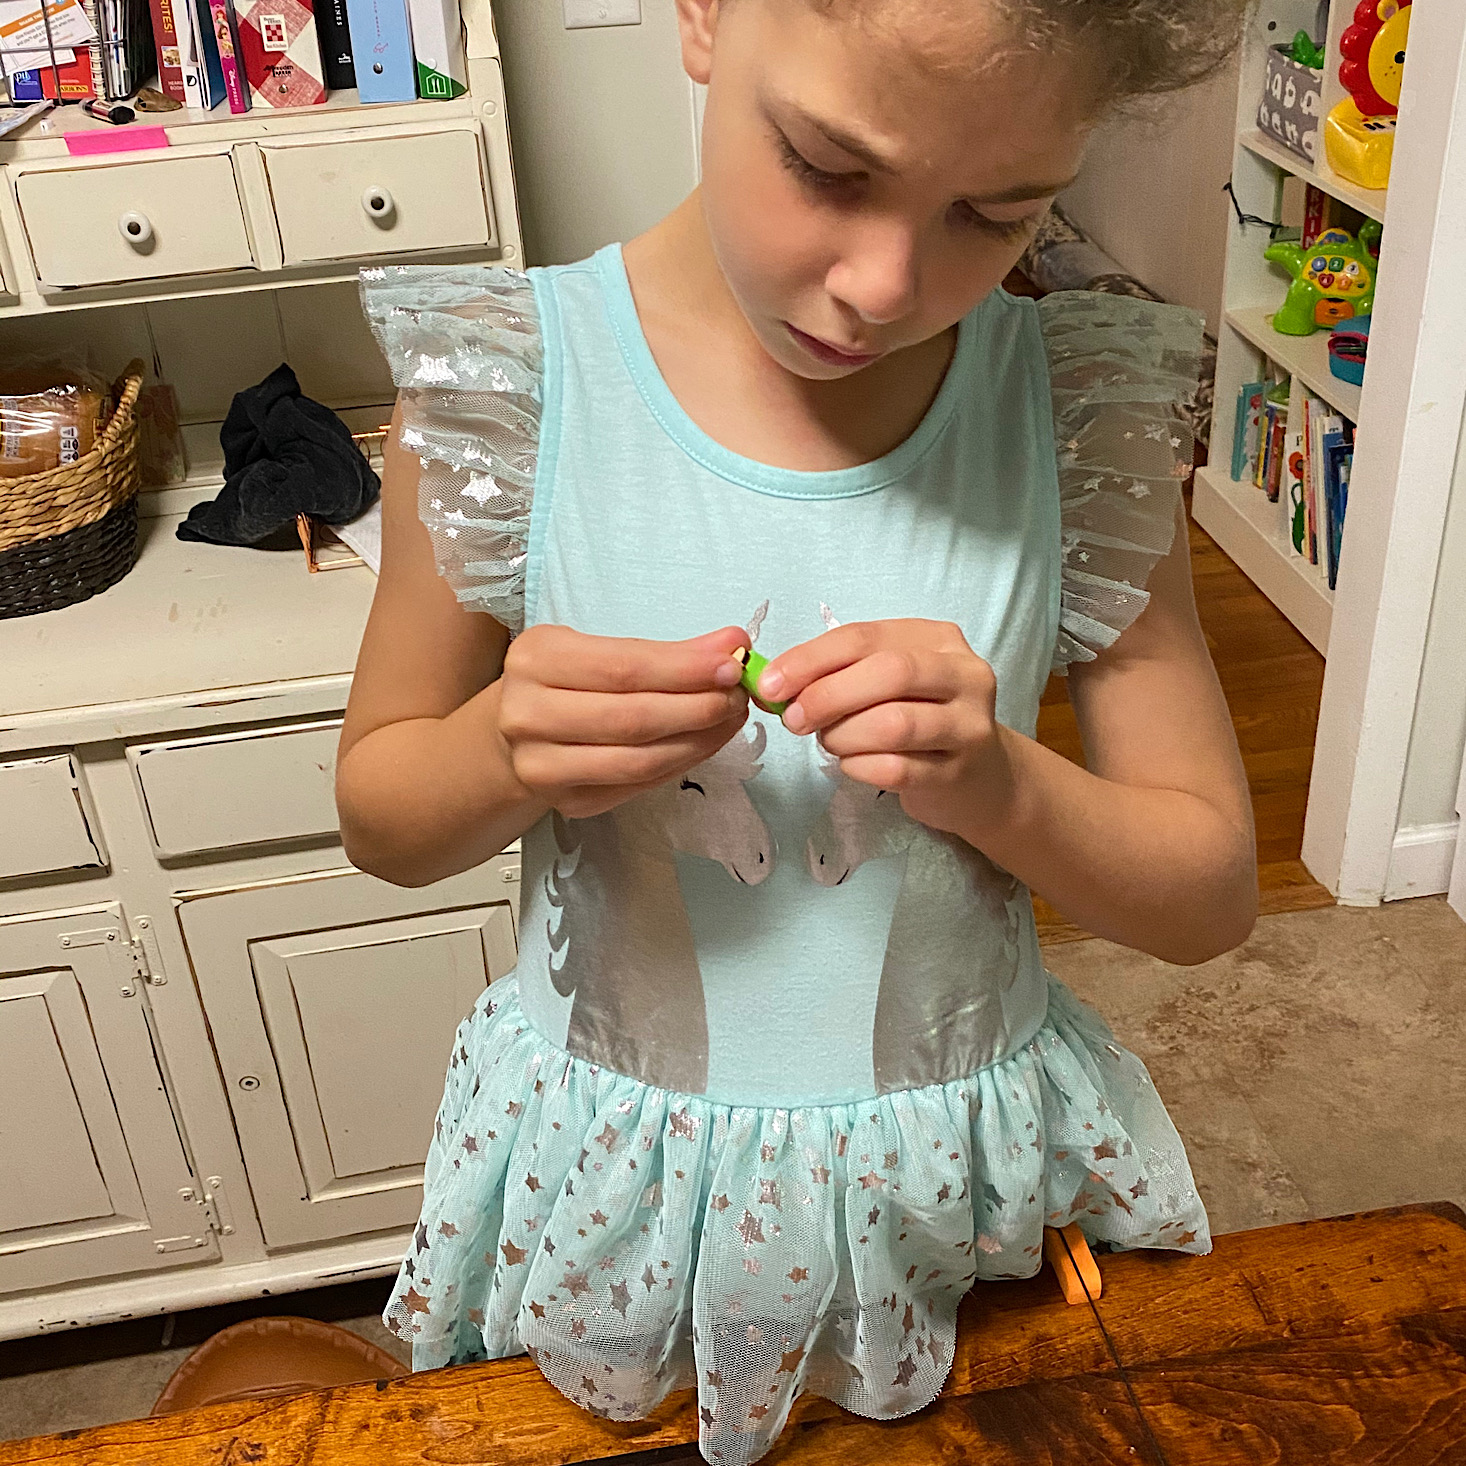
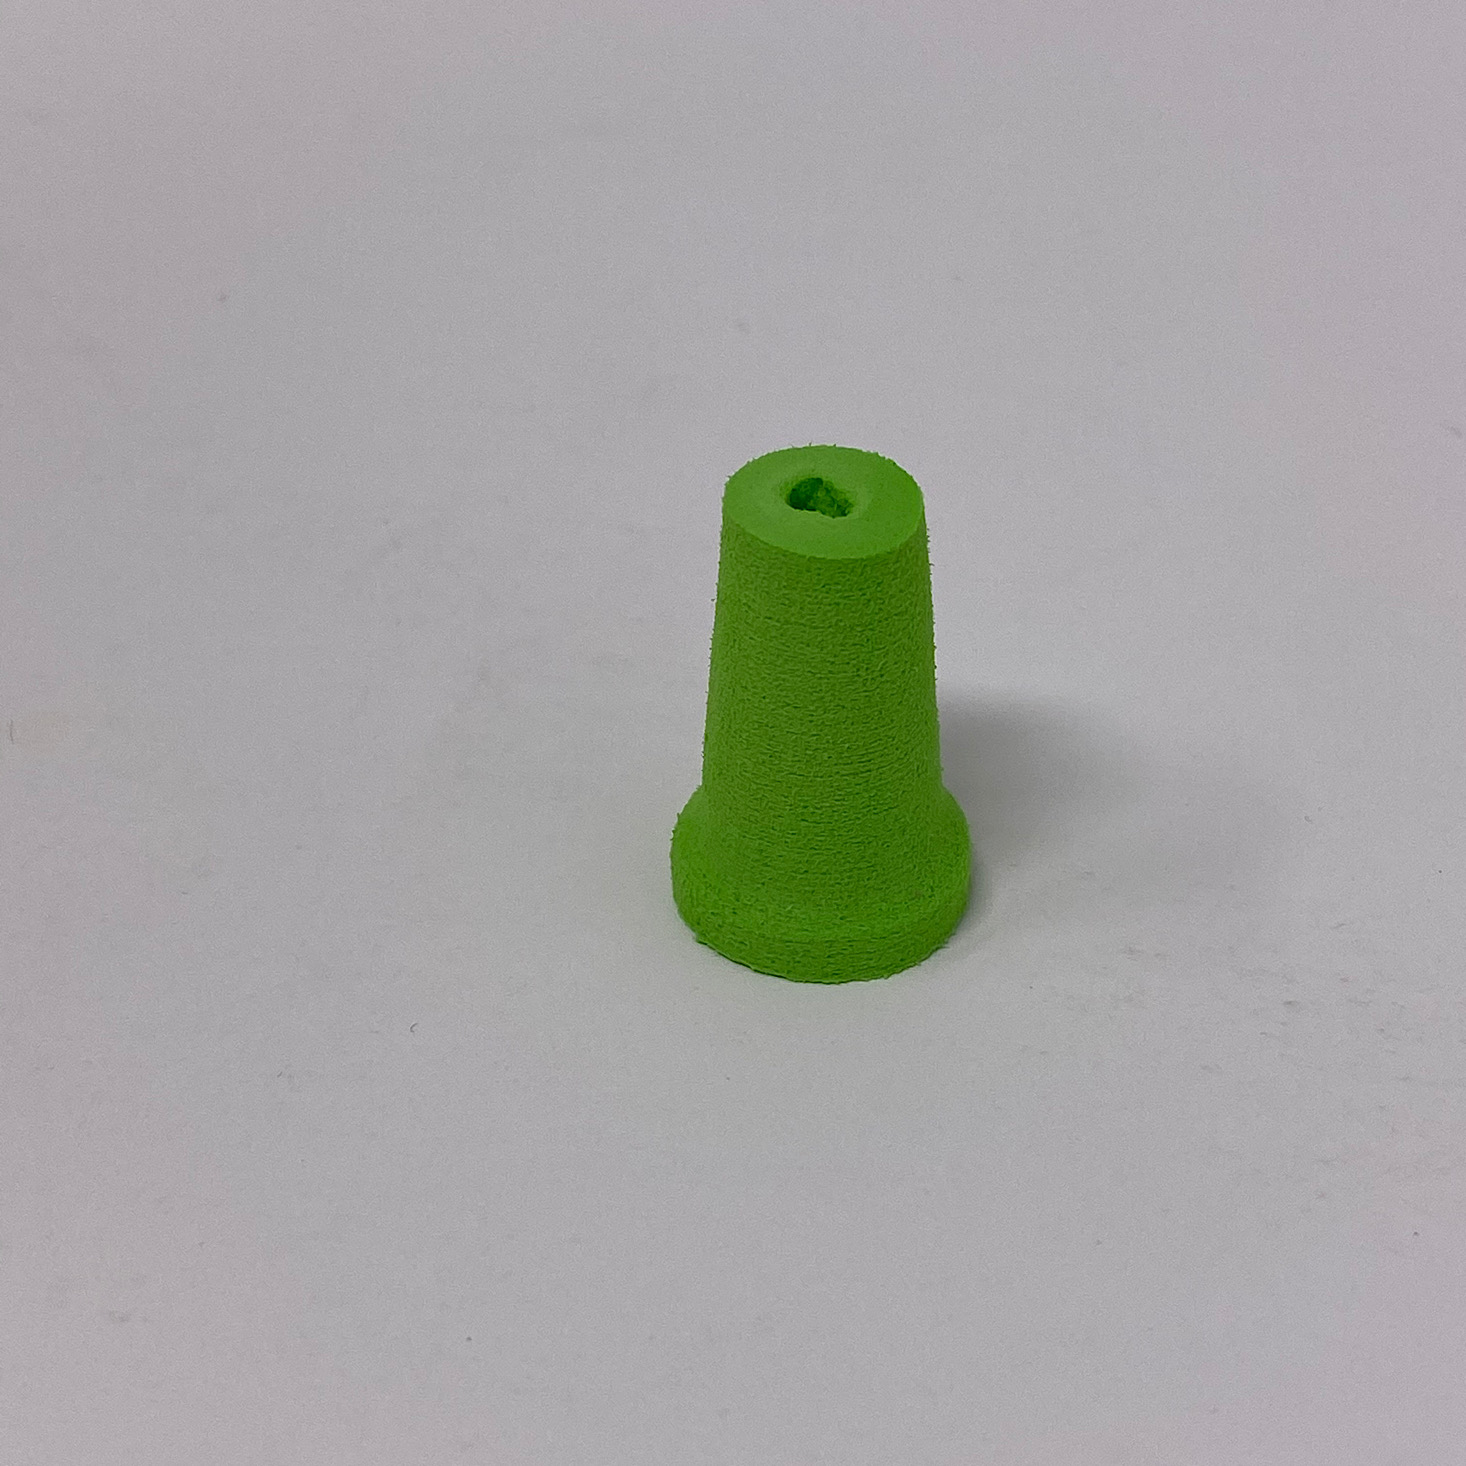
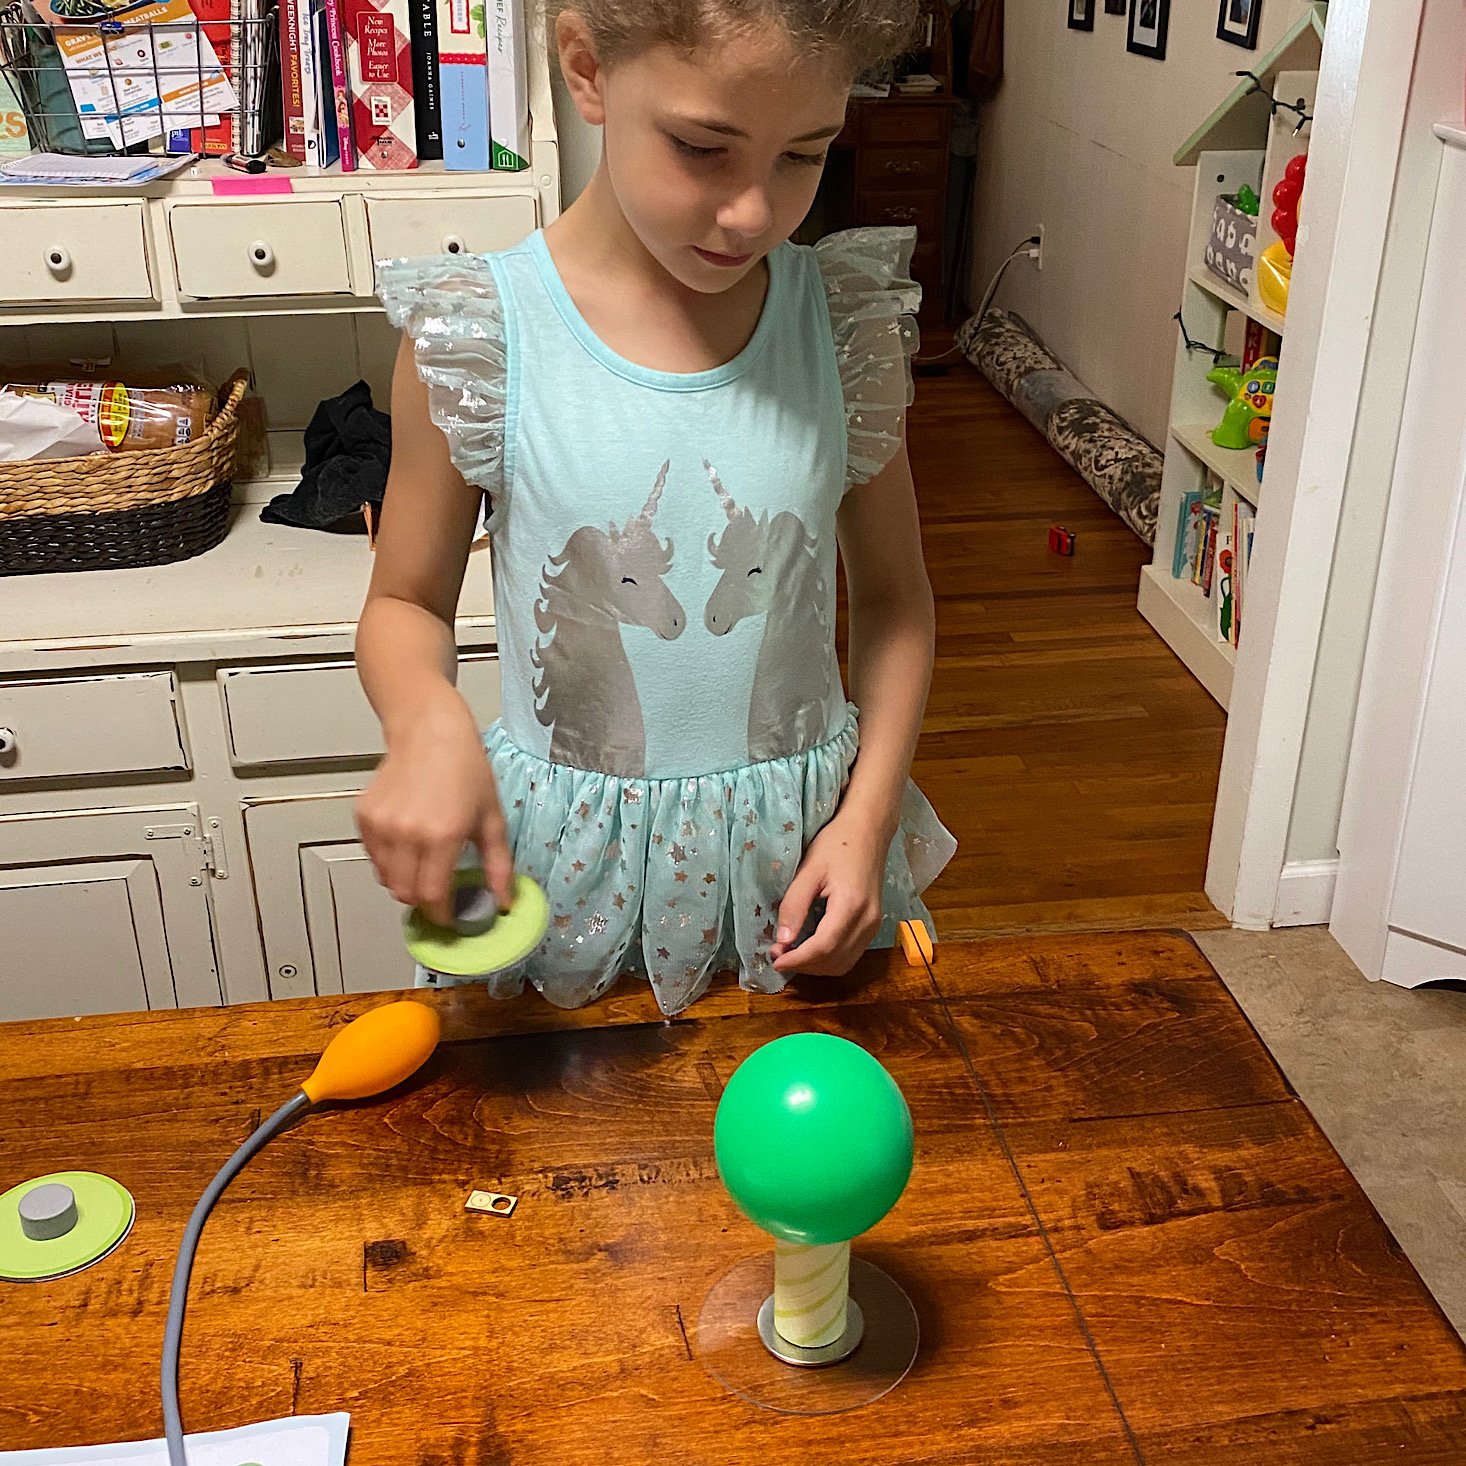
Assembling the mallets was super easy. She just had to add the felt circles to the bottom of the green circles and then place the foam handles on top in the marked white circle.
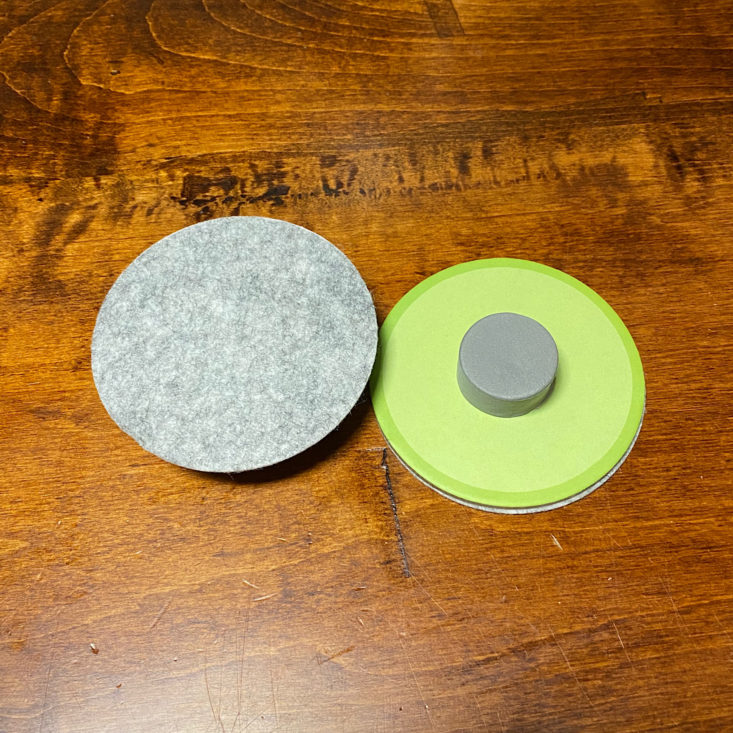
Here are our two mallets ready to go.
Part C: Construct the Puck
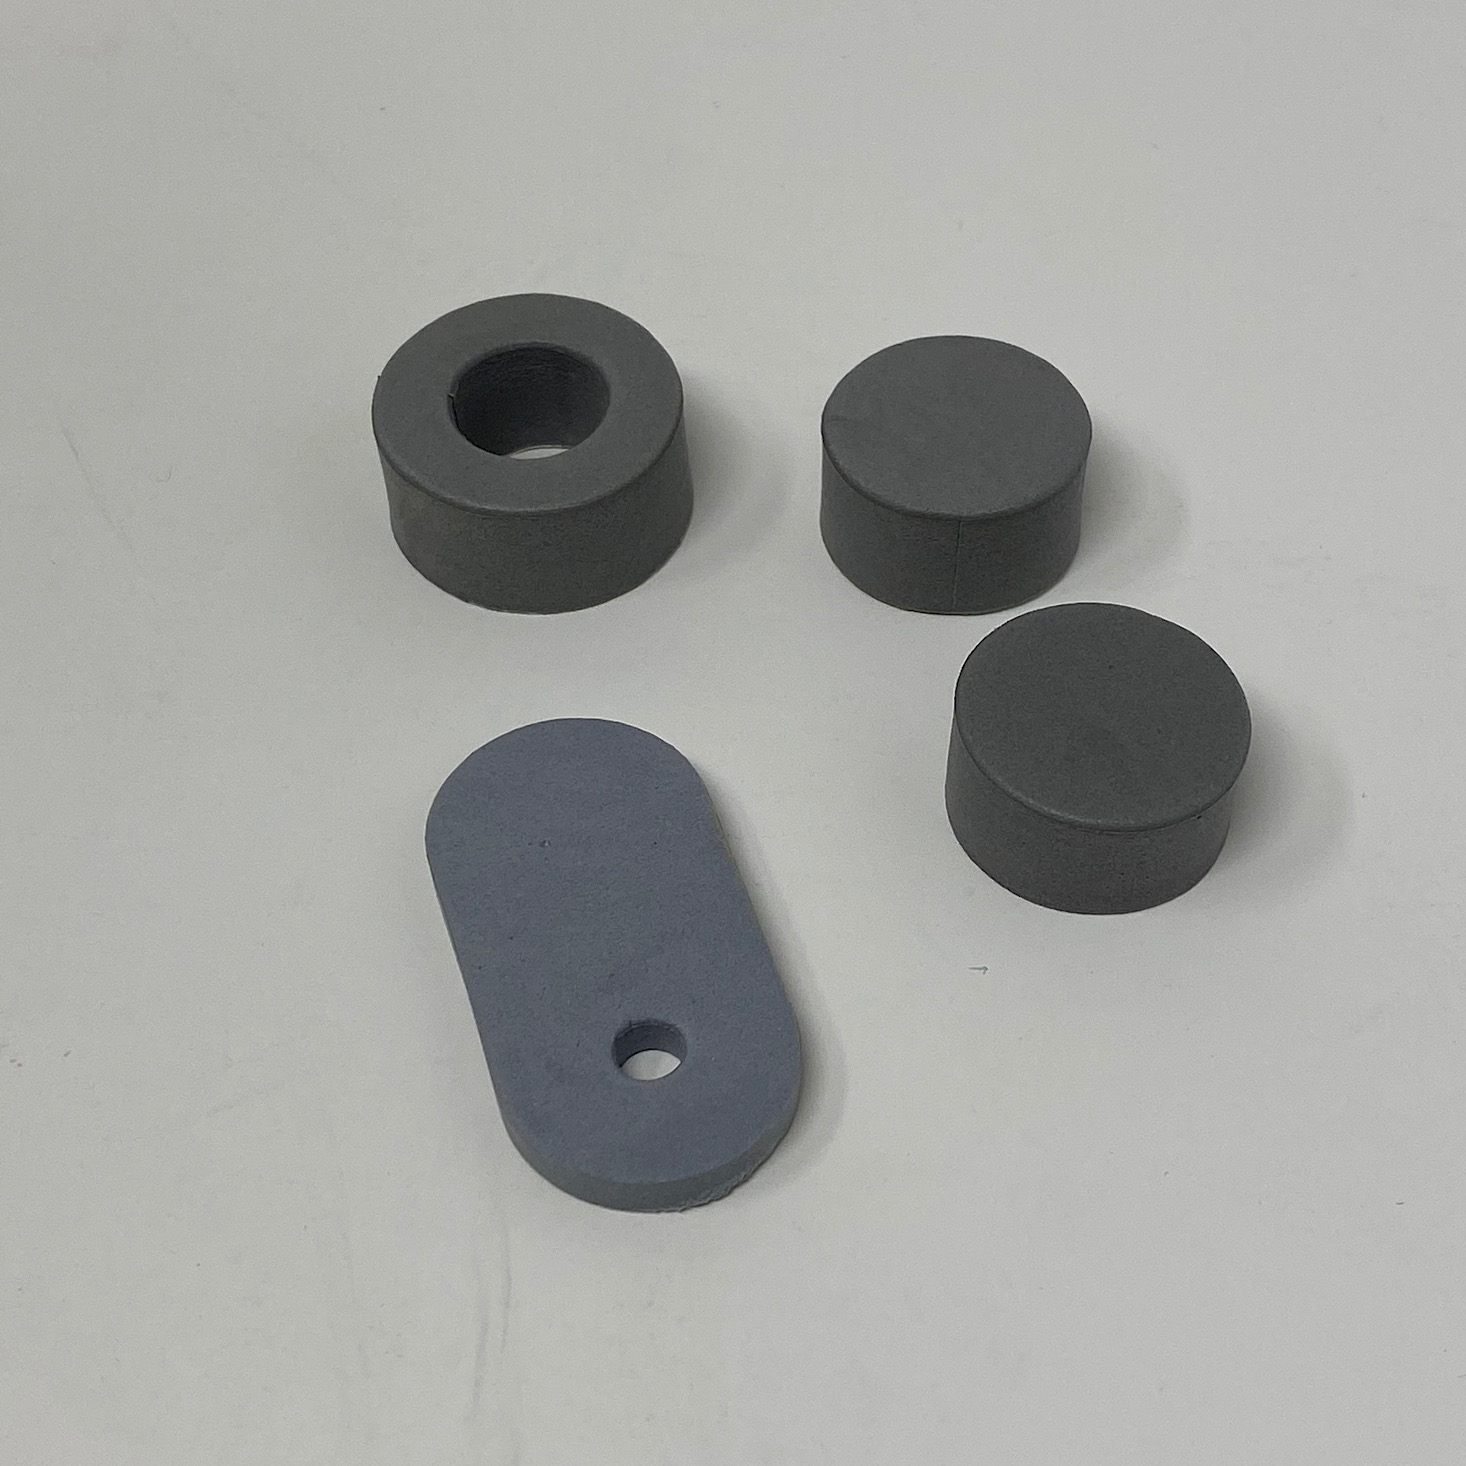
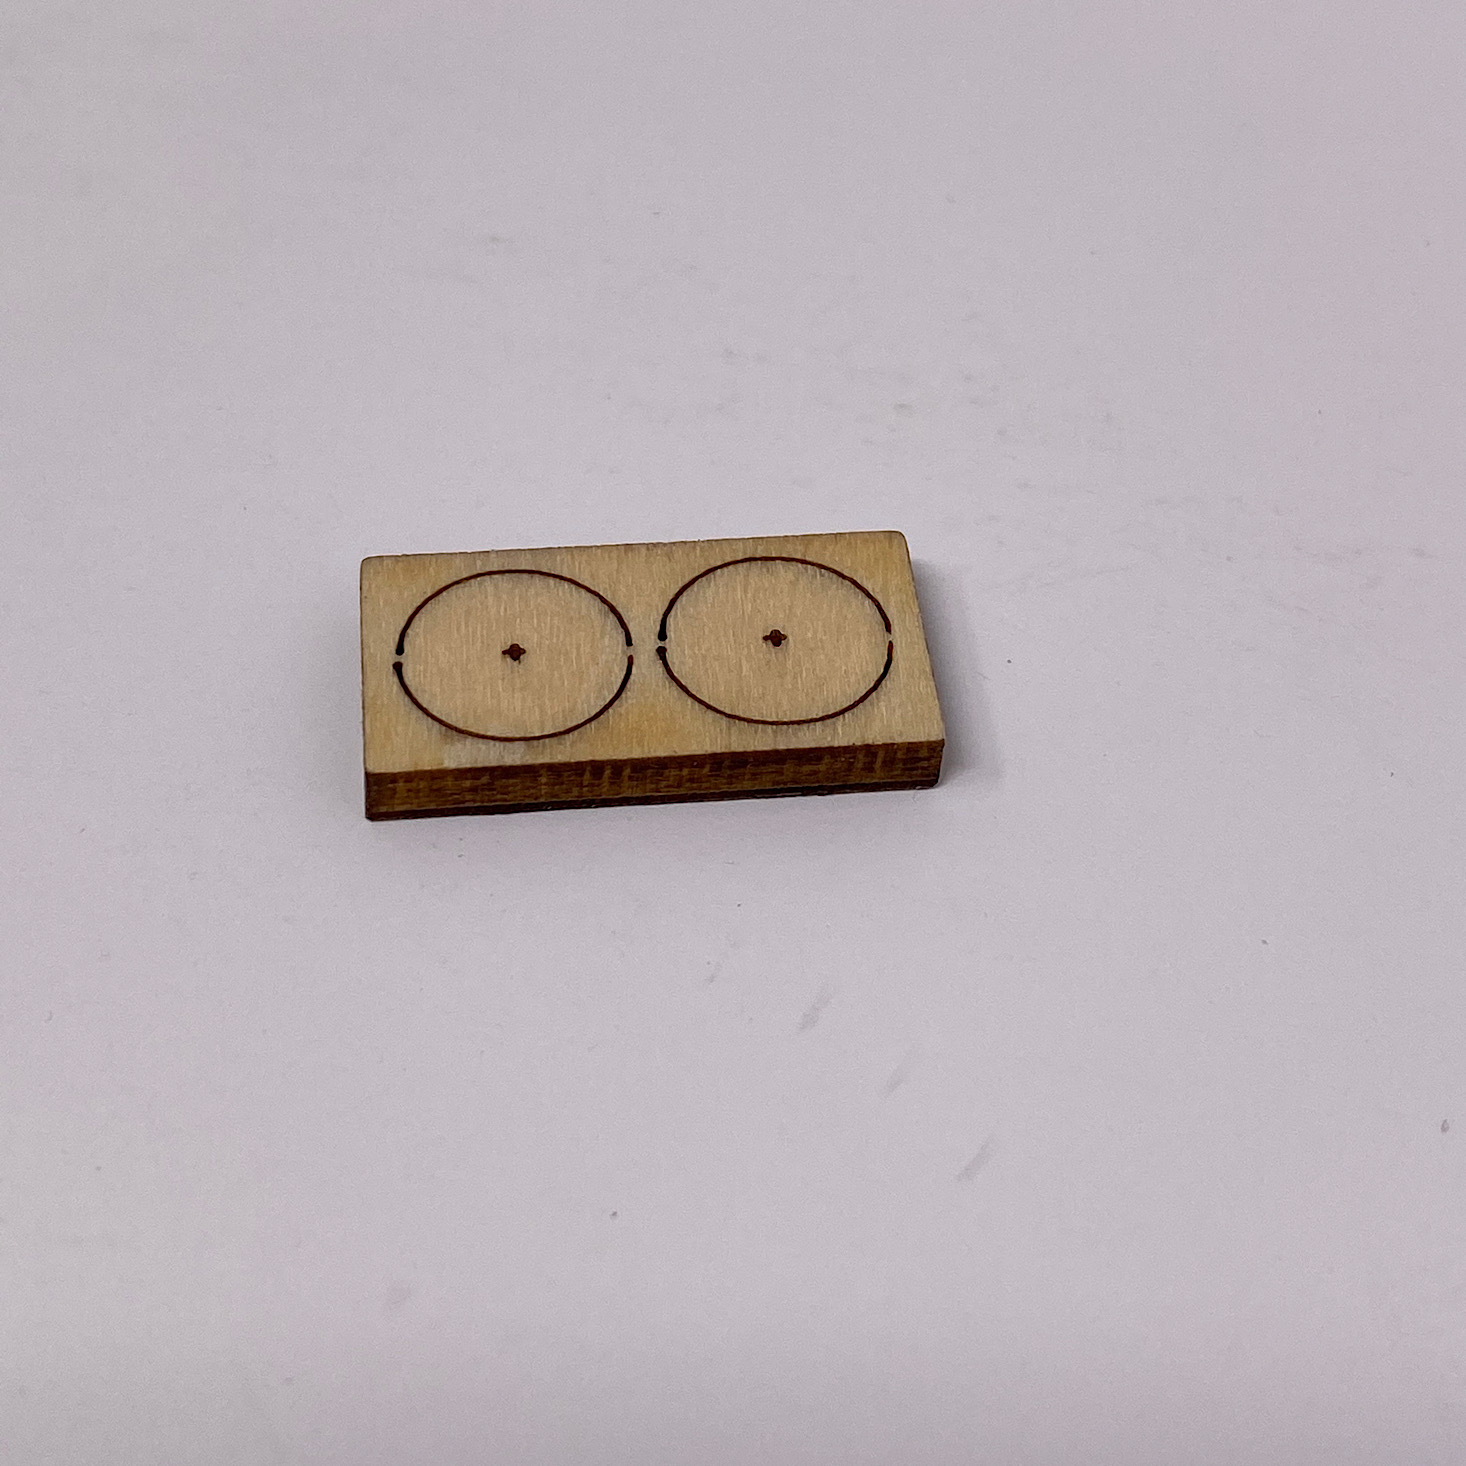
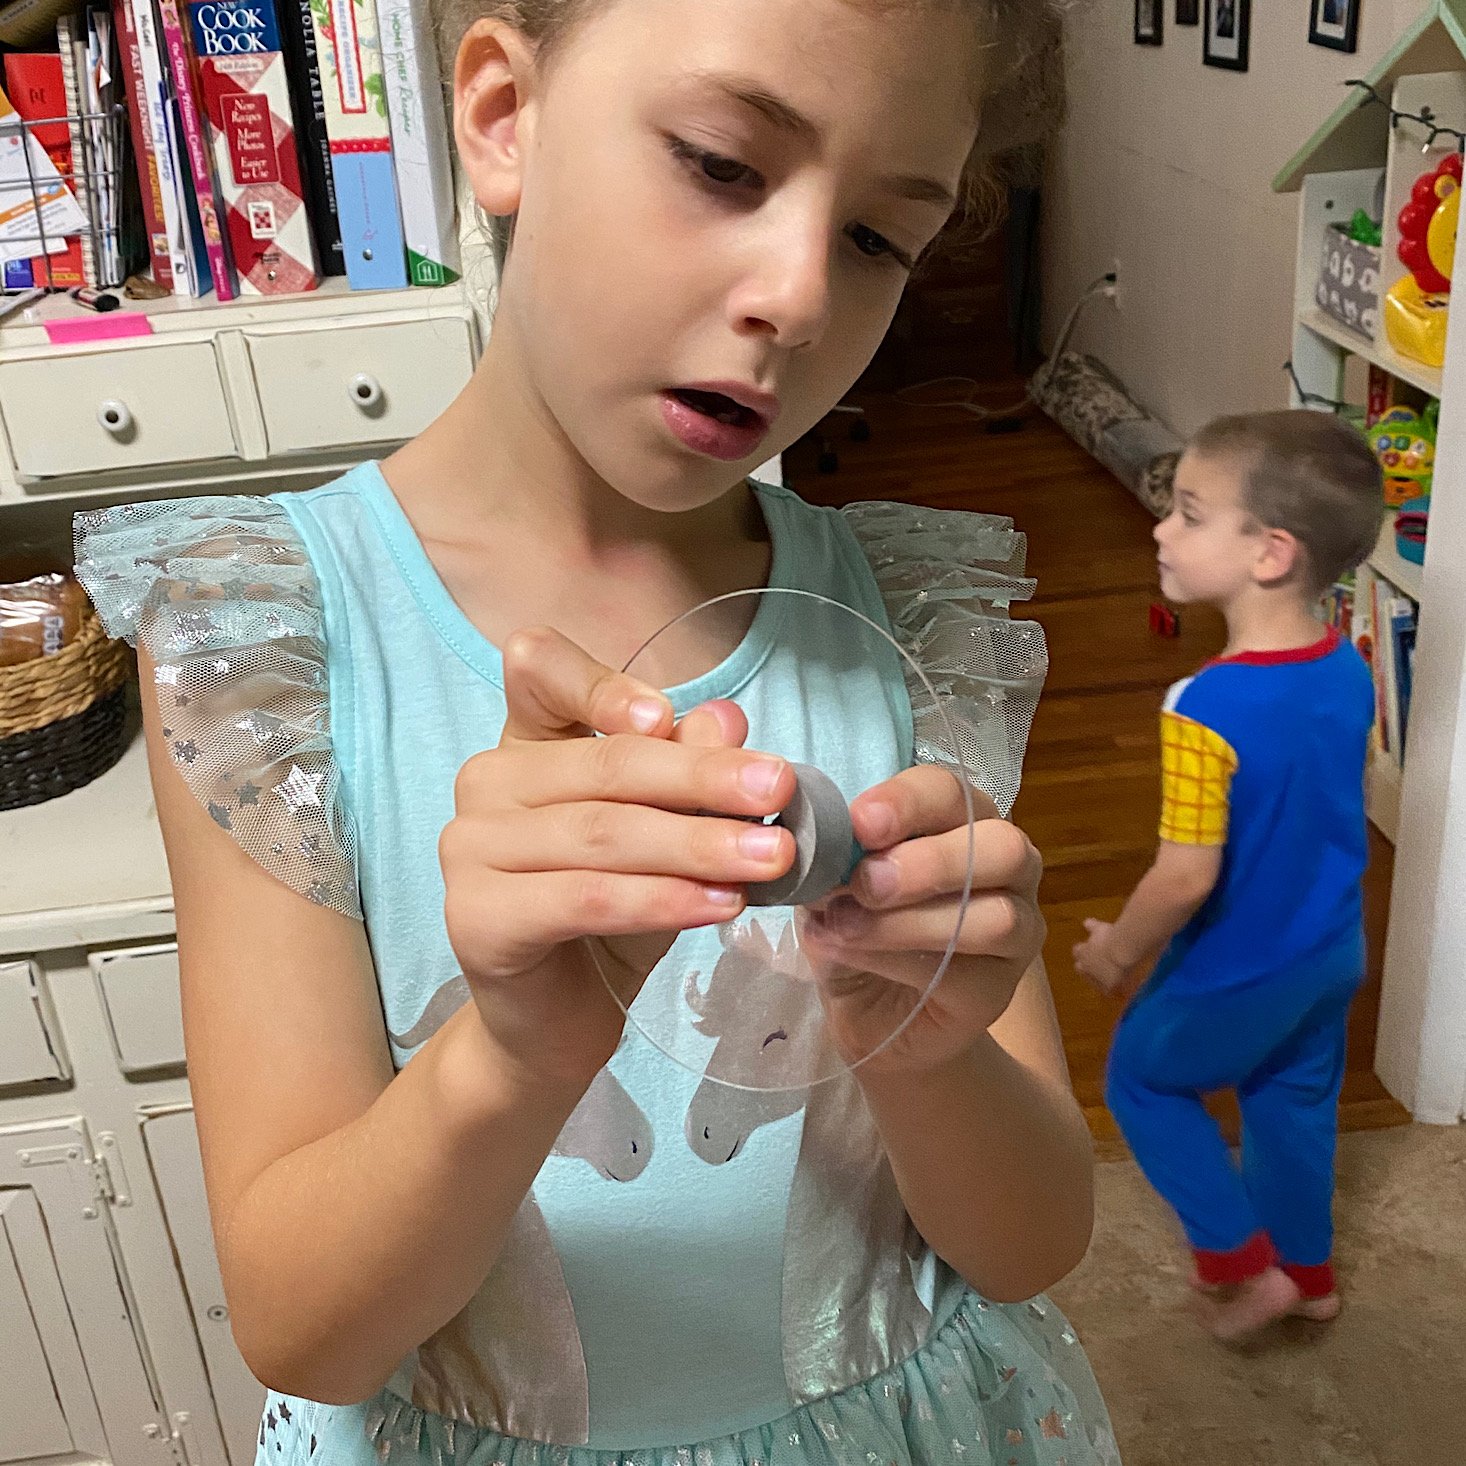
Now it was time to make our puck. First, she placed a big foam donut onto the center of the plastic circle, then she added a small wooden circle to the bottom of the green foam piece.
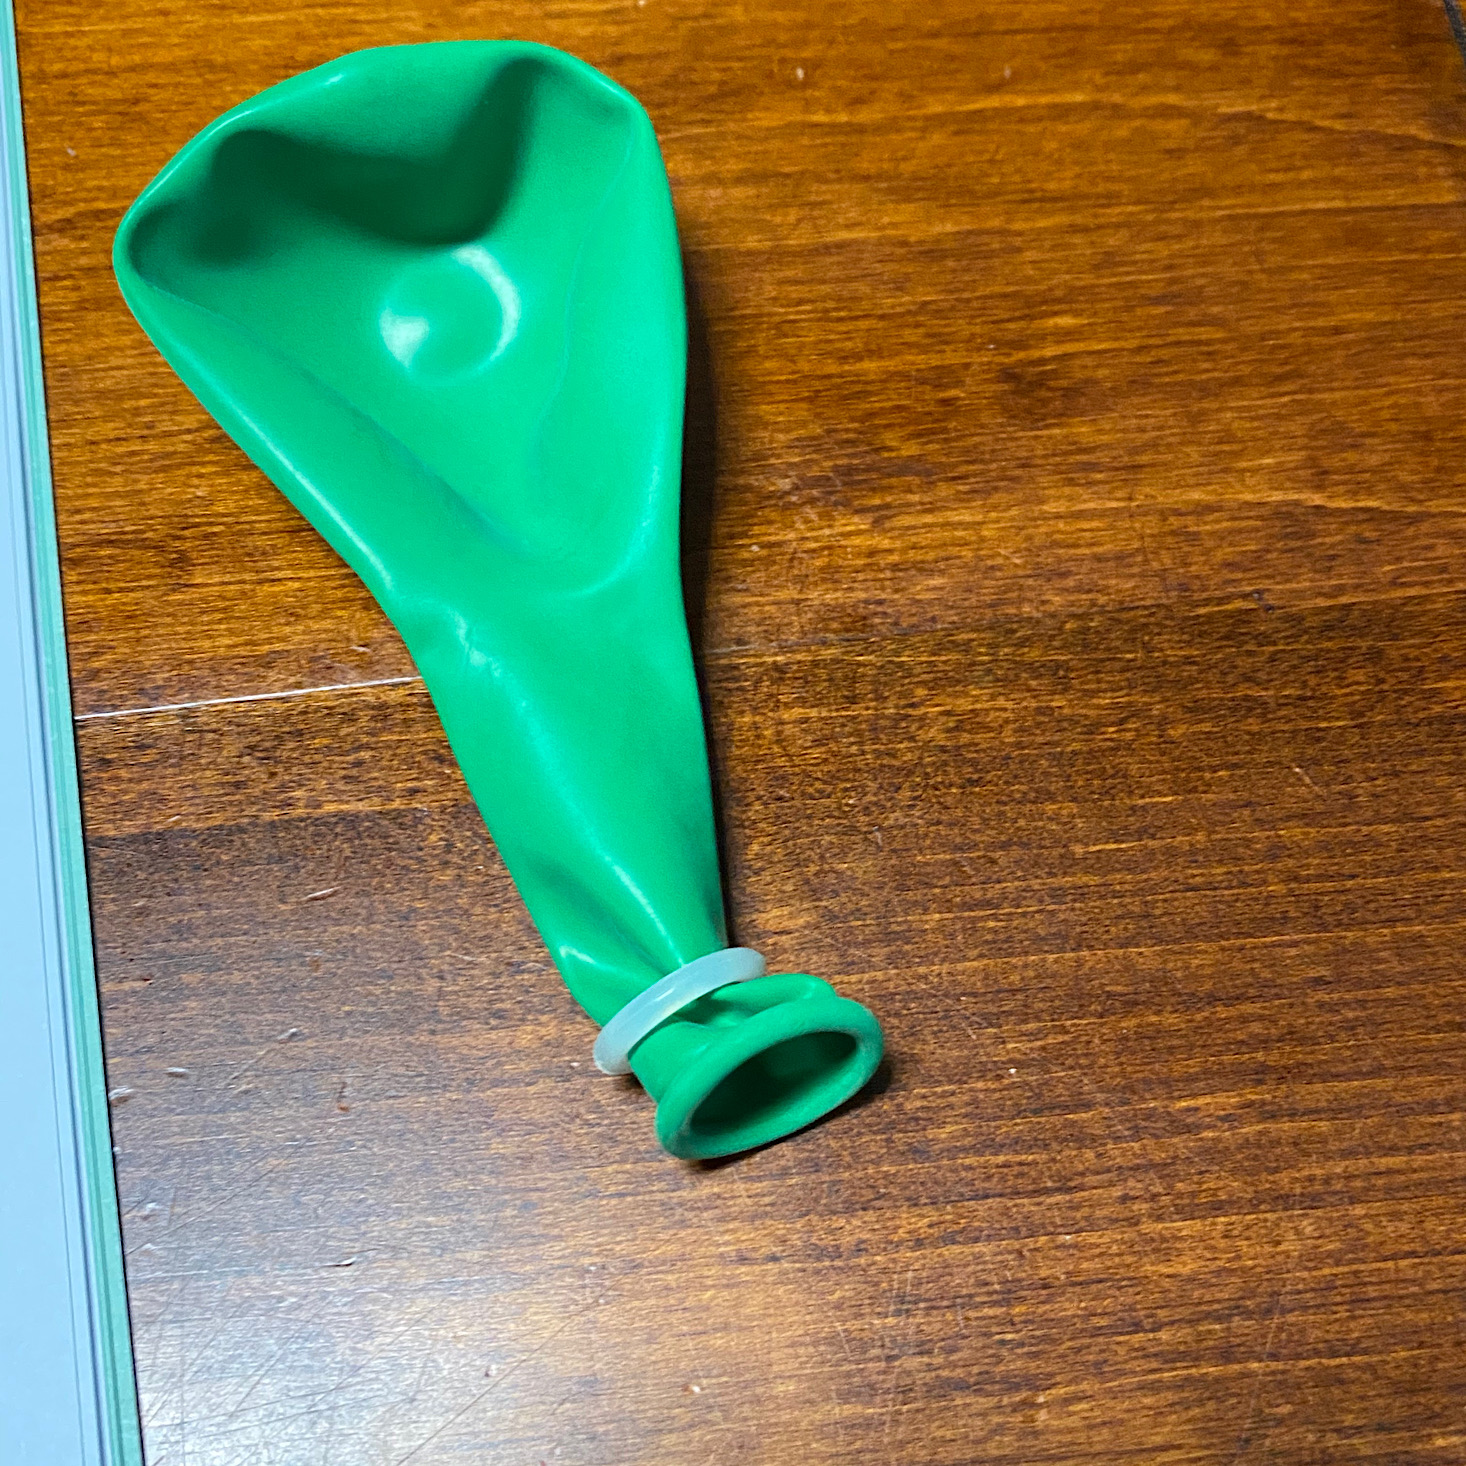
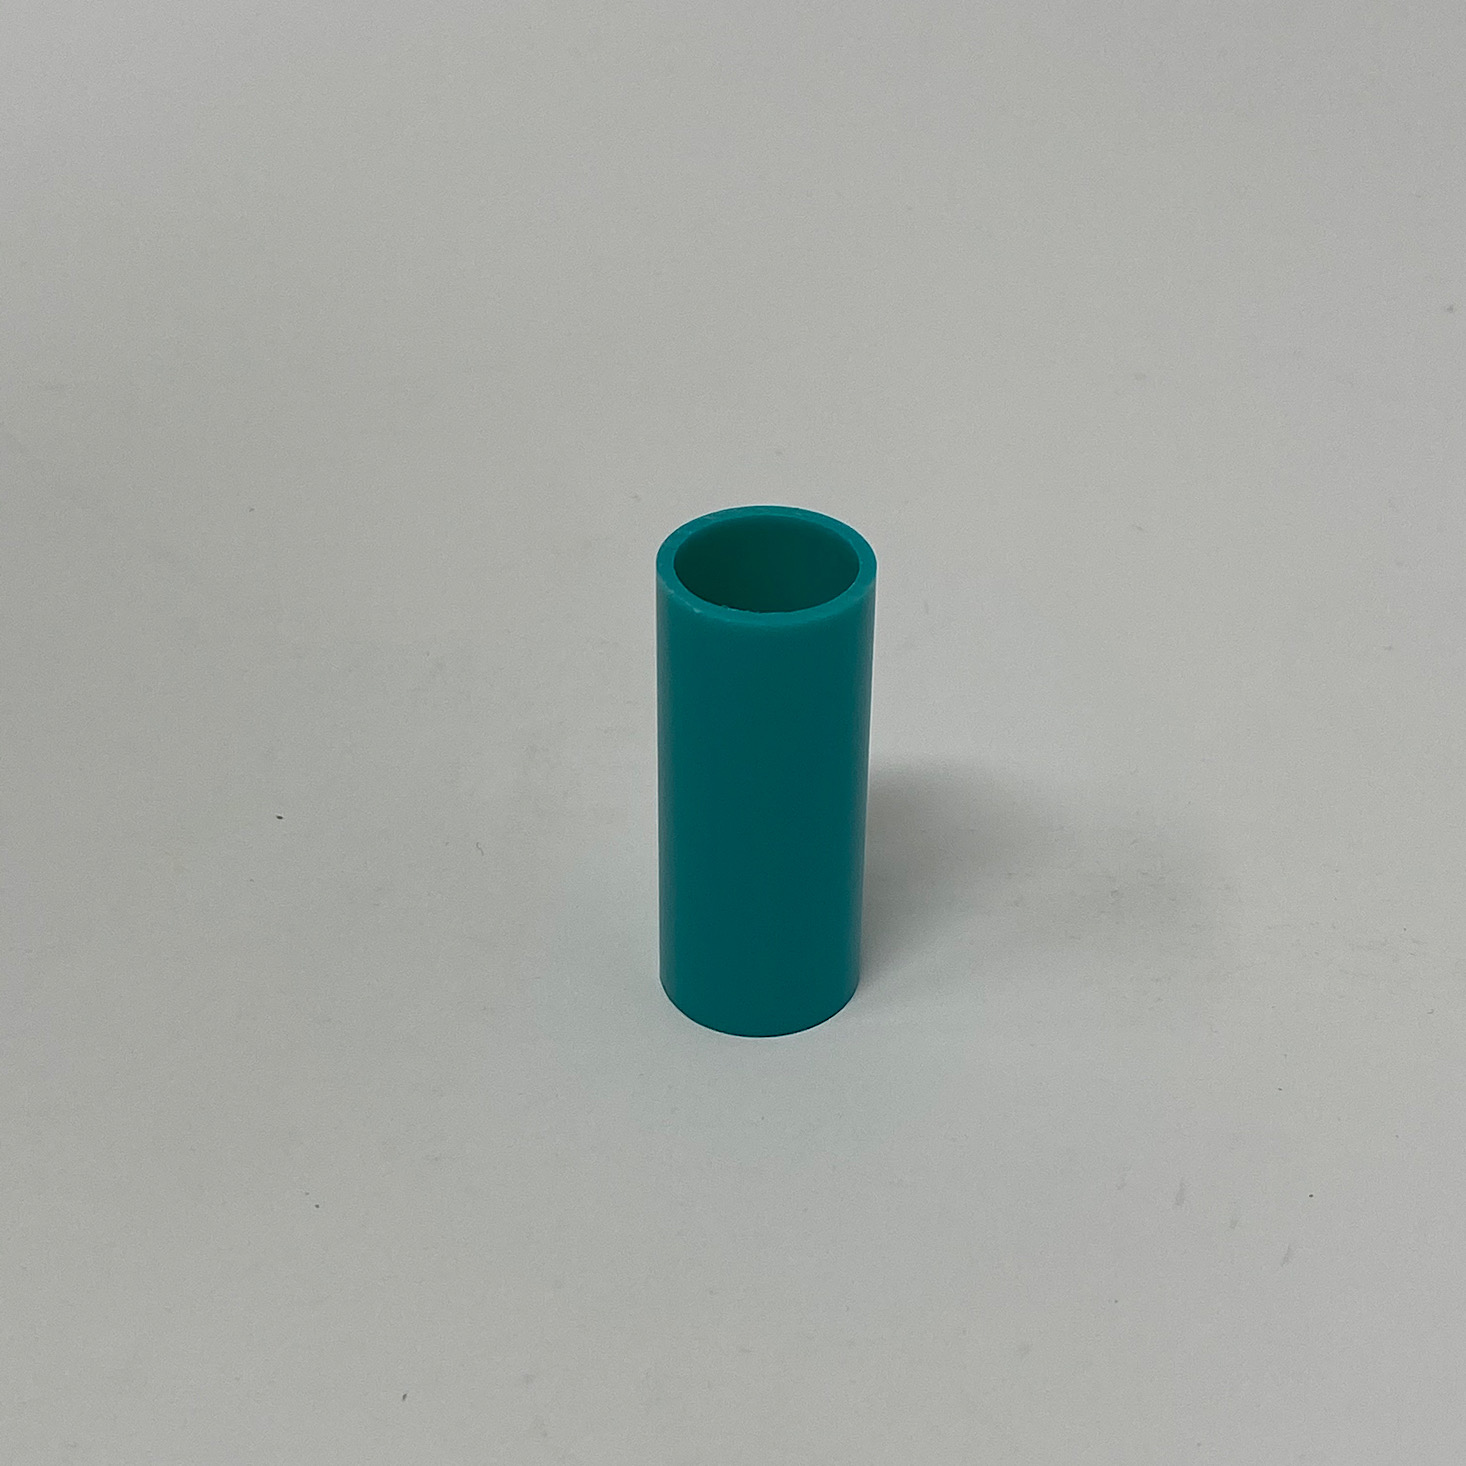
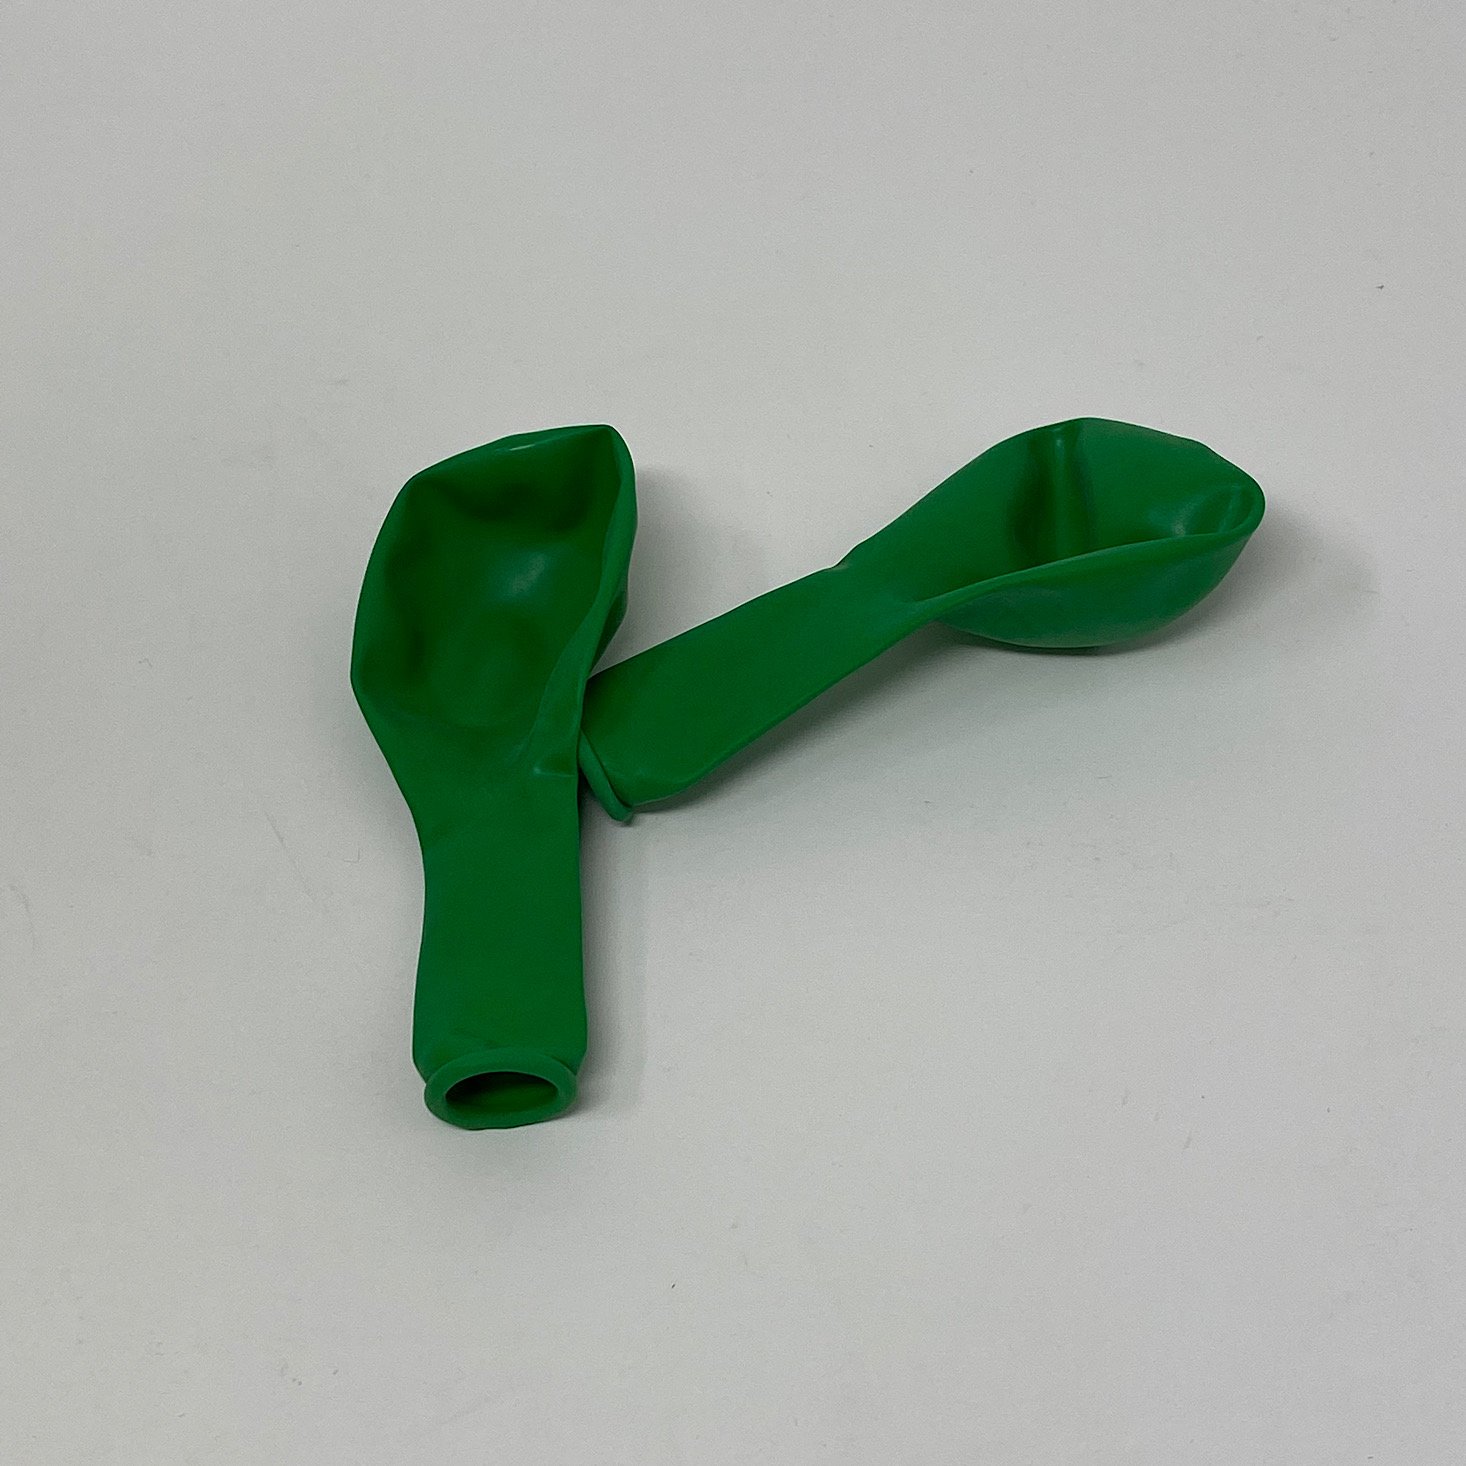
Then she slipped the green foam piece into the teal tube while I slipped a rubber ring around the end of a balloon.
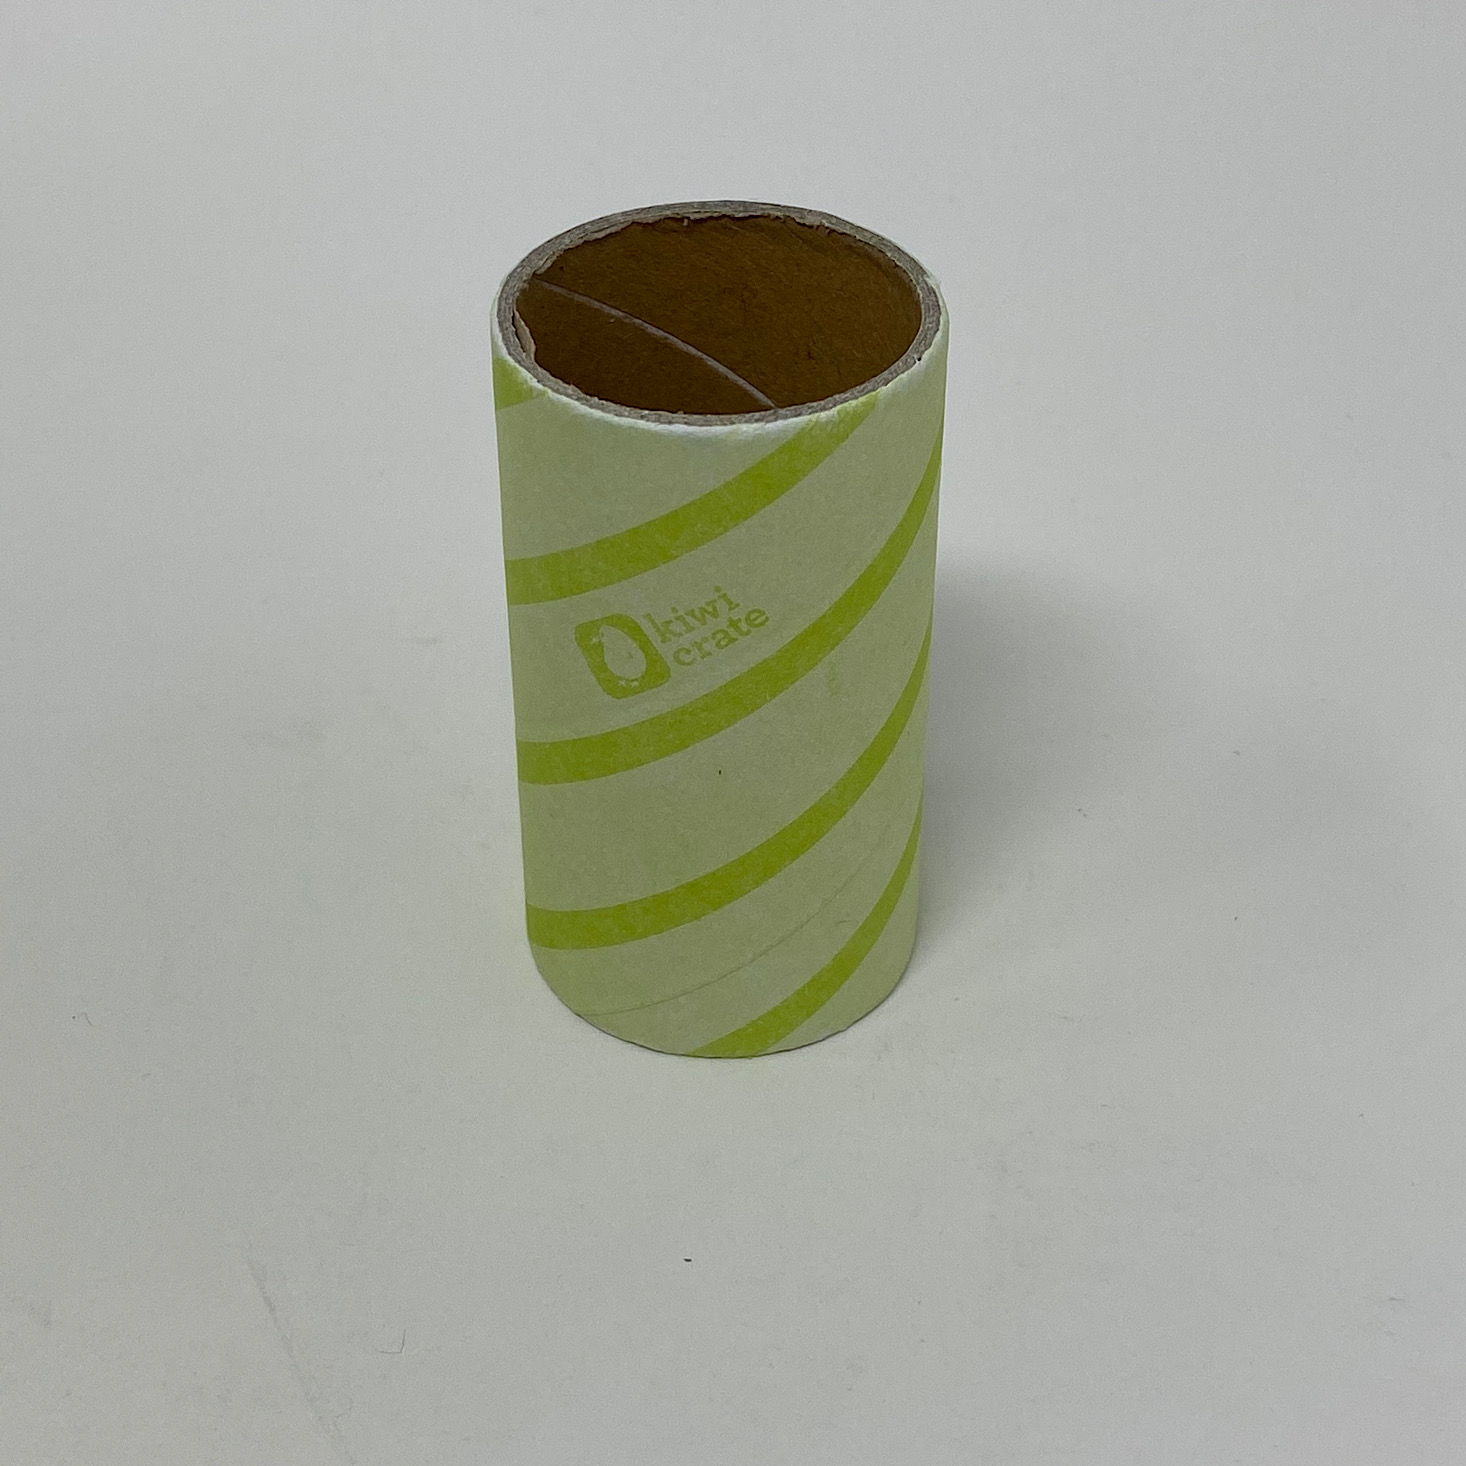
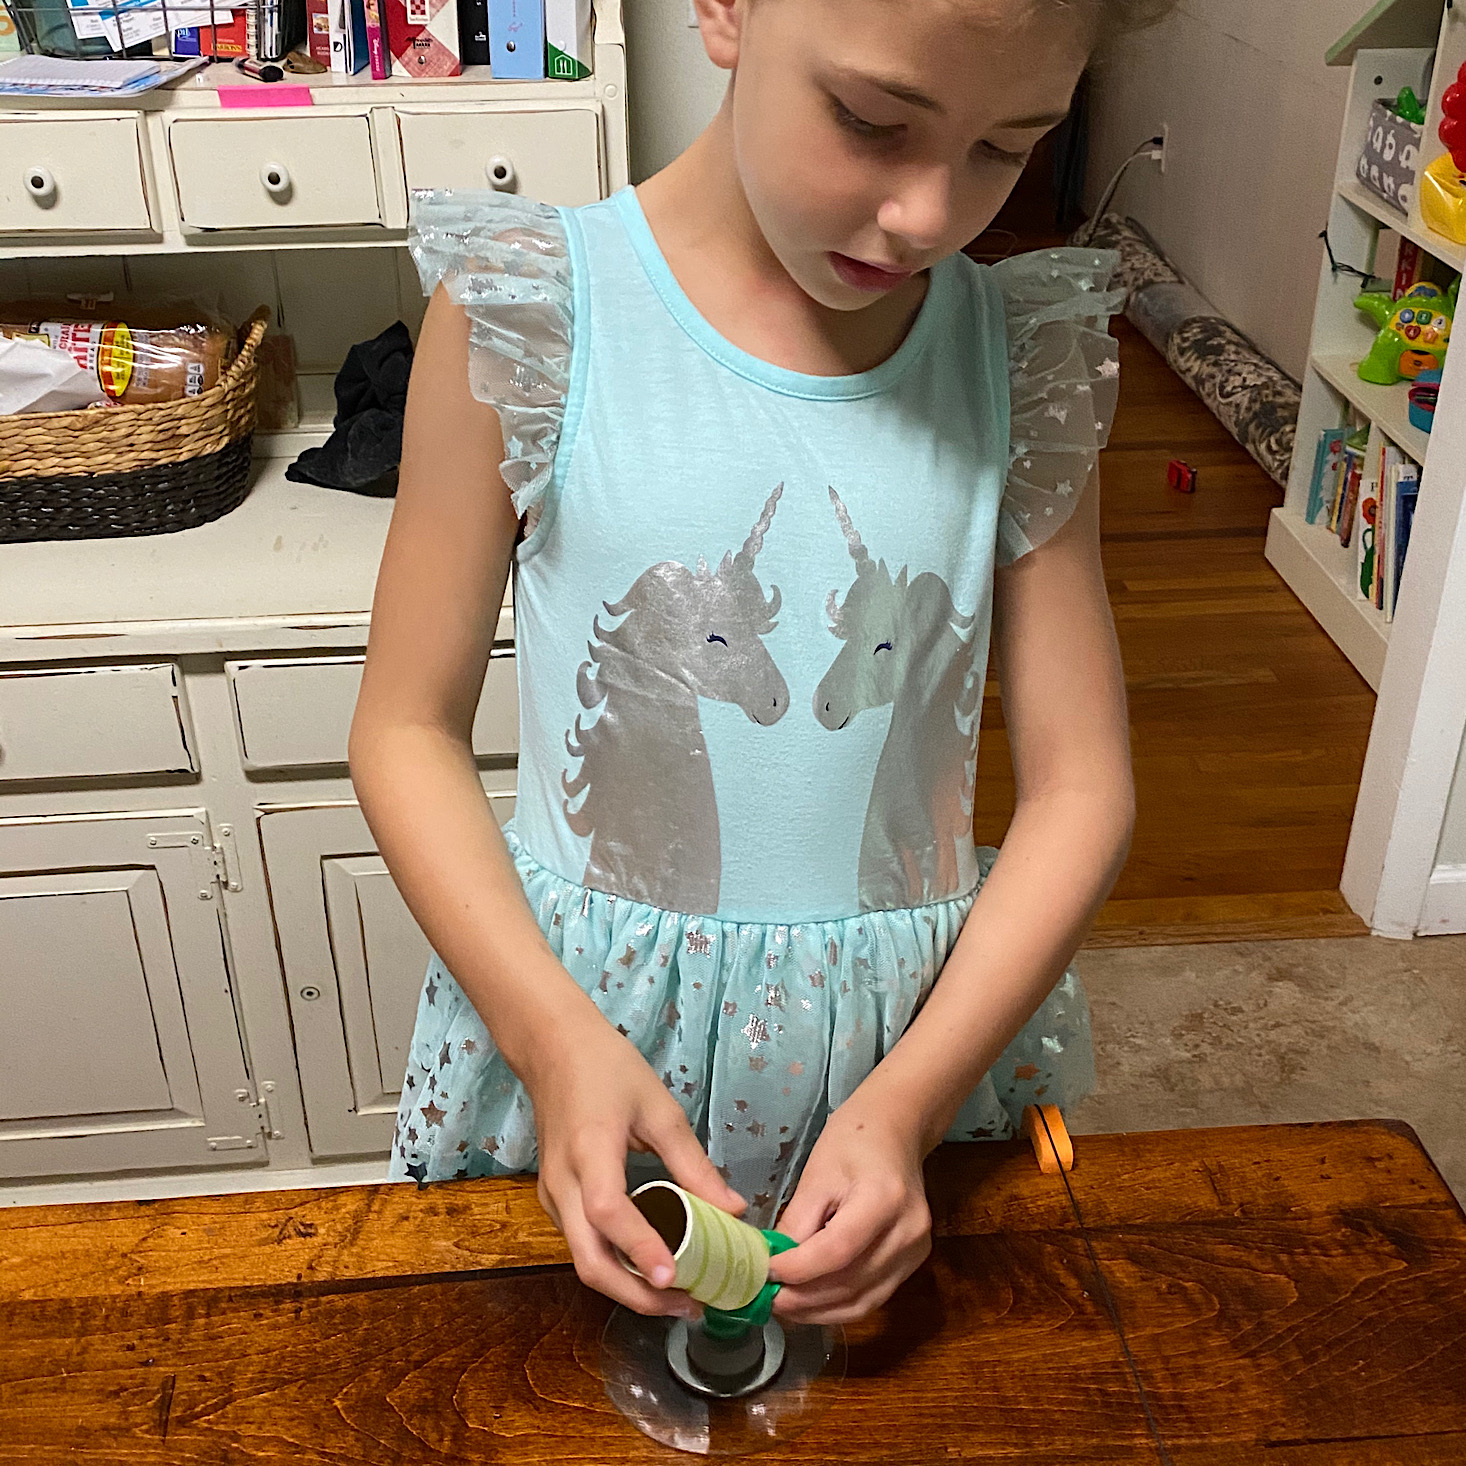
Then she stuck the teal tube into the center of the foam donut on the plastic circle and slipped the end of the balloon over it. Then she added a metal ring and then placed the green cardboard tube over the whole thing.
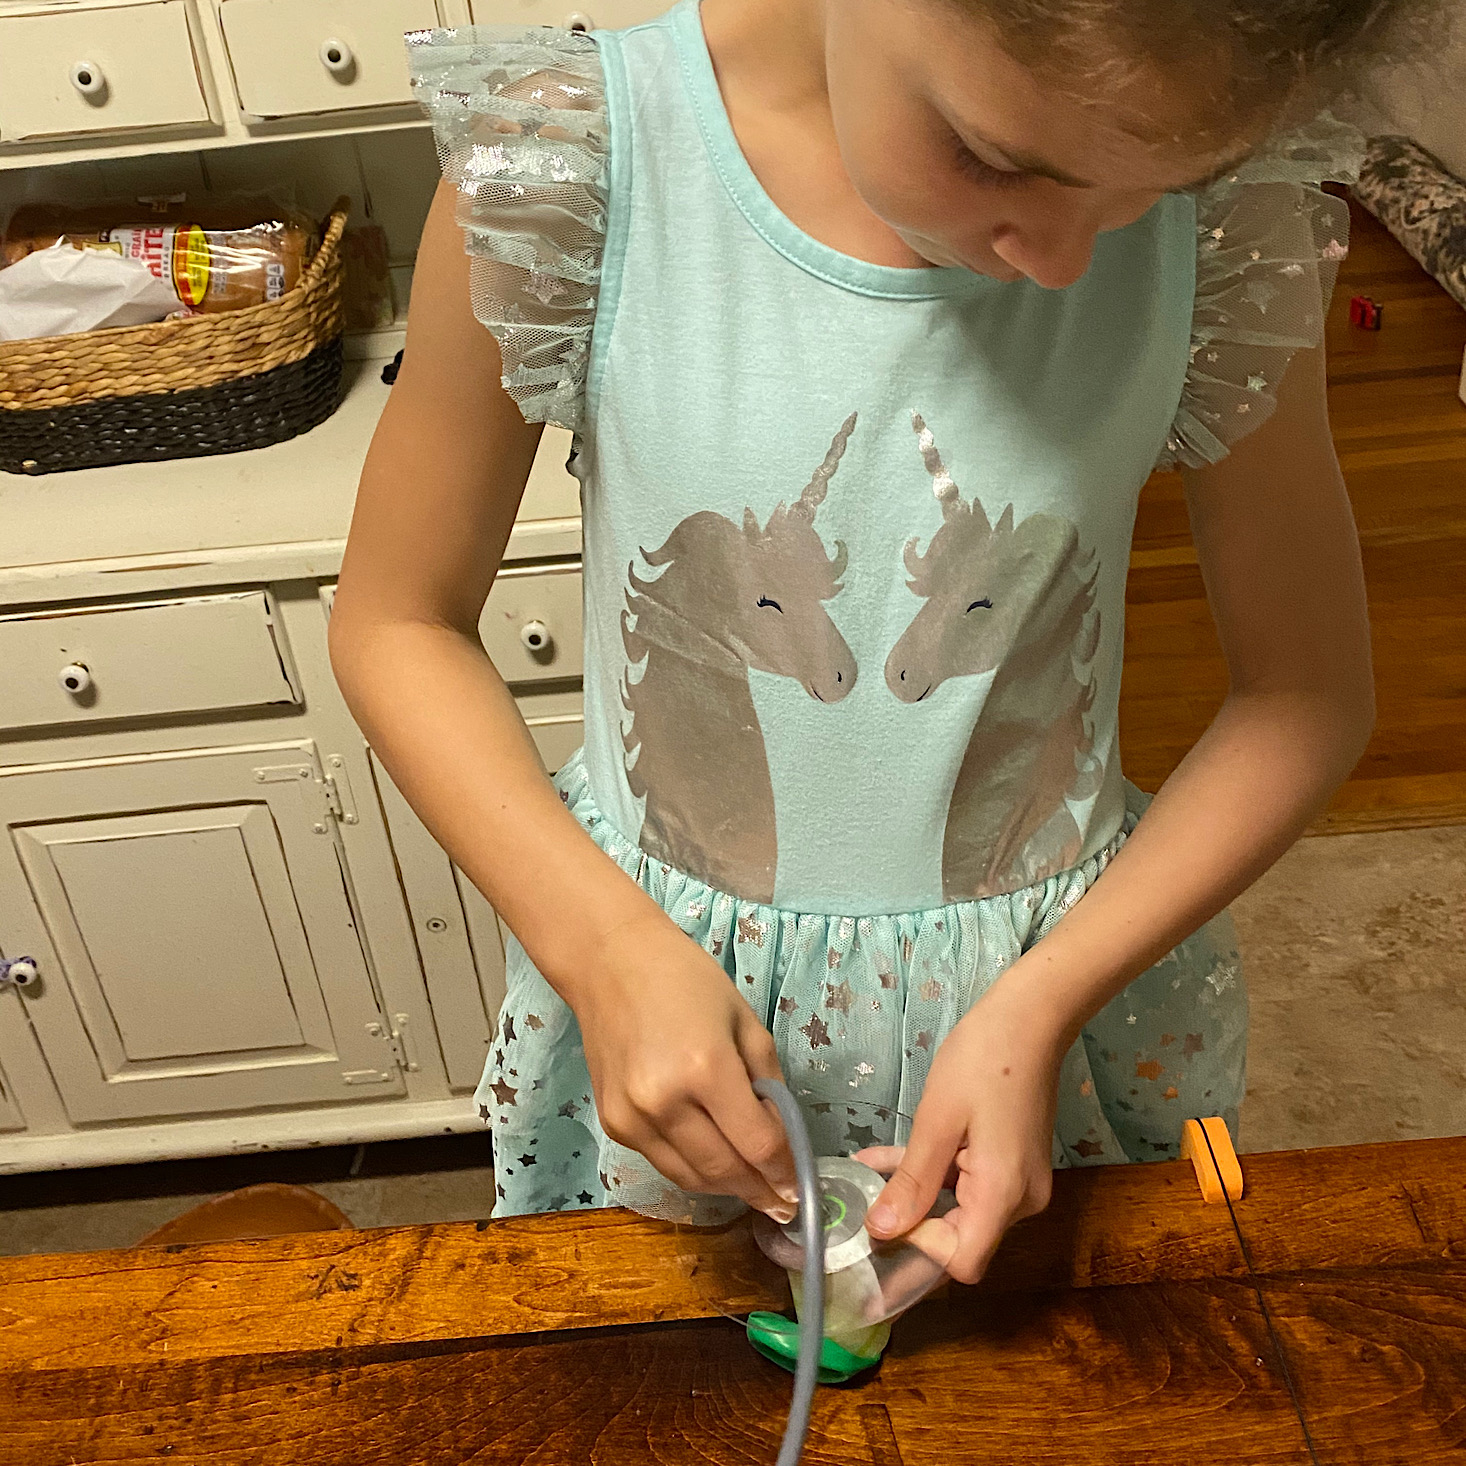
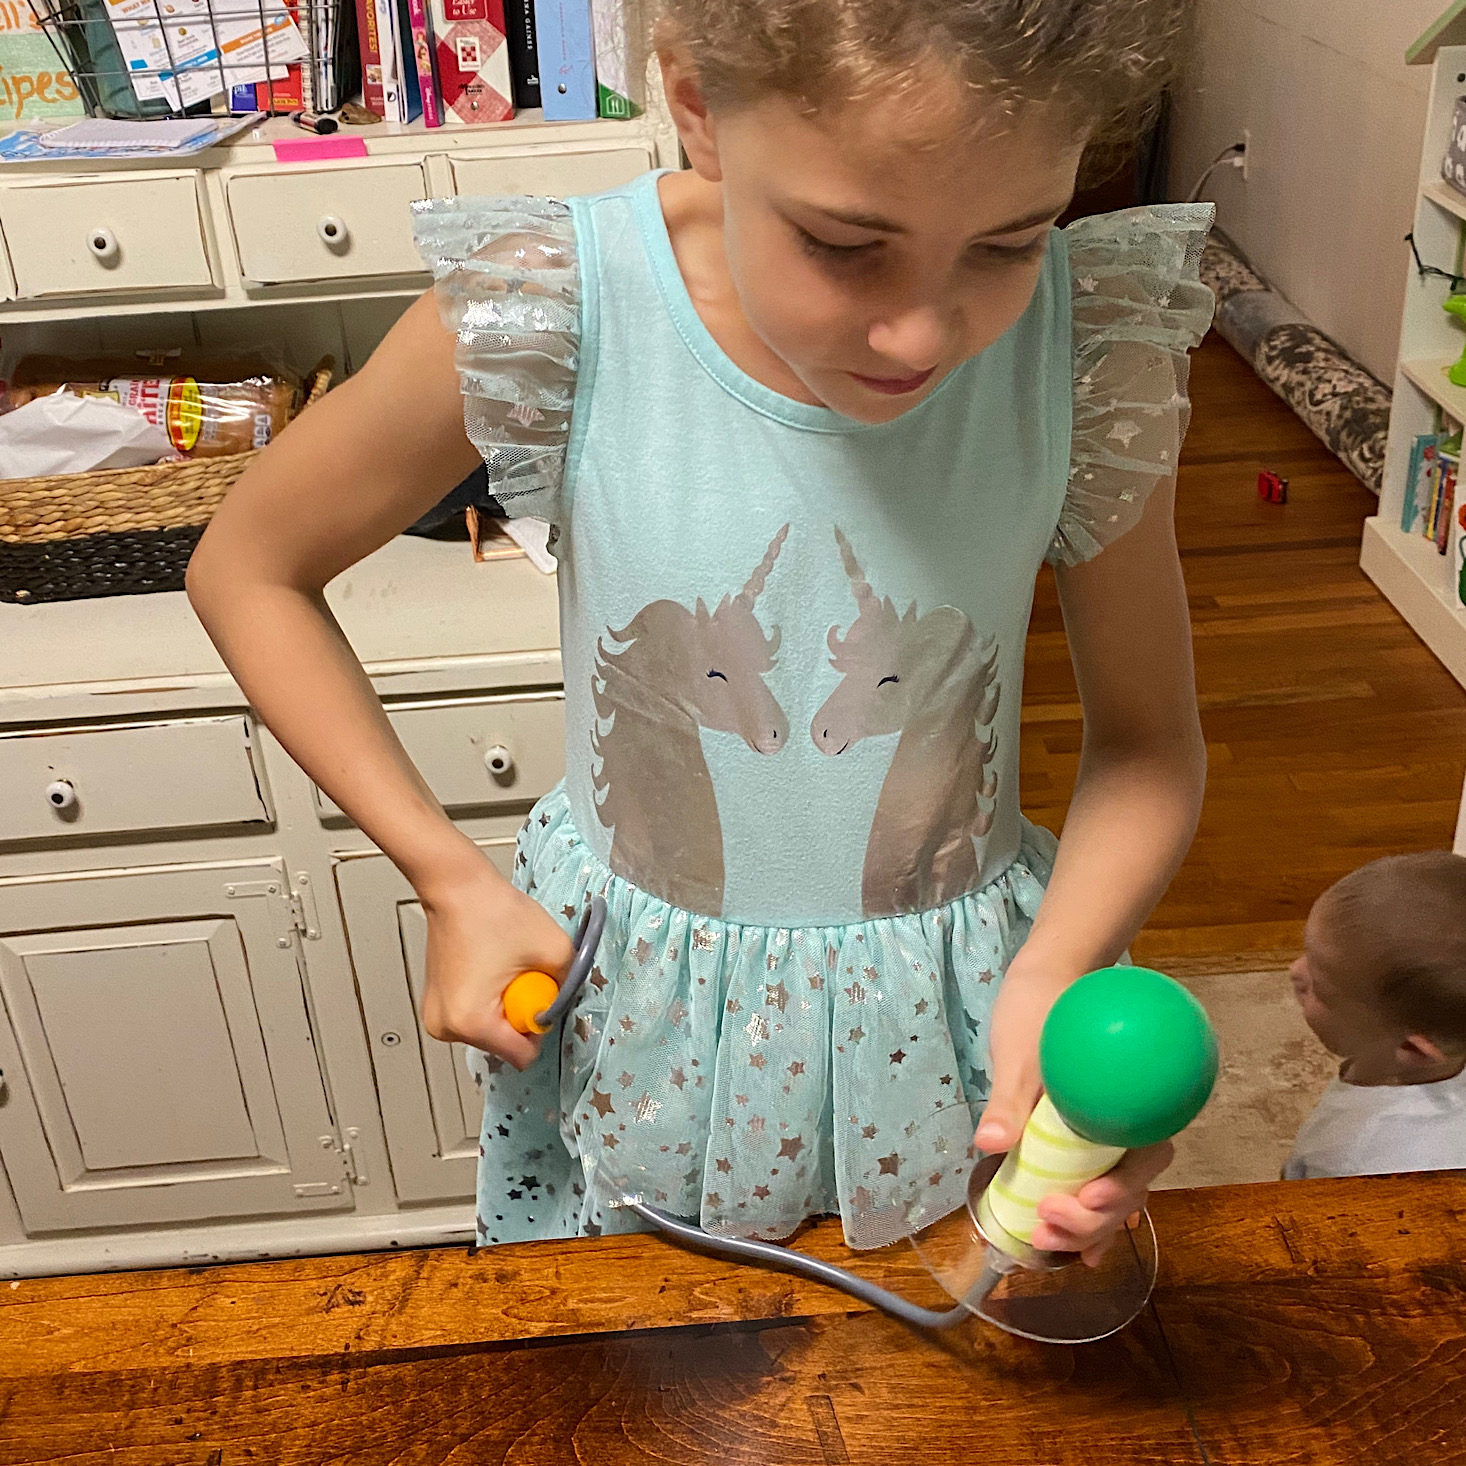
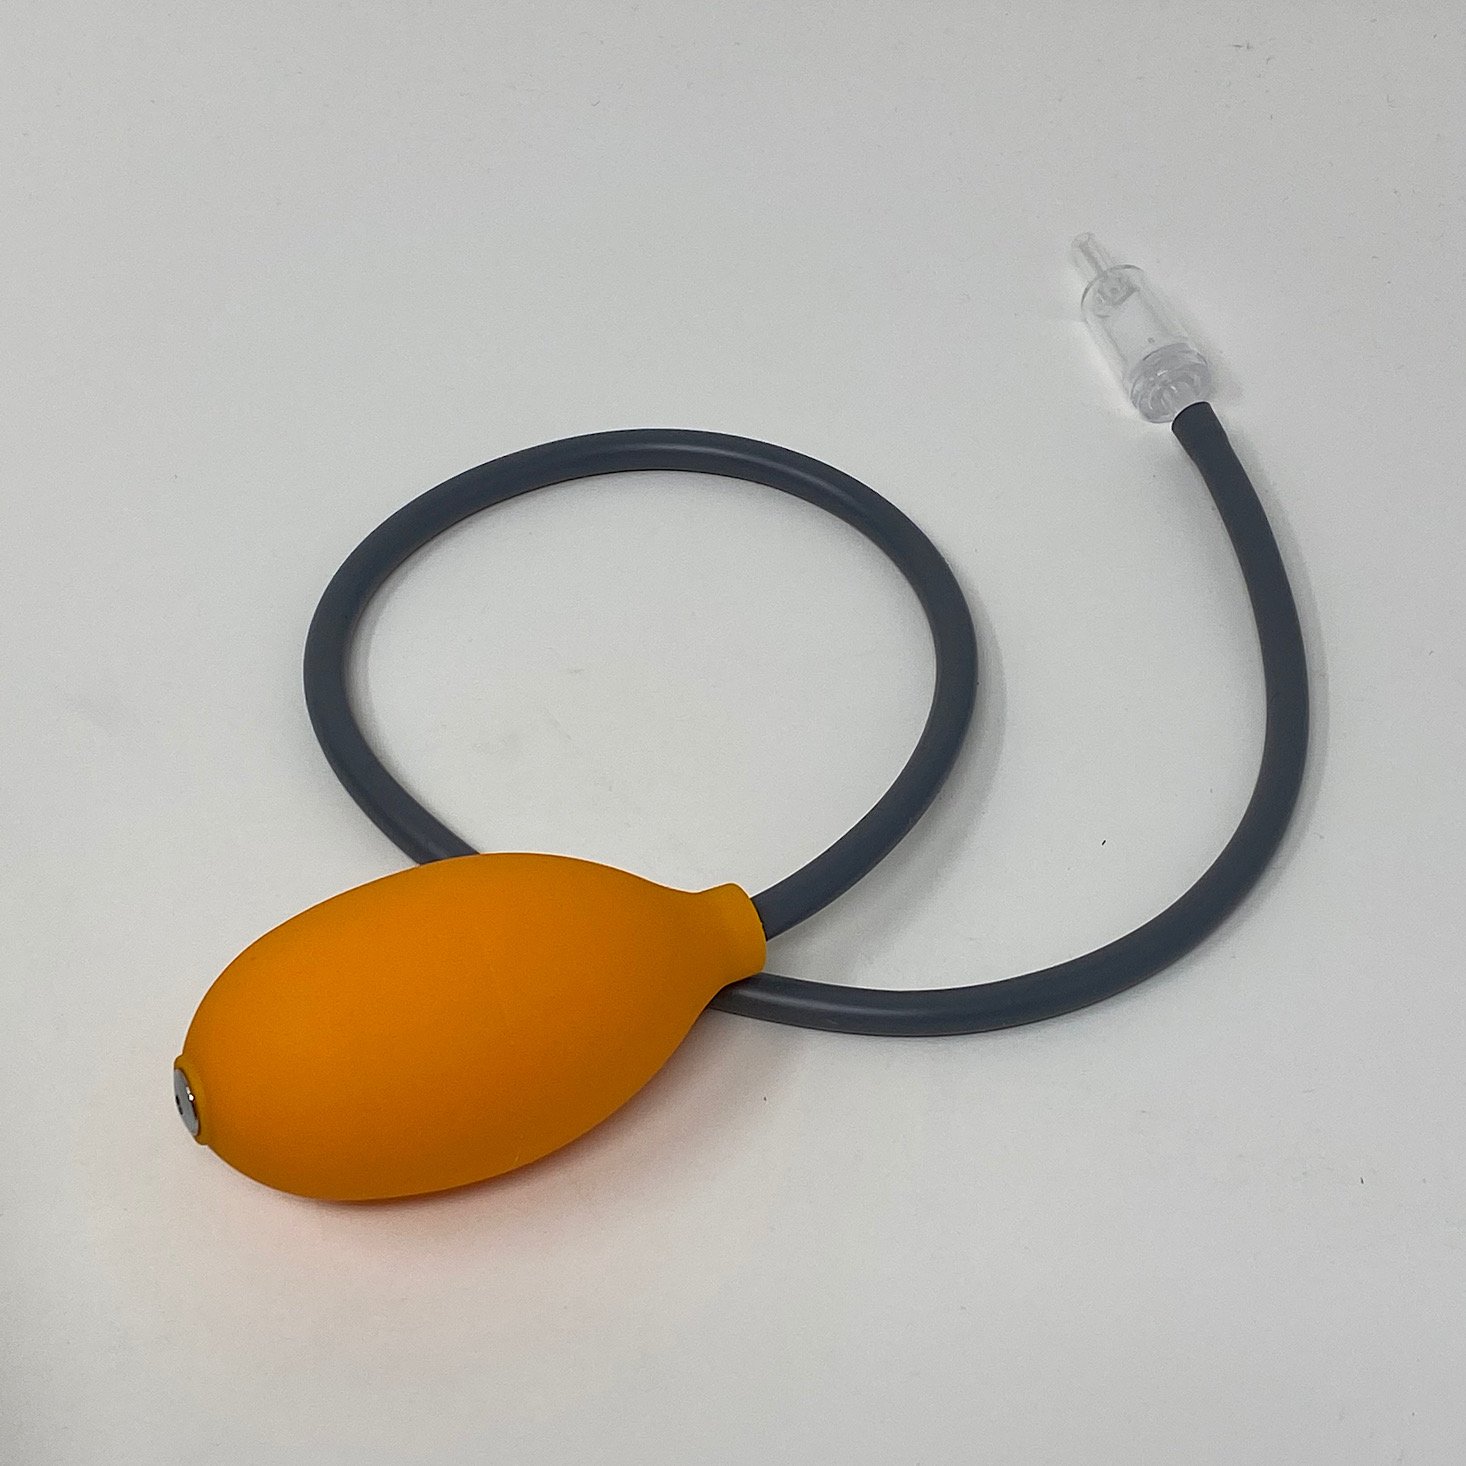
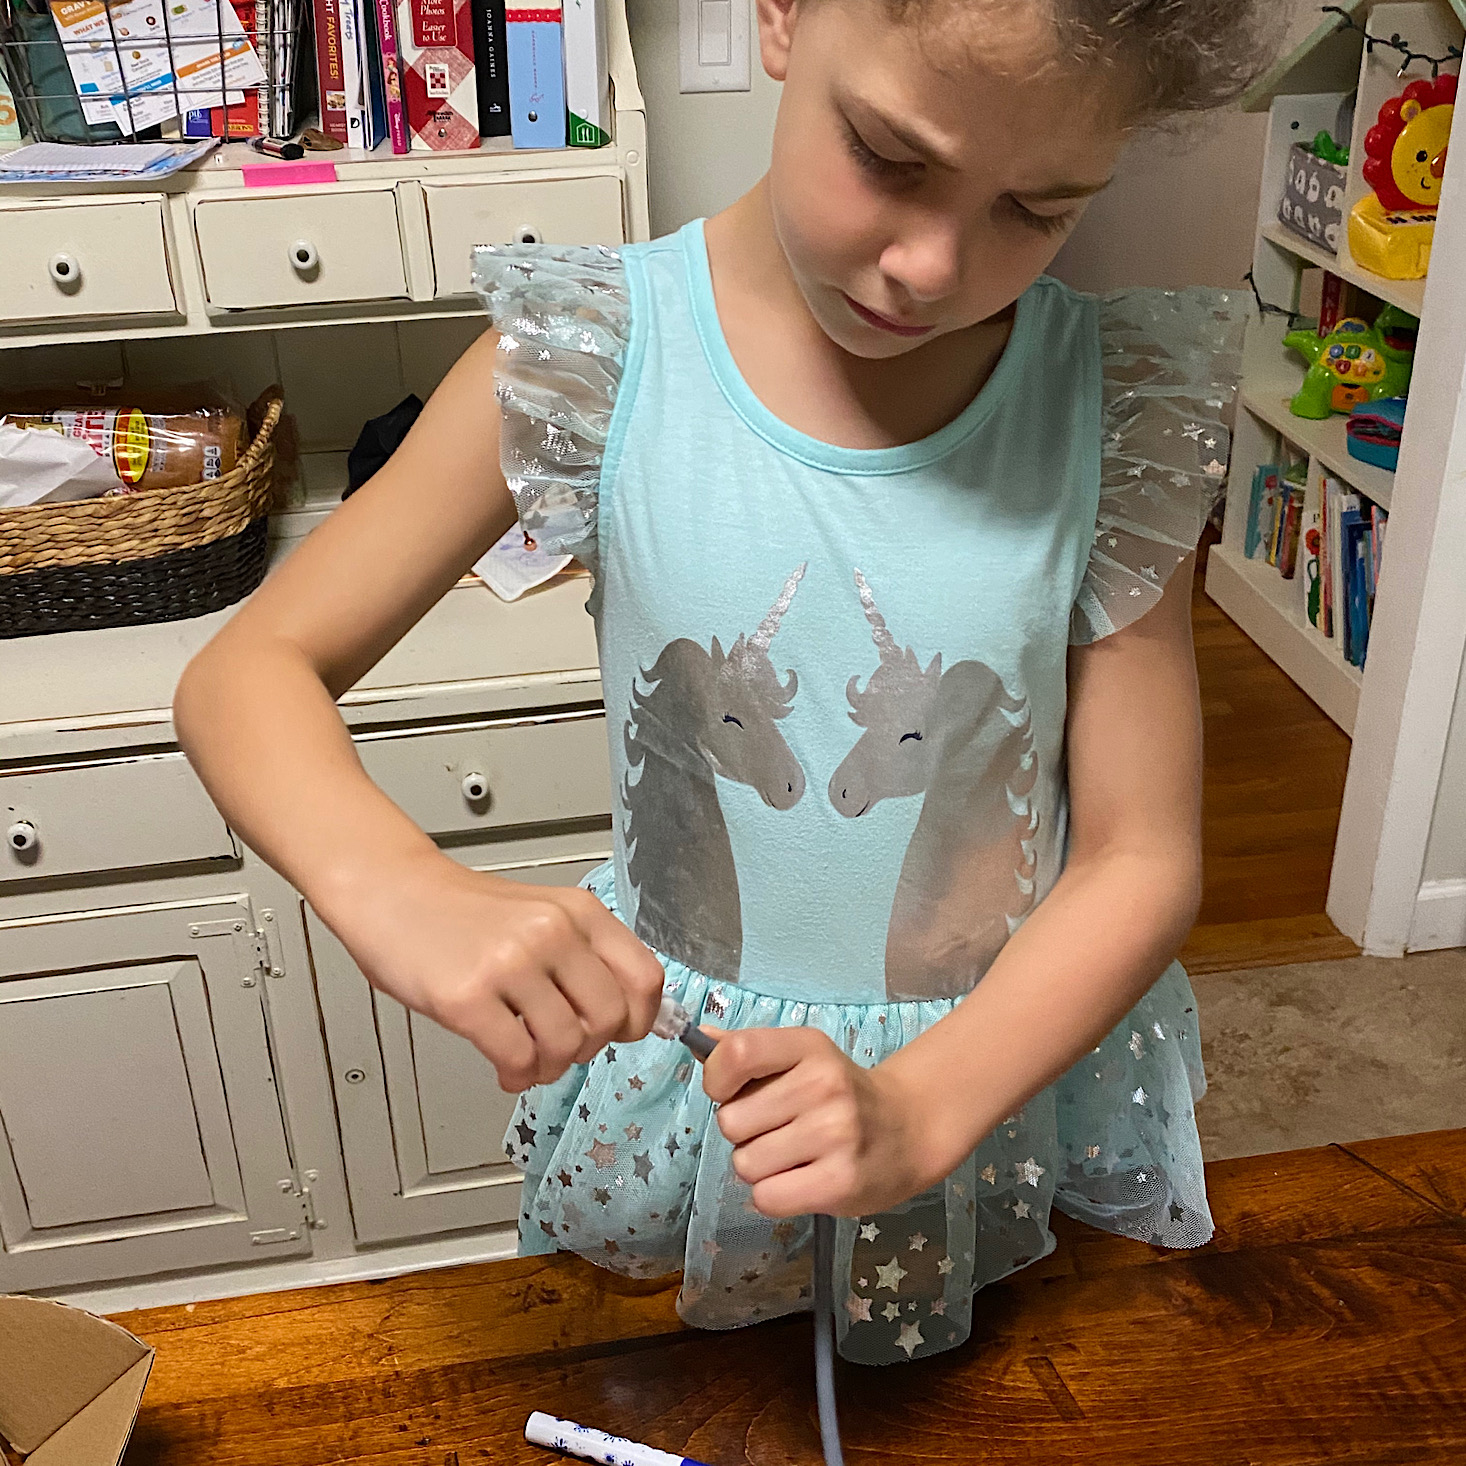
Then she inserted the tube from the pump into the bottom of the puck and began pumping some air into the balloon.
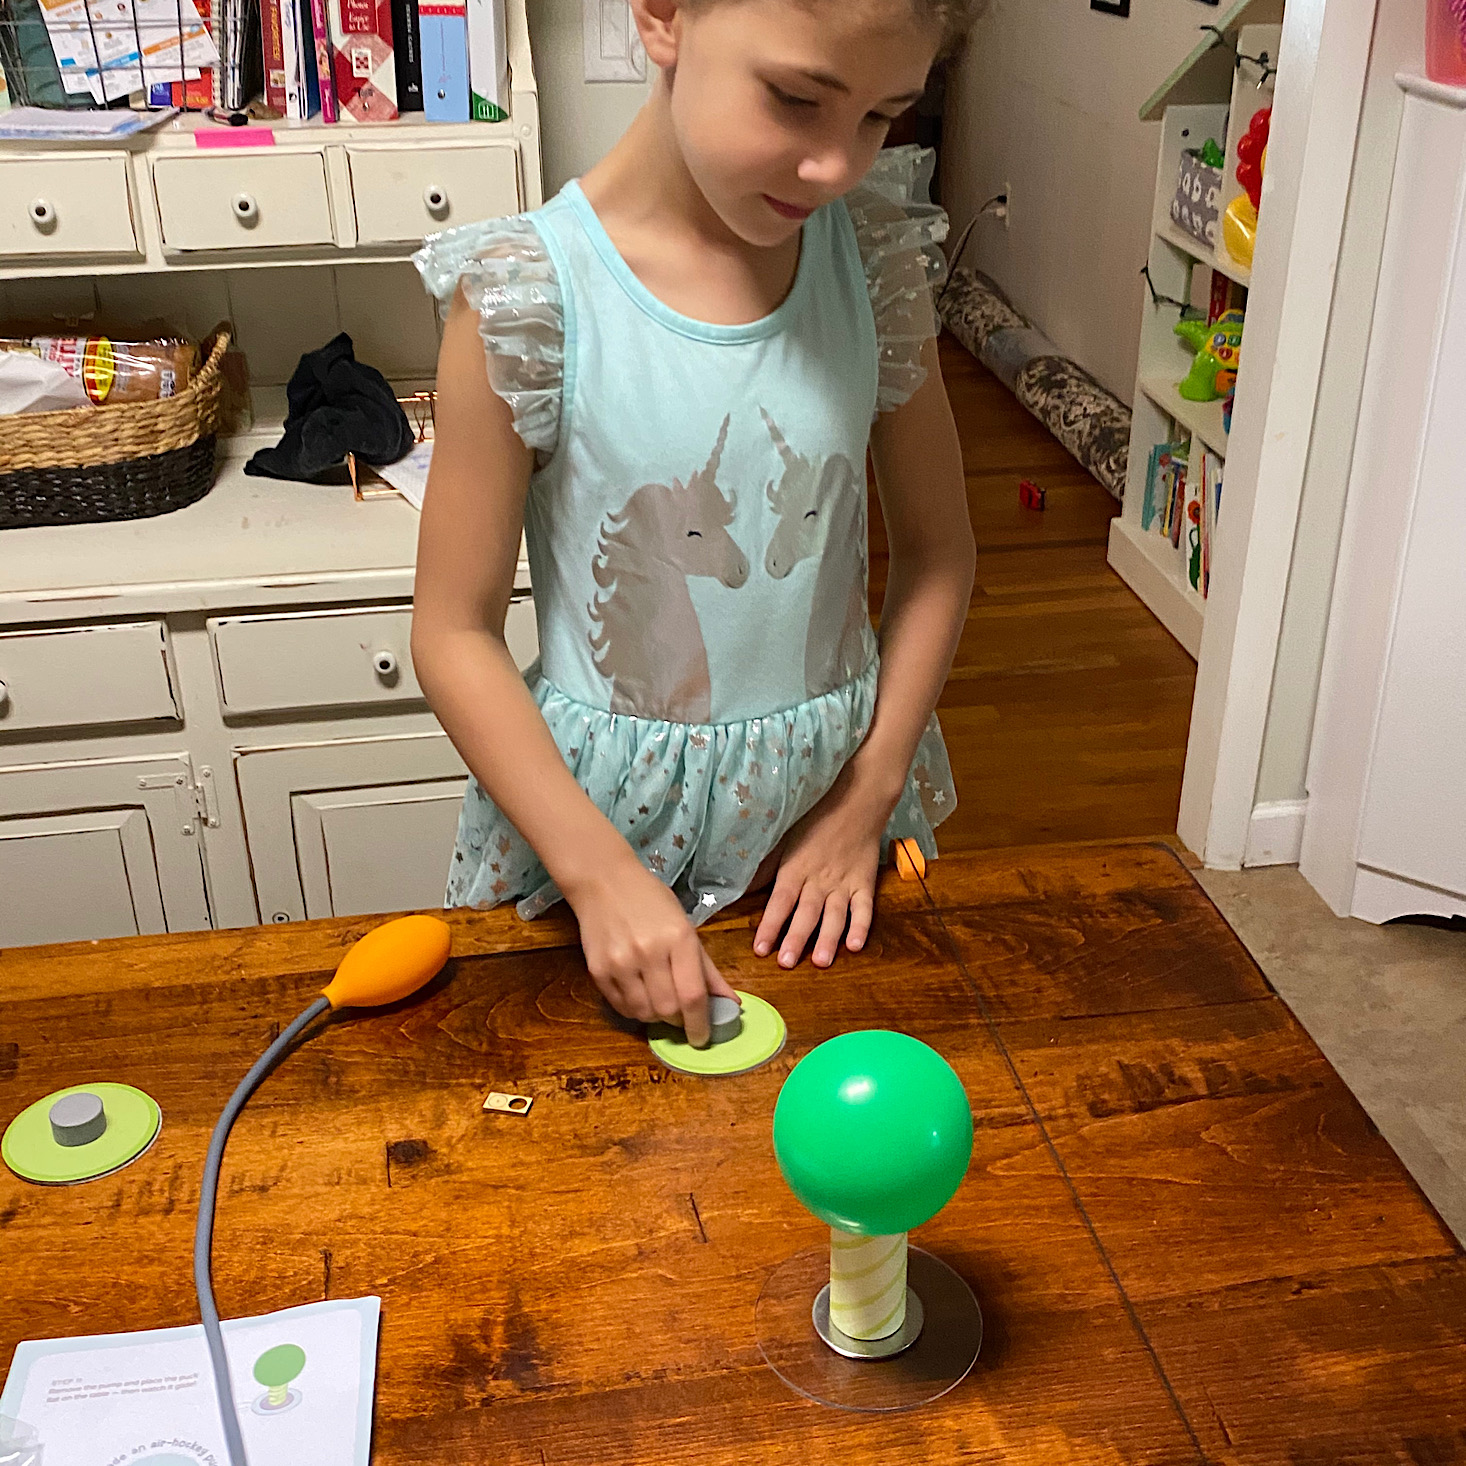
With the balloon full of air it slowly began releasing and would glide across the table. She practiced hitting it with her puck.
Spray Art Scoreboards
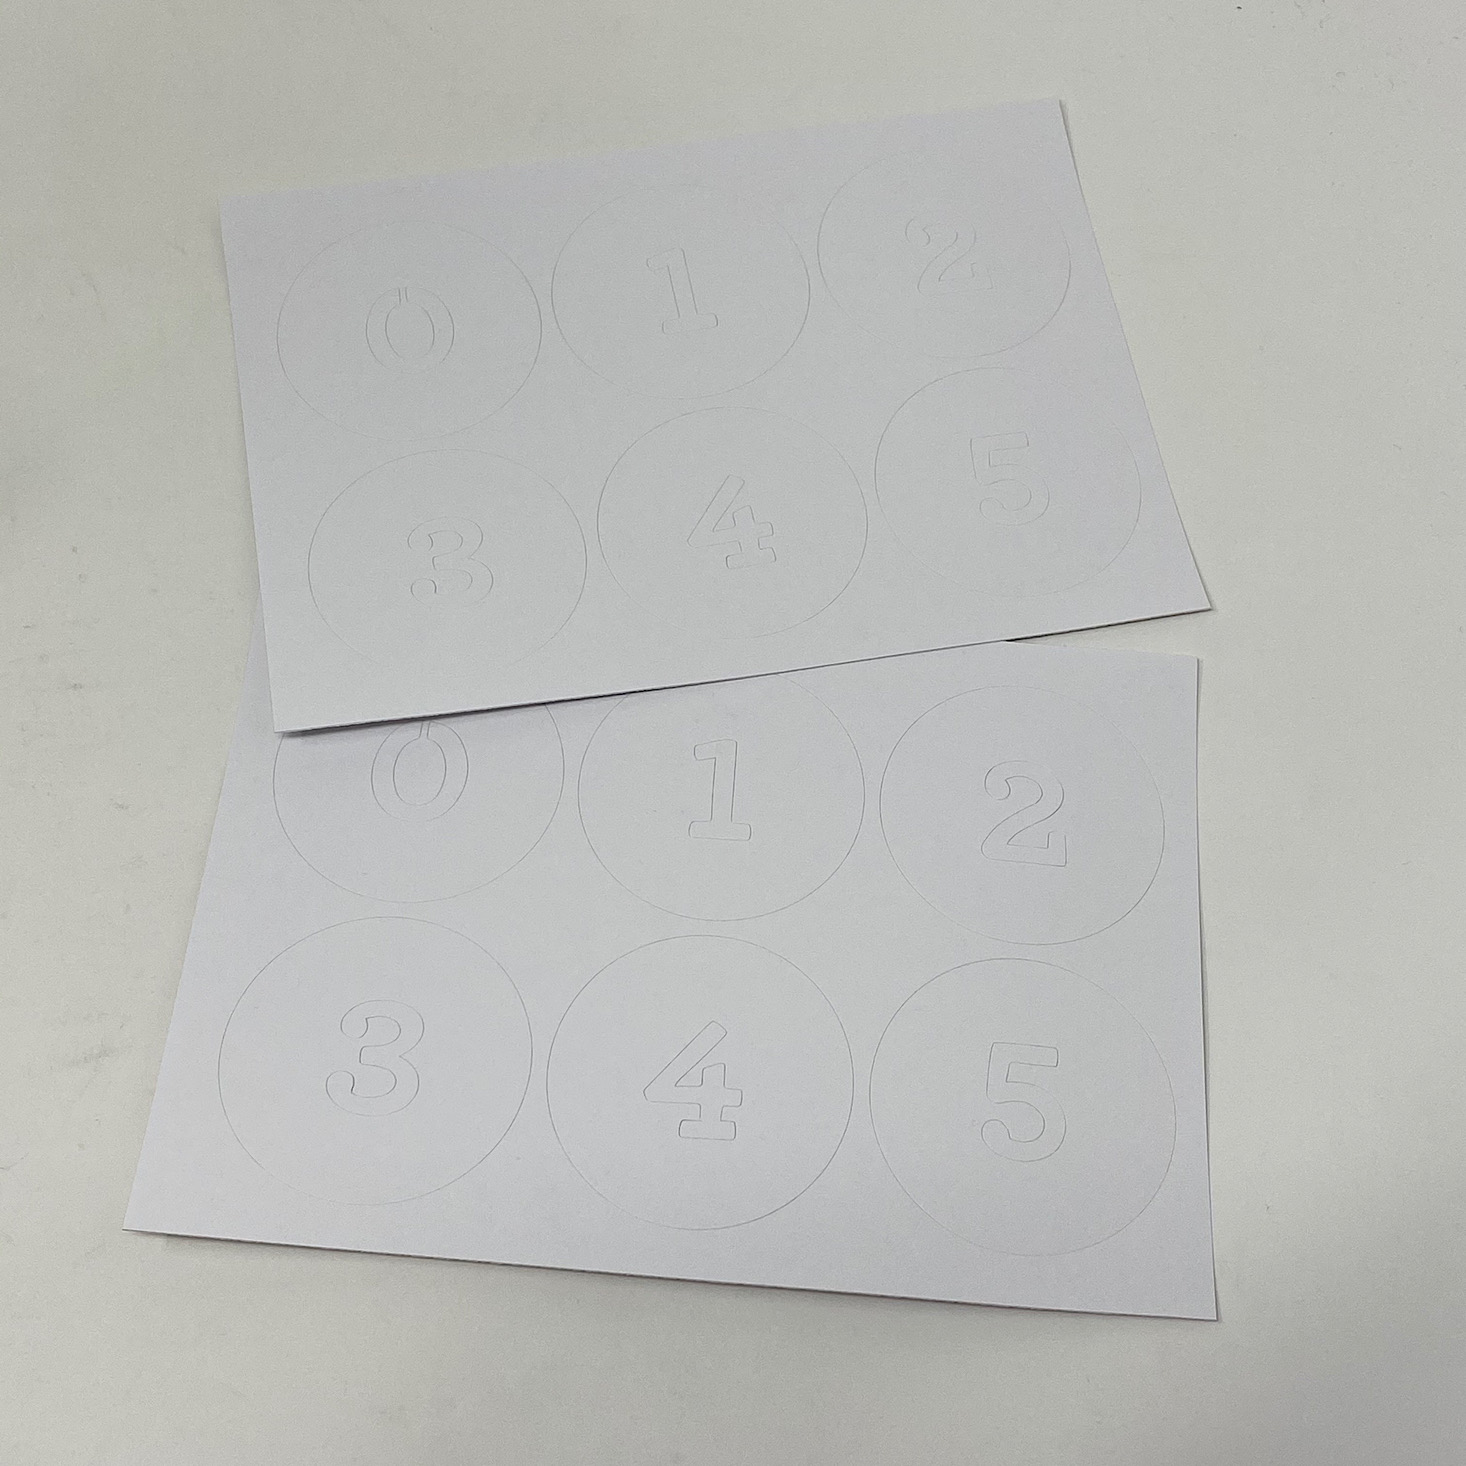
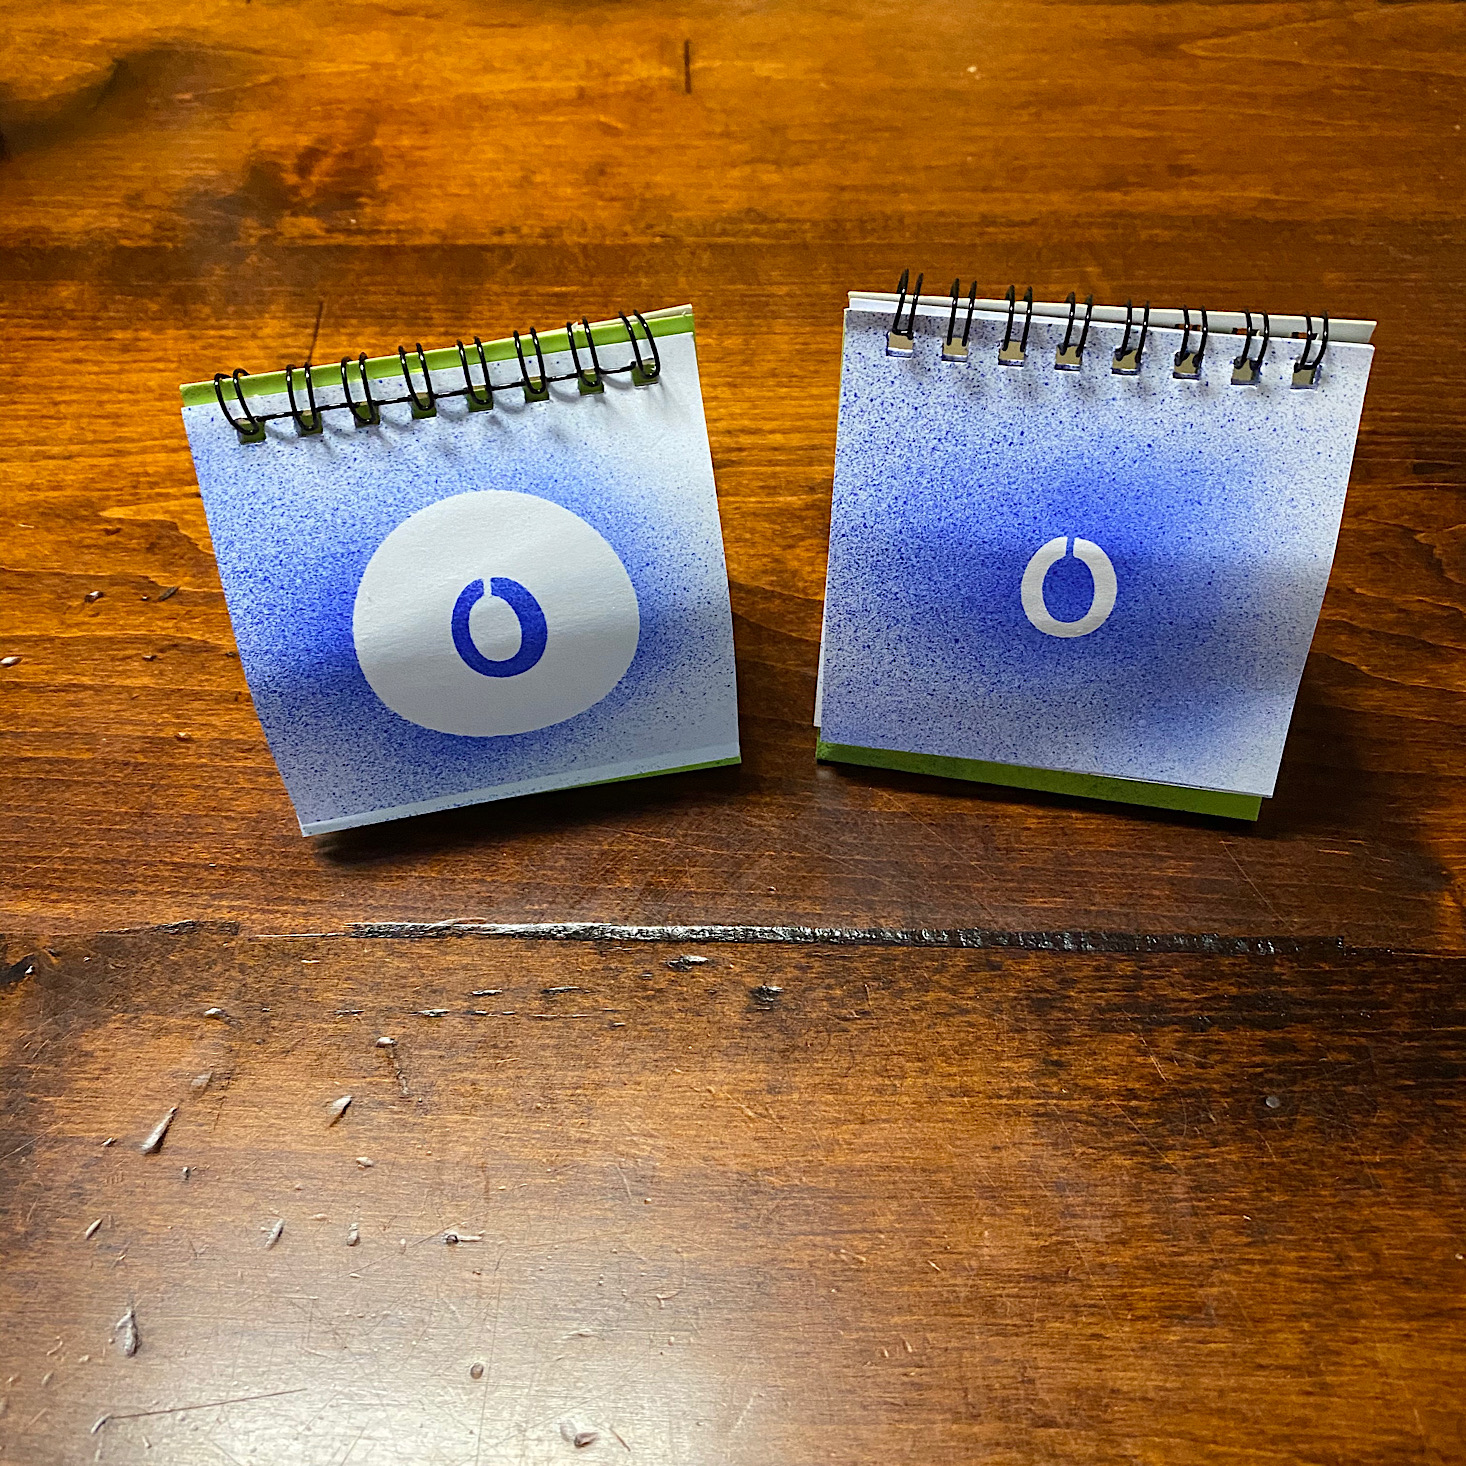
Before we could play we had to prepare our scoreboards. They provided a set of stickers and two scoreboards that popped open.
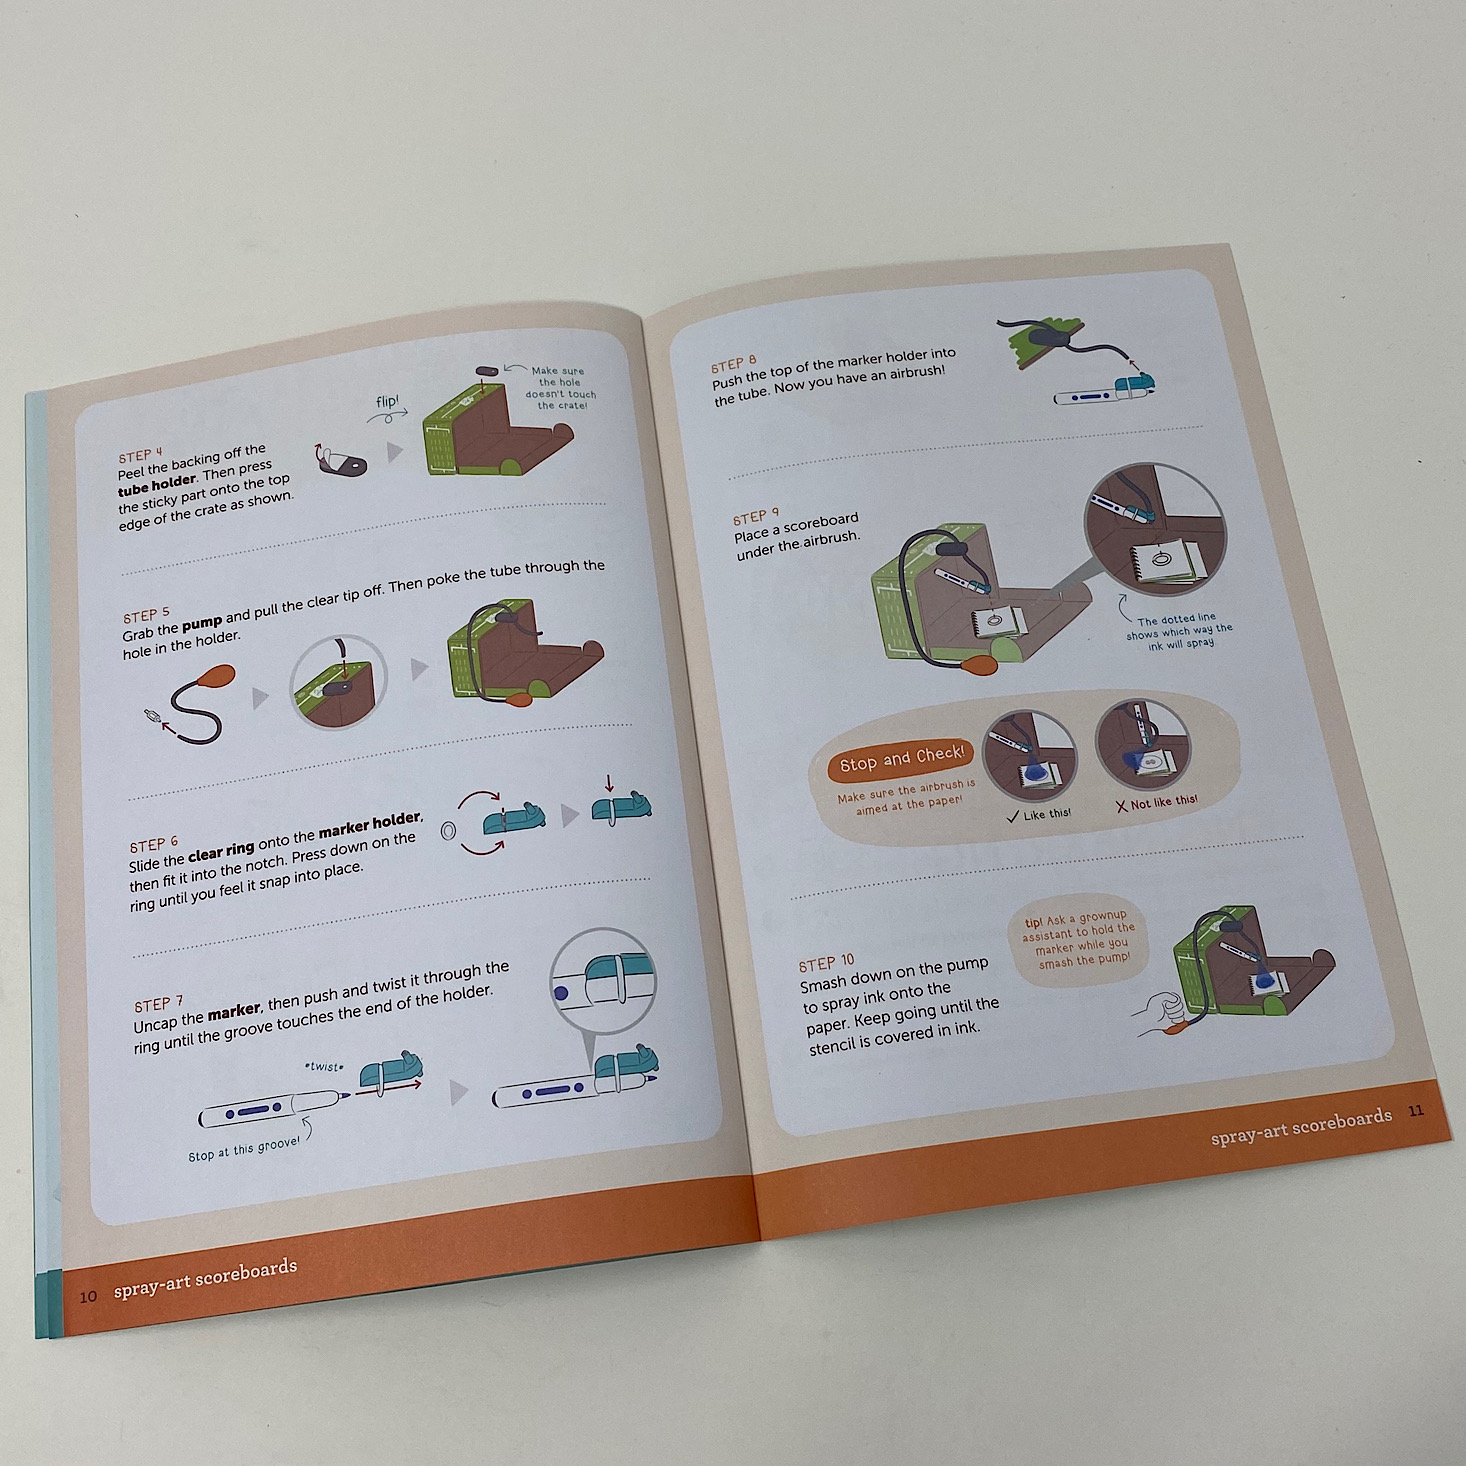
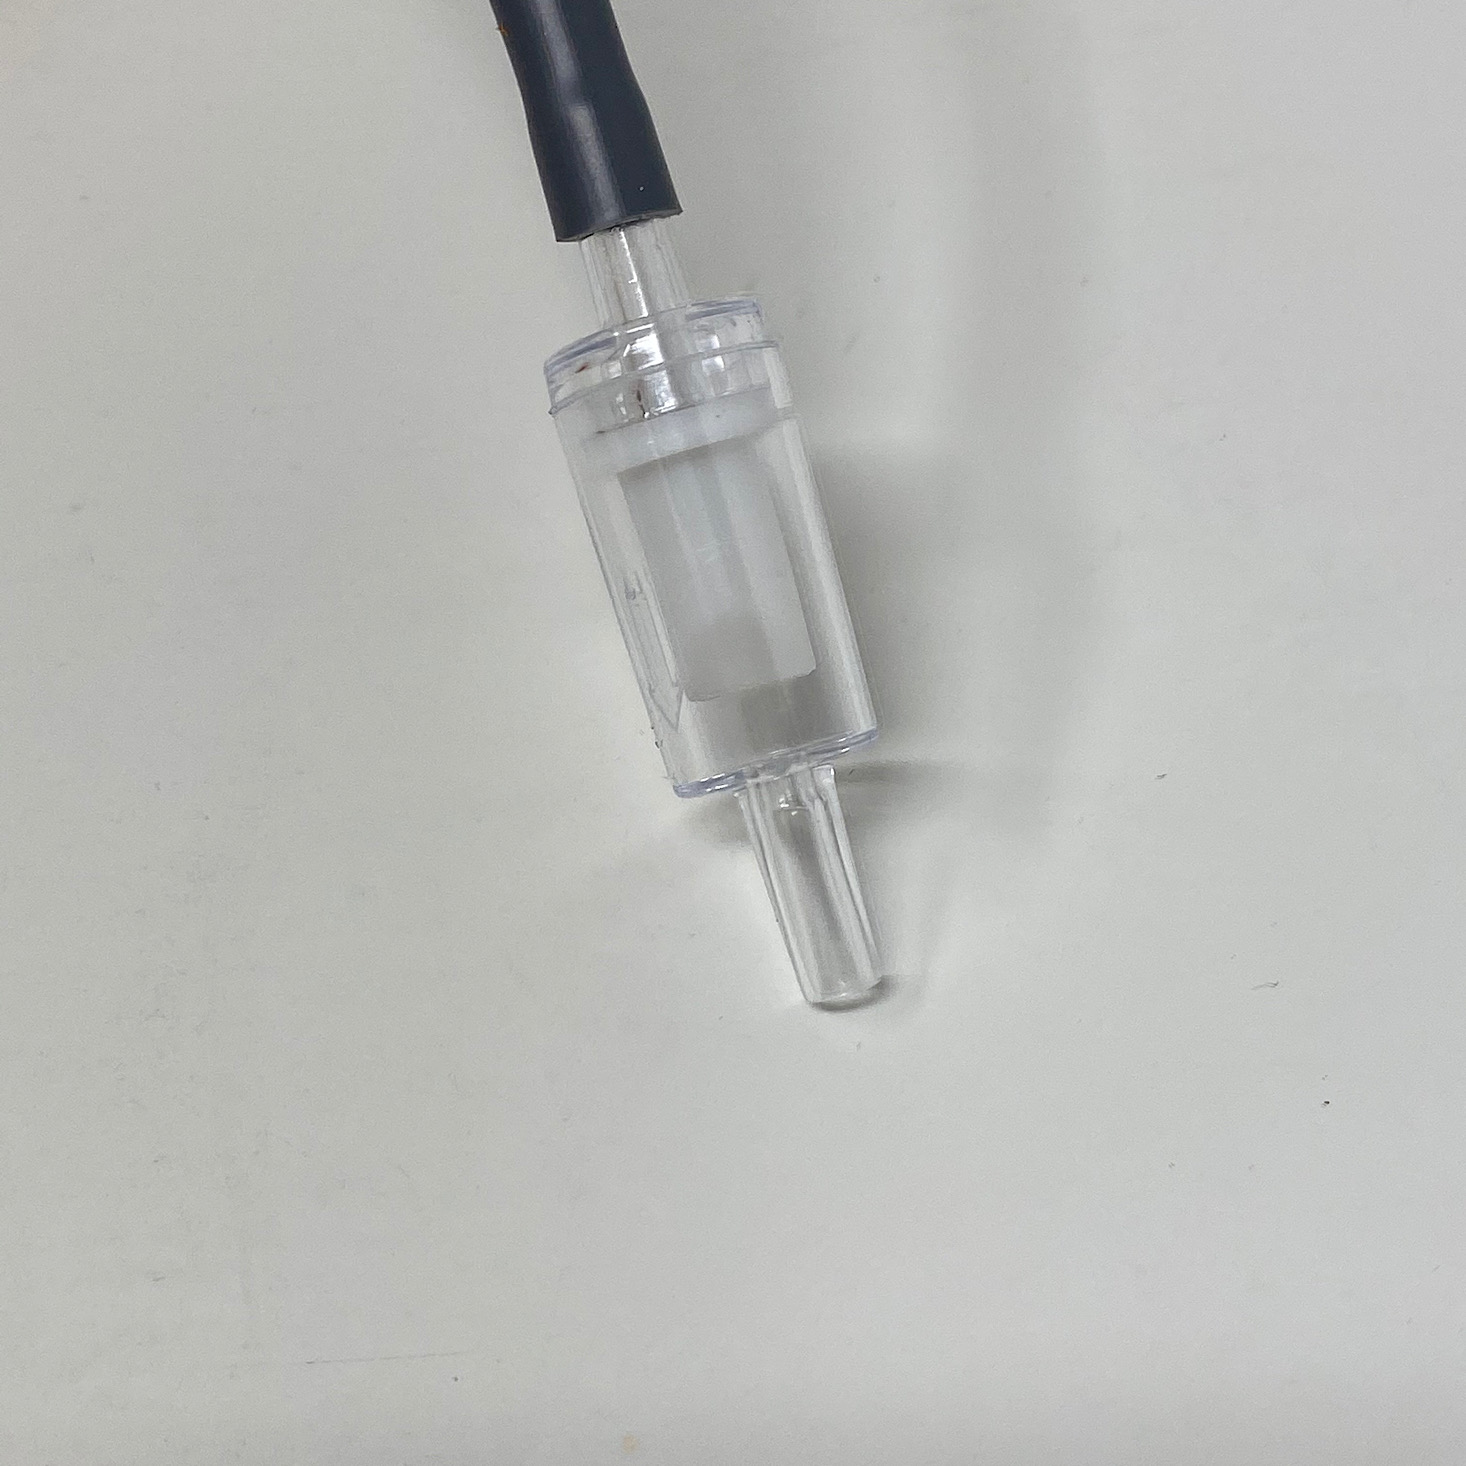
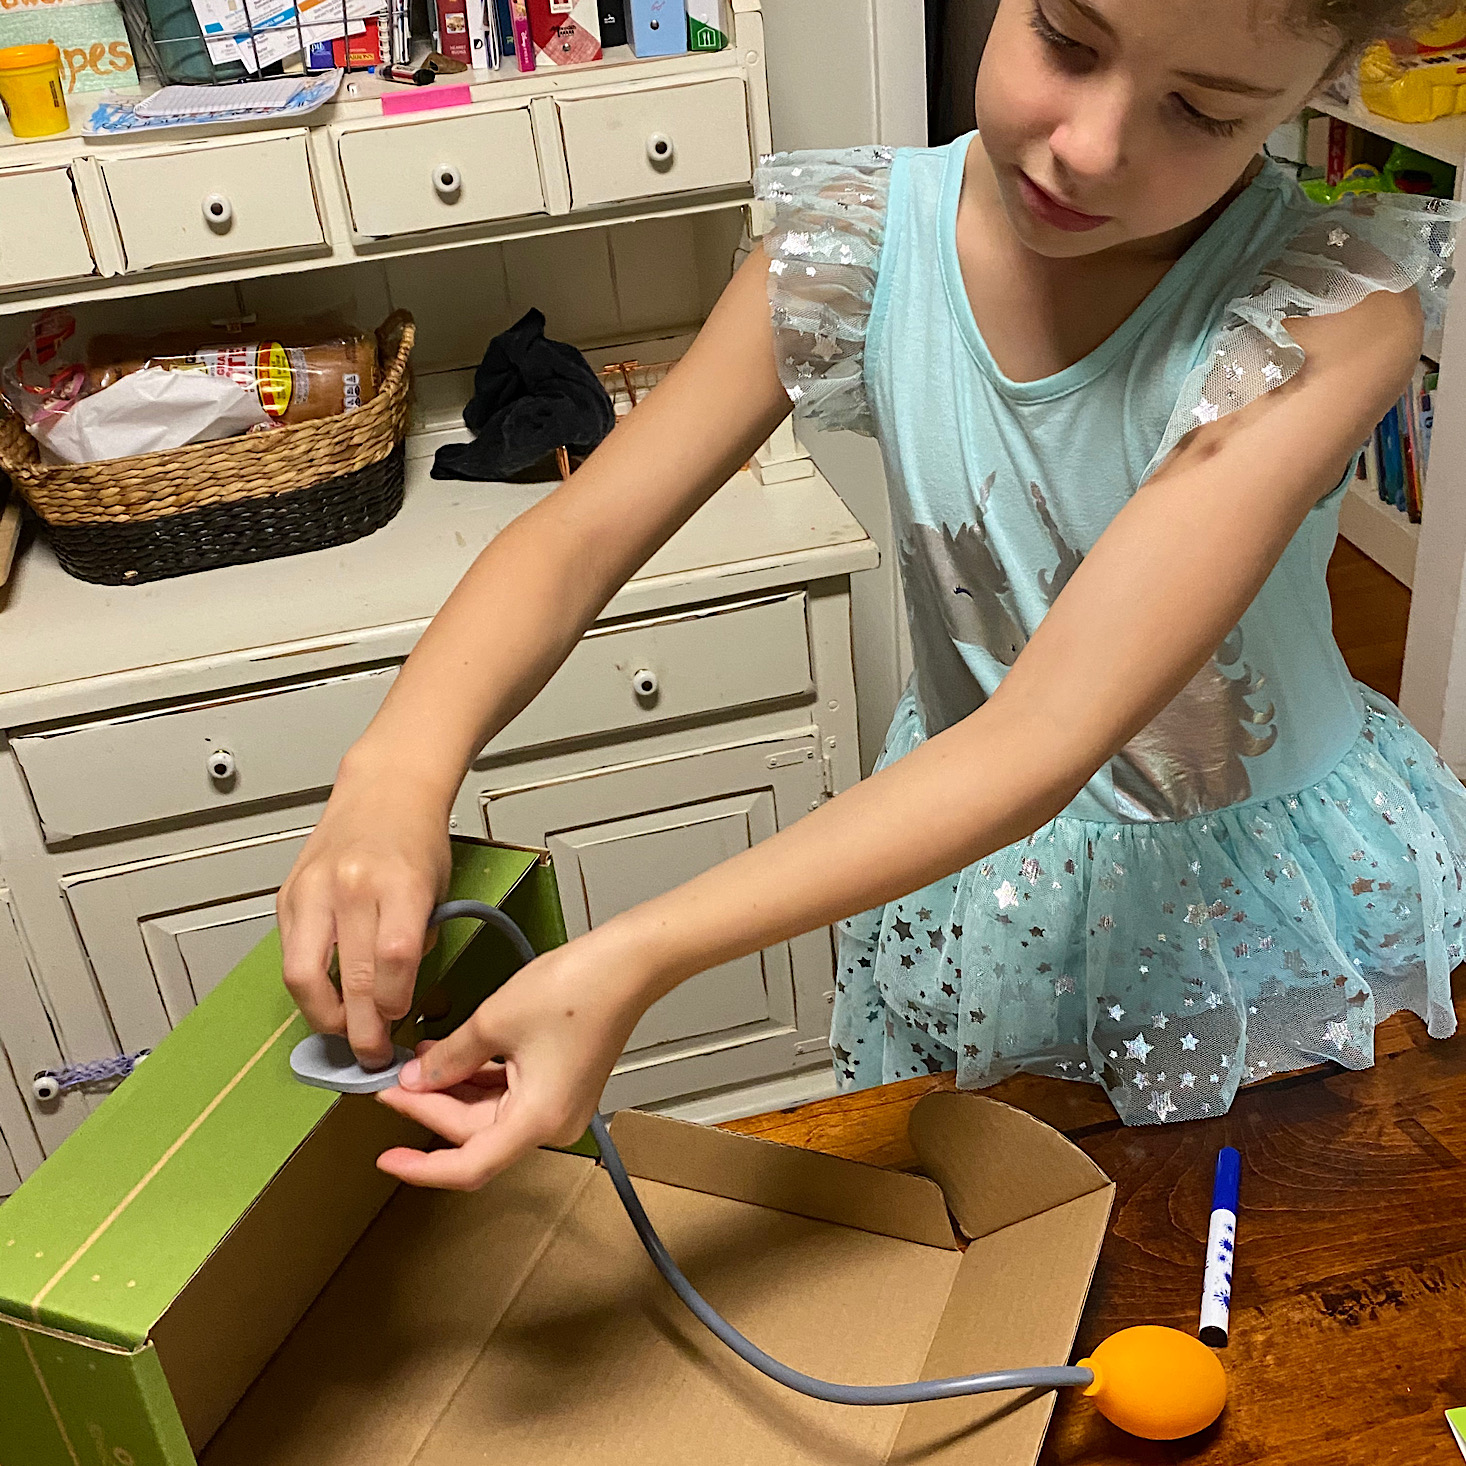
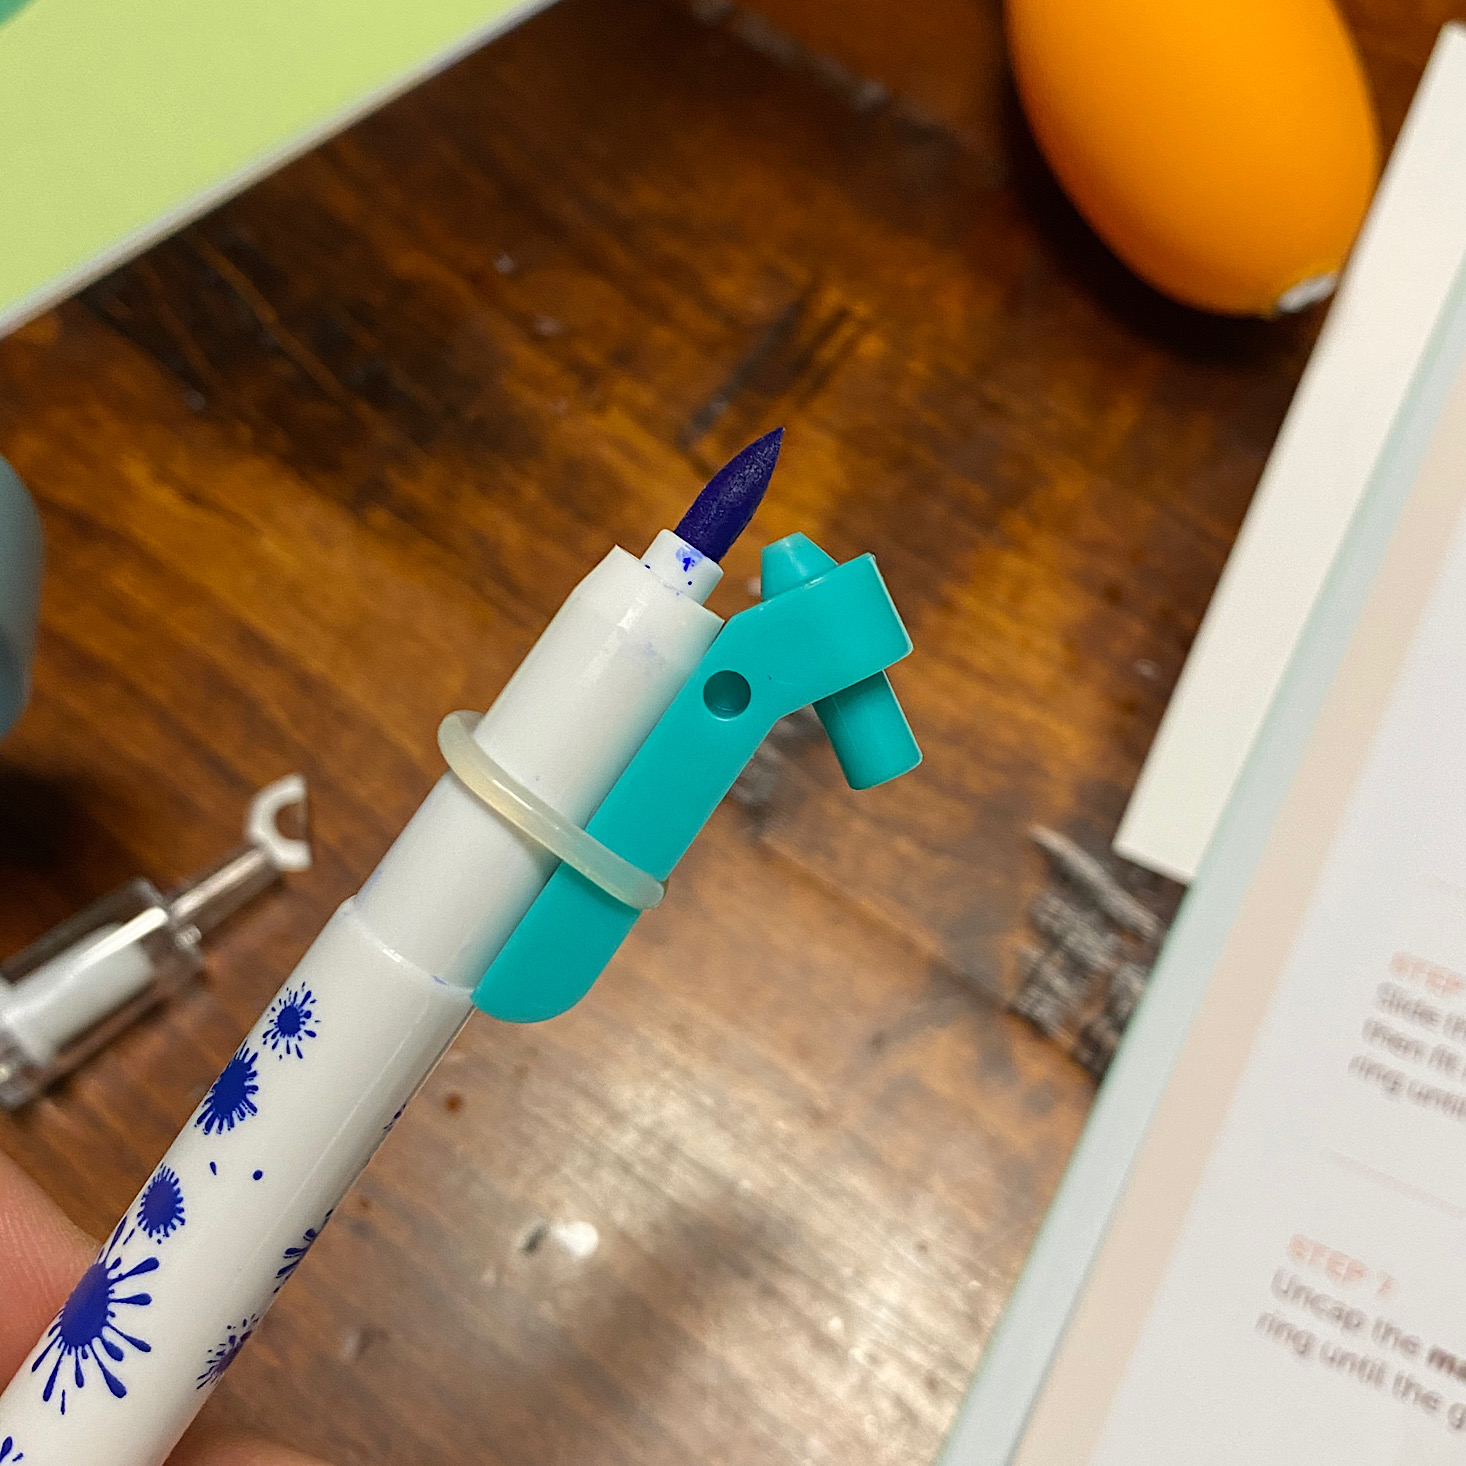
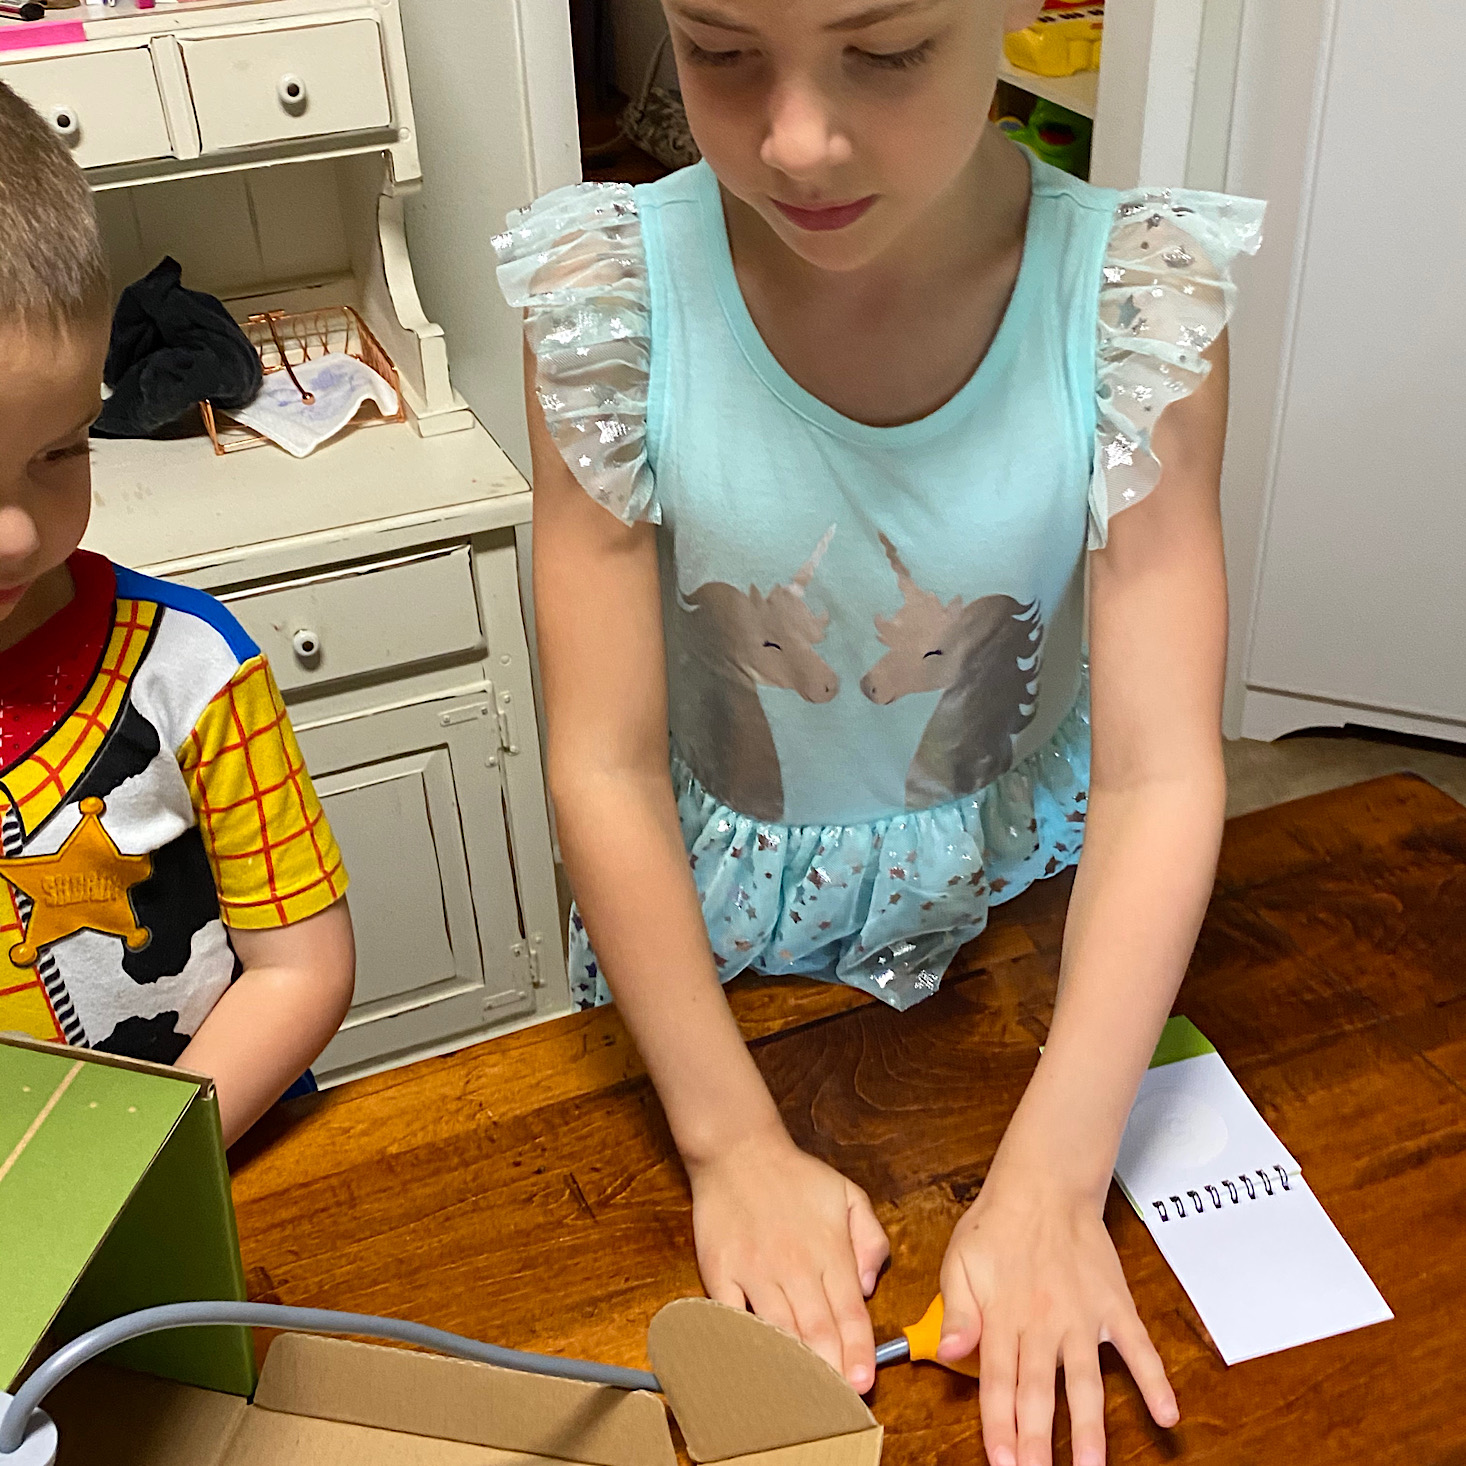
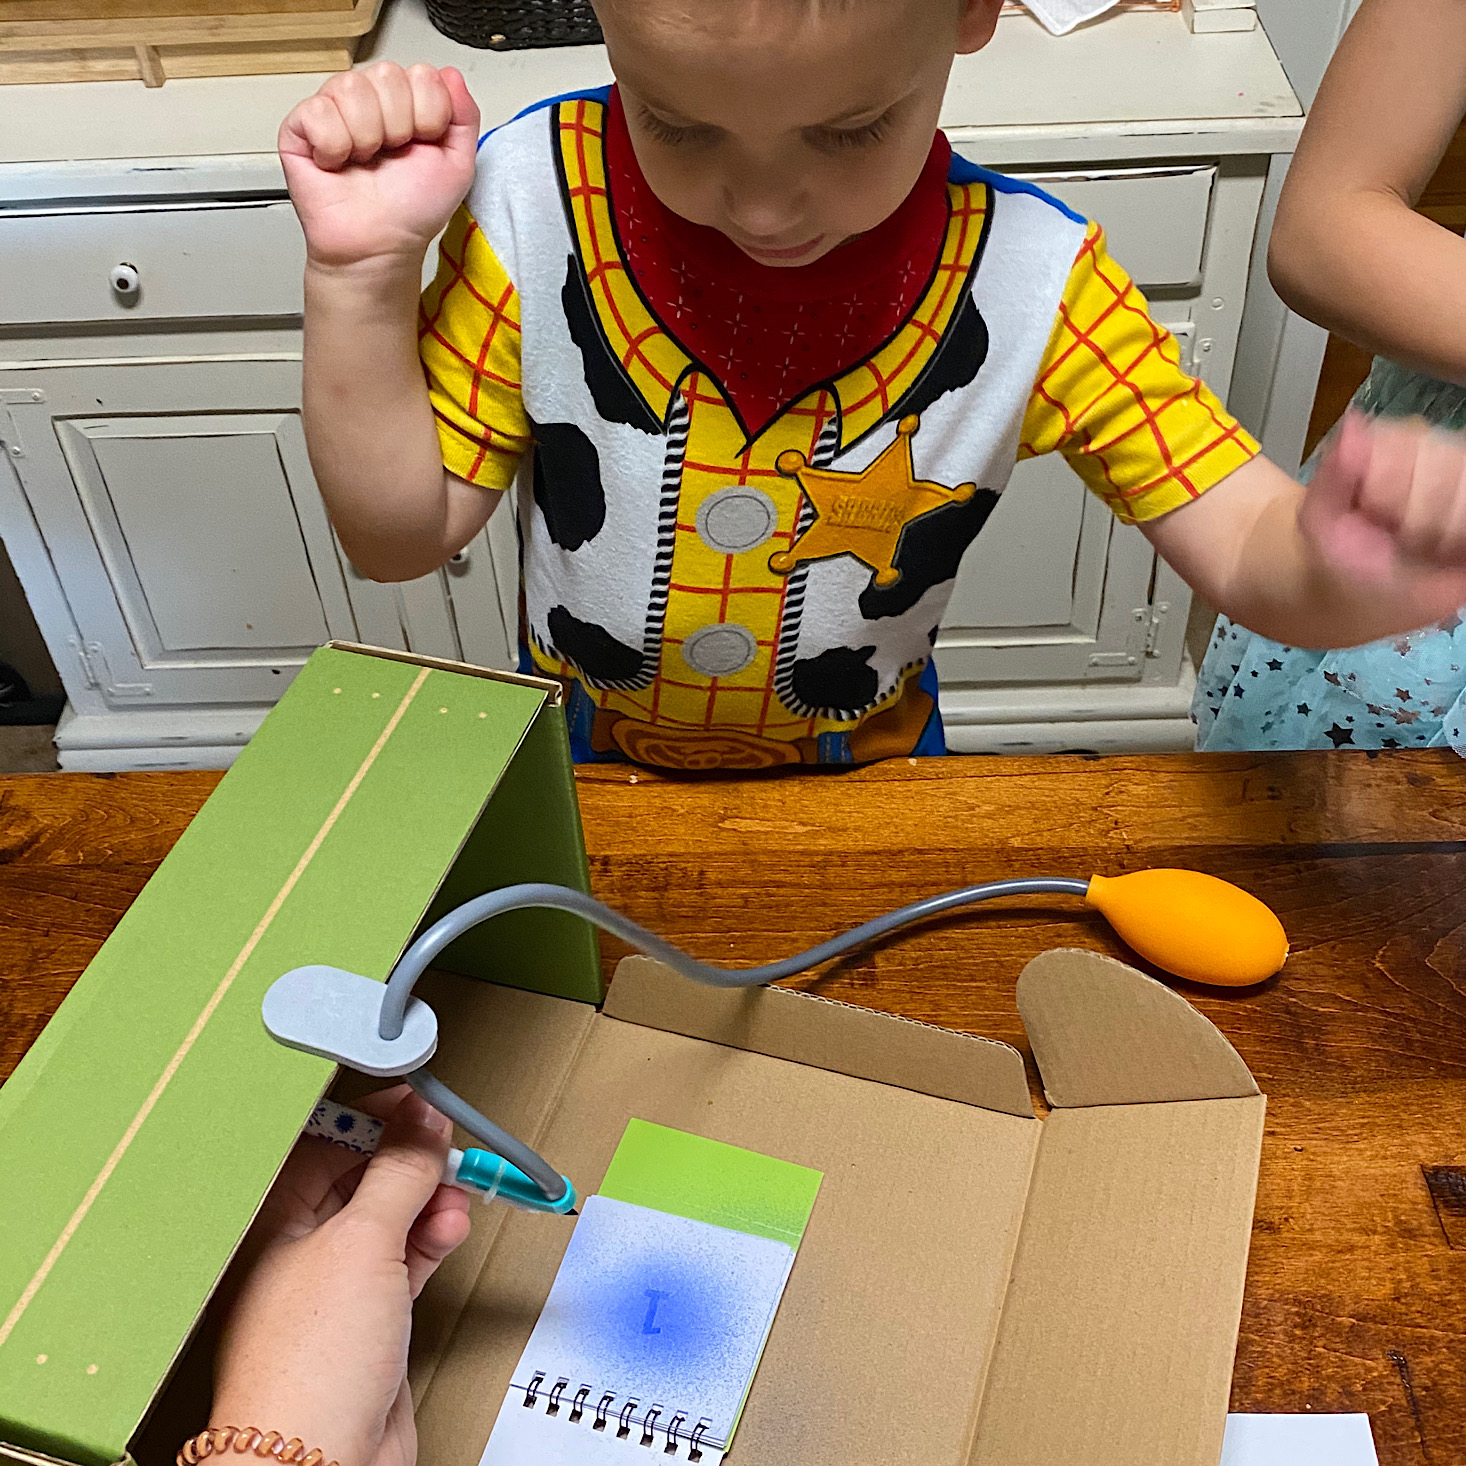
I opened our box and placed it on its side and then my daughter attached the little foam piece to the top of the box. Then she took the little plastic piece out of our pump and slipped the cord through the hole in our foam piece.
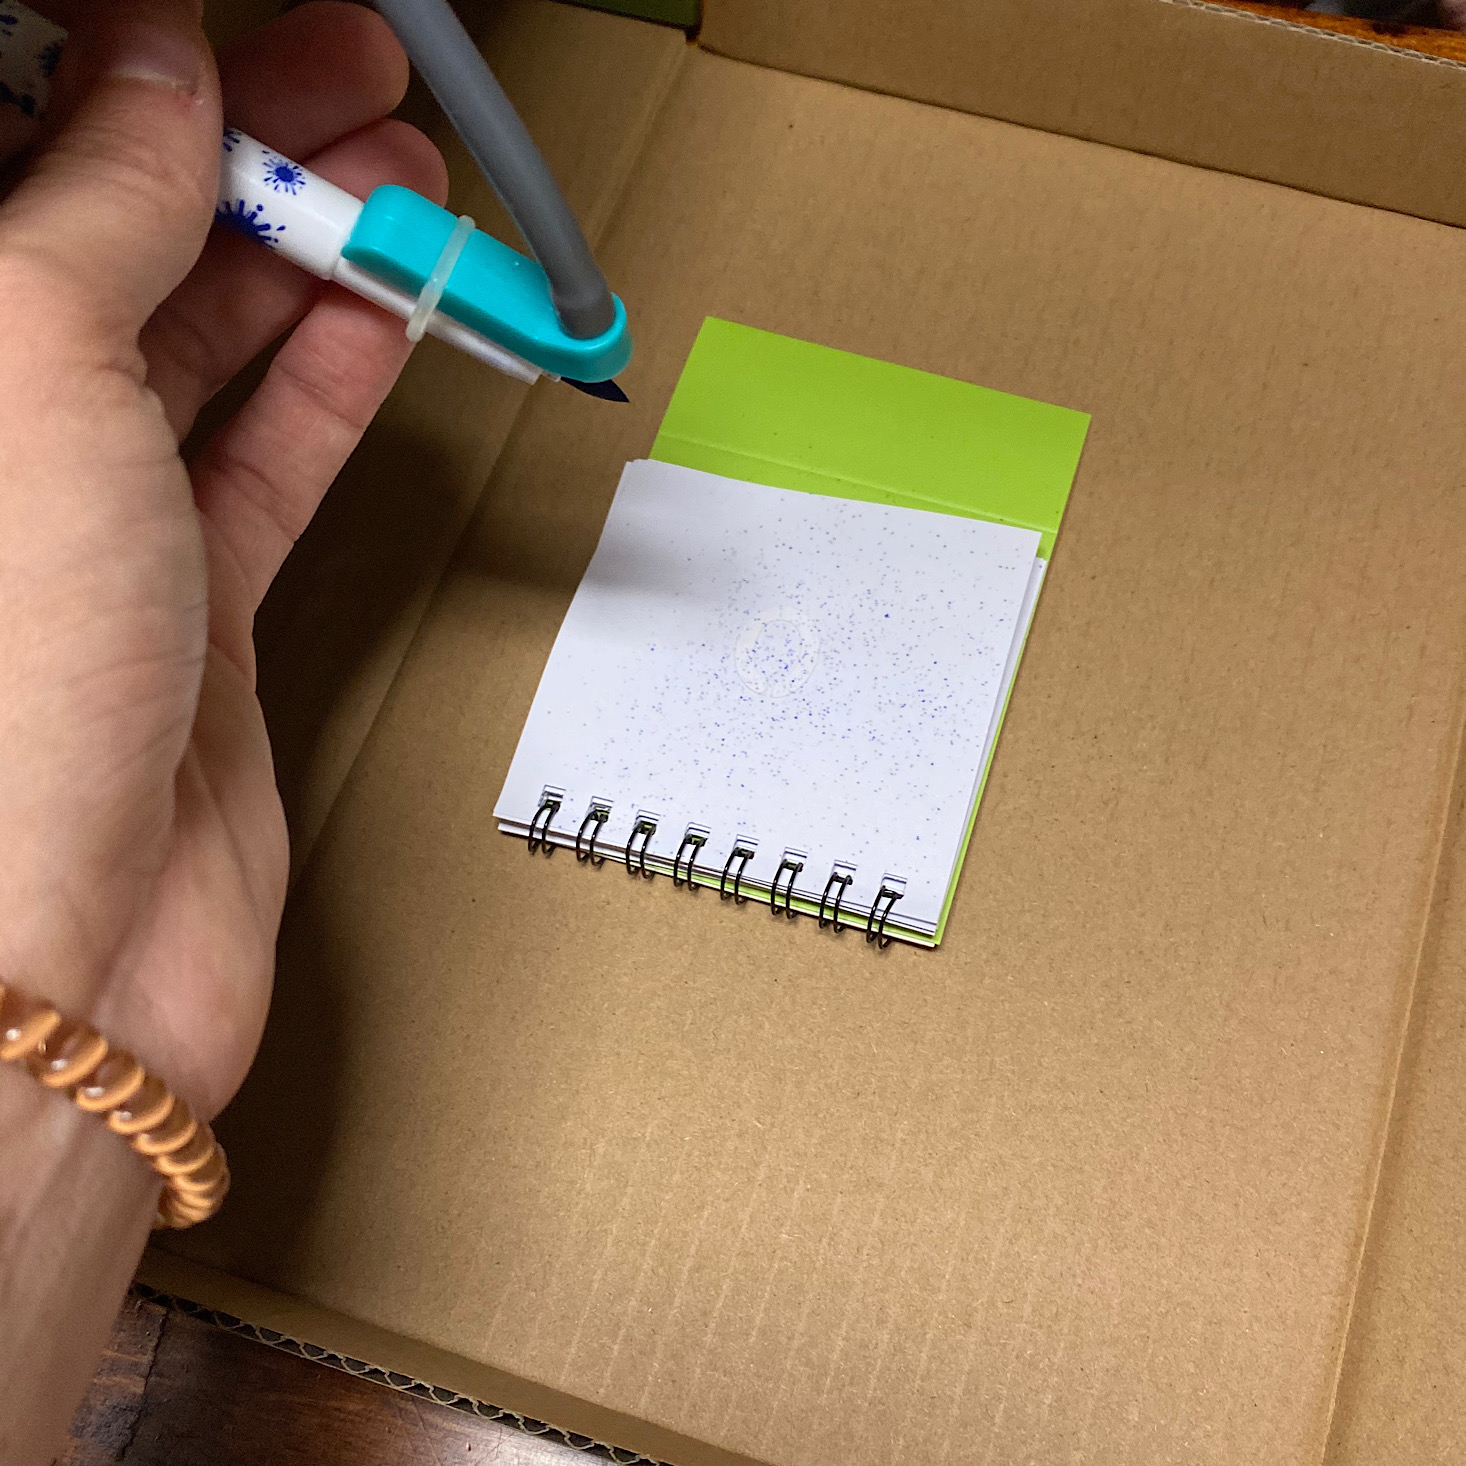
I placed our marker onto this teal piece with a rubber ring while my daughter added the sticker stenciled numbers to our scoreboard pieces. Then I slipped the marker unit onto the end of our tube.
Then we took turns air brushing our scorecards. We had to give some pretty strong pushes to the pump to get some good sprays.
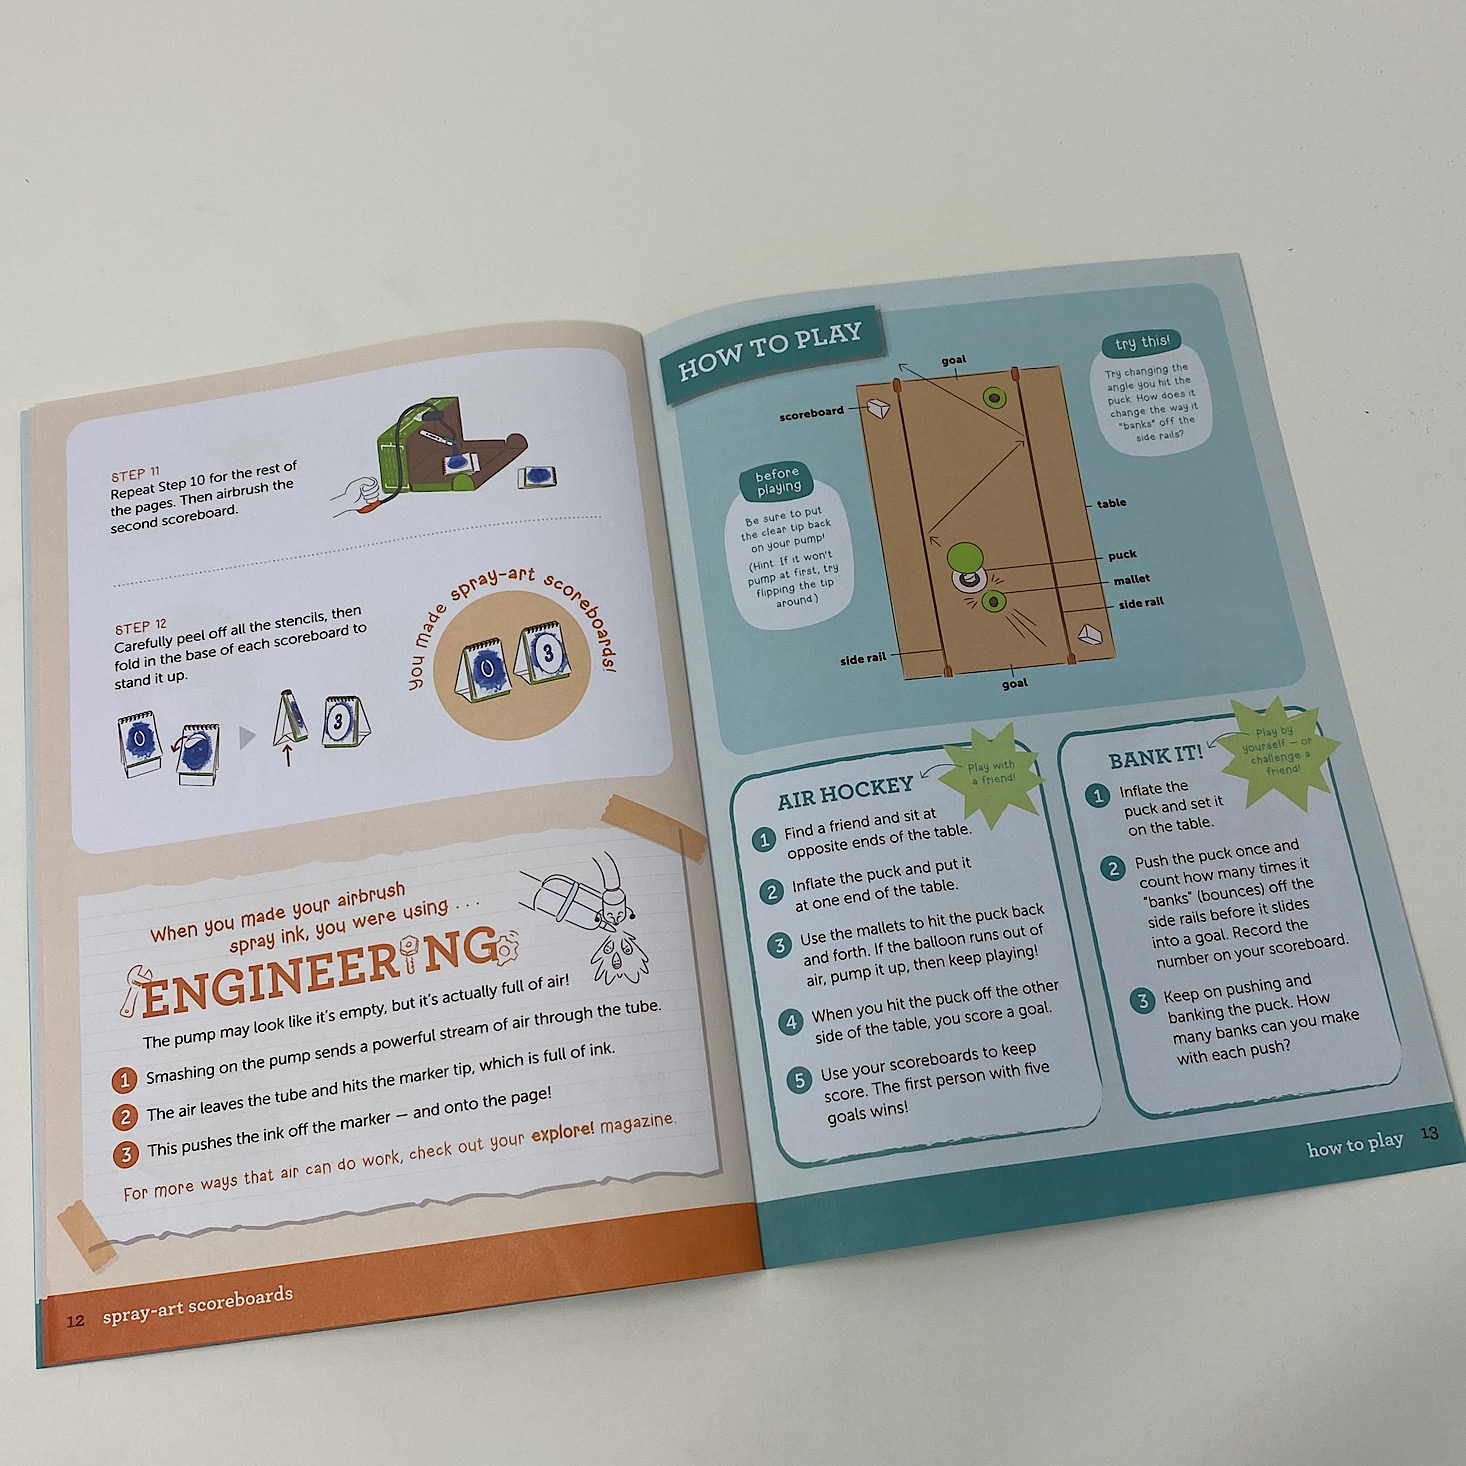
Once they were covered we removed the stencils and our scoreboards were ready!
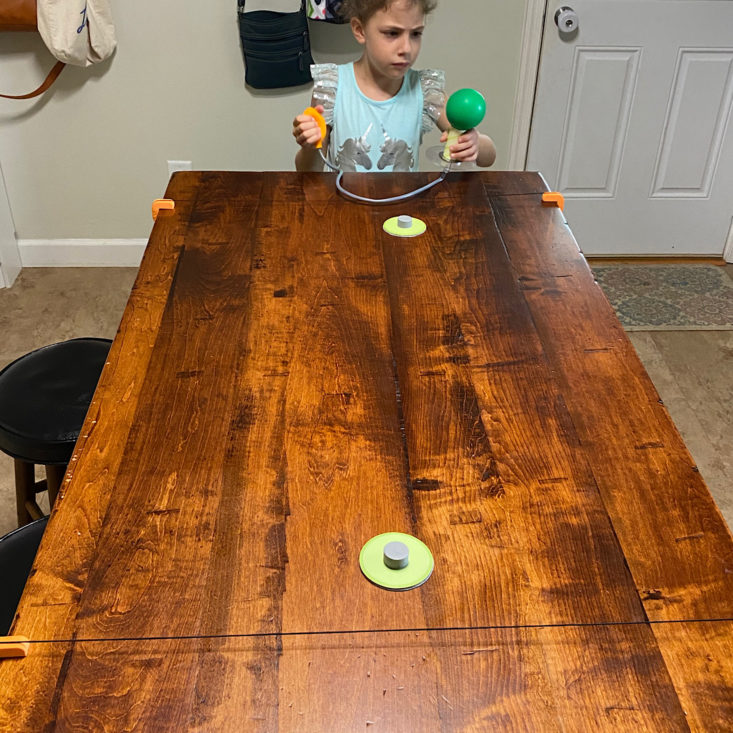
My daughter re-attached the plastic end to our pump tube and then she filled up our puck's balloon again so that we could play.
We were both pretty impressed with how well our puck moved across the table. The cords at the end worked perfectly to bounce our puck back to the other side. Our table is a bit narrow though and the puck kept sliding off, but next time we can test it on our dining room table! It is such an easy table to set up since all we have to do is place the two cords, tighten them up and add the foam bumpers!
Verdict: My daughter was super excited about this month's Kiwi Crate theme since she thinks air hockey is the coolest thing! I loved how simple they made it and how easy it was to create thanks to the well organized and thought out directions. I also think it's so cool that we got to do some airbrushing for our scoreboard. This was a very effective and educational lesson on air that we really enjoyed!
To Wrap Up:
Can you still get this box if you sign up today? It is possible you might get this crate, but it is not a guarantee. From KiwiCo:
Crates are assigned each month based on availability and your crate history - not all subscribers receive the same theme each month.
Check out all of our Kiwi Crate reviews and more boxes for ages 5-8 in the Kids Subscription Box Directory!
Keep Track of Your Subscriptions: Add this box to your subscription list or wishlist!
What do you think of Kiwi Crate?


