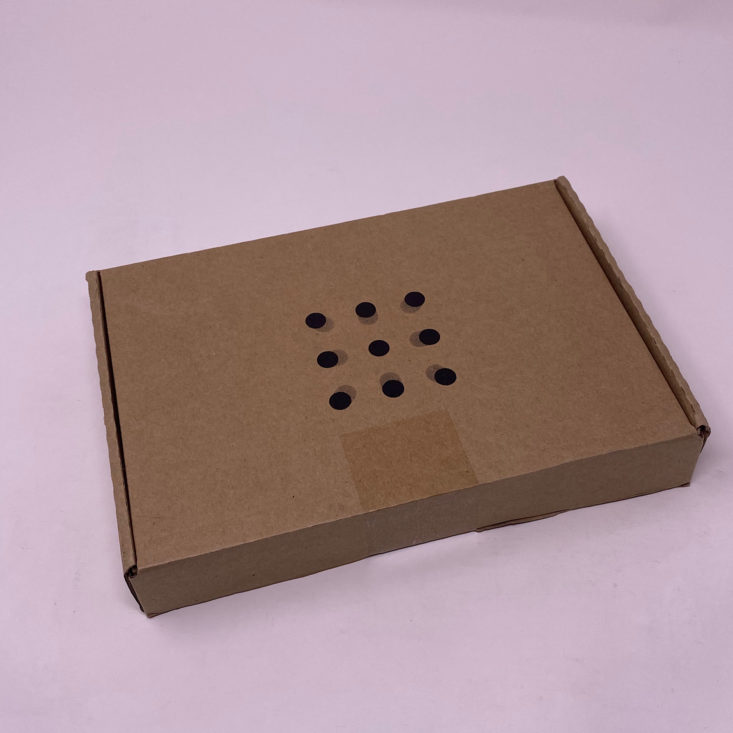
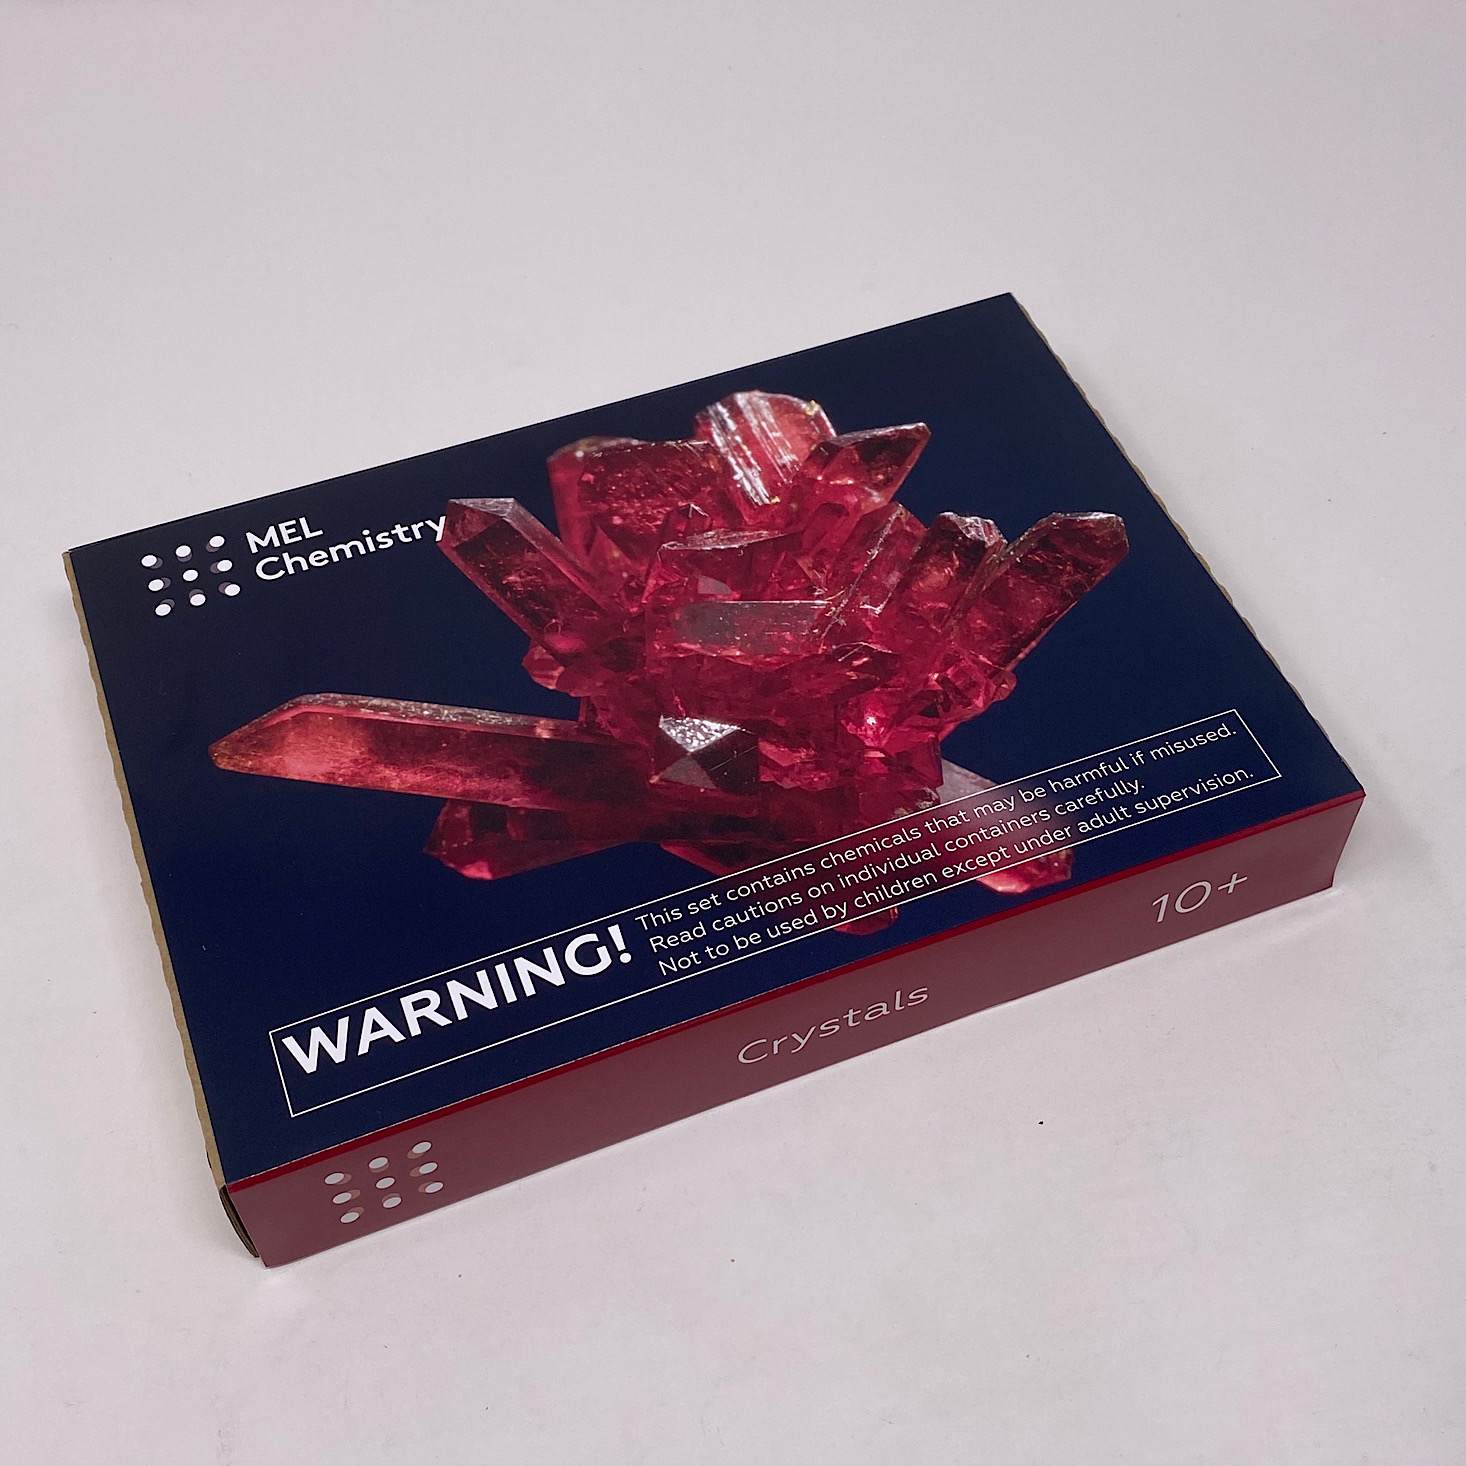
MEL Chemistry is a subscription box for kids ages 9-14 that sends all of the materials you need to complete 2-3 chemistry experiments every month. This is perfect for kids who are interested in science or for homeschool students!
This box was sent to us at no cost for review. (Check out the review process post to learn more about how we review boxes.)

About MEL Chemistry
The Subscription Box: MEL Chemistry
The Cost: $34.90 per month
The Products: Everything you need to conduct 2-3 chemistry experiments each month safely in your own home!
Ships to: The U.S. and UK for free. International shipping to select countries is also available, although there may be additional shipping charges depending on location.
MEL Chemistry "Crystals" Review July 2020
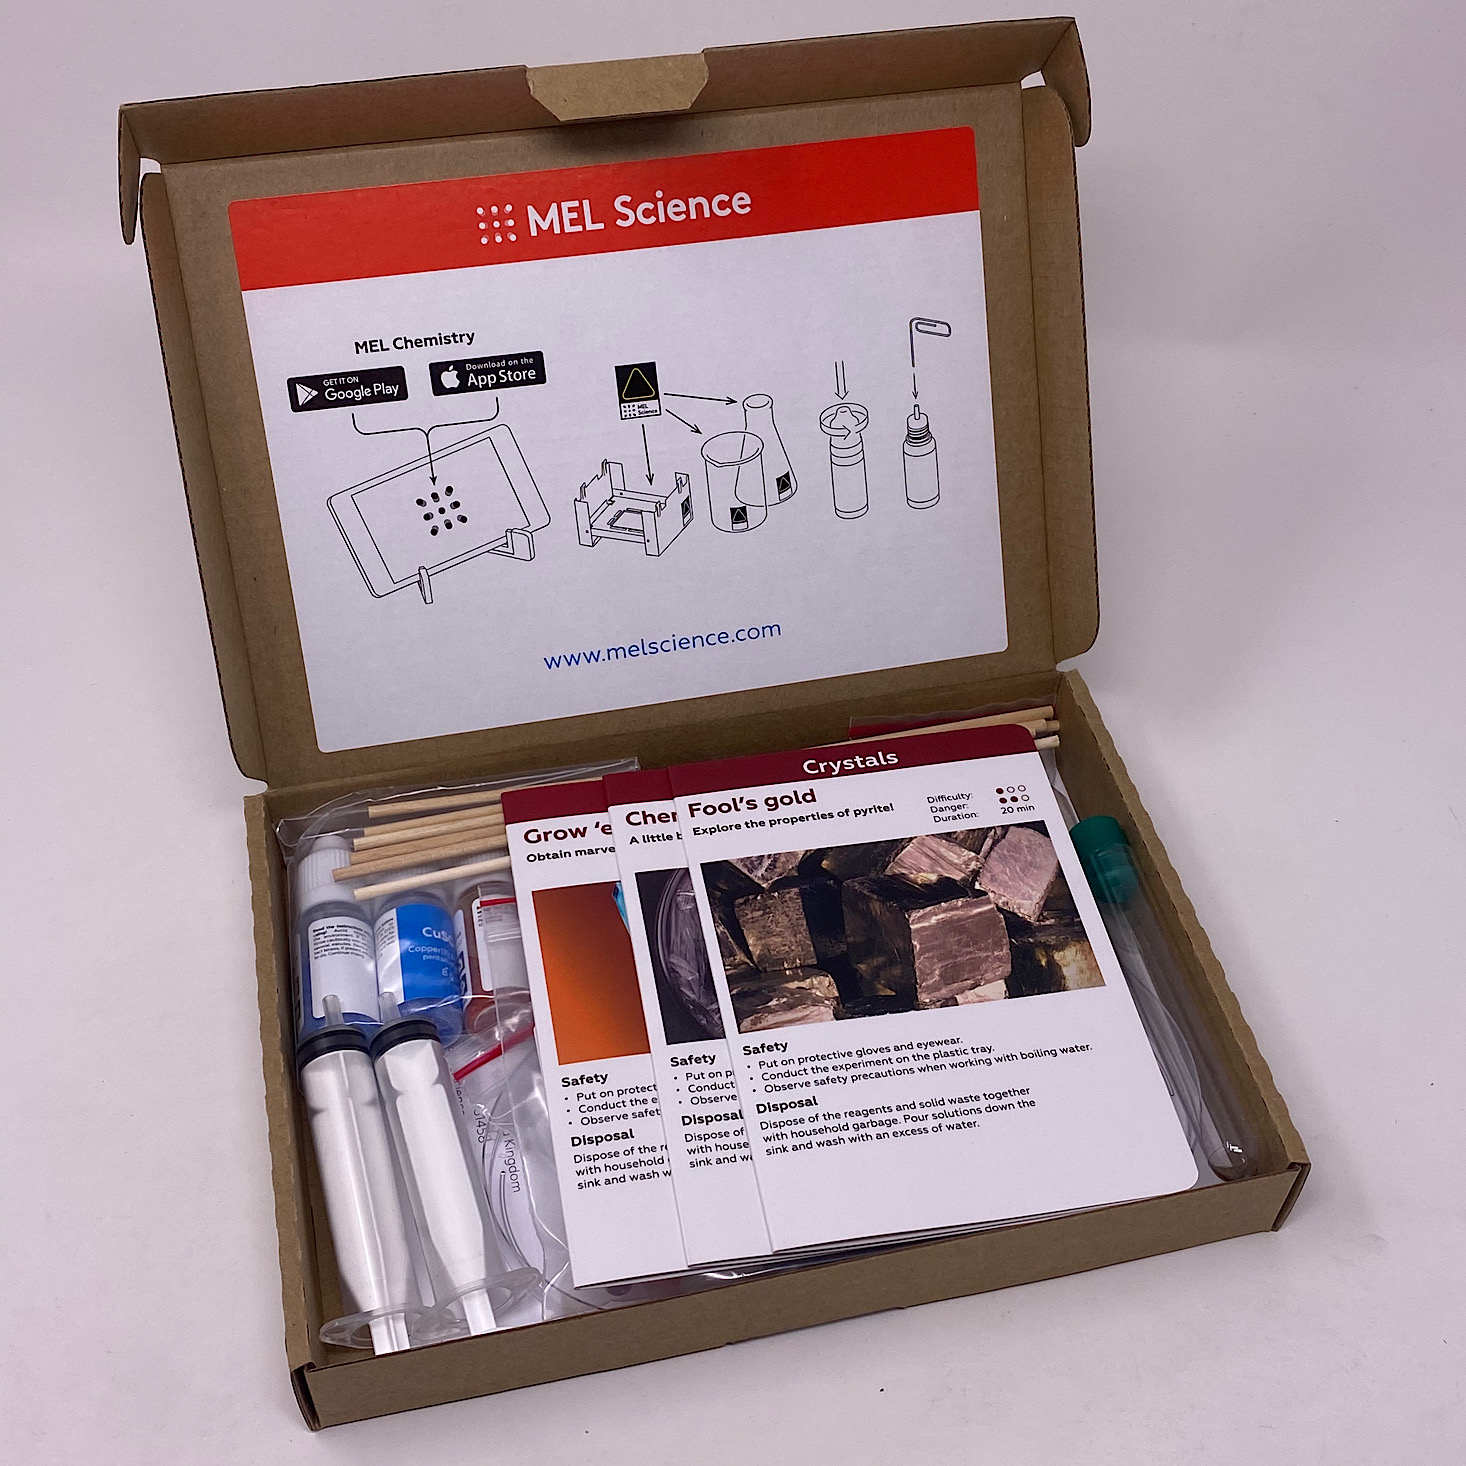
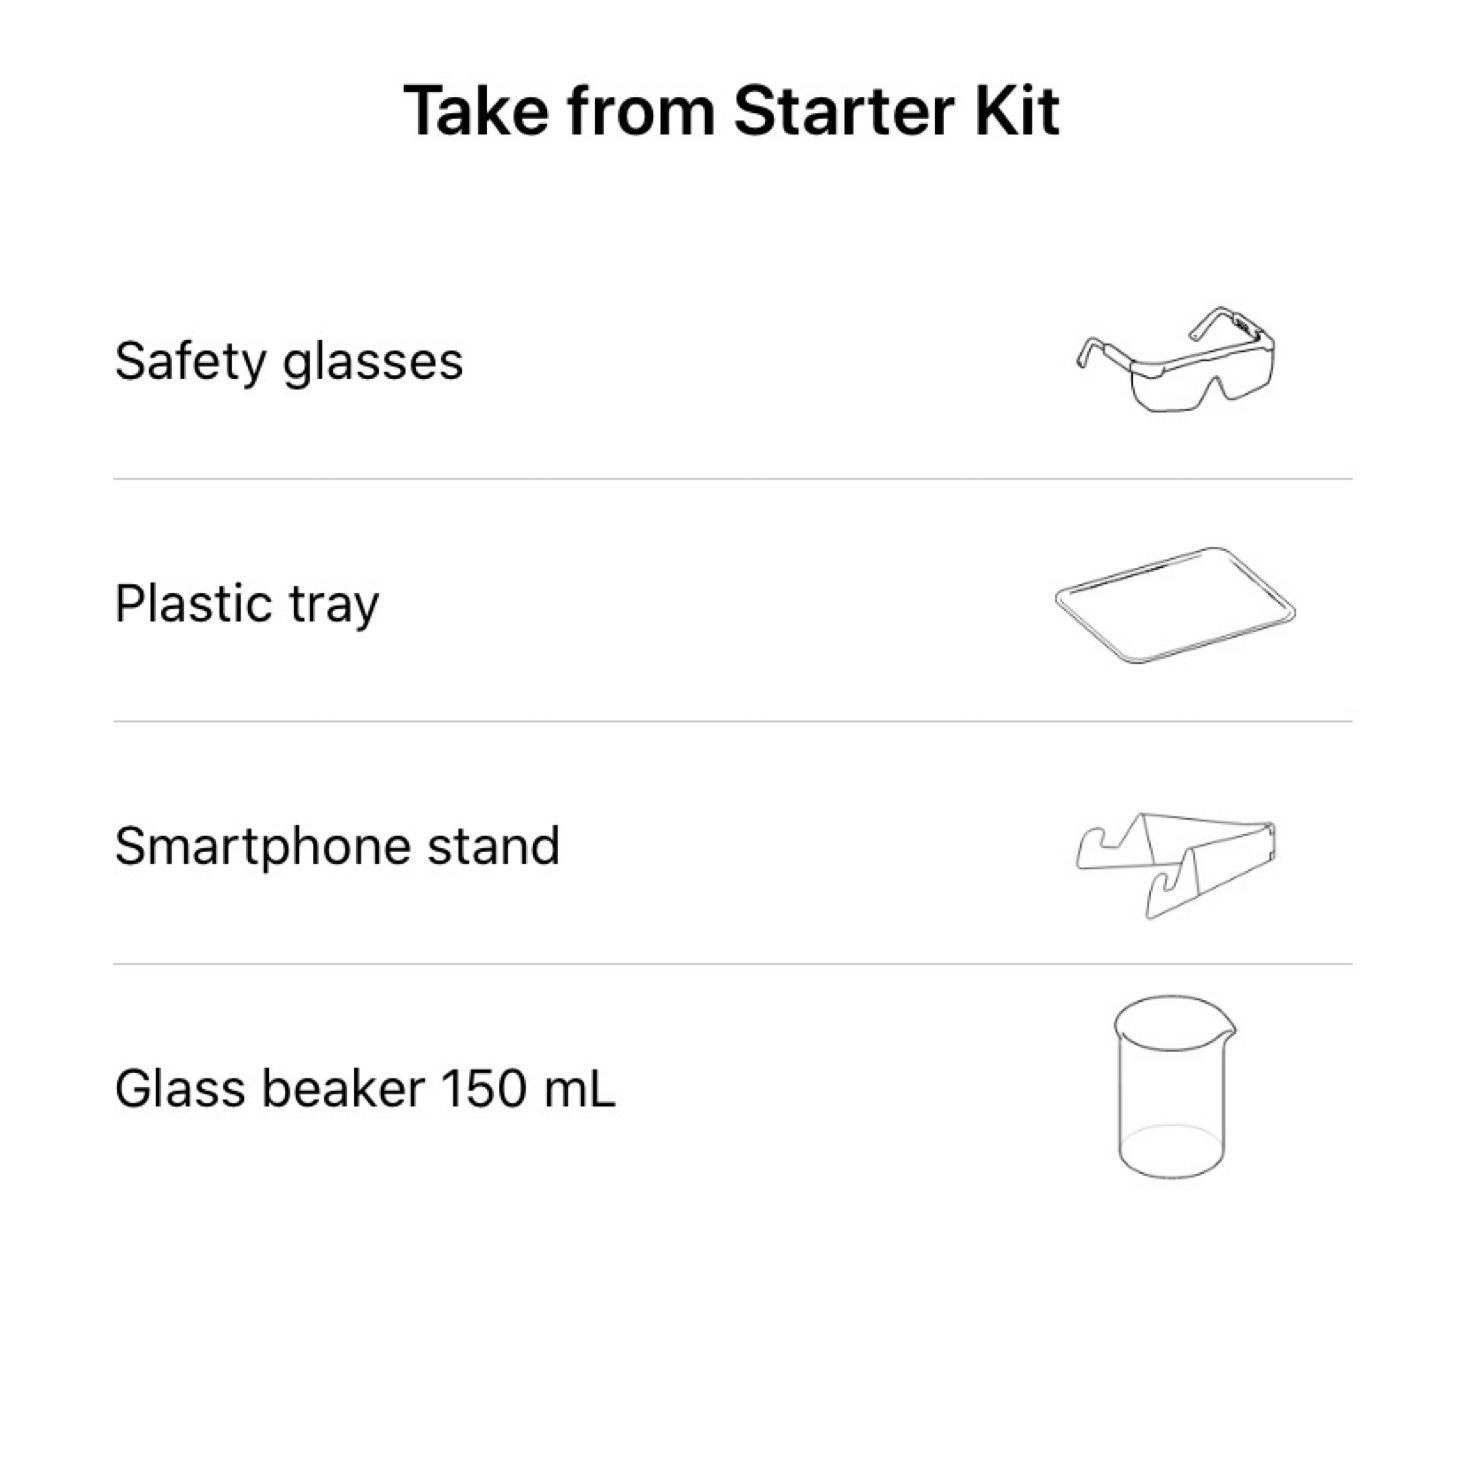
This month our experiments' theme is "Crystals" and the contents were listed on the back of our box. You may note that they list a few items we need to get from our Starter Kit.
Note: The following items did not come in this month's kit!
Starter Kit
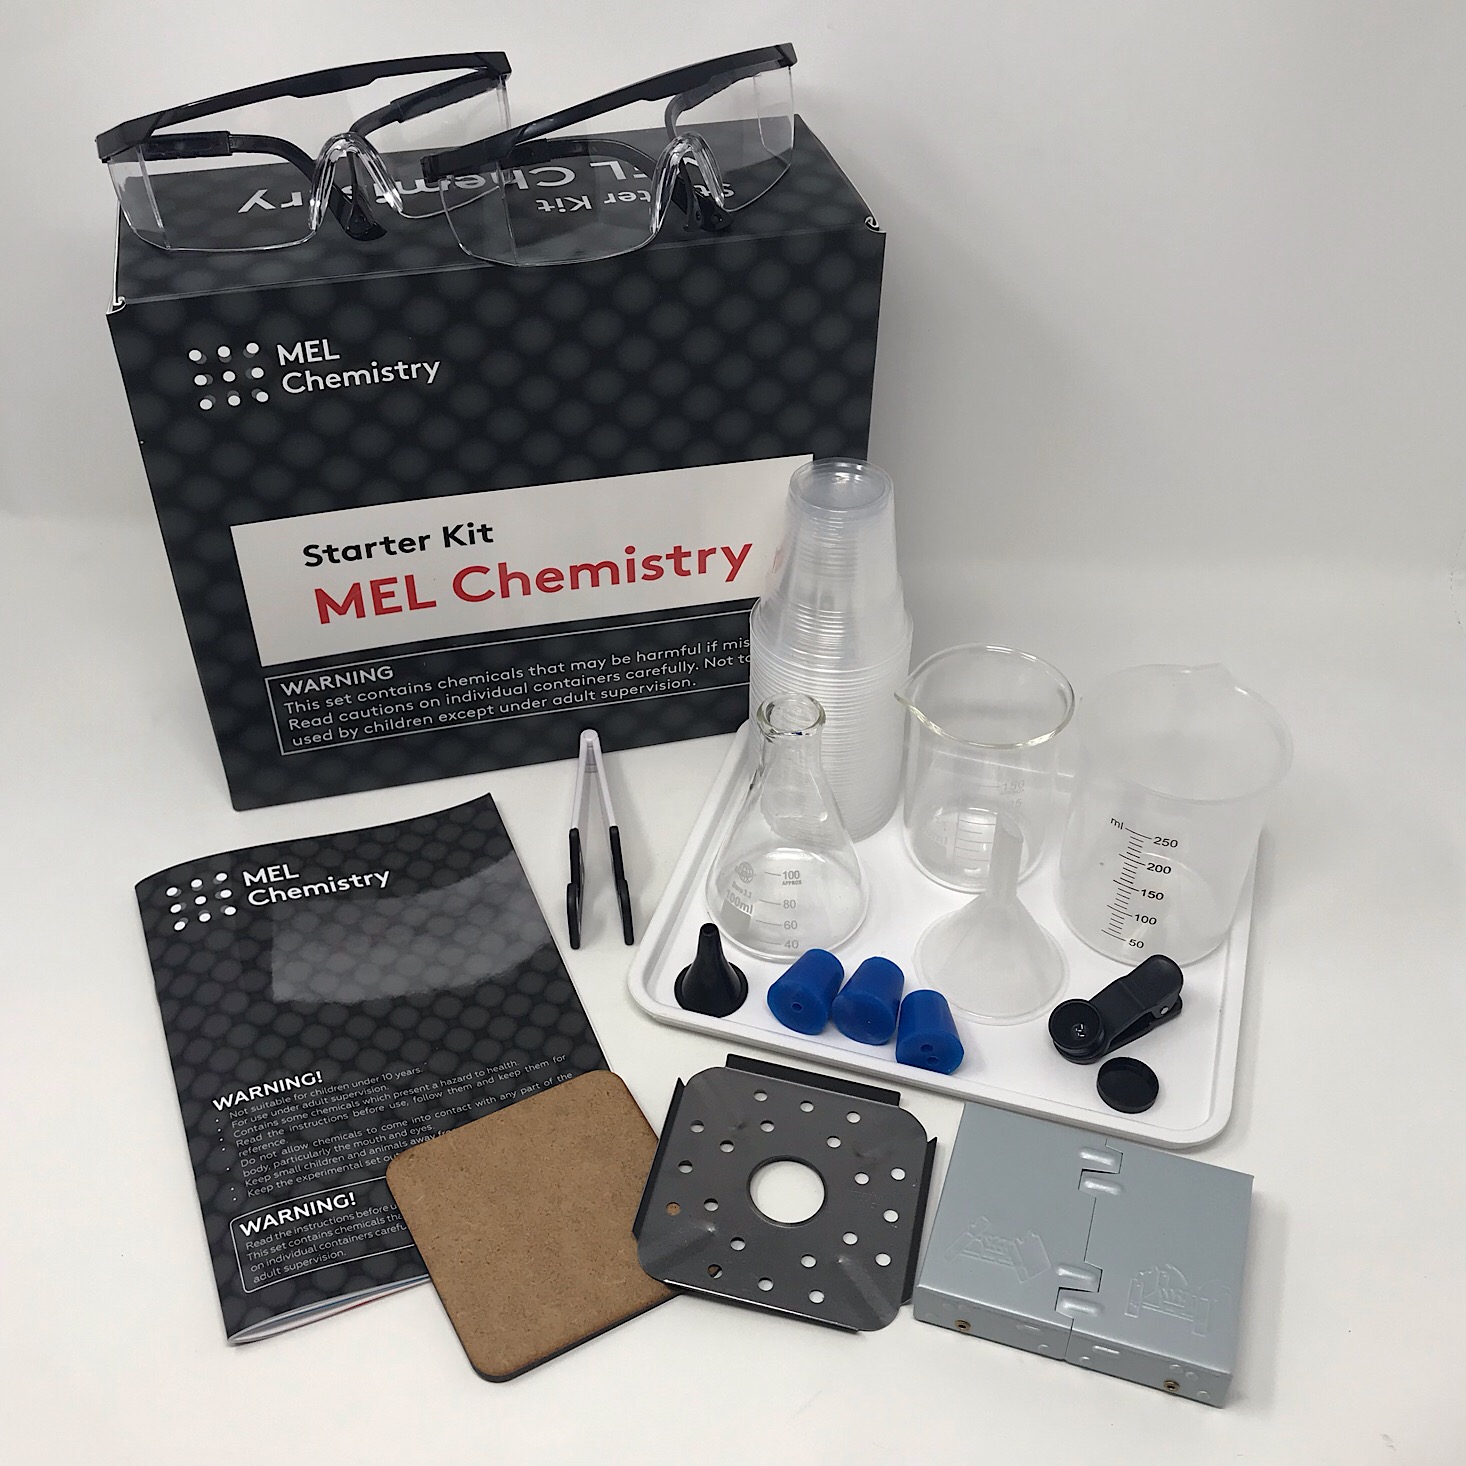
Your free starter kit (valued at $50) will come in your first shipment. It includes all of the equipment you'll need to conduct your experiments each month and even includes some accessories for your tablet or smartphone to help you access all of the information they provide in their apps. To see more details about everything we received in our kit, you can check out our review here!
VR Headset
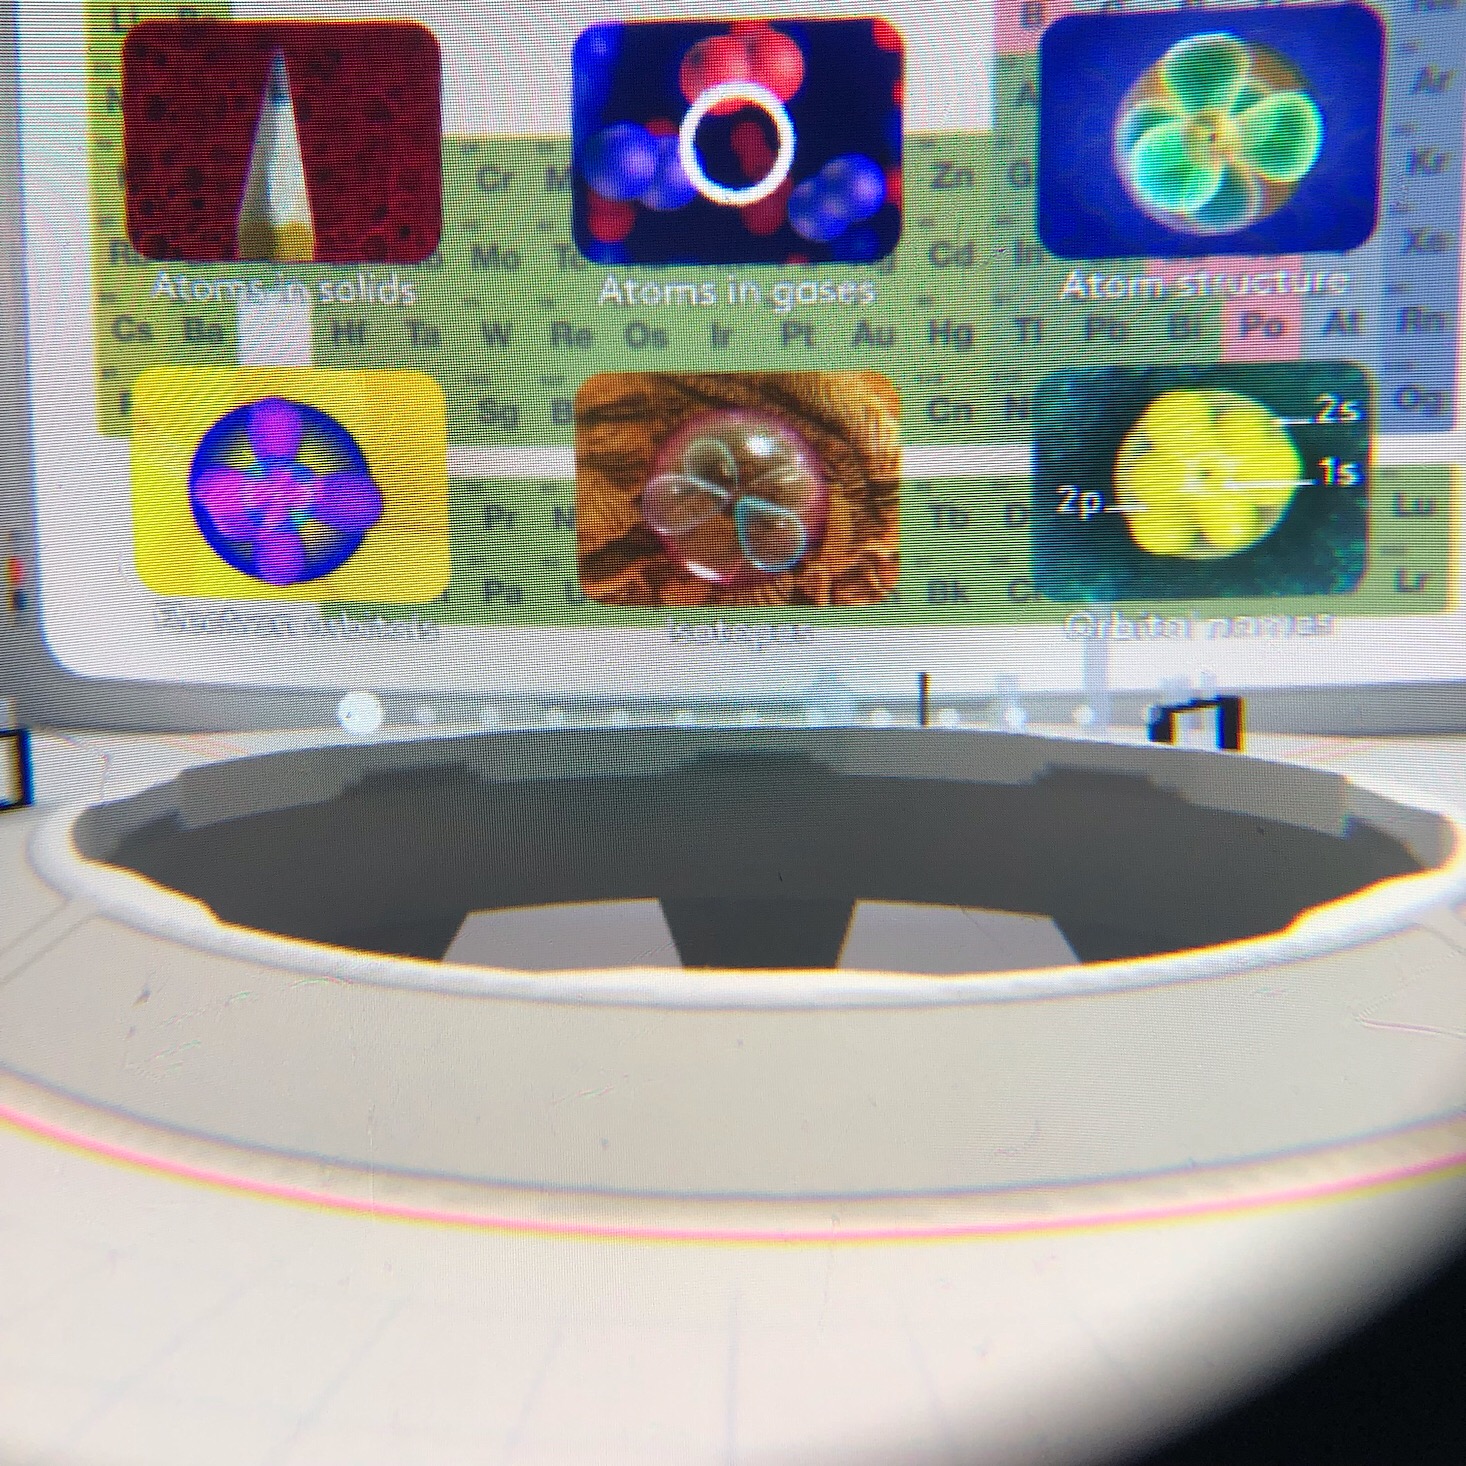
Also included with our Starter Kit was this virtual reality headset. This cardboard headset folds up easily and then you slip your phone into the slot and use their free MEL VR app.
The VR app opens up in a lab where we have the opportunity to learn about different molecules and atoms and explore them closely. This is so great for gaining a deeper understanding of what happens throughout our experiments and as a fun extension to our lessons!
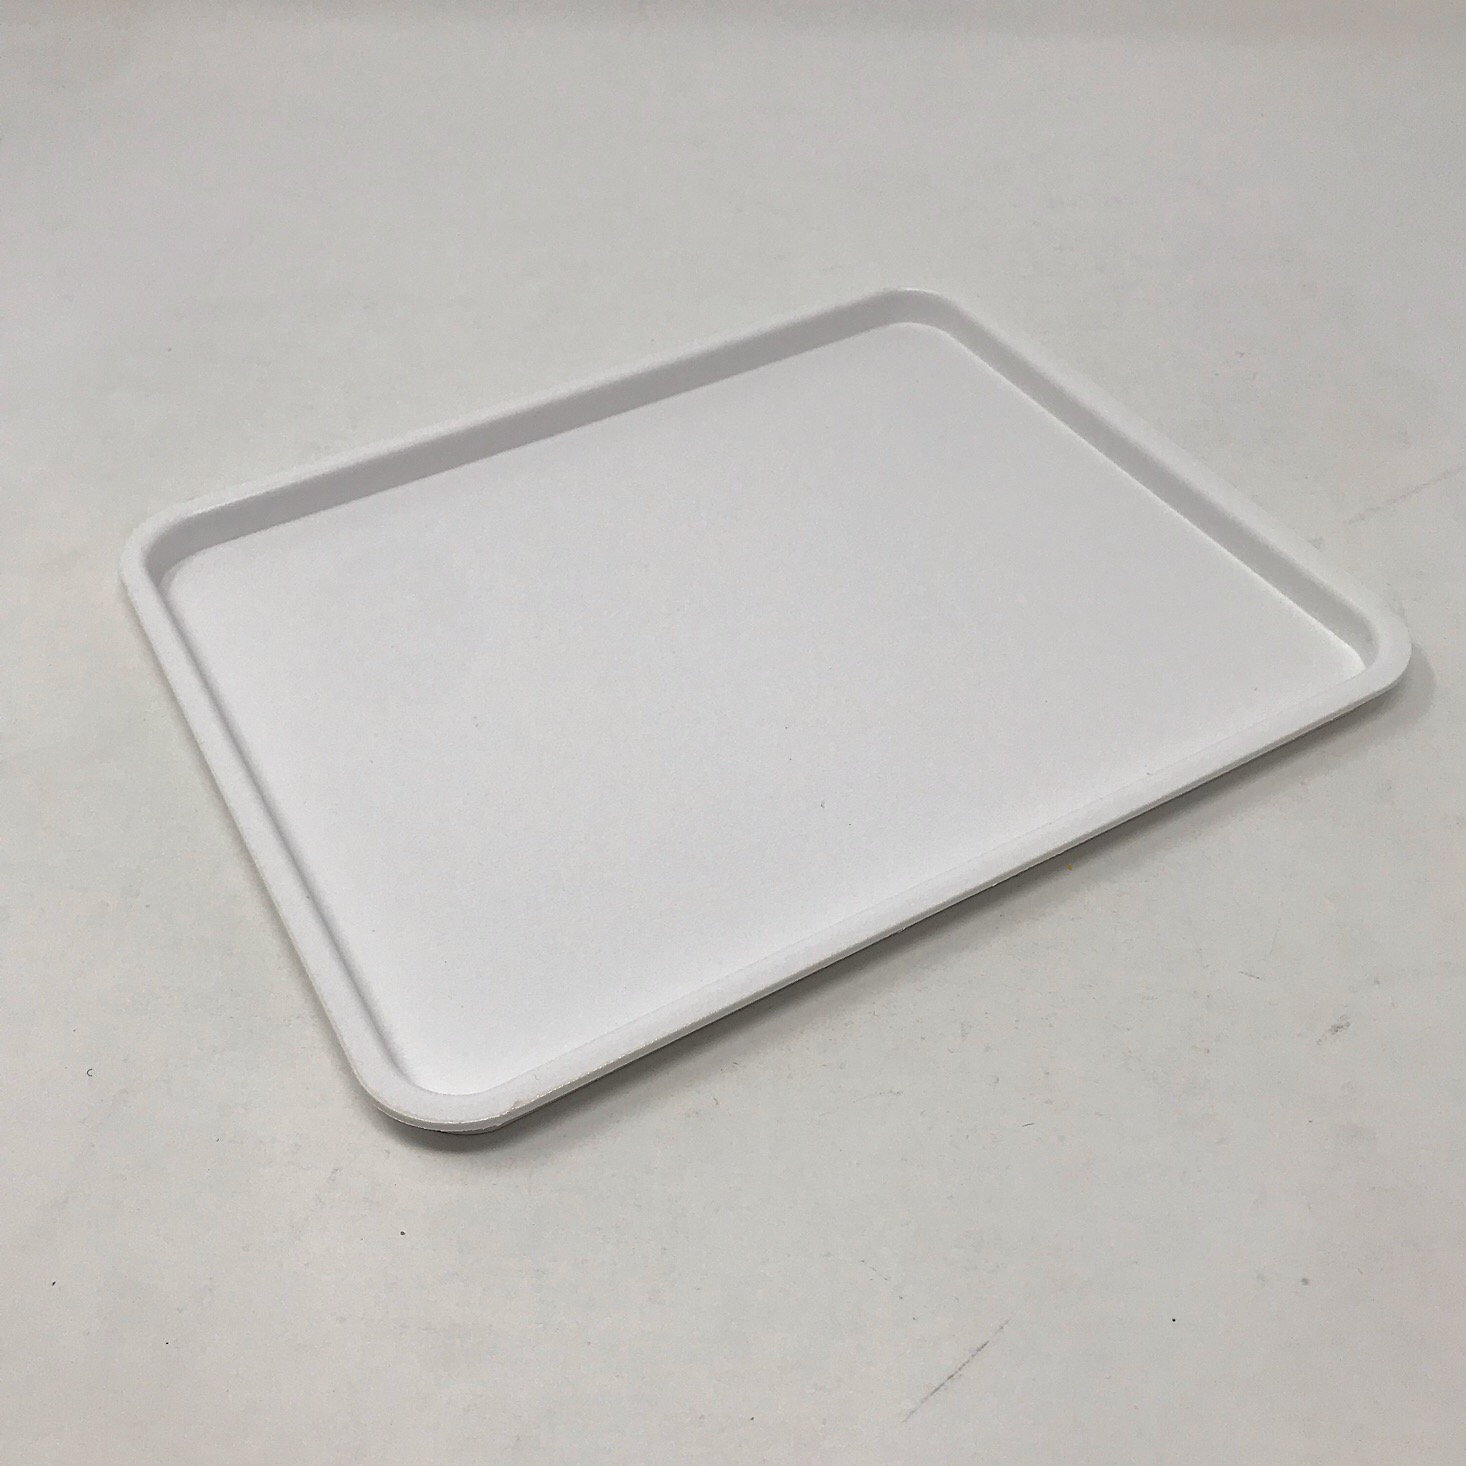
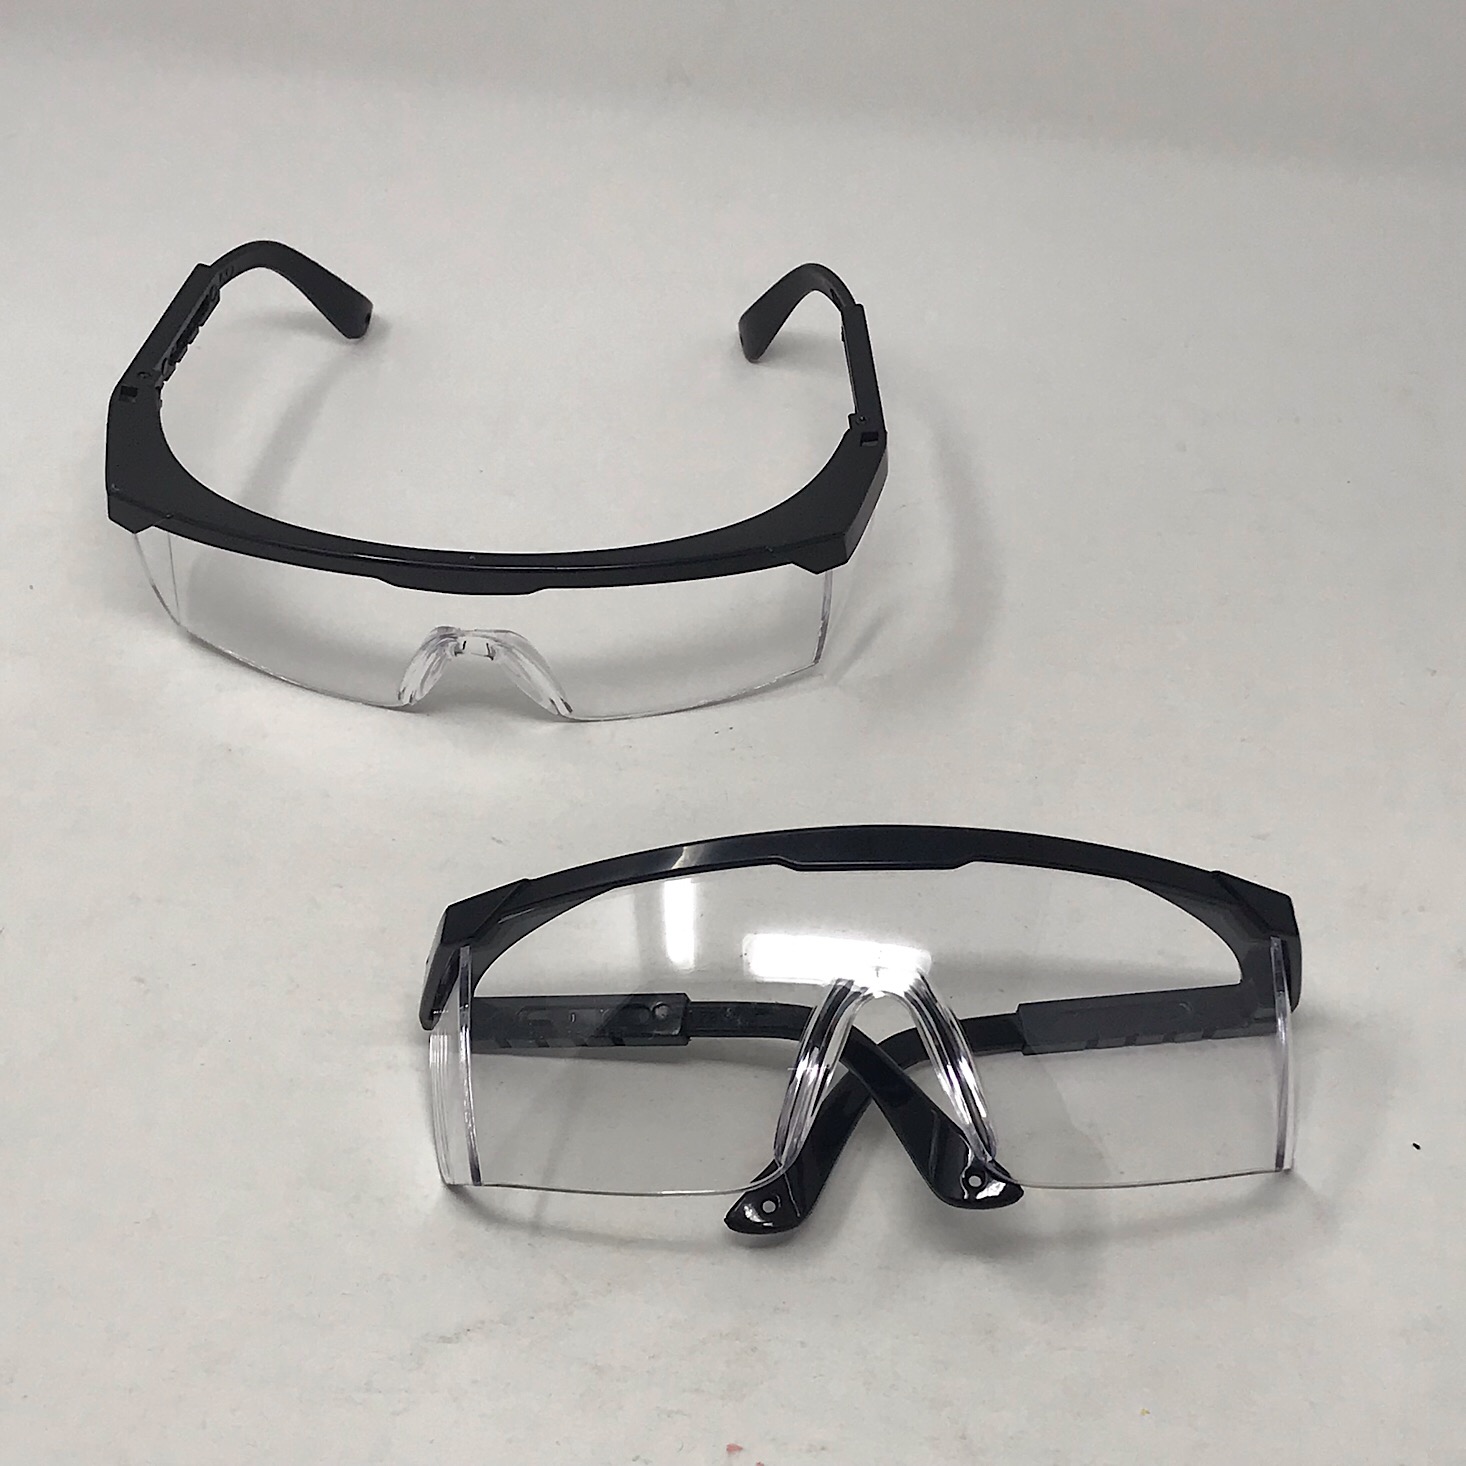
The first three items are those that we need each month: a tray to work on, our safety goggles, and our phone/tablet stand.
This month we needed just a few things from our kit such as our glass beaker, funnel, and some of the plastic cups.
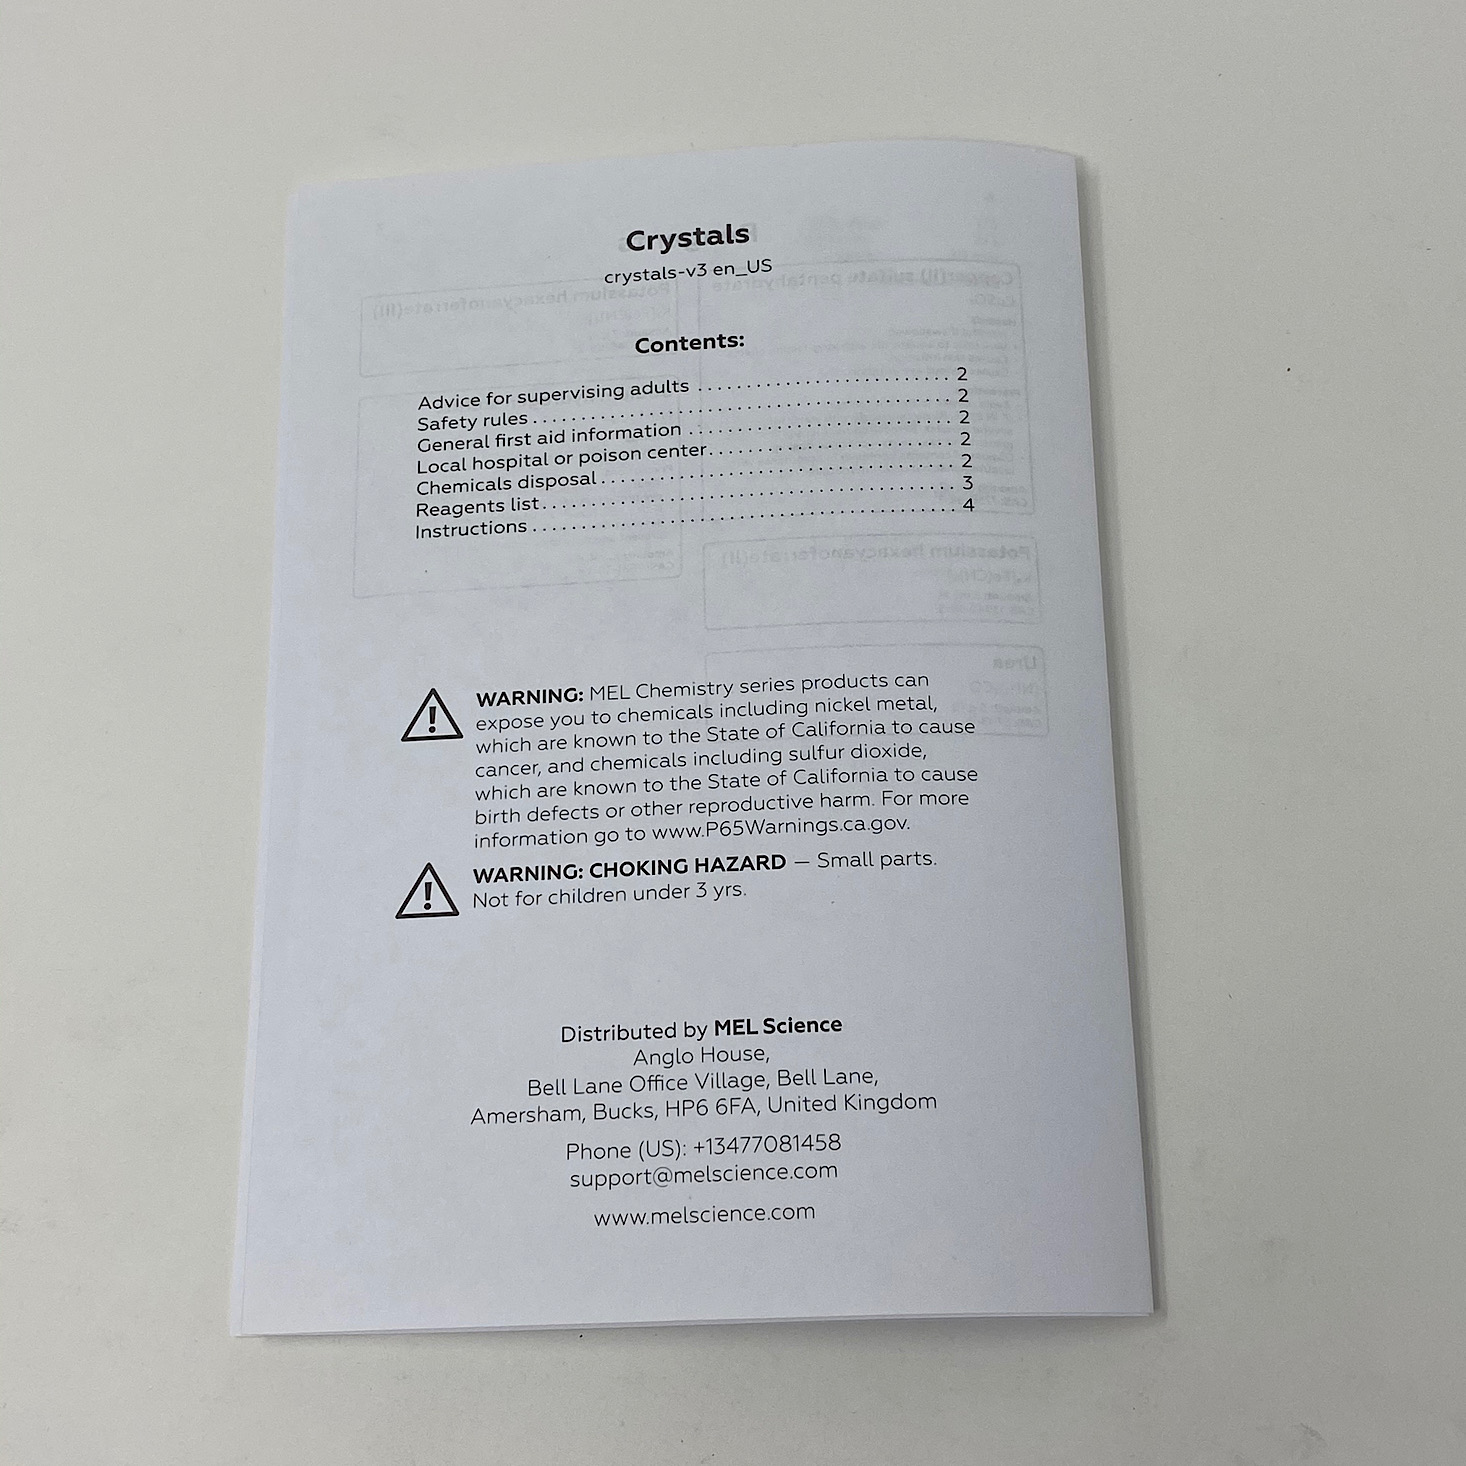
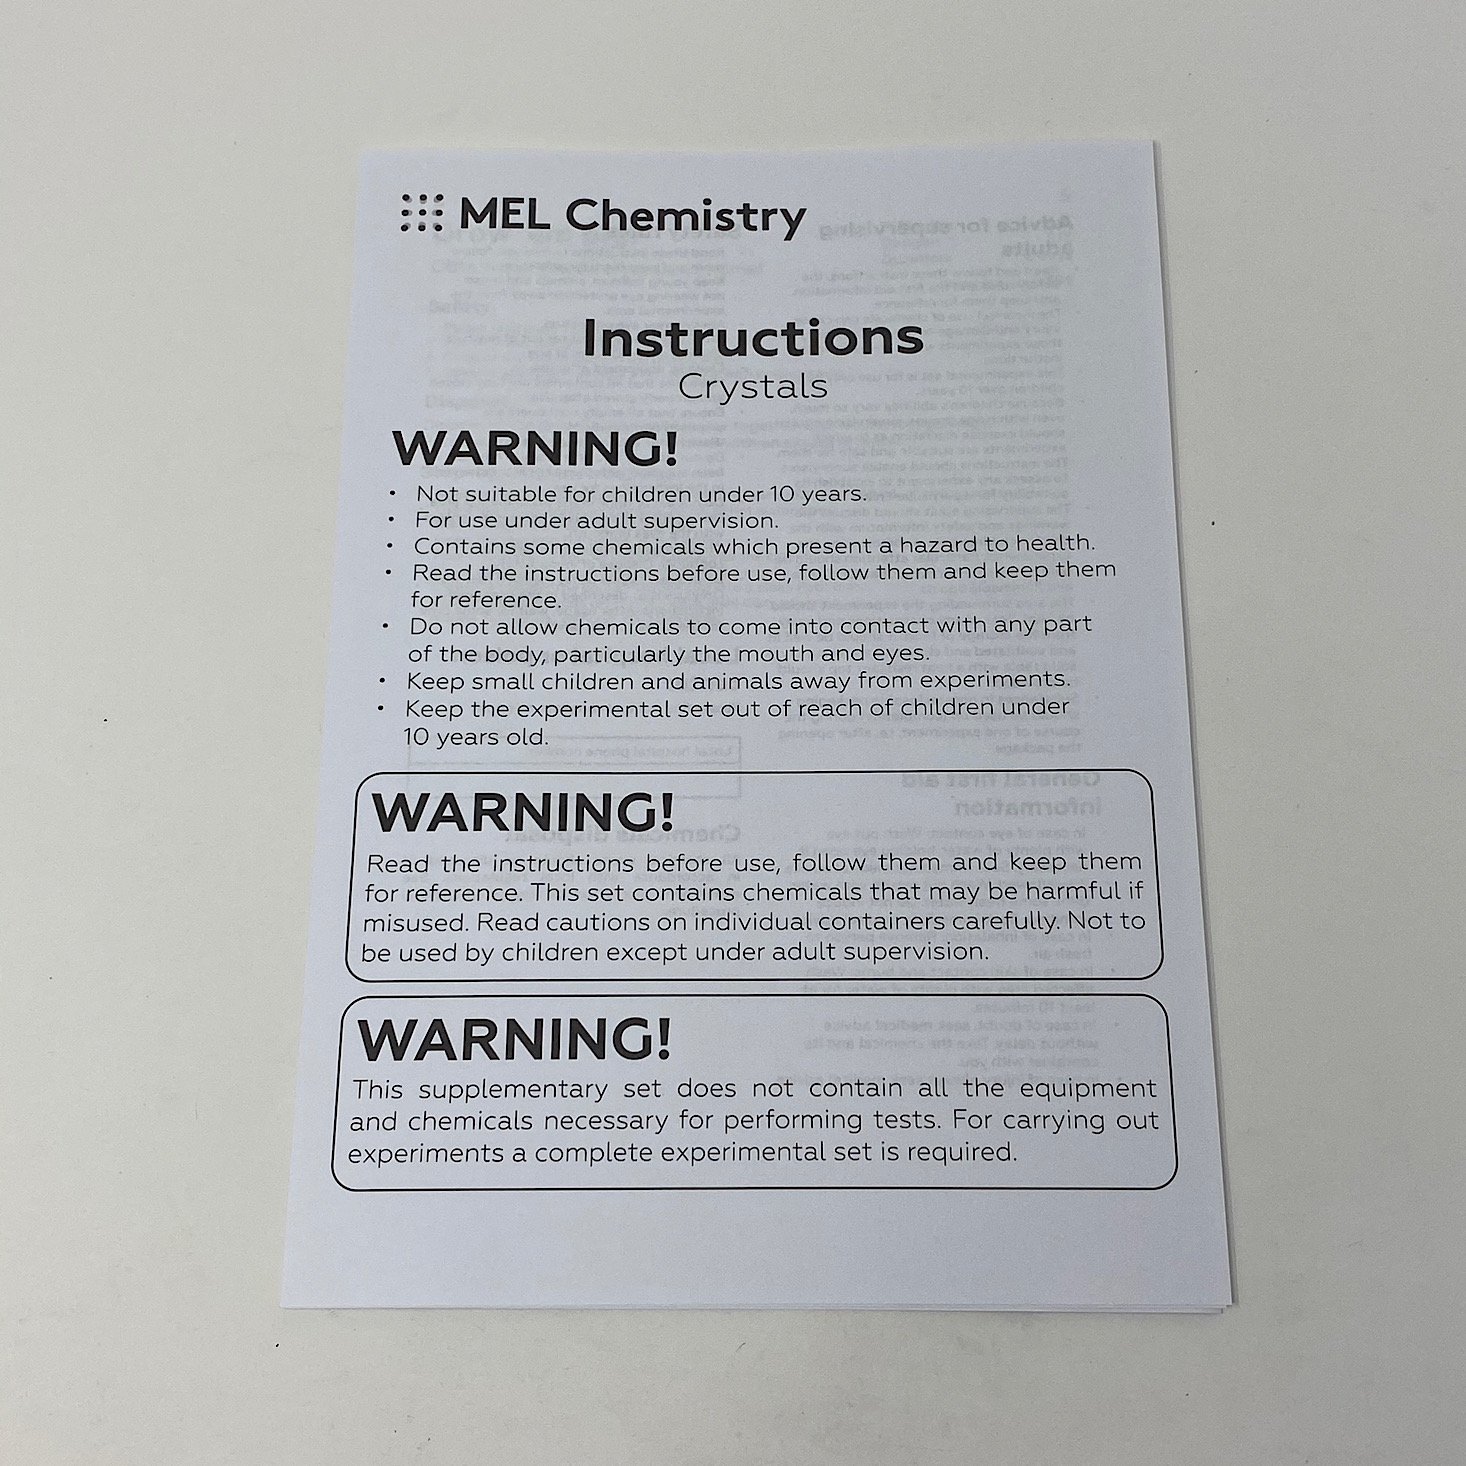
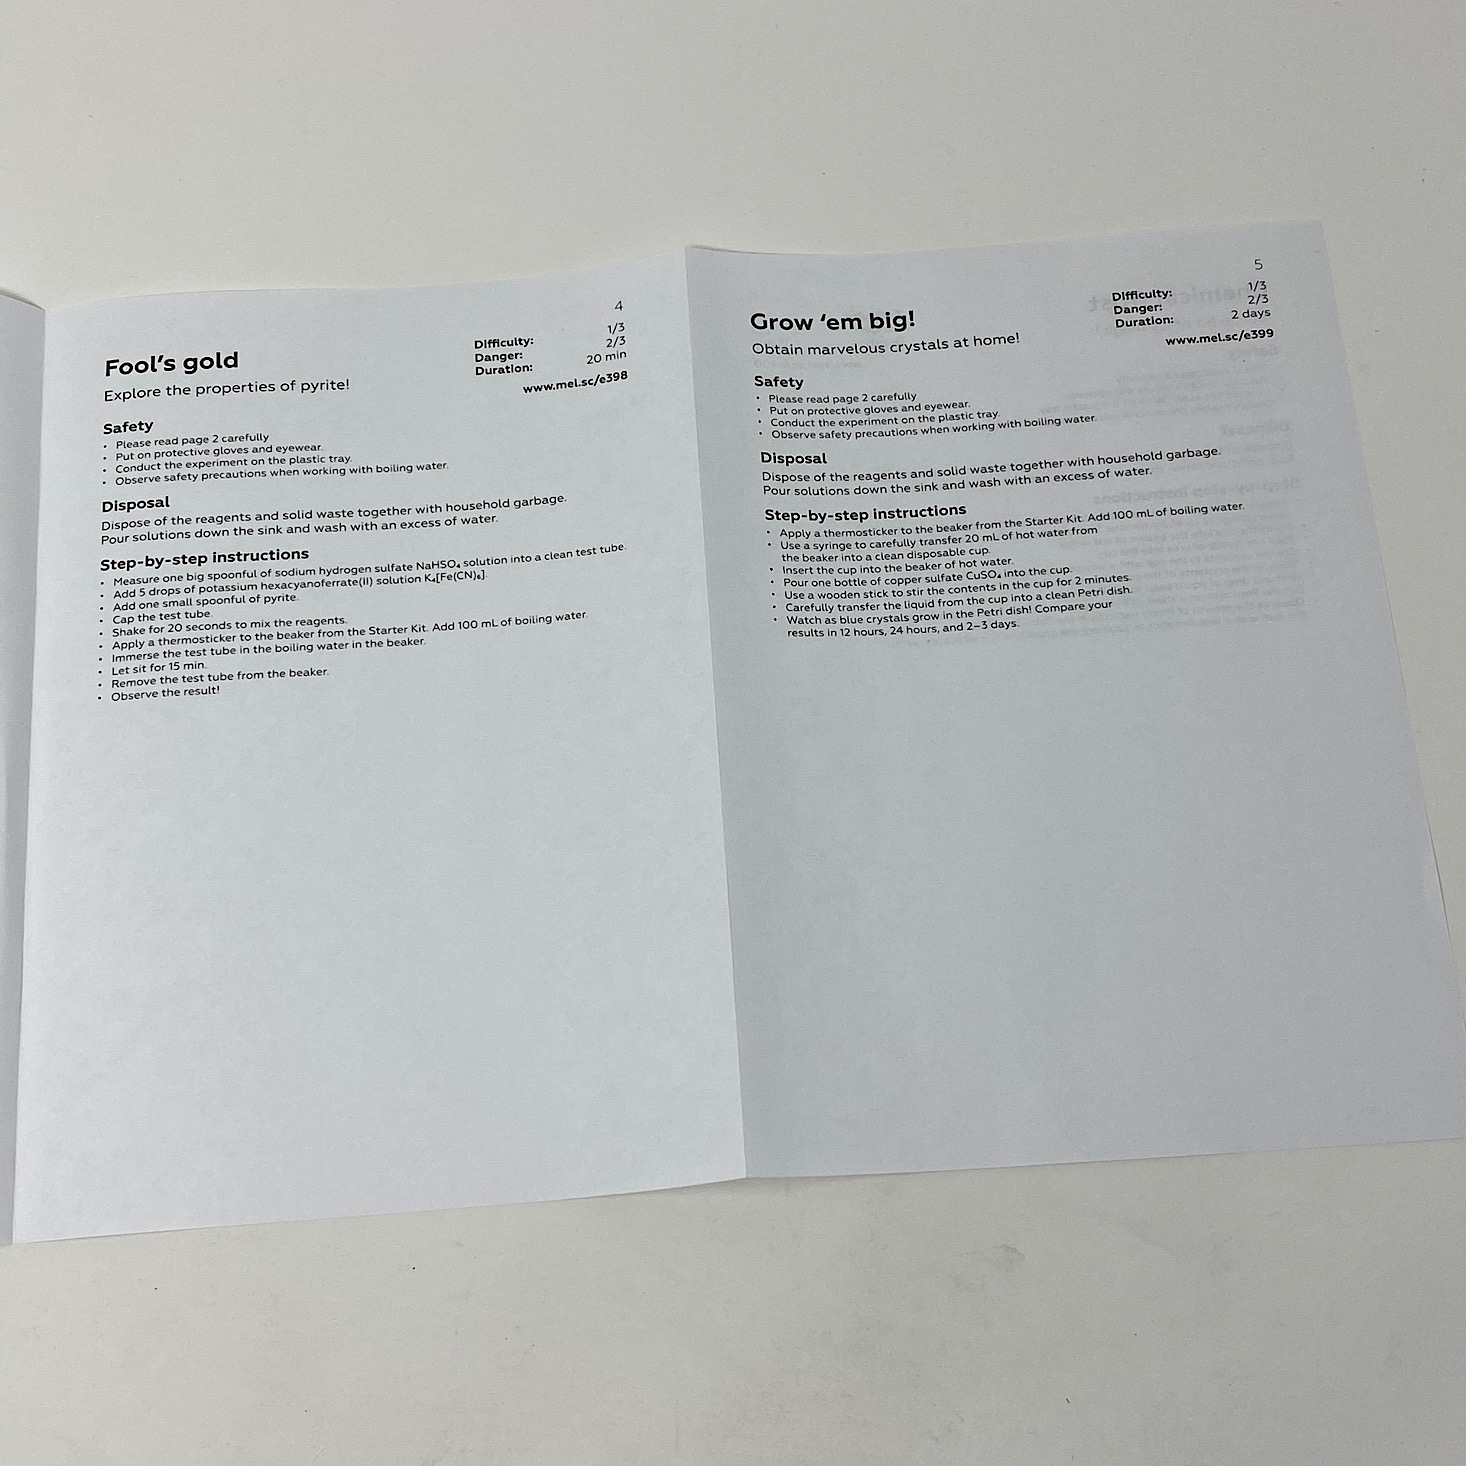
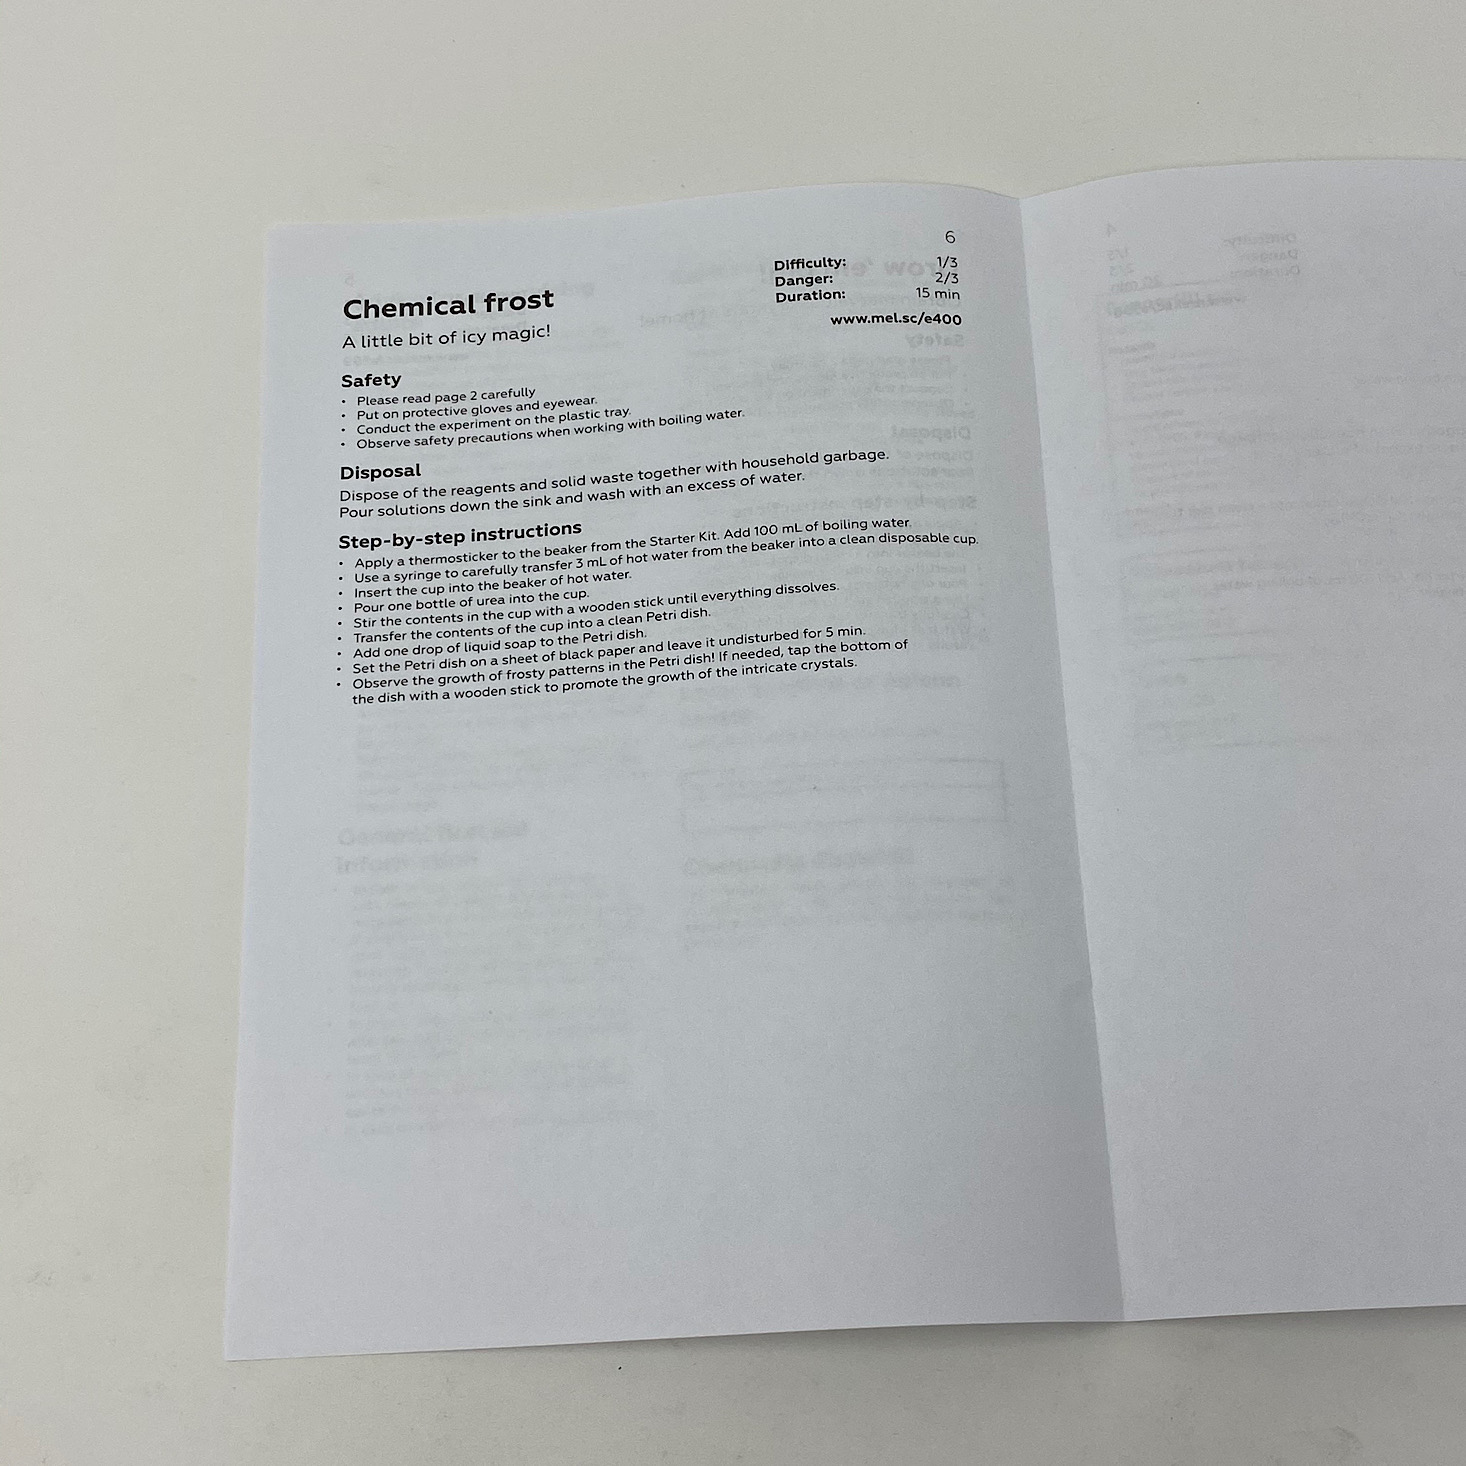
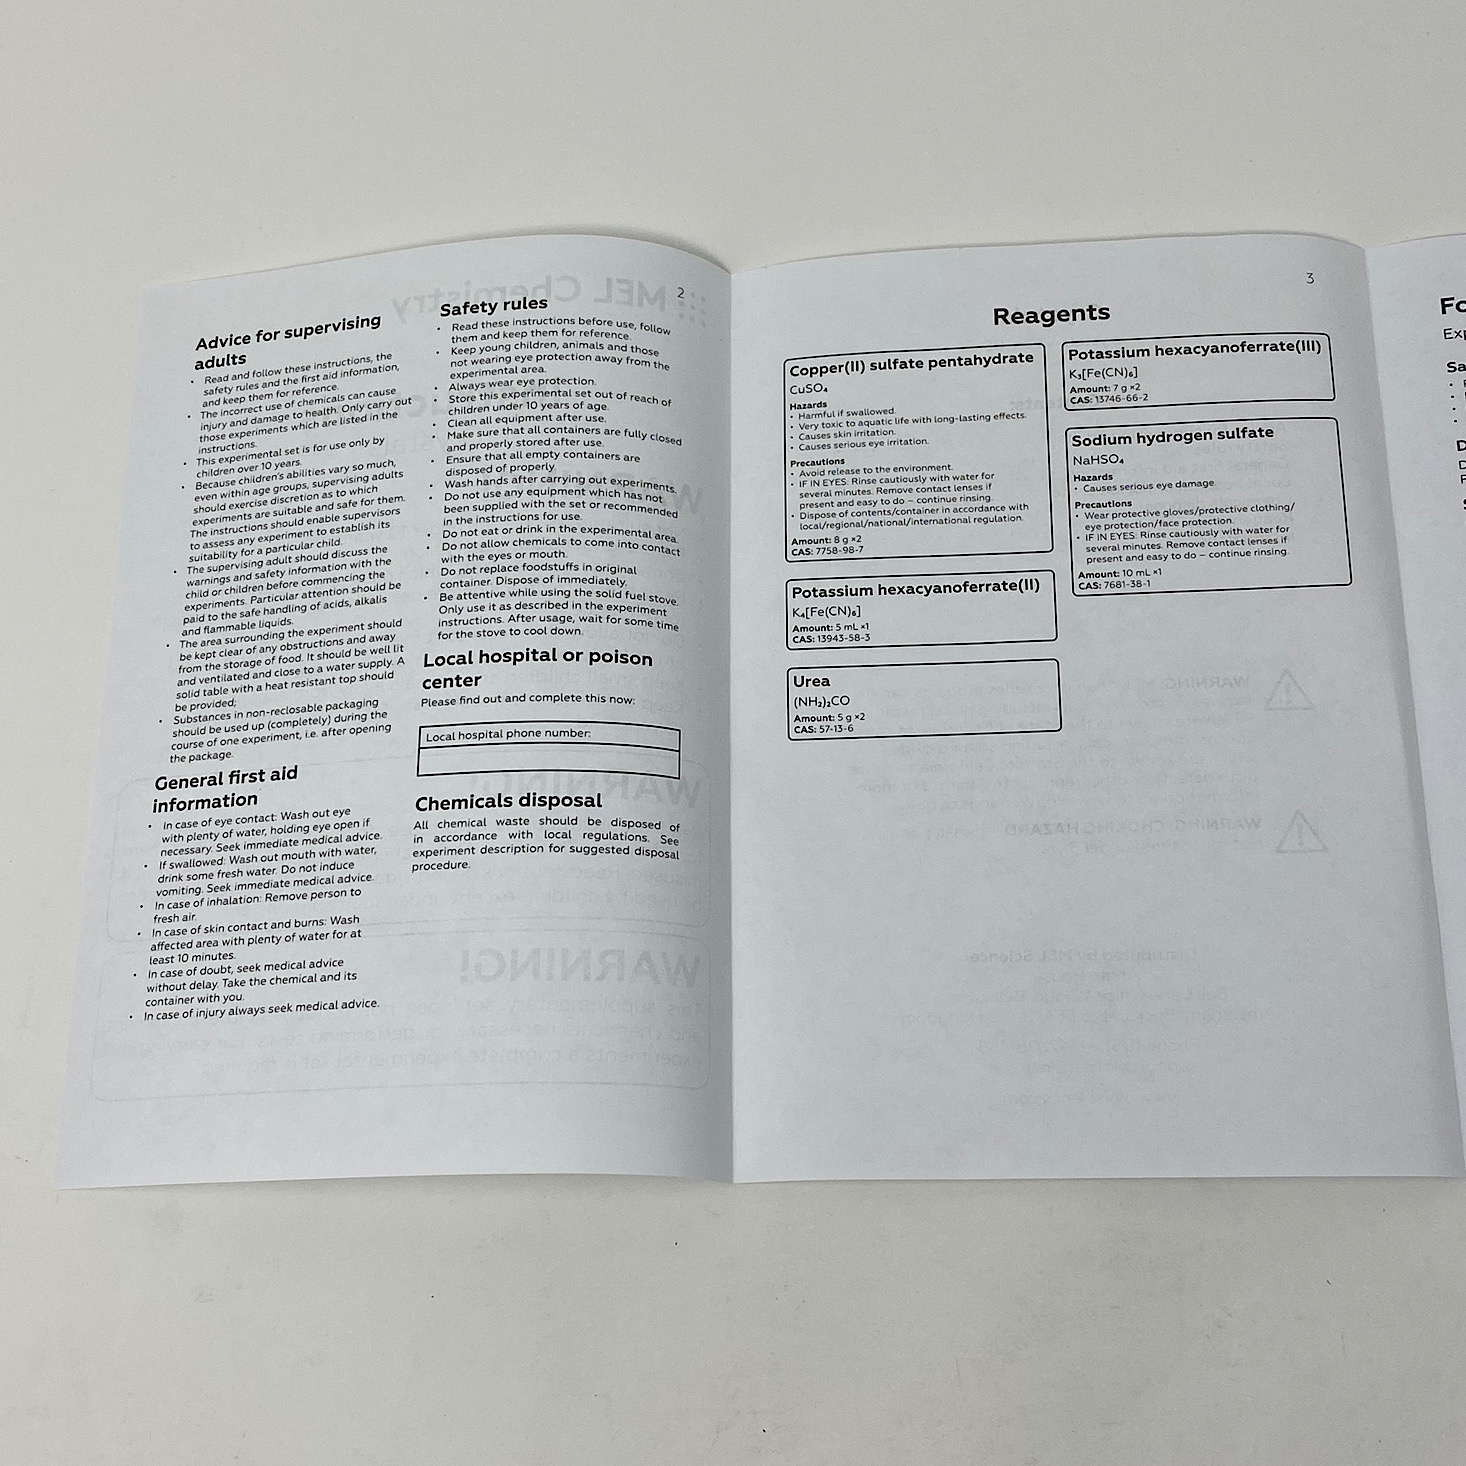
Inside our box was an instruction sheet for the parents including some safety warnings, advice, and general first aid information. The directions for the projects are pretty thorough and can be found in this booklet, on the individual experiment cards or in the app. Having this separate sheet for the parents is great so kids can work independently, but parents can also follow along for supervising.

The projects come neatly organized with all of our reagents neatly stored in plastic bags with absorbers in each to help in case of any spills. Let's get to our first experiment!
Experiment 1: Fool's Gold
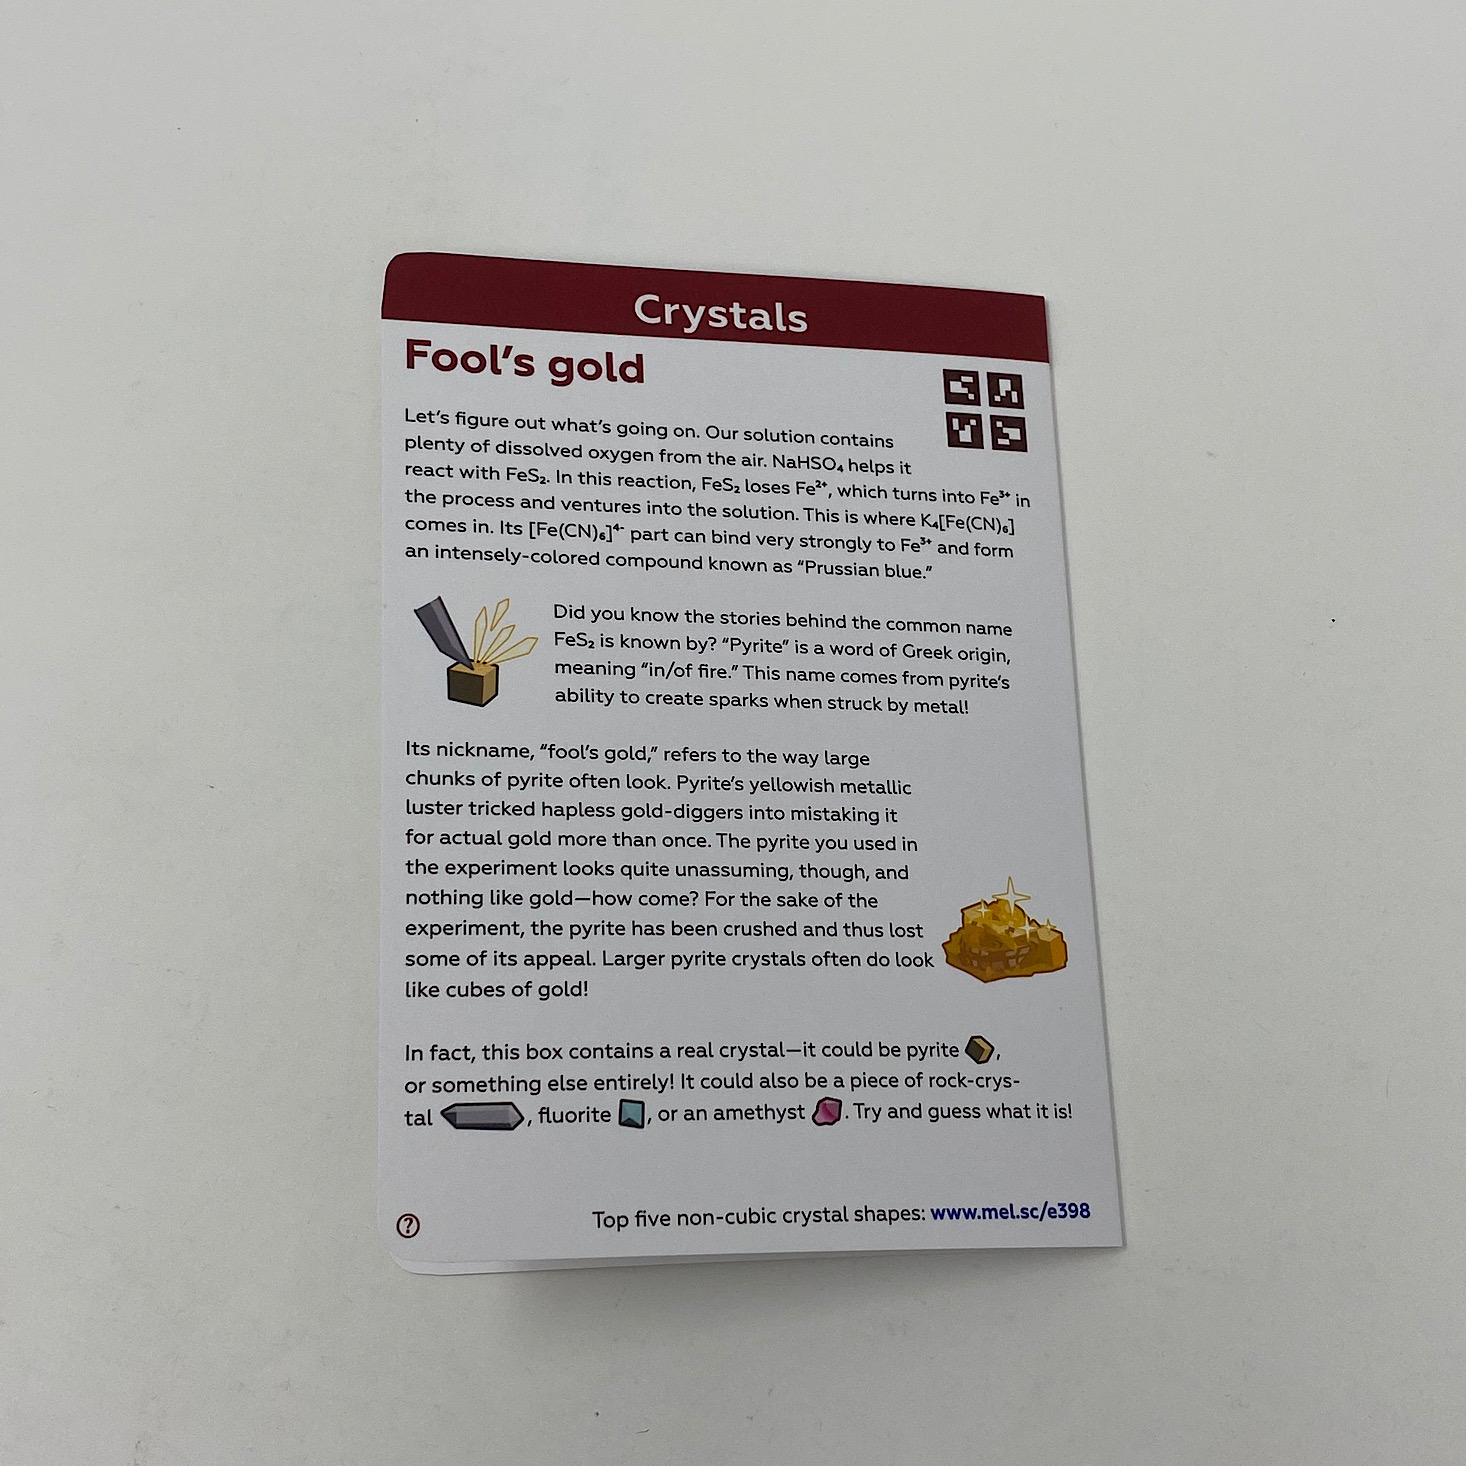
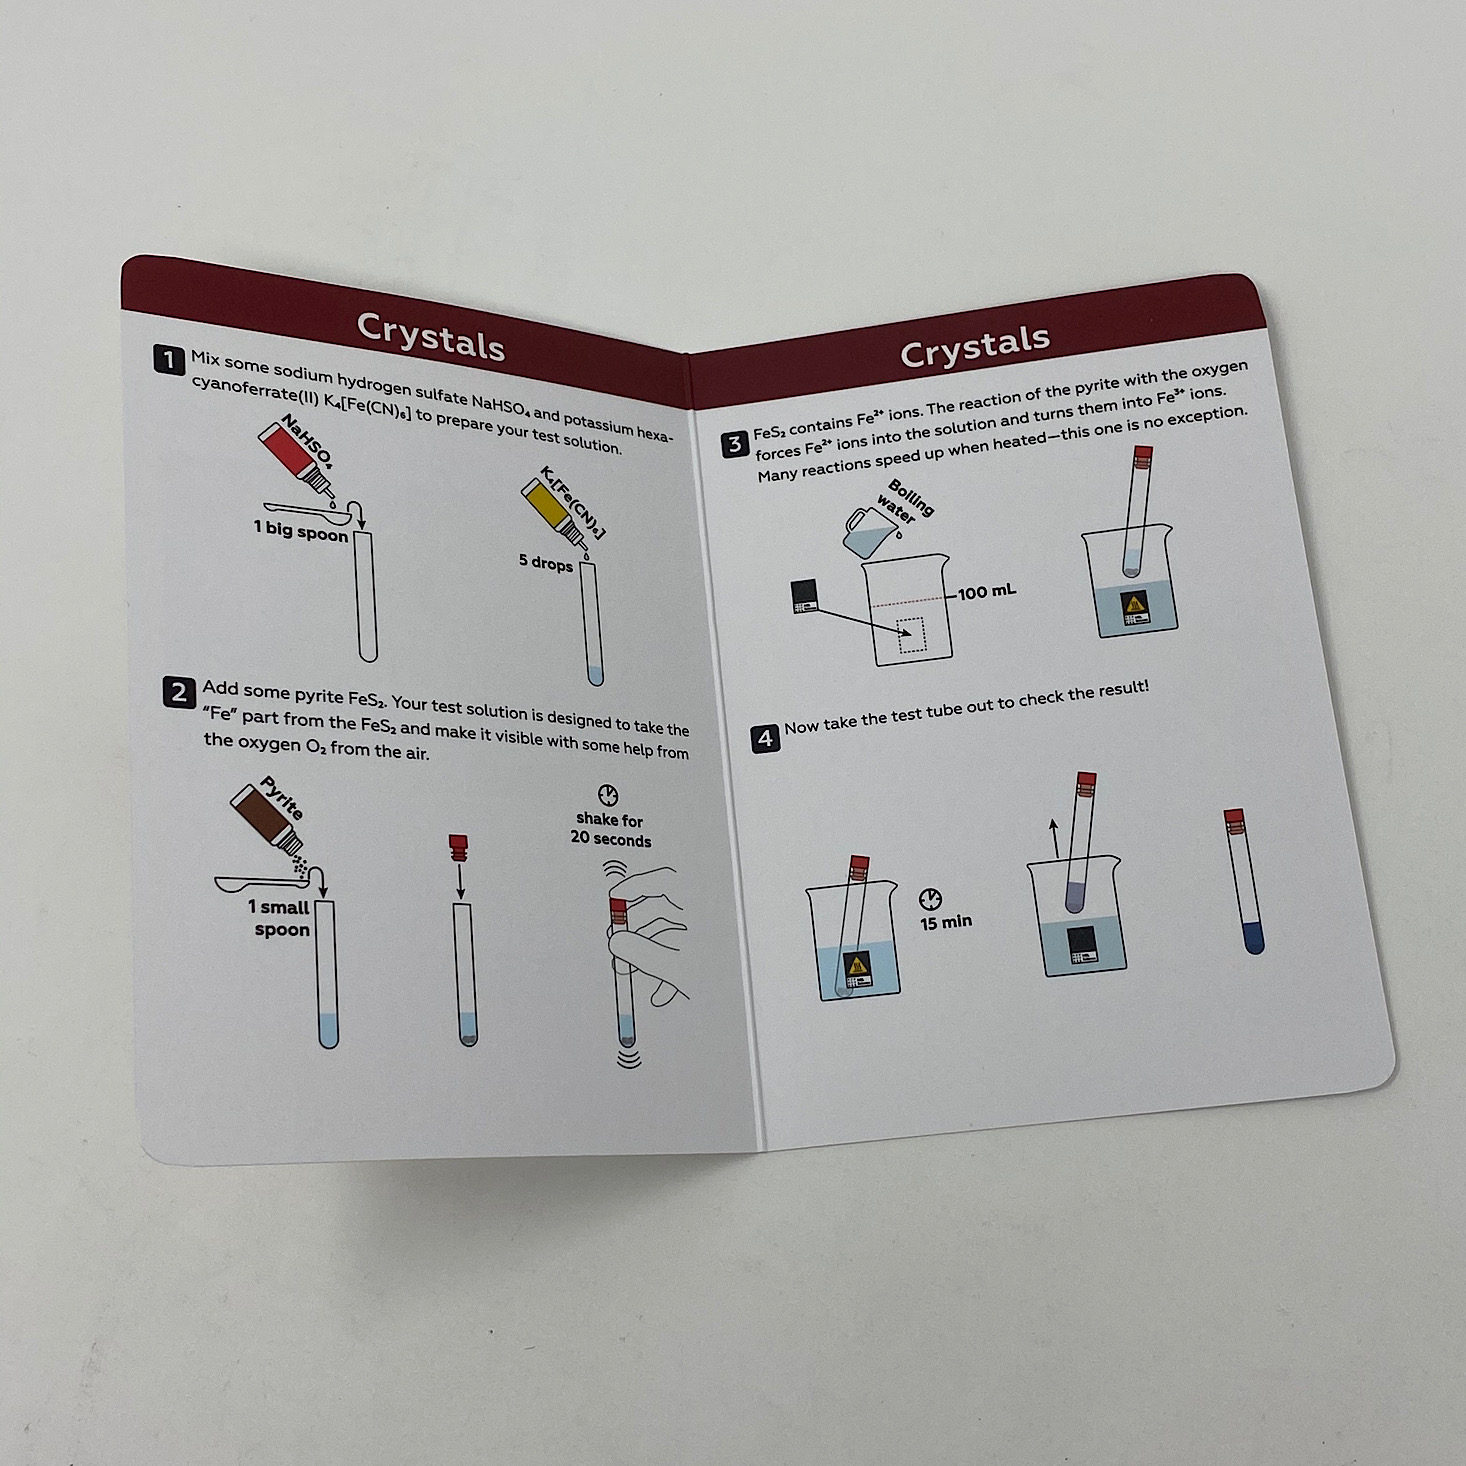
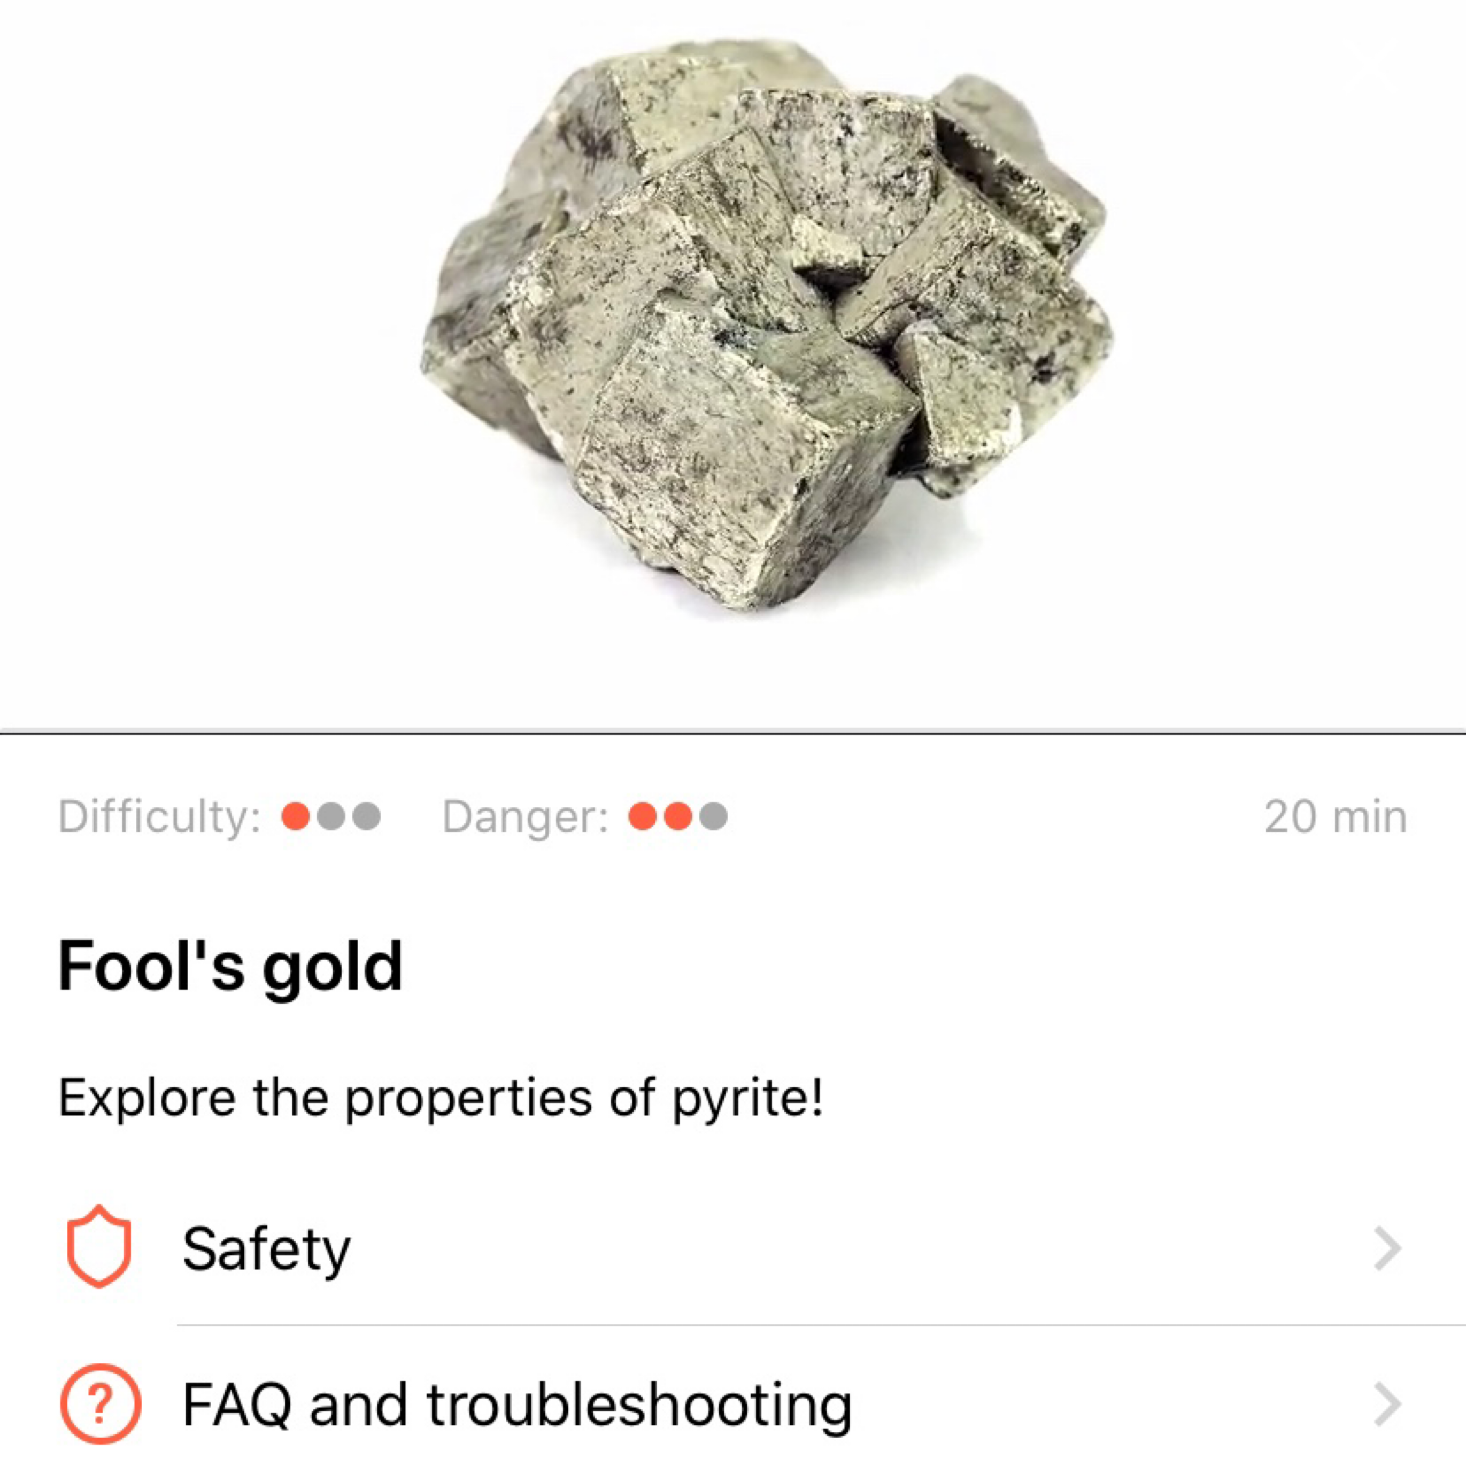
Our first experiment was titled "Fool's Gold." For each experiment, they provide a card like this one that contains all of the necessary information such as safety, disposal, and the directions complete with colored illustrations. The front gives a brief descriptor of what to expect and also provides a scale to rate the difficulty and danger of the activity as well as the duration. On the back is a little box we can scan with our app which allows us to open directly to the experiment on our phone or tablet. Of course, this is optional since you have everything you need on the experiment card, but I really like the interactiveness of the app instructions.
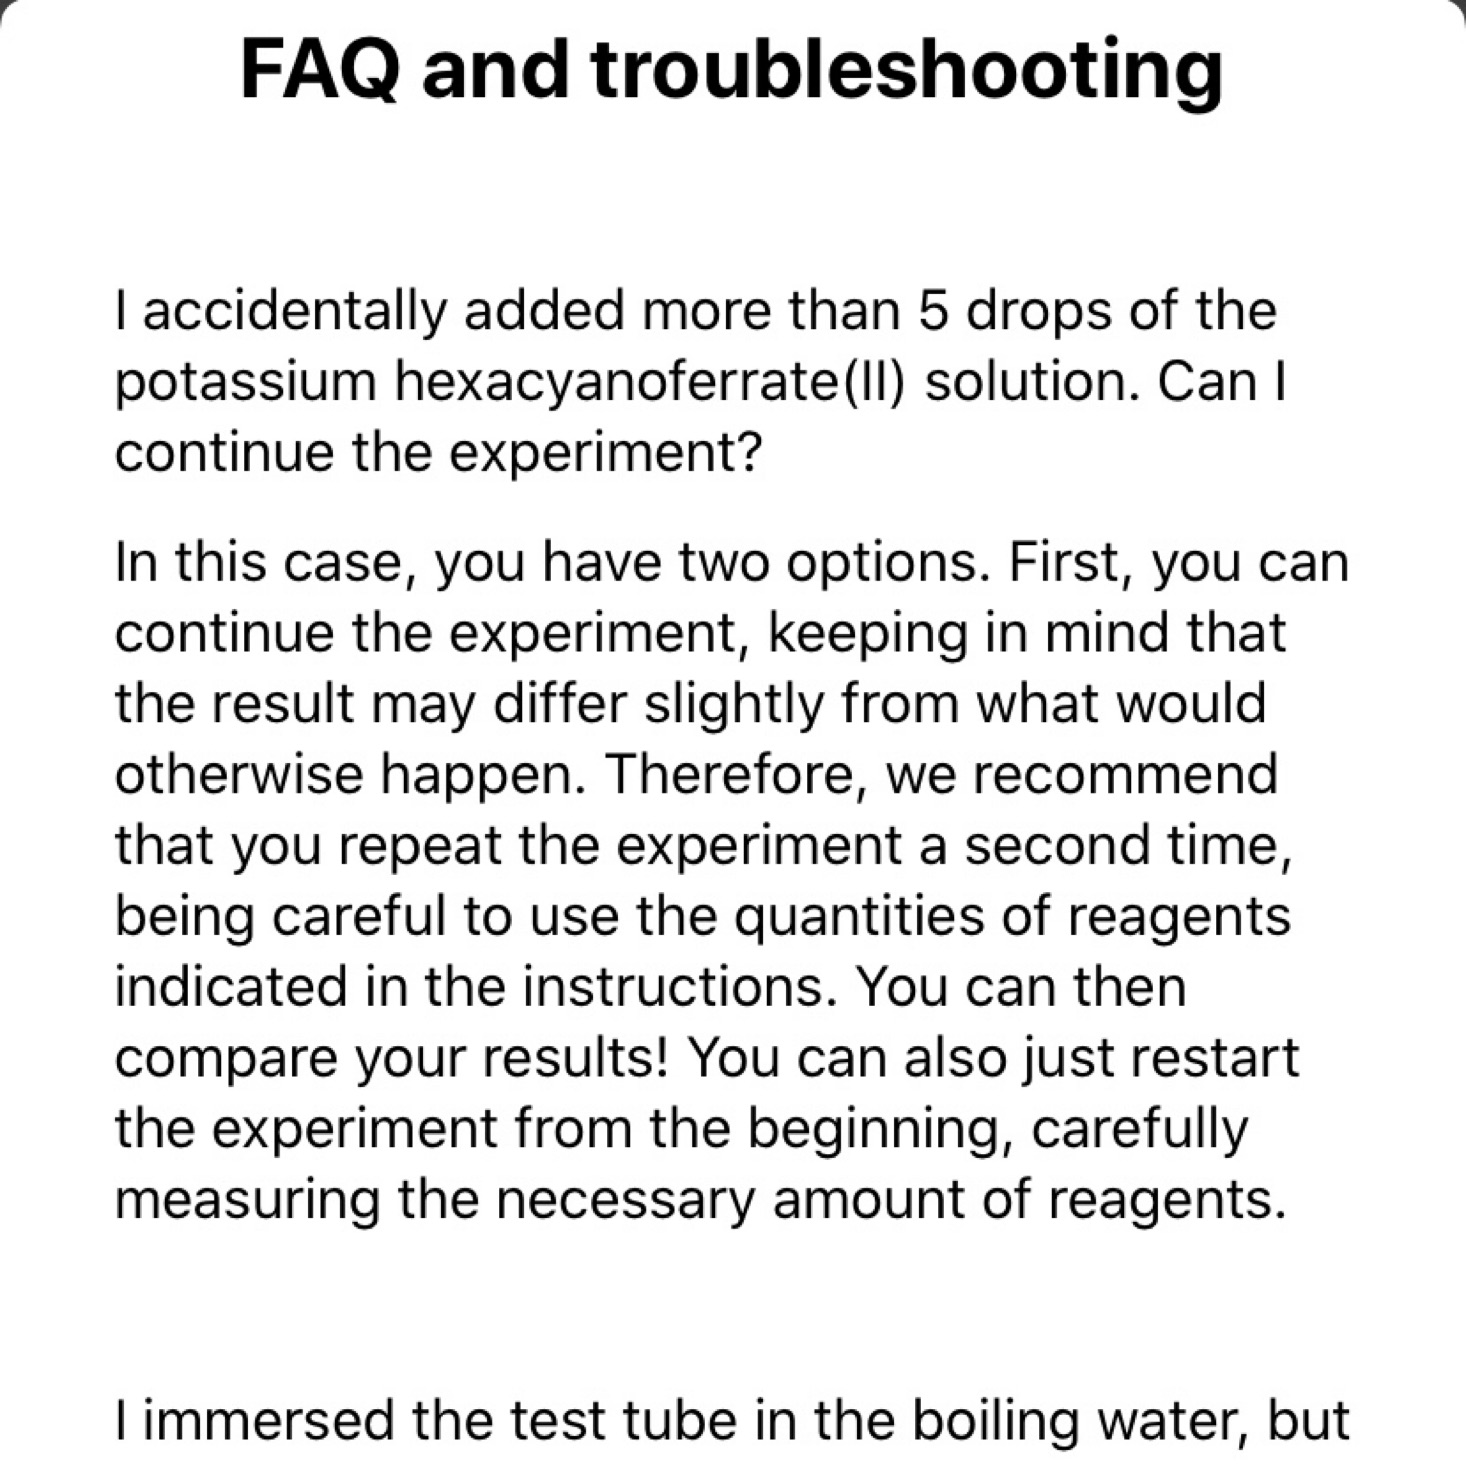
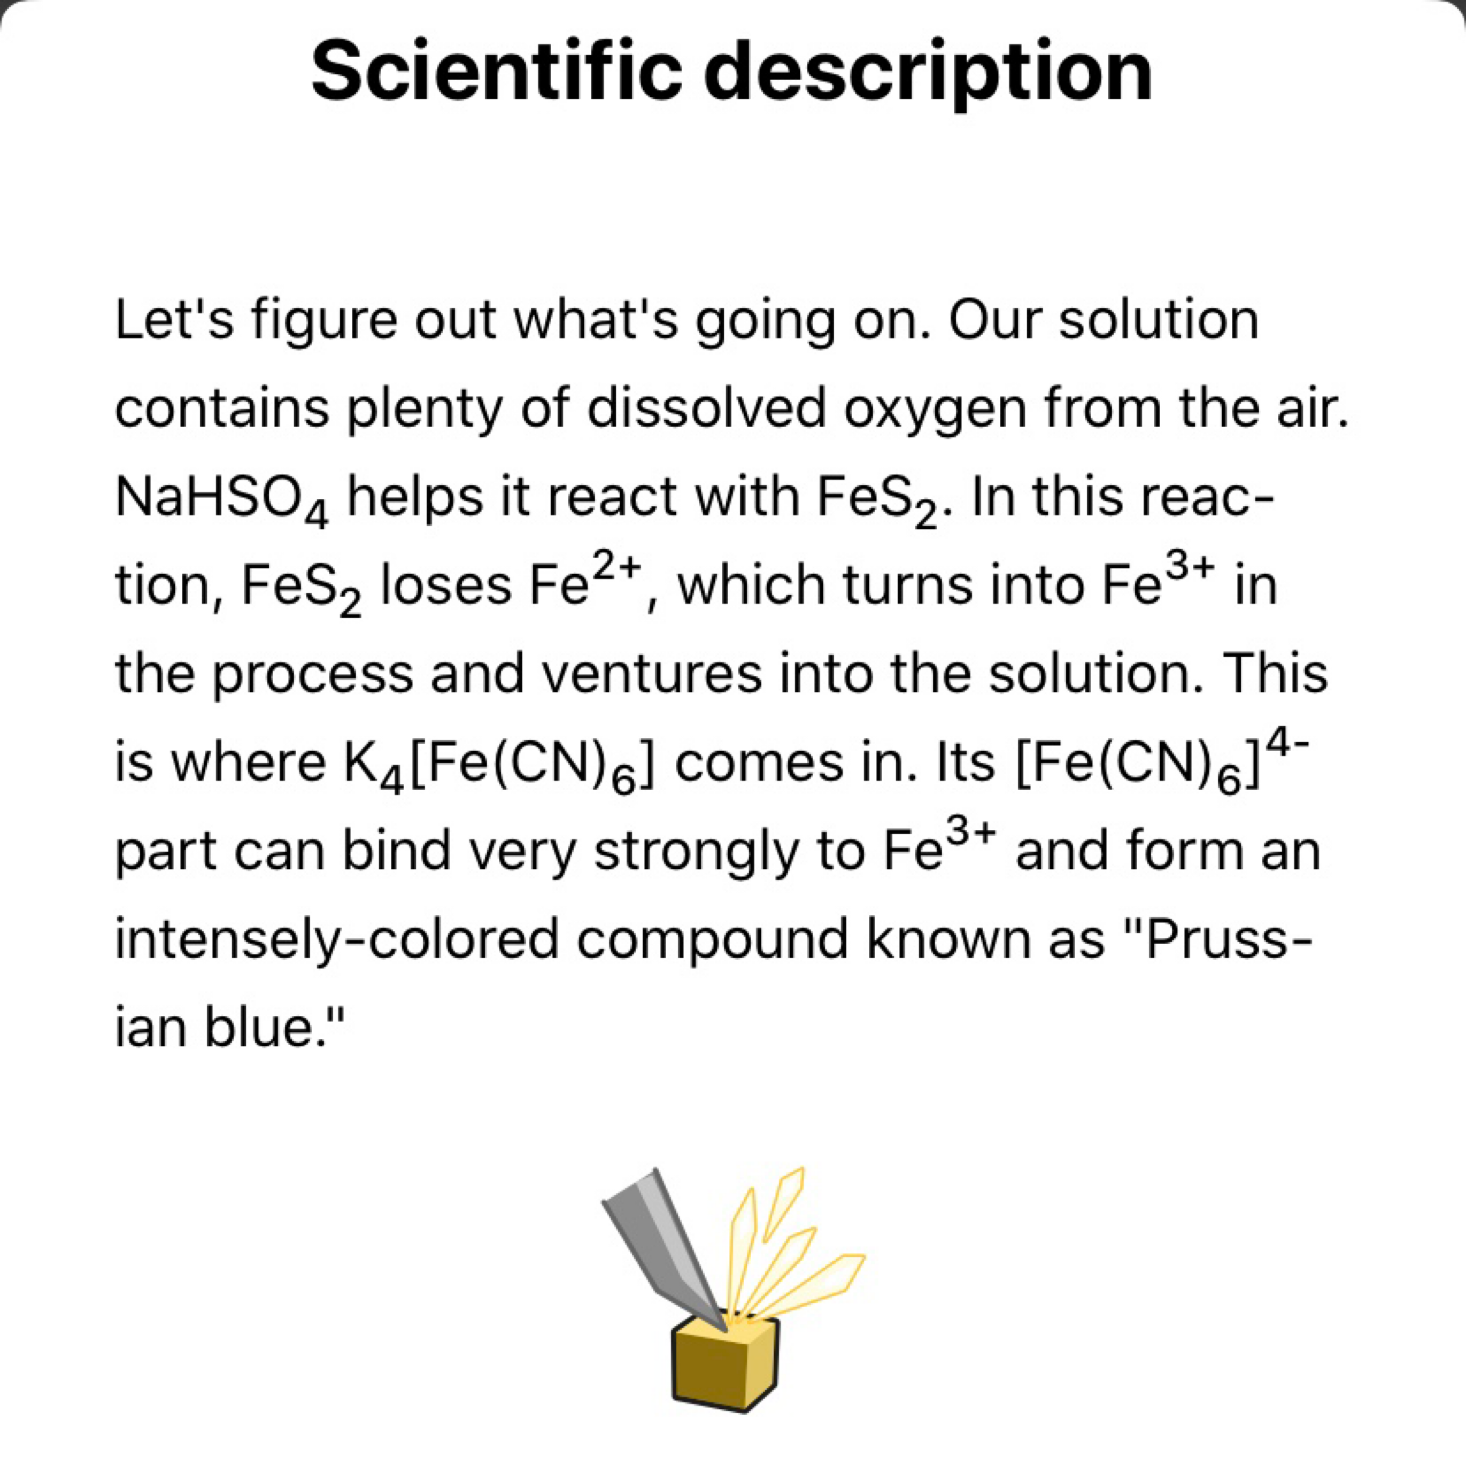
I set the phone in our stand and we tapped the "start experiment" button to begin. They provided information on the expected results, troubleshooting, and even a scientific description of what happens during the experiment. There is also an easy way to set a reminder to conduct your experiment!
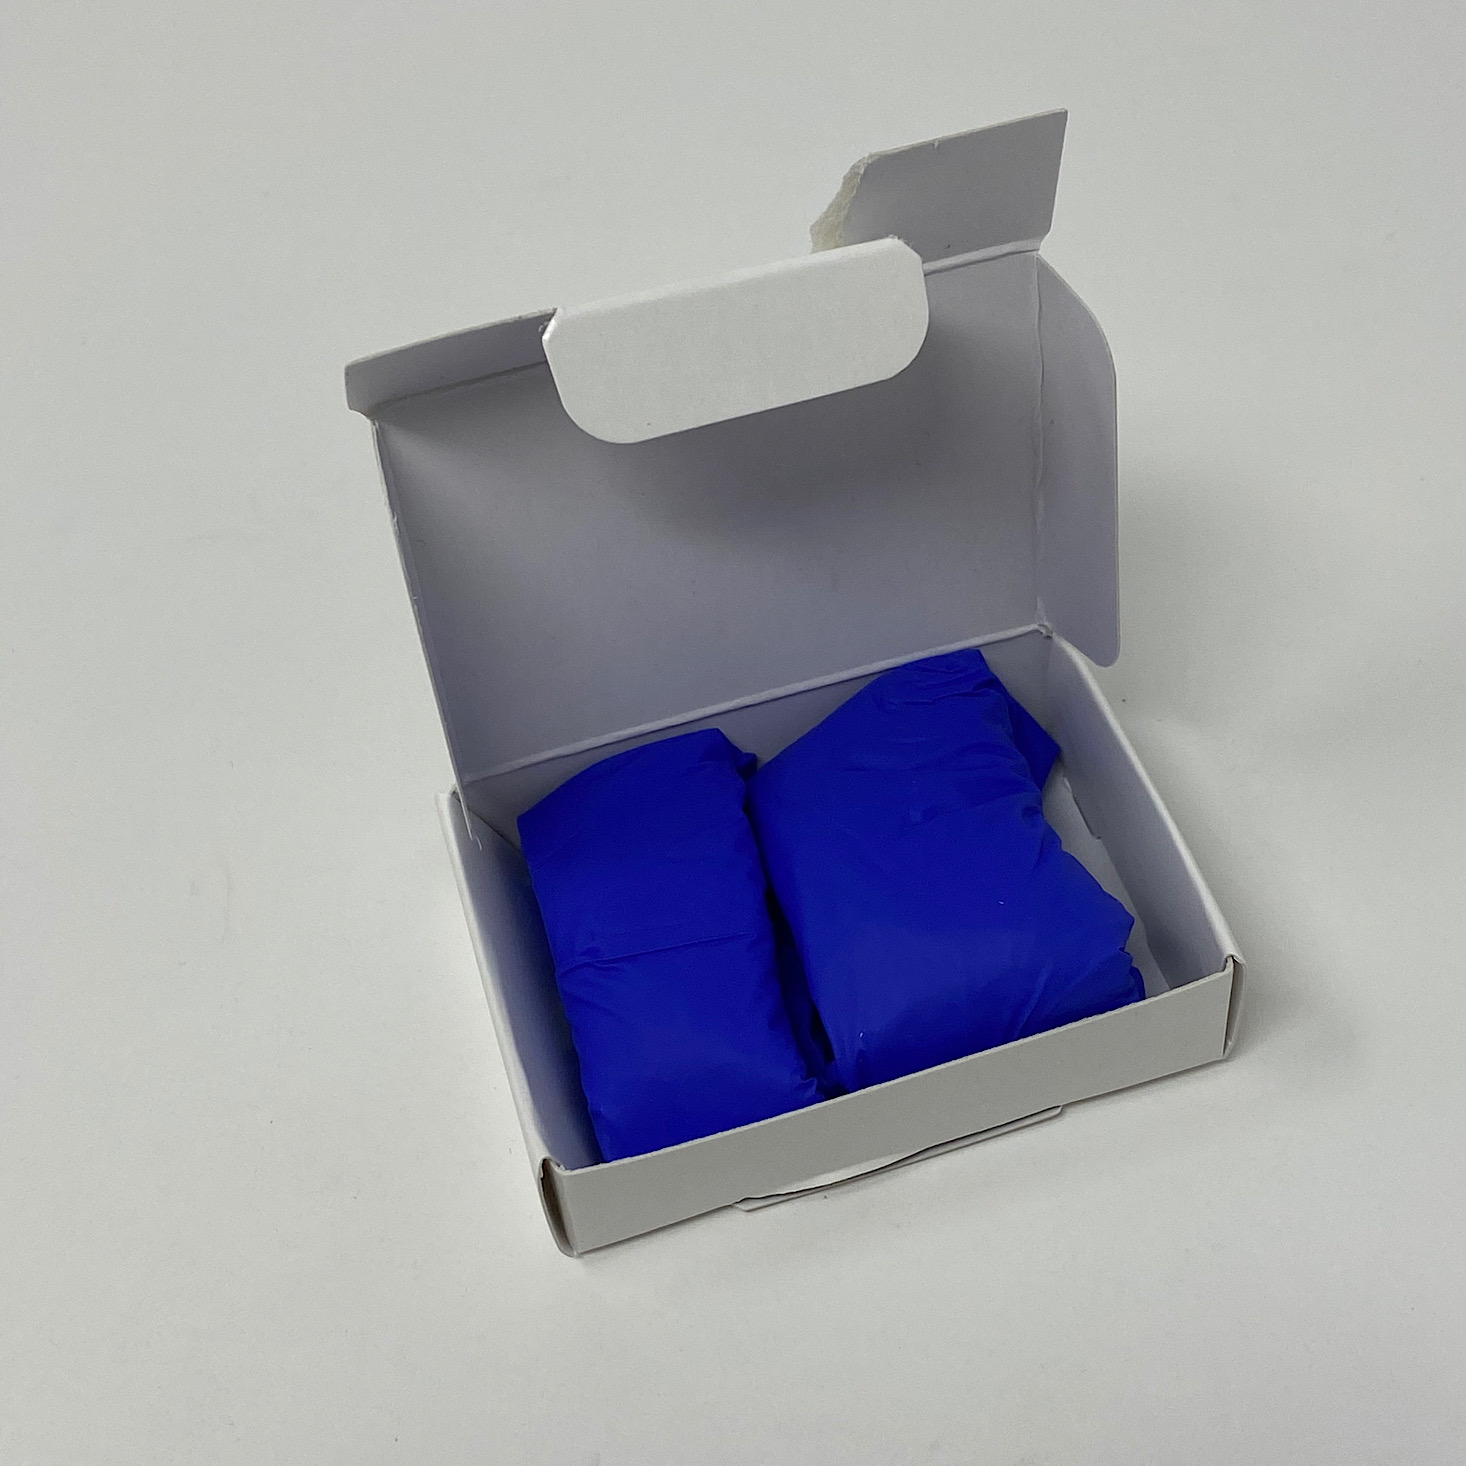
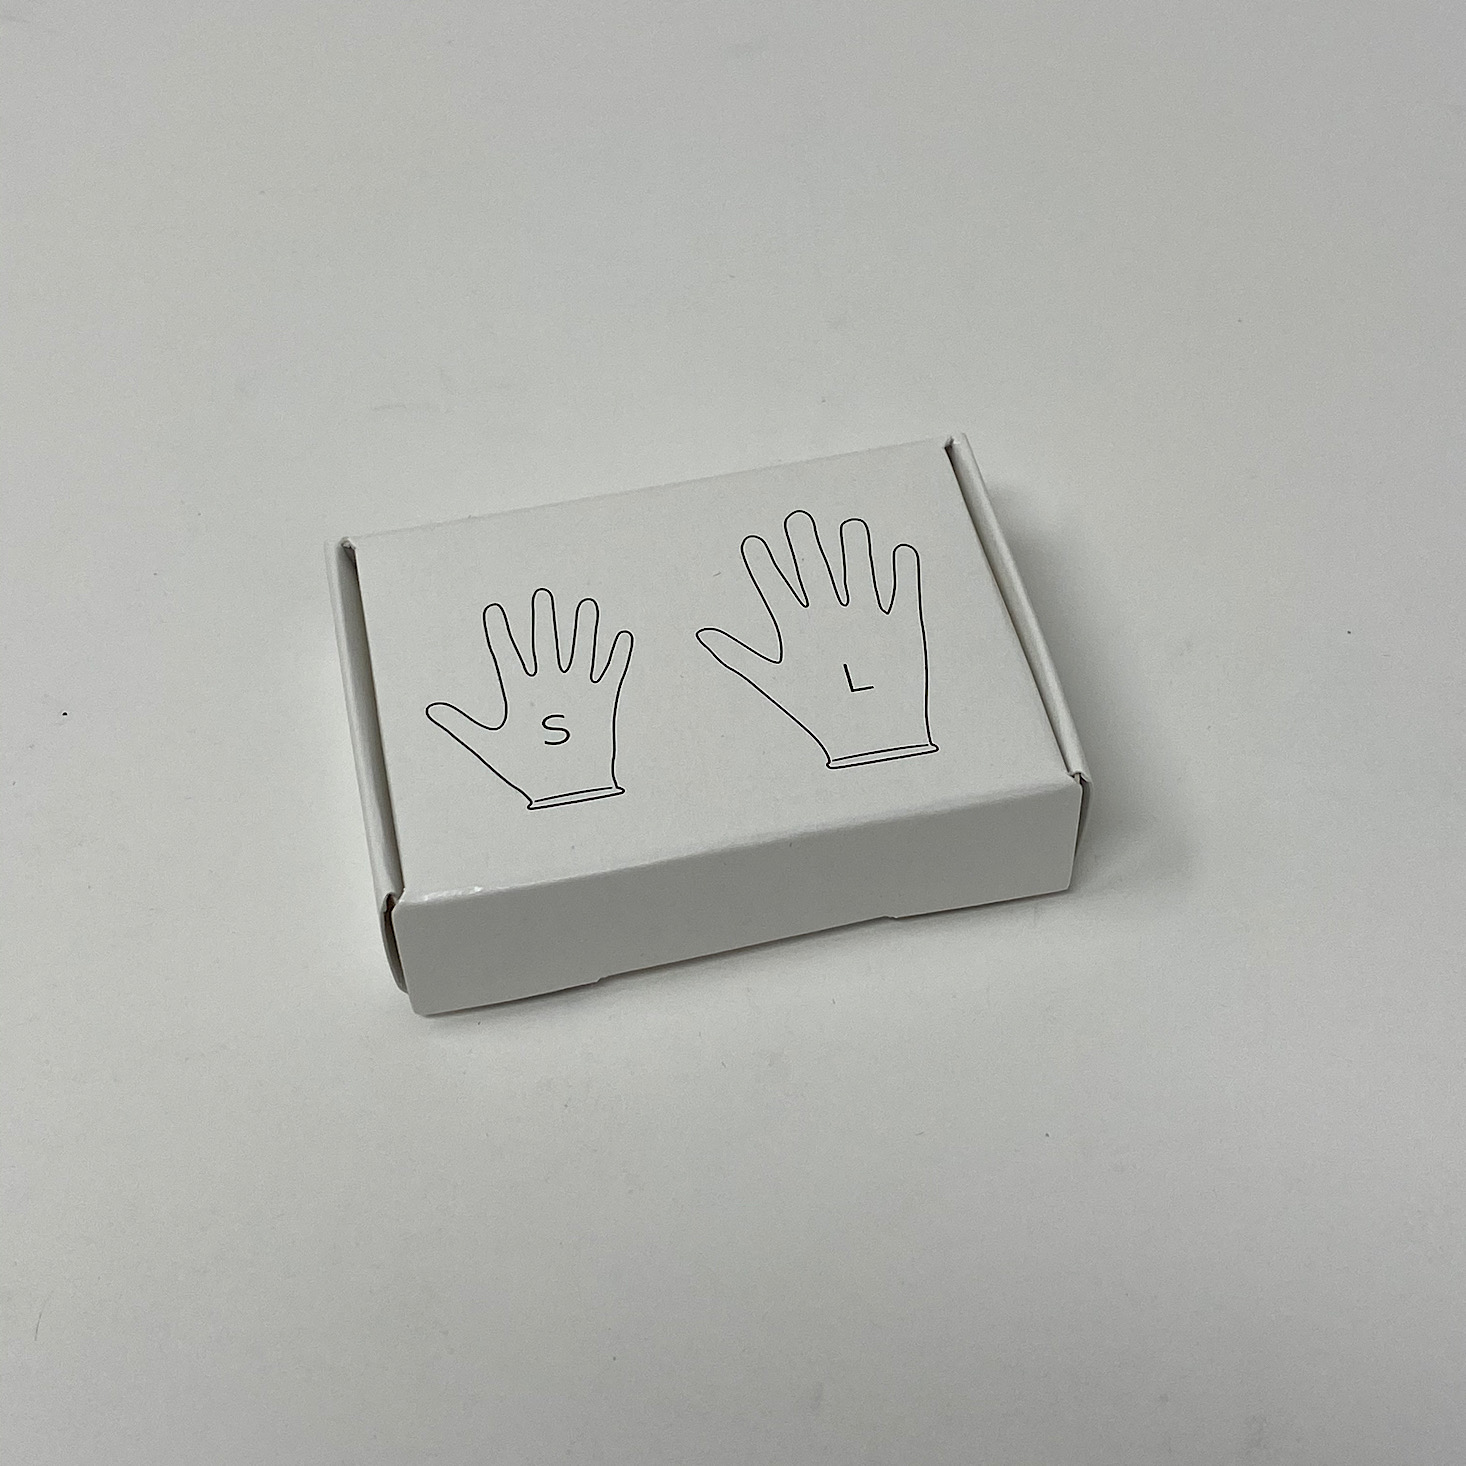
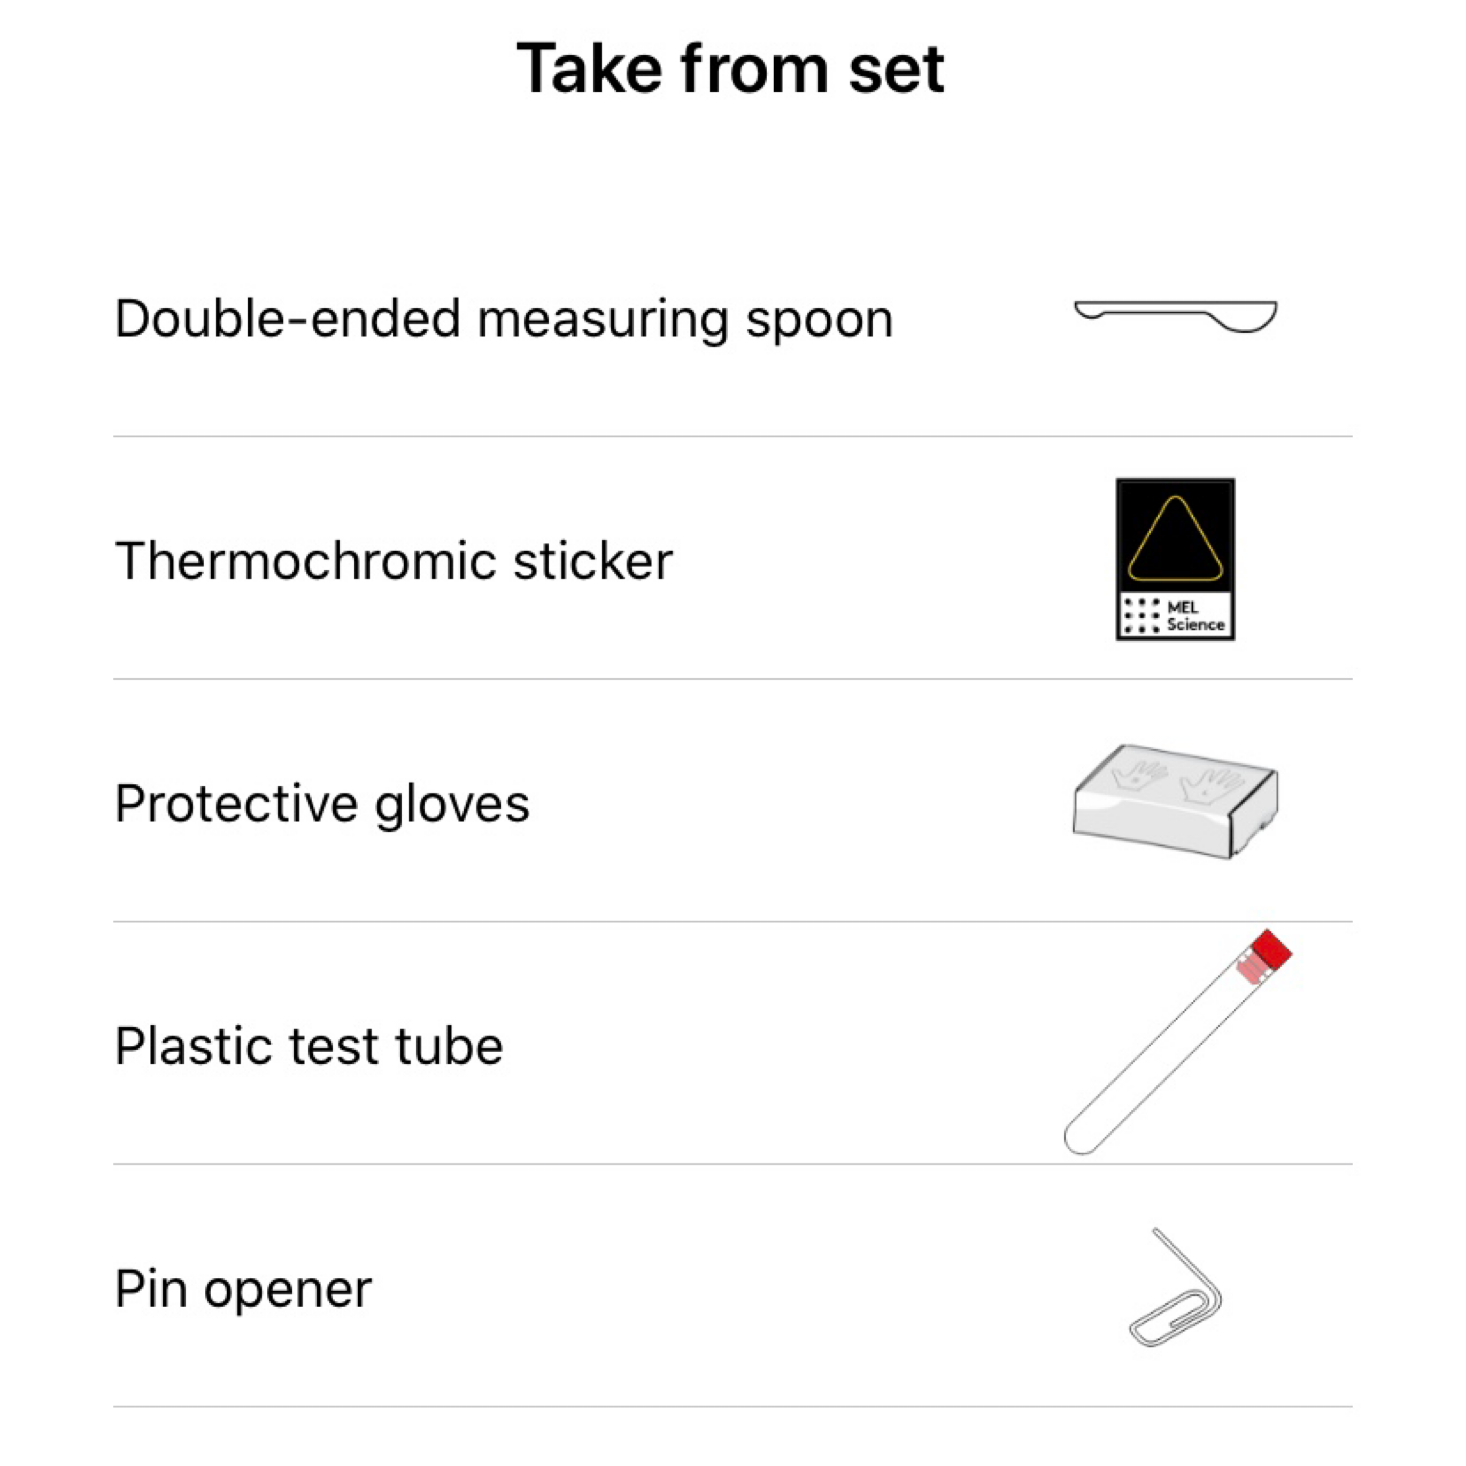
There is also a safety section that we always check out first. They sent a pair of small gloves and a pair of large gloves so that an adult assistant can help.
The app provides thorough, detailed instructions. Some of the instructions are even animated which is pretty cool and usually if it is a timed experiment, they will have a little built-in timer on that page for you to use. They also have little "help" tips at the bottom in case you get confused about what to do.
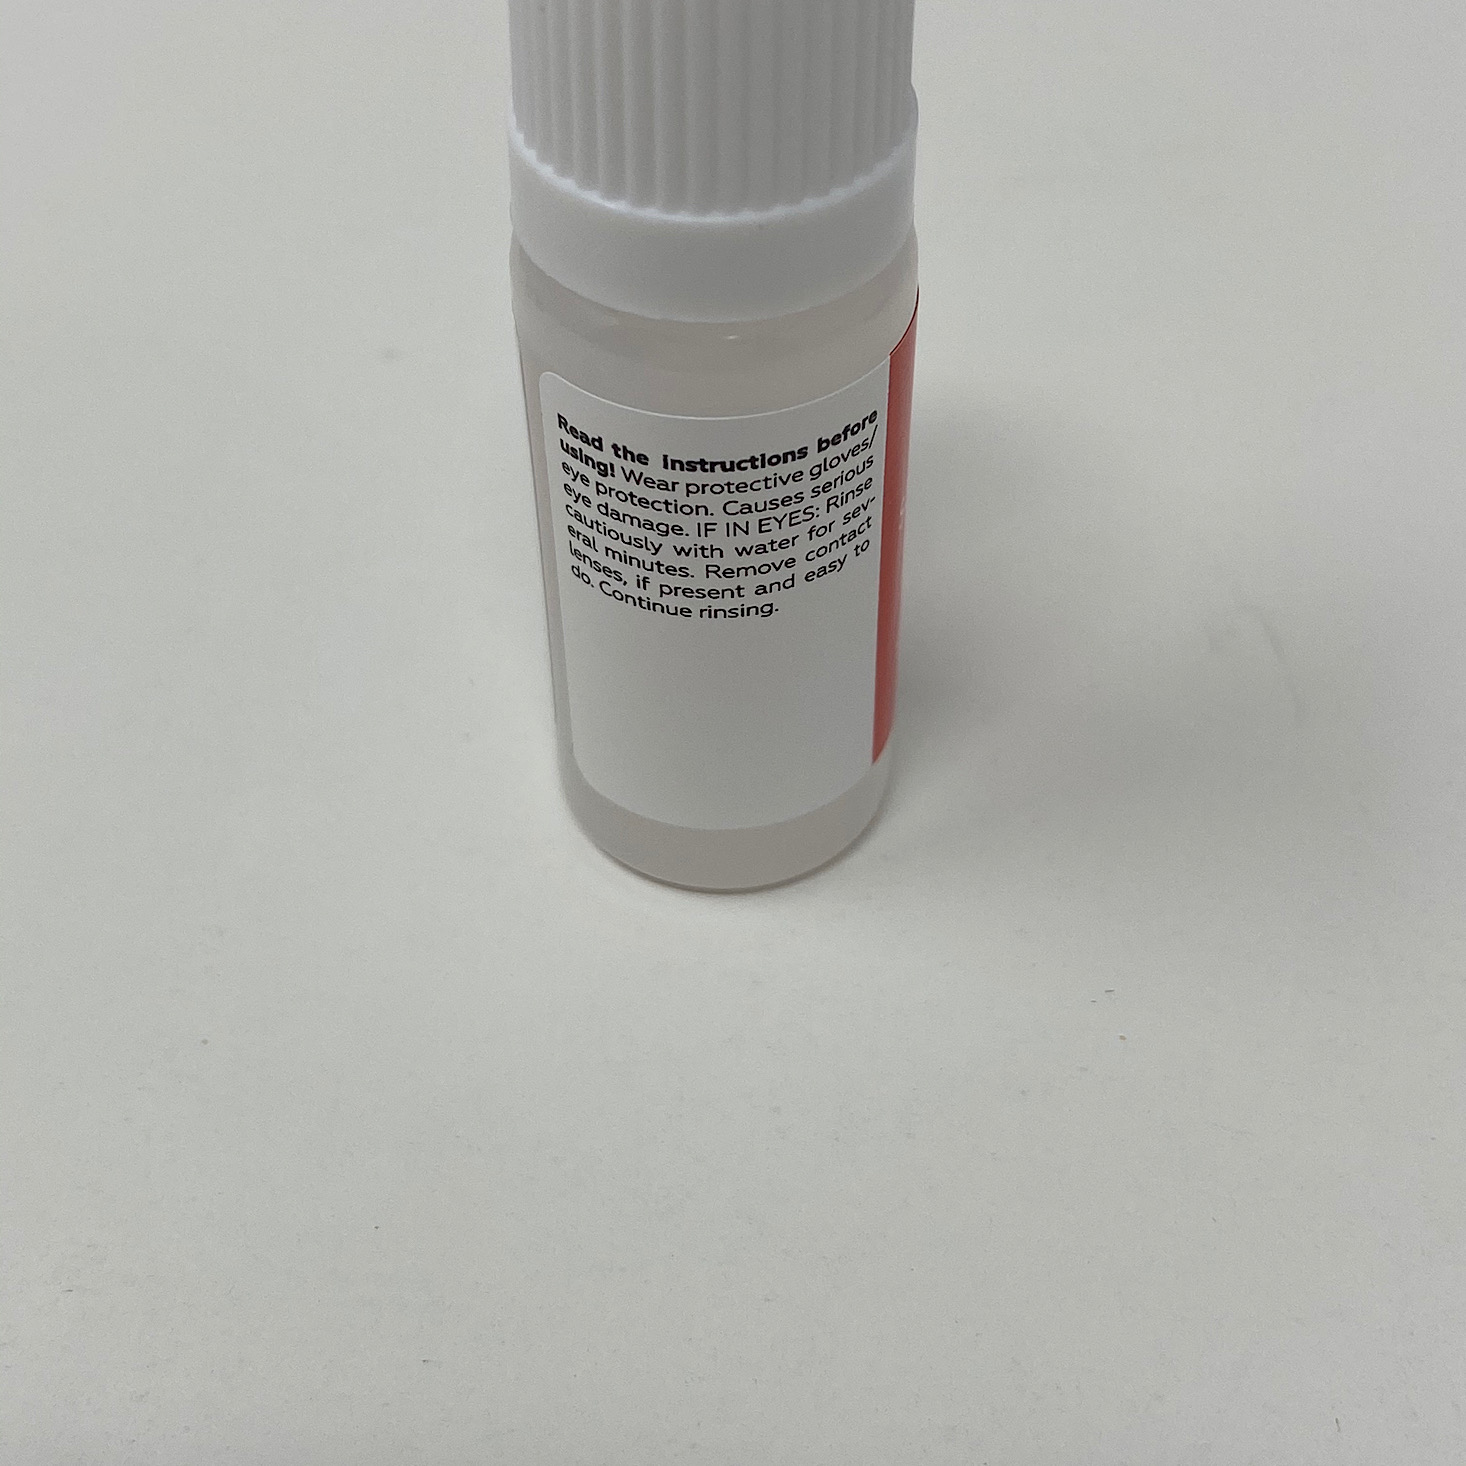
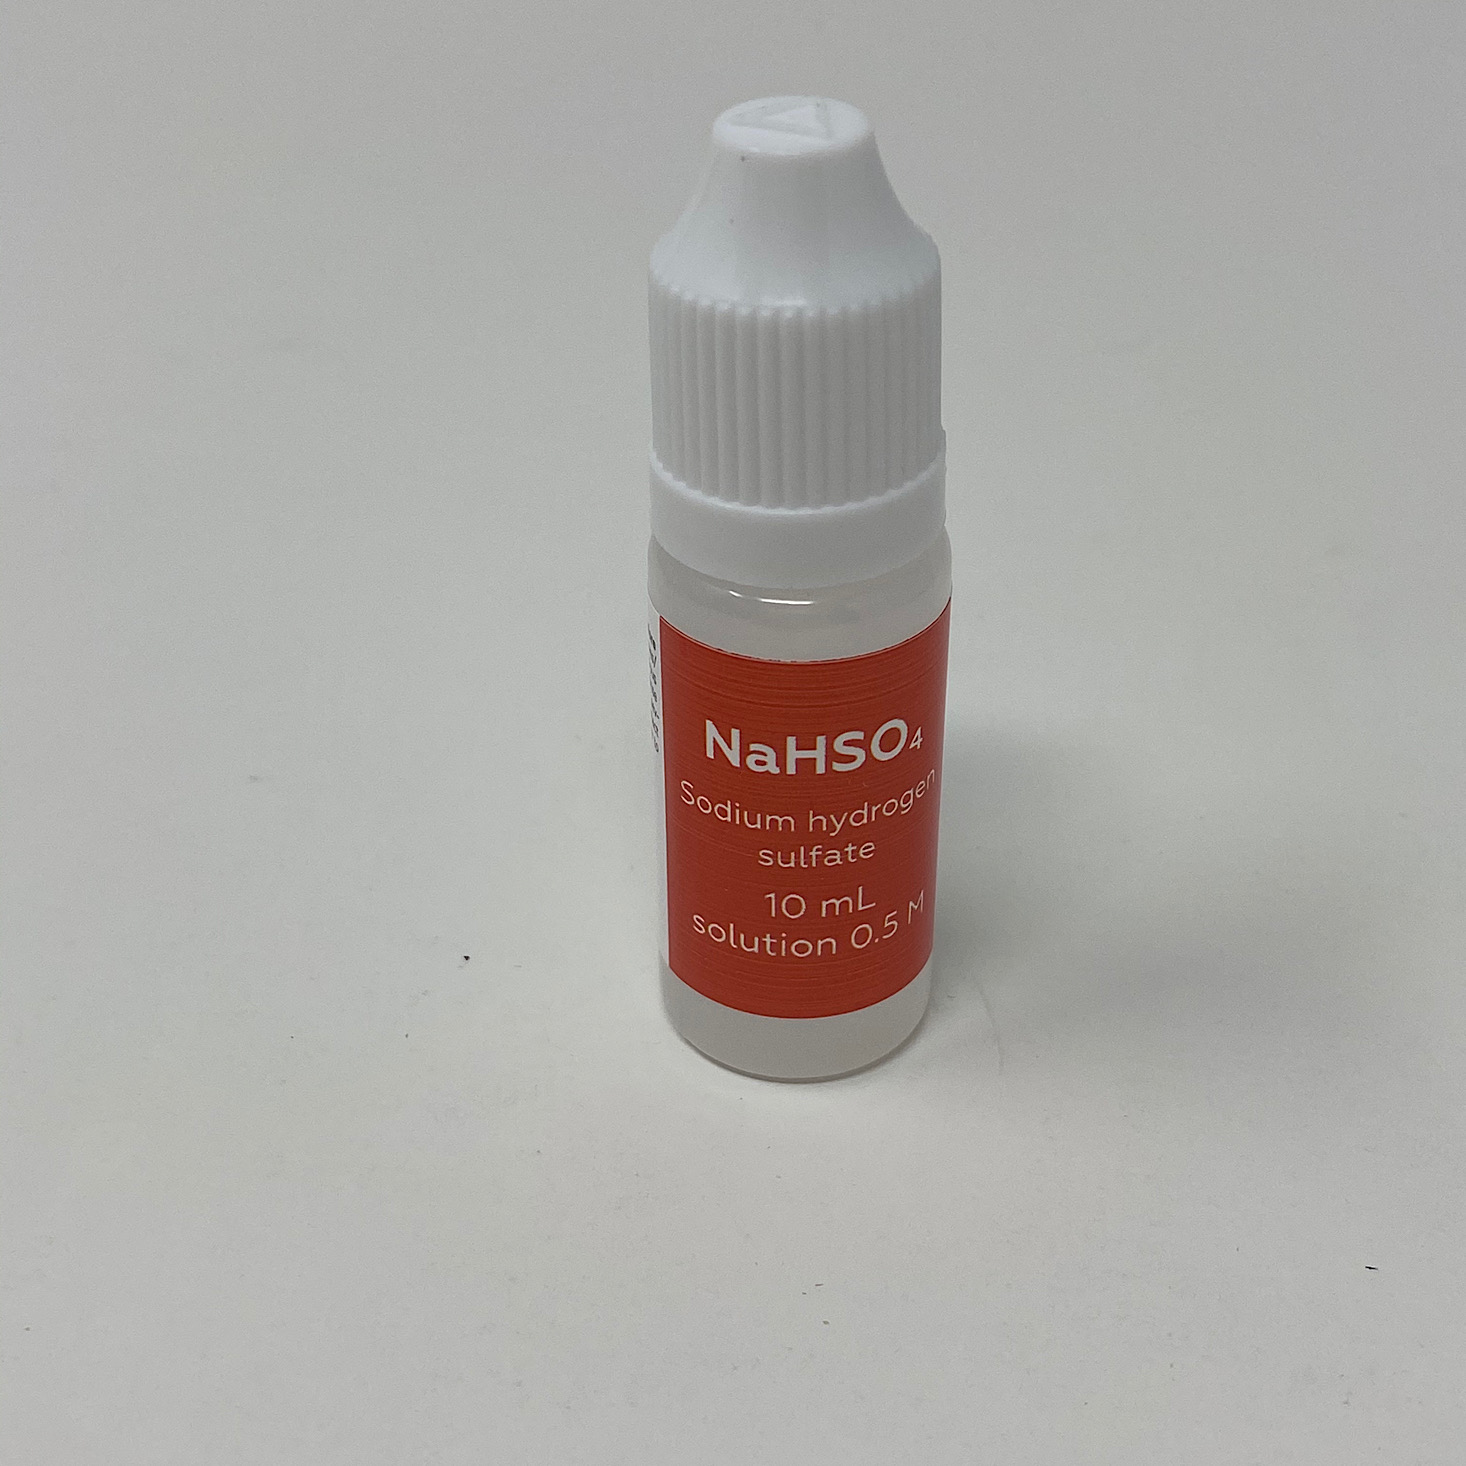
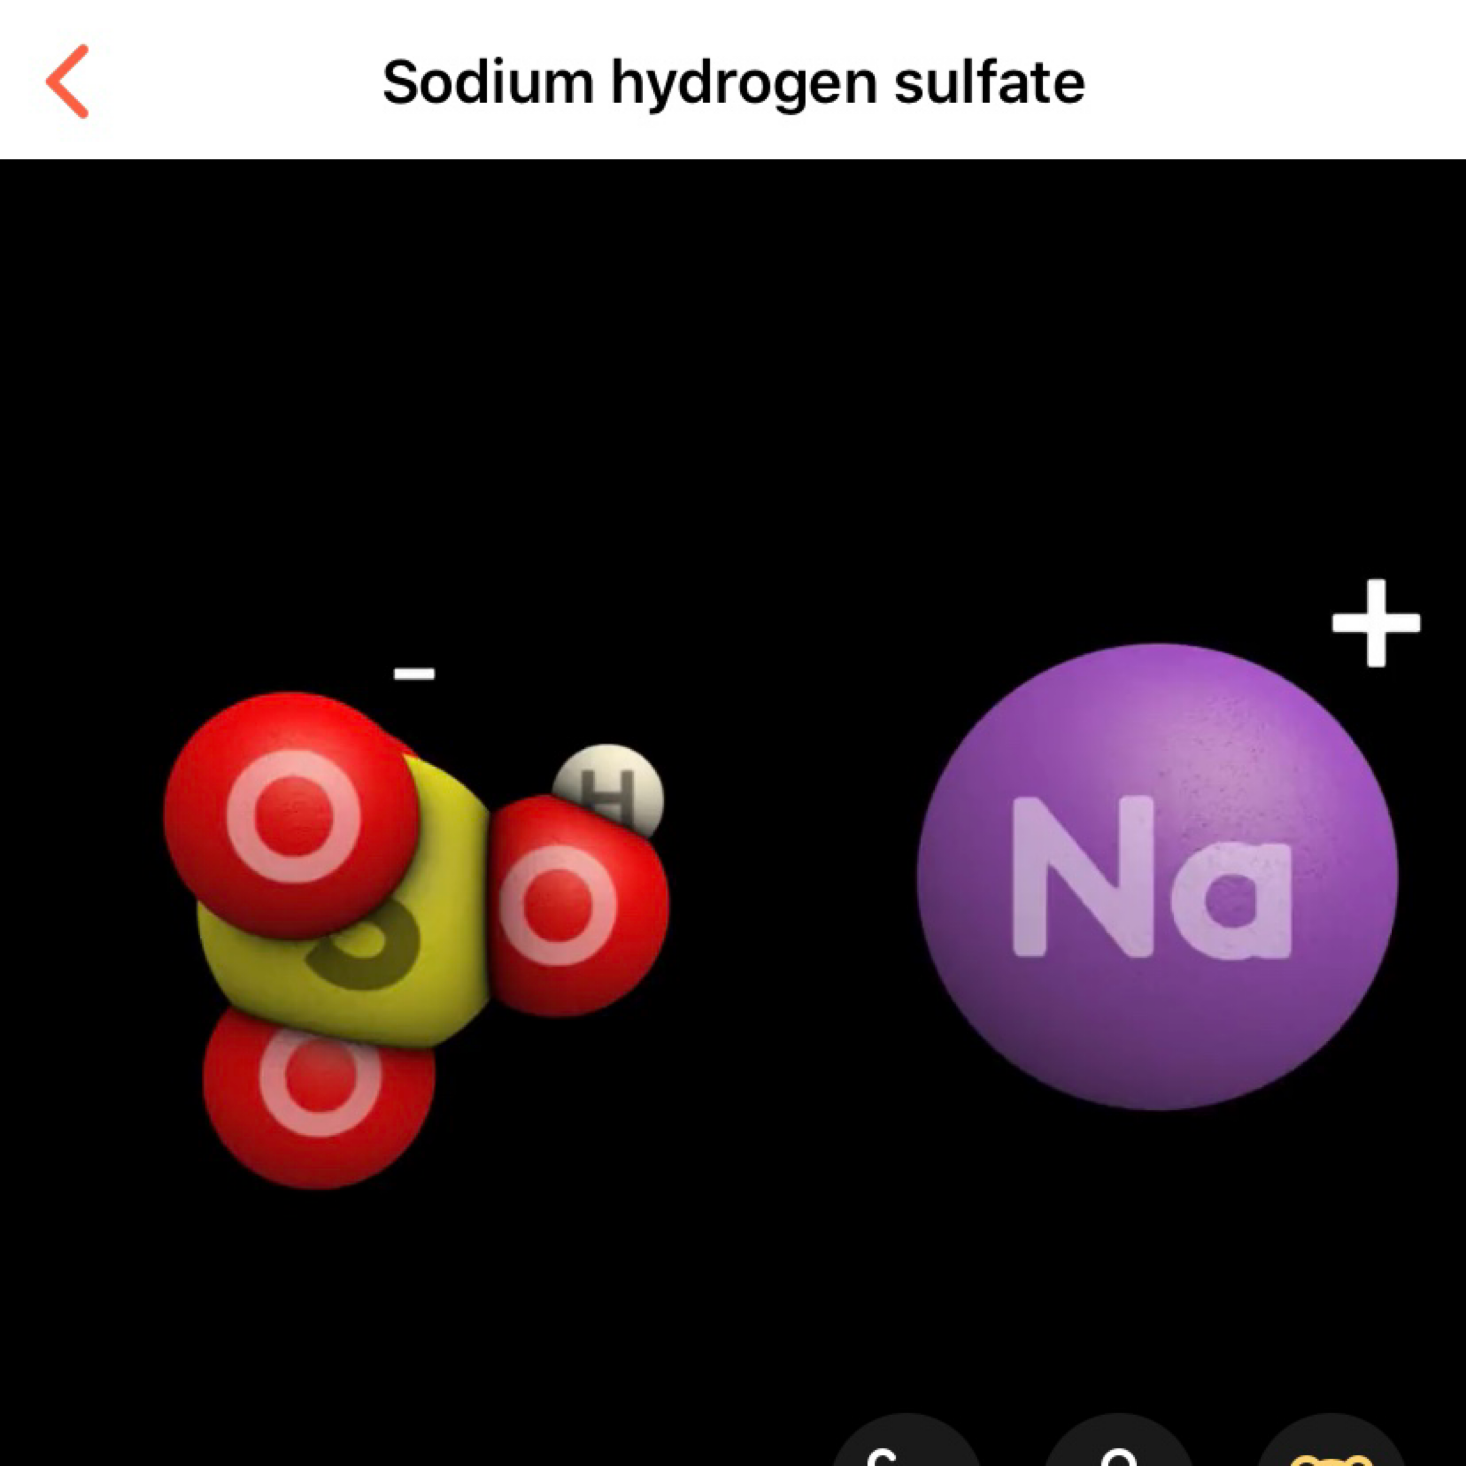
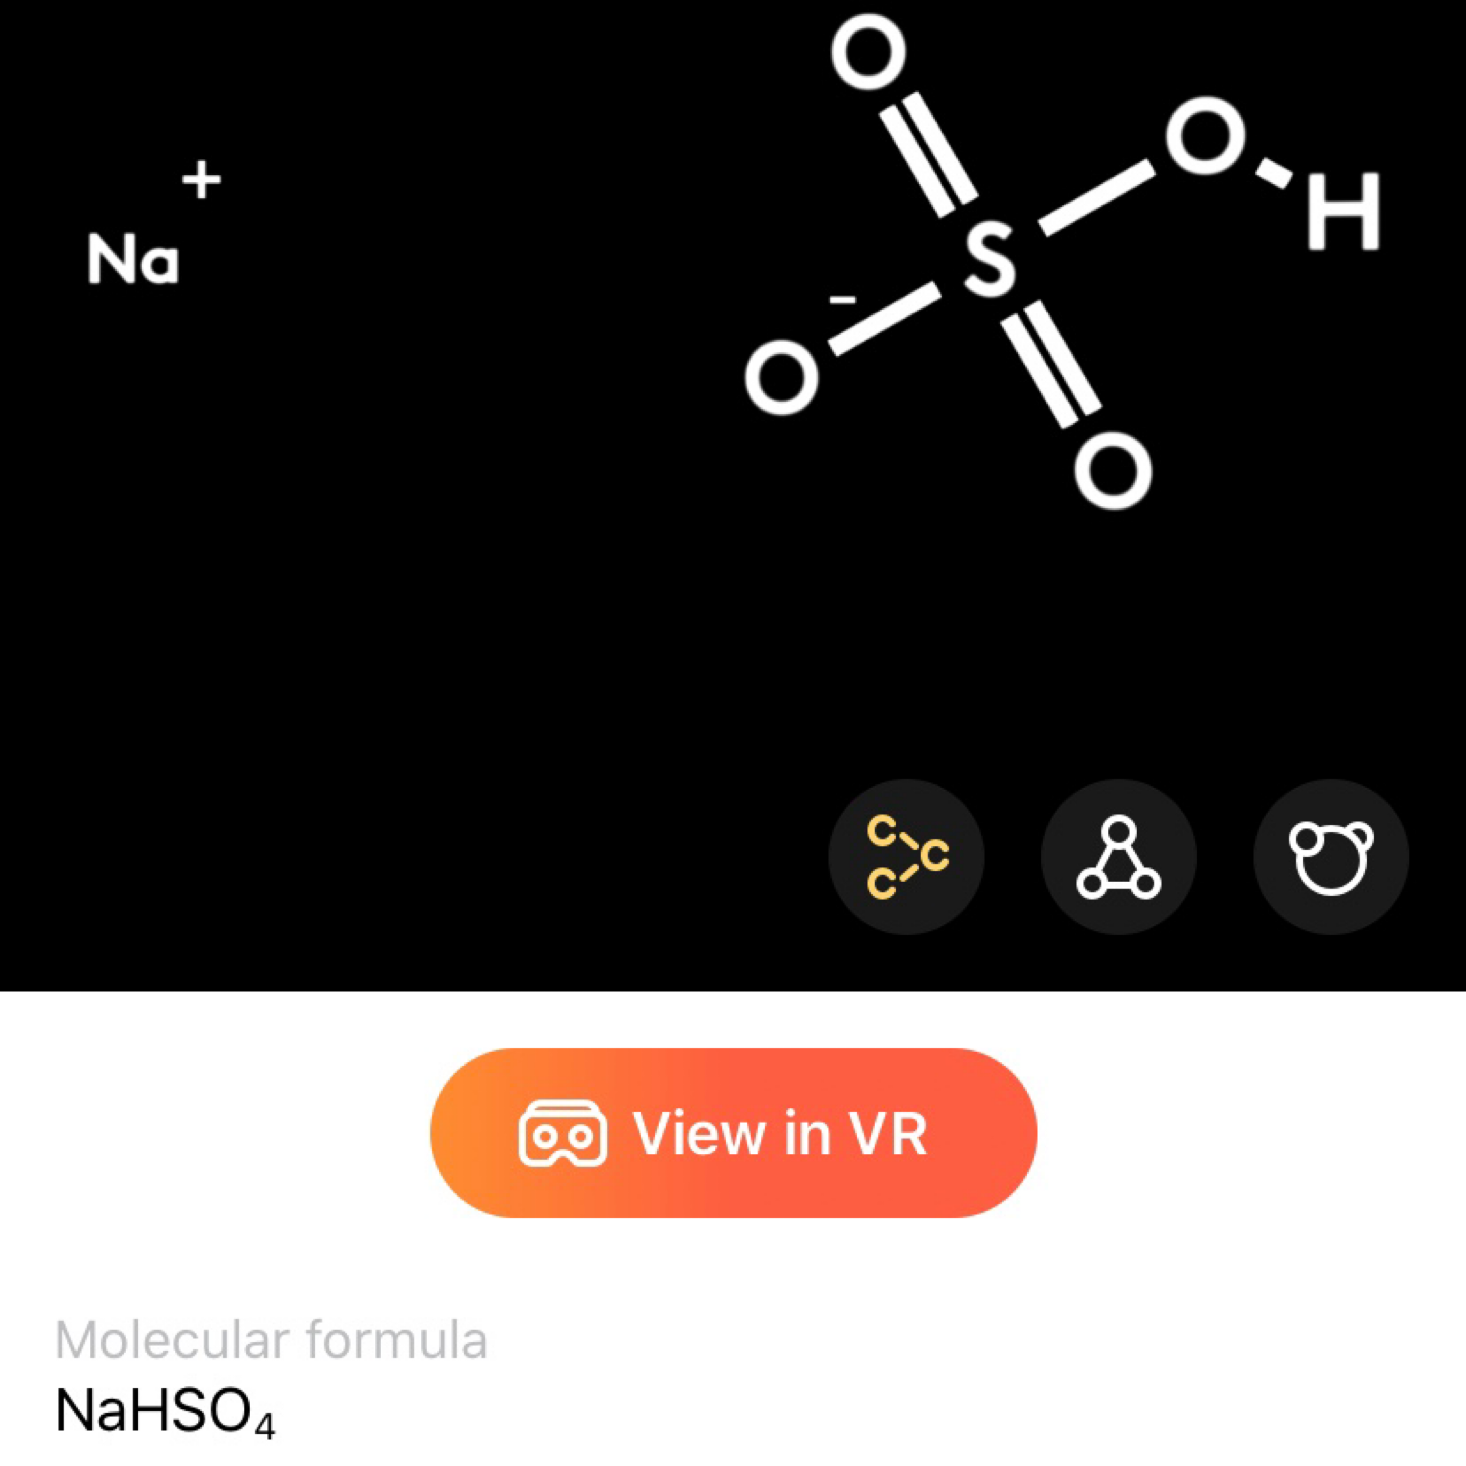
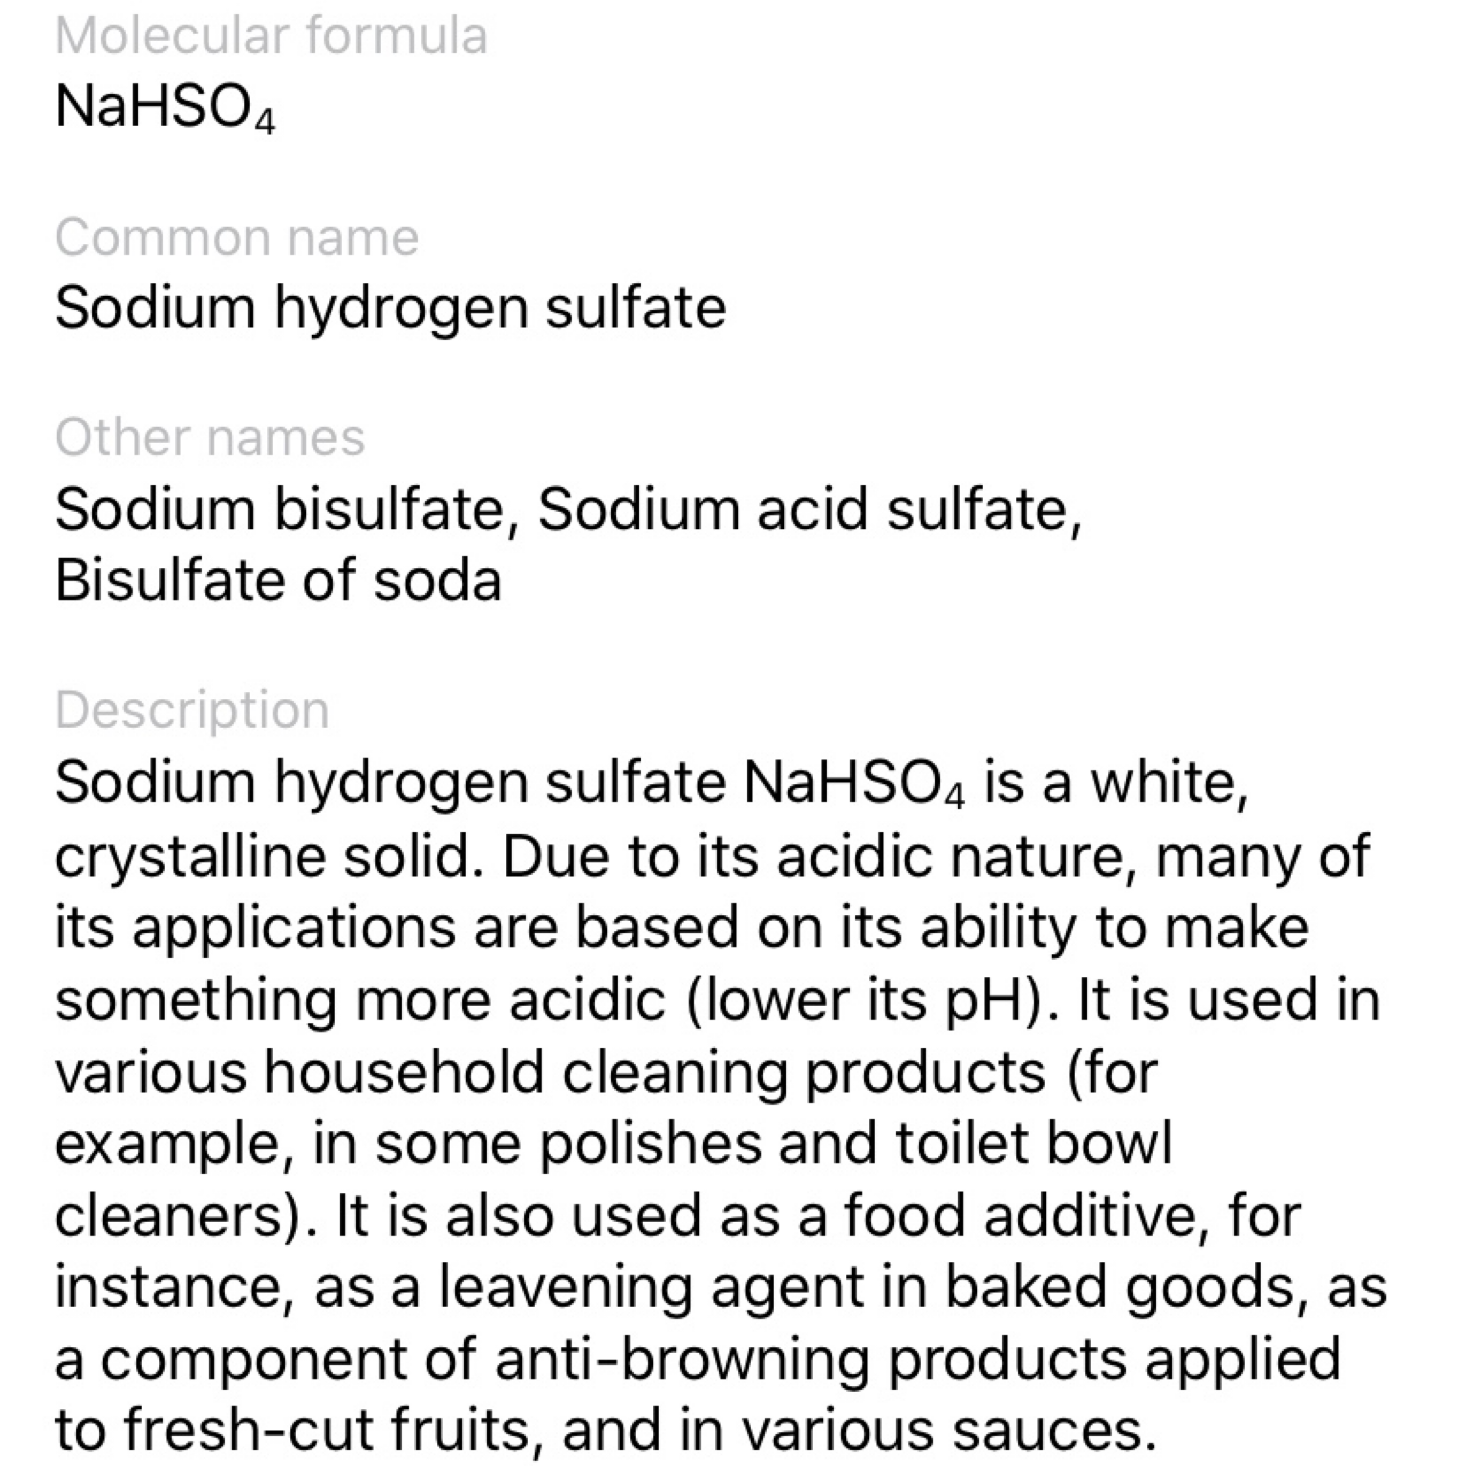
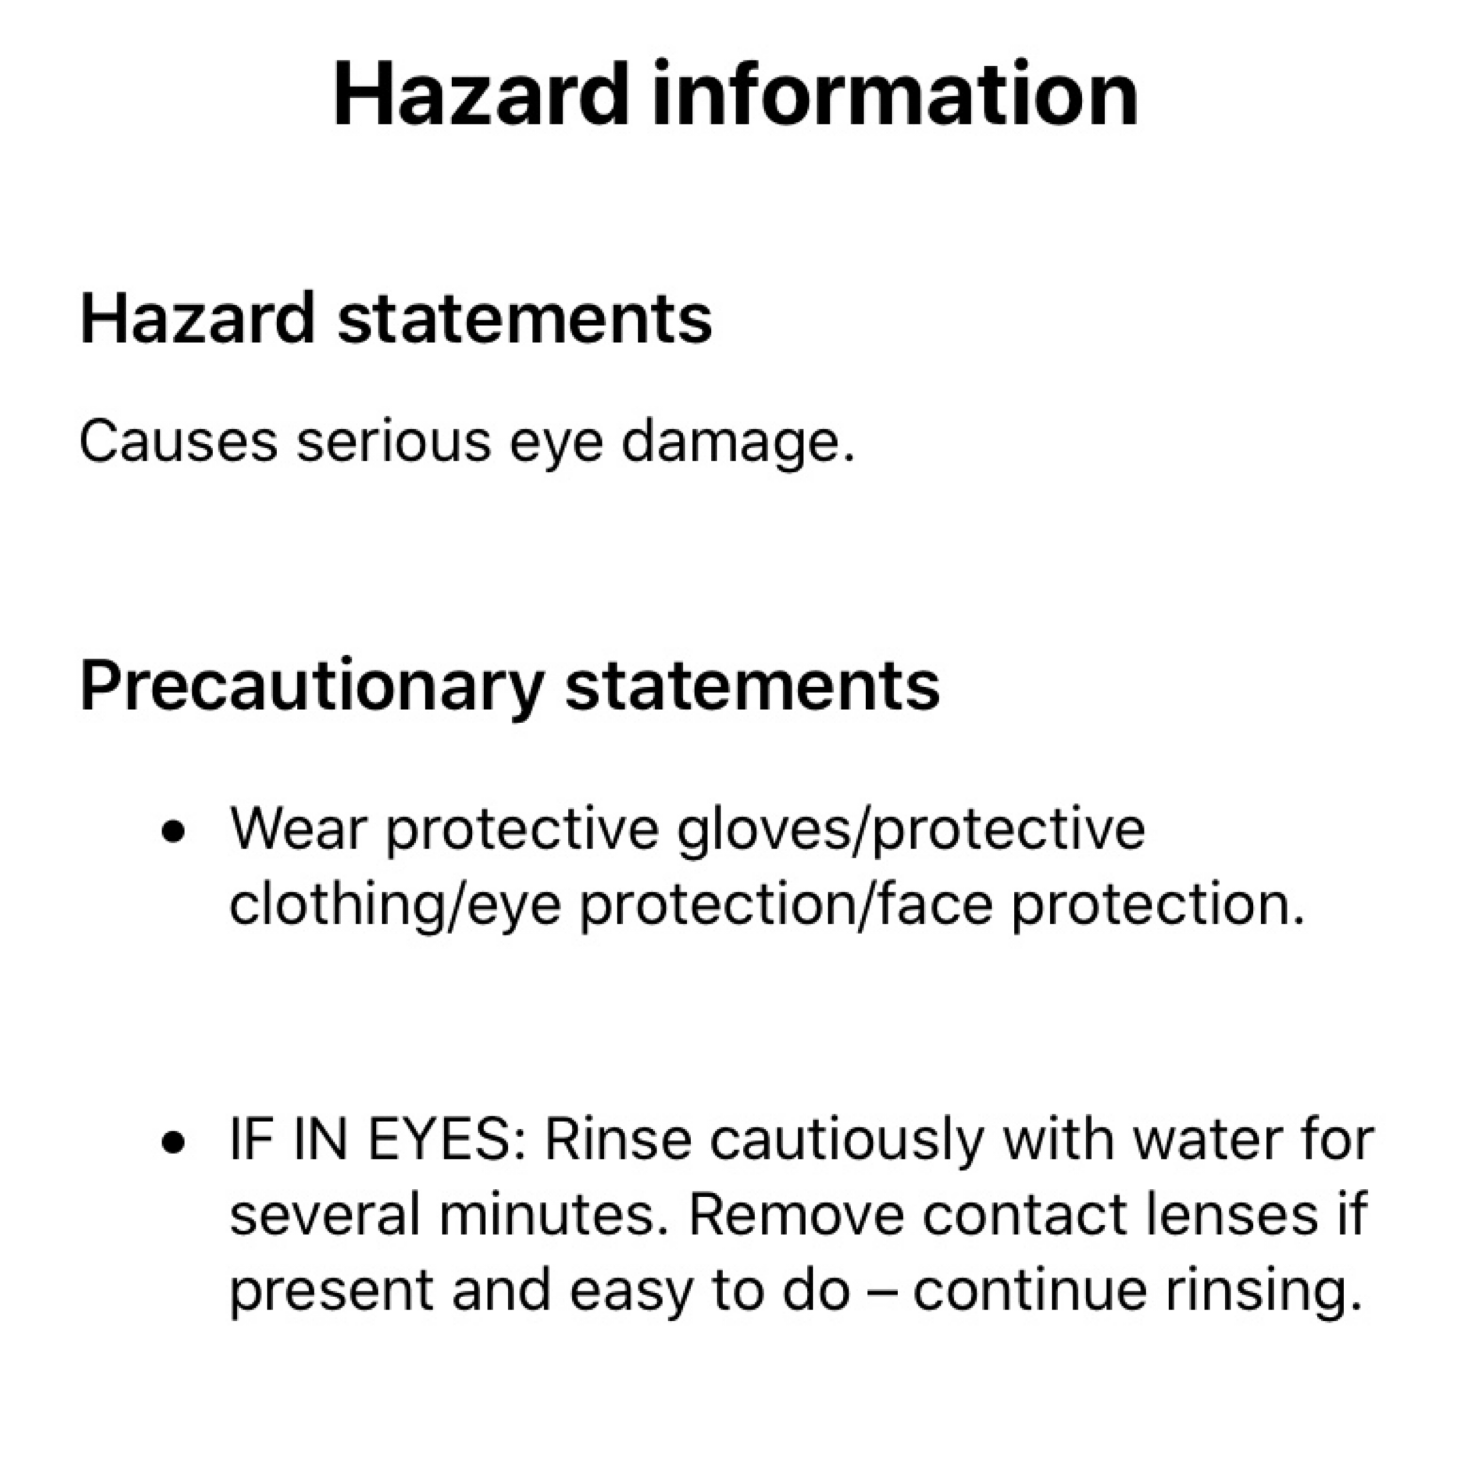
All of our reagents are clearly labeled and include information about any hazards. They provided enough materials for us to complete our experiments several times. Each label also contains a little code that we can scan to open up for more information about our chemicals. We are able to view it in 3D or even in virtual reality by using the VR app and our headset. For this experiment, we are using sodium hydrogen sulfate.
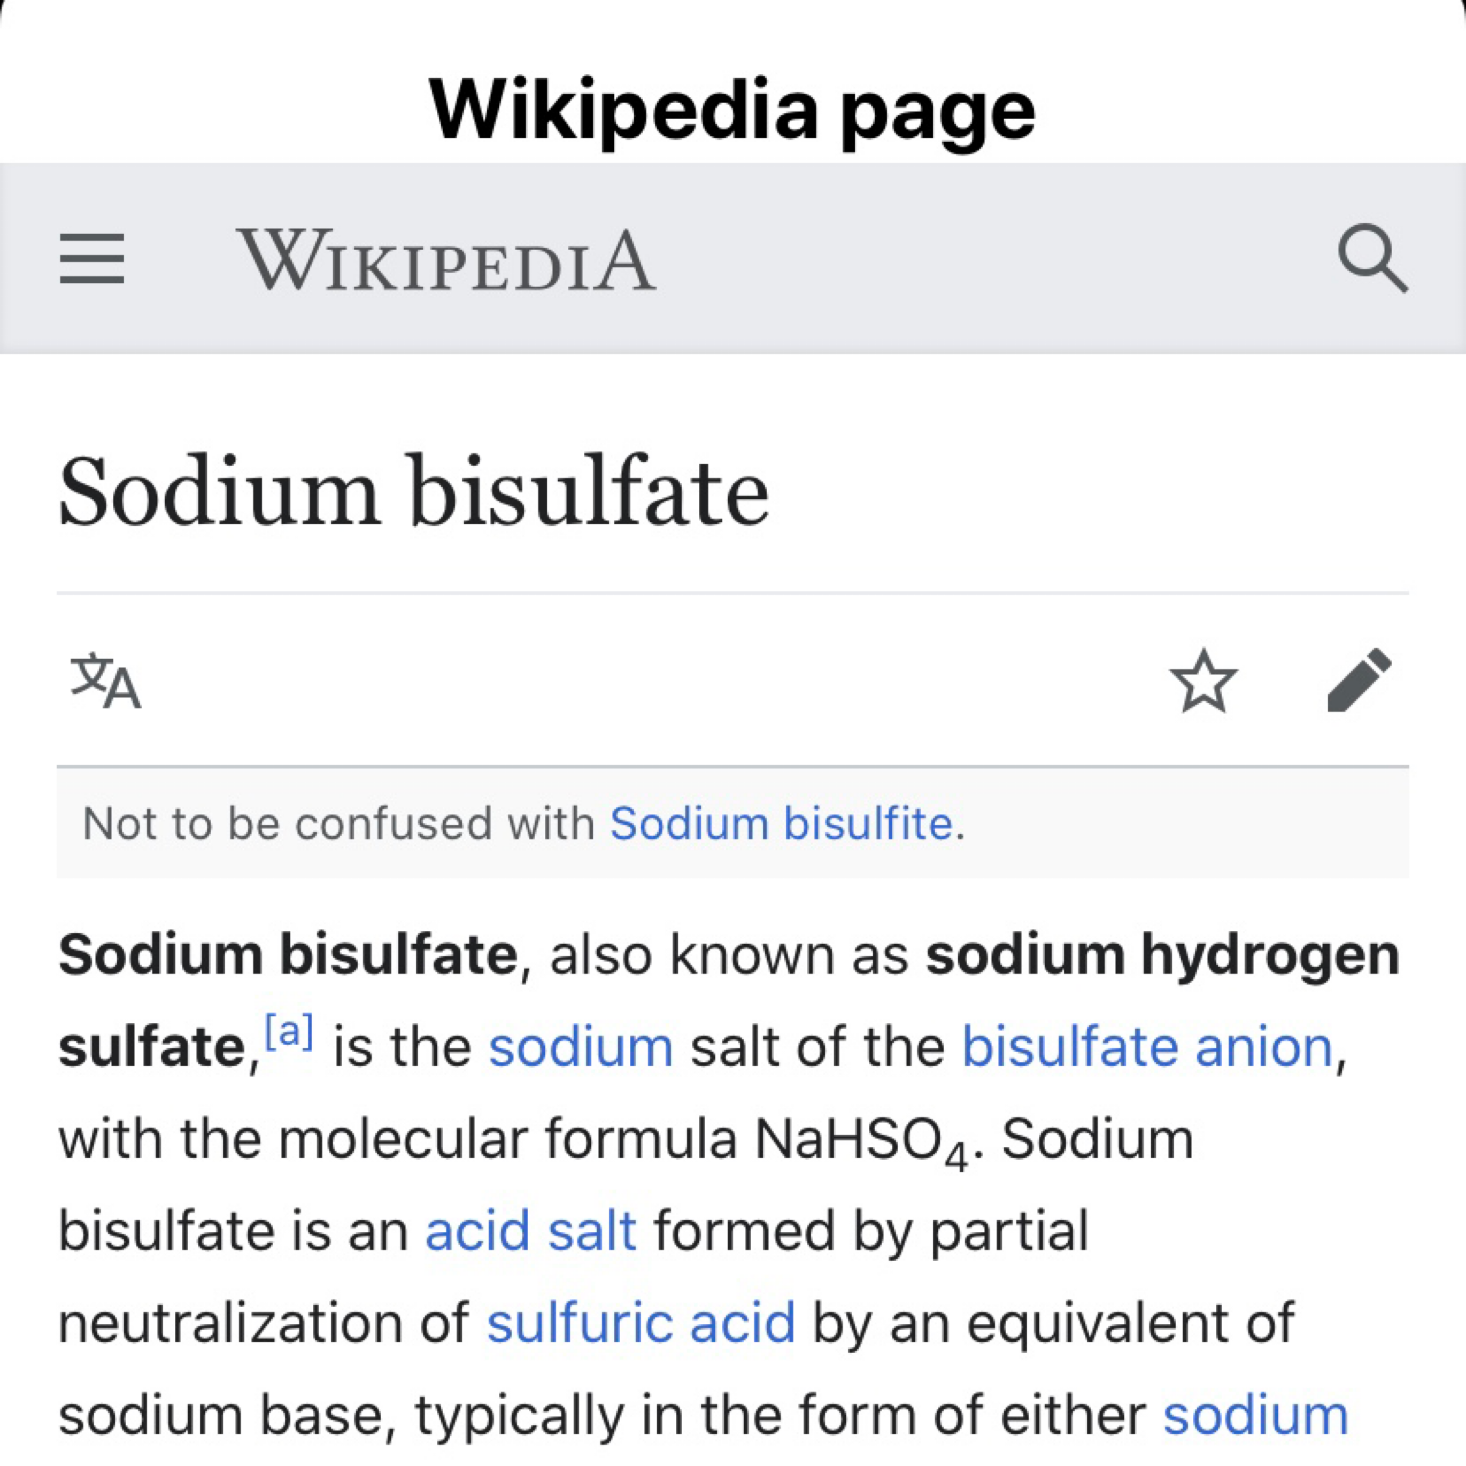
The app gives so much detail about each of the reagents including a description, hazards, precautions, and even a link to the Wikipedia page for further information. So thorough! And it's even more fun if you interact through the VR app!
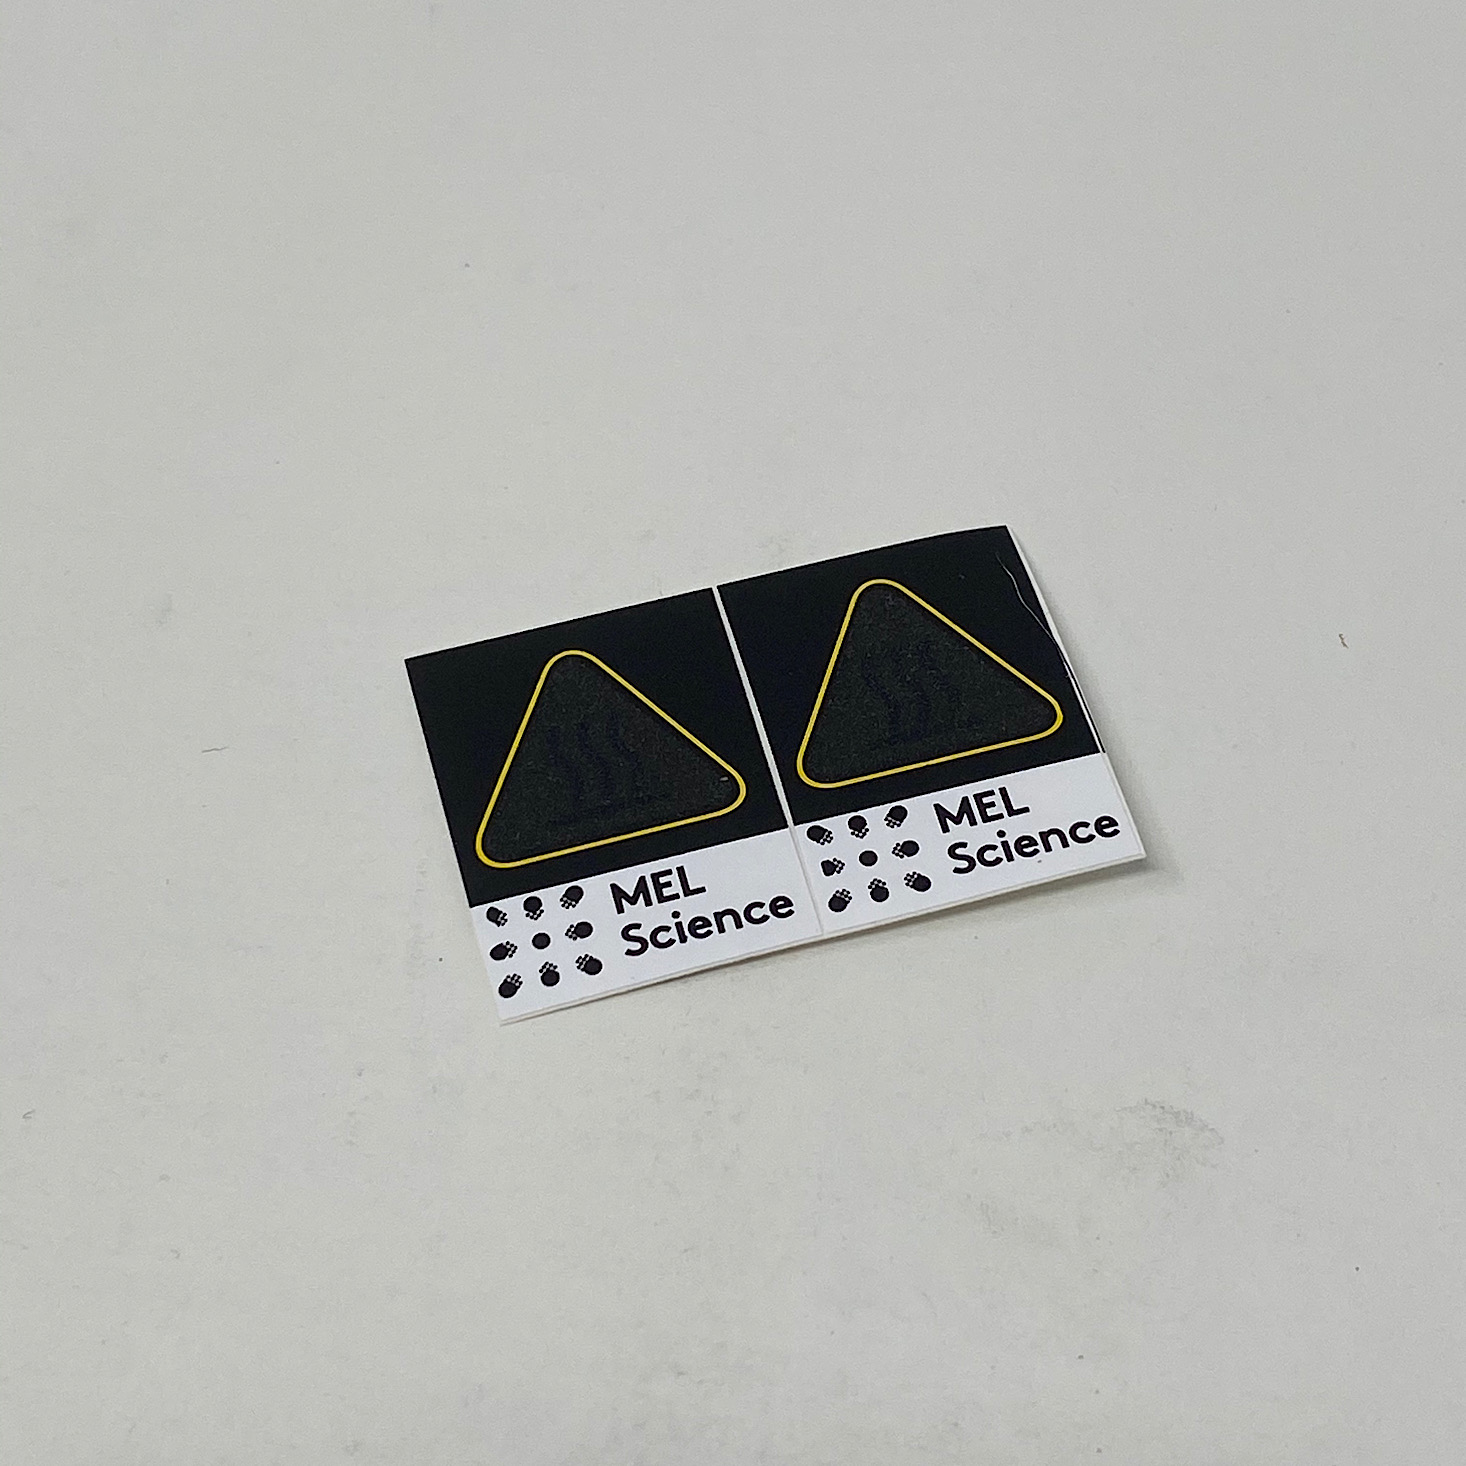
They always provide a little paper clip for us to use to open our bottles which have tiny rubber stoppers in them so they don't leak during transportation along with some of these little measuring spoons. We also received some thermo-stickers to place on the equipment that would get heated.
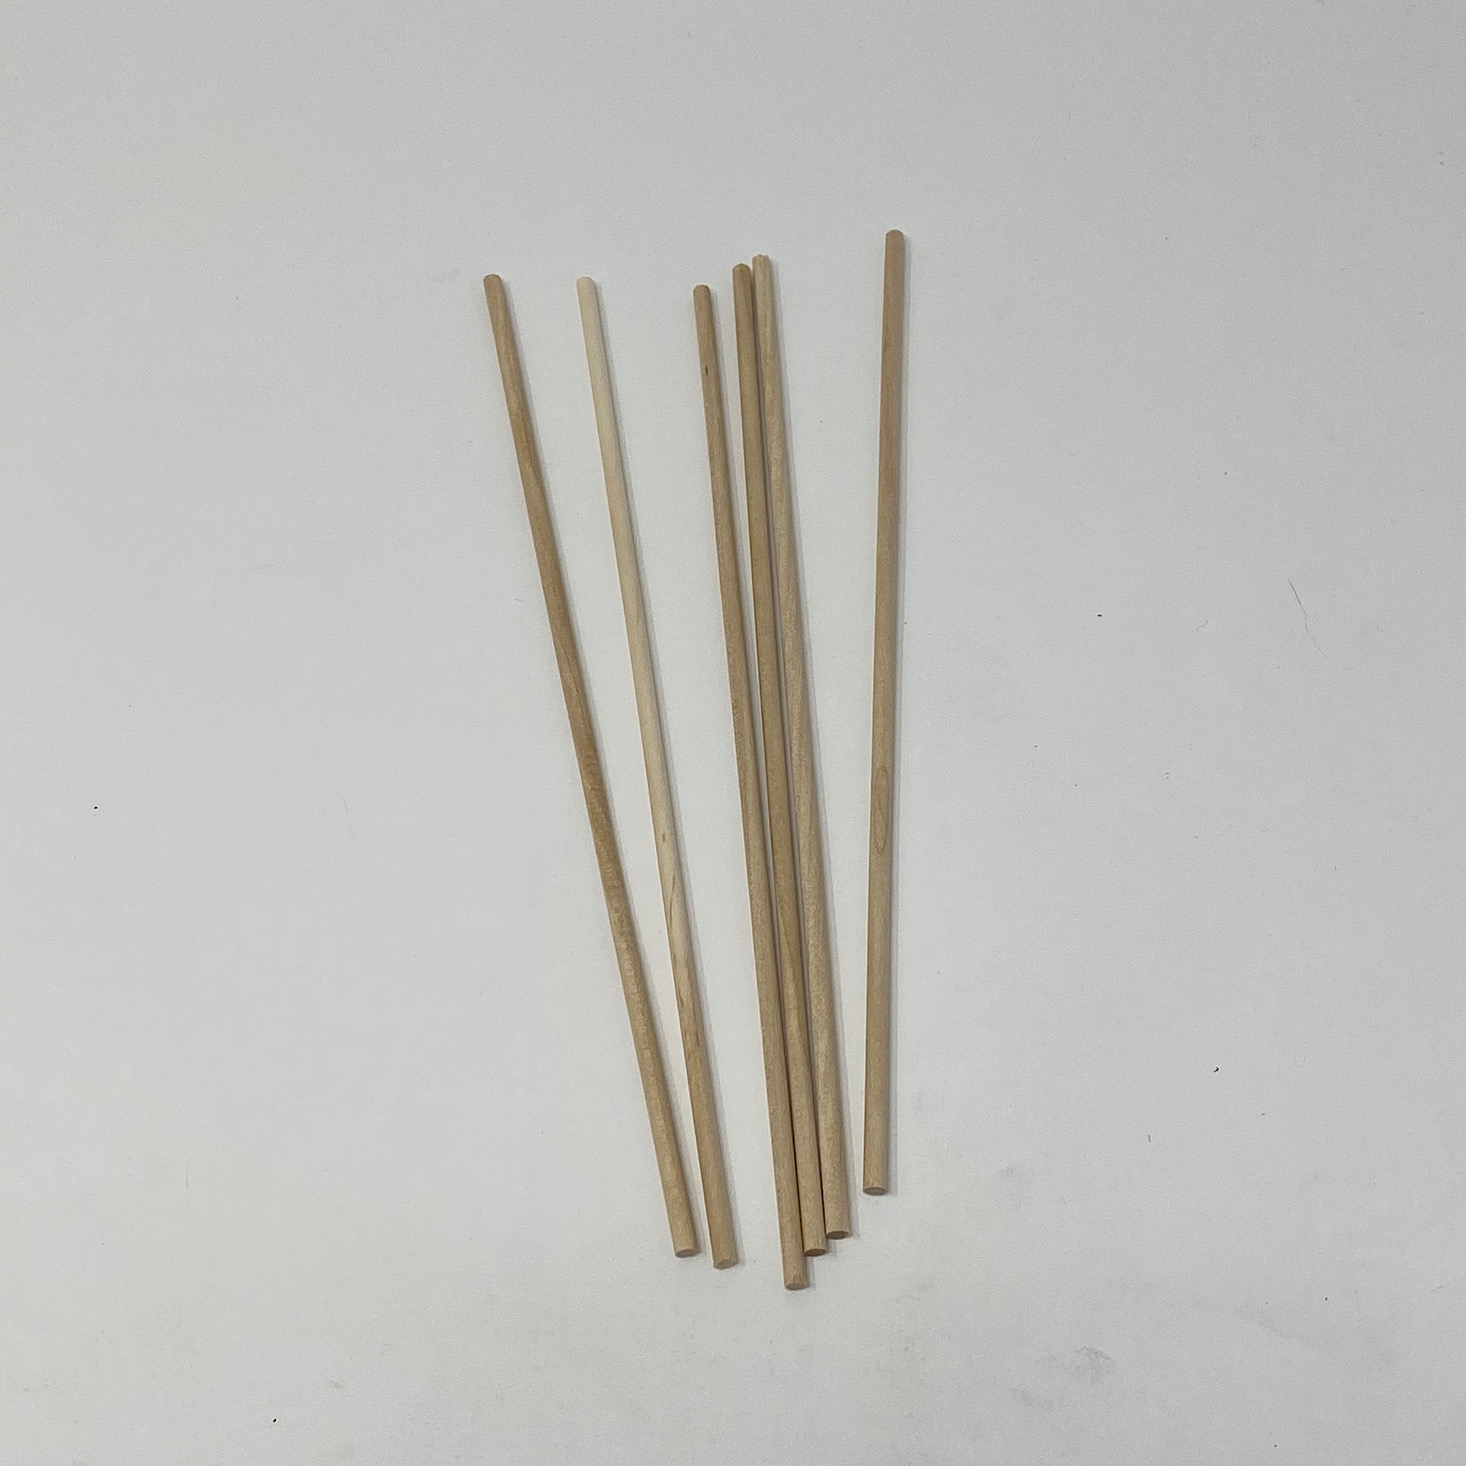
This box also contained some wooden stirrers, plastic syringes for measuring liquids, and a few Petri dishes.
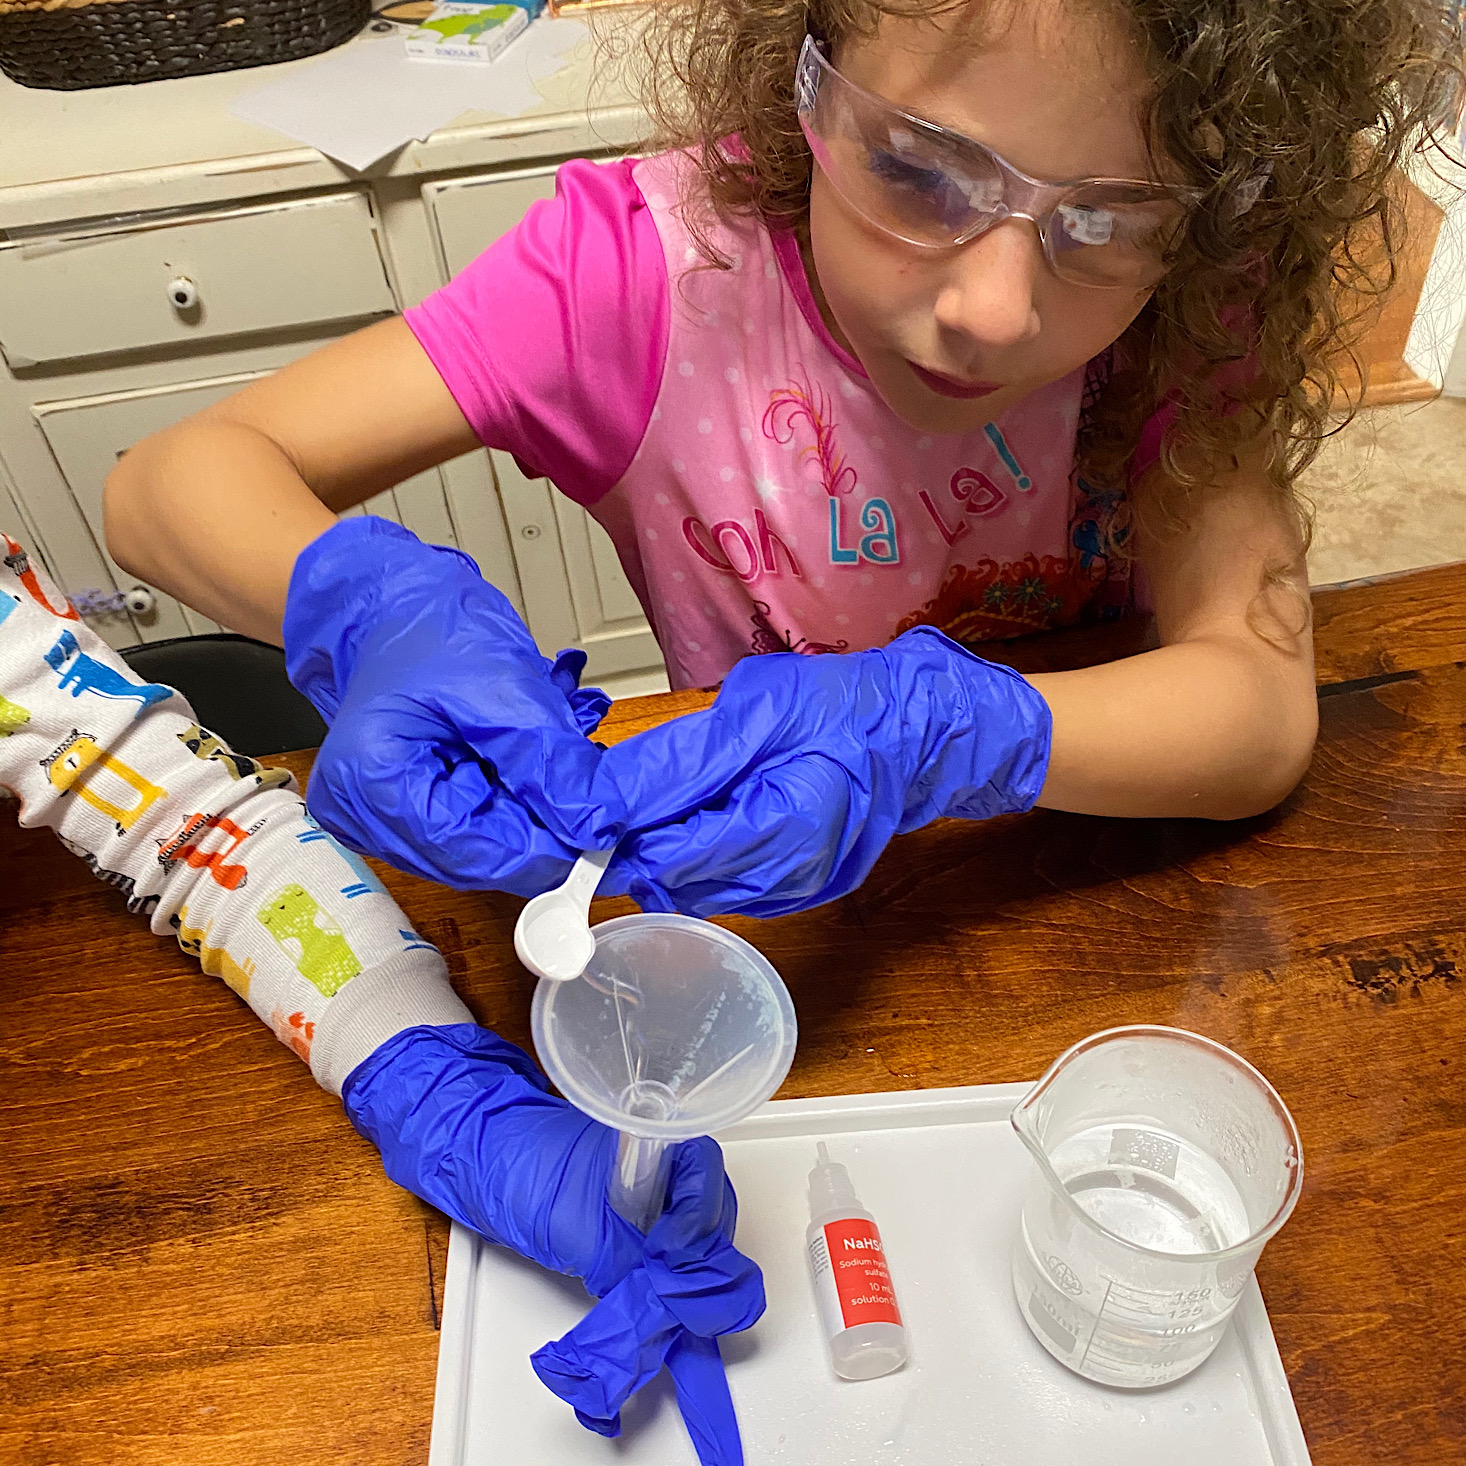
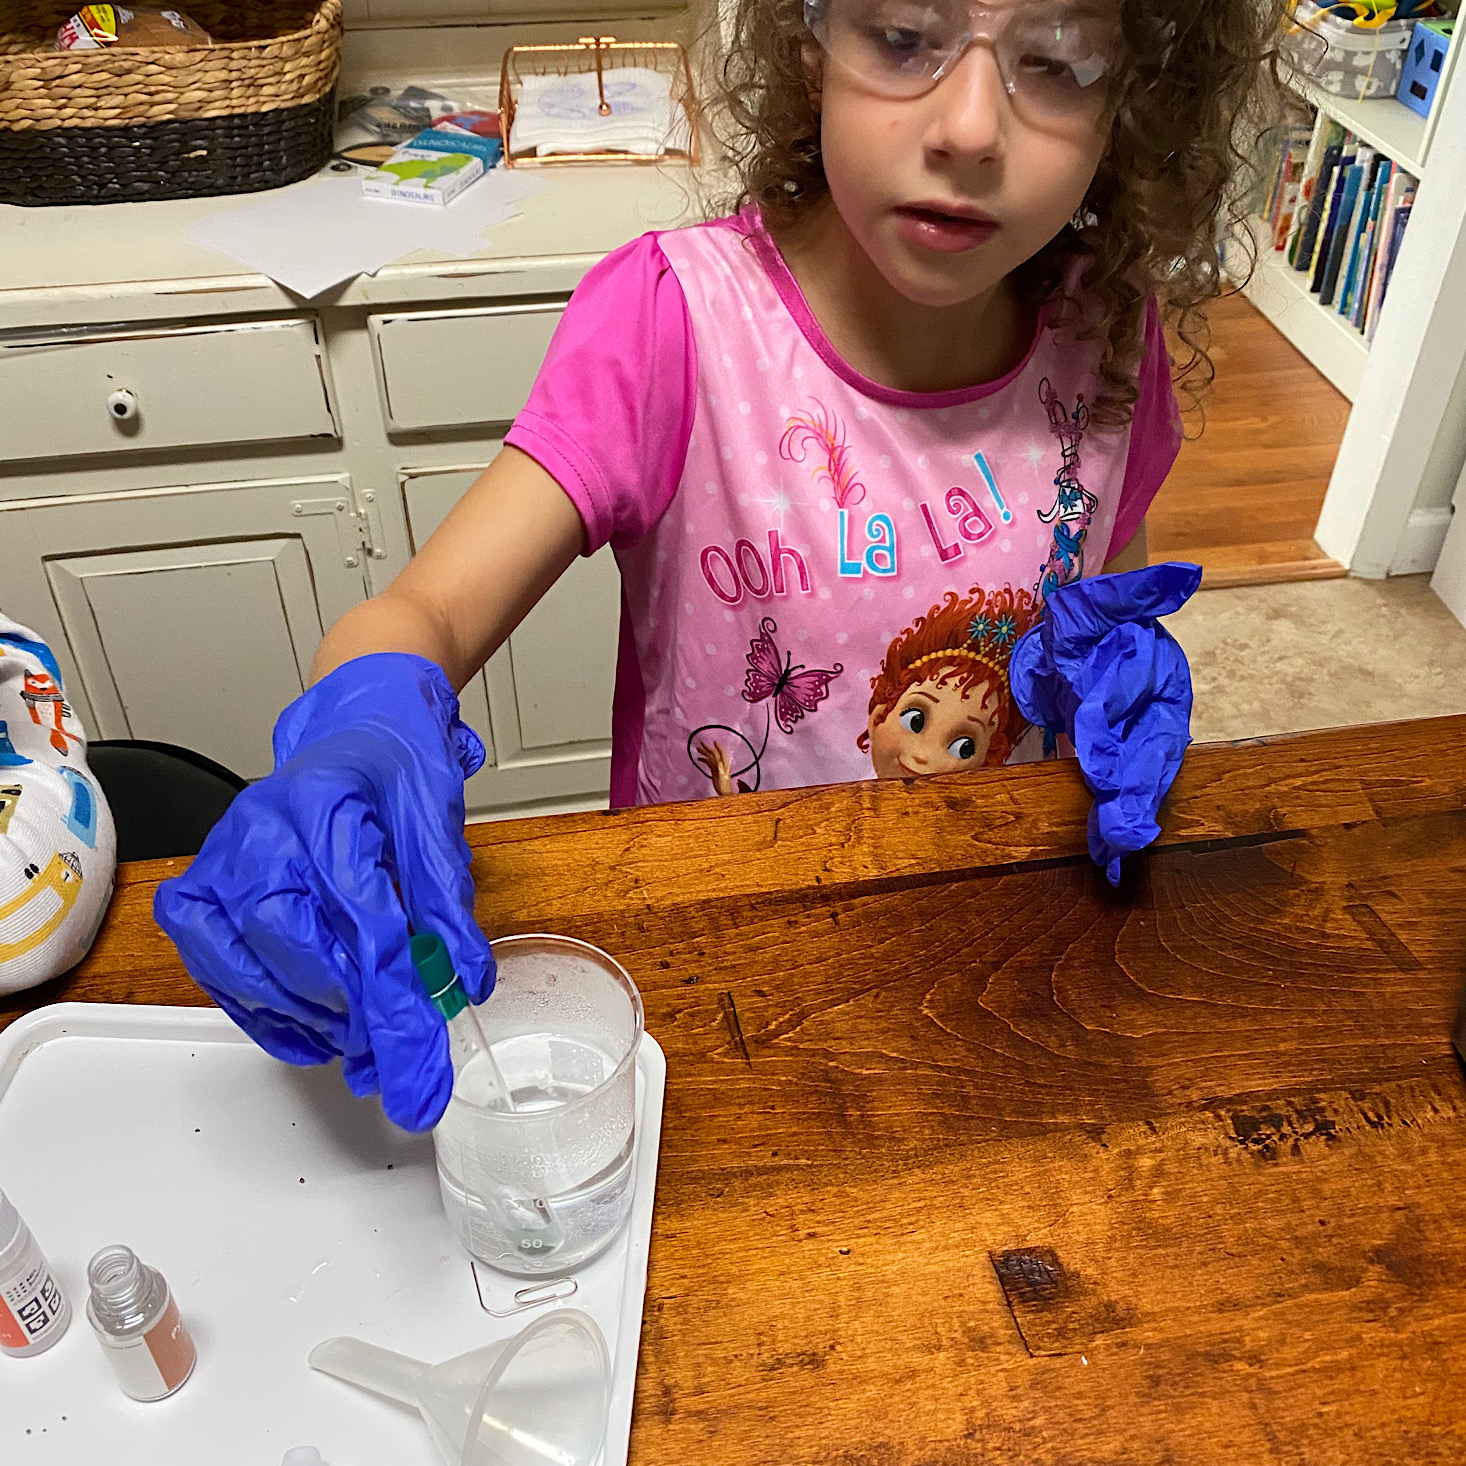
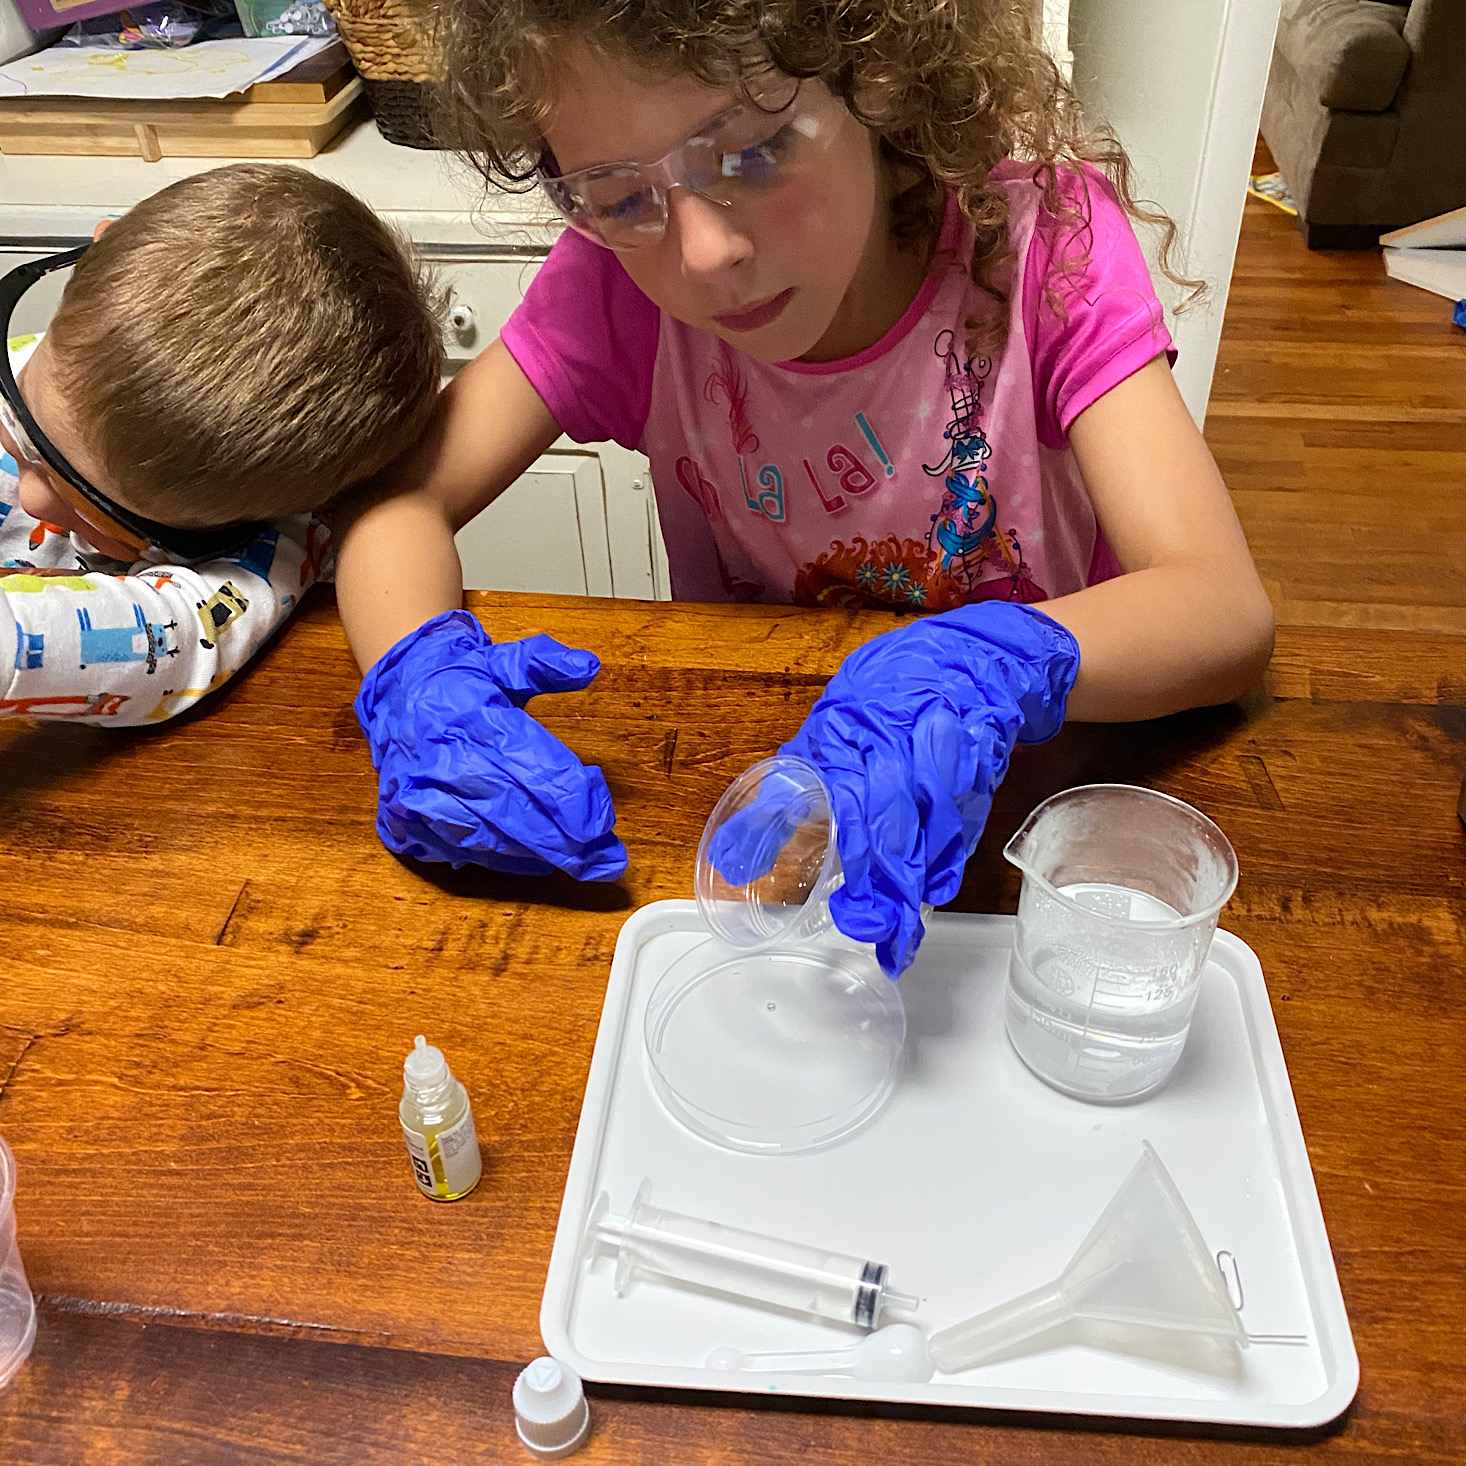
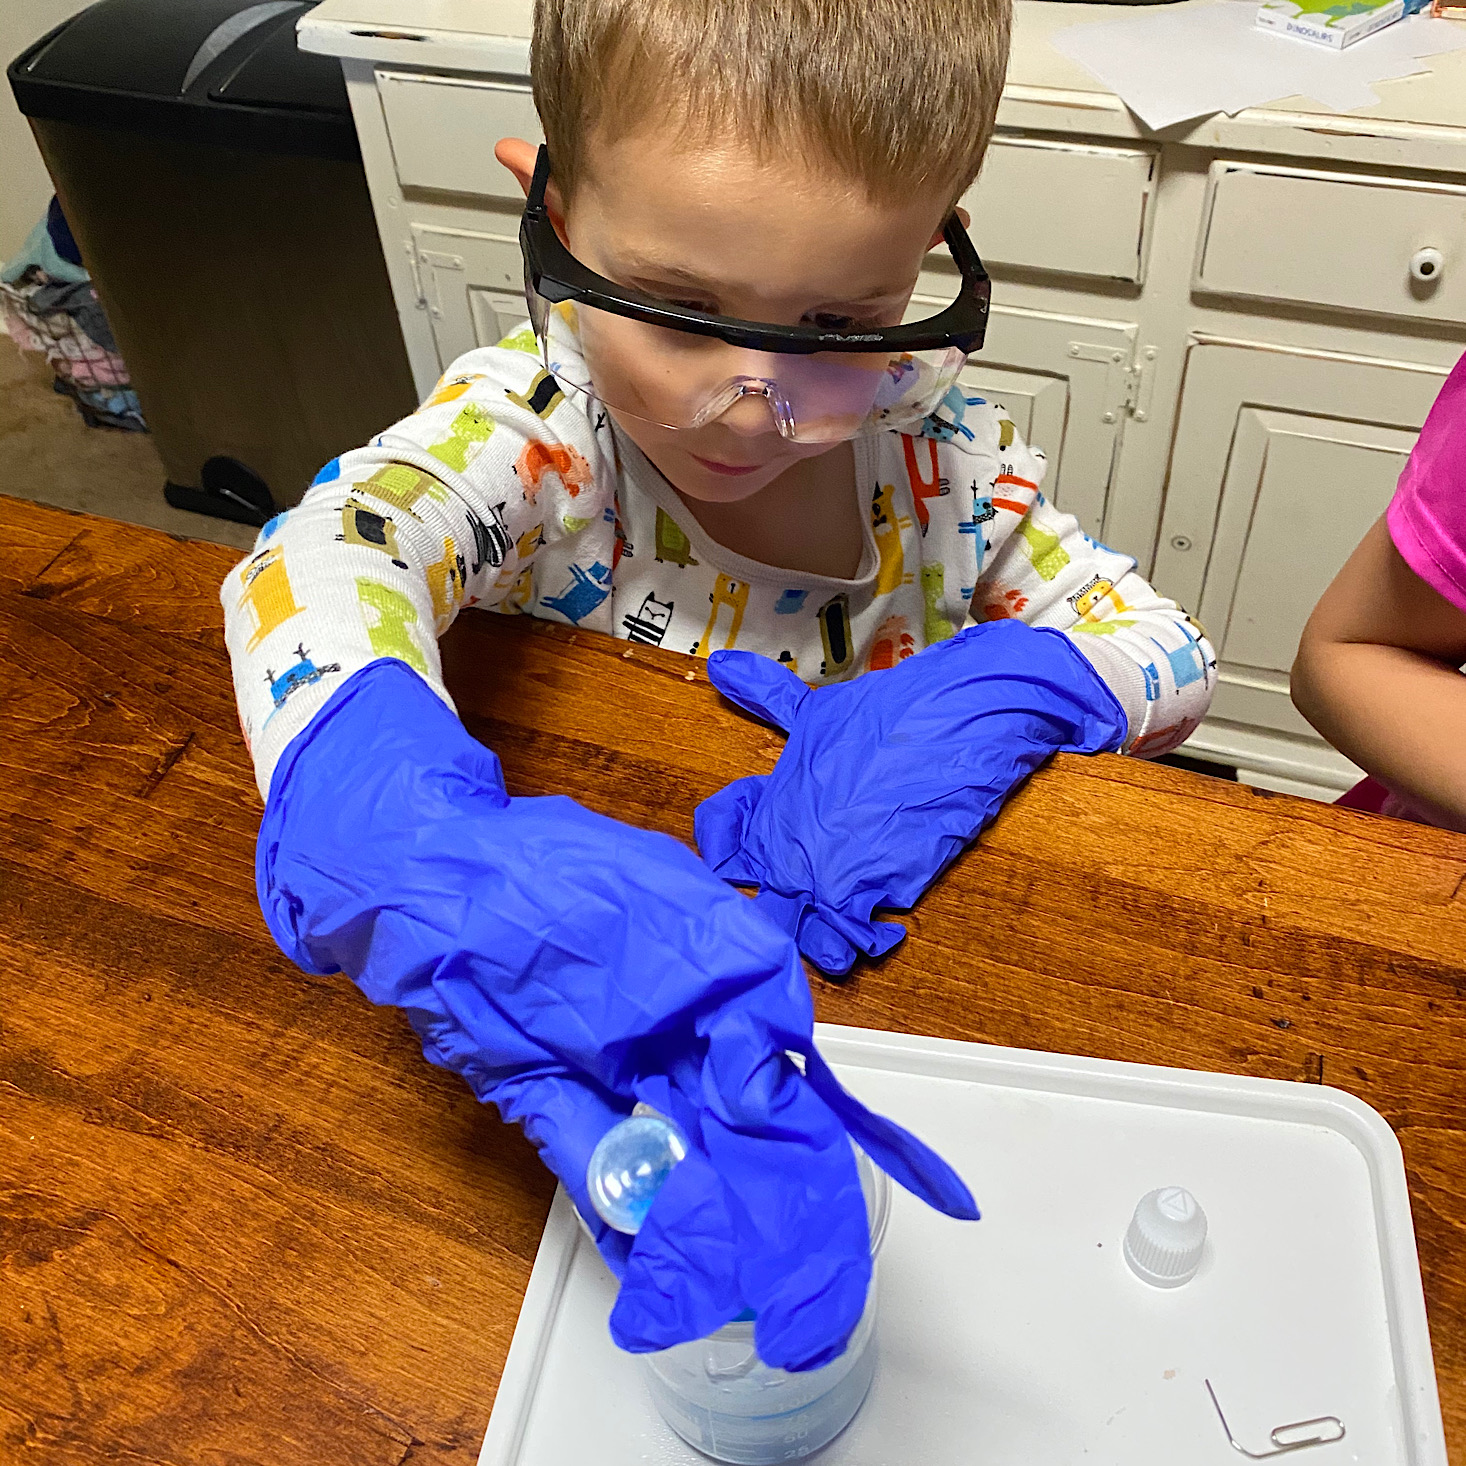
My assistants got geared up and ready to go!
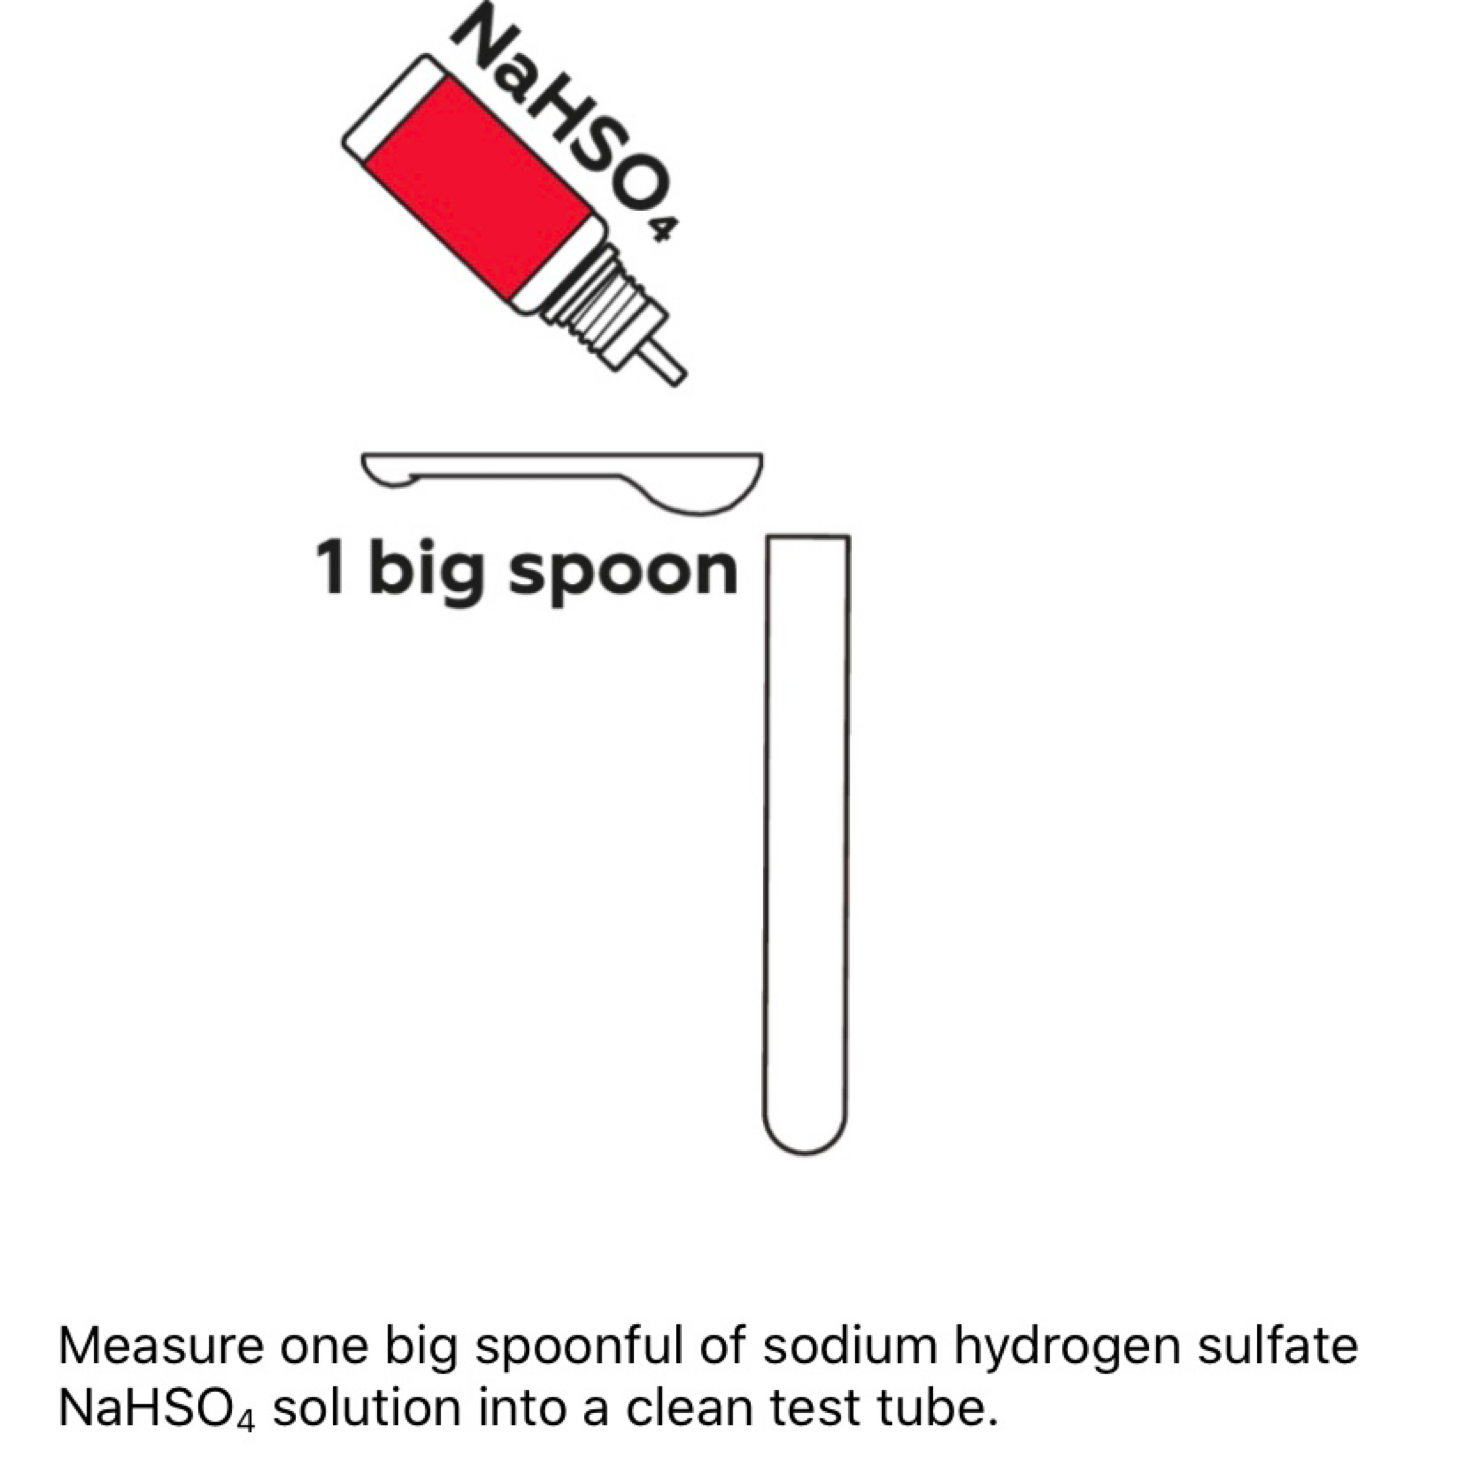
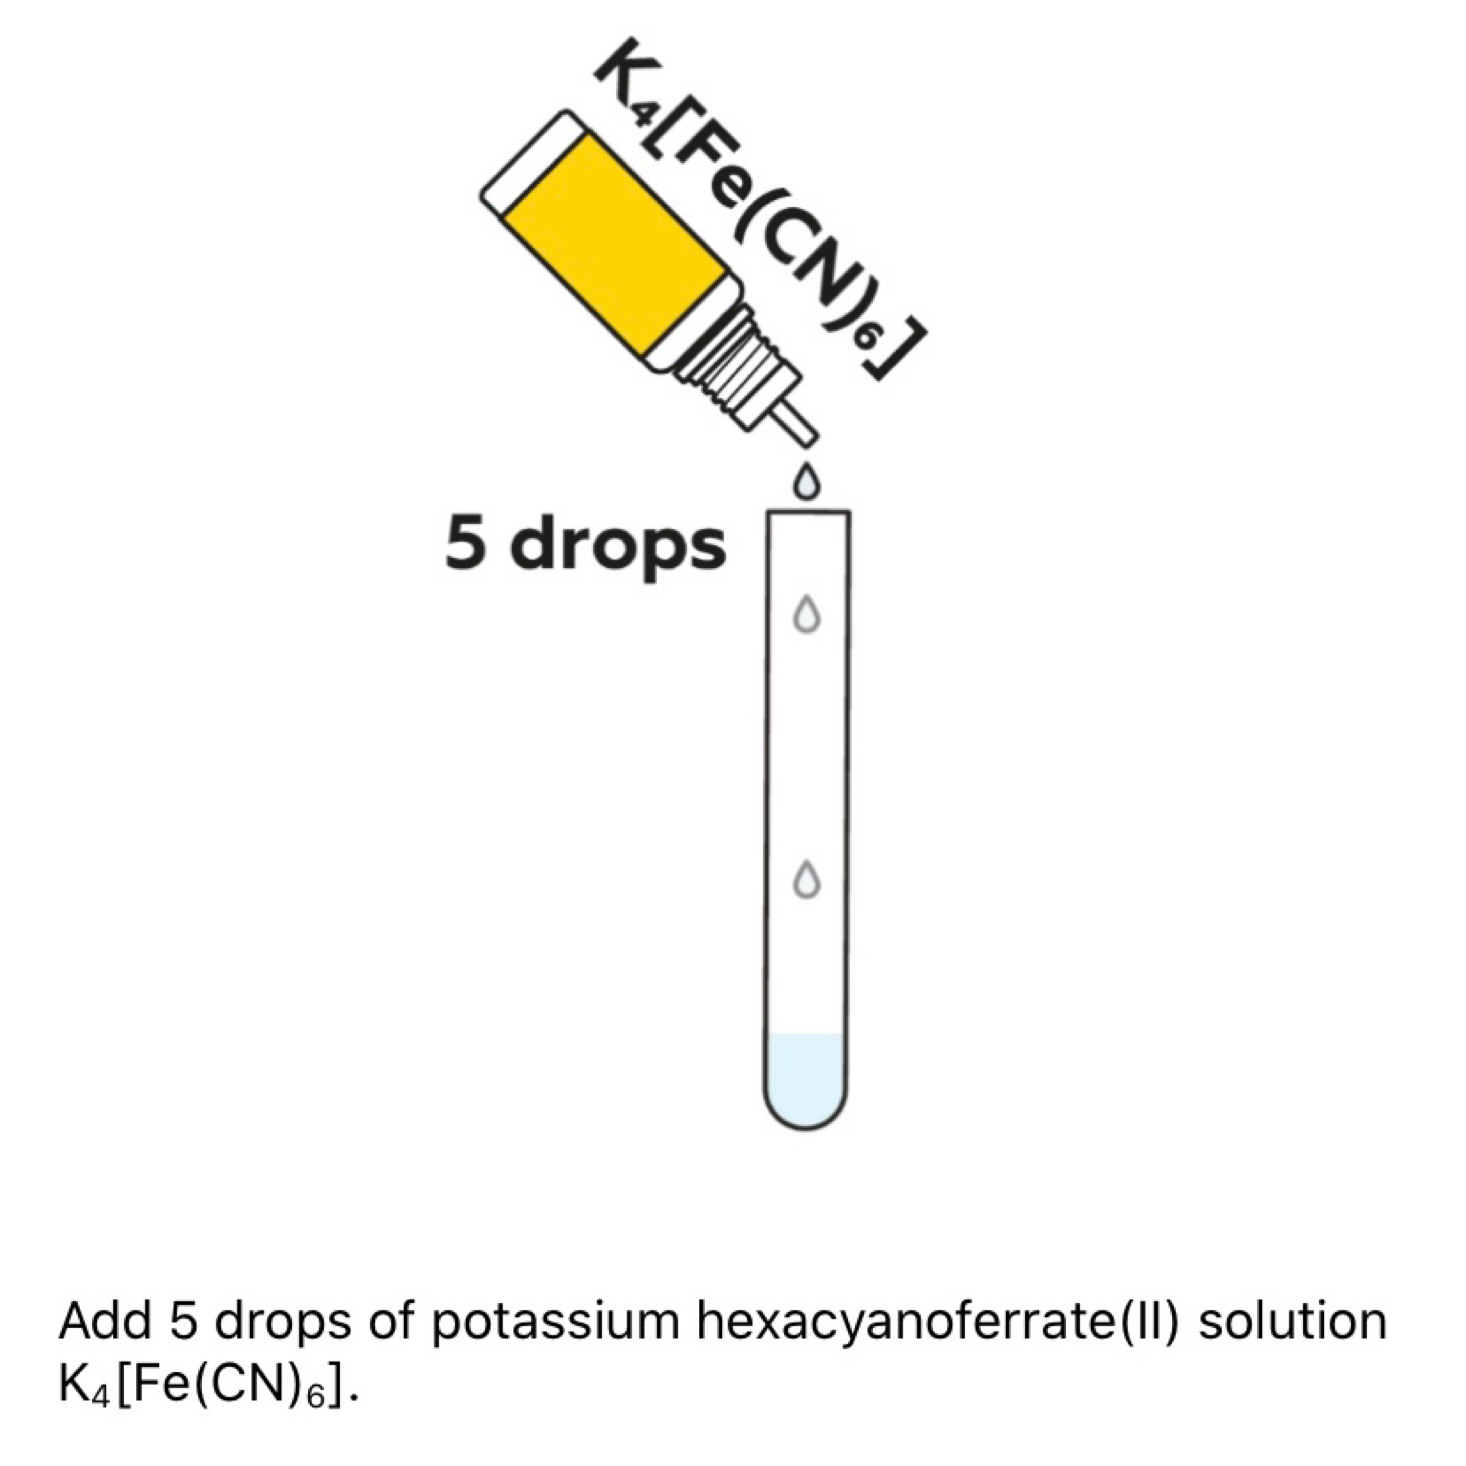
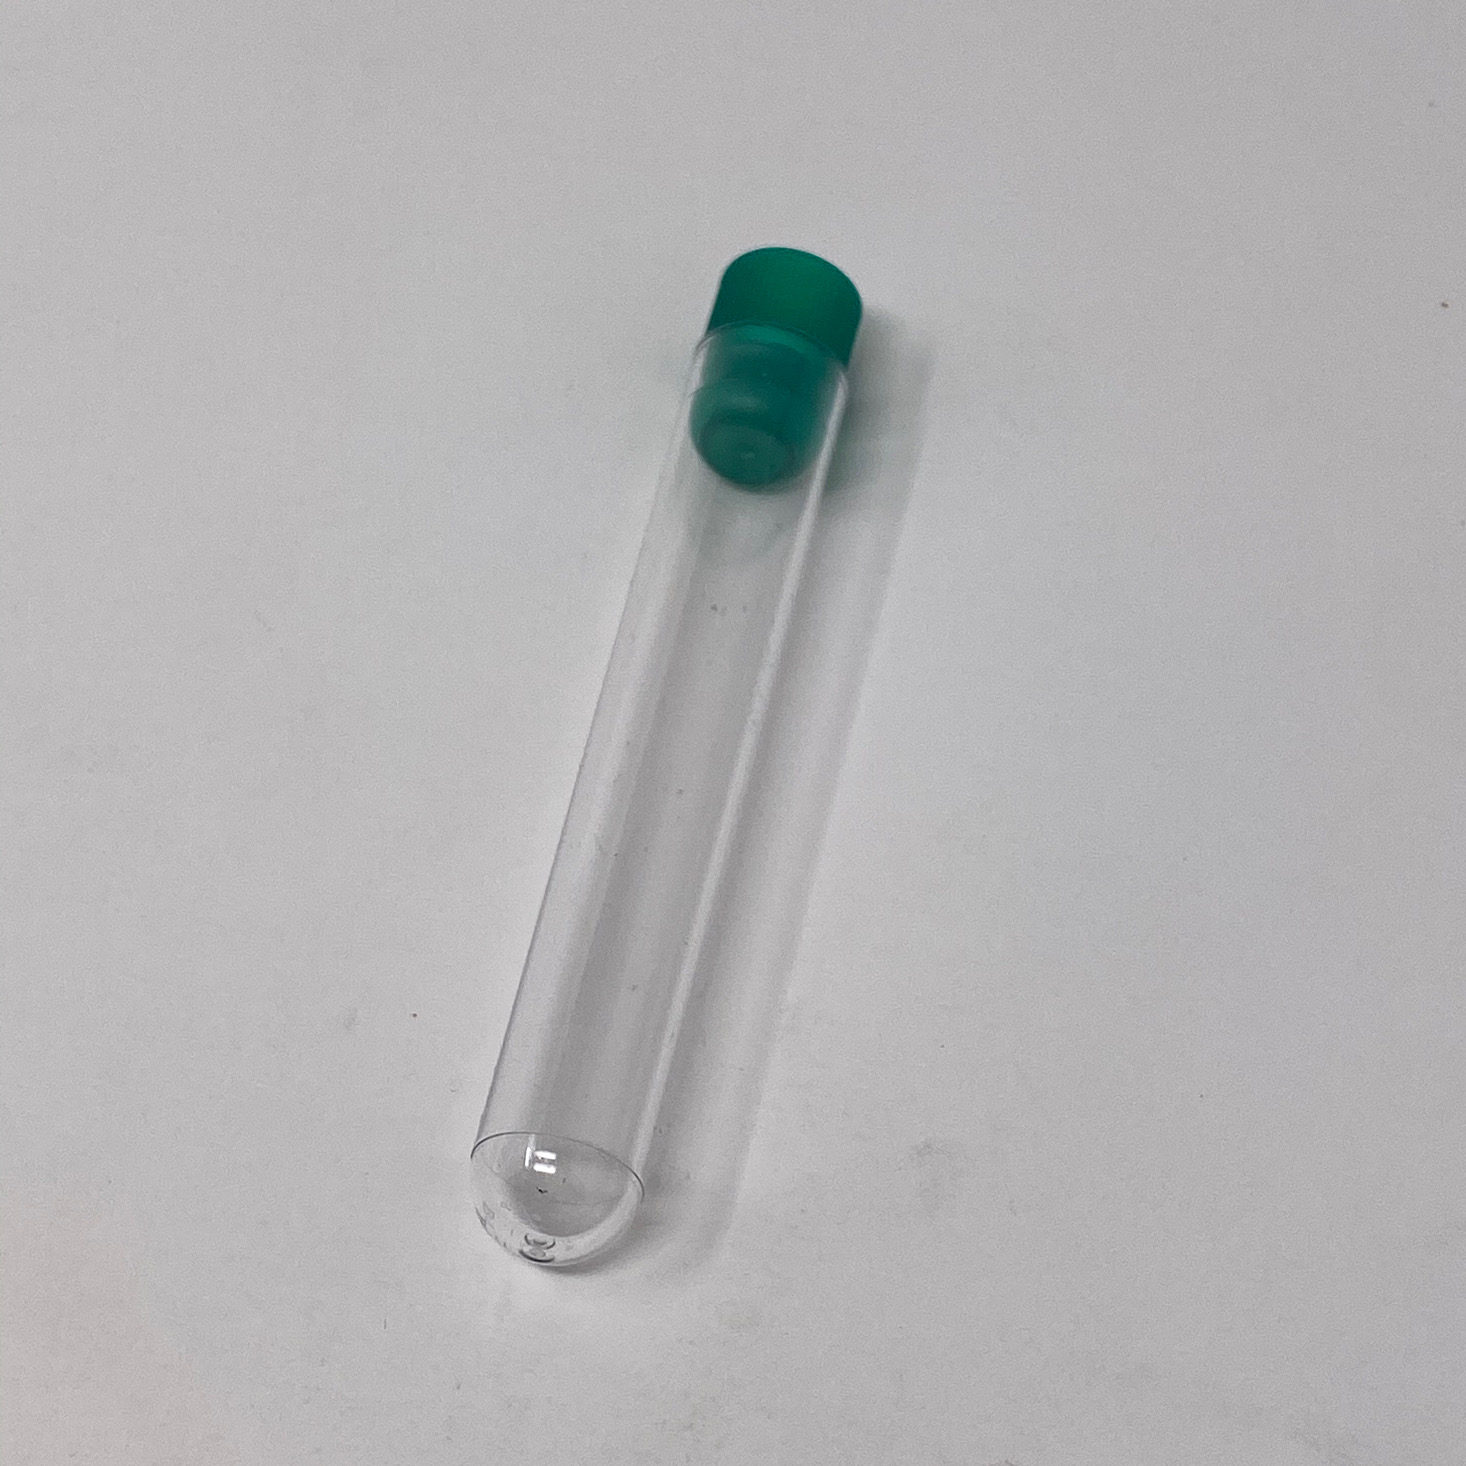
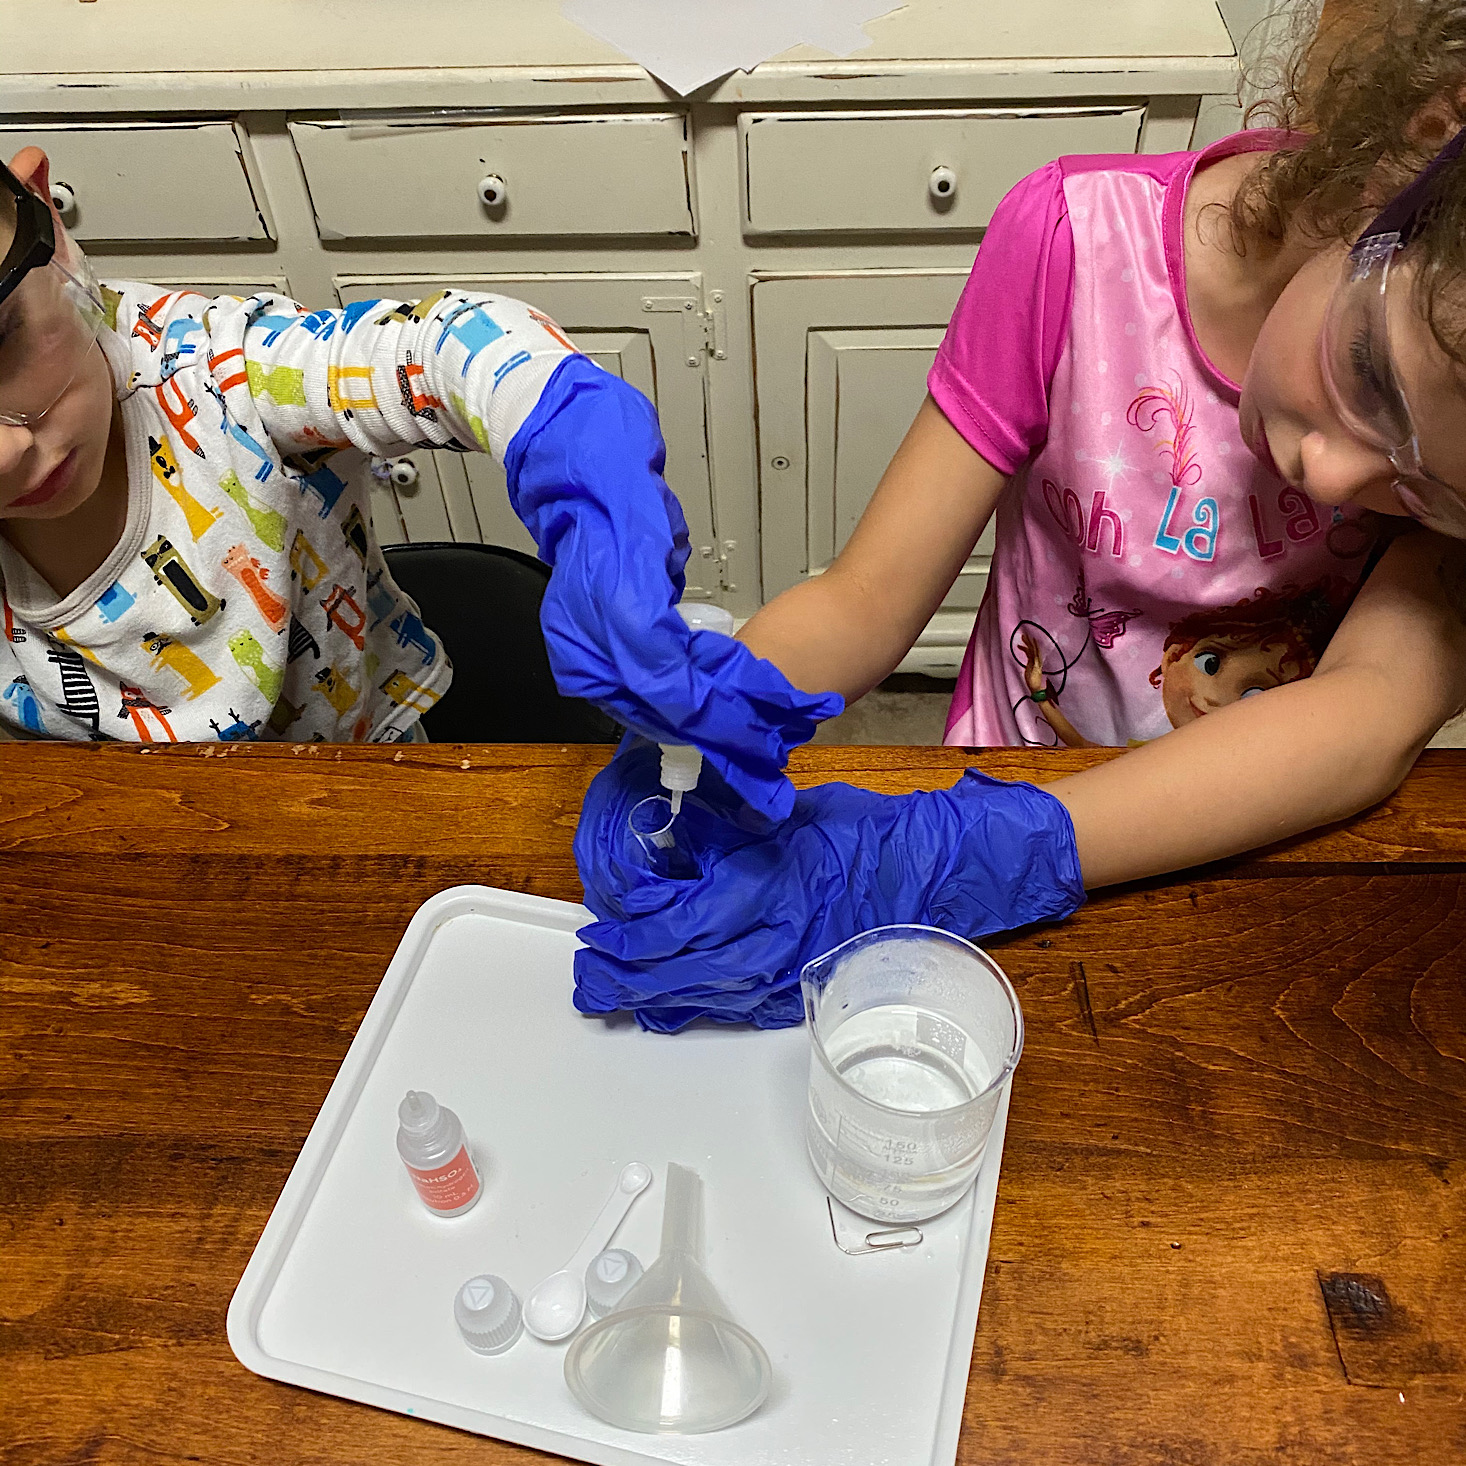
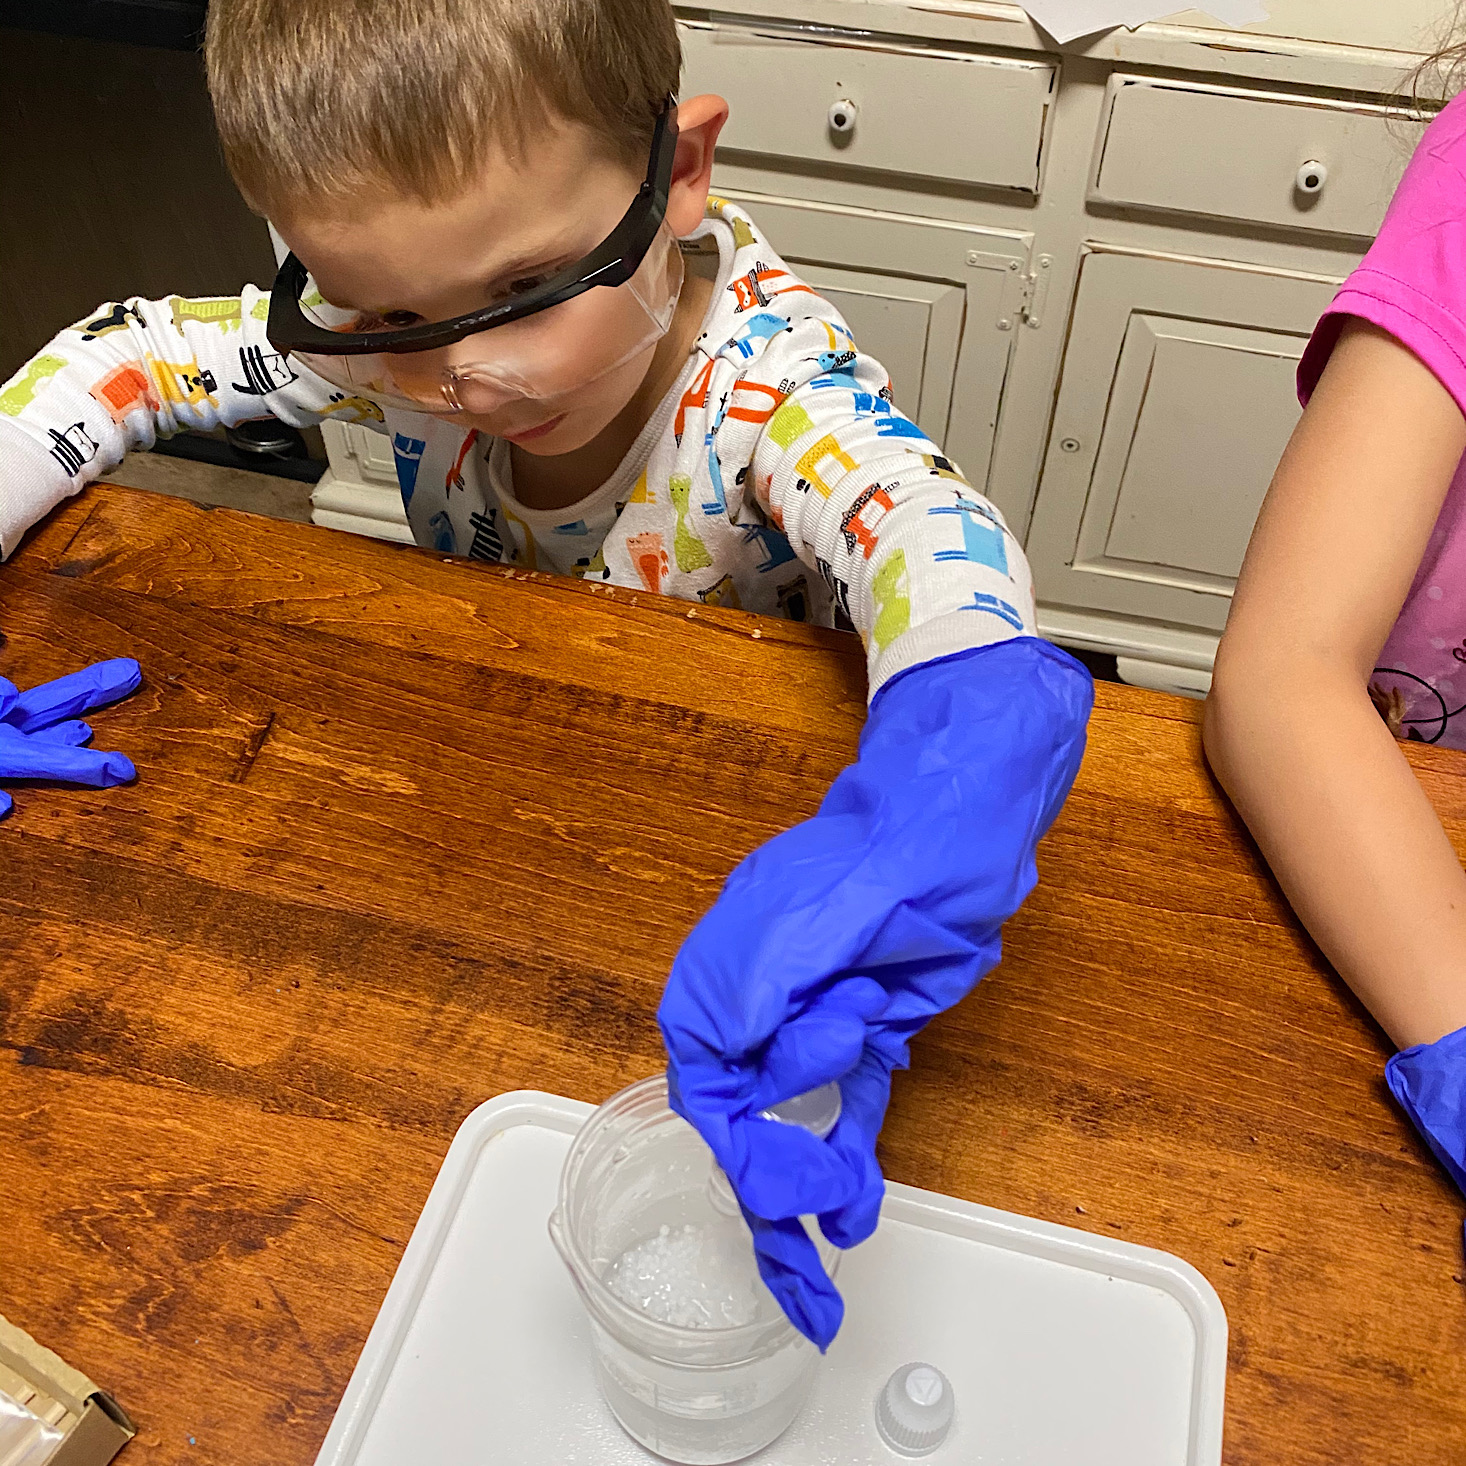
My daughter measured out and poured one scoop of the sodium hydrogen sulfate into the plastic test tube as my son held it for her. Then he added 5 drops of potassium hexacyanoferrate solution to it.
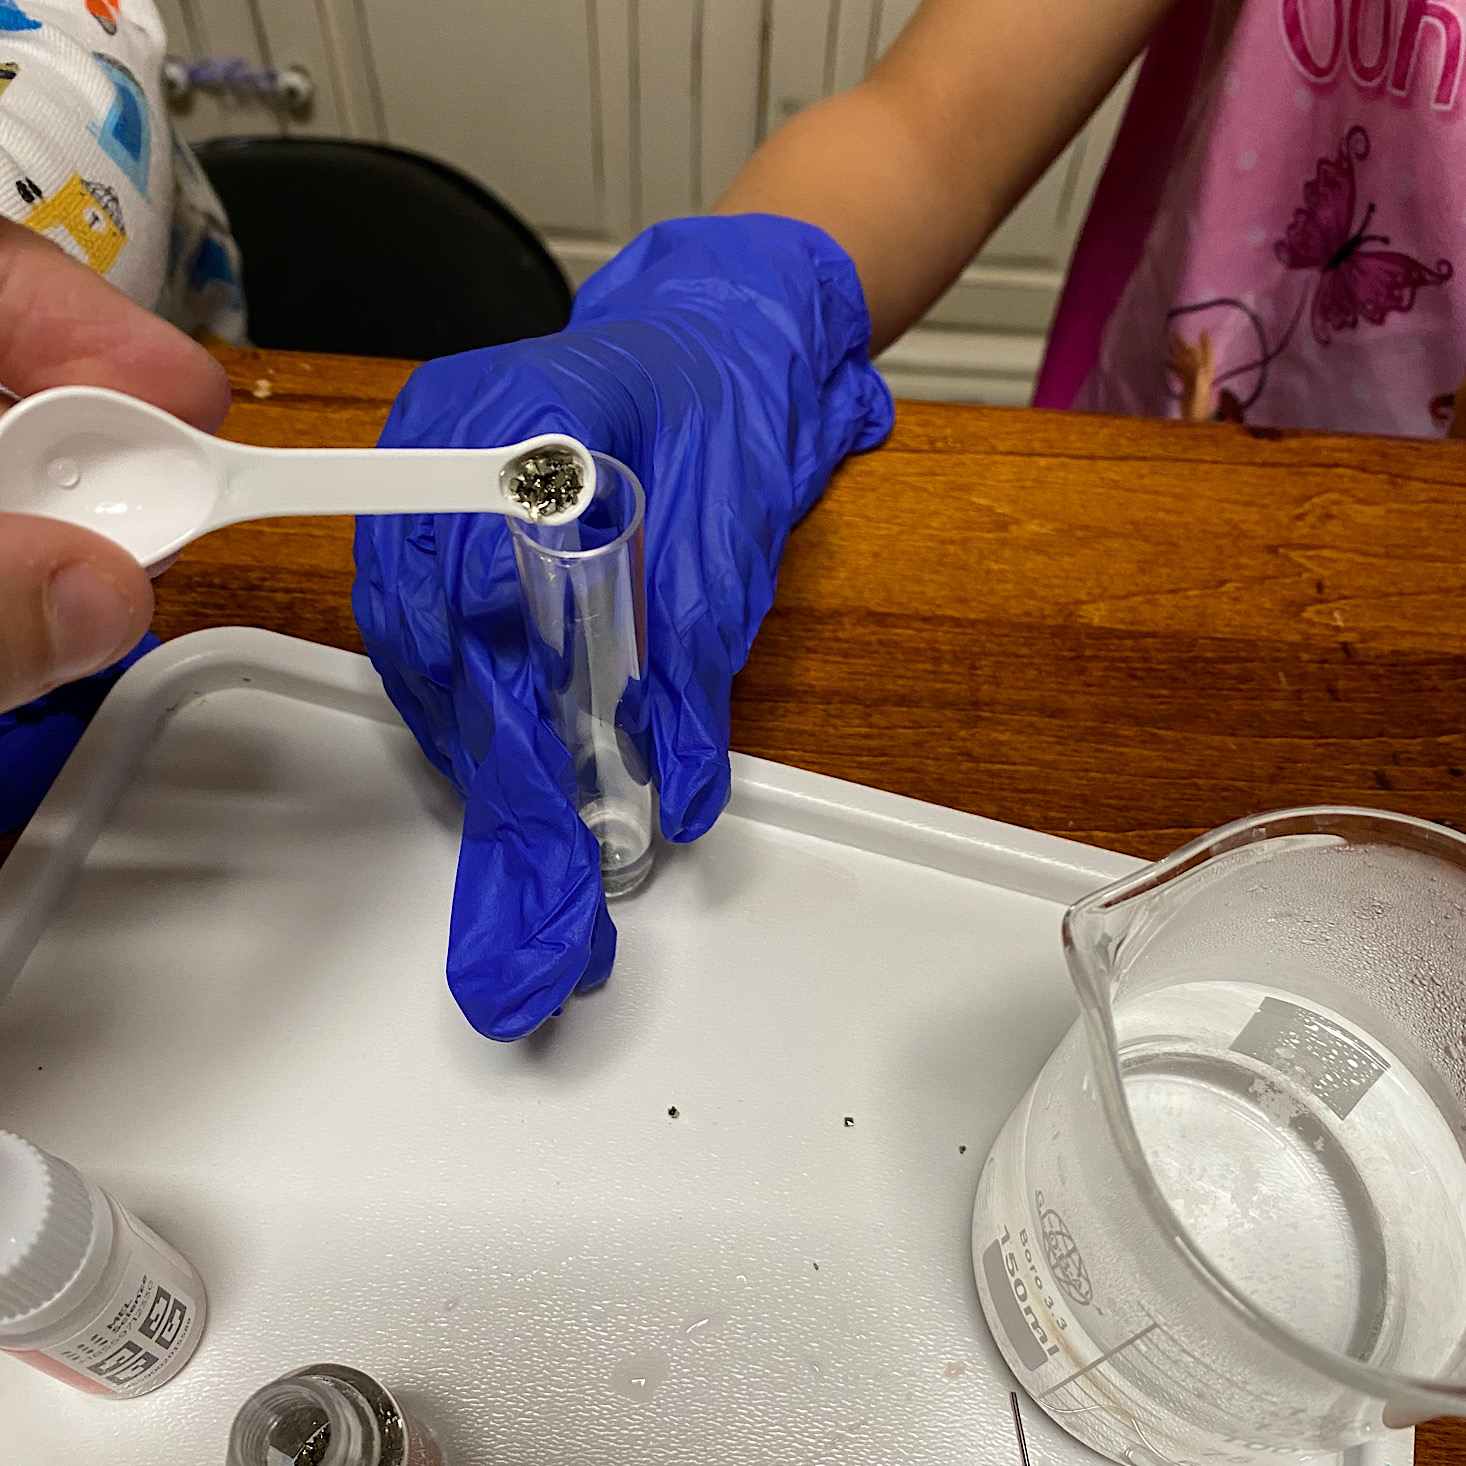
We added a small scoop of pyrite to it and then my daughter shook it up for us.
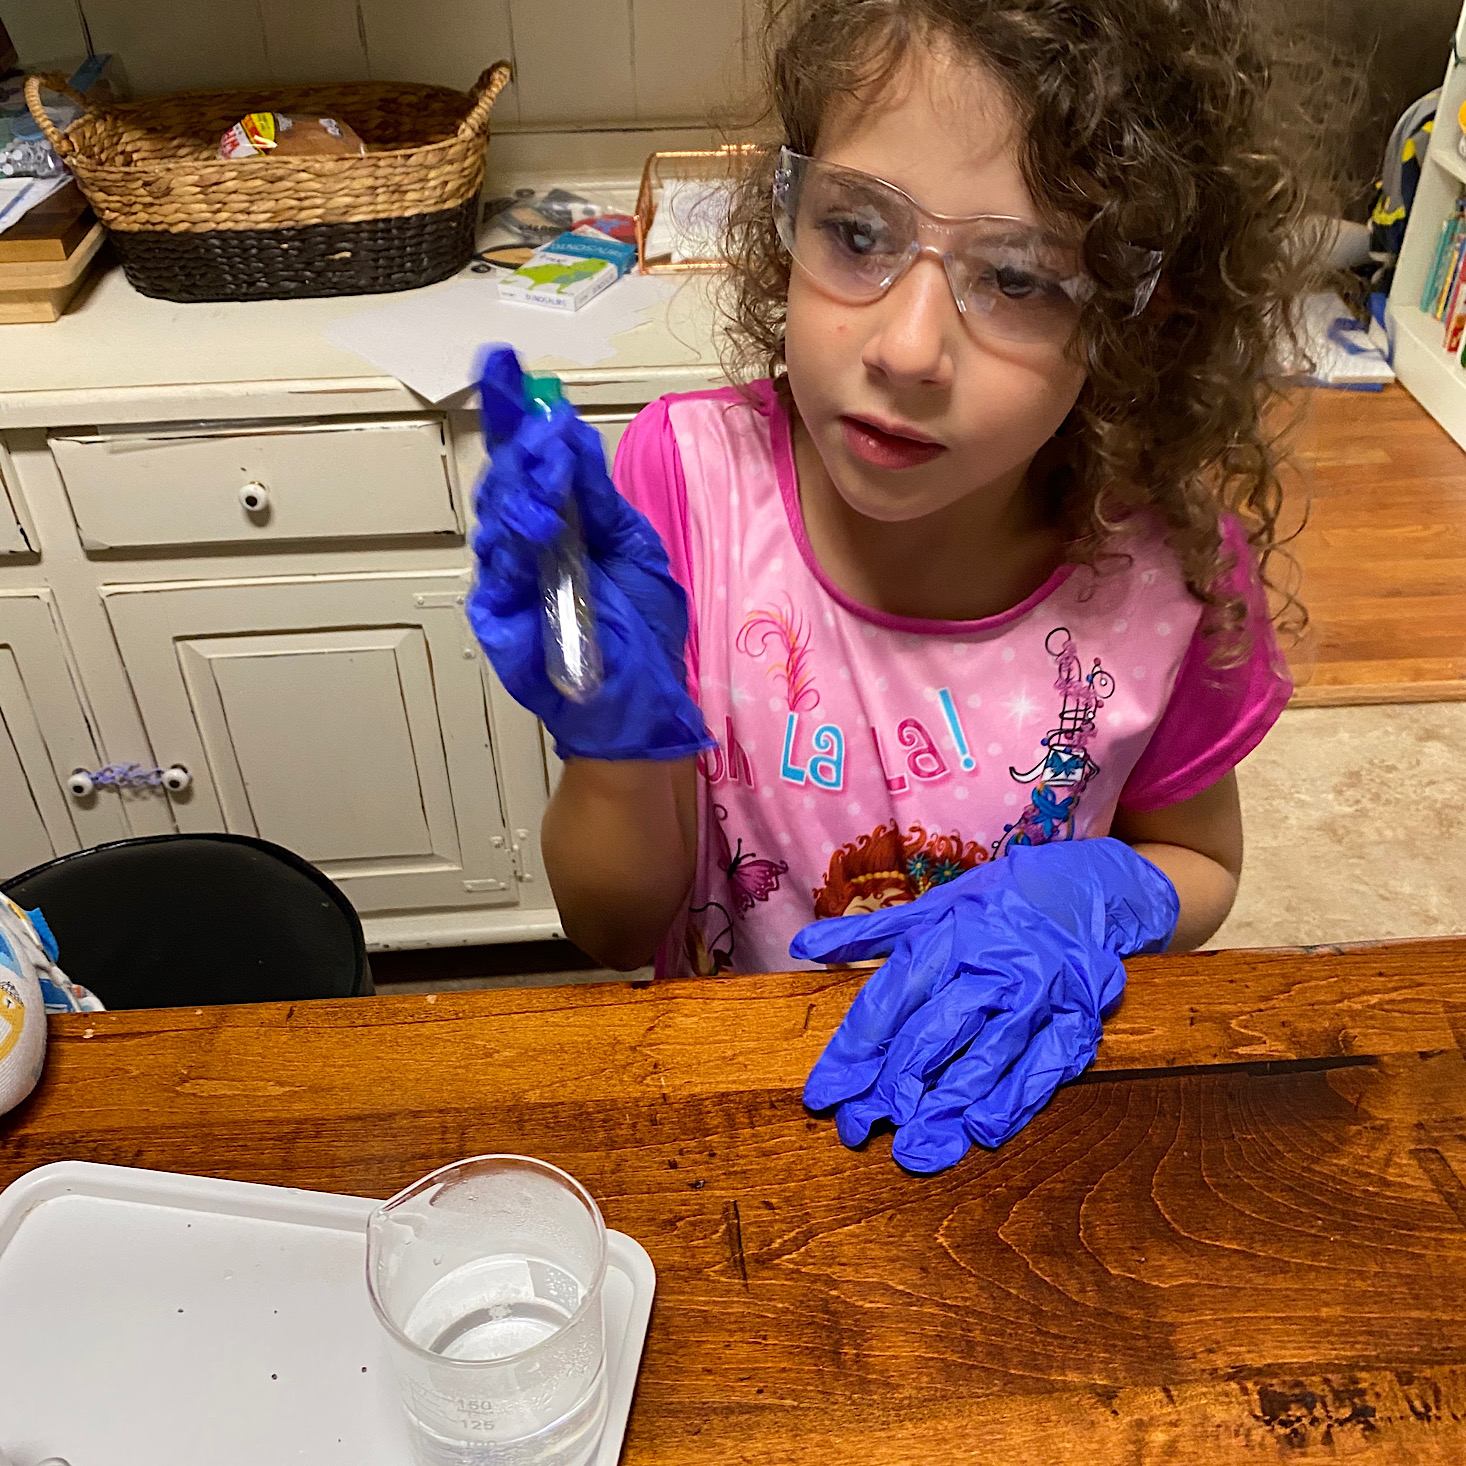
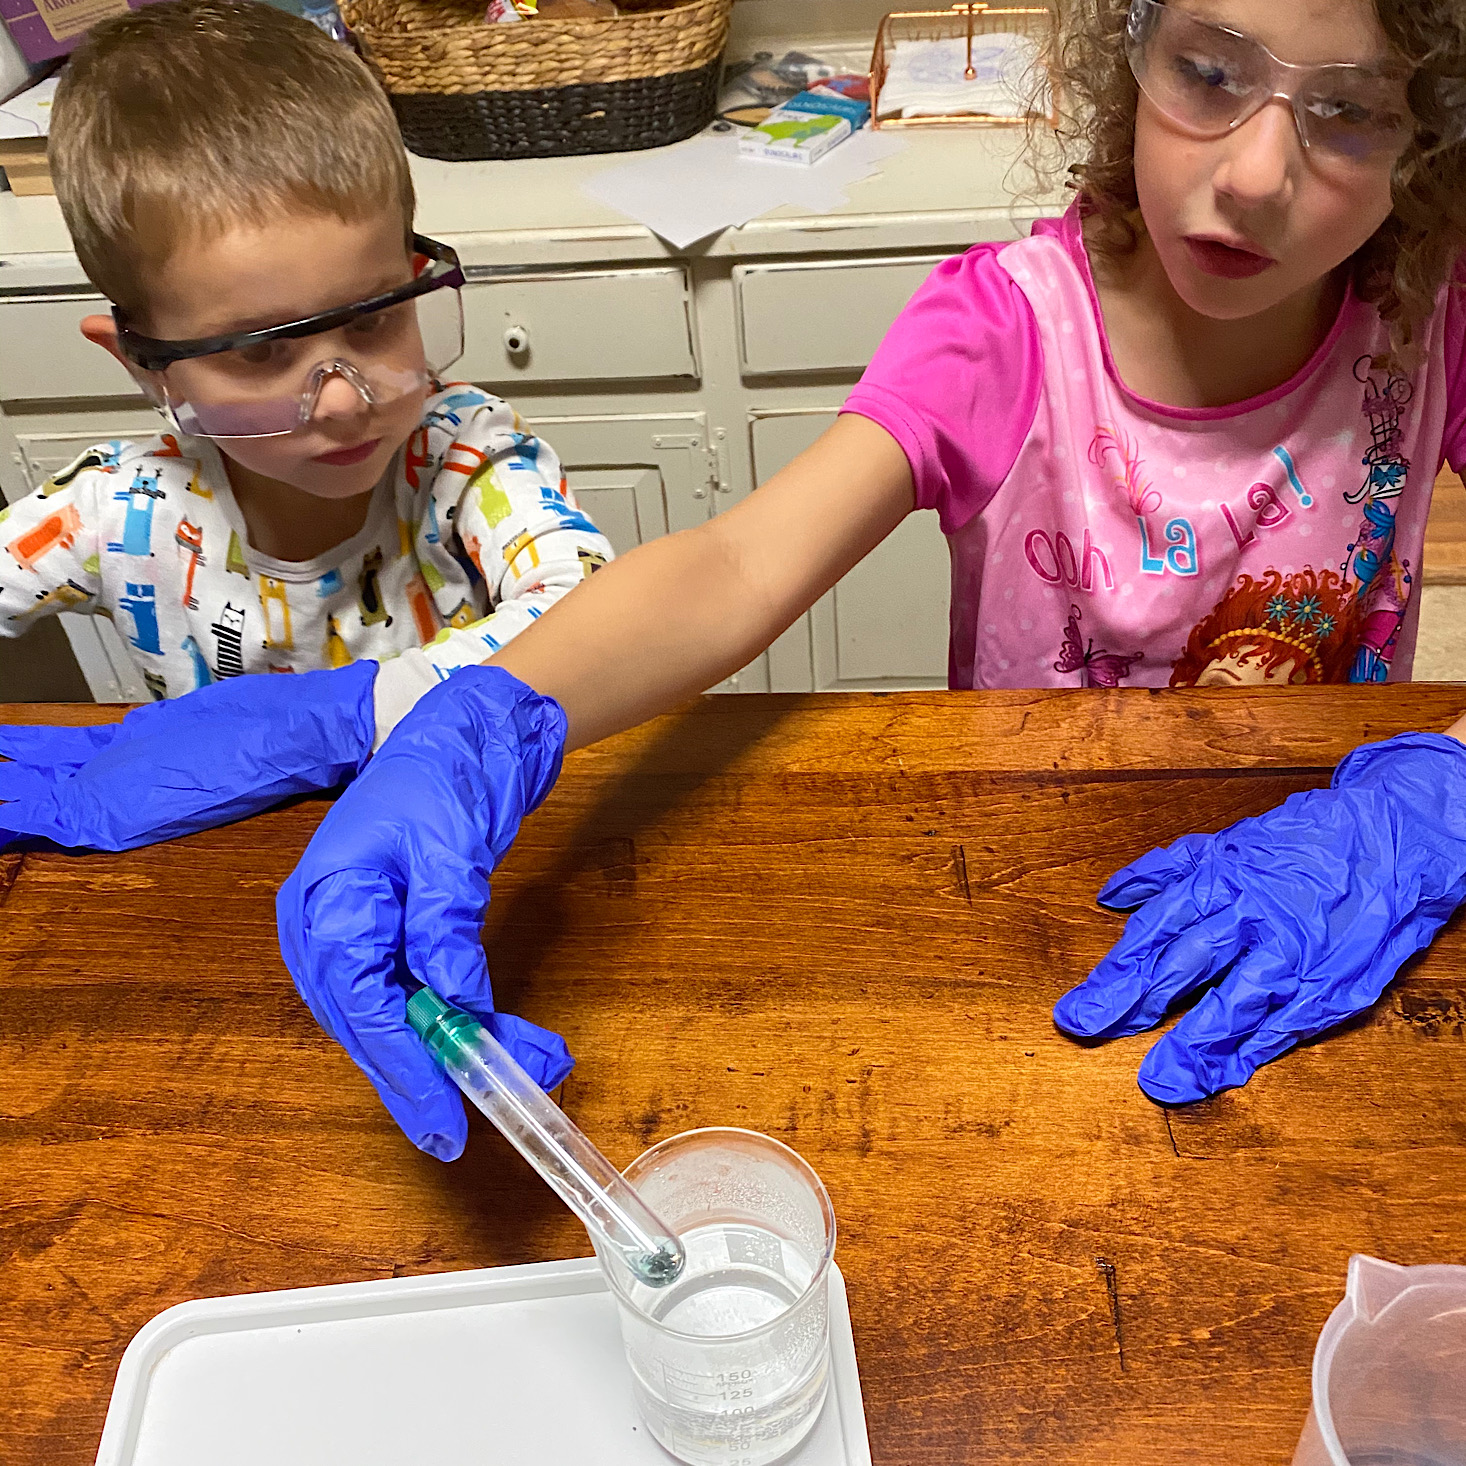
I added a thermosticker to our beaker and then filled it with some boiling water. Then my daughter set the tube inside the beaker of hot water and we waited for 15 minutes.
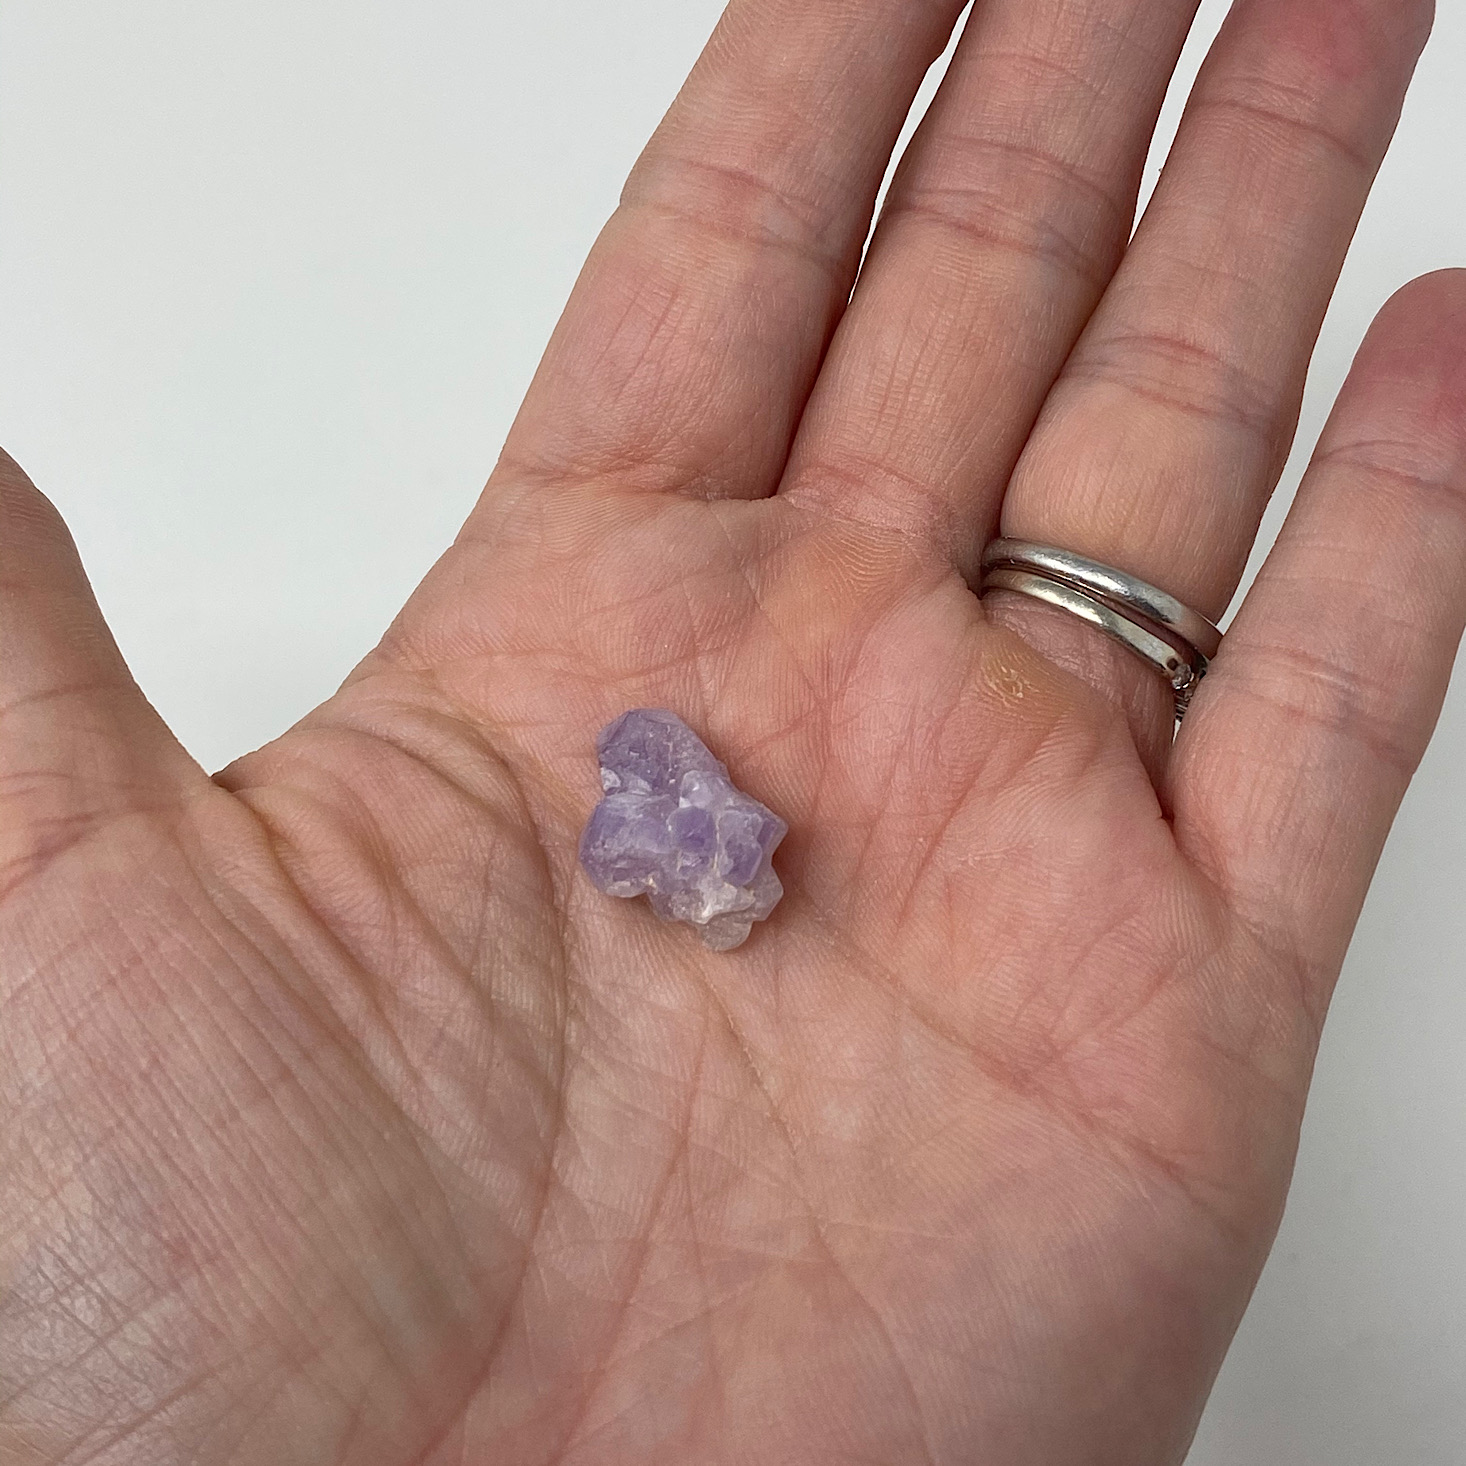
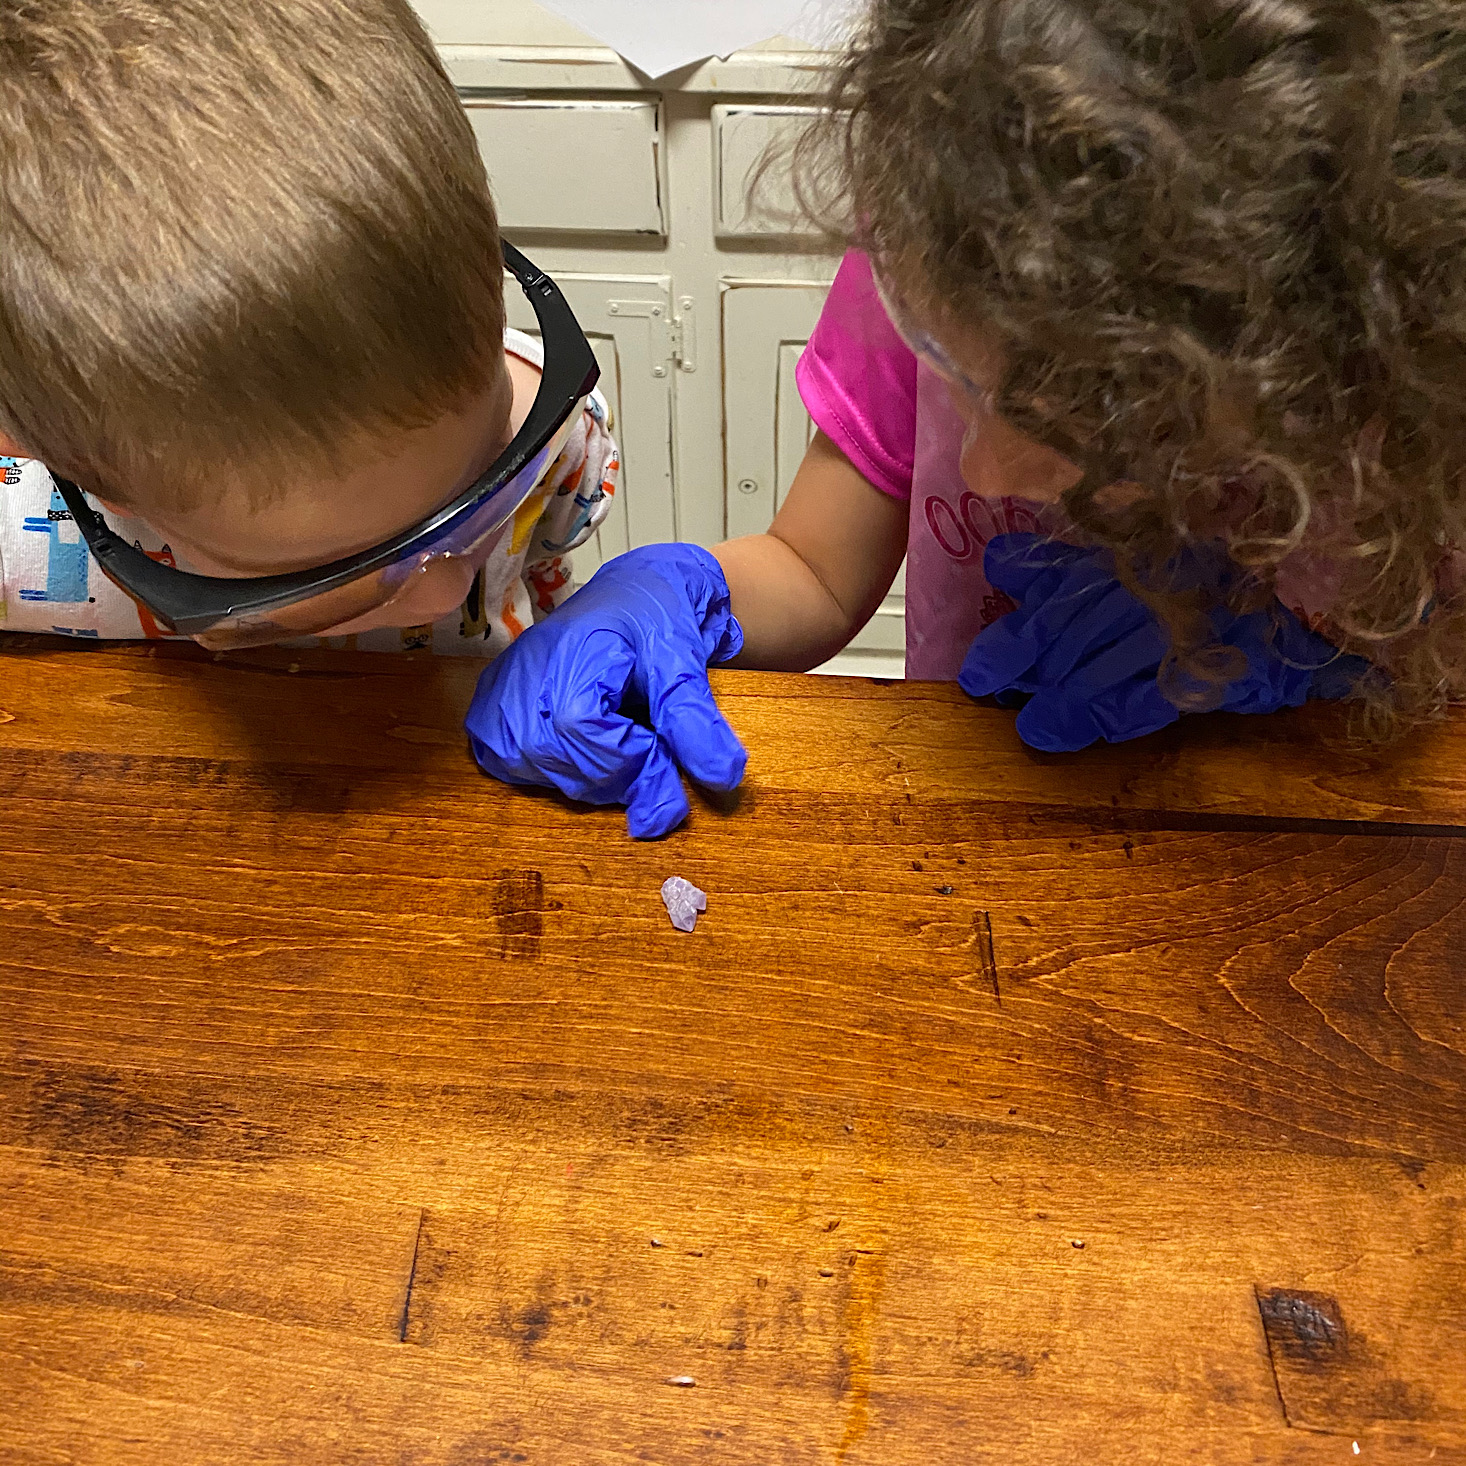
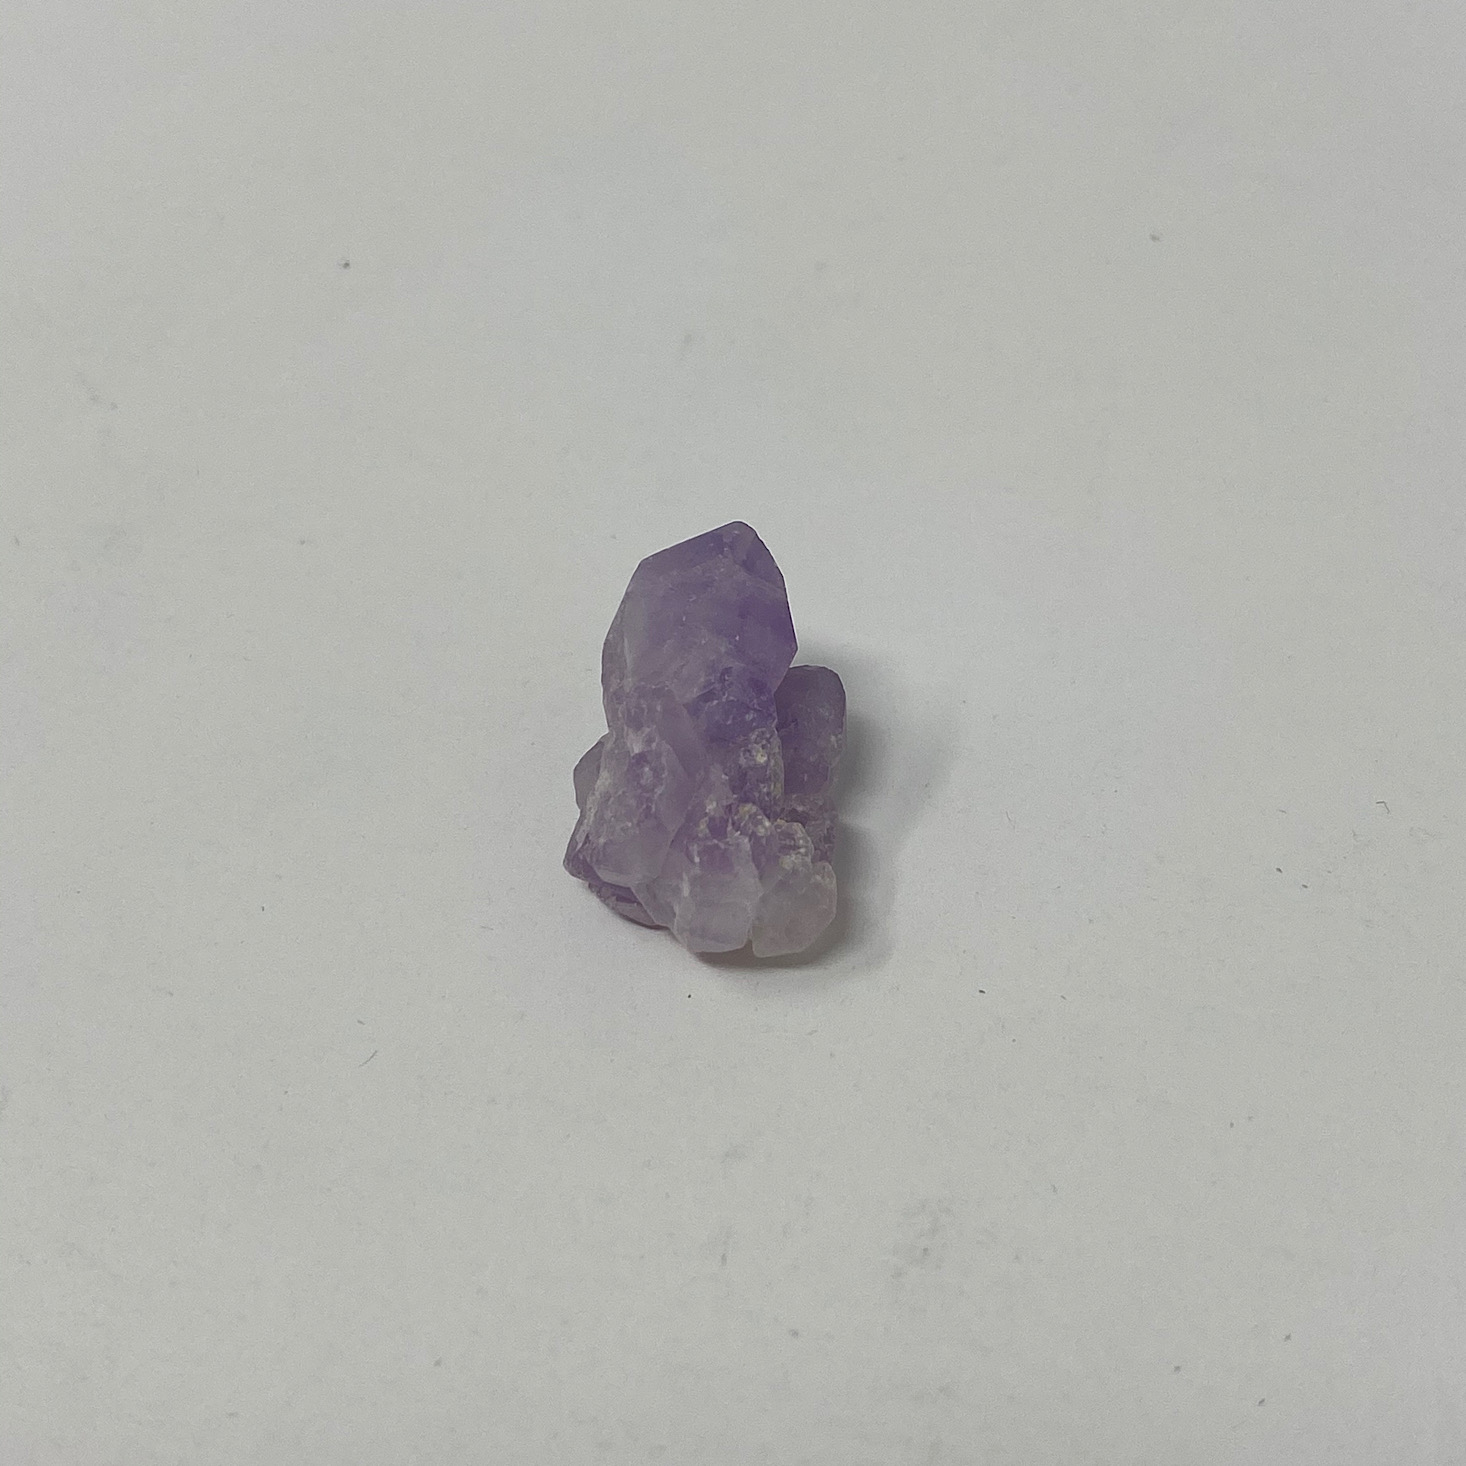
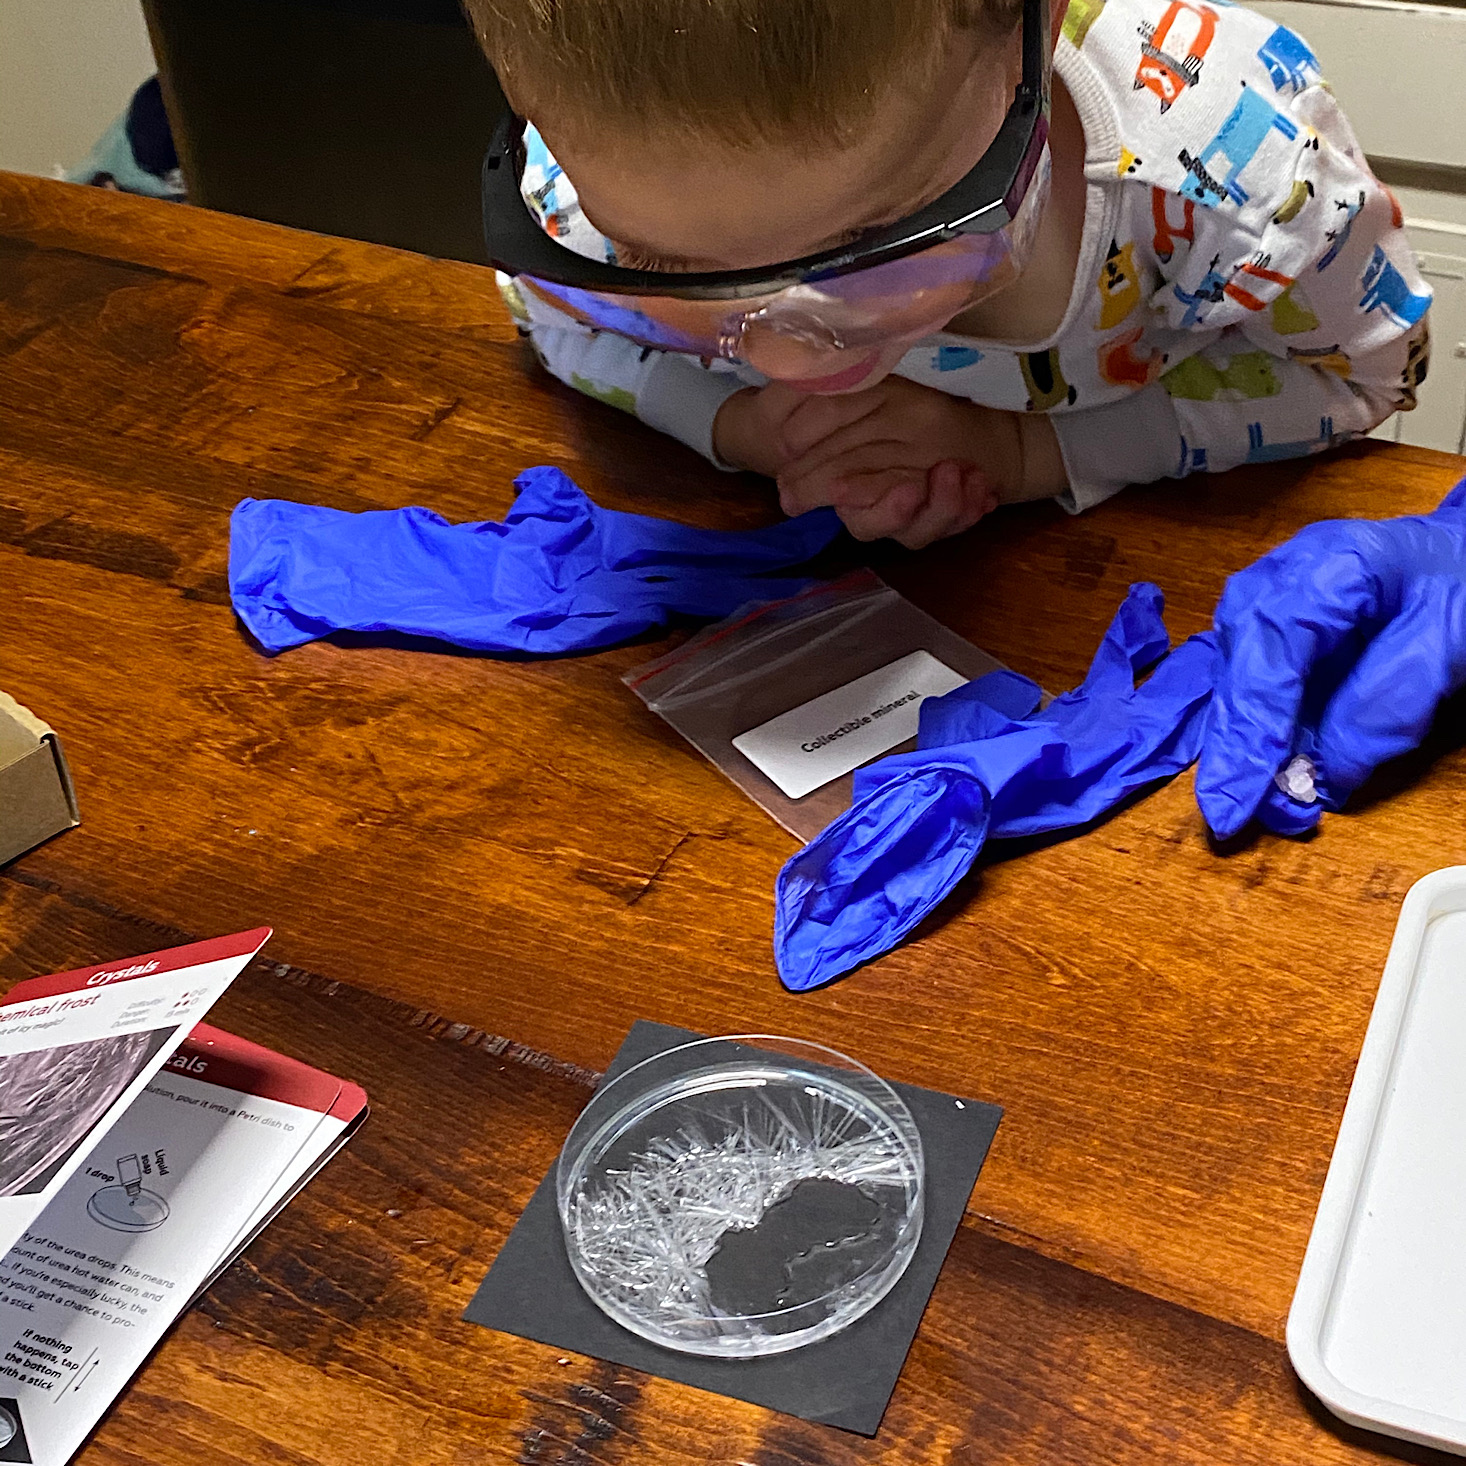
While we waited the kids checked out this collectible mineral that we received. We took some time to observe and describe it while we waited.
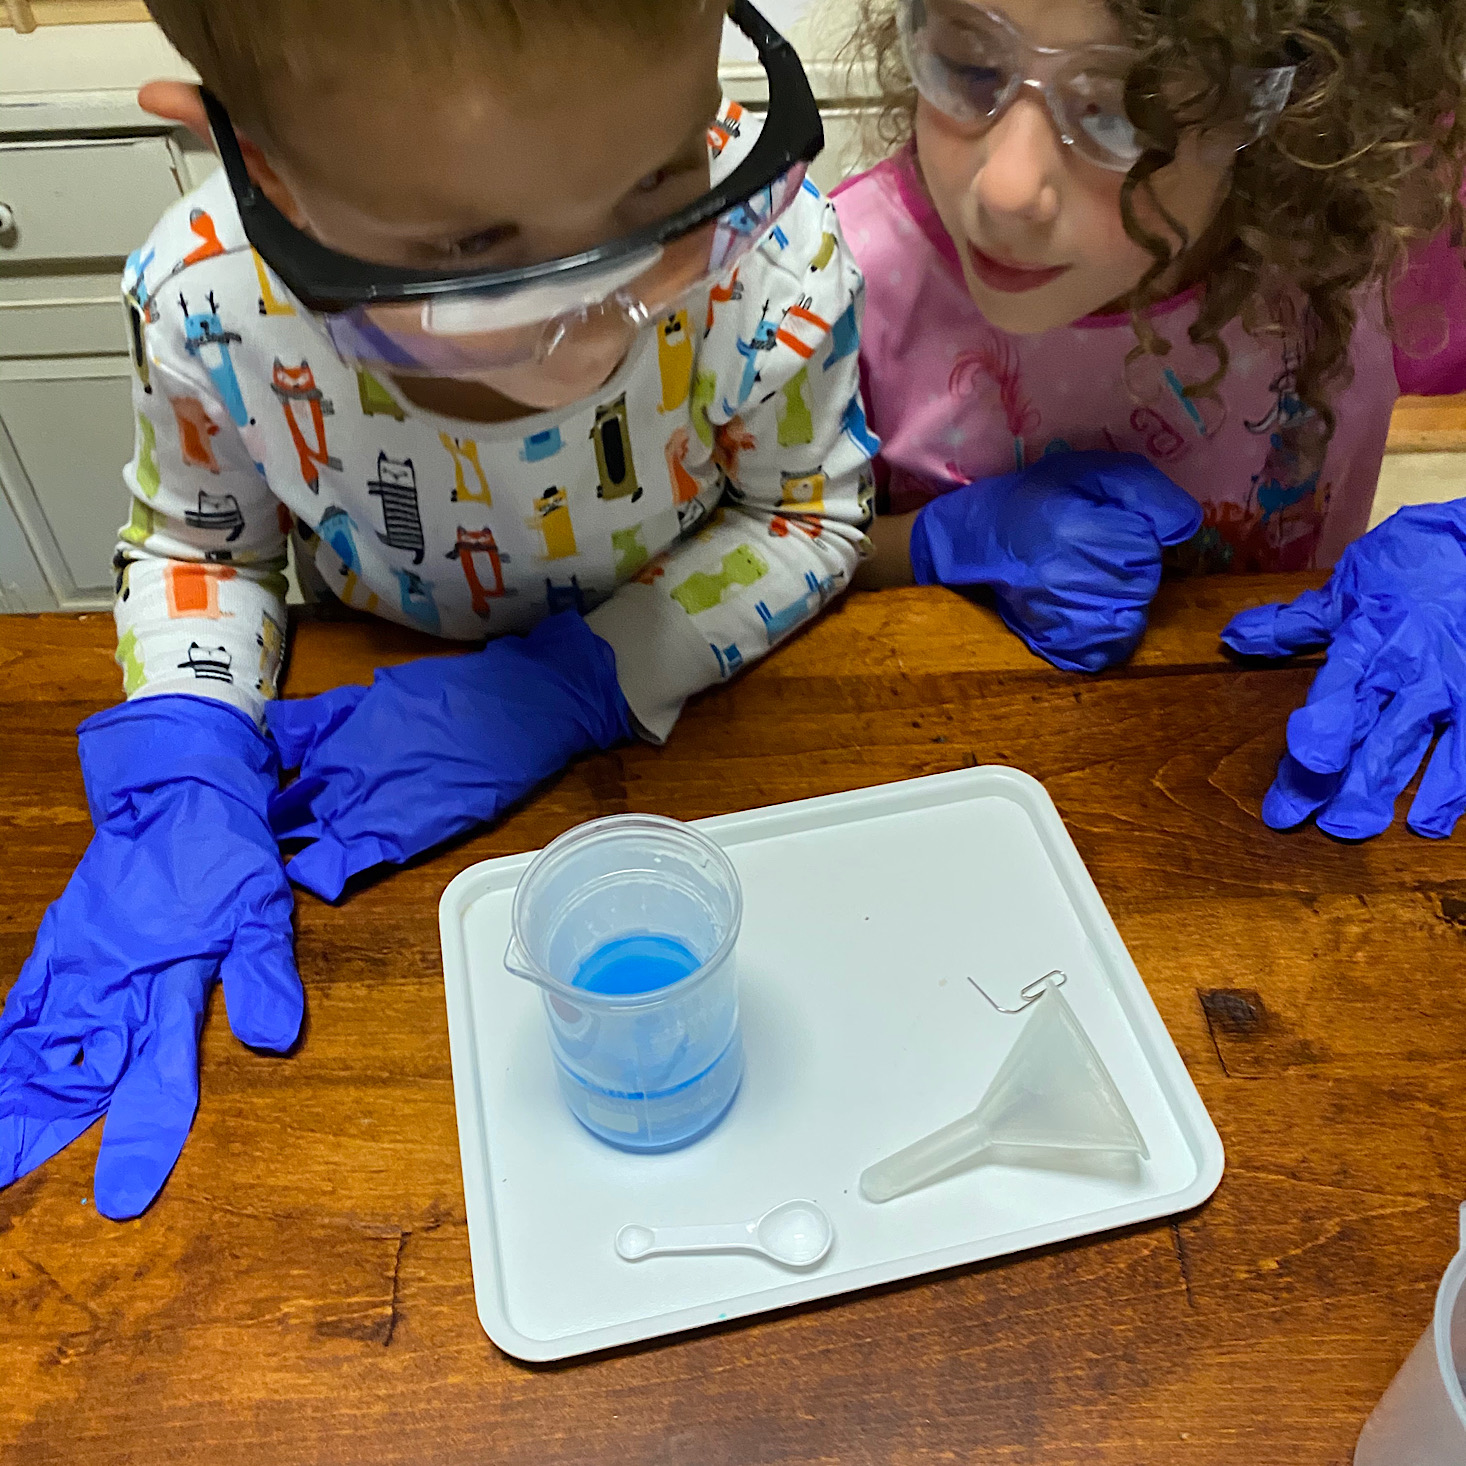
After 15 minutes were up we observed and found that our solution had turned blue!
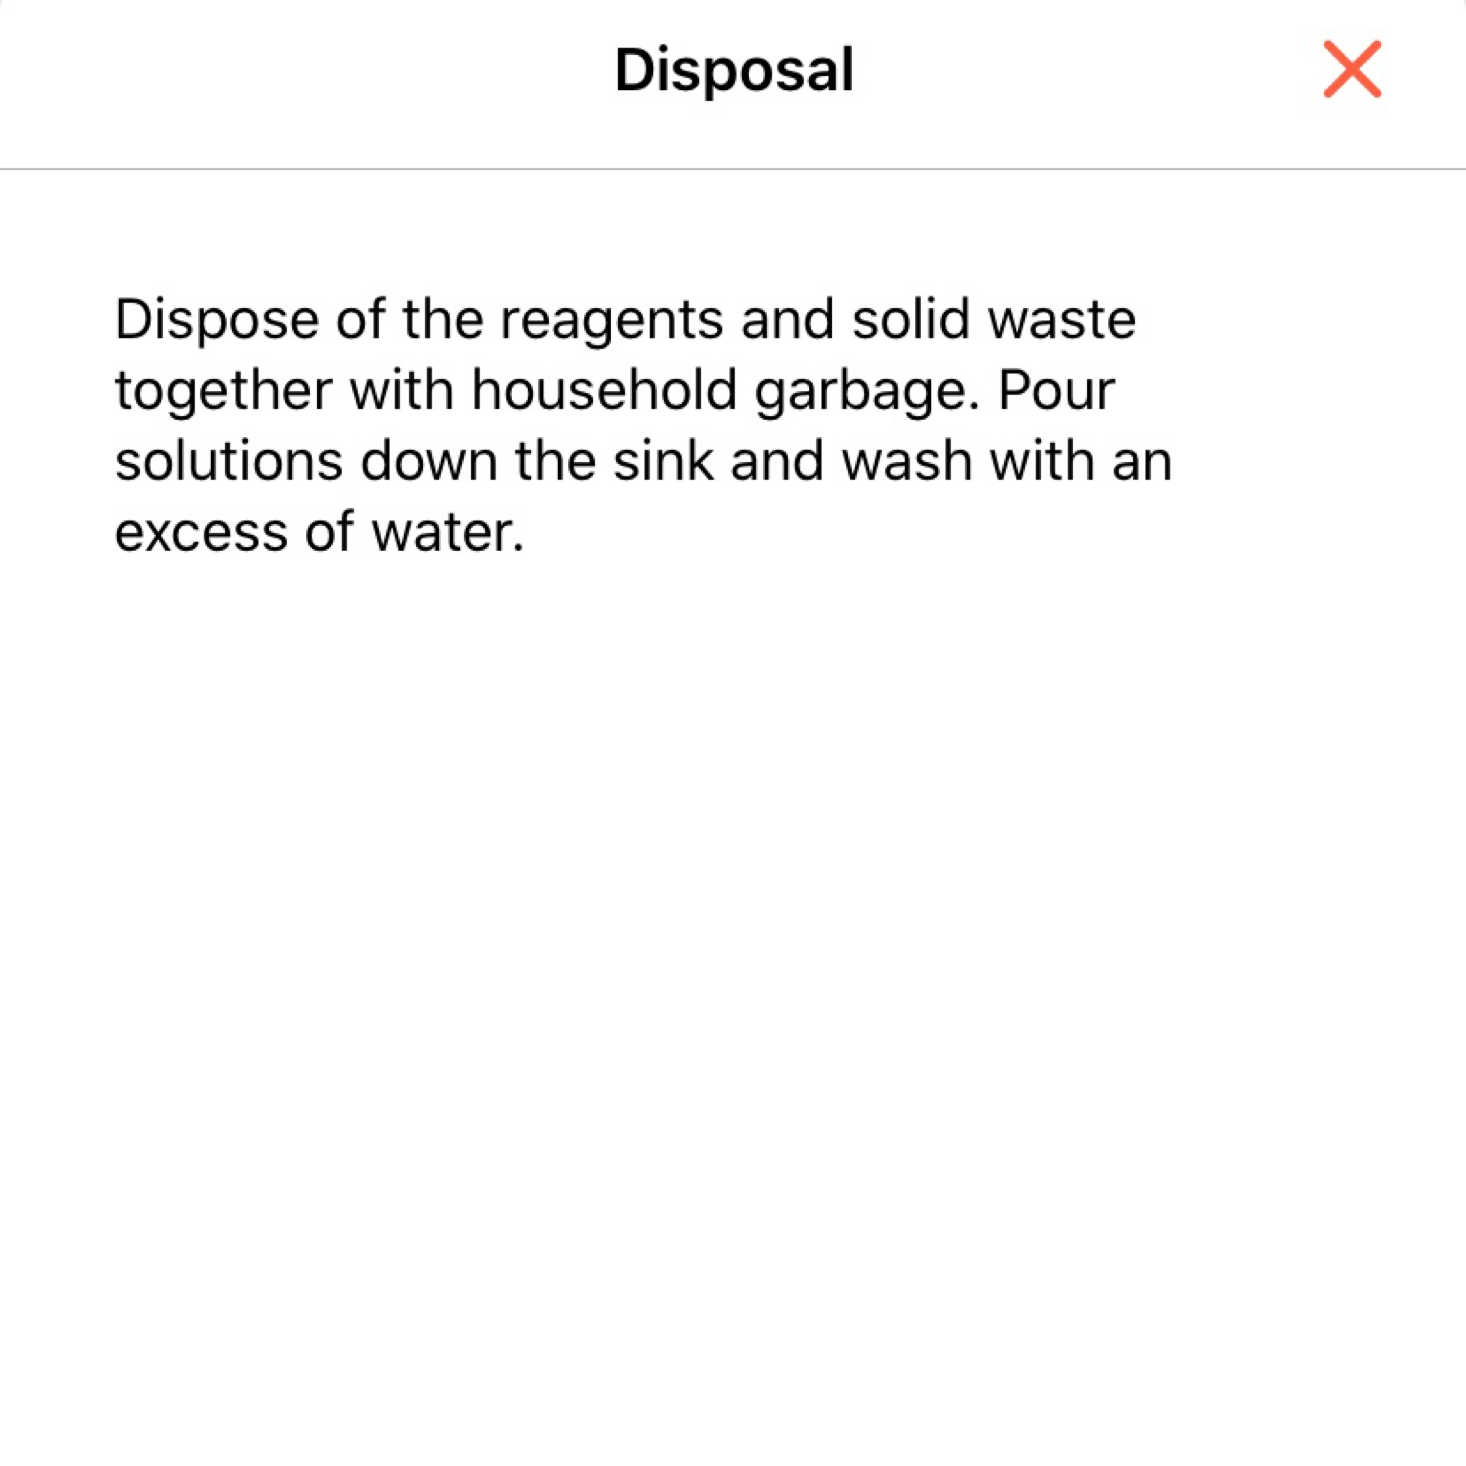
At the end of our experiments, our app asks us to rate the experiment and then there is a section on how it works which includes helpful information such as a scientific description, interesting facts, and disposal instructions, all of which we had access to from the main page of this experiment as well.
Experiment 2: Chemical Frost
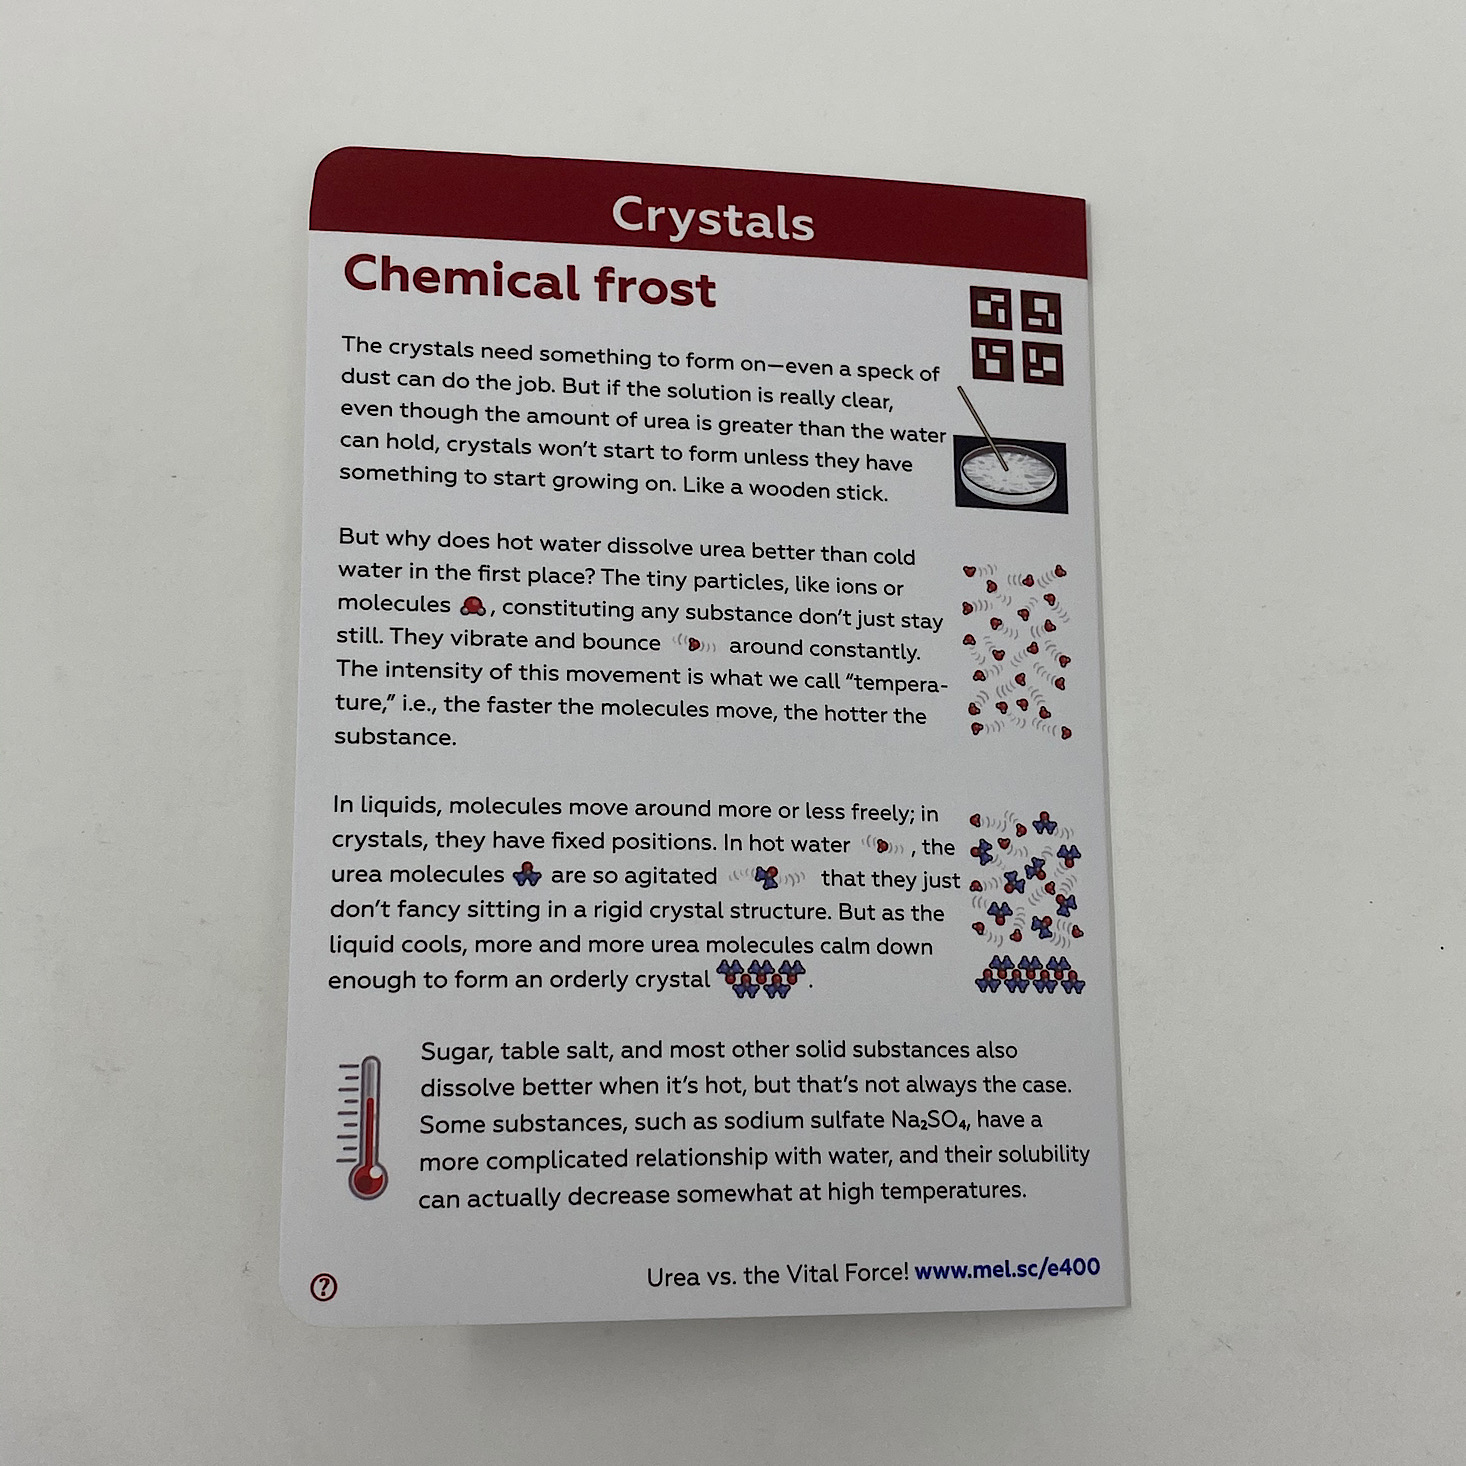
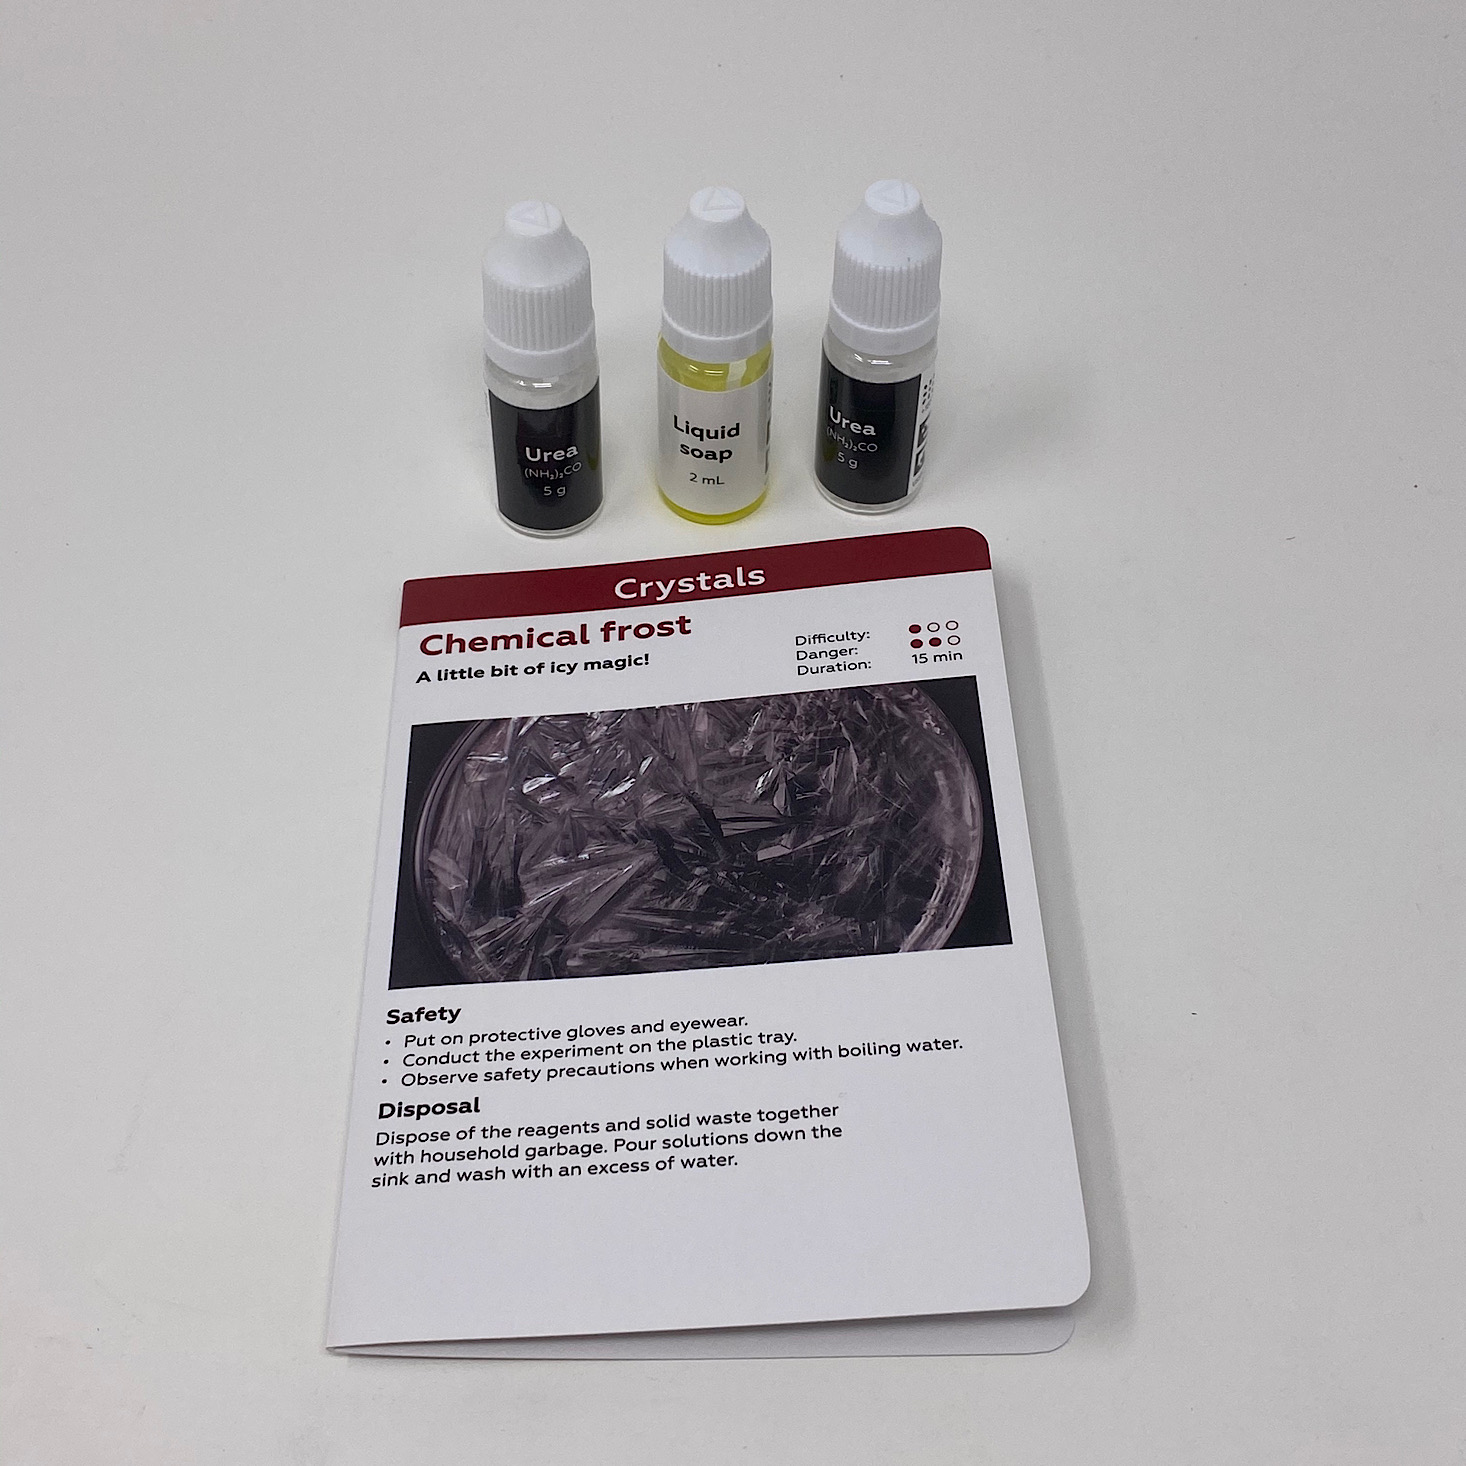
The next experiment was "Chemical Frost" and it involved using Urea and some liquid soap.
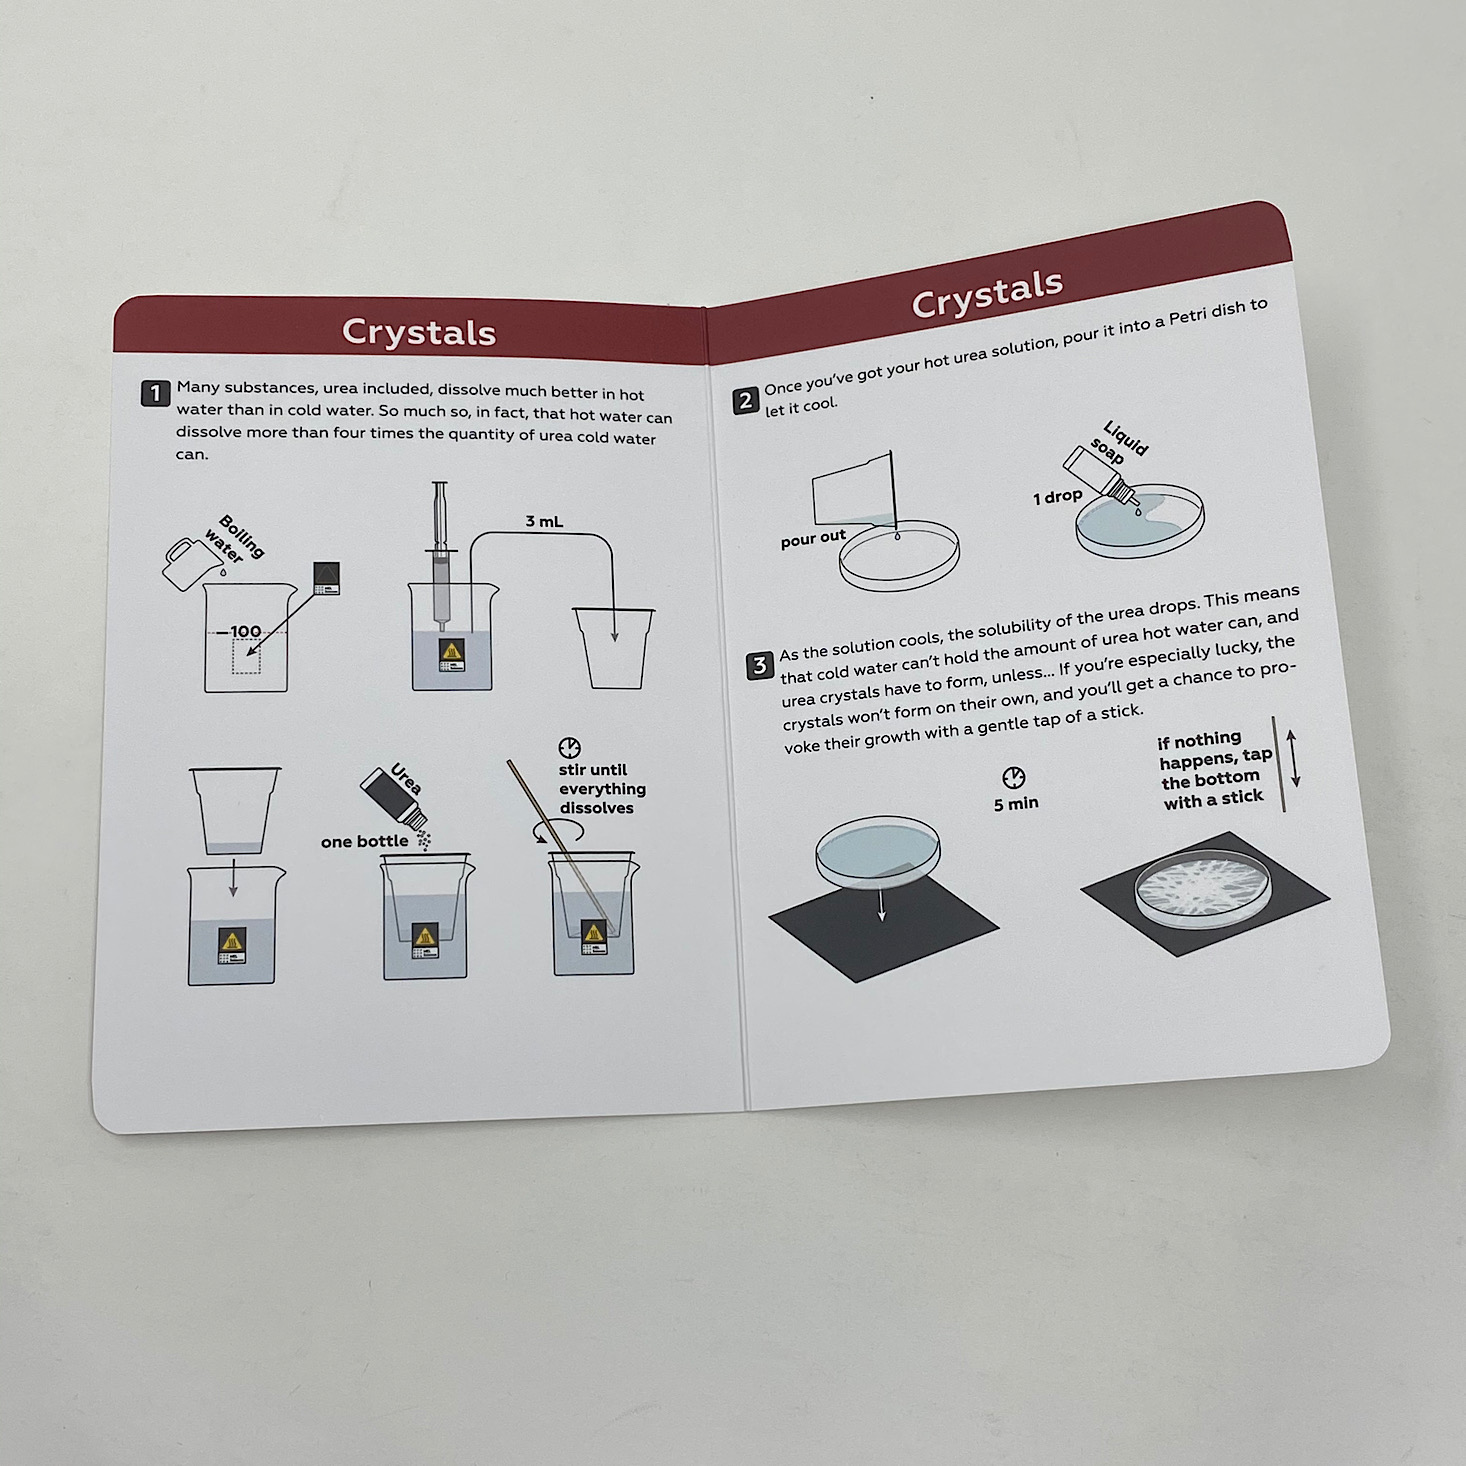
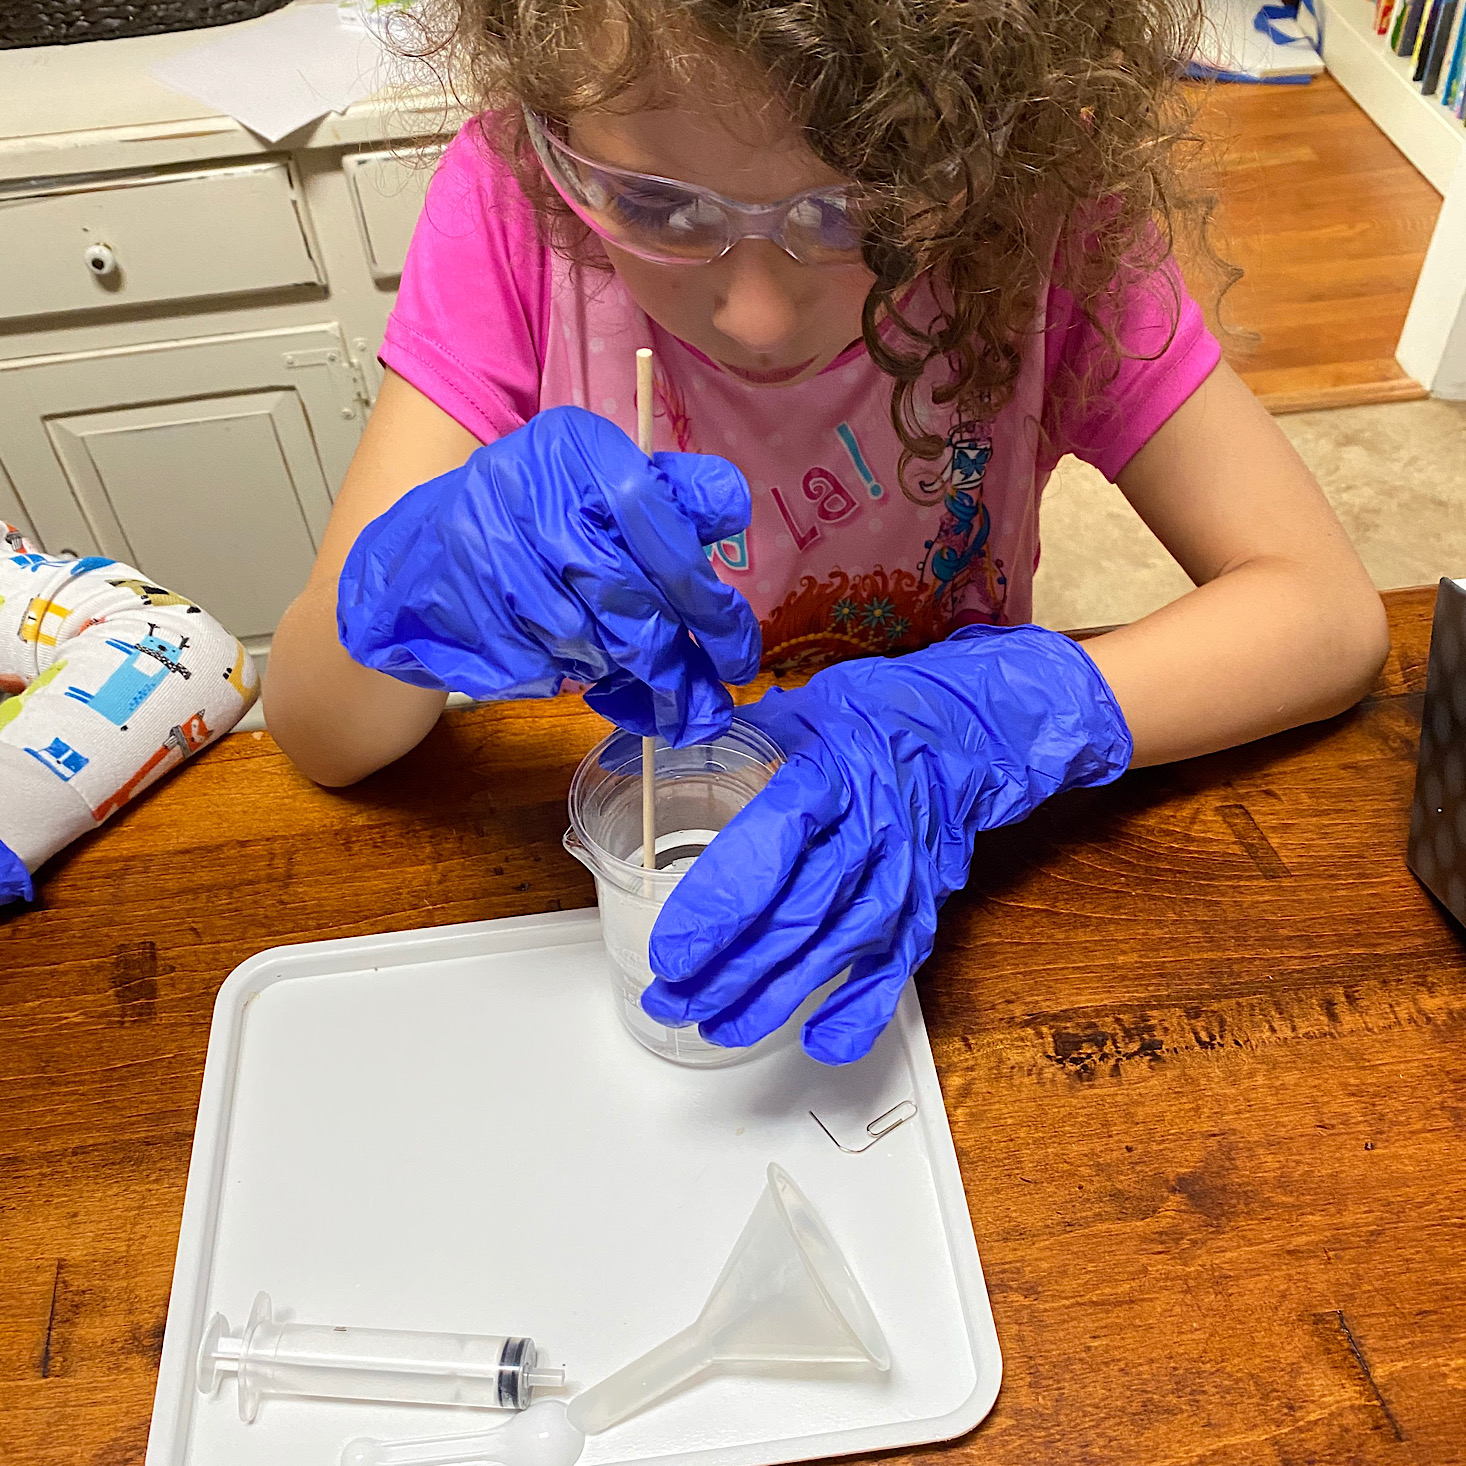
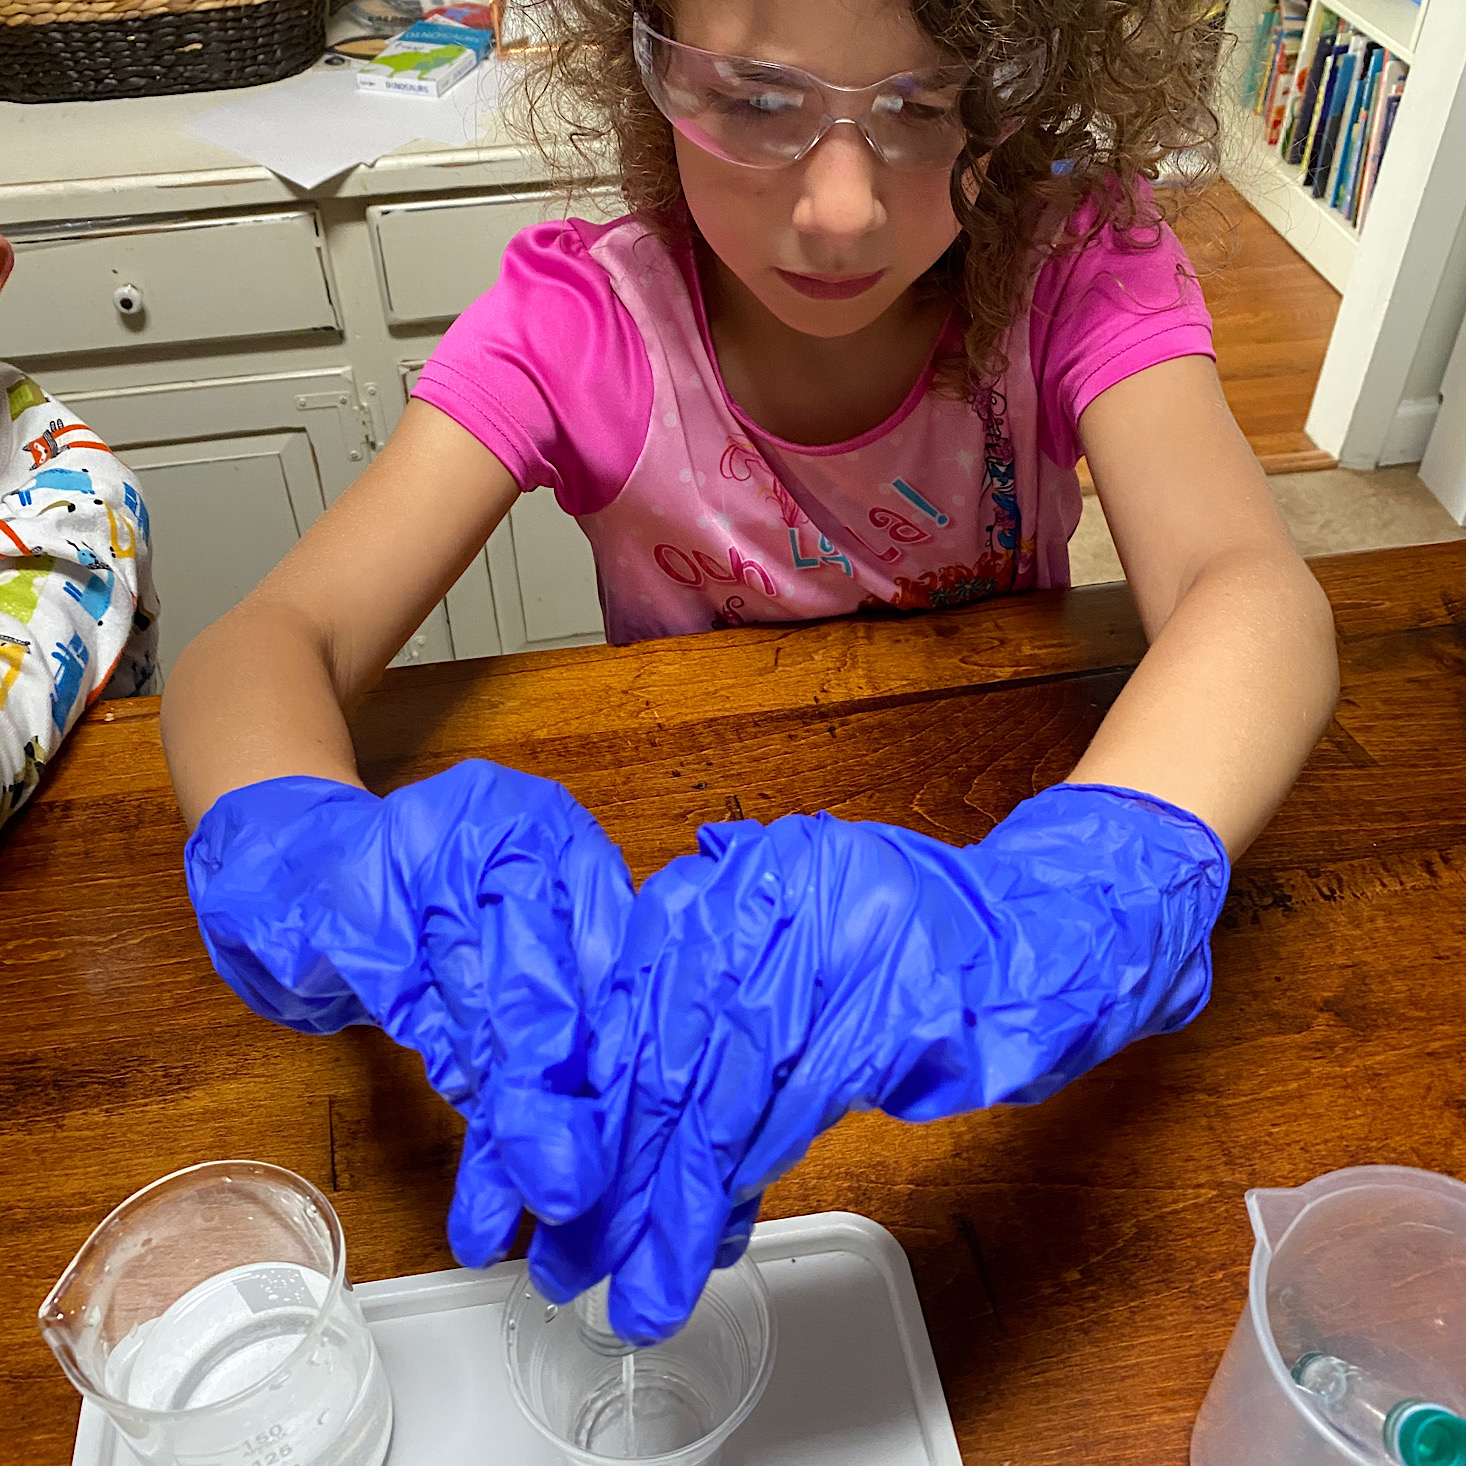
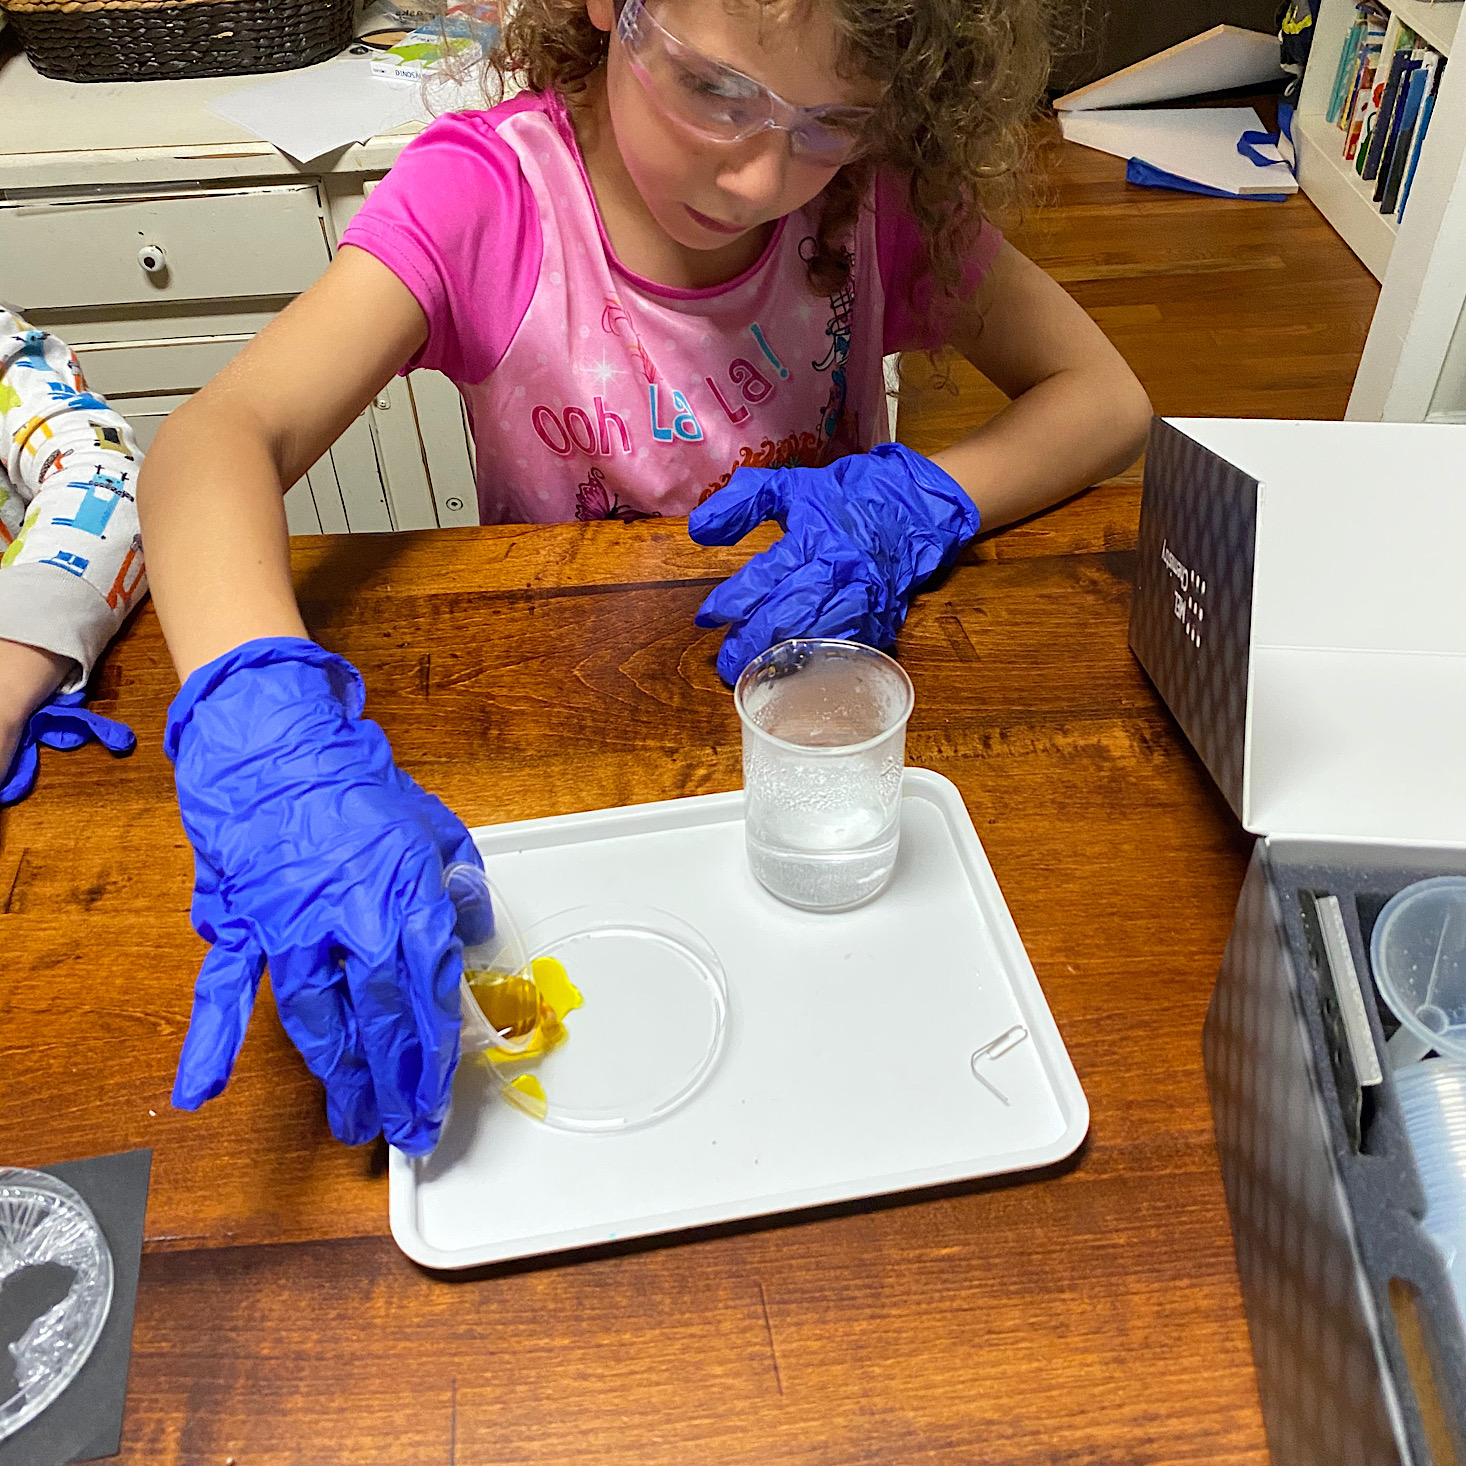
I filled up our beaker with boiling water again and then my daughter transferred 3 mL of it to a plastic cup. We then placed that cup inside our beaker of water and poured one bottle of Urea into it. My daughter then stirred it up for us.
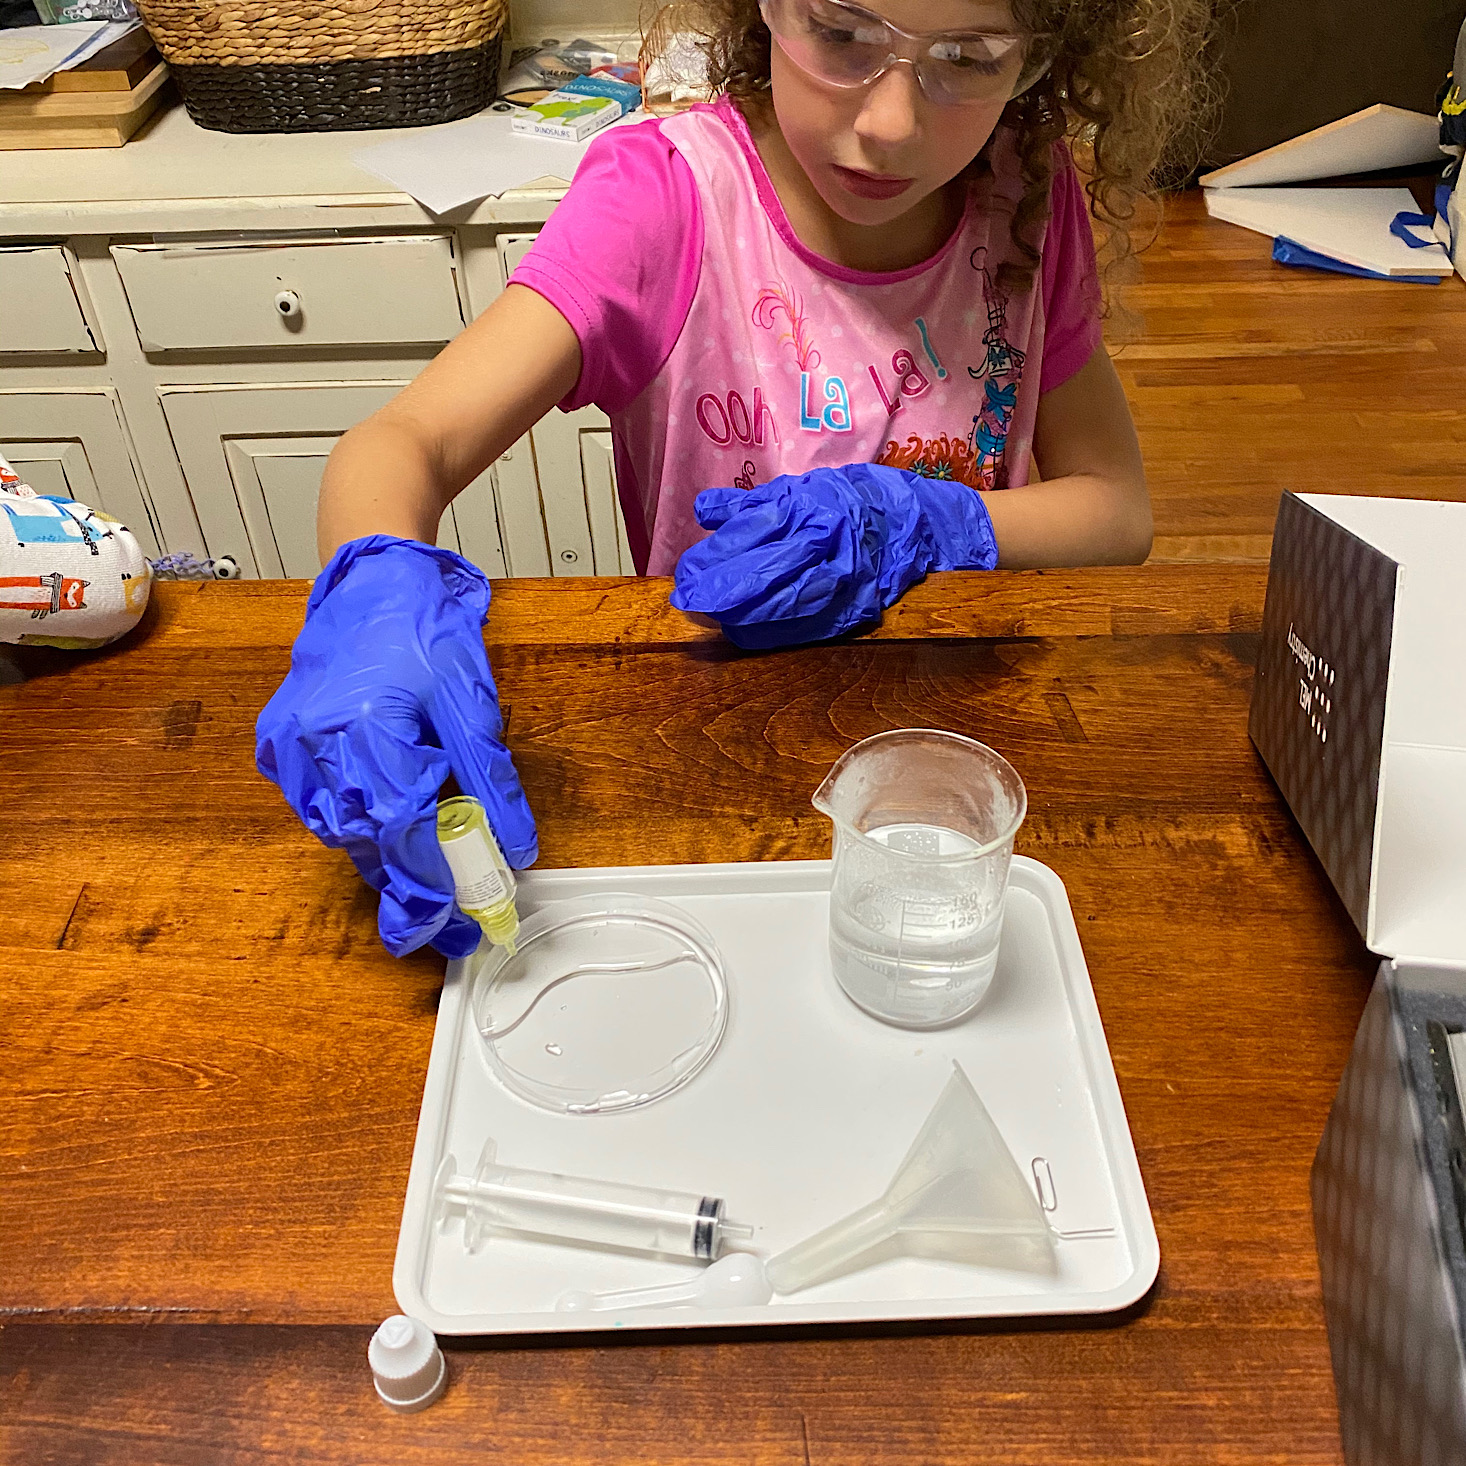
We poured it into a Petri dish then added a drop of the soap and observed.
The results were almost immediate.
To see it even better we placed the dish on top of the black piece of paper they provided. It was really cool looking! The kids loved it!
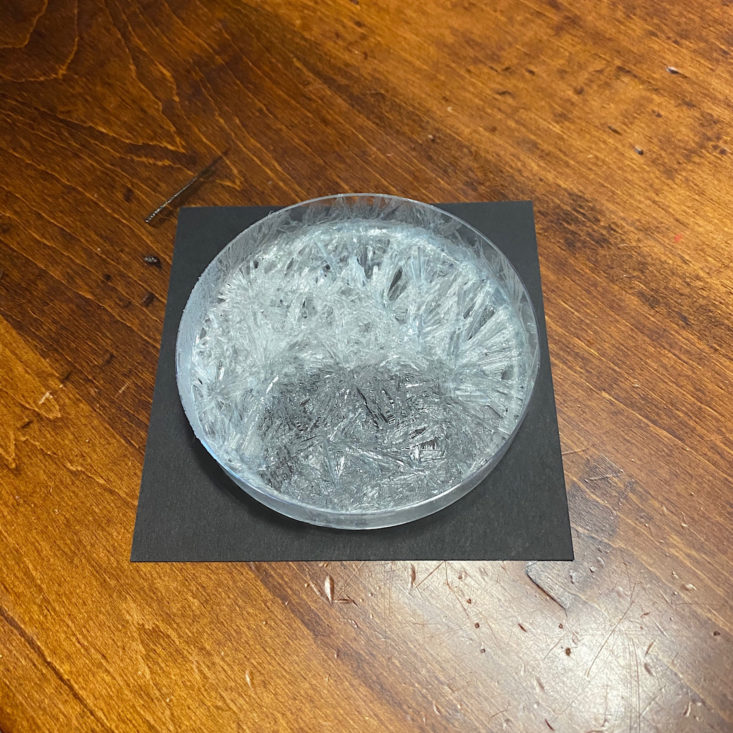
We actually left it out overnight and the next morning it was covered in even more crystals.
Experiment 3: Grow 'Em Big!
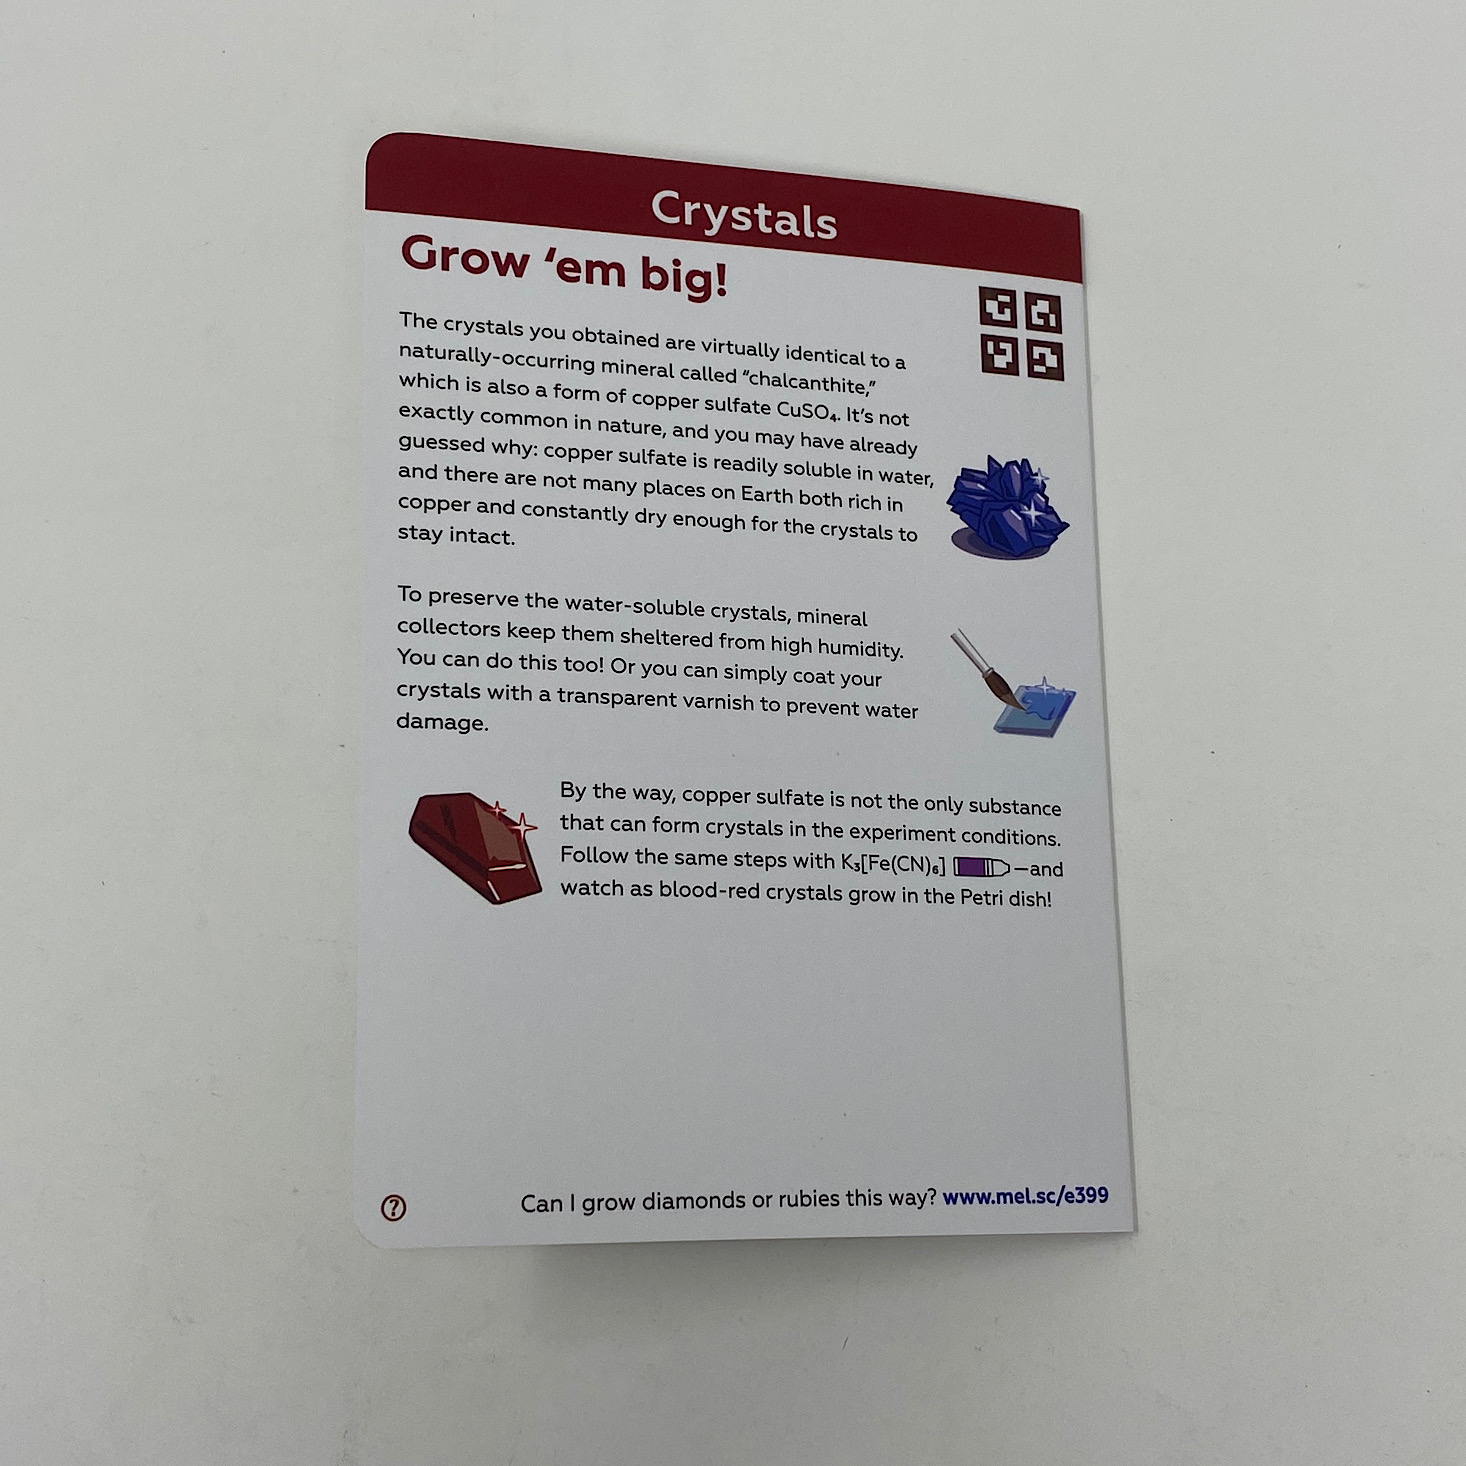
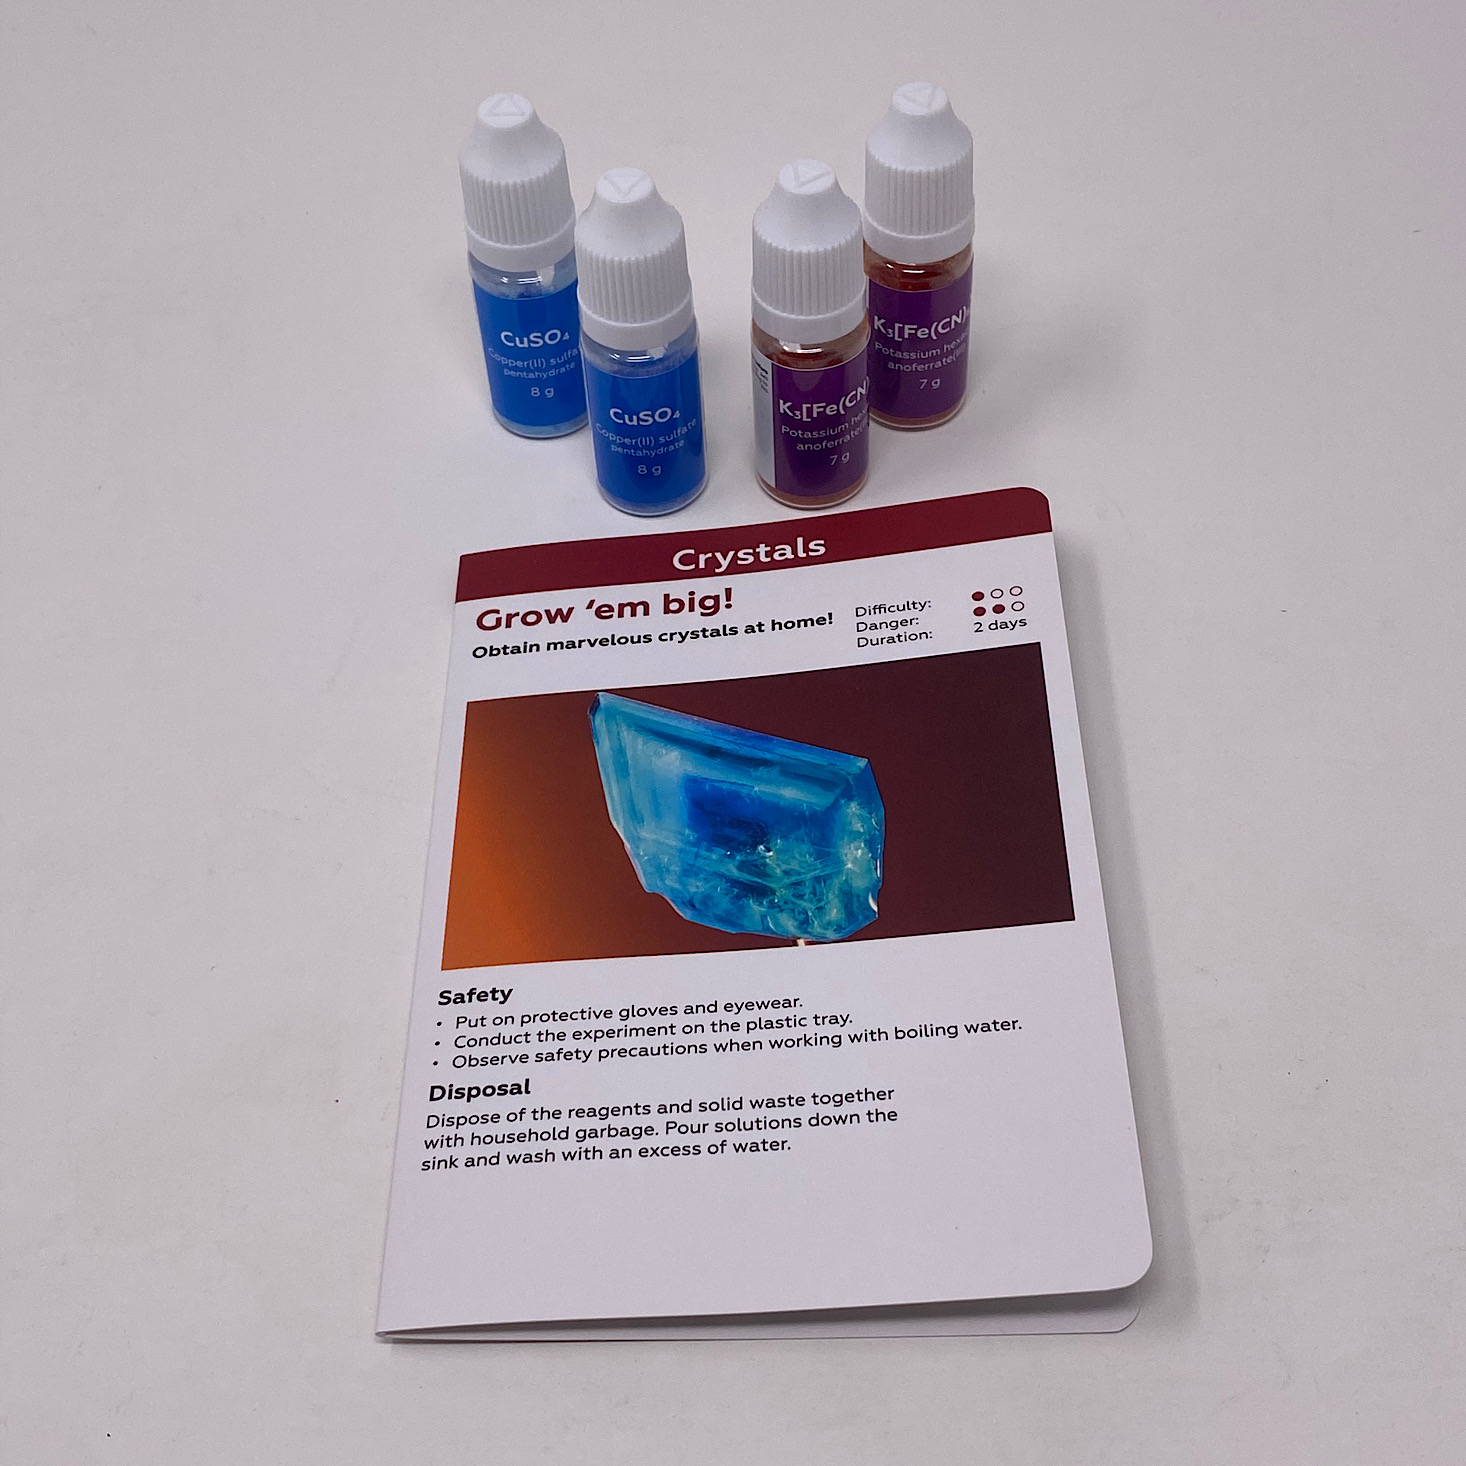
The last experiment was "Grow 'Em Big!" and we did this twice with two different reagents to get two different types of crystals.
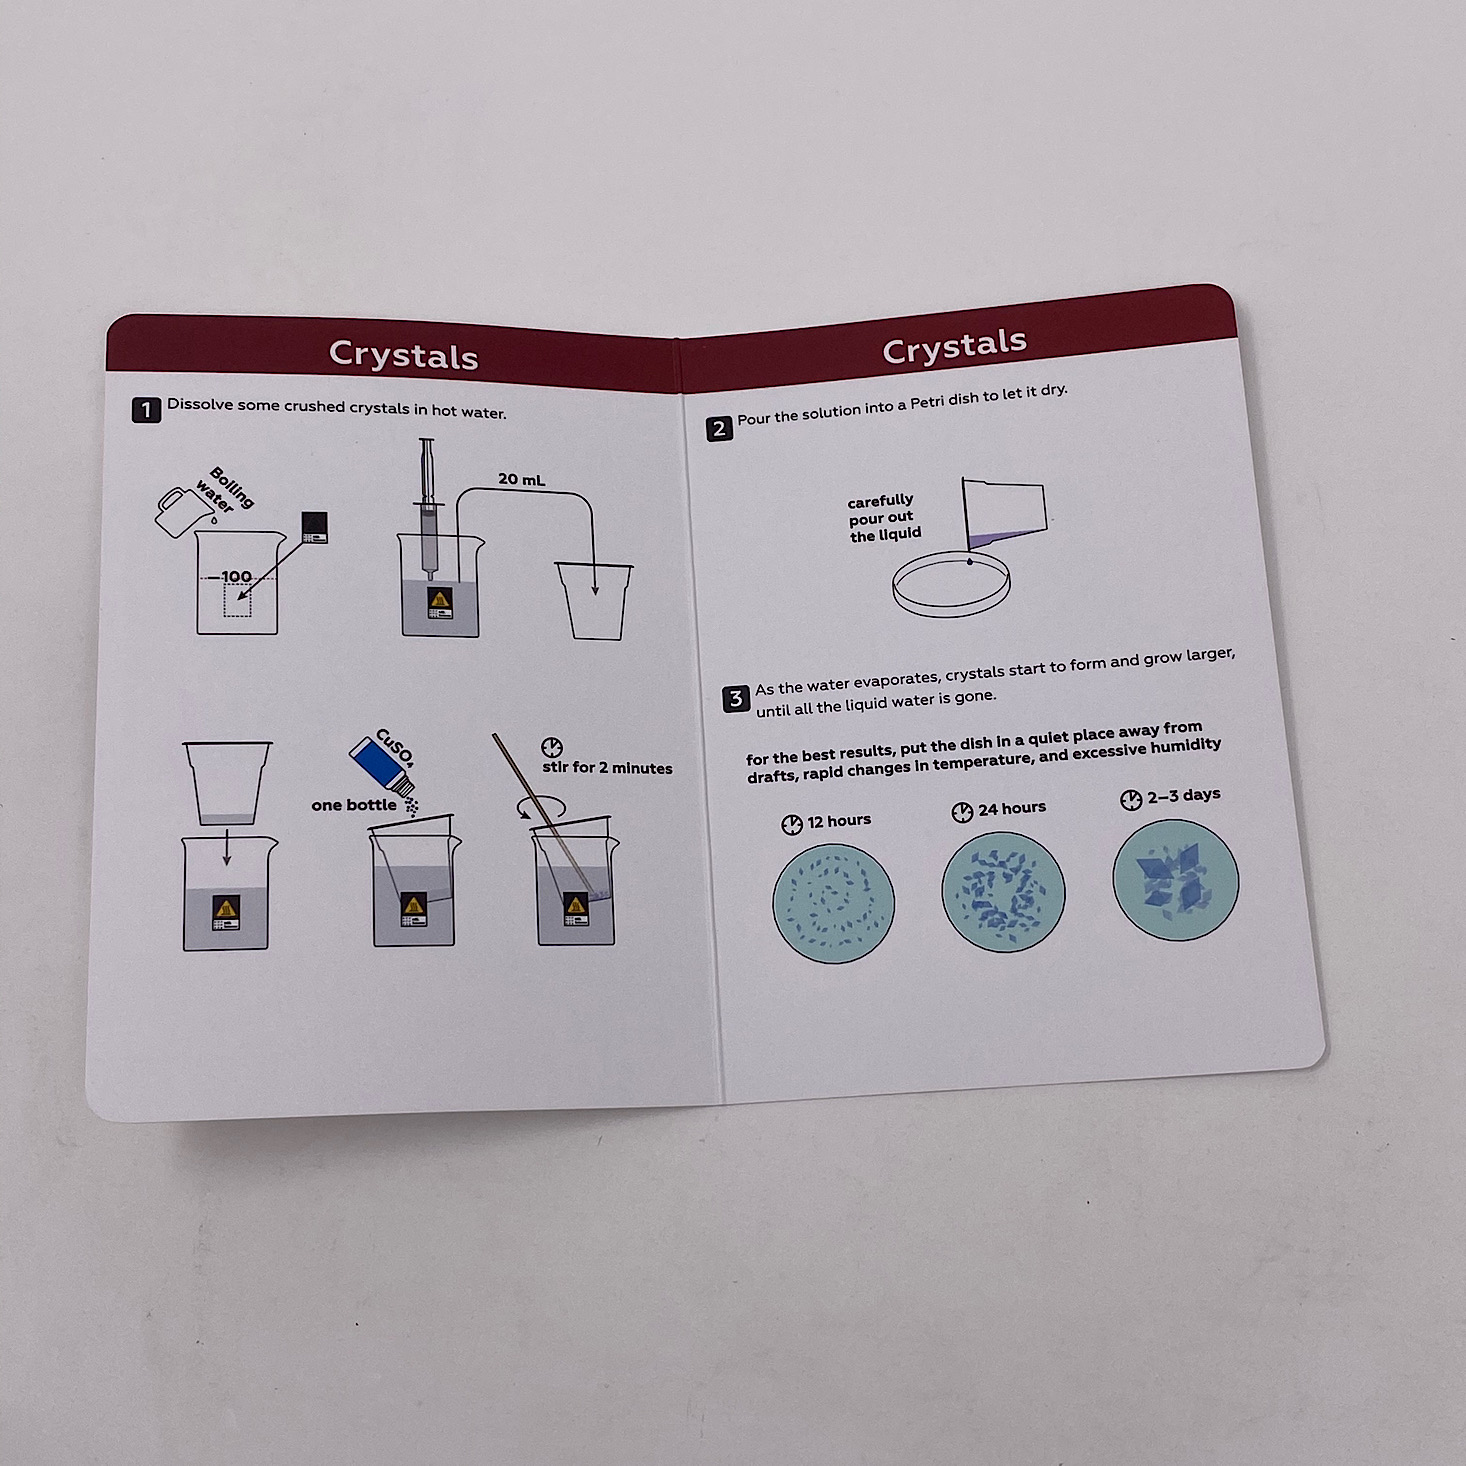
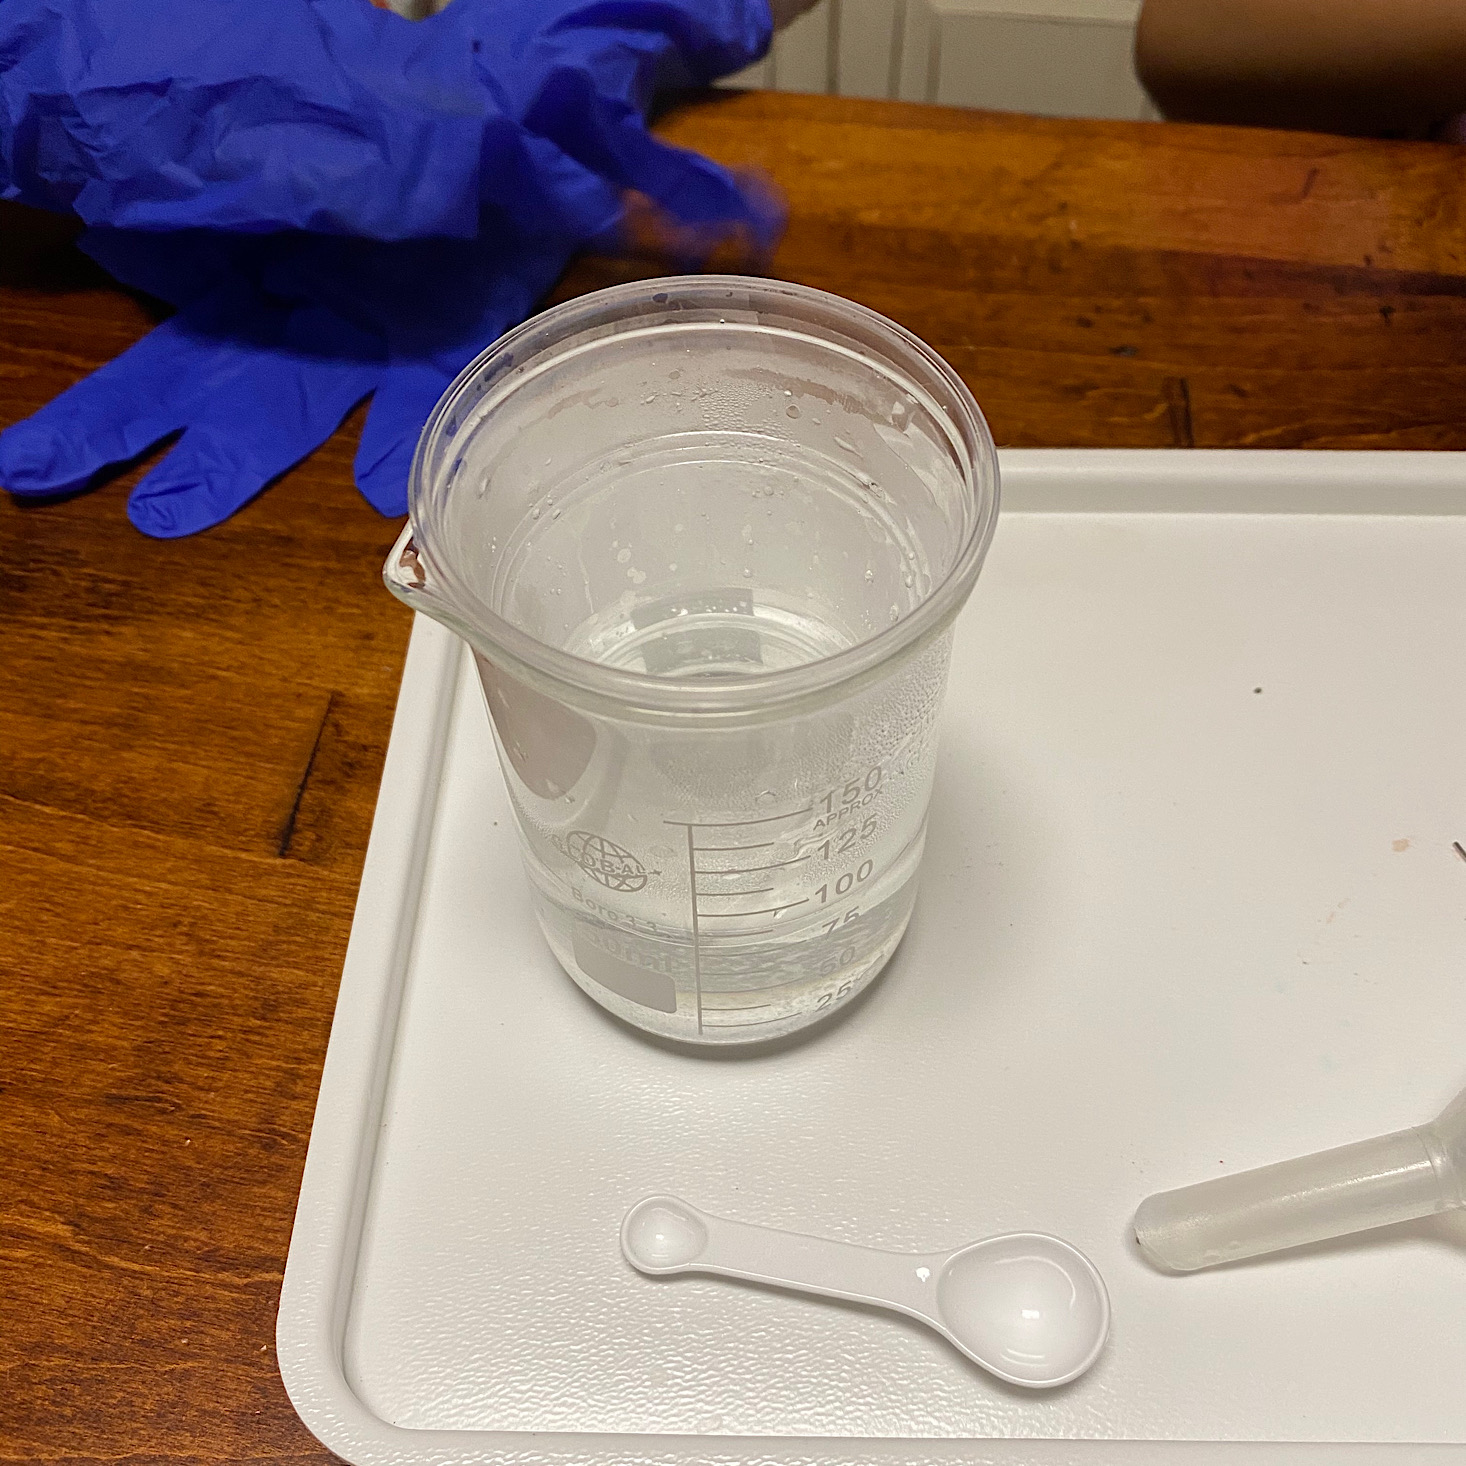
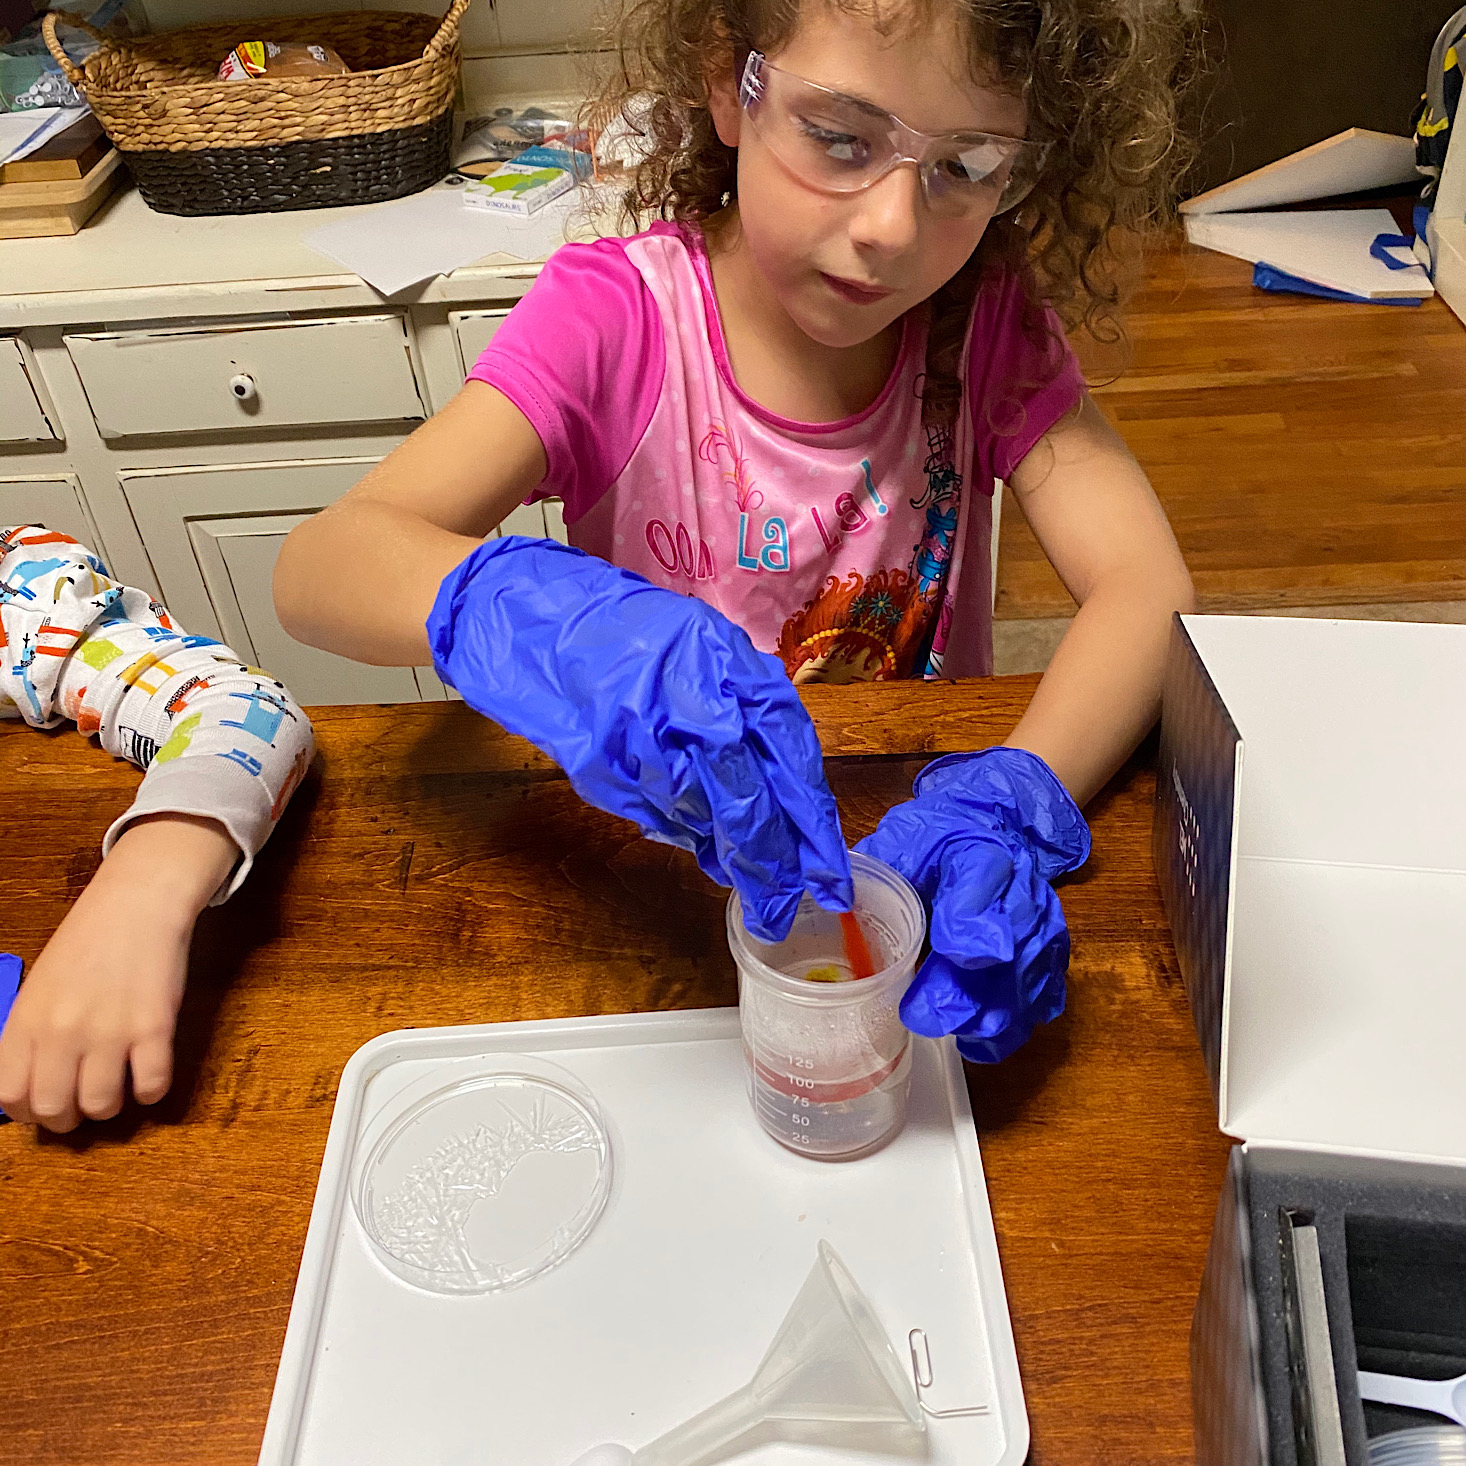
Each time we repeated the process of filling the beaker with boiling water, then transferring 20 mL from the beaker to a plastic cup and placing the cup inside the beaker.
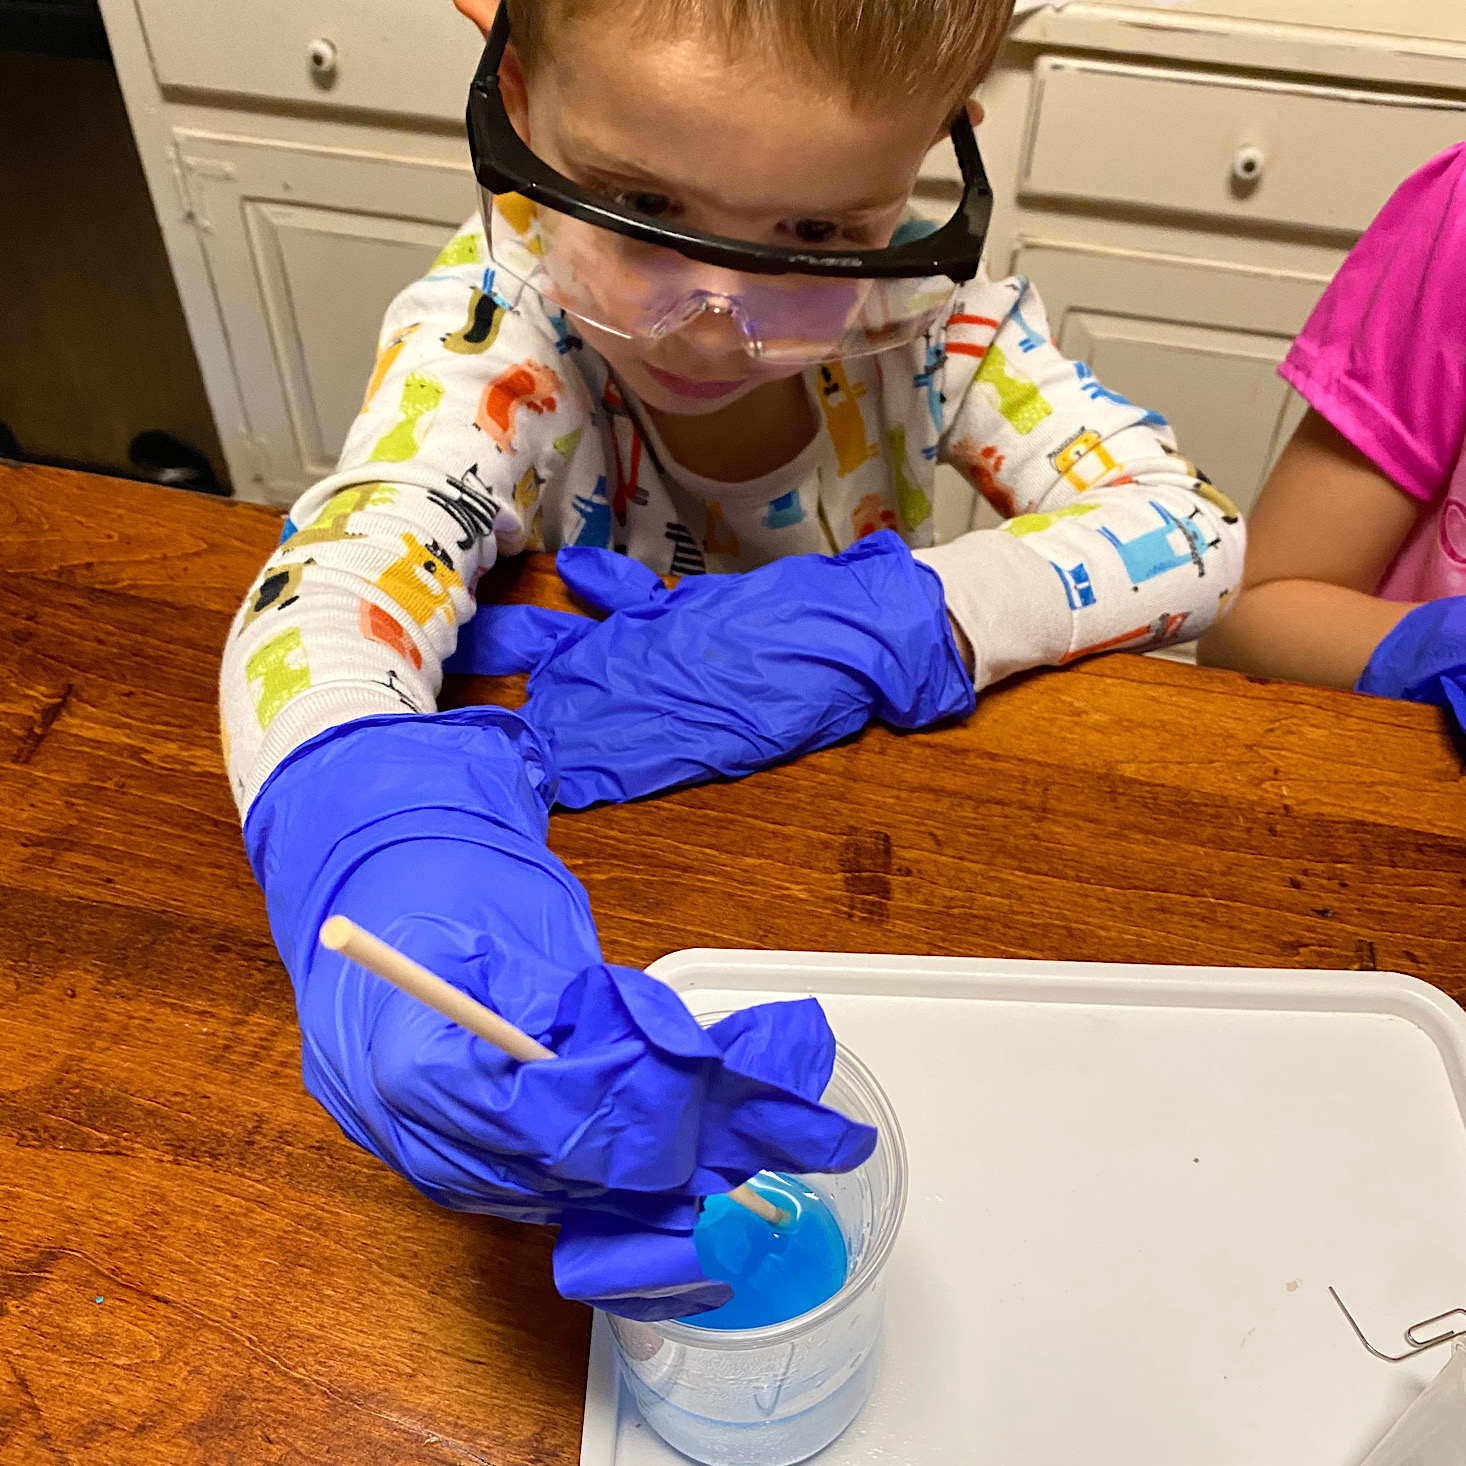
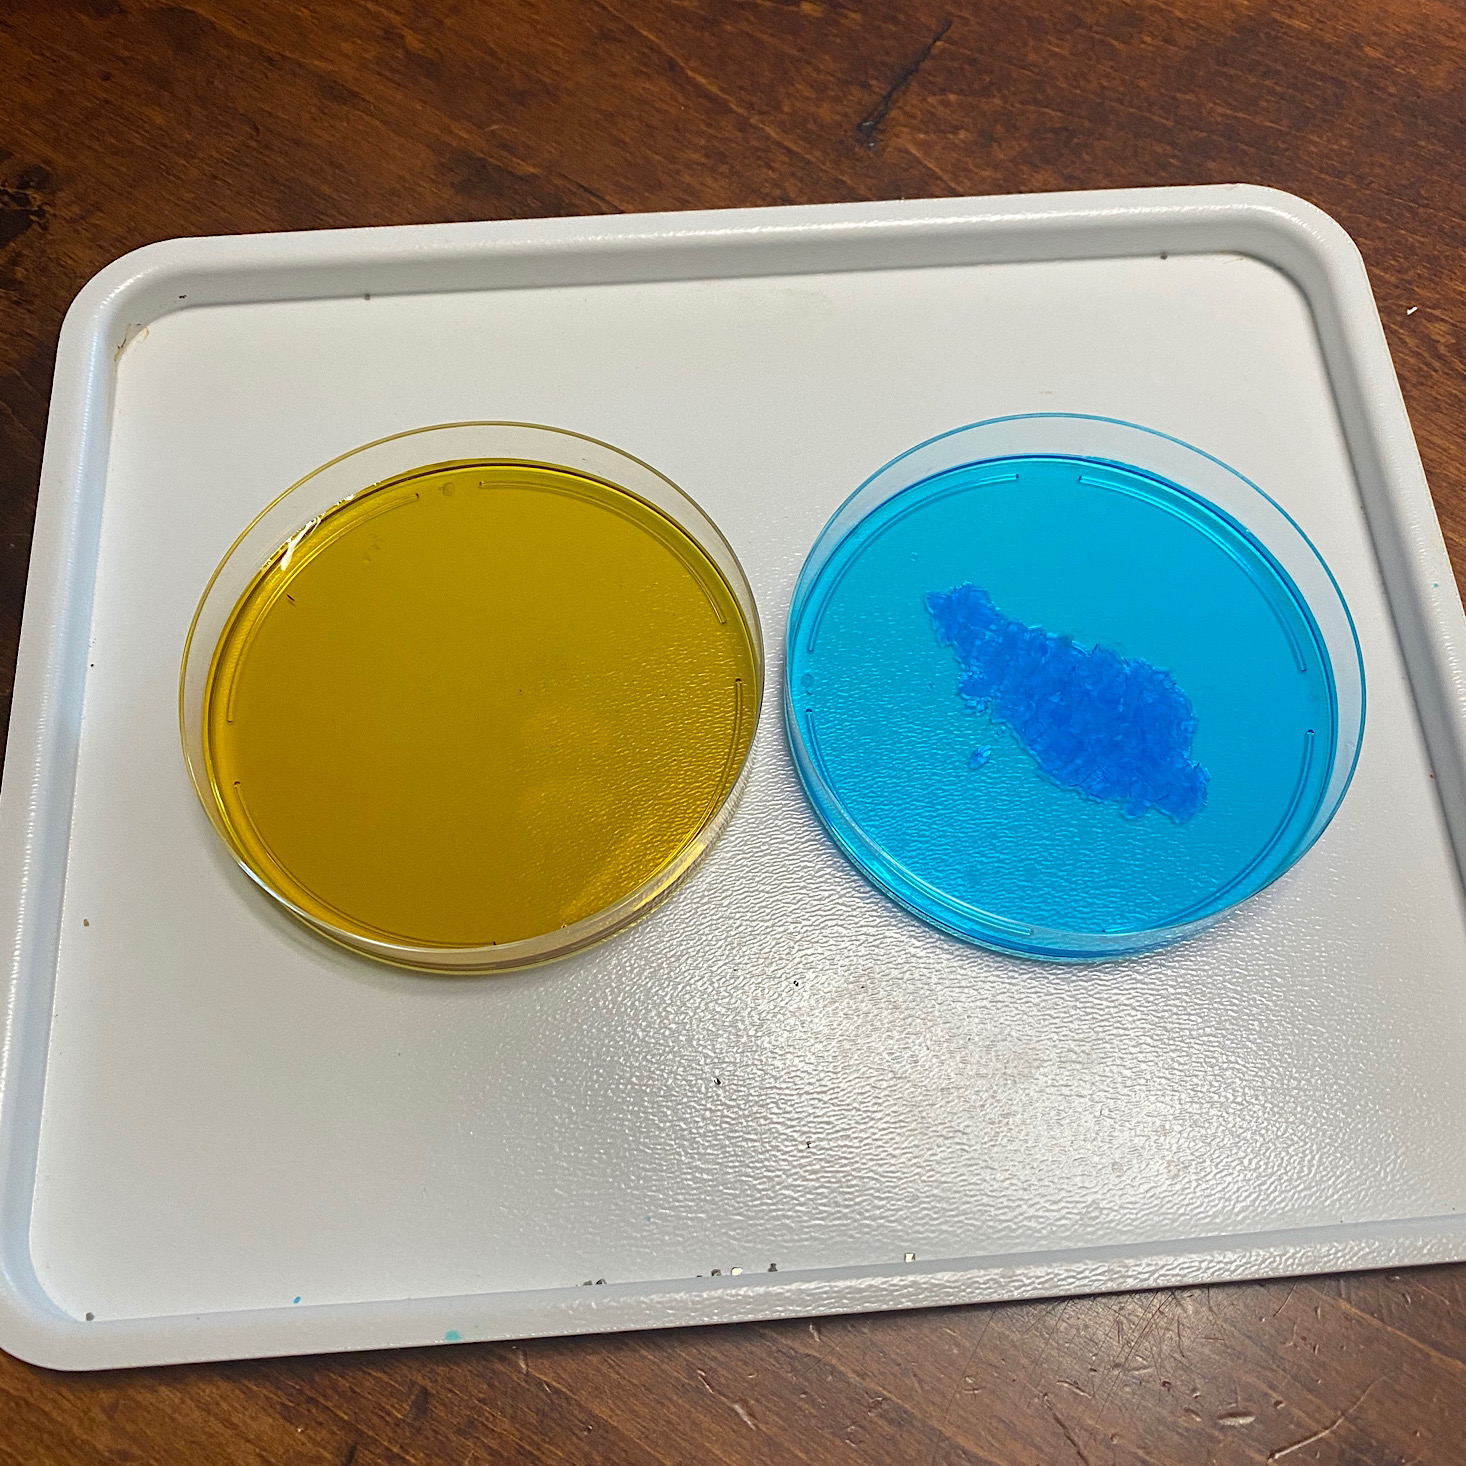
First, we poured in a bottle of copper sulfate and stirred it until it was dissolved. Then we poured the mixture into a Petri dish and set it aside for observation.
My daughter prepared our second solution with the potassium hexacyanoferrate and then poured it into the remaining Petri dish.

We set these aside so that we can continue to observe them over the next few days.
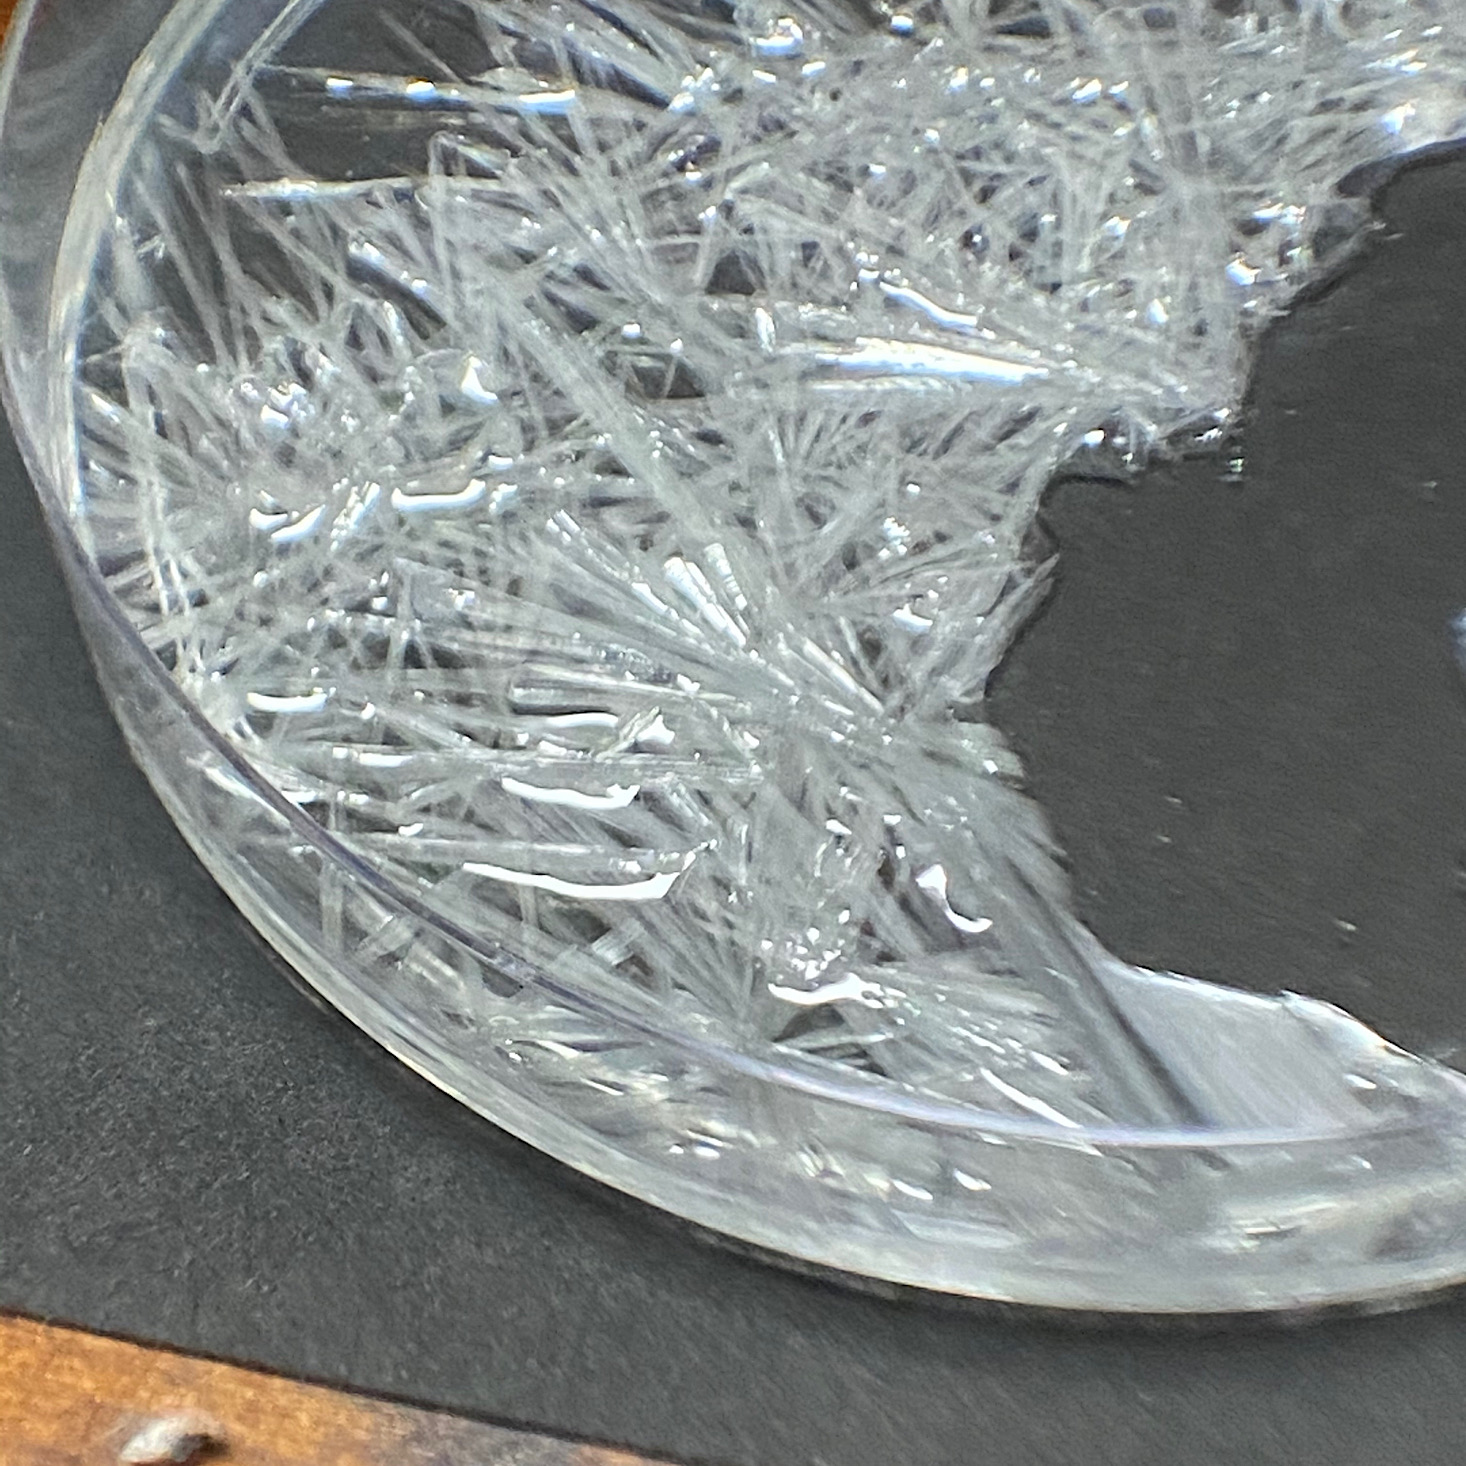
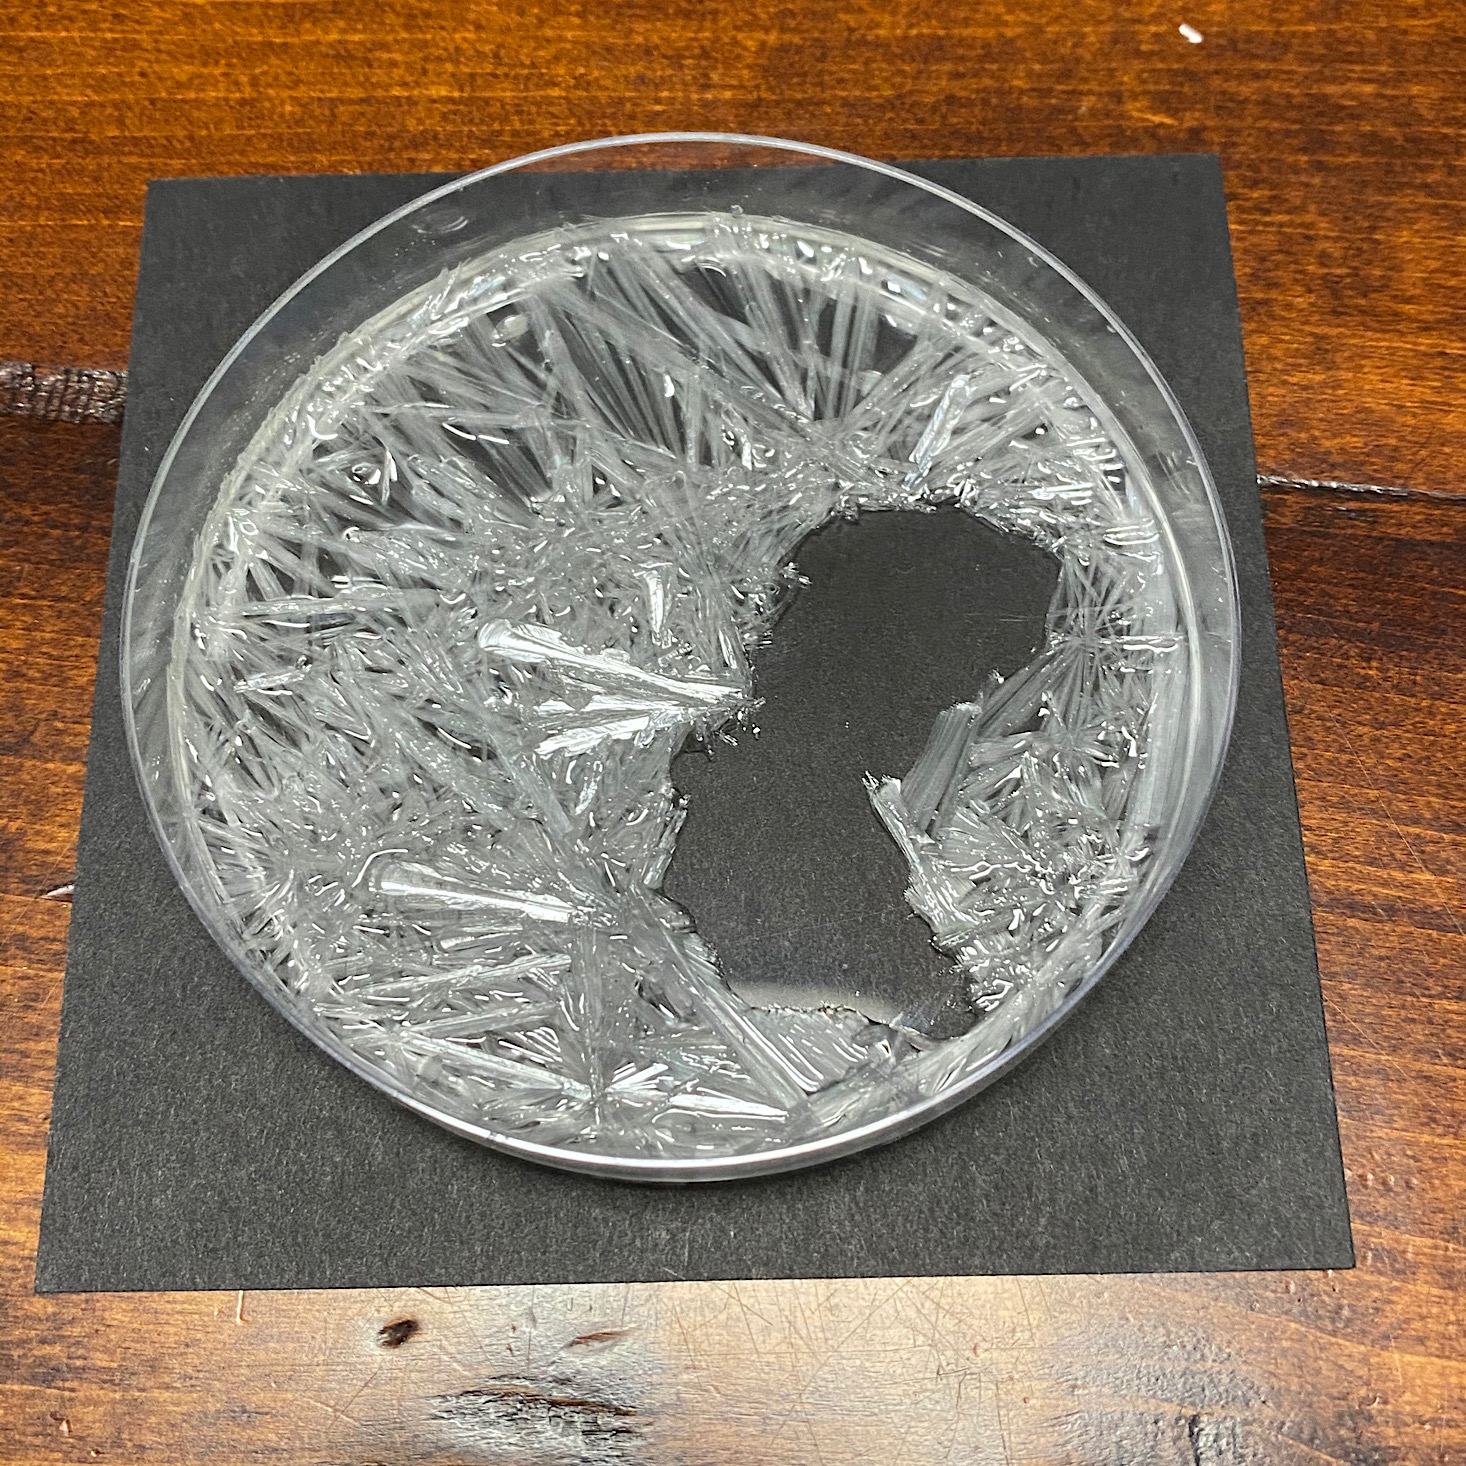
The first photo is 12 hours later while the second is 24. There is definitely something happening!
Verdict: Crystals are one of those subjects that will always appeal to kids and this month's MEL Chemistry experiments were pretty cool. While the Fool's Gold wasn't as much of a reaction, the idea of working with "gold" was fun. The crystal frost that grew was really cool and I like that we have some crystals set aside and growing to come back and observe. I thought it was nice that they had that little collectible mineral for us, too. These experiments are so well organized and easy to perform making them the perfect home chemistry lesson which could easily be extended by adding in some scientific writing containing a hypothesis, timed observations, and a summary!
To Wrap Up:
Can you still get this box if you sign up today? Yes, it is possible that you will receive this set. From MEL Chemistry:
"The topics are looped such that the start date of your subscription does not matter; you will eventually receive all the experiment sets."
Check out all of our MEL Chemistry reviews and our list of the best subscription boxes for kids, as recommended by MSA readers!
Keep Track of Your Subscriptions: Add MEL Chemistry to your subscription list or wishlist!
What do you think of MEL Chemistry?































Please do not enter your email address in the Name field or in the comment content. Your email address will not be published. Required fields are marked *. Remember to post with kindness and respect. Comments with offensive language, cruelness to others, etc will not be approved. See our full comment policy here.