
The Crafter's Box is a monthly maker subscription box:
As a member of The Crafter's Box, we'll send a lovingly kitted box of tools and materials to your doorstep on a monthly basis. Each month we feature a new expert maker and that maker has built for us a unique, grown-up, on-trend project that reflects their artistic style. In addition to the monthly box, our featured maker has created an educational, digital workshop to teach their crafting medium and to offer their tips and tricks.
The best part of this model is the ability to revisit workshops in the future to create again and again. Happy making!
The Crafter's Box offers three different subscription models:
- Individual Membership: $65.00 per month for a kit of curated tools and materials + a new digital workshop by the featured maker
- Crafter's Night: $60.00 per person (minimum of 3 people necessary) per month for a group kit of the curated tools and materials sent to one host + individual video access for each person
- Video-Only Access: $20.00 per month for access to the digital workshop created by the featured maker (no tools or materials included)
This review is of the Individual Membership for $65.00 per month.
My Subscription Addiction paid for this box. (Check out the review process post to learn more about how we review boxes.)

About The Crafter's Box
The Subscription Box: The Crafter's Box
The Cost: $65.00 per month + free US shipping (other plans available from $20.00 per month)
The Products: A shipped kit of curated tools and materials + a new digital workshop by the featured maker of the month
Ships to: The US for free and internationally for varying rates
Good to Know: Membership enrollment is open between the 10th - 20th of each month. Subscriptions automatically renew on the 15th. Projects are designed to be for ages 18+.
The Crafter's Box July 2020 Review
The Crafter's Box seems to be what my crafting subscription box dreams are made of! Each month they feature a different, unique craft that is designed with the crafty adult in mind. The items you get to create are thoughtfully curated and created with high-end materials so that your finished products are modern and luxe.
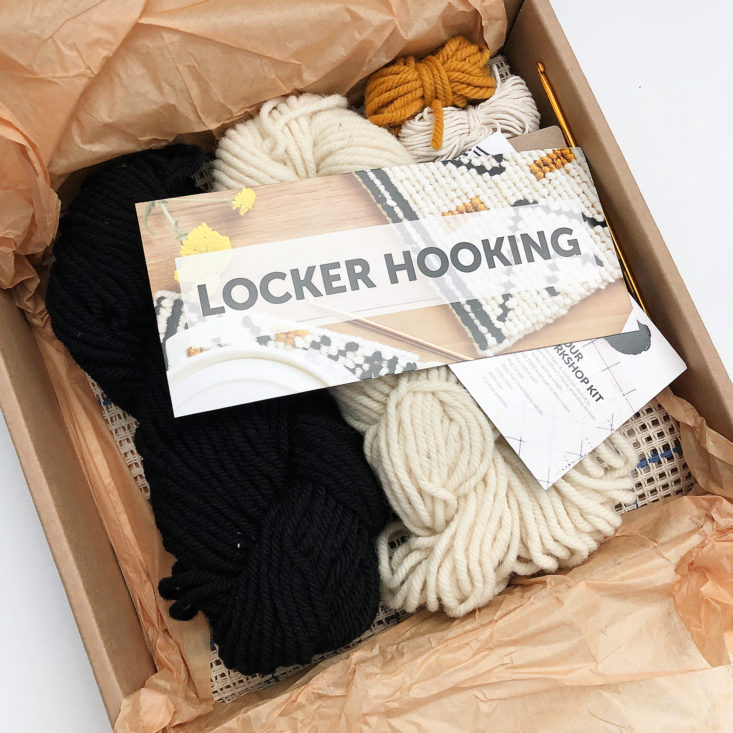
Let's take a look inside July's box - the craft this month is Locker Hooking!
We have two informational cards showing what we received in our box this month. The first one has some information on the featured maker this month, Lindsey Campbell of Hello Hydrangea. I checked out her website and she has such beautiful weavings - I was so excited to learn from her! We also have a card listing all of the supplies included in the kit, and showing examples of the finished woven trivets we will be making.
Now, onto the items!
Rug Canvas
Locker hooking is a type of rug making, and it uses woven rug canvas as seen above. We received three pieces (about 10 x 10") of canvas that is printed with blue lines every 10 rows.
Wool
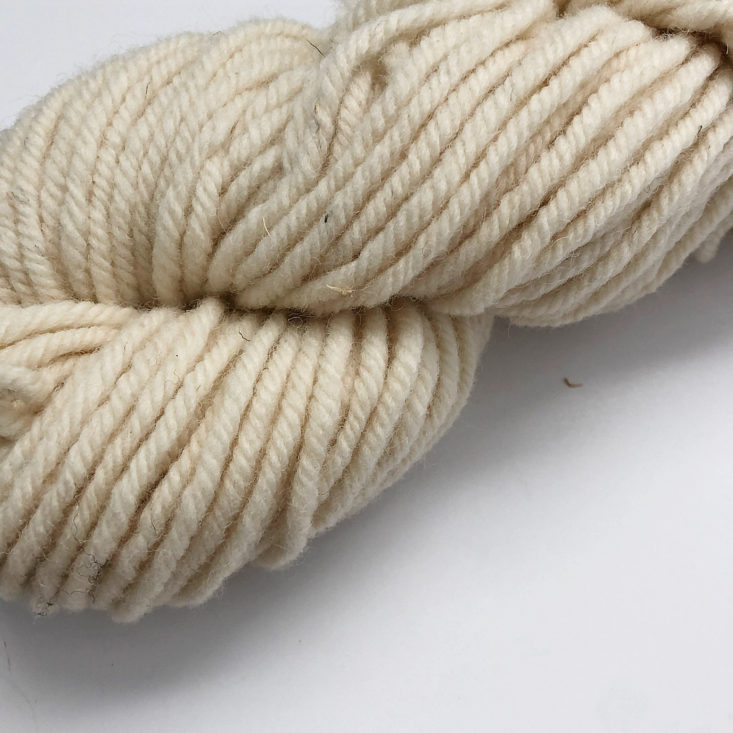
In the videos, I learned that you can locker hook with many different types of materials, from fabric to cut-up grocery bags. For this project, we received 100% wool in off white, black, and gold colors. Wool is an excellent choice for the trivets we will be making, since it is heat resistant and will withstand lots of use.

Cotton String
We also received a bundle of cotton string to use for our trivets. This will be used to hold the loops of wool in place.
Locker Hook
This handy little tool is all you need to get your locker hooking on! It looks like a regular crochet hook, but it has the eye of a needle on the opposite end from the hook. Lindsey talked about different sizes of locker hooks that are available, but this size is a good medium one that works well with the size rug canvas we received.
Blunted Needle
We also received a blunted-tip needle with a large eye. I've received these exact needles in previous deliveries from The Crafter's Box, and they are fantastic for a wide range of crafts.
Trivet Patterns
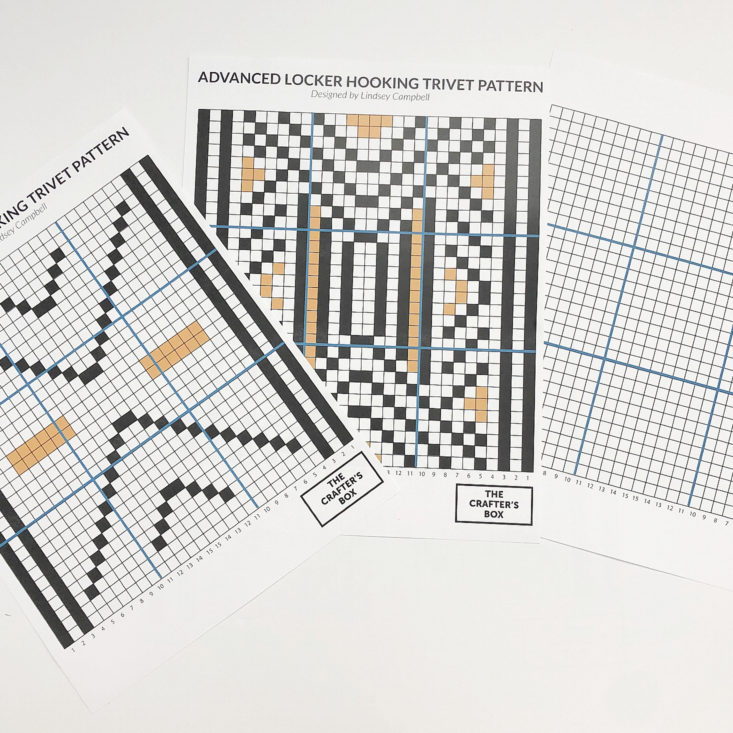
We also received three sheets of paper containing a grid for patterns for our trivets. There is one beginner pattern, one advanced pattern, and one blank pattern (so that we can design our own!). I love the modern graphic nature of these designs - they look like something I could buy at West Elm.
Tacky Glue
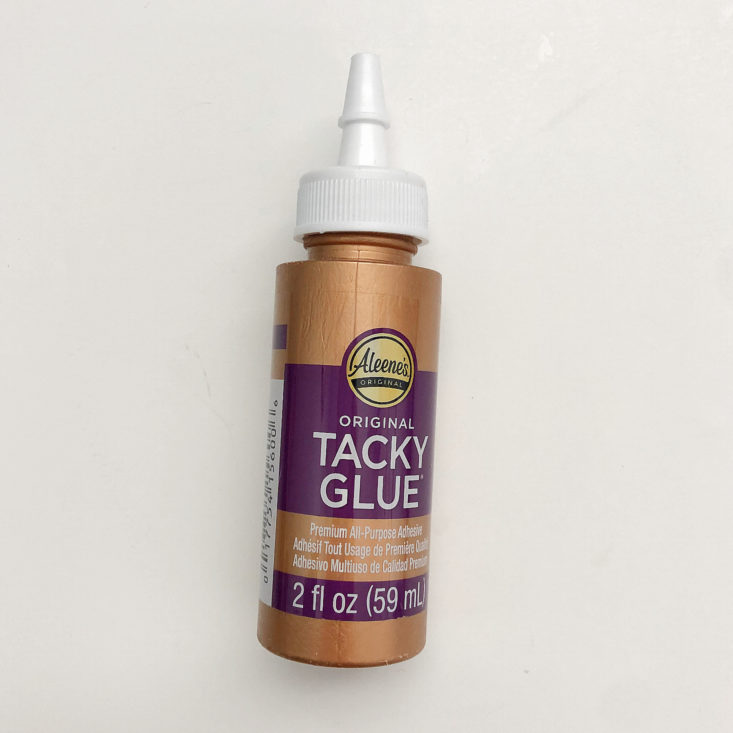
We also received a 2 fl oz bottle of tacky glue, which we will use to secure our canvas prior to locker hooking into it. I love that The Crafter's Box always sends absolutely every item you need for the project! You never have to go hunting for extras like glue, tape, etc.

Clothespins
Our final item is a set of 10 clothespins, which will be used to help hold our edges in place while we prepare our canvases.
Now, let's get hooking!
The first step was to prepare the canvas by cutting it to the right size and shape. Because the edges of the canvas are woven, they will fray if just simply cut and left to be. Lindsey recommended doing a selvage of two rows on each side. We then cut the corners out to remove bulk once we fold the selvage rows over.
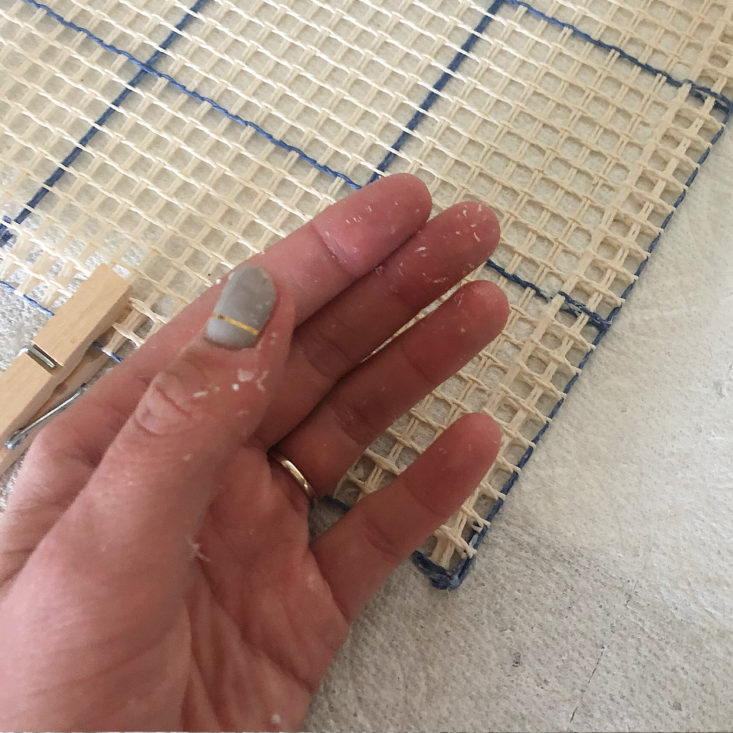
The next step of prepping is to use tacky glue to secure all of the edges. After the edges dried, we then folded over our selvage rows and glued them down to the main canvas piece. As you can see from the picture of my hand above, it was quite the messy process! The glue ended up getting everywhere, as the clothespin trick didn't work super well for me - I found that I had to press the canvas down for a minute or so before the glue would start to set.
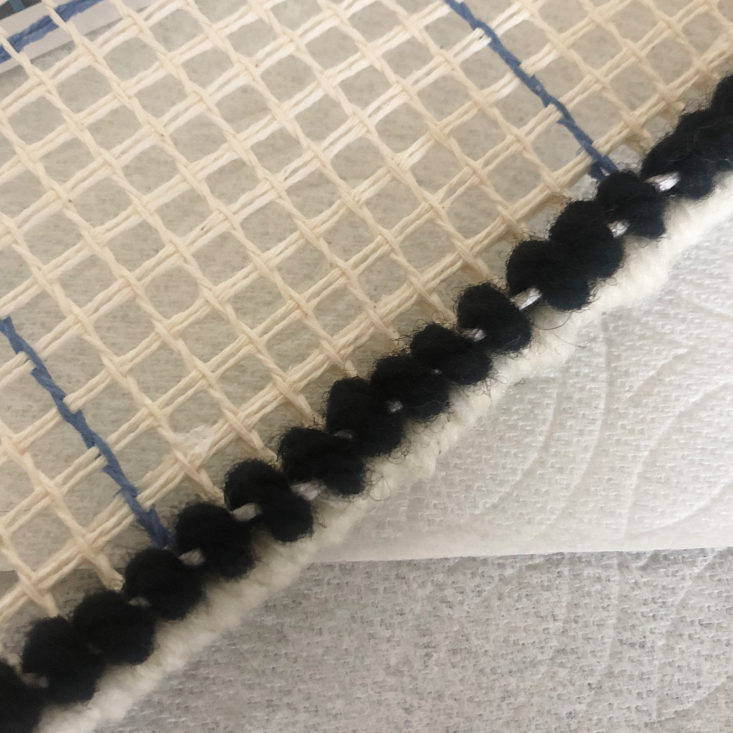
Once the glue was dry, the next step was to border the canvas. Lindsey recommended doing 1-2 whip stitches in each edge hole, but I found that I liked the full look that having 2 stitches per hole gave me.
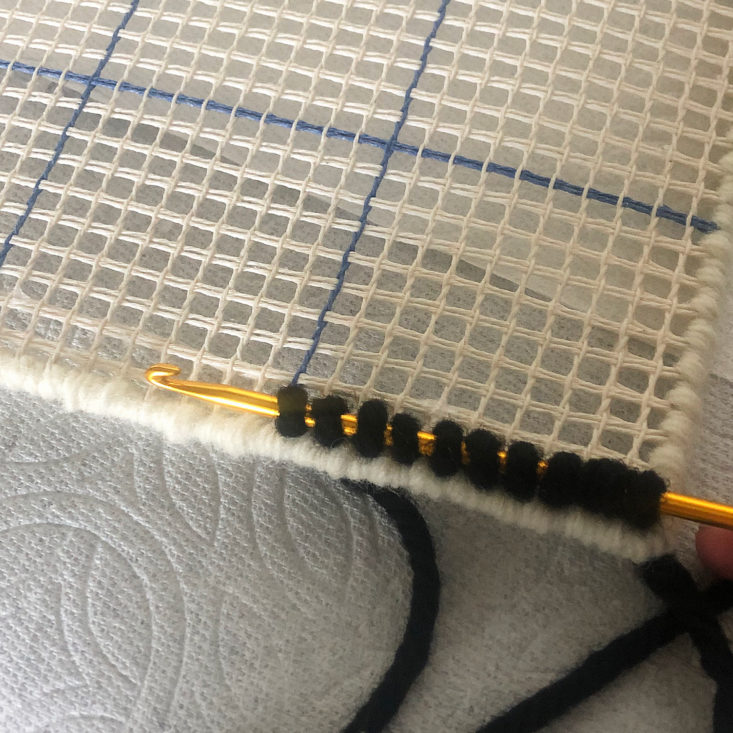
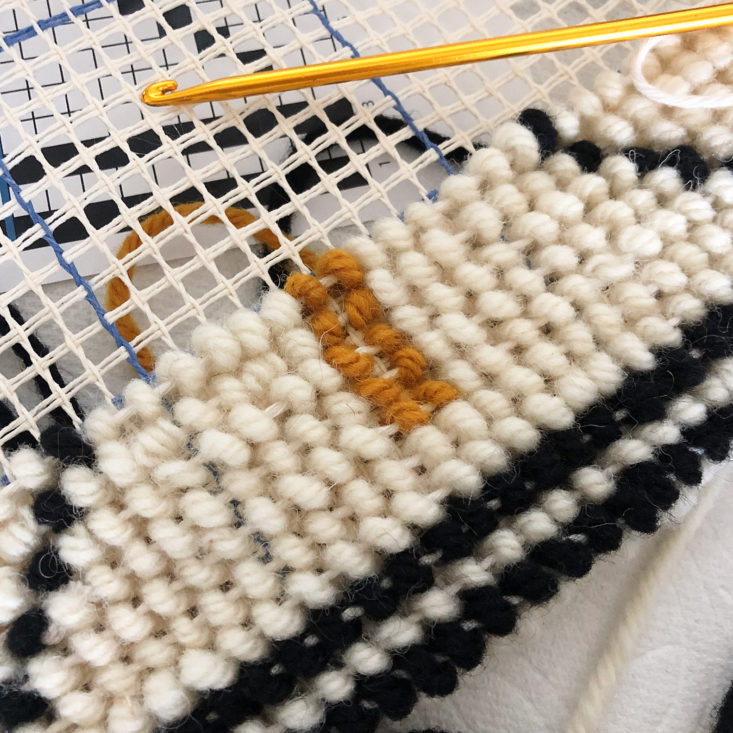
Now the fun part - actually locker hooking! I was surprised by how simple this technique is. Basically, you thread cotton string through your locker hook and hold that on top of your canvas. You hold the hooking medium (in this case, the wool yarn) underneath the canvas, and use the crochet hook side to pull up loops of wool in each hole in the canvas. Once you have about 5-10 loops on your locker hook, you pull the whole hook through the loops, which pulls the cotton string through all of them. The string keeps each loop locked into place.
One thing I wasn't thrilled about is how easily you can see the white cotton string in between the wool loops. I'm not sure if this is just how locker hooking always looks, or if I was perhaps pulling my wool loops too tight on the hook when I was creating them. Lindsey's rows of loops did look a little bit puffier than mine, so I think it's pretty likely that I was just doing it too tightly! From far away, though, you don't really see the string and I think it looks okay.
To keep working on the project, I just went back and forth doing the rows, following the color changes on the printed pattern. Switching colors looked intimidating, but it was super easy - you just drop the color you were working with and pick up the new color. If the stretches between the colors are small (like bringing the white behind the two gold stitches), you can simply "float" the yarn from one area to the next. In the case of larger areas (like the two black diagonal lines), it's easier to cut lengths of yarn to use for each separate motif.
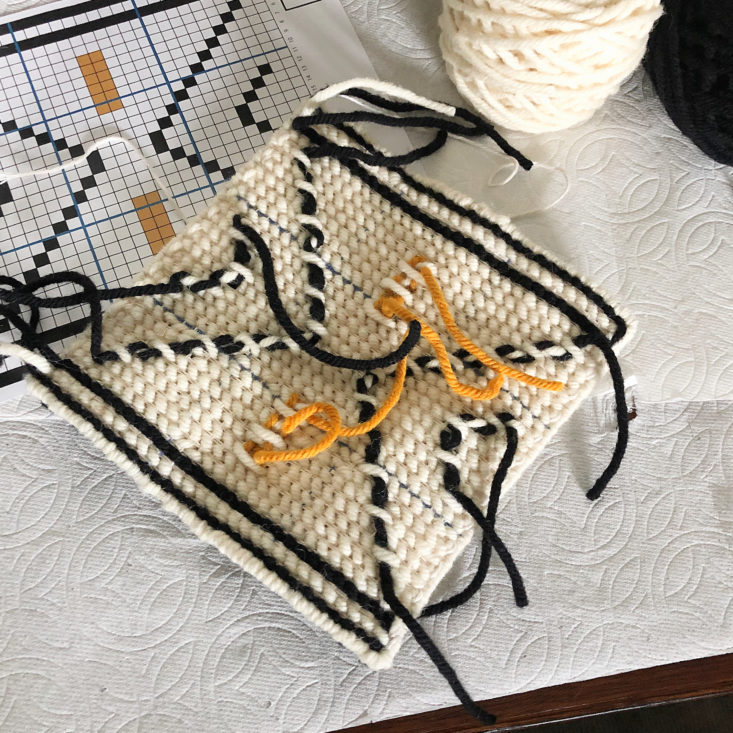
Here's what my project looked like when I was done with all of the rows! You can see all my loose ends on the back of the trivet, which I wove in with the blunted needle.
I love my finished trivet! You can see that not all of my stitches are perfectly identical, and you can see the cotton string here and there in the closeup pictures - but that doesn't bother me too much, as it just makes the project unique and homemade!
The next step was to put my trivet into action! This size easily fits a medium-sized pot, and I think it looks so cute. I am obsessed with the modern geometric design, and anyone who knows me knows that my favorite colors are creams and golds! I've been doing a lot of online browsing for furniture and decorations for our new house that we will be moving into this fall, and this trivet looks like it could easily belong in the new collections from big stores like Crate and Barrel or West Elm - this look is so on-trend right now!
Verdict: The Crafter's Box is usually my favorite box I get each month, and this box was no exception. Before receiving this box I had never heard of locker hooking, and I was so excited to try out a new-to-me craft. The trivets were so fun and easy to make, especially after watching the extremely detailed video tutorial provided with the box. I was immediately "hooked" on this craft (I had to, guys) and I'm already planning to order more rug canvas so I can make more items like bath mats and small rugs. The presentation is lovely, and I thought it was great how the box includes absolutely everything you need to do the project. I like that The Crafter's Box showcases more unique types of crafts than a lot of other craft subscription boxes, and I love that I was able to experiment with a new craft to me. I also really appreciate the modern, upscale vibe that I get from this box - it feels like I'm making and creating for a purpose, rather than just crafting to craft.
For $65.00, we received tools and supplies to make three wool trivets. The box has a very careful curation and extremely well-made video tutorial content. The video tutorial was so well done and very in-depth (it ran almost two hours this month!), and I really enjoyed learning tips and tricks on how to get the best final products.
To Wrap Up:
Can you still get this box if you sign up today? No, you will receive the September 2020 box (if you sign up between August 10th - 20th).
Check out our other reviews of The Crafter's Box and the top-rated craft subscription boxes!
Keep Track of Your Subscriptions: Add this box to your subscription list or wishlist!
What did you think of The Crafter's Box for July 2020? Let us know in the comments!

















Please do not enter your email address in the Name field or in the comment content. Your email address will not be published. Required fields are marked *. Remember to post with kindness and respect. Comments with offensive language, cruelness to others, etc will not be approved. See our full comment policy here.