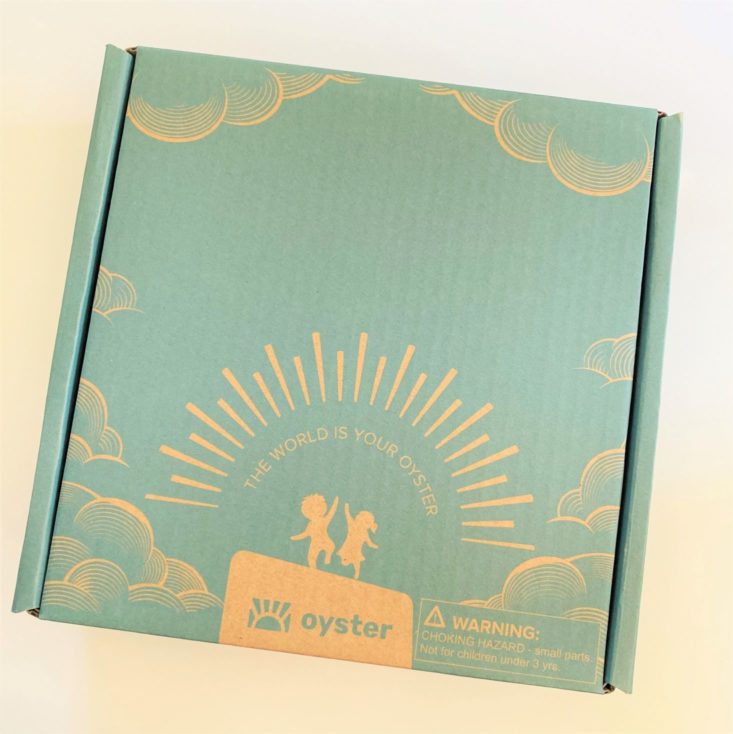
Oyster is a monthly STEAM-based "profession" subscription for kids ages 5-9. Each month you will receive an educational kit made with the help of professionals and rigorously tested by kids, which includes equipment, information, and experiments to try out a different profession. According to Oyster, kids closer to 9 will be able to complete the tasks independently, while younger kids will require participation from their parents.
This box is being reviewed thanks to MSA reader request!
My Subscription Addiction pays for this subscription. (Check out the review process post to learn more about how we review boxes.)
About Oyster
The Subscription Box: Oyster Kit
The Cost: $39.95 a month + free shipping. Save with longer subscriptions.
The Products: A new profession to explore every month through STEAM learning materials, online tests, and DIY projects
Ships to: The U.S. only
Oyster "Game Designer" Kit August 2020 Review
How in the world is it already August? With one week left before my kids go back to school, I am in full-blown stress mode! Between getting prepared for school and working on preserving our garden produce, we just haven't had enough fun lately. Seeing our "Game Designer" box in our mailbox today was just the ticket to help us out of our fun funk. Let's see what kind of qualities we were able to add to our resume this month!
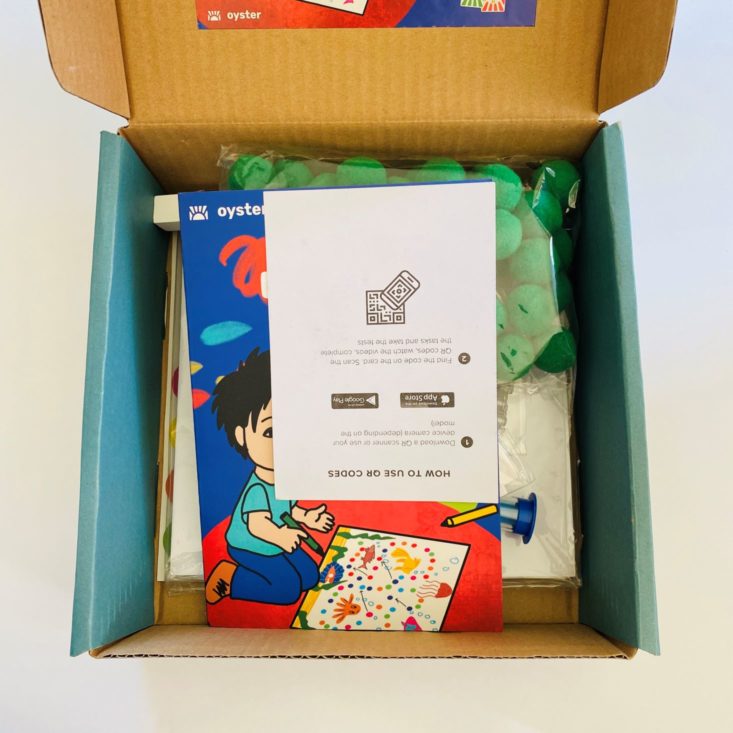
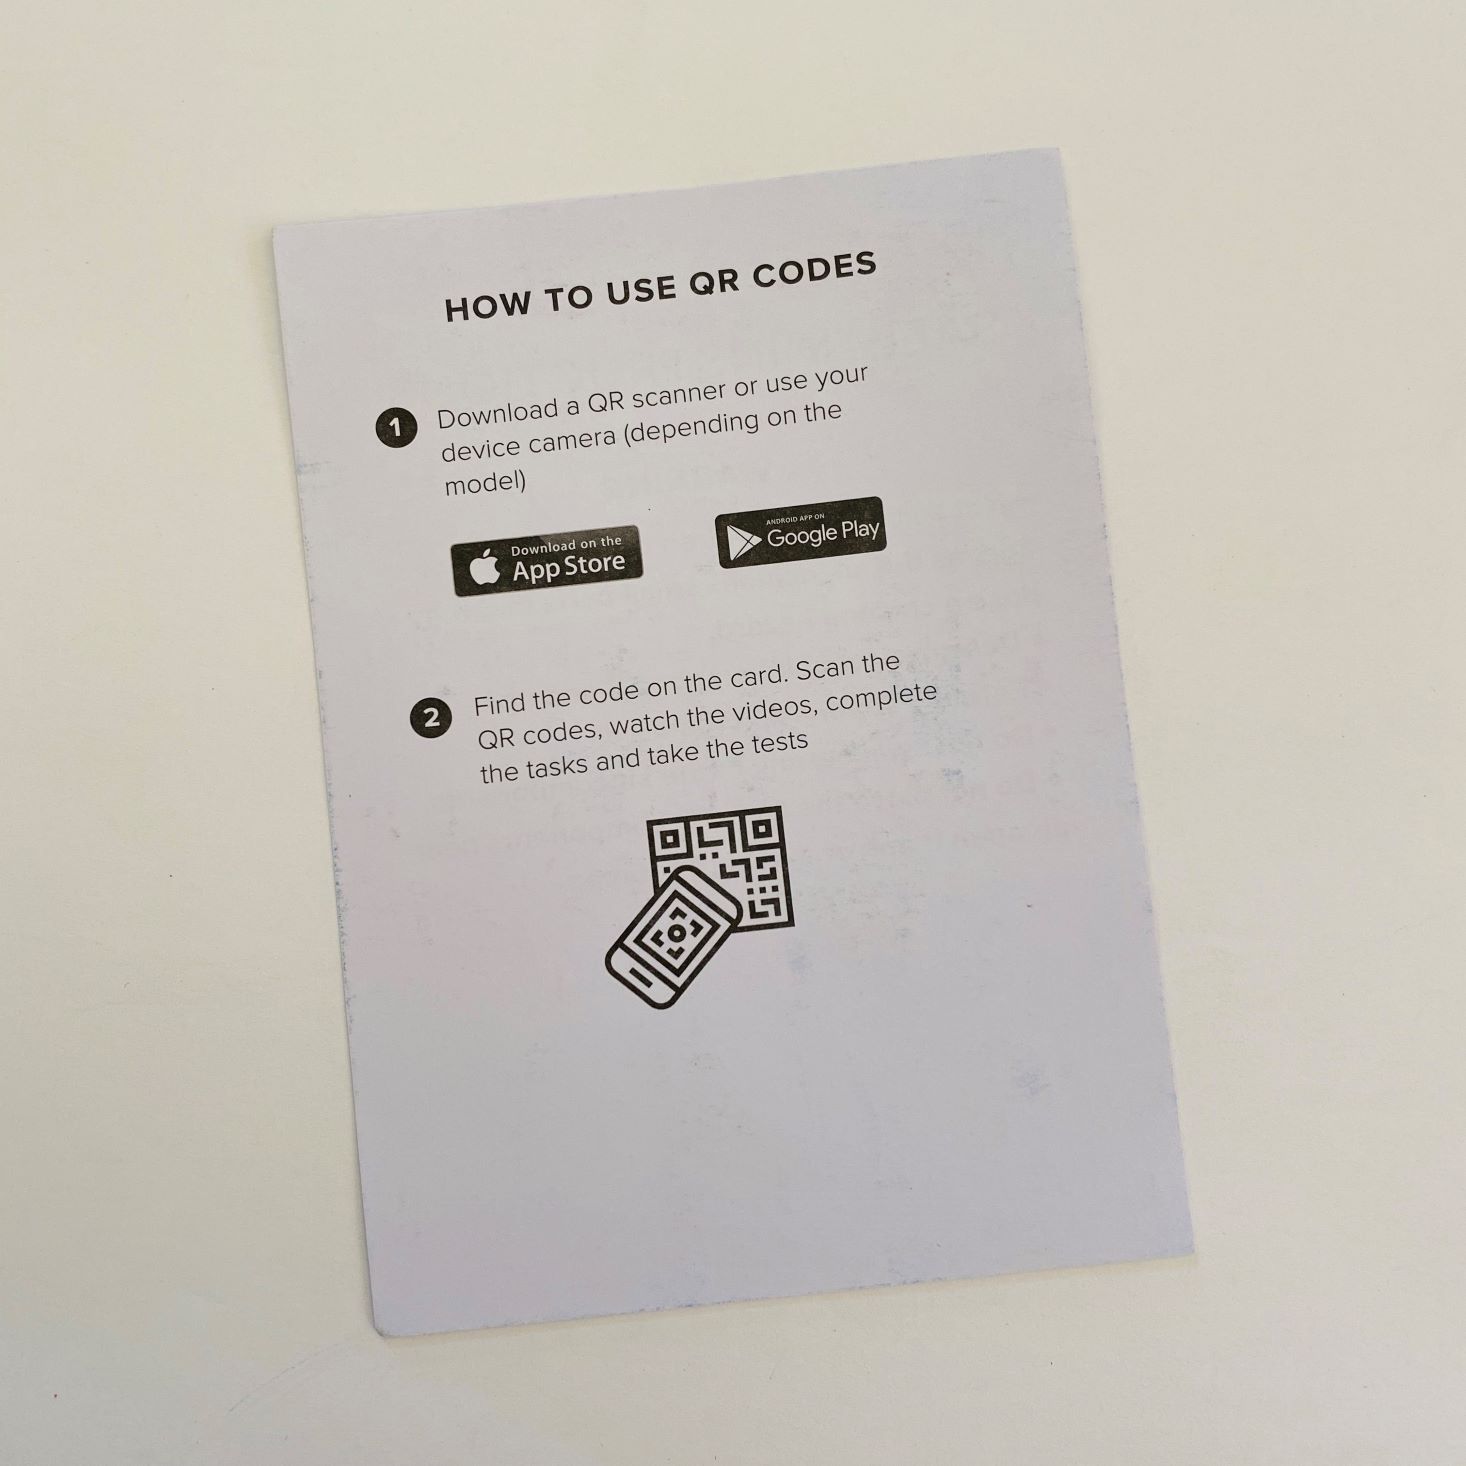
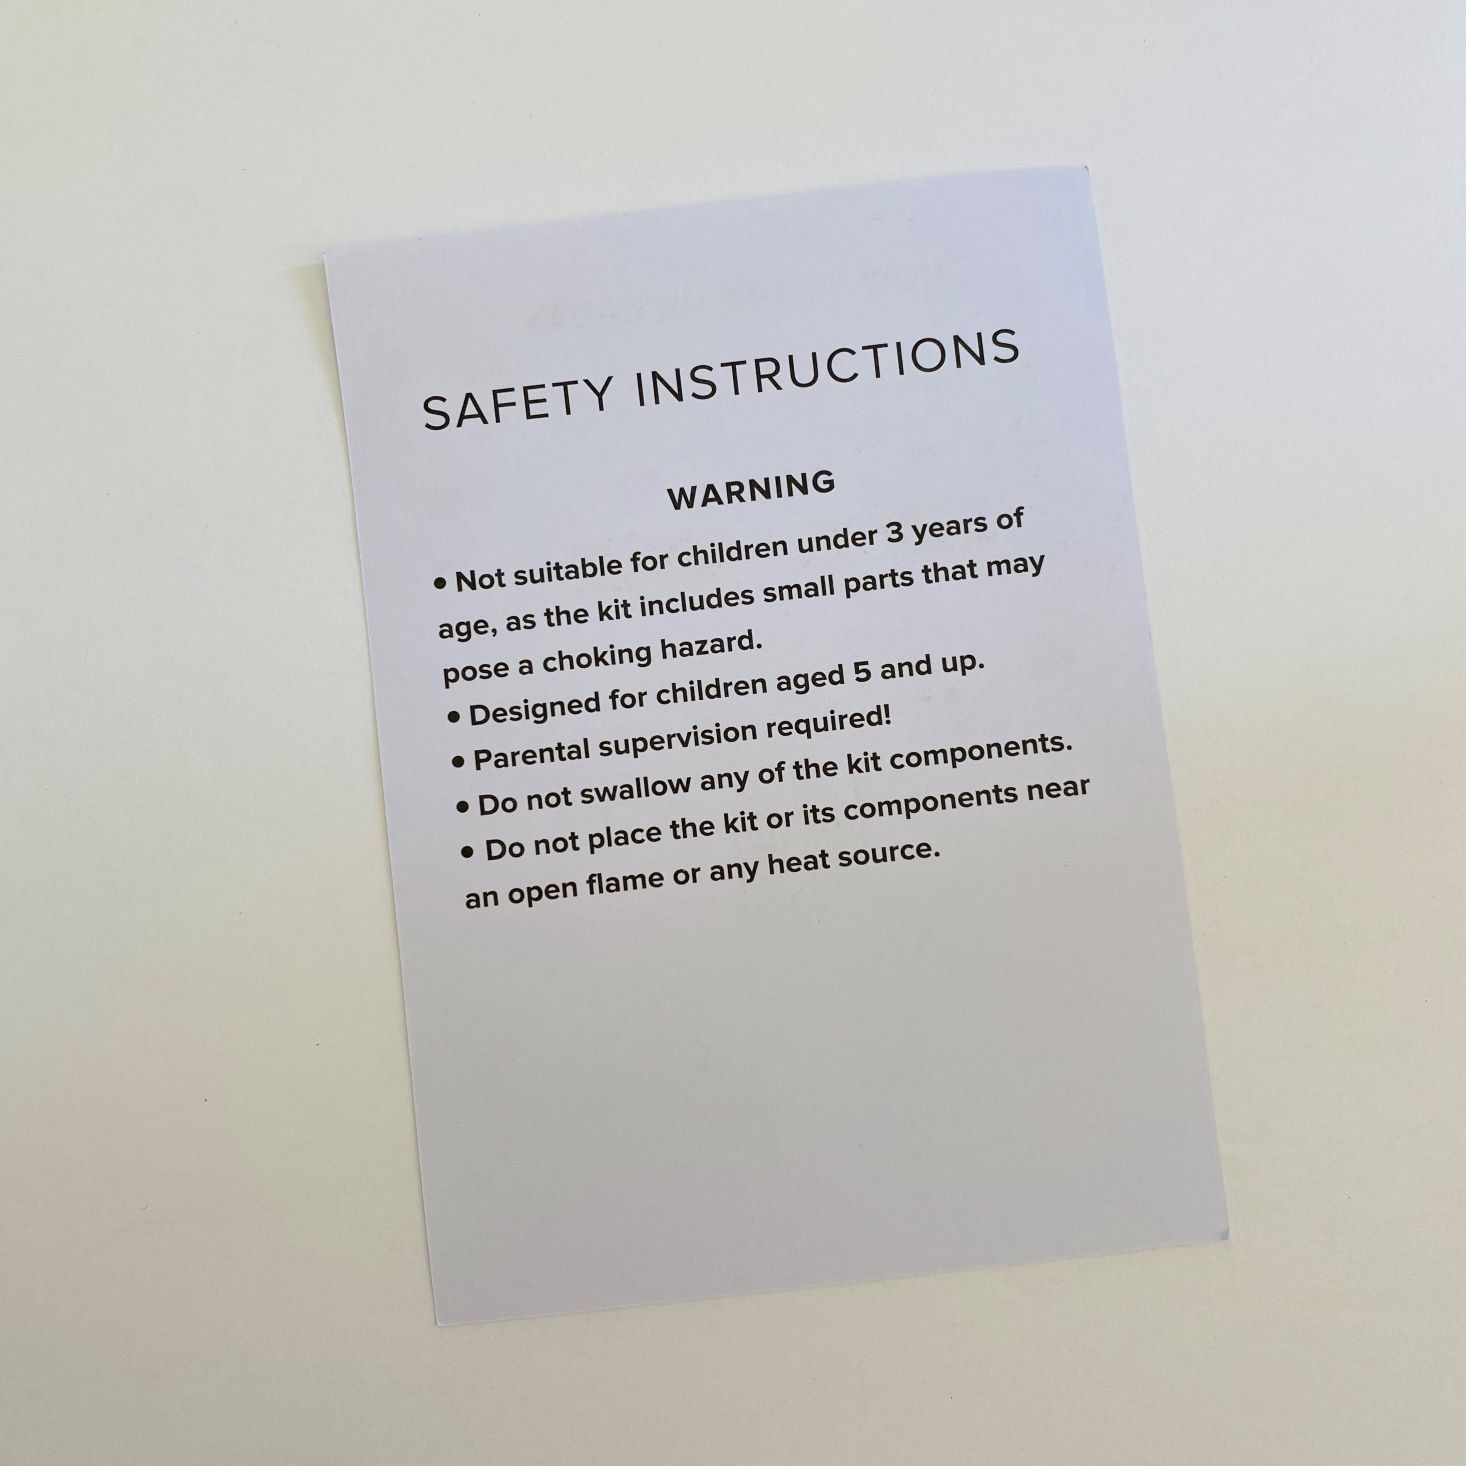
Safety first! This kit sometimes includes a lot of small pieces and is recommended for kids 5-9. The opposing side of the safety sheet includes instructions on how to use QR codes, which bring you to bonus material.
Onto the fun stuff:
Game Designer Guide
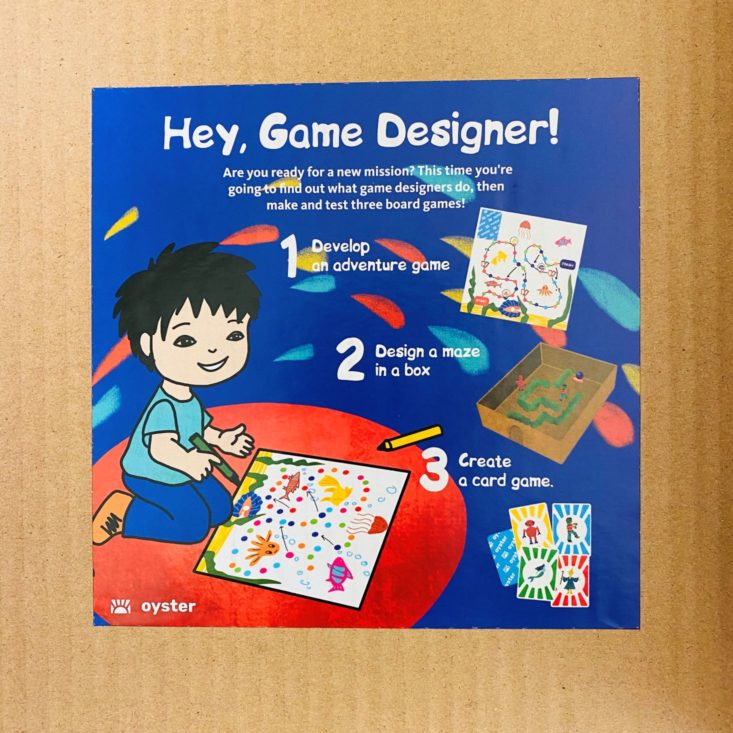
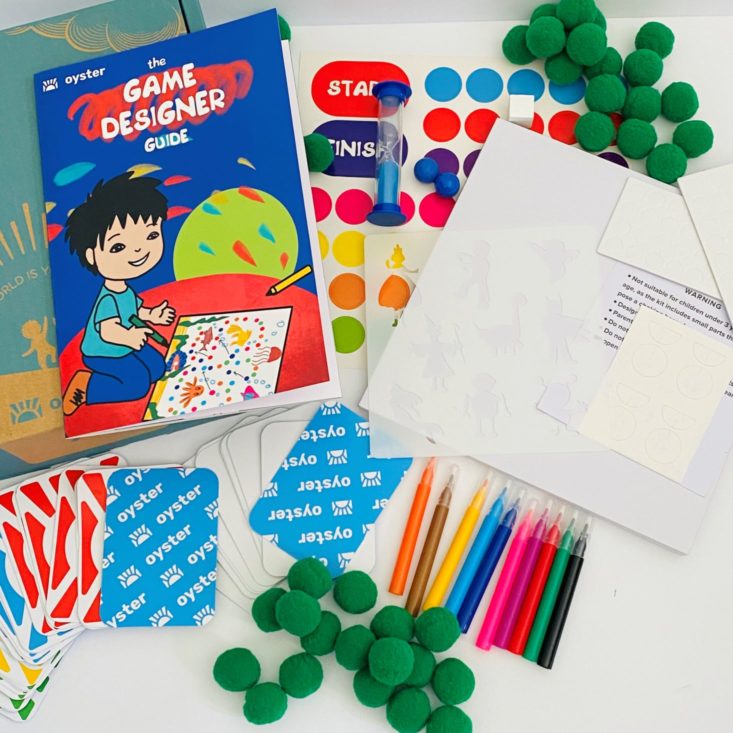
This month we received a colorful pamphlet filled with interesting information about Game Designers. This theme was kind of neat because all of the activities were up to us to design and create. They basically sent the tools, and we were able to use them however we decided. We had 3 missions this month and had a blast completing them!
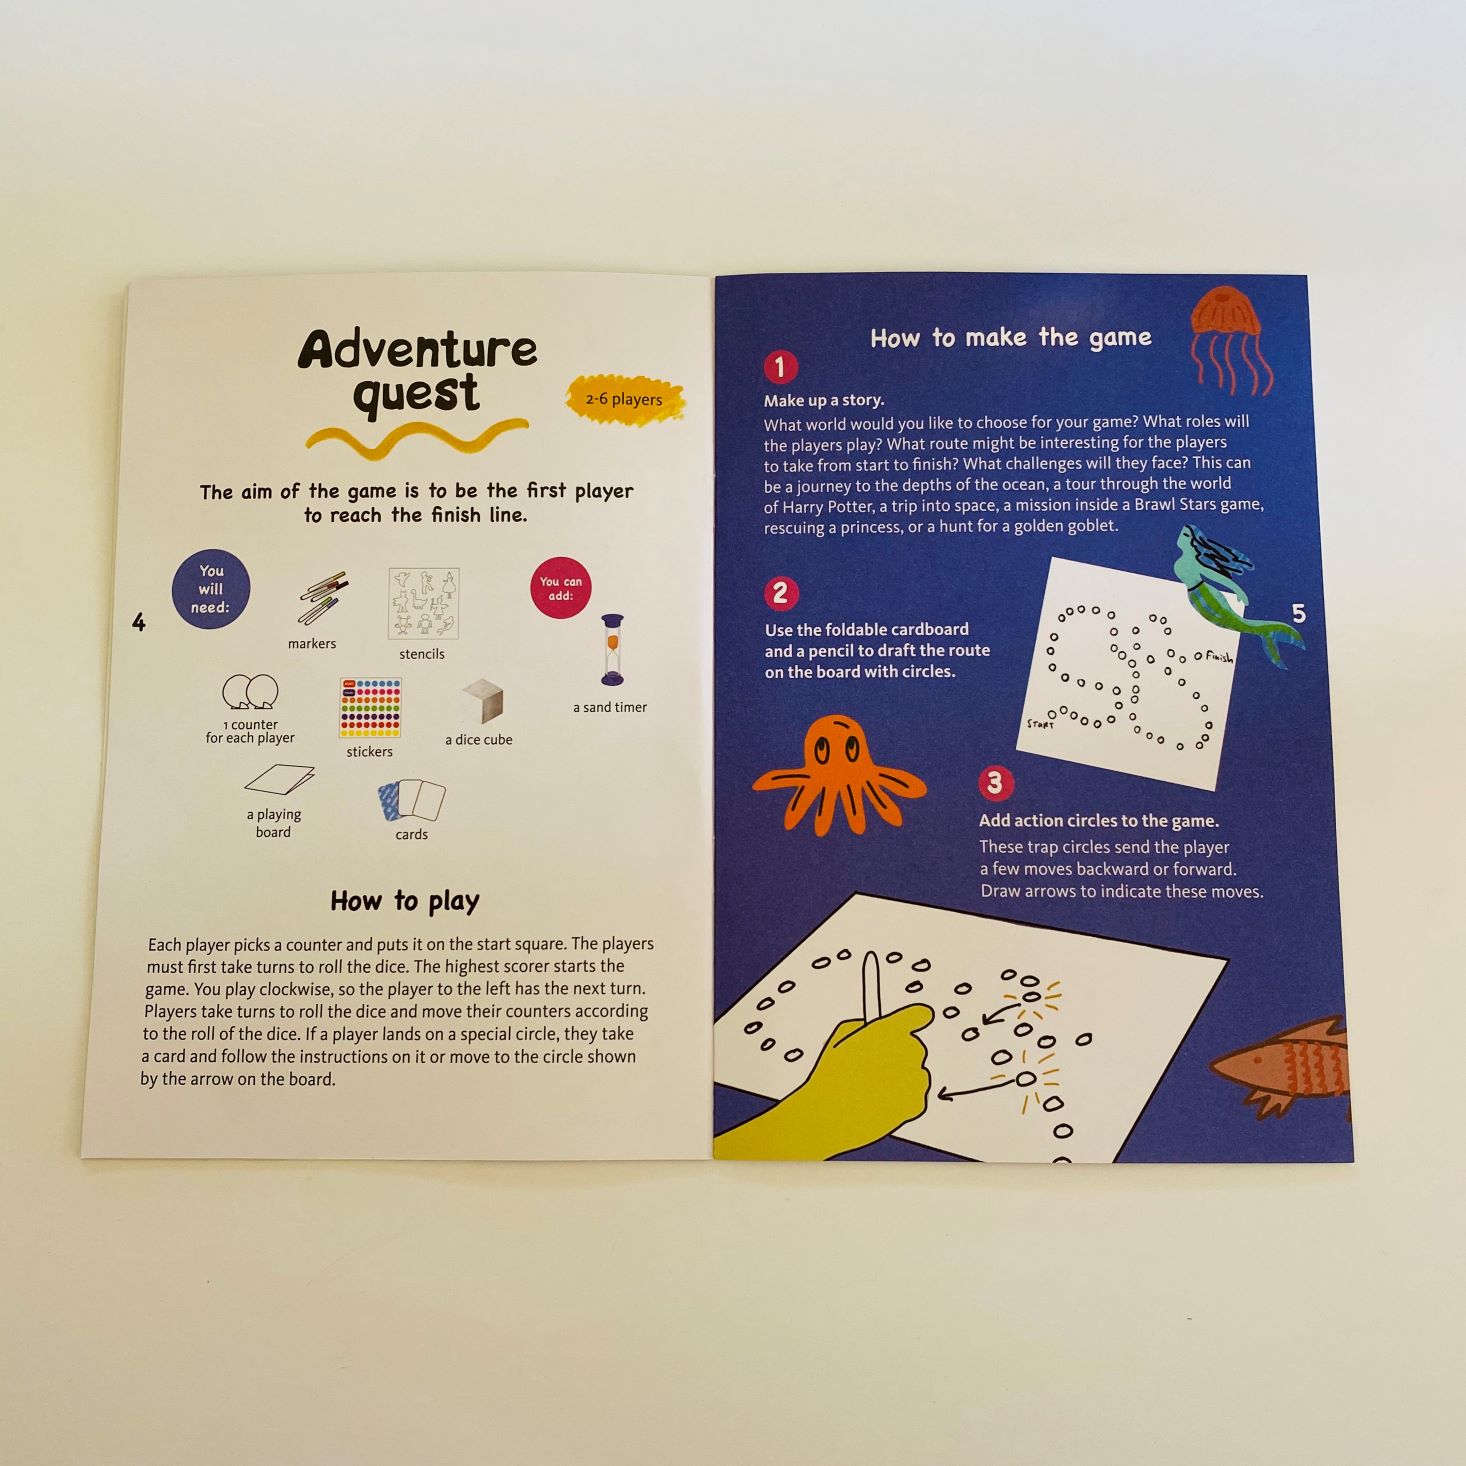
Mission 1: Adventure Quest
Playing Board
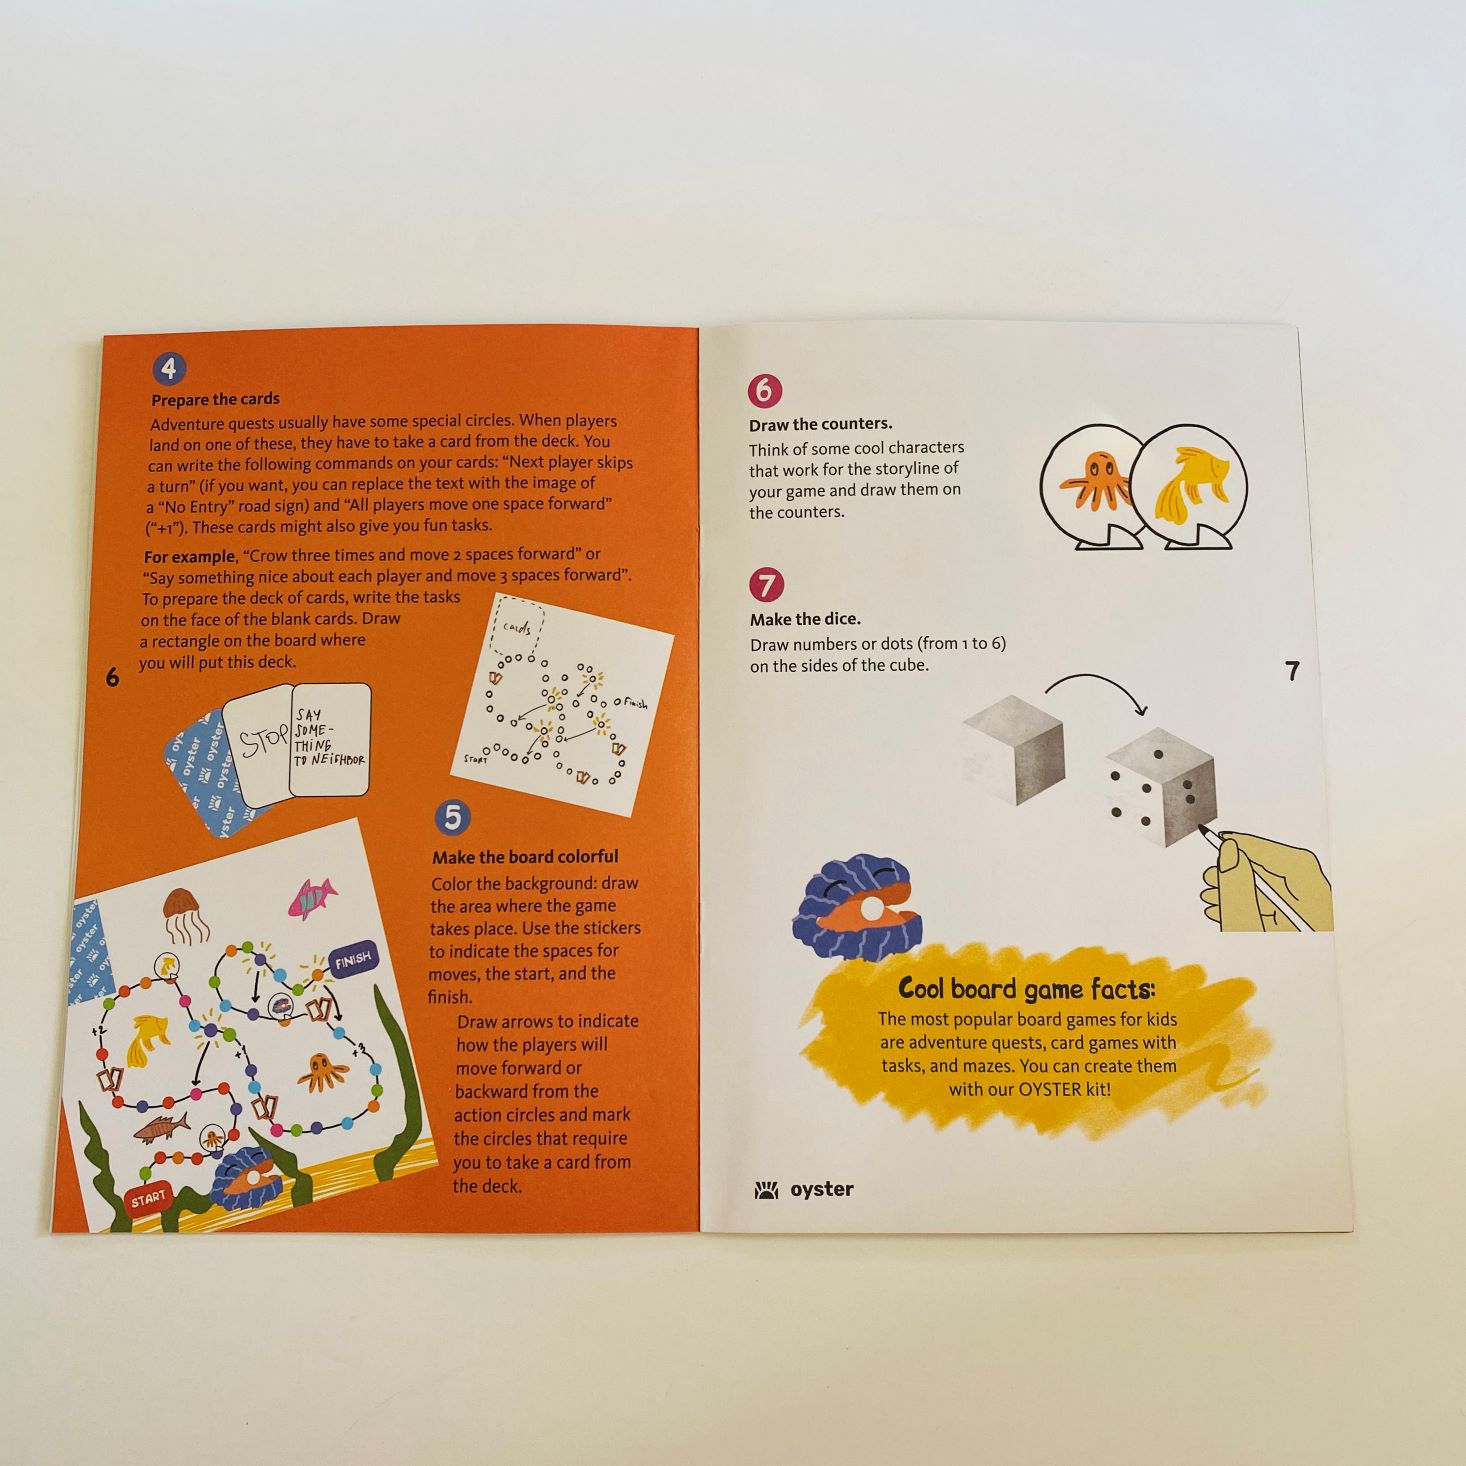
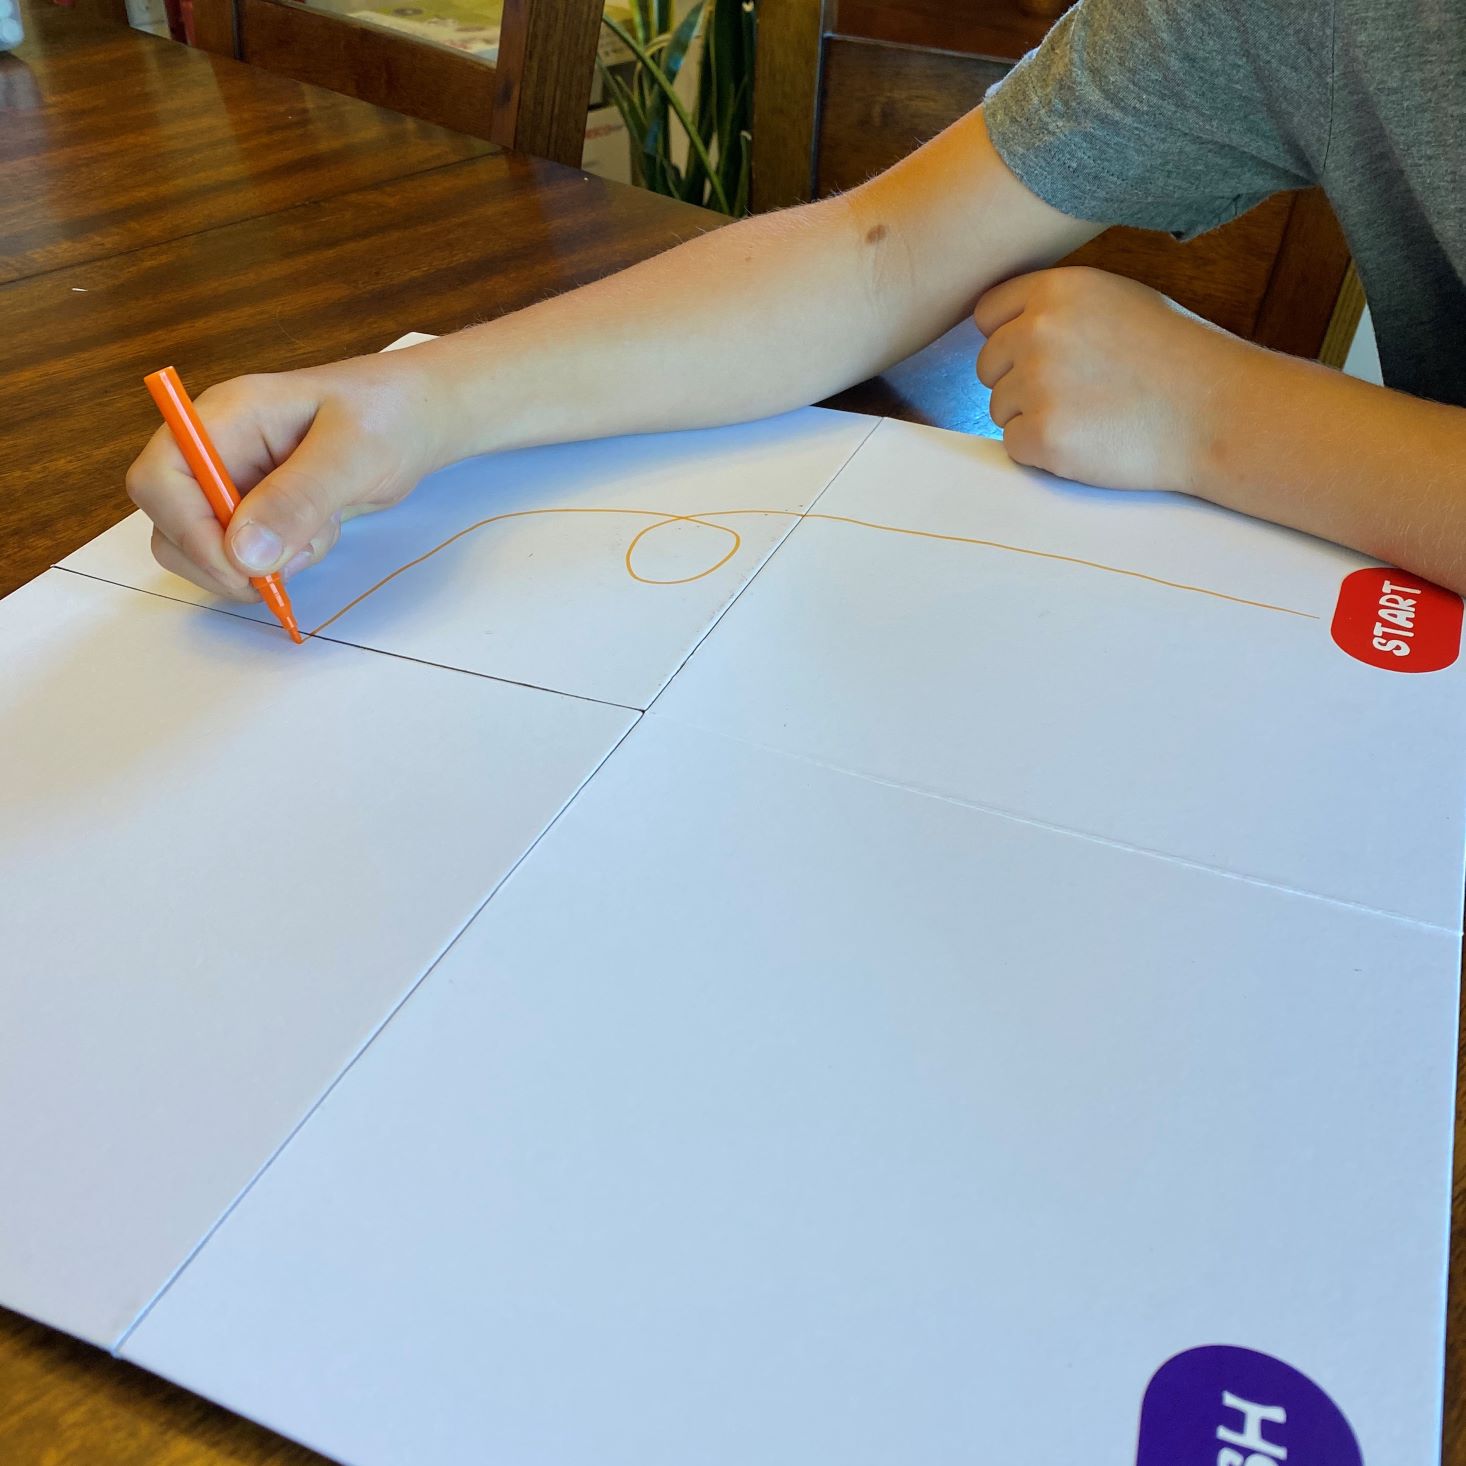
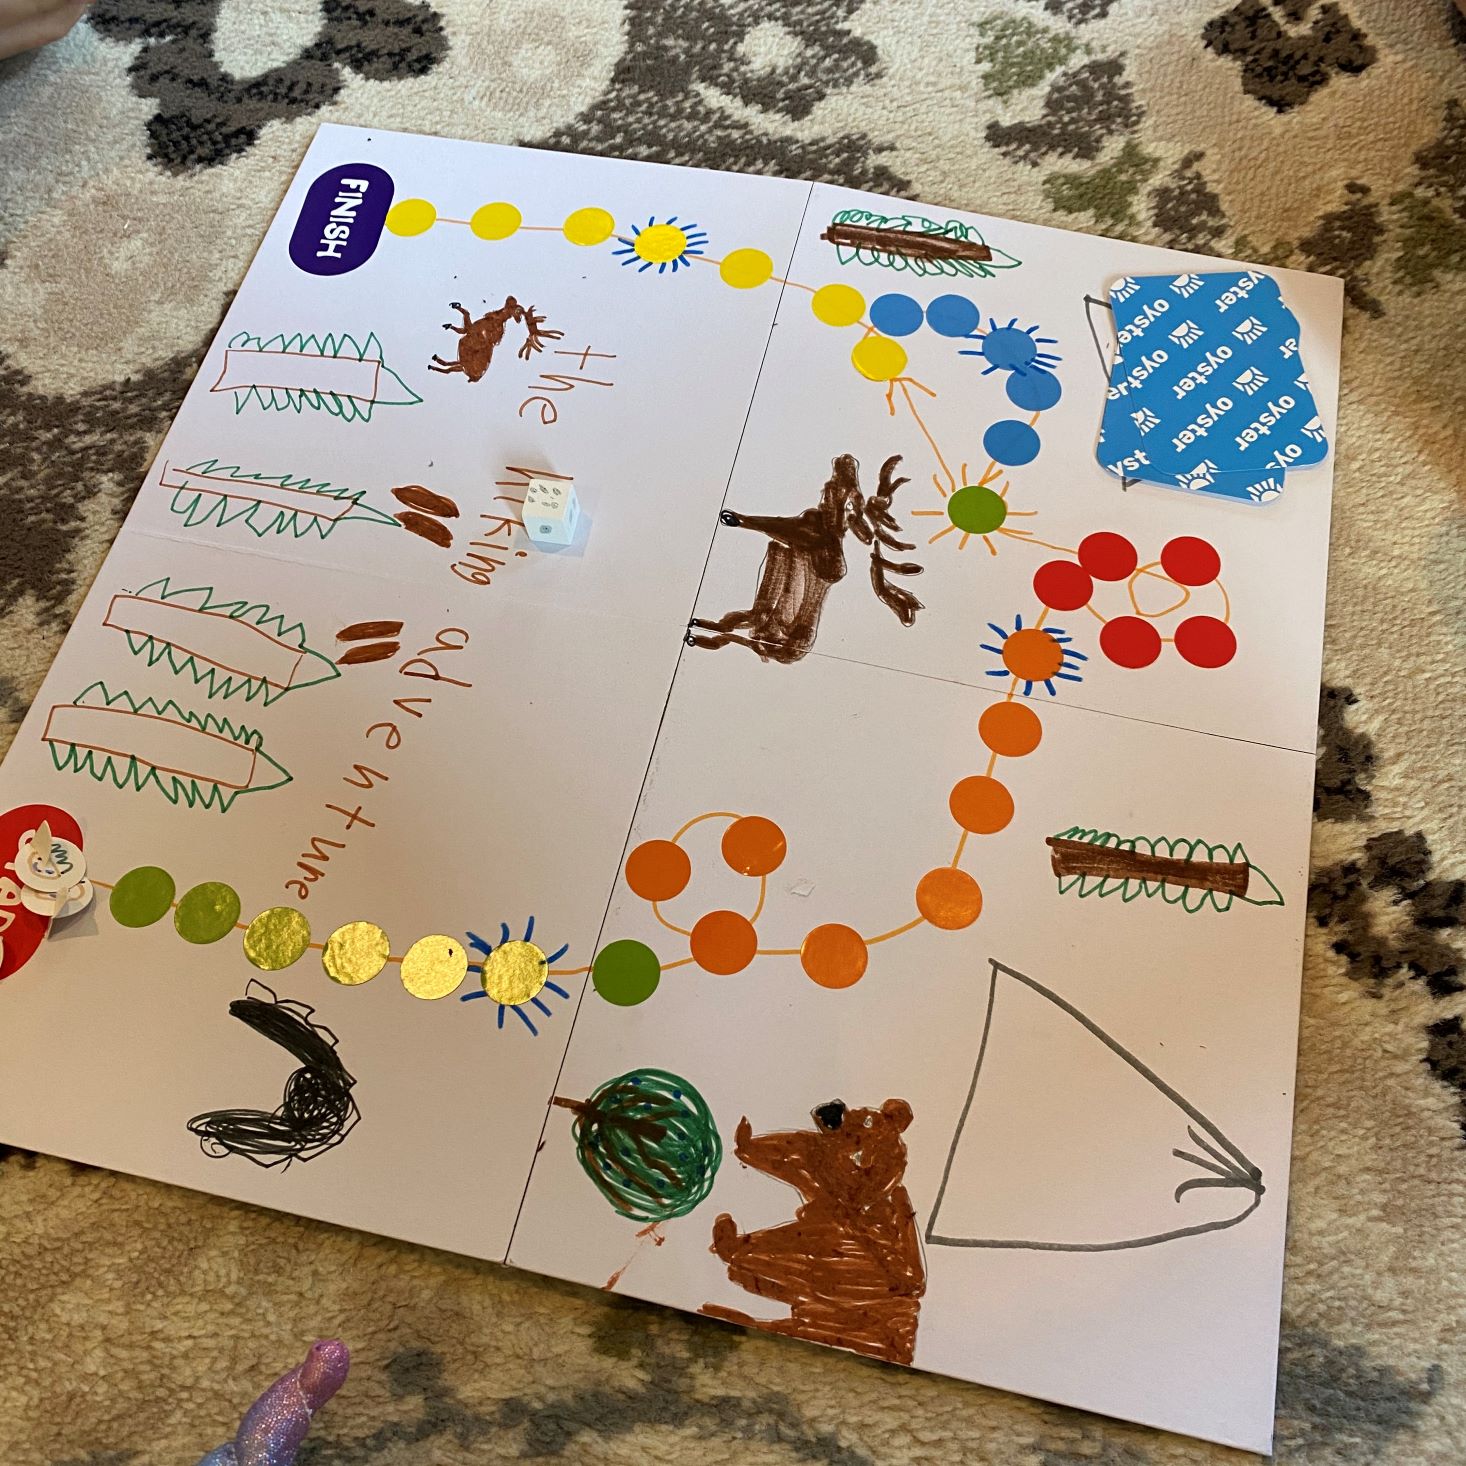
To complete our first mission, we were given the instructions to create a fun, captivating board game! While they gave helpful hints, we were able to customize it however we wanted. The basis of the game used this well-made heavy cardboard folding playing board. Check out Hank's game below!

Die
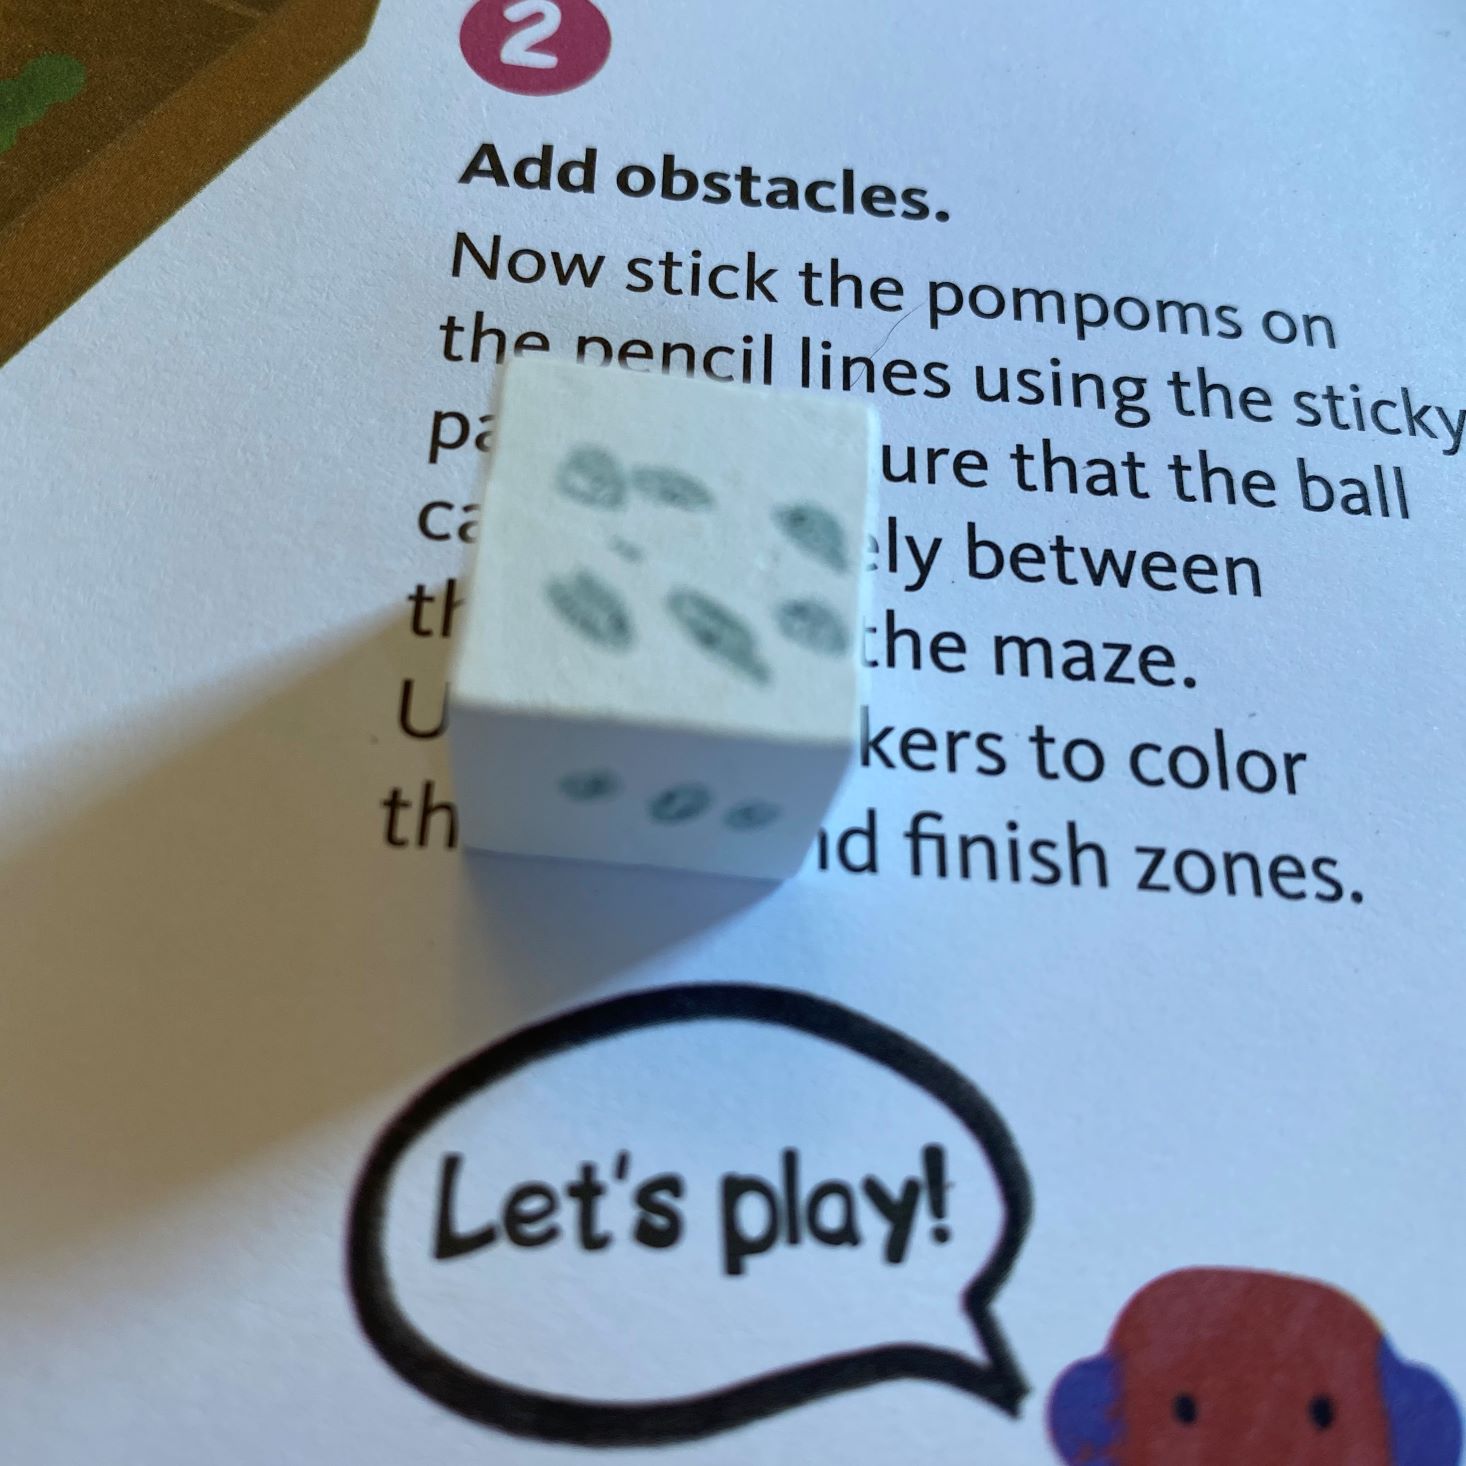
We received all of the components needed to create a board game, which even included a blank die. Hank was excited to be able to add his own dots just how he liked - customizing it from start to finish!
Stickers
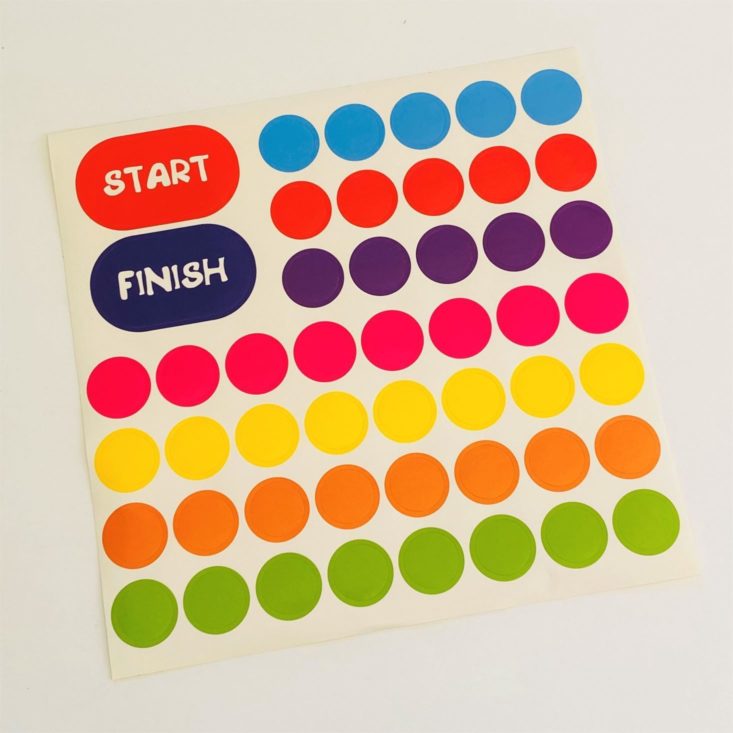
This sheet of stickers came in handy to mark our travel route. Each colorful sticker marked the path your game pieces needed to follow. These stickers were easy to peel off and very bright and colorful.

Player Counters
We also received a set of 4 counters to accommodate up to 4 players. Hank loved the fact that he was able to draw his own faces on these counters, but was disappointed at how thin the paper was. While it was a great concept, the pieces themselves wouldn't stand up and were so flimsy that they didn't really do their job. We ended up using plastic figurines from a play-set instead.

Marker Set
To add color to our gameboard, we received a set of 10 markers. (I just realized the photo shows only 9...I found the red marker on the floor after the photo was taken...whoops!!) These fine point markers were great to add detail to the game board, and while they didn't work as well as a regular Crayola marker for large areas of coloring, they were easy to write with and really added flair to the board.

Sand Timer
To make the game more challenging, we received a sand timer to add to the mix. While the game that Hank created didn't need a timer, we did find it a great tool for our toothbrushing station in the bathroom to keep the kids on task!

Blank Cards
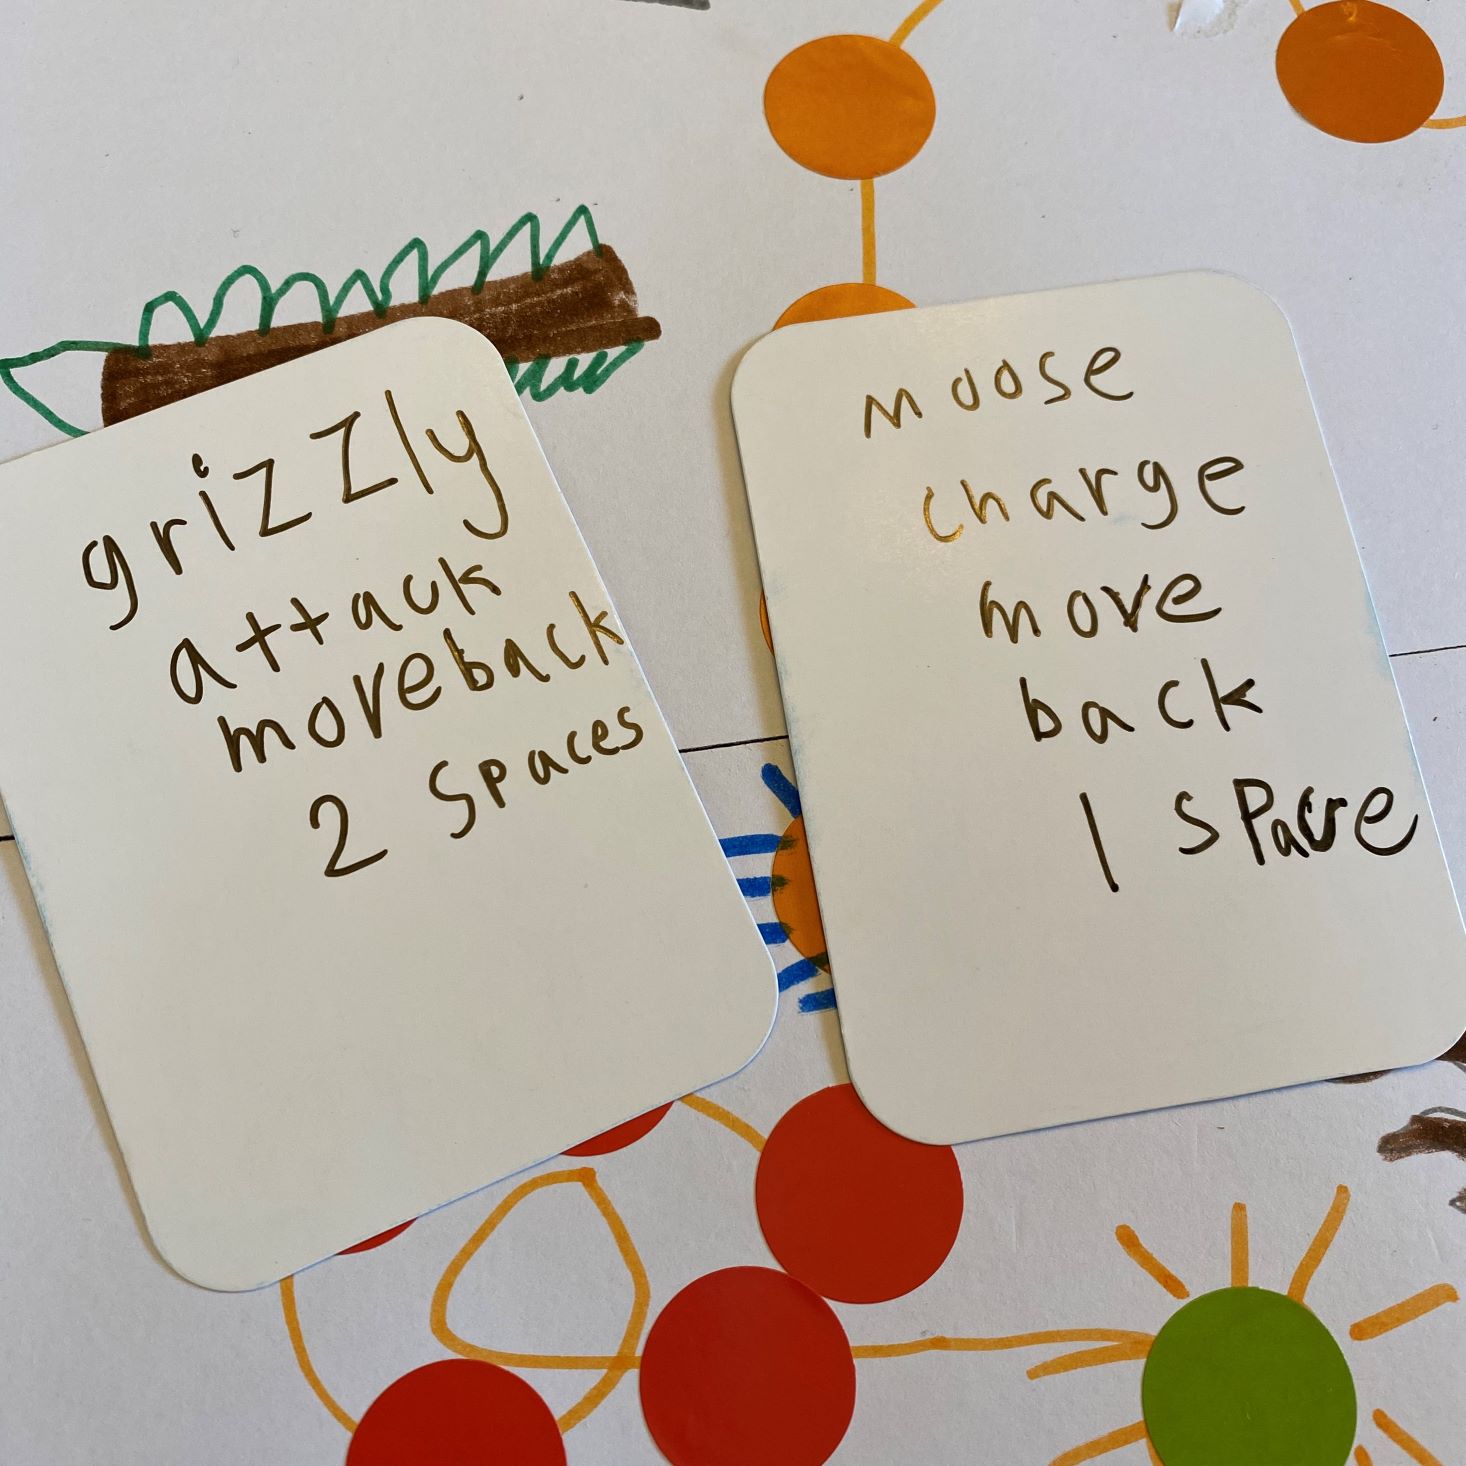
Another option that was included was this deck of blank cards that could be customized with tasks, questions, or rewards.
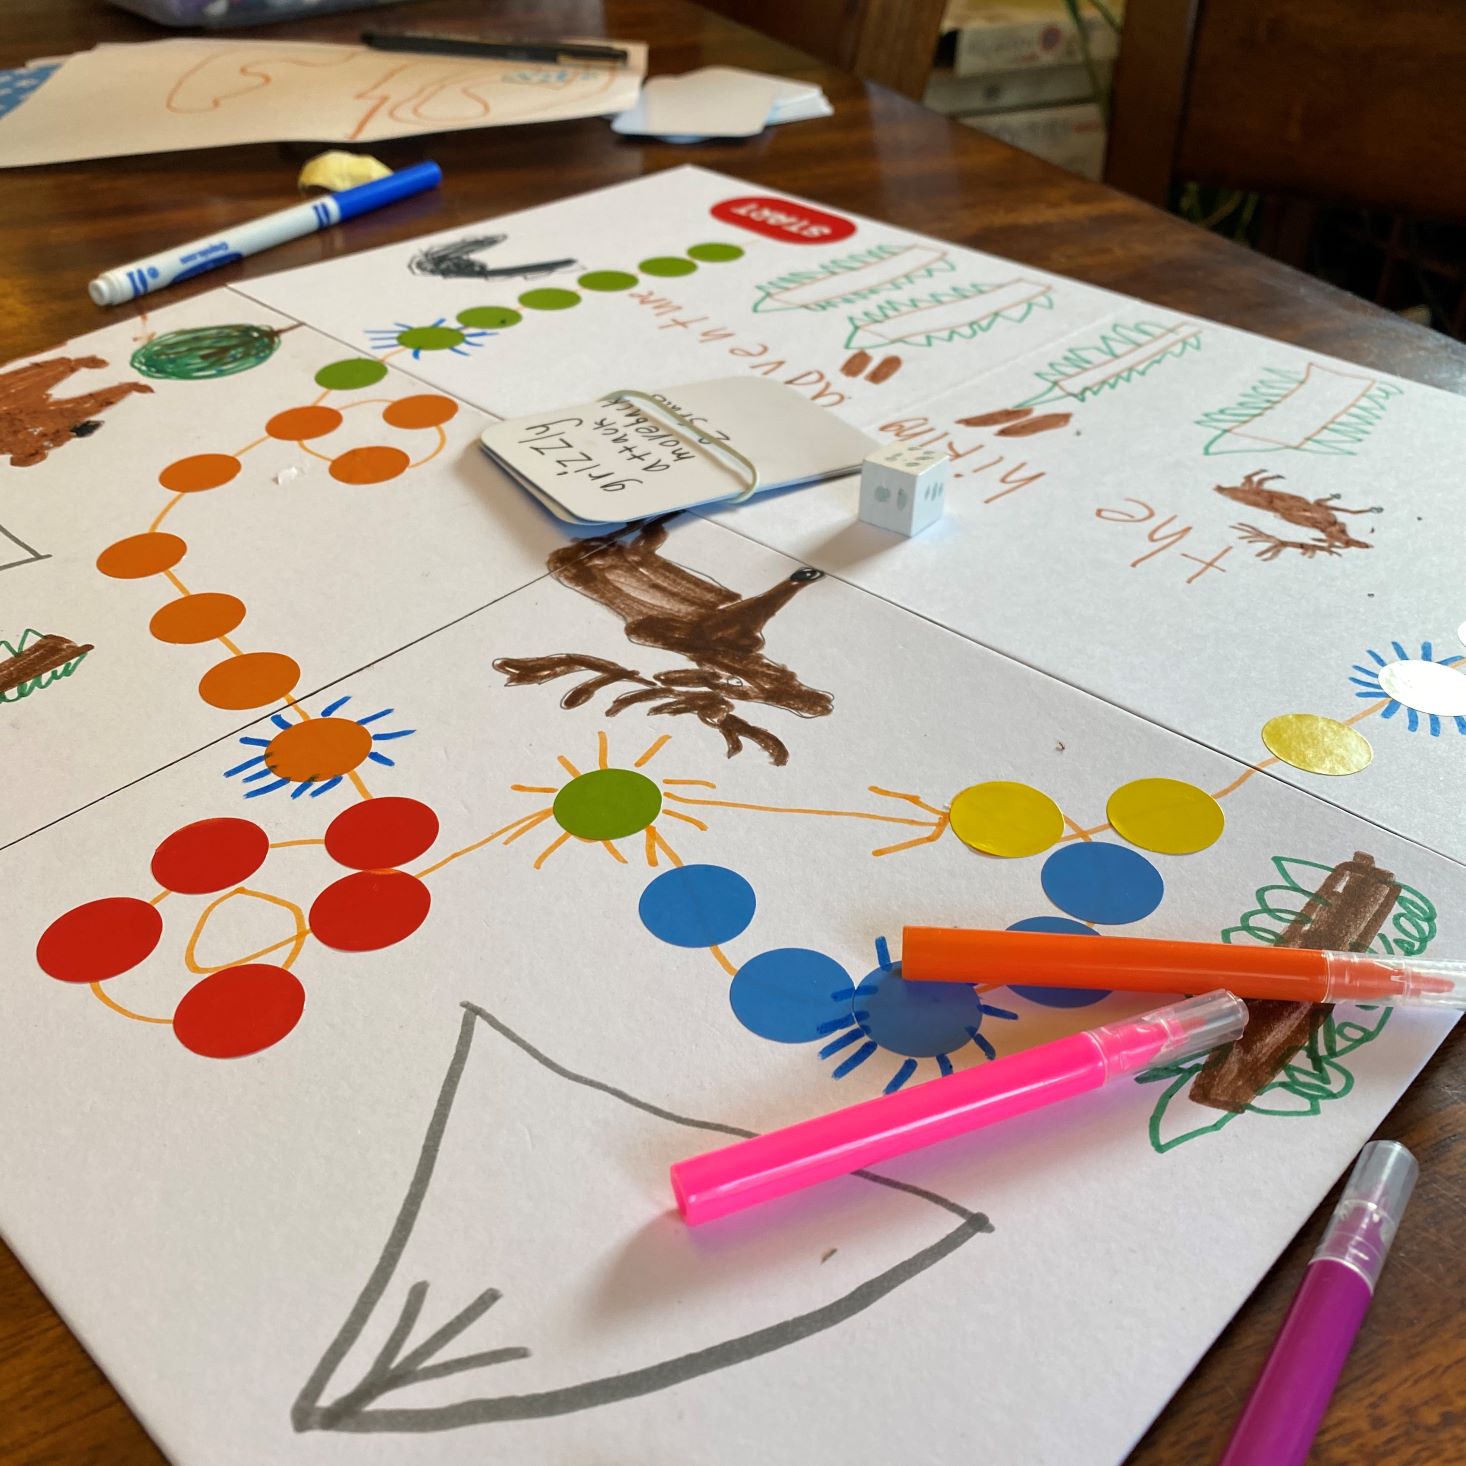
Mission Accomplished: "The Hiking Adventure"
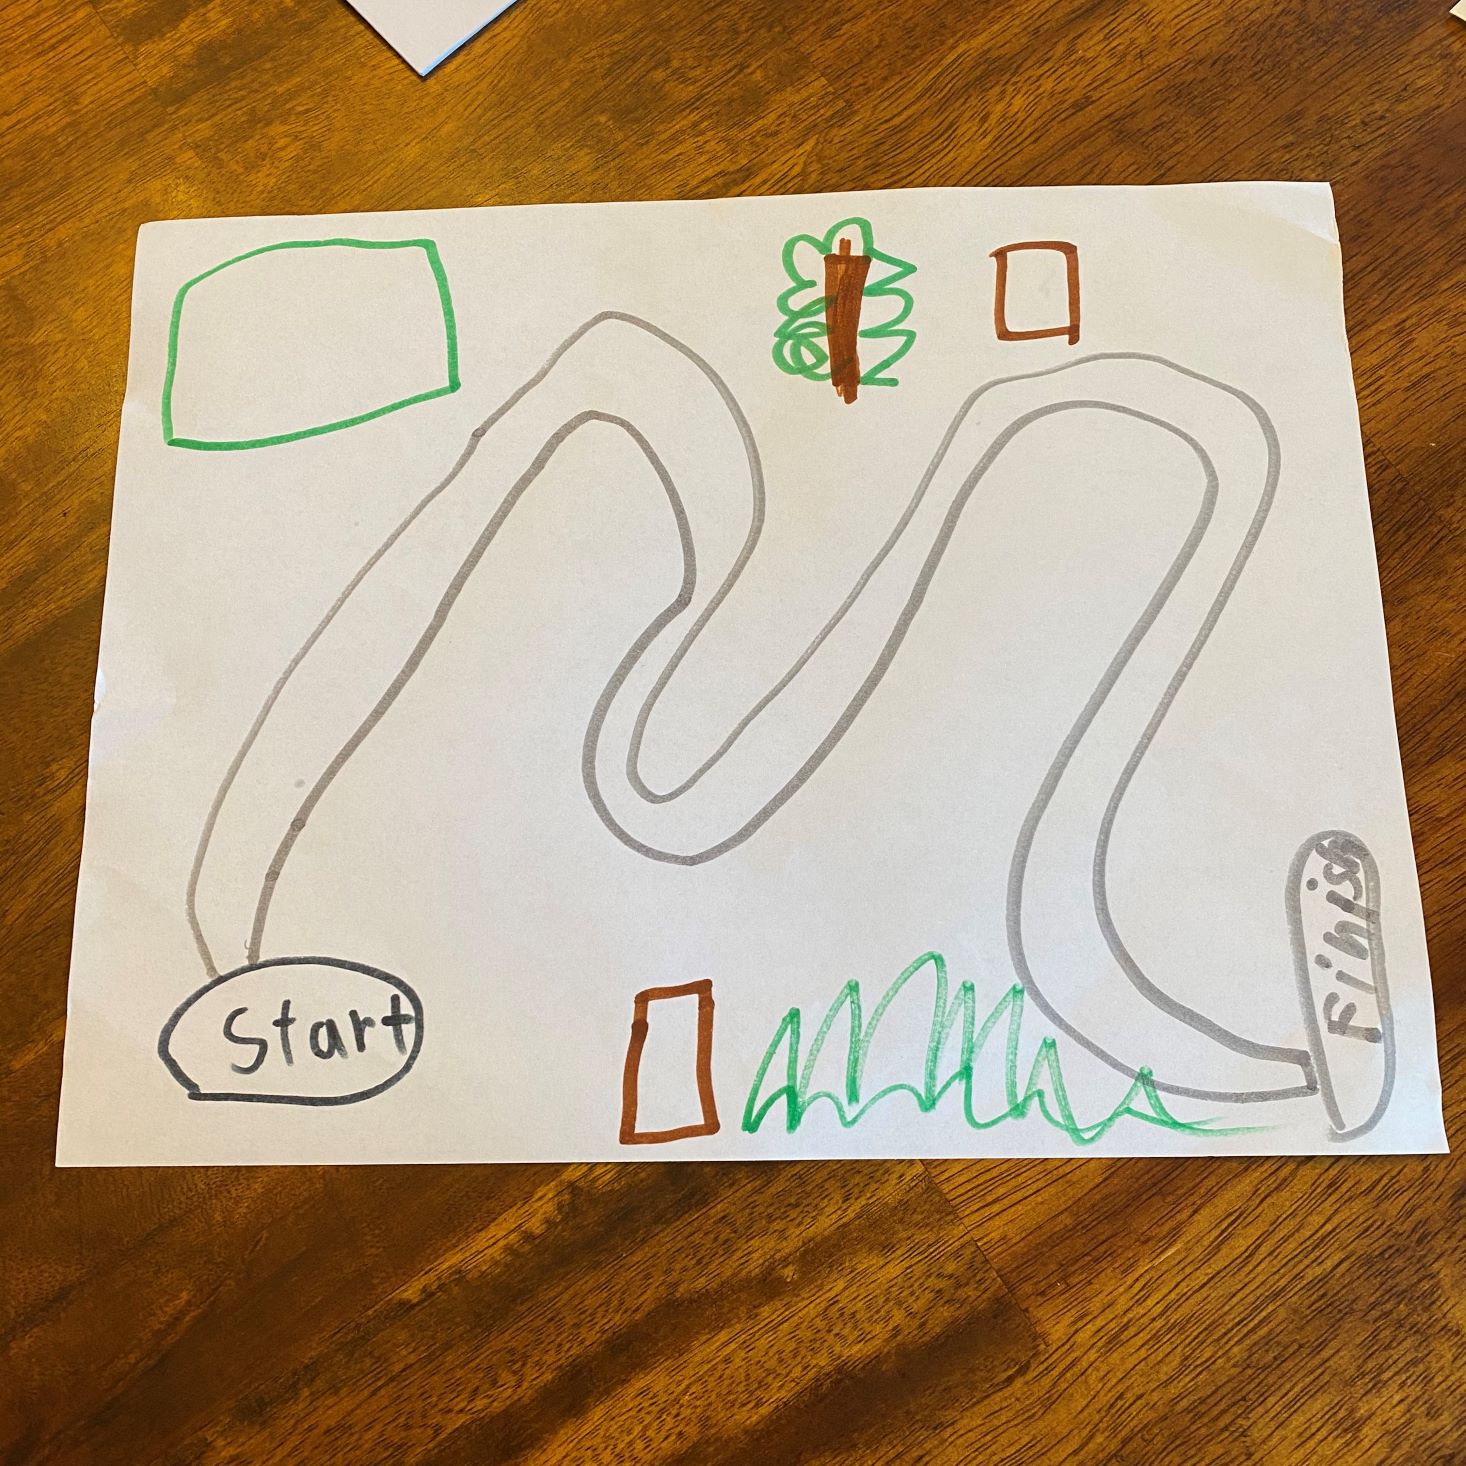
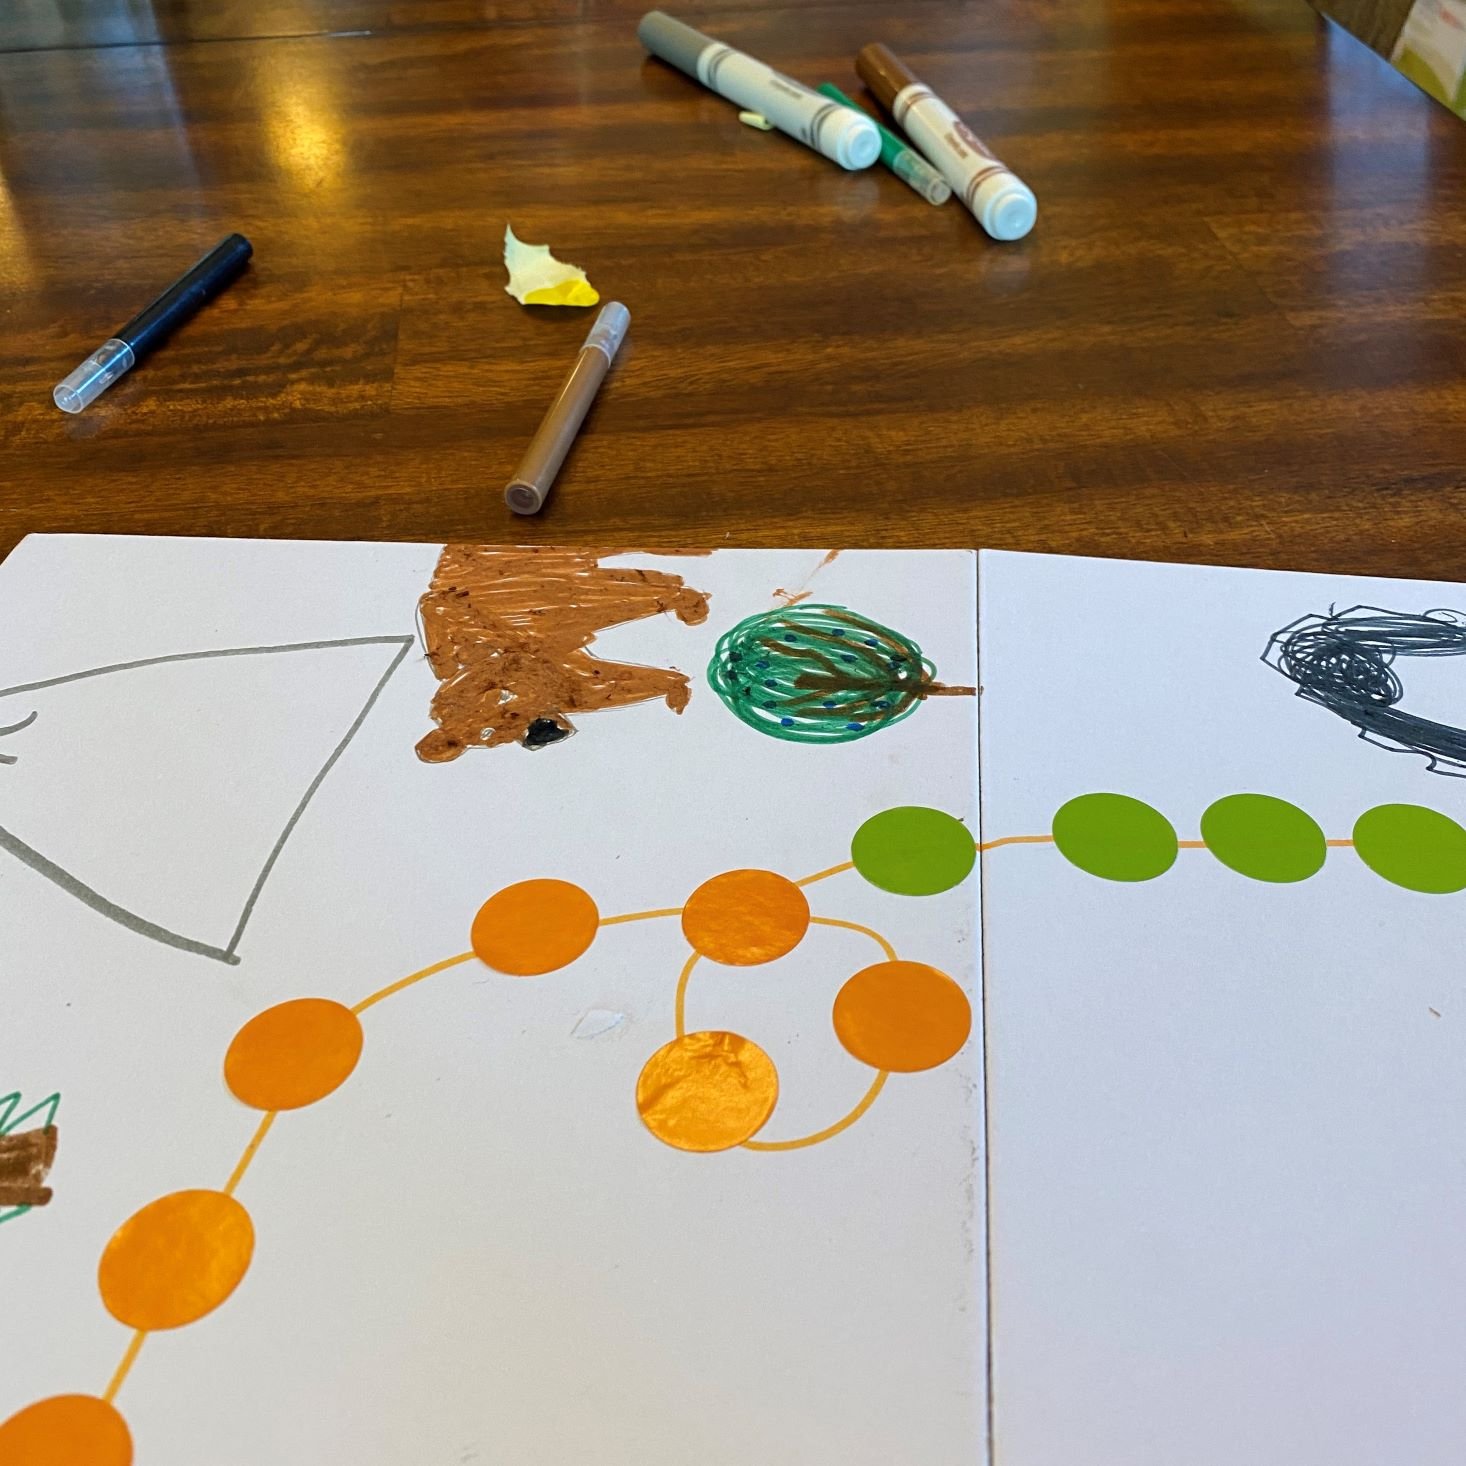
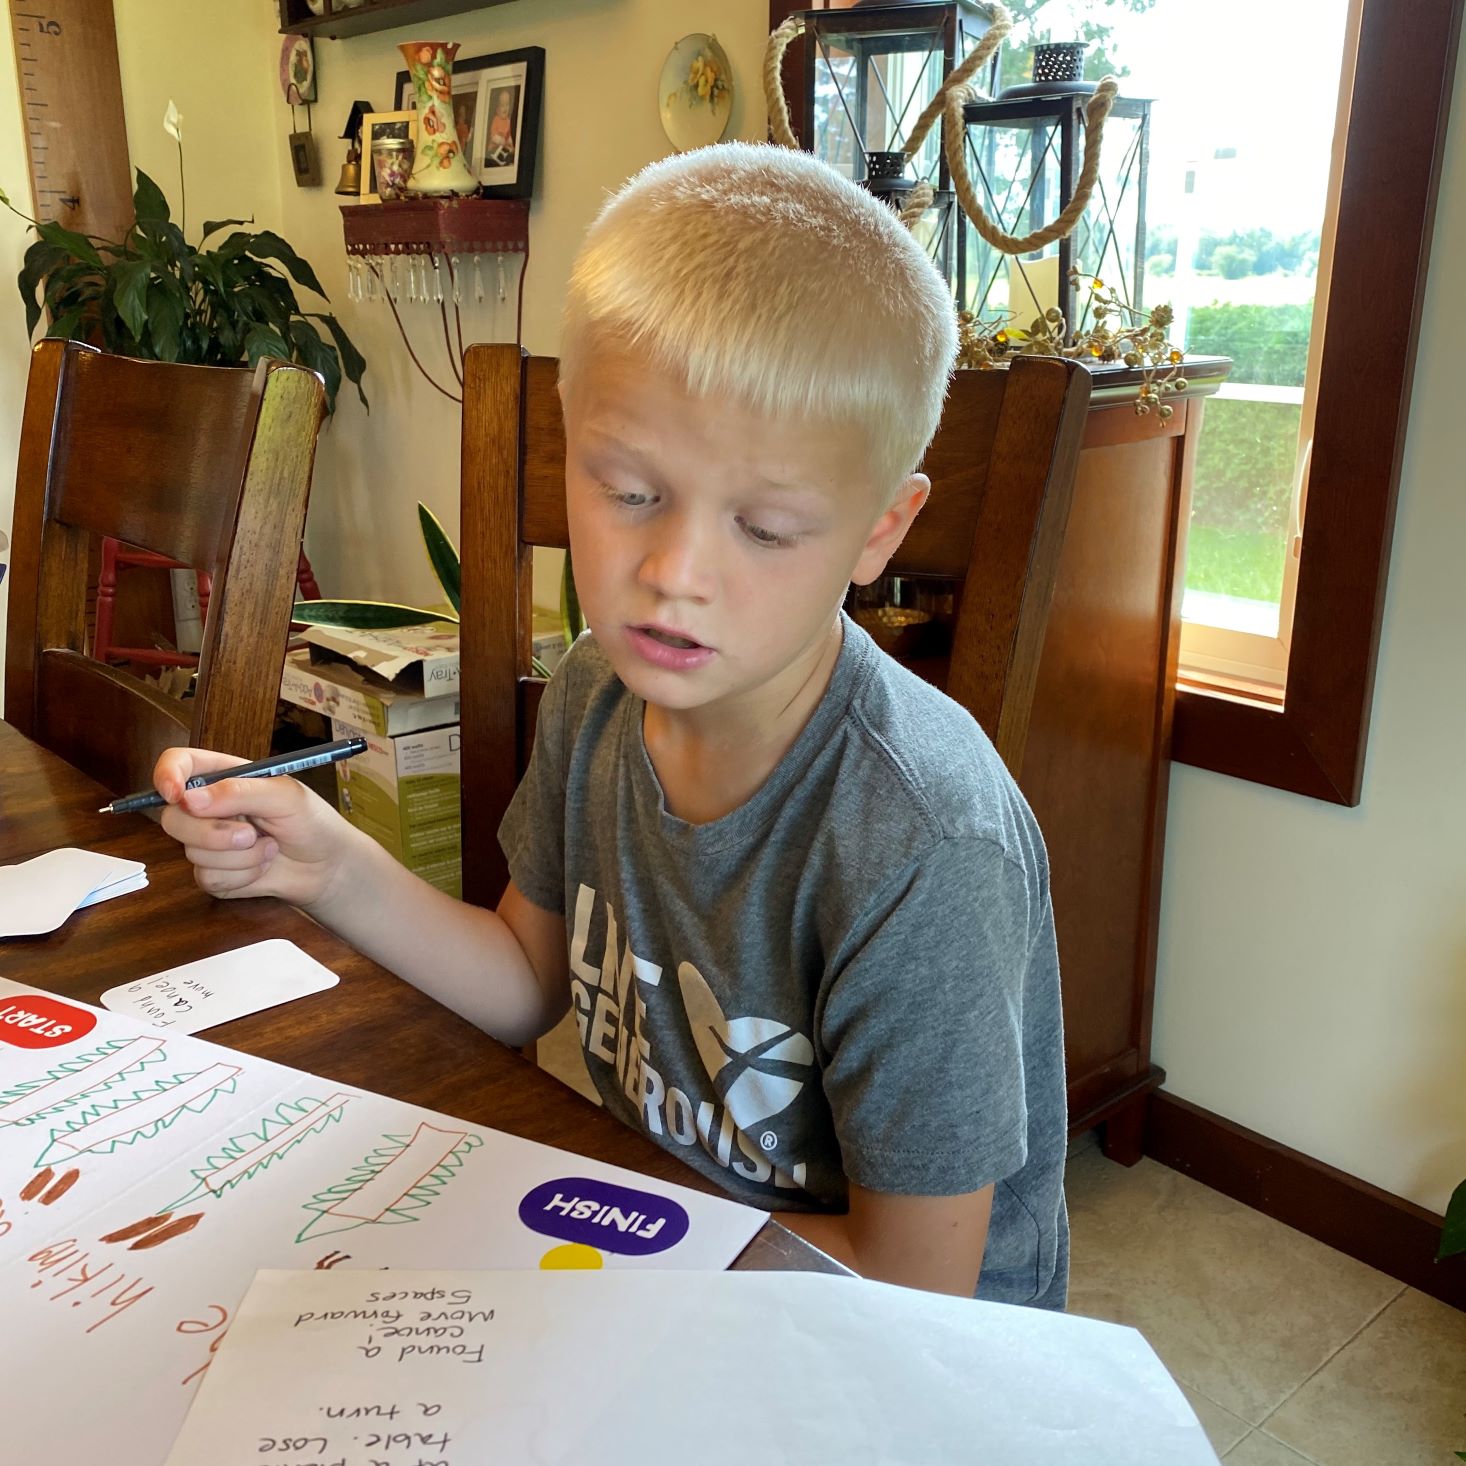
How cute is this?! Hank spent all afternoon working on his game design! After reading the directions, he took out some scratch paper and created a sketch of what he was thinking for his actual game board. Knowing that he wanted to have animals on his gameboard, he decided to create a hiking themed game that featured wild animals and a forest. Using the markers, he created his path, to which he then added his space markers. Adding "special spaces" and illustrations, he covered his board exactly how he wanted. Using the blank cards, he created scenarios in which you were able to go back or forward when landing on a special space. He then created the character markers and was ready to play!
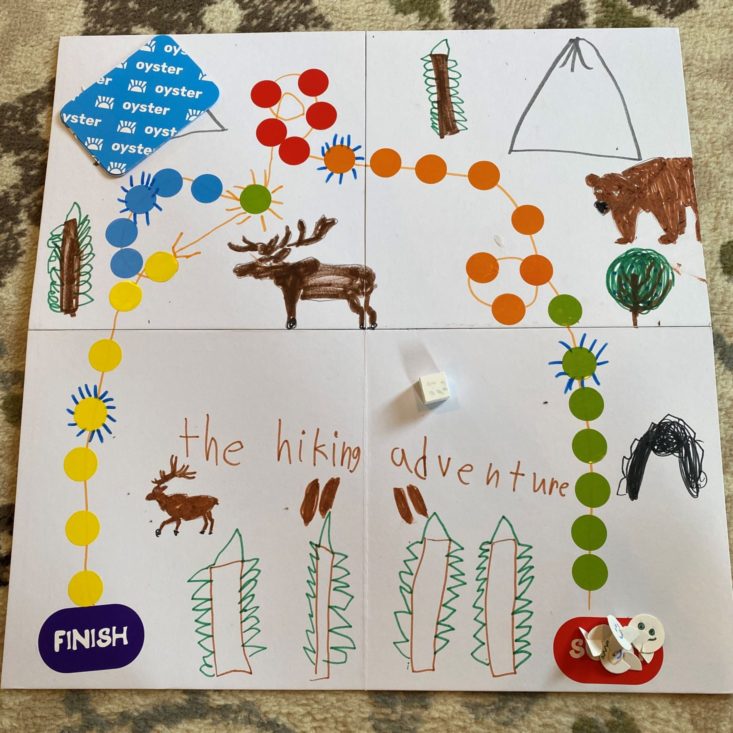
Didn't "The Hiking Adventure" turn out cute? I was so proud of Hank for the time and effort he put into creating his very own board game! I loved the fact that he had so many options to design this game however he wanted, yet still have a bit of a guide to walk him through the process. To take it for a test drive we played it right after he finished, and Charlie was the winner! (I of course came in last after being chased by that darn grizzly bear!!)
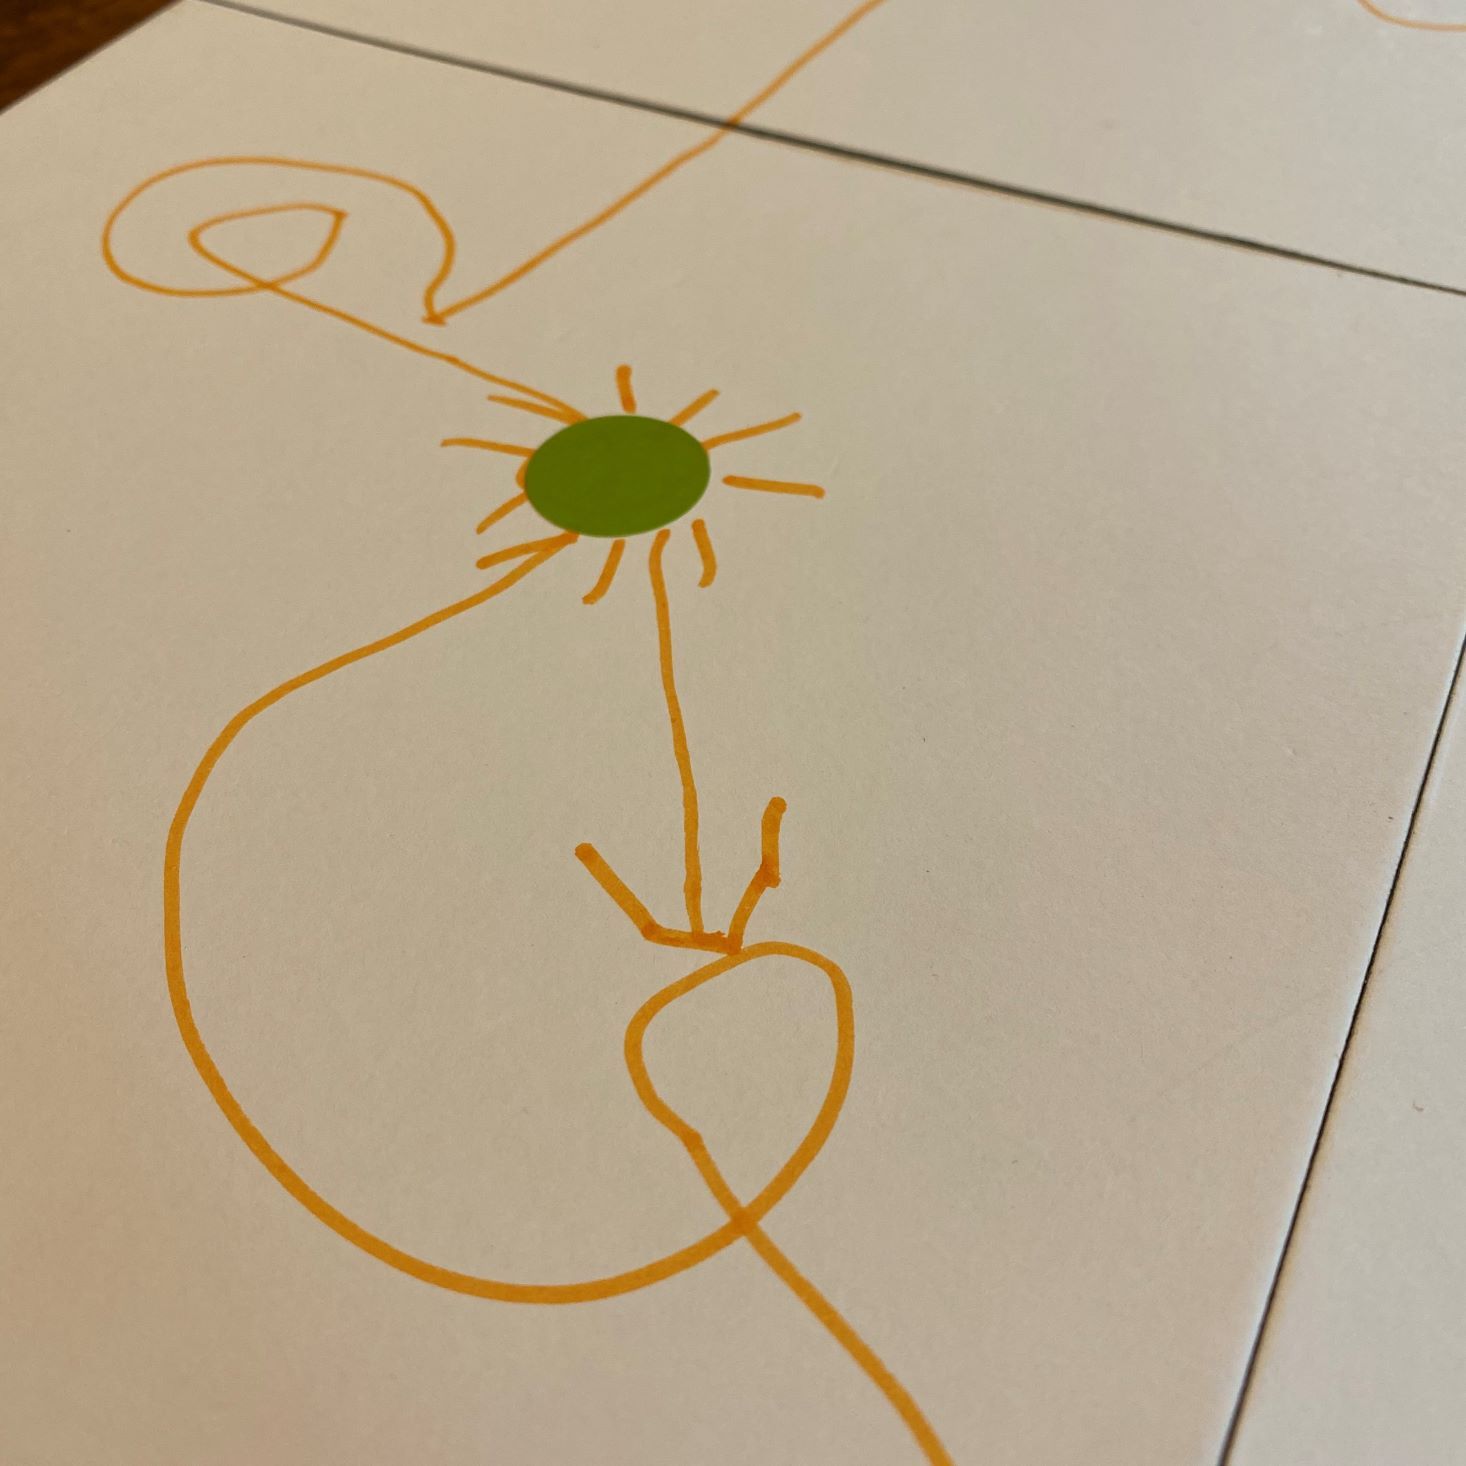
Charlie decided he wanted to design his own game as well, but as you can see, his is a bit more complex!
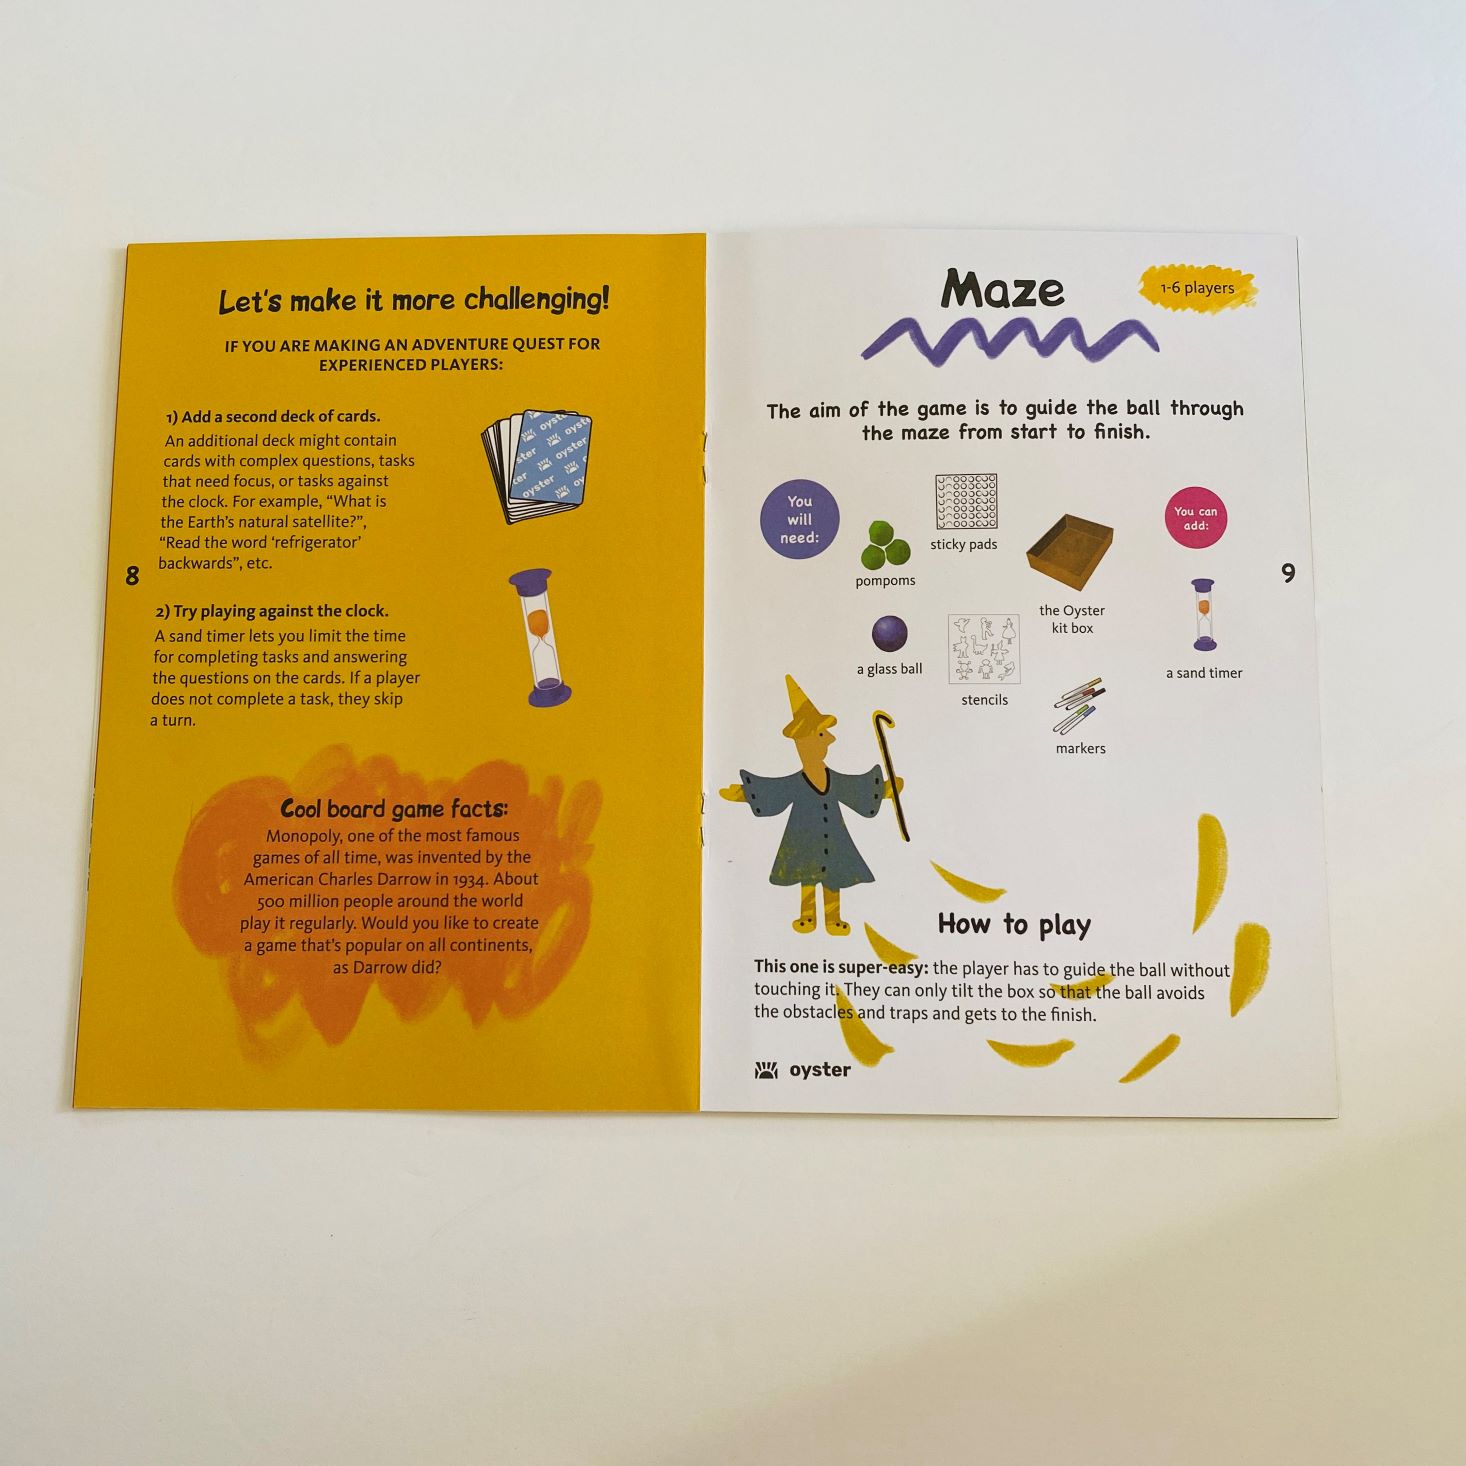
Mission 2: Maze
Pompoms
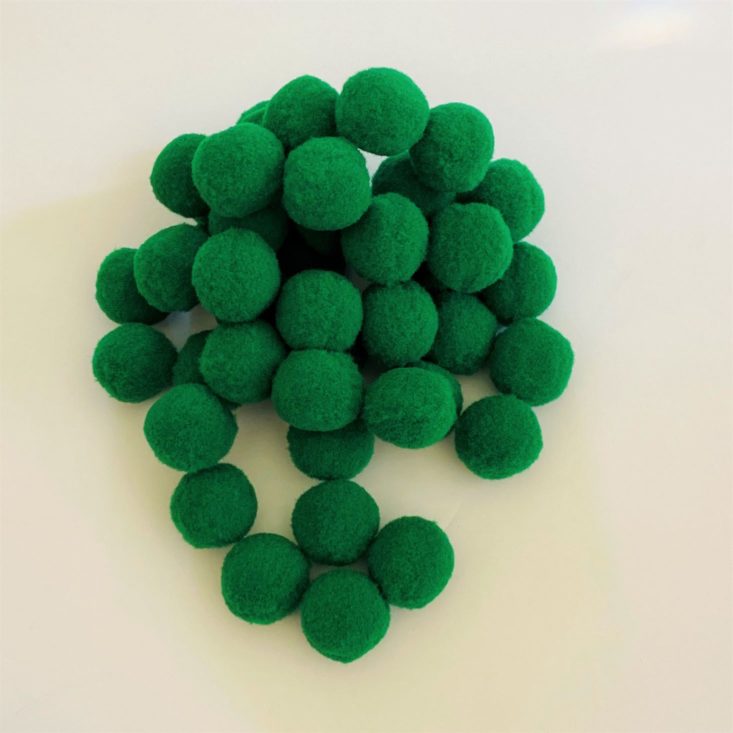
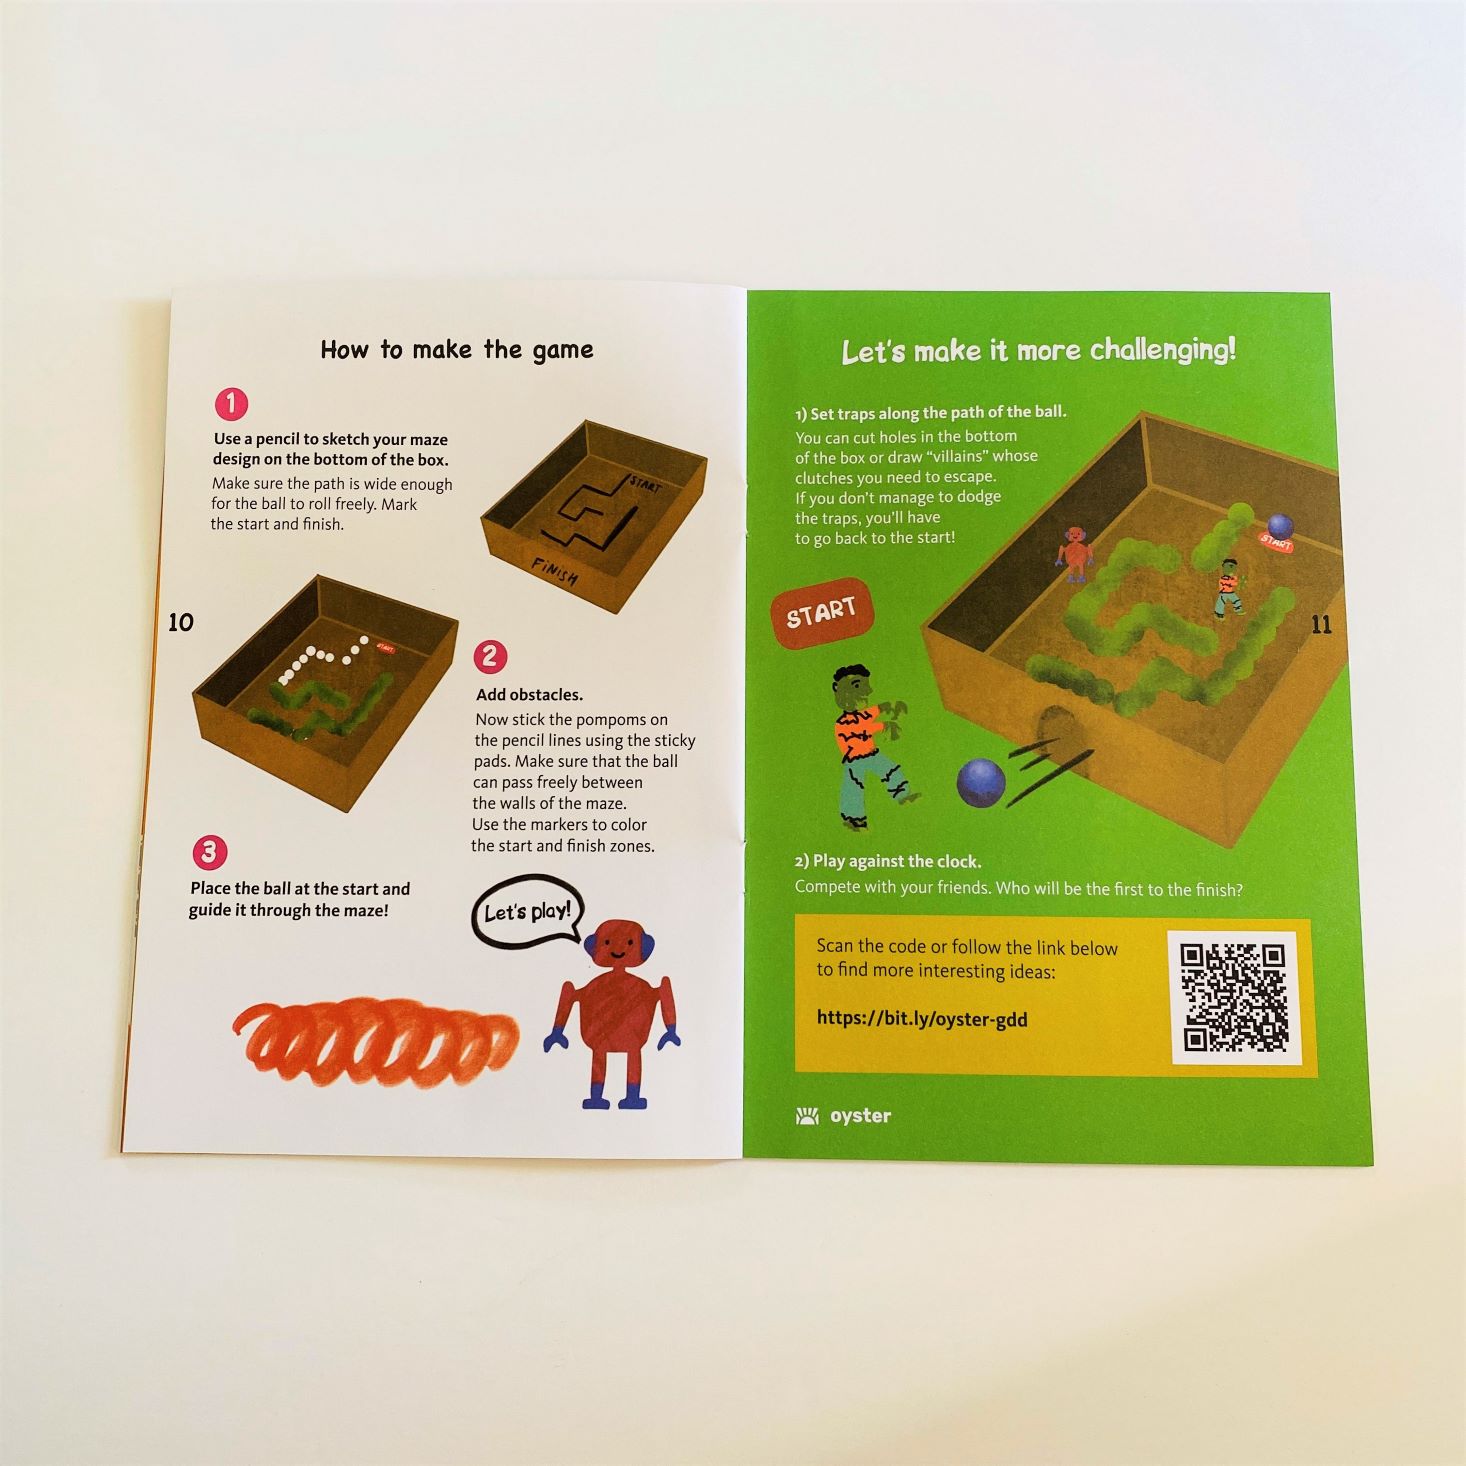
To create our maze, we were given a bag full of green pompoms to help keep our marble on track!
Glass Marbles
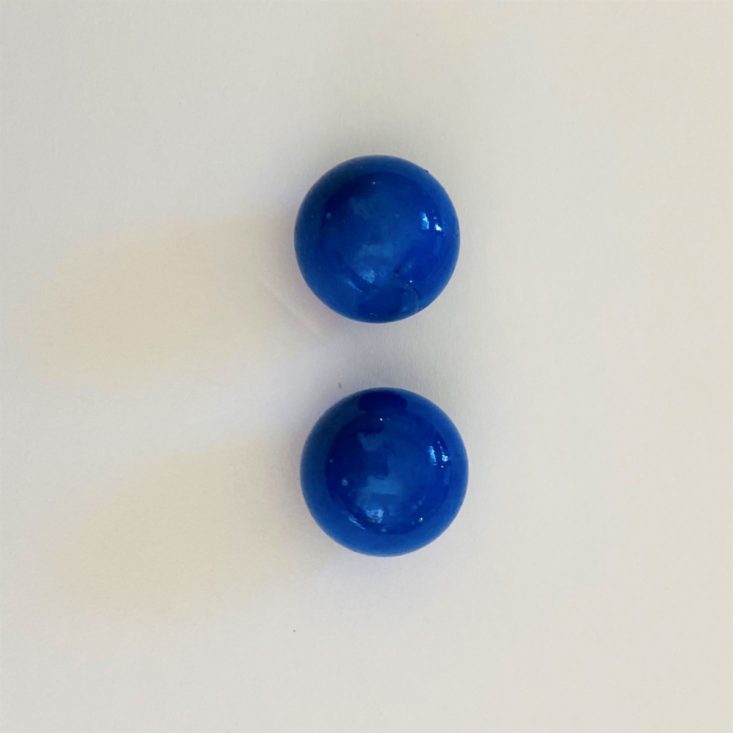
Because we are designing a maze, we need an object to get through the maze, and these glass marbles are perfect! Plus, who can resist that beautiful royal blue color?!
Stencils
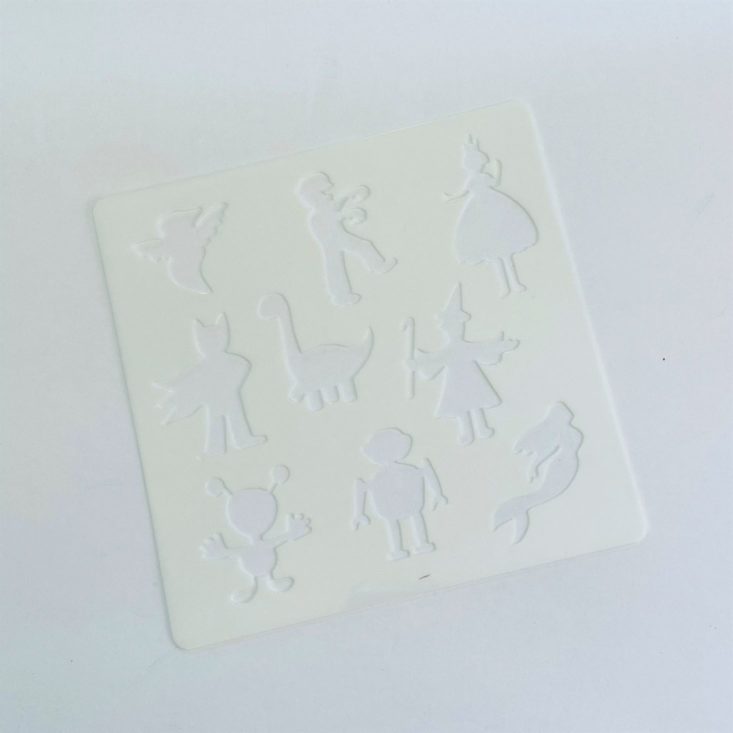
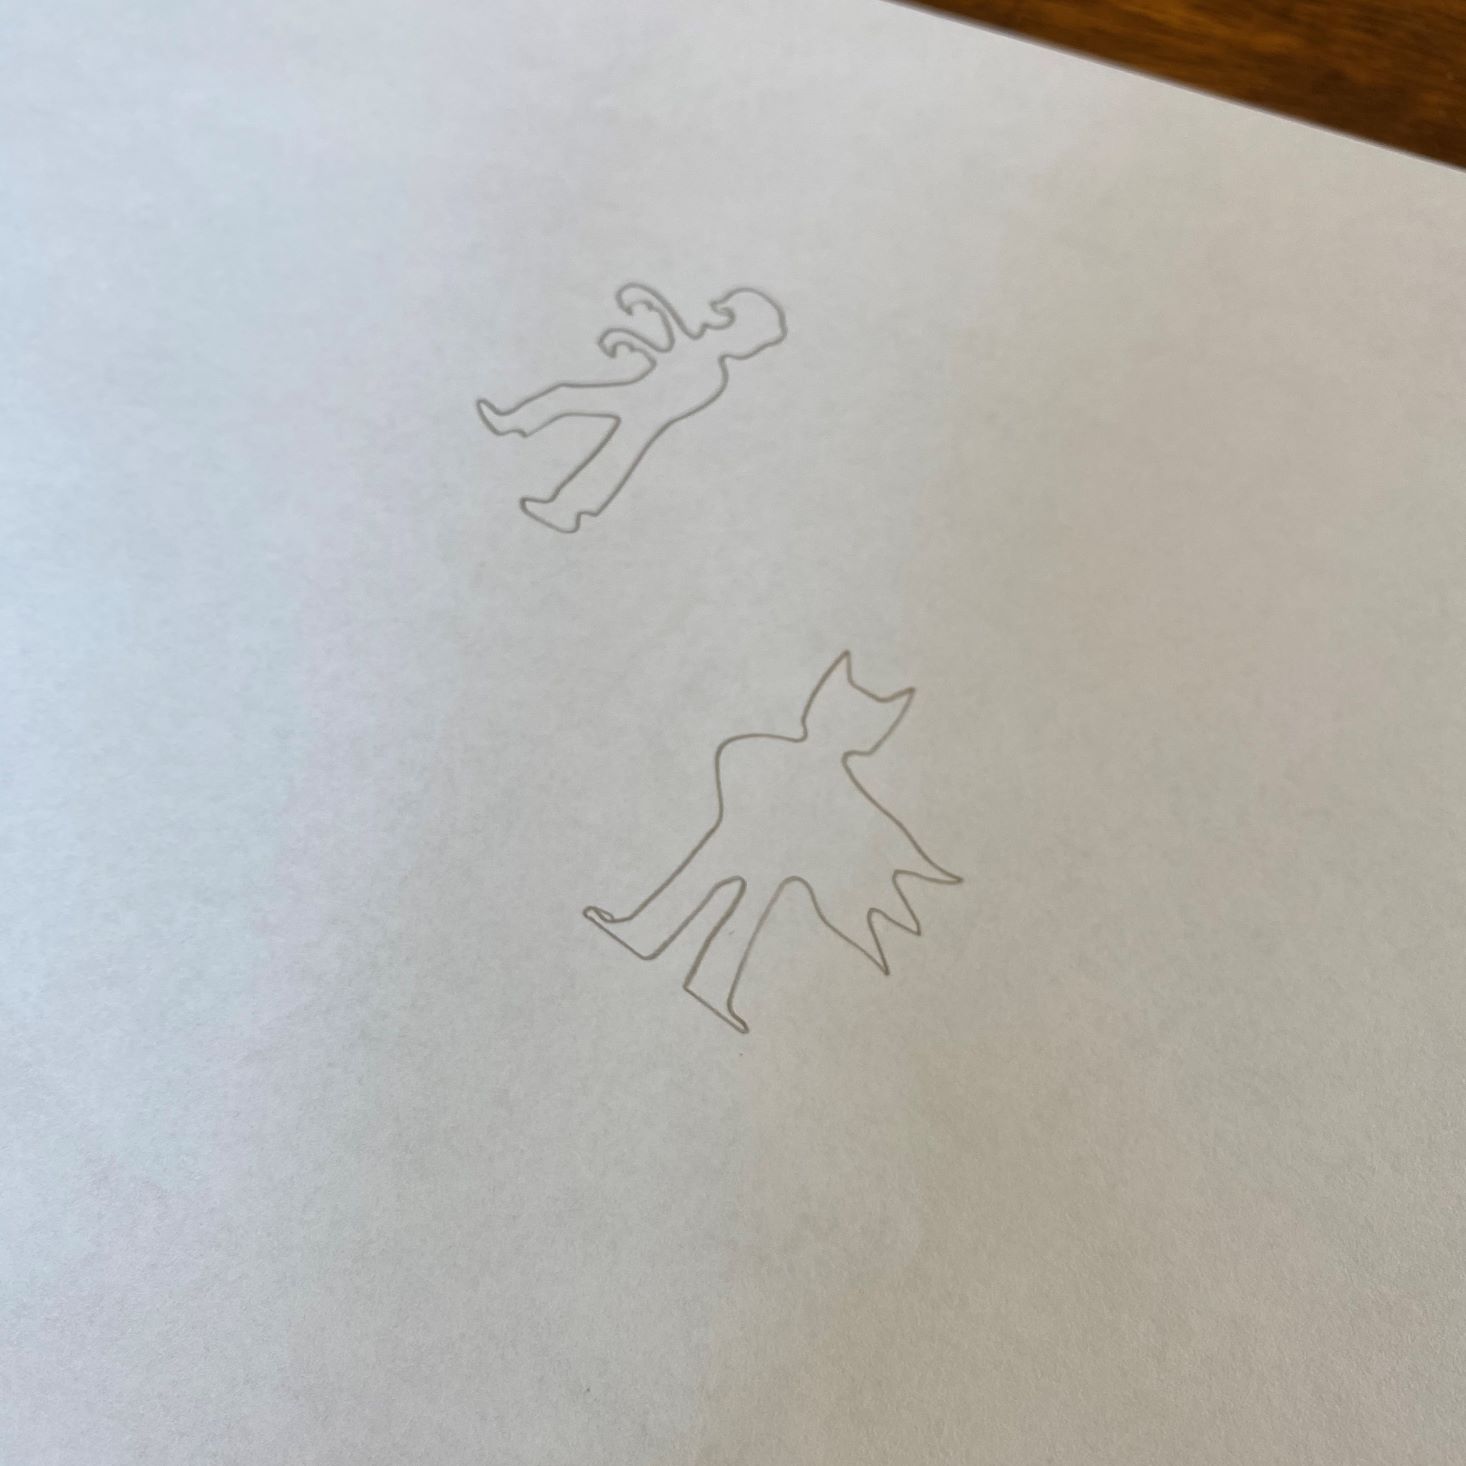
Also included was this sheet of stencils. In the loose instructions, they suggested creating characters to place in your maze to make it more challenging. I was happy to see the nice mix of characters, including a zombie, dinosaur, princess, mermaid, alien, and robot.

Sticky Pads
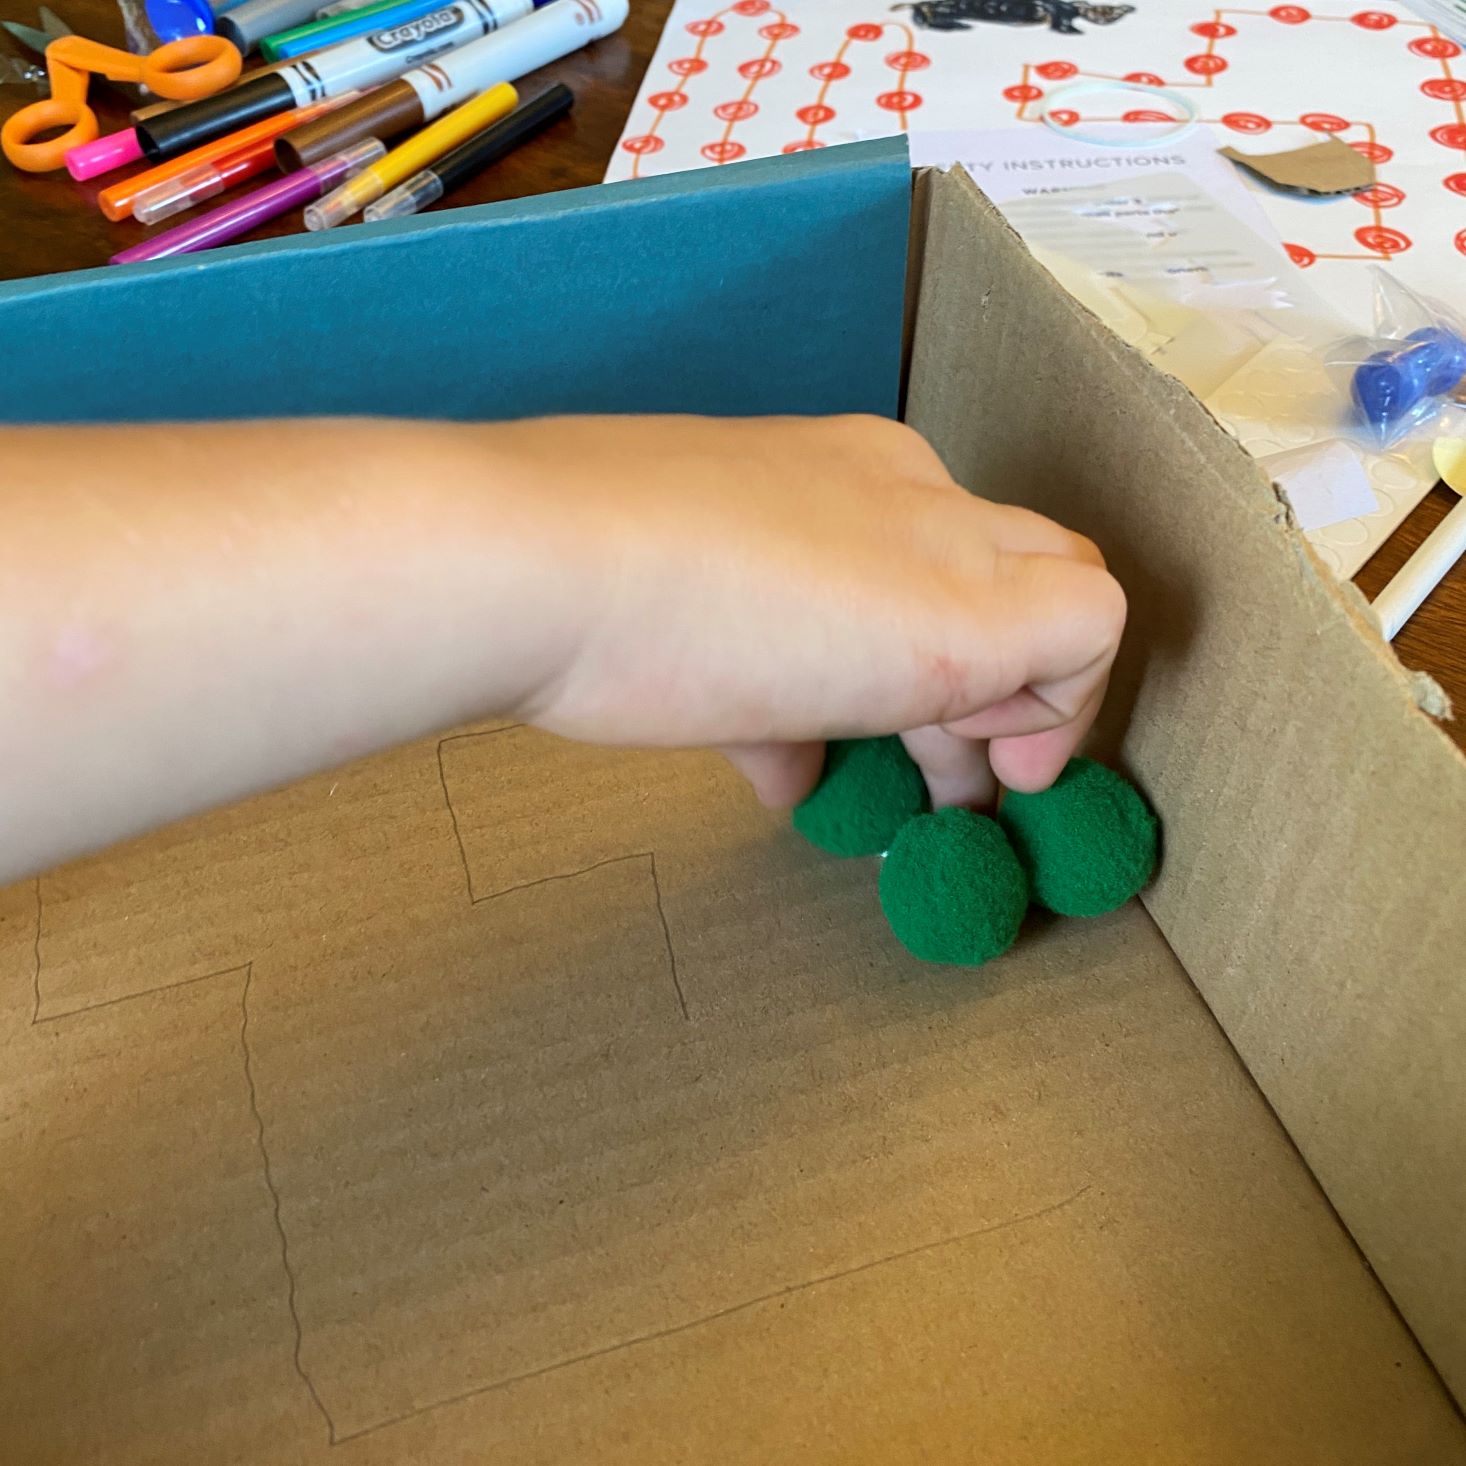
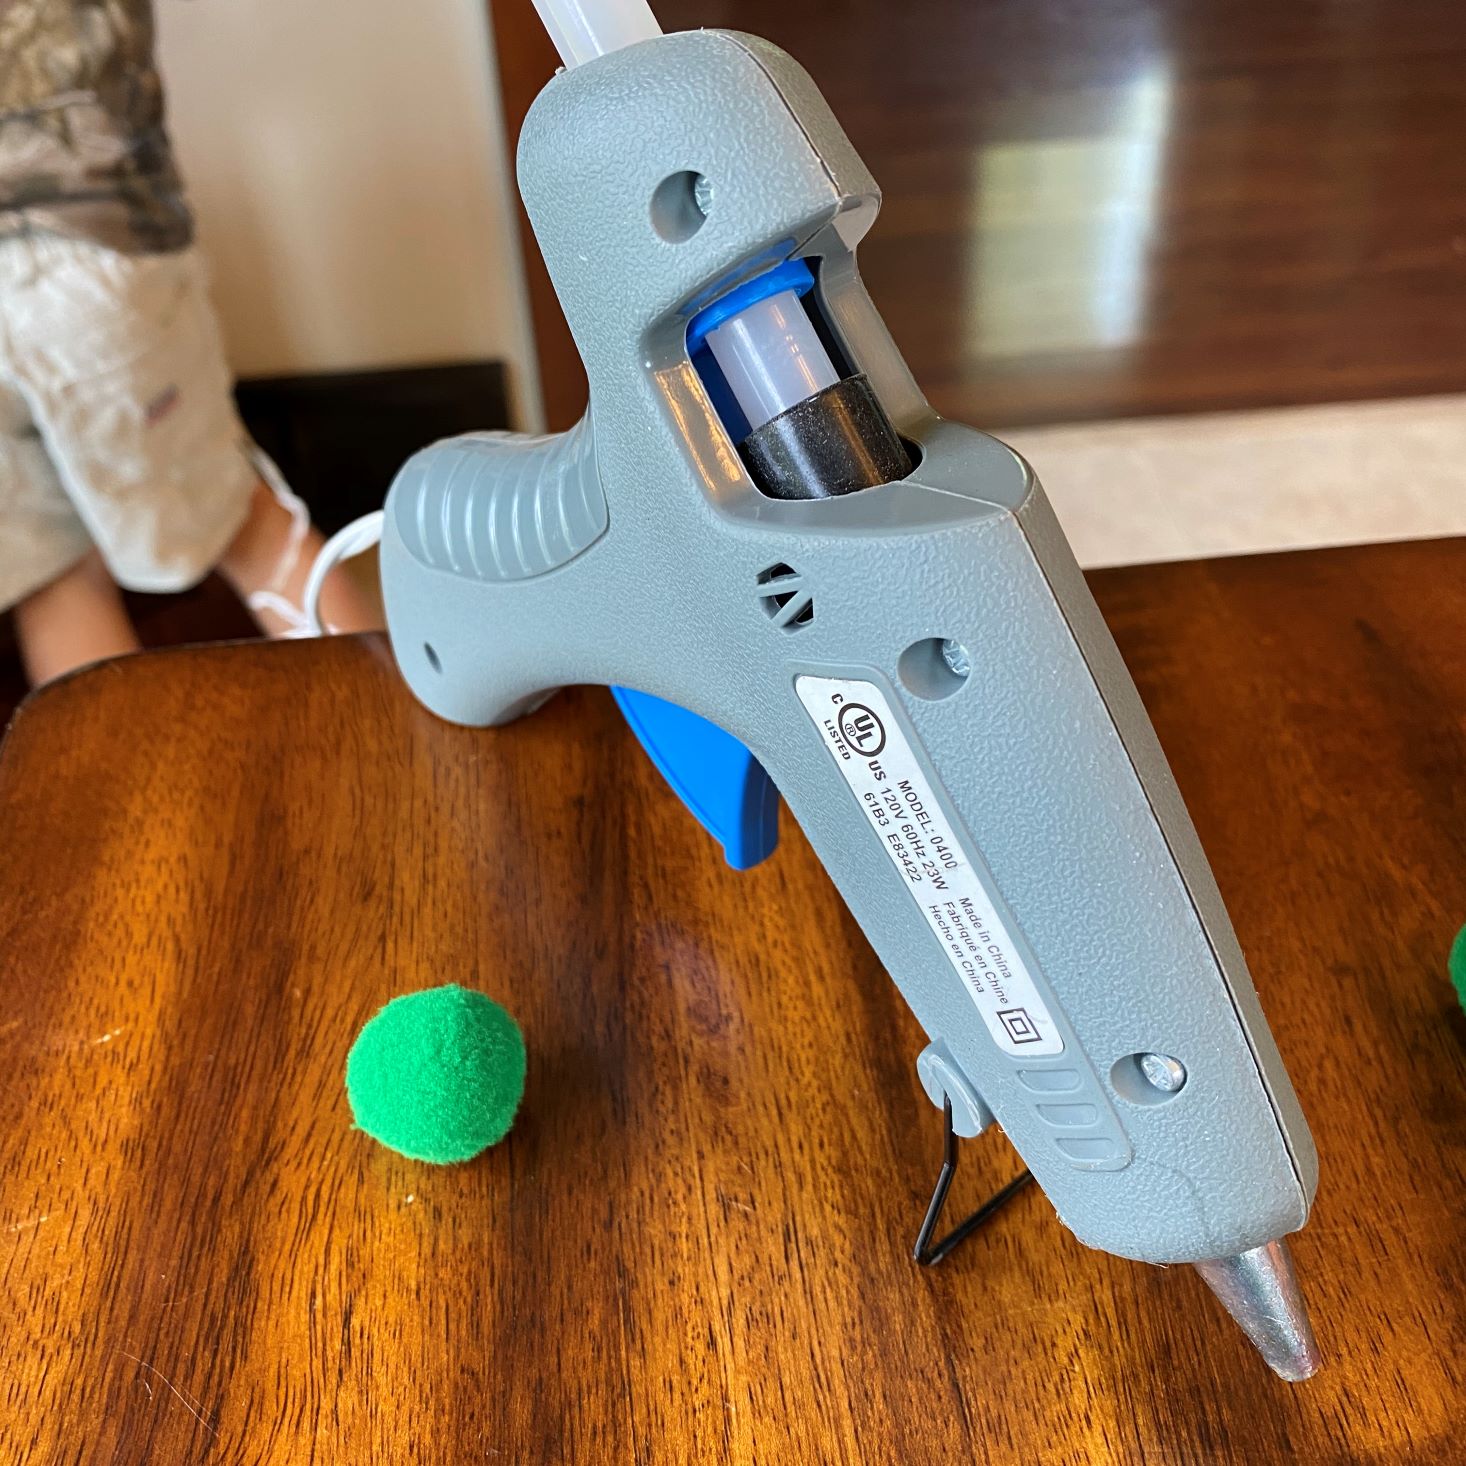
We received 2 sets of sticky pads to adhere the pompoms to the box for the maze...as you will see in my step-by-step photos below, these did not work well for this activity and I ended up using my hot glue gun, but I put them in my craft supplies to create some layered cards.
Mission Accomplished: Zombie Versus Superhero Maze
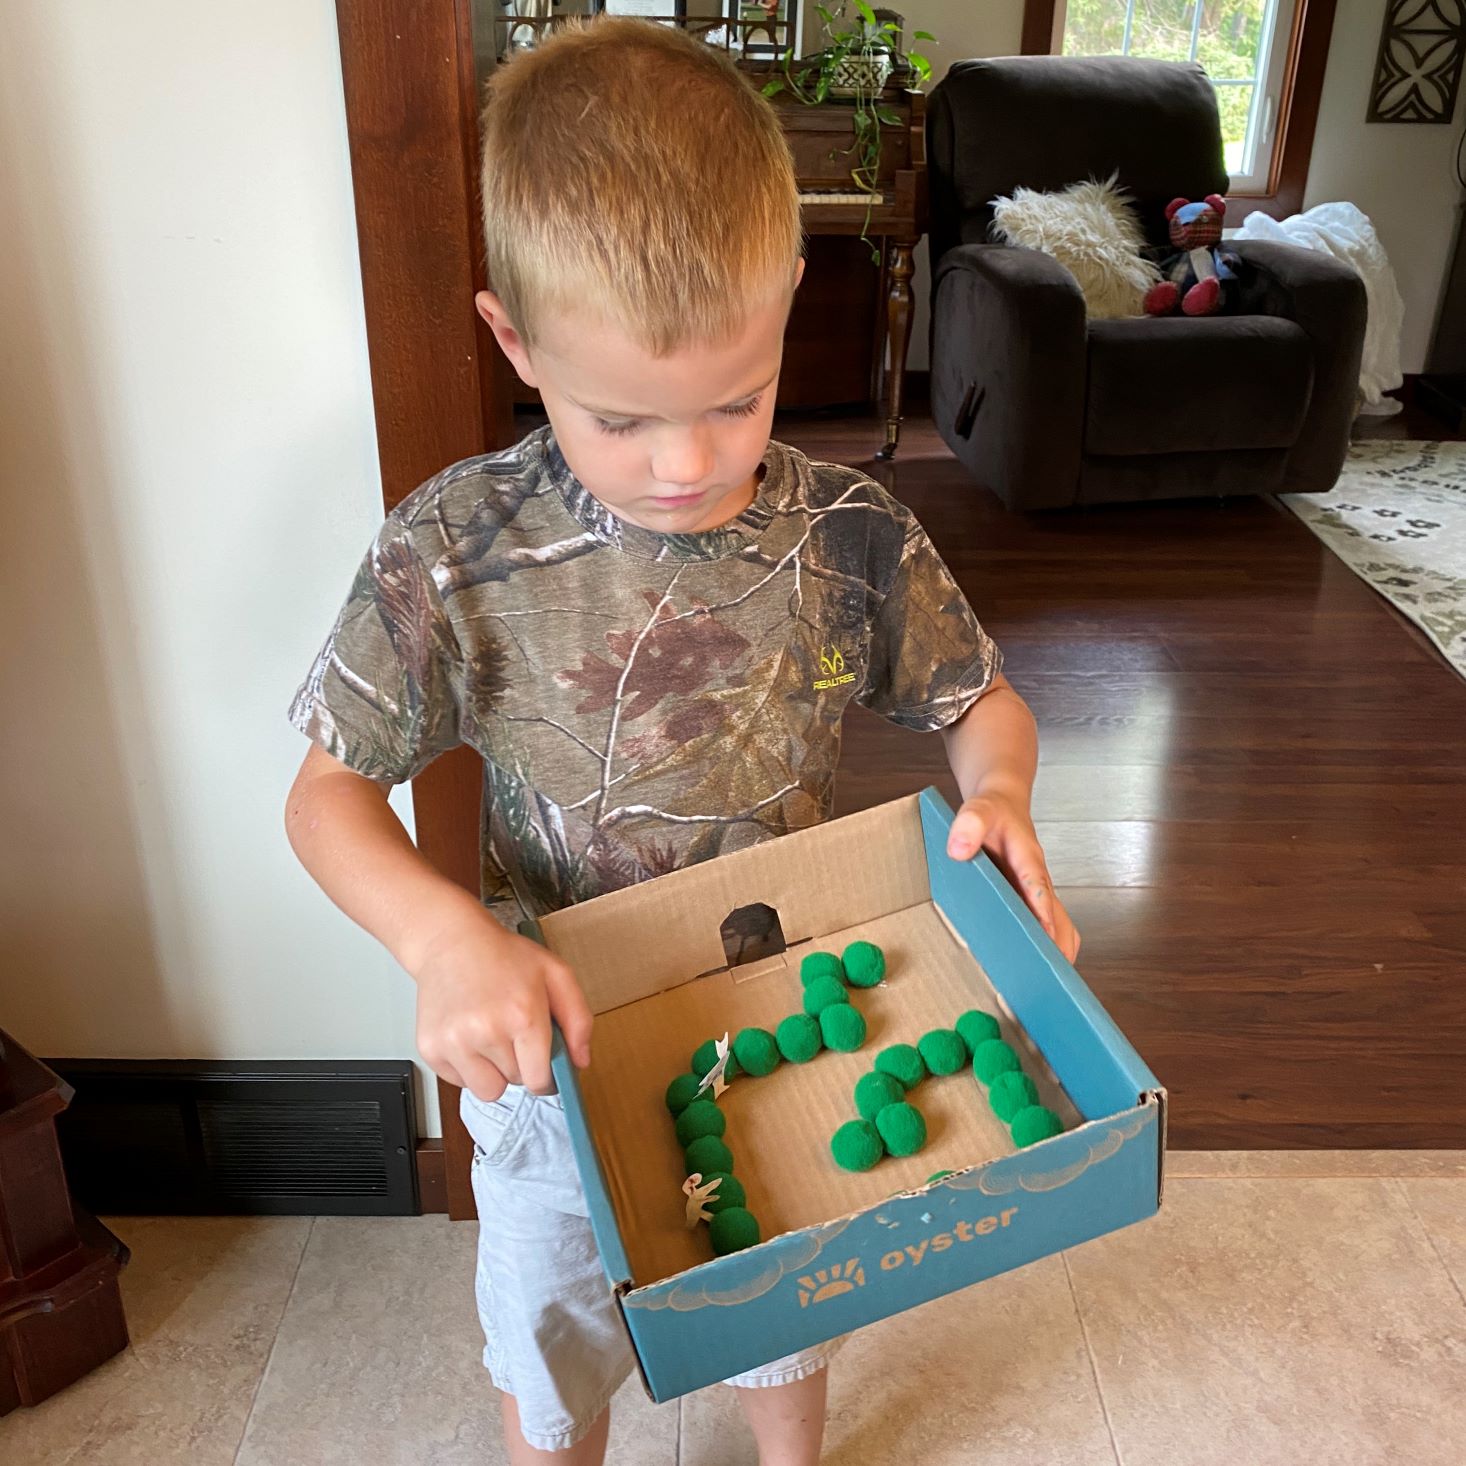
Because Hank chose to create the gameboard by himself, Charlie asked if he could create the maze, and fair is fair, so Charlie and I worked on this project together. Following the instructions, we cut off the top of the shipping box and added a door on the side. Because Charlie wanted his maze to look like the one in the pamphlet, we traced out our lines and started adding the sticky pads. As you can see from the photo, the pompoms did not stick to the sticky pads and just rolled all over the box. After peeling them up, I got out the hot glue gun and adhered the pompoms that way. Charlie then picked out 2 characters from the stencil and decorated his superhero and zombie. After we cut them out and glued them to the pompoms, we were finished! Now...did it work? Could Charlie get the marble out the door?! He sure could!
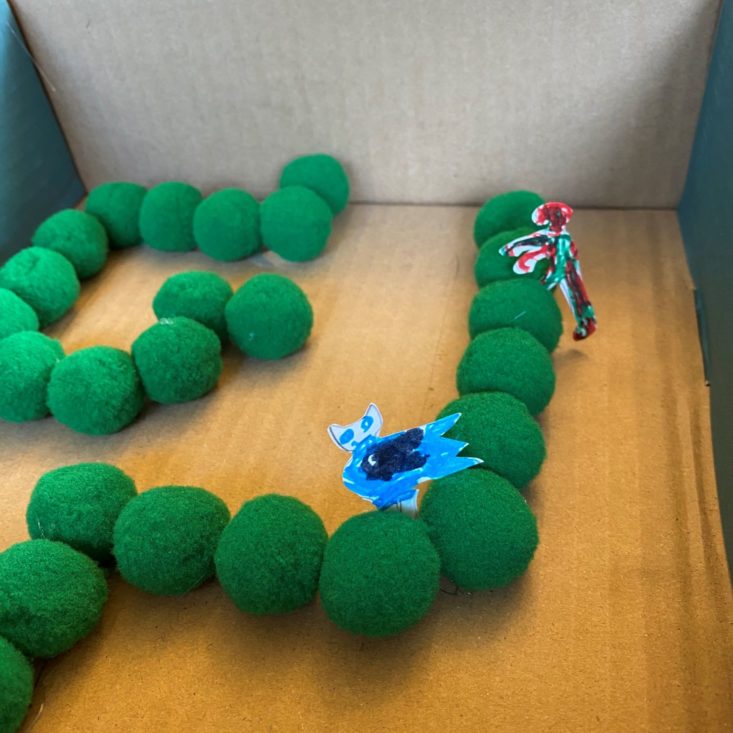
While our maze was pretty basic, we had enough pompoms to really get creative. Charlie mentioned maybe adding some more pompoms and villain's in the future, so this maze might get a little more advanced in the rainy days to come!
Mission 3: Card Game

Card Set
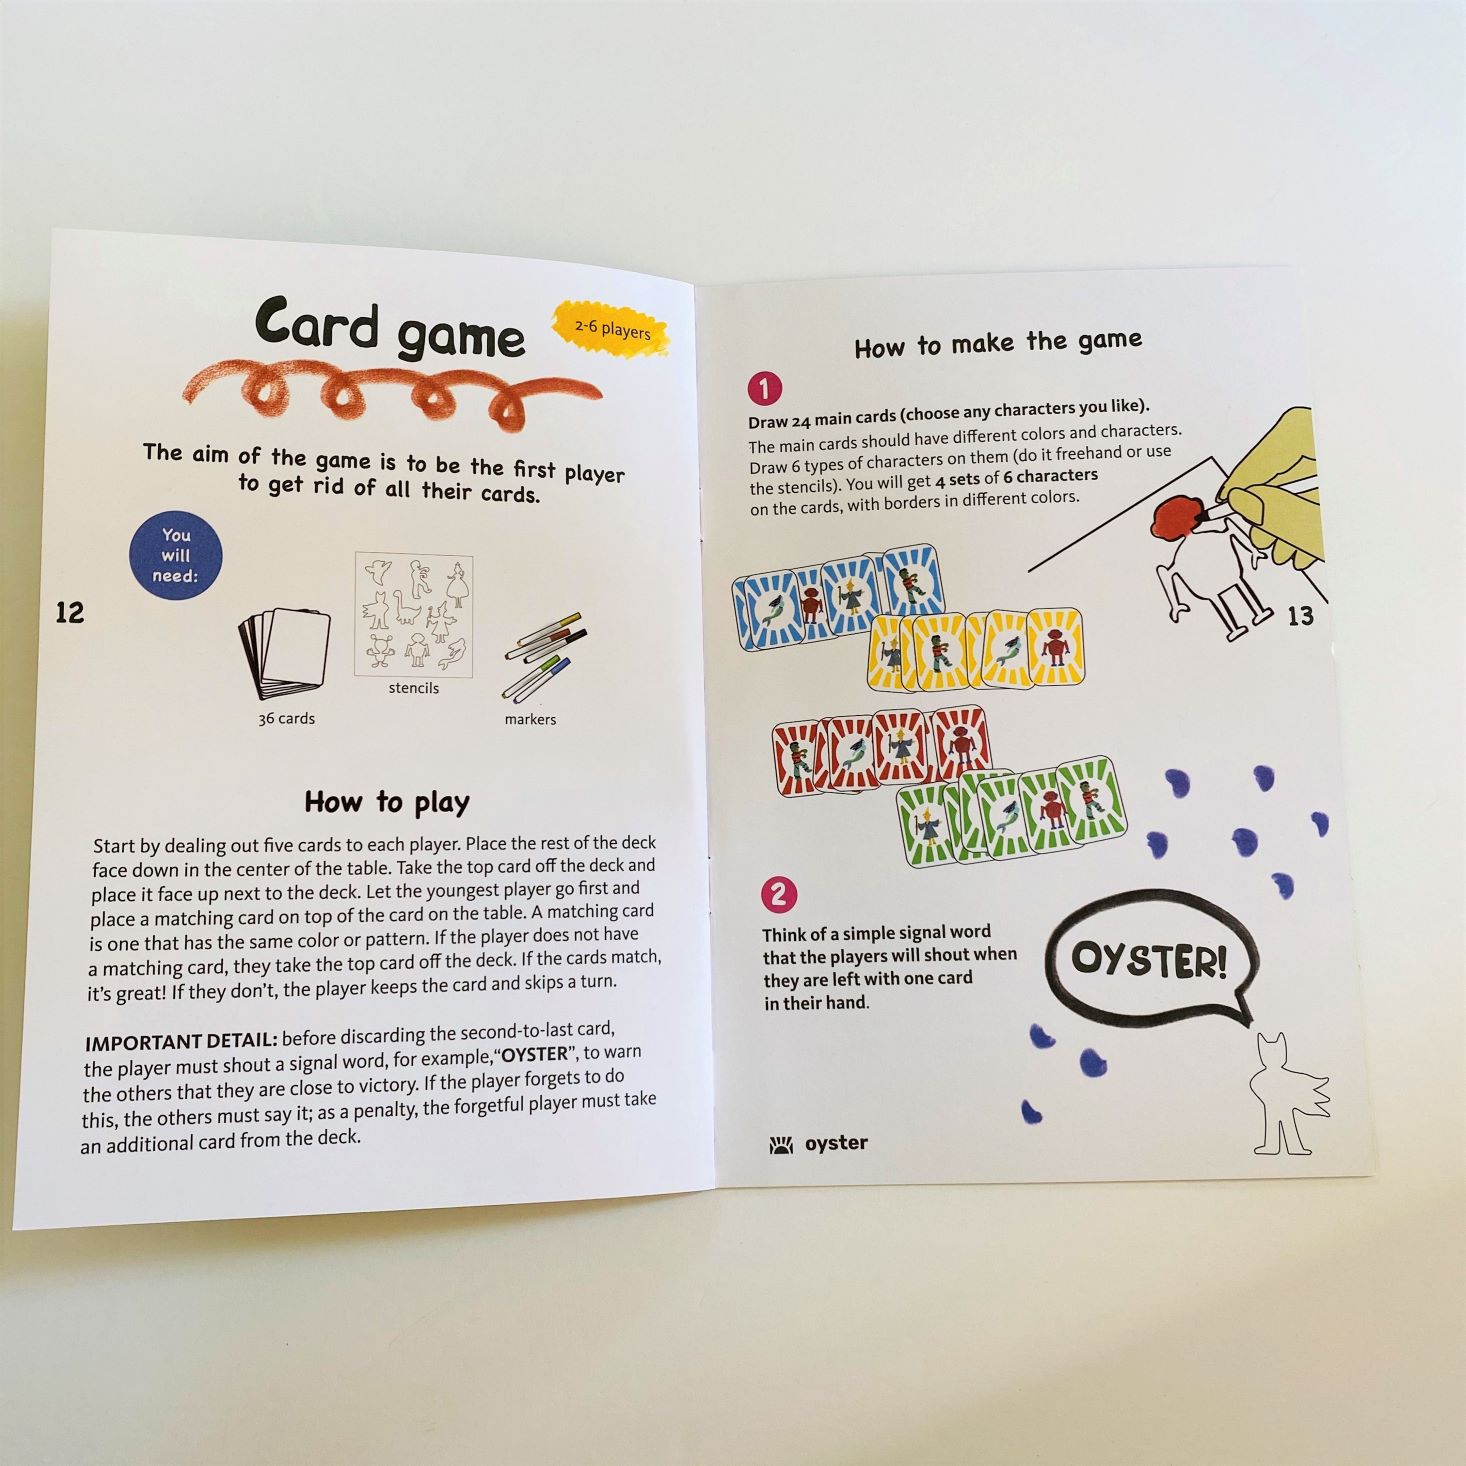
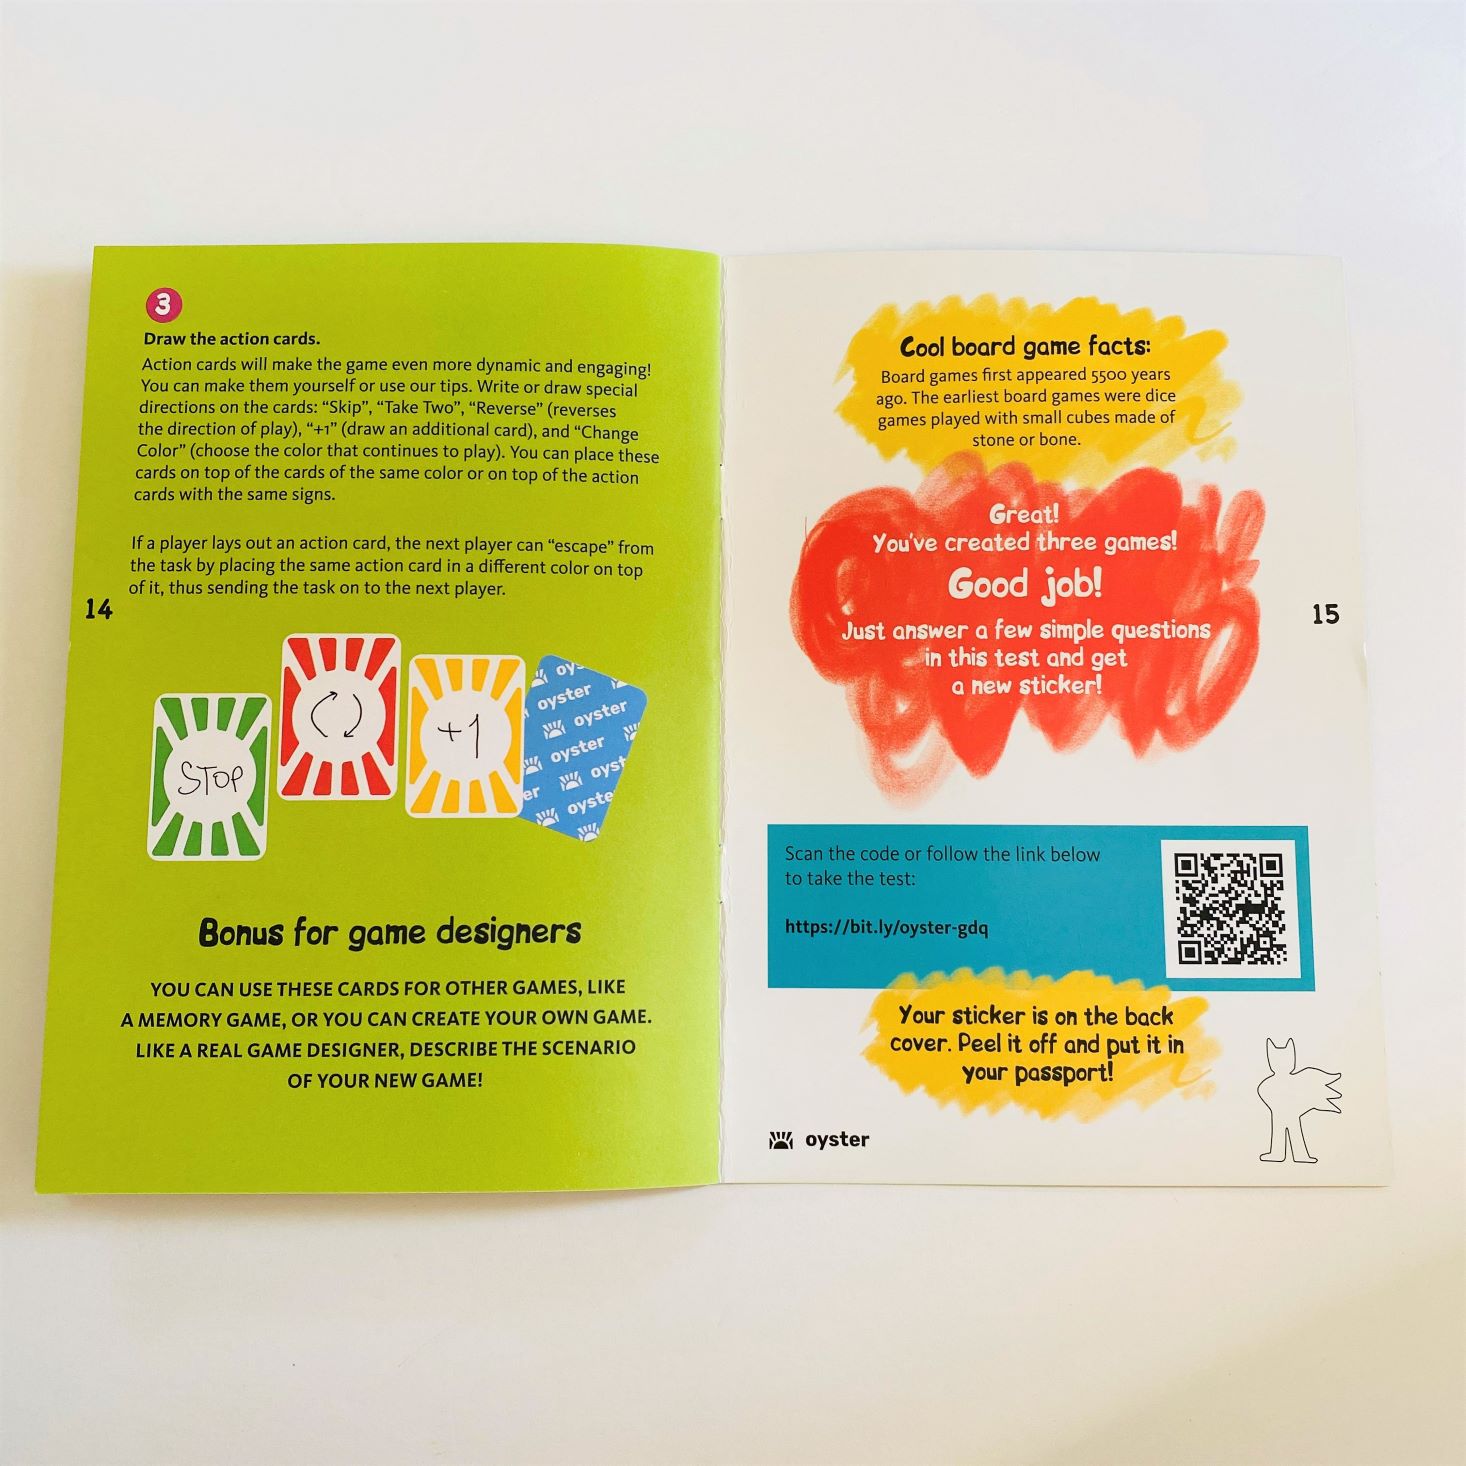
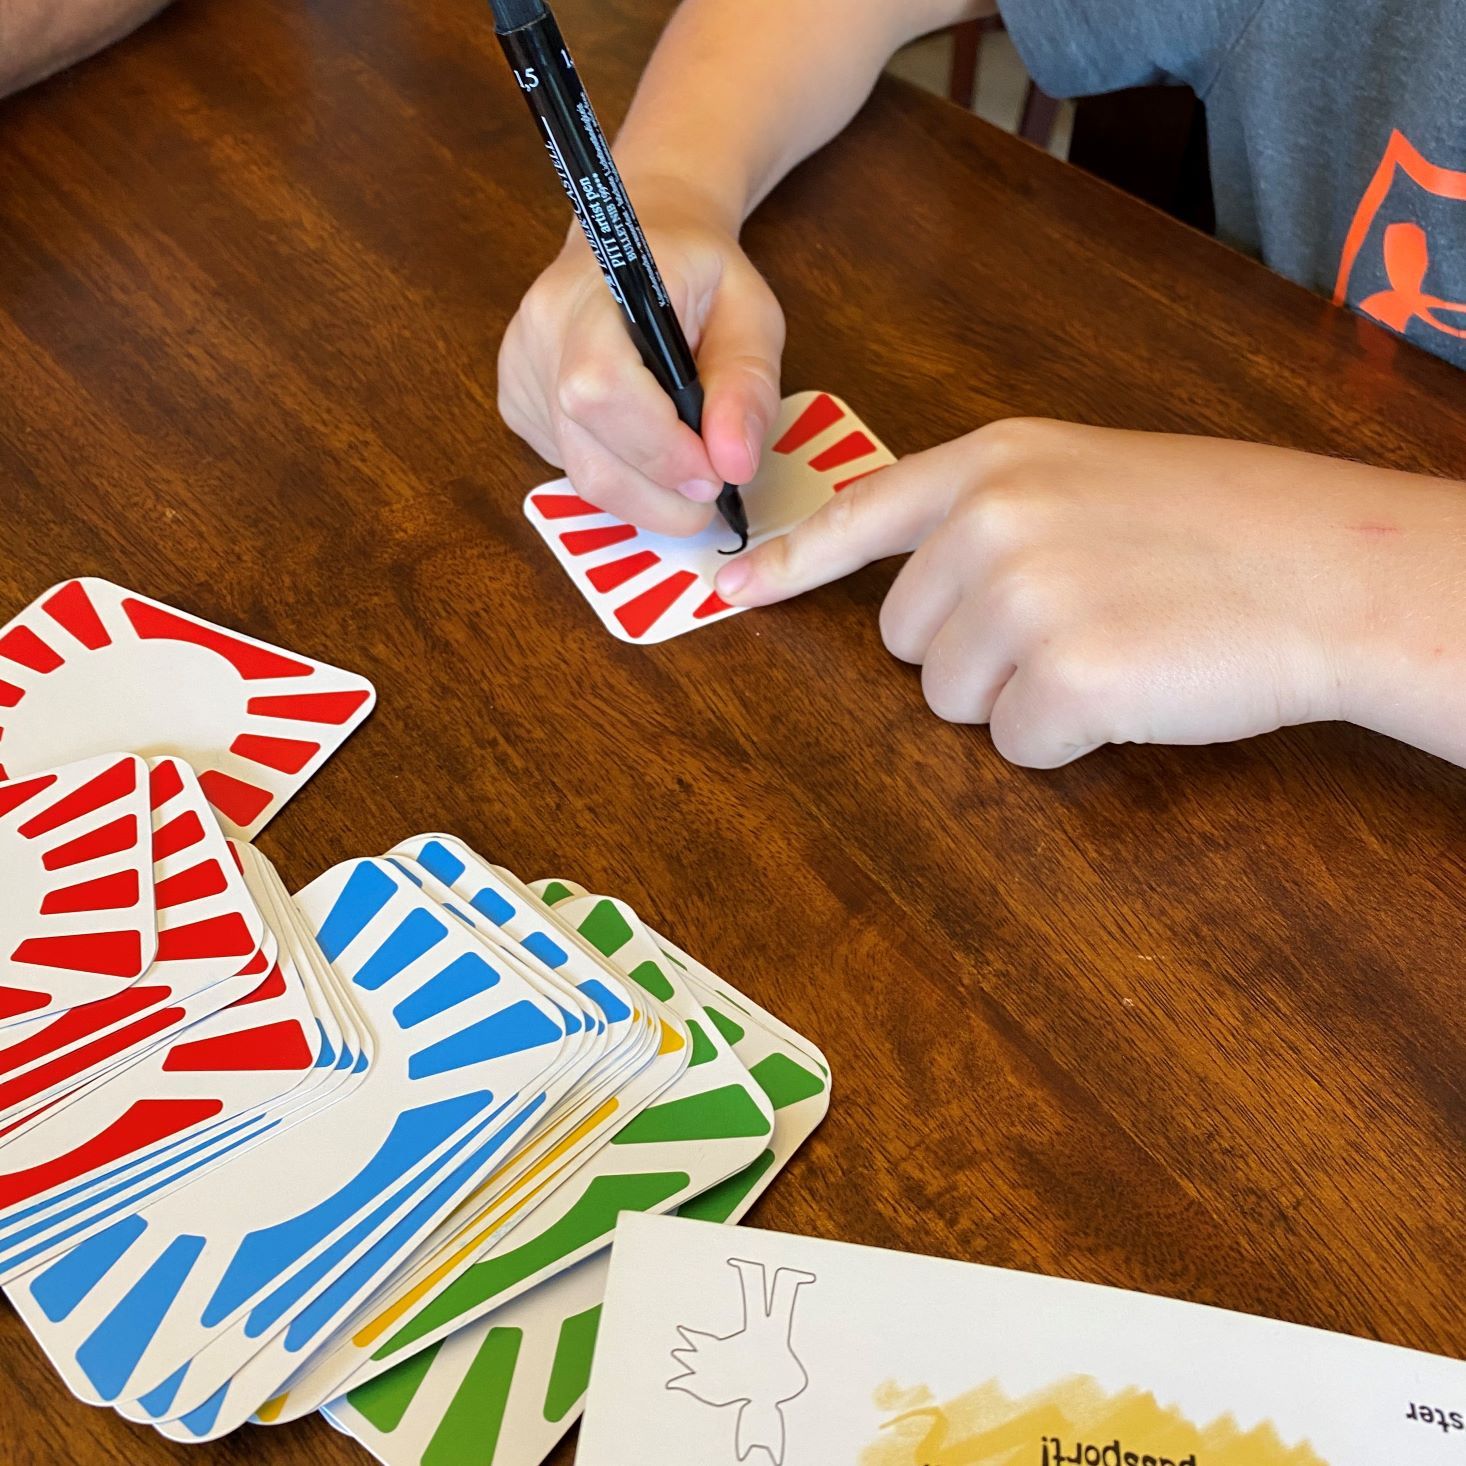
The last mission we received is to create a card game. This game suggested create a game where the goal is to be the first player to get rid of all their cards, and they sent this colorful set of cards with blank circles in the middle to do just that.
Mission Completed: Ninja Turtle Card Game
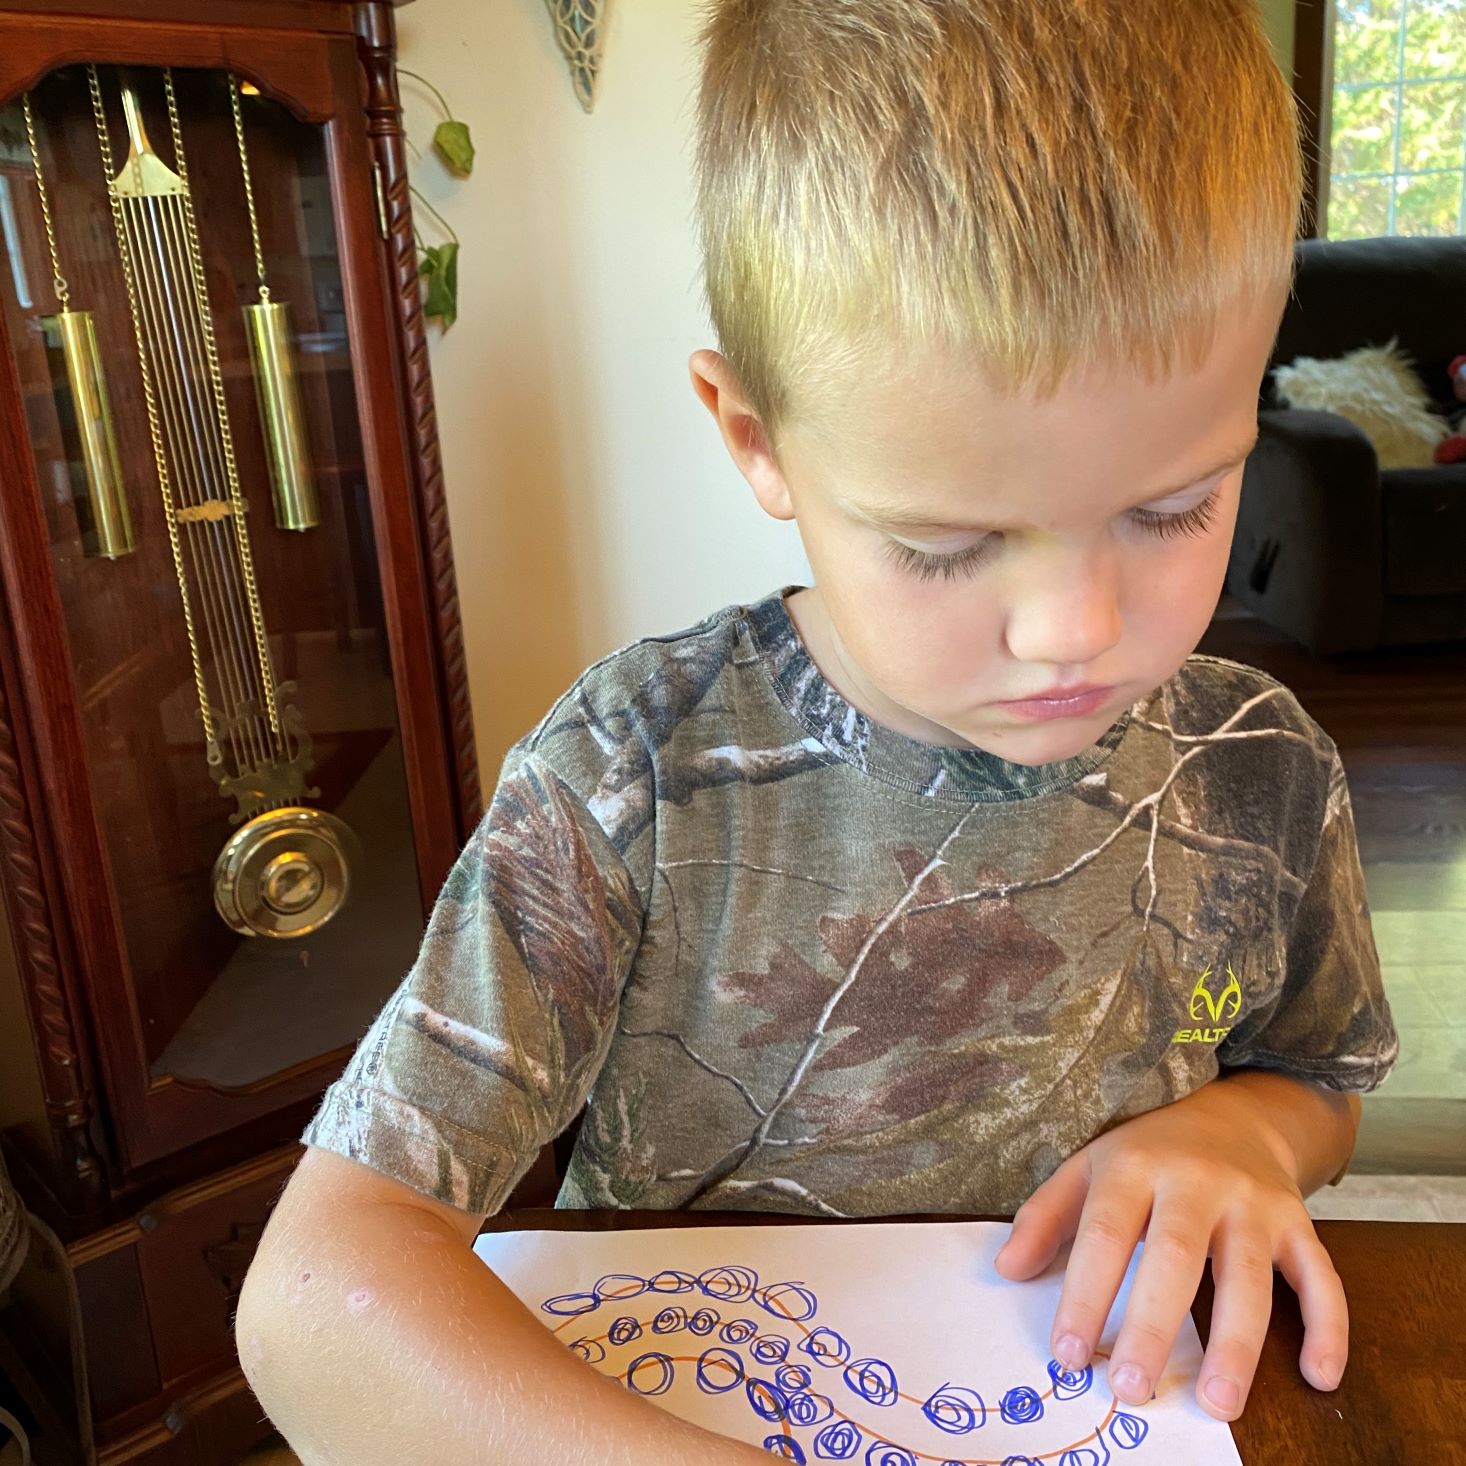
Using a permanent marker (not included) Hank started by writing out his action cards. (We found the included markers to smear, so a permanent one was the way to go for this project.)

Once the action cards were complete, Hank asked if he could use his Teenage Mutant Ninja Turtle stickers to create a "Ninja Turtle Card Game." While I tried to talk him into coming up with his own designs, he reallllly wanted to use his cool stickers, and because he did such a good job writing out his action cards, I let him. It turned out real cute, and we had a lot of fun playing it!
Verdict: Oyster Kit was really cute this month. While I wasn't quite sure what to expect for the "Game Designer" profession, I thought the basis of the box was curated really well. While I enjoyed most aspects of this month's kit, I was a little bummed to see the lack of quality in the character markers, and the sticky pads...while it's a small part of the box, if I hadn't had a glue gun, we really wouldn't have been able to make that maze. Because this box was so customizable, Hank and Charlie both had a great time designing and creating their games exactly how they imagined. It was a lot of fun watching them come up with their own ideas, especially when everything was conveniently sent in this box! We can't wait to see what we will get to add to our resume next month.
This month included supplies to create 3 games. While I enjoyed receiving (most) all of the necessary supplies, I felt this month was a little underwhelming compared to other months. For $39.95, I would have liked to have seen a little bit higher quality supplies, and maybe an extra gameboard. While I had a great time watching my kids create these games and know they had a blast doing it, I feel I could have bought these supplies for a lot cheaper.
To Wrap Up:
Can you still get this box if you sign up today? Possibly; it depends on kit availability.
Check out all of our Oyster Kit reviews and our list of 2020's best subscription boxes for kids!
Keep Track of Your Subscriptions: Add this box to your subscription list or wishlist!
What do you think of Oyster?
















Please do not enter your email address in the Name field or in the comment content. Your email address will not be published. Required fields are marked *. Remember to post with kindness and respect. Comments with offensive language, cruelness to others, etc will not be approved. See our full comment policy here.