
HelloFresh is a weekly meal delivery subscription that sends healthy recipes and the pre-measured ingredients you need to make them at home.

Choose from the Meat & Veggies Plan, Veggie Plan, Family Plan (meat, fish, and veggie recipes perfect for two adults and two children), or Low-Calorie Plan. Each plan can all be customized to fit your needs, as you can choose the number of people you are serving (two or four) and the number of recipes per week (three, four, 0r five).
This review is of the HelloFresh Veggie Plan (three meals at $7.99 per serving + $7.99 shipping) for a total of $55.93.
About HelloFresh
The Subscription Box: HelloFresh
The Cost: Starts at $7.99/person per meal for the 2-person plan and $6.99/person per meal for the 4-person (family) plan.
The Products: Healthy recipes and pre-portioned fresh ingredients.
Ships to: The contiguous U.S. for $7.99.
HelloFresh Vegetarian Plan September 2020 Review
While our family doesn't usually follow a vegetarian diet, we decided to broaden our horizons and see what kind of meatless options HelloFresh offers. Were these meals good? Did the kids enjoy them? Read below to find out!

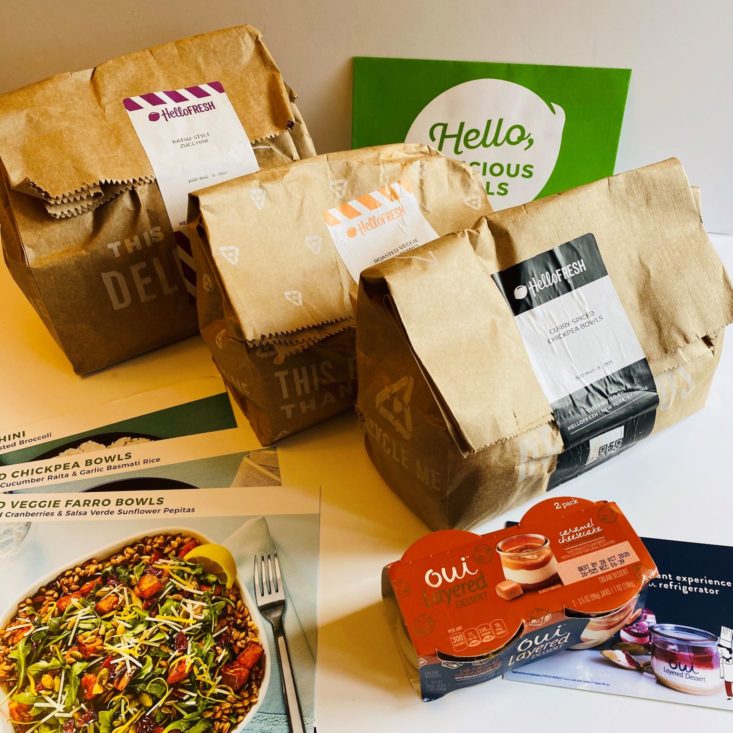
Each meal is divided into its own paper bag, allowing for ease in ensuring that you have everything you need for each meal. The entire box is insulated with a thick absorbent material to keep all items safe and secure.
Onto the first recipe!
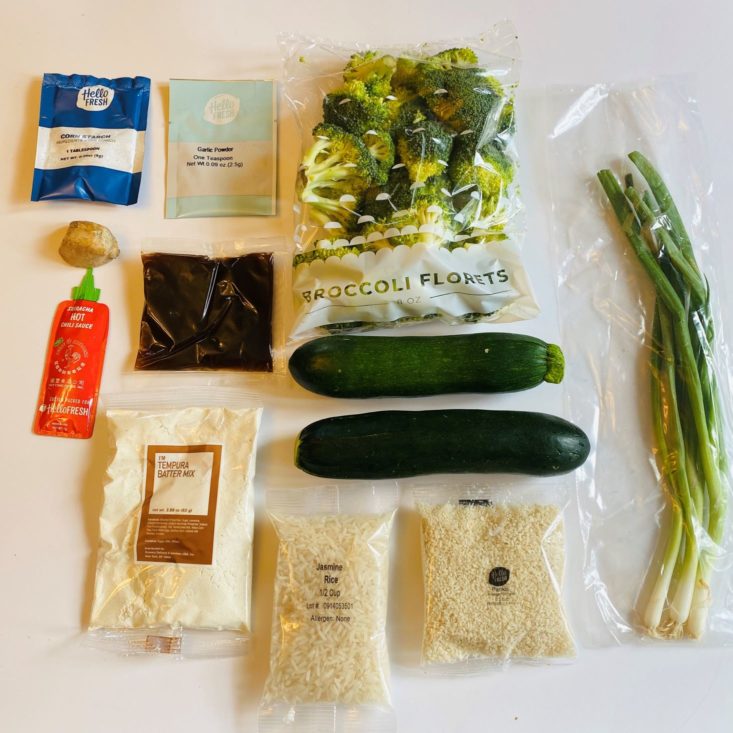
Meal 1: Katsu-Style Zucchini with Ginger Scallion Rice & Roasted Broccoli
Calories Per Serving: 680
Total Time, According to HelloFresh: 50 minutes
Actual Time: 60 minutes
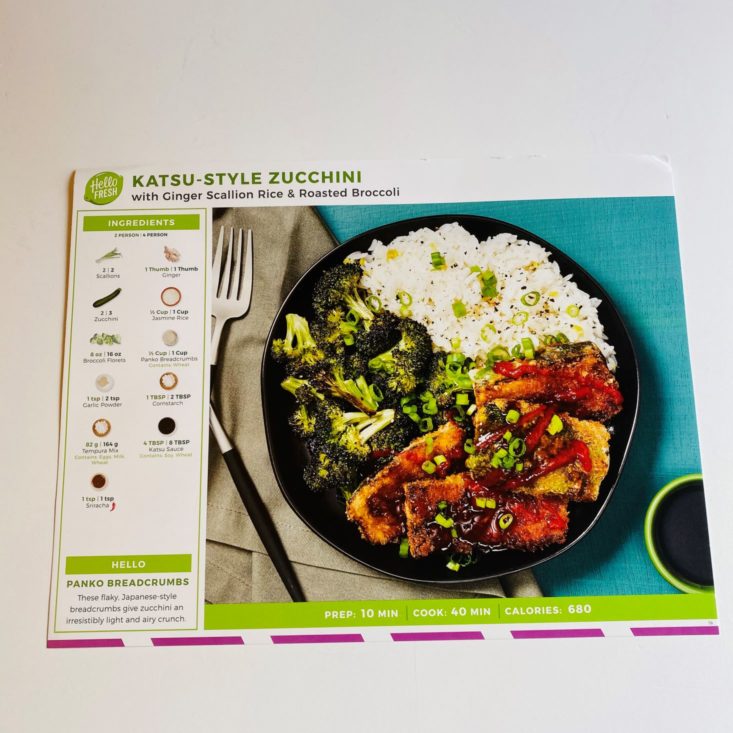
These recipe cards are wonderful! The front side features the recipe name, along with a mouth-watering photo of the completed dish. Also listed are the ingredients for the two-person version as well as the four-person version. I love the little tips they provide, and the fact that HelloFresh also included the prep and cook times!
 .
.
The backside of the card gives detailed instructions on how to prepare the meal, along with social media info, the HelloFresh phone number, and a list of kitchen tools and a few extra ingredients (like salt and pepper) you'll need to cook this dinner. I love how they use bold print to help the different ingredients stand out on this card to make things that much easier! Plus, the recipe cards are color-coordinated with the bag of ingredients to keep things organized and simple.
The first step in this recipe was to preheat the oven to 425°F and wash and dry all of the produce. I started by peeling and grating the ginger, trimming and slicing the scallions (separating the whites from the greens), and trimming and slicing the zucchini into half-inch thick planks. While I have worked with zucchini and scallions in the past, this was my first experience with ginger, and I have to say, freshly grated ginger smells AMAZING!!!!
The next step was to cook the rice. I first melted butter in a small pot over medium-high heat and added the ginger and scallion whites and cooked for about a minute. I then stirred in the rice, 3/4 cup of water, and salt. Once this mixture started boiling, I covered it and reduced the heat, cooking for about 15 minutes. Once it was tender, I kept it covered and set it off to the side until I was ready to plate.
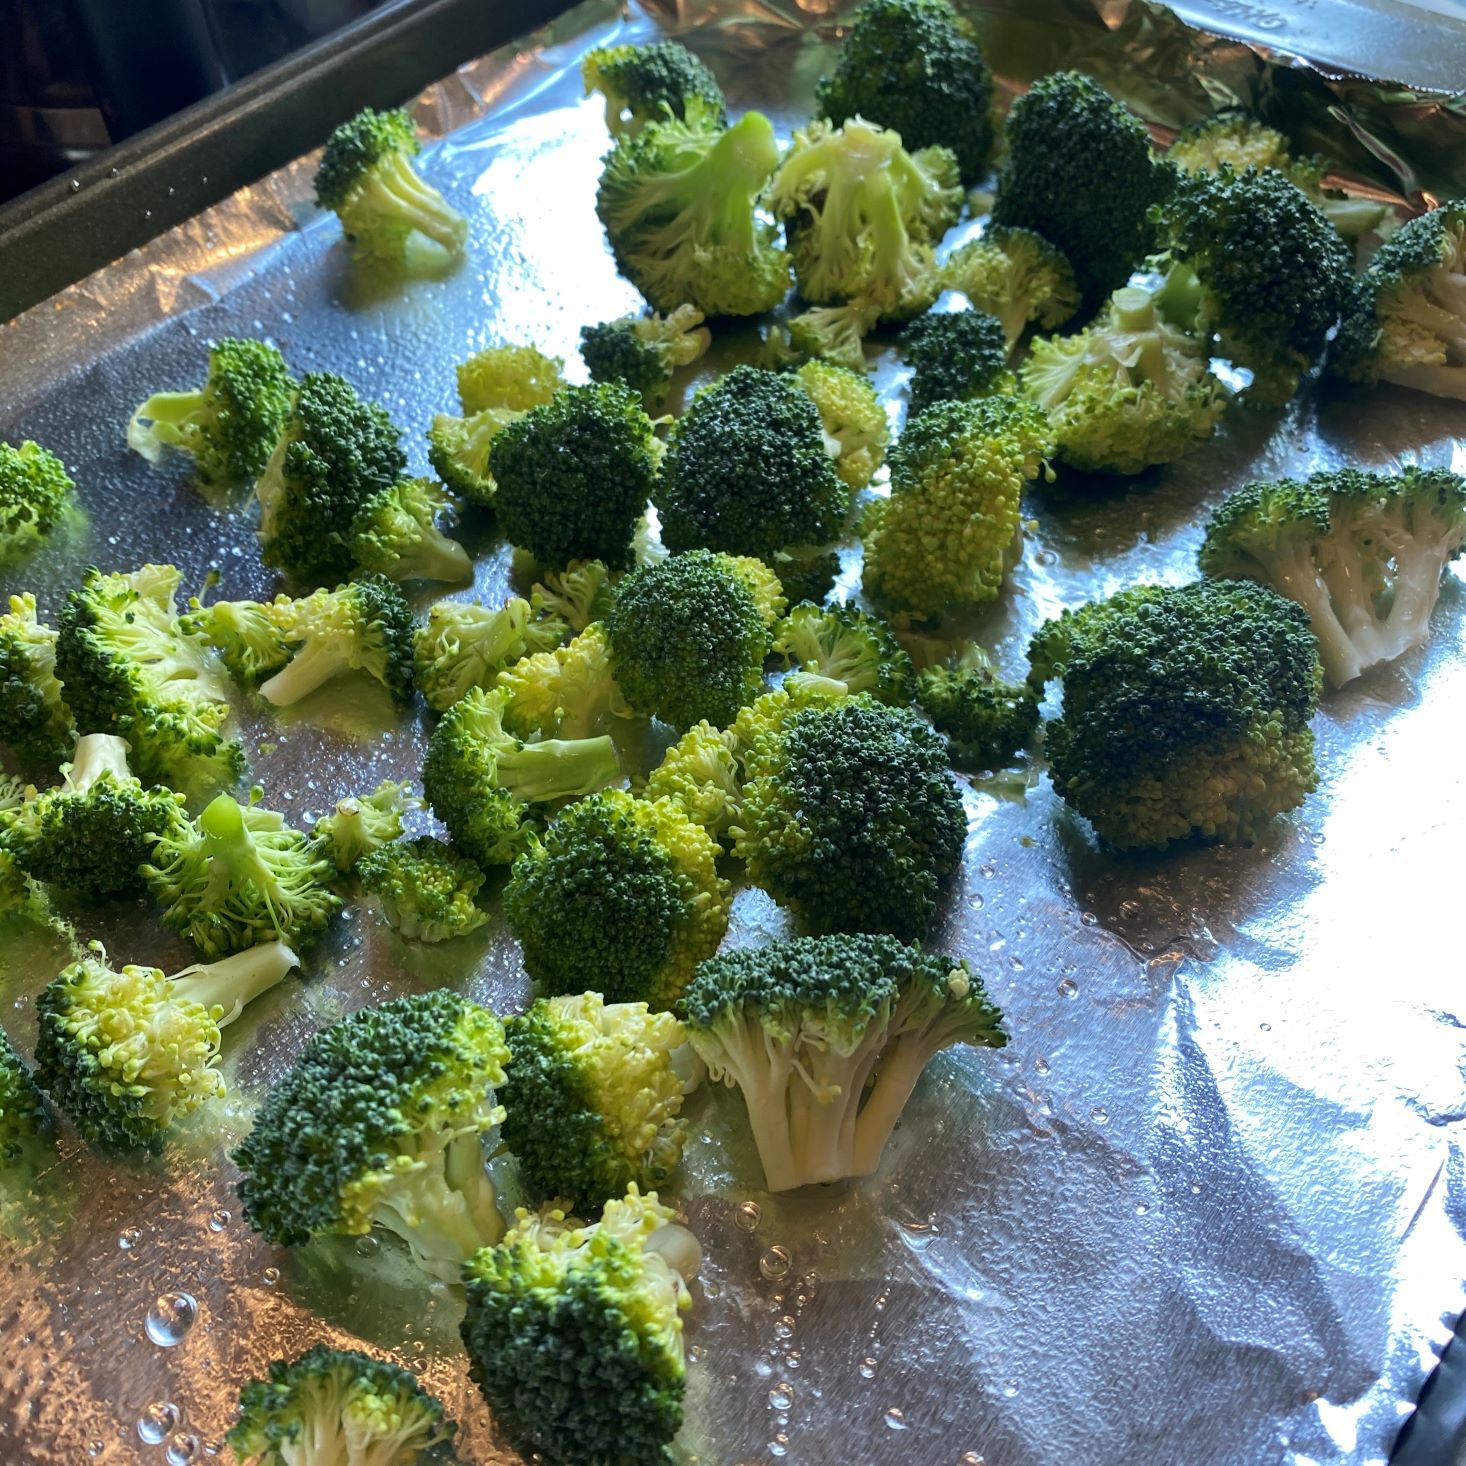
While the rice was cooking, I placed a piece of aluminum foil on a cookie sheet and lightly drizzled it with oil and a bit of salt and pepper, adding the broccoli. This roasted in the oven for about 15 minutes.
Lastly, we mixed panko, cornstarch, and garlic powder and seasoned it with salt and pepper. In another bowl, I combined the tempura mix, 1/3 cup cold water, and salt. After I patted my zucchini "cutlets" dry with a paper towel, I dipped the zucchini into the batter and pressed it into the panko mixture. As I worked on this step, I had about 1/3 inch of oil in a large pan heated on medium-high heat. Once my zucchini was coated, I added them to the oil and let cook about 2 minutes per side, transferring to a paper-towel-lined plate once they were lightly golden brown. Just a warning... this was MESSY!
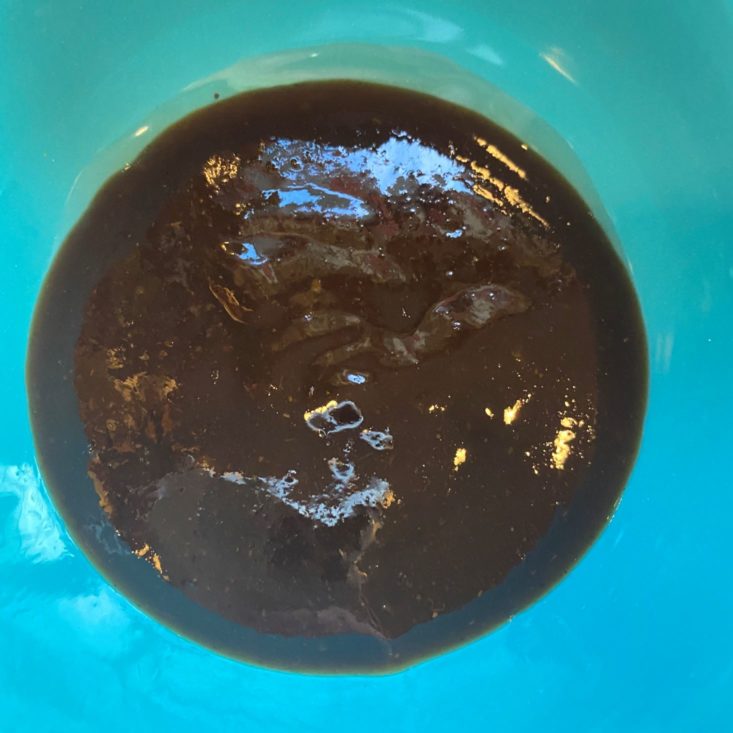
Before plating, I opened the katsu sauce and placed it in a small bowl to microwave.
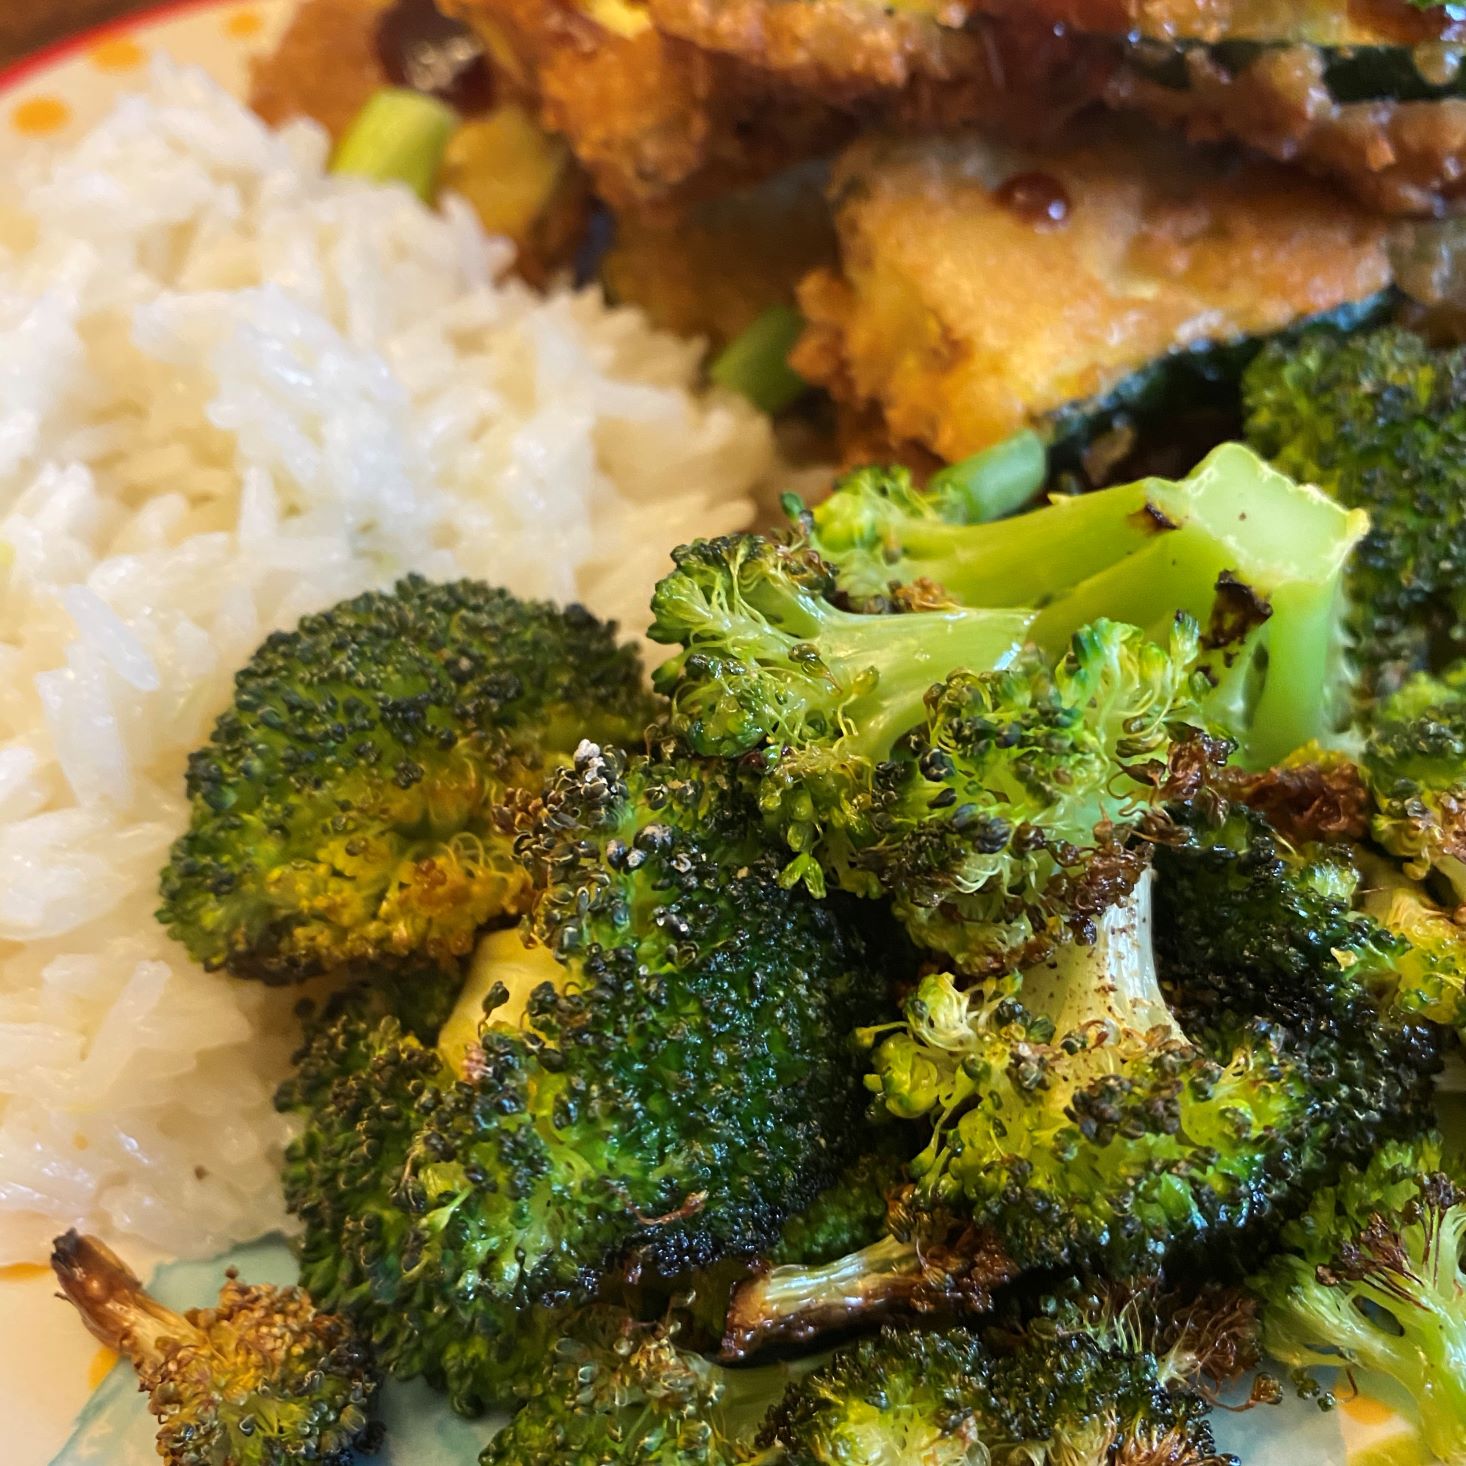
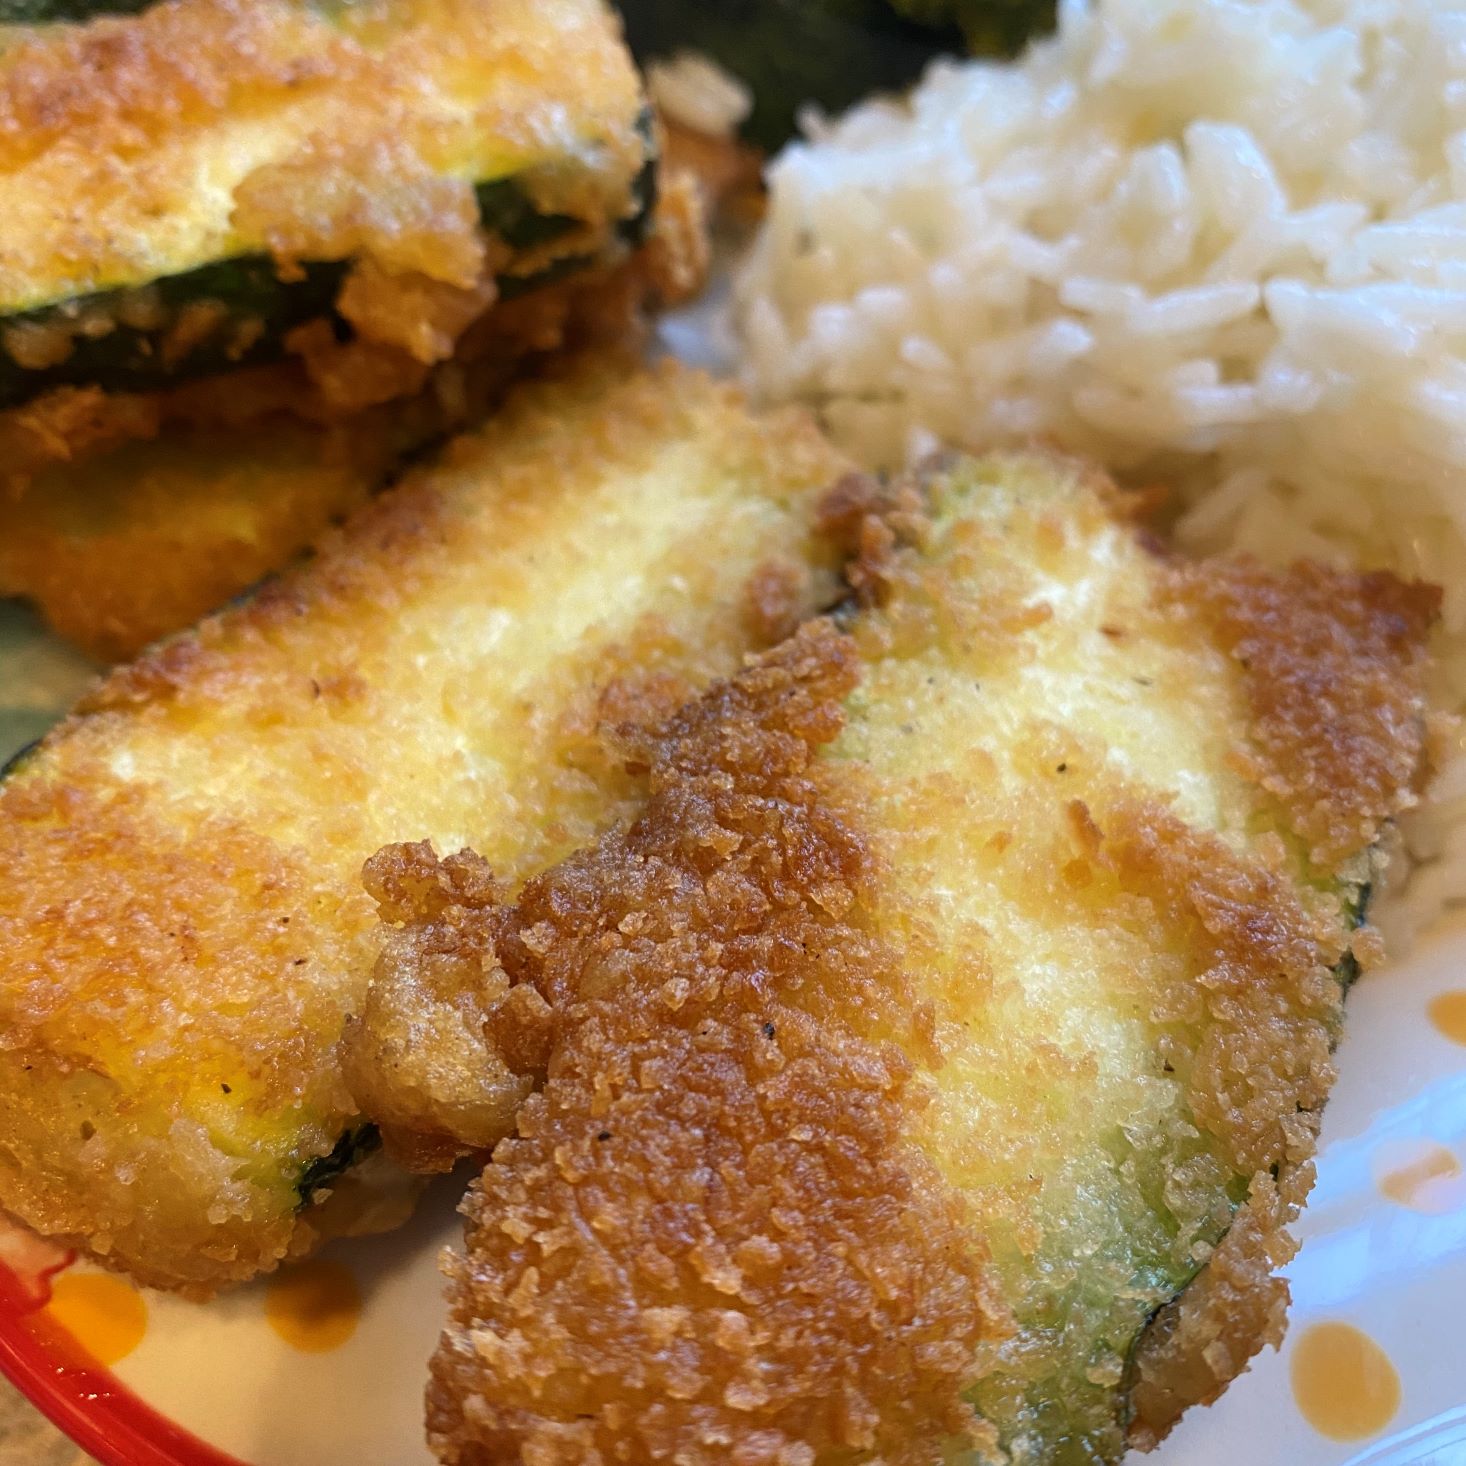
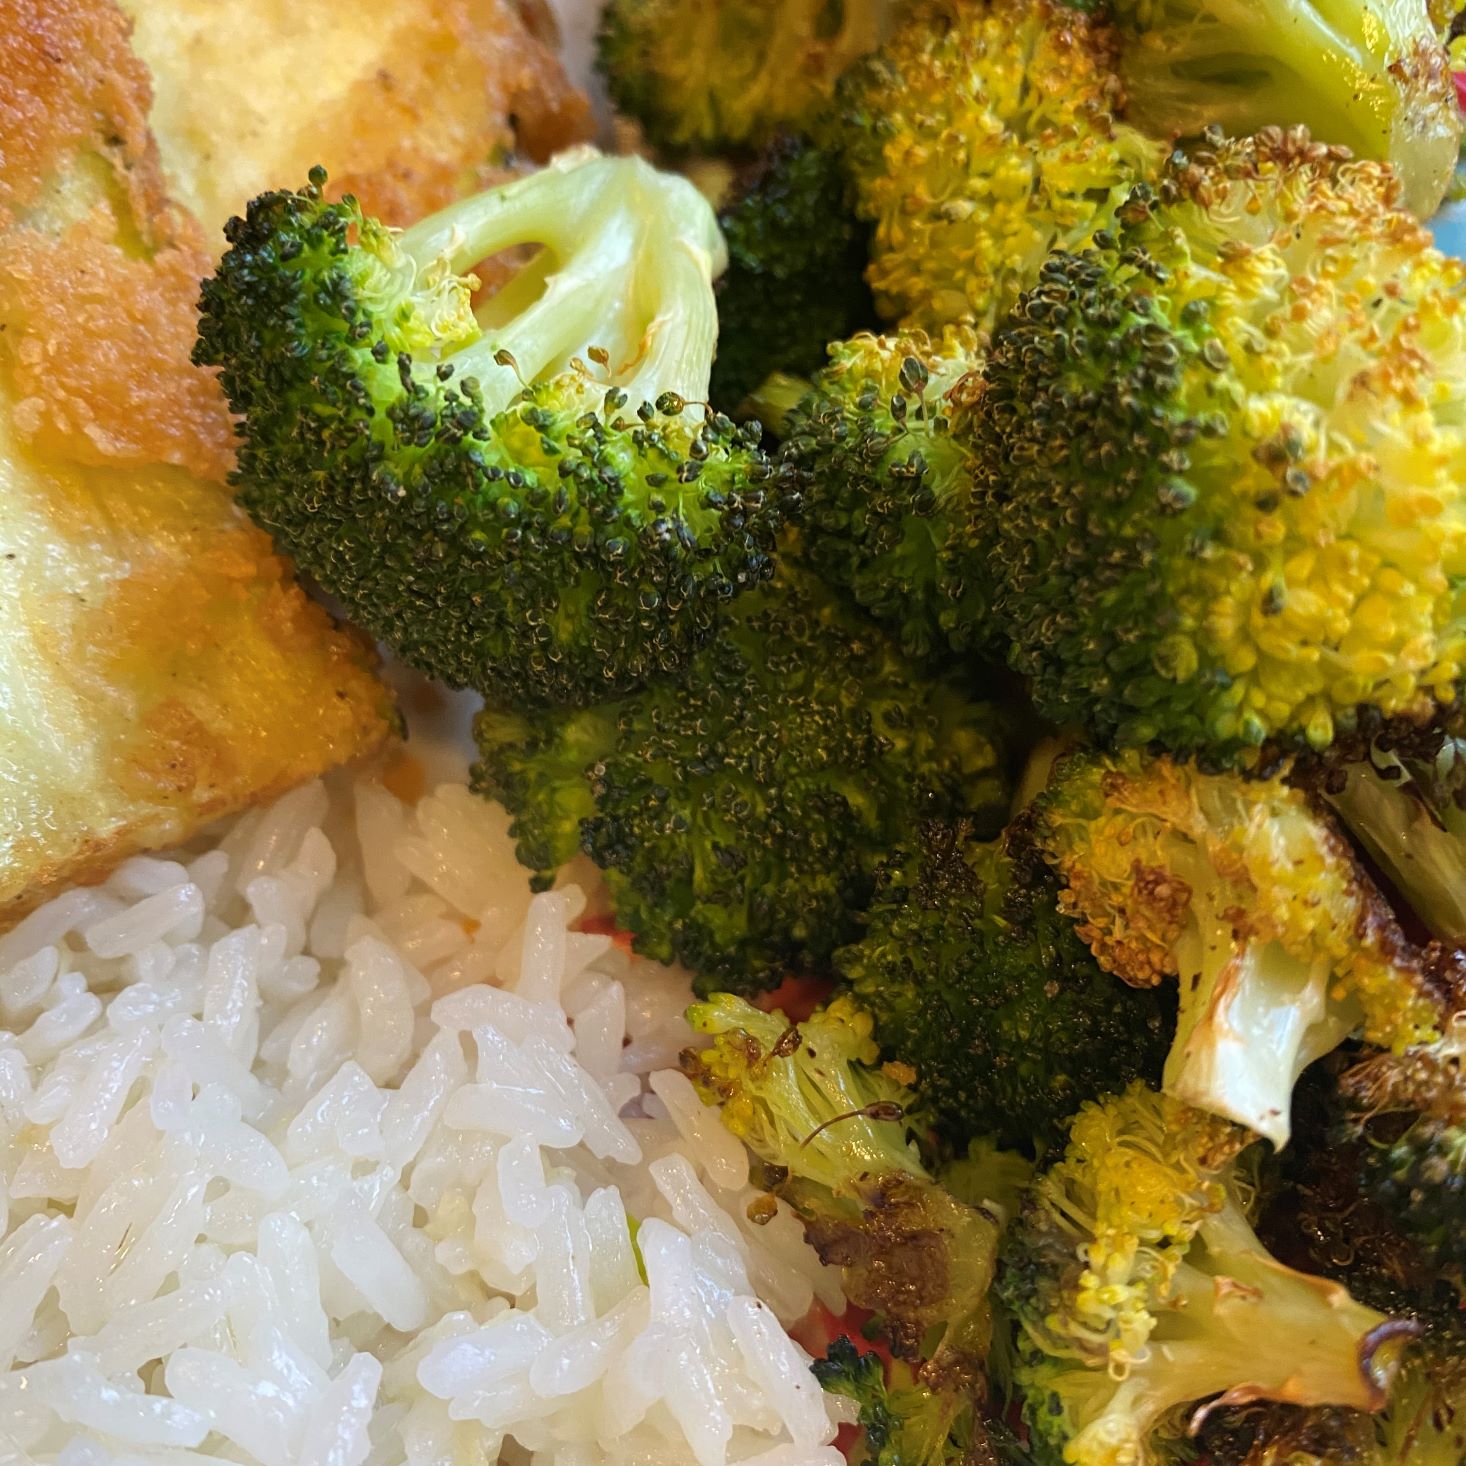
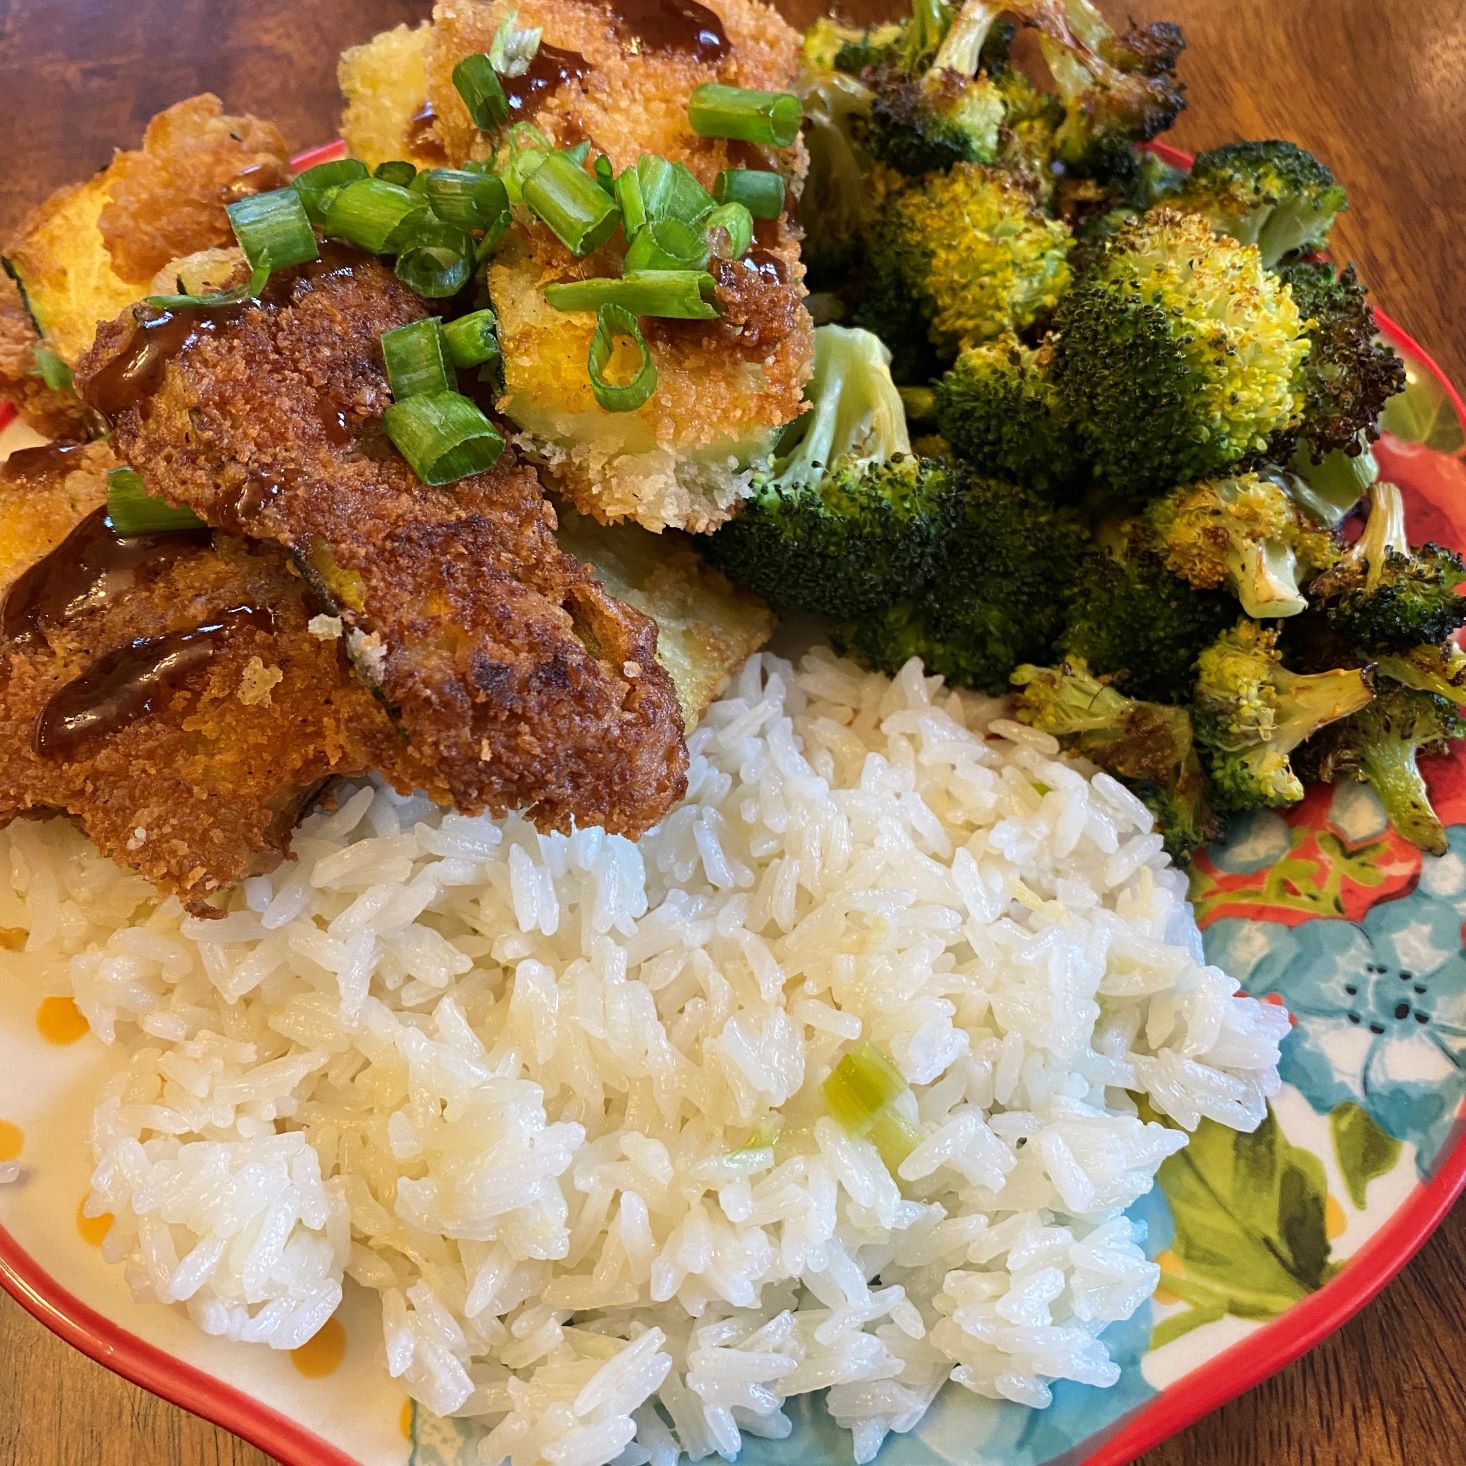
Then it was time to plate! I divided the rice, broccoli, zucchini, and katsu between the plates and added a tiny bit of sriracha. I then placed the scallion greens on top and placed the remaining sauces on the side for dipping. I have to admit, I have never eaten zucchini as the "main" part of a meal, but this recipe was so impressive. Honestly, I have a new found love of zucchini when it is breaded in panko and fried crispy! The katsu sauce was the perfect addition, and the kids loved it. The rice was very flavorful with the fresh ginger and scallions, and surprisingly delicious. It was different from any rice I have ever eaten, but my kids also gave this two thumbs up! And of course, the roasted broccoli was fantastic... Charlie is obsessed with broccoli, so that is always a winner, and one I am thankful for. I would definitely choose this recipe again!
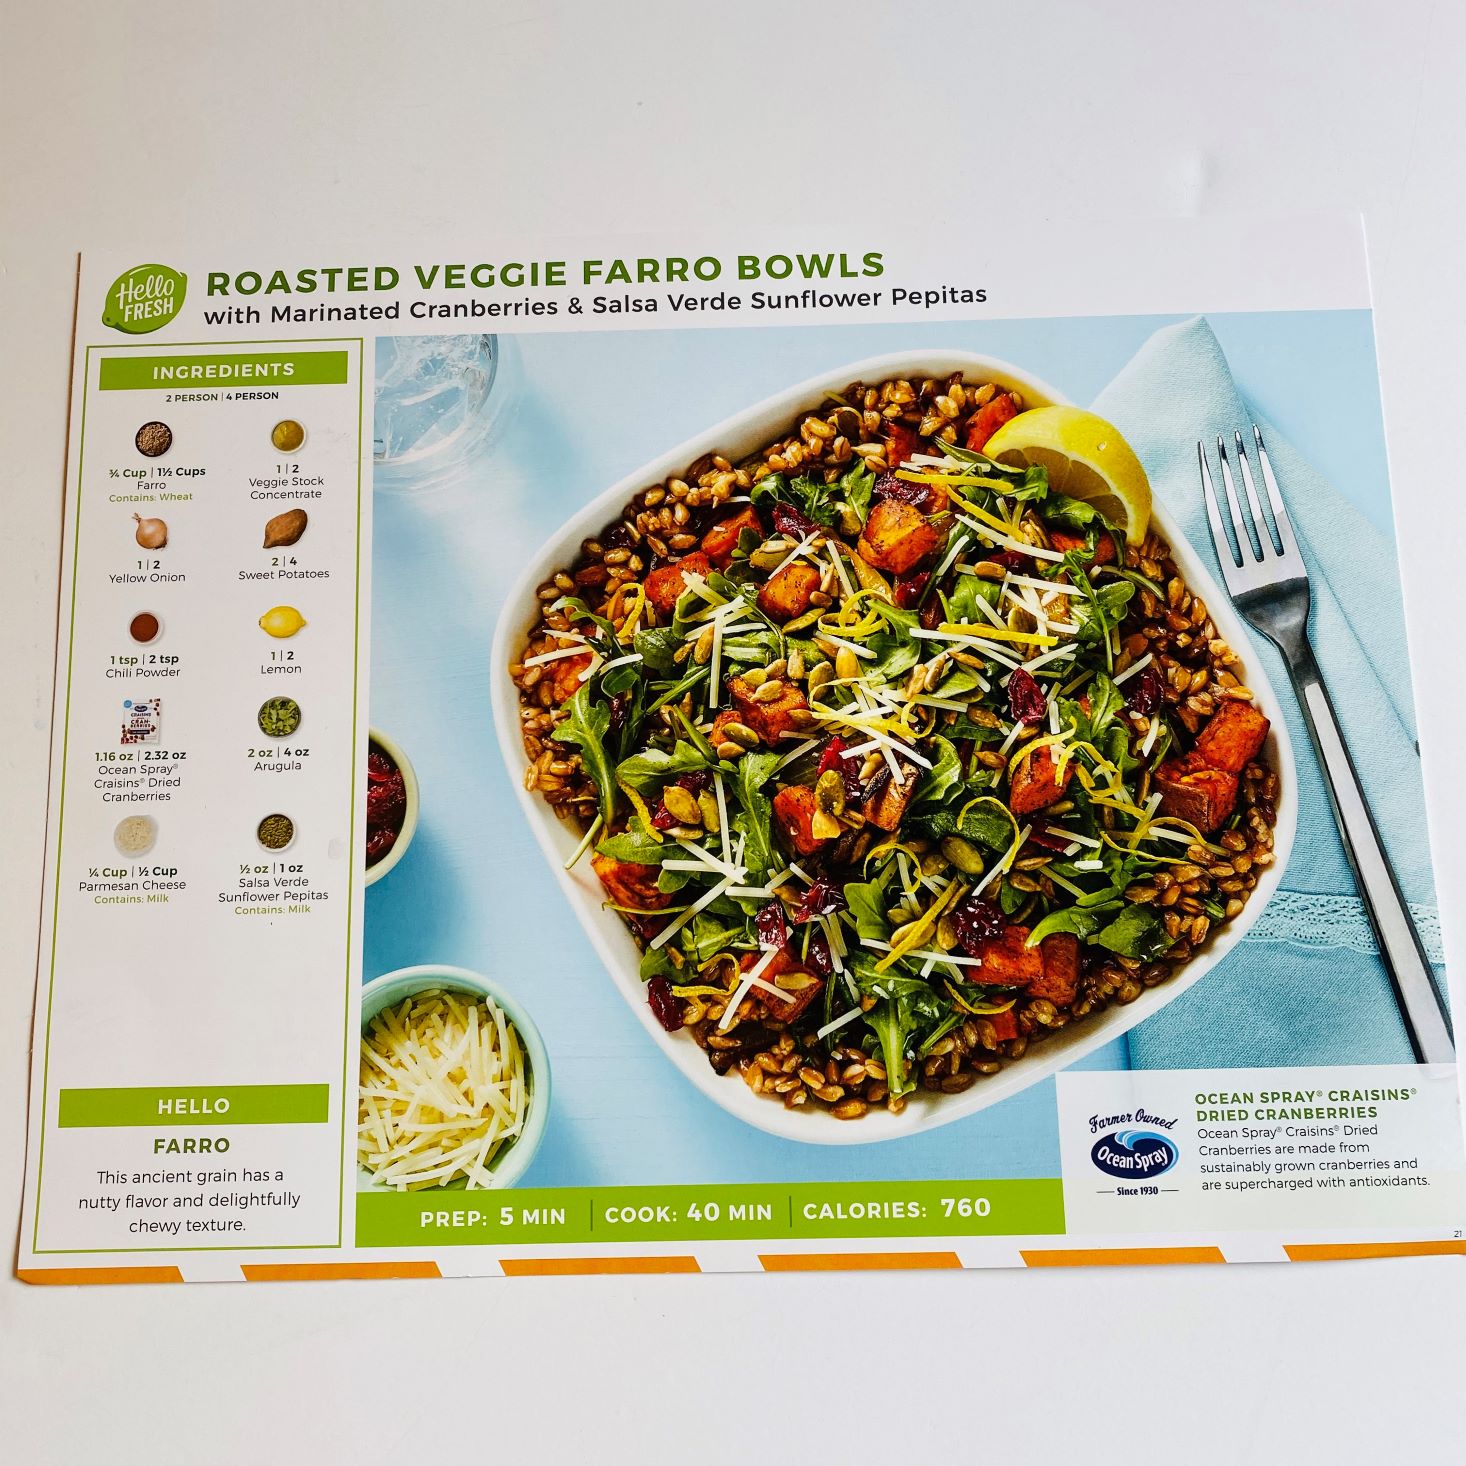
Meal 2: Roasted Veggie Farro Bowls with Marinated Cranberries & Salsa Verde Sunflower Pepitas
Calories per serving: 760
Total time, according to HelloFresh: 45 minutes
Actual time: 55 minutes
While I have never had farro before, I loved the look of this recipe, and couldn't wait to give it a try! Did the guys like it? Read below to see!!
To start this recipe, we were instructed to place a lightly oiled baking sheet on the top rack of a 425°F oven. While the oven was preheating, I combined the farro, stock concentrate, and water and brought to a boil, cooking until the farro was tender which took about 25 minutes.
While the farro was cooking, I washed and dried all of my produce. Once that step was complete, I cut up the onions and sweet potatoes, mixed them with oil, chili powder, salt, and pepper in a large bowl, and spread it out on the preheated baking sheet. This roasted on the top rack until all veggies were tender, which took about 25 minutes.
While the veggies were roasting, I started marinating the cranberries. To do this step, I zested and quartered a lemon, combining the juice from two lemon wedges, one teaspoon of sugar, and the cranberries. I let it sit for about 15 minutes to really blend the flavors together. Once the 15 minutes were up, I transferred the lemon juice marinade to a second bowl, whisking in olive oil and seasoning with salt and pepper.
To finish the farro and make the salad, I stirred in butter and half of the roasted veggies into the farro with half of the dressing. In the bowl with the remaining dressing, I added the arugula, cranberries, and remaining roasted veggies.
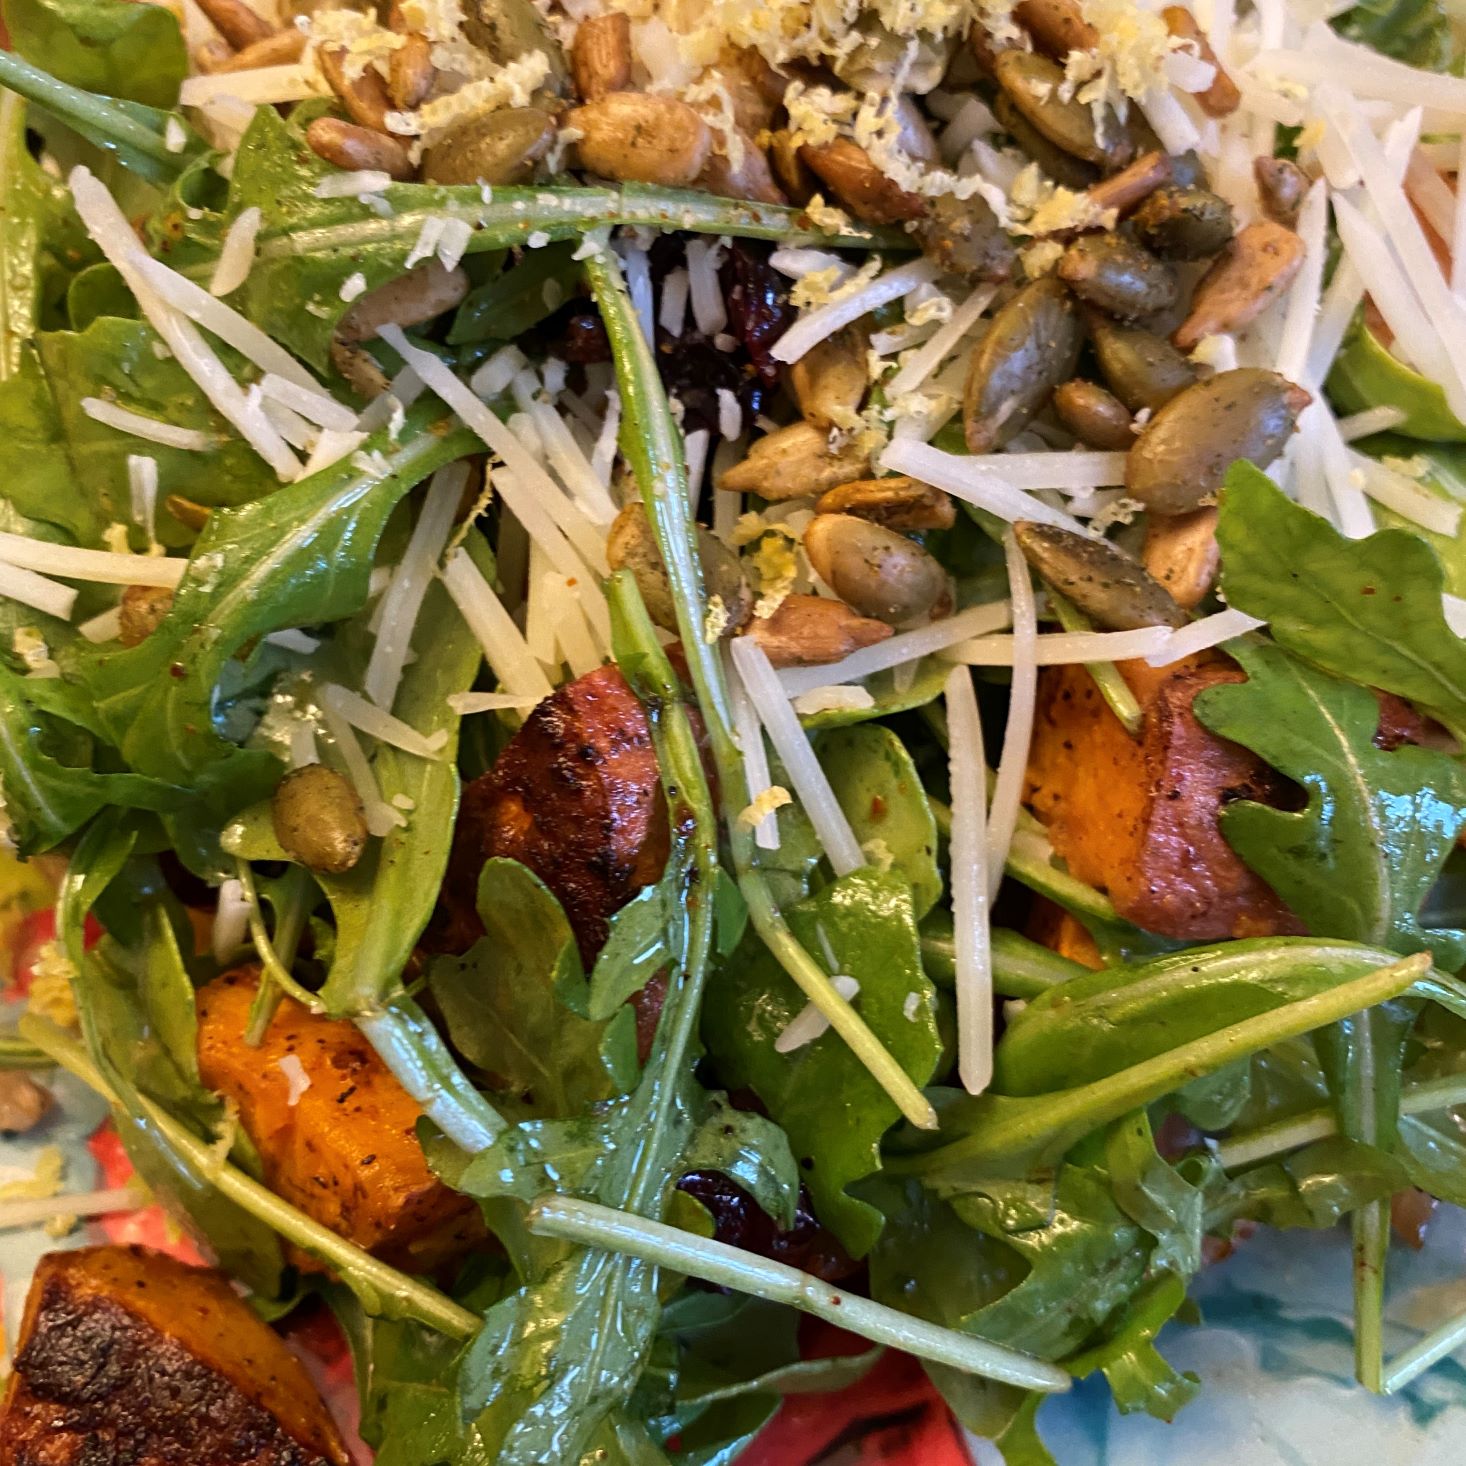
Then it was time to plate! I divided the farro mixture between the plates and topped them with salad, sprinkling with parmesan, pepitas, and lemon zest. This colorful dish really had an array of flavors! Like I mentioned above, I have never eaten farro before (an ancient grain with a nutty flavor and chewy texture) – but we loved it! True to the recipe's description, it was extremely tasty and filling. Our least favorite part of this dish was the arugula, as it has a slightly bitter taste that might have to be acquired... While my kids picked out the greens, they LOVED the sweet potatoes and onions, and couldn't get enough of the farro. While this dish didn't rate quite as highly as the zucchini recipe, we enjoyed trying something new, and have already added farro on our shopping list.
Meal 3: Curry-Spiced Chickpea Bowls with Roasted Veggies, Cucumber Raita, & Garlic Basmati Rice
Calories per serving: 760
Total time, according to HelloFresh: 45 minutes
Actual time: 50 minutes
Our last meal of the month was this chickpea bowl filled with roasted veggies, cucumber raita, and garlic basmati rice. Another first for us, as we have never tried chickpeas before... how did they taste? You'll find out in a second!!
As with the other recipes, we started out this dish by preheating the oven and washing our produce. I peeled and minced the garlic, cut the carrots into diagonal pieces, and cut the onion into wedges.
The next step in this recipe called to drain and rinse the chickpeas, patting them dry with a paper towel. I drizzled a pan with olive oil and placed my chickpeas on one half of it. Adding half of the curry powder, salt, and pepper, I seasoned them up and added the veggies to the other side.
While the veggies were roasting, I started working on the rice. To make this, I heated a bit of olive oil in a pot and added the garlic, rice, stock concentrate, water, and salt. After bringing it to a boil, I covered it and reduced it to a low simmer. I ended up cooking the rice for about 16 minutes until it was tender.
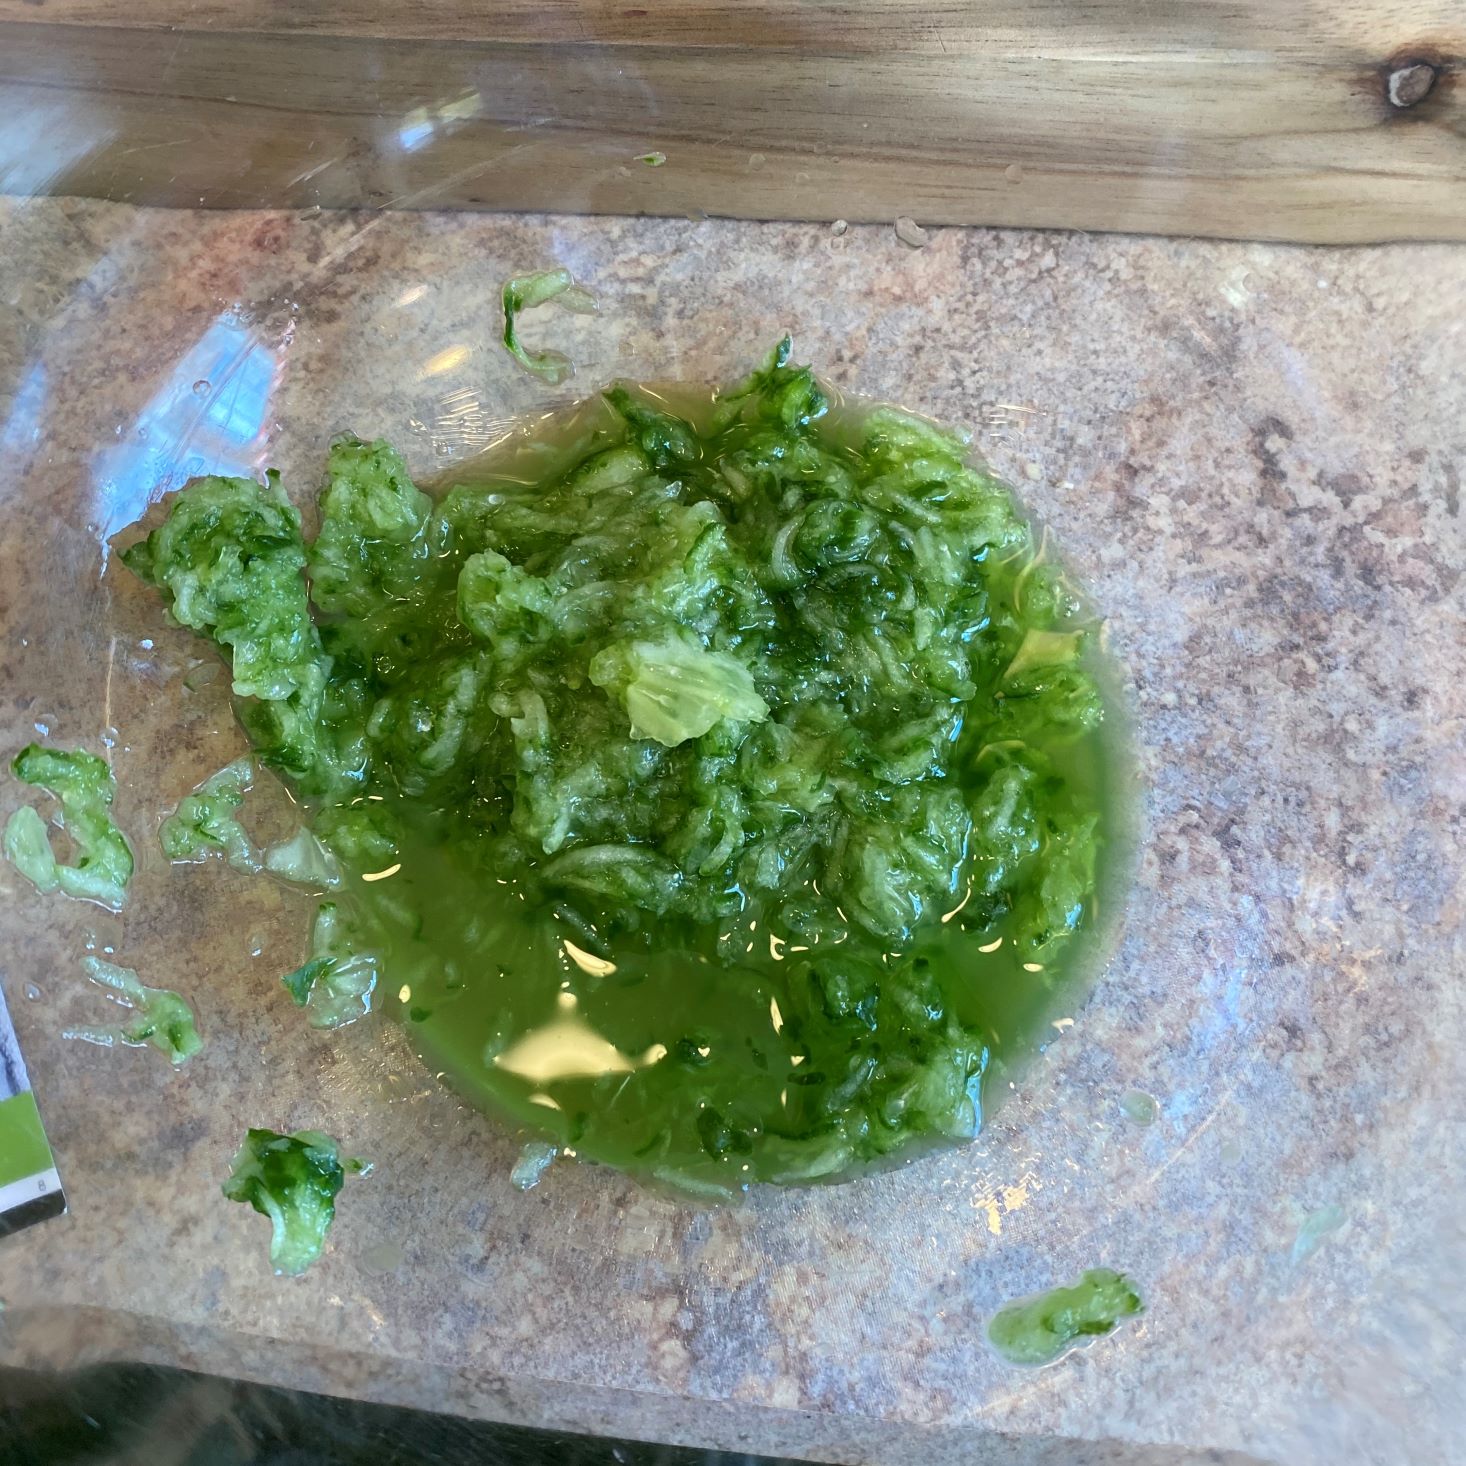
While the rice was cooking and the veggies were roasting, I made the raita (a yogurt-based condiment similar to tzatziki). This was done by grating the cucumber into a bowl and chopping the cilantro and the chili. Once all of the chopping was complete, I combined the cucumber with the onion, yogurt, sour cream, cilantro, and curry powder, adding a squeeze of lemon juice for good measure.
Then it was time to plate! I grabbed the veggies out of the oven (which was a mess thanks to the chickpeas exploding like popcorn while they were cooking!) and divided the chickpeas, the rice, and the veggies onto two plates. I topped each plate with raita and the remaining cilantro and served them with the extra lemon wedges on the side. This recipe was another winner! I loved the roasted chickpeas with the sweet onions and carrots. I'm not a big tomato fan, so I plucked those off of my plate, but the pairing of the rice with the fresh cucumber raita worked really well together to form a perfectly filling, delicious vegetarian meal. Loved it!
Verdict: This is my second HelloFresh review and while my first review was of the "Family-Friendly" options, I can say their Vegetarian options are also delish – even to this non-vegetarian! Many of the items in these recipes were new to our family, so it was really fun getting to learn how to prepare farro and chickpeas, and seeing just how tasty they actually are. My kids had a great time helping in the kitchen, and the convenience of not having to step foot inside a grocery store is absolutely amazing, especially right now. The fact that I don't have to plan three meals a month is really helpful and turns it into a family cooking night instead of a mad rush. I can't wait to see what HelloFresh has in store for next month.
While this box costs more than it would to go out and purchase these items yourself, using this service saves you a trip to the store, the headache of creating a meal plan for three days, and turns what would be a chore into a family experience, which makes the cost worth it to me.
To Wrap Up:
Can you still get this box if you sign up today? Since HelloFresh menus change weekly and choose them ahead of time, you won’t be able to order these dishes unless they are offered again in the future.
Value Breakdown: At $55.93 ($47.94+ $7.99 shipping) for this box, you’re paying $9.32 per serving.
Check out all our HelloFresh reviews and our list of the best food subscription boxes for more!
Keep Track of Your Subscriptions: Add this box to your subscription list or wishlist!
Do you subscribe to HelloFresh? What's been your favorite meal so far?















Please do not enter your email address in the Name field or in the comment content. Your email address will not be published. Required fields are marked *. Remember to post with kindness and respect. Comments with offensive language, cruelness to others, etc will not be approved. See our full comment policy here.