


Tinker Crate is a subscription box for kids and tweens ages 9-16+ created by kids subscription box company KiwiCo. Each monthly Tinker Crate contains all the materials and instructions needed to create innovative, hands-on STEM projects, as well as a "Tinker Zine" full of educational information and additional activities.

KiwiCo offers boxes for different age groups:
- Panda Crate for 0-24-month-olds,
- Koala Crate for 2-4-year-olds,
- Kiwi Crate for 5-8-year-olds,
- Atlas Crate for 6-11-year-olds,
- Doodle Crate and Tinker Crate for 9-16+-year-olds,
- Eureka Crate and Maker Crate for ages 14 and up.
There really is something for every age with this company!
This review is of KiwiCo's Tinker Crate (for ages 9-16+), which costs $19.95 per month.
This box was sent to us at no cost for review. (Check out the review process post to learn more about how we review boxes.)

About Tinker Crate
The Subscription Box: Tinker Crate
The Cost: $19.95 per month + free shipping
The Products: Innovative hands-on STEM projects for kids, plus the materials and detailed instructions your child needs to complete them. You'll also get a "Tinker Zine" full of educational information and additional activities.
Ships to: The U.S. for free, Canada for $3.95 per month, worldwide from $4.95-$6.95
KiwiCo Tinker Crate "Paper Circuits" Review


1 of 11


The theme of this month's Tinker Zine is "Light It Up" to go with our paper circuits. This zine is full of educational information about circuits and magic with electricity along with some great bonus activities. They also have a section with suggested reading materials for further engagement.


1 of 4


Our project instructions come on a separate sheet and they include detailed directions along with colorful illustrations for each step.
Part A: Build the Base


1 of 4


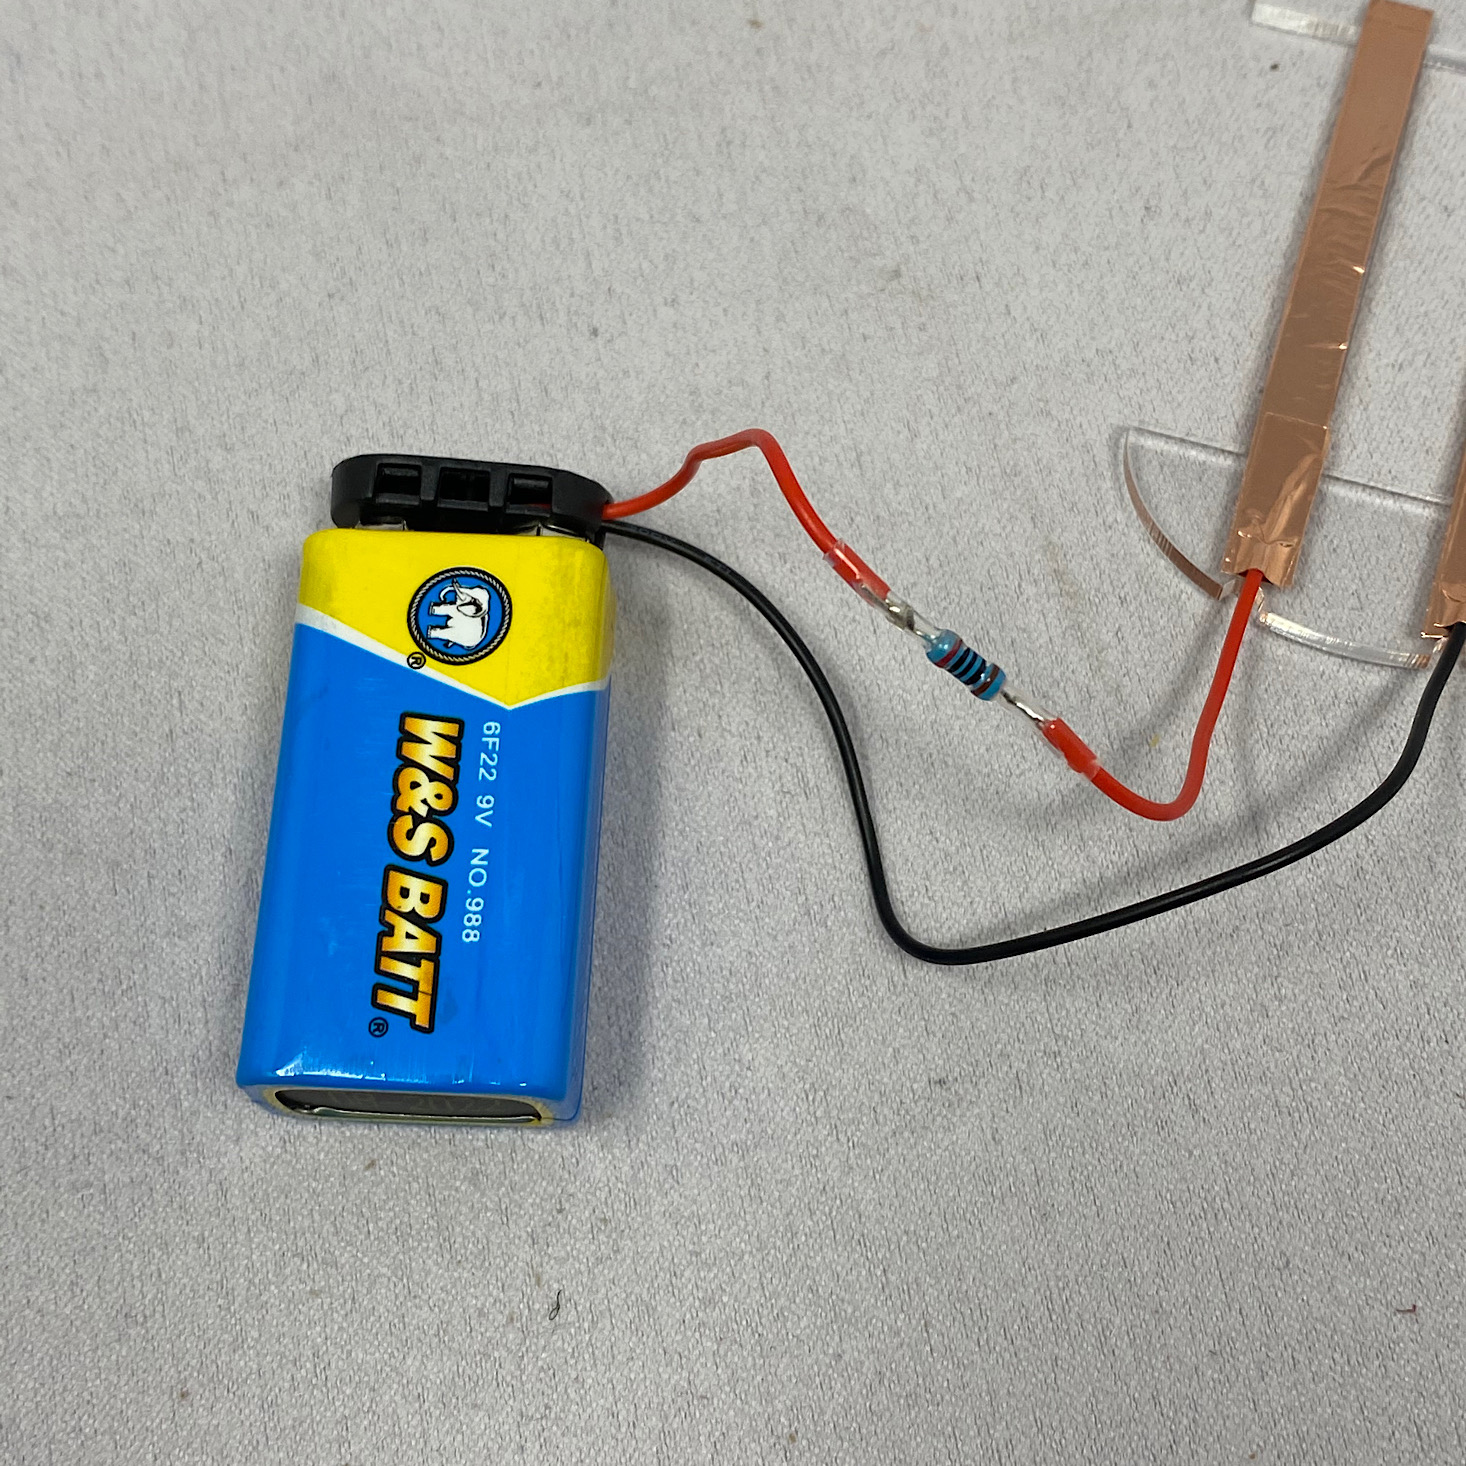
The essential components we needed this month were these plastic coins and the plastic base, some copper tape, a 9-volt battery, several LED lights, and a battery lead. They included several LED lights in various colors which I appreciated!
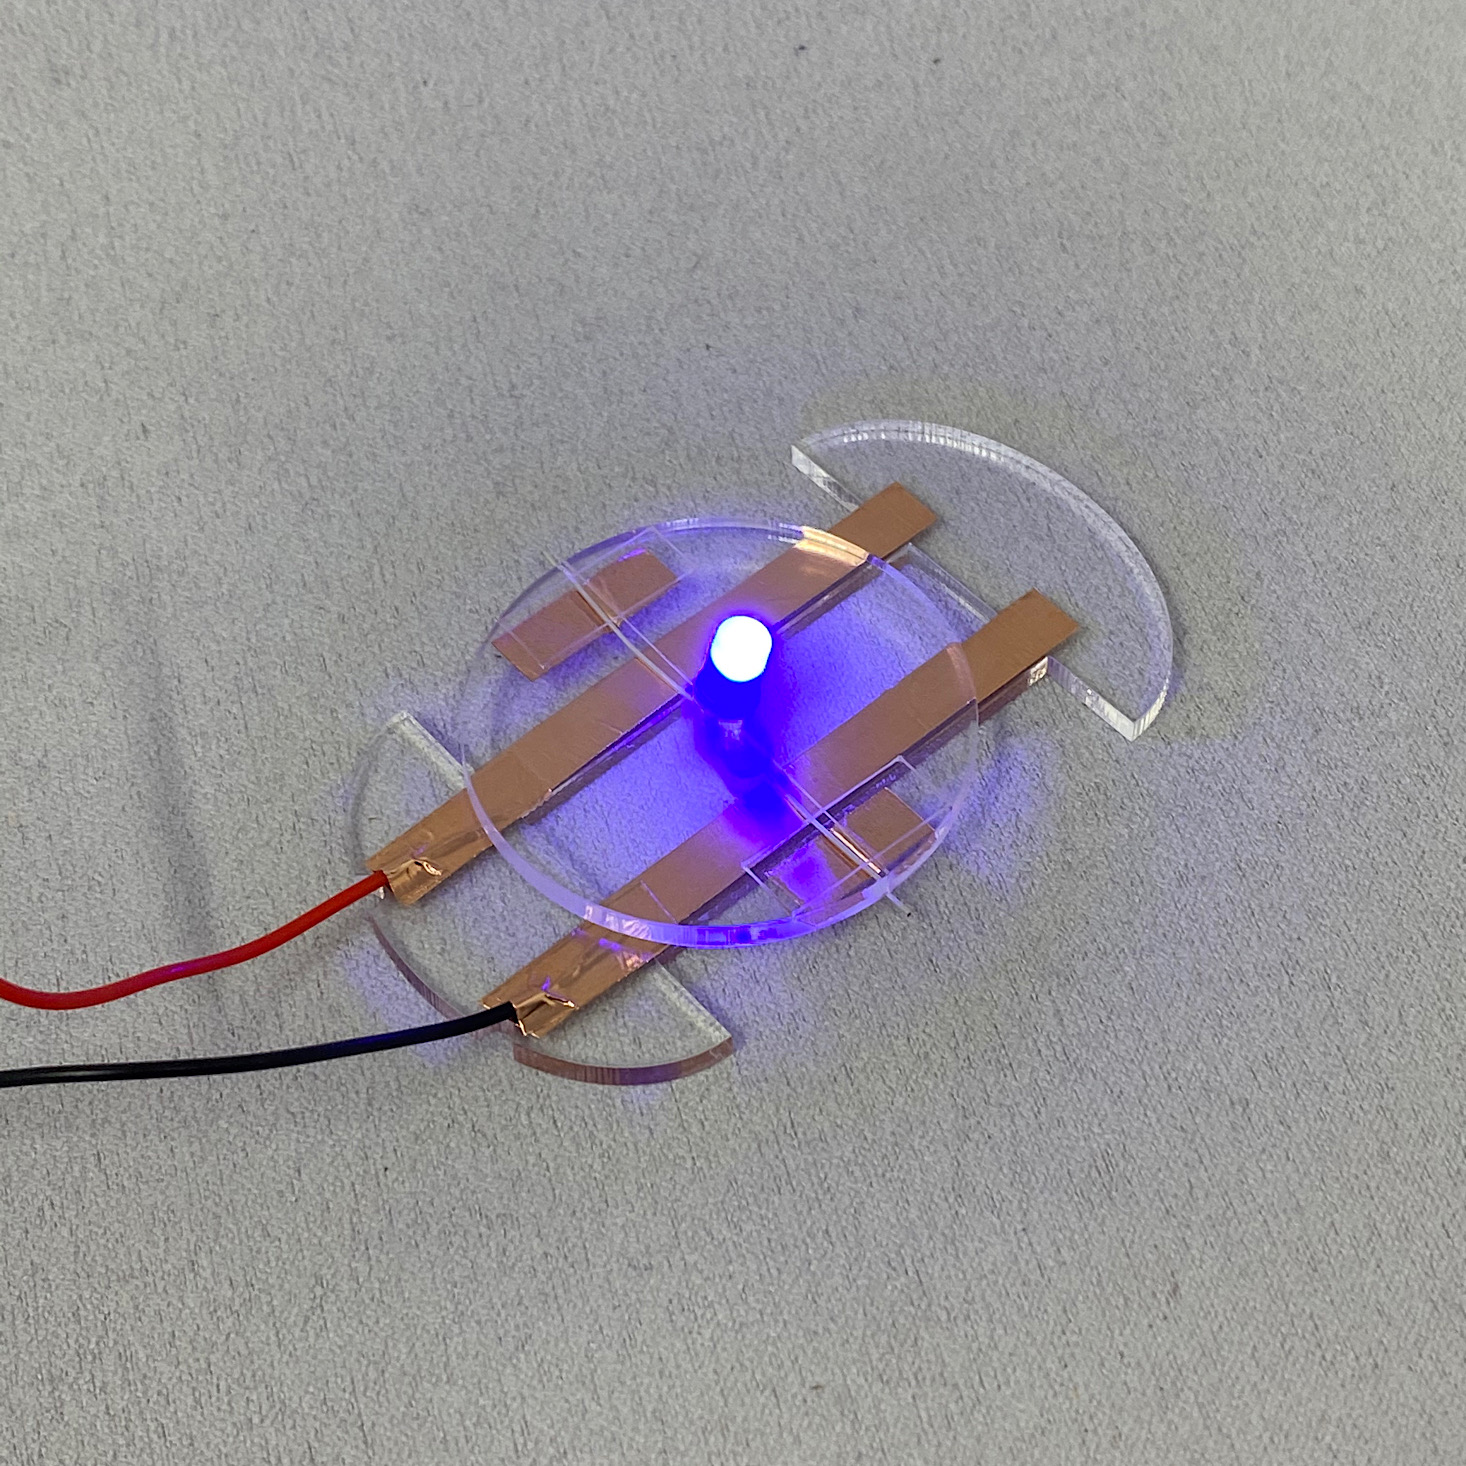

1 of 6 | The first step was to apply some copper tape strips to the rails on the base. The tape was very thin and a bit tricky to work with. It was impossible for me to get it completely smooth.


I prepared the other two coins the same way but with different colors and then I tested them out!
Part B: Build the Lanterns


1 of 2
Now I was ready to build the lanterns. They provided 3 different lantern shapes and some sticky foam squares.


1 of 5 | I folded up the smaller flower using the adhesive strips that were already there to hold it together.


1 of 3

Here is my glowing flower! Pretty cool!

The triangle was very simple to assemble and I chose a blue light.

1 of 4


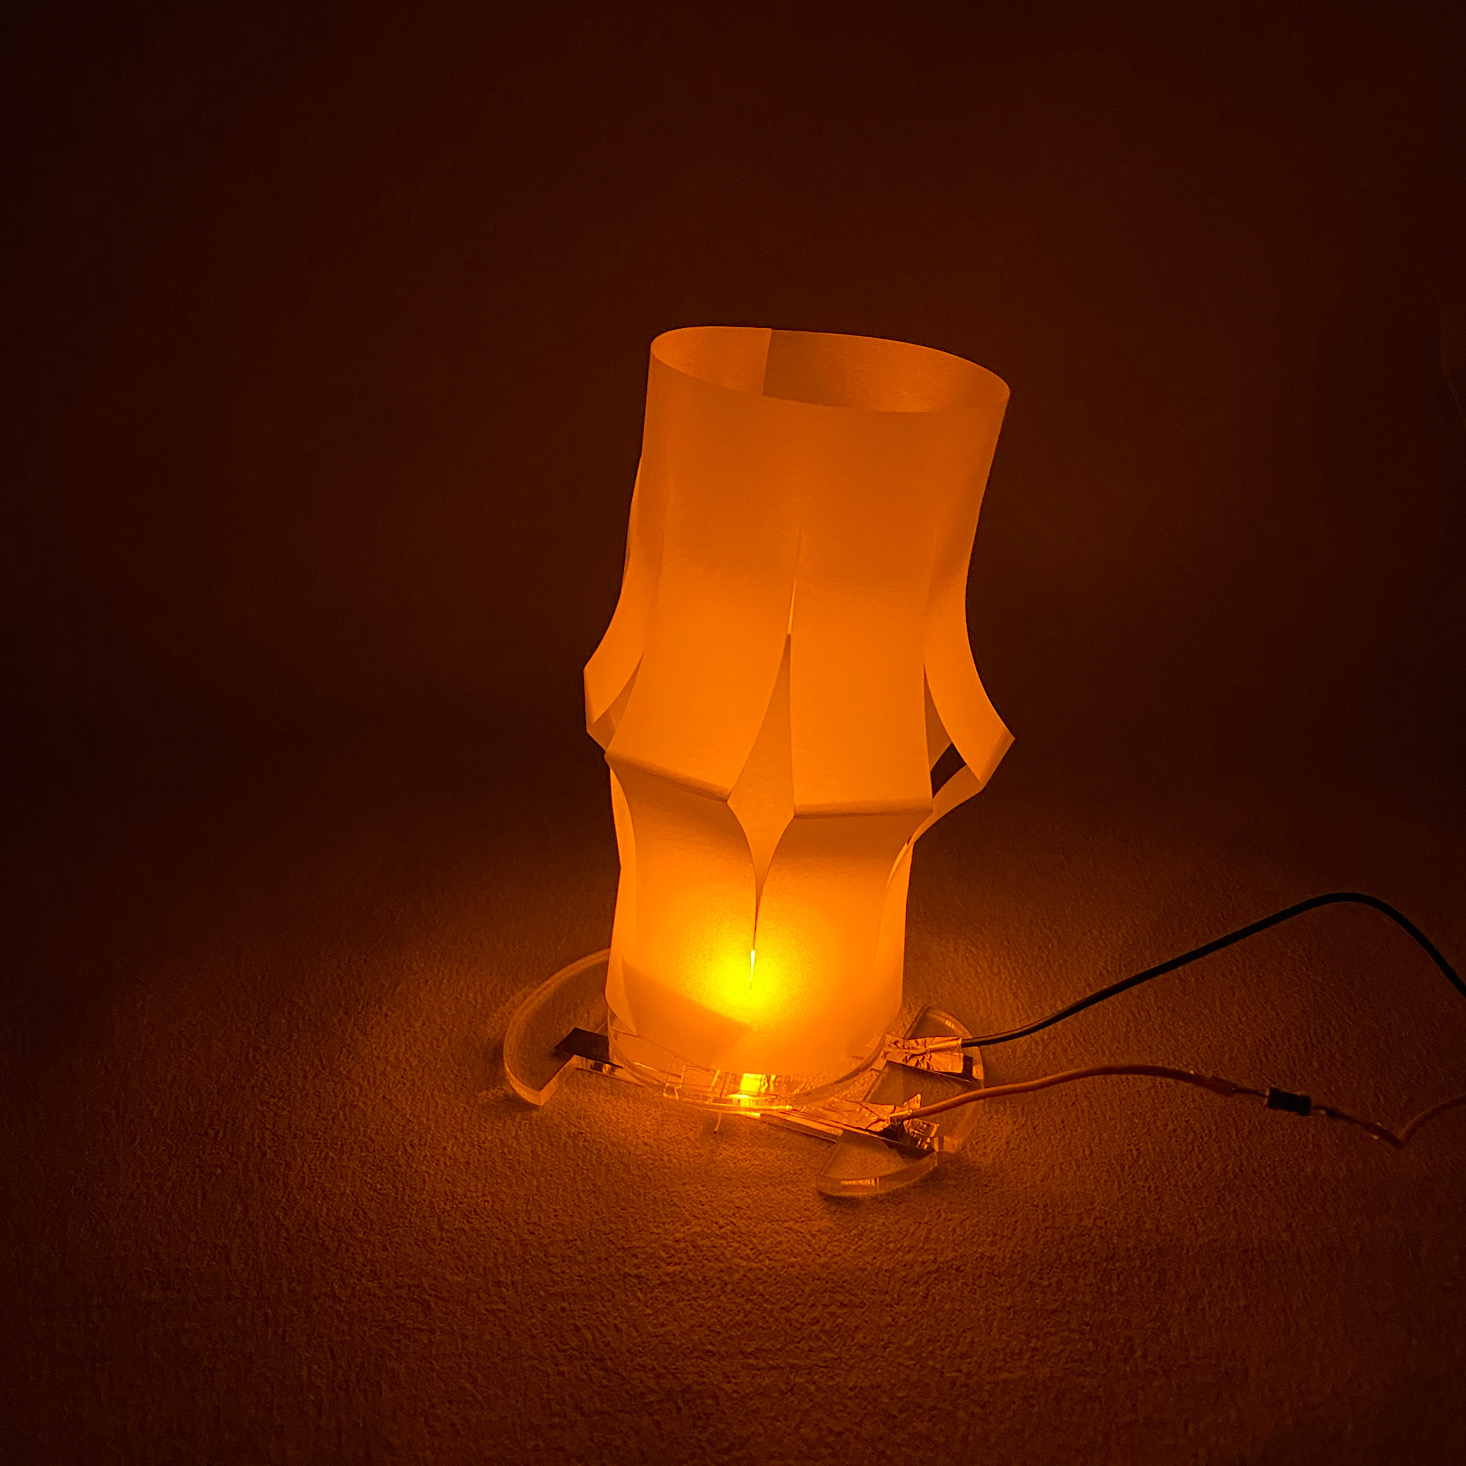
The last lantern I had to fold in half and cut slits into it before rolling it into shape. Swipe to see the process!
Part C: Complete the Lanterns
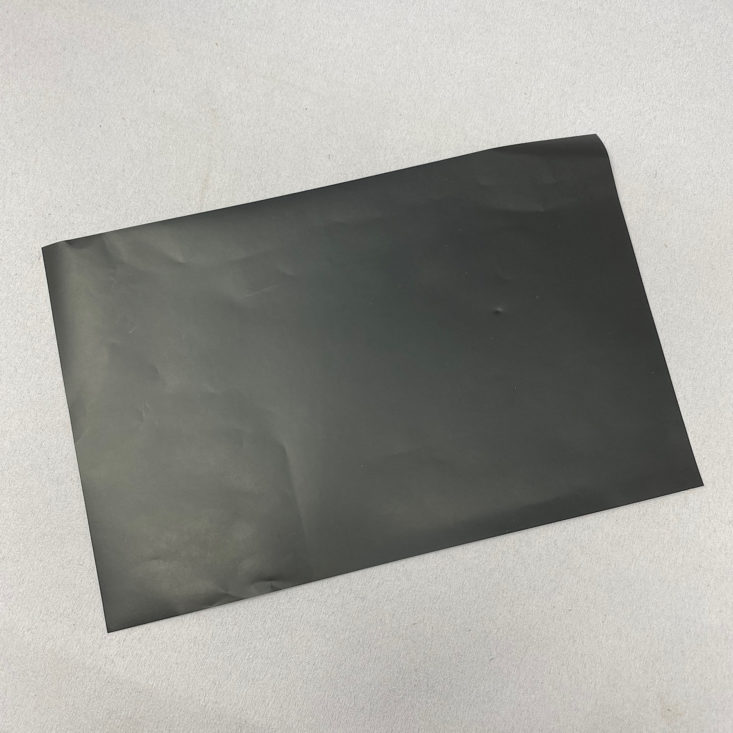
They provided this black sticker sheet for us to use to add some details to our lanterns and really make them our own.

Here is how I got started on my flower. I think I'll let my daughter finish it up for me!
Bonus Activity: Robots


1 of 2
In our booklet were instructions for getting these fun robots to glow.


1 of 3 | I added tape to the lines on the back of the first robot.


He glows even better in the dark!
Verdict: I love the simplicity of Tinker Crate projects! This was such an easy way to make and explore circuits and I thought it was great they included both lanterns and robots for us to make. They also gave plenty of options for lights which was nice. Everything was organized and the instructions were easy to follow. It was also great that we got to put our own creative touch on the lanterns with the stickers! Overall, a pretty cool box!
To Wrap Up:
Can you still get this box if you sign up today? It is possible you might get this crate, but it is not a guarantee. From KiwiCo:
Crates are assigned each month based on availability and your crate history - not all subscribers receive the same theme each month.
Check out all of our Tinker Crate reviews and the best subscription boxes for kids!
Keep Track of Your Subscriptions: Add this box to your subscription list or wishlist!
What do you think of this month's Tinker Crate?
Please do not enter your email address in the Name field or in the comment content. Your email address will not be published. Required fields are marked *. Remember to post with kindness and respect. Comments with offensive language, cruelness to others, etc will not be approved. See our full comment policy here.