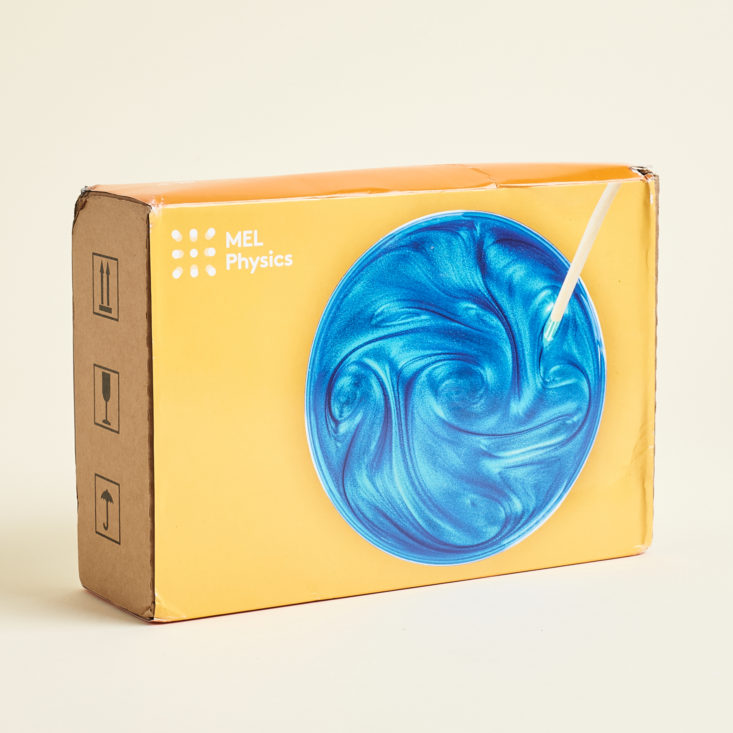
MEL Physics is the newest subscription box for kids ages 8-14+ from parent company, MEL Science. Each month you'll receive all of the materials you need to successfully complete physics experiments in the comfort of your home. This is perfect for kids who are interested in science or for homeschool students! Check out our reviews for MEL Chemistry (ages 9- 14+) and MEL Kids (ages 5-10) to see what else MEL Science has to offer!
This box was sent to us at no cost for review. (Check out the review process post to learn more about how we review boxes.)
About MEL Physics
The Subscription Box: MEL Physics
The Cost: $34.90 per month
The Products: Everything you need to conduct physics experiments each month safely in your own home!
Ships to: The U.S. and U.K. for free. International shipping to select countries is also available, although there may be additional shipping charges depending on location.
MEL Physics "Rheoscopic Fluid" Review March 2021
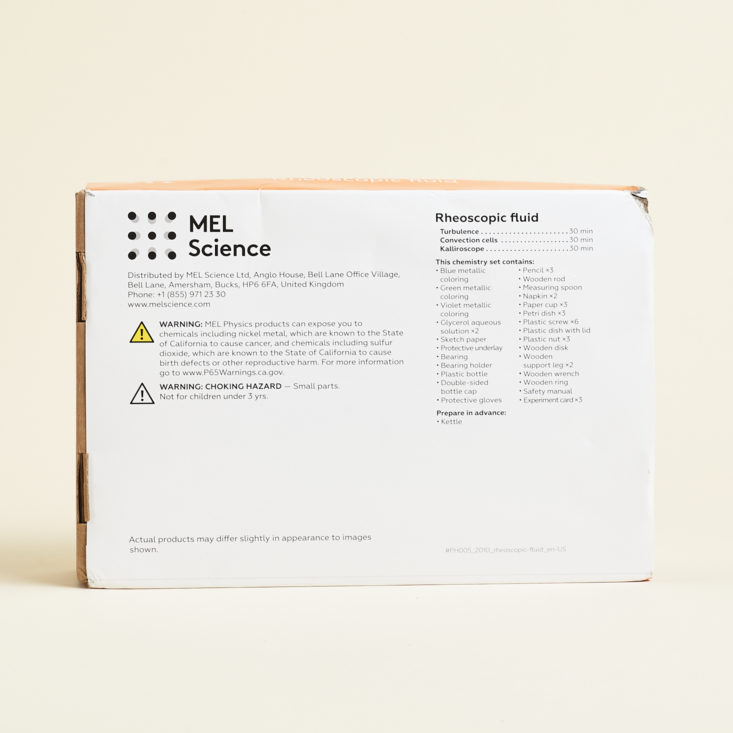
This month our experiments' theme is "Polarized Light" and the contents were listed on the back of our box.
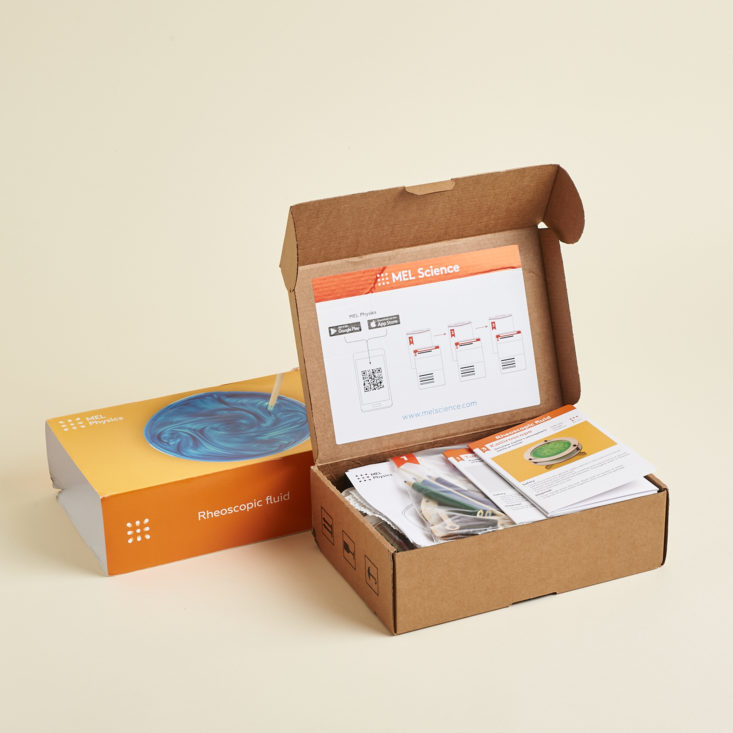
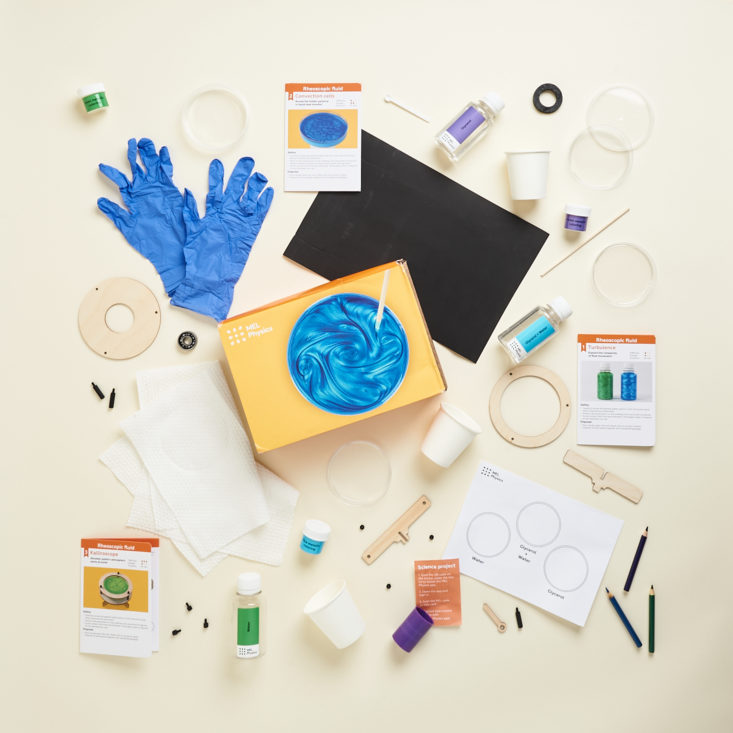
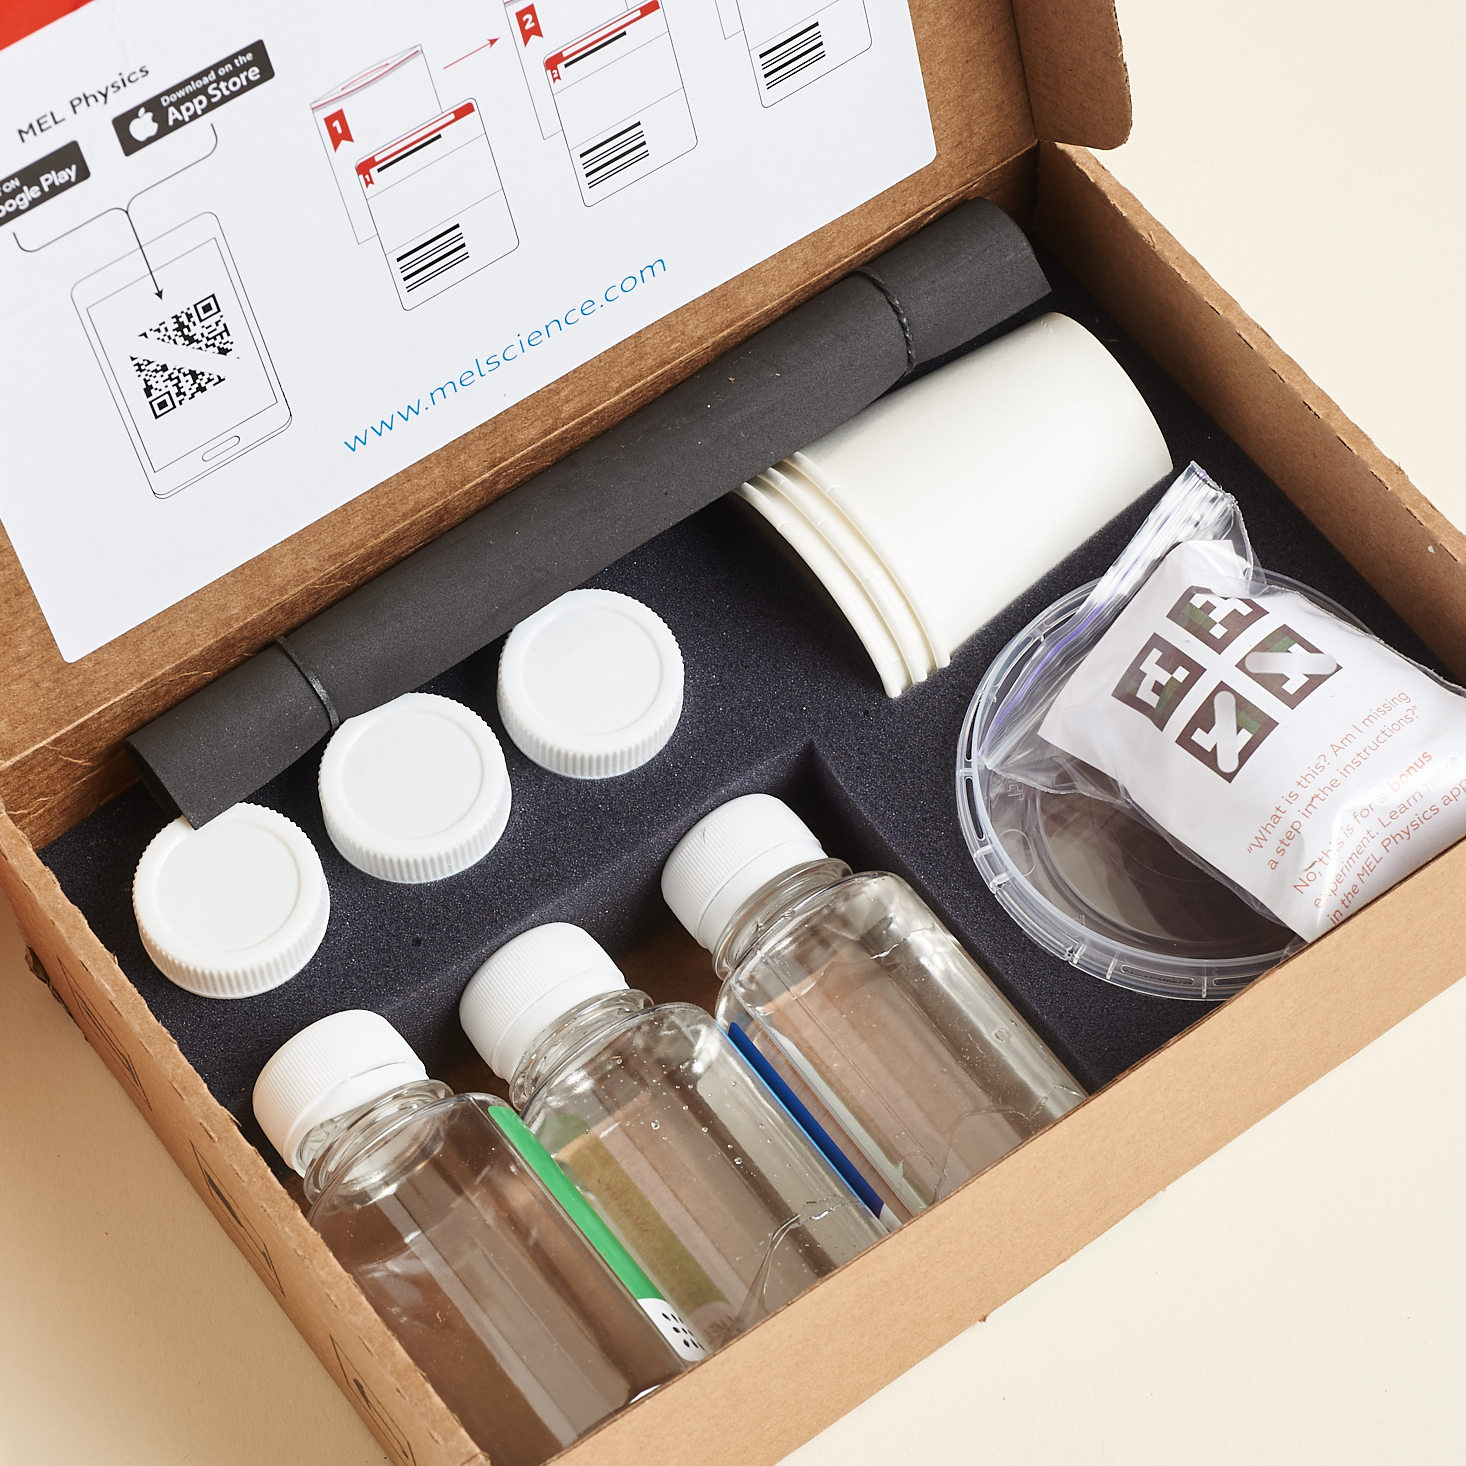
The contents are always packaged so neatly making it easy to find everything we need!
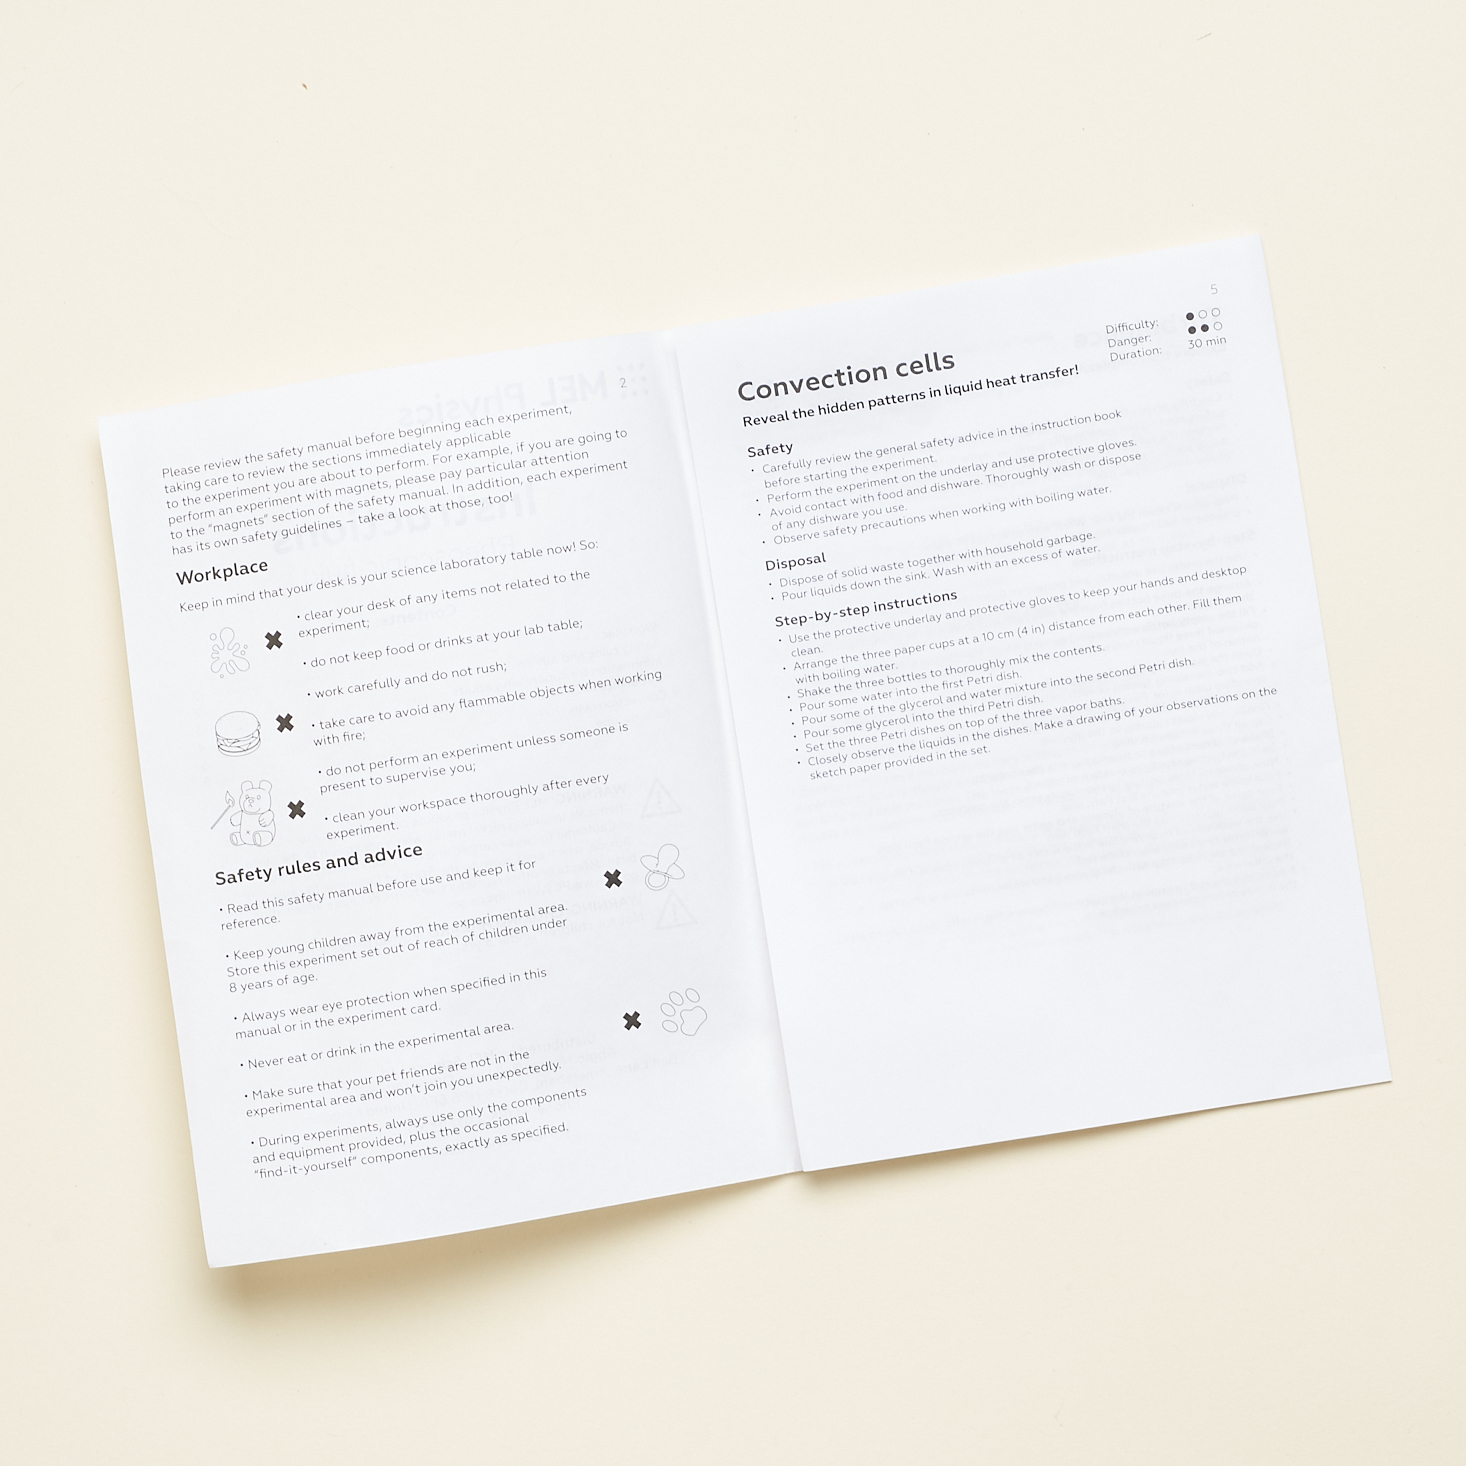
Inside our box was an instruction sheet that included some general safety rules and information for the supervising adults. I love that they include this sheet so the parent can follow along, but still allow the child to work independently.
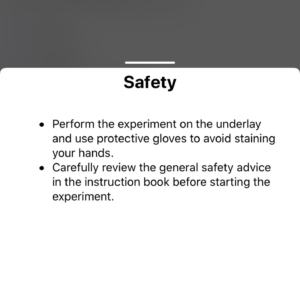
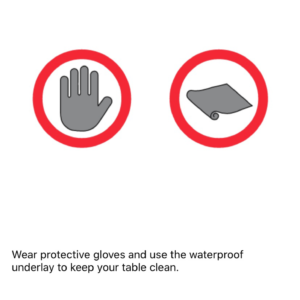
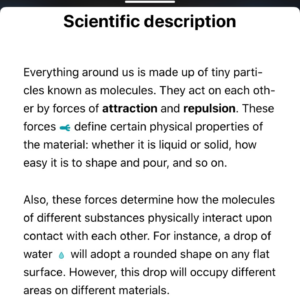
If you prefer to use technology, you can also download the MEL Physics app and everything you need is there including safety and disposal information. The directions are sometimes animated, and they provide scientific descriptions and further educational materials which I definitely recommend checking out! These are from a previous experiment, but the sections generally remain the same for each experiment.
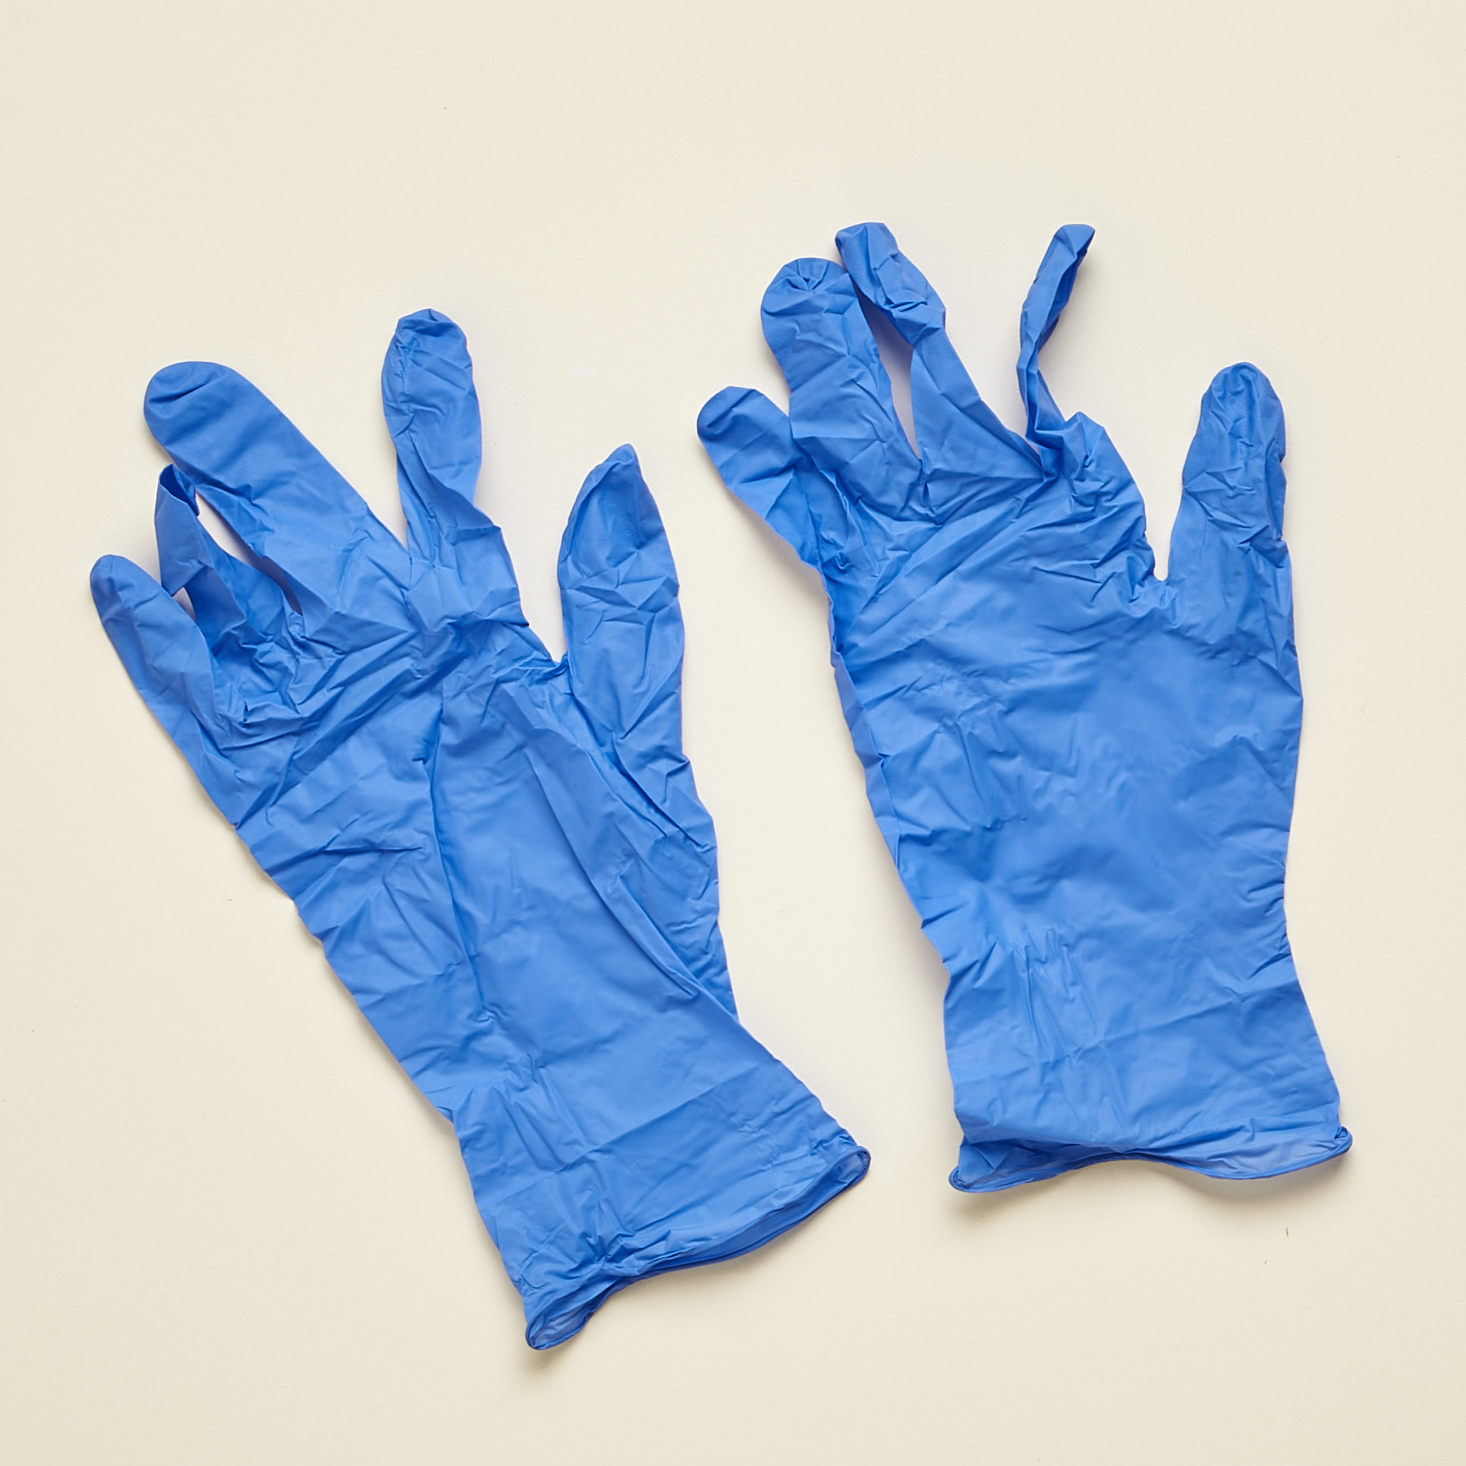
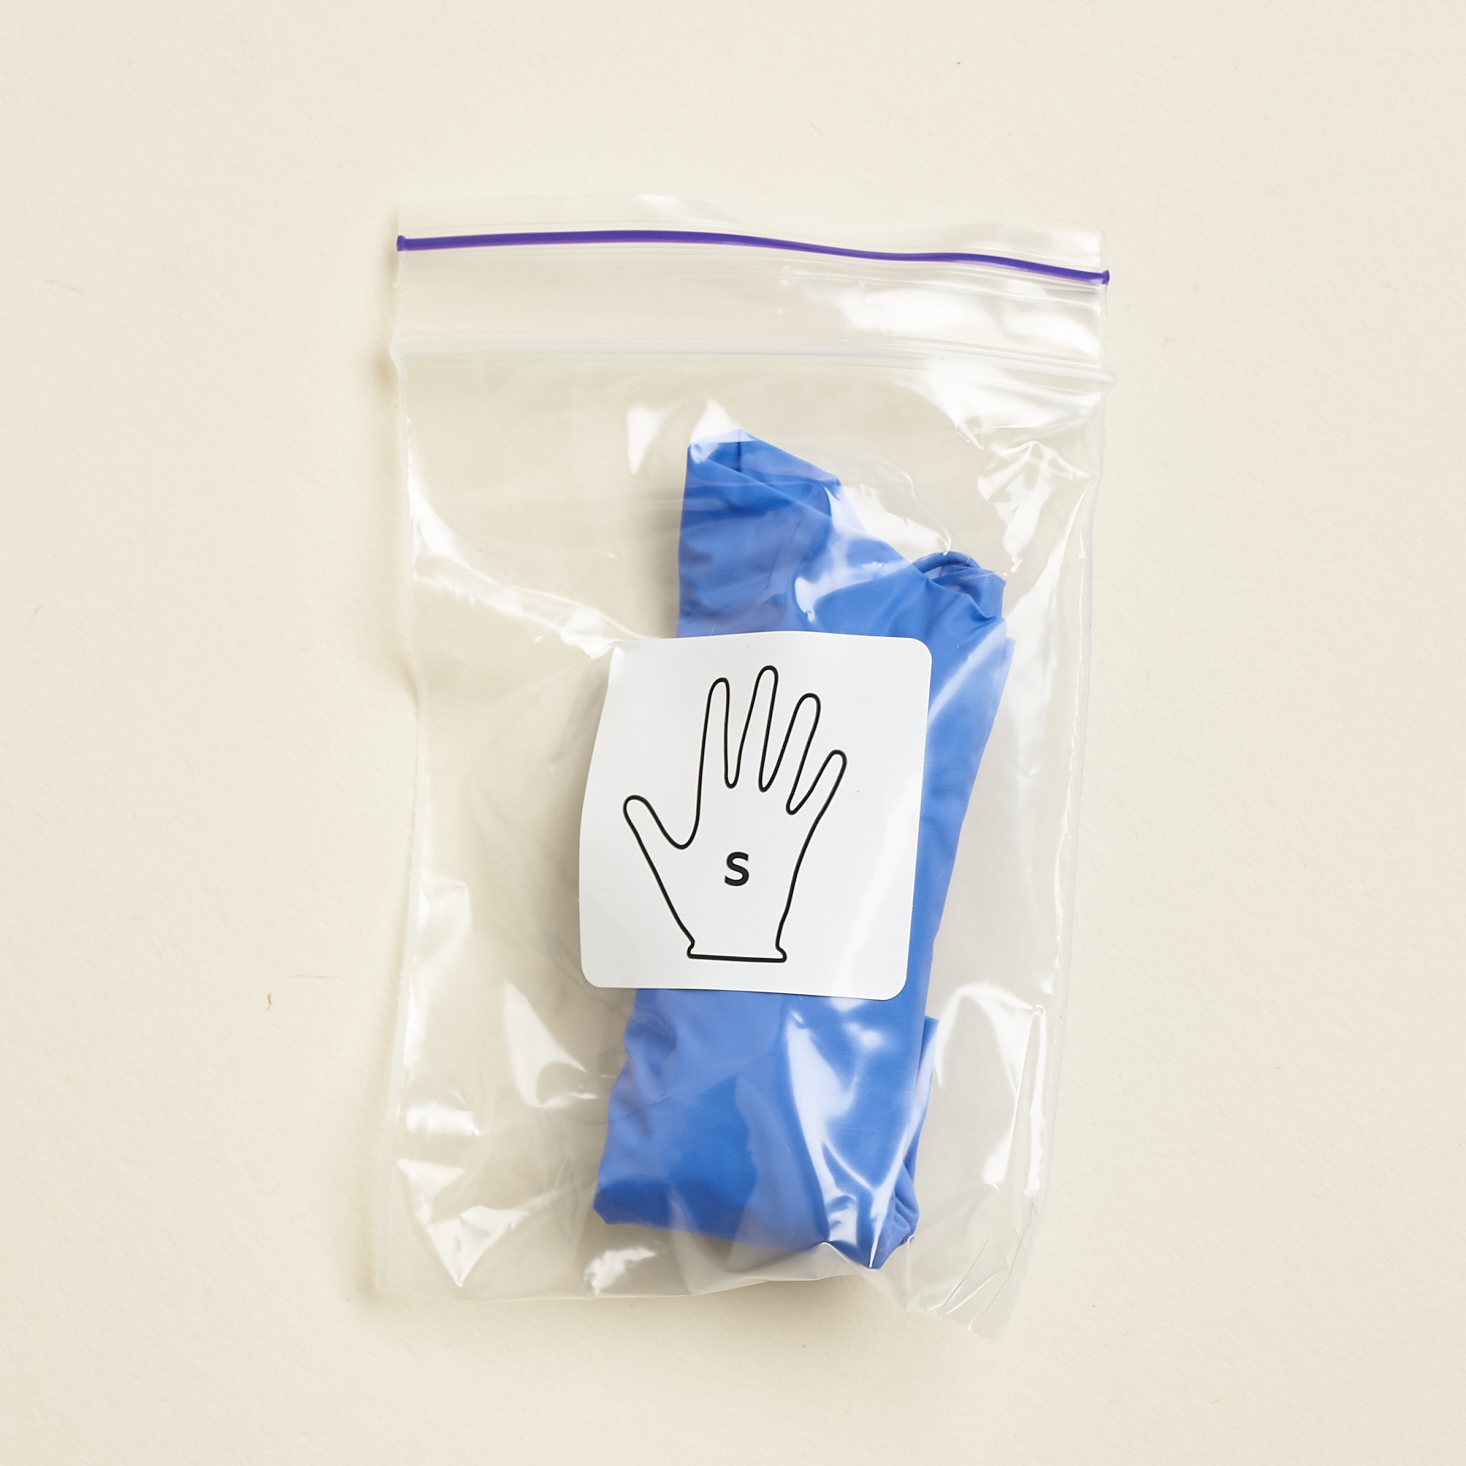
They provided a pair of gloves for us to use for our experiments along with a black underlay to work on along with some super absorbent paper towels.
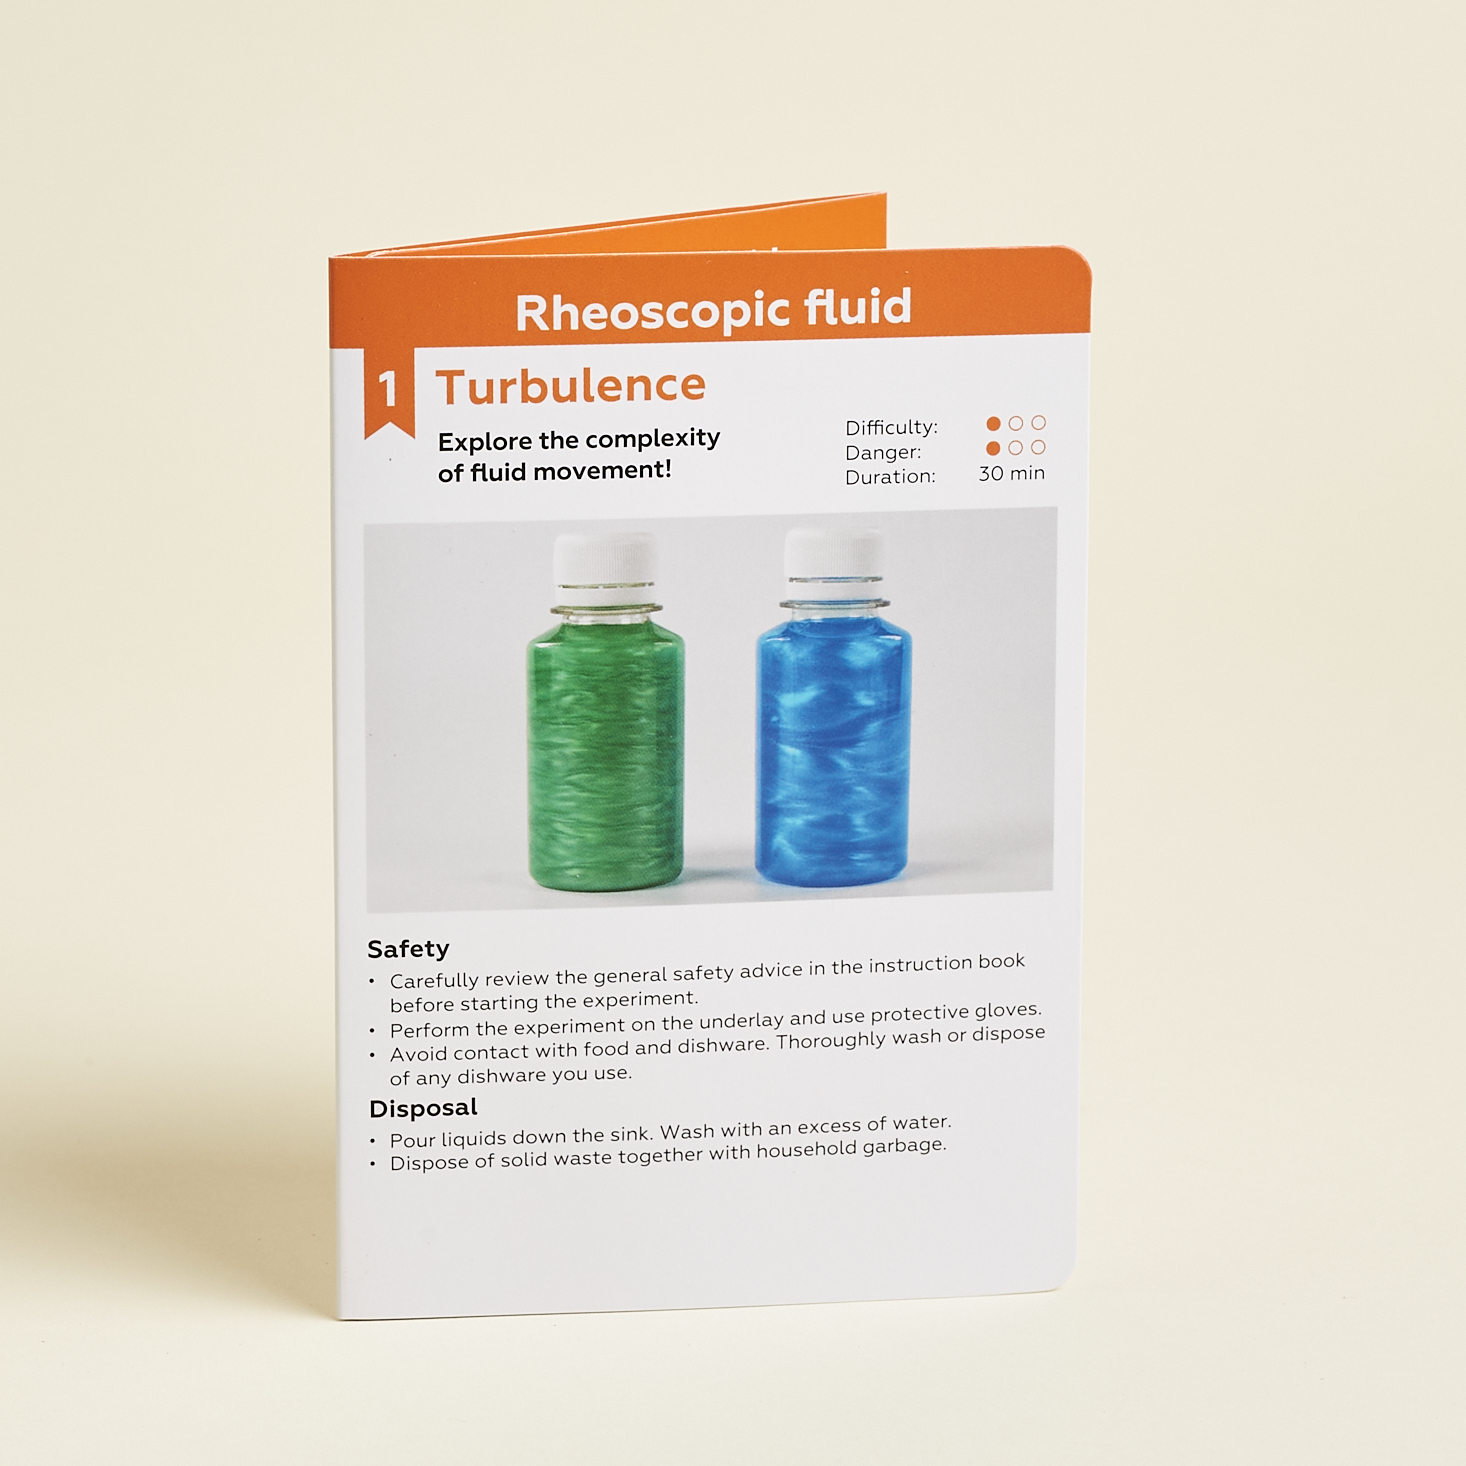
Experiment 1: Turbulence
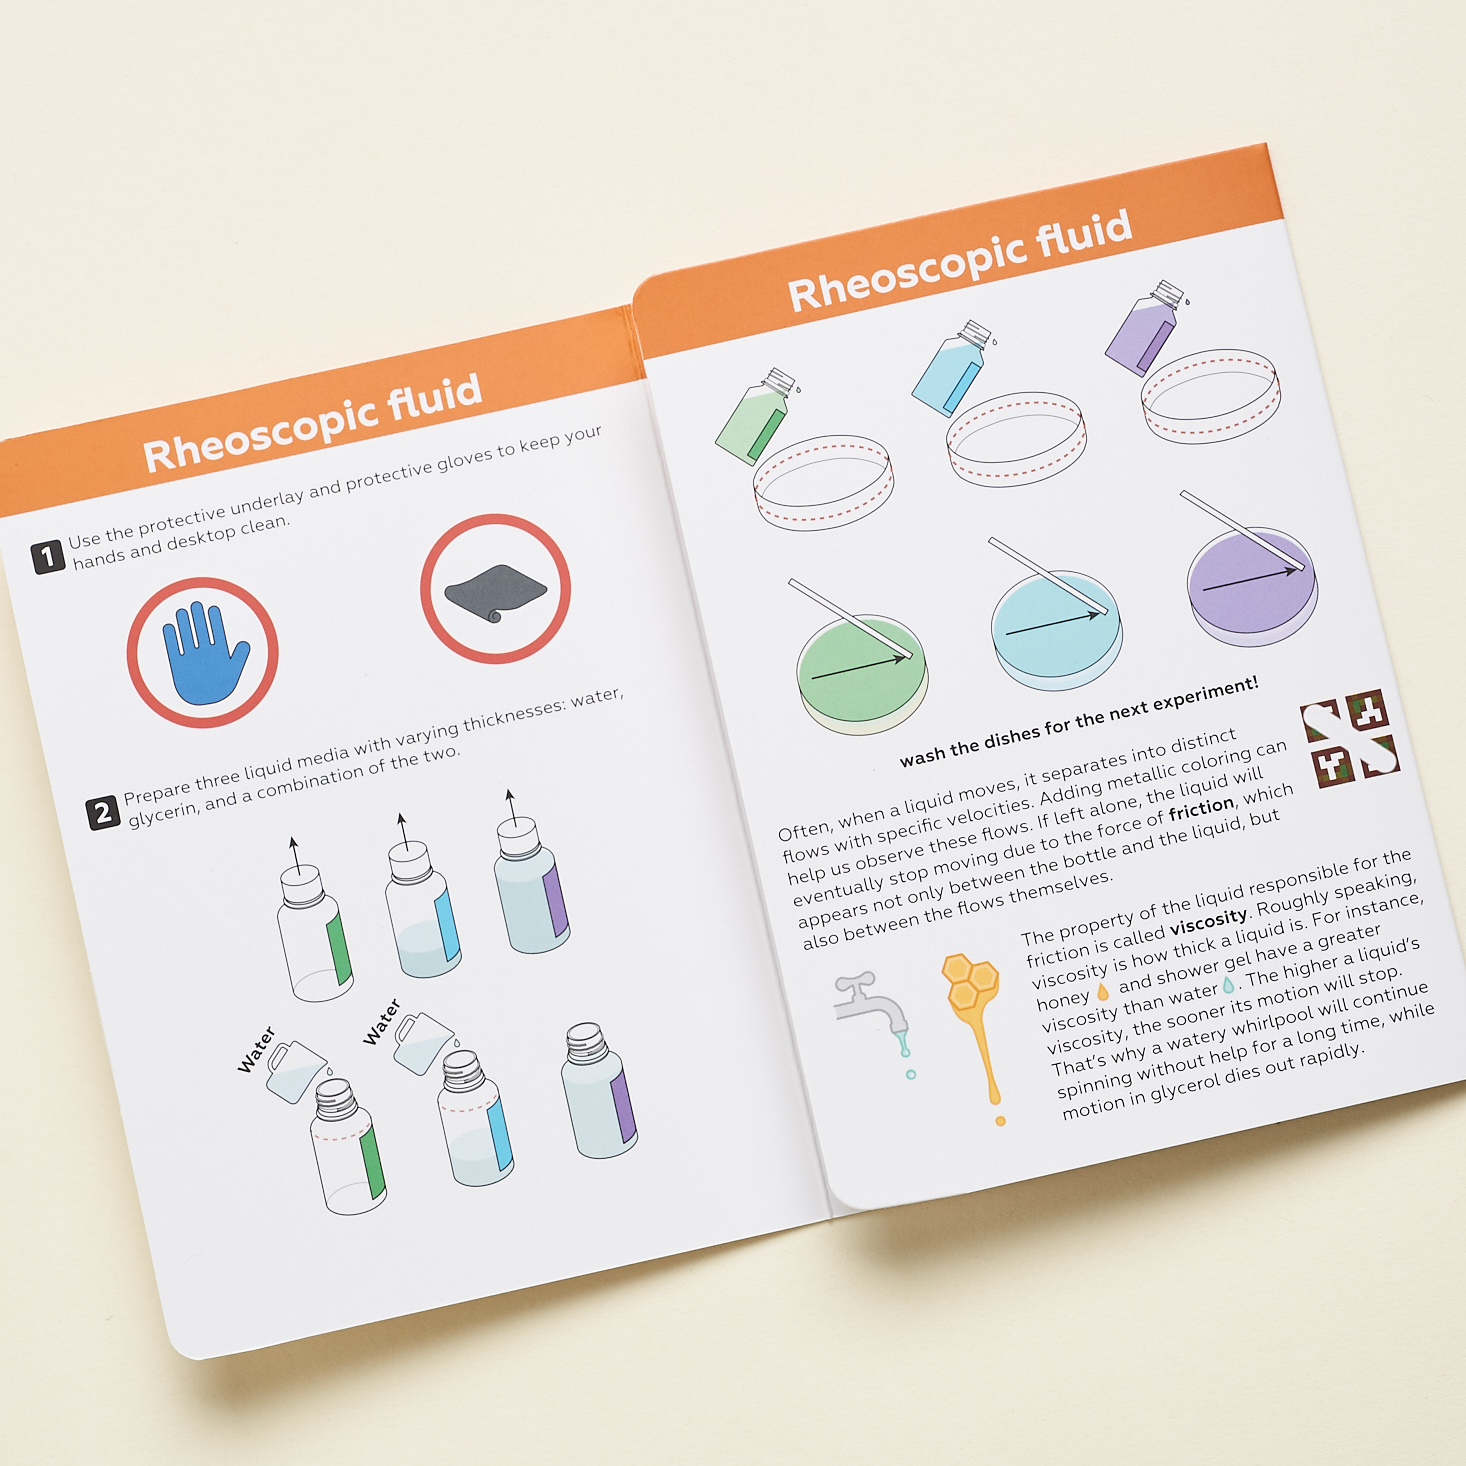
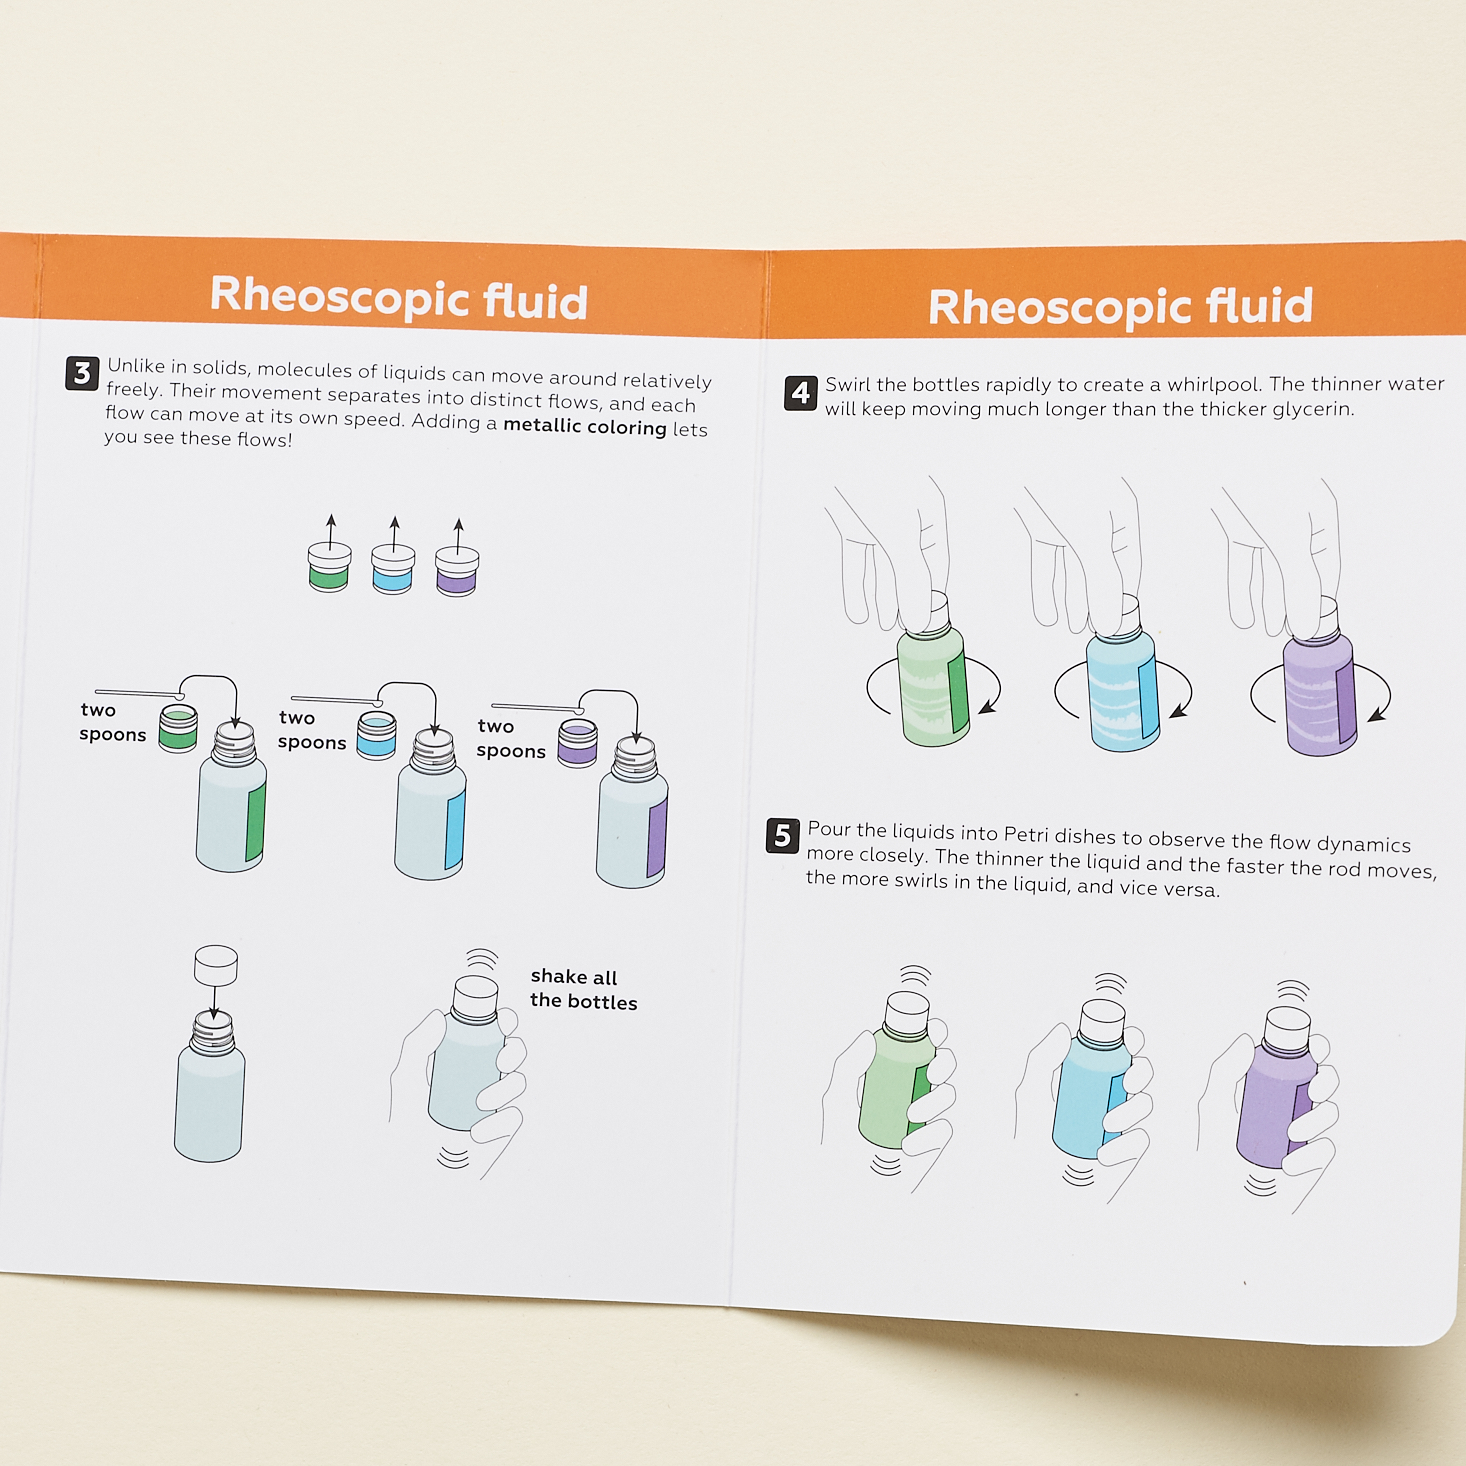
The directions came on a sturdy fold-out card with illustrations and steps that I found easy to follow and the materials for each experiment are numbered making them easy to locate. Our first experiment was "Turbulence."
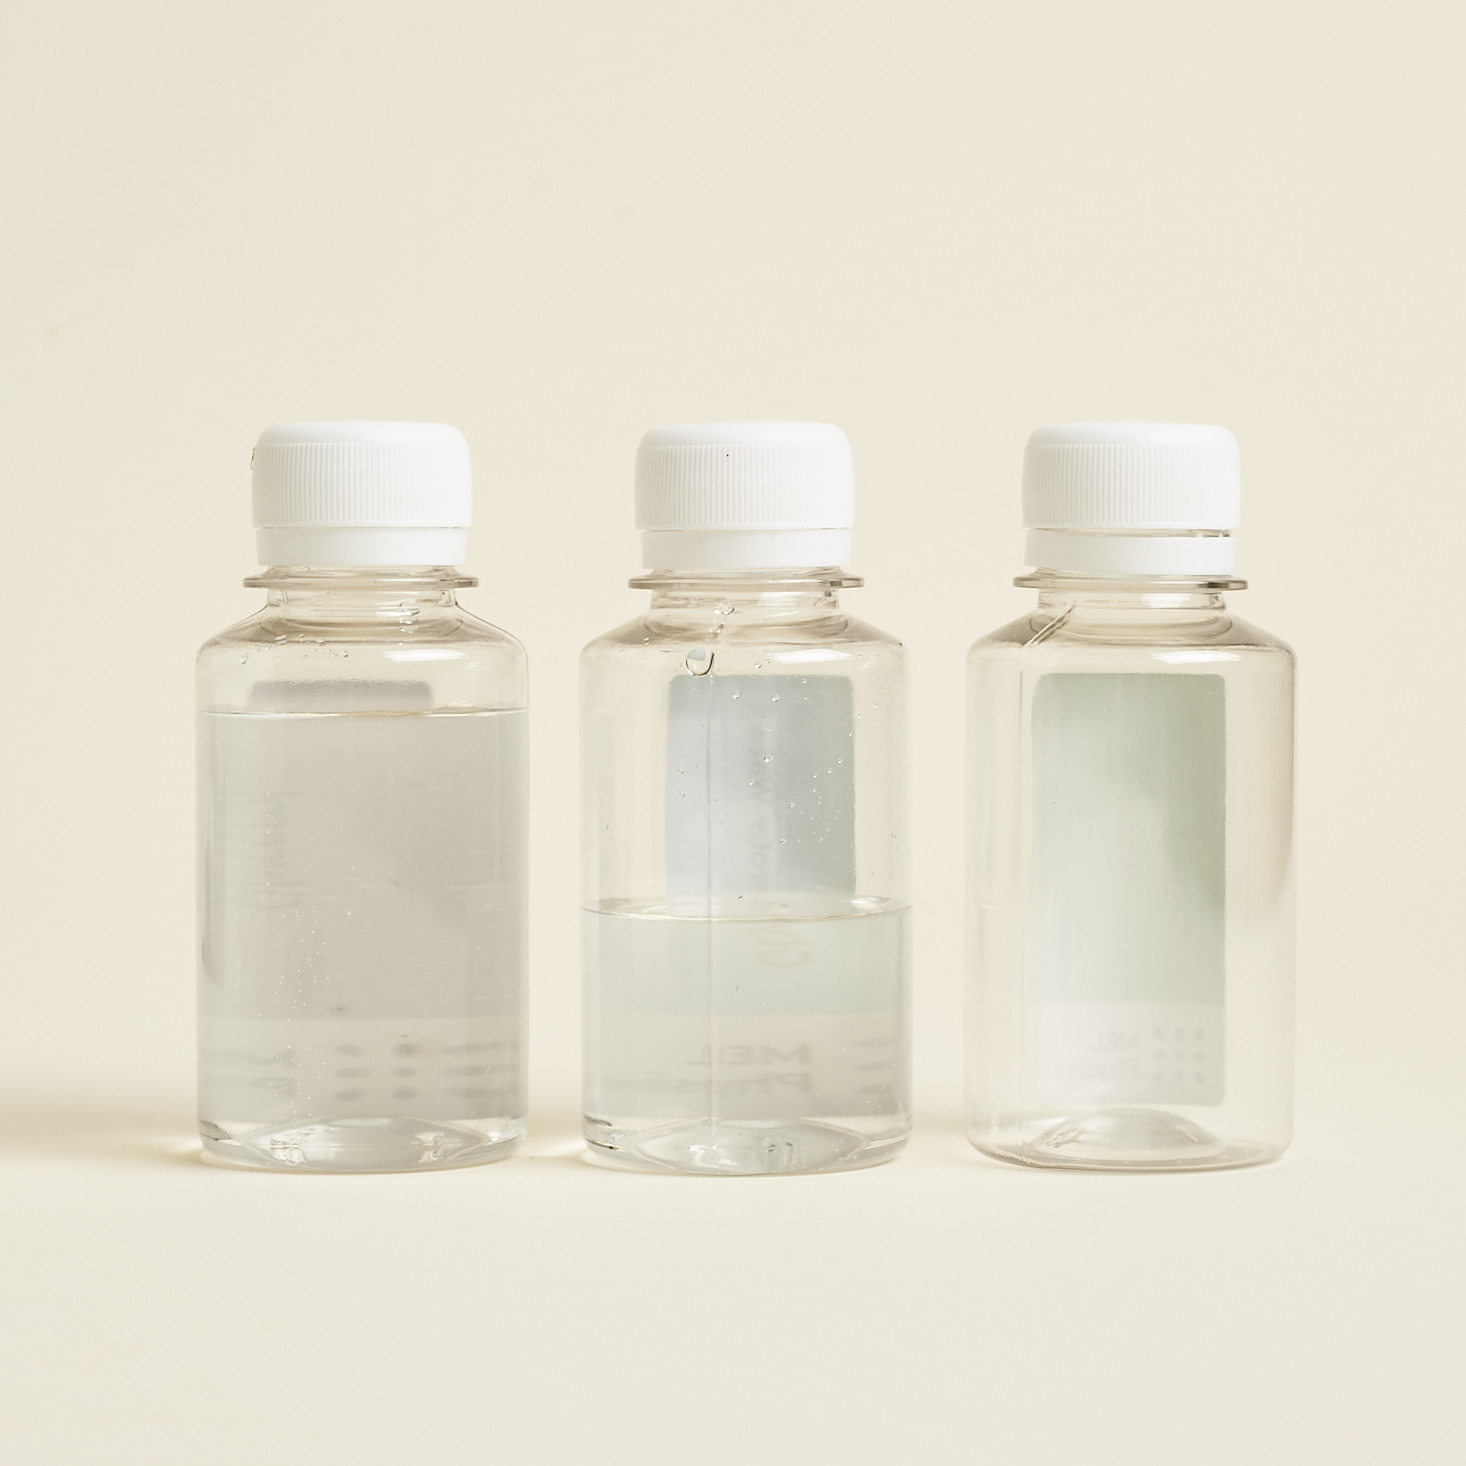
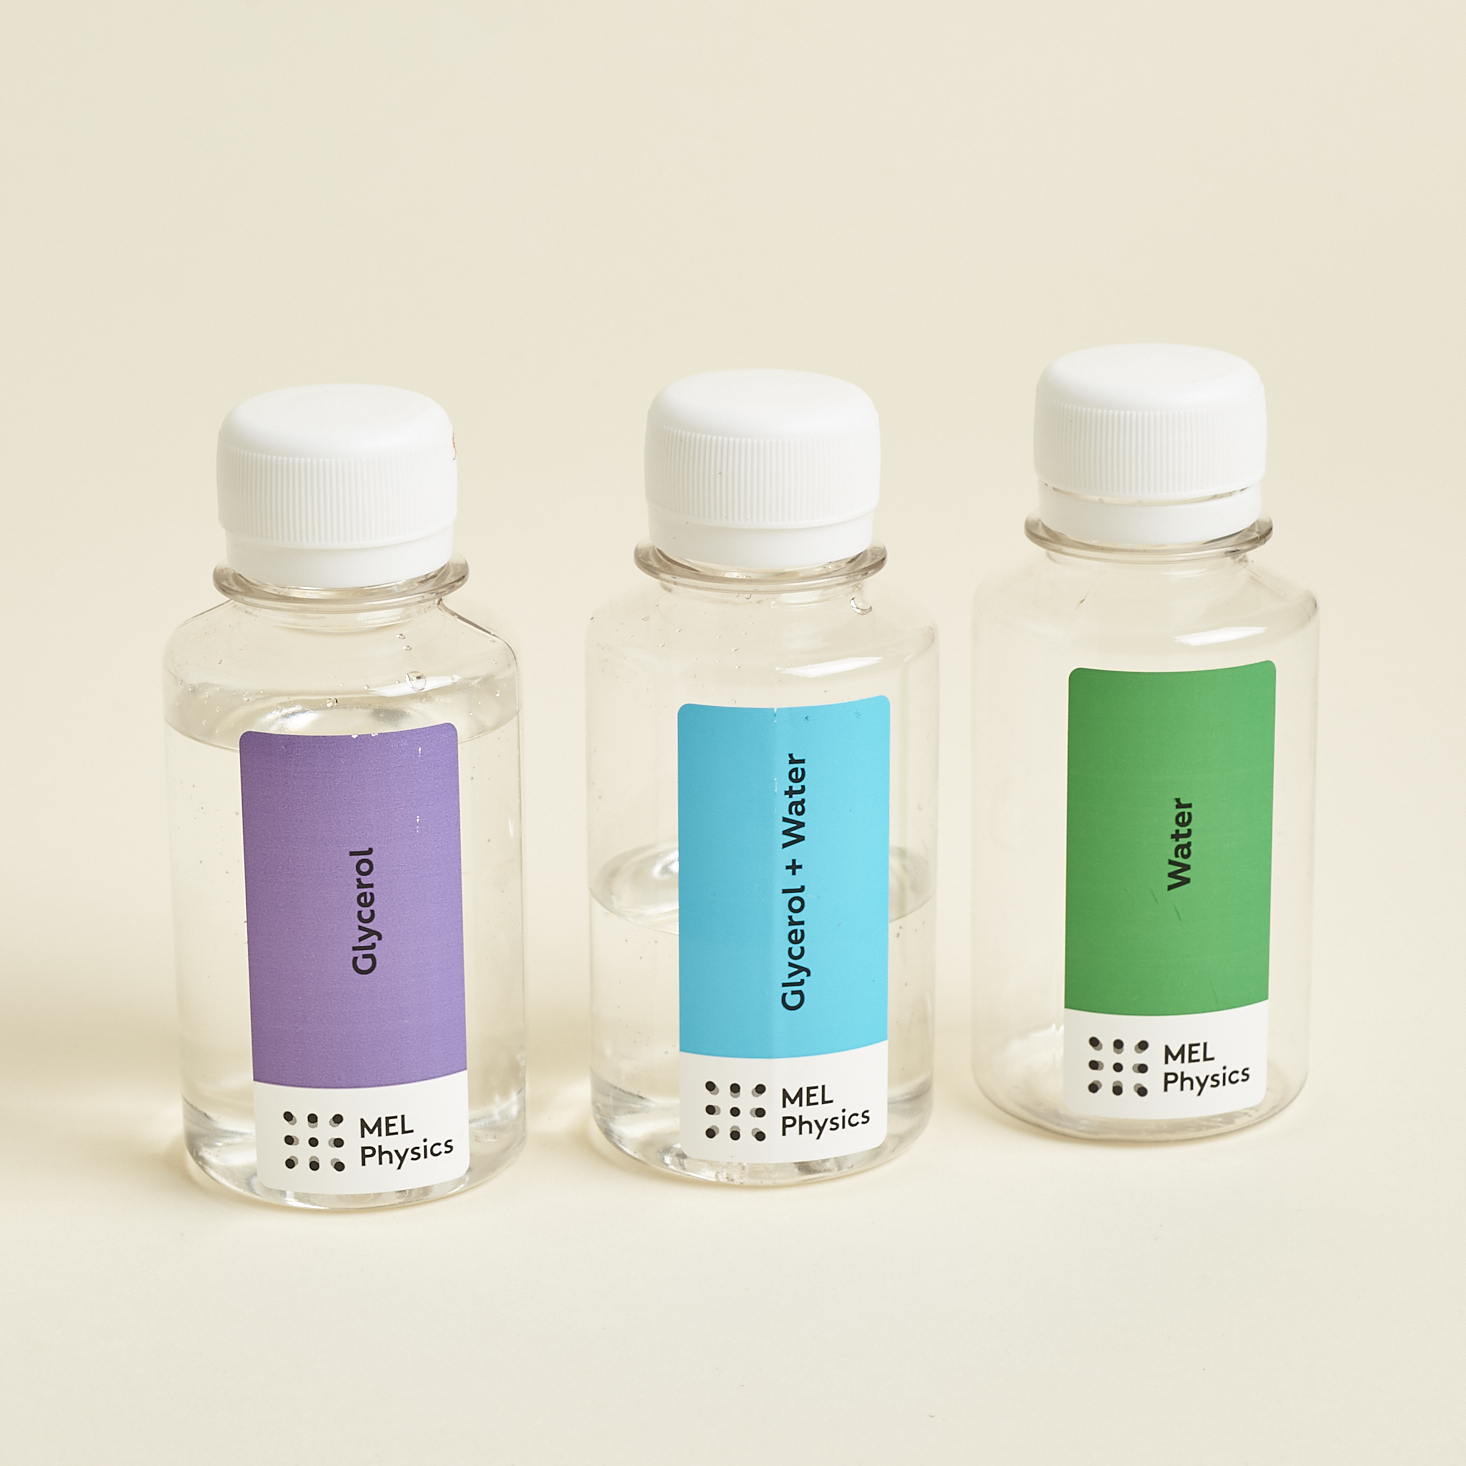
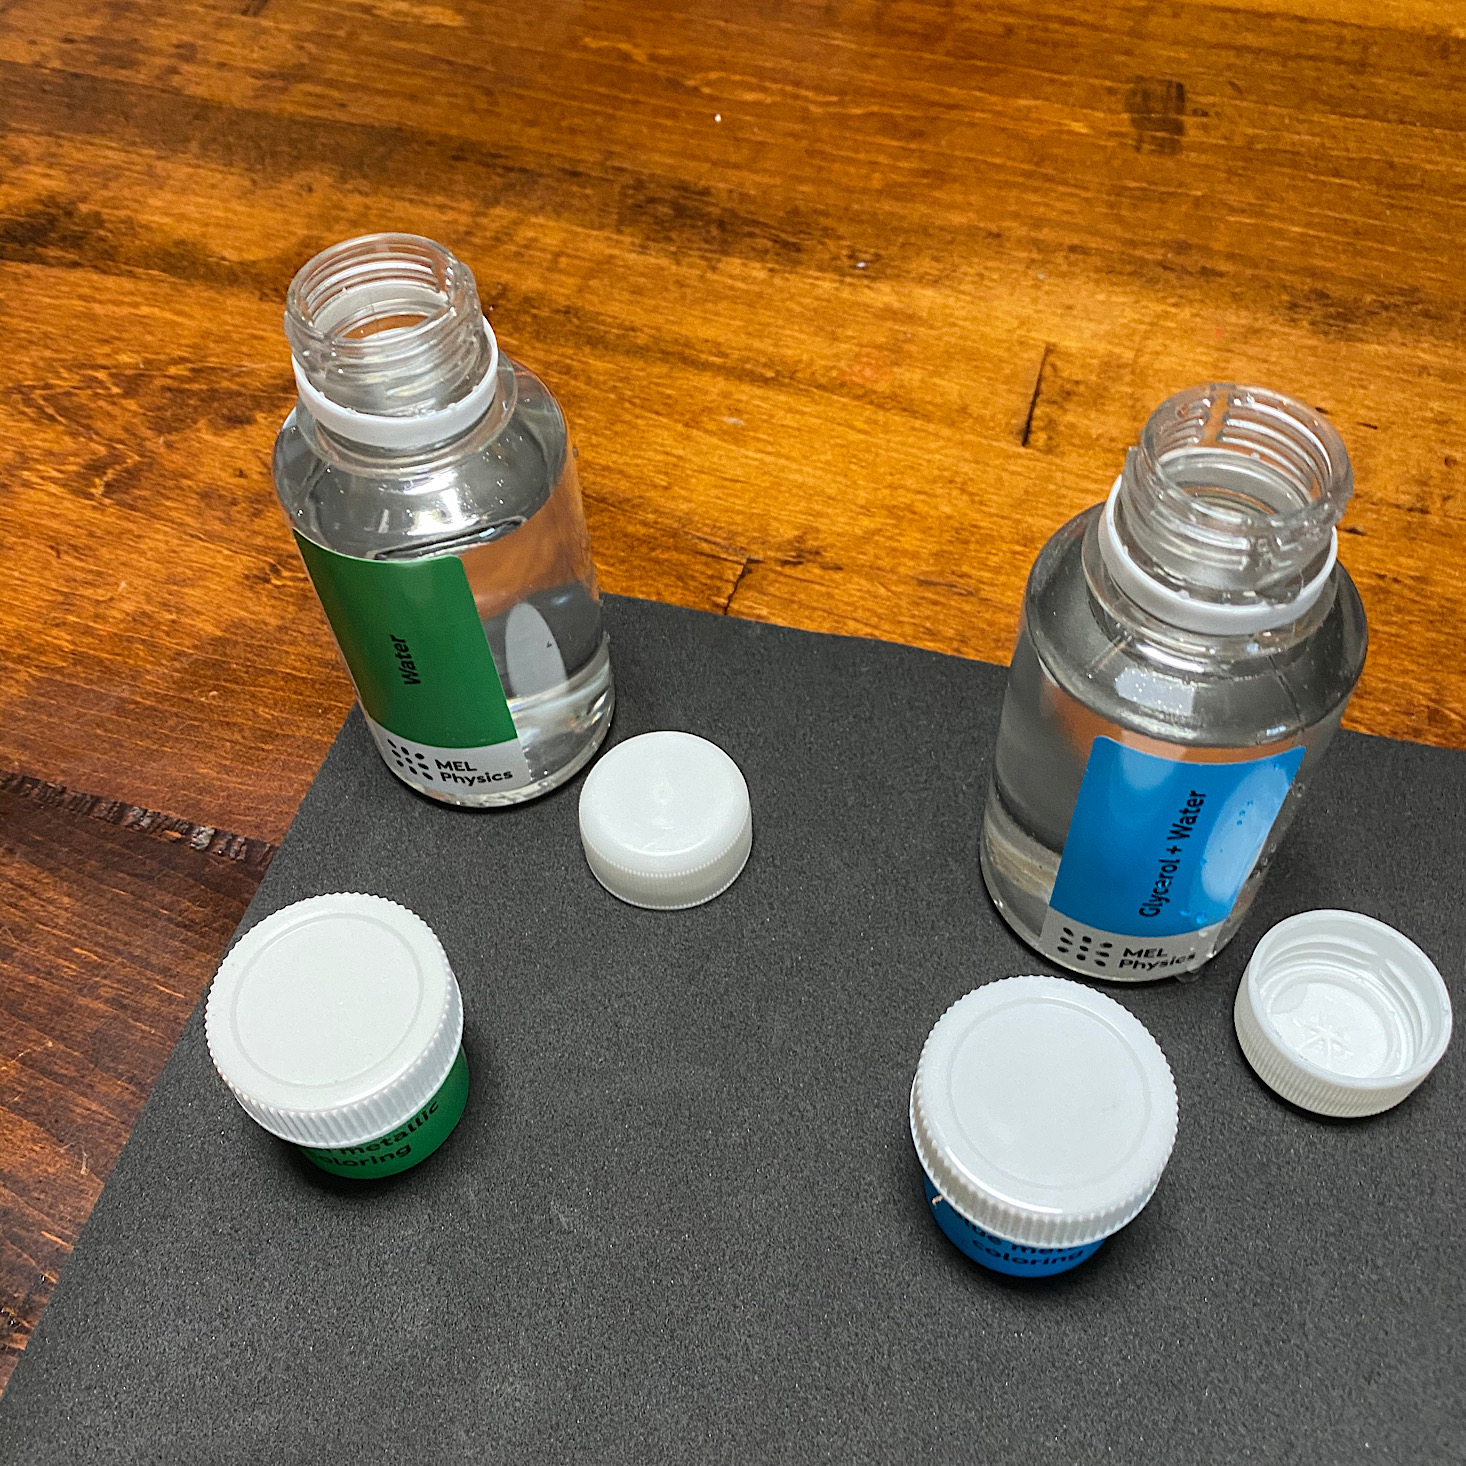
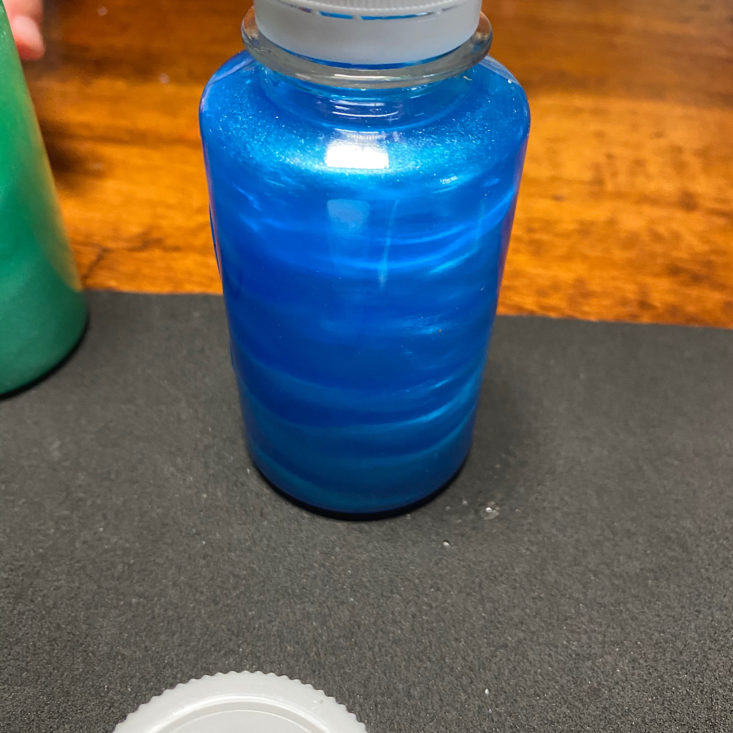
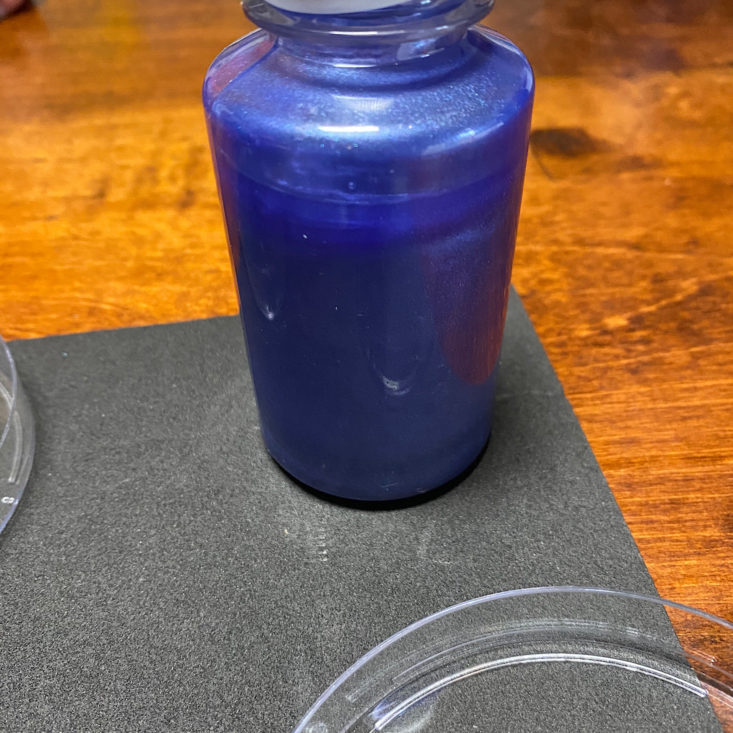
Our first experiment involved using these three bottles. One was full of glycerol while the other two required us to add water to them. The blue bottle was half glycerol and half water, while the green bottle was all water.
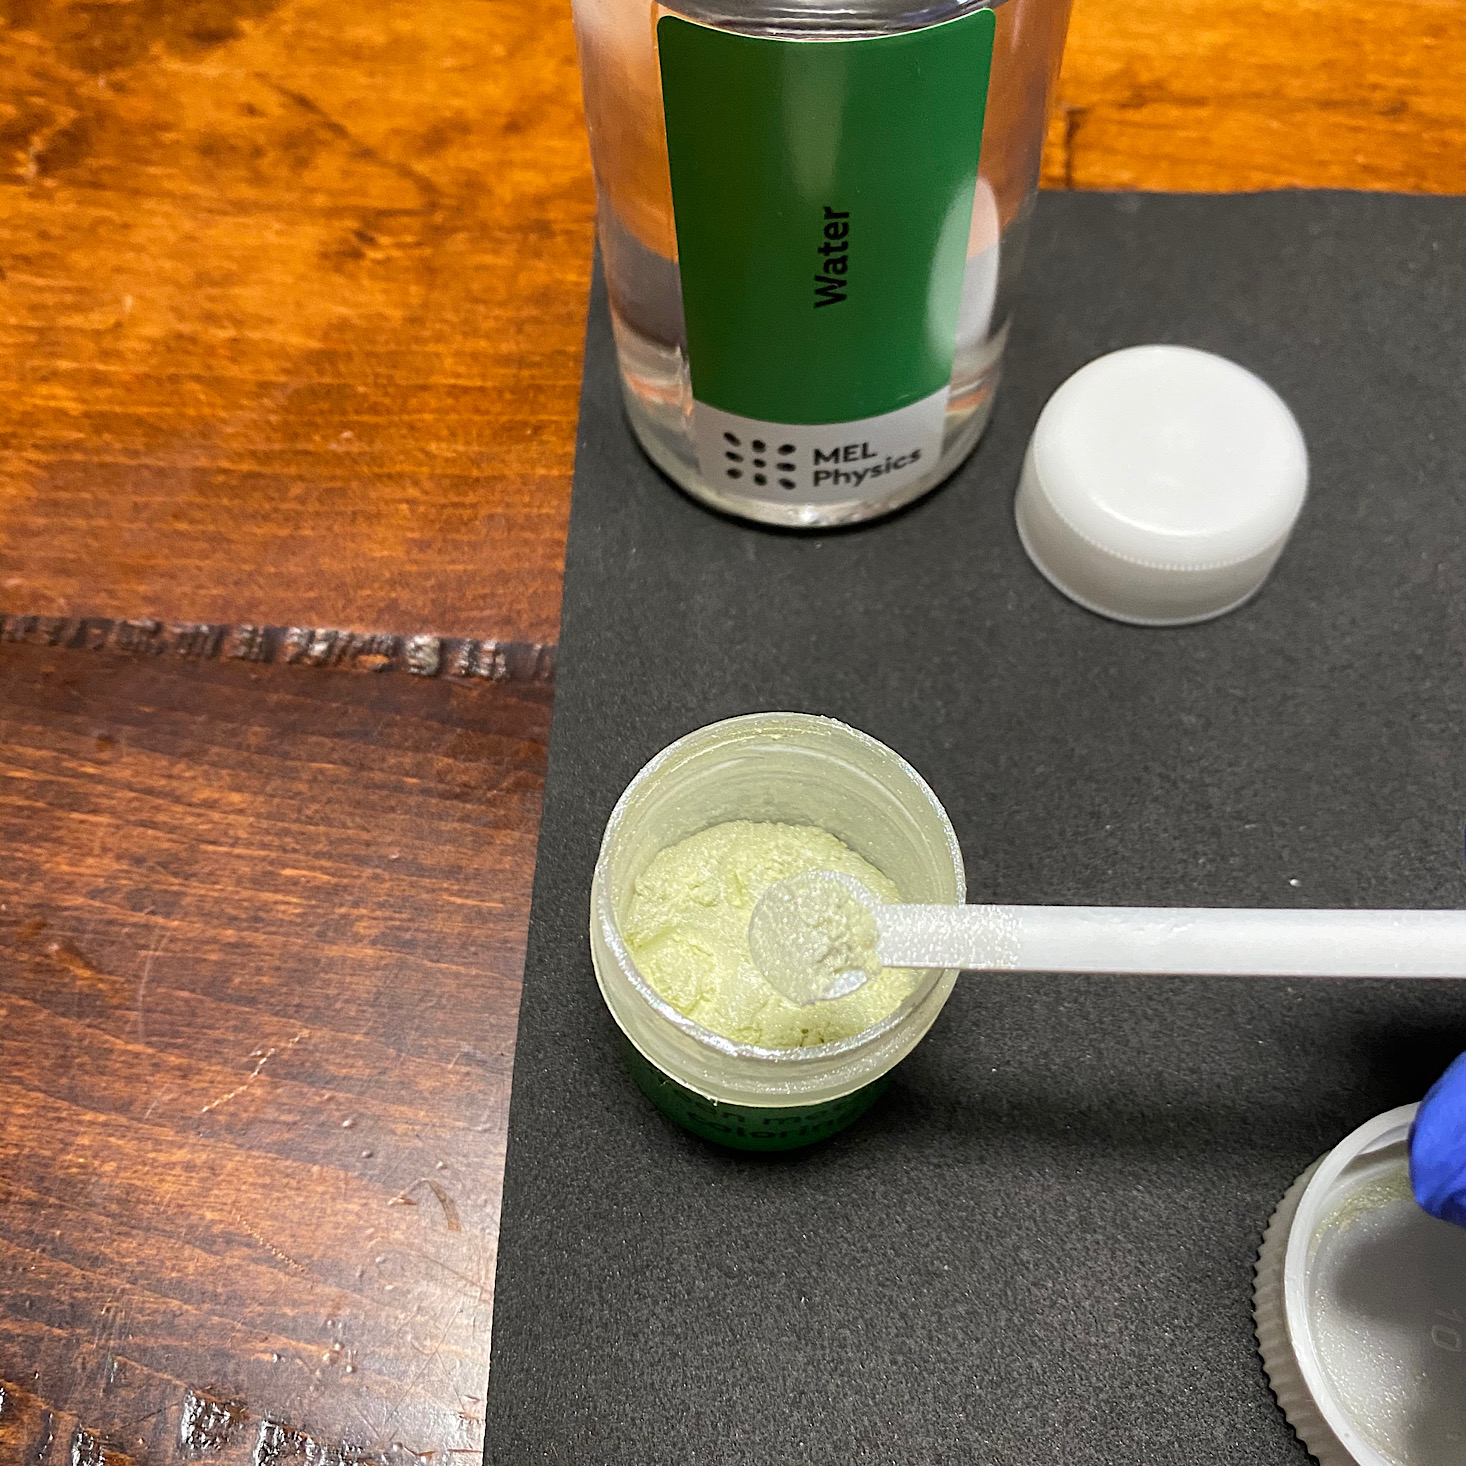
They also provided three jars of powdered metallic coloring in blue, green, and purple and a little tiny spoon.
I got everything set up, added the water to the bottles that needed it and then each bottle got 2 scoops of the colored powder that matched the color on their label.
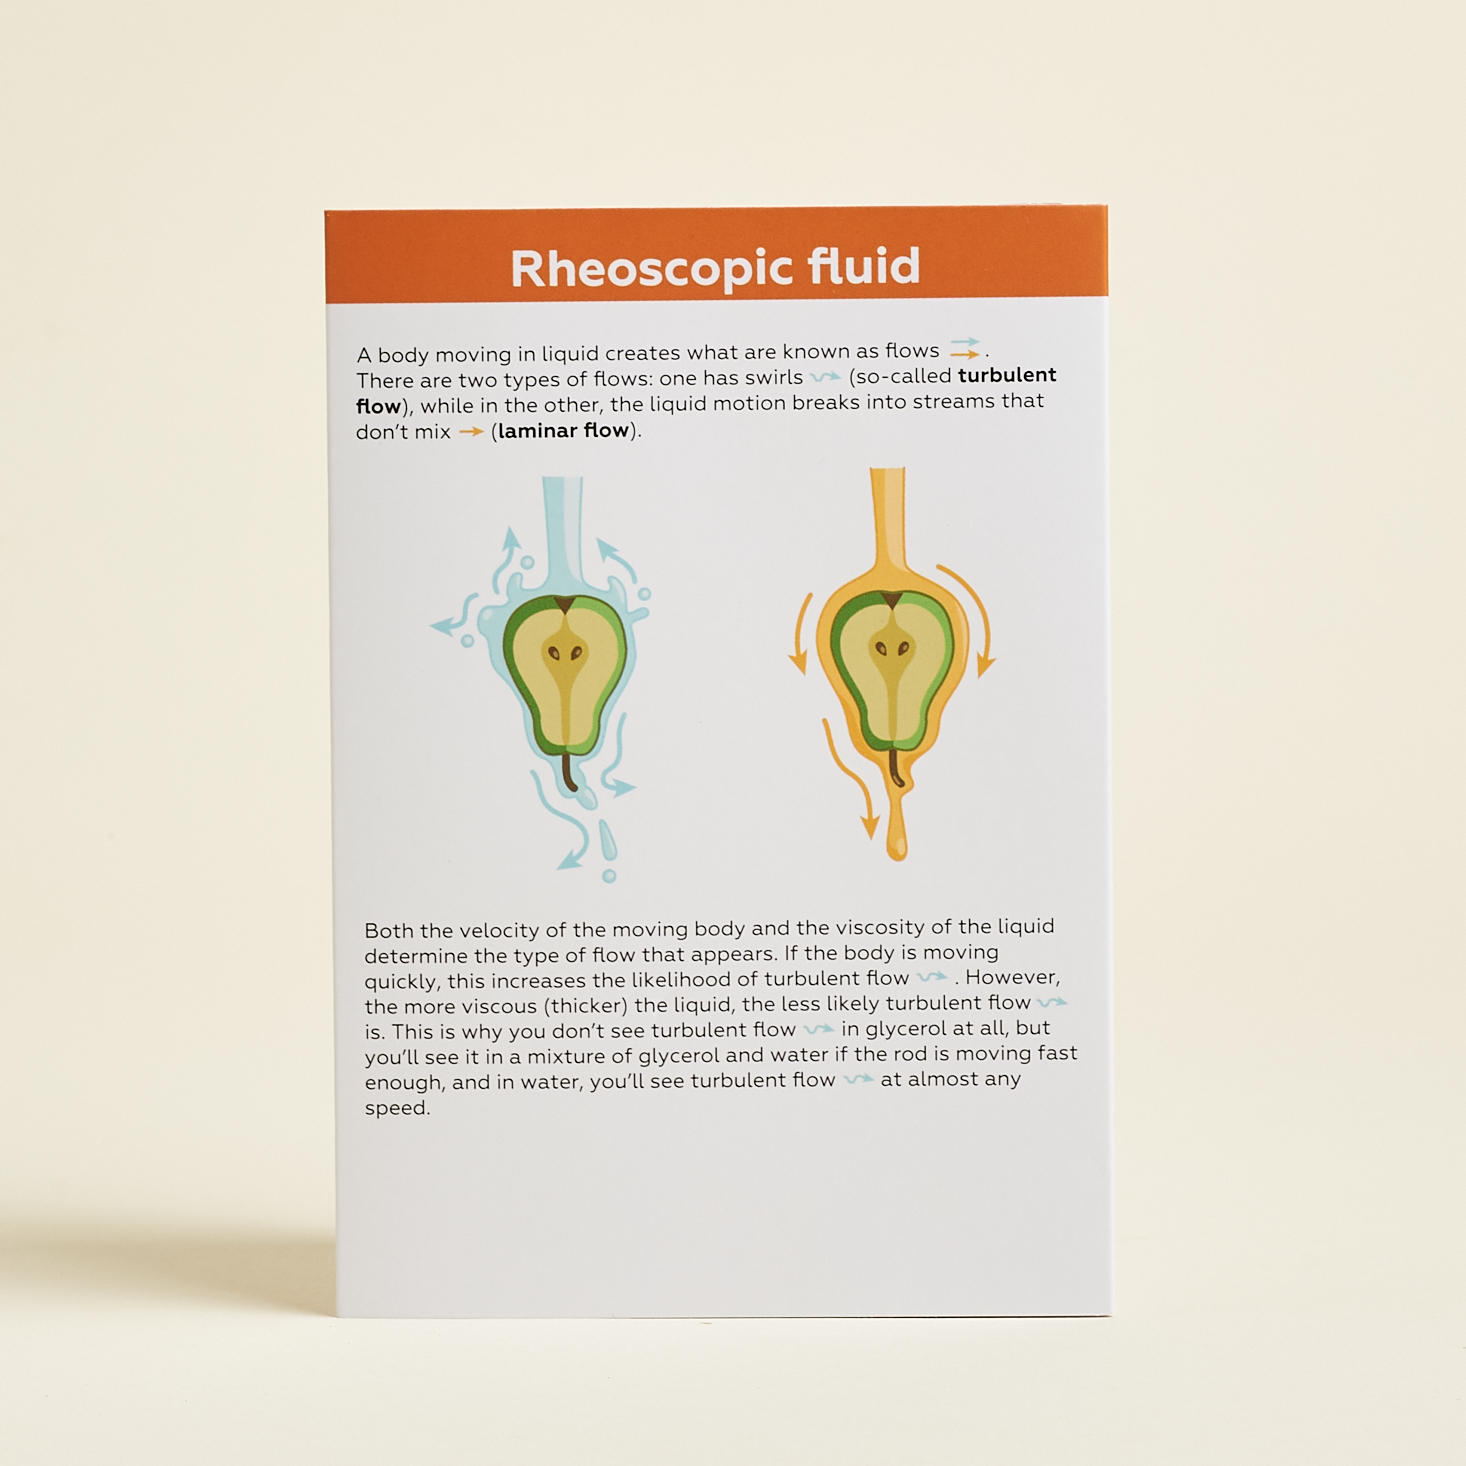
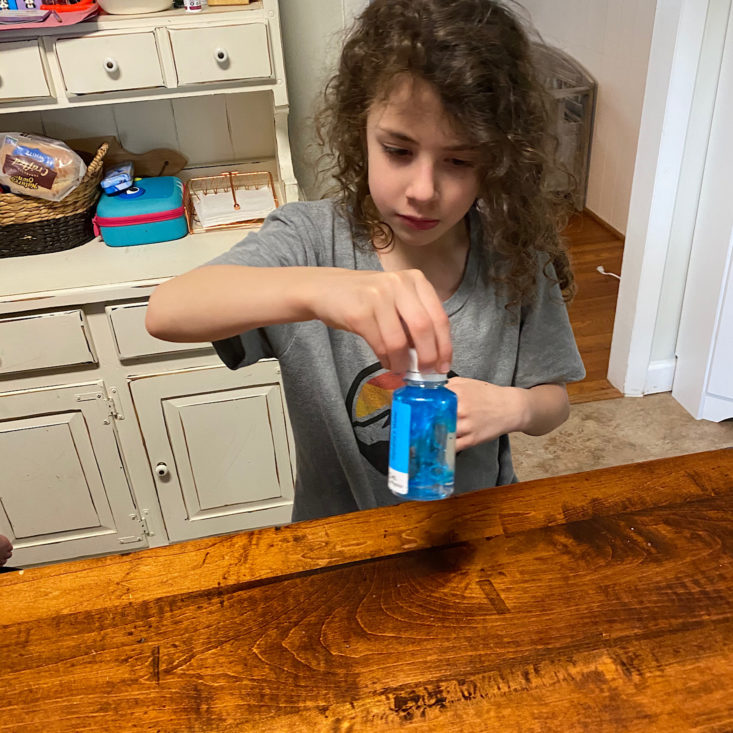
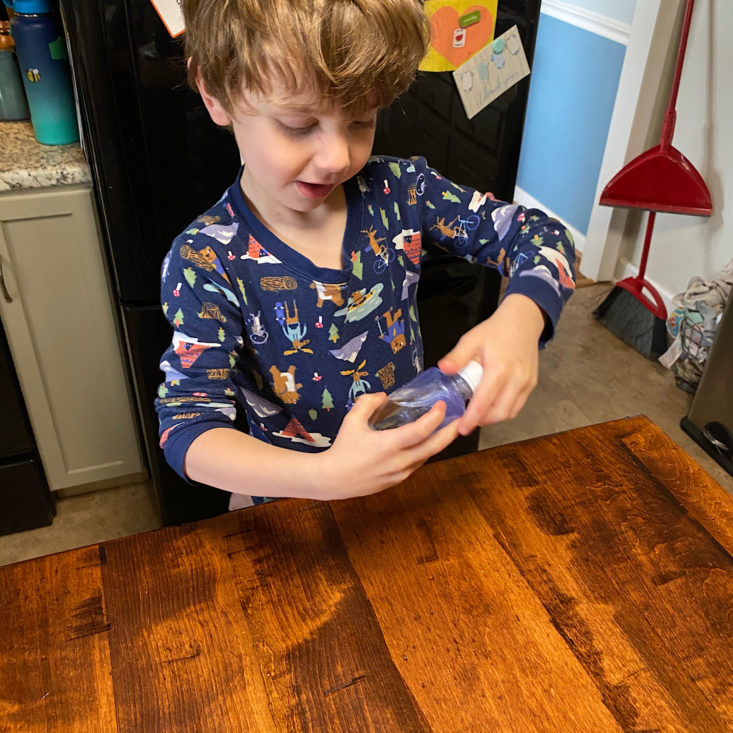
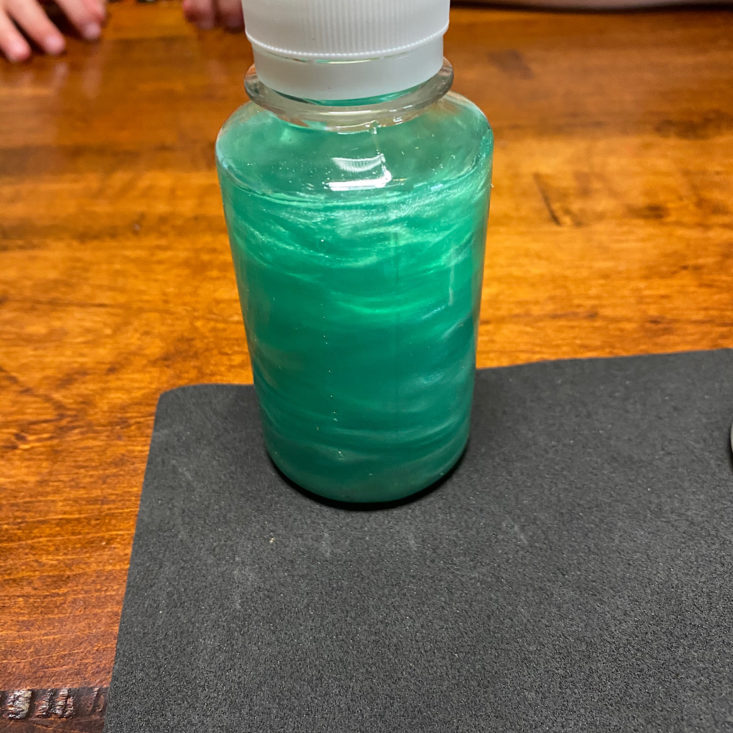
Then it was time to swirl. Each of my kids had a different colored bottle they were in charge of swirling around. You could see how the thickness affected the way each of these looked after moving them around a bit. They continued swirling and playing with these bottles long after we were finished our experiments. While we might run out of glycerol, there is still plenty of metallic powder for us to create more though!
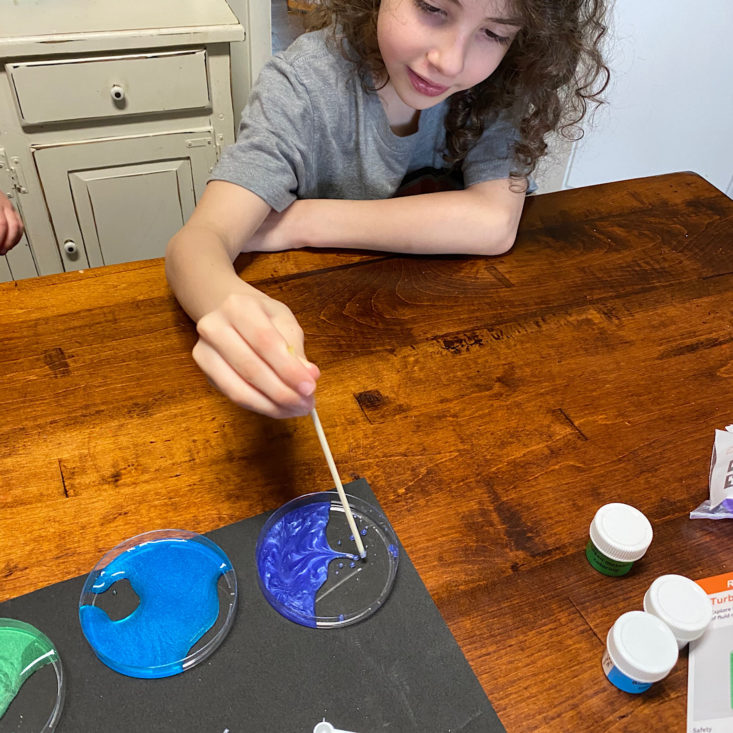
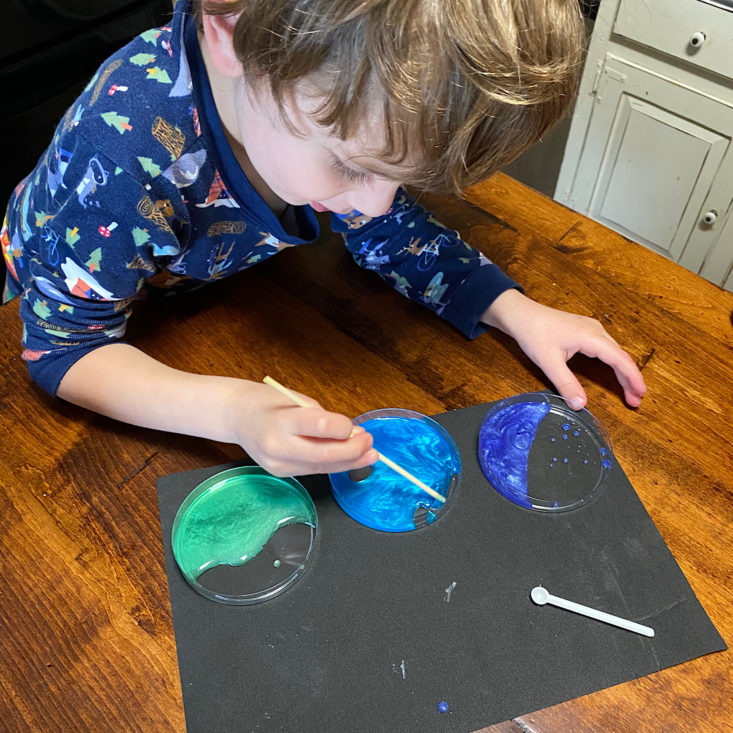
They also provided 3 Petri dishes for us to dump out some of the liquids into along with a wooden stick to stir them around a bit.
We took turns stirring them around and noted how differently the thicker glycerol moved in comparison to the plain water mixture.
Experiment 2: Convection Cells
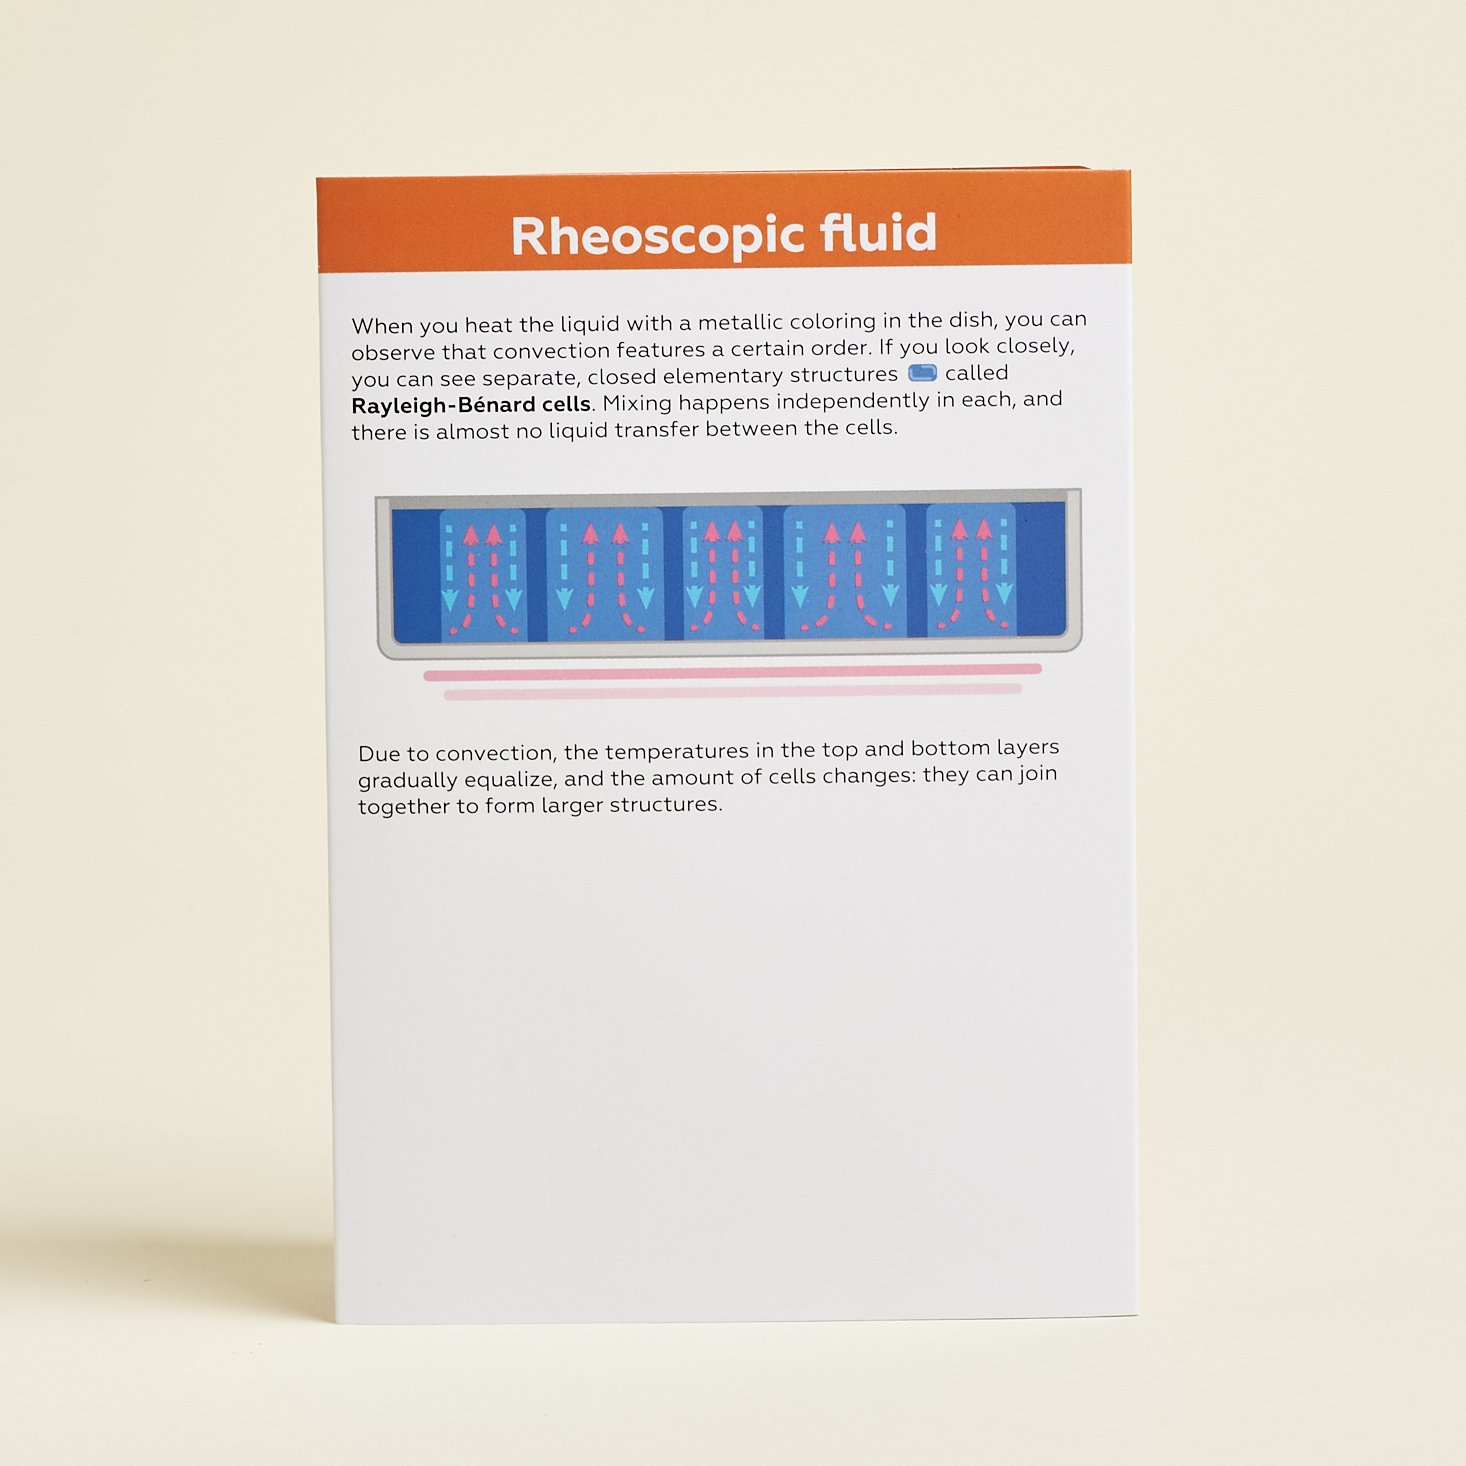
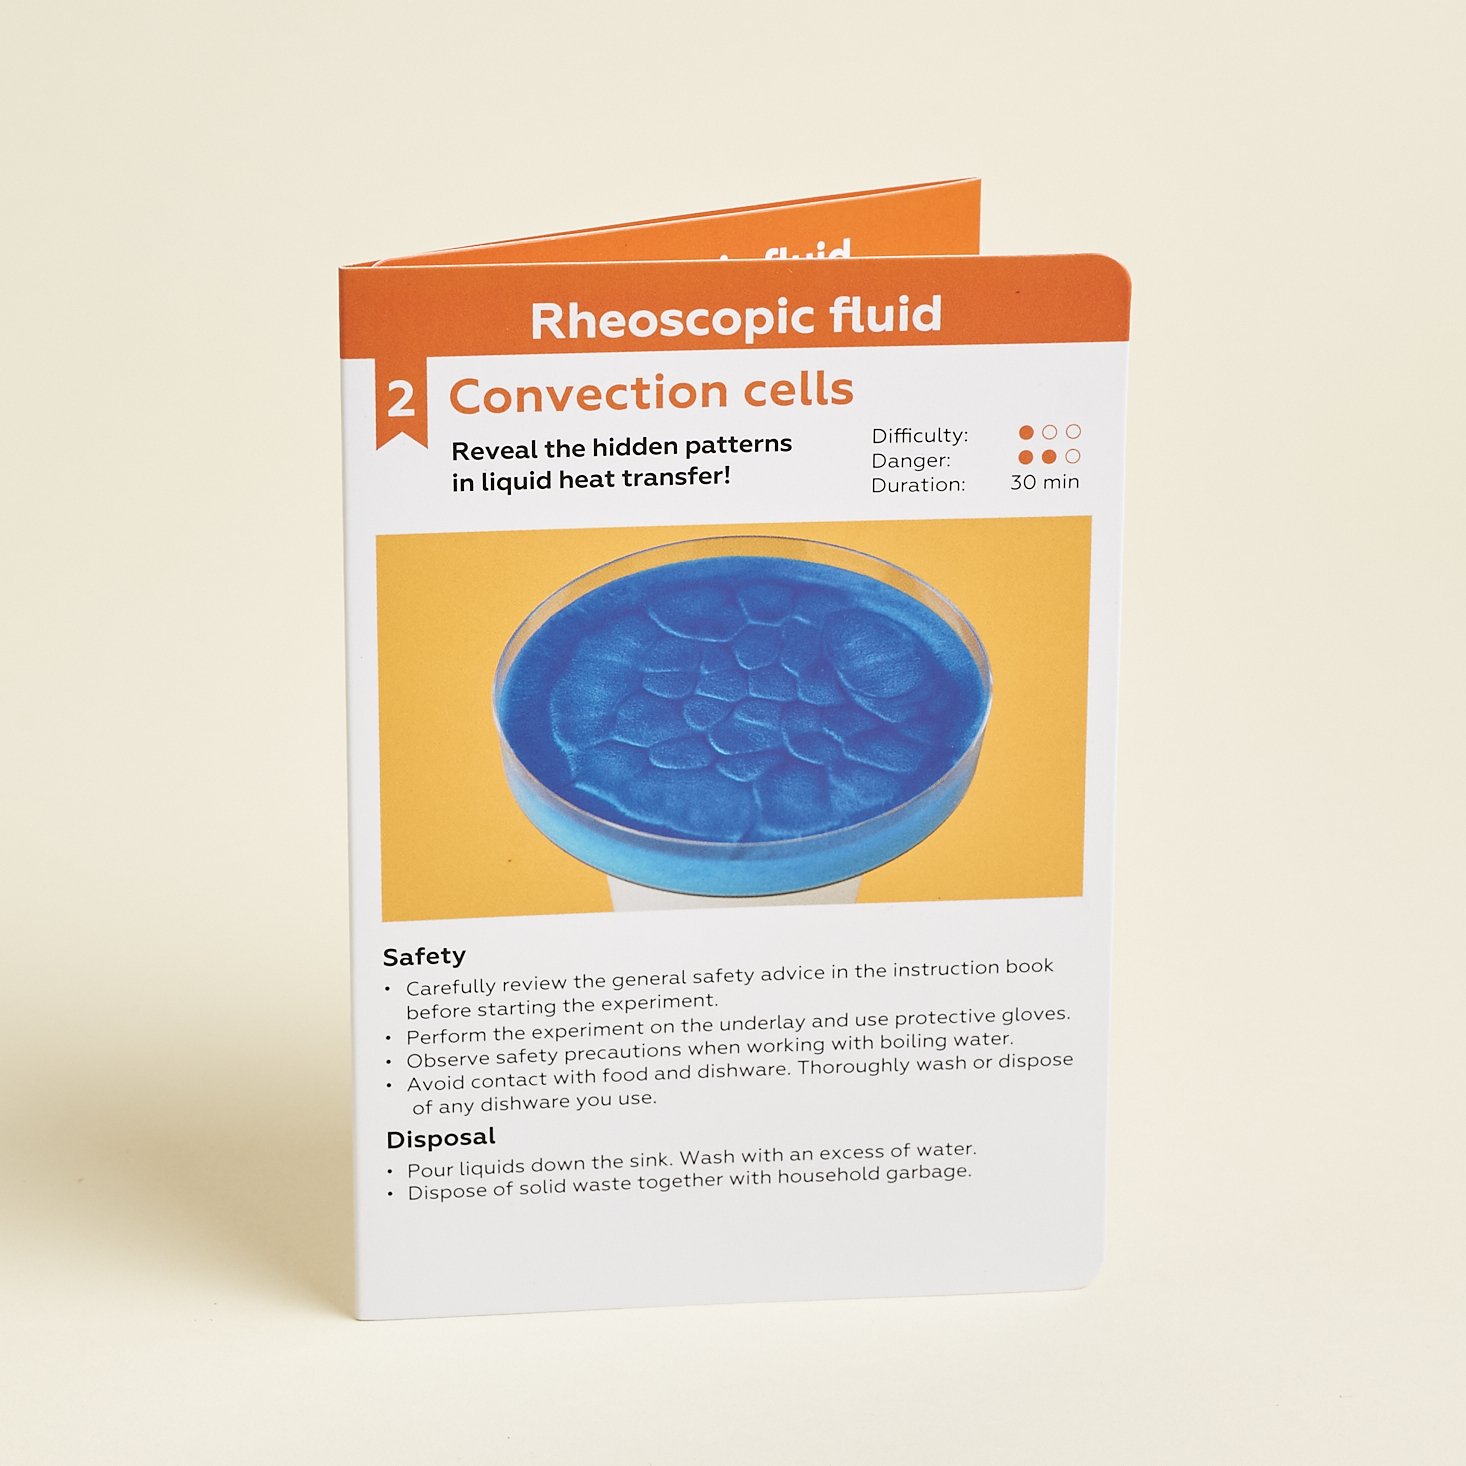
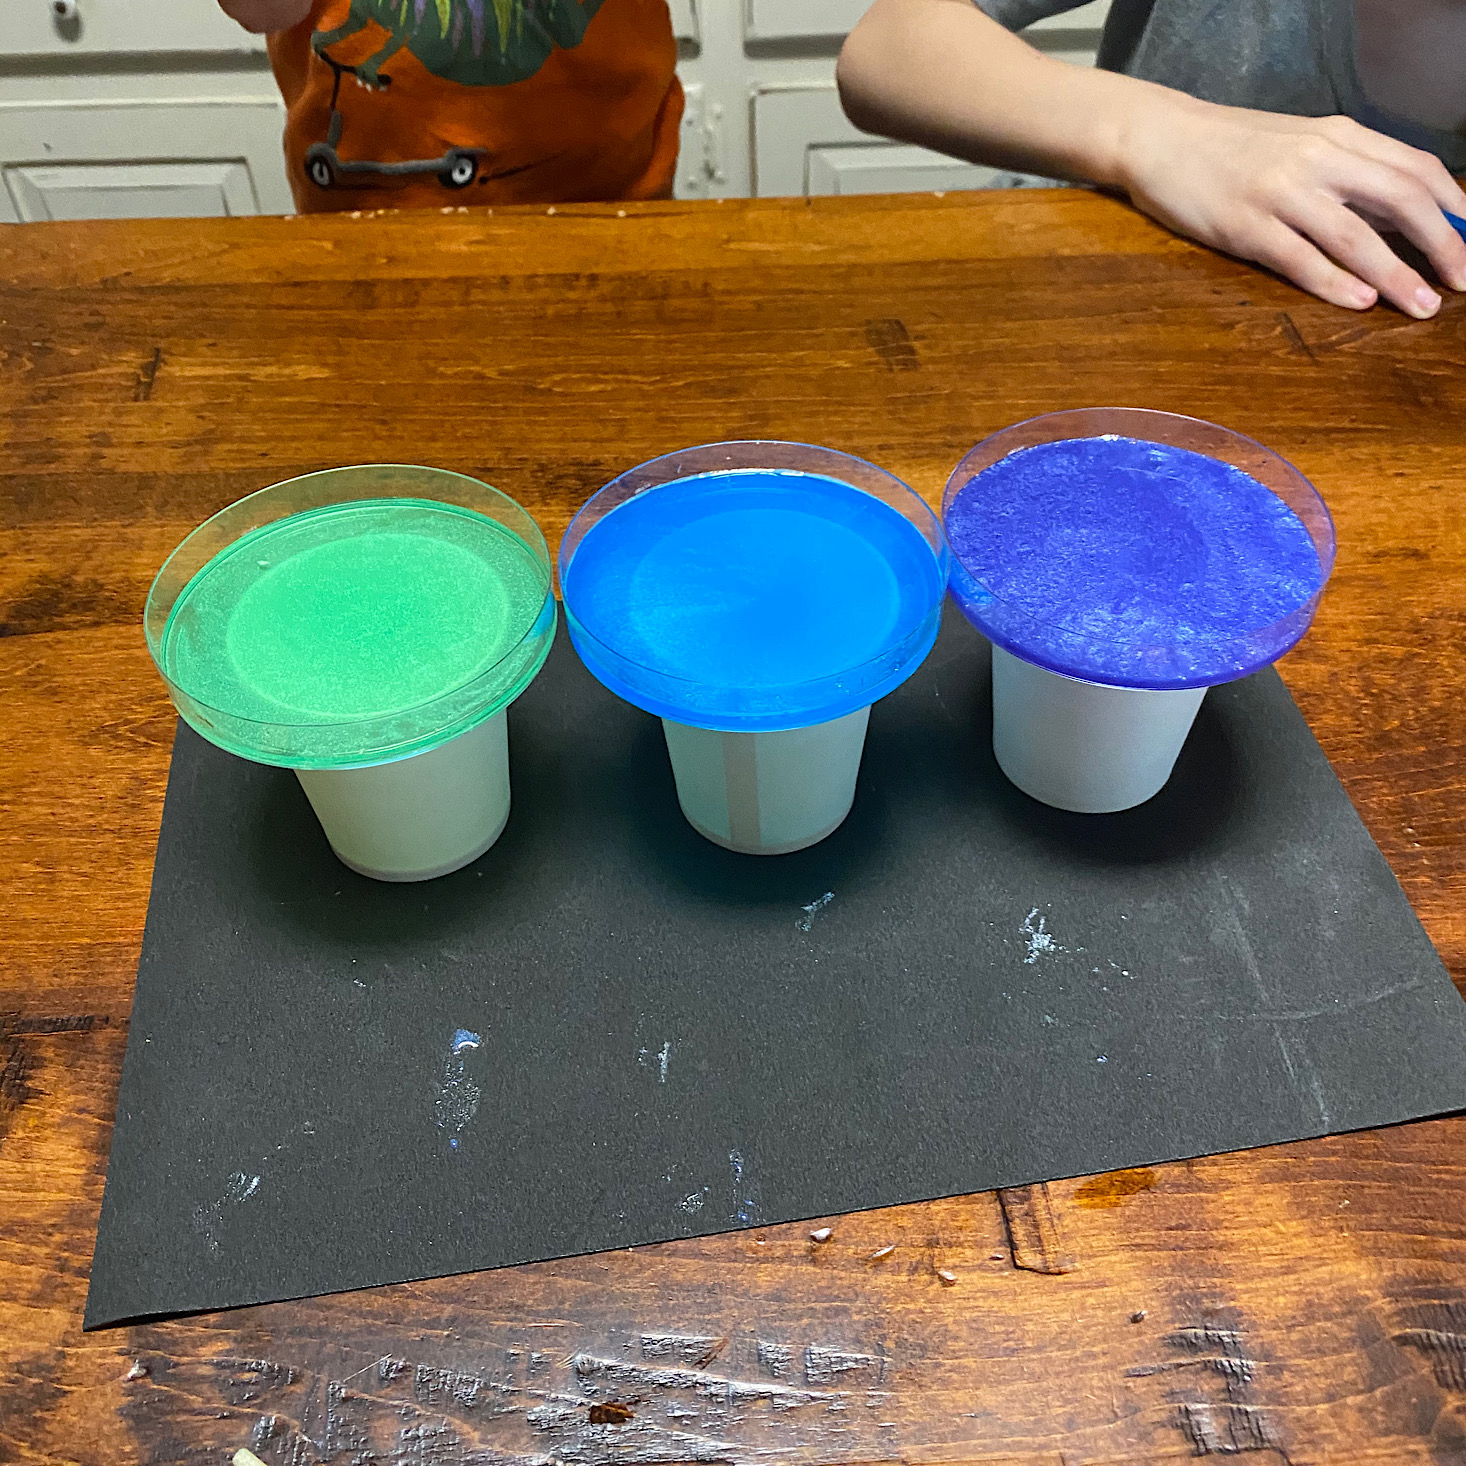
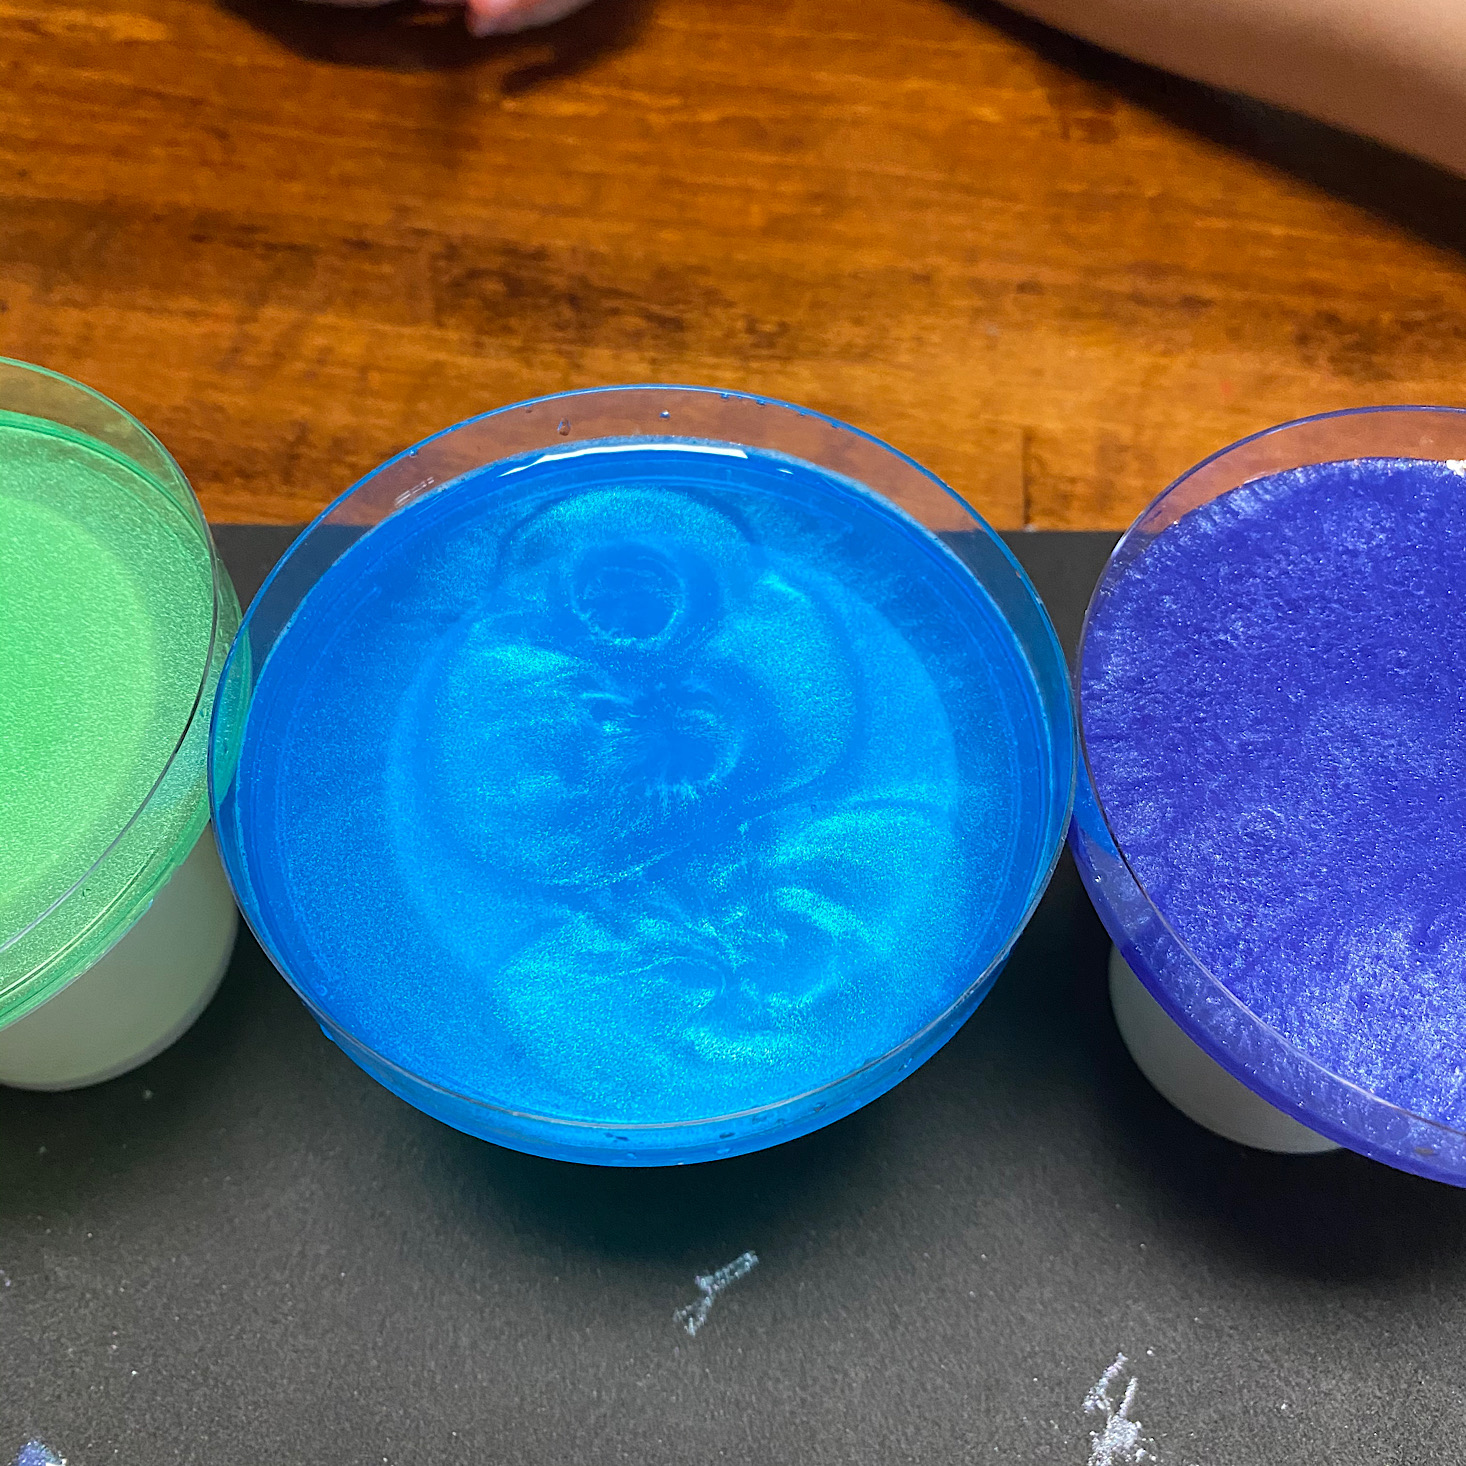
Our second experiment was entitled, "Convection Cells," and I wish I had known that we could have just used the mixtures already in the Petri dishes, but I had thrown them out so I had to pour some more back into the dishes for this next one.
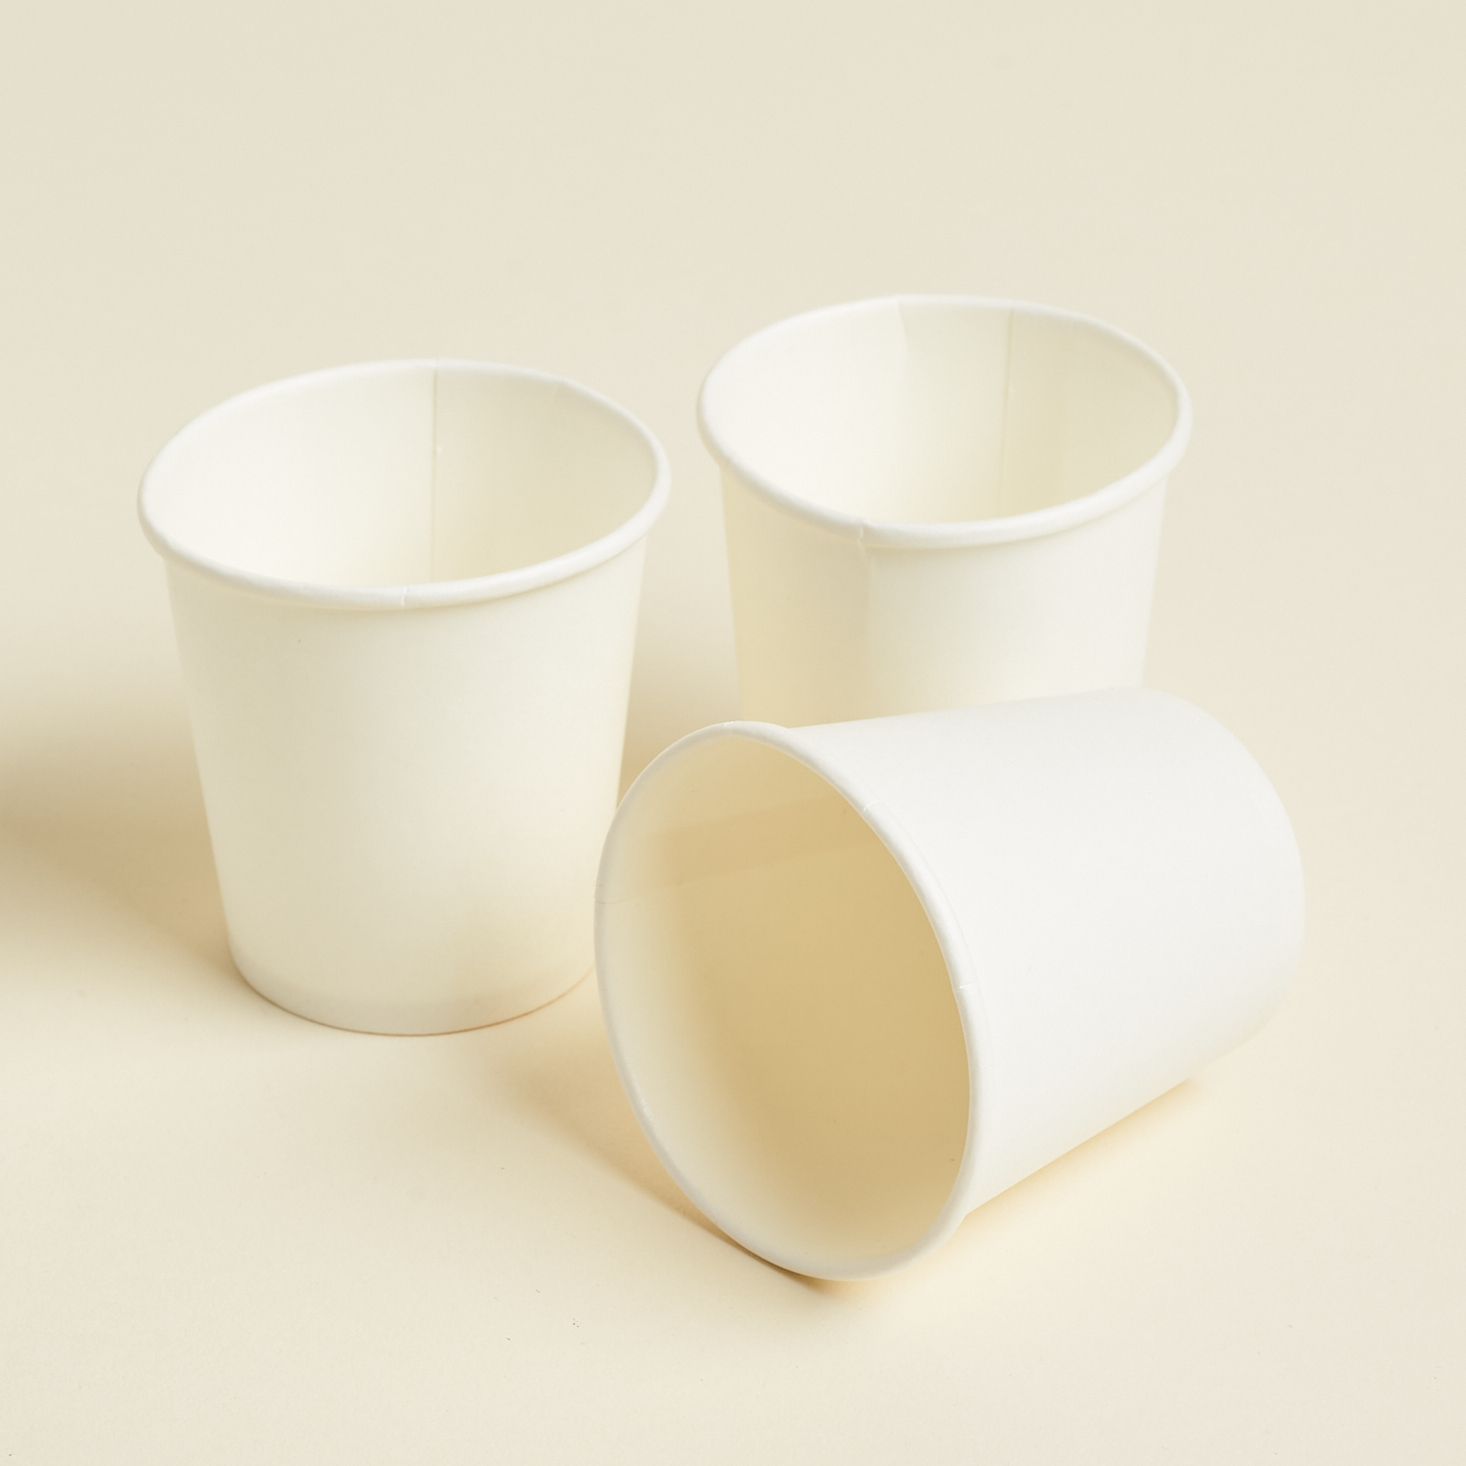
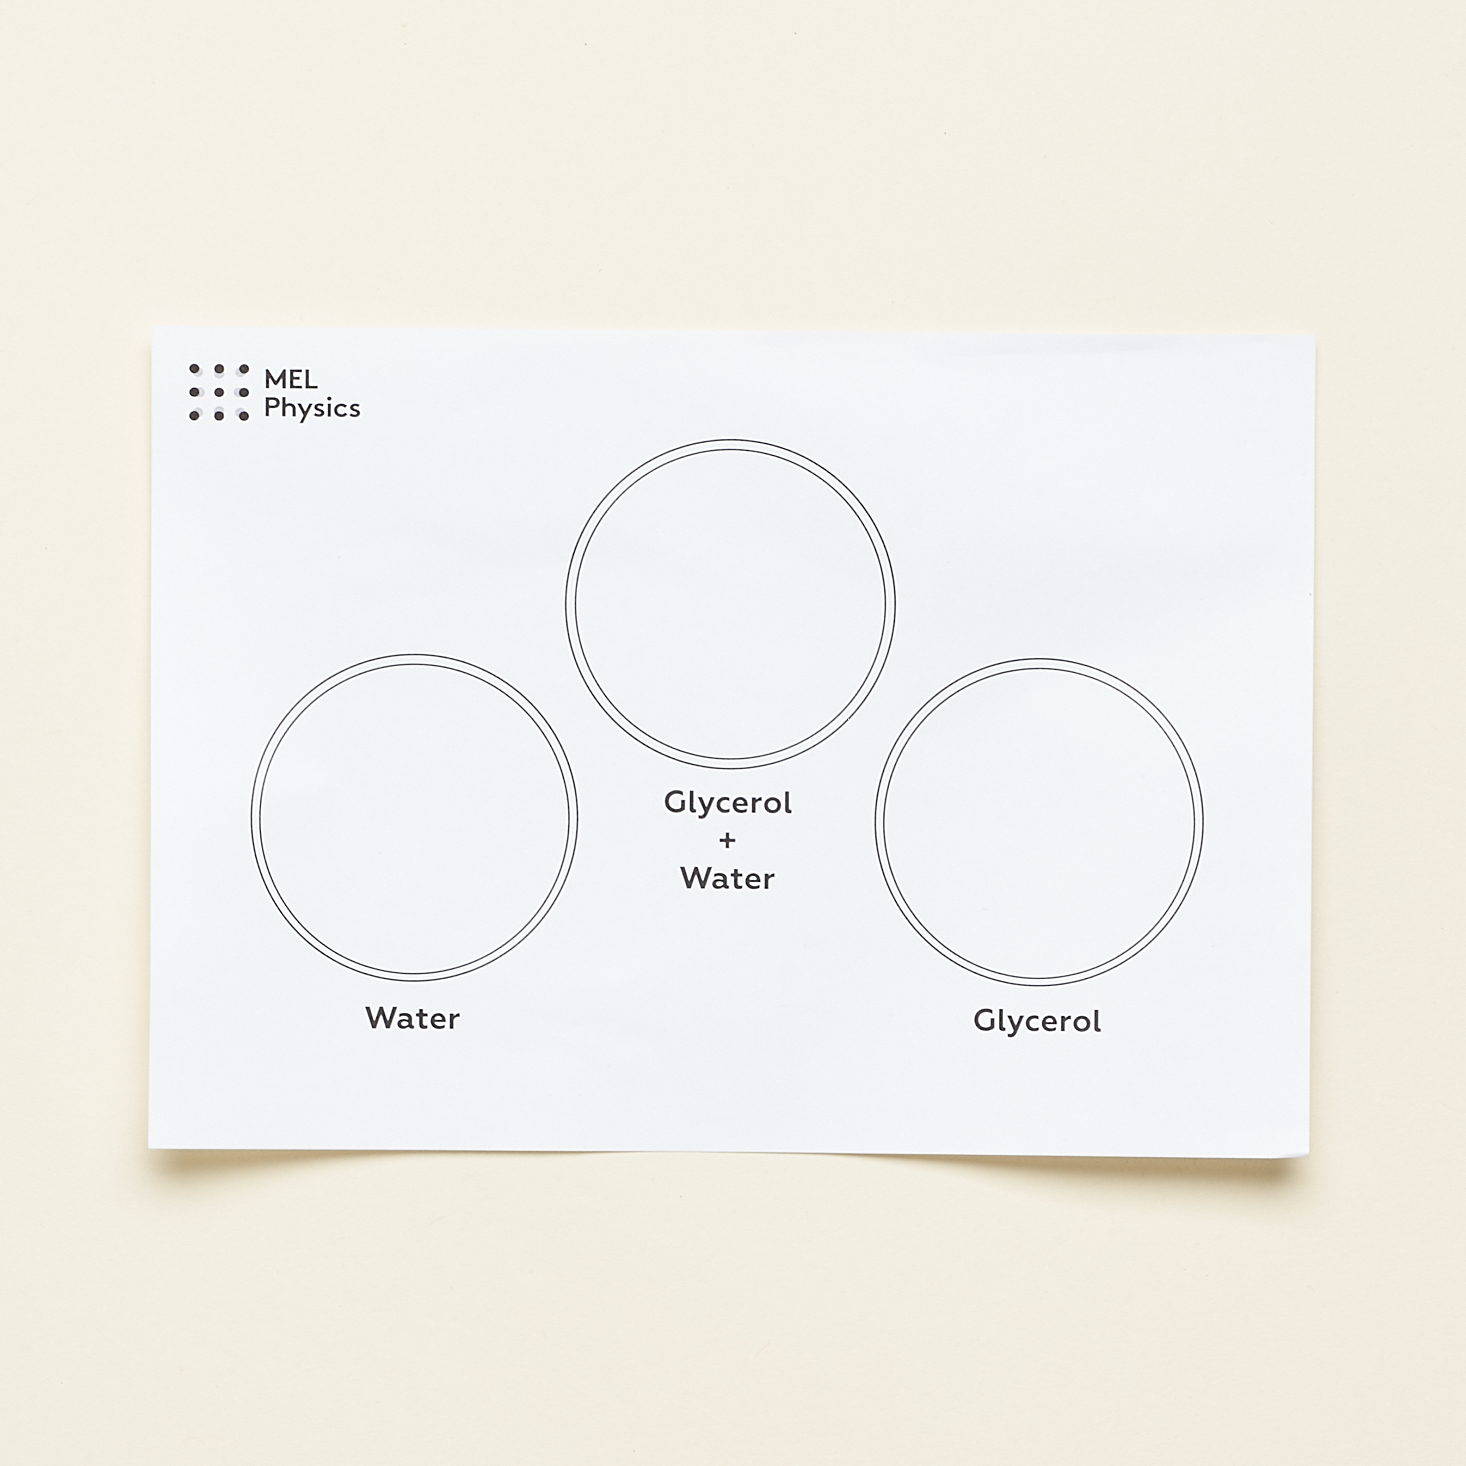
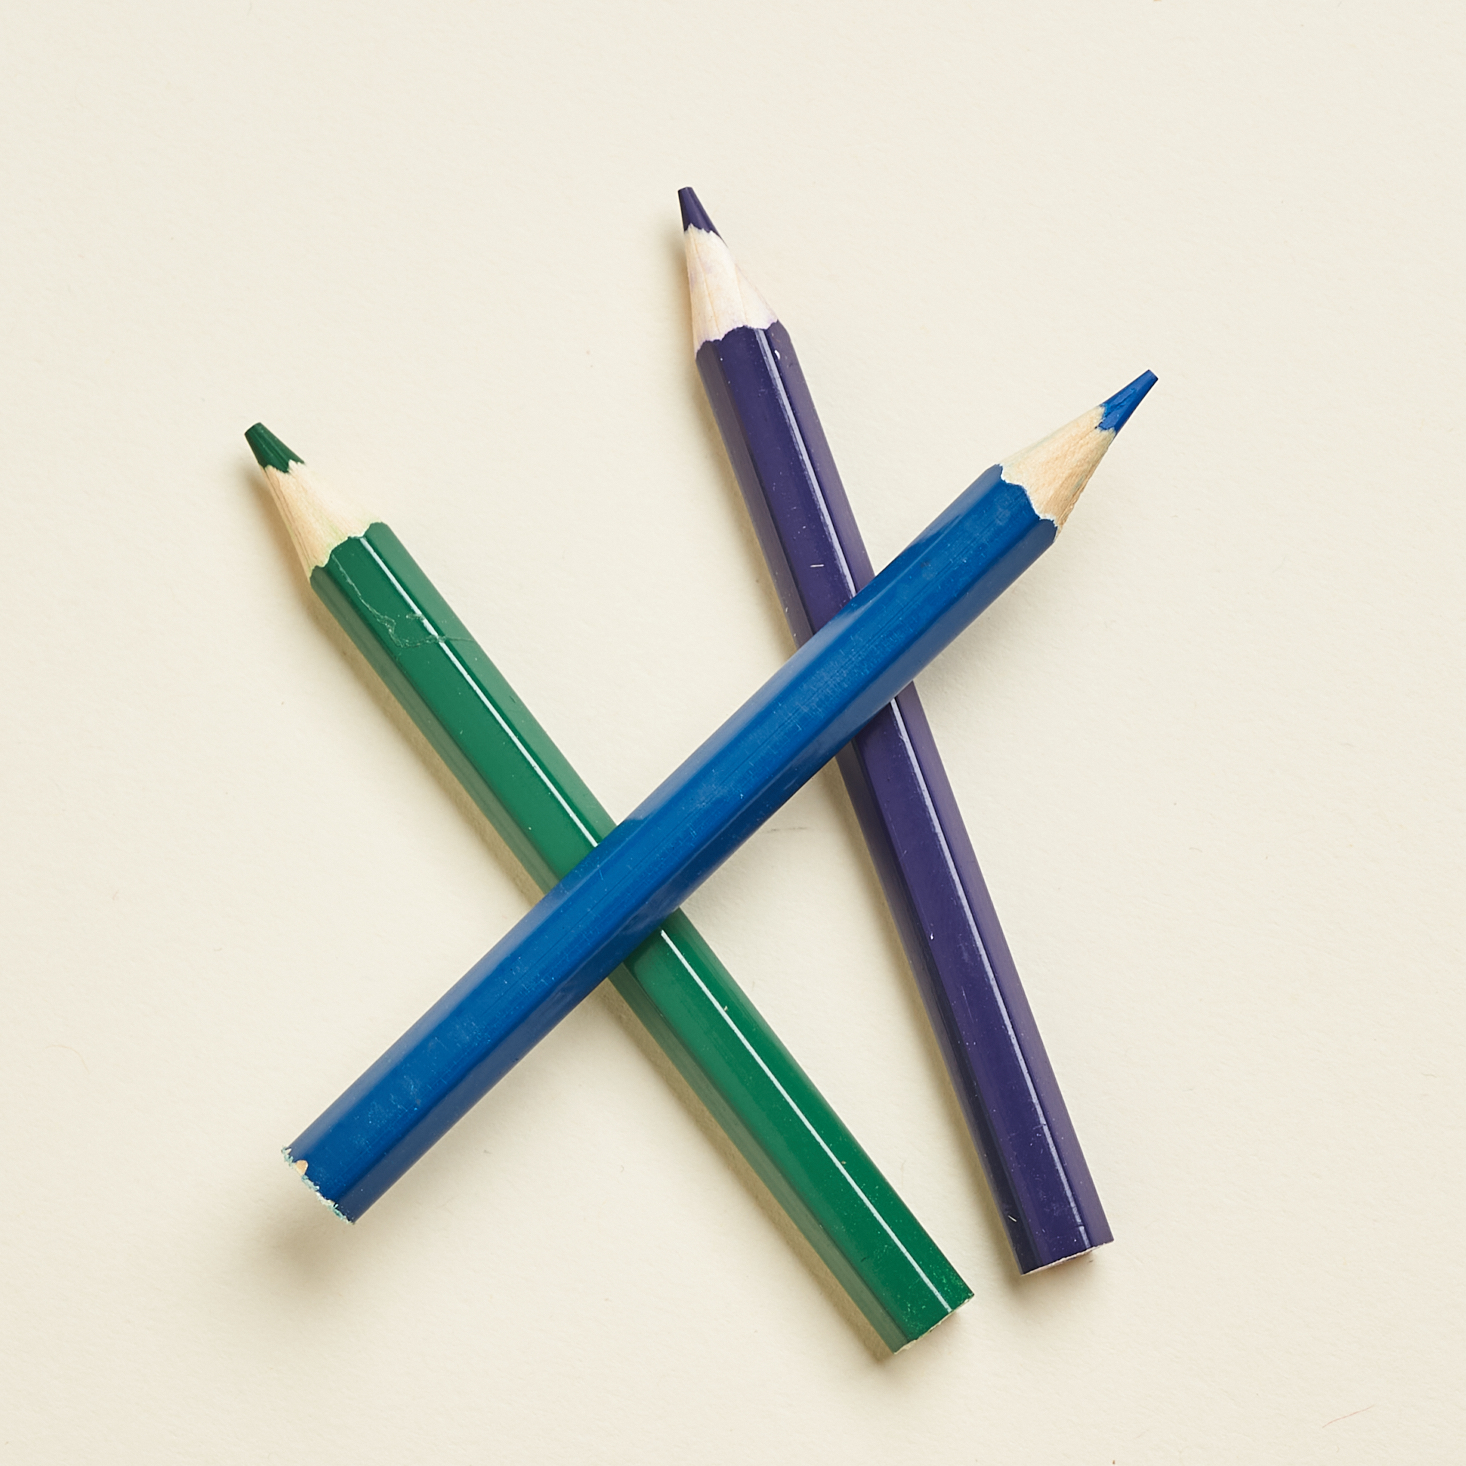
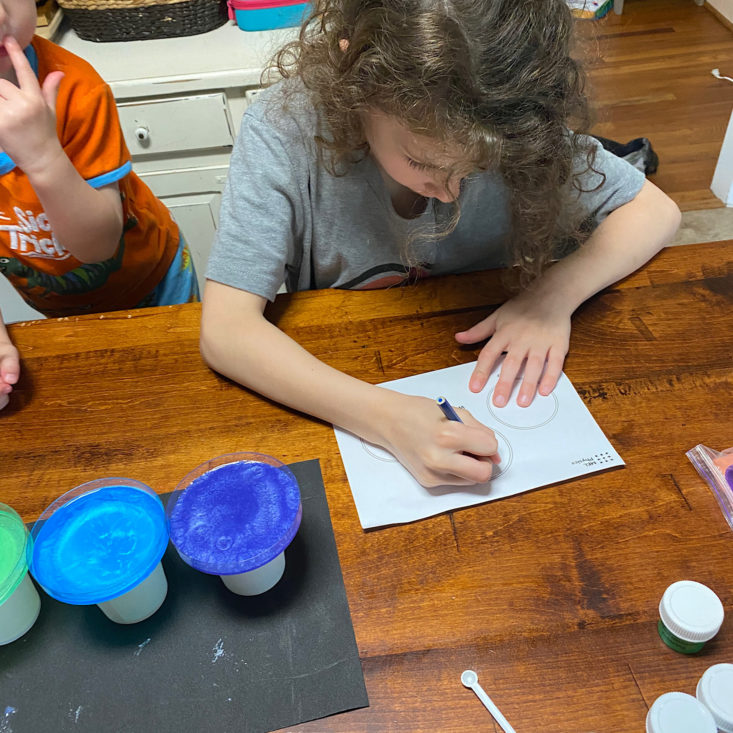
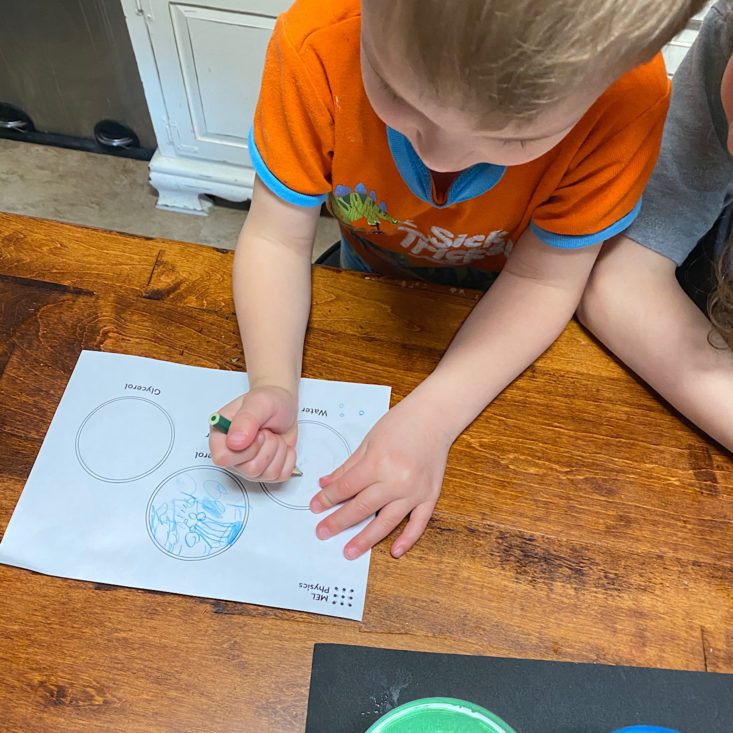
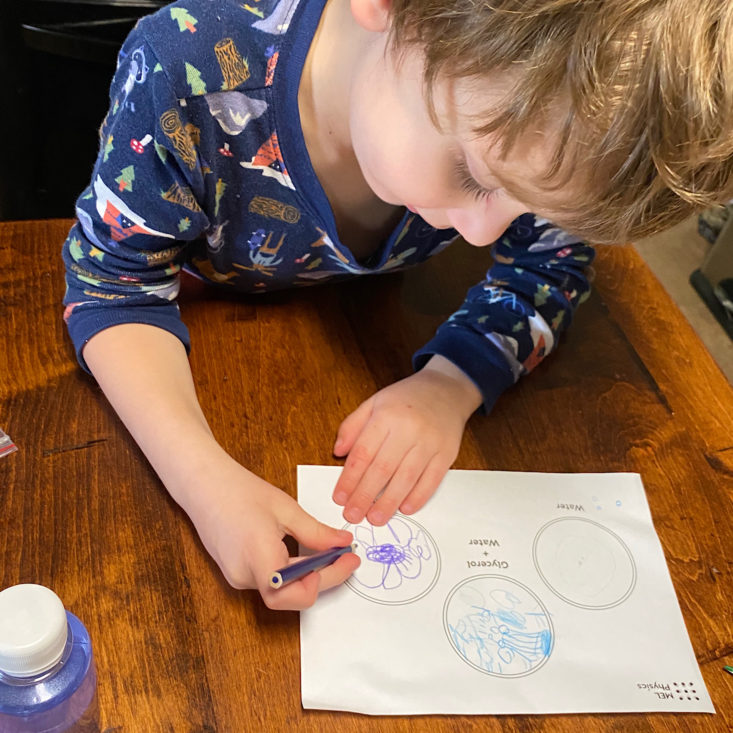
In addition to using the mixtures we had already created and the Petri dishes, we also needed the paper cups and this observation sheet from our box. They even provided small colored pencils in blue, purple, and green so that we could record our observations. I thought that was a nice touch that was much appreciated since I didn't have to go tracking down the correct colored crayons!
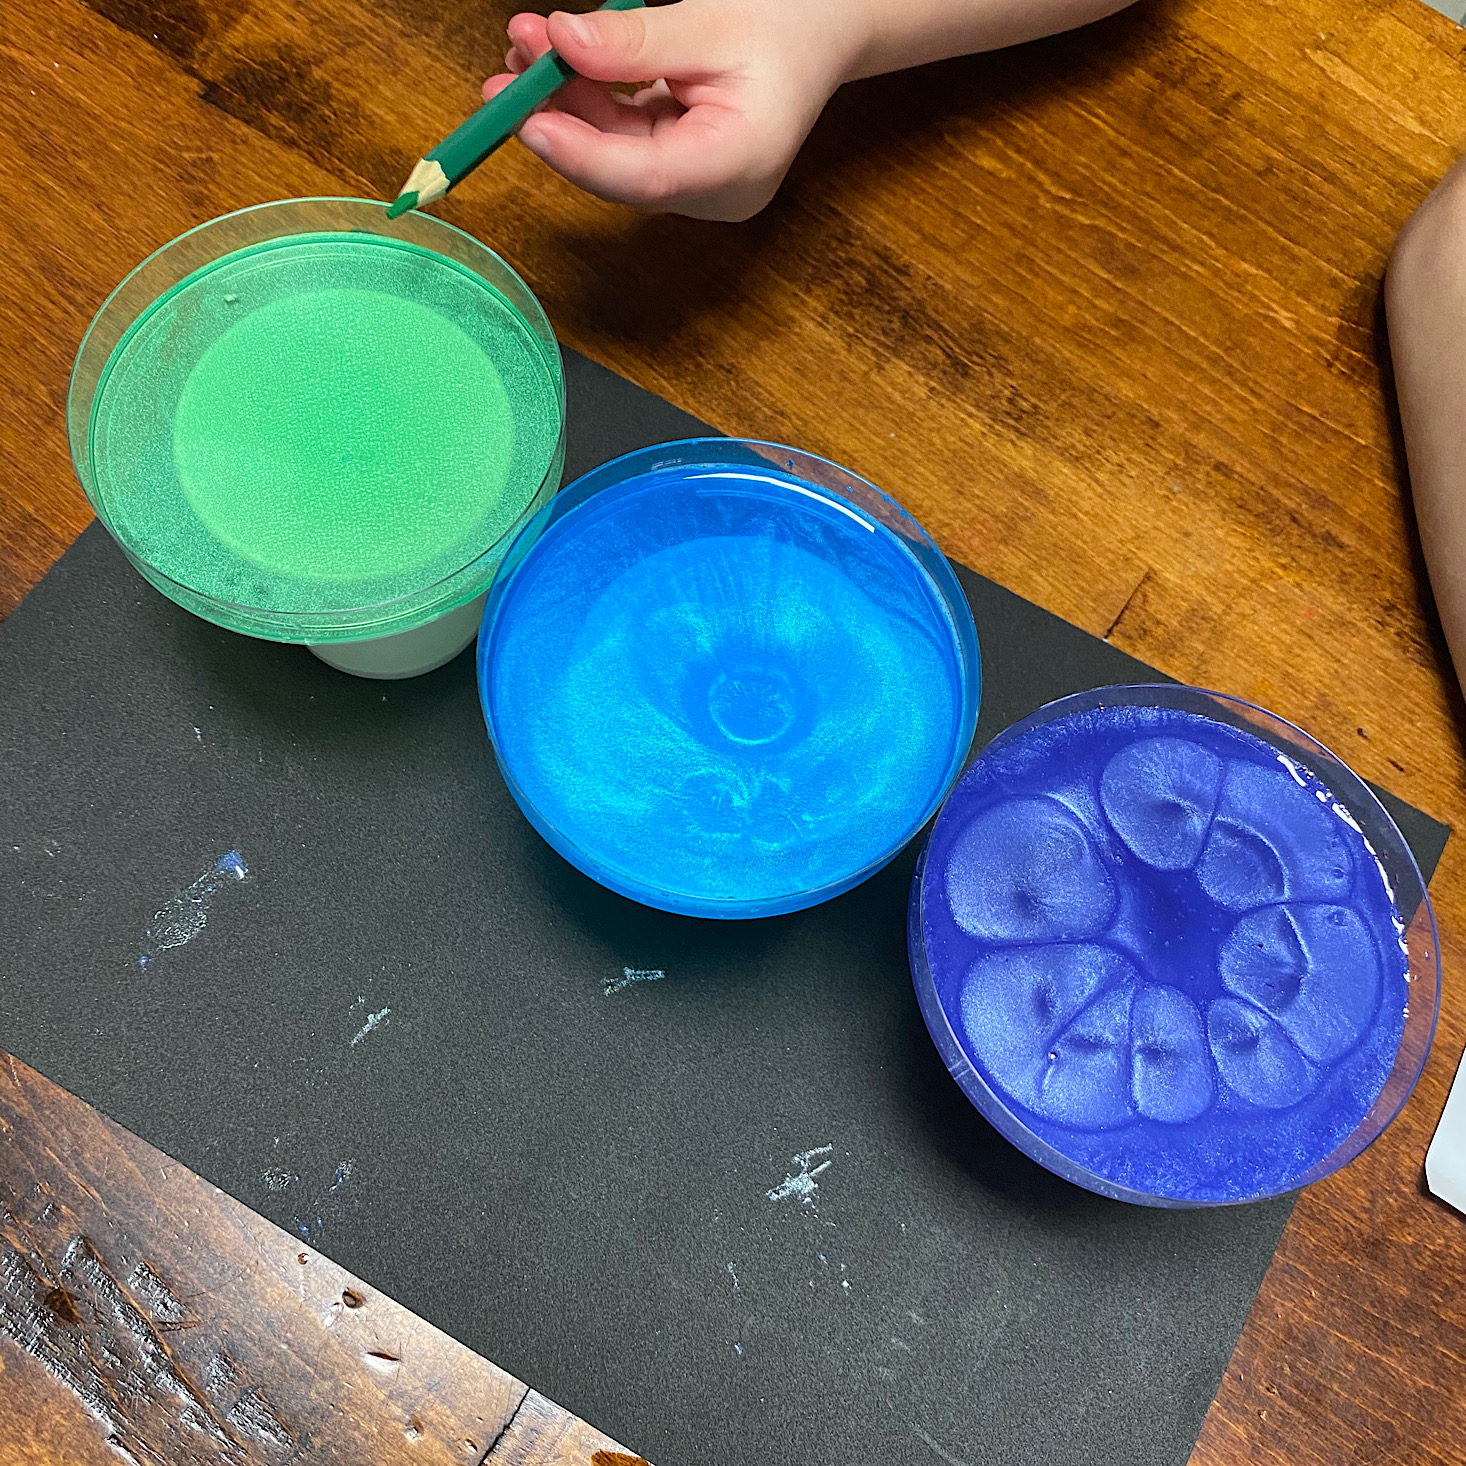
After adding more liquid to the dishes, I filled up the paper cups that they provided with boiling water and then set the Petri dishes on top to observe.
They really did all look so different from one another! The kids were impressed.
They took turns recording their observations with the new colored pencils.
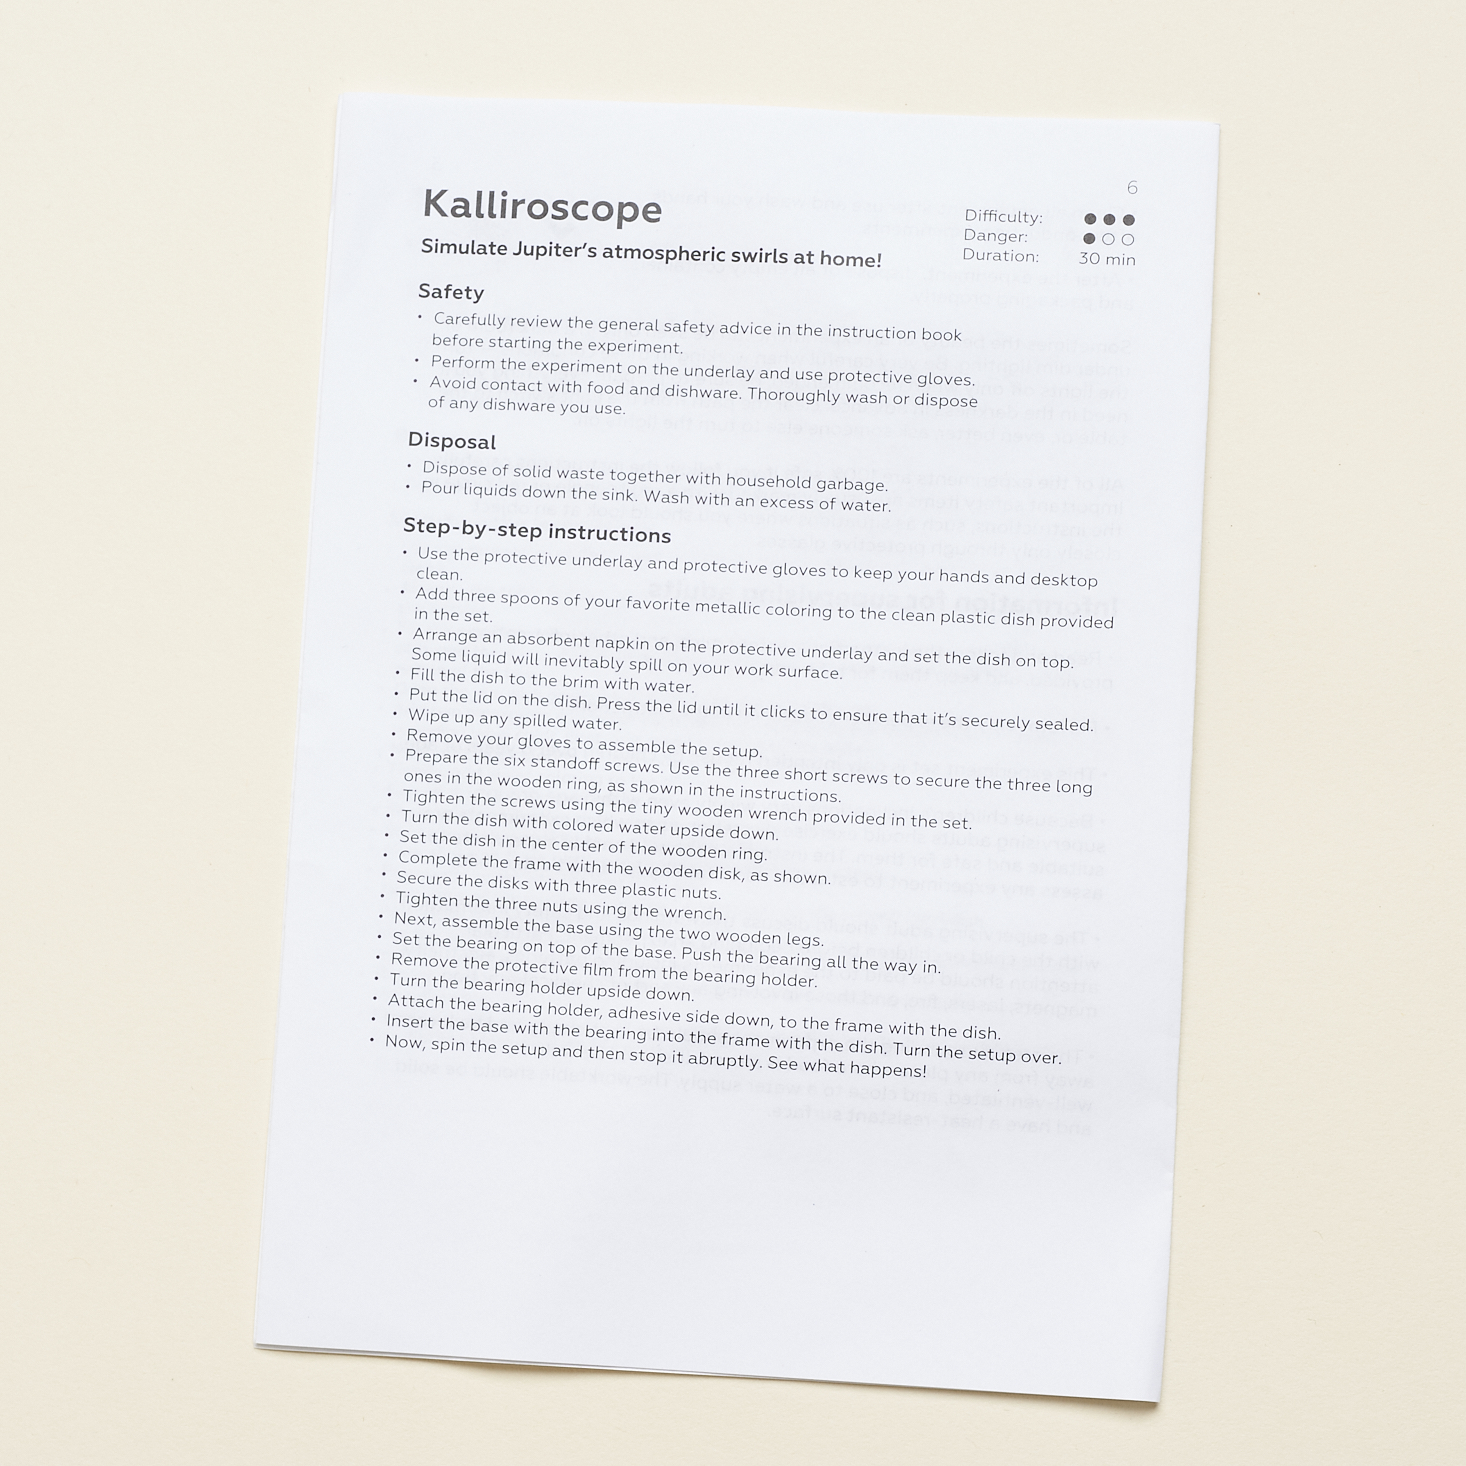
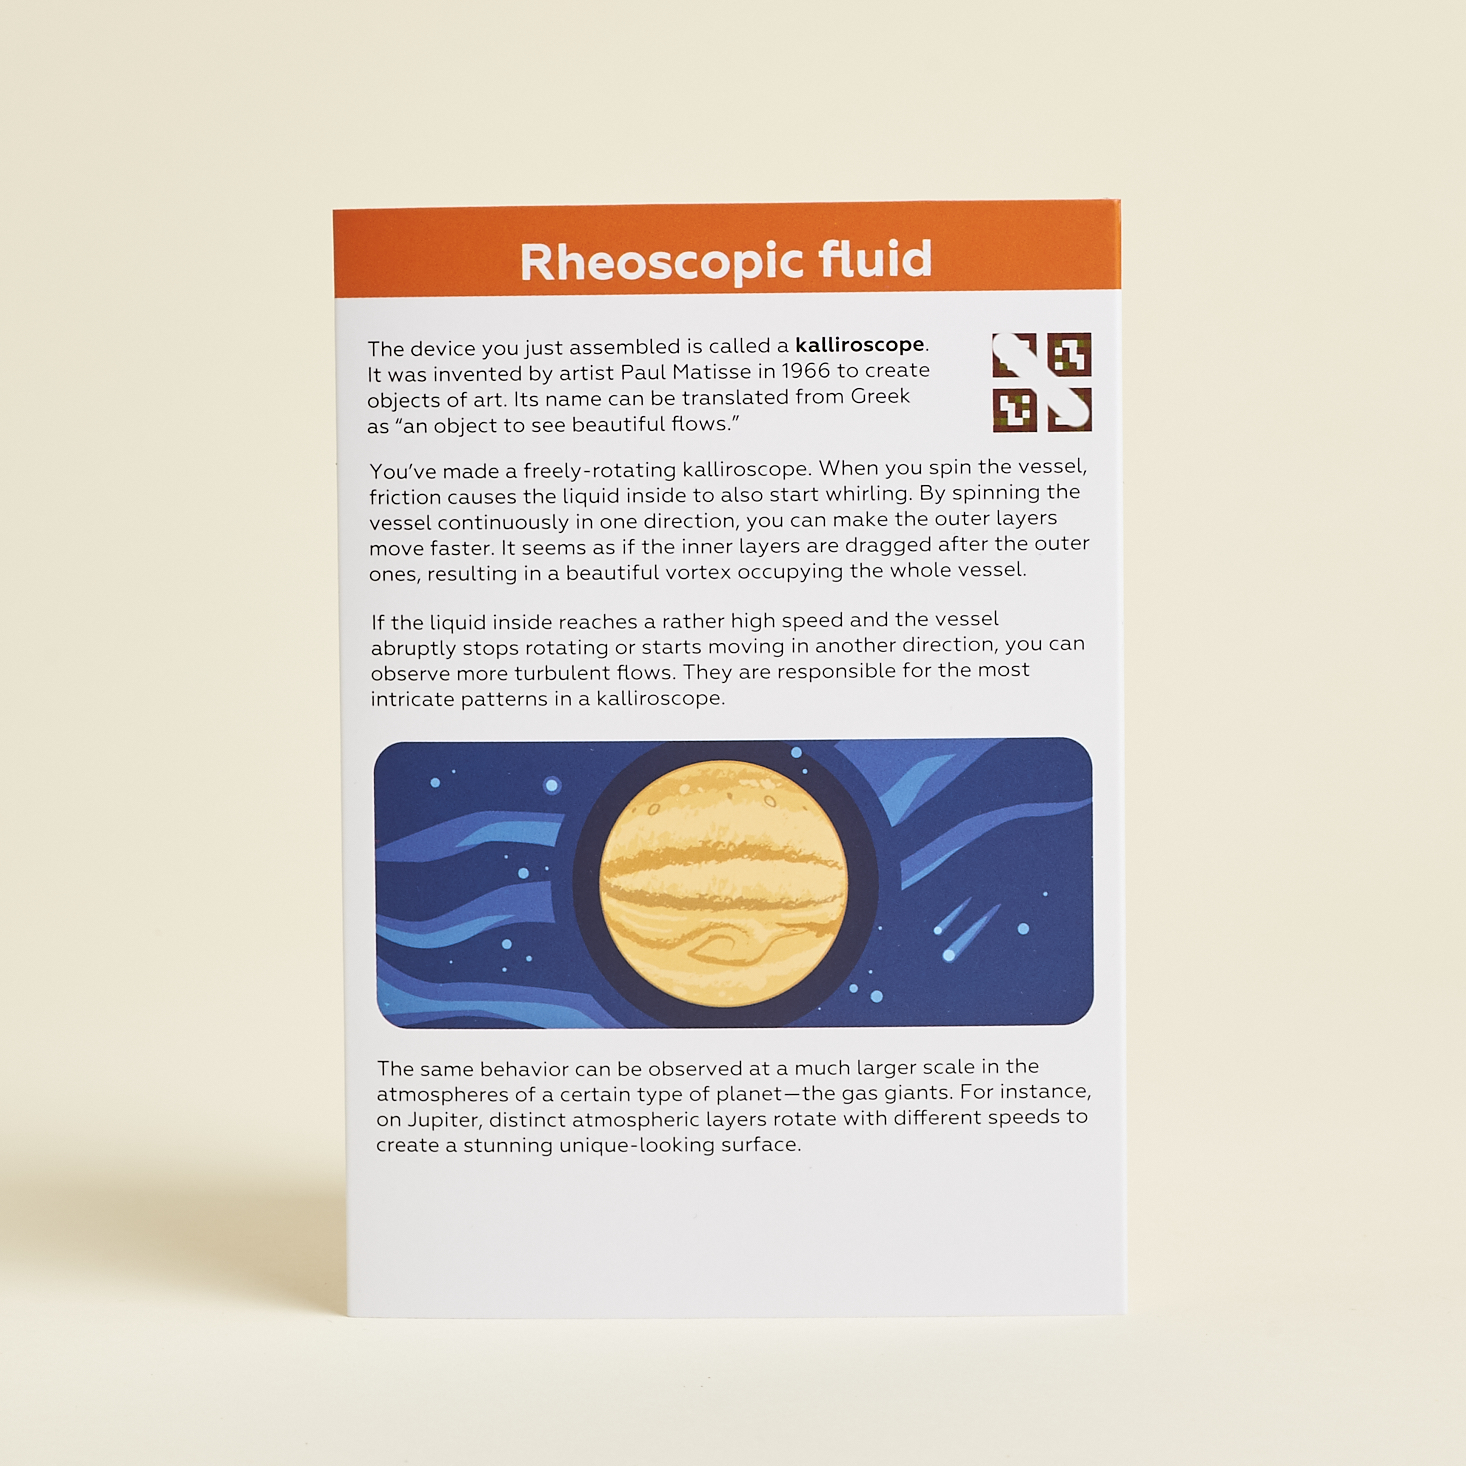
Experiment 3: Kalliroscope
Our last experiment was to make a Kalliroscope.
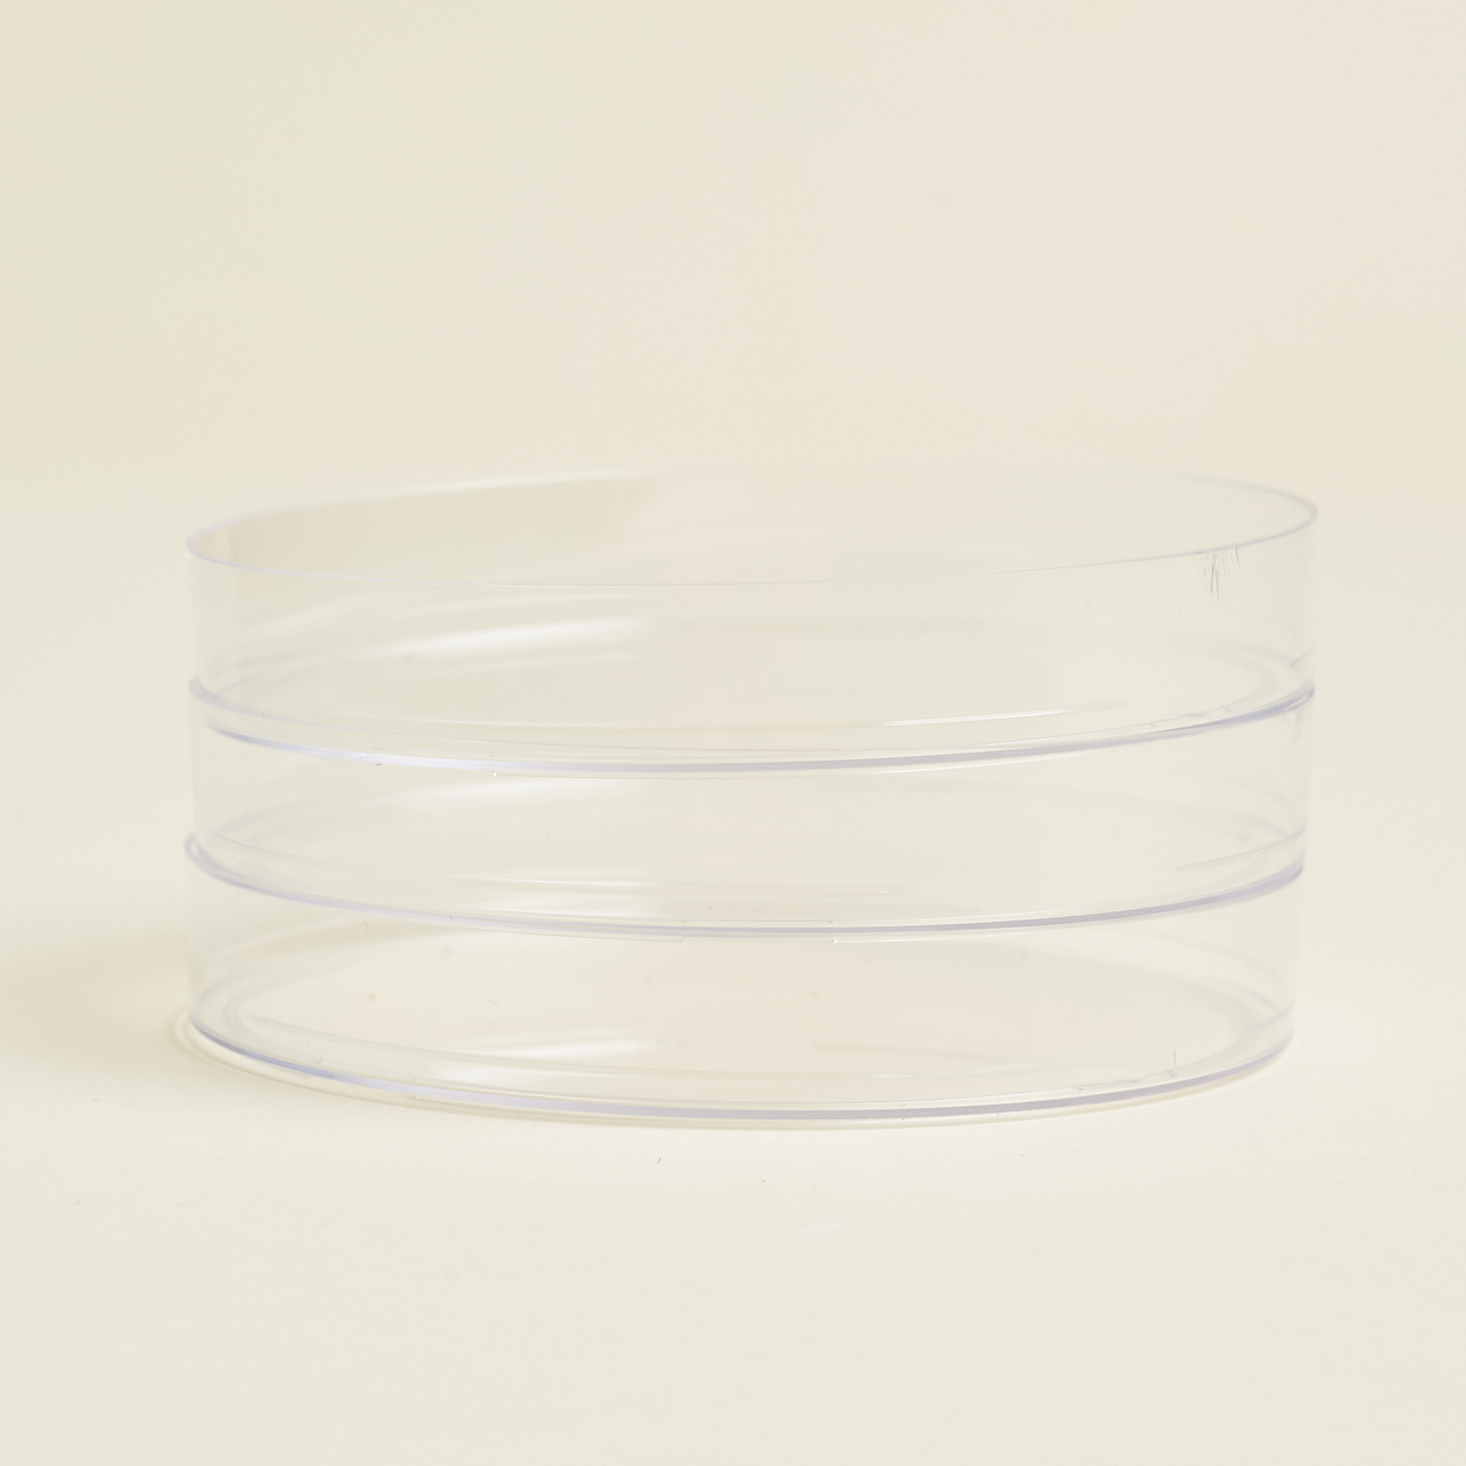
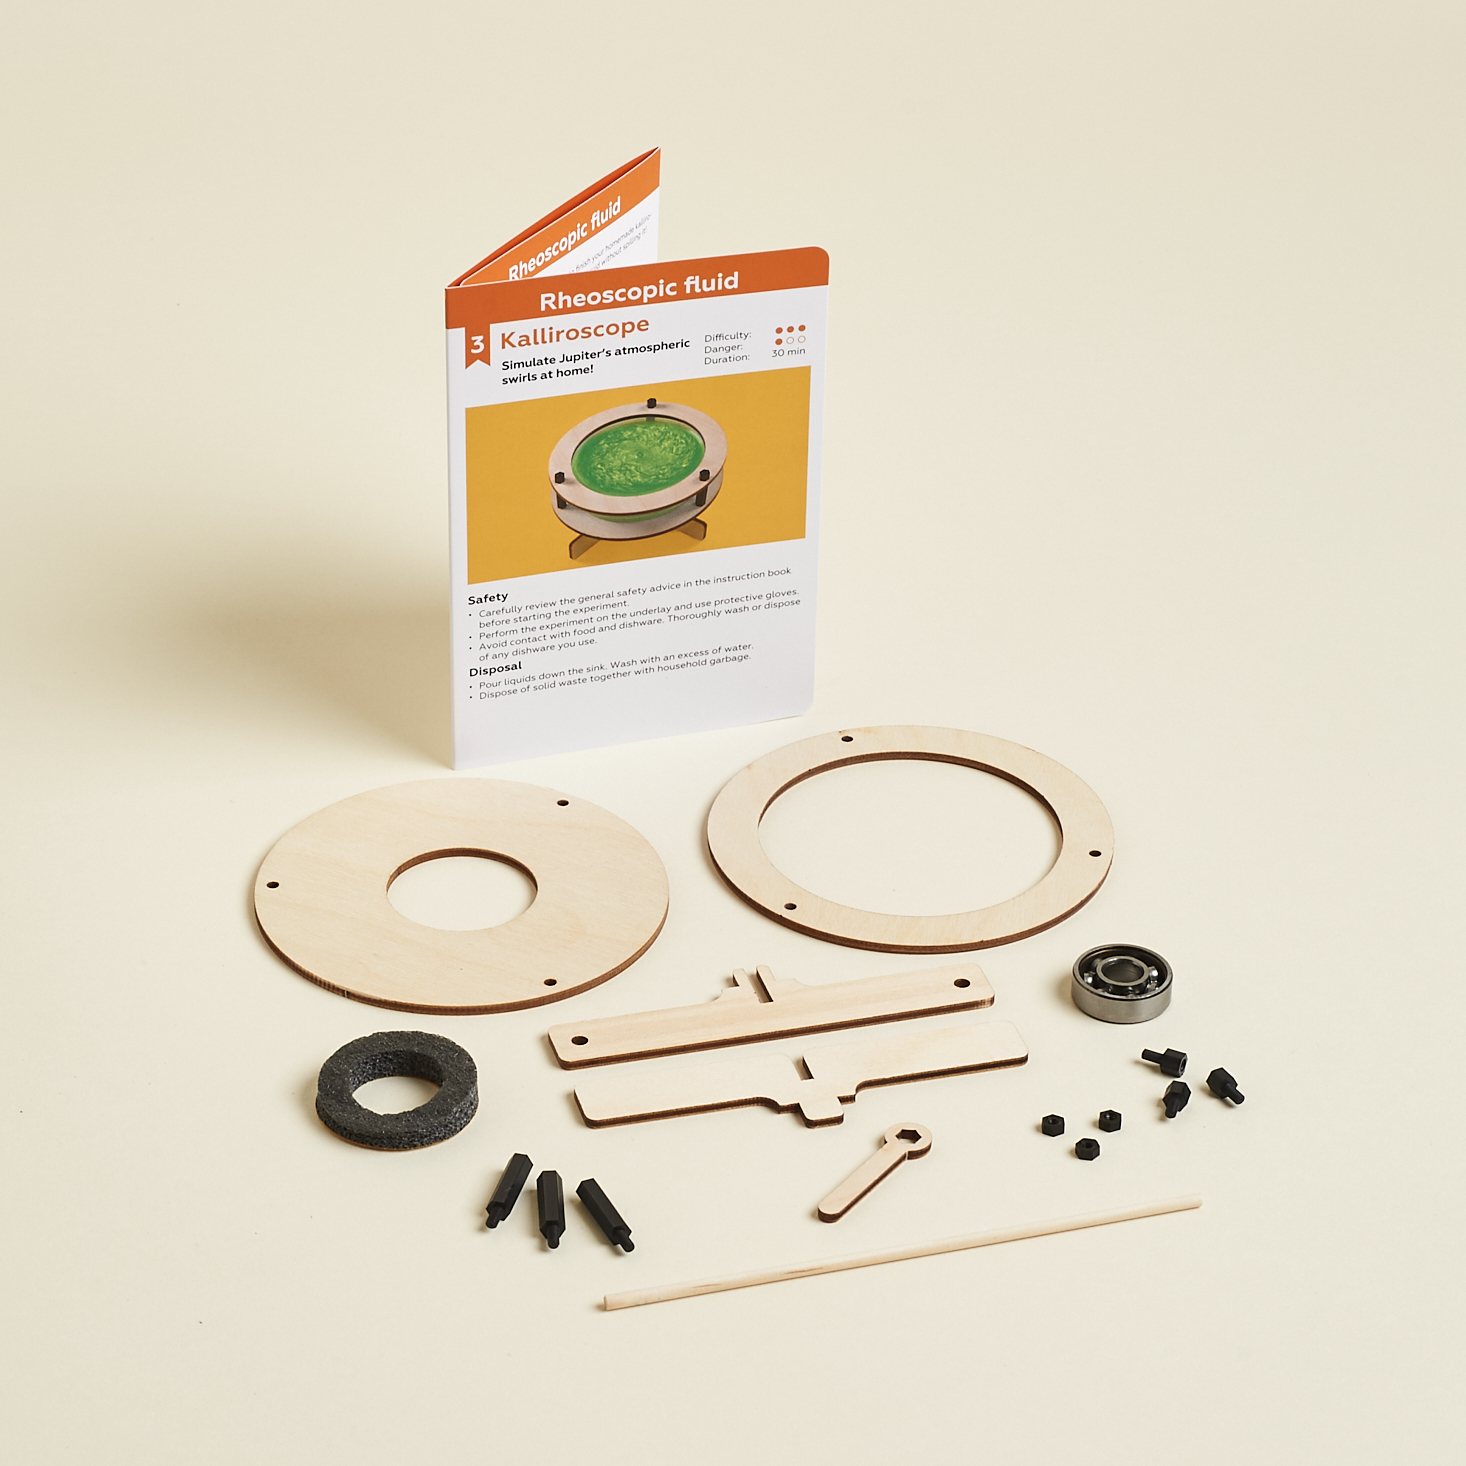
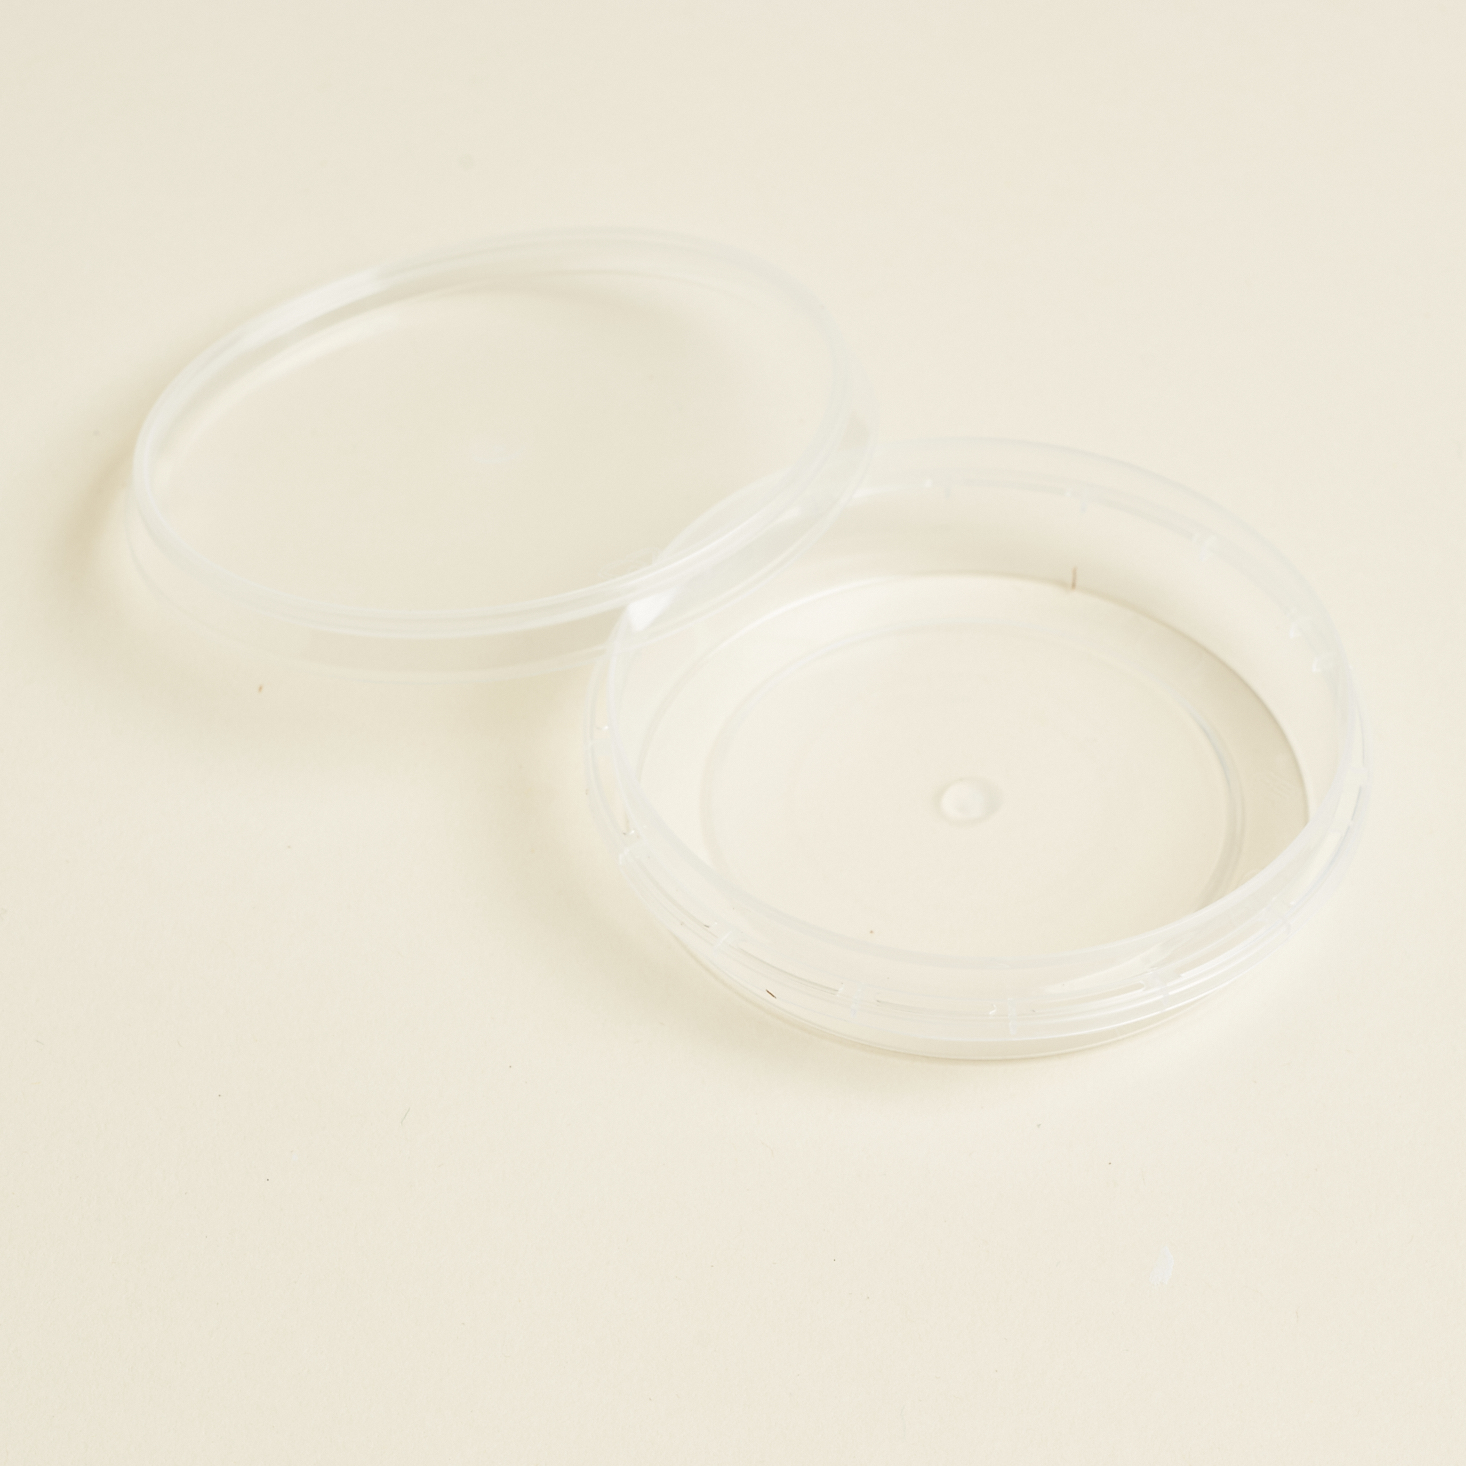
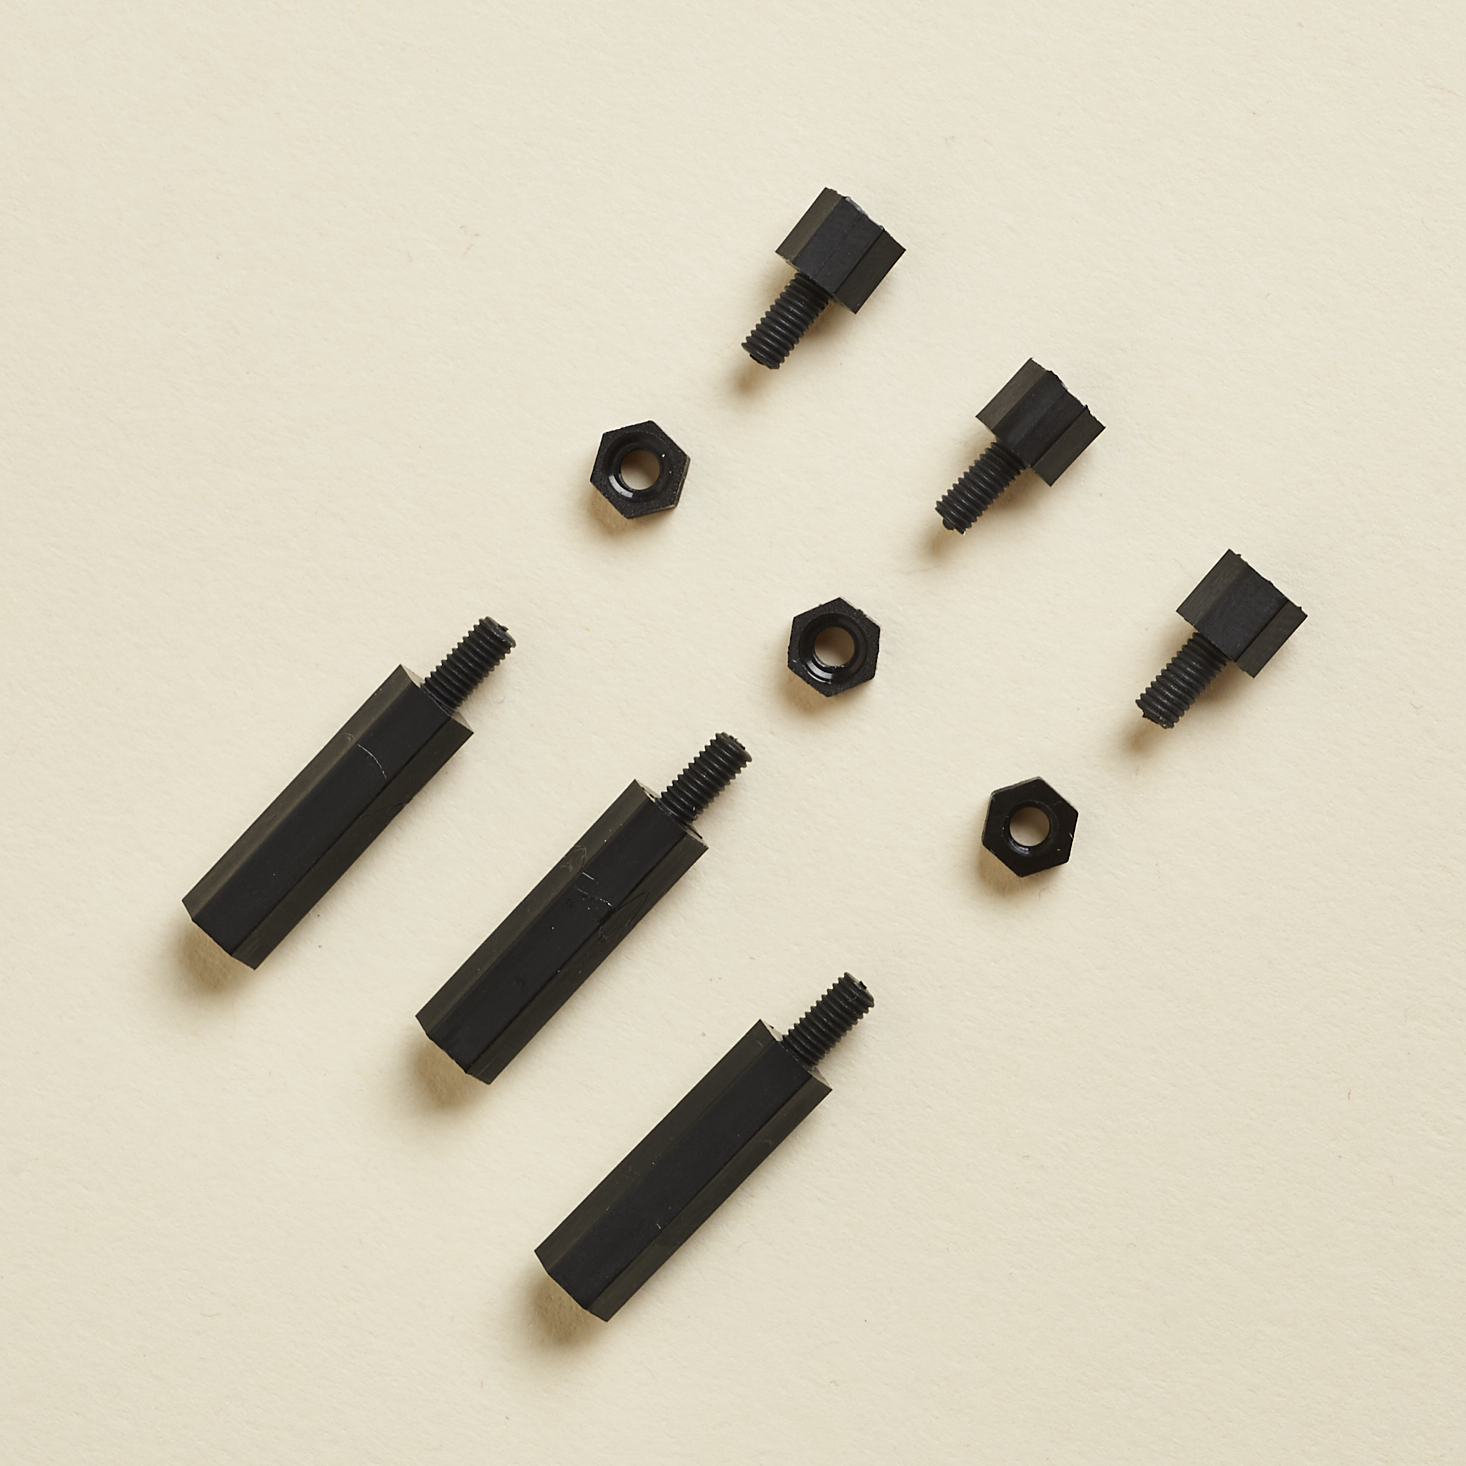
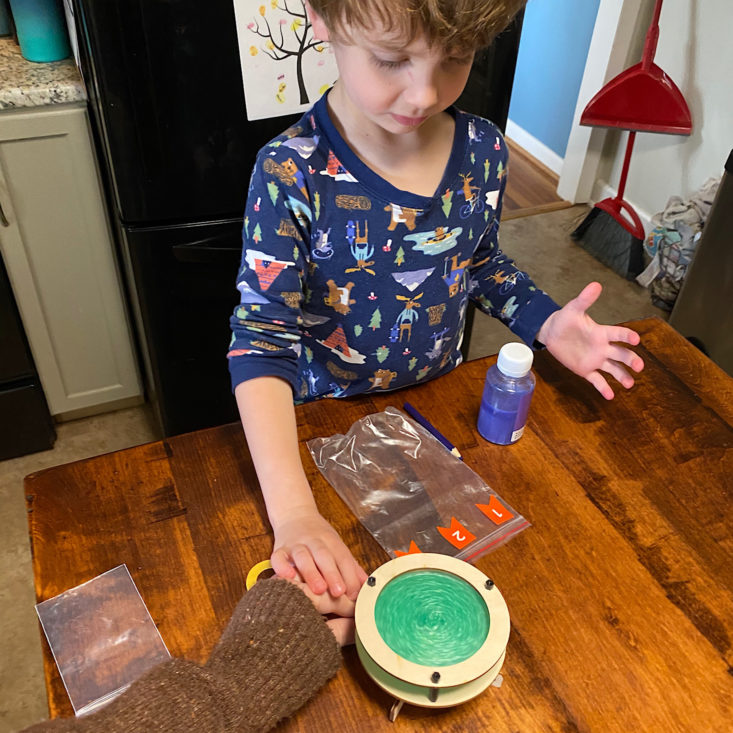
For this experiment, they provided several wooden pieces and plastic screws to put them together along with a plastic dish with a lid.
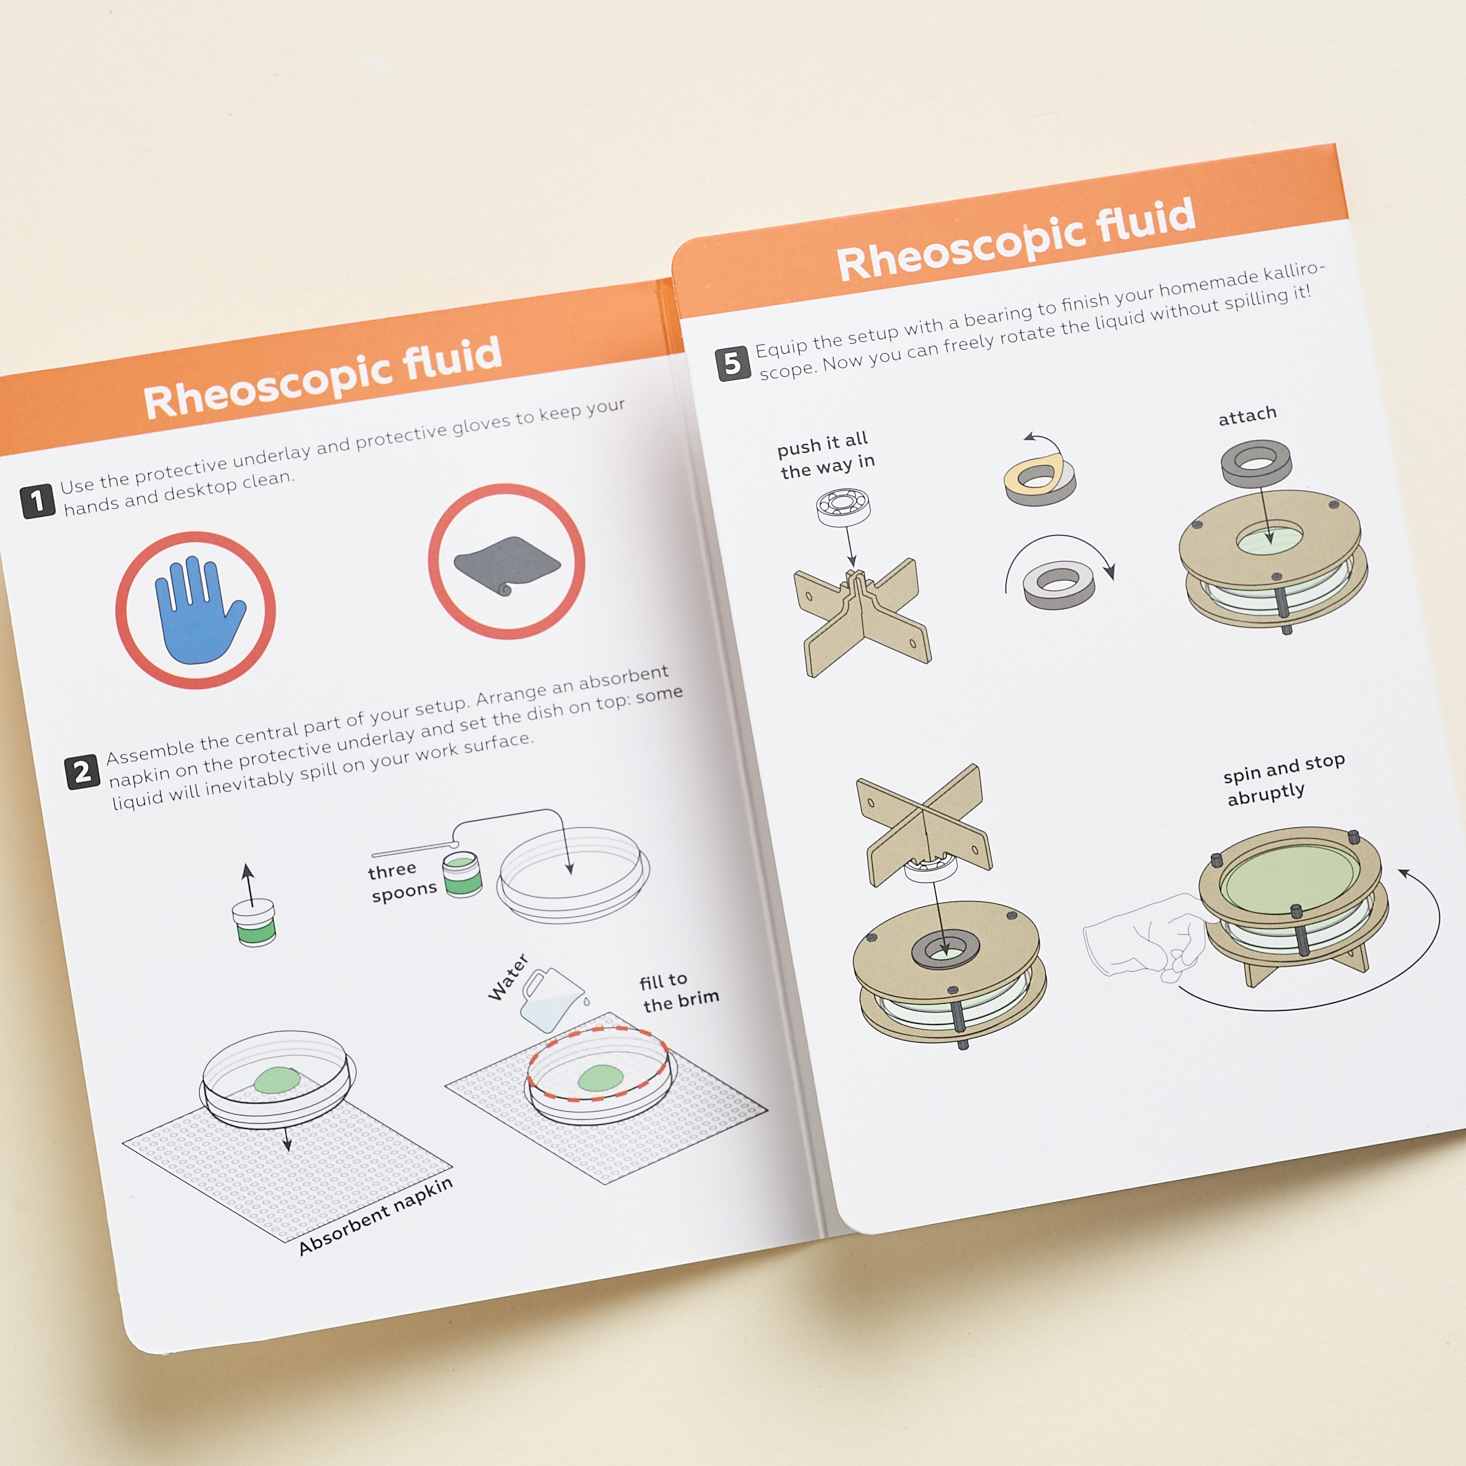
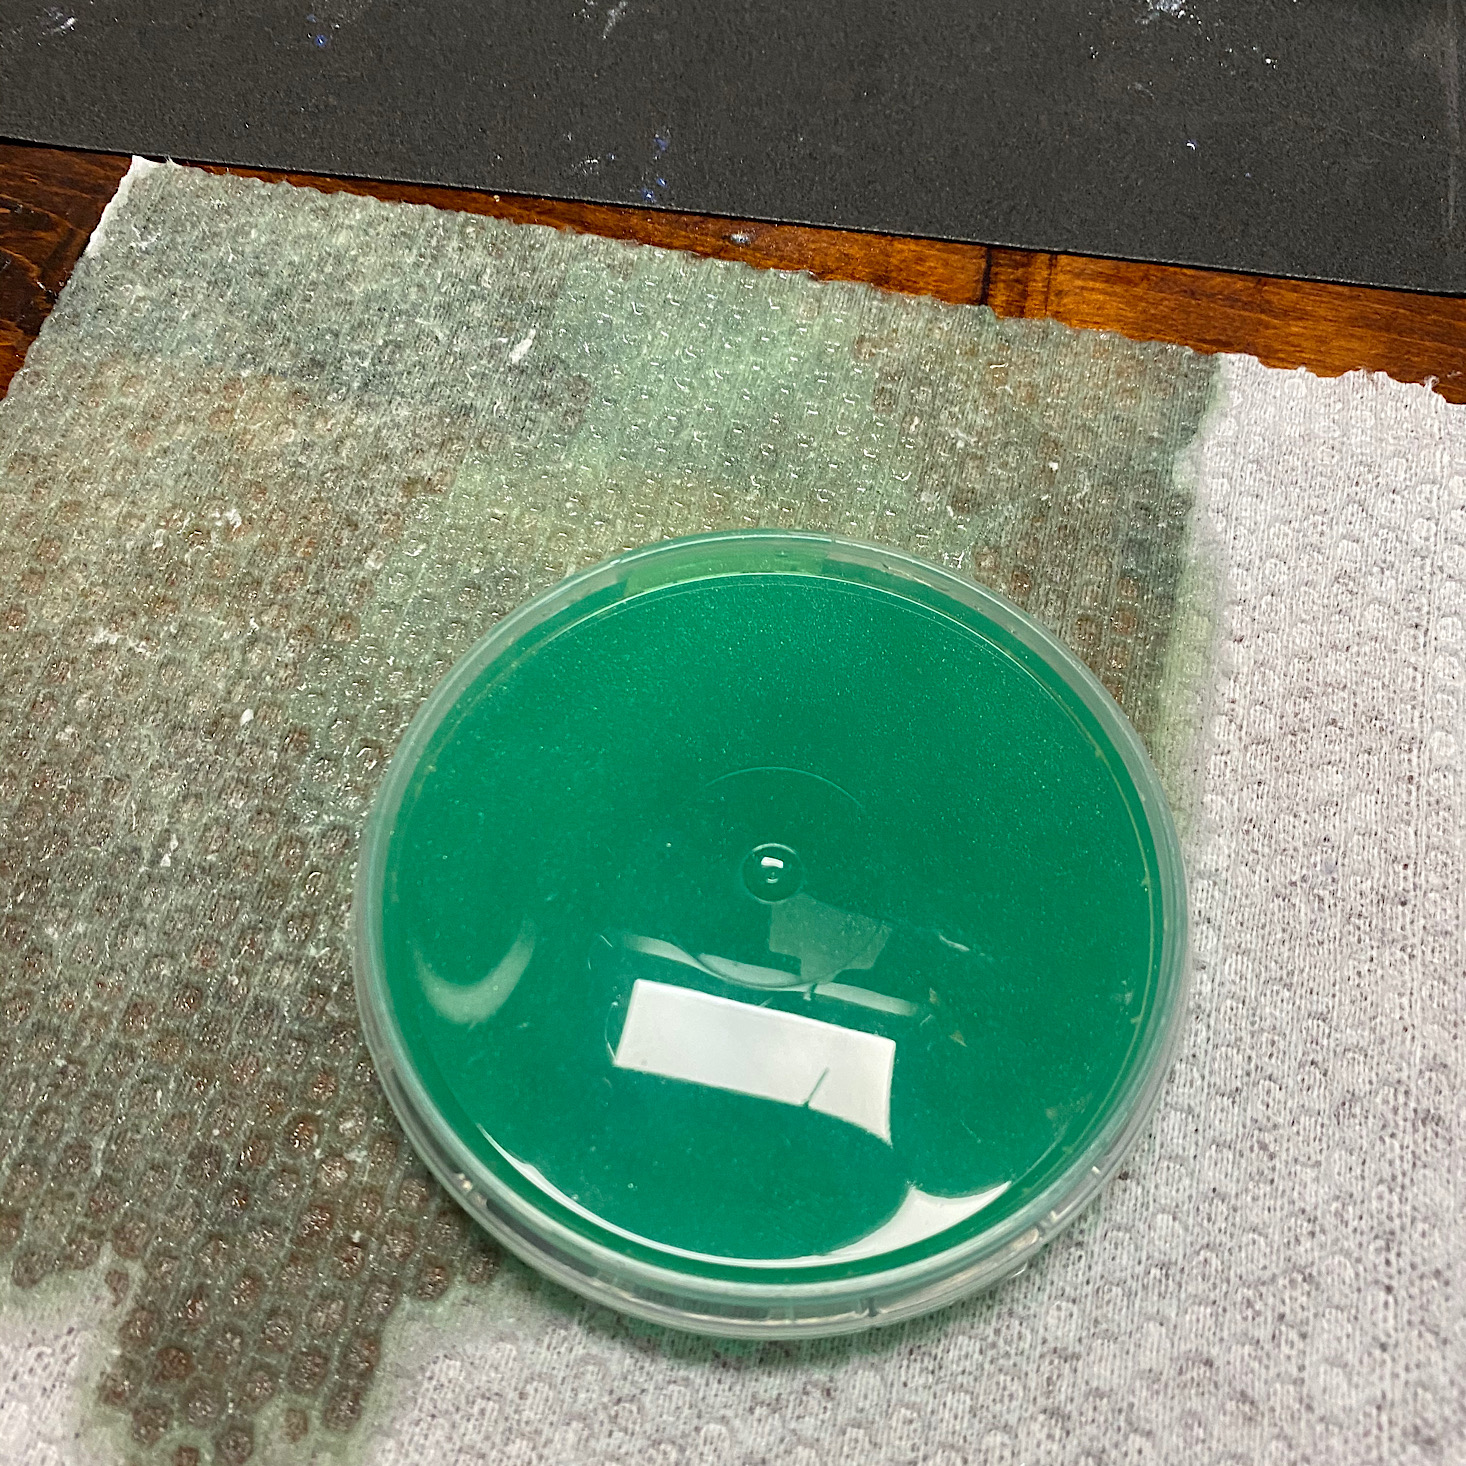
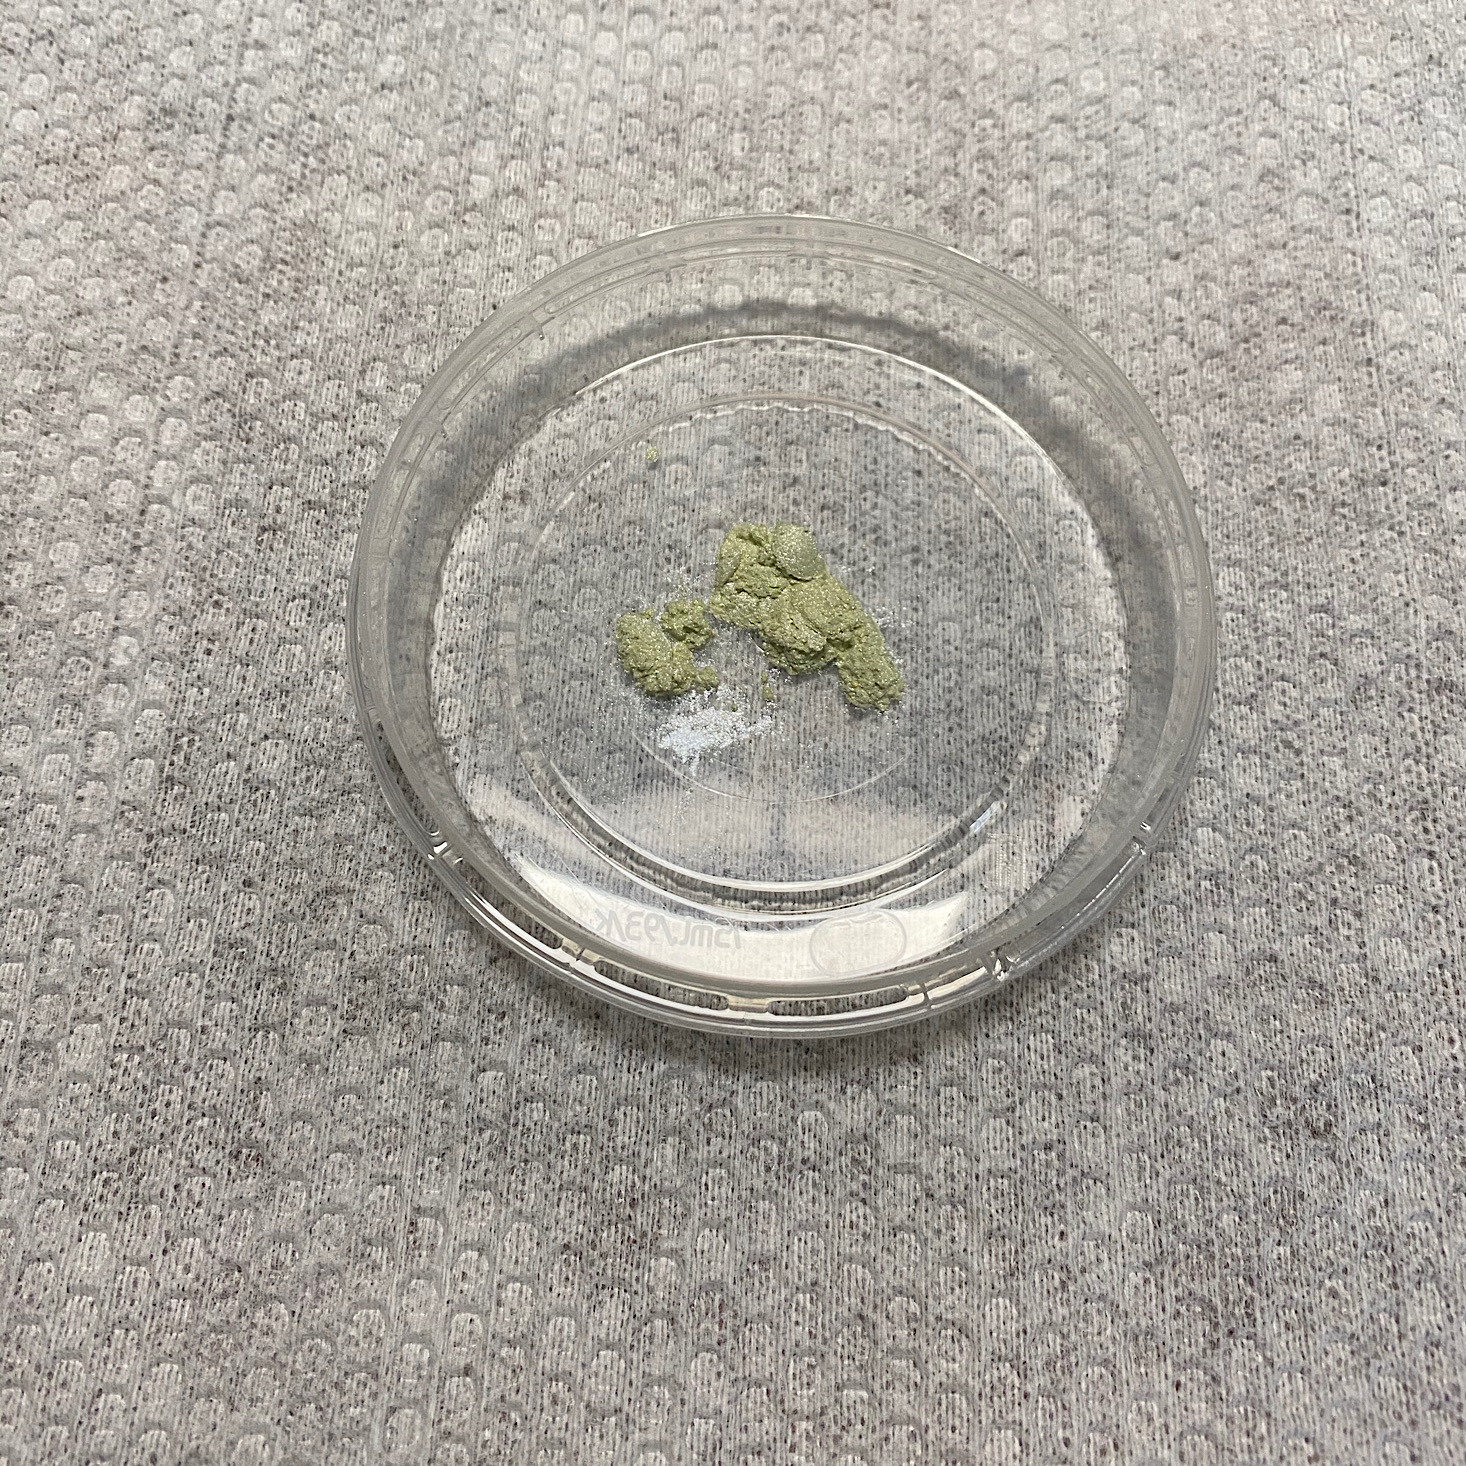
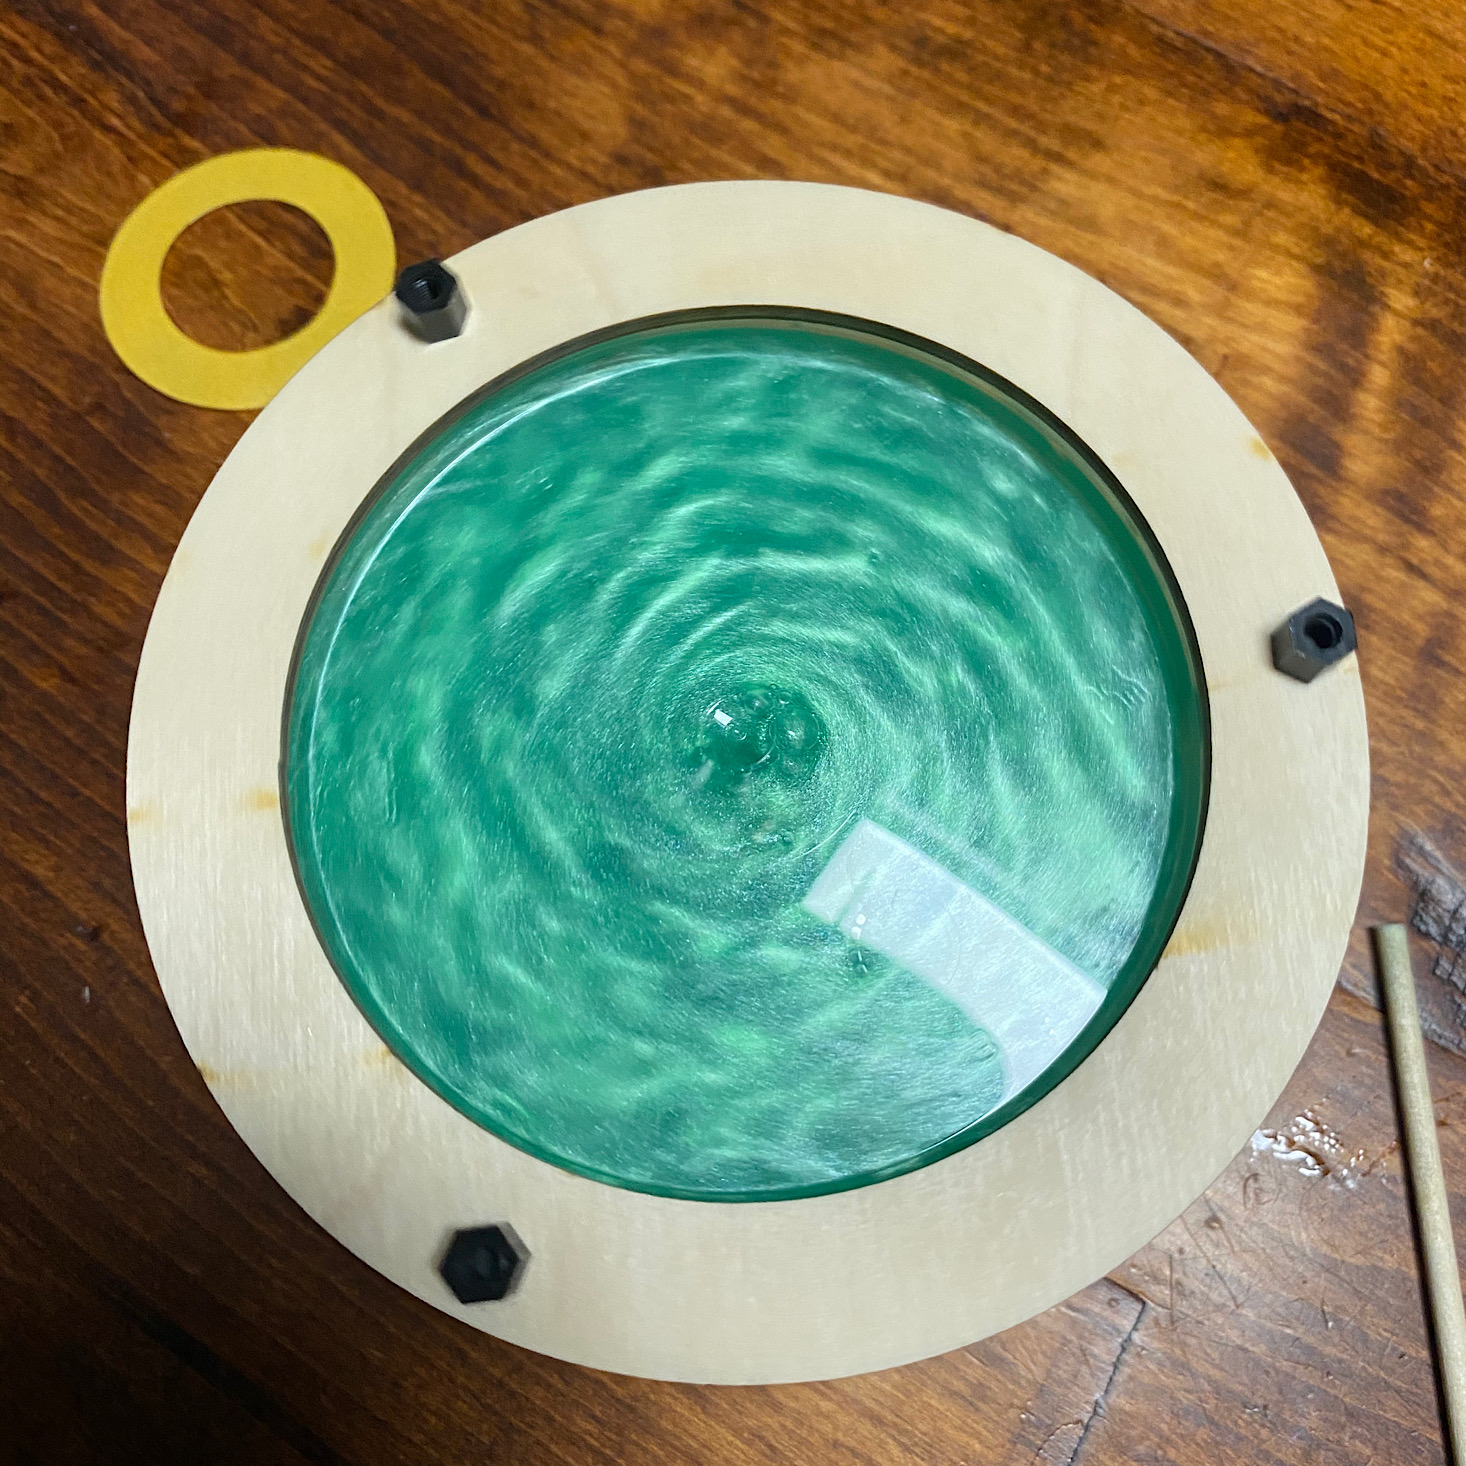
I put down one of our super absorbent paper towels and then added some scoops of the green powder to the dish and filled it to the brim with water. Then I added the lid and while water definitely went everywhere, it was still super easy to wipe up thanks to the absorbency of the towels.
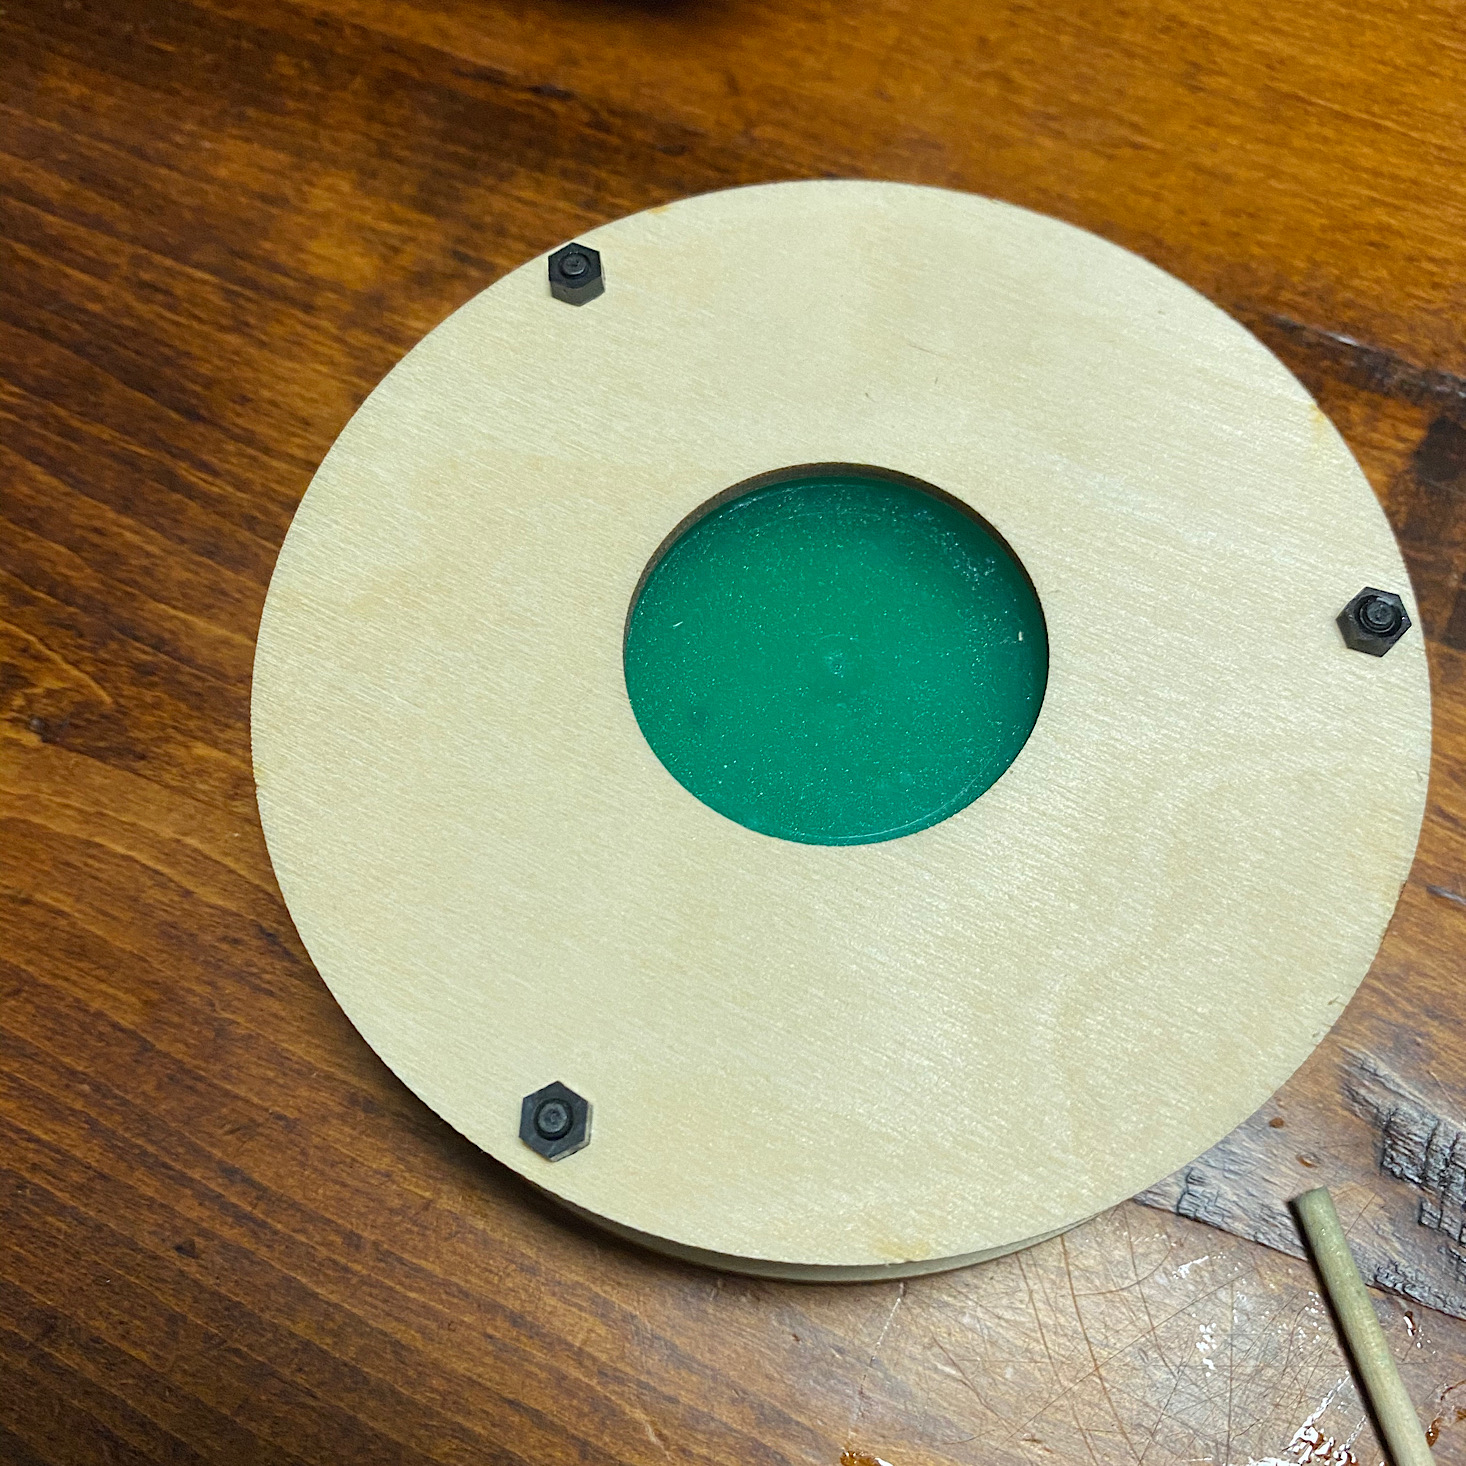
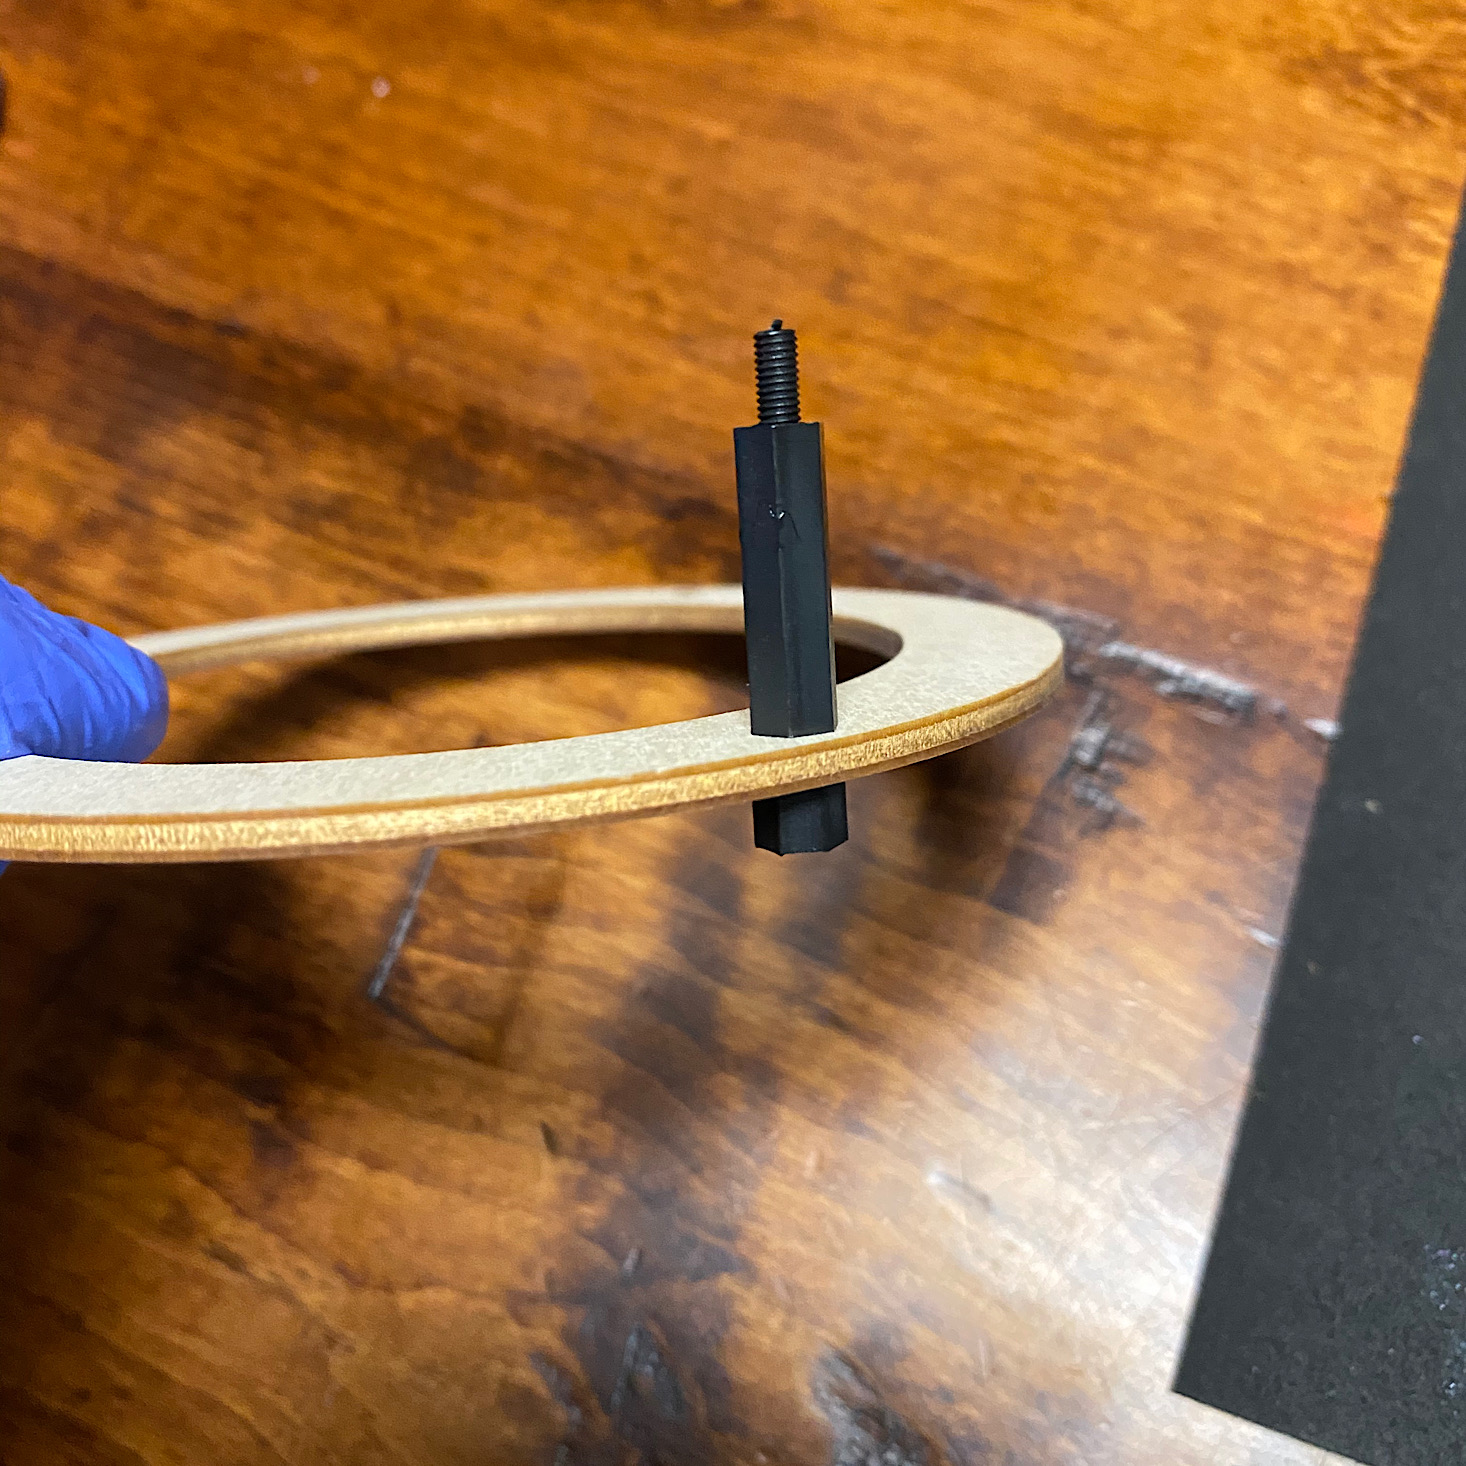
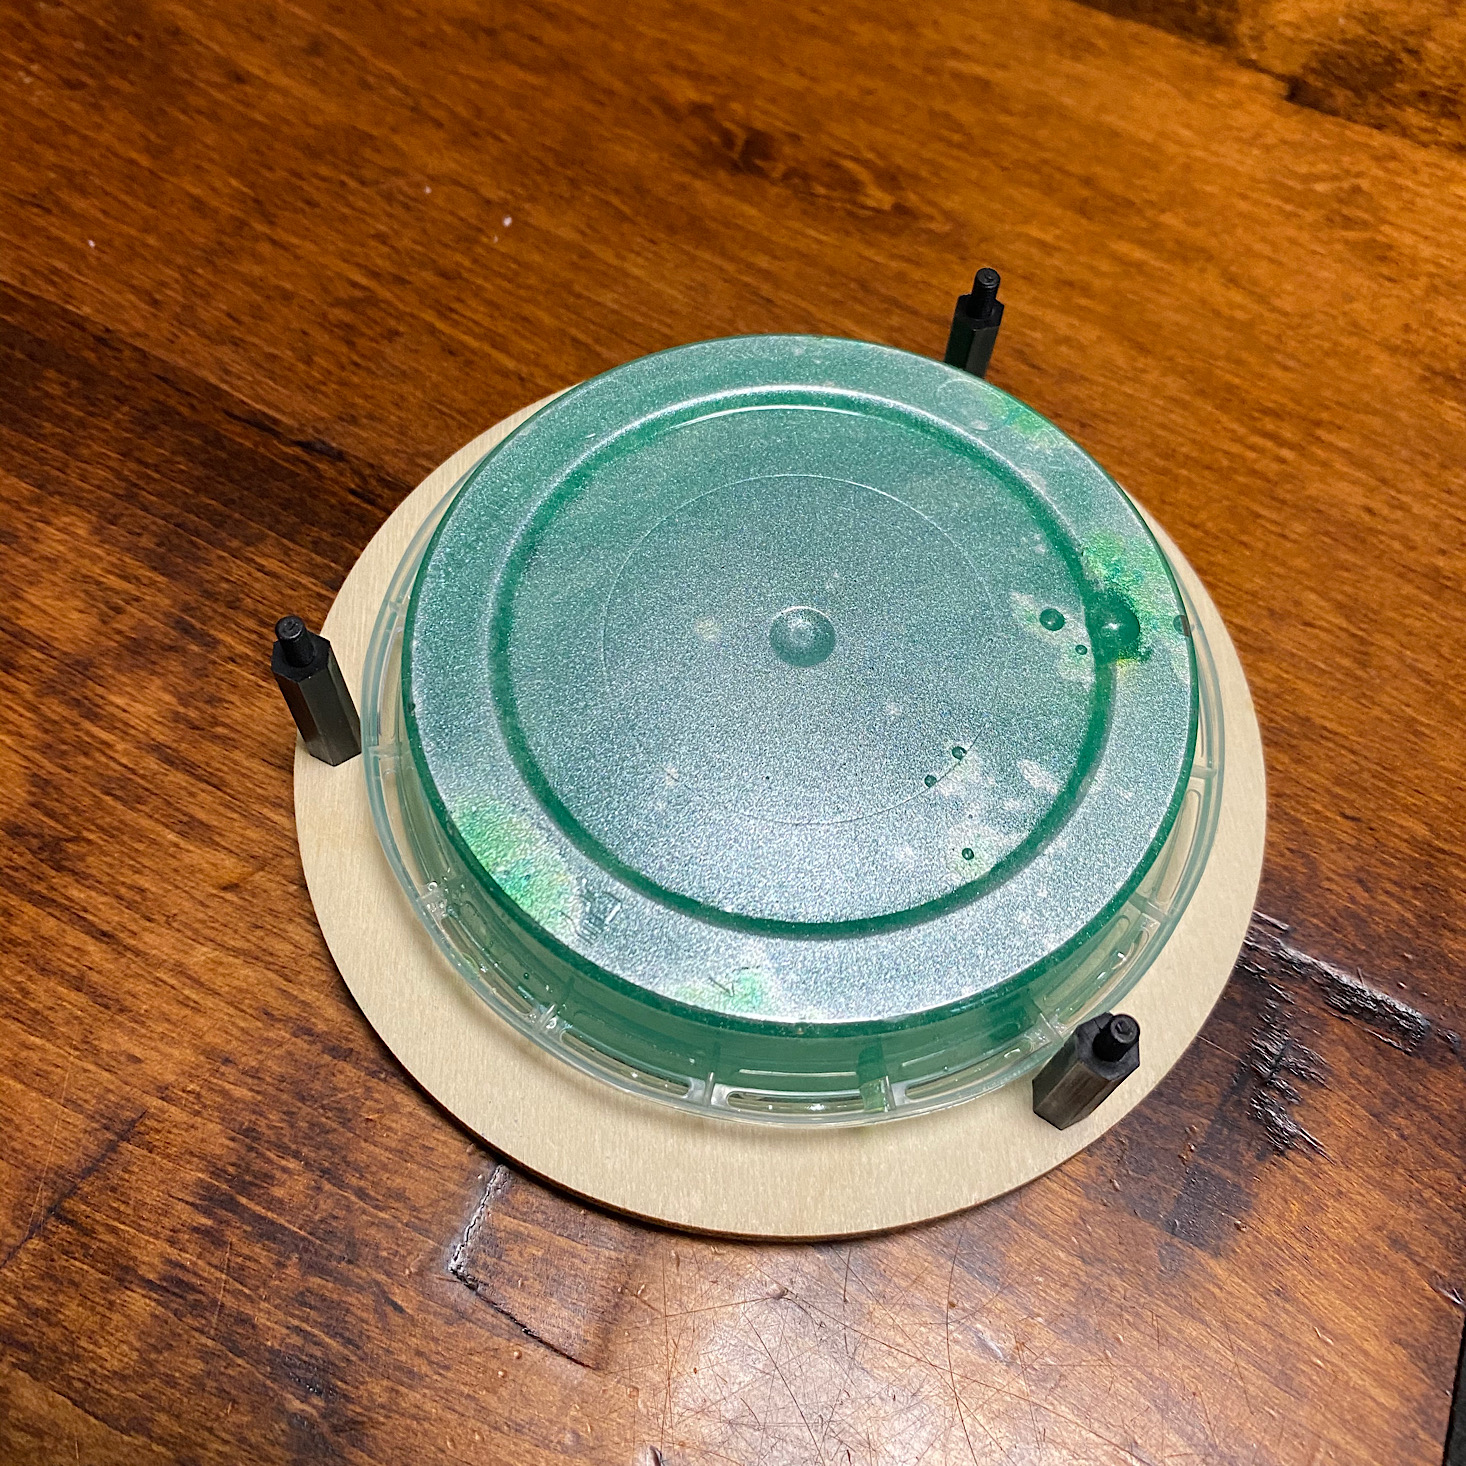
Then I began the construction of the Kalliroscope. I added the screws, then sandwiched the plastic container in between the wooden layers securing everything with the bolts.
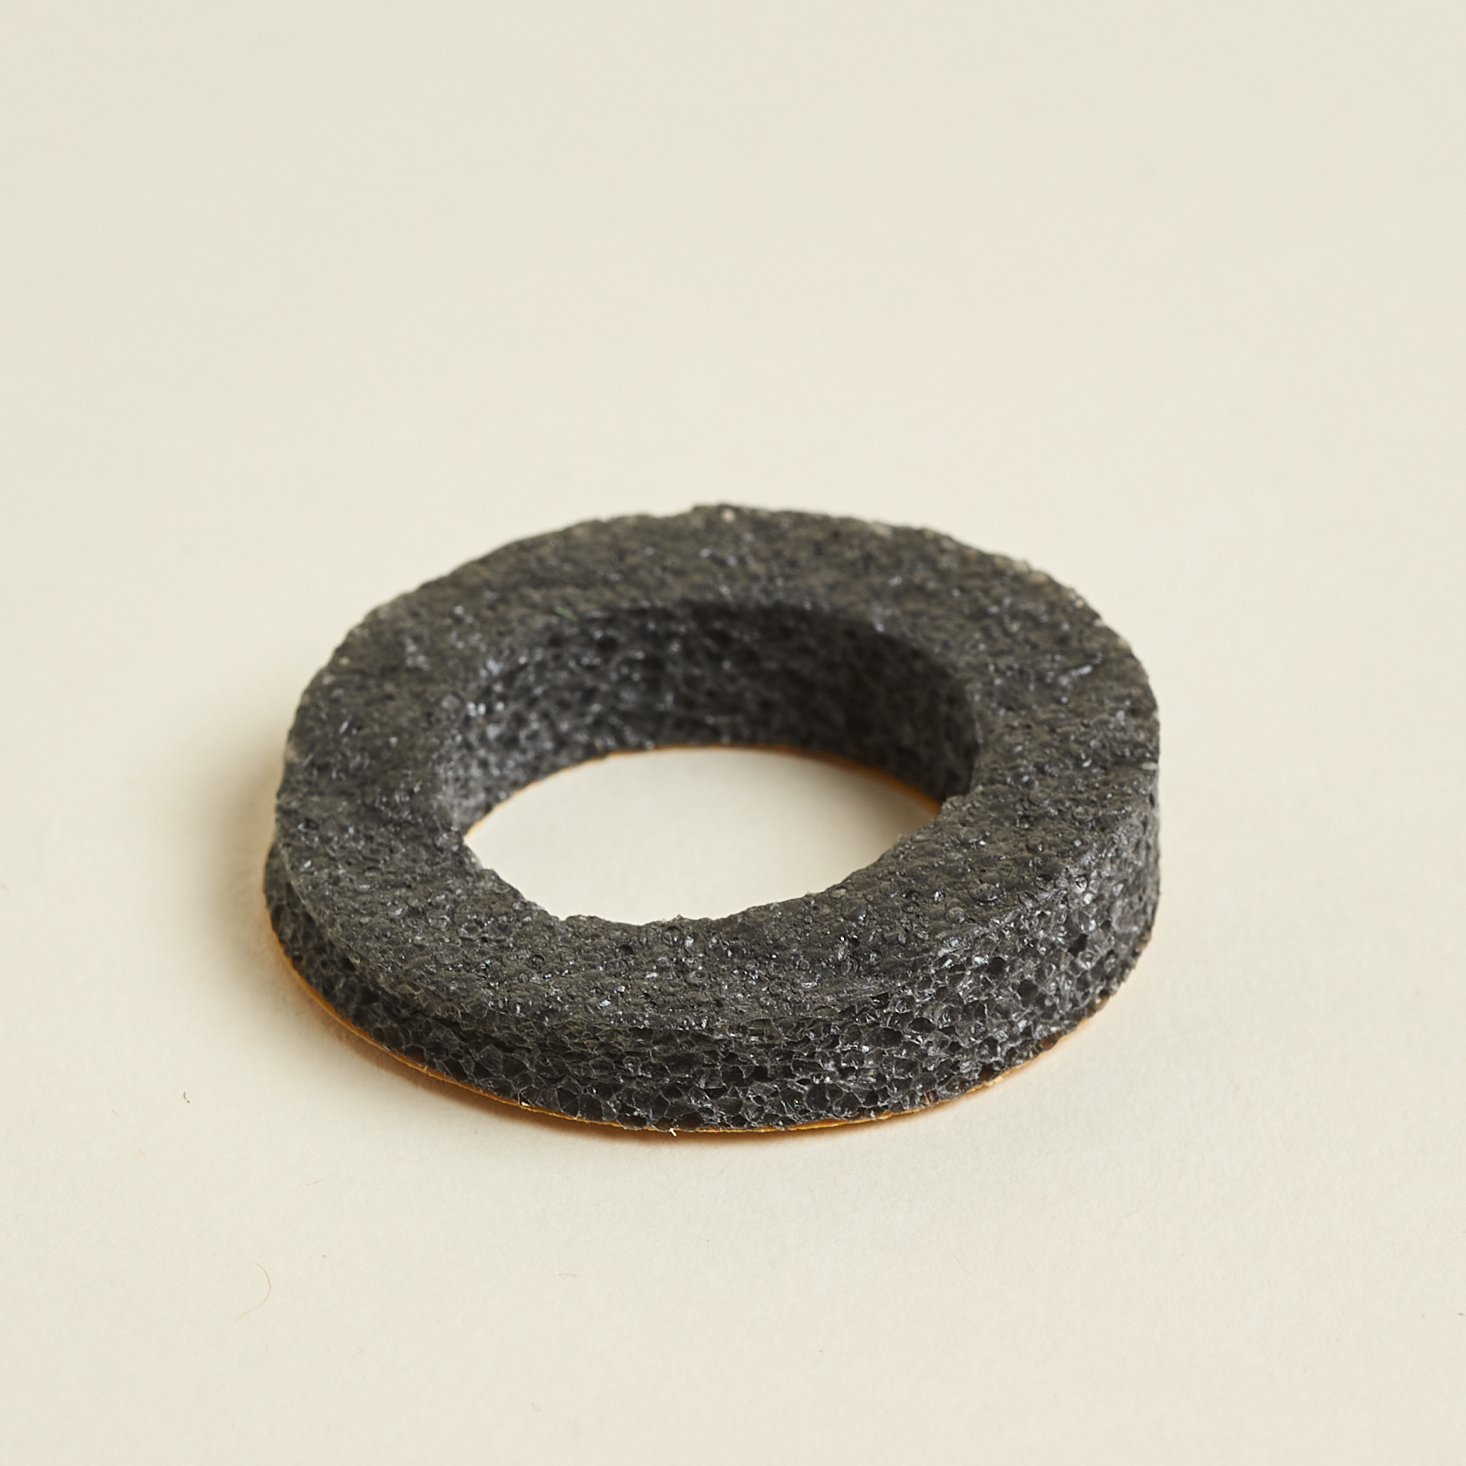
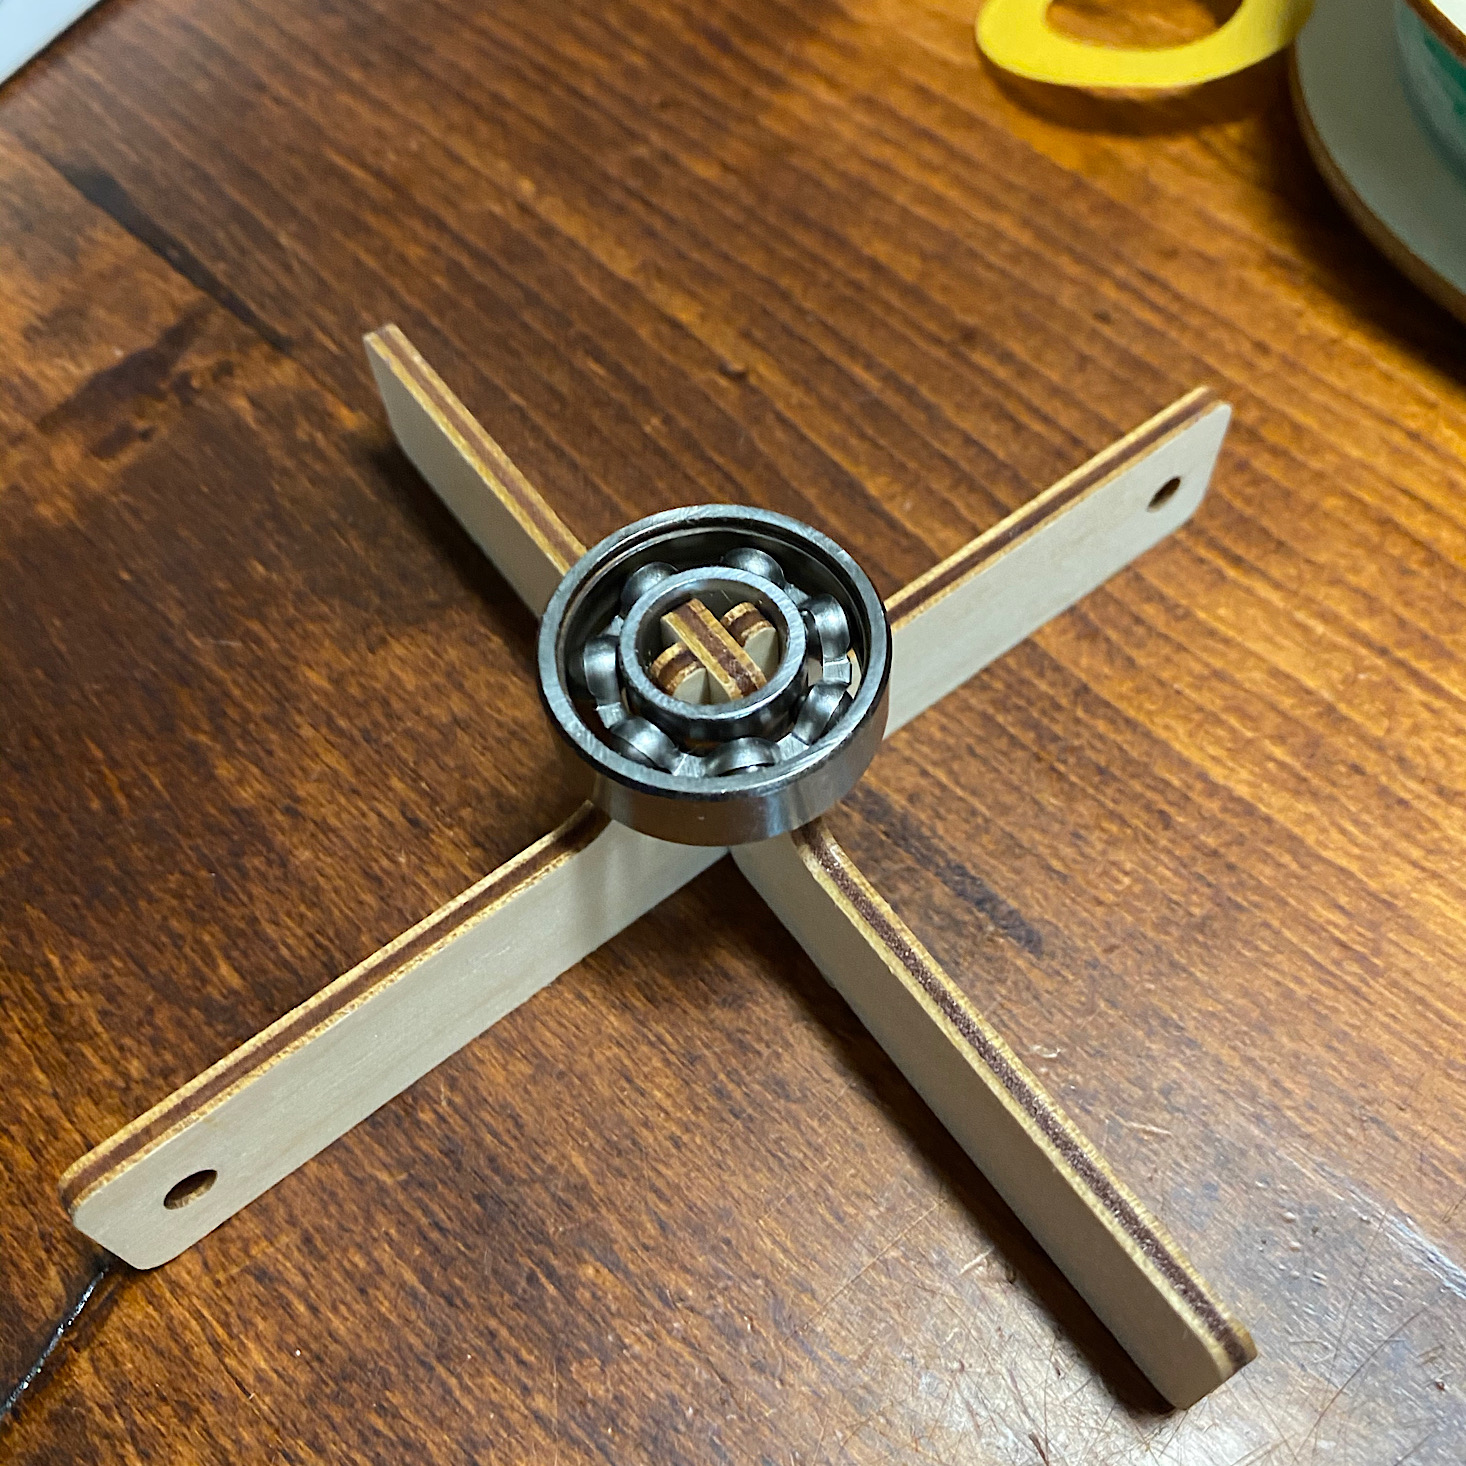
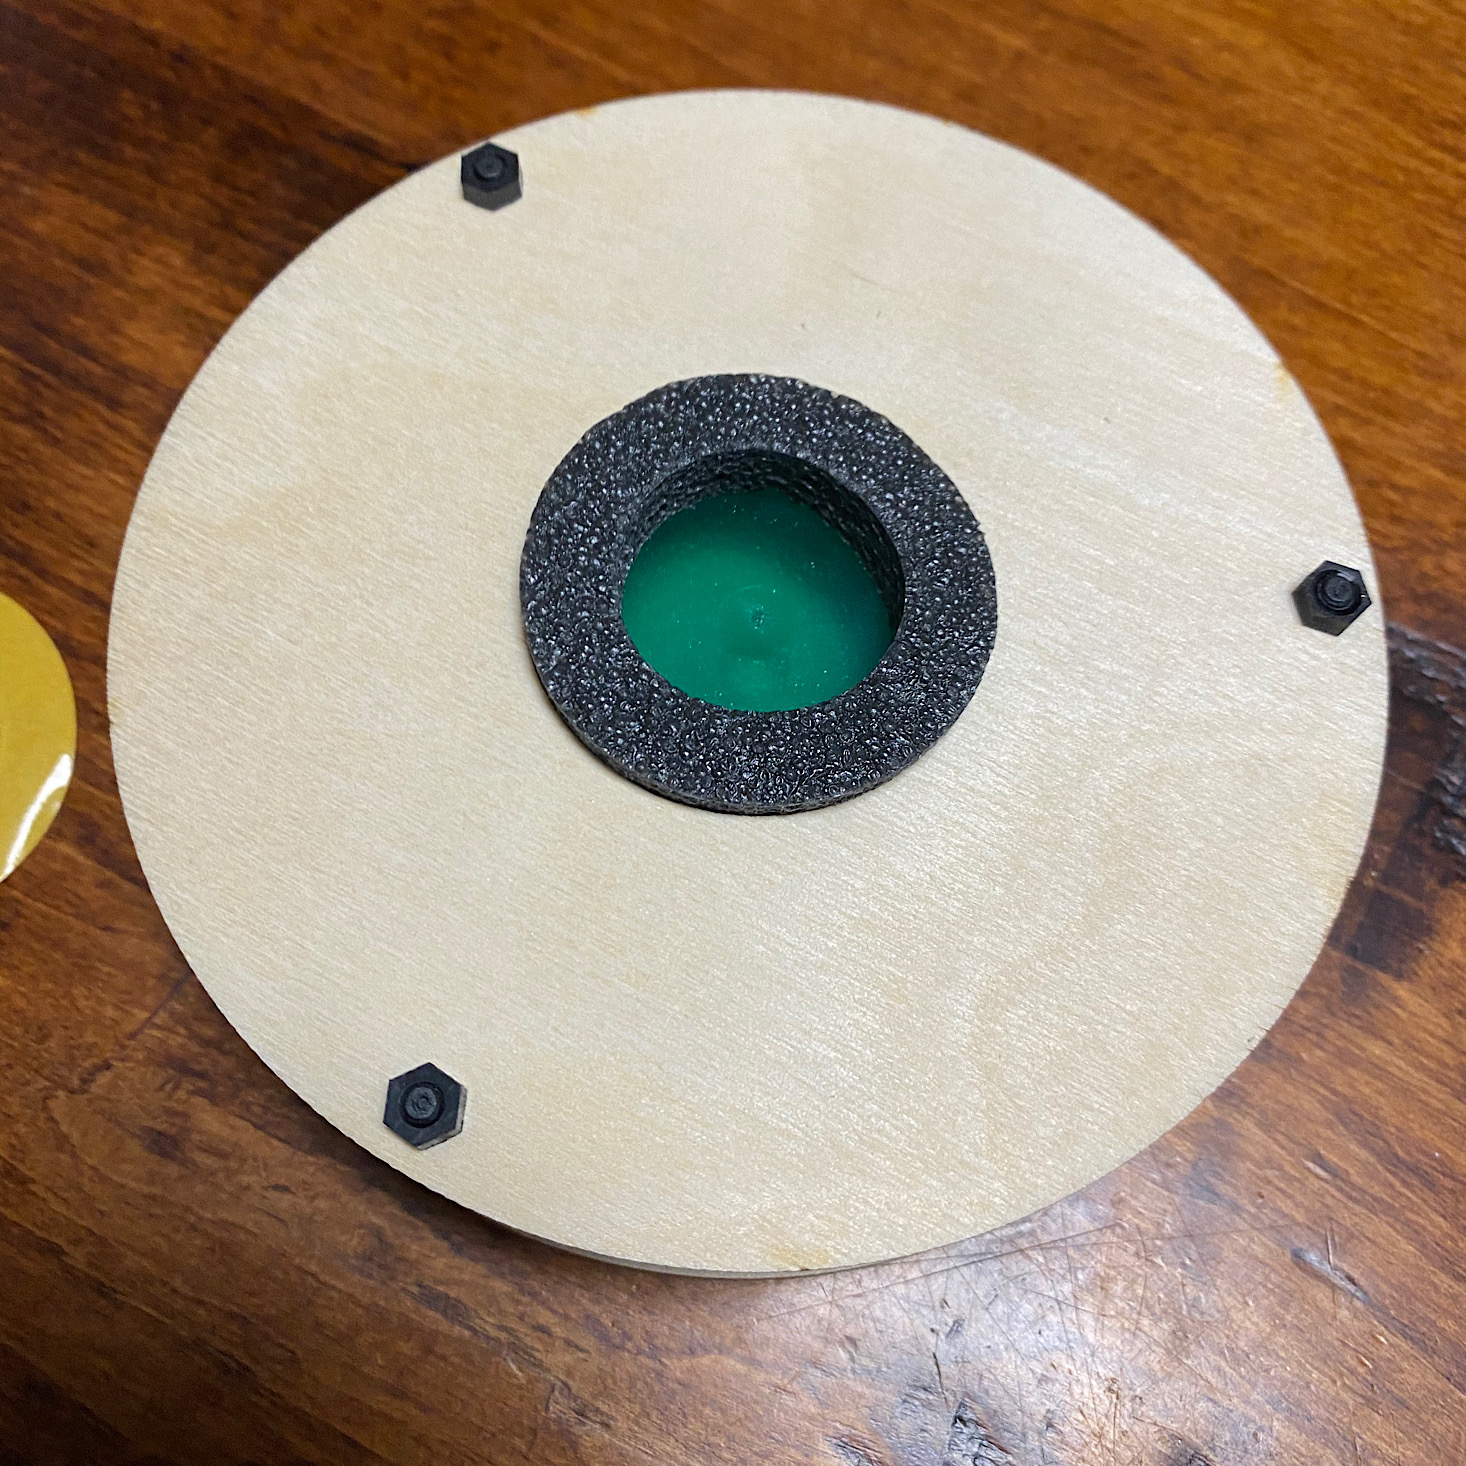
They provided a foam circle with adhesive on one side and a weighted metal ring for us.
I crossed the two wooden pieces for the stand, added the weighted ring on top of them and then placed the foam circle in the center of our wooden circle. Then the metal ring fit inside of that.
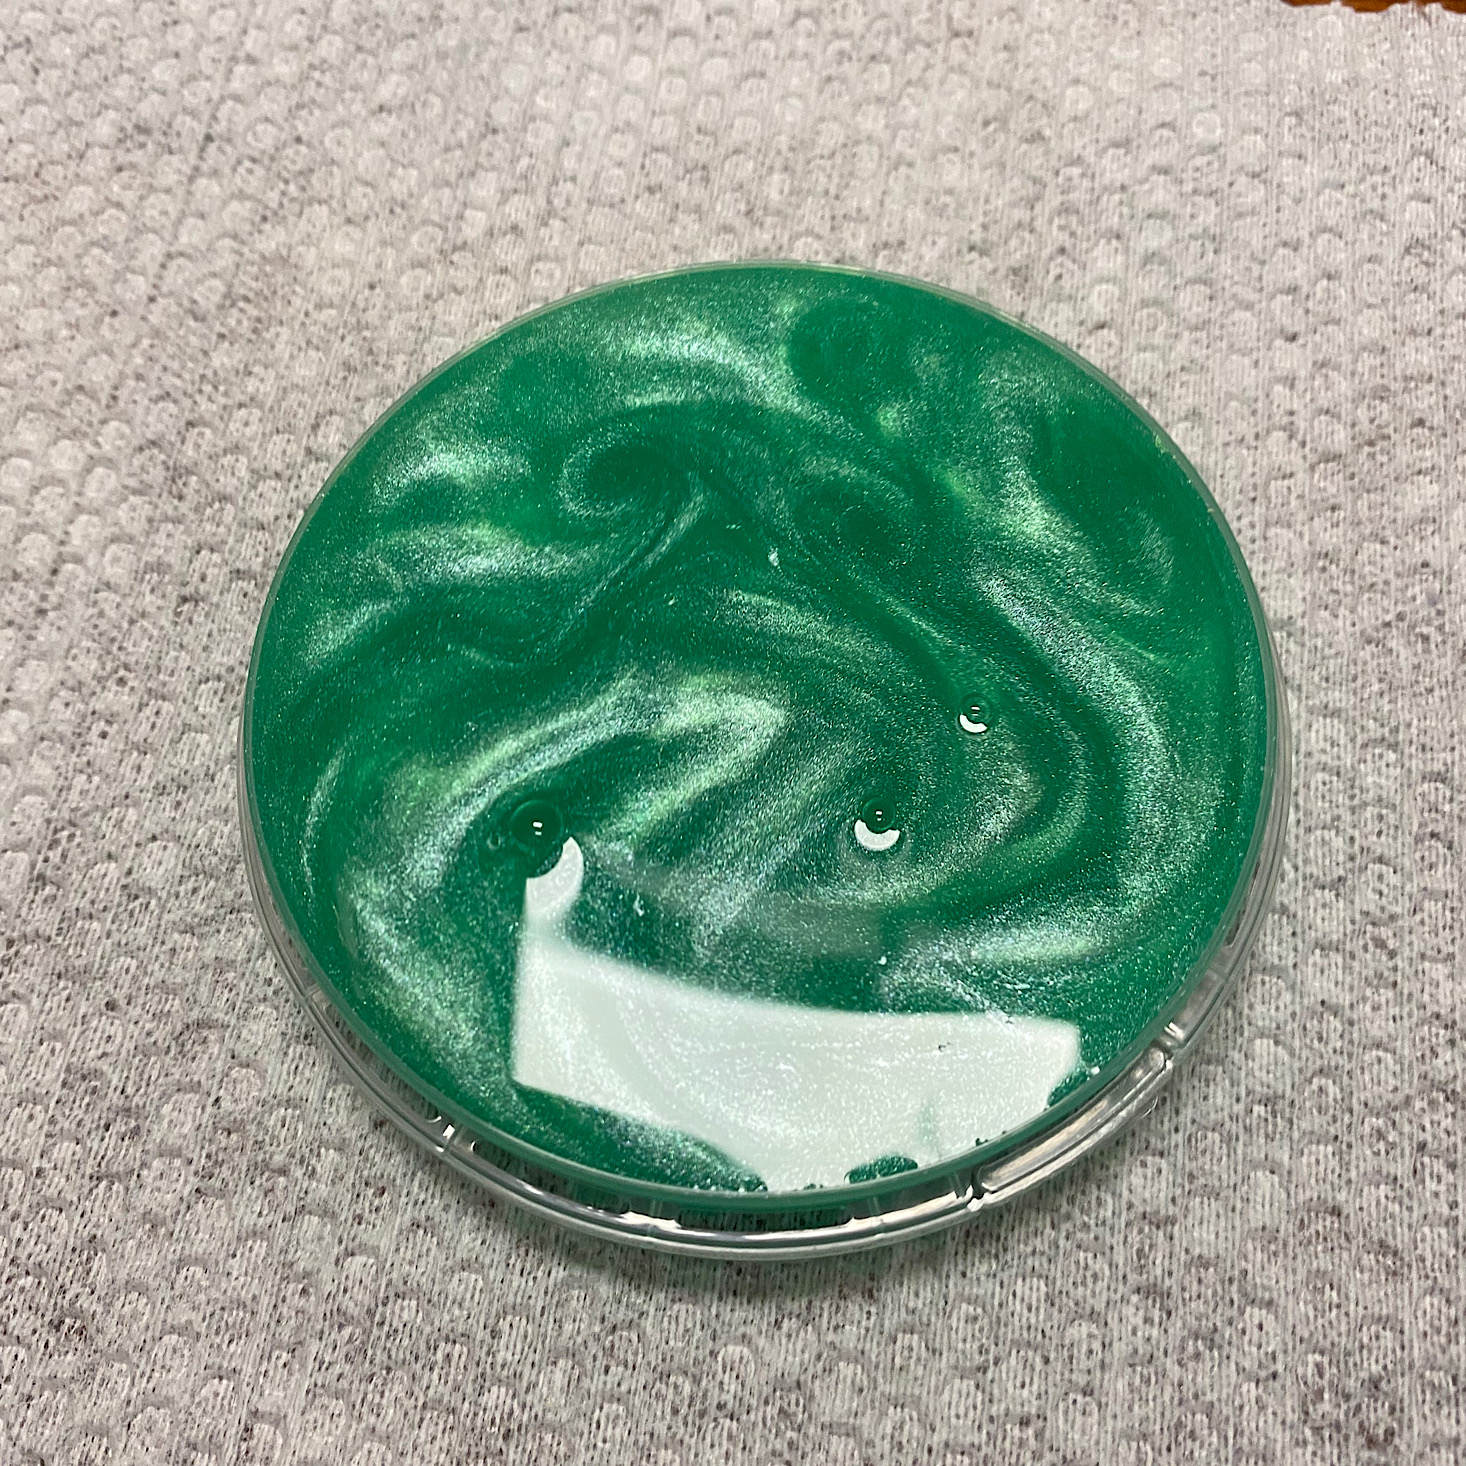
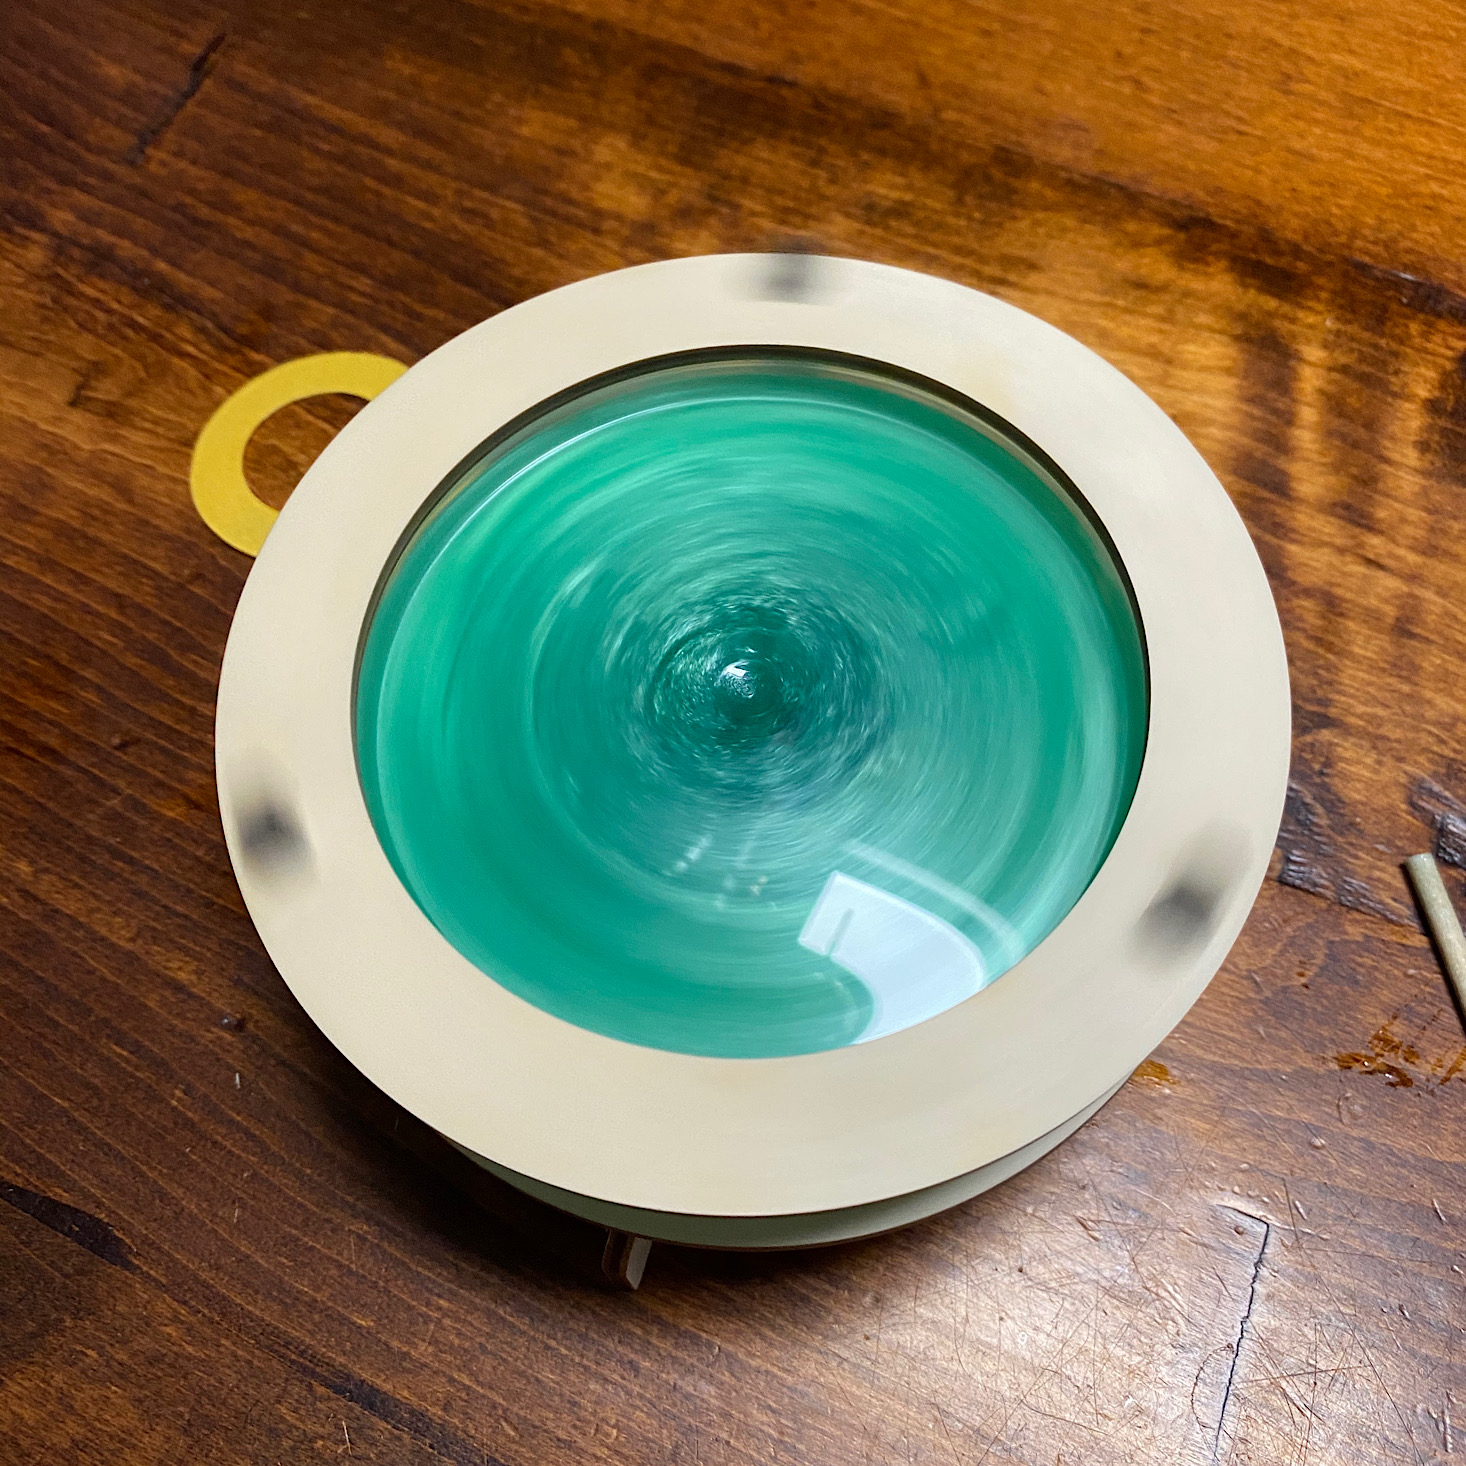
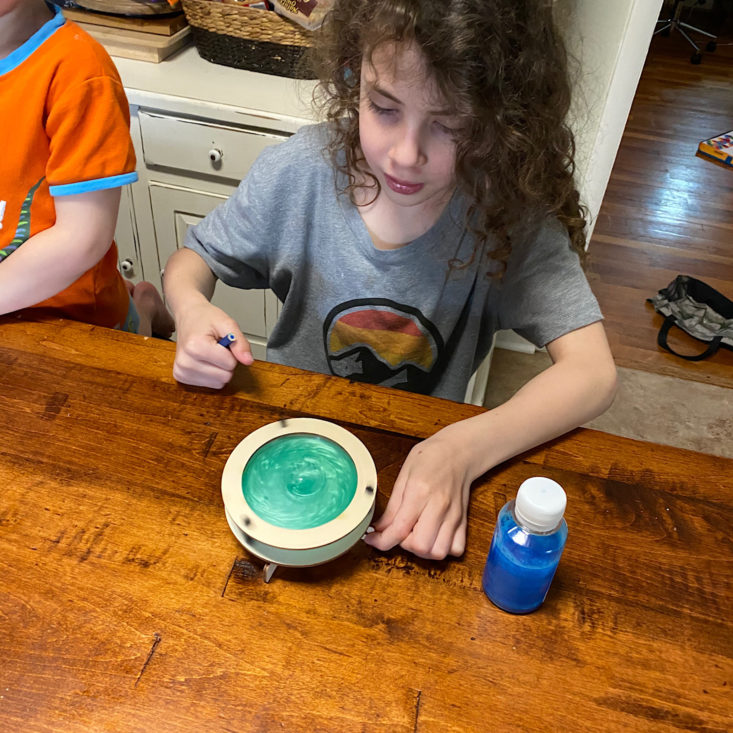
I flipped the whole thing over and it was ready to go. I simply spun the wooden ring around as fast as I could and then I stopped it abruptly and we watched as the liquid still moved inside.
This was pretty mesmerizing, and the kids had so much fun playing with it. My youngest stayed and practiced spinning and stopping it for a good 15 minutes after we were done. I am eager to try it with the other colors next time since this contraption is simple to take apart and put back together! It's become a fun toy and it would make a great calm down toy, as would the bottles!
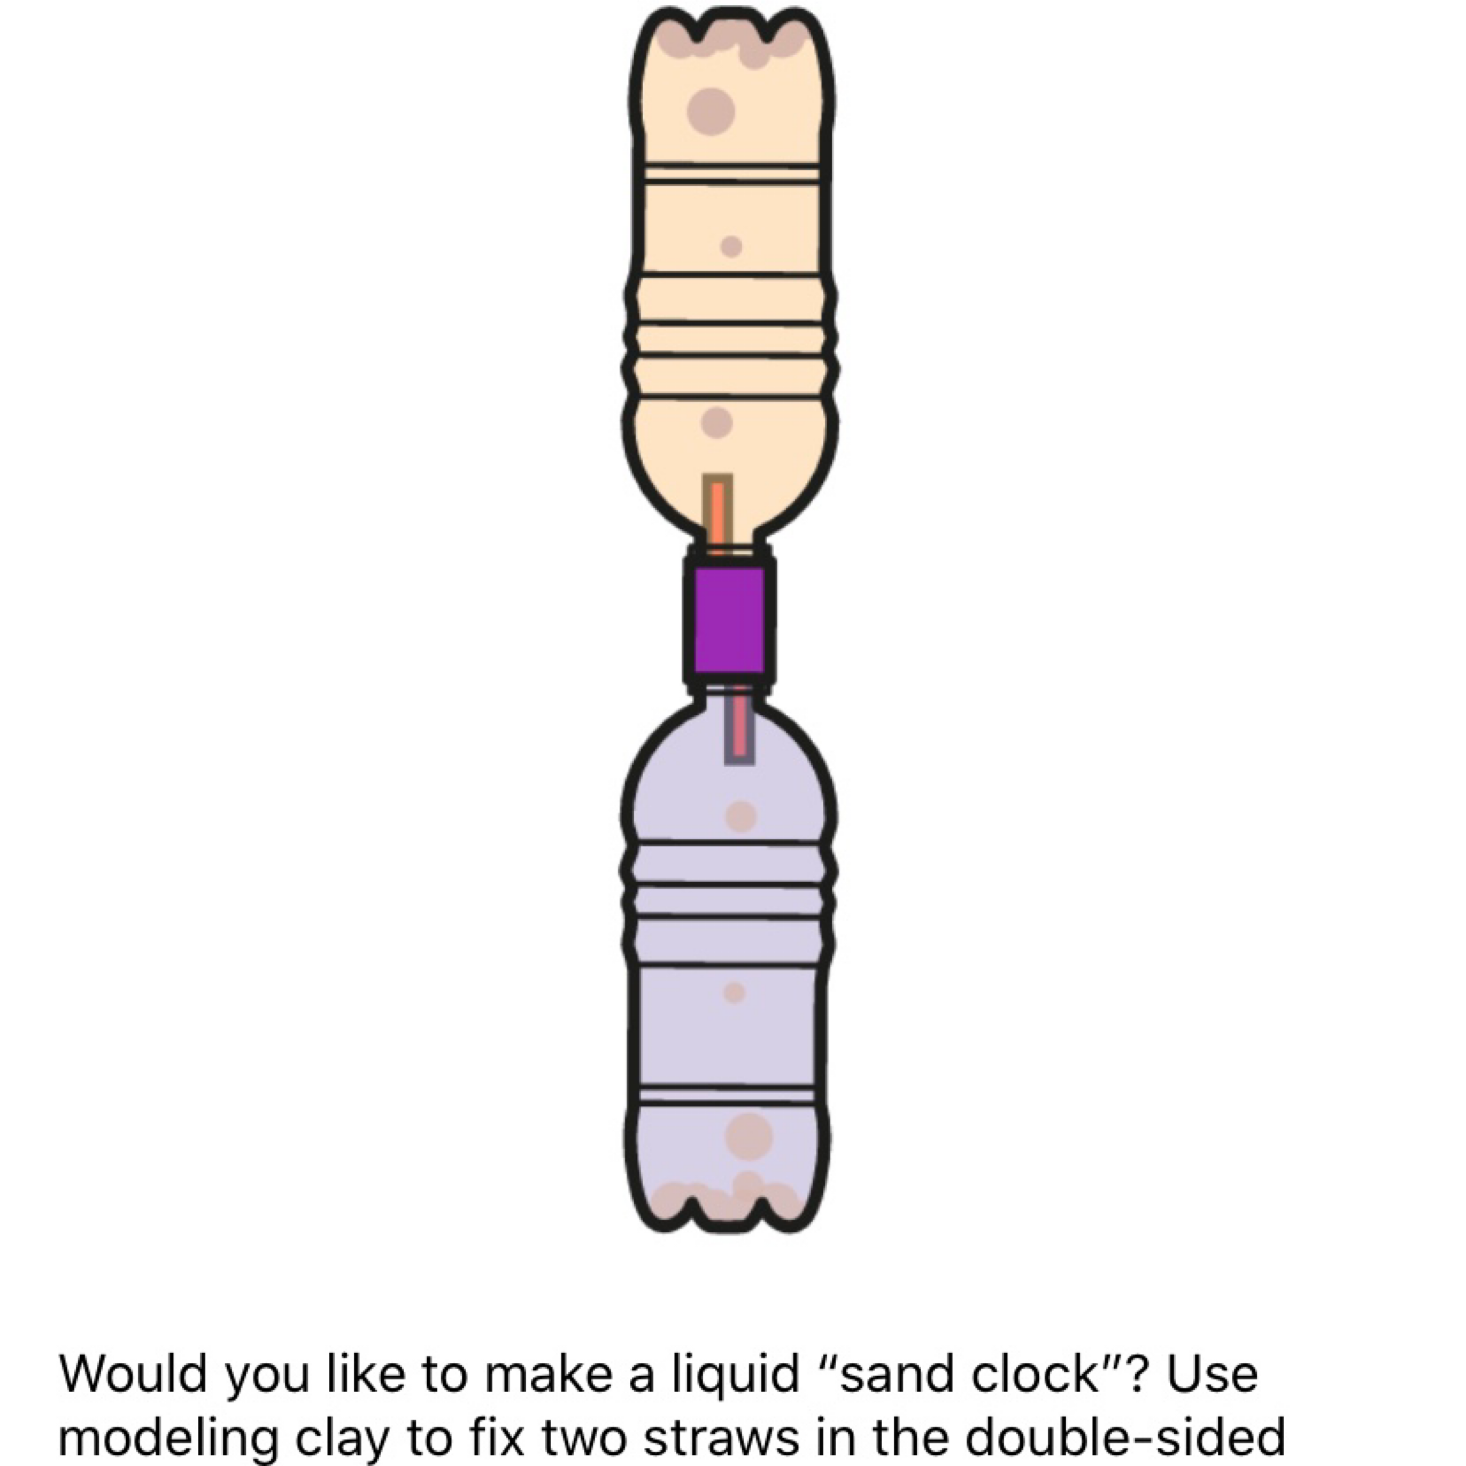
Bonus Experiment: Pocket Whirlpool and Liquid Hourglass
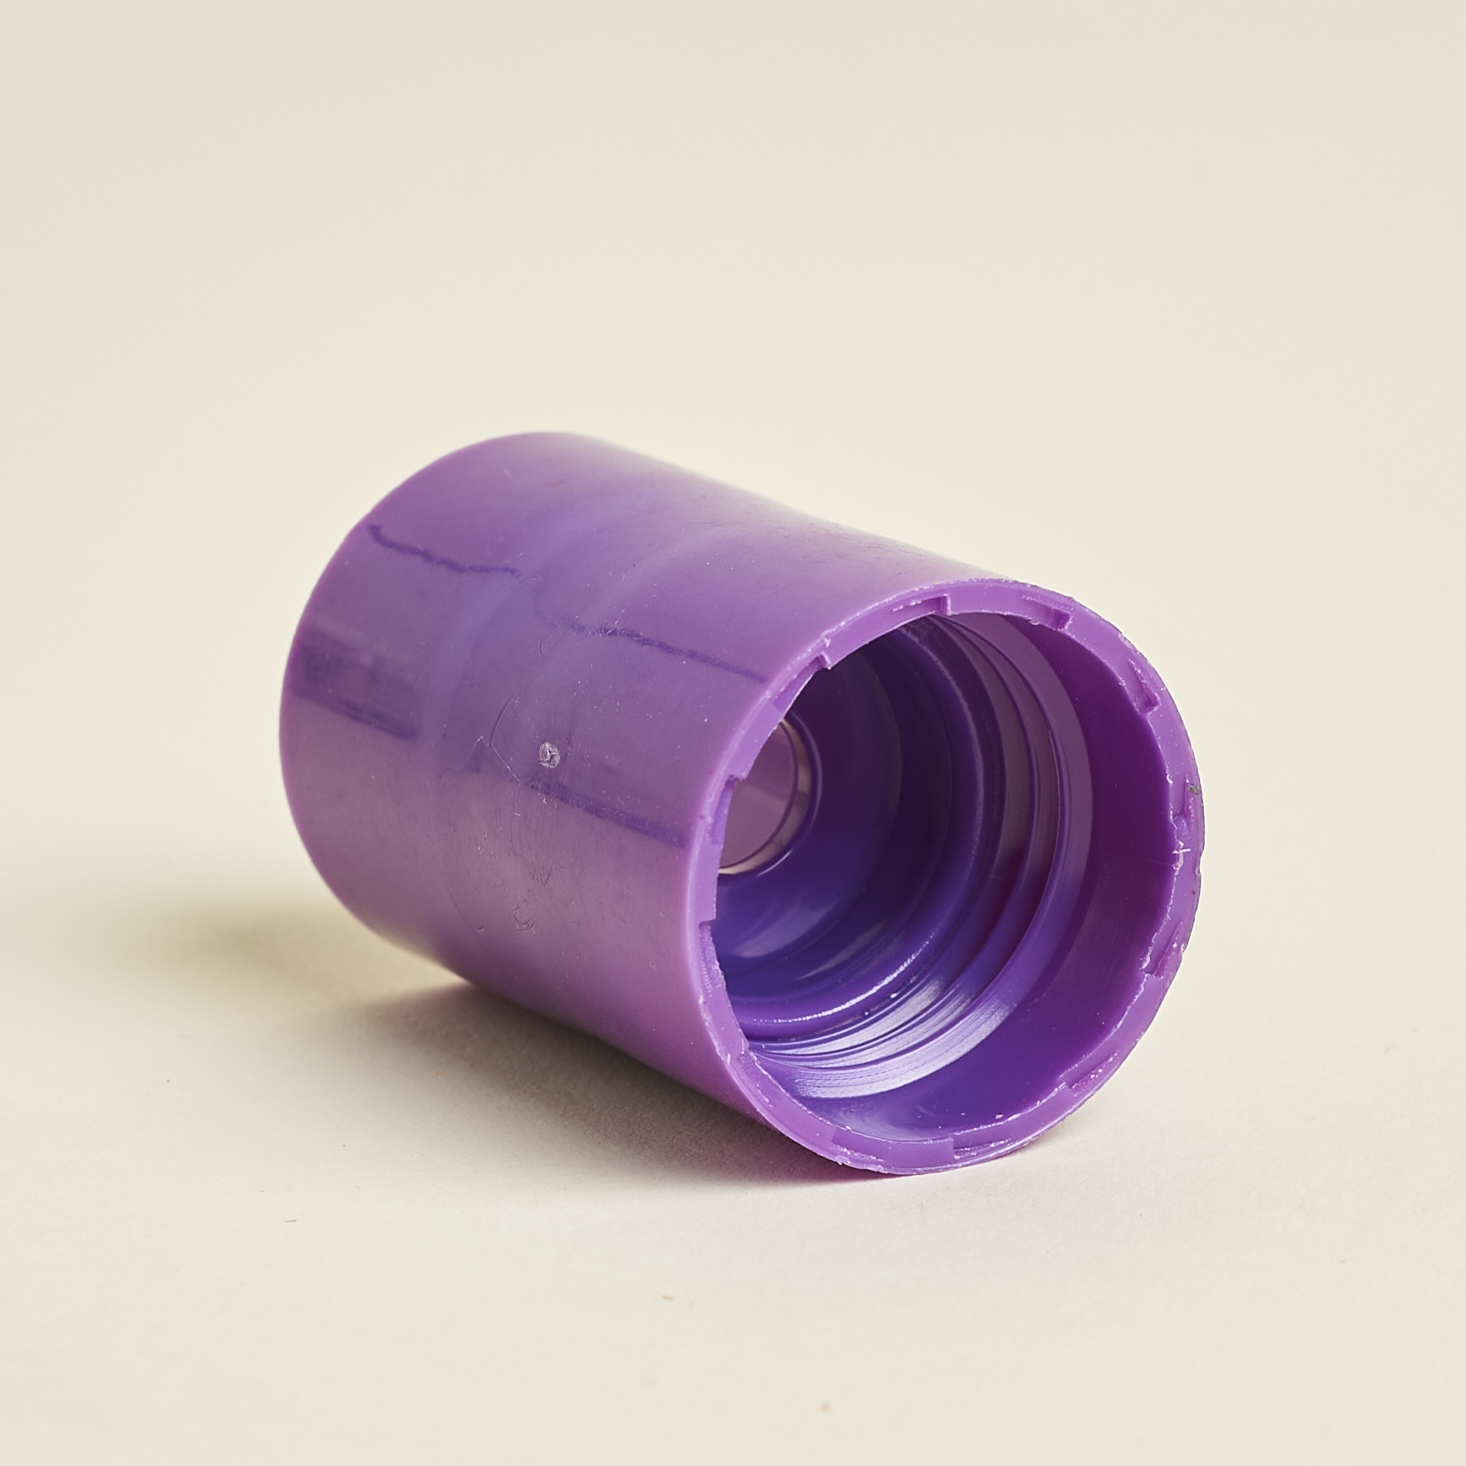
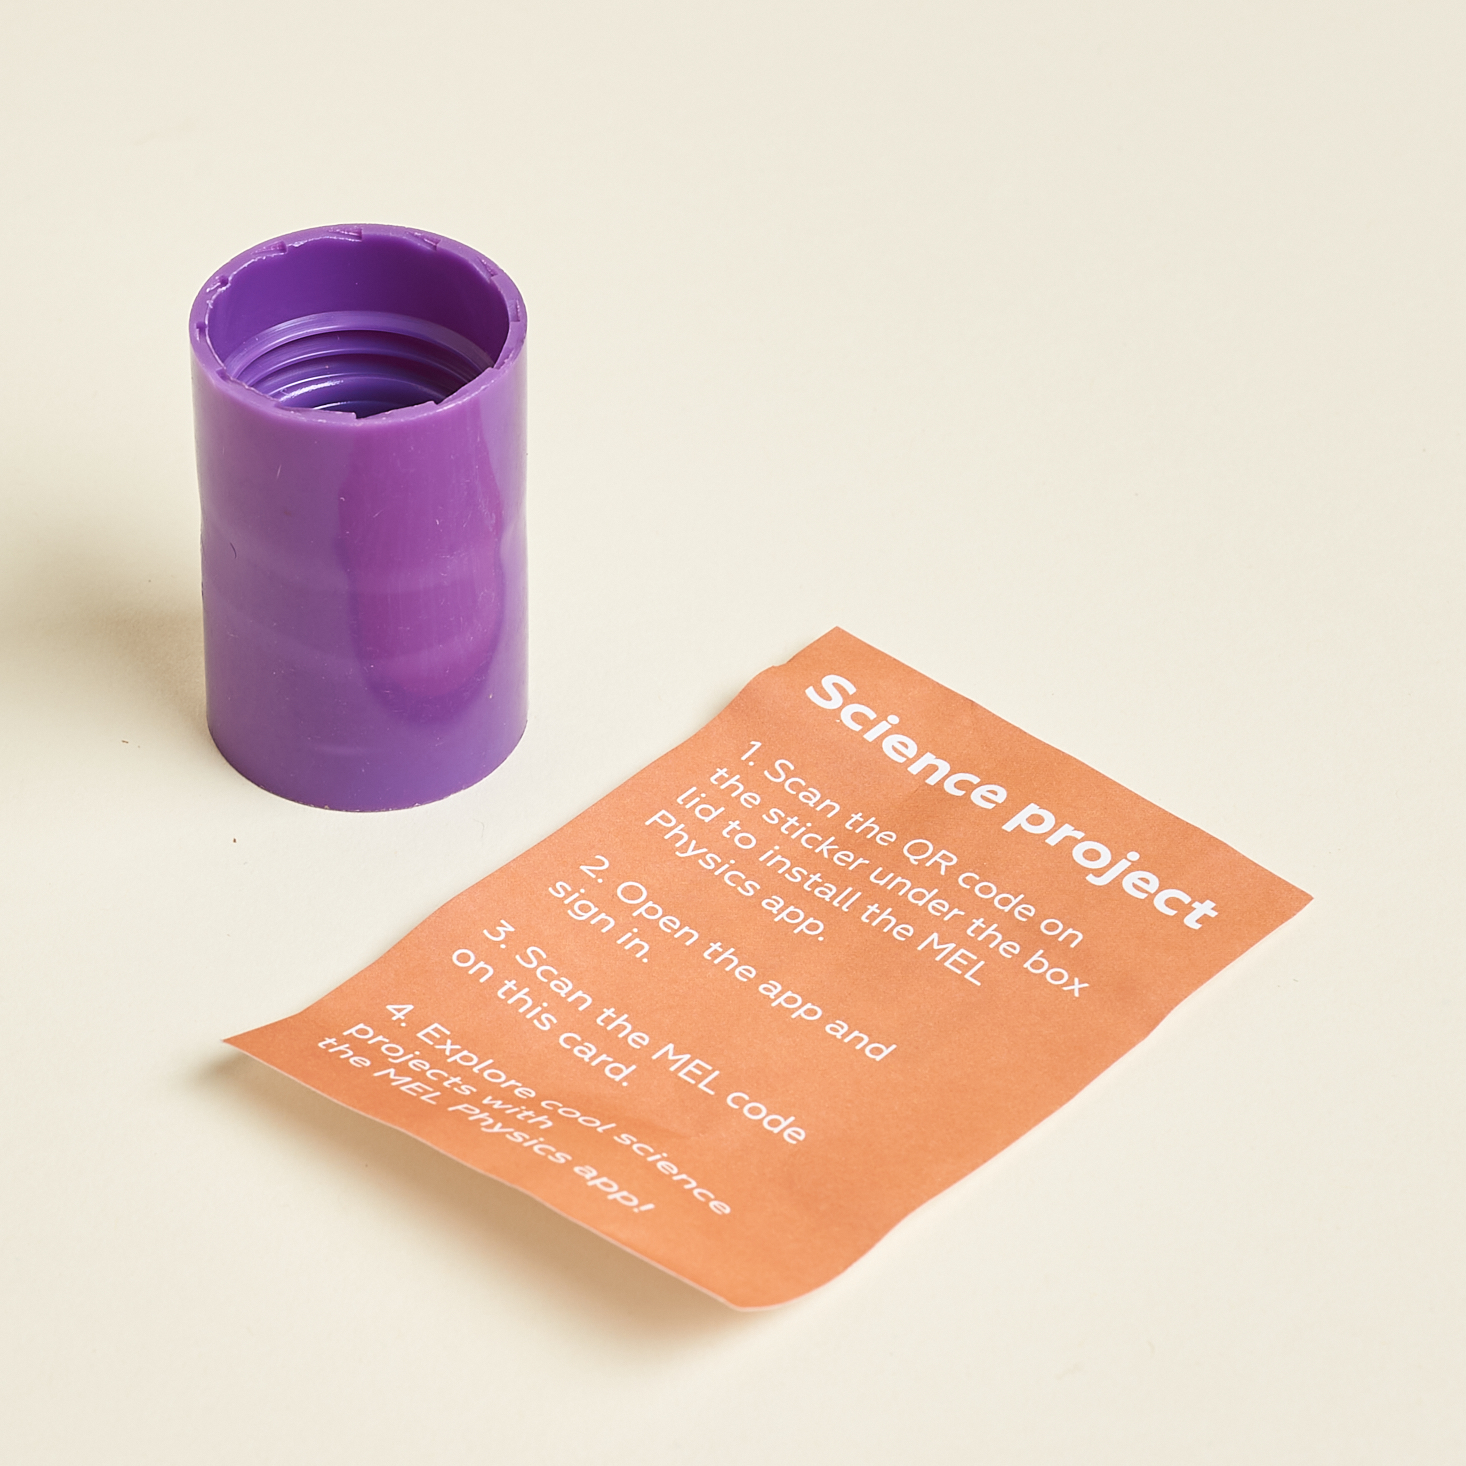
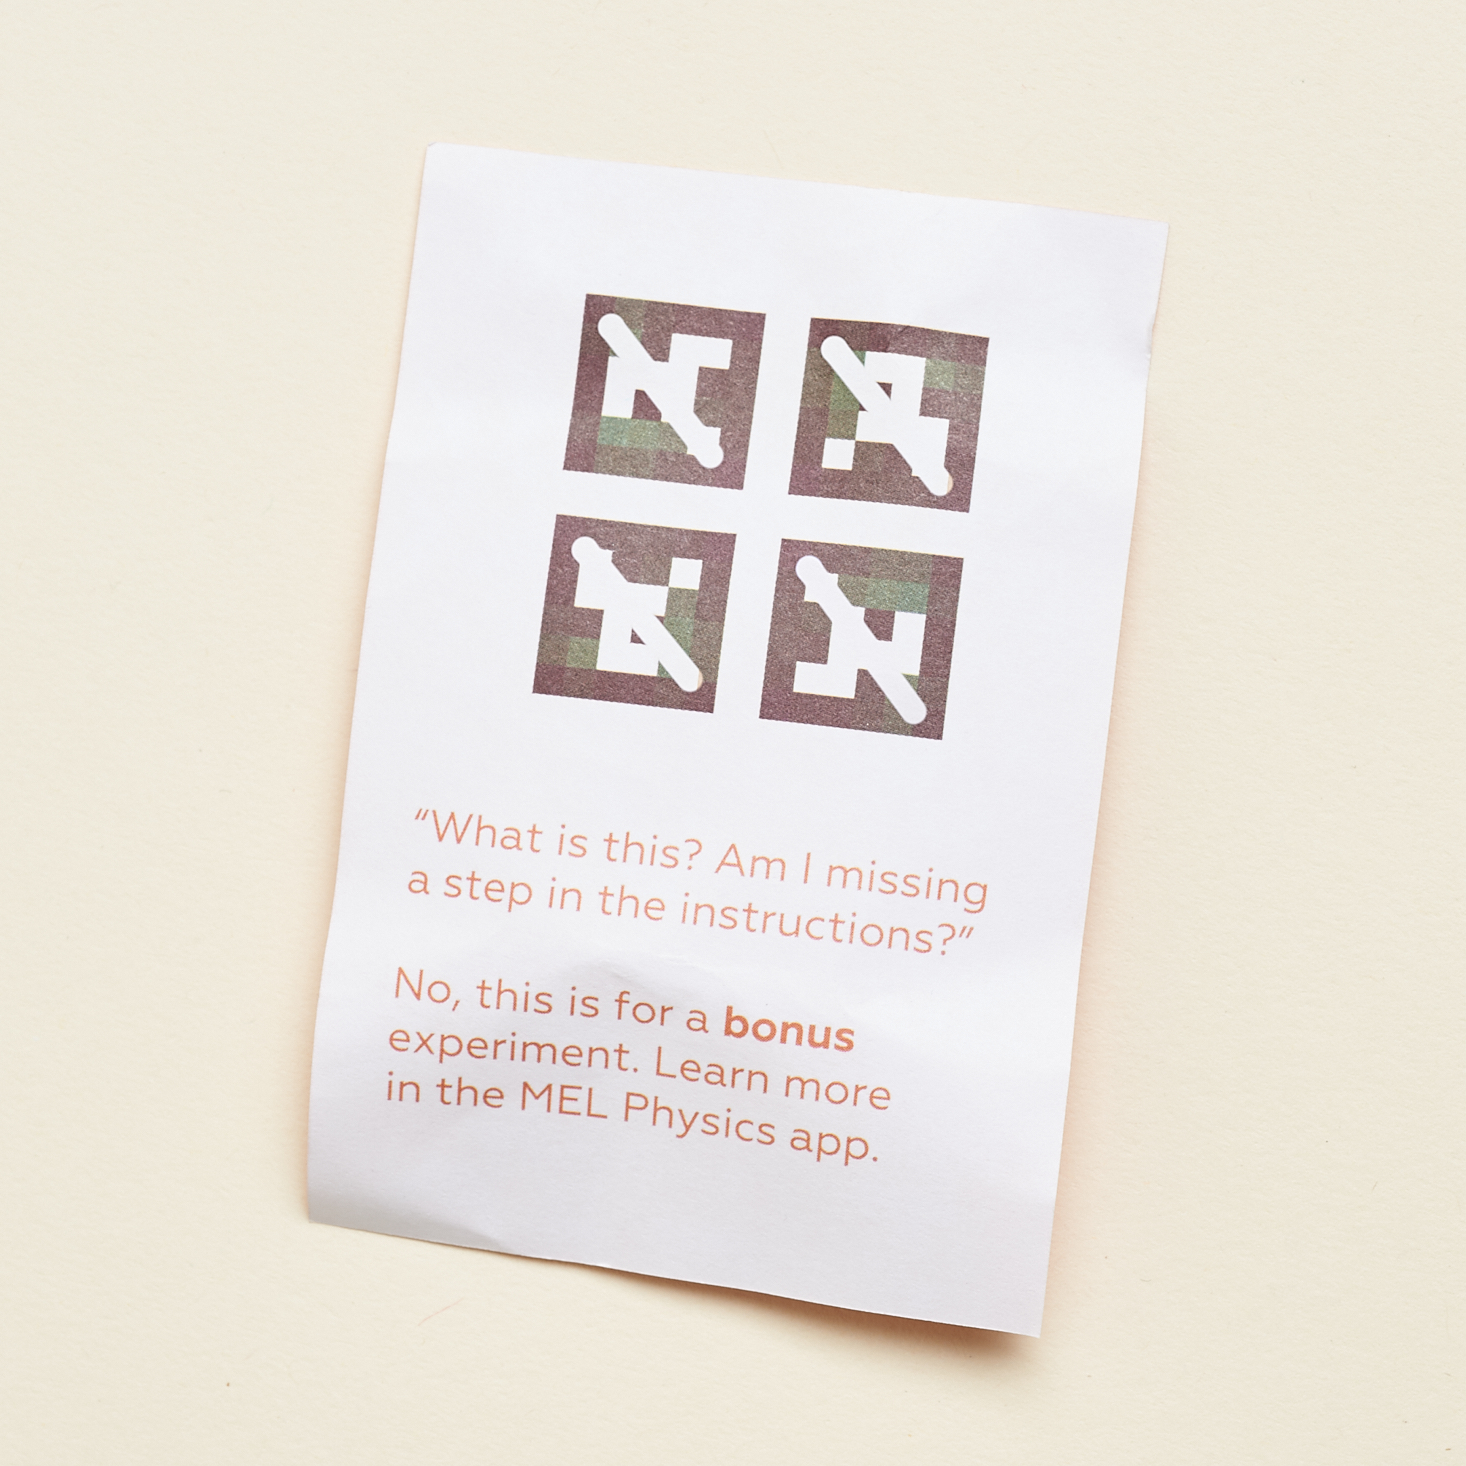
We also received this QR code along with this little purple bottle connector so that we could perform a bonus experiment.
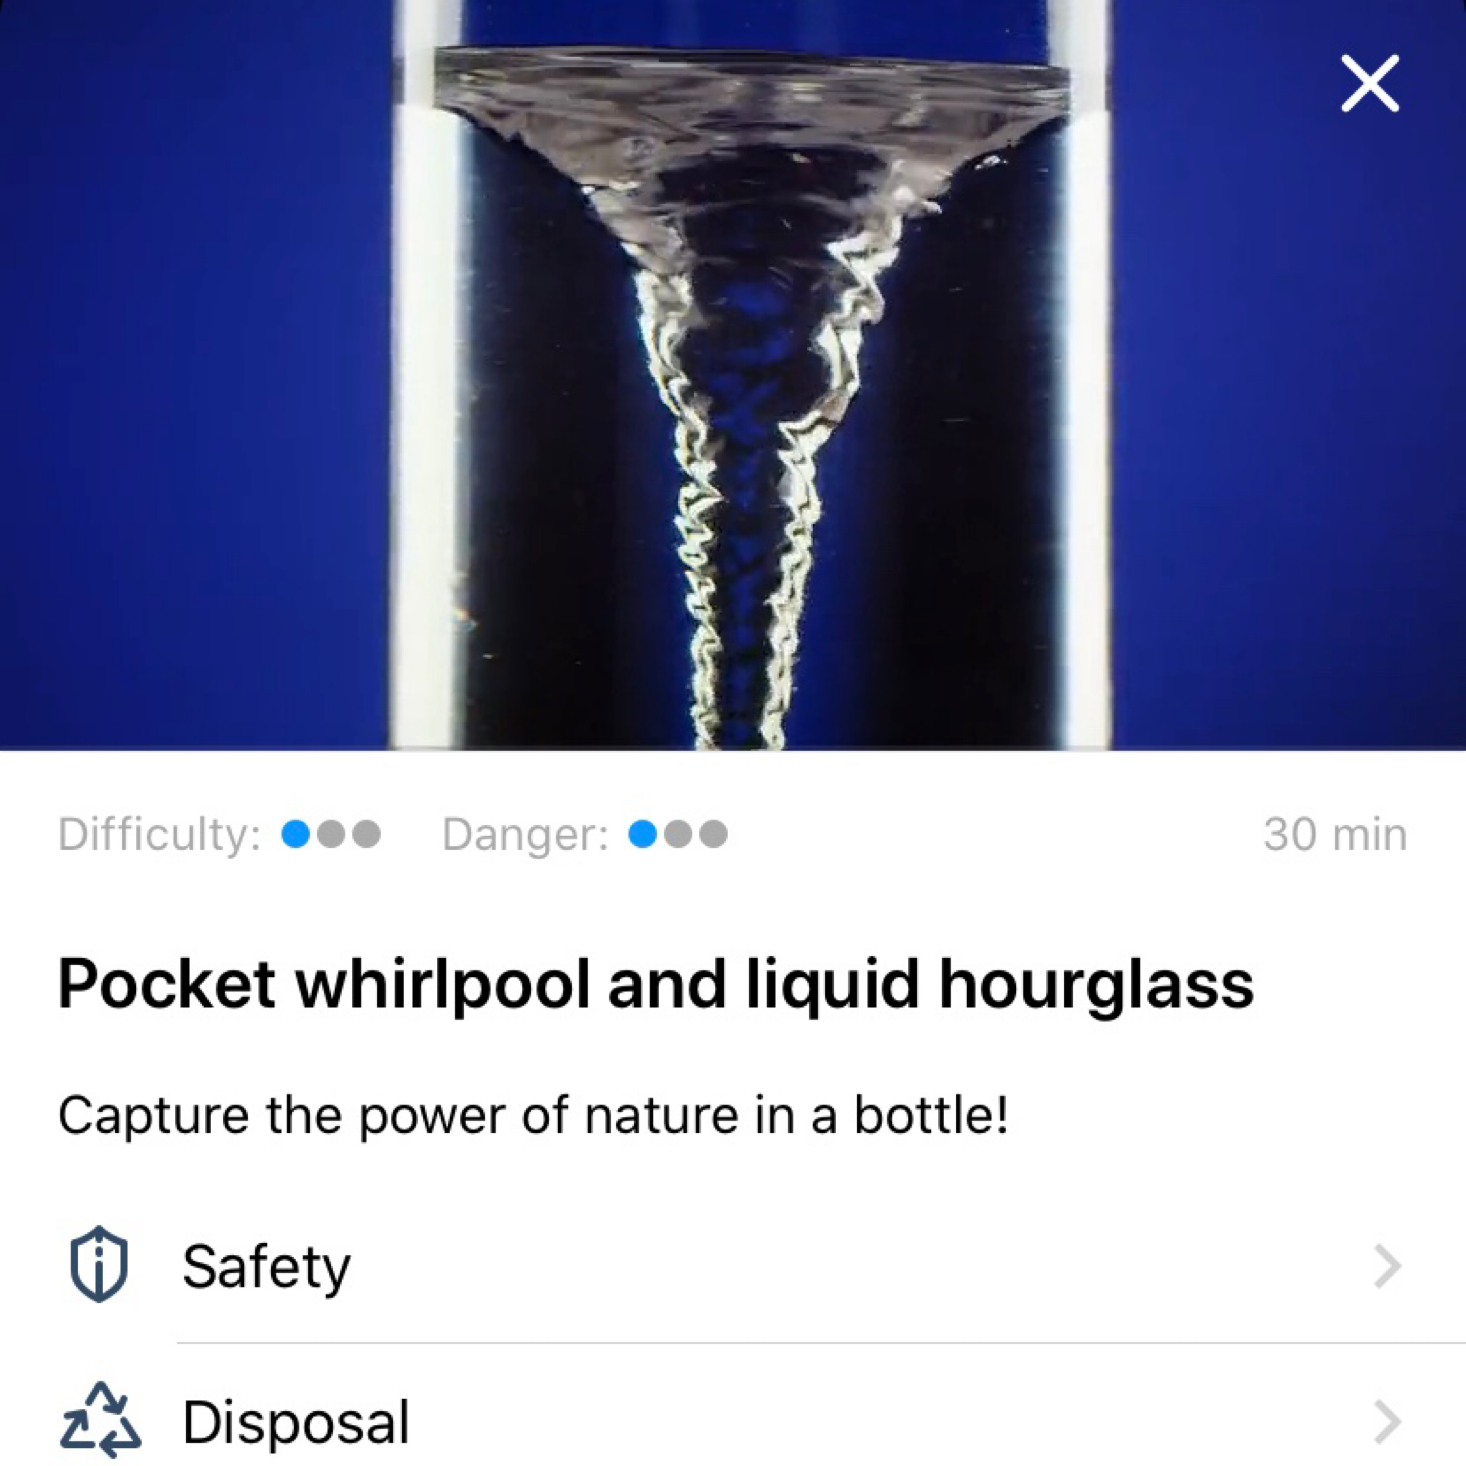
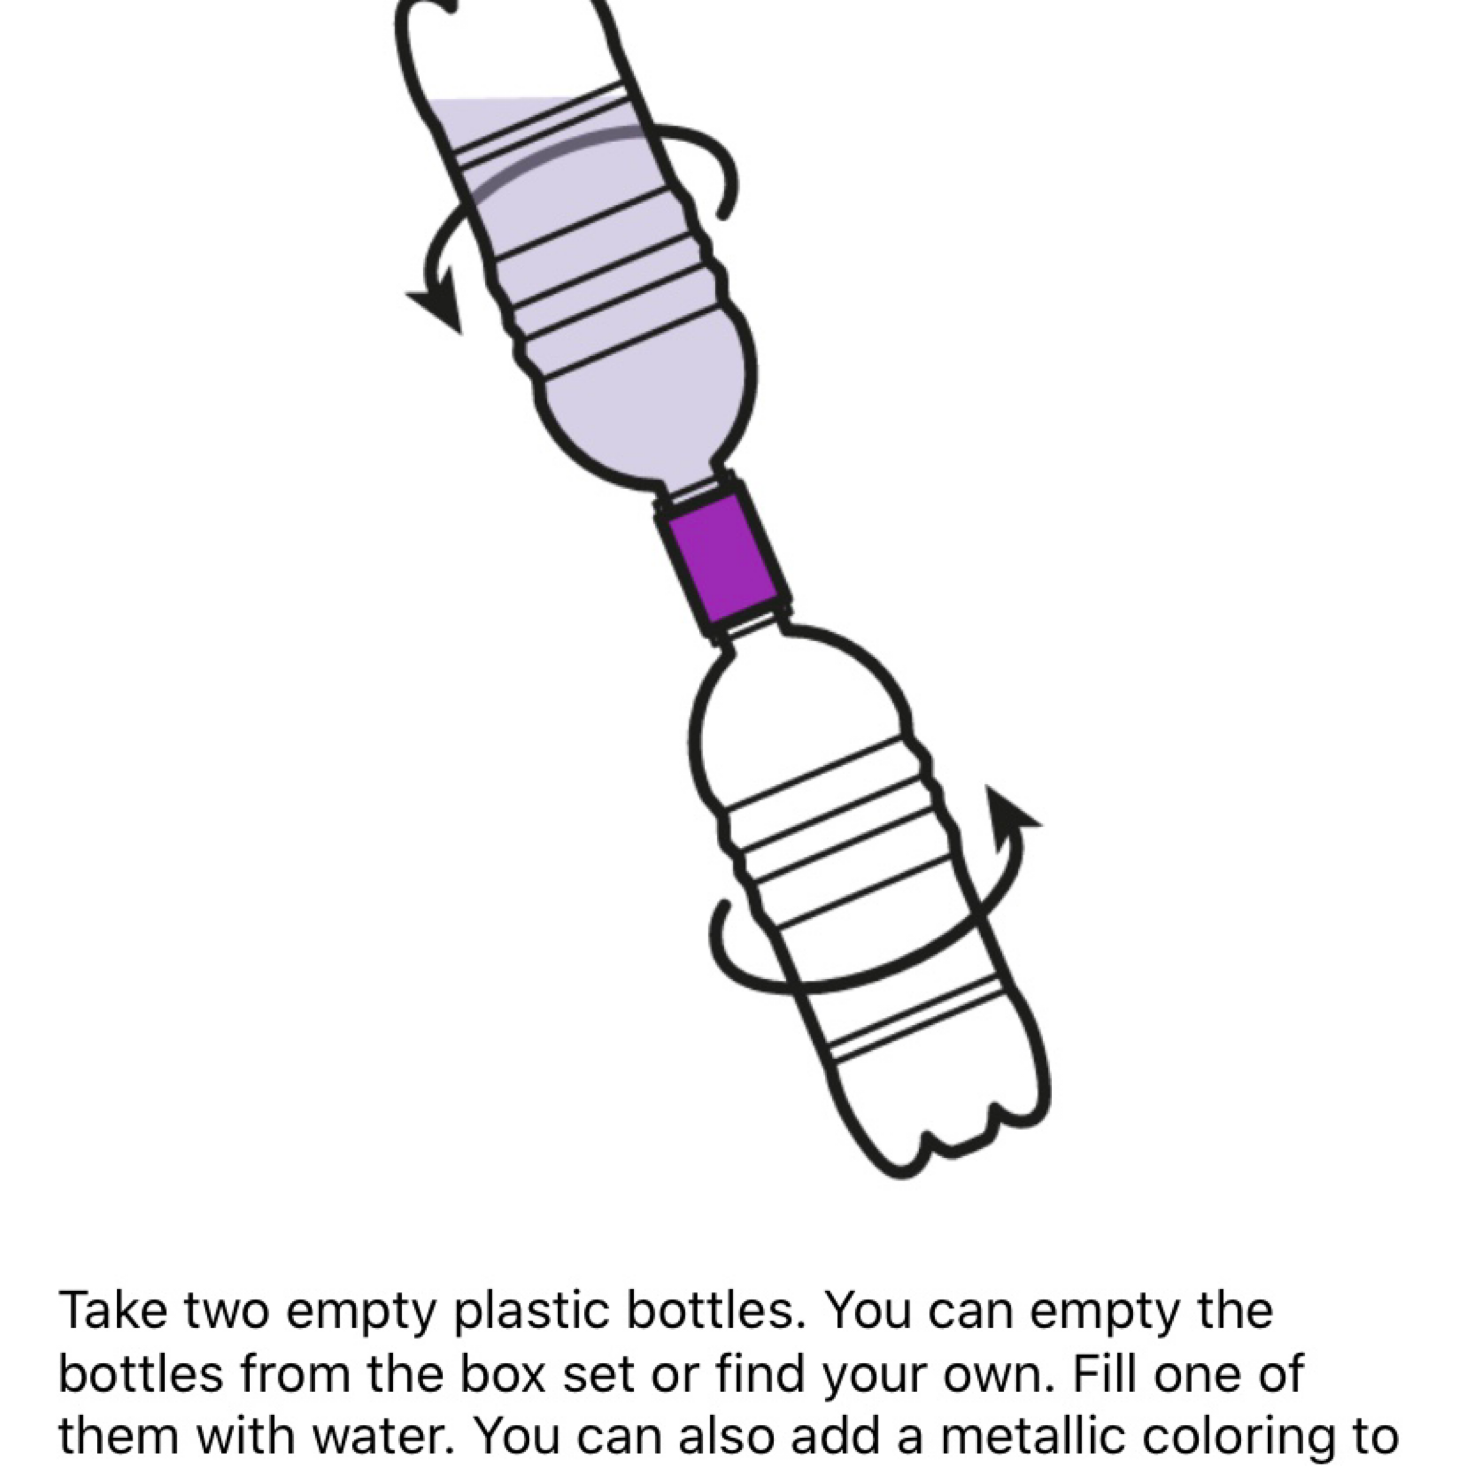
After scanning the code, I was taken to this experiment entitled "Pocket Whirlpoop and Liquid Hourglass." We didn't have any empty plastic bottles to try this with, but it seems like it will be pretty simple and we can add our metallic coloring to make it even more fun!
Verdict: We had such a great time with this MEL Physics box! The experiments were really cool and the rheoscopic fluid was certainly mesmerizing! I loved that the experiments built upon one another and that we ended up making something that we could keep and use again and again. Plus they gave us enough (other than the glycerol) that we can perform some of these over and over again. The materials were engaging and educational and best of all for me, the instructions were clear and simple. The box was really well organized and I was pleased that the only thing we needed to supply was water. I also think it's great that there is a bonus experiment for us to try at a later date too. Overall, this box was a hit for us!
To Wrap Up:
Can you still get this box if you sign up today? Yes, it is possible that you will receive this set. From MEL Physics:
"The topics are looped such that the start date of your subscription does not matter; you will eventually receive all the experiment sets."
Check out our other MEL Physics reviews and this list of the best subscription boxes for kids, as recommended by MSA readers!
Keep Track of Your Subscriptions: Add MEL Physics to your subscription list or wishlist!
What do you think of MEL Physics?

























Please do not enter your email address in the Name field or in the comment content. Your email address will not be published. Required fields are marked *. Remember to post with kindness and respect. Comments with offensive language, cruelness to others, etc will not be approved. See our full comment policy here.