The Crafter's Box is an artisan craft subscription box that features a different, unique craft each month that is designed with the crafty adult in mind. The boxes are thoughtfully curated with high-end materials so that your finished products are modern and luxe. There's also an accompanying video workshop led by the featured artist that introduces you to the craft and provides you with detailed instructions to complete the project.
Subscribers get first access to new workshops for $65 per month, and the remaining workshops are later available to purchase in The Crafter's Box marketplace for $75. So, members save $10 and are guaranteed to receive the newest workshop.
This review is of the Crafter’s Box Handmade Paper workshop.
My Subscription Addiction paid for this box. (Check out the review process post to learn more about how we review boxes.)

About The Crafter's Box
The Subscription Box: The Crafter's Box
The Cost: $65.00 per month + free U.S. shipping (save with longer subscriptions)
The Products: A shipped kit of curated tools and materials + a new digital workshop by the featured maker of the month
Ships to: The U.S. for free and internationally for varying rates
Good to Know: The month's featured project is announced on the 1st and subscribers have until the 8th to pause, skip, or swap that month. Projects are designed to be for ages 18+.
The Crafter's Box "Handmade Paper" Review
Let's take a look inside this box curated for April -- the craft featured is making handmade paper!
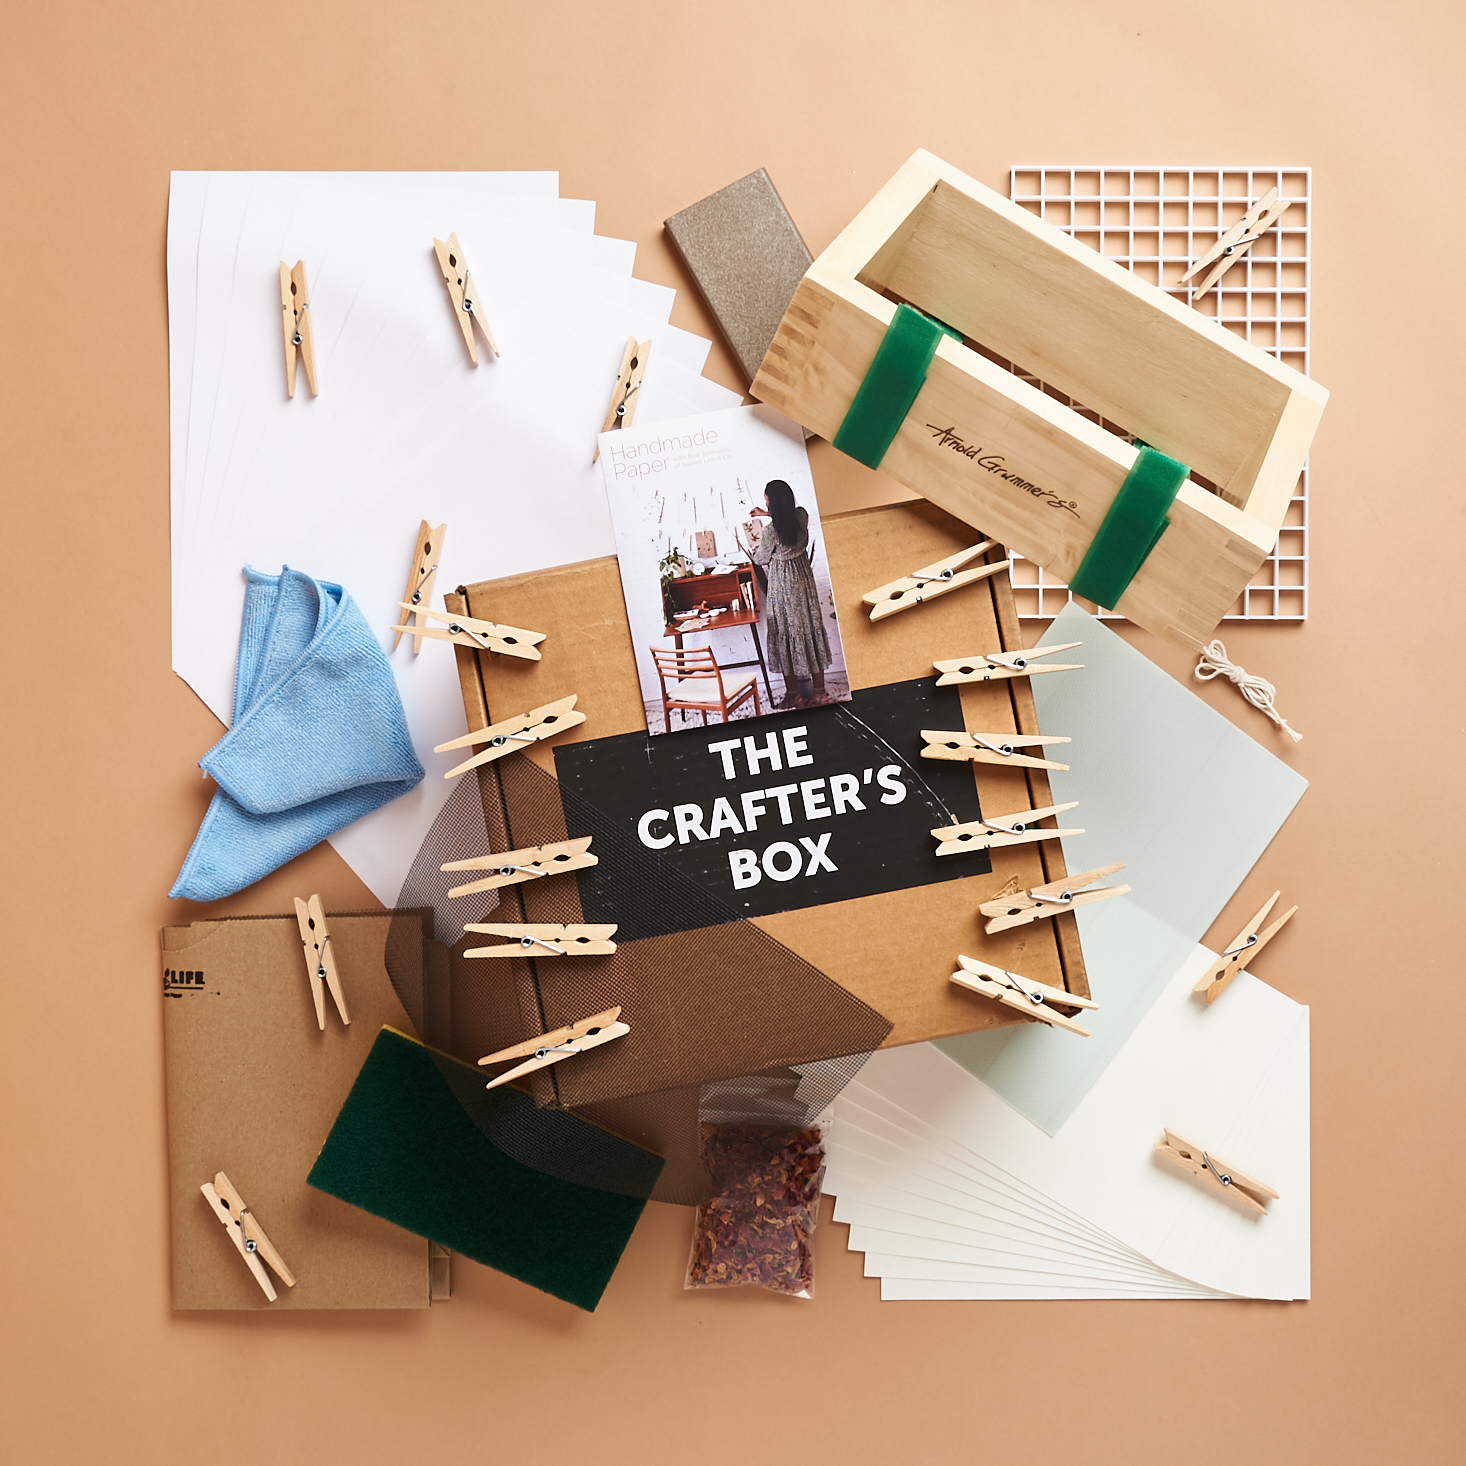
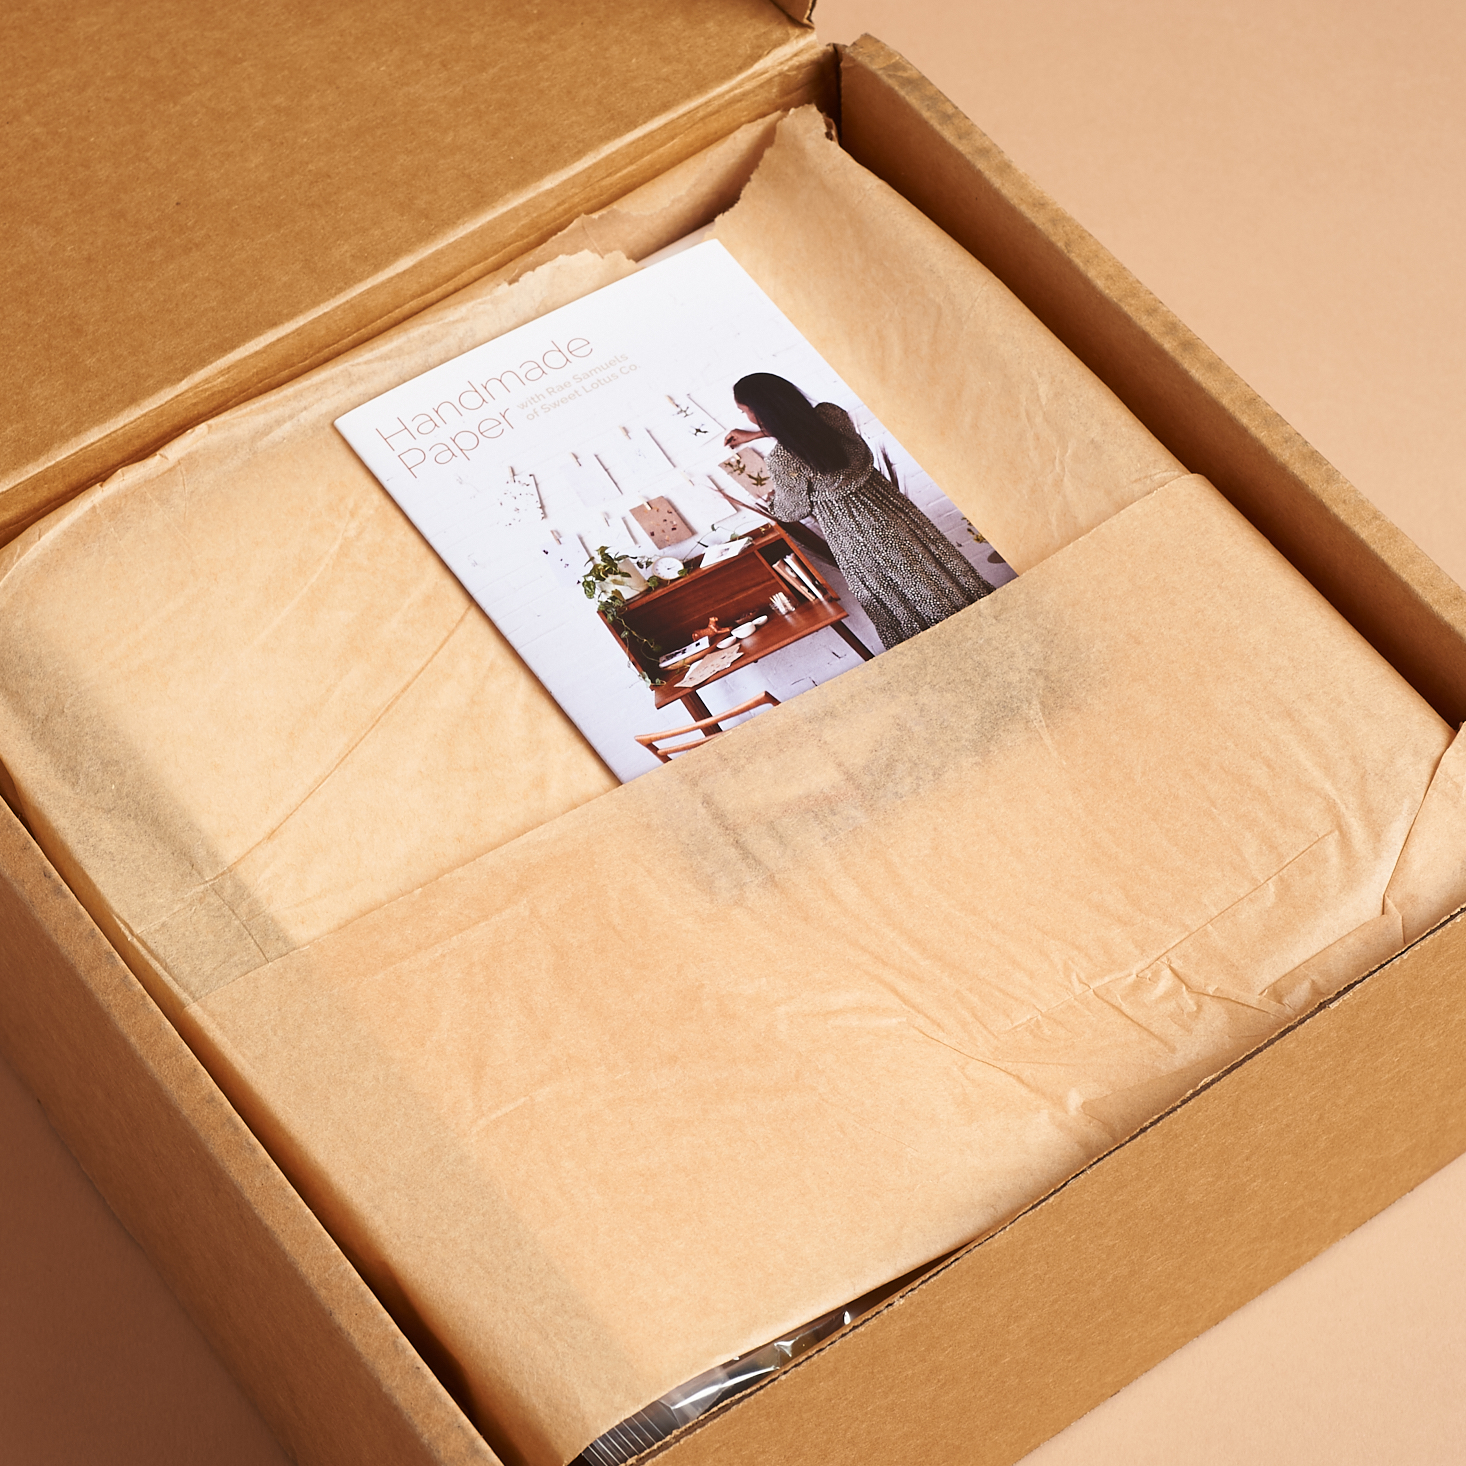
We received a folded info card this month detailing information on what's included in the box, as well as a short bio on the featured maker this month, mixed media artist Rae Samuels of Sweet Lotus Co. For this workshop, Rae walks us through the process of creating handmade paper.
Now, onto the items!
Arnold Grummer Pour Handmold and Deckle (5.5" x 8.5") – Retail Value $39.90
This beautiful wood handmold and deckle will be used to turn mushy pulp into paper! It's the kind of tool that makes you feel like you've accomplished something by learning to use it. If you really enjoy making paper and want to make a new hobby of it, this is a sturdy, high-quality tool that you will get a lot of use out of.

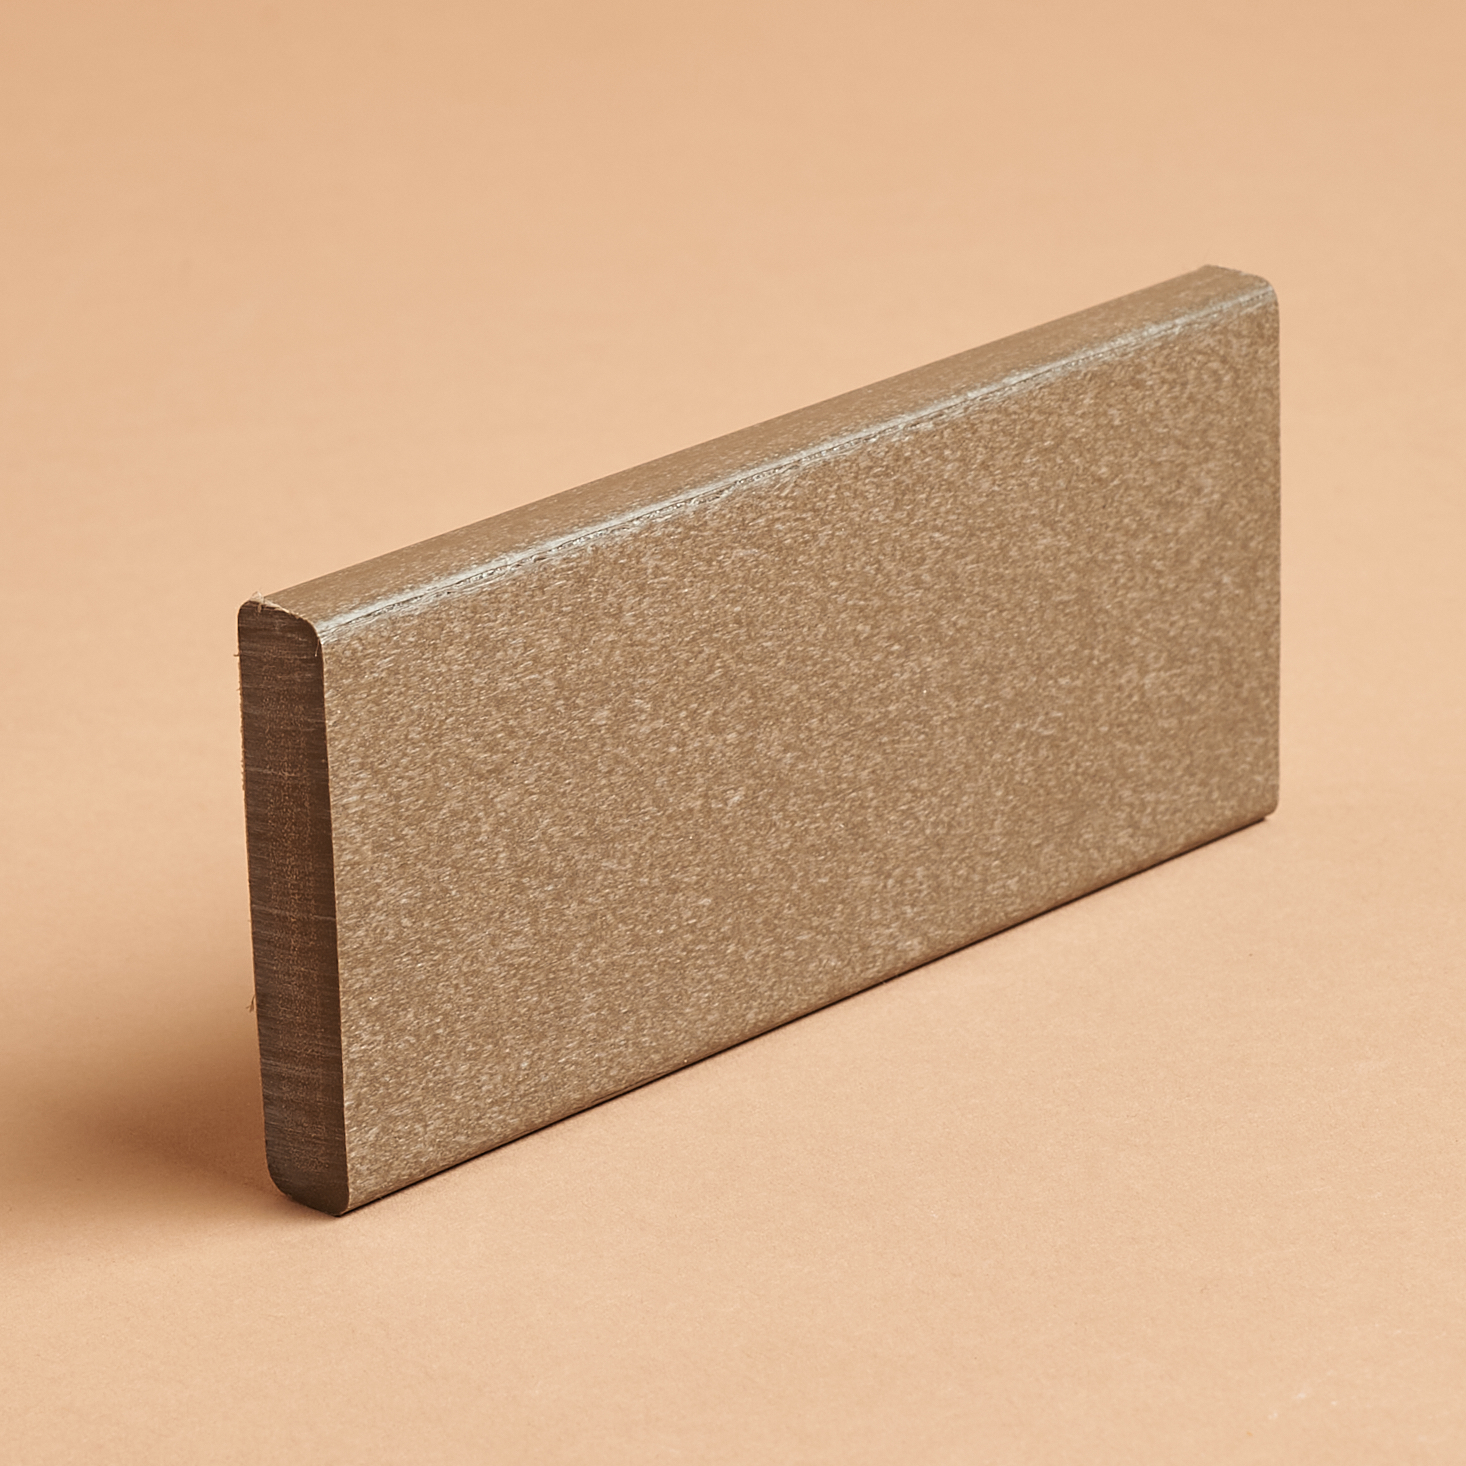
Medium Paper Press Bar (2.5" x 6")
This bar will be used in pressing and drying your paper. When you're done, it will also make a great paperweight!
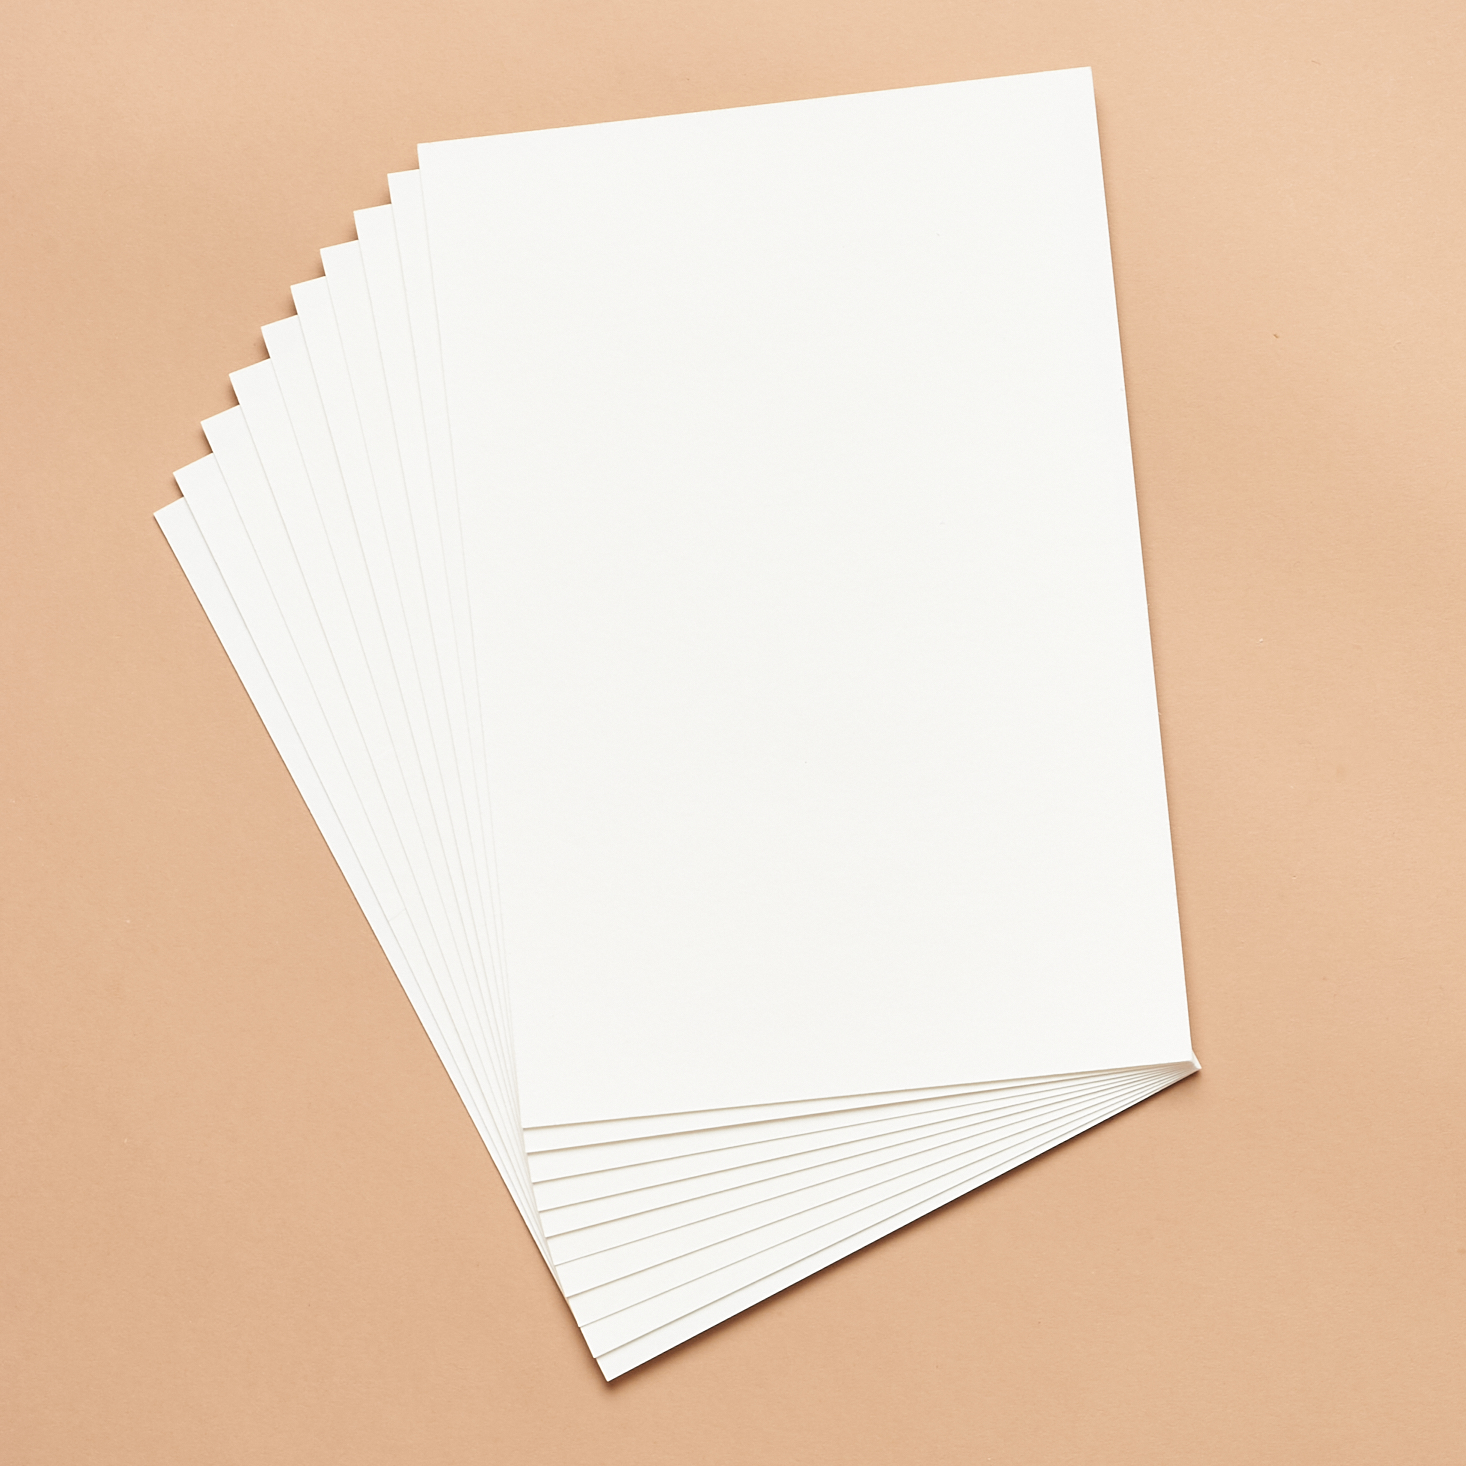
Medium Couch Sheets (6" x 9") - Retail value of comparable product $6.99 on Amazon)
After coming out of the mold, your homemade paper will dry on these sheets. You can only use them once, so if you want to keep making paper, you'll have to pick up more elsewhere.

Dried Rose Petals
This is the fun part! We'll use these fragrant dried rose petals to embellish our paper.
Other Materials
The rest of the materials and tools we received include a microfiber cloth, clothespins, a sponge, and 3 feet of 12-ply cotton which will all be used during the pressing and drying process. The 20lb Hammermill printer paper and brown paper bag are what we'll use to make our pulp. Additional tools that you'll need to have on hand include a square or rectangular tub with a flat bottom (at least 6.5" x 10"), mixing bowls, a 1/2 cup measuring scoop and a small blender or immersion blender. I'd also recommend having towels on hand because there's a good chance you'll be spilling some water.
In addition to the tools and materials in this kit, our workshop also includes a digital workshop valued at $25.00 (this is the video access only price).
Now, let's make some paper!
The first step is to make pulp. Rip up your printer paper and brown paper bag into small pieces and soak it in warm water for at least 30 minutes (but preferably overnight for a softer end product). When you're ready to start the project, blend the paper into pulp using a small smoothie blender or an immersion blender. The consistency should be oatmeal-like but you can leave it a little chunkier for a more rustic look. Be sure to wash all the paper out of your blender right away so it doesn't dry in there!
Next, we form the paper. Submerge your handmold in a tub of water (I didn't have a tub in the right size and had to use a roasting pan) and then add 1/2 cup of pulp. Pick up the mold and let the water fall out. If you notice any transparent areas in the mold, add a little more pulp and repeat the process.
After removing the handmold from the water, open it, remove the paper (keep it stuck to the plastic sheet), and add the wire cover sheet. Now you'll take turns using the sponge, presser bar, and microfiber cloth to remove as much water as you can. Once you've completed this process, lay a couching sheet on the table and flip the paper over onto it. Now you're ready to hang it up to dry for 12 hours using the string and clothespins. If you don't have that much time to dry it, Rae shows you a quicker drying method using an iron in the video.

Once you've gotten a handle on the process, it's time to experiment with embellishments! This looks fancy but doesn't add that much work to the process. Just grab some rose petals and sprinkle them in with your pulp.
In the tutorial, Rae shows us how to make paper embellished with rose petals as well as some gold mica flakes. As a fan of all things sparkly, I really wish the mica had been included in the box! Luckily, I had a similar product at home to experiment with. I decided to try out a sheet of brown paper with both copper flakes and rose petals.
When I woke up the next morning, the paper was dry. It didn't look as smooth or perfectly shaped as Rae's, but I thought it was pretty good for a first try. Next time I might focus on making a smoother pulp to see if that helps.
One of the fun parts of this project was that once the paper was dry, I got to use it to create more crafts! Since I didn't think the paper was smooth enough to write on, I decorated it with stickers from my personal collection to create a birthday card and a little motivational poster to hang on my wall.
Verdict: My first project from The Crafter's Box was fun, accessible, and something I will get use out of. One great thing about this particular project is that you can easily keep going with it without having to spend a lot of money on additional supplies. I would love to master this skill and make some beautiful paper to use in gifts next Christmas.
To Wrap Up:
Can you still get this box if you sign up today? No, you'll receive May's box but you can purchase this workshop individually for $75.
Value Breakdown: The value of just the handmold and video workshop is $64.50, which is basically the cost of the entire box for subscribers. While most of the items in this box were everyday objects you may already have around the house, you're still getting a great value and will have most of what you need to keep developing your new skill.
Check out our other reviews of The Crafter's Box and the top-rated craft subscription boxes!
Keep Track of Your Subscriptions: Add this box to your subscription list or wishlist!
What did you think of The Crafter's Box "Handmade Paper"? What are you going to do with your paper? Let us know in the comments!


Please do not enter your email address in the Name field or in the comment content. Your email address will not be published. Required fields are marked *. Remember to post with kindness and respect. Comments with offensive language, cruelness to others, etc will not be approved. See our full comment policy here.