Little Passports is a subscription box that helps kids explore the world through fun and educational activities. They offer Early Explorers (recommended ages 3-5), World Edition (recommended ages 6-10), USA Edition (recommended ages 7-12), Science Junior (recommended ages 5-8) and, Science Expeditions (recommended ages 8+). Along with monthly subscription options, Little Passports also offers "Individual Activity Kits" that can be ordered along with any subscription at the time of purchase.
Little Passports is one of the best subscription boxes for kids as voted by MSA readers.
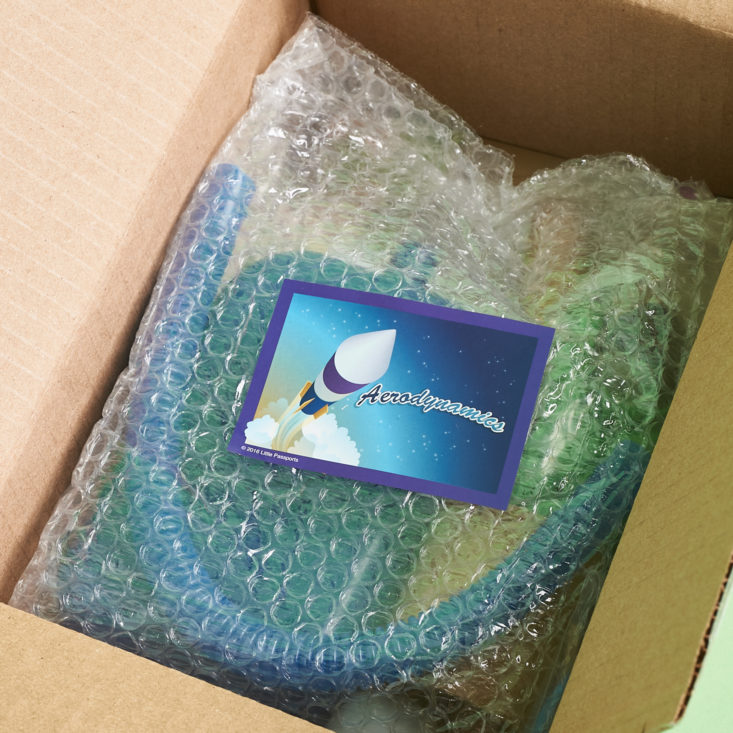
This review is of the Little Passports: Science Expeditions Aerodynamics for $27.95.
This box was sent to us at no cost for review. (Check out the review process post to learn more about how we review boxes.)
About Little Passports: Science Expeditions
The Subscription Box: Little Passports: Science Expeditions
The Cost: $27.95 per month + free shipping (save with longer subscriptions)
The Products: Science experiments, plus a comic book related to the monthly theme, designed for children ages 8+
Ships to: the U.S. for free, Canada for $1.50 per month and Australia, New Zealand and the U.K. for $2.50 per month.
Little Passports: Science Expedition Aerodynamics
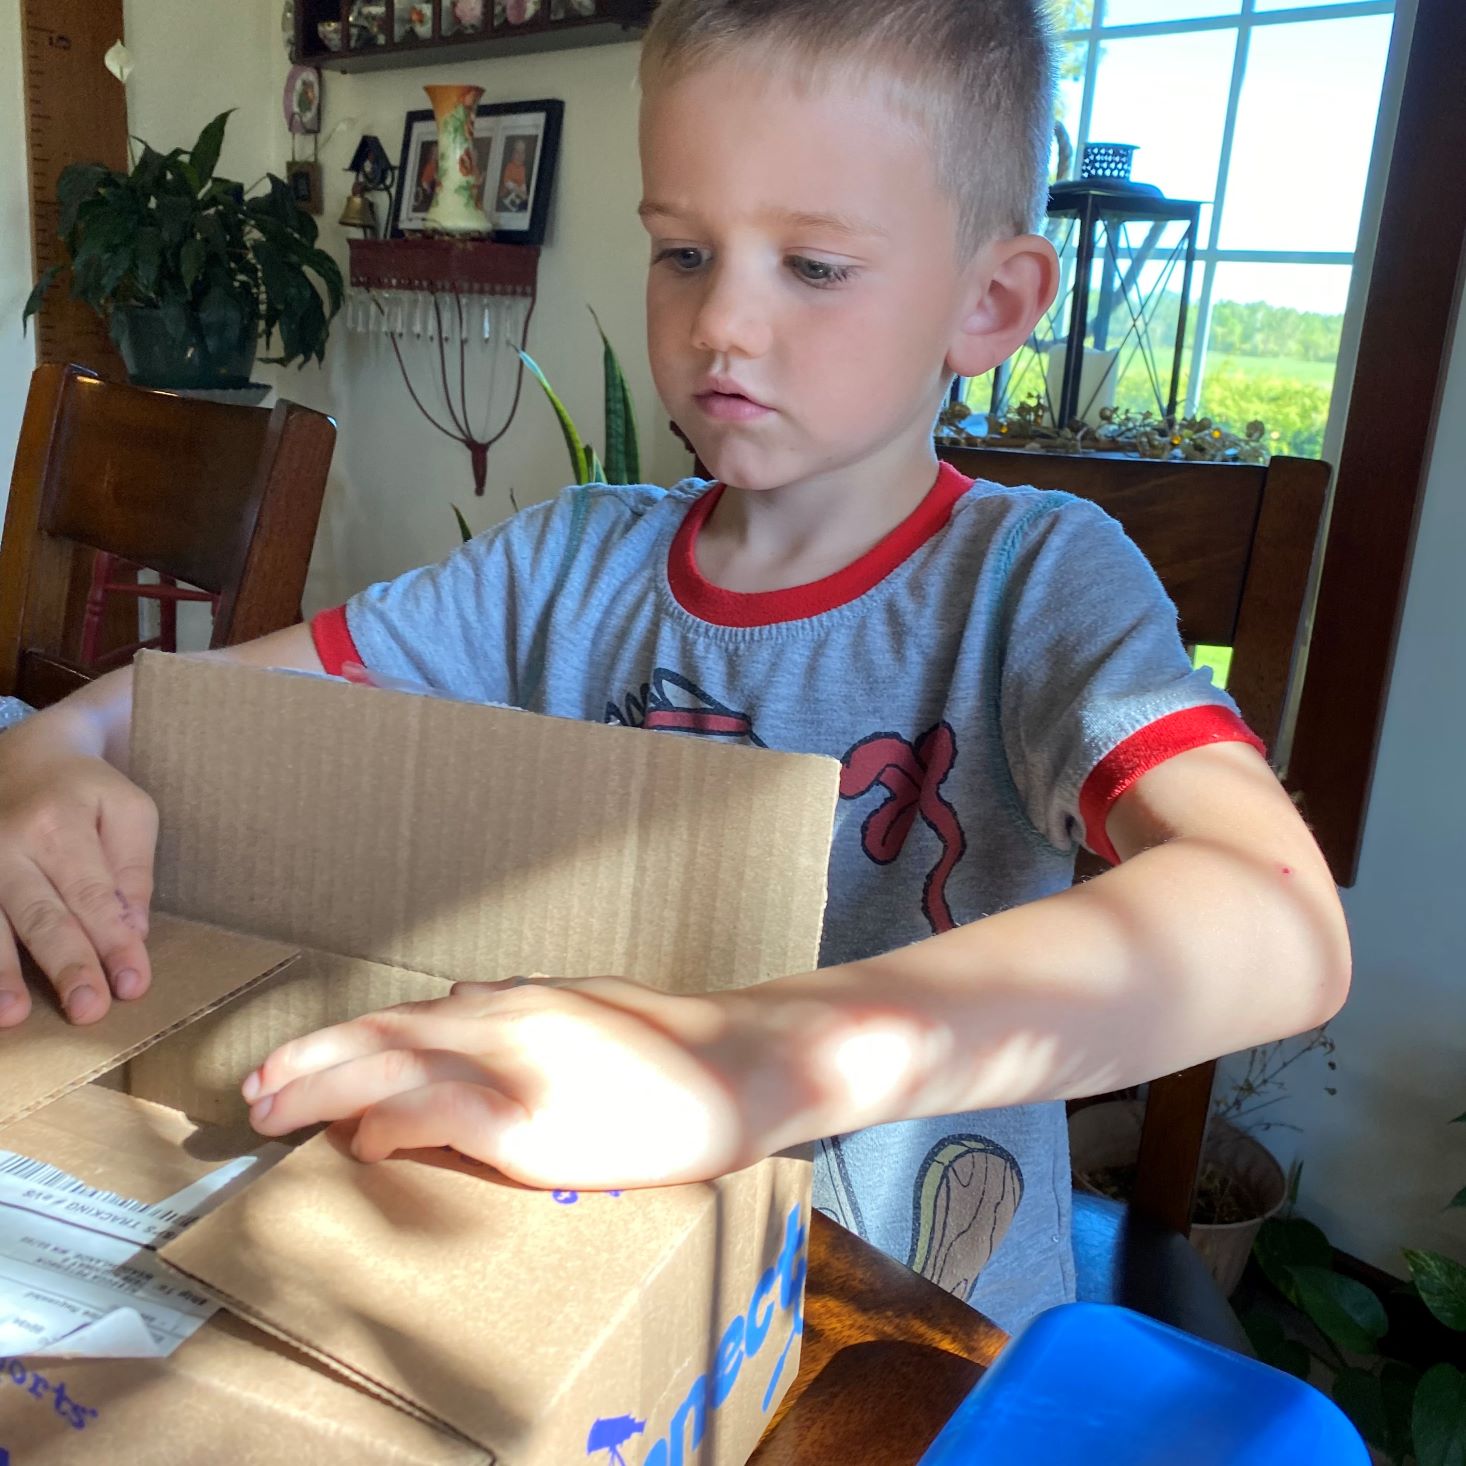
While Hank was spending time in the great outdoors with Dustin, Charlie and I had a date of our own, diving into this month's Little Passports Science Expedition Aerodynamics box. Even though Charlie is a little younger than the recommended age for the box, he understood the basic concepts, and most importantly had a blast....see what I did there?! Read below to see how this month's projects turned out.
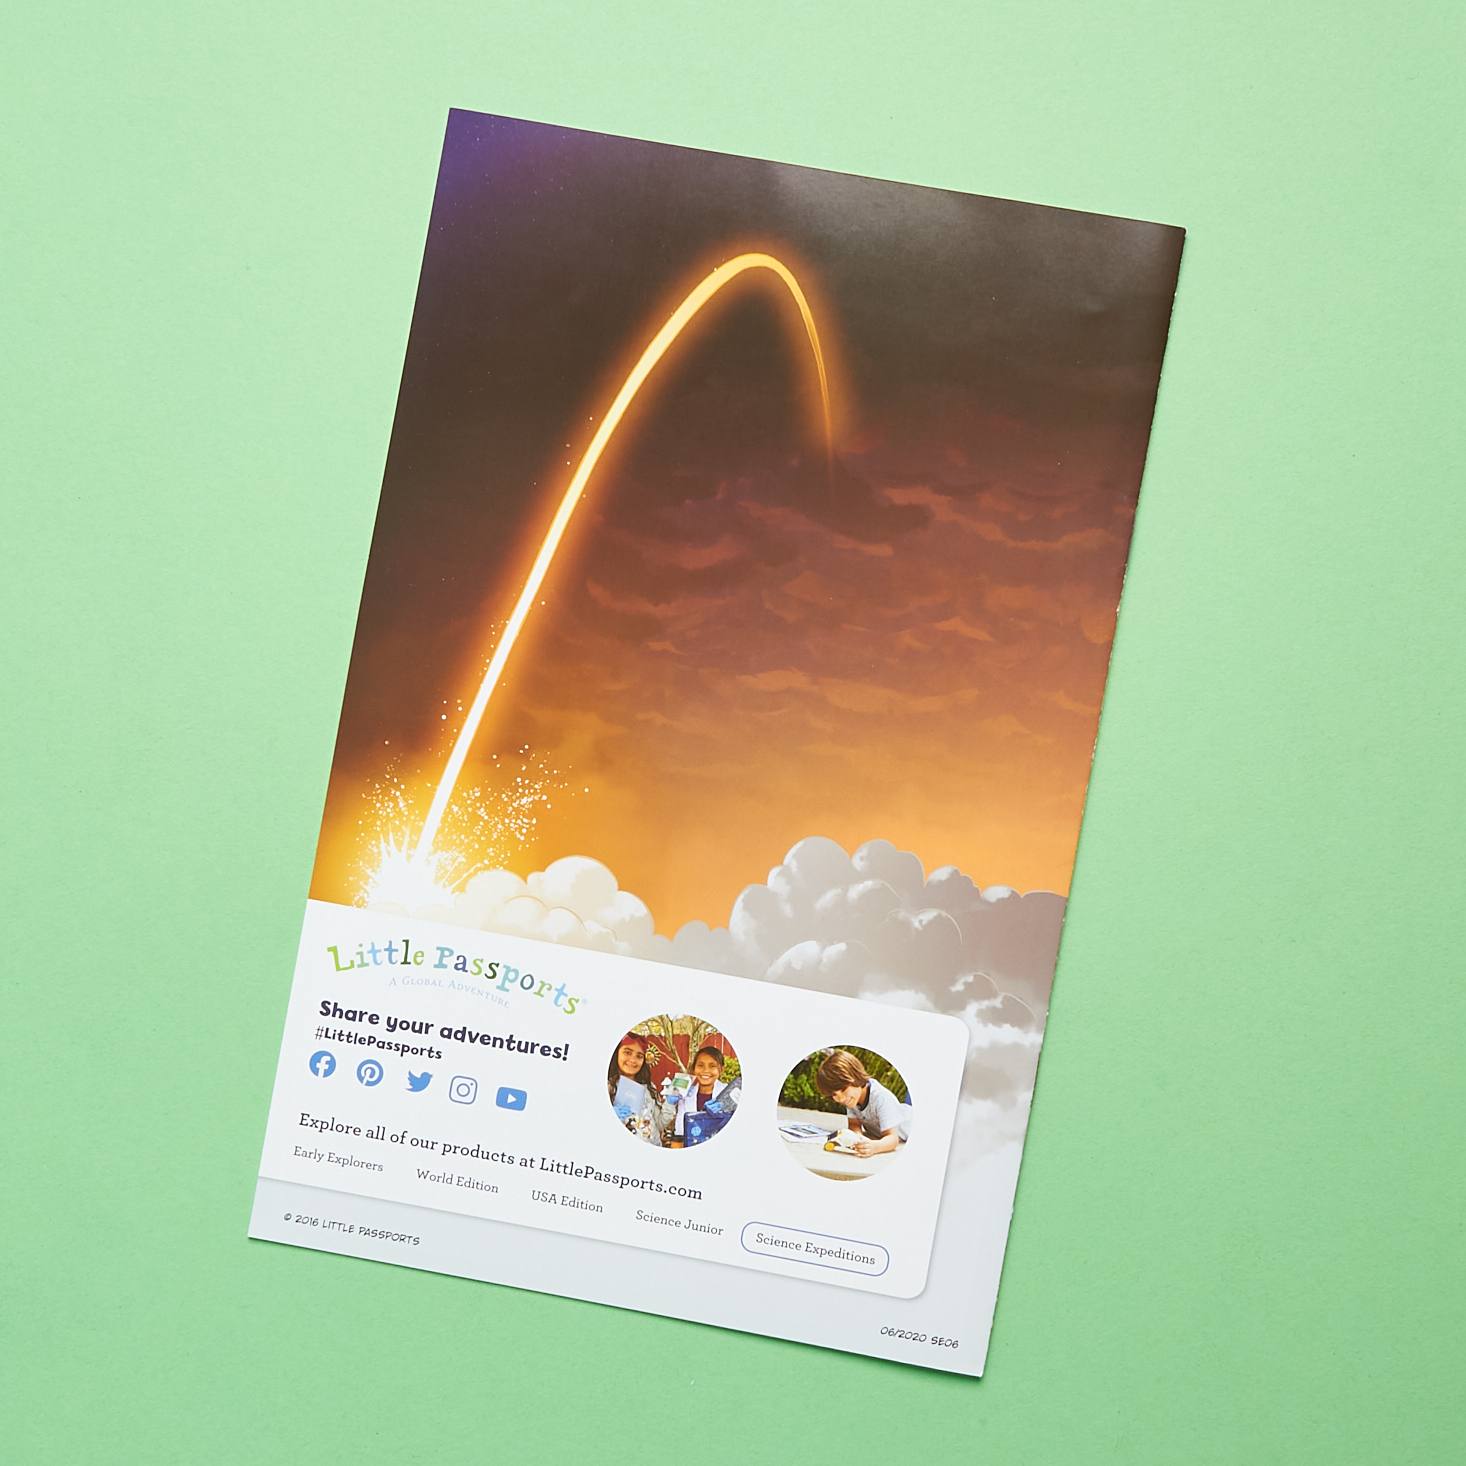
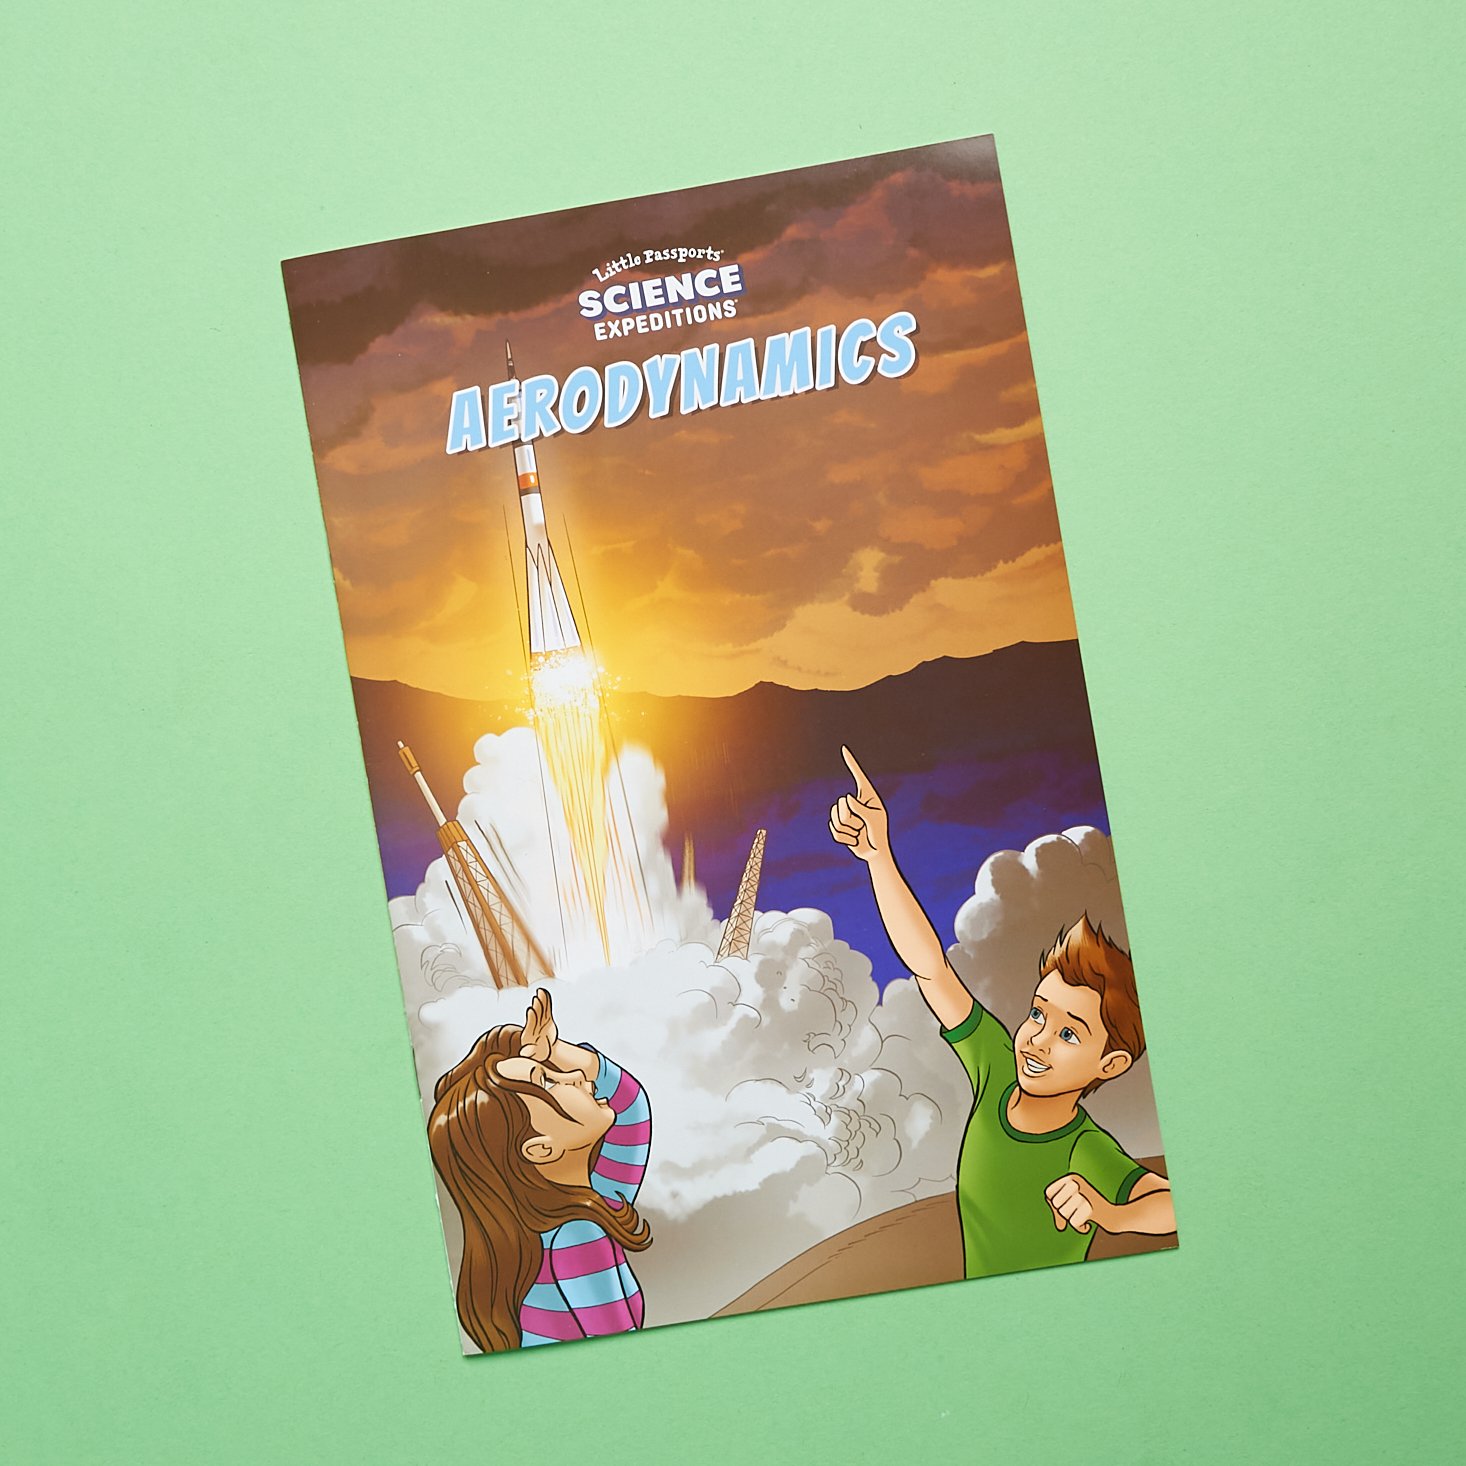
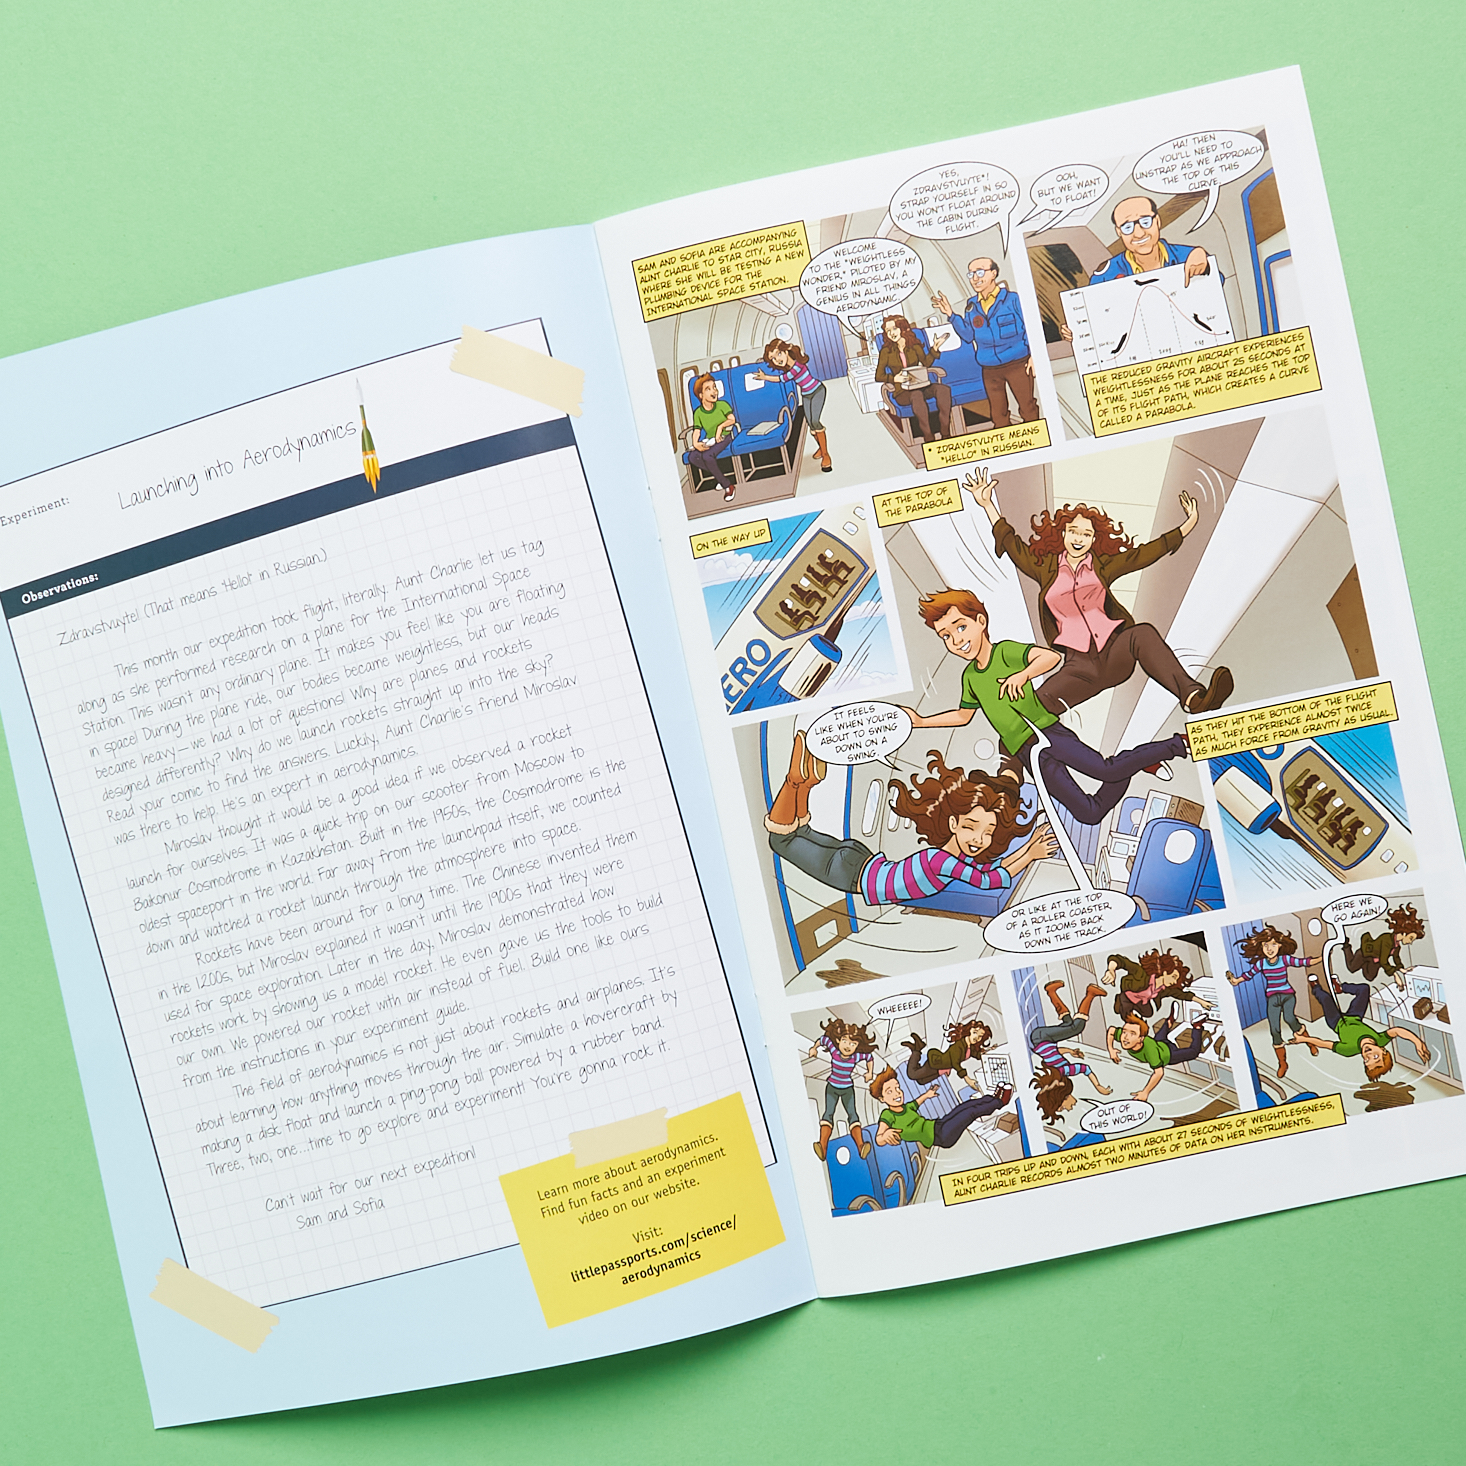
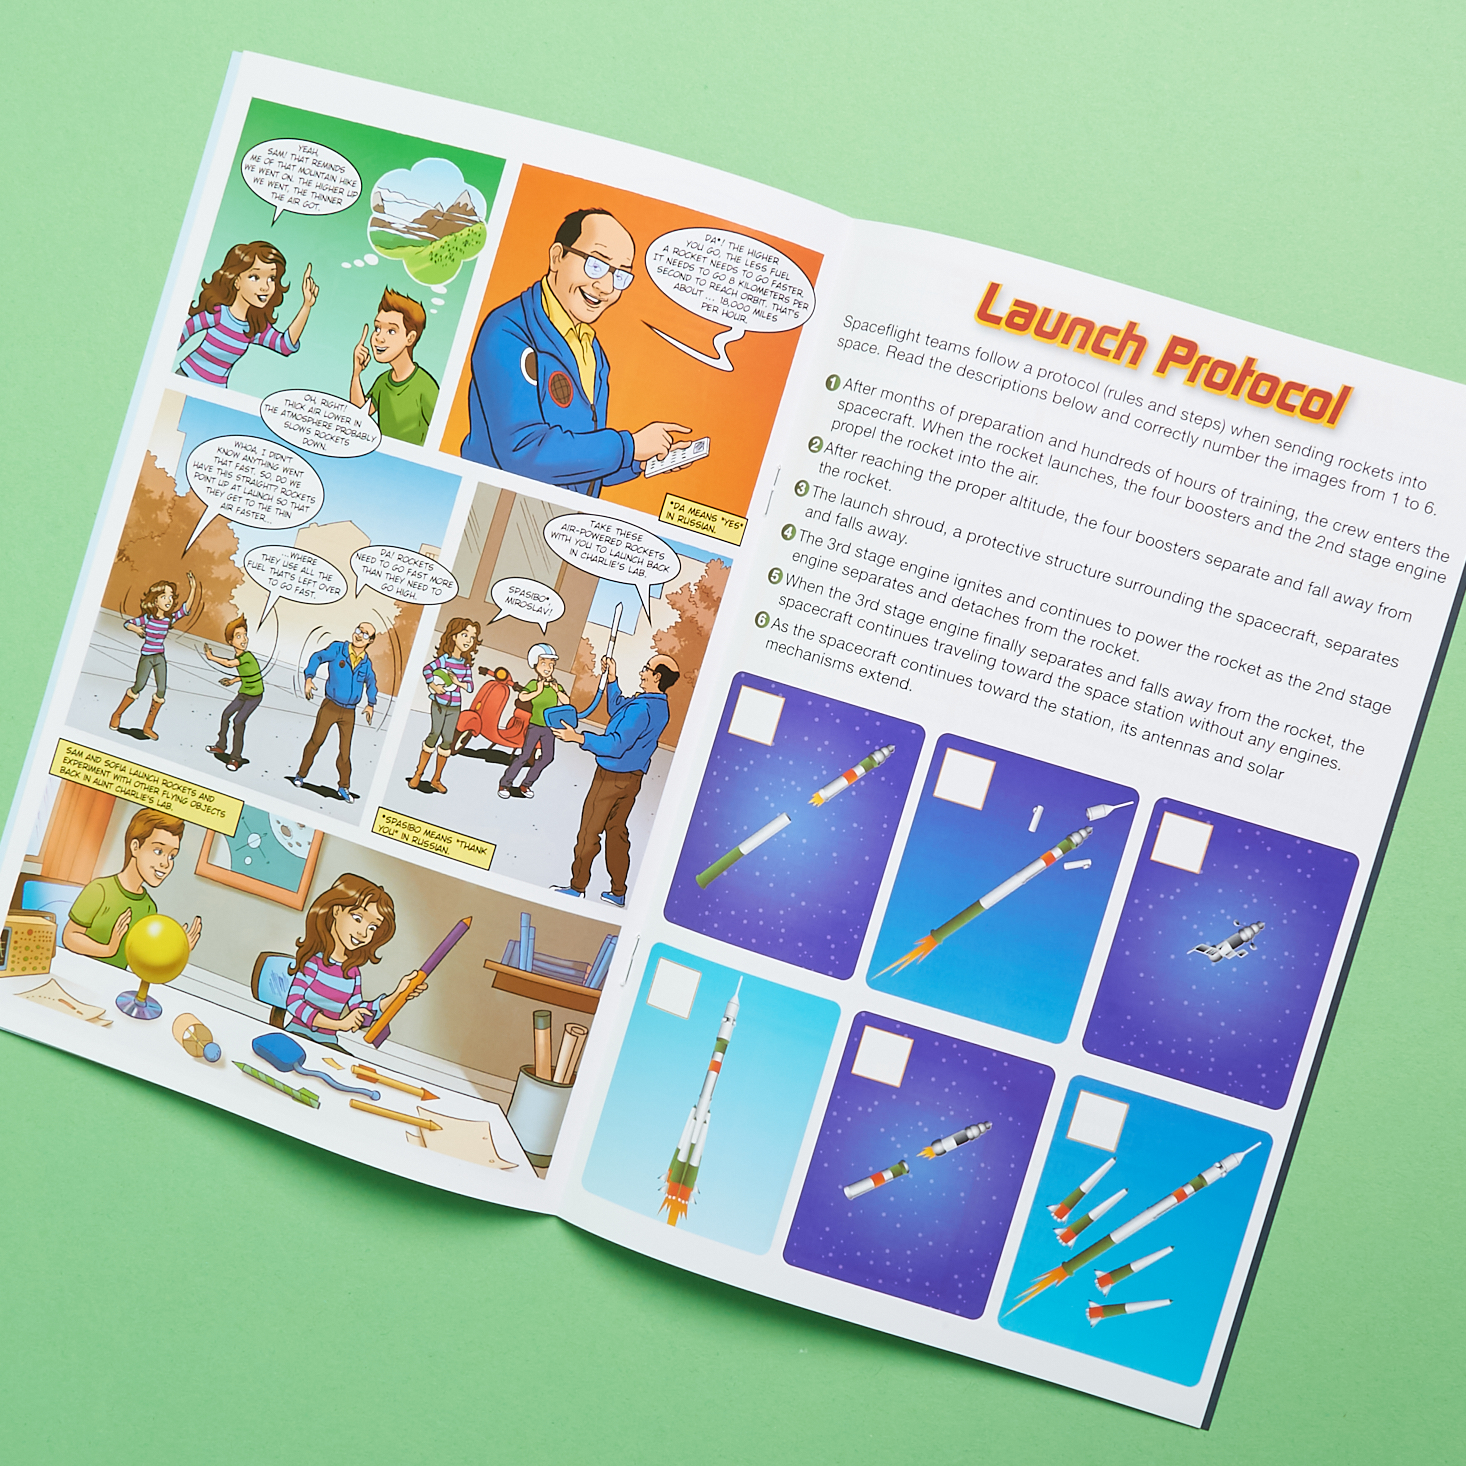
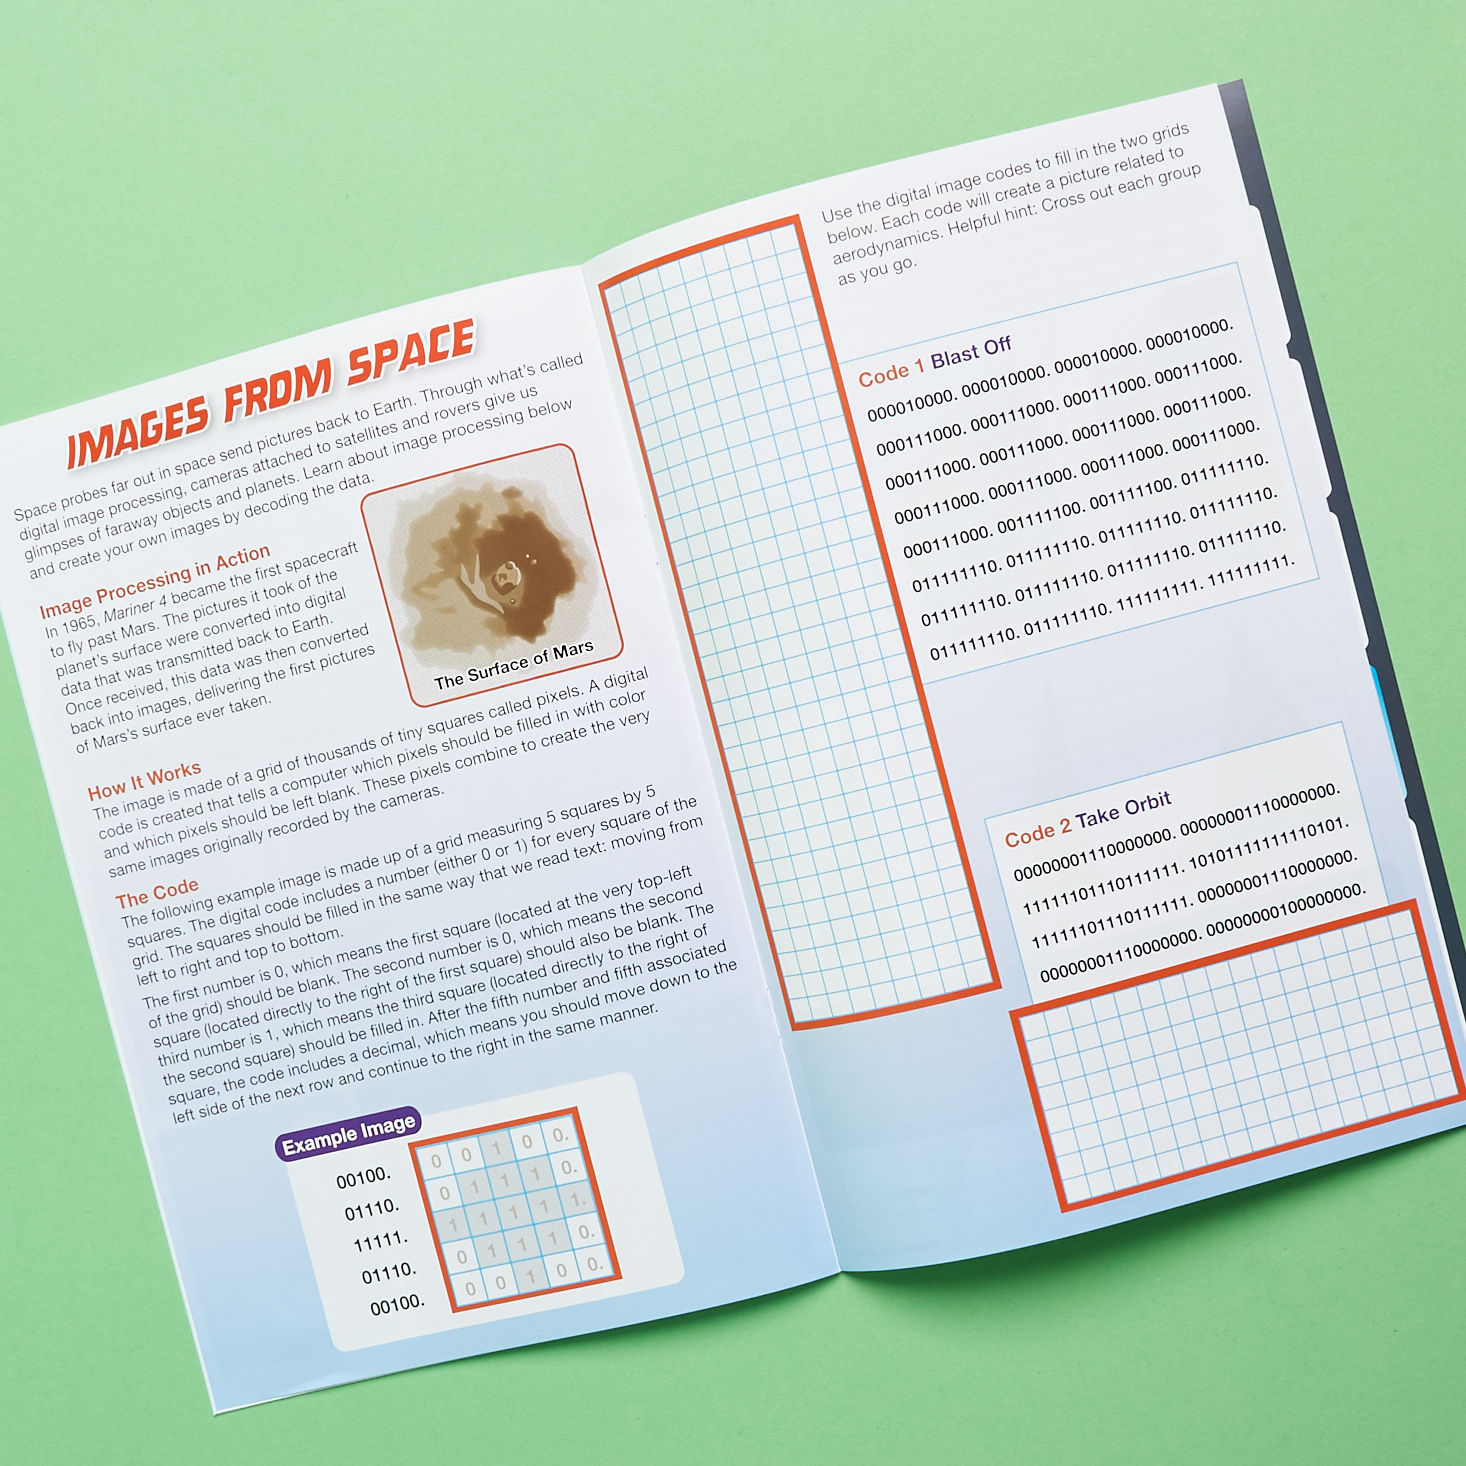
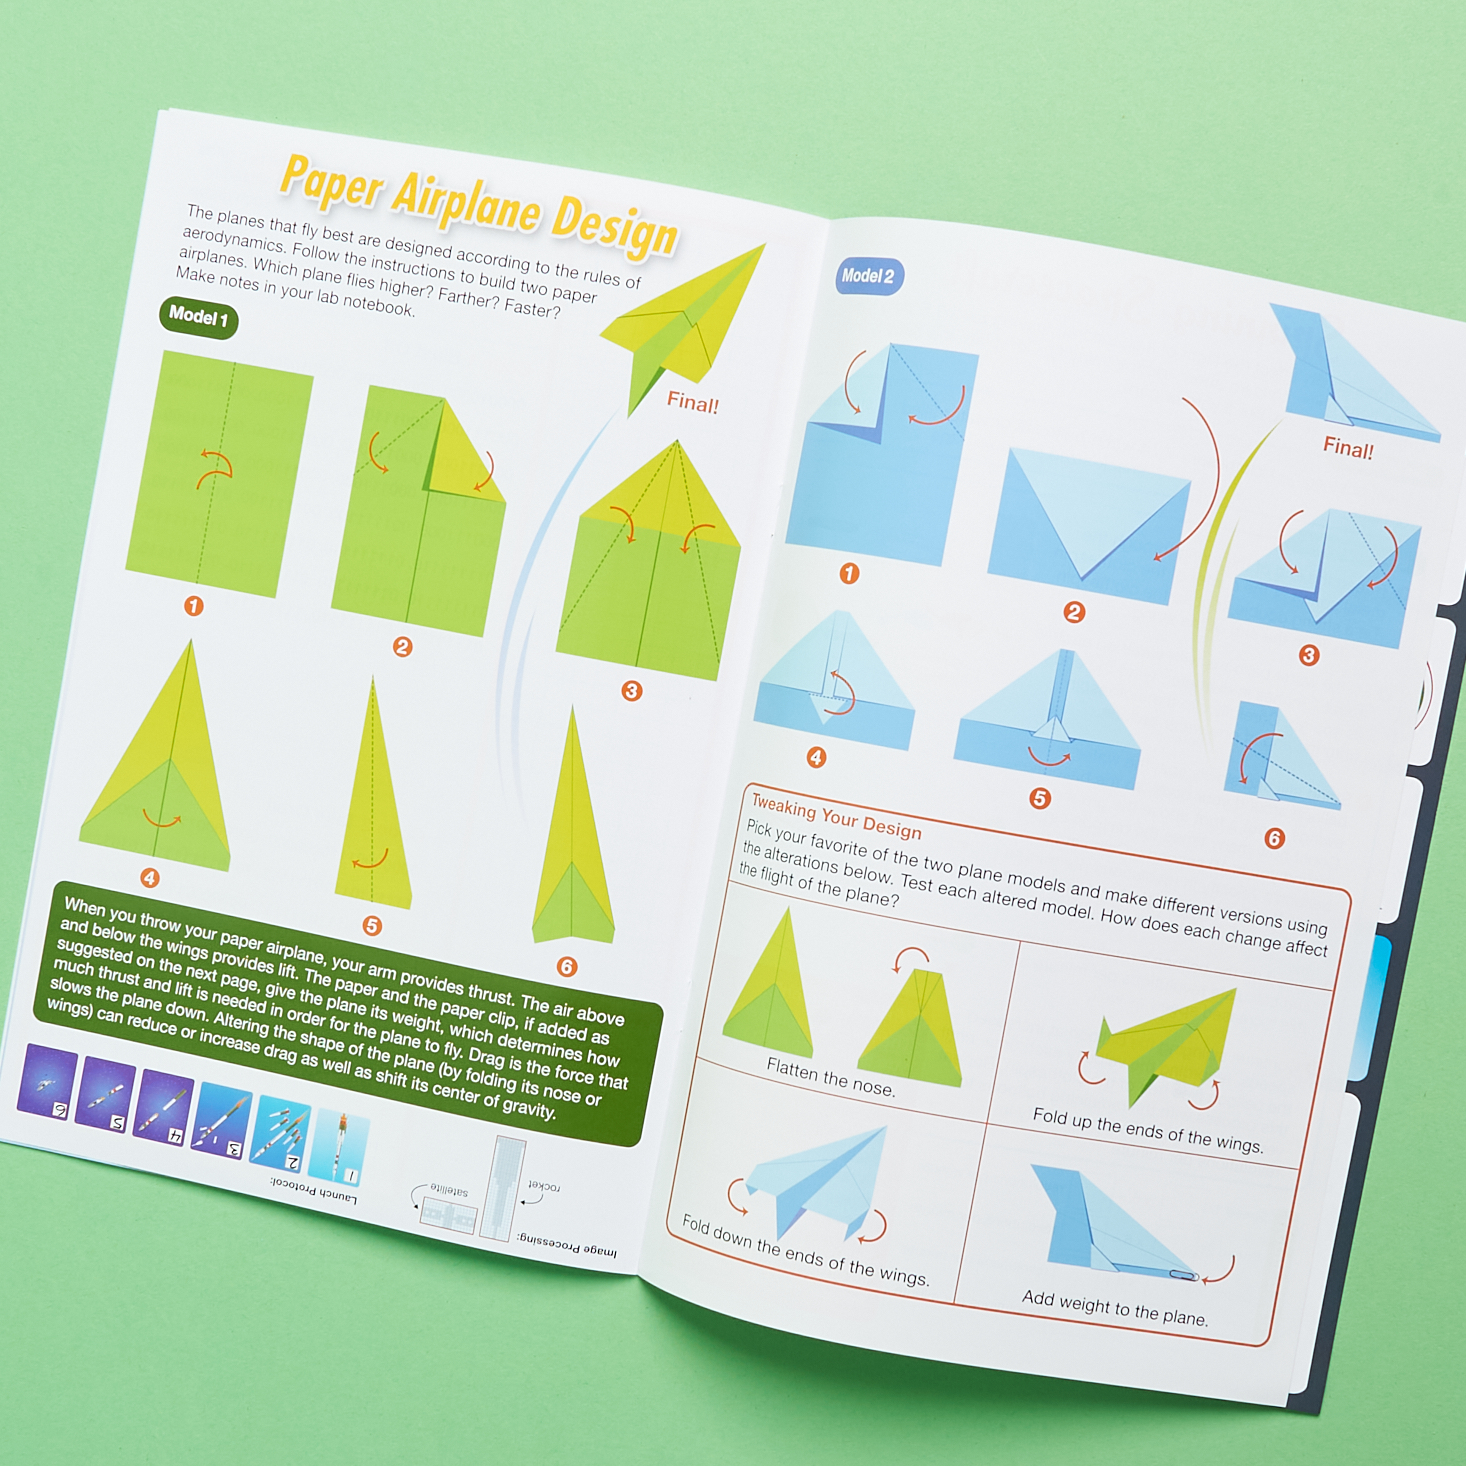
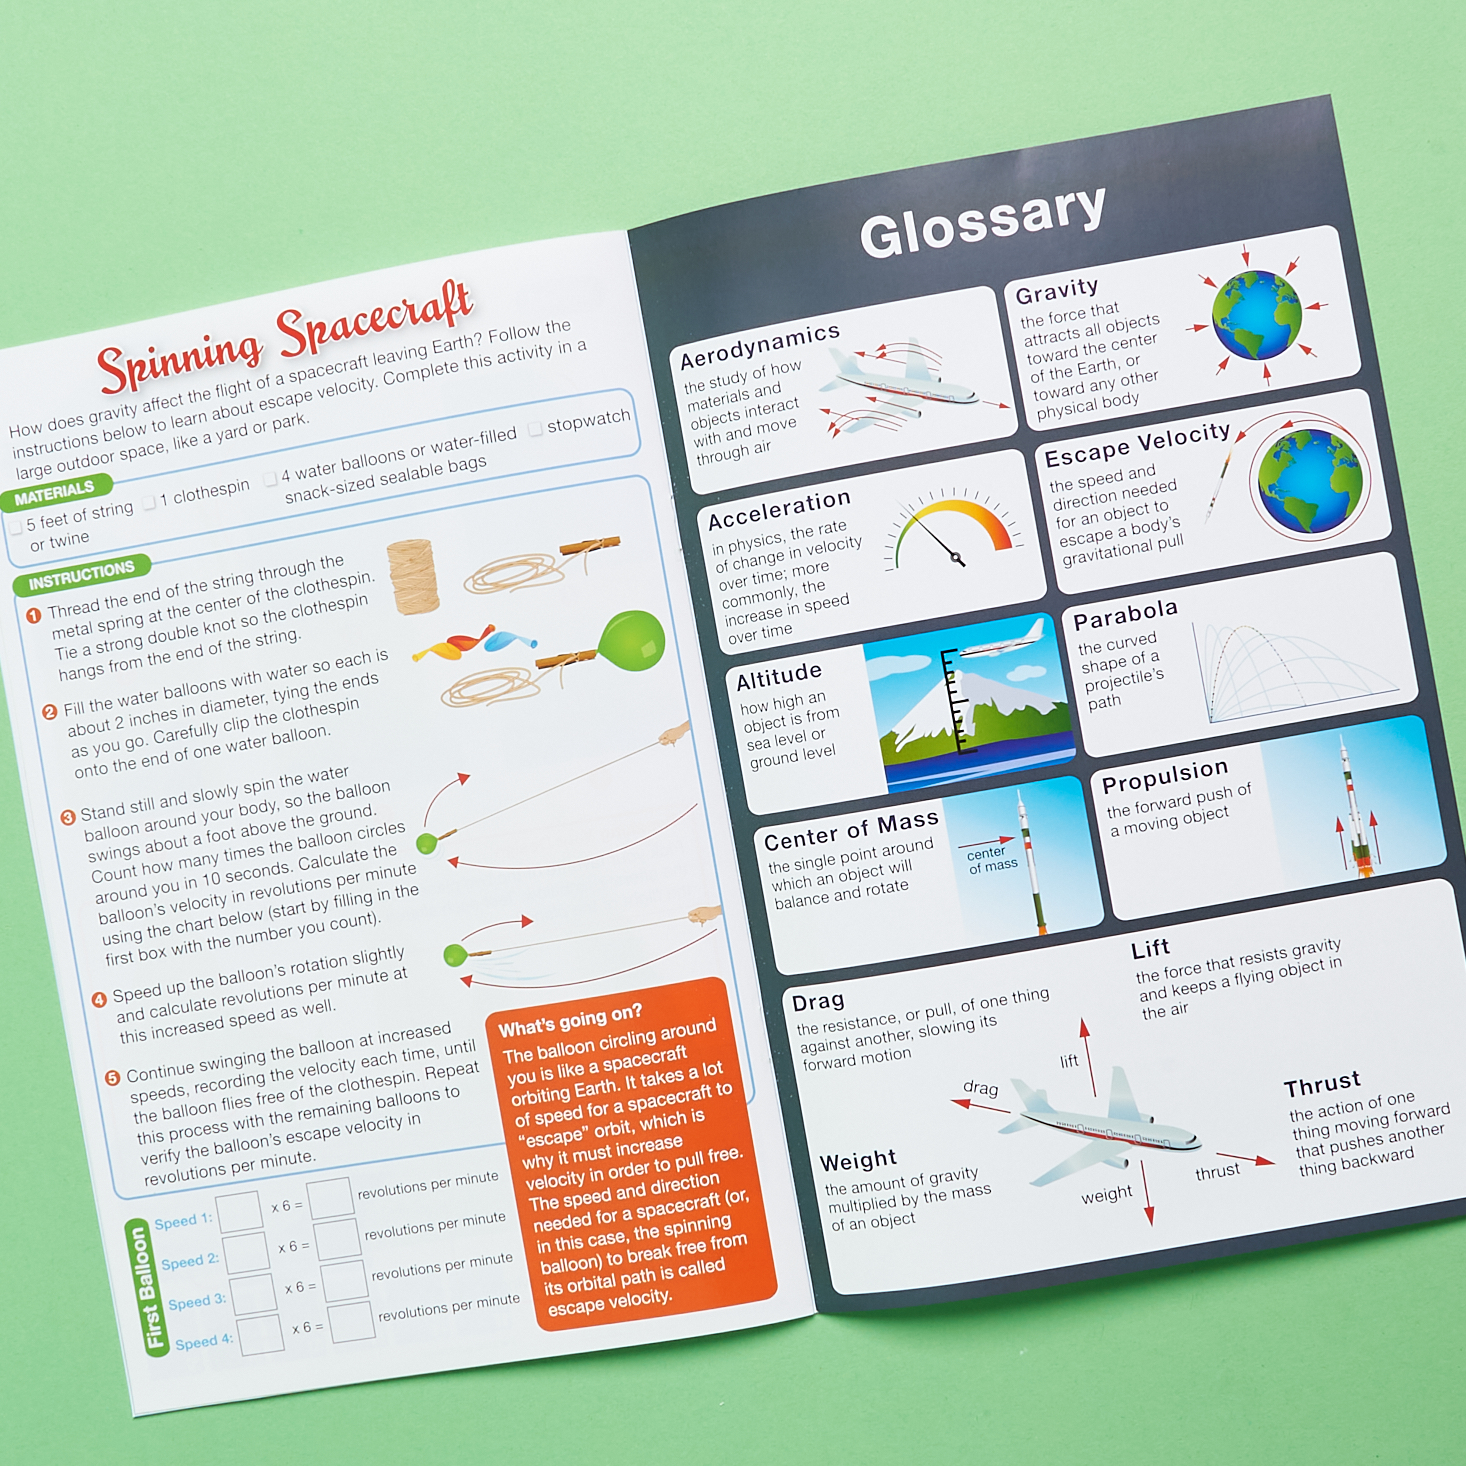
Little Passports: Aerodynamics Comic and Activity Book
As usual, we received a very well-done comic and activity book that coordinates with the monthly theme: aerodynamics. This beautifully illustrated book contains an educational comic, protocol activity, DIY craft, and glossary. Some information was complex (even for me,) but we were excited to take it all in and learn about things like escape velocity, parabola, and center of mass. The way this booklet is presented is really fun, and while we didn't get to all of the included DIY projects, we will be utilizing them during summer break in preparation for the upcoming school year!
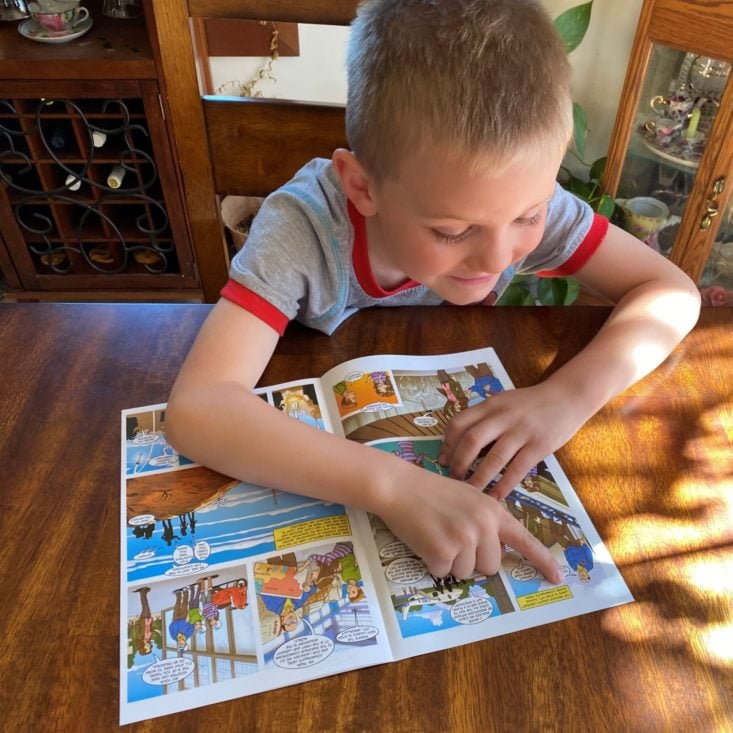
At 6, the comic was a little advanced for Charlie to read on his own, but he tried his very best and did a fine job. We enjoyed reading this together as it kept the study of aerodynamics exciting and relevant to kids (and adults that don't know much about the topic!)
Aerodynamics Instruction Guide
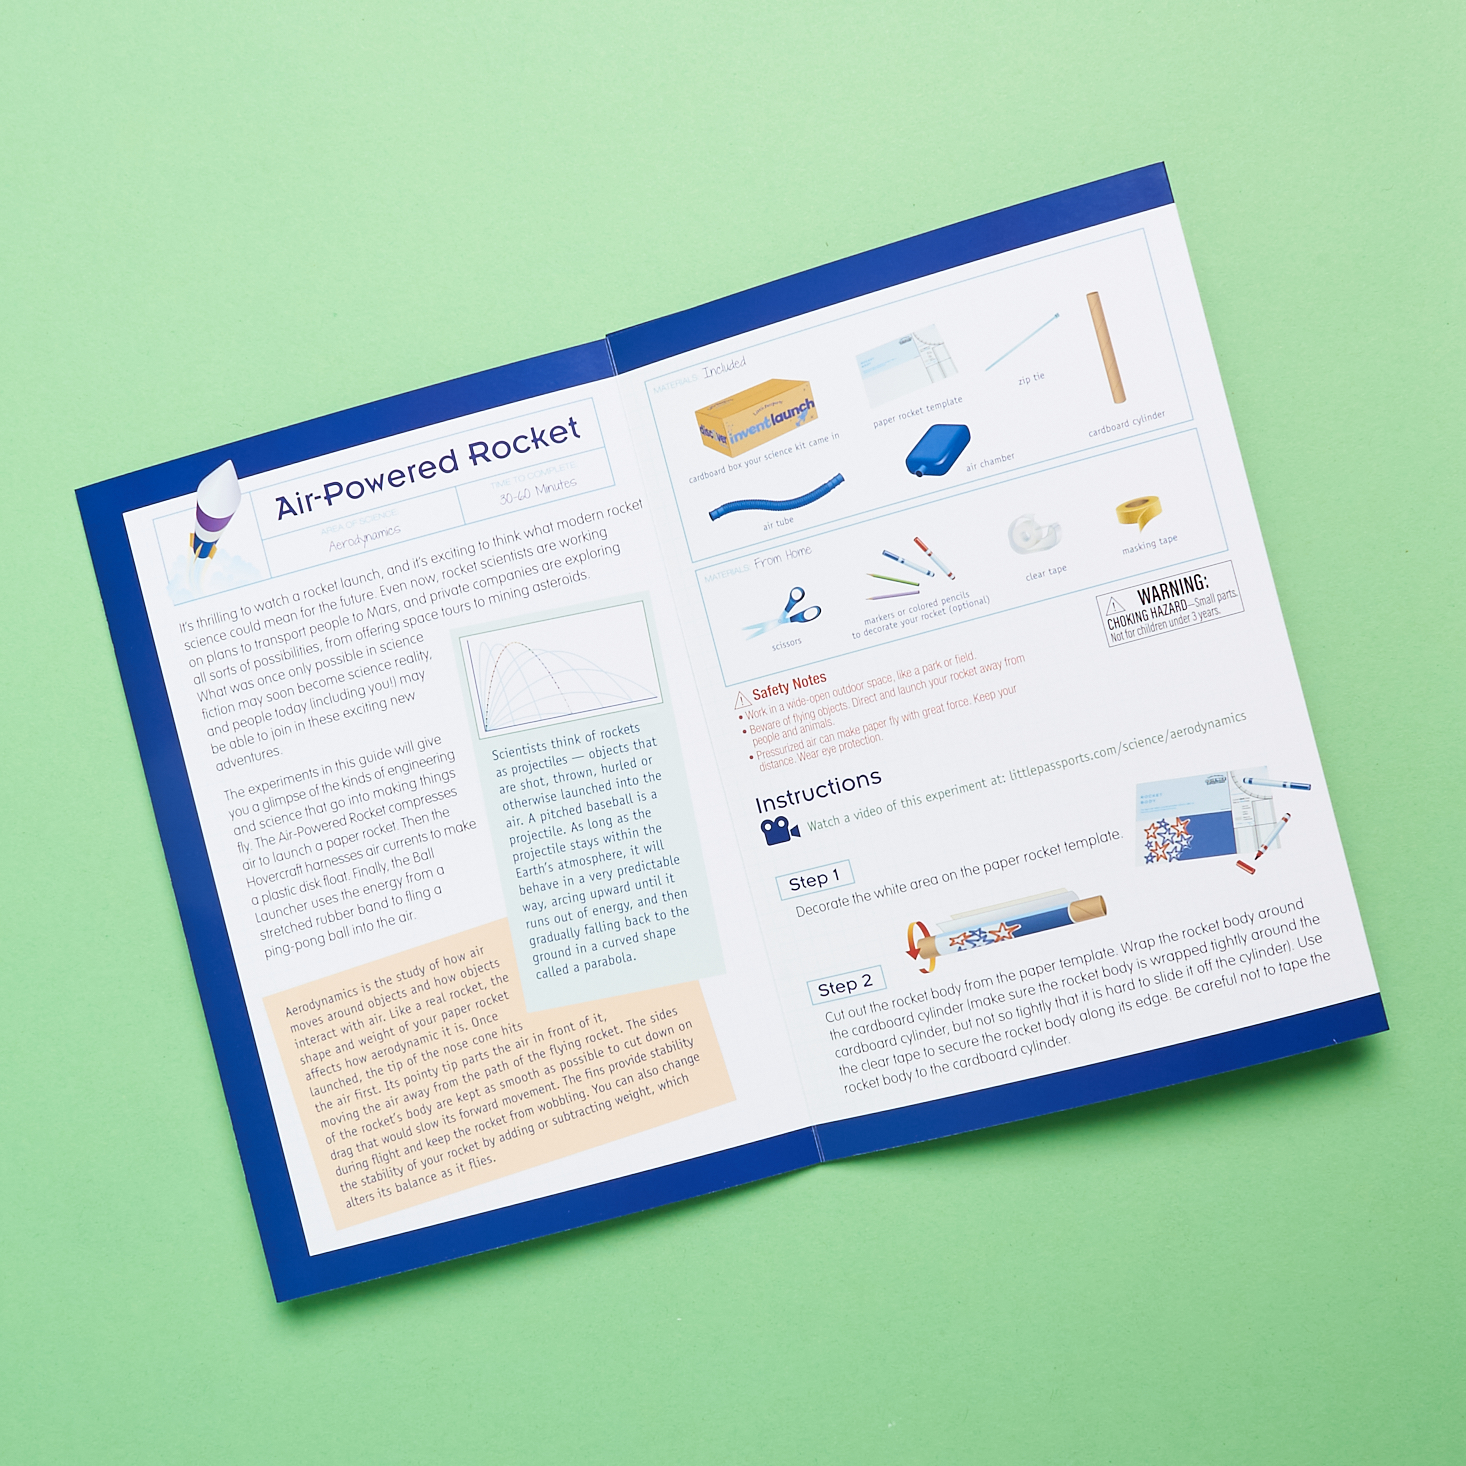
After making our way through the comic book, we moved onto the instruction guide. When I read "Air-Powered Rocket" aloud to Charlie, he squealed with delight! This illustrated guide includes well-written instructions and pictures that aid in the completion of the activities. They also include video links for extra info to help you discover more. We find this manual very informative and helpful in the understanding of each monthly concept. I do want to mention that this guide lays out the materials needed well, but know that supplies from home will be needed.
Experiment #1: Air-Powered Rocket
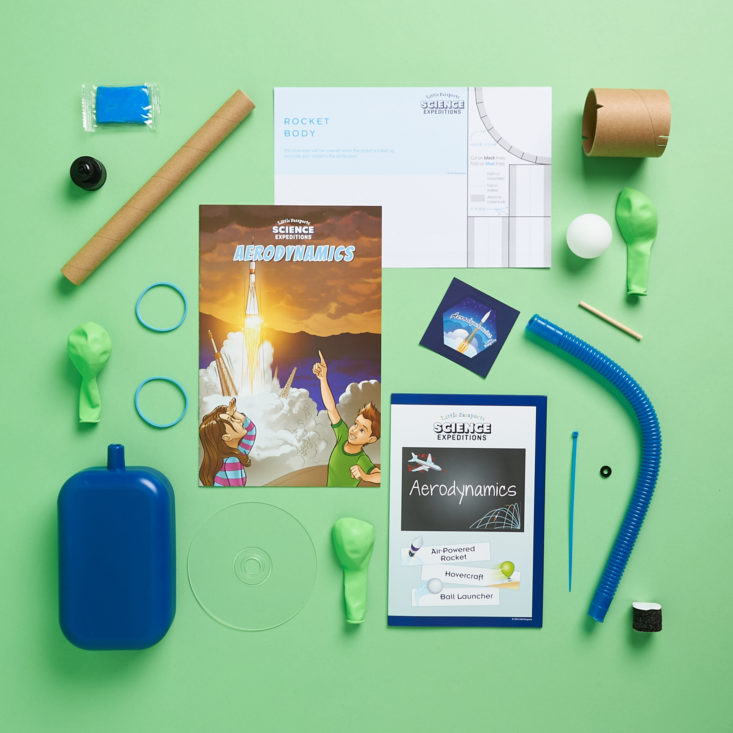
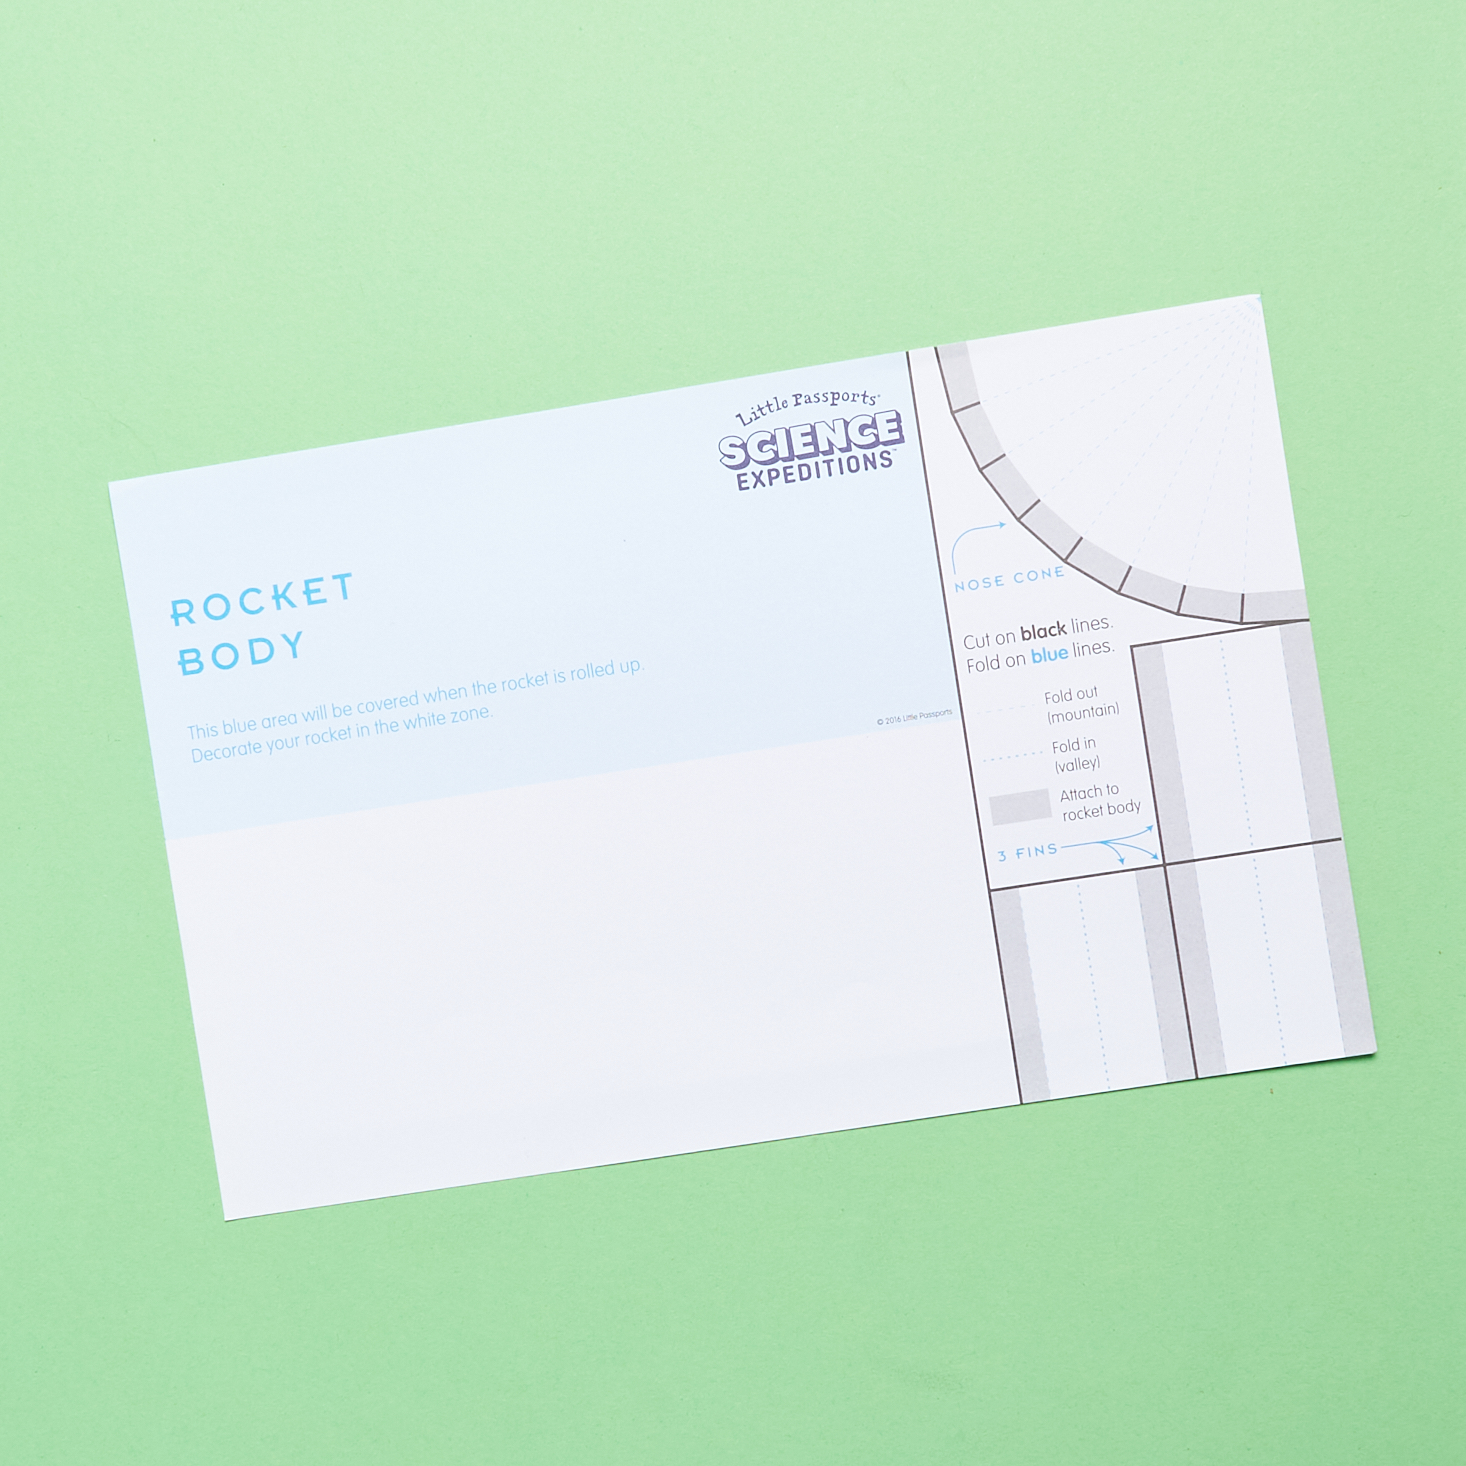
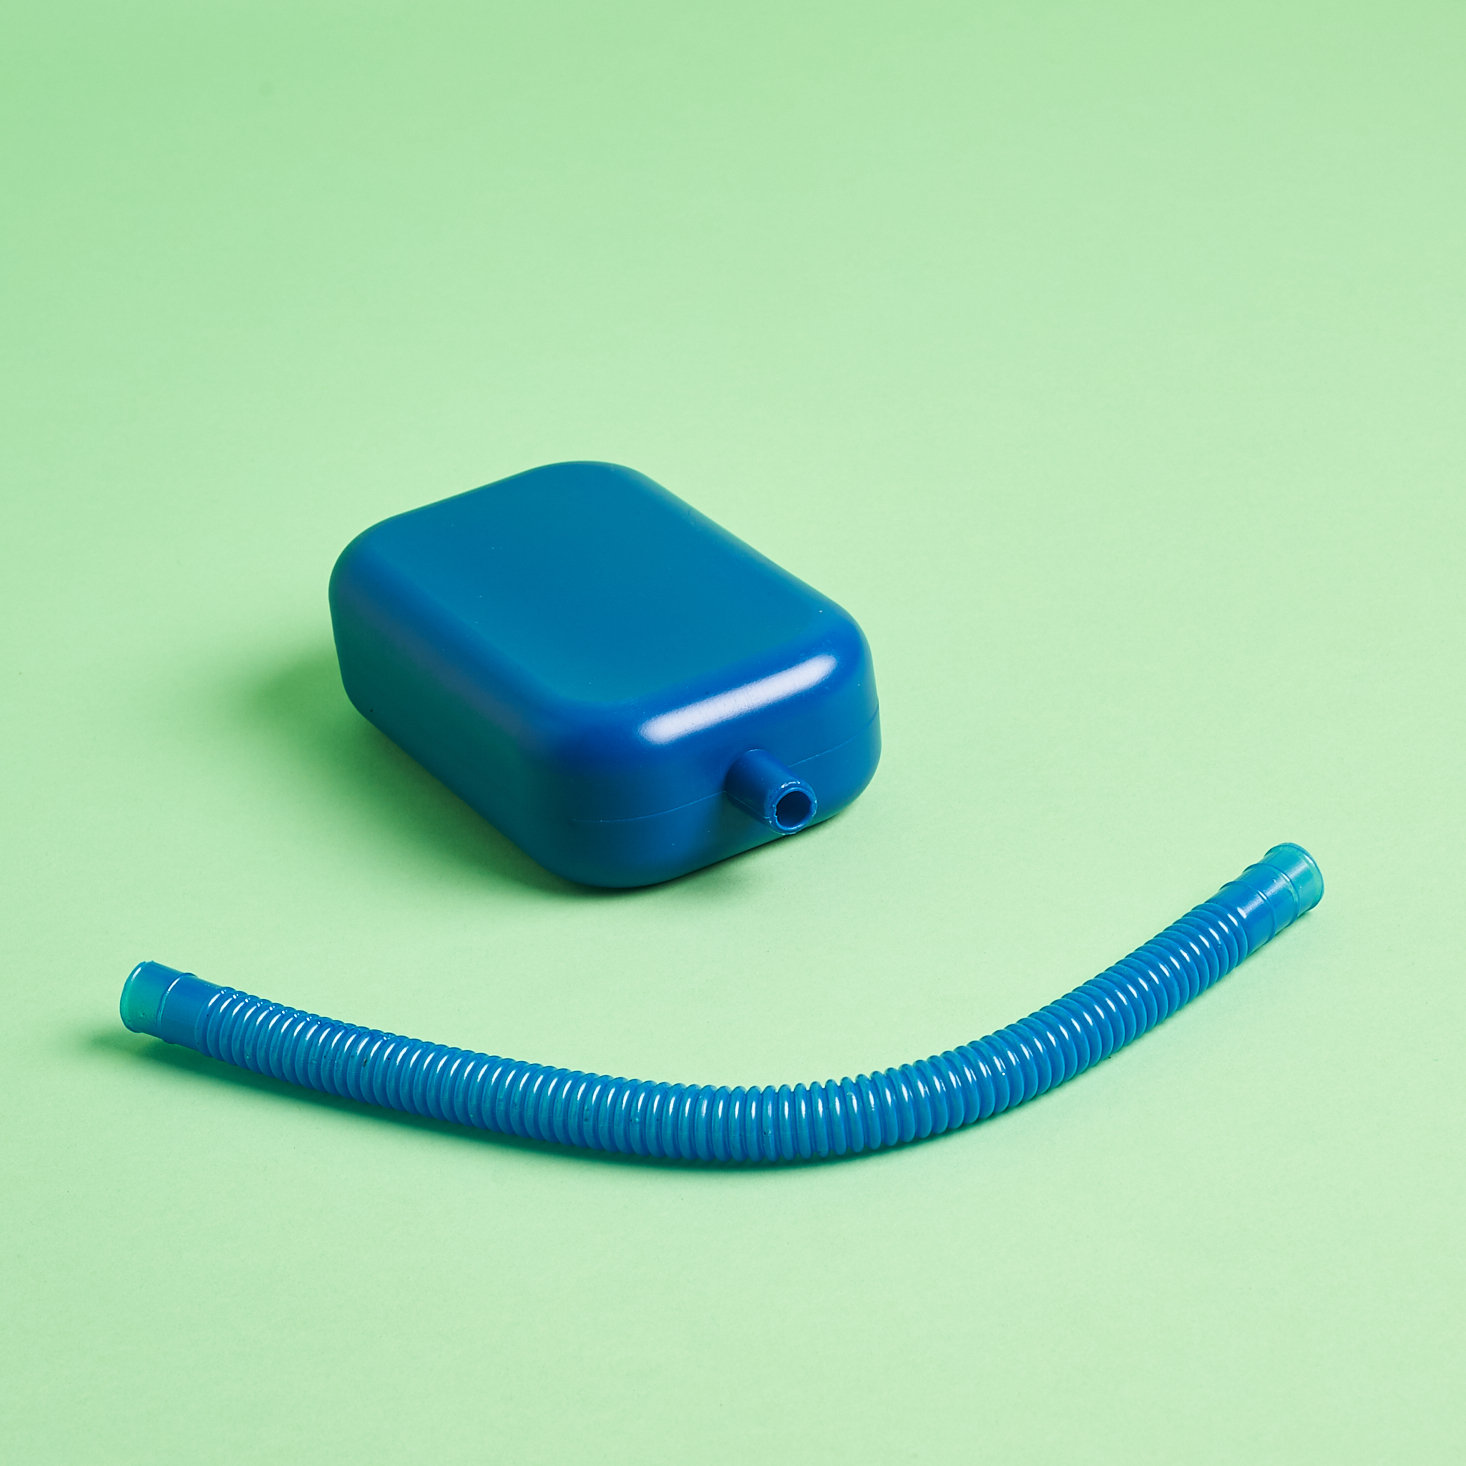
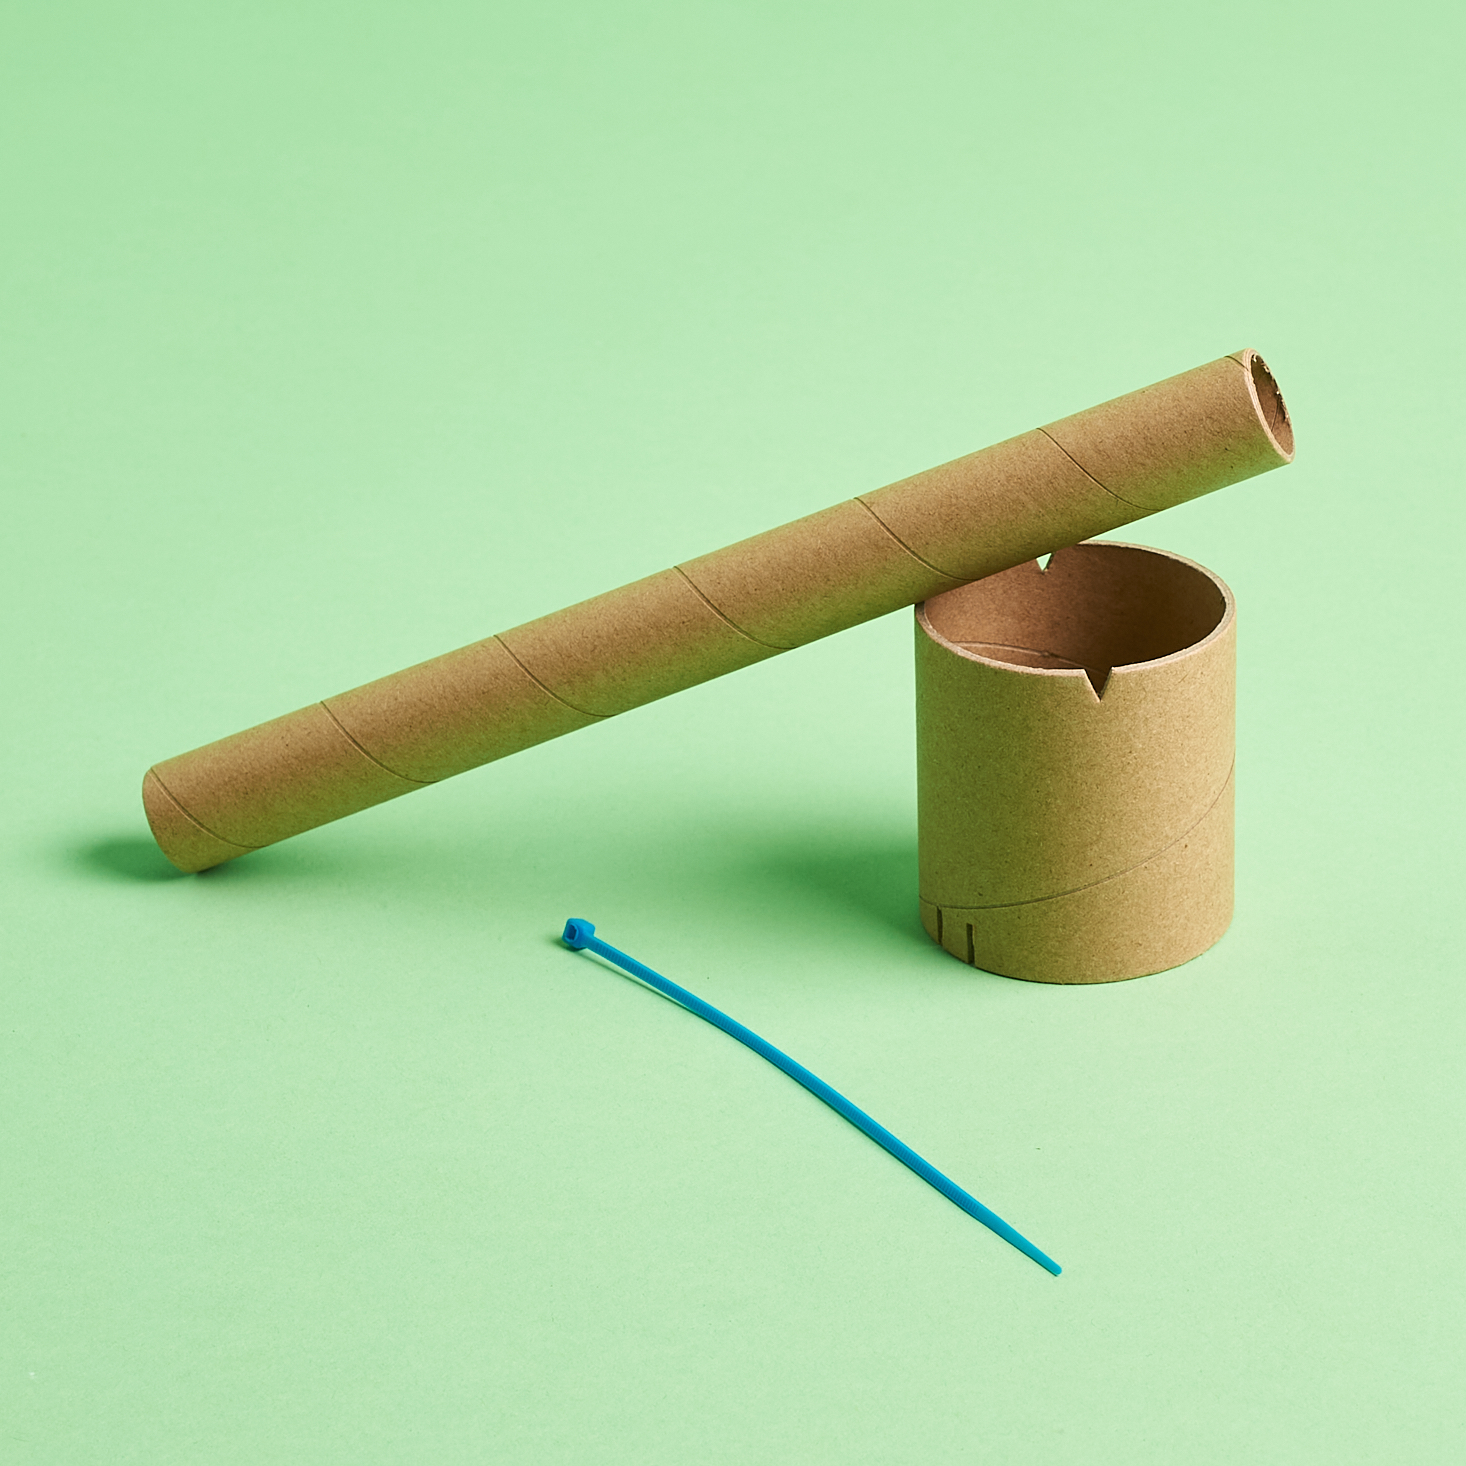
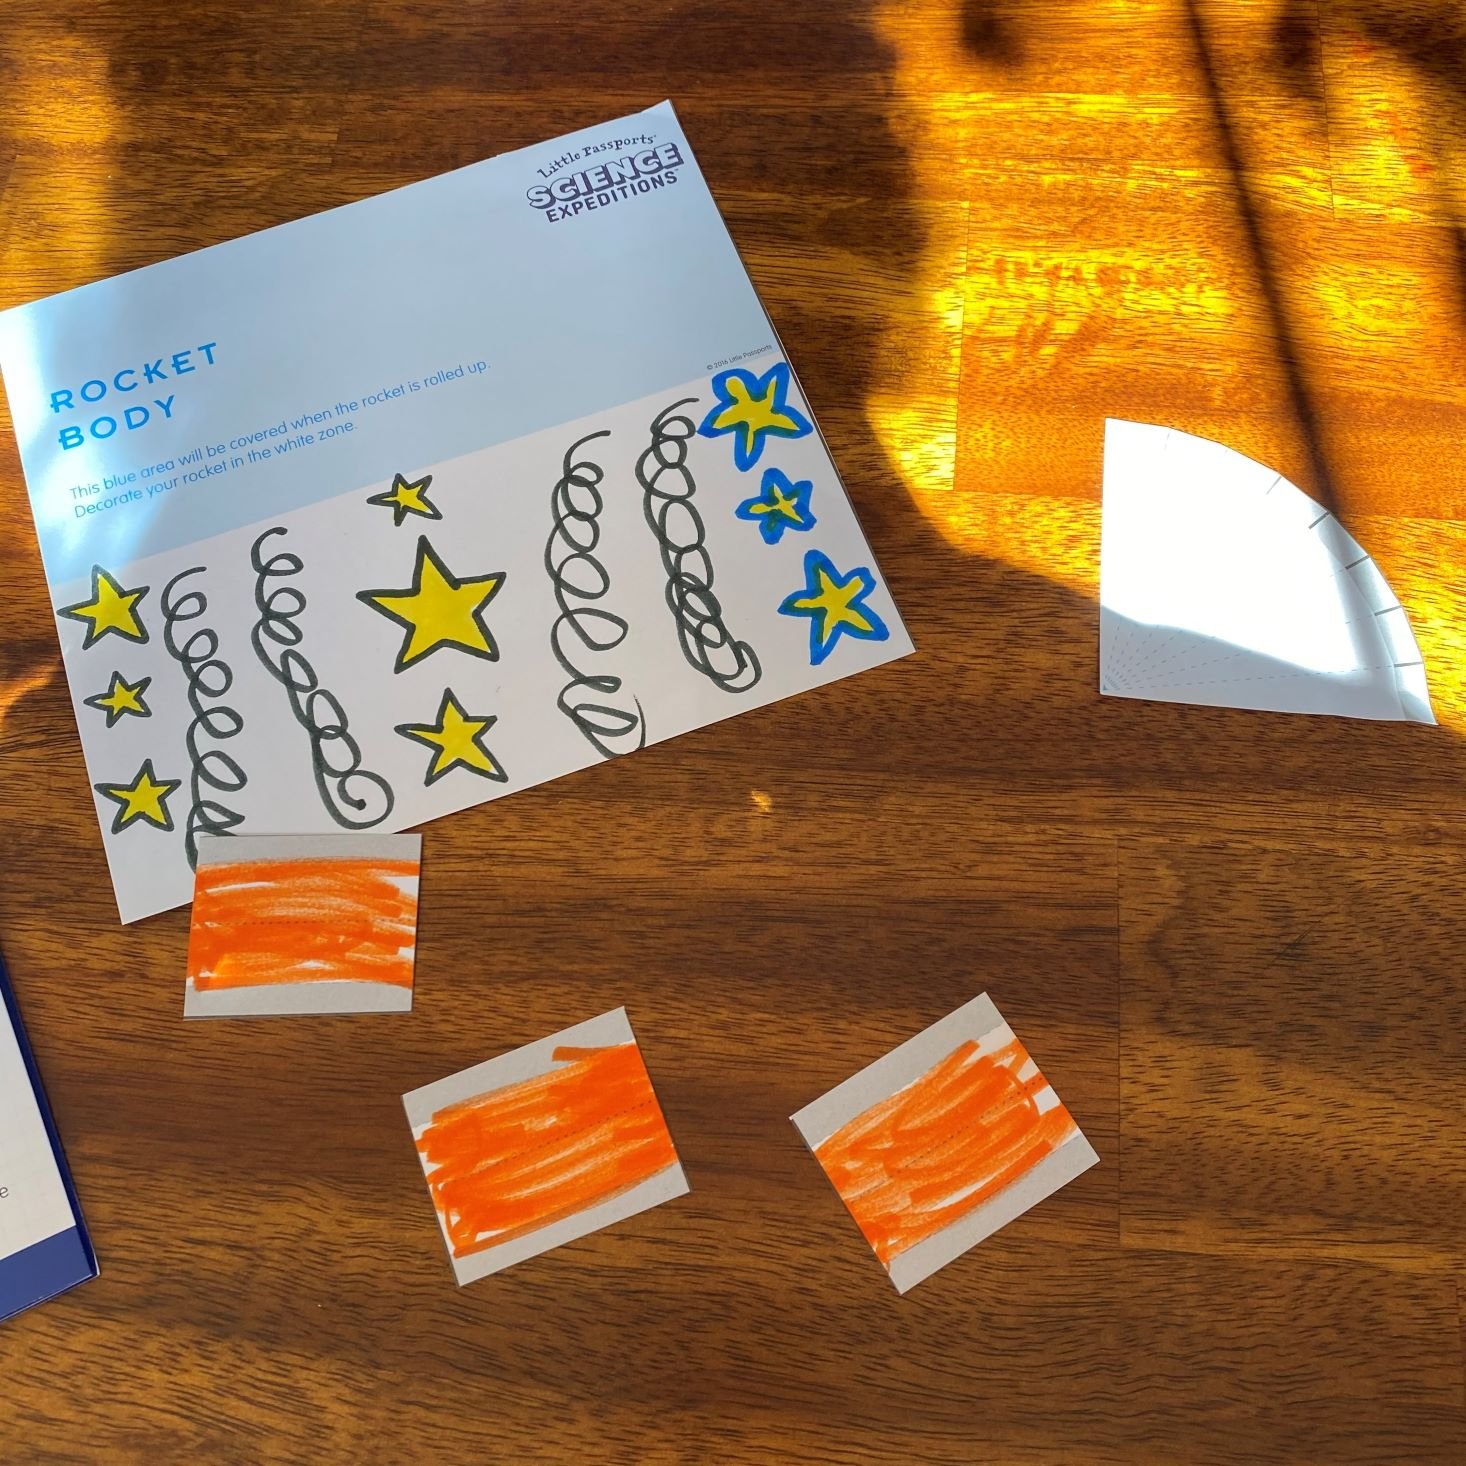
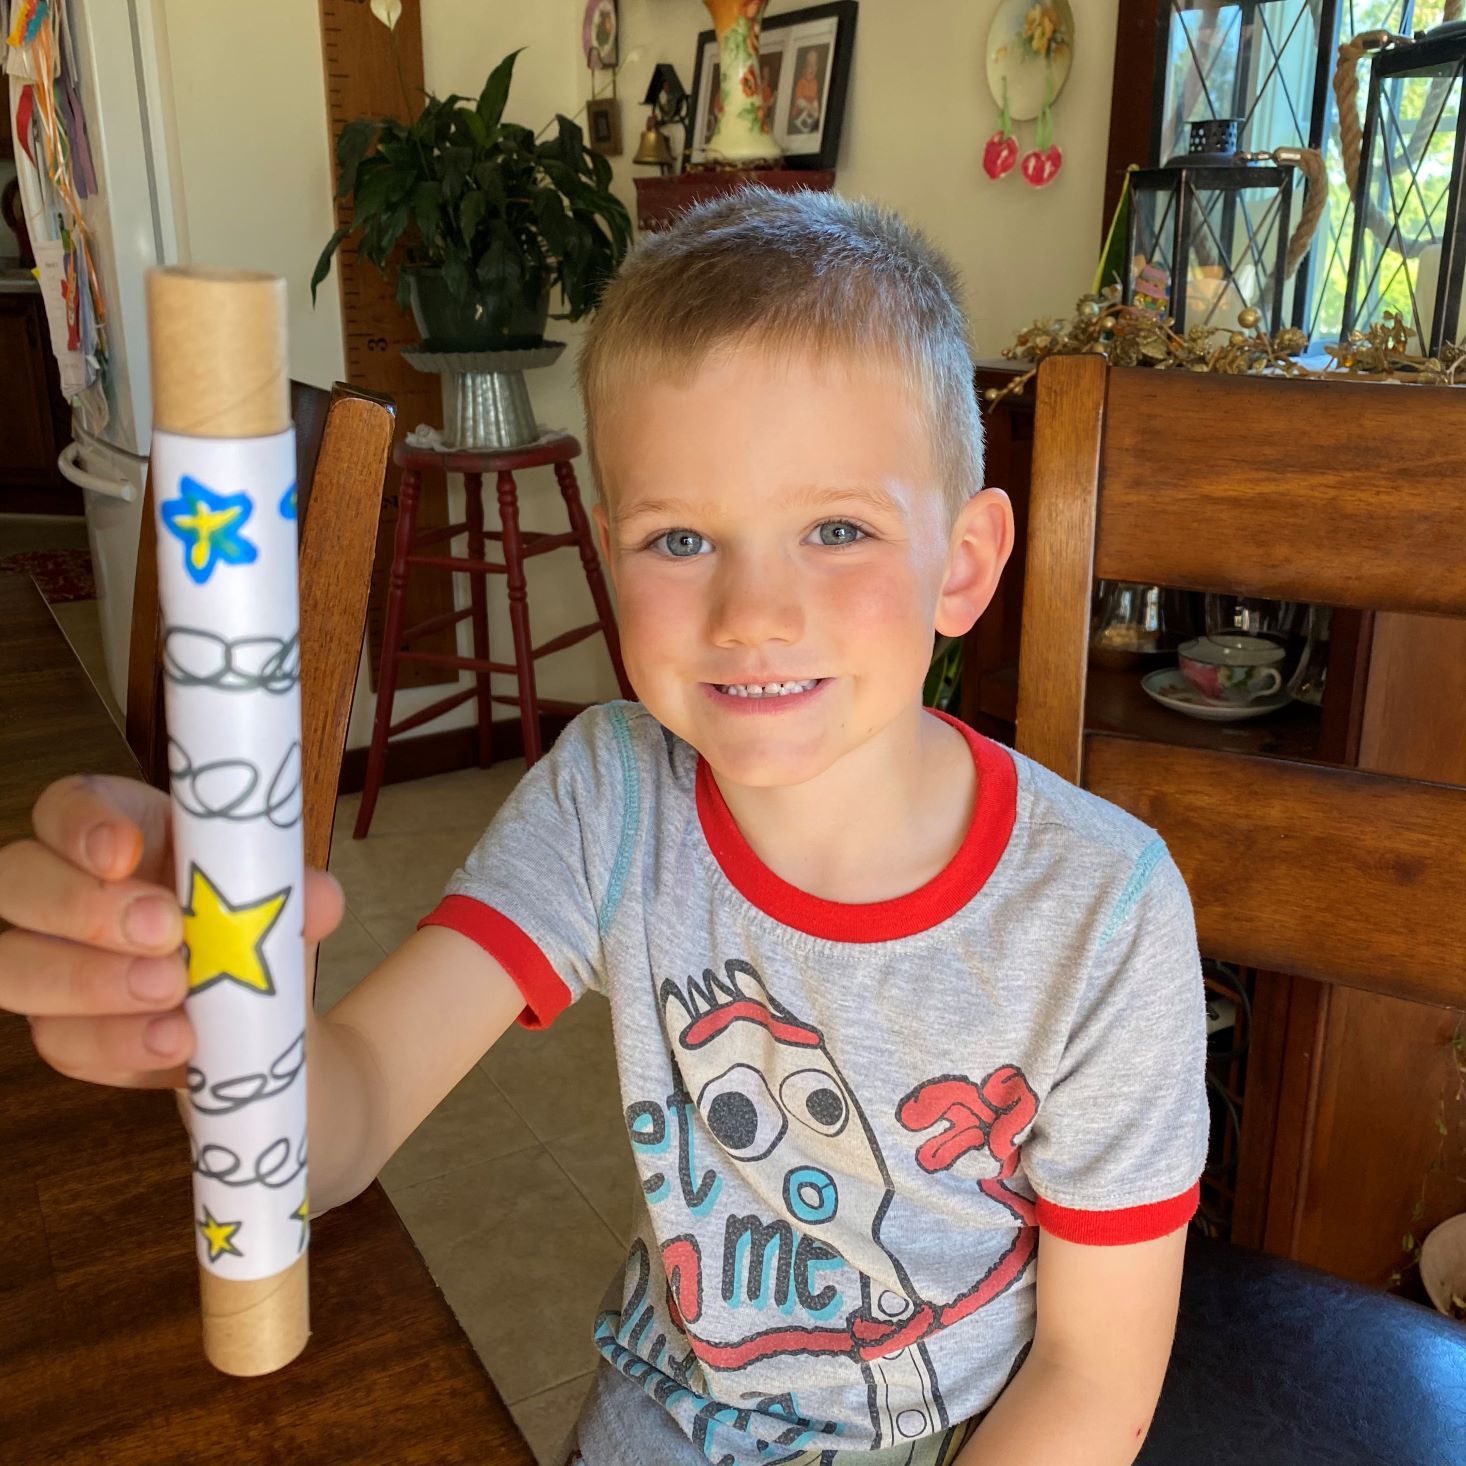
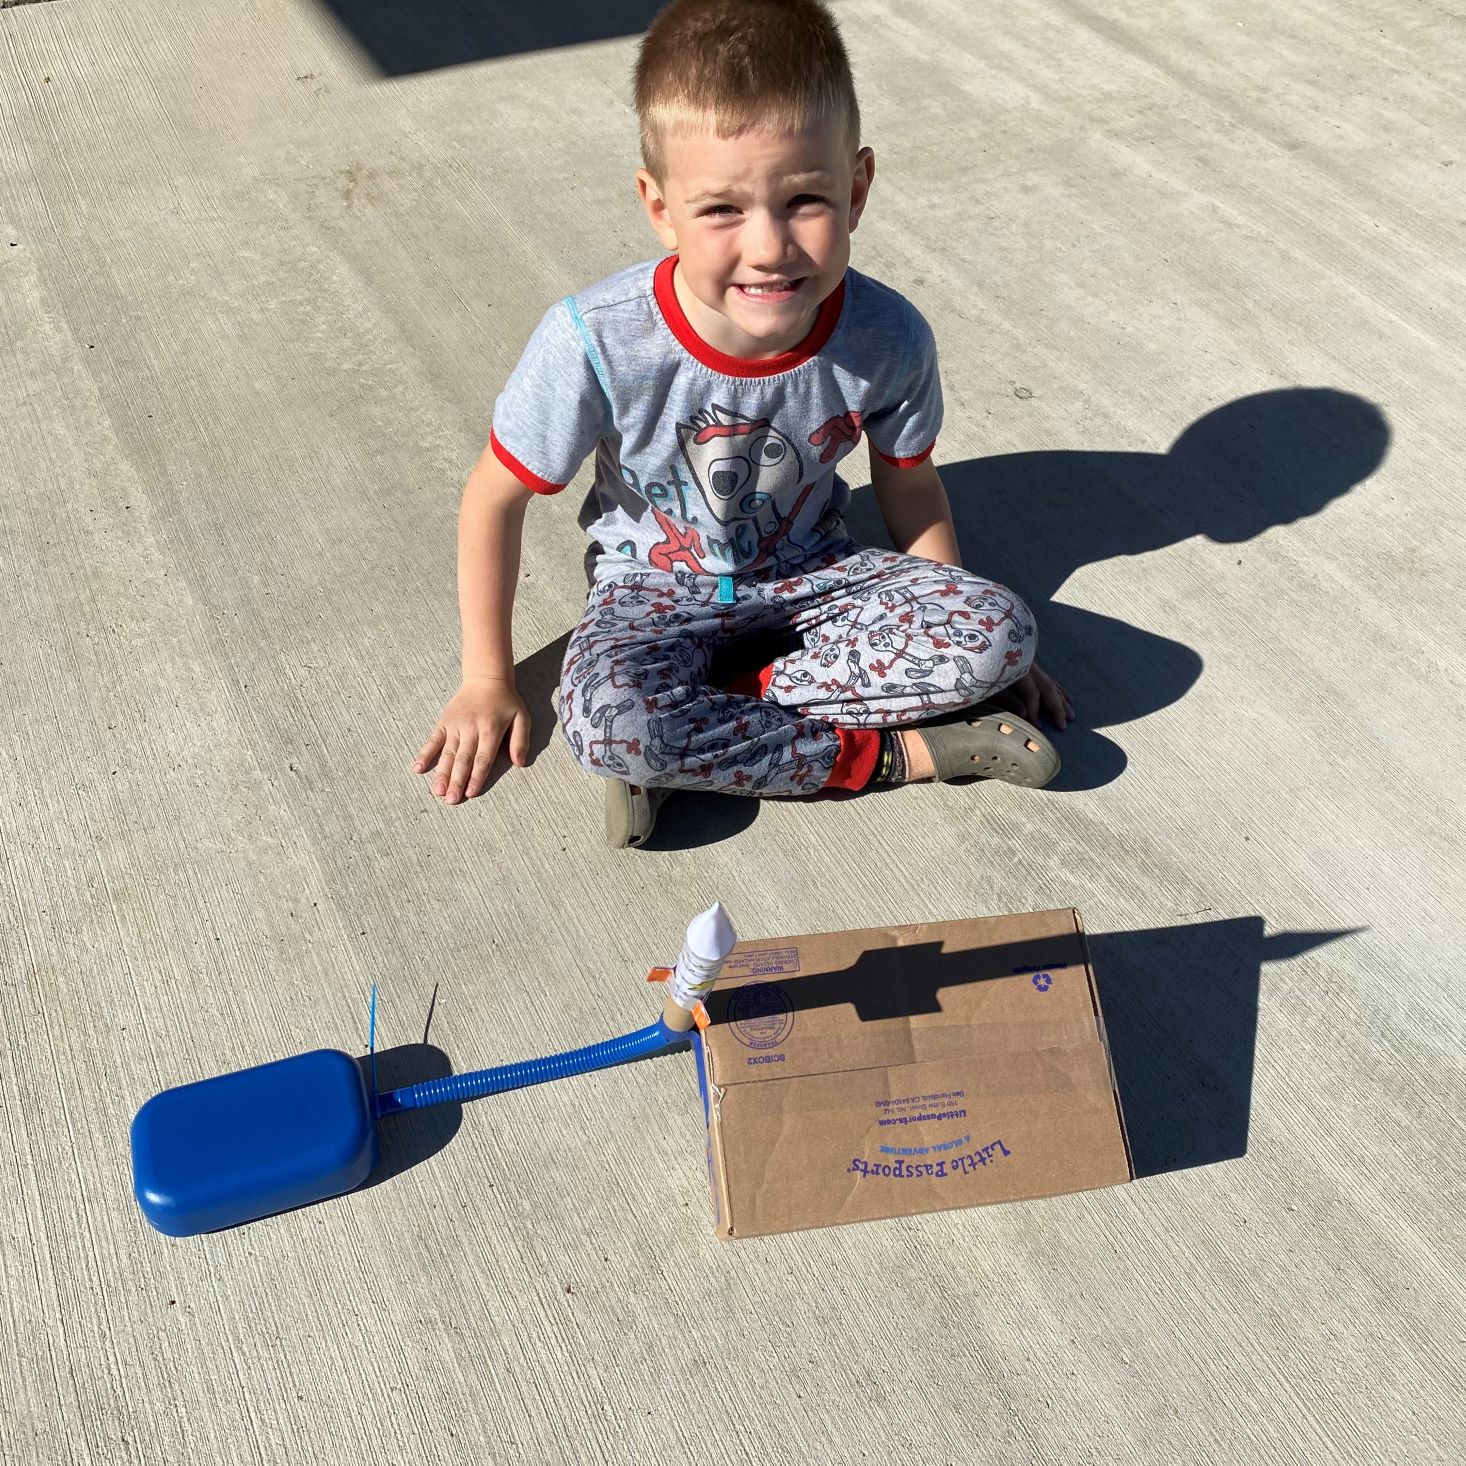
Our first project was to create an air-powered rocket. Charlie said, "this box has blown my mind" when he caught a glimpse of these supplies. We received the paper rocket template, a zip tie, a cardboard cylinder, air tube, air chamber, and of course the mailing box, to complete this project. From home, we need a pair of scissors, markers, clear tape, and masking tape. If I thought ahead, I would have printed a copy of the template before cutting it, so we could make a replacement rocket for when the initial one crashed into some rocks.....whoops!
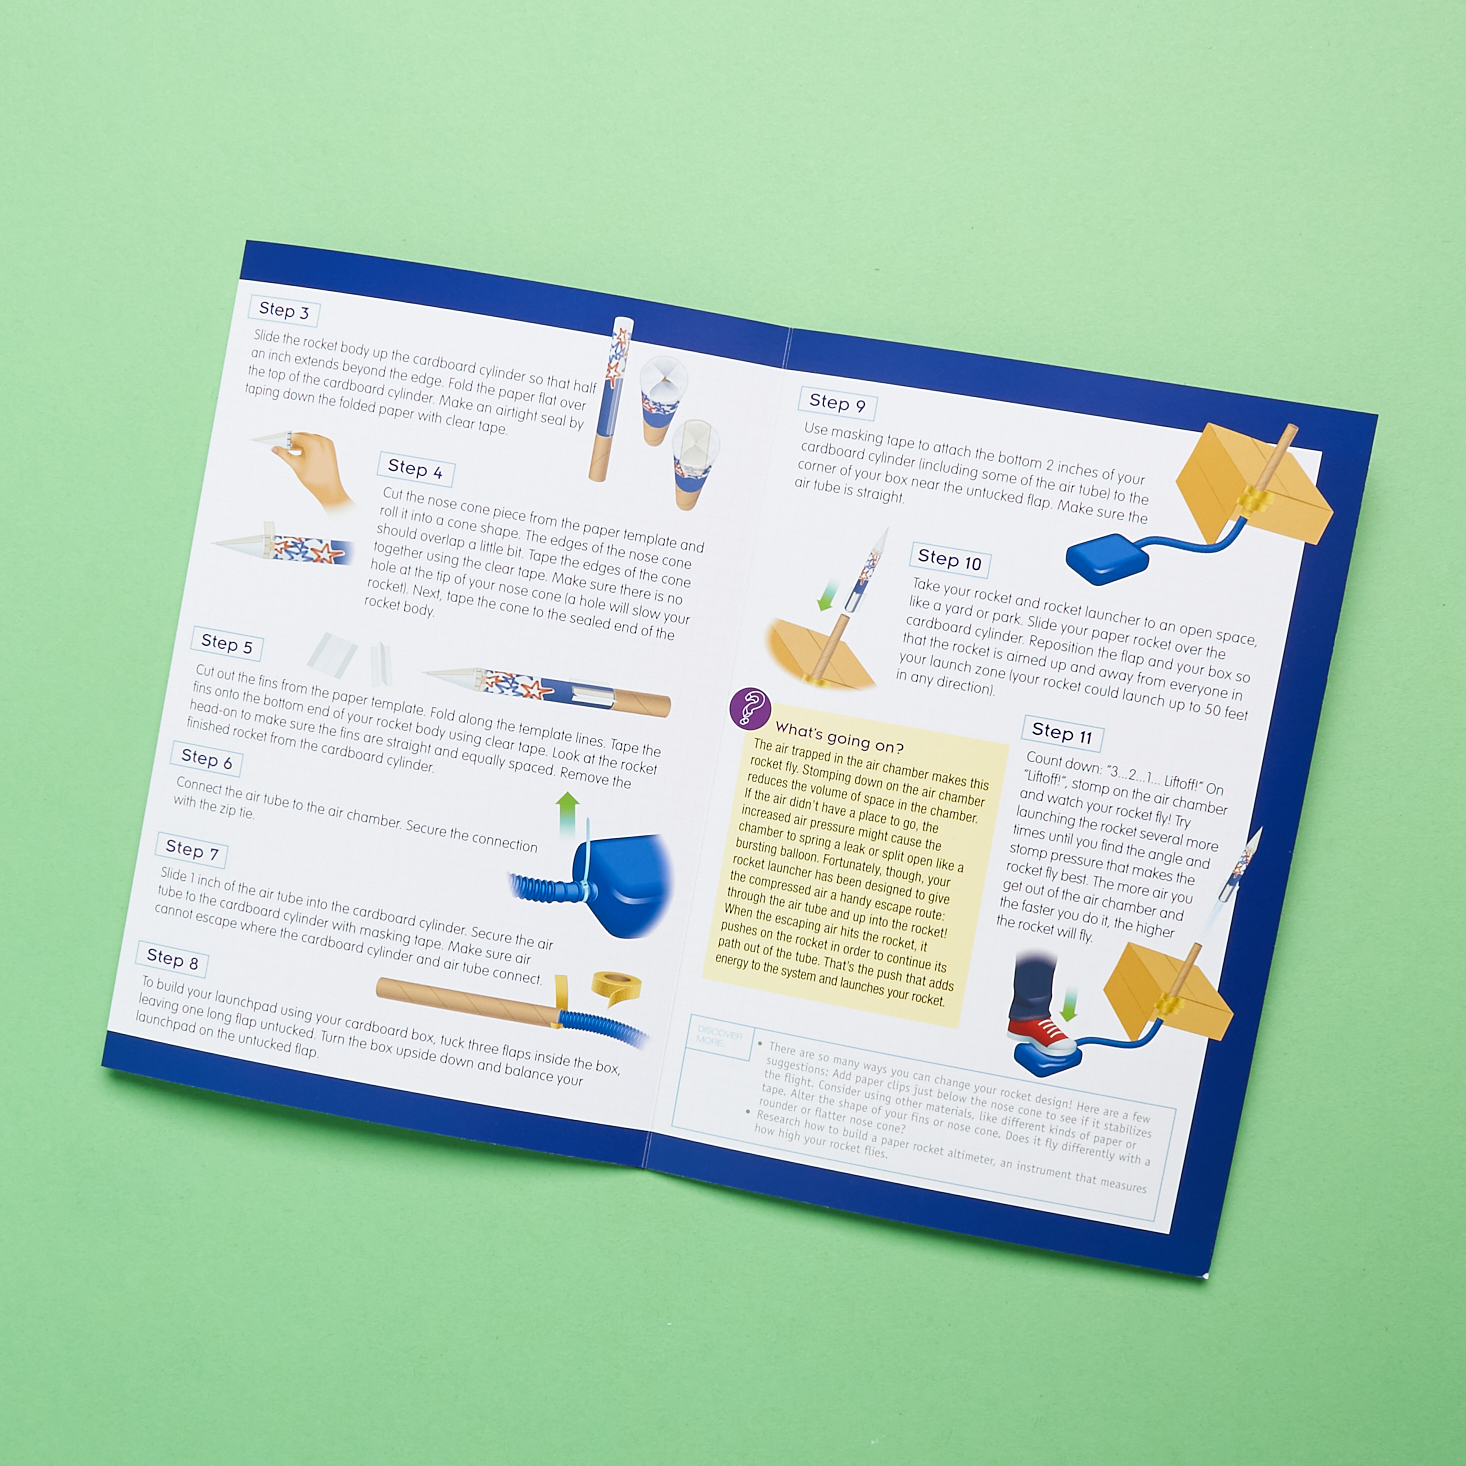
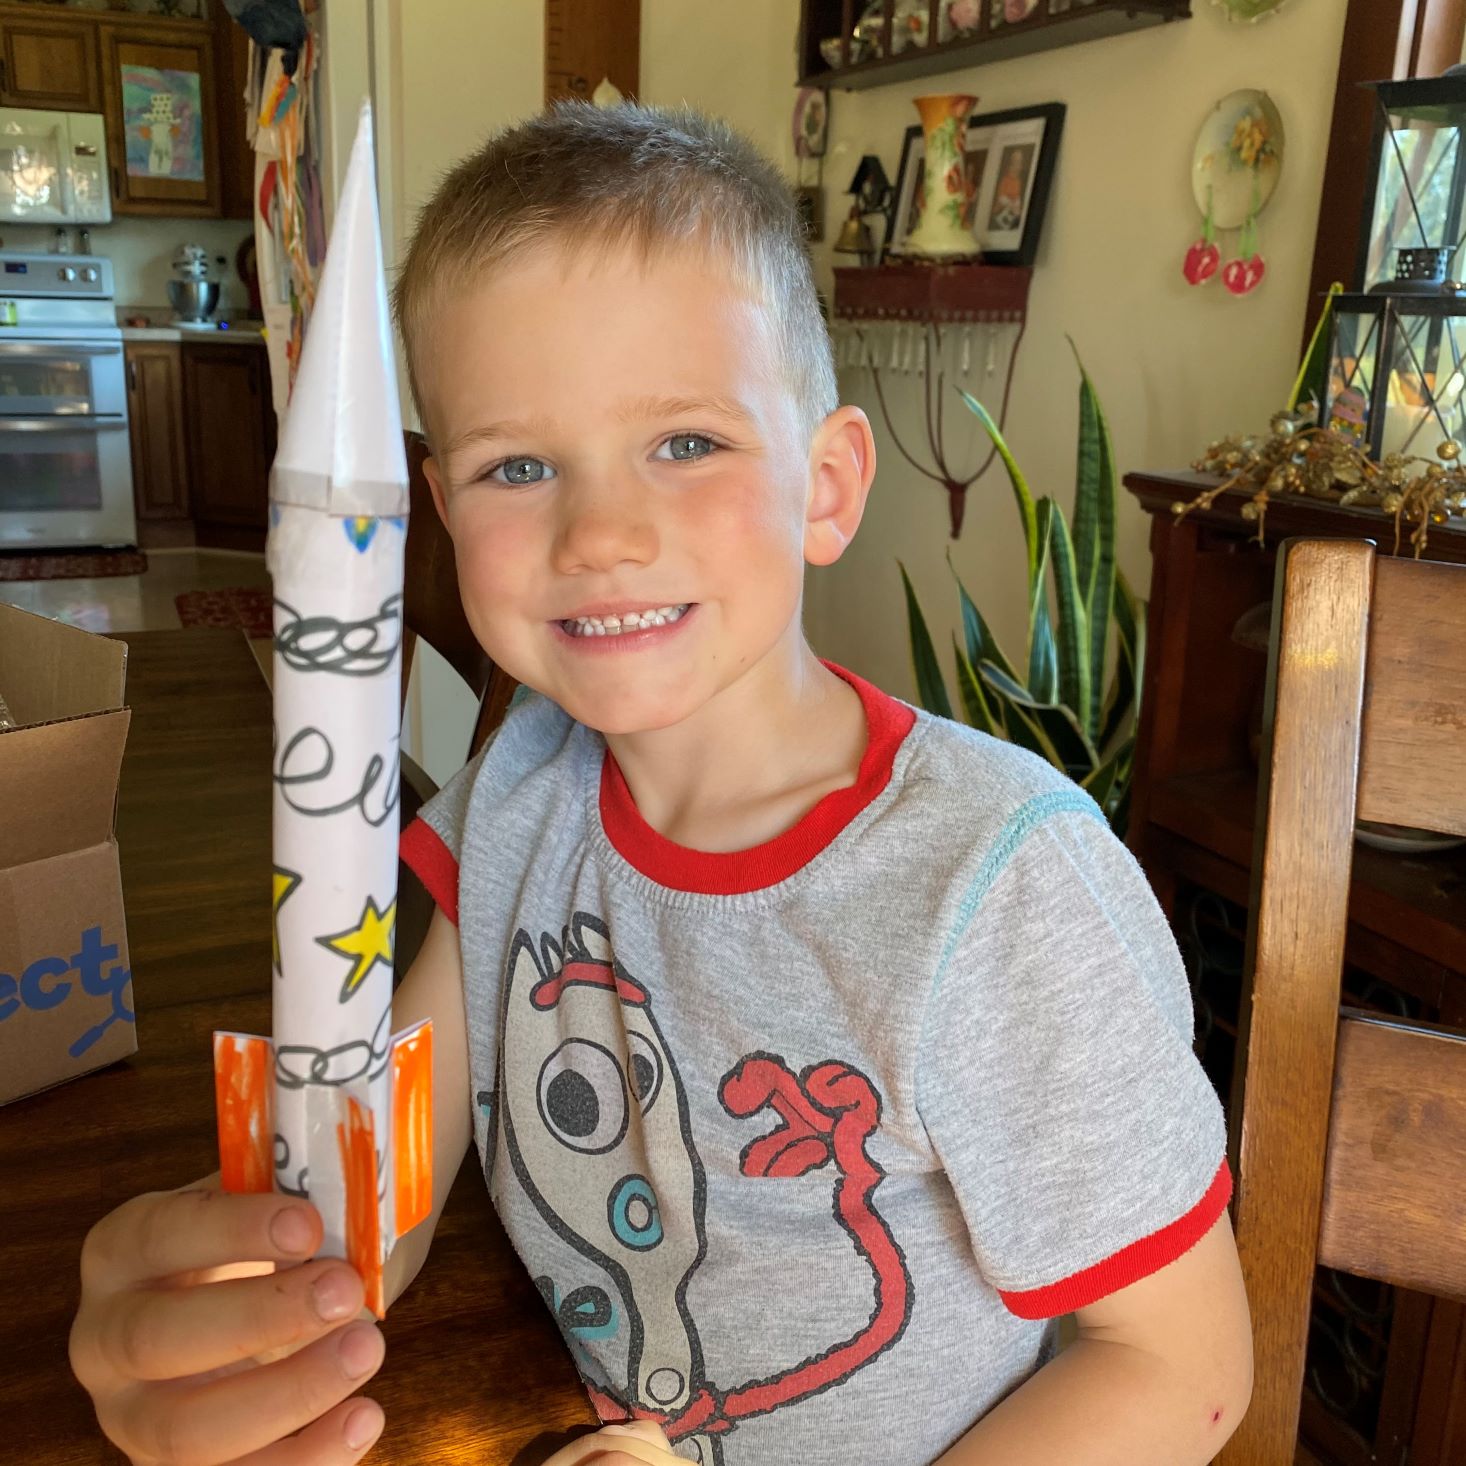
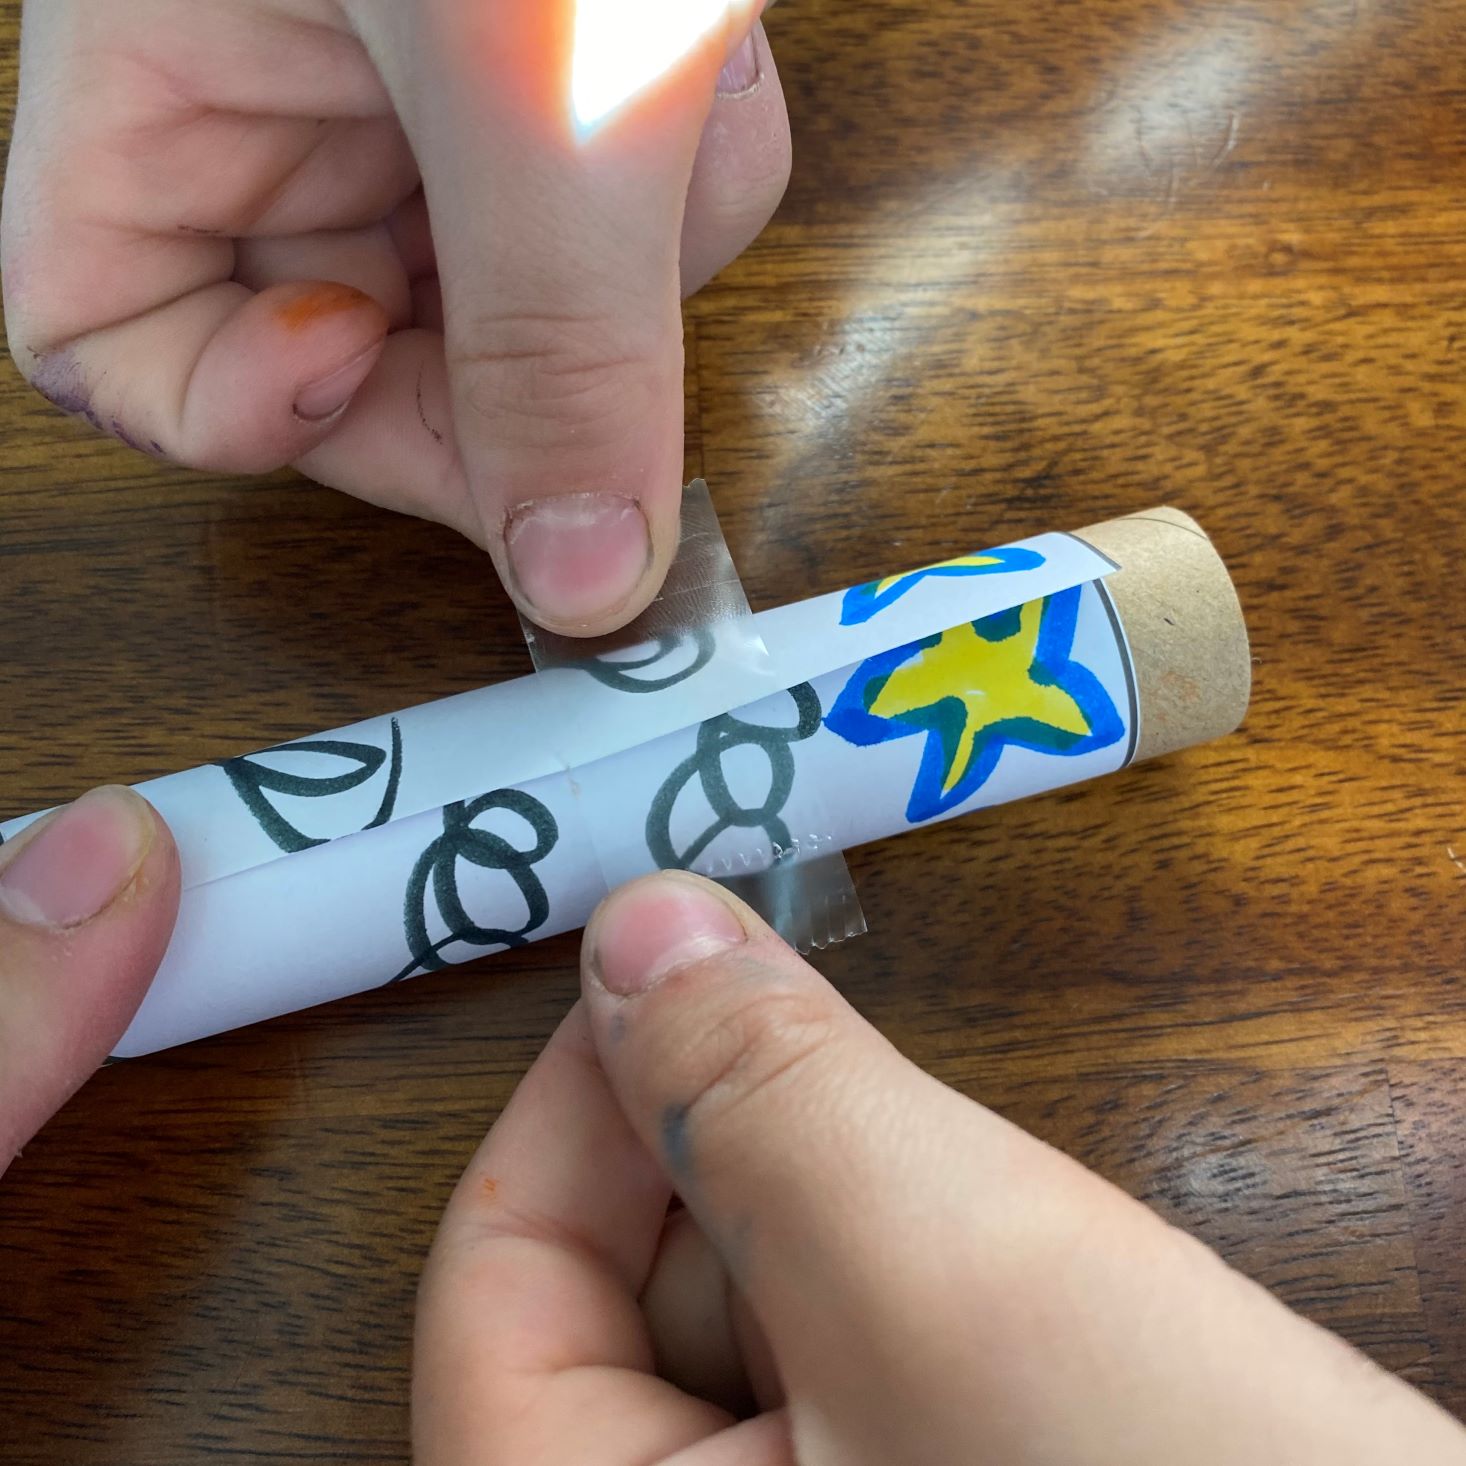
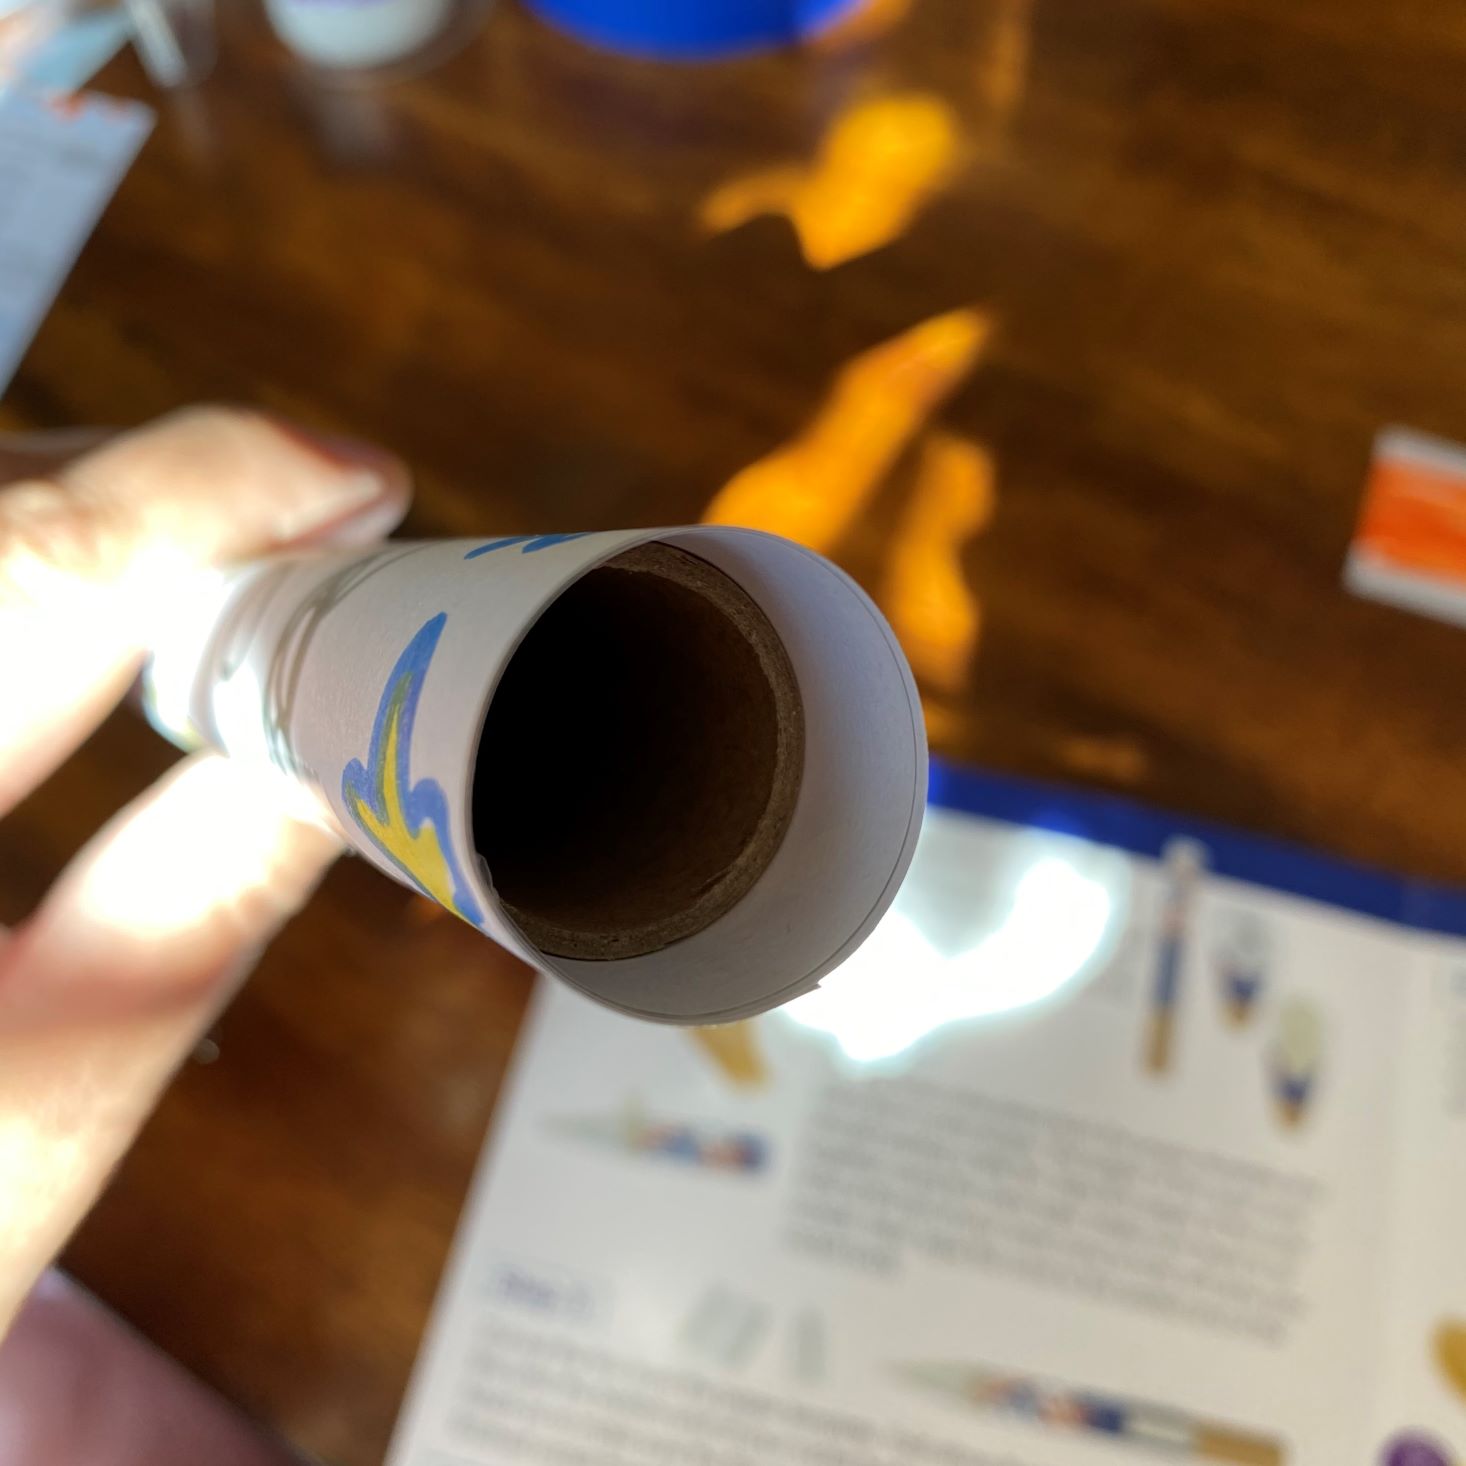
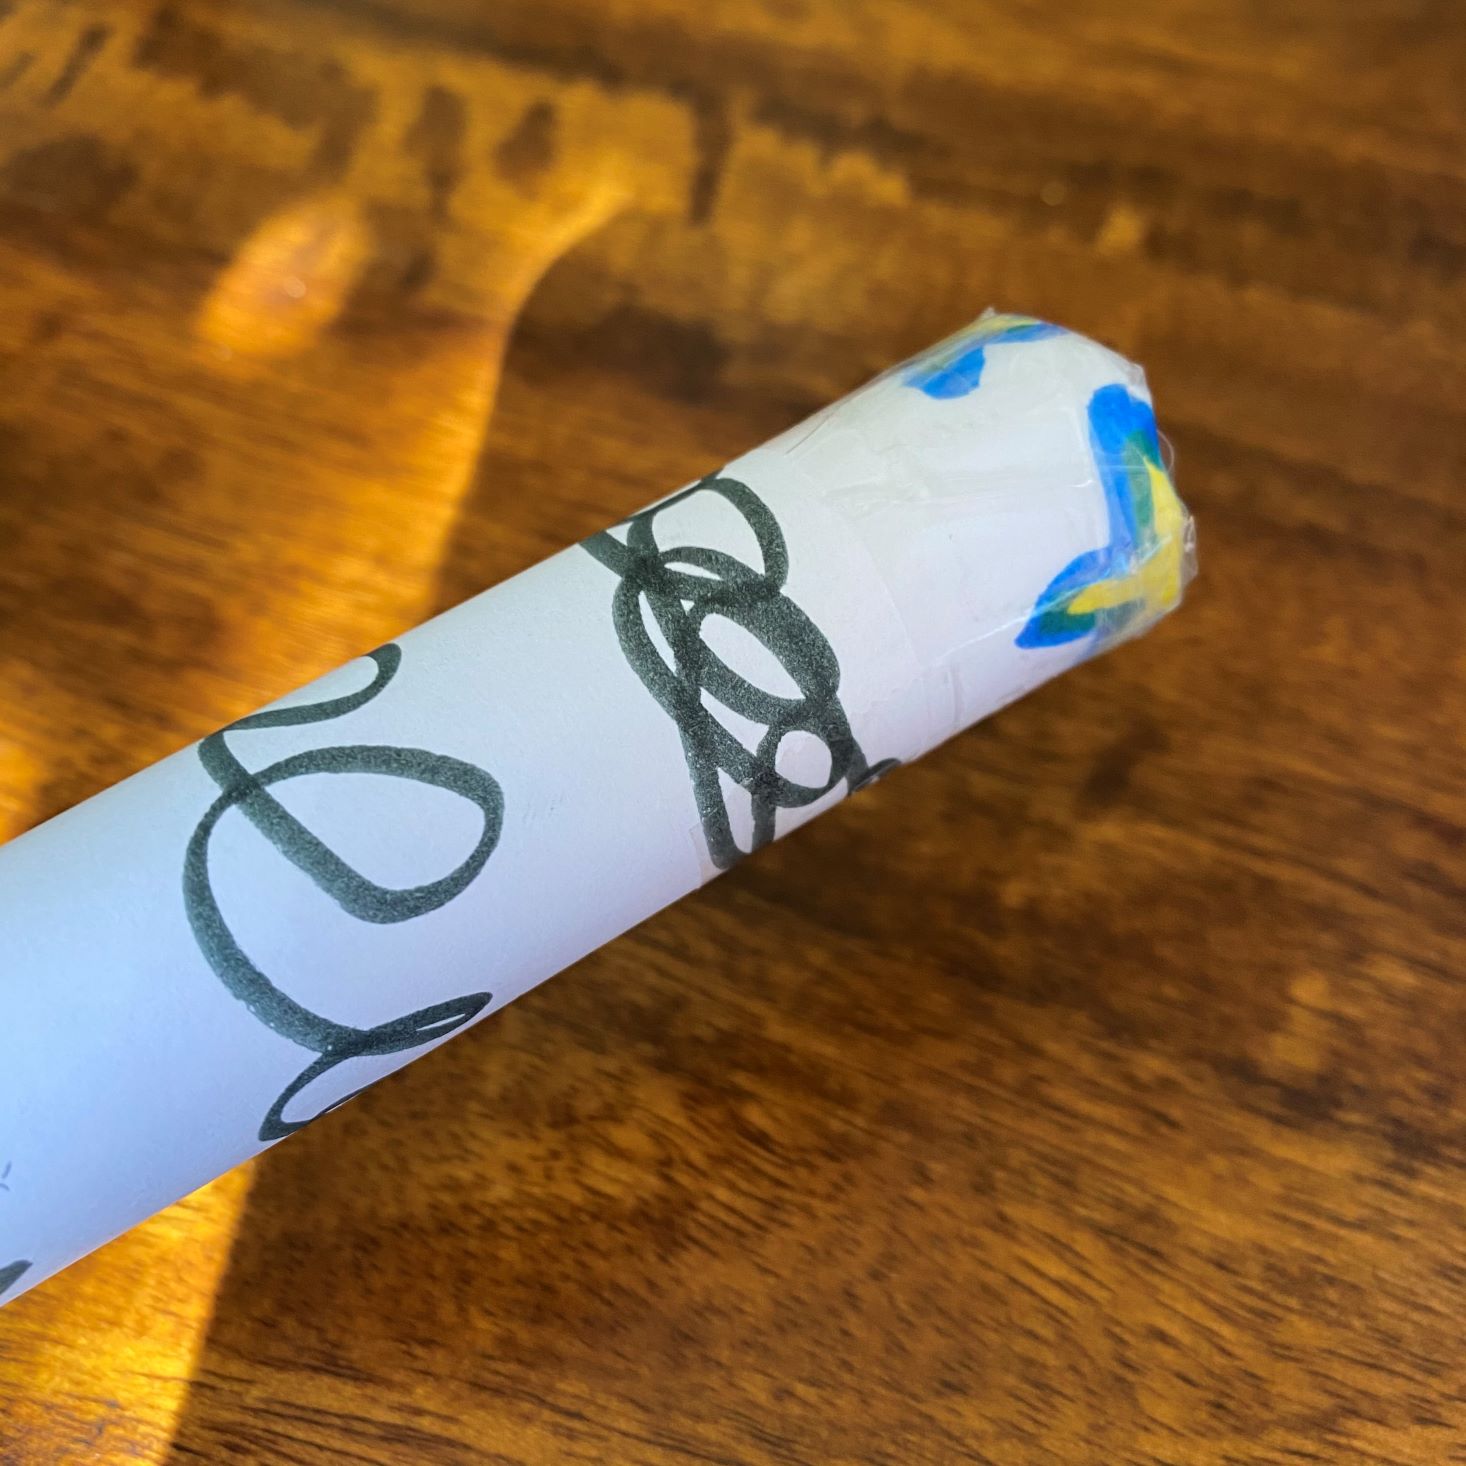
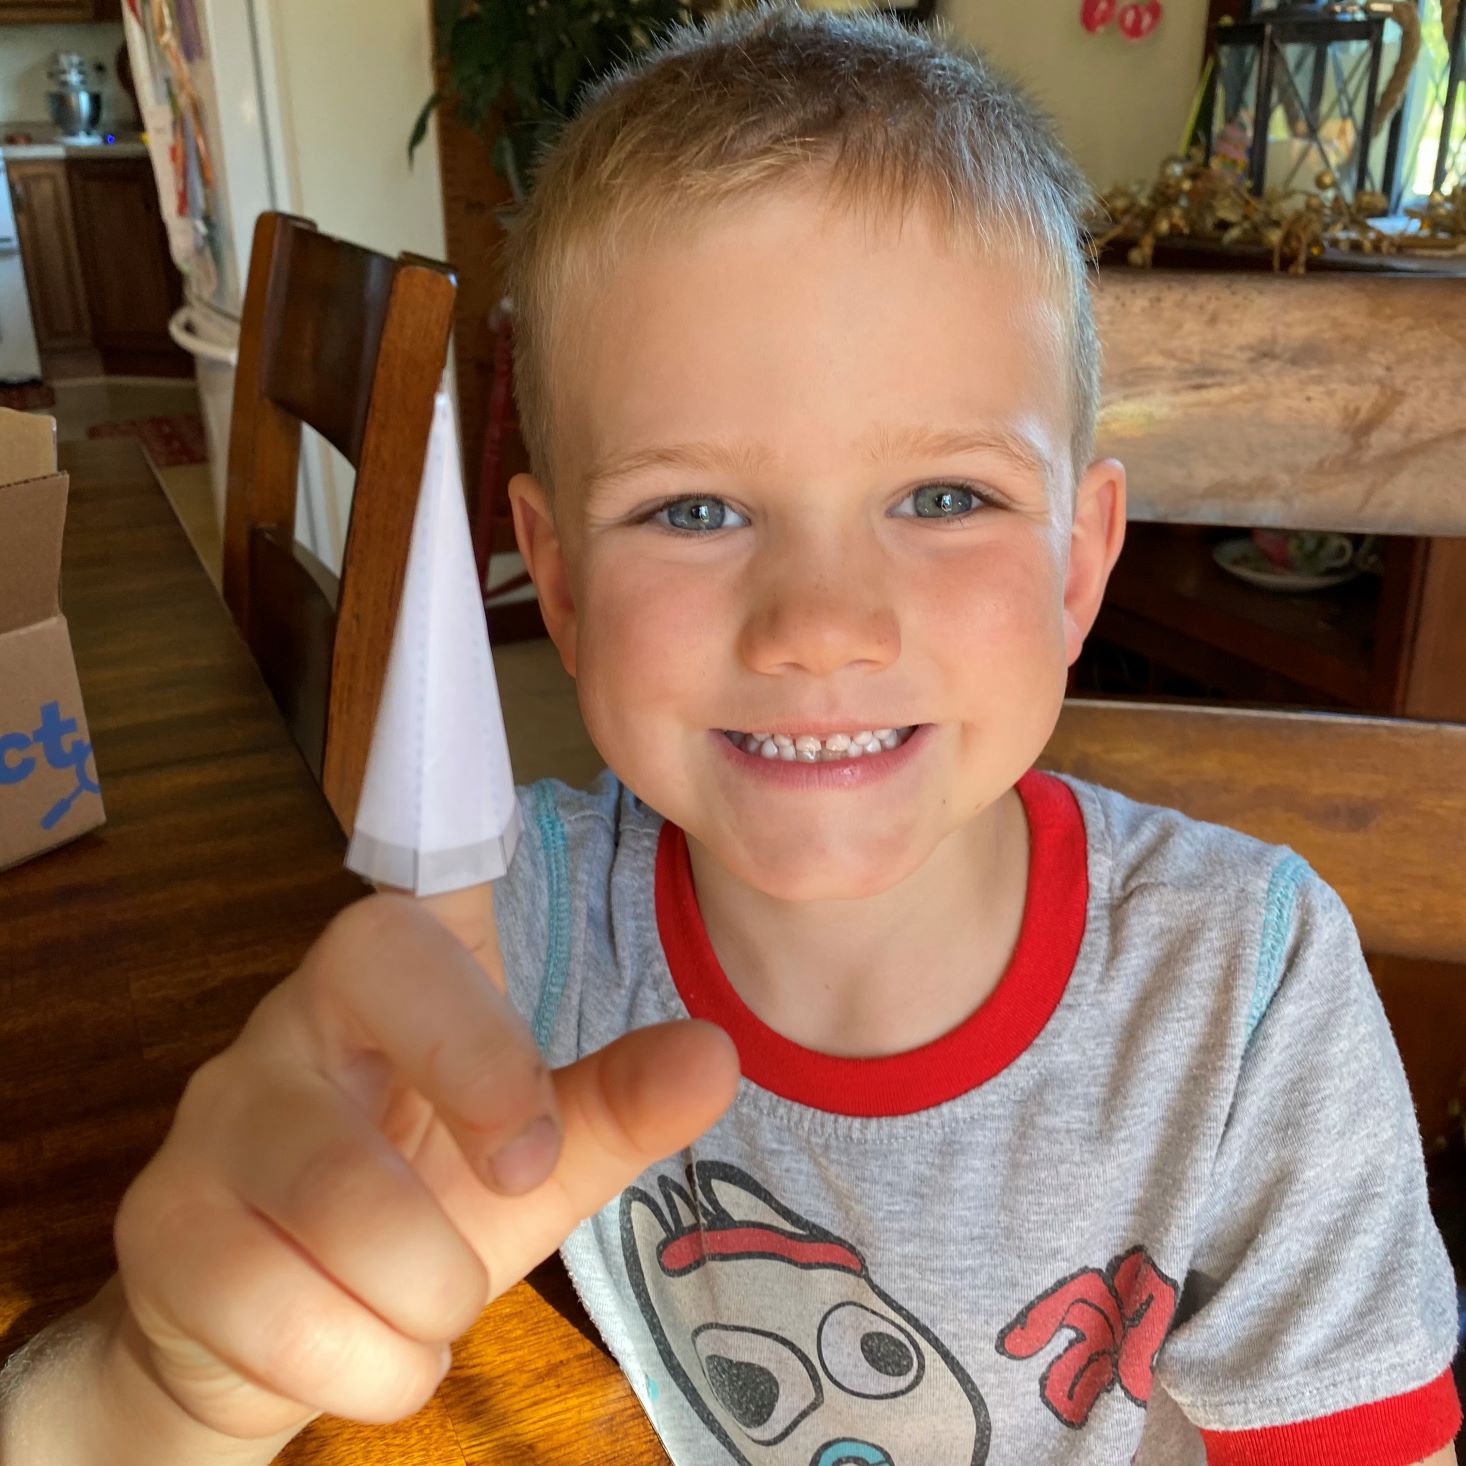
The rocket was actually easier to make than I thought it would, just be prepared to use a lot of tape! To start, Charlie colored the rocket template with swirls and stars. Following the directions on the paper, we cut the black lines carefully and folded the code and fins on the designated lines. Using a lot of tape, we attached the fins and cone to the rocket, and it was finished! Like I said above, I wish I would have made a copy so Hank could have made a rocket too, but I didn't think of that until later. I did do a quick Google search and found that there are some similar printables online, so I will have to investigate that option a little more, as our initial rocket is out of commission....more on that later!
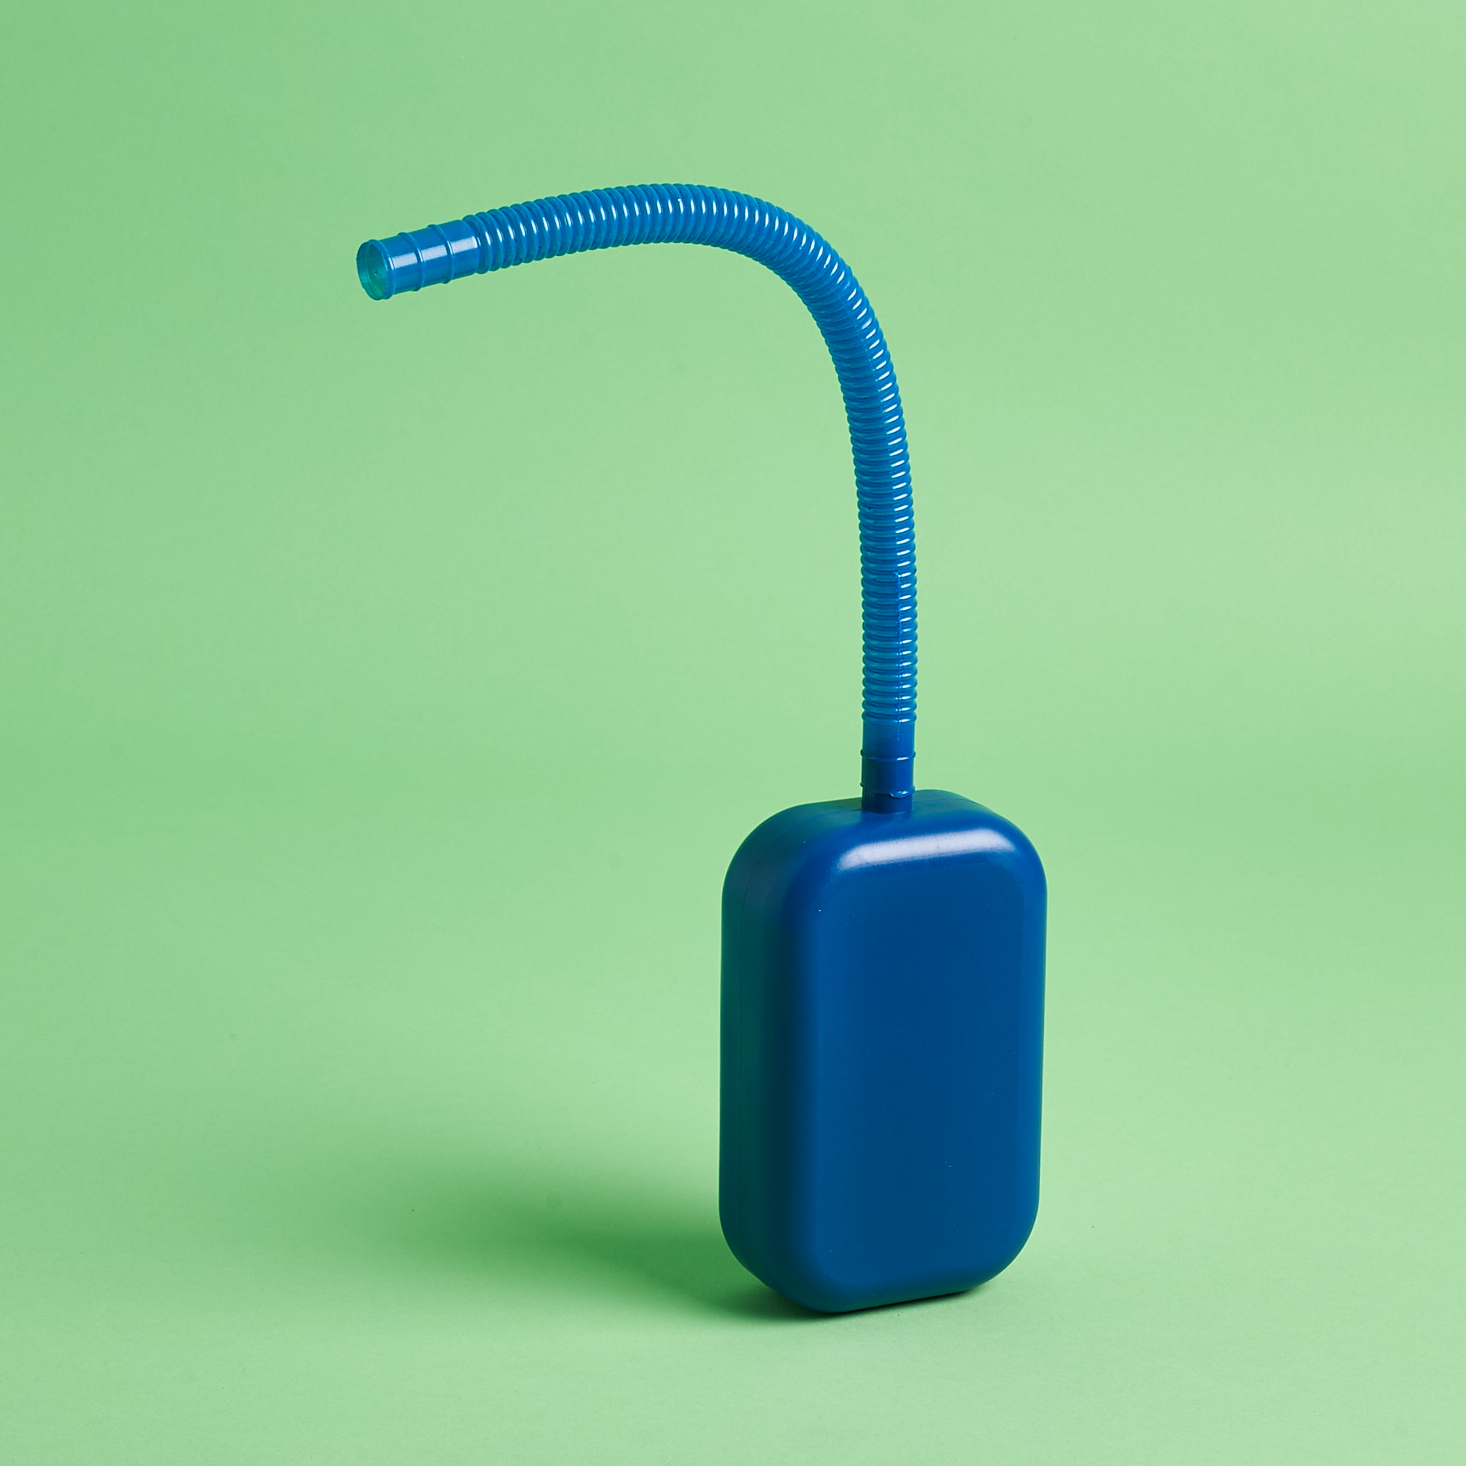
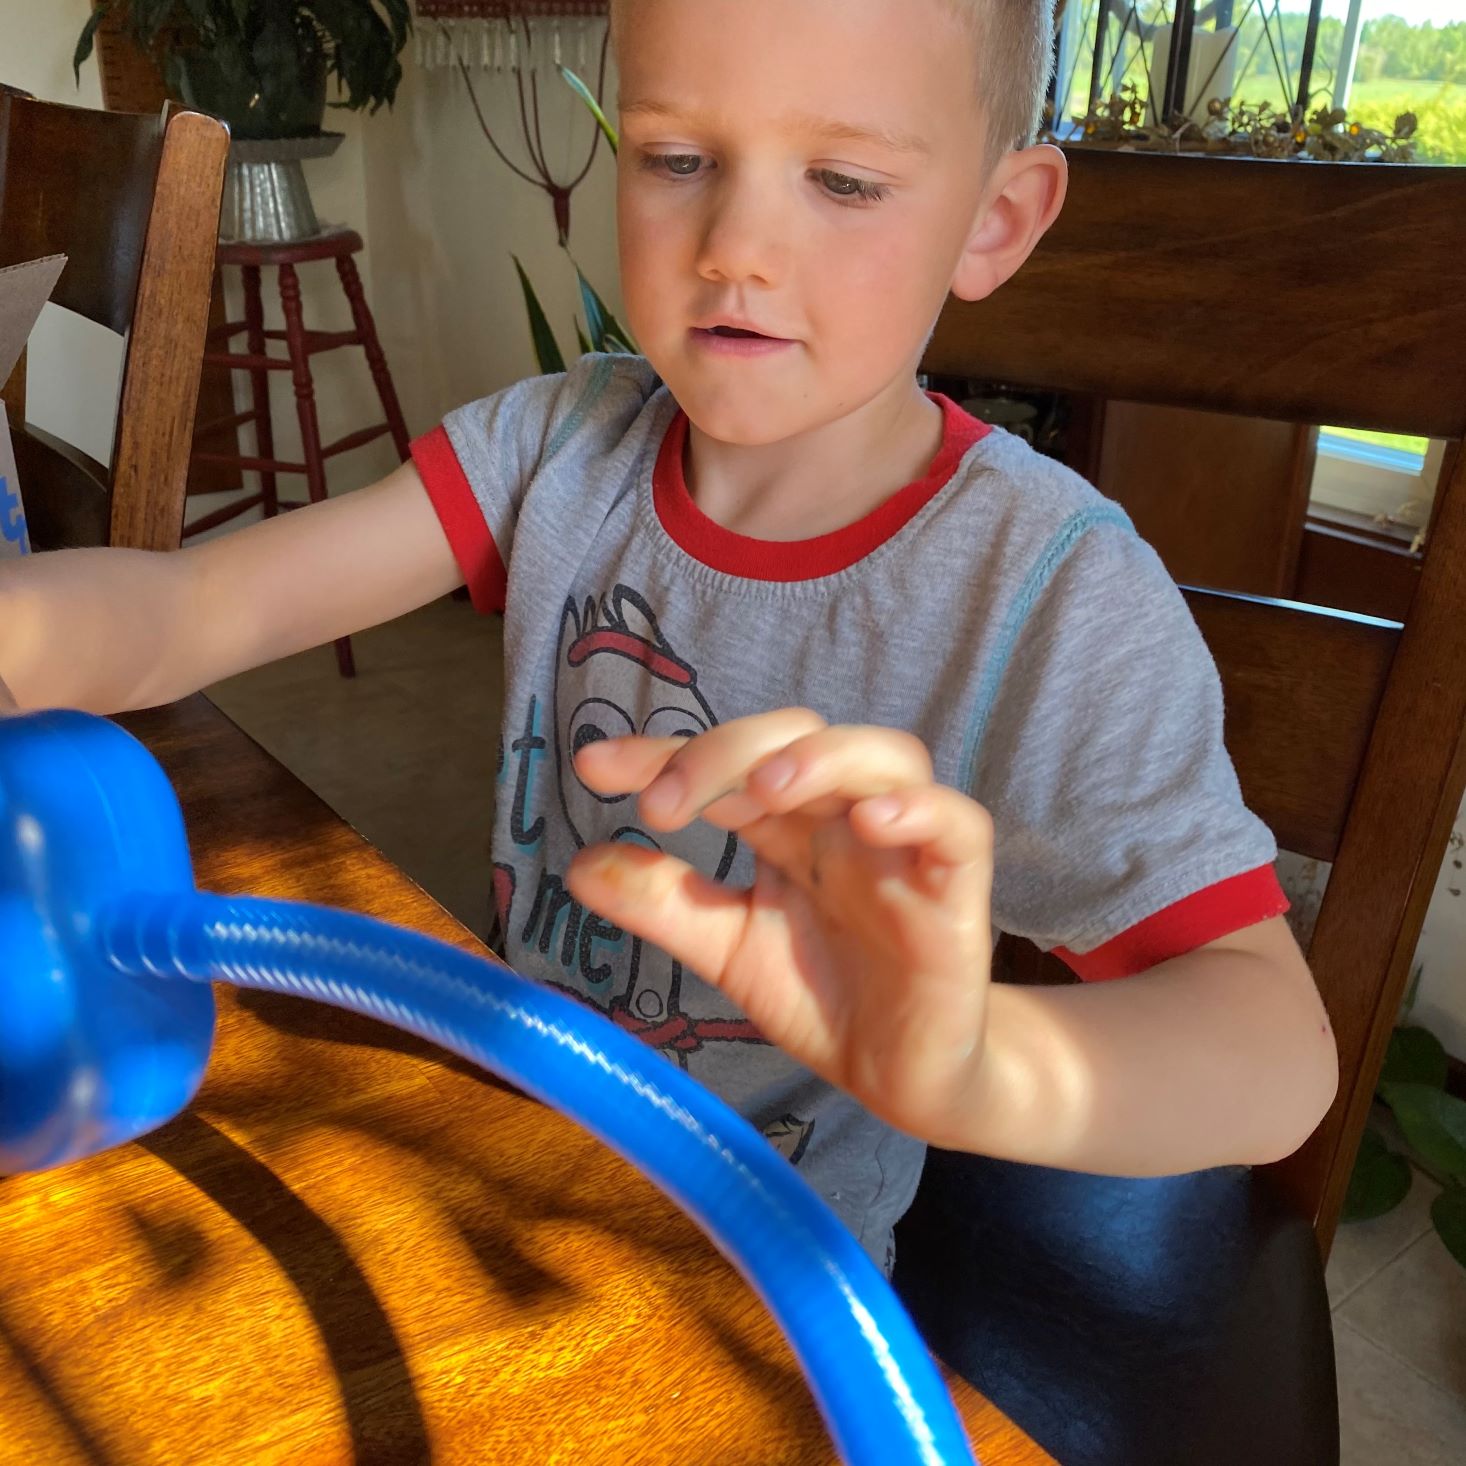
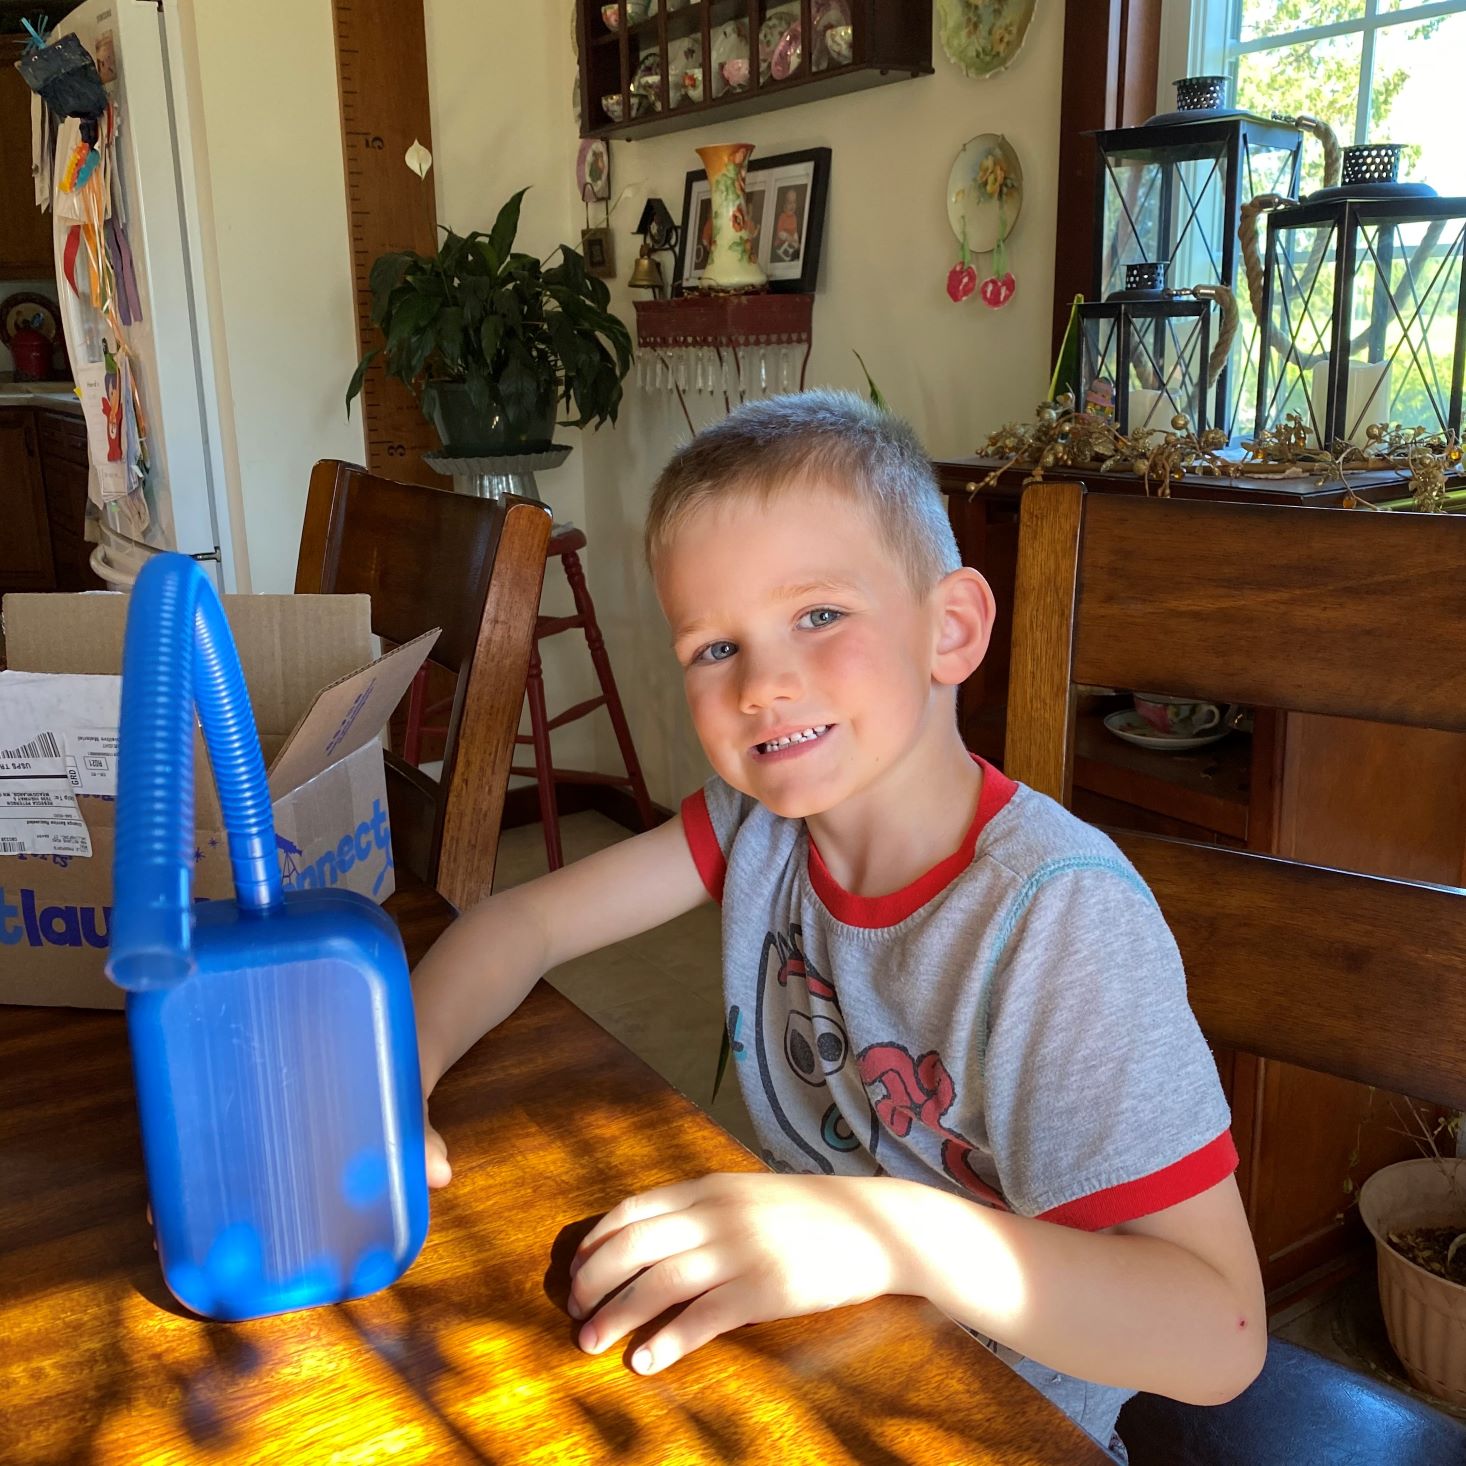
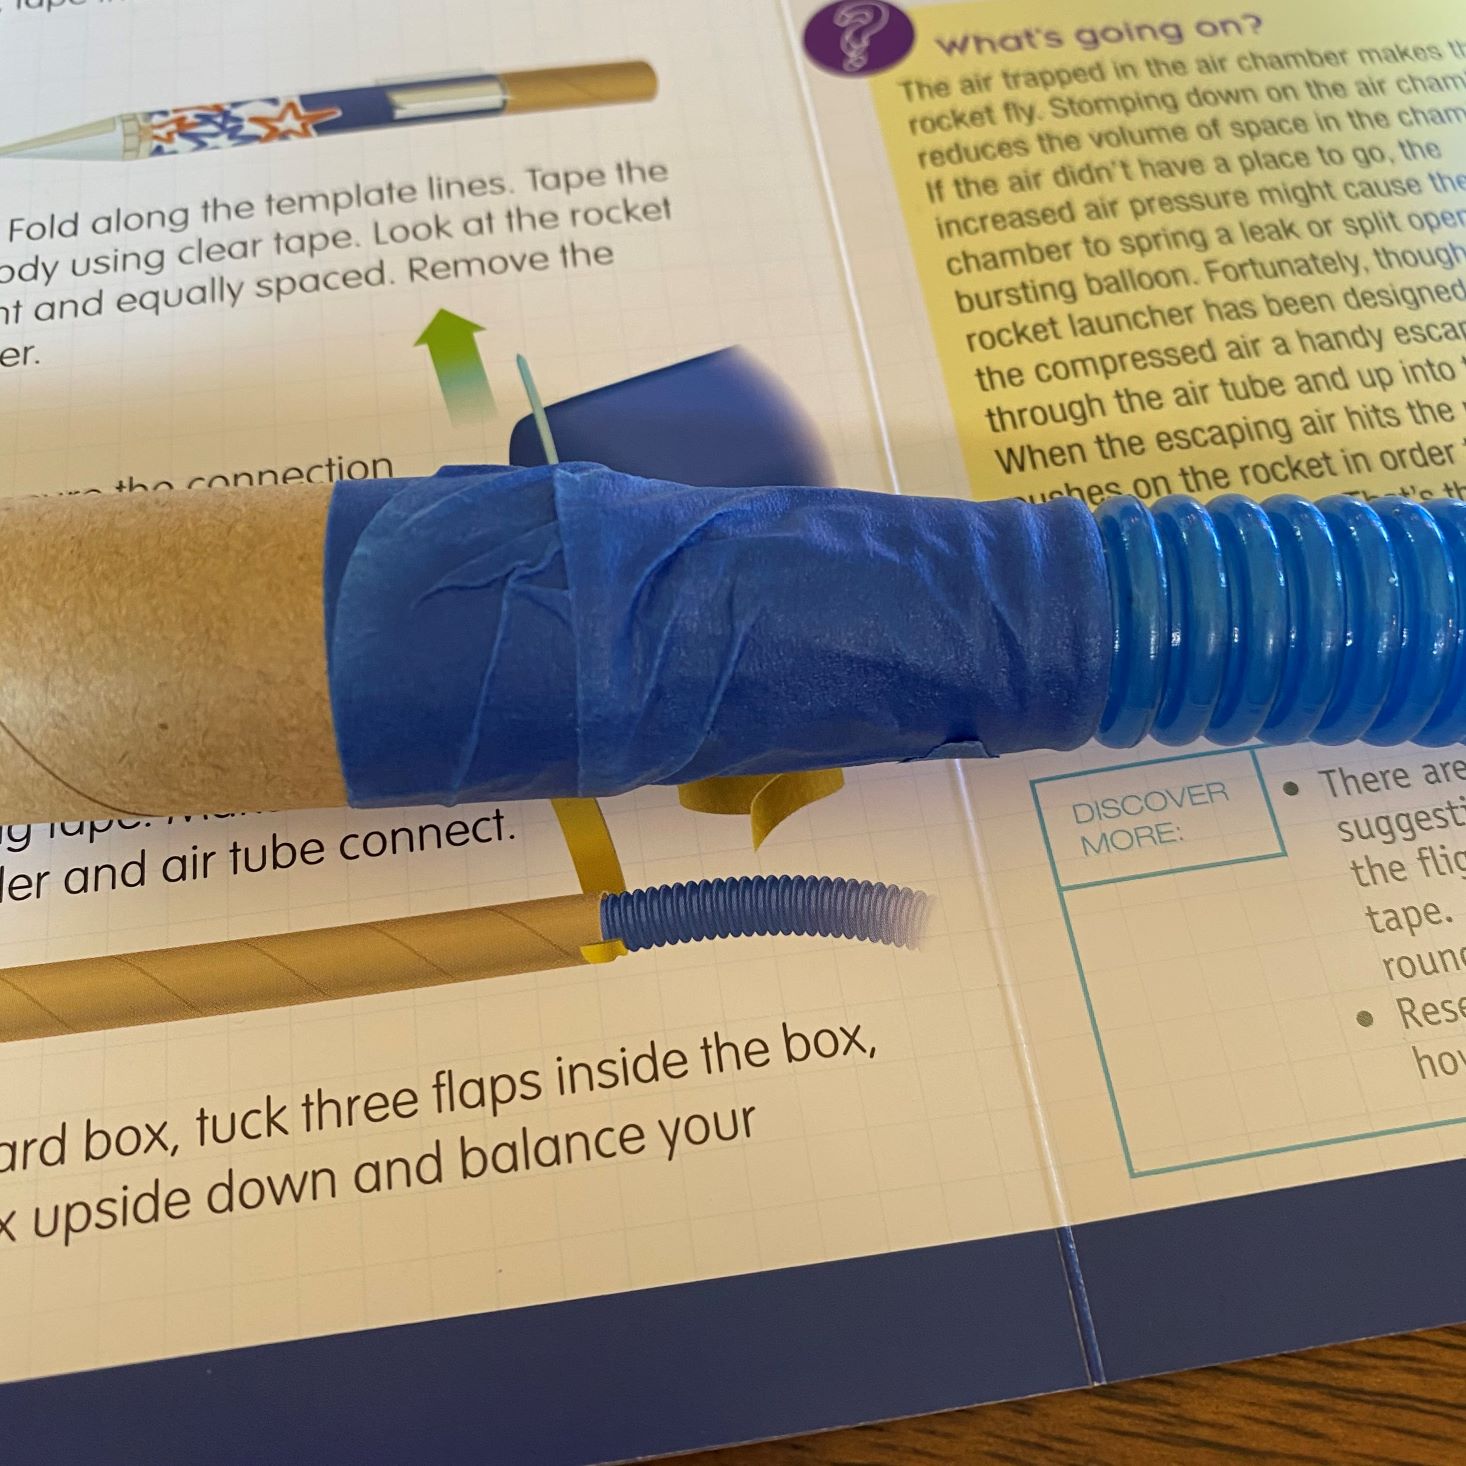
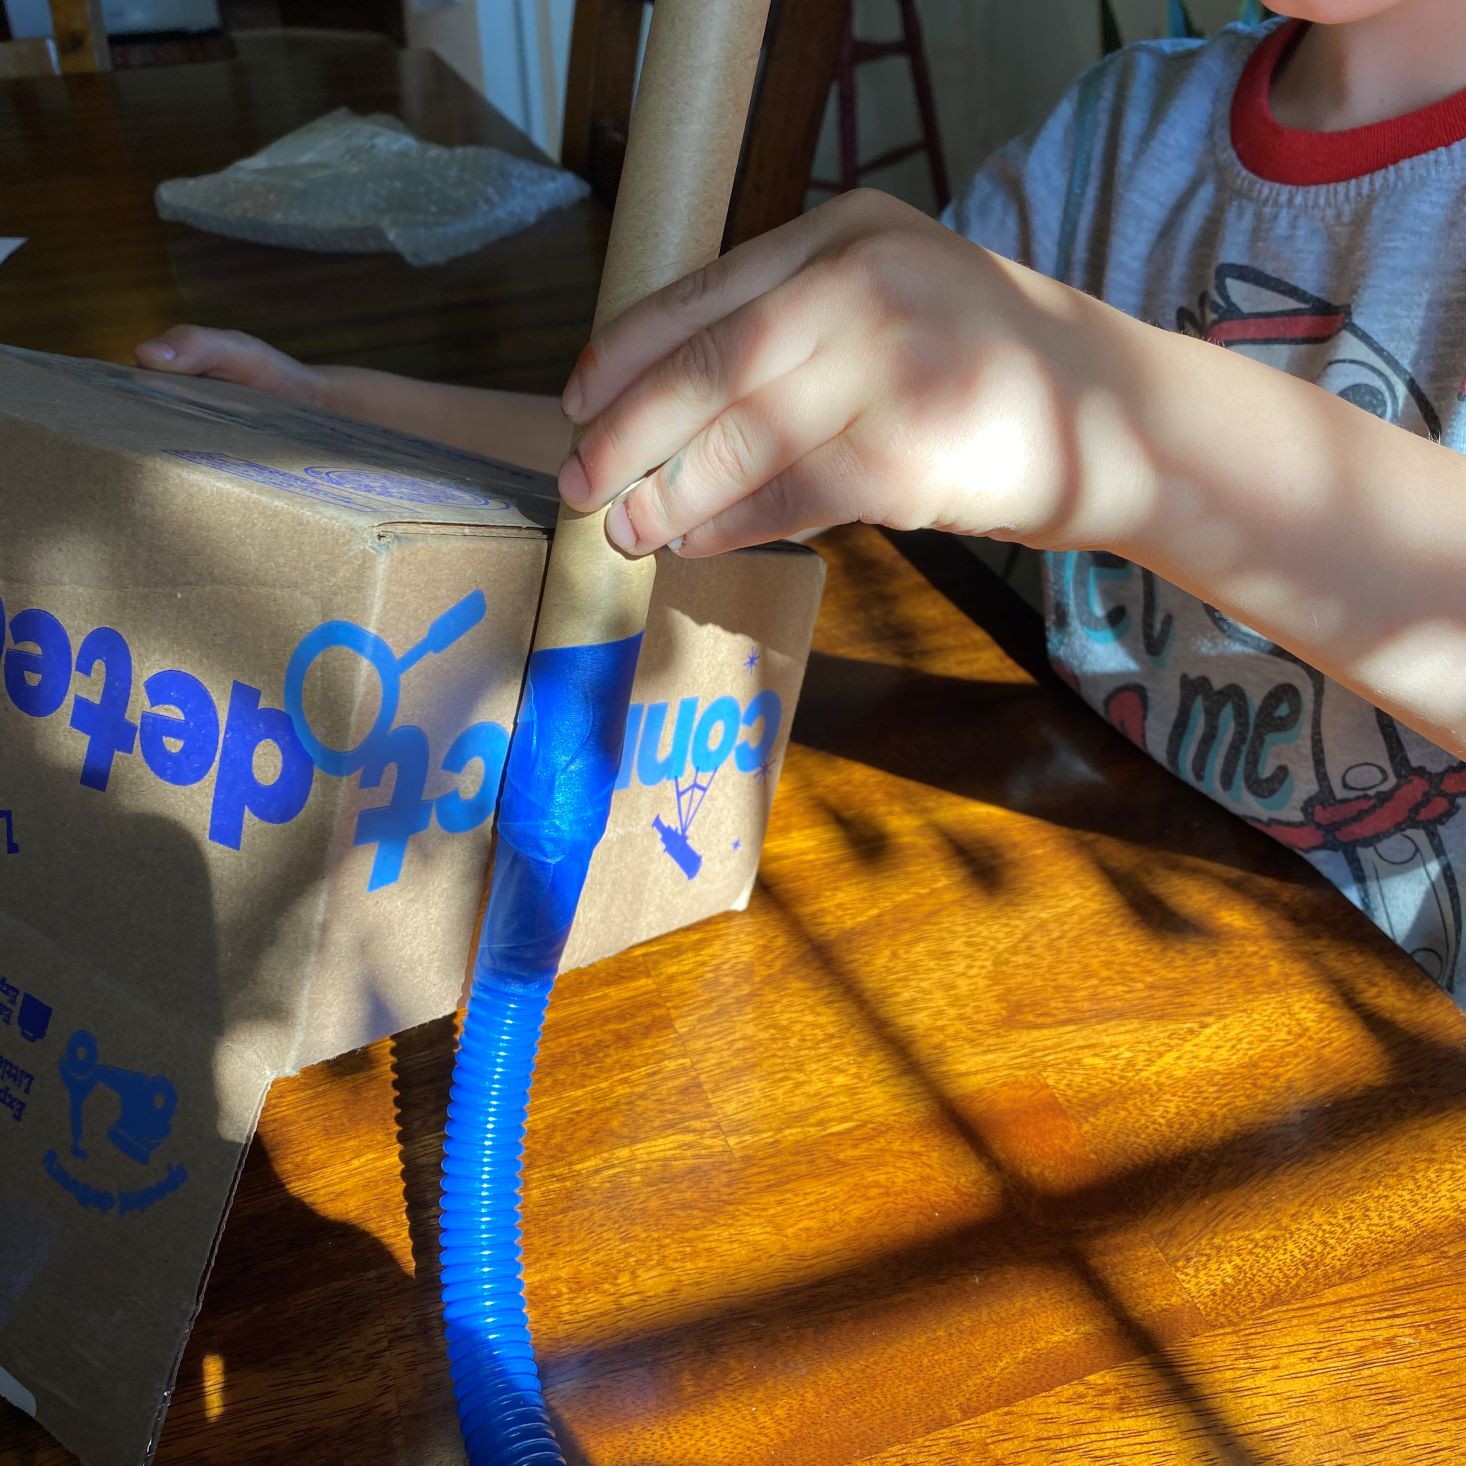
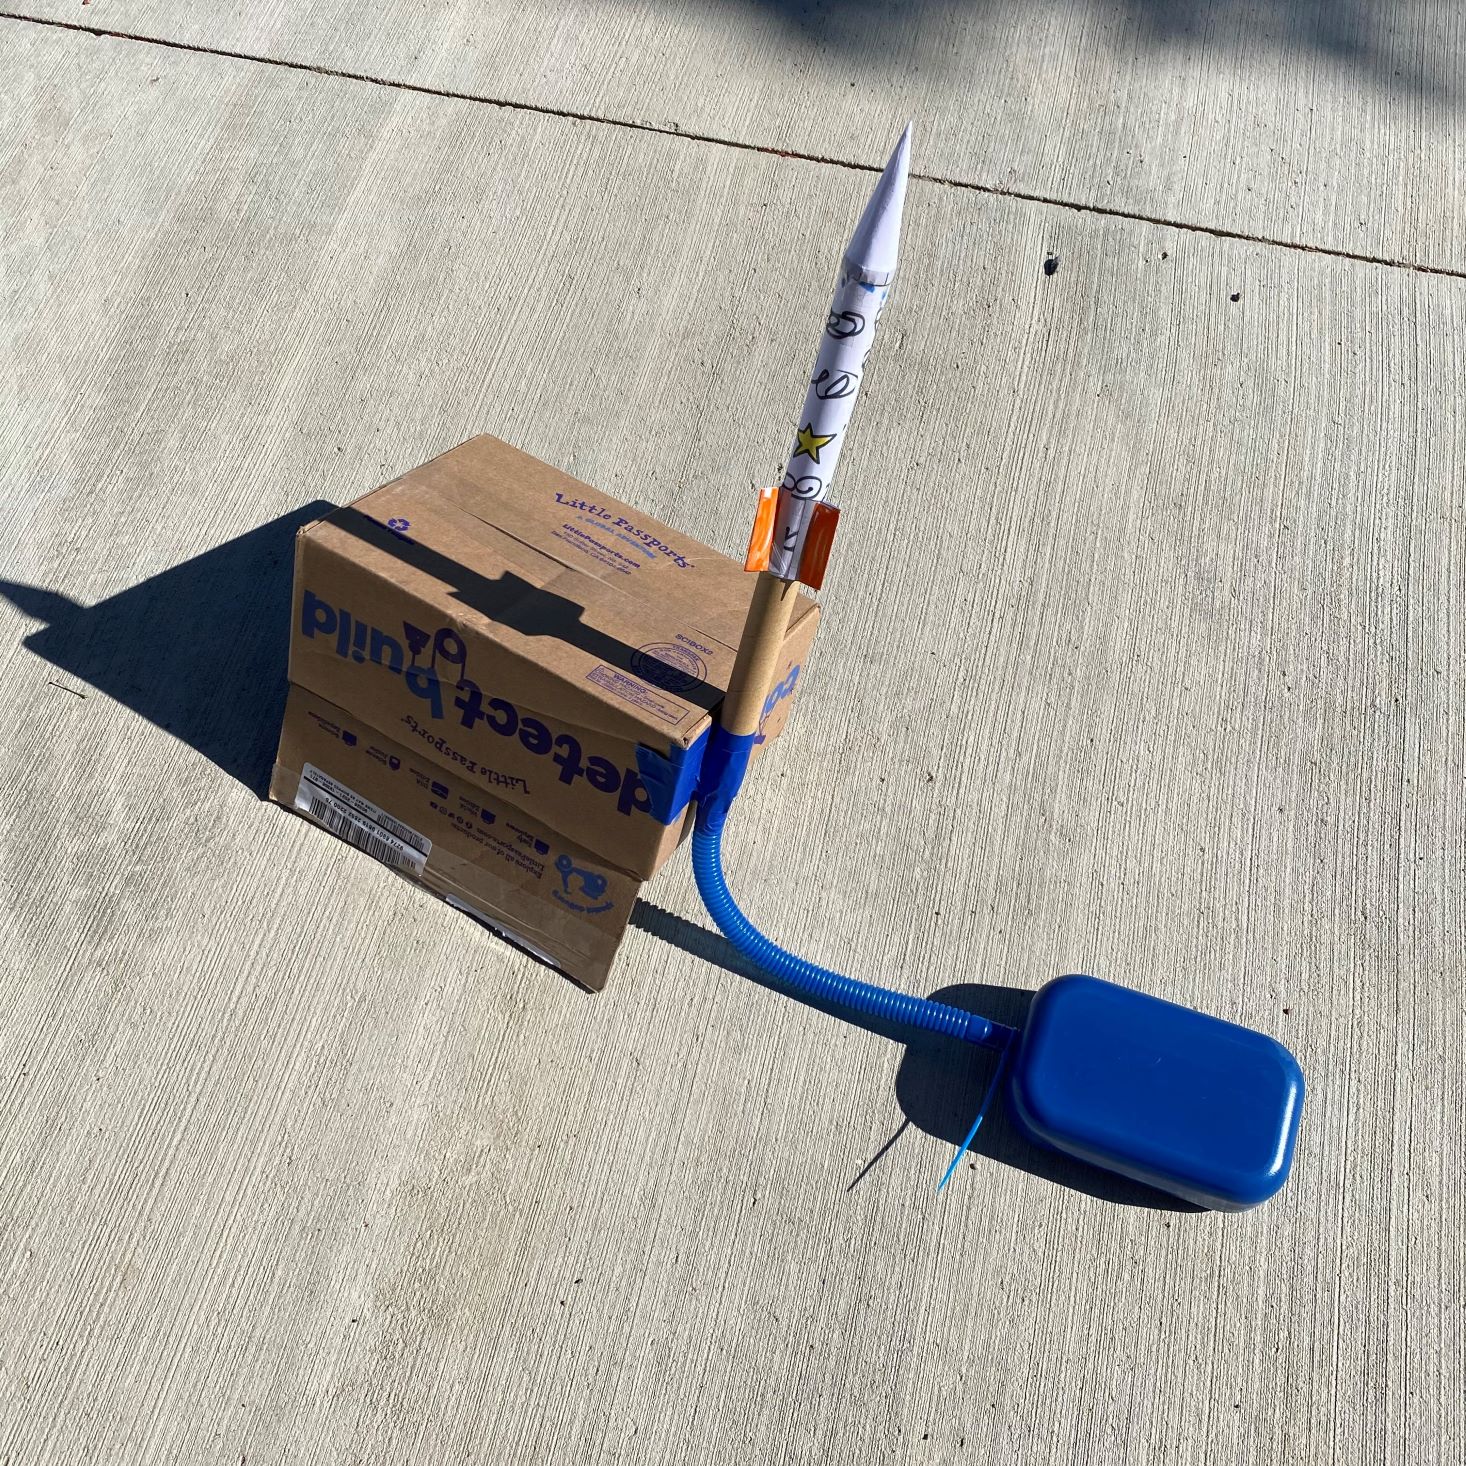
Once the rocket was completed, we had to assemble our launchpad. Using the zip tie, we connected the air tube to the air chamber and taped it together. Attaching it to the box with more tape, we were ready for lift-off. Complete with a count down, Charlie's first launch was pretty weak as he only used one foot and gently stomped on the air chamber. After the initial launch, he started jumping with both feet and all the force he could muster up....that rocket literally flew so high we couldn't even see it! This activity was AMAZING and extremely impressive. After about 10 launches, the cone ended up getting smashed in by some rocks, rendering it unflyable, so I either have some major repair work to do, or a new template is needed...
Experiment #2: Hovercraft
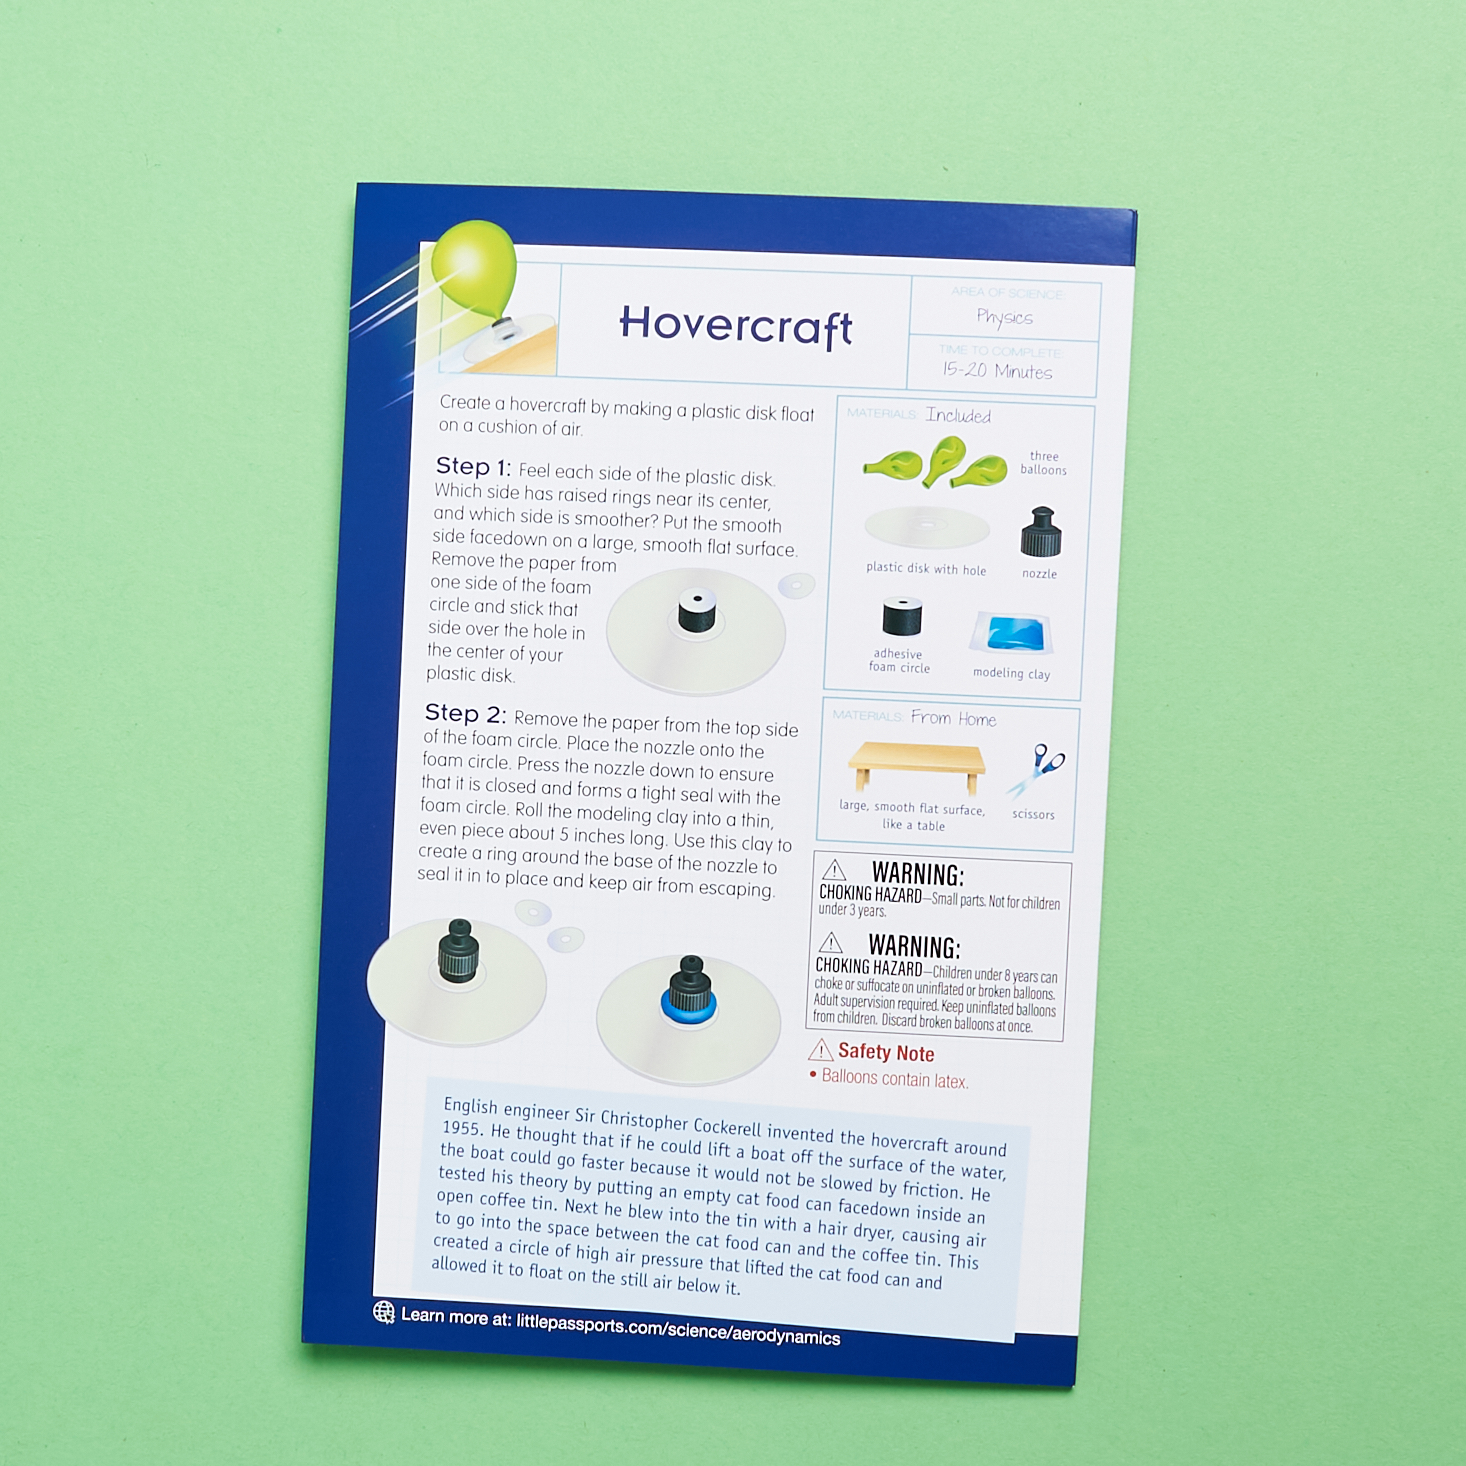
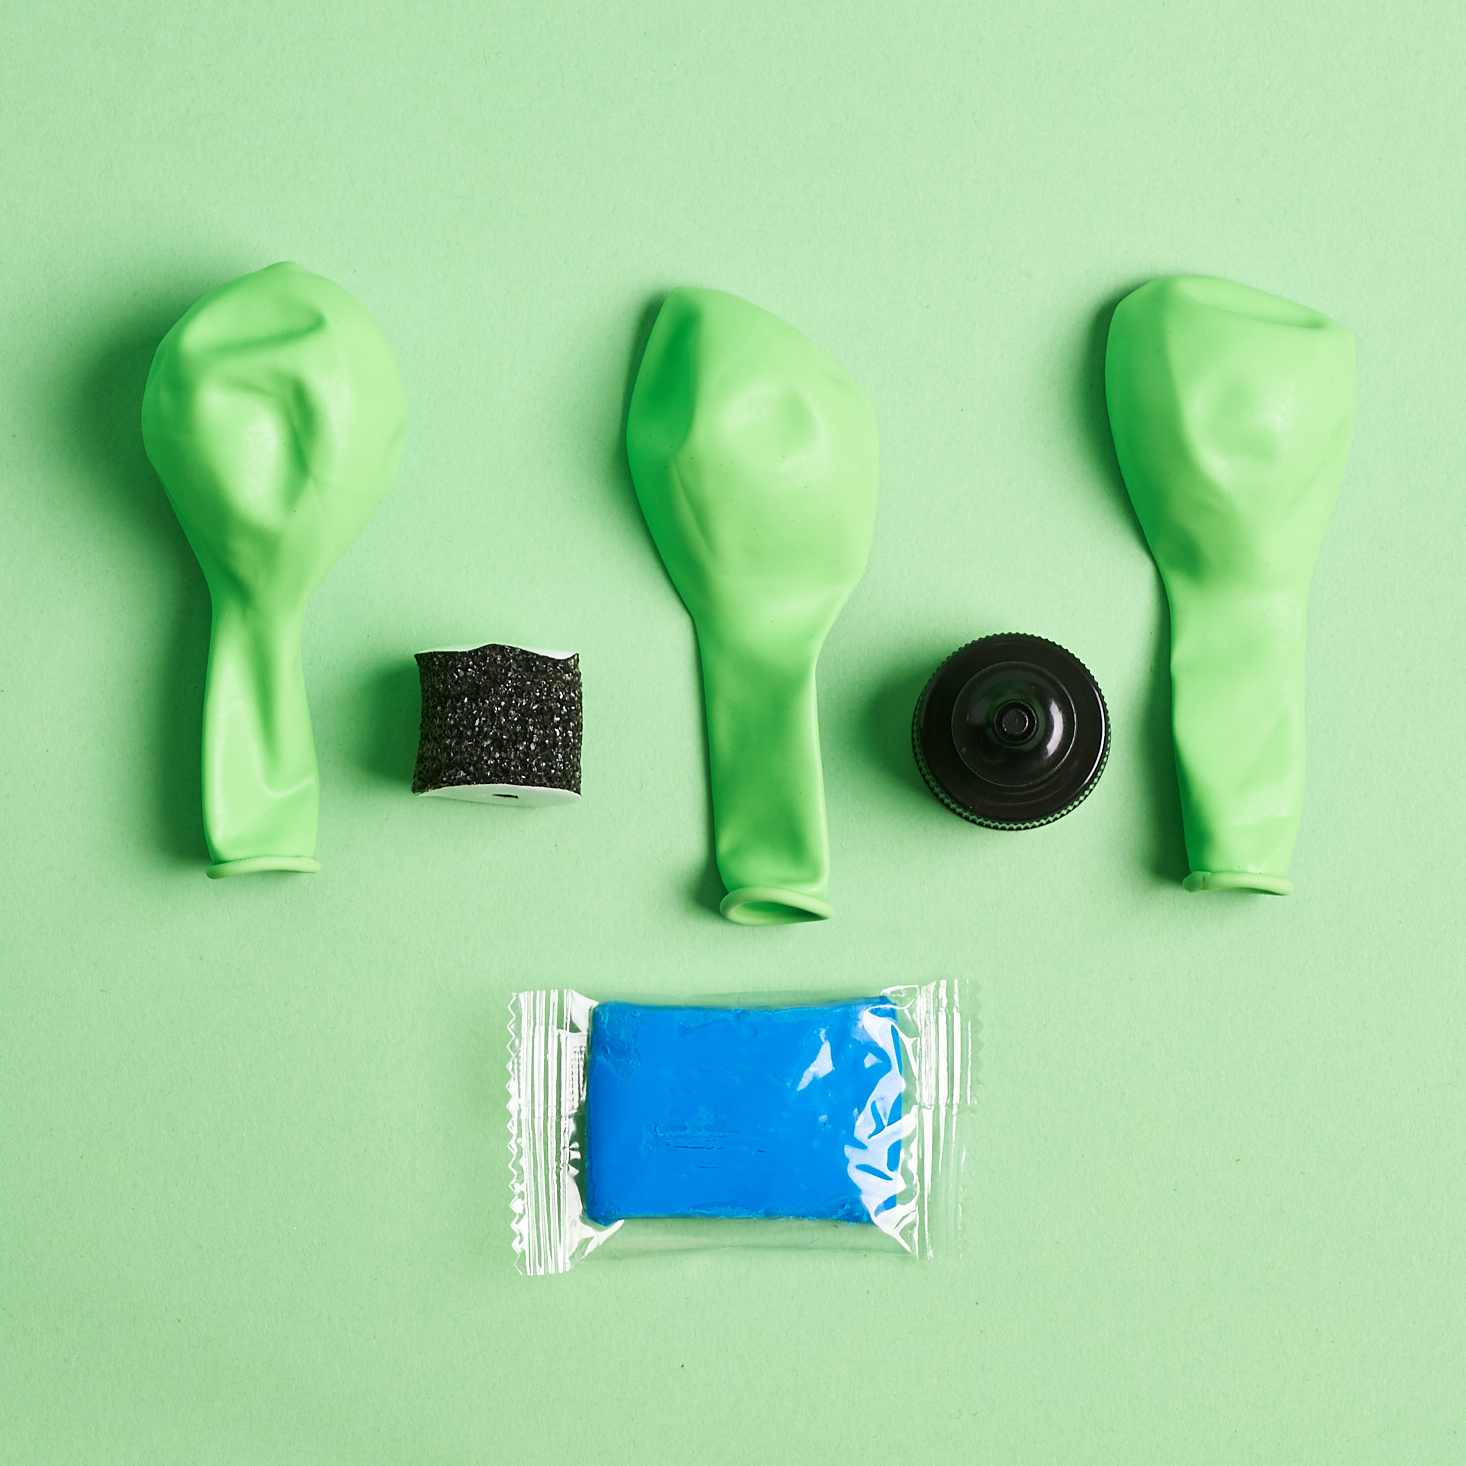
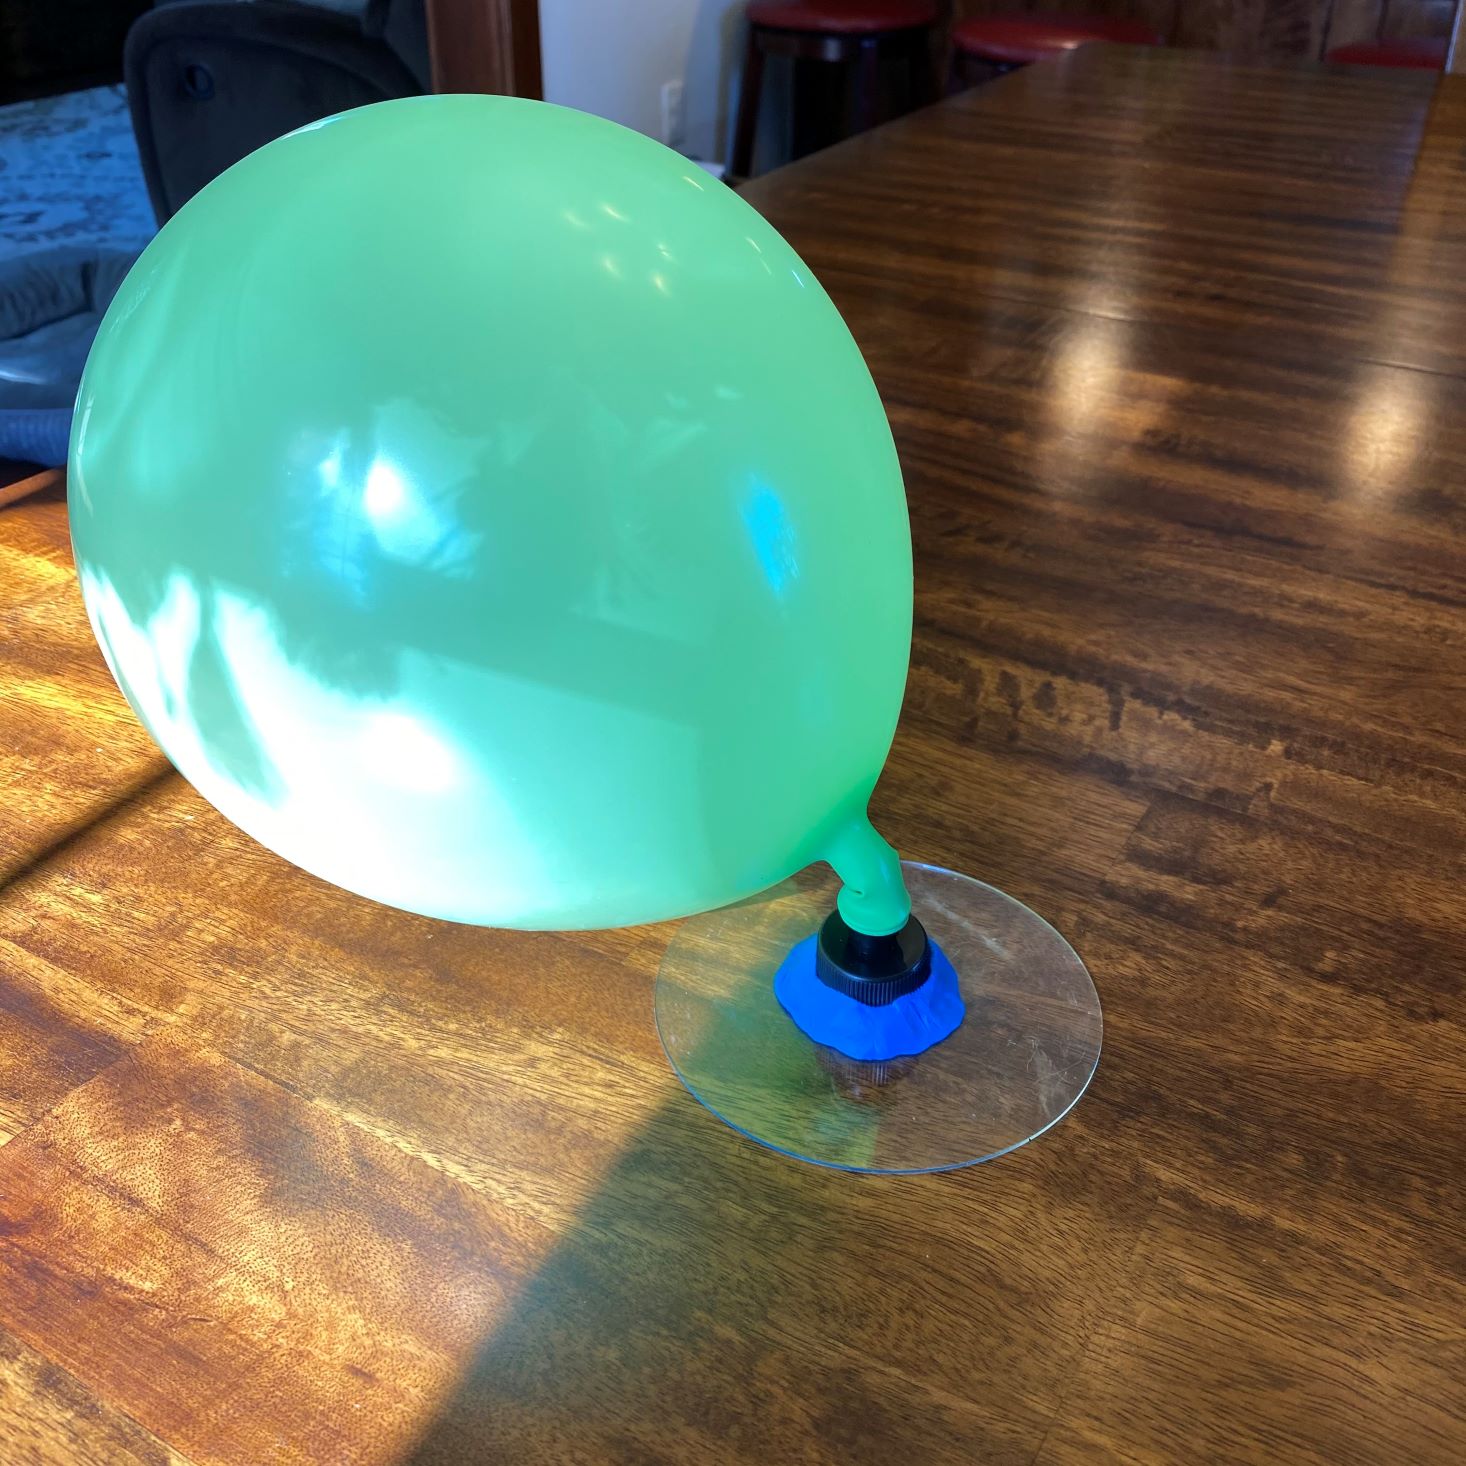
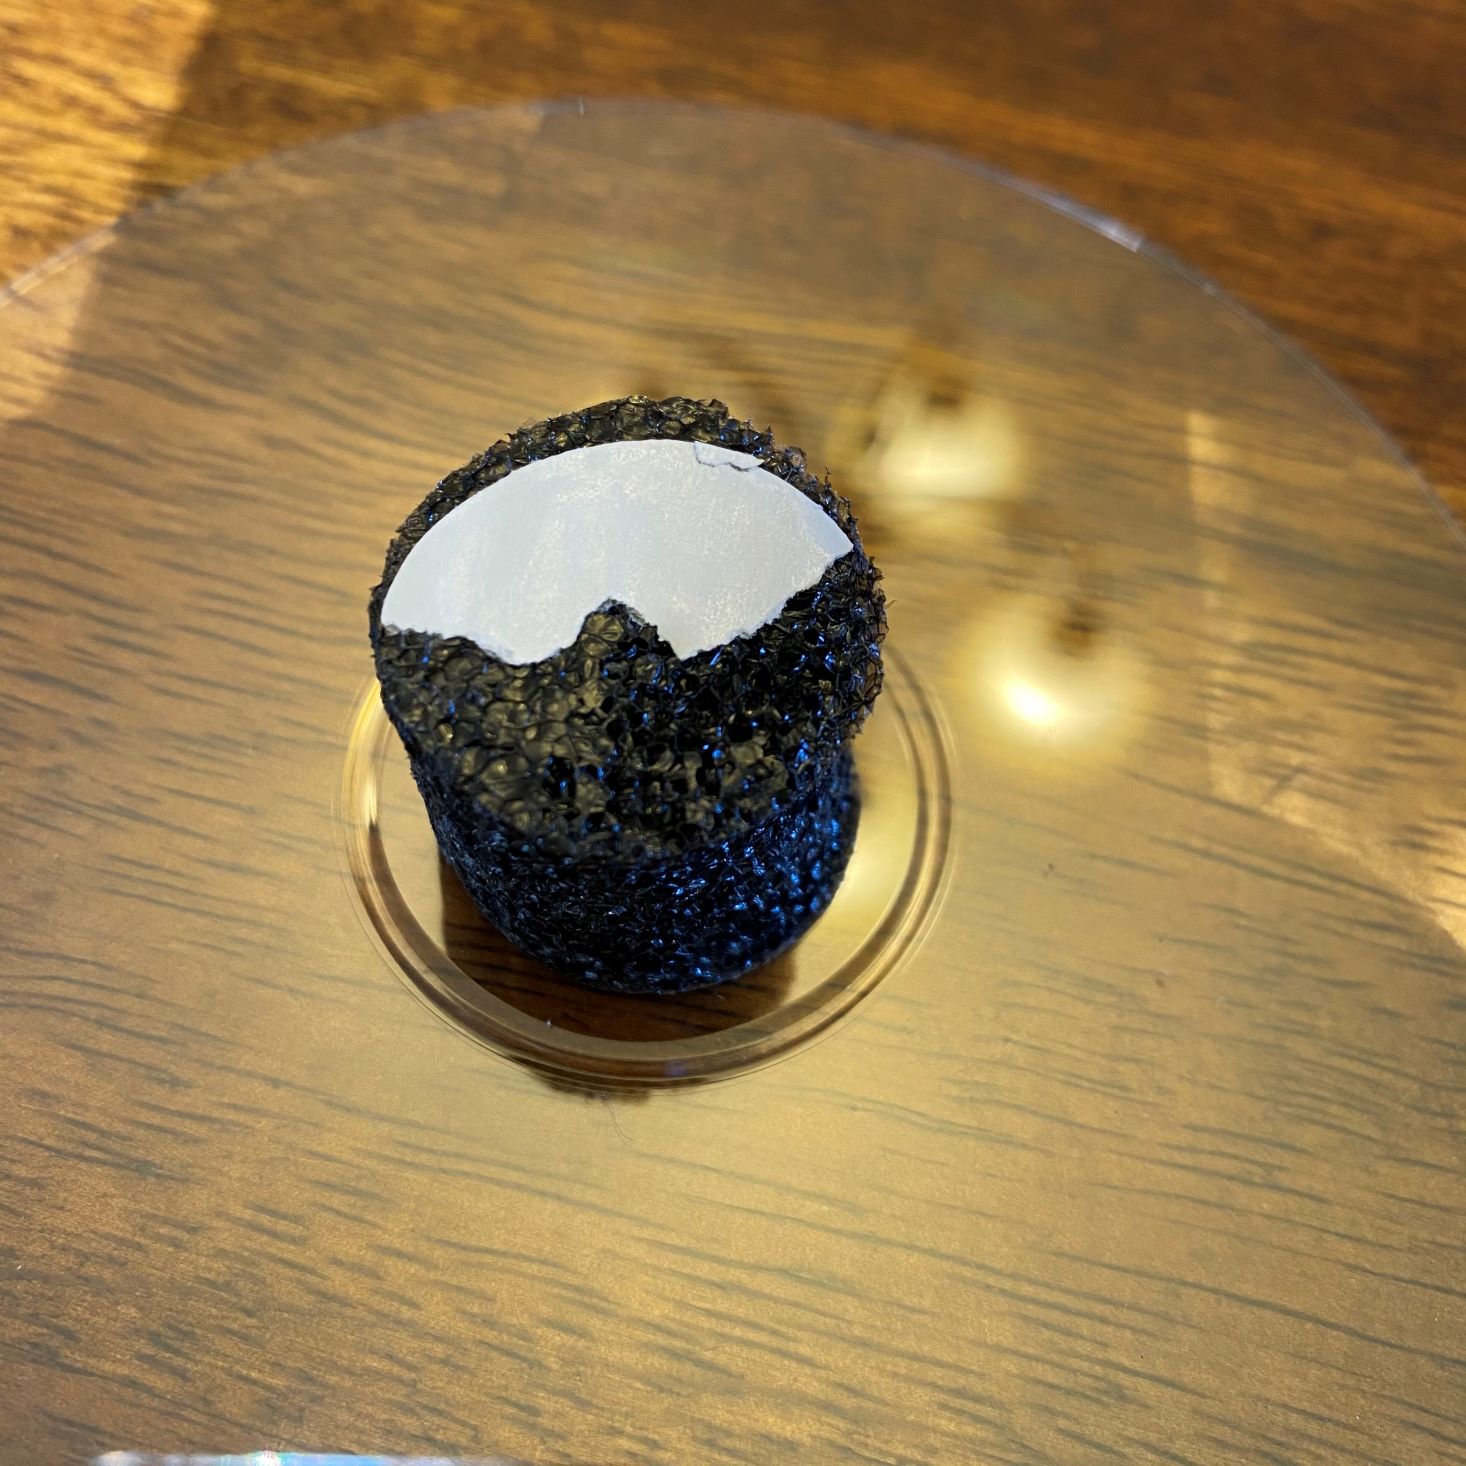
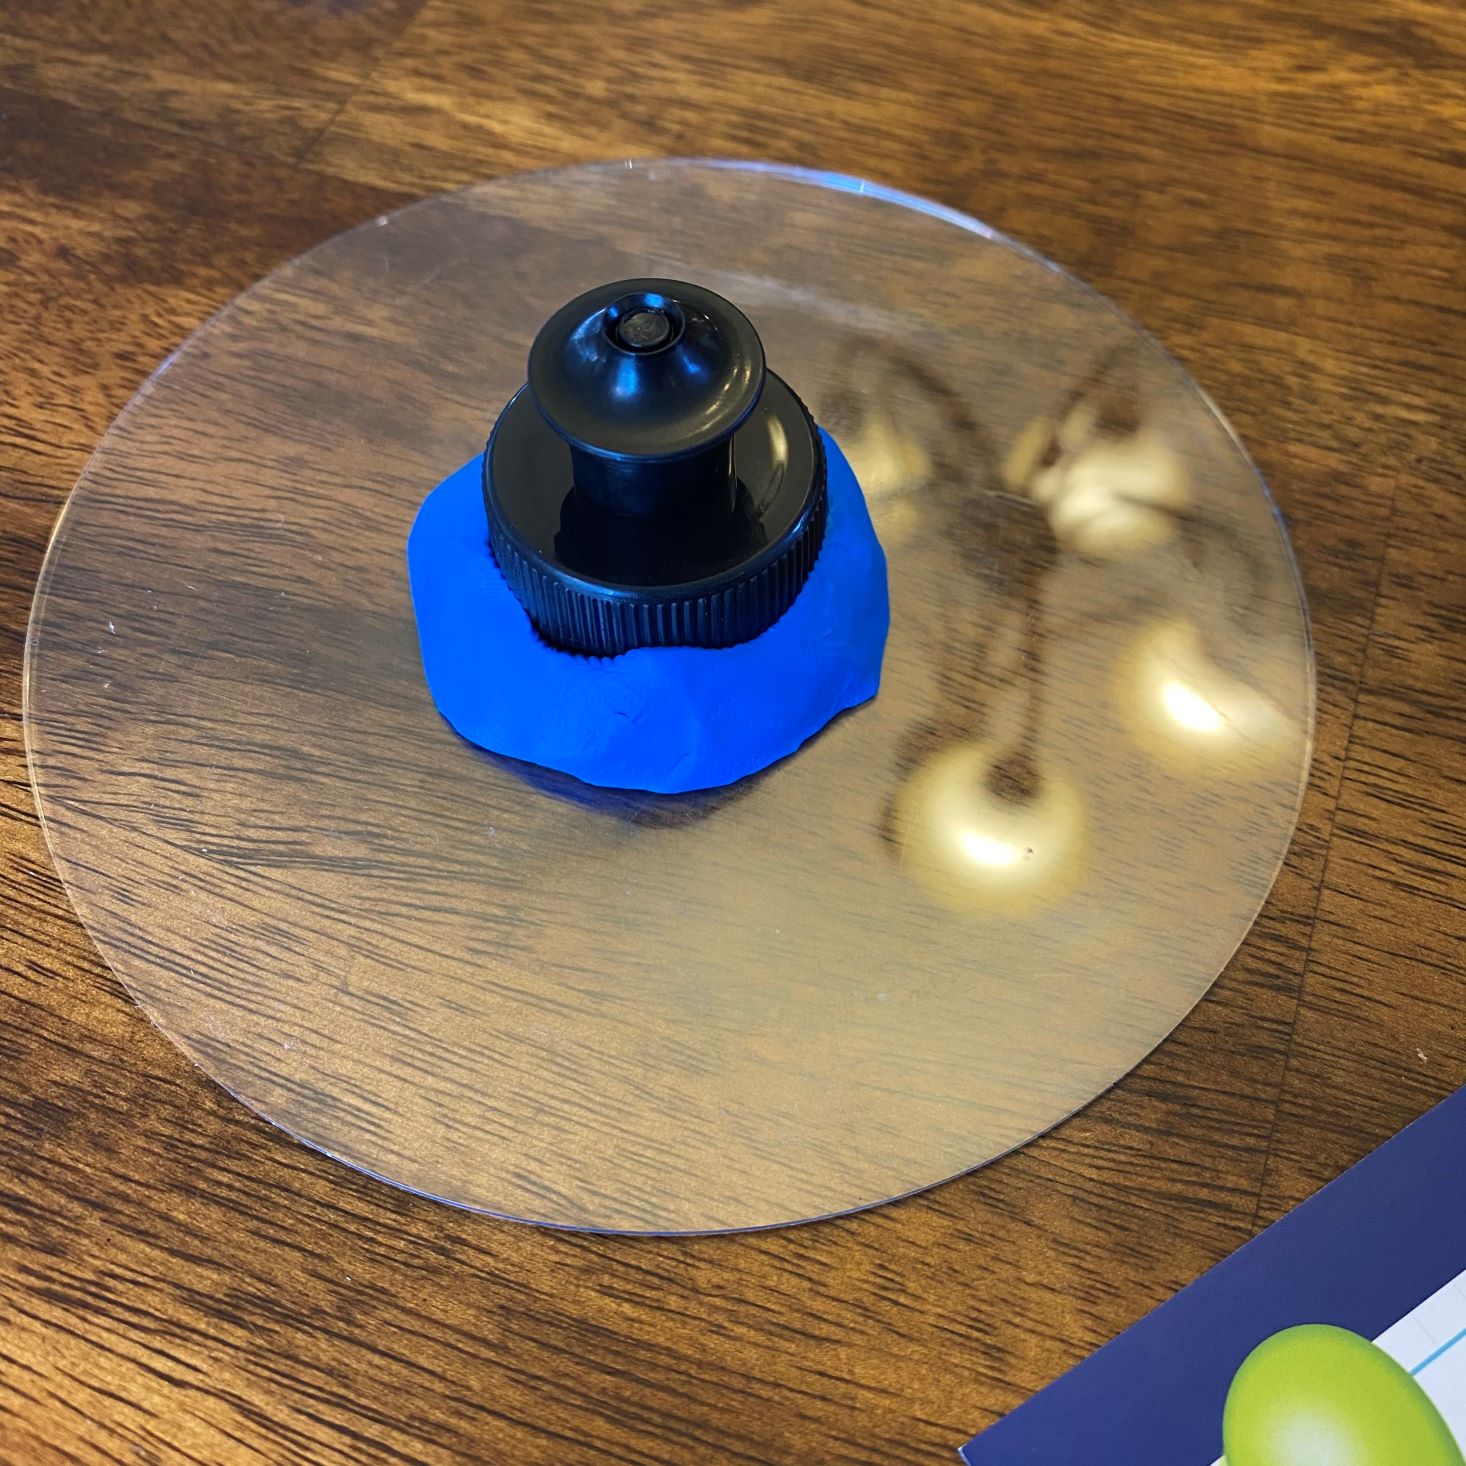
For our second project, we received the supplies needed to create our very own hovercraft. With most things included (balloons, plastic disk, nozzle, adhesive foam circle, and modeling clay) we only needed to provide a large, smooth surface and a pair of scissors. Did it work? Find out below.
The instructions for the hovercraft were pretty basic and easy to follow, but we had a few bumps in the road while putting this together. First, the sticky pad from the foam circle fell off when trying to peel the paper so we had to rig it back together. Once that problem was solved, we put on the nozzle and clay. We seemed to get that part correct and blew up the balloon as directed but it didn't do anything. The instructions mentioned poking a pencil into the hole on the bottom to help more air escape, which we did, but it still didn't work very well. While our hovercraft glided a tiny bit, it didn't move smoothly at all, and sadly wasn't very impressive. Did anyone's hovercraft work like expected?
Experiment #3: Ball Launcher
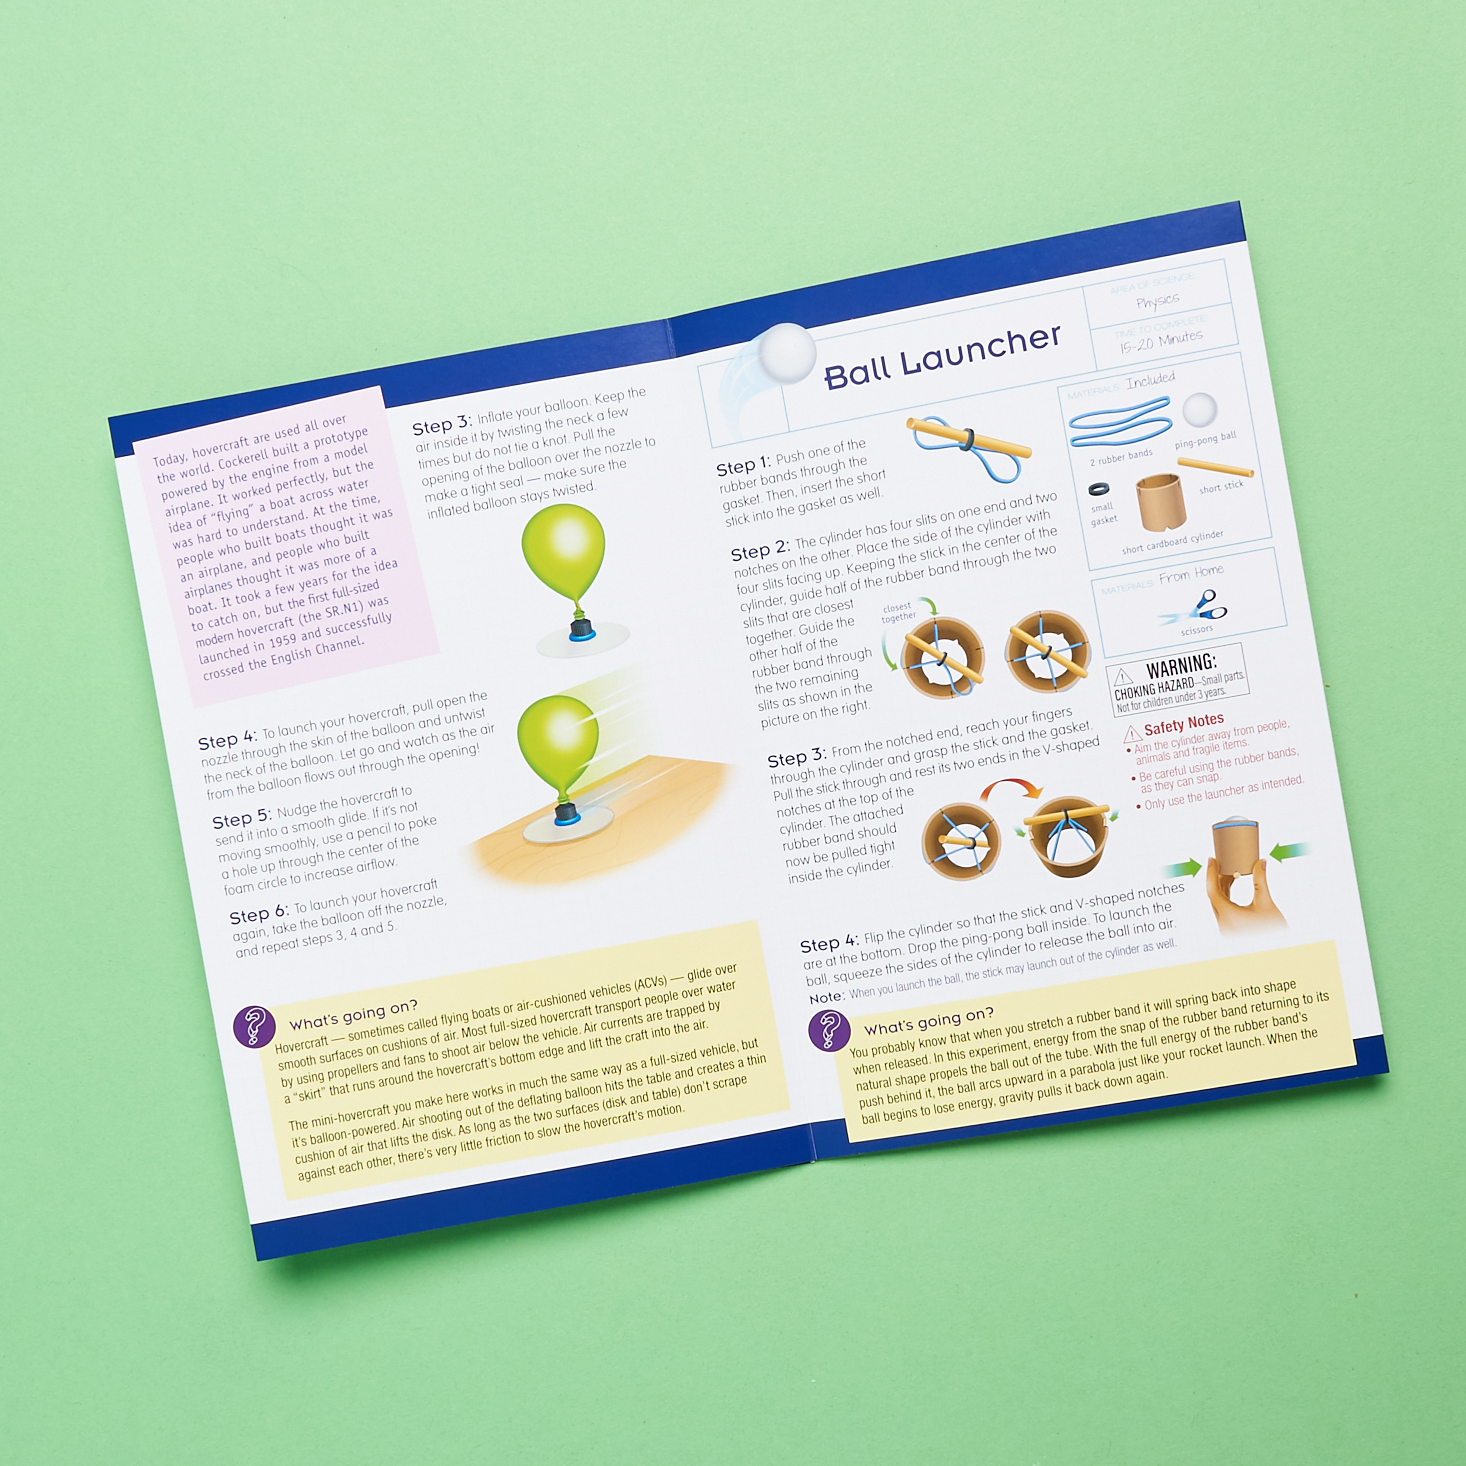
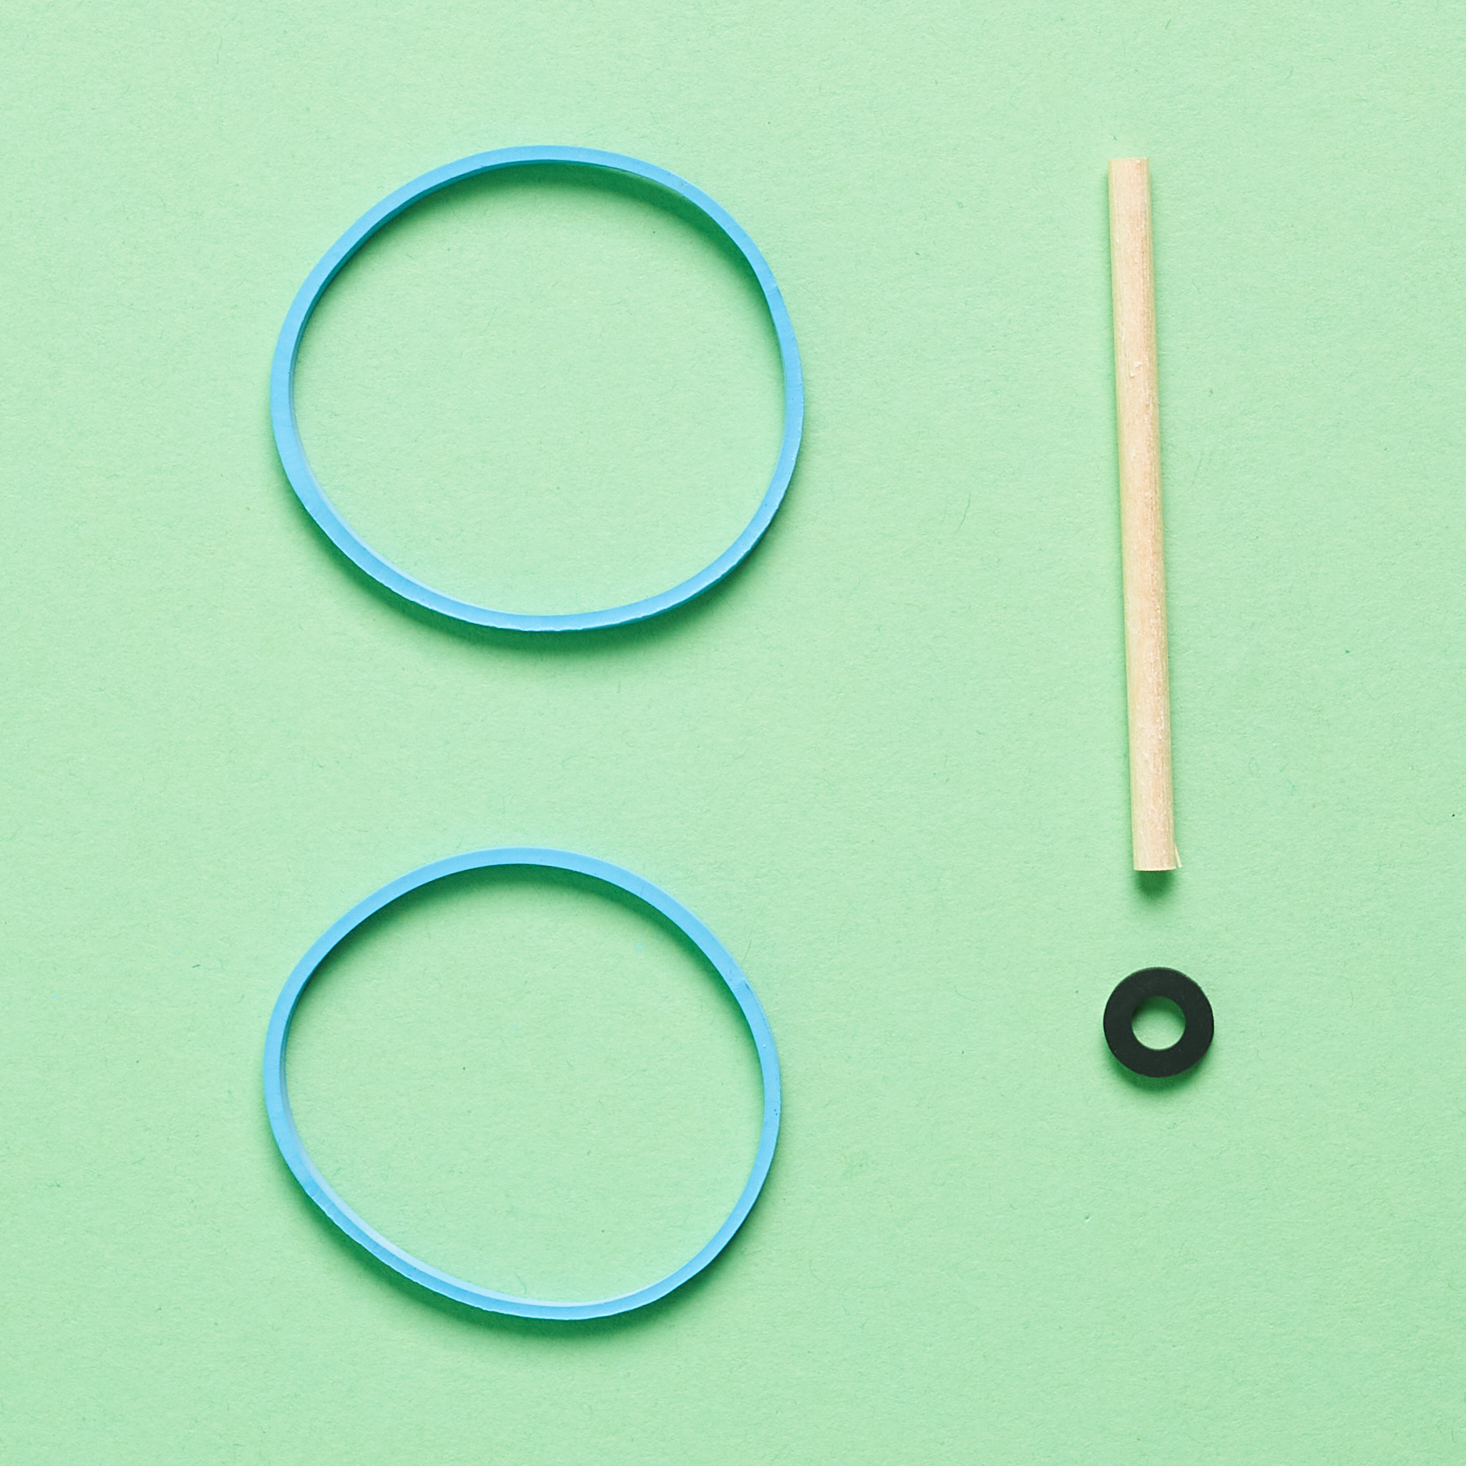
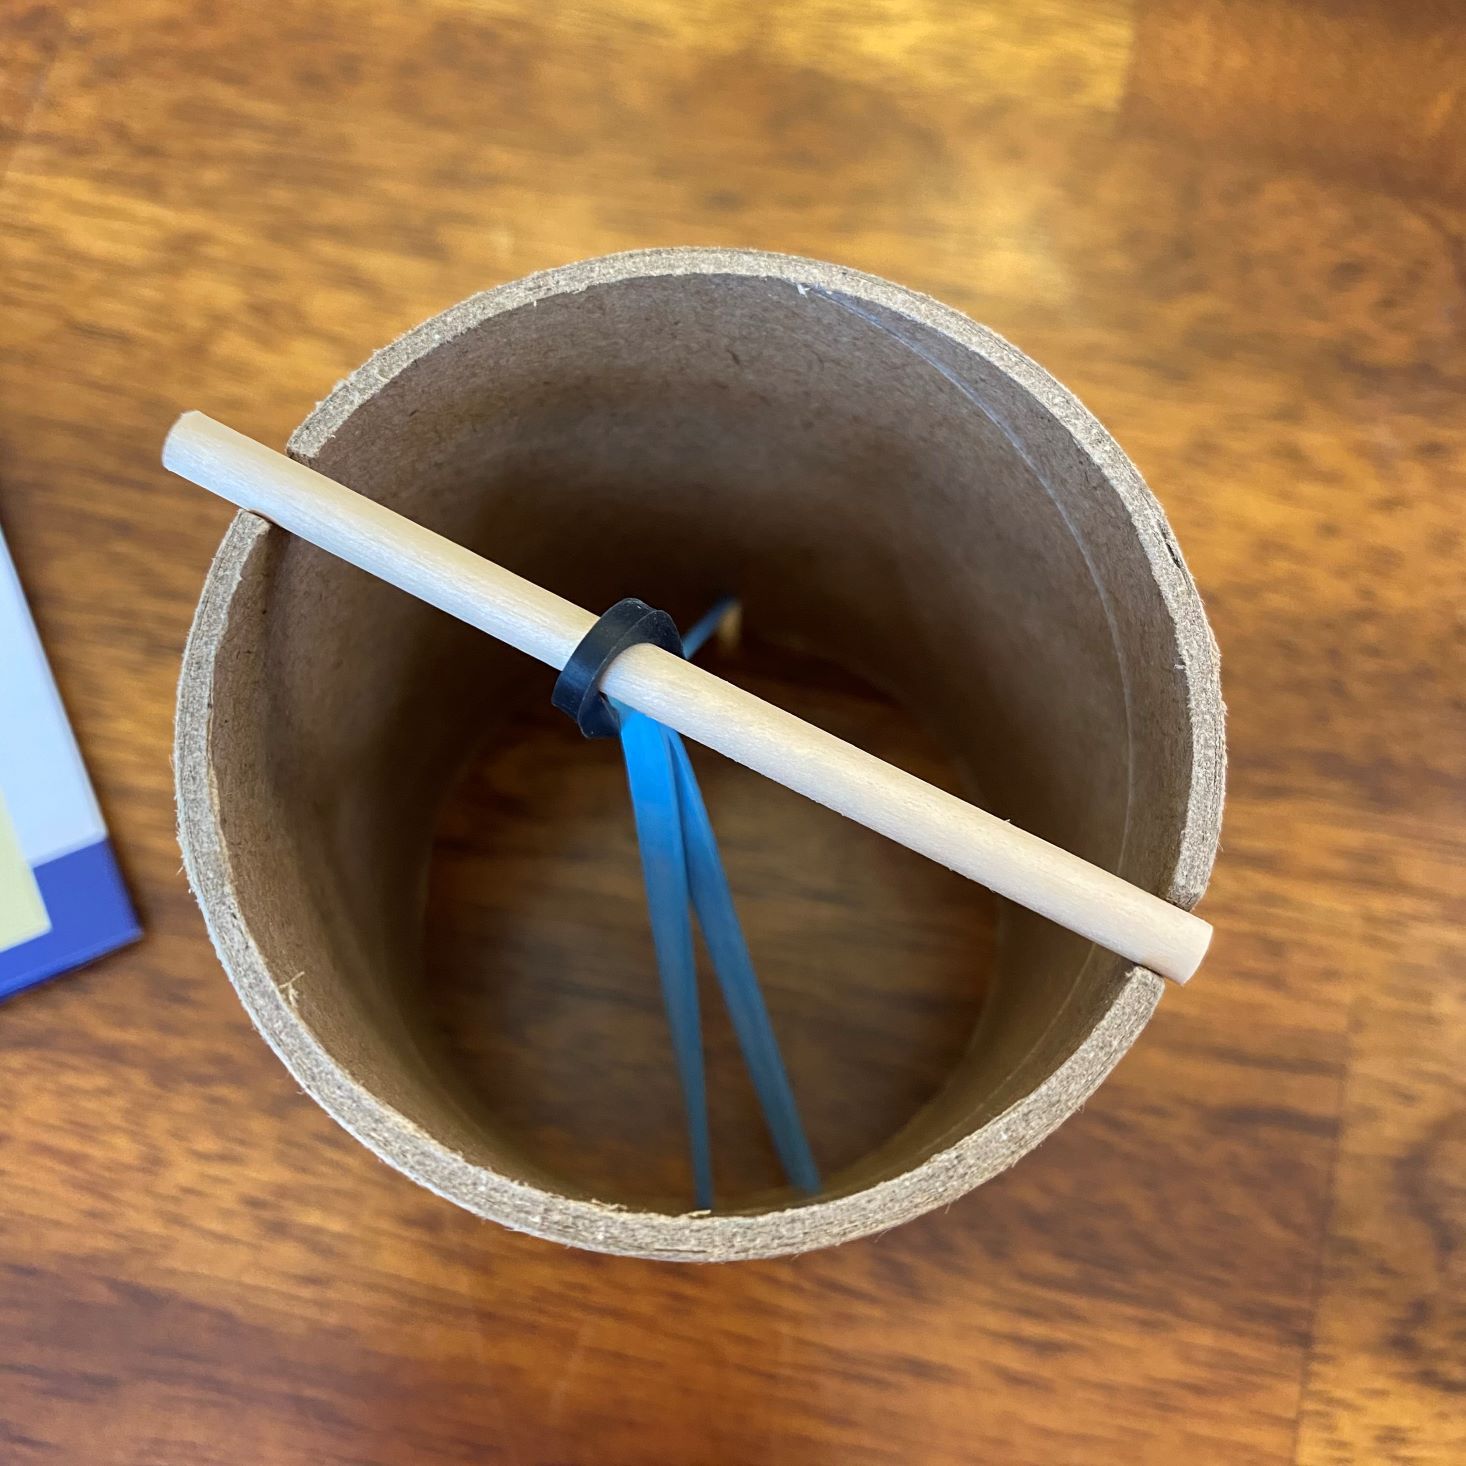
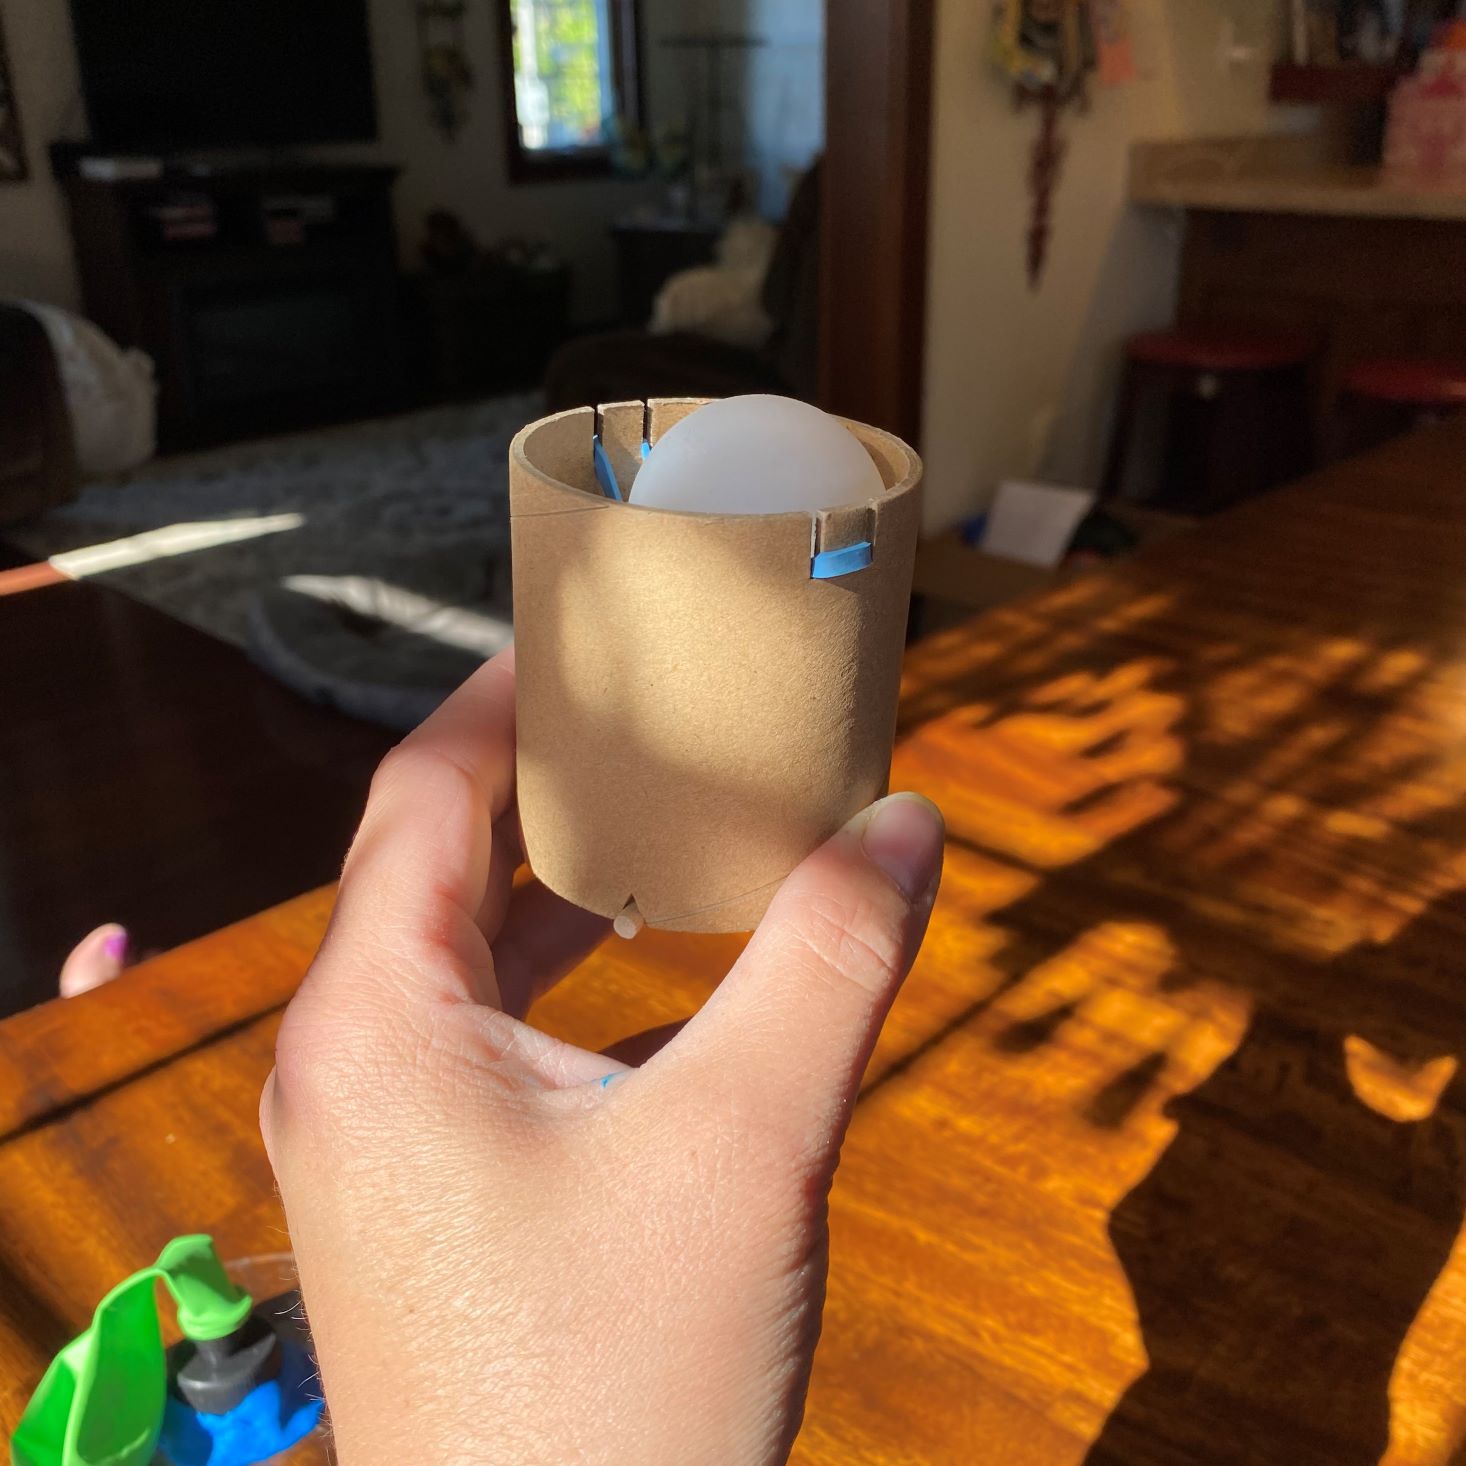
For our final activity, we received two rubber bands, a ping-pong ball, a small gasket, a short stick, and a short cardboard cylinder. Needed from home was a pair of scissors.
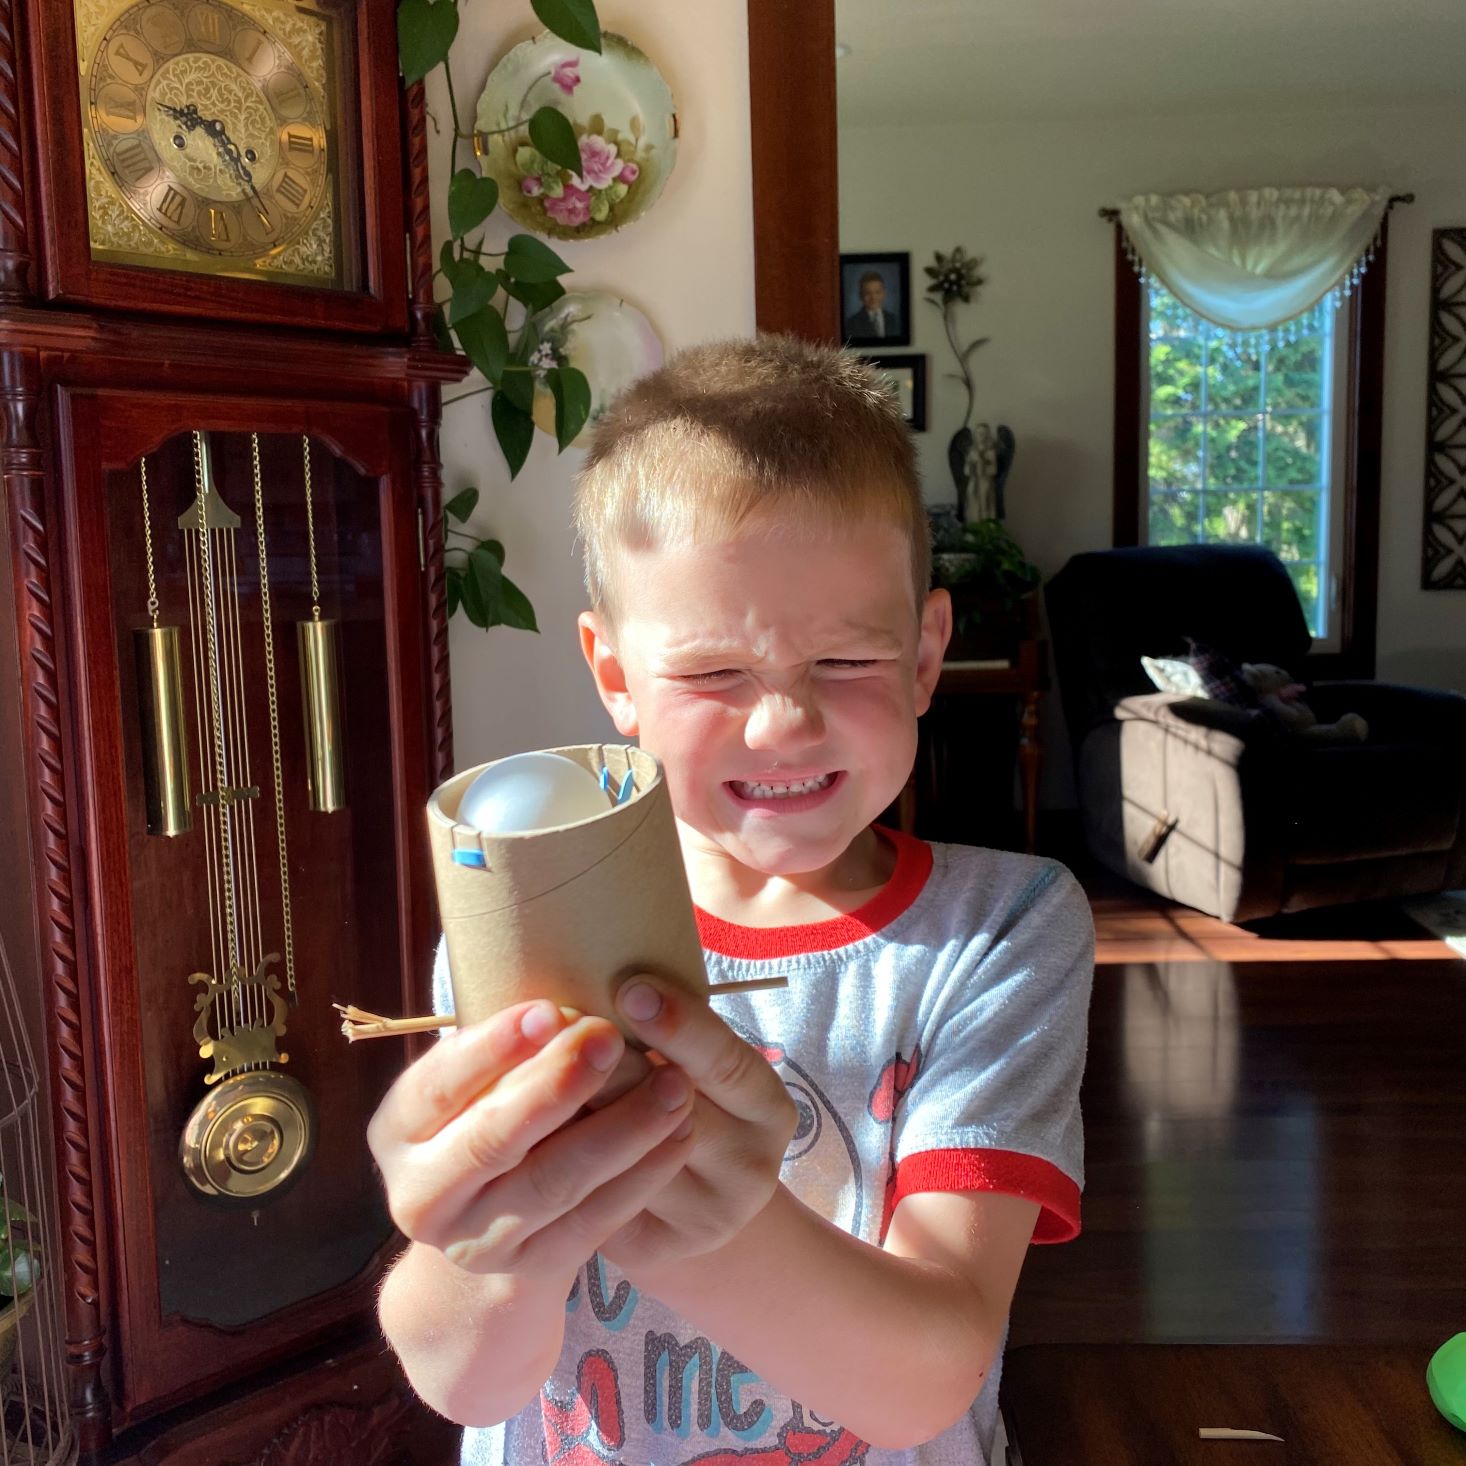
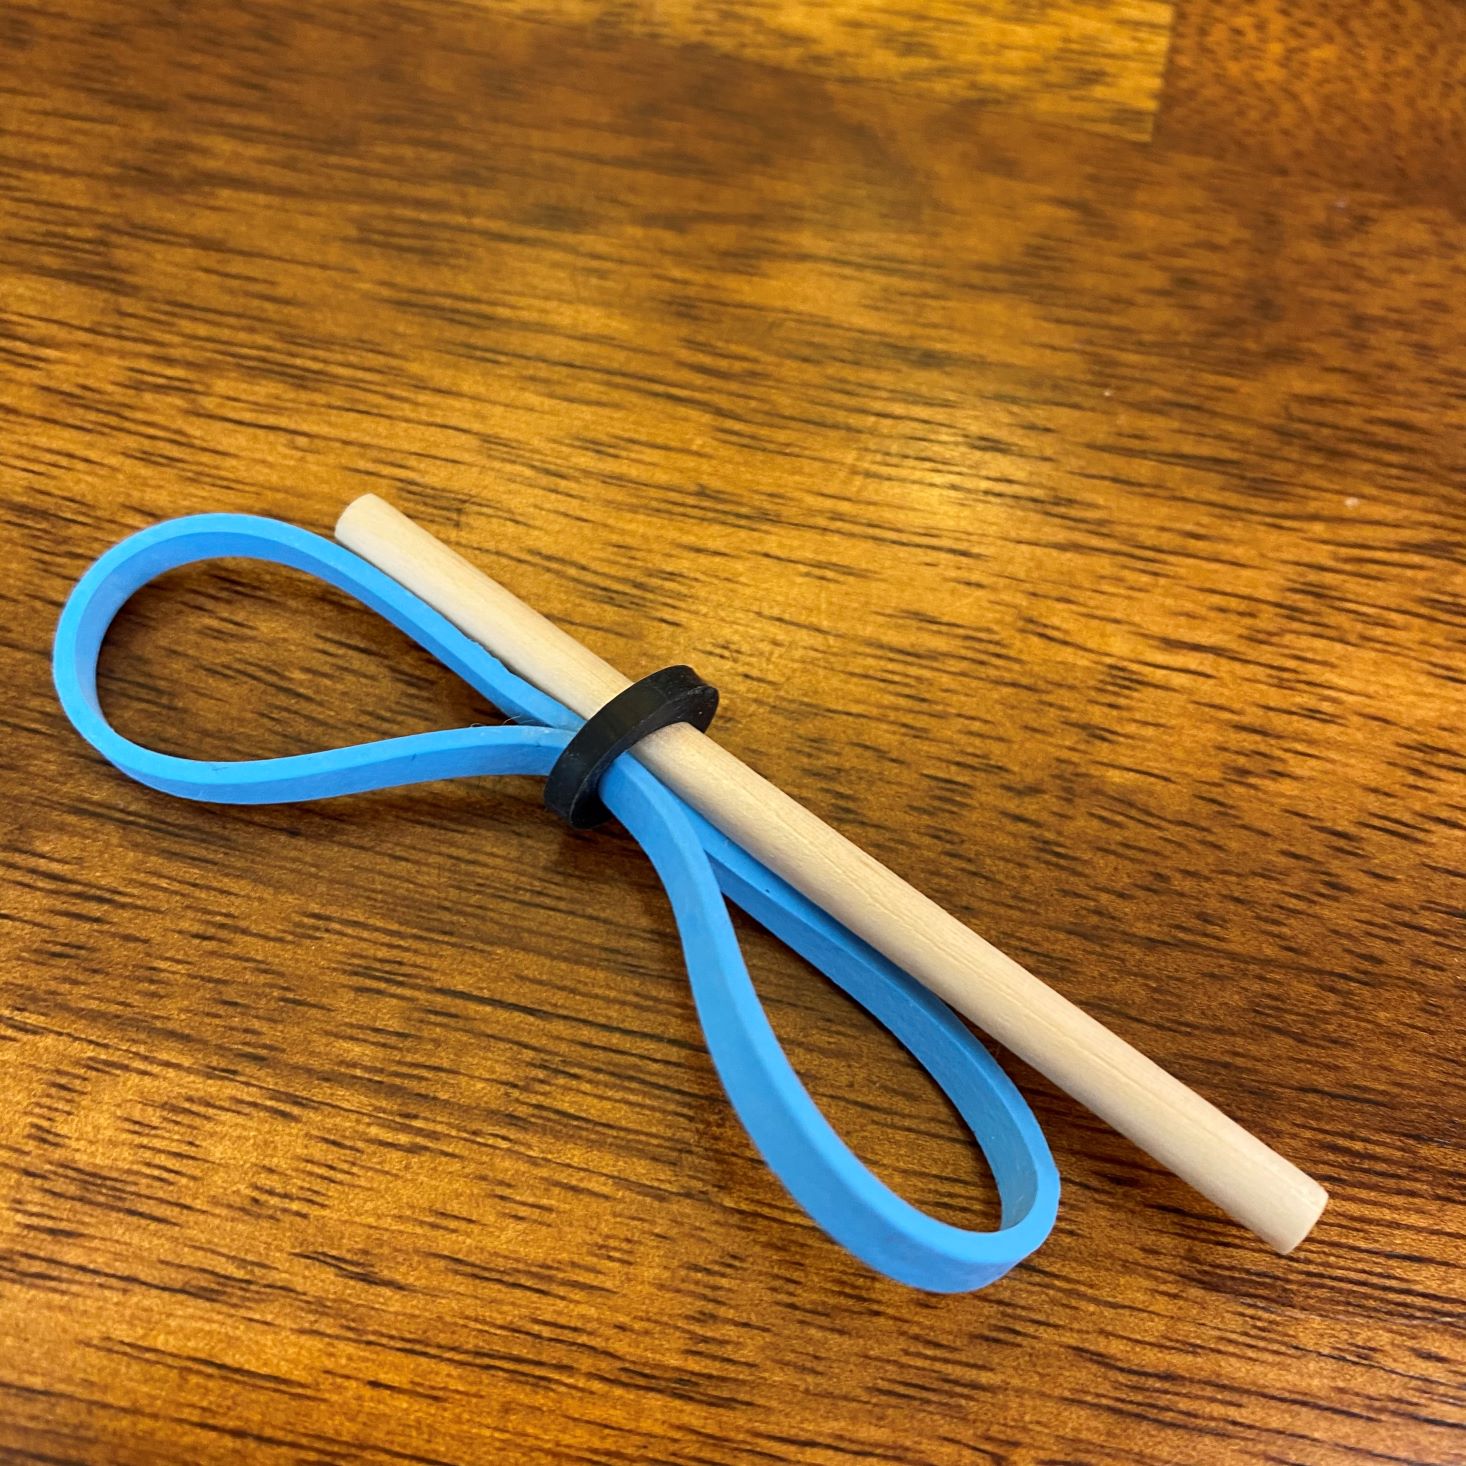
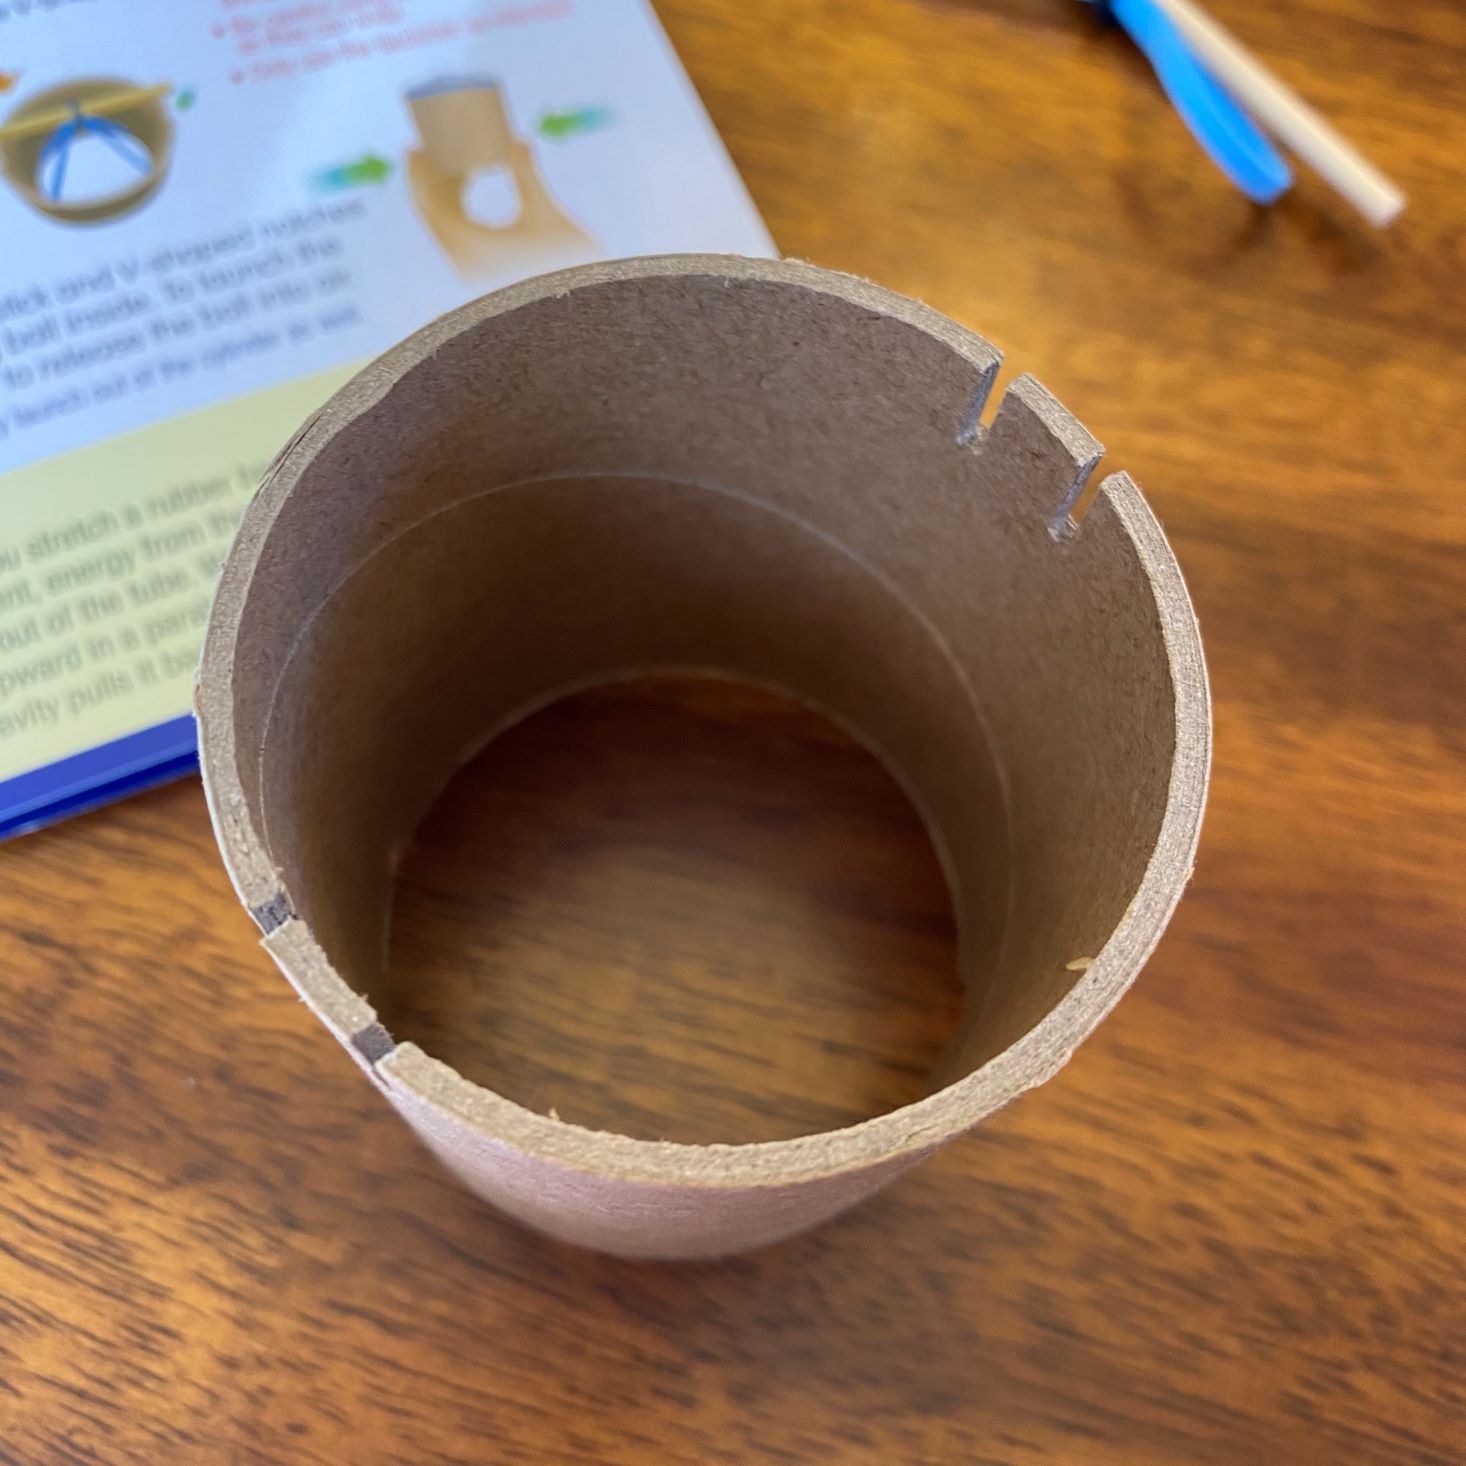
After our disappointing hovercraft activity, Charlie had really high hopes for this ball launcher. Following the steps, we were able to create our very own launcher to help explain physics. To start, we pushed the rubber band through the gasket and inserted the short stick. The next step is where it got a little confusing. In the directions, it shows our cardboard cylinder should have four slits in the North, East, South, and West directions, but ours had two slits right next to each other on each side. Following the directions the same, we pulled up on the stick to the other side and put the ball into place. Gently squeezing the sides of the cylinder, the ball released into the air. We were able to get this to work about five times, and then on try #6, the stick broke in half, rendering the ball launcher useless. I'm not sure if this was due to the closeness of the rubber bands on the one side, or if it was just bad luck, but I must say, it was pretty disappointing. We did try to use a cut-up skewer, but it just wasn't the same.
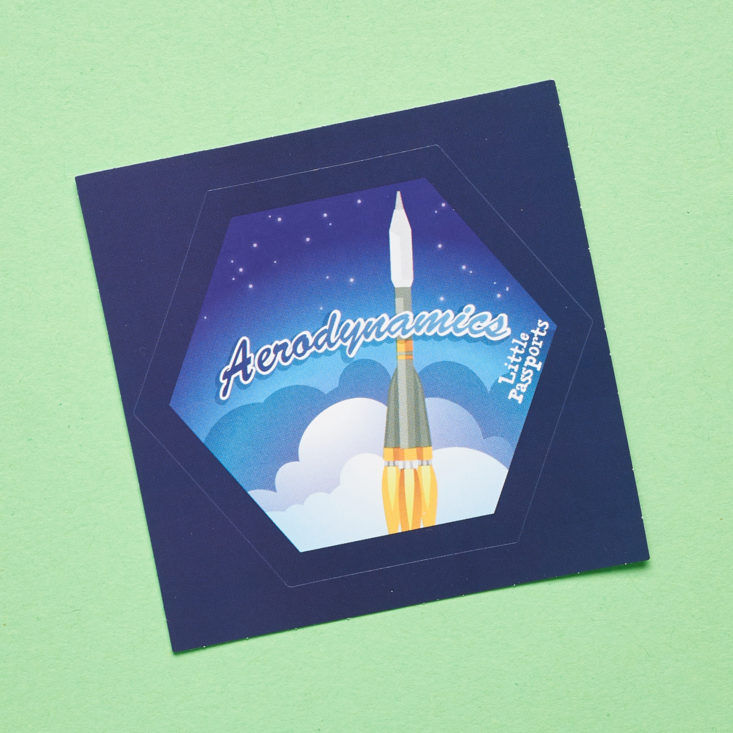
Badge
After we completed our activities we were then awarded with the "Aerodynamics" Badge, as a tribute to our hard work and play!
Verdict: As a mother of young boys with a degree in Science, I really enjoy receiving this box. The educational value paired with the fun activities makes for a perfect at-home science lesson that will be remembered forever. This particular month we had a couple of flops, as the hovercraft didn't work for us and the ball launcher stick broke really fast. That being said, Charlie assured me that the air-powered rocket made up for our defeats. At $27.95 a month, it is a little on the pricey side. I would love to have seen more rocket templates, and additional sticks for that price, and maybe even one more activity. We didn't need as many supplies from home this month, so that was a plus, but I would like to see a little increase in value. What do you think next month's theme will be?
To Wrap Up:
Can you still get this box if you sign up today? You'll start with the Forensic Science box in the first month, followed by a different themed box each month thereafter.
Check out all of our Little Passports reviews and other best subscription boxes for kids!
Keep Track of Your Subscriptions: Add this box to your subscription list or wishlist!
What do you think of this box?





Please do not enter your email address in the Name field or in the comment content. Your email address will not be published. Required fields are marked *. Remember to post with kindness and respect. Comments with offensive language, cruelness to others, etc will not be approved. See our full comment policy here.